Signboard Bright of Desktop
by lucia_ochoa1 in Workshop > Laser Cutting
196 Views, 3 Favorites, 0 Comments
Signboard Bright of Desktop
Hi guys!
Welcome to my first instructable , I am Lucia, today I will teach you how to create a ´´Signboard Bright of Desktop´´ based on the program Fushon 360 with a spider image .
Supplies

-Computer or laptop
-Autodesk Fusion 360 program
Base Face
.png)
.png)
.png)
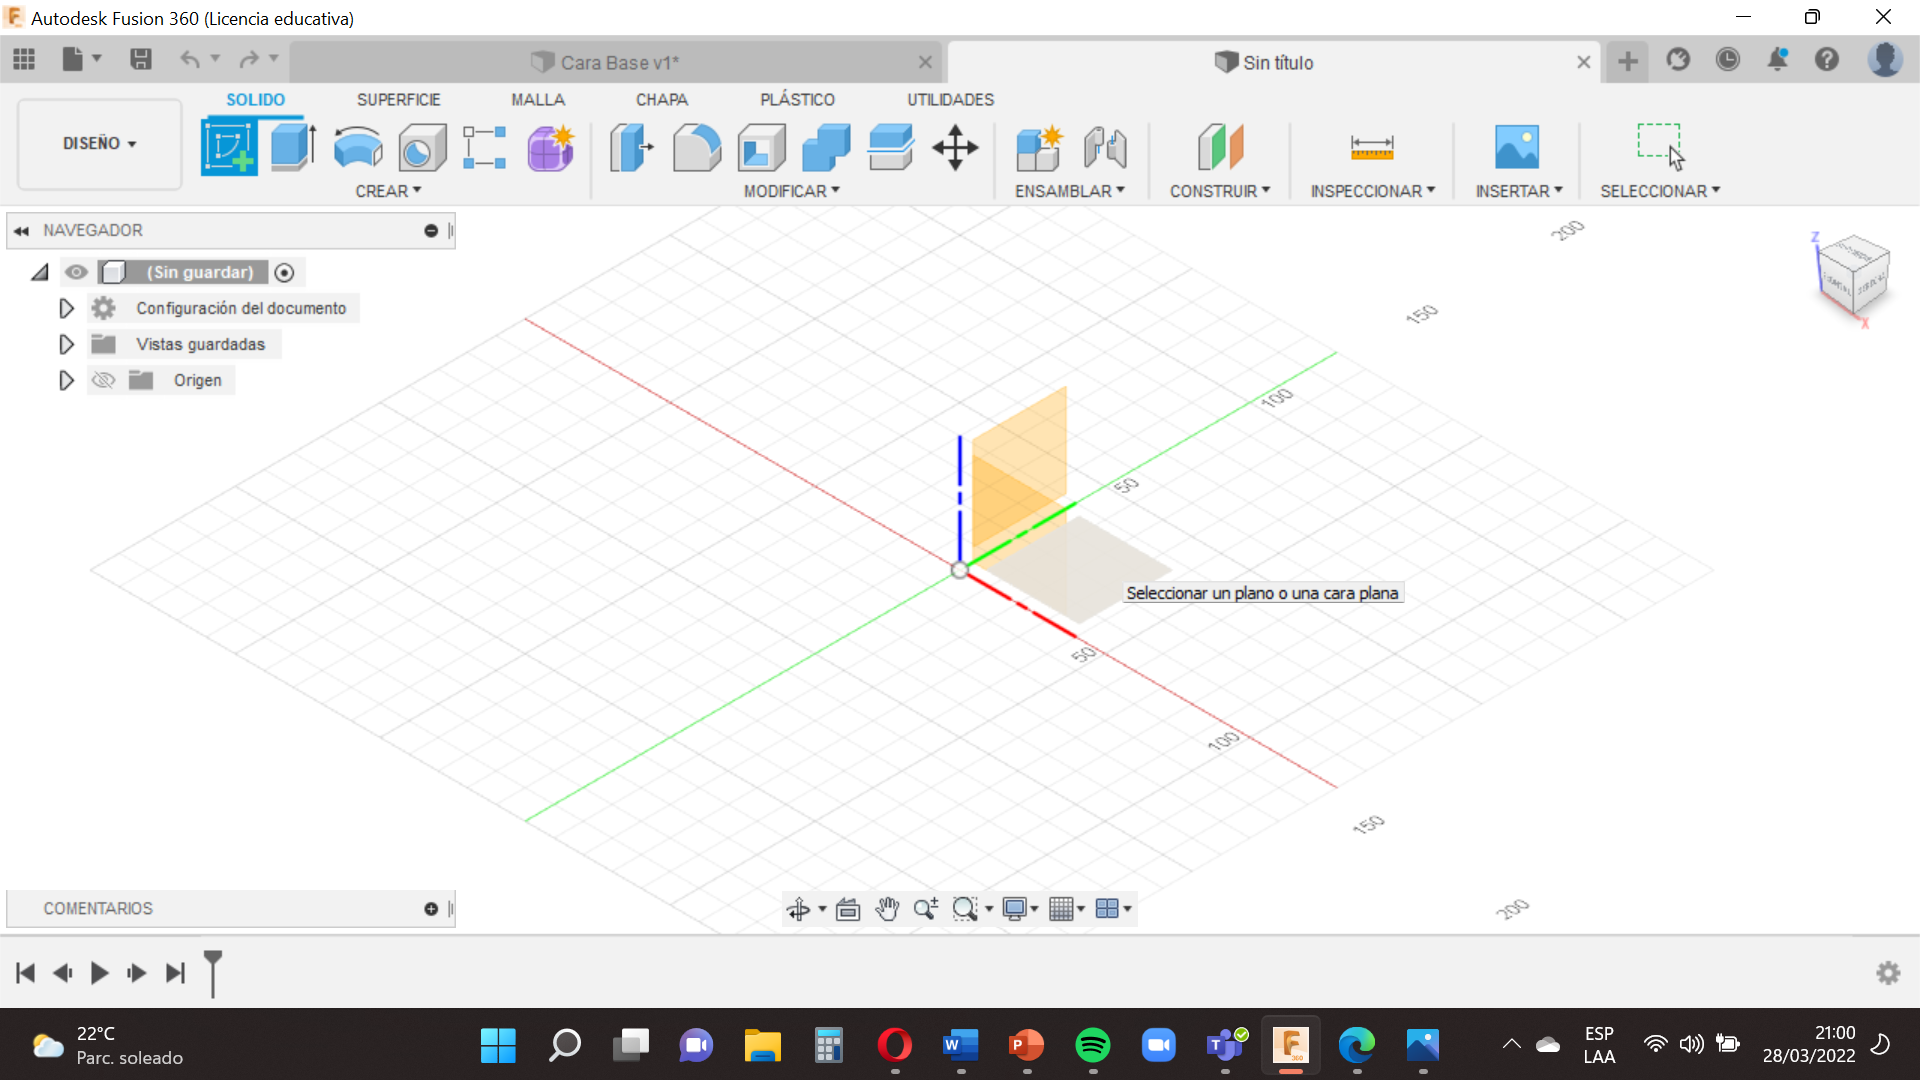
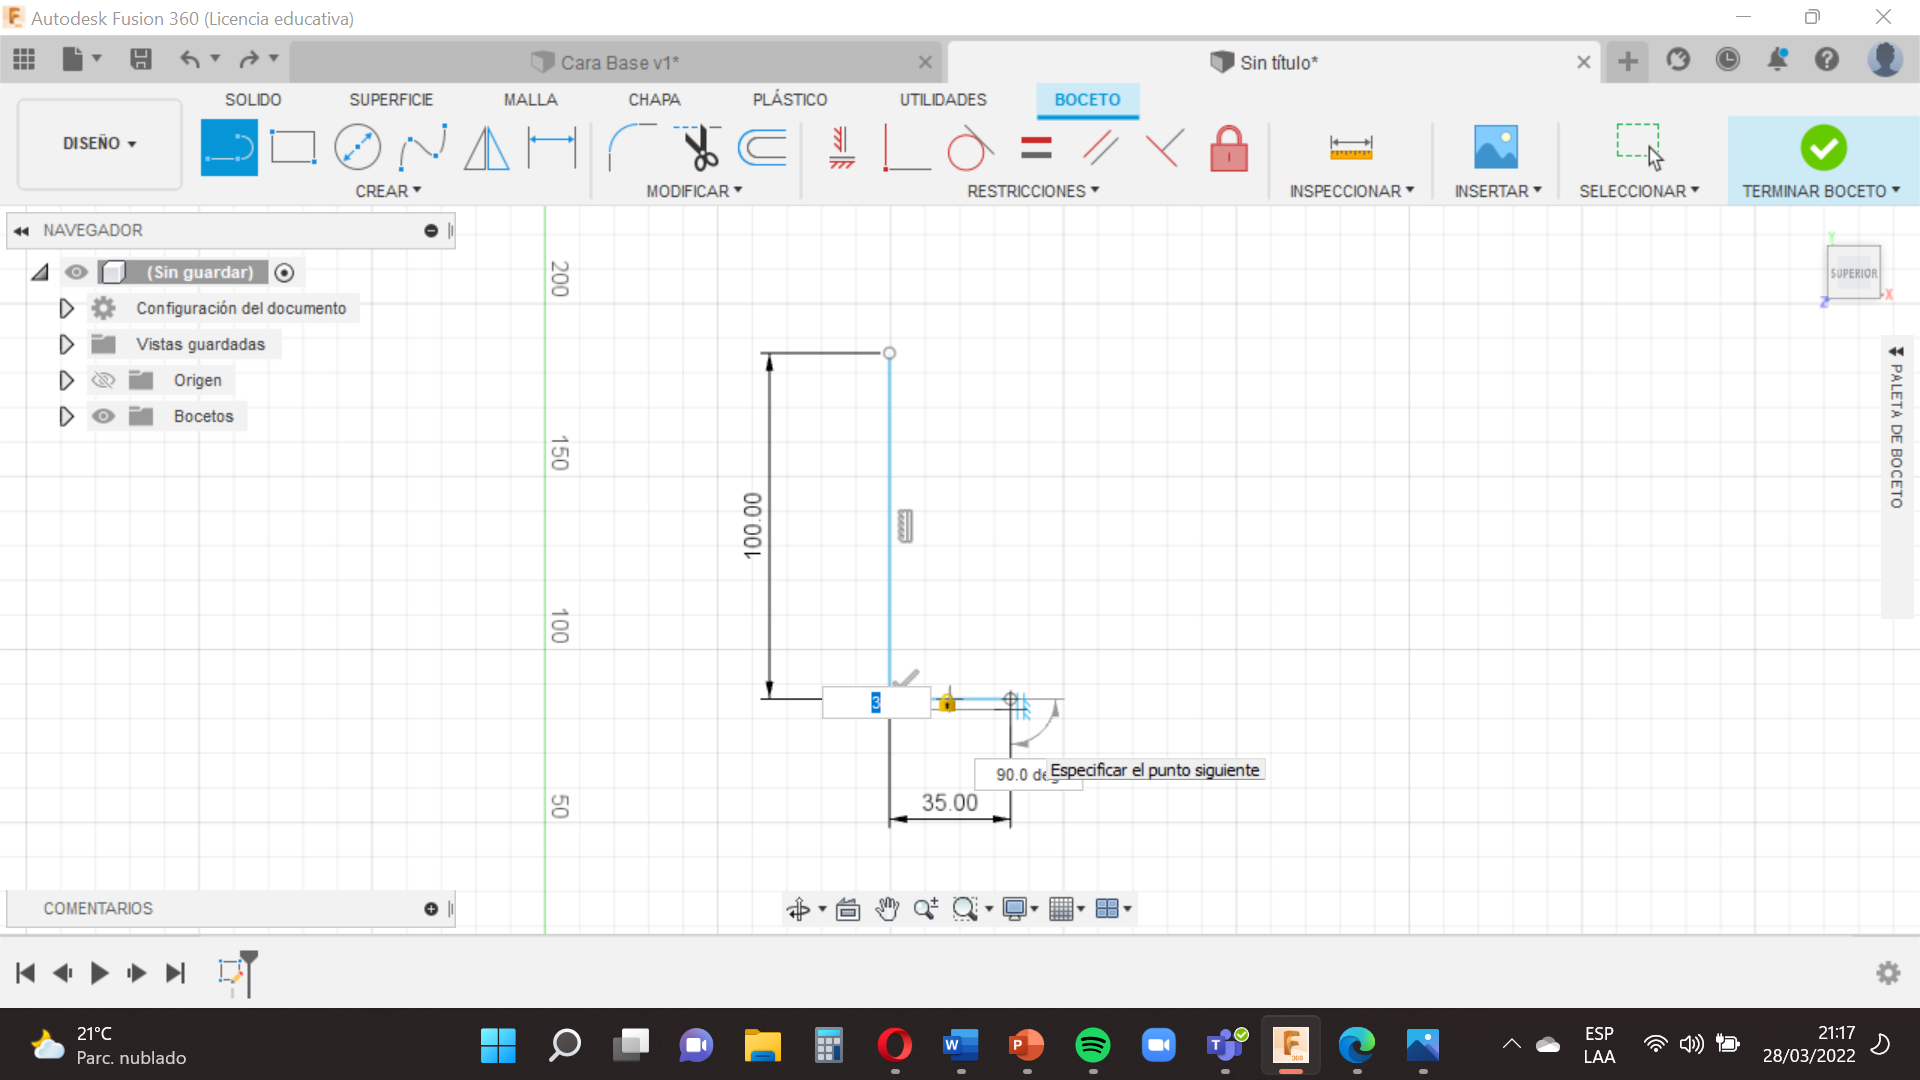
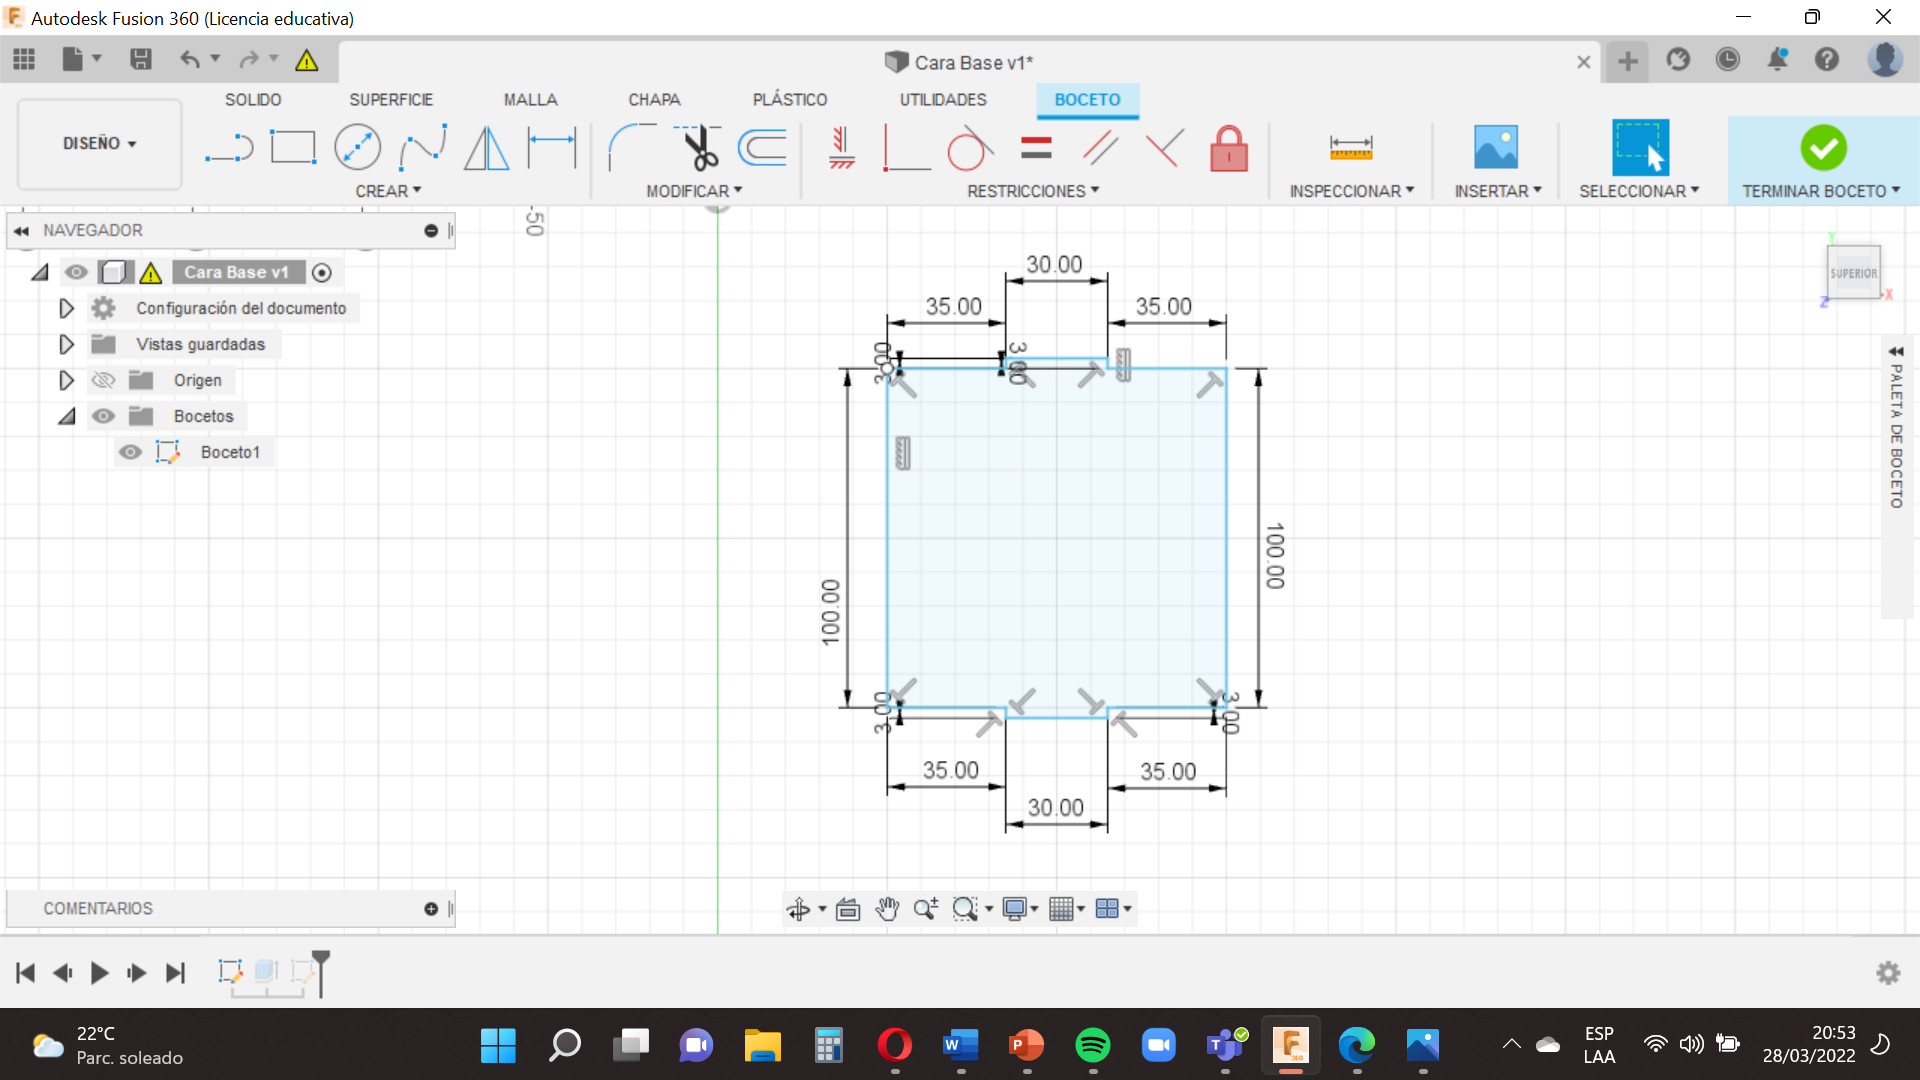
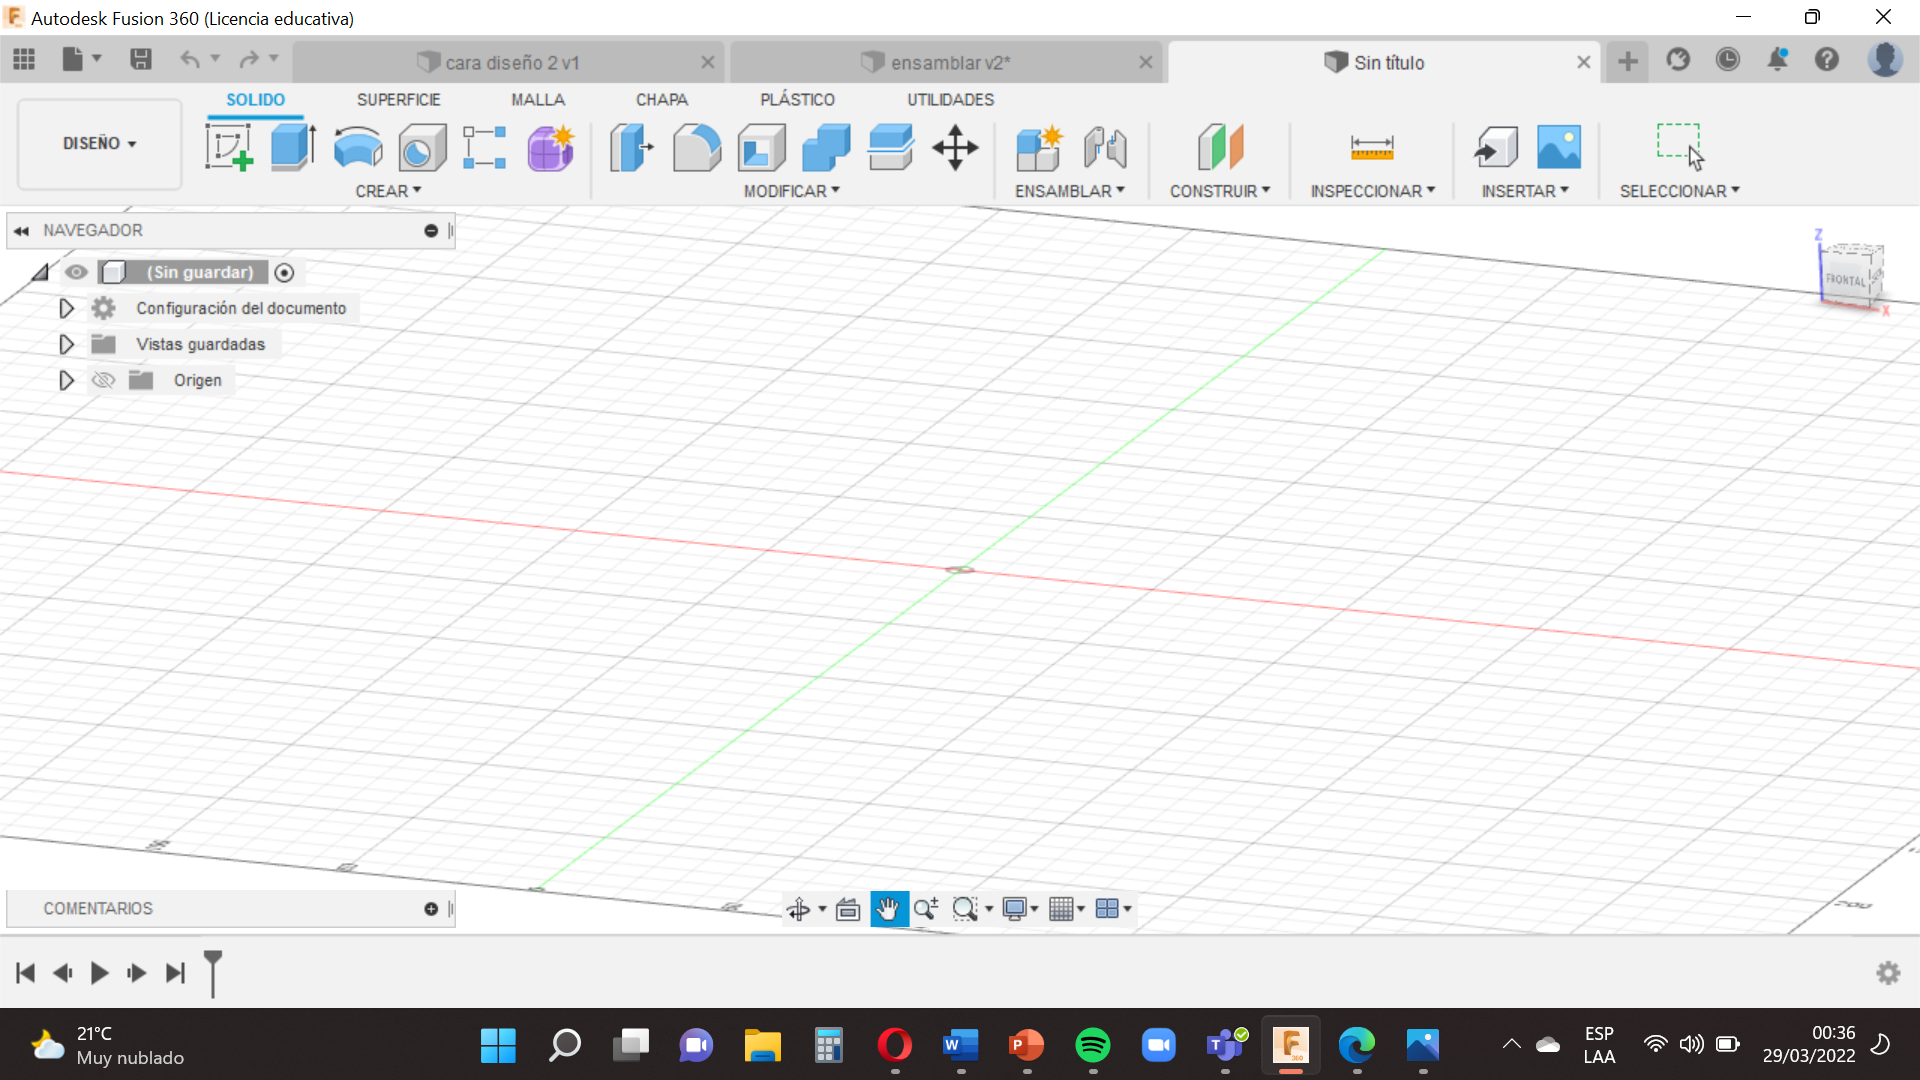
Let’s start with the position of our base
This is very important because each face has a different position.
Now we select the square between X and Y (red and green) , this will help us to connect each part of our poster ,quickly.
Then you are gonna to go to the option ´´Create´´ , use the tool ´´Line´´ , this is easy , you have to make a line based on the measurements of our base , remember to finish the shape of our base at the same point where it started.
For the following we have to select ´´Finish sketch´´.
Frontal Face

.png)
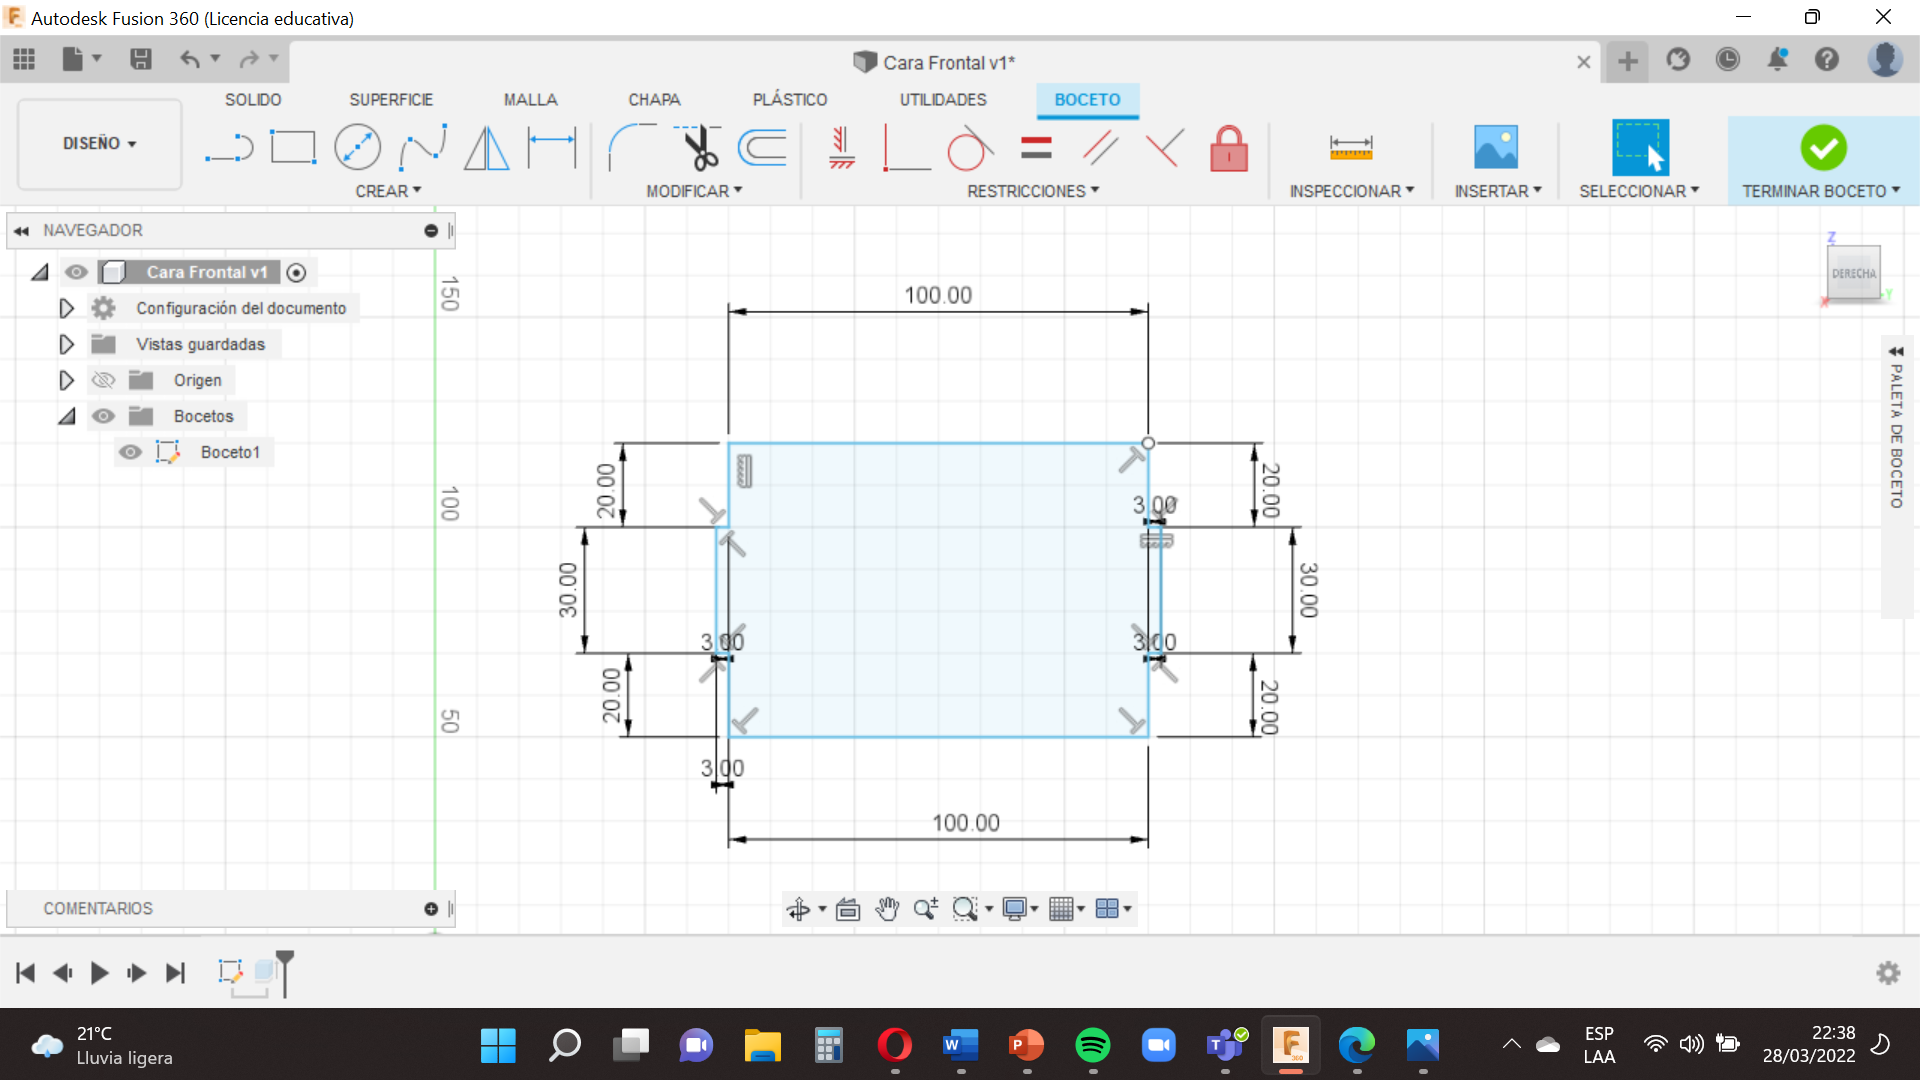
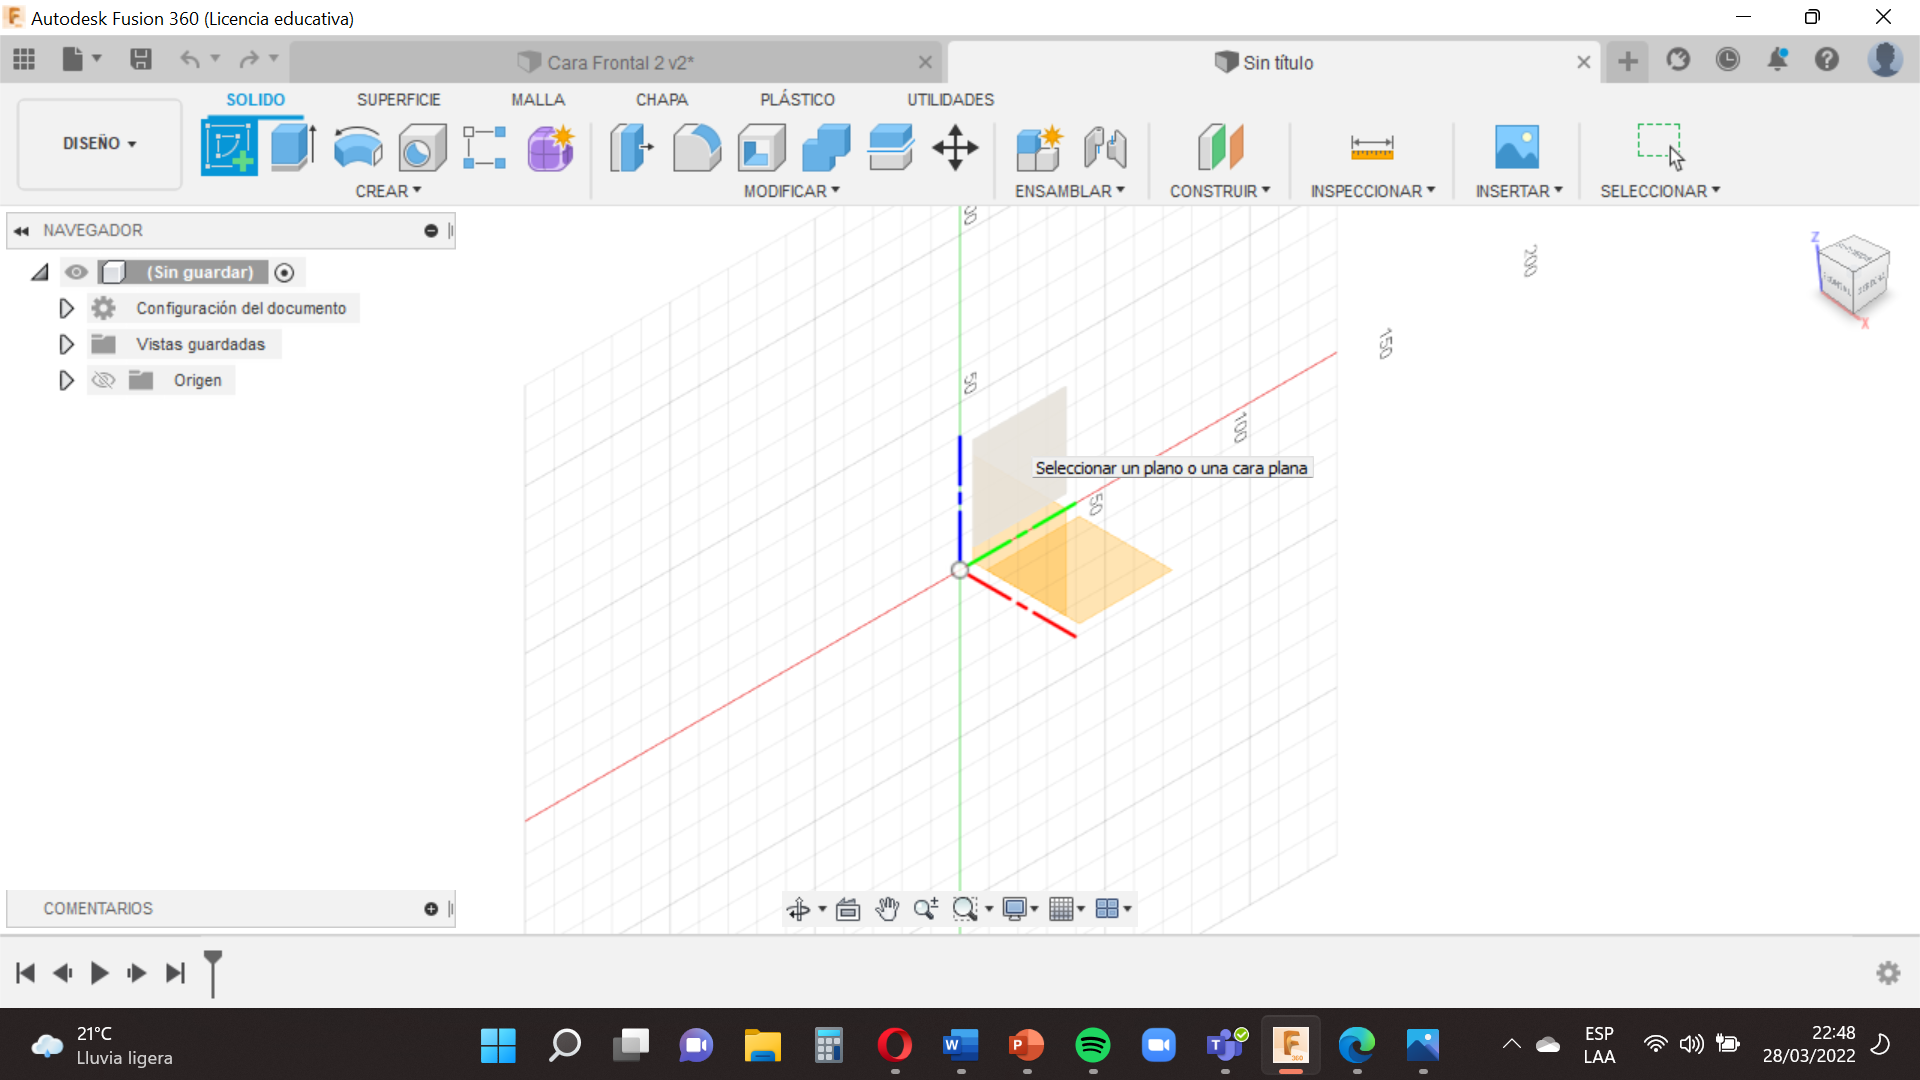
The second step will start in the same way as the first step, but now choose the small square between the lines Z and Y (blue and green) and then follow this guide.
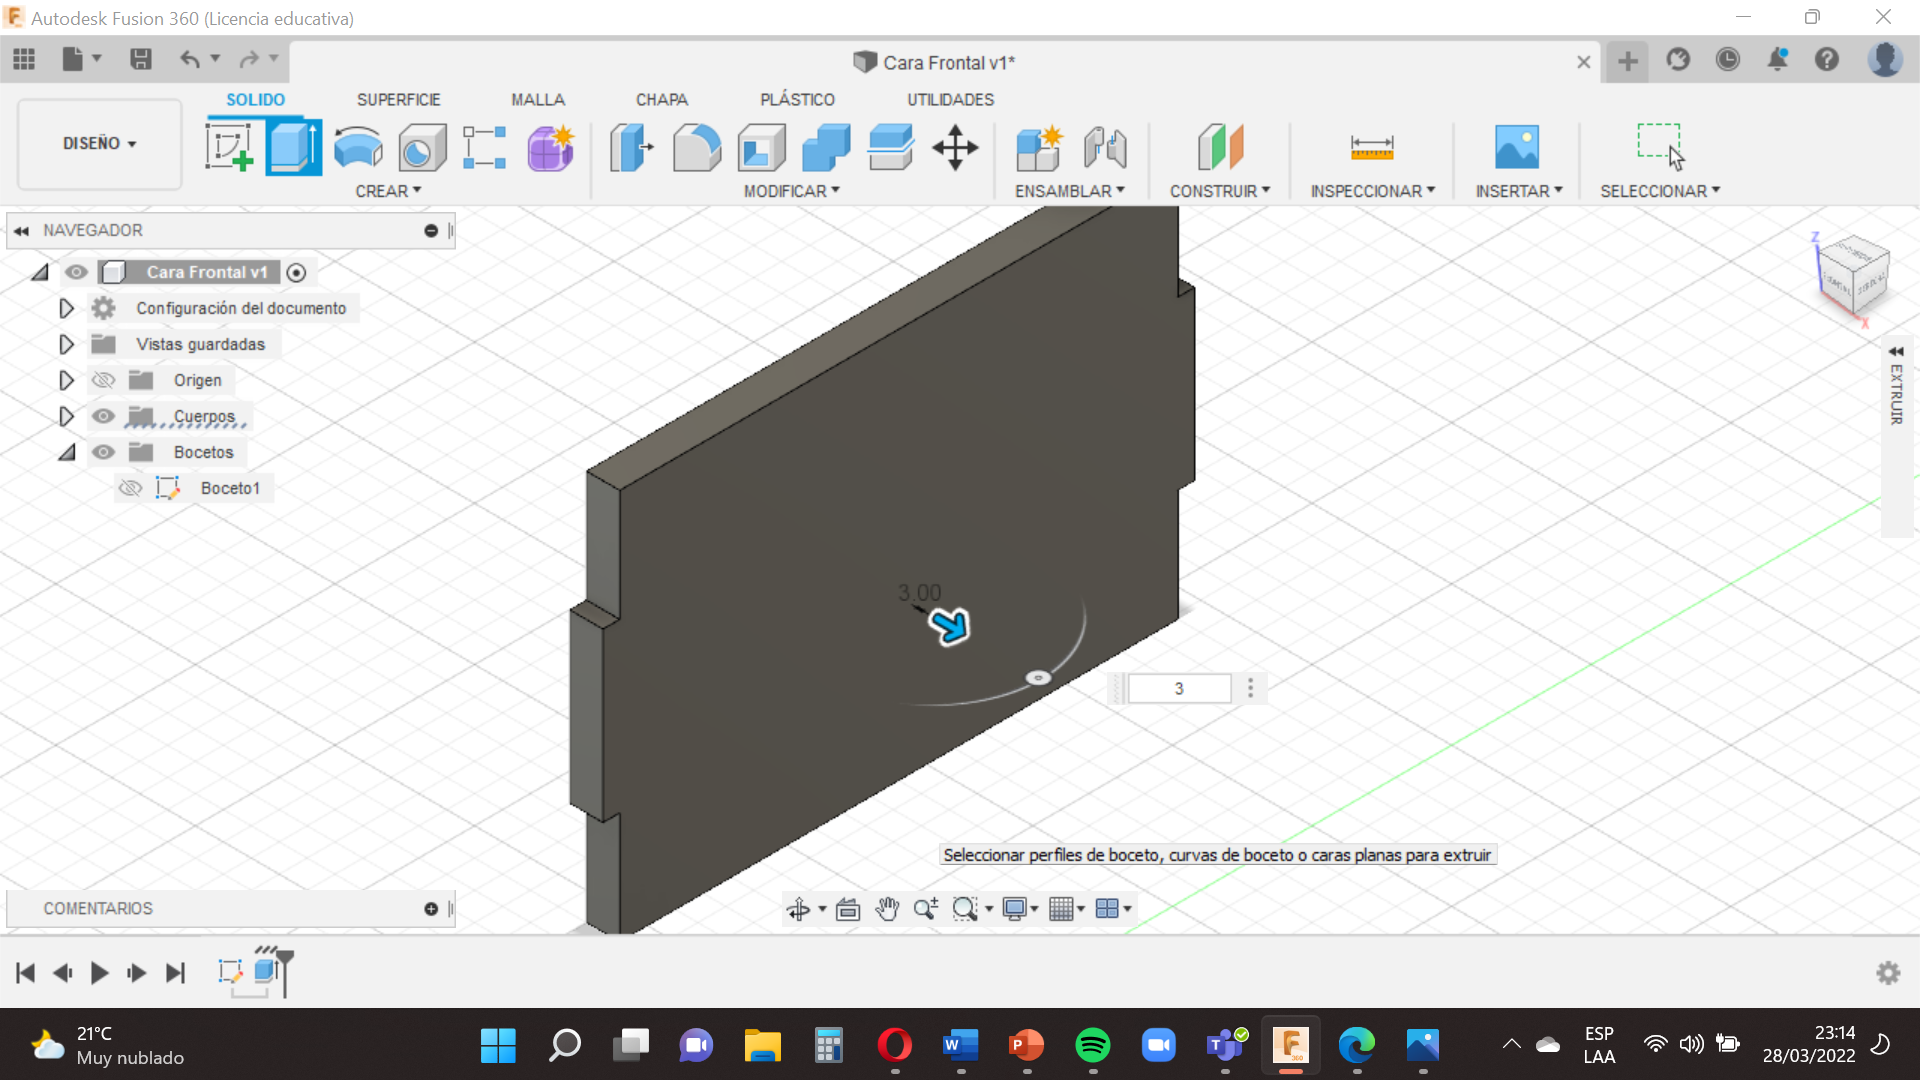
Then you will go to the option ´´Create´´ , select ´´Extrude´´ (This tool will give our face volume ,something like 3D) and choose 3 mm voulumen .
Frontal Face 2
.png)
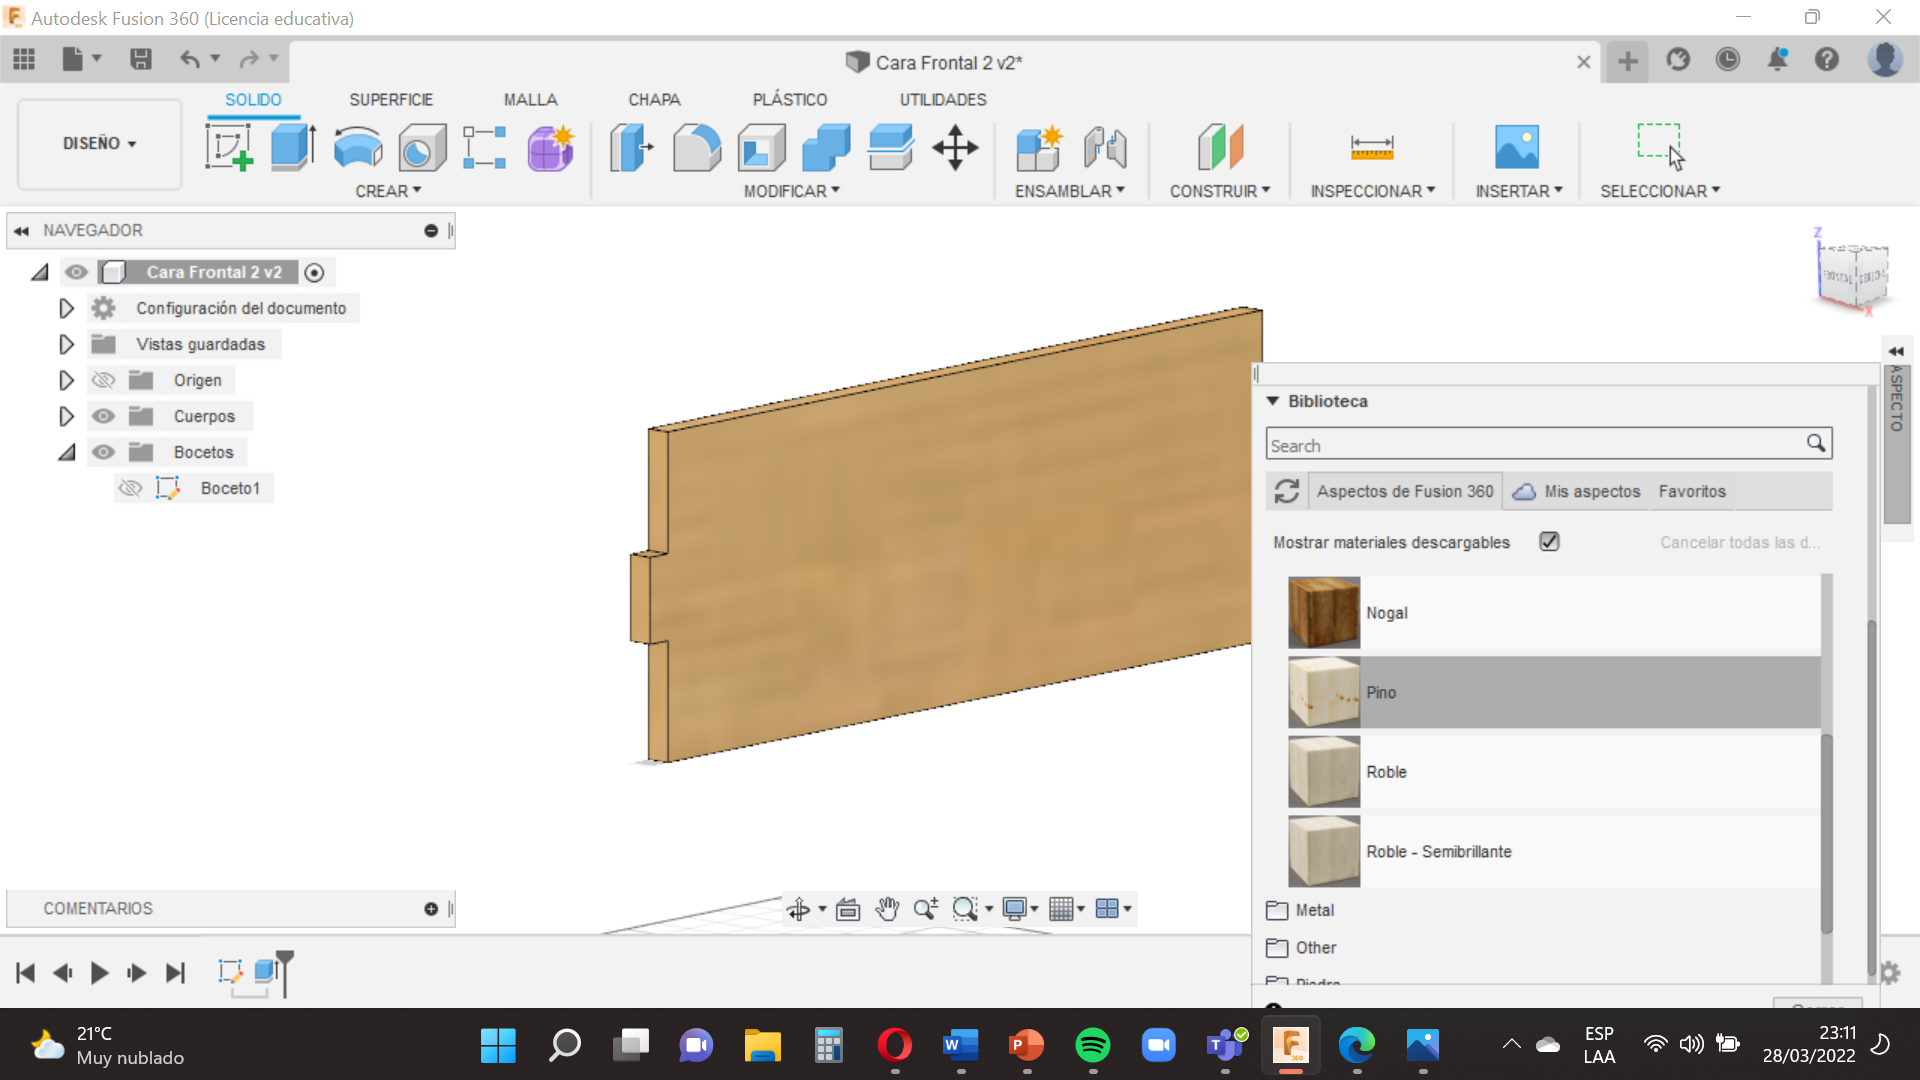
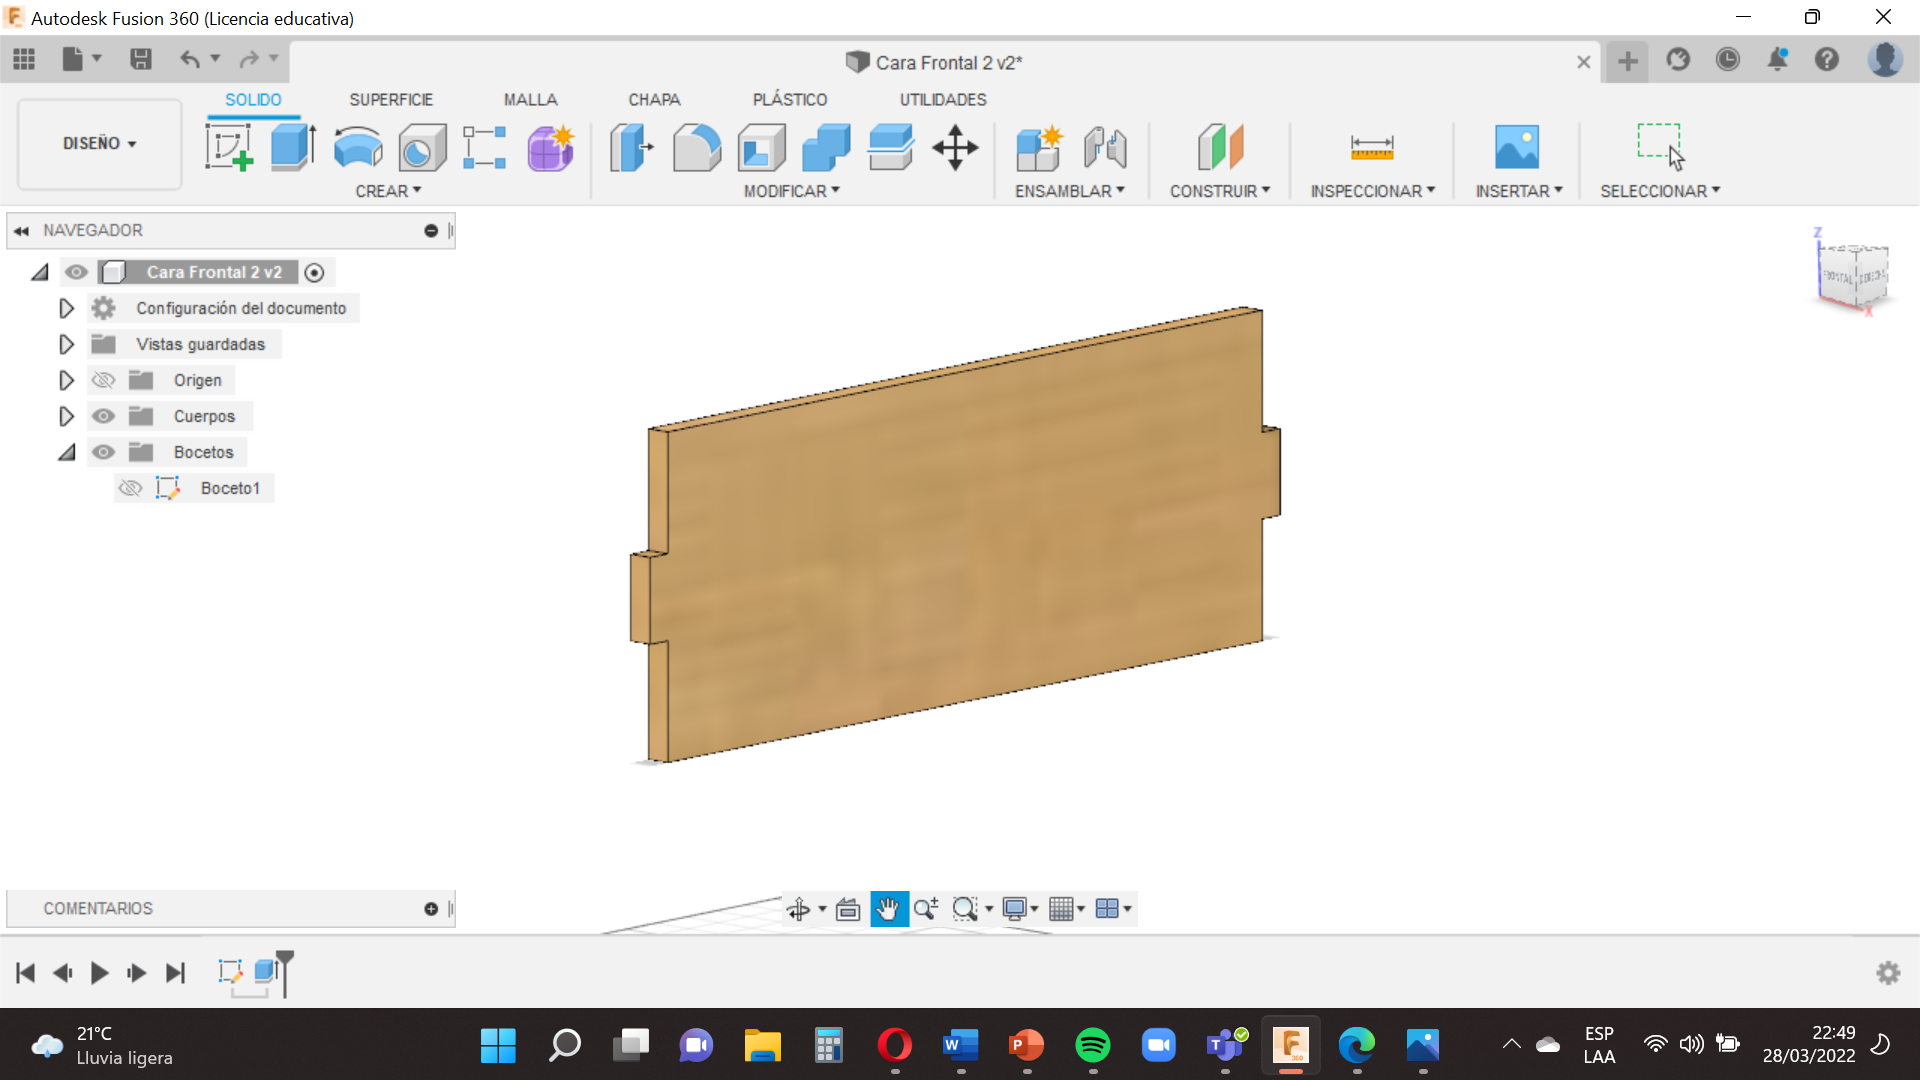
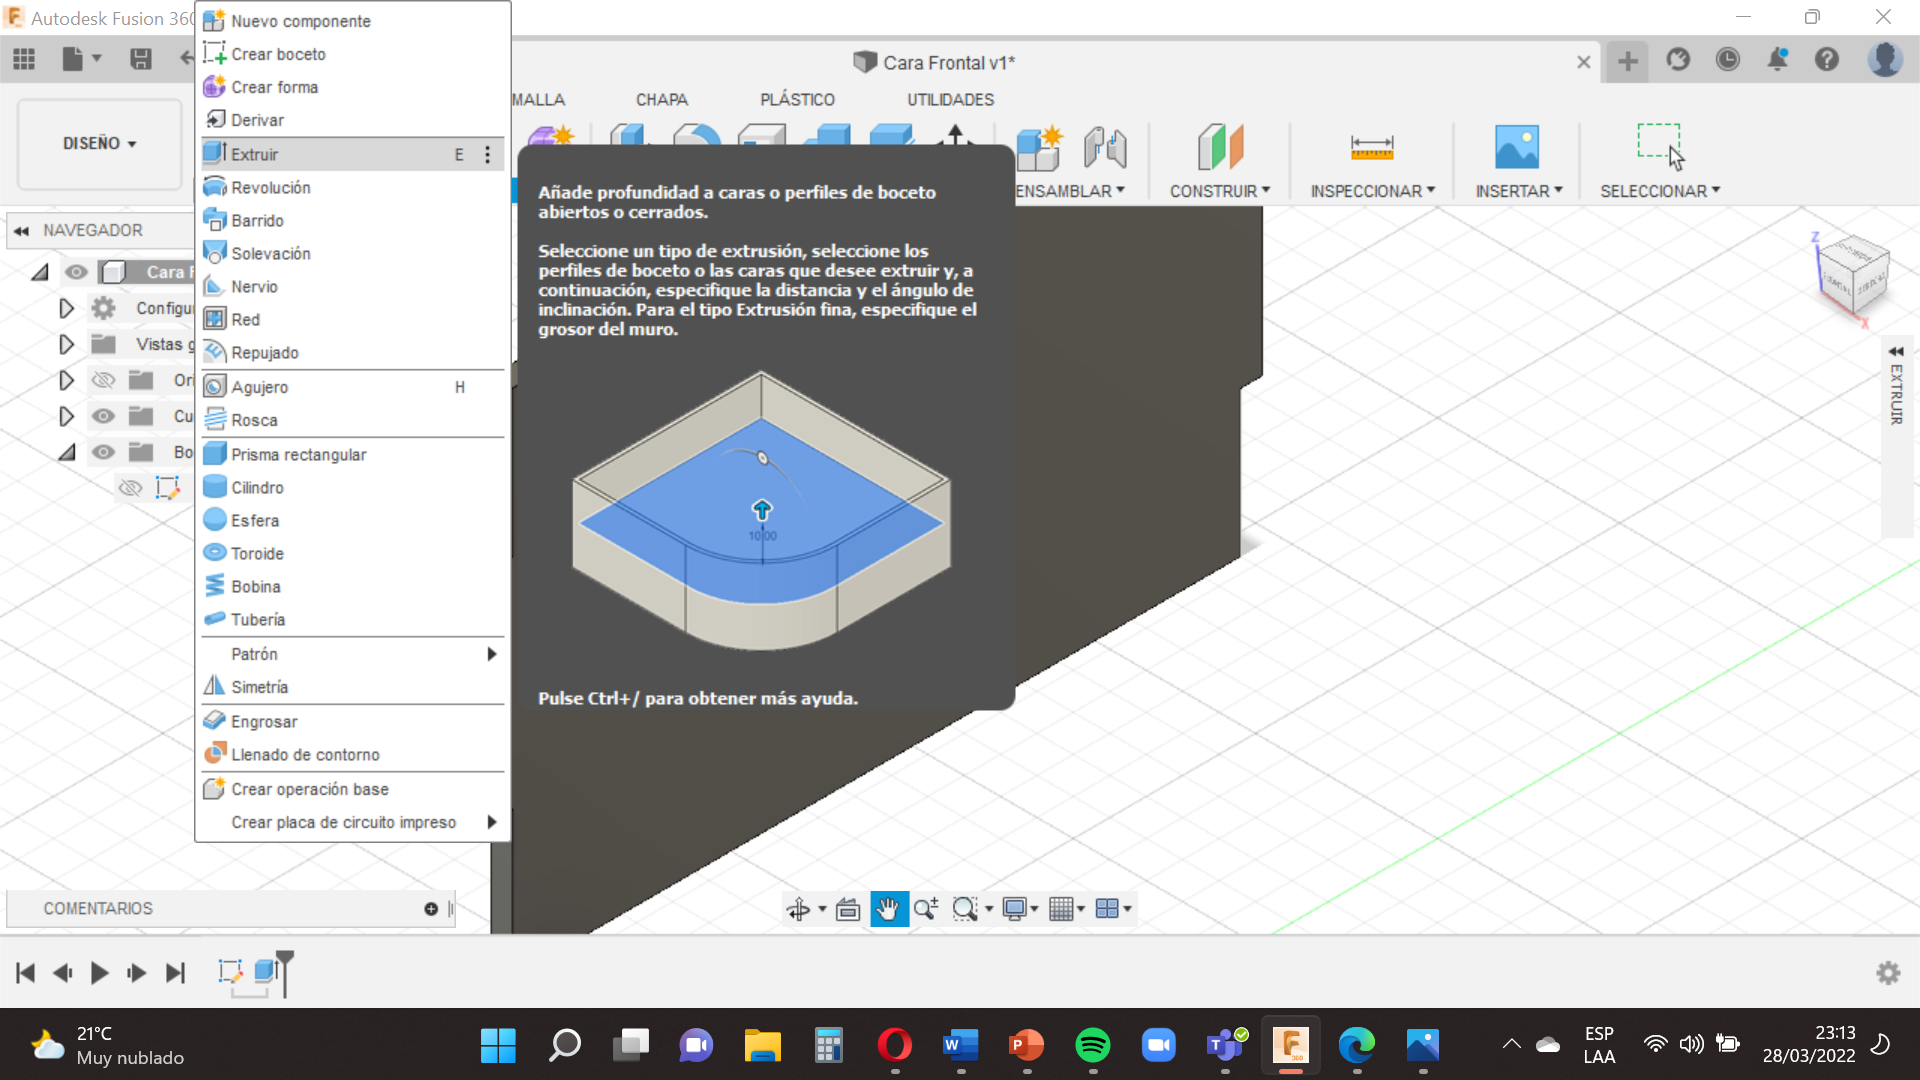
It will start the same way as the first and second step, but now choose the small square between the lines Z and Y (blue and green) and then follow this guide.
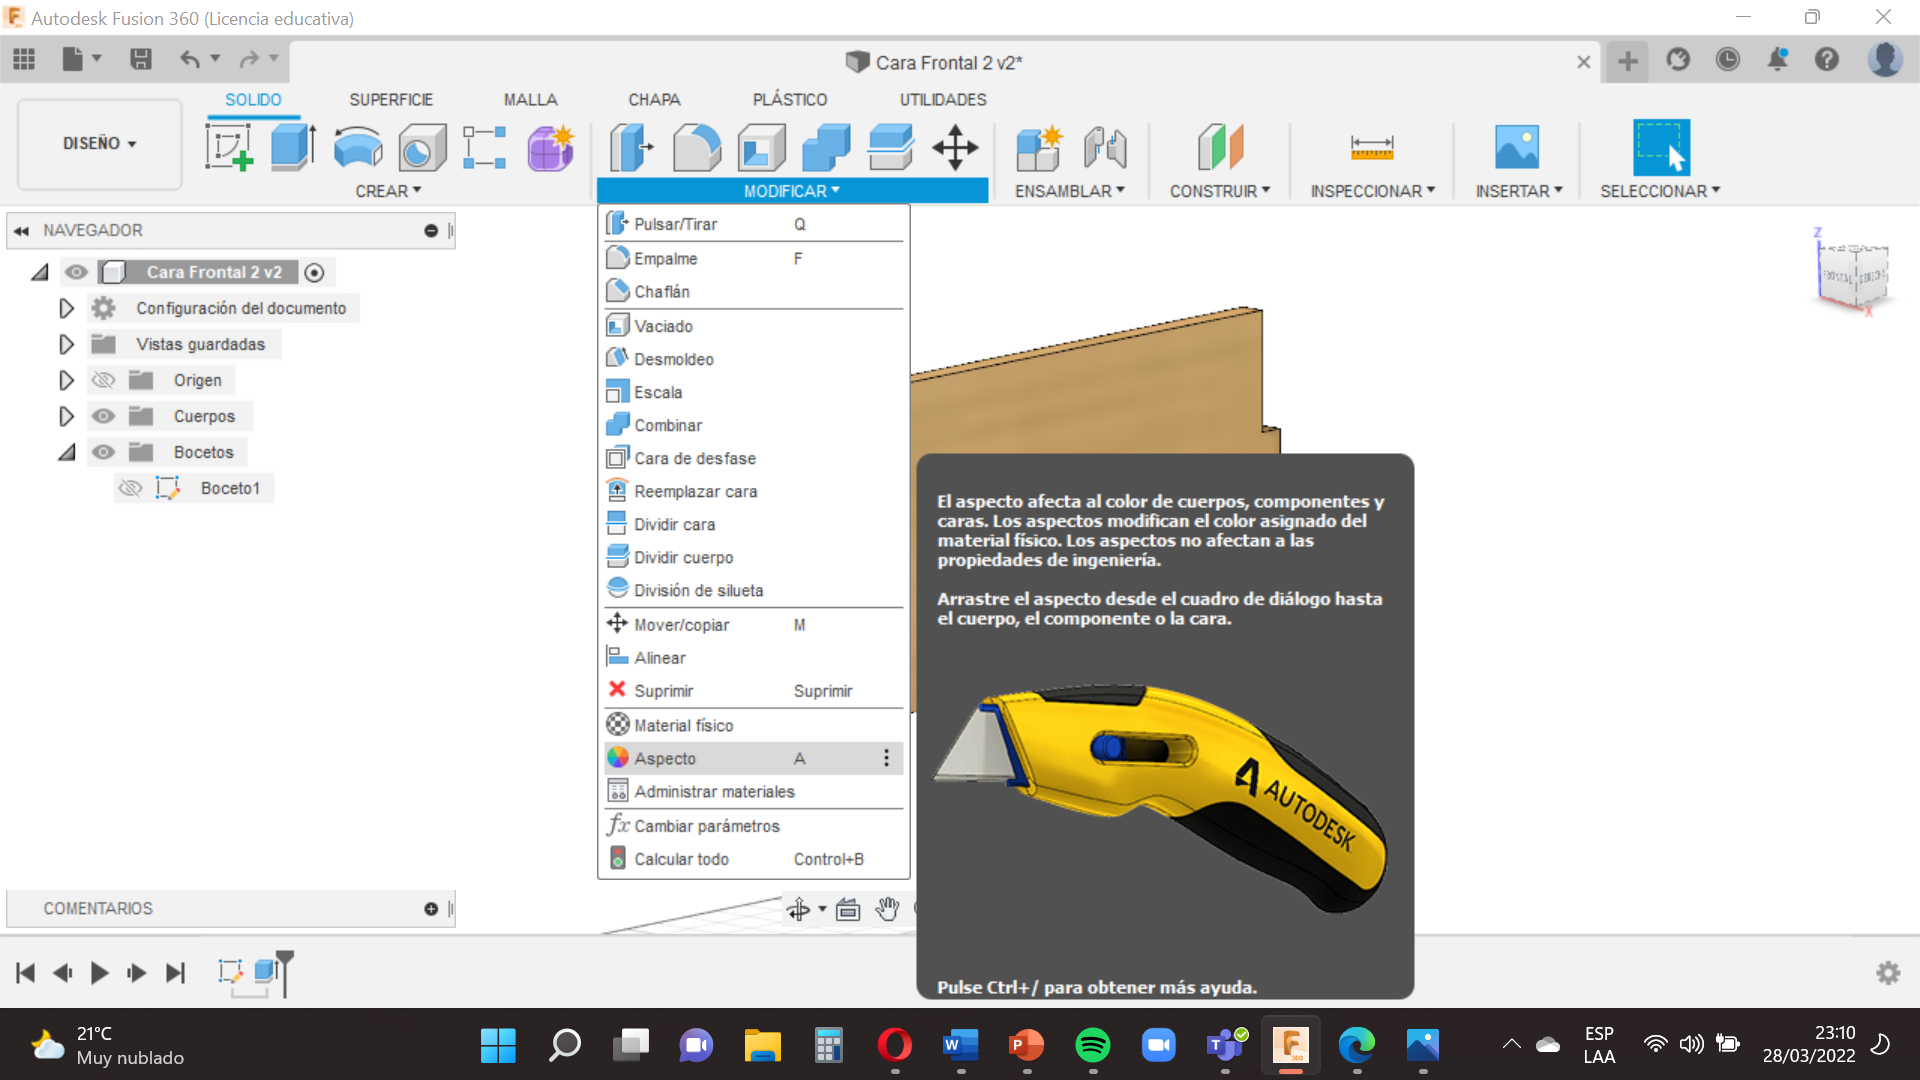
Next you will go the option ´´Modify´´ select ´´appearance´´ , in this case we will choose Wood and then Pine , so that our base has that texture we select the ´´Pine´´ and drag it to our base face.
When you have finished pressing Finish sketch and save it with the name in this case ´´Frontal Face 2´´.
.
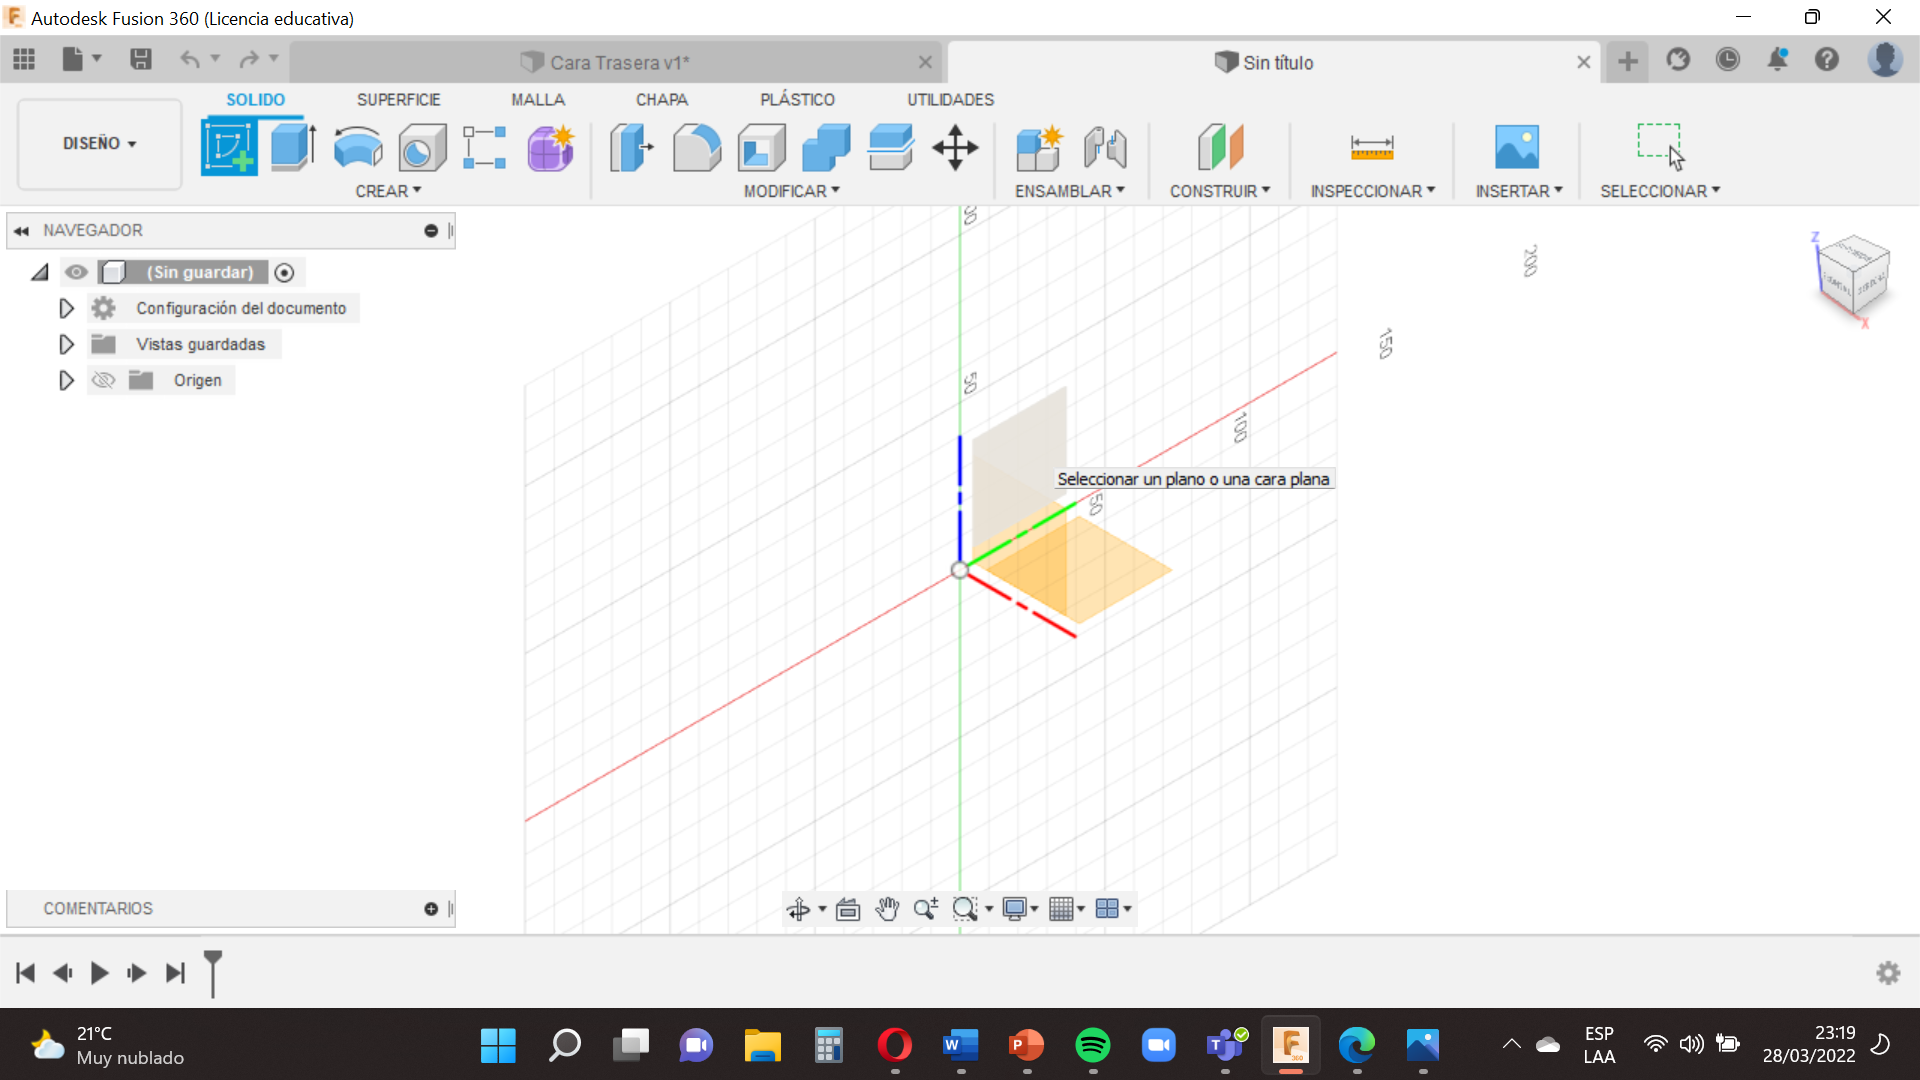
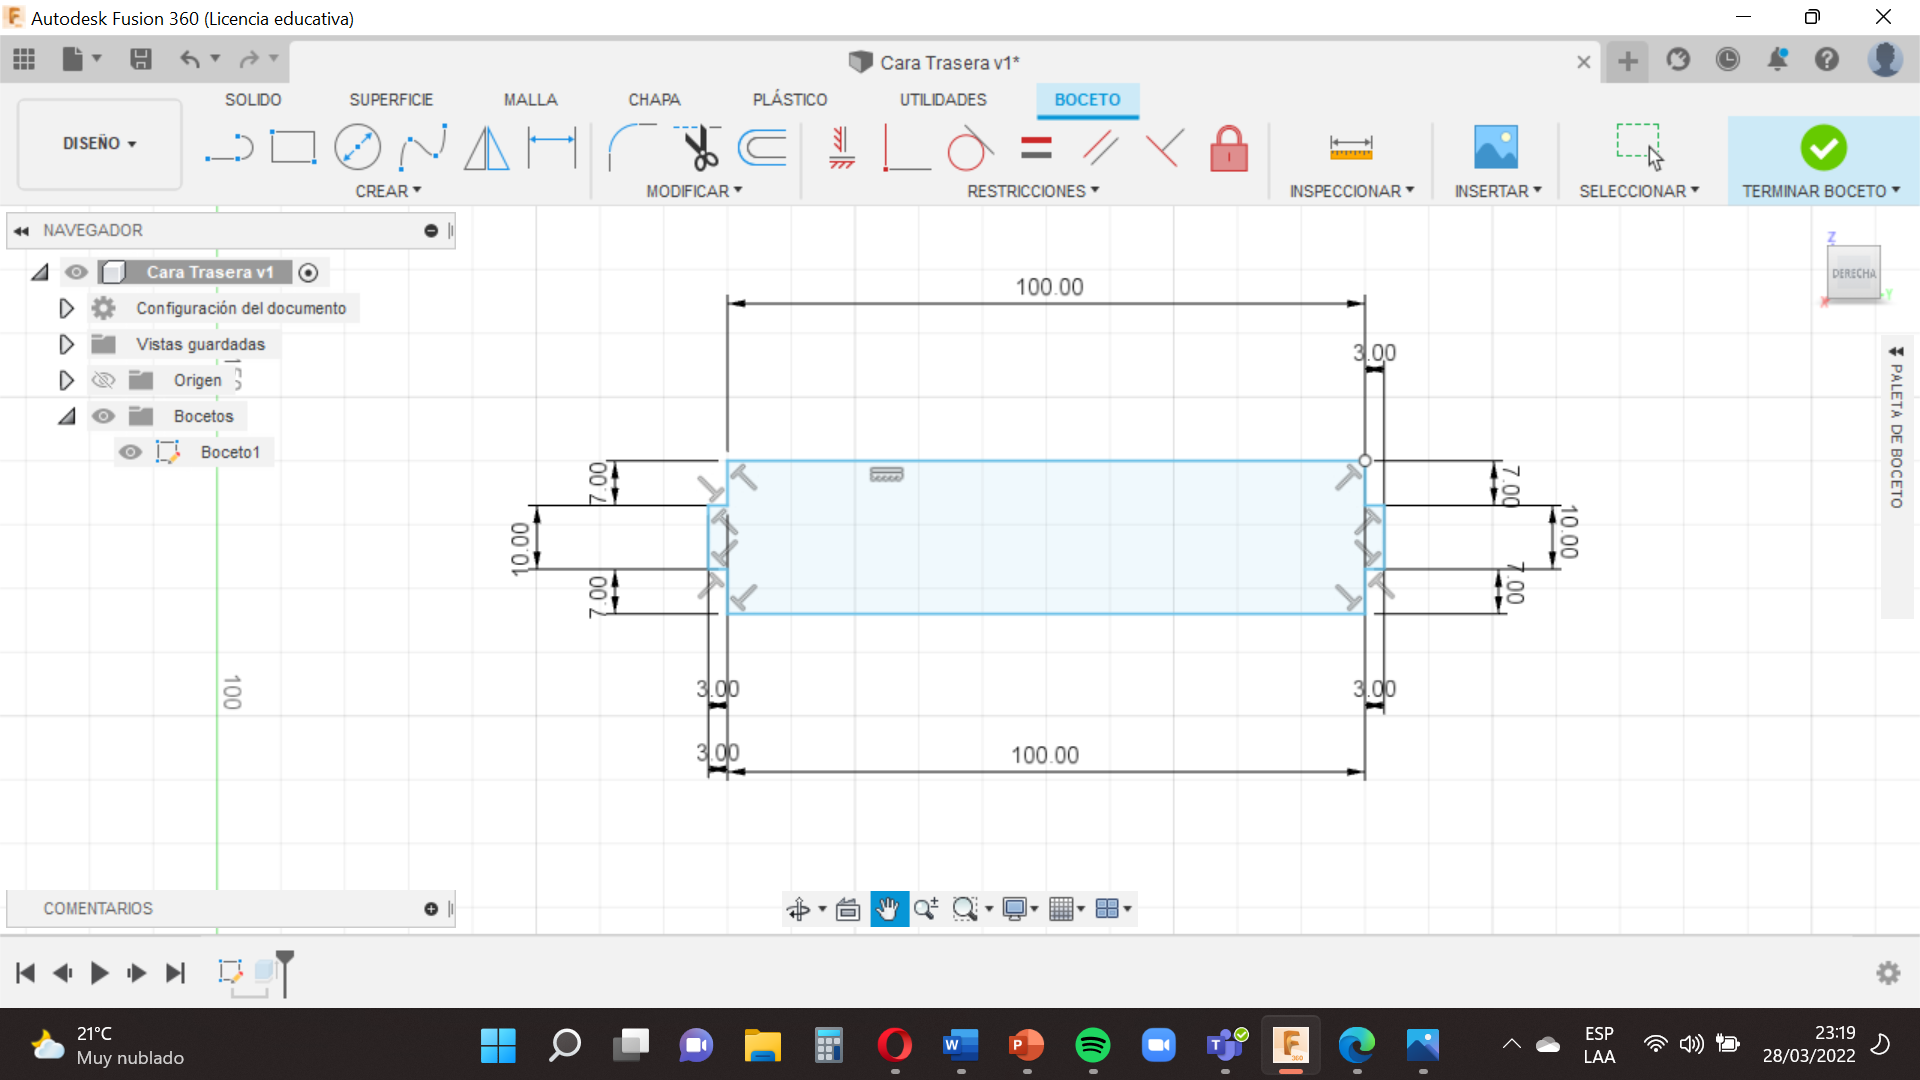
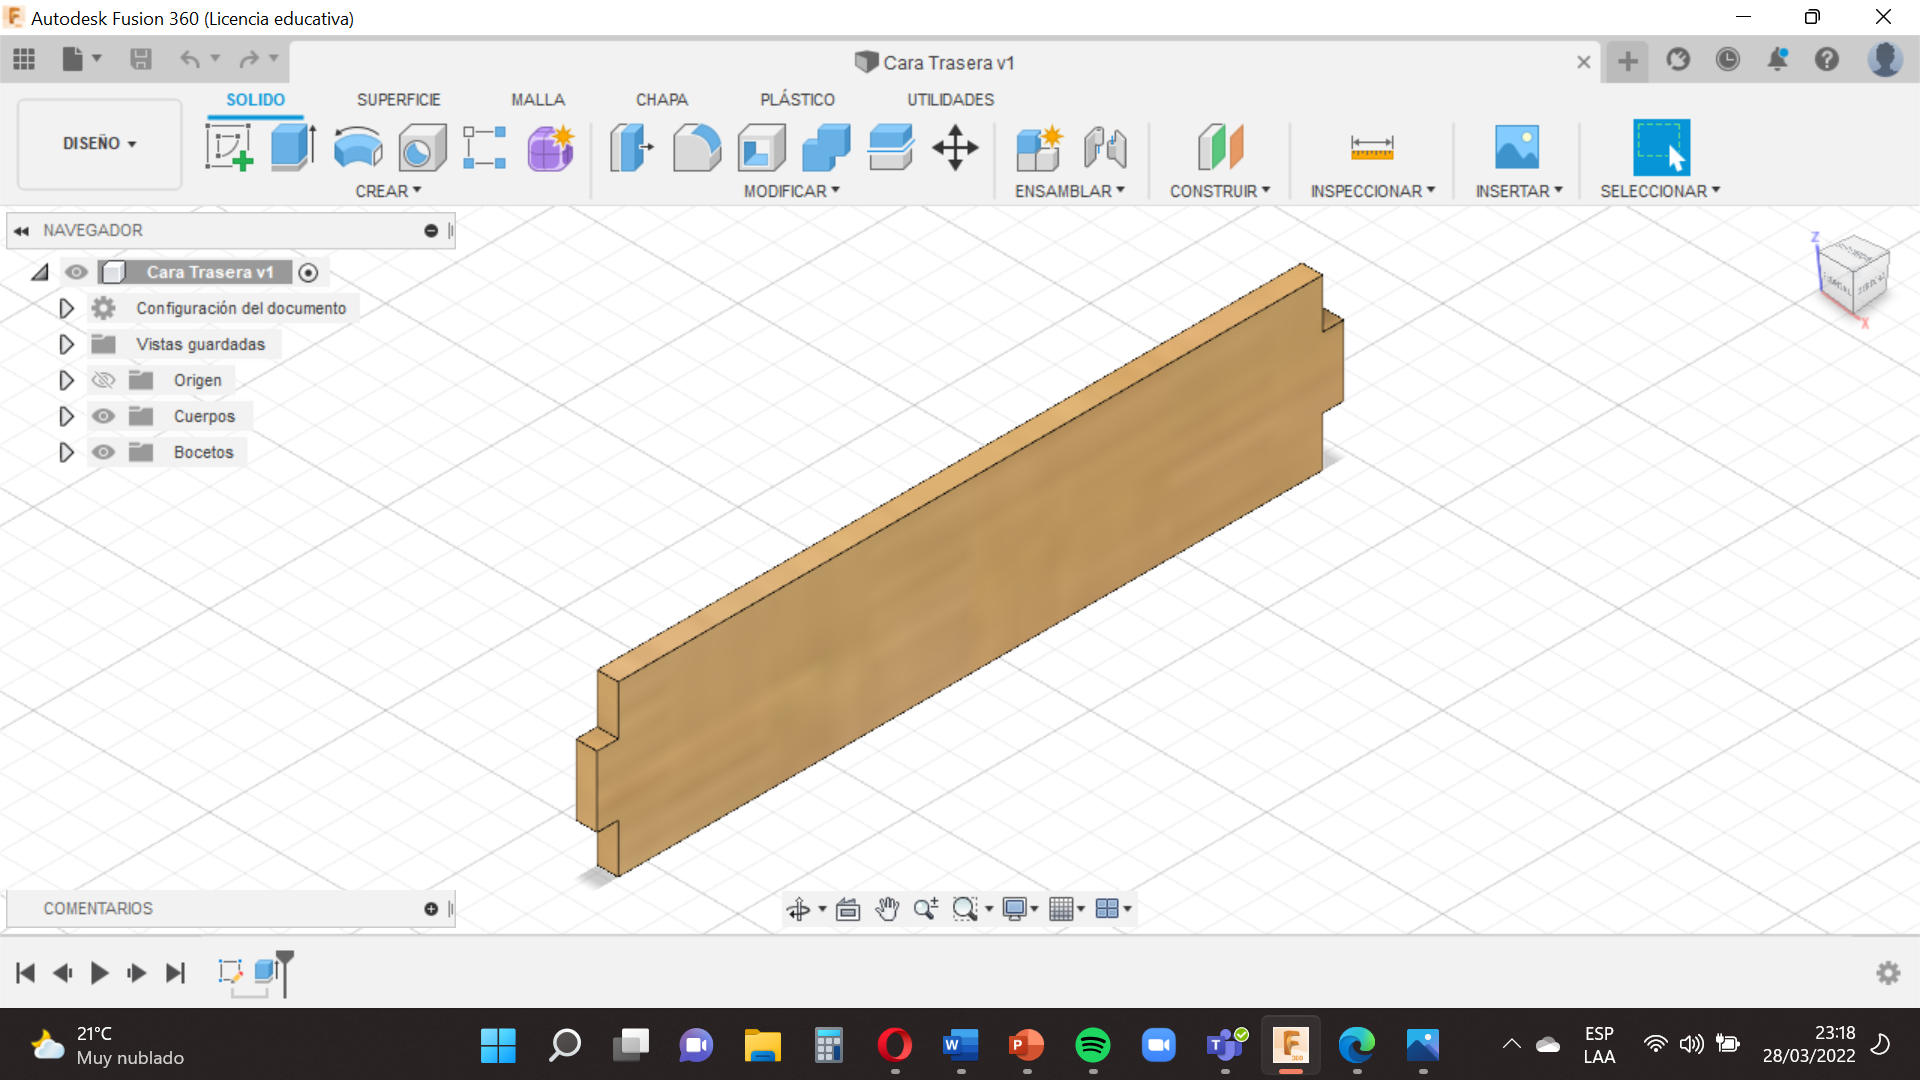
Rear Face
.png)
.png)
You will choose the small square between the lines Z and Y (blue and green) then you will do exactly the same and follow this guide with the same three steps above.
- You will go to the option ´´Create´´ , use the tool ´´Line´´ , this is easy , you have to make a line based on the measurements of our base , remember to finish the shape of our base at the same point where it started.
For the following we have to select ´´Finish sketch´´.
2.Then you will go to the option ´´Create´´ , select ´´Extrude´´ (This tool will give our face volume ,something like 3D) and choose 3 mm voulumen .
3. Next you will go the option ´´Modify´´ select ´´appearance´´ , in this case we will choose Wood and then Pine , so that our base has that texture we select the ´´Pine´´ and drag it to our base face.
When you have finished pressing Finish sketch and save it with the name in this case ´´ Raer Face´´.
Superior Face
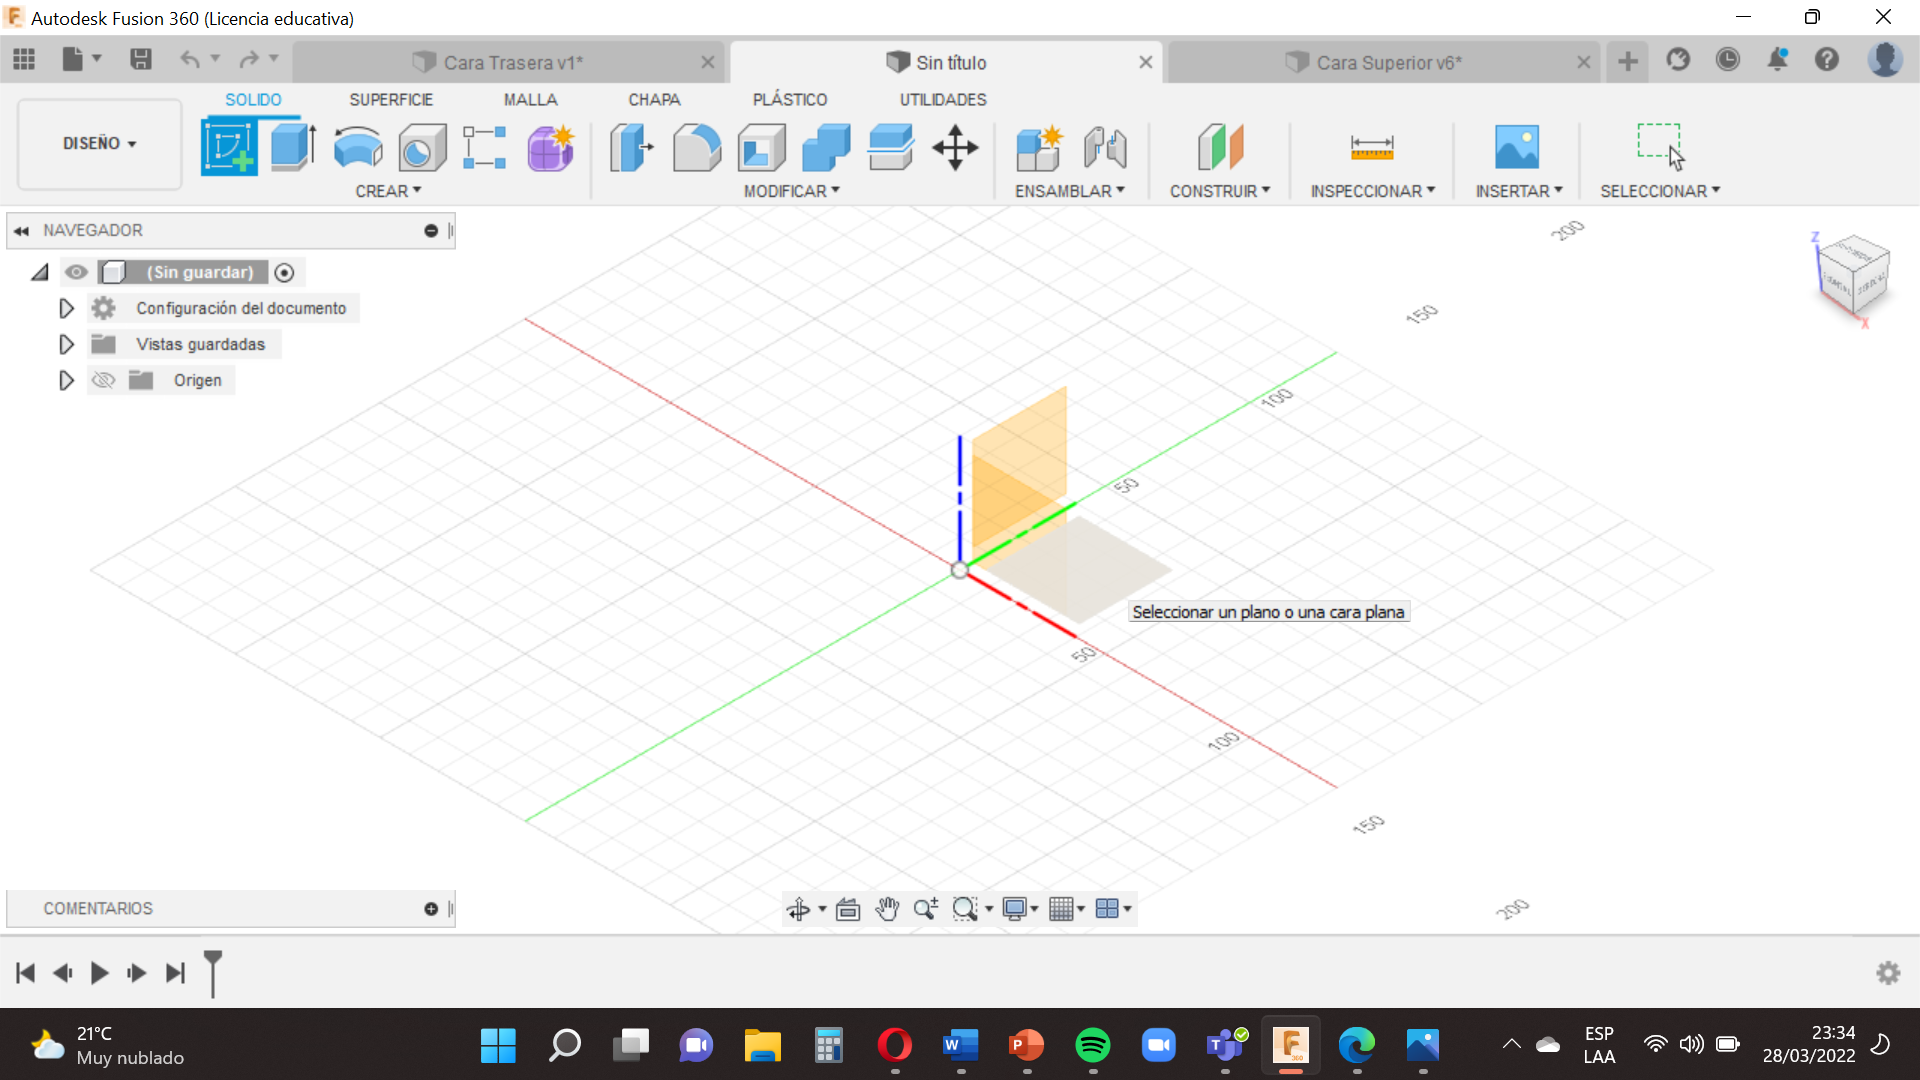
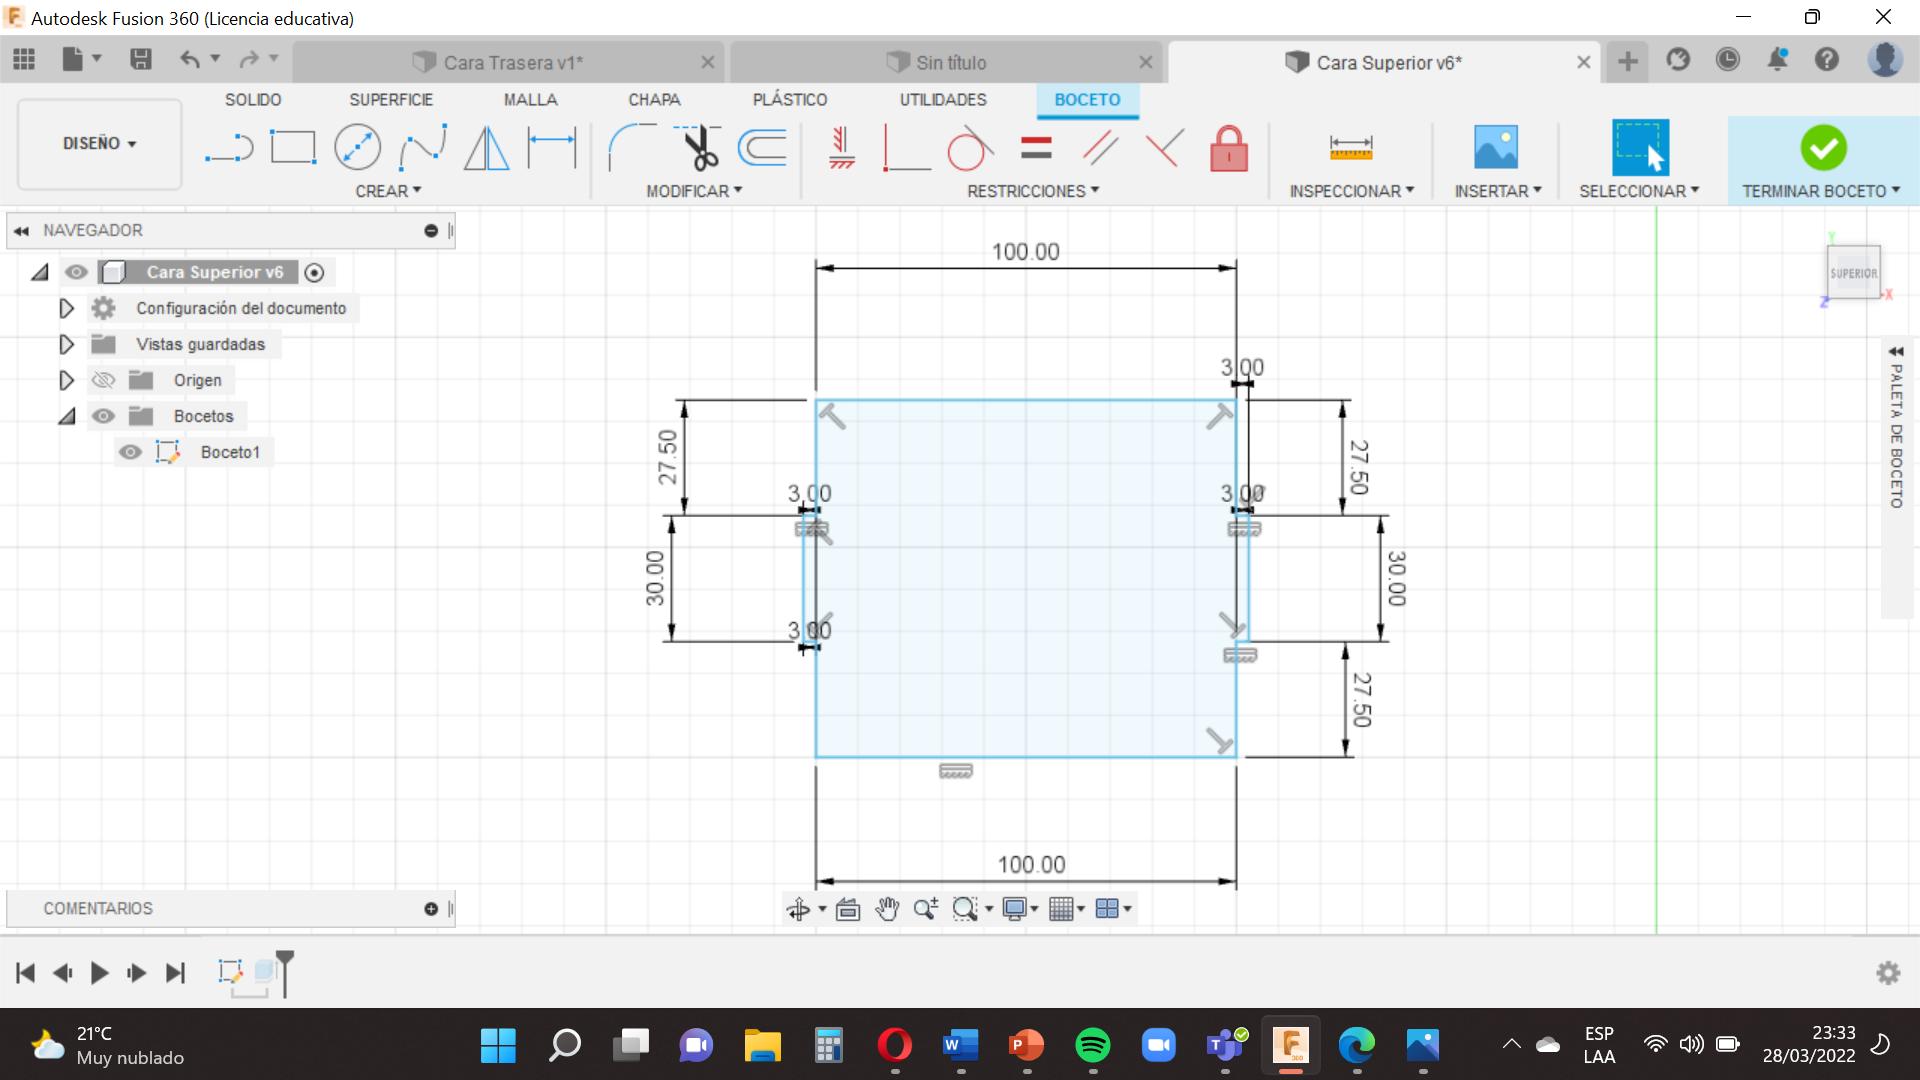.png)

Choose the small square between the lines Y and X (green and red) then you will do exactly the same and follow this guide with the same three steps above.
- You will go to the option ´´Create´´ , use the tool ´´Line´´ , this is easy , you have to make a line based on the measurements of our base , remember to finish the shape of our base at the same point where it started.
For the following we have to select ´´Finish sketch´´.
2.Then you will go to the option ´´Create´´ , select ´´Extrude´´ (This tool will give our face volume ,something like 3D) and choose 3 mm voulumen .
3. Next you will go the option ´´Modify´´ select ´´appearance´´ , in this case we will choose Wood and then Pine , so that our base has that texture we select the ´´Pine´´ and drag it to our base face.
When you have finished pressing Finish sketch and save it with the name in this case ´´Superior Face´´.
Side Face
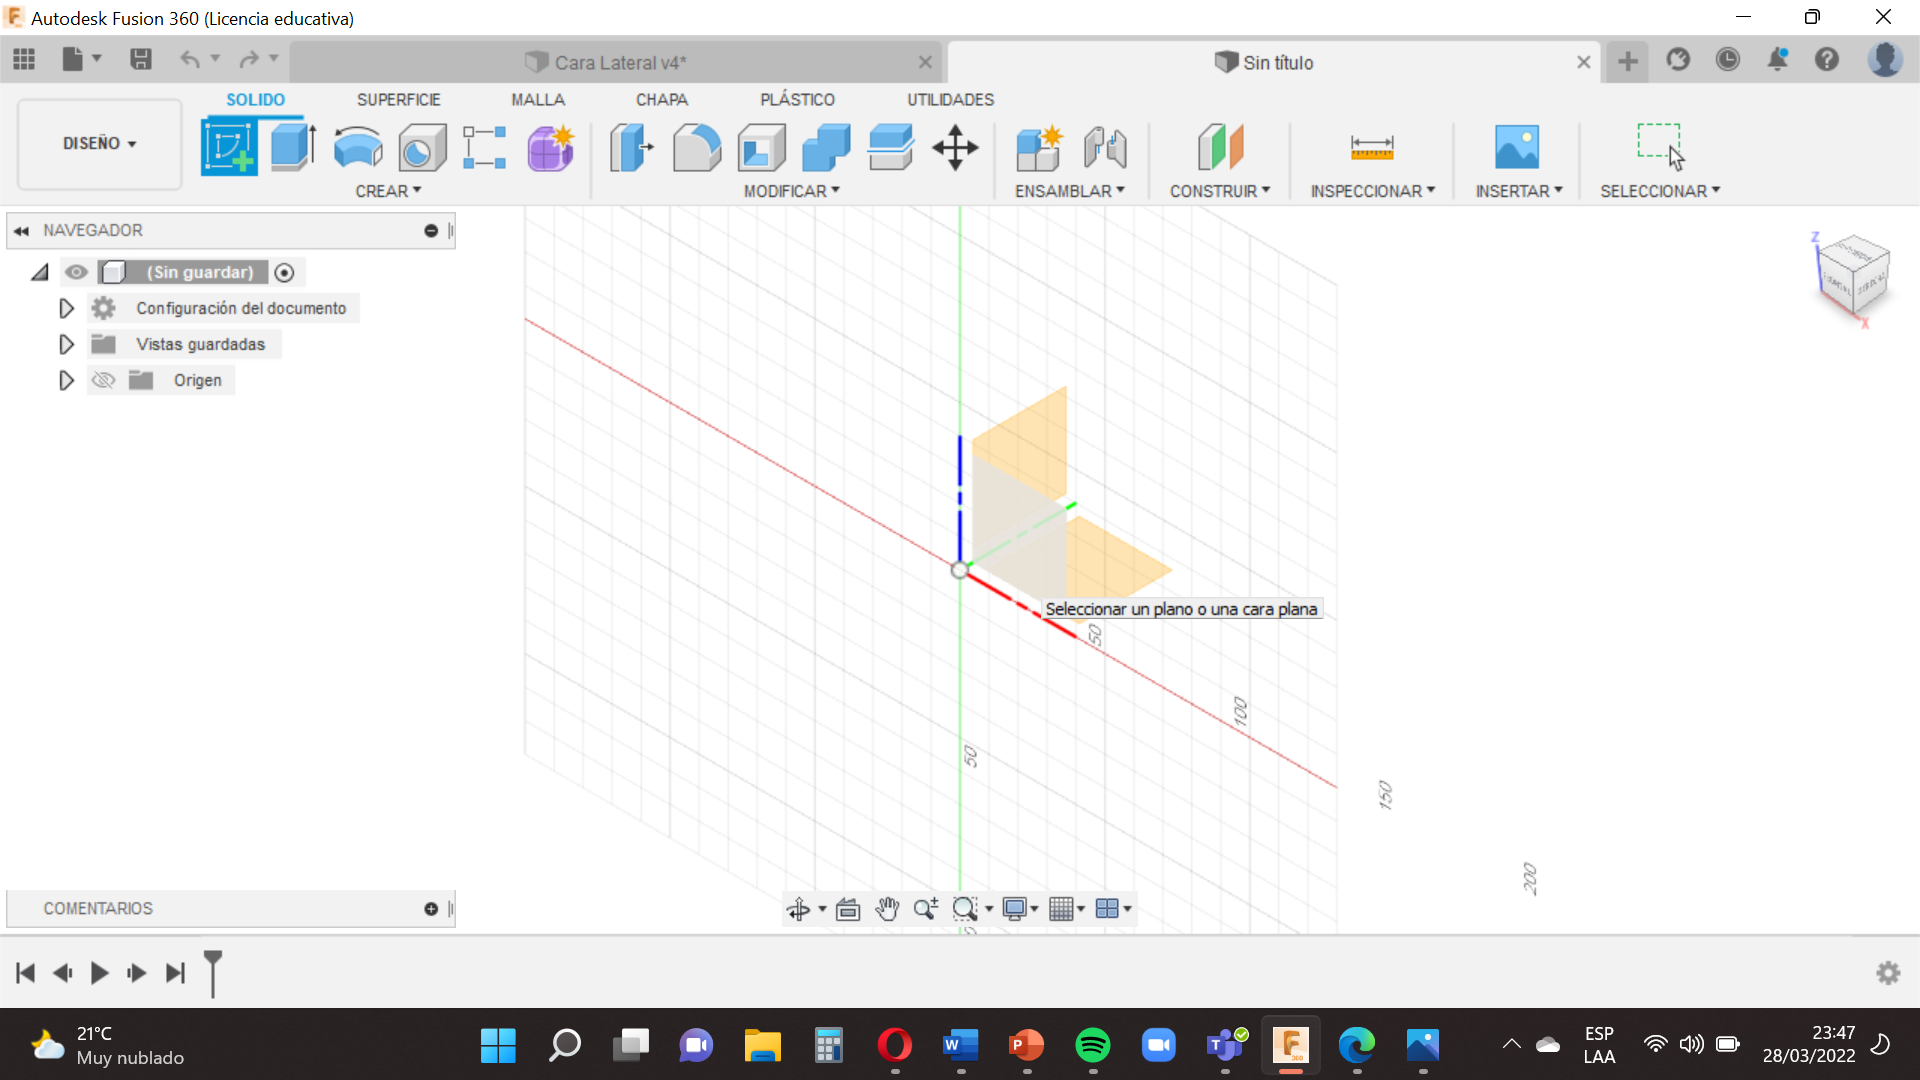
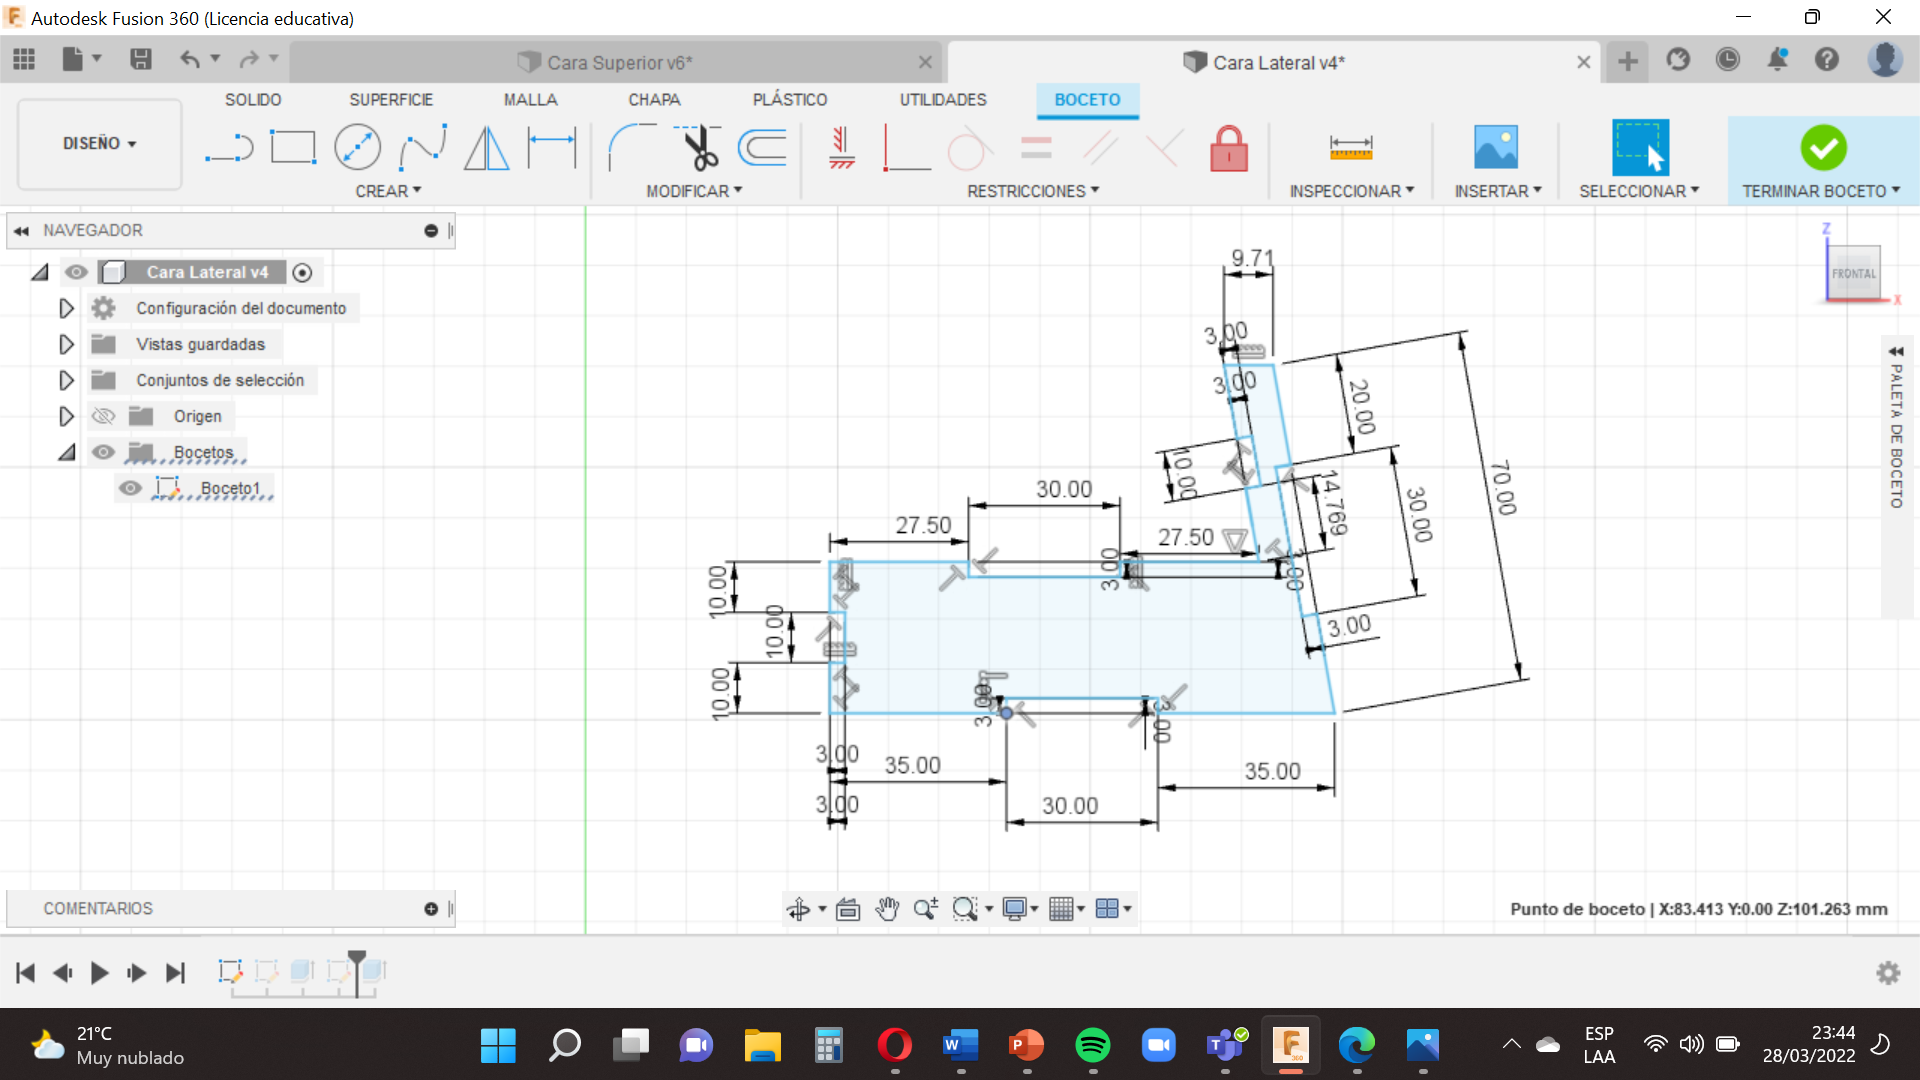
This face is a little more difficult than the previous ones , but calm do not worry , with concentration we will make it , choose the small square between the lines Y and X (green and red) and then we will follow the same first three steps .
- You will go to the option ´´Create´´ , use the tool ´´Line´´ , this is easy , you have to make a line based on the measurements of our base , remember to finish the shape of our base at the same point where it started.
For the following we have to select ´´Finish sketch´´.
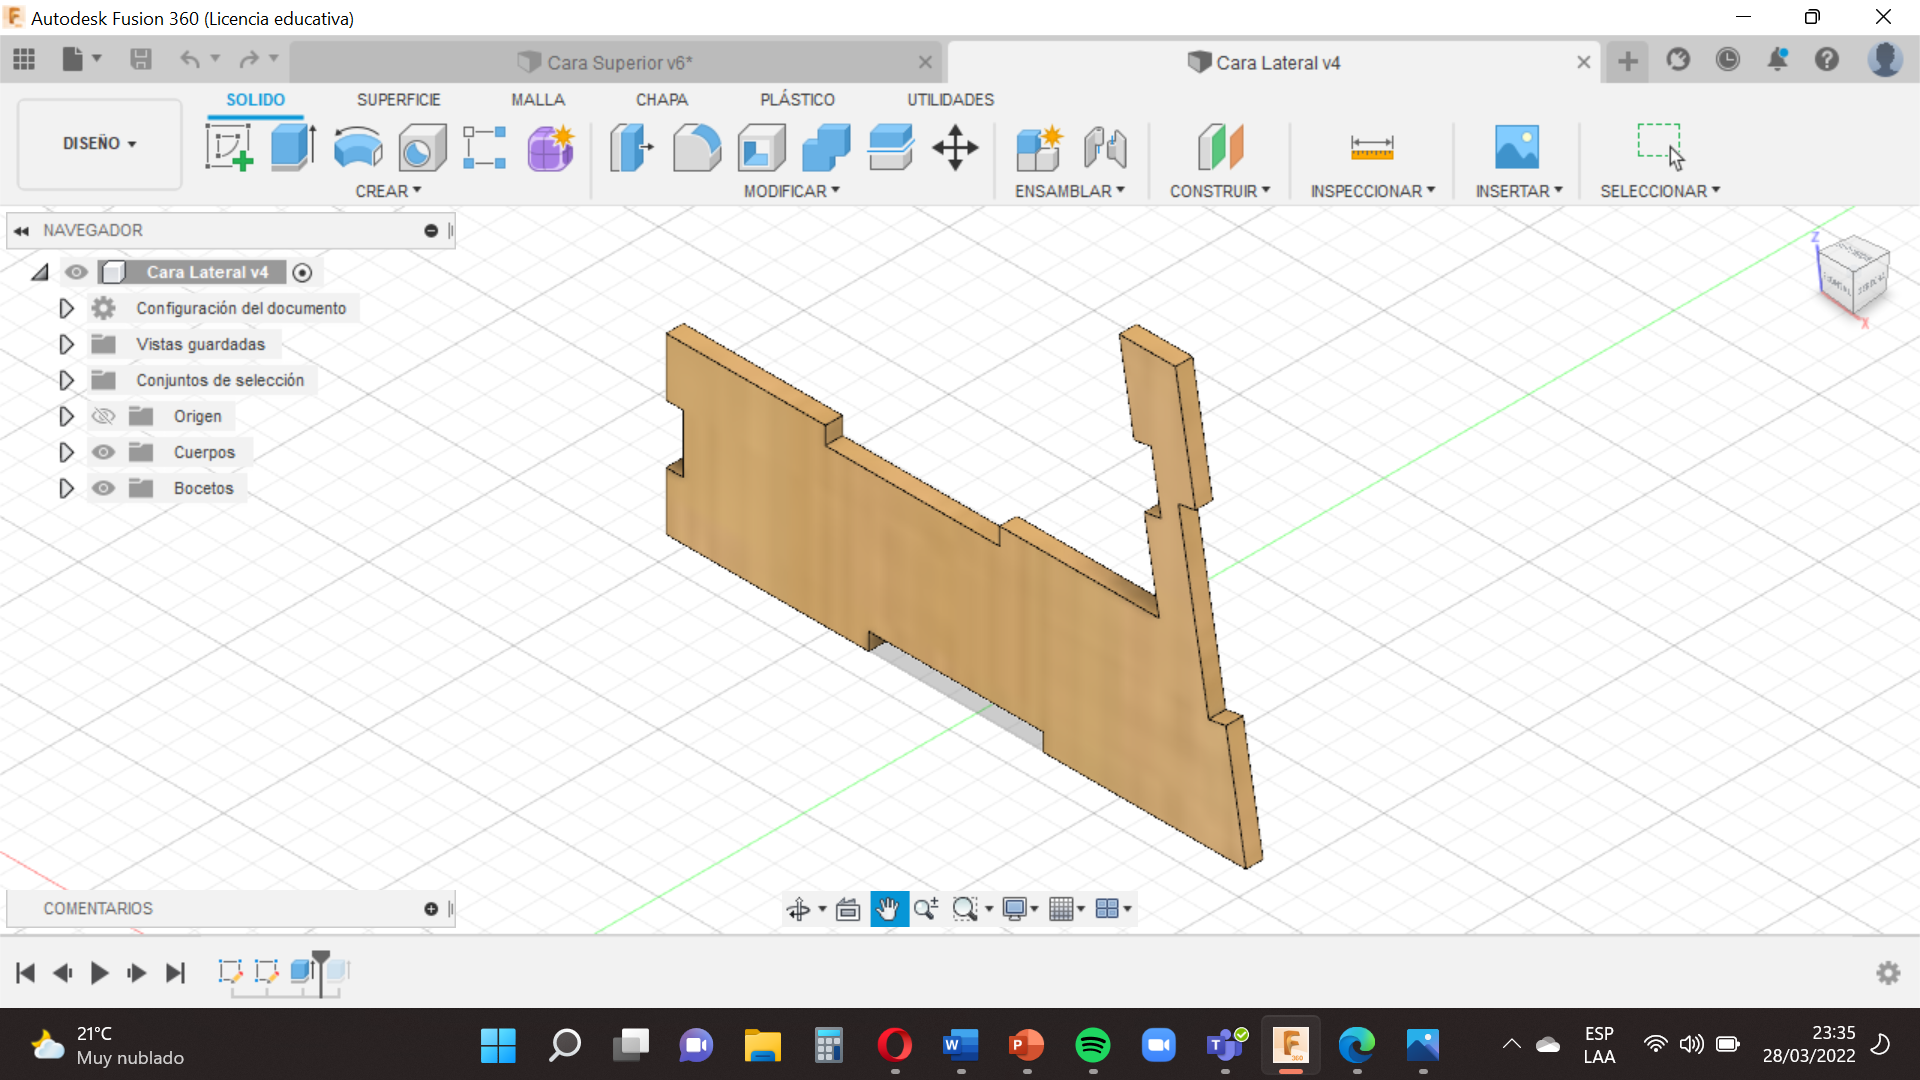
2.Then you will go to the option ´´Create´´ , select ´´Extrude´´ (This tool will give our face volume ,something like 3D) and choose 3 mm voulumen .
3. Next you will go the option ´´Modify´´ select ´´appearance´´ , in this case we will choose Wood and then Pine , so that our base has that texture we select the ´´Pine´´ and drag it to our base face.
When you have finished pressing Finish sketch and save it with the name in this case ´´Side Face´´.
Face With Design
.png)
.png)
.png)
.png)
.png)
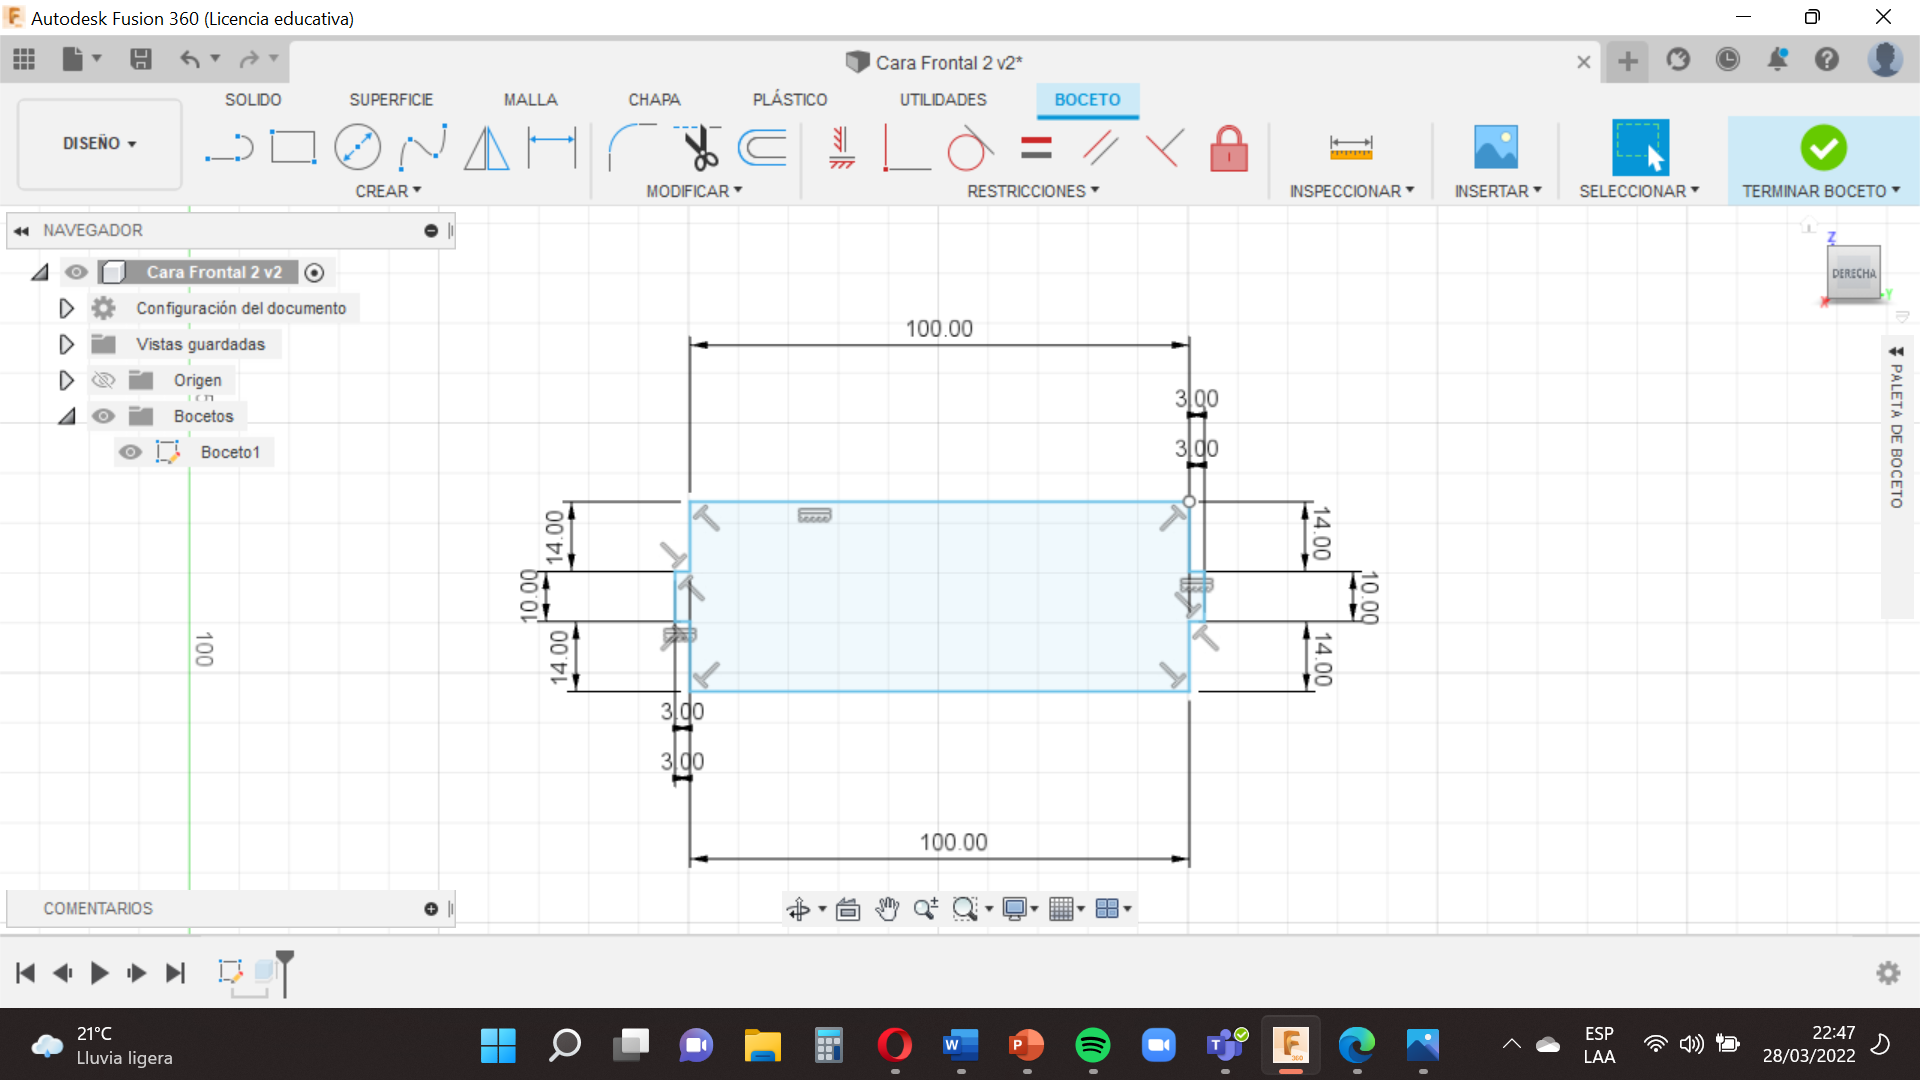
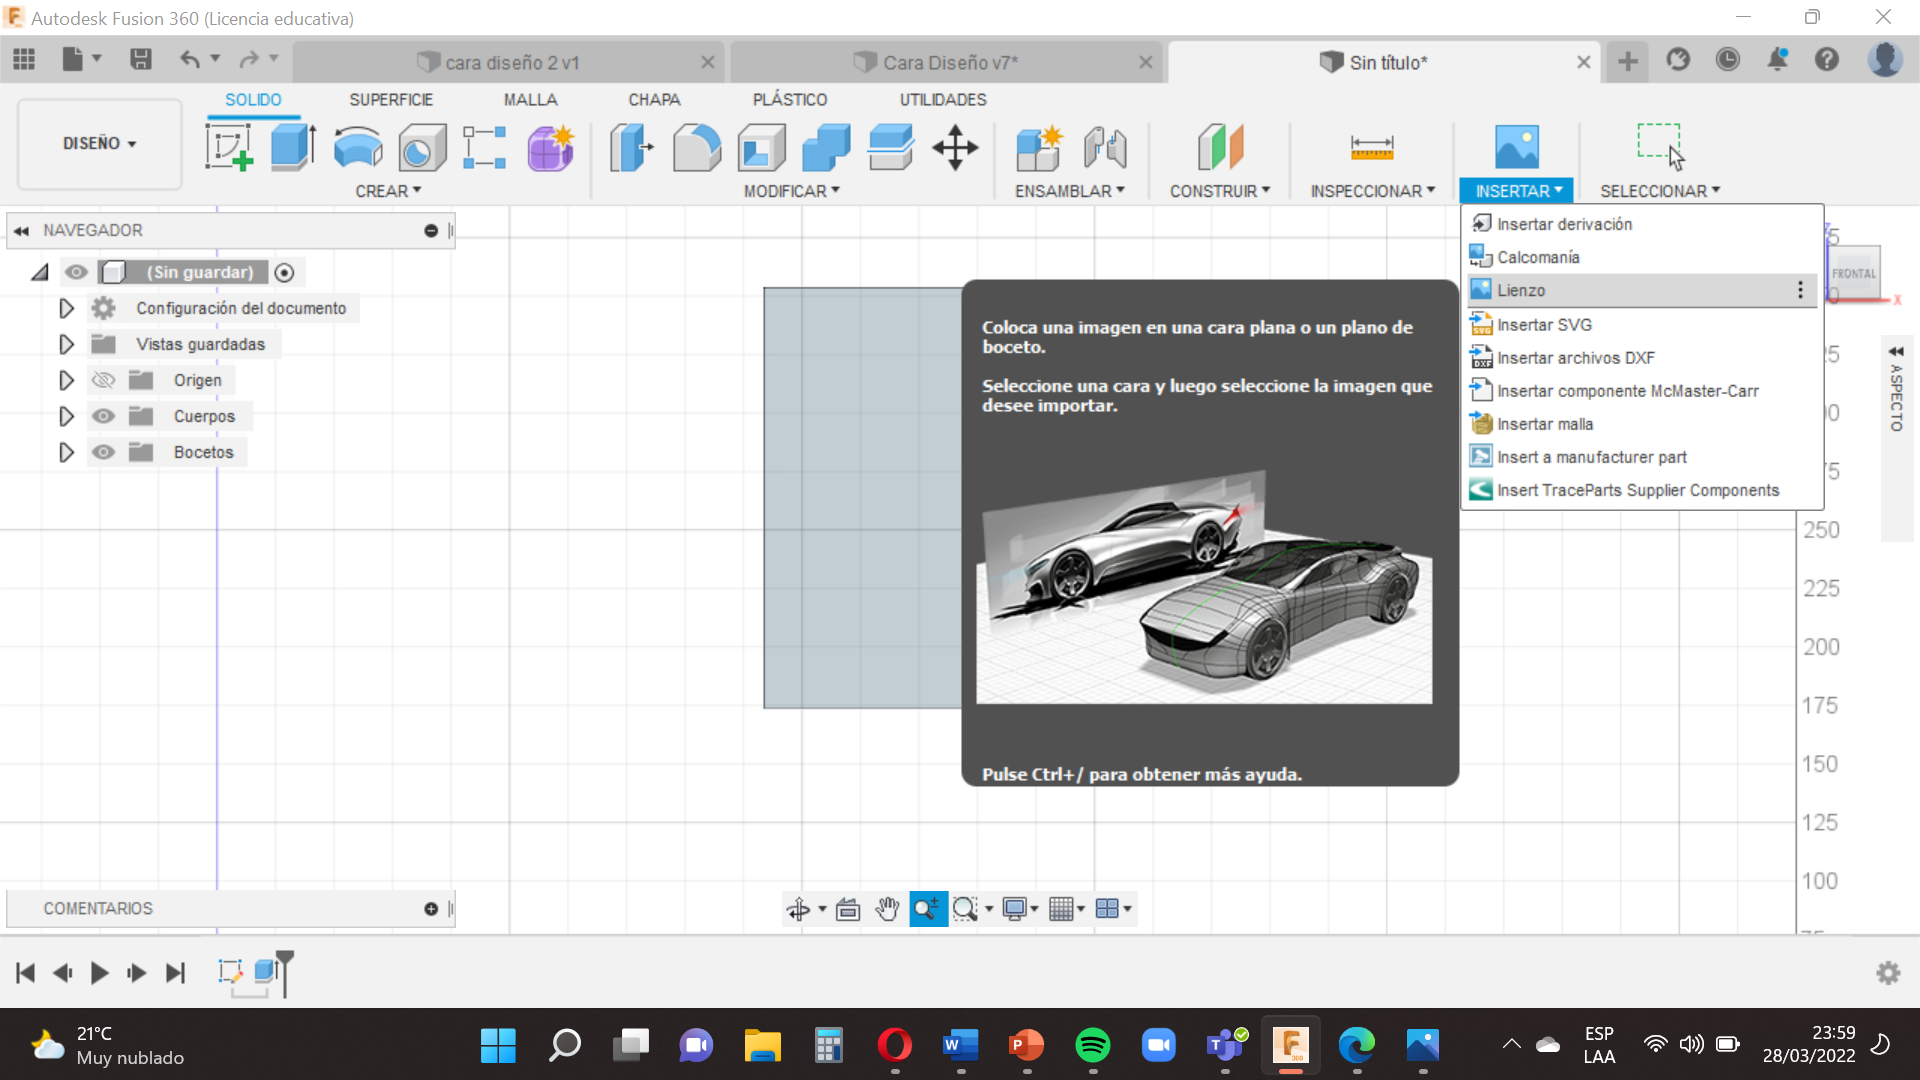
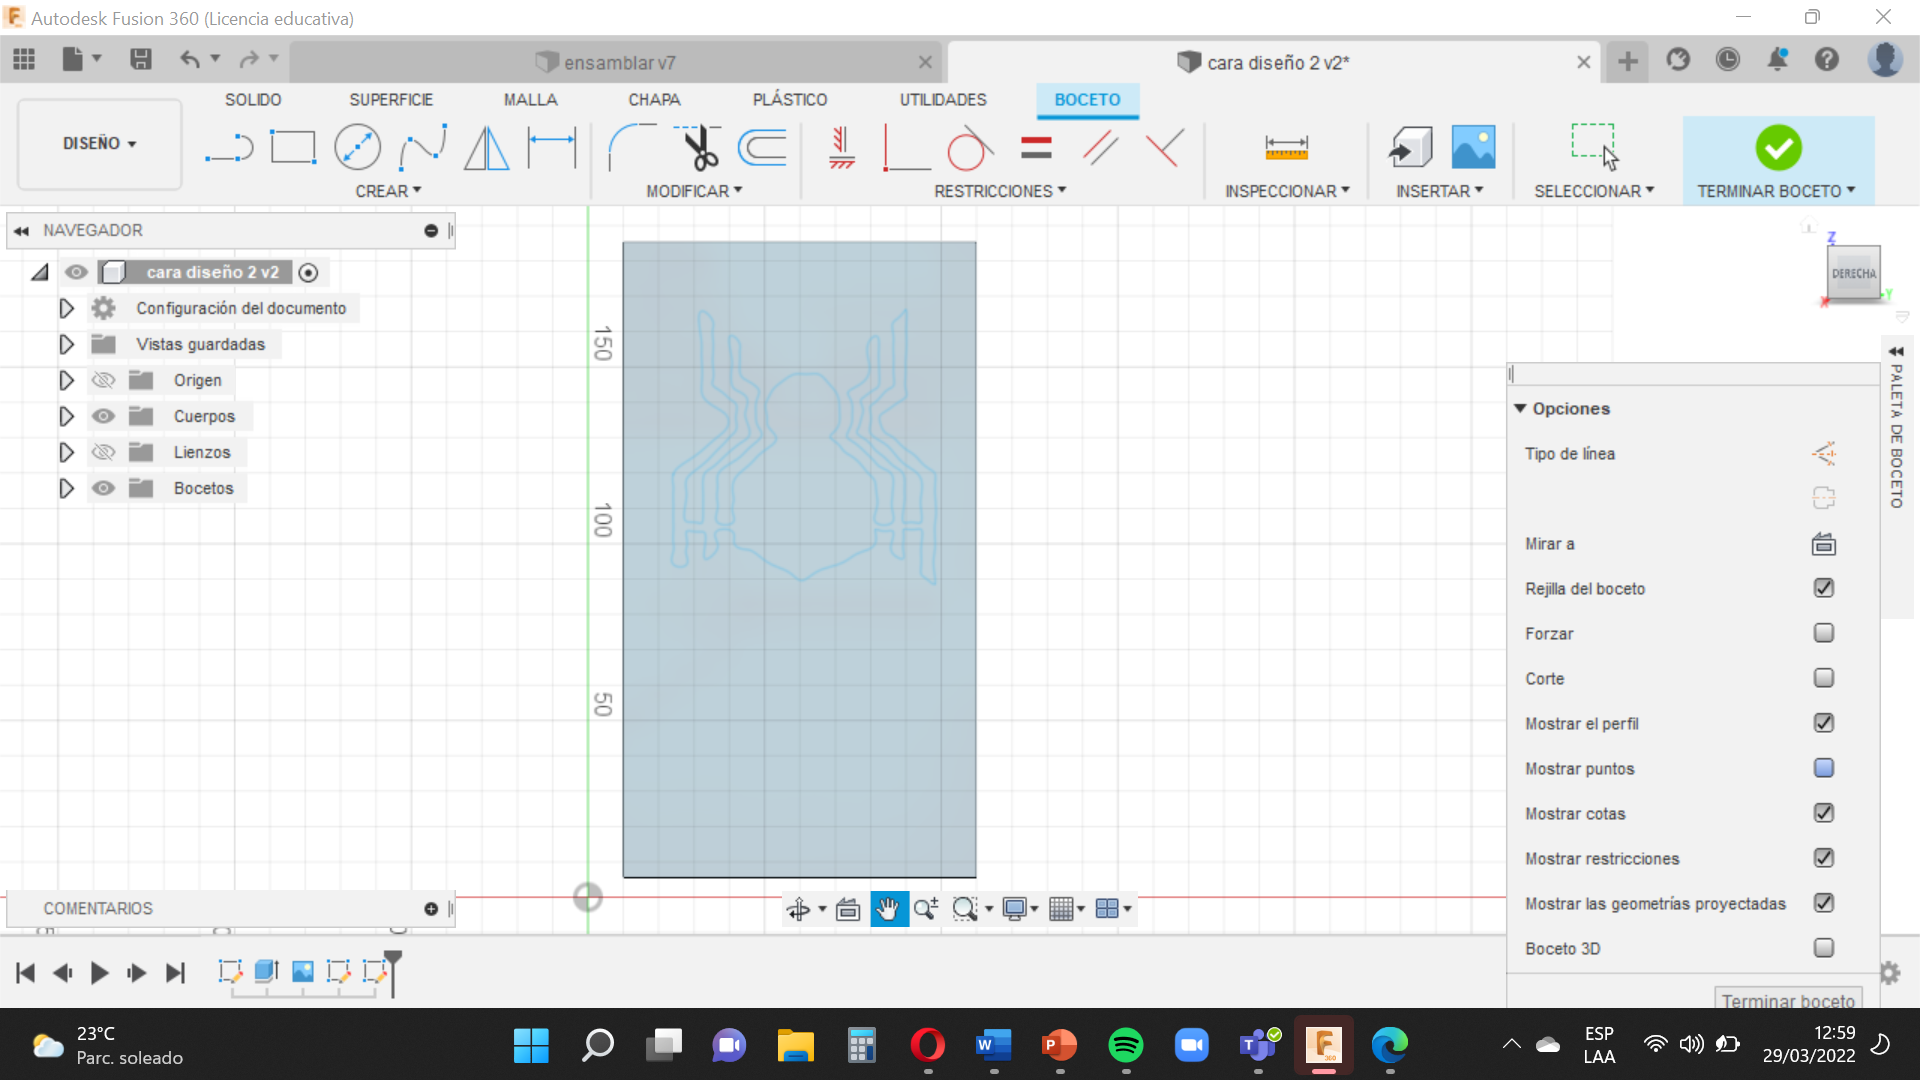
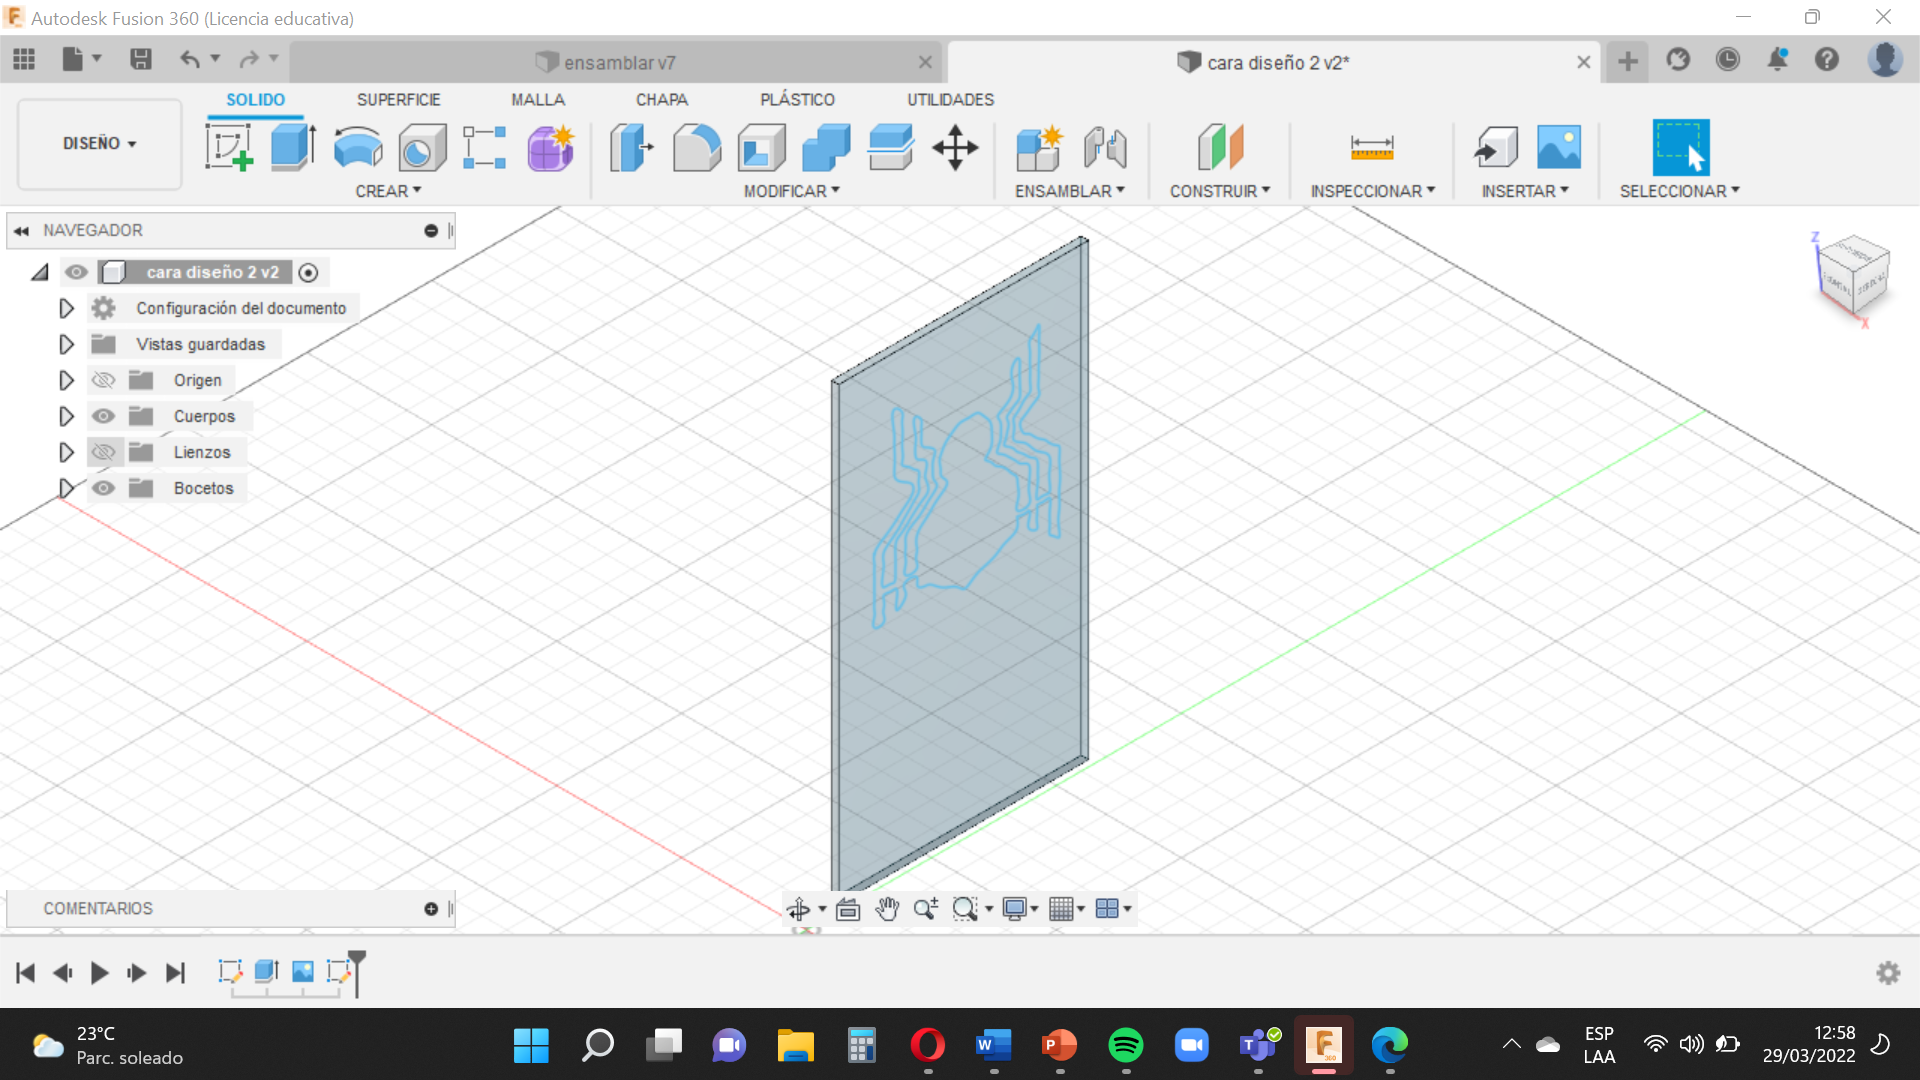
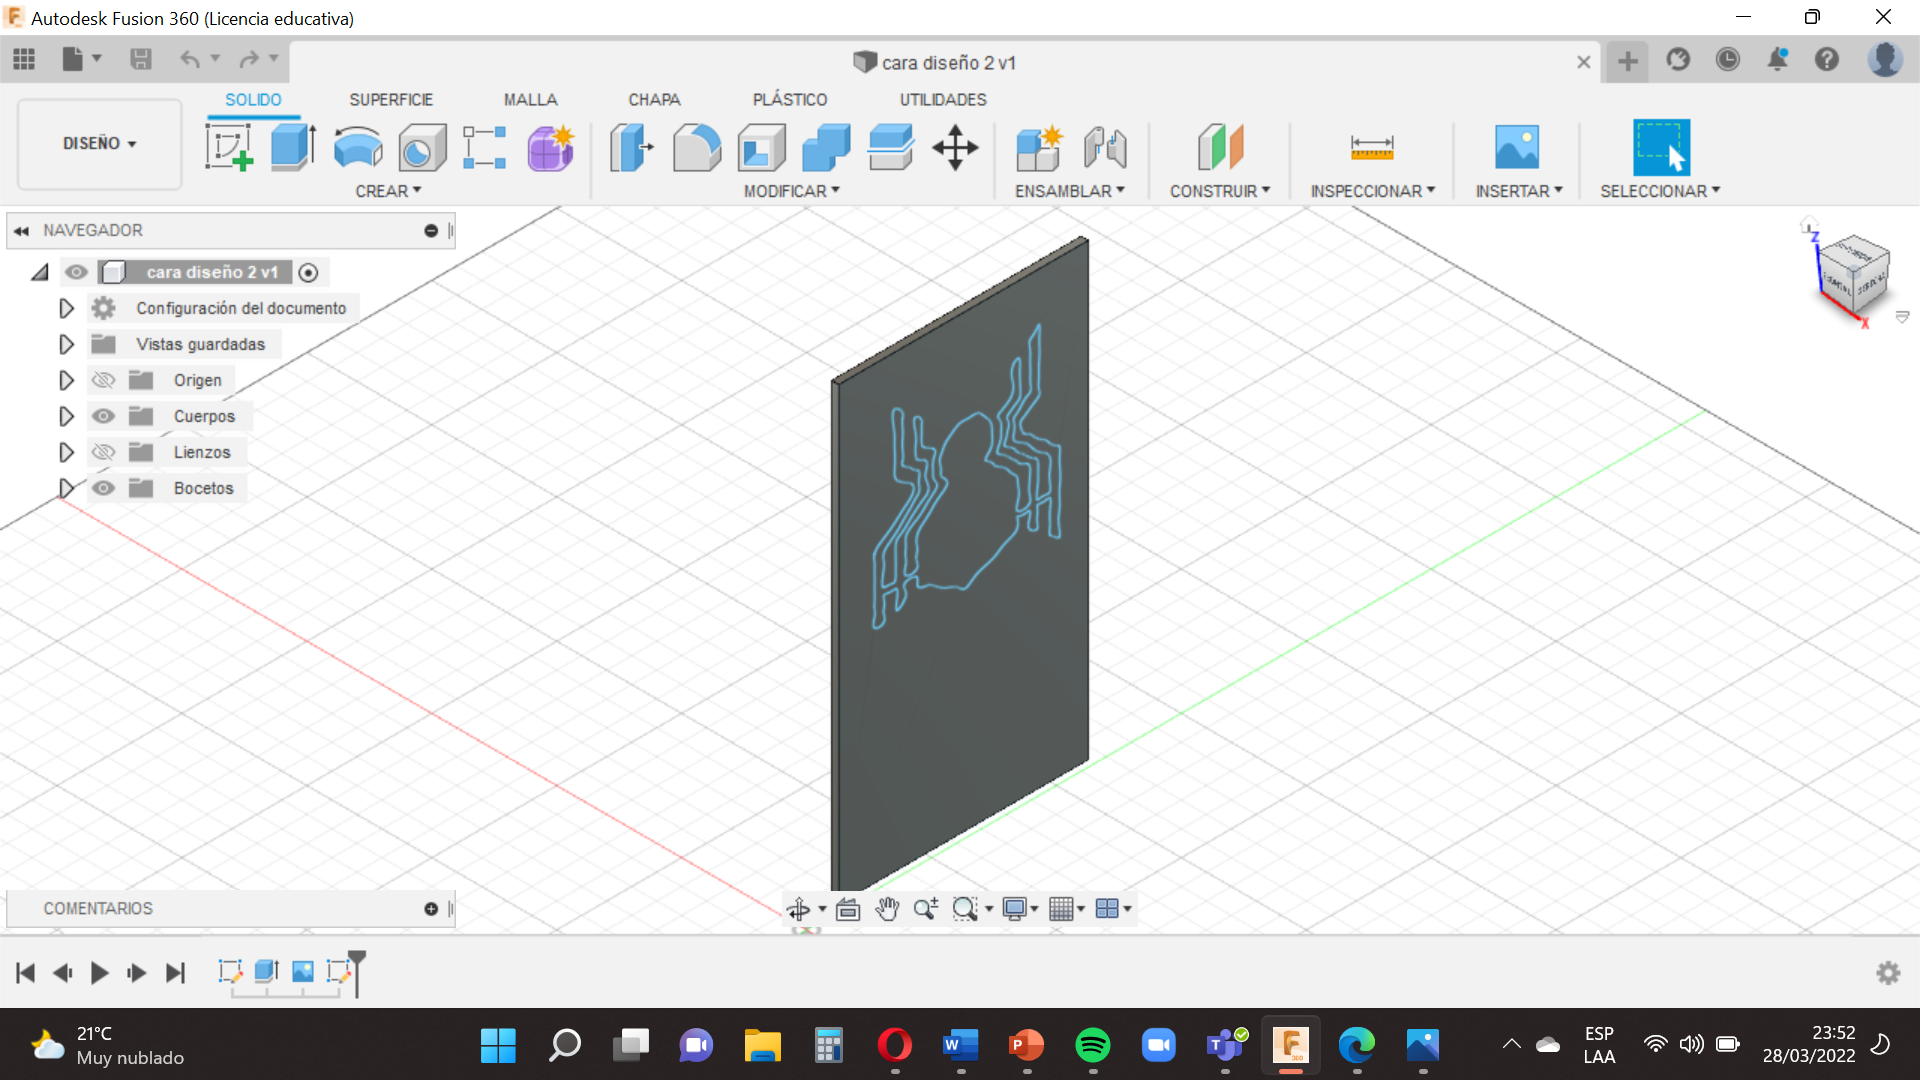
Choose the square between the lines Z and Y (blue and green) and make a rectangle 180 mm wide and 100 mm.
It will then be researched in Google ´´dxf spider´´ image, and you save it on your computer.
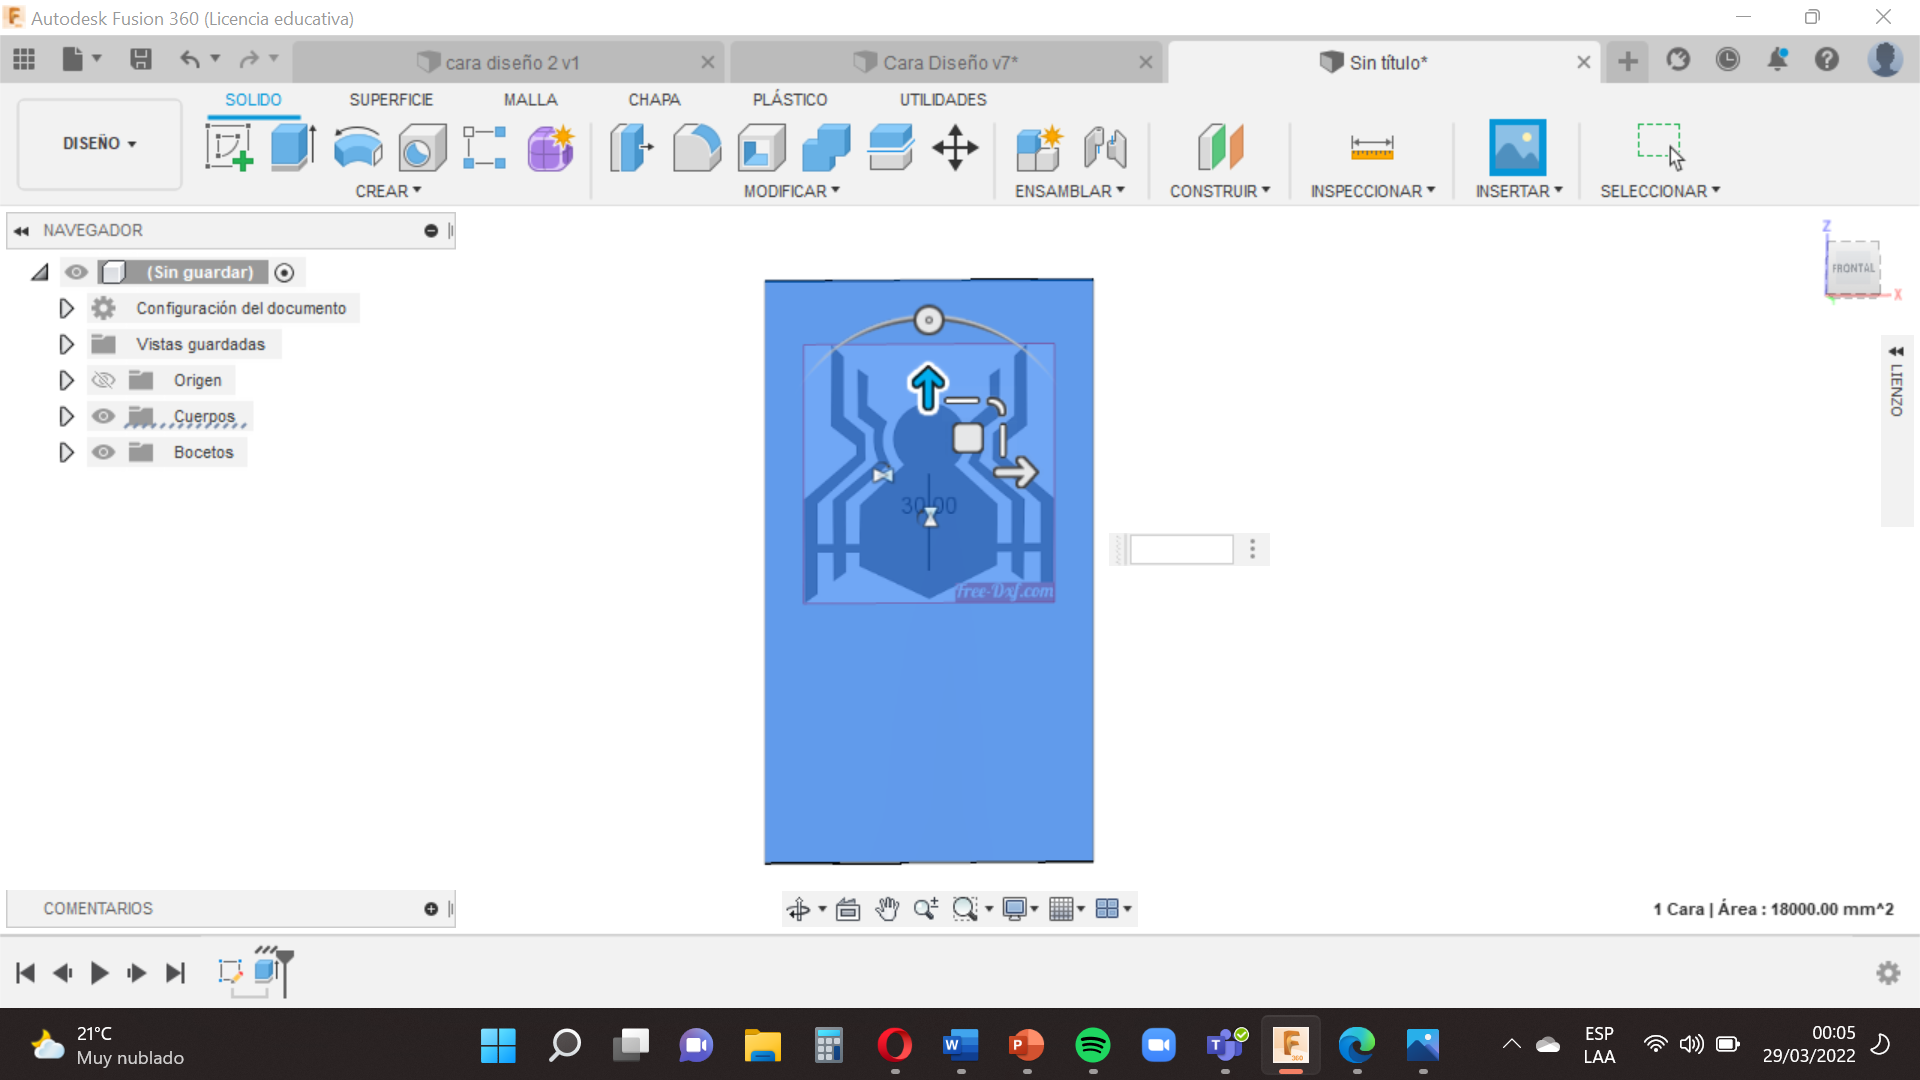
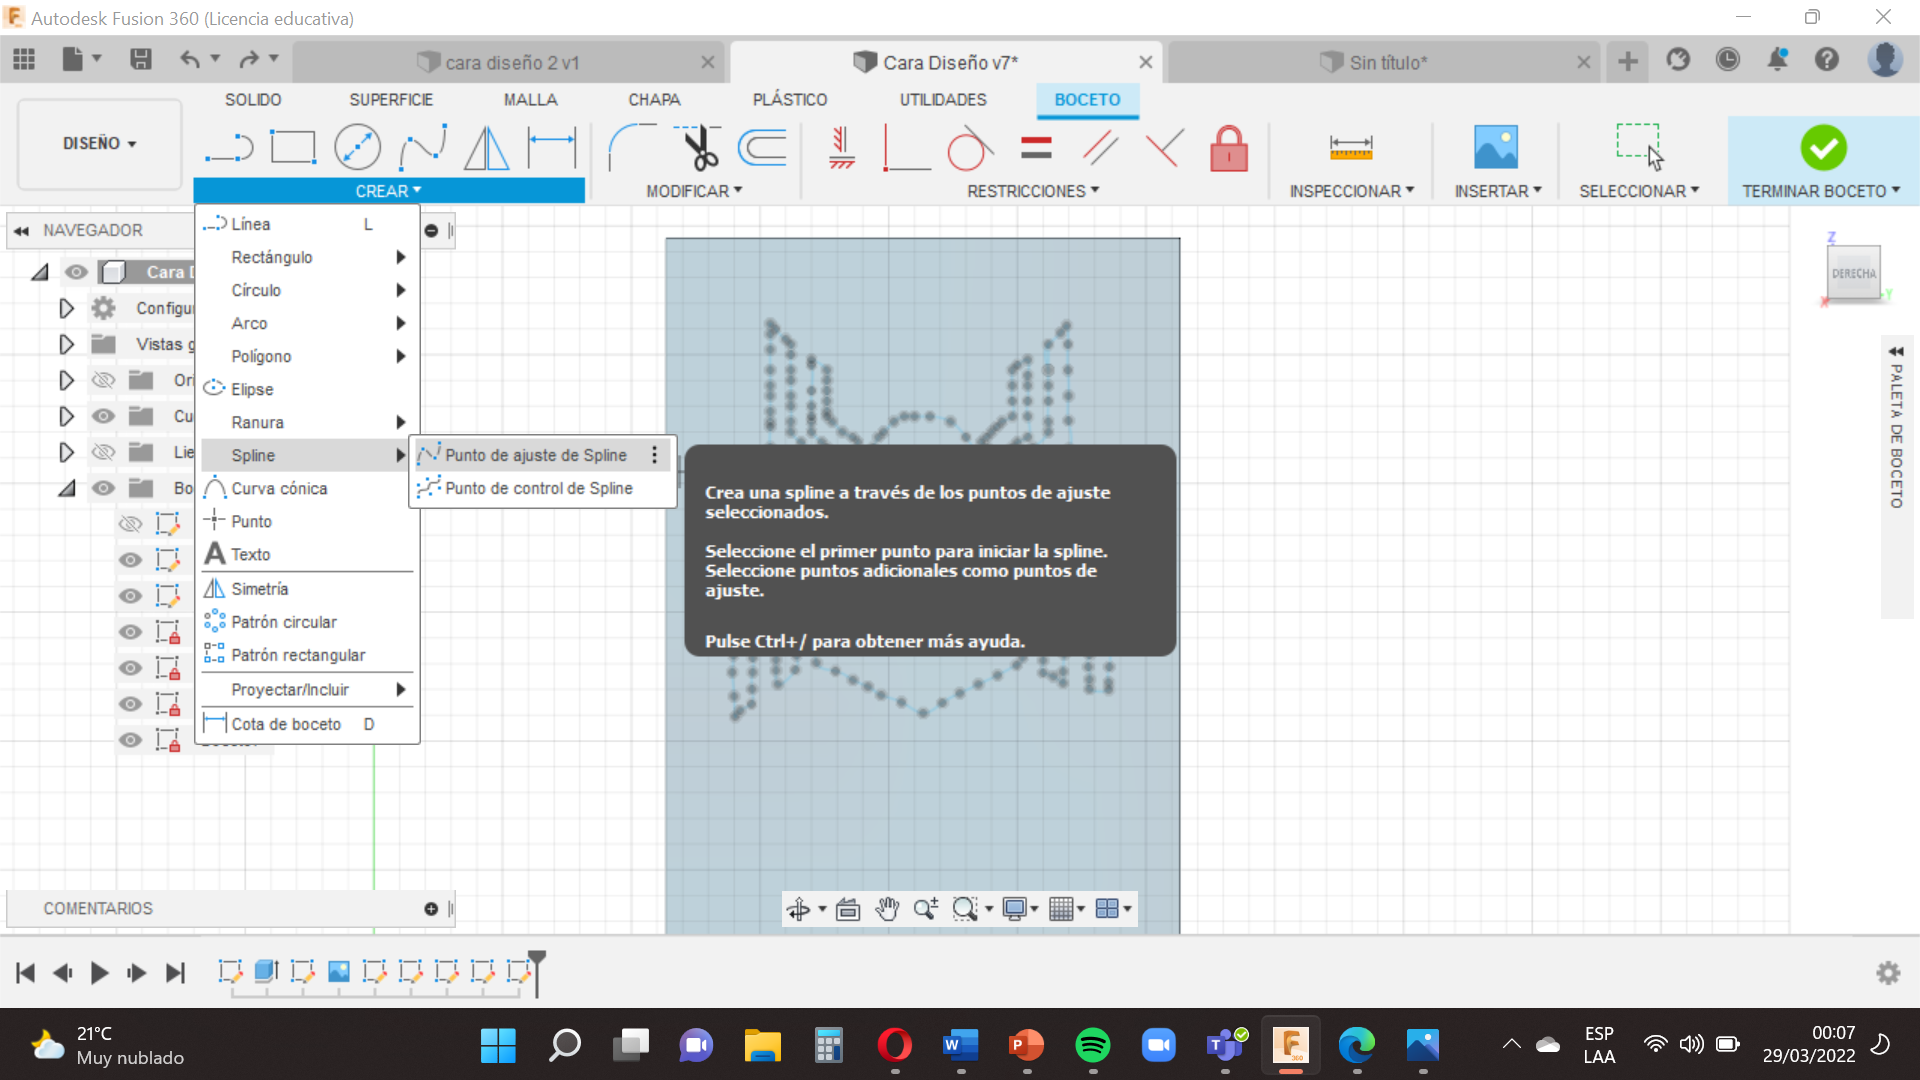
Then follow the first three steps and go to the option Insert and the tool ´´Canvas´´ (it is the tool that allows us to put the image) then go to the option ´´Create´´ , select ´´Spline´´ ,´´ Spline setting point´´ , is similar to the first step only that this time we will outline the dubujo of the spider with lines .
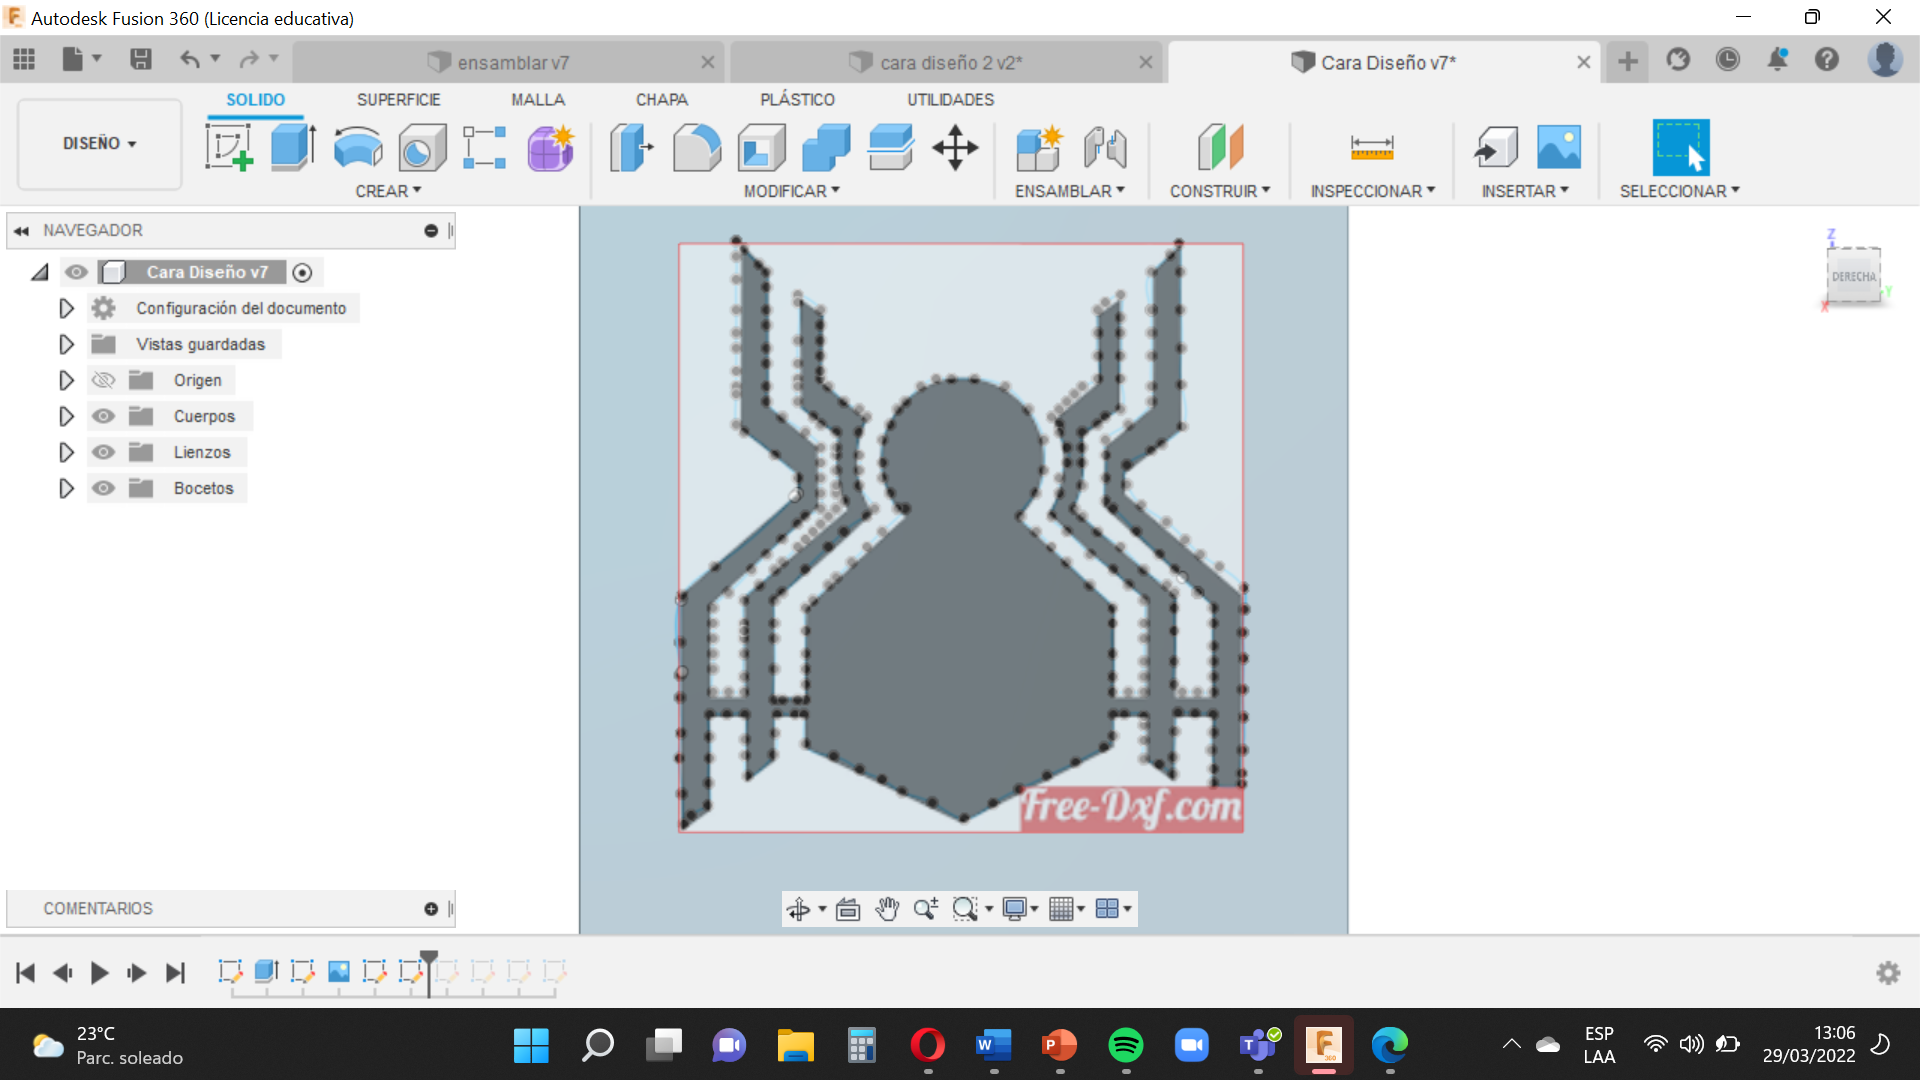
At the end of this step we will remove the option ´´Remove points´´ that appears on the right side and also remove the option ´´Canvas´´ that appears on the left side , so we will finish our design.
When you have finished pressing Finish sketch and save it with the name in this case ´´Face with Design´´
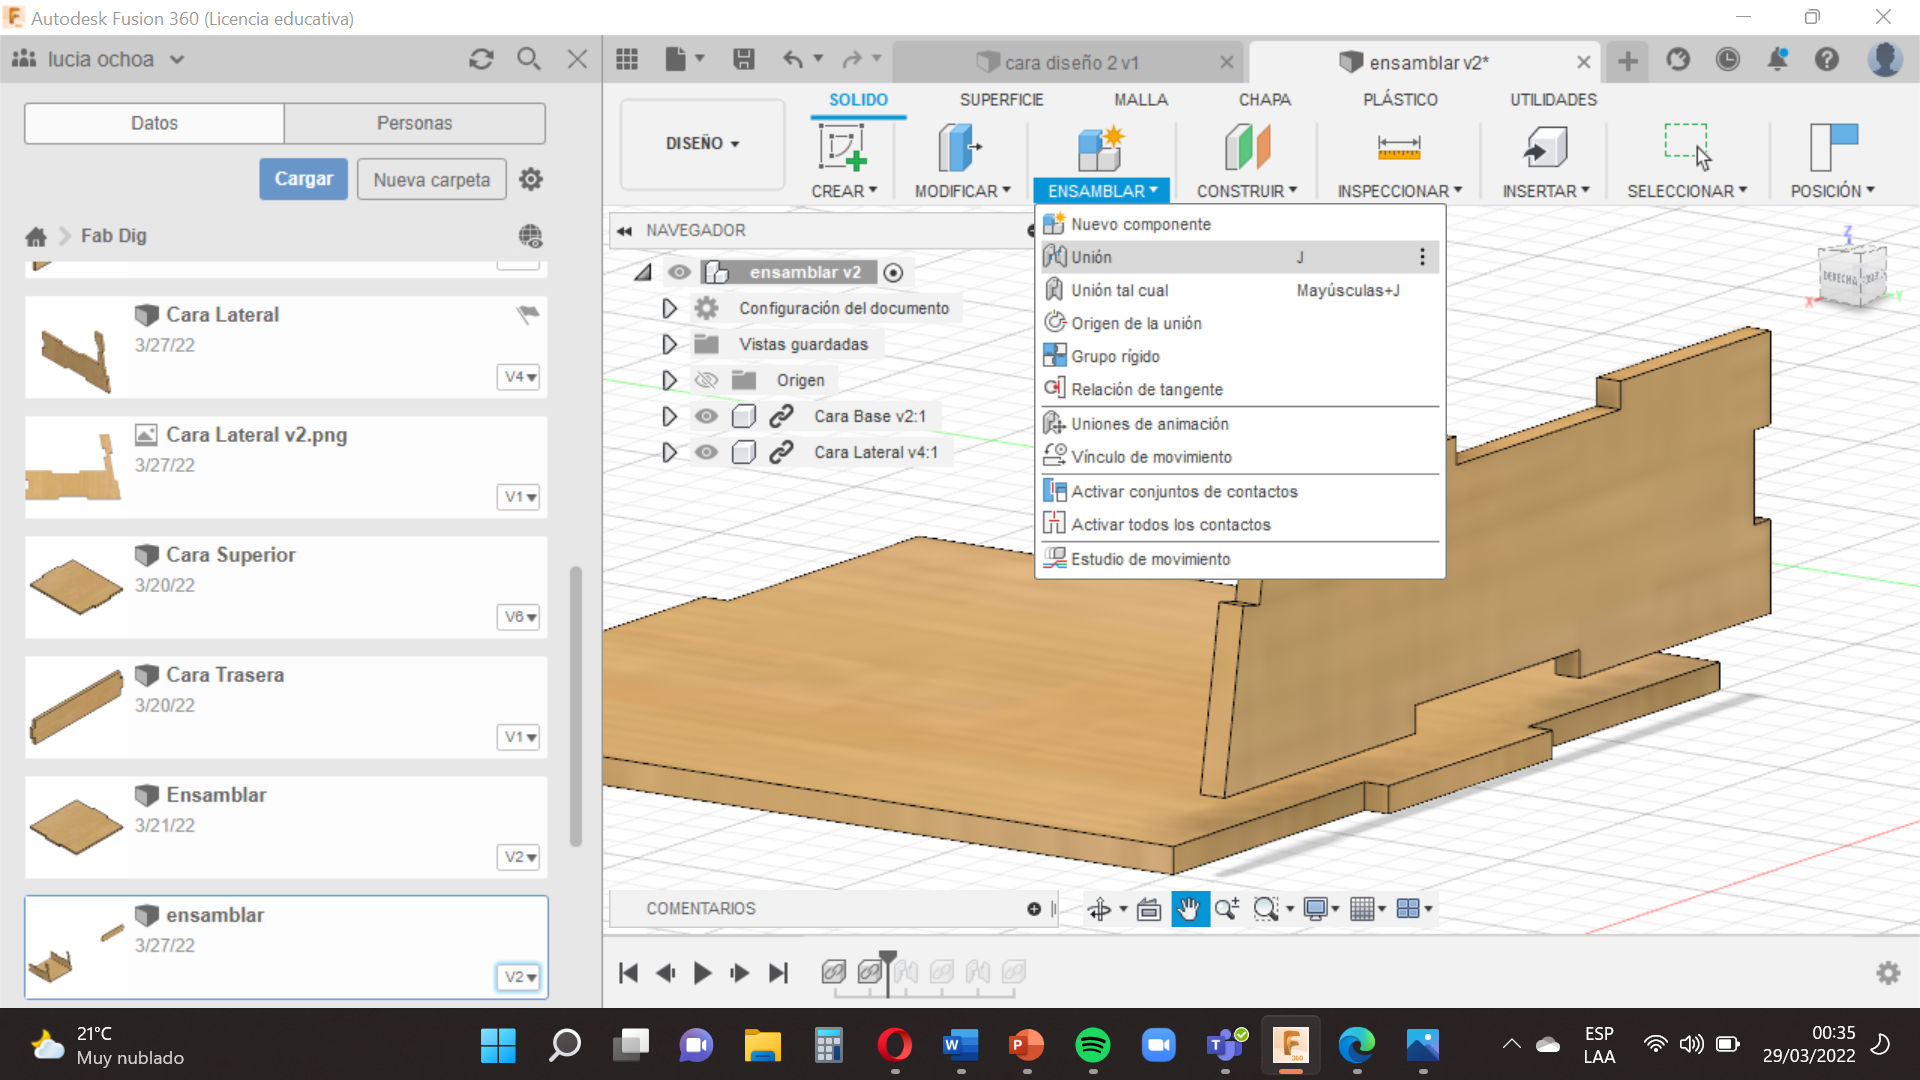
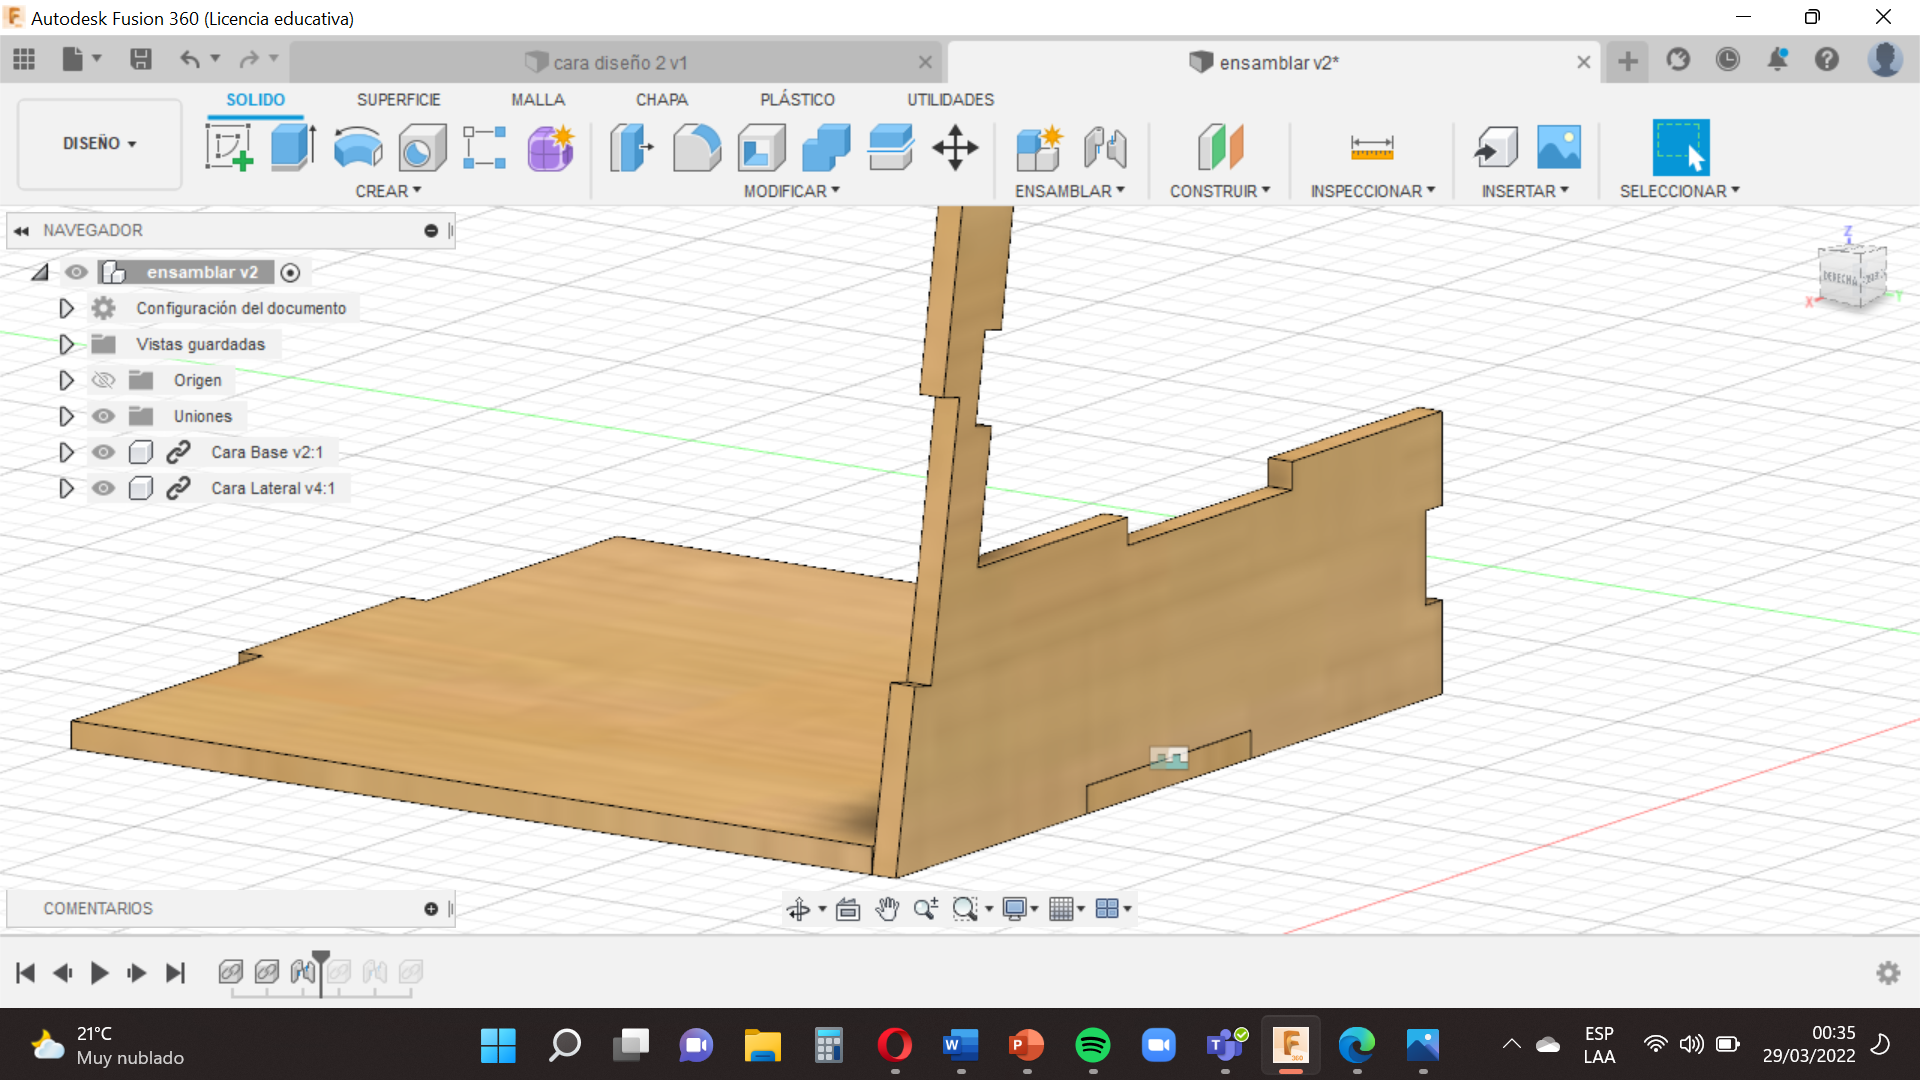
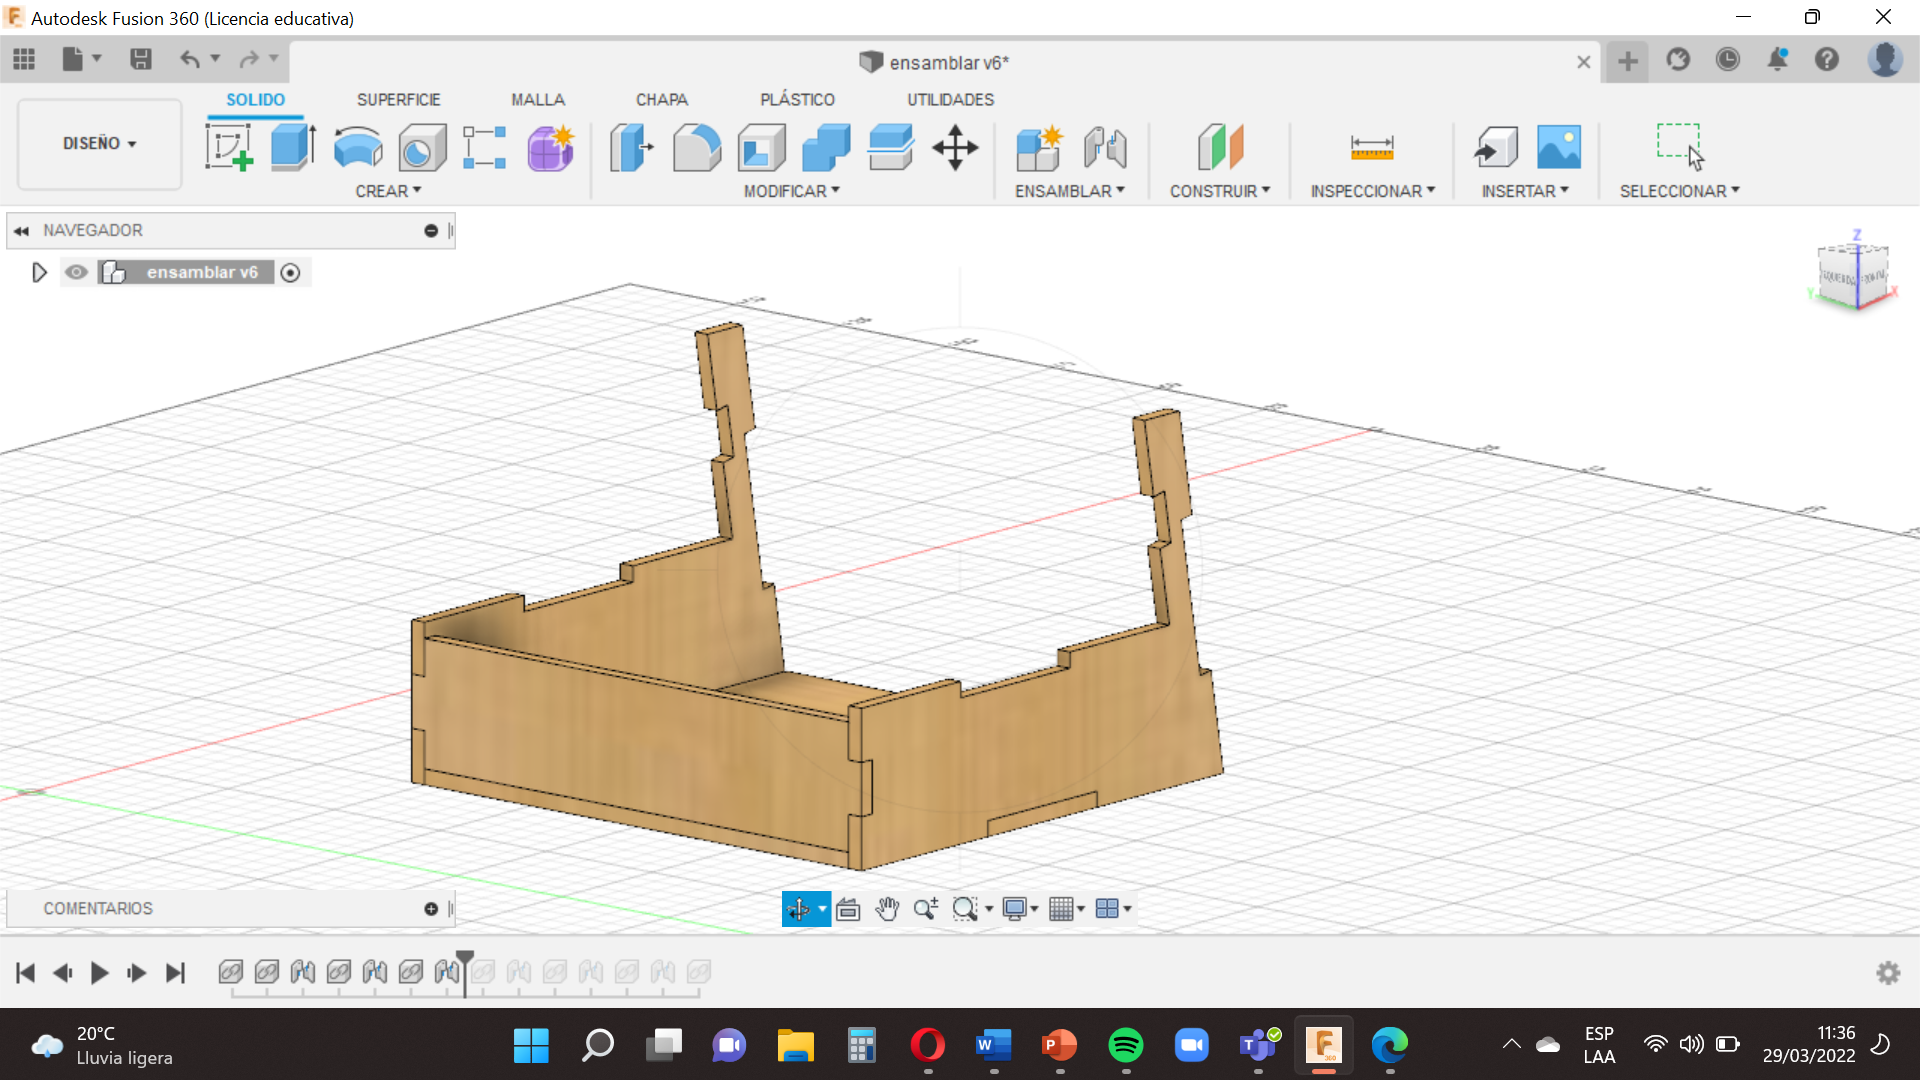
Join
.png)
.png)
.png)
.png)
.png)
.png)
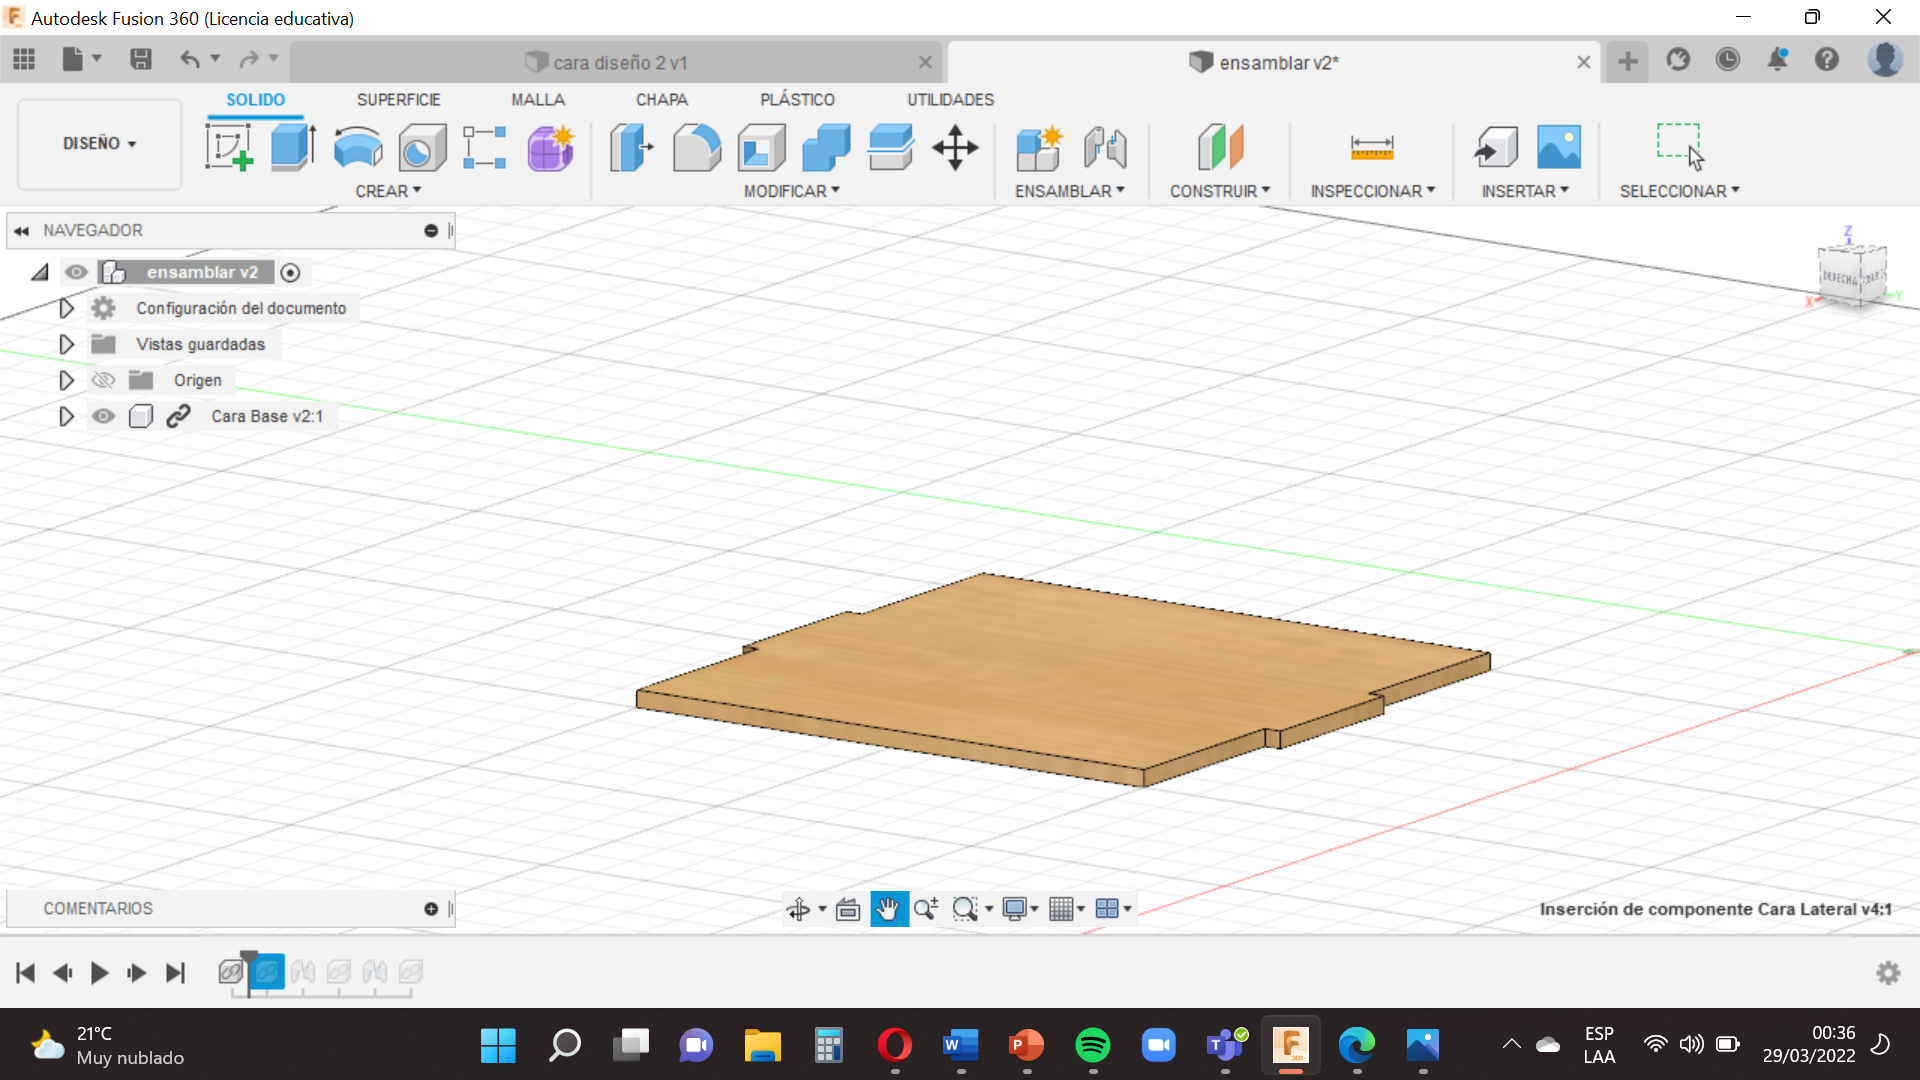
We’re almost done!
We just have to put our faces together.
Now you will put the right mouse button on ´´Base Face´´ and select ´´Insert in the curret layout´´, then do the same with the ´´Side face´´ and both images will appear.
Try to put them close and we will the option ´´Join´´ select ´´Union´´ , we will be working with the edges so that selctions the edges suitable to assemble and asi suseivamente with all the faces , except with ´´Face with design´´.
In the next step I’ll teach you how to adjust that face .
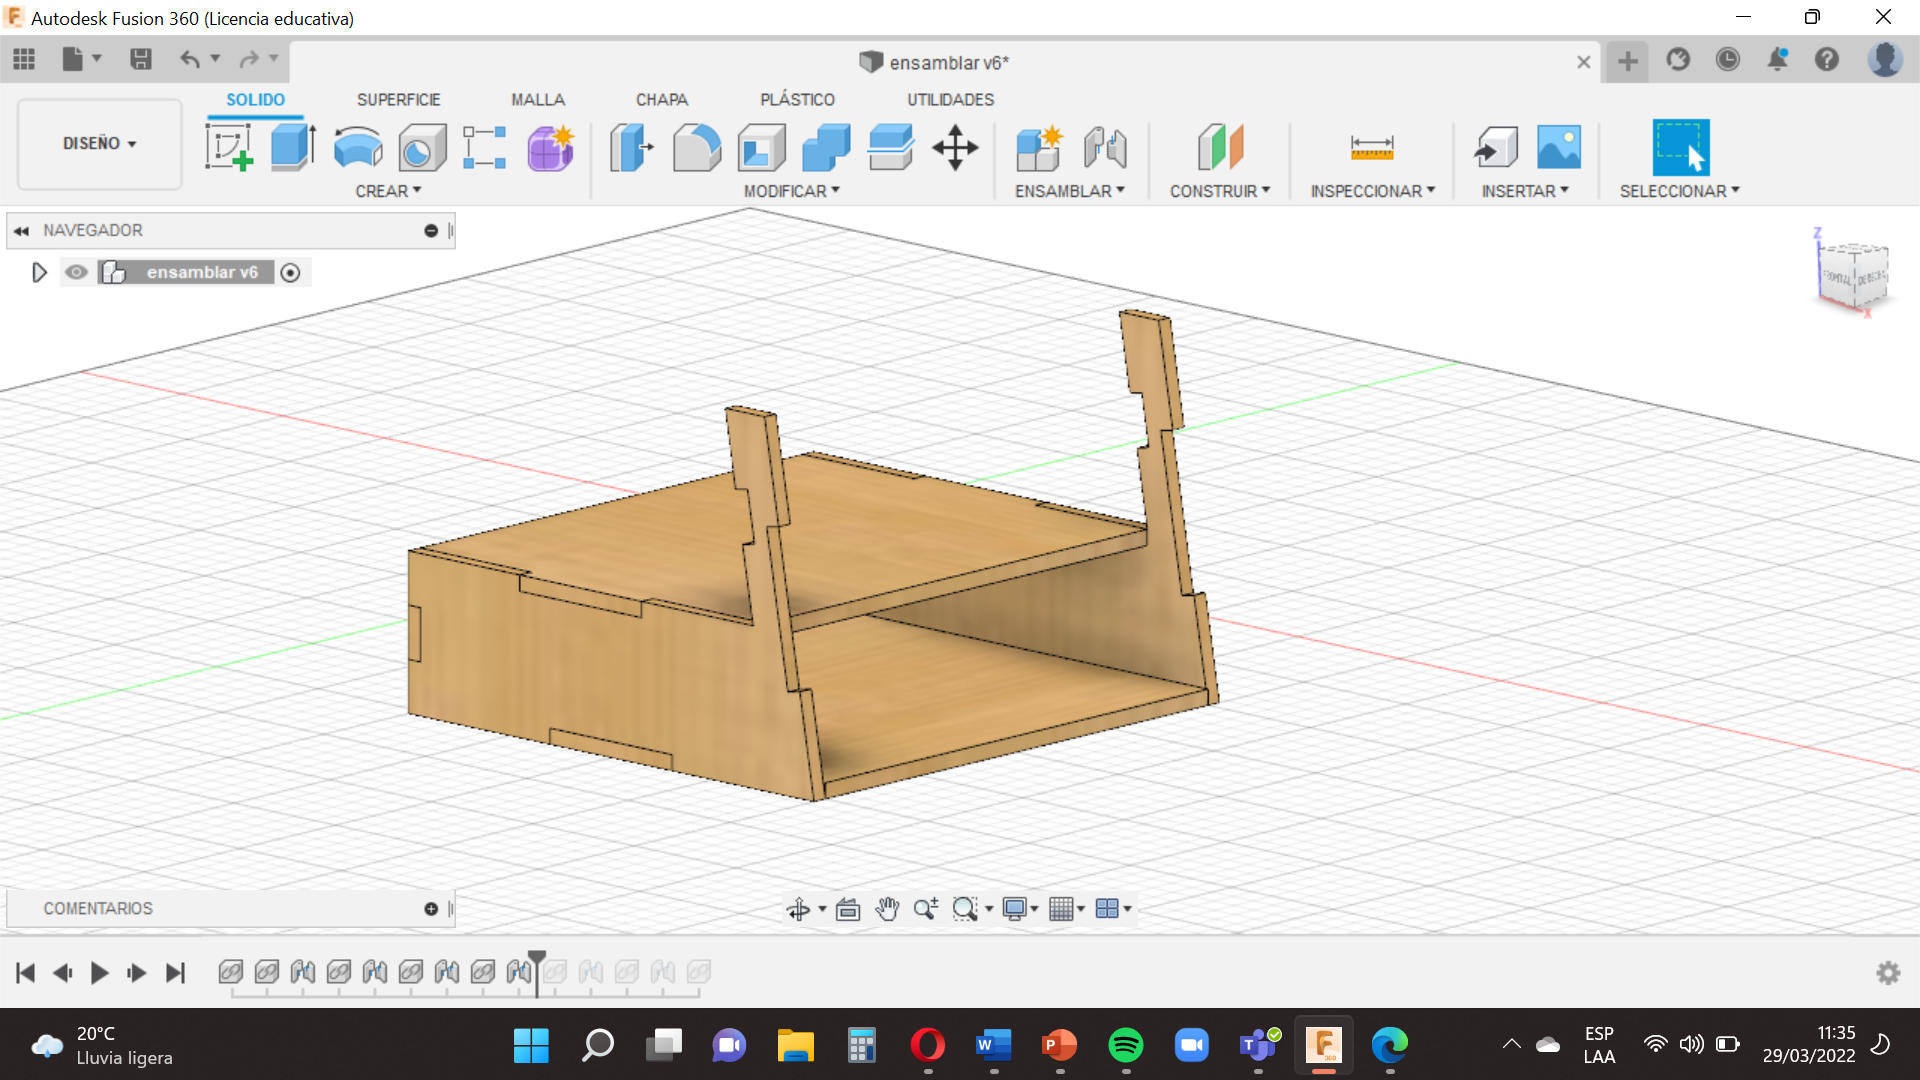
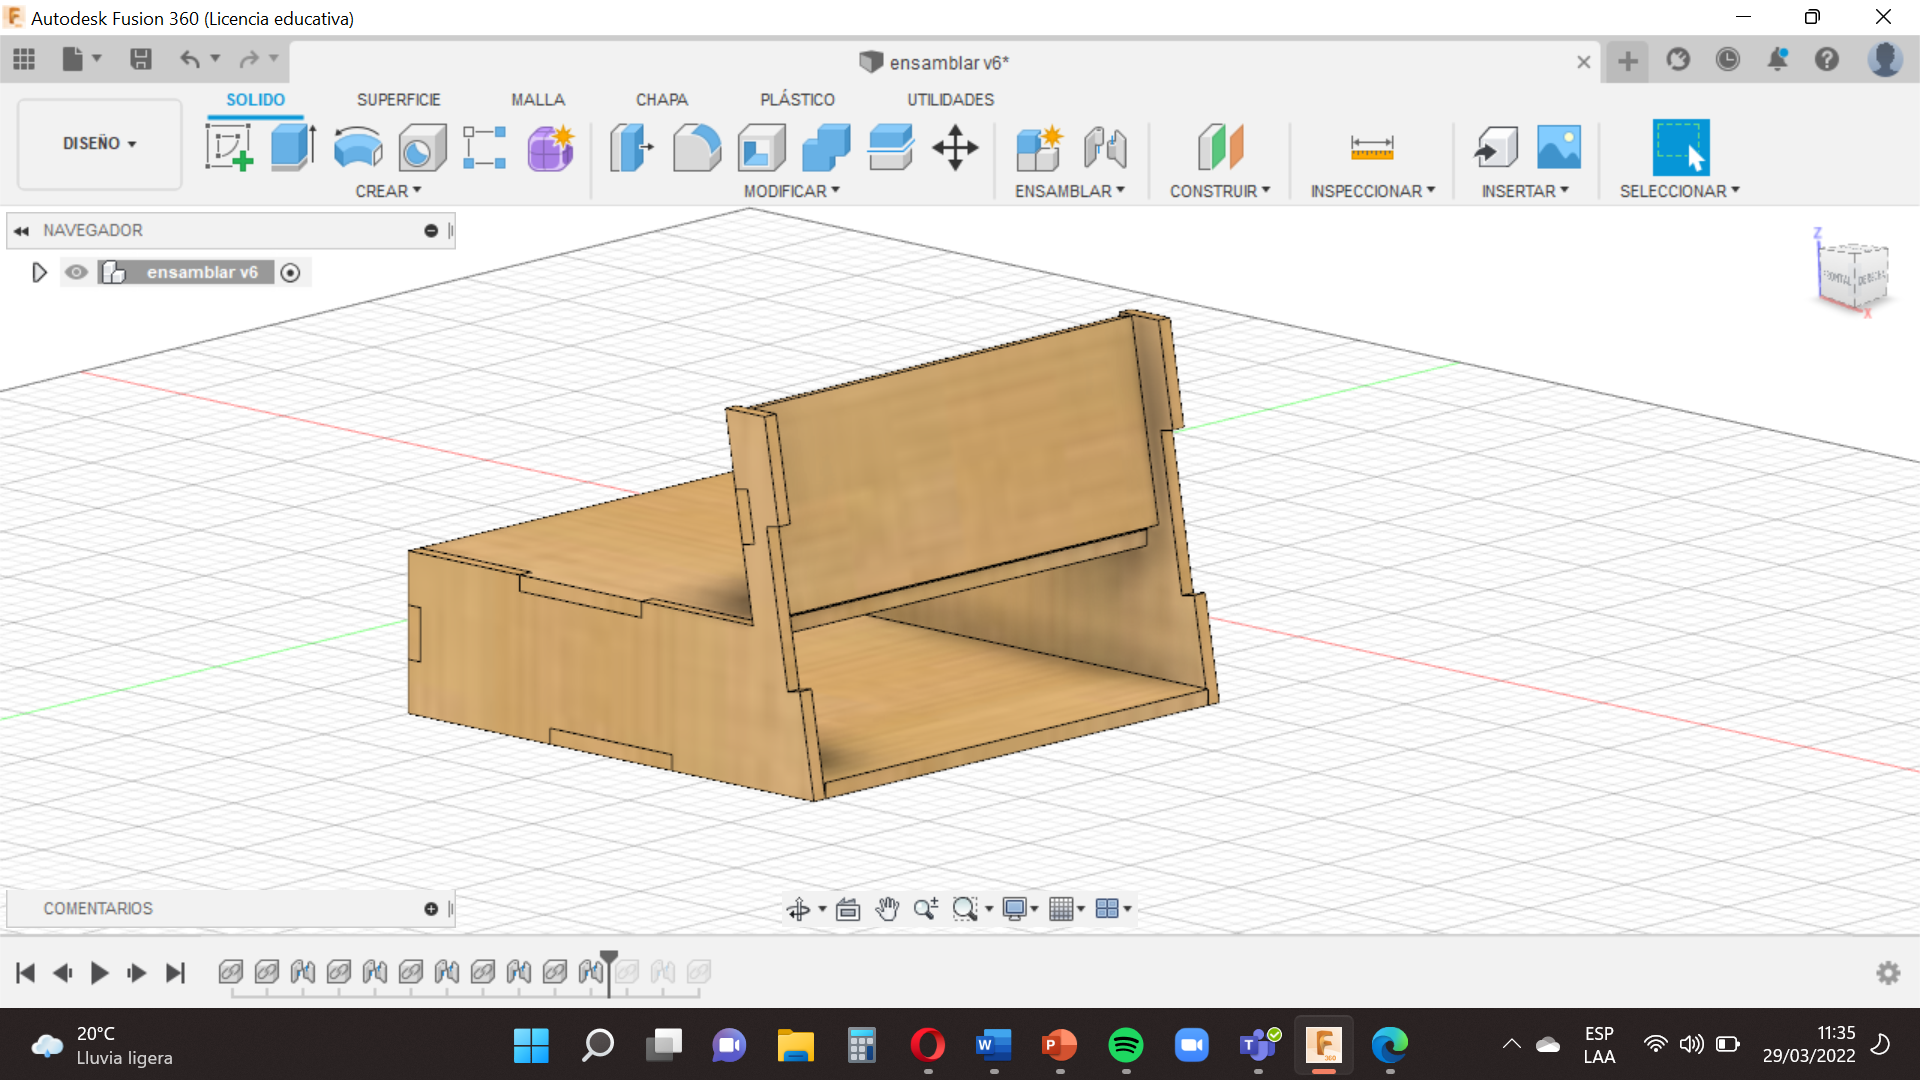
Adjust Face With Design
.png)
.png)
.png)
.png)
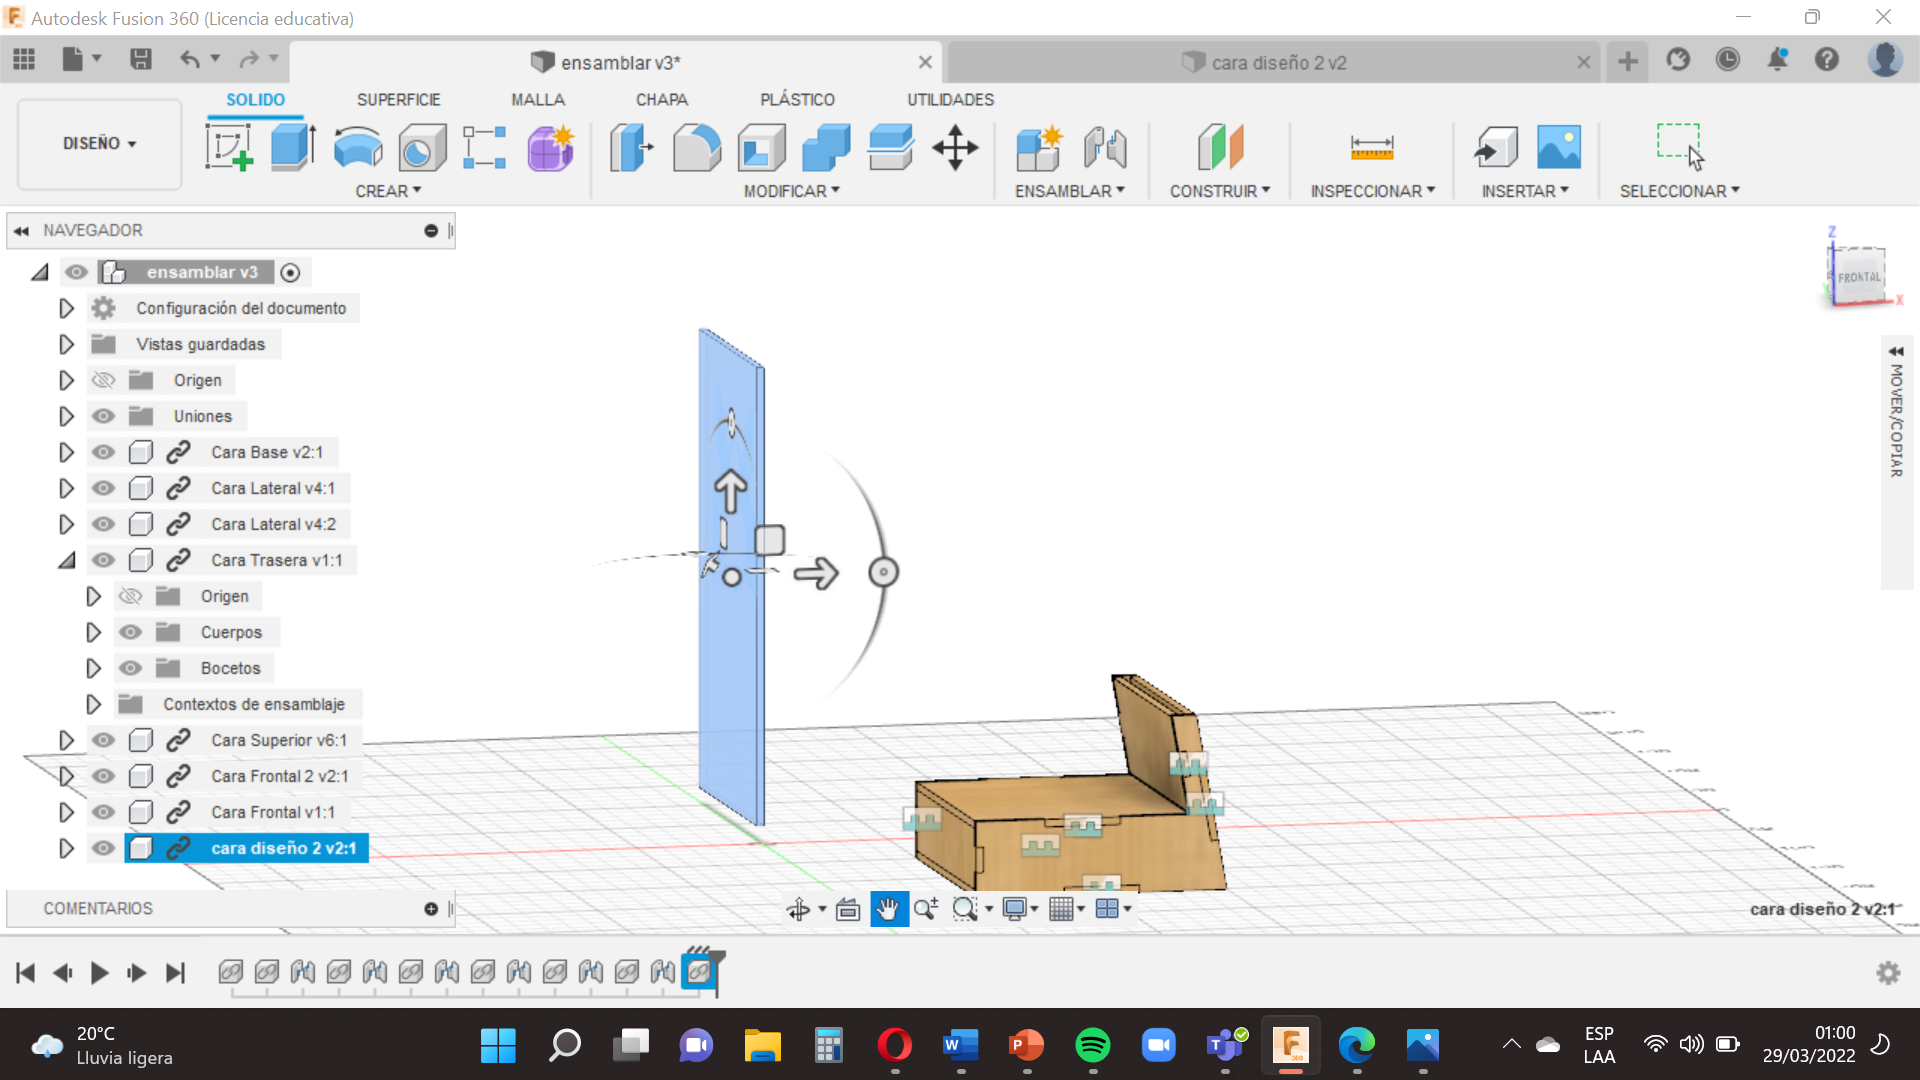
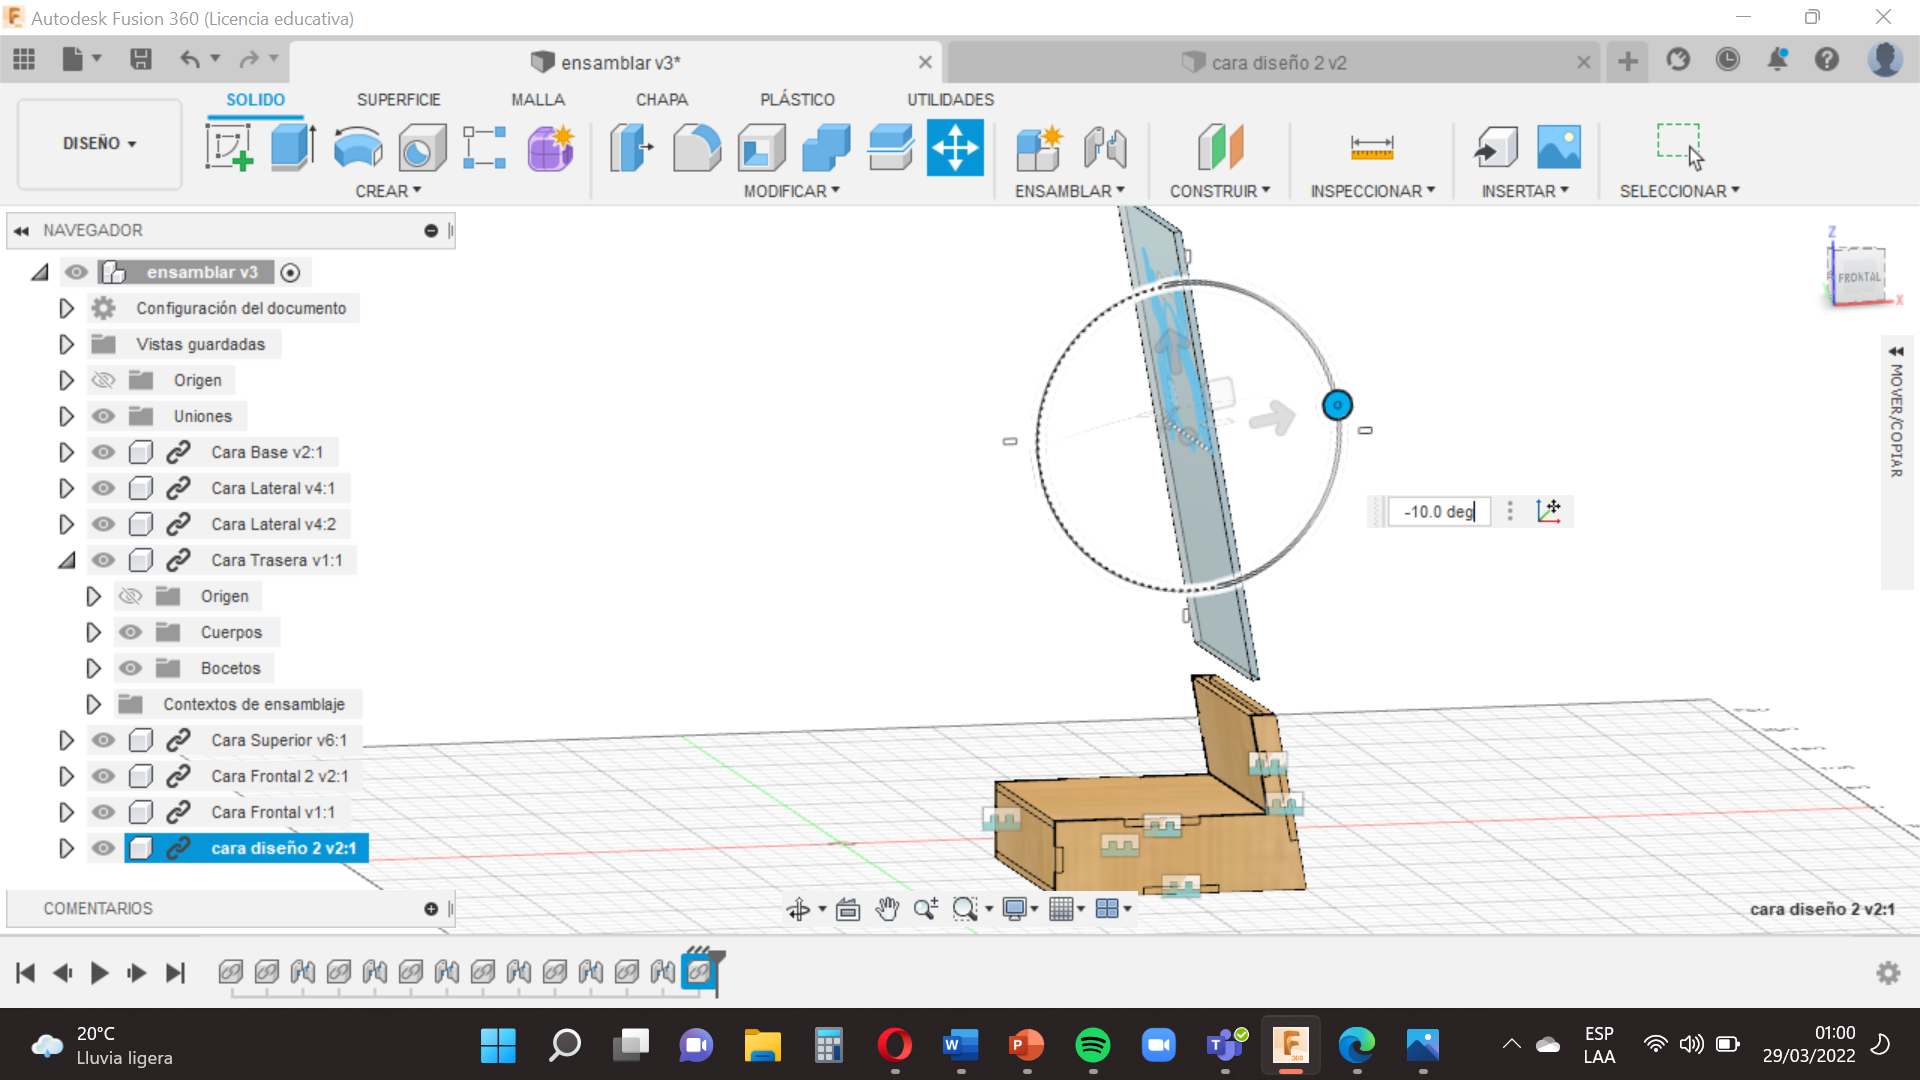
When we have finished assembling all the faces, we came to the time to adjust the ´´Face with Design´´ to our signboard bright .
Now you will put the right mouse button on the ´´face with design´´ and select ´´Insert in the curret layout´´ , then we will drag it until you have it close , remember to rotate -10 deg so that it fits perfectly , is question of groping and go accommodating
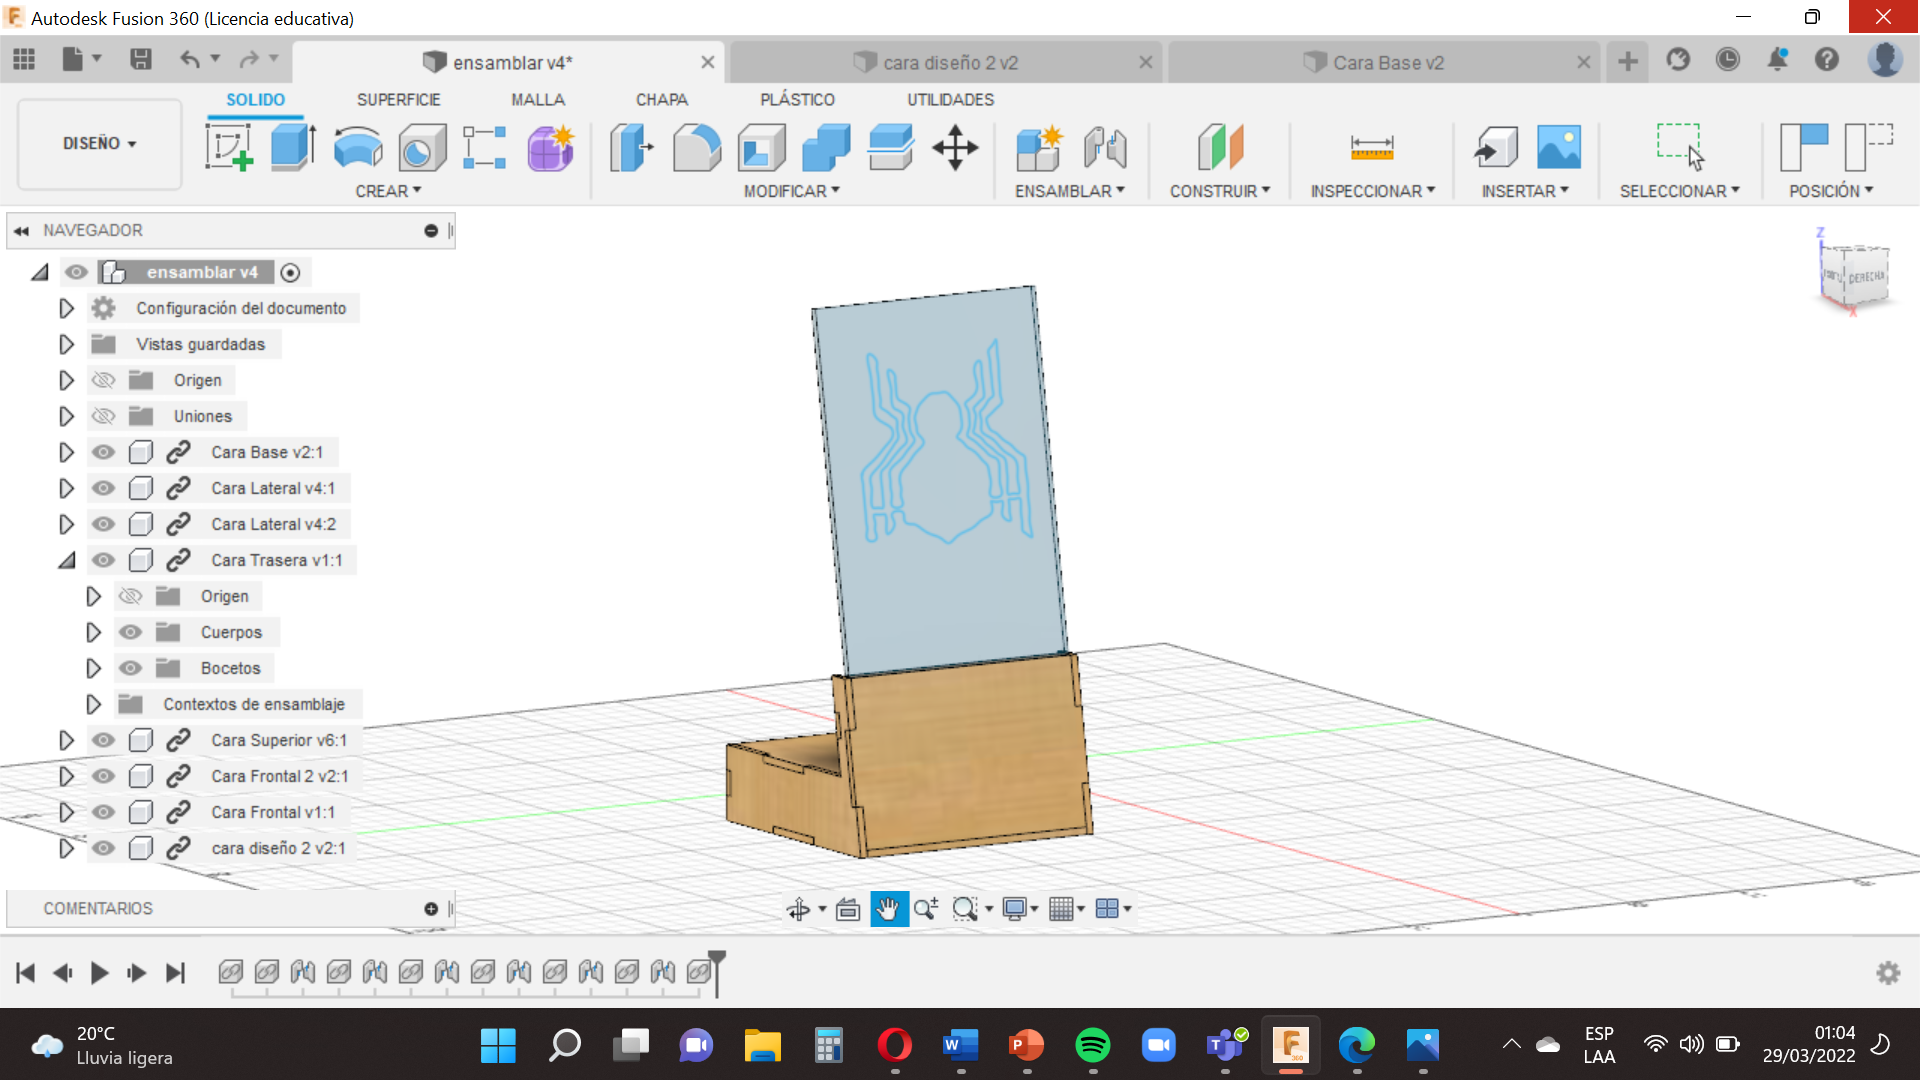
Already this !
Details
.png)
.png)
.png)
.png)
.png)
.png)
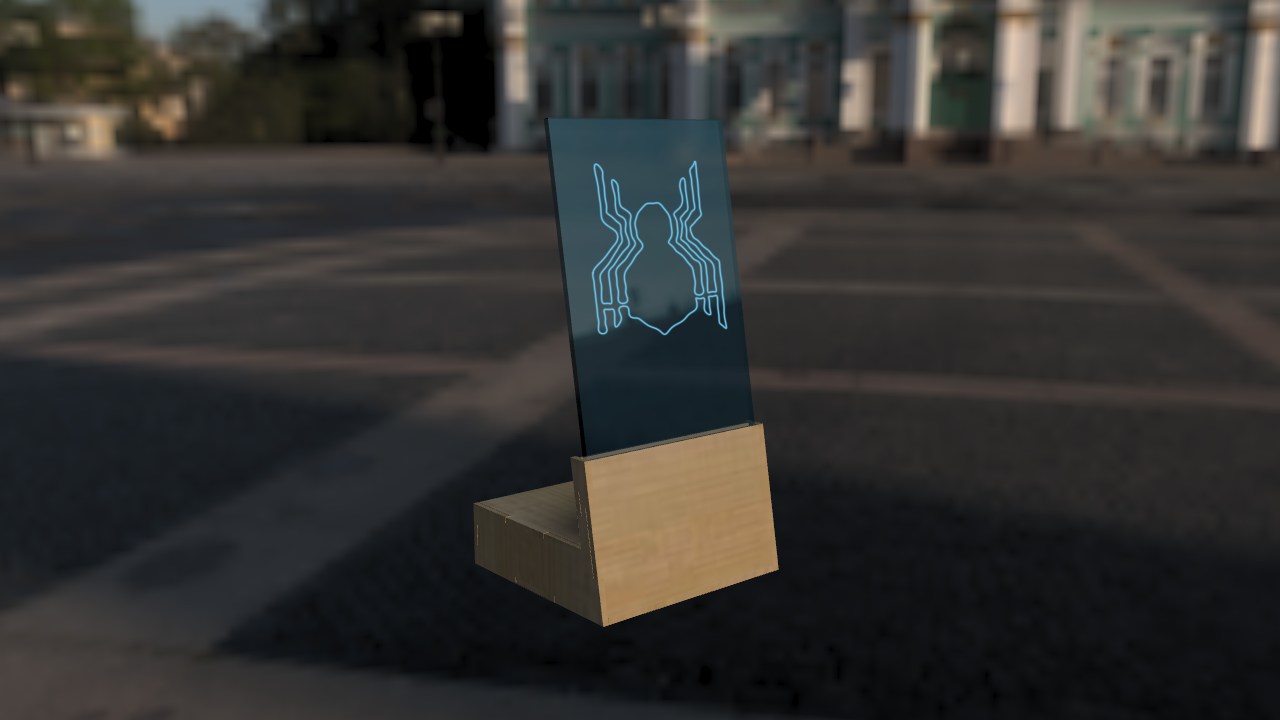
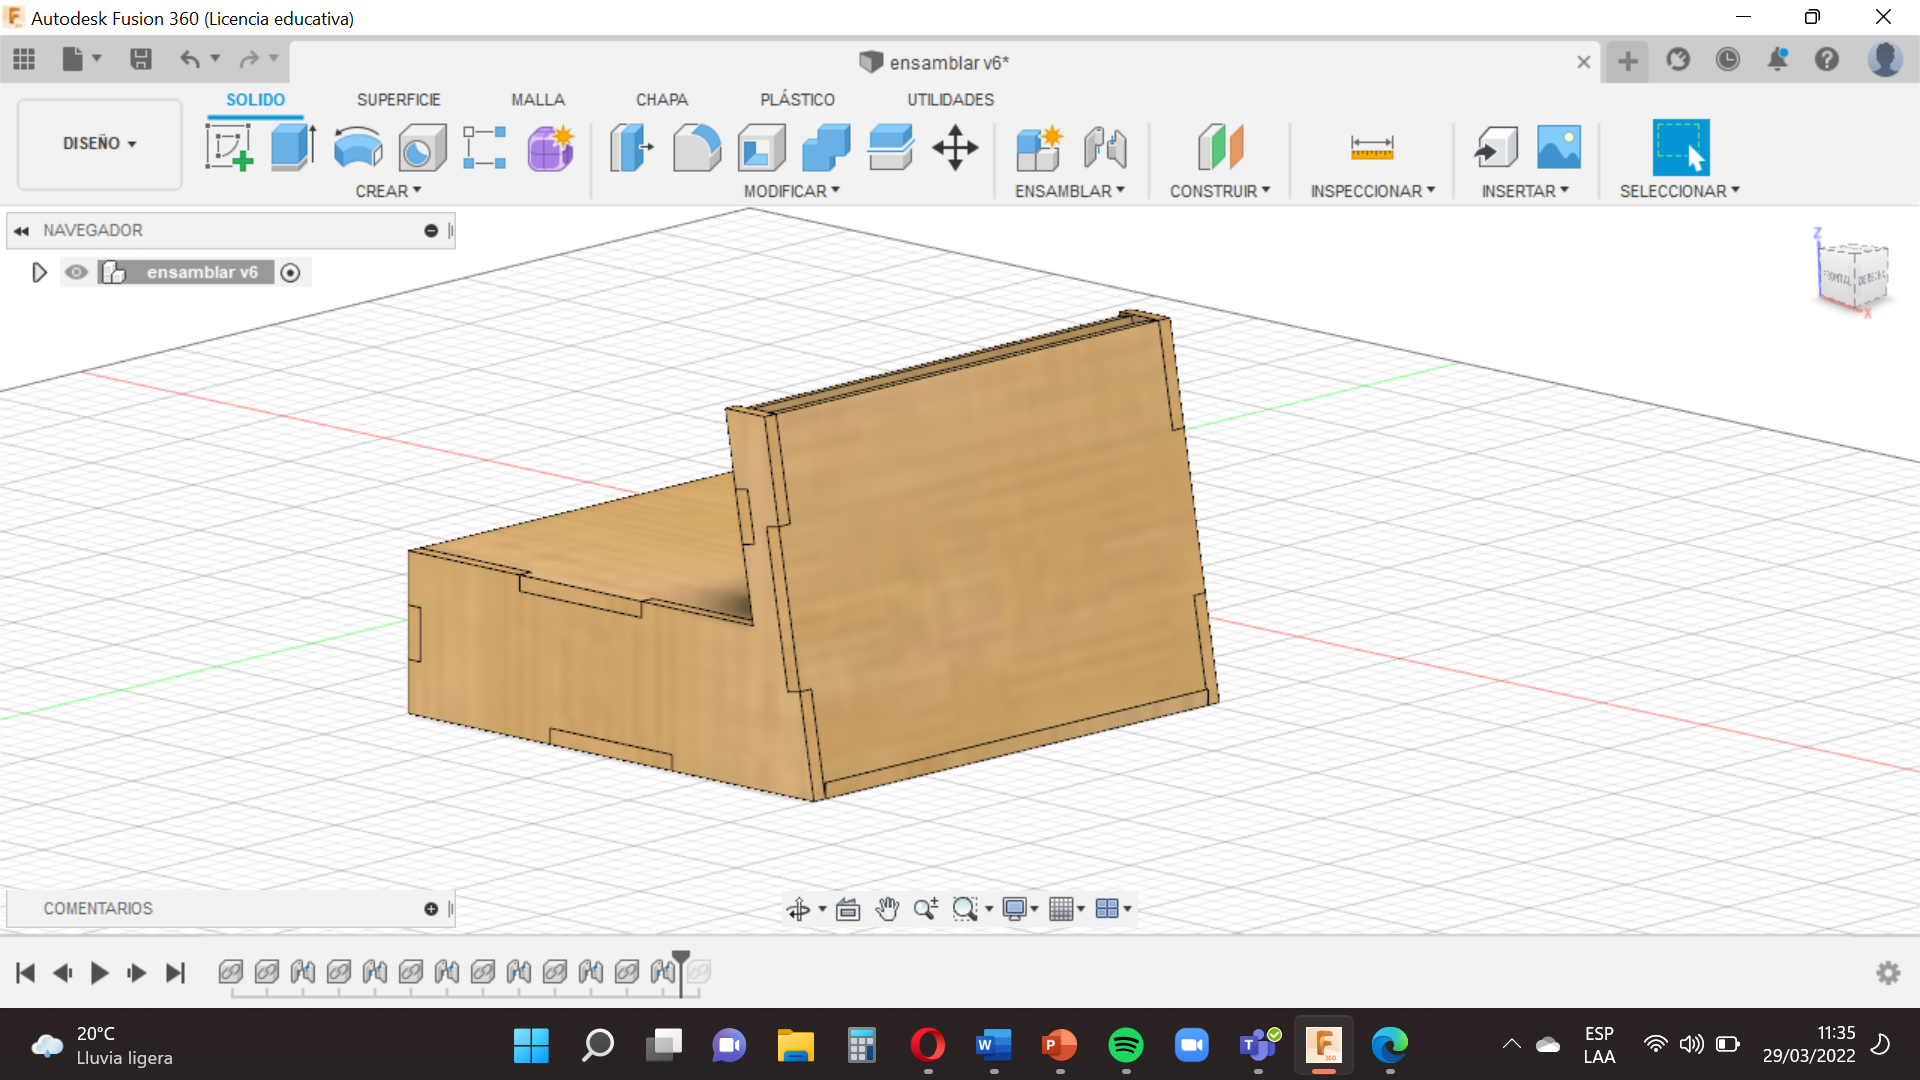
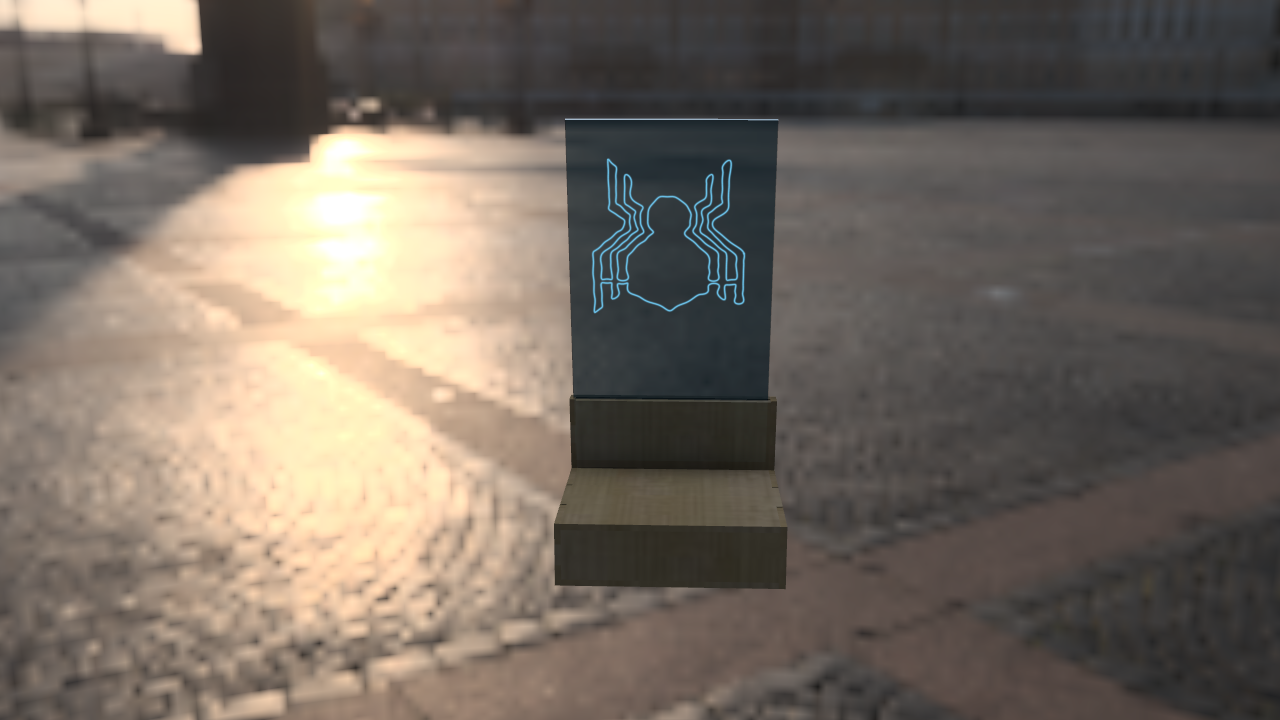
Finally we will make our Signboard Bright of Desktop look better .
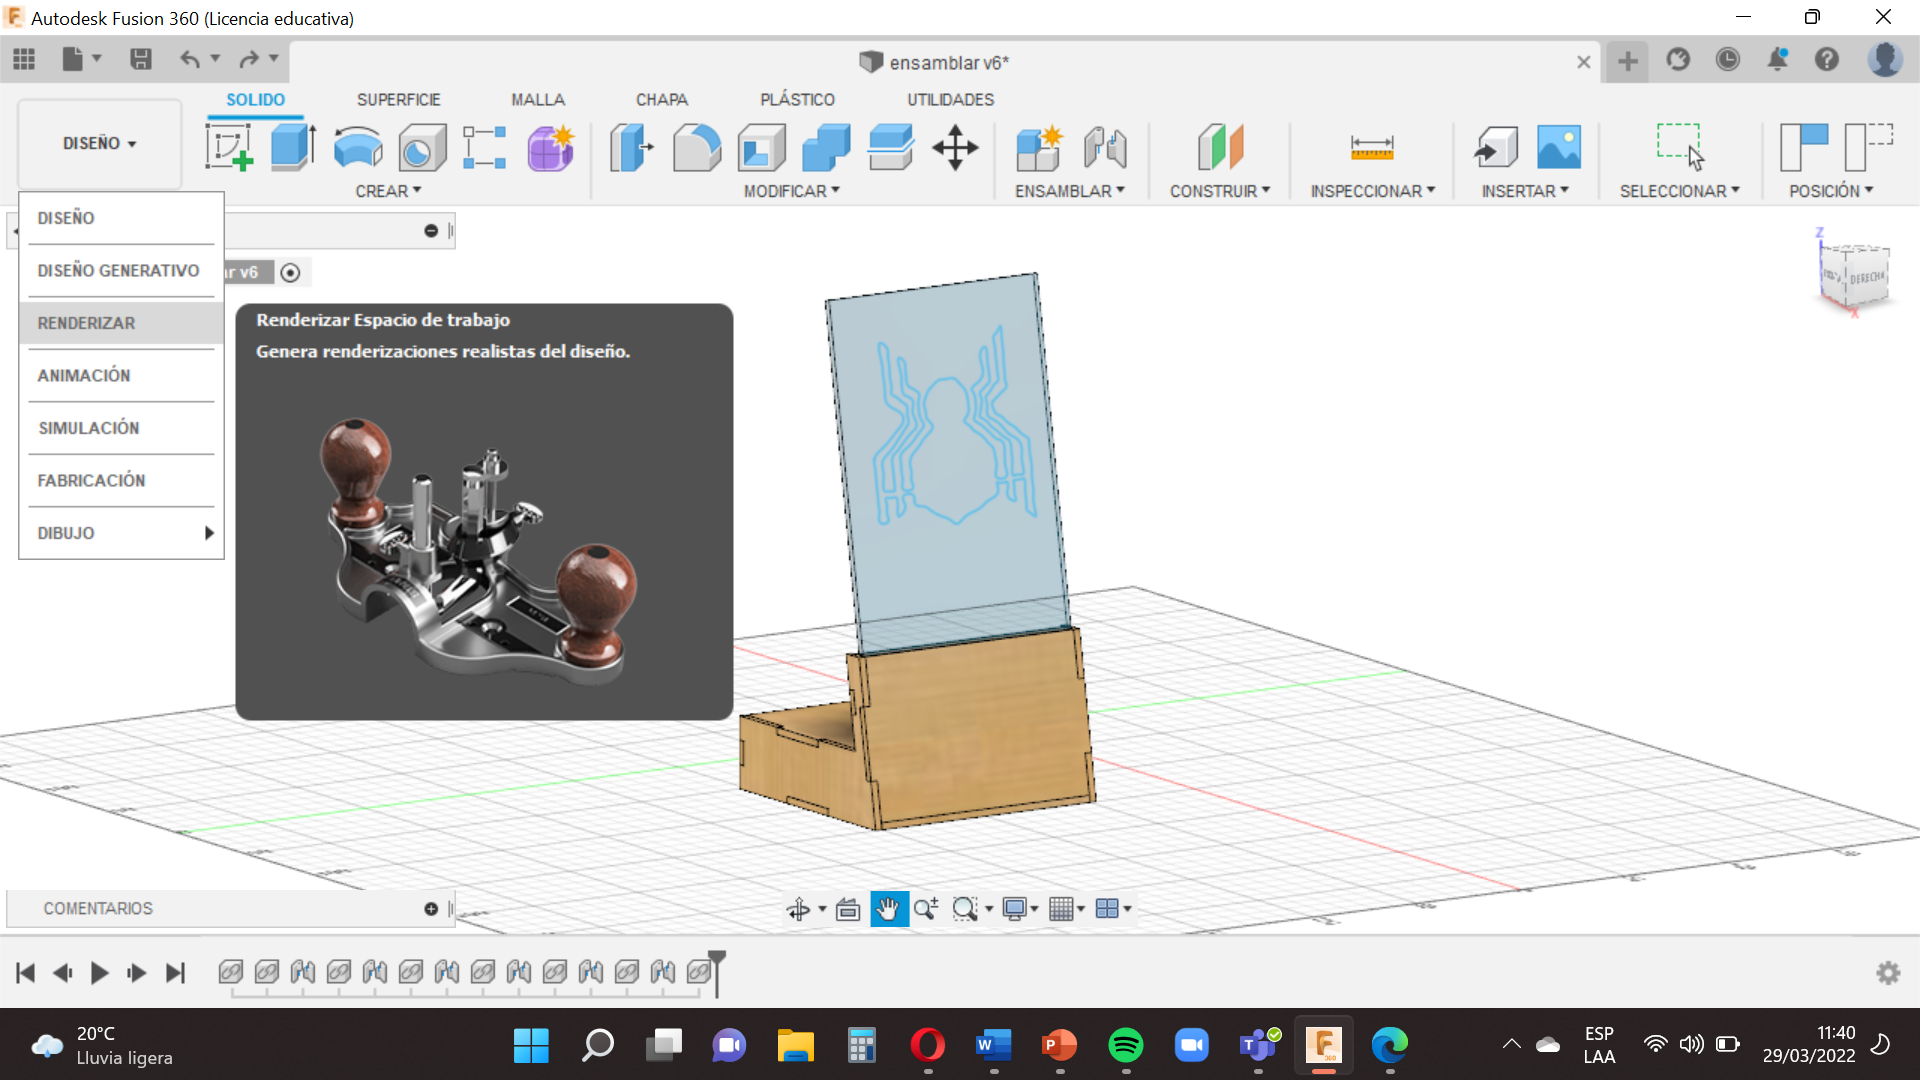
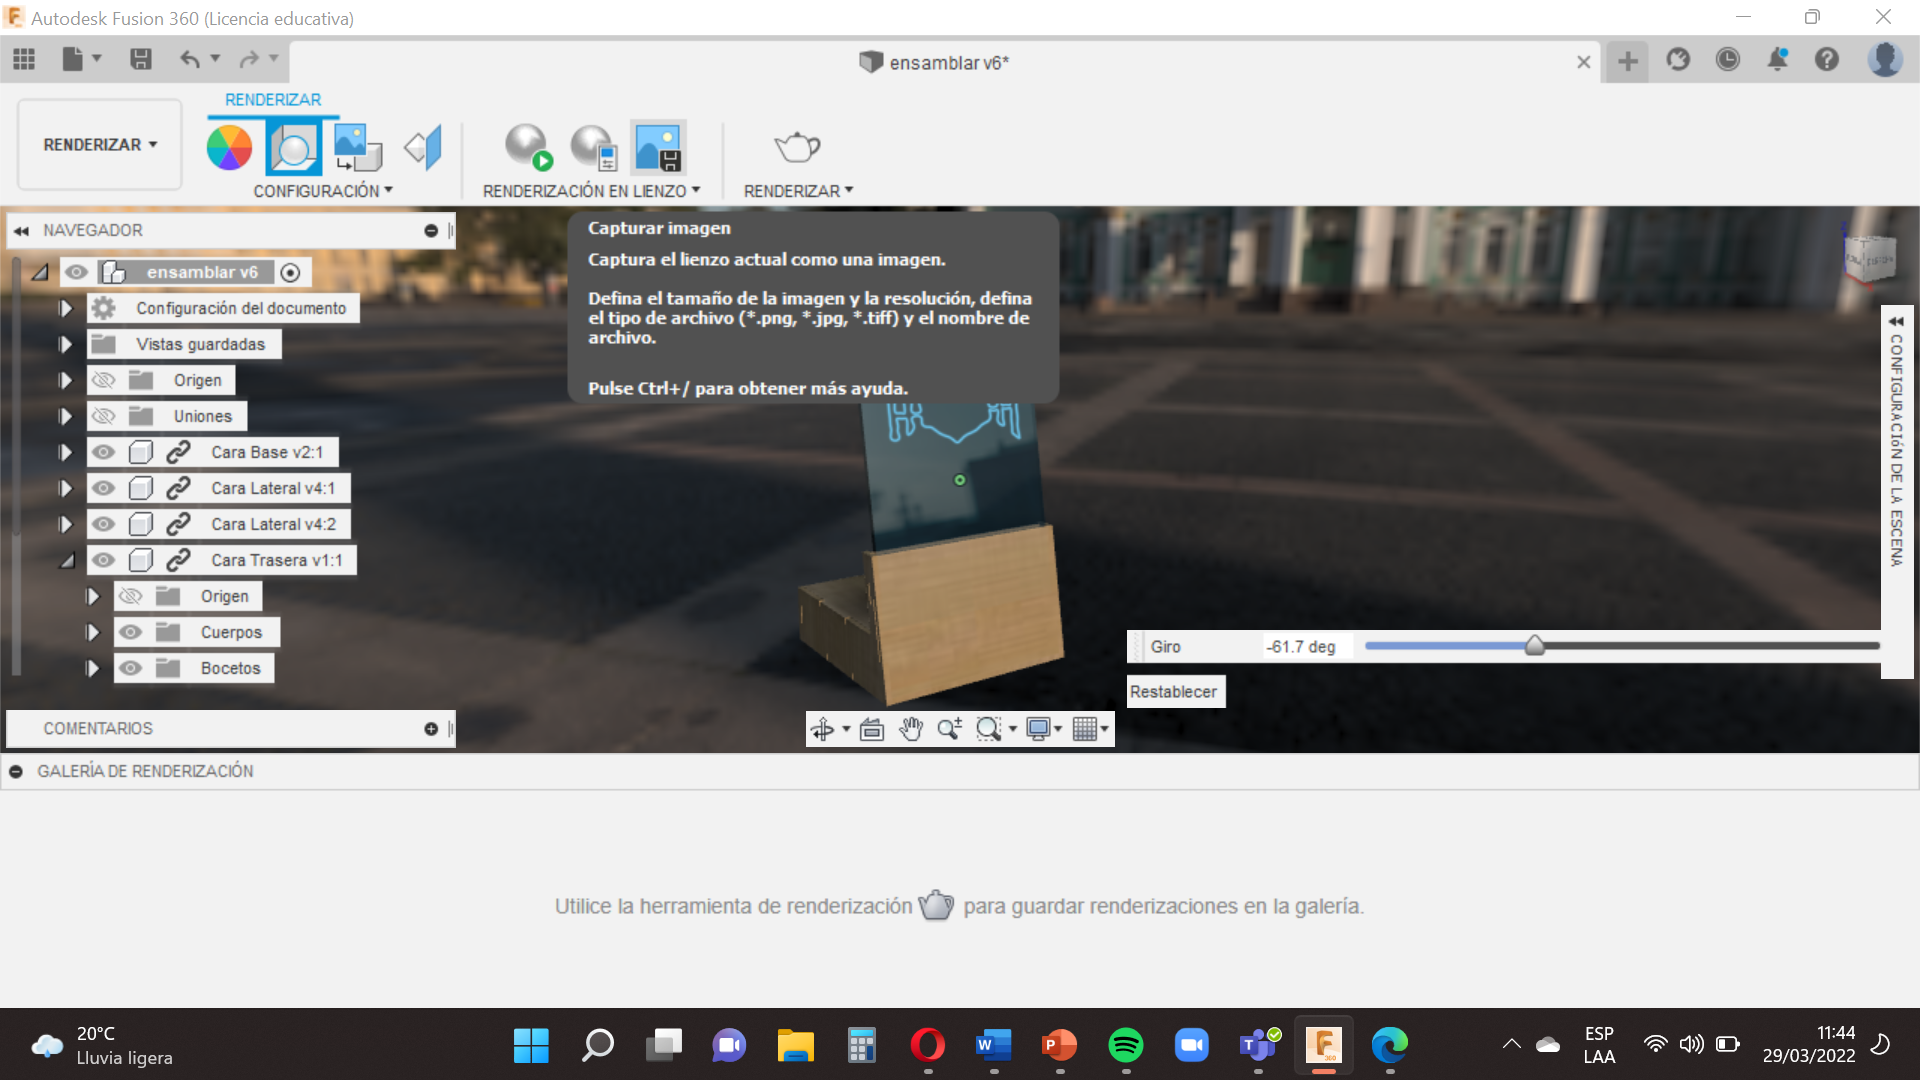
We go to the option´´Design´´, we select ´´Render´´ (this option will allow us to see a scenario of how our signboard bright will look) .
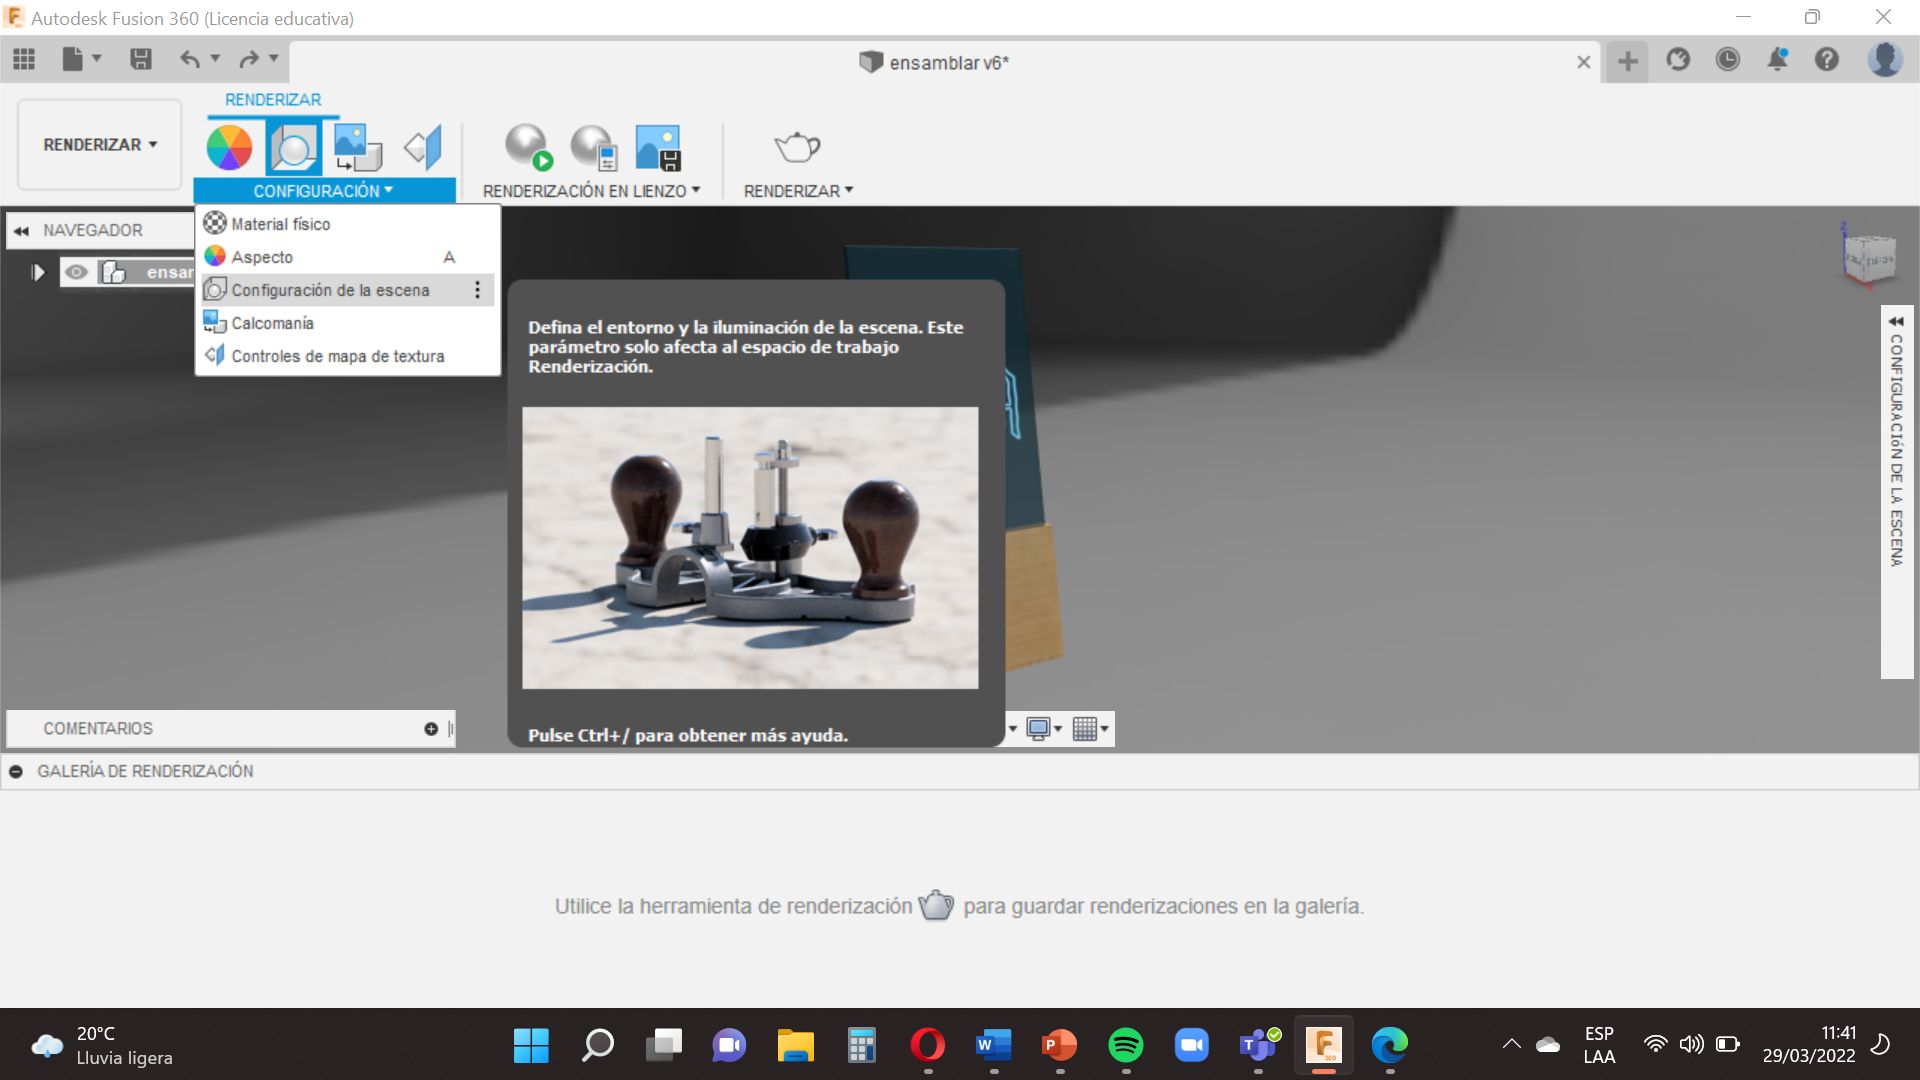
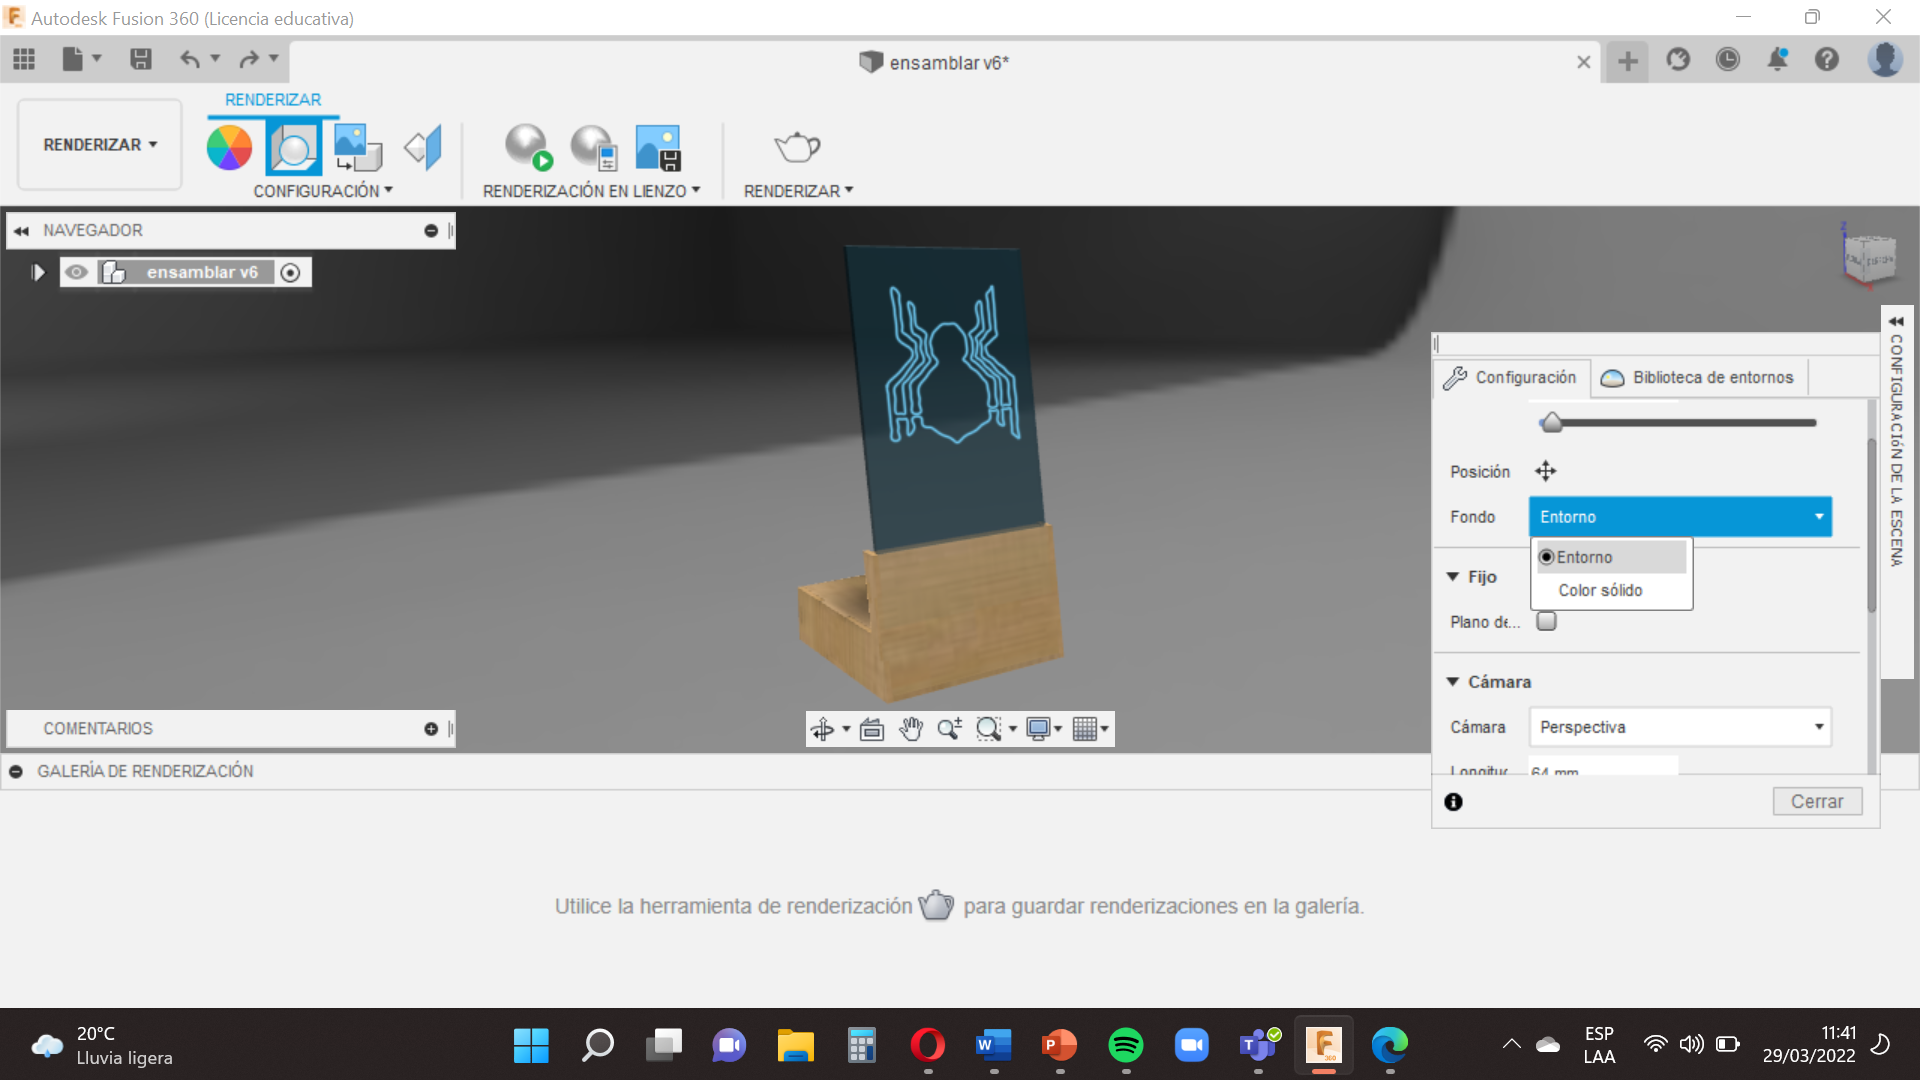
Then we go to the option ´´Configuration´´, we select ´´The configuration of the scene´´ (here we can point the theme of the brightness , environment , perspectives , lengths , exposure ).
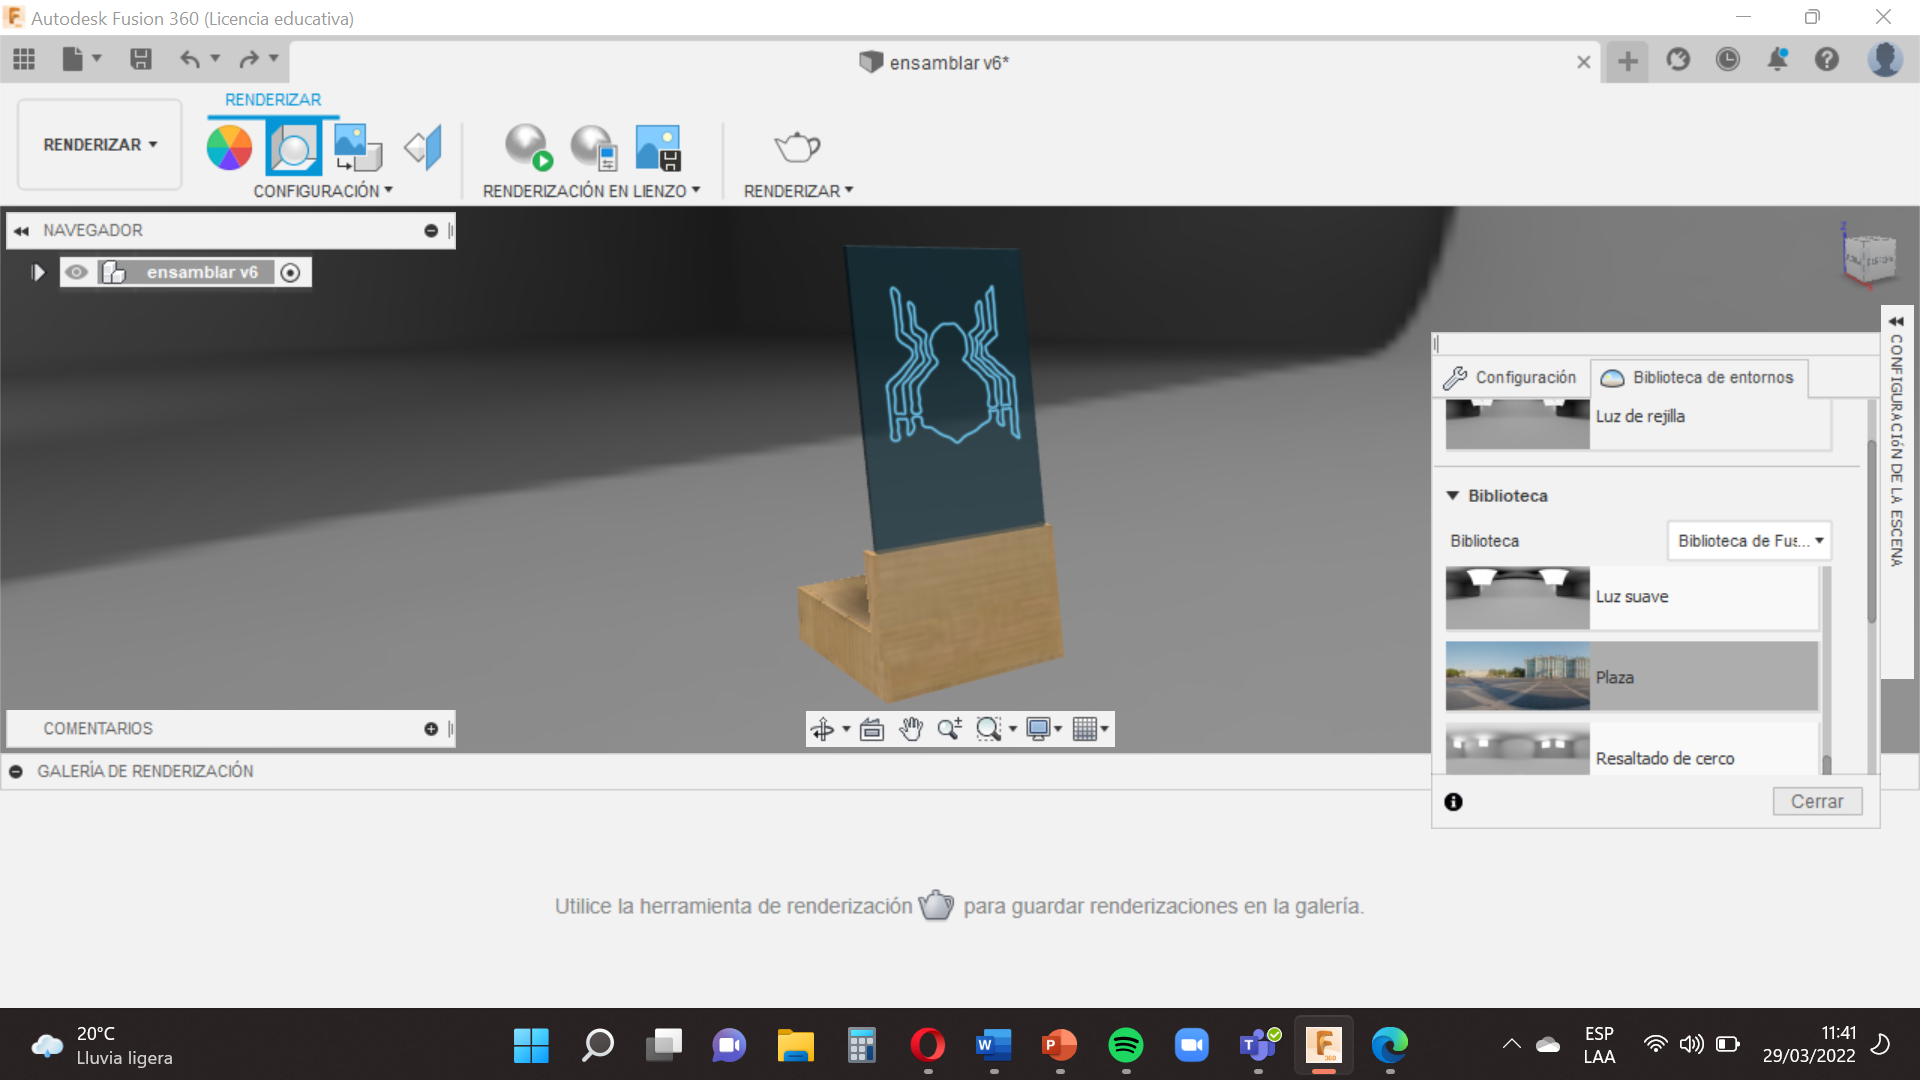
Now we will ´´Configure a Scenario´´ so that we go to the option of ´´Library of Environment´´ and we choose the scenario that we like , in this case we will choose ´´Square´´,so that we have the scenario we drag the option ´´Square´´ towards the environment of our signboard brigh.
soon!
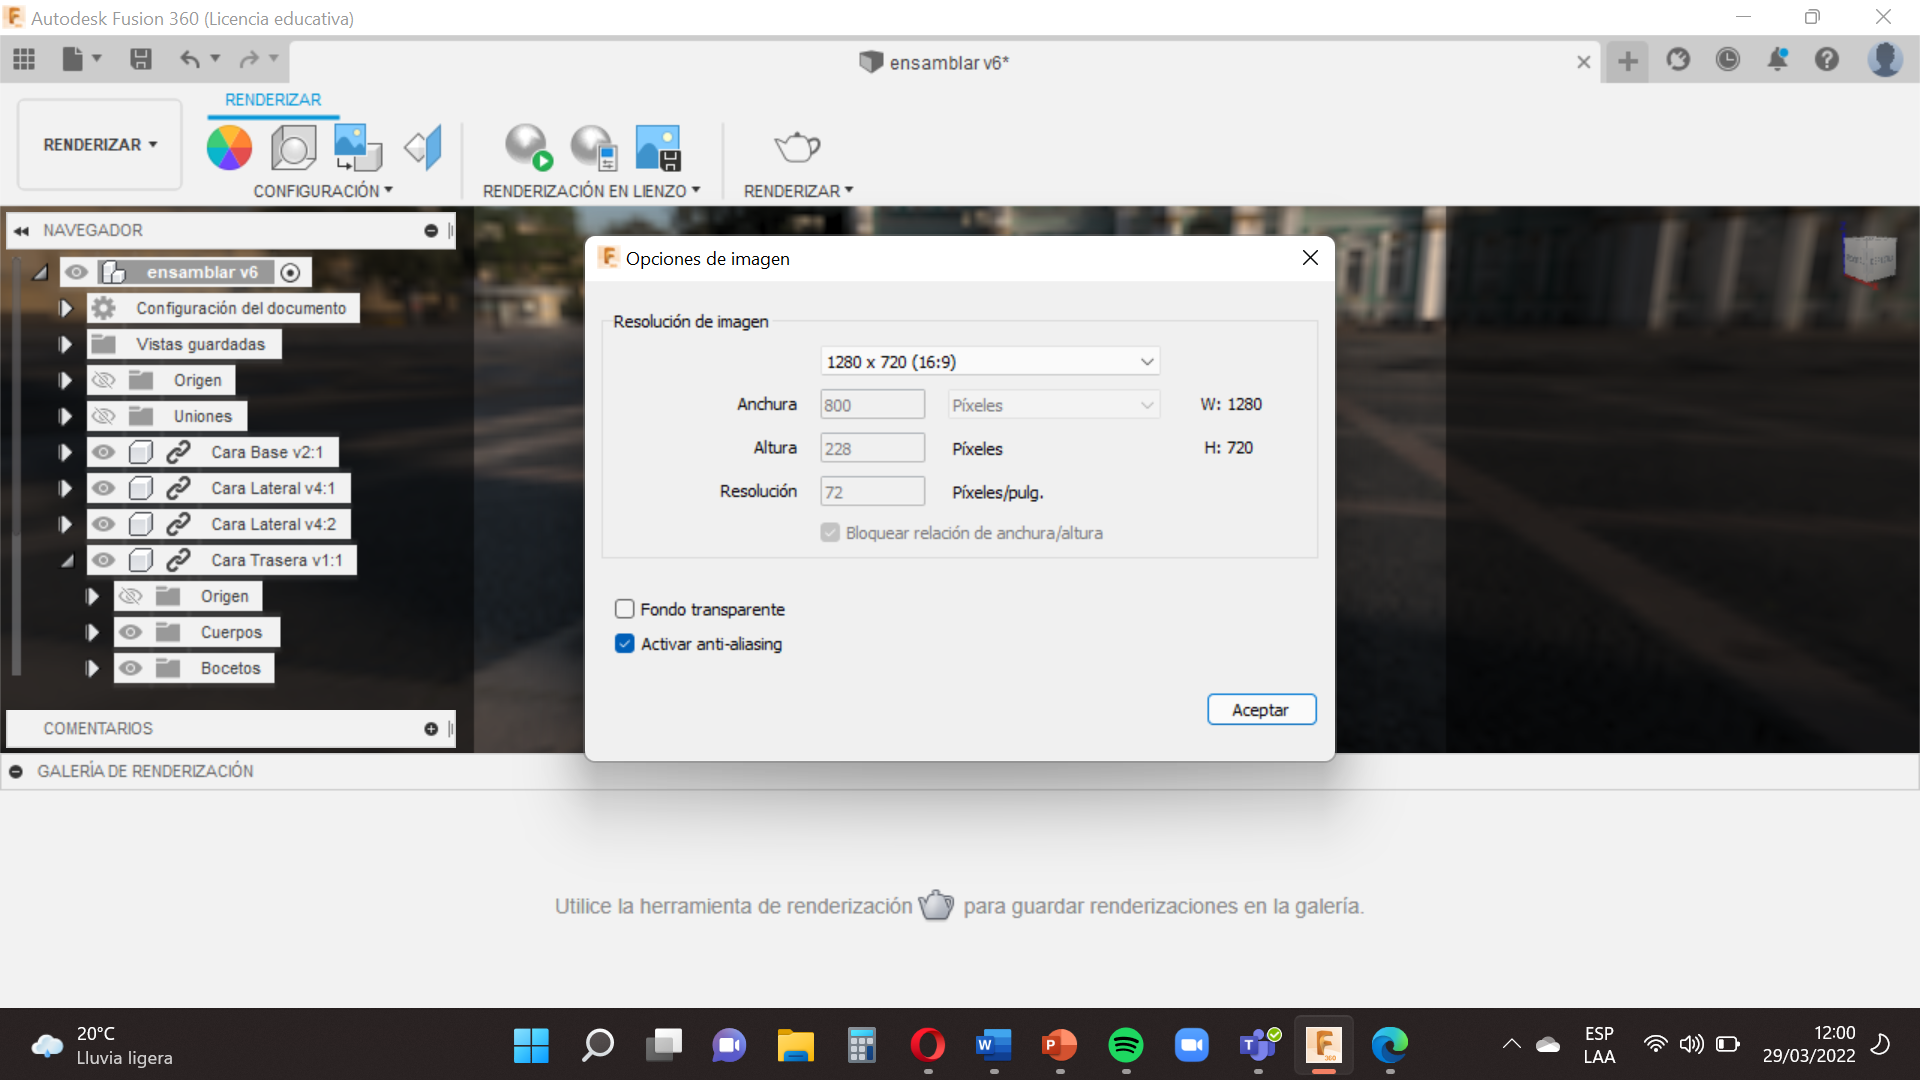
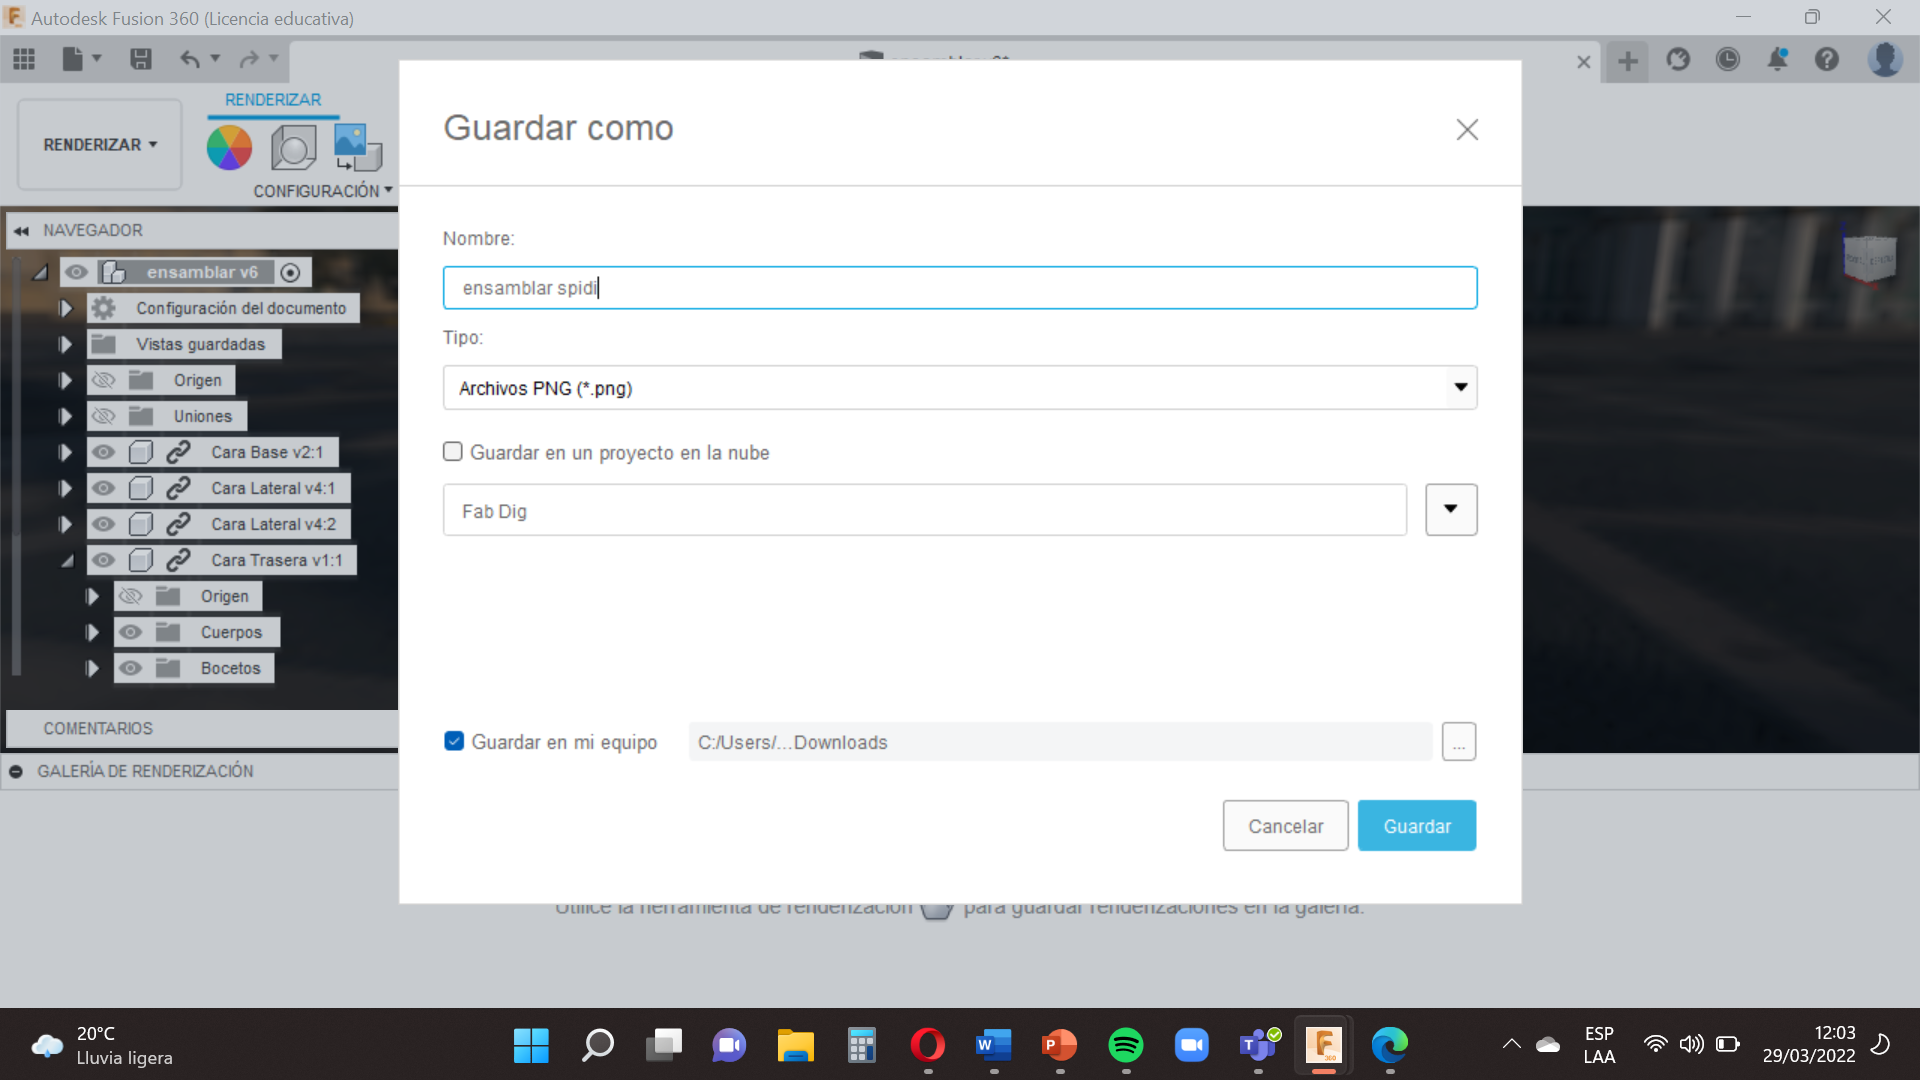
We position in the way we like the signboard bright , and we’re going to the option capture image , the measures of preference (16:9) and we ´´Accept´´ , finally we save it as ´´Assemble spider´´ and ´´Accept´´.
What Next

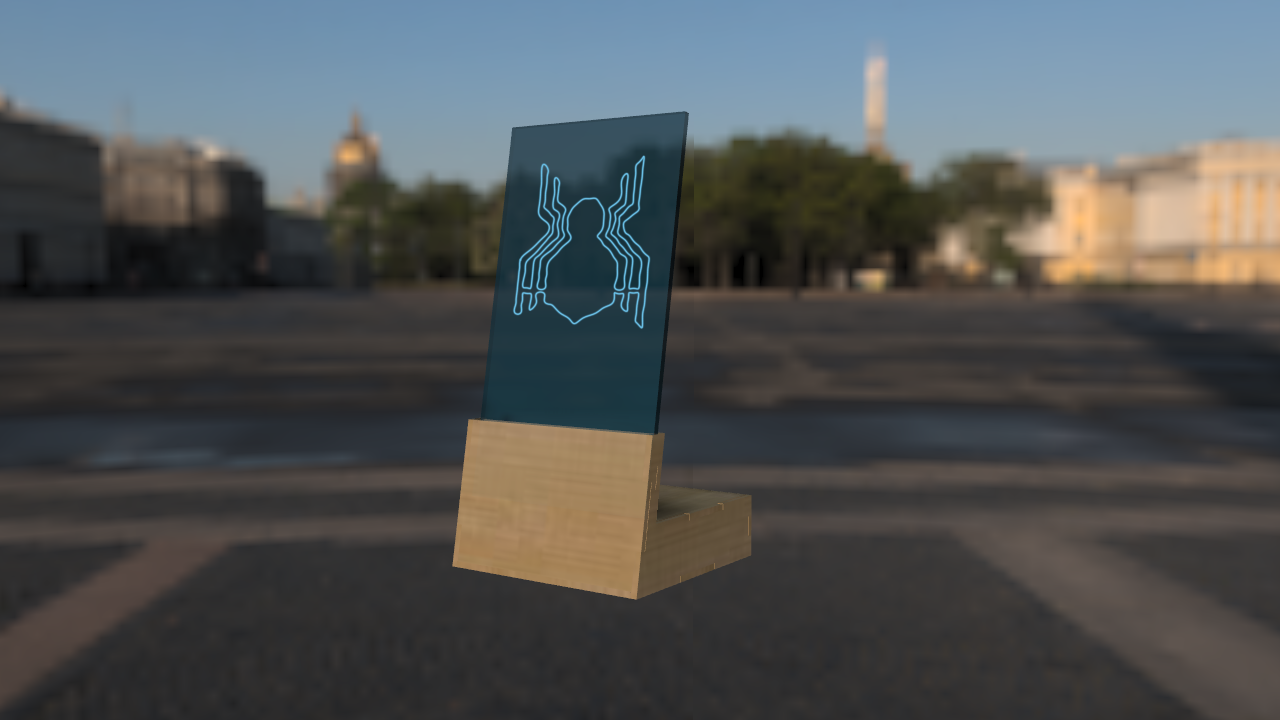
This would all be saved on your computer and we are done with your signboard bright of desktop!!. Good job.
You’ve built the signboard bright! Now that you've learned how Fusion 360 works, try to design your own model so that you do it to the design you like.
Looking forward to seeing you guys again ! If you have any doubts and need clarifications, feel free to reach out in the comments here or in my DM.
Until the next!, Ciao!!