Sigfox Doorbell Posting Message on Slack
by luisomoreau in Circuits > Arduino
3134 Views, 11 Favorites, 0 Comments
Sigfox Doorbell Posting Message on Slack

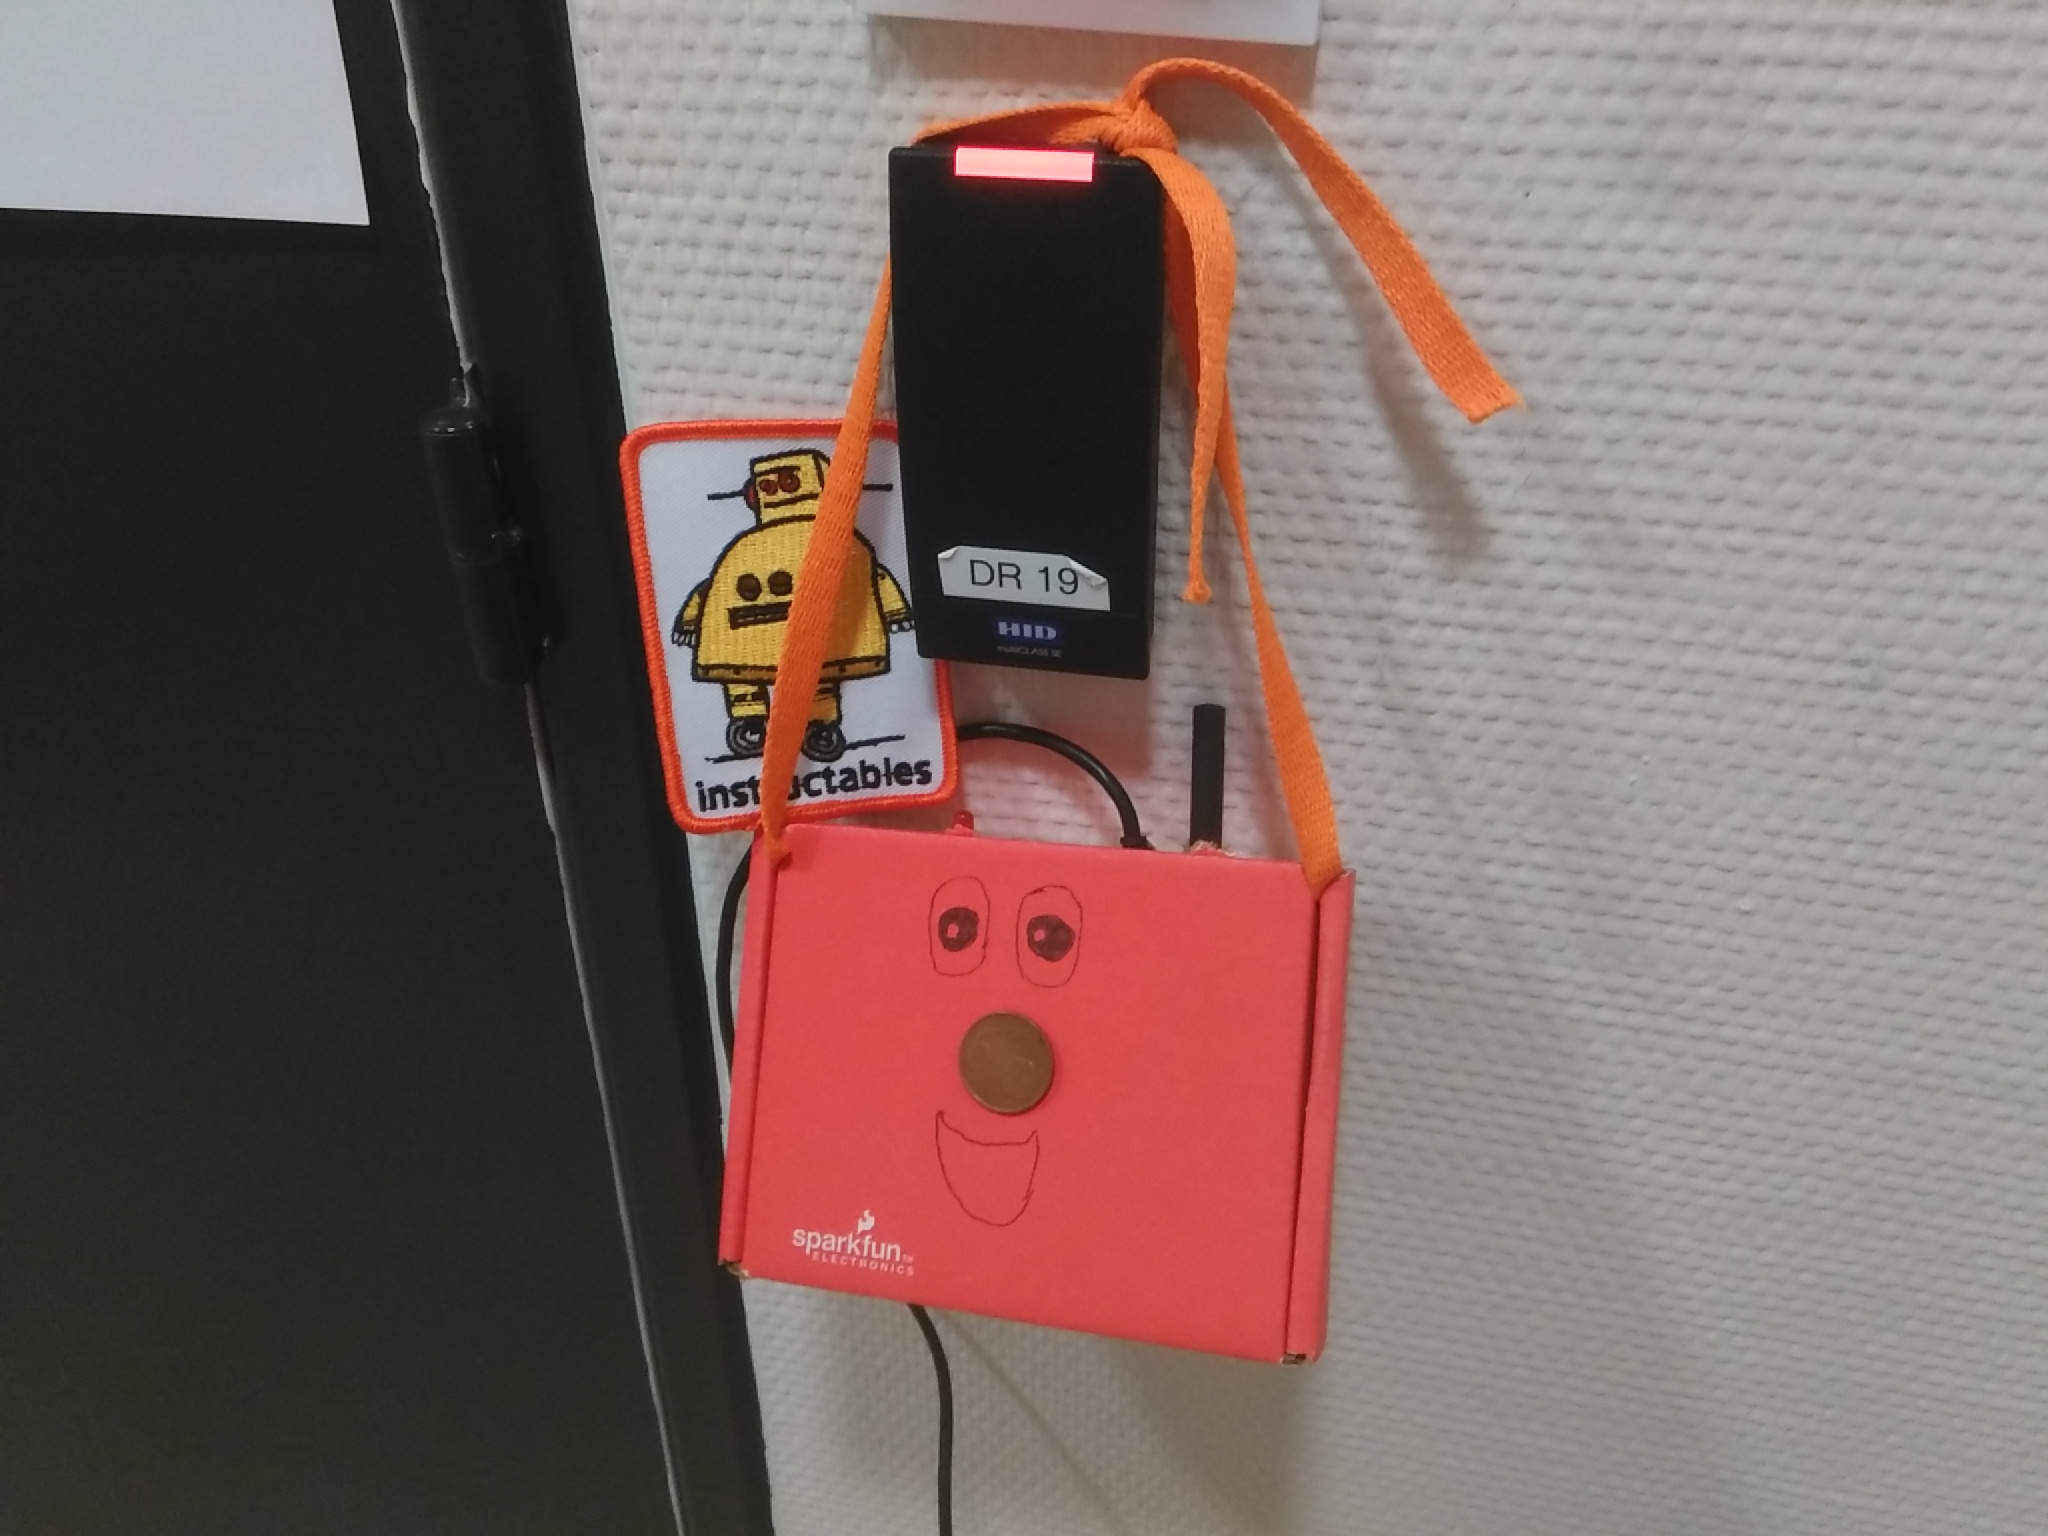
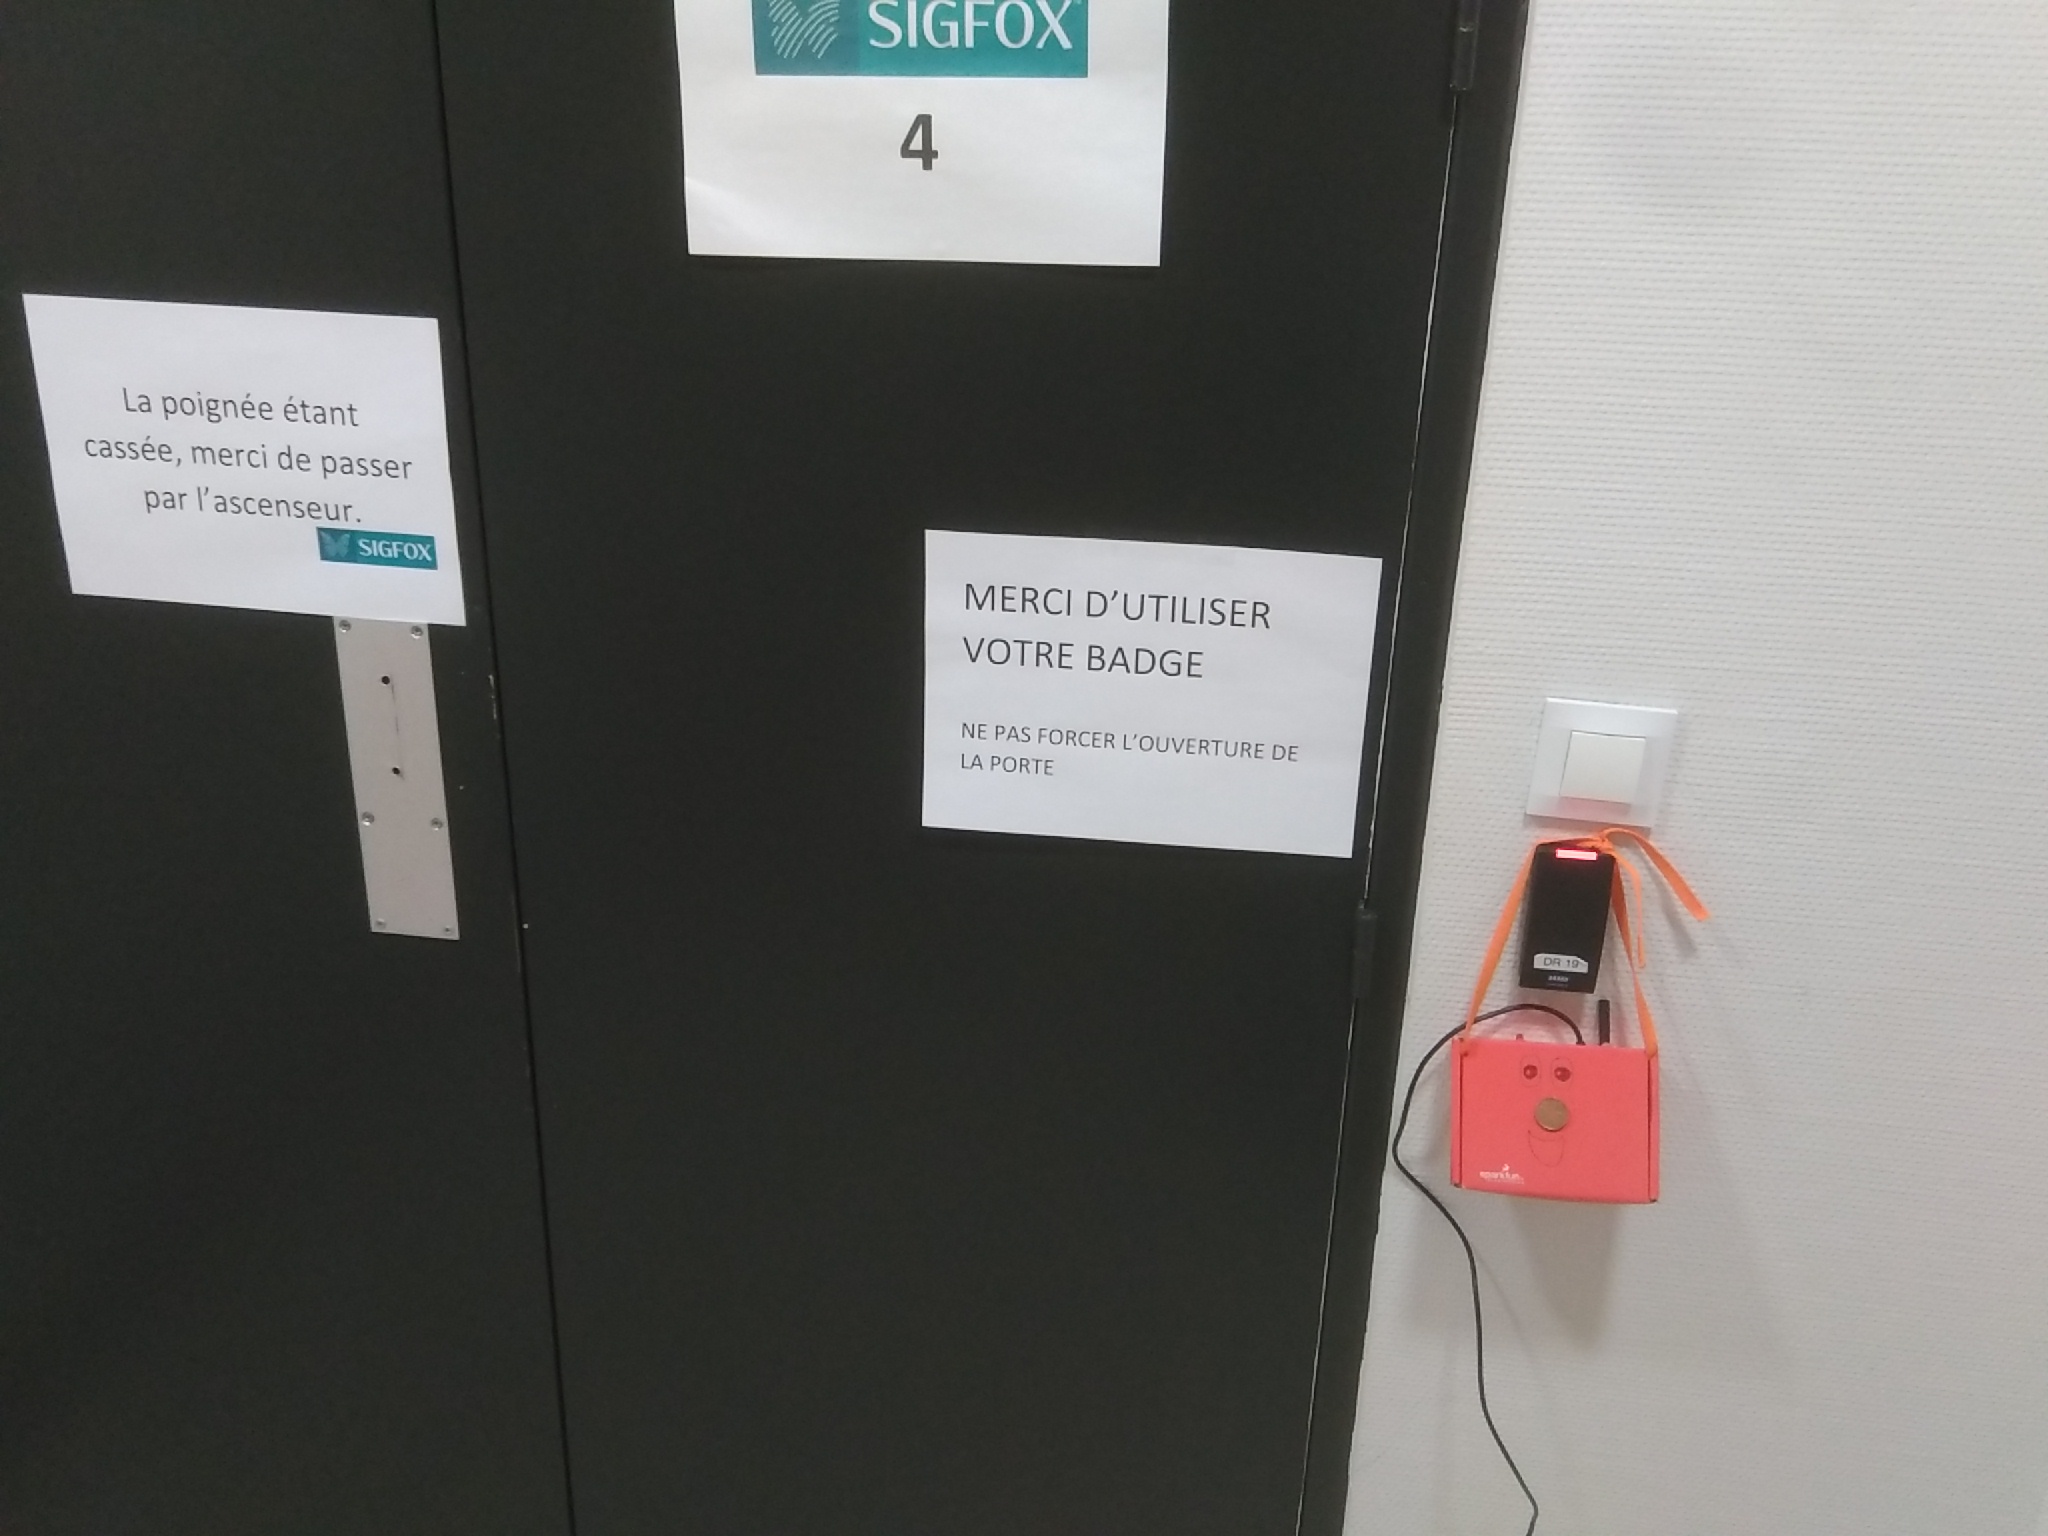
It all came from a challenge made by Nicolas Lesconnec on Twitter to add Sigfox connectivity to Konstantin Dimitrov's great project: Arduino Capacitive Sensor In less Than 2 Minutes.
So, I decided to give it a go!
But it is useless to just add connectivity to a project. Hopefully (or not) our door broke yesterday on the 4th floor, thus, I decided to make a doorbell that posts a message on Slack.
The base of the project is the same than the Arduino Capacitive Sensor In Less Than 2 Minutes, I just changed from an Arduino to an Akeru board, which has the same Atmega processor but has the Sigfox module included.
Hardware
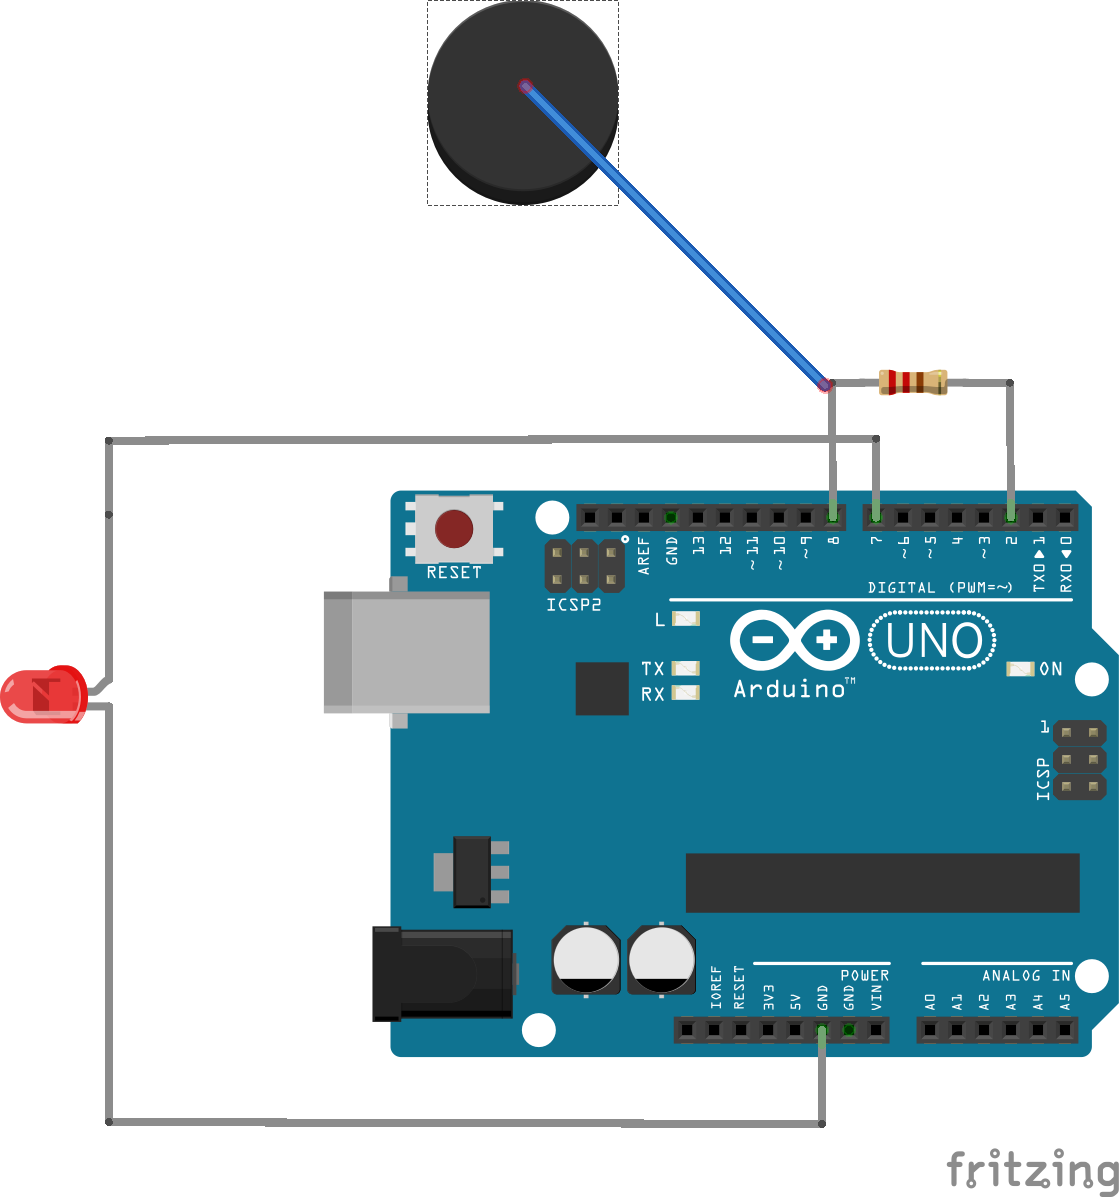
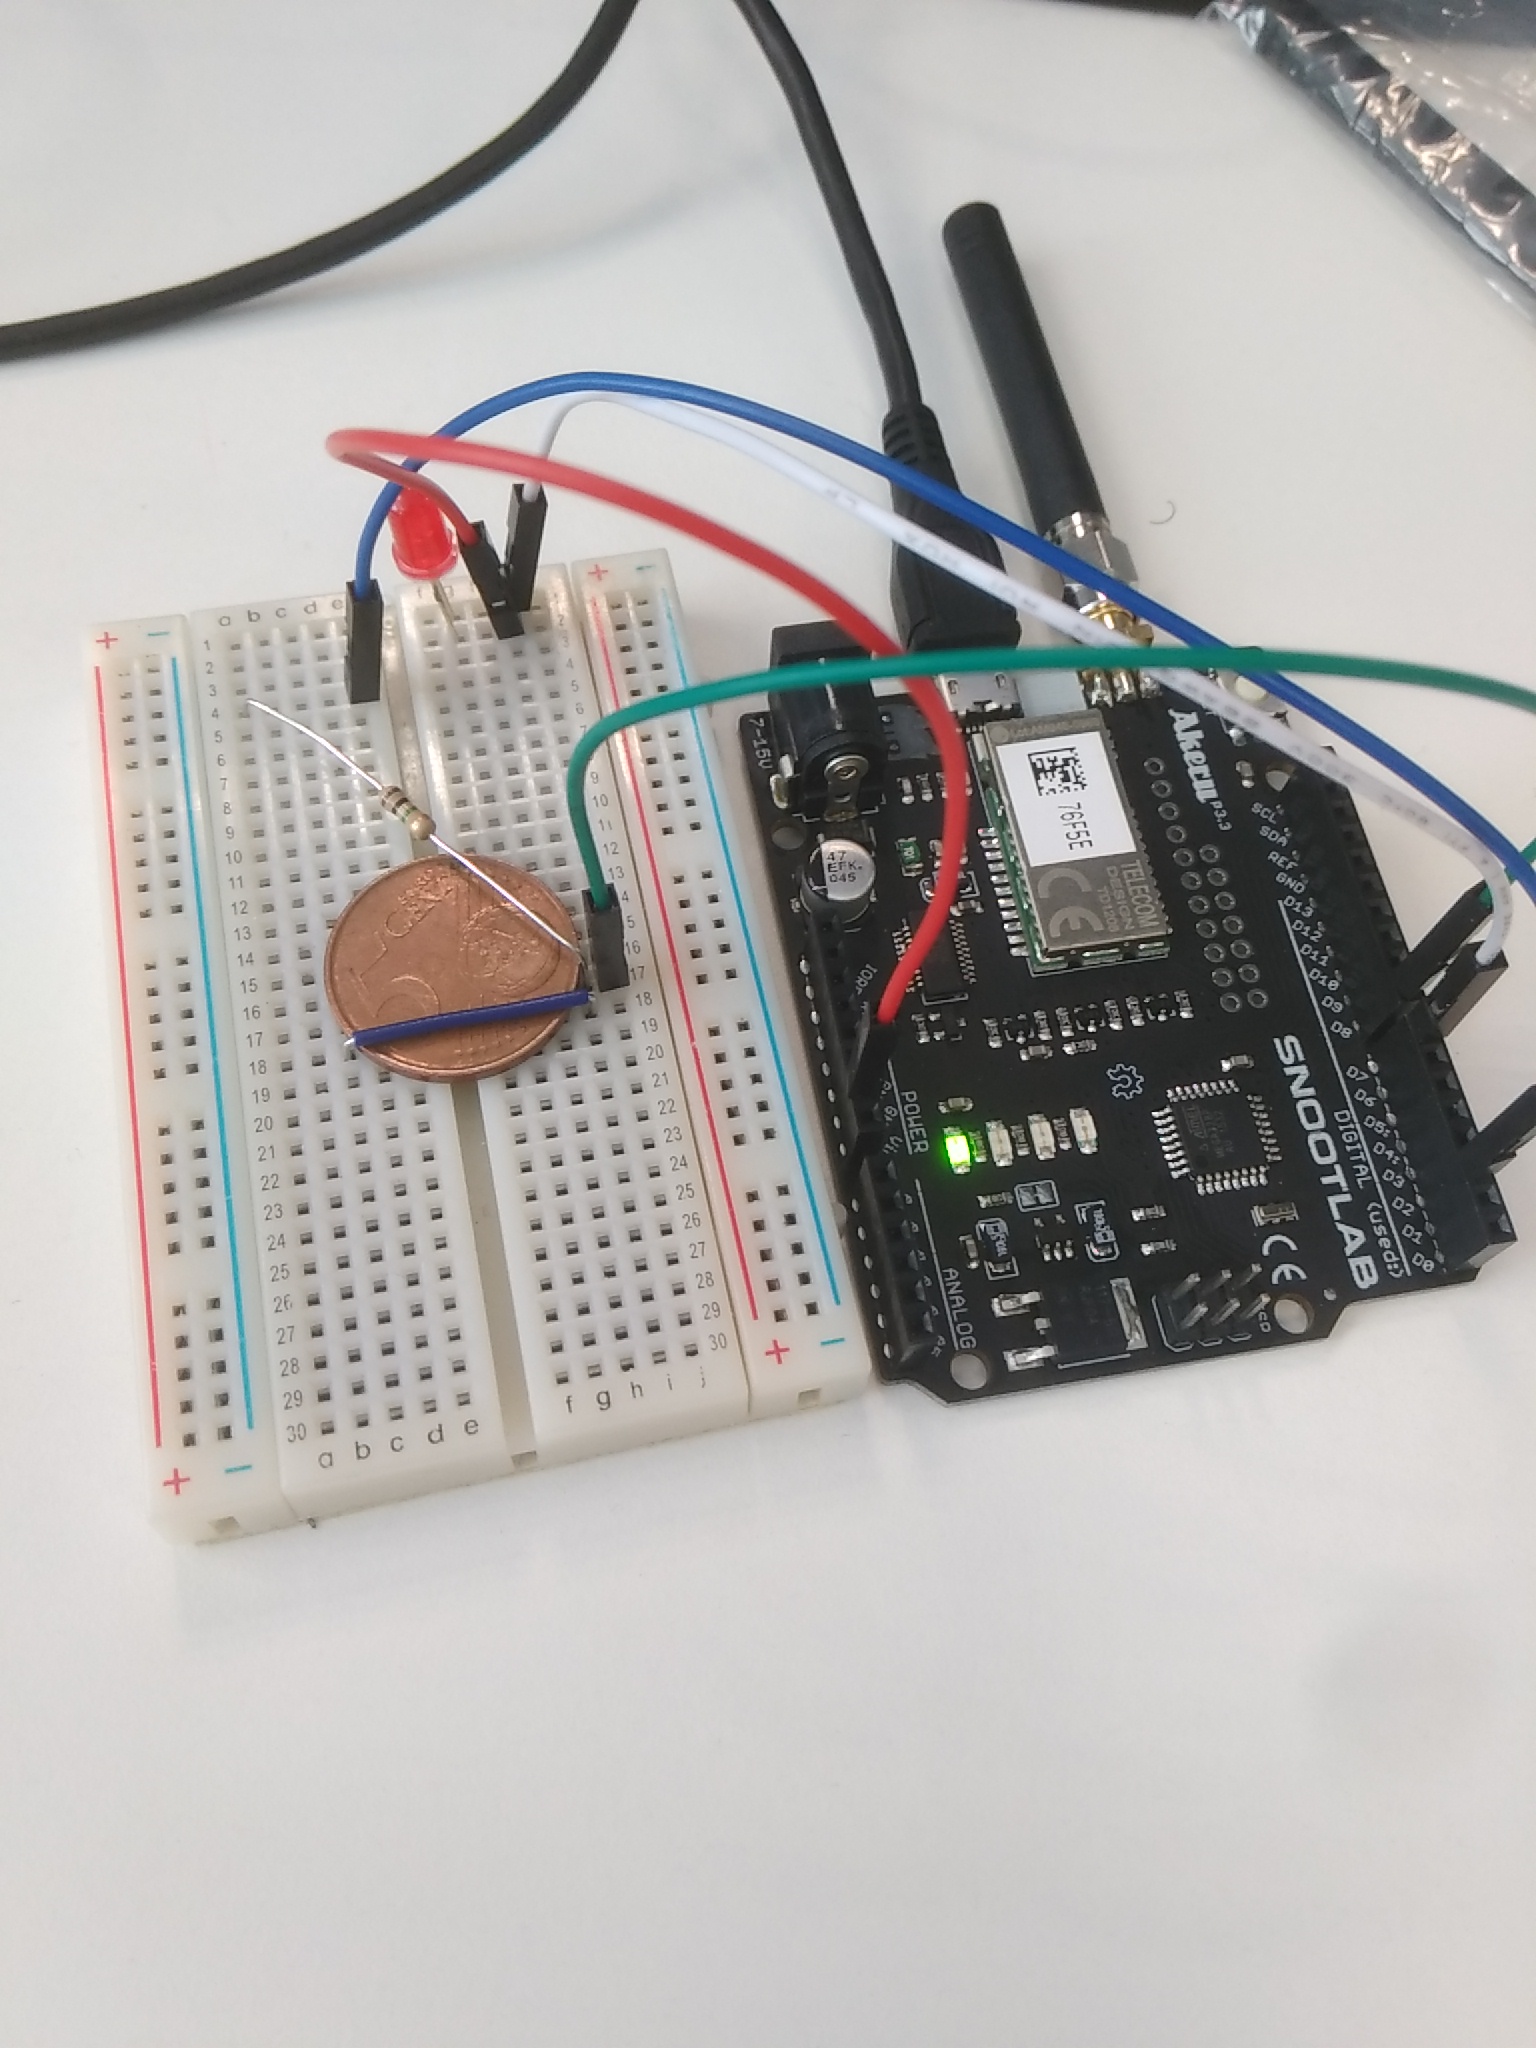
You just need:
1 x Akeru board
1 x 1M resistor
1 x Coin (or any conductive material)
1 x LED
4 x Jumpers
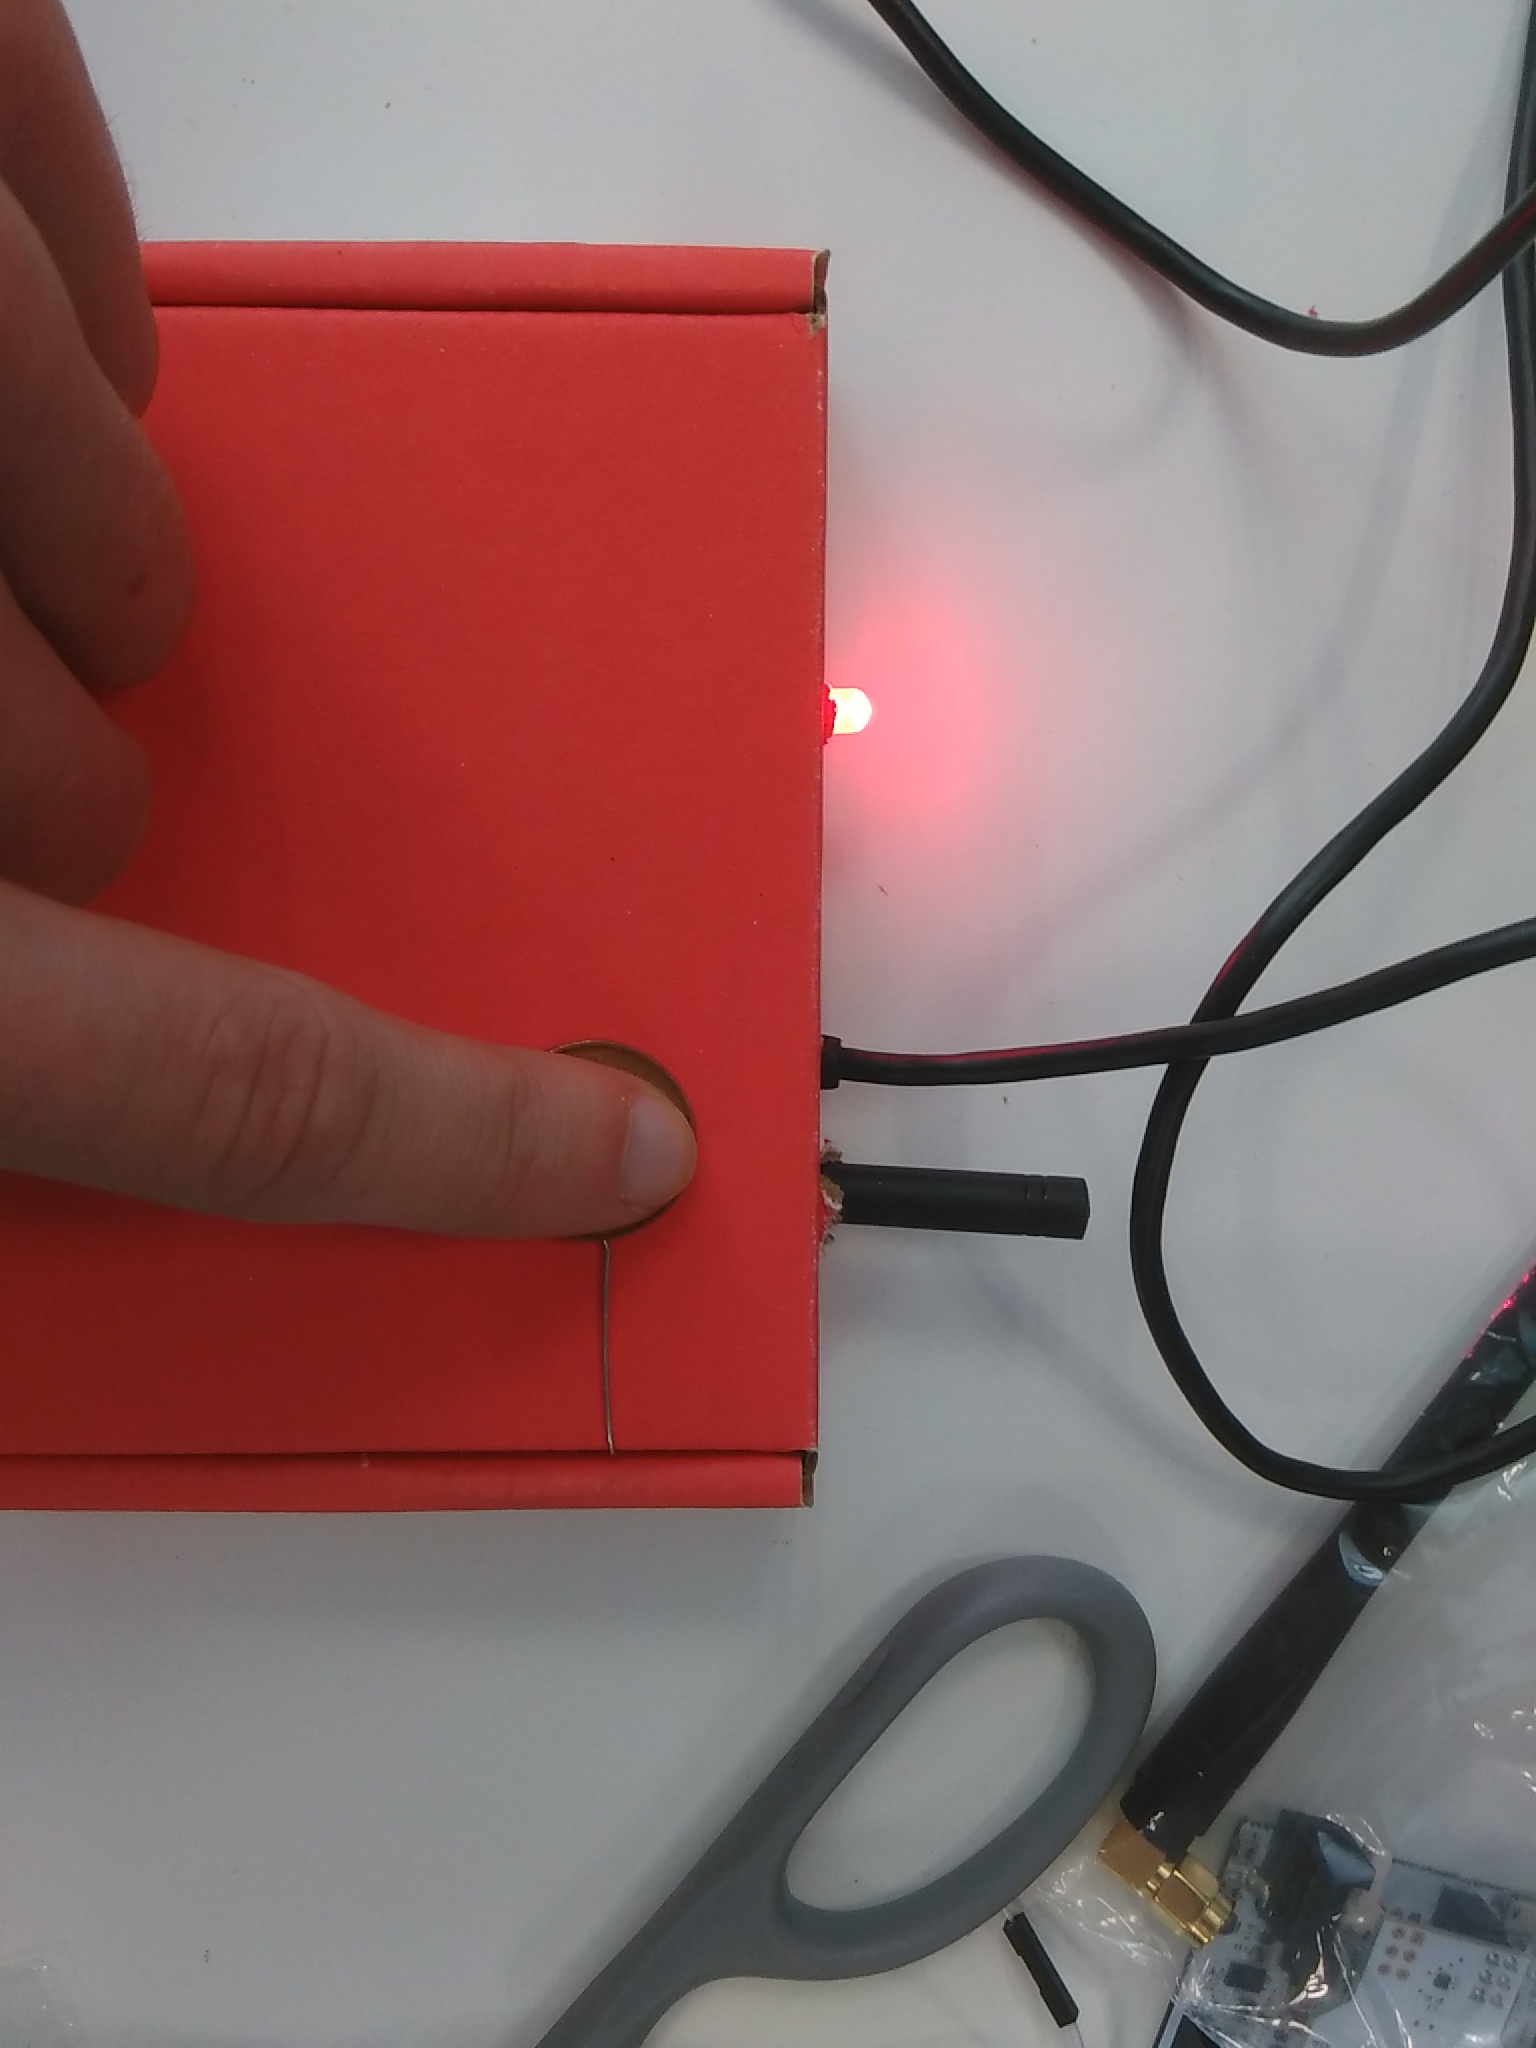
1 x Cardboard box (I used a Sparkfun Kit's box)
Just plug the 1M resistor between the D2 and D8 pins
Arduino Code
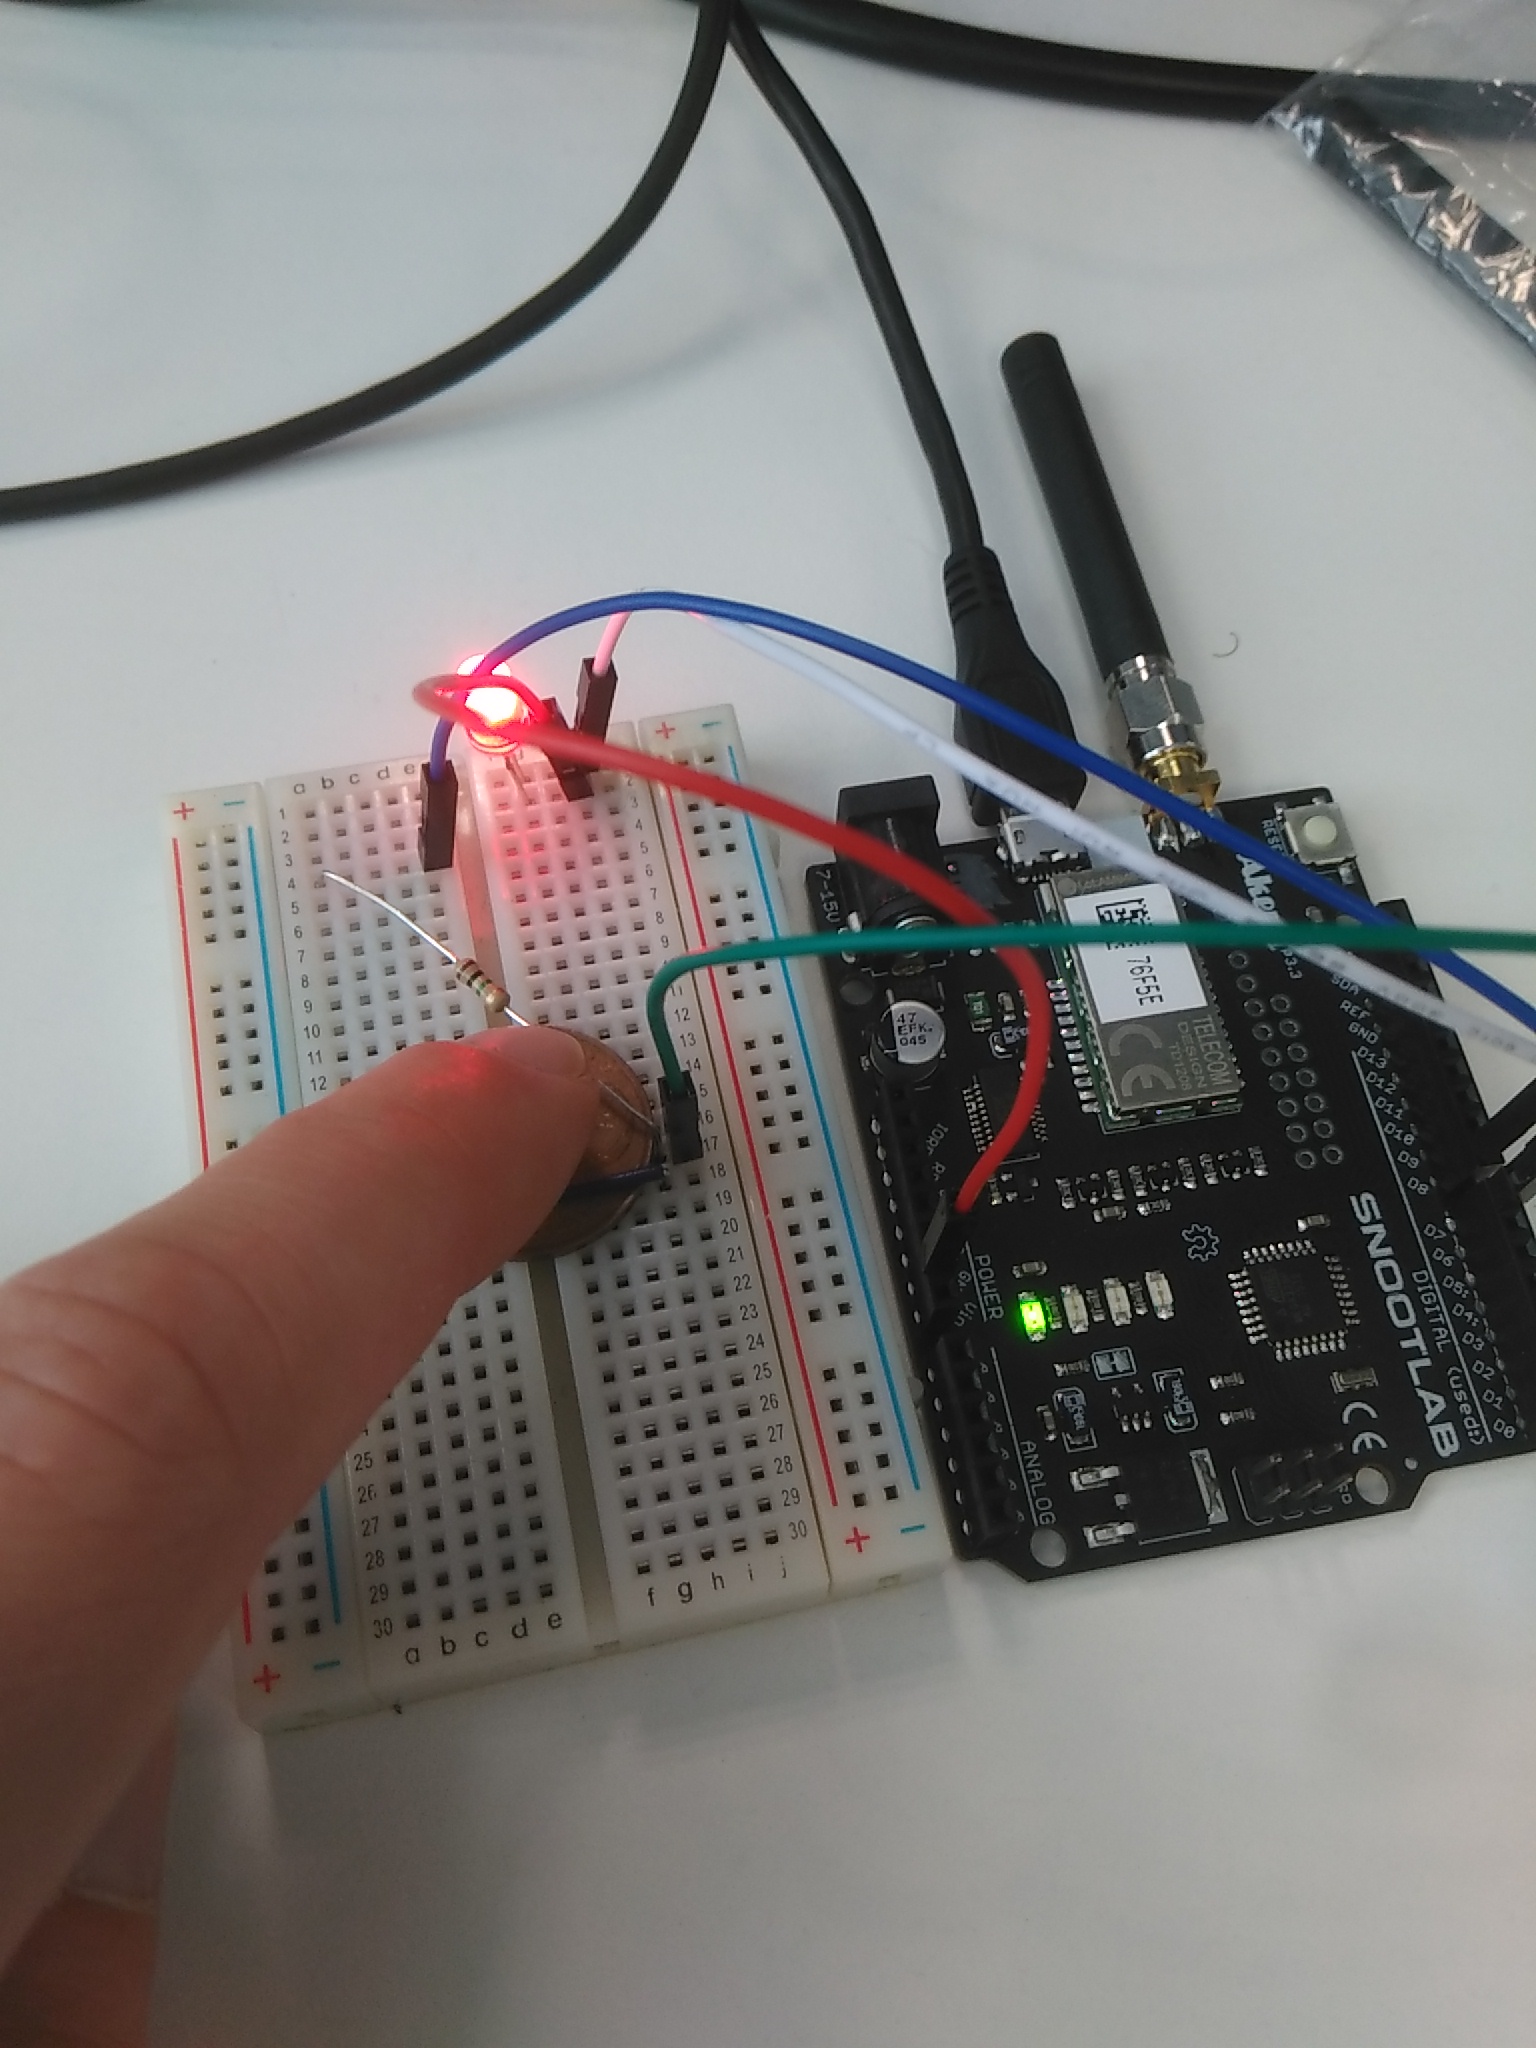
First, you need to download the following library and import them under the Arduino's library repository:
Now create a new sketch and copy/past or clone the code:
https://github.com/luisomoreau/sigfox_doorbell
#include <Akeru.h>
#include <CapacitiveSensor.h>

// TD1208 Sigfox module IO definition
/*   Snootlab device | TX | RX
               Akeru | D4 | D5
               Akene | D5 | D4
            Breakout | your pick */
#define TX 4
#define RX 5

// Sigfox instance management
Akeru akeru(RX, TX);


//Capacitive sensor
CapacitiveSensor   cs = CapacitiveSensor(2,8); // 1M resistor between pins 2 & 8, pin 8 is sensor pin, add a wire and or foil


//Global variable
bool flag = true;

void setup()
{
   cs.set_CS_AutocaL_Millis(0xFFFFFFFF);// turn off autocalibrate on channel 1 - just as an example
   //Serial.begin(9600);

   pinMode(7,OUTPUT);

   //Serial.println("Starting...");

   if (!akeru.begin())
  {
    //Serial.println("TD1208 KO");
    while(1);
  }else{
    //Serial.println("Ready!!");
  }
}

void loop()
{
   long sensor =  cs.capacitiveSensor(50);

   //Serial.println(sensor1);  // print sensor output
   if(sensor >= 1000)
   {
    digitalWrite(7,HIGH);
    if(flag){
      sendMessage();
    }
    }
   else{
    digitalWrite(7,LOW);
   }
}

void sendMessage(){
    flag = false;
    //Serial.println("Sending...");
    if (akeru.sendPayload("01"))
    {
      //Serial.println("Message sent !");

    }
    delay(1000);
    flag = true;

}
You can try to run the code, every time the coin is touched, it will trigger a Sigfox message.
Be careful to the duty cycle limit. This depends on your region's regulation.
Learn more on http://makers.sigfox.com/
Connect Sigfox and Slack

Activate your device
If you don't know how to activate your device, I wrote a small tutorial few month ago on http://blog.sigfox.com/activate-dev-kits/
Create a Slack WebHook
In order to post your message on slack, go to your slack's team and create a new incoming WebHook:
https://[your-team].slack.com/apps or search for Incoming WebHook
Click on "Create a new configuration"
Follow the form and copy the given webhook link
Create a Sigfox custom callback
Now go to your device type in Sigfox Backend (https://backend.sigfox.com) and click on Callbacks.
Click on "New"
Past the incoming webhook and add your JSON:
{
"text": "Hey!! Someone is stuck at the door... could anyone open the 4th floor door? thank you :)"
}
Now every time a sigfox message is sent, a message will be post by your Slack bot.
Challenge Accepted
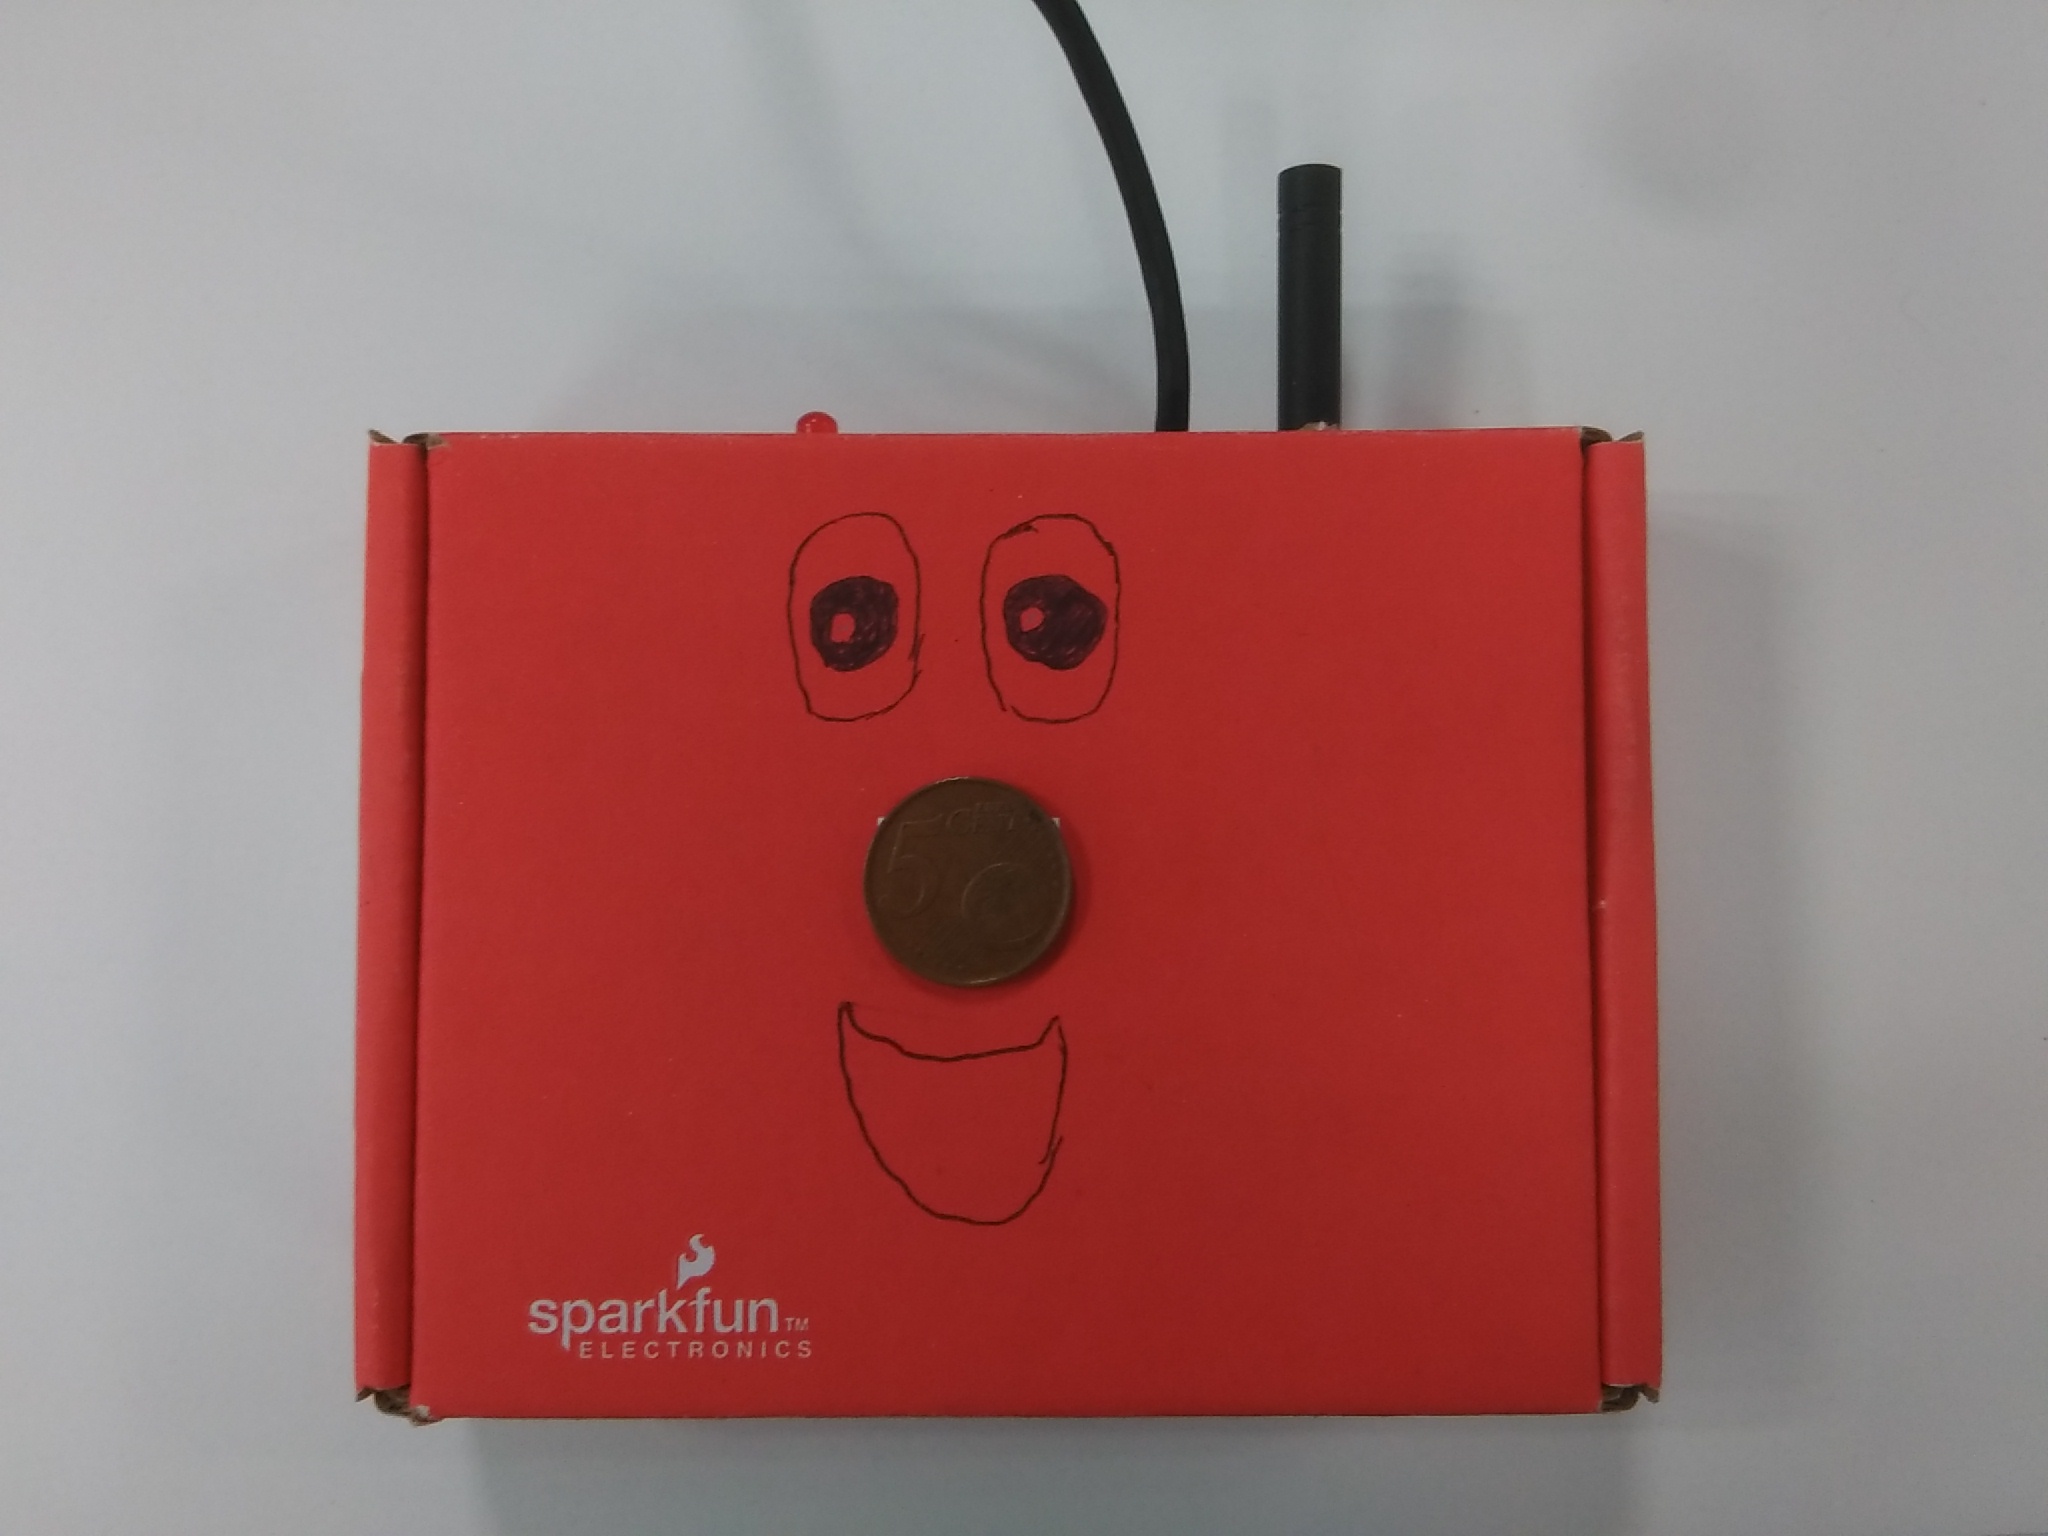
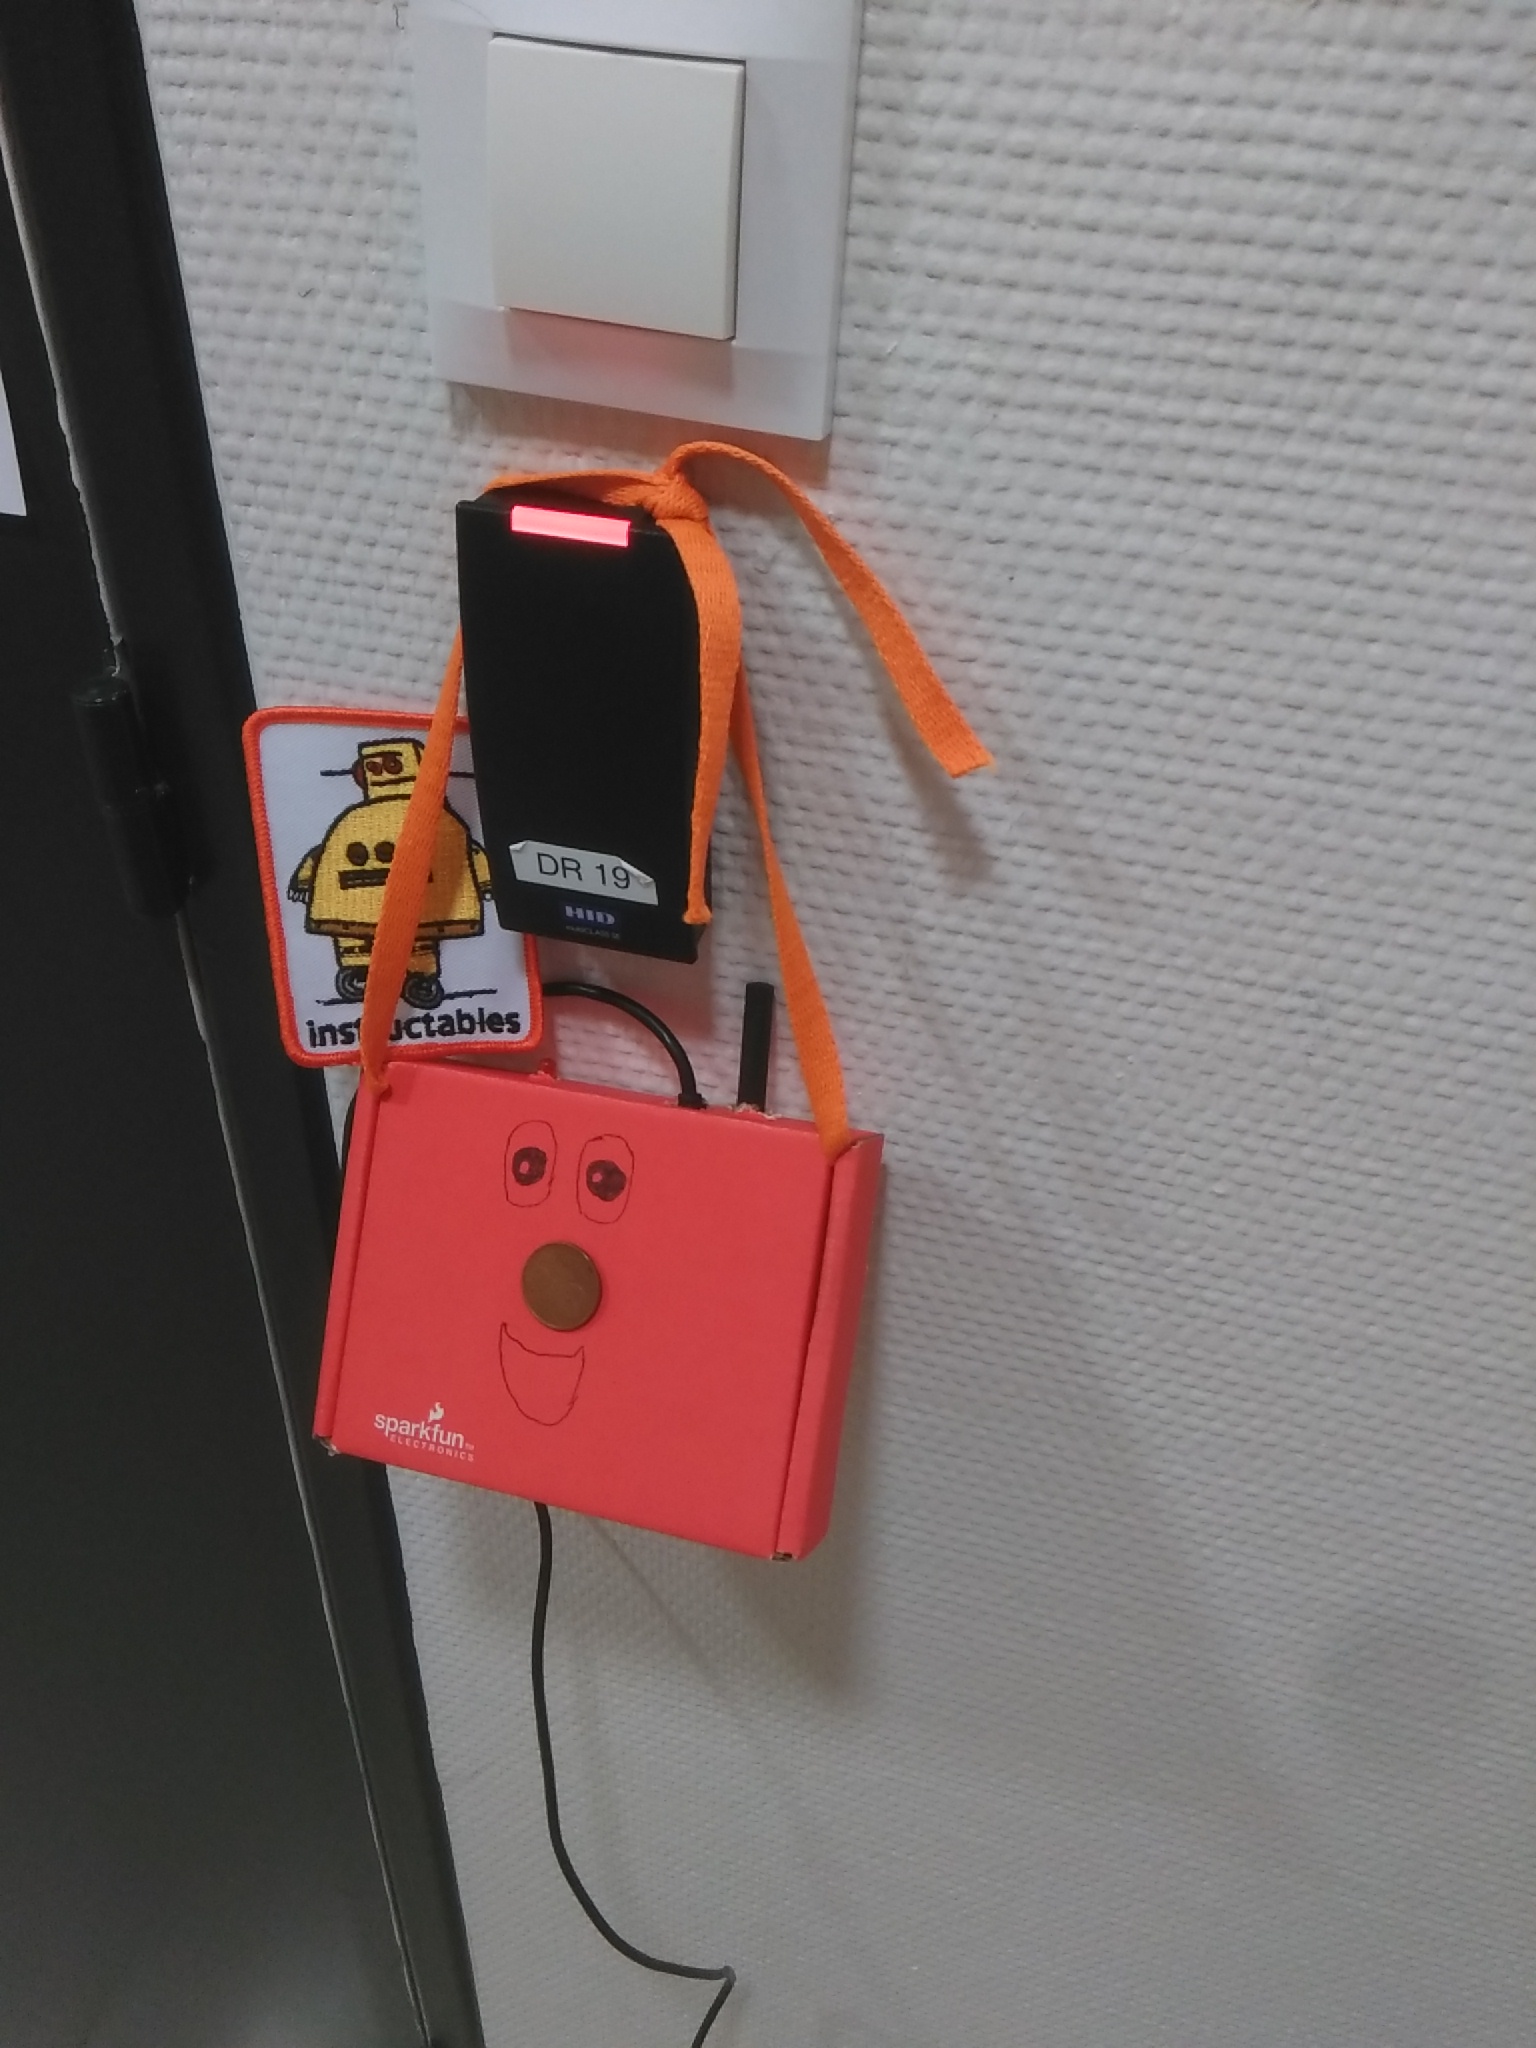
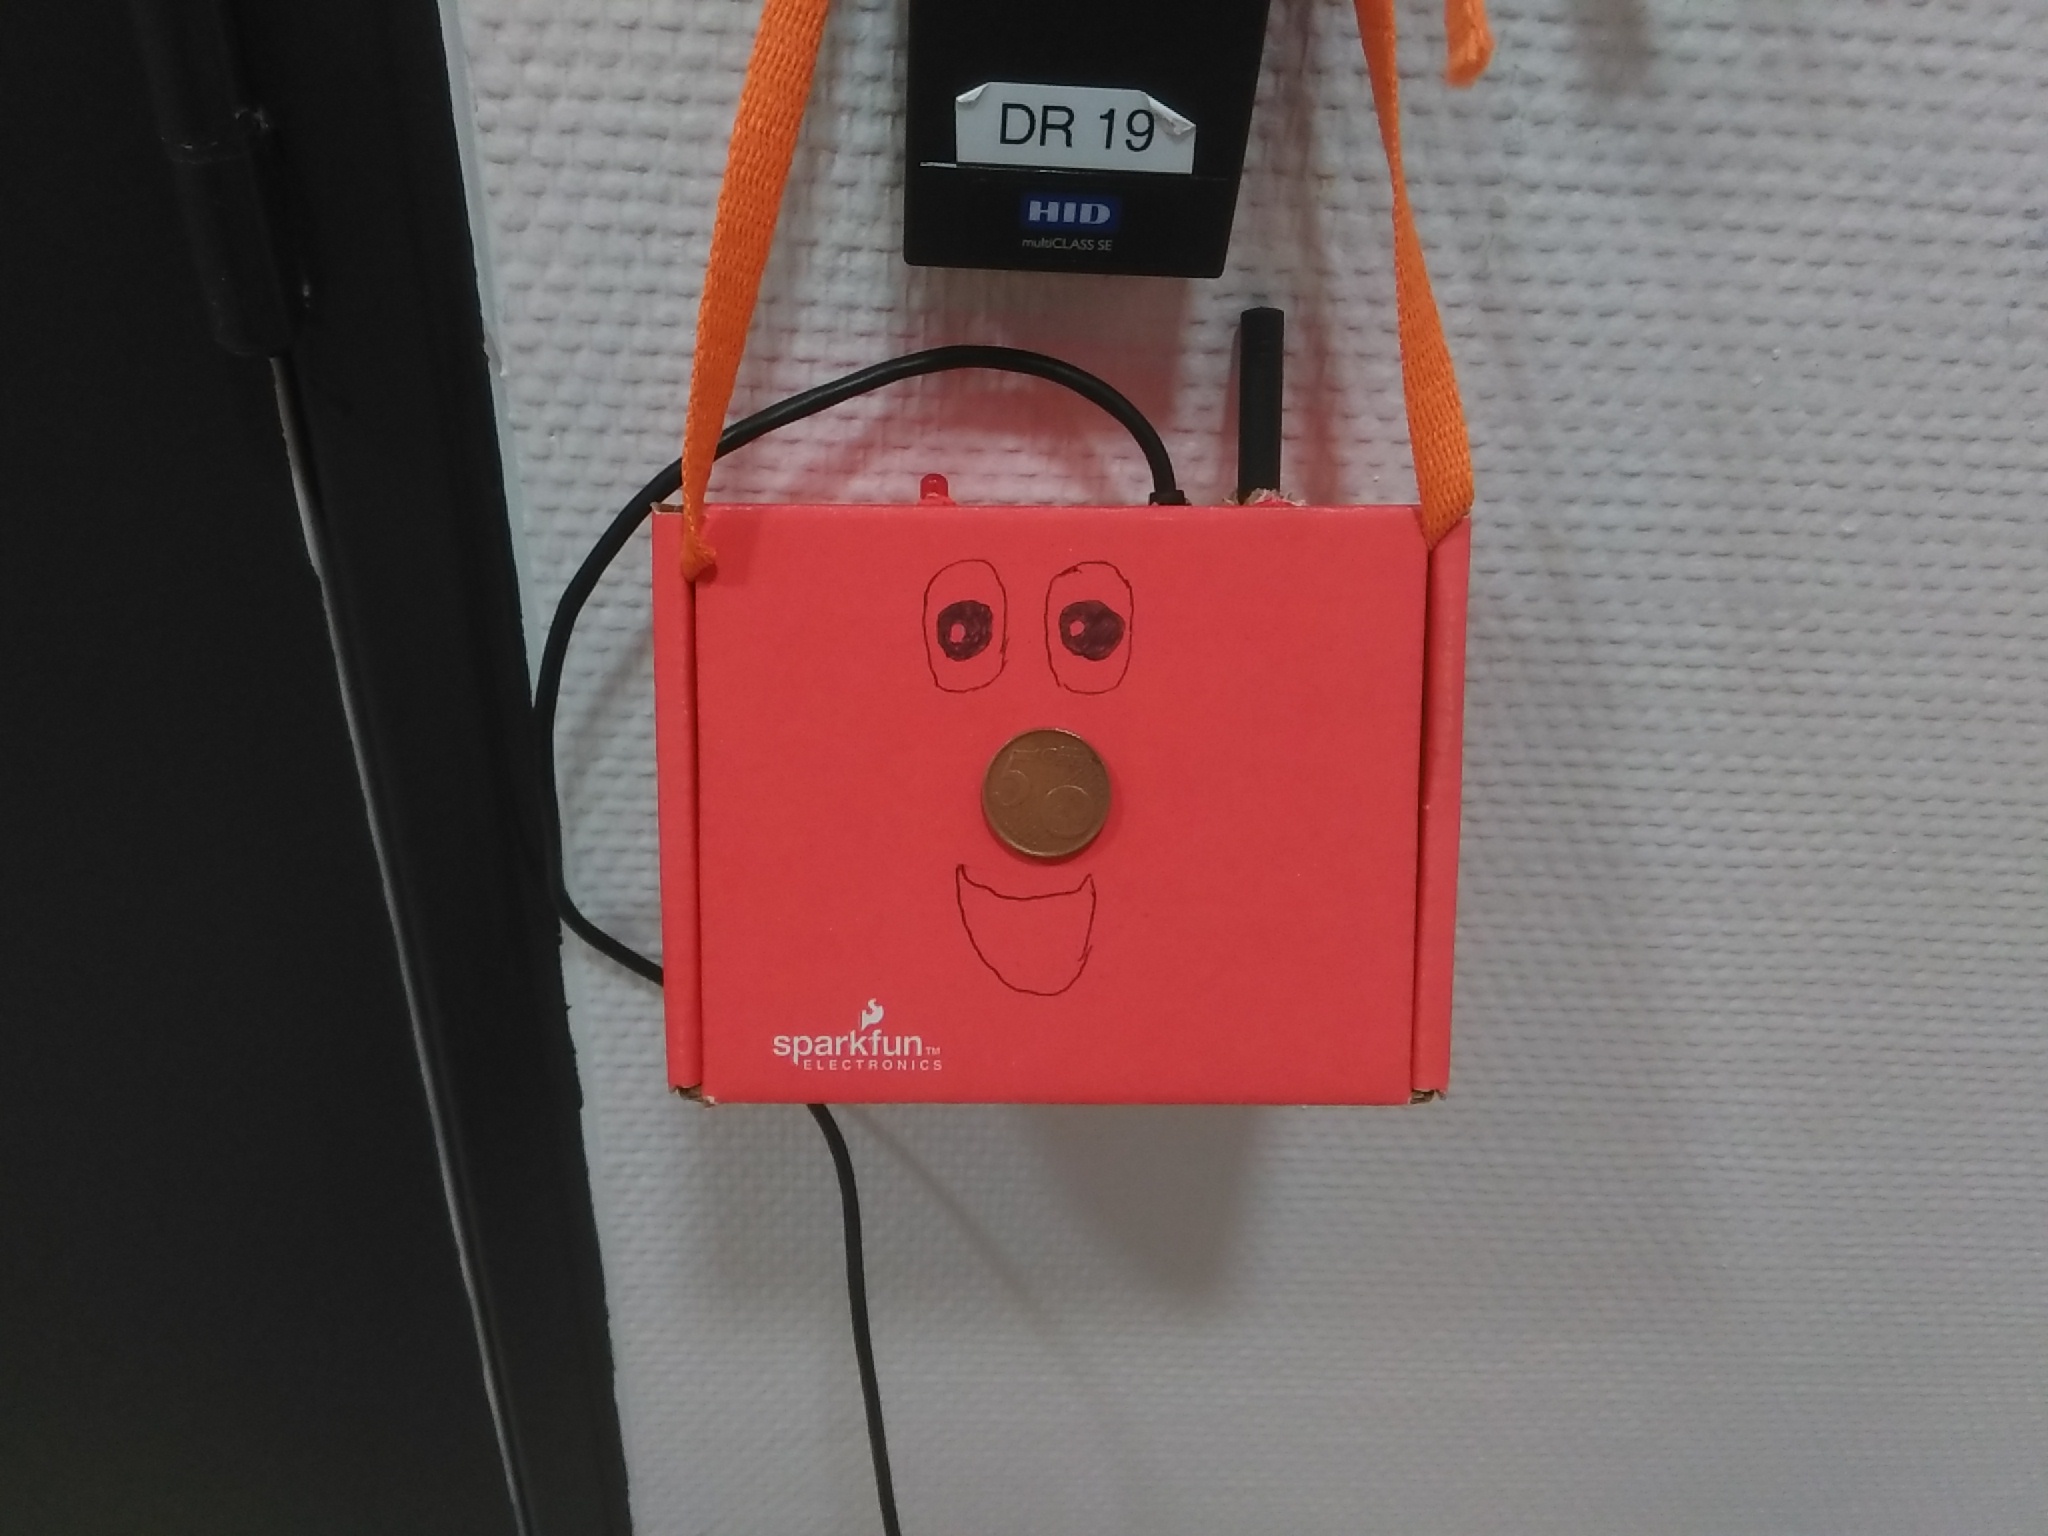
I would be glad to answer your question.
Thank you for your attention.