Shutter Organizer With Chalk Board
by vtellez98 in Workshop > Organizing
2649 Views, 39 Favorites, 0 Comments
Shutter Organizer With Chalk Board
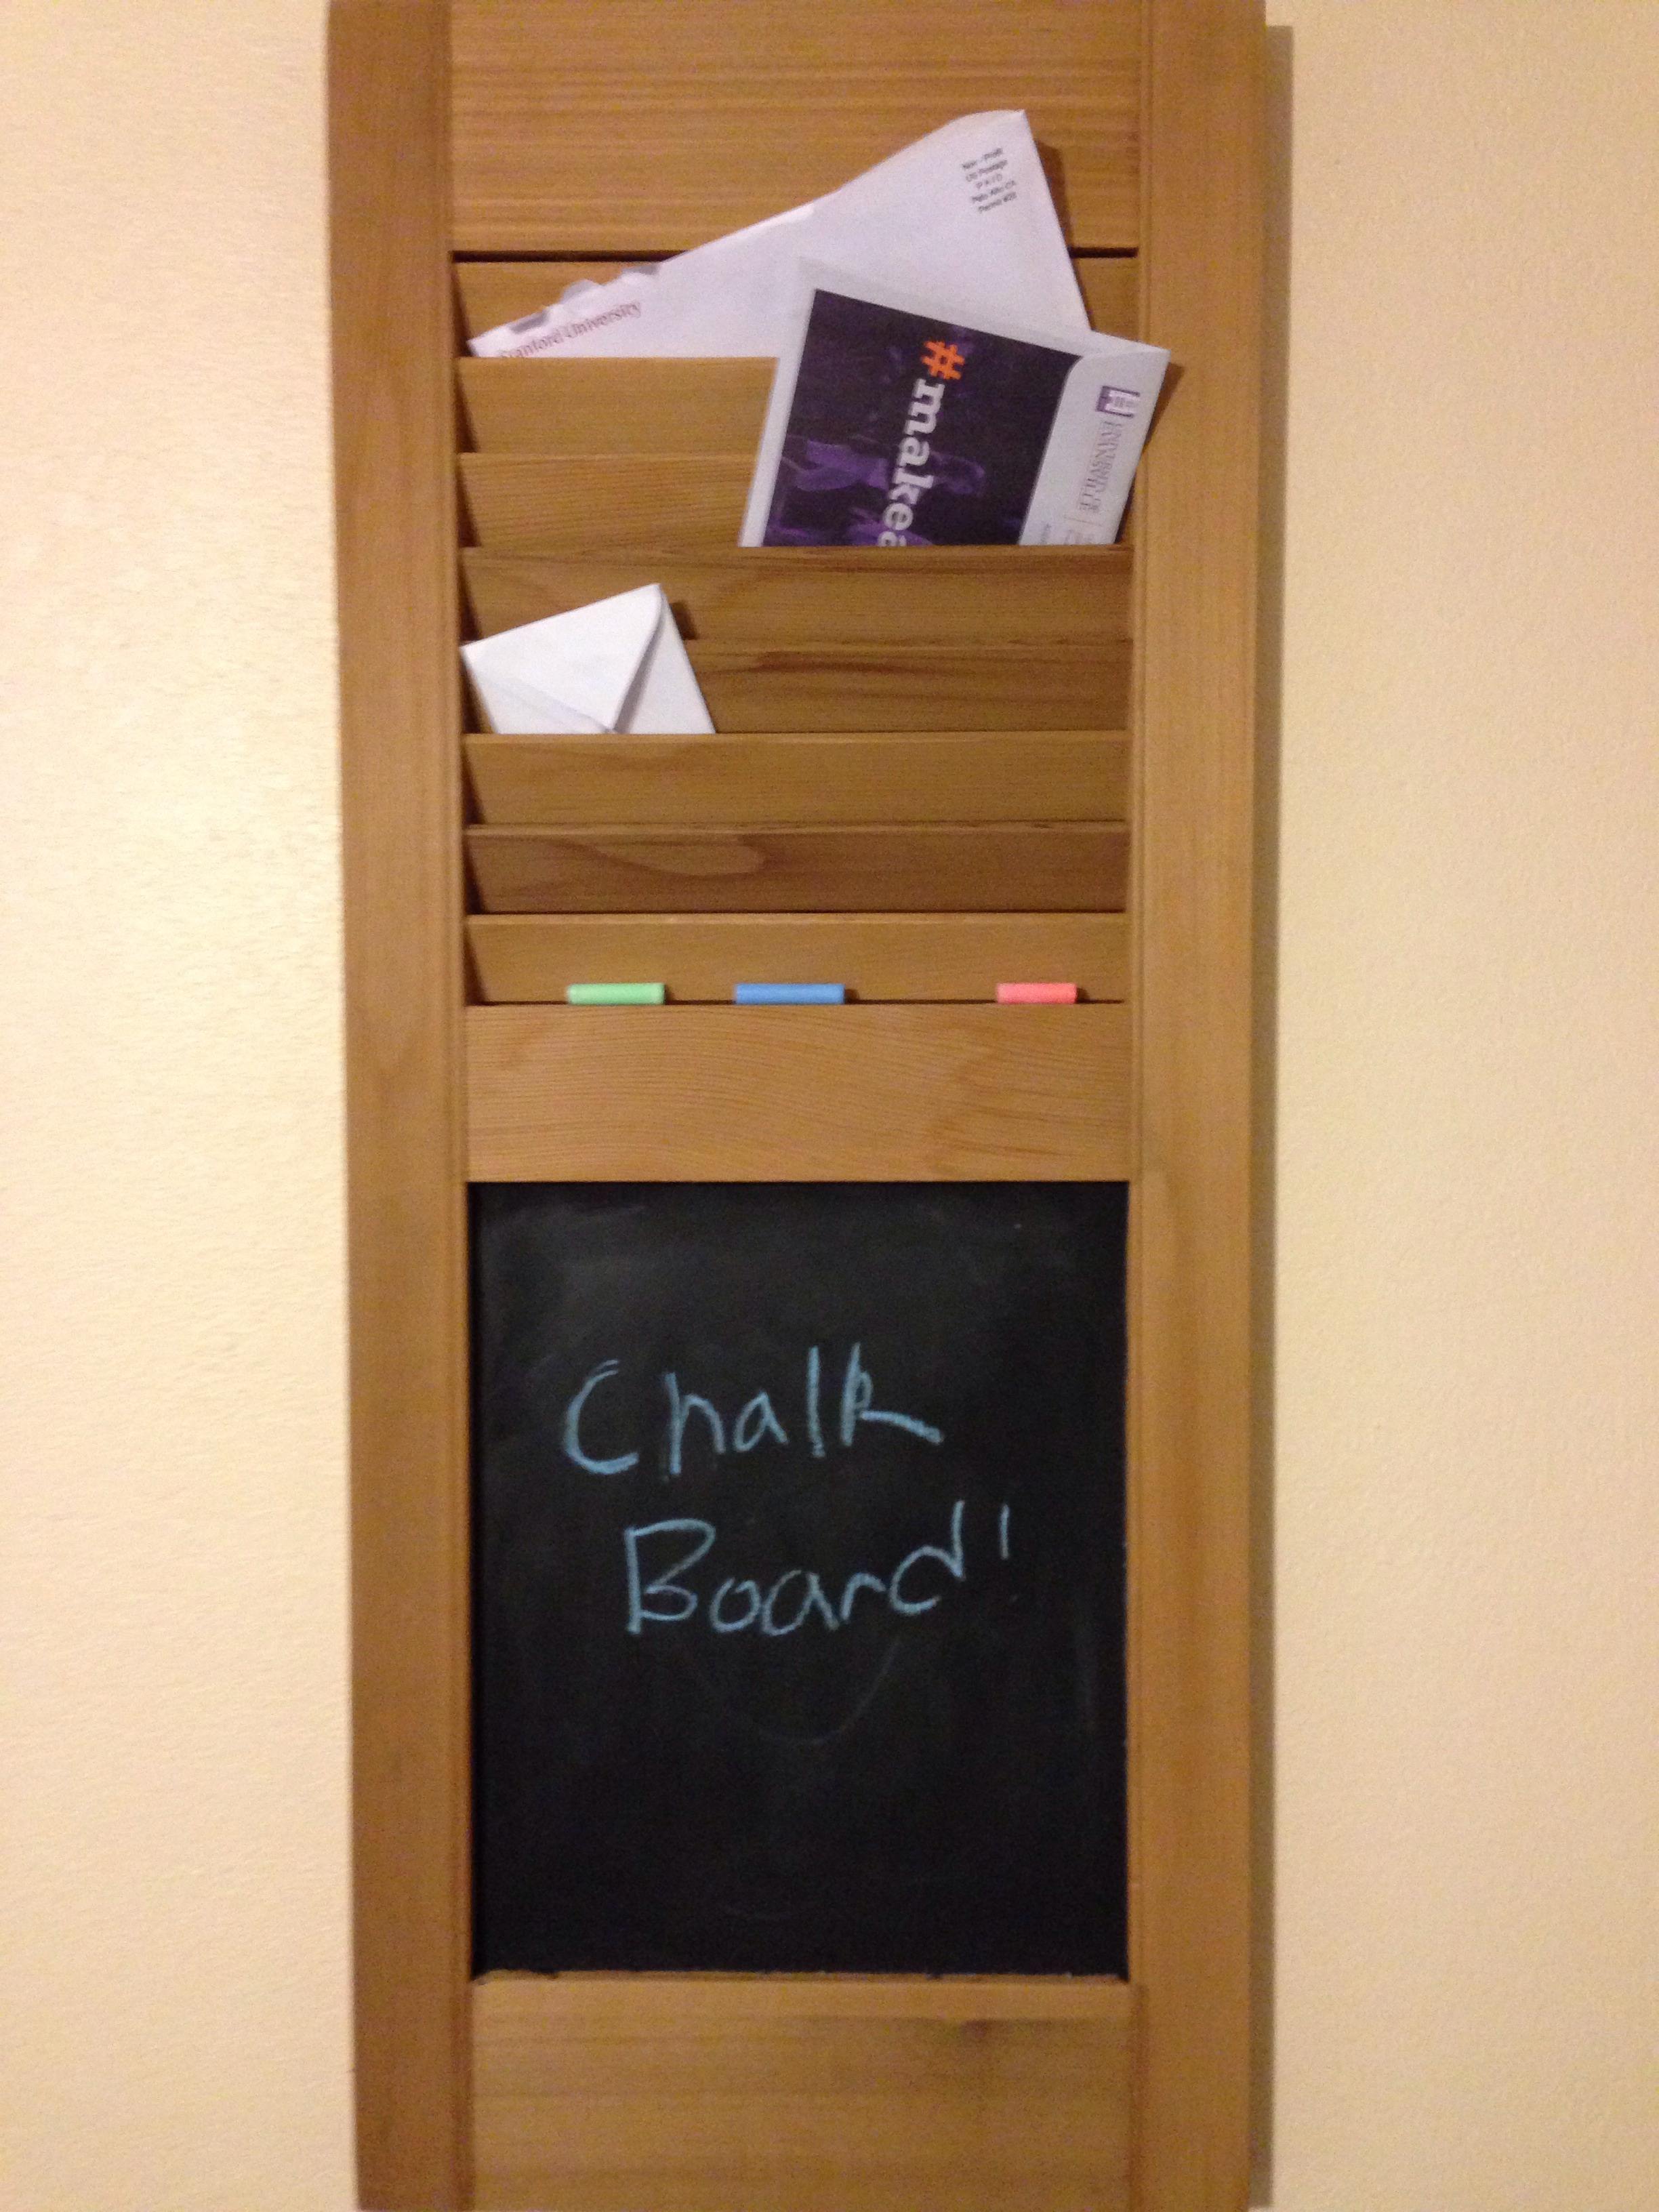
There are several great shutter organizer instructables, but I wanted one with something to write on. This is my first instructable, I hope I took enough photos. Enjoy!
Step 1: Materials
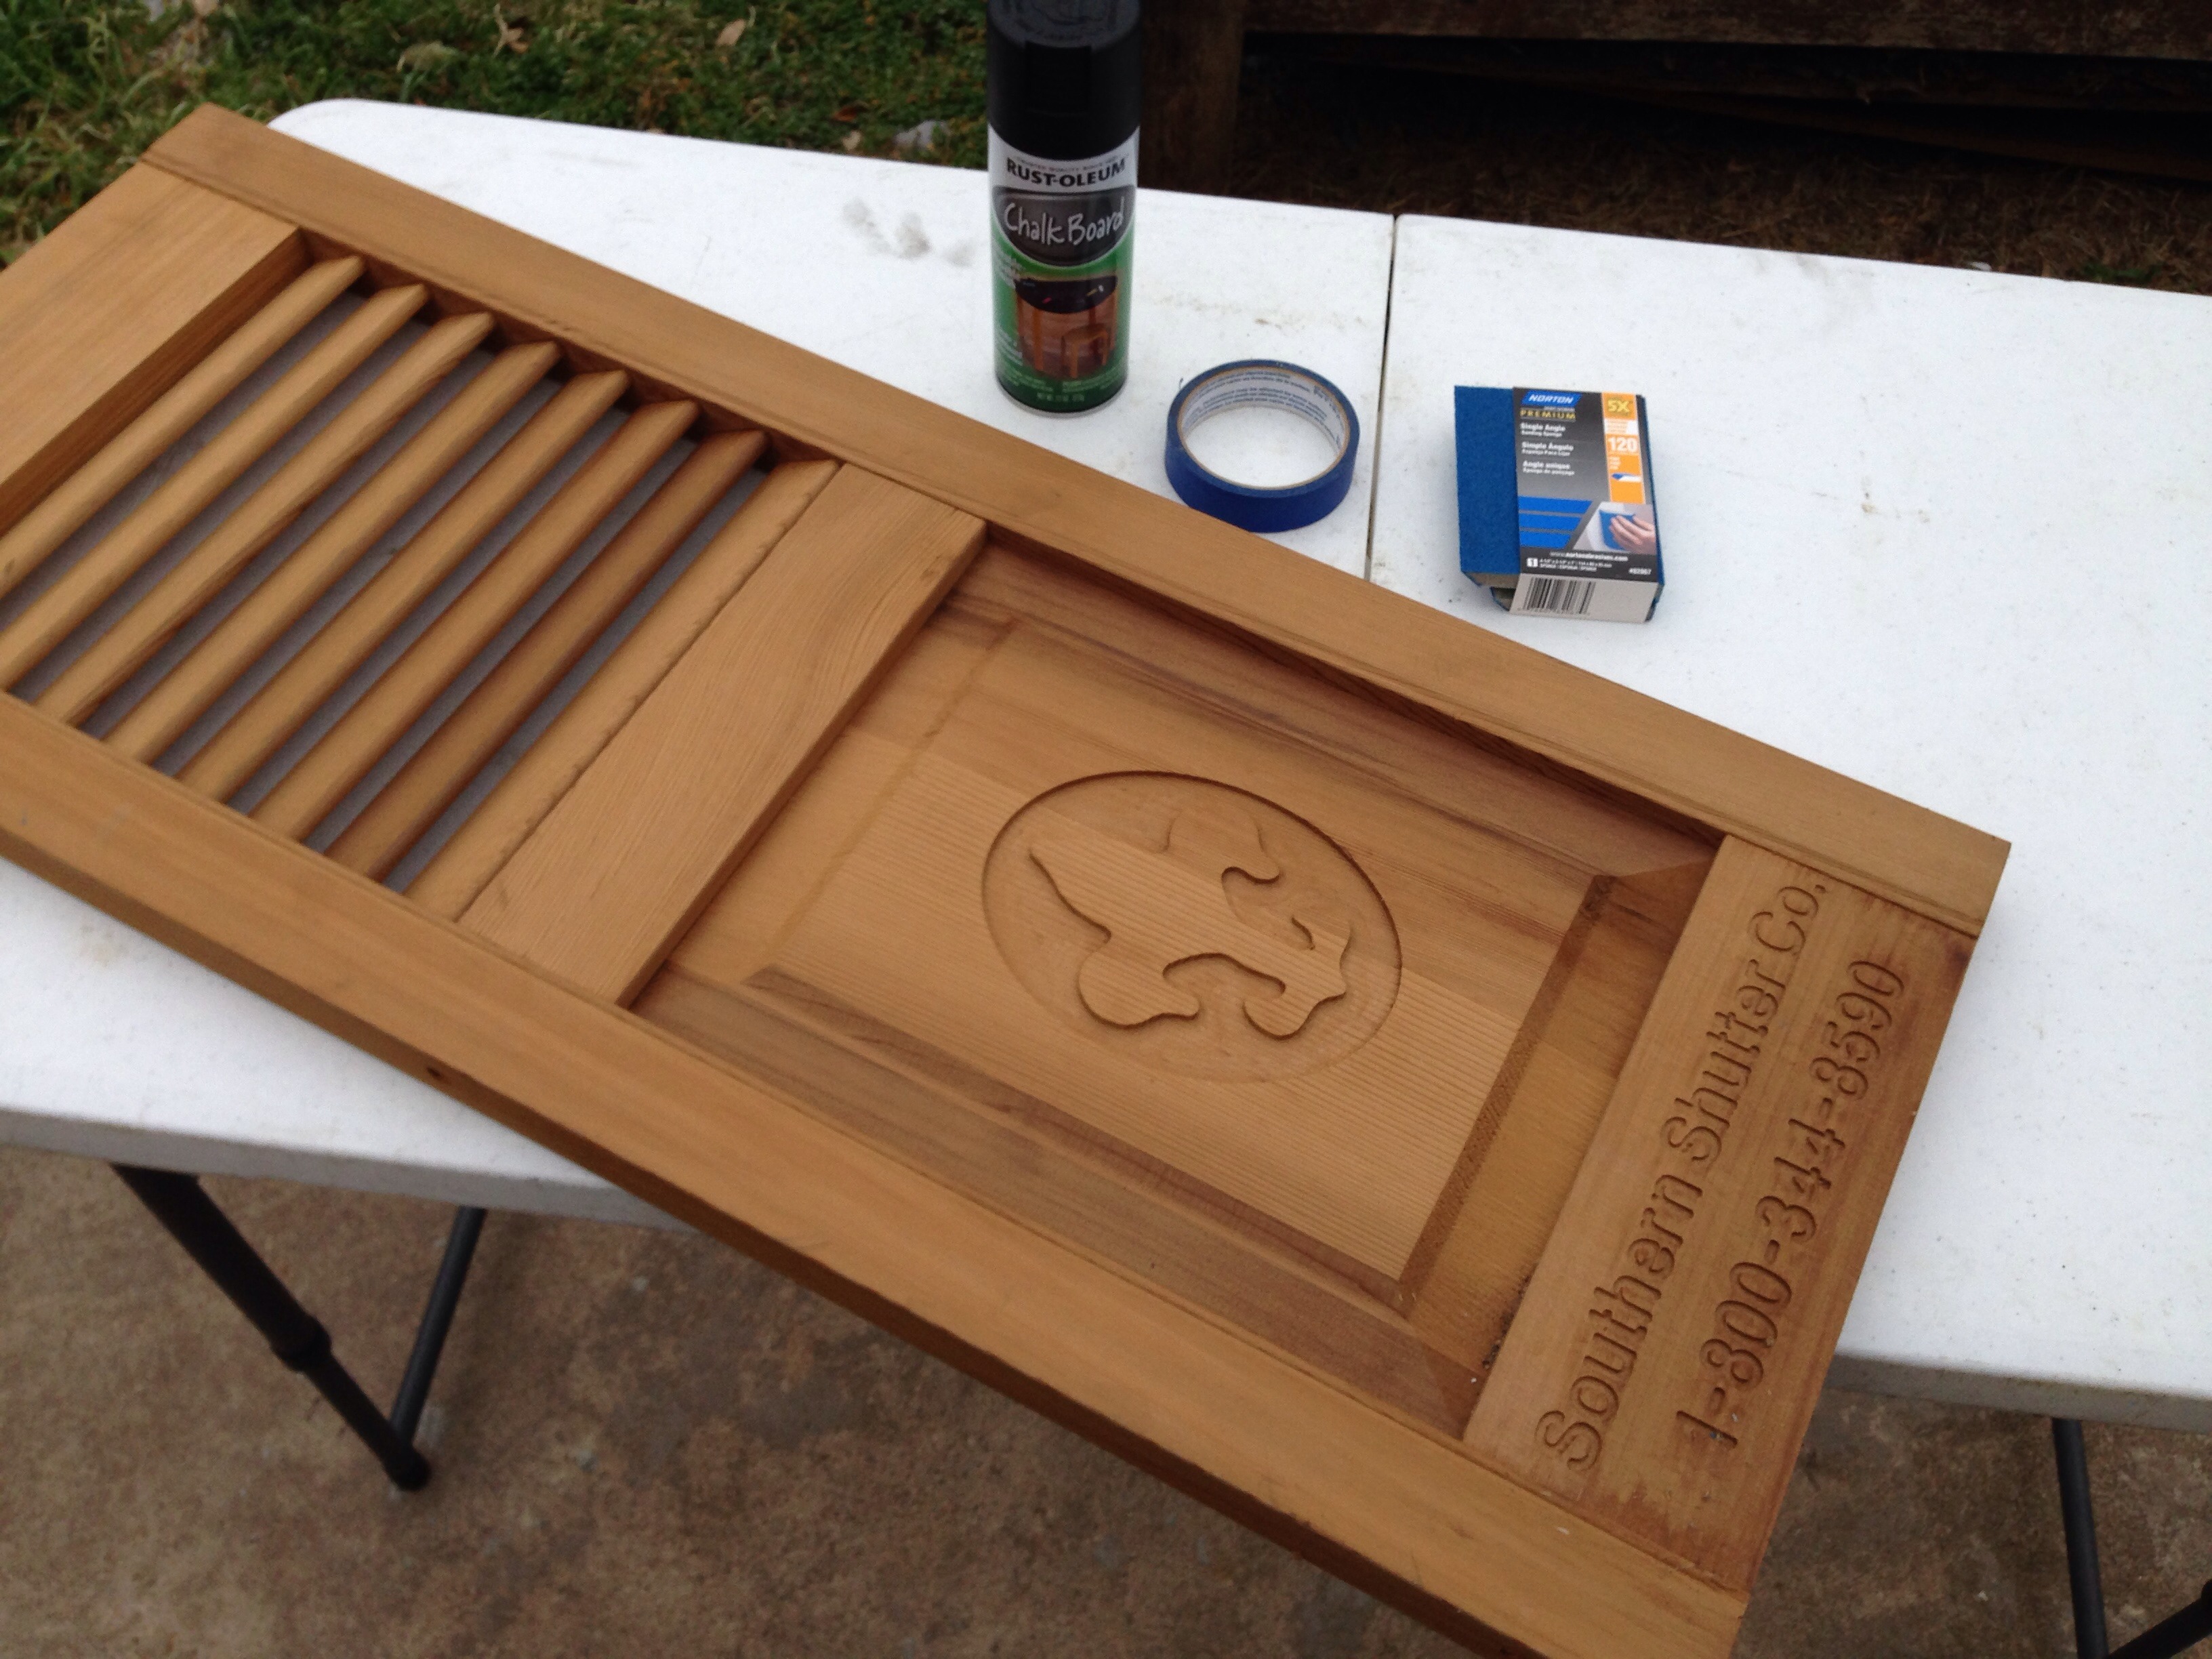
• a wooden shutter of preferred size (I found this one at a garage sale for a dollar)
• sand paper/ sanding block (the shutter was in decent shape so I went with a 180 block)
• can or paint on black board paint
• painter's tape
• painting surface (I used a large price of cardboard)
• thin plywood for behind the shutter (I had some thin strips so I used those. Cardboard works well too.)
• optional: stain/paint , finer sand paper
The overall price for this was $10 (for the shutter, black board paint, and sanding sponge). All the other things I had lying around.
Step 2: Sanding
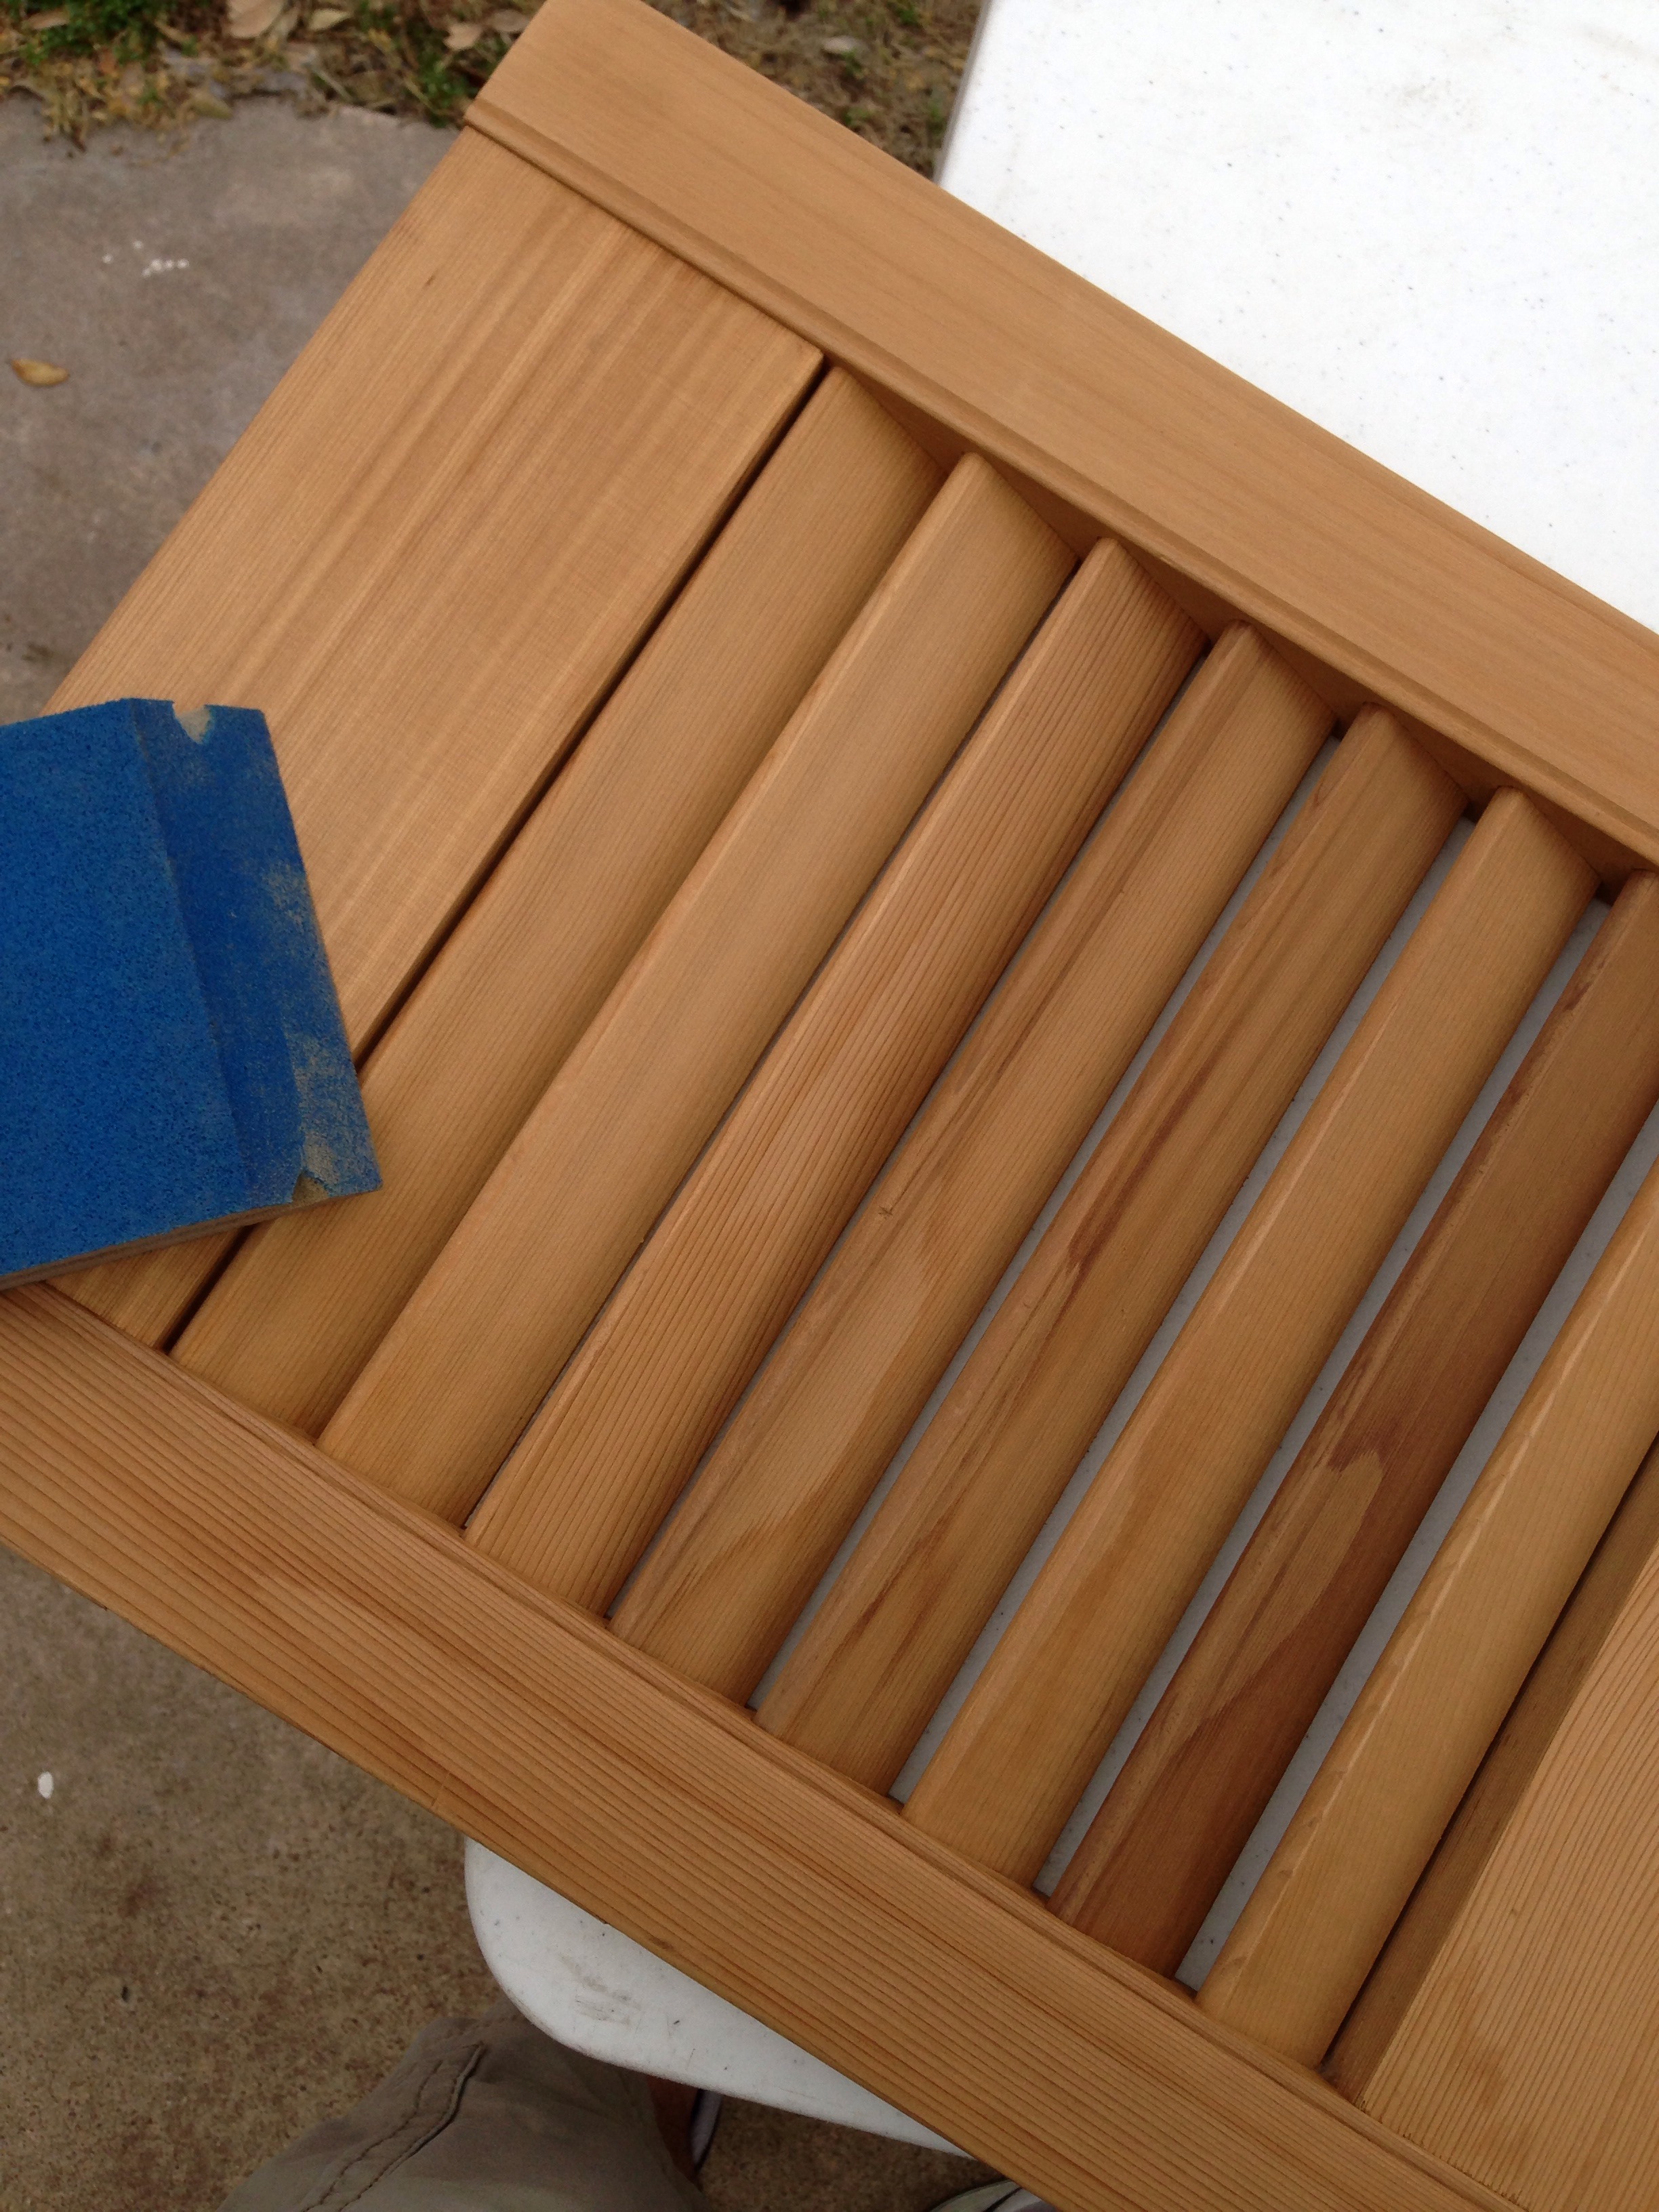
This step is pretty self explanatory. Just sand until you reach your preferred smoothness (be sure to do a quick wipe down before, to rid of any dust or dirt left on it). I used and angled block to get between the shutters. Make sure that the chalk board area (if you want it) is the smoothest part.
Step 3: Quick Cleaning
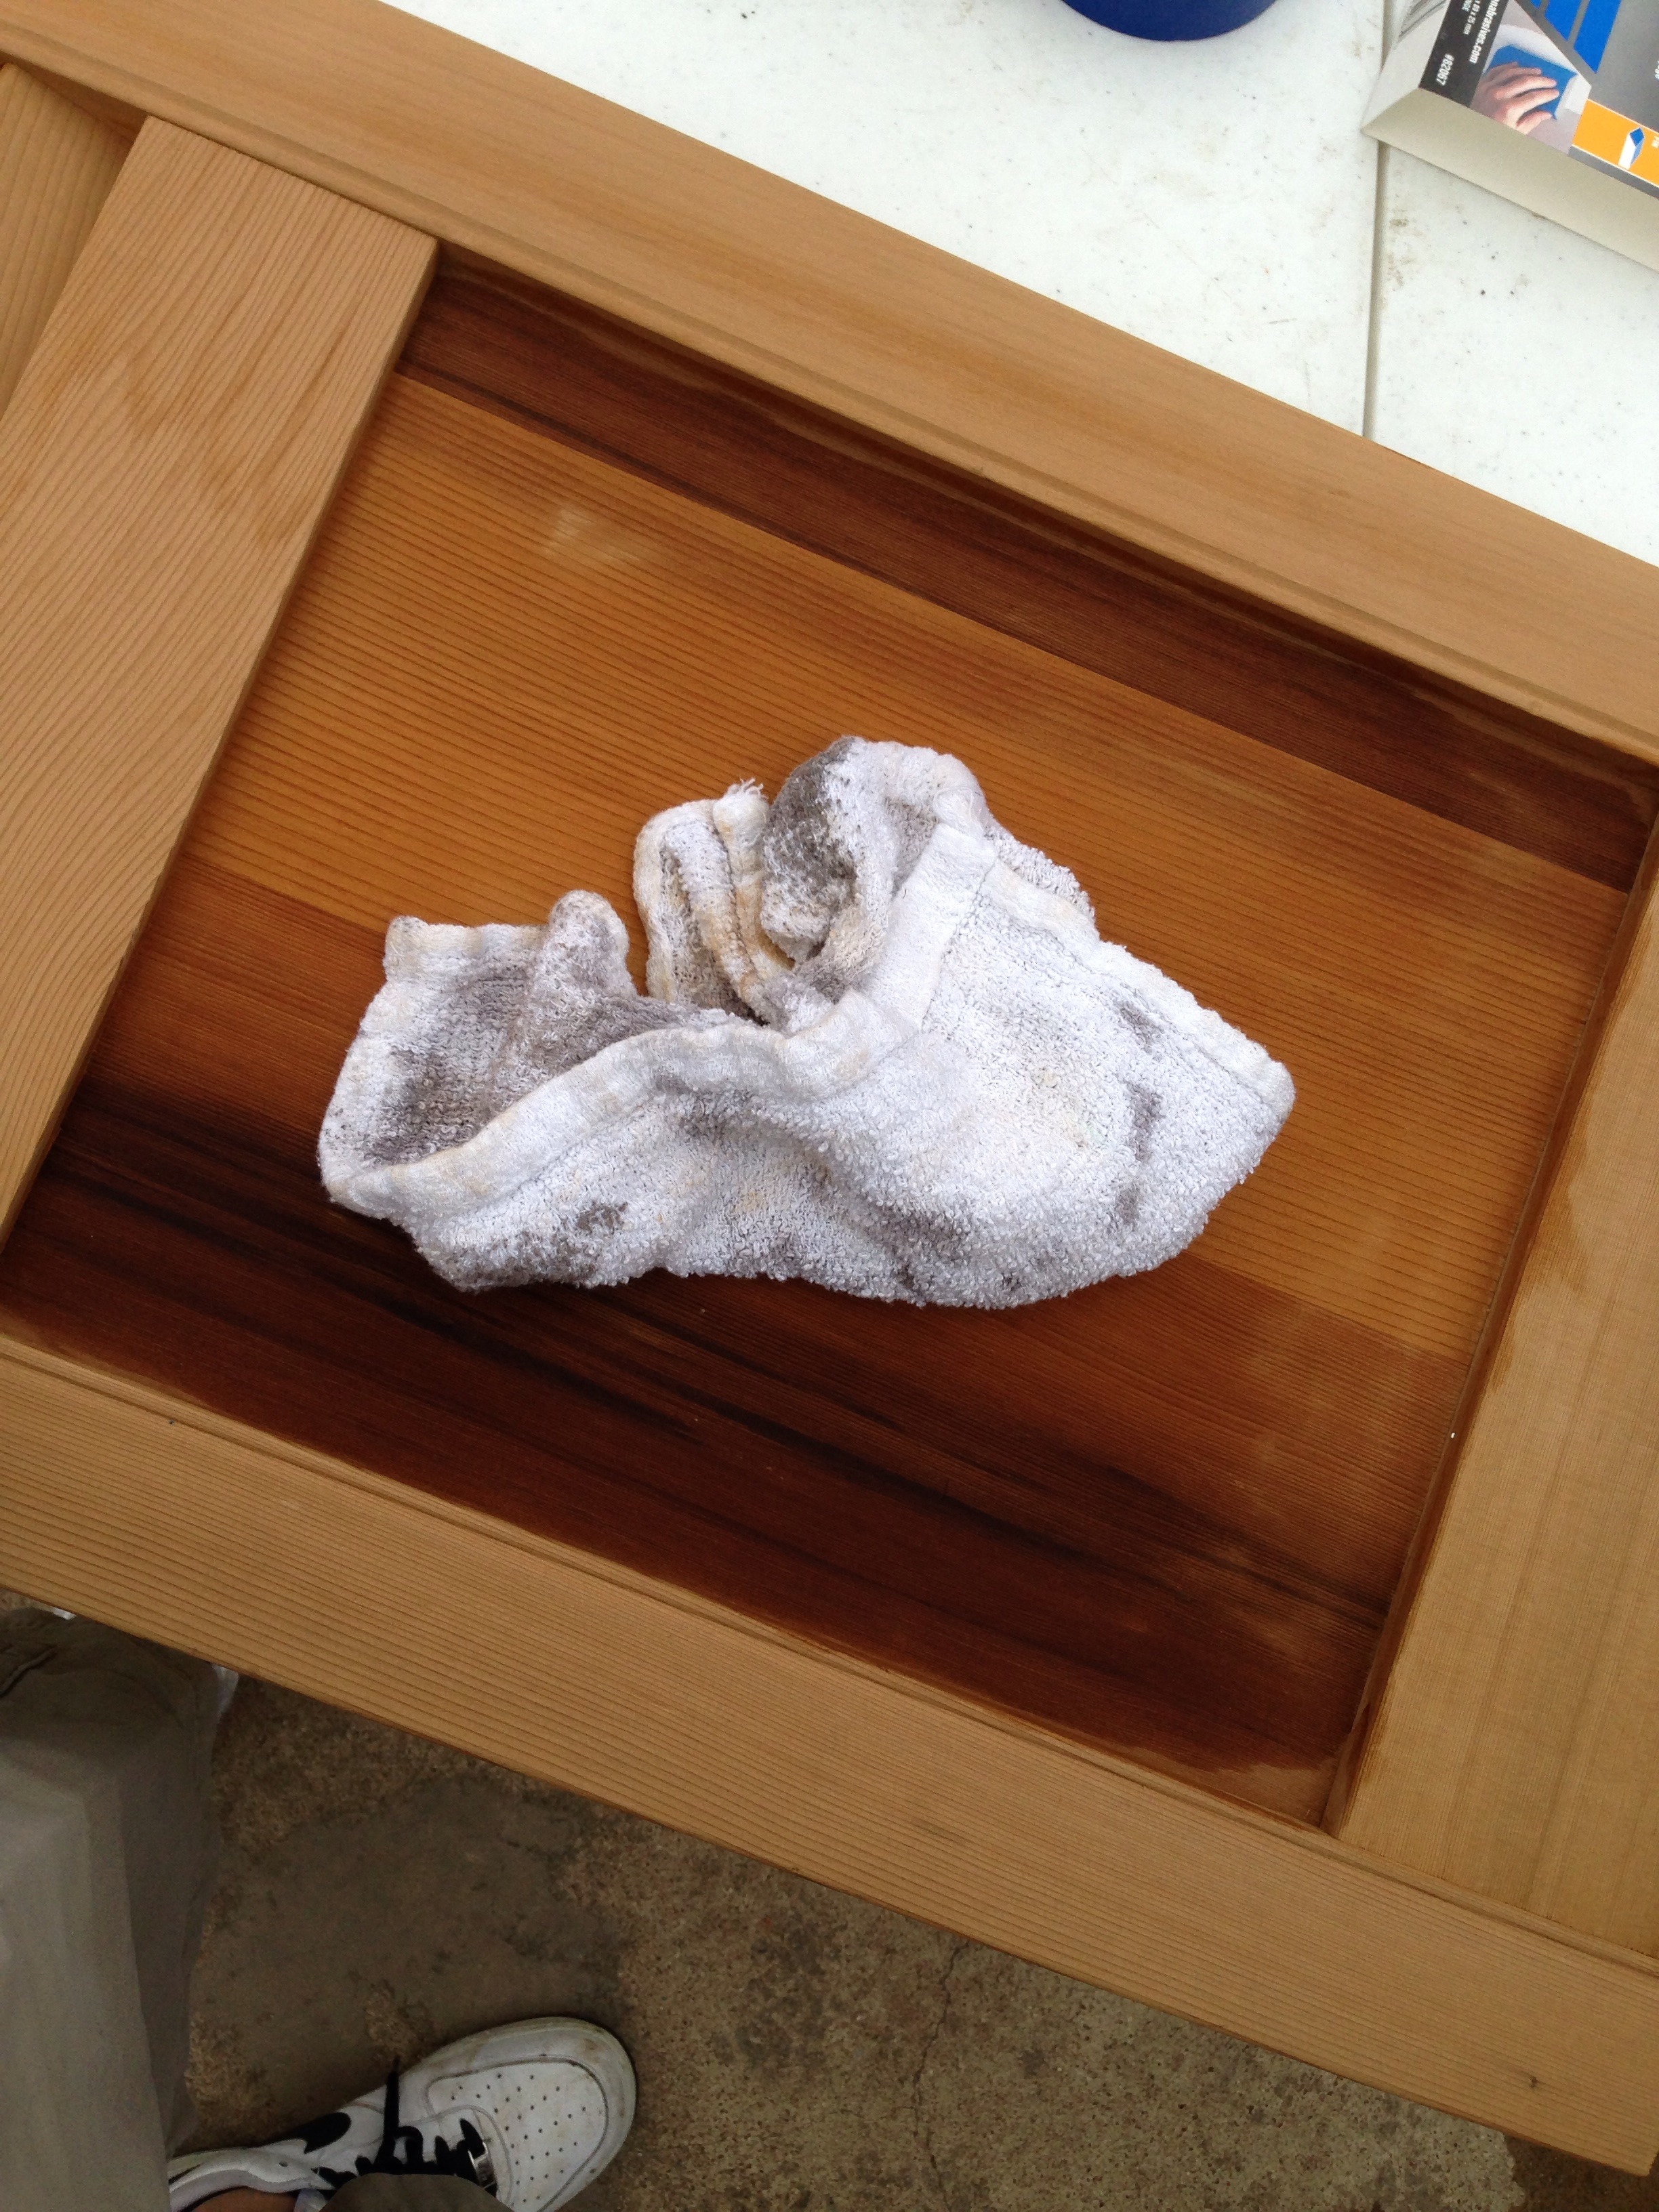
Make sure after you finish sanding that you wipe down the board with a moist towel to catch the dust. Again, make sure that the chalk board is dust free. Now, let it dry and begin preparing you painting set up.
Step 4: Paint!
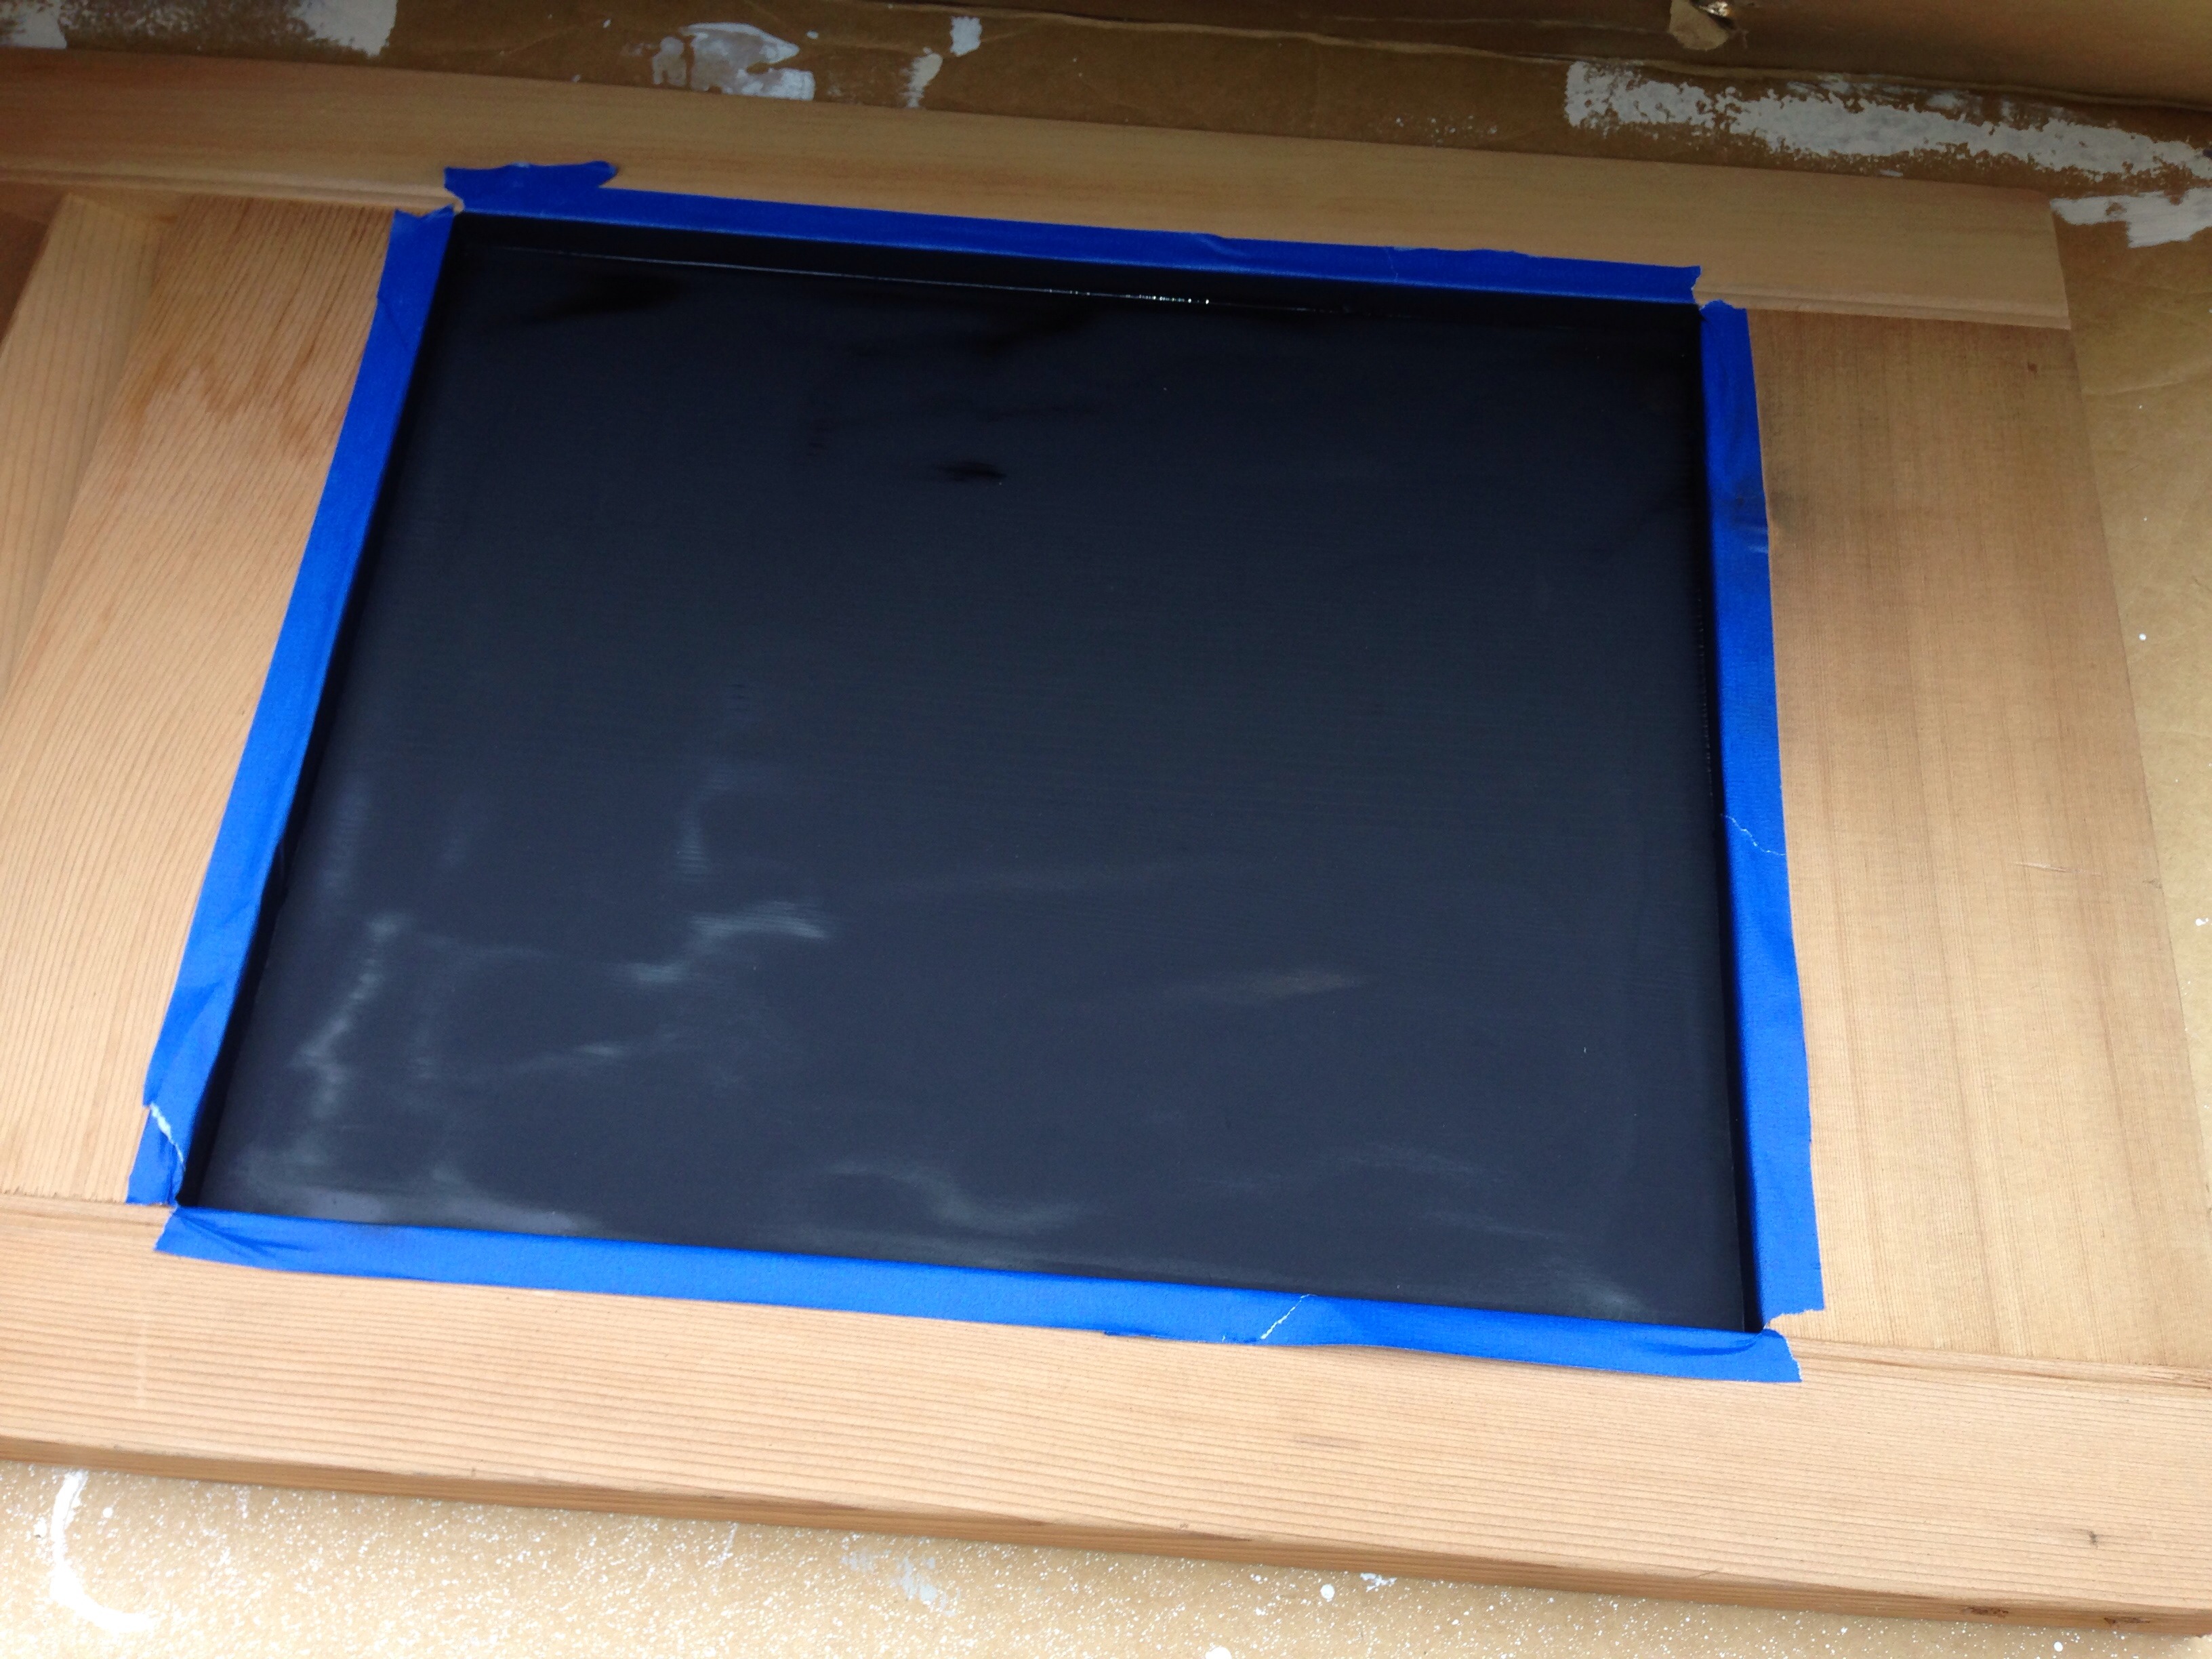
Tape off the frame of the side your are painting, the blades should be facing upwards, so the paint just gets on the board (especially if using spray paint). Apply primer if wanted. Then begin painting (shake up spray paint before spraying). Be sure to evenly coat the paint. Note: you'll have to wait at least 12 hours before writing on chalk board or how ever long the paint indicates.
Step 5: Making the Back
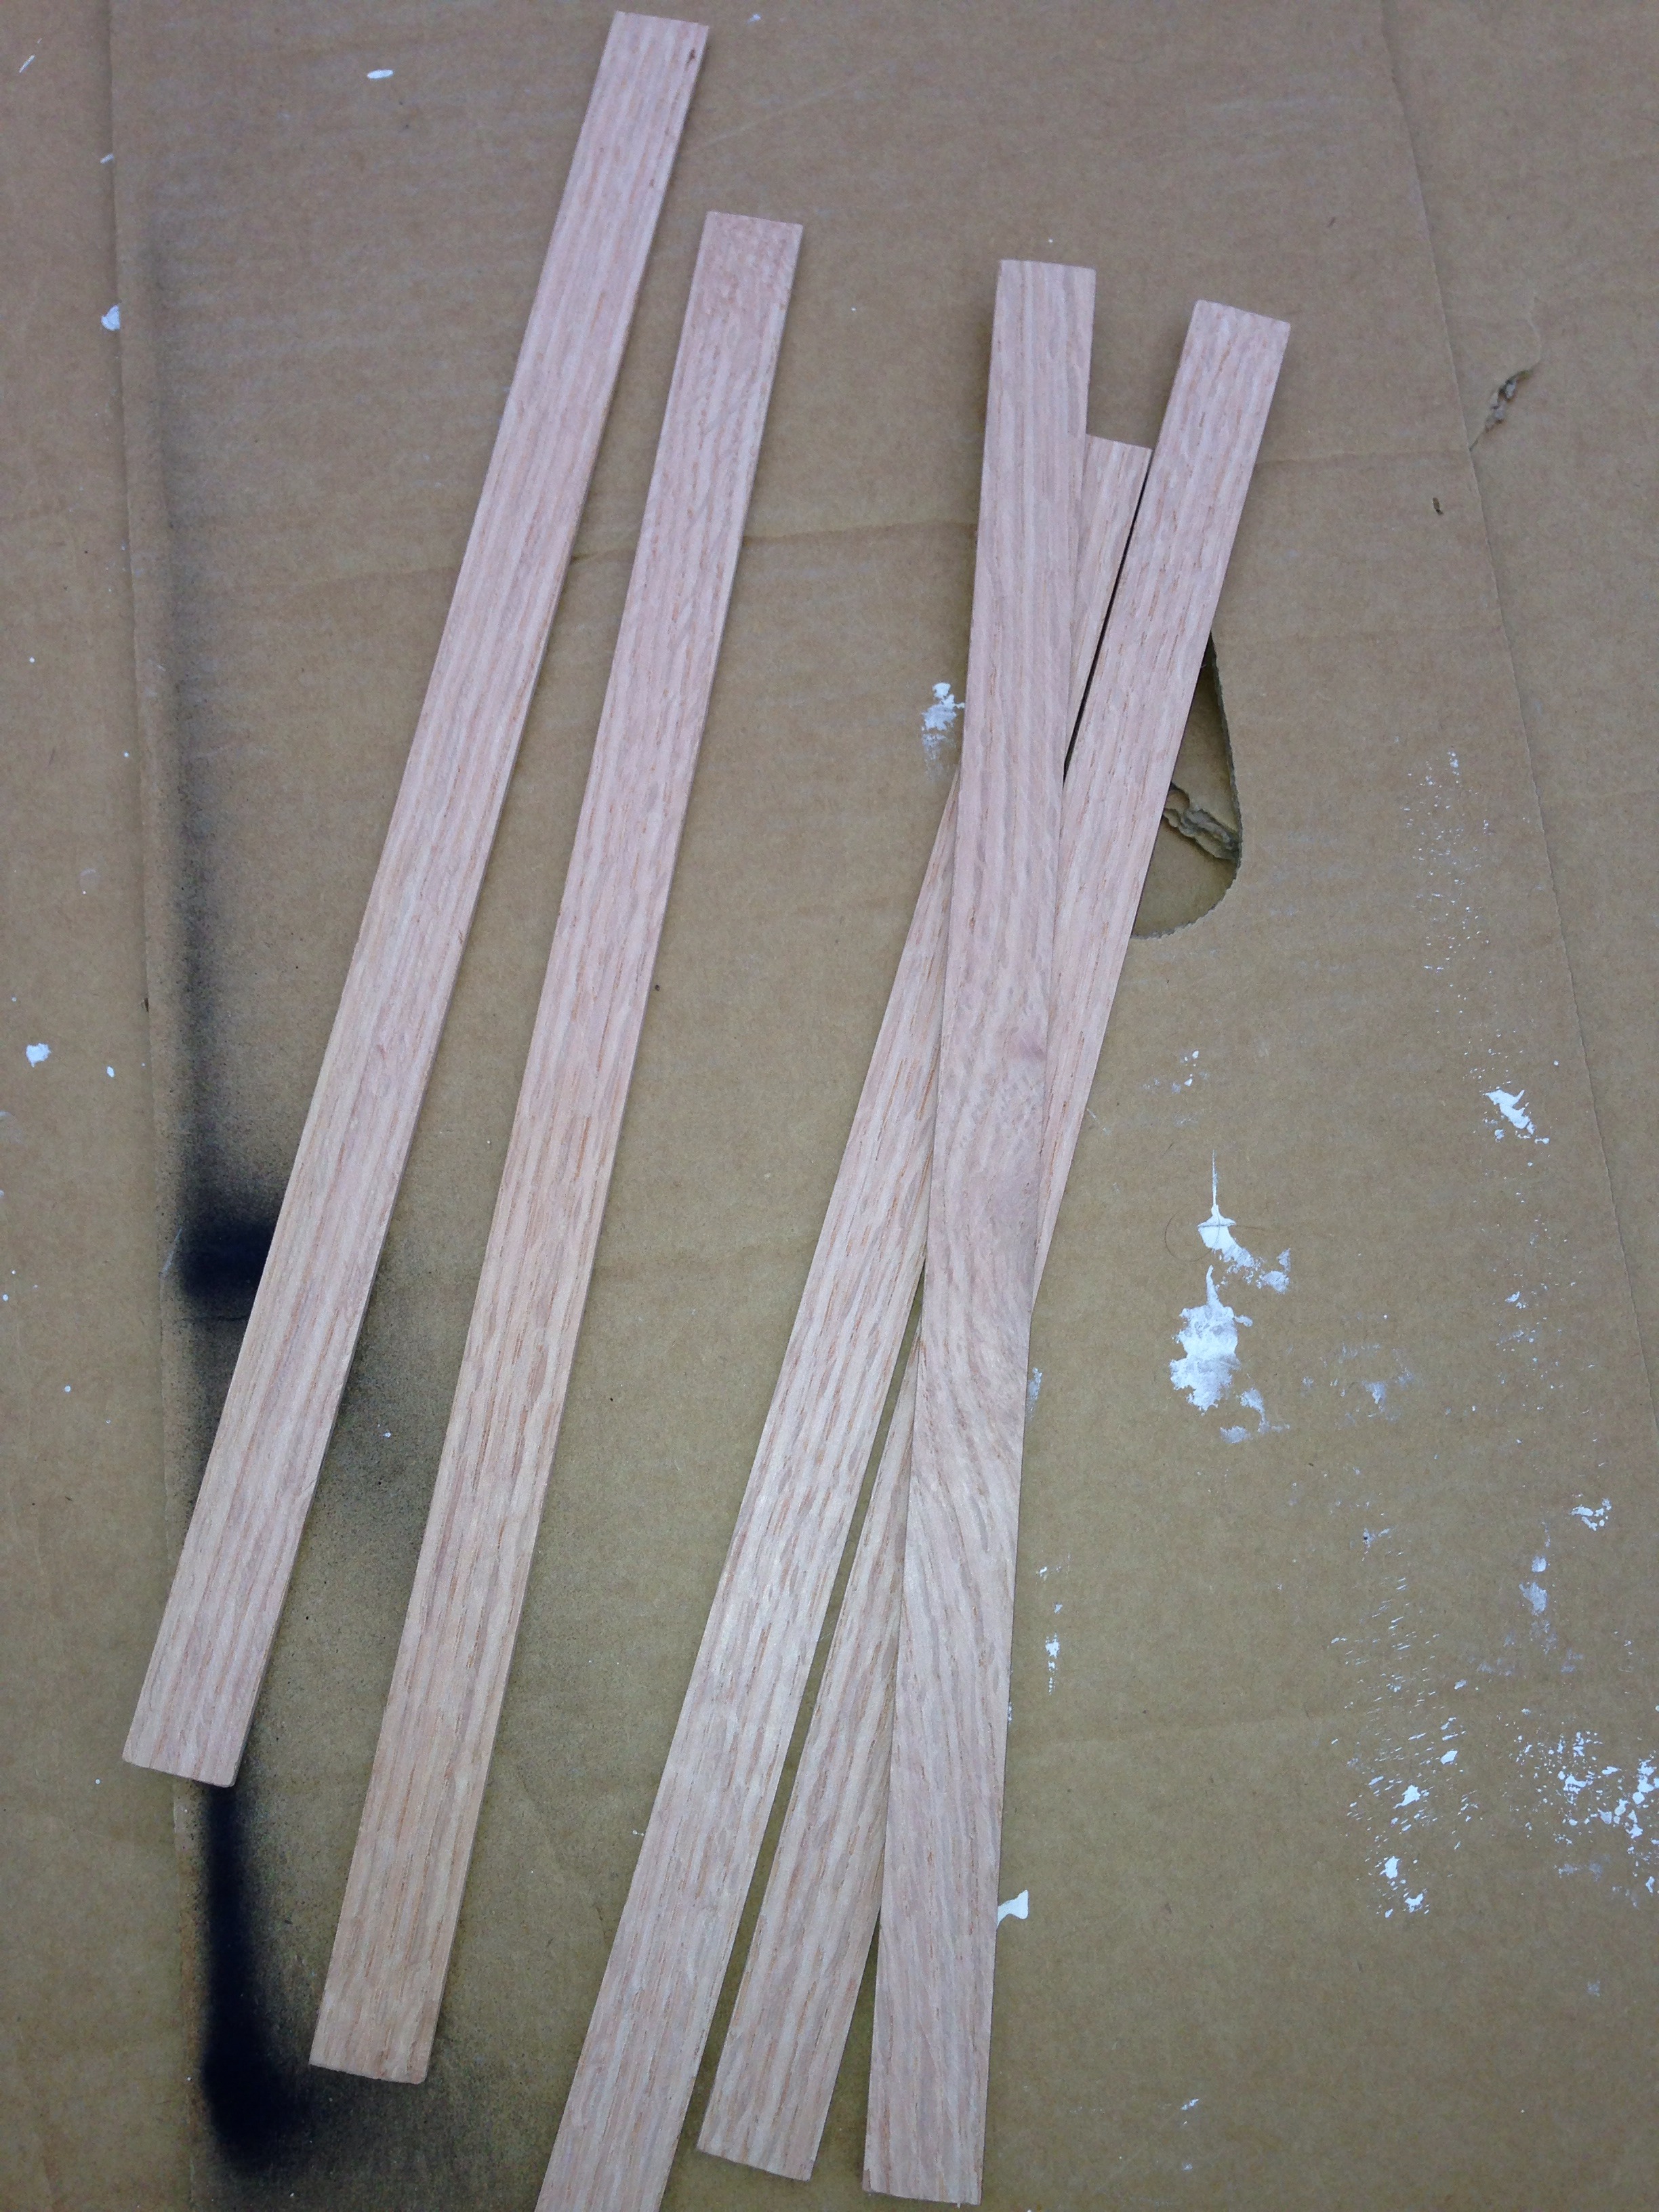
Measure the back of the part holding the blades. Then, cut whatever material you're using for the backing. Measure twice cut once. Attach your material (I just stapled my strips to the back).
Step 6: More Paint

If necessary, add extra layers or layer of paint depending on how the first coat came out. Mine used two coats of the spray paint.
Step 7: Hang and Enjoy
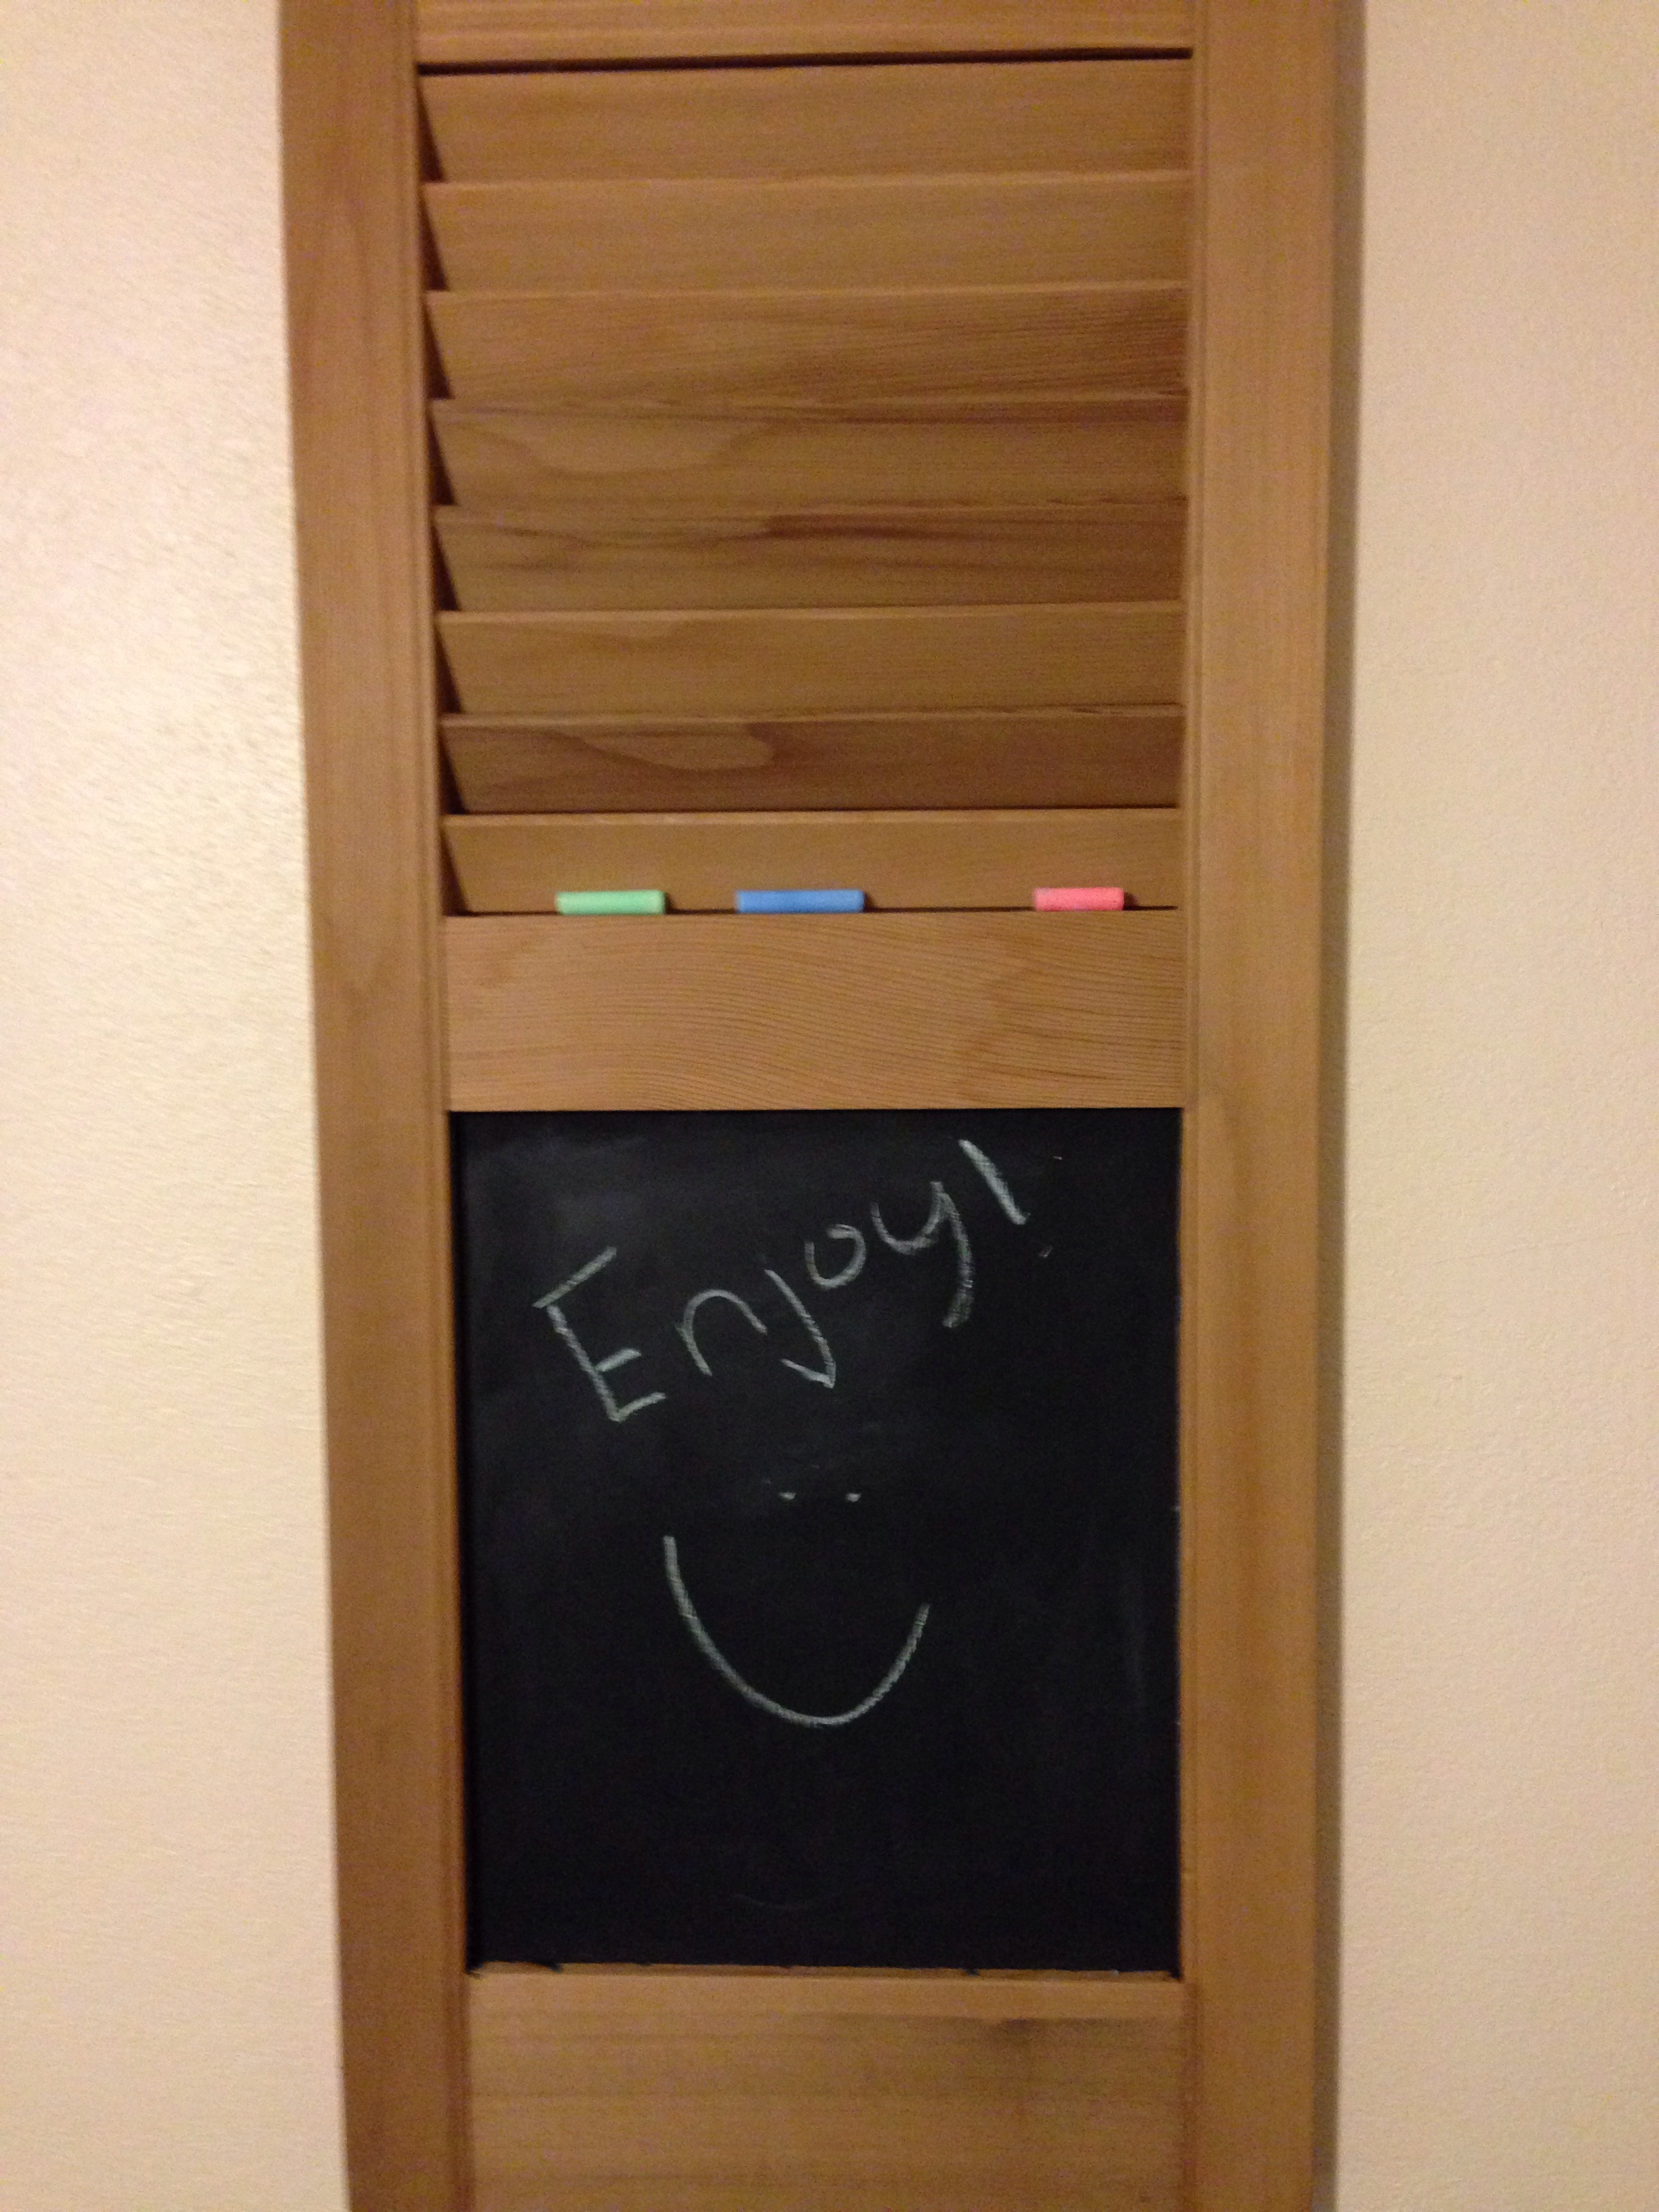
You should be finished with your amazing new organizer/chalk board. It's great for mail or just daily reminders on post-it notes. The chalk board is free to fill with whatever you please. I hope I included enough for you, now go and feel great about getting a head start on spring cleaning!