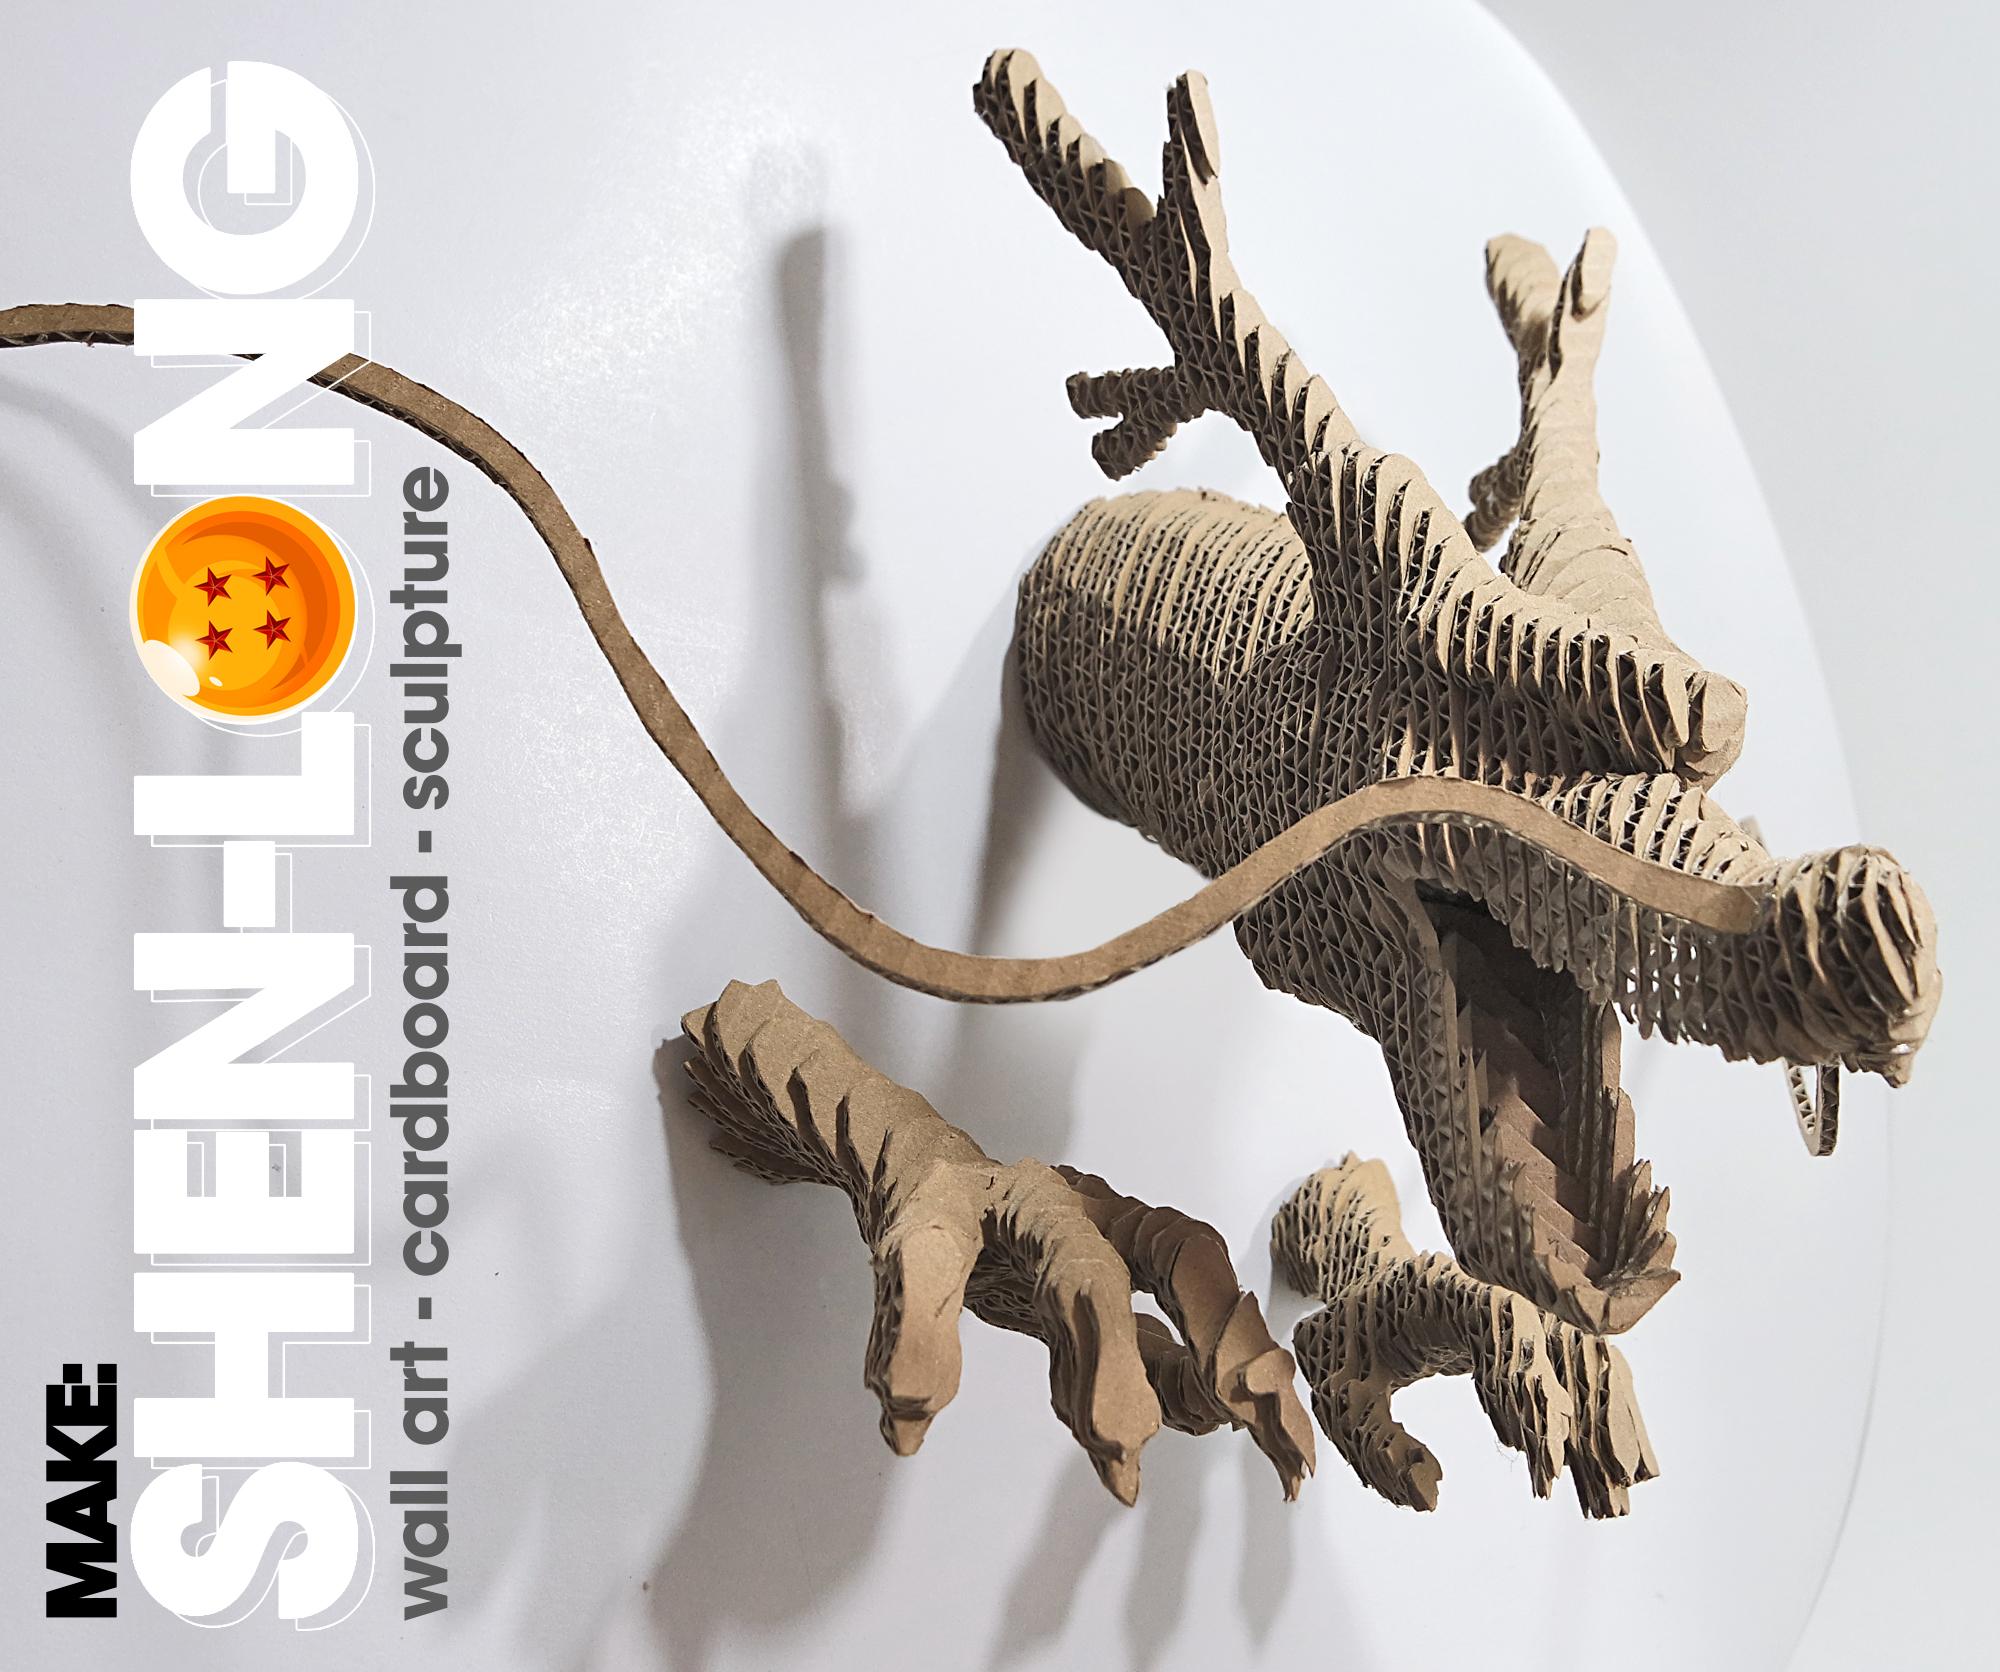
Shen Long - Cardboard Wall Decoration.
by DAZMAKER in Craft > Cardboard
9057 Views, 166 Favorites, 0 Comments
Shen Long - Cardboard Wall Decoration.
Hello this is my entry for the Instructables Cardboard 2021 speed challenge
Today we will make a sculpture in cardboard sheets of the character of dragon ball:
Shen Long
This sculpture will have the task of decorating any wall in the room.
I will do it with a SHEN LONG design, the legendary Dragon from Dragon Ball (also known as Shenron)
but you can do it with the characters or shapes you prefer, your creativity is the limit.
for this work we will use the free to use software Slicer for Fusion 360, from Autodesk.
Materials.
In this project we will use:
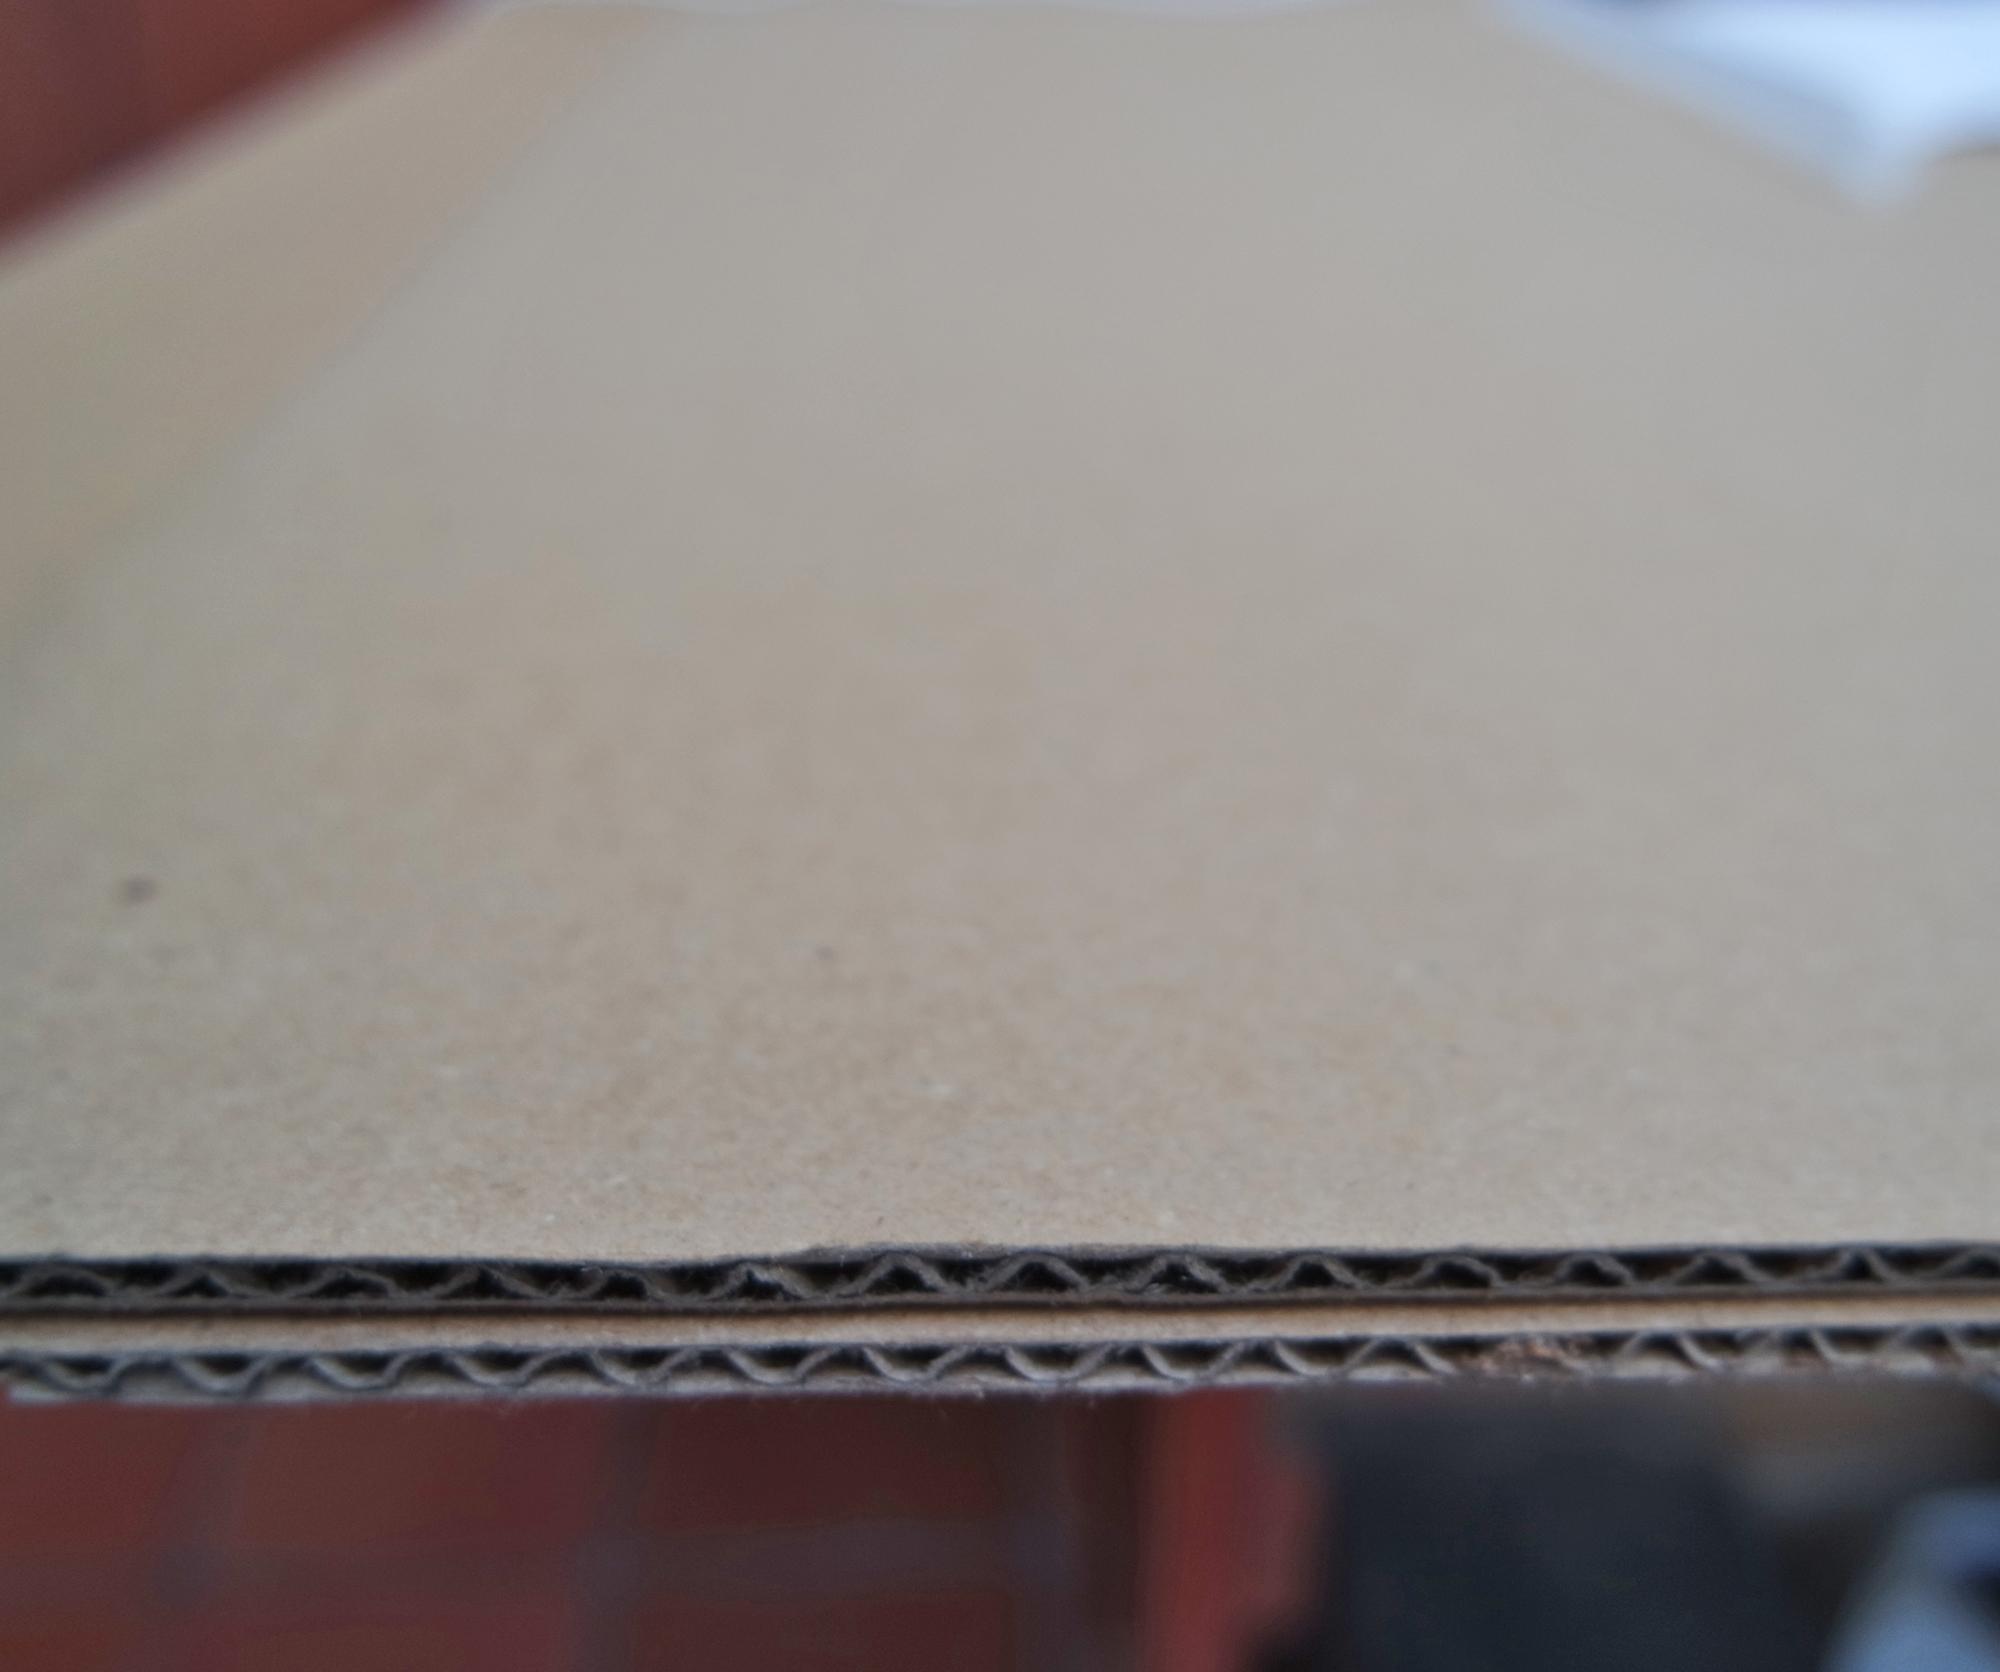
- Cardboard, I used a sheet of 2 meters by 1 meter
- Slicer software from Autodesk
- Printed material
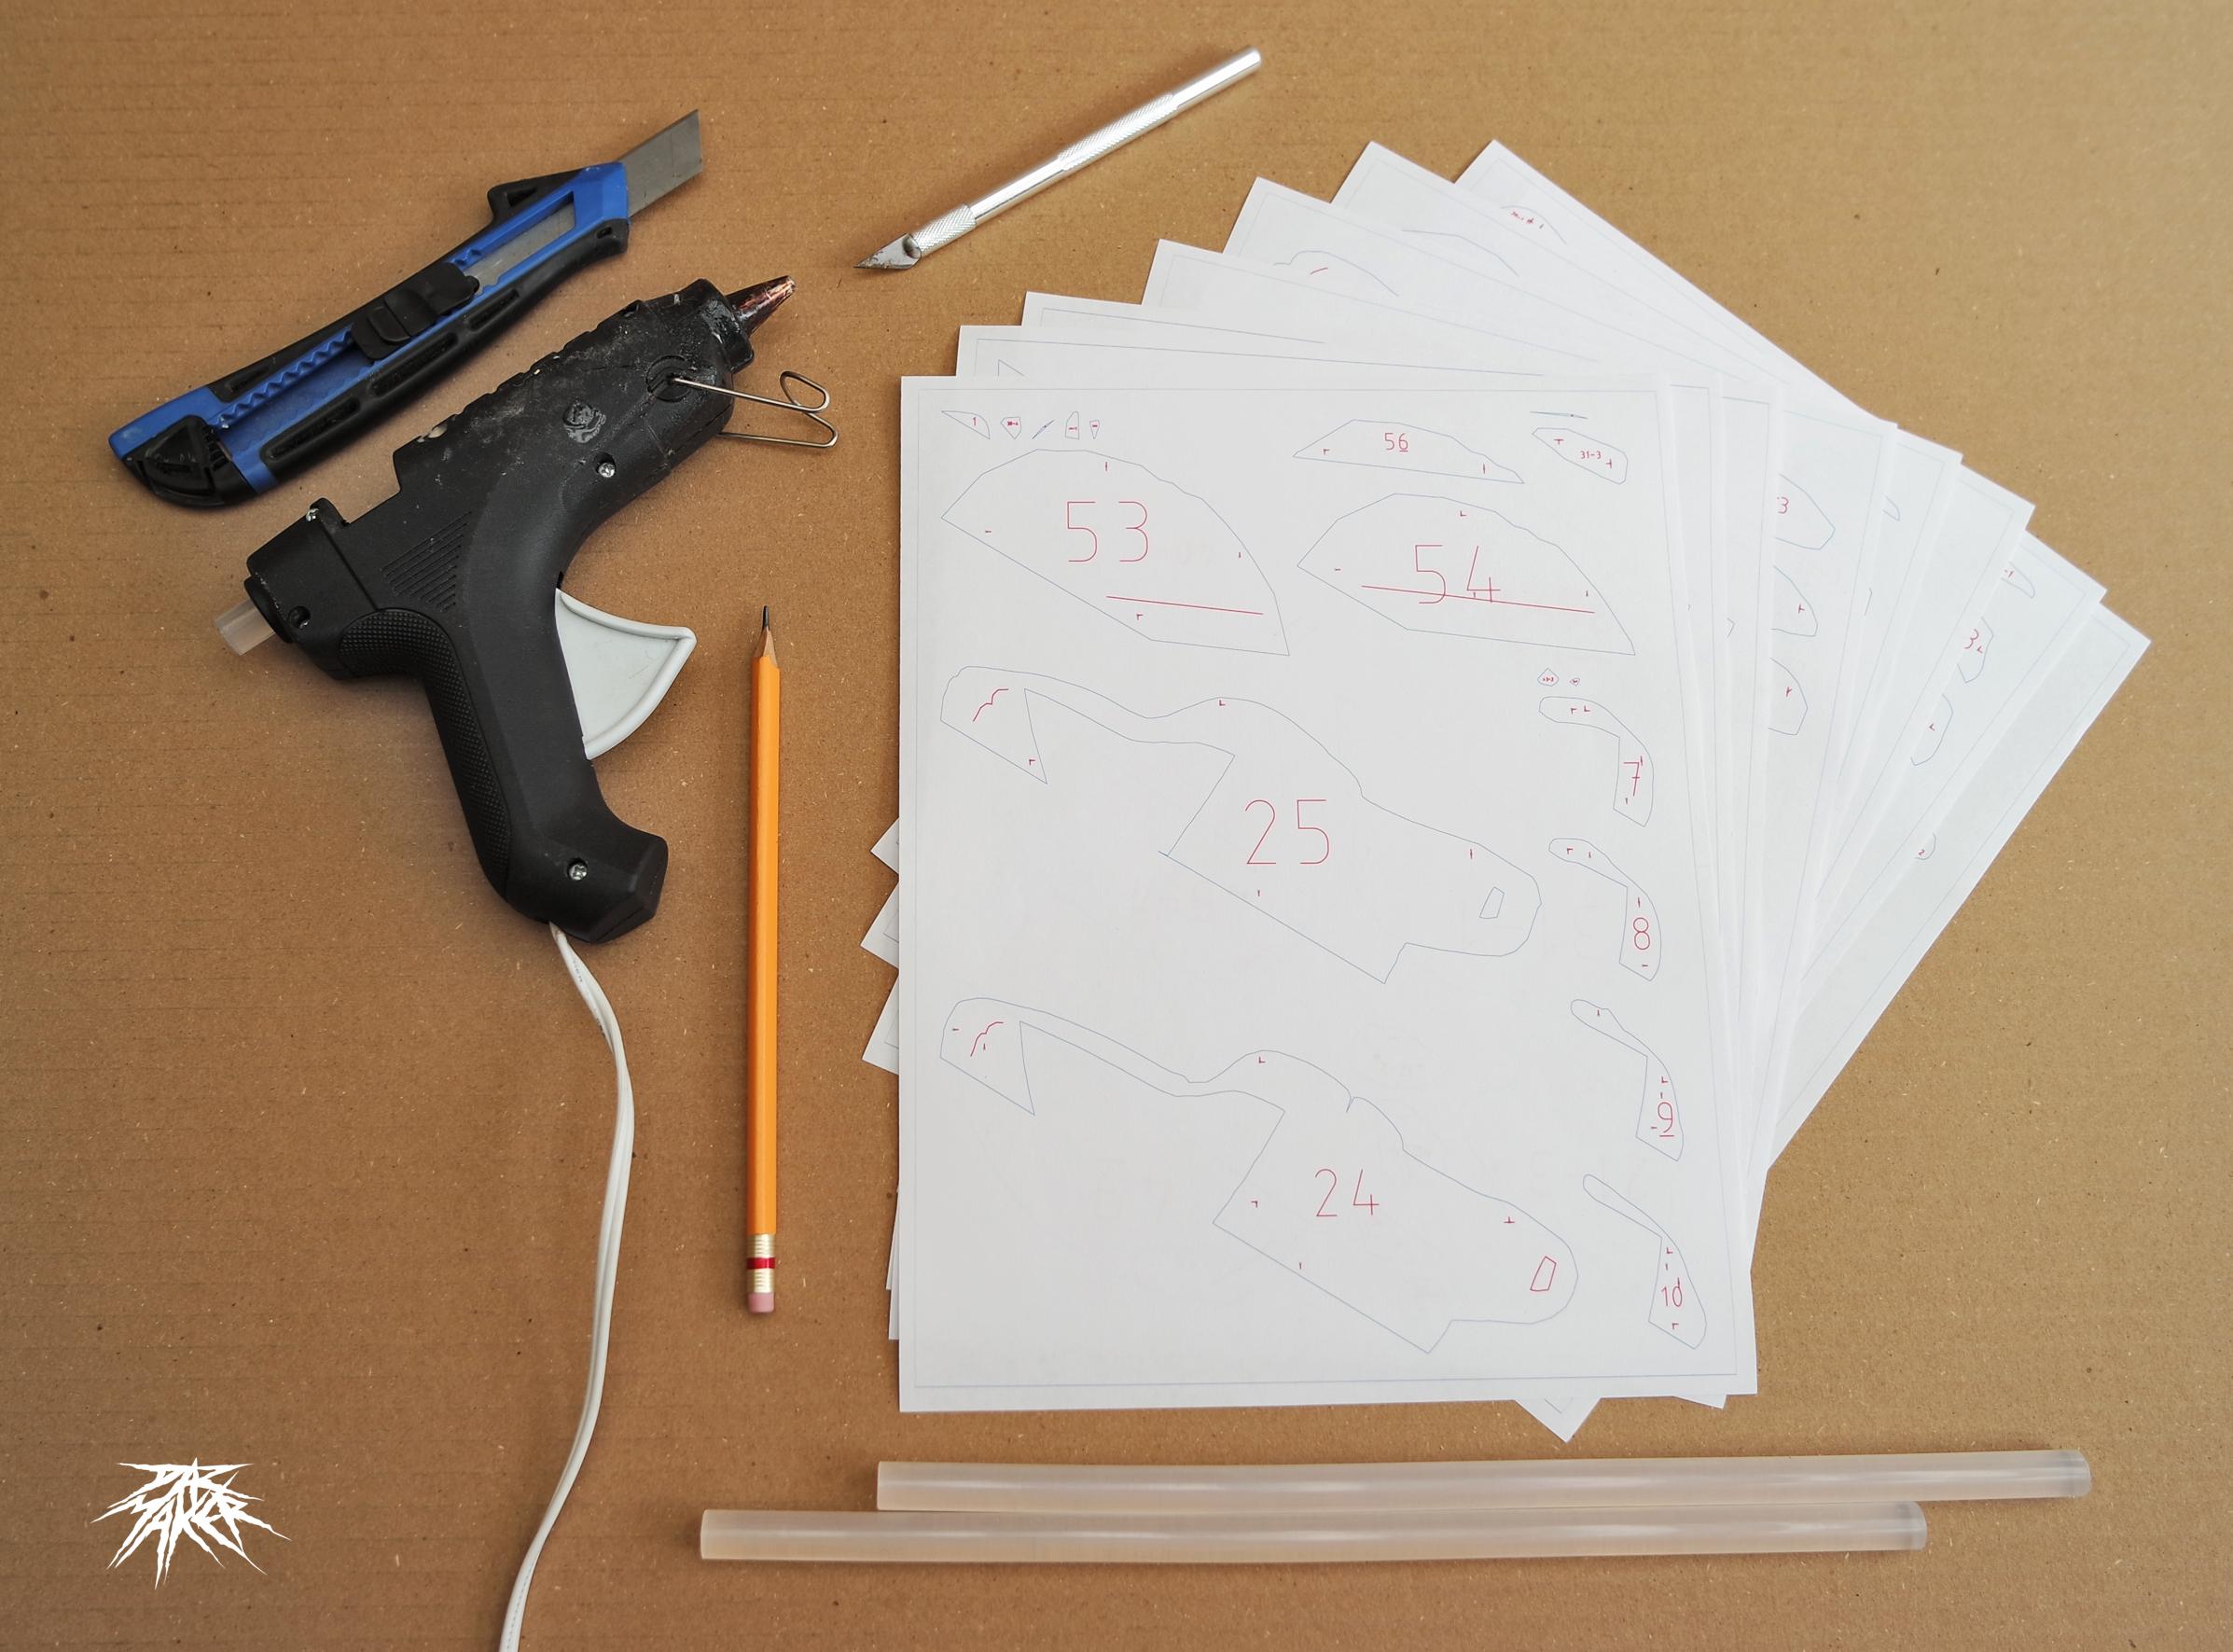
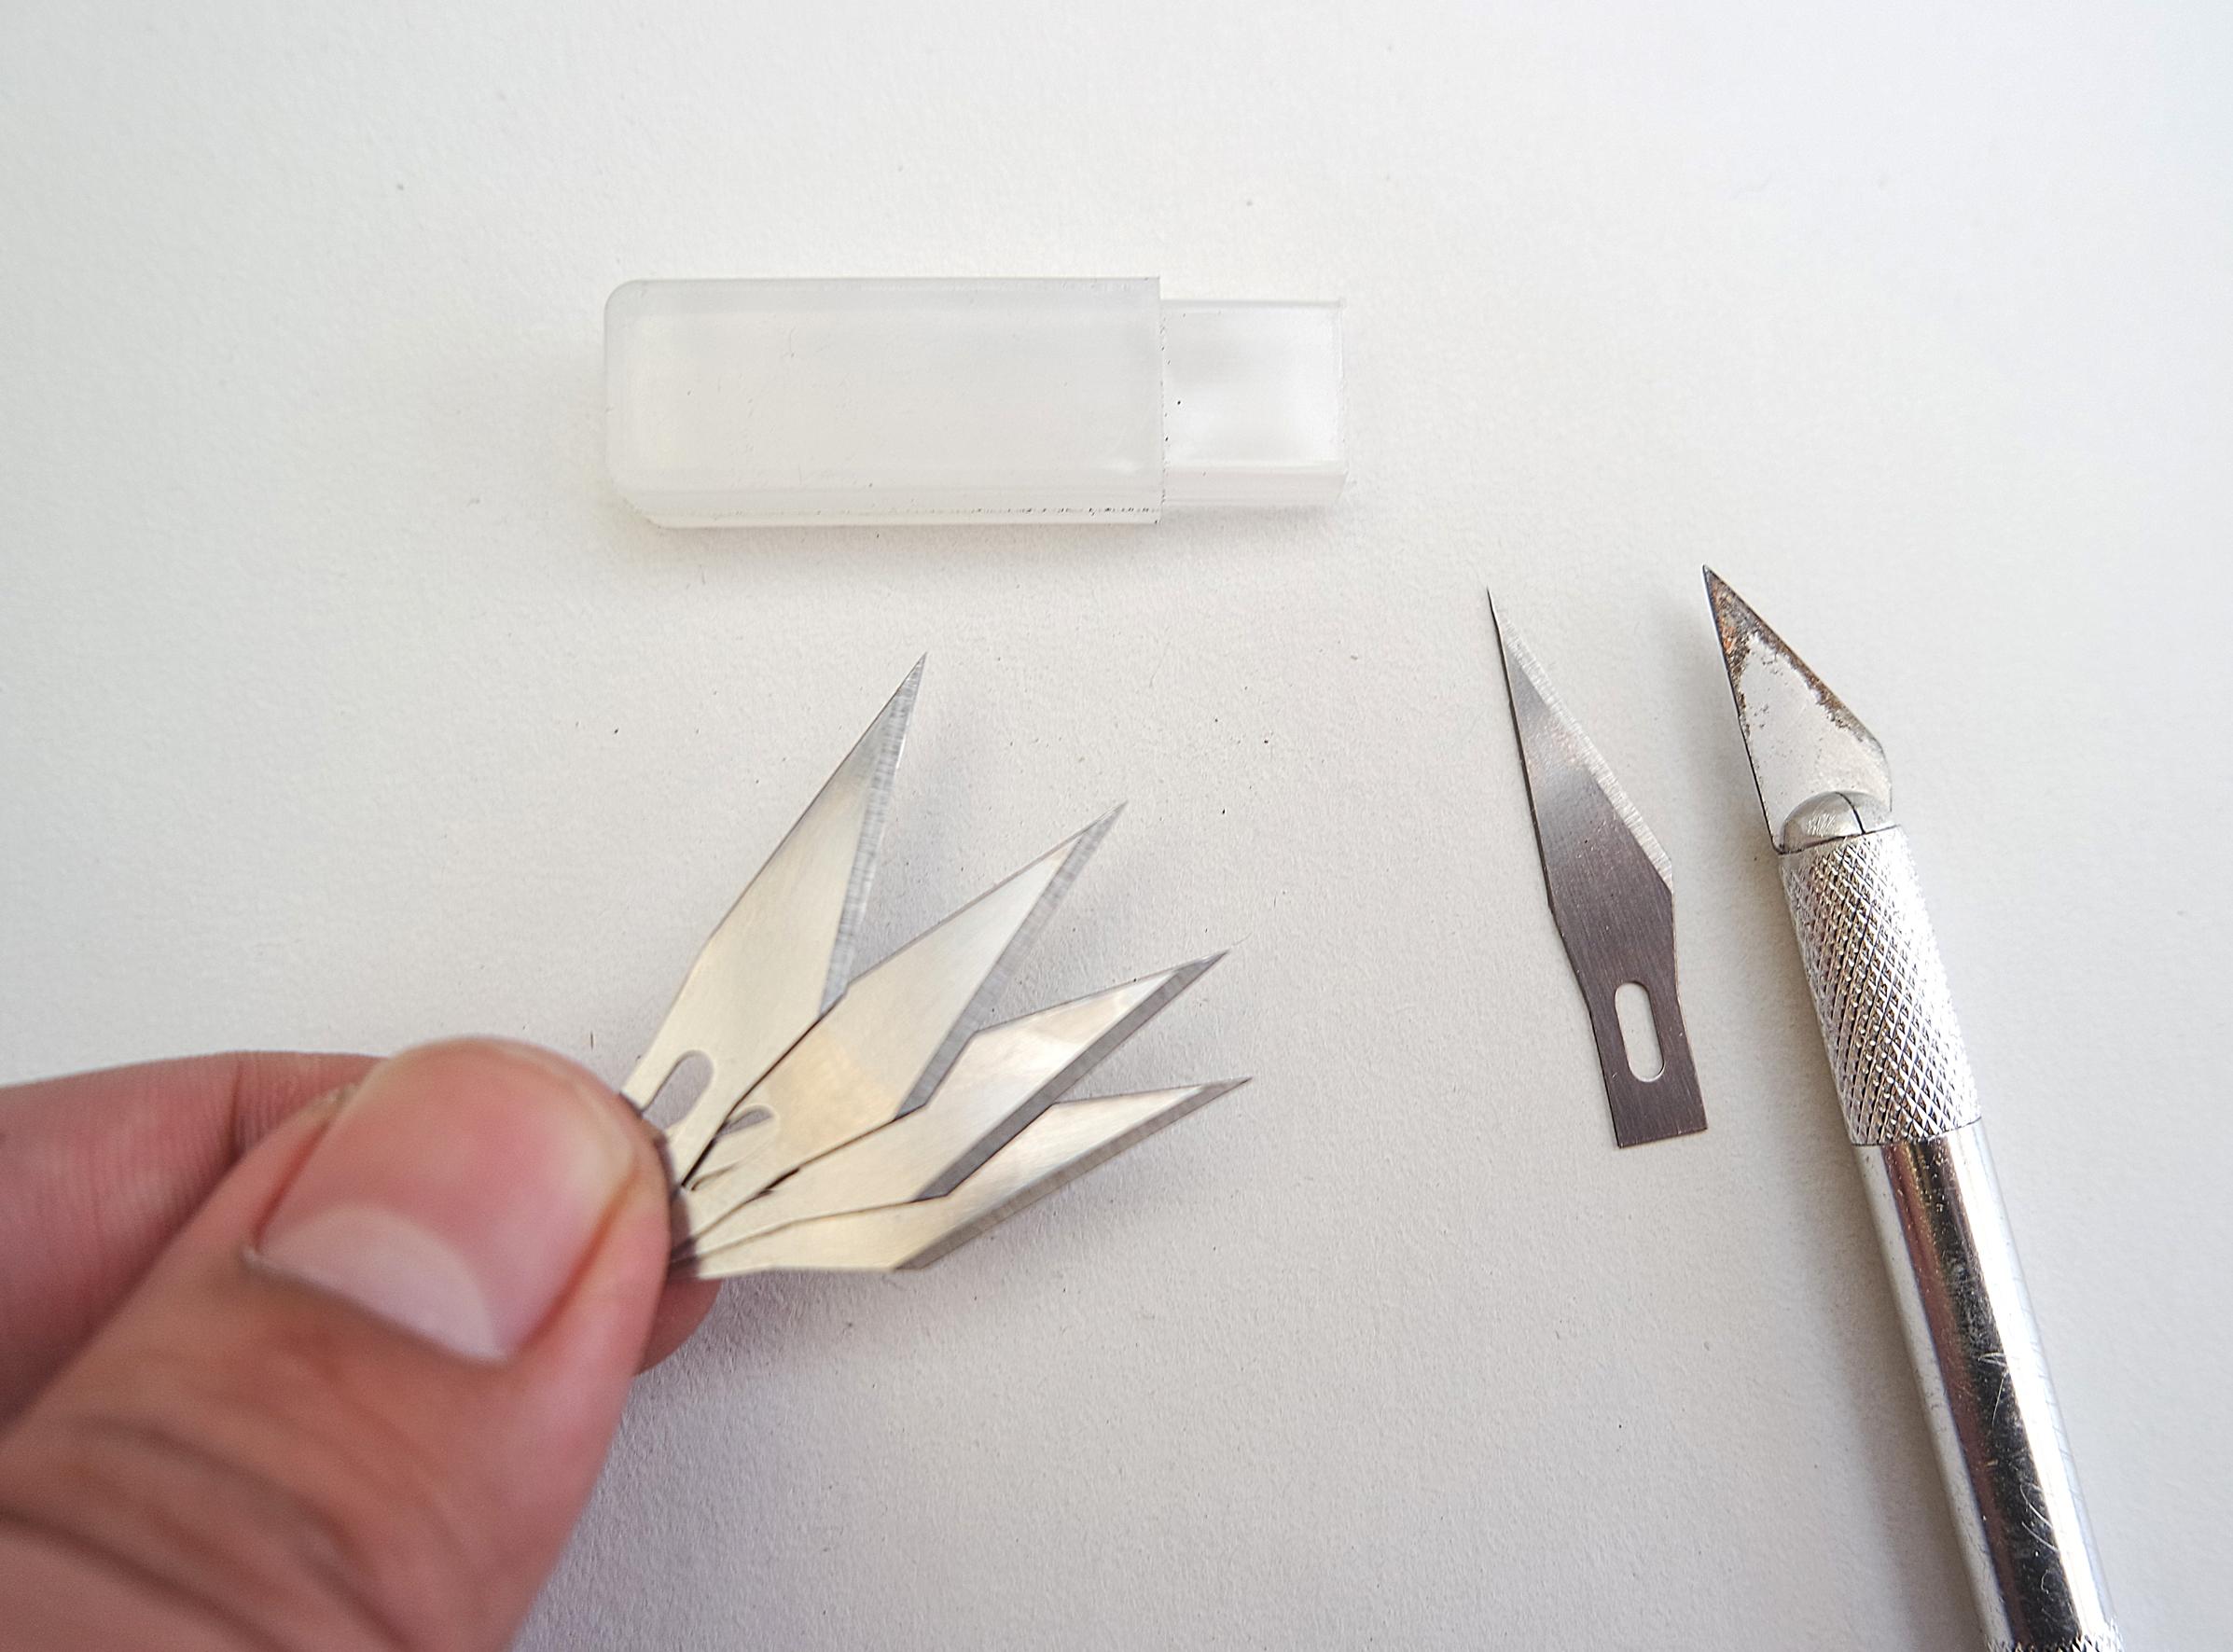
- X-acto precision blade.
- Scissors
- Pencil
- Ruler
- Time
-
last but not least, Patience.
tip: remember to constantly change your blades to achieve a better finish.
Digital Sculpture.

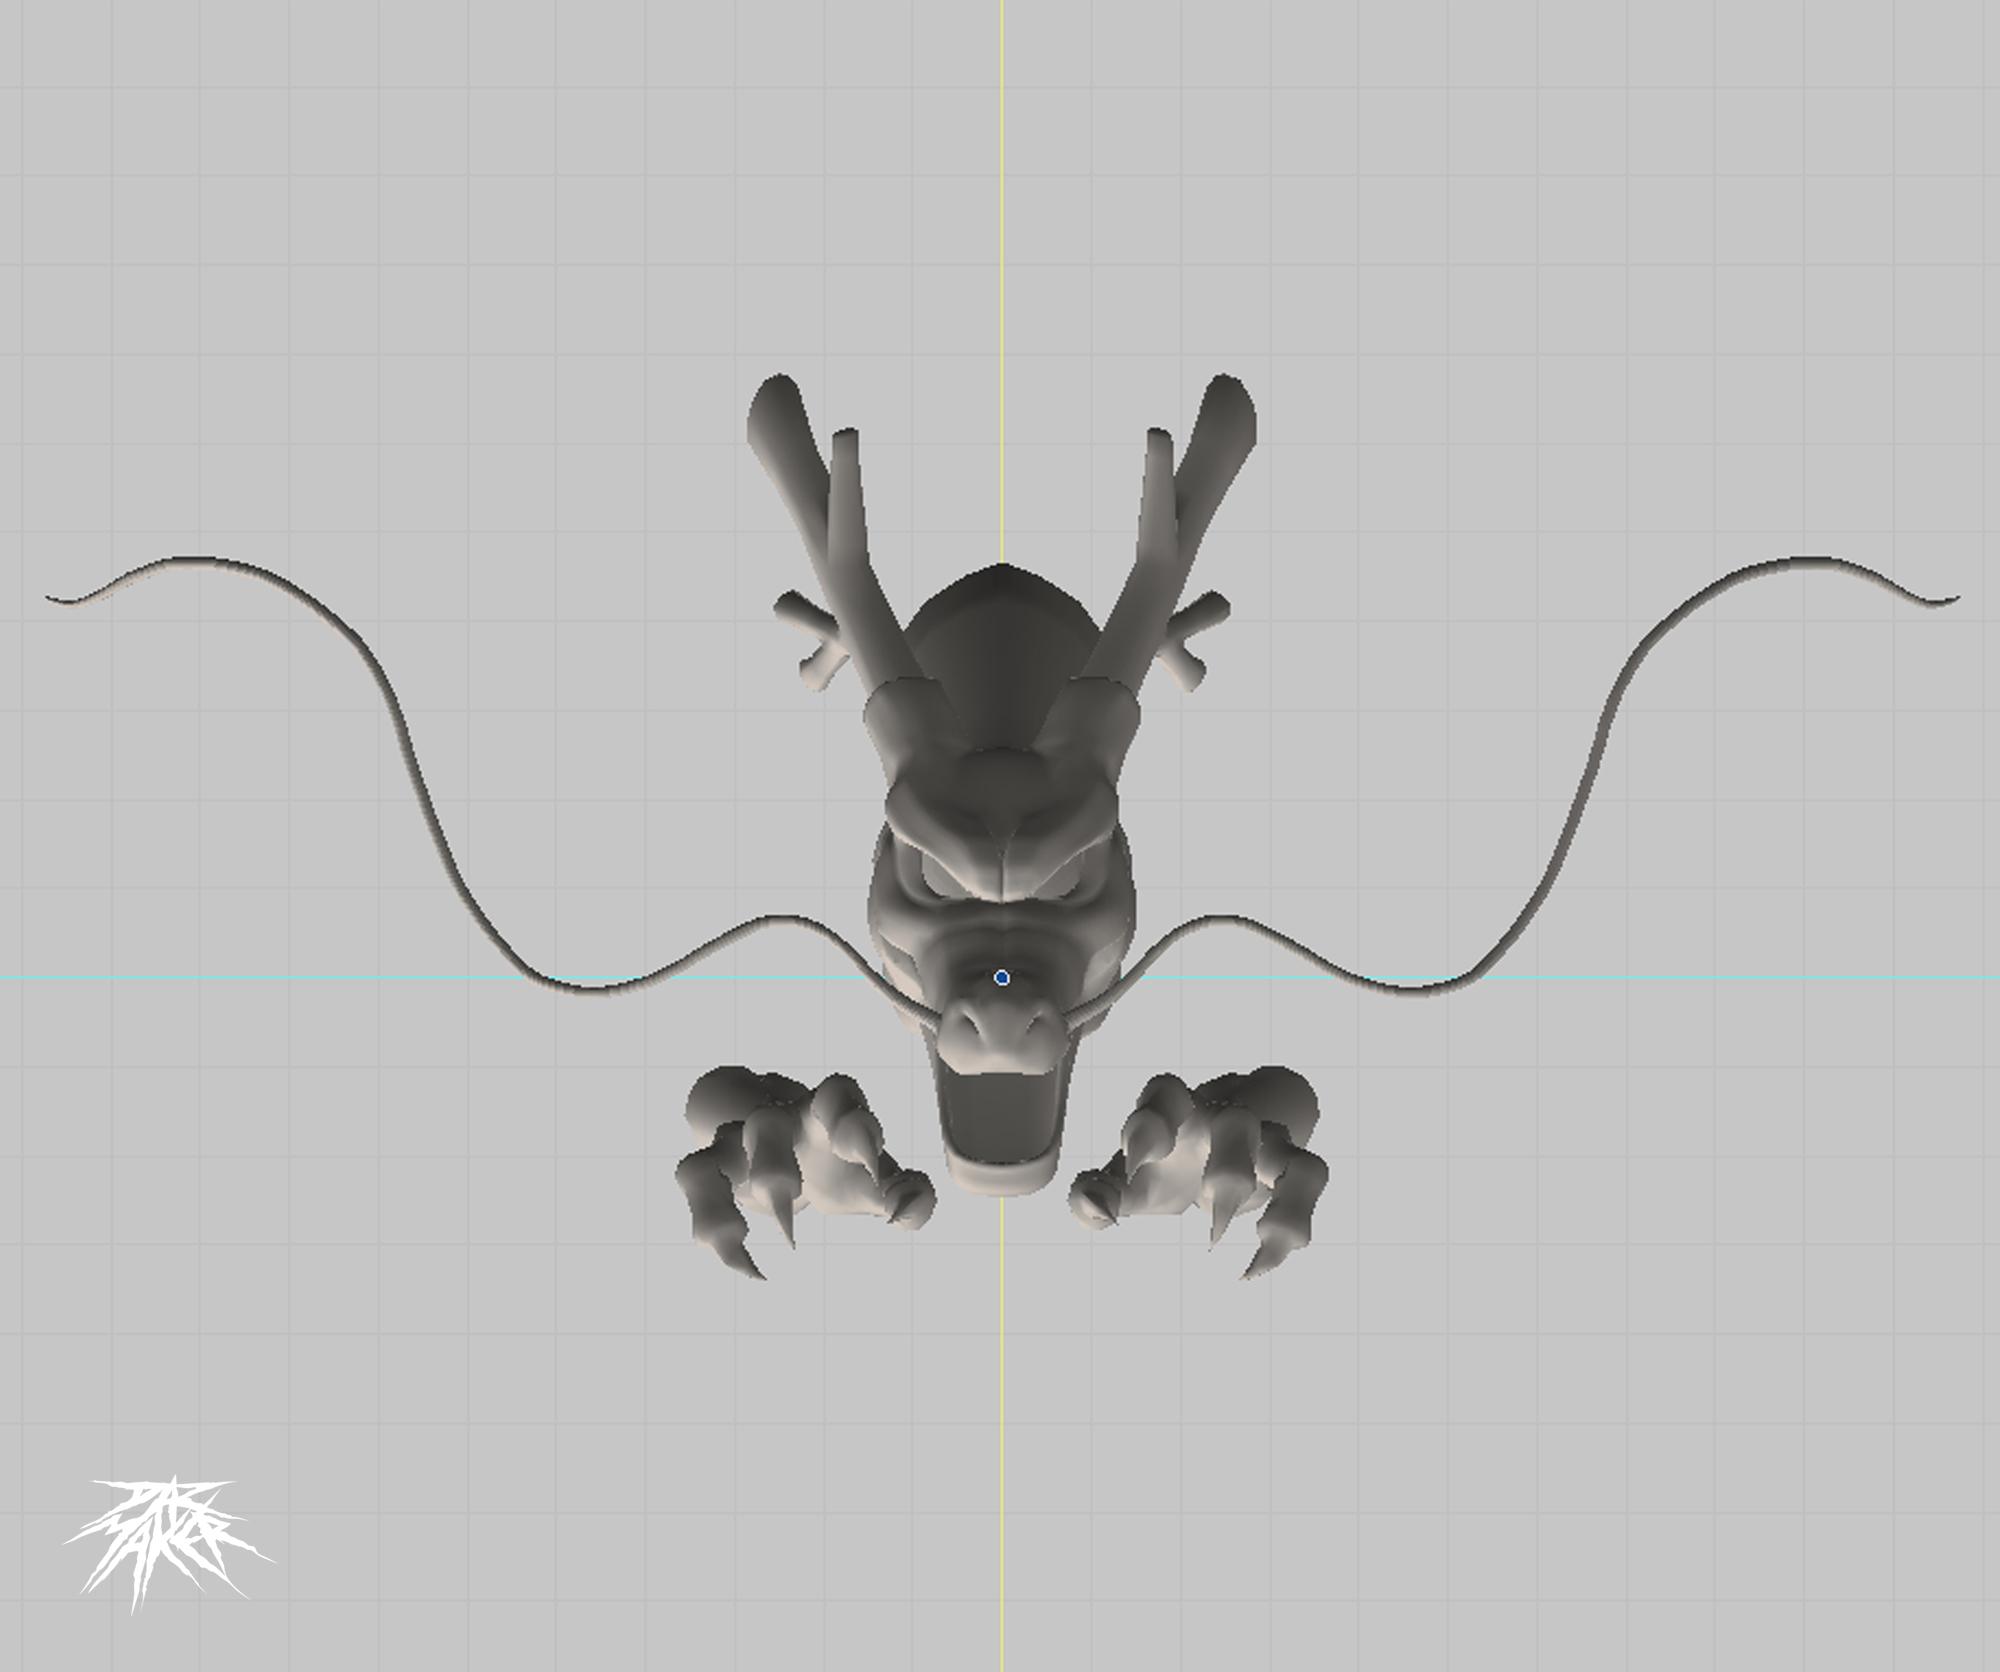
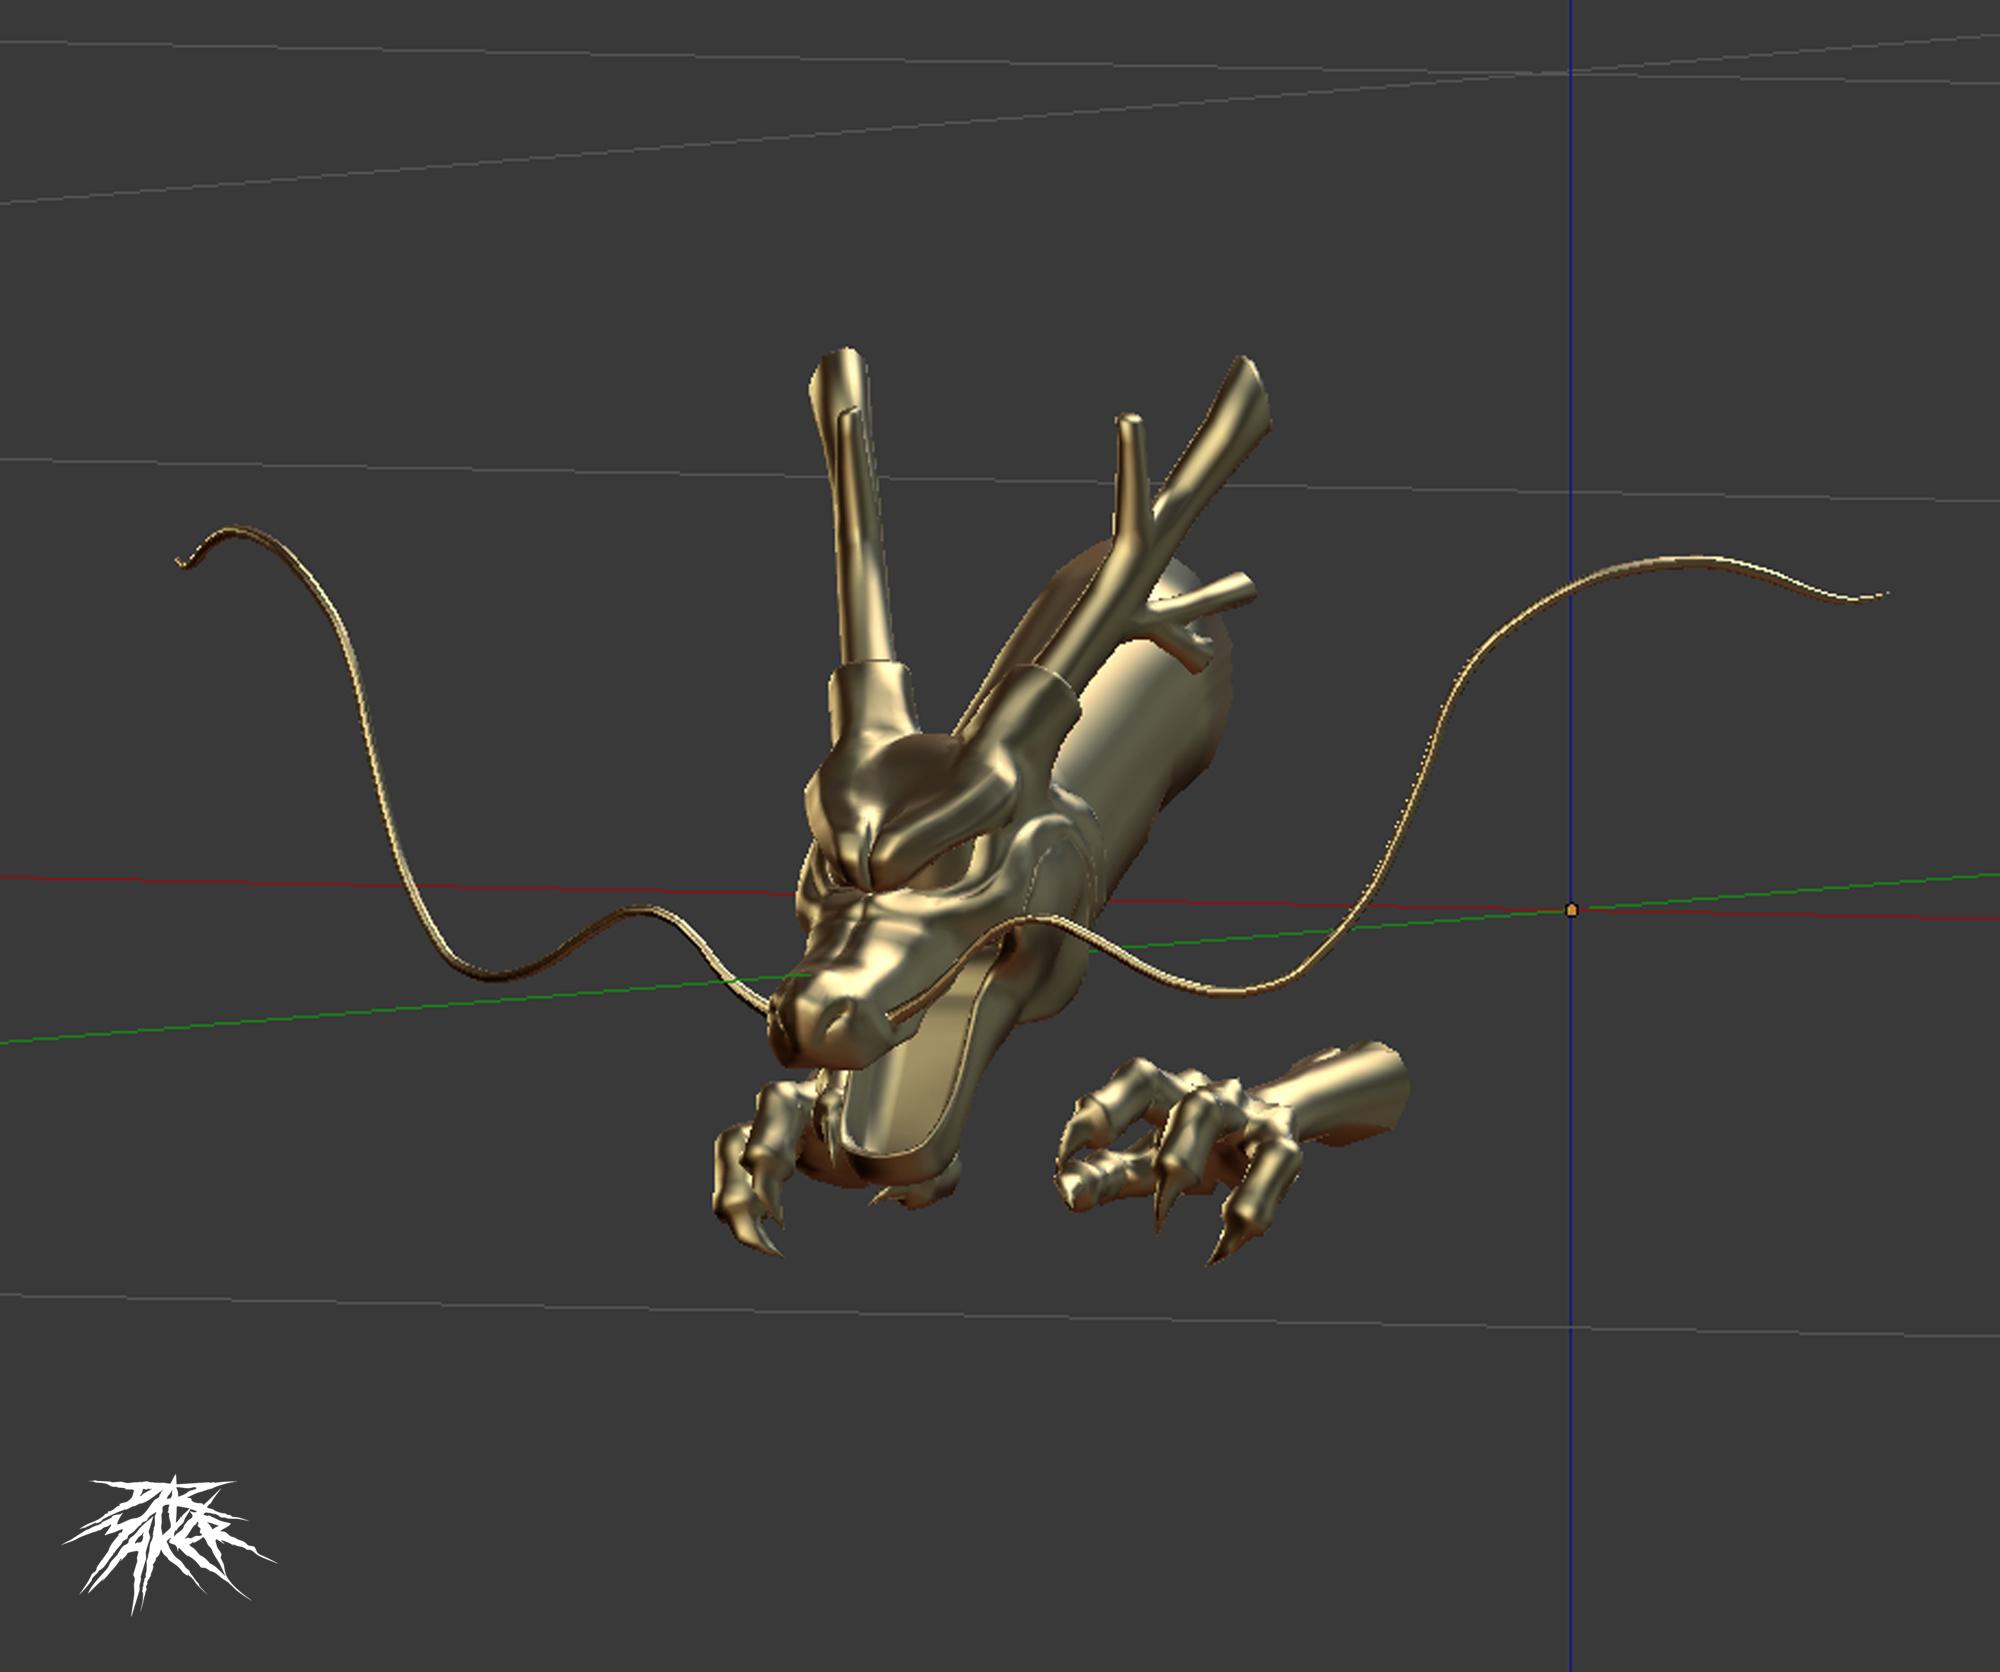
In this project I will work with a Shen Long 3d model that I have been designing for a long time.
but as I told you before, with Slicer you can do practically whatever you want, let your imagination fly.
You can find amazing free models on many interesting sites like:
https://www.thingiverse.com/
https://www.myminifactory.com/
Or you can pay for a specific 3d model:
https://www.etsy.com
https://sketchfab.com
Be curious, the web is huge.
Software.
first go to:
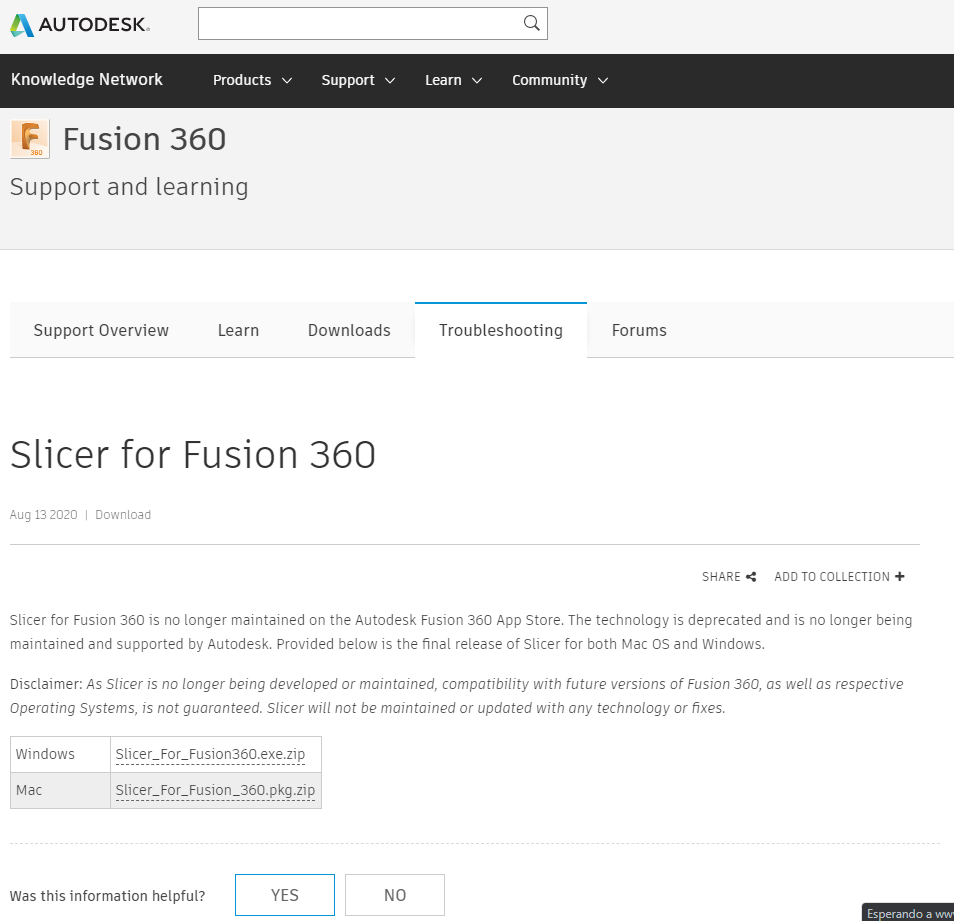
https://knowledge.autodesk.com/support/fusion-360/...
And download the Slicer Software from autodesk.
With this powerful tool we will transform the solid model to a significant amount of layers,
which we will print on sheets of paper and then we will go to the cardboard to cut each one.
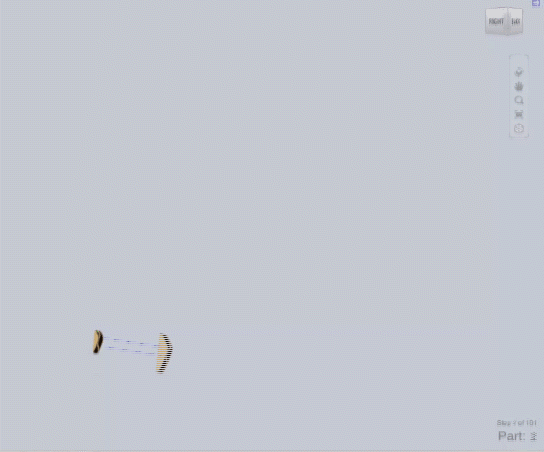
Slicer.
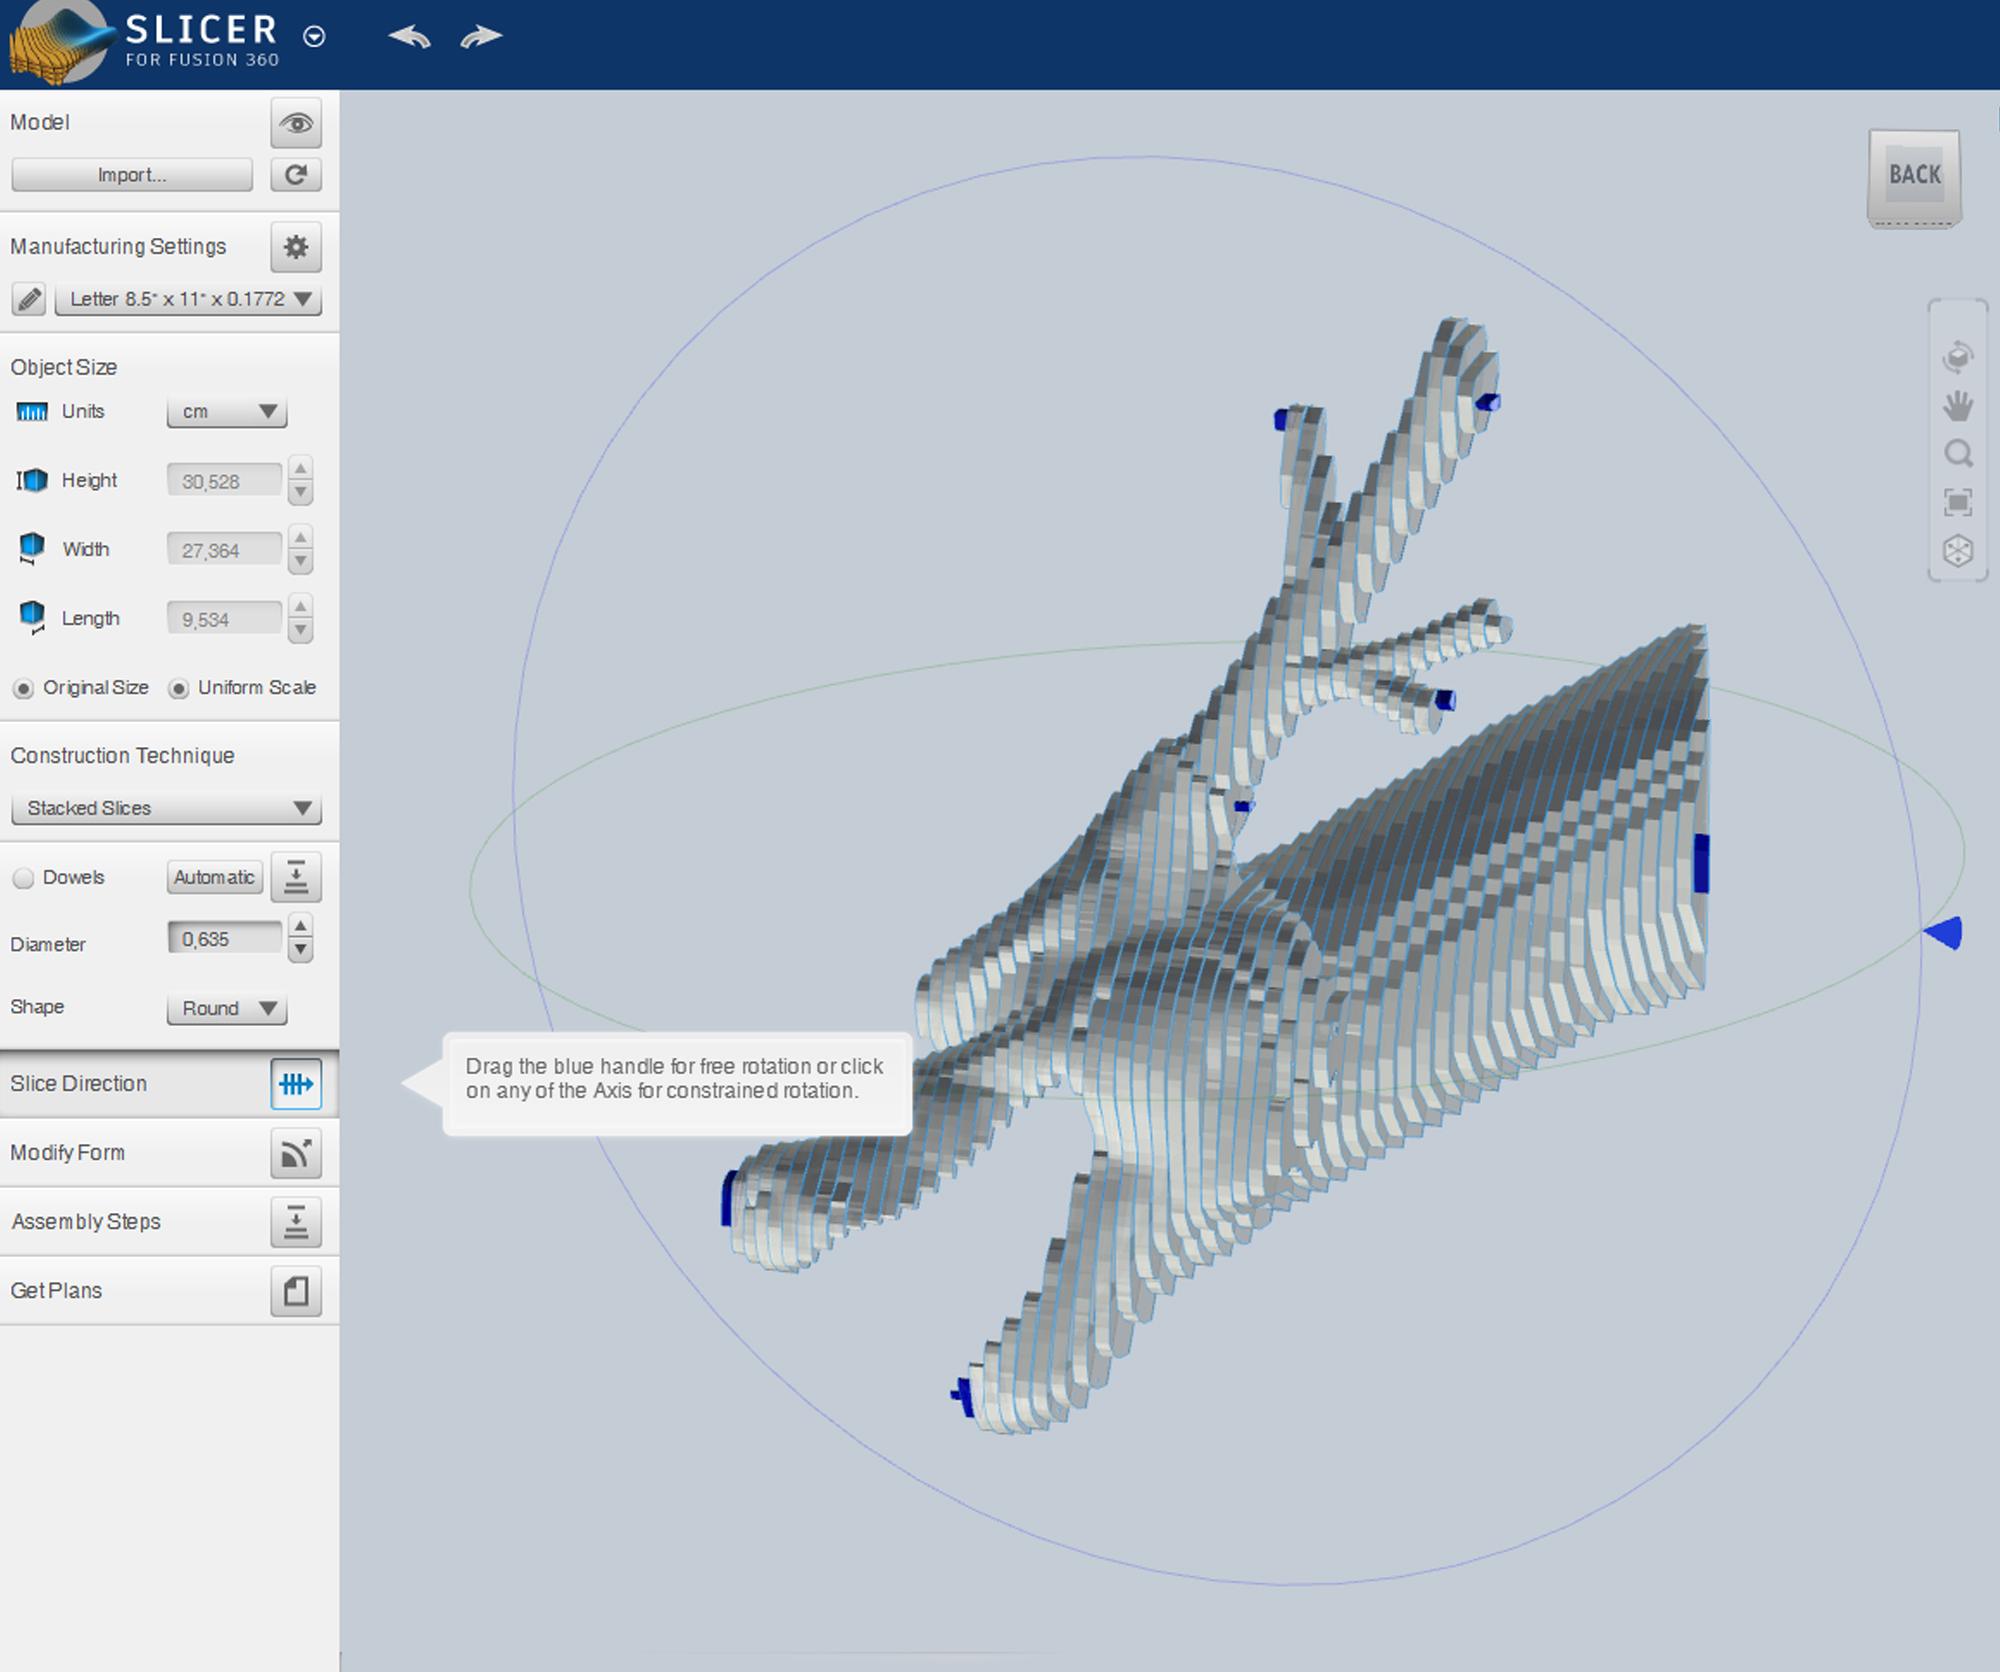
Slicer has a very intuitive interface and is very easy to use.
for any project you only have to import the model that you want to transform into pieces.
(the type of 3d model formats that slicer accepts are STL. and OBJ.)
Just click the Import Button.
As simple as that!
experiment with its commands to get familiar with the environment
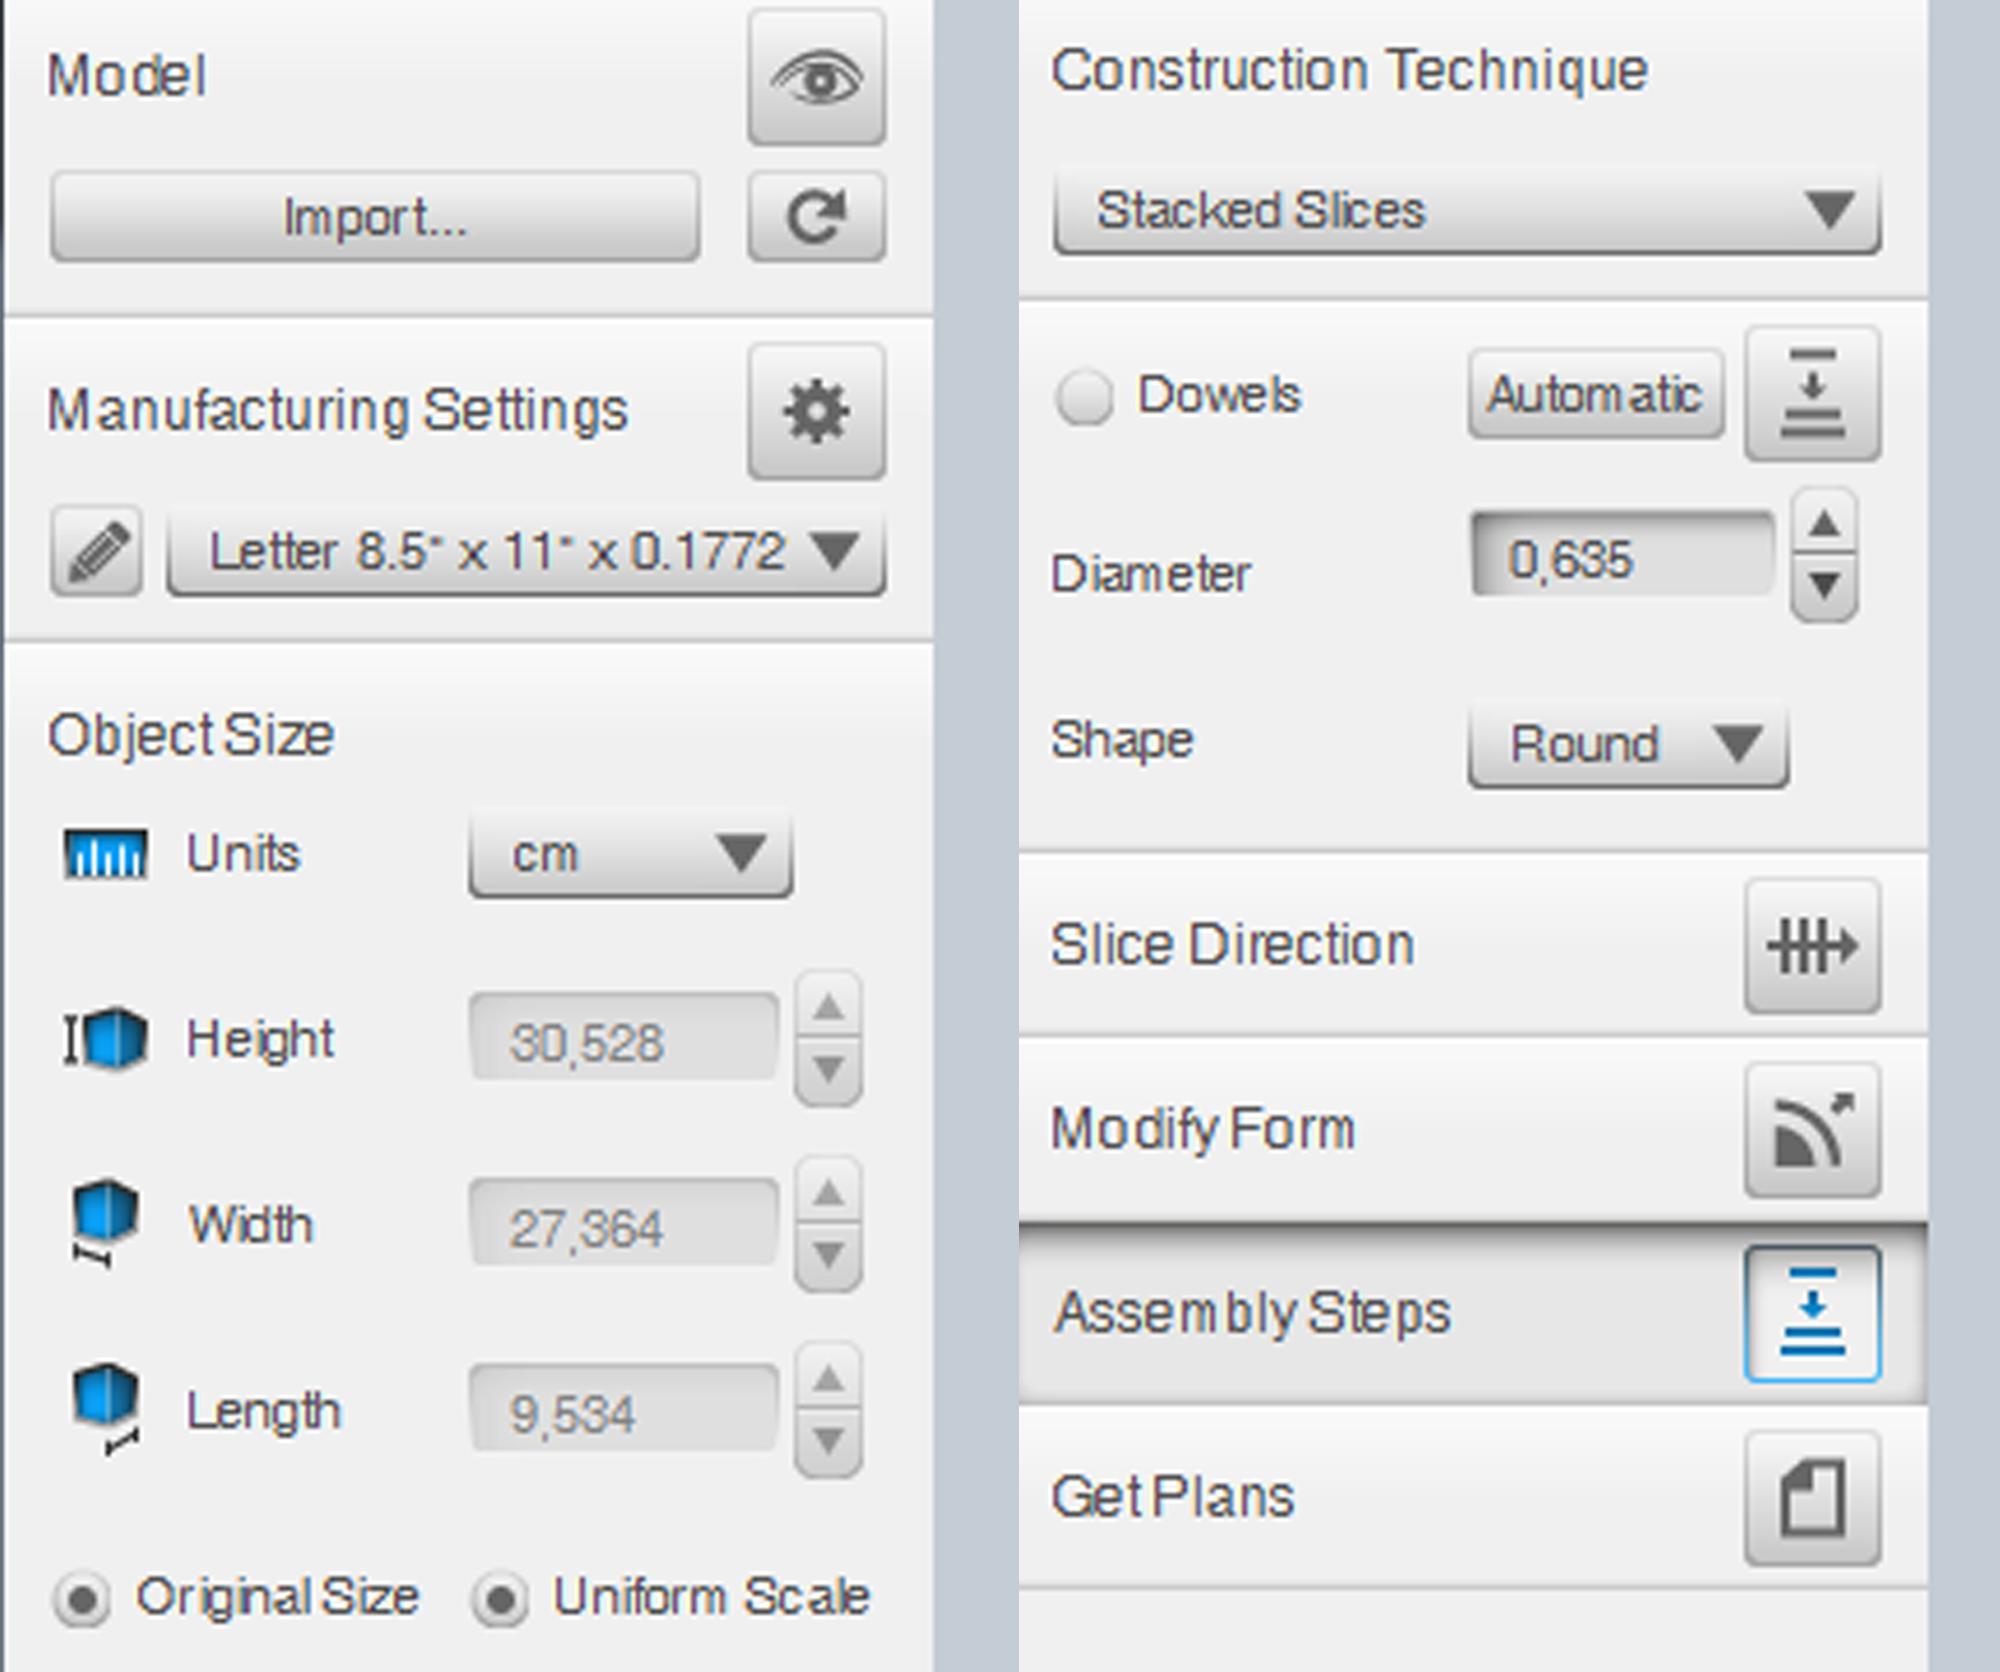
- In the Manufacturing Settings, choose the paper size or dimensions of the laser cutting machine you will be using.
I do not have access to a laser cutter so all the cutting work recorded here will be manual.
- In the Size of the Objects, select the measurements units that best suit your requirements.
You can set the original dimensions of the model or customize them, always with or without a uniform scale
- In the ConstructionTechniquesyou can choose from a wide variety,
choose the one that best suits your project.
- In the Assembly Direction you can rotate and change the direction in which you want your model will be cut.
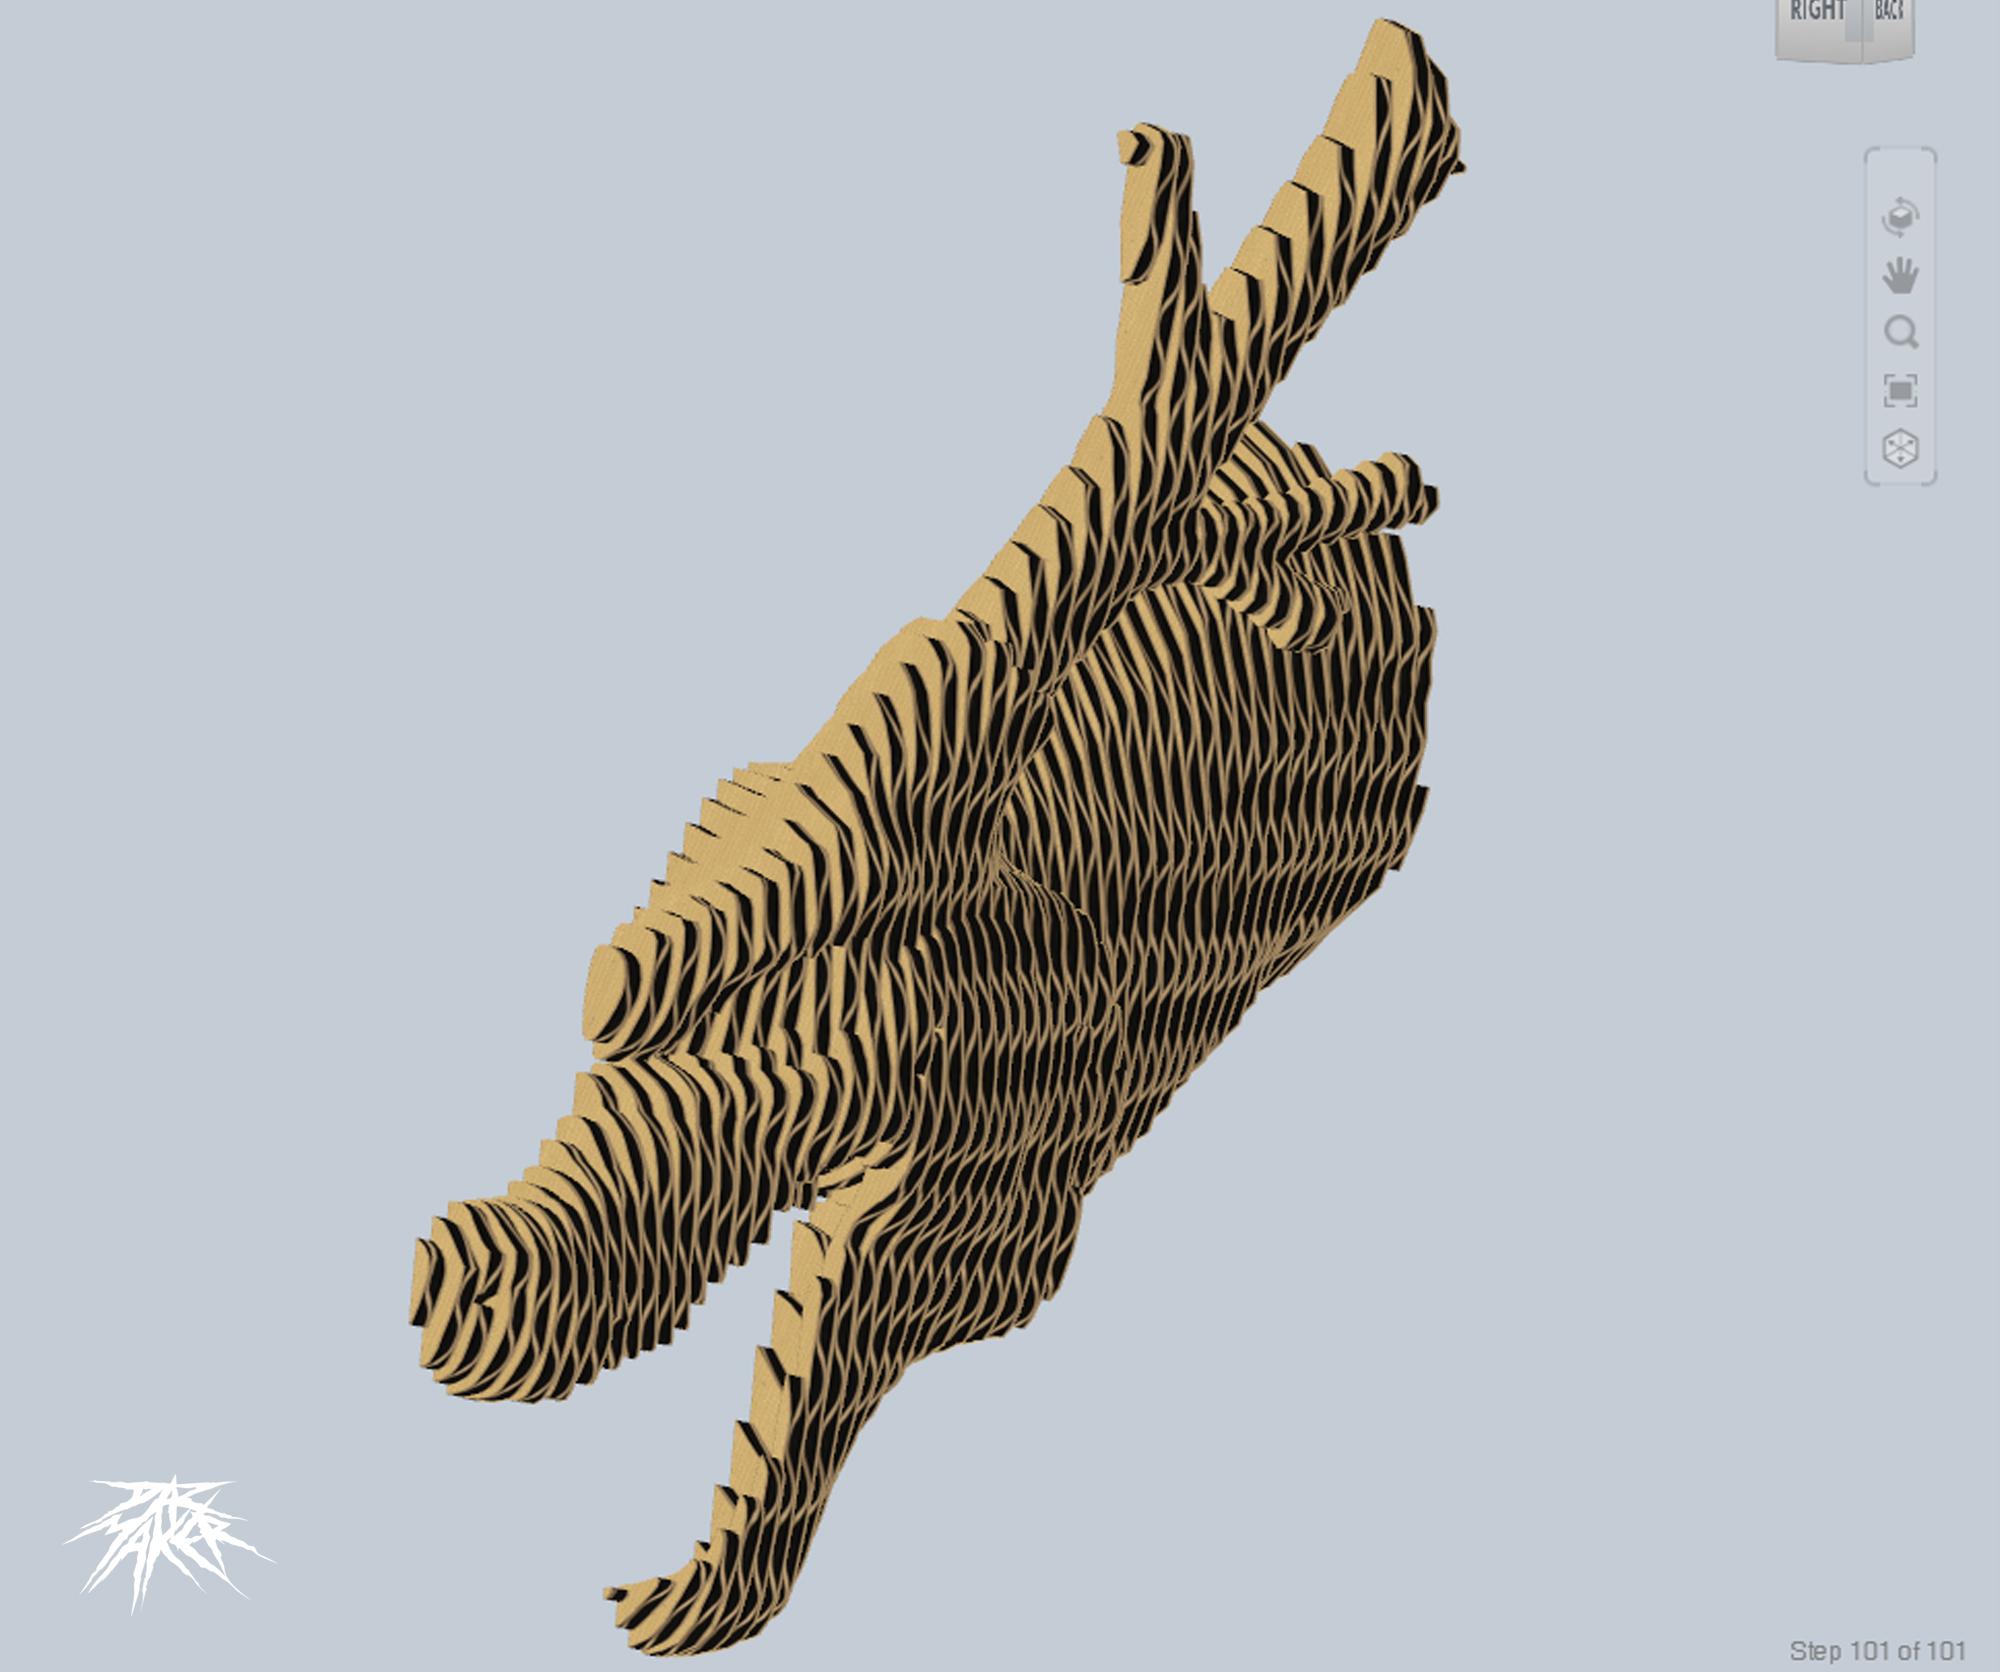
- the Assembly Steps will be the guide to finally assemble your physical model,
I recommend if it is manual work to mark each number on each piece before any cut,
if it is with a cutting machine you will save a lot of time and the cuts will be finer for not say perfect.
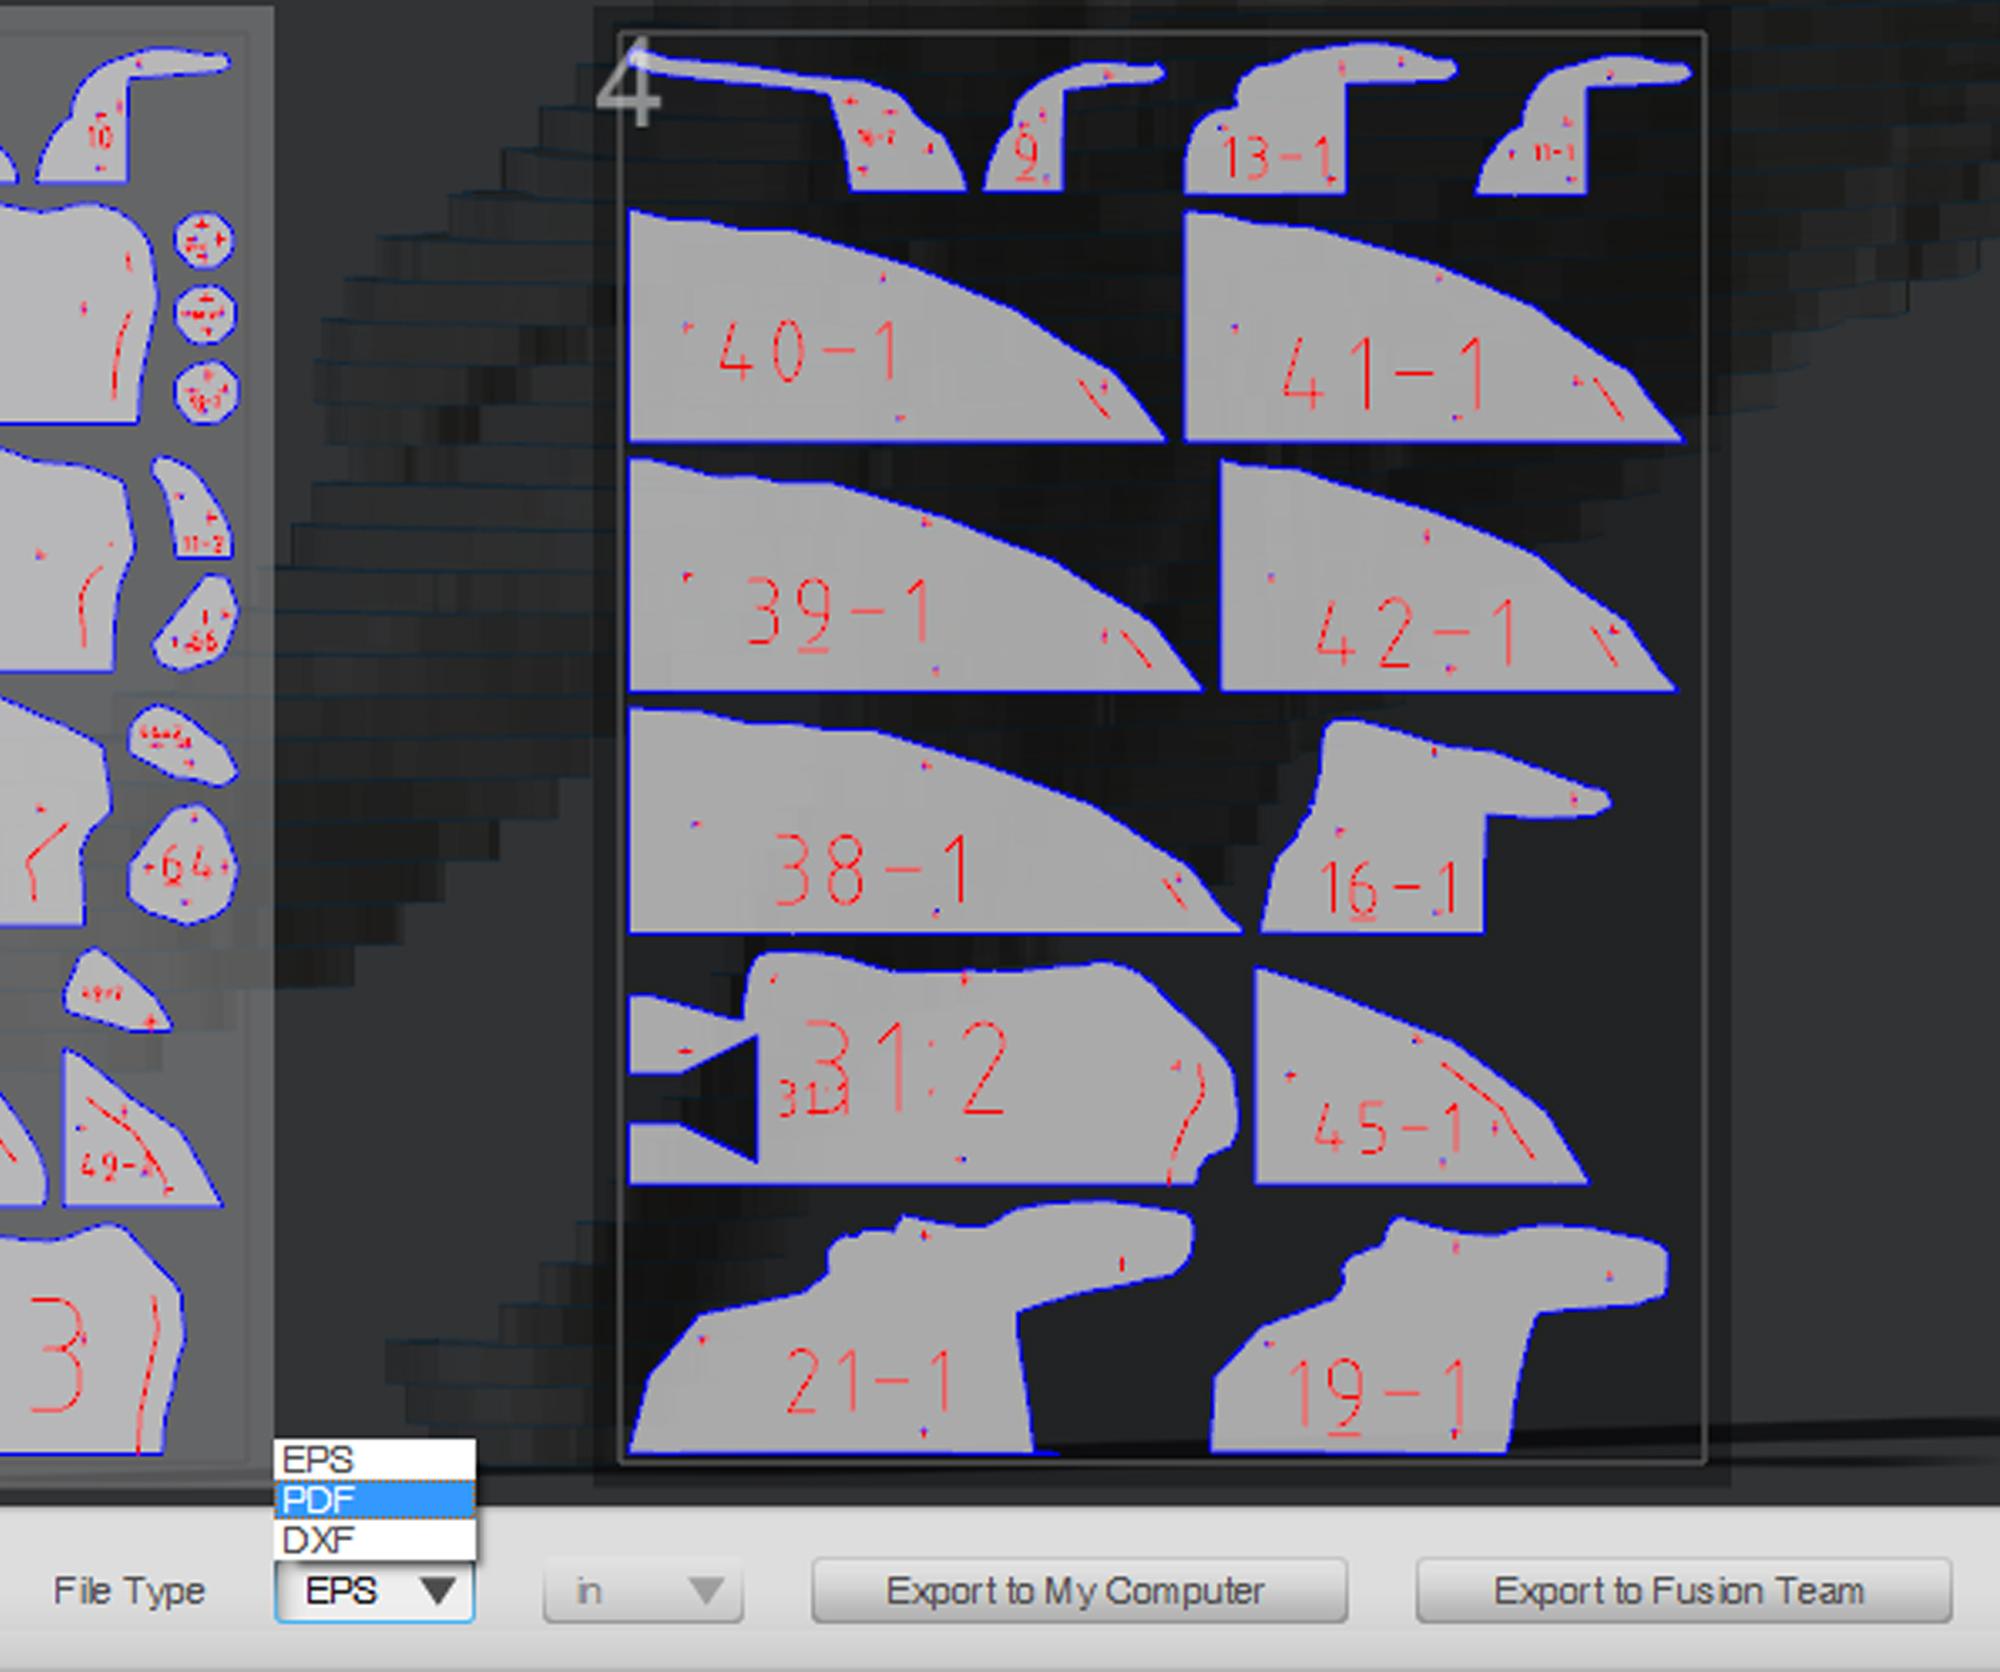
- At Get Plans, you will get a copy of the pages that will be printed according to your requirements set out above.
The available formats are: EPS, PDF, DXF.
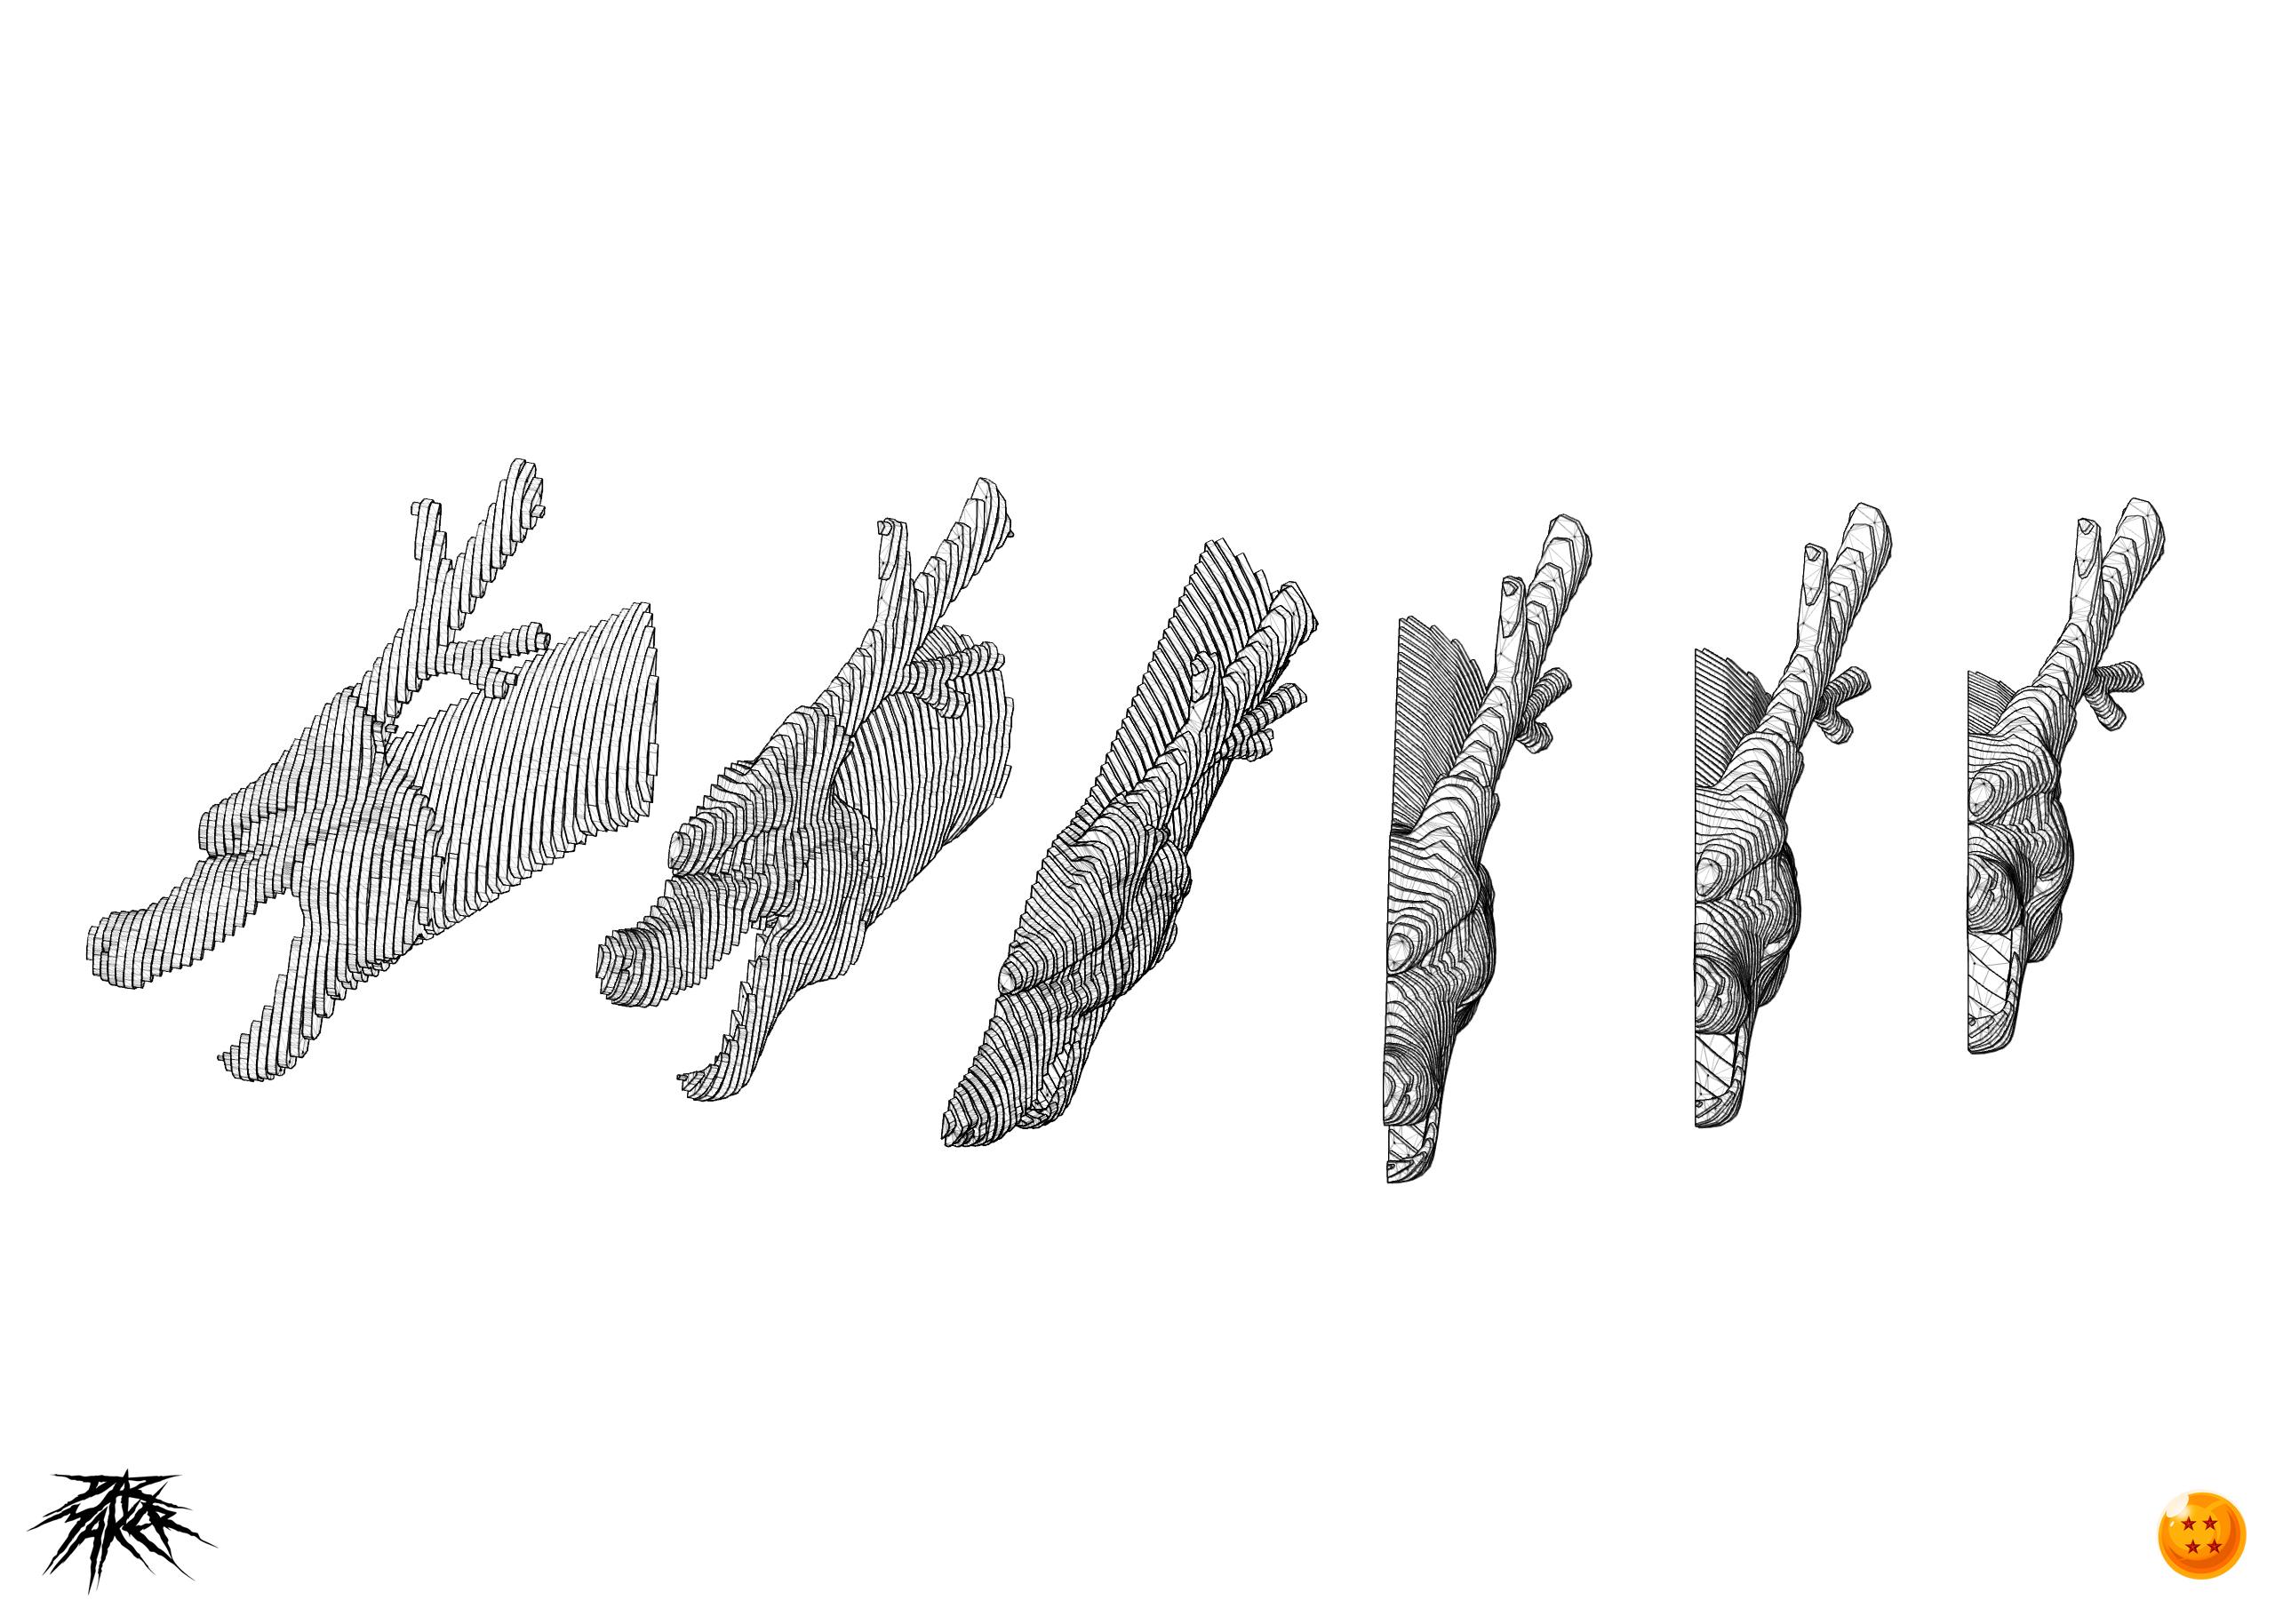
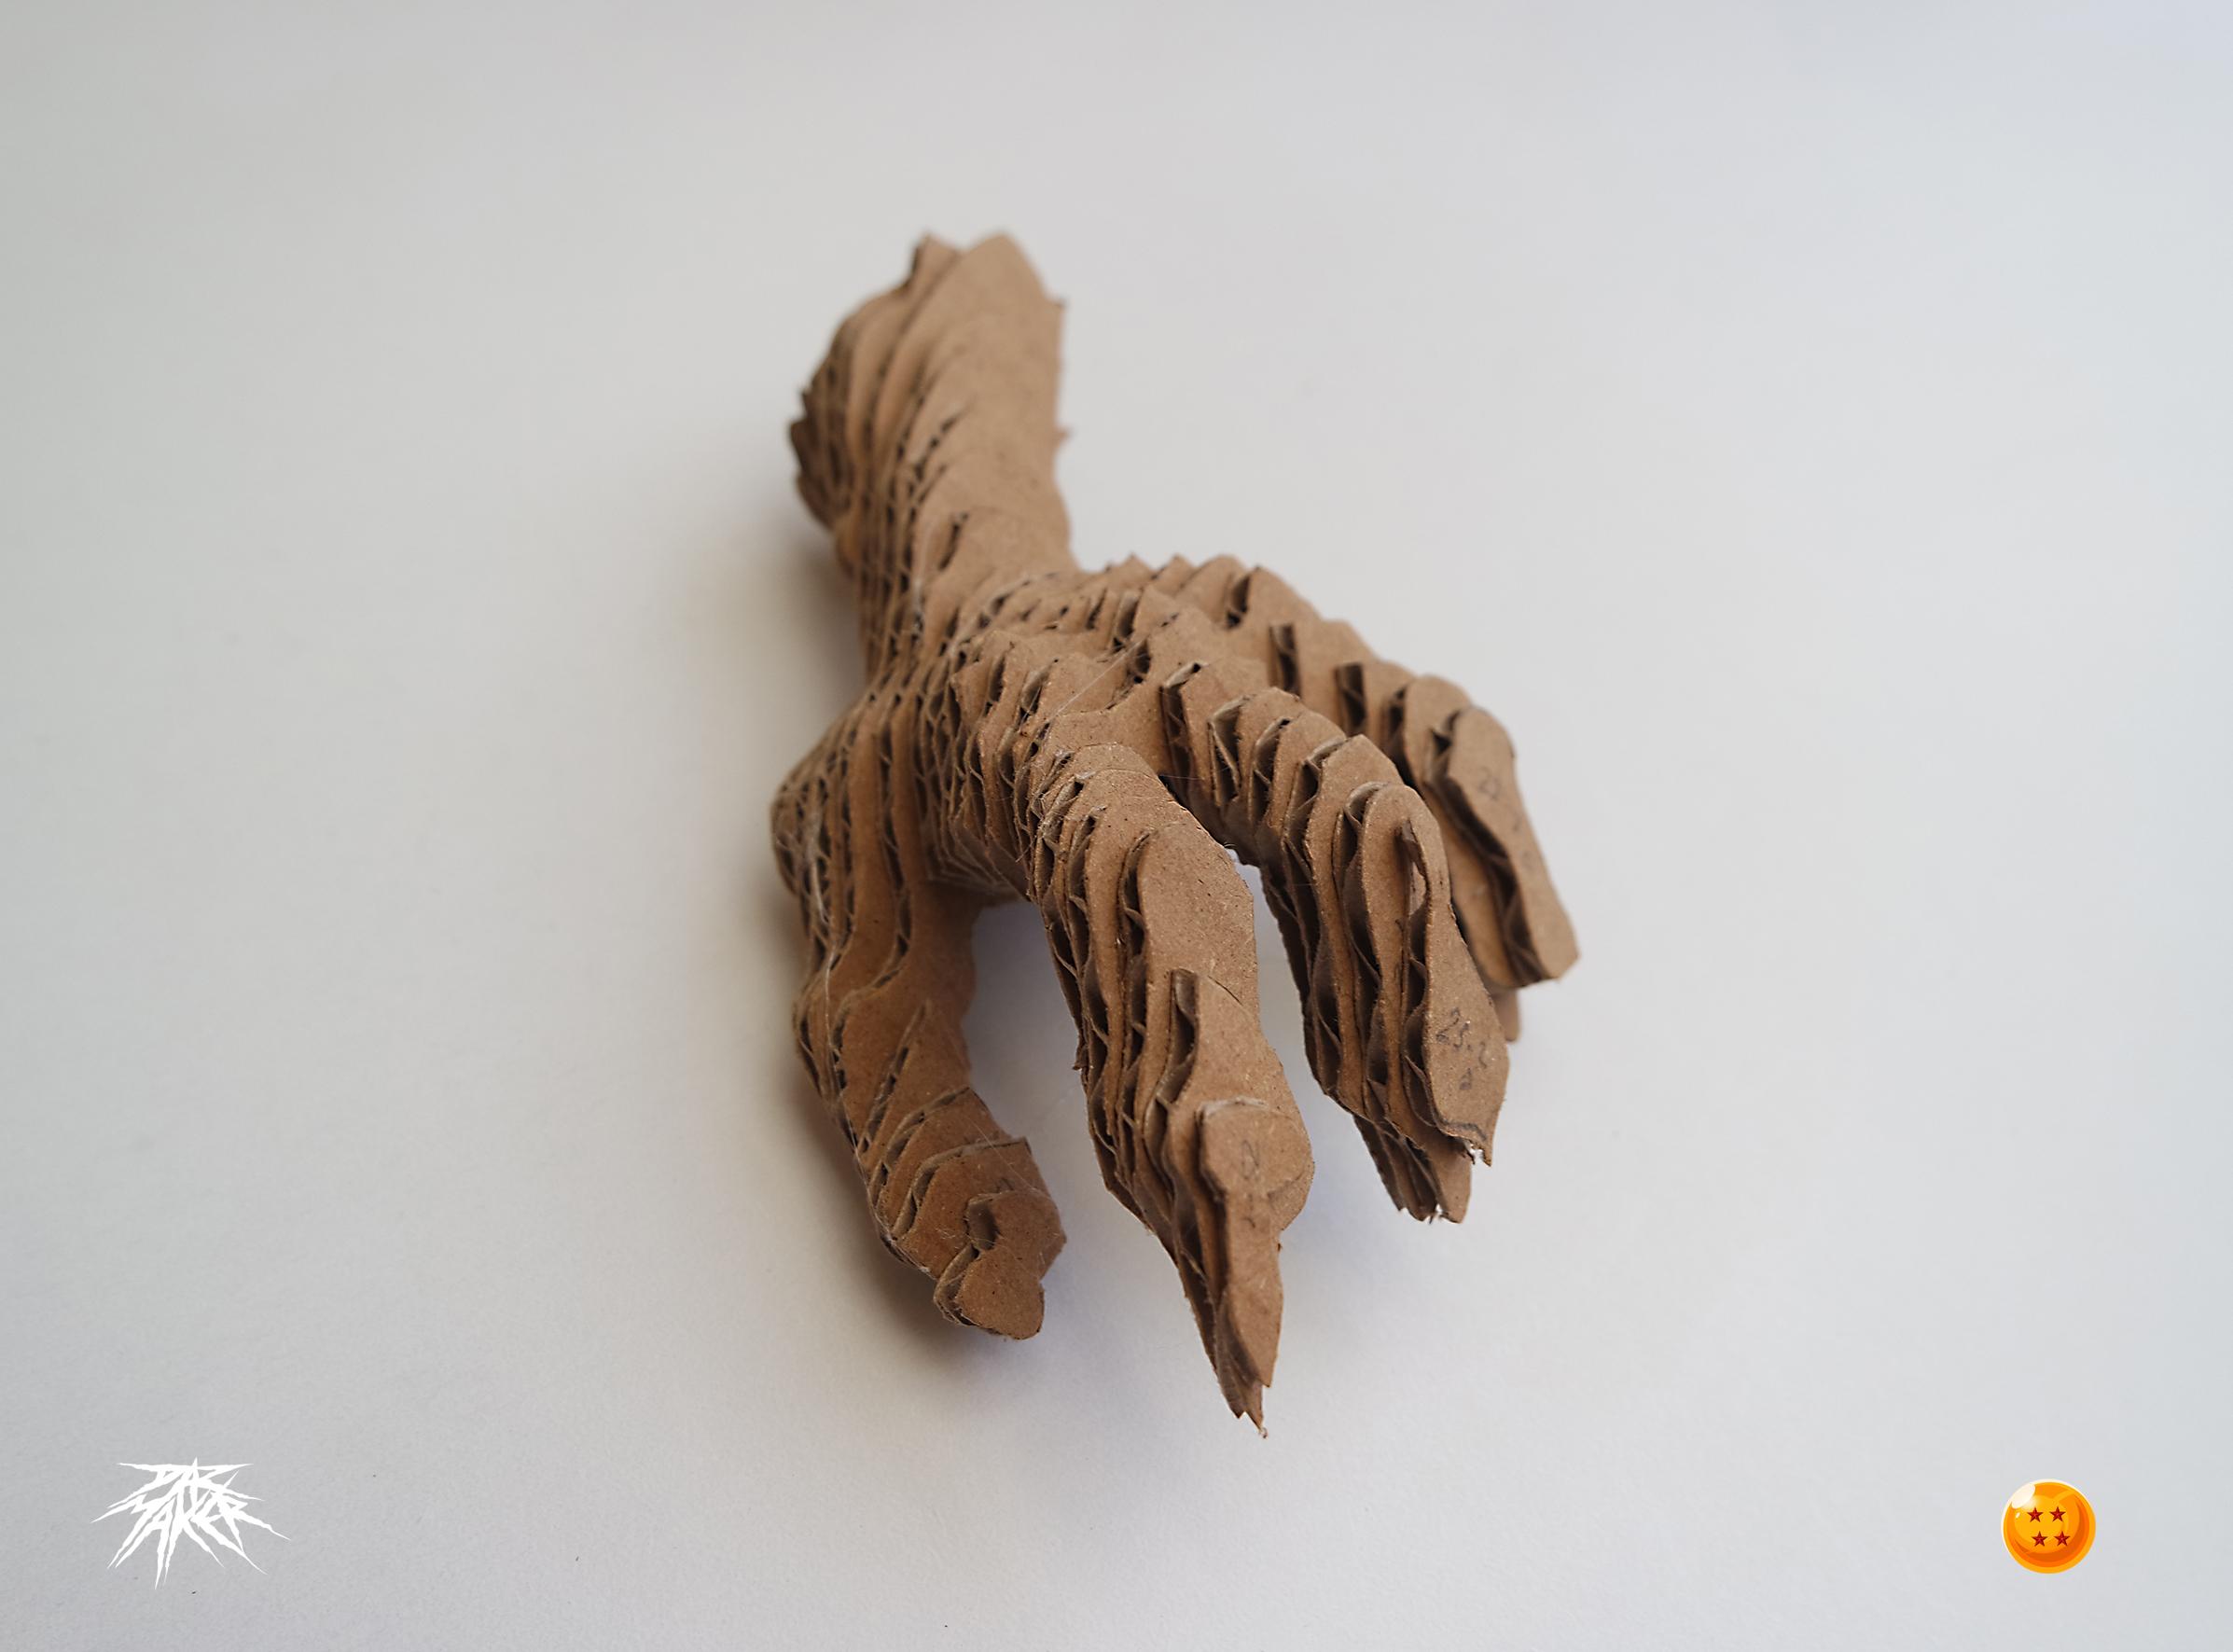
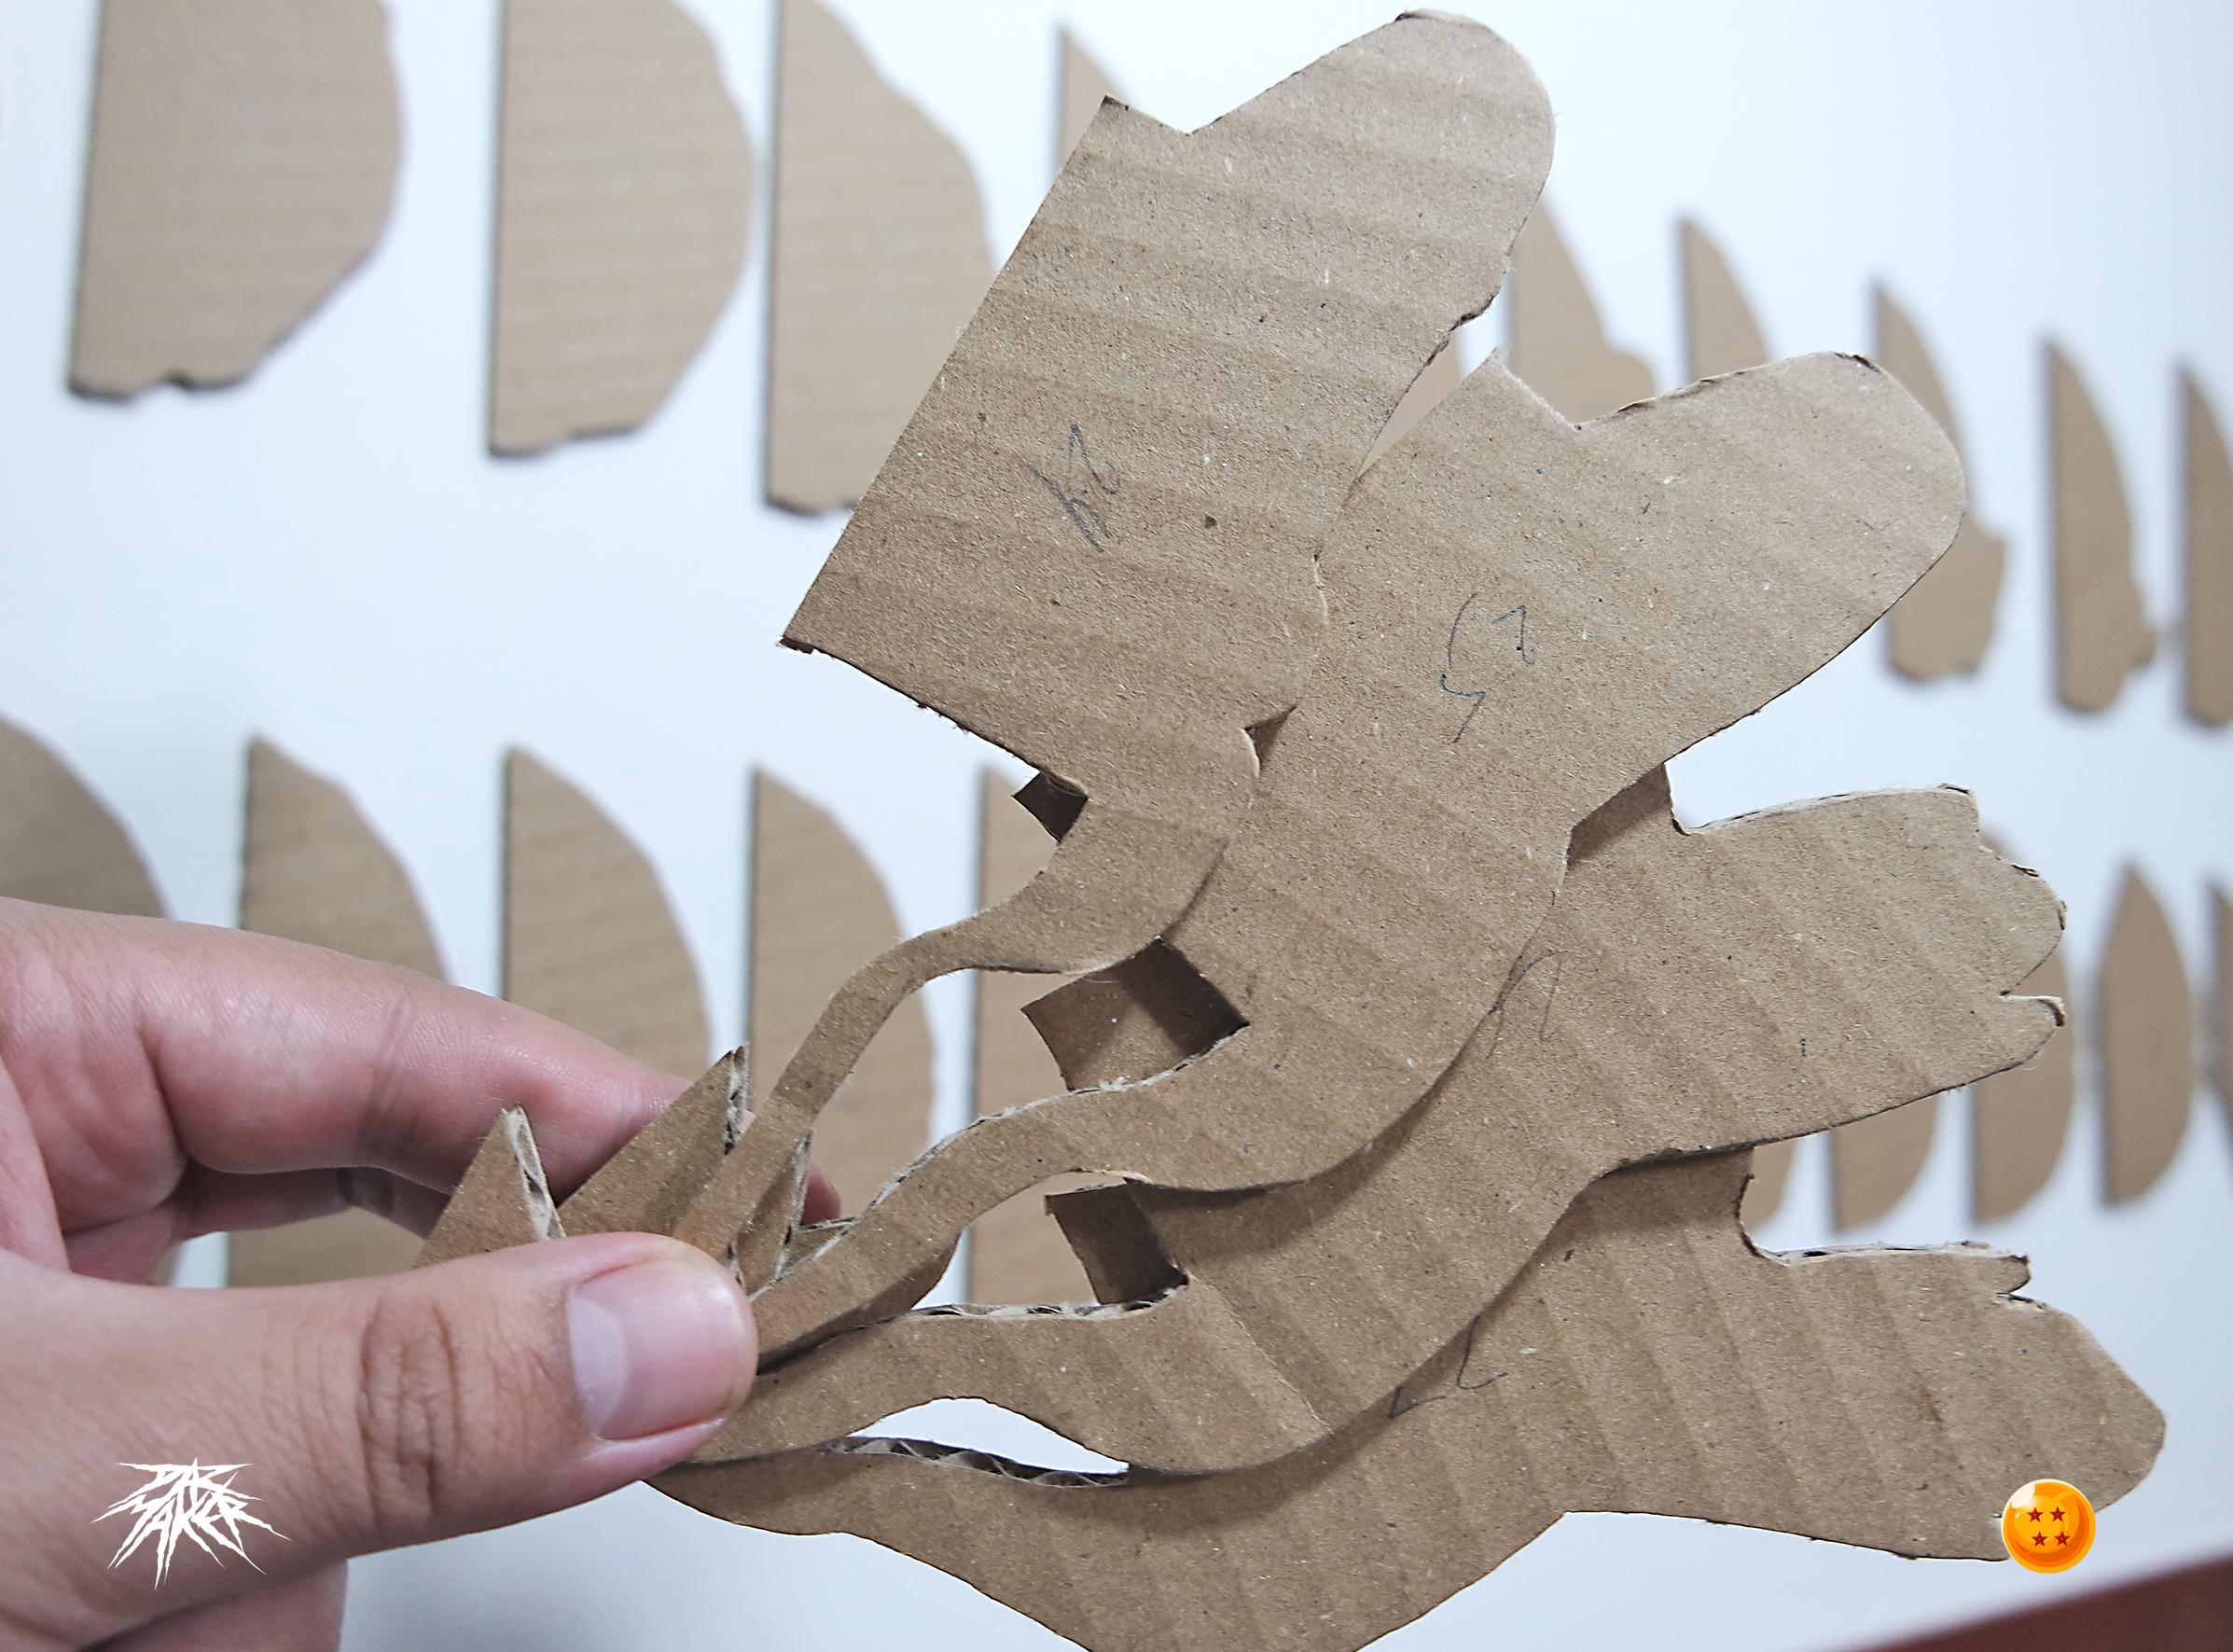
Setting Up the Model: the Claw.
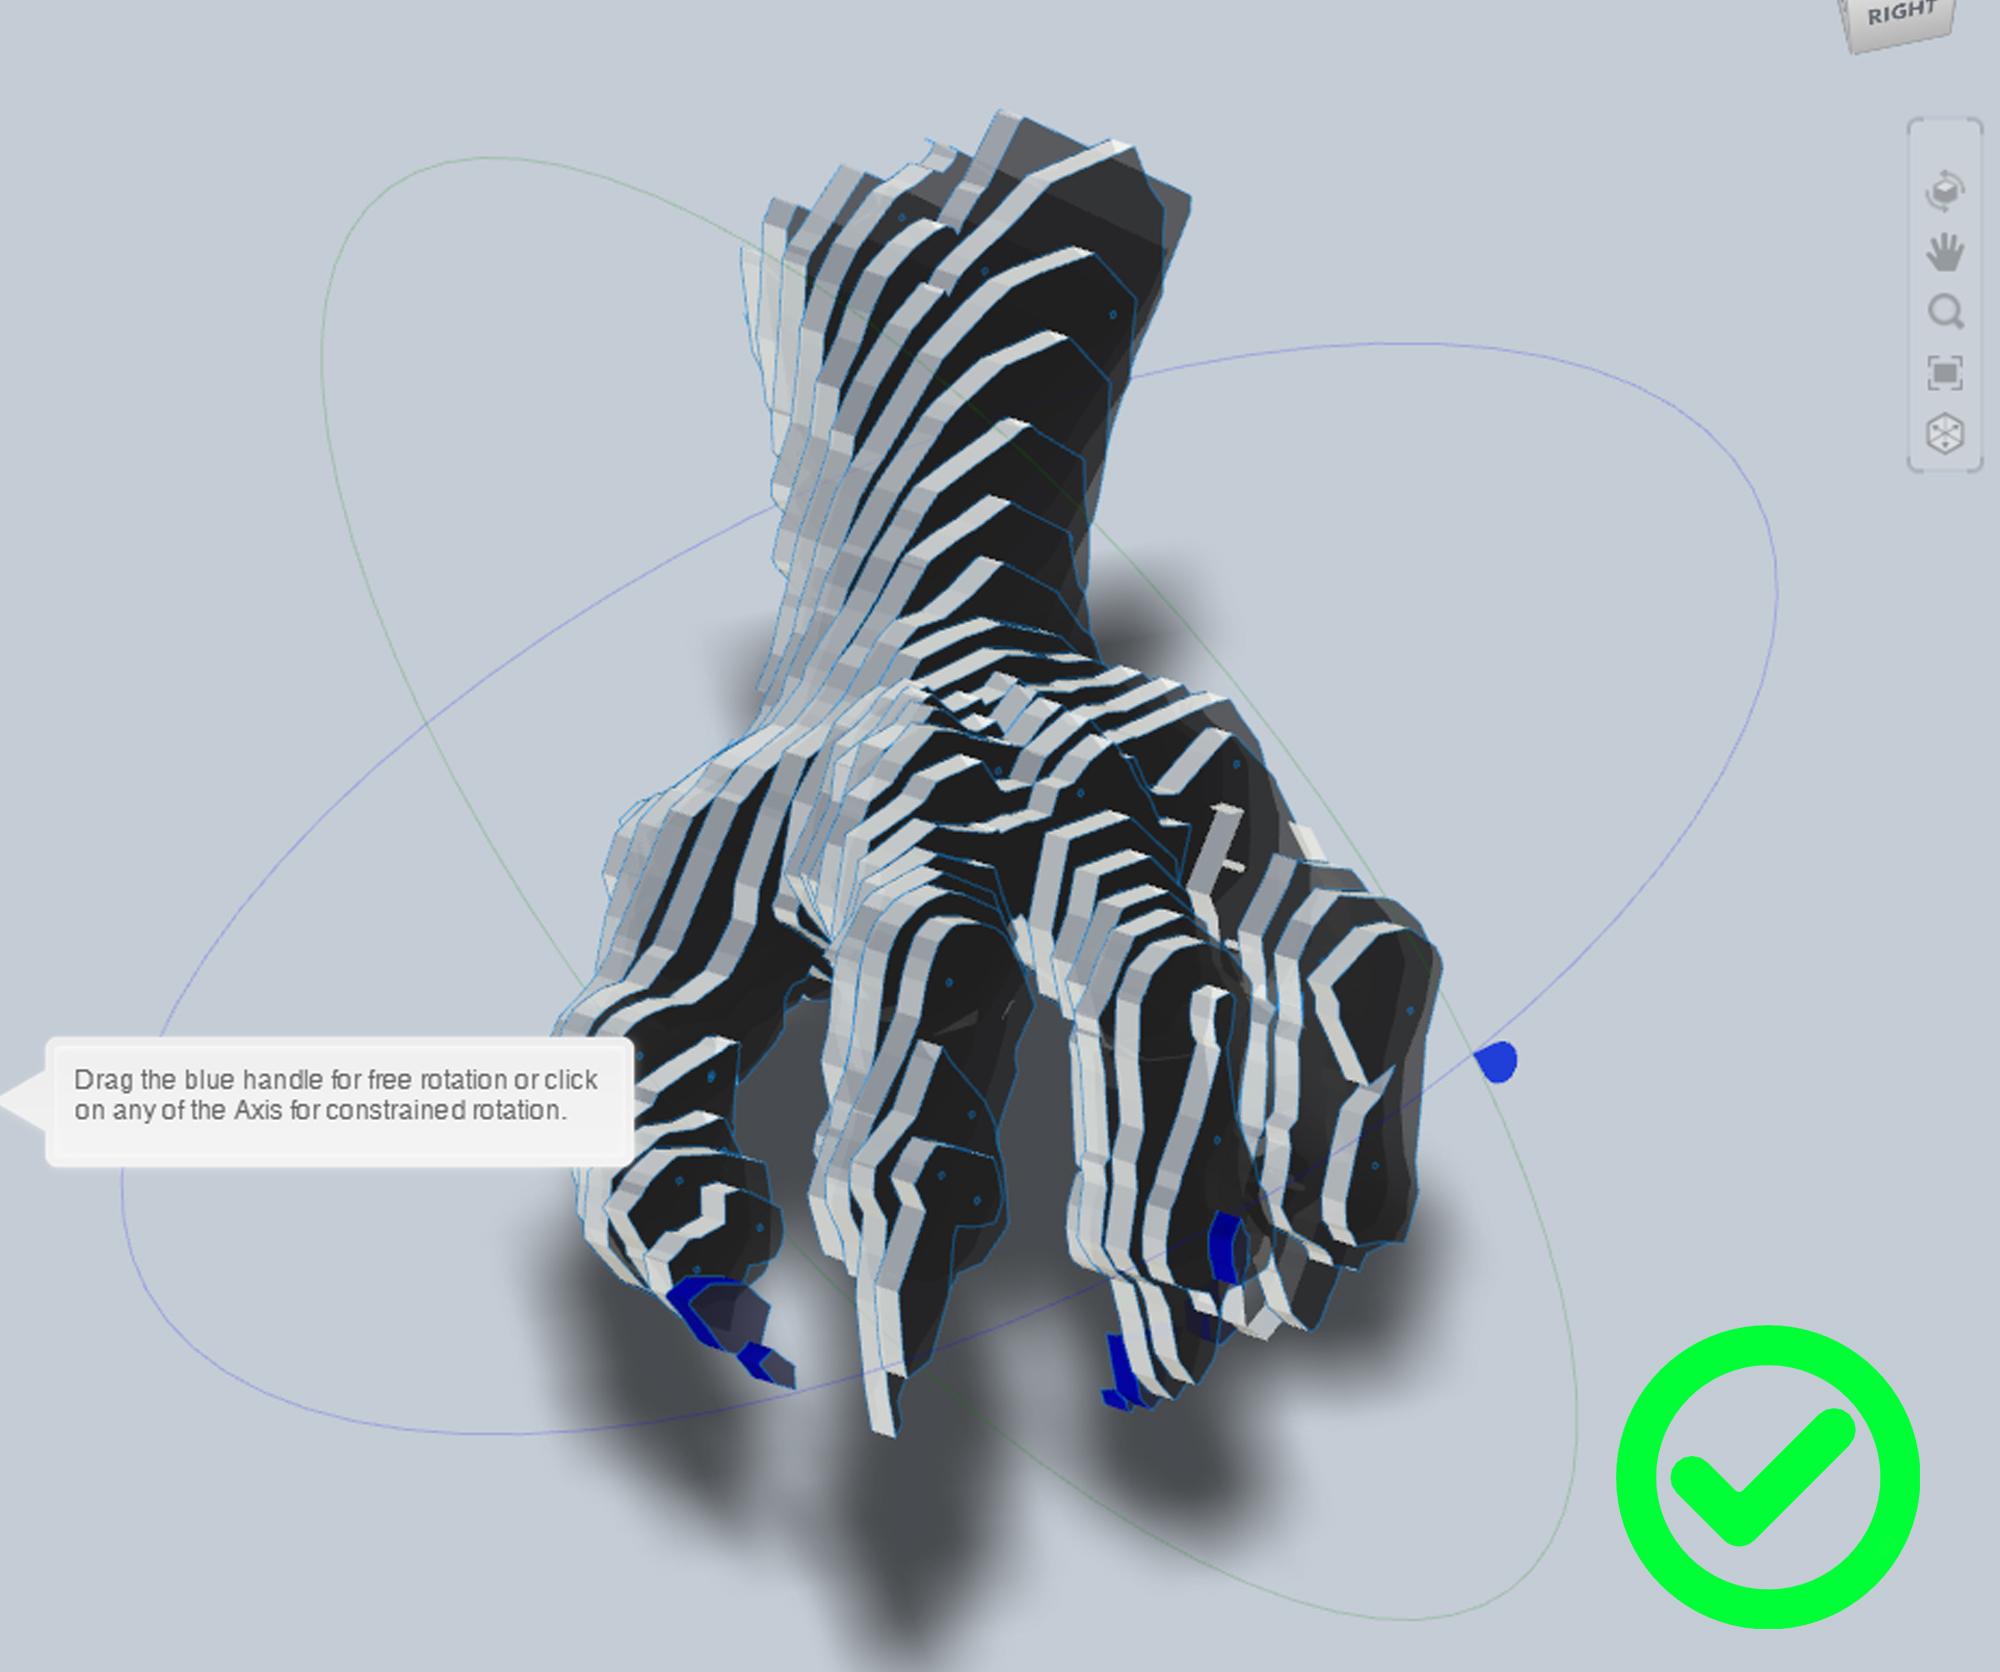
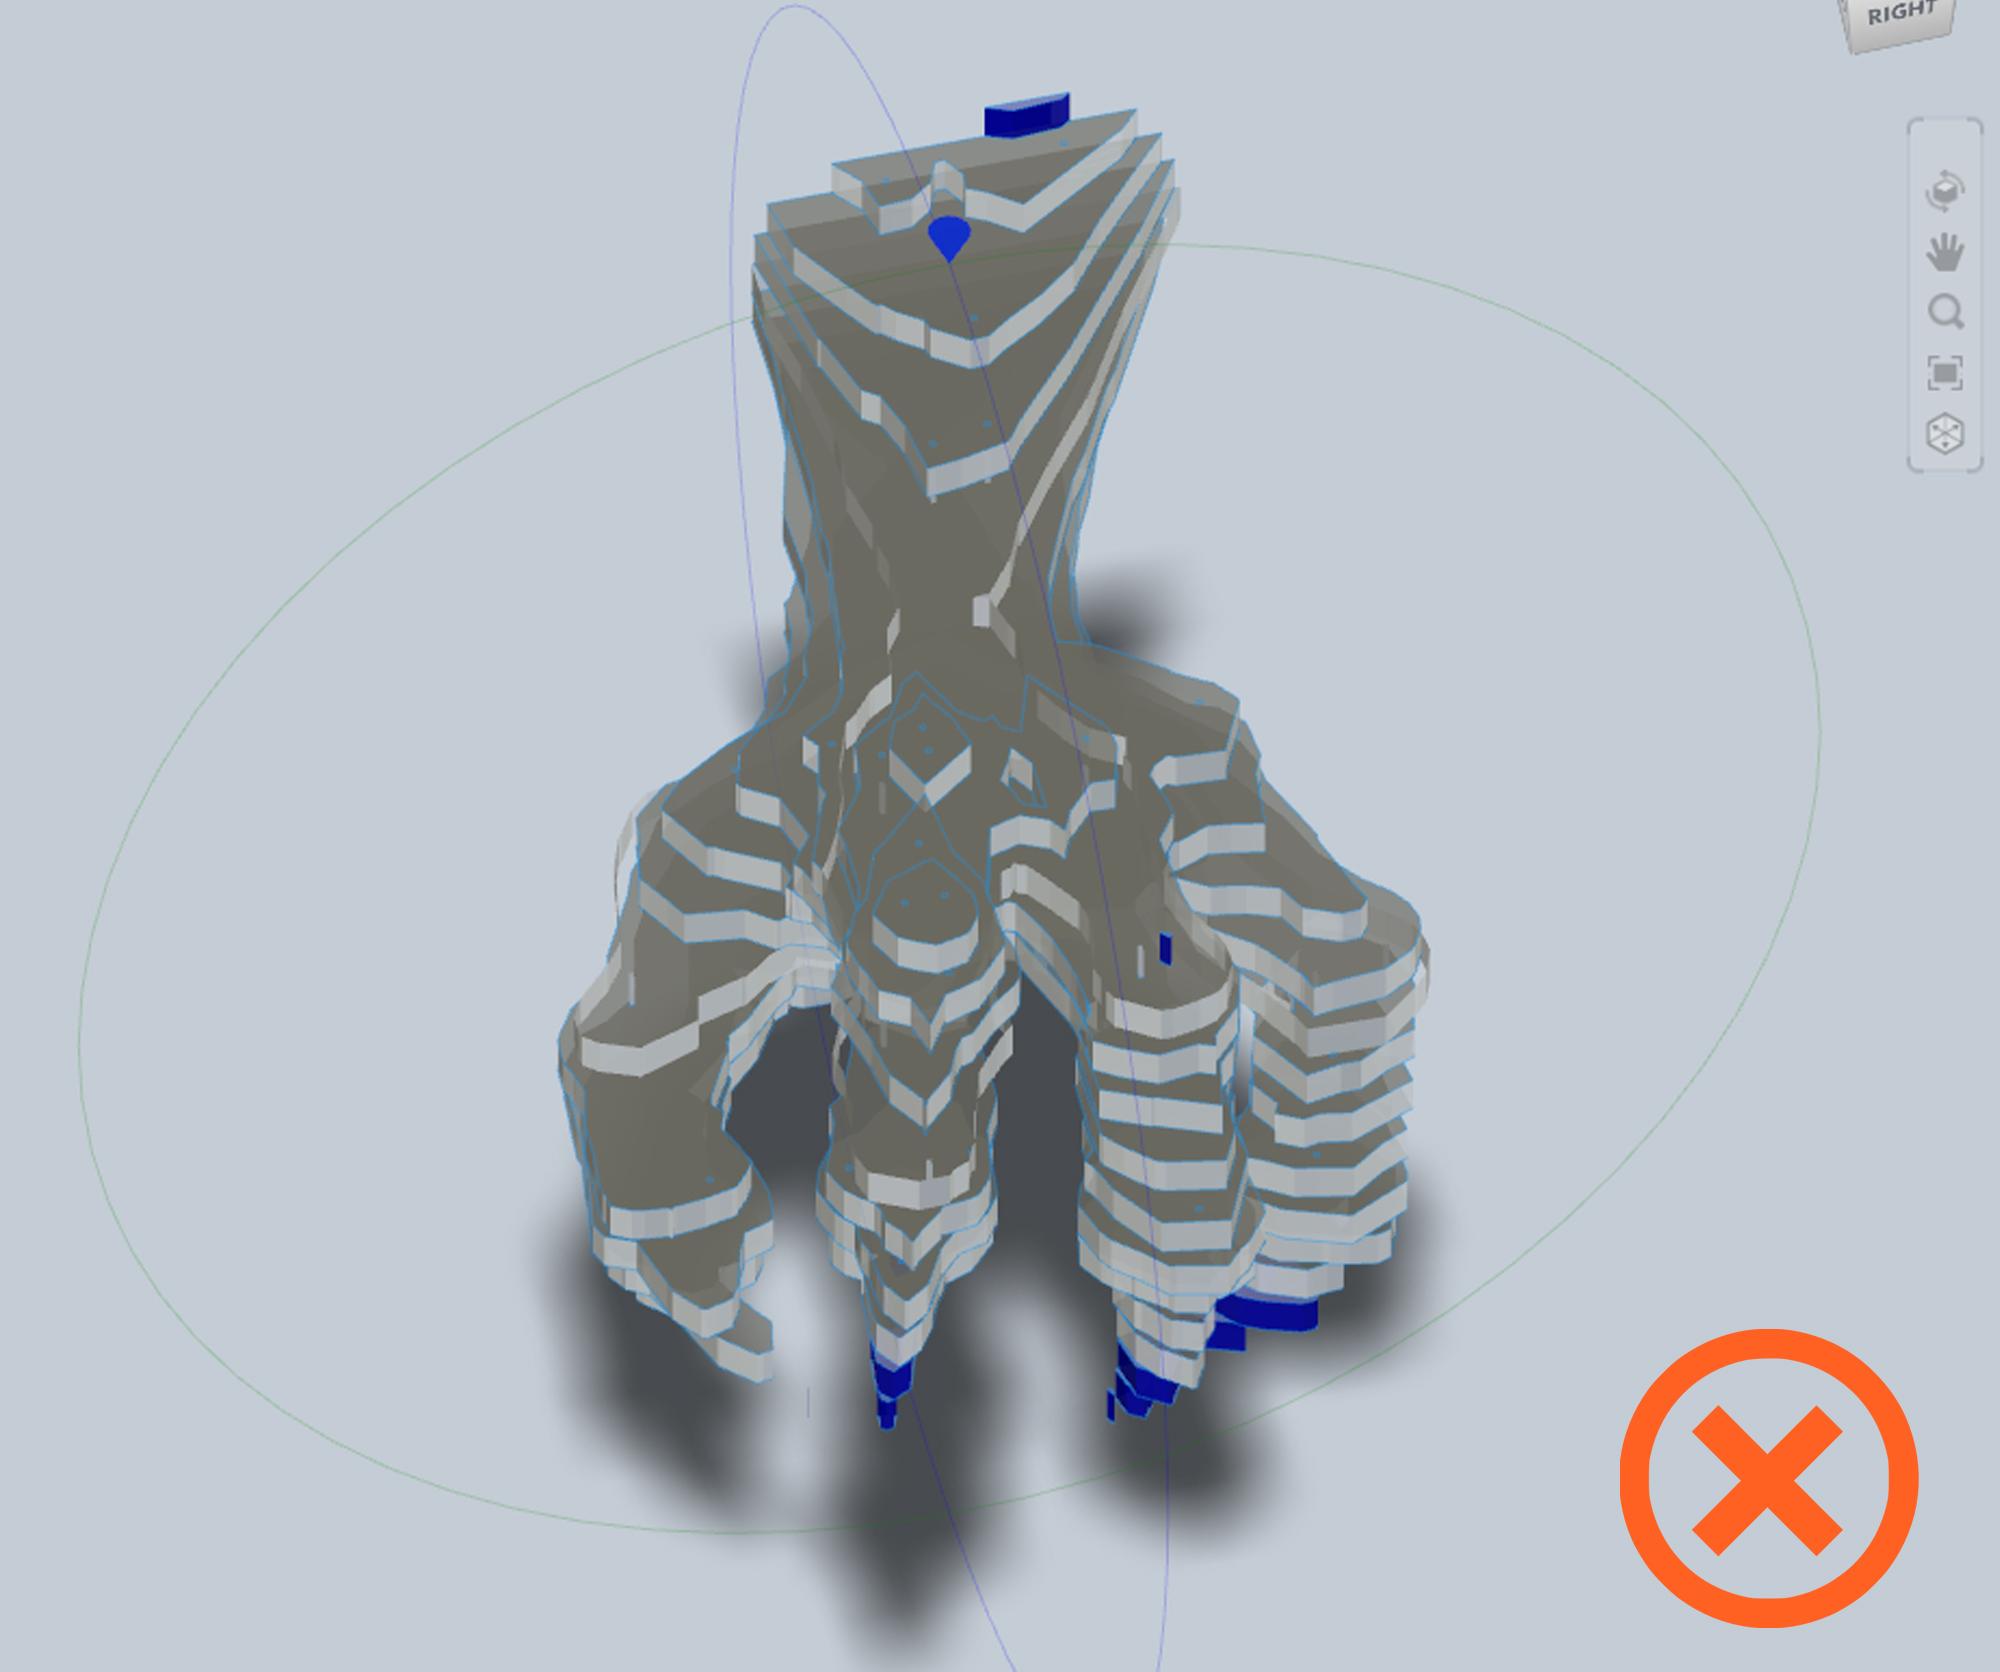
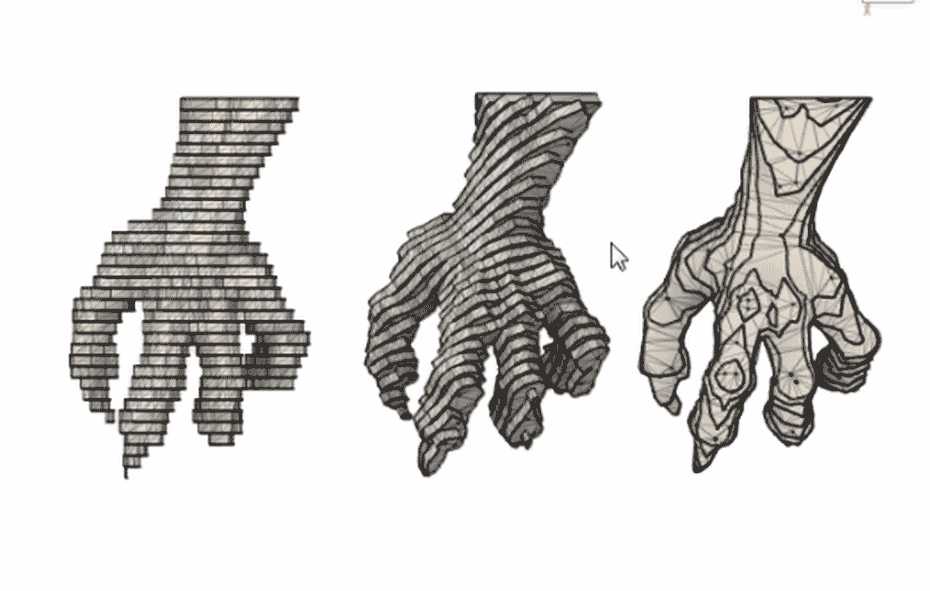
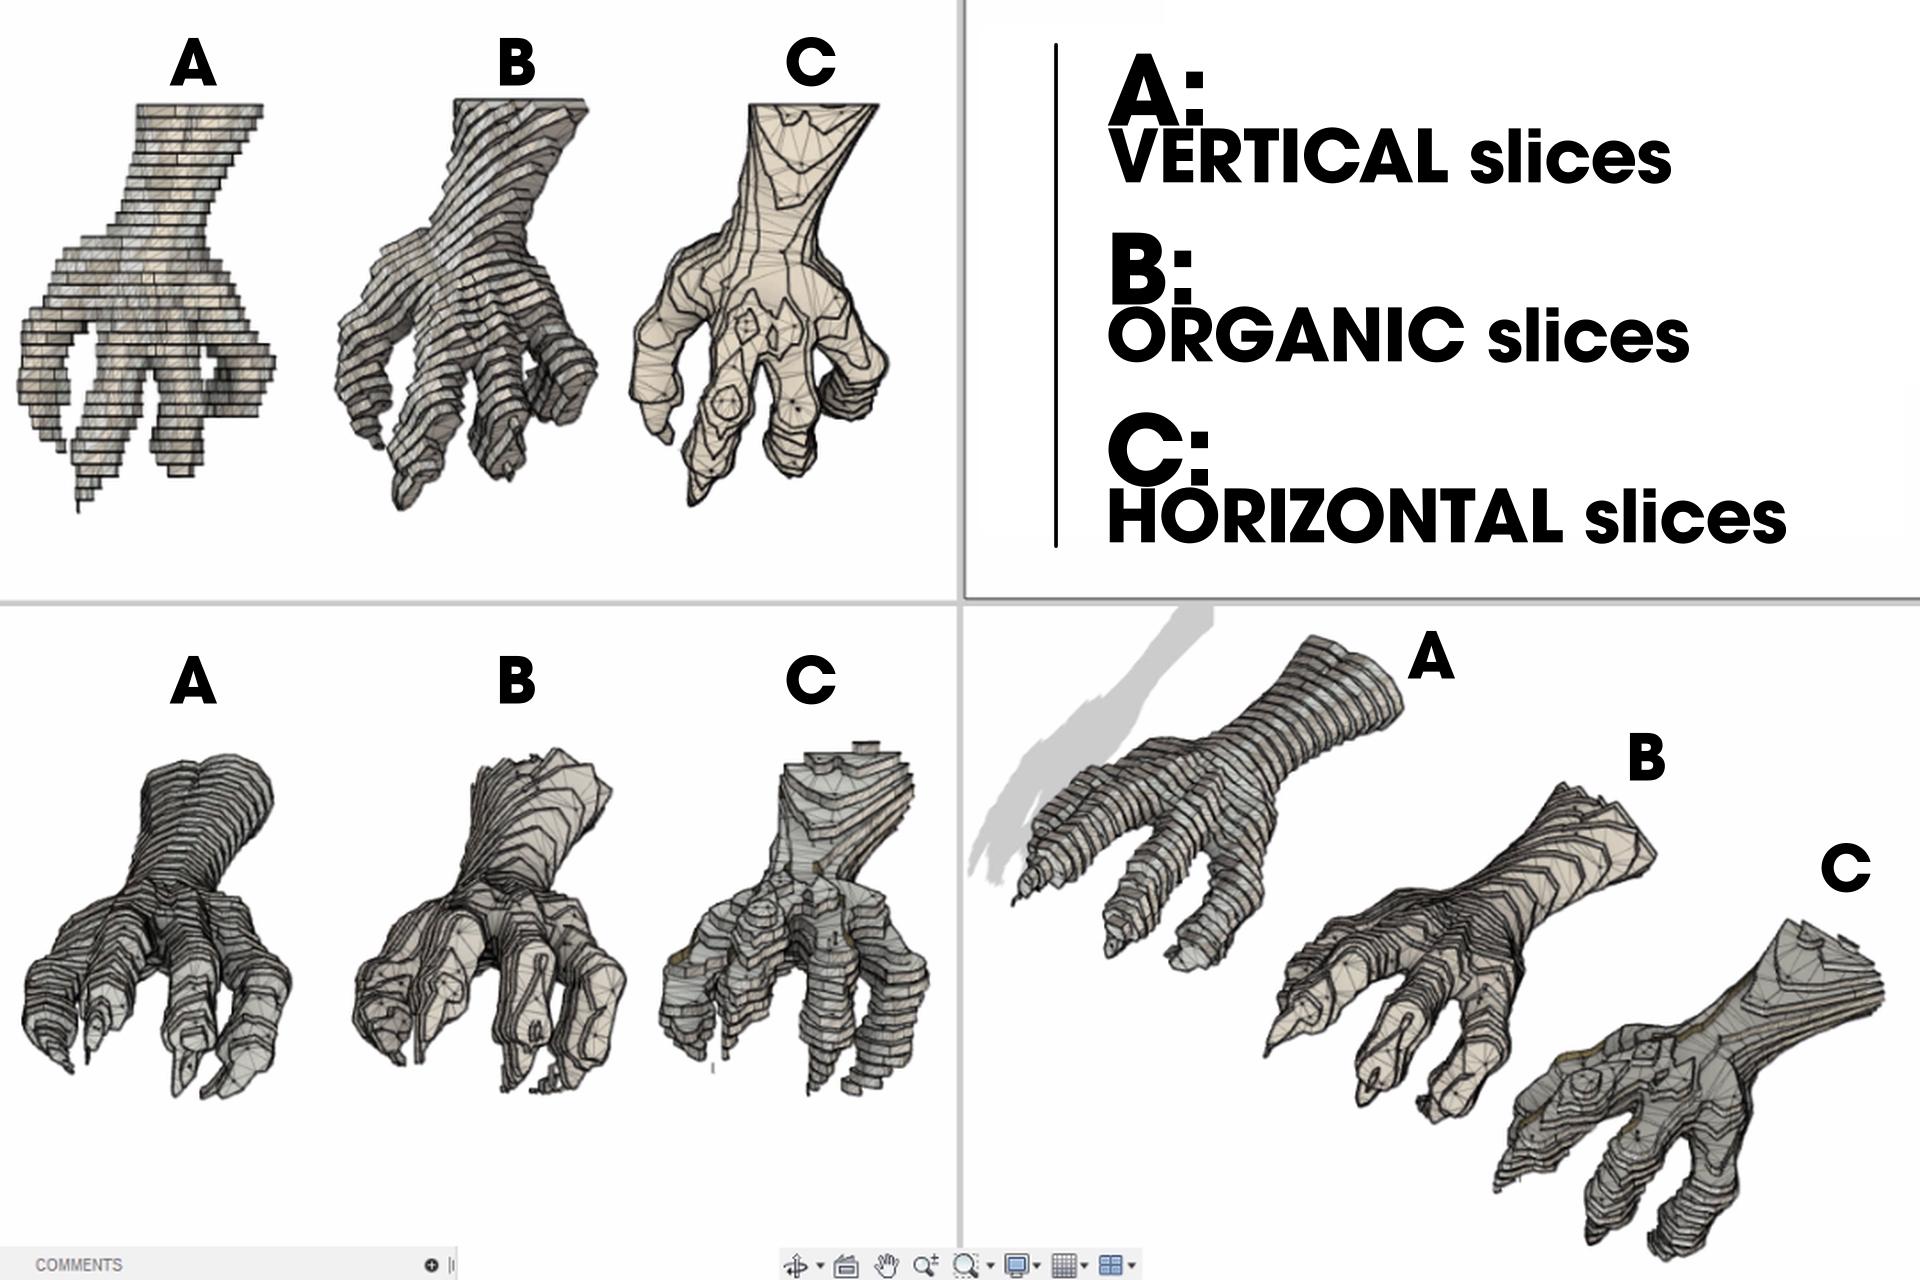
we will use the basic of Stacked Slices, but we will play with the direction of the cuts to generate more detail in our model and not the normal horizontal/vertical basic shape.
we will play with the Slice Direction tool to create a more organic shape.
for the claw I will use only one direction.
Remember always looking for which one gives more fluidity to the shapes in the two Models.
check the pictures and the differences between each type of slice.
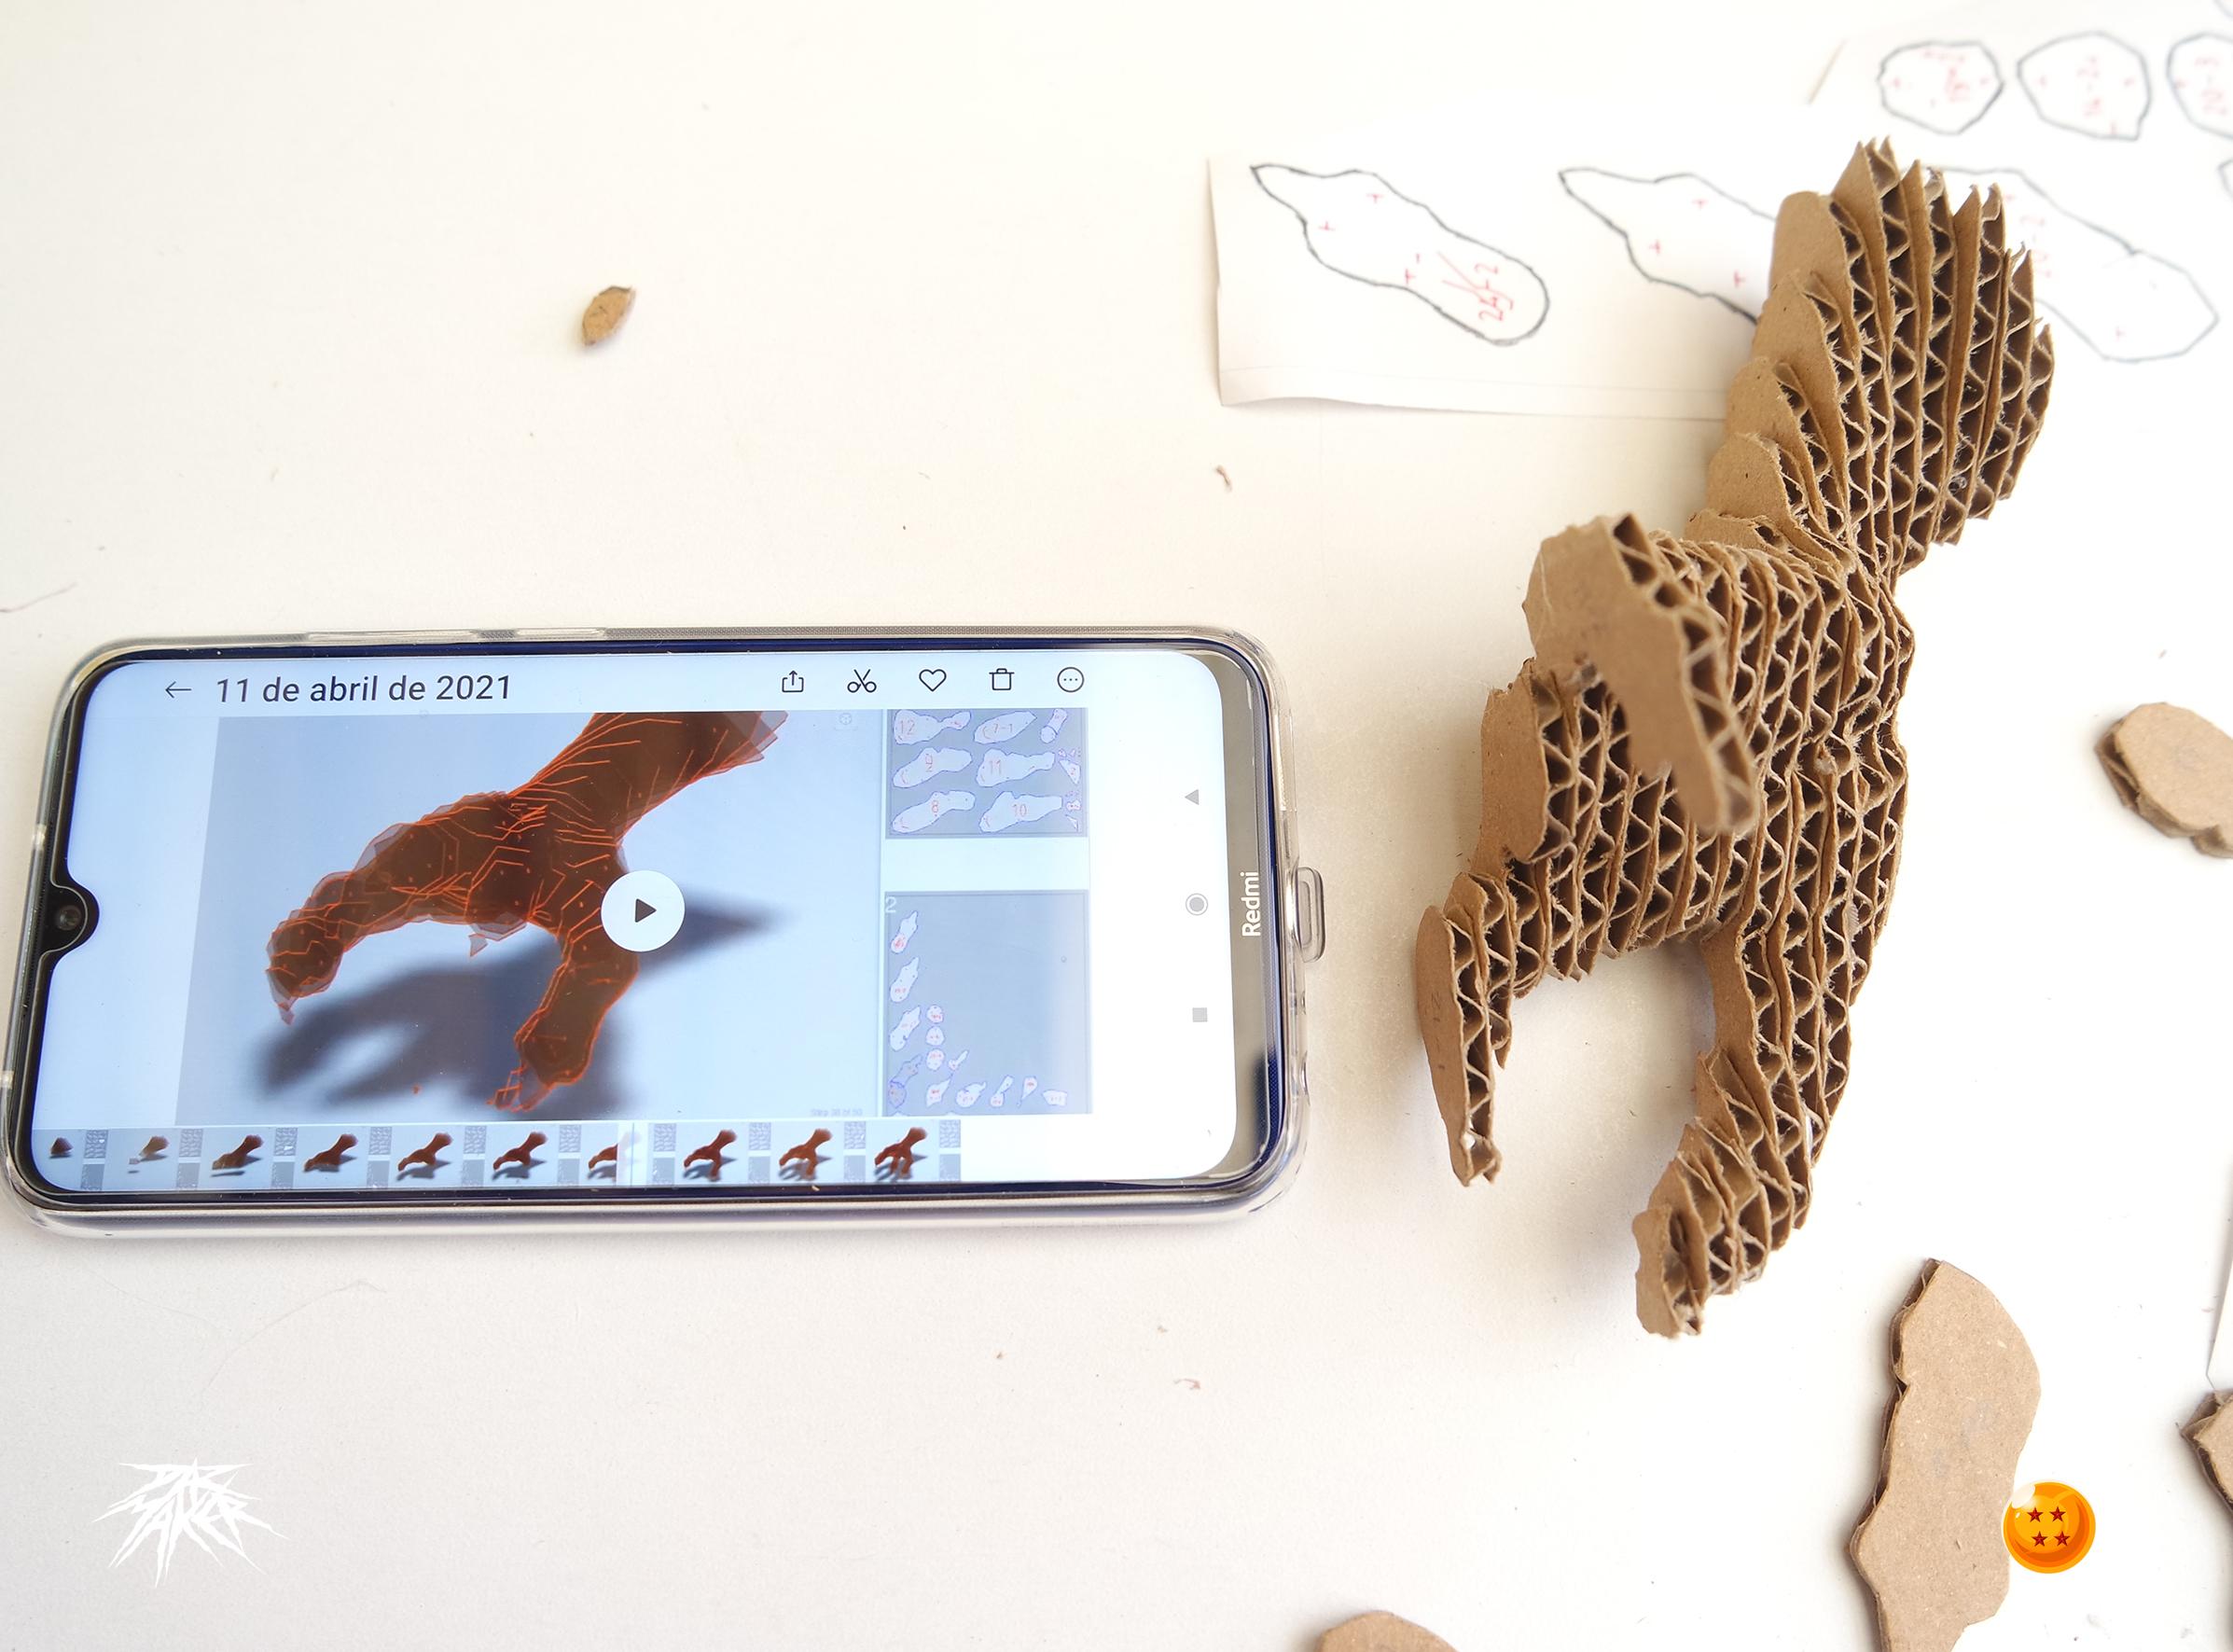
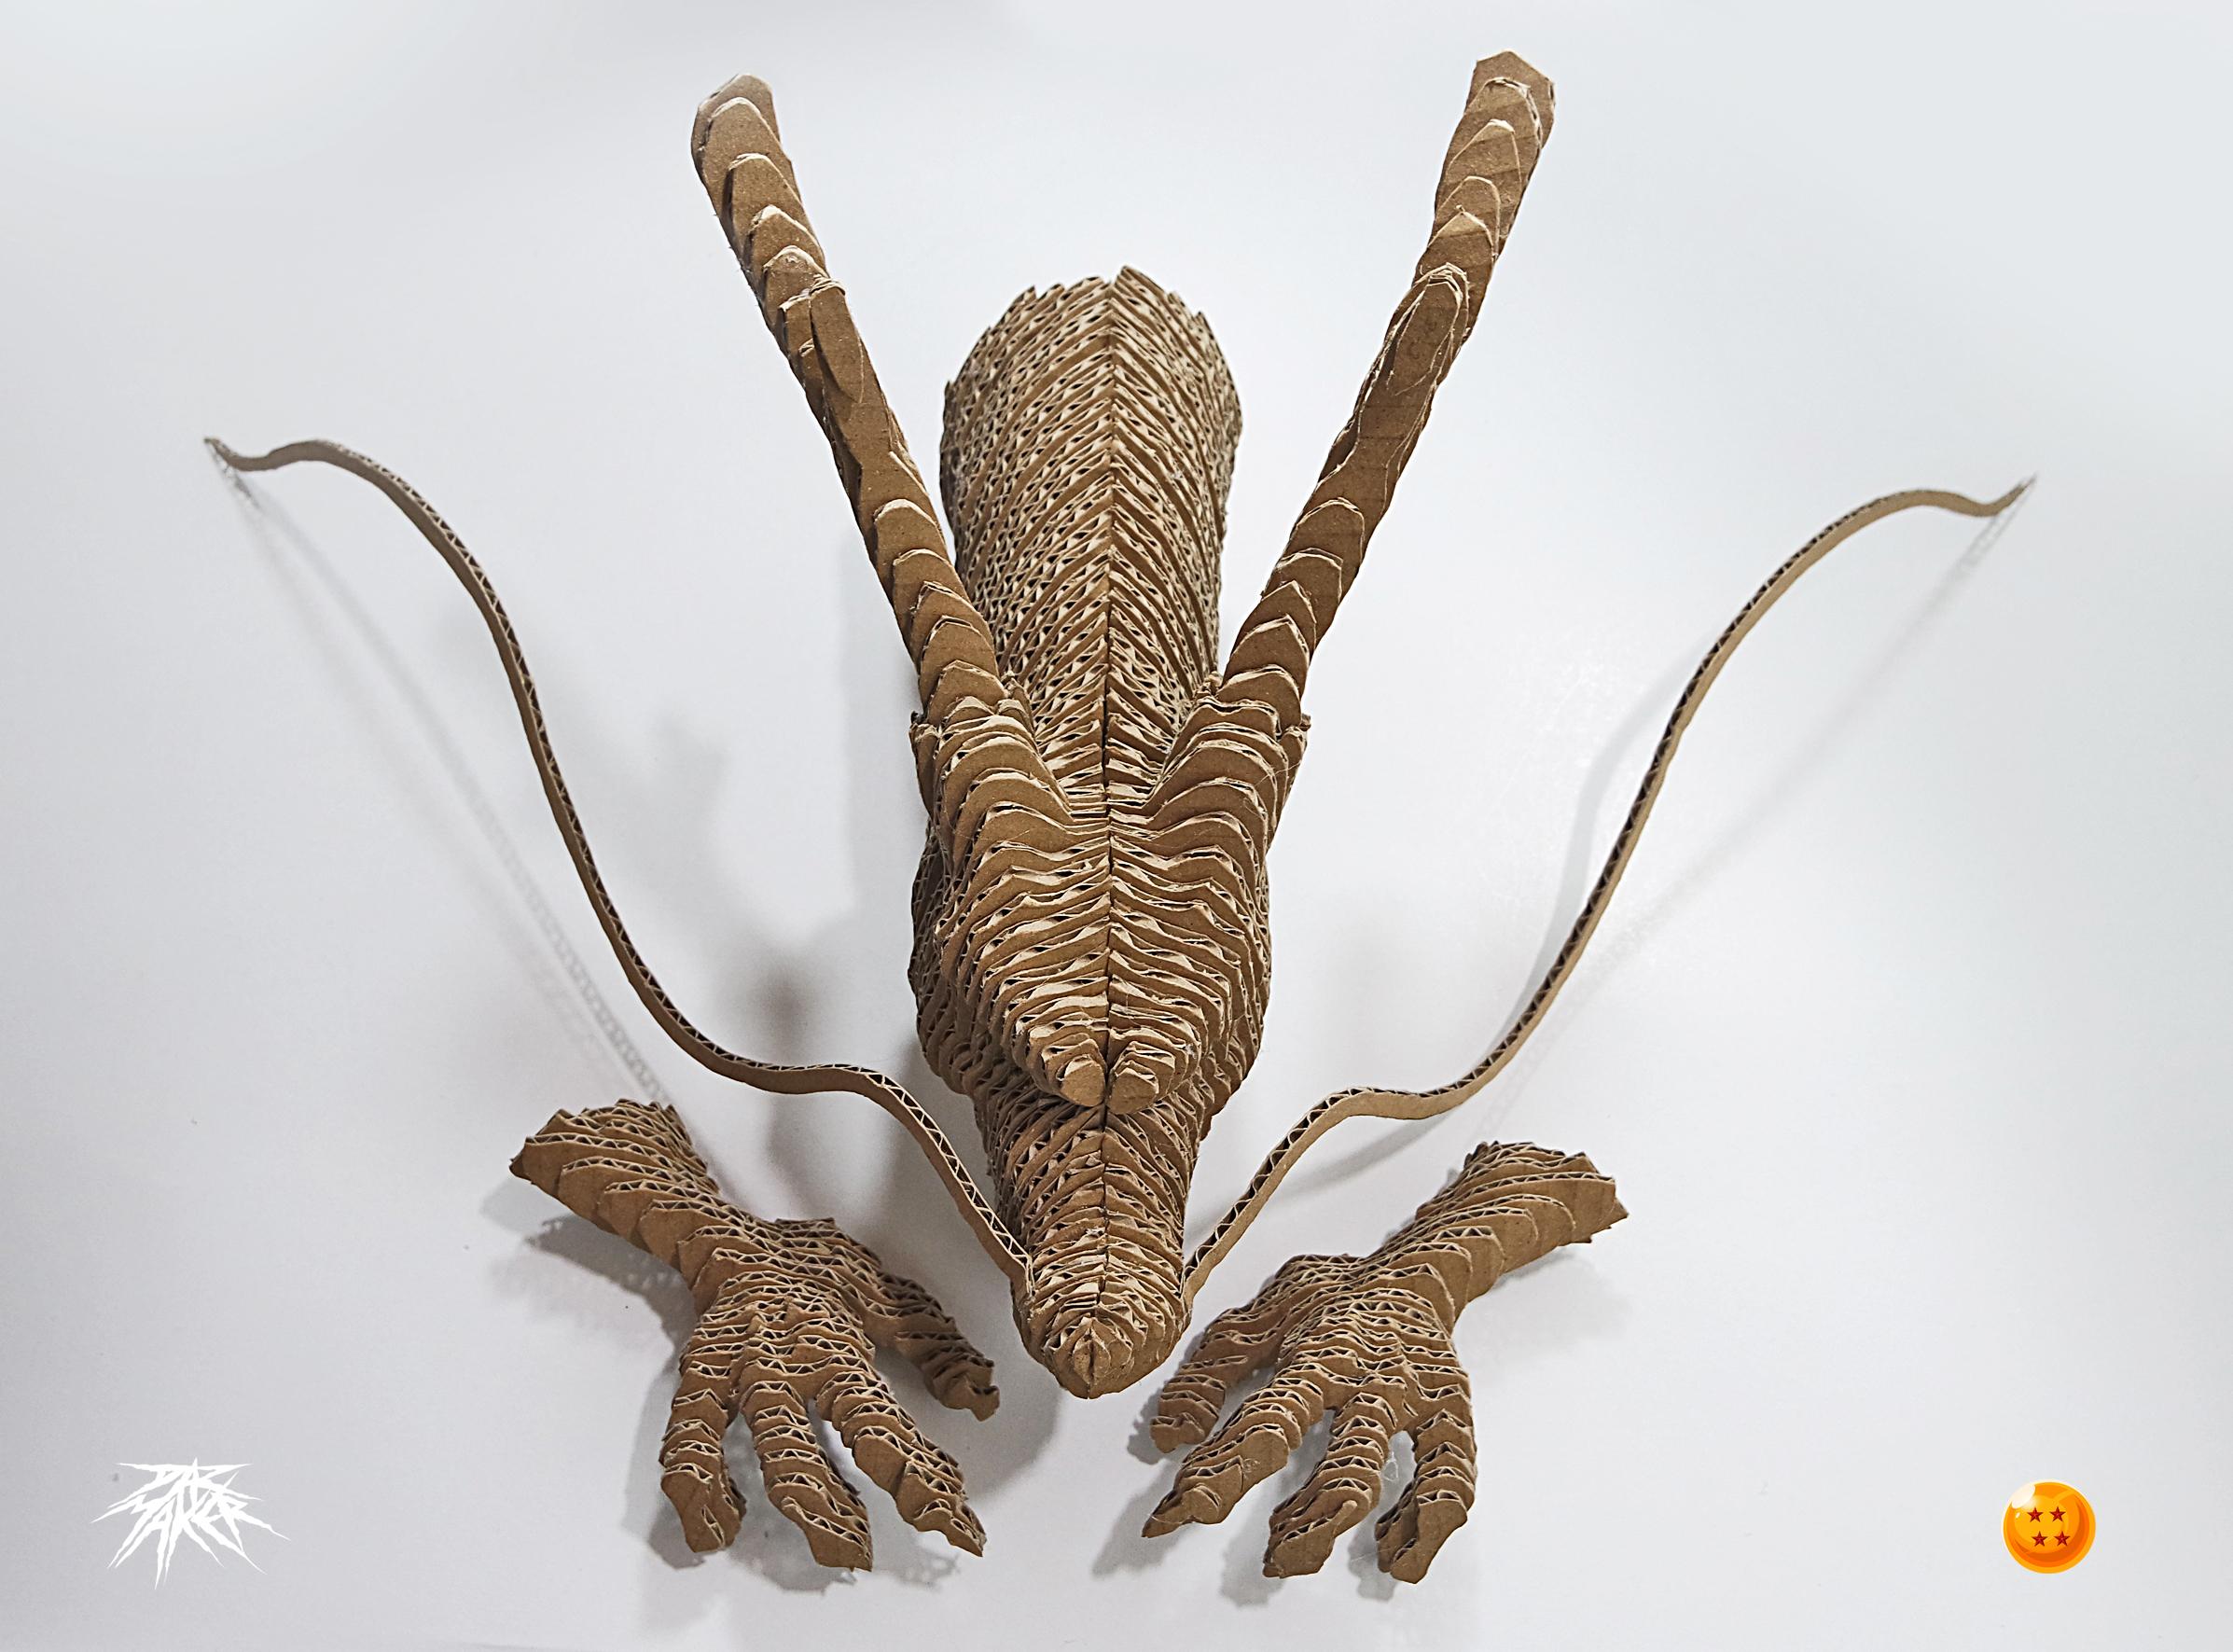
Setting Up the Model: the Head.
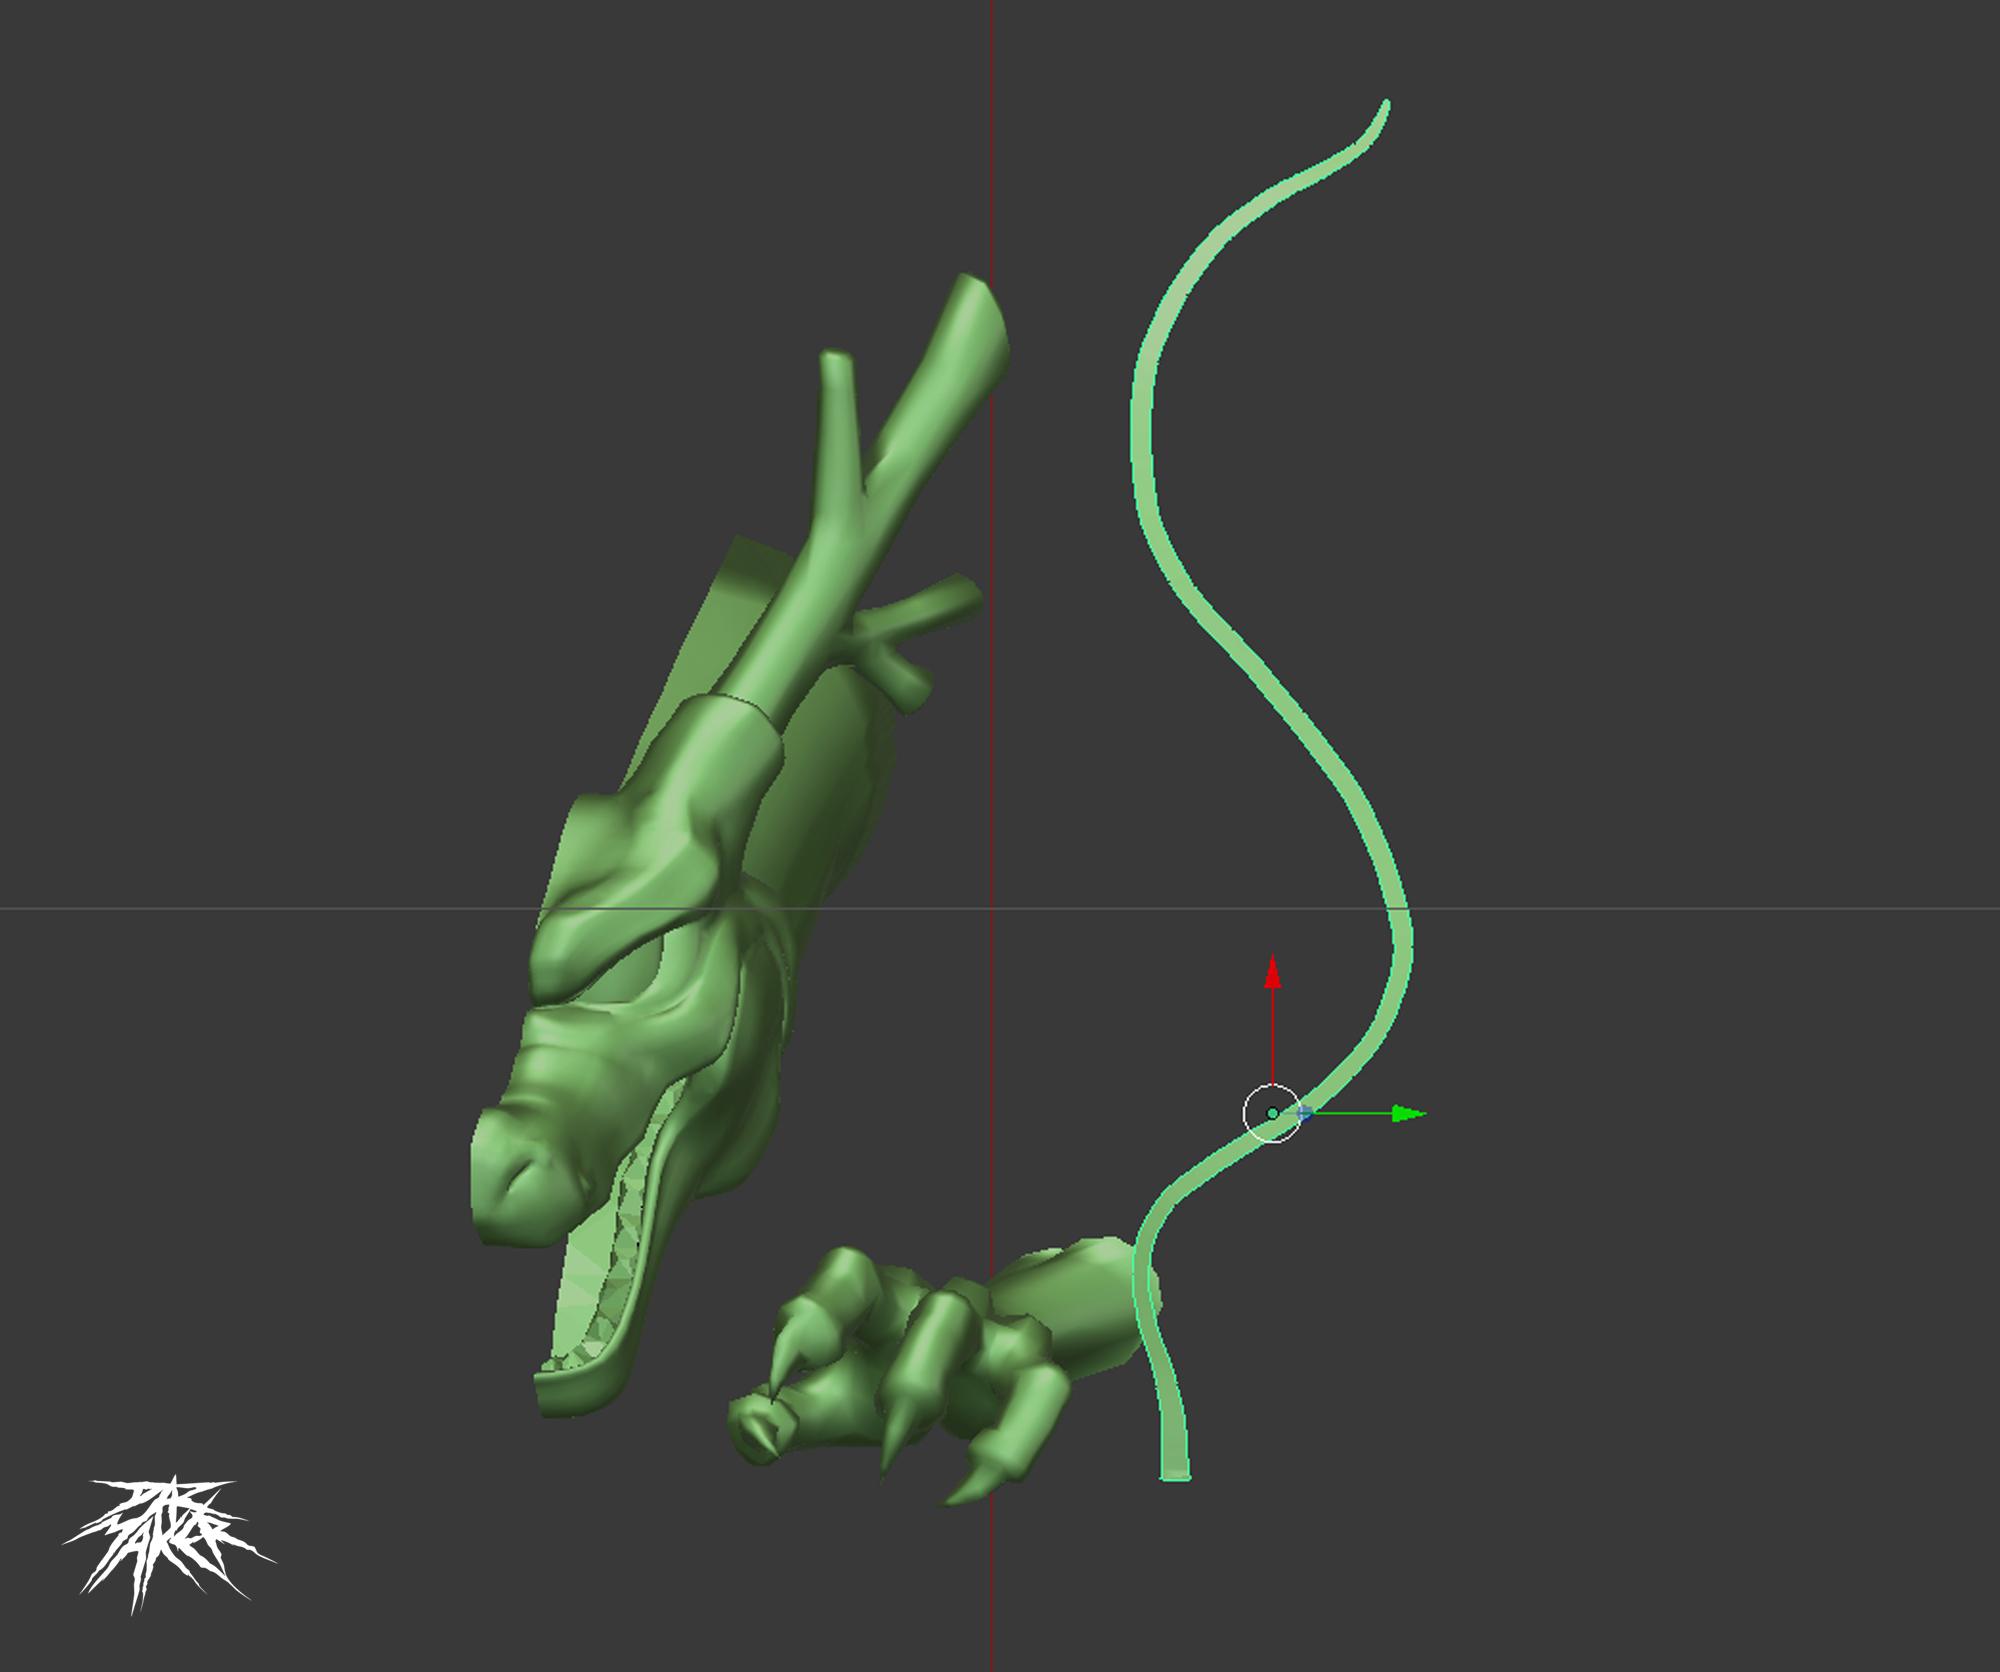
For this project I will work with half head of the dragon design.
in slicer I will set up a cool Slicing direction for the half head.
to give a more organic shape to the dragon's features.
here as with the claw when making its counterpart we will flip the templates
When assemble the head in physically, there will be two cutting directions that will meet in the center.
This way I can remove half of the model and transfer the mirrored templates to the cardboard.
In this way we will create only one half of templates that we will later flip to make the other half
and not be confused with so many pieces, I recommend cut and make one half first, and after assembling it, cut the other half and assemble it.
this way you won't have a monumental mess of pieces.
Let's Get Started
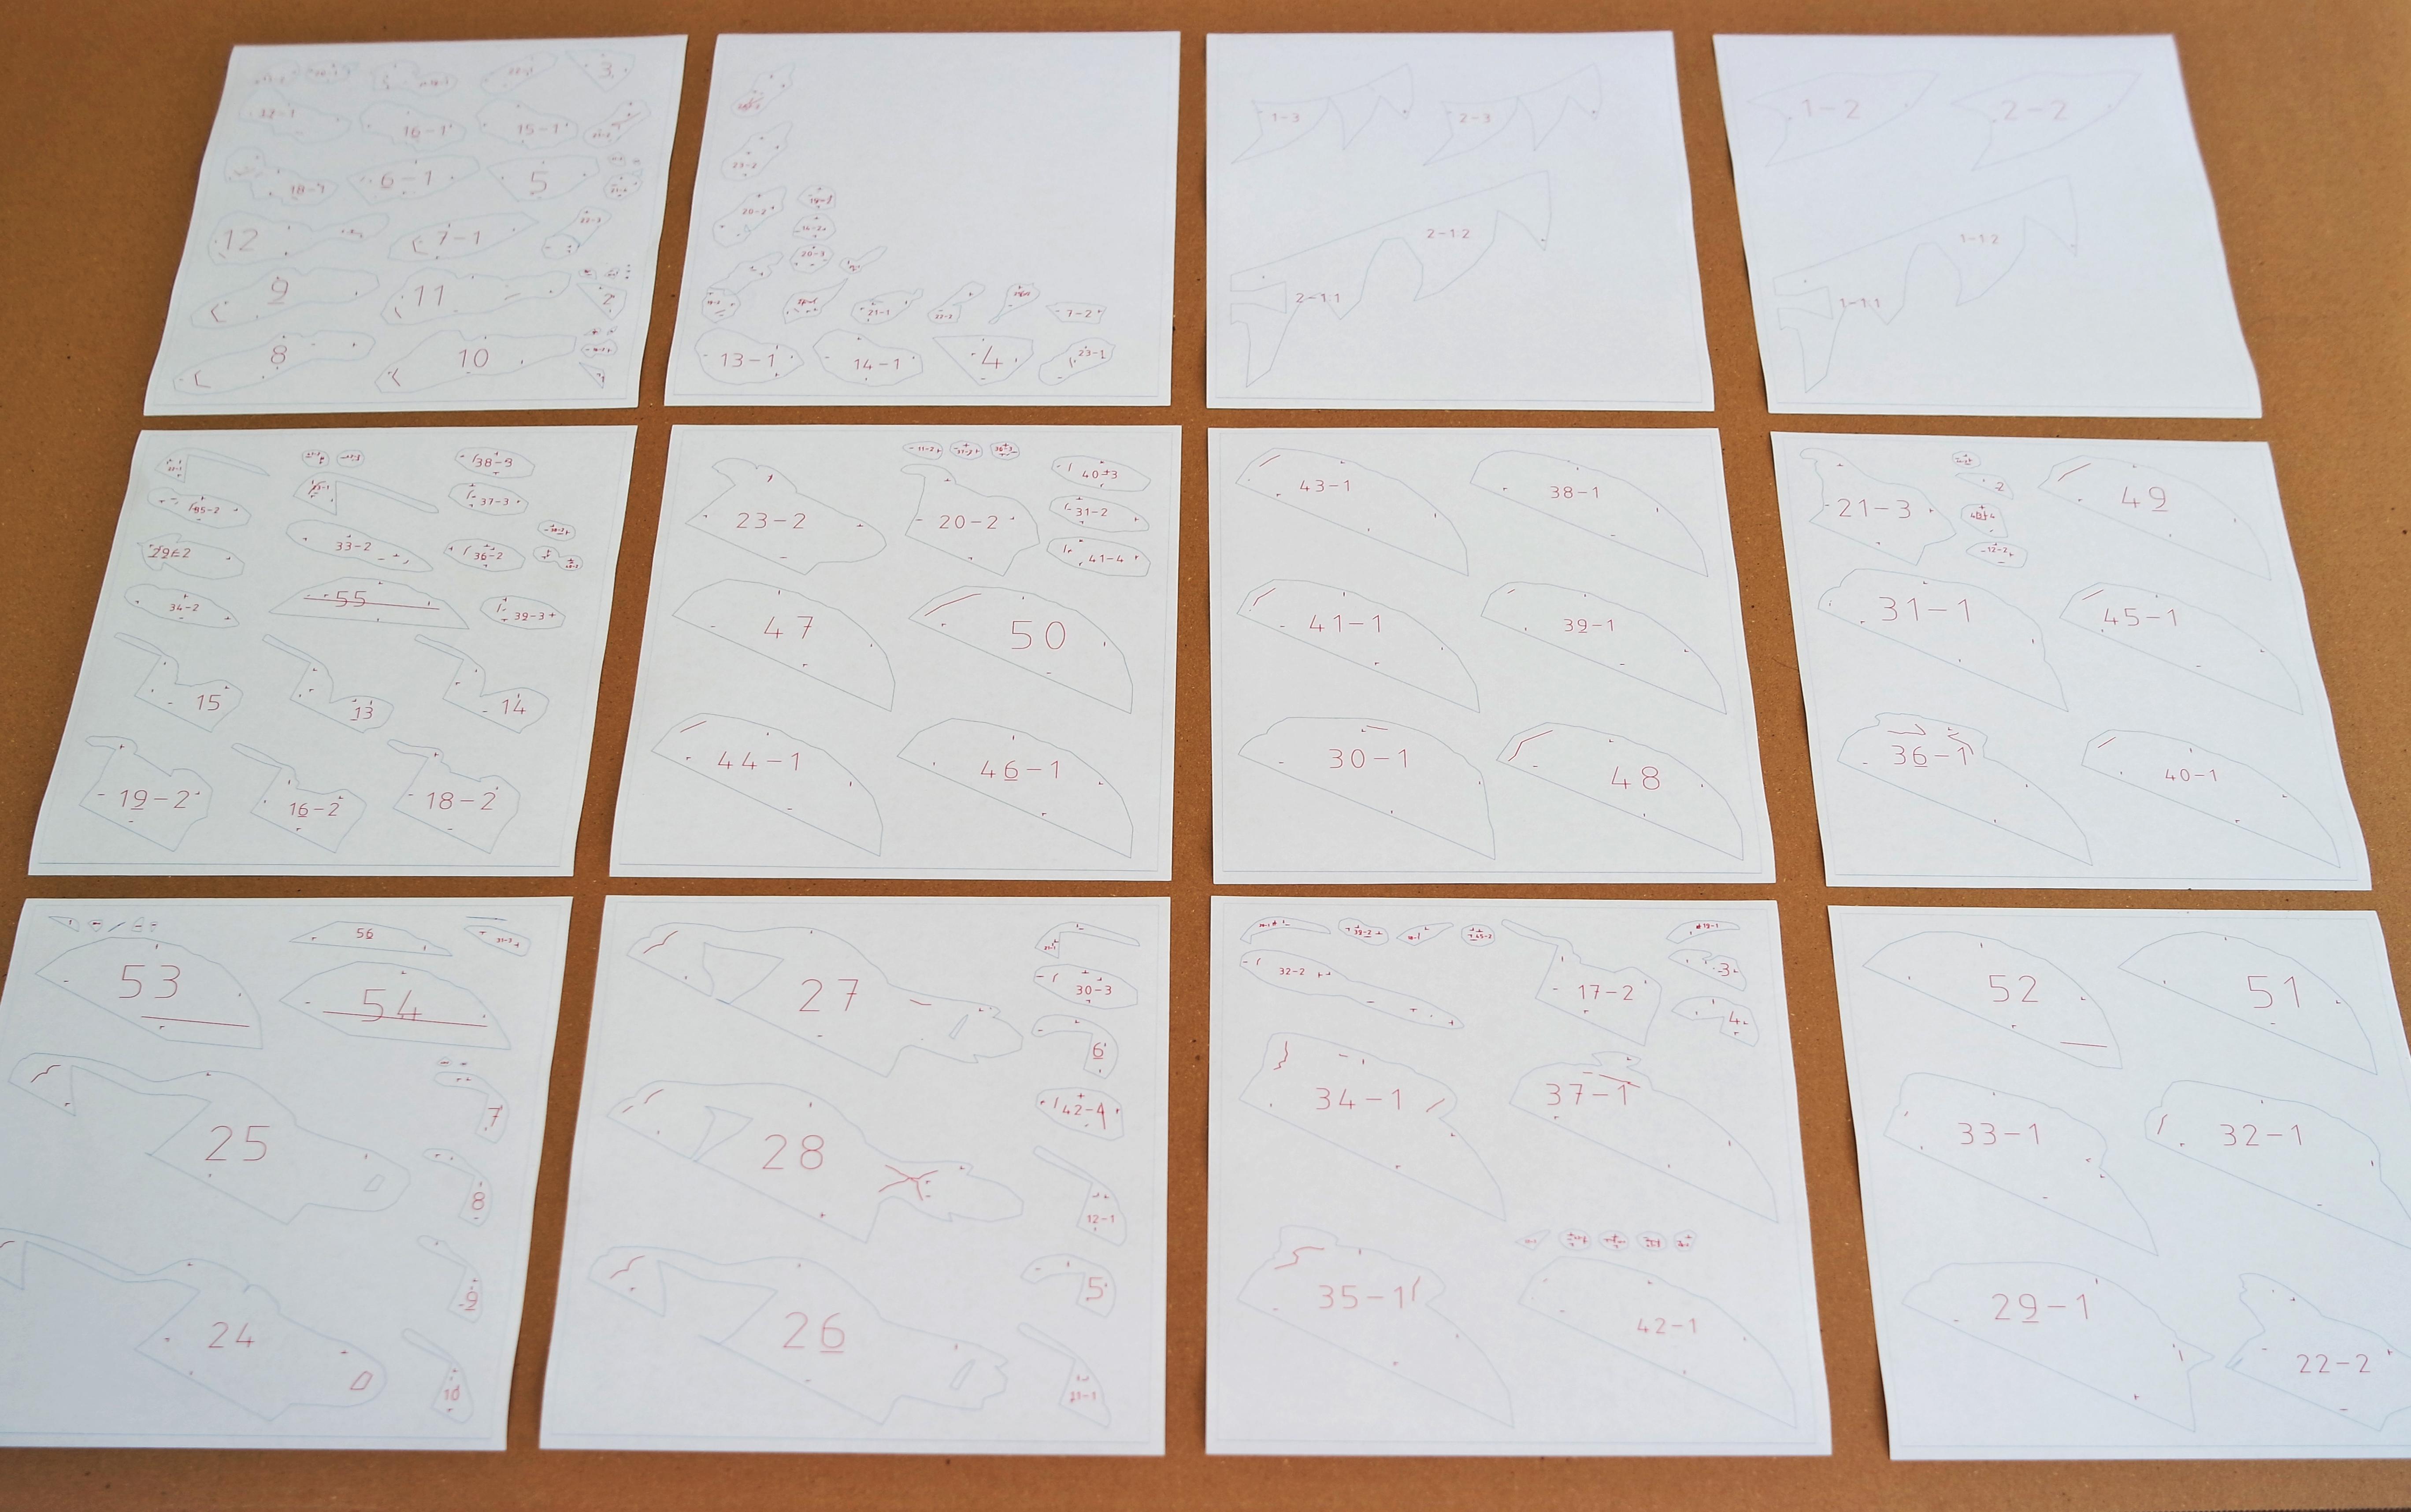
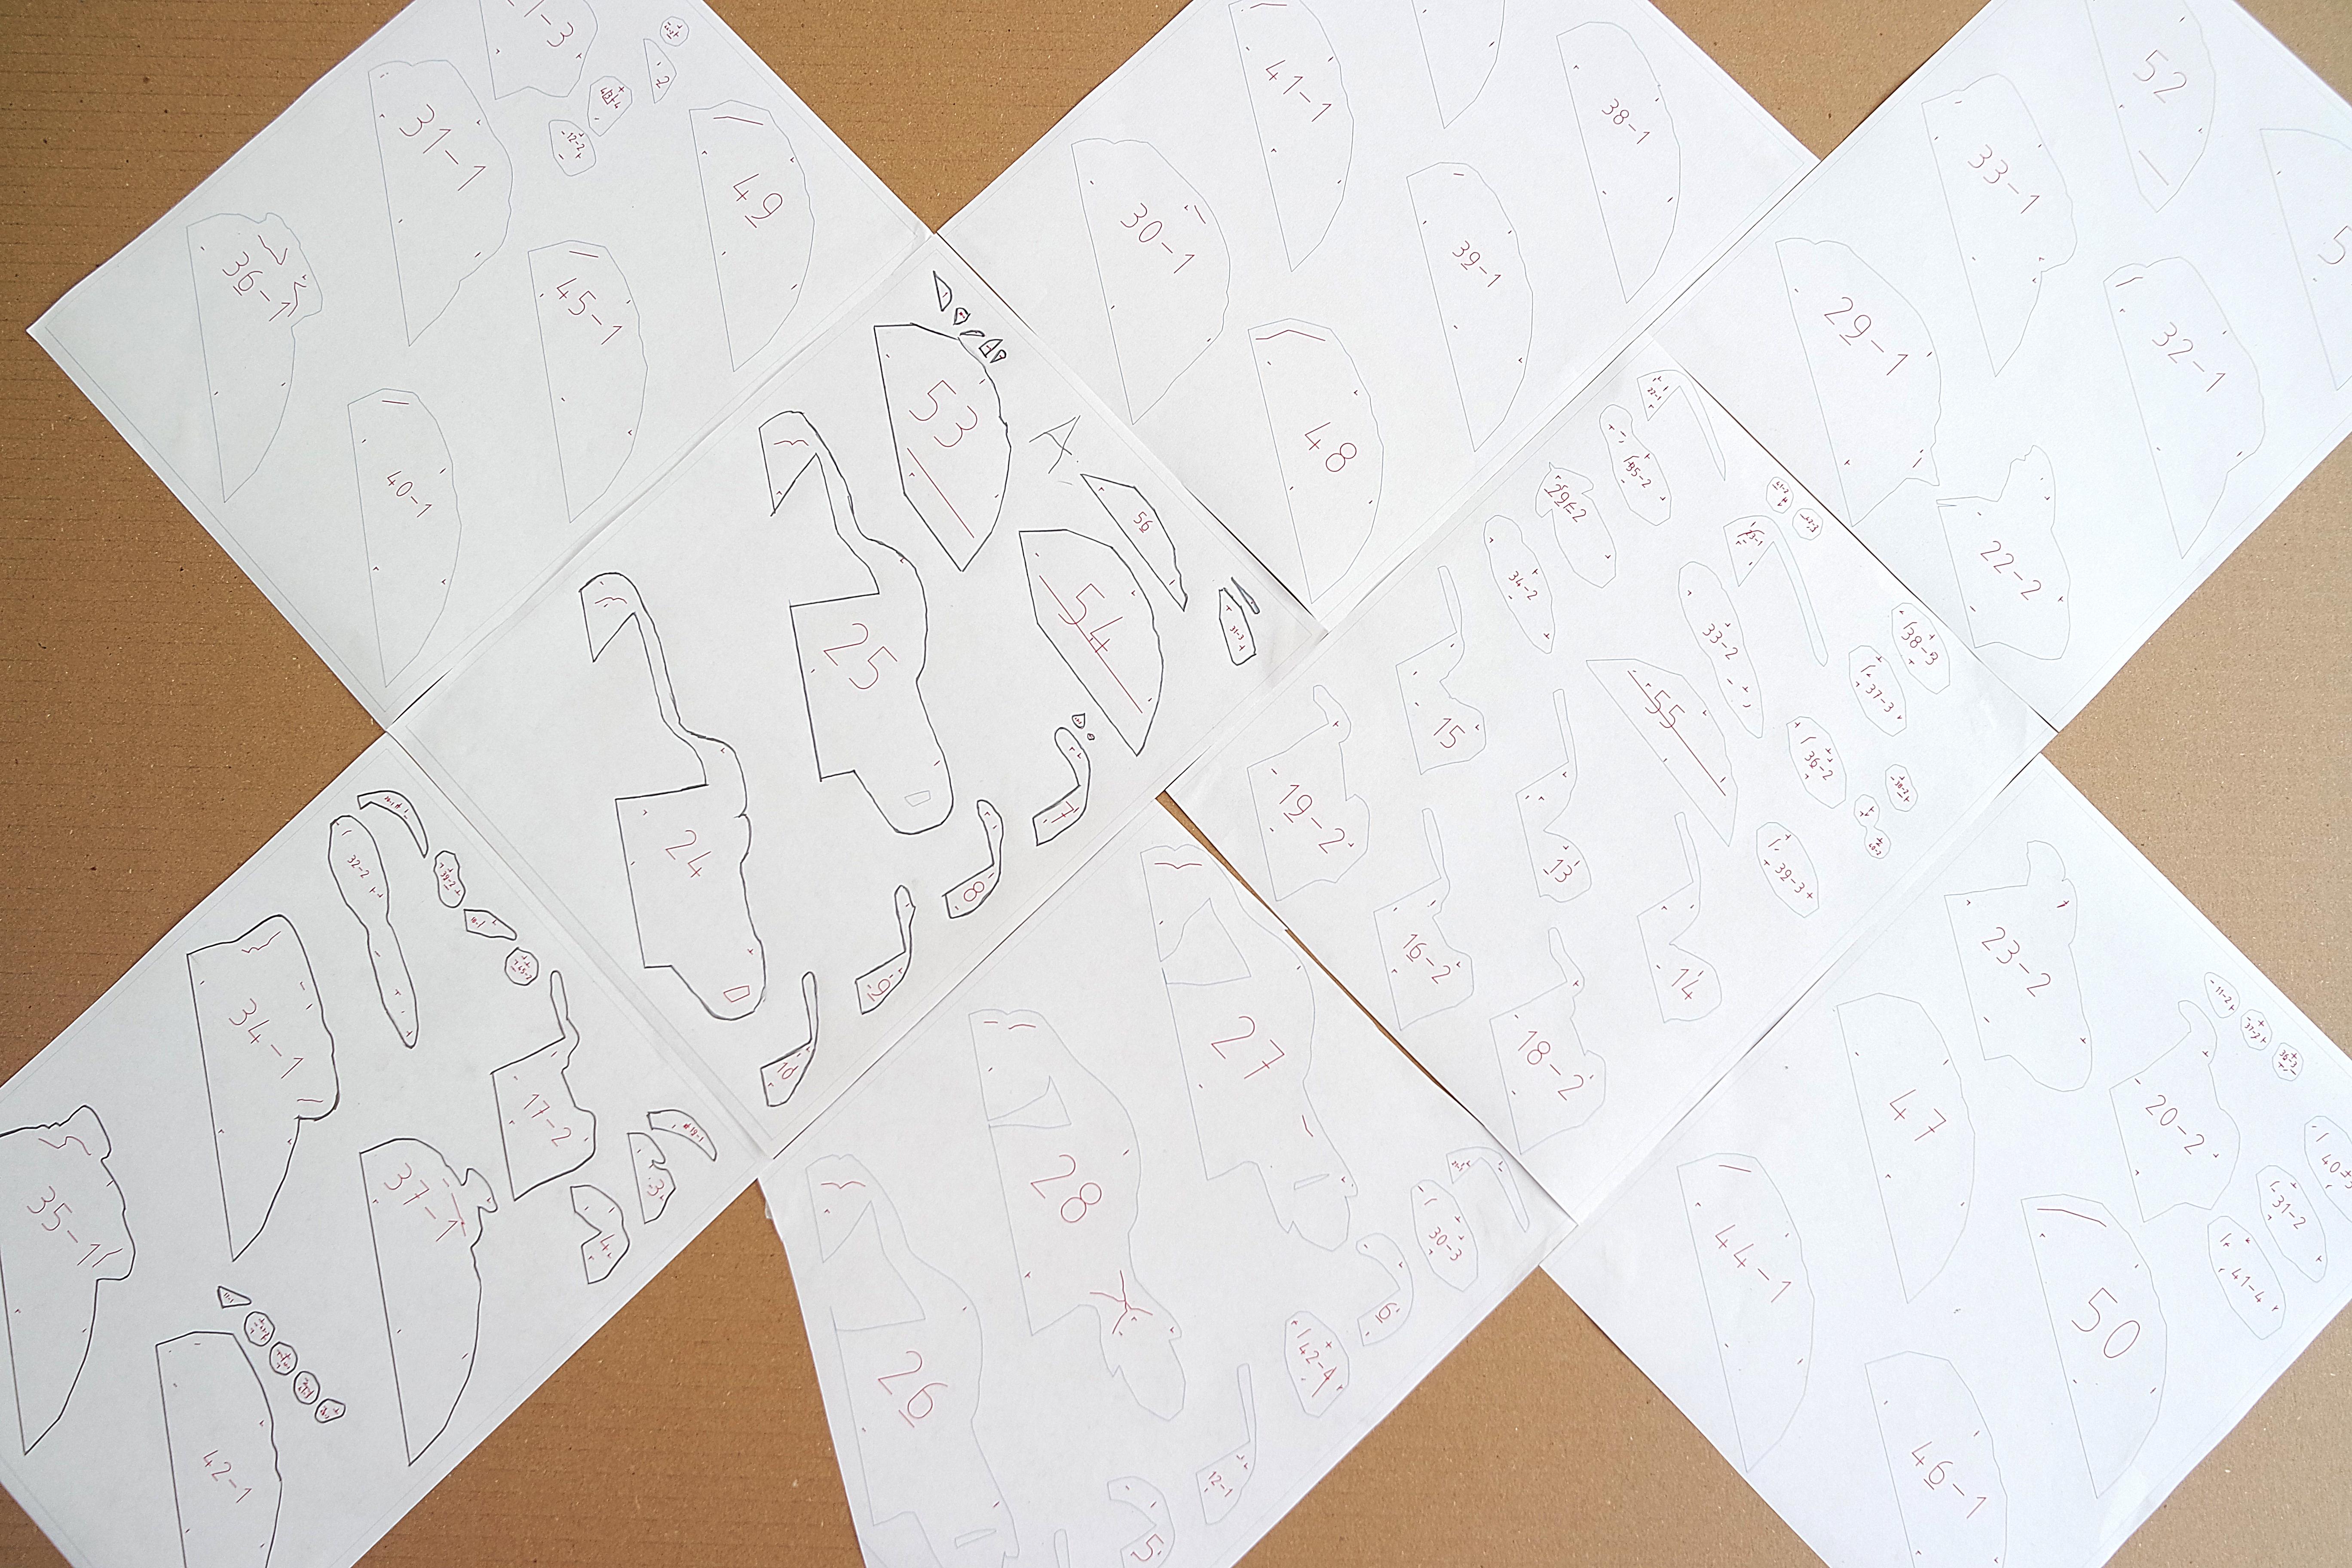
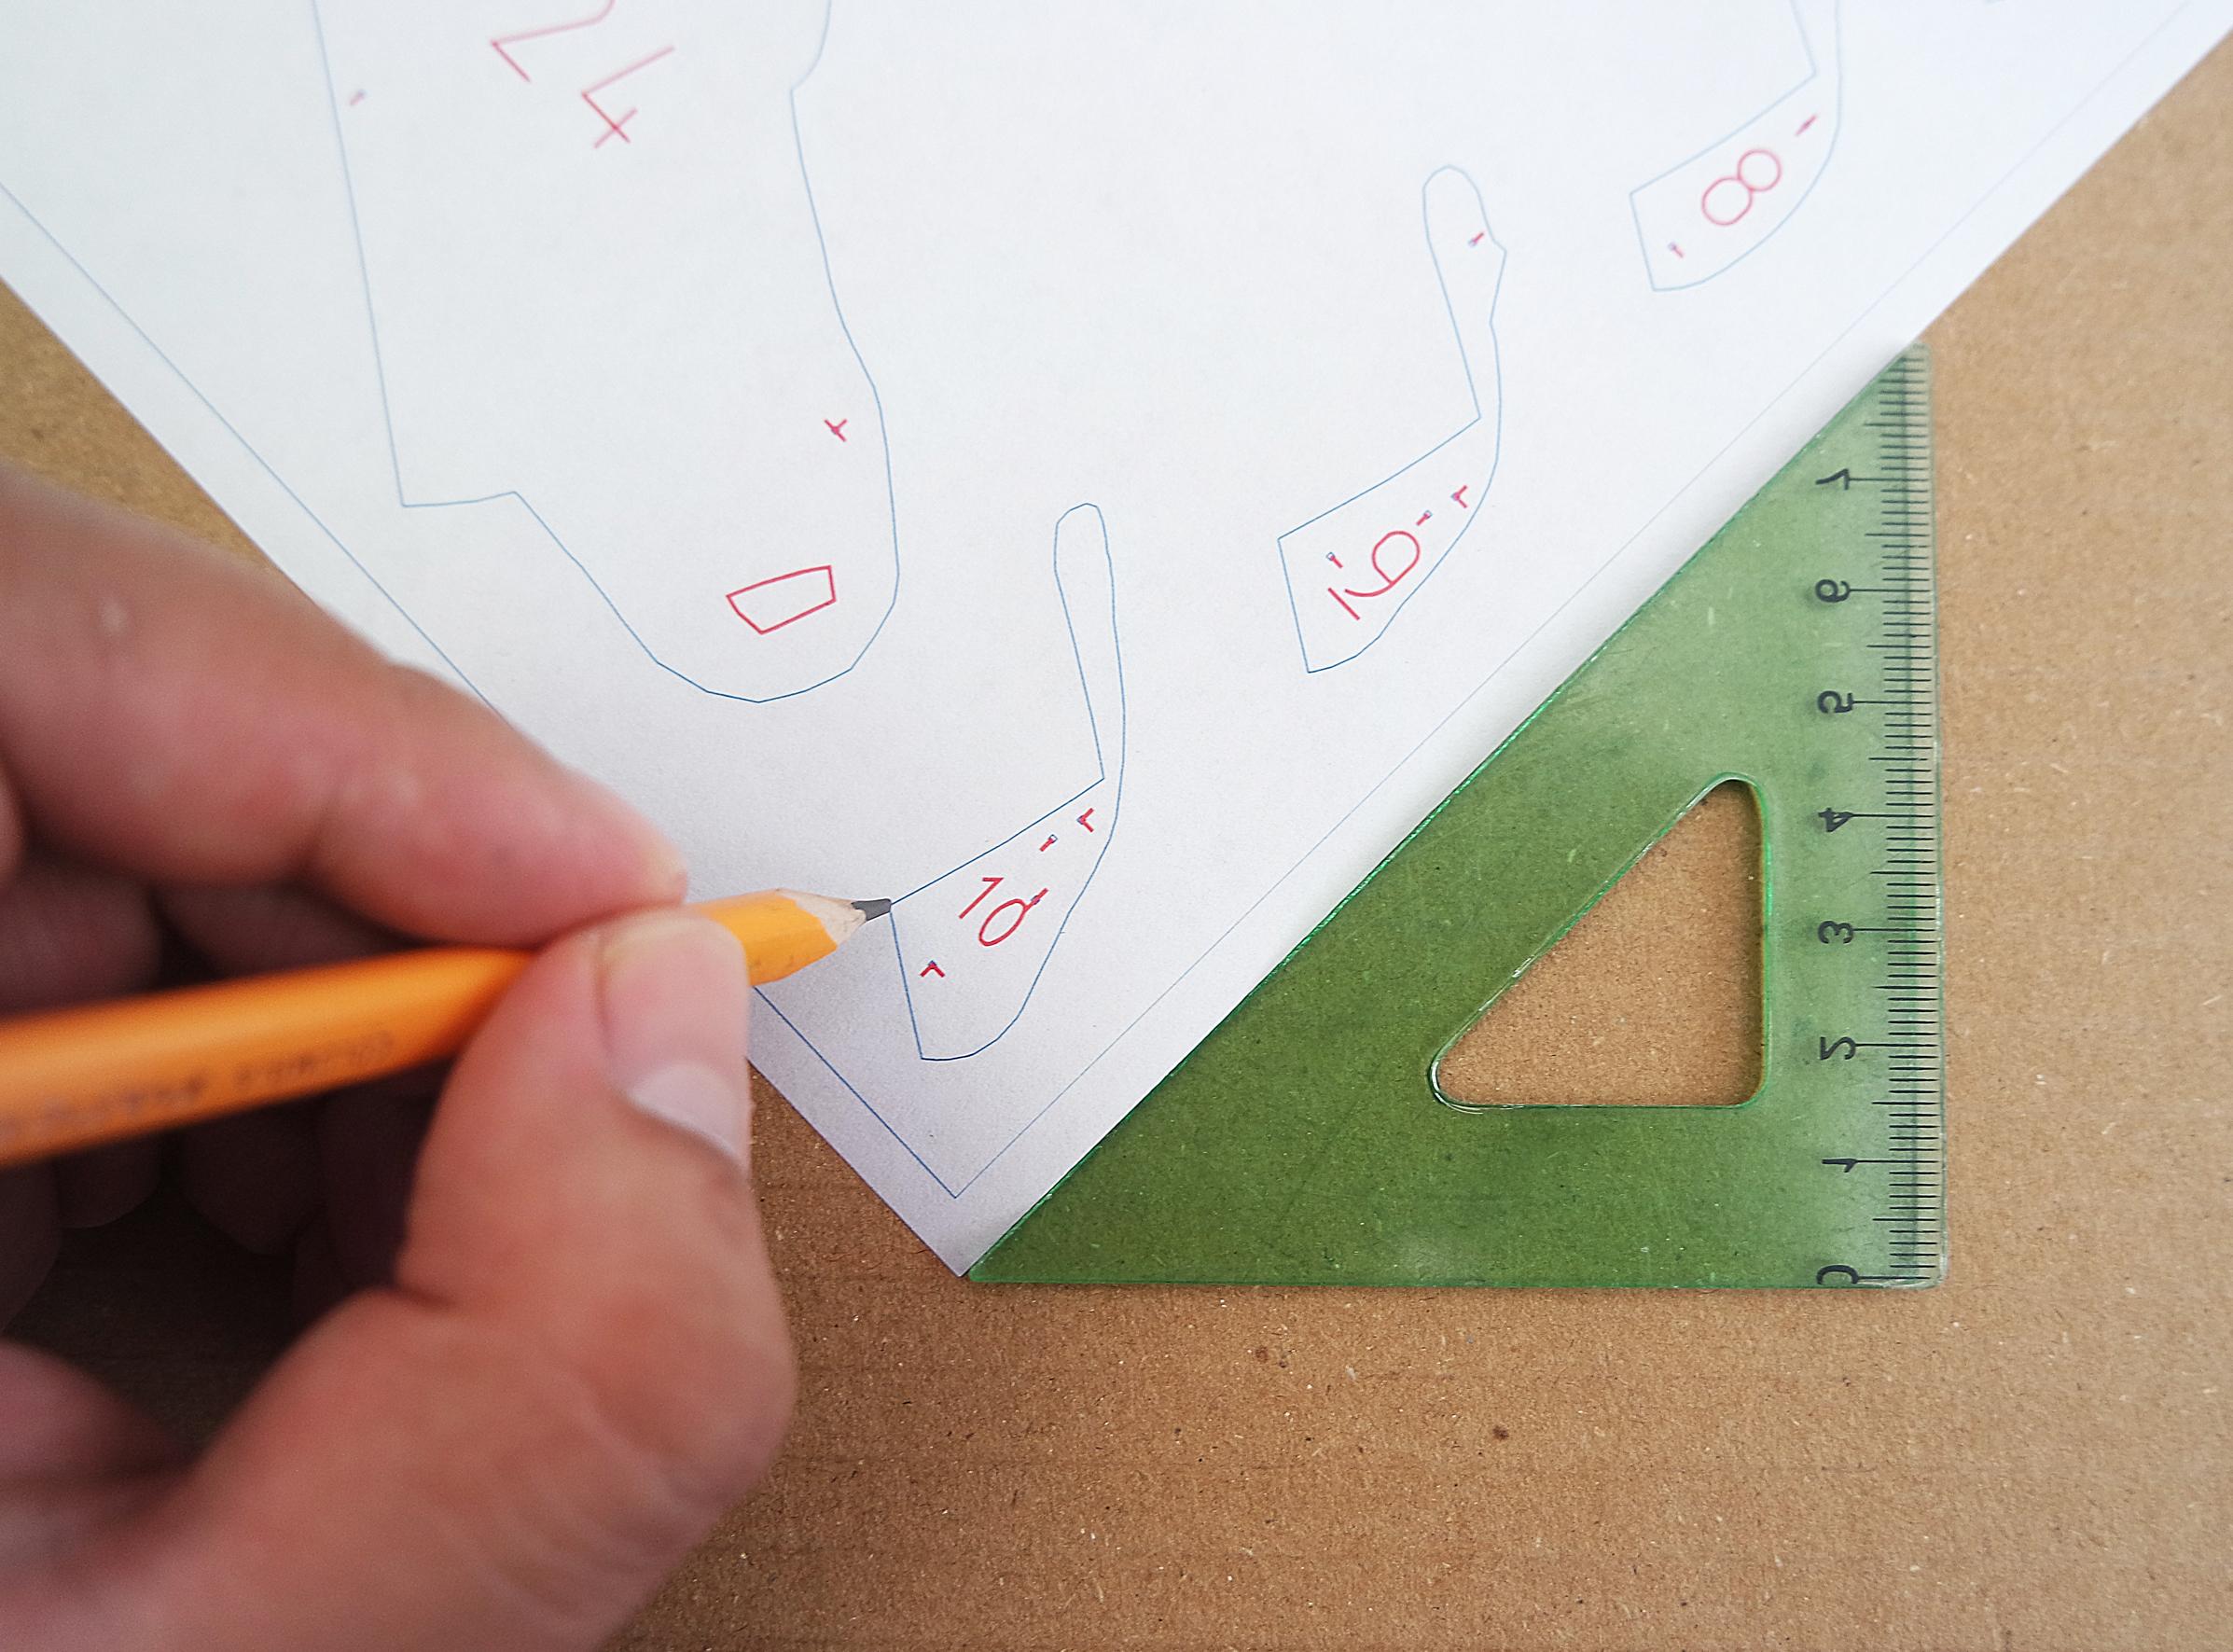
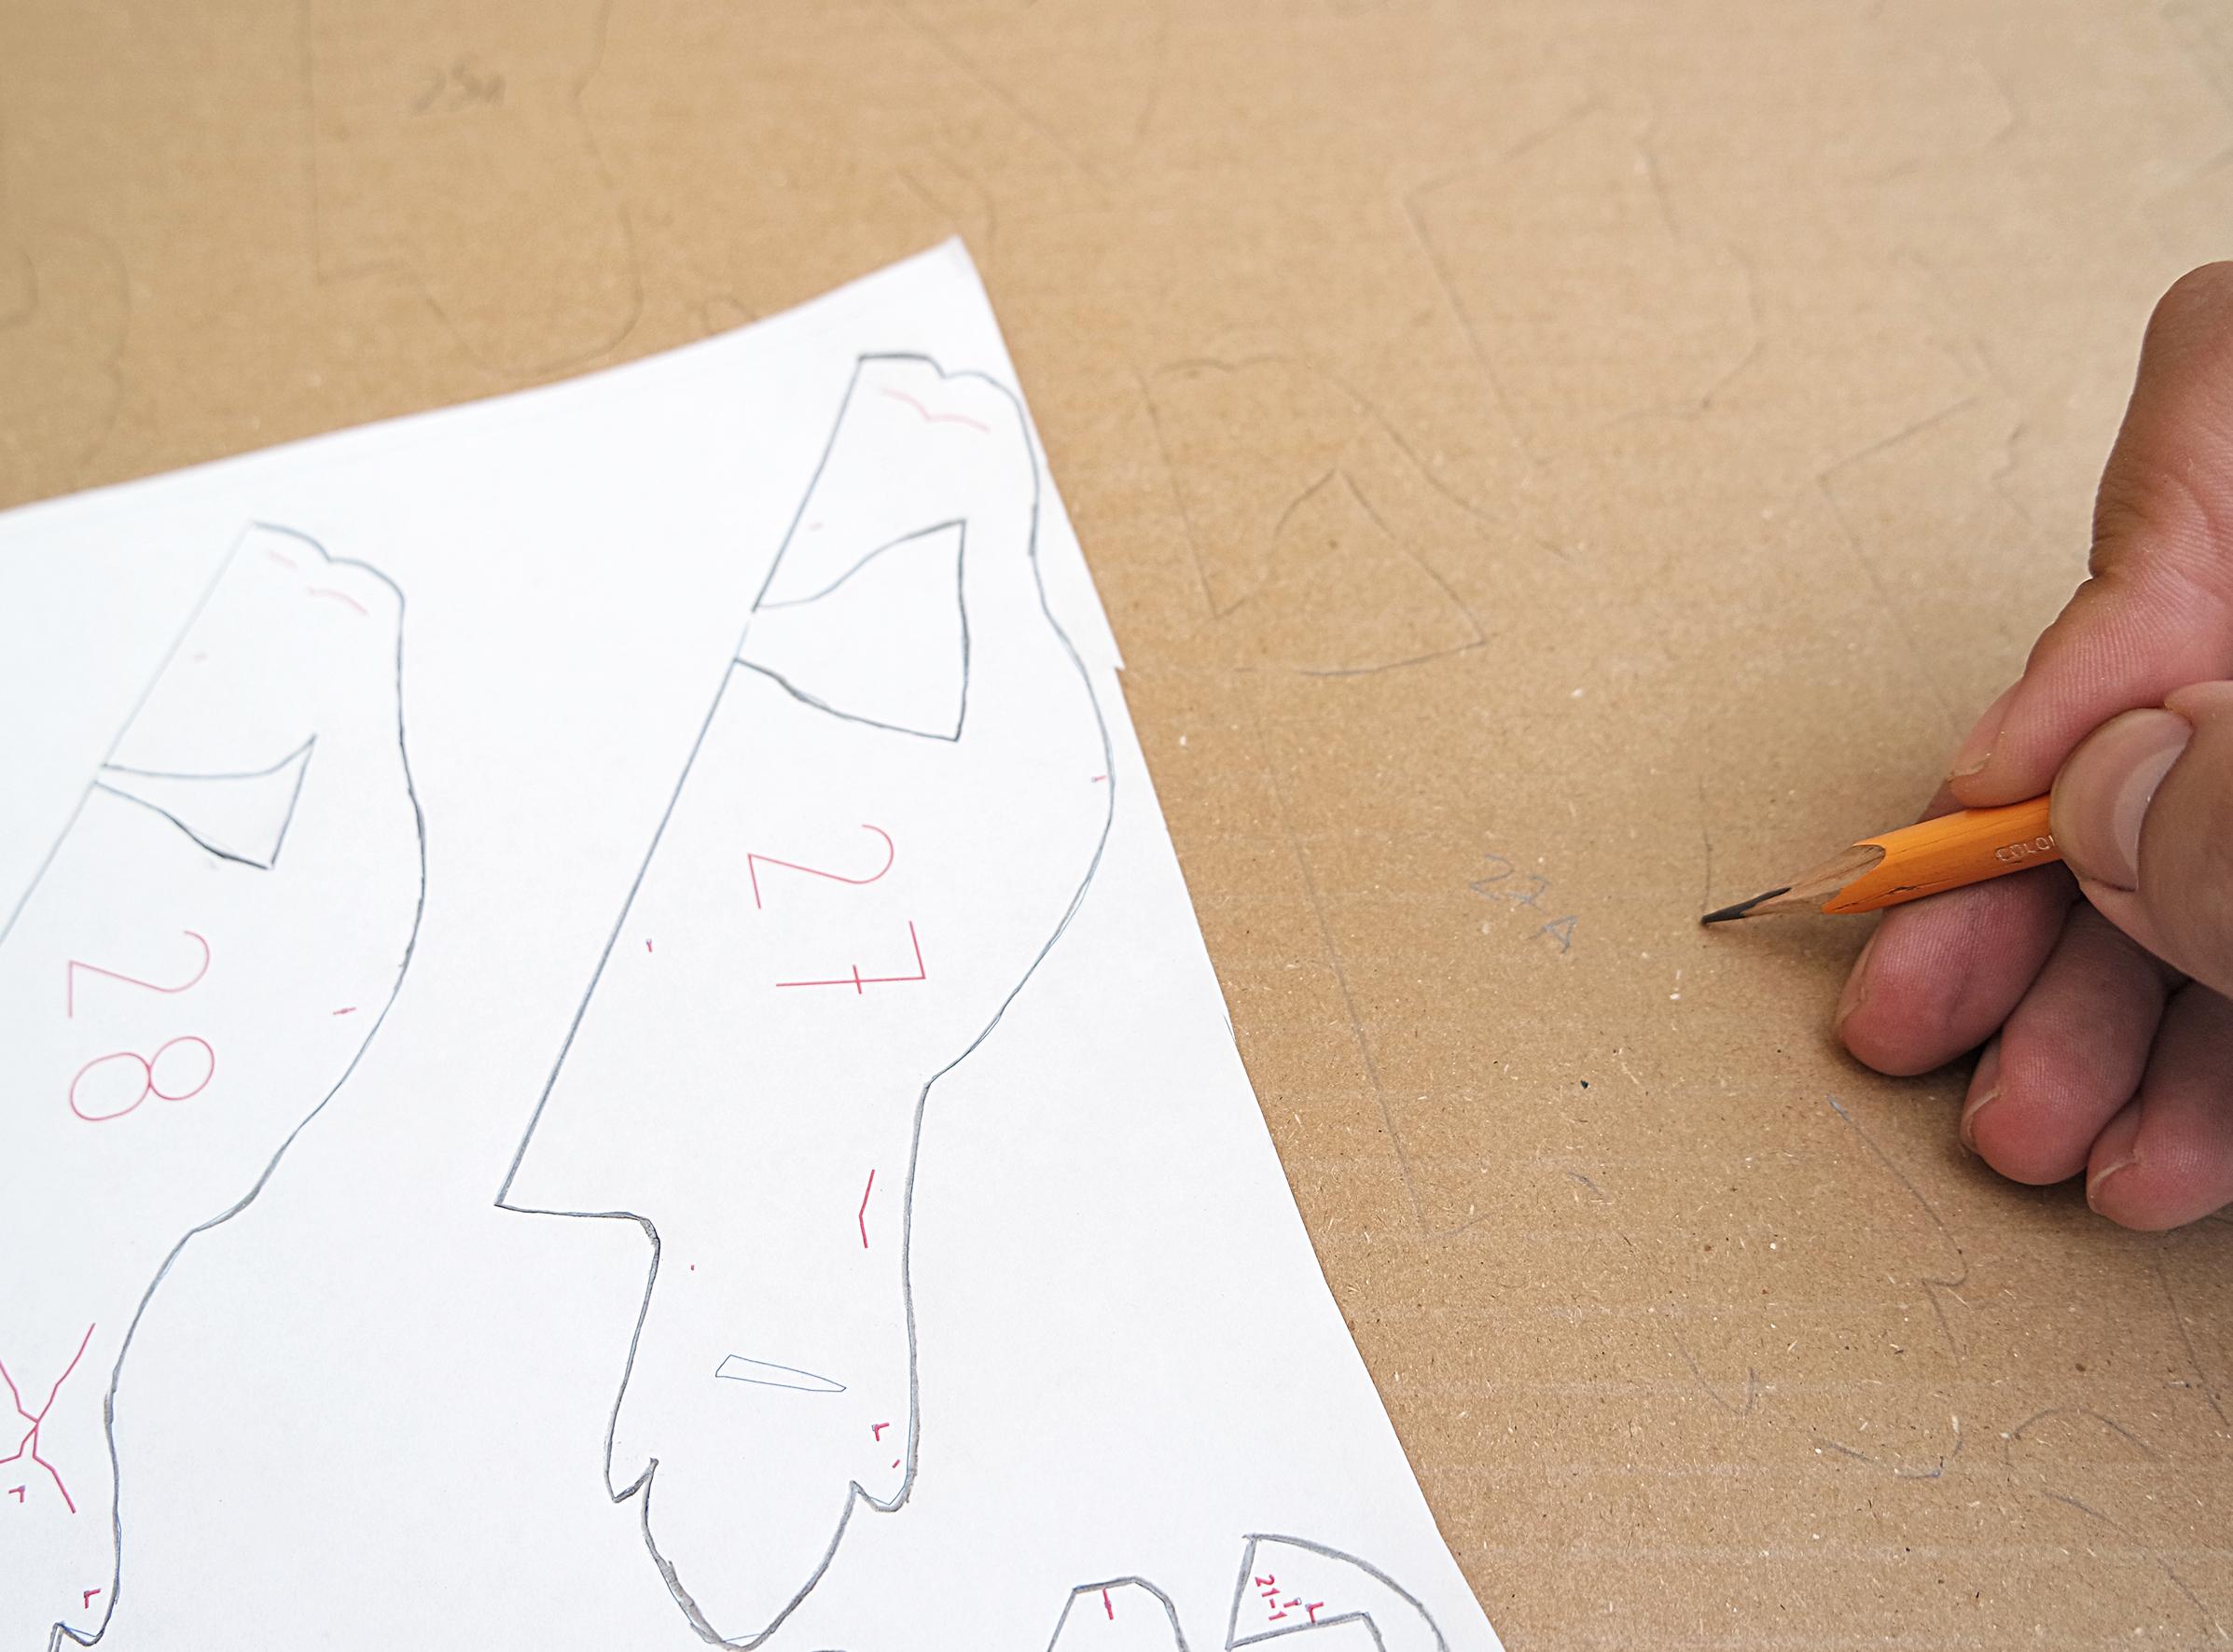
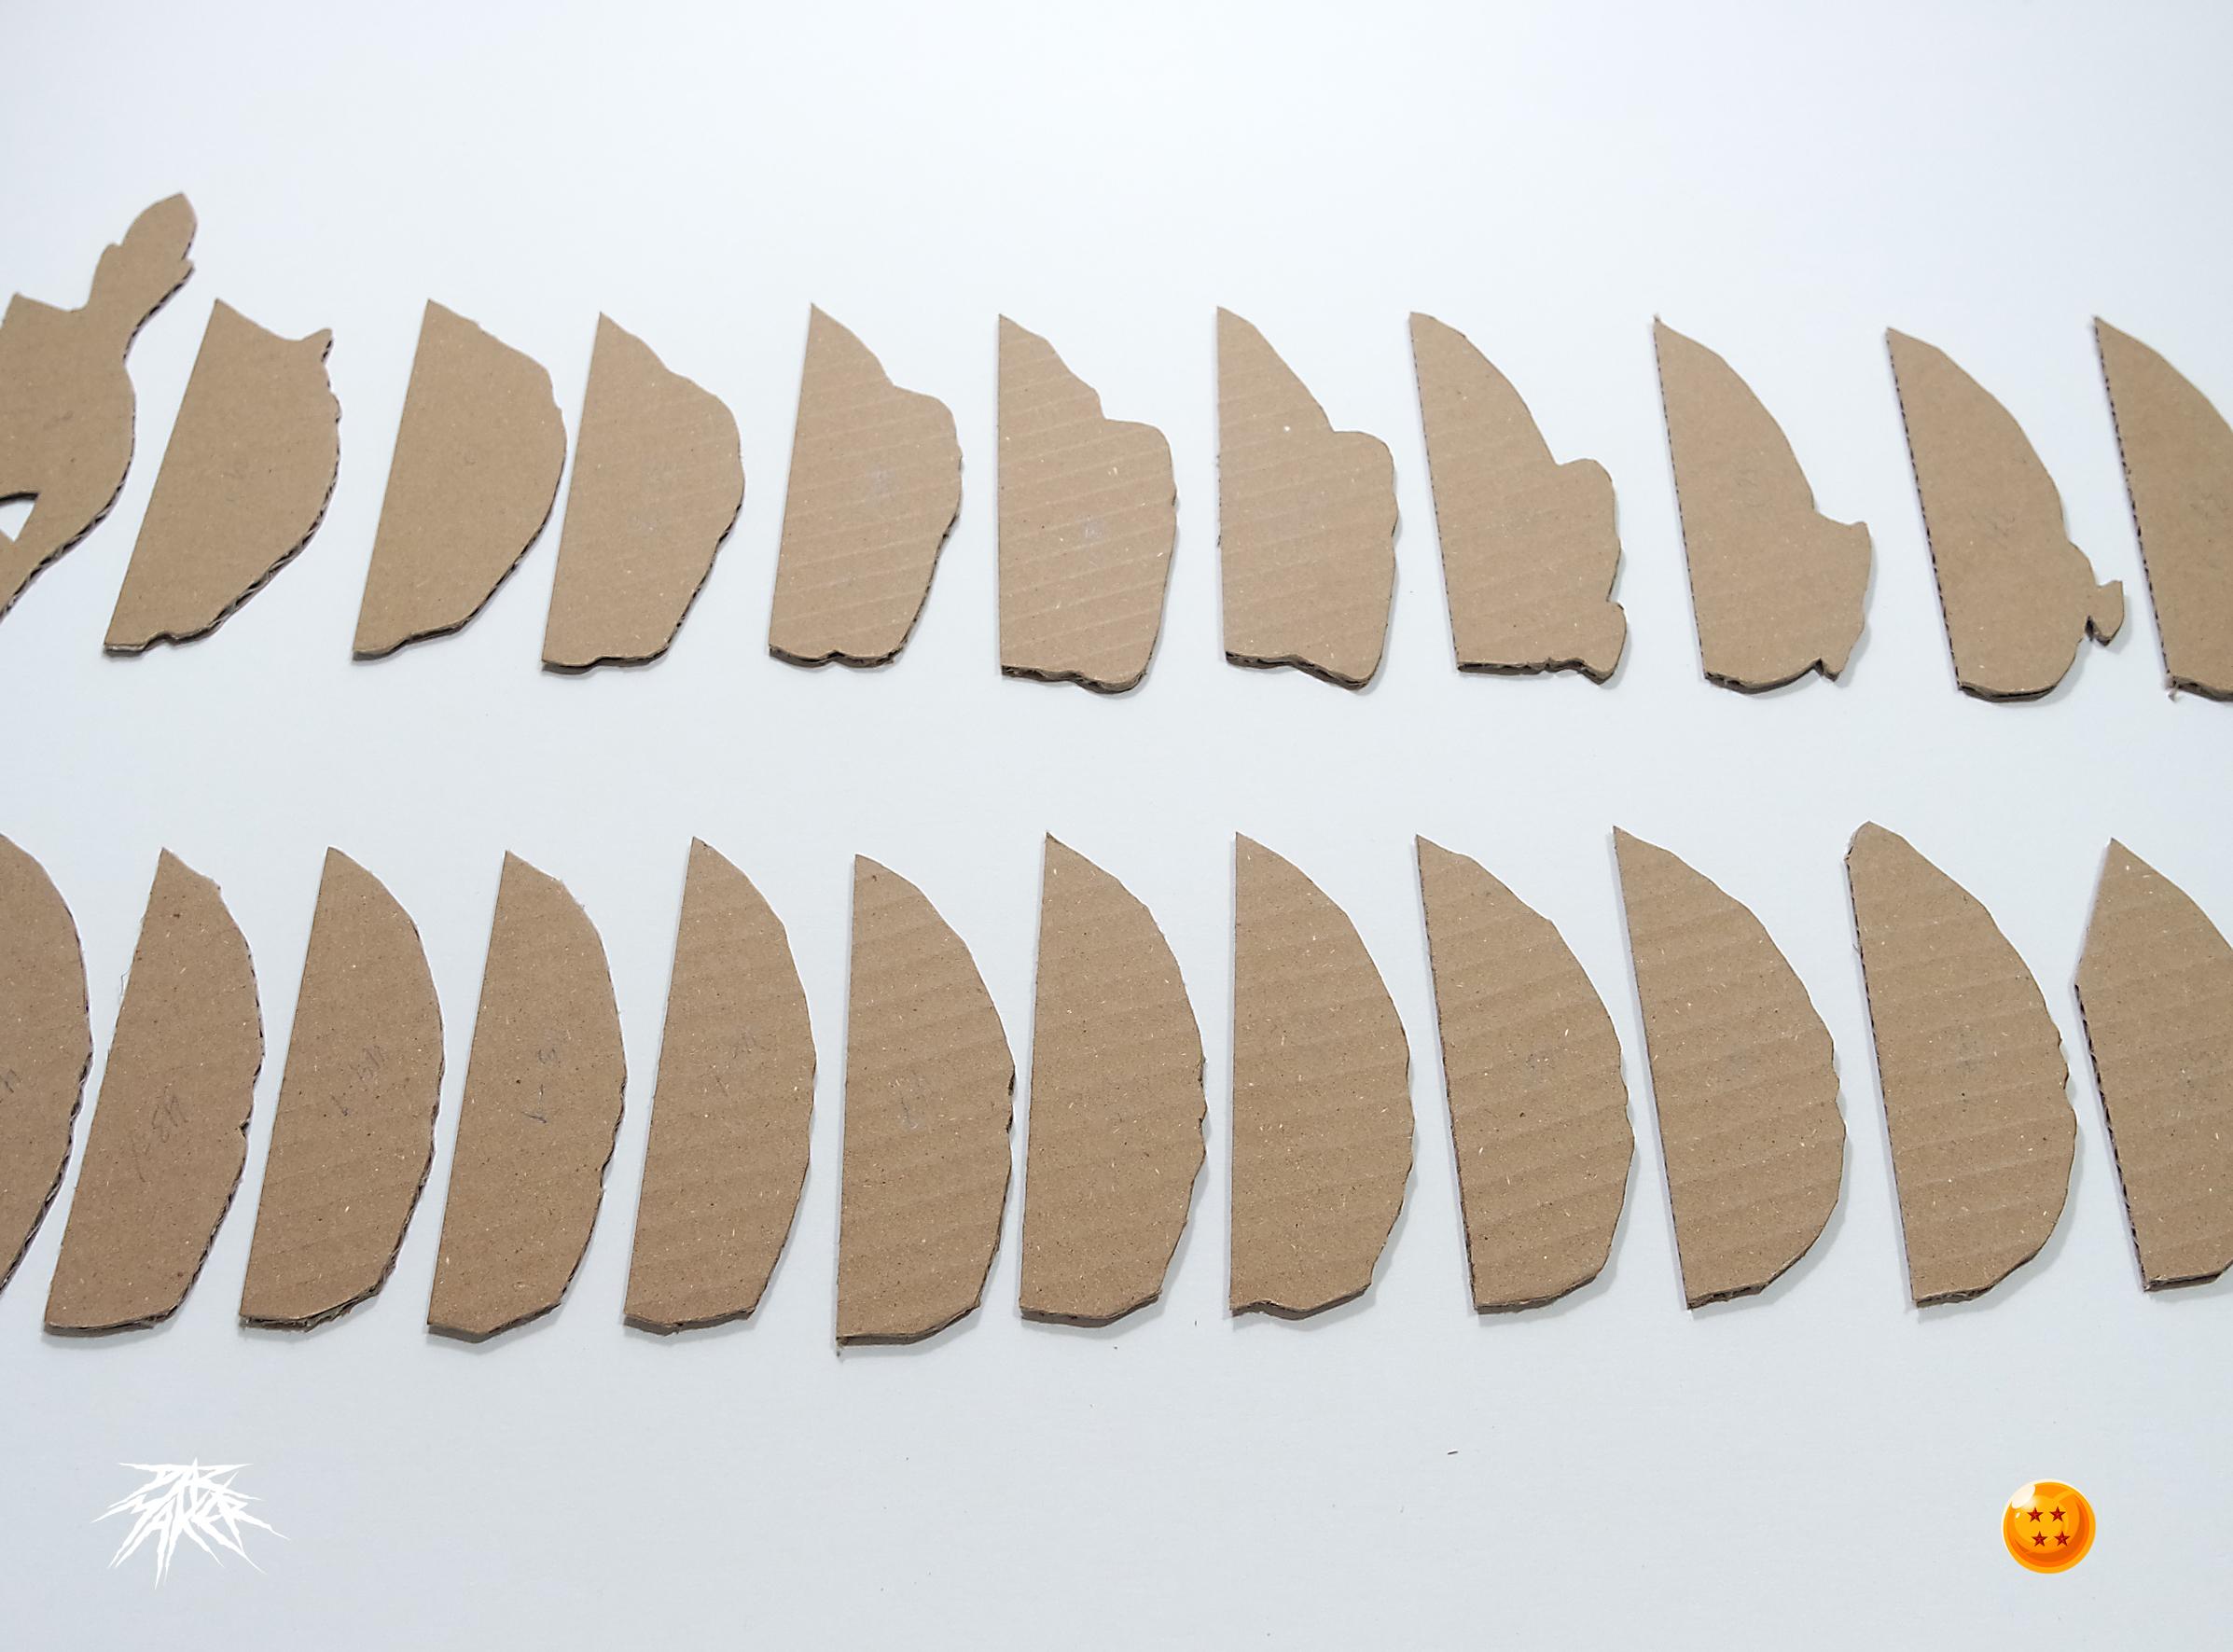
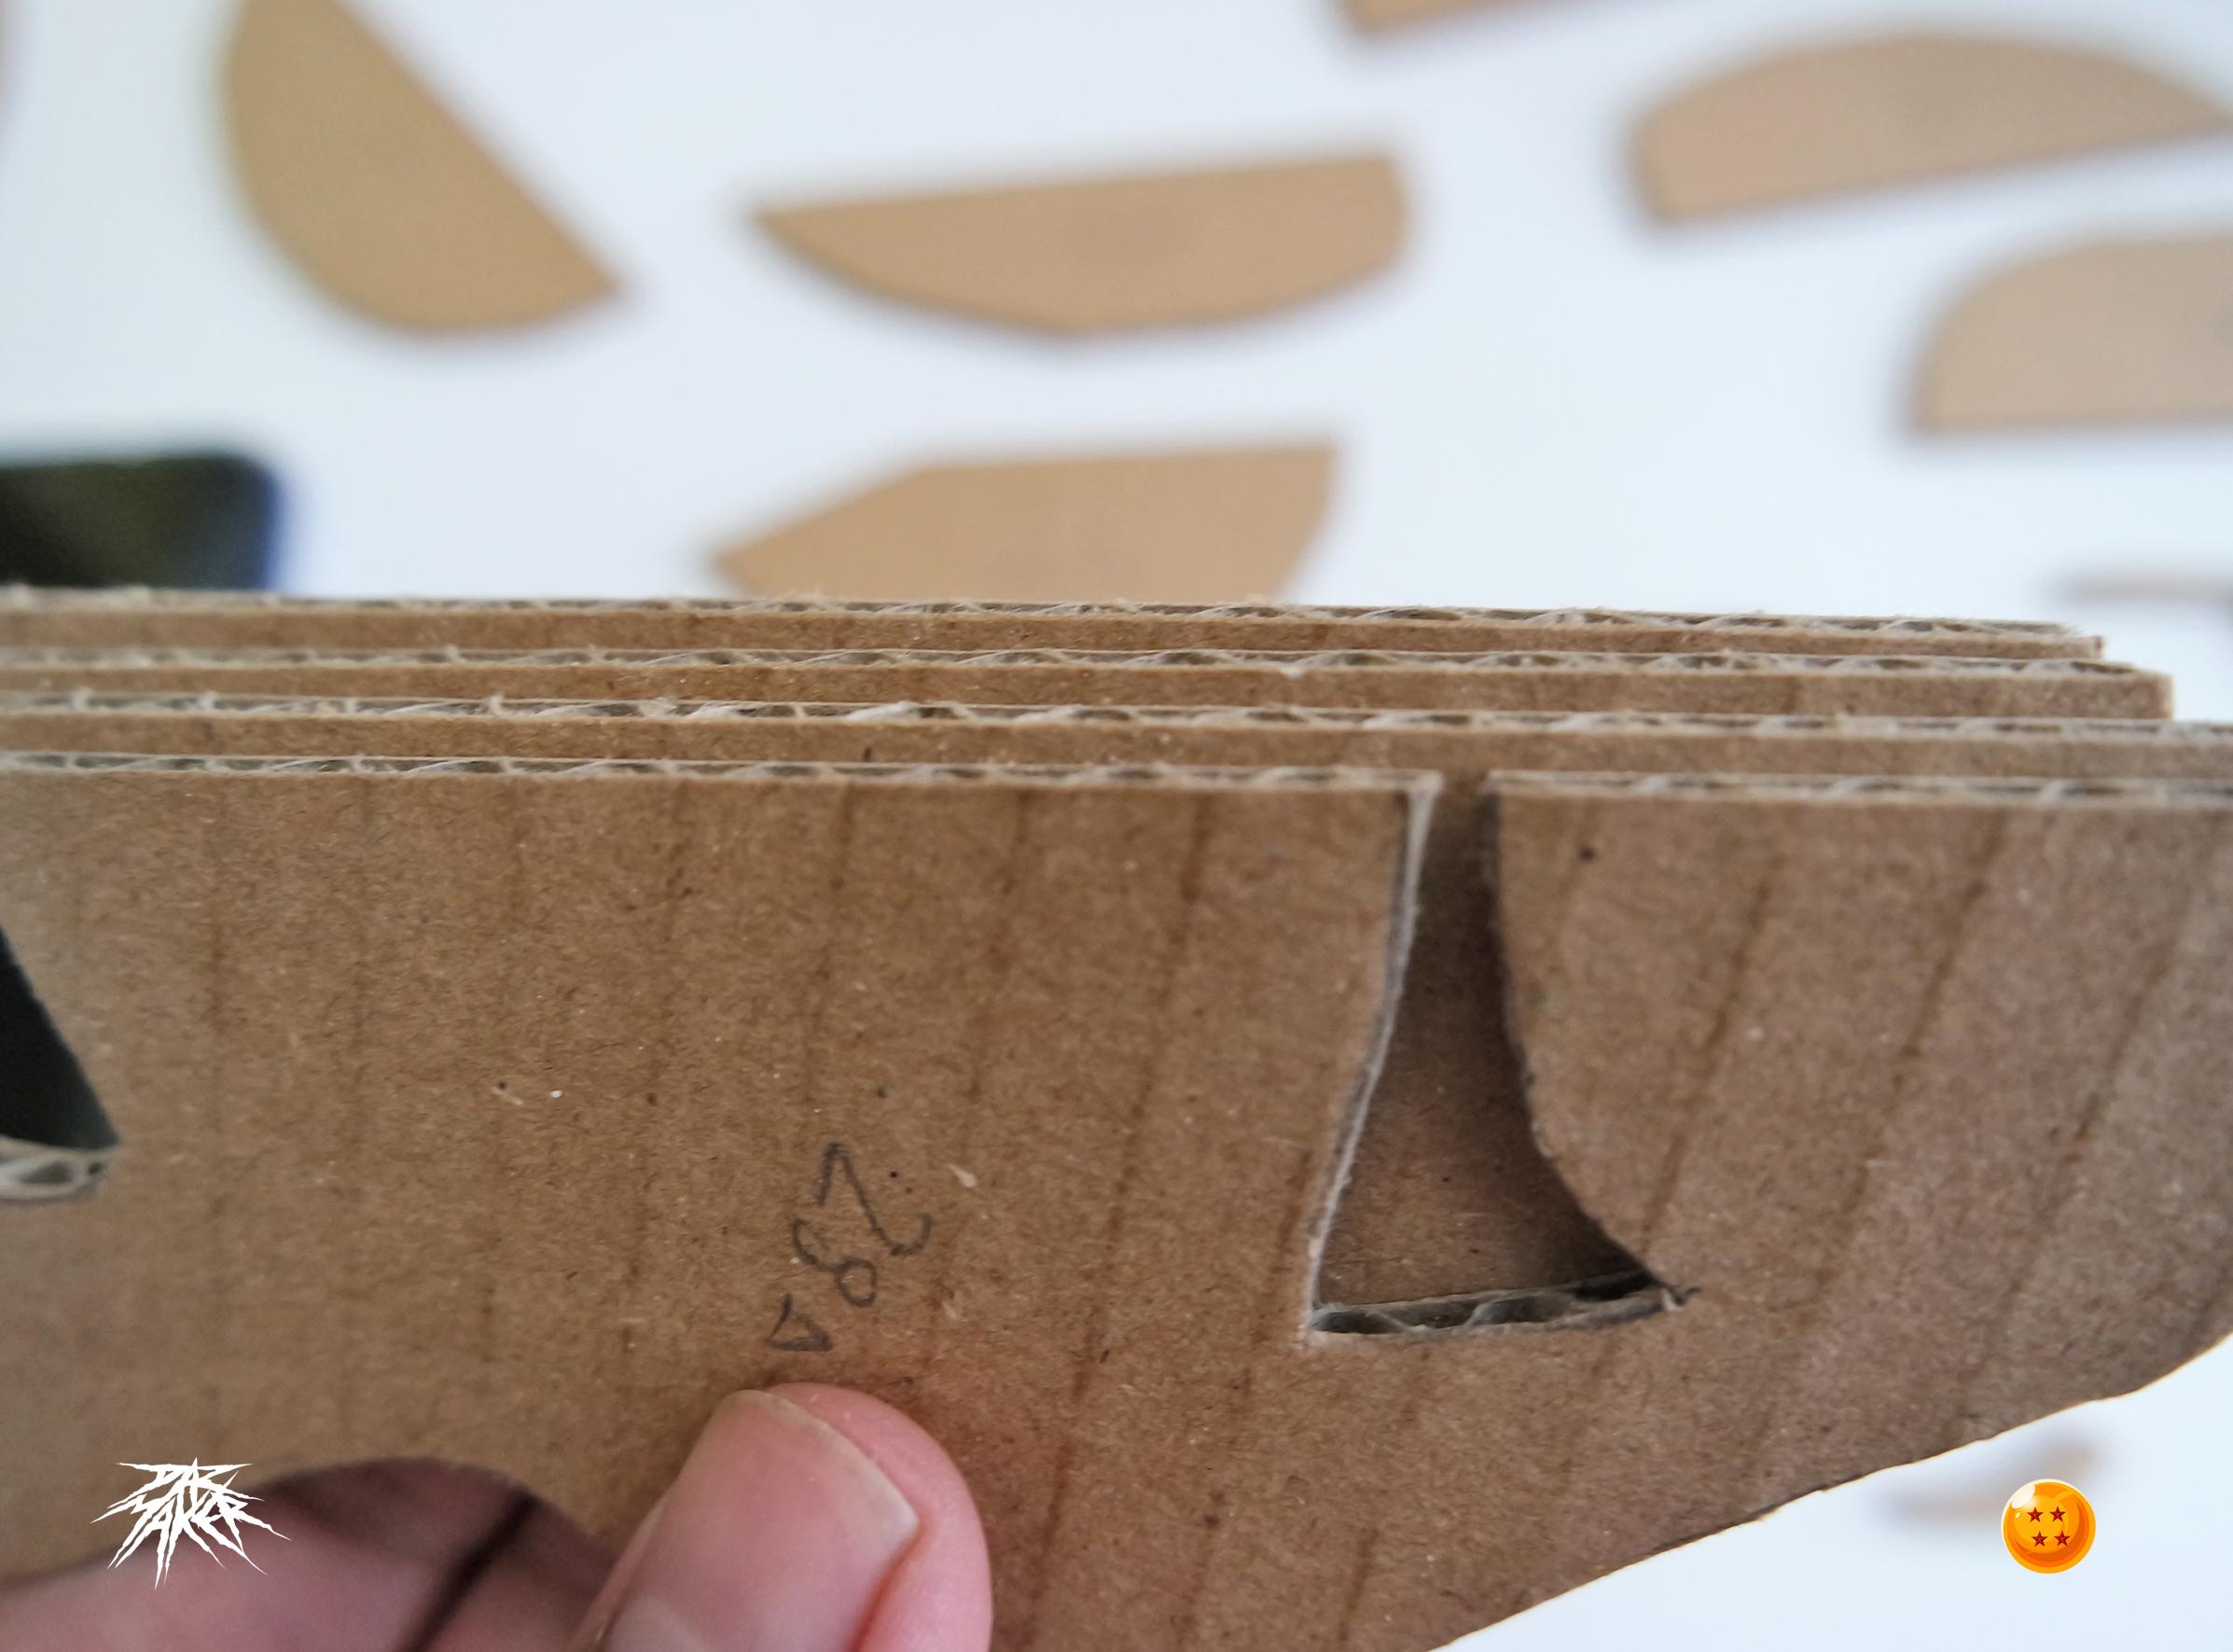
Organize the printed templates on the cardboard, I will use a 45 degree inclination according to the mark of manufacture of the cardboard to give a better effect to the grooves of the cardboard in the final Sculpt.
All the sheets must go in the same direction and the same angle since not doing would generate errors in the direction of the cardboard and it would look strange from a point of view.
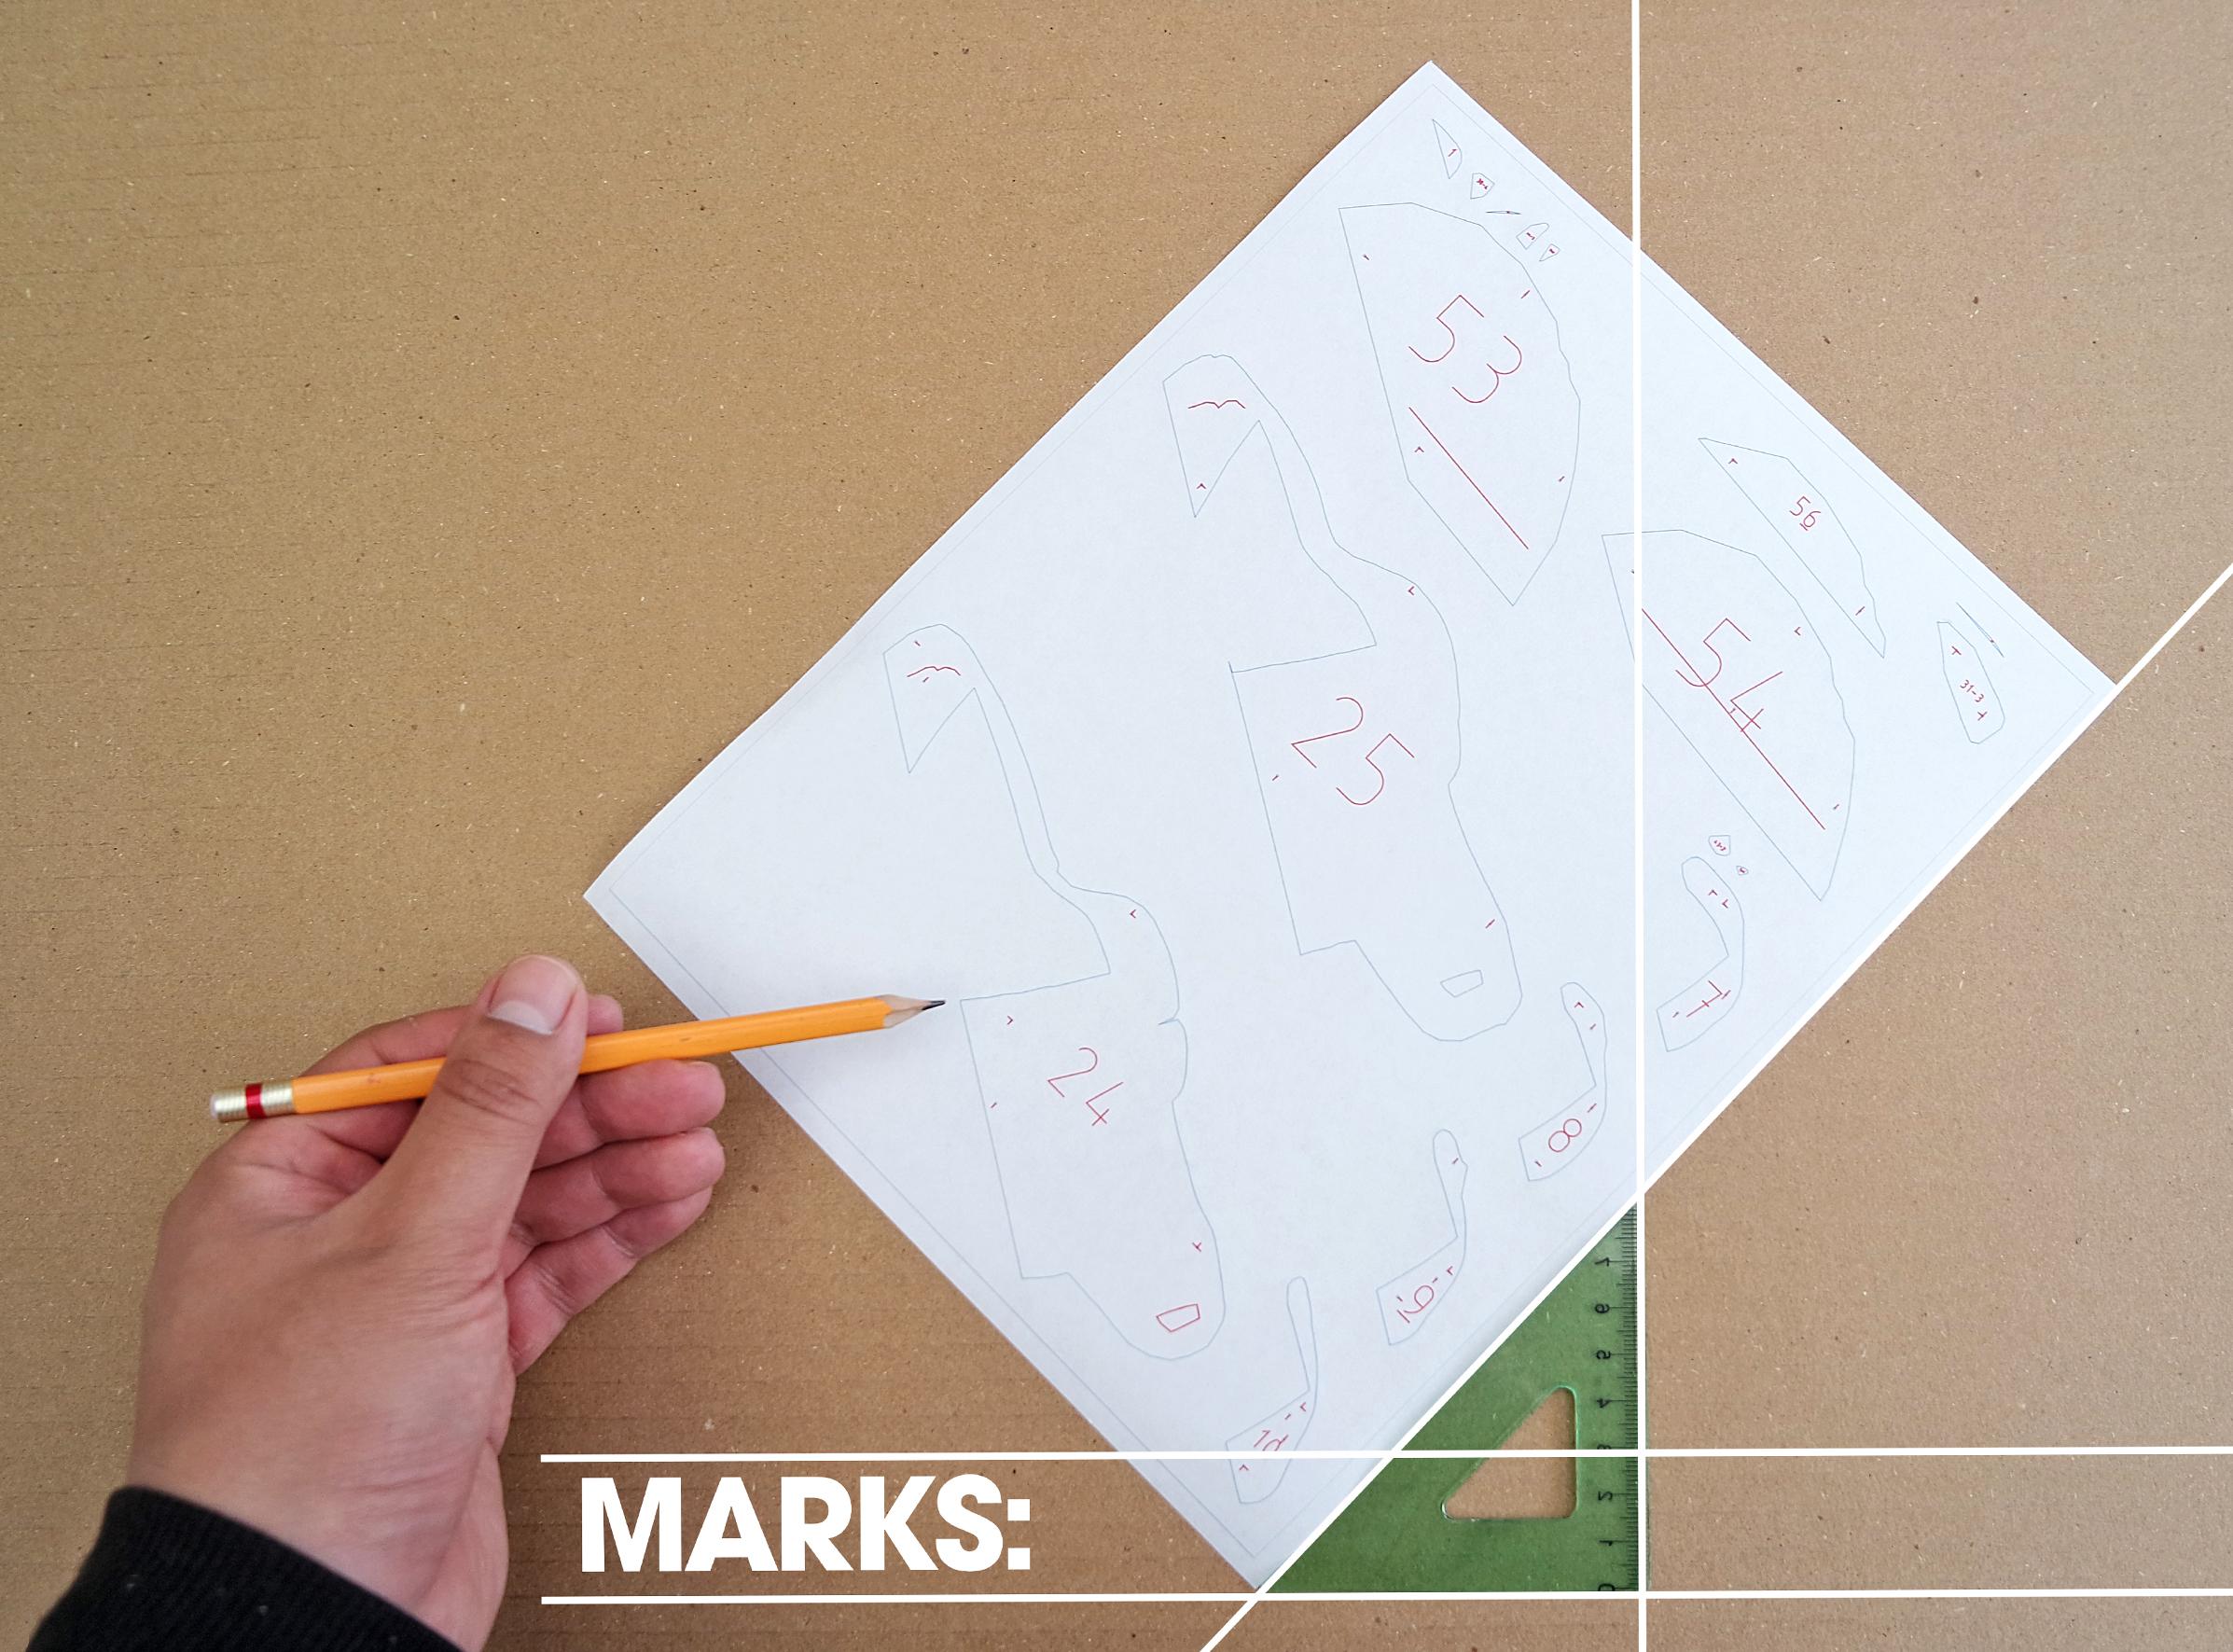
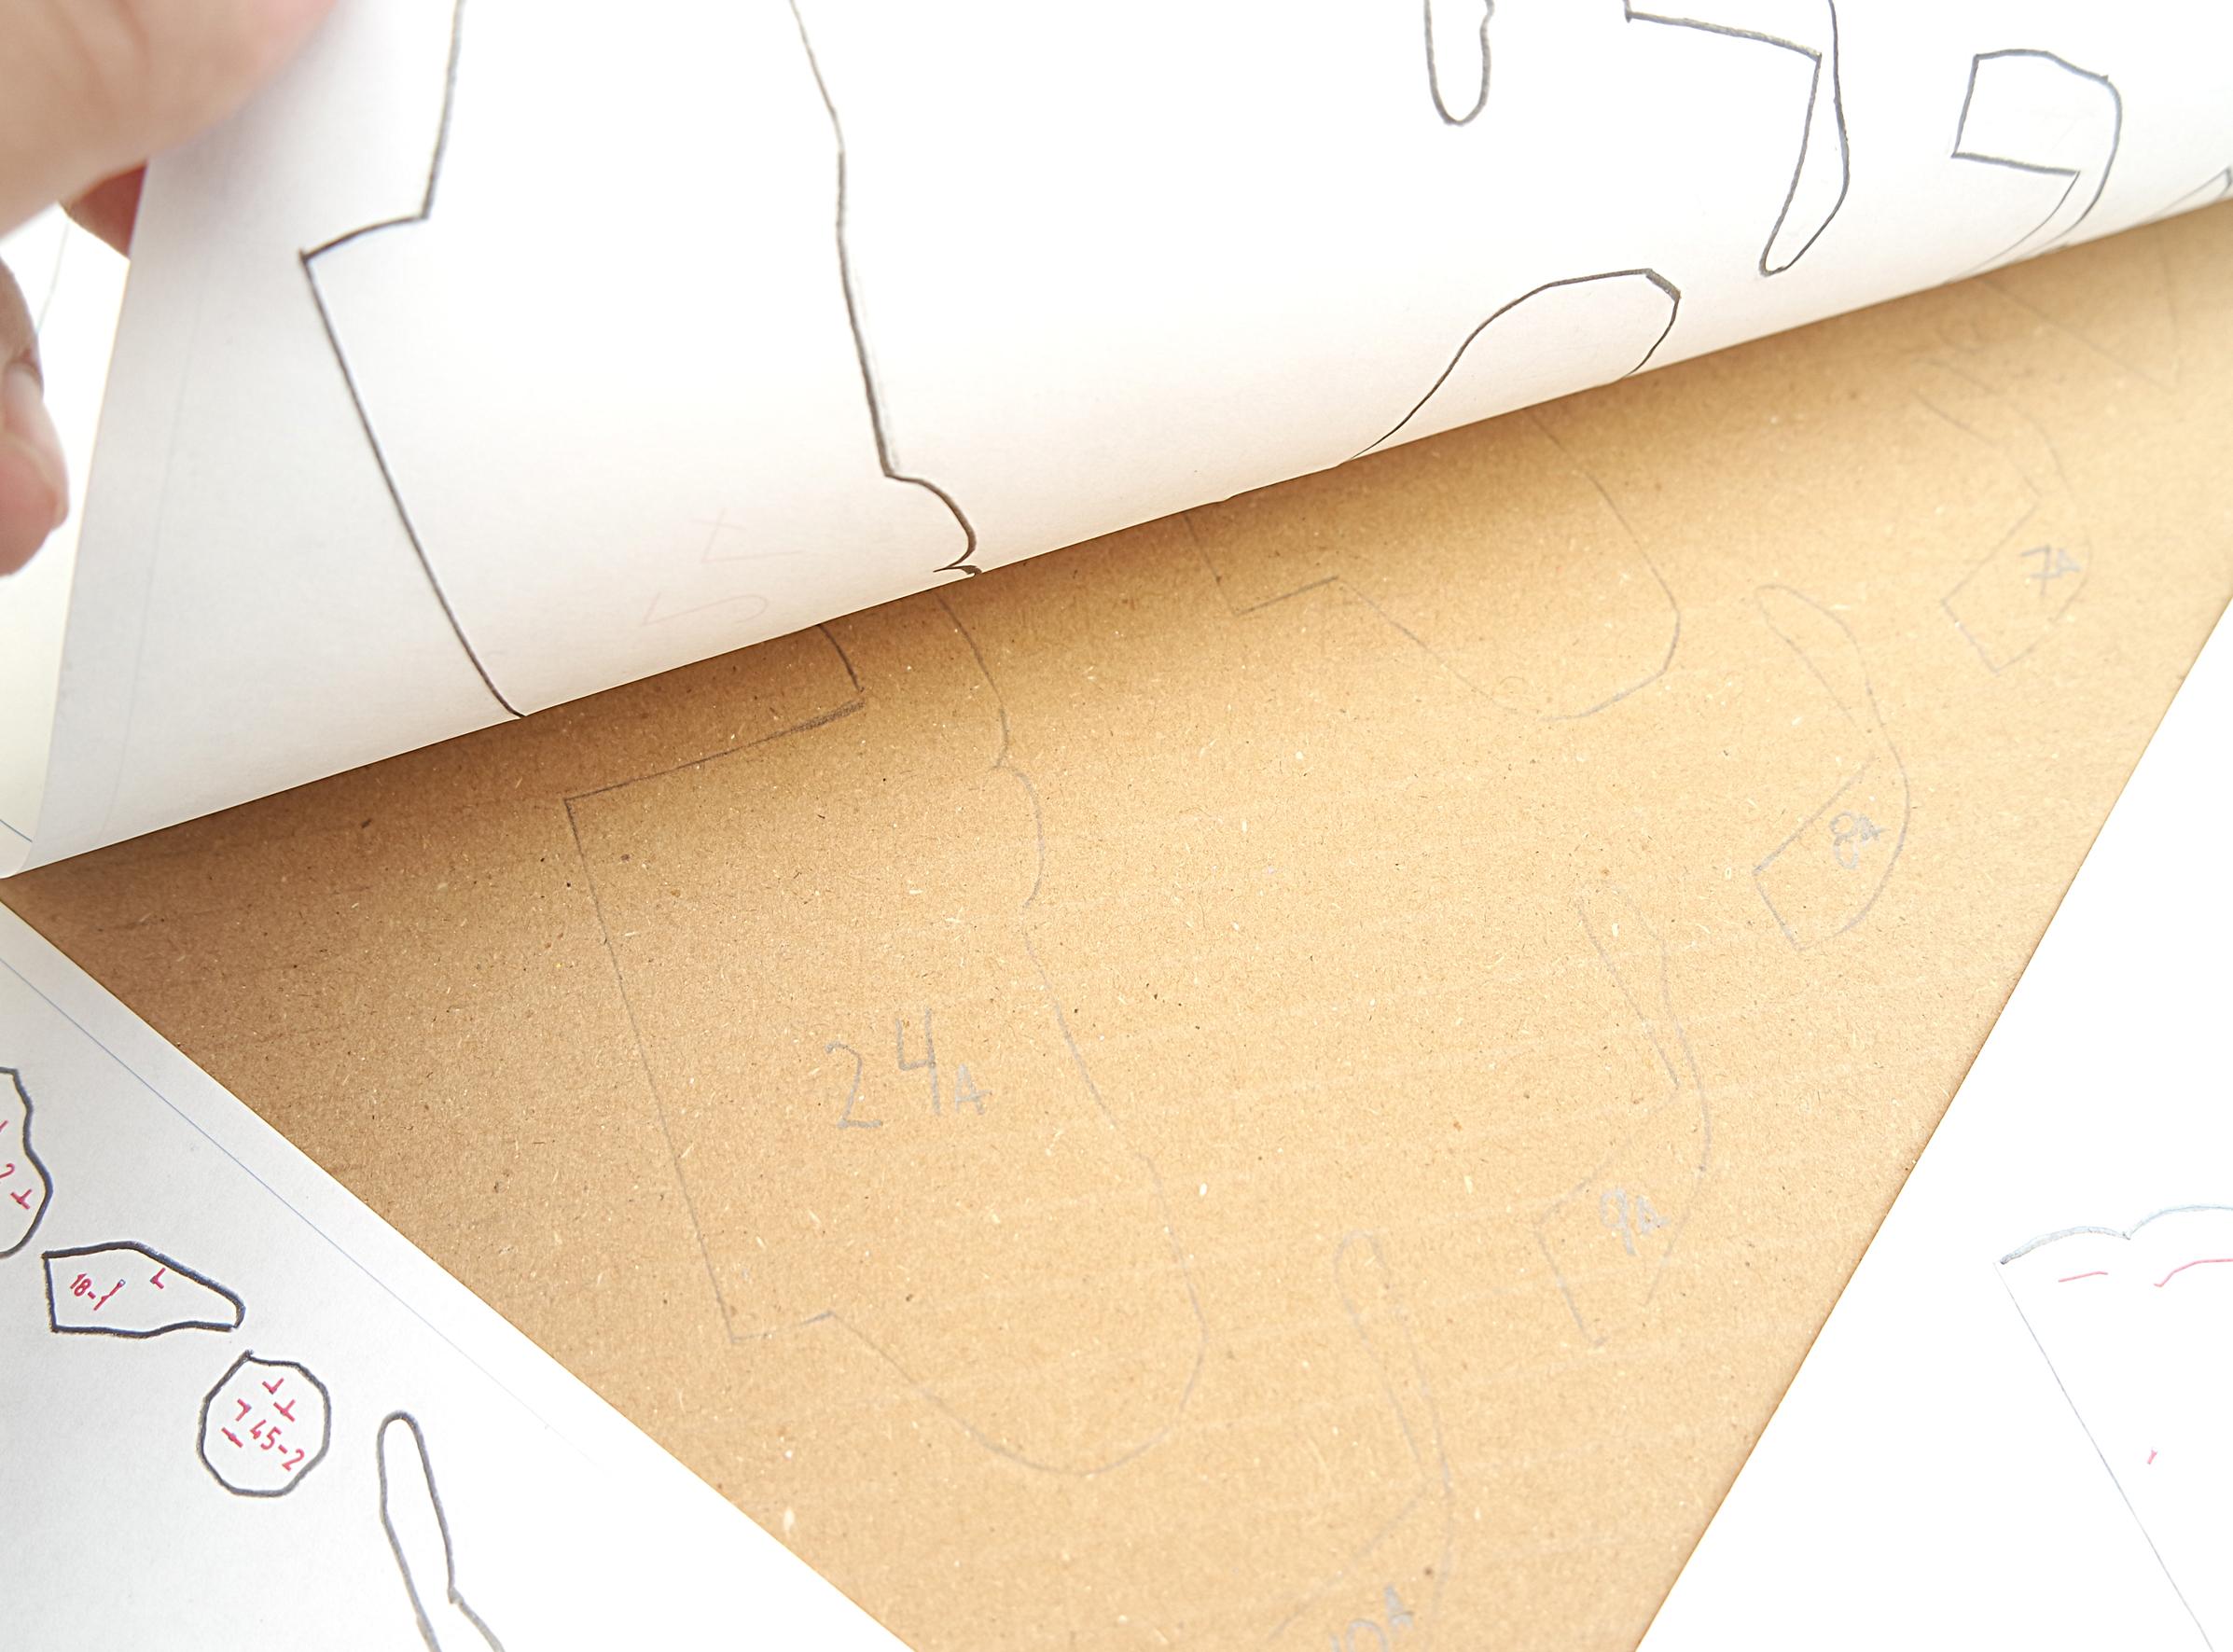
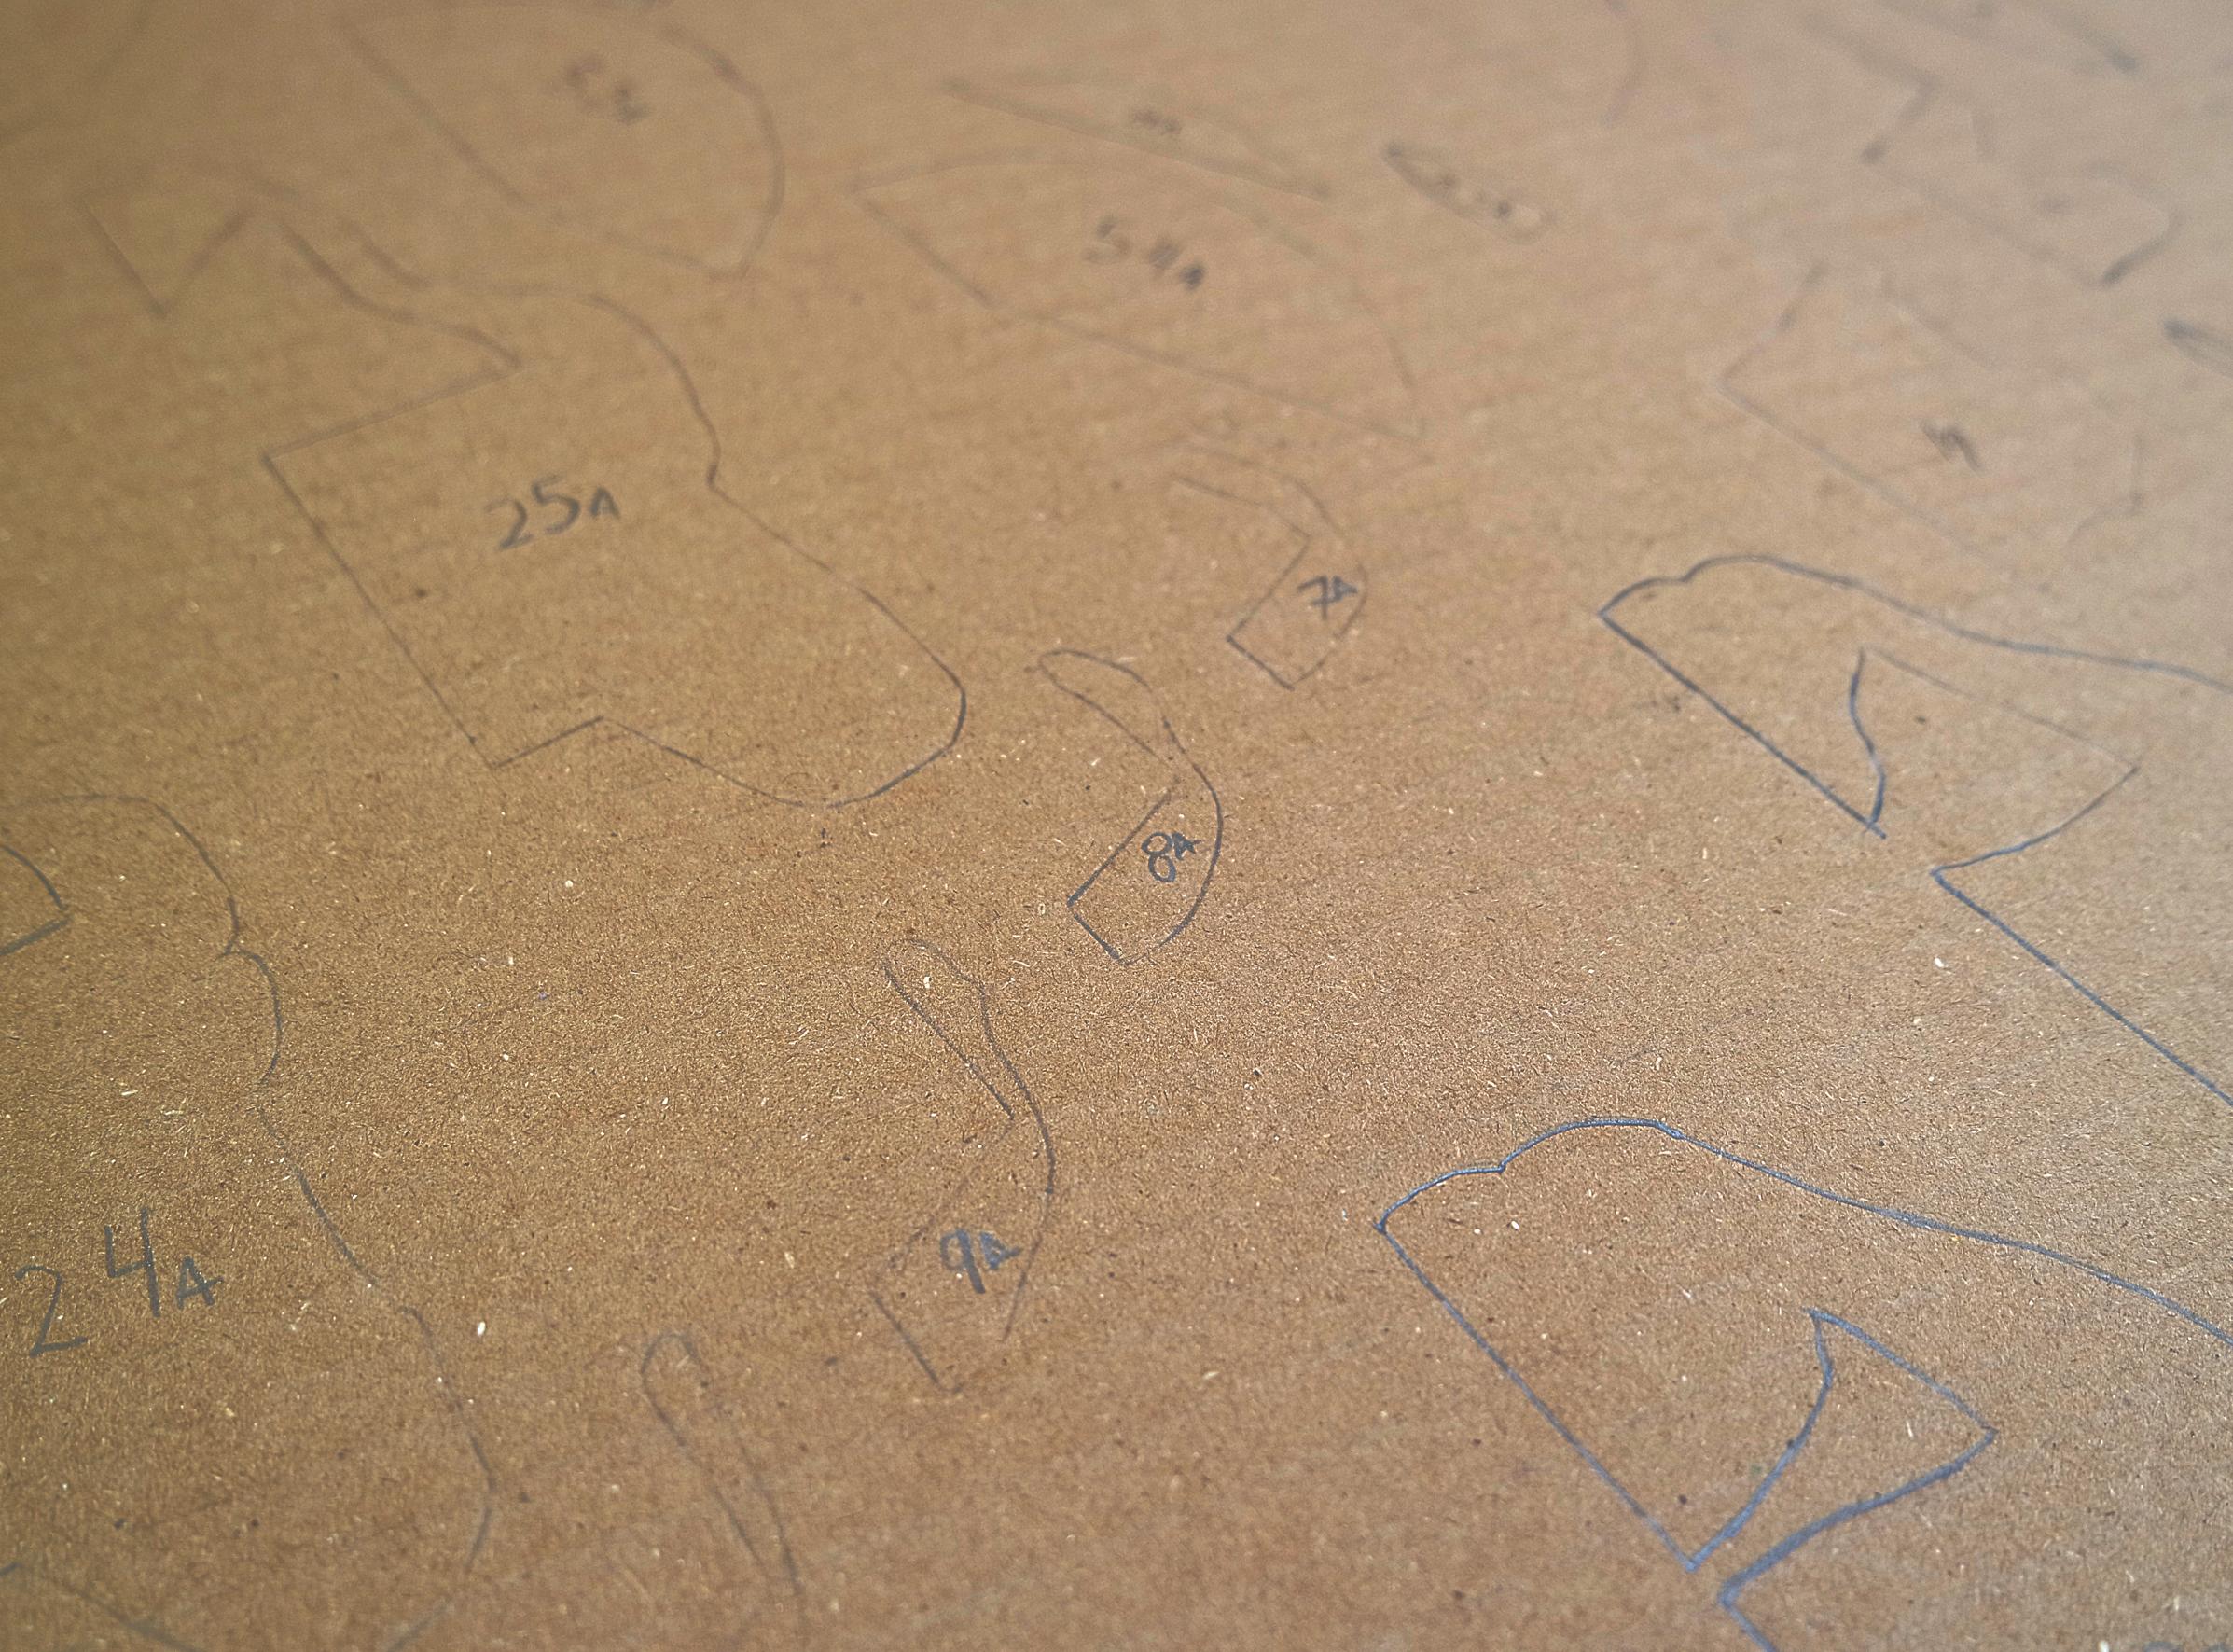
now with the pencil re-trace the edges of the templates in both sides of the paper.
re touch any visible mistake.
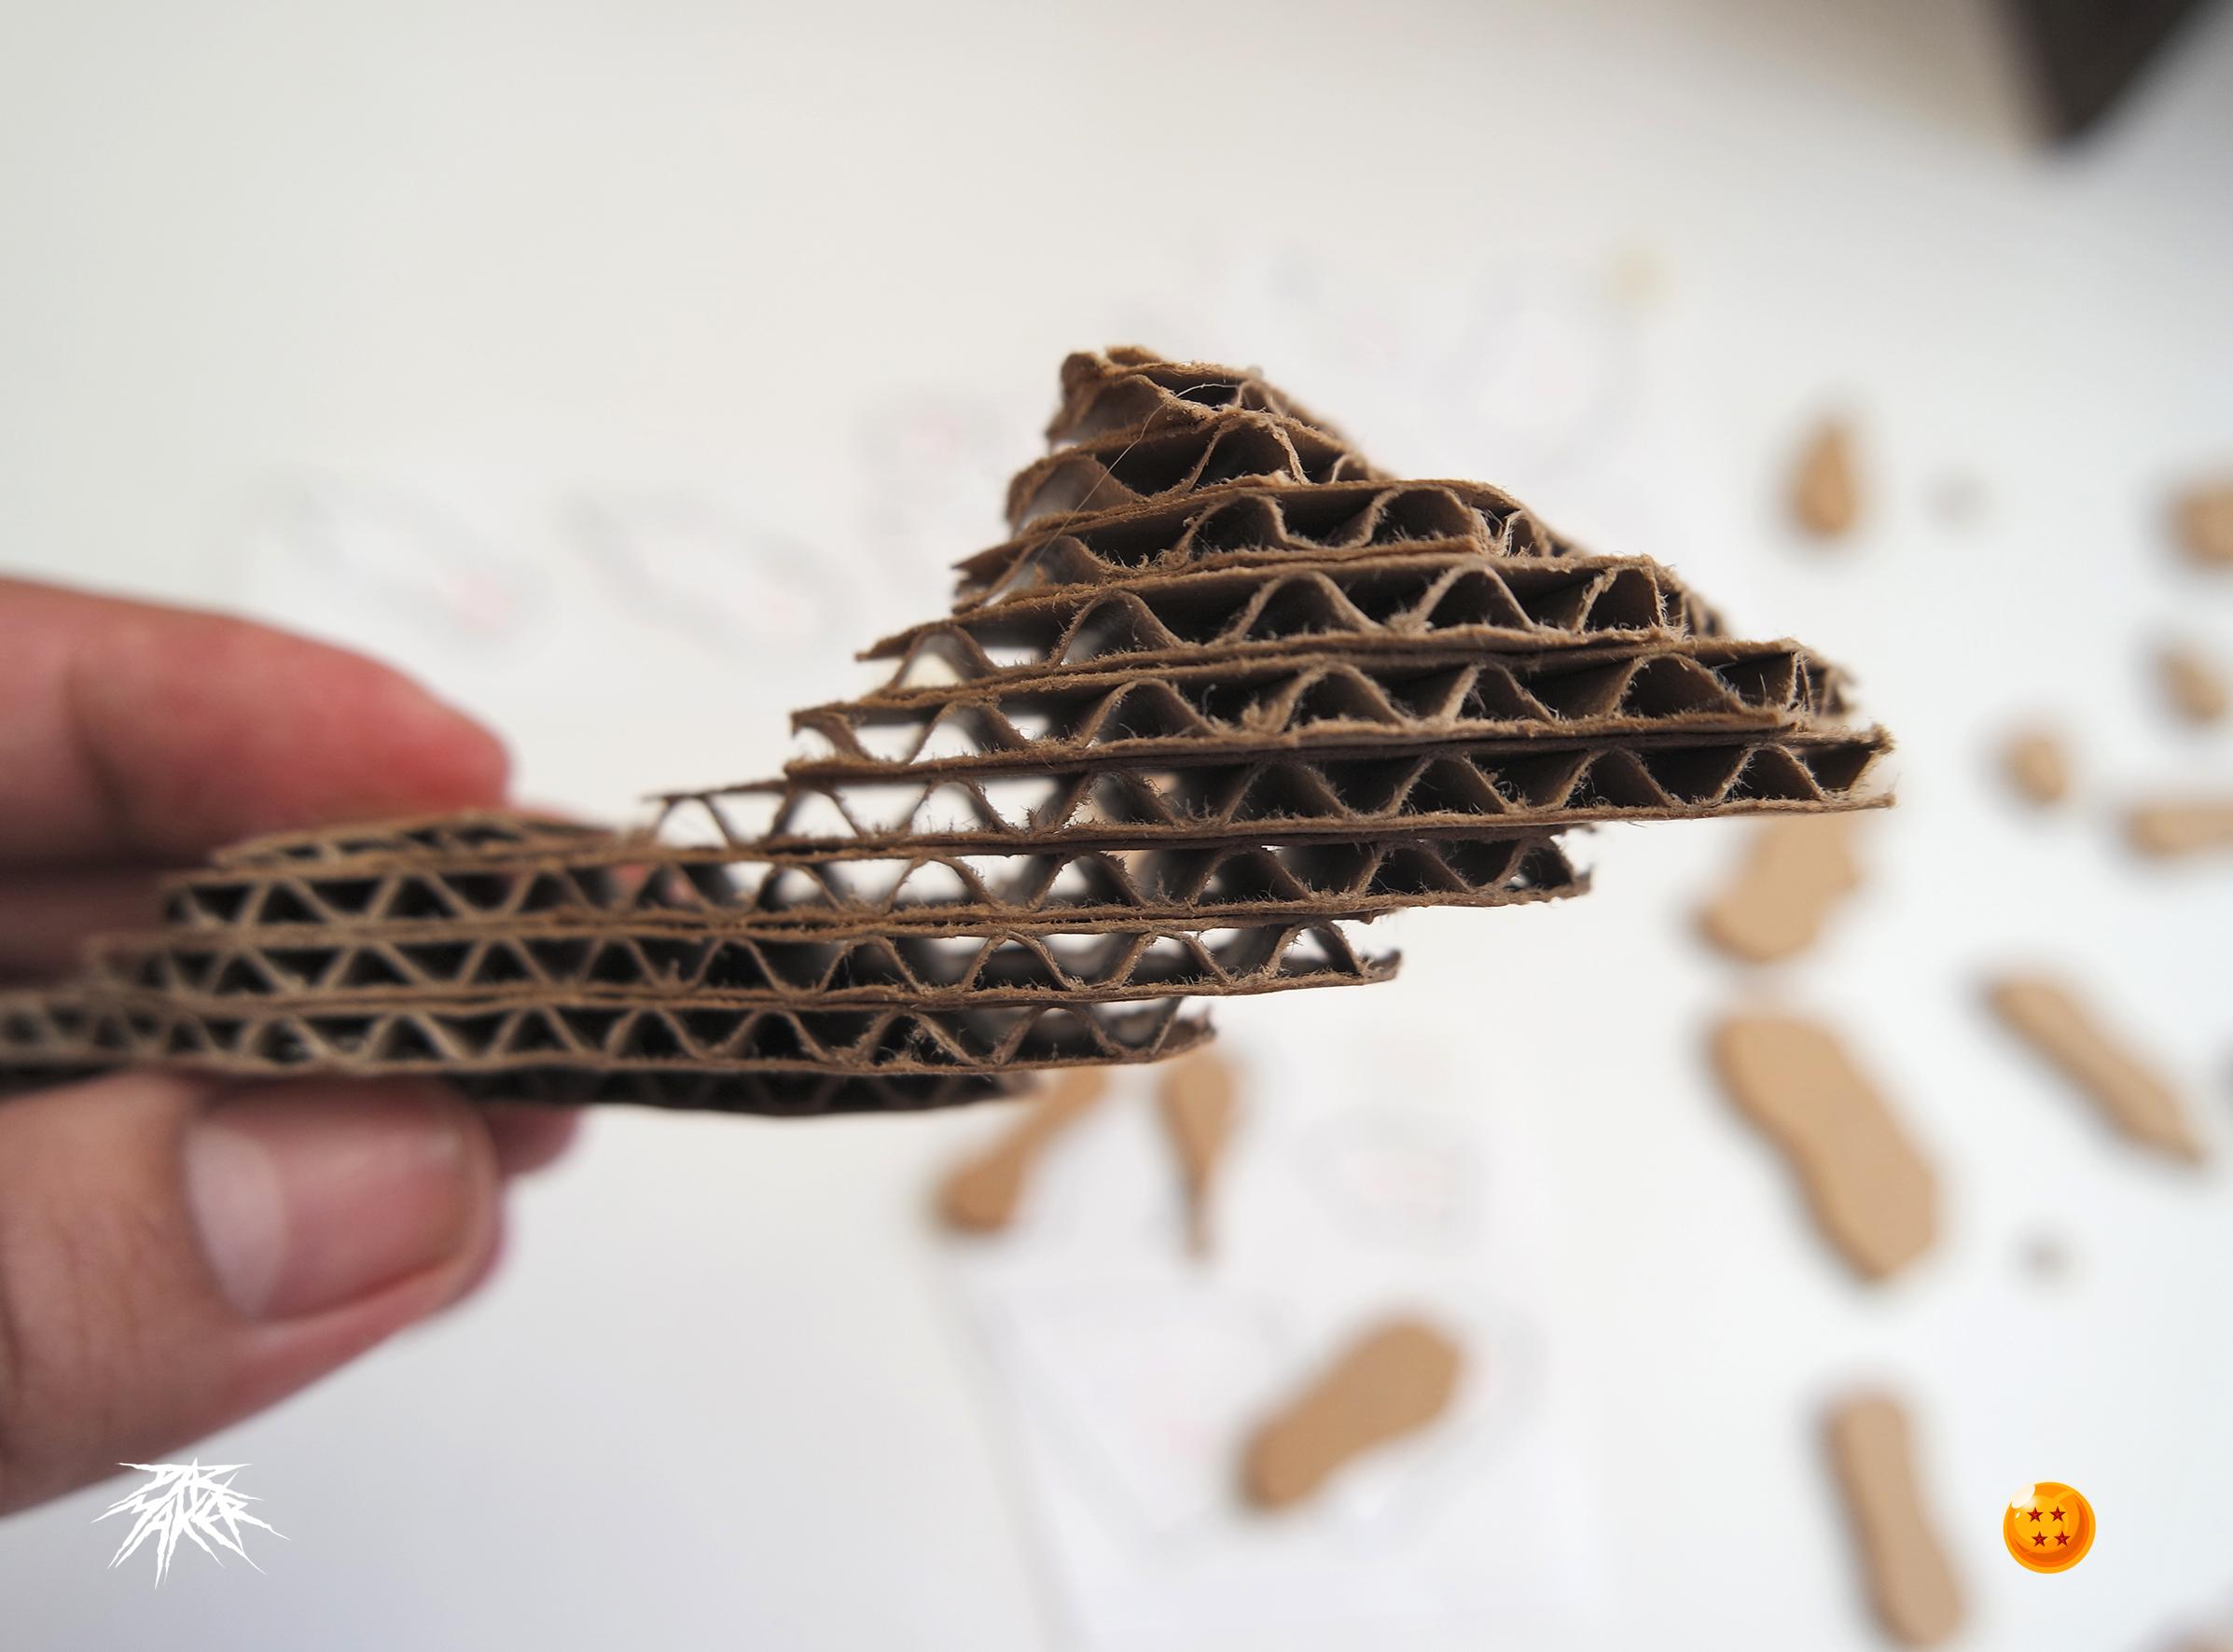
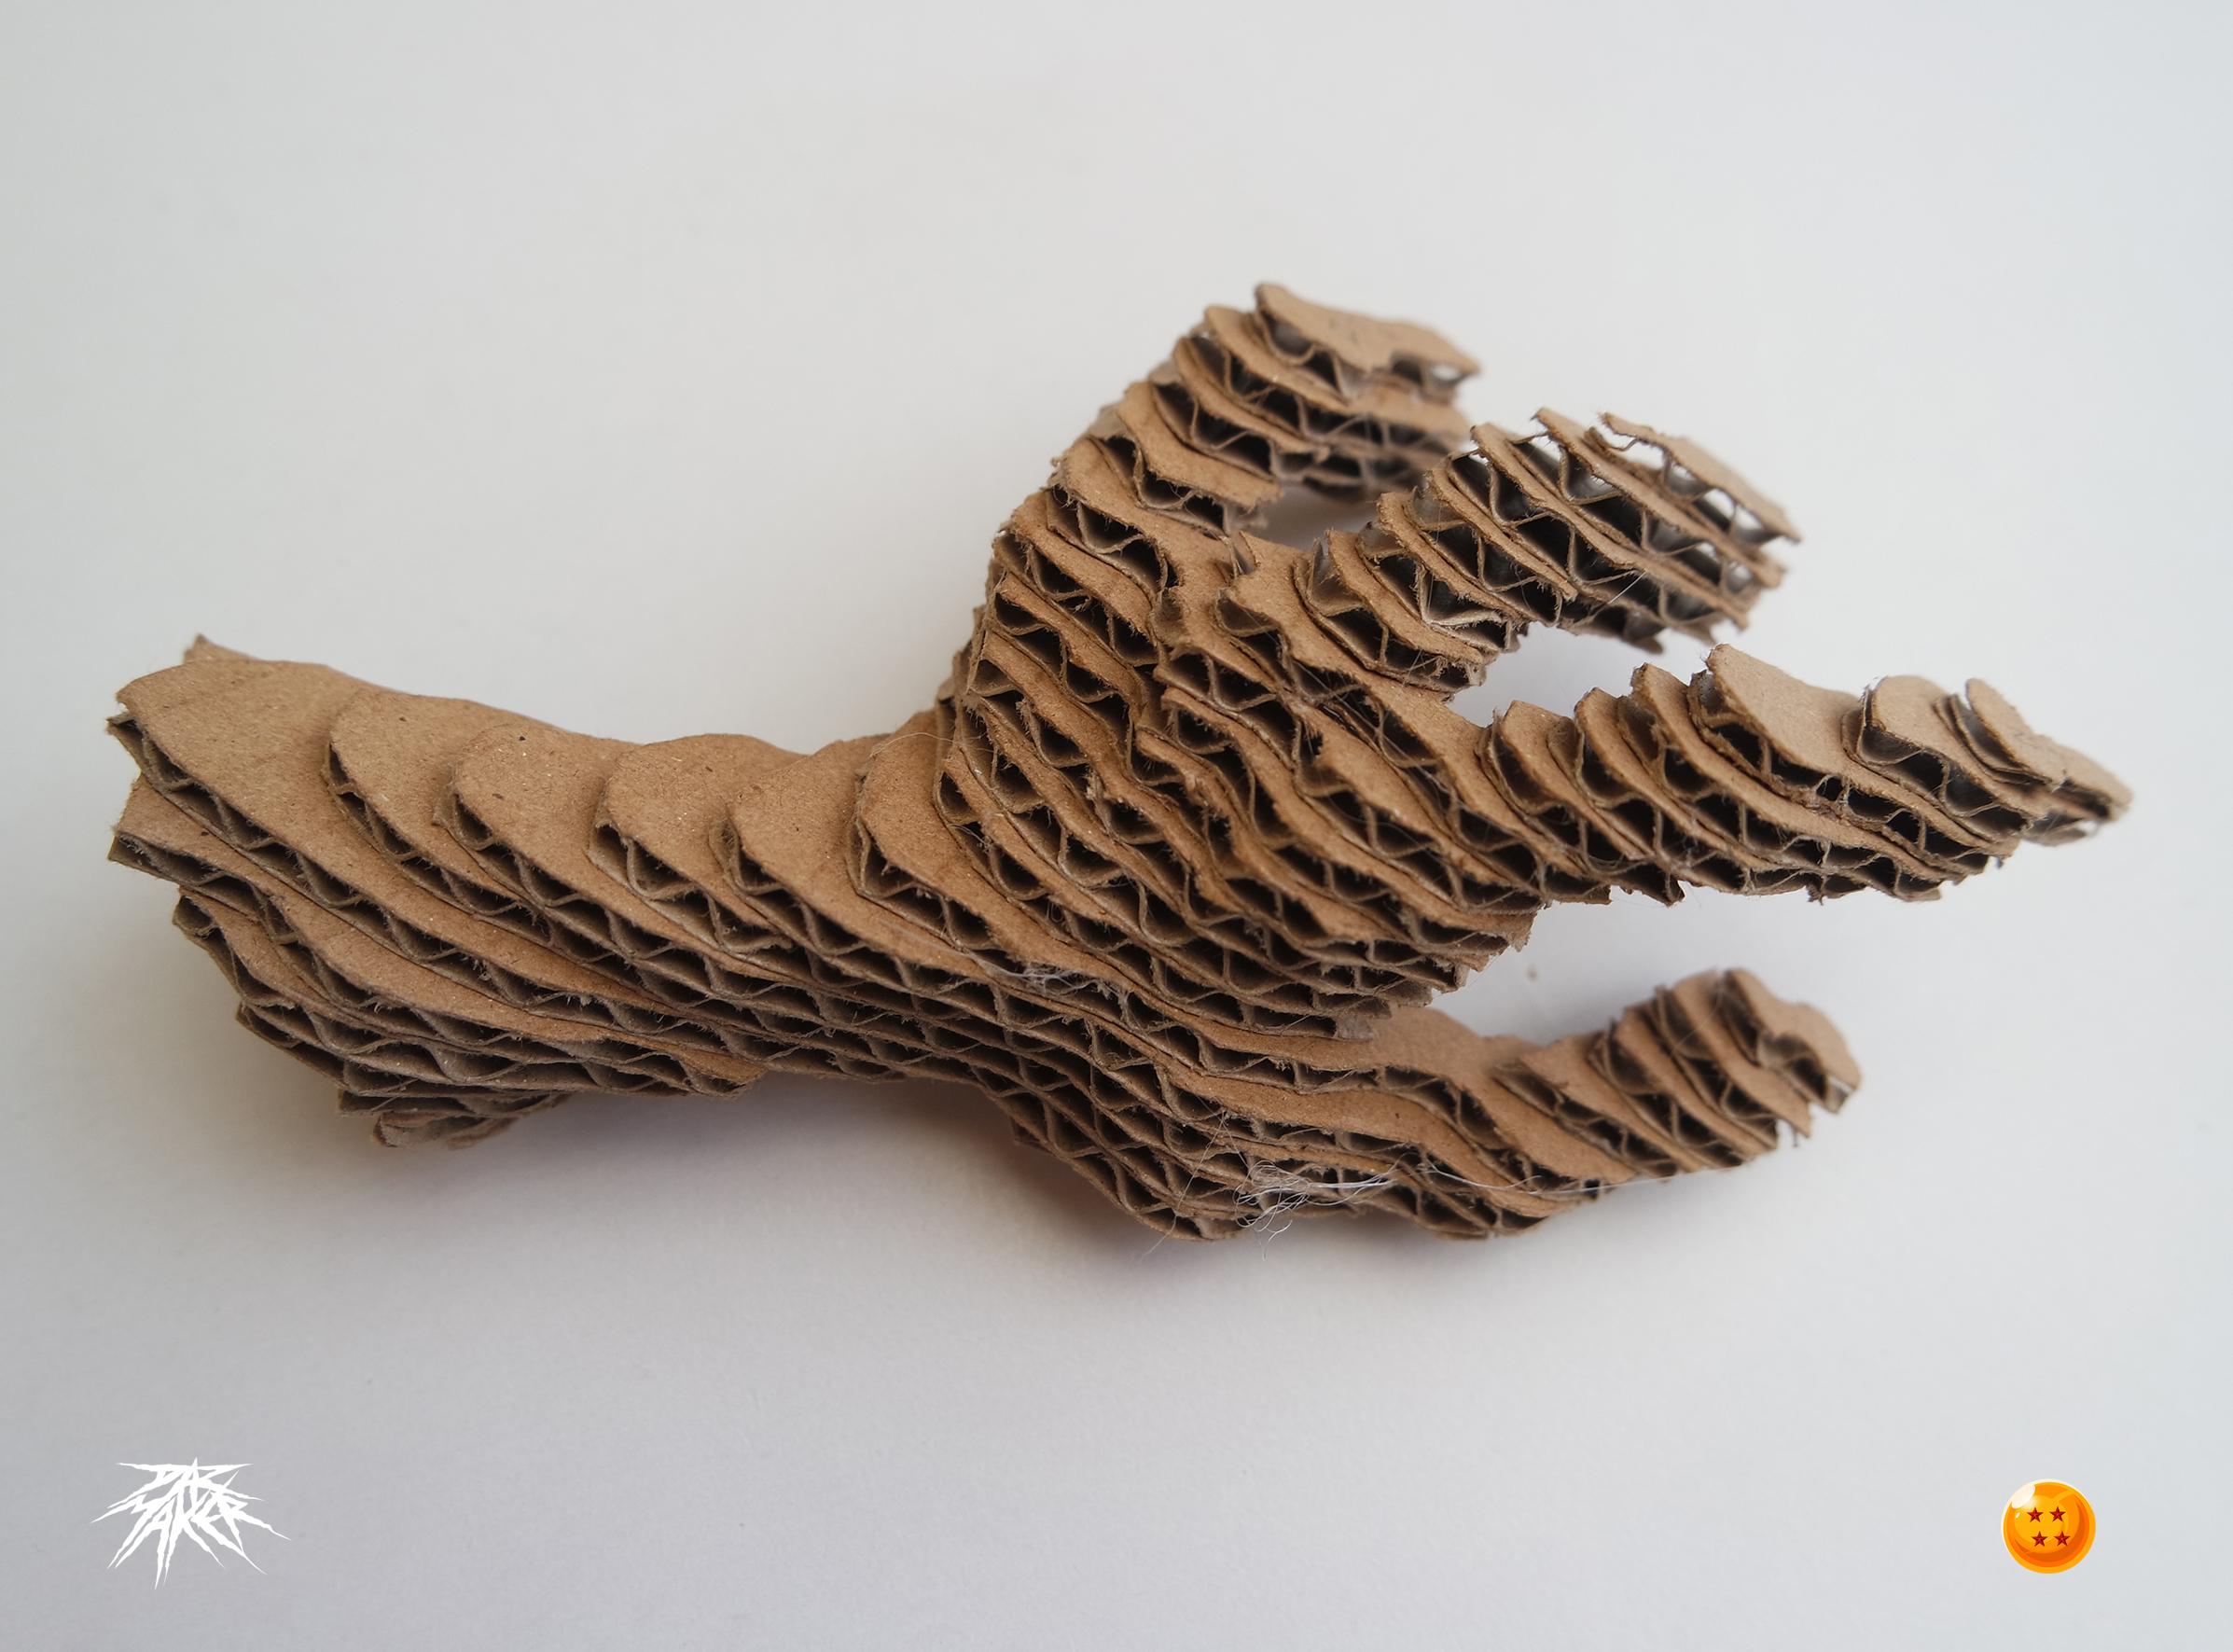
Cut Time
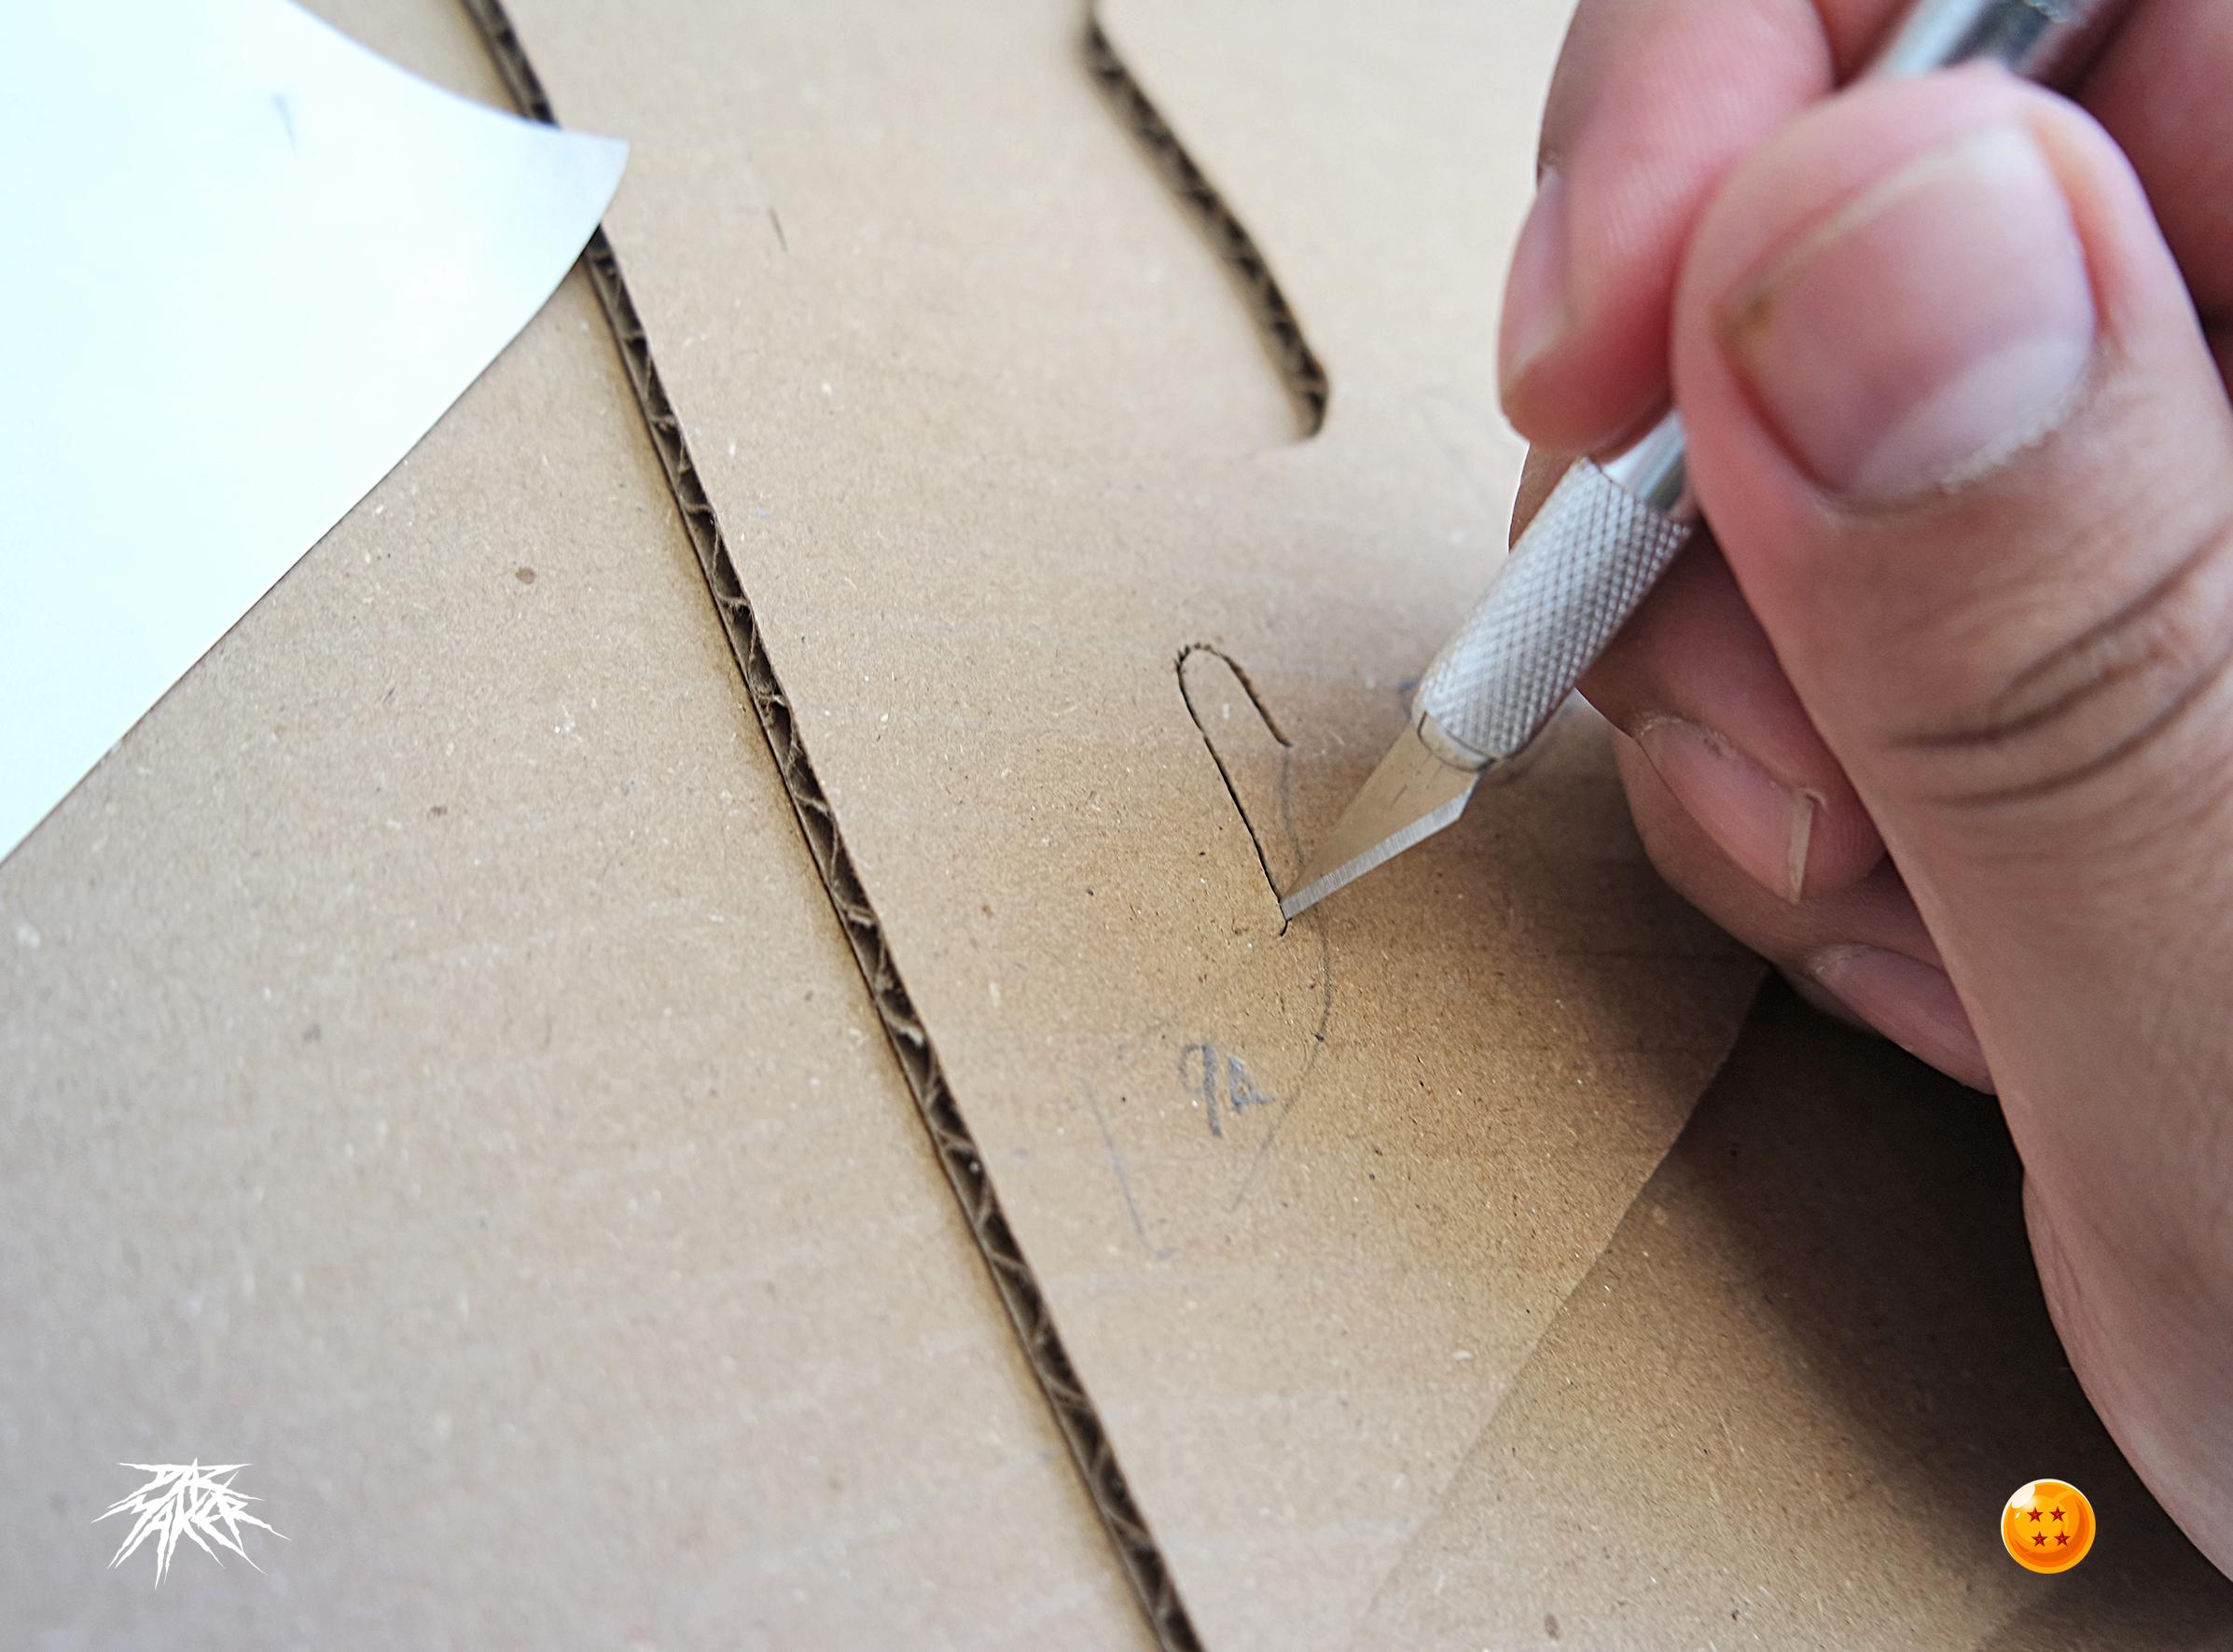
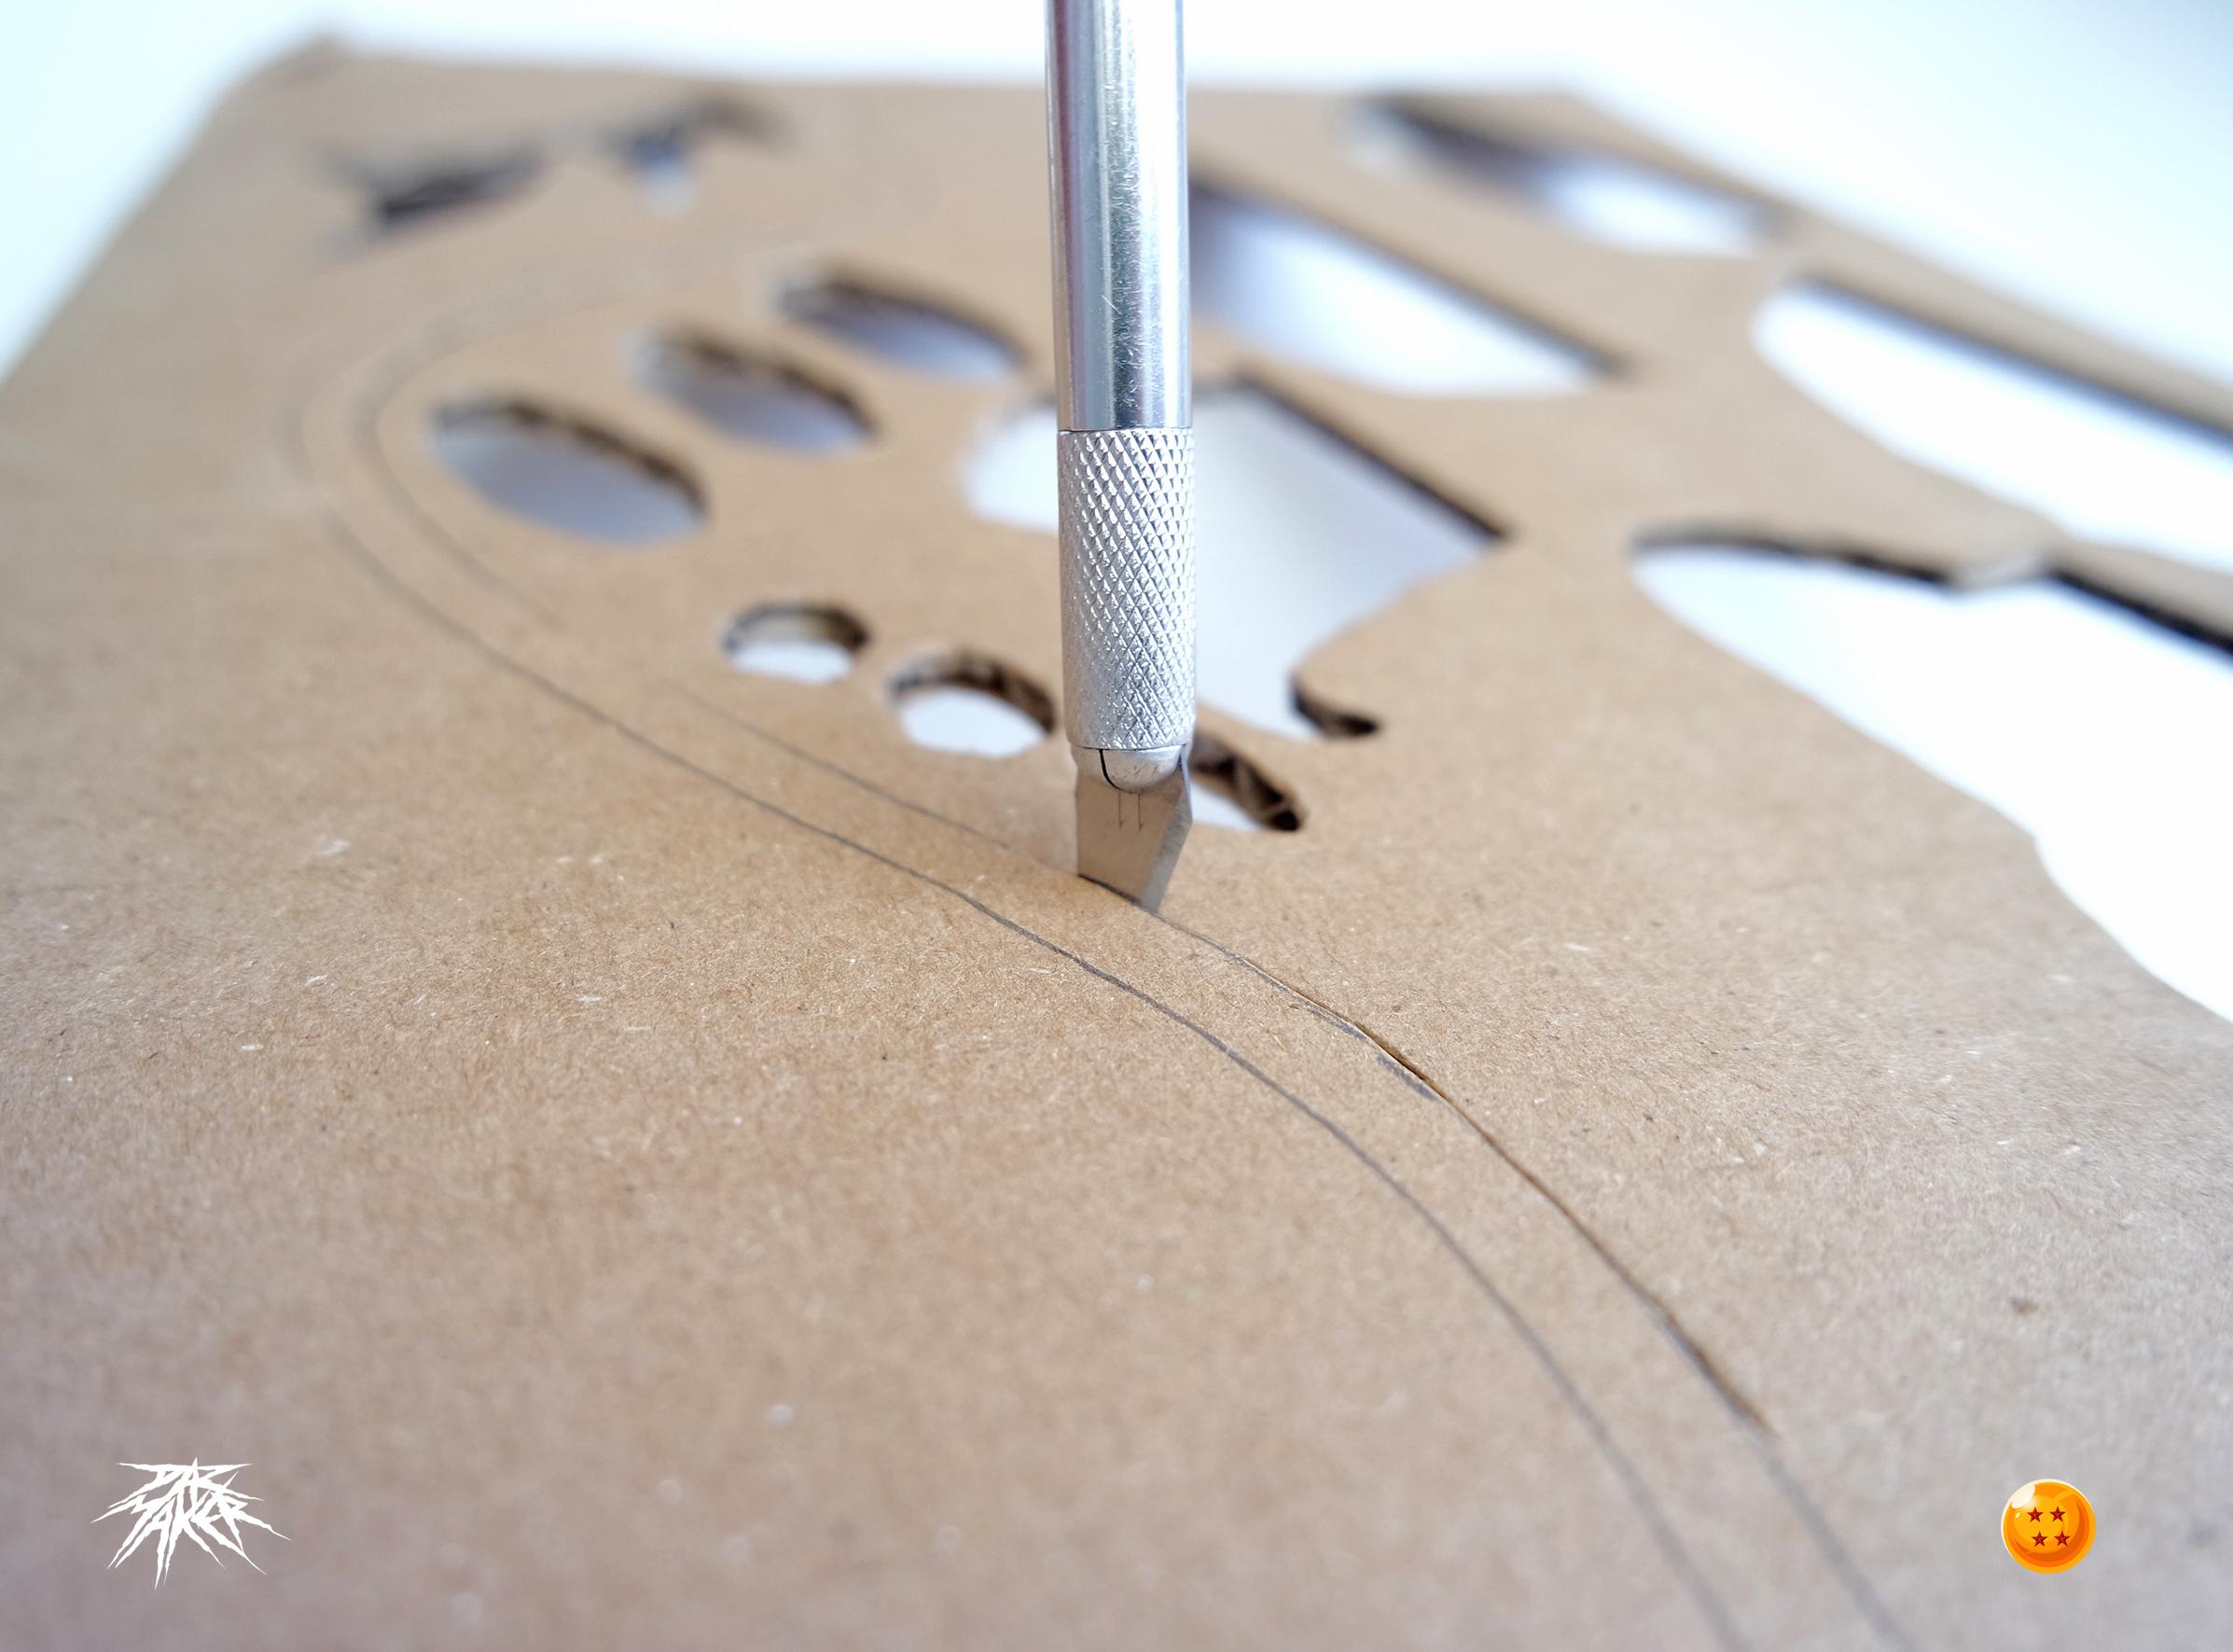
now is the time to cut out all your pieces, carefully use the X-acto to cut out each piece
be careful, and respect every detail of the pieces, since every little detail counts
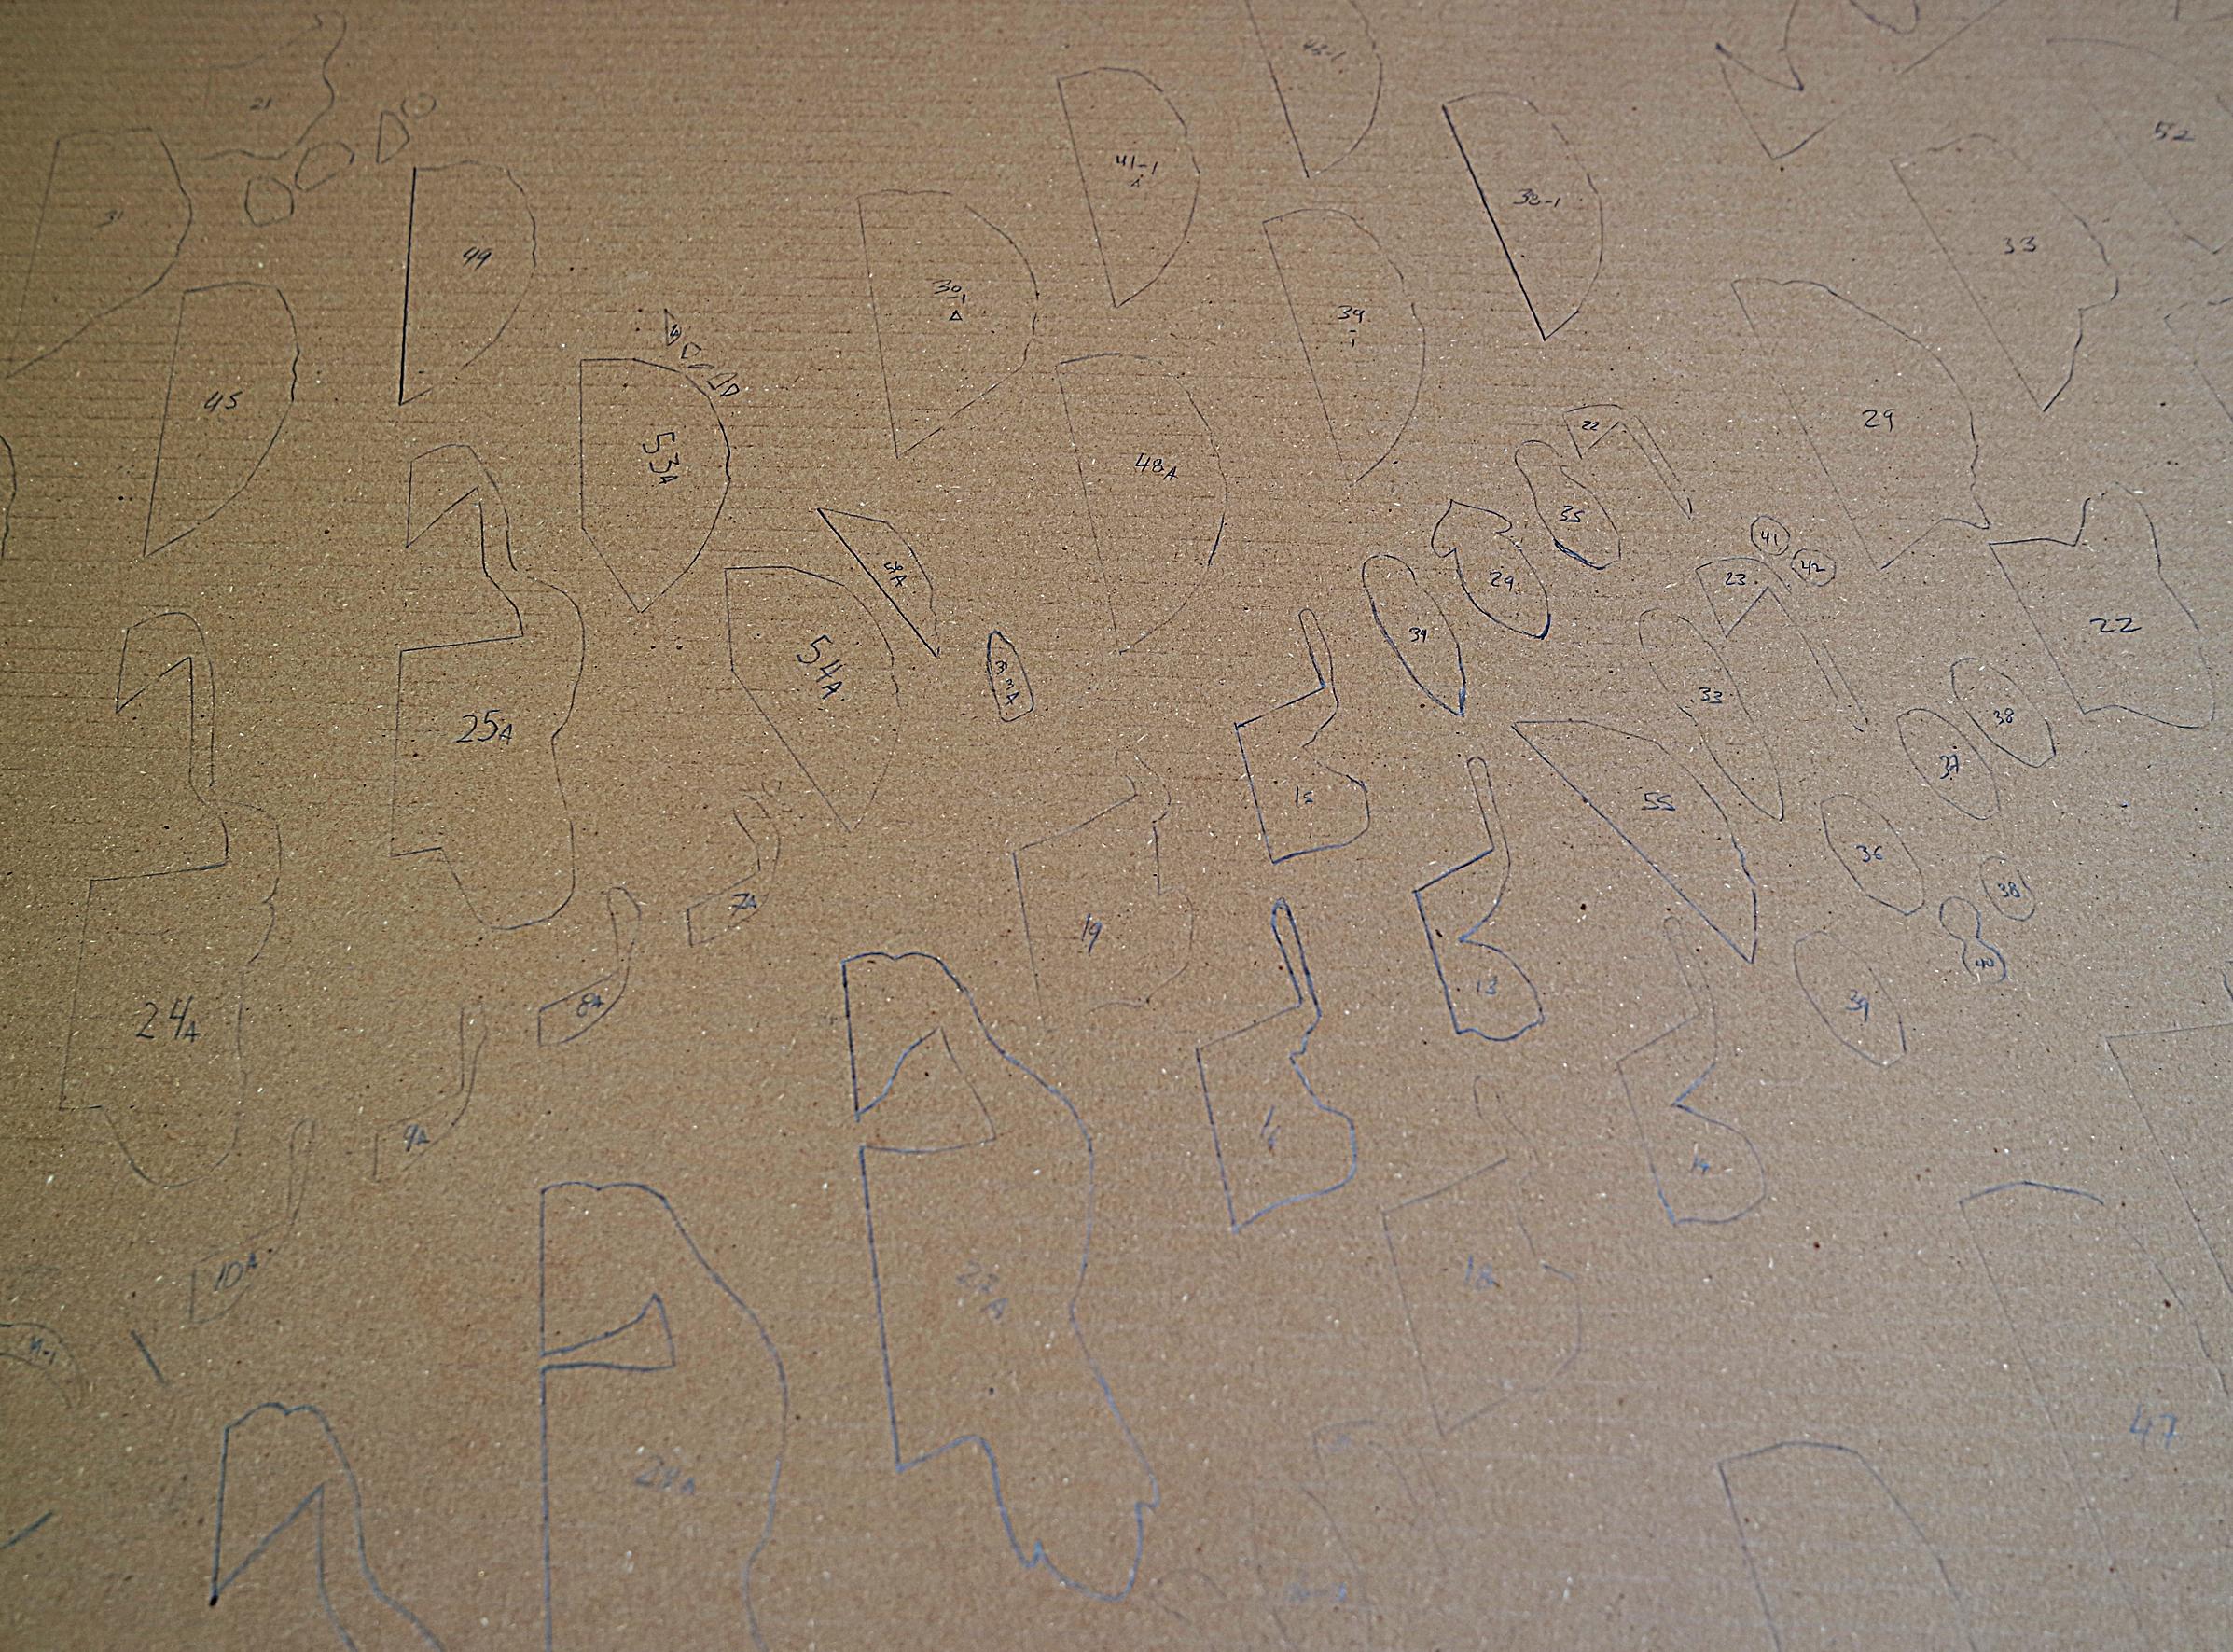
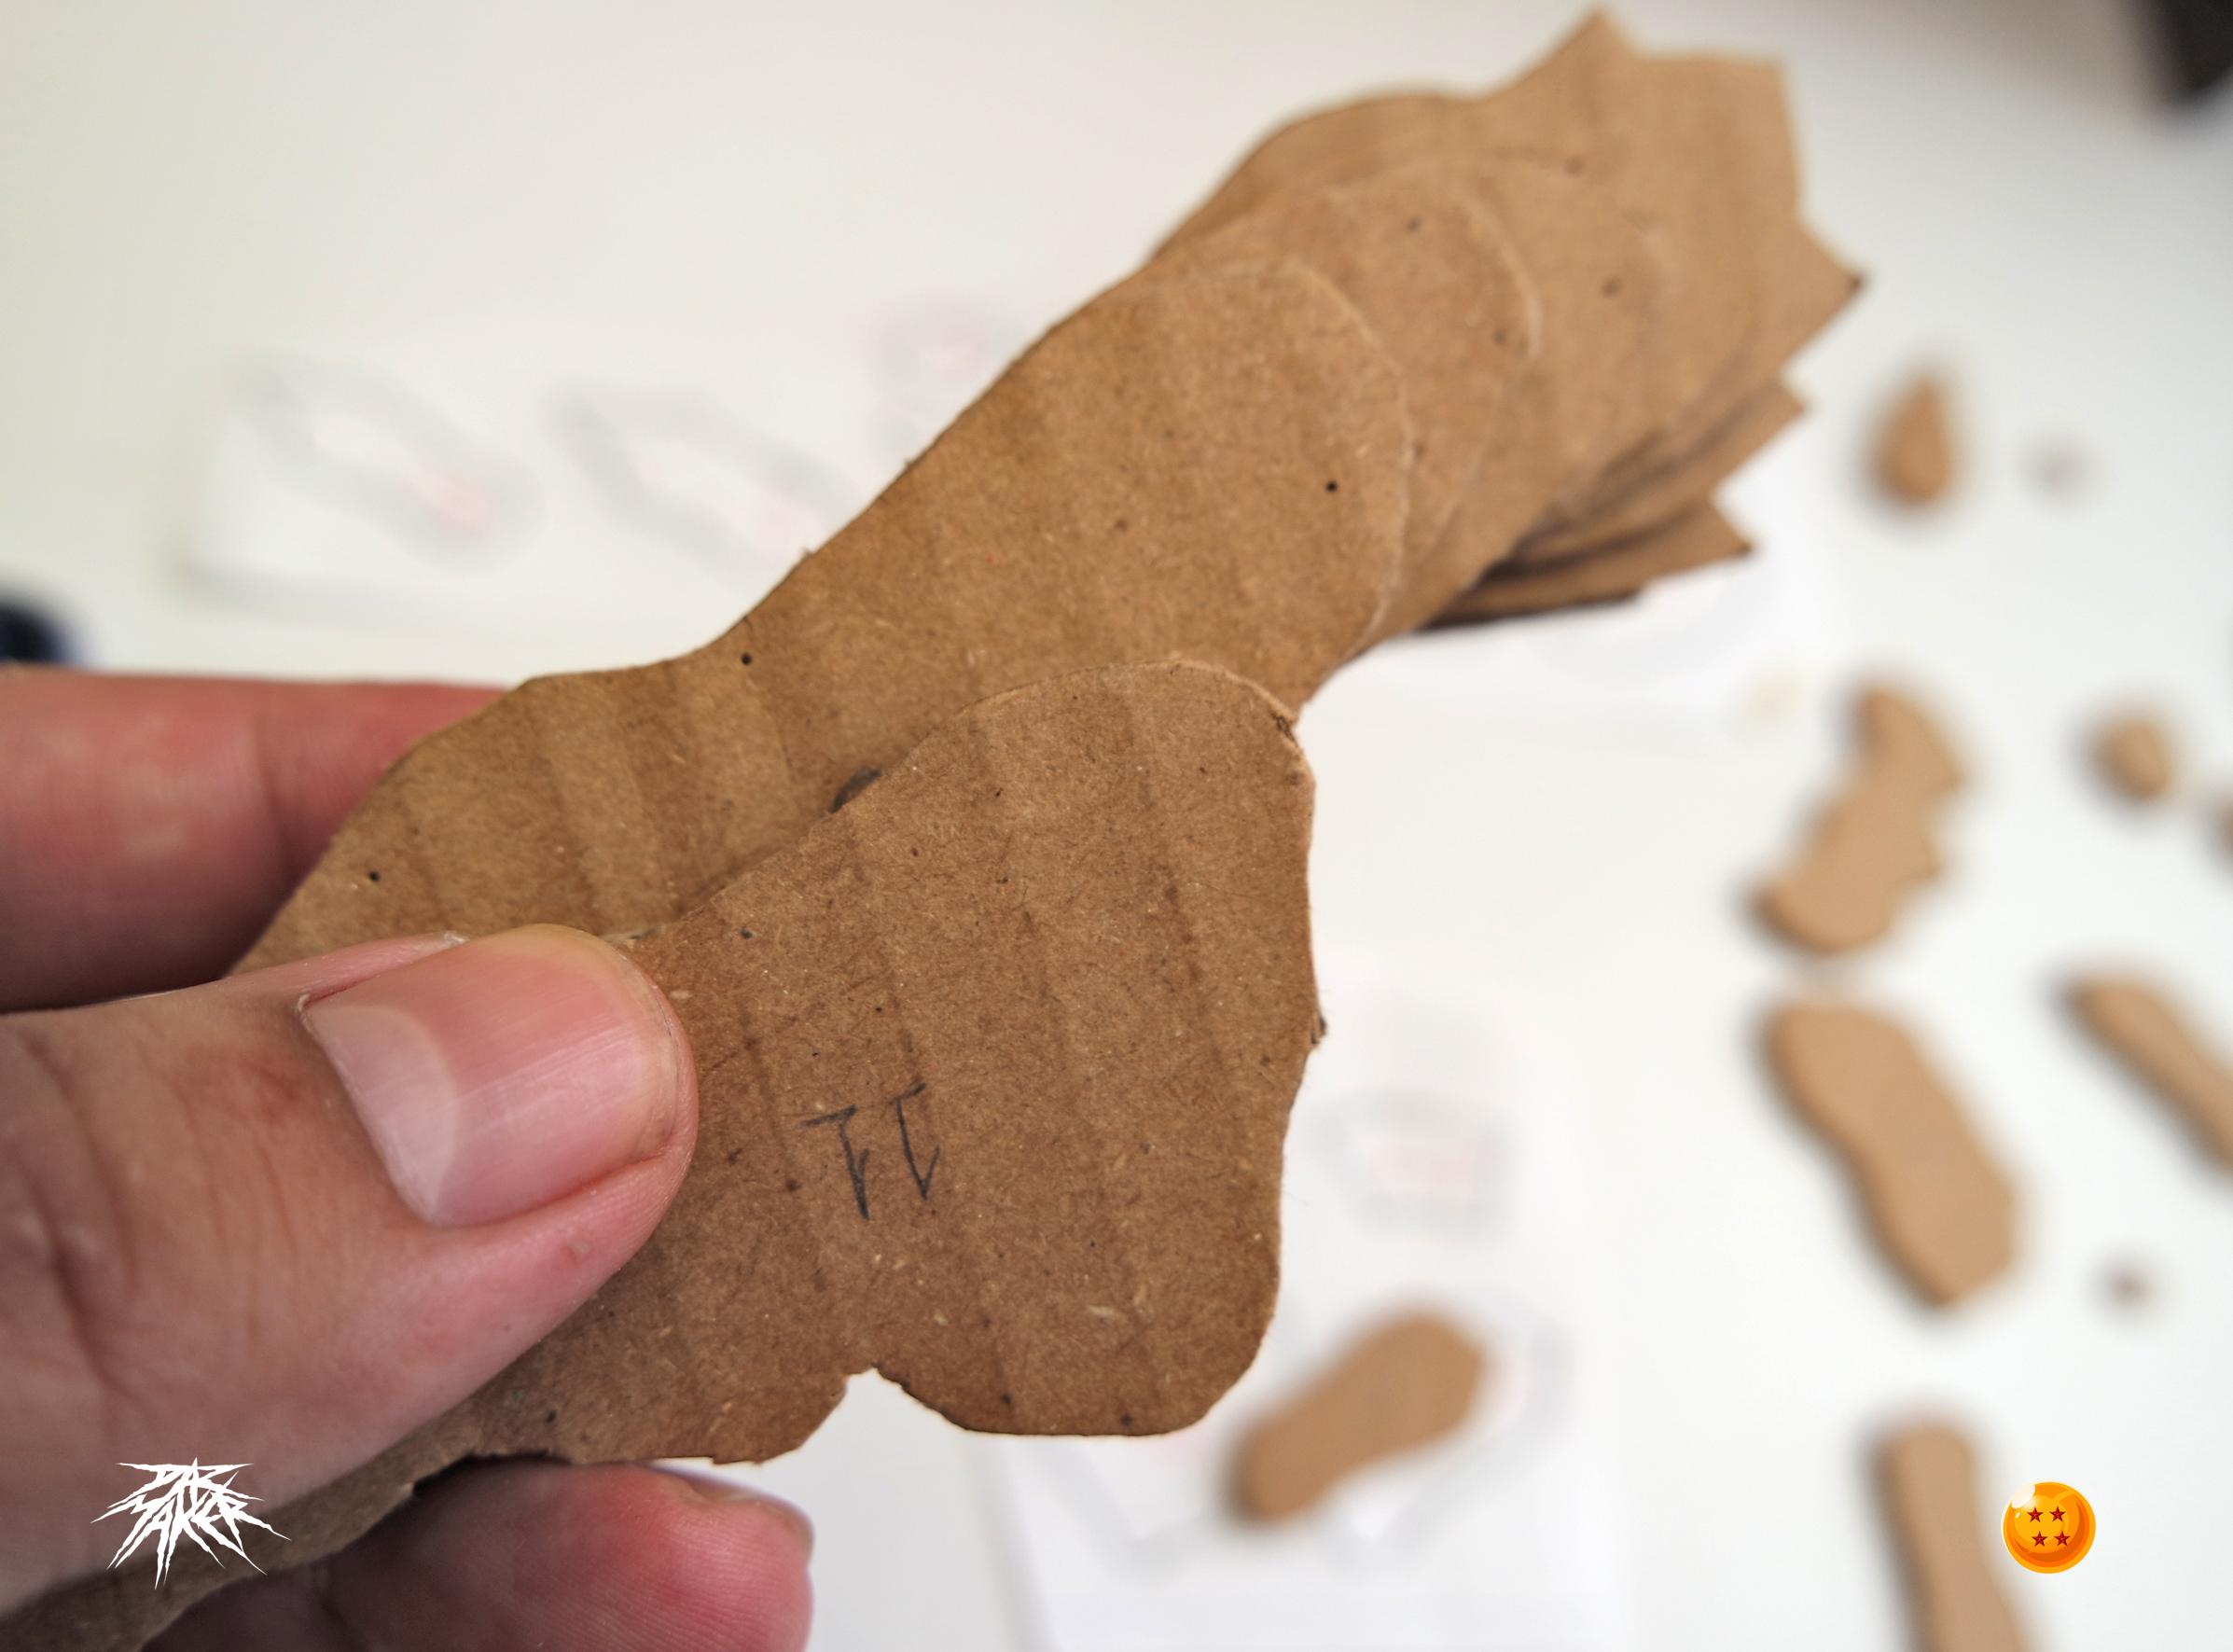
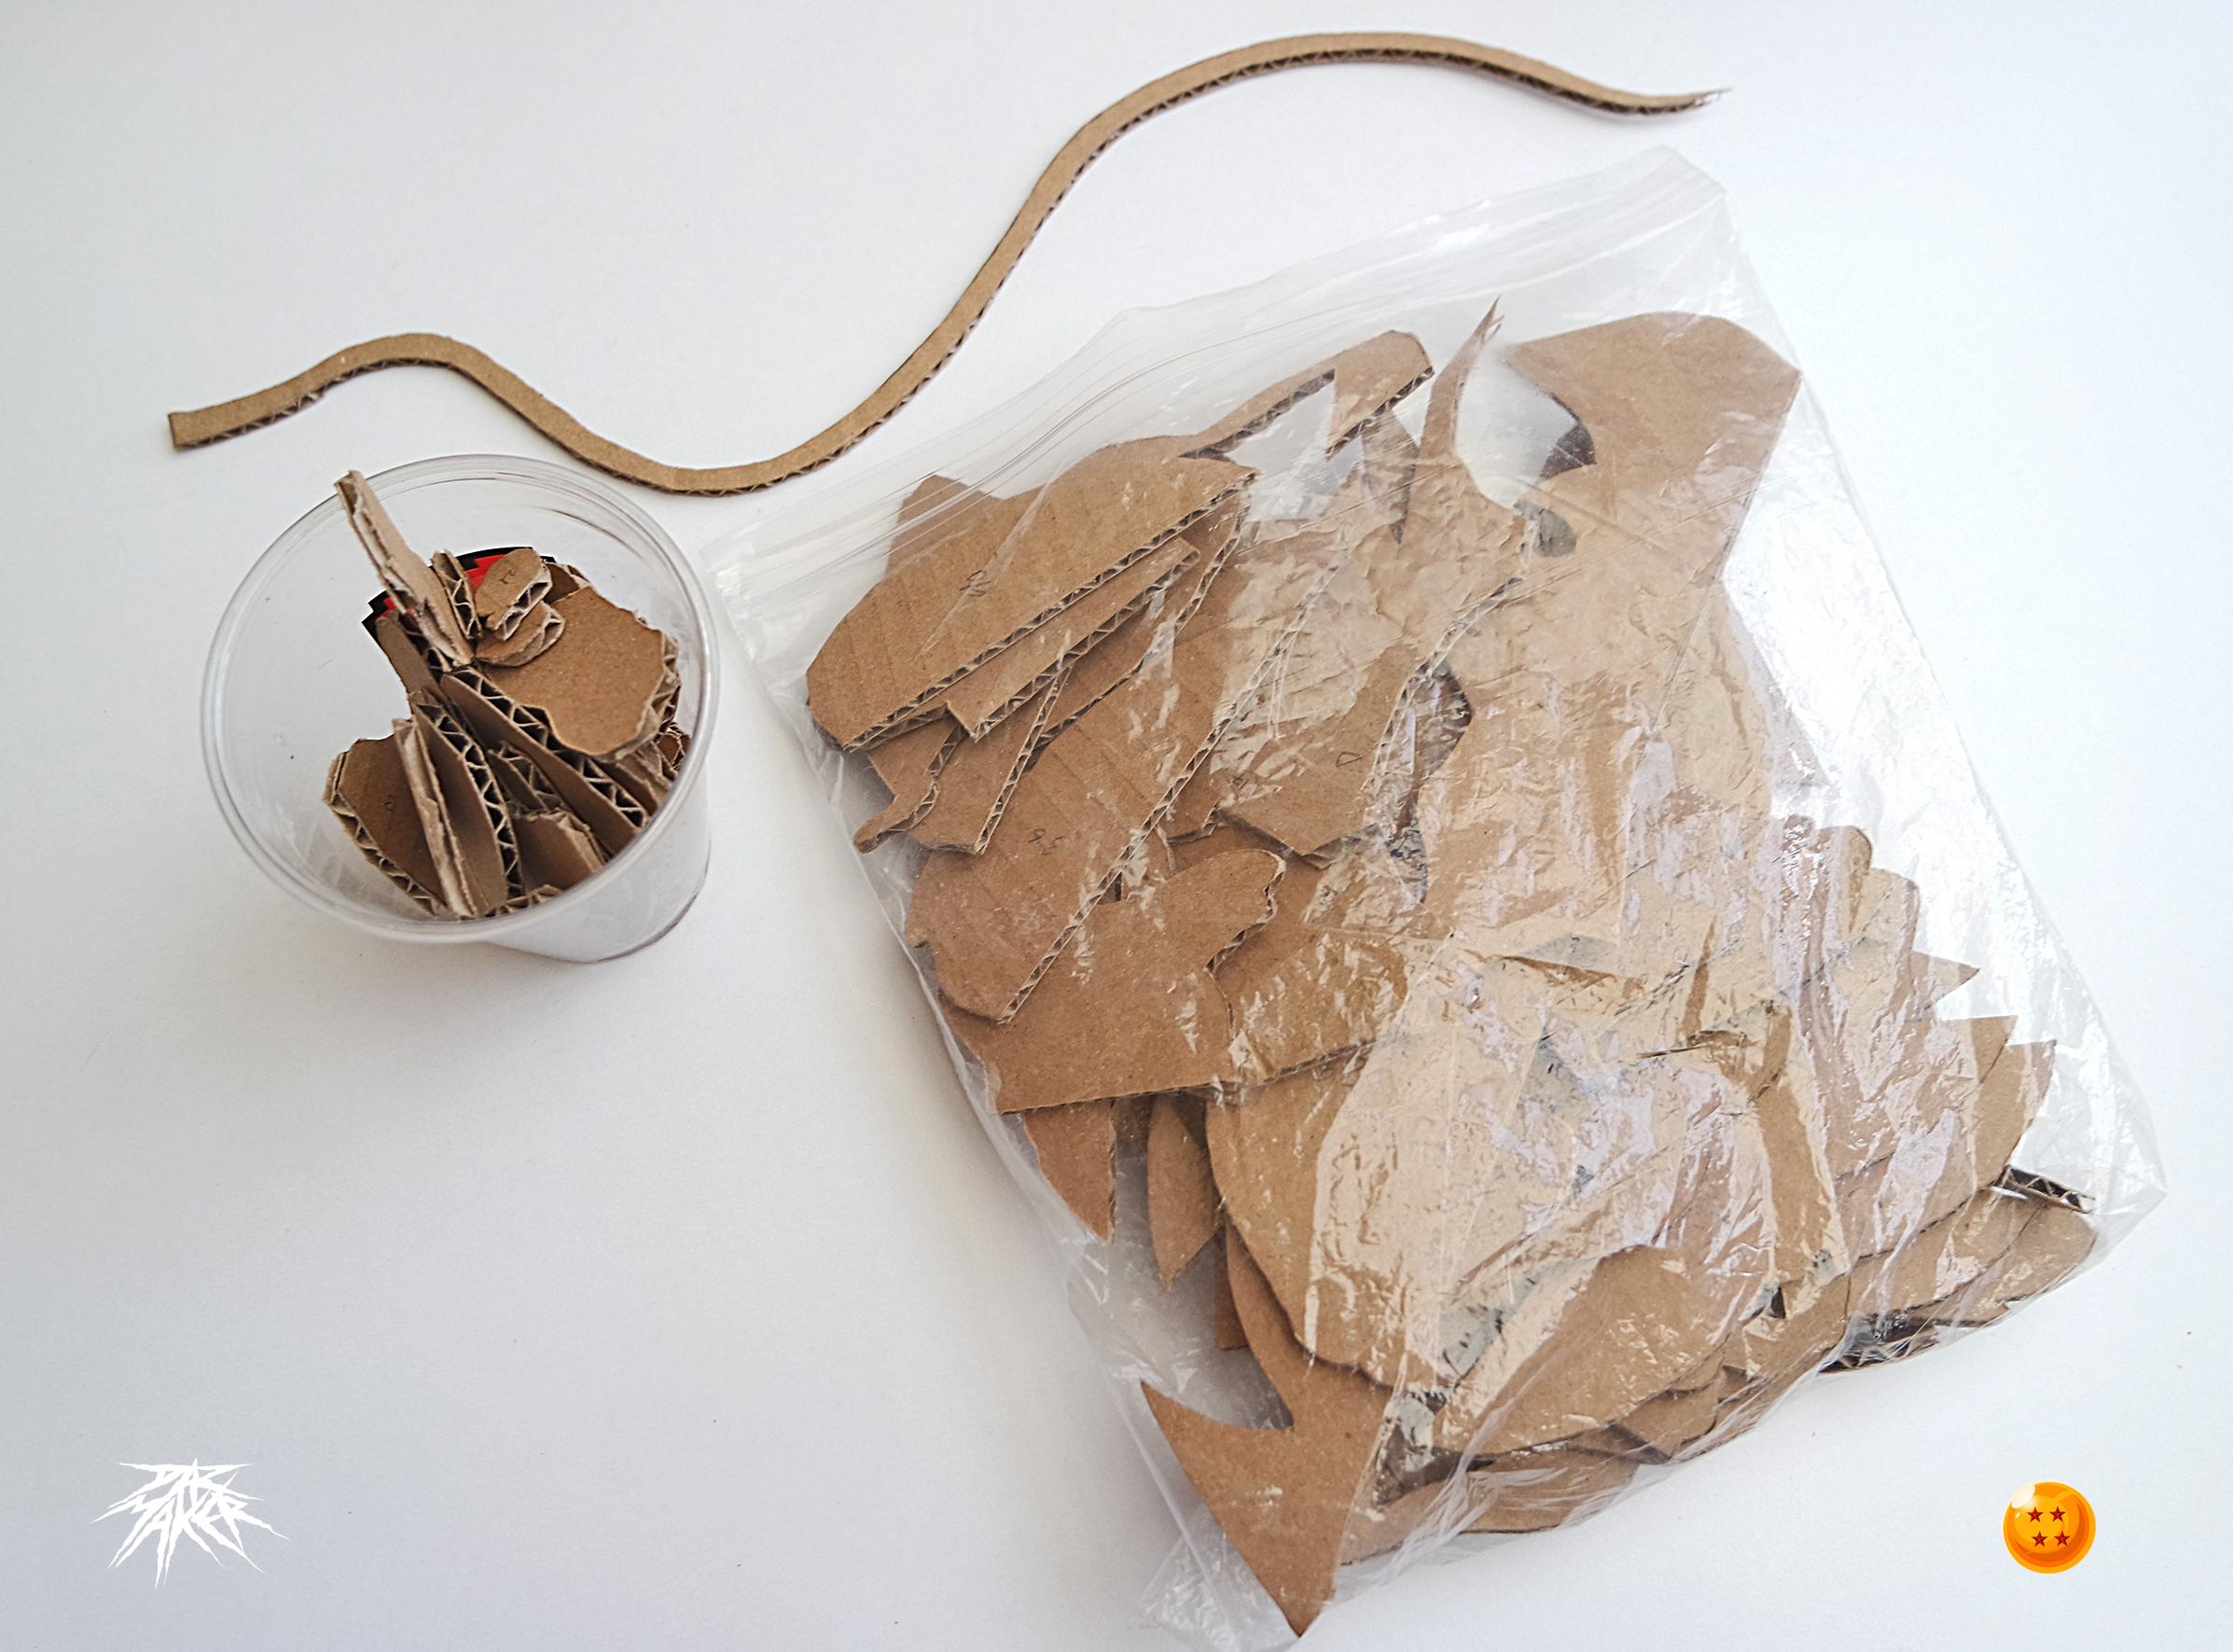
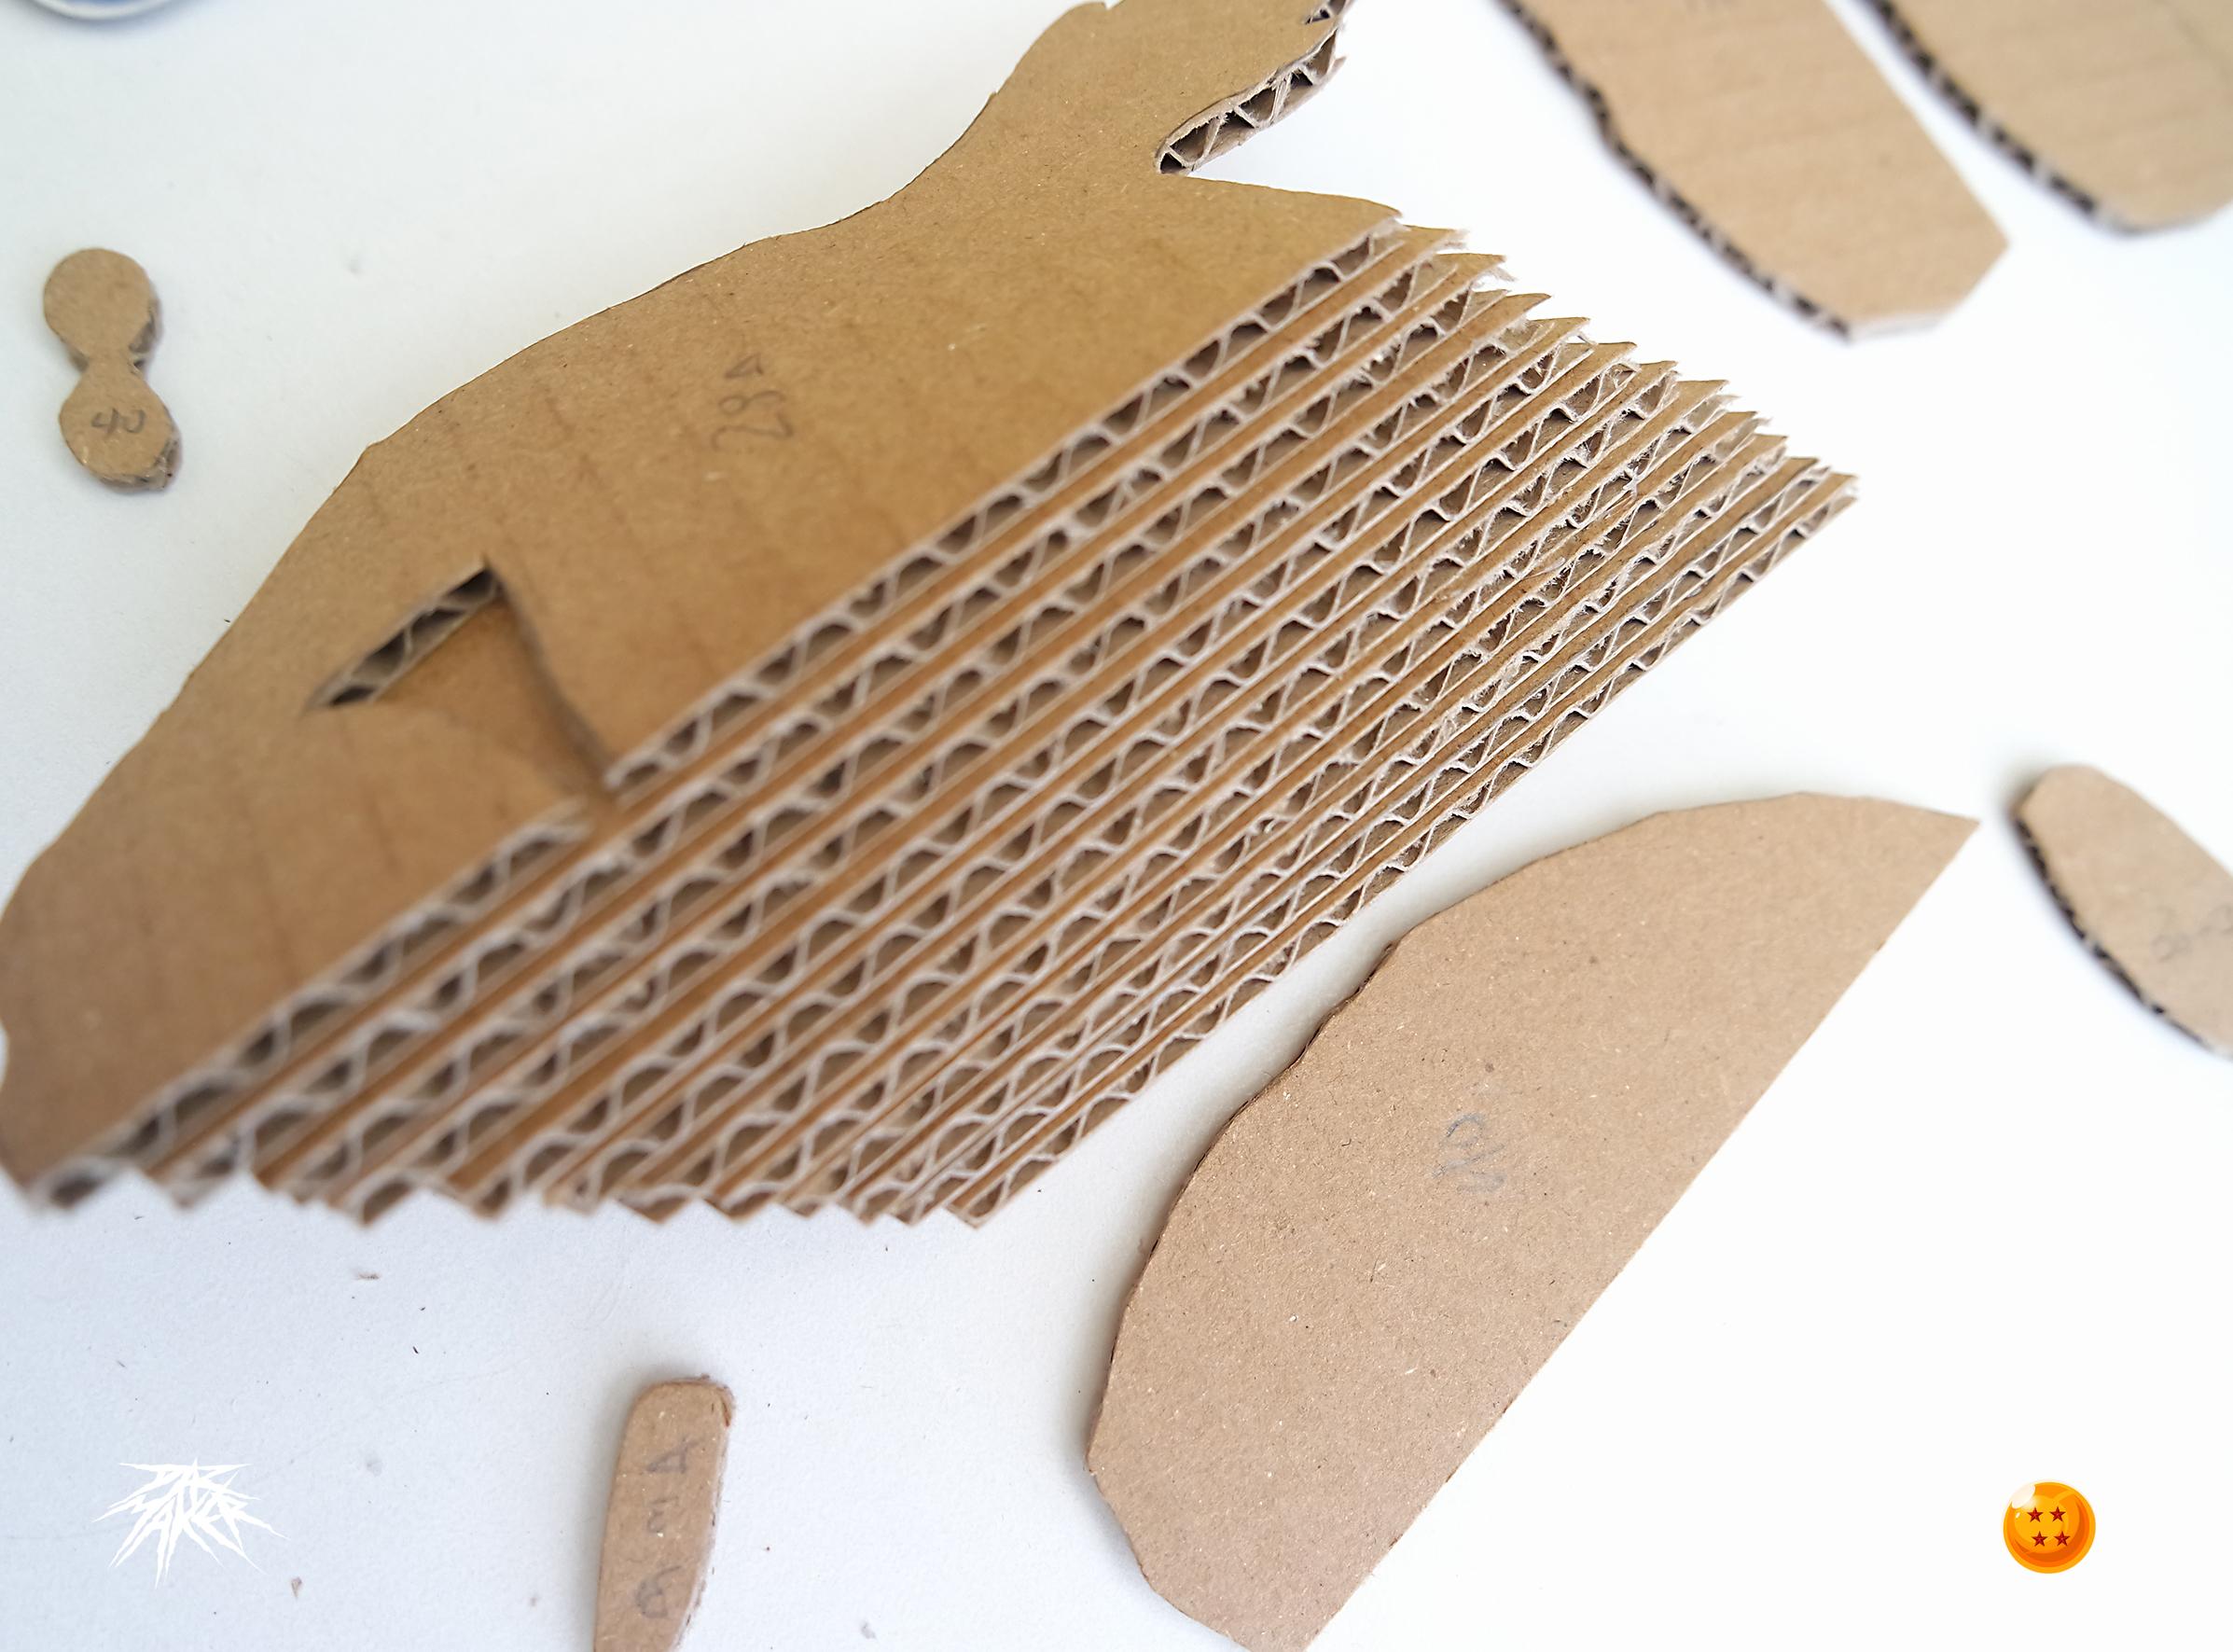
At the end of the day you will have a lot of pieces, depending on the design you are working on.
That is why it is better that you have marked their numbering to be able to recognize them and make the work flow easier.
I also advise you to store them in a jar or bag so that you do not get confused.
The Sculpture
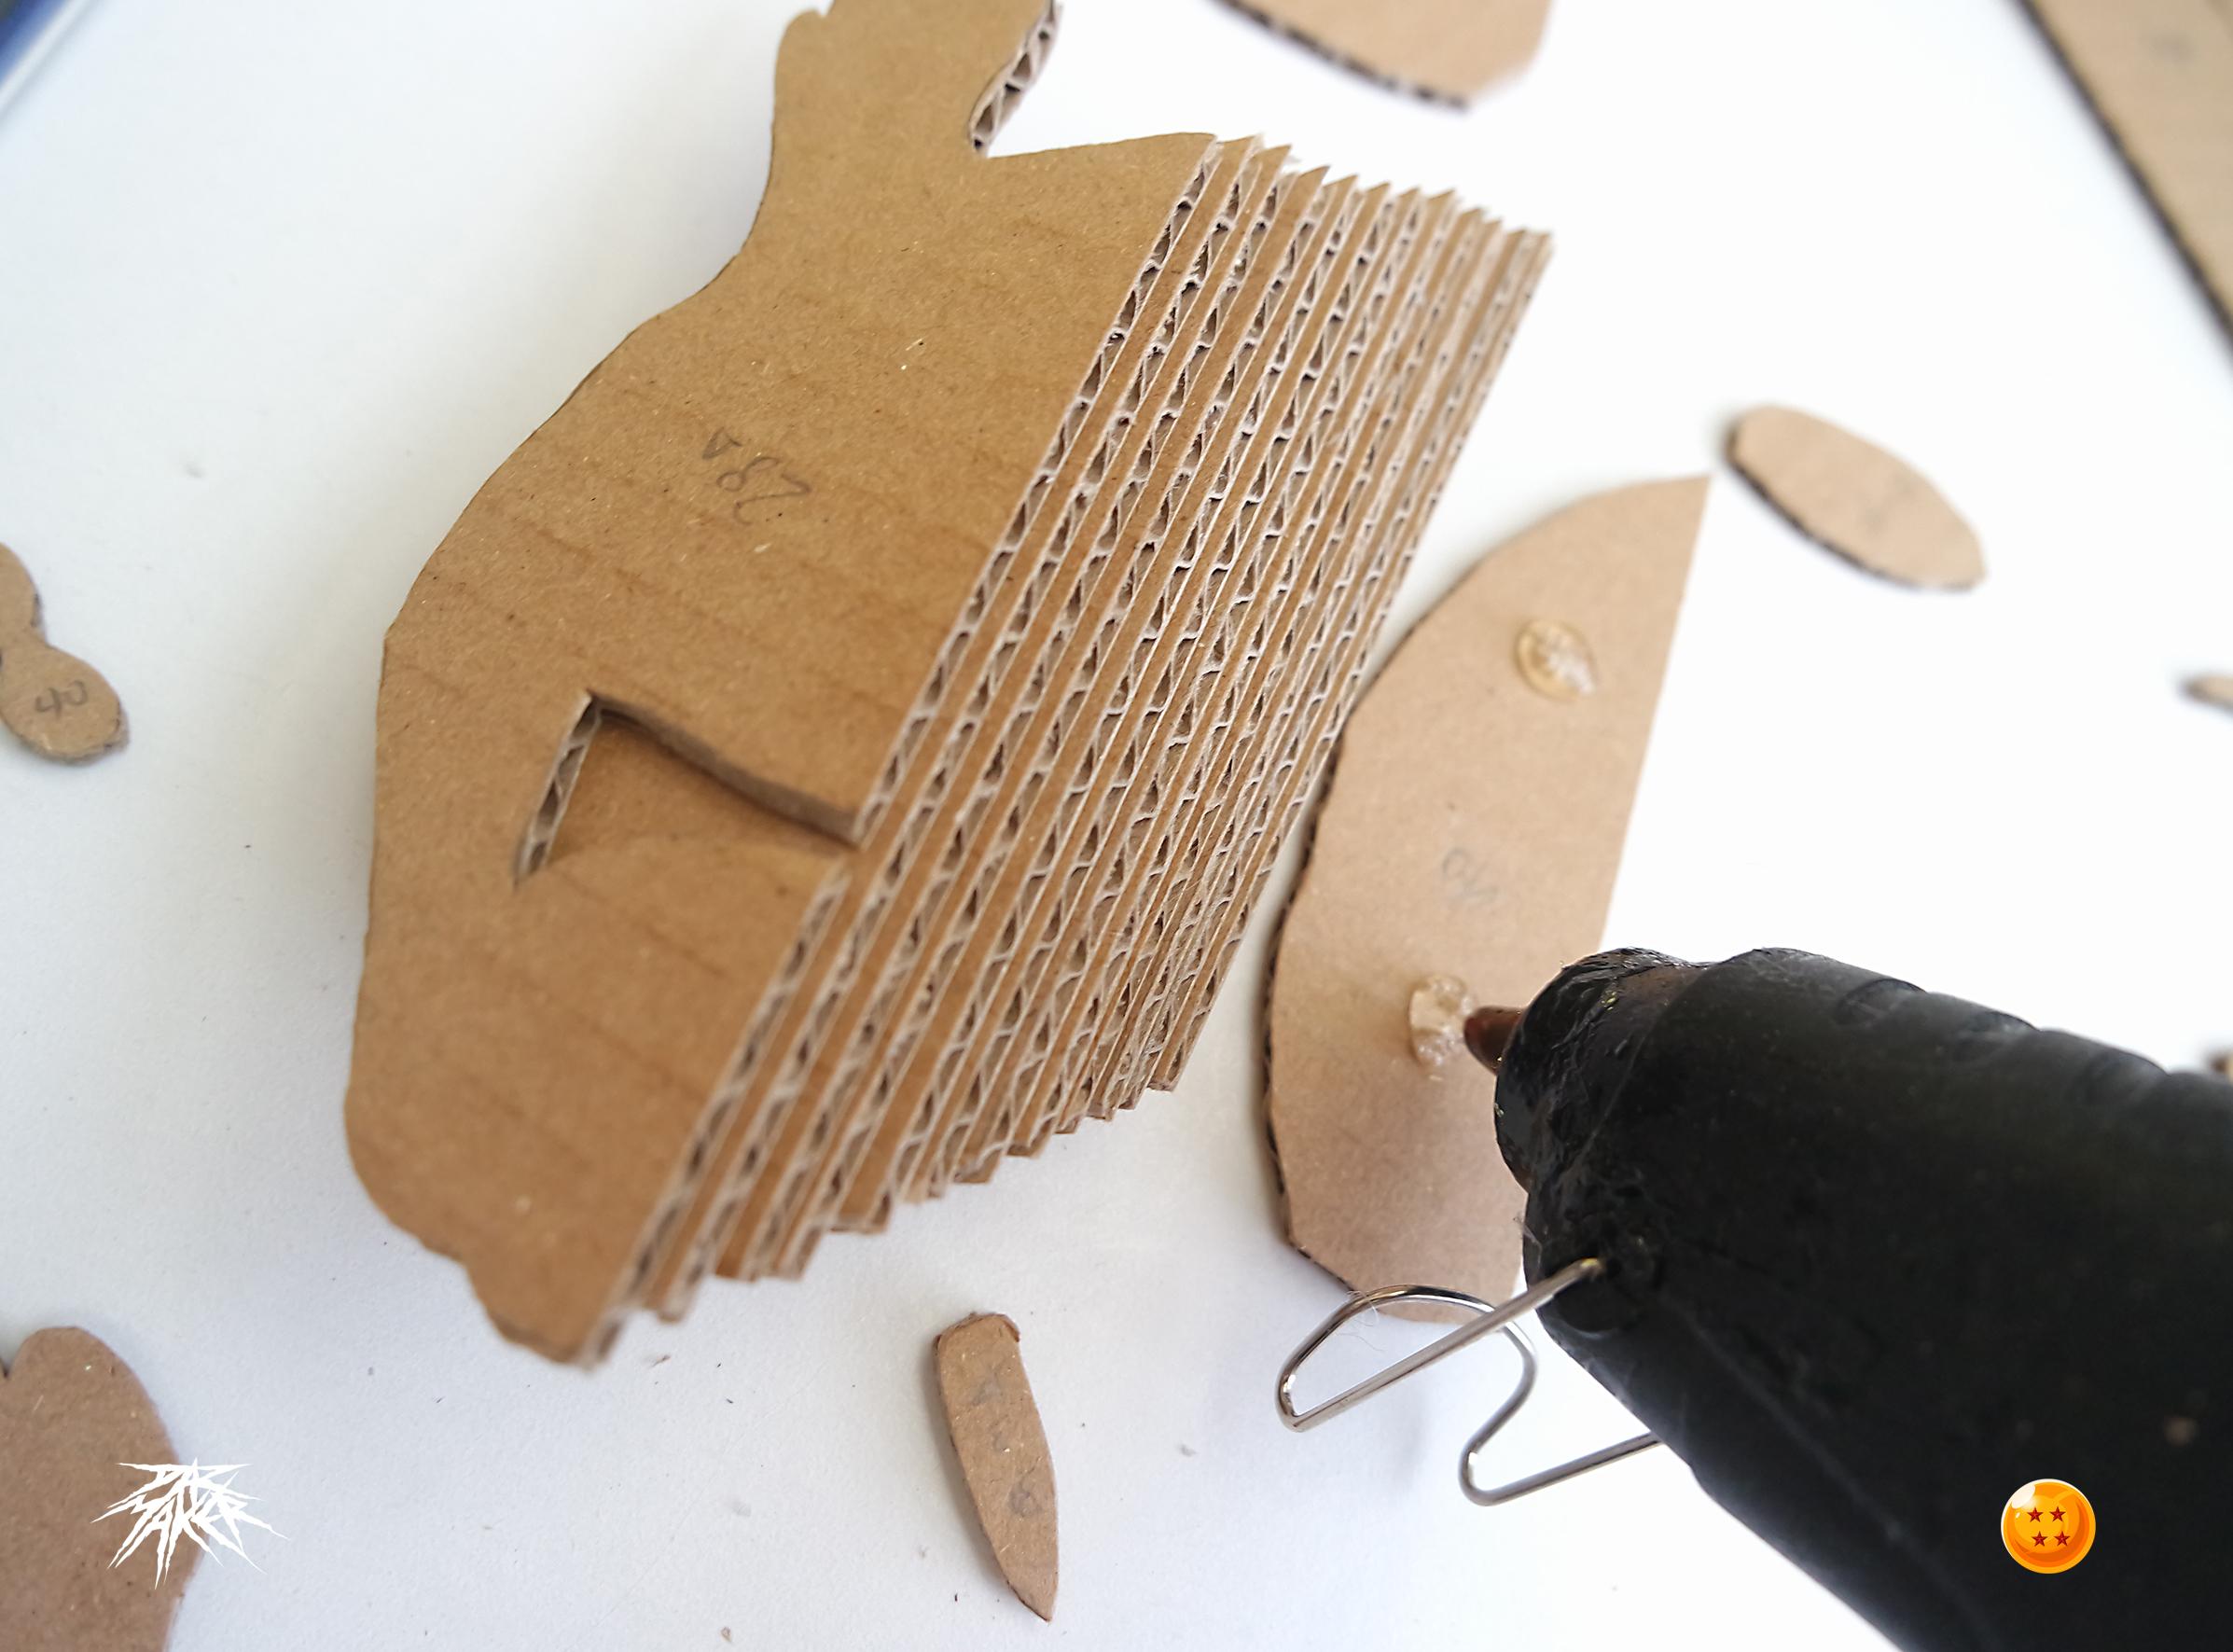
With the Glue Gun Now we will begin to glue piece by consecutive piece according to the numbers that we have in our templates, we will use the Slicer assistant for this part, be careful and check the shape and direction of each piece very well before gluing.
for this step we will use the help of slicer
Finally it's starting to take shape
Re DO
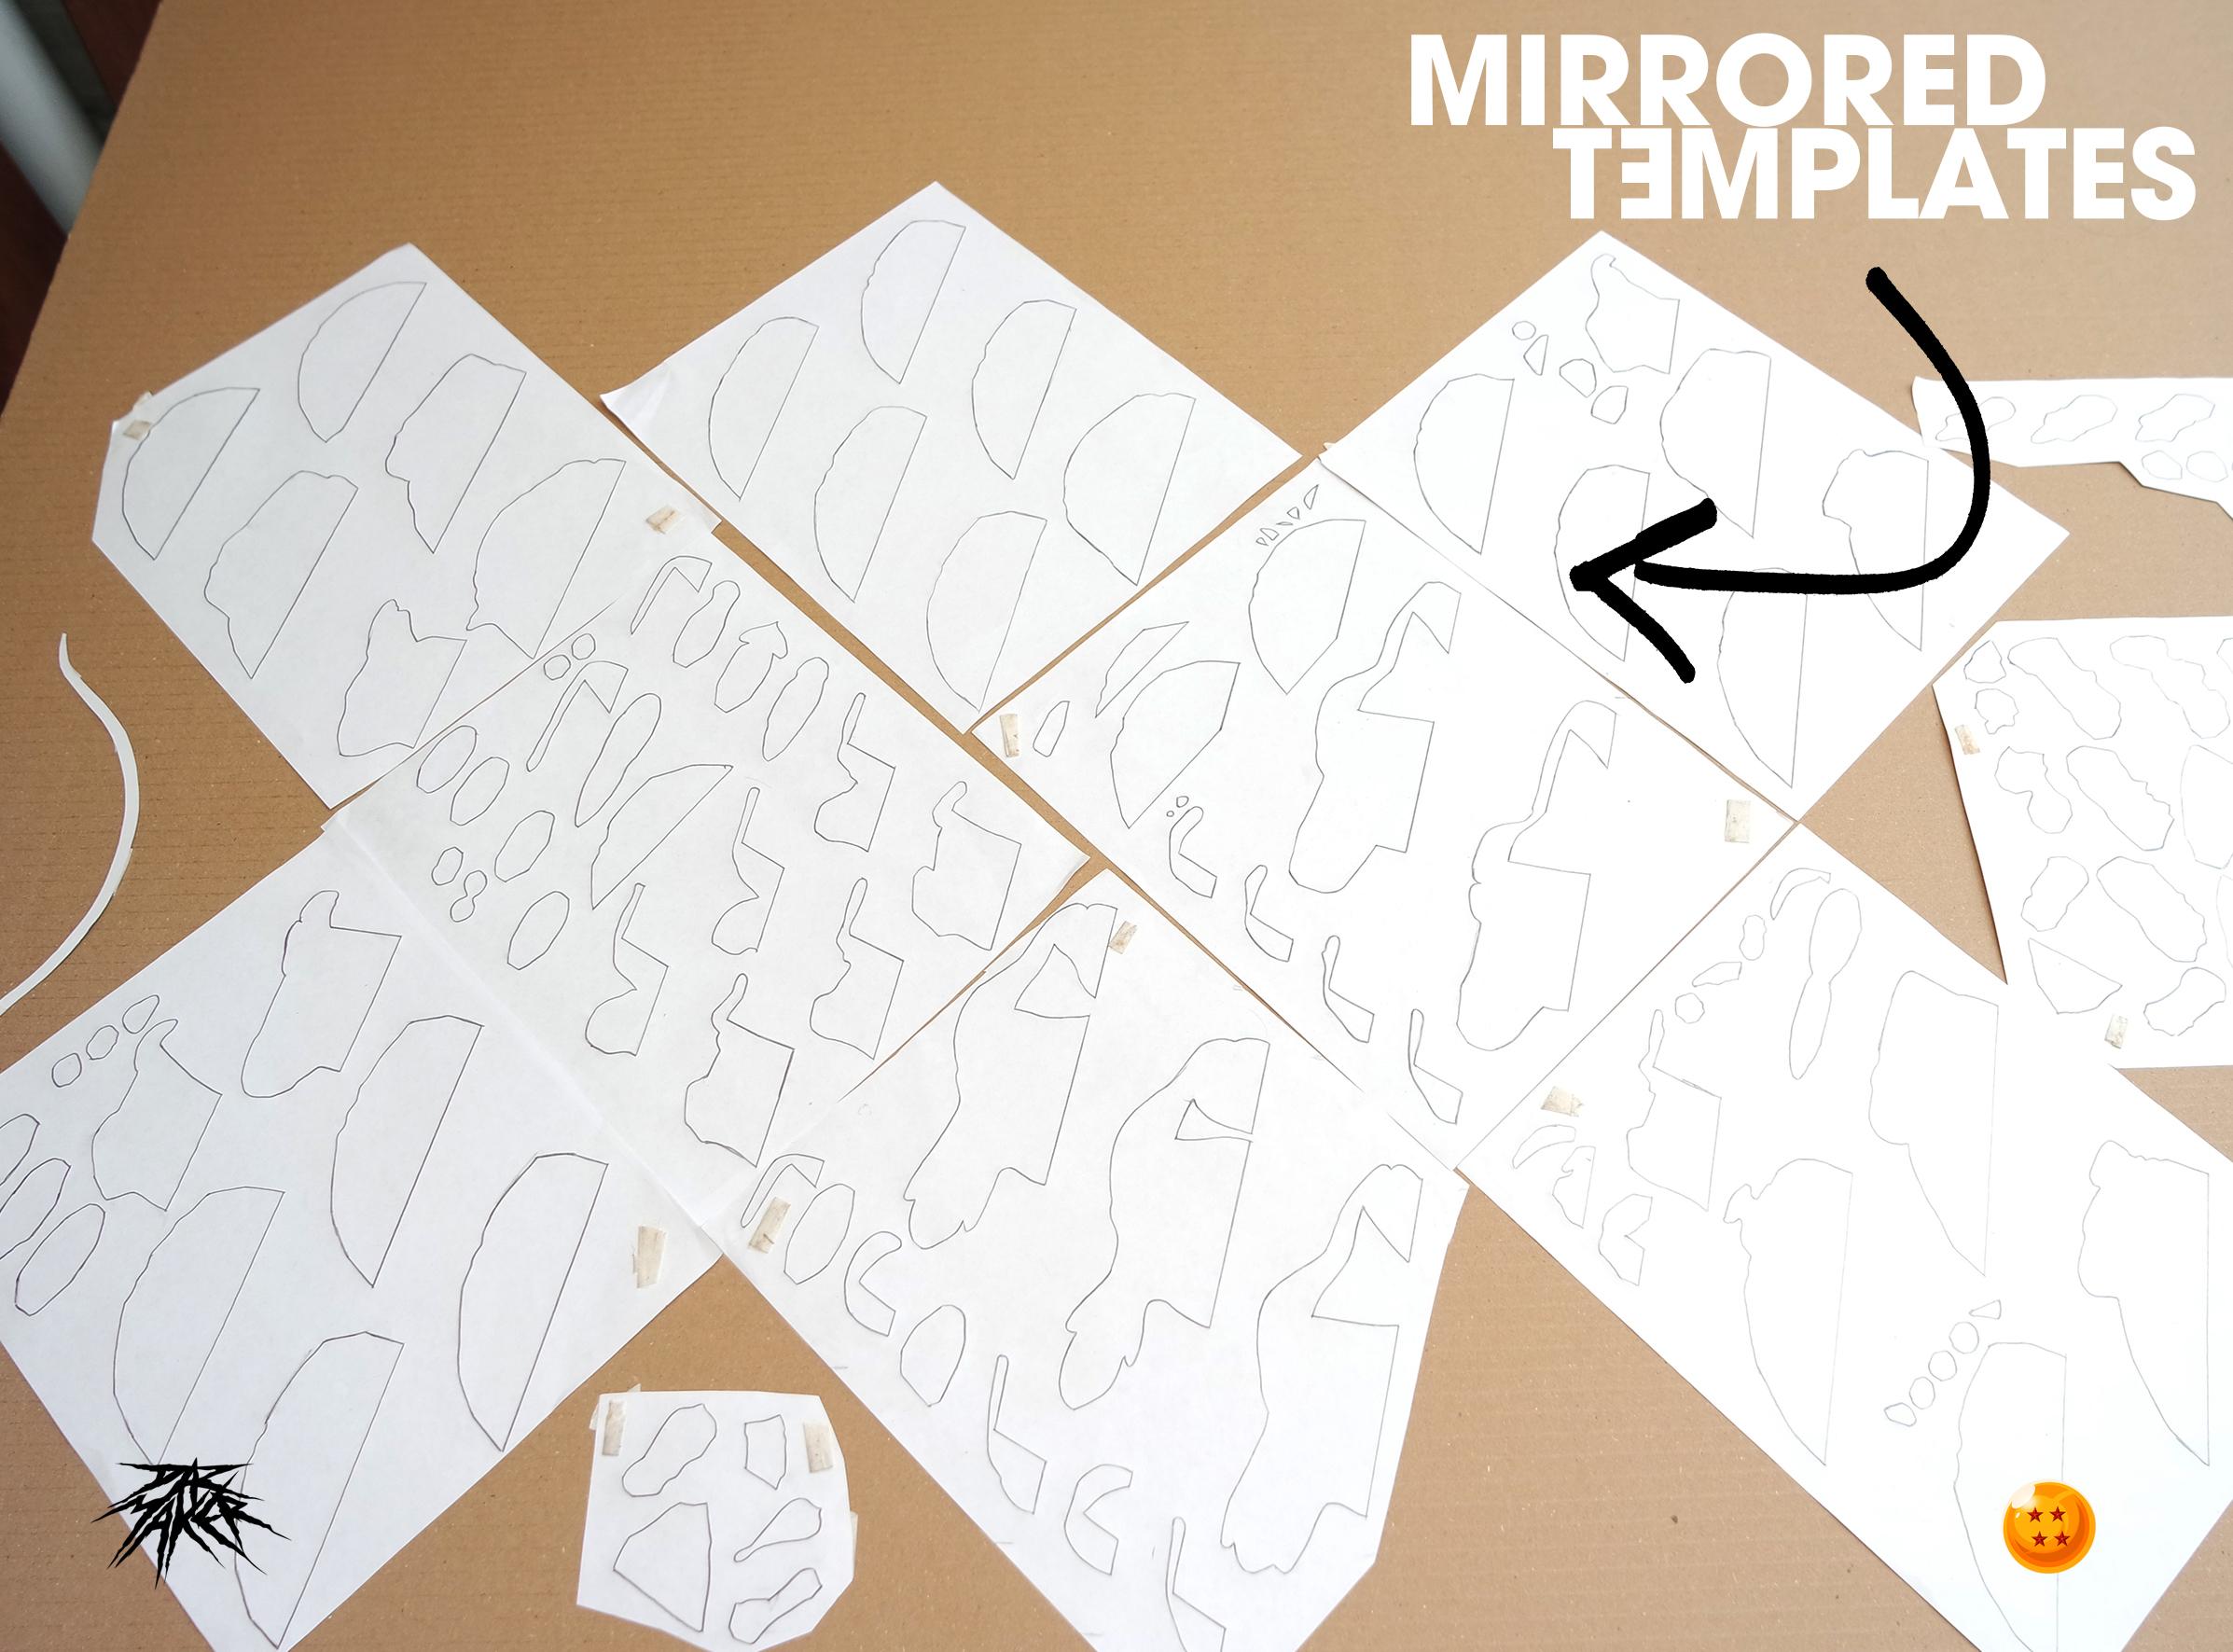
now go back to re do what you did with the claw and half of the head but now with the mirrored templates.
you need to make everything again.
be careful to make sure the templates are mirrored before cutting
Assemble
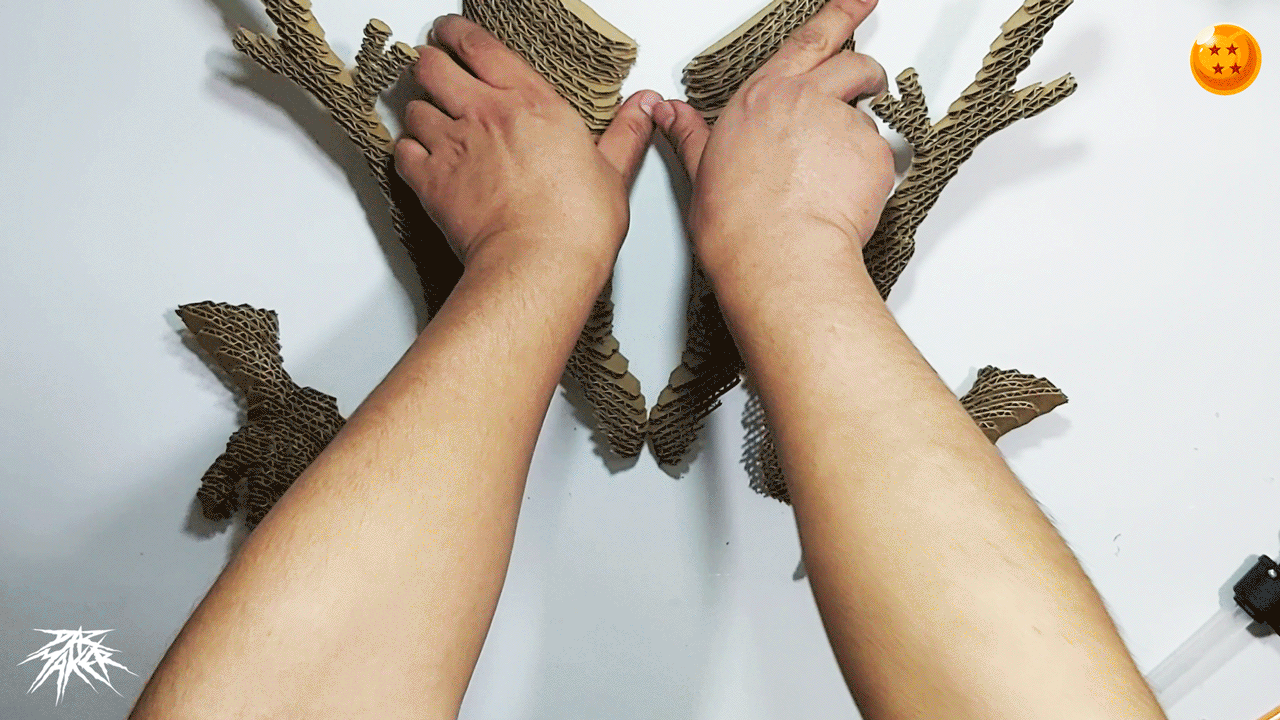
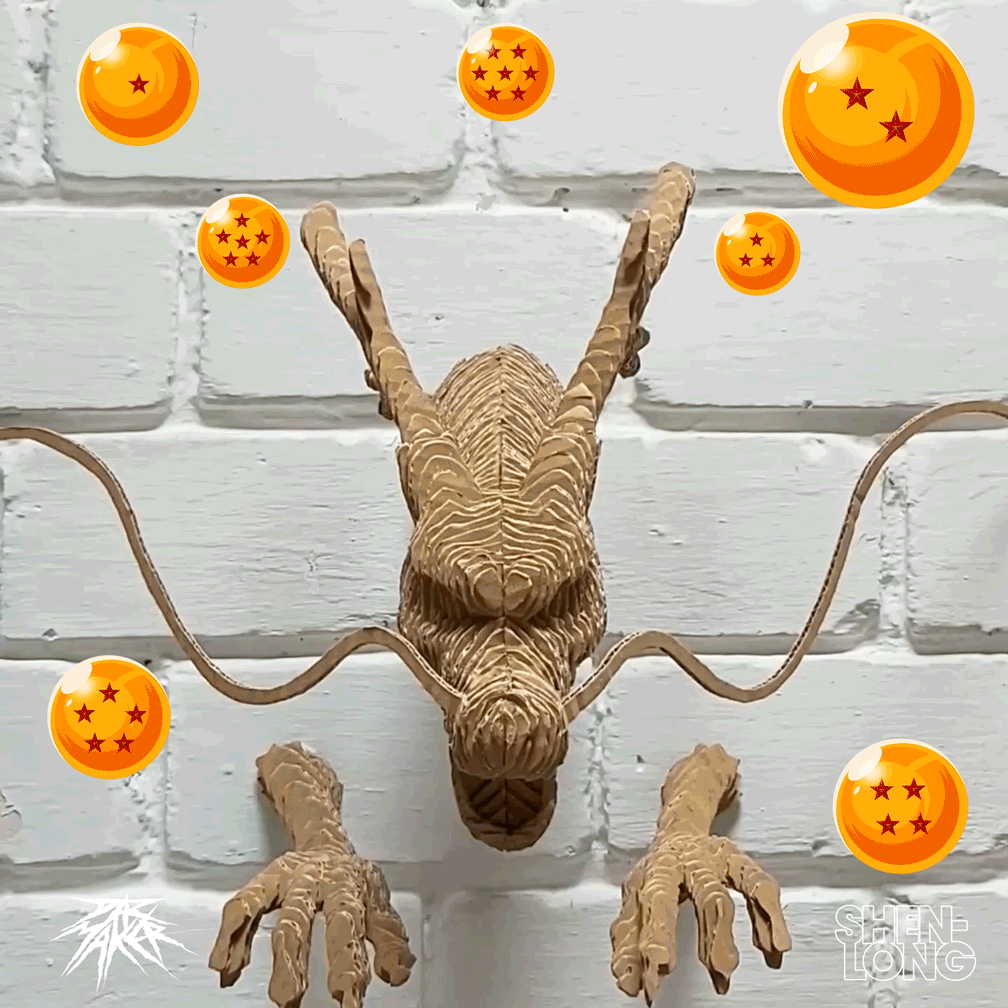
now put the two resulting head pieces together to consolidate the full head.
and glue the characteristic whiskers of the Dragon.
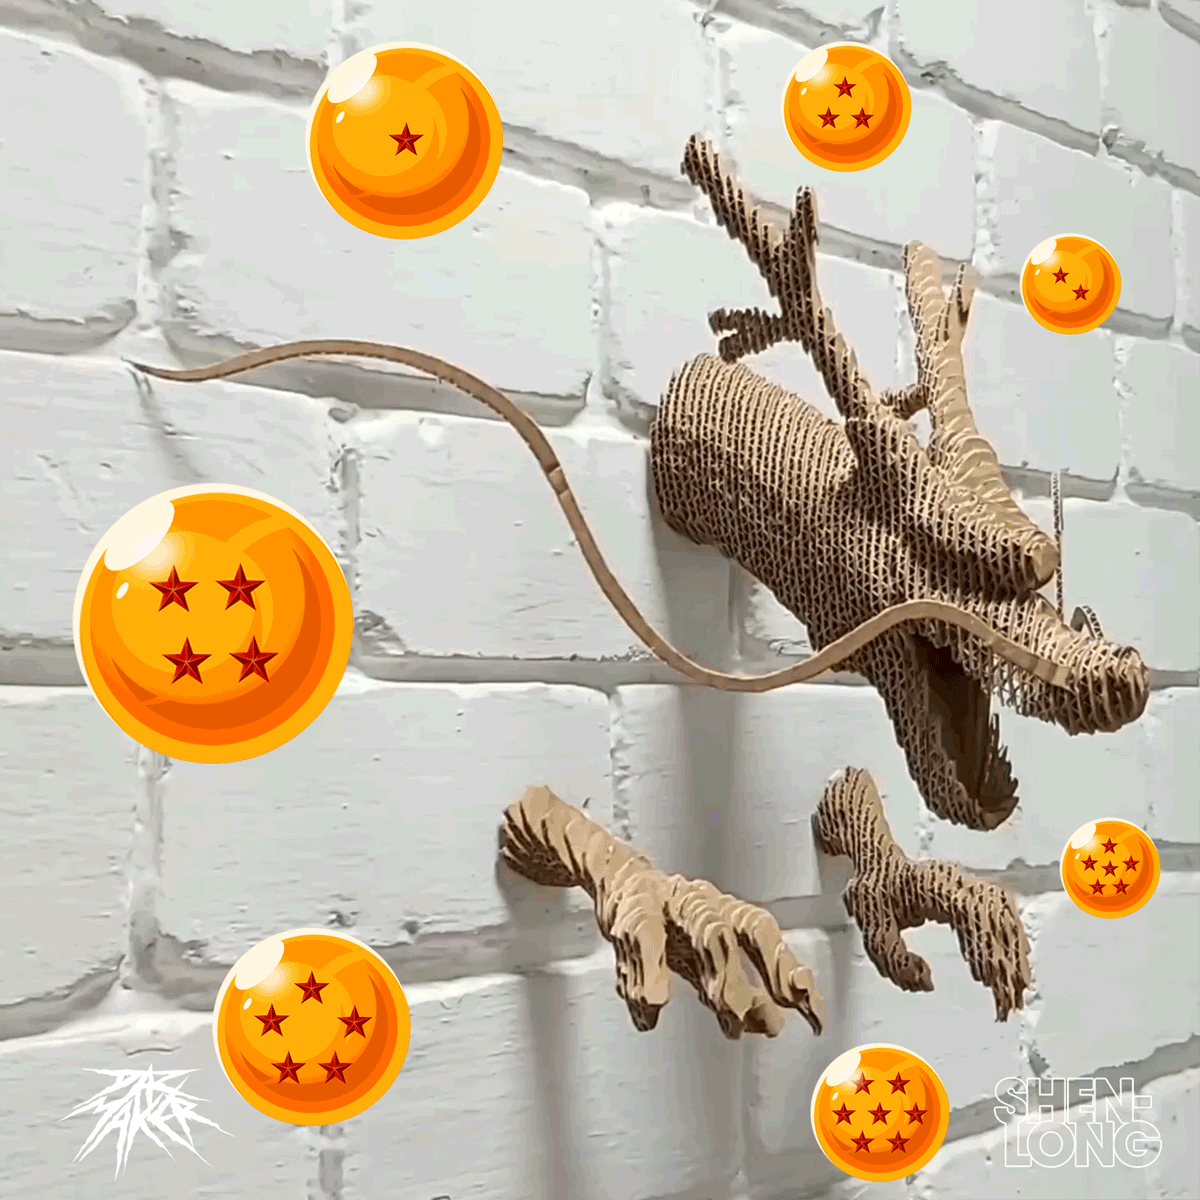
Final Piece.

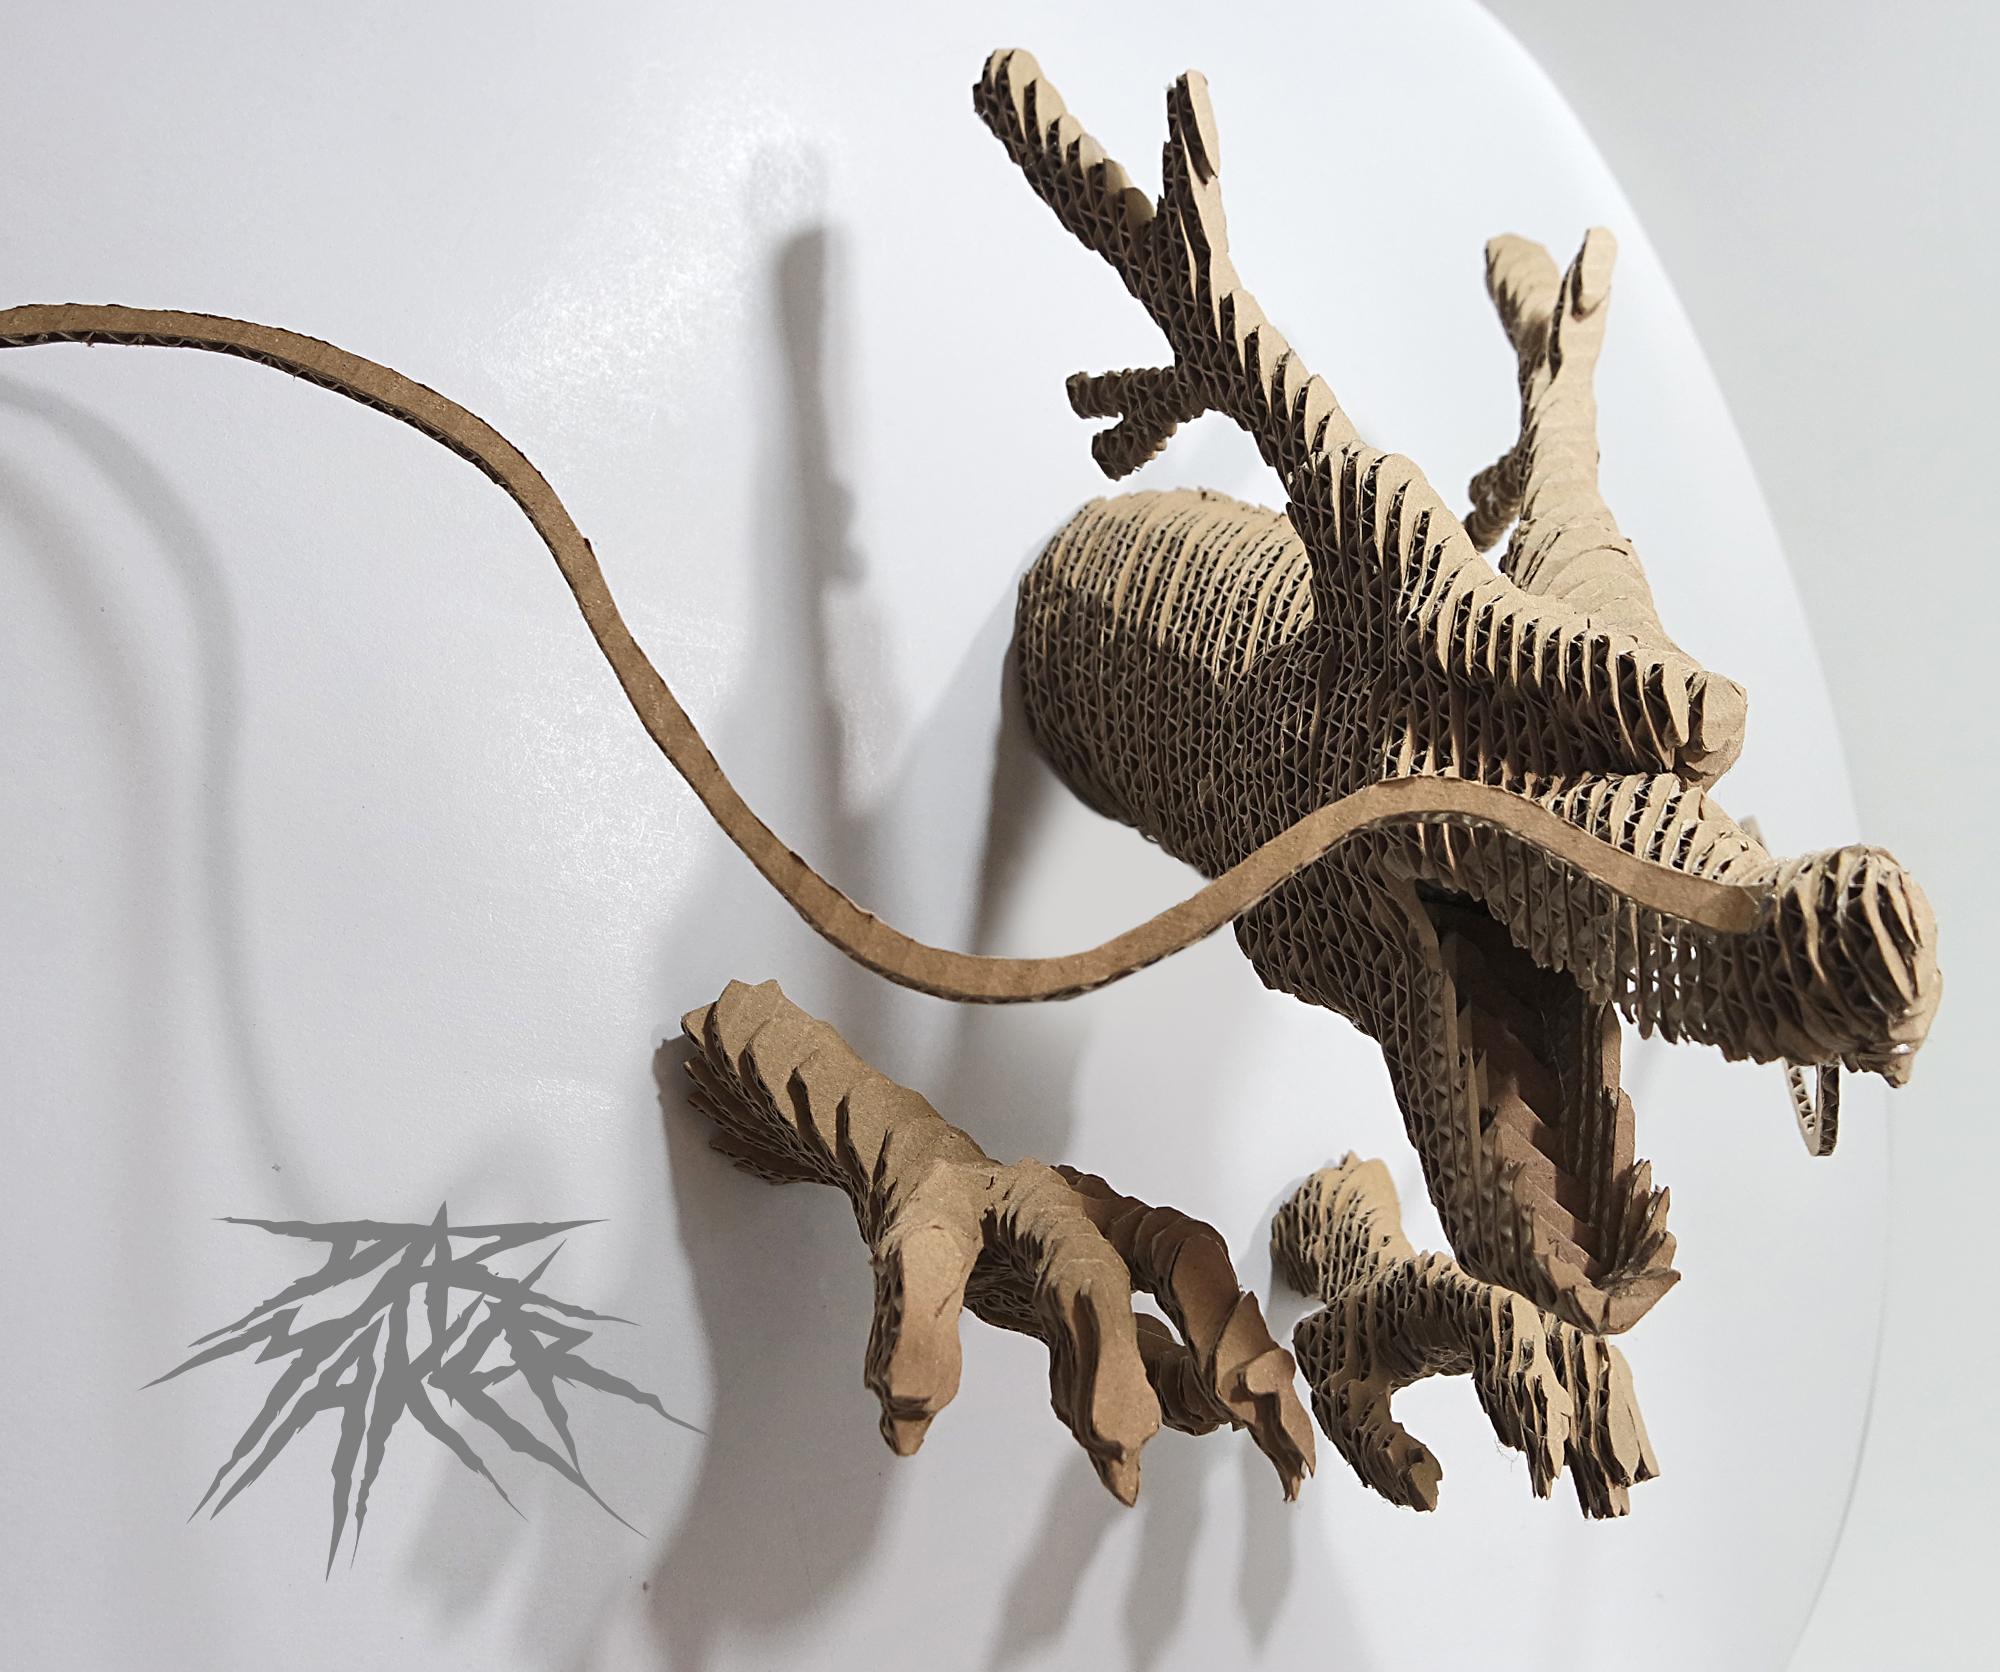
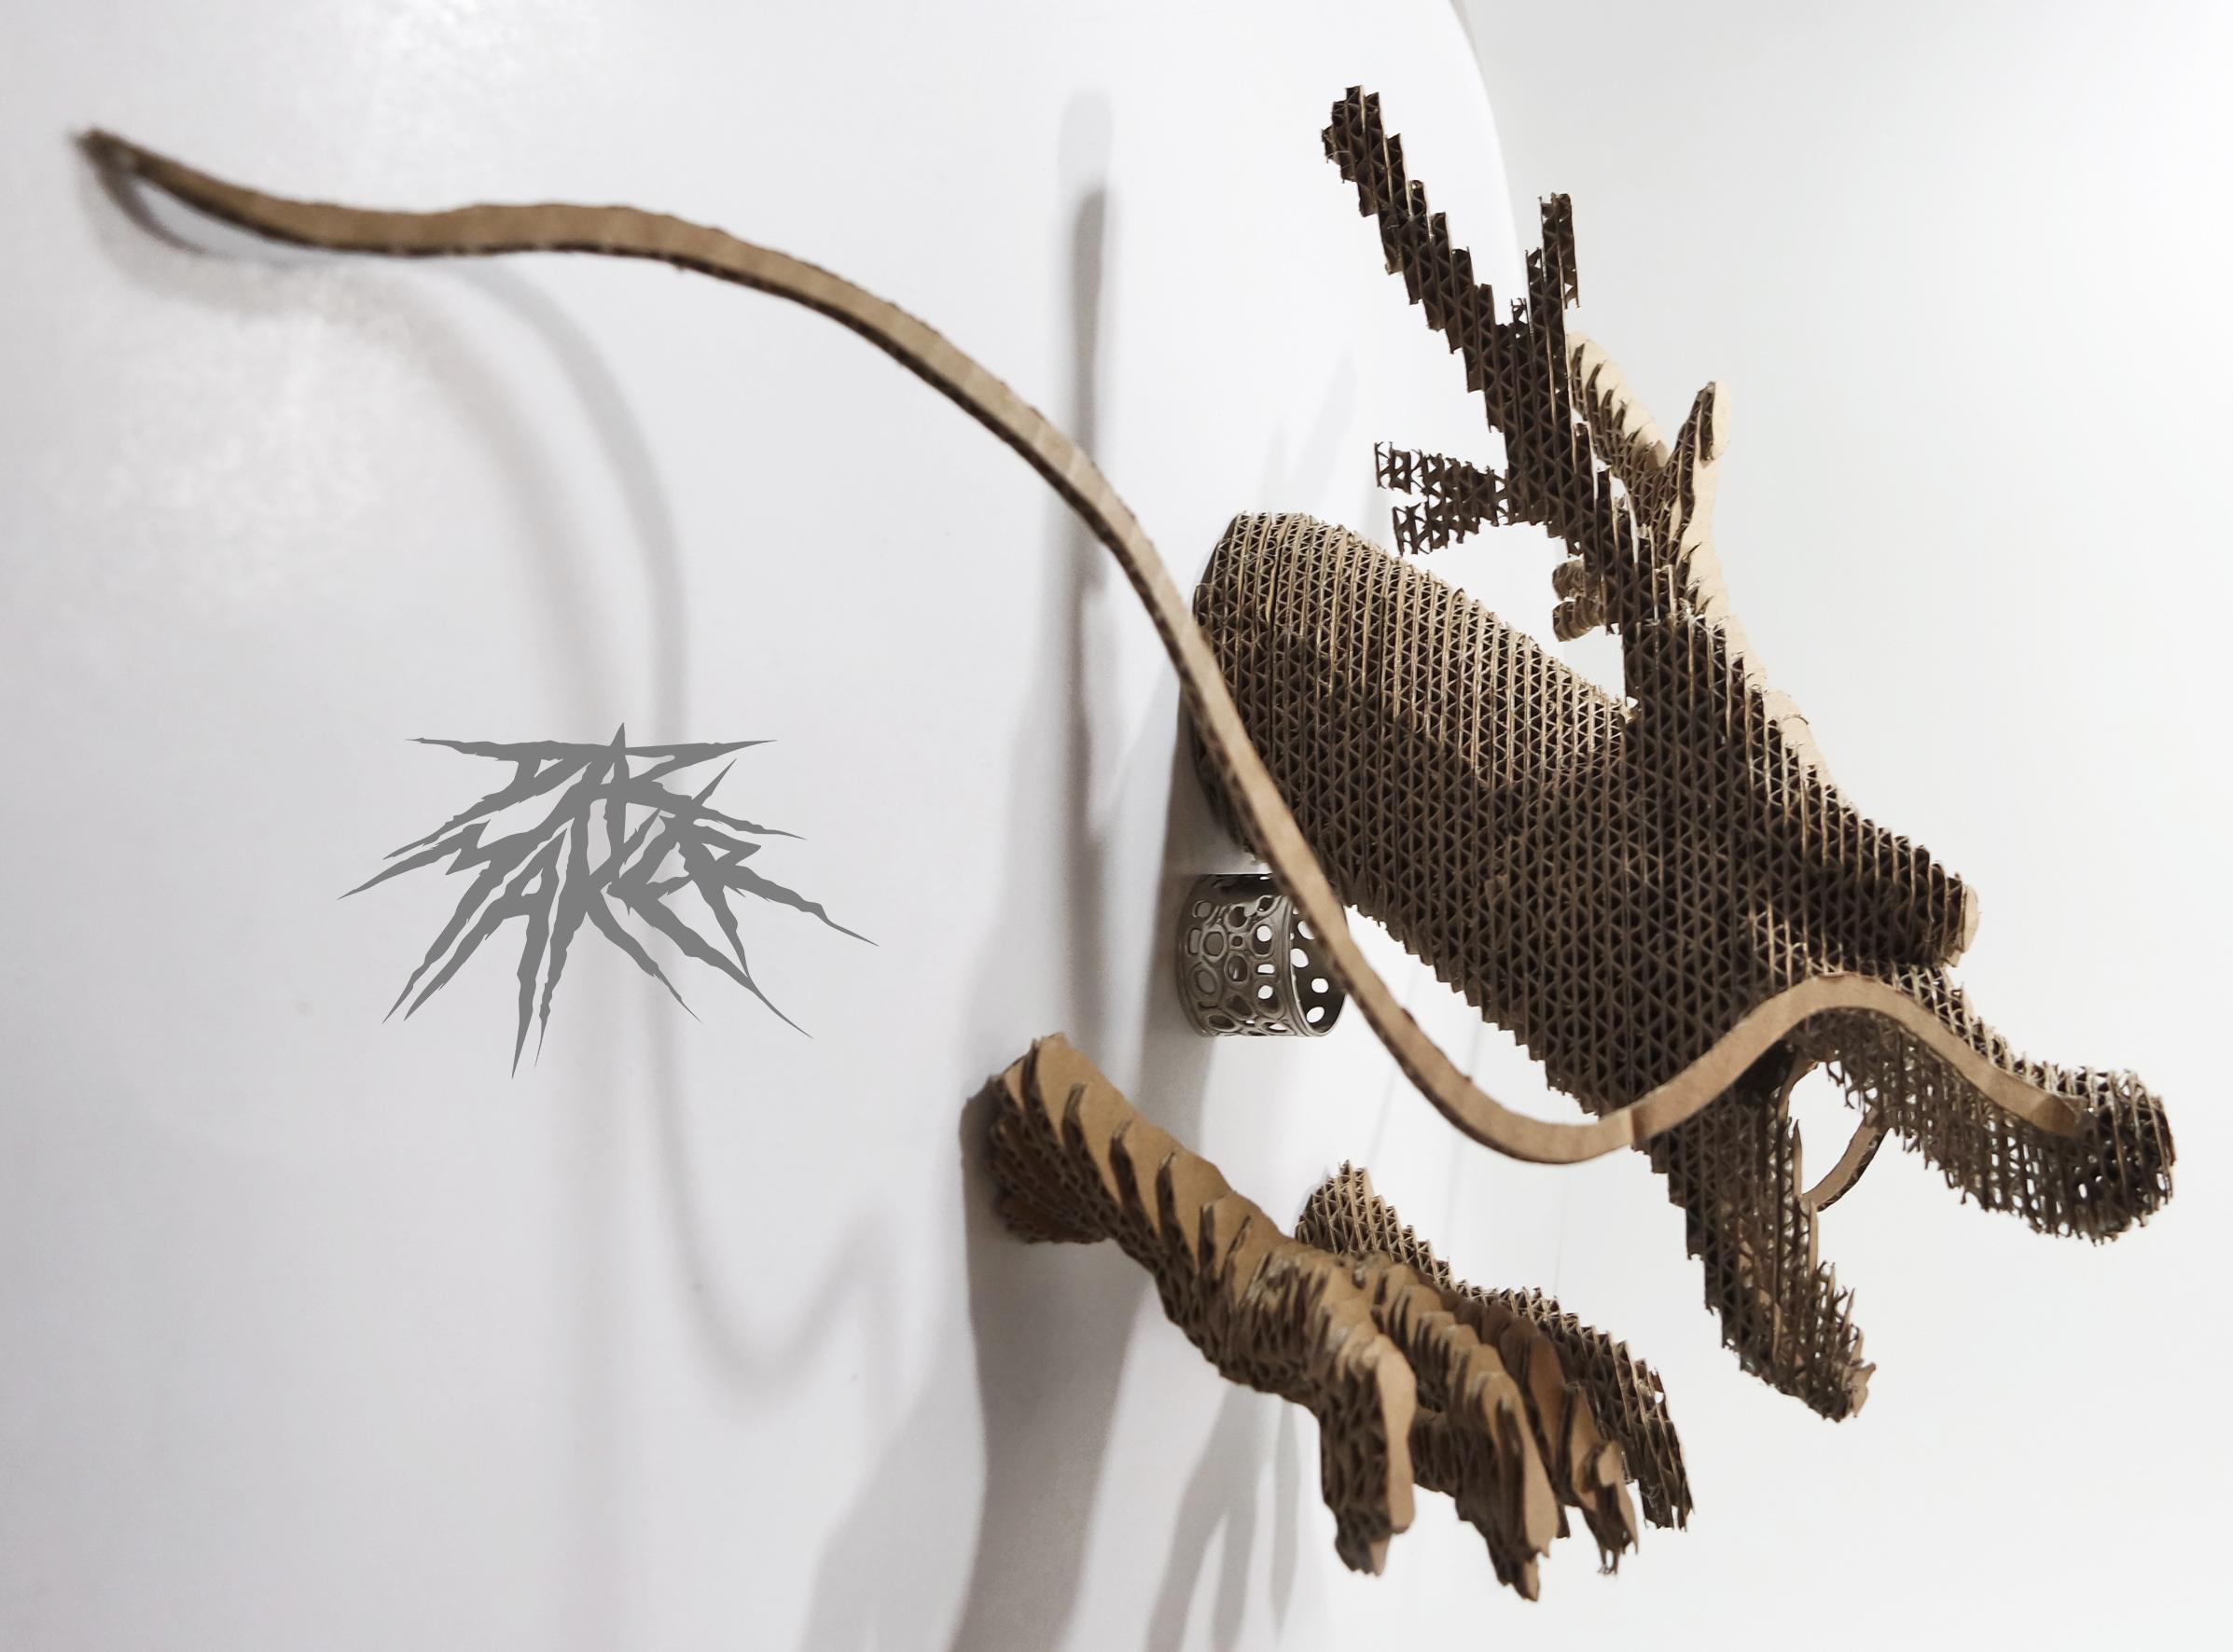
Now you can enjoy an artistic and elegant piece in your room.
use thin screws to set the pieces to the wall
and voila! that's all.
E N J O Y.