Shelly EM Auto Toggle Based on Solar Panels Production
by LucaDiba in Circuits > Remote Control
22432 Views, 11 Favorites, 0 Comments
Shelly EM Auto Toggle Based on Solar Panels Production

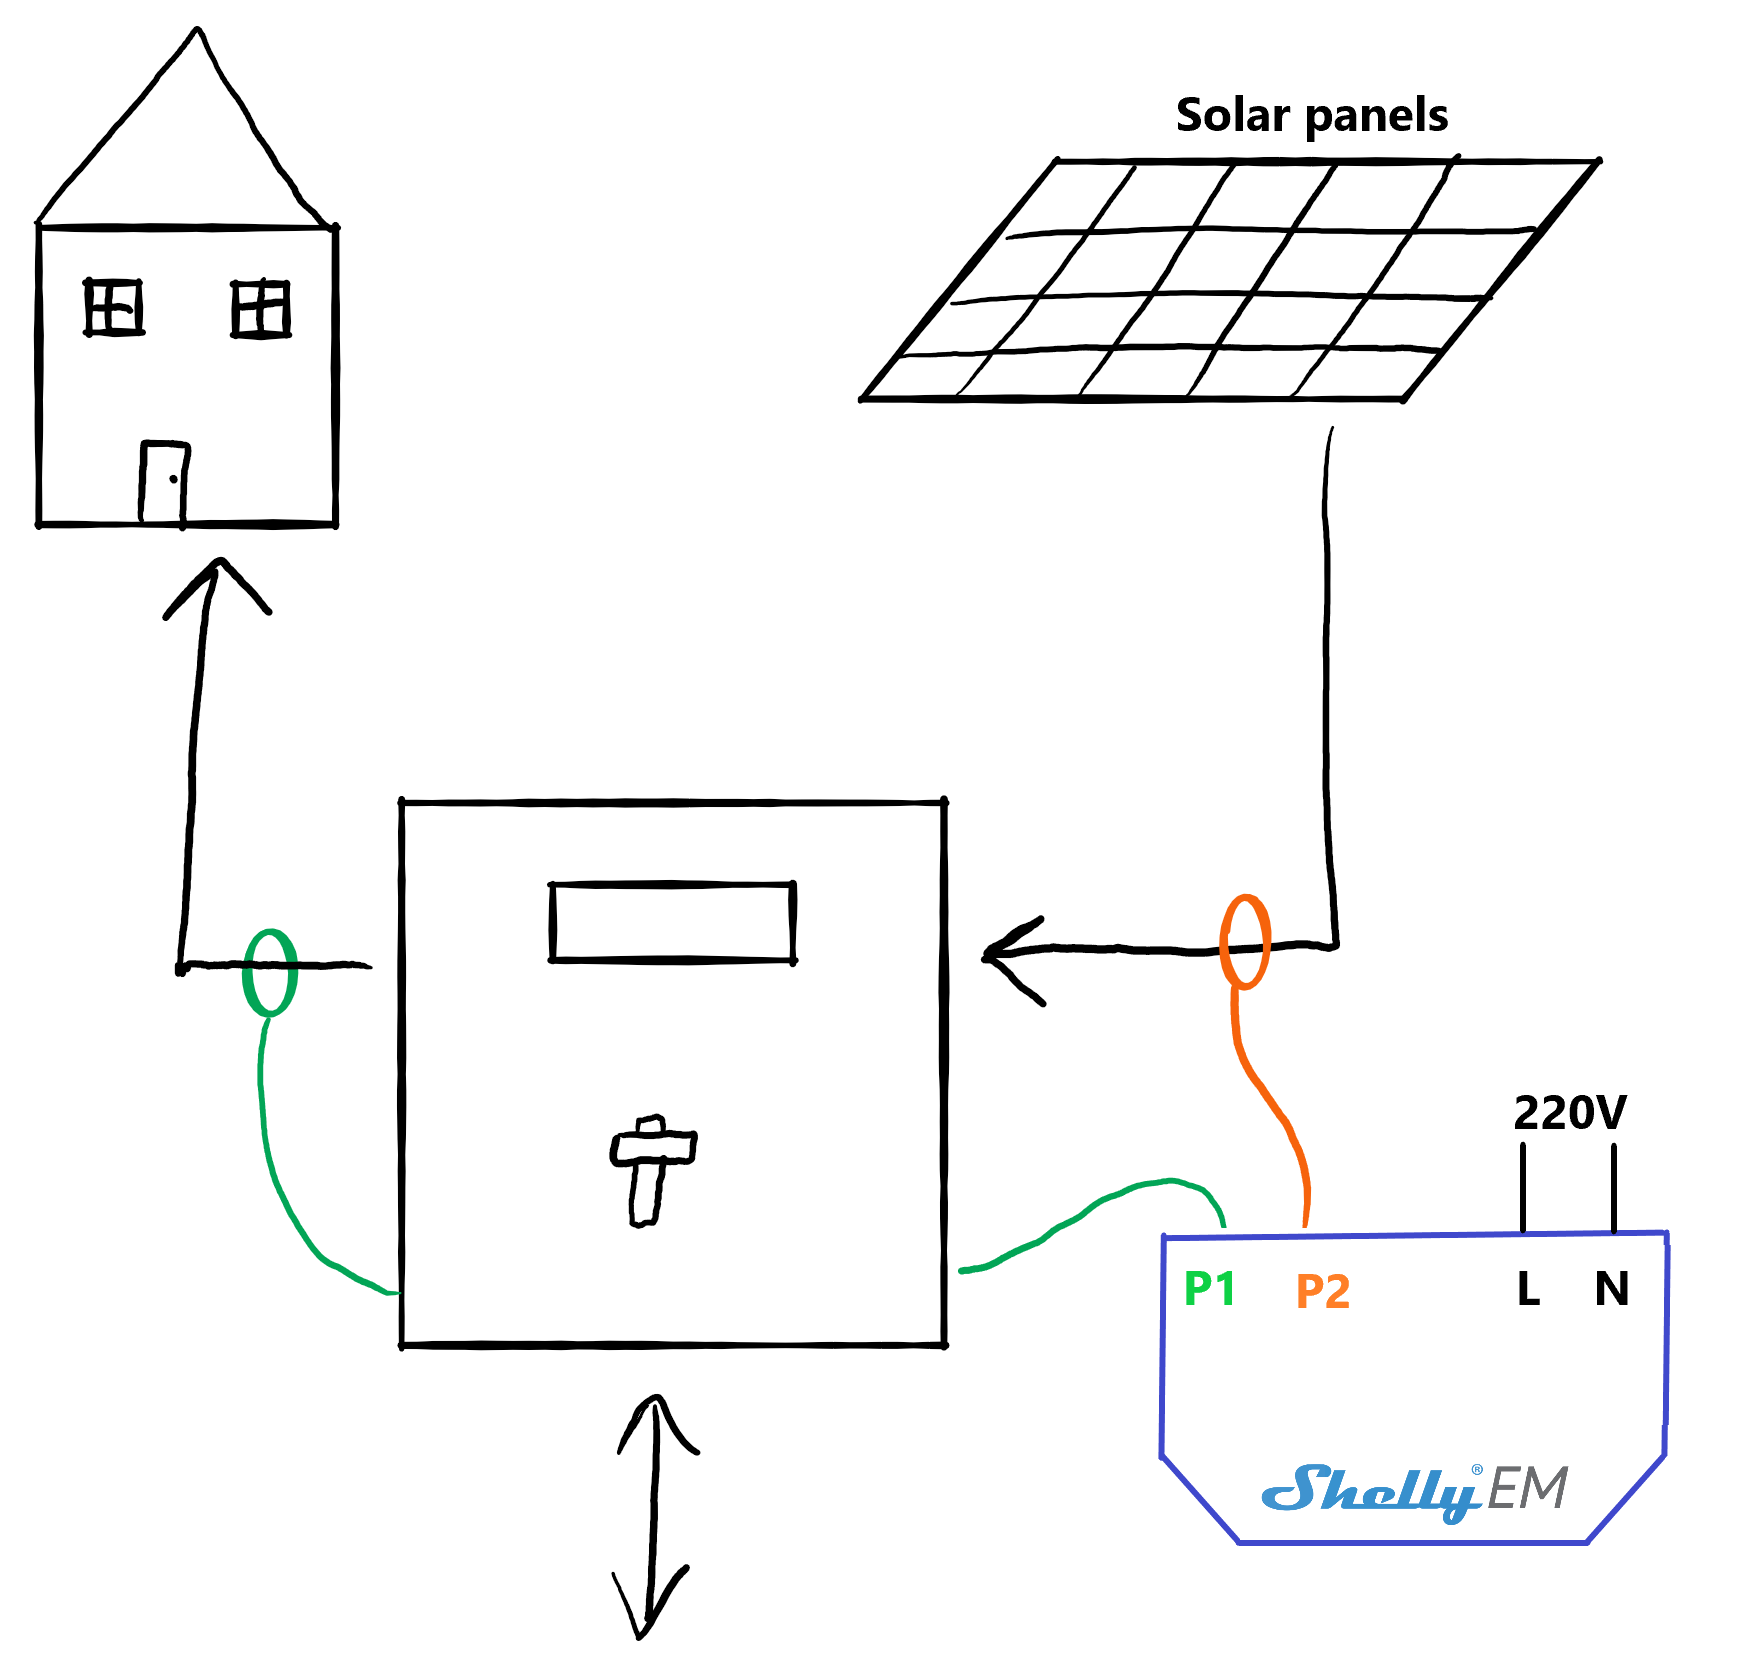
P1: house consumption (e.g. "P1 = 1kW" ⇒ we are consuming 1kW)
P2: solar panels production (e.g. "P2 = - 4kW" ⇒ we are producing 4kW)
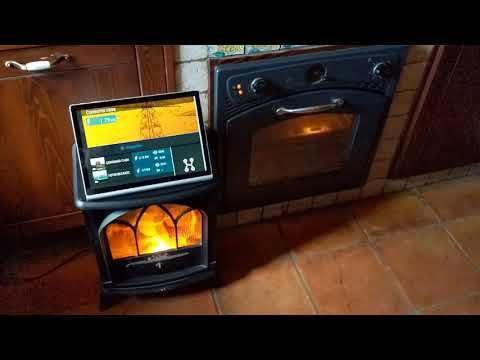
The electric heater consumes 2kW when turned on.
- We want to turn it on if the solar panel productions excedes of at least 2kW the current energy consumption.
- We want to turn it off if we are consuming more than the solar panel production
What You Need
Connect Your Shelly EM

Turn off the general electricity counter.
- The first thing to do is to wire the clamps to the Shelly EM (P1+, P1- for the first clamp, P2+, P2- for the other one): connect them as showed in the User Guide.
- Then, bring it near to your counter and connect the power supply: neutral input to N, and line input to L.
- Now, attach the first clamp (P1) to the wire that goes to your house, and the other clamp to the wire that comes from the solar panels inverter. It's possible that you will have something strange with signs (a negative consumption): just don't care right now.
- Turn on the electricity counter and follow the User Guide's instructions to connect the Shelly EM to your Wi-Fi.
- Once you have the current power consumption on your app, you can change the direction of the clamps to have a positive number from P1, and a negative number (positive production - negative consumption) from P2, since we are measuring the consumption.
Get Your API Tokens and Your EM Info
Shelly EM
From the Shelly Cloud app, go to "User Settings" and then click on the "Get key" button.
The key will be YOUR_KEY, and the server YOUR_SERVER.
Now go to the main page. Open the room of your EM, and then click on the EM. Go to "Settings", "Device informations" and copy the device ID (YOUR_ID - just the alphanumeric one, not the one in brakets) and device channel (YOUR_CHANNEL).
Smart switch
If you have a Shelly 1, you don't need to do nothing more. Otherwise, you should find out which is the URL to request to turn on or off your device. These two will be YOUR_TURN_ON and YOUR_TURN_OFF.
You will need to know which is your device's consumption (YOUR_DEVICE_CONSUMPTION). I suggest you to put a slightly higher number (i.e. if your device consumes 1900W, put 2000W).
Set Up Your Node.js Application
shelly_server = 'YOUR_SERVER';
shelly_key = 'YOUR_KEY;
shelly_channel = 'YOUR_CHANNEL';
shelly_id = 'YOUR_ID';
turn_on_url = 'YOUR_TURN_ON';
turn_off_url = 'YOUR_TURN_OFF';
device_consumption = YOUR_DEVICE_CONSUMPTION; // e.g. for 2kW put: 2000

const device = function(status) {
    if (status == 'on') {
        fetch(turn_on_url)
            .then(res => res.text());
    }
    else if (status == 'off') {
        fetch(turn_off_url)
            .then(res => res.text());
    }
}

fetch(shelly_server + '/device/status?channel=' + shelly_channel + '&id=' + shelly_id + '&auth_key=' + shelly_key)
    .then(res => res.json())
    .then(json => {
        if(json.isok) {
            emeters = json.data.device_status.emeters;
            home_consumption = emeters[0].power; // > 0
            solar_panels_production = - emeters[1].power; // > 0

            available_energy = solar_panels_production - home_consumption;

            if(available_energy < 0) {
                device('off');
            } else if(available_energy > device_consumption) {
                device('on');
            }
        } else {
            // Shelly EM is not reachable
        }
    });
Run Your Application
Now, you should run your Node.js application continuosly. I run it every 60 seconds, but you can increase or decrease this number based on the maximum response time you want for turning on or off your device.
Done!
Congratulations! Now you have a device that turns on automatically when you wouldn't pay anything for it, and that turns off automatically when you would pay the electricity for it!