Sharpening Clippers


SInce I didn't have sharp clippers, I decided it was time to get some sharpening done. Such an easy task just takes some time with very lilttle effort to make sure you get a clean cut in the garden or yard. Once you have sharpened your tool of choice, it's so much easier to cut with, rather than gnawing away at something with the same tool.
Supplies


For today we will need the following:
- Dull clippers or knife
- Sand paper
- Small metal brush
- Sharpening tool or stone
- WD-40 or Engine Starting Fluid
Rough Cleaning the Blade Surface

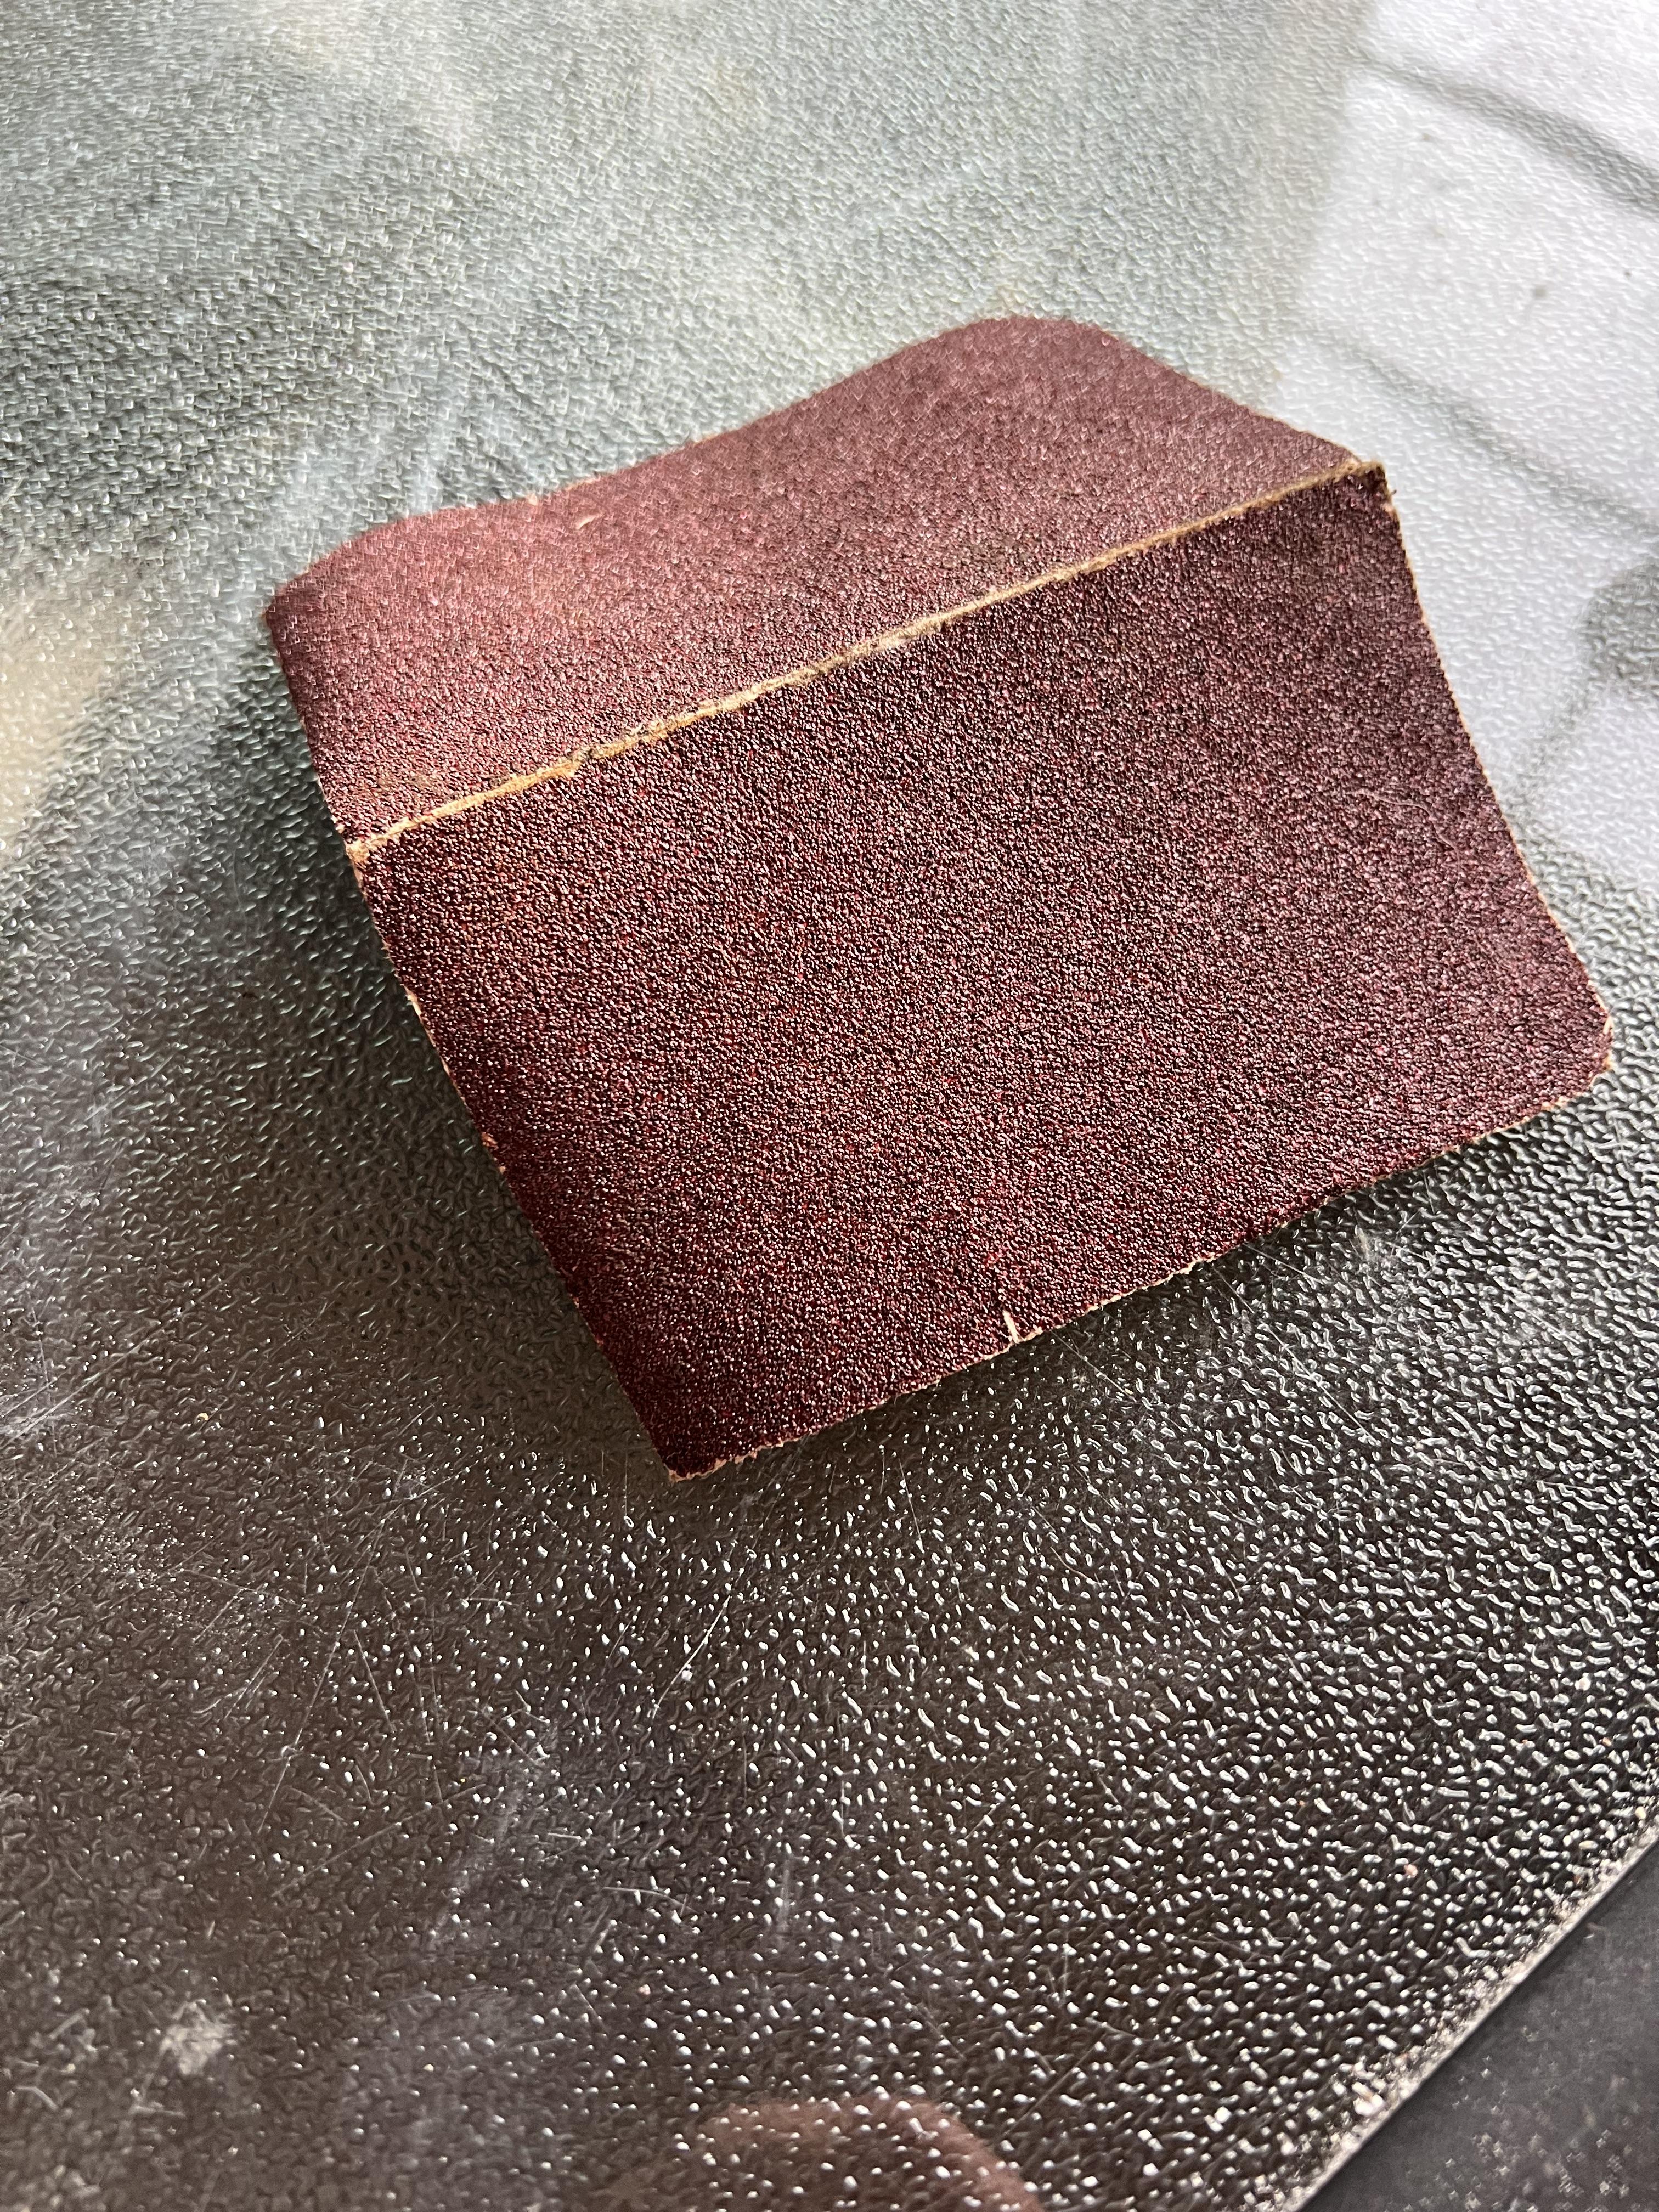

First things first, depending on how dirty or rusty your clippers are, will depend on how much pre cleaning you need to do. With my clippers I just took a small metal brush to knock off the rust that had gotten into the crevasses of my clippers. then I went on to sand off the big patches of rust. Using 1/4 sheet of the roughest grit sandpaper I had, I folded it in half to better fit in my hand and sand off the surface of my clipper blades.
Sharpening the Blades
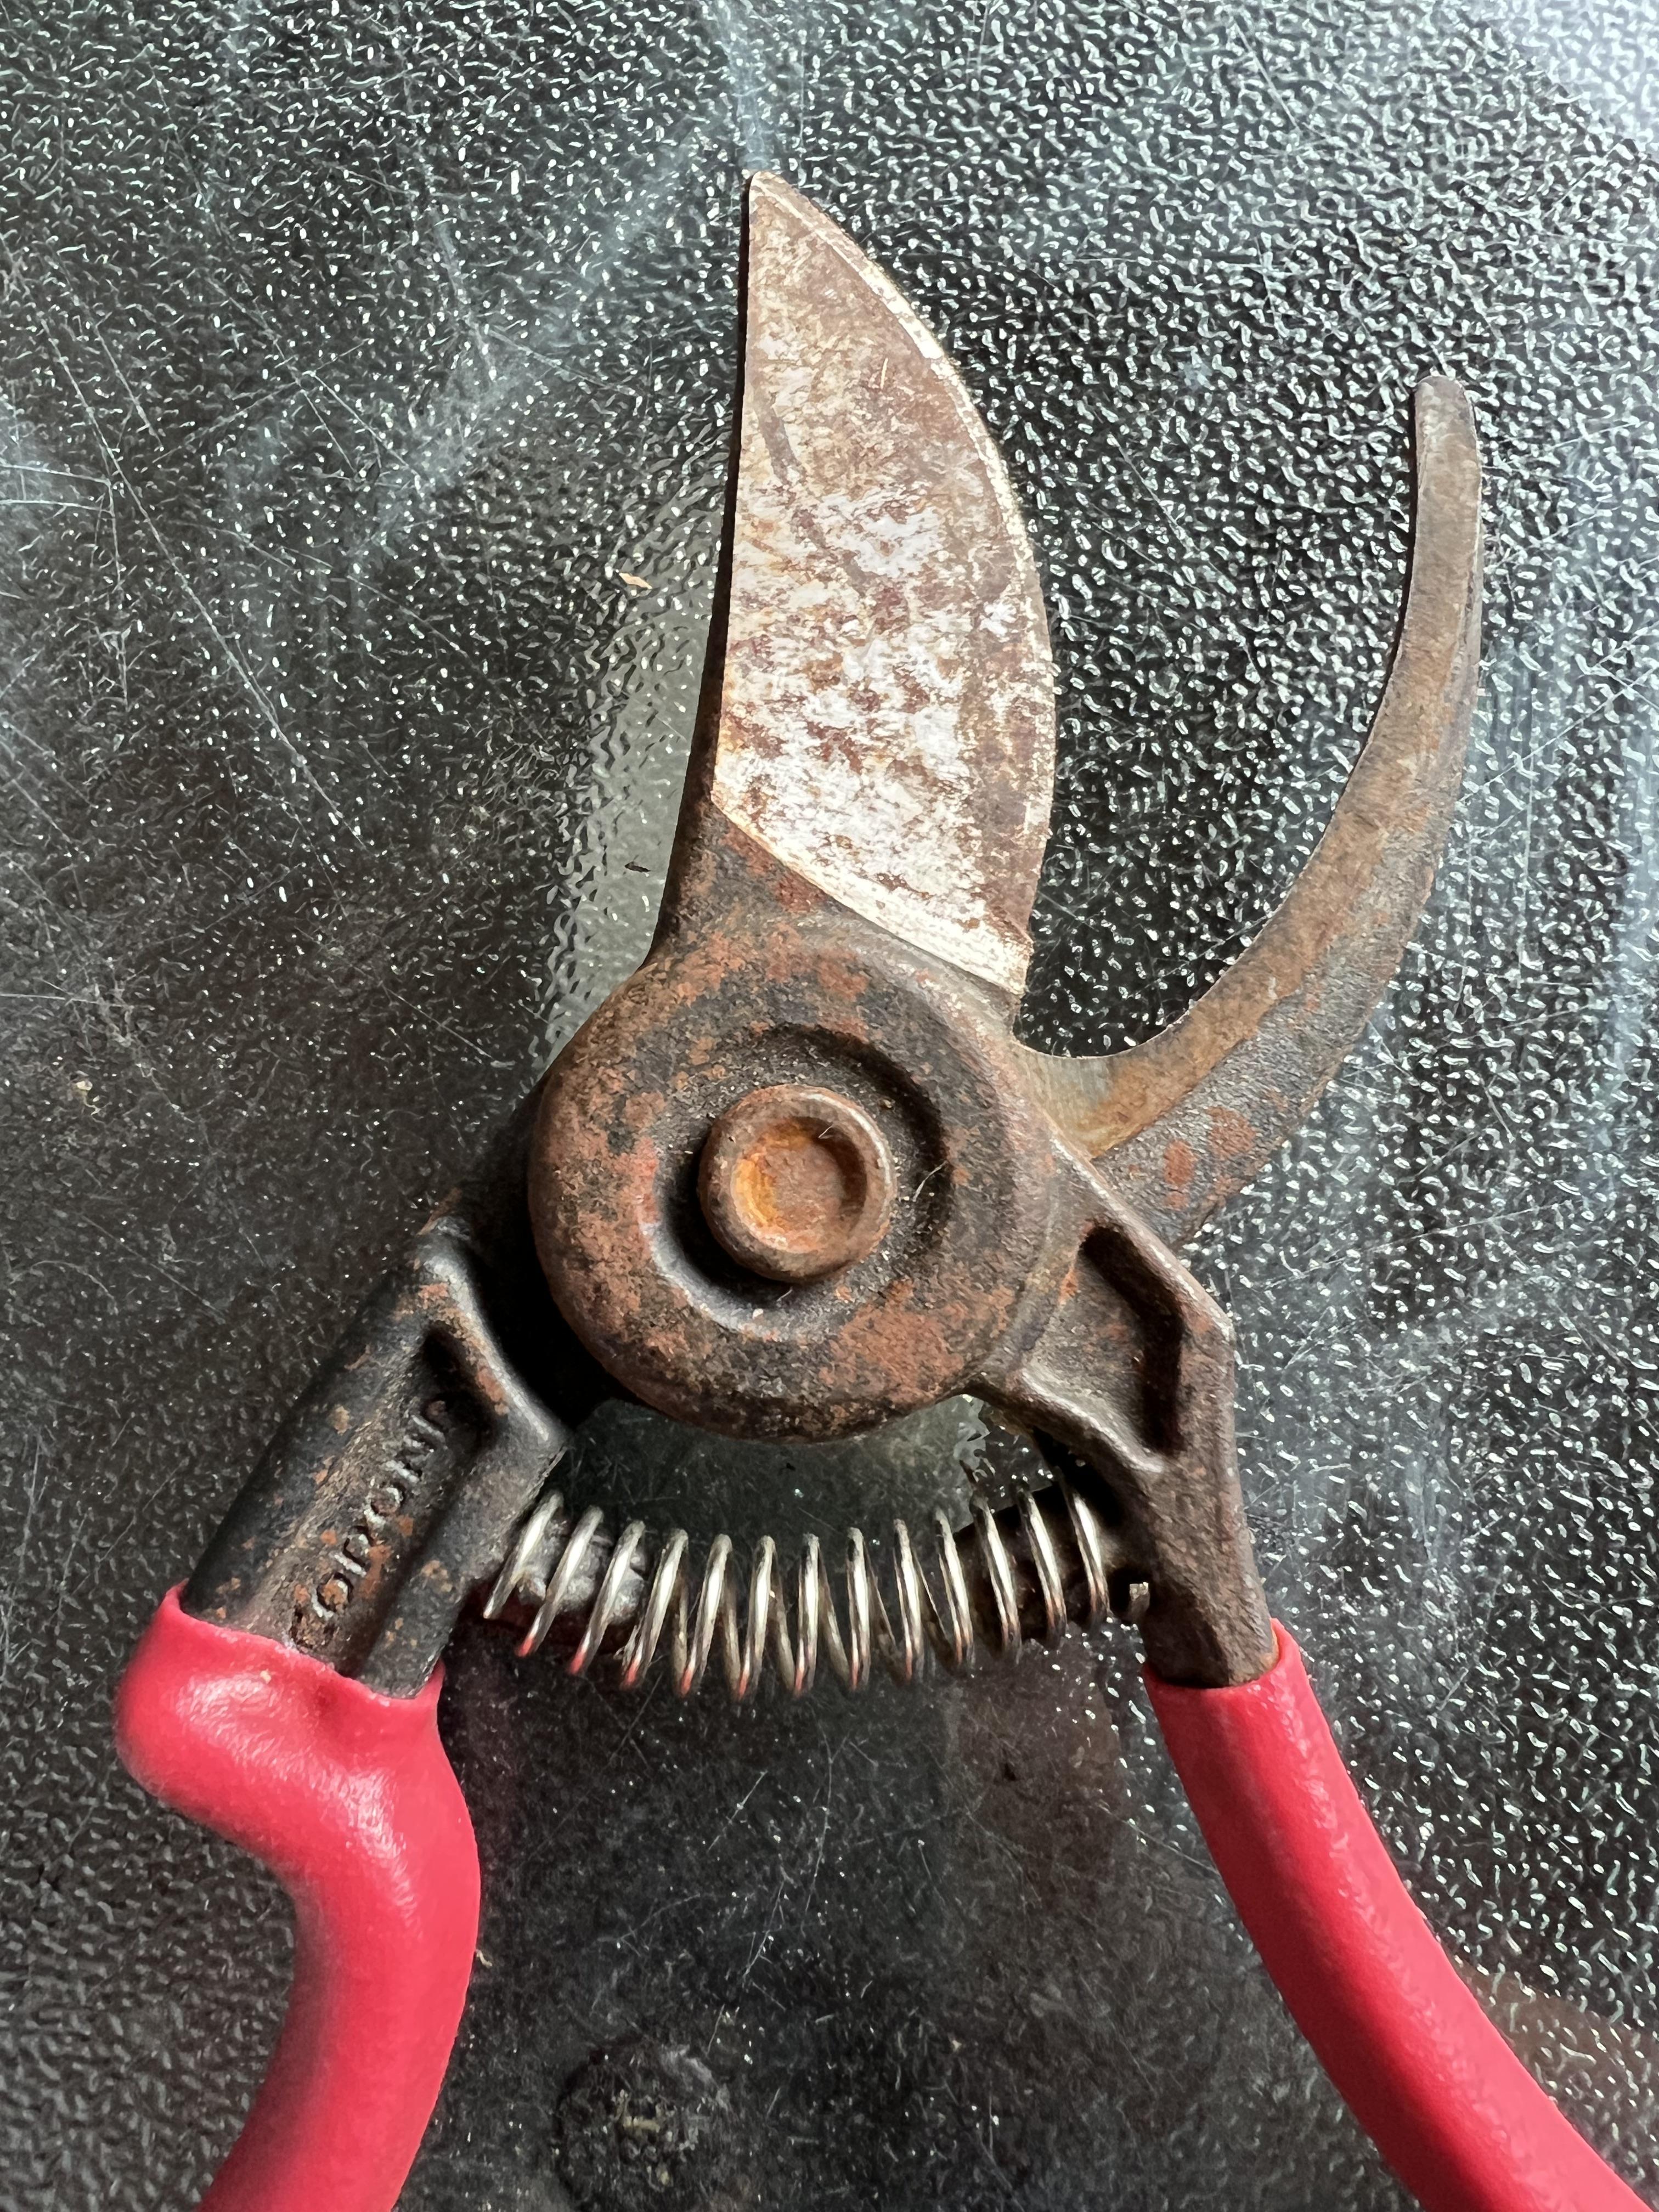


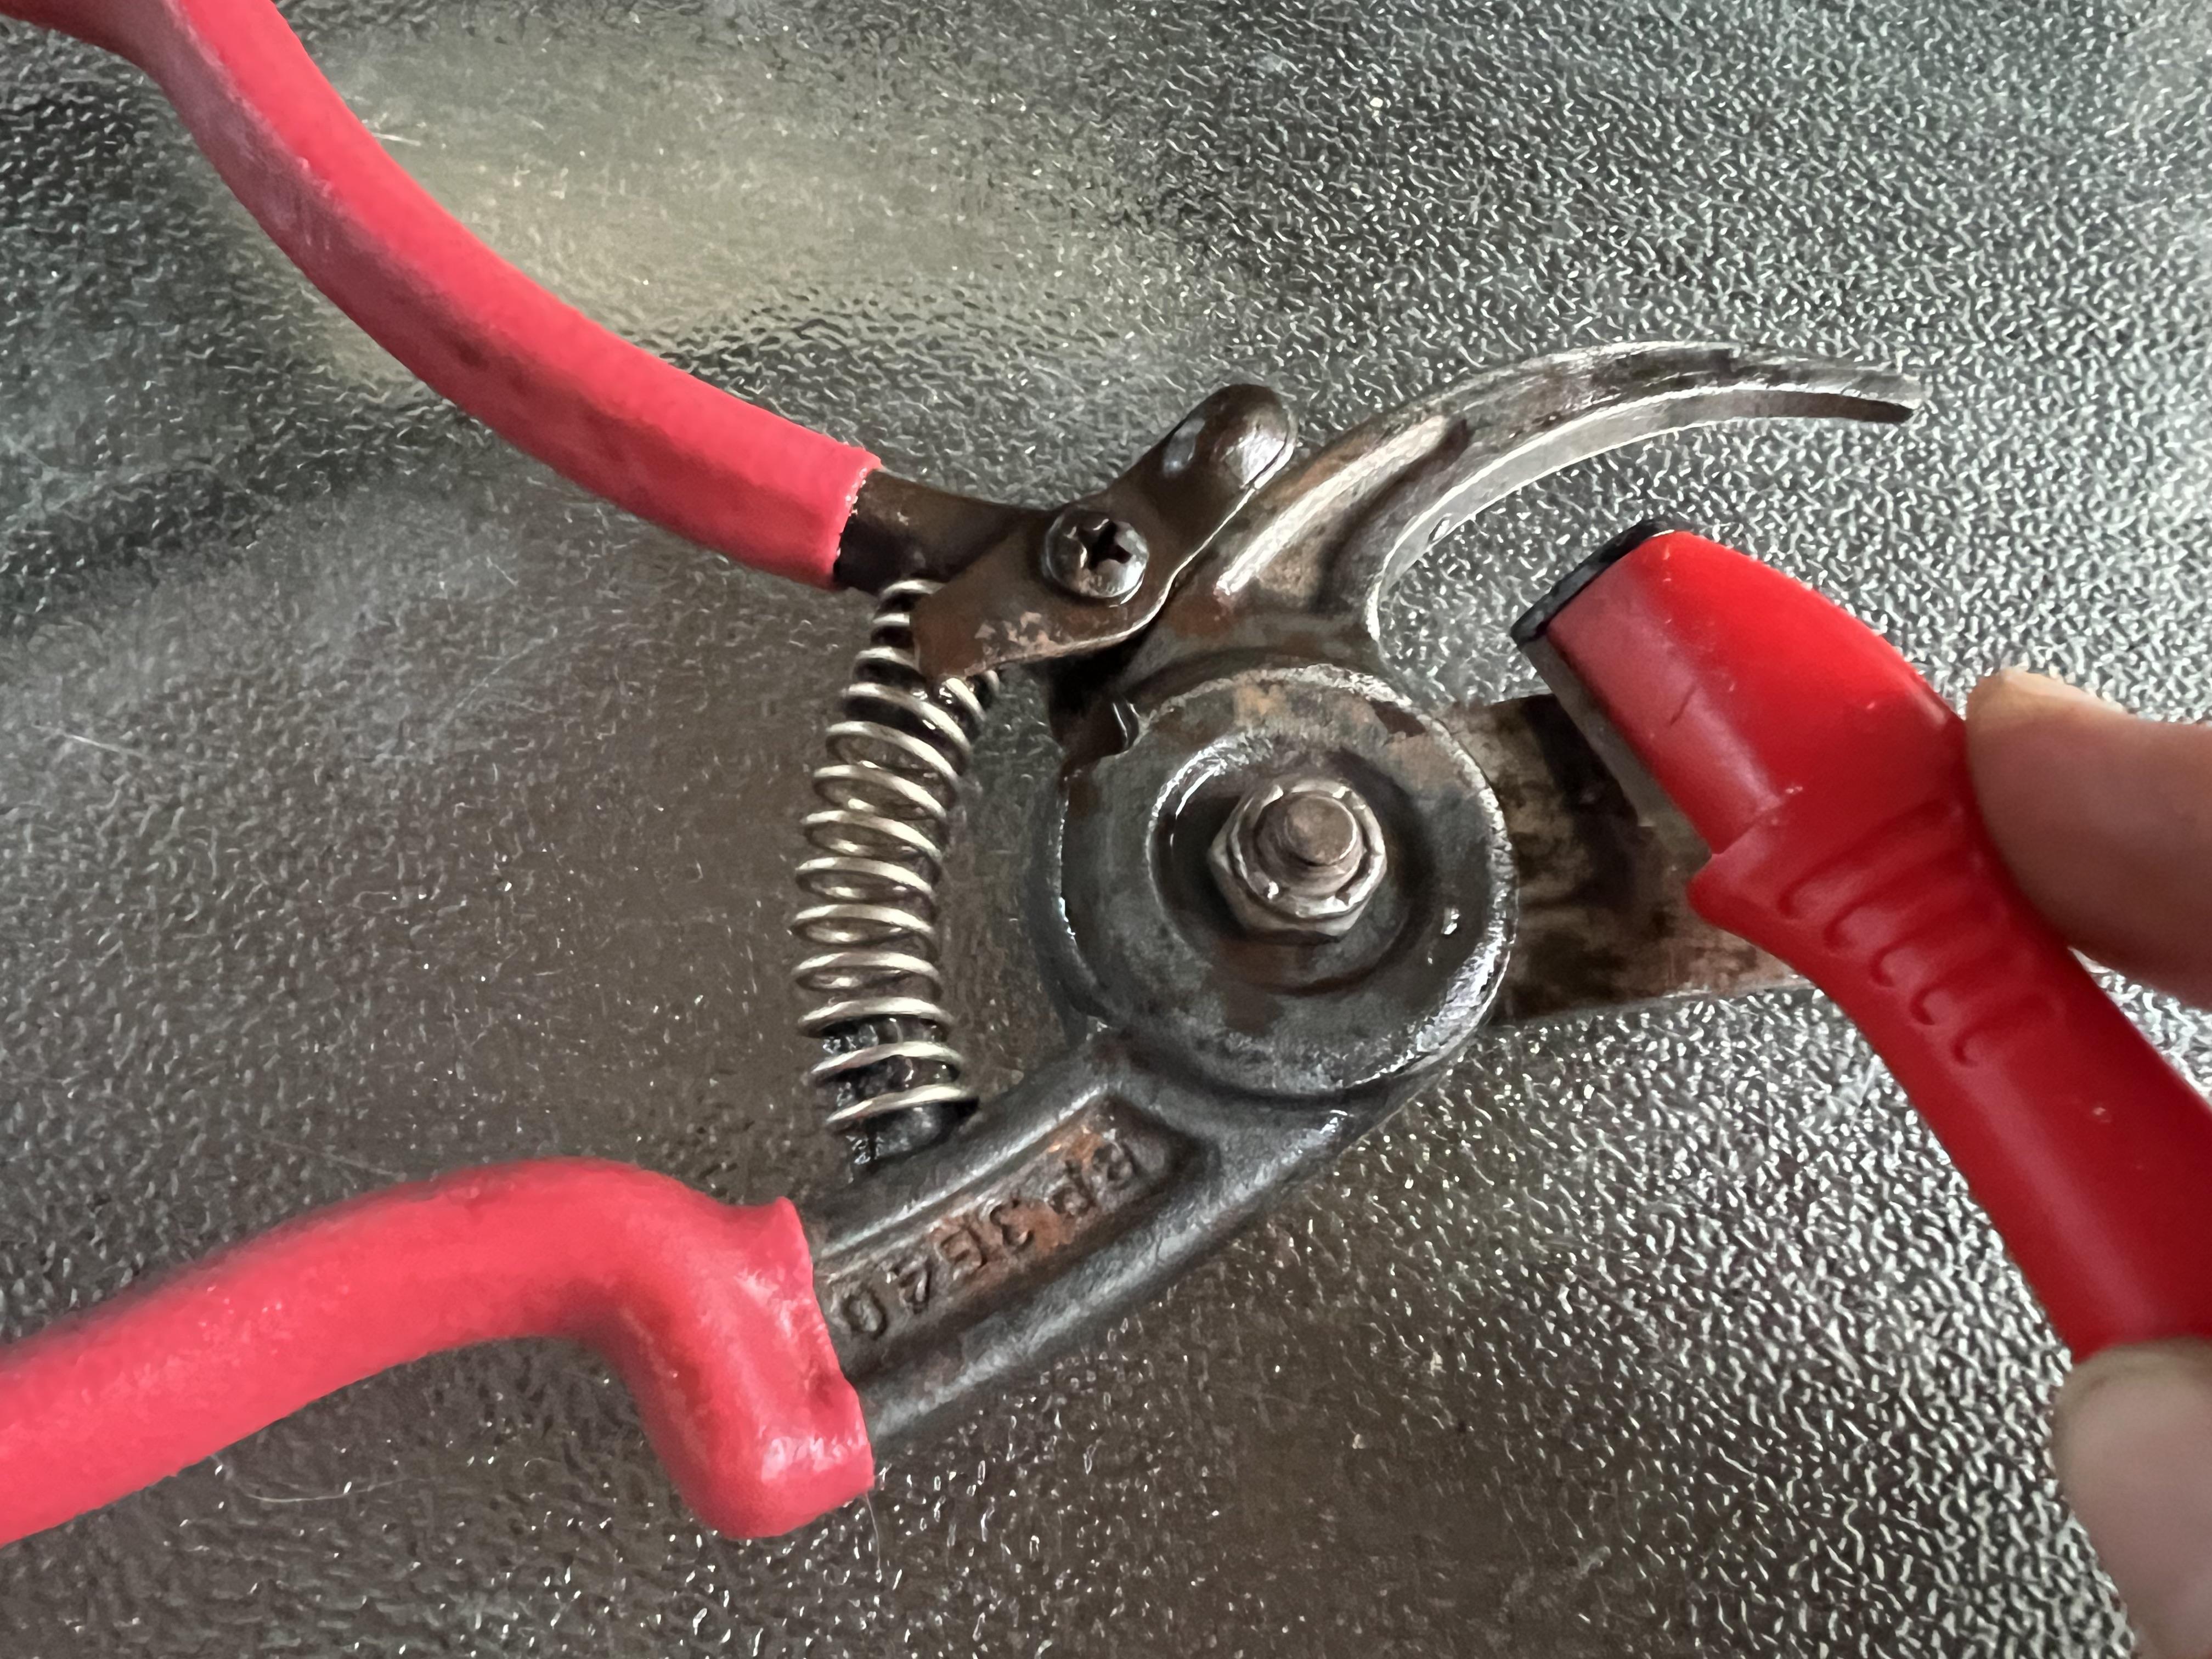

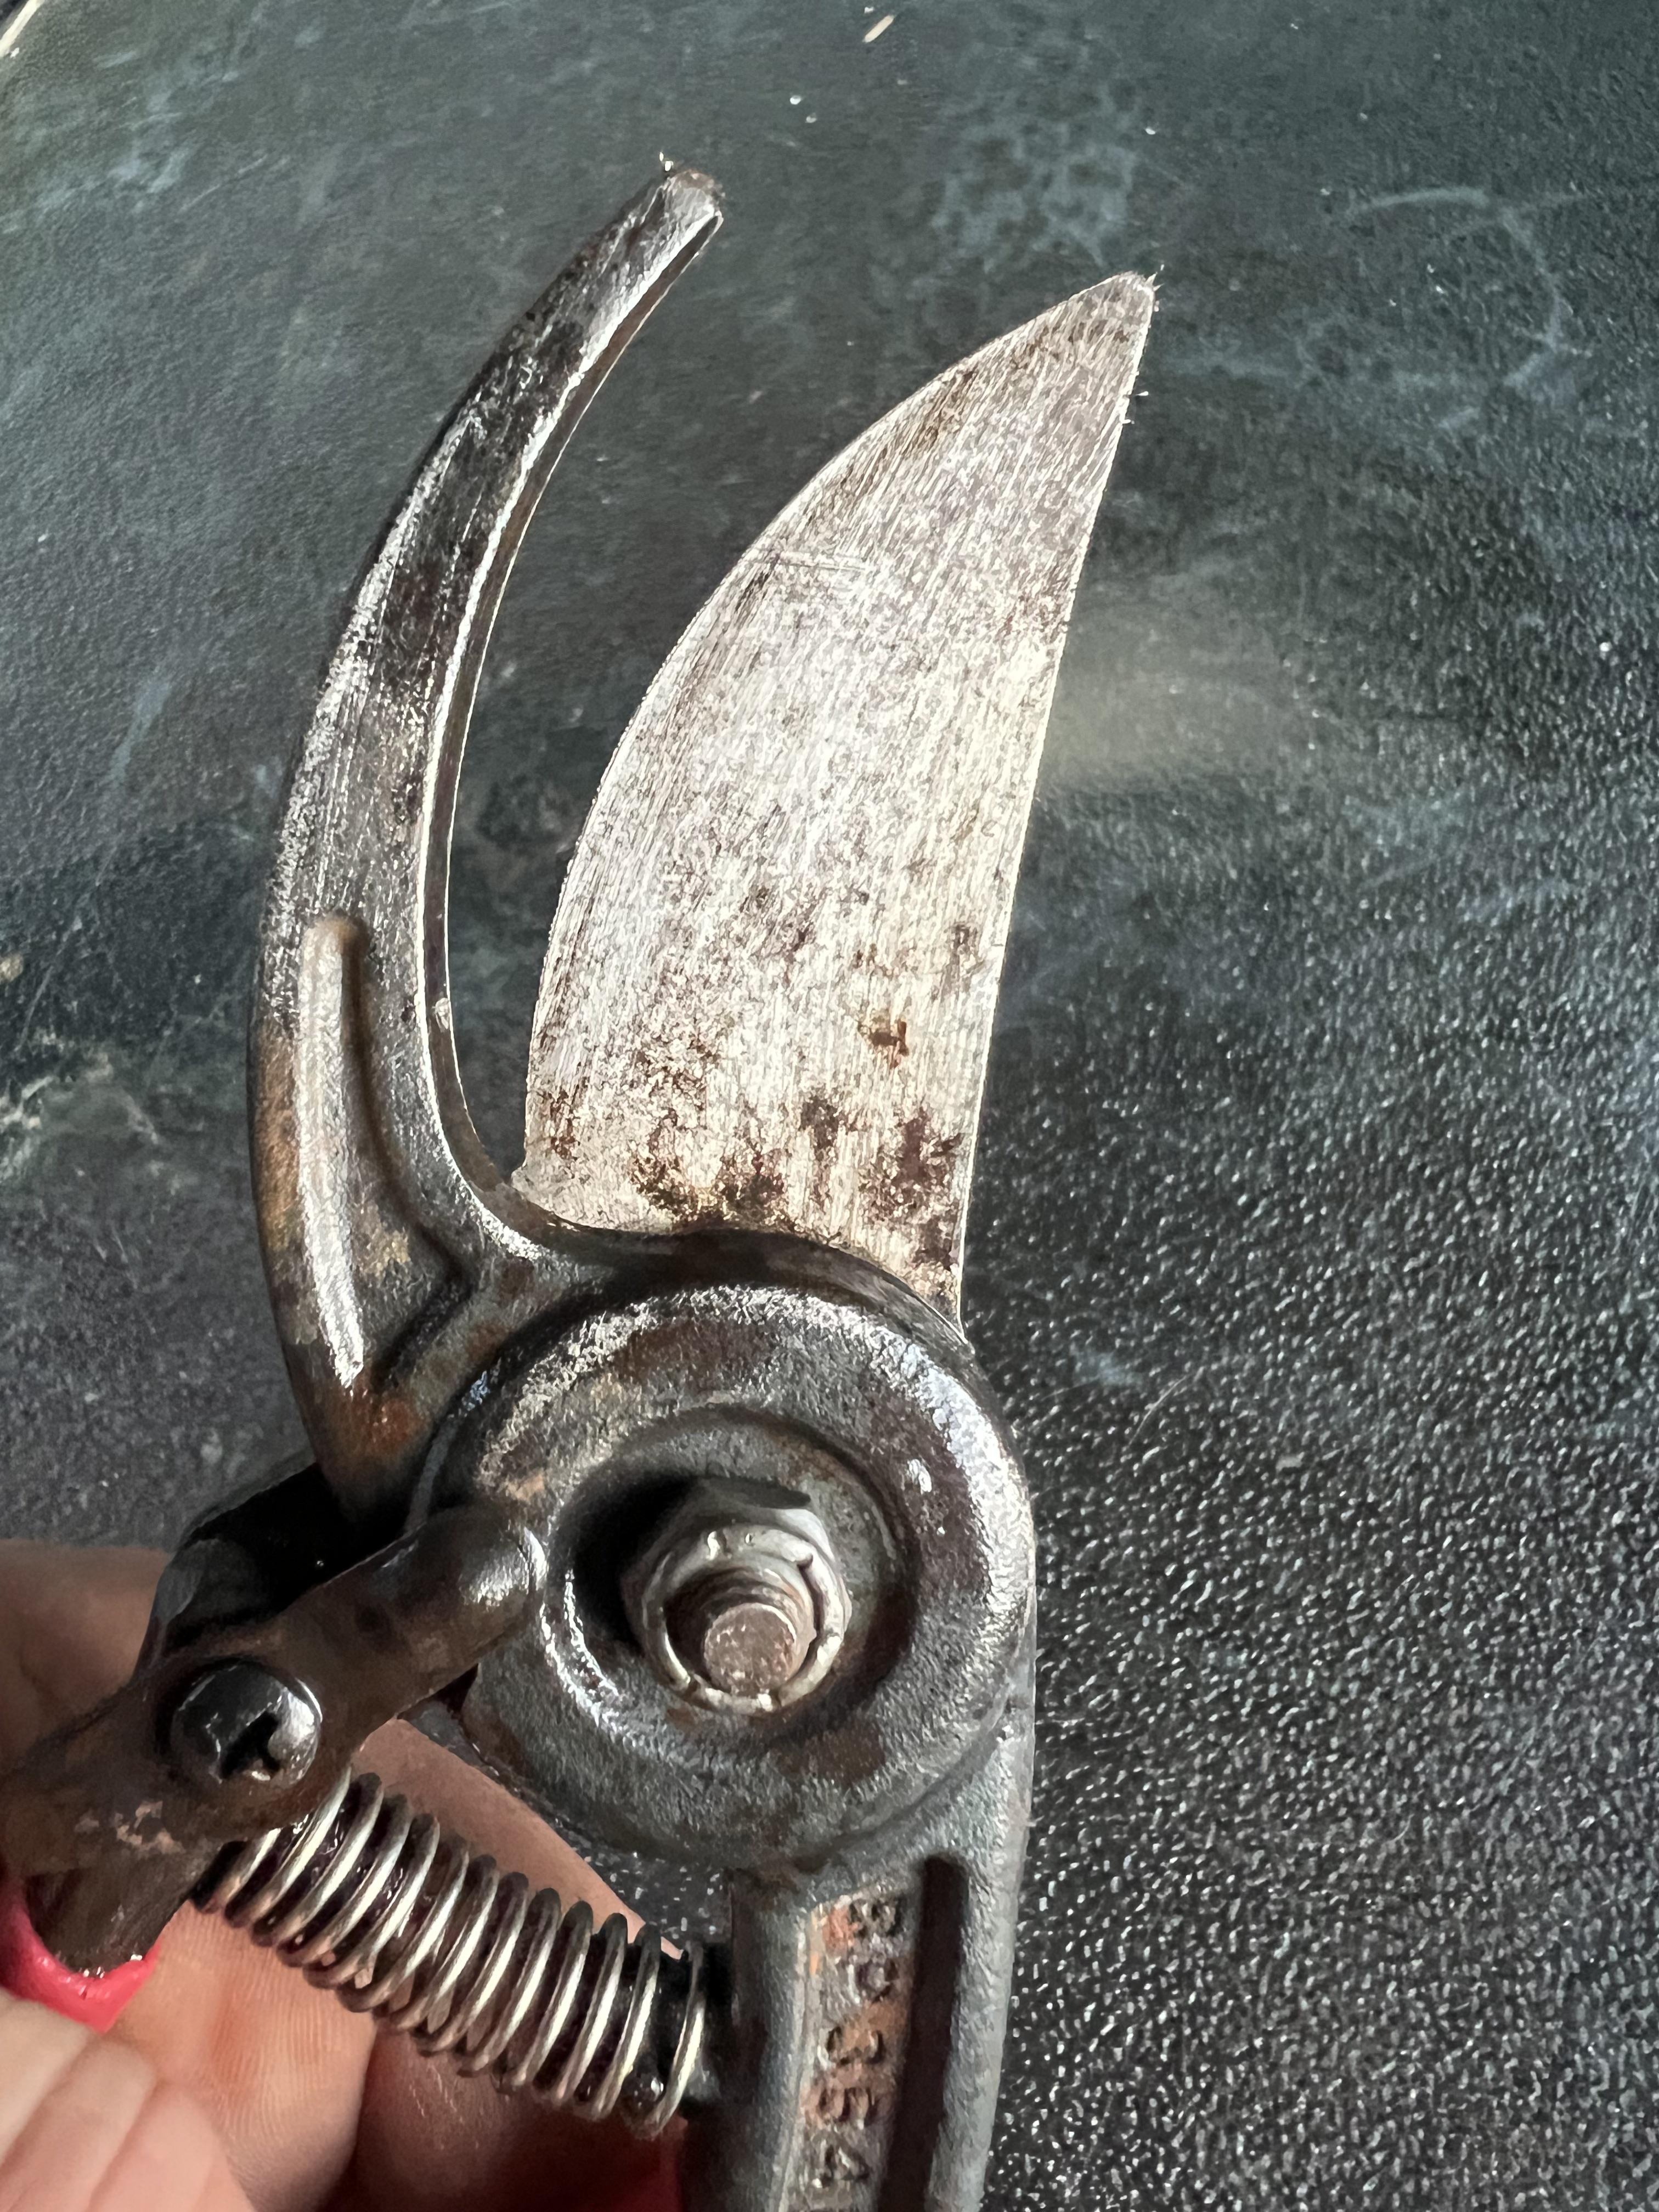
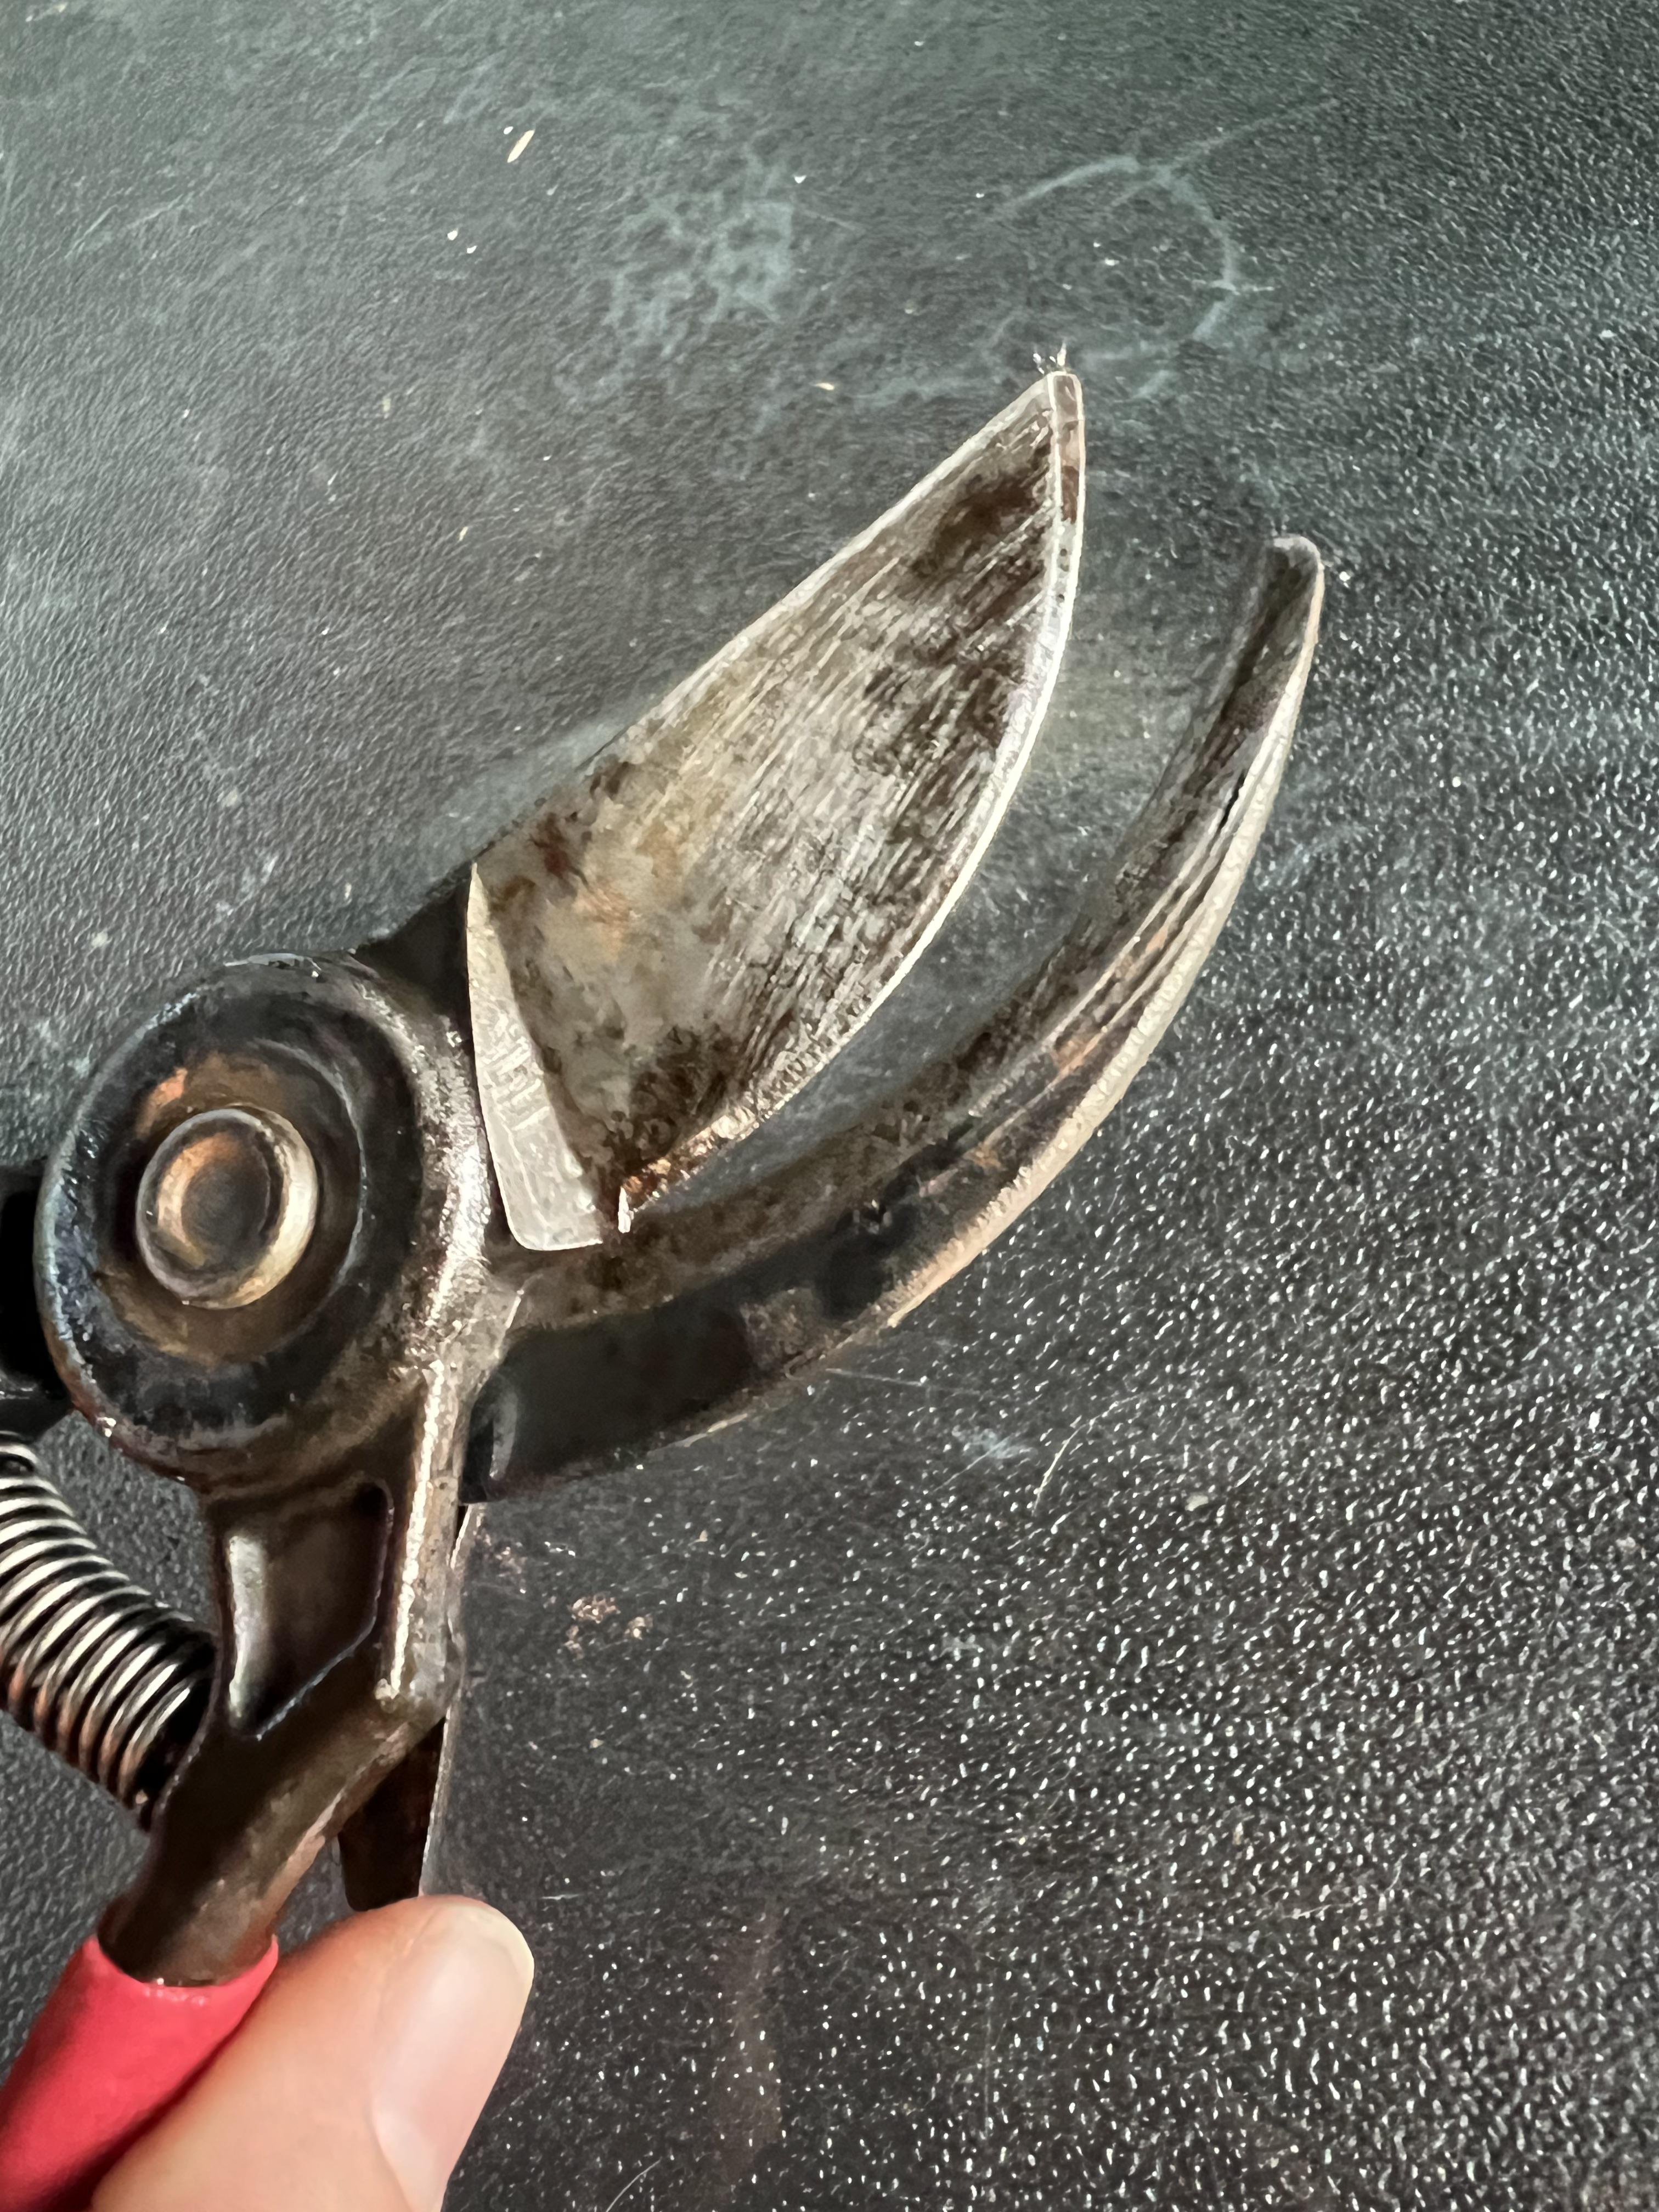
Next, I opened the blades of my clippers to expose the cutting edge of the large side of the clippers. You will noticed a beviled edge, that edge is important to see. Once you notice the beviled edge, take either your sharpening tool or stone and place it at the same angle as the bevilled edge of your blade. From the inner corner, slowly press your sharpening tool to the outer edge of the blade. You should hear the metal to metal rub sound that indicates some sharpening. Repeat this stroke multiple times until you see a shine to the metal blade and you feel a sharp edge when you run your thumb perpendicular to the blade.
Oil Up the Joints

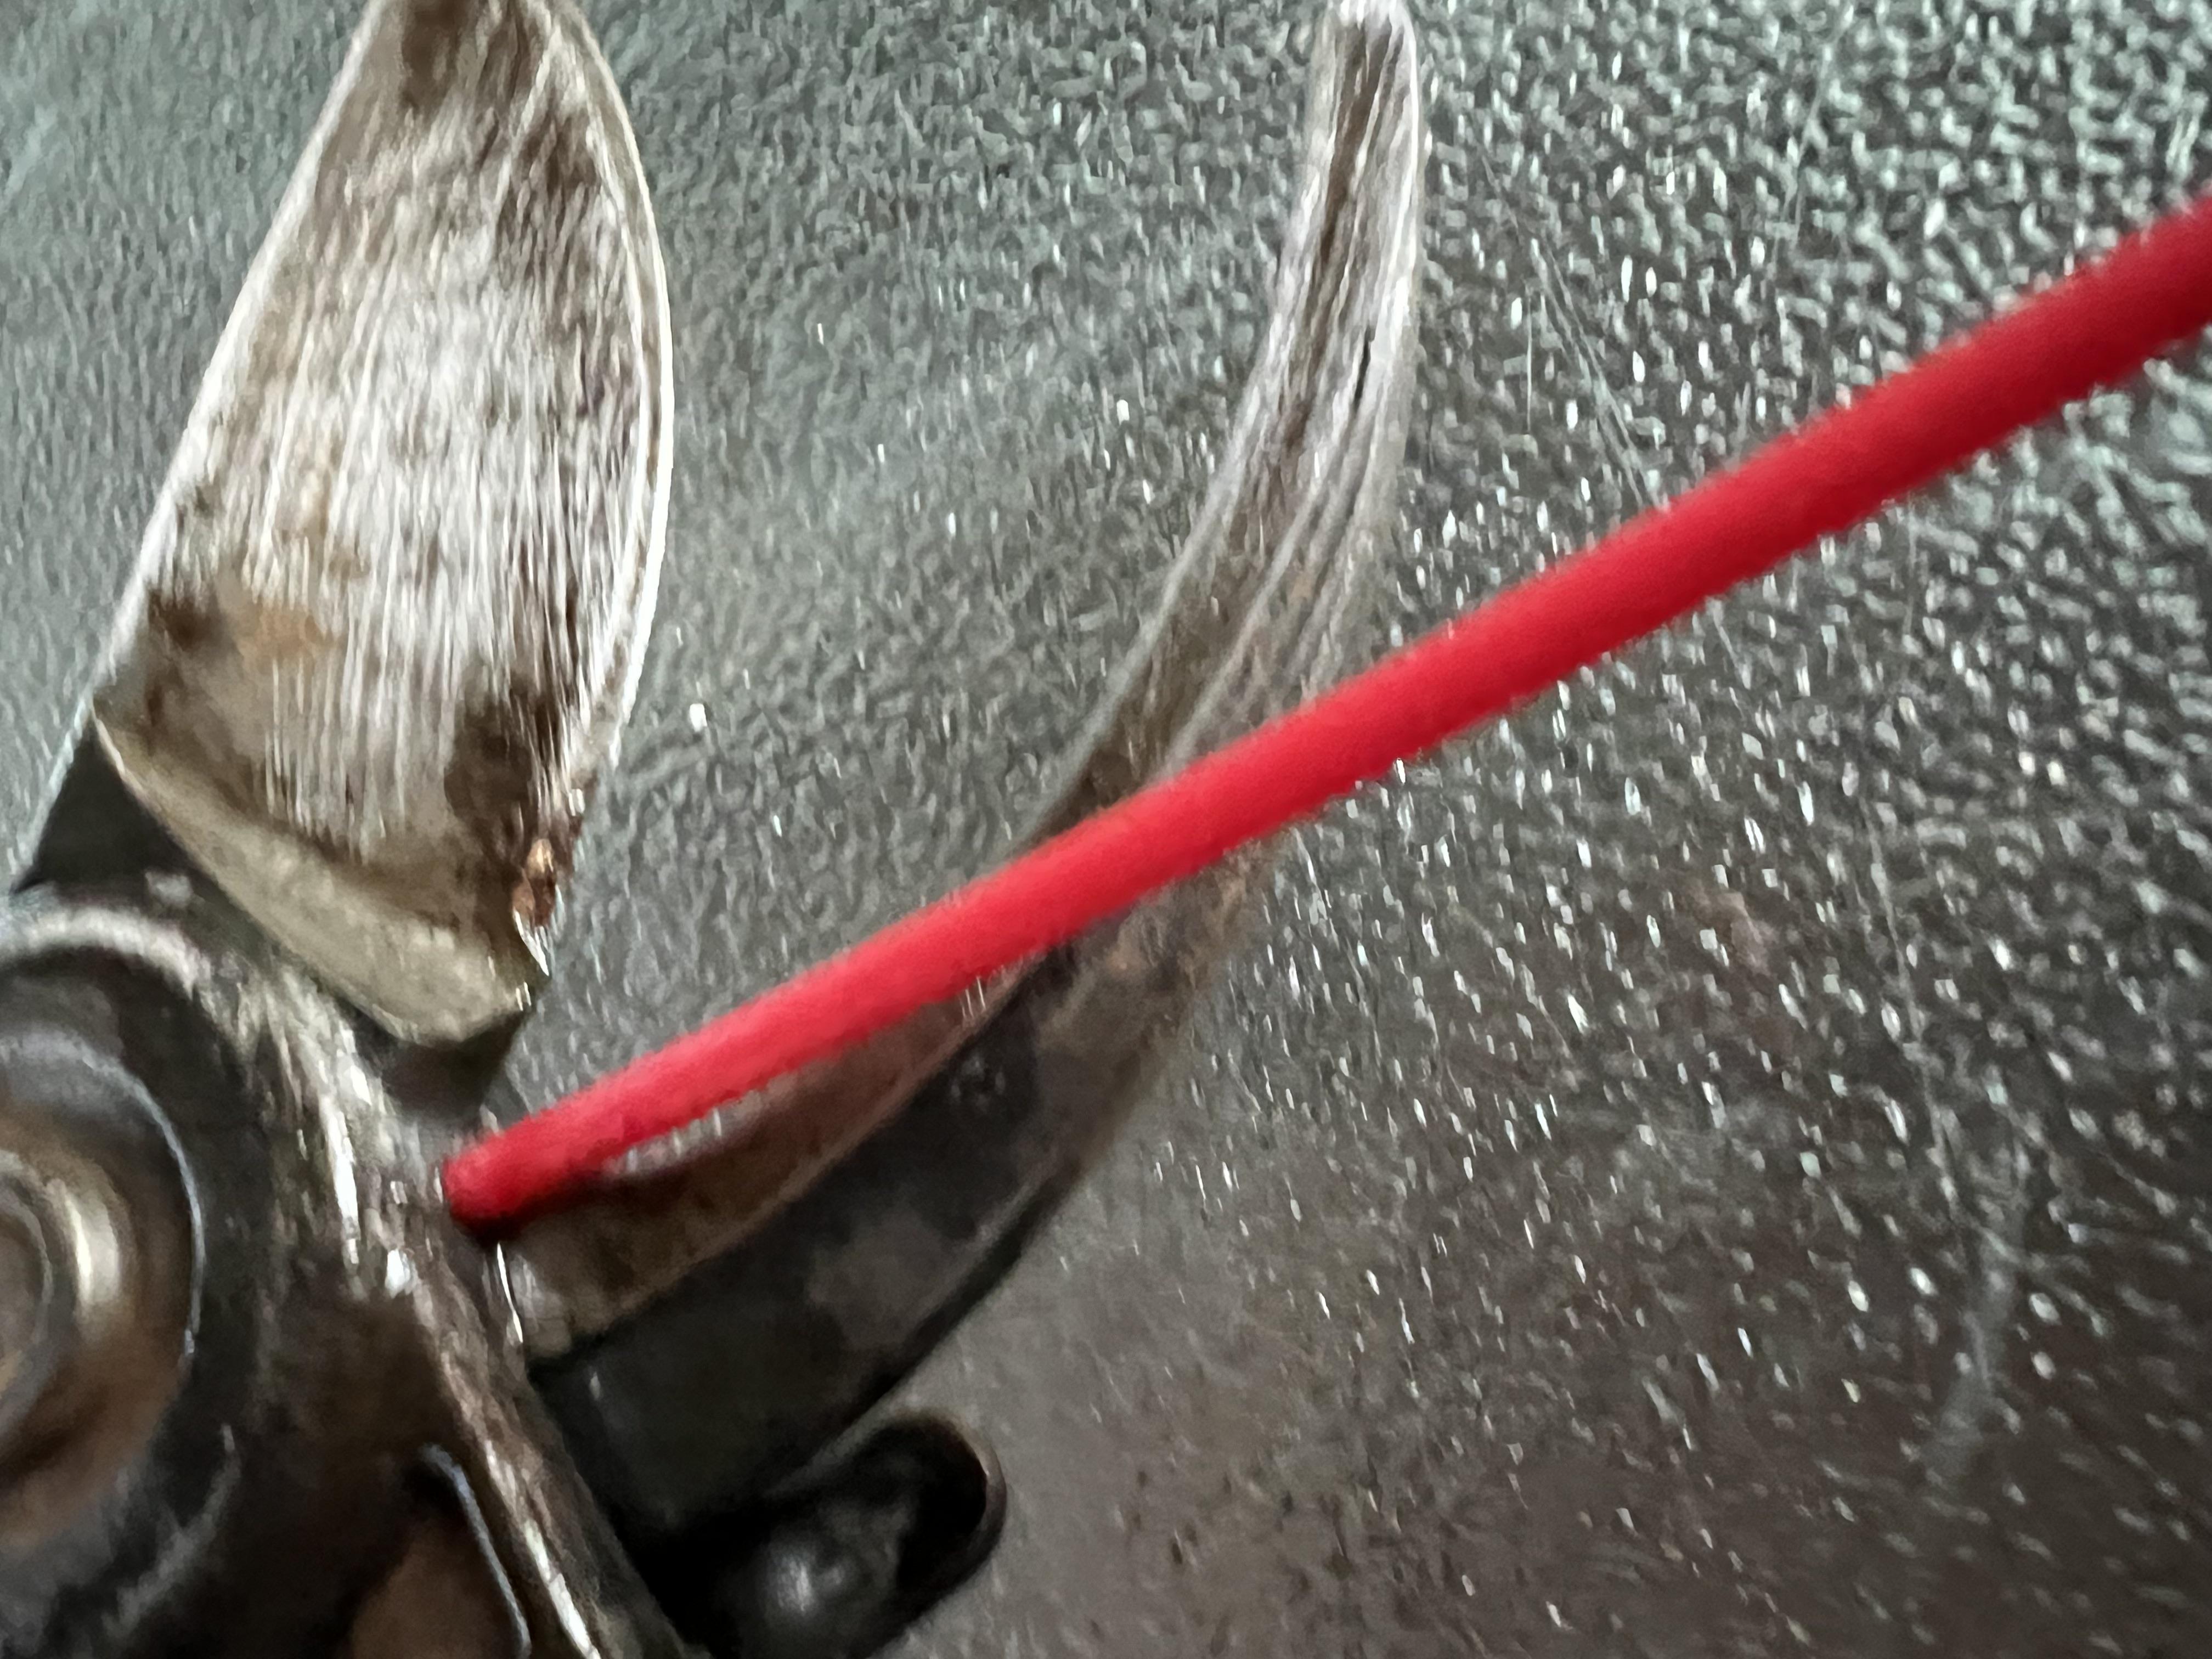
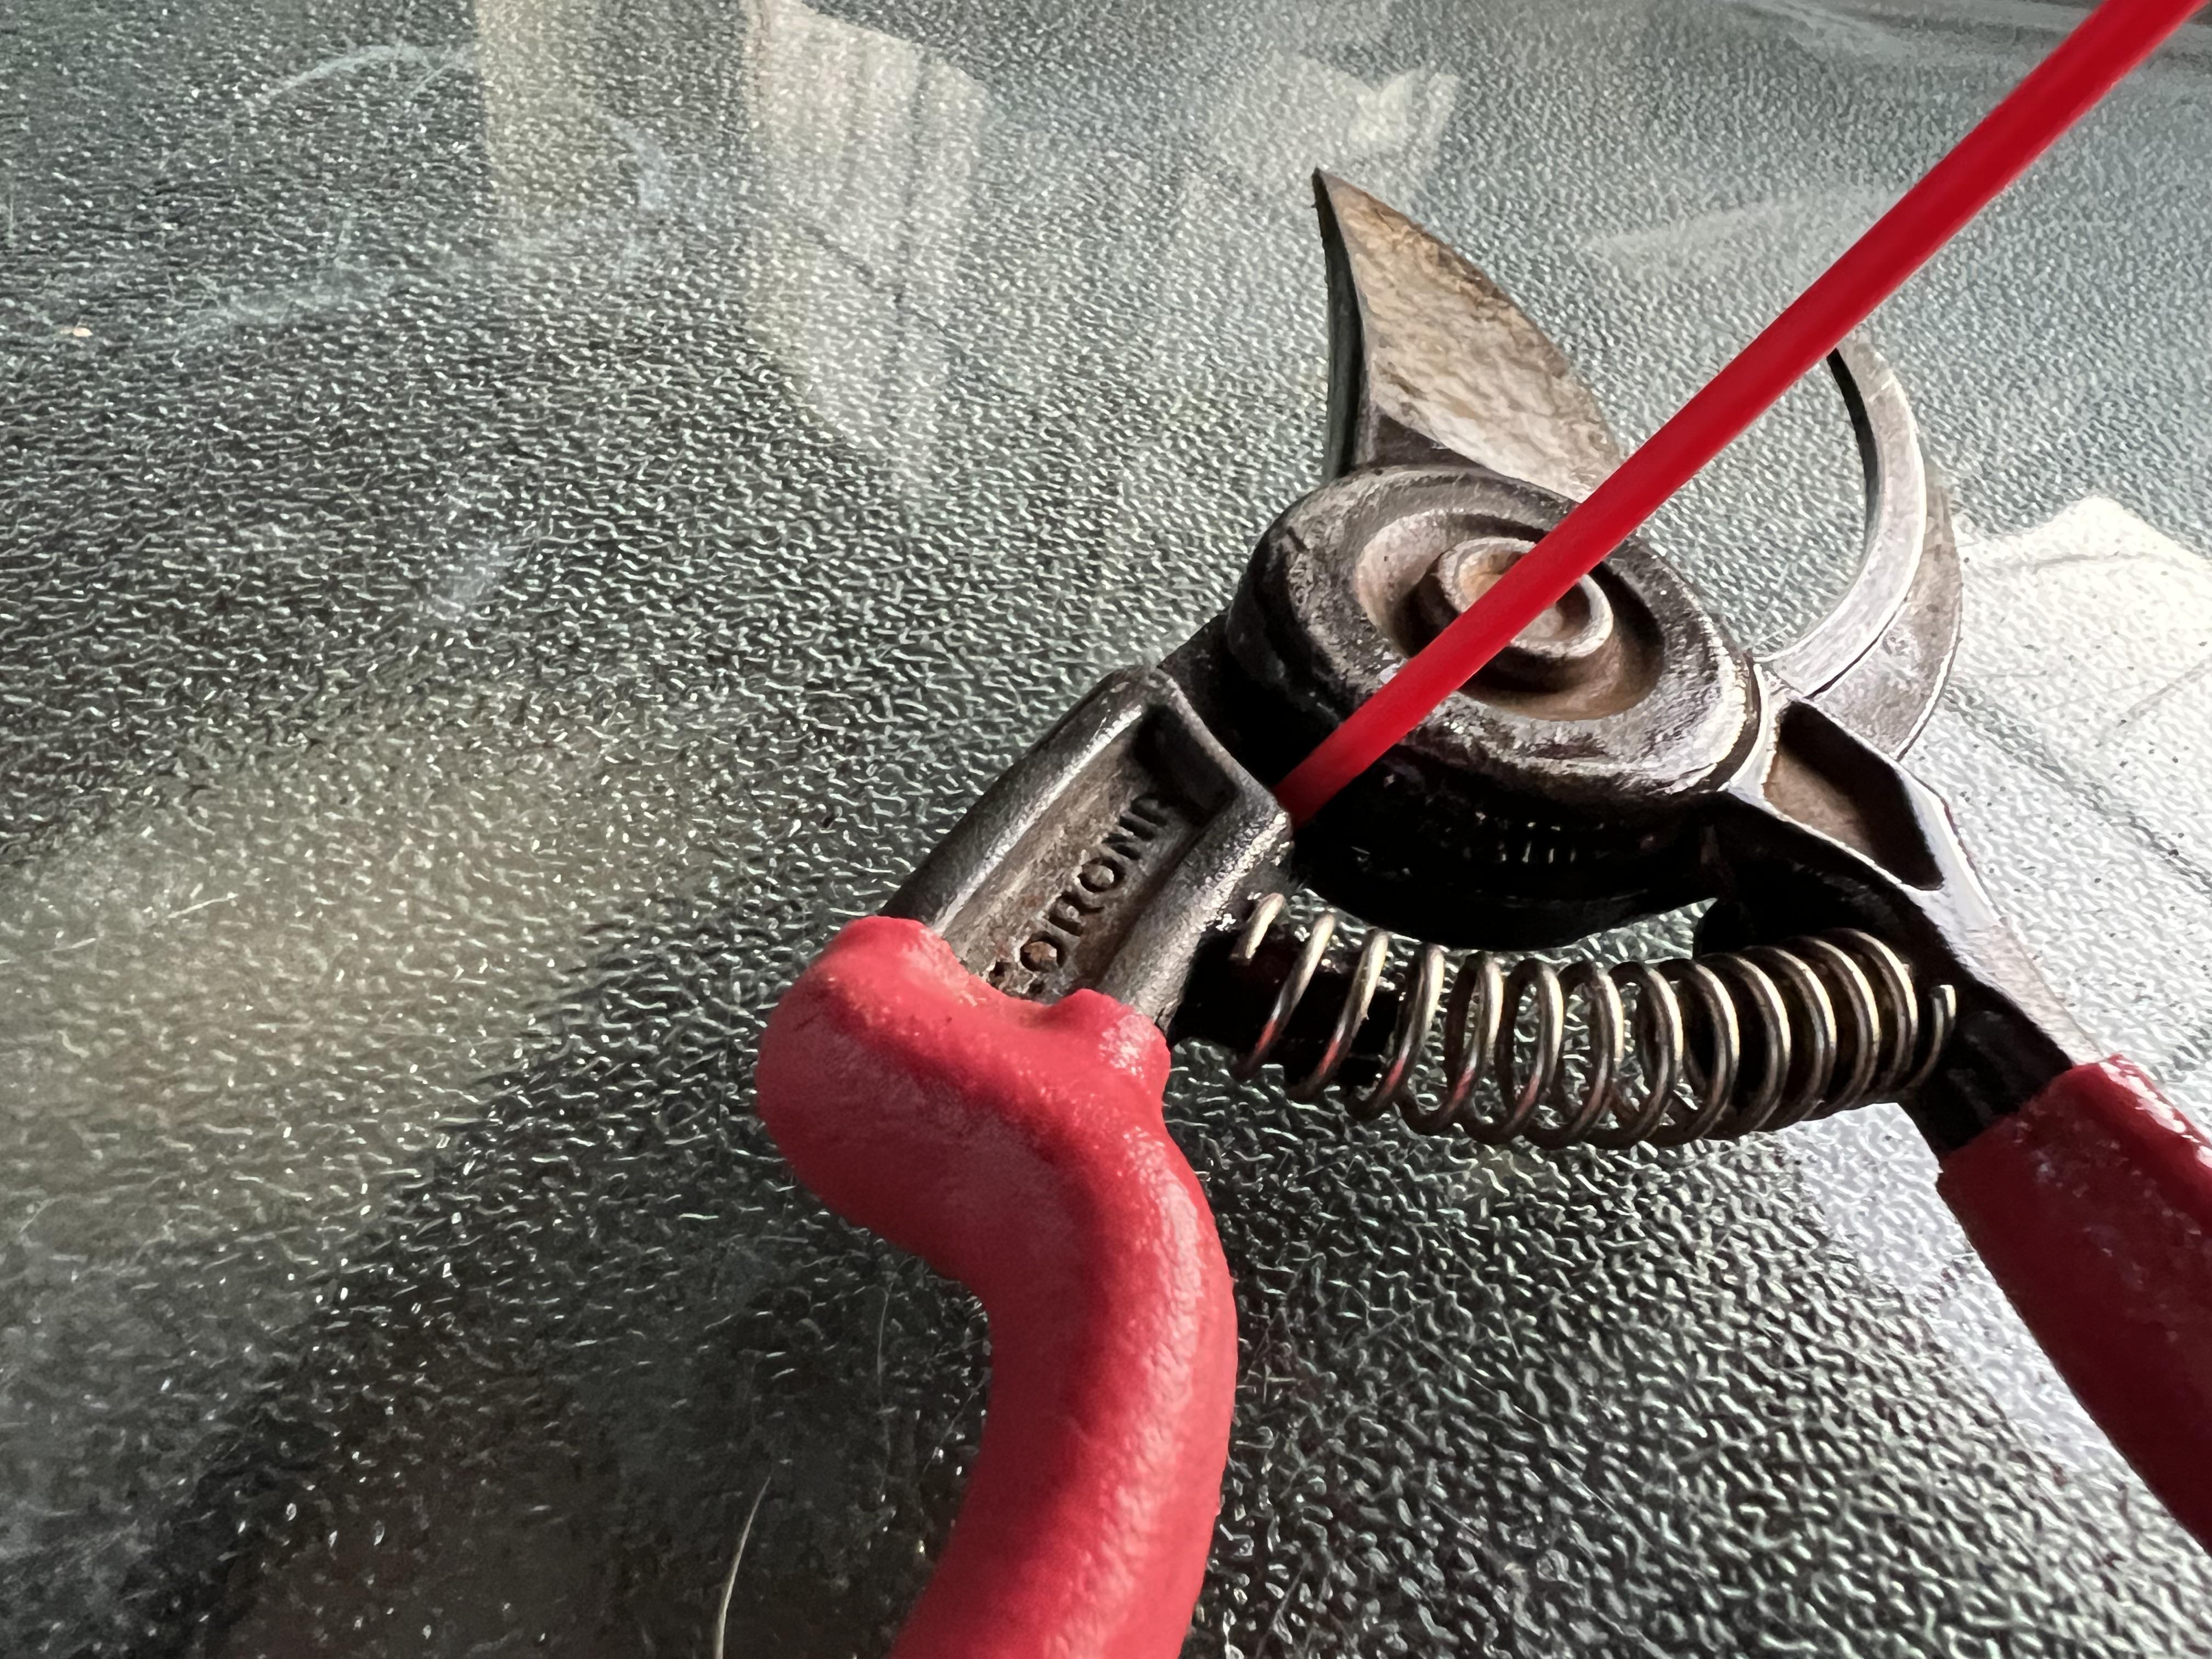


Once things are all sharpened, to keep the clippers going easily, just spray up all the joints and cutting edge with WD-40. Or, if you don't have that you can use engine starting fluid.
Go Play (in the Garden or Backyard) With Sharp Objects!


Cut flowers or branches as needed with your newly sharpened clippers!!