Share Outdoor Adventures on TrailRambler.com
by nwiles in Outside > Camping
1624 Views, 11 Favorites, 0 Comments
Share Outdoor Adventures on TrailRambler.com
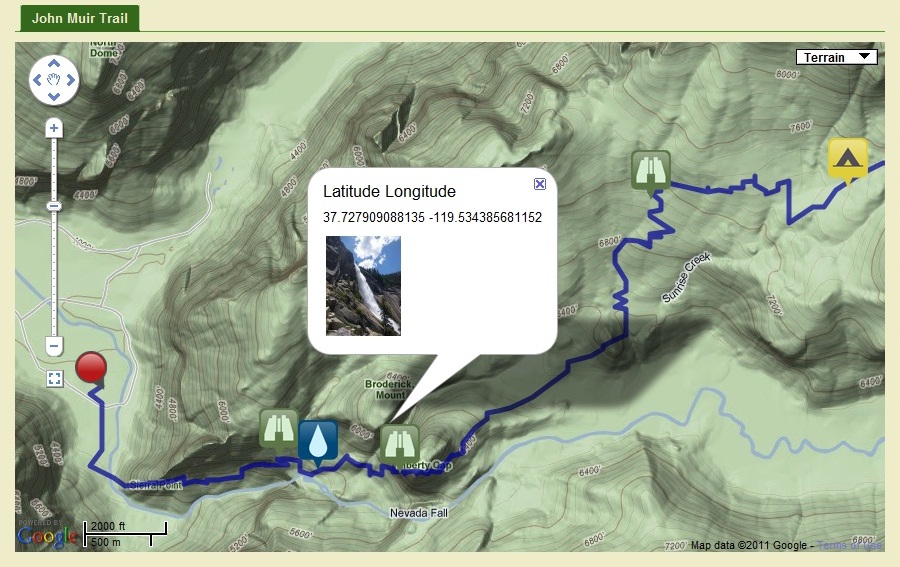
Lots of people around the world are taking outdoor trips these days, and there are numerous resources to help you plan a trip. Trail Rambler is a website devoted to helping people learn about destinations and plan their next trips. Users can share their maps, pictures, and descriptions of their trips along with wisdom they picked up along the way. The more people share, the more others benefit.
This Instructable is designed to show you how you can quickly sign up and share your own trips.
This Instructable is designed to show you how you can quickly sign up and share your own trips.
Sign Up
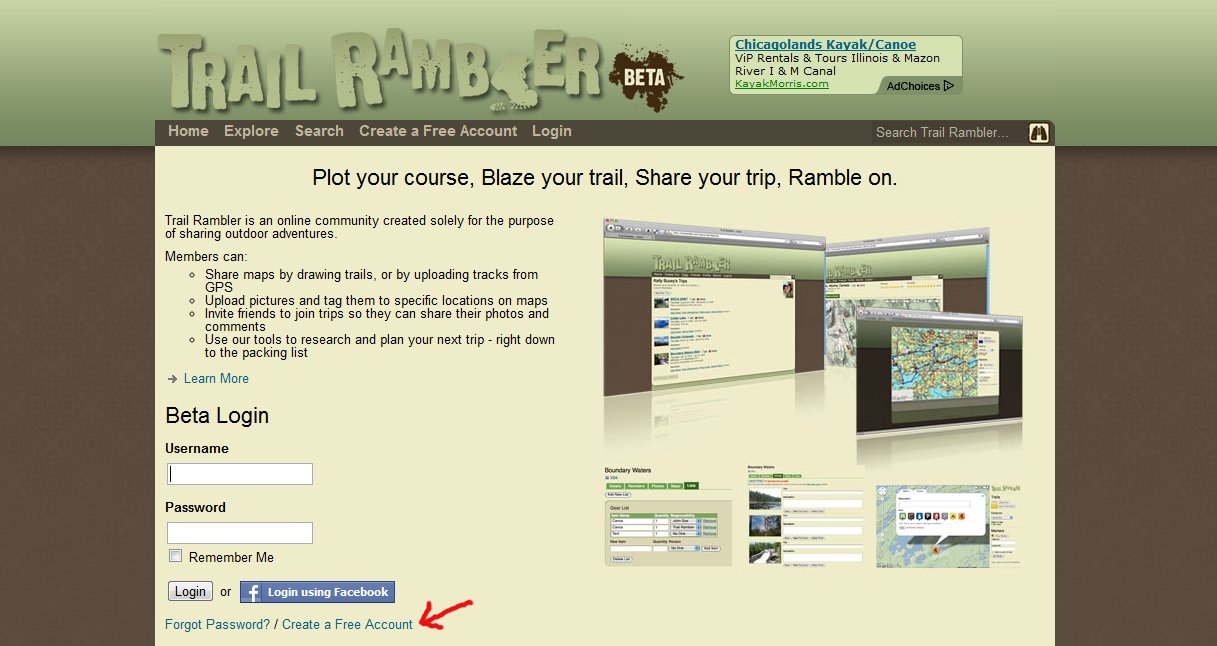
Go to www.trailrambler.com to sign up for a free account. You can either select "Create a Free Account," or you can choose to login using a Facebook account.
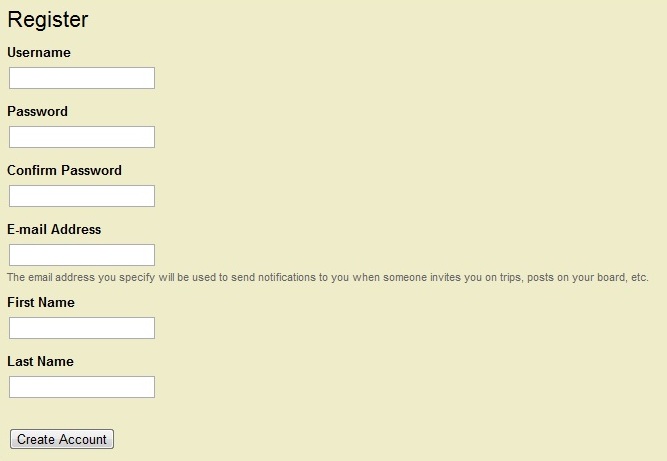
When you go to signup, they ask for standard information, including an email address. They really only send you emails for notification purposes - no SPAM.
After you click "Create Account," they send you an email to verify that it is, in fact, you. Follow the instructions in the email to activate your account. Once you activate the account, BAM! you're in. You can go in and add information to your profile if you wish. It's helpful, since this is intended to be a social site. It also helps to give people an idea of your interests and experience level, since you are basically giving out free advice.
Add a Trip
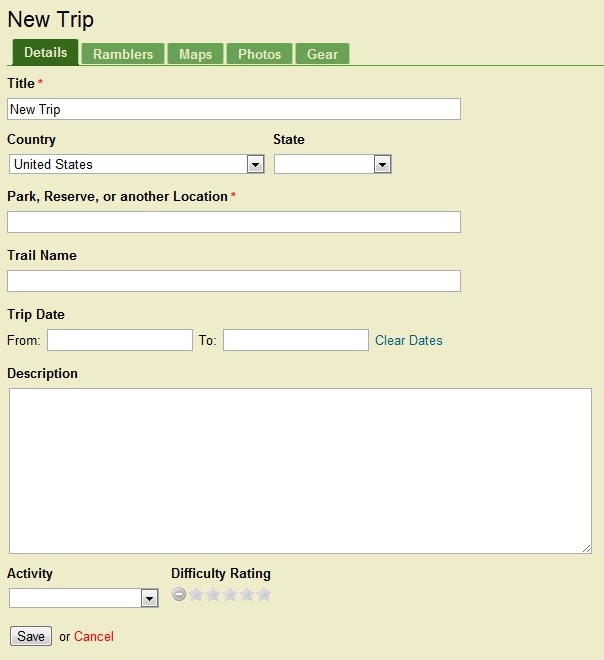
Once you are logged in, you can either click on "Add Trips" on the home page, or on the "Trips" tab from any page. Next click on "Create a New Trip" at the top of your Trips page.
Add all your trip information on the "Details" tab. It is a lot of information, but if you go to the advanced search page, you'll see why they are trying to gather as much detail as possible.
Add all your trip information on the "Details" tab. It is a lot of information, but if you go to the advanced search page, you'll see why they are trying to gather as much detail as possible.
Add Companions to Your Trip
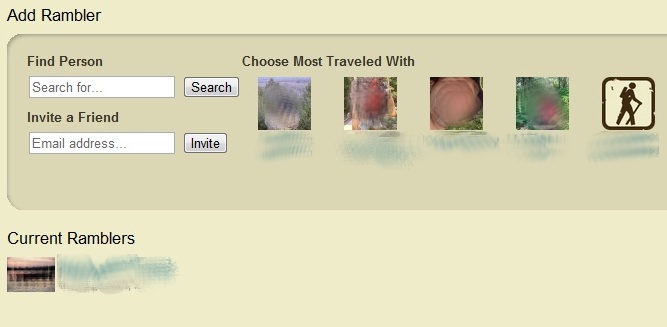
Next, go to the "Ramblers" tab to include friends that were on the trip. If they already have a Trail Rambler account, you can search the site for them. If they aren't already users, you can invite them by typing in their email address. Once they sign up, they'll be included on your trip.
Add a Map
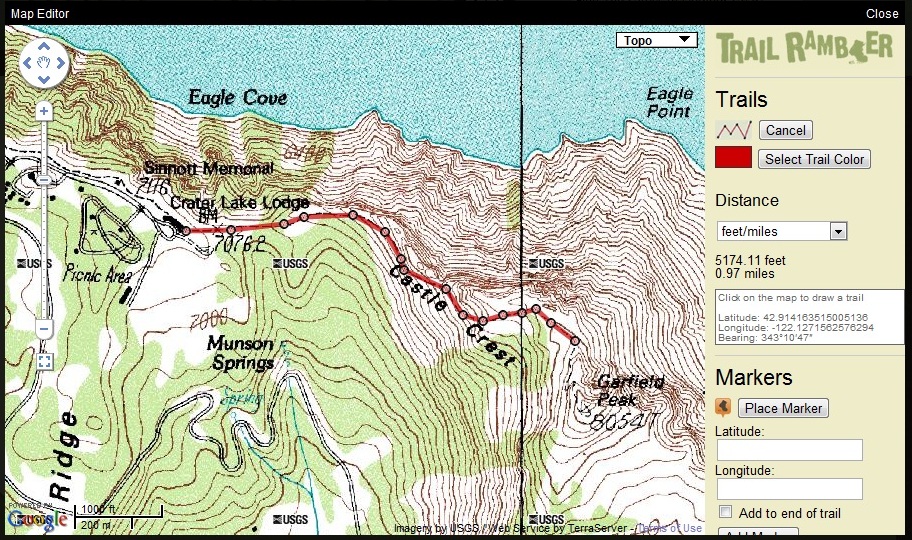
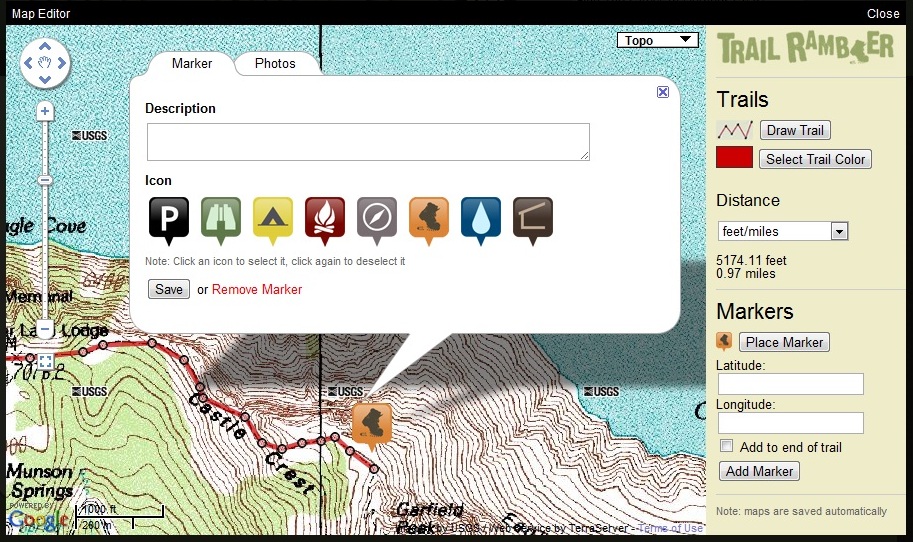
This is probably the most important part. At least to me, this seems like the most valuable information to be sharing. Not only can you add a map with your trail drawn out, but you can also add waypoints and even add pictures to those points. If you want to add pictures to map markers, you may actually want to skip to the photo tab before you add your map. I say this because in order to add a picture to a waypoint on the map, you need to choose a picture that has already been uploaded.
Title your map. I usually just use the trail I was on as a title, but you can call it whatever you want. The title helps most if you decide to add more than one map to a trip.
If you use a GPS unit, you can actually just upload a GPX file and the map will be created automatically. If you don't, you can draw your map in the Map Editor. No artistic talent required.
Open the map editor. You can zoom by double clicking, and pan by dragging, but once you start drawing your trail, you will need to use Google Map's buttons on the left side of the map. You can choose different map views, including topographic. I always draw trails in the topo view, because many trails in both State and National Parks are shown in topo view.
Start by clicking "Draw Map," and begin placing points. You aren't actually drawing, you are just adding vertices that the map editor will draw straight lines in between. You can decide how detailed you want to get. The more accurate your drawing, the more accurately your distances will be measured. You can change the color of your trail route to best stand out from the map background.
You can add waypoints by placing them on the map, or by entering in the coordinates. Once you add a point, you can select a marker icon that best fits that point. You can also add a description of that point, and can even select a photo from your album. (As mentioned before, you need to first upload pictures of your trip before you can tie them to your markers.)
When you are done, just close the map editor. Everything has been saving automatically as you go, so no need to worry about the lack of a "Save" button.
Add Photos
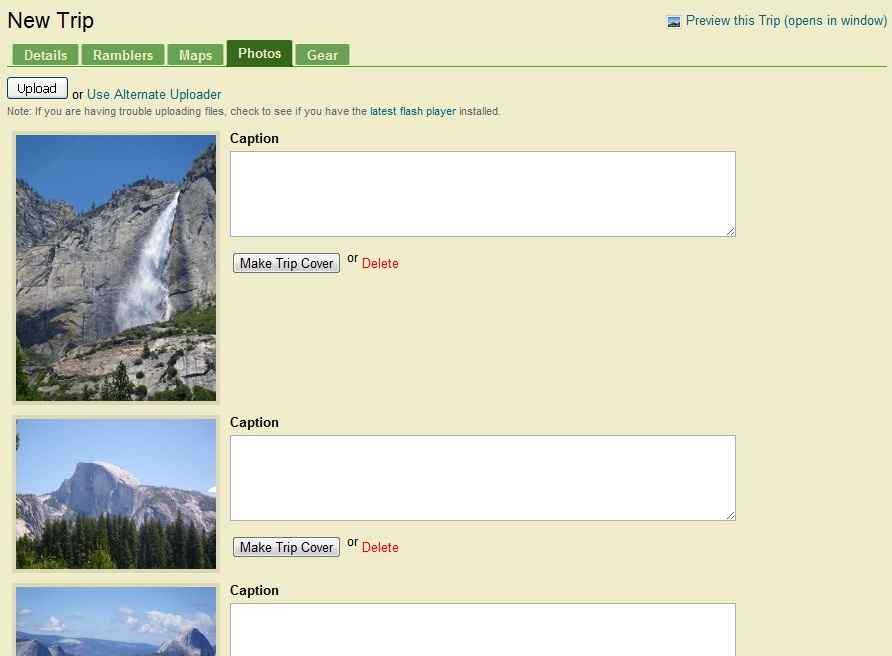
You can upload photos just like you would on any other social networking site. The uploader allows you to select multiple photos at a time. Once the photos are uploaded, you can add descriptions.
Done!
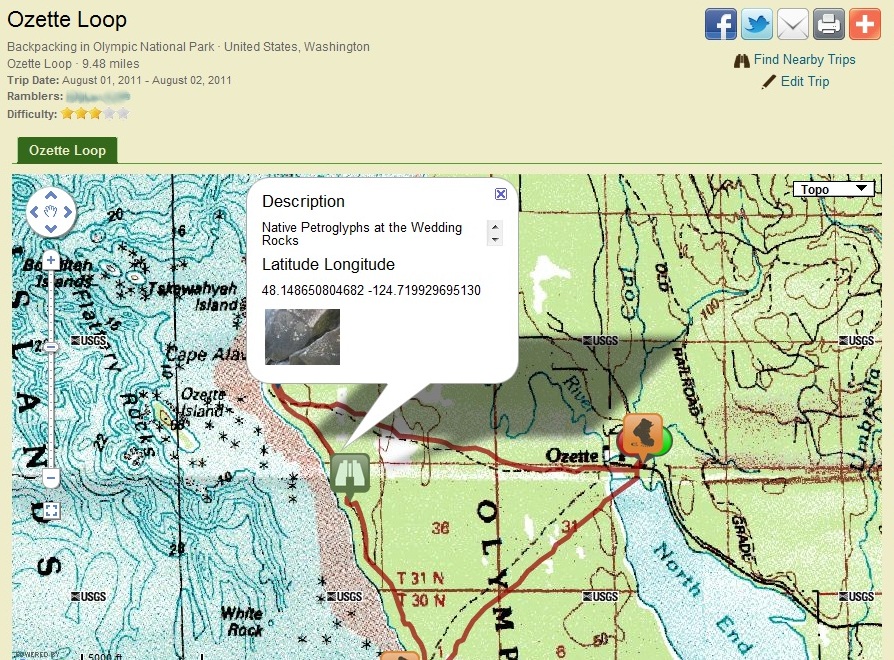
That's it! You added a trip to Trail Rambler for other outdoor enthusiasts to see. Now add some more and have a look around. You may find a great idea for a trip you never knew about before, or some helpful information for a trip you've been thinking about for a while.
Ramble on!
Ramble on!