Bokeh Filter DIY
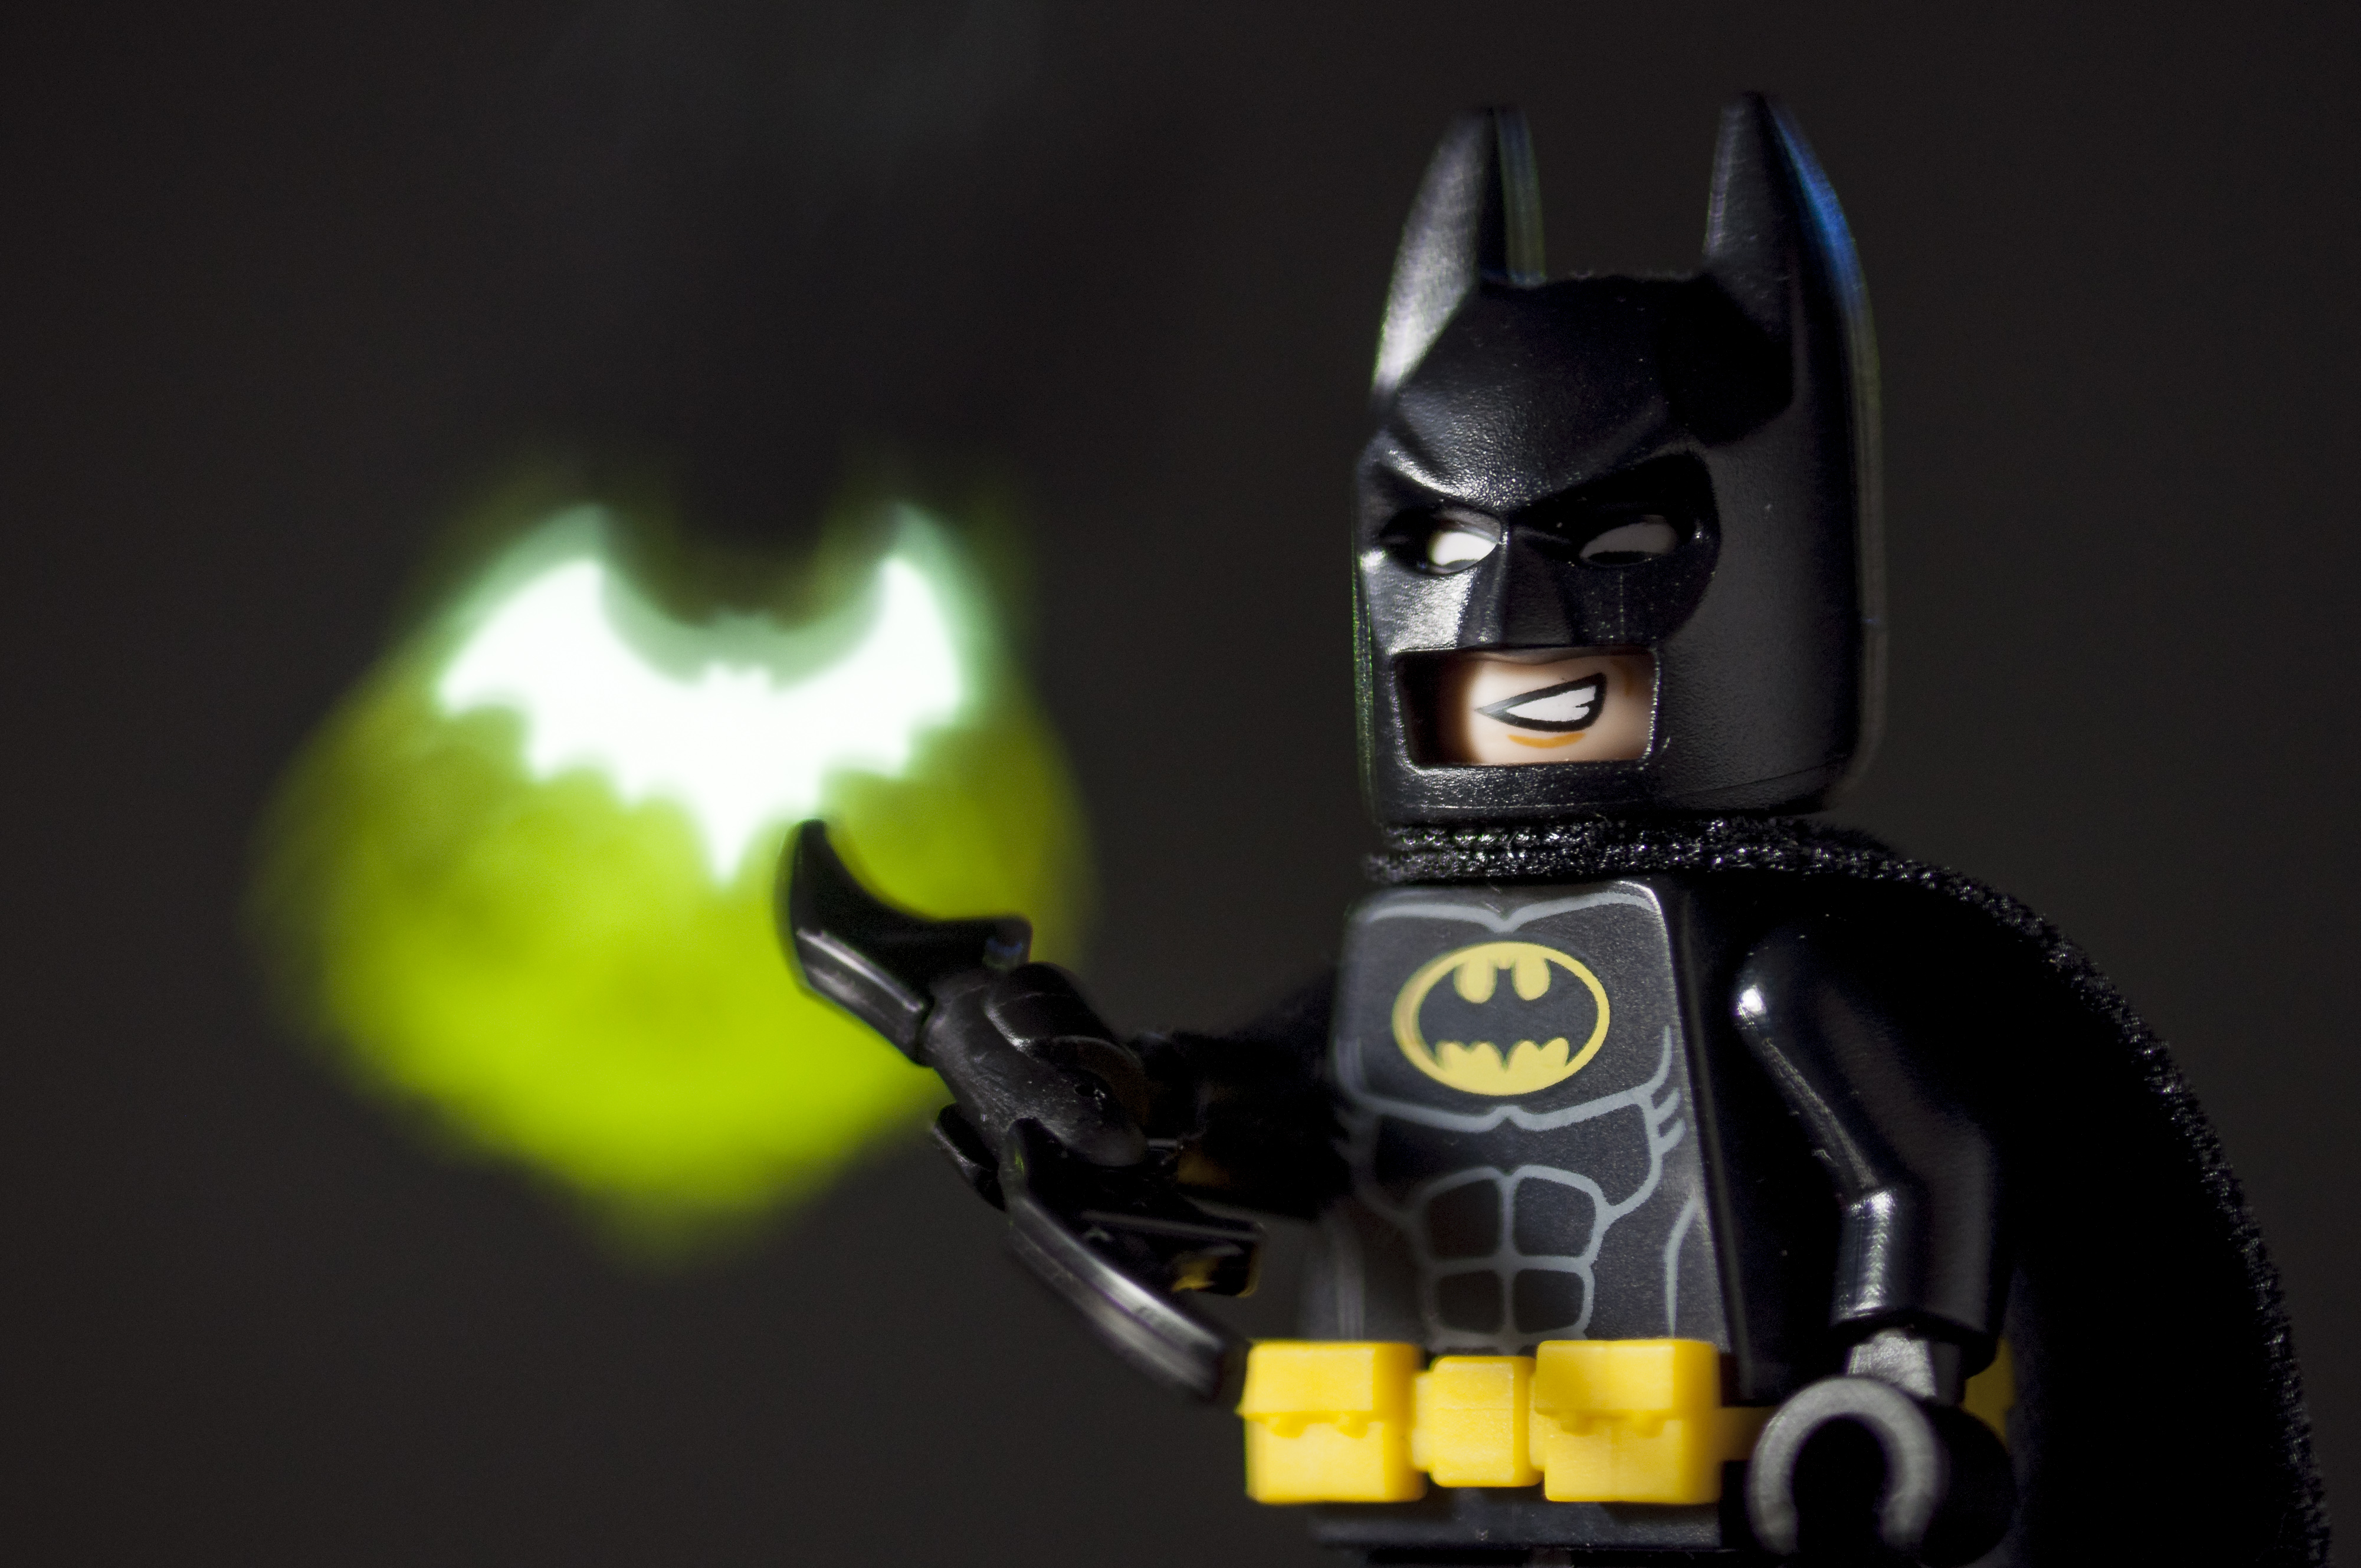
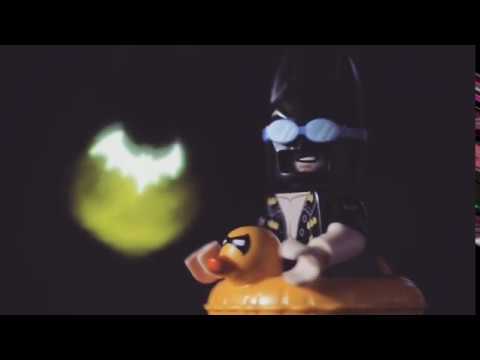
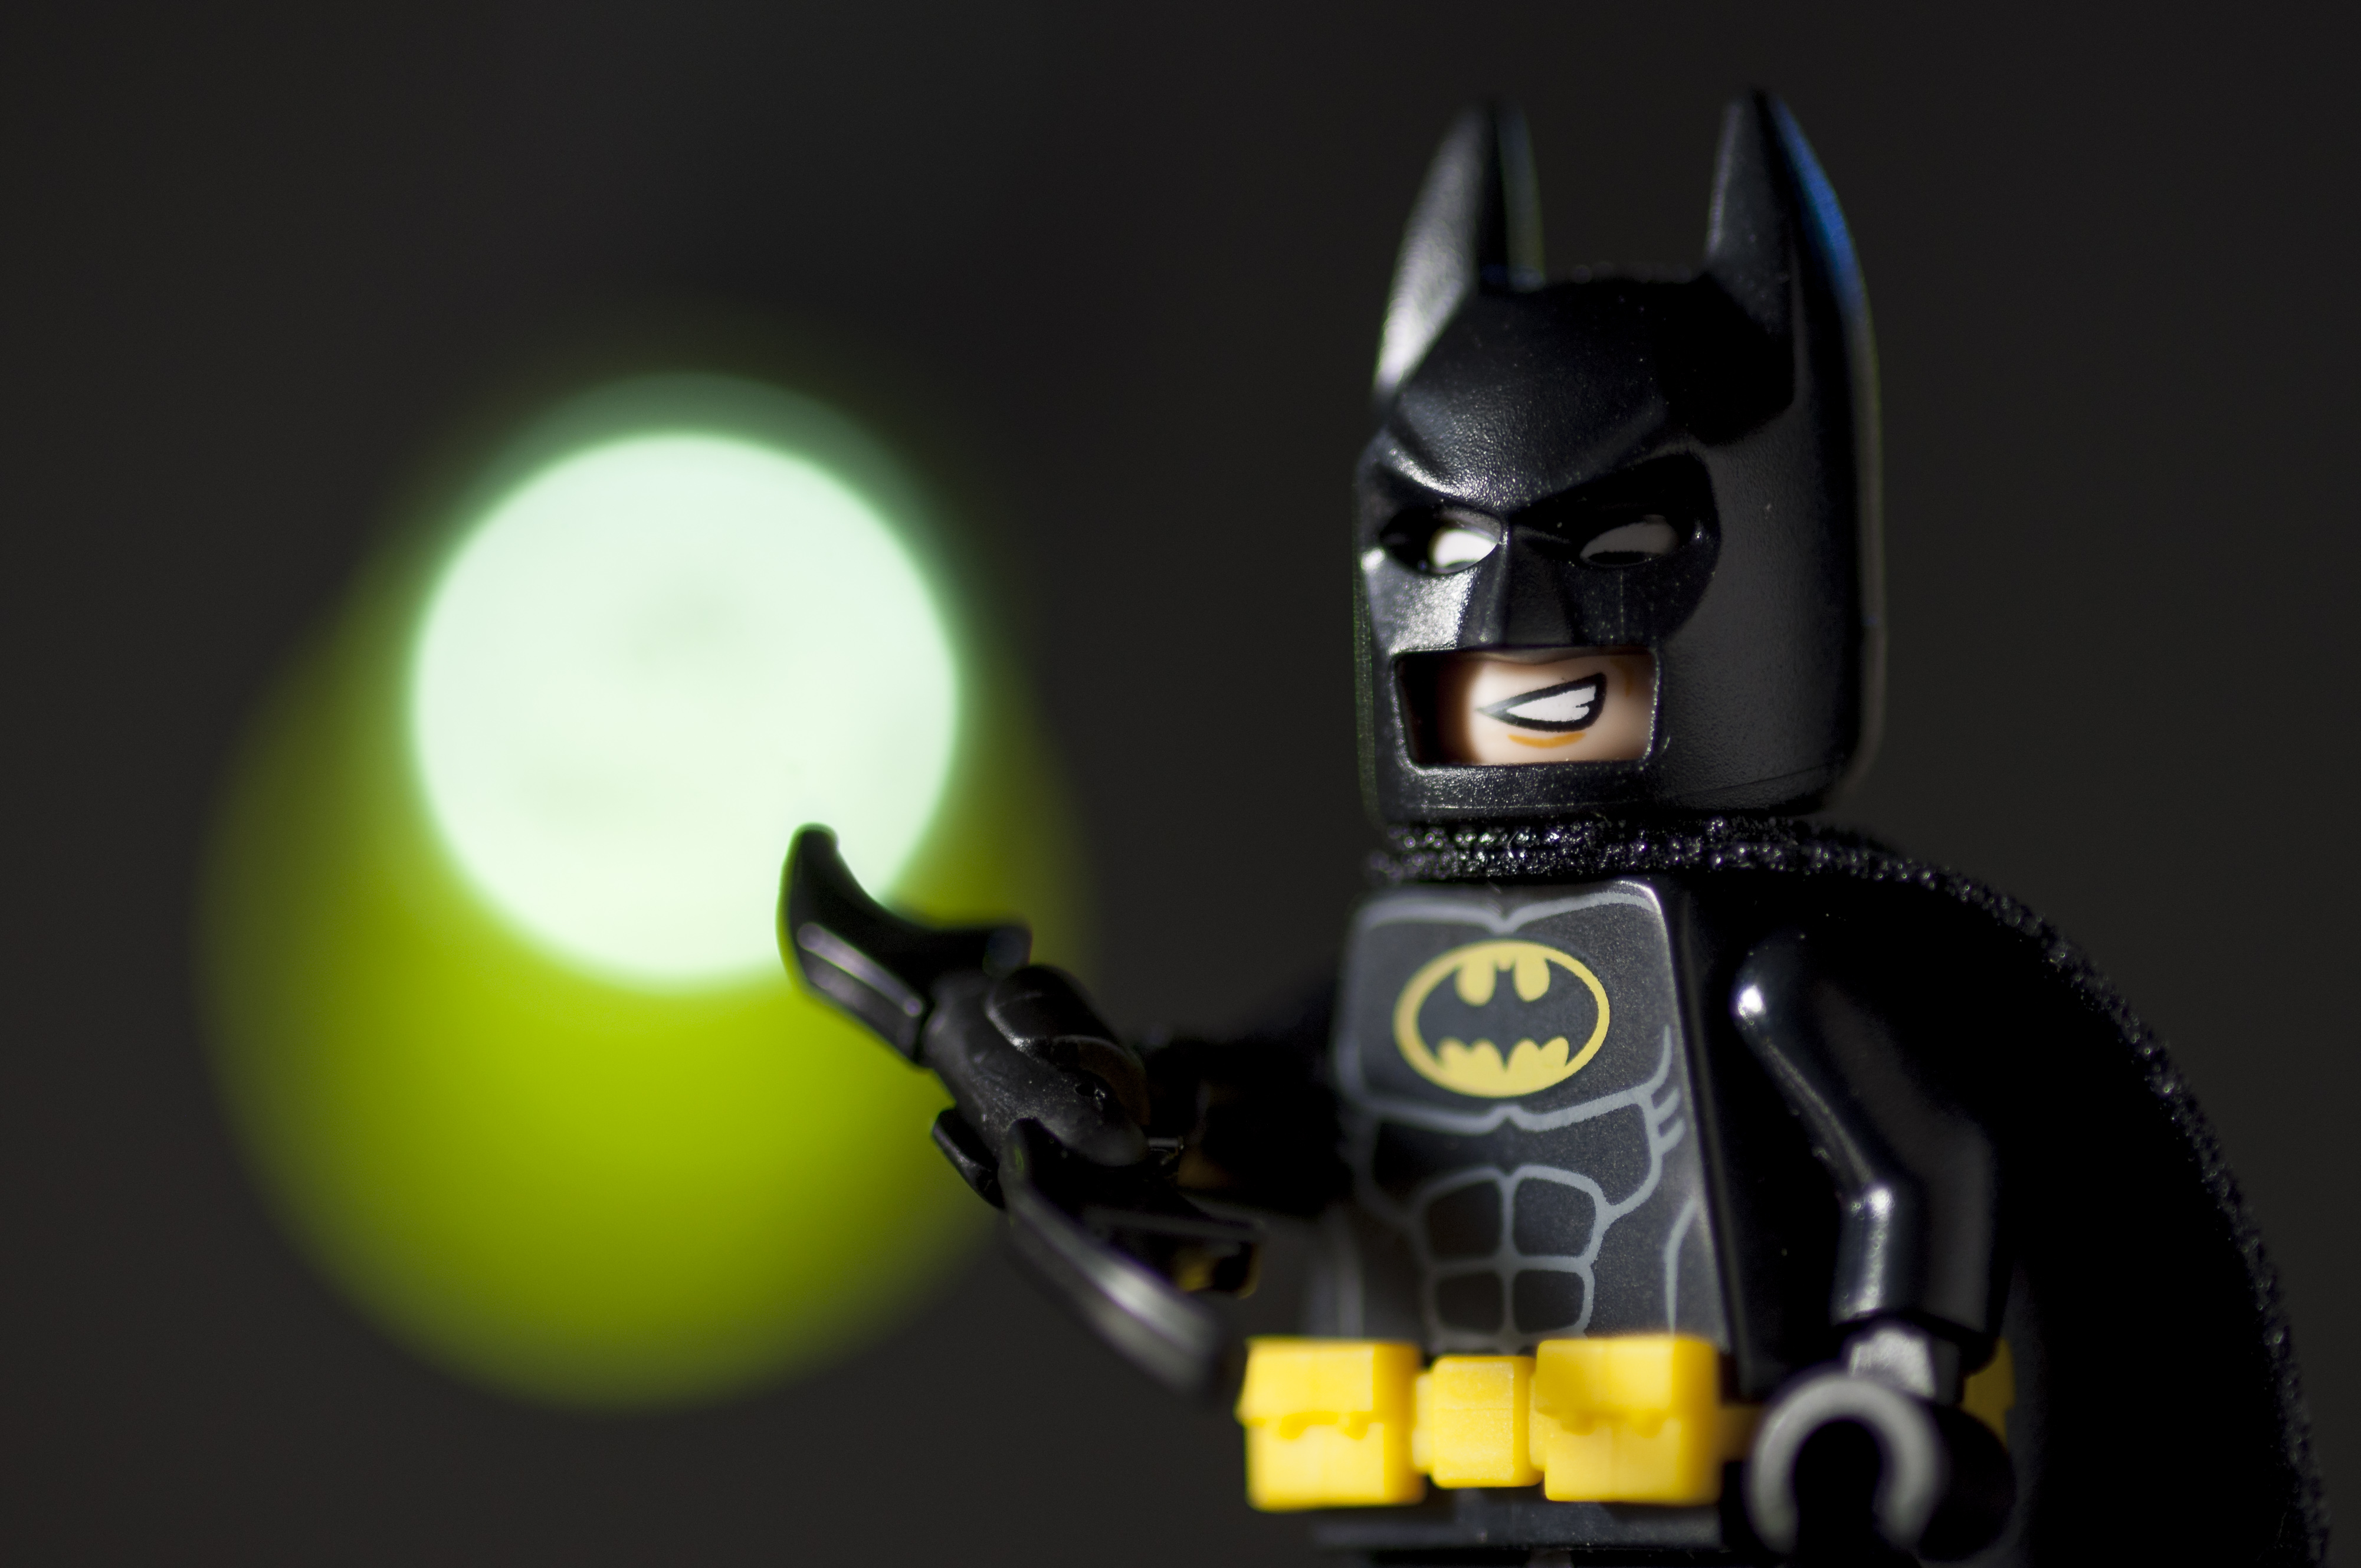
Bokeh (bo·keh \ˈbō-kā, -kə\ ) or the blurred quality/effect in the out of focus are of a photograph is not only fun to play with, but also easy to alter. Simply place a custom paper/carstock cutout (filter) in front of your lens and go shoot.
Tools and Materials Needed
Assuming you have a camera with interchangeable lenses, you will need:
- Fast Prime Lens
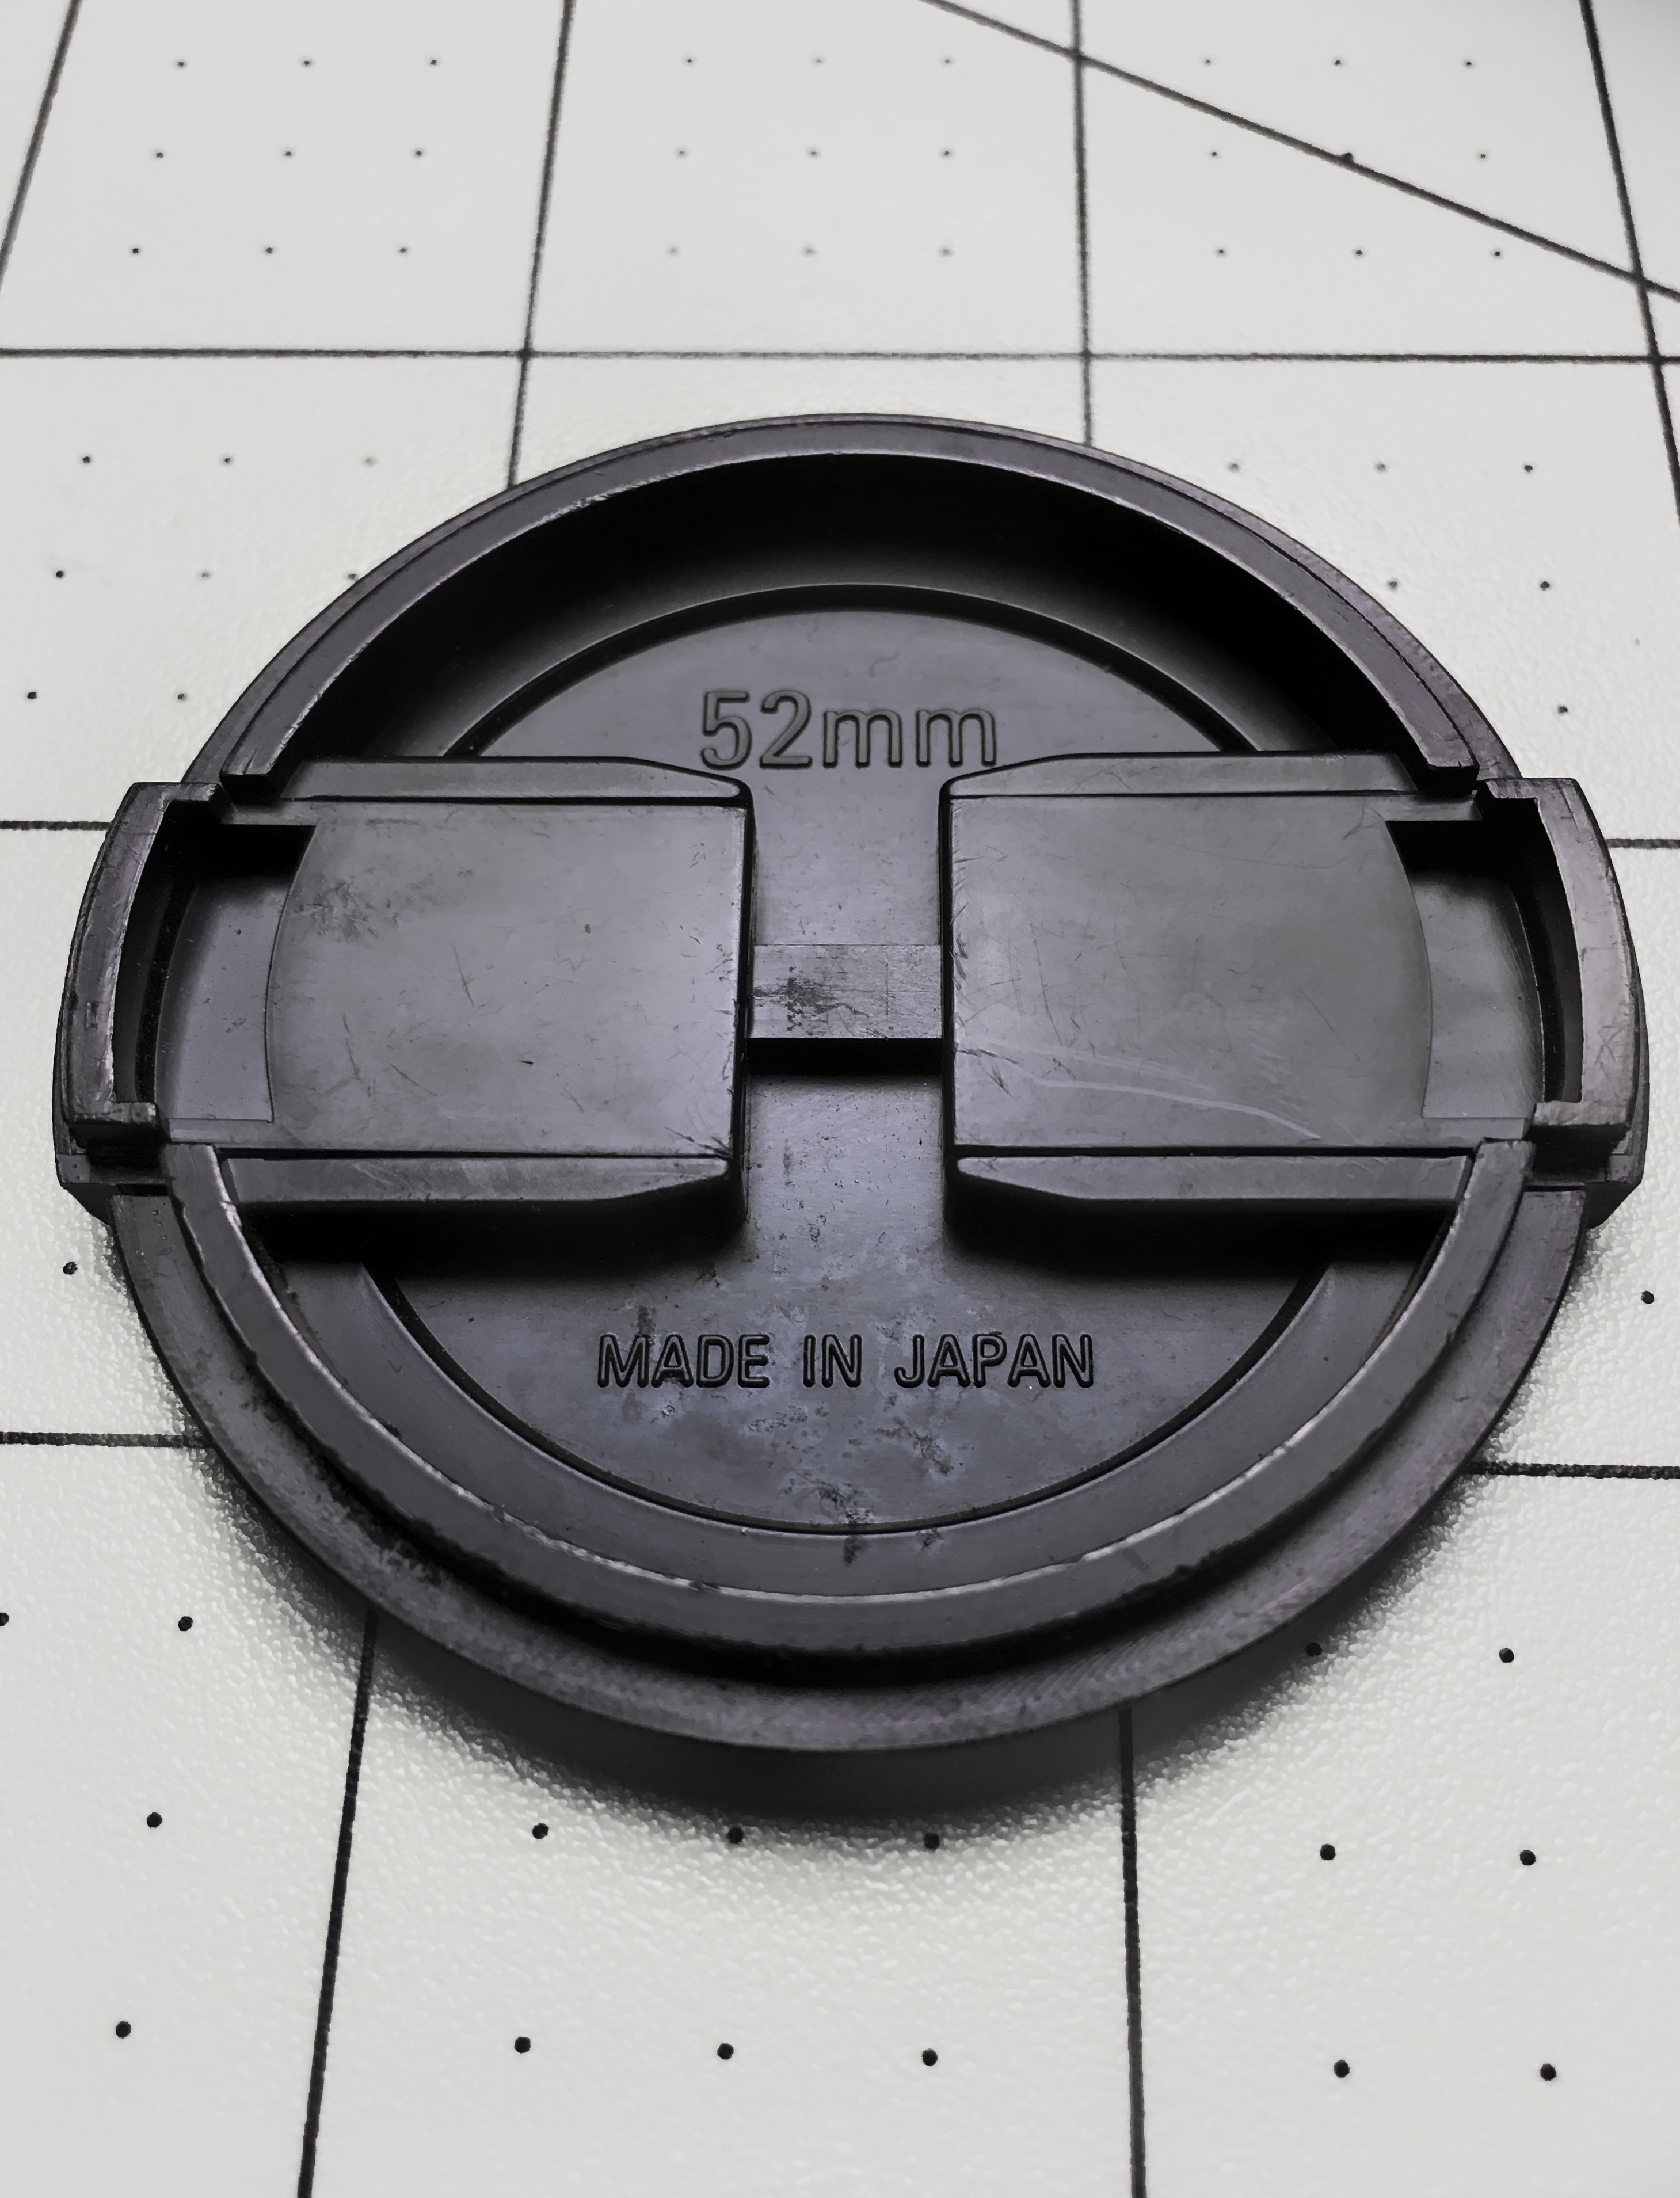
- Compass, or Lens Cap
- Ruler
- Pencil/Marker
- Black cardboard
- Scalpel/ craft knife
- Scissors
- Cutting mat
Determine Filter Size
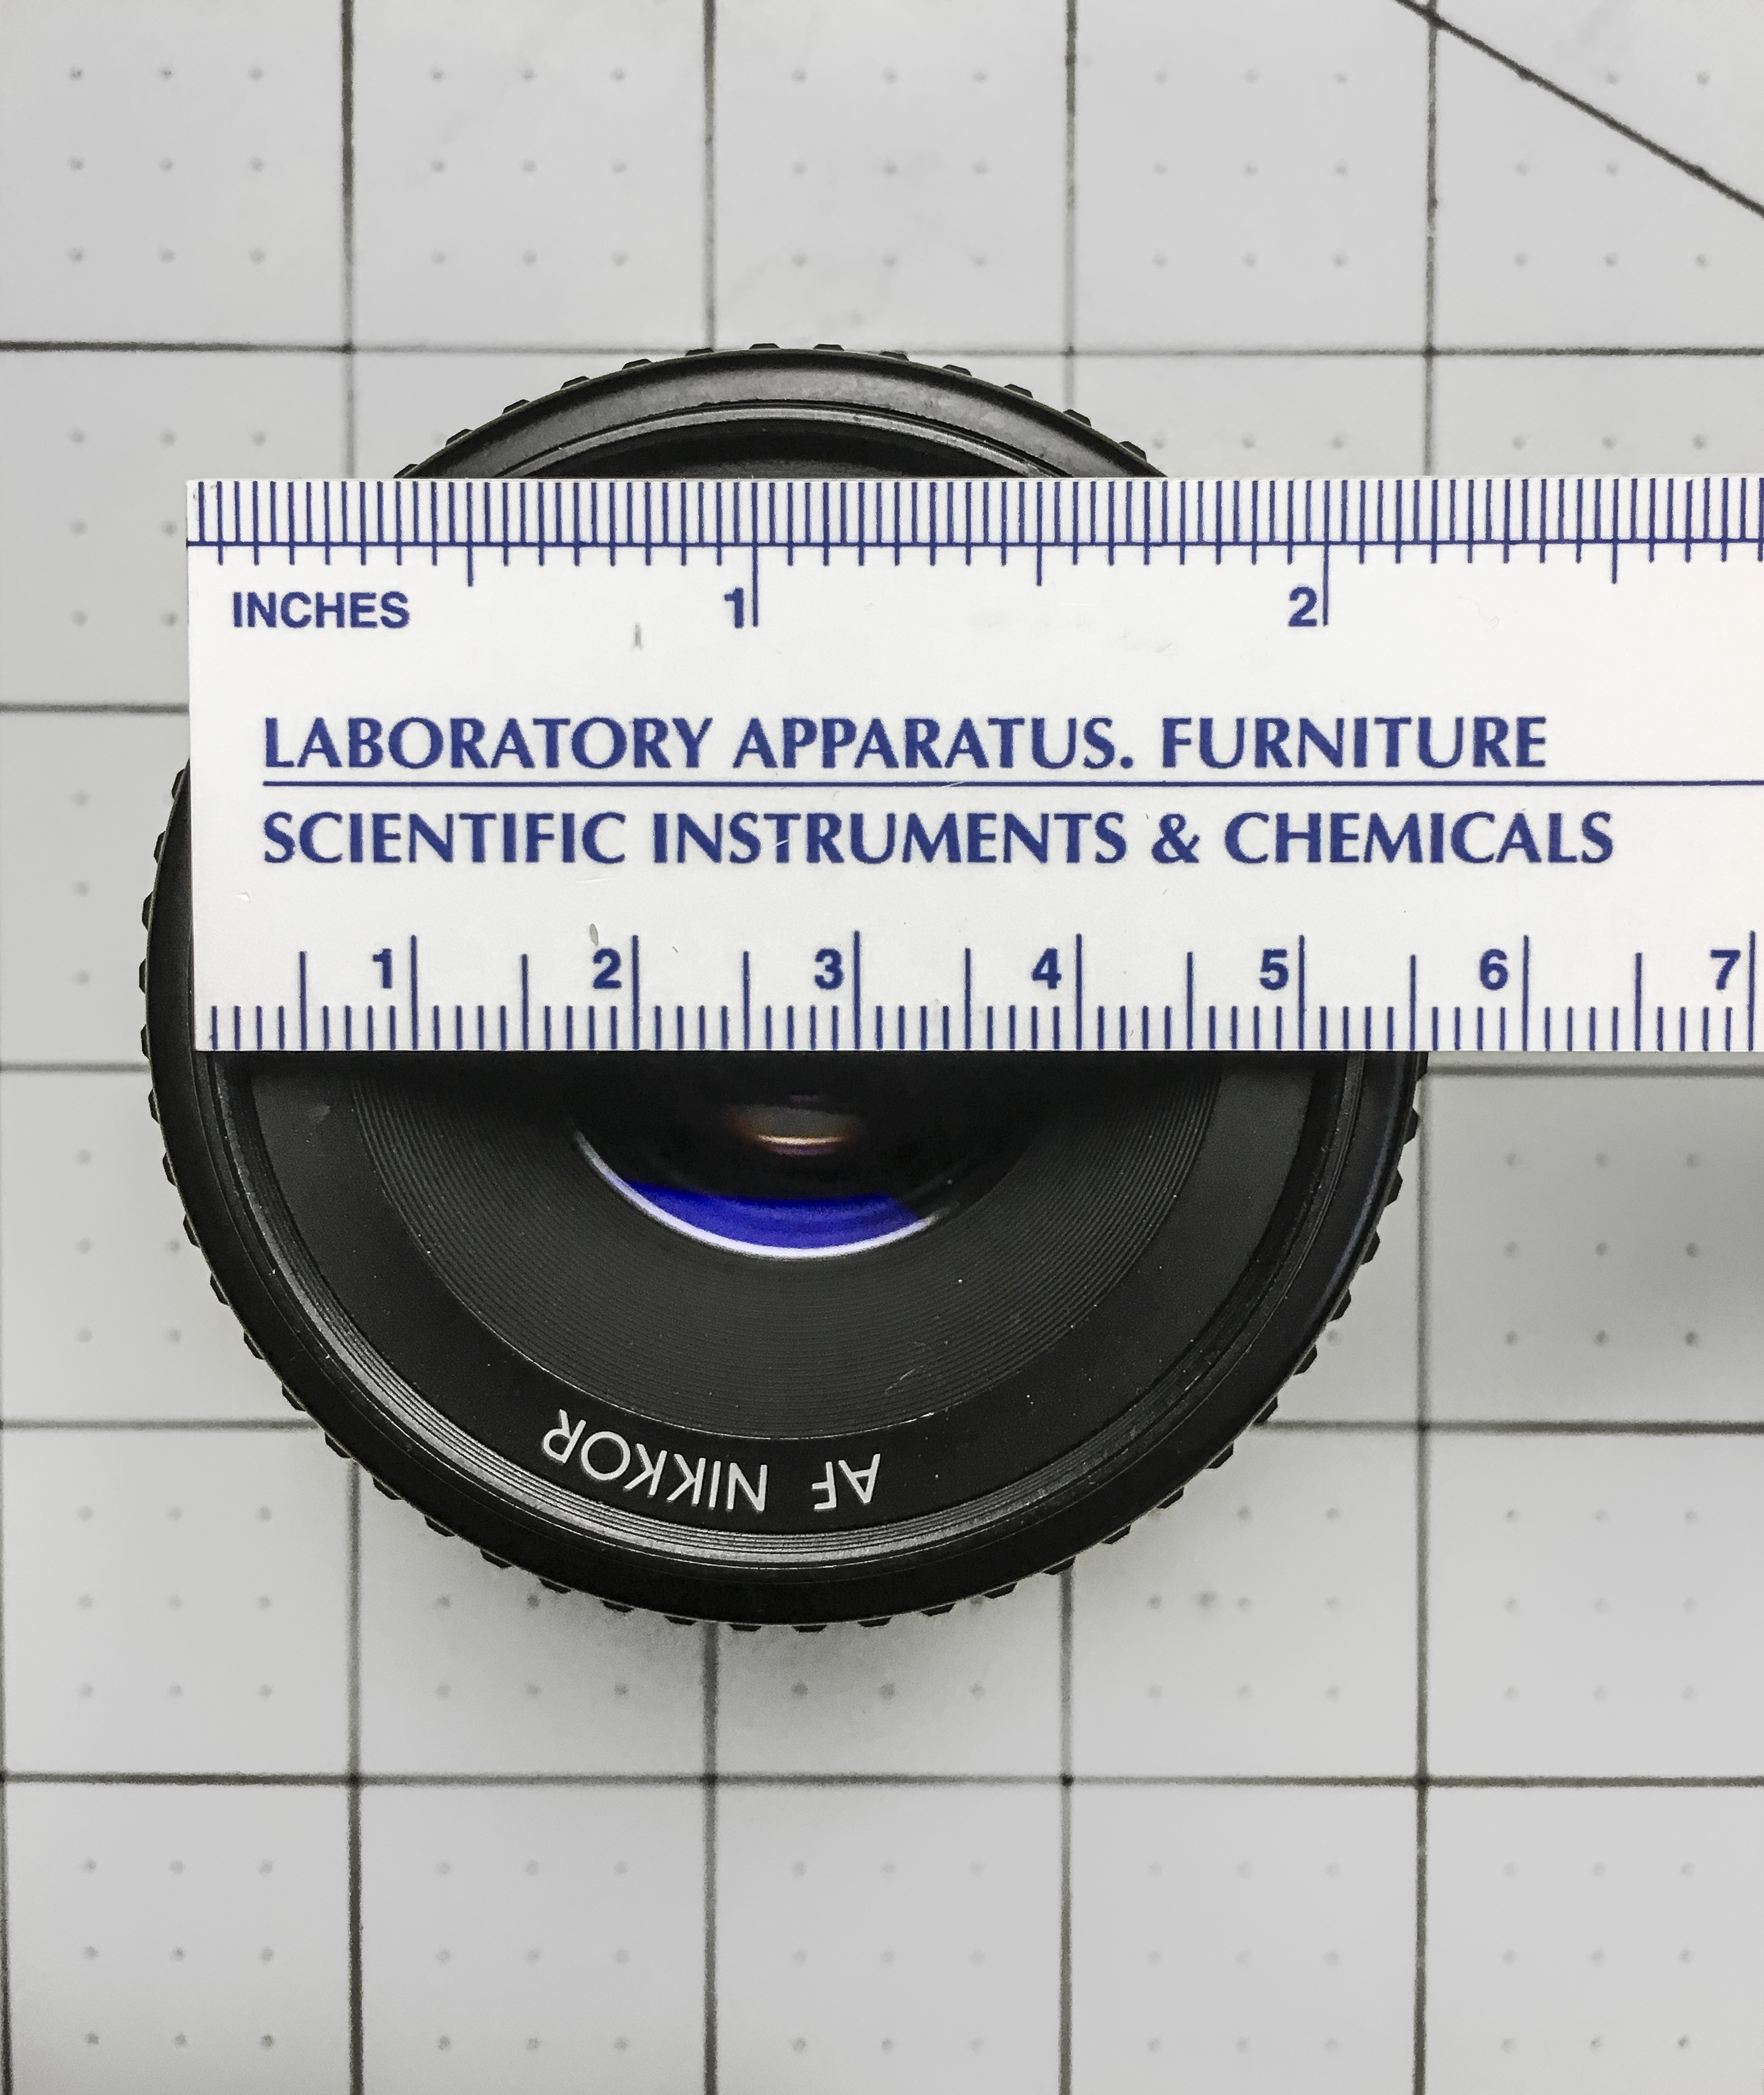
Either measure the inner diameter of your lens or look on the inside of your lens cap for the the size and downsize 2-3 mm so the filter sits closer to the front element. You will have better results when your new filter is closer to your lens.
If you don’t like the metric system, I used 2.0 inches for 52 mm diameter lens & 3.0 inches for 72 mm
Make a Filter Template
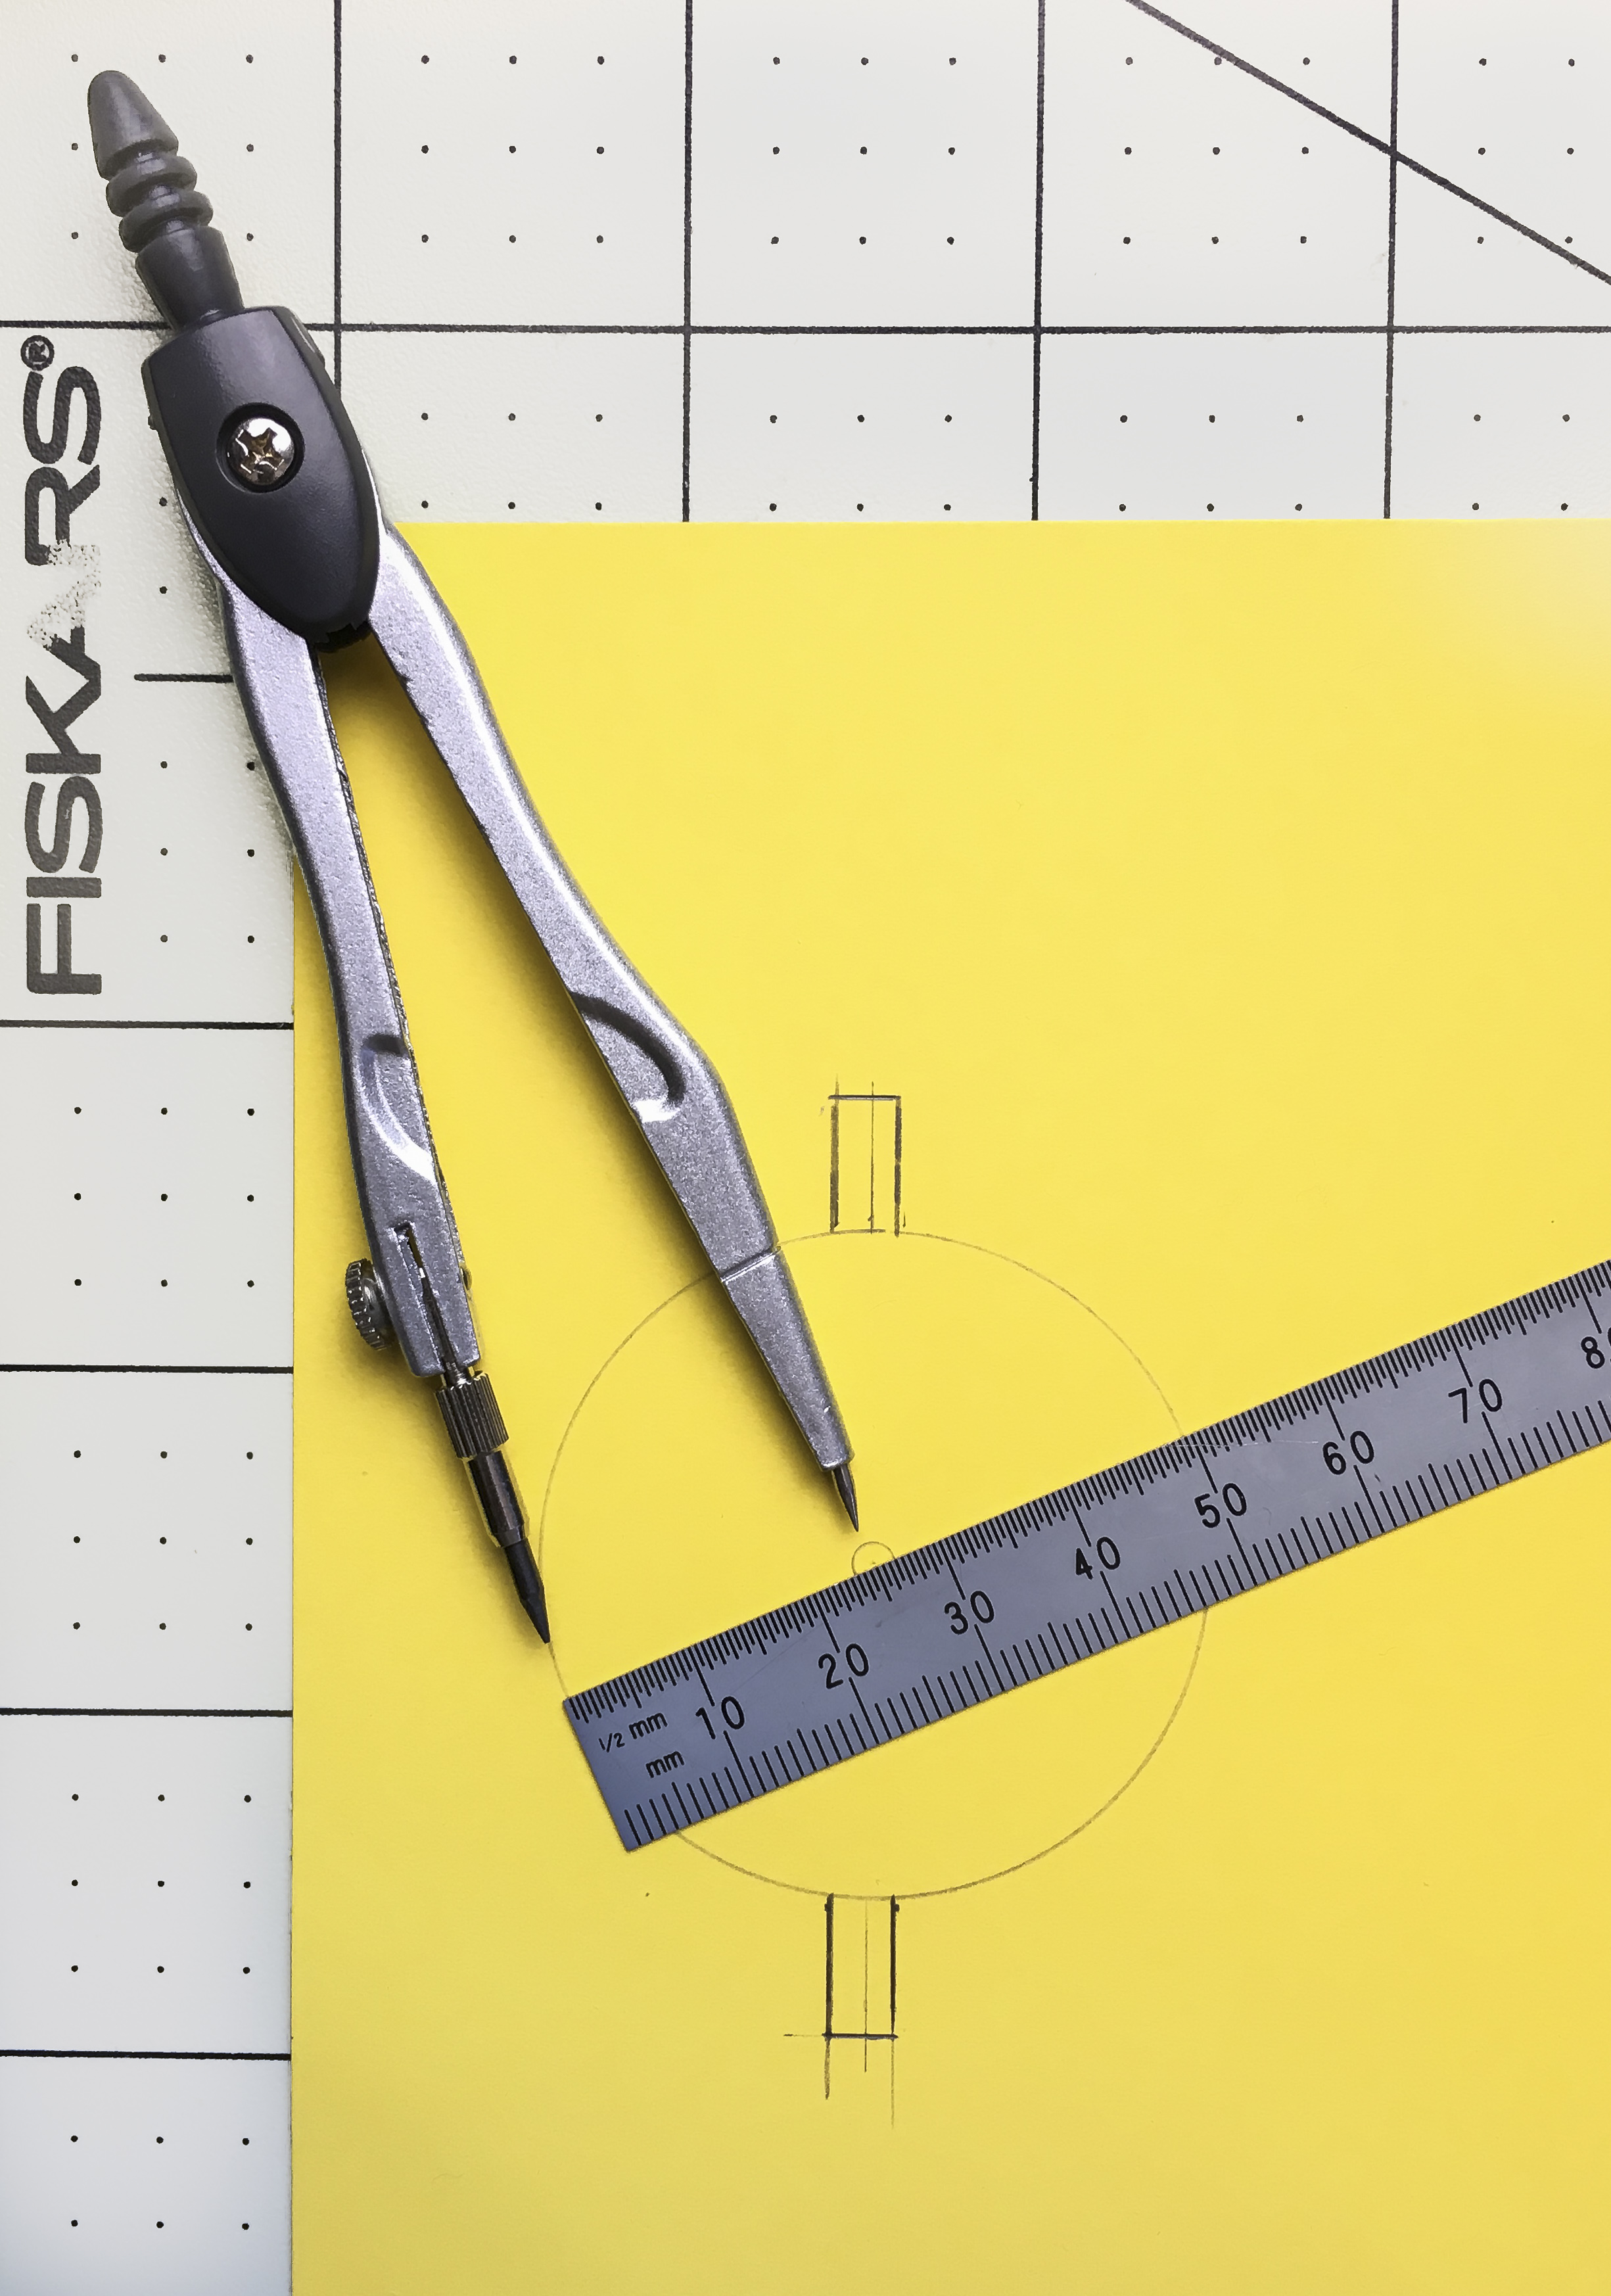
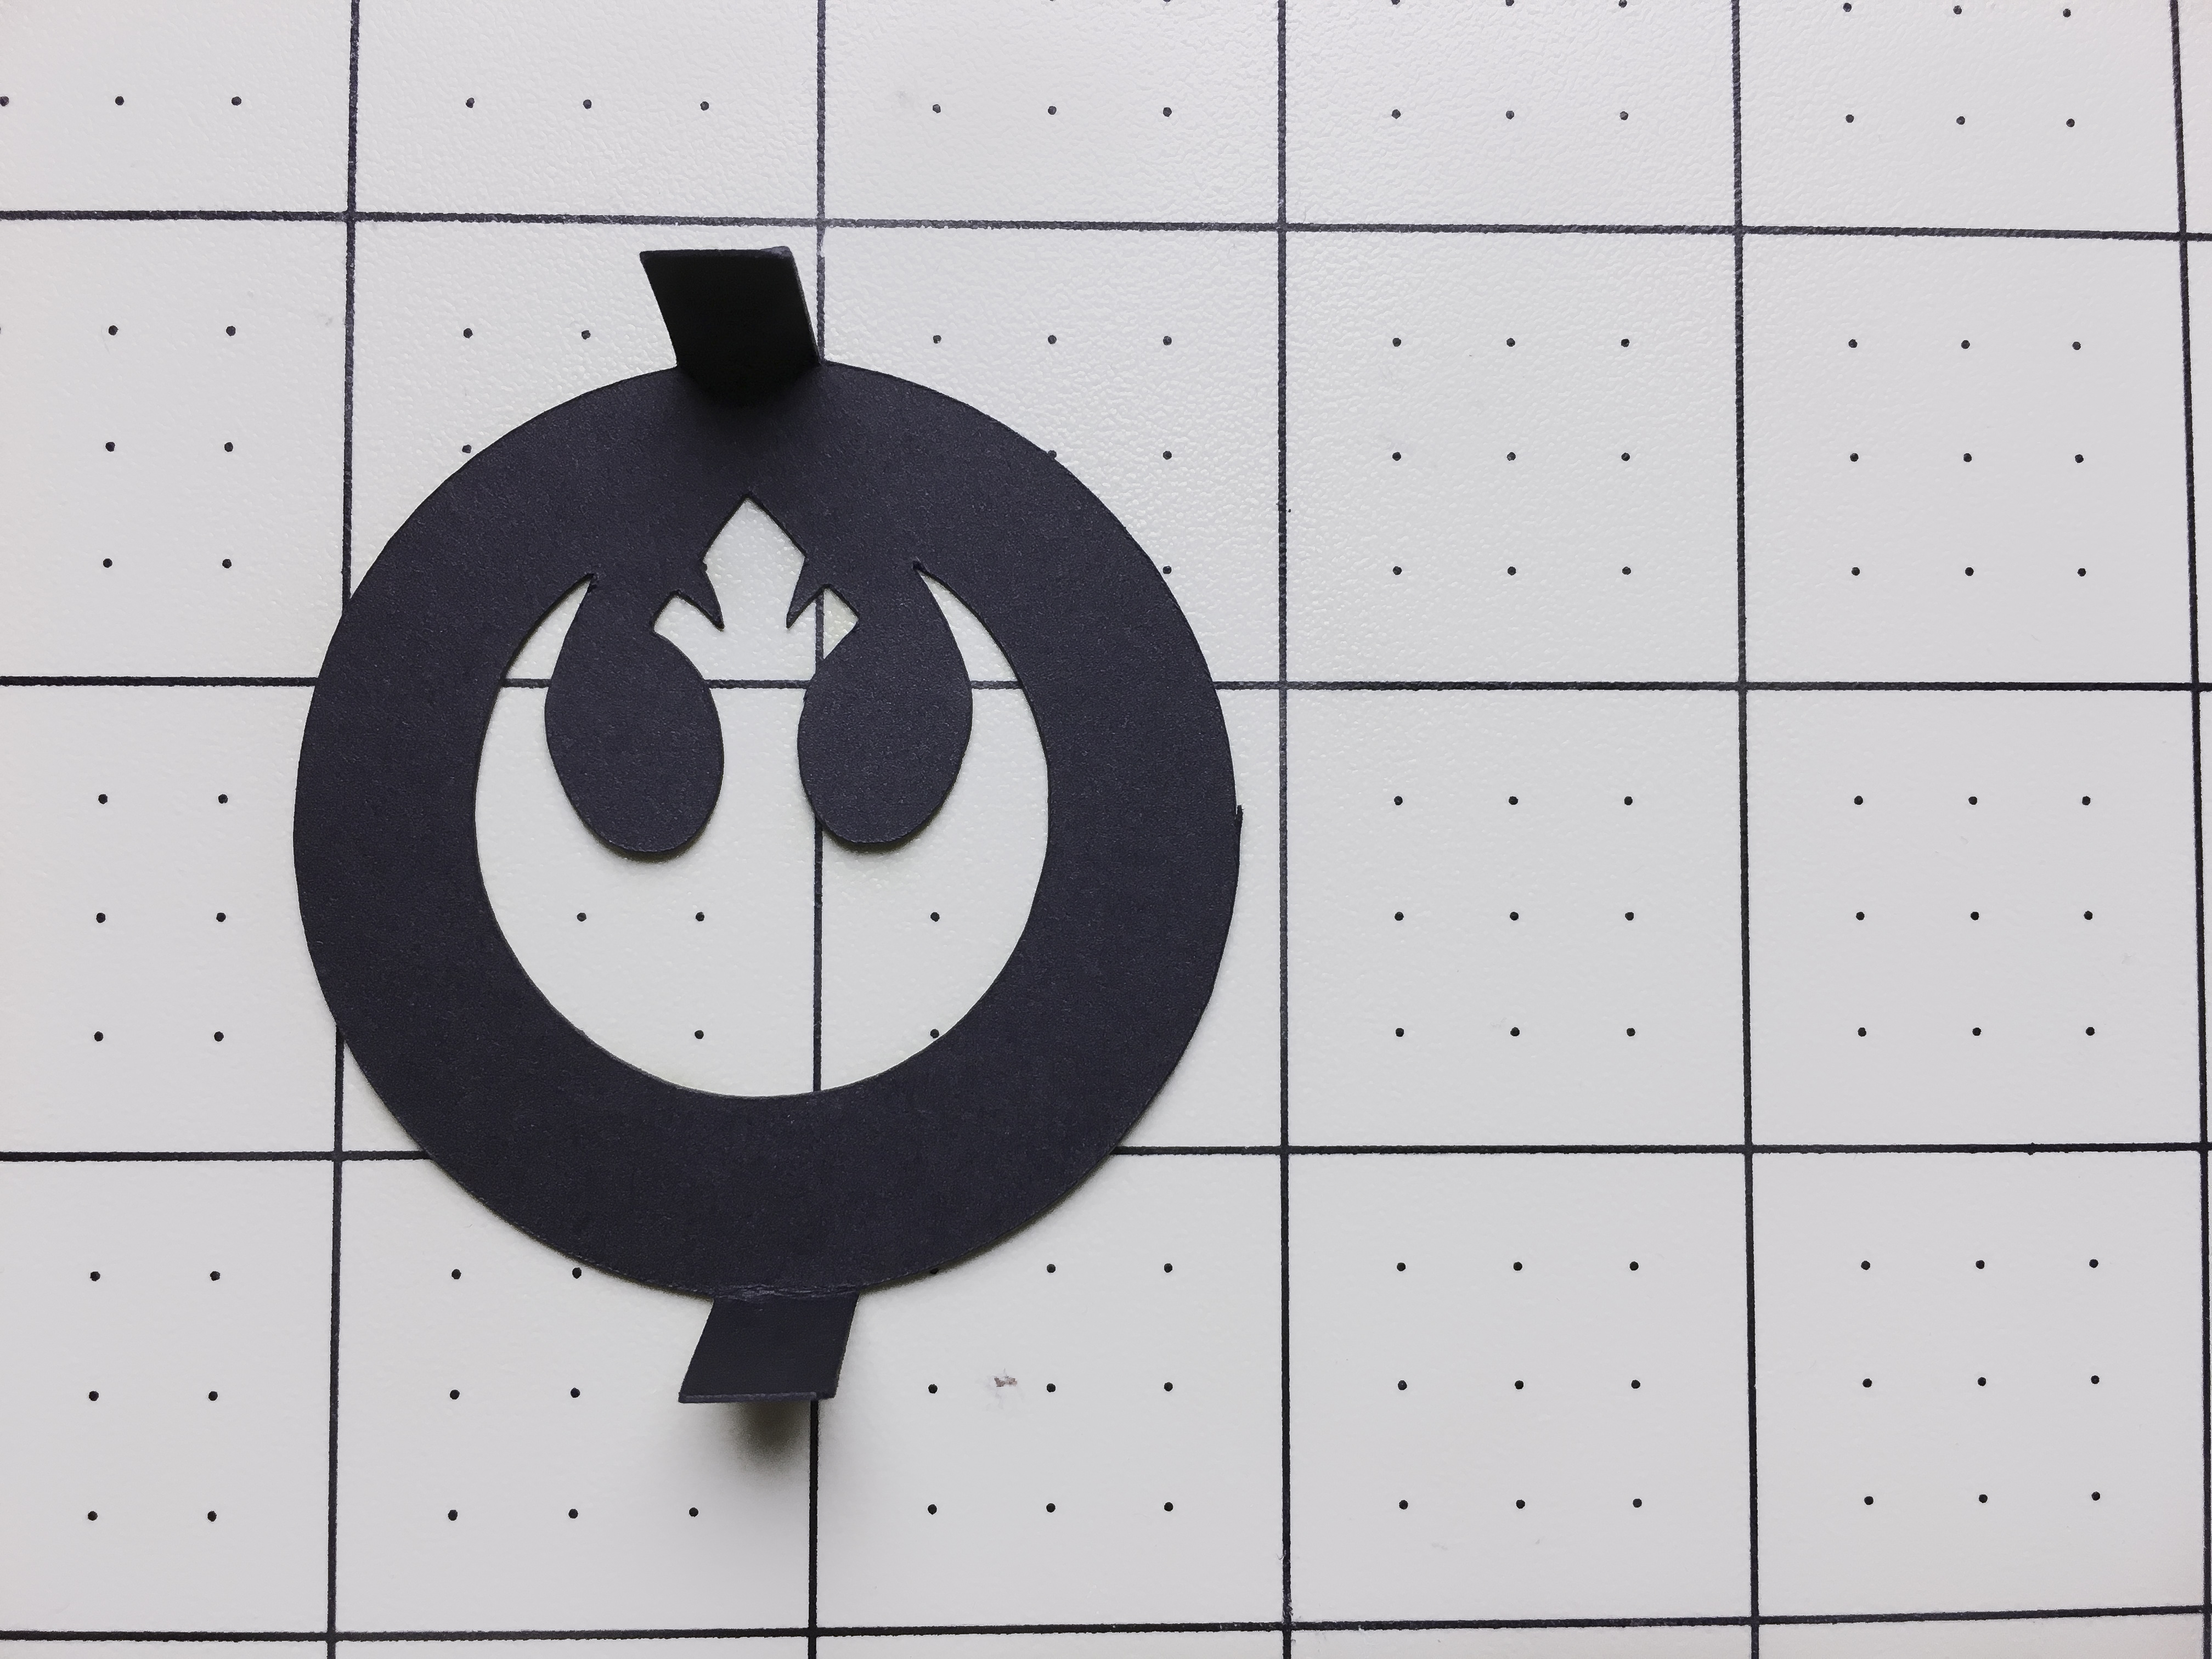
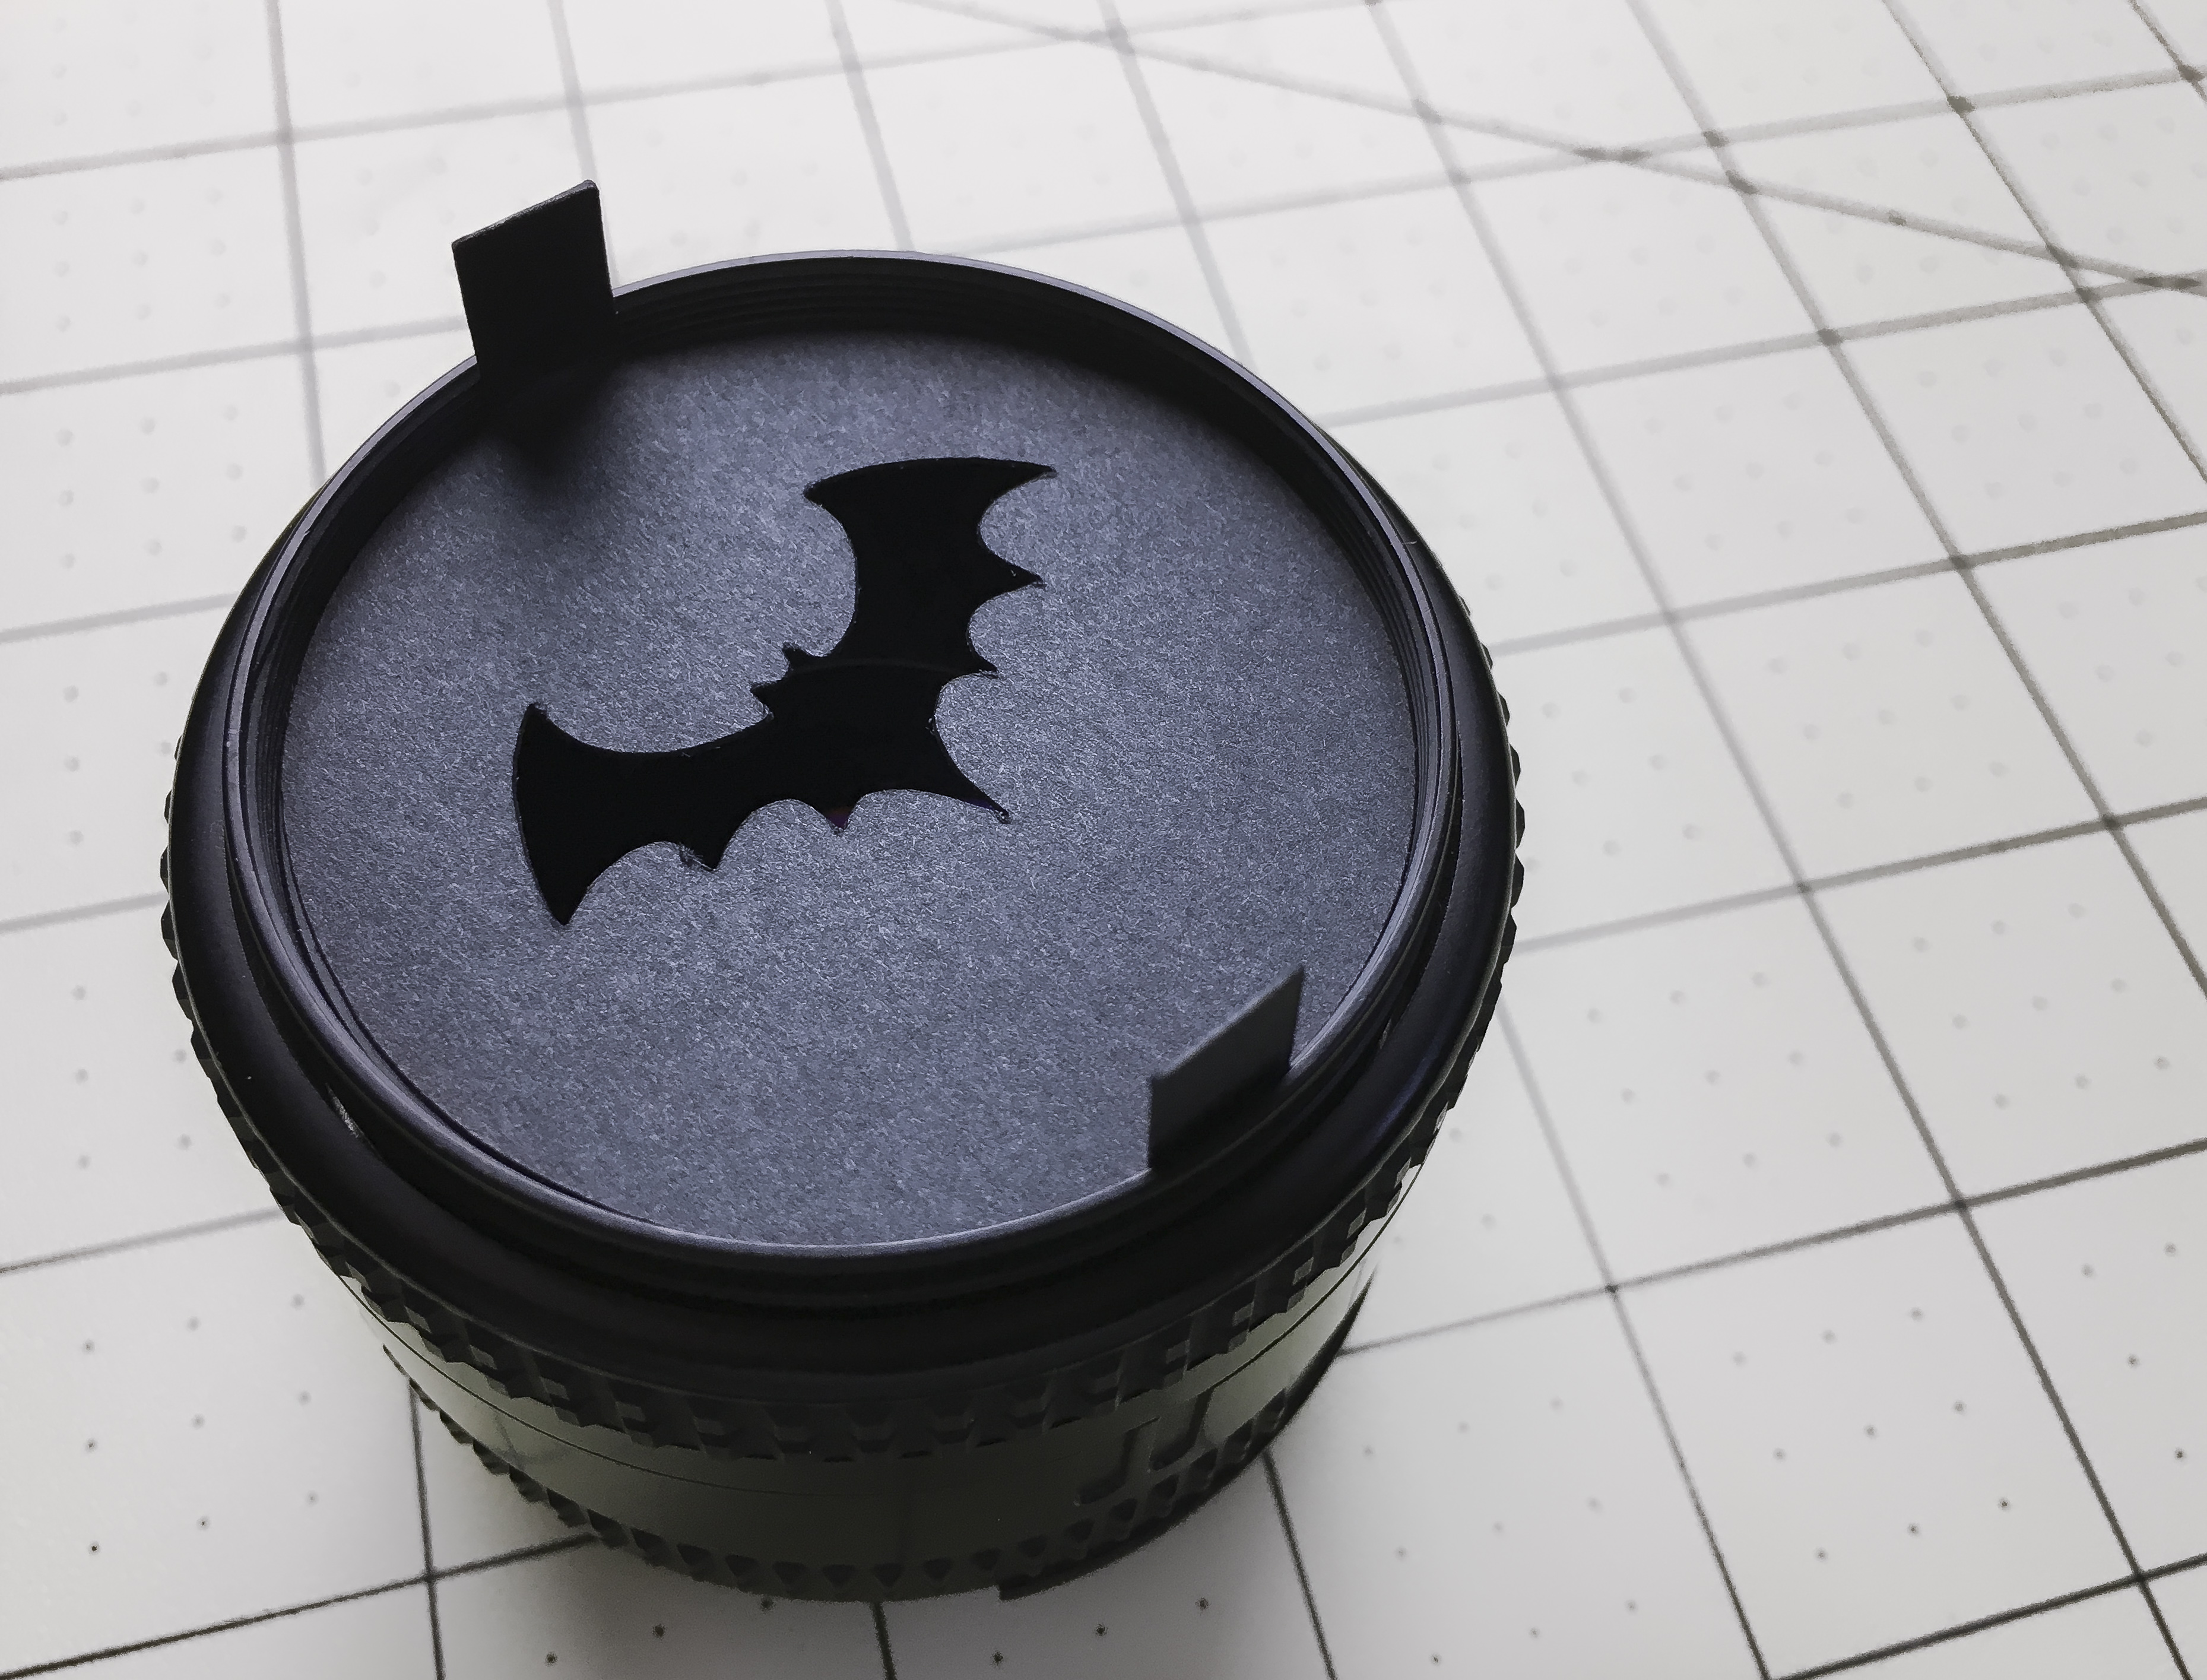
Using your compass, trace a circle sized for your lens and poke the compass through the paper in the center before removing it.This will make centering the cutout/design much easier. The tabs are optional and don’t need to be perfect, they just help in removing the filter.
If you don’t have a compass or you don’t want to measure, just trace your lens cap and cut on the inside of the line so the filter will fit closer to the lens.
Determine Maximum Cutout Size
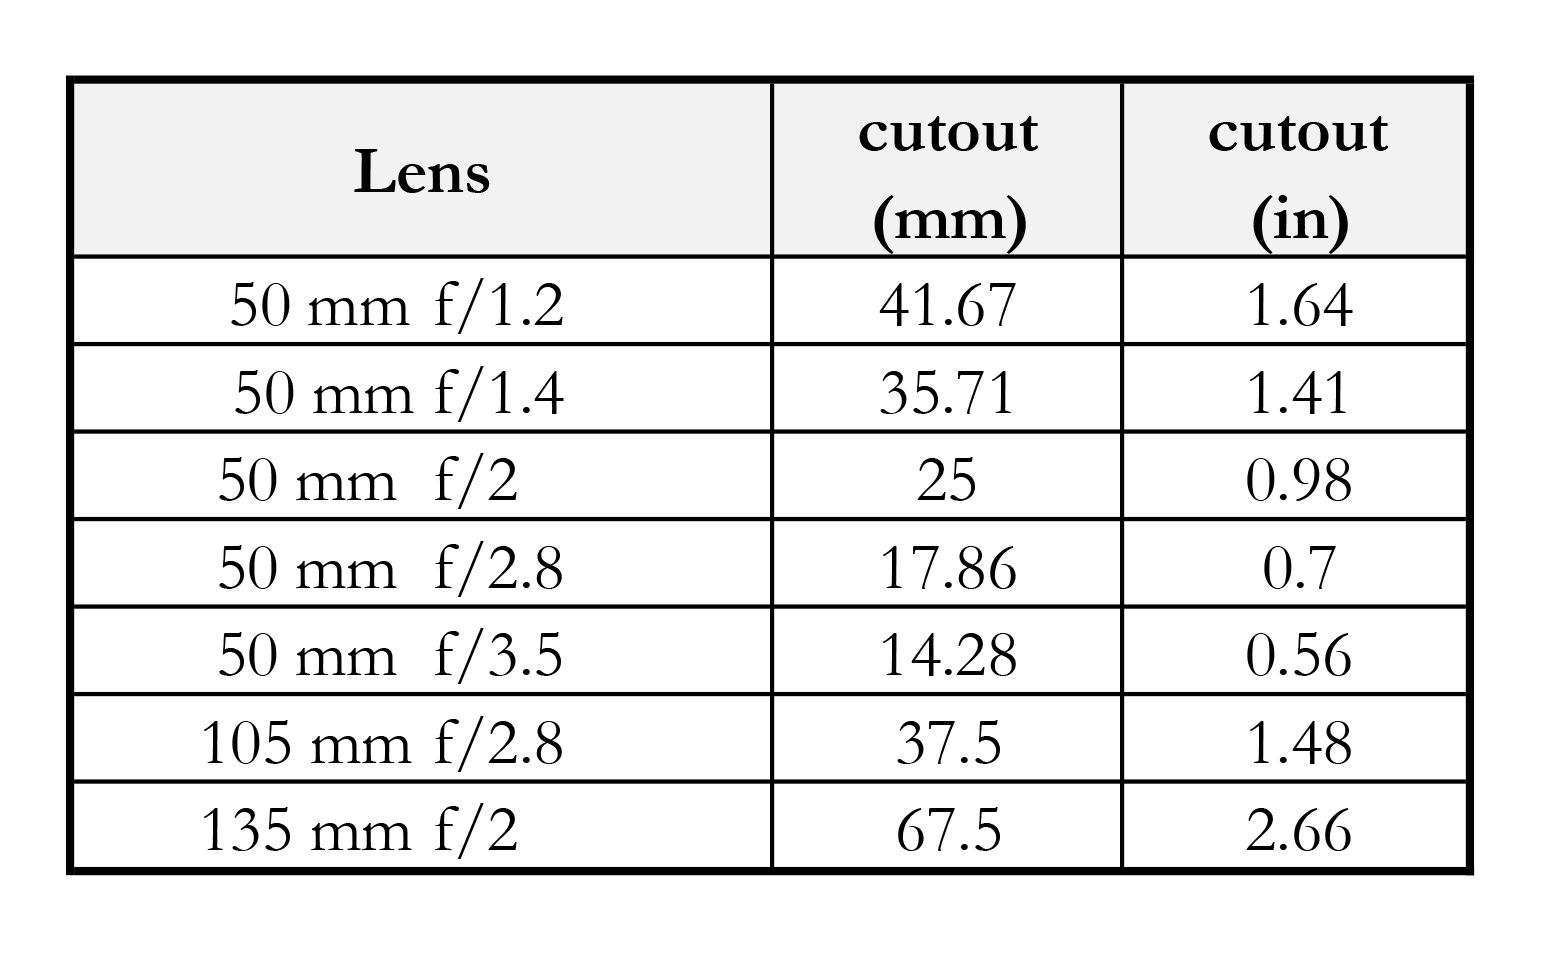
The table above has the maximum cutout sizes for a few lenses, you could also just try a size and see what happens or you could calculate the max size yourself:
We are making a new aperture for your lens, so we need to make the cutout smaller than the lens’ largest aperture. Since an f-stop is a ratio of focal length to the diameter of the aperture we simply divide the focal length of the lens by its widest aperture. For example a 50mm f/2 should have a cutout smaller than 50/2 or 25 mm (0.98 in)
Trace Your New Filters
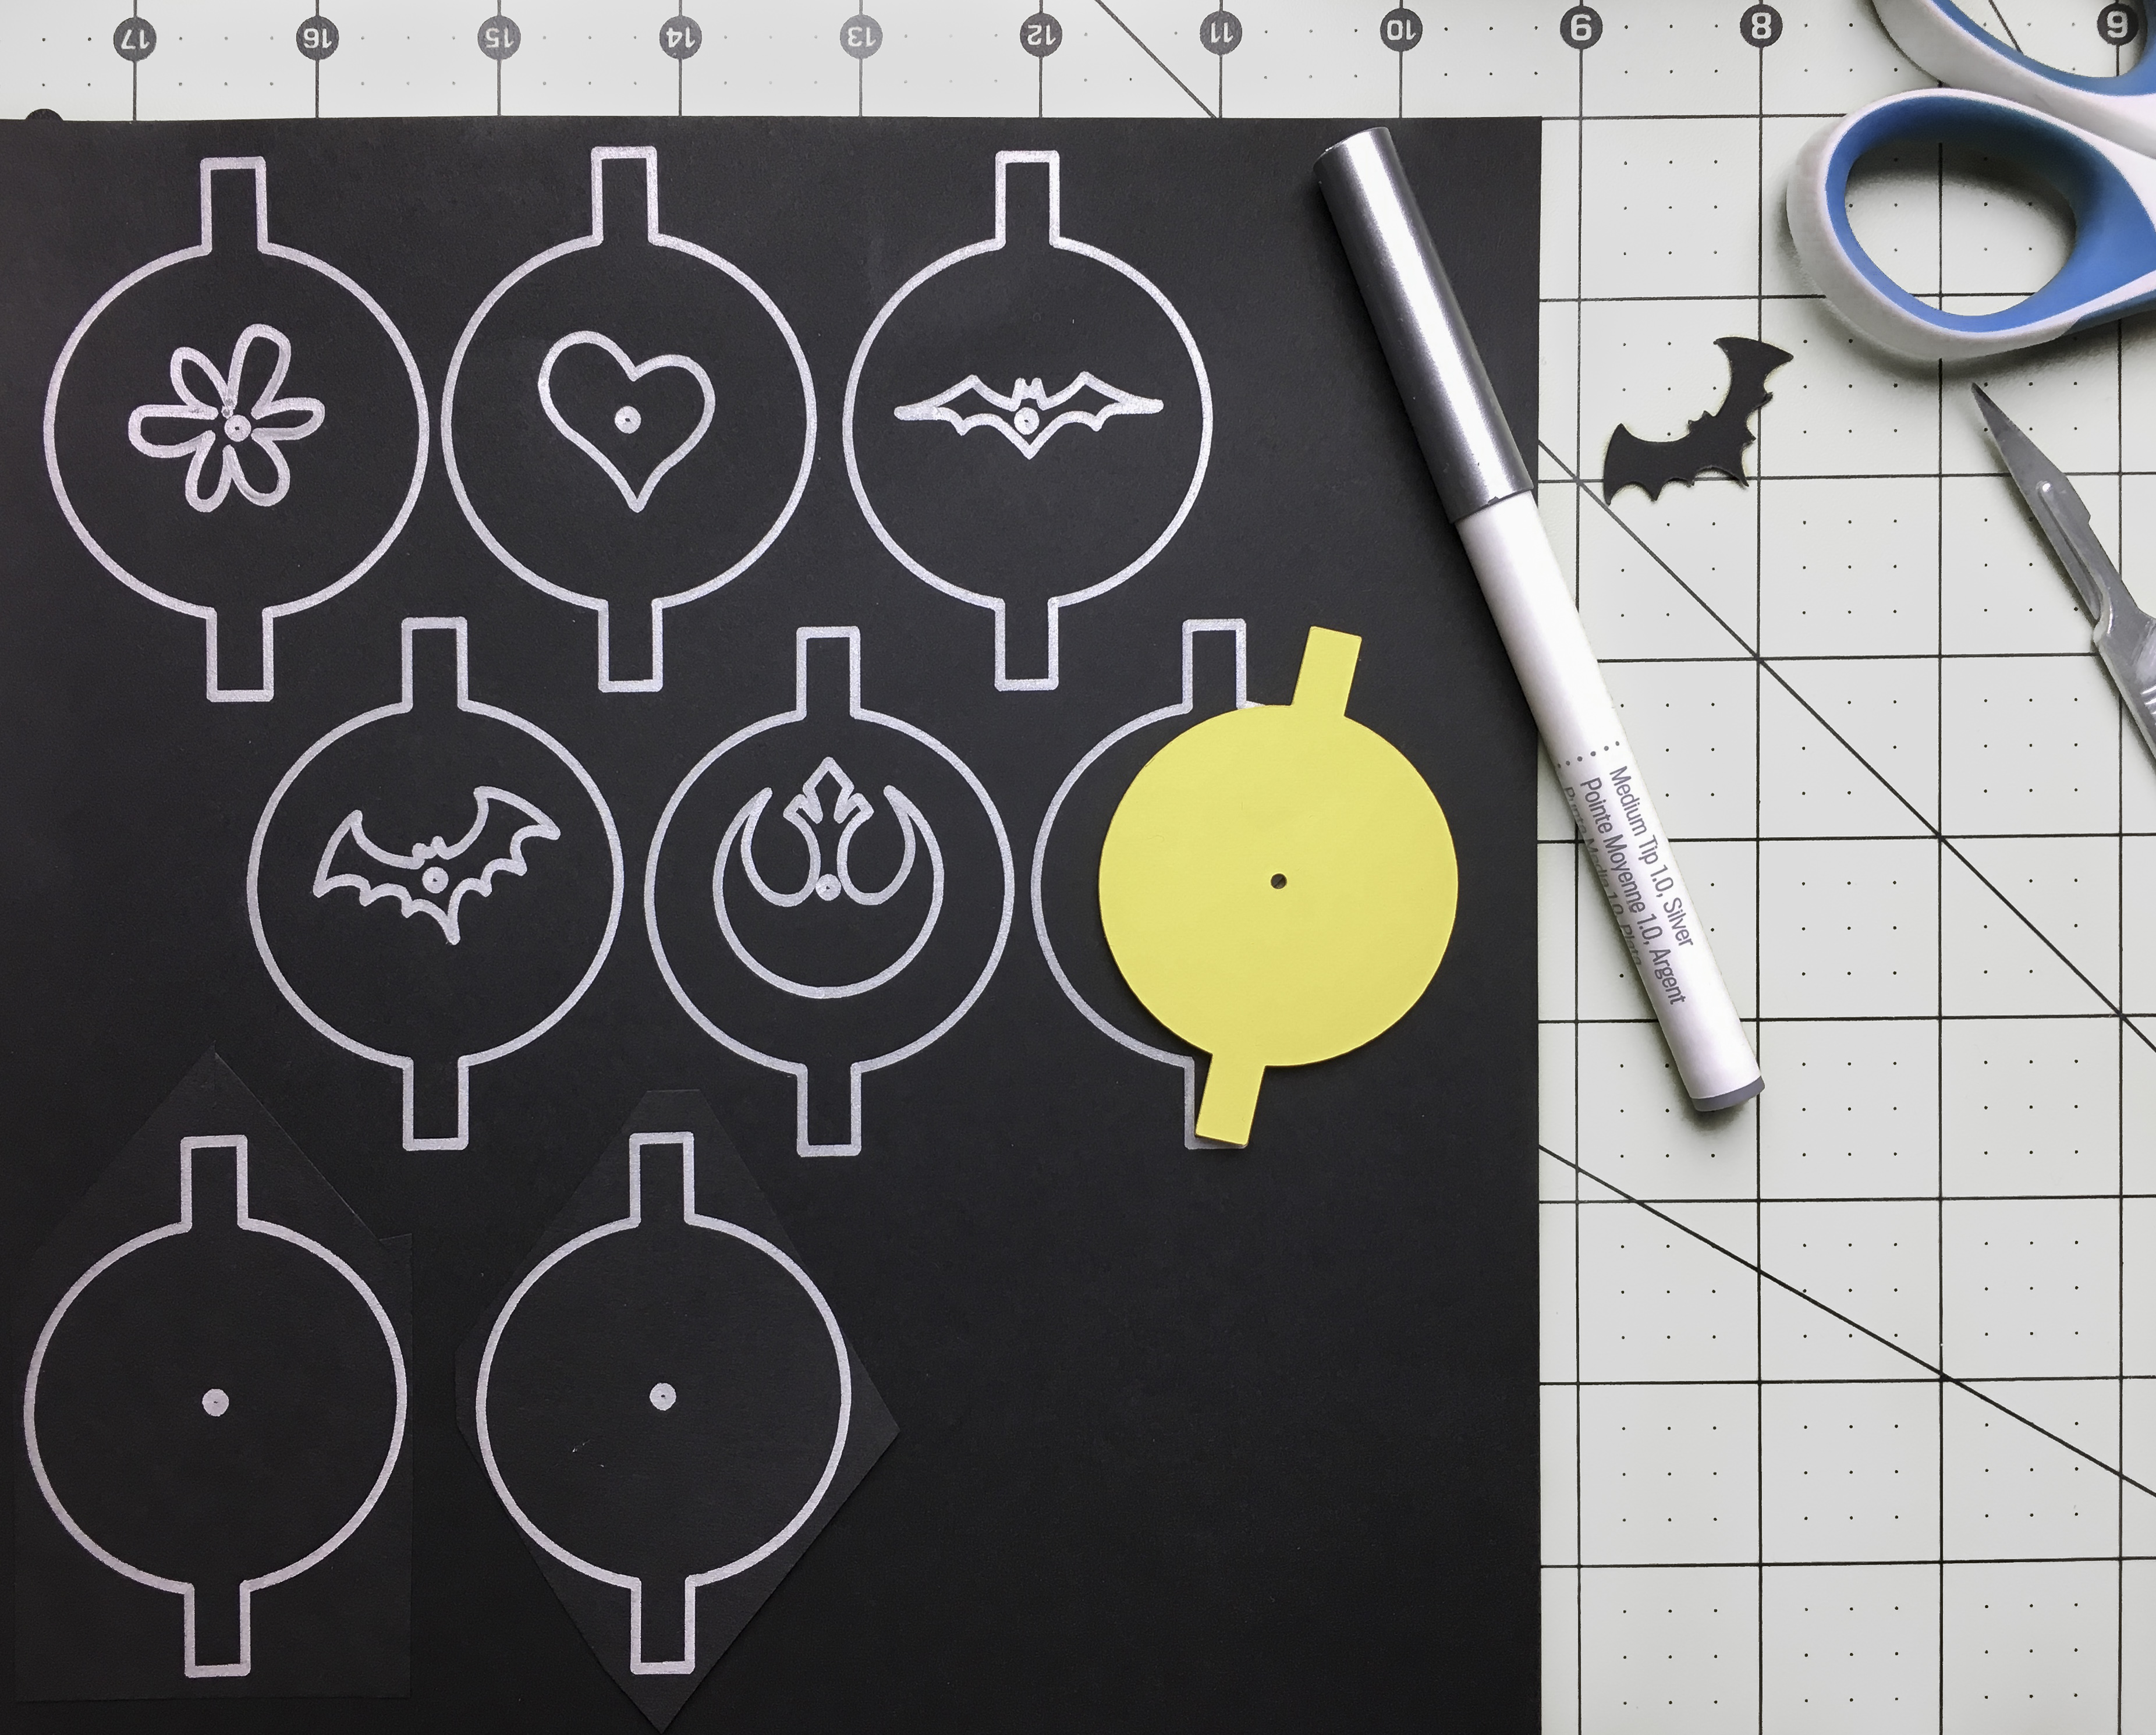
Use your new template to trace your filter blanks and add a little mark in the center of the circle (where you poked a hole with the compass). This will help you center your cutout.
Use your center mark and get creative drawing in different shapes. I like pencil for this, but for clarity I used a thick marker in the photos.
Cut Out Filters
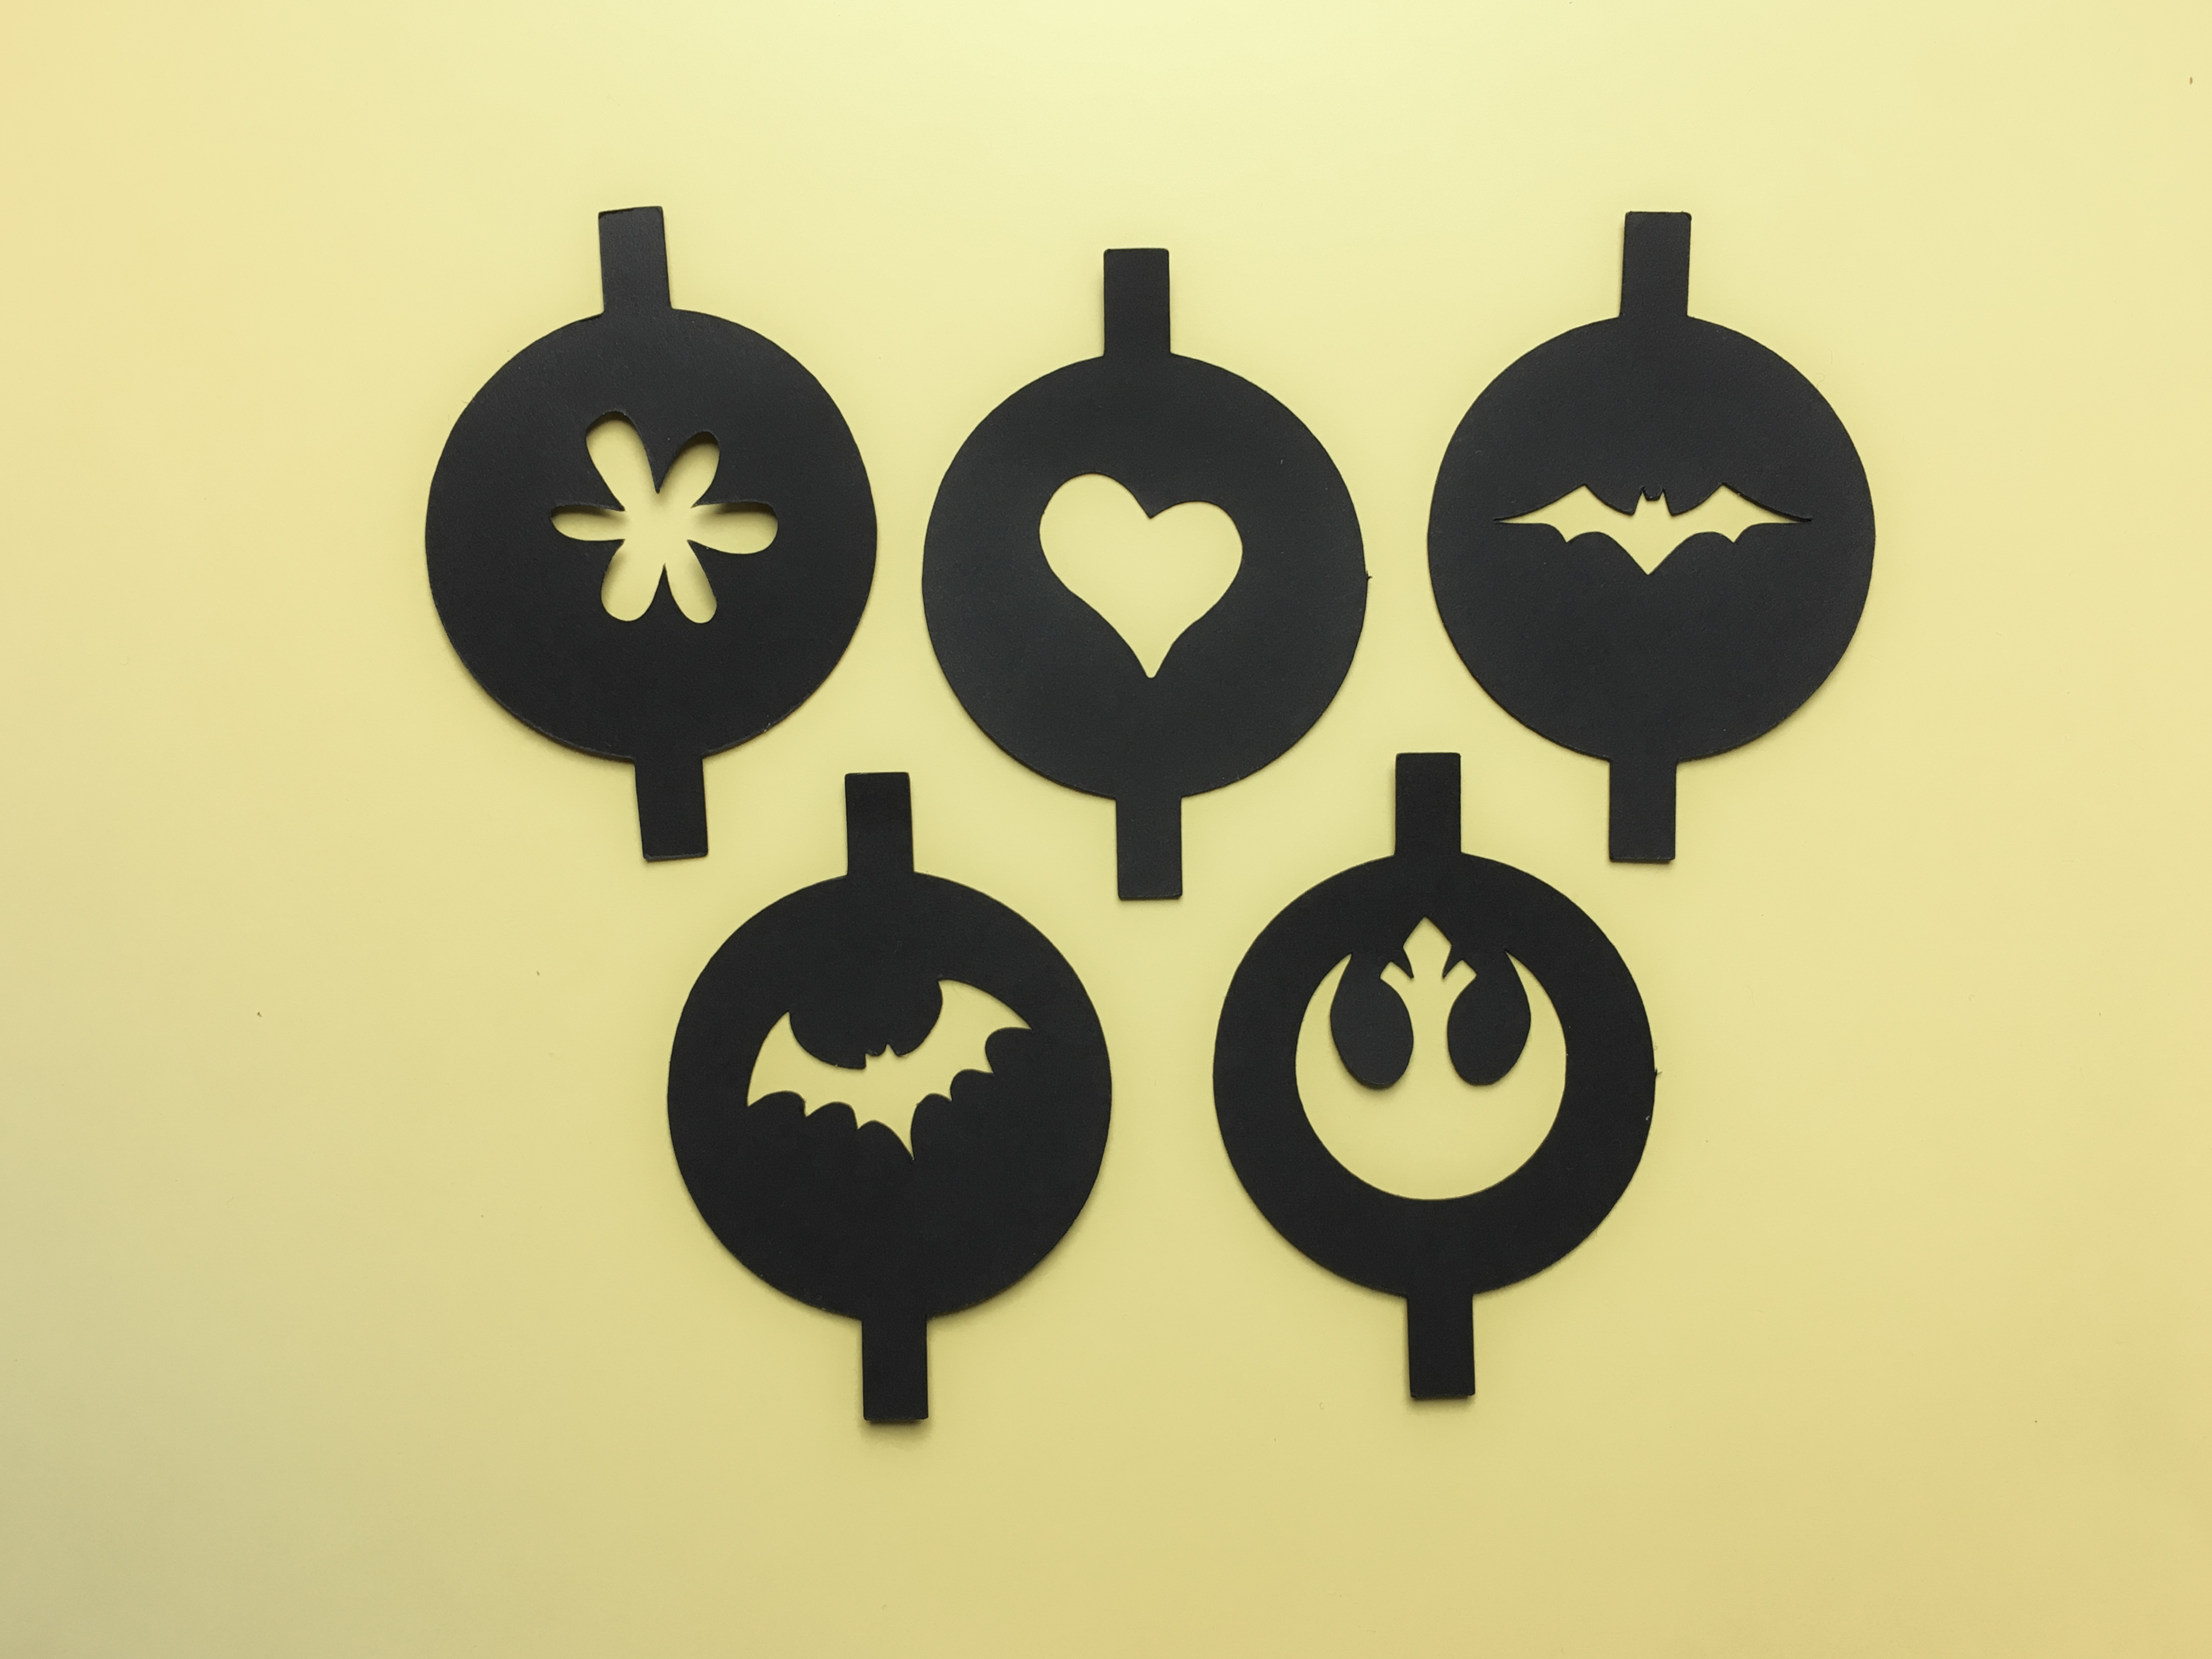
Now you are ready to cut out your shapes and filters. Start with the center design, this will give you more room to hold onto the card-stock while working with a knife. Then use scissors to cut out the circle and tabs.
Camera Settings
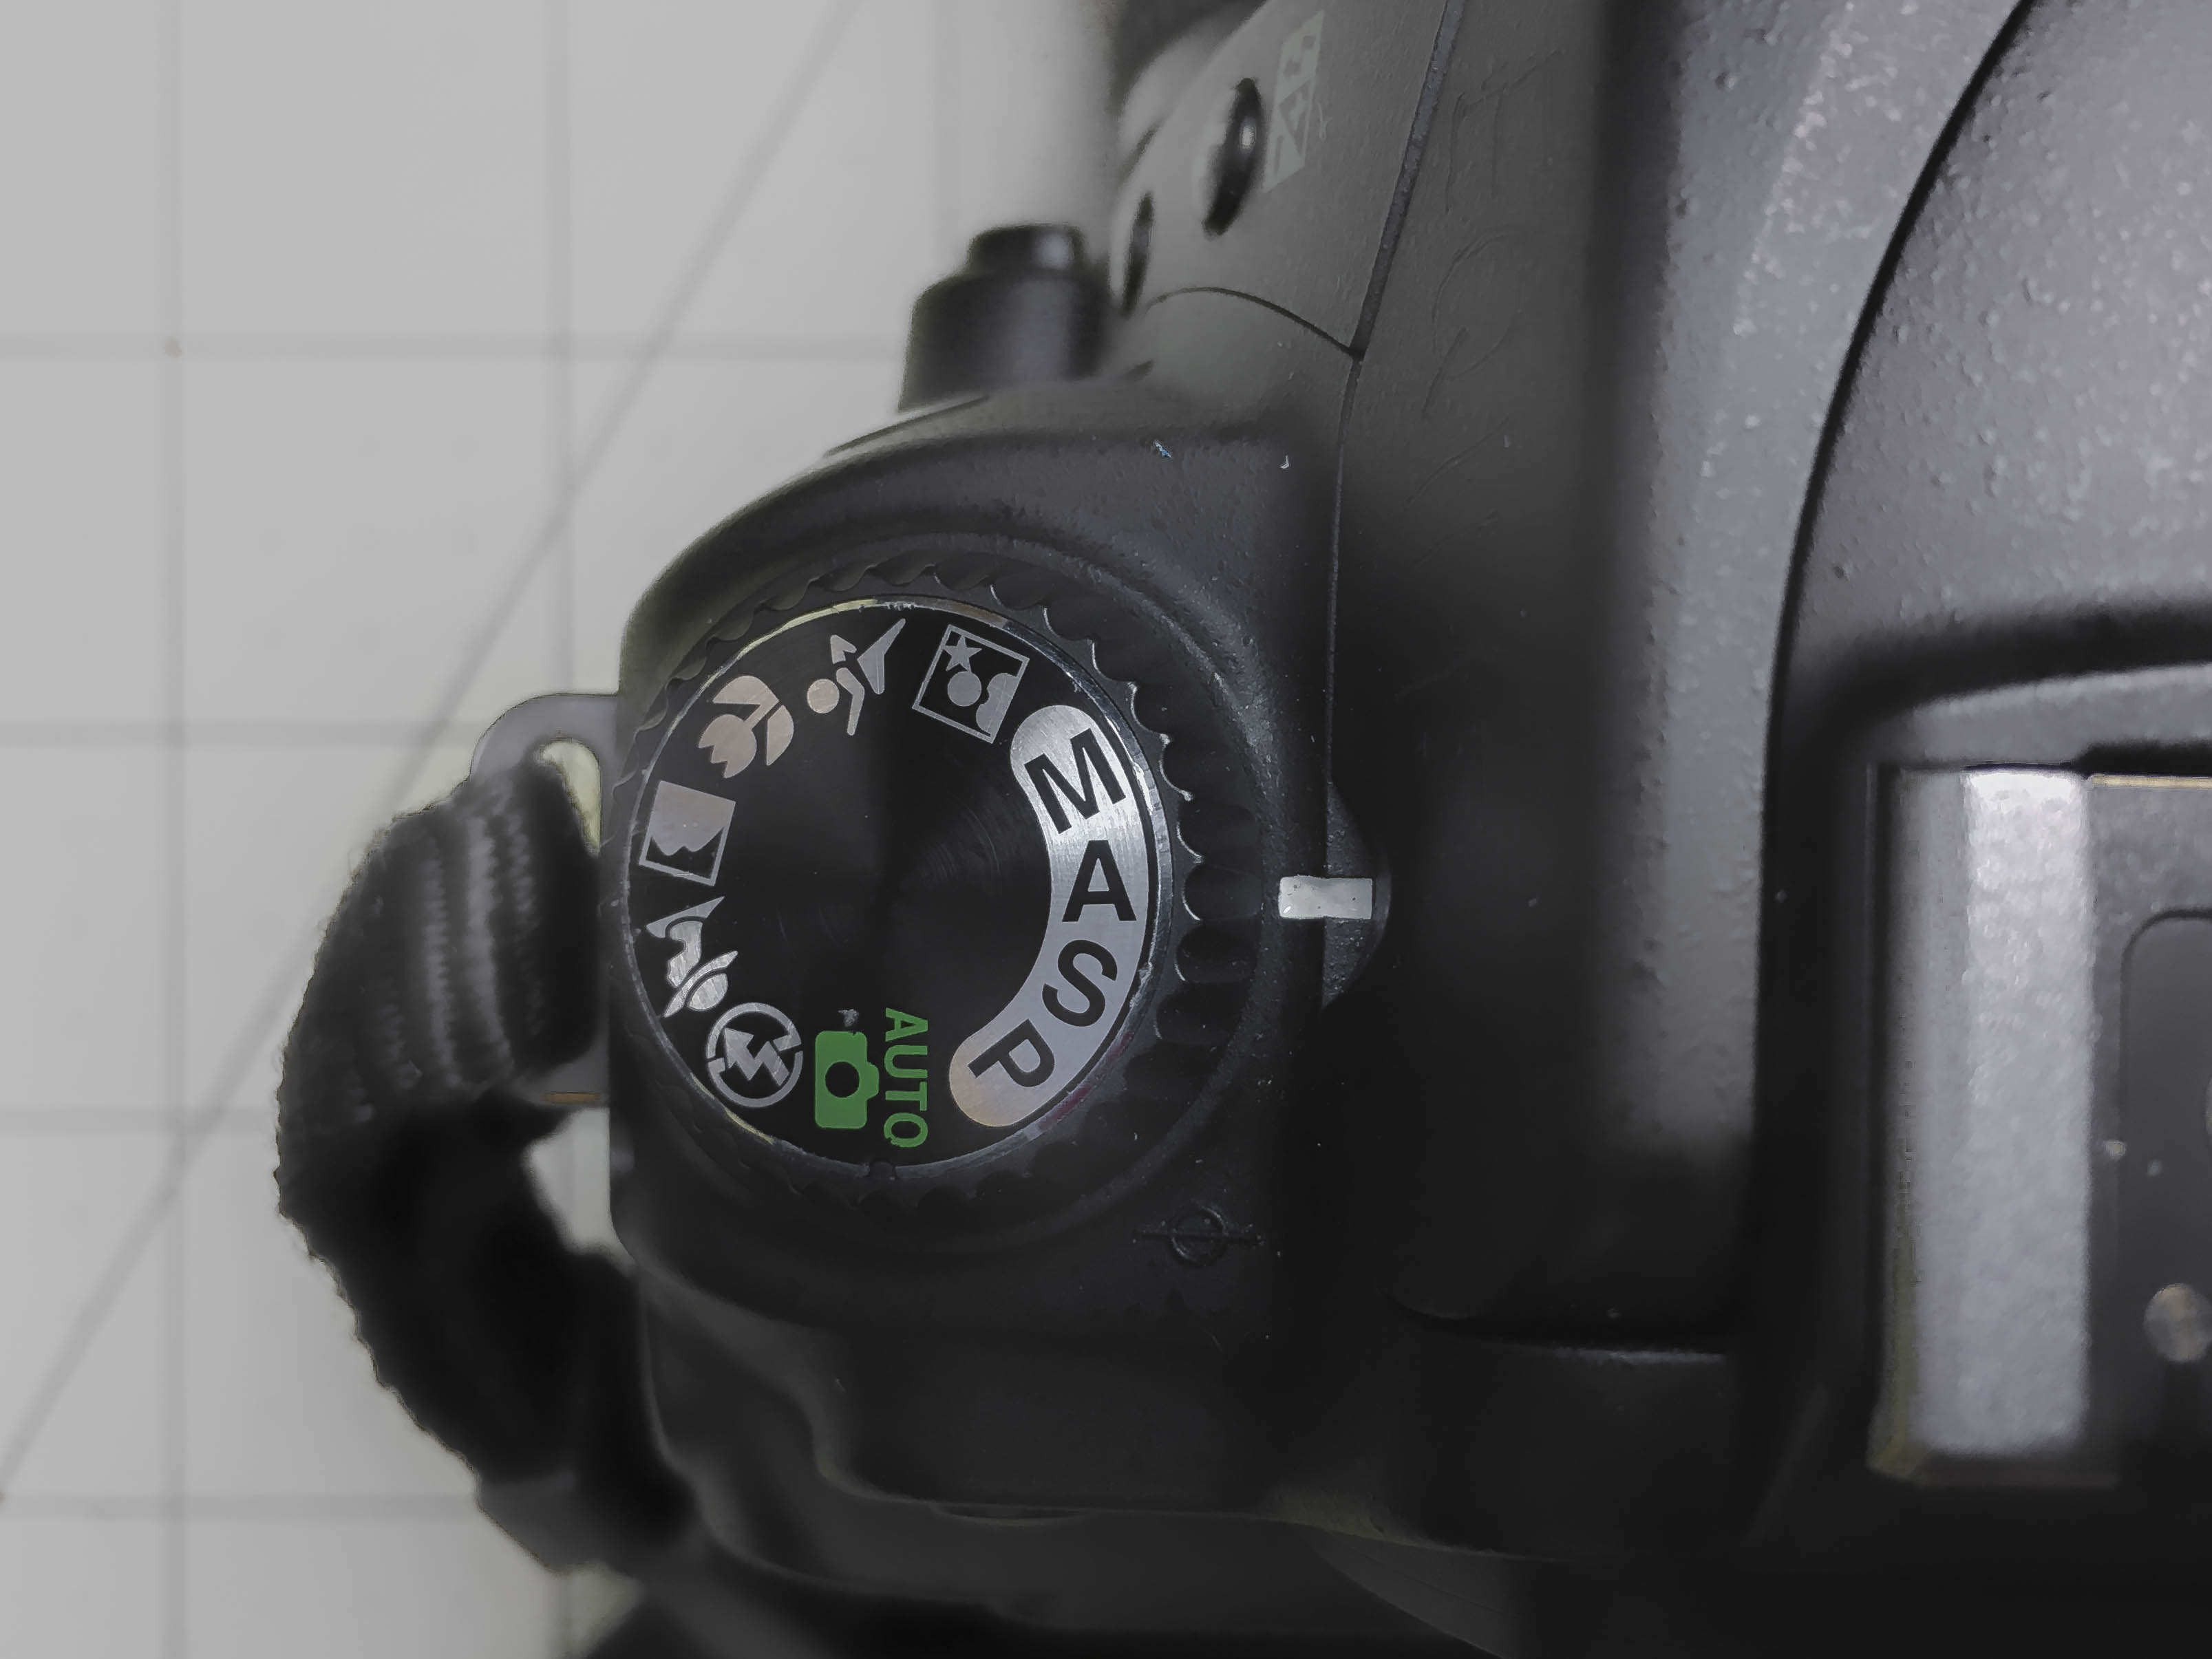
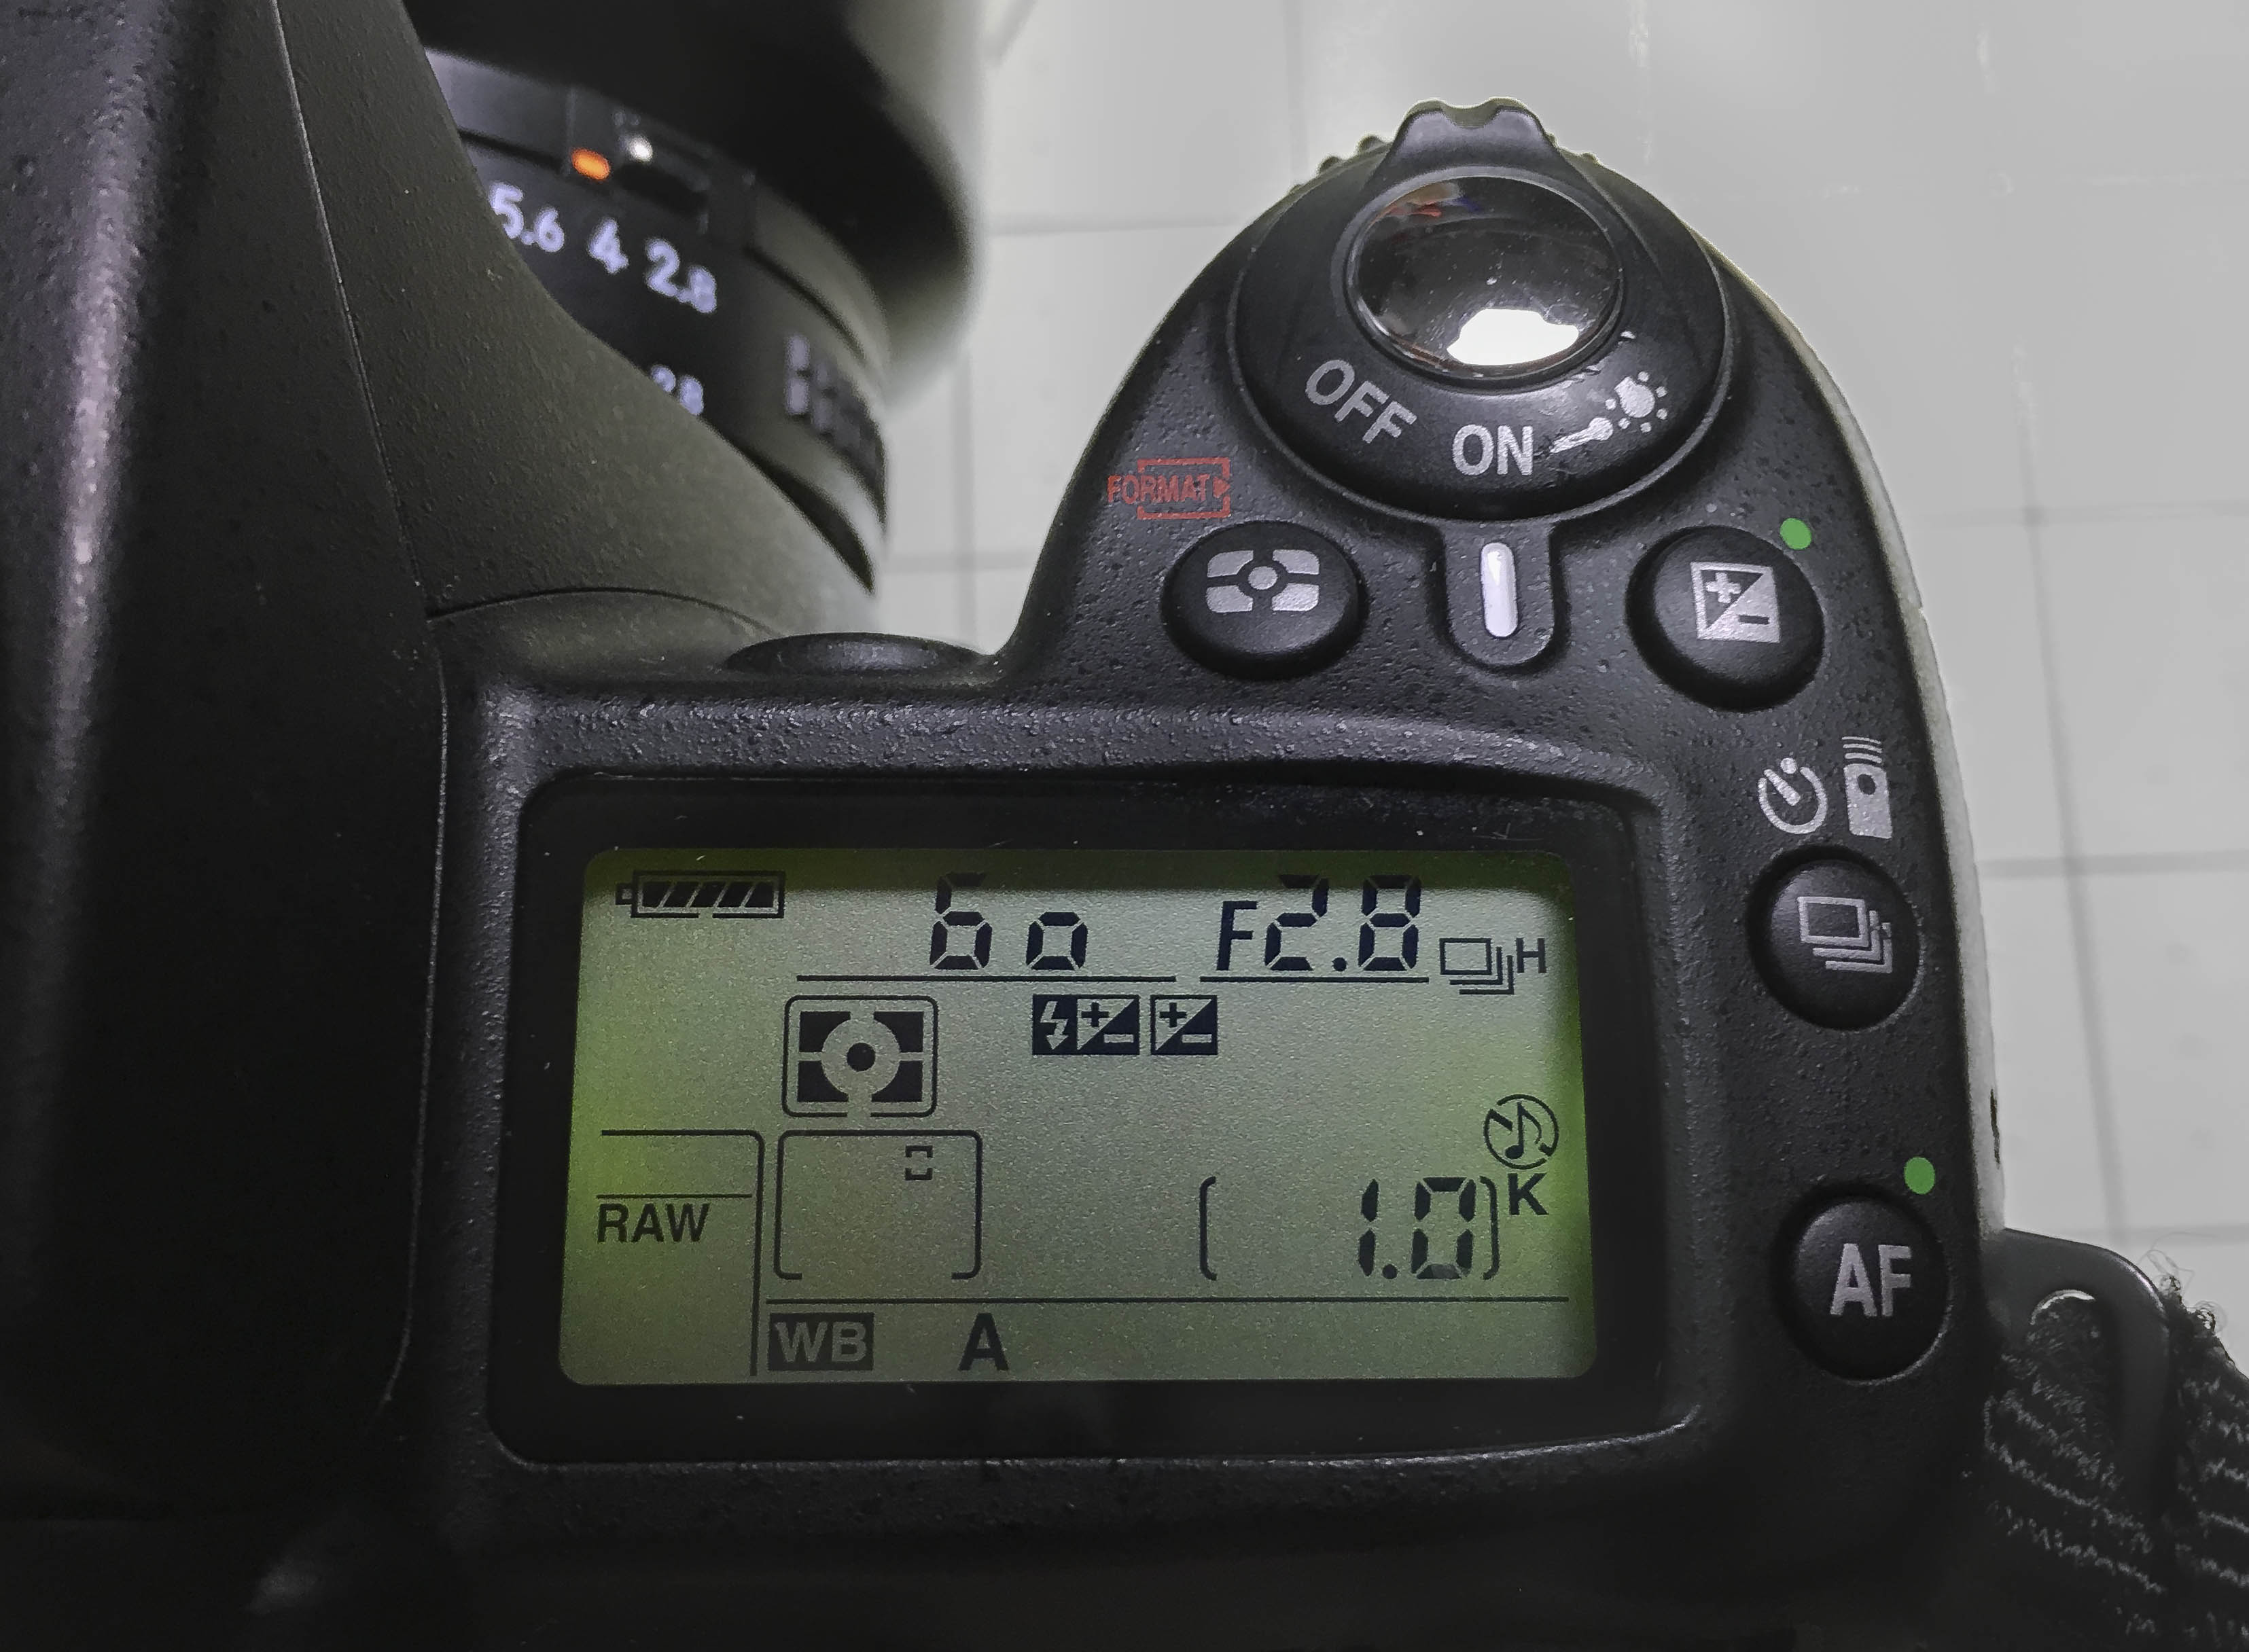
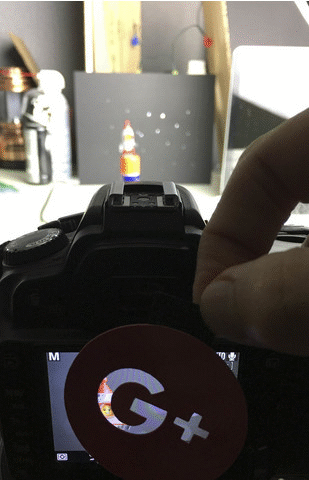
Set your camera to Aperture Priority (A on Nikon, Av on Canon) and use your largest aperture (f/4 to f/1.2)
With smaller or complex designs:
- Place camera on a tripod.
- Prefocus on your subject.
- Set camera to manual focus.
- Place the filter in front of your lens.
- Take photos.
Notes
Some light meters and metering modes will not be accurate with small designs, so check your exposures and bracket as necessary.
Variables to play with:
- Camera-subject-background distances
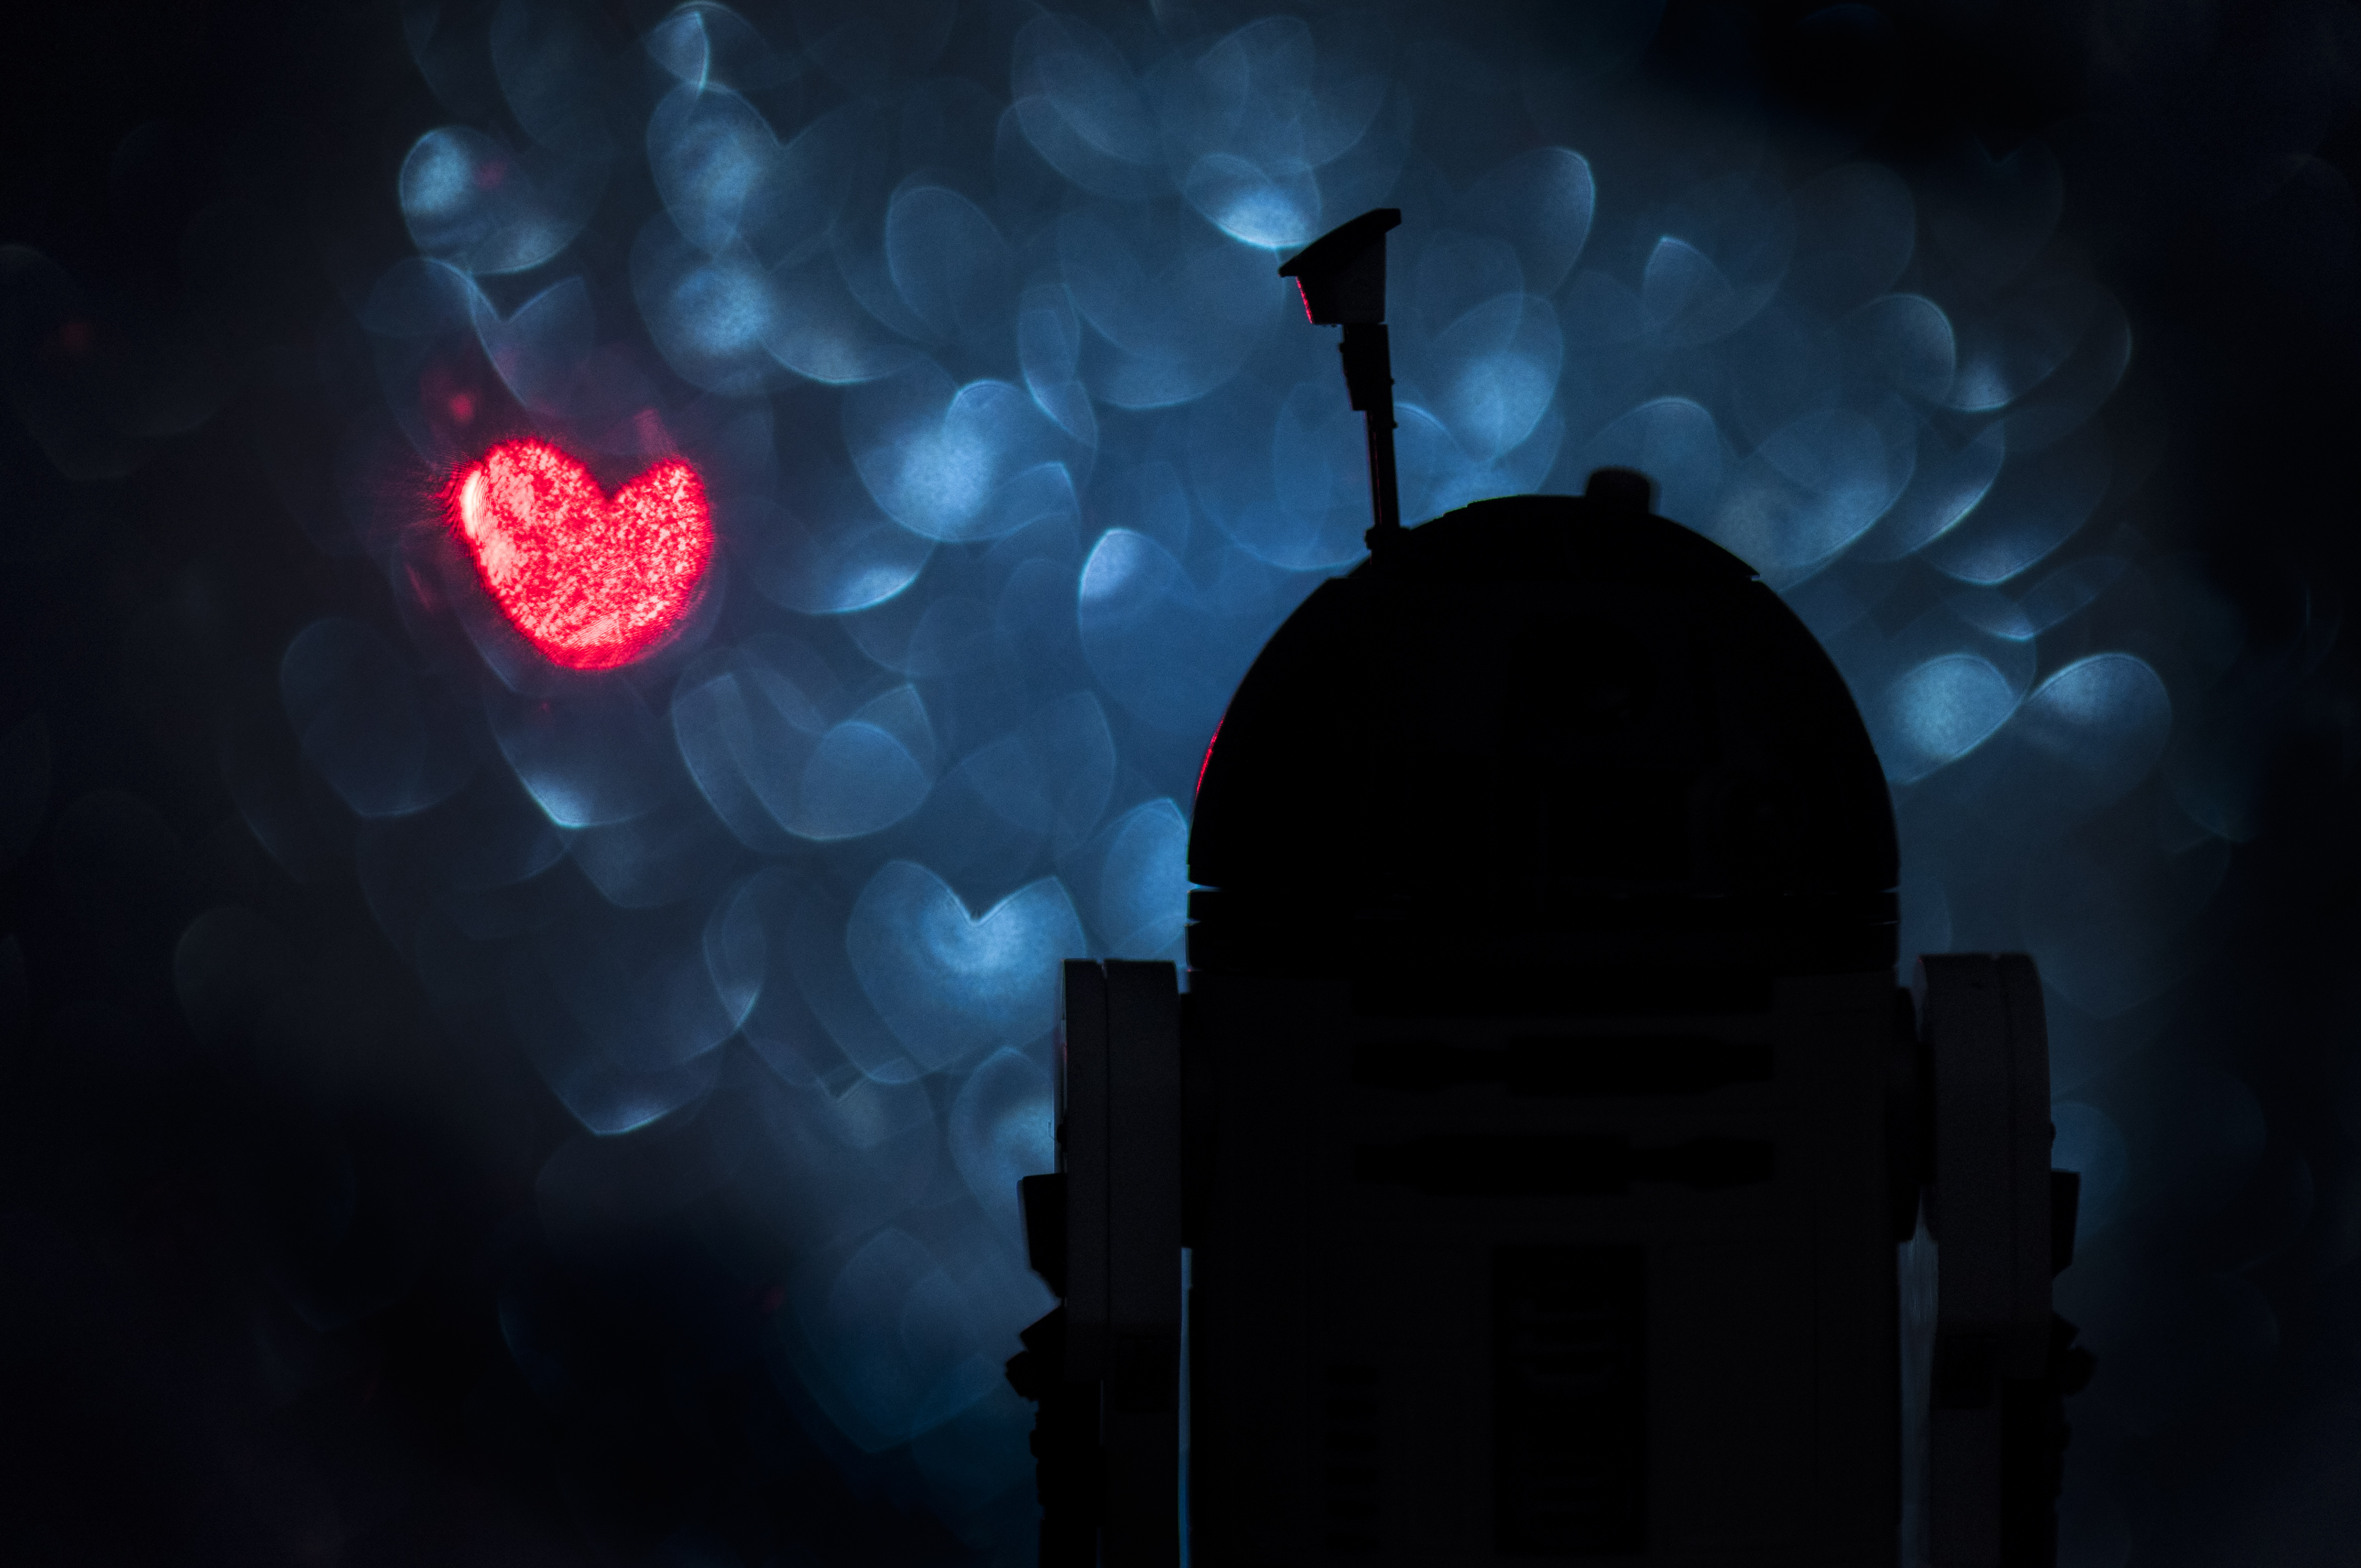
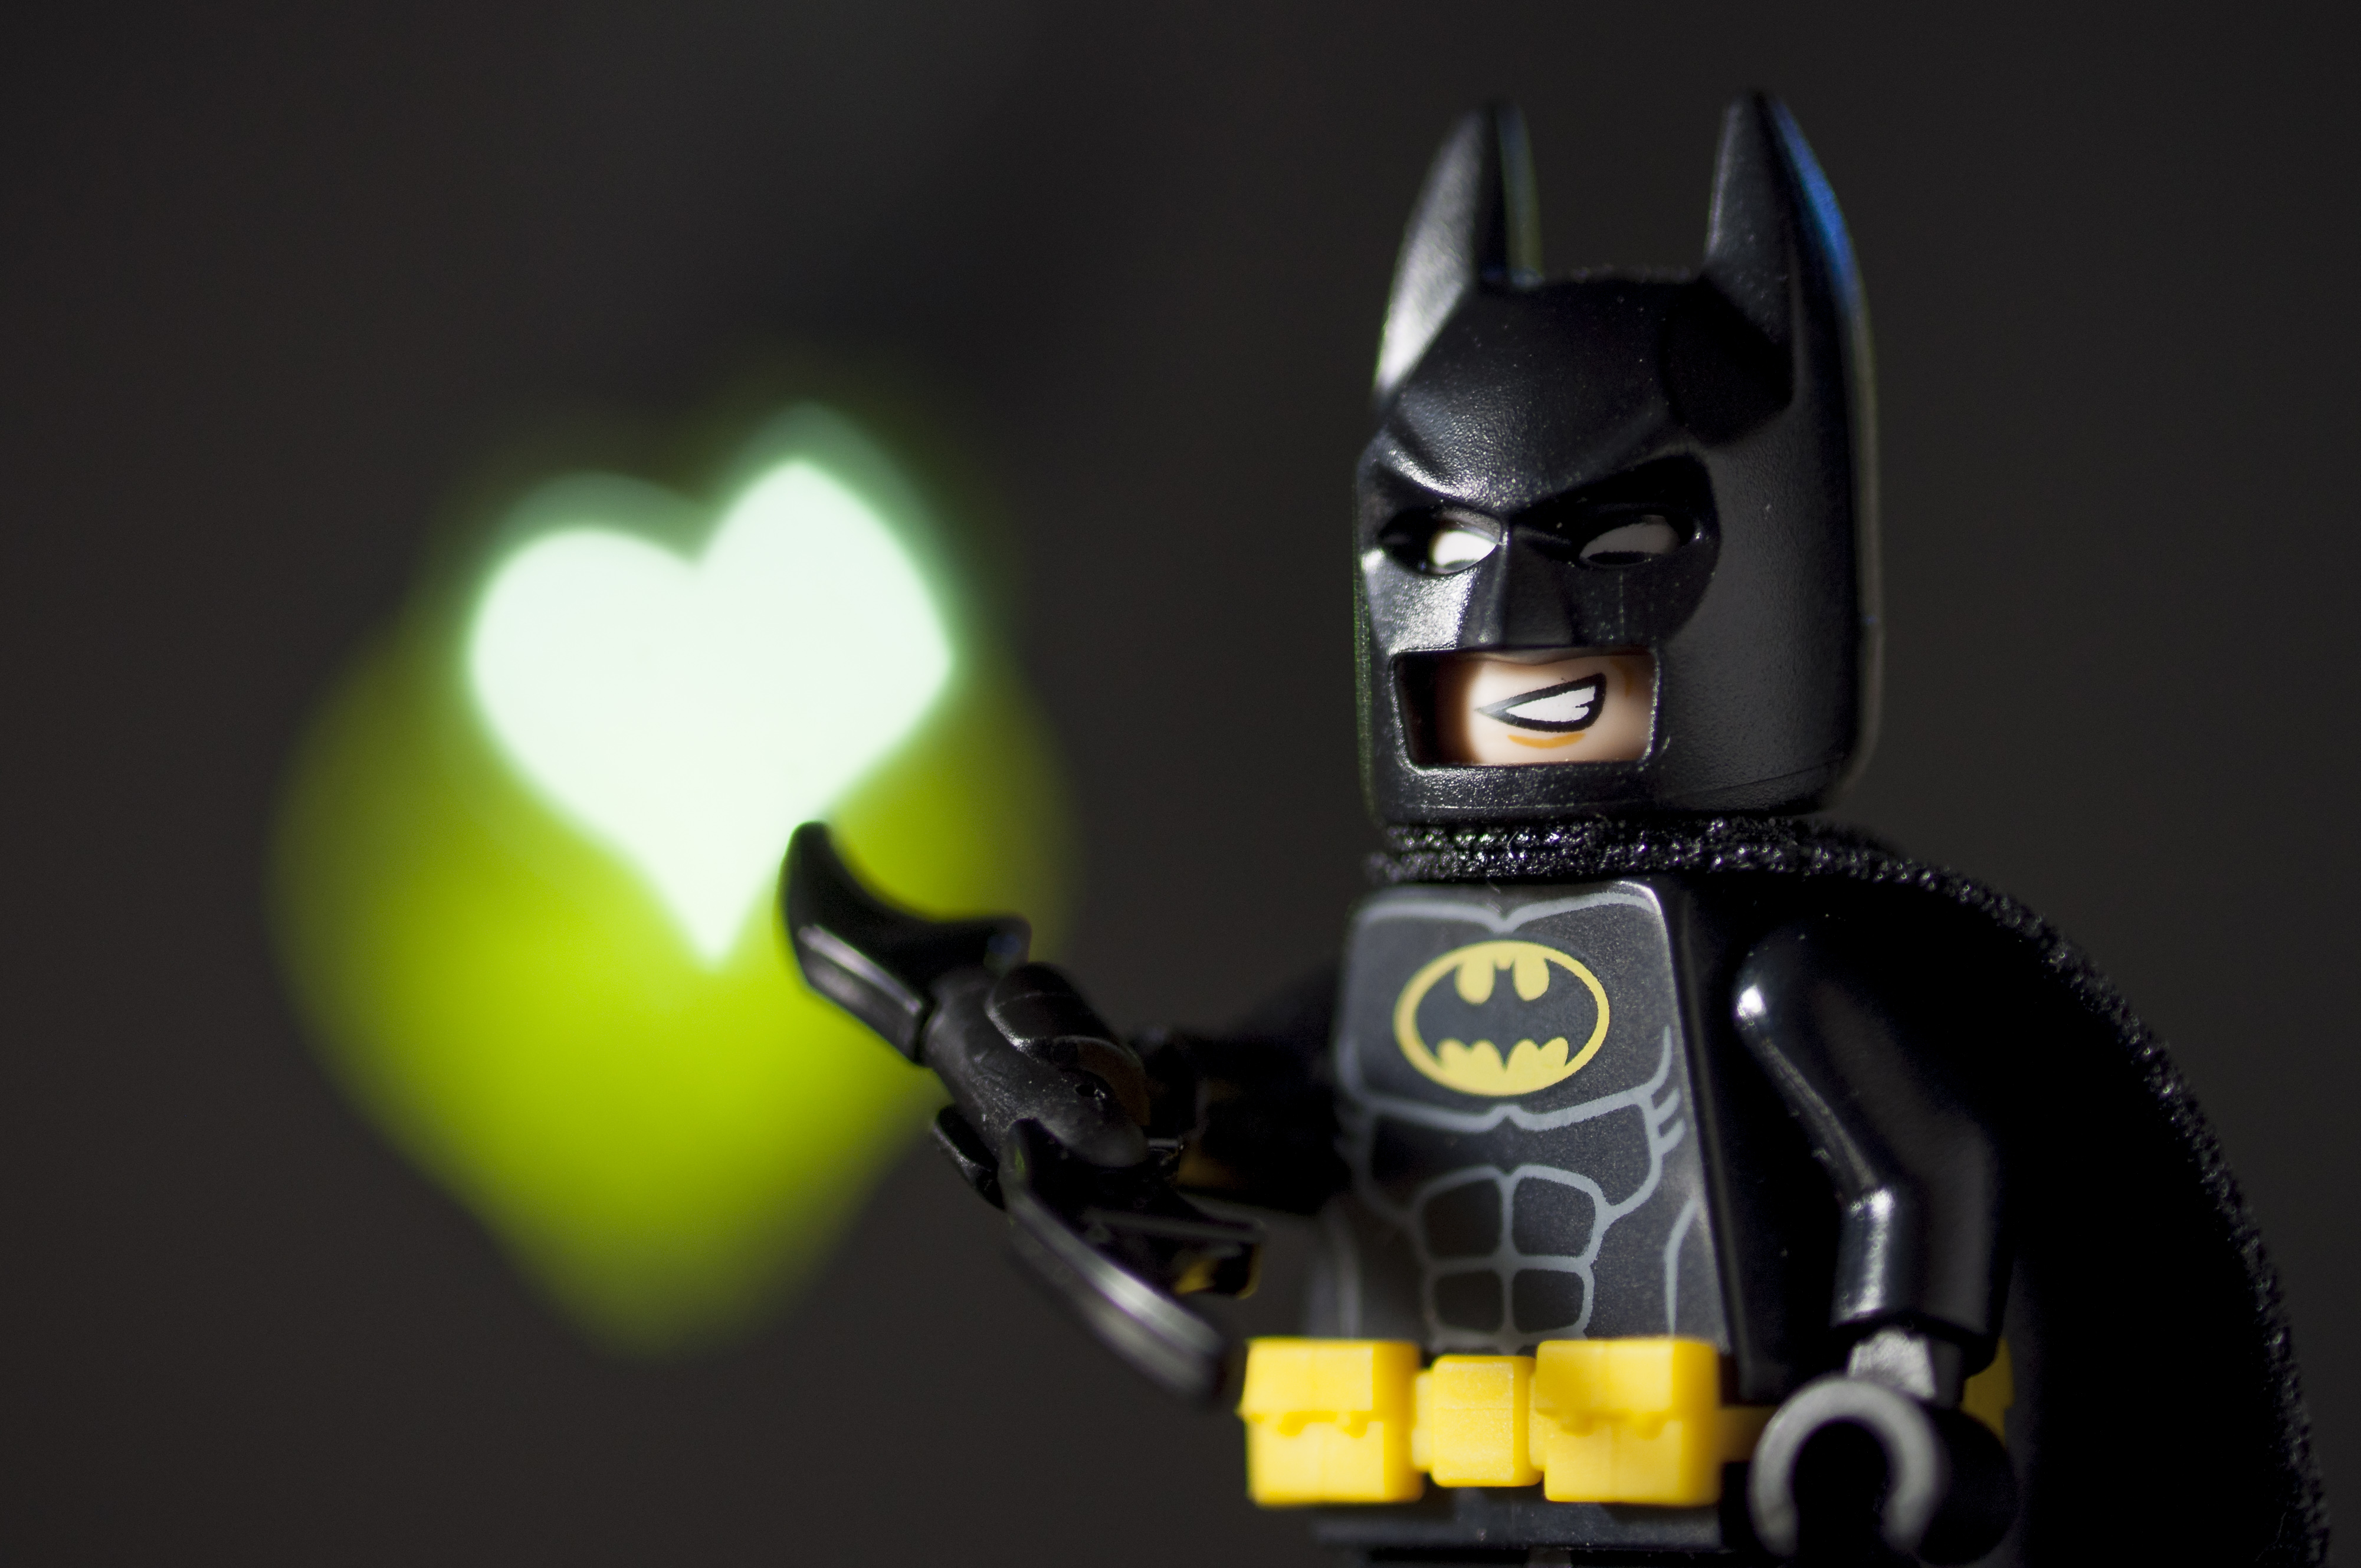
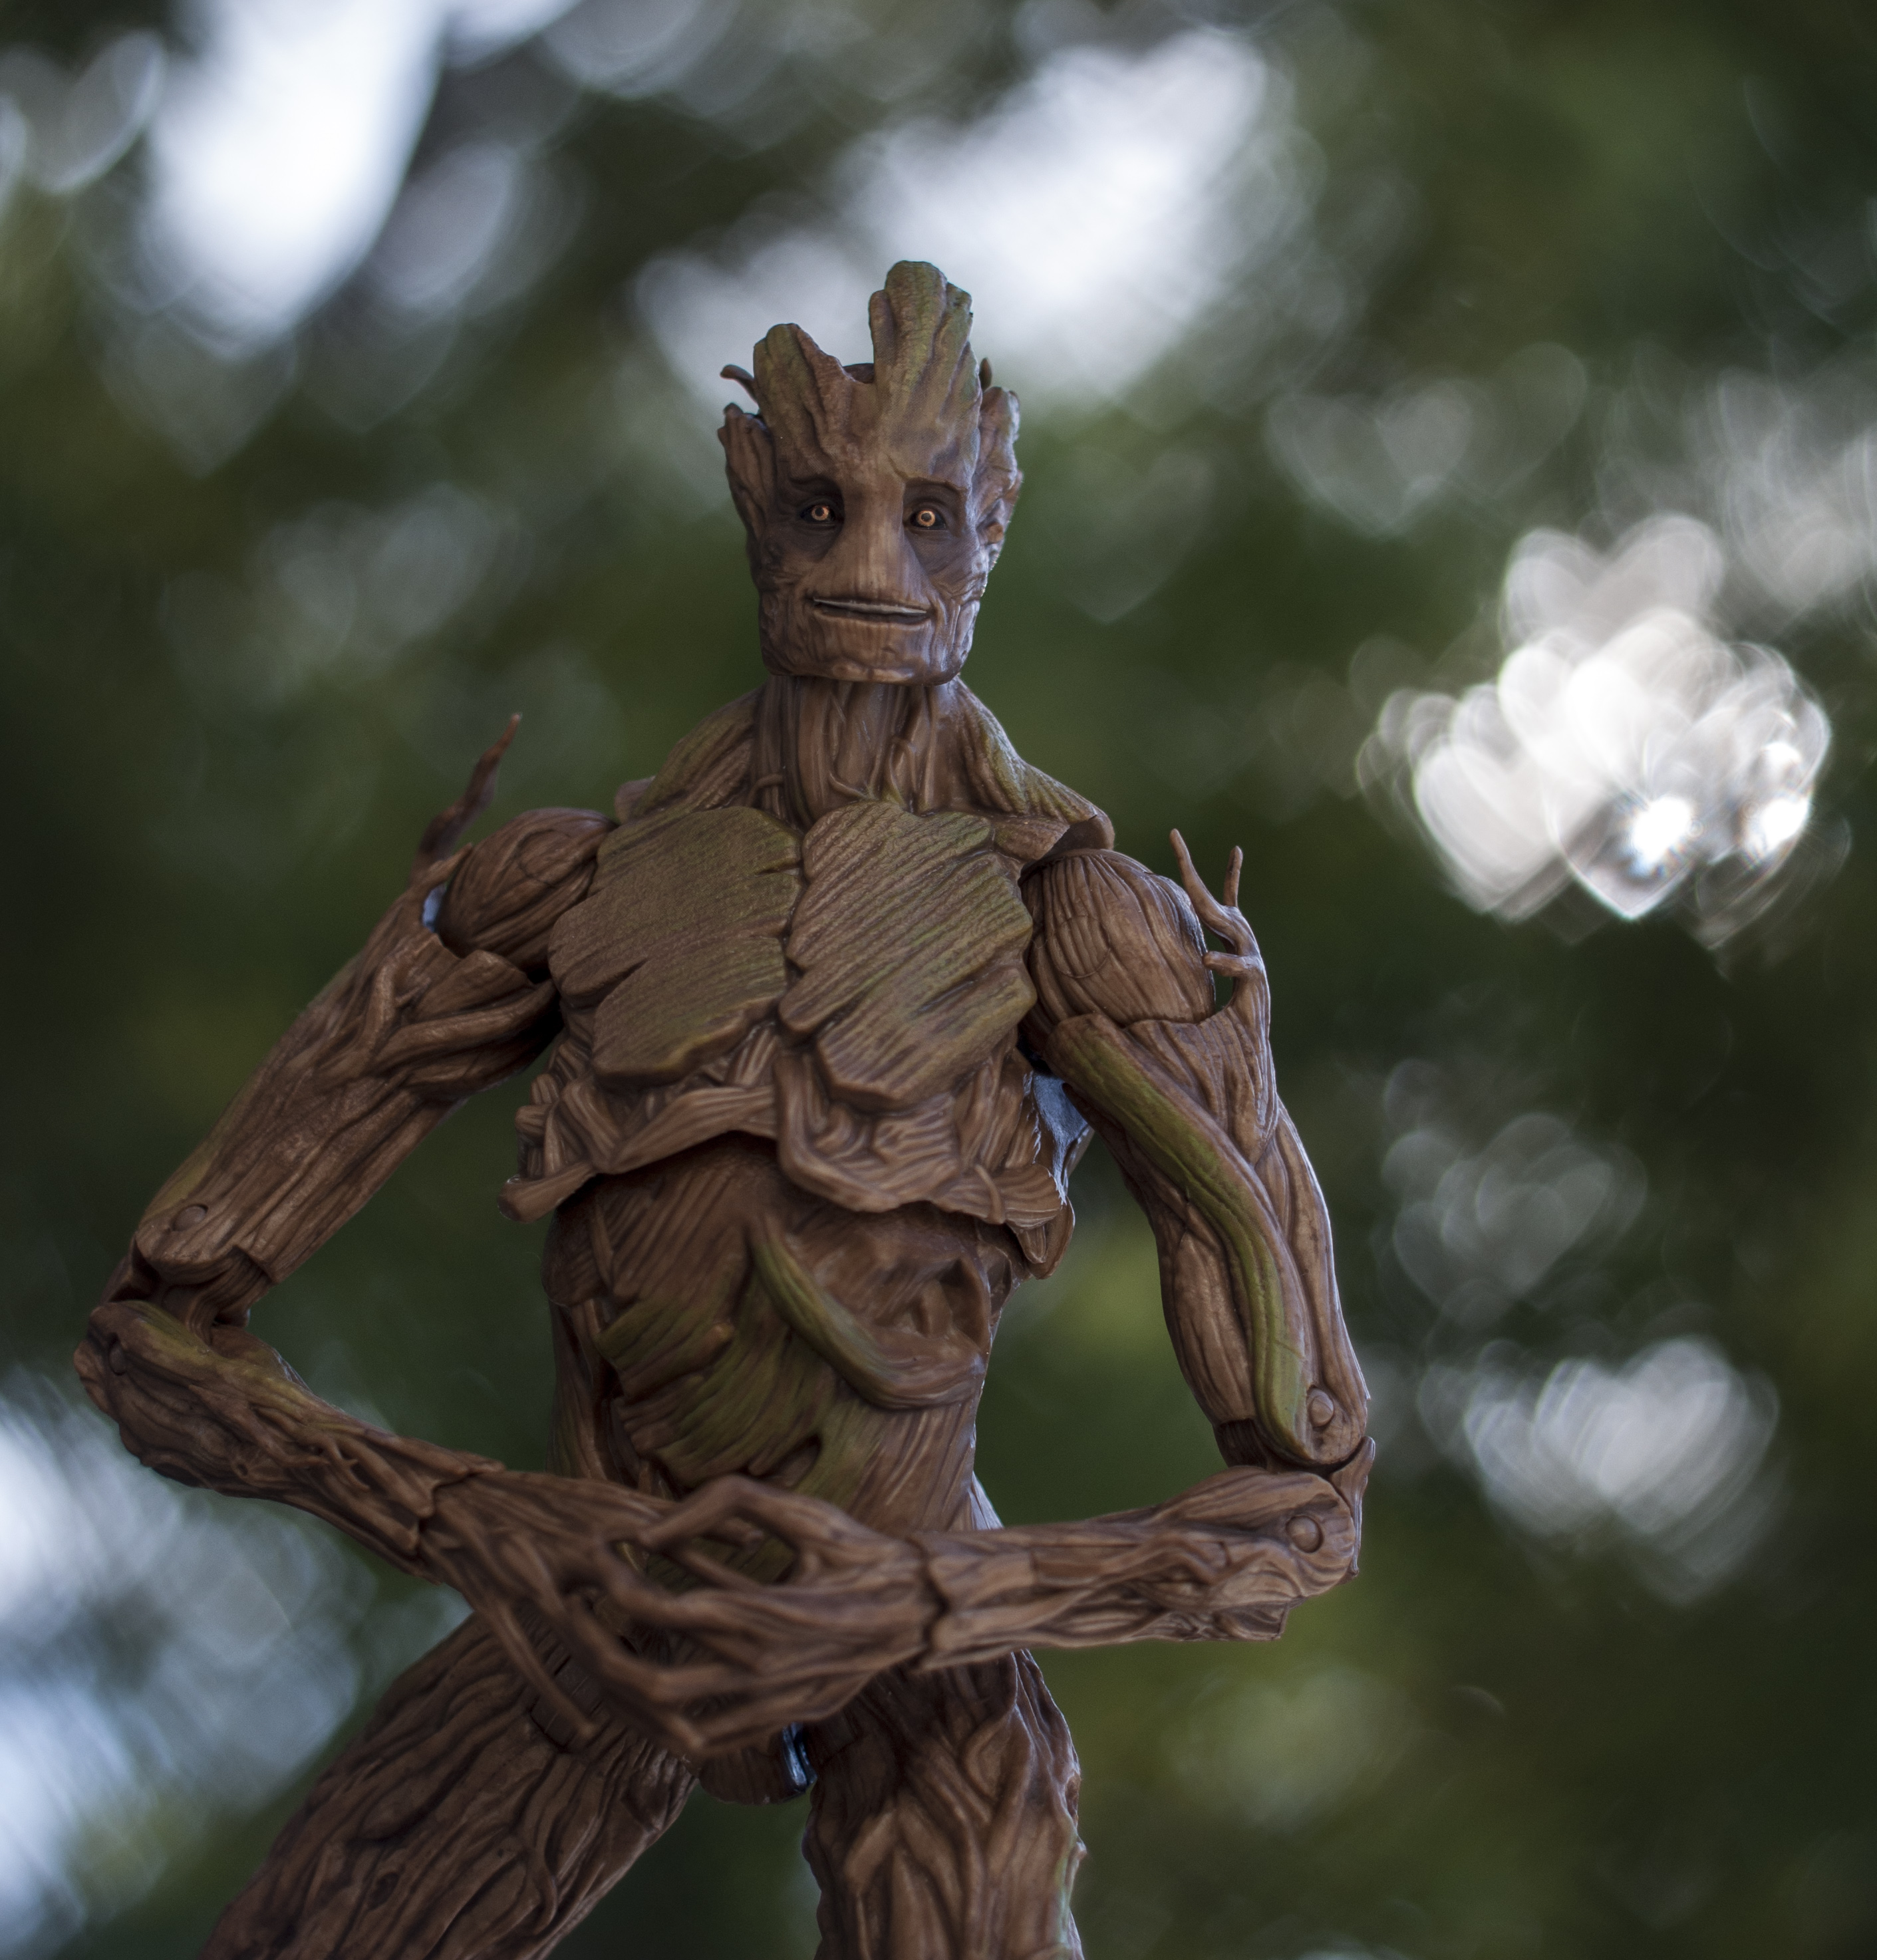
- Angle of light source if using a reflective background (see photo of R2D2)
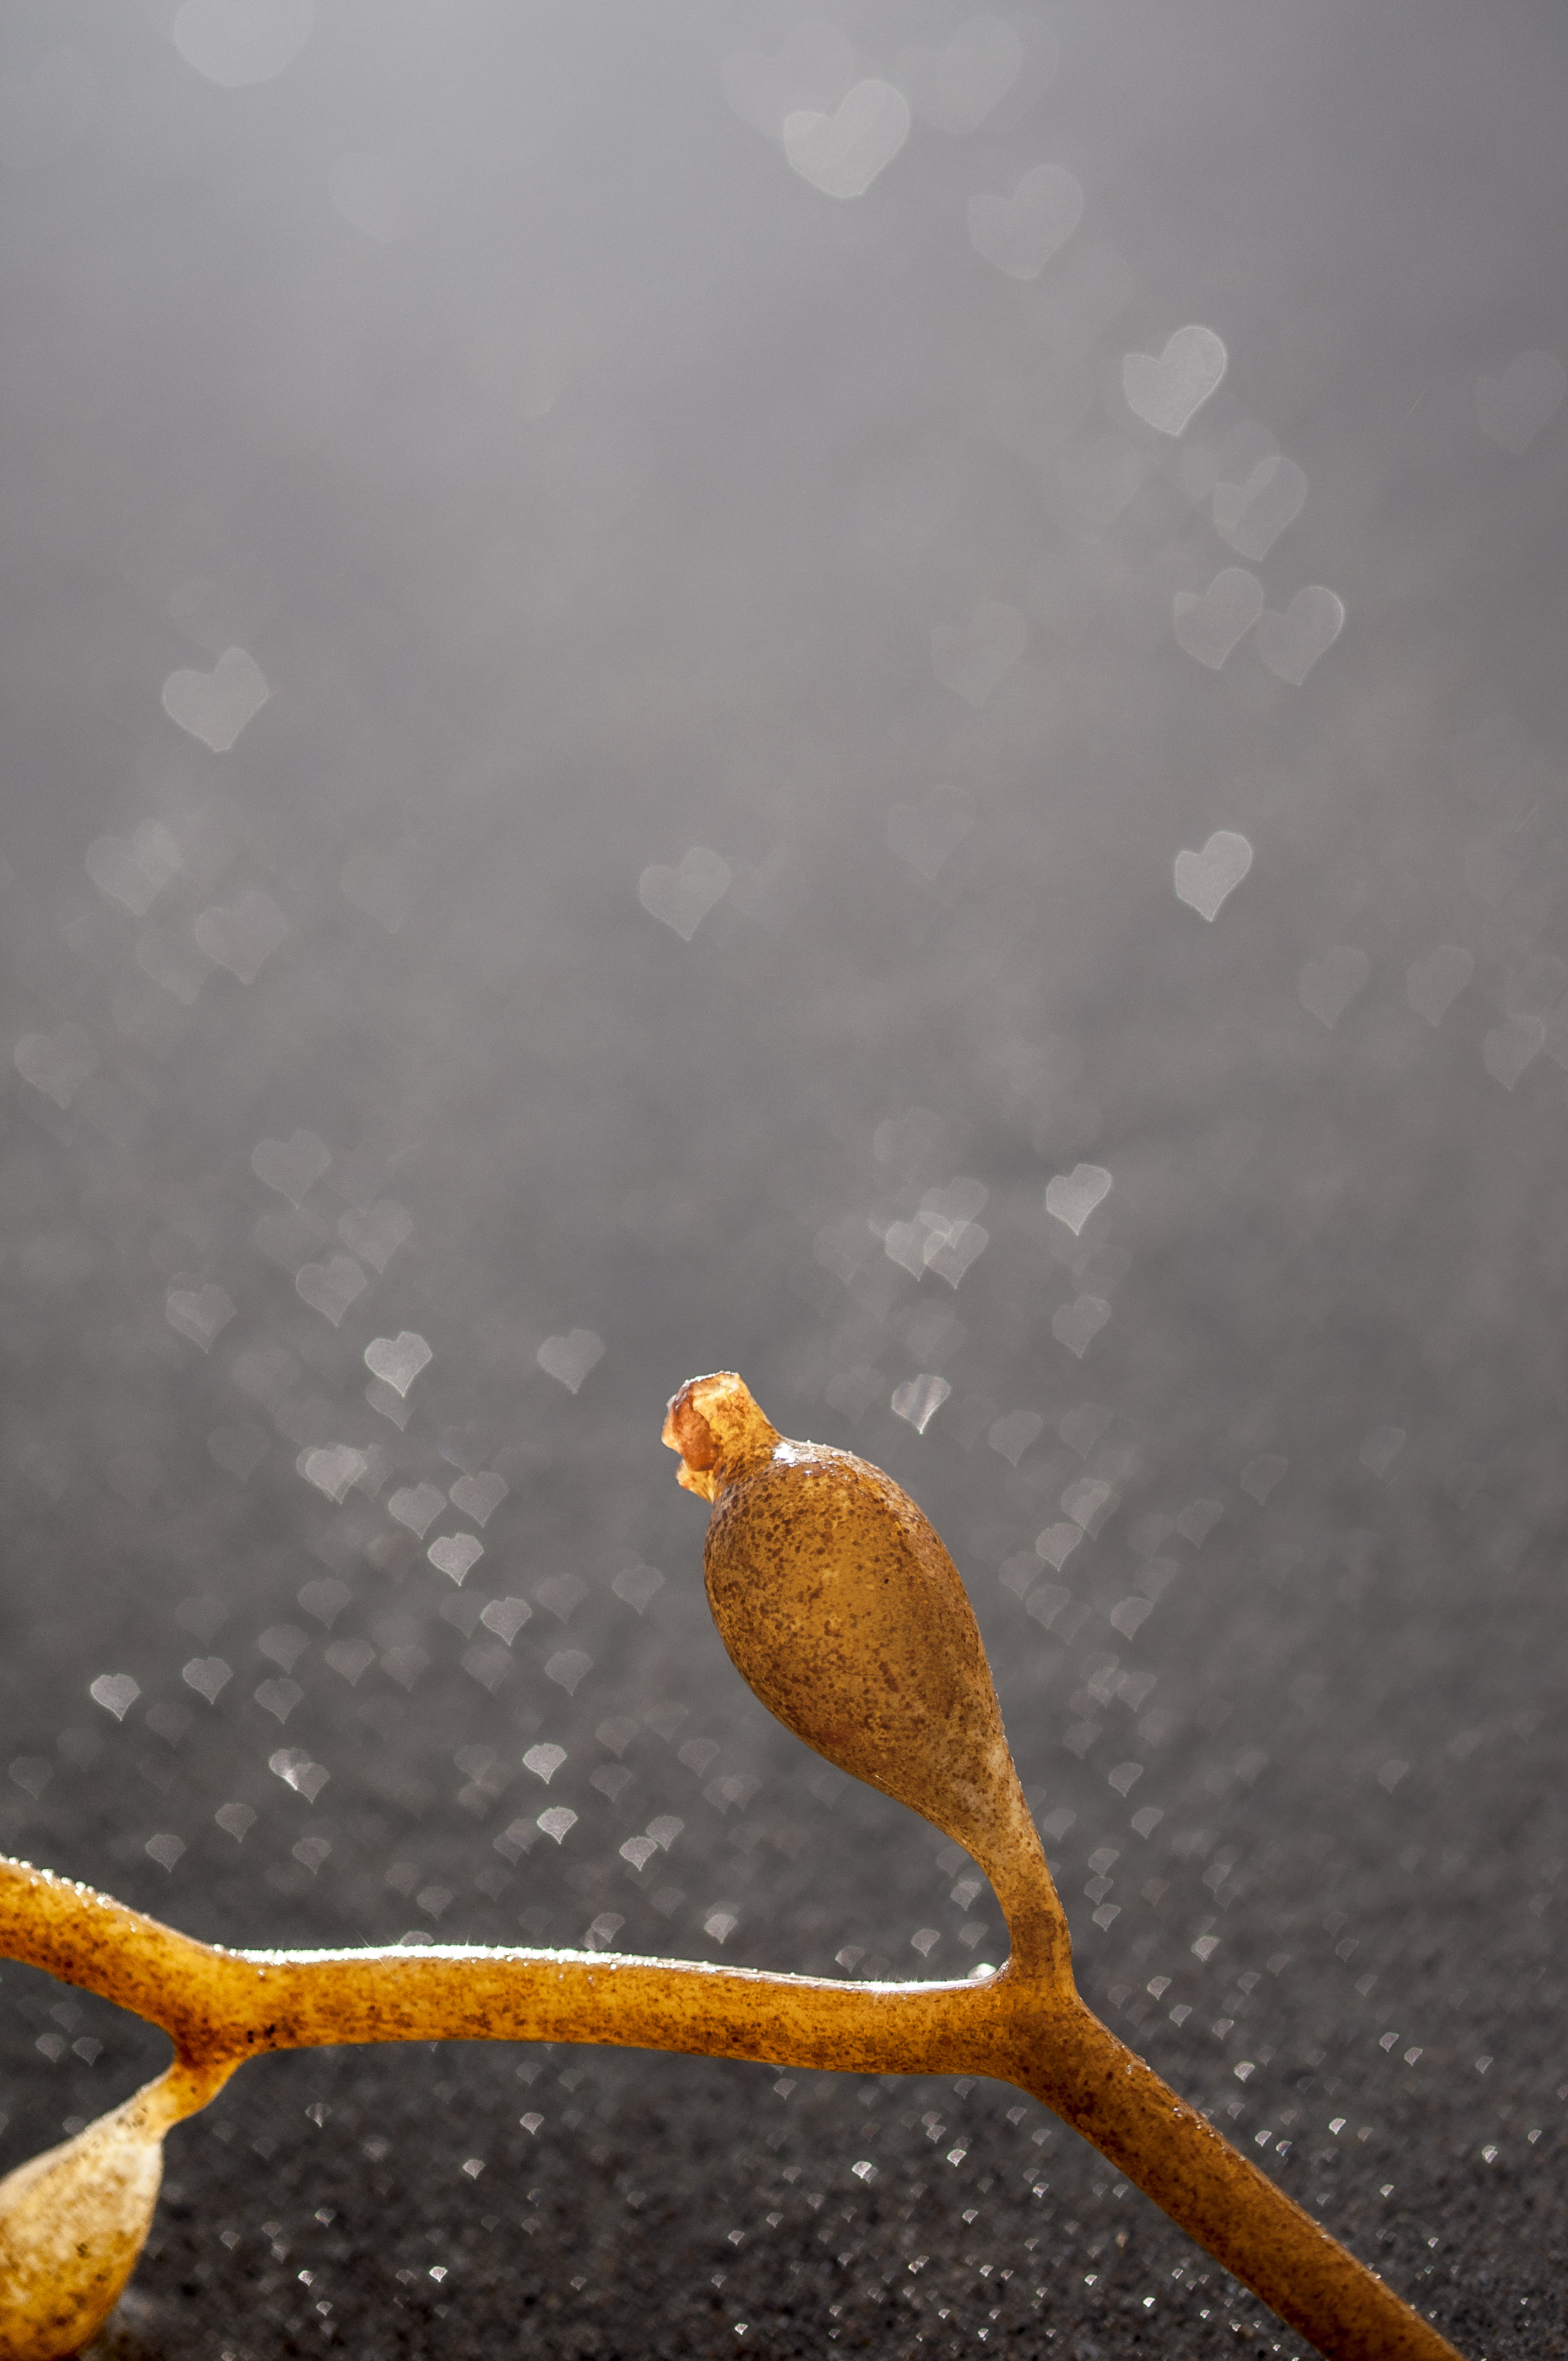
- Cutout size
- Aperture