Sewing the Characters From Fat Albert
1934 Views, 6 Favorites, 0 Comments
Sewing the Characters From Fat Albert


Hey hey hey!
In this instructable, I am going to show you how to sew the memorable characters from the Fat Albert television series.
Supplies
If your sewing the whole gang, you'll need a variety of felt colors.
You will need:
Skin tones - I tried to get as close as possible to their complexions, so I used brown and tan felt
White felt
Black felt
Bright yellow felt
Medium yellow felt
Orange felt
Red felt
Lavender felt
Light purple felt
Light pink felt
Dark pink felt
Medium green felt
Dark green felt
Light blue felt
Medium blue felt
Red thread
Orange thread
Black thread
White thread
Yellow thread
Dark blue thread
Light blue thread
Light green thread
Fluff. Lots of it.
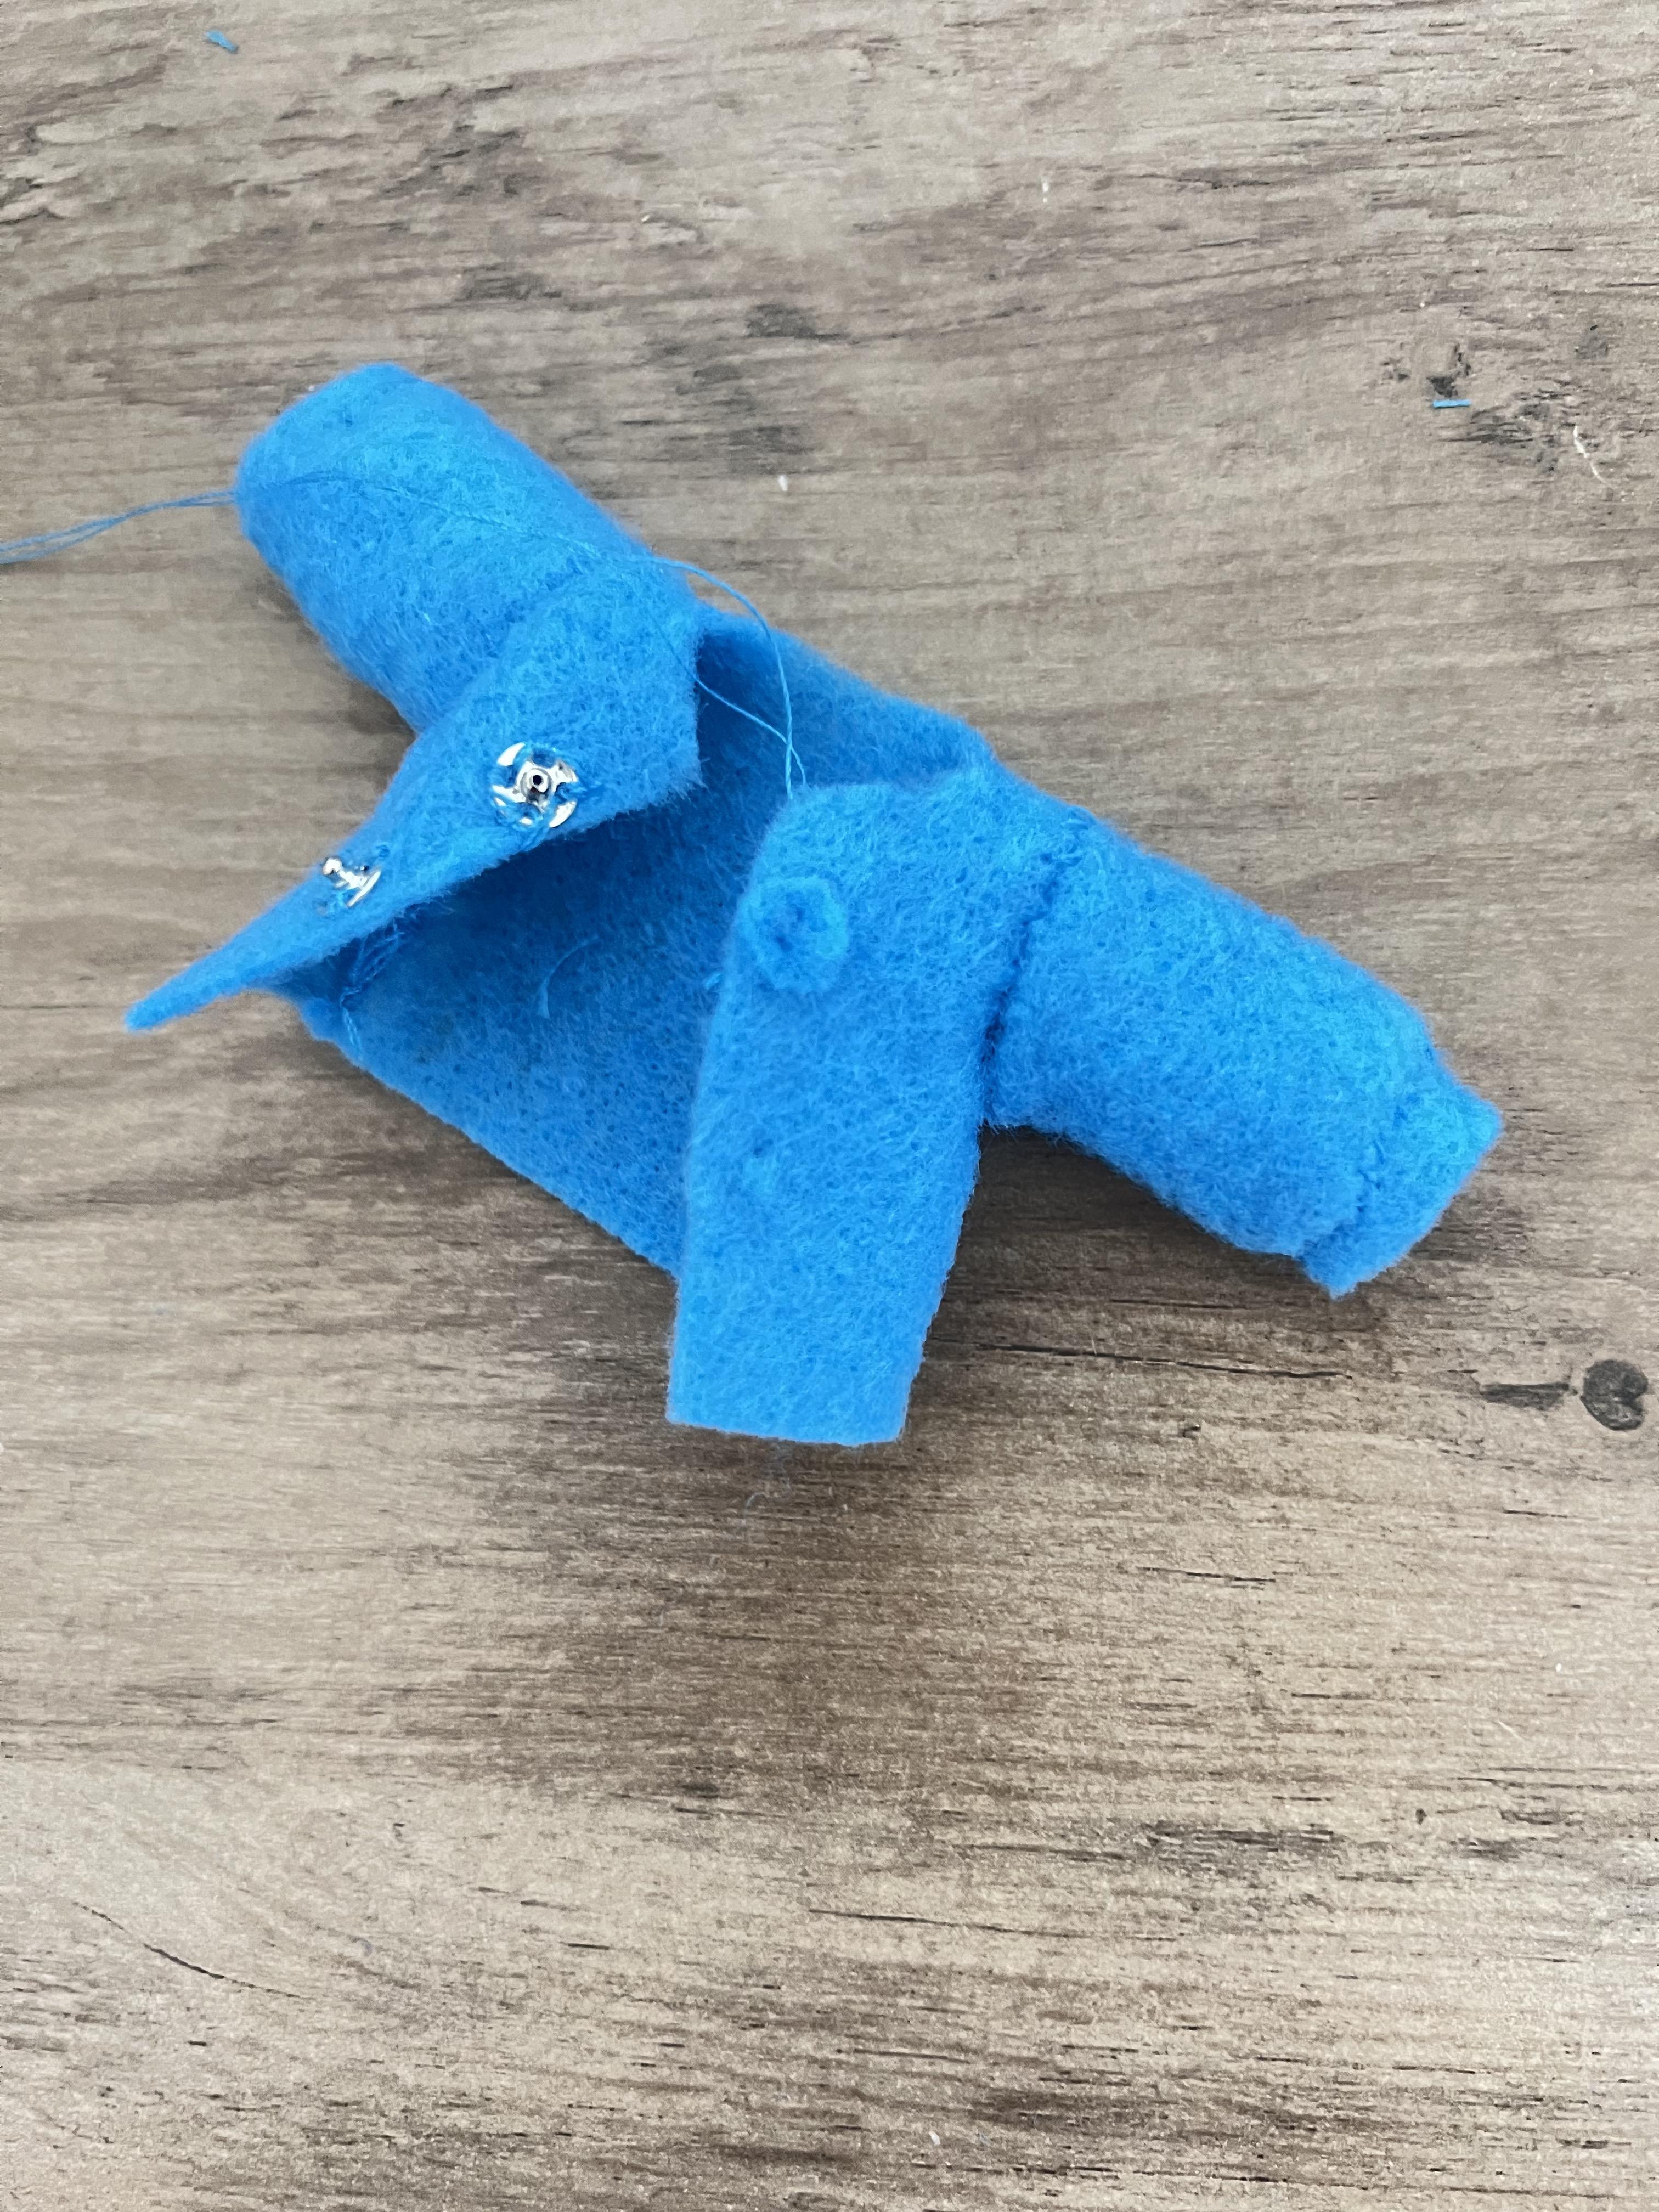
For Russell's jacket, I used two small sew-on snaps. If you make him you will need at least two.
For their hair I used a little bit of wool which I felted onto their heads. So if you decide to do that you will need black wool.
You'll also need:
Scissors - thread and fabric scissors
A needle
A felting needle
If you don't want to make all of them, you could just gather the colors depending on the character.
Lastly, I am not showing my making the doll bases. I have another instructable for that that I recommend you look at before starting on this instructable. How-to-Sew-a-Basic-Doll
Downloads
Prepare Your Doll Bases

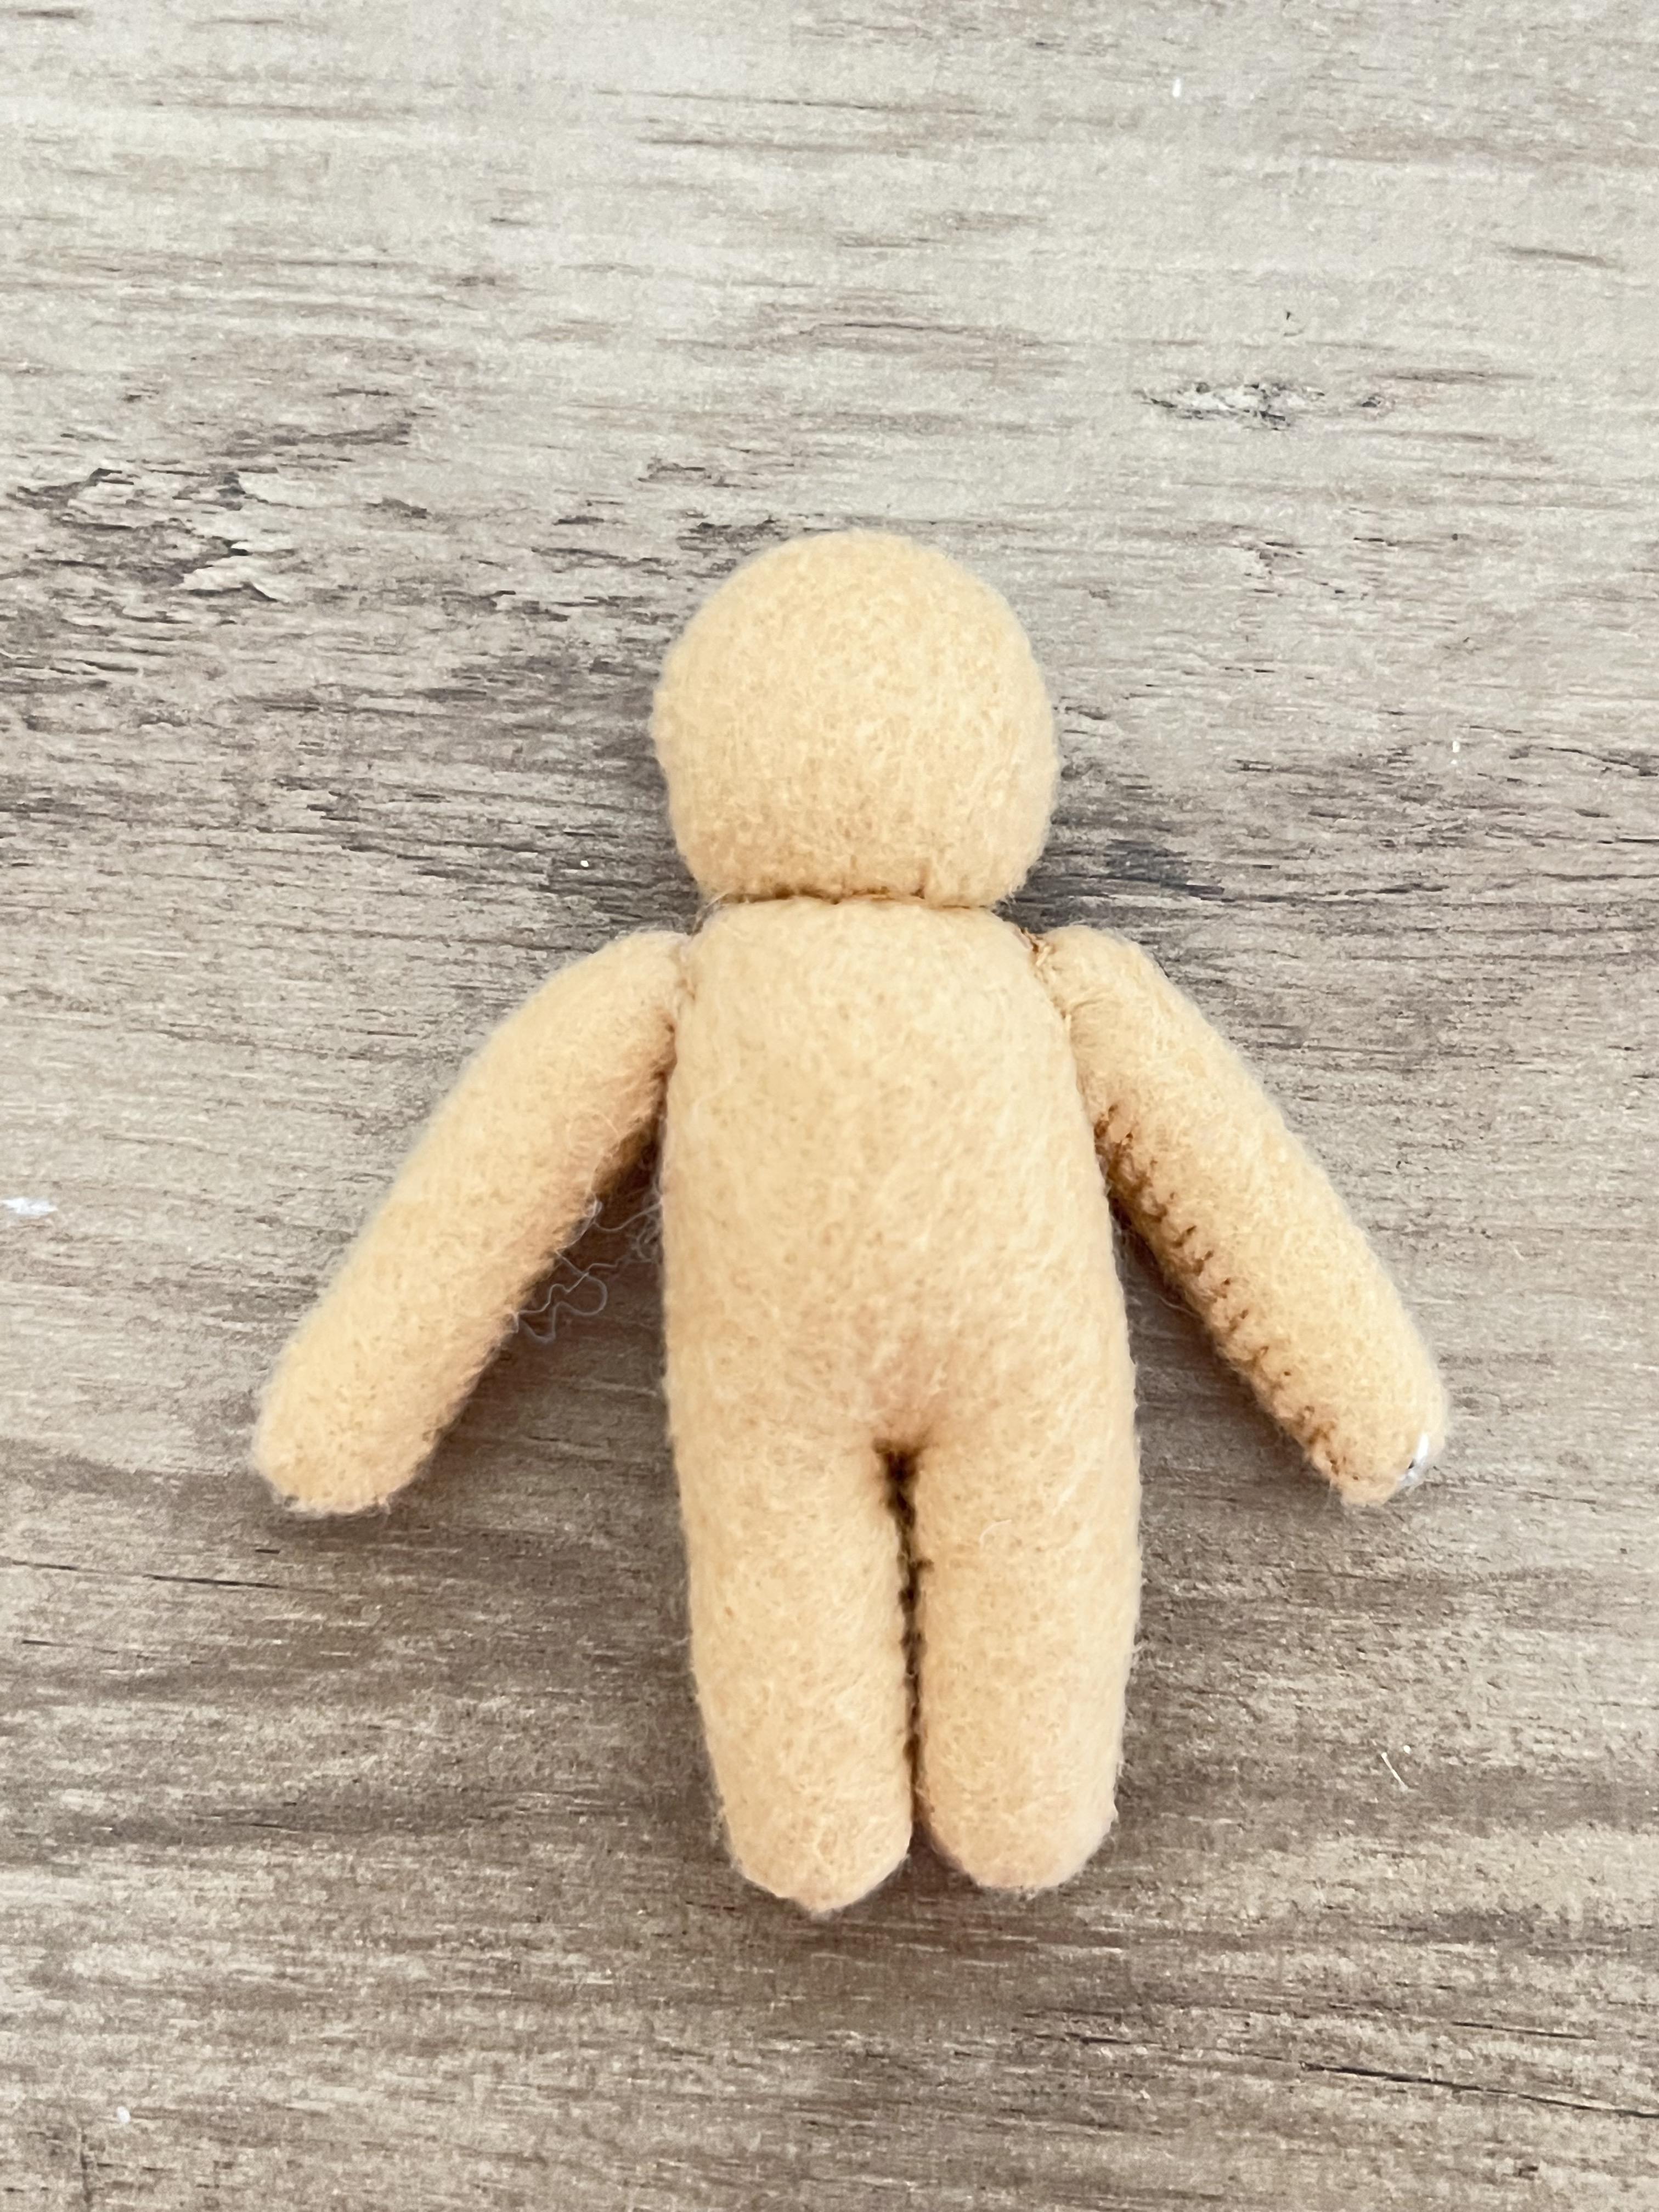
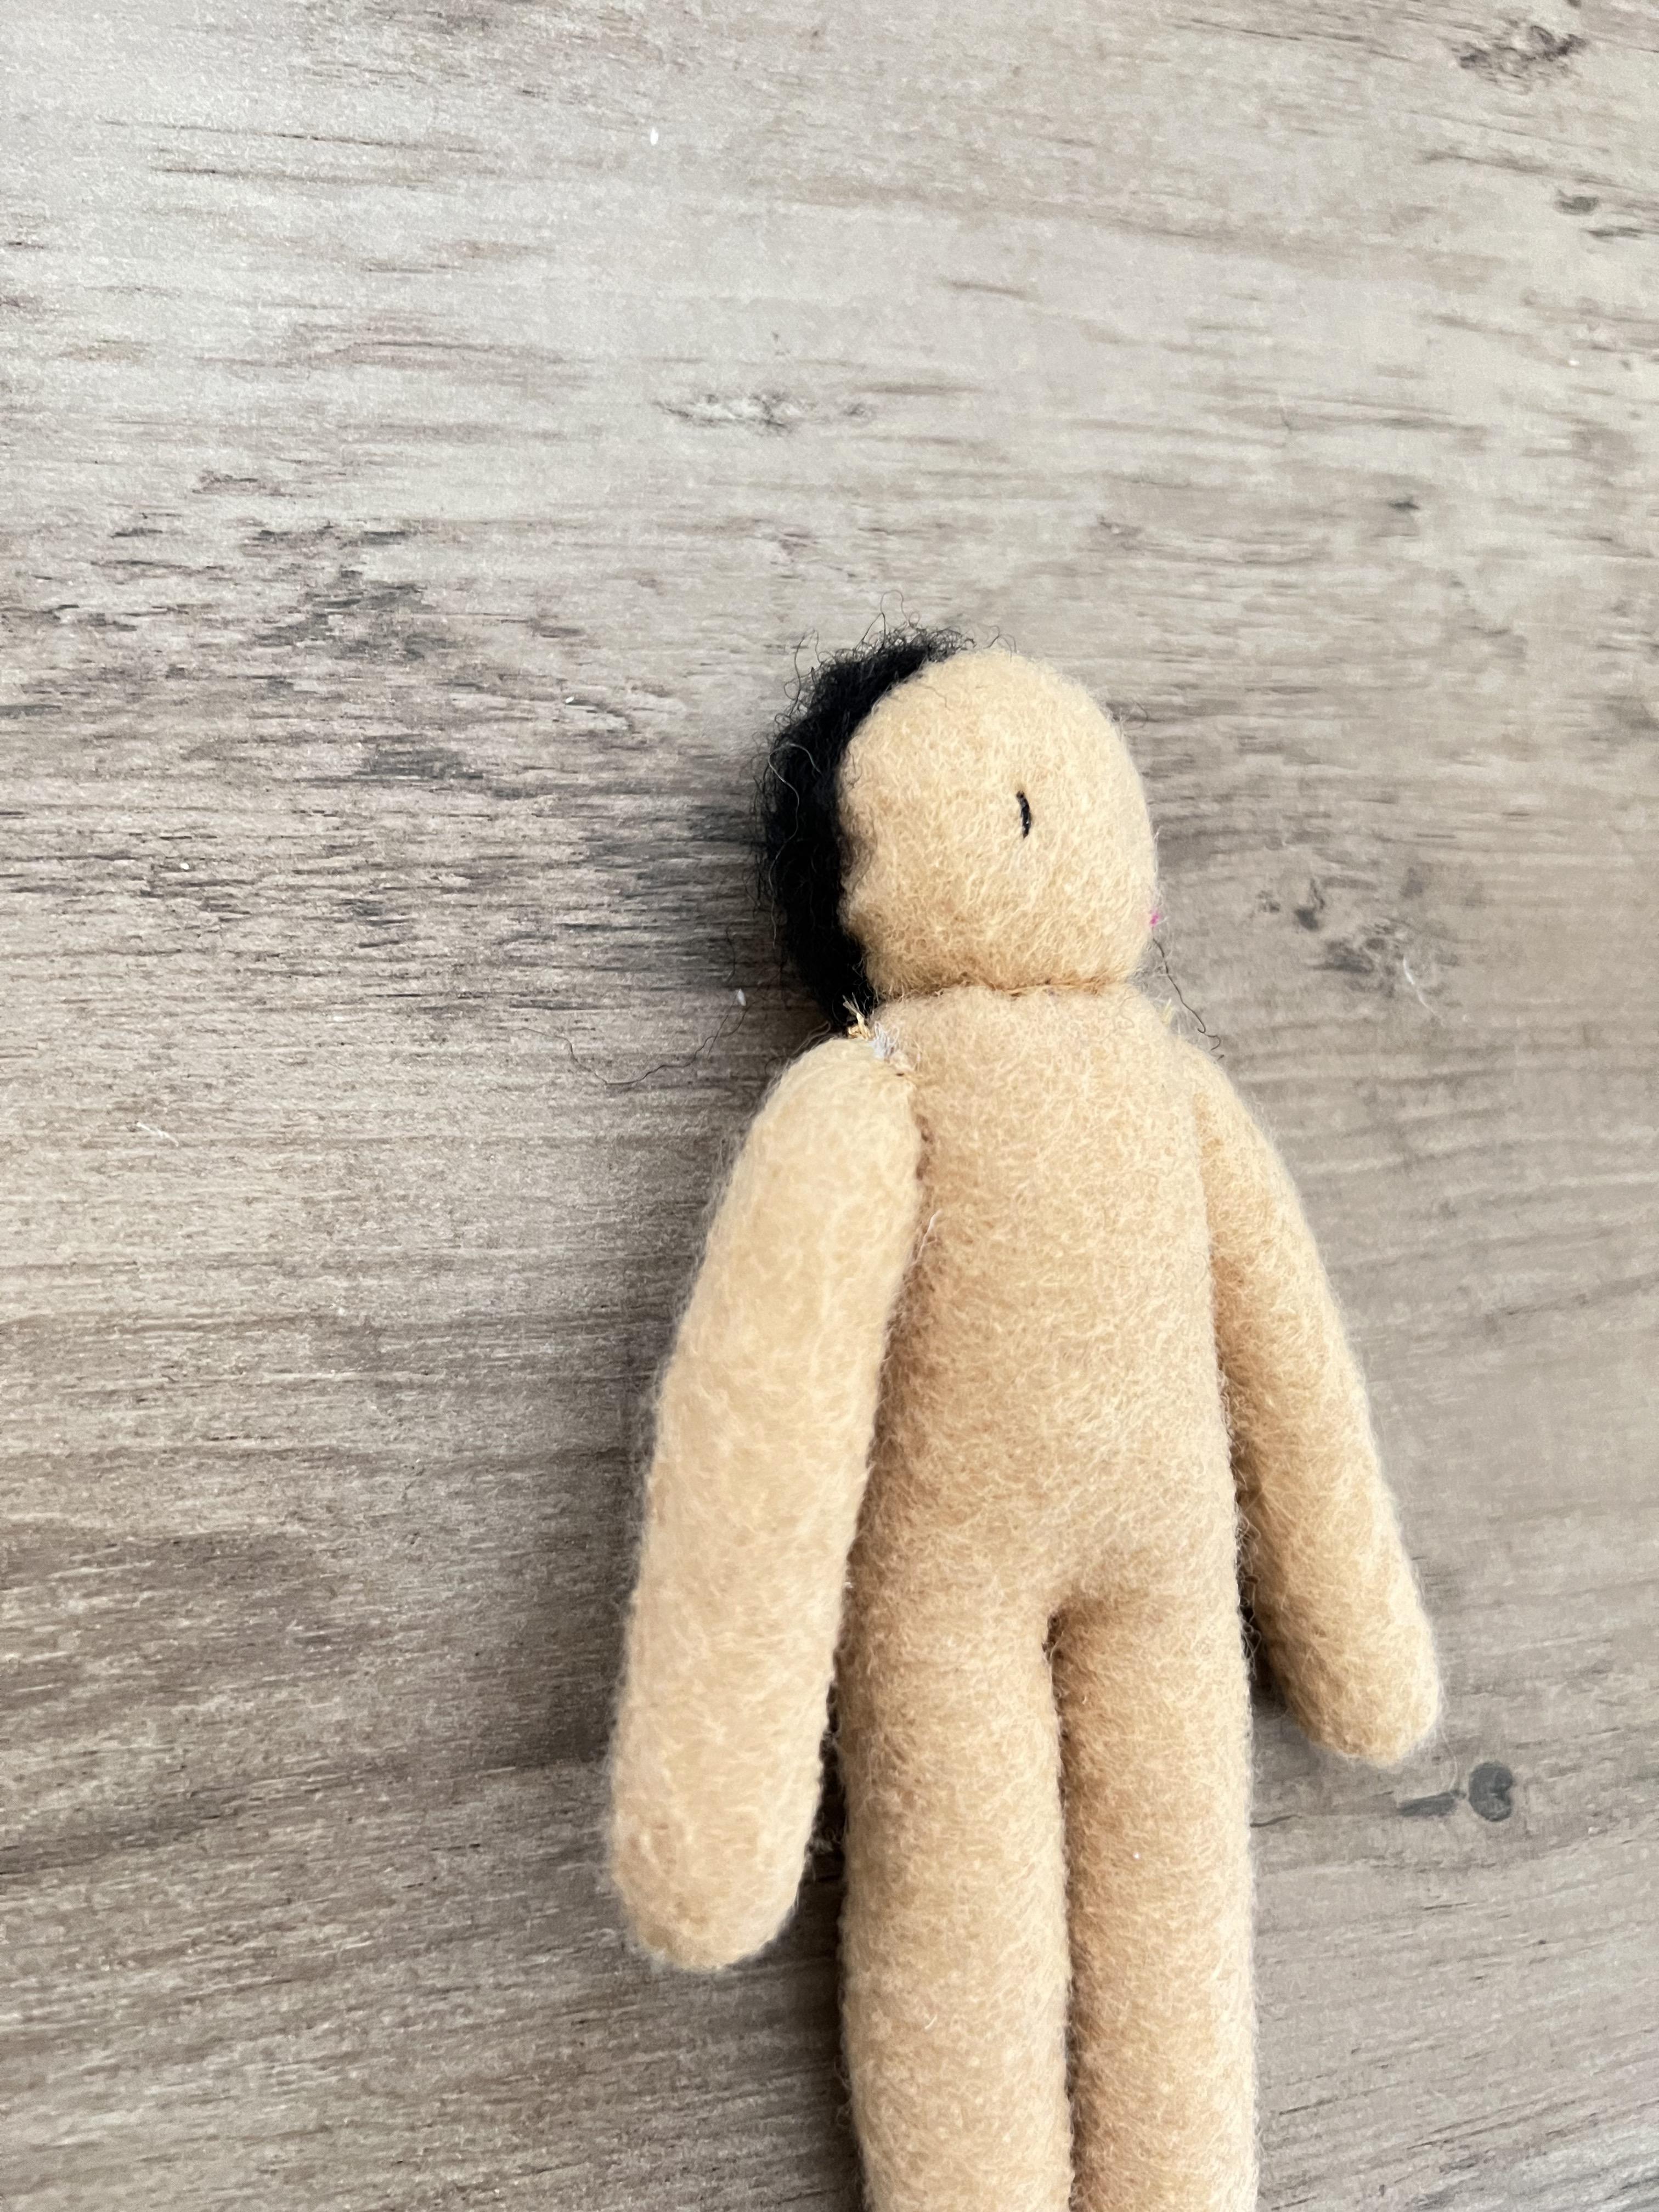
To start, sew all of the character bodies. If you are making all the characters, you will need to sew eight. Try to get their skin as close to the proper colors as possible.
I should've sewn their faces on at this step, but I didn't know if I really wanted faces. You may want to sew their faces on now.
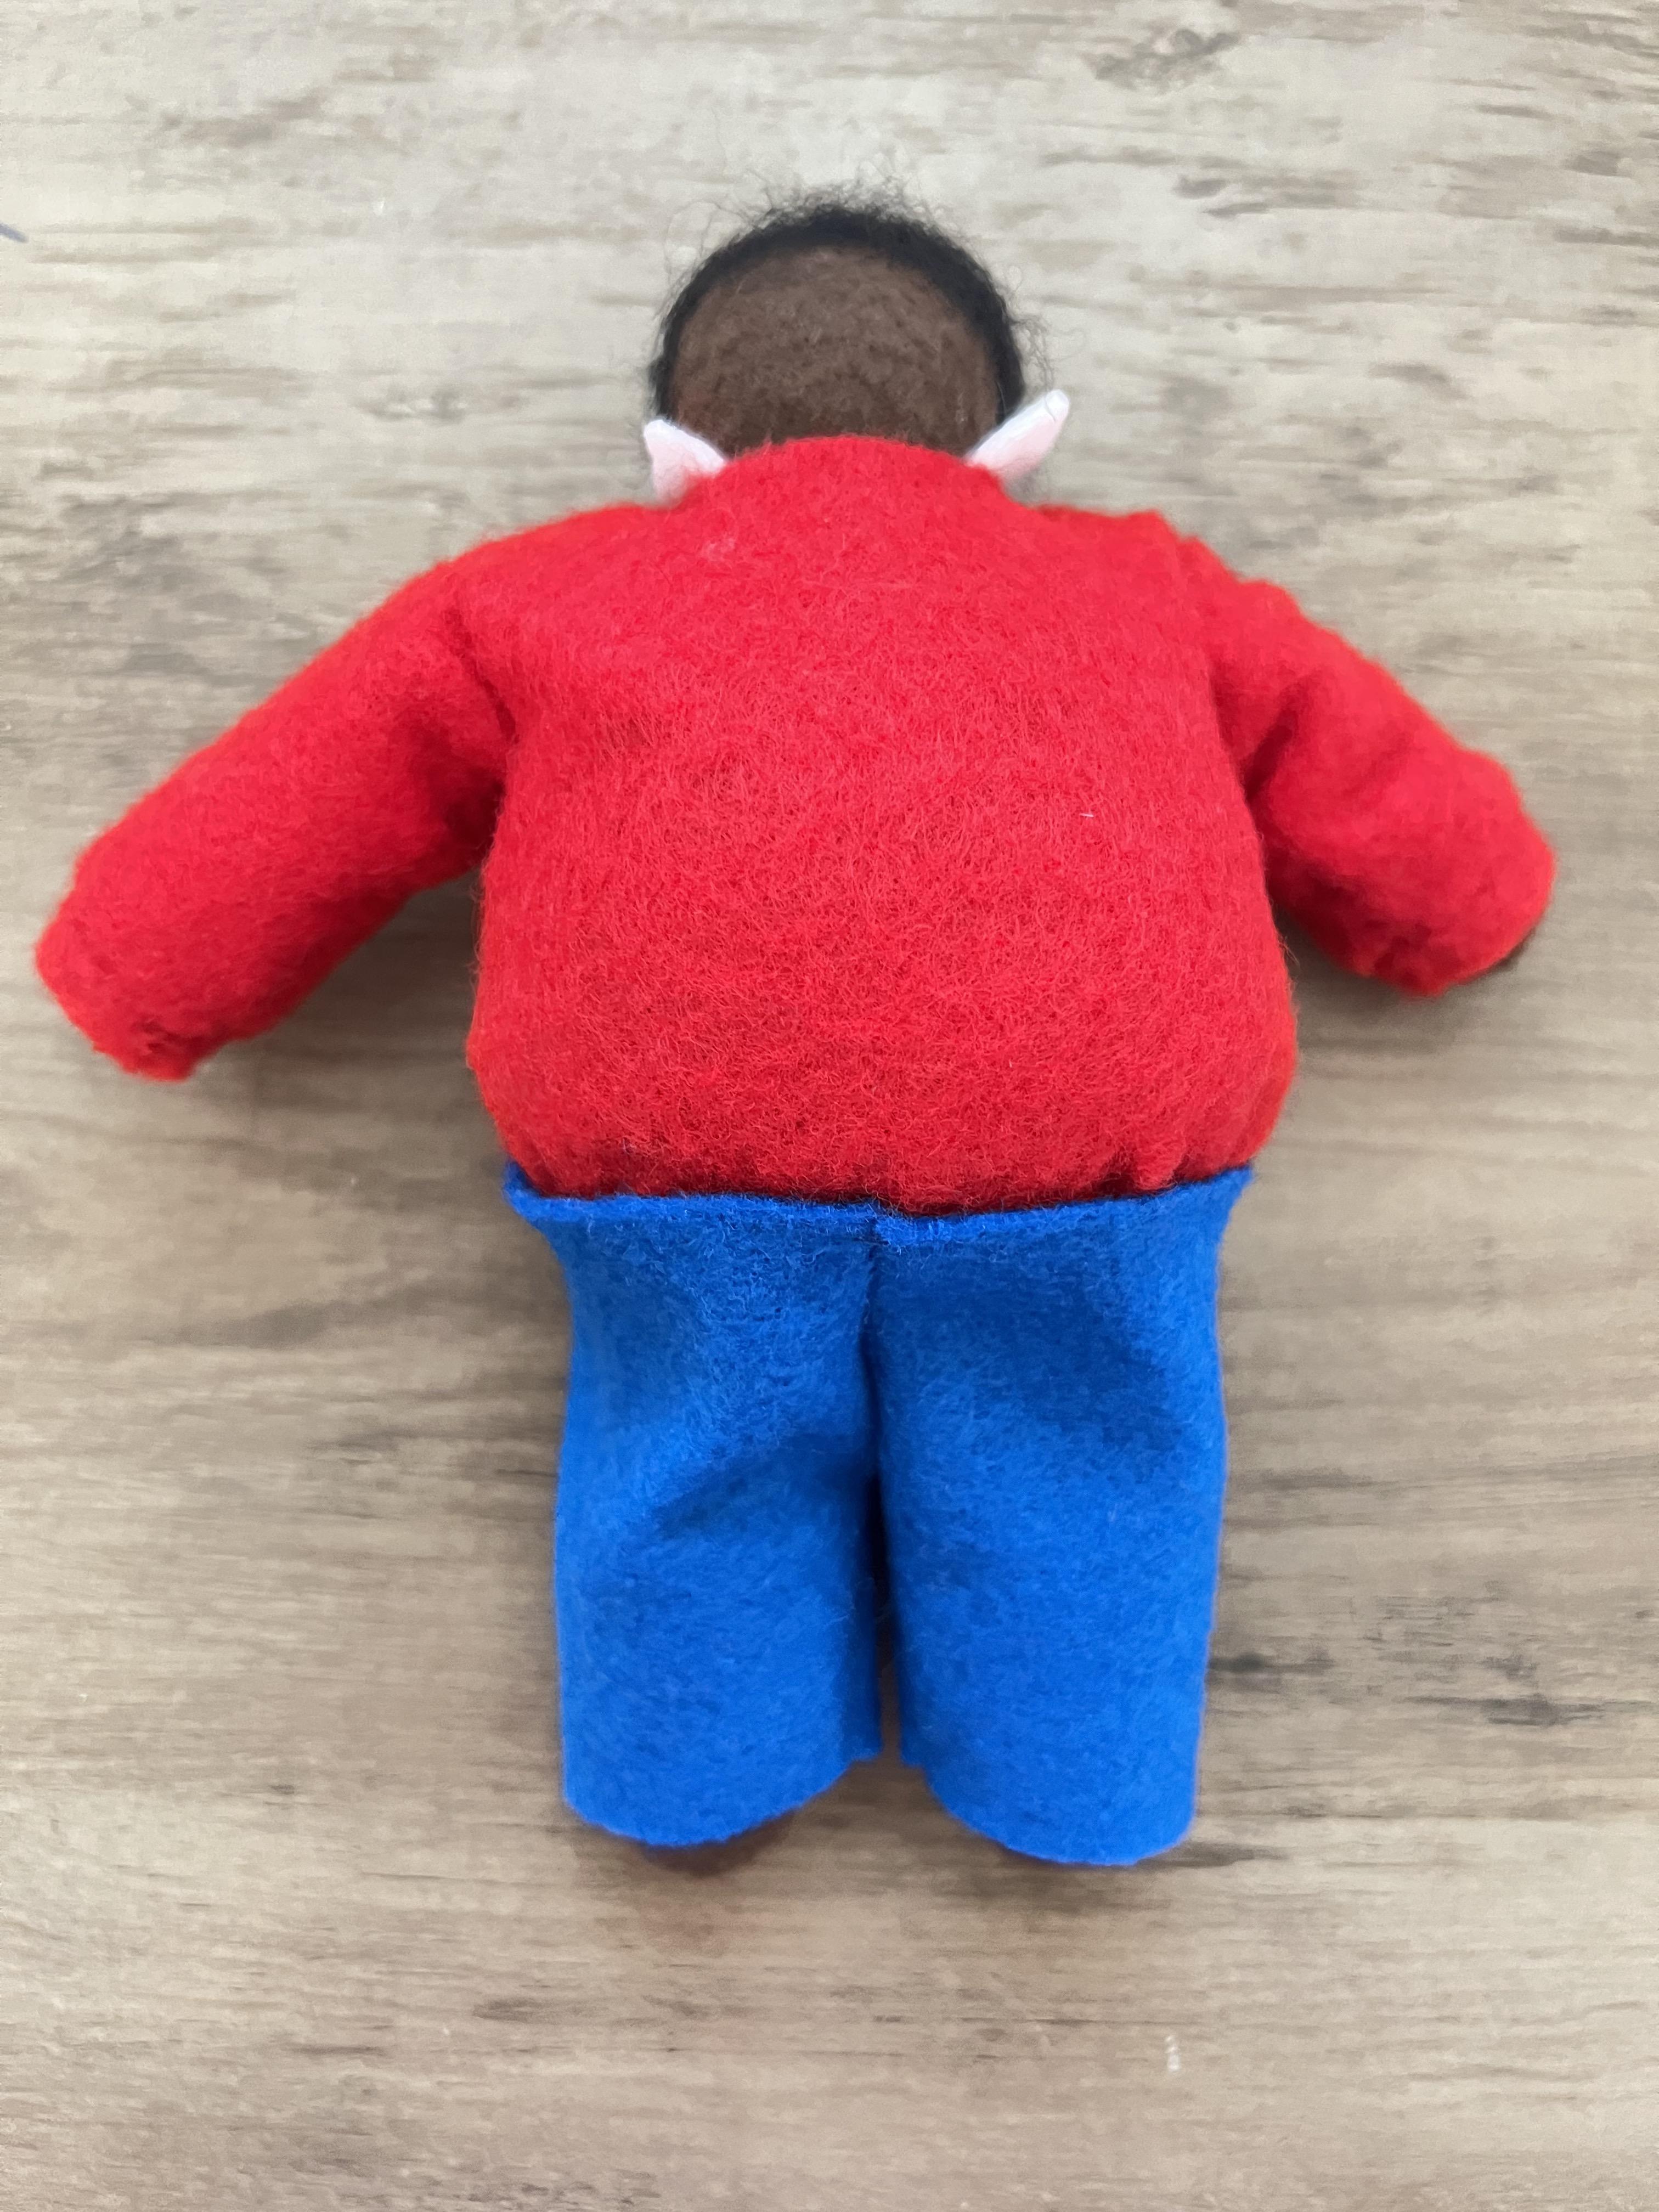
Adding Fat to Albert


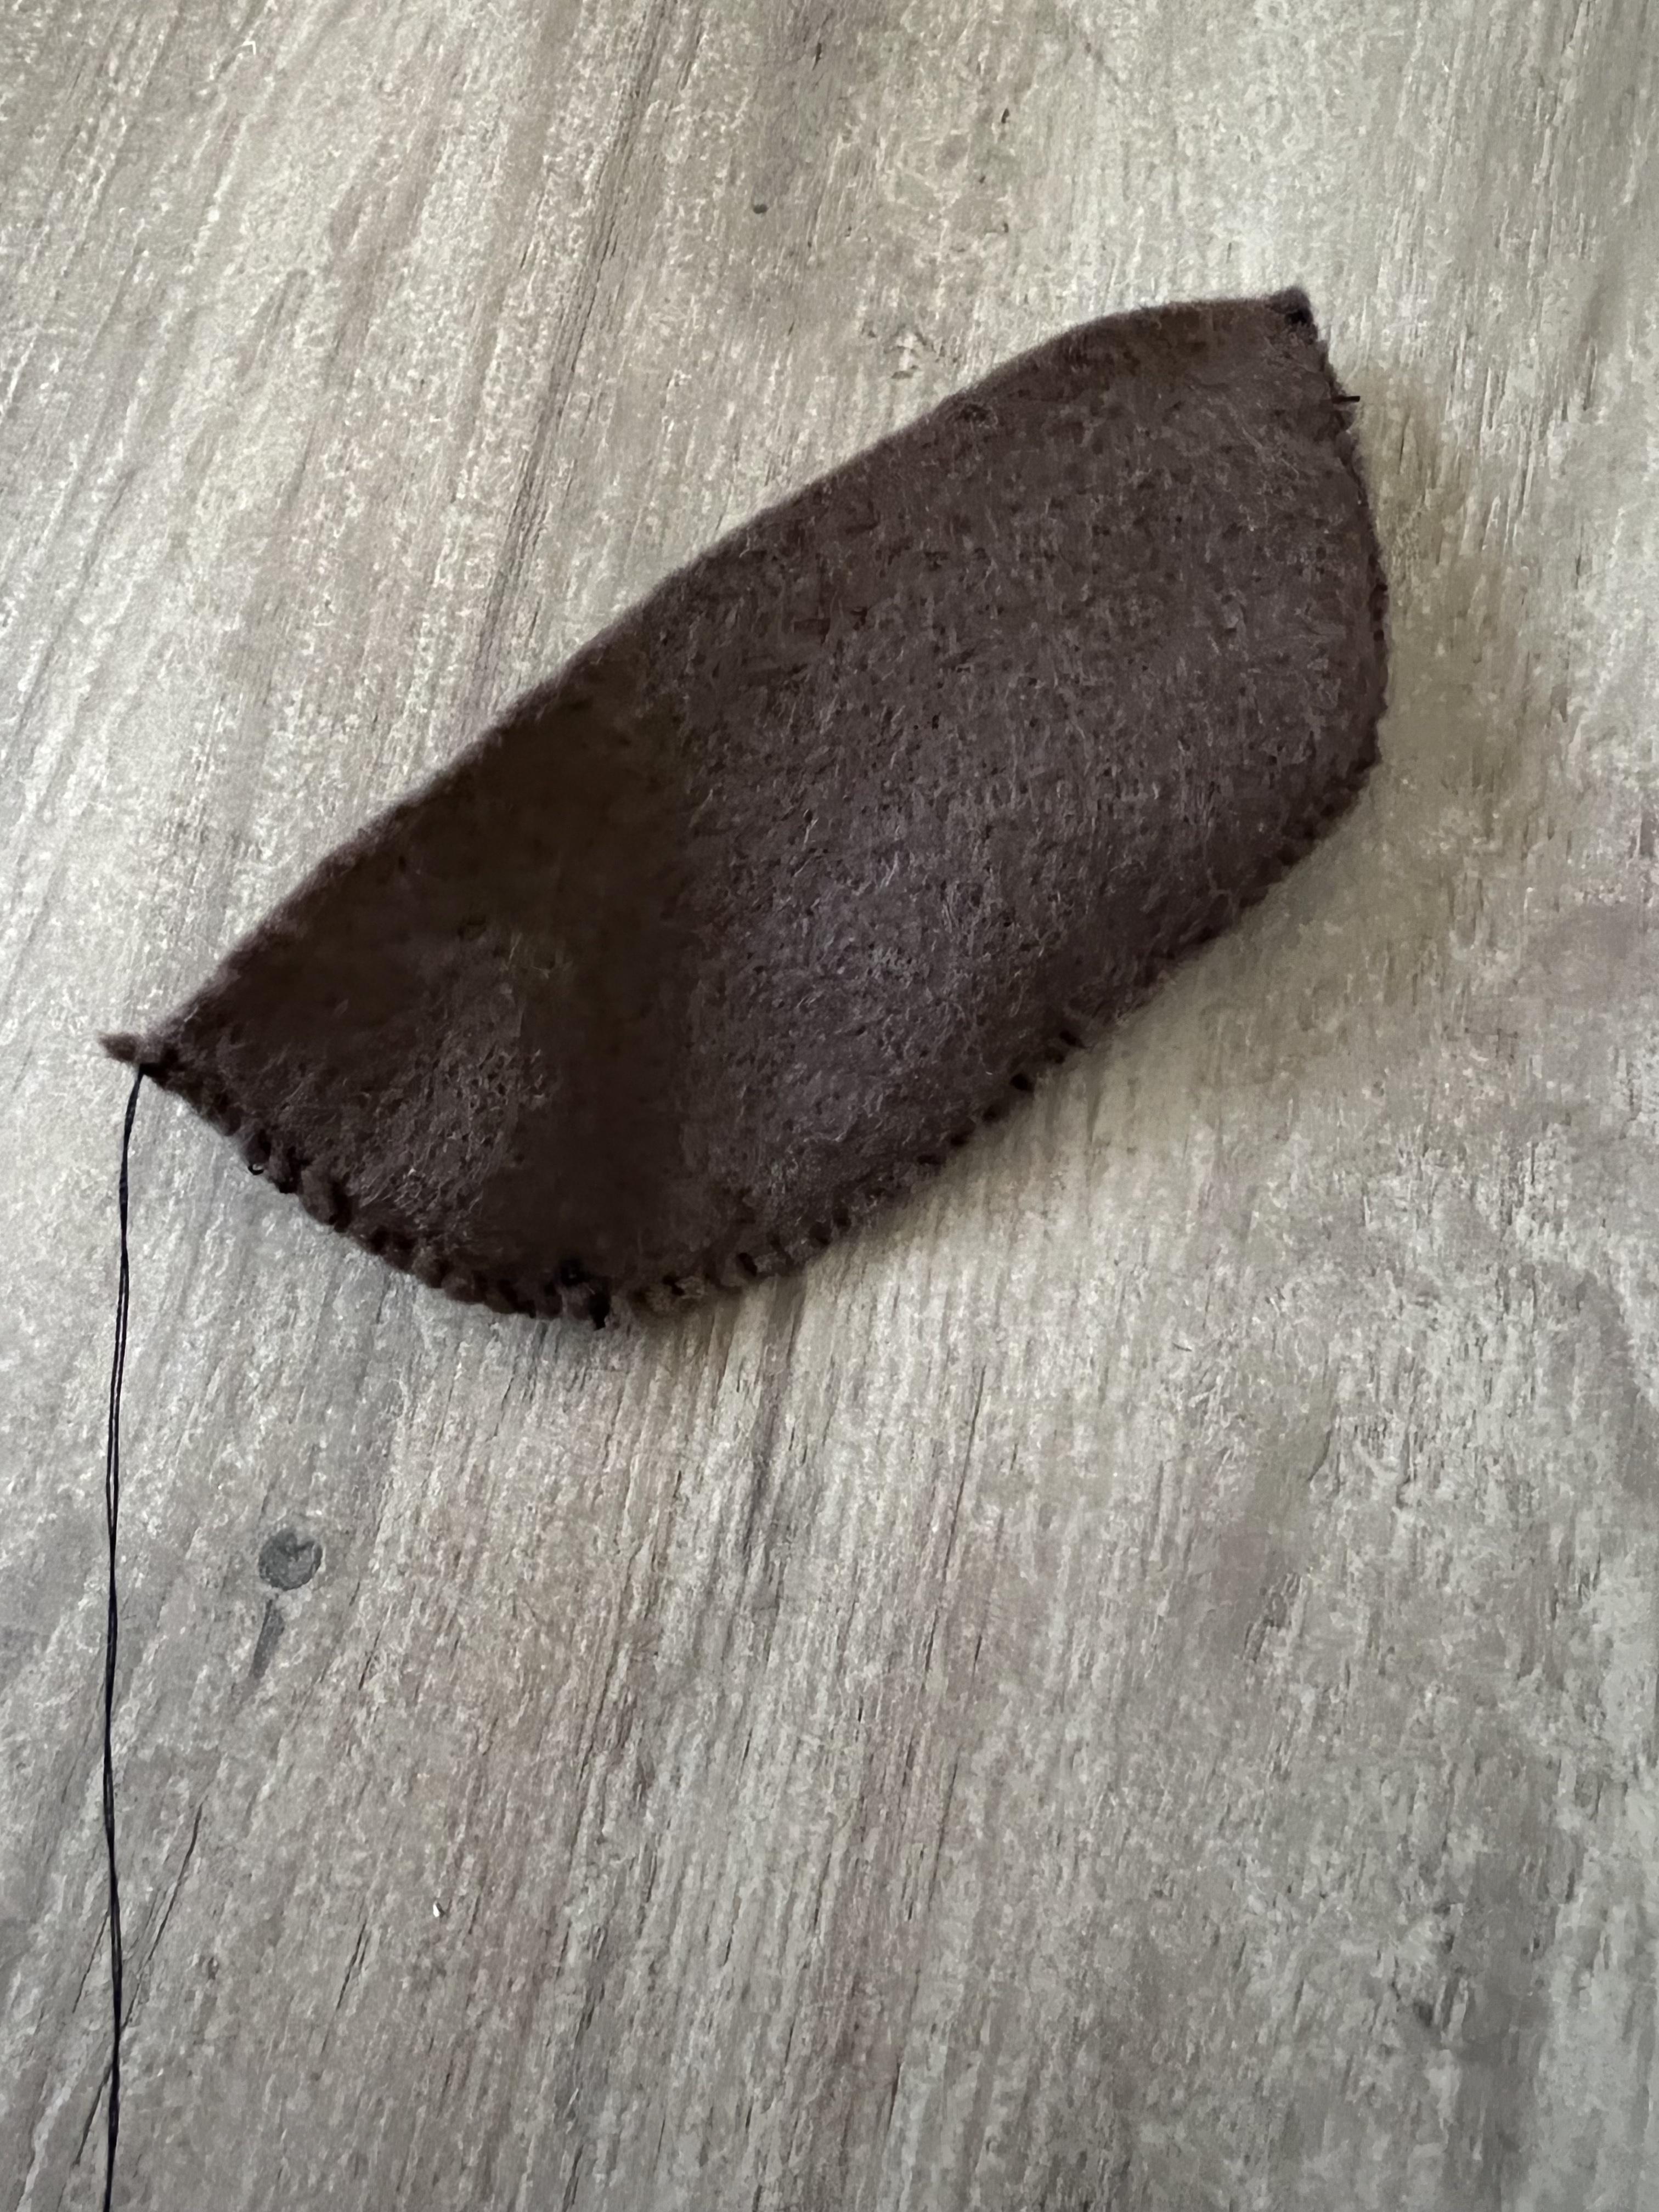




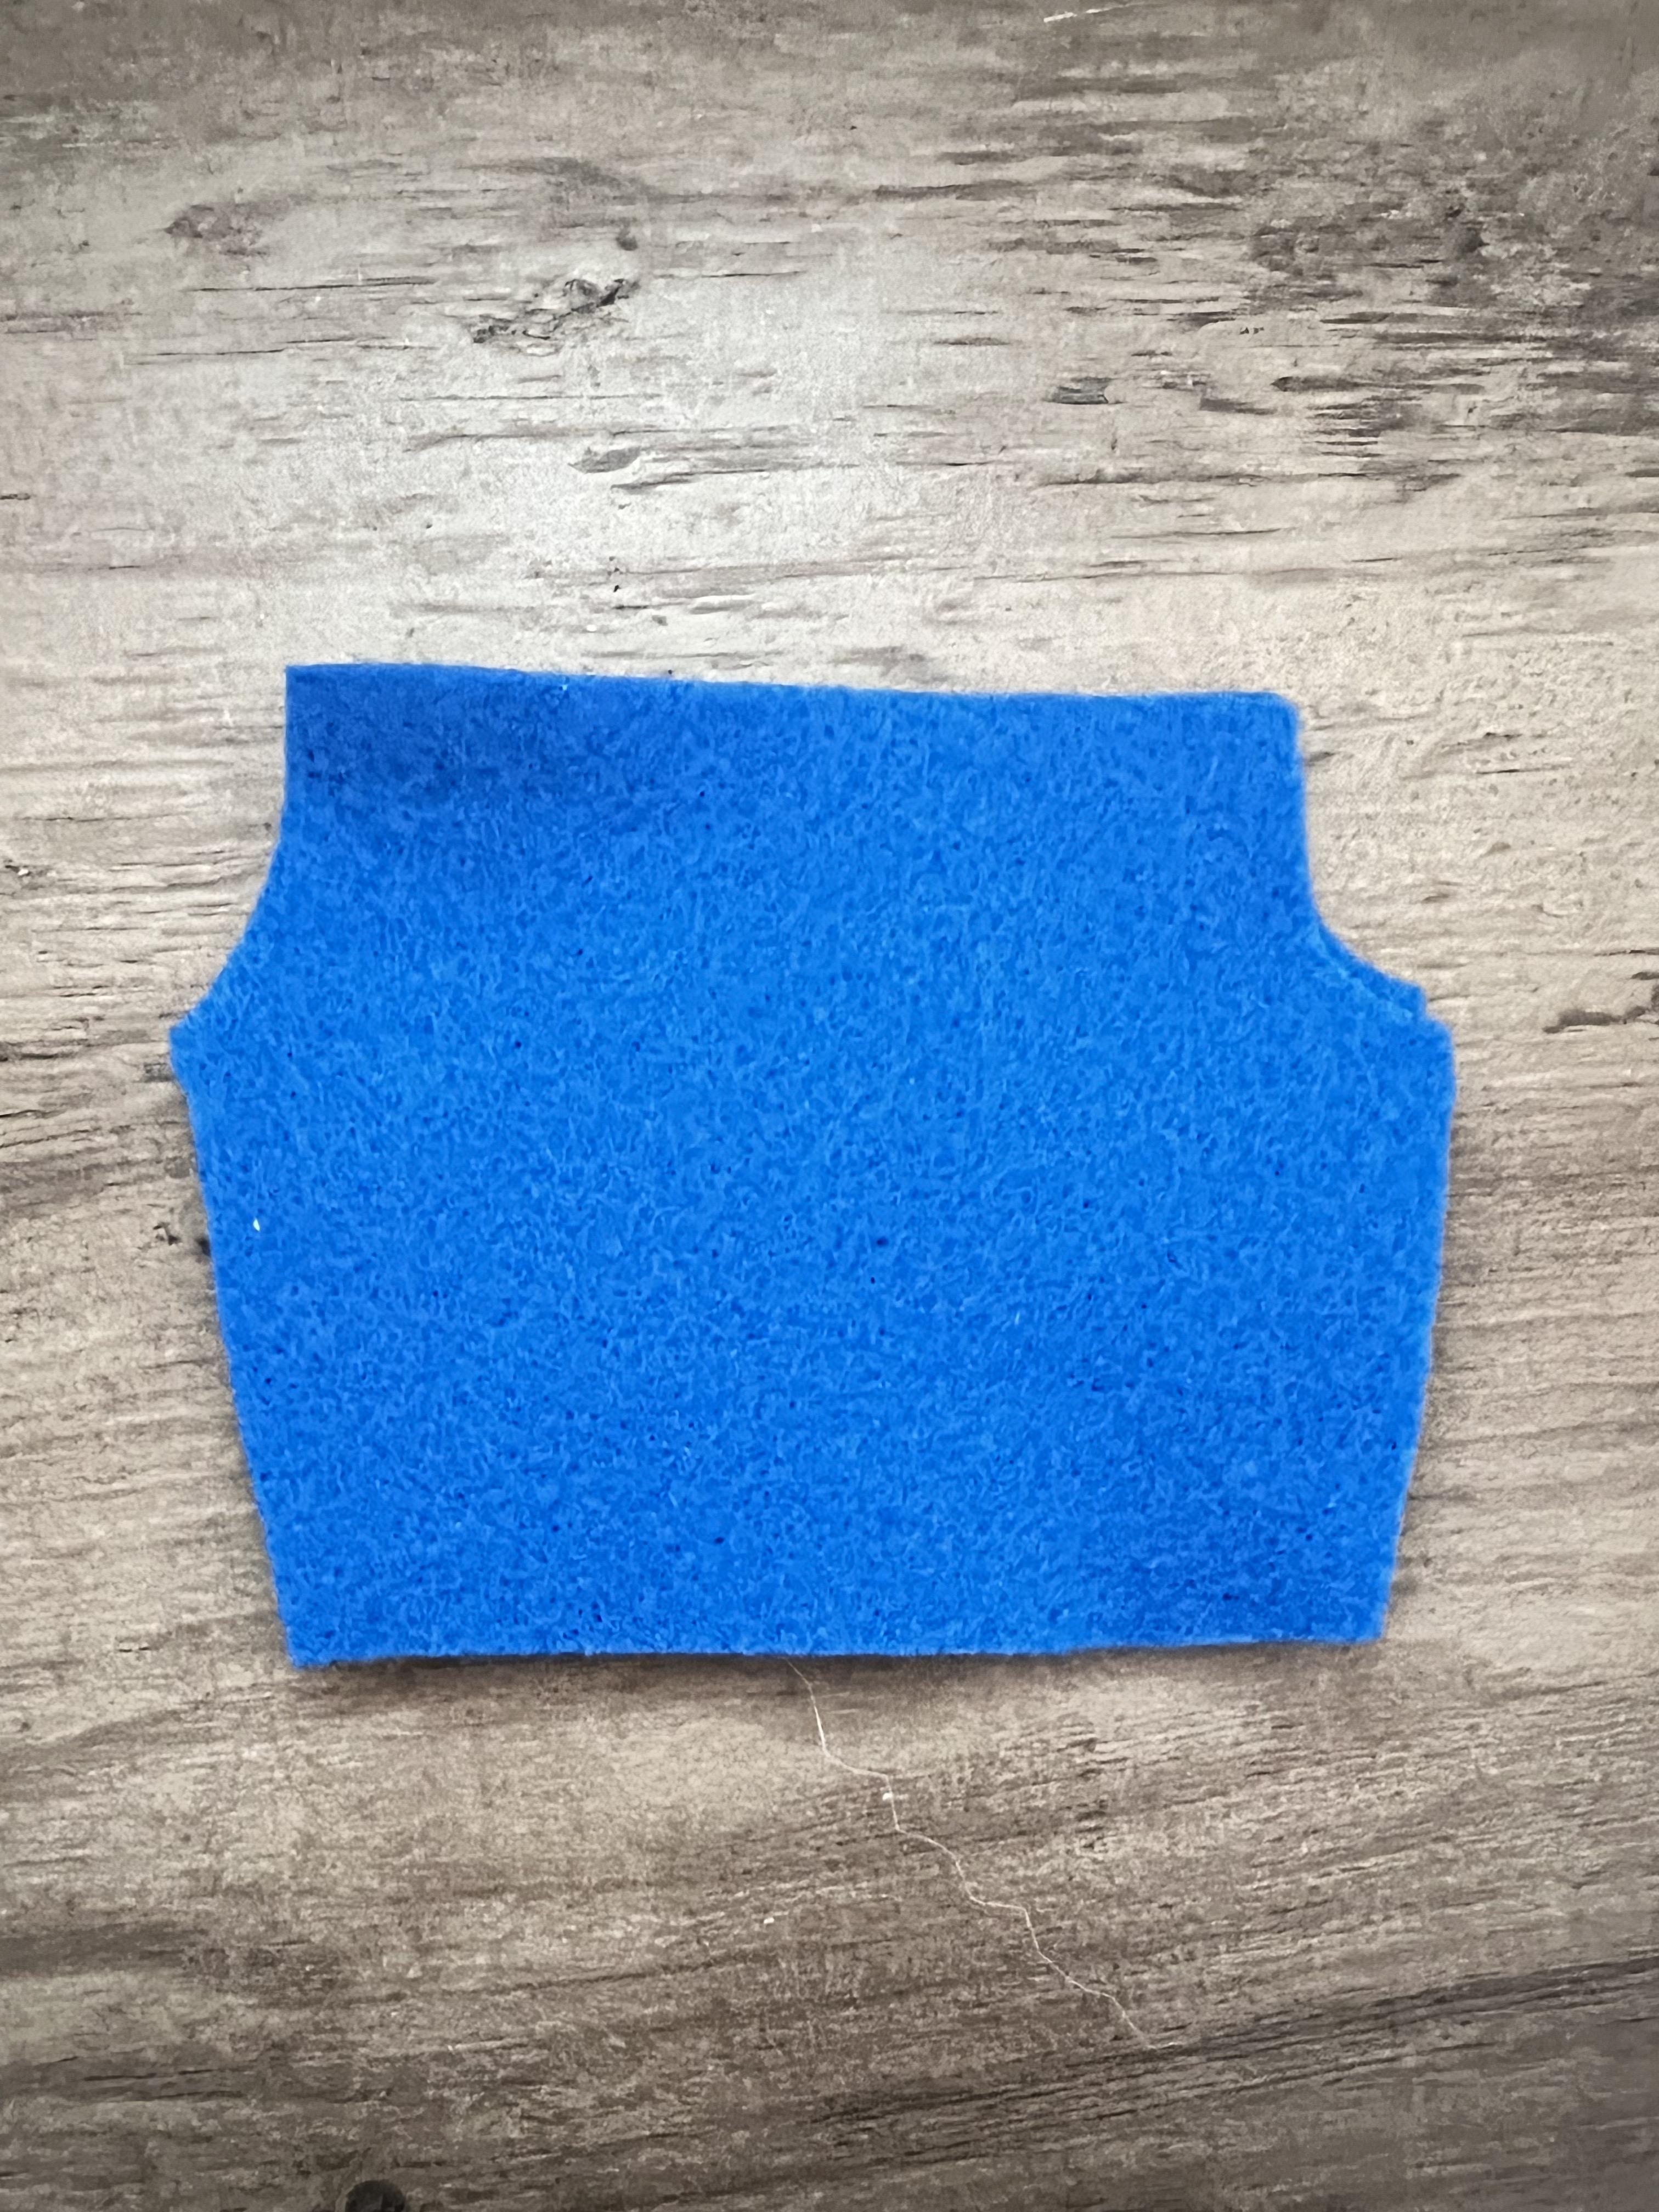
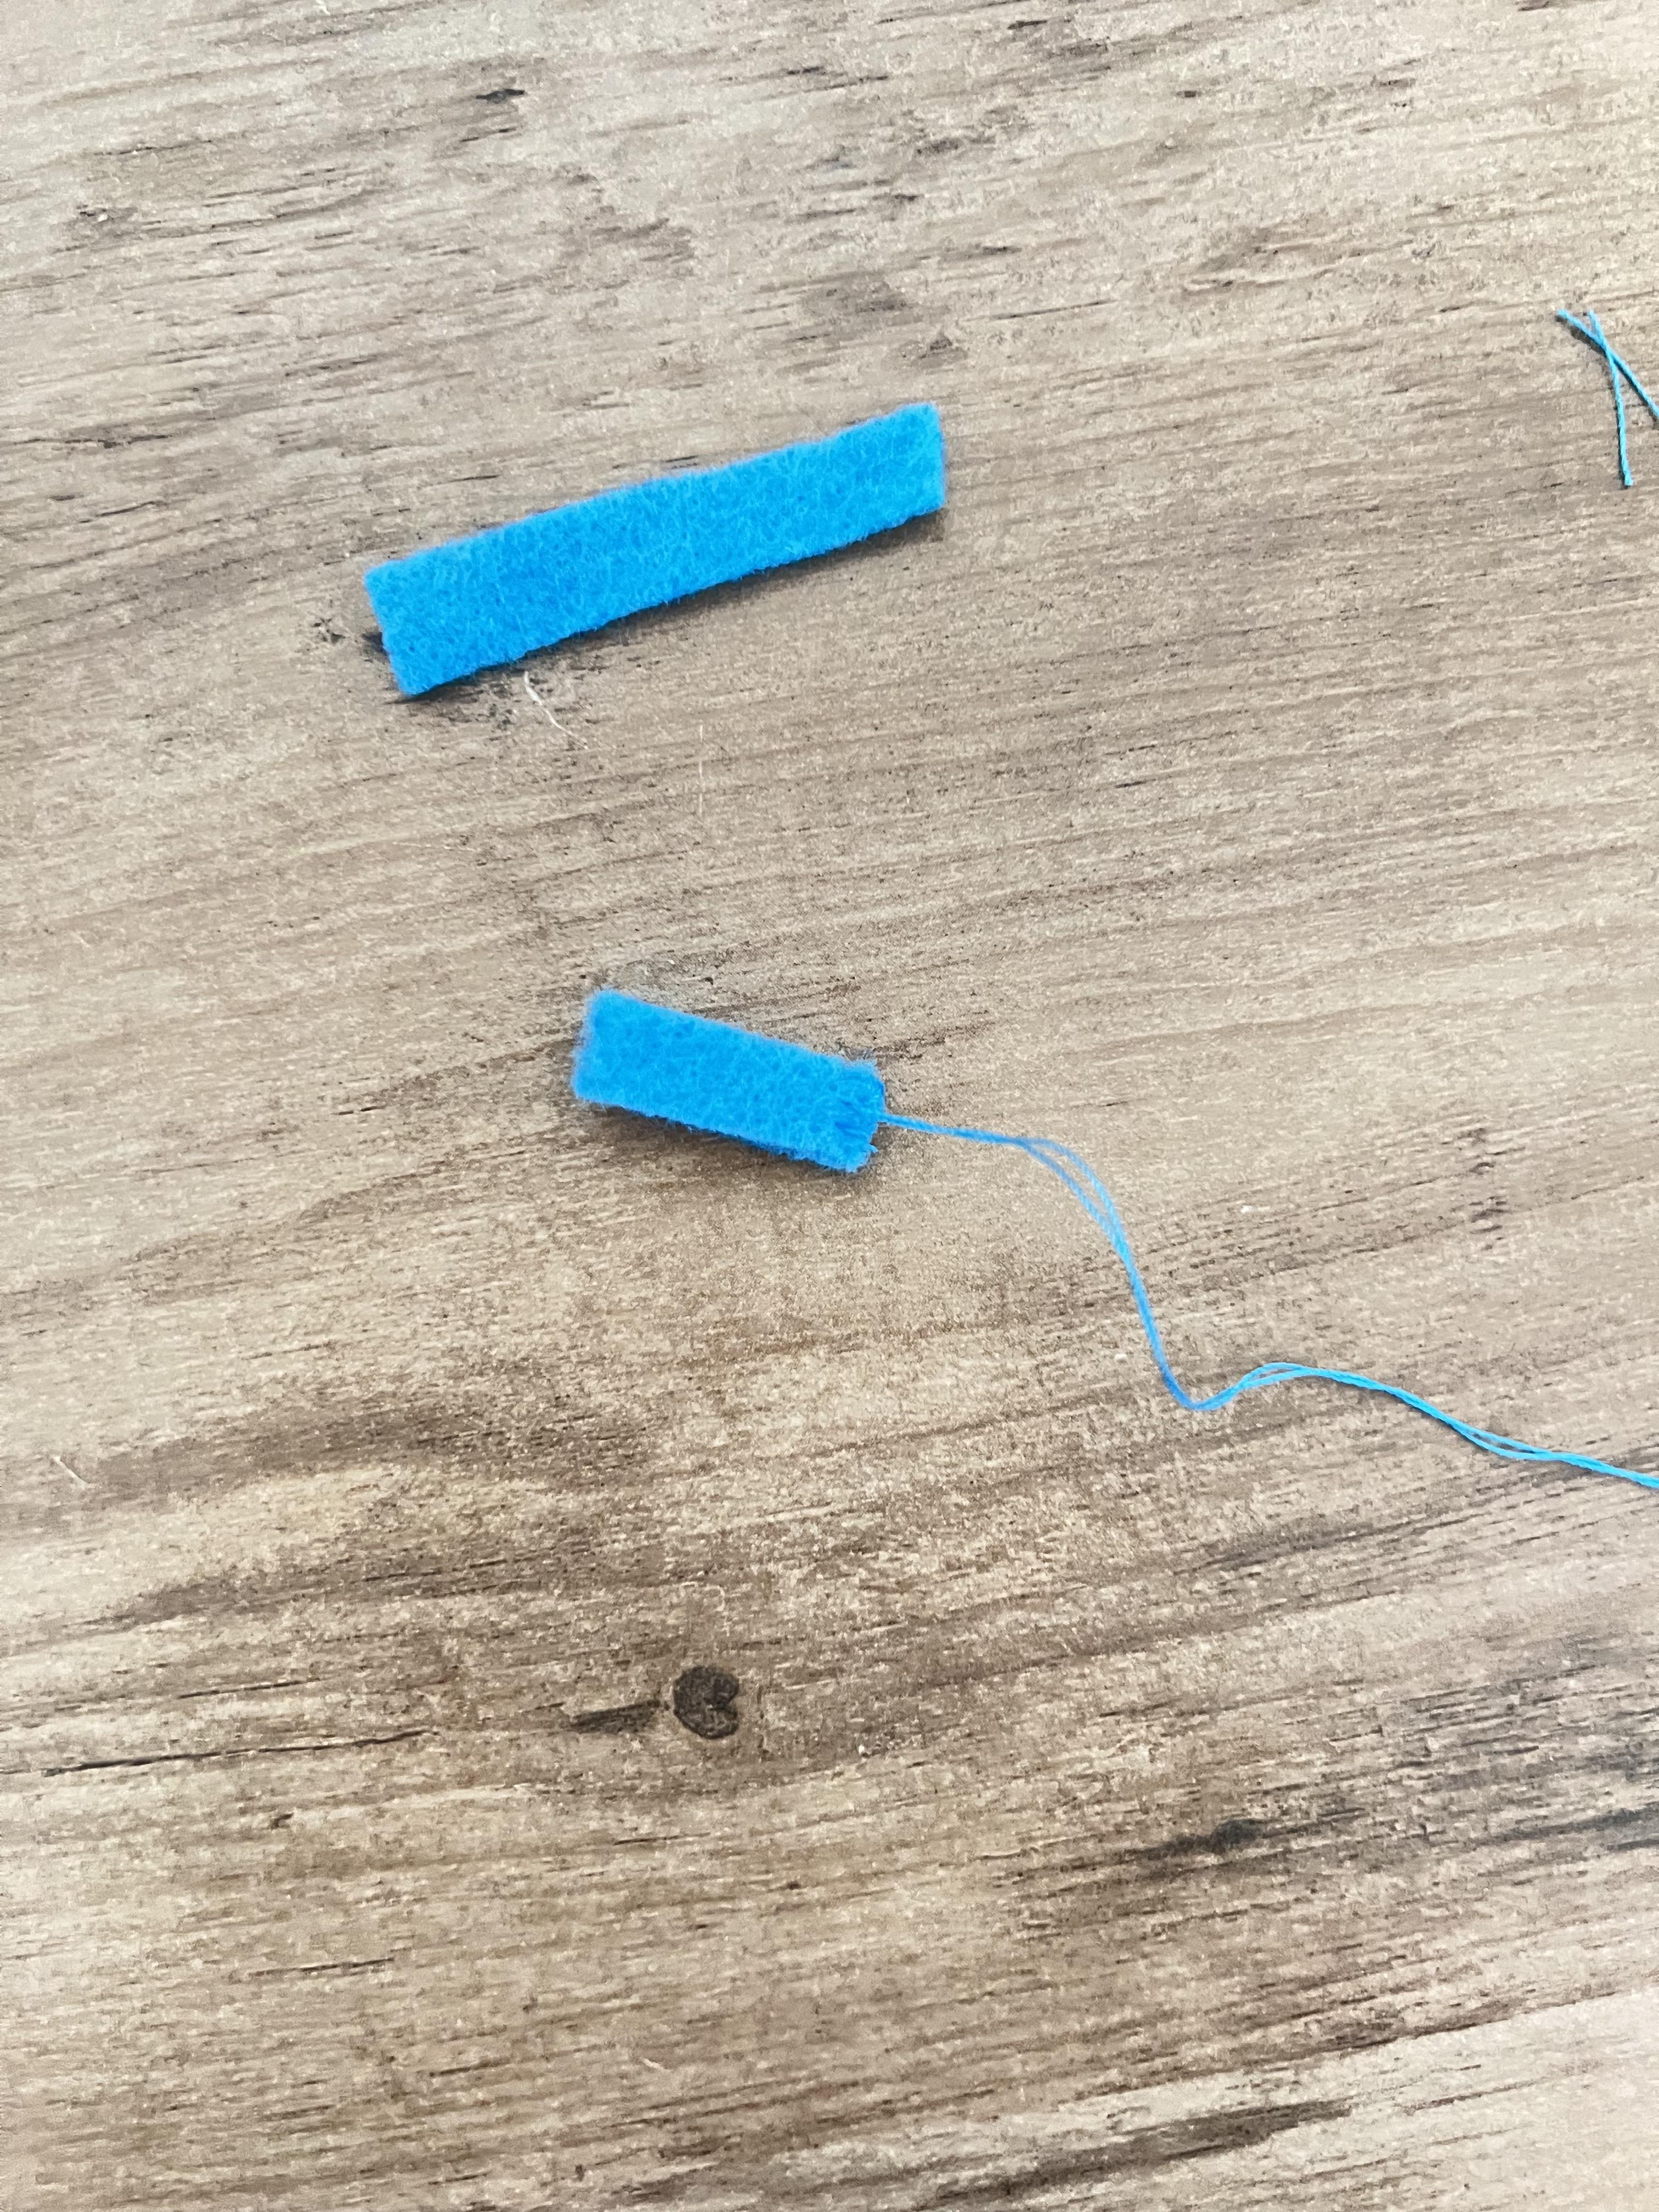
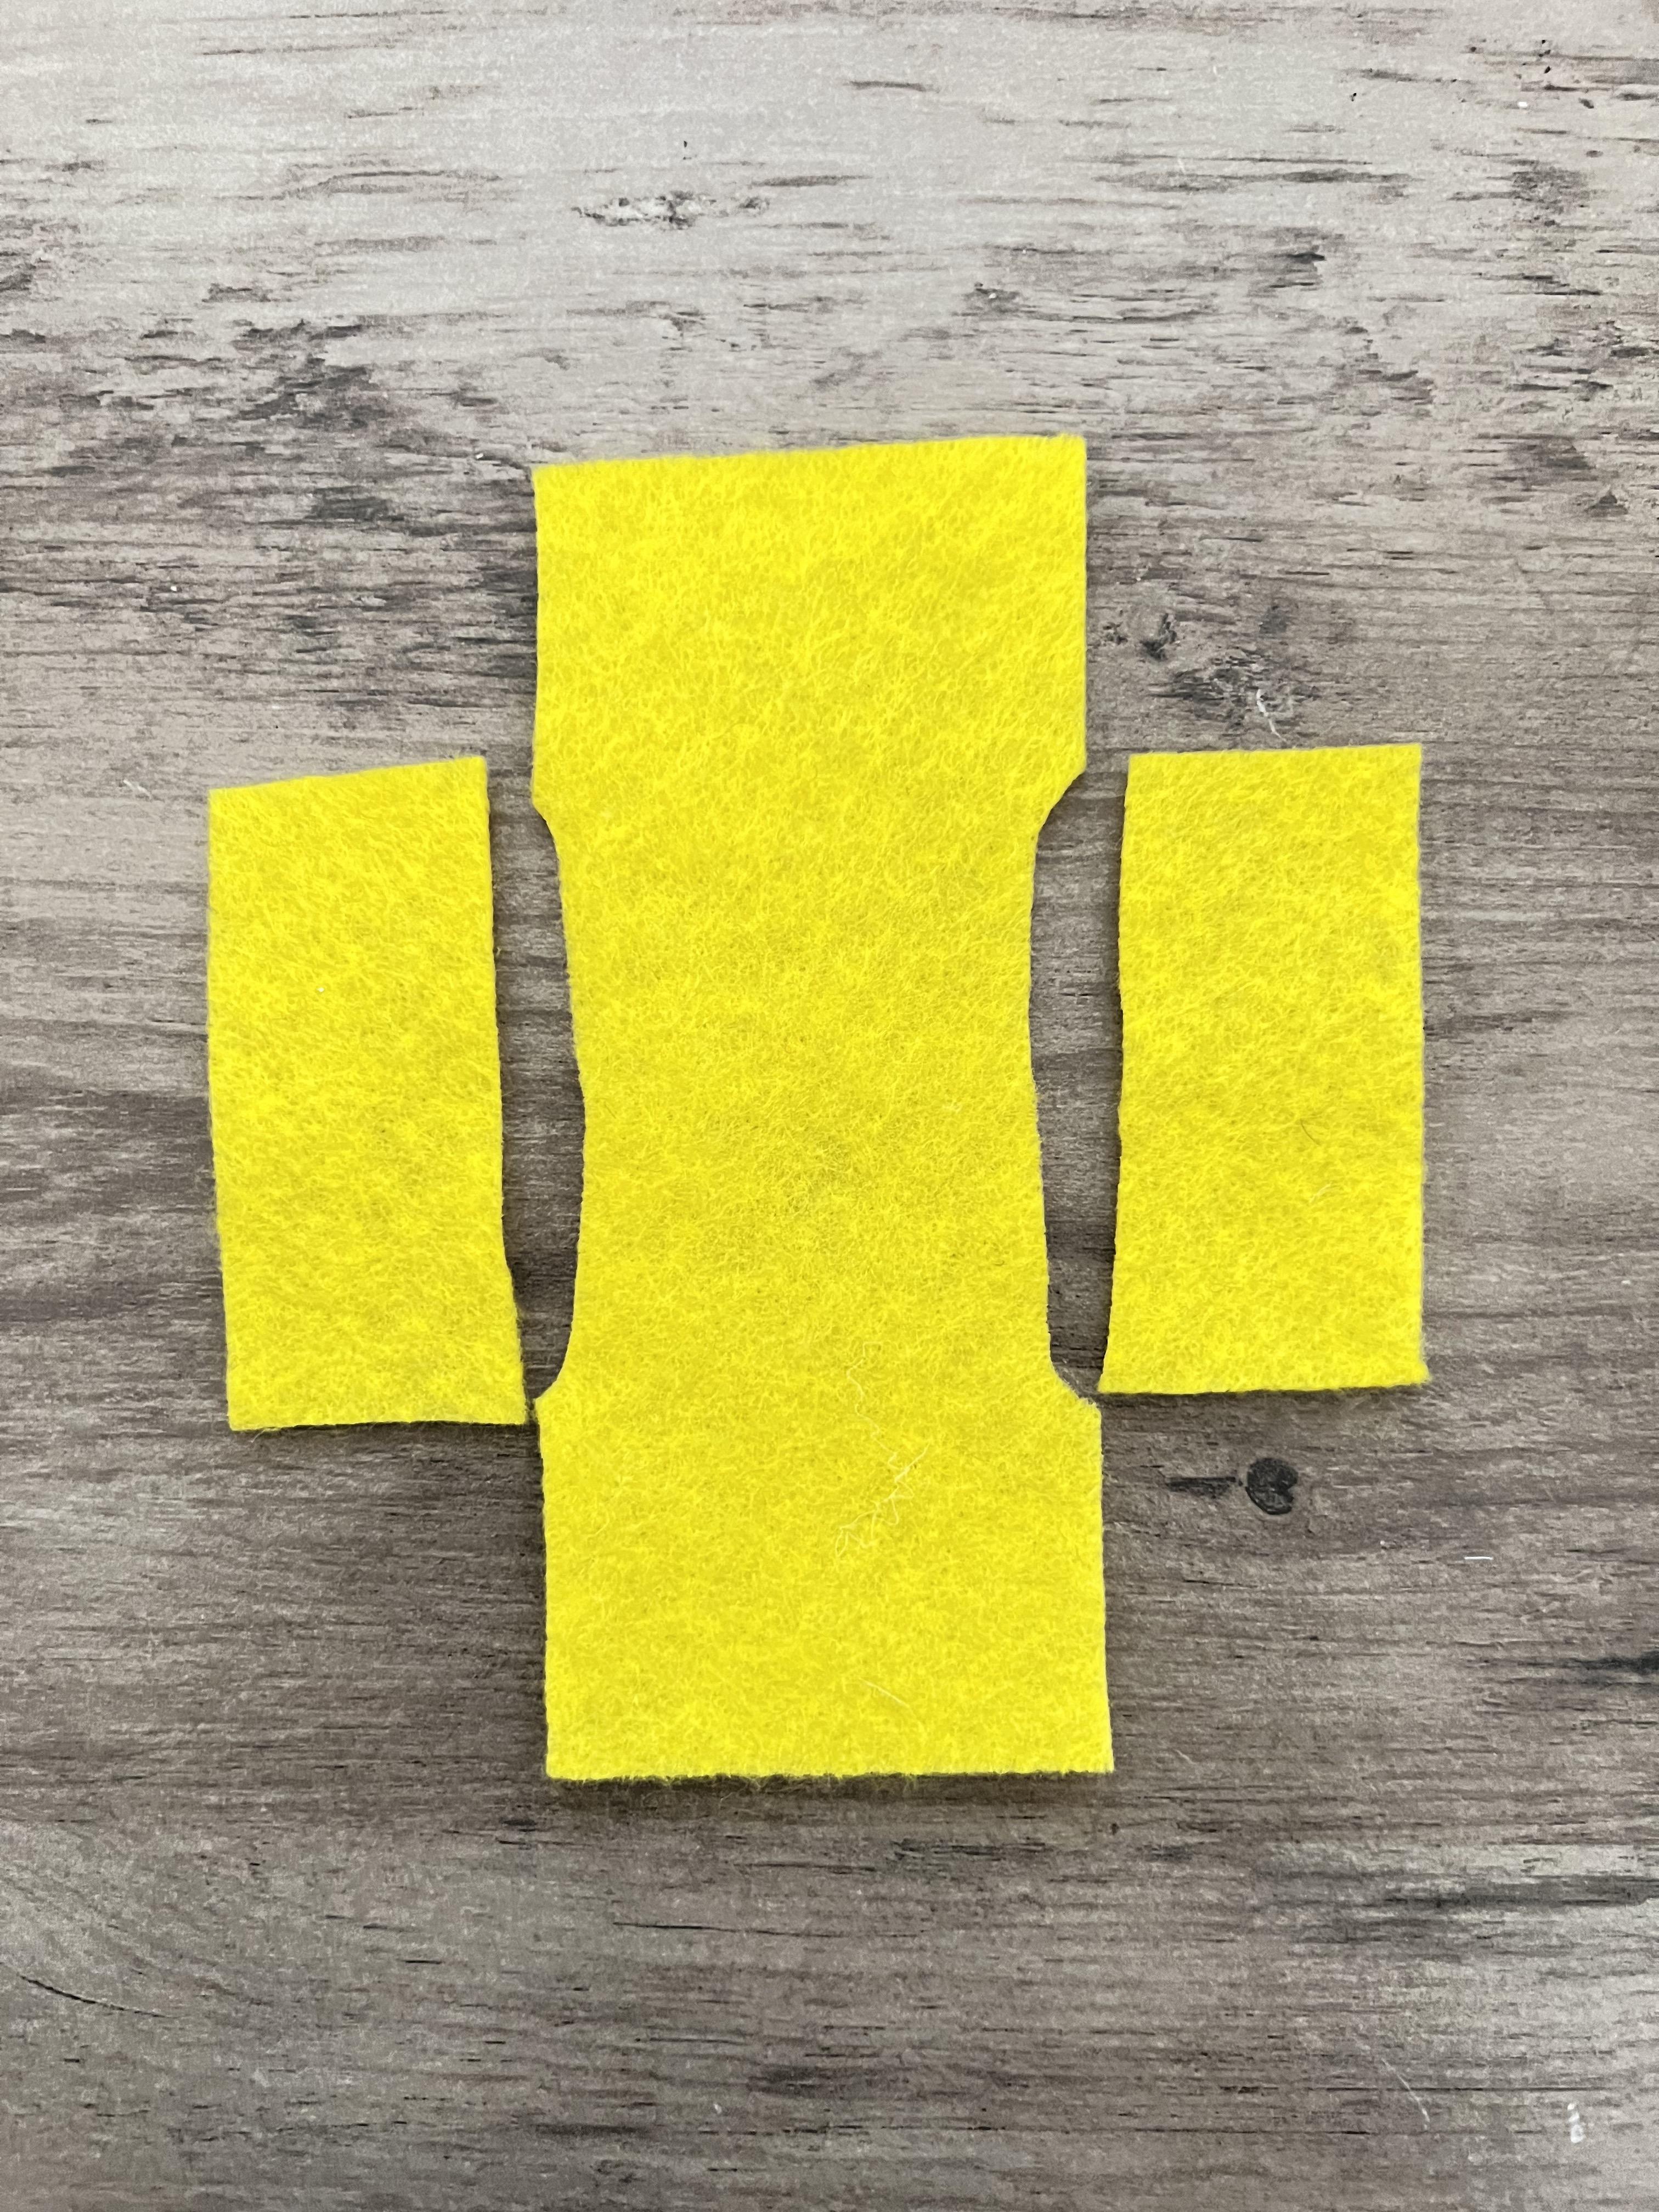
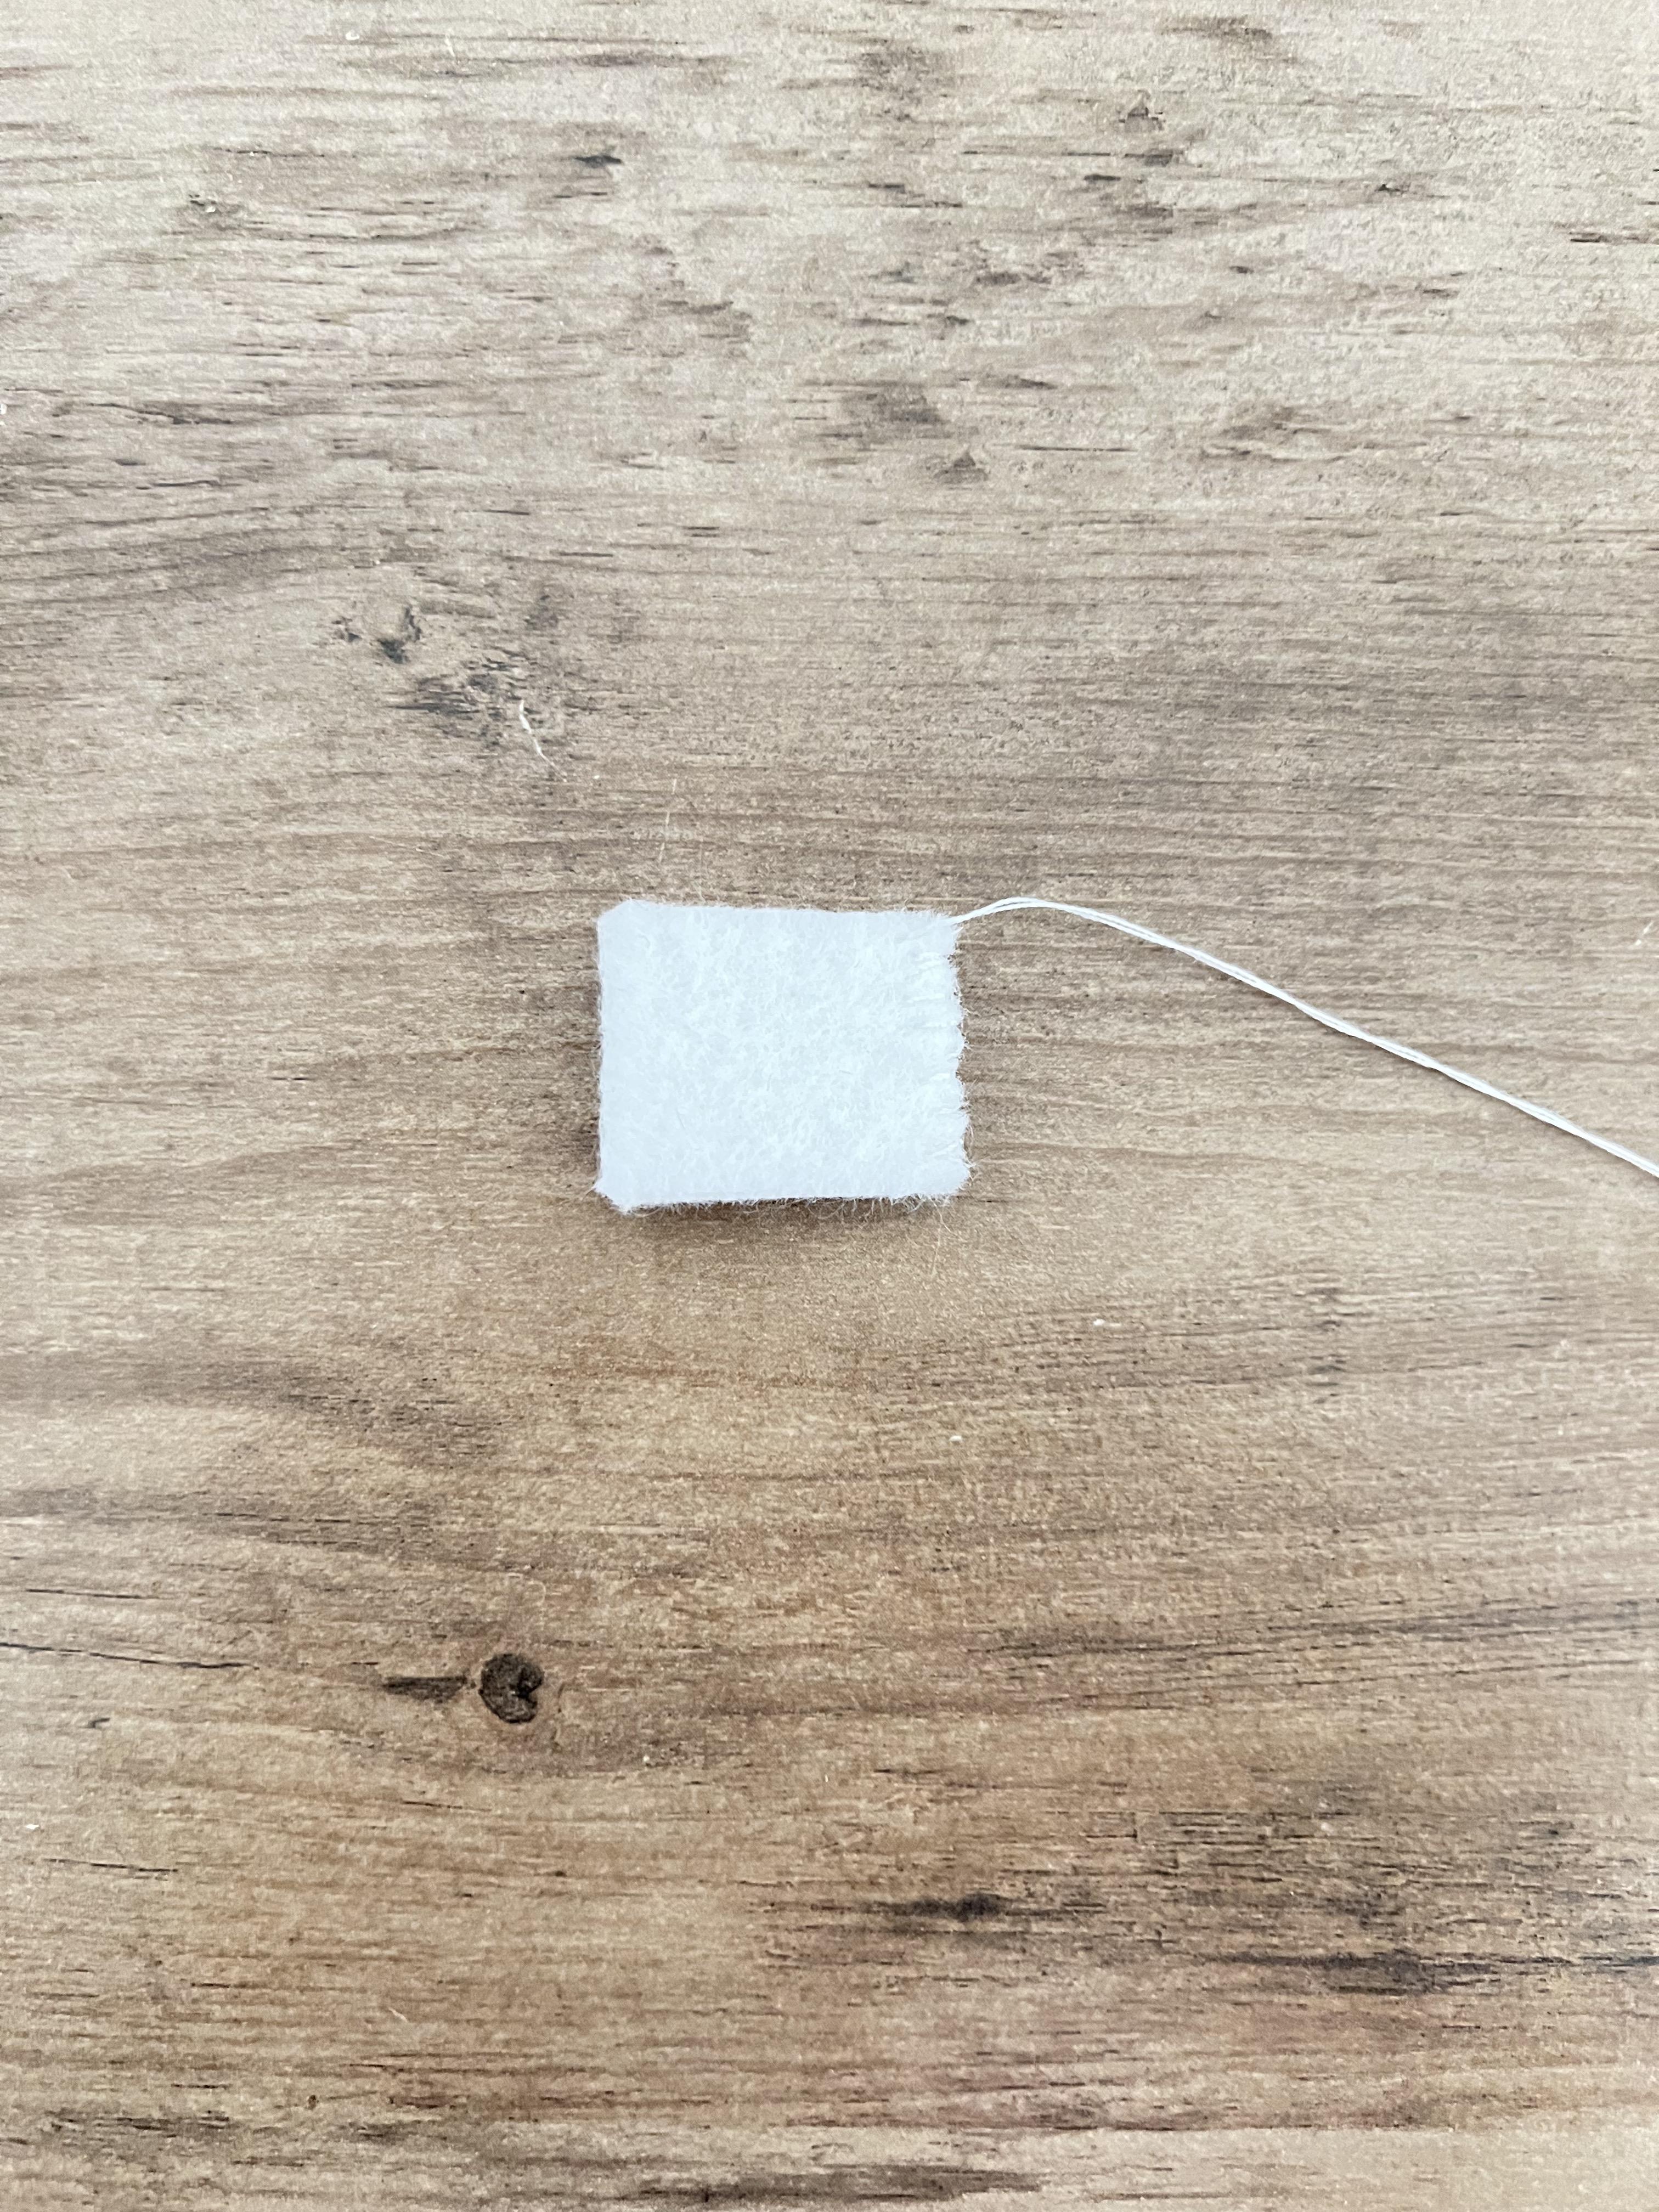
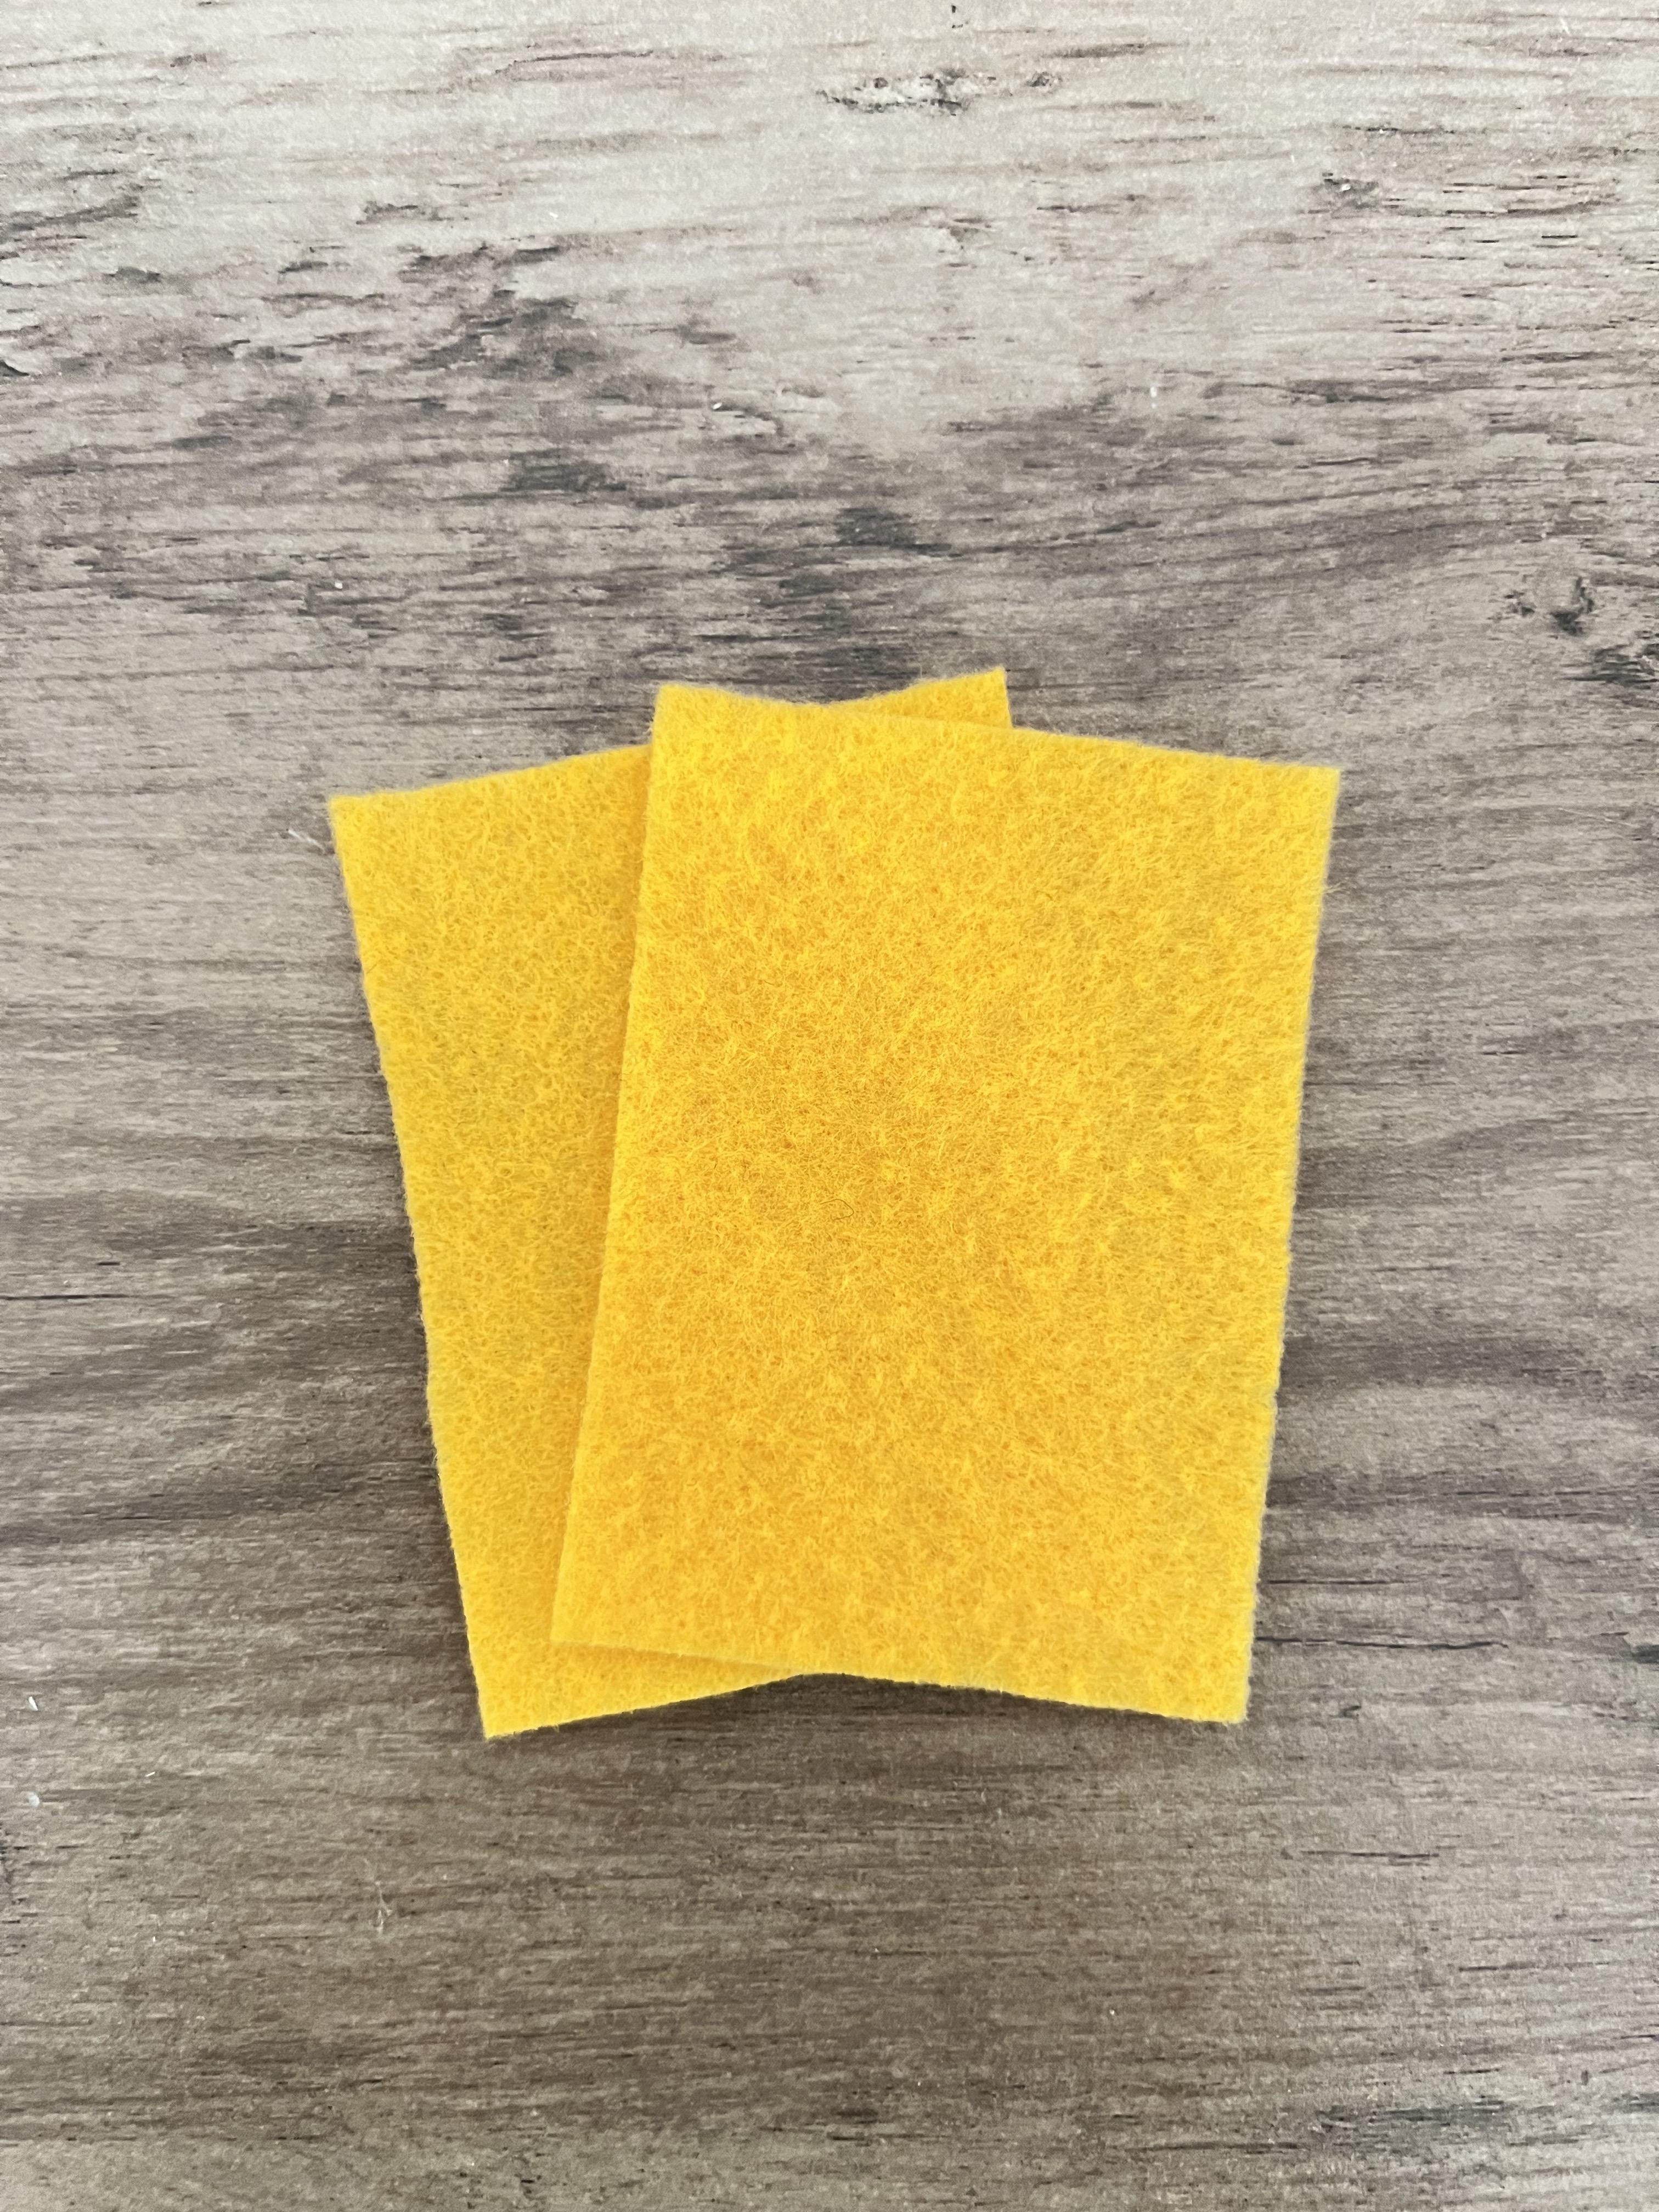
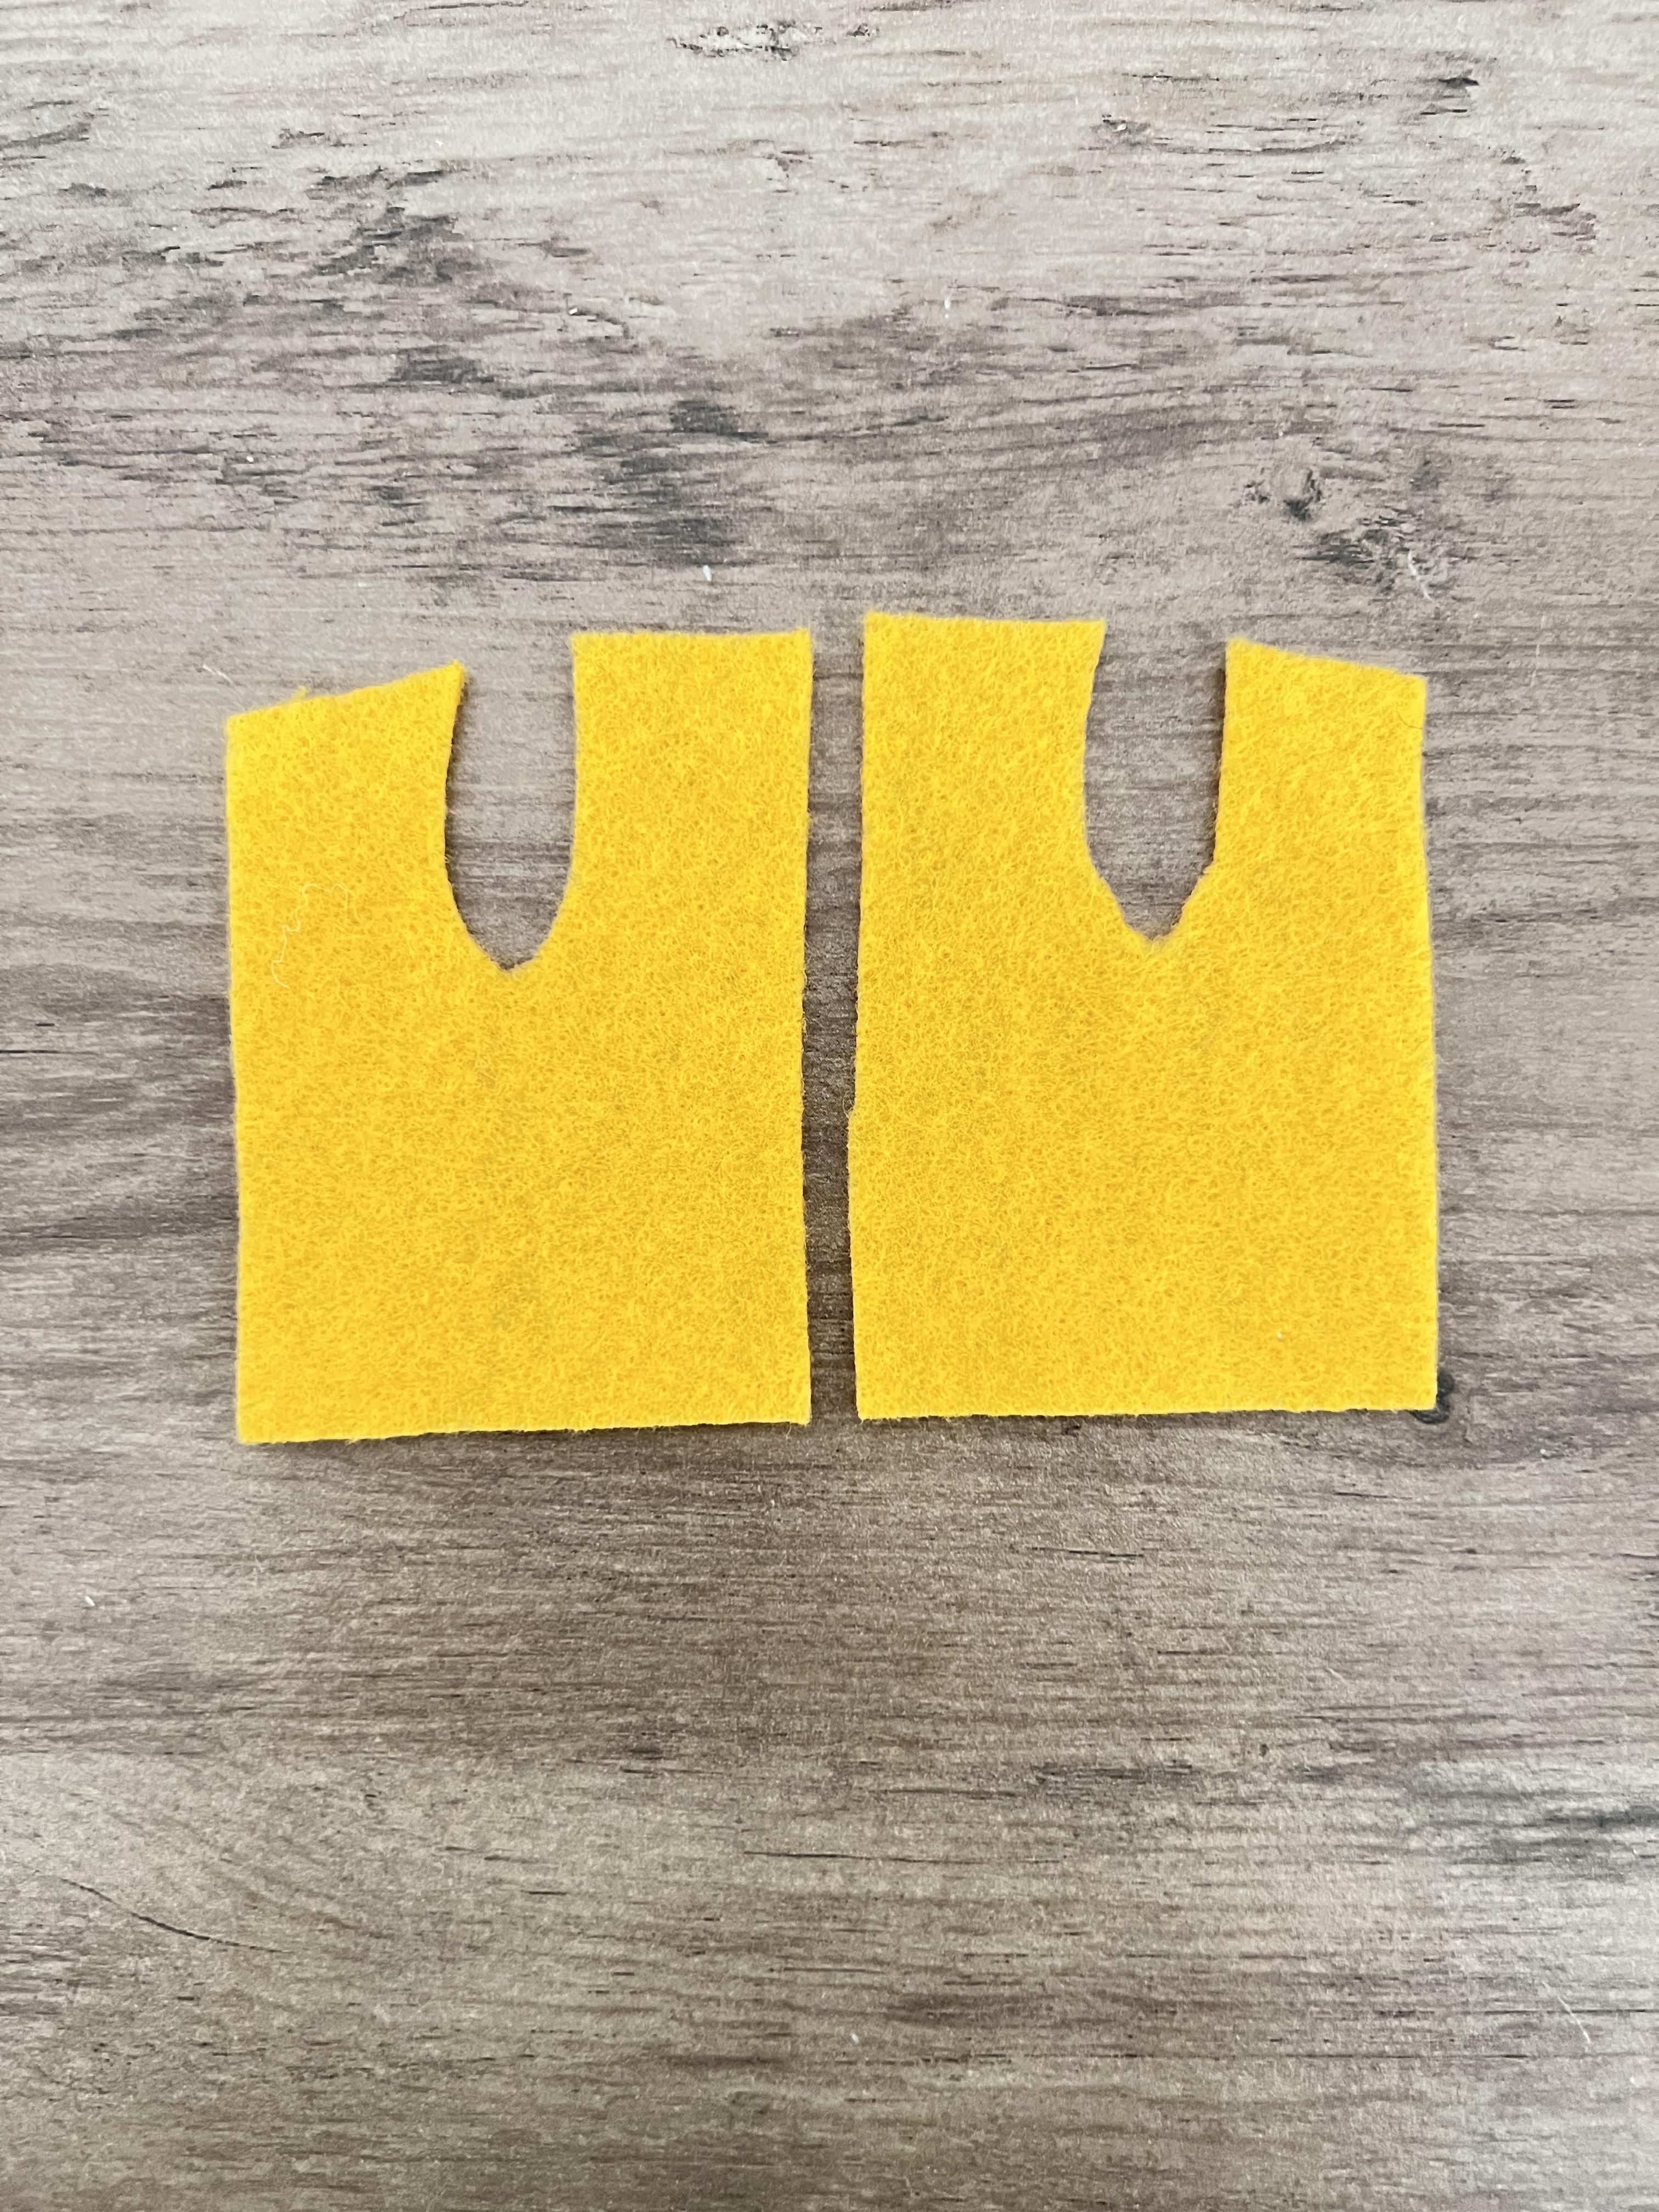
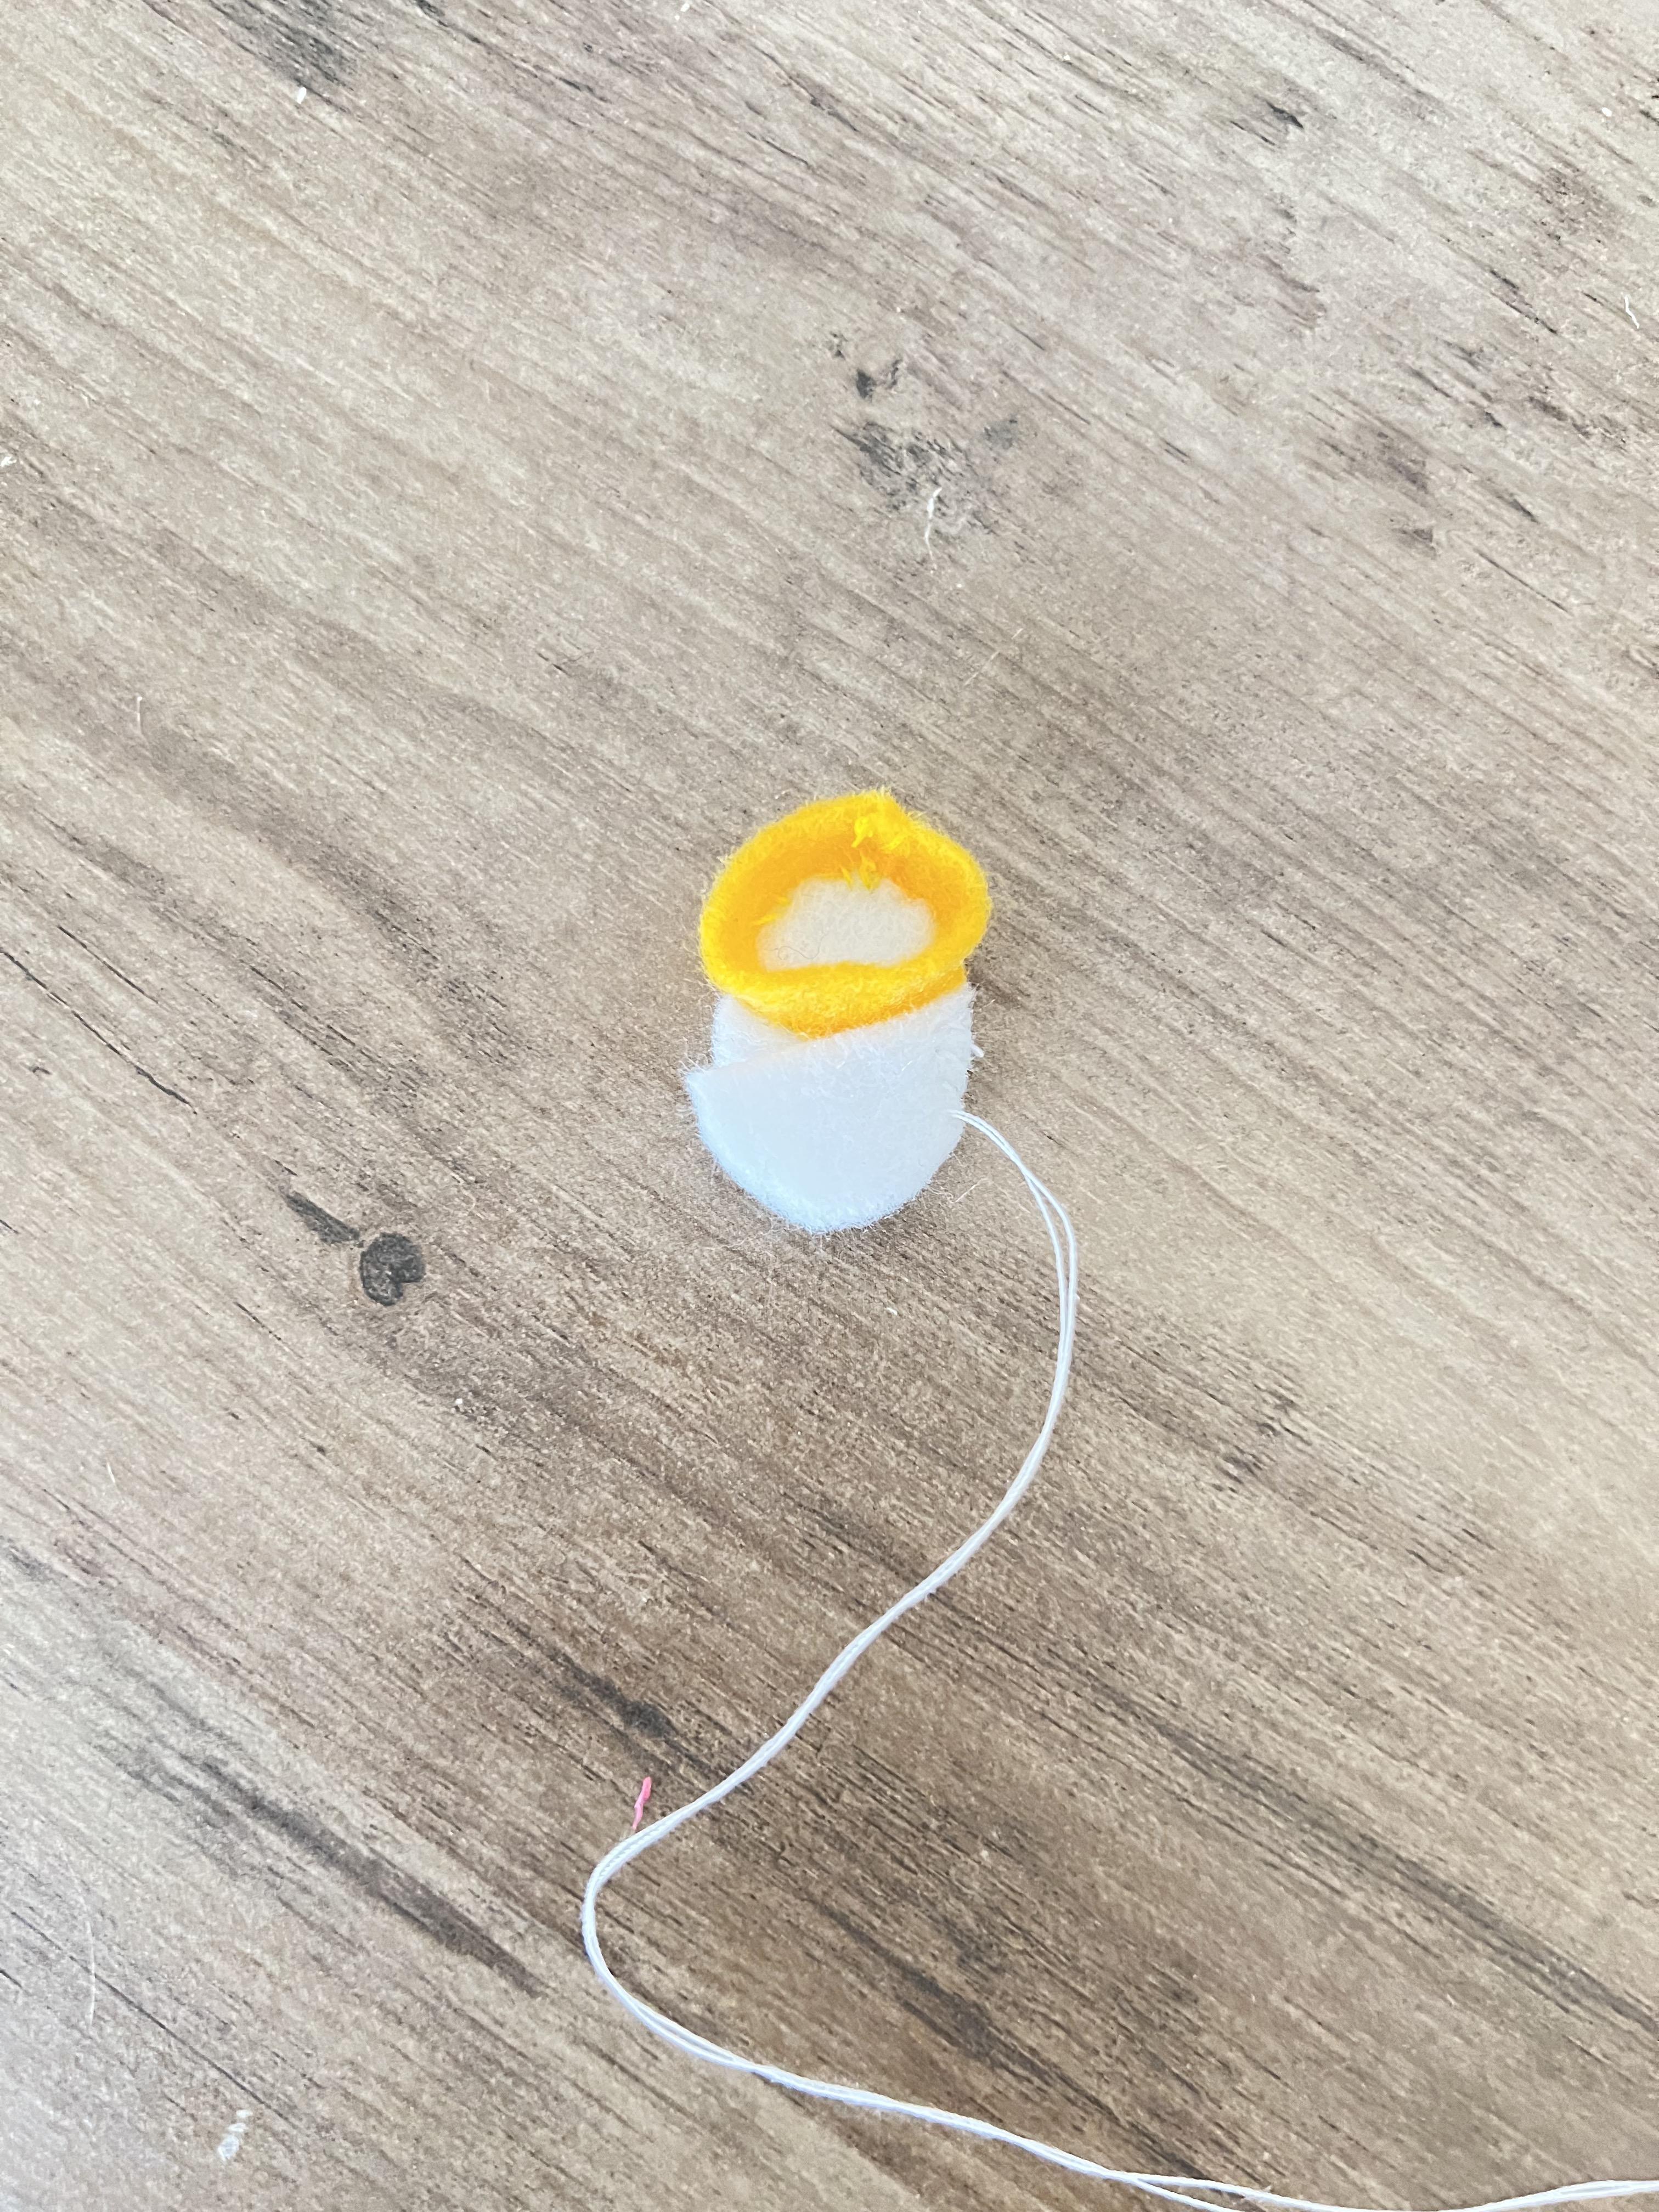
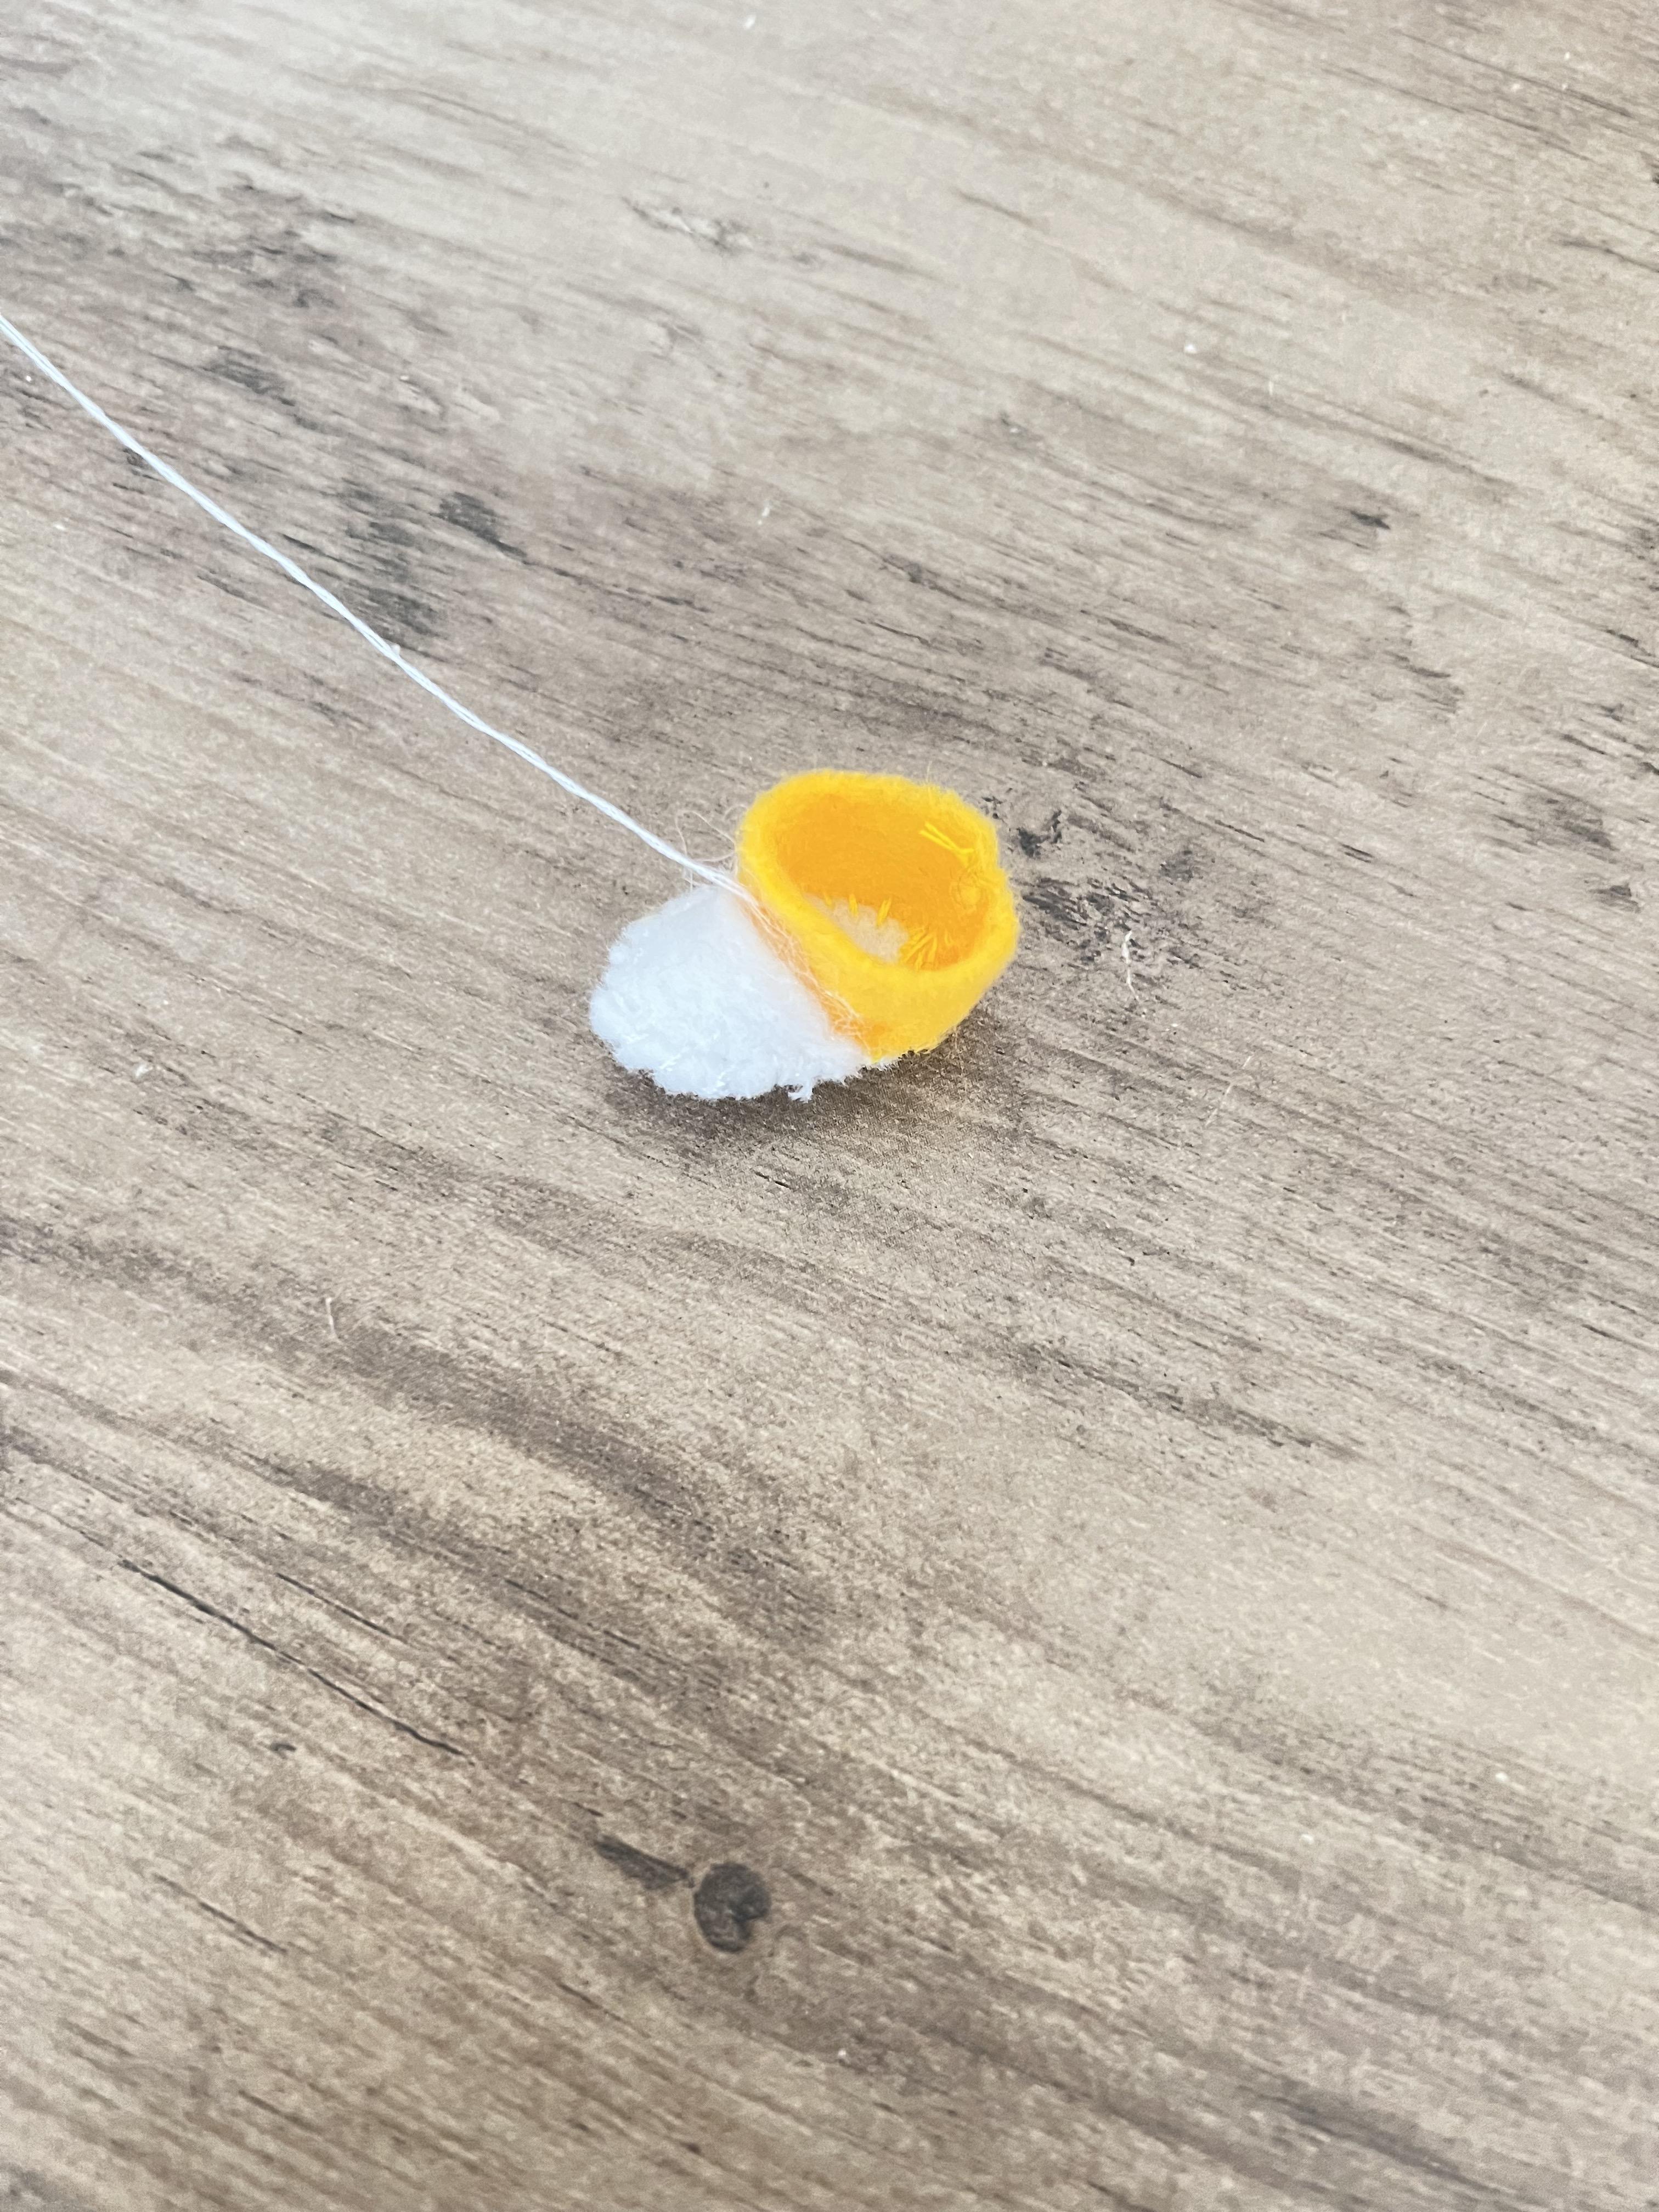
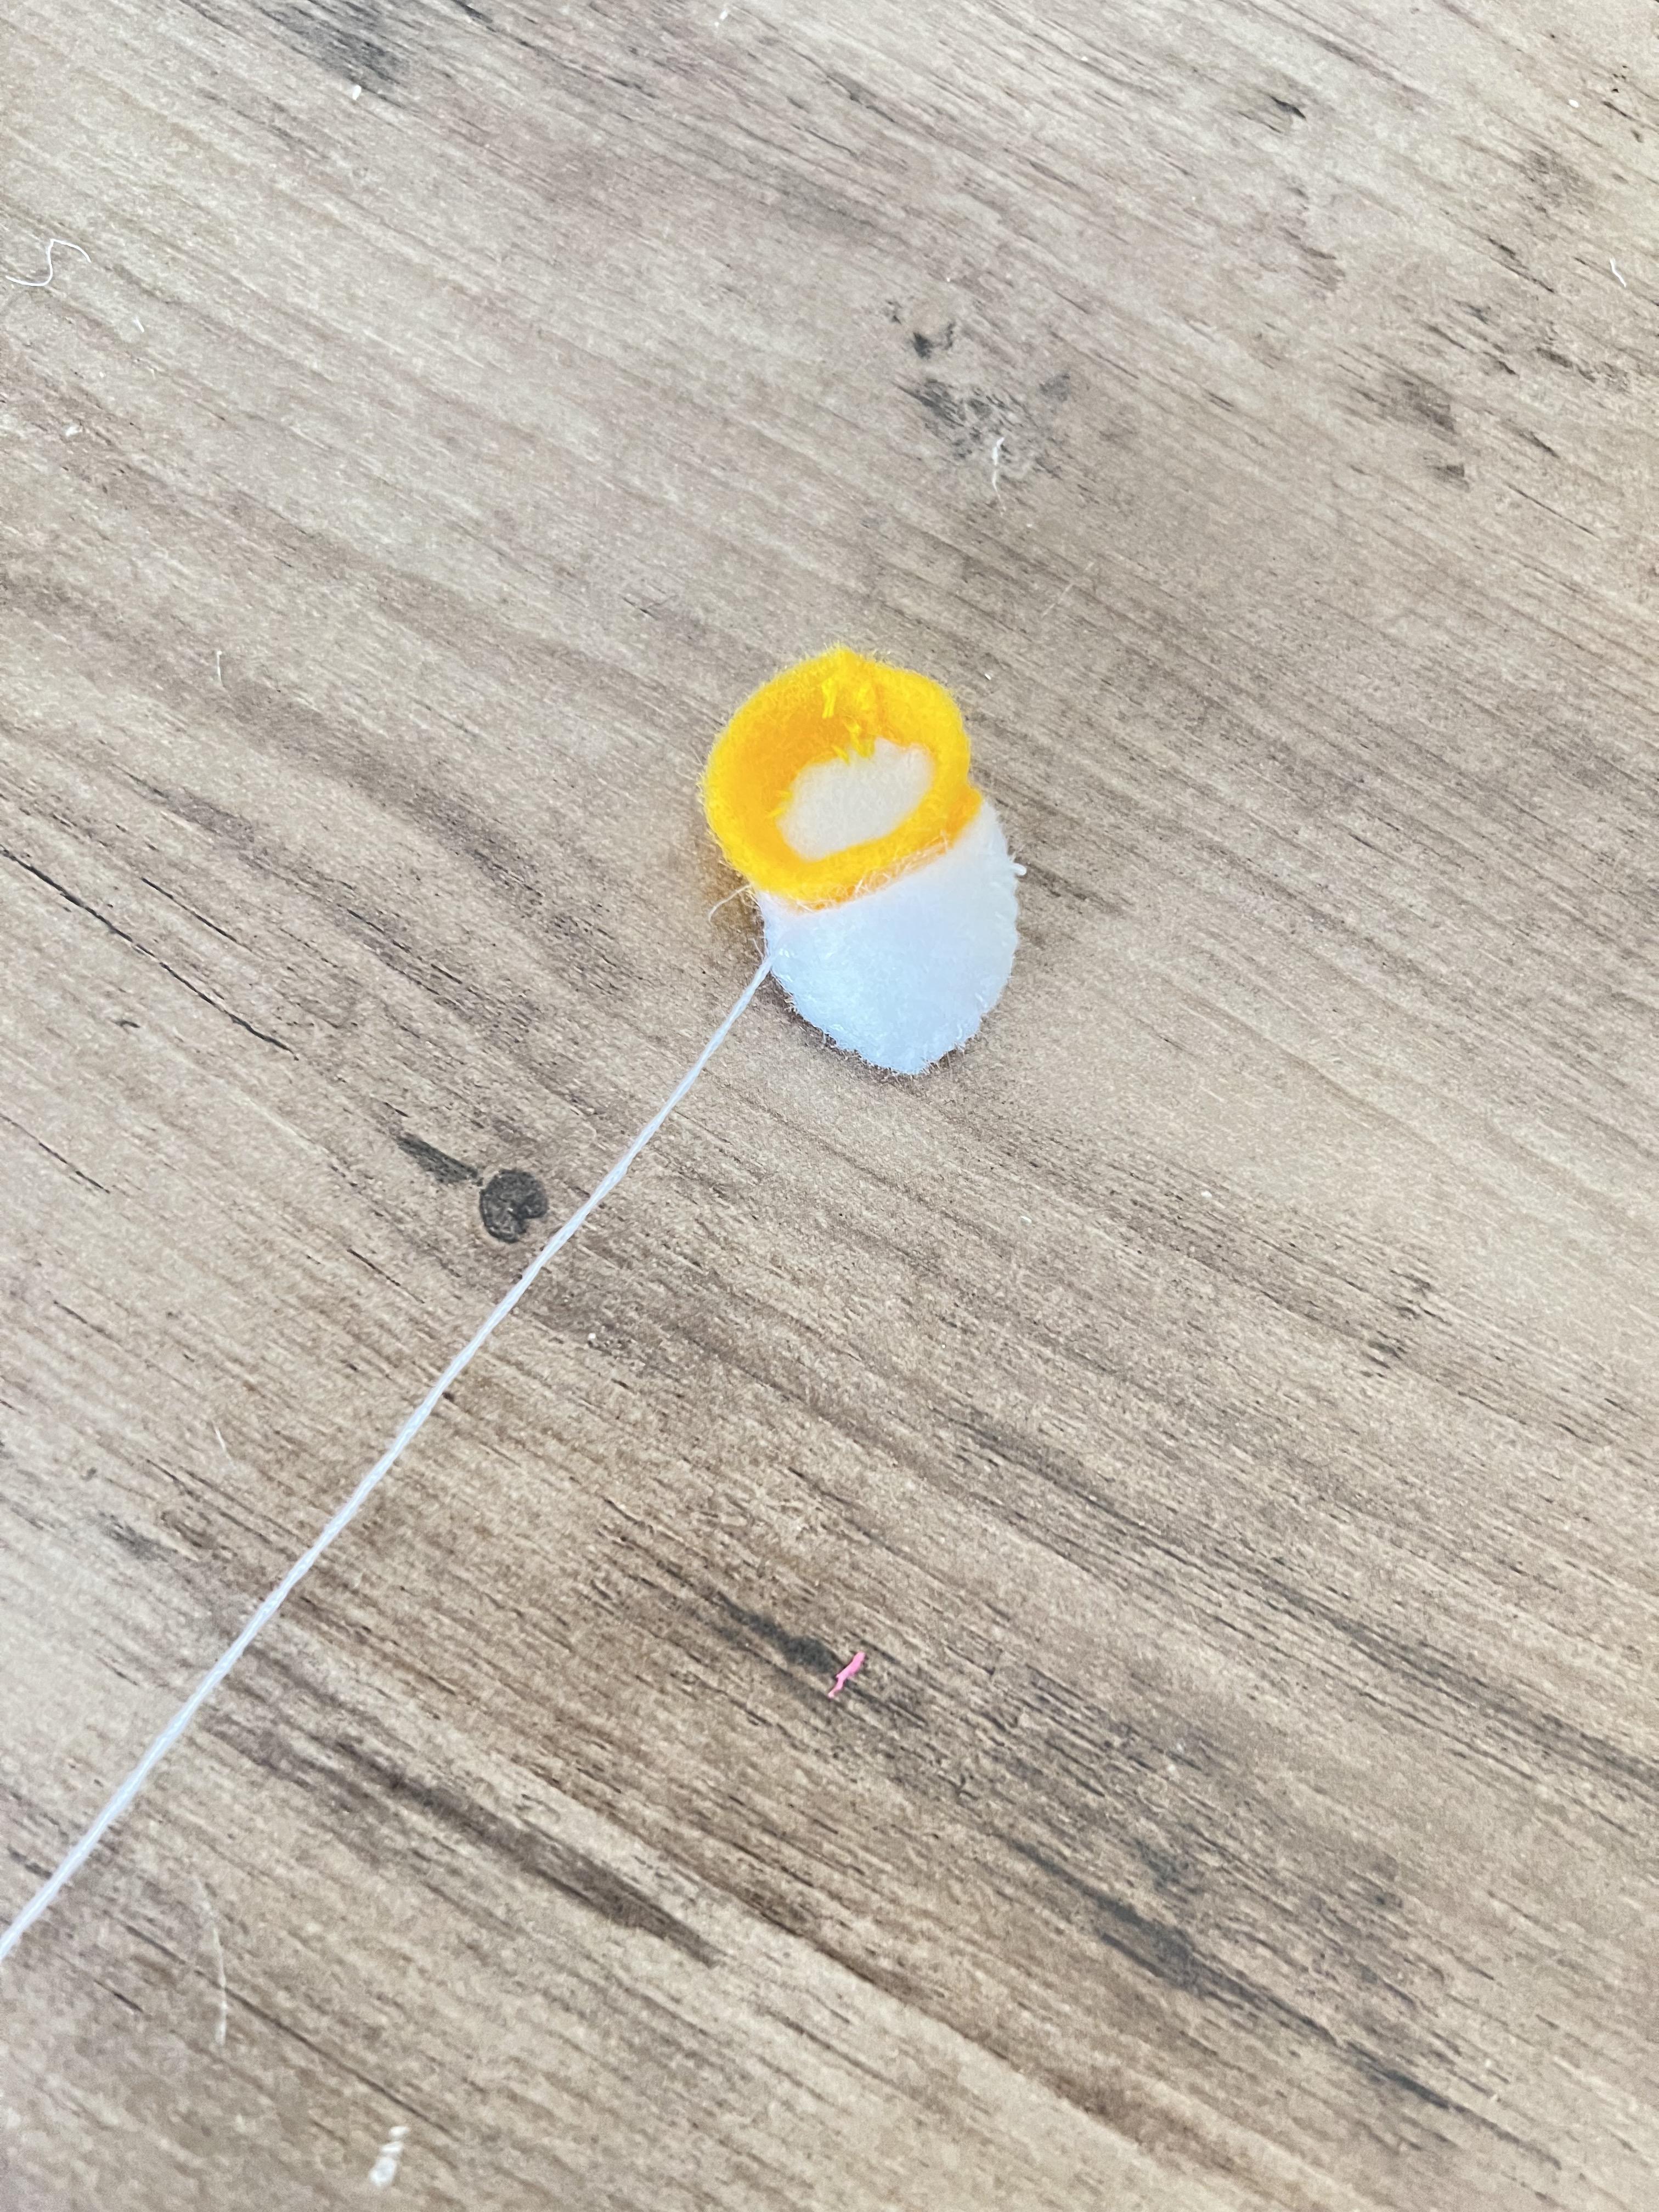
First, you will need to add fat to Albert's body. To do this, start by cutting out two half circles. They don't need to be directly circles, so you can sort of let them be squares with rounded corners (look at picture 2).
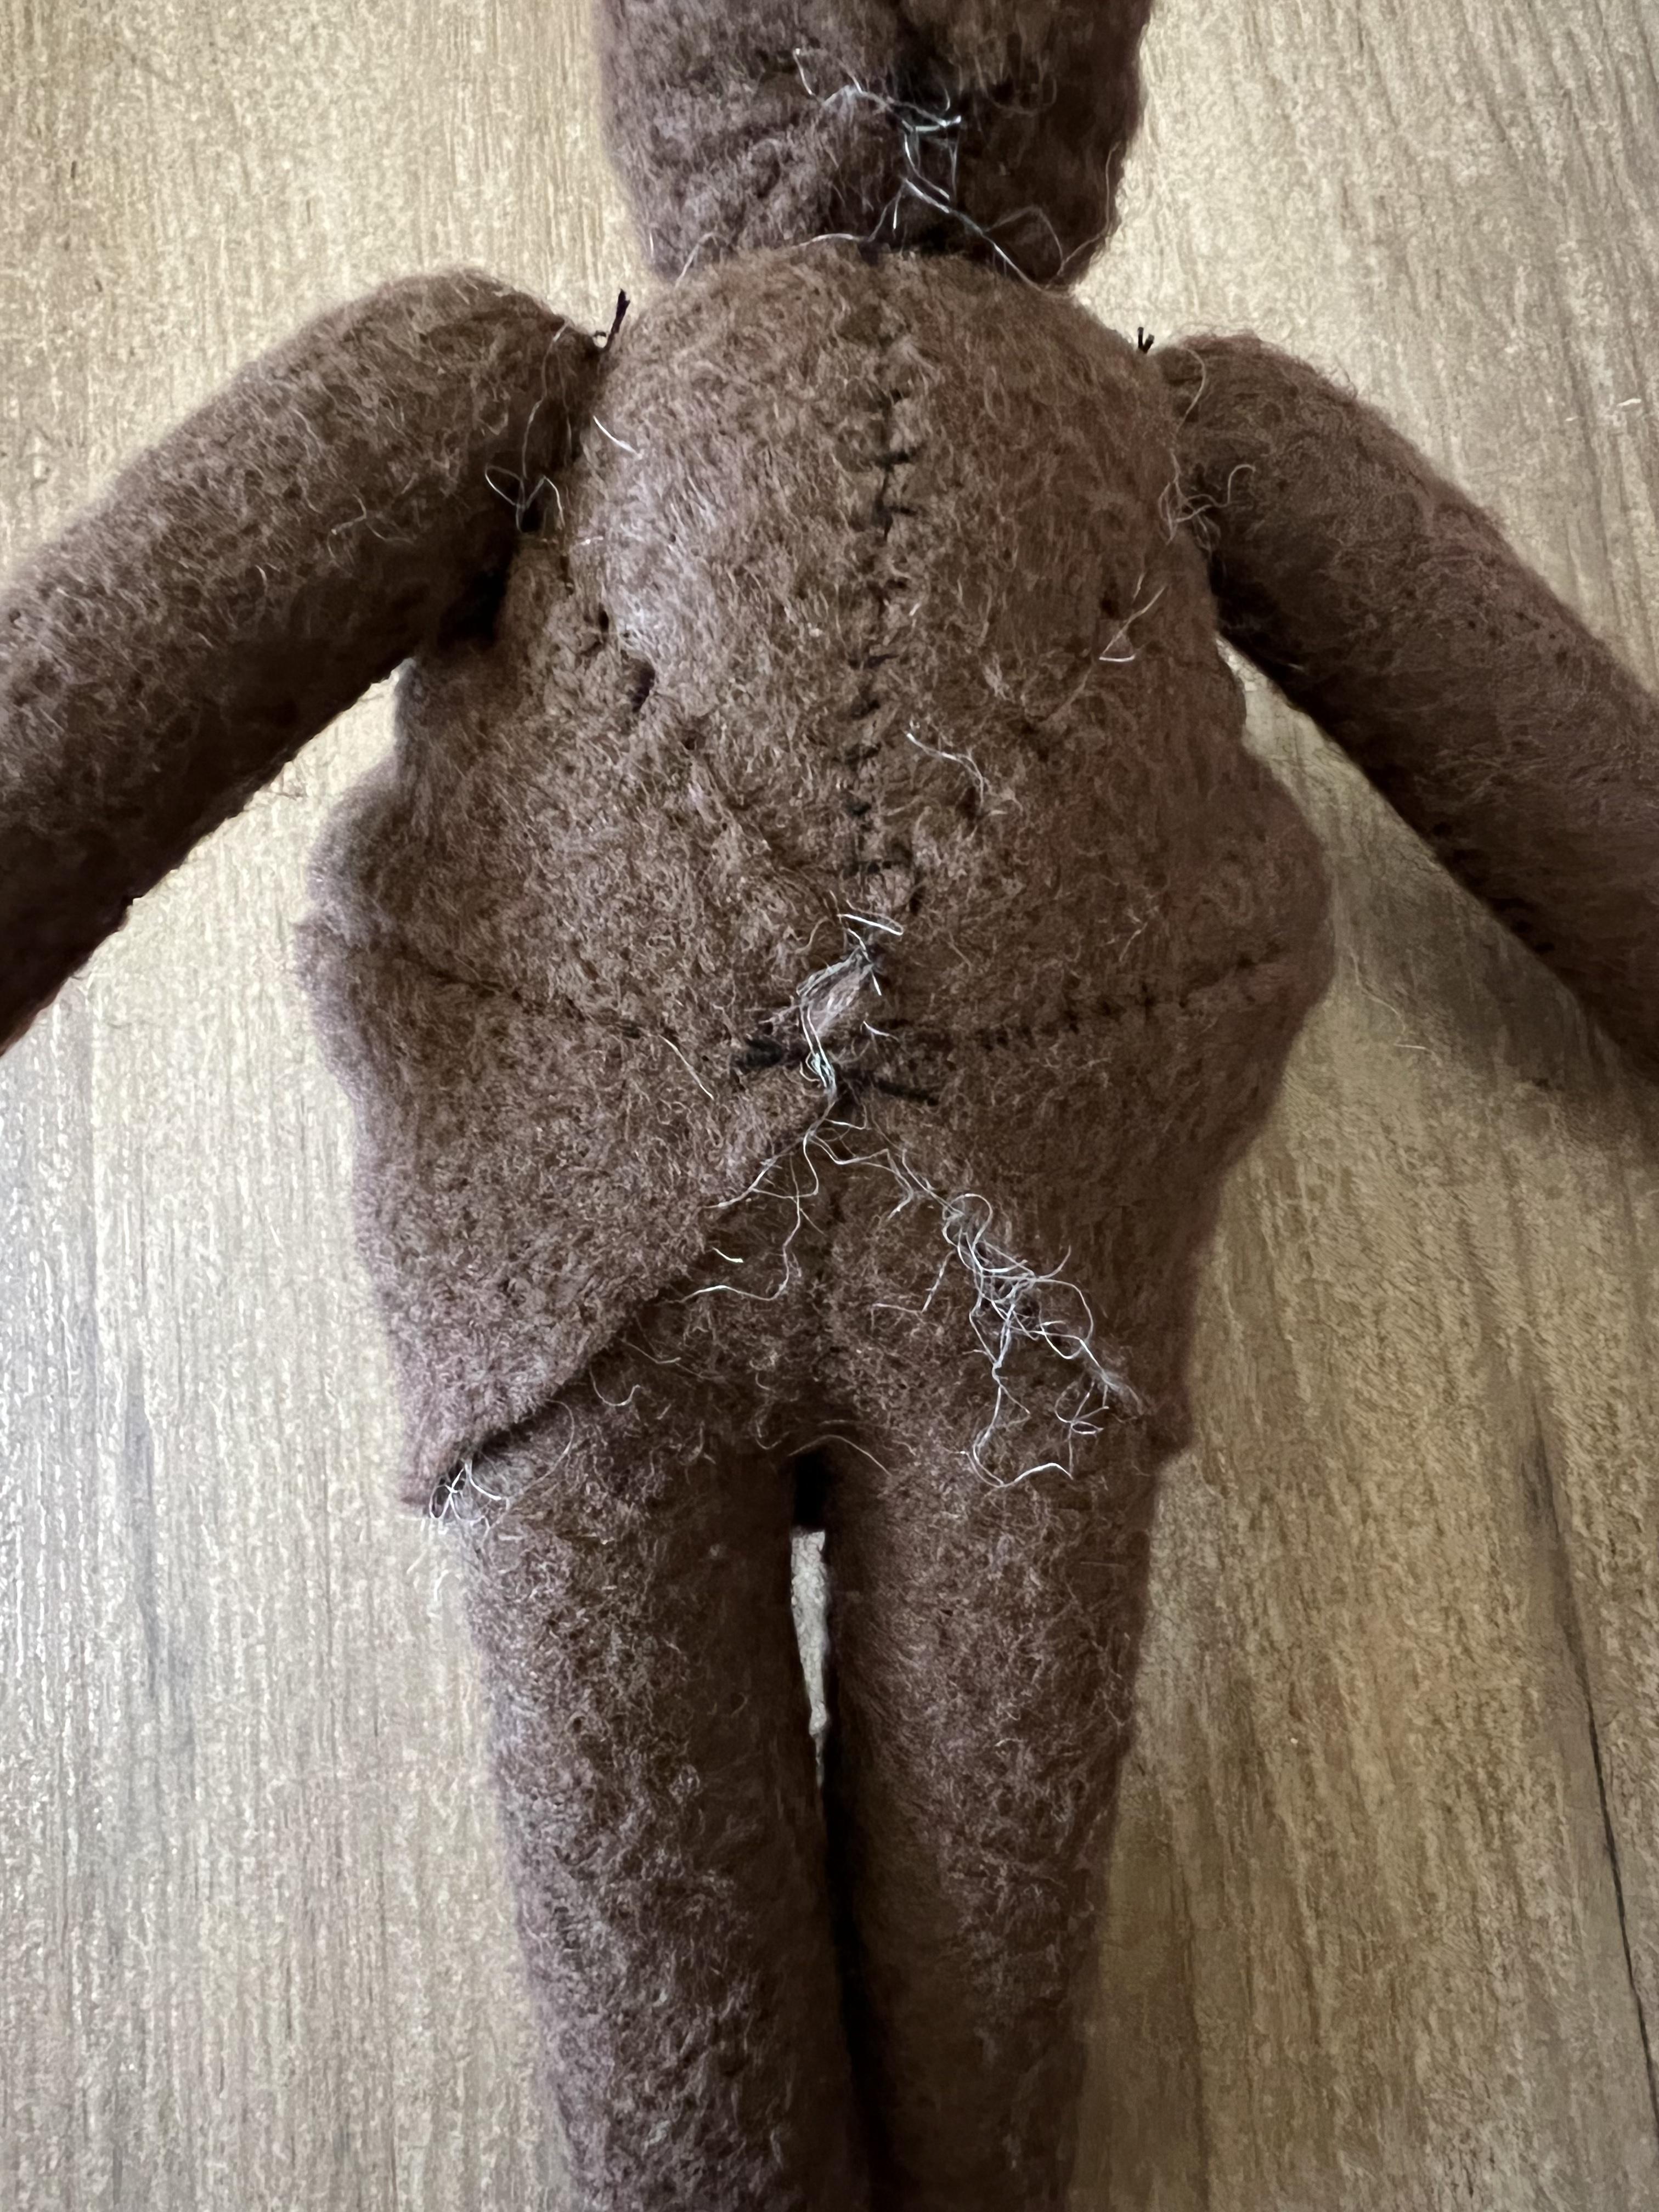
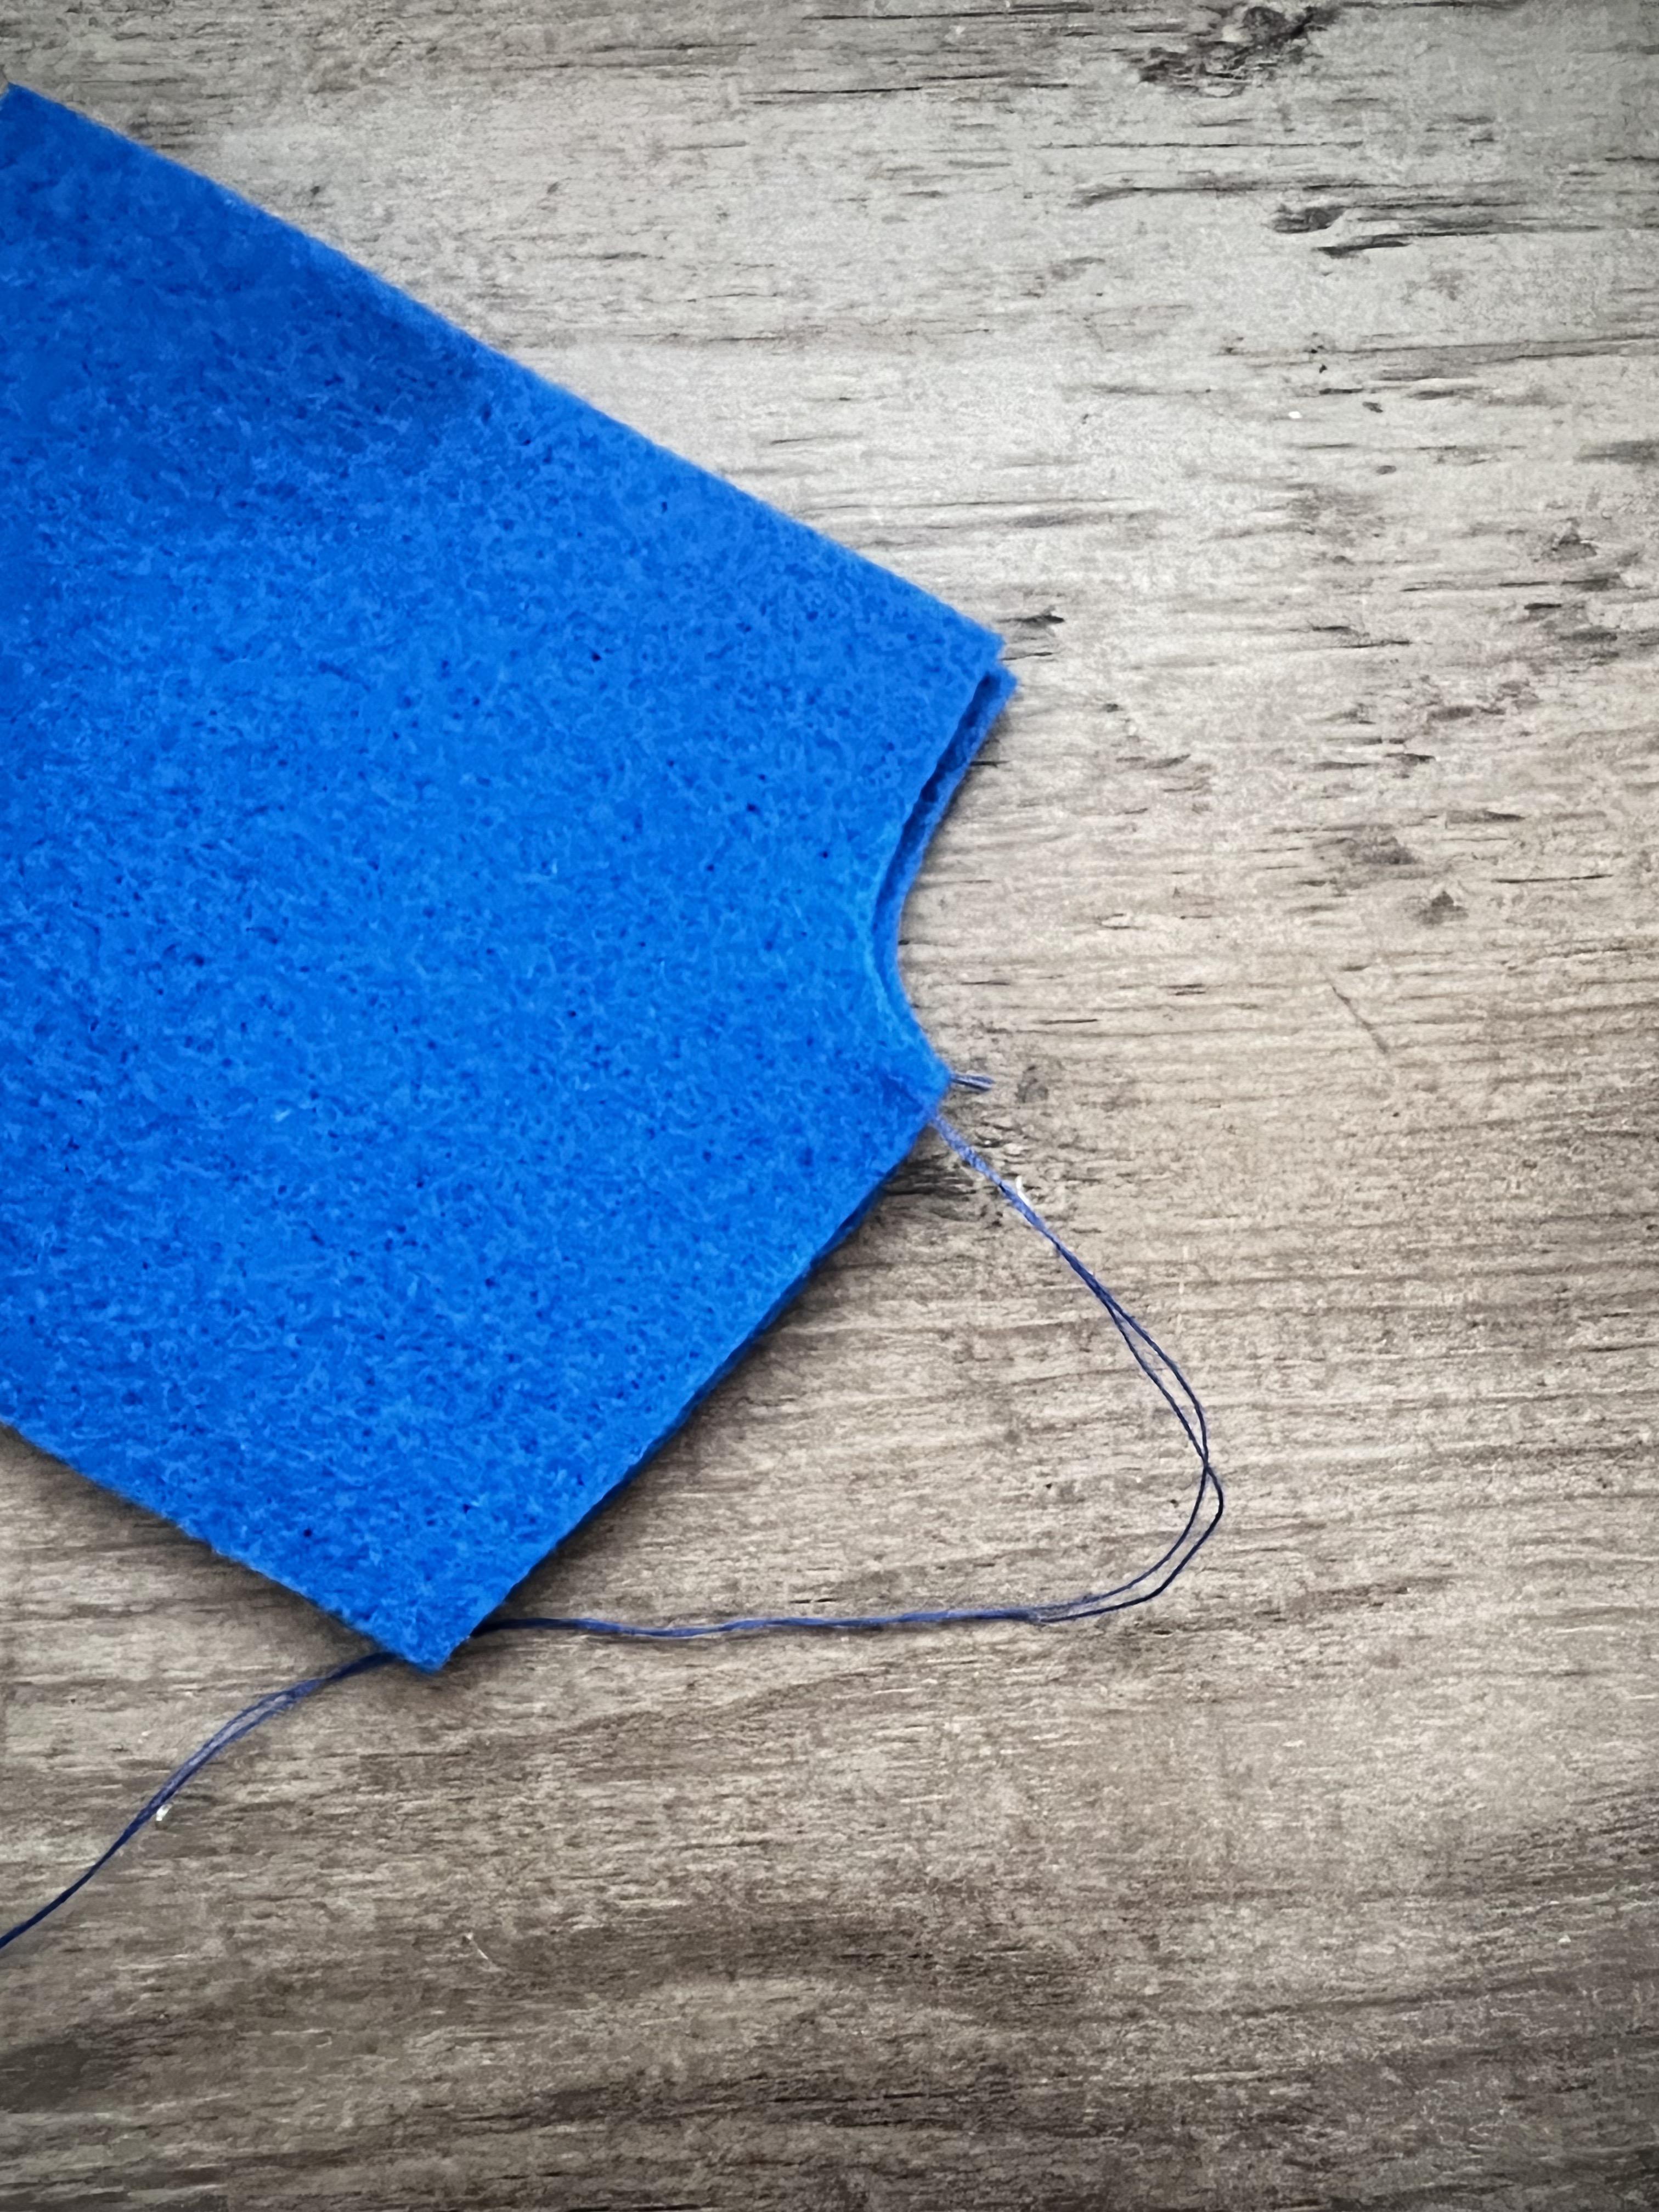
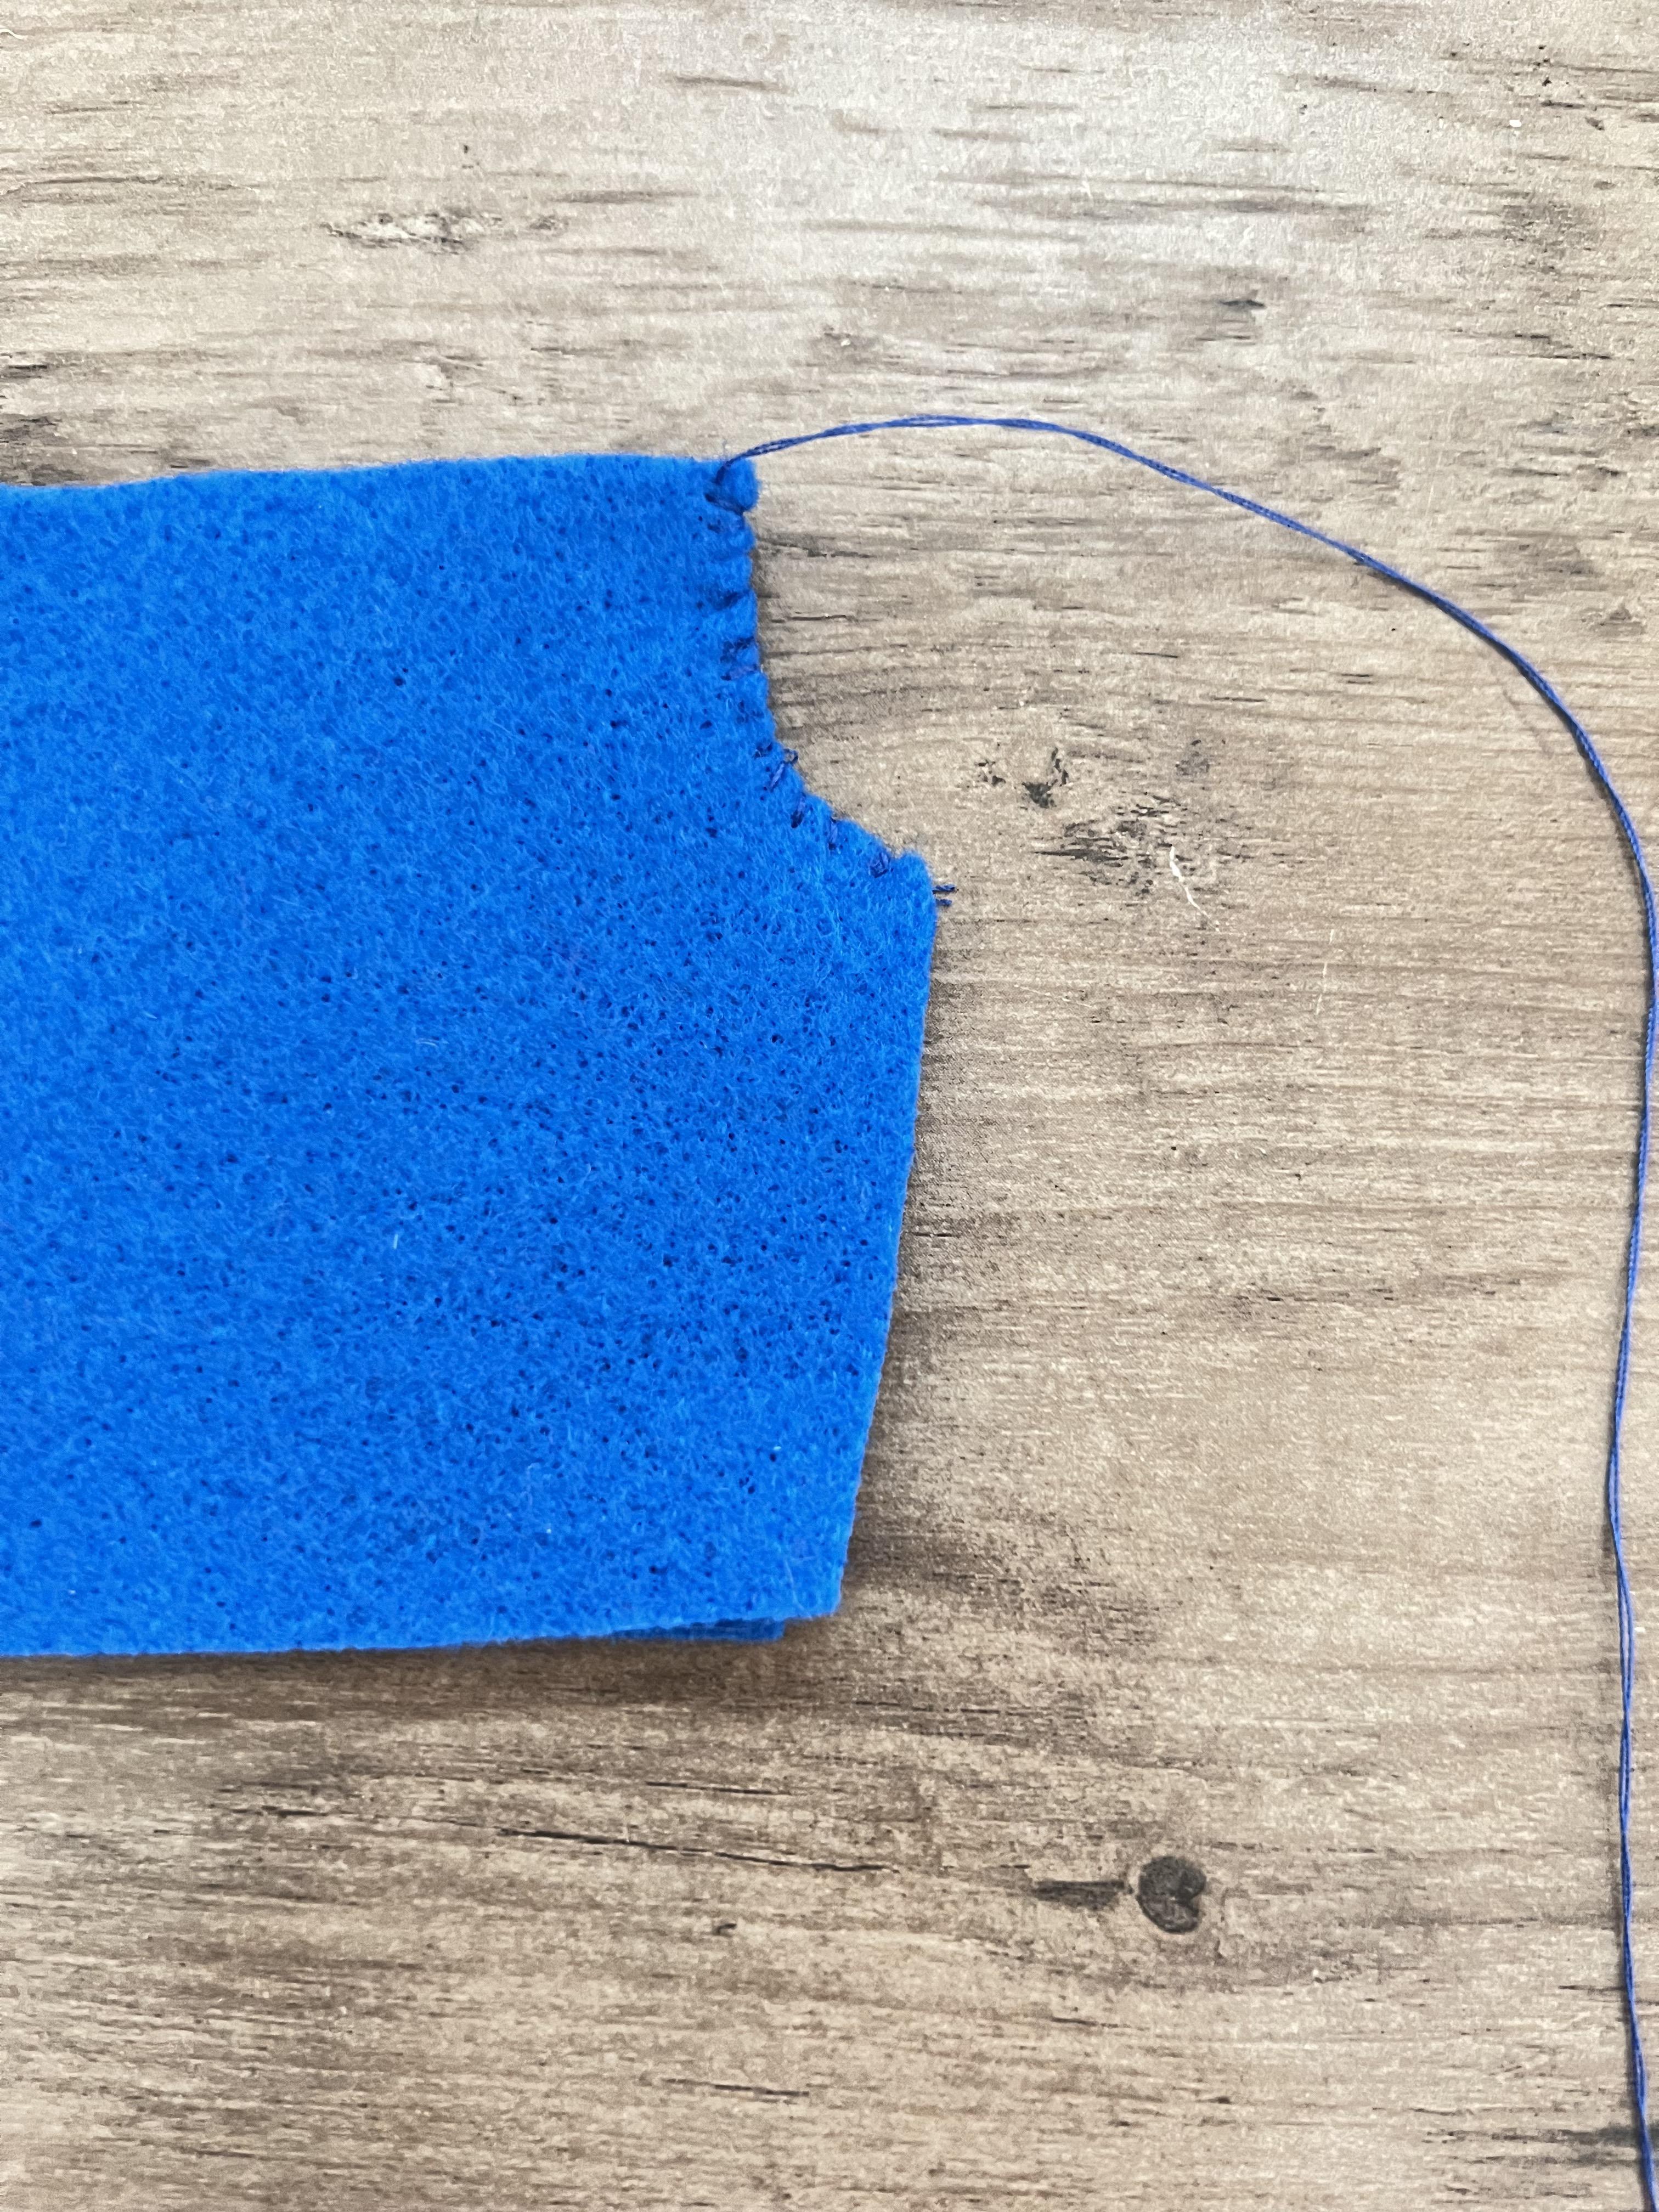
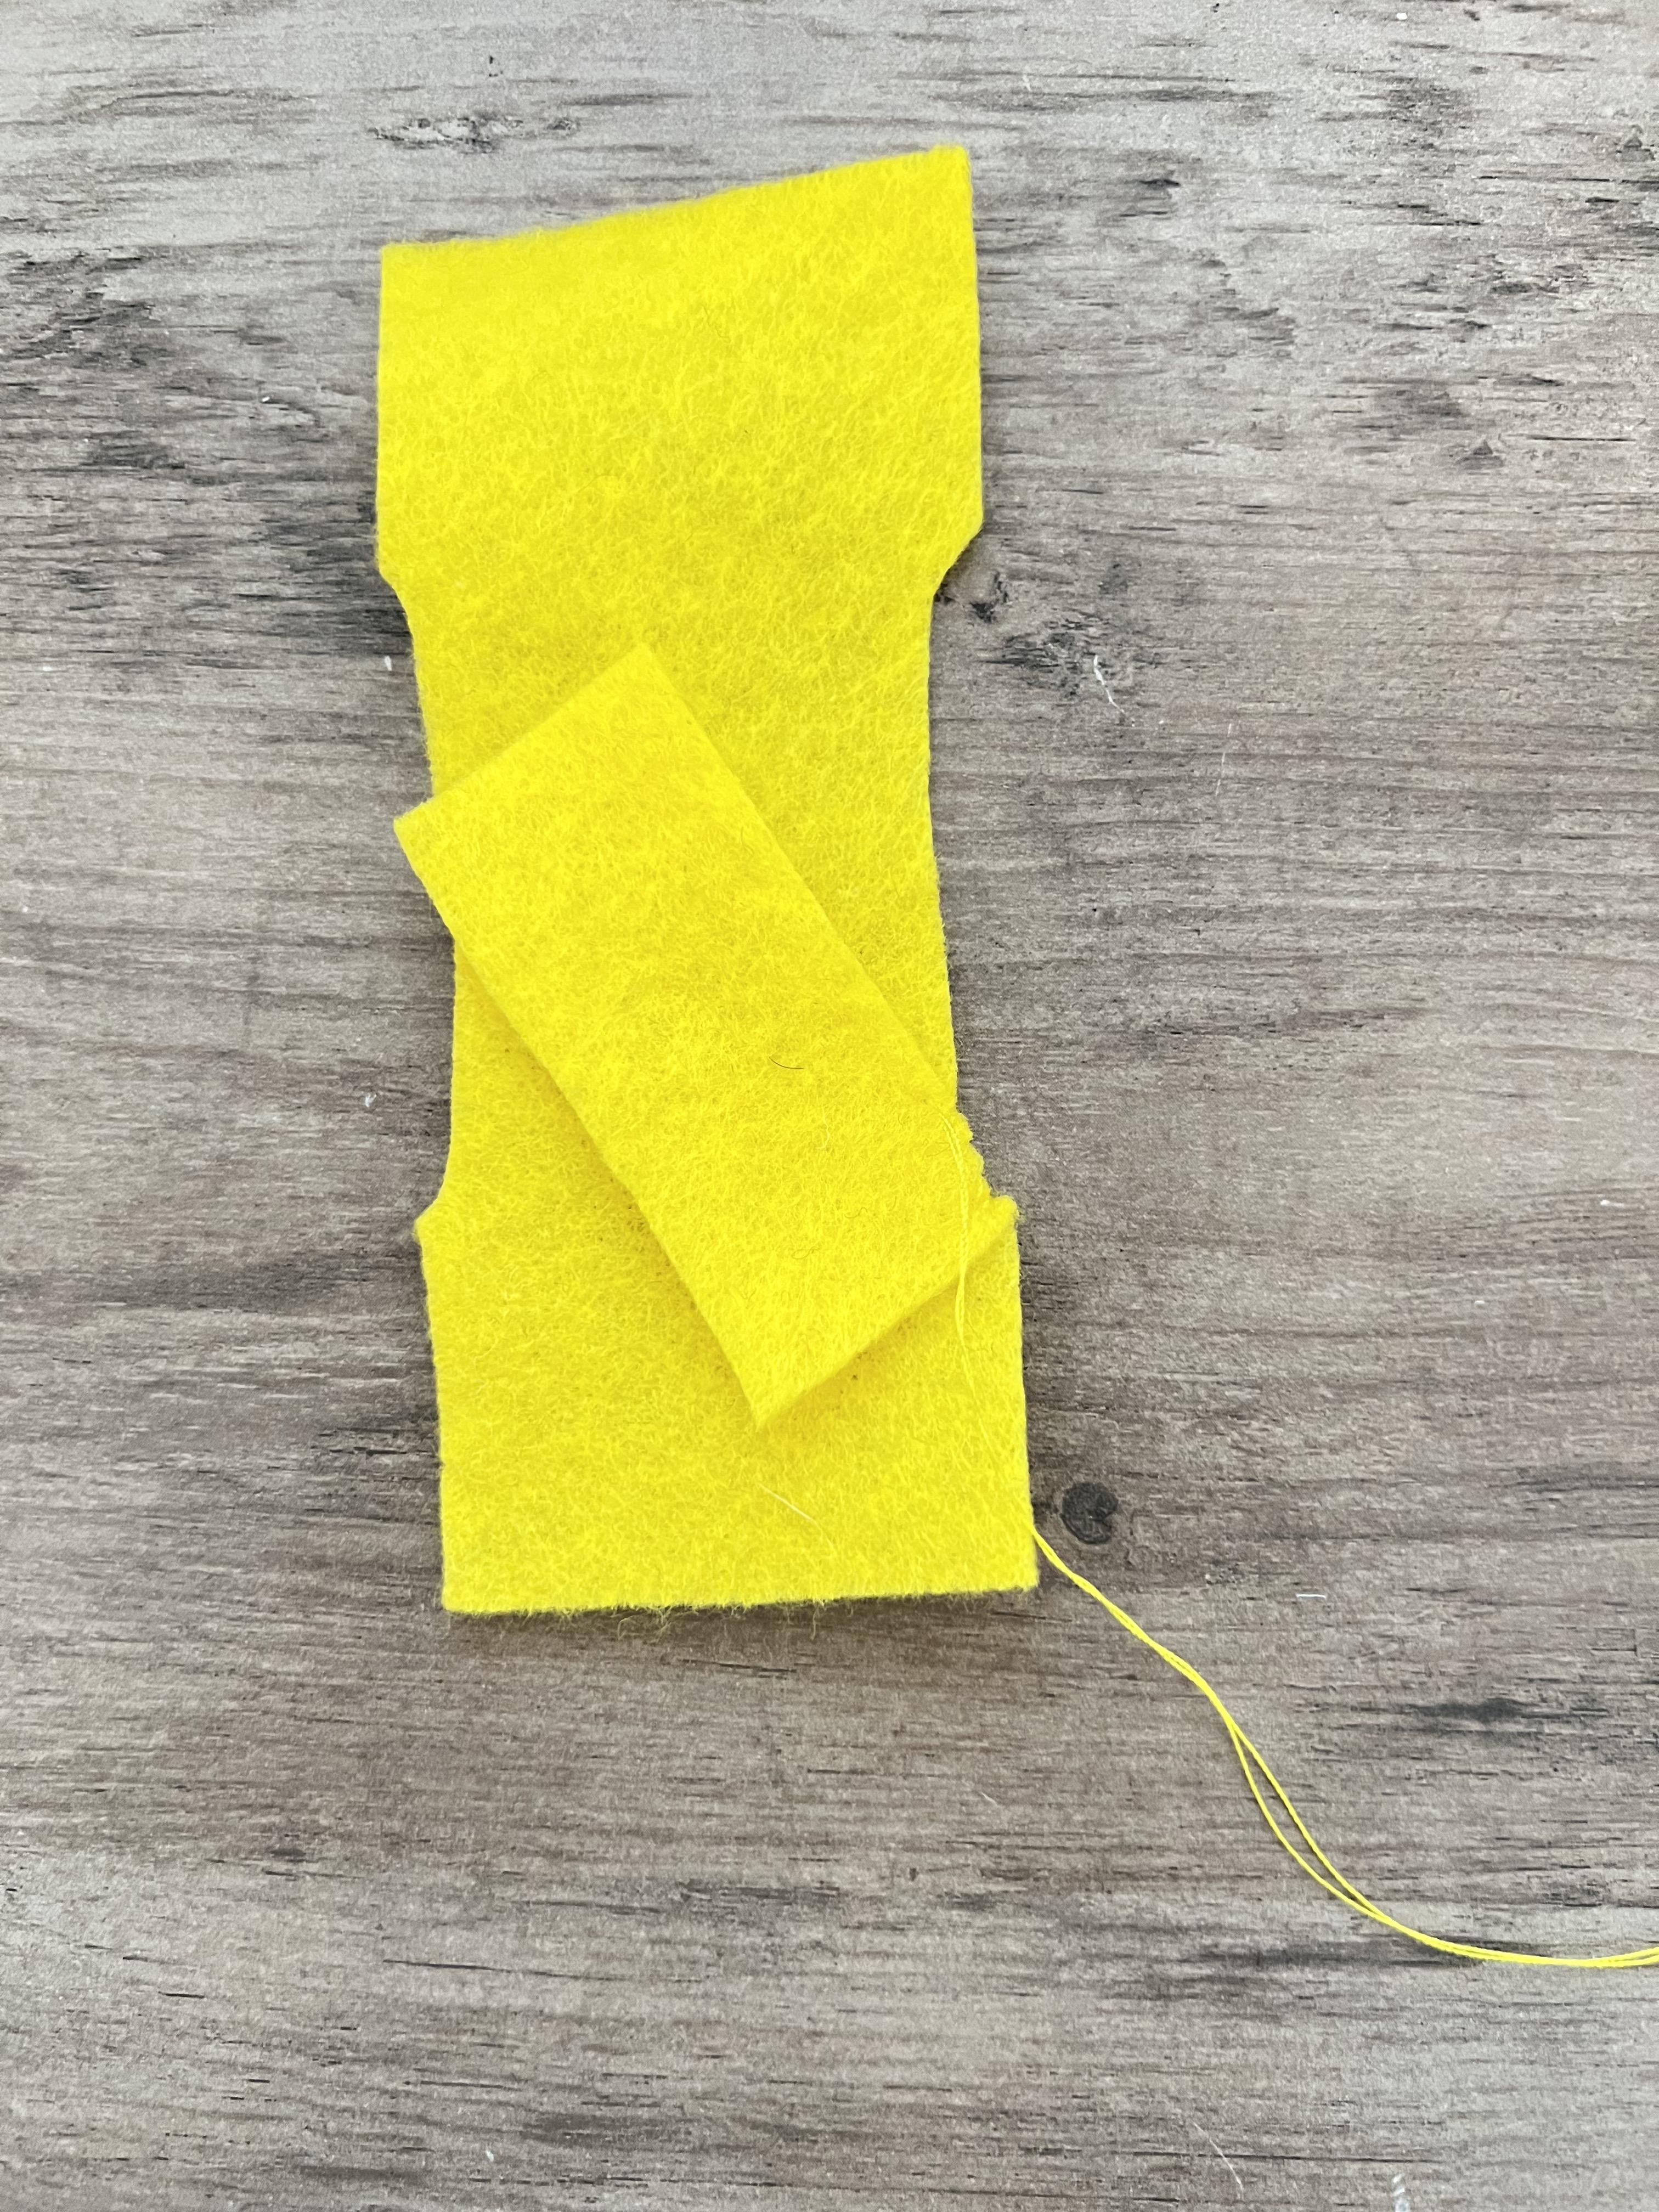
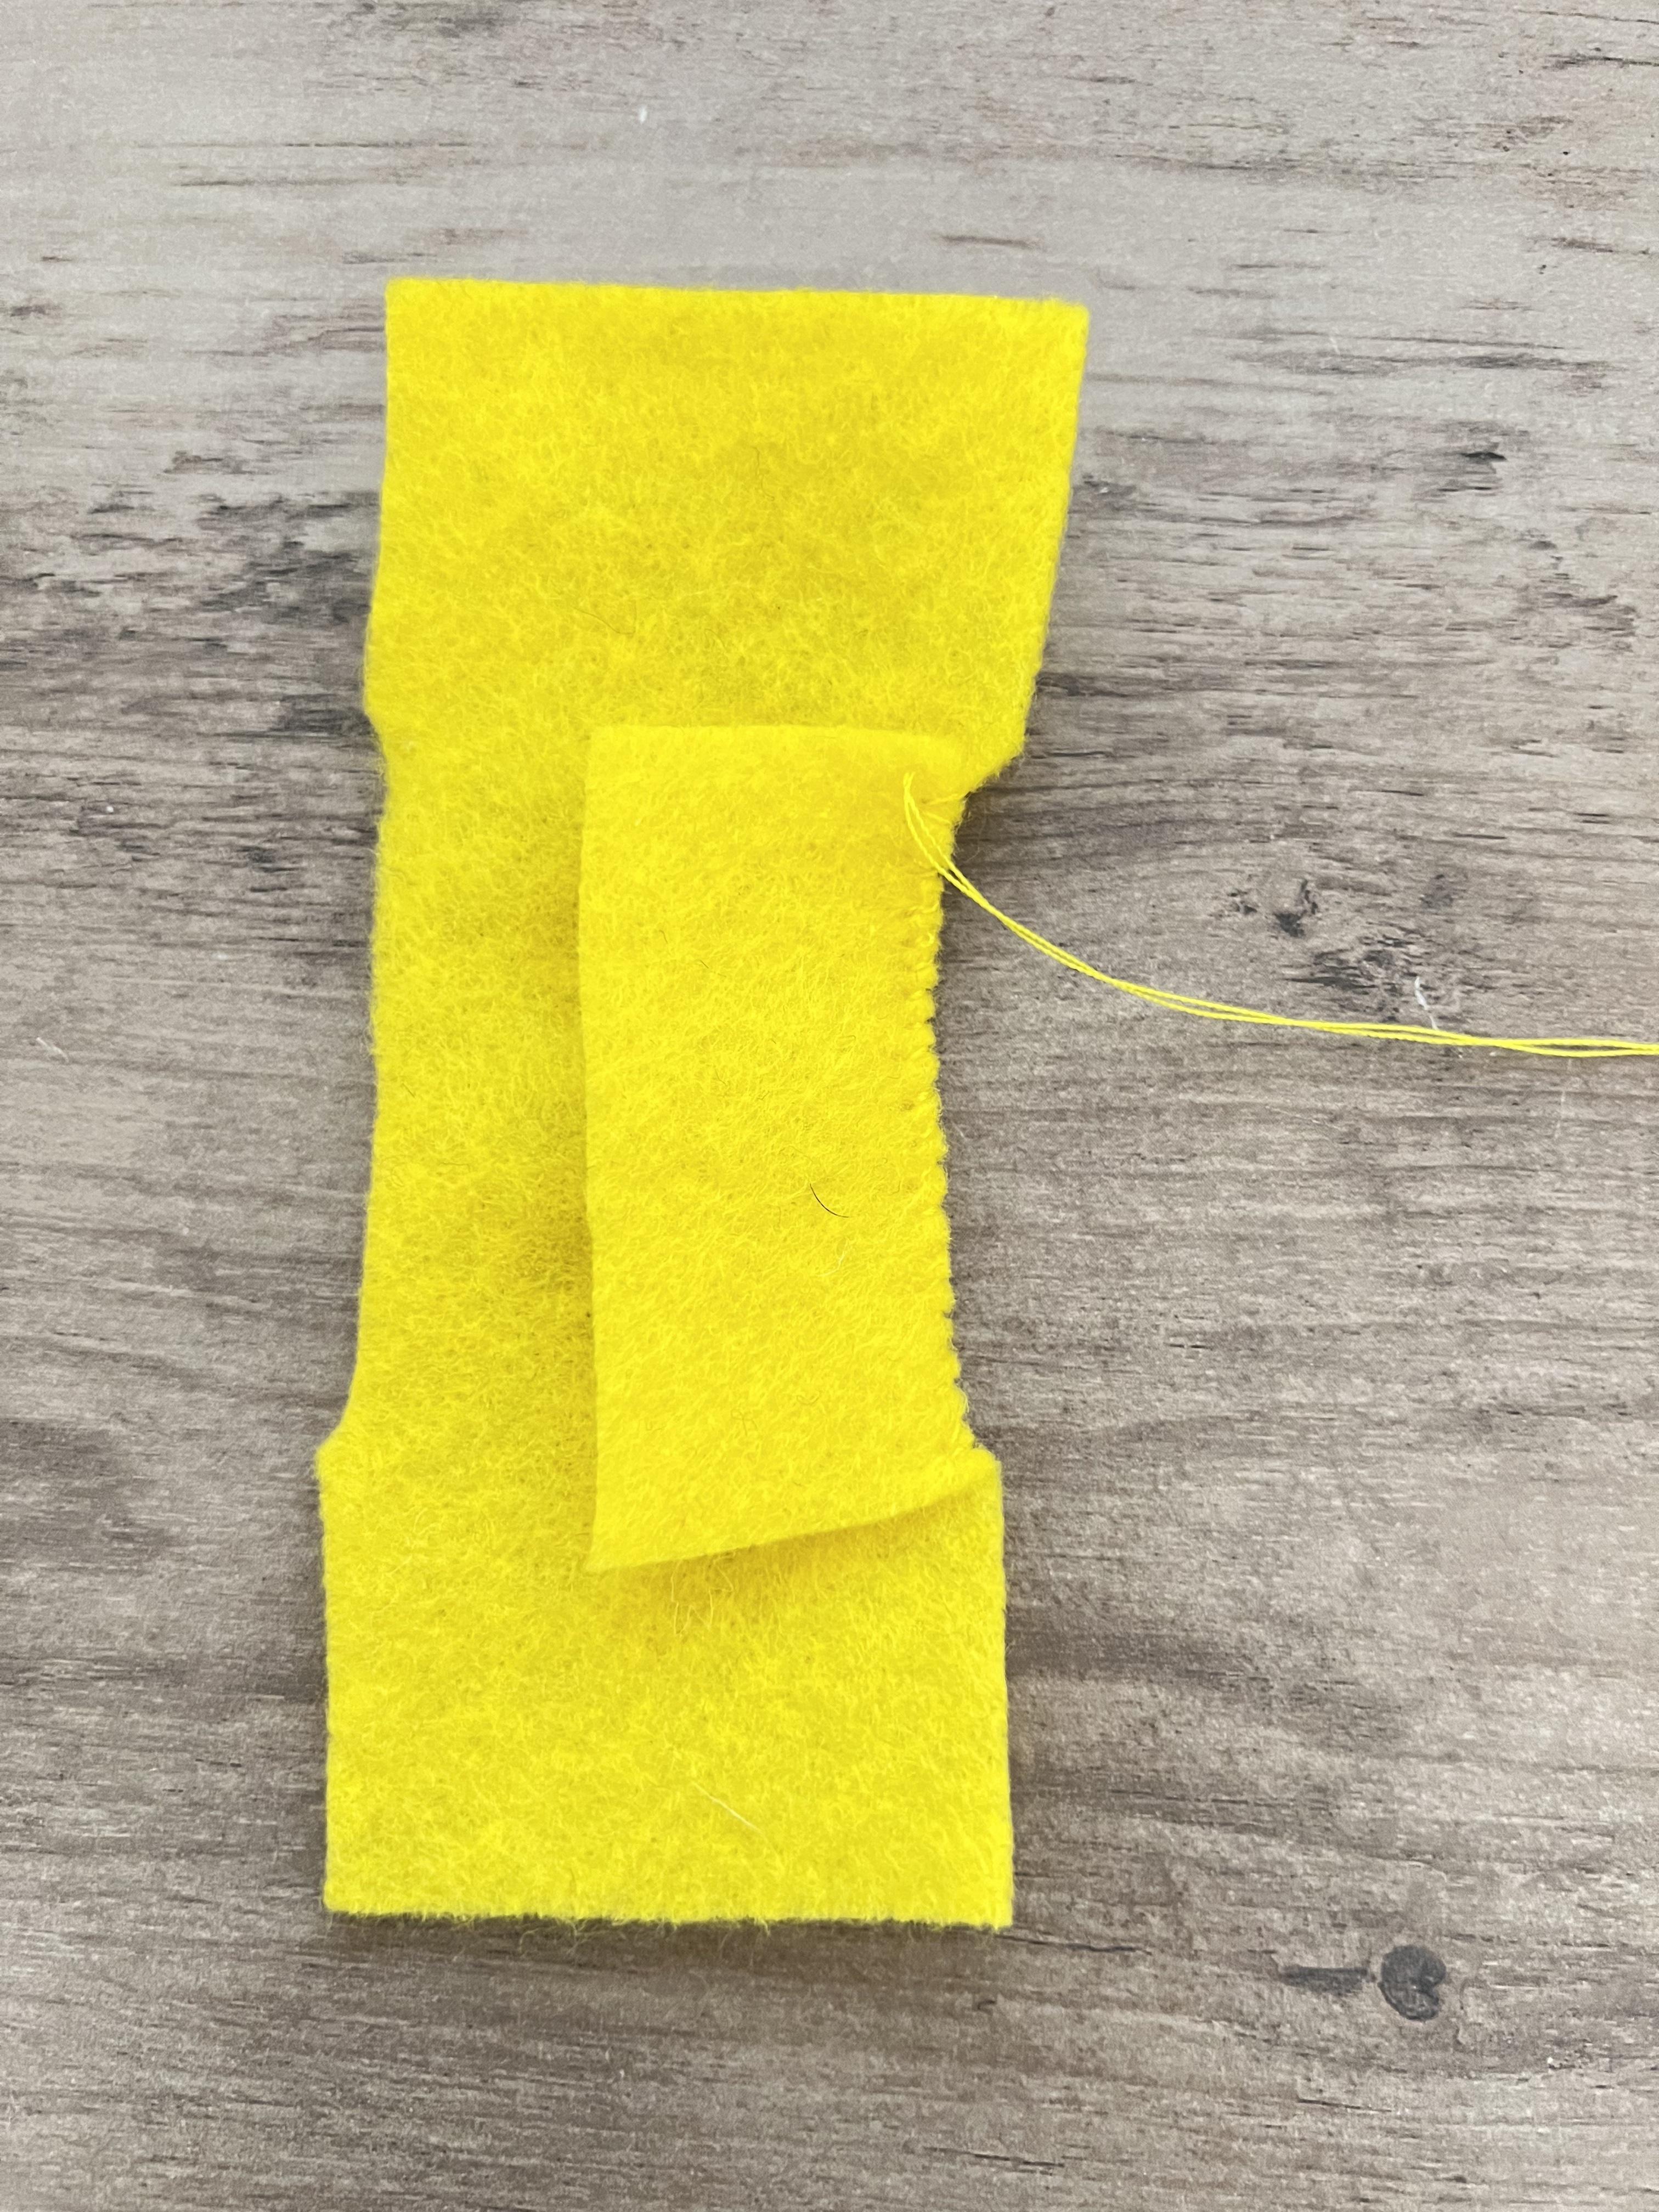
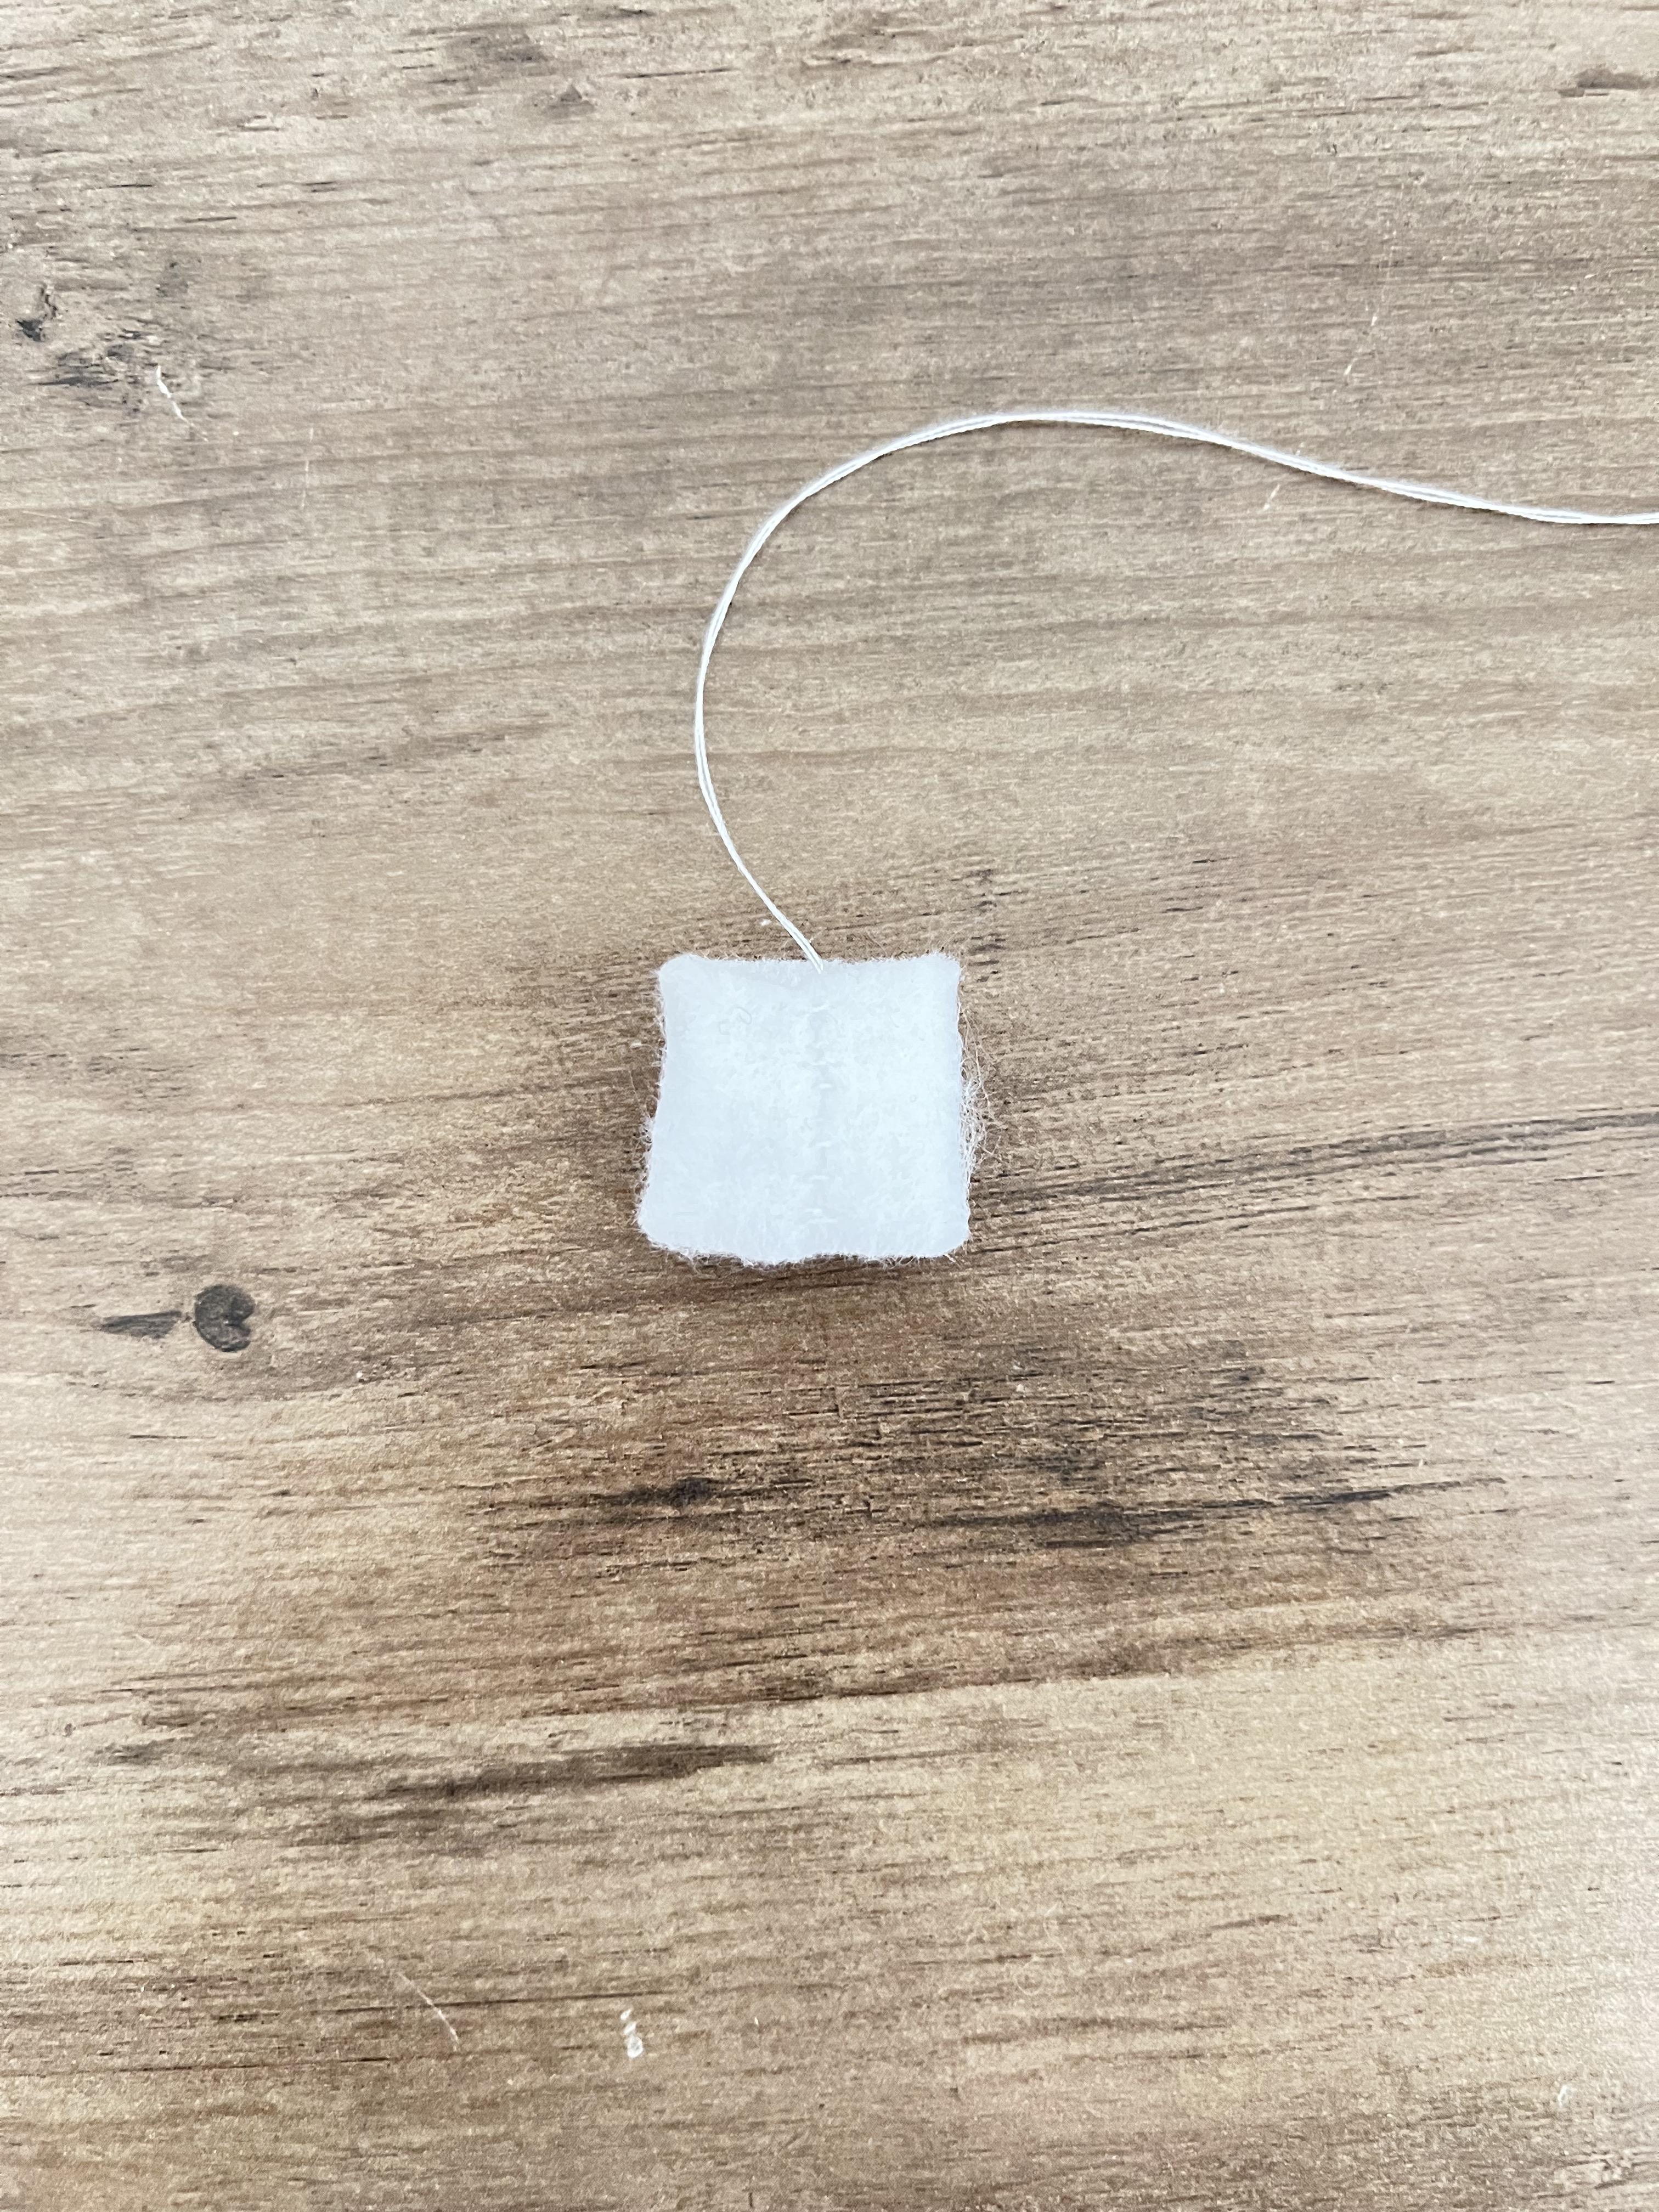
Next, sew around the curved sides (pictures 3-5). Flip it inside out and fill it with fluff. Wrap it around Albert and pop a few stitches to keep it attached on him. Then start round stitching it on.
When you get to the bottom of his belly, tuck in any extra felt that hangs too low (picture 13 & 14).
Sewing His Clothes
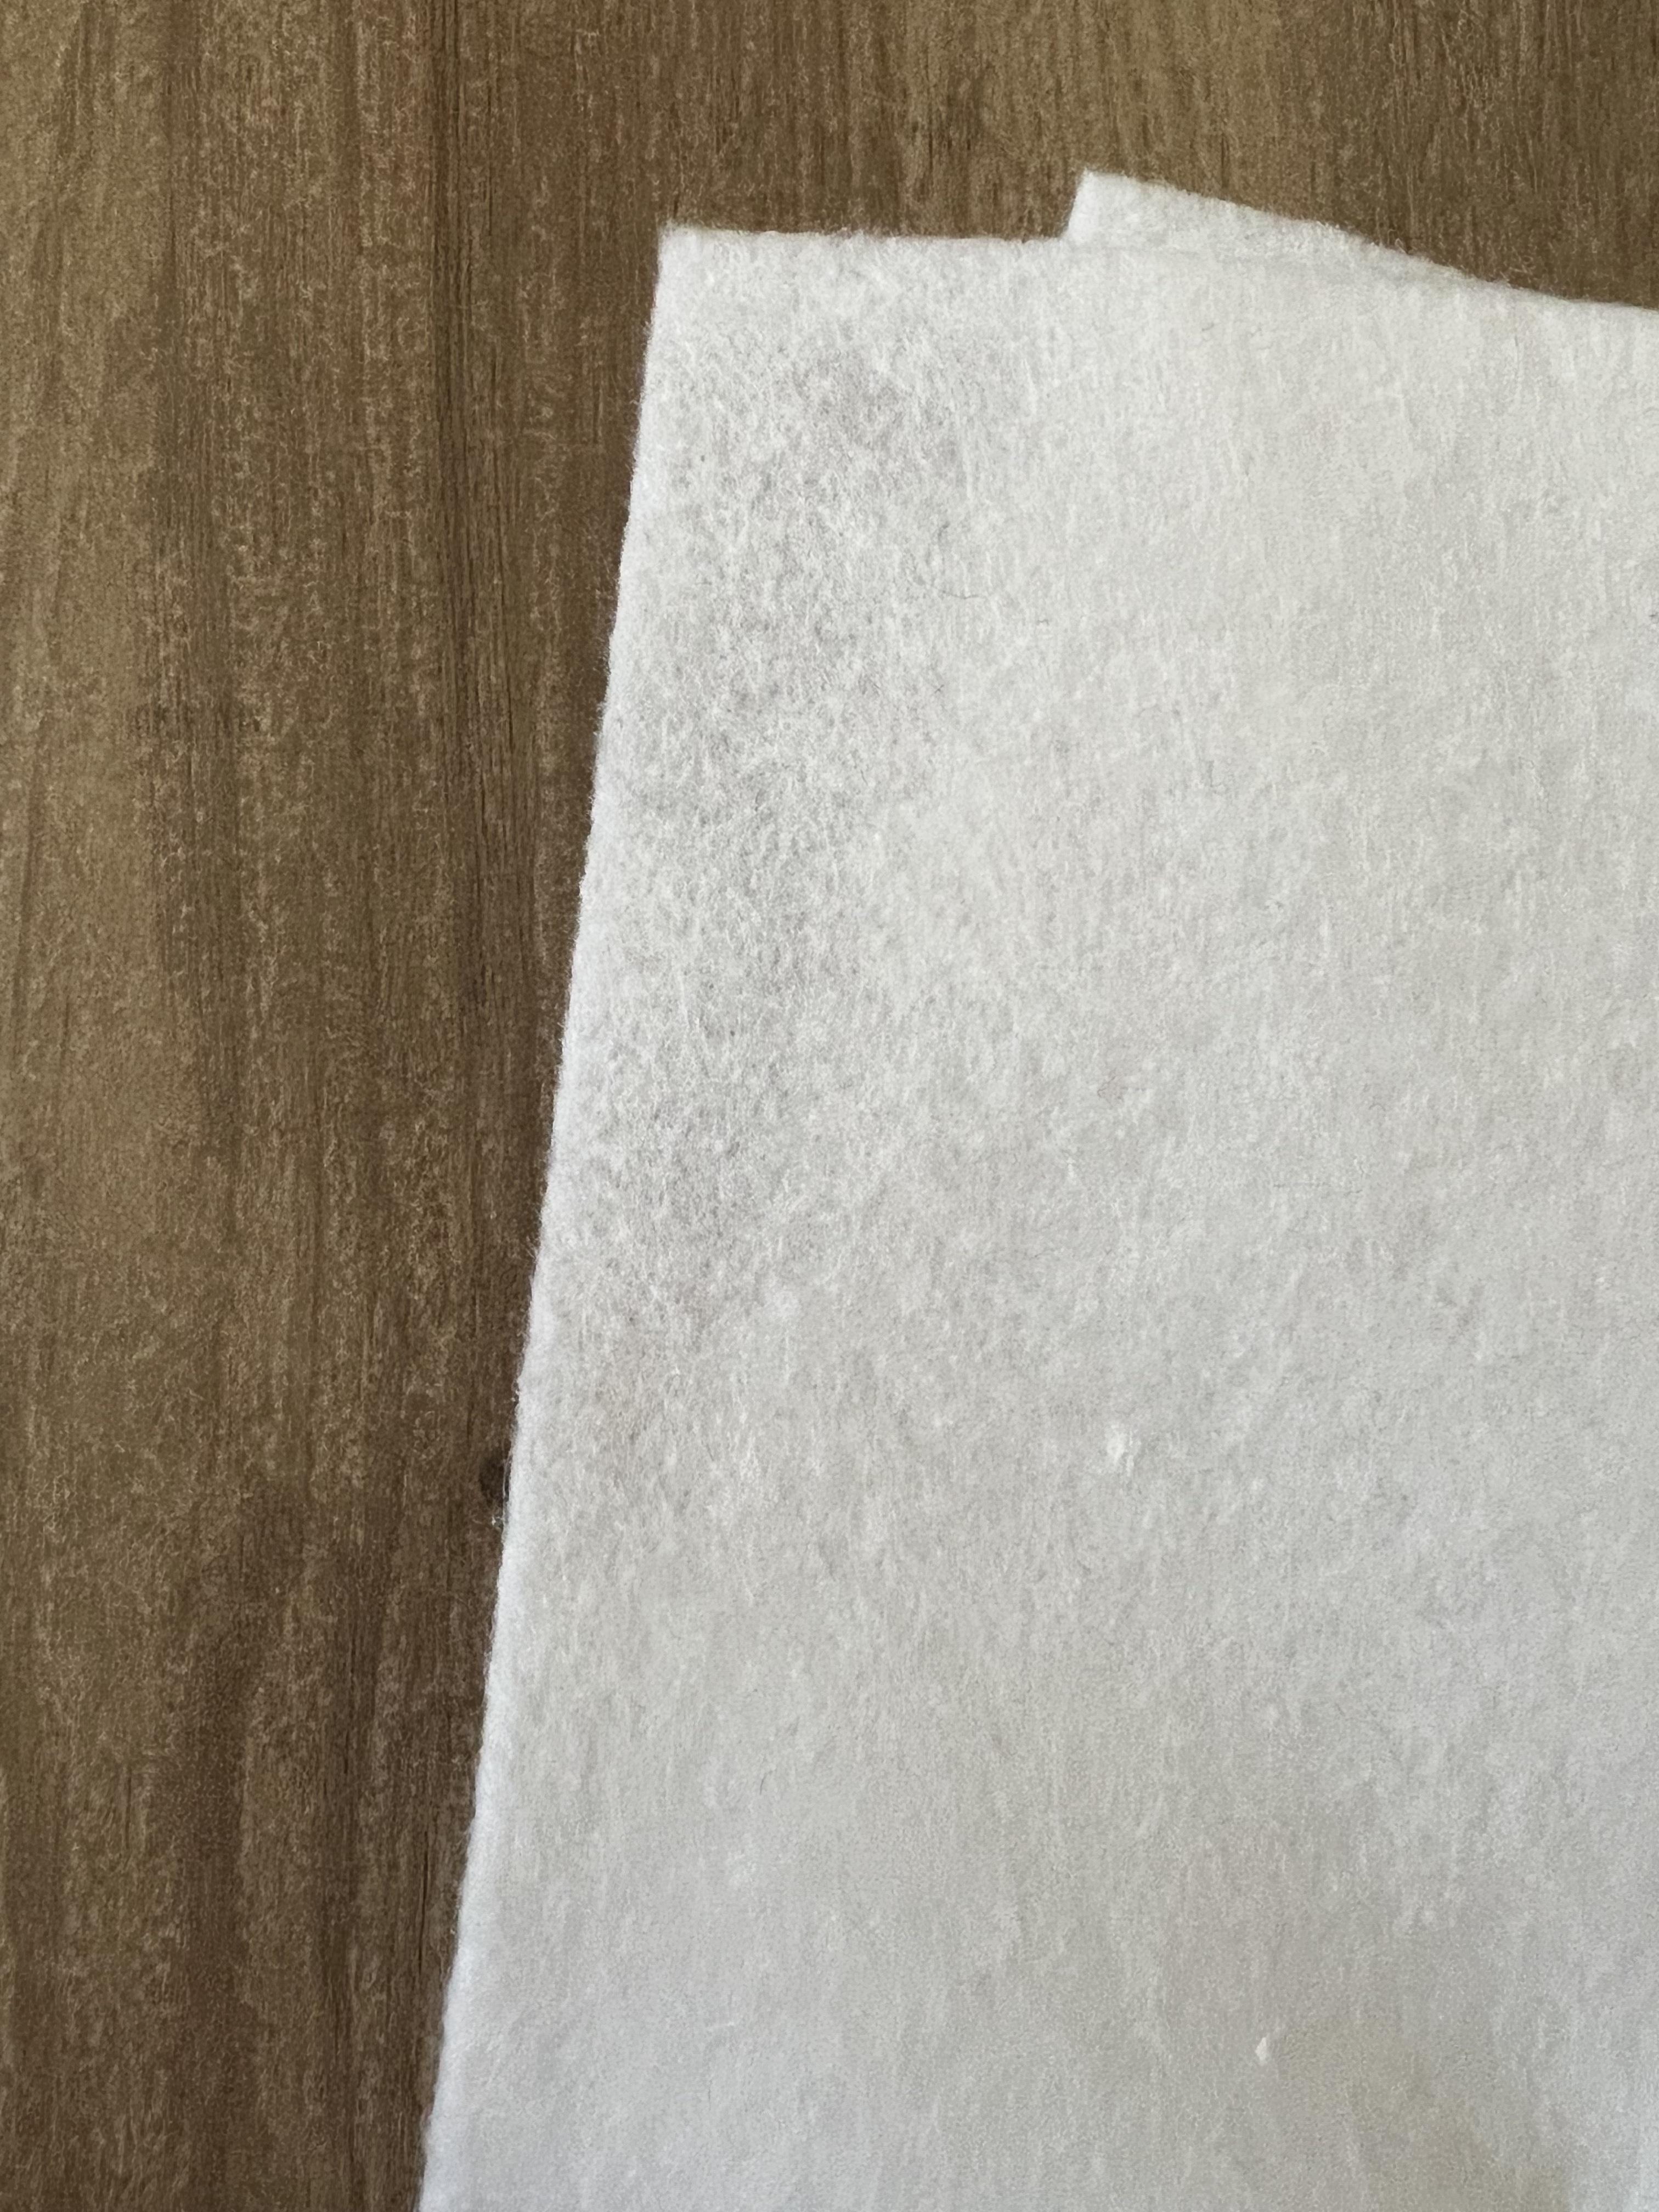

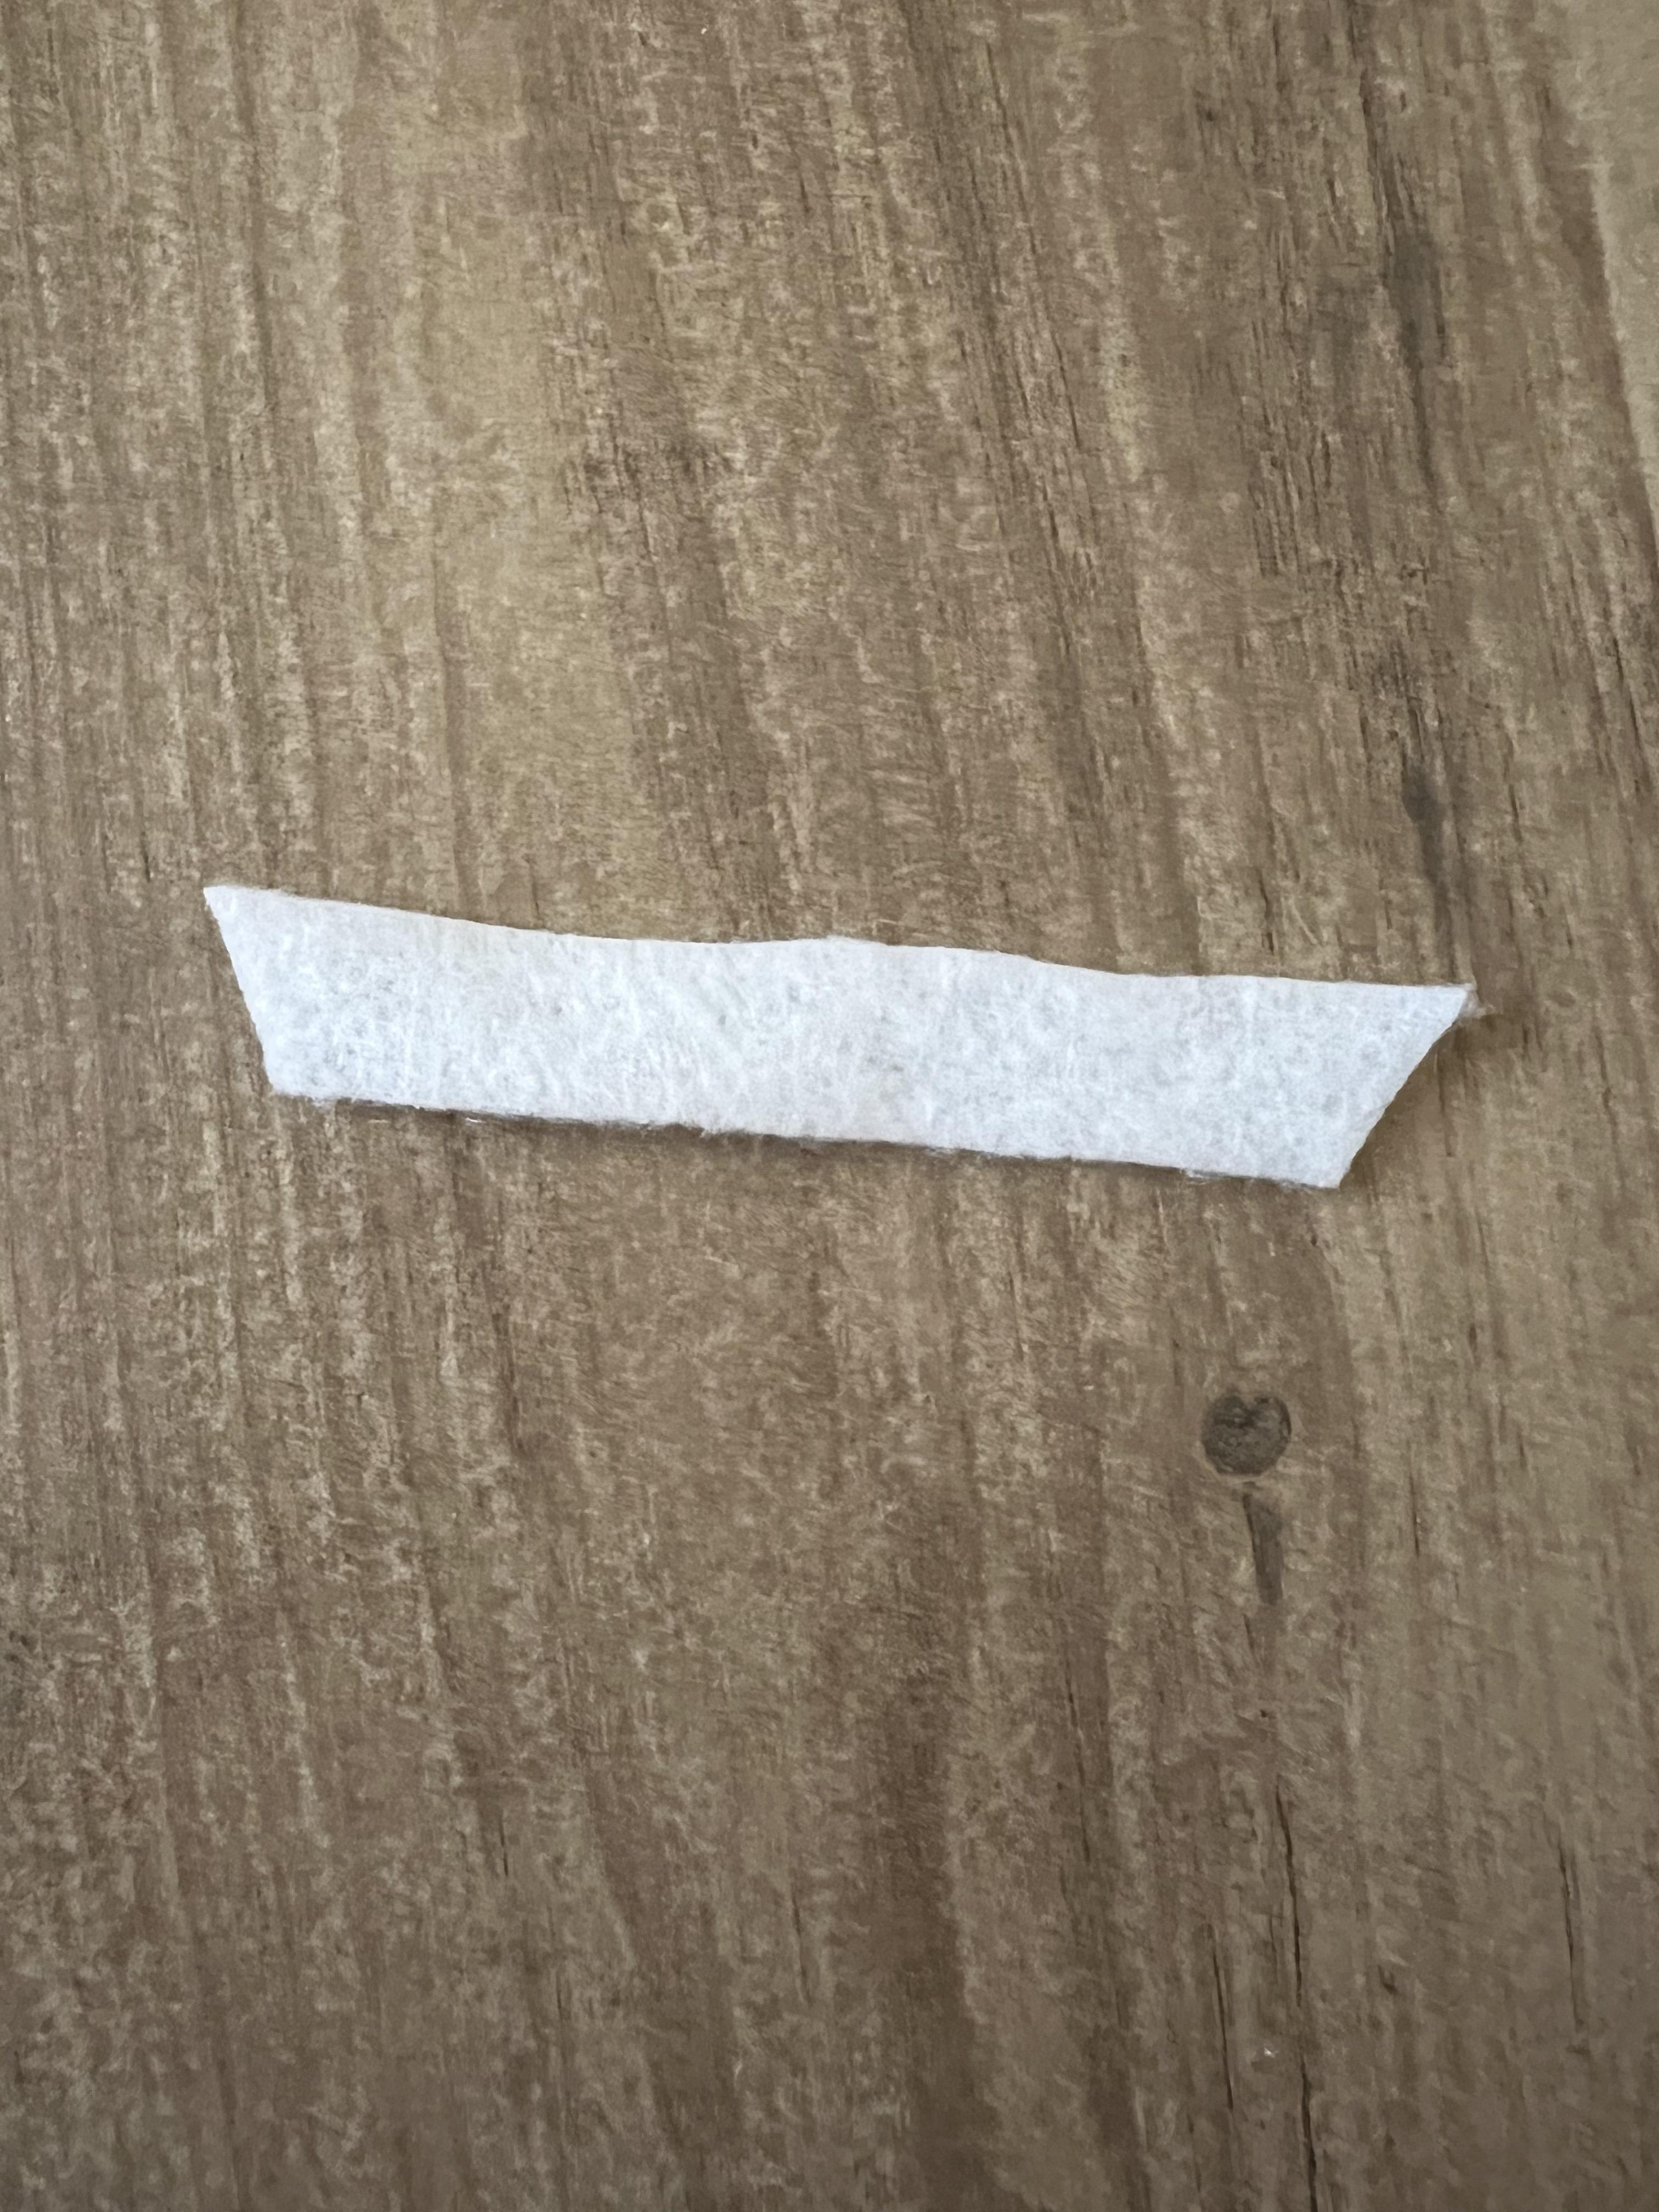
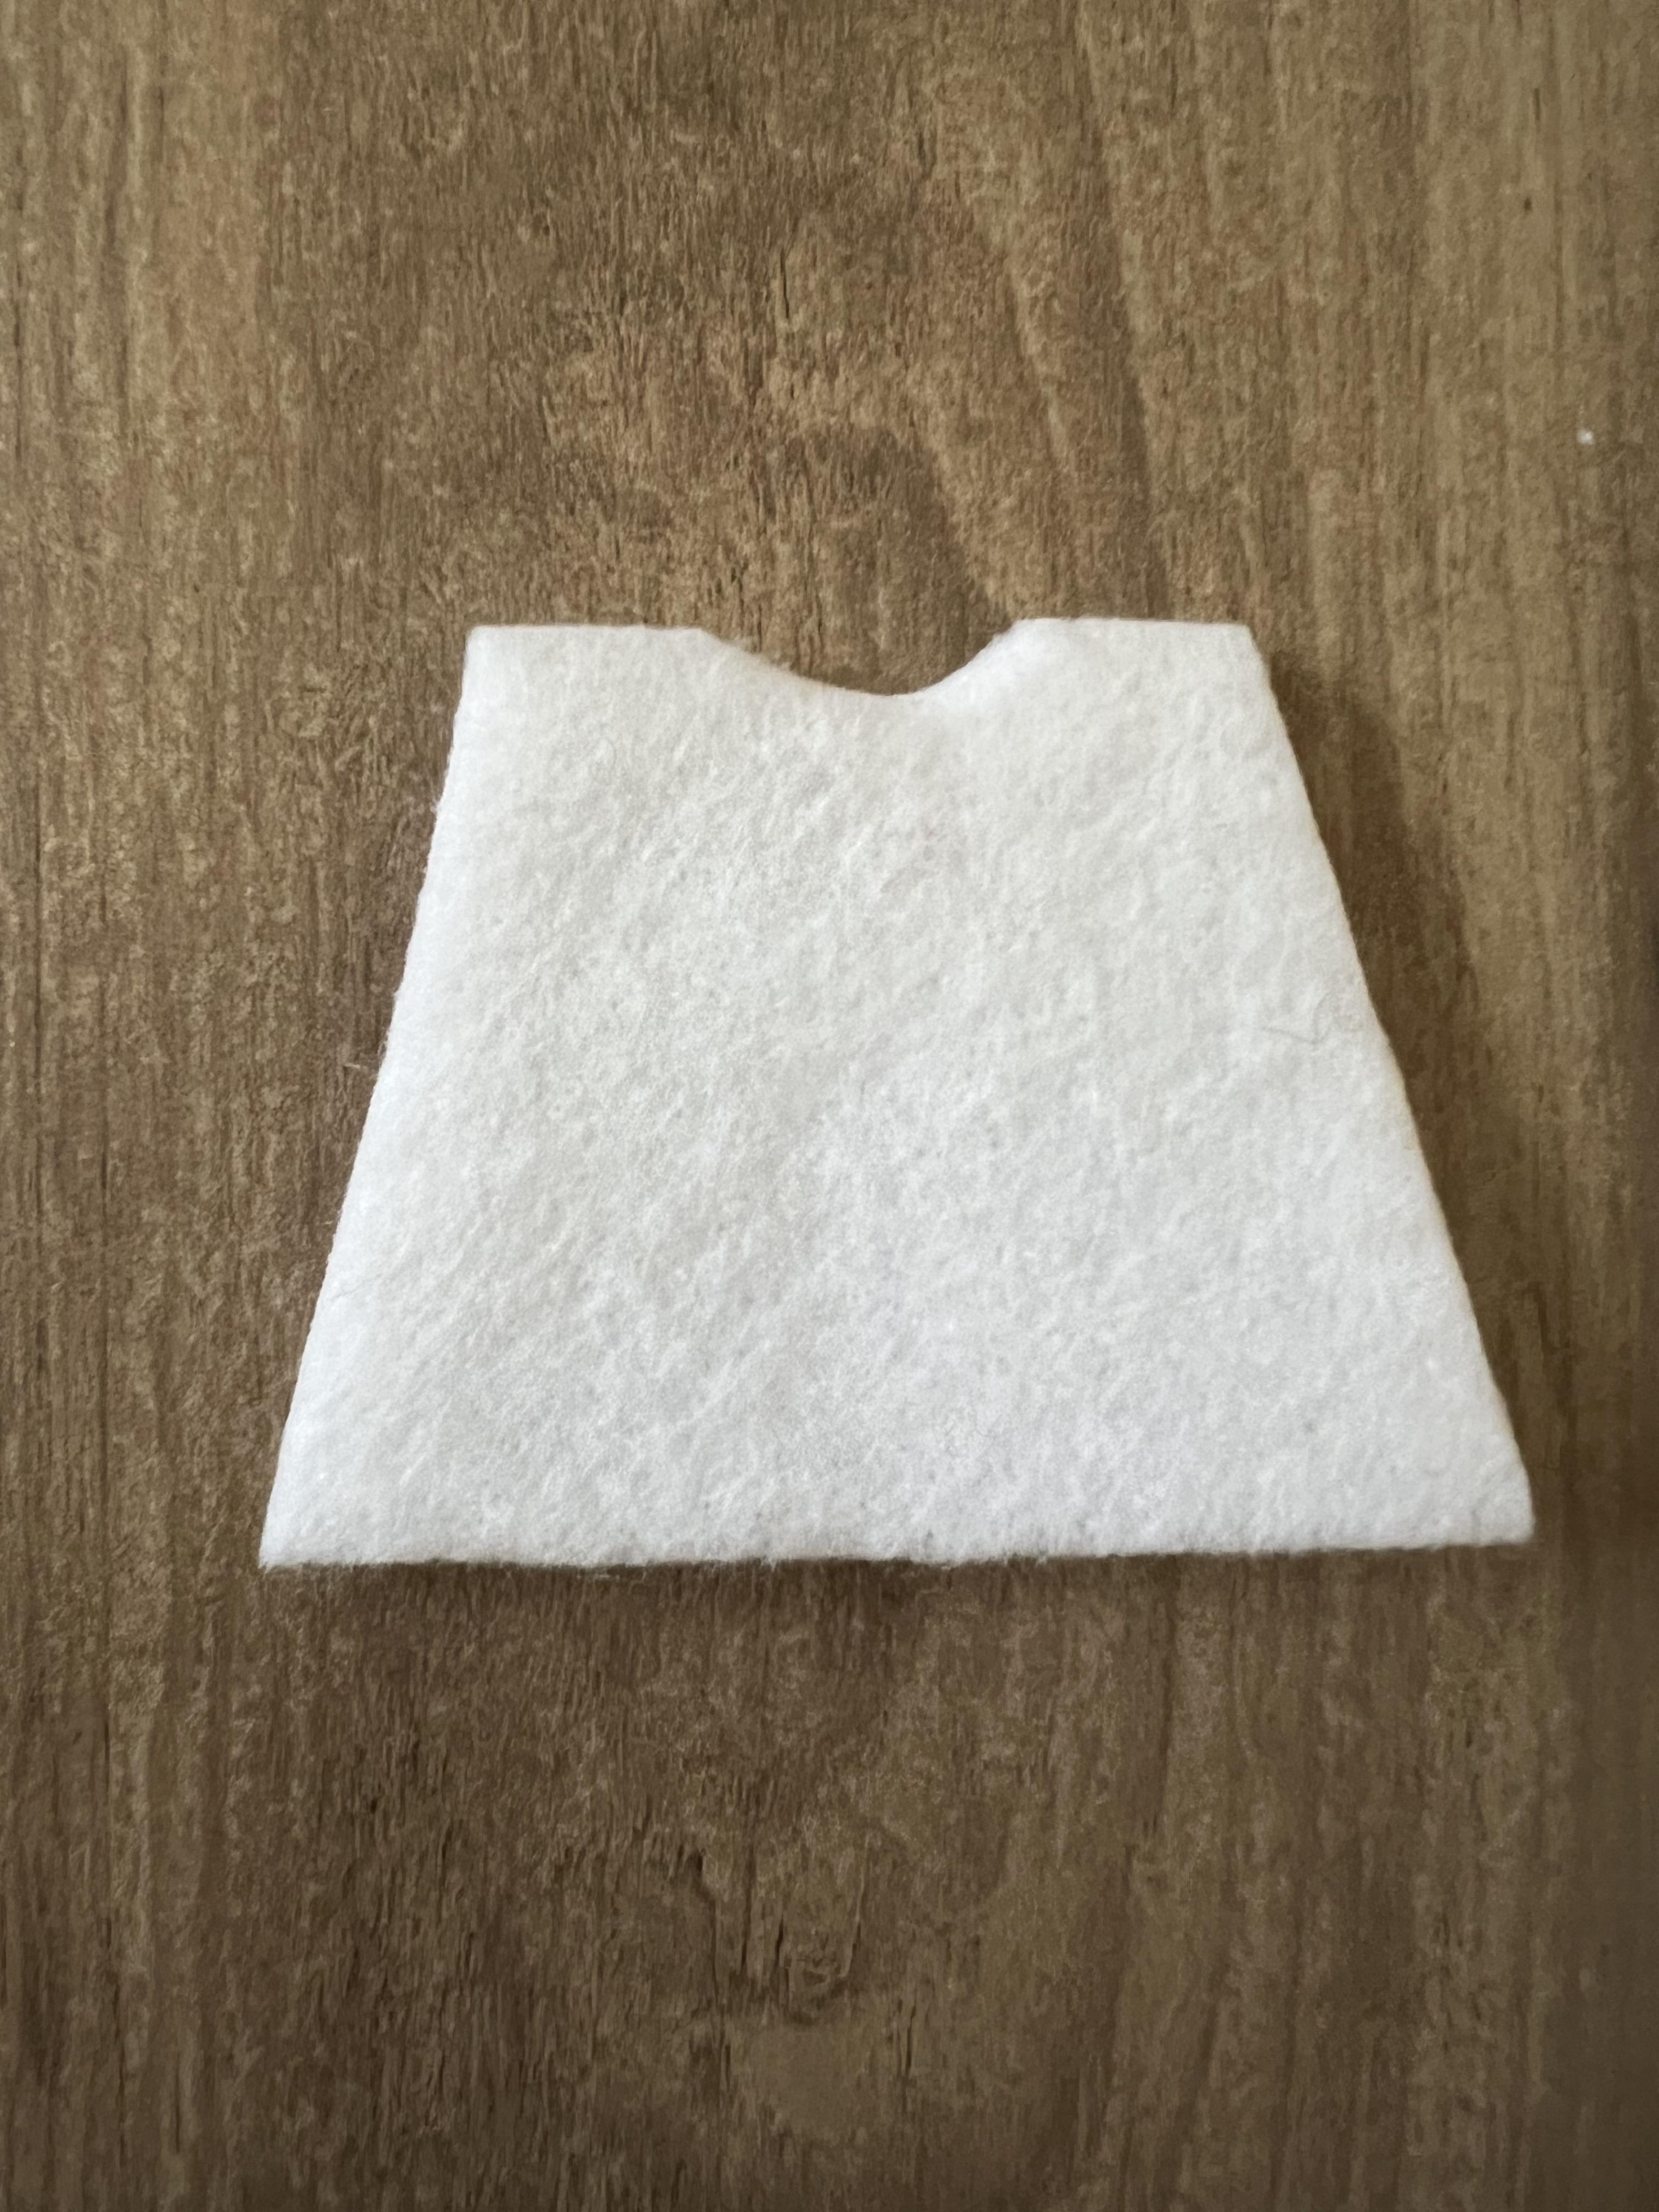


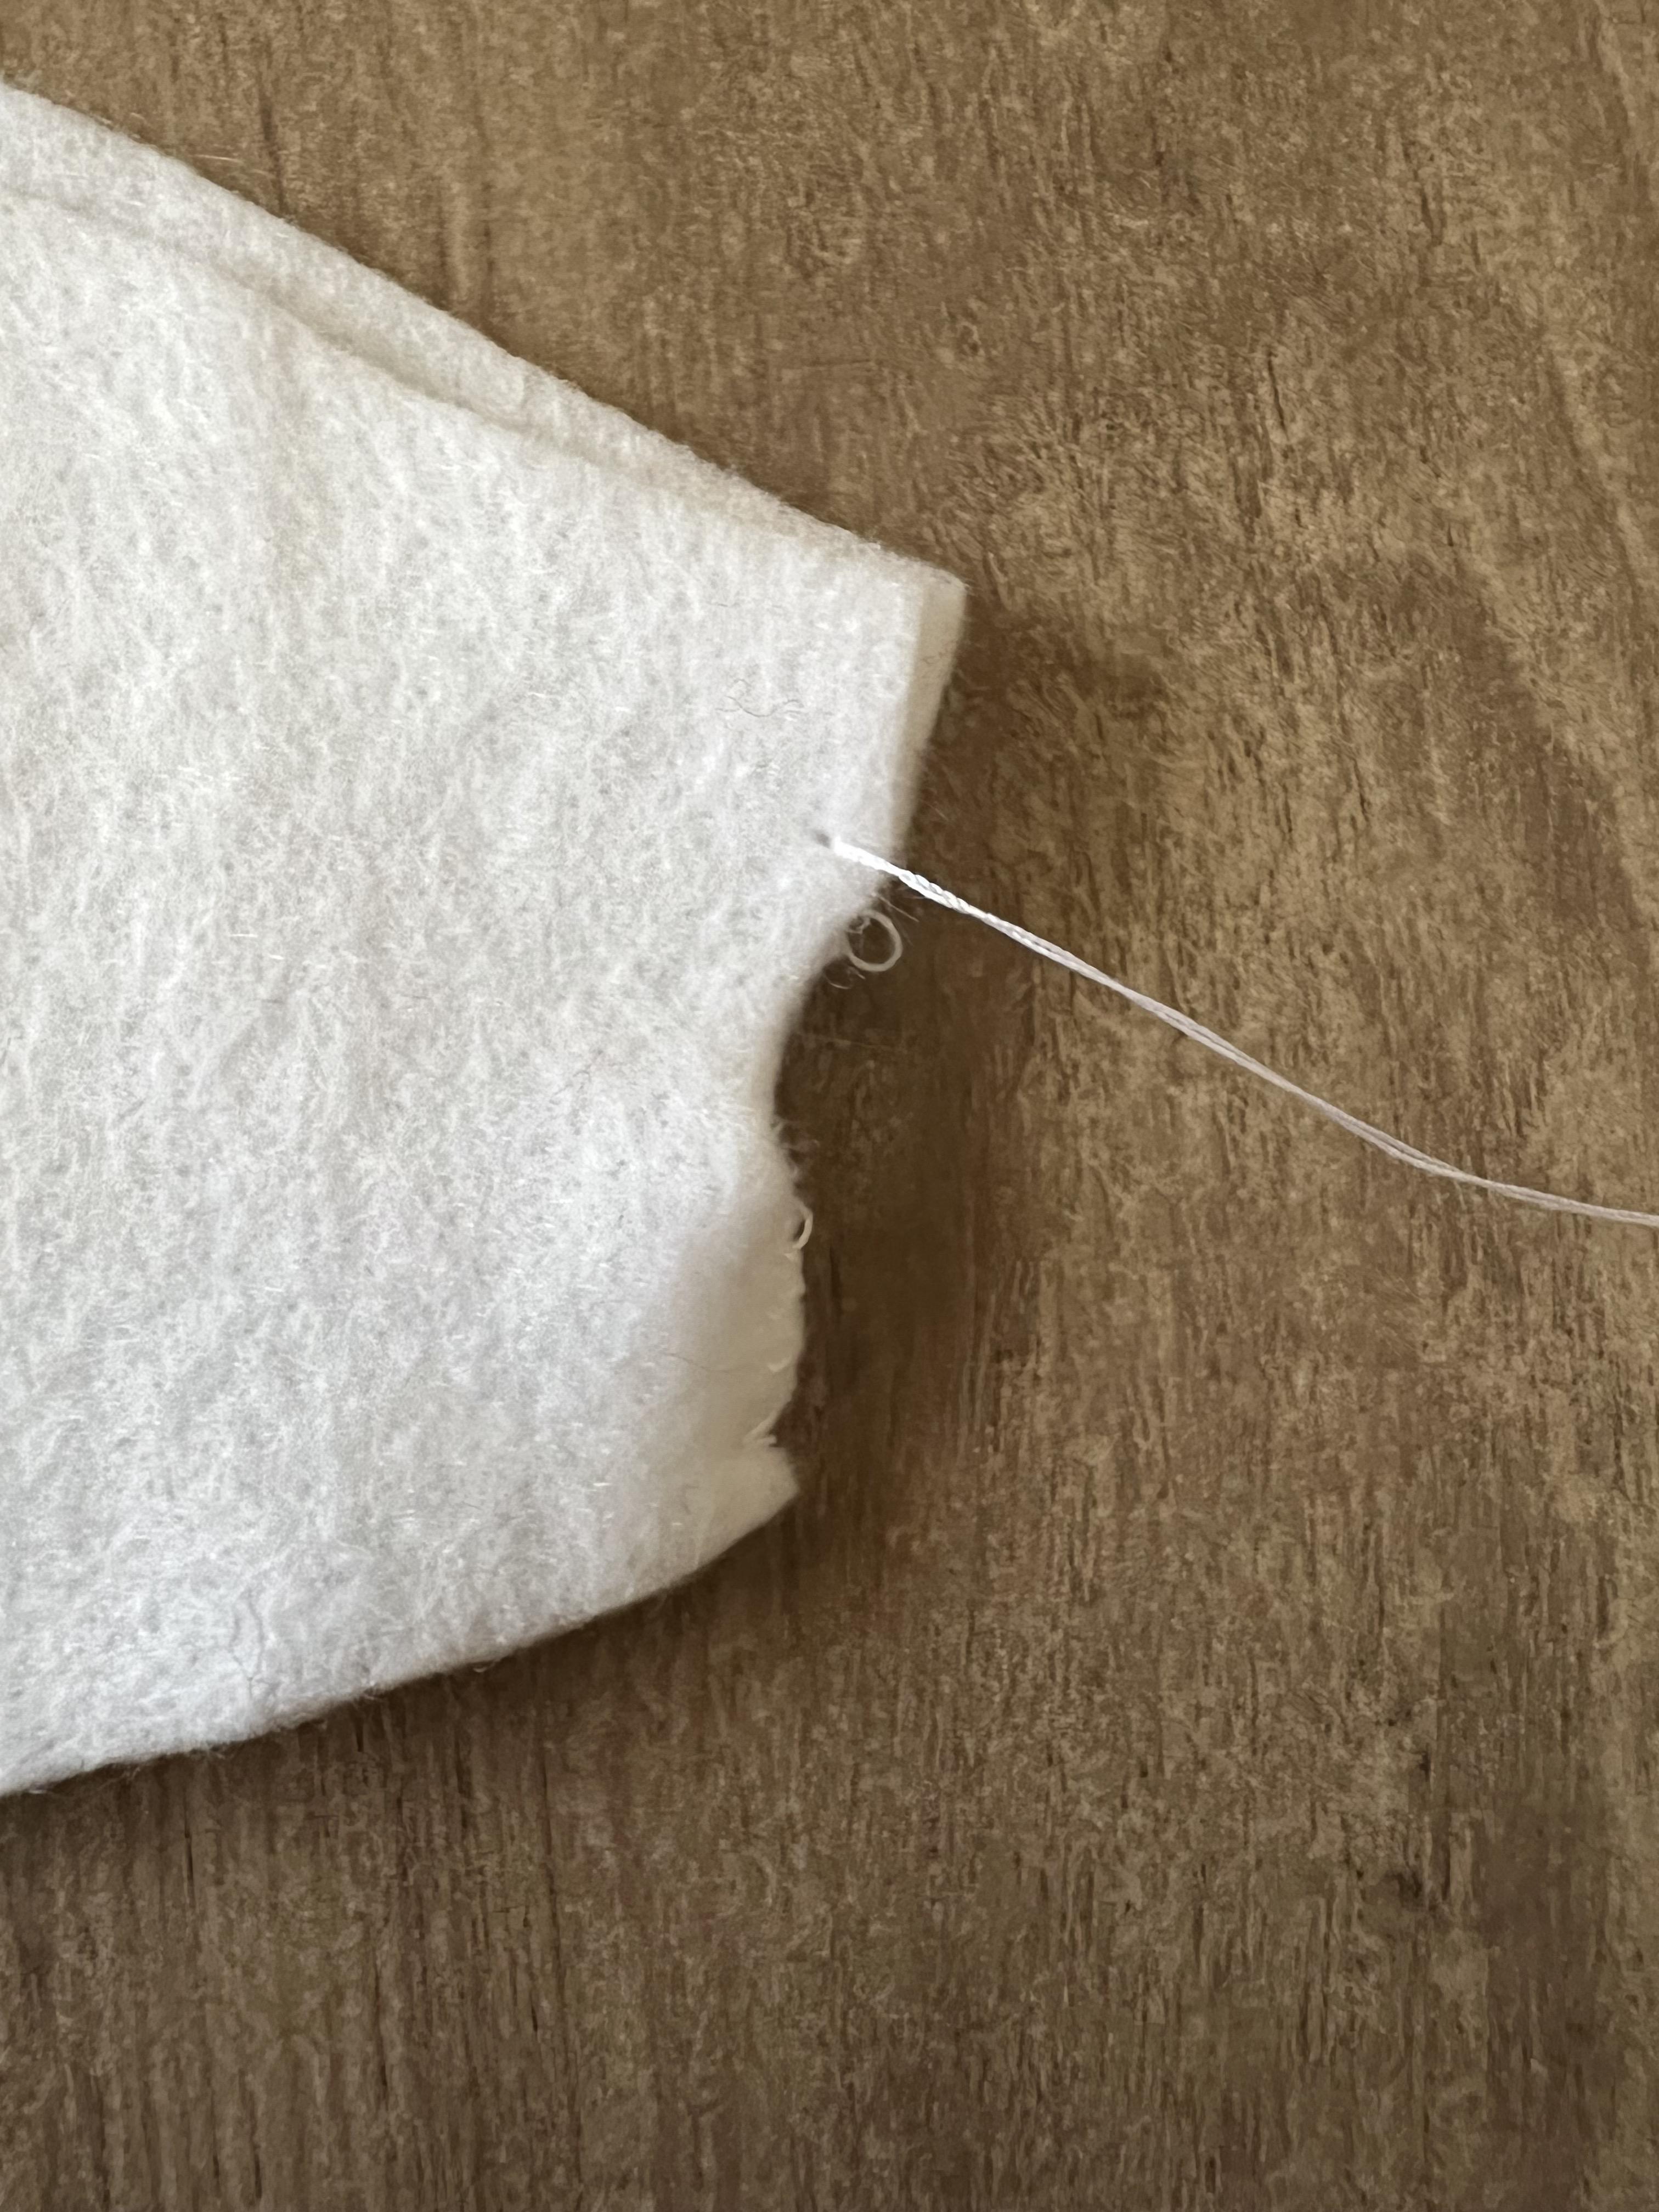
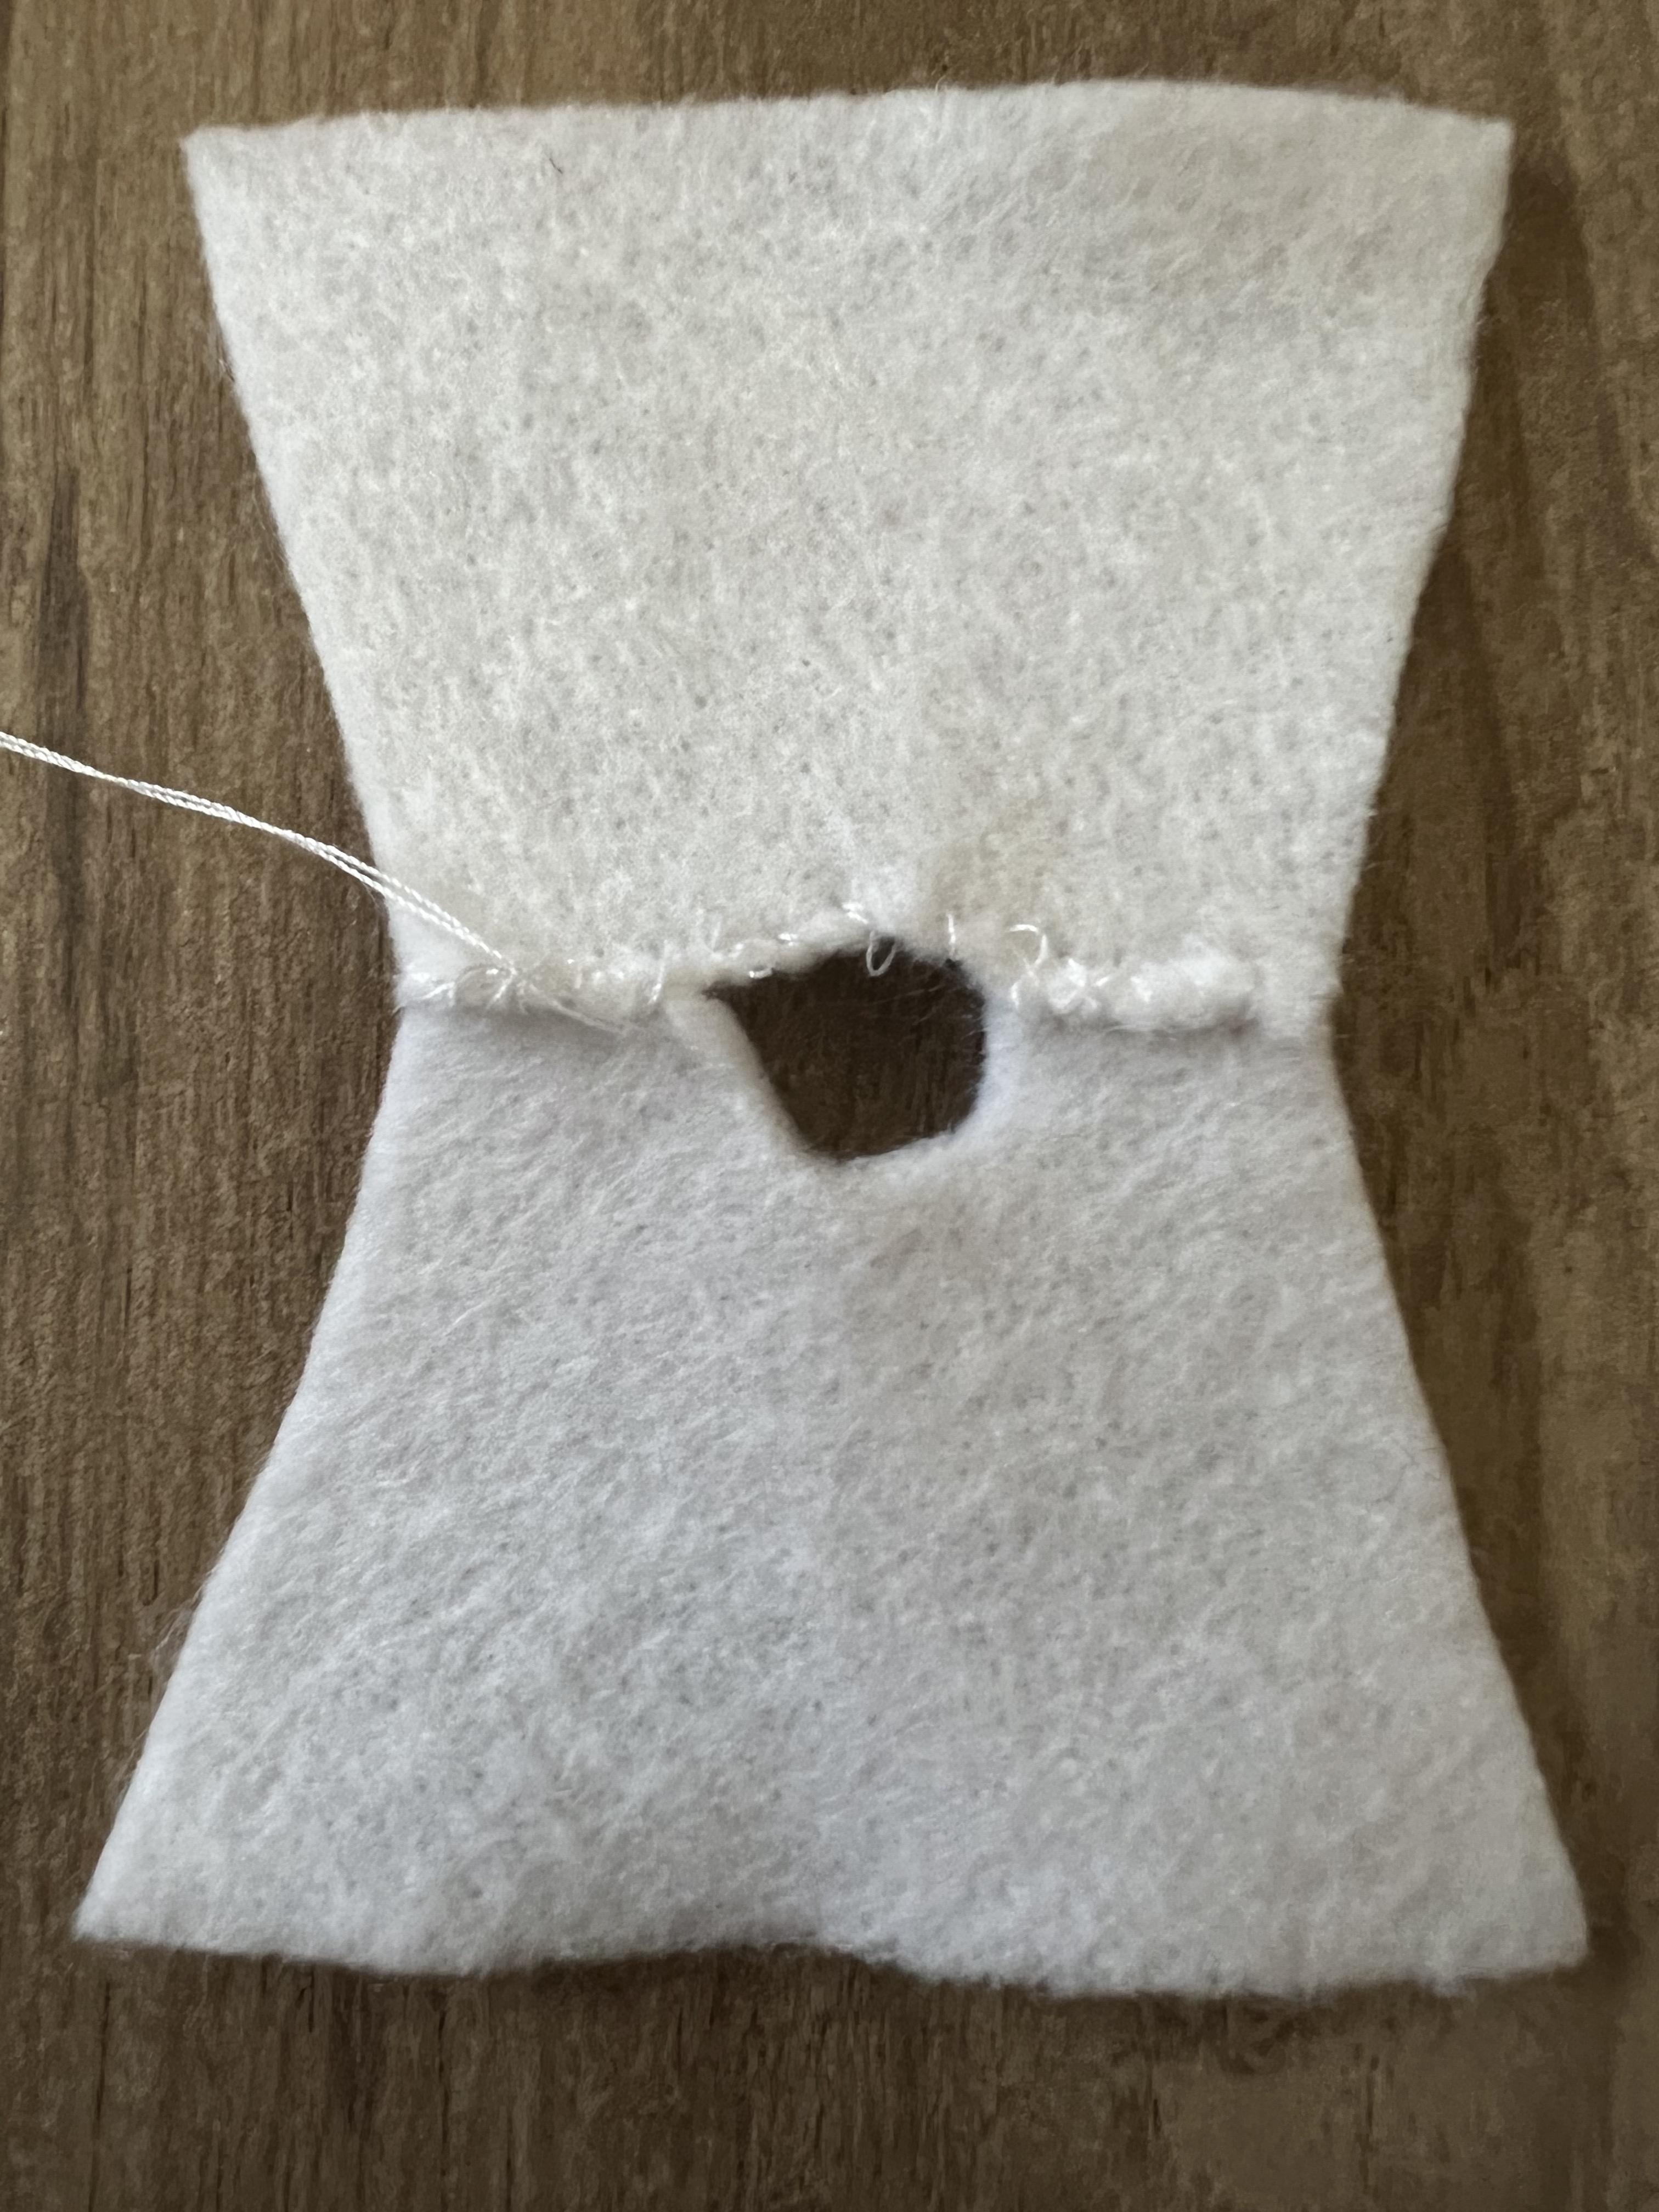

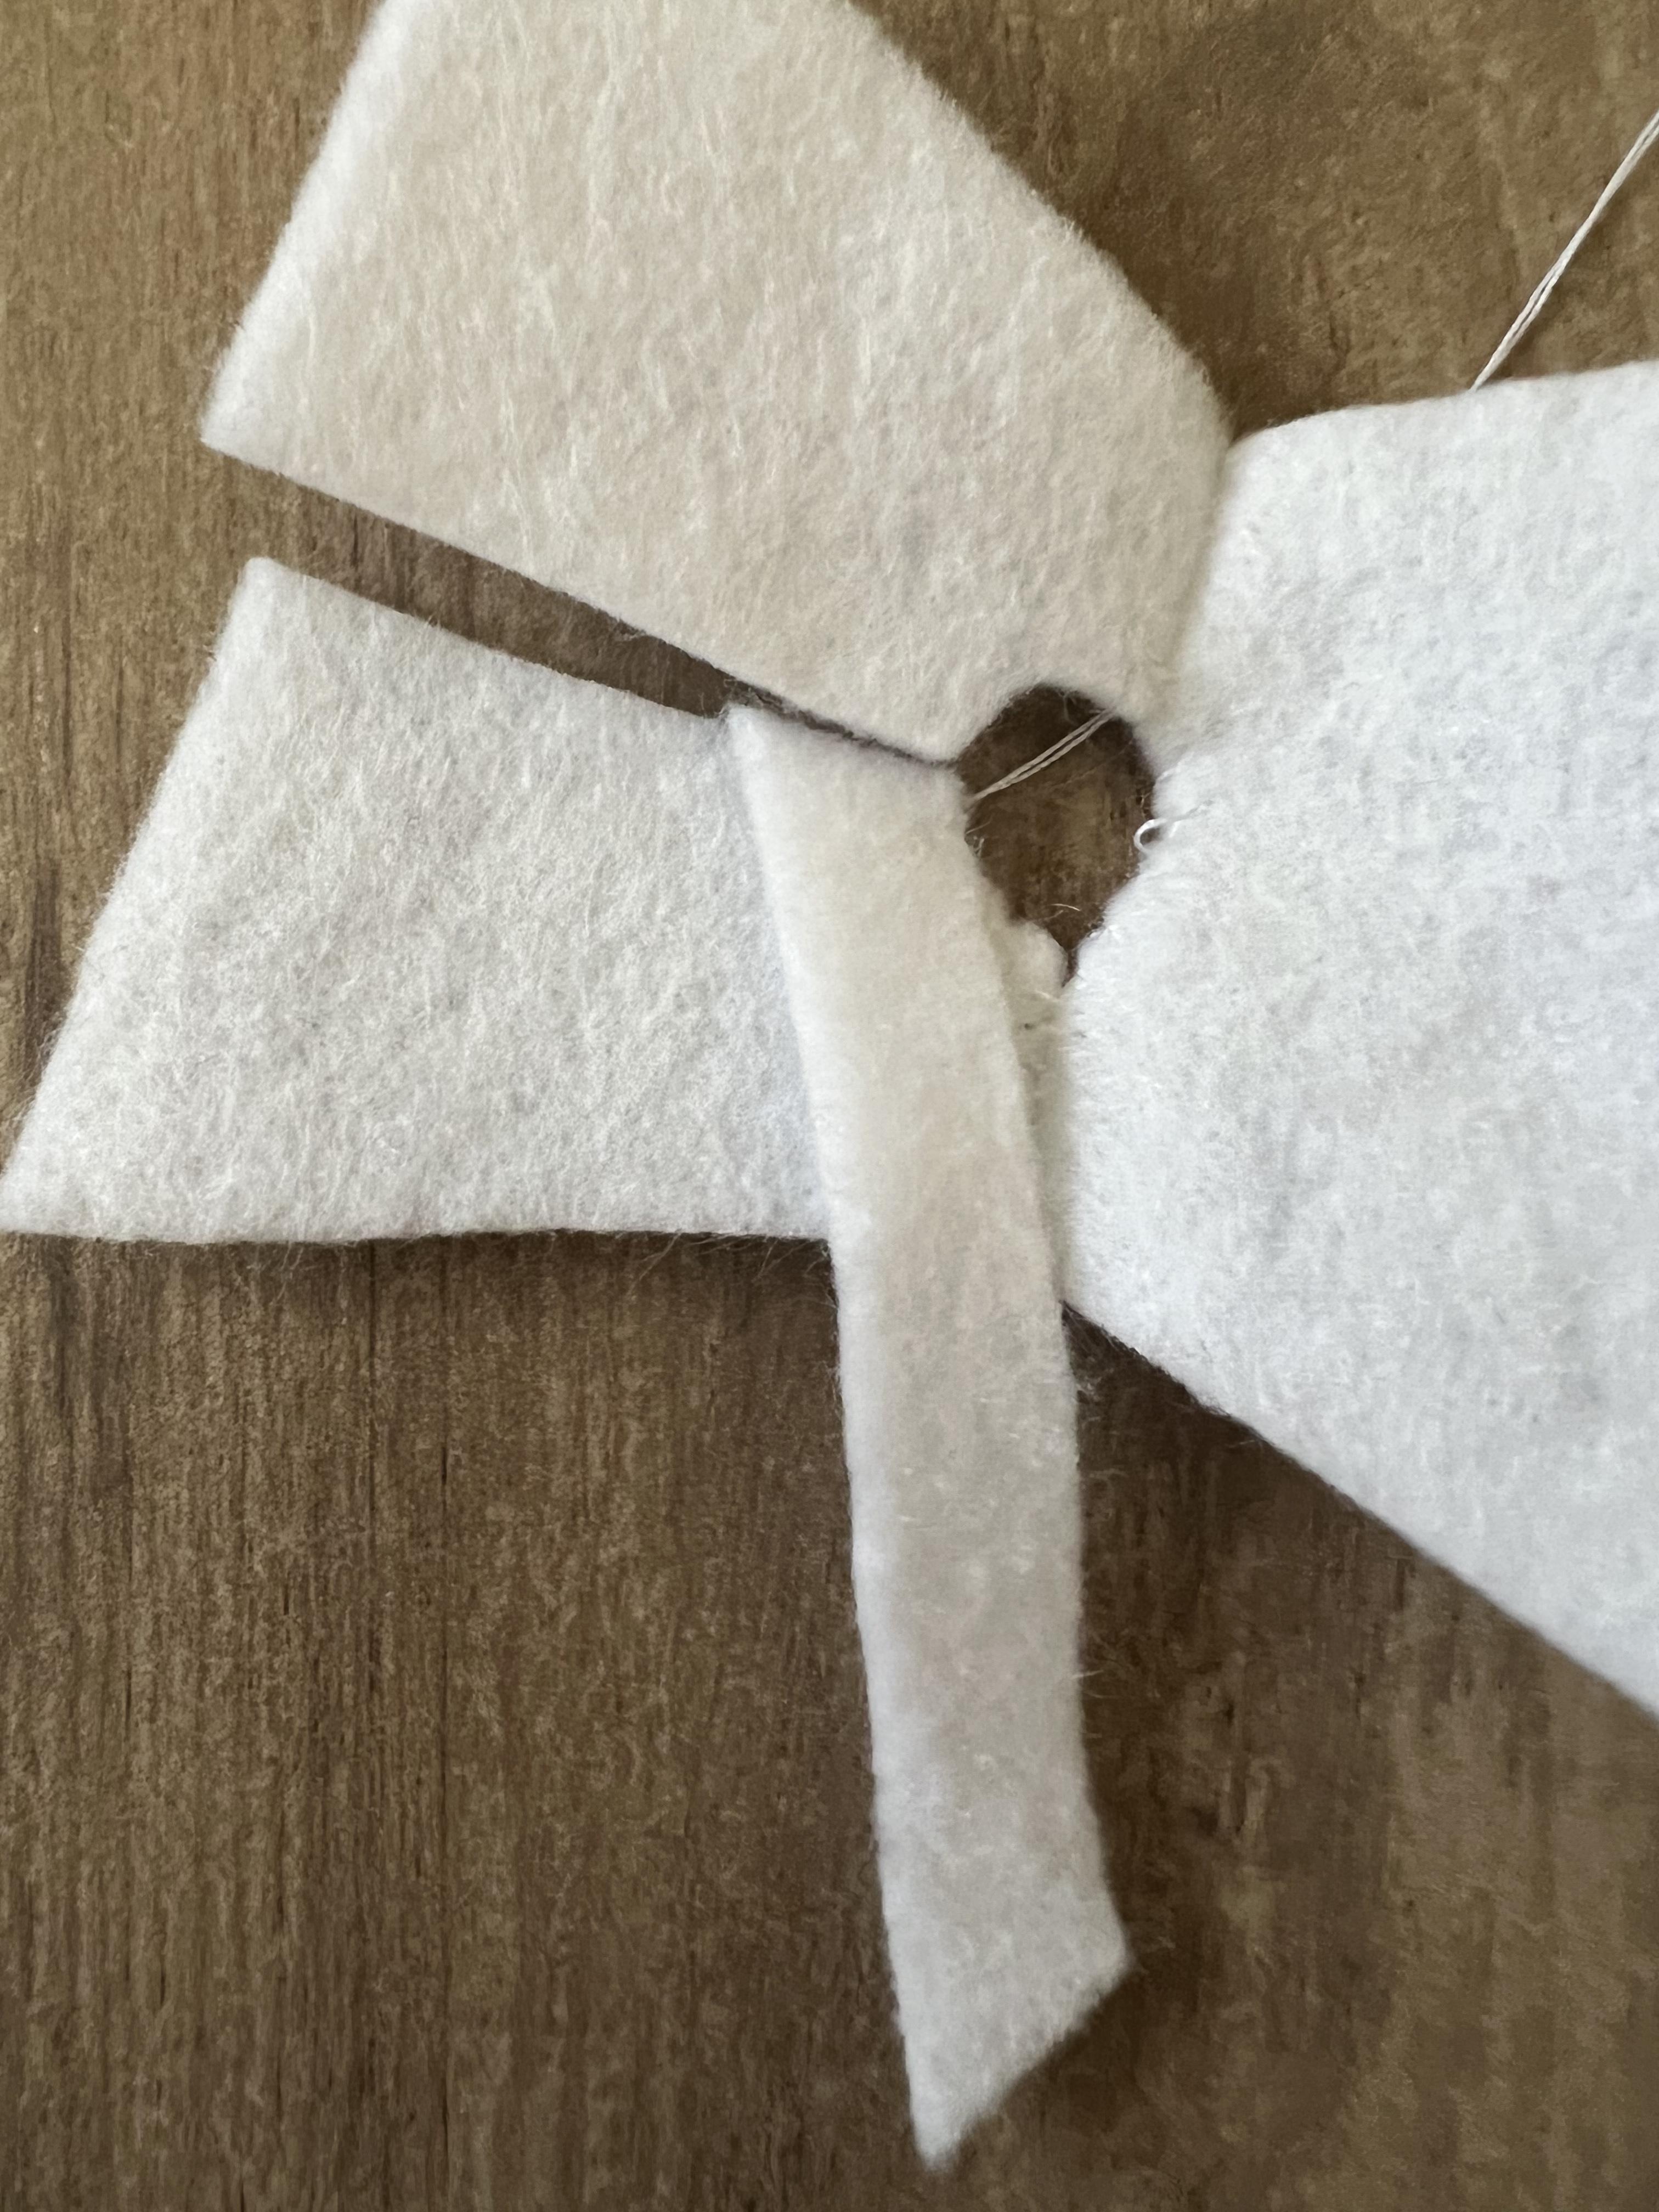

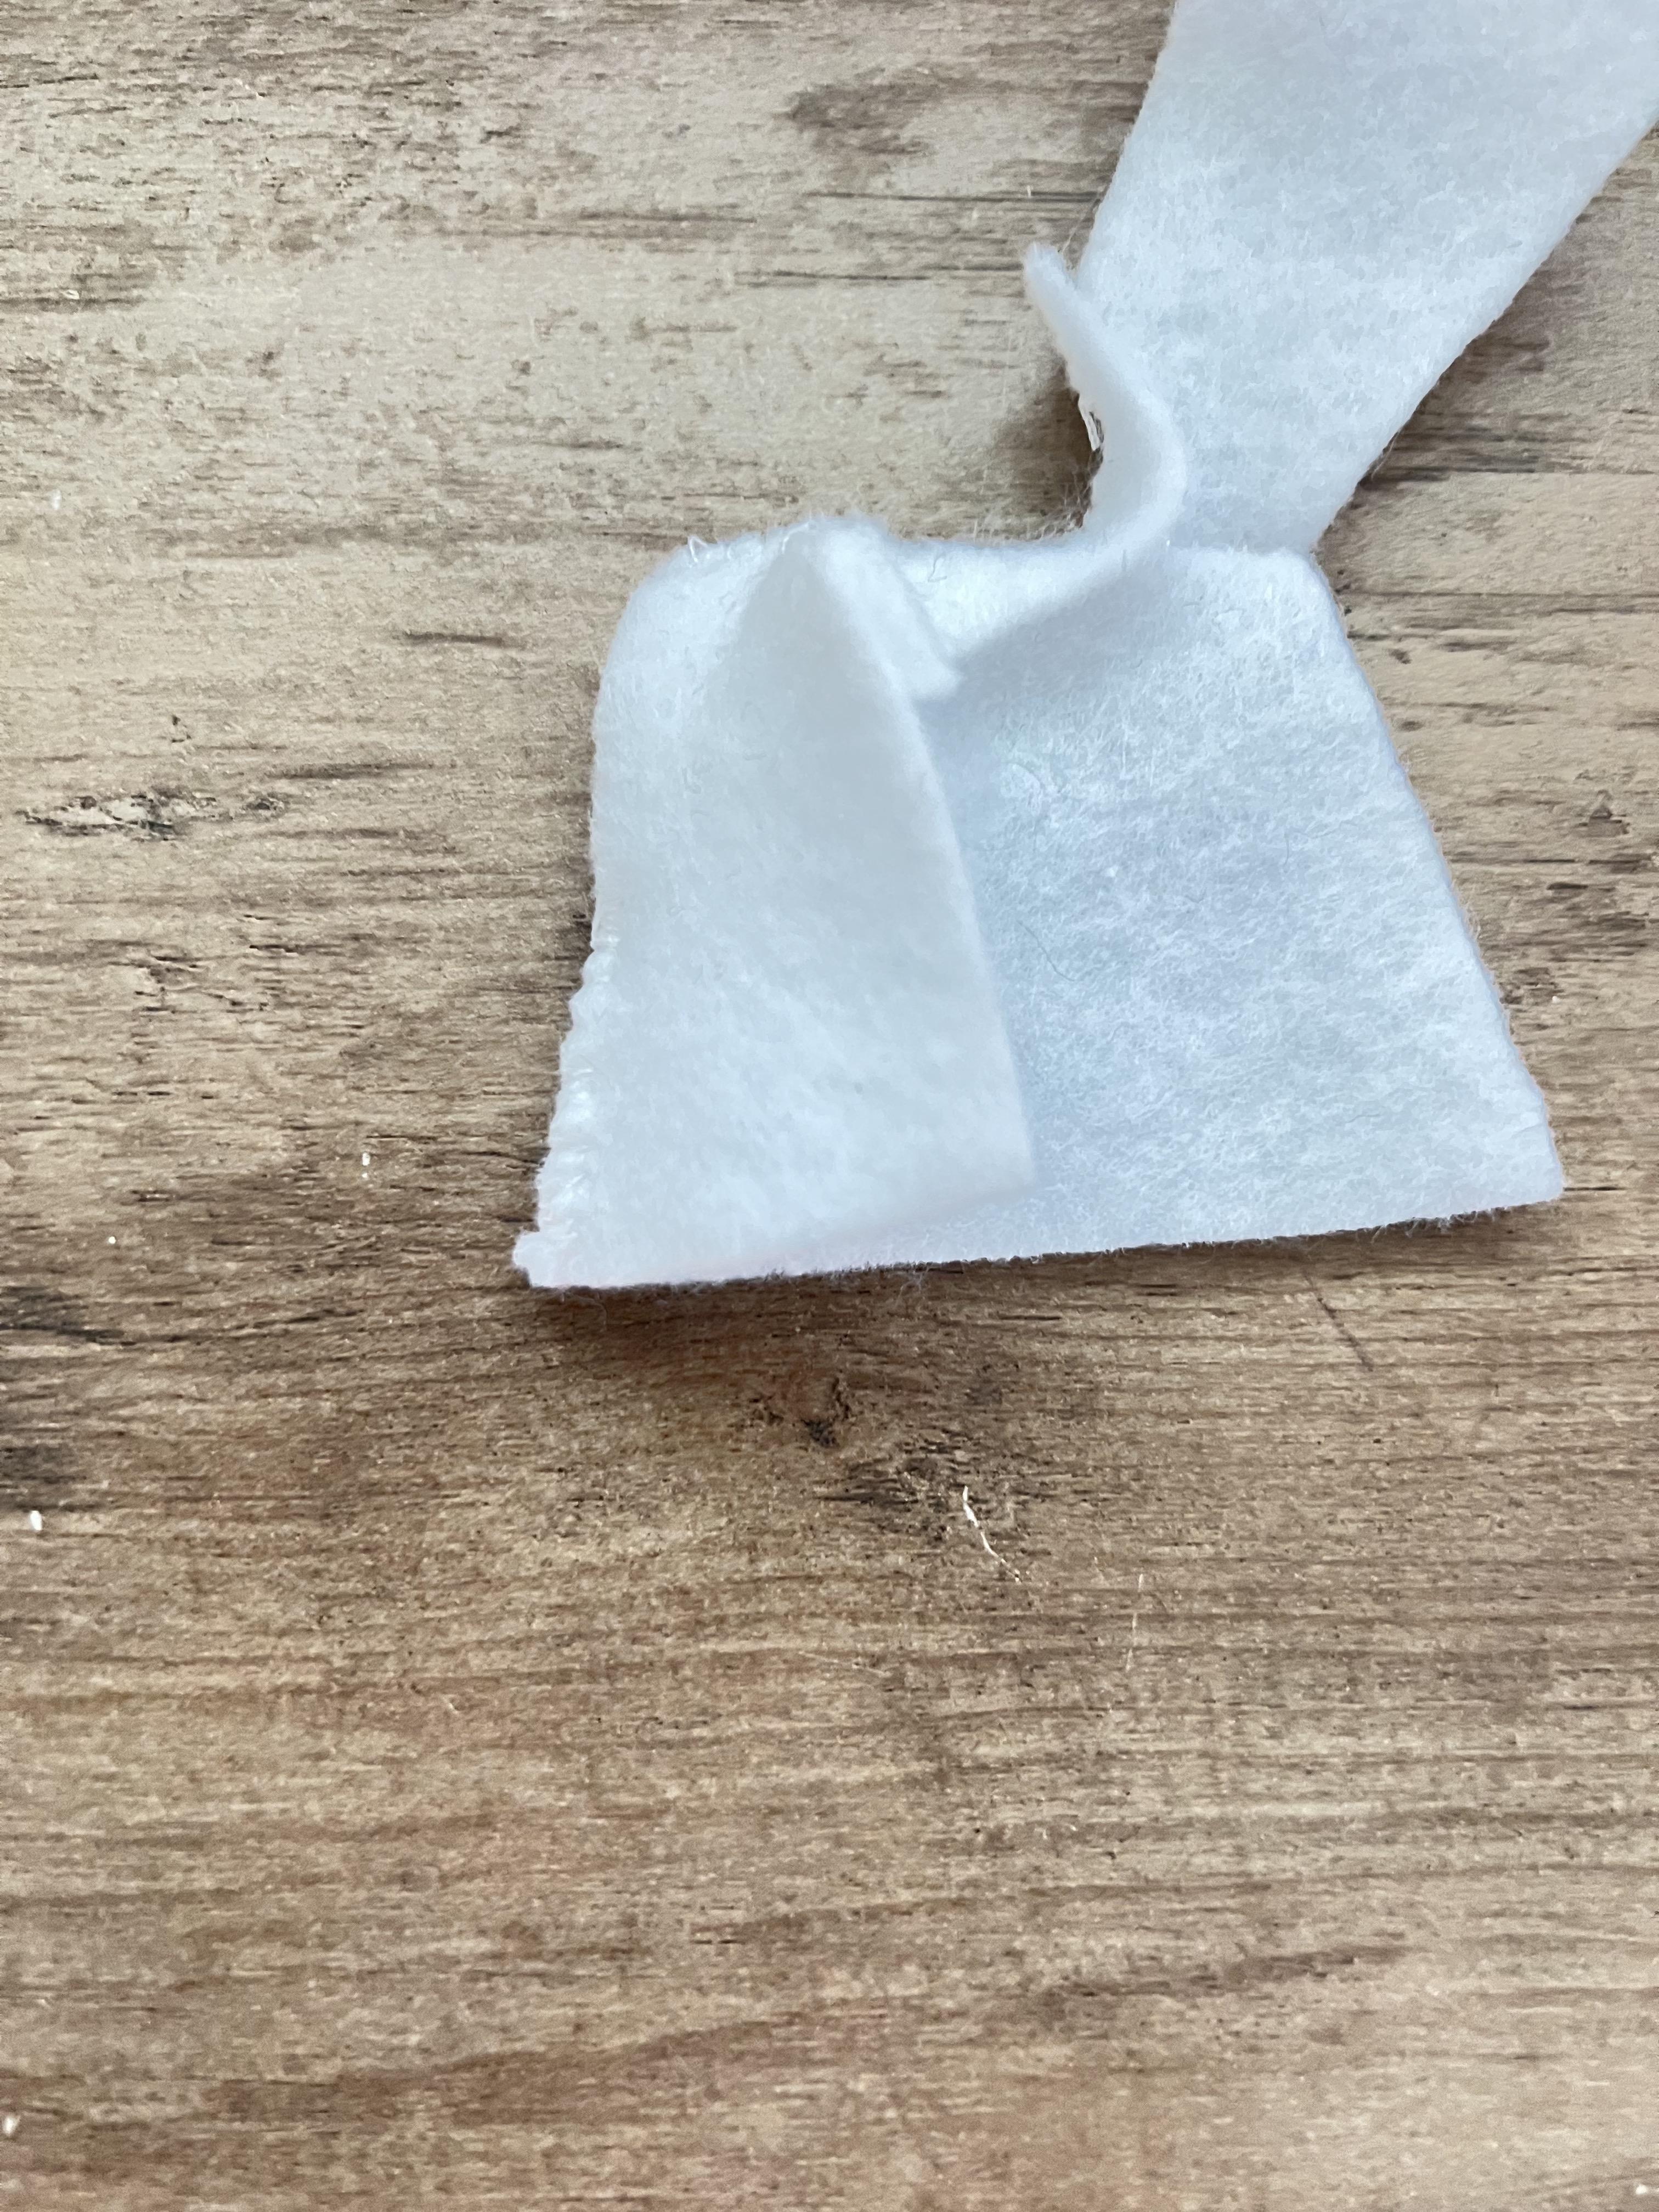

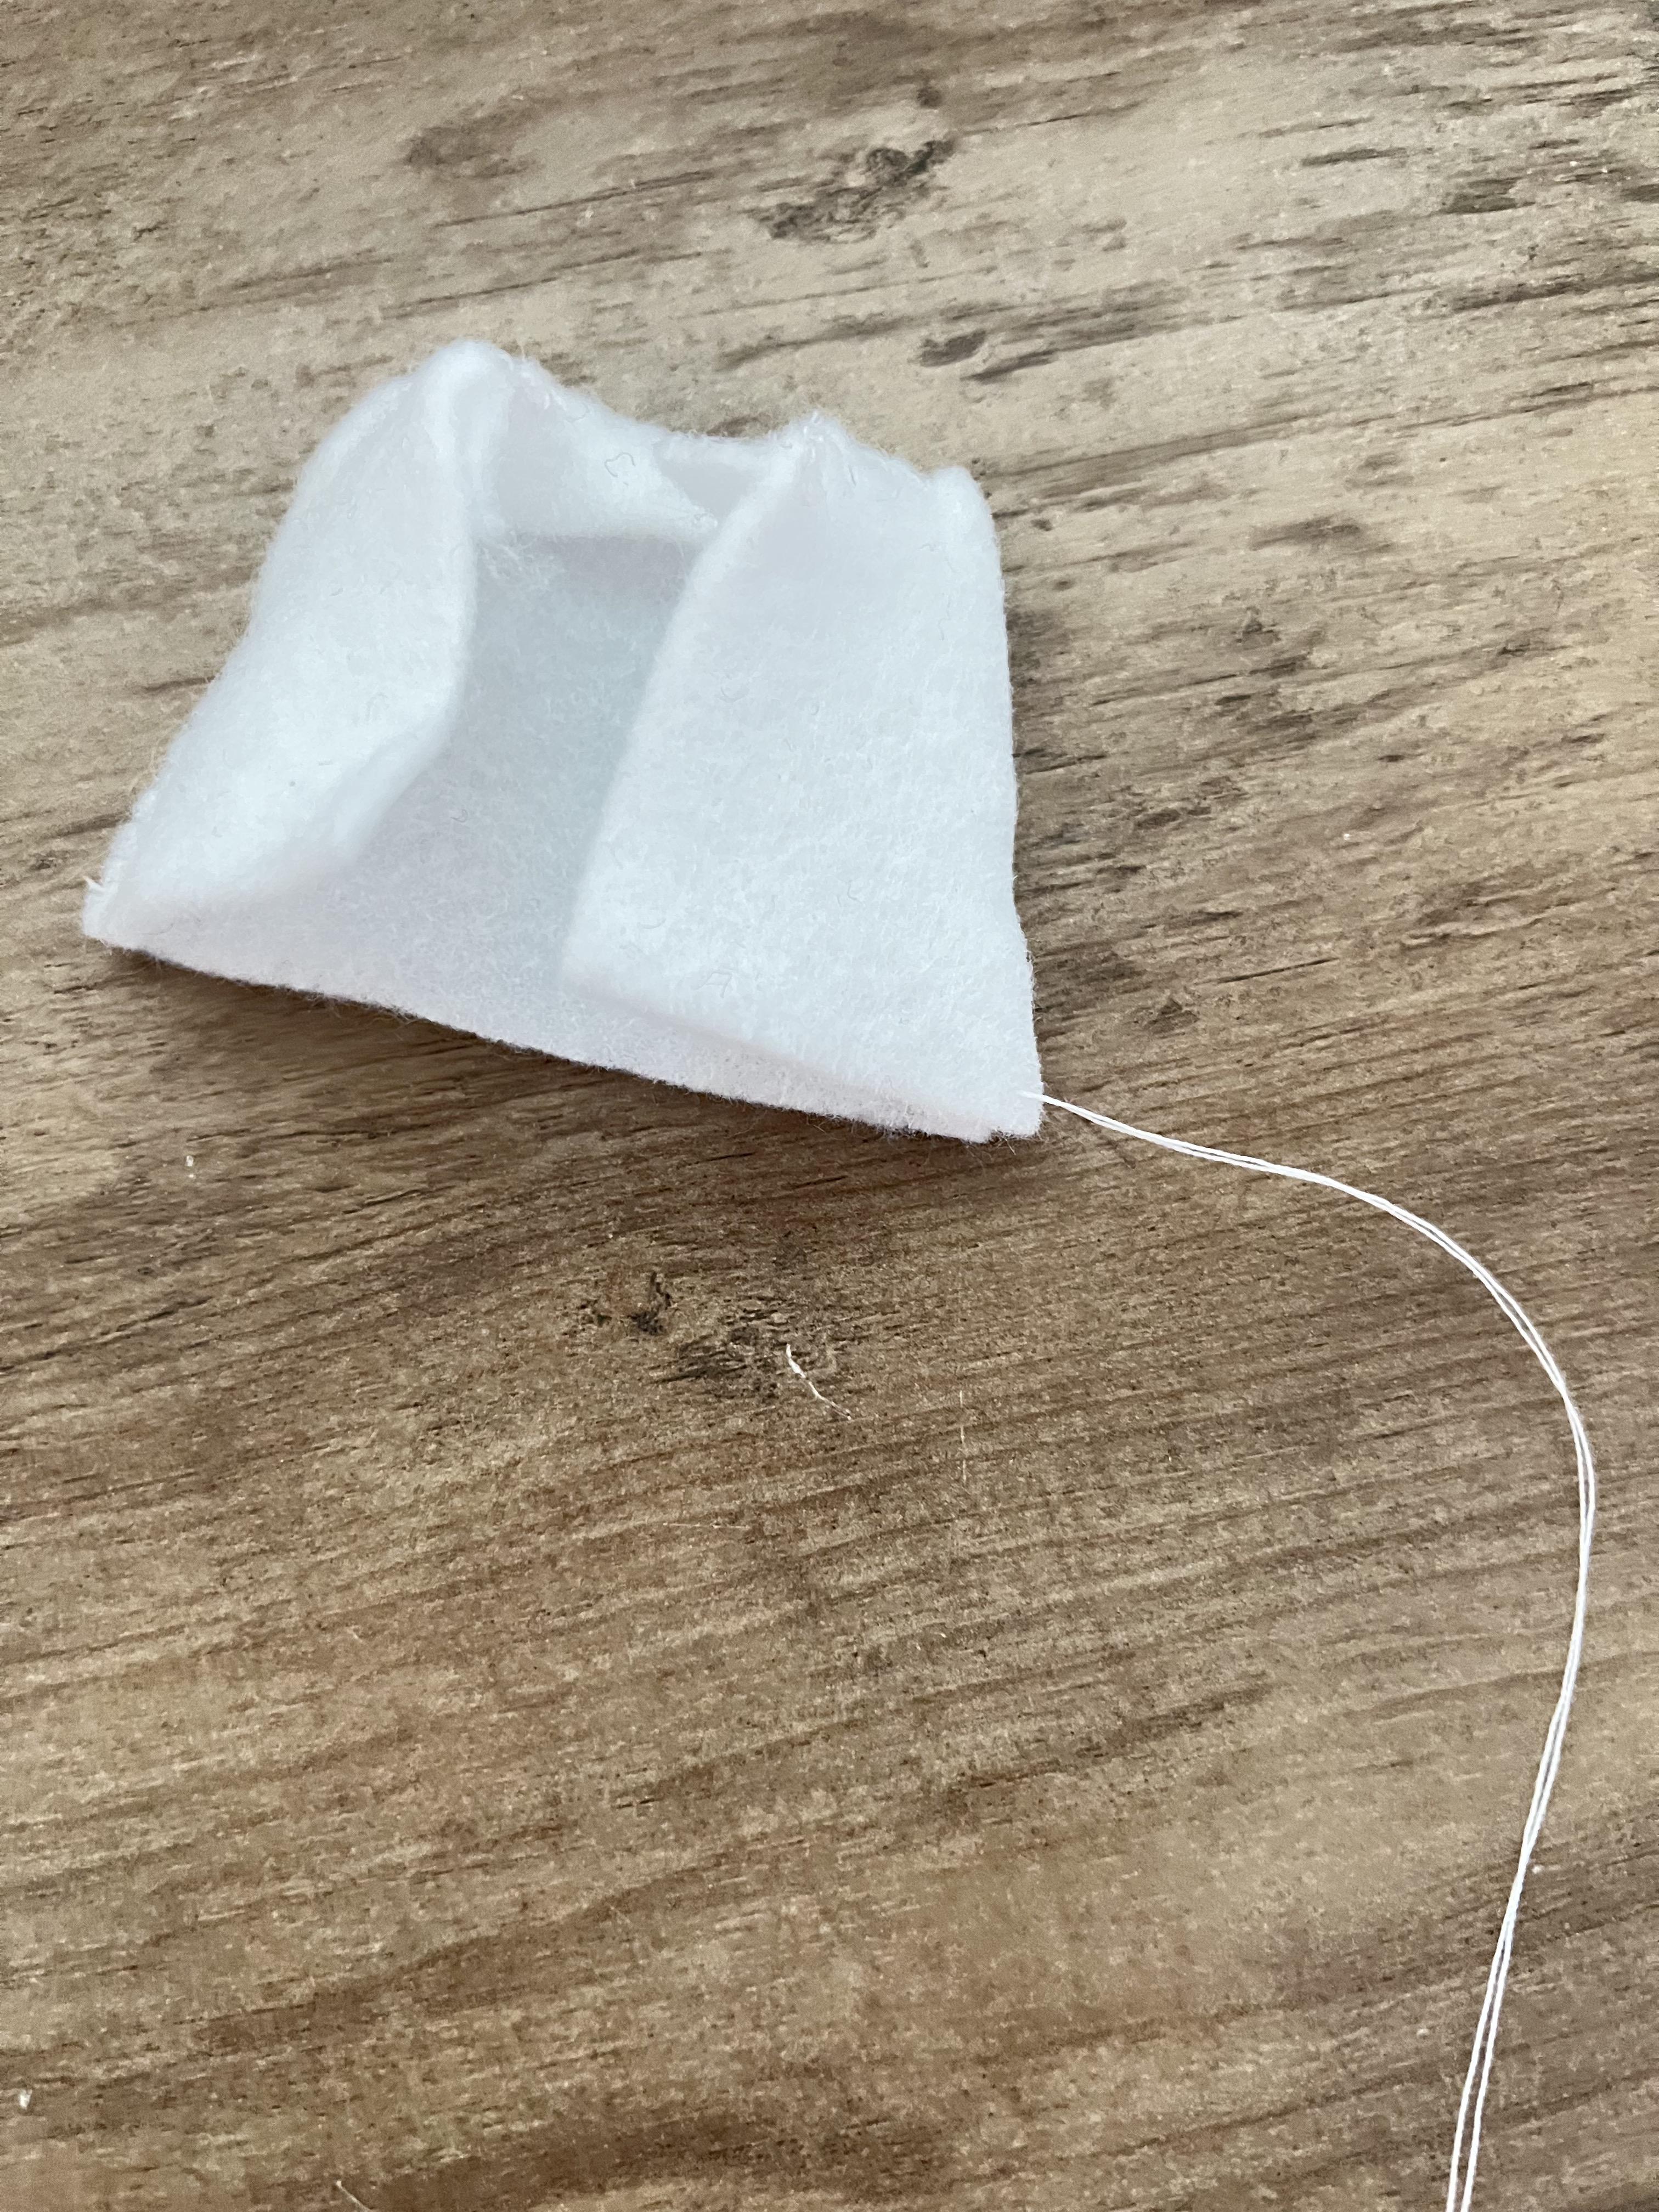
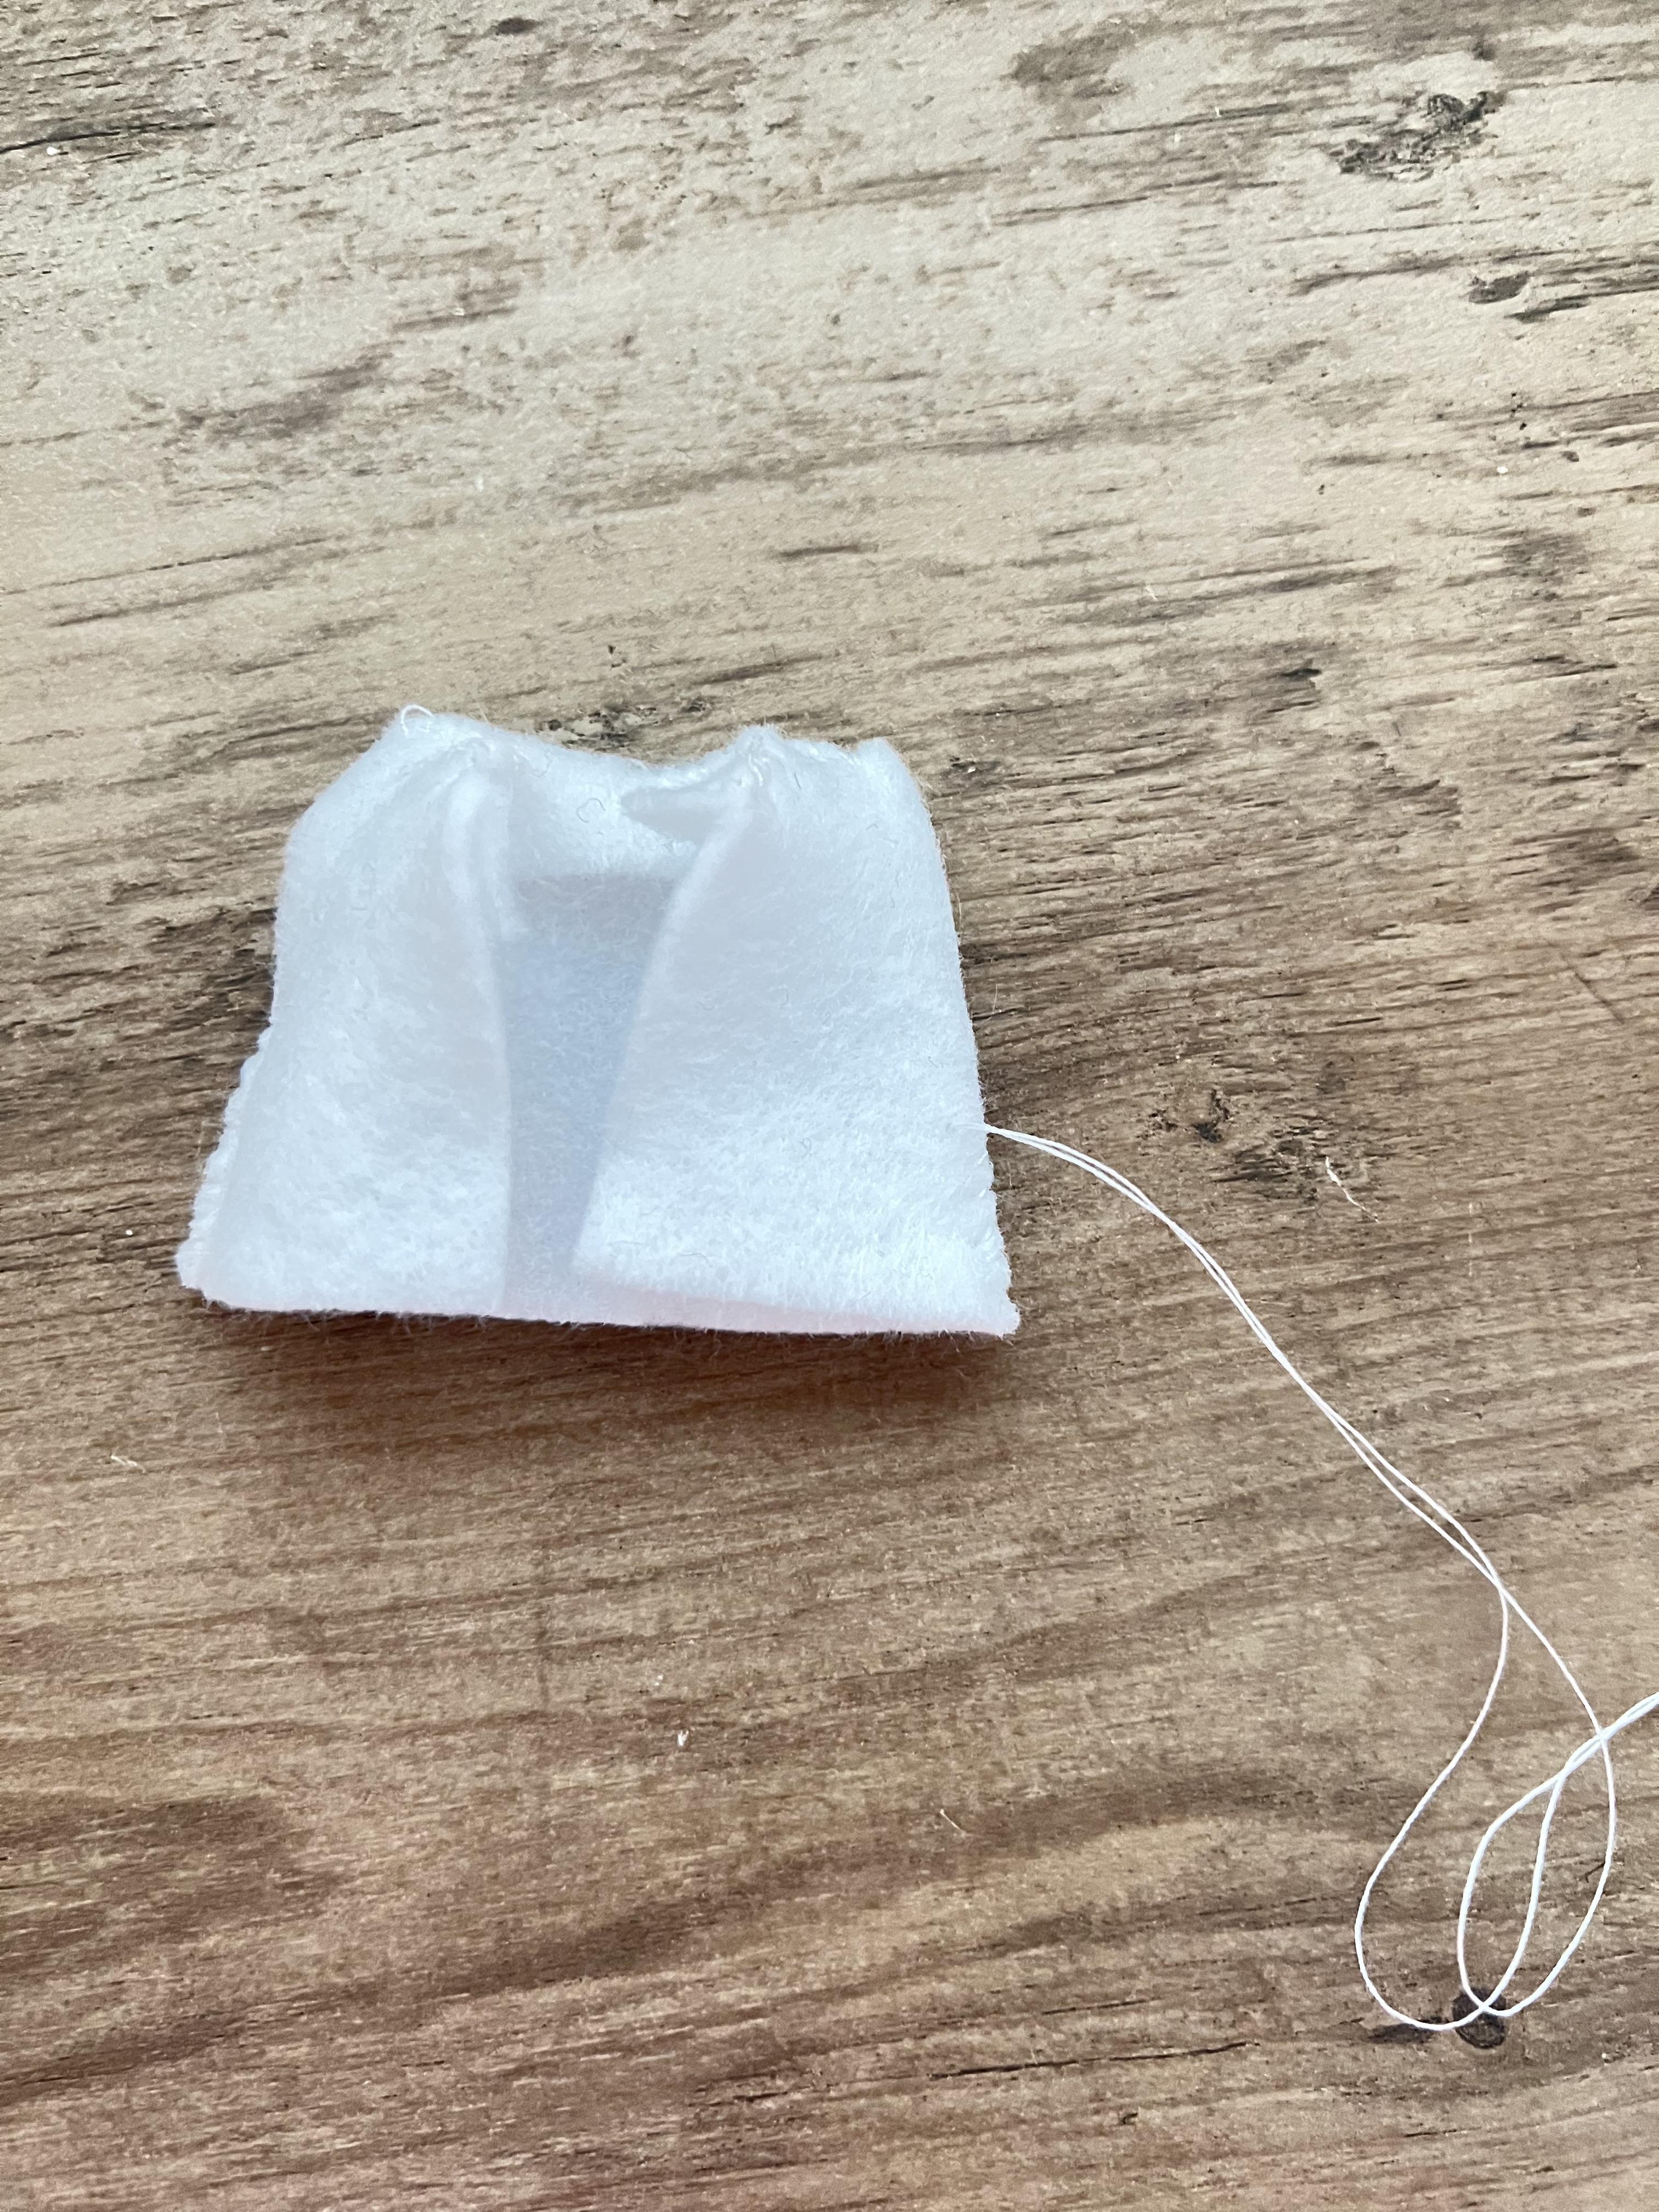


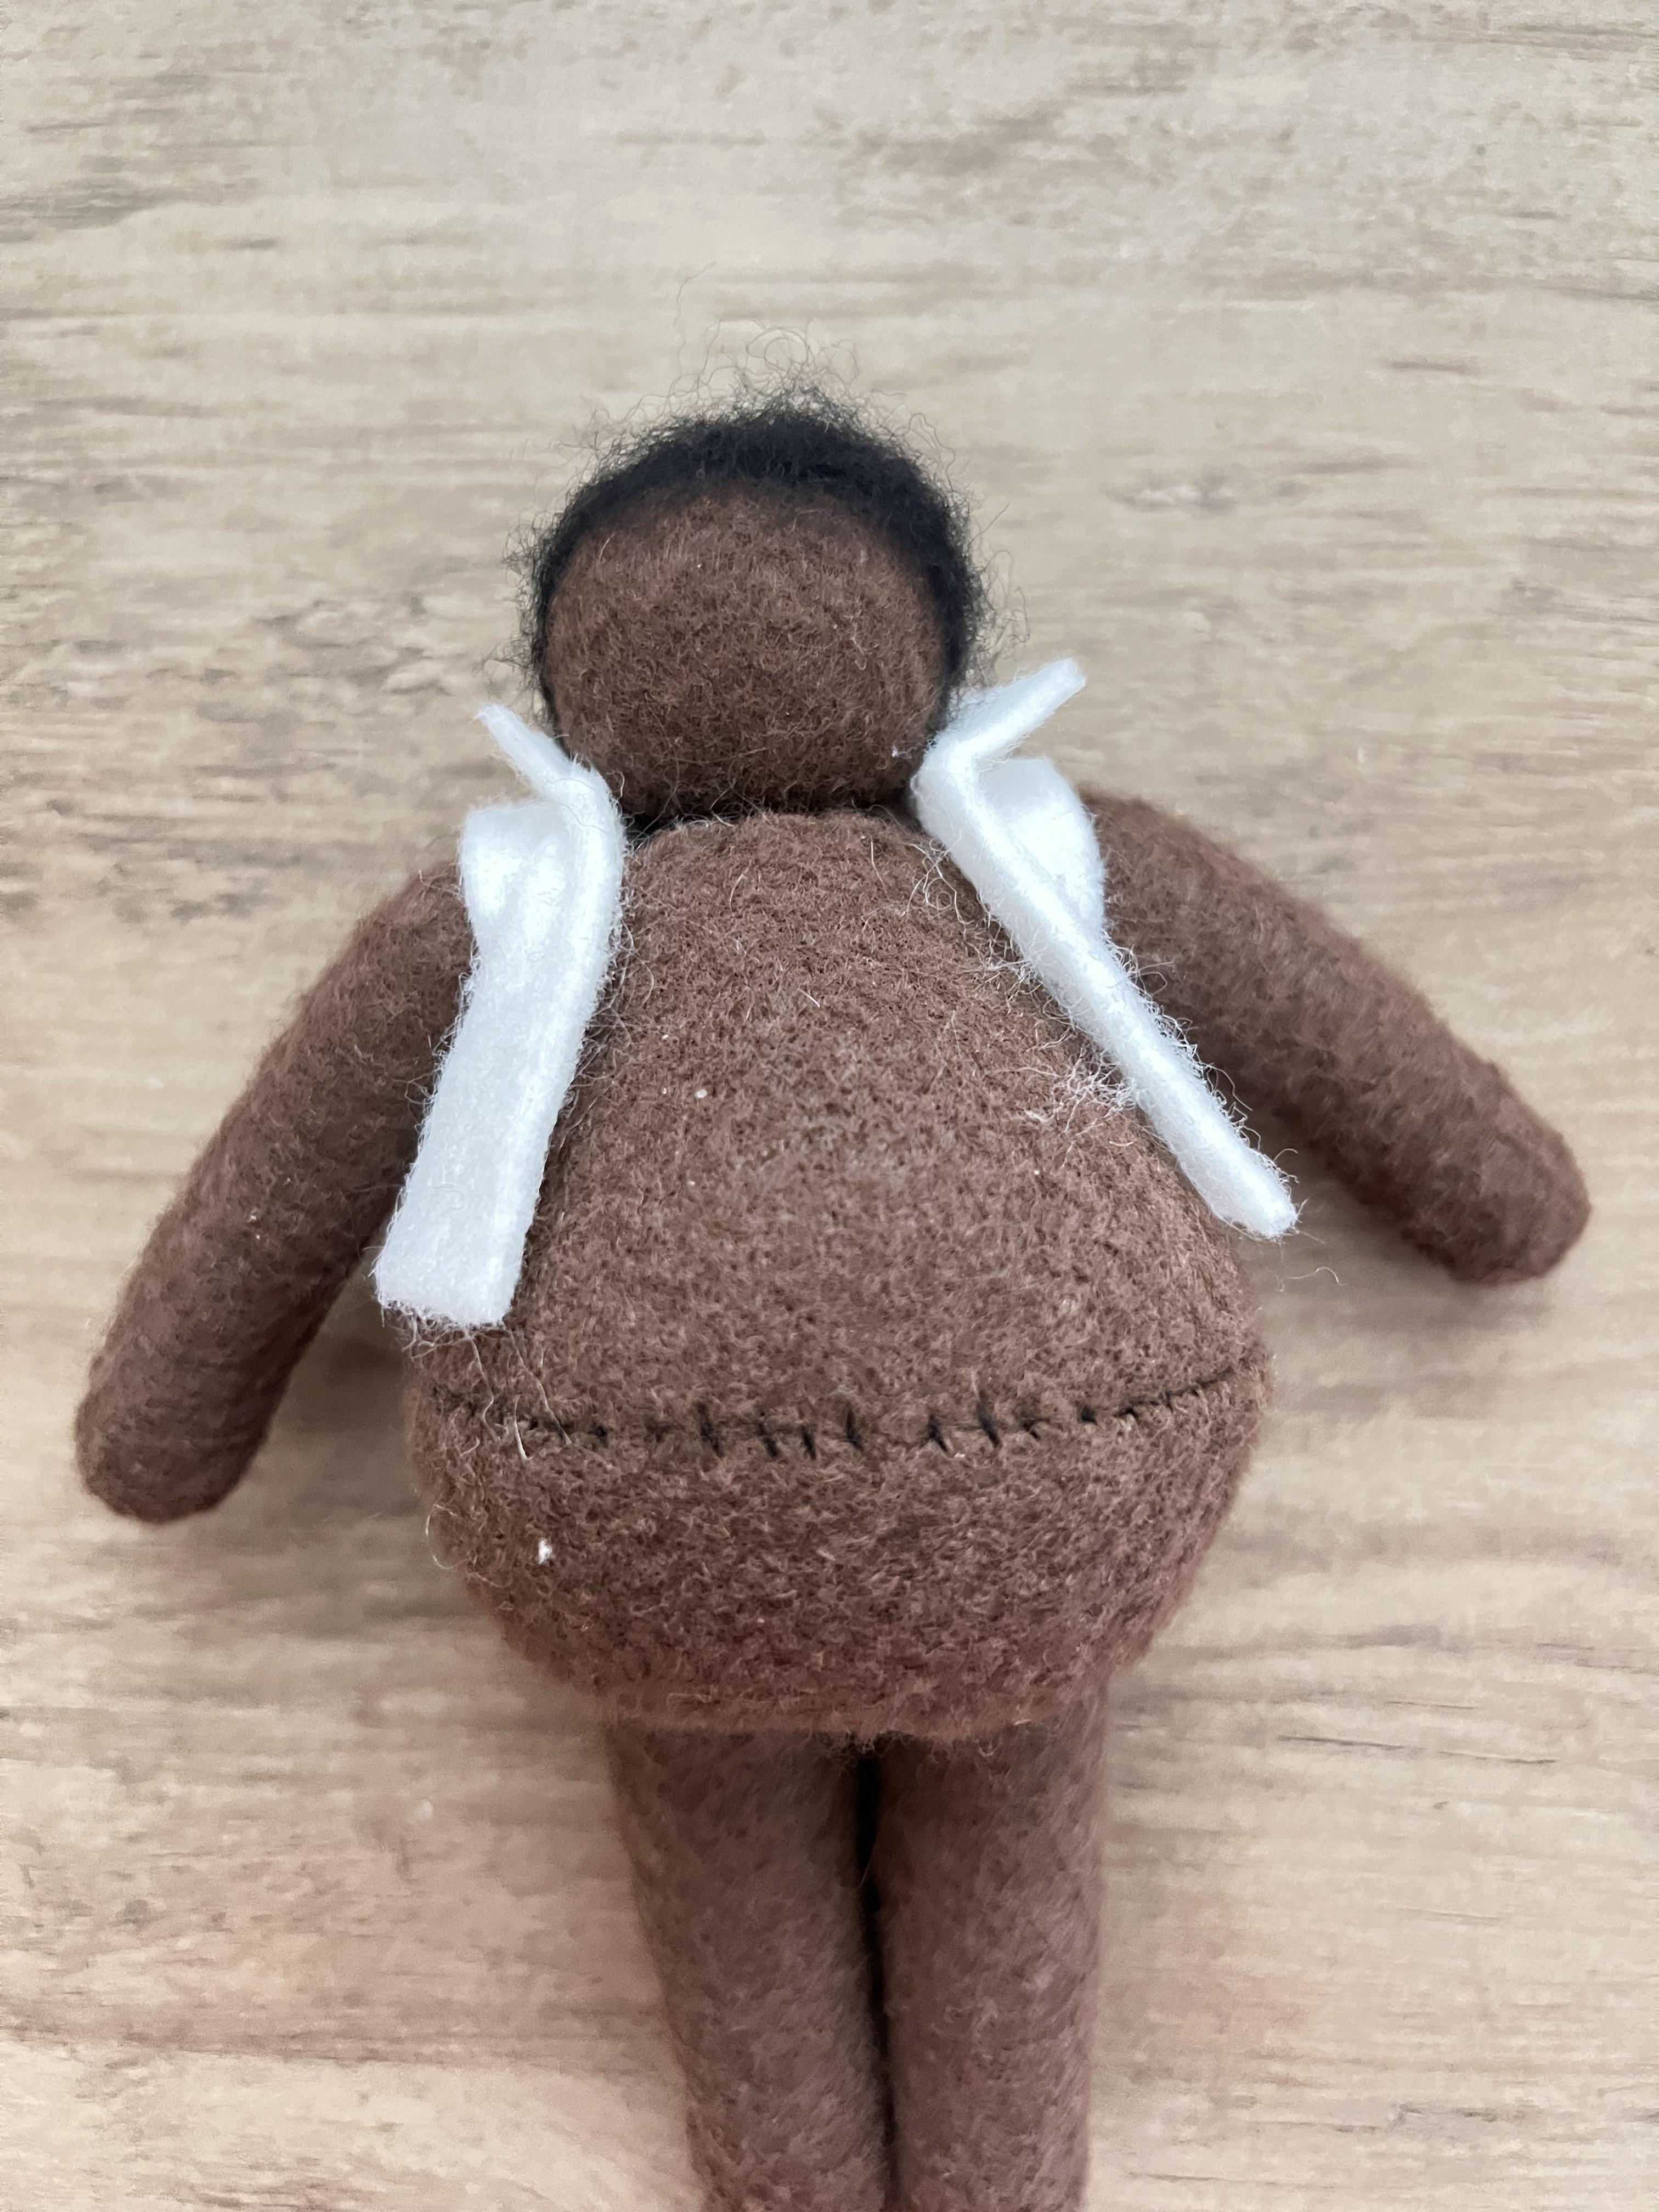














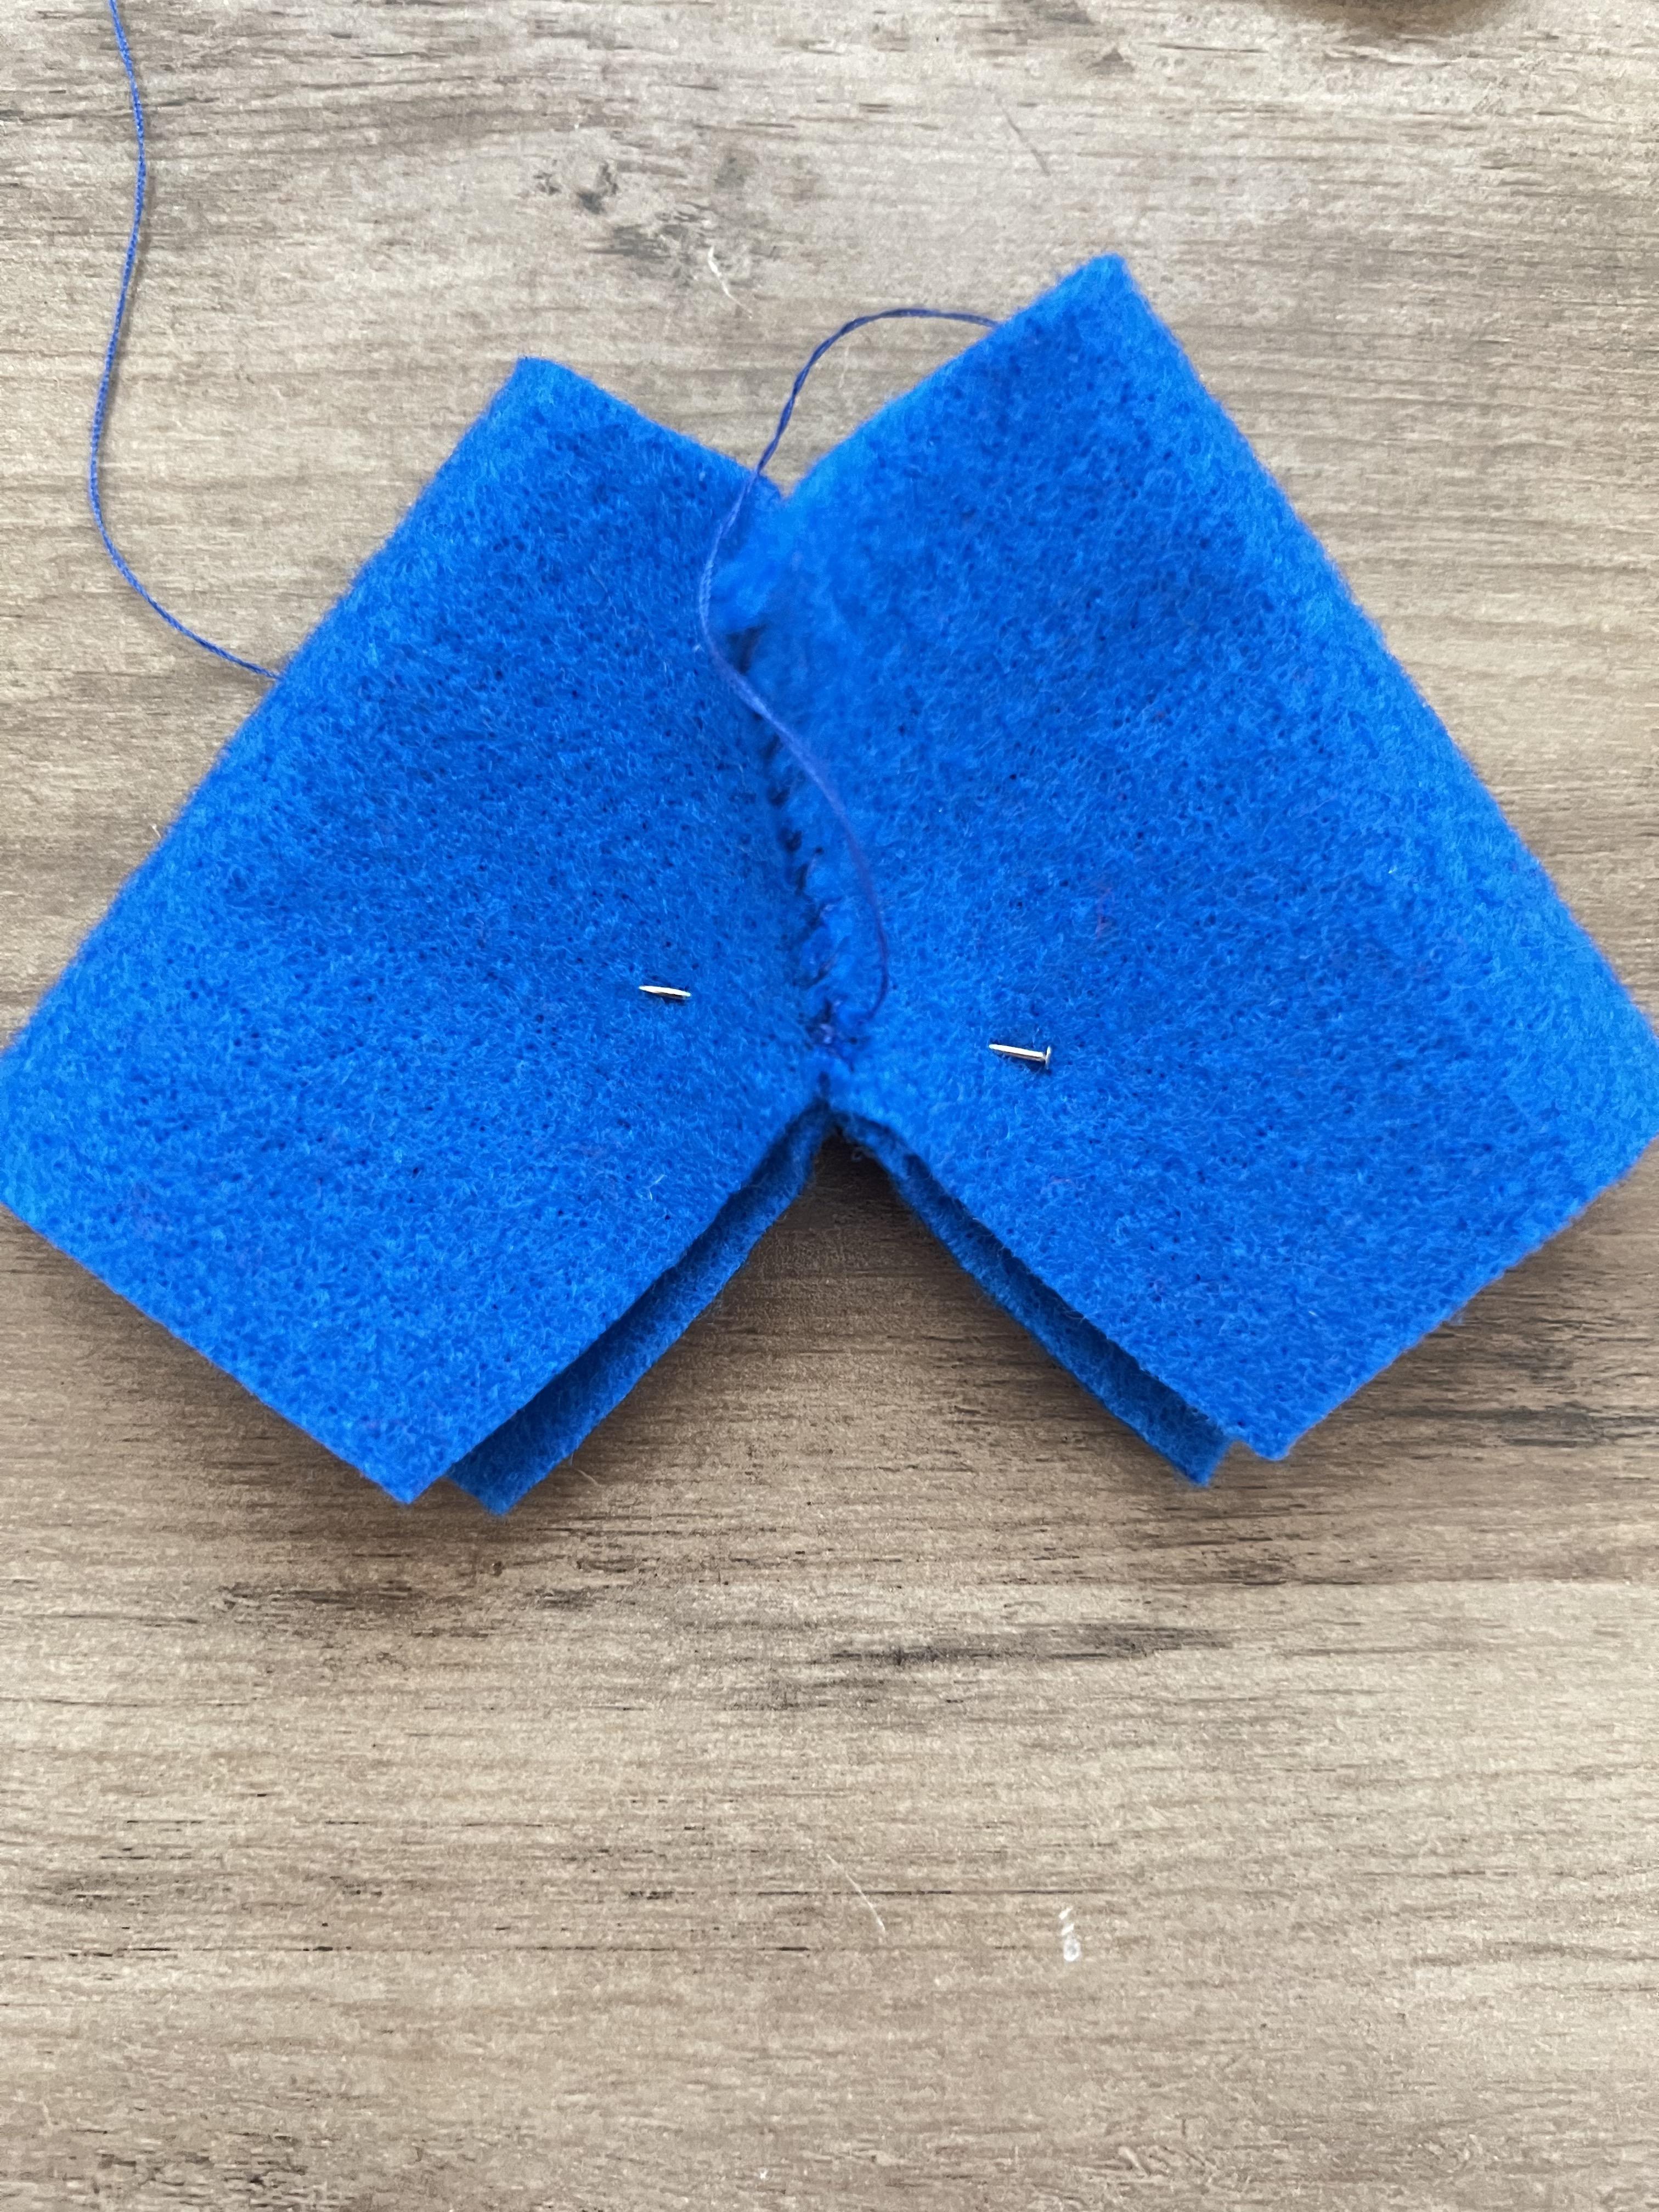
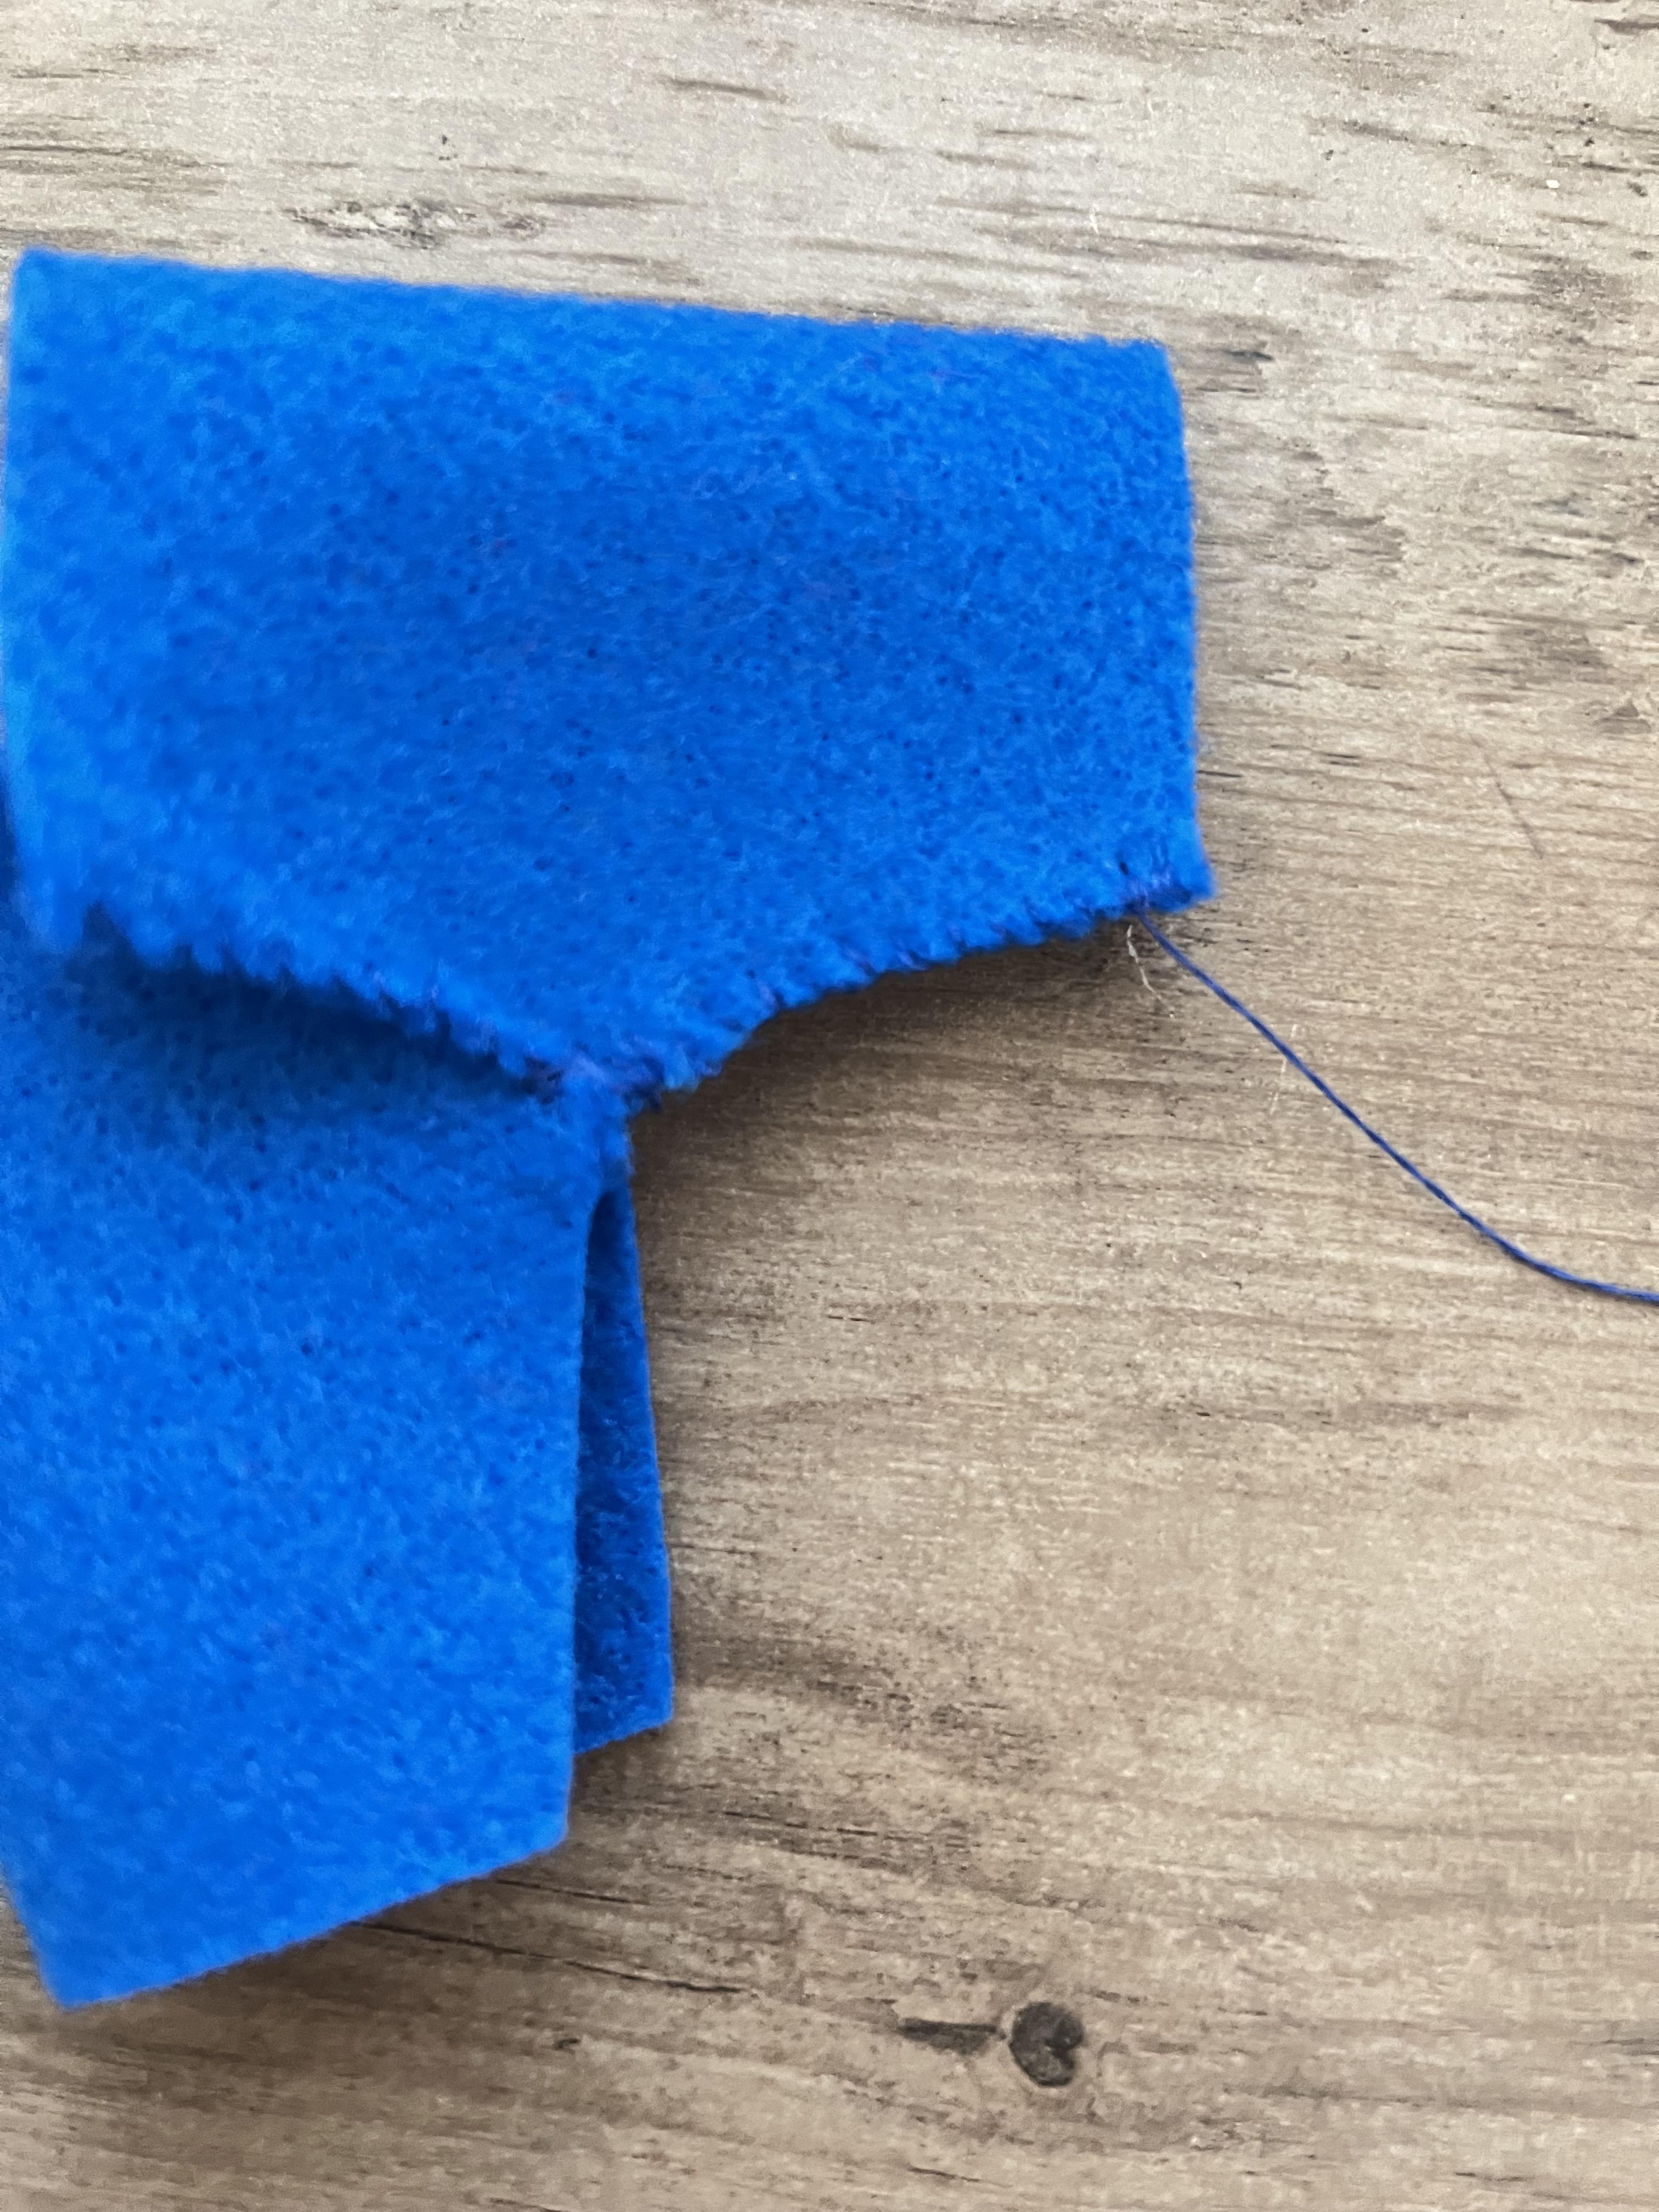
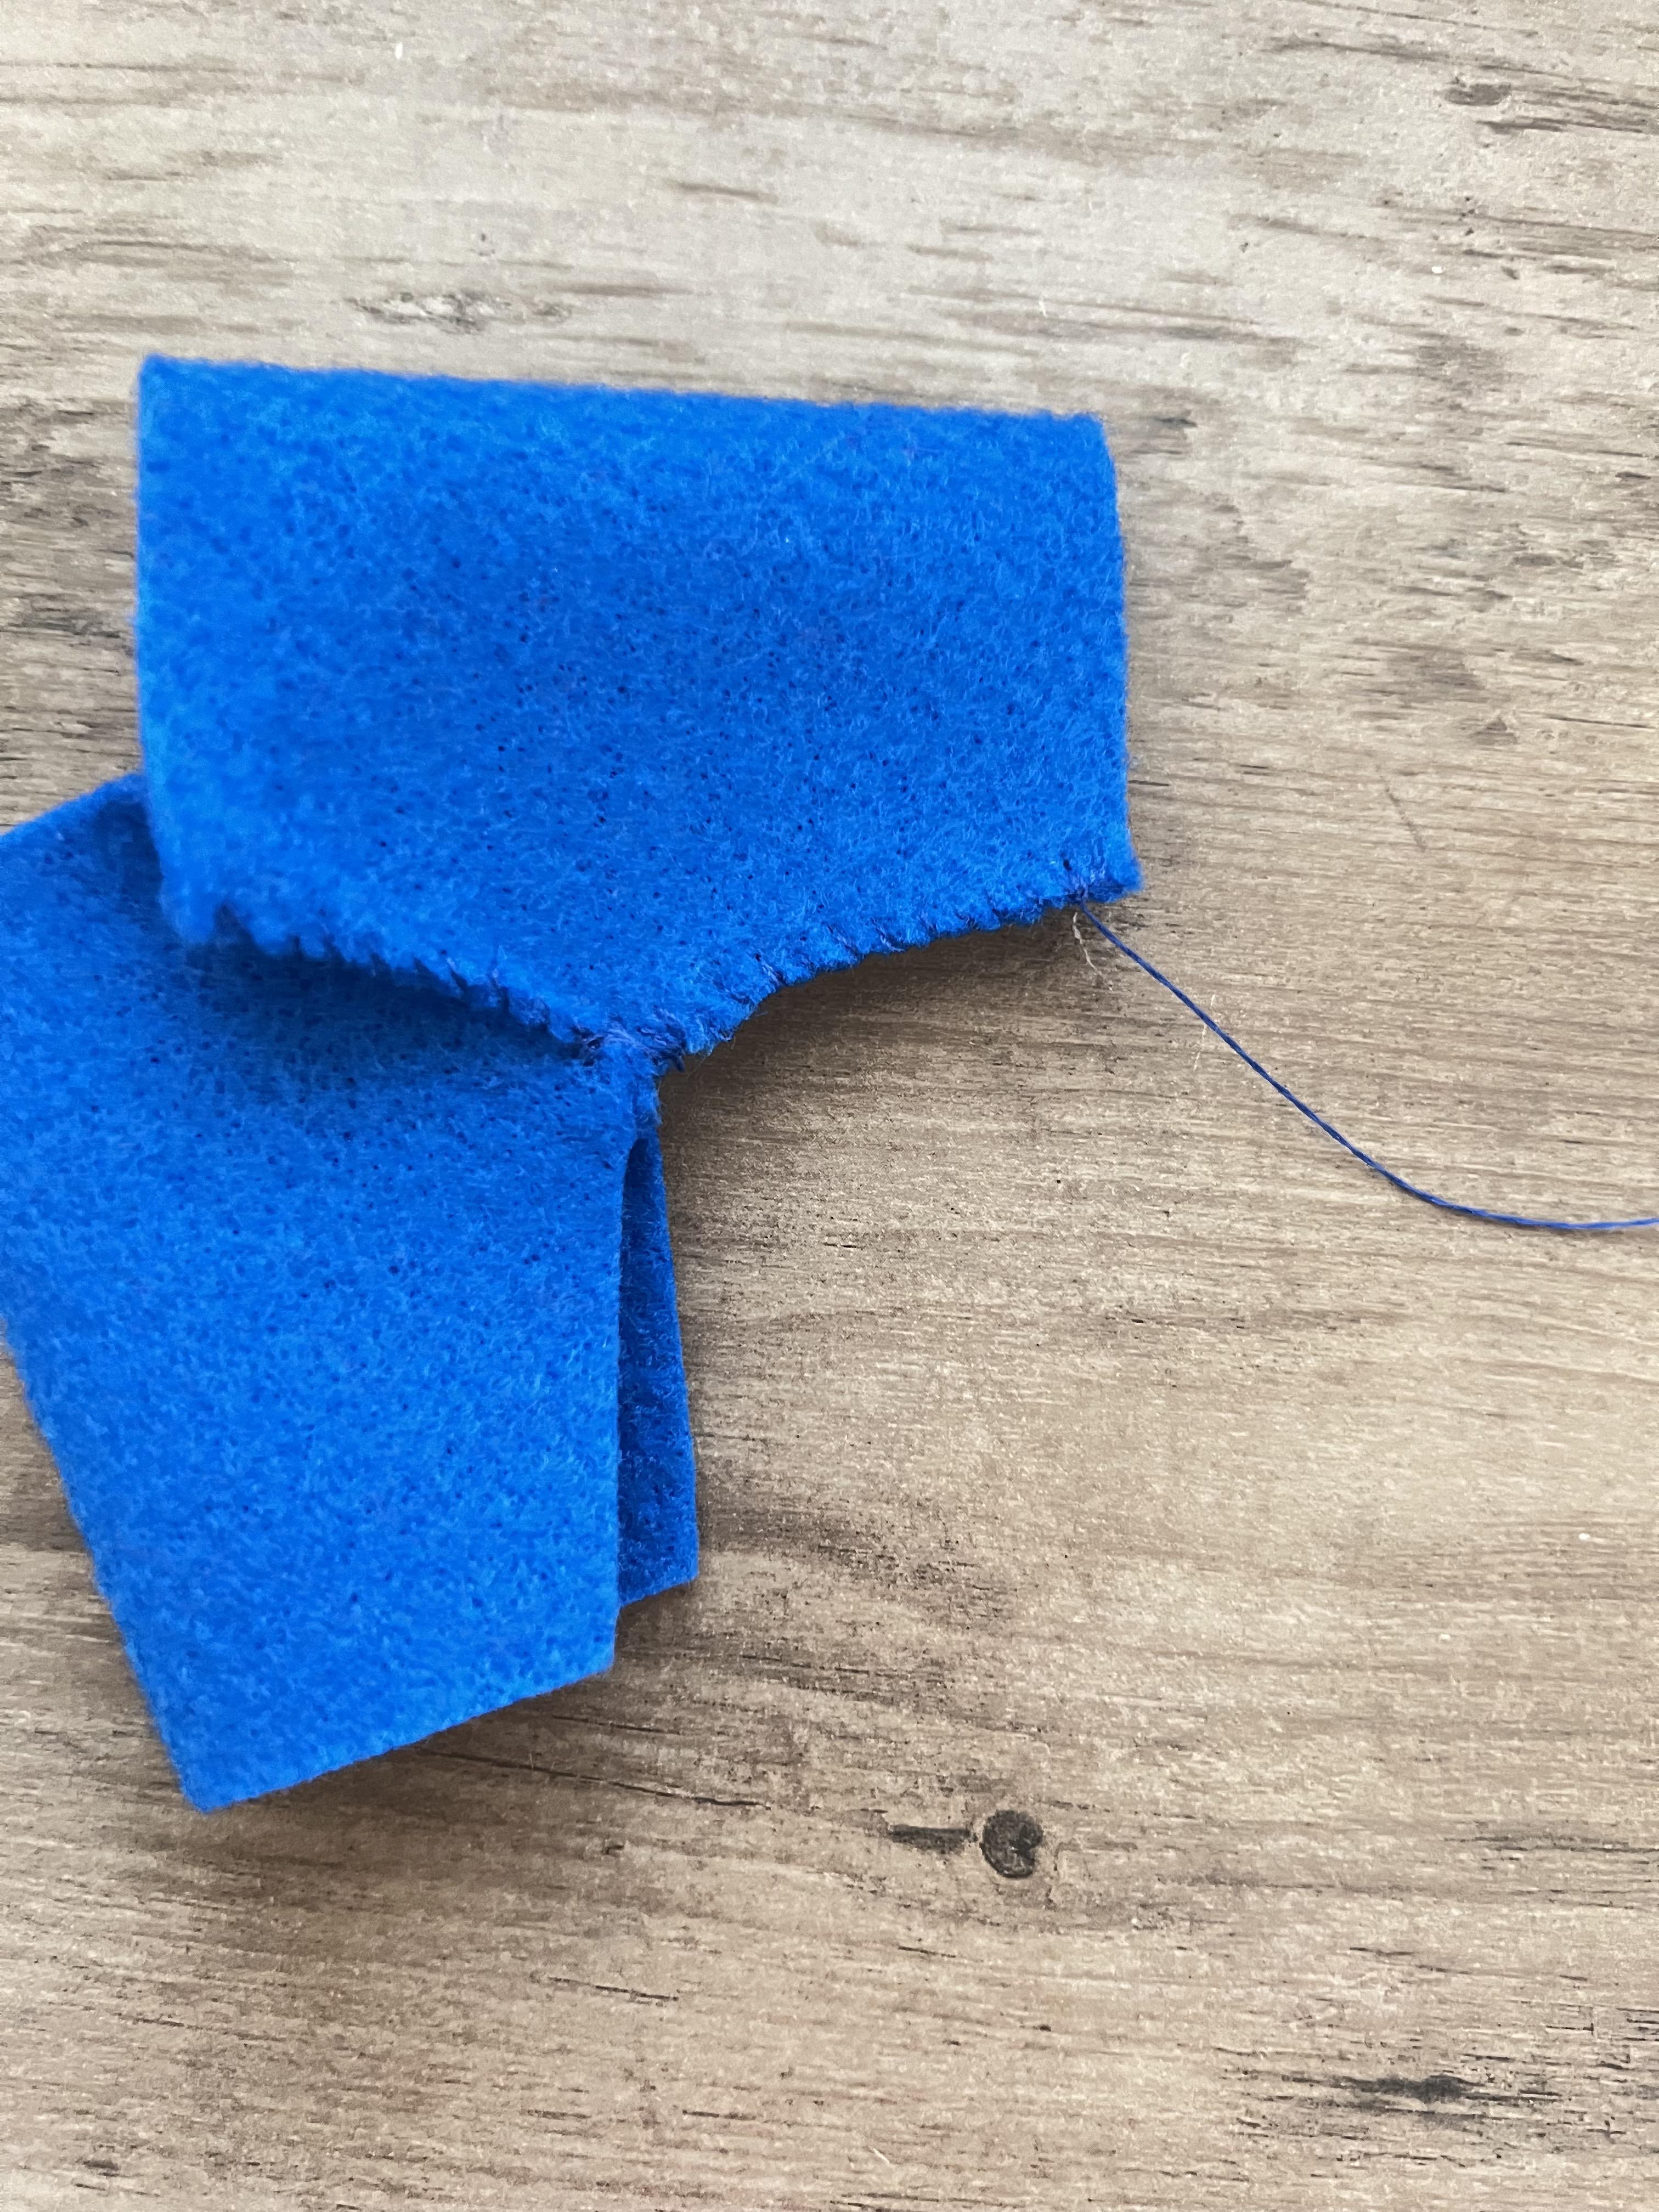

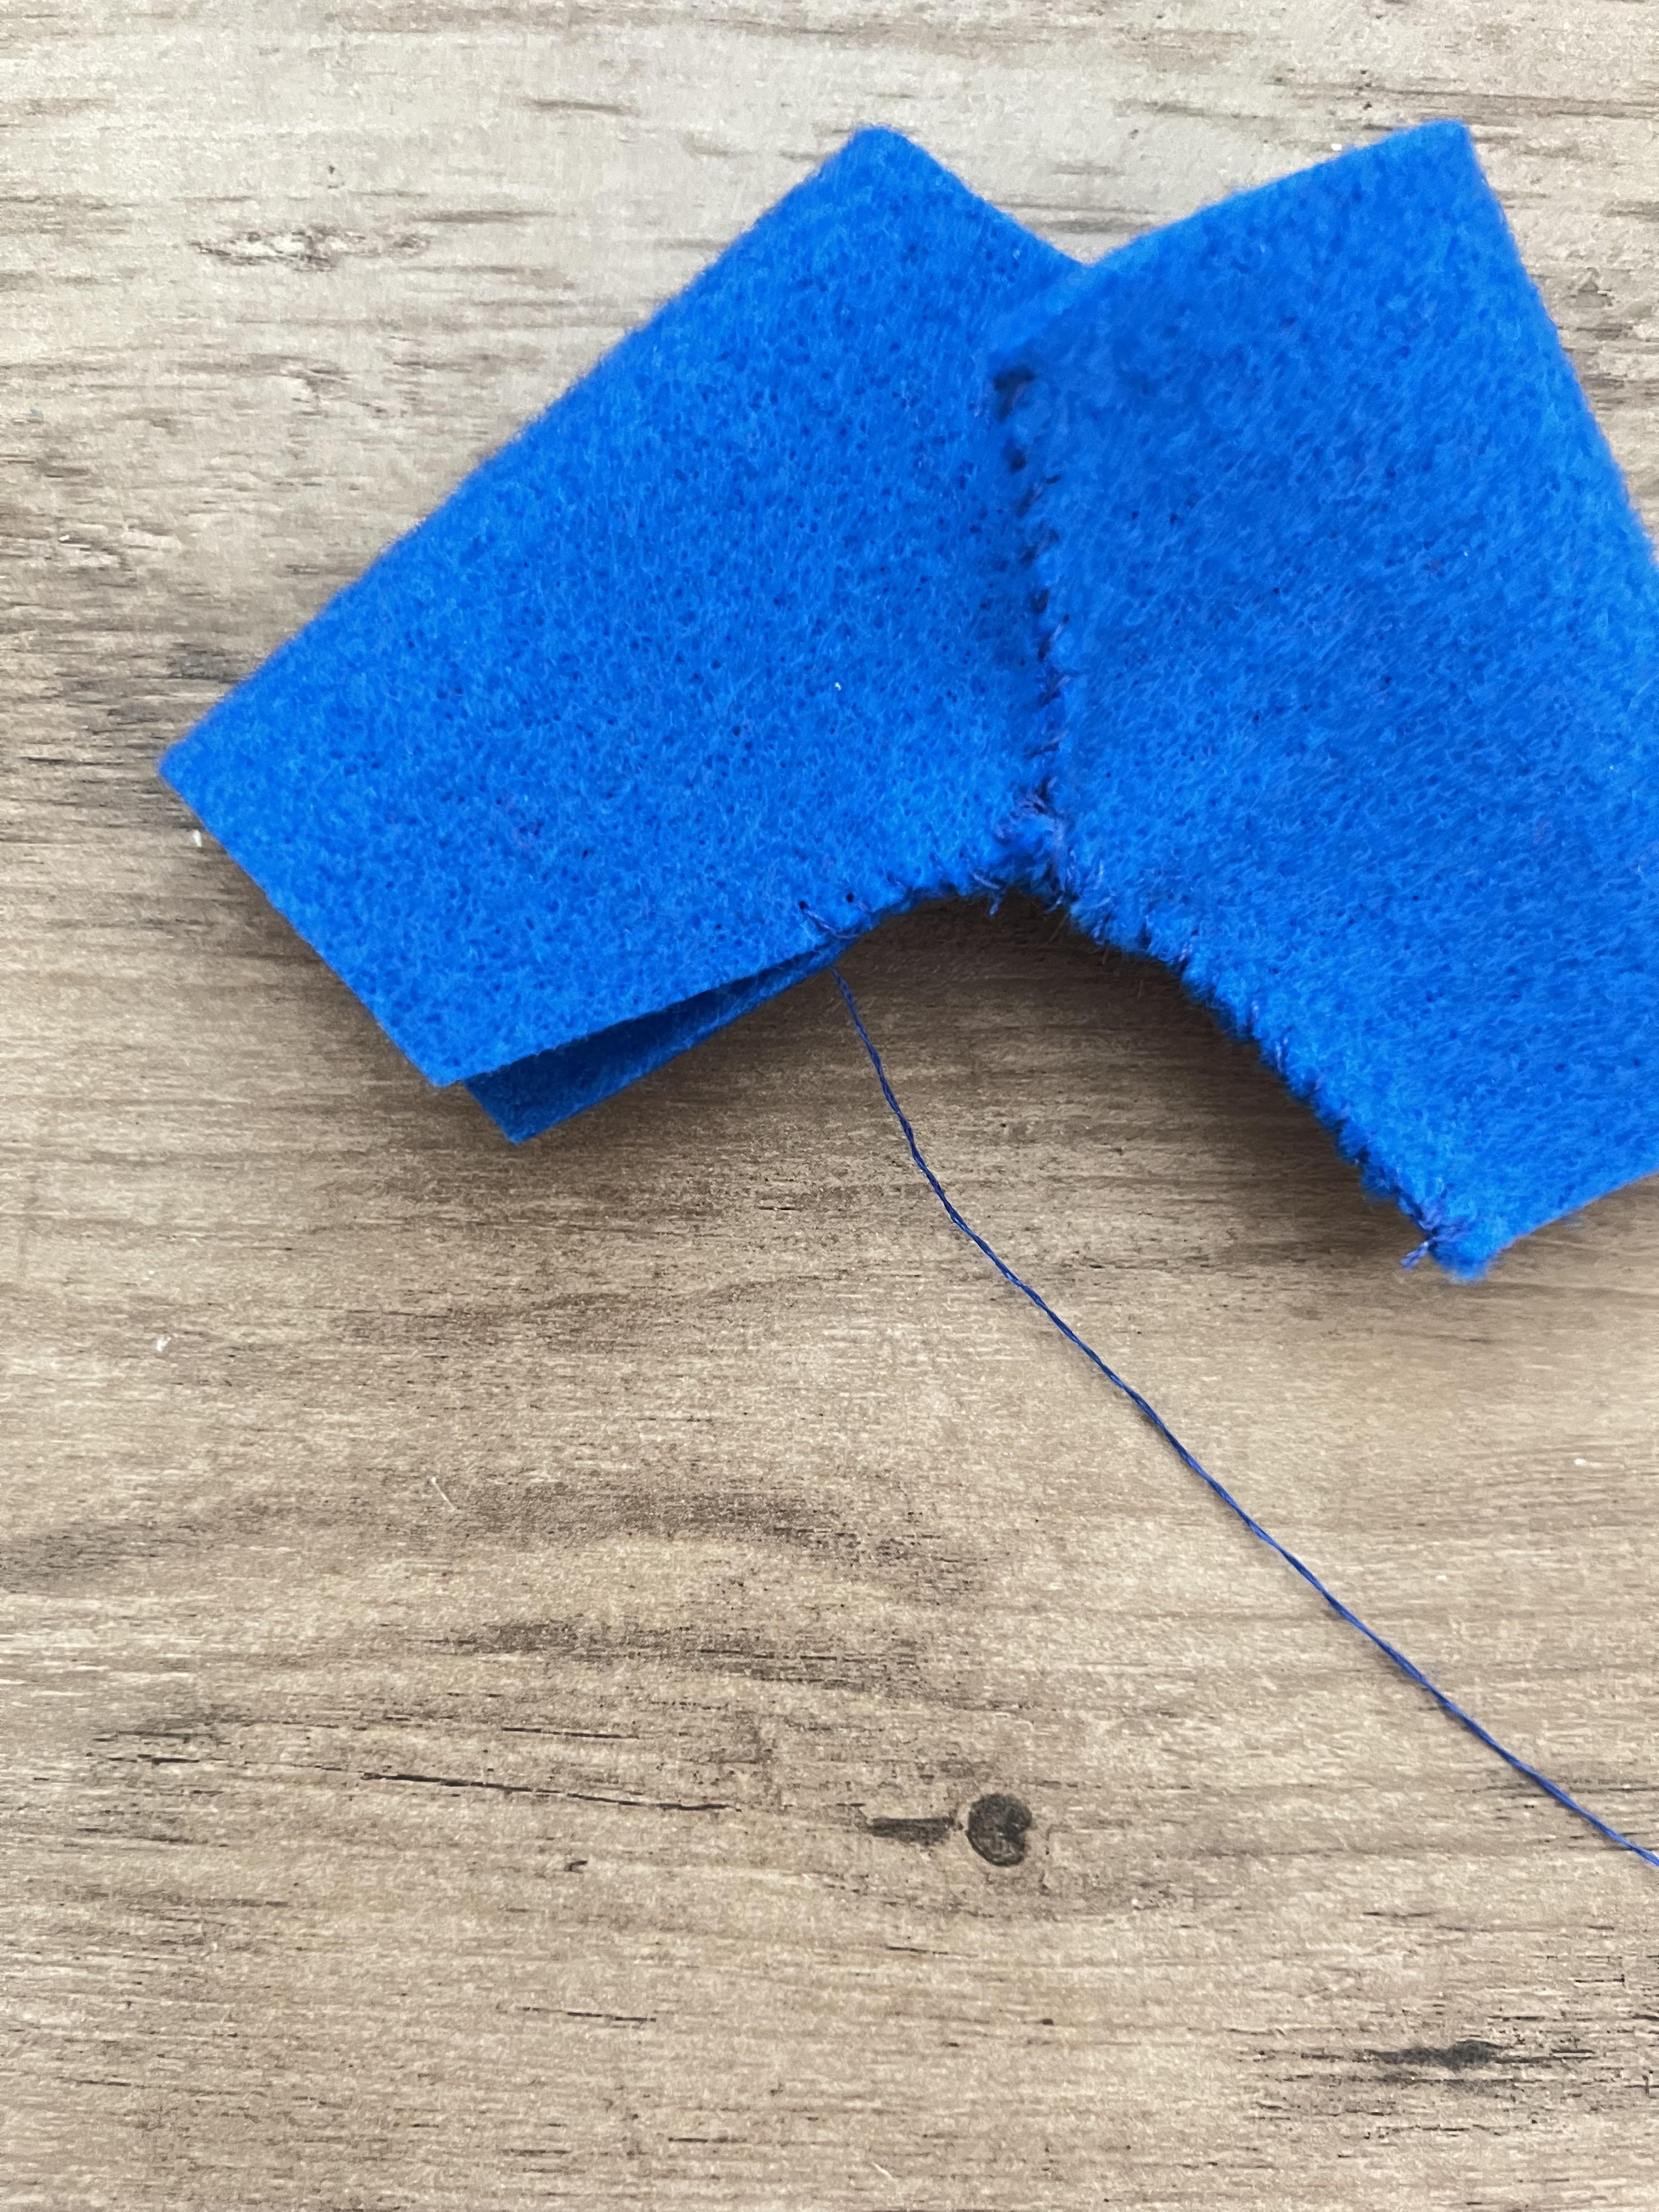

First, cut out two white rectangles. Cut the sides of the rectangles a little going up at an angle (picture two). Also, cut out a piece for the shirt collar (picture 3). Sew the tops of the shoulders (pictures 5-8), and cut down the middle of the front (picture 9). Sew the collar on as in pictures 10-11, and fold the sides down (picture 12). Sew up both sides of the shirt (pictures 13-16), and flip it inside out. Put it on Albert.
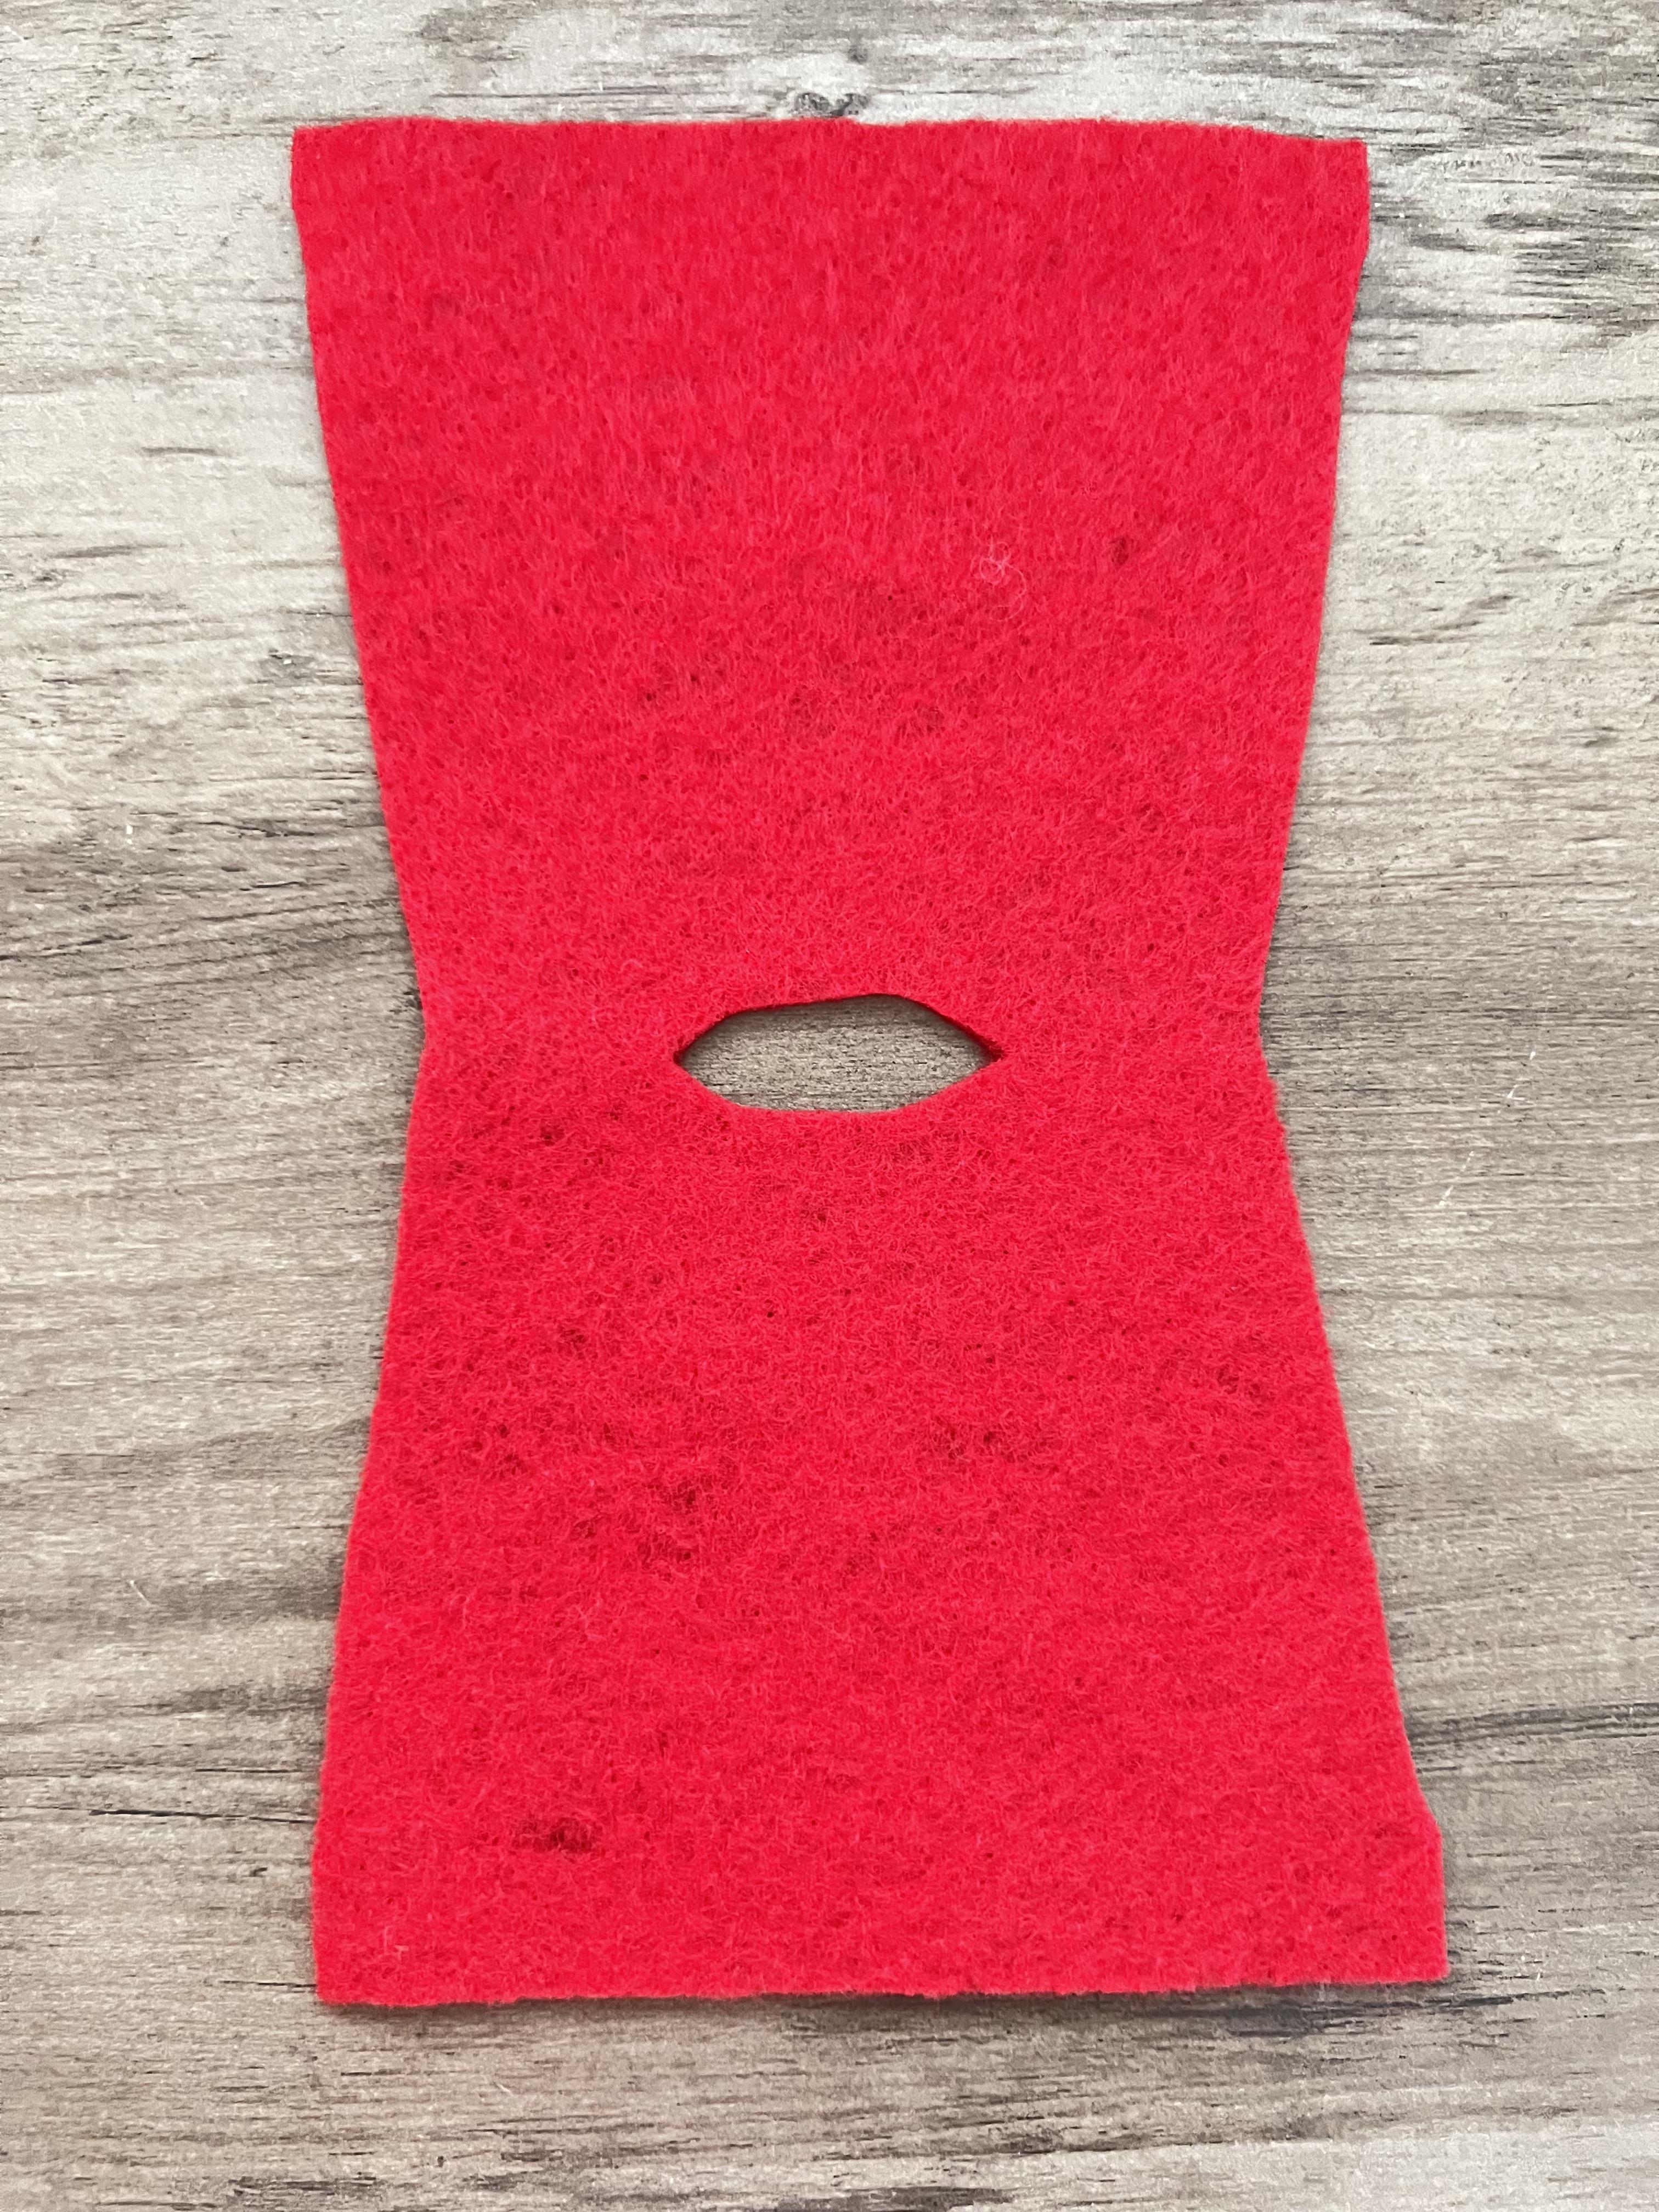
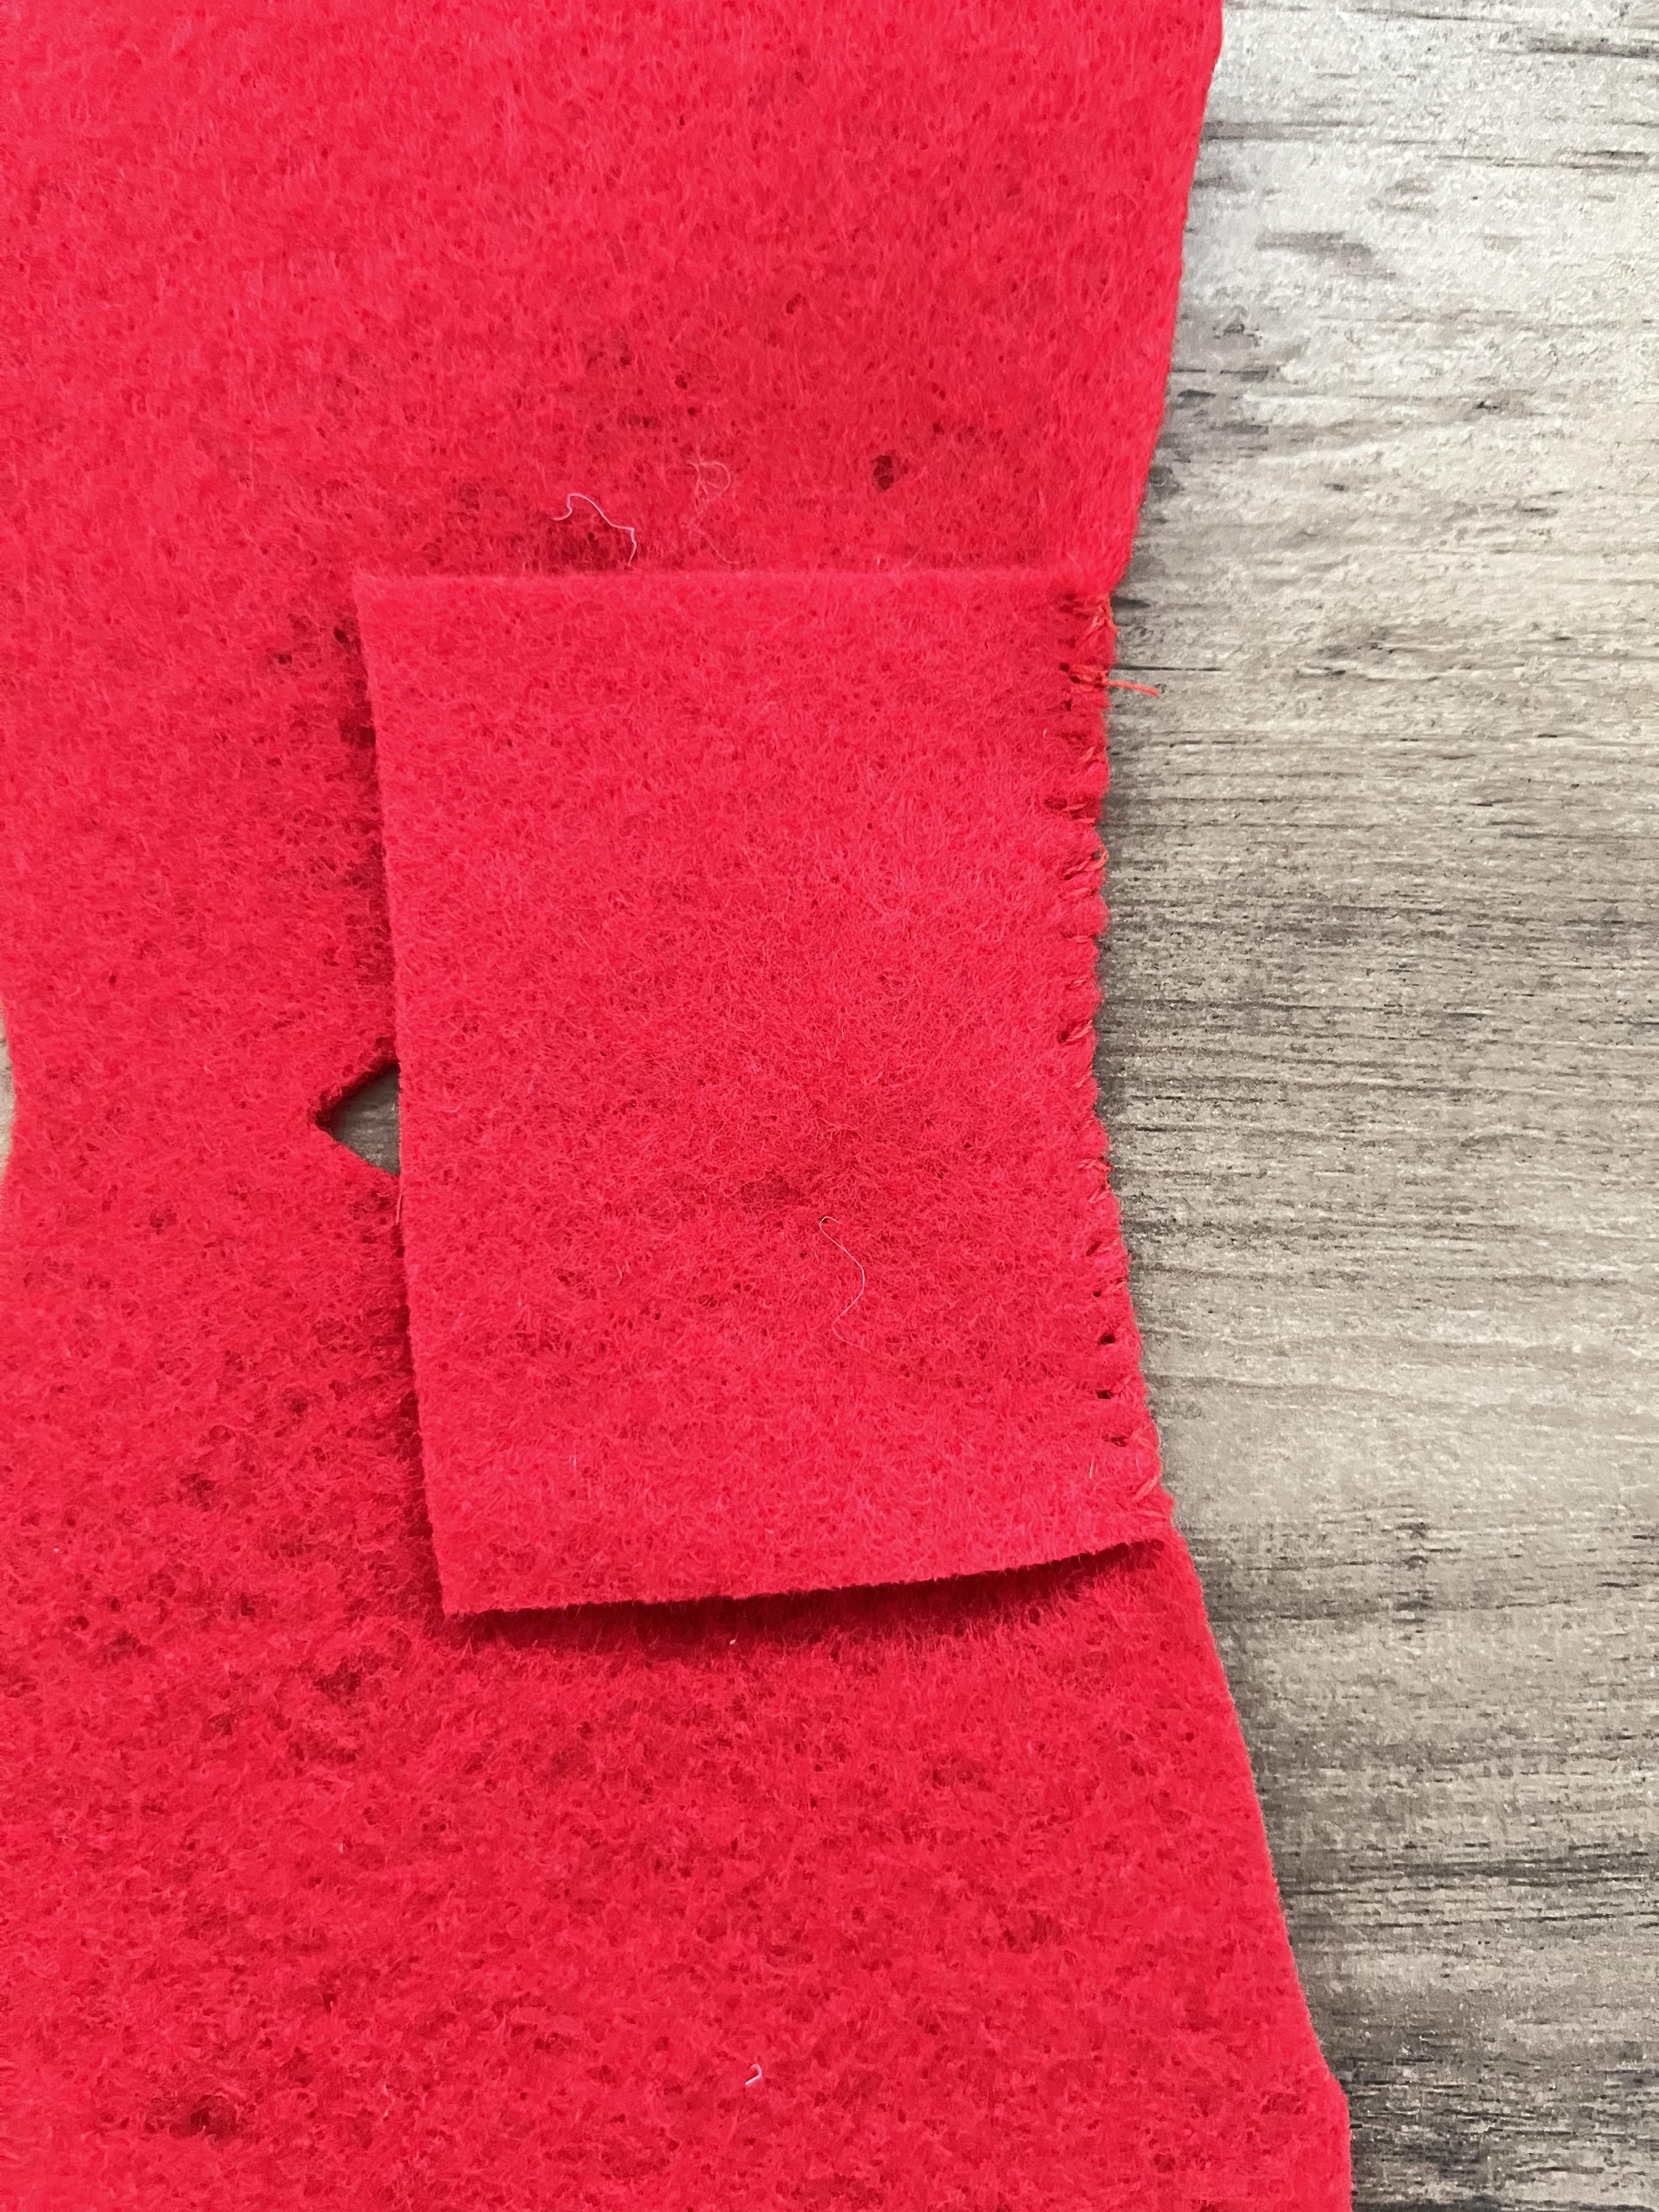
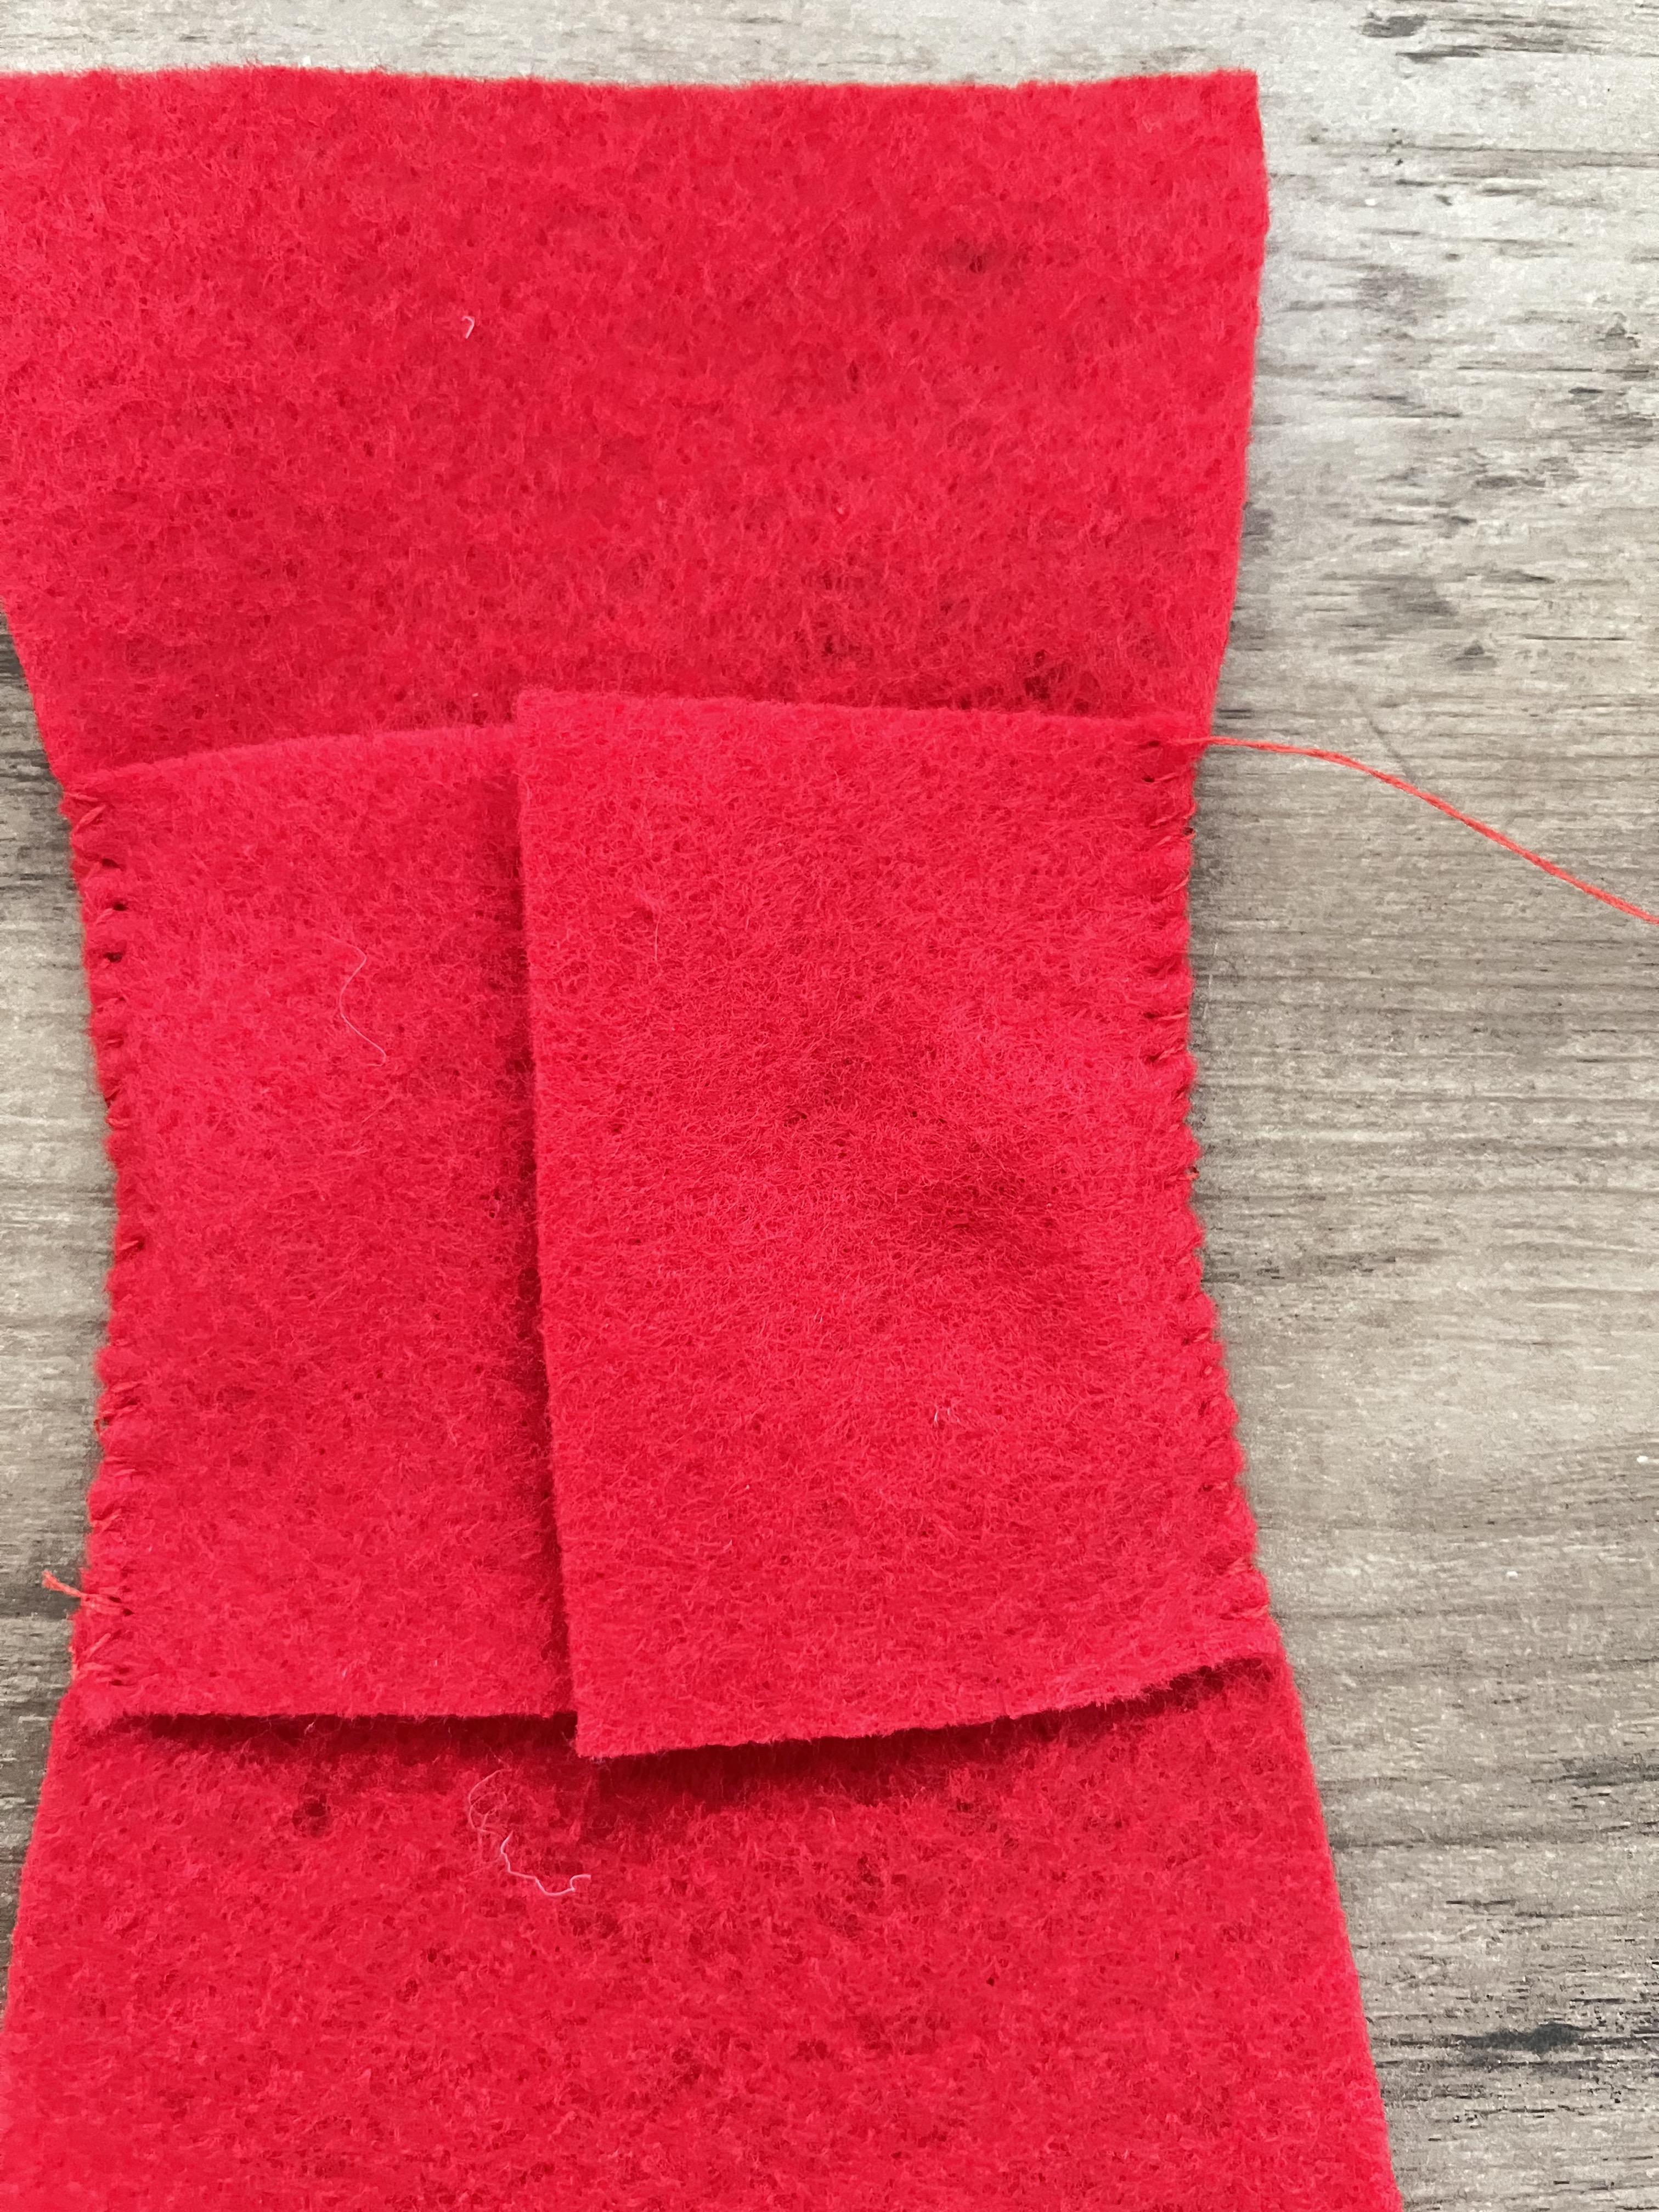
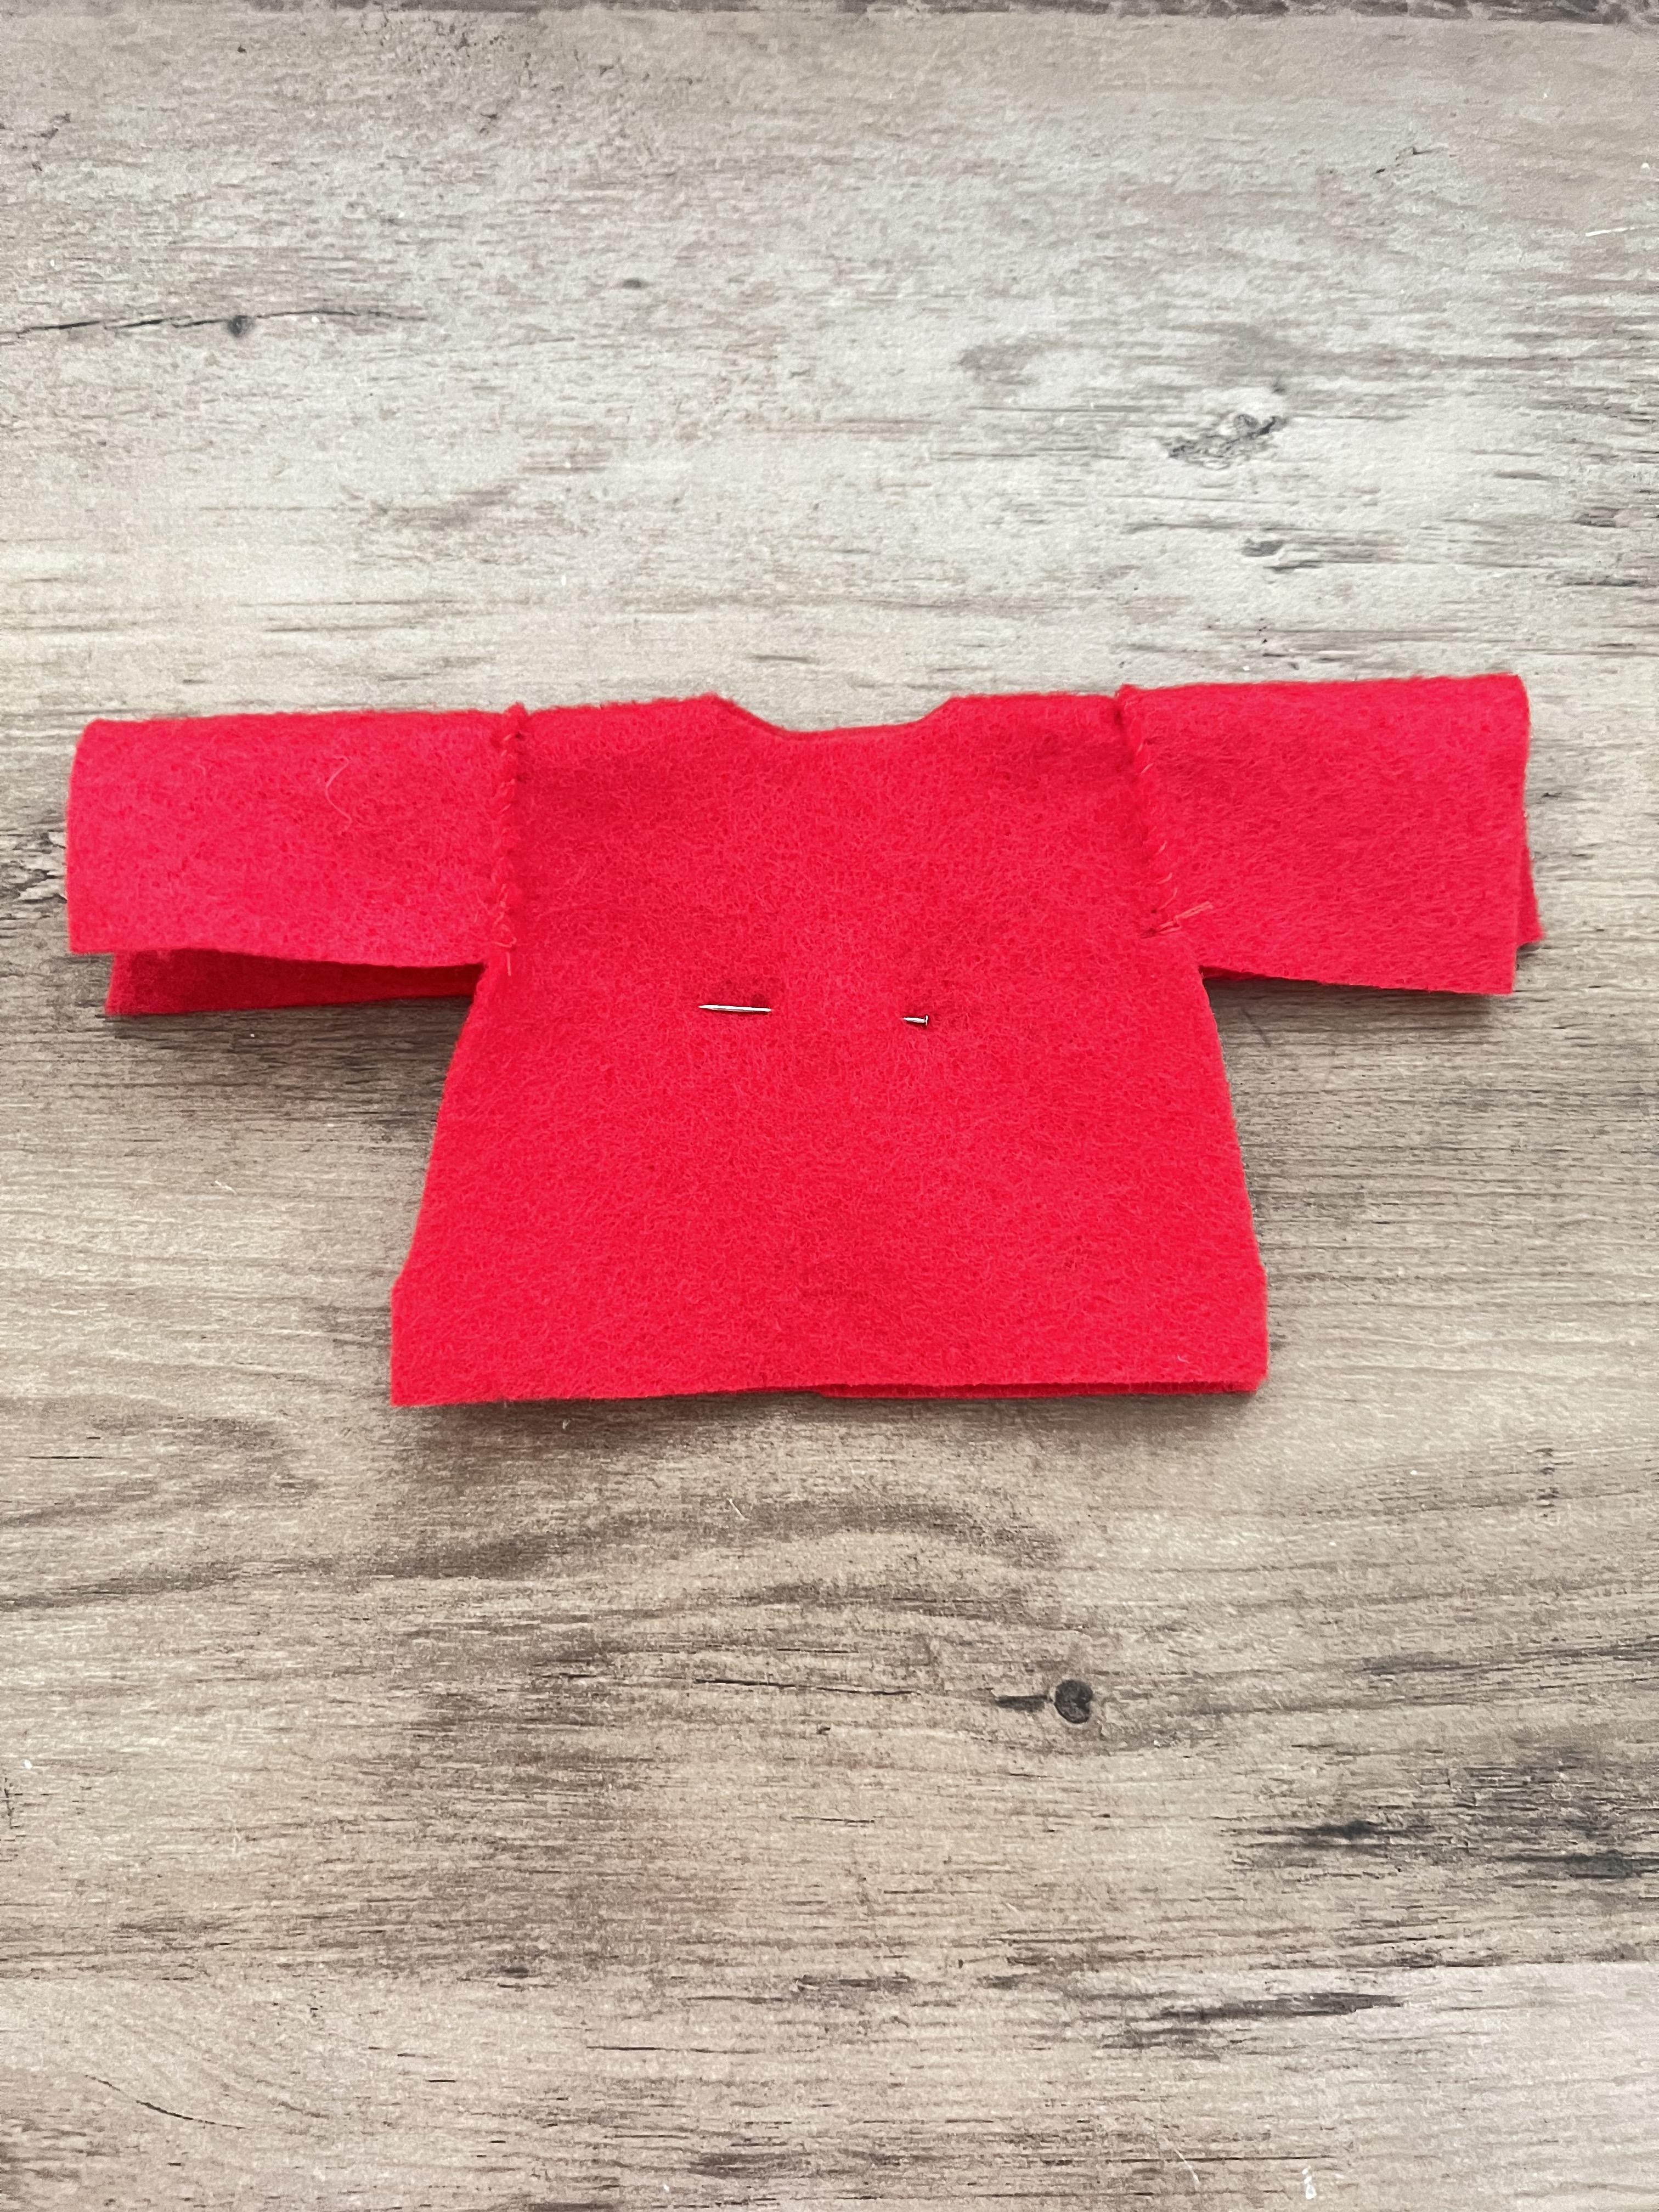
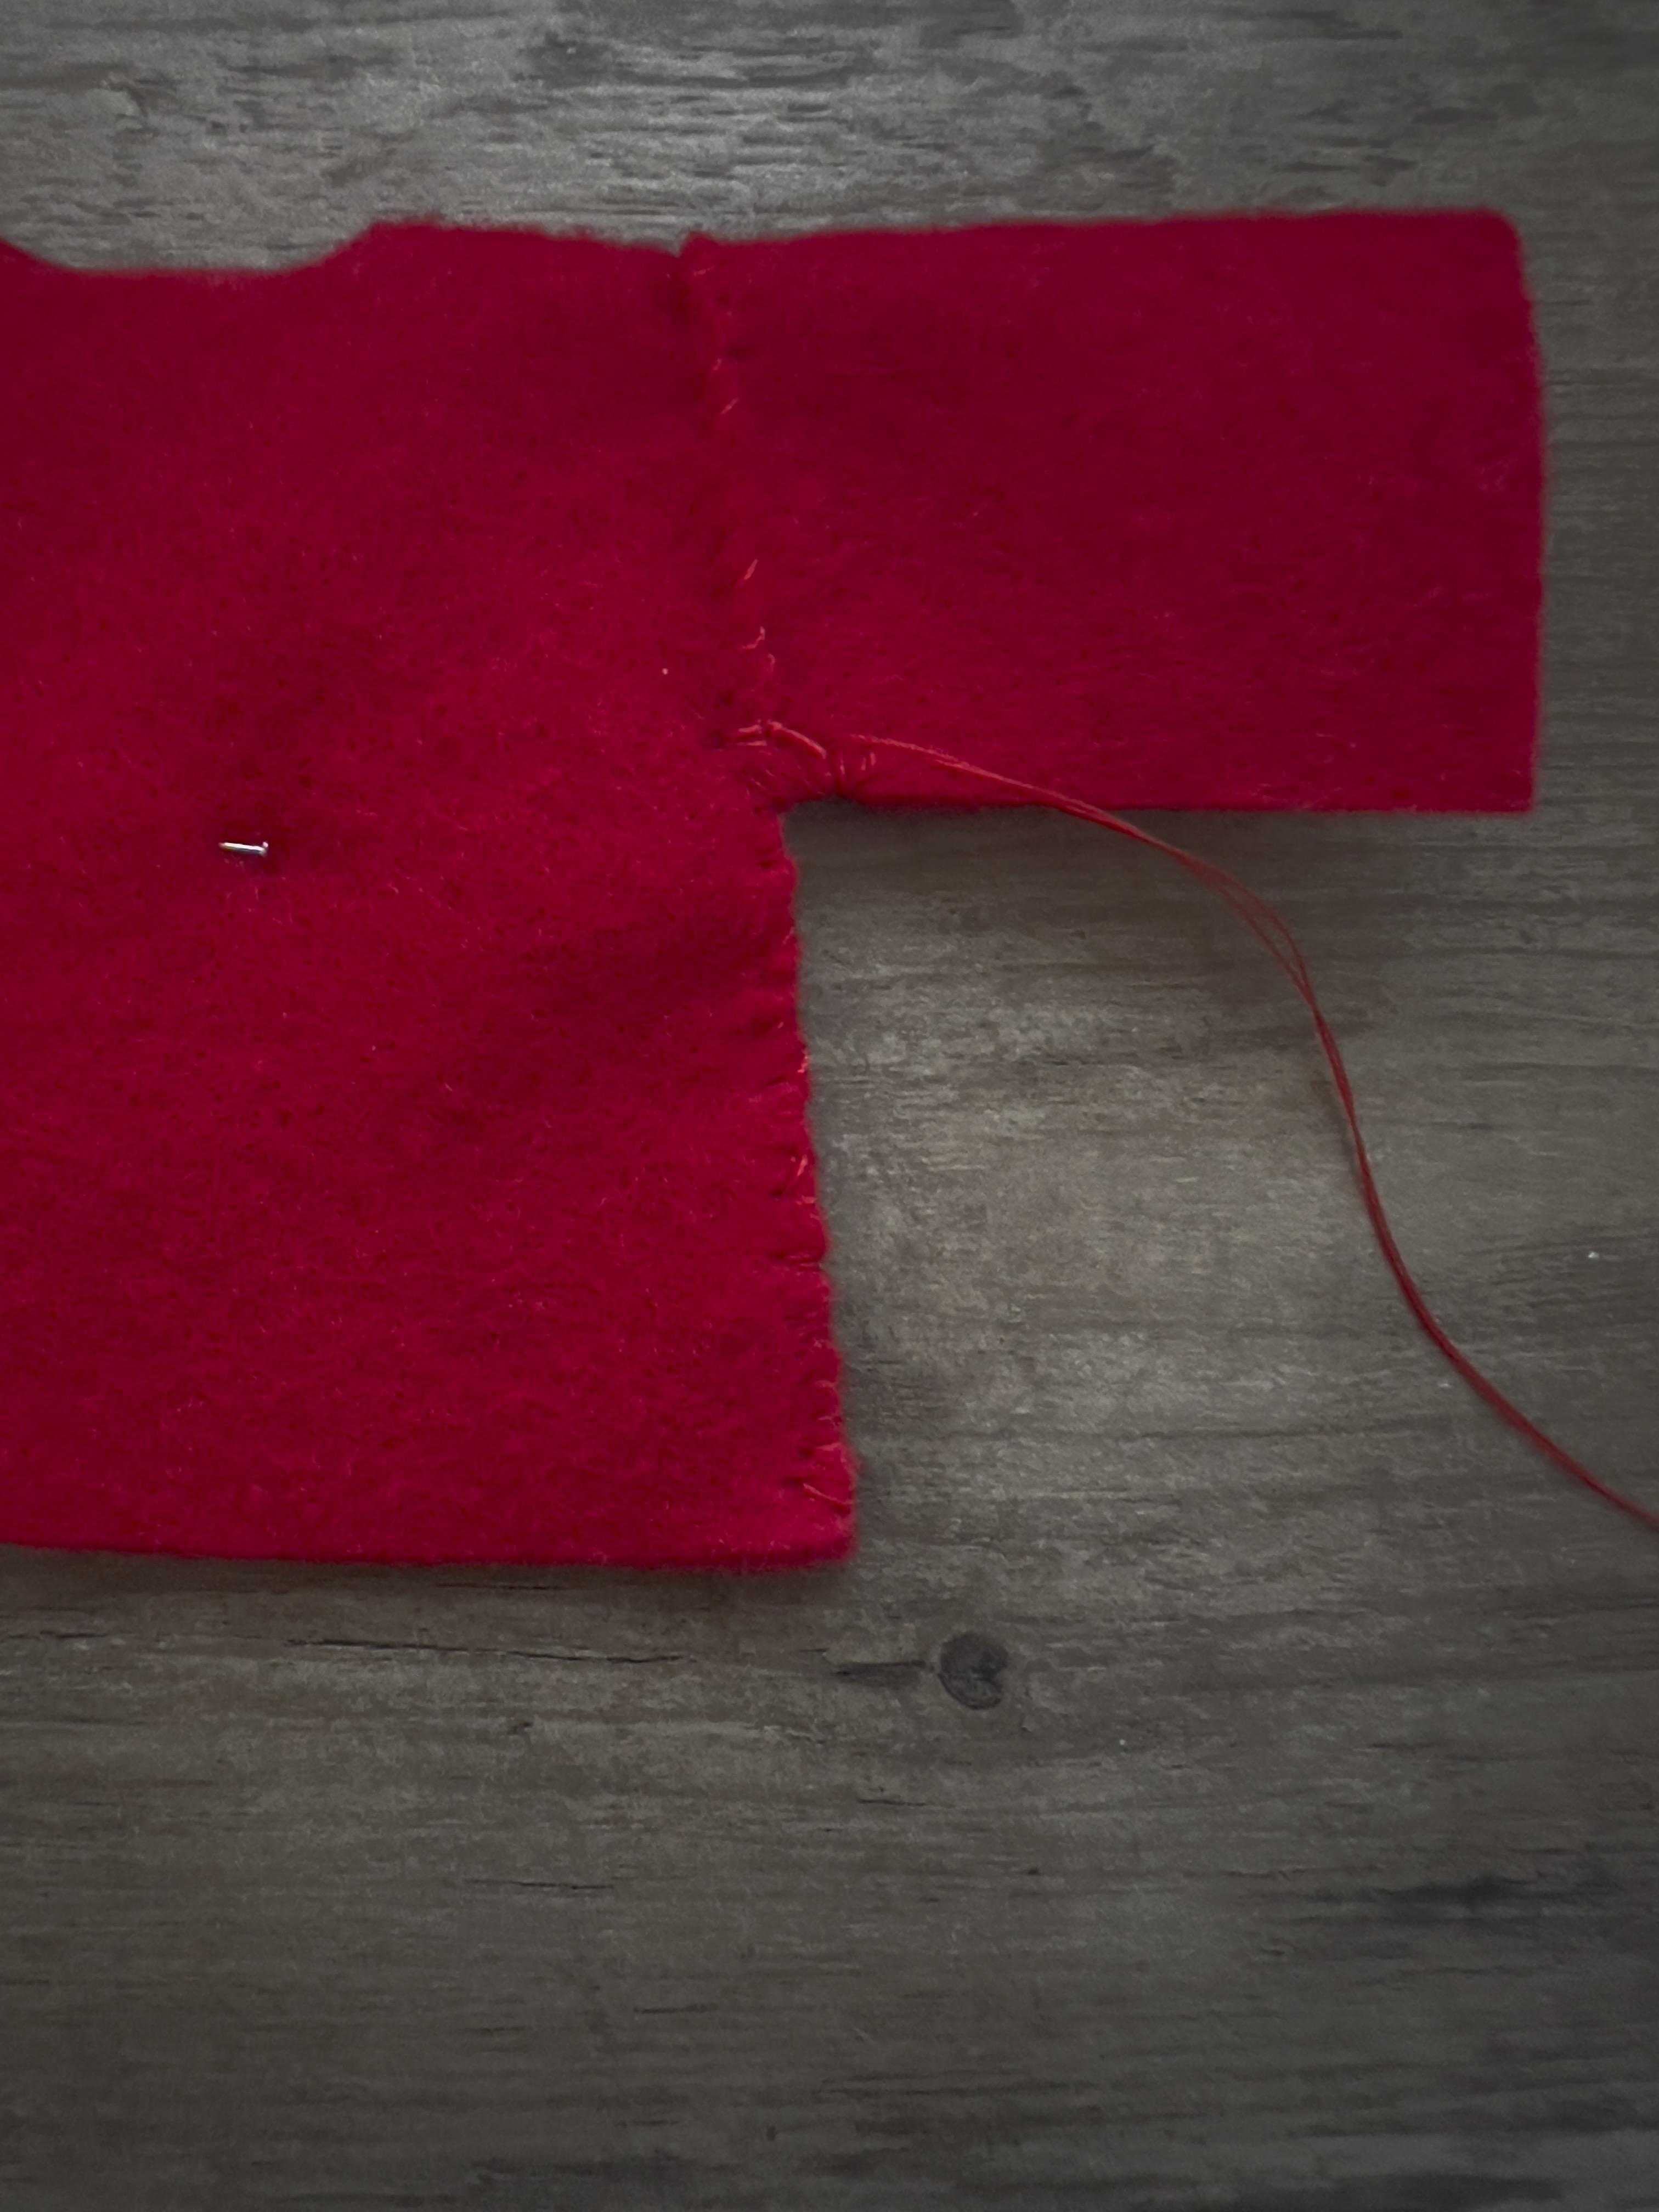
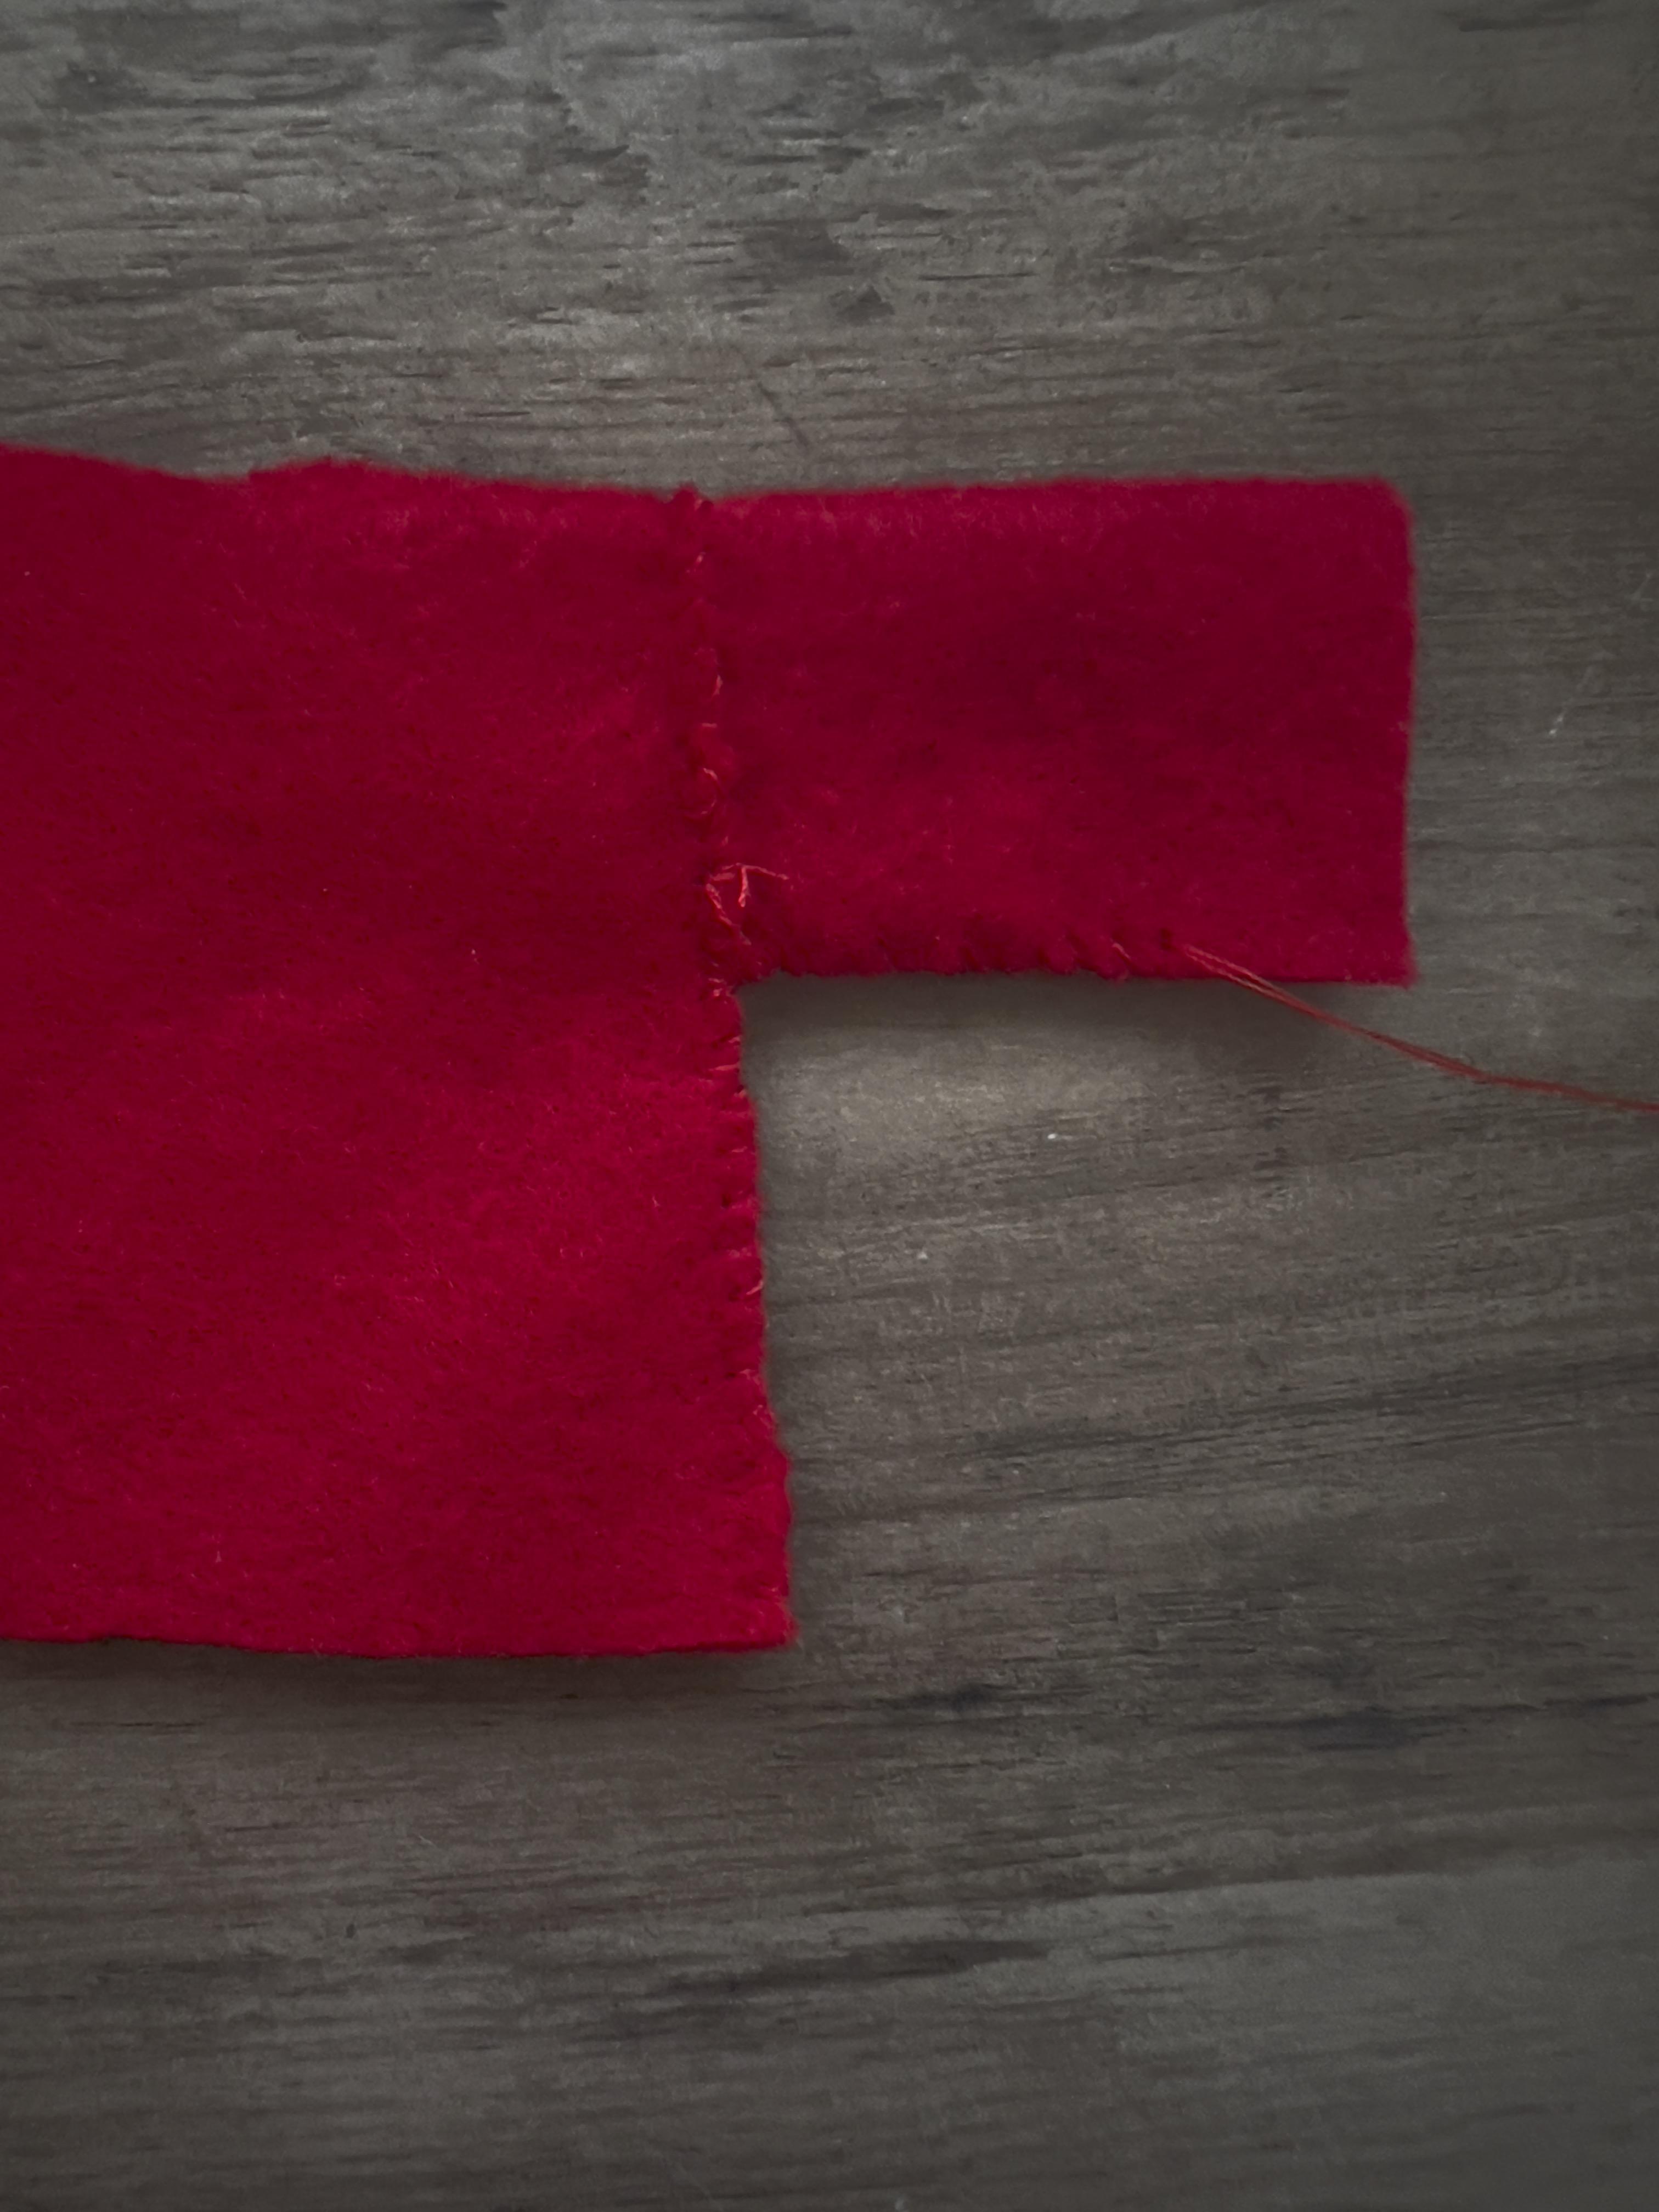
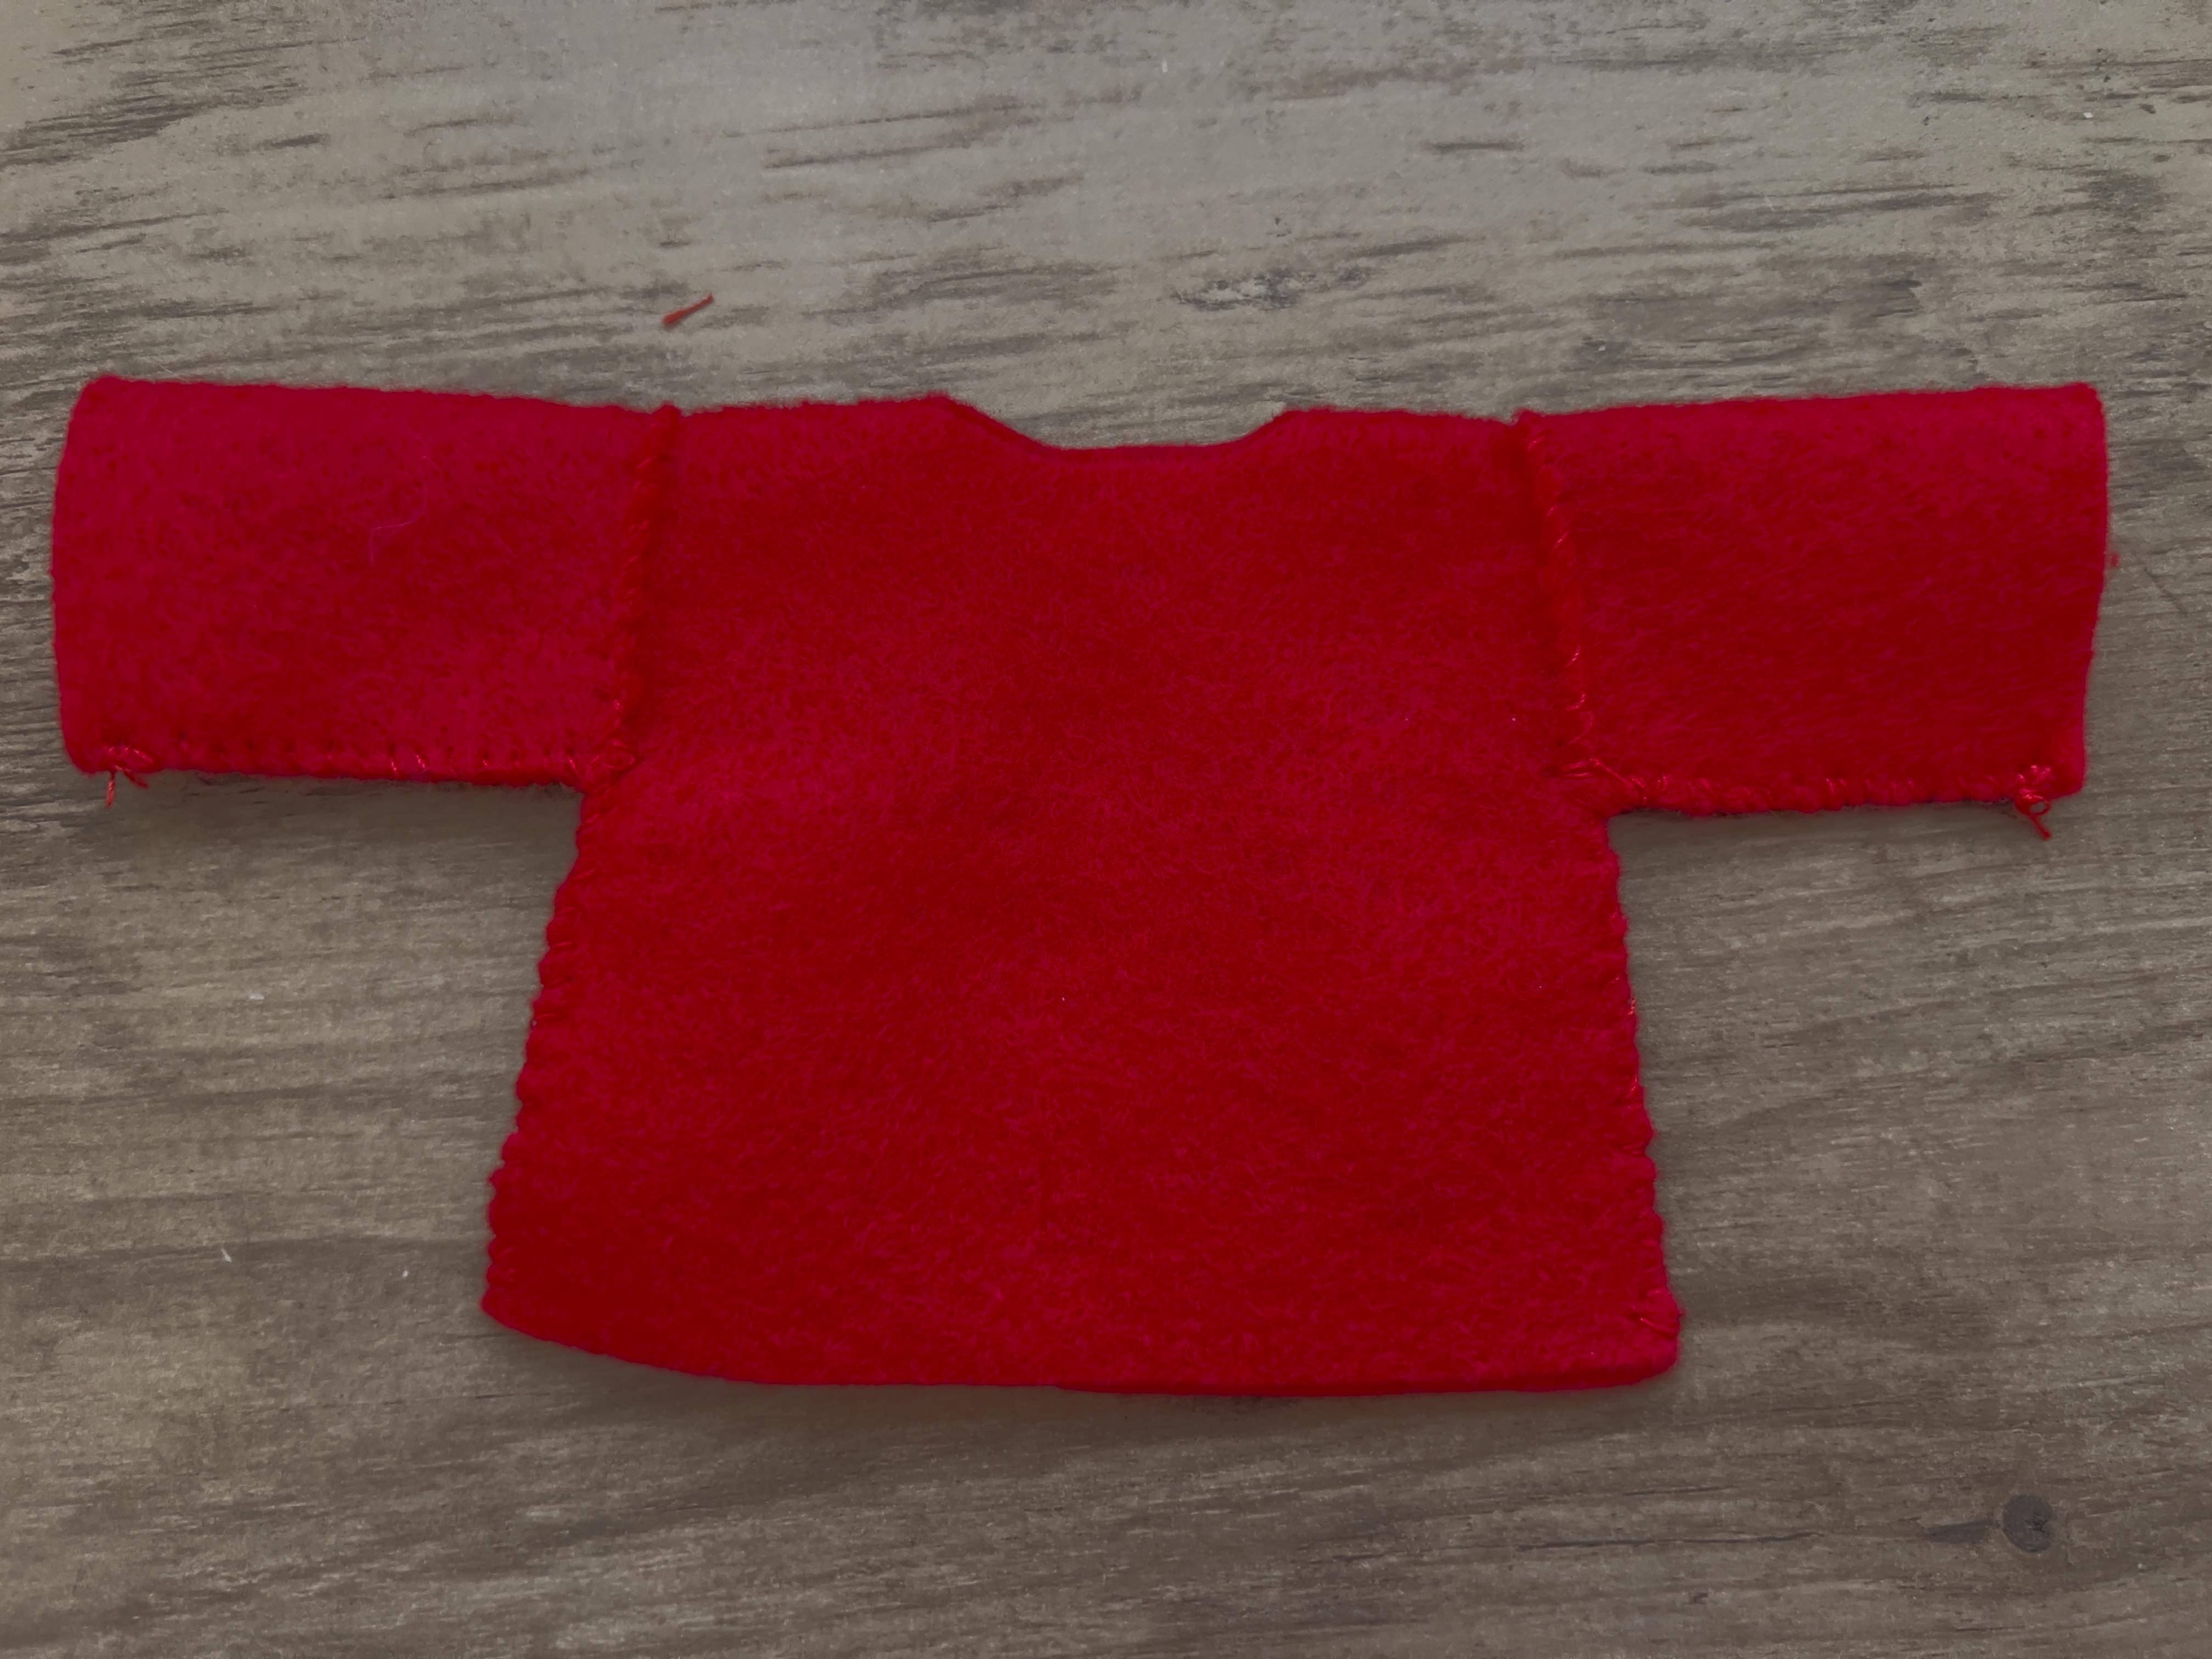
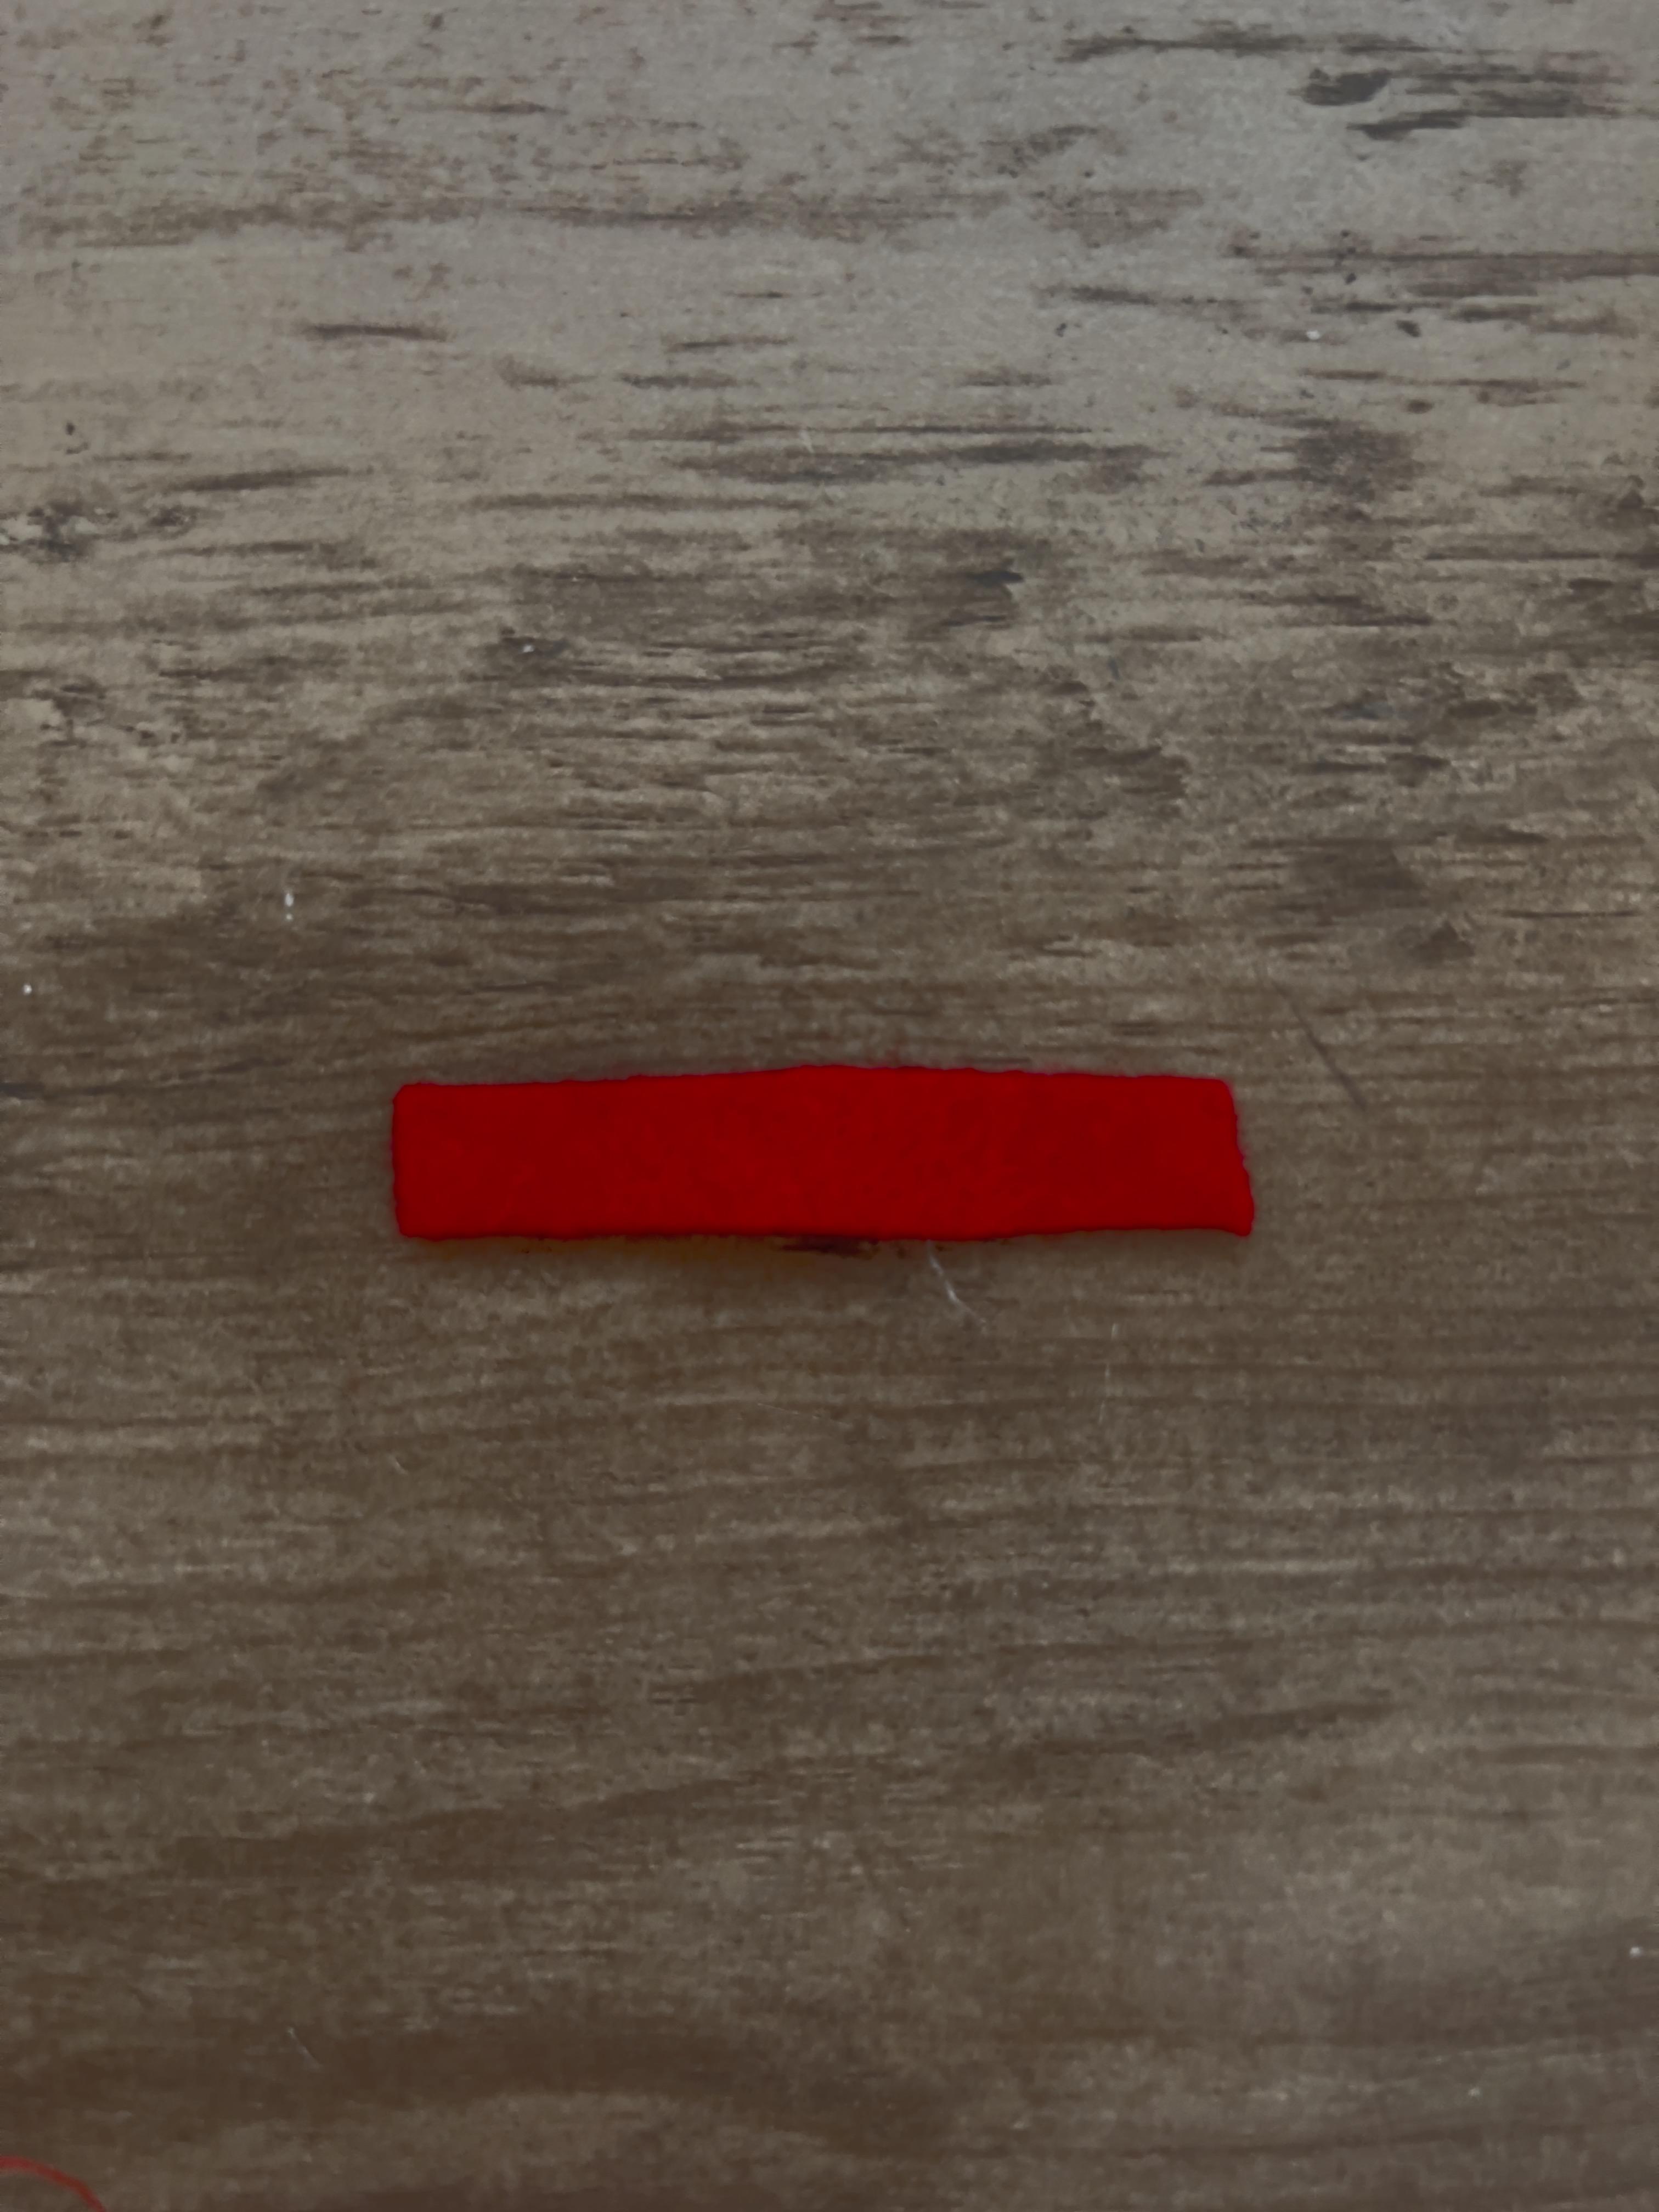
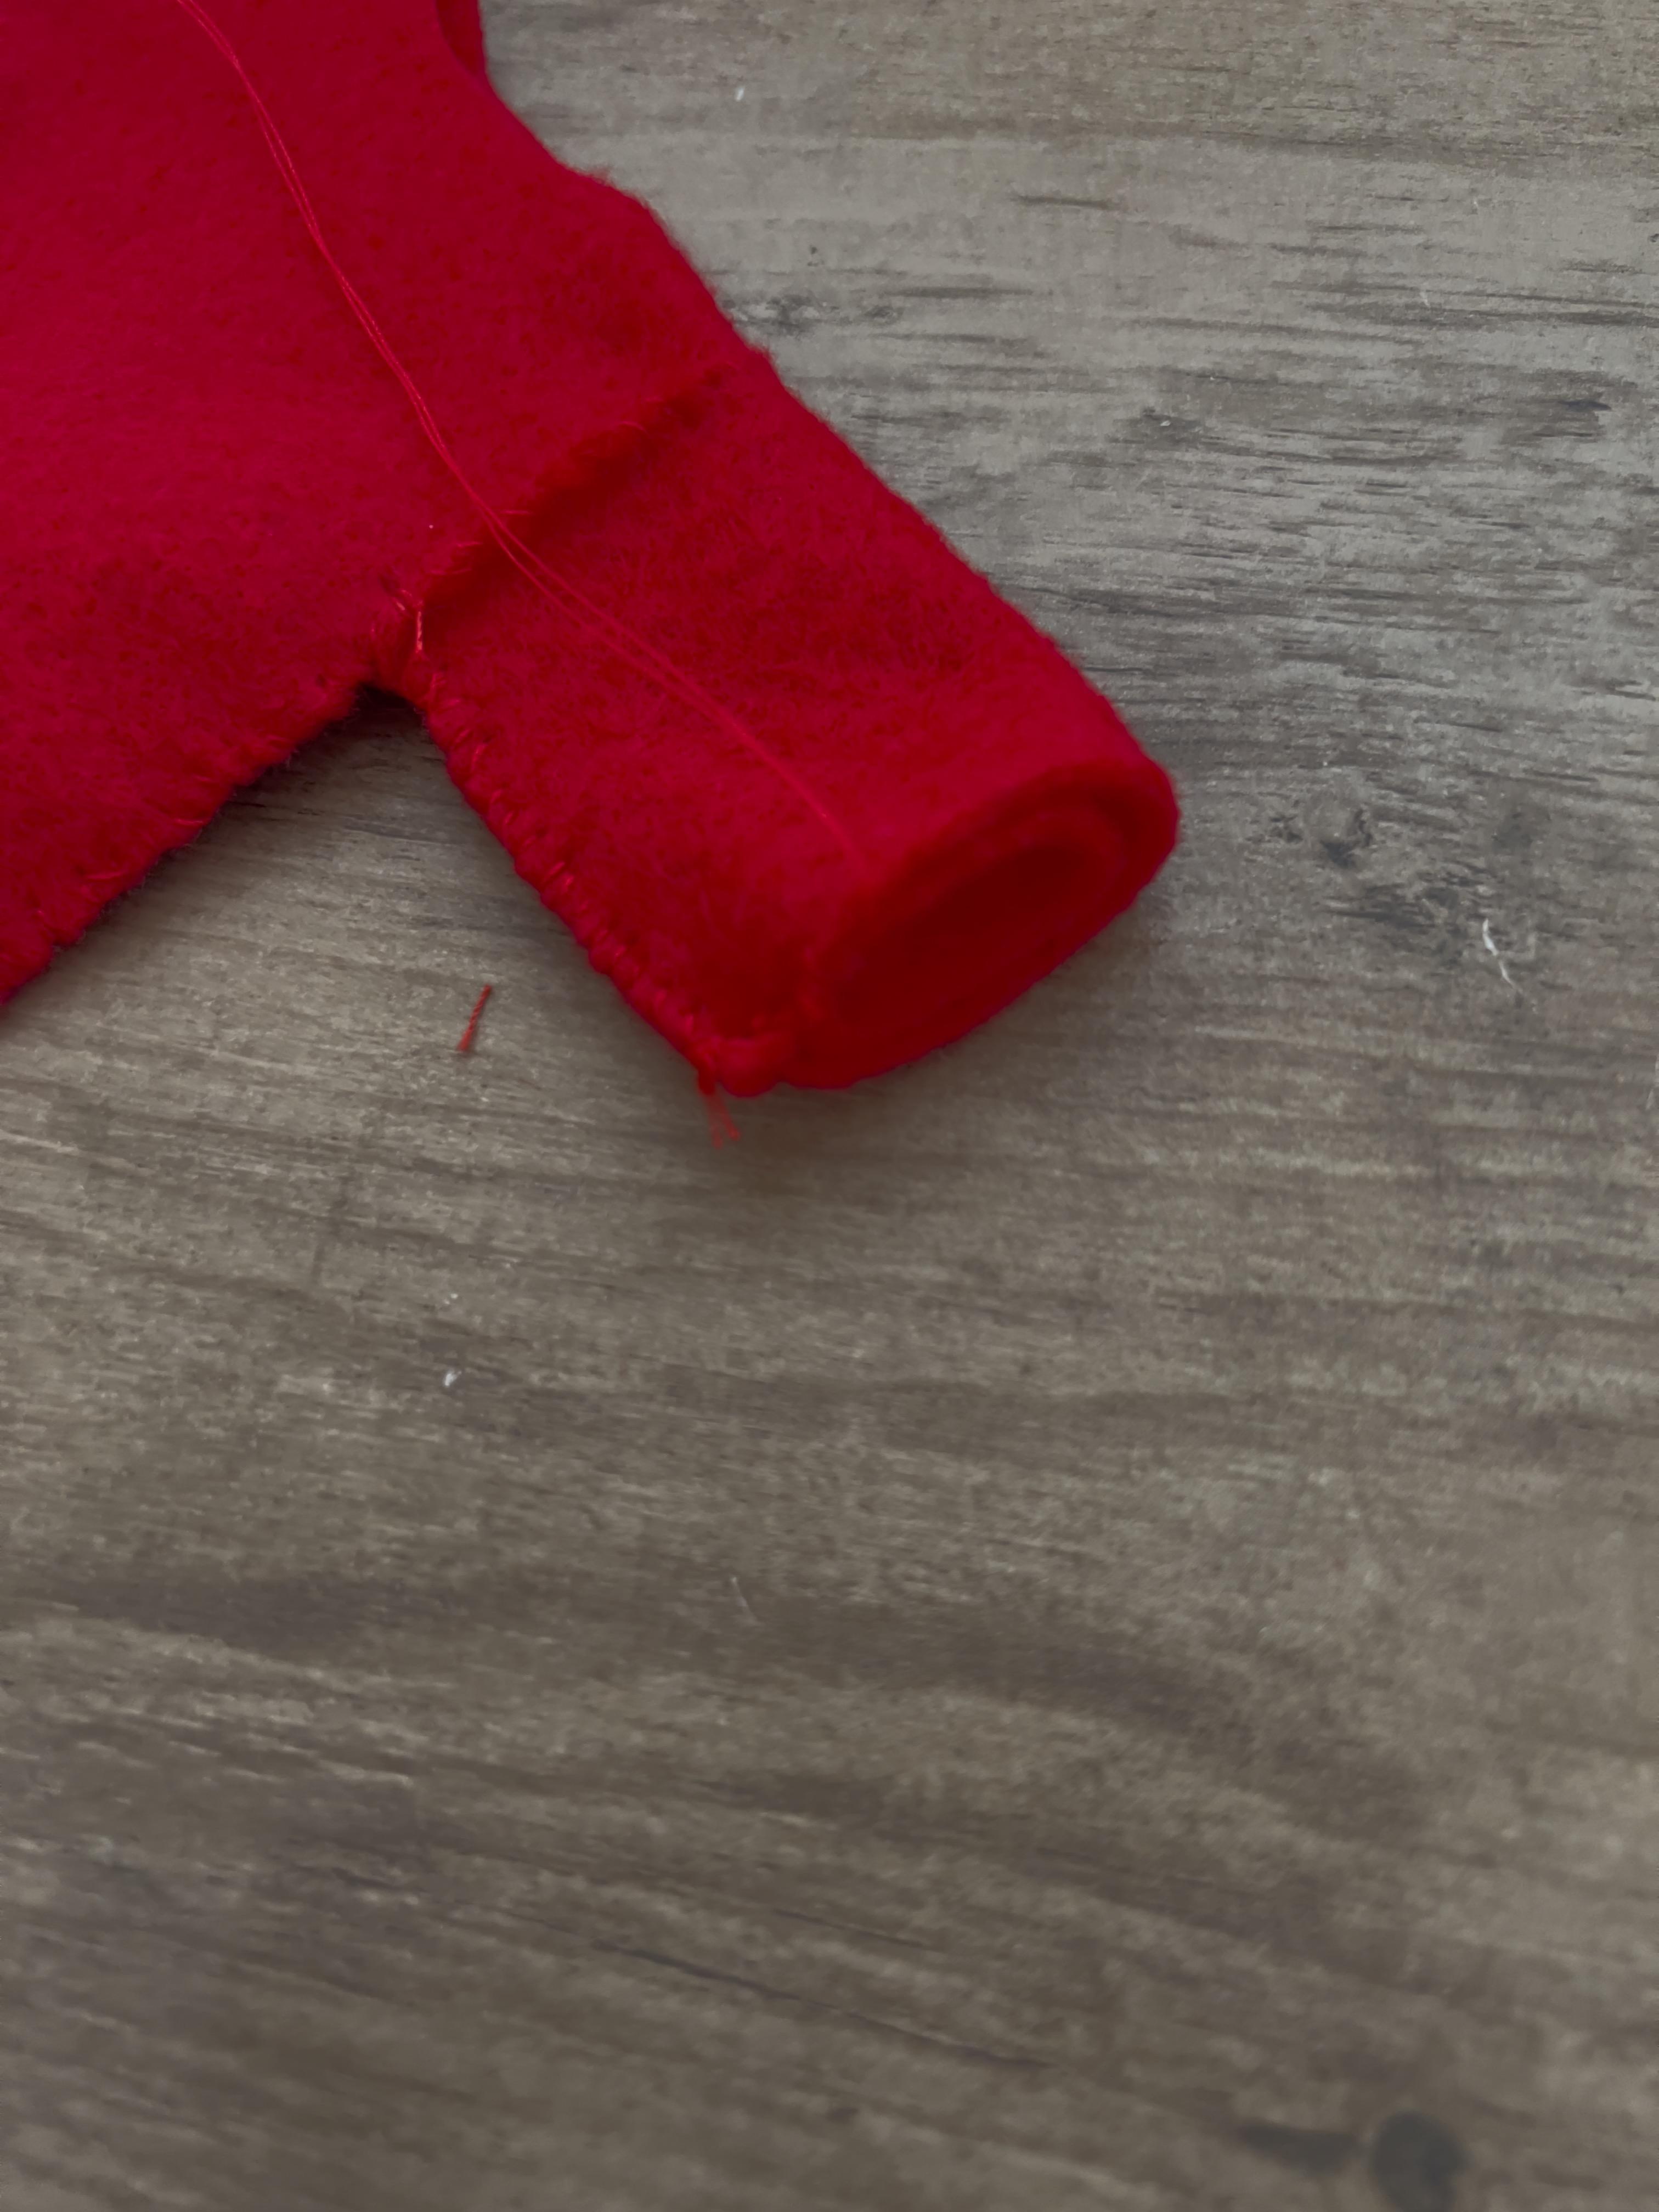
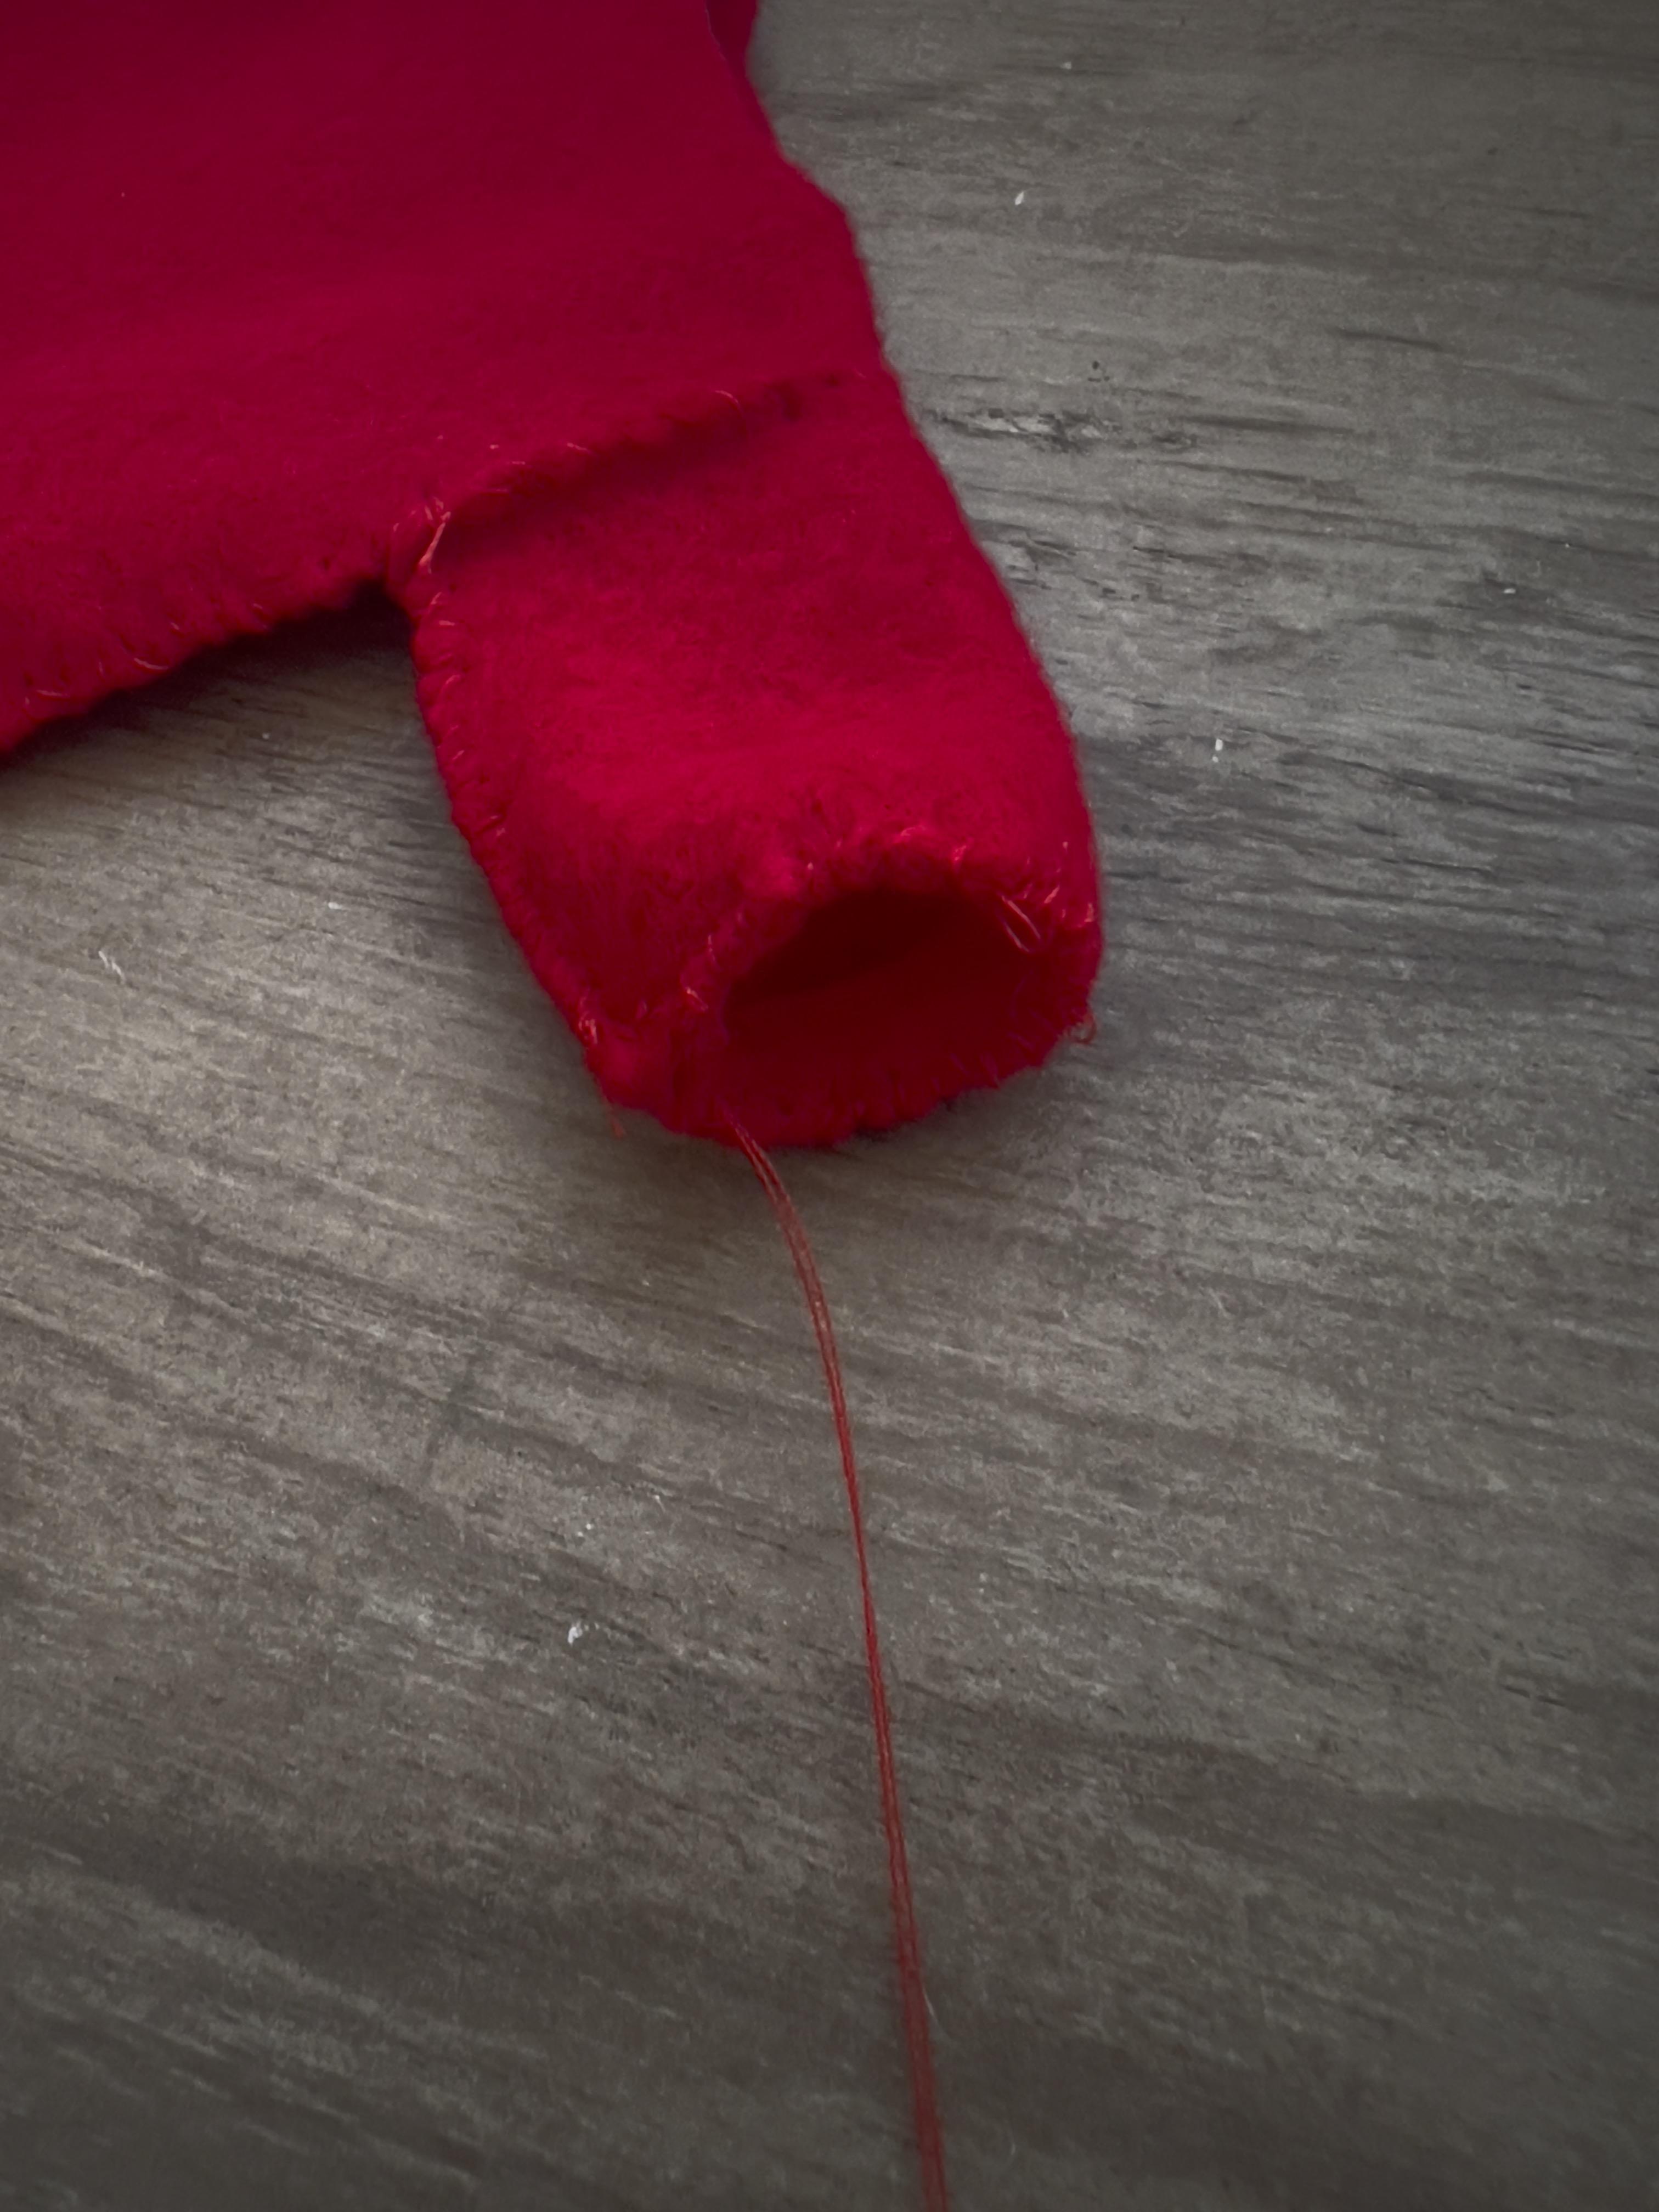
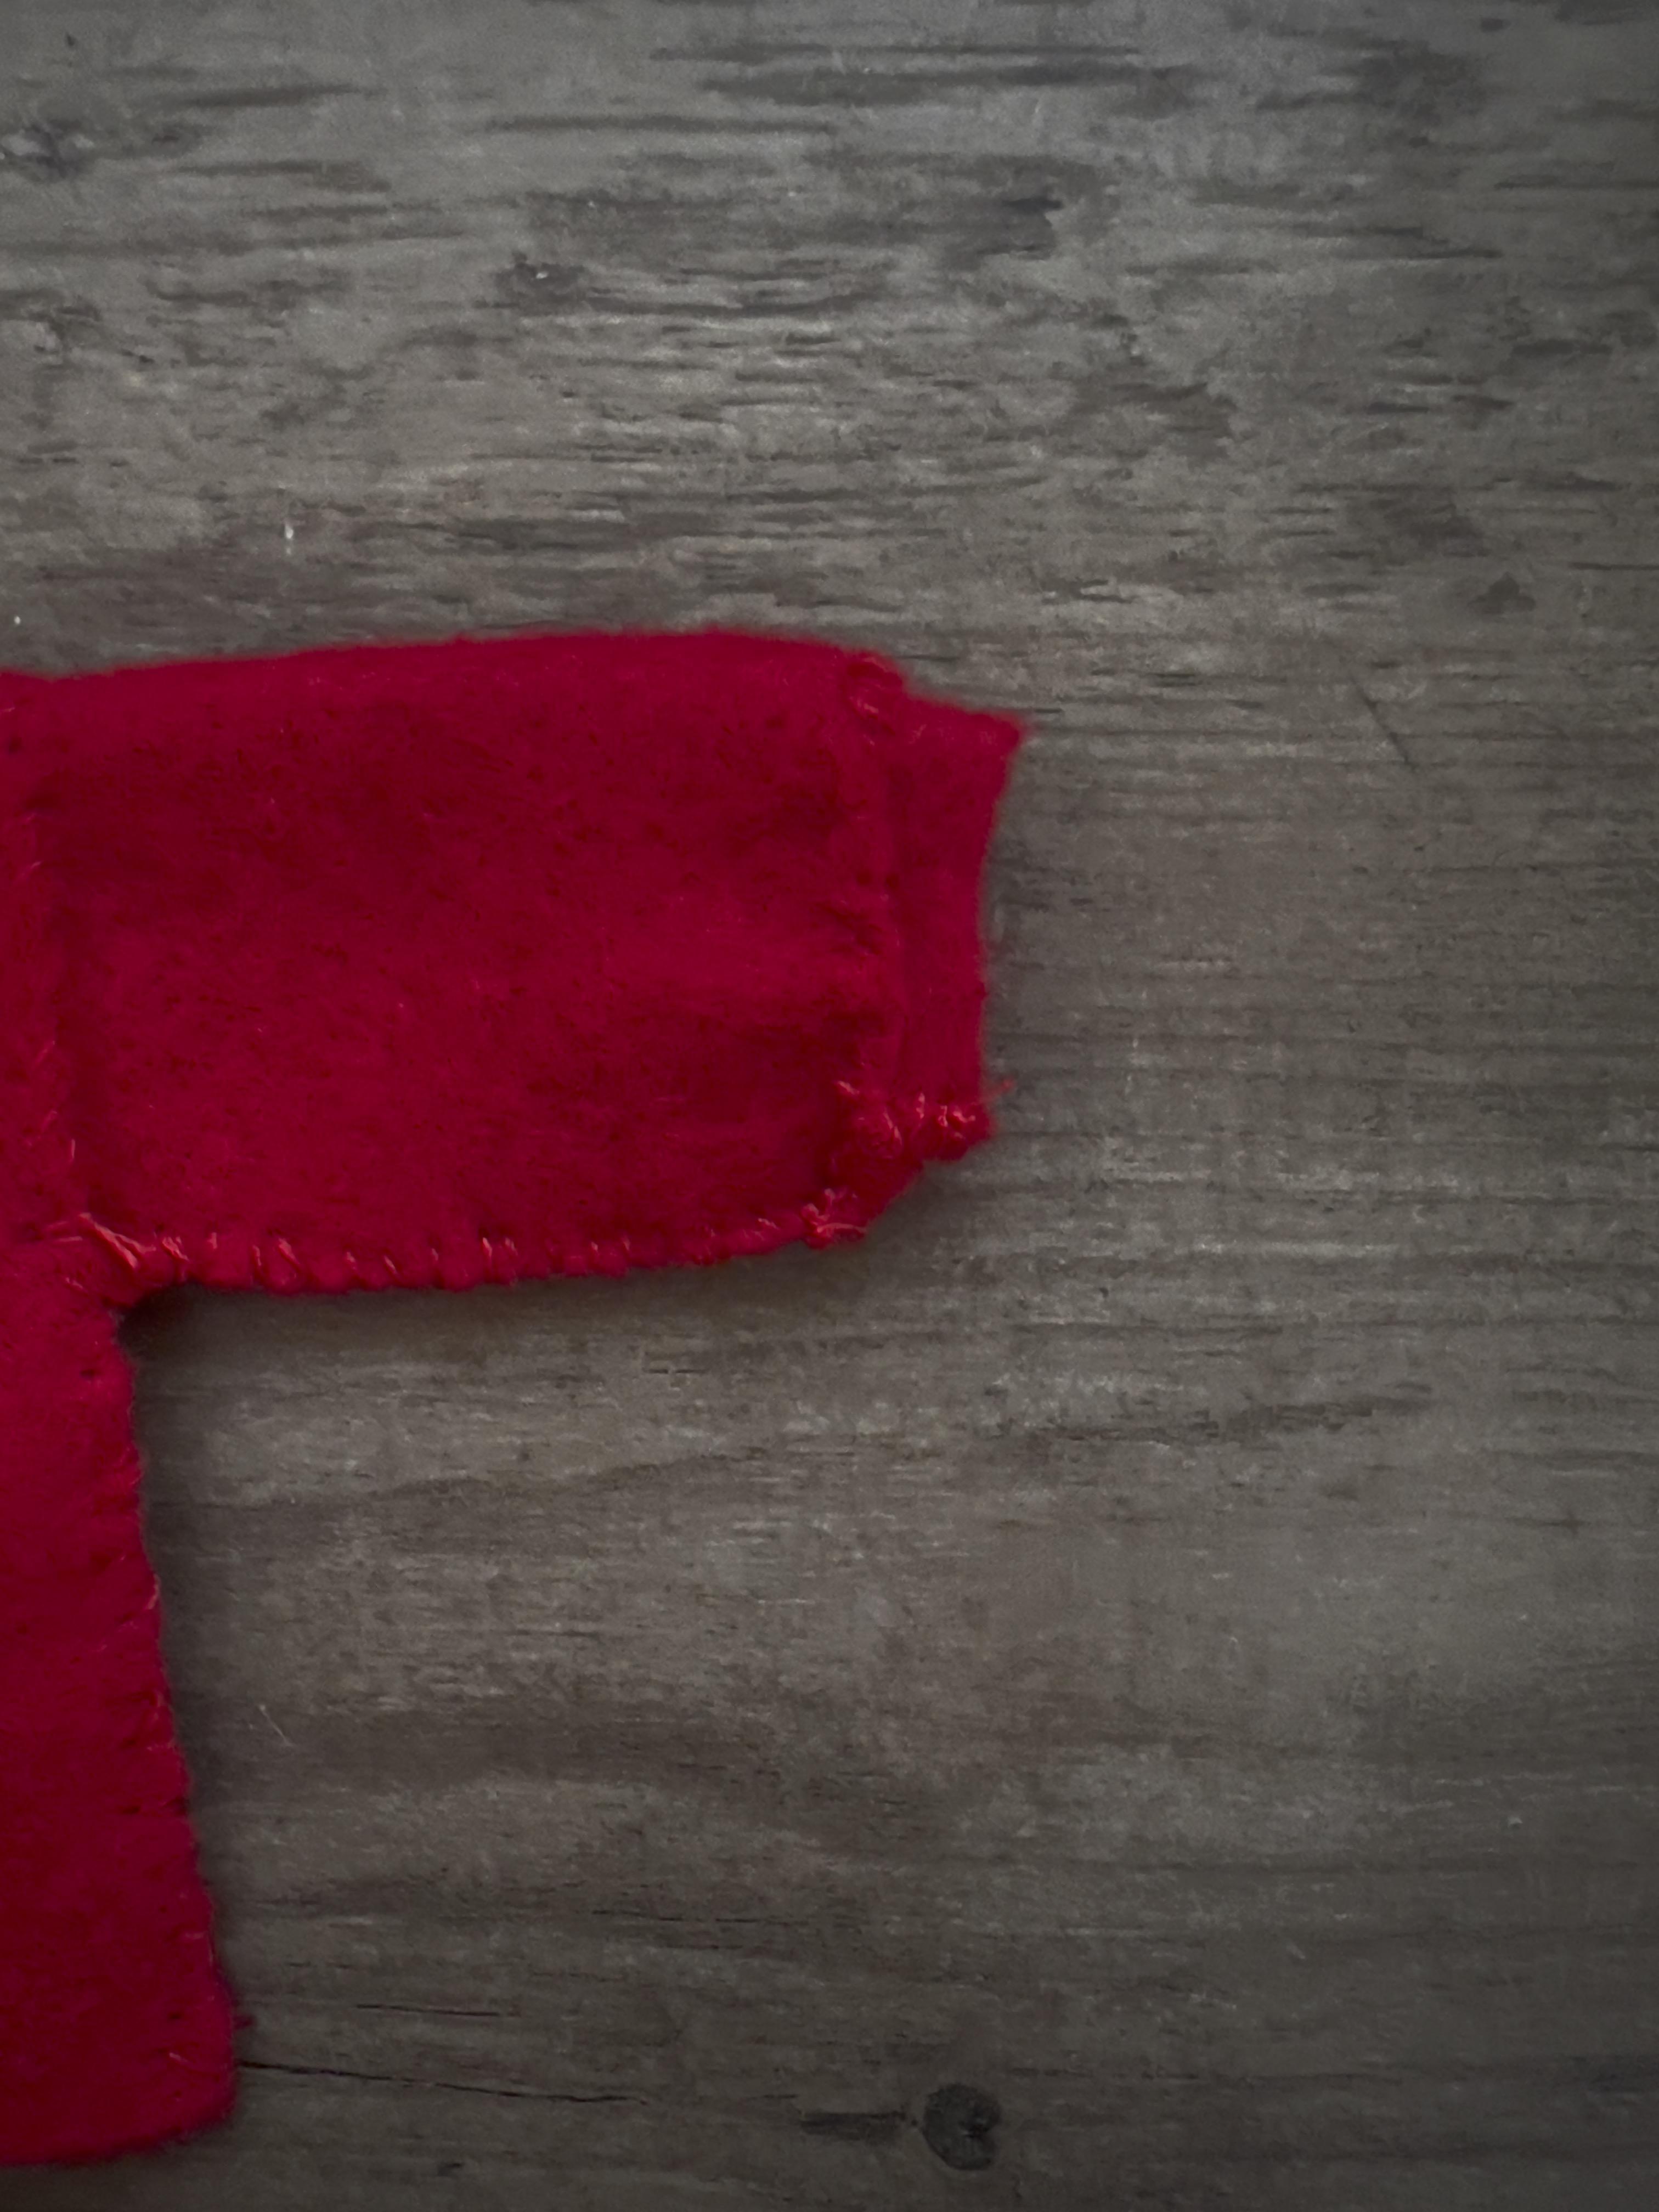
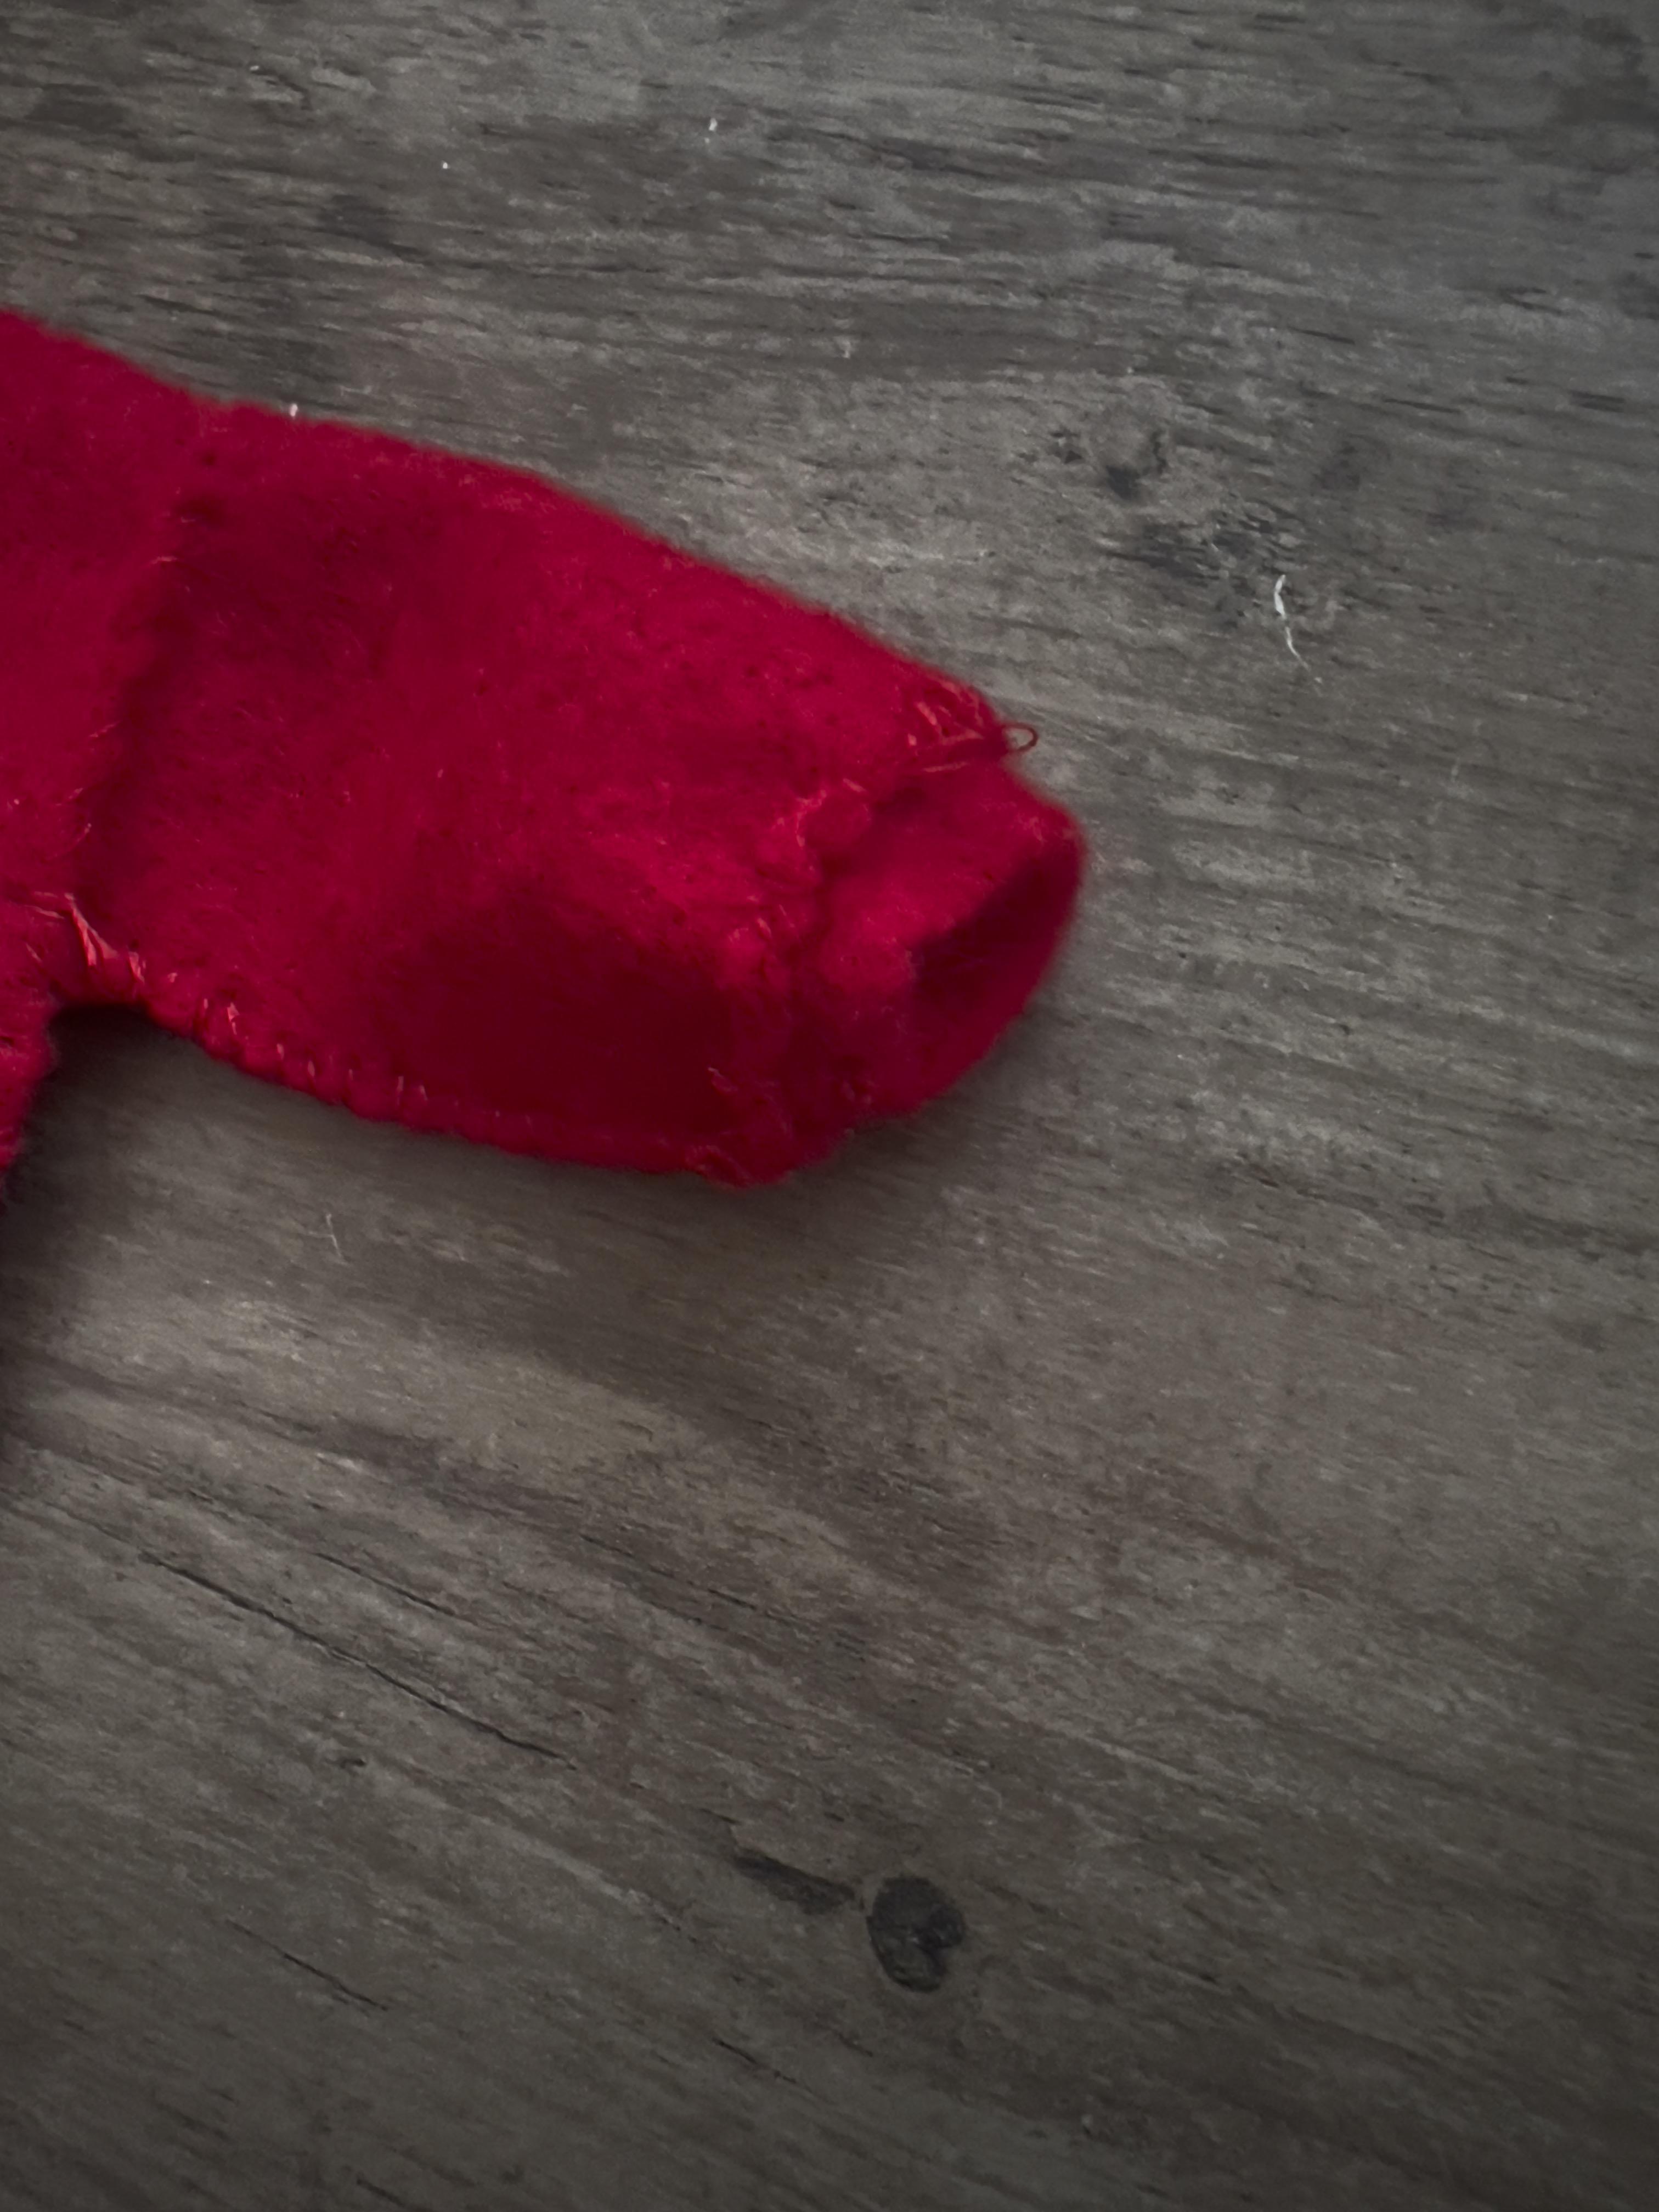
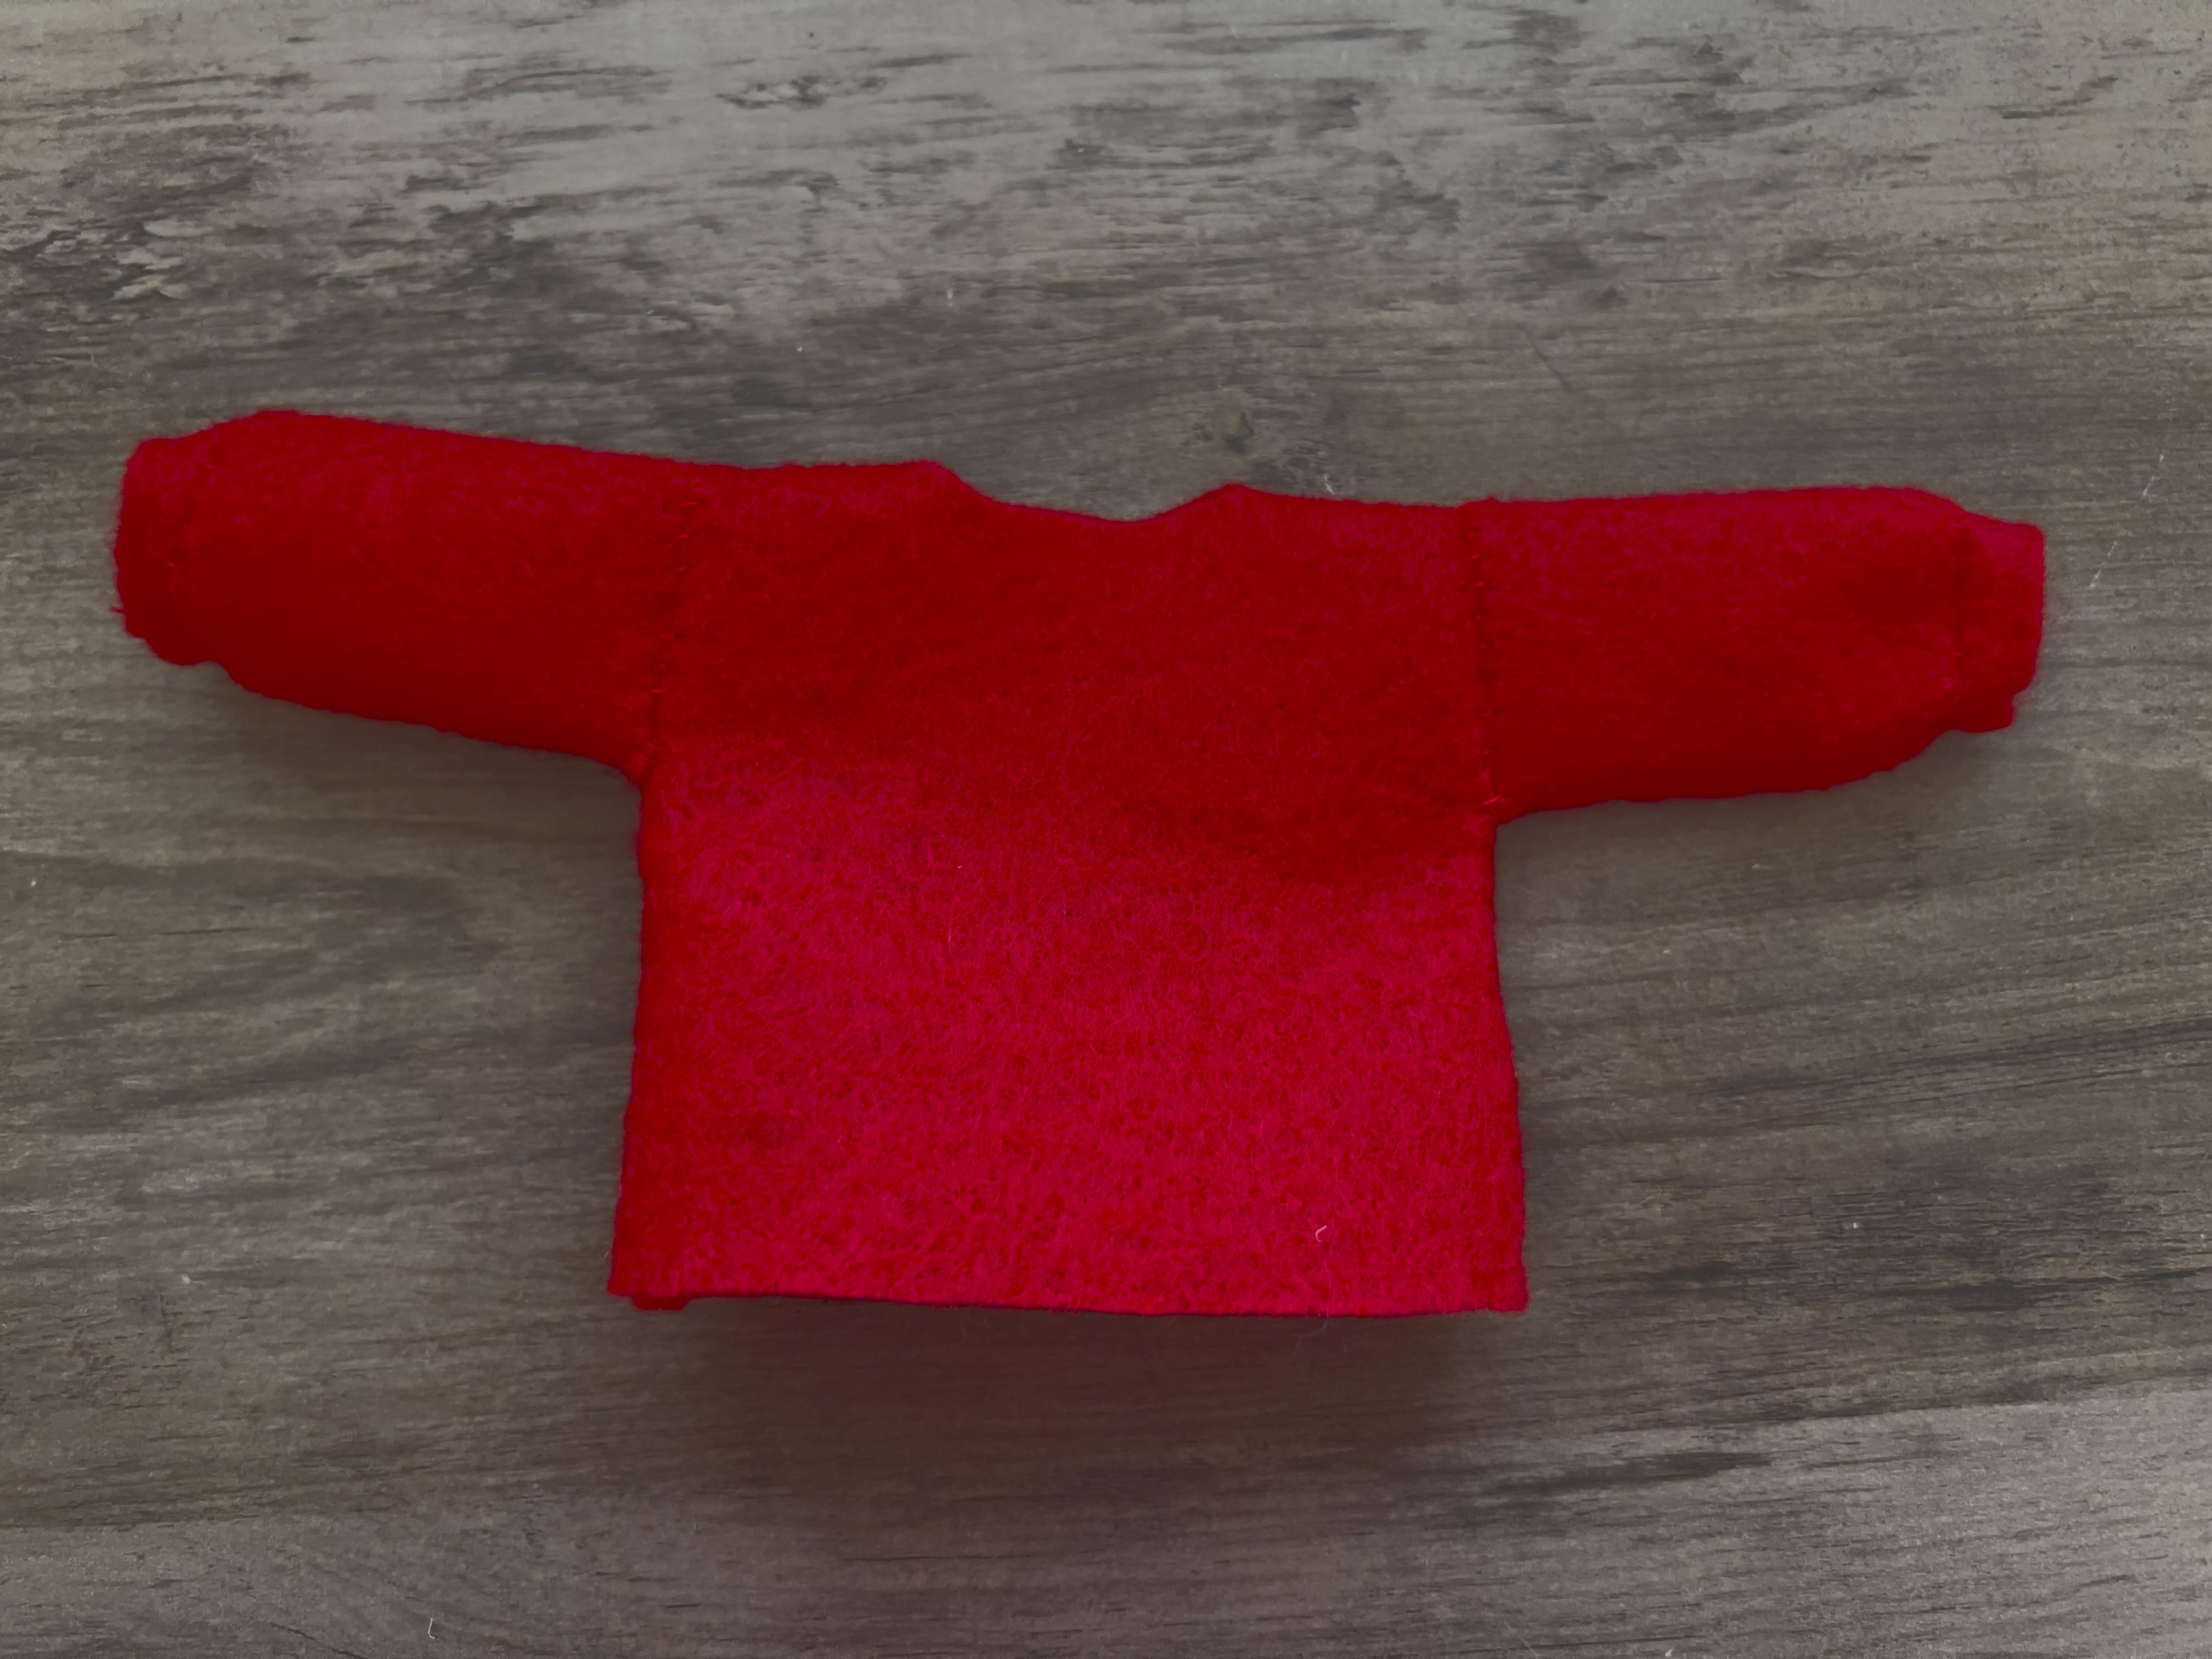
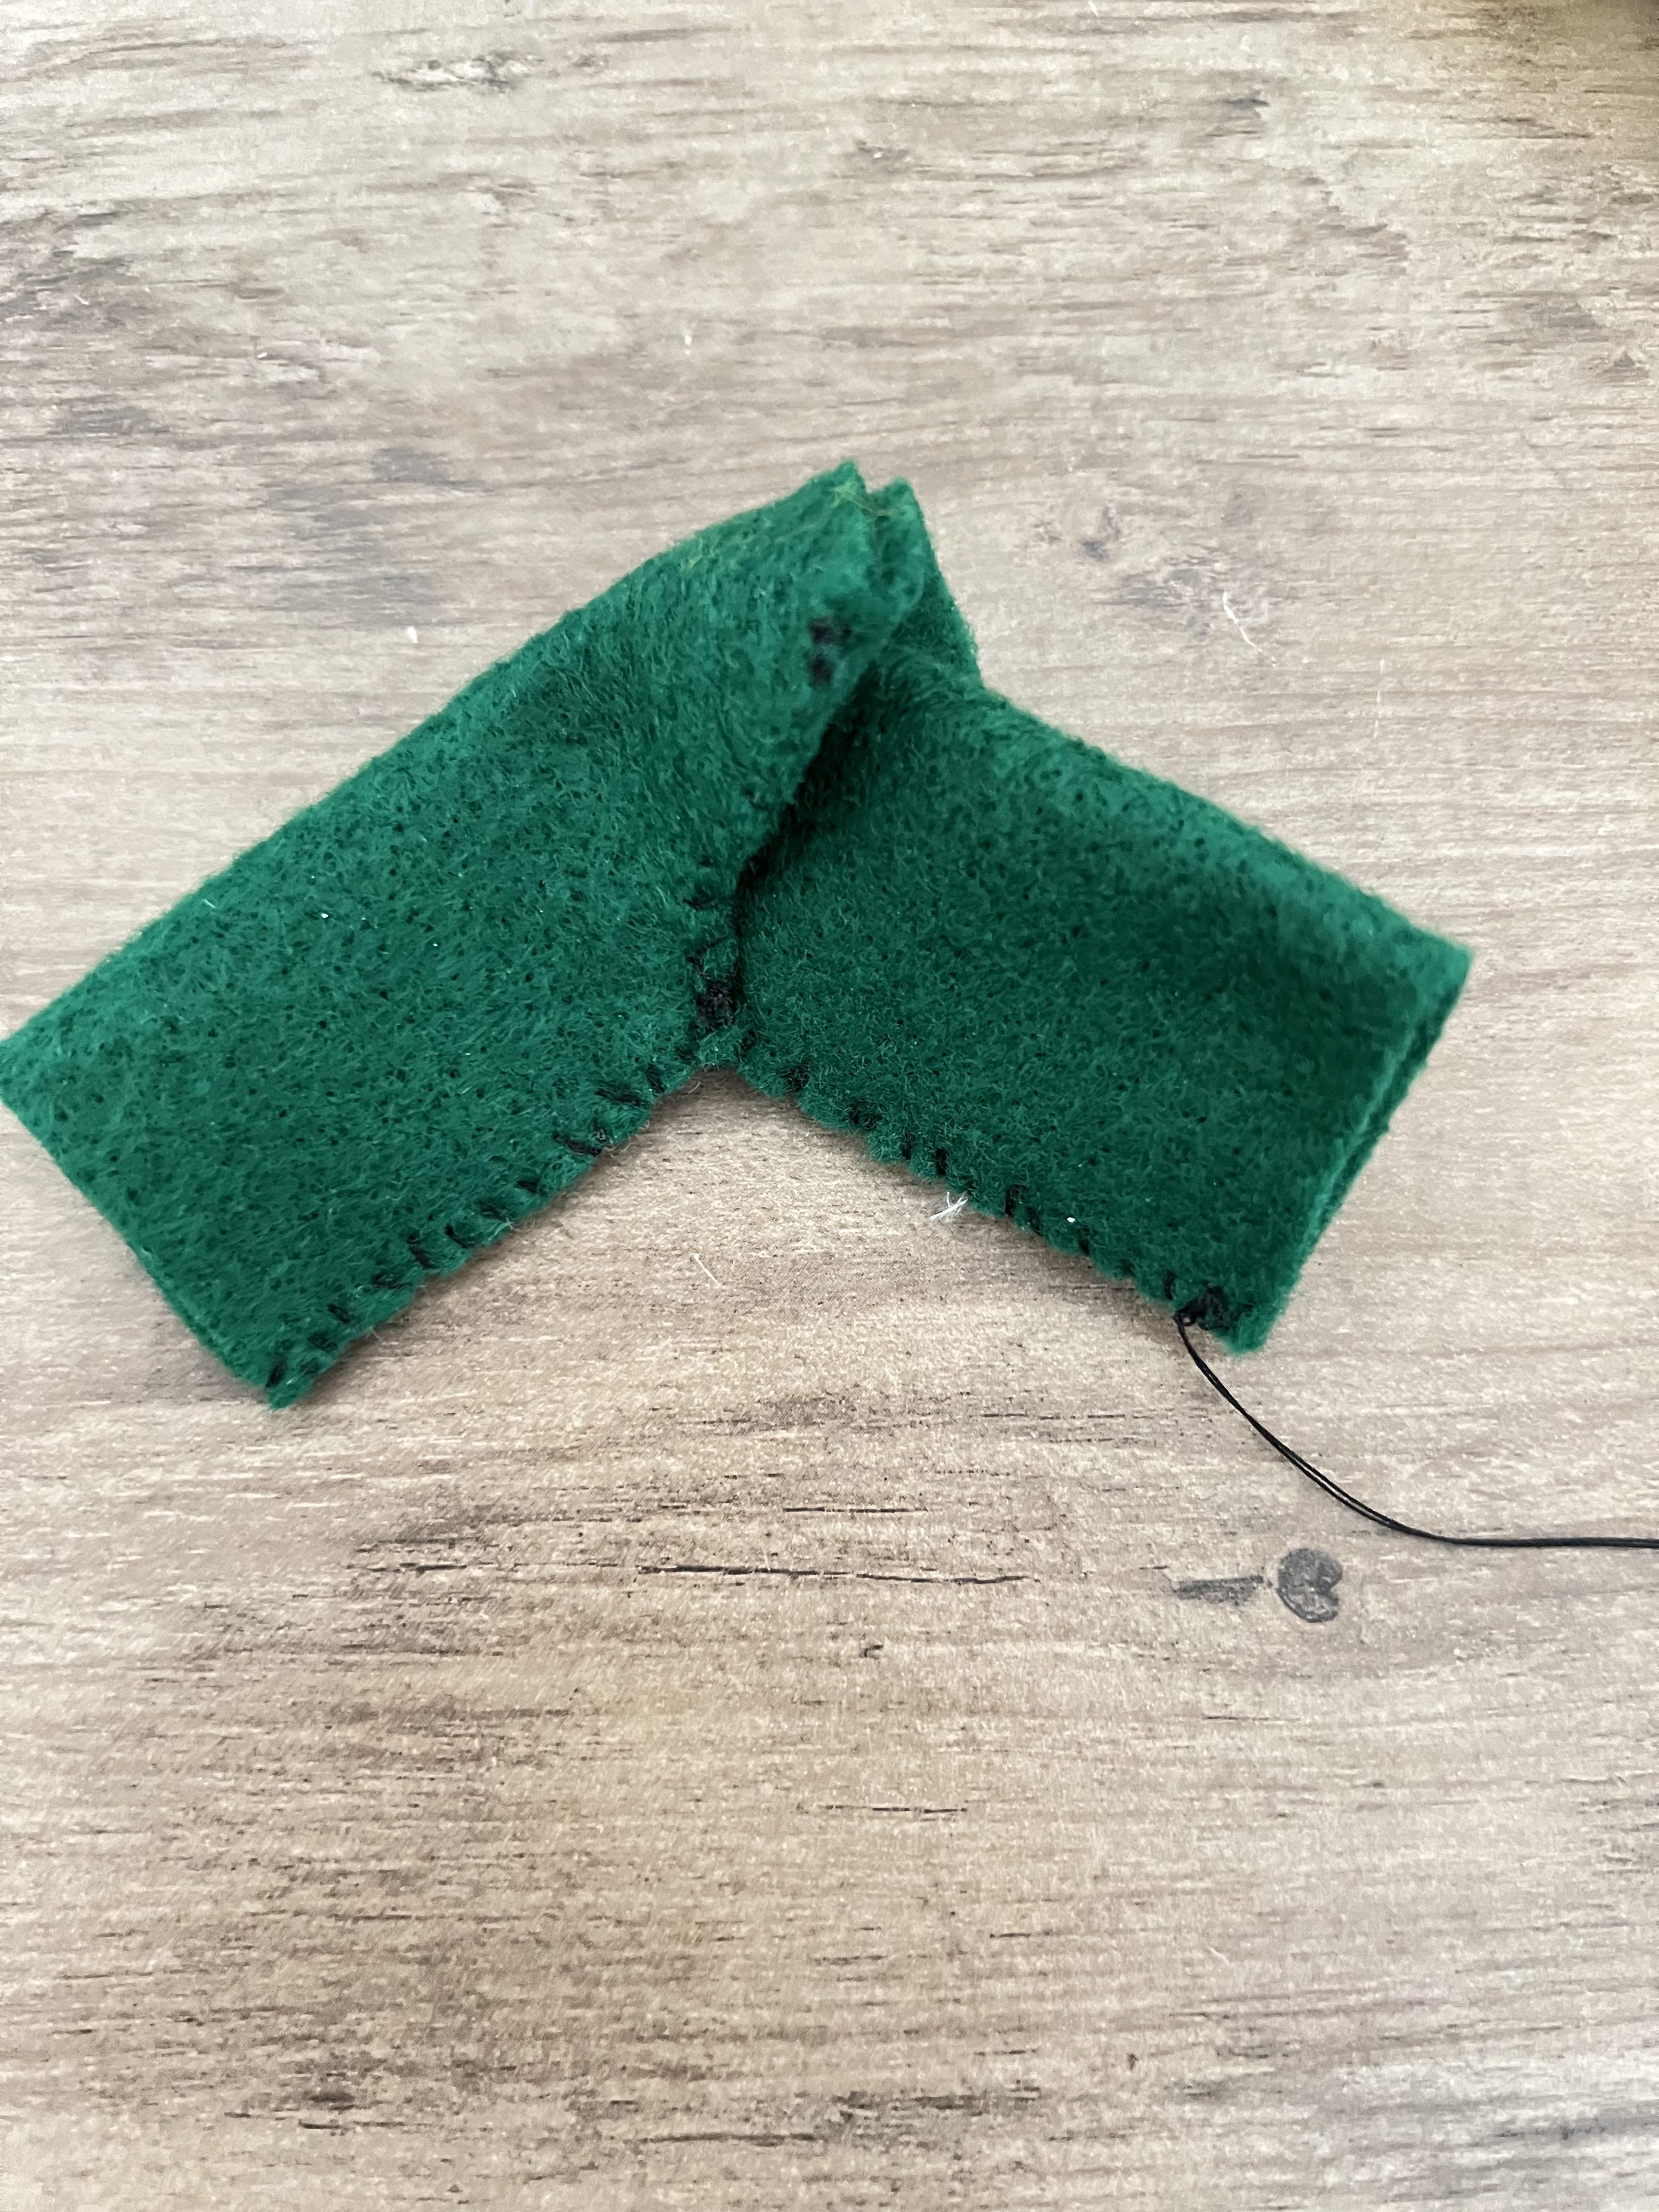
For his red sweater/shirt, cut out one large rectangle, two small rectangles (for sleeves), and two thin strips for the scrunch around his wrist (see picture 20). Lay one sleeve on your large rectangle. Next, thread your needle and sew up the sleeves as in pictures 22-27. Fold your shirt in half and sew the side and lower half of the shirt/sleeve (pictures 28-33)
For the scrunched cuffs, fold a strip in half and sew it on one side. Flip it inside out, and put it in the shirt sleeve. Sew around the sleeve/cuff, and flip it out. Flip the shirt inside out and put it on Albert. Scrunch around the bottom of the shirt and pull it tight.
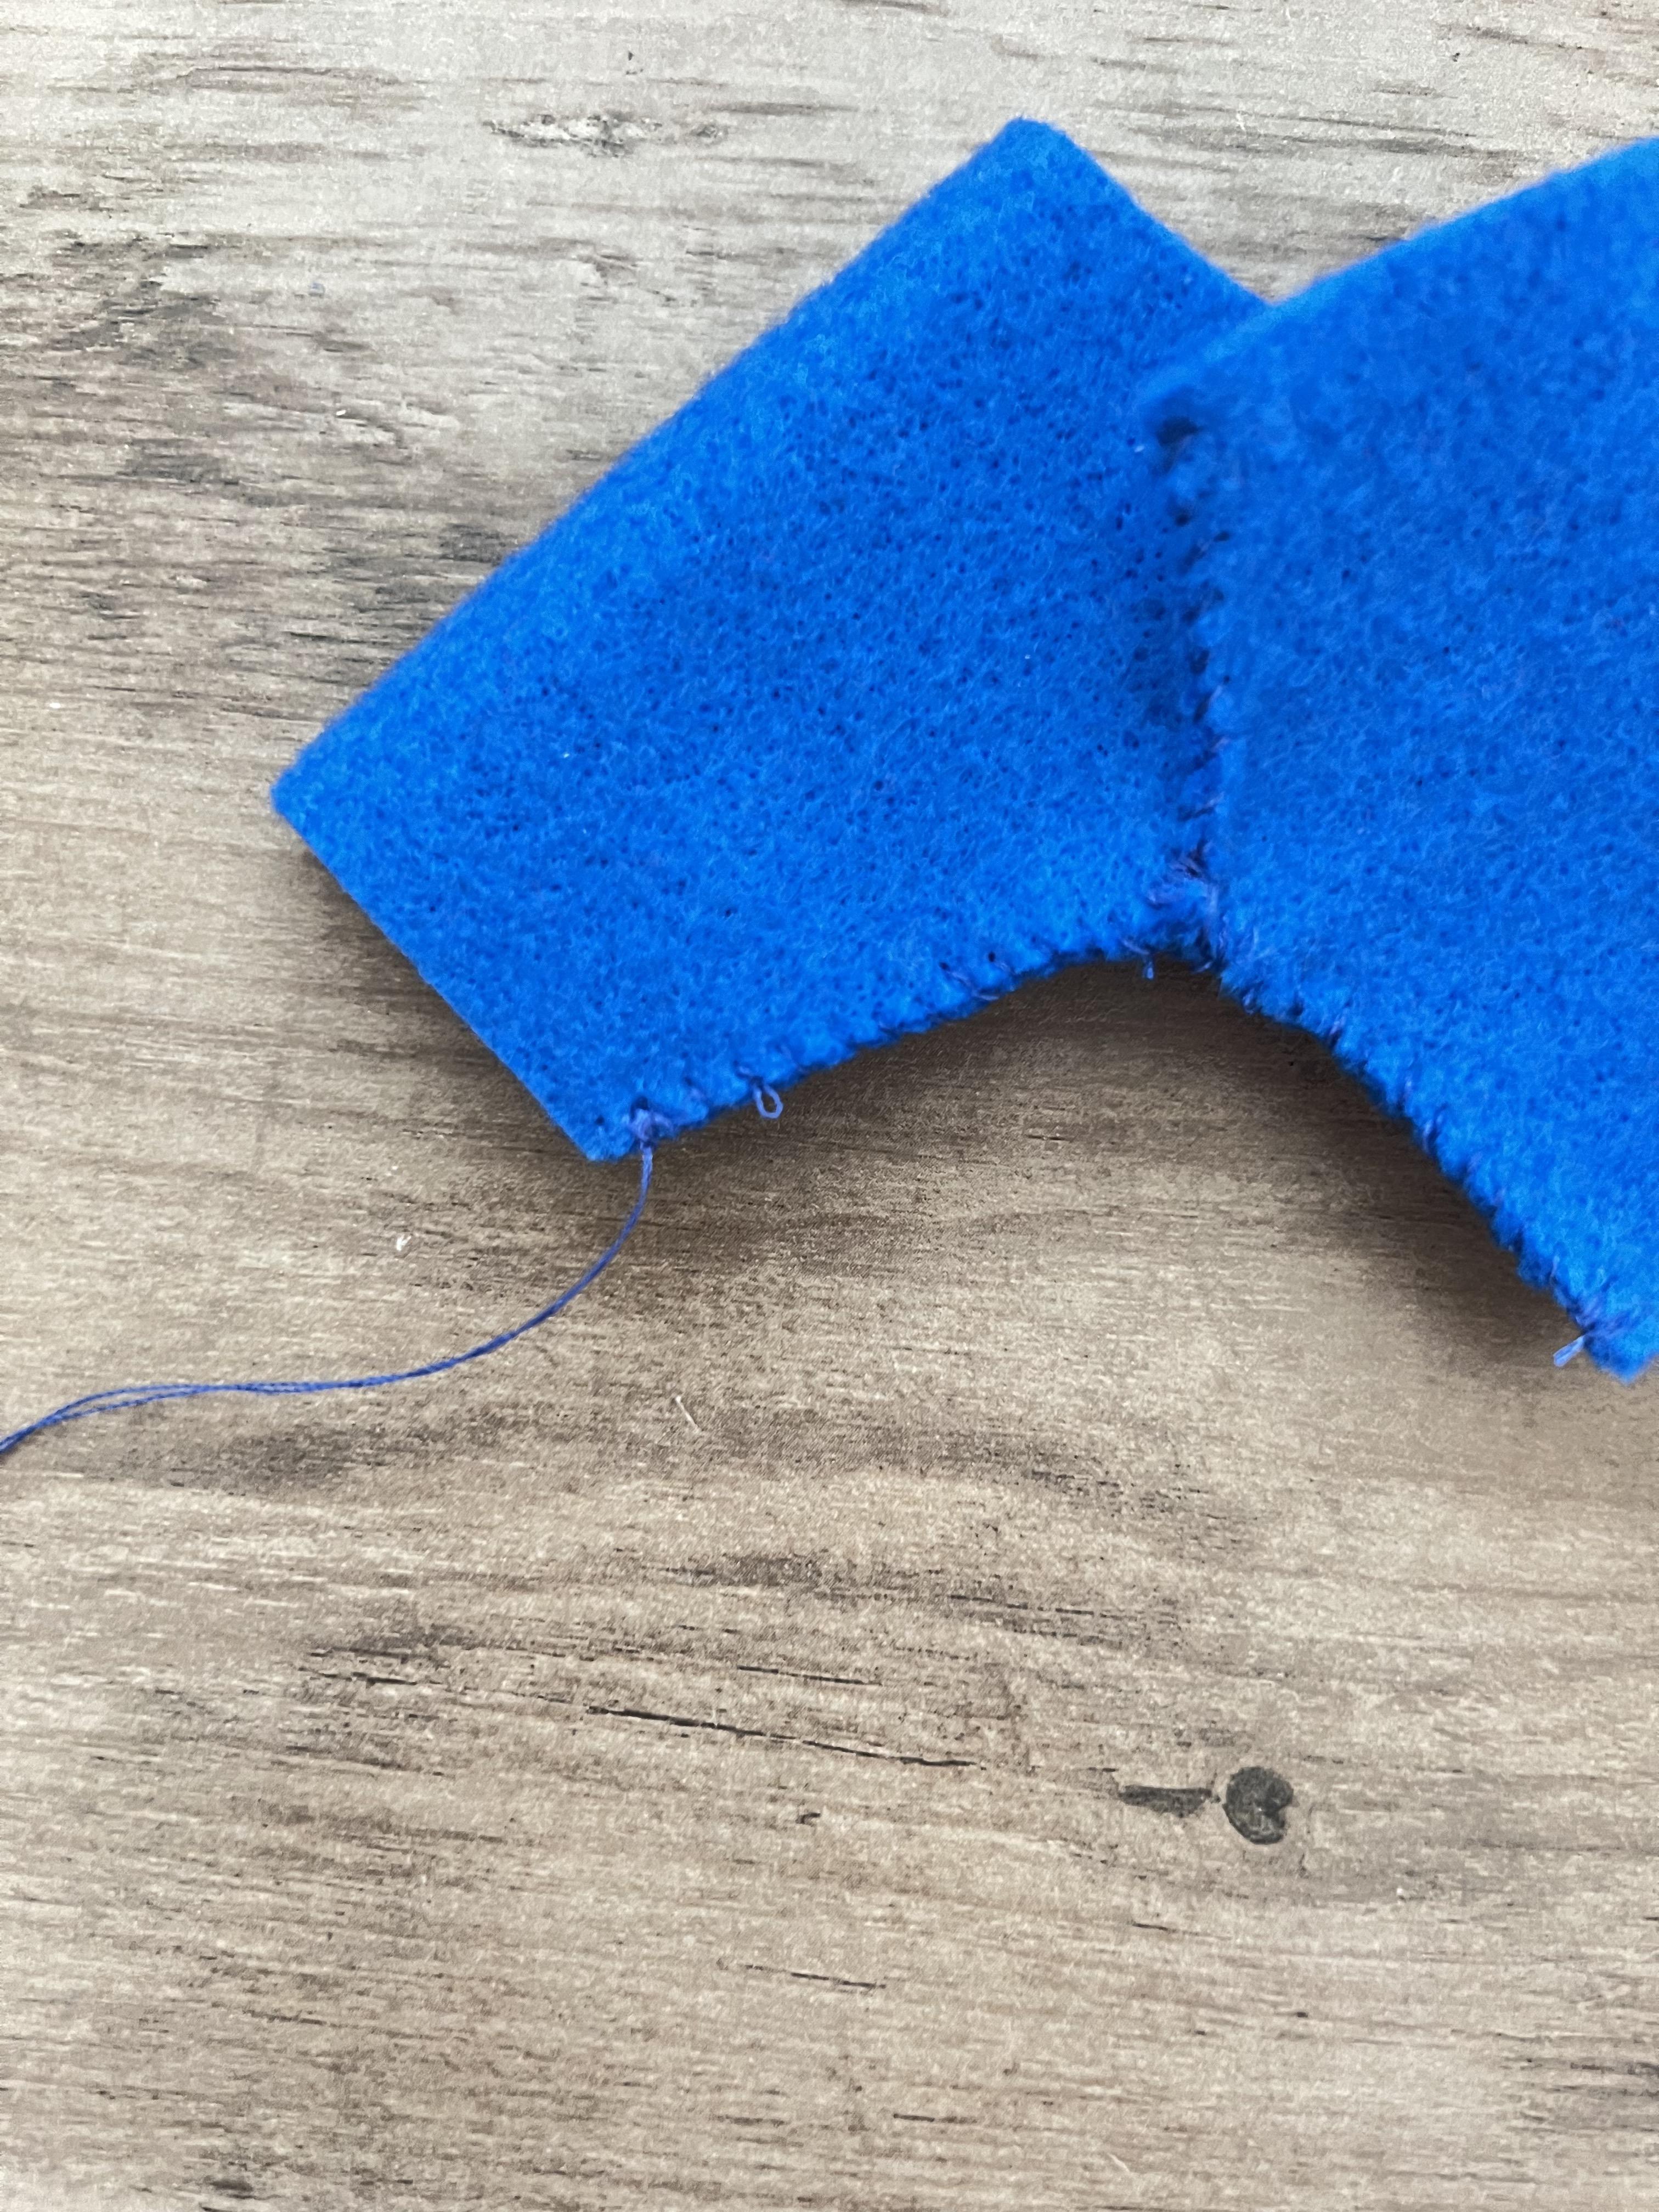
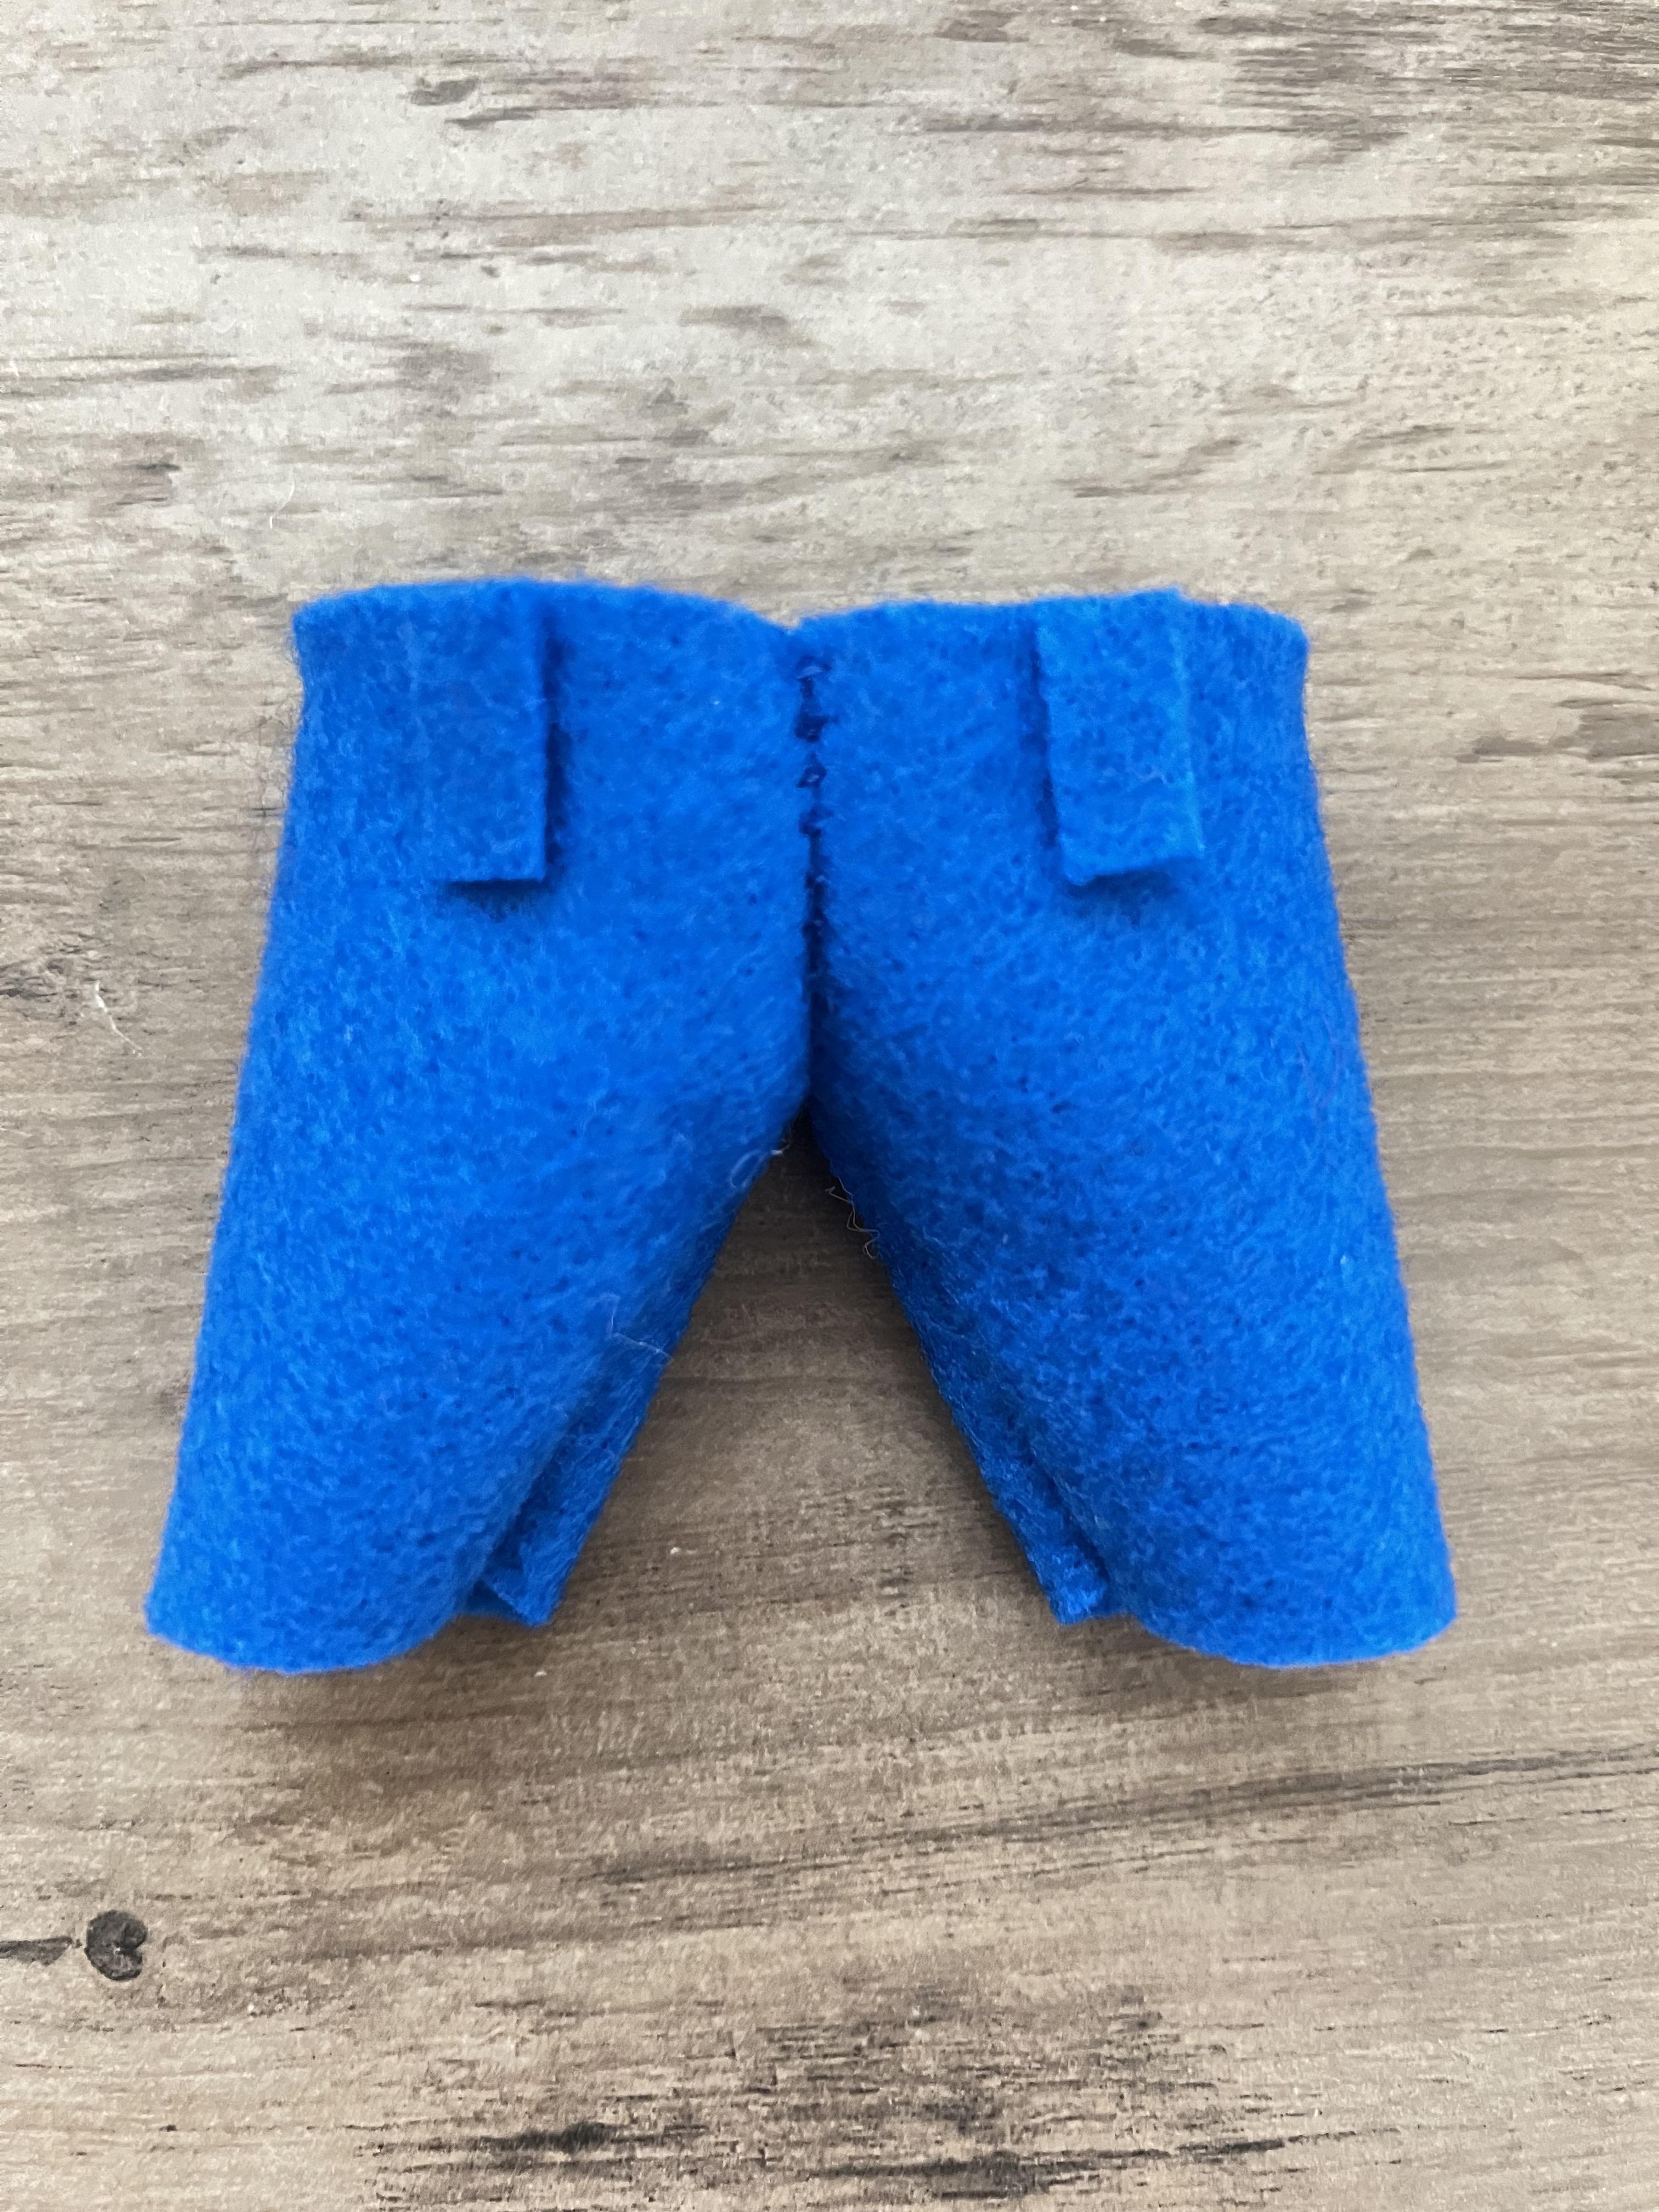
For his pants, cut out two rectangles, and cut two 'j's into each side as in picture 27. Sew up both sides of the pants (picture 30 - 41). Holding the two sides you have just sewn, push them together and (you might want to use a pin) hold it flat (picture 34). Starting on one side, sew along the edge (pictures 33 - 40). Flip the pants and try them on Albert.
Adding the Little Details

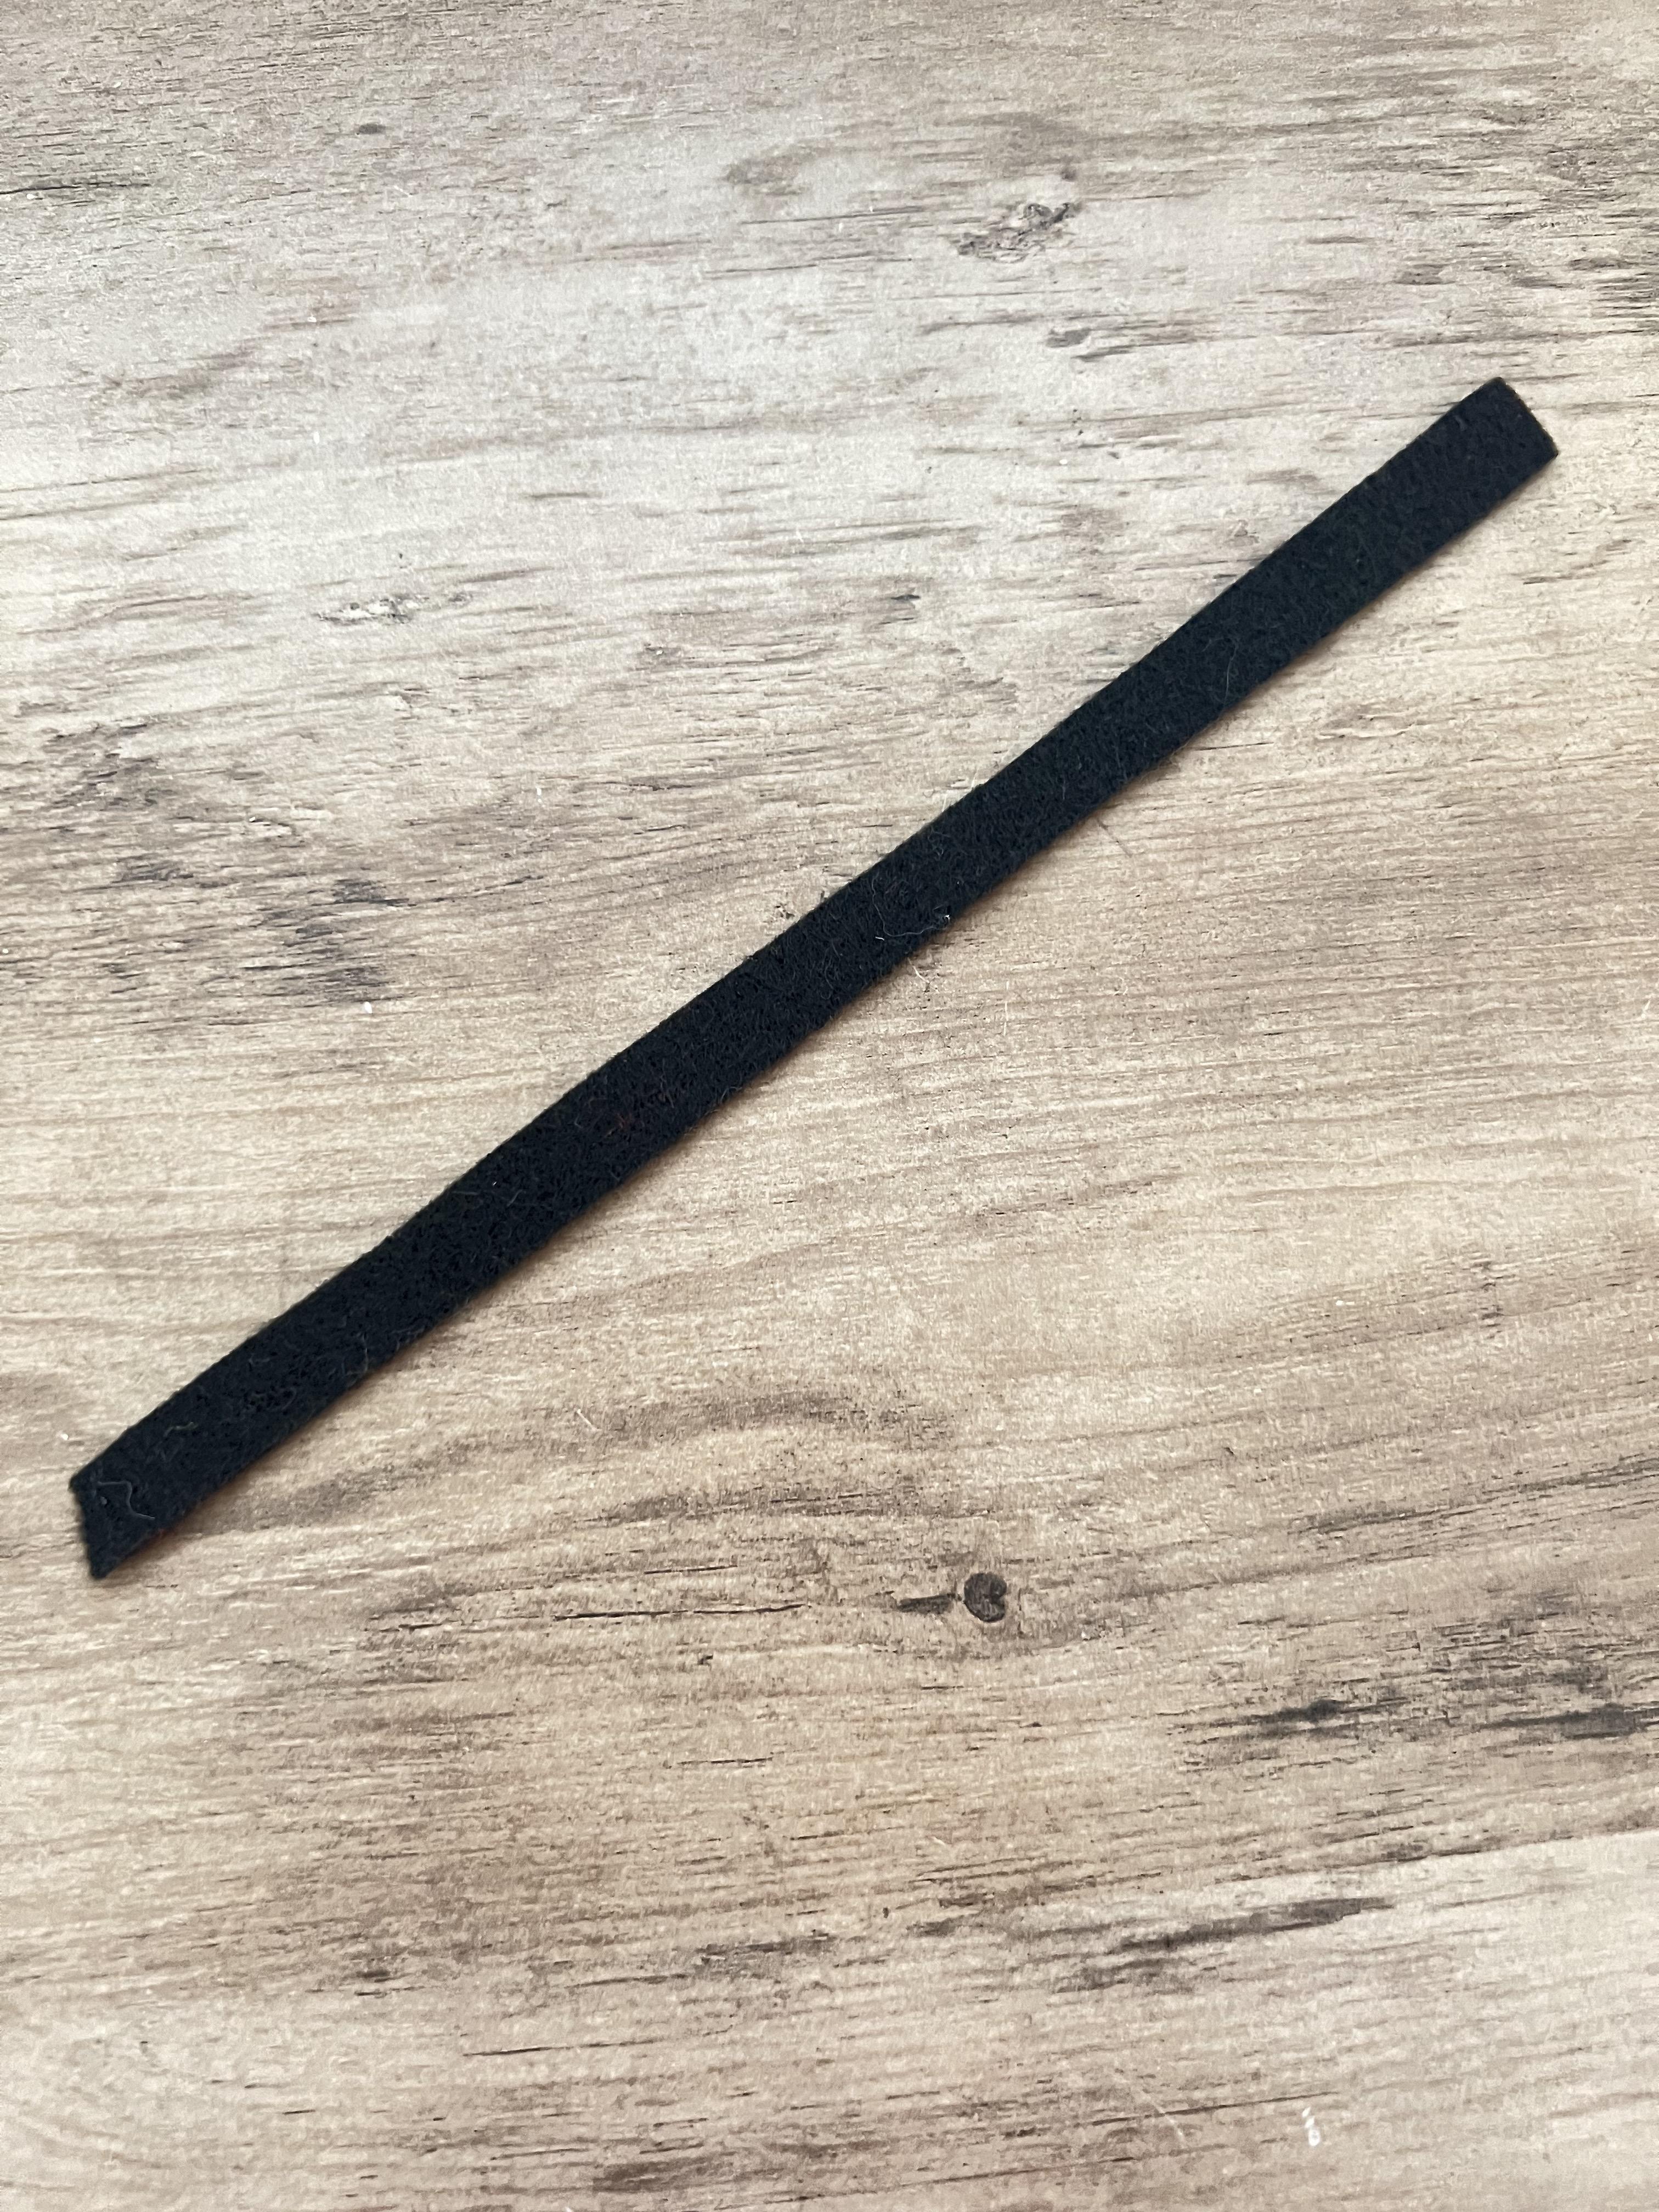




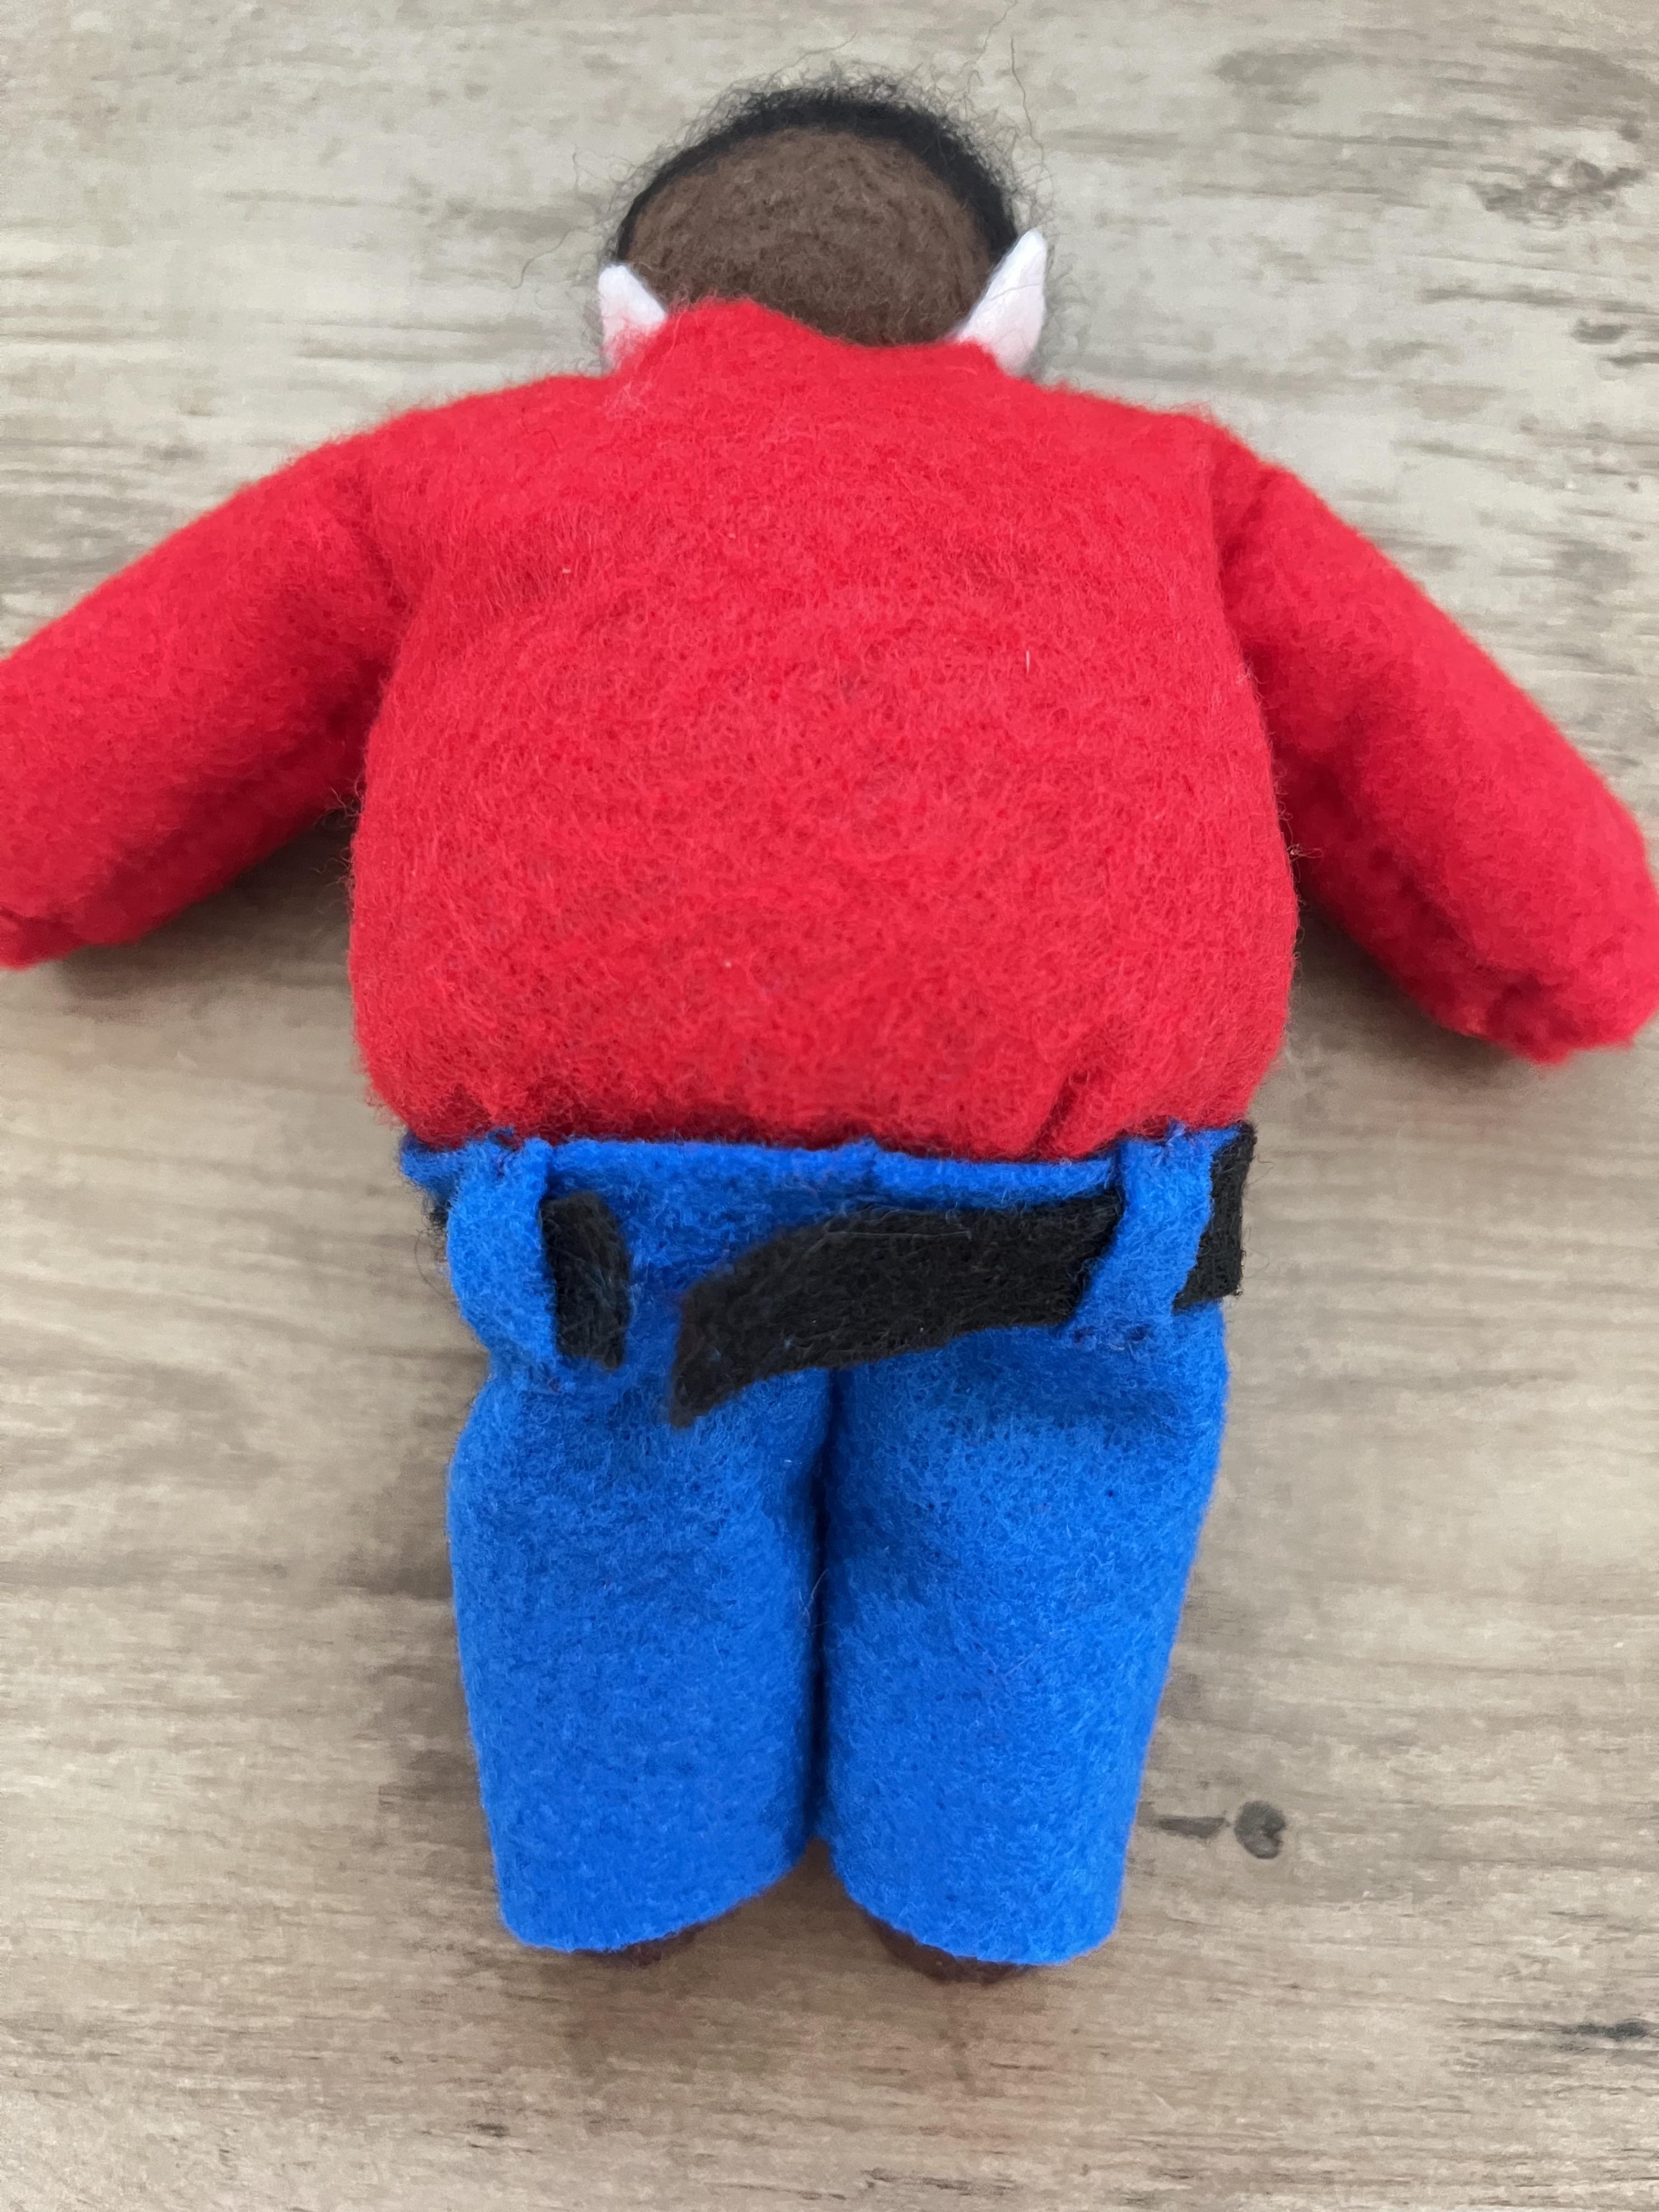
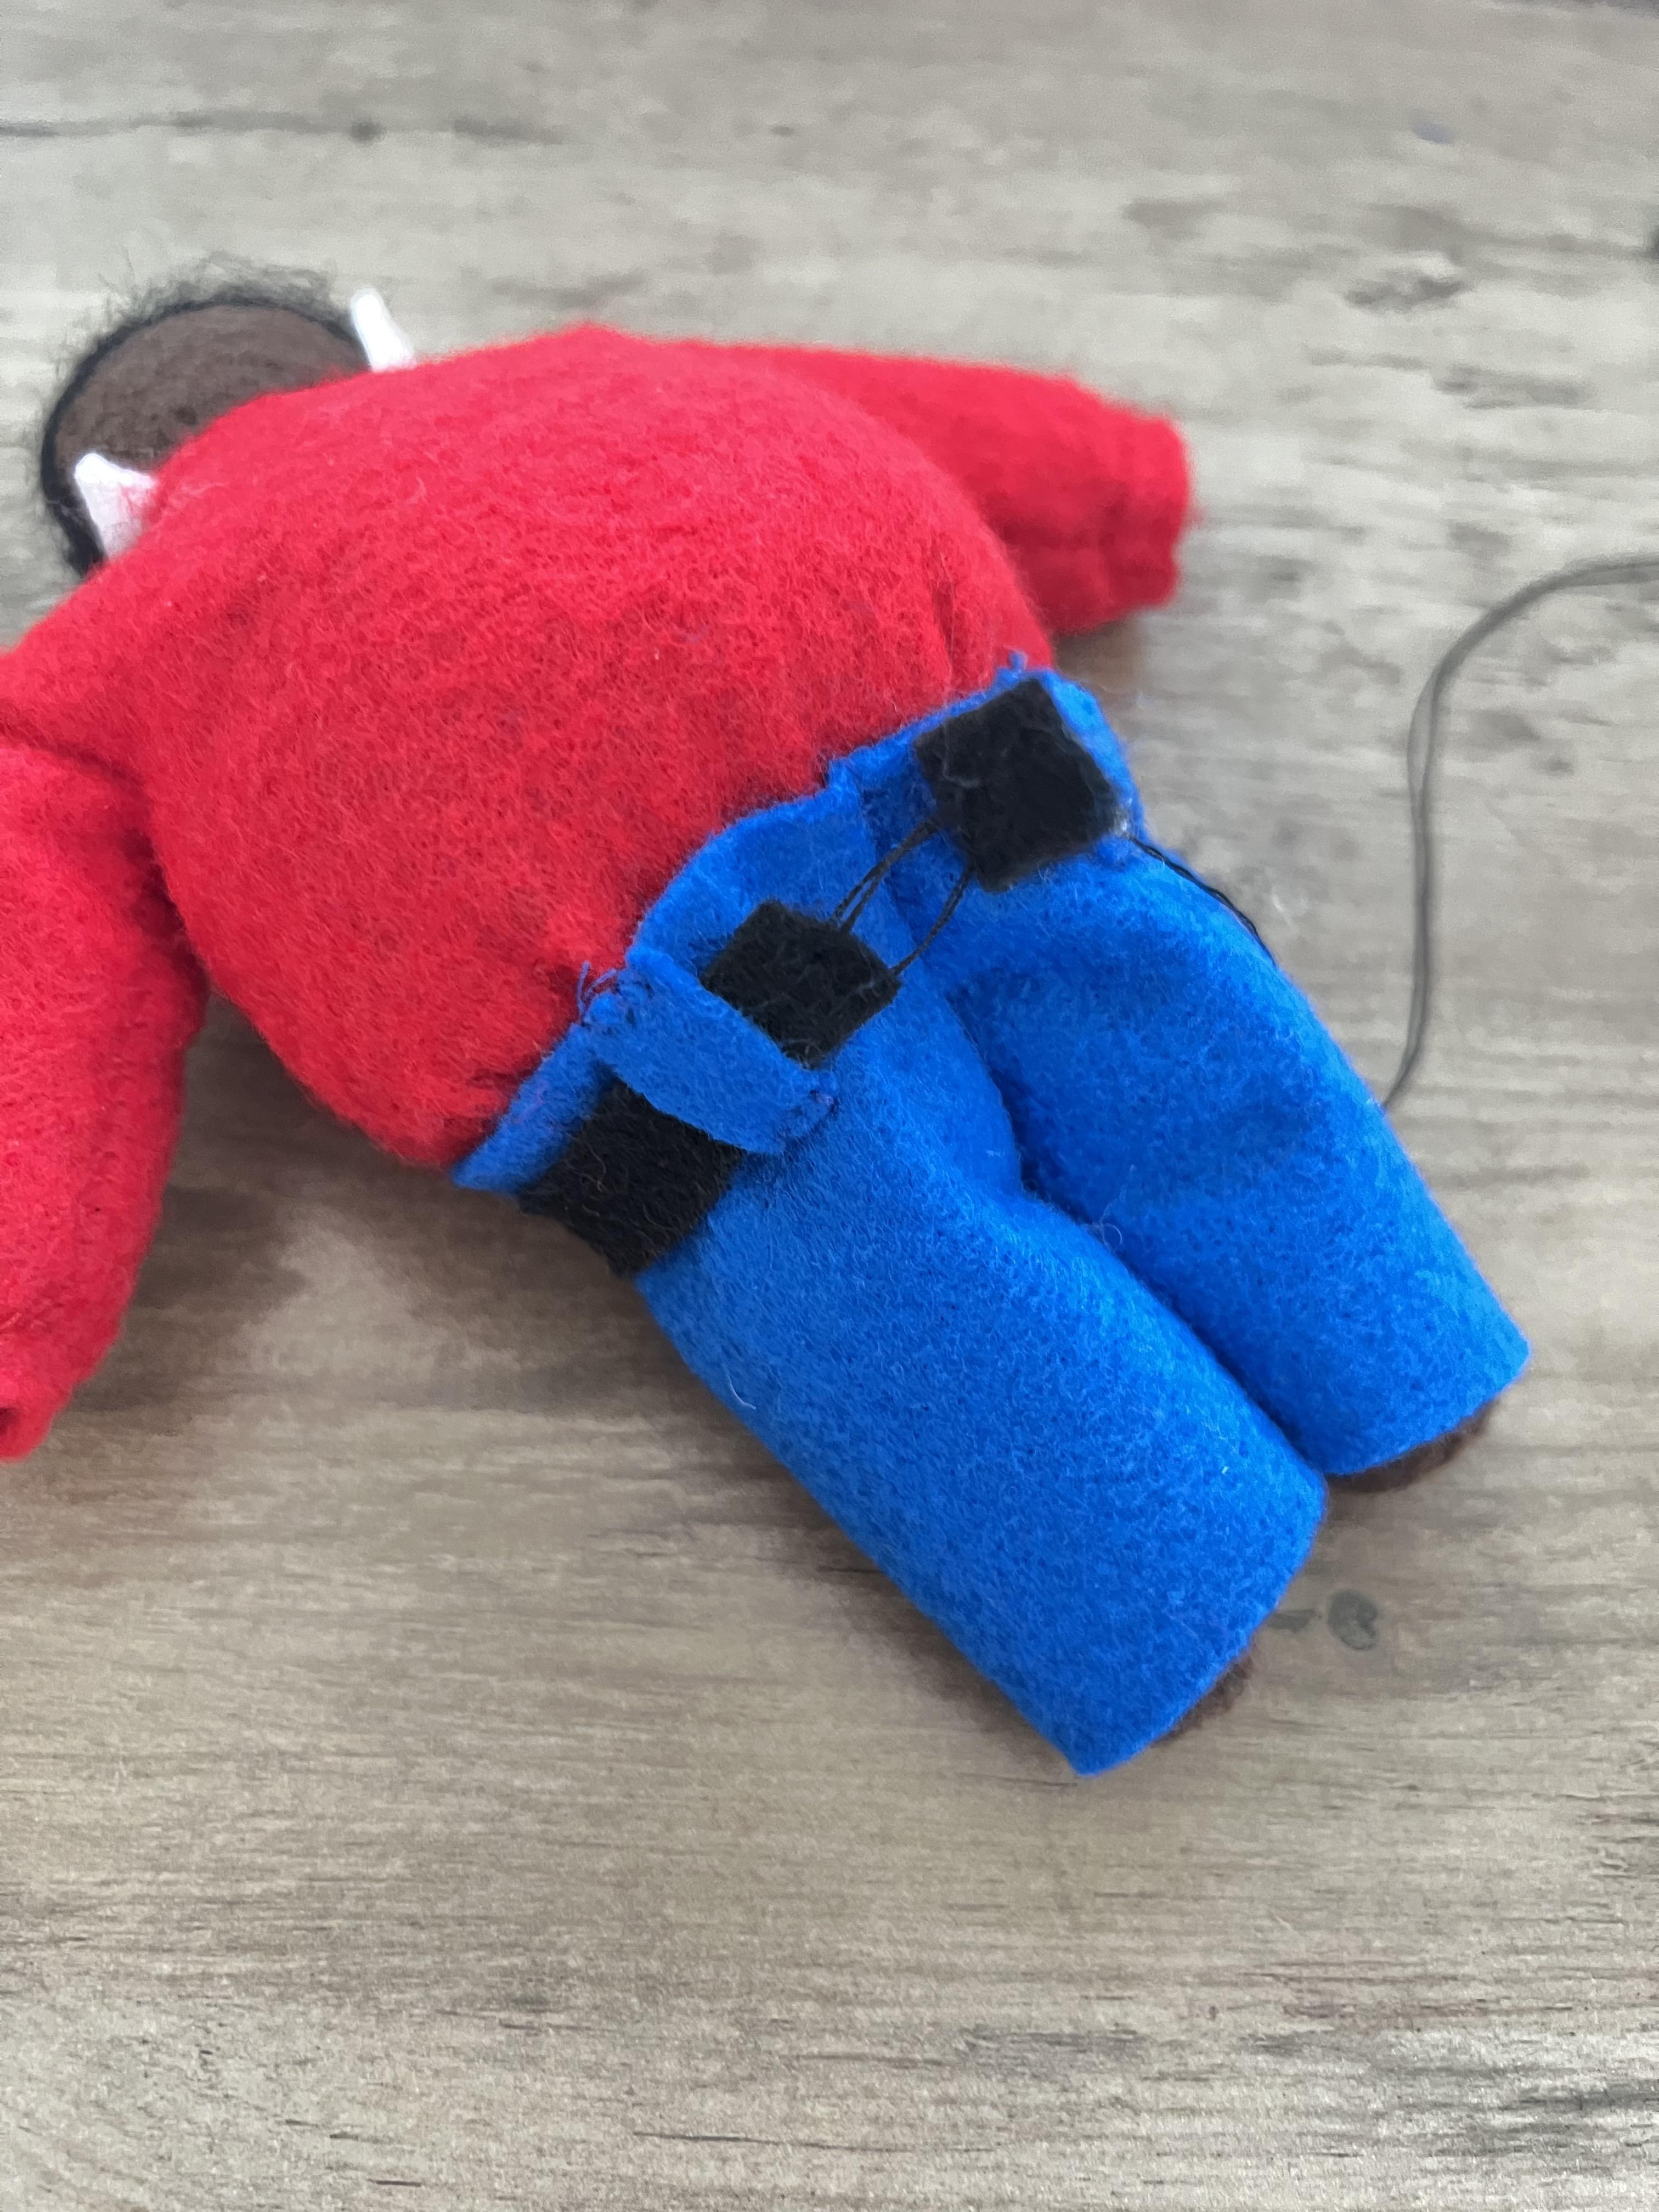
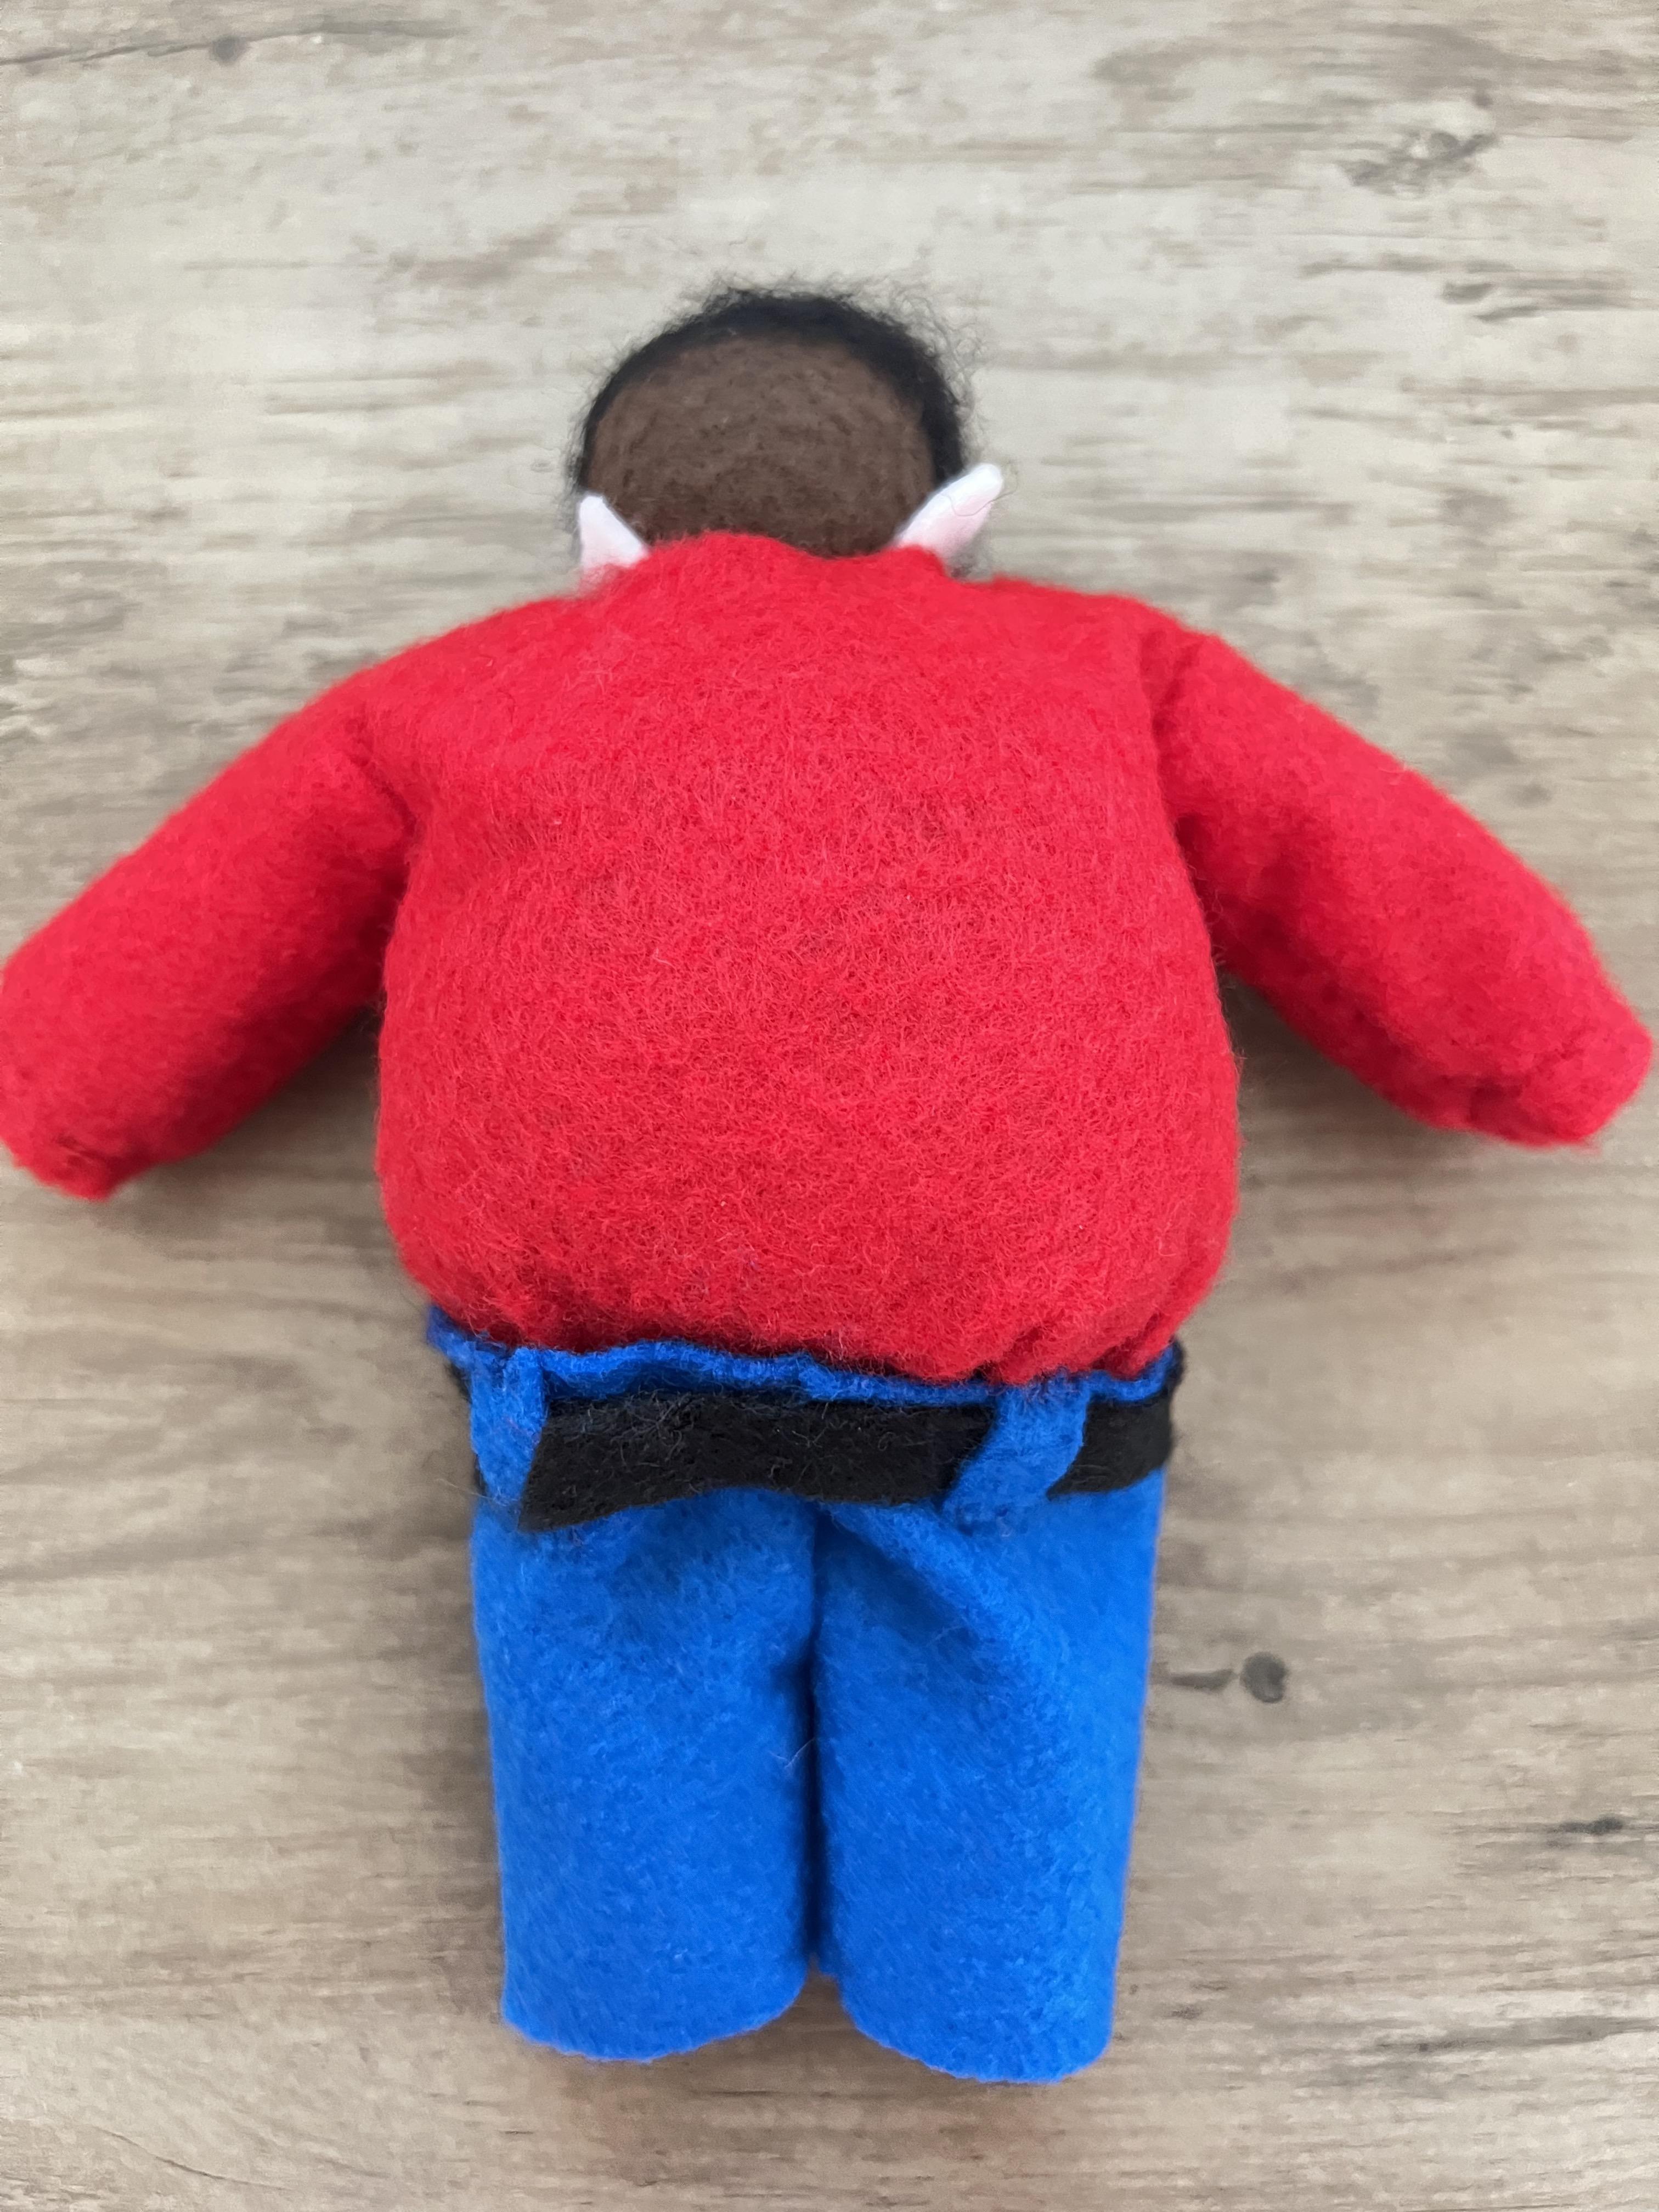


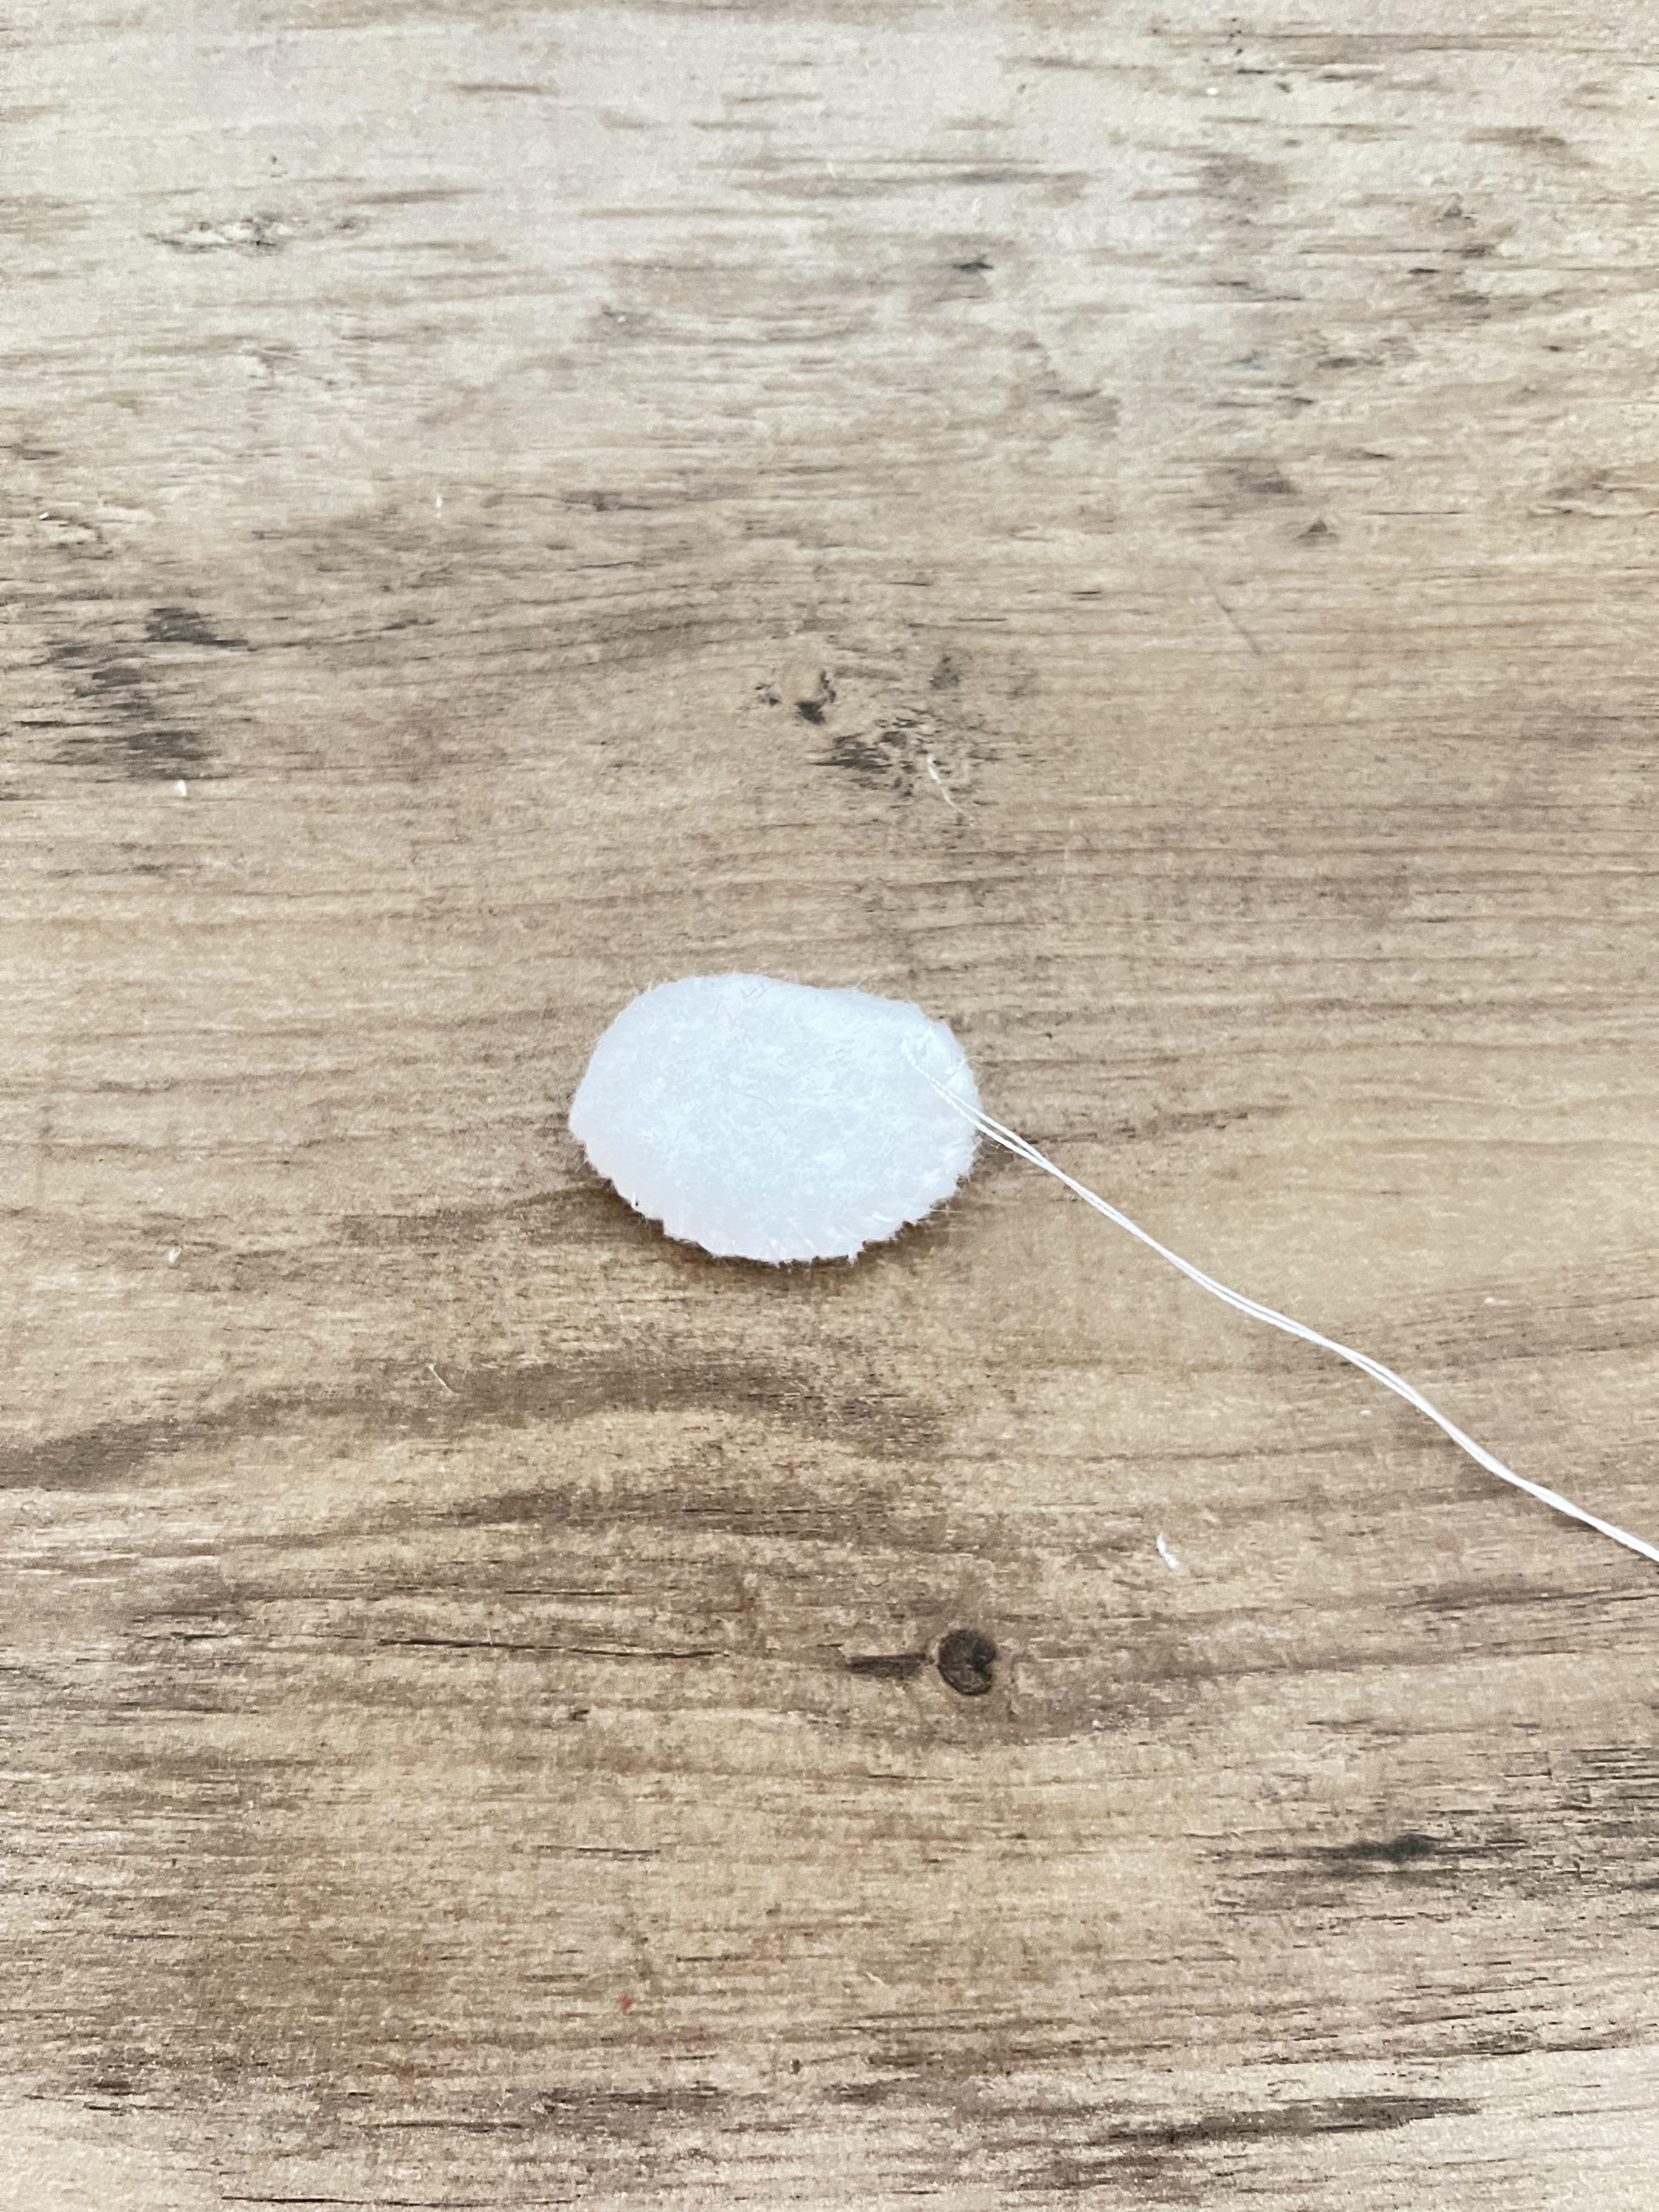
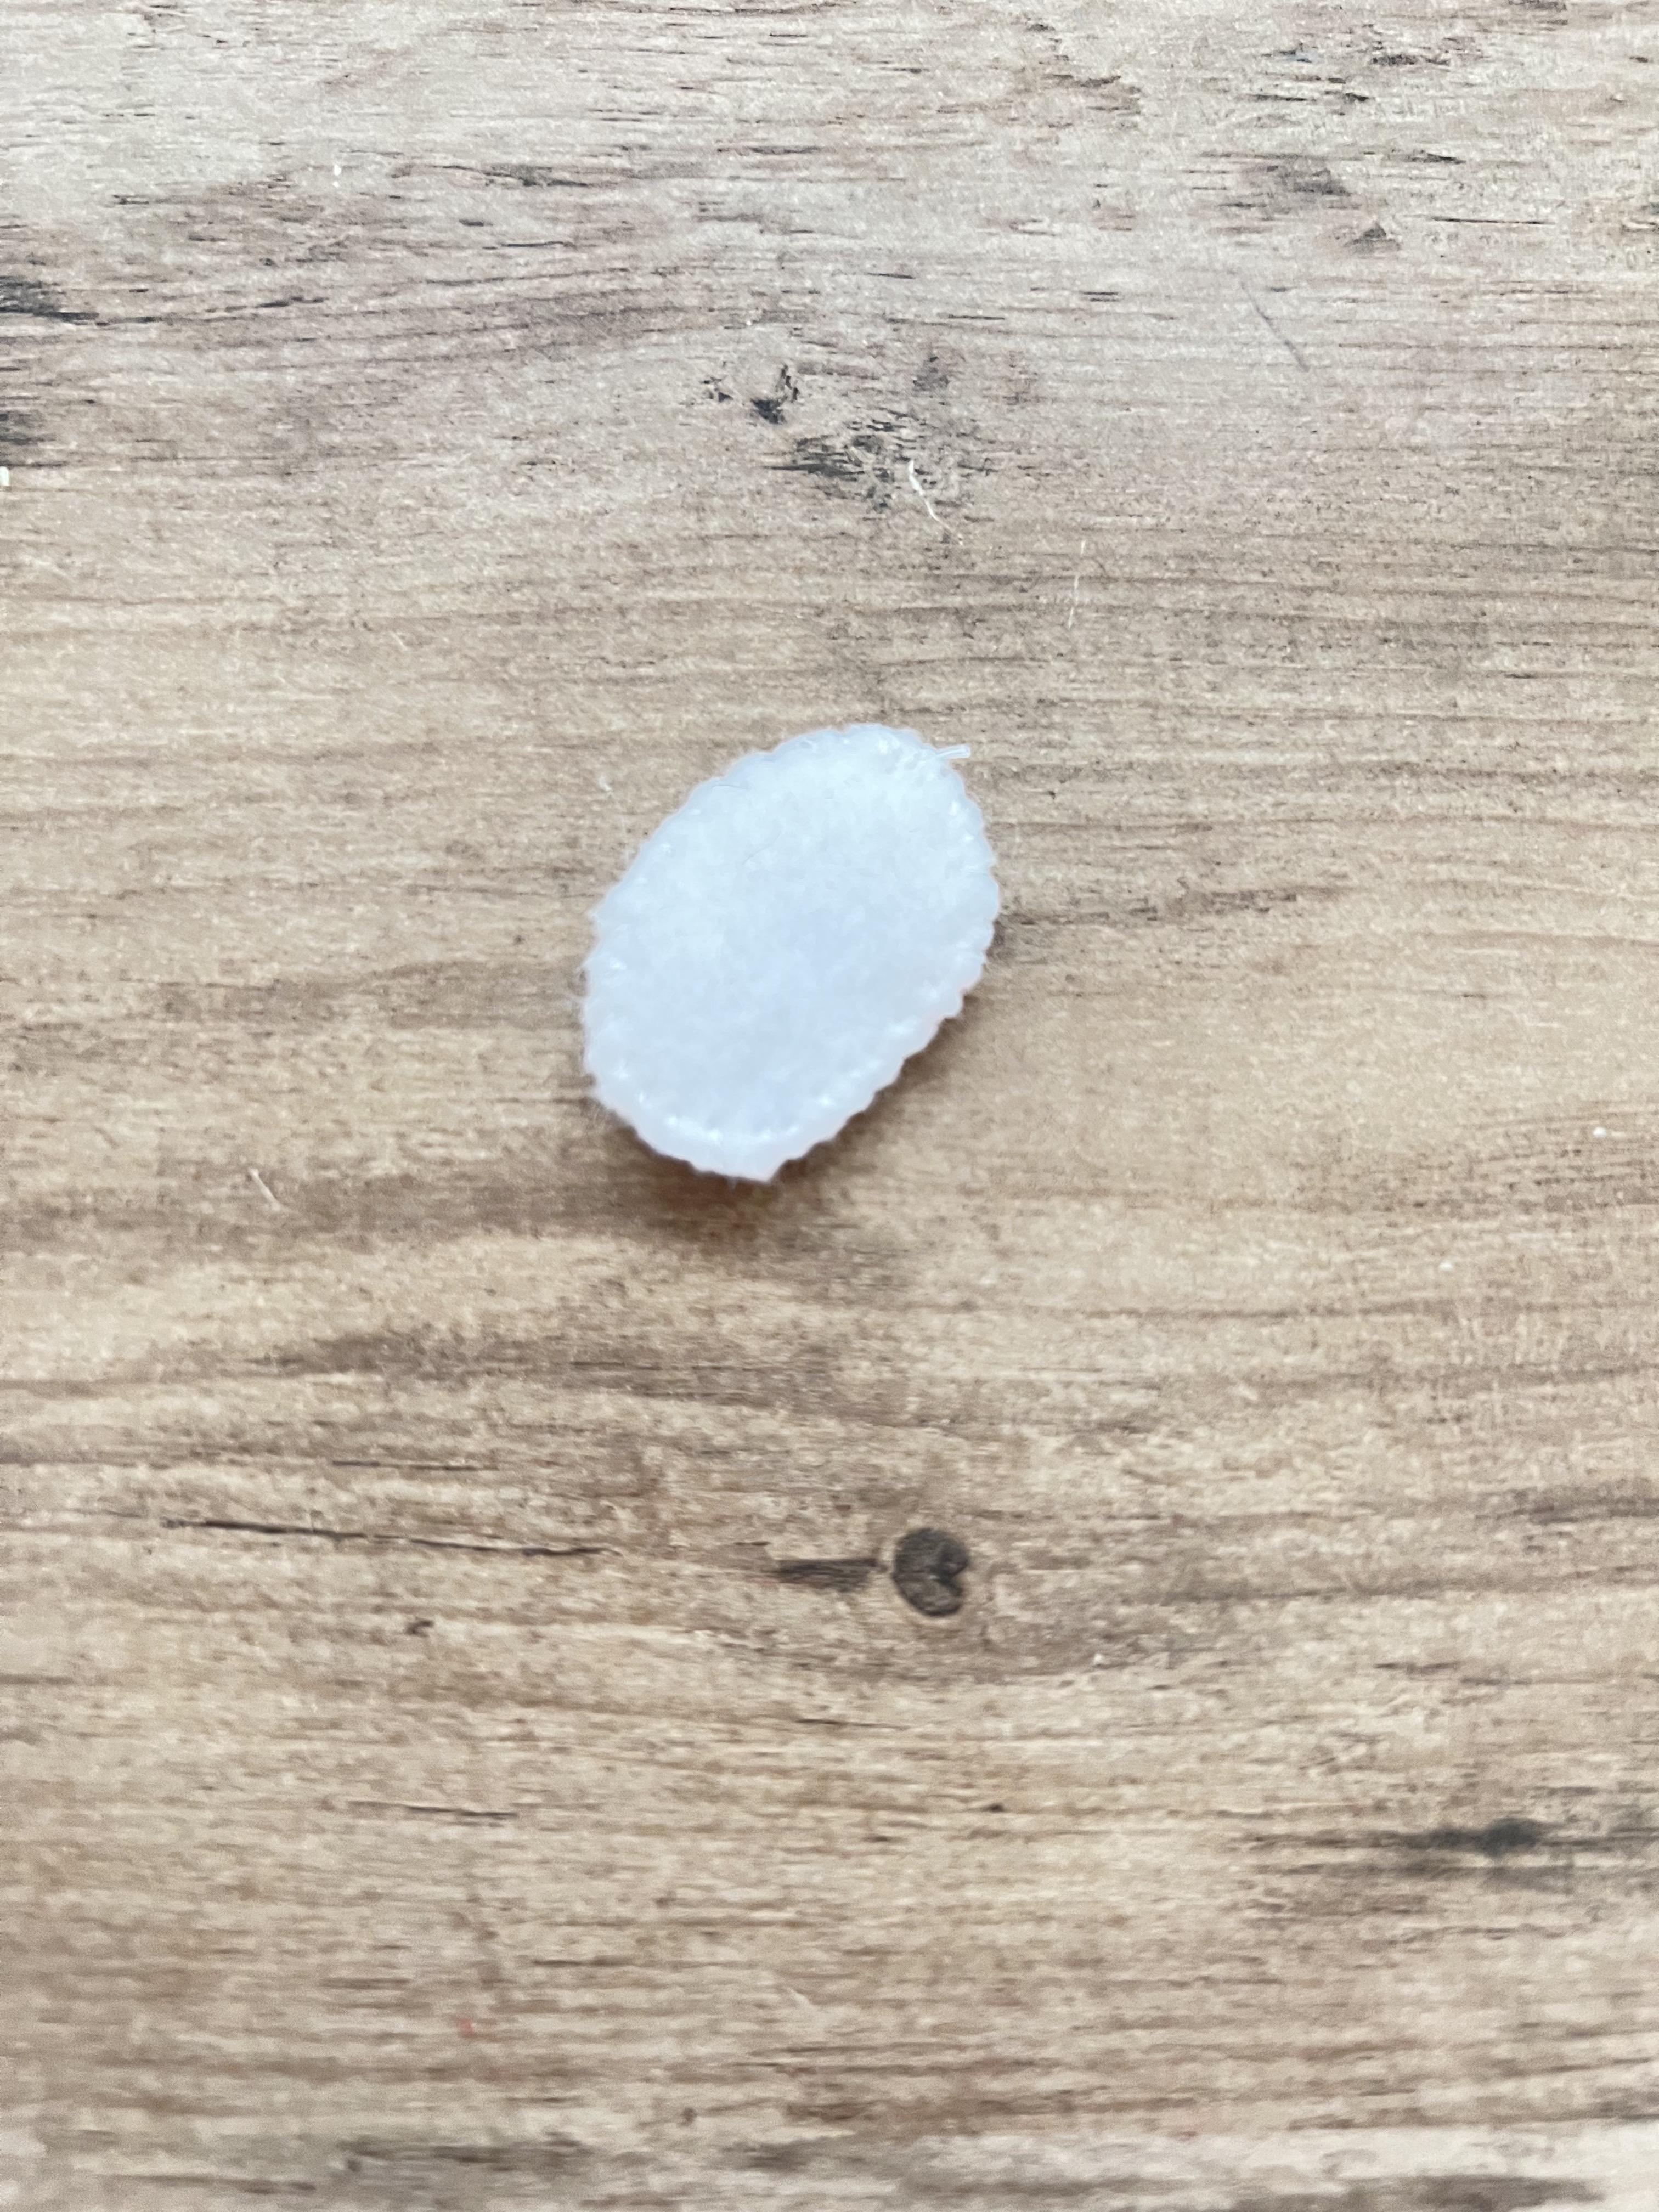

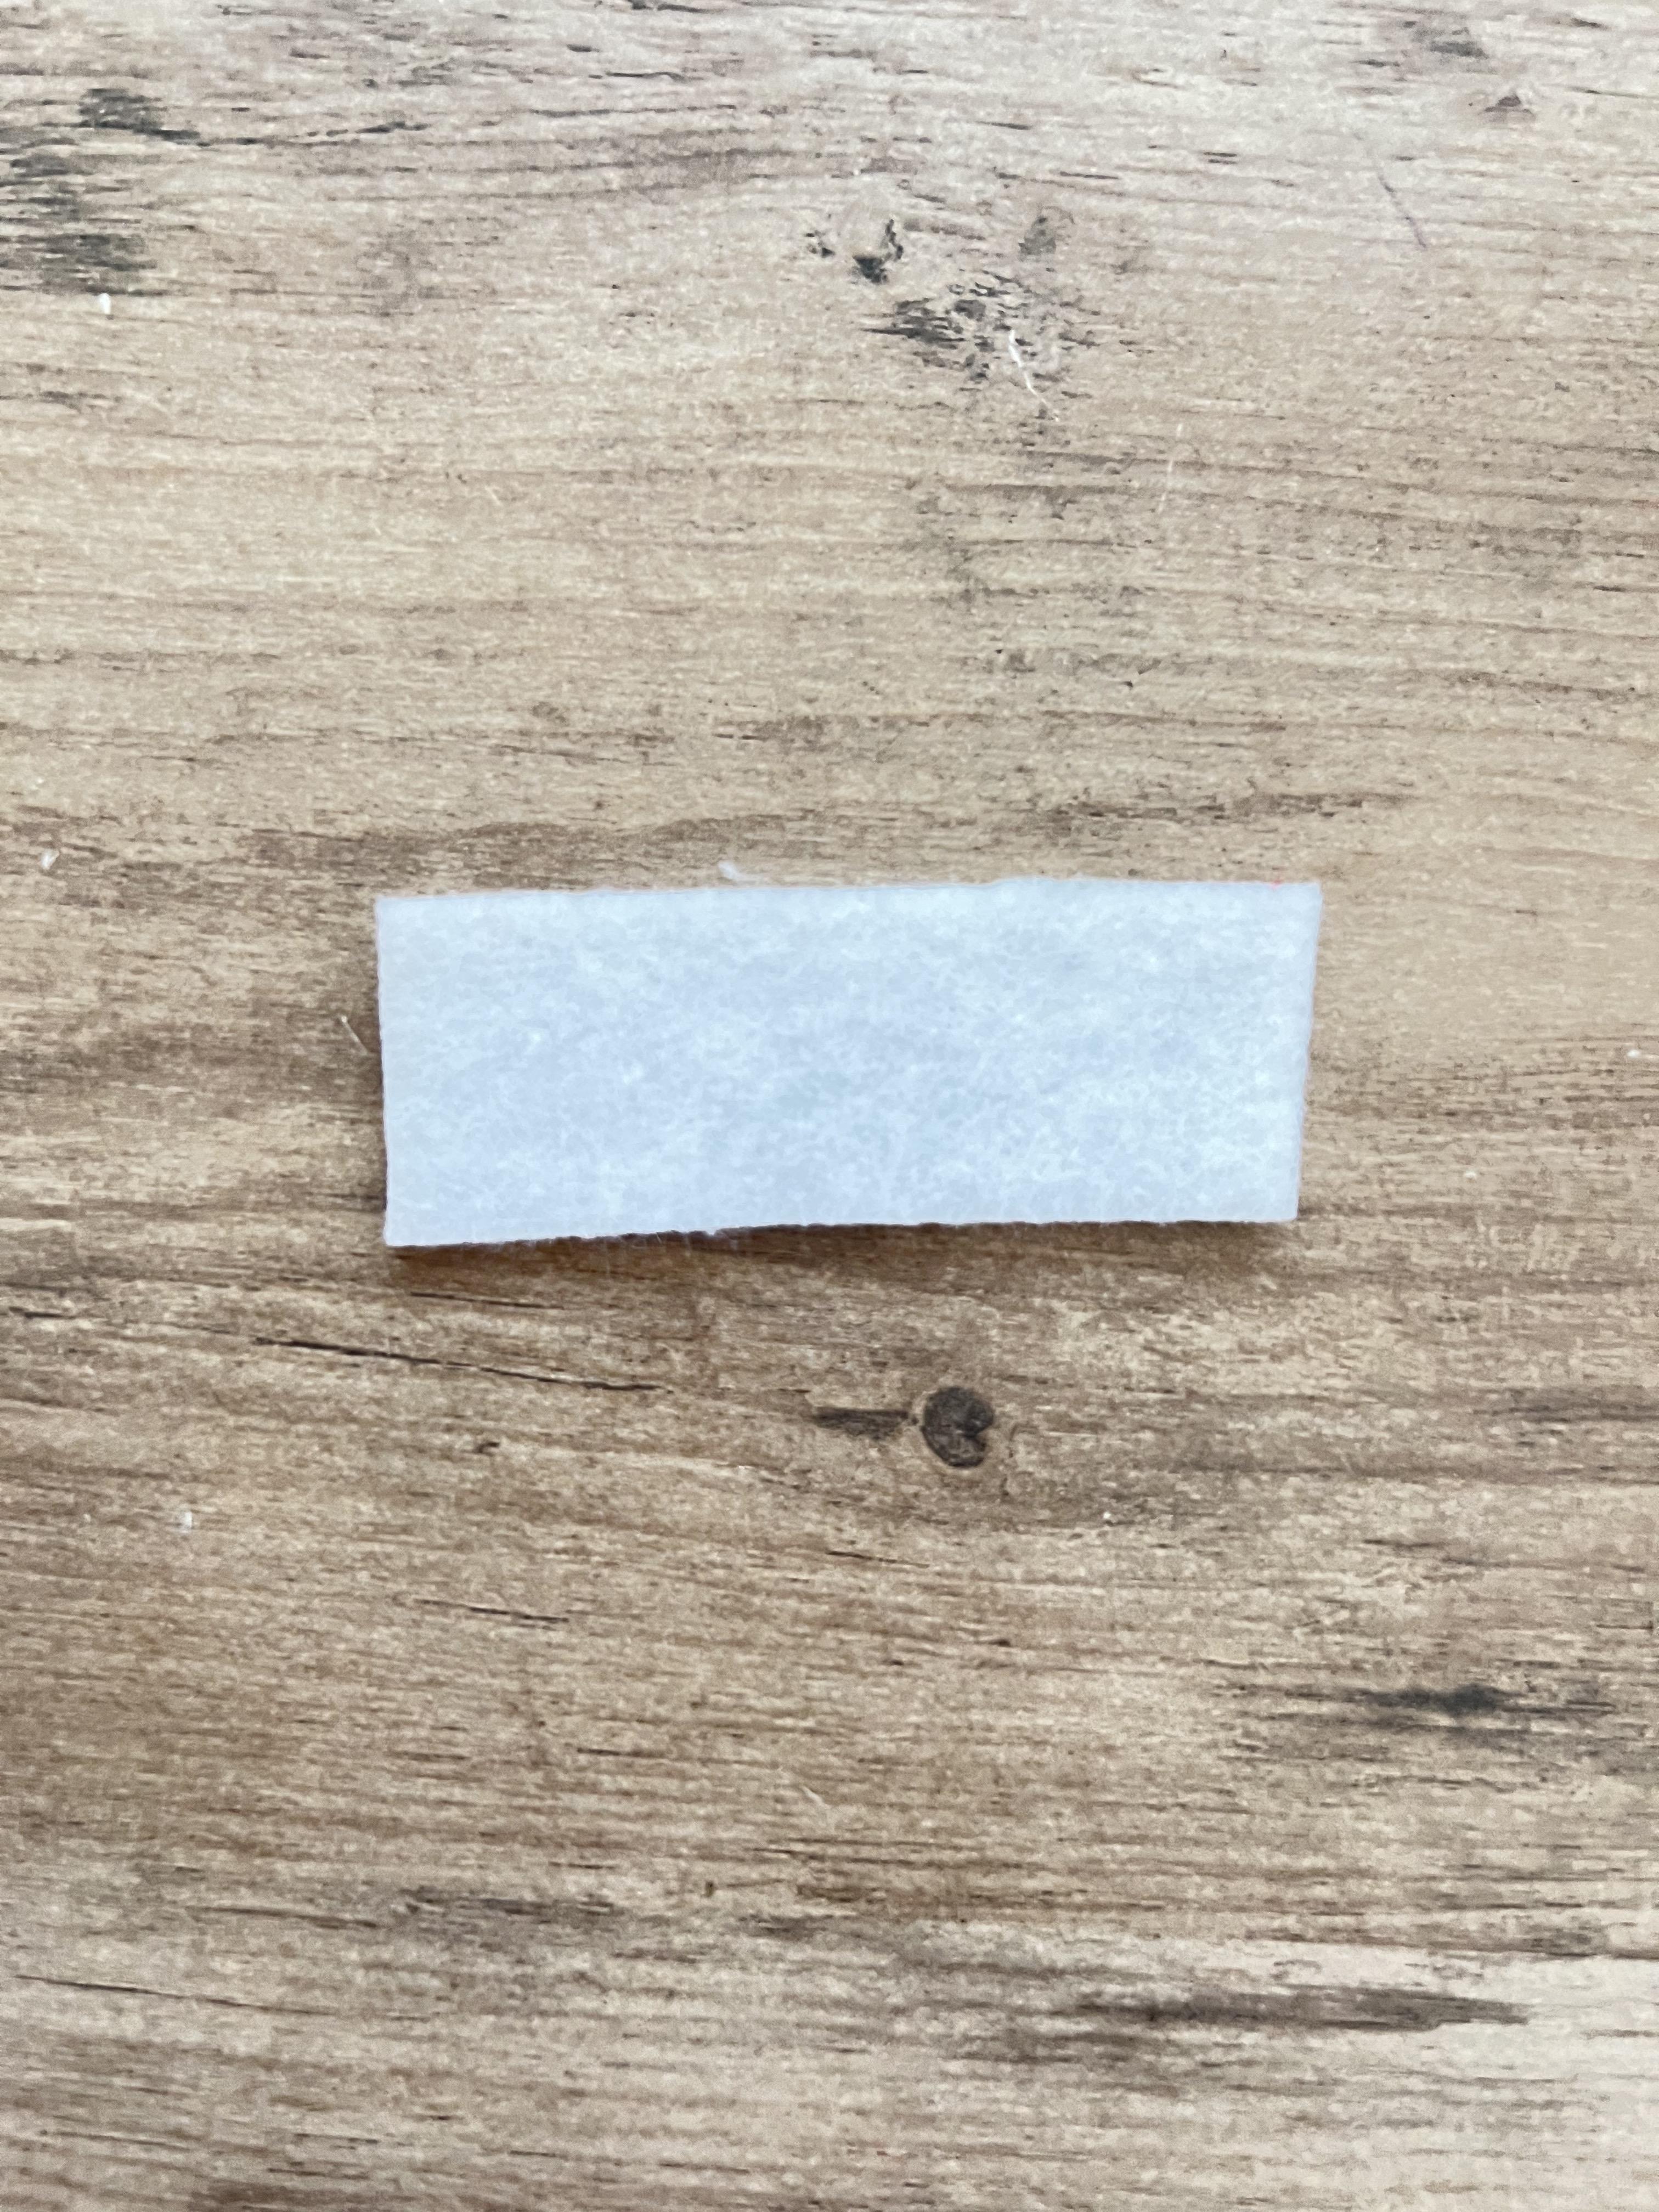
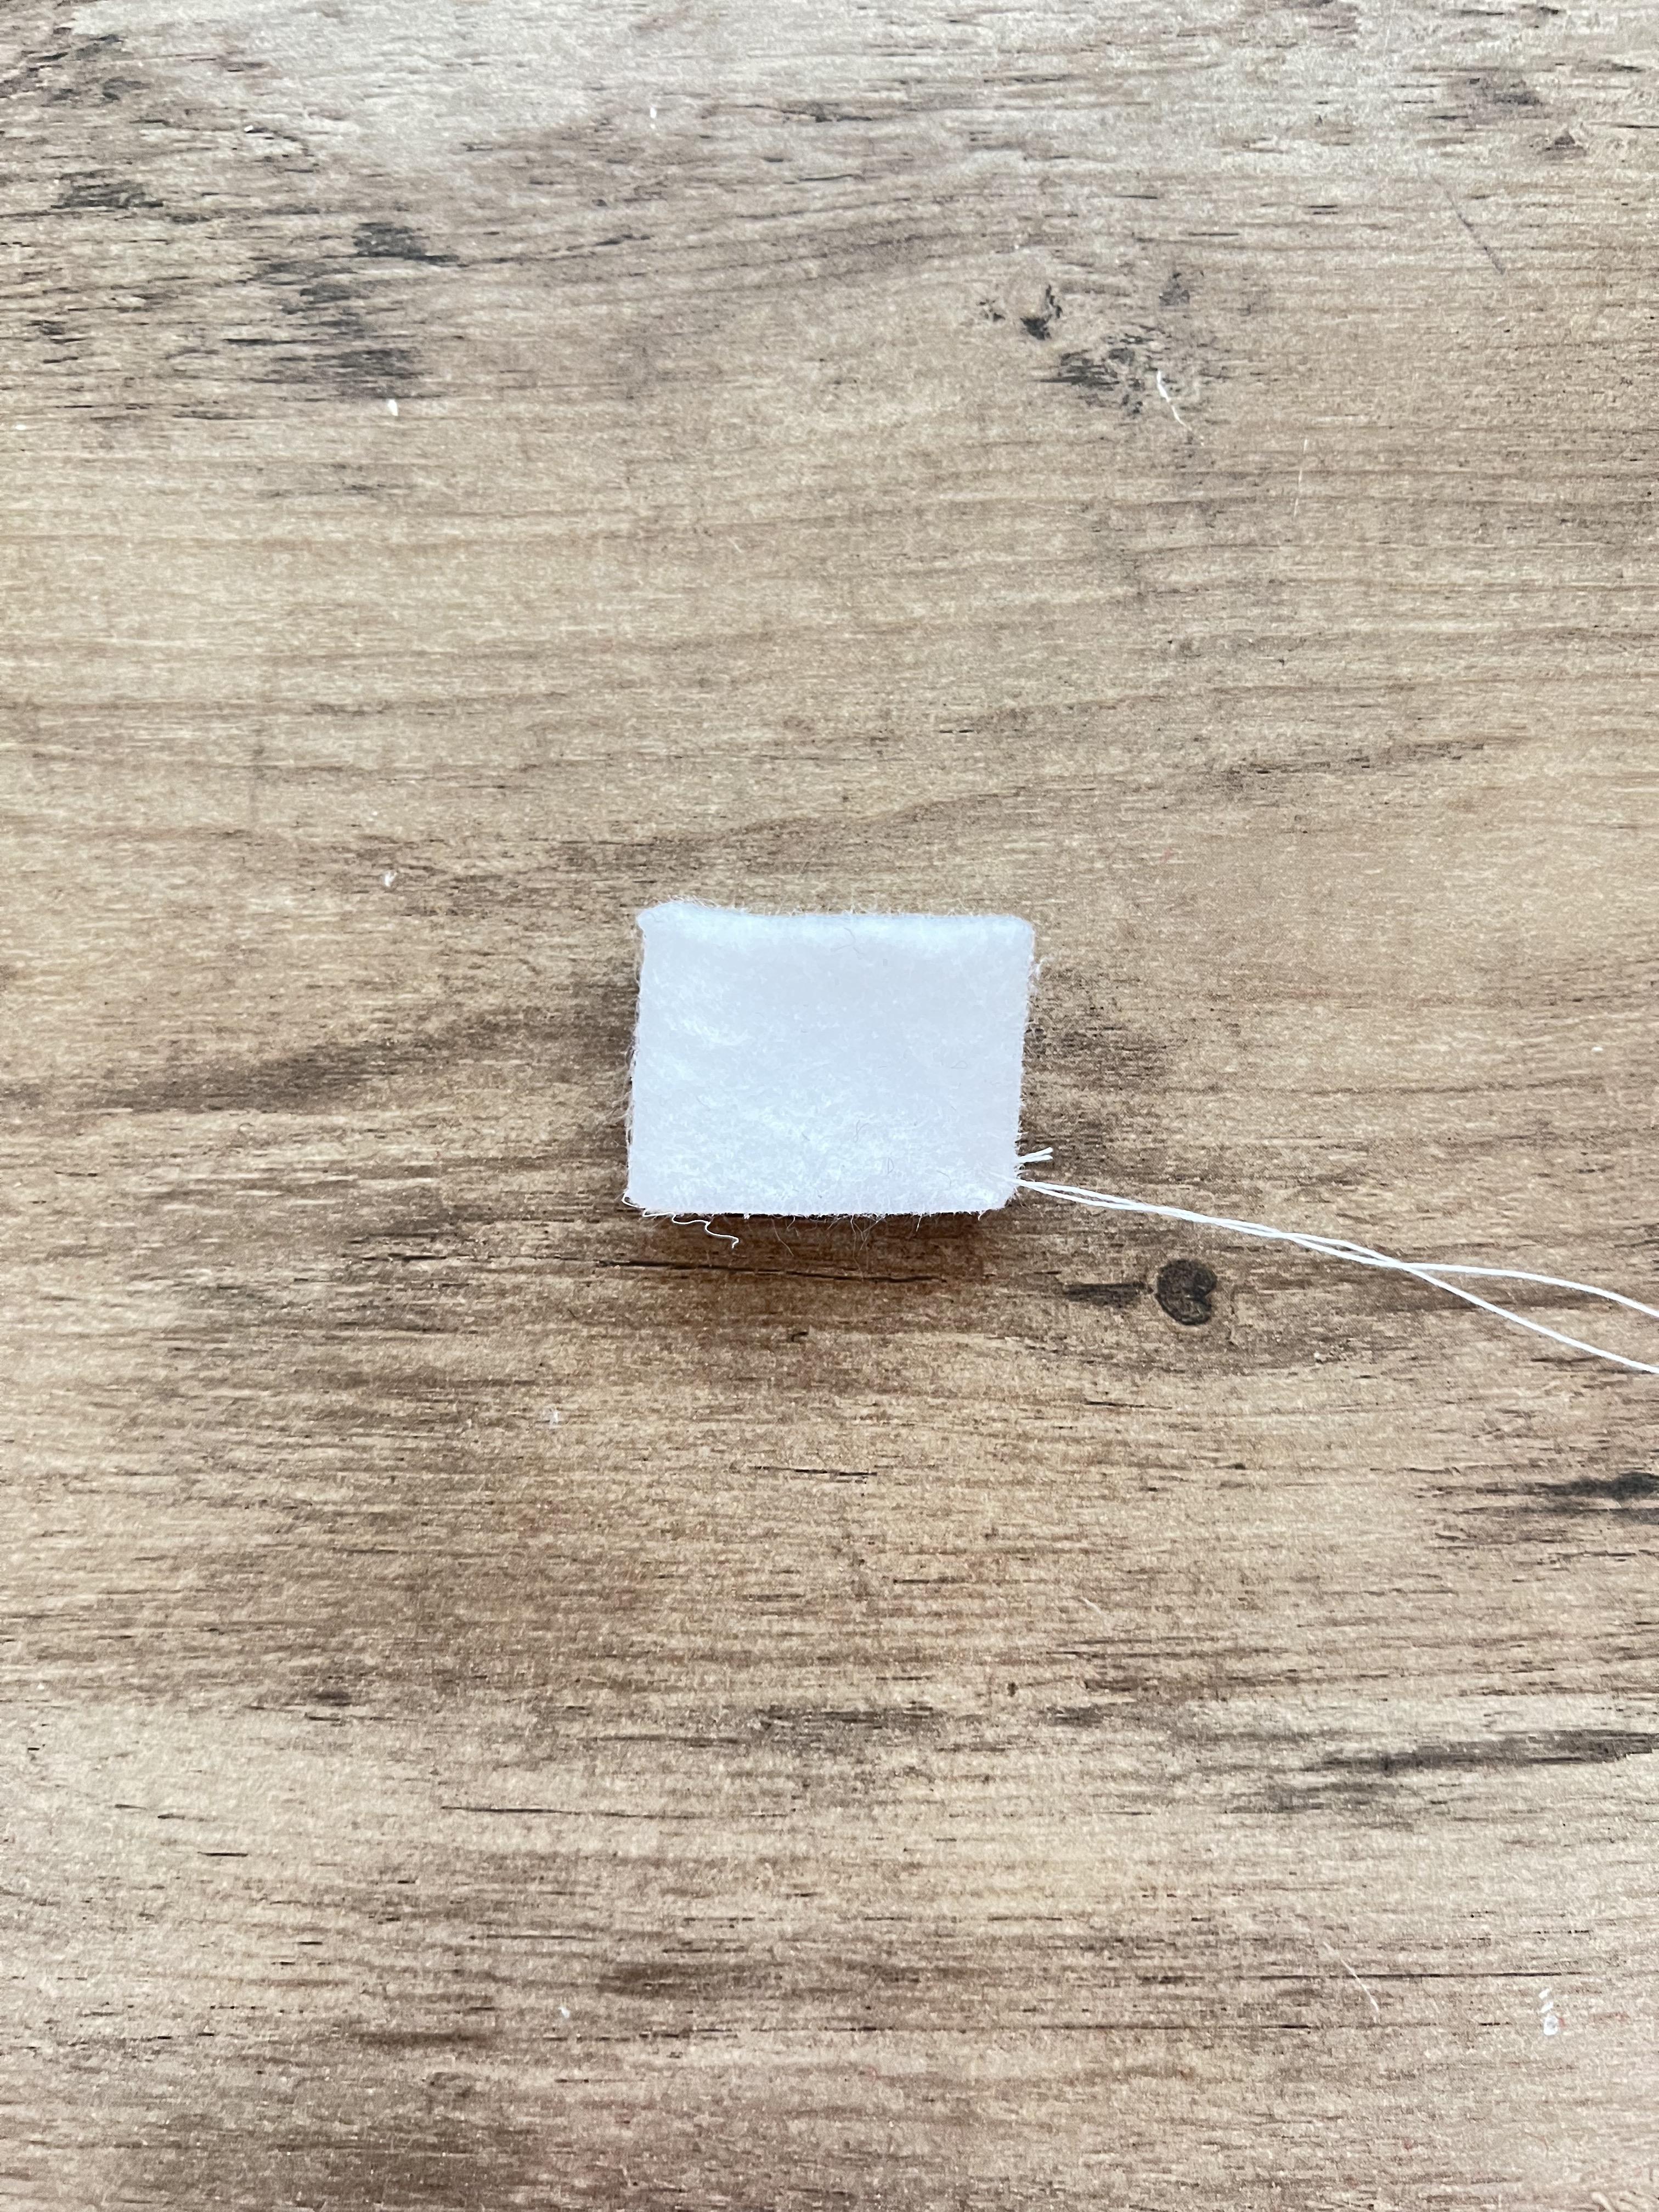








For his belt, cut out a thin black felt strip. Wrap it around him to make sure it's long enough.
Cut out three or four blue little rectangles to hold the belt, and sew them on the pants. Put the belt on him and pop a few stitches to the belt ends so as to keep it together. You could put a buckle on the belt, if you wanted to.
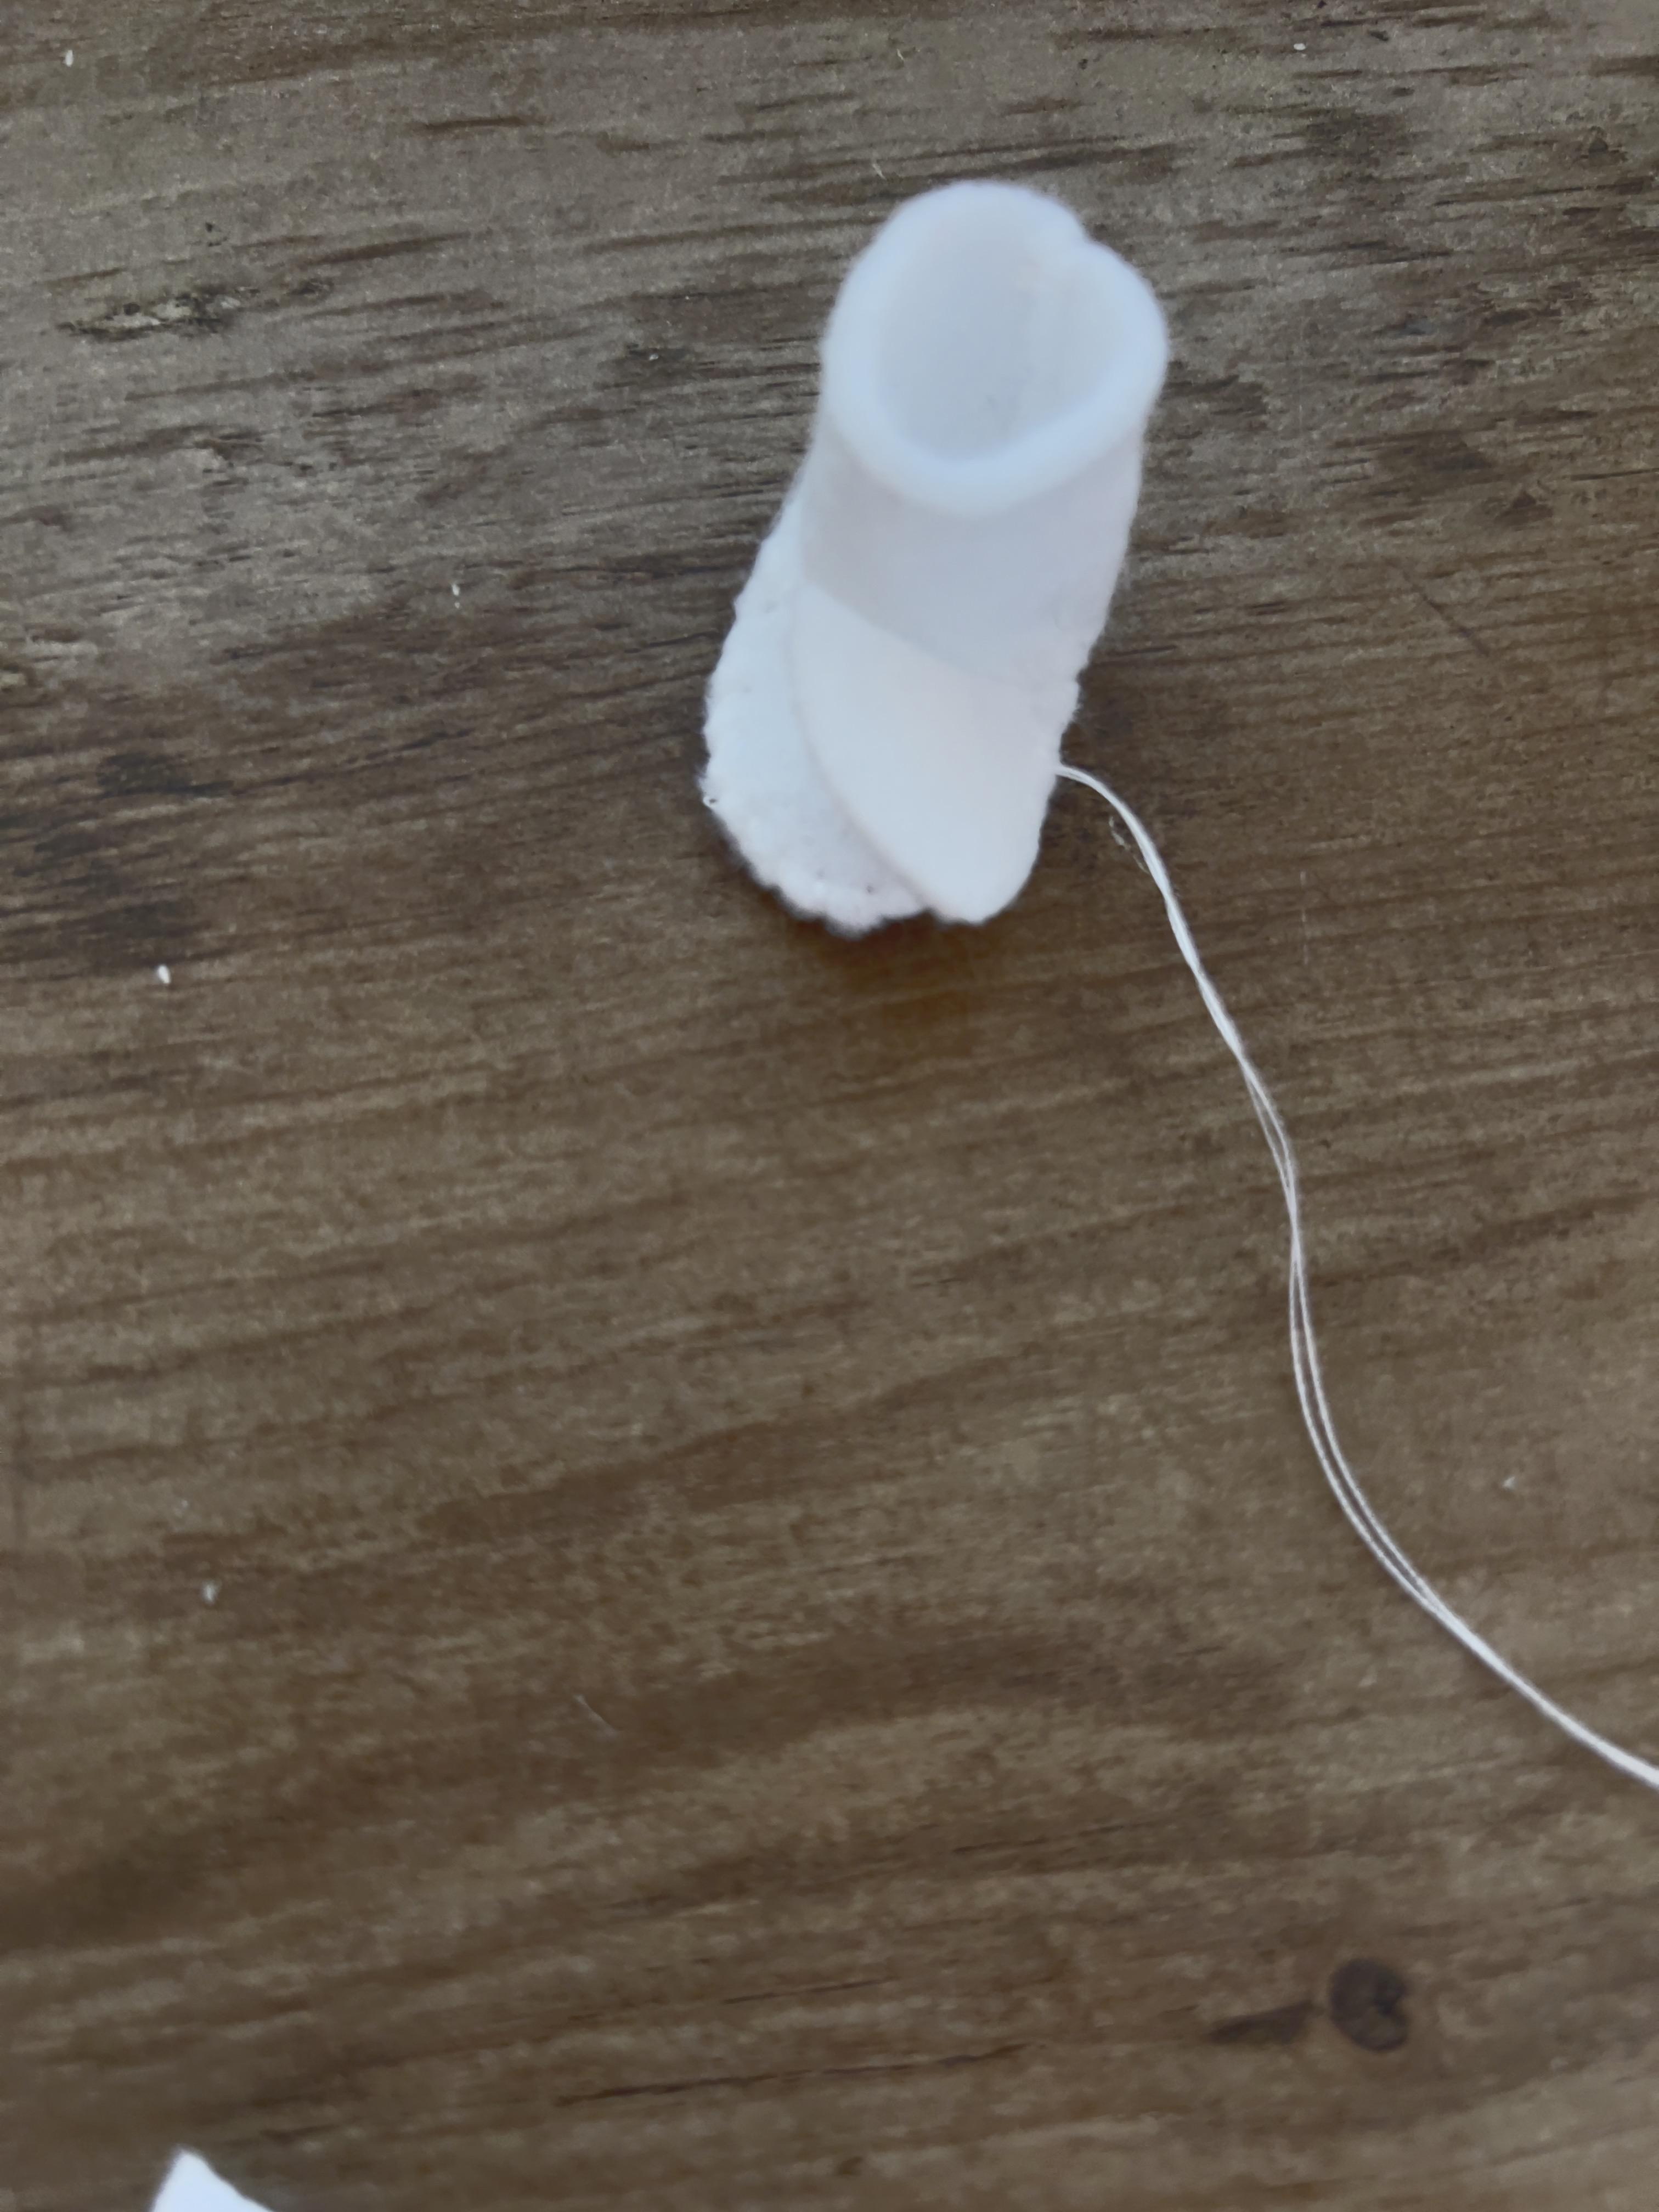
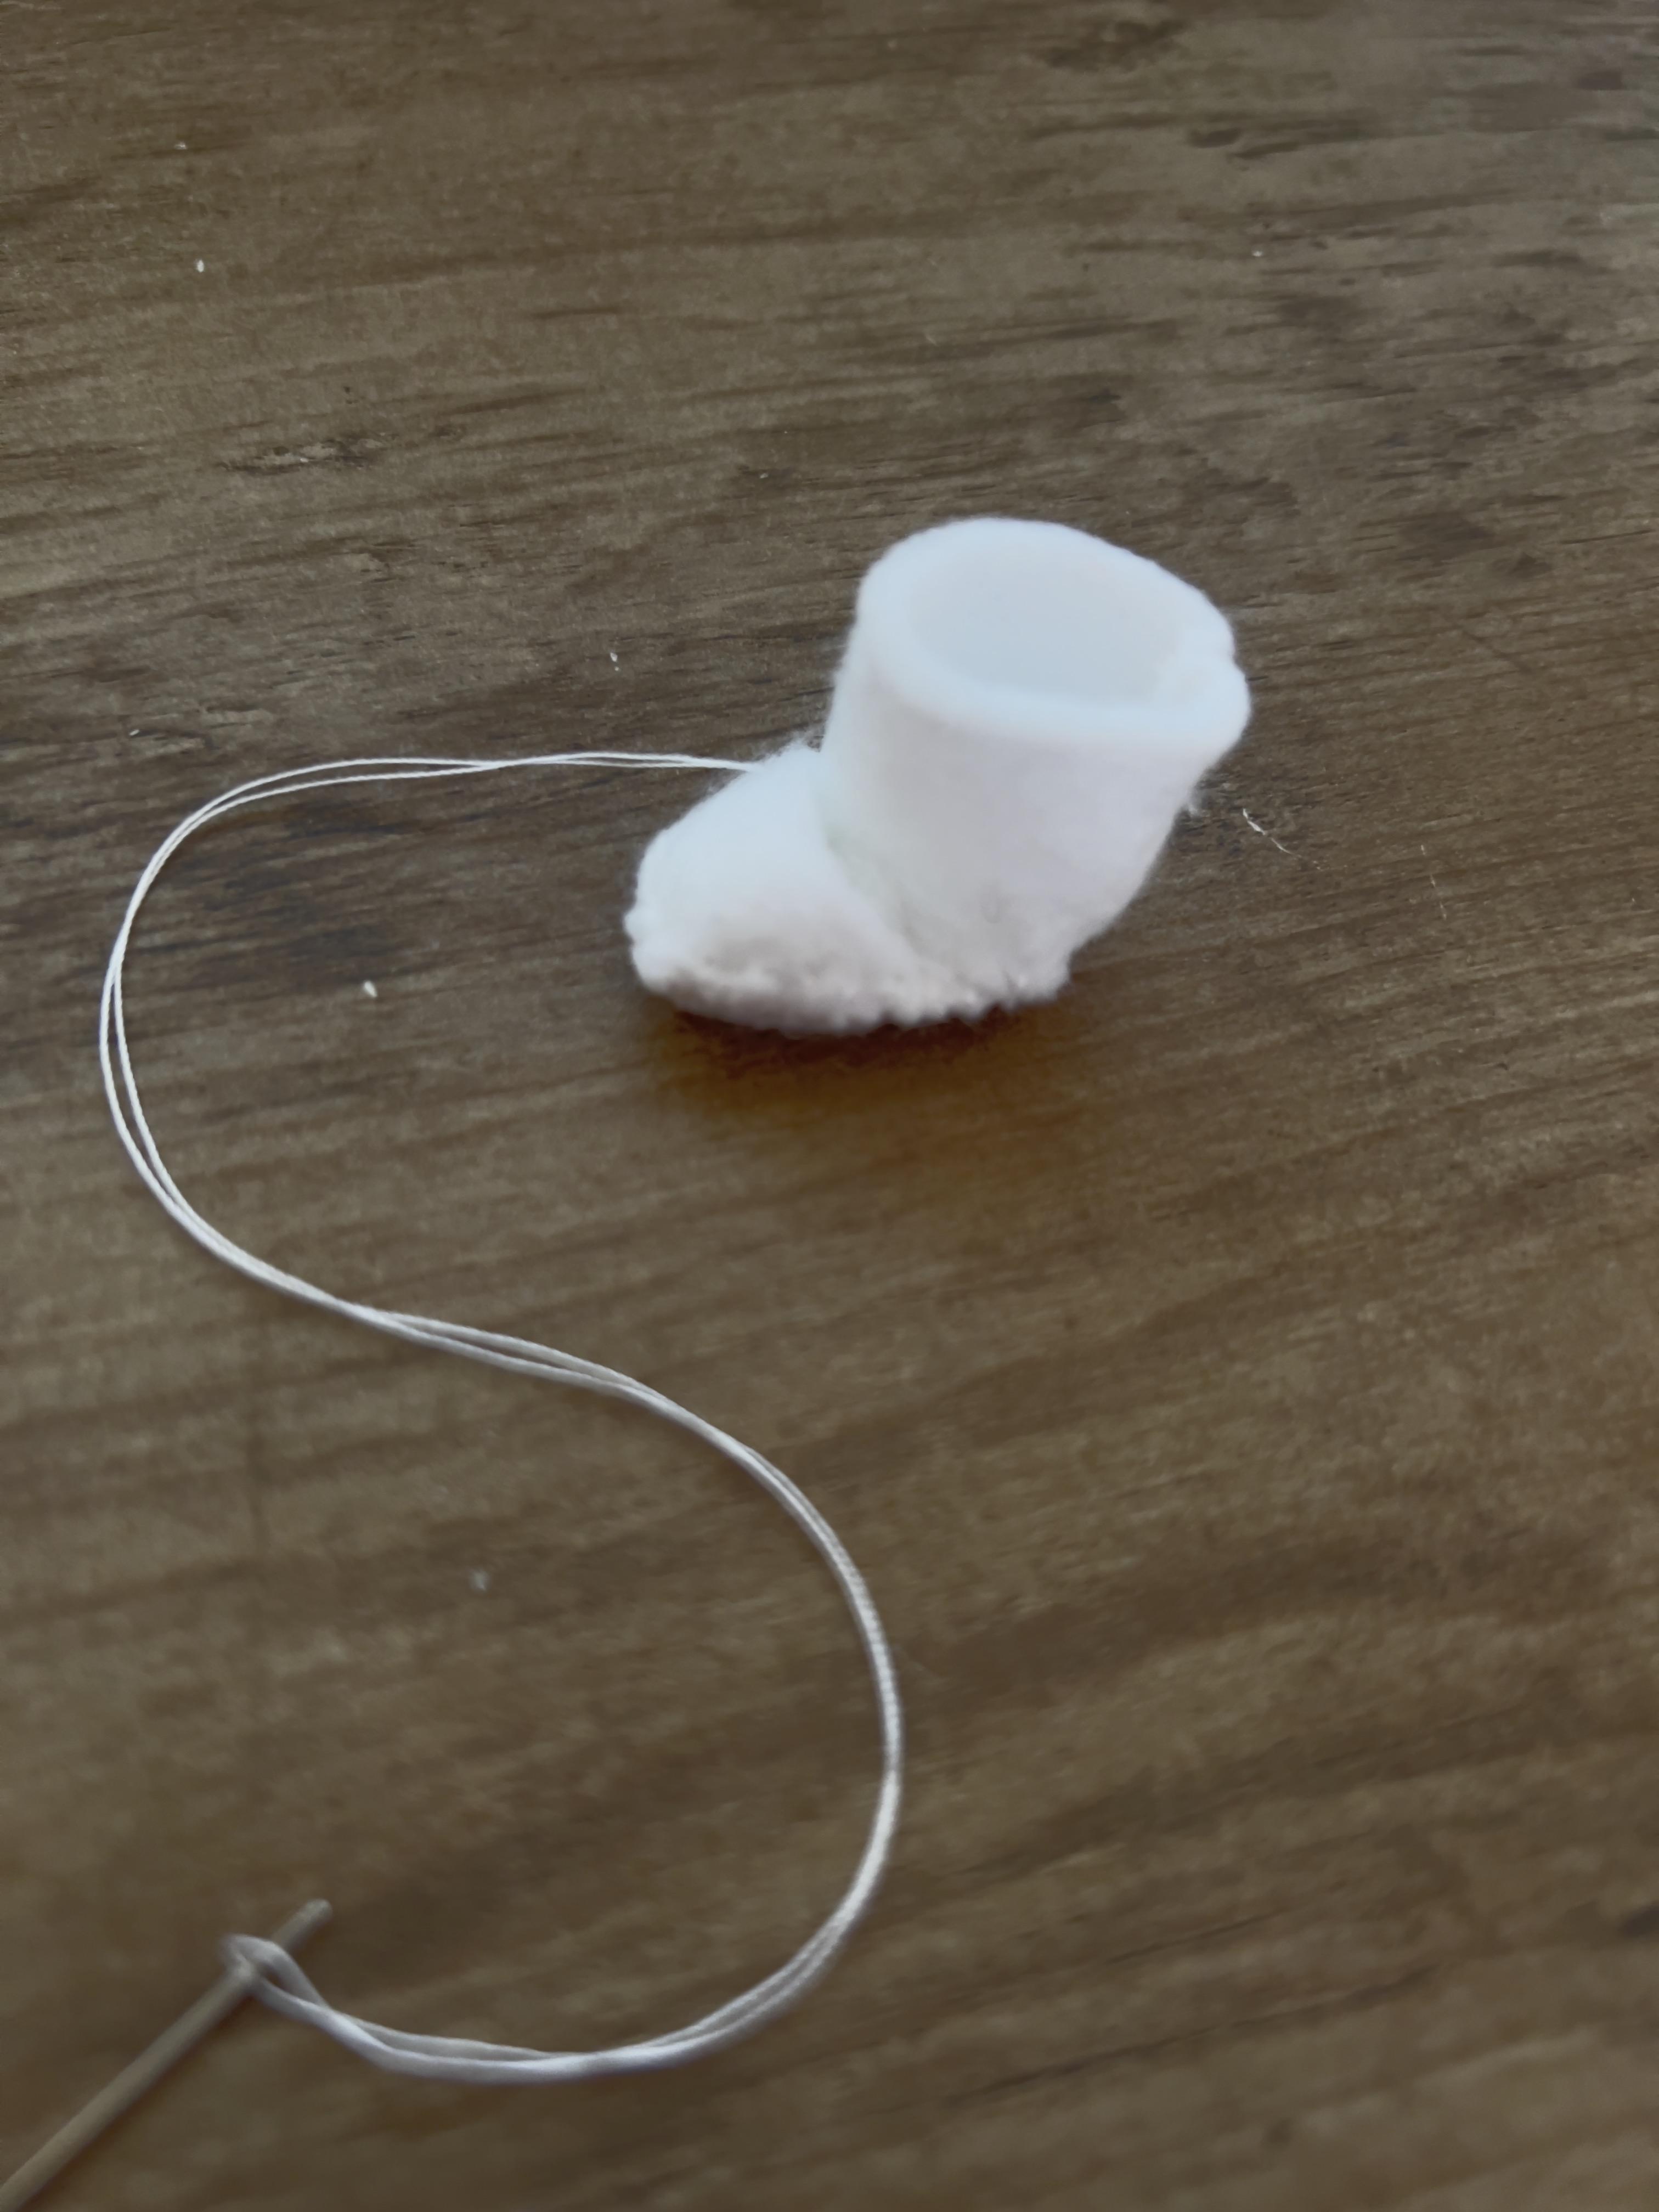
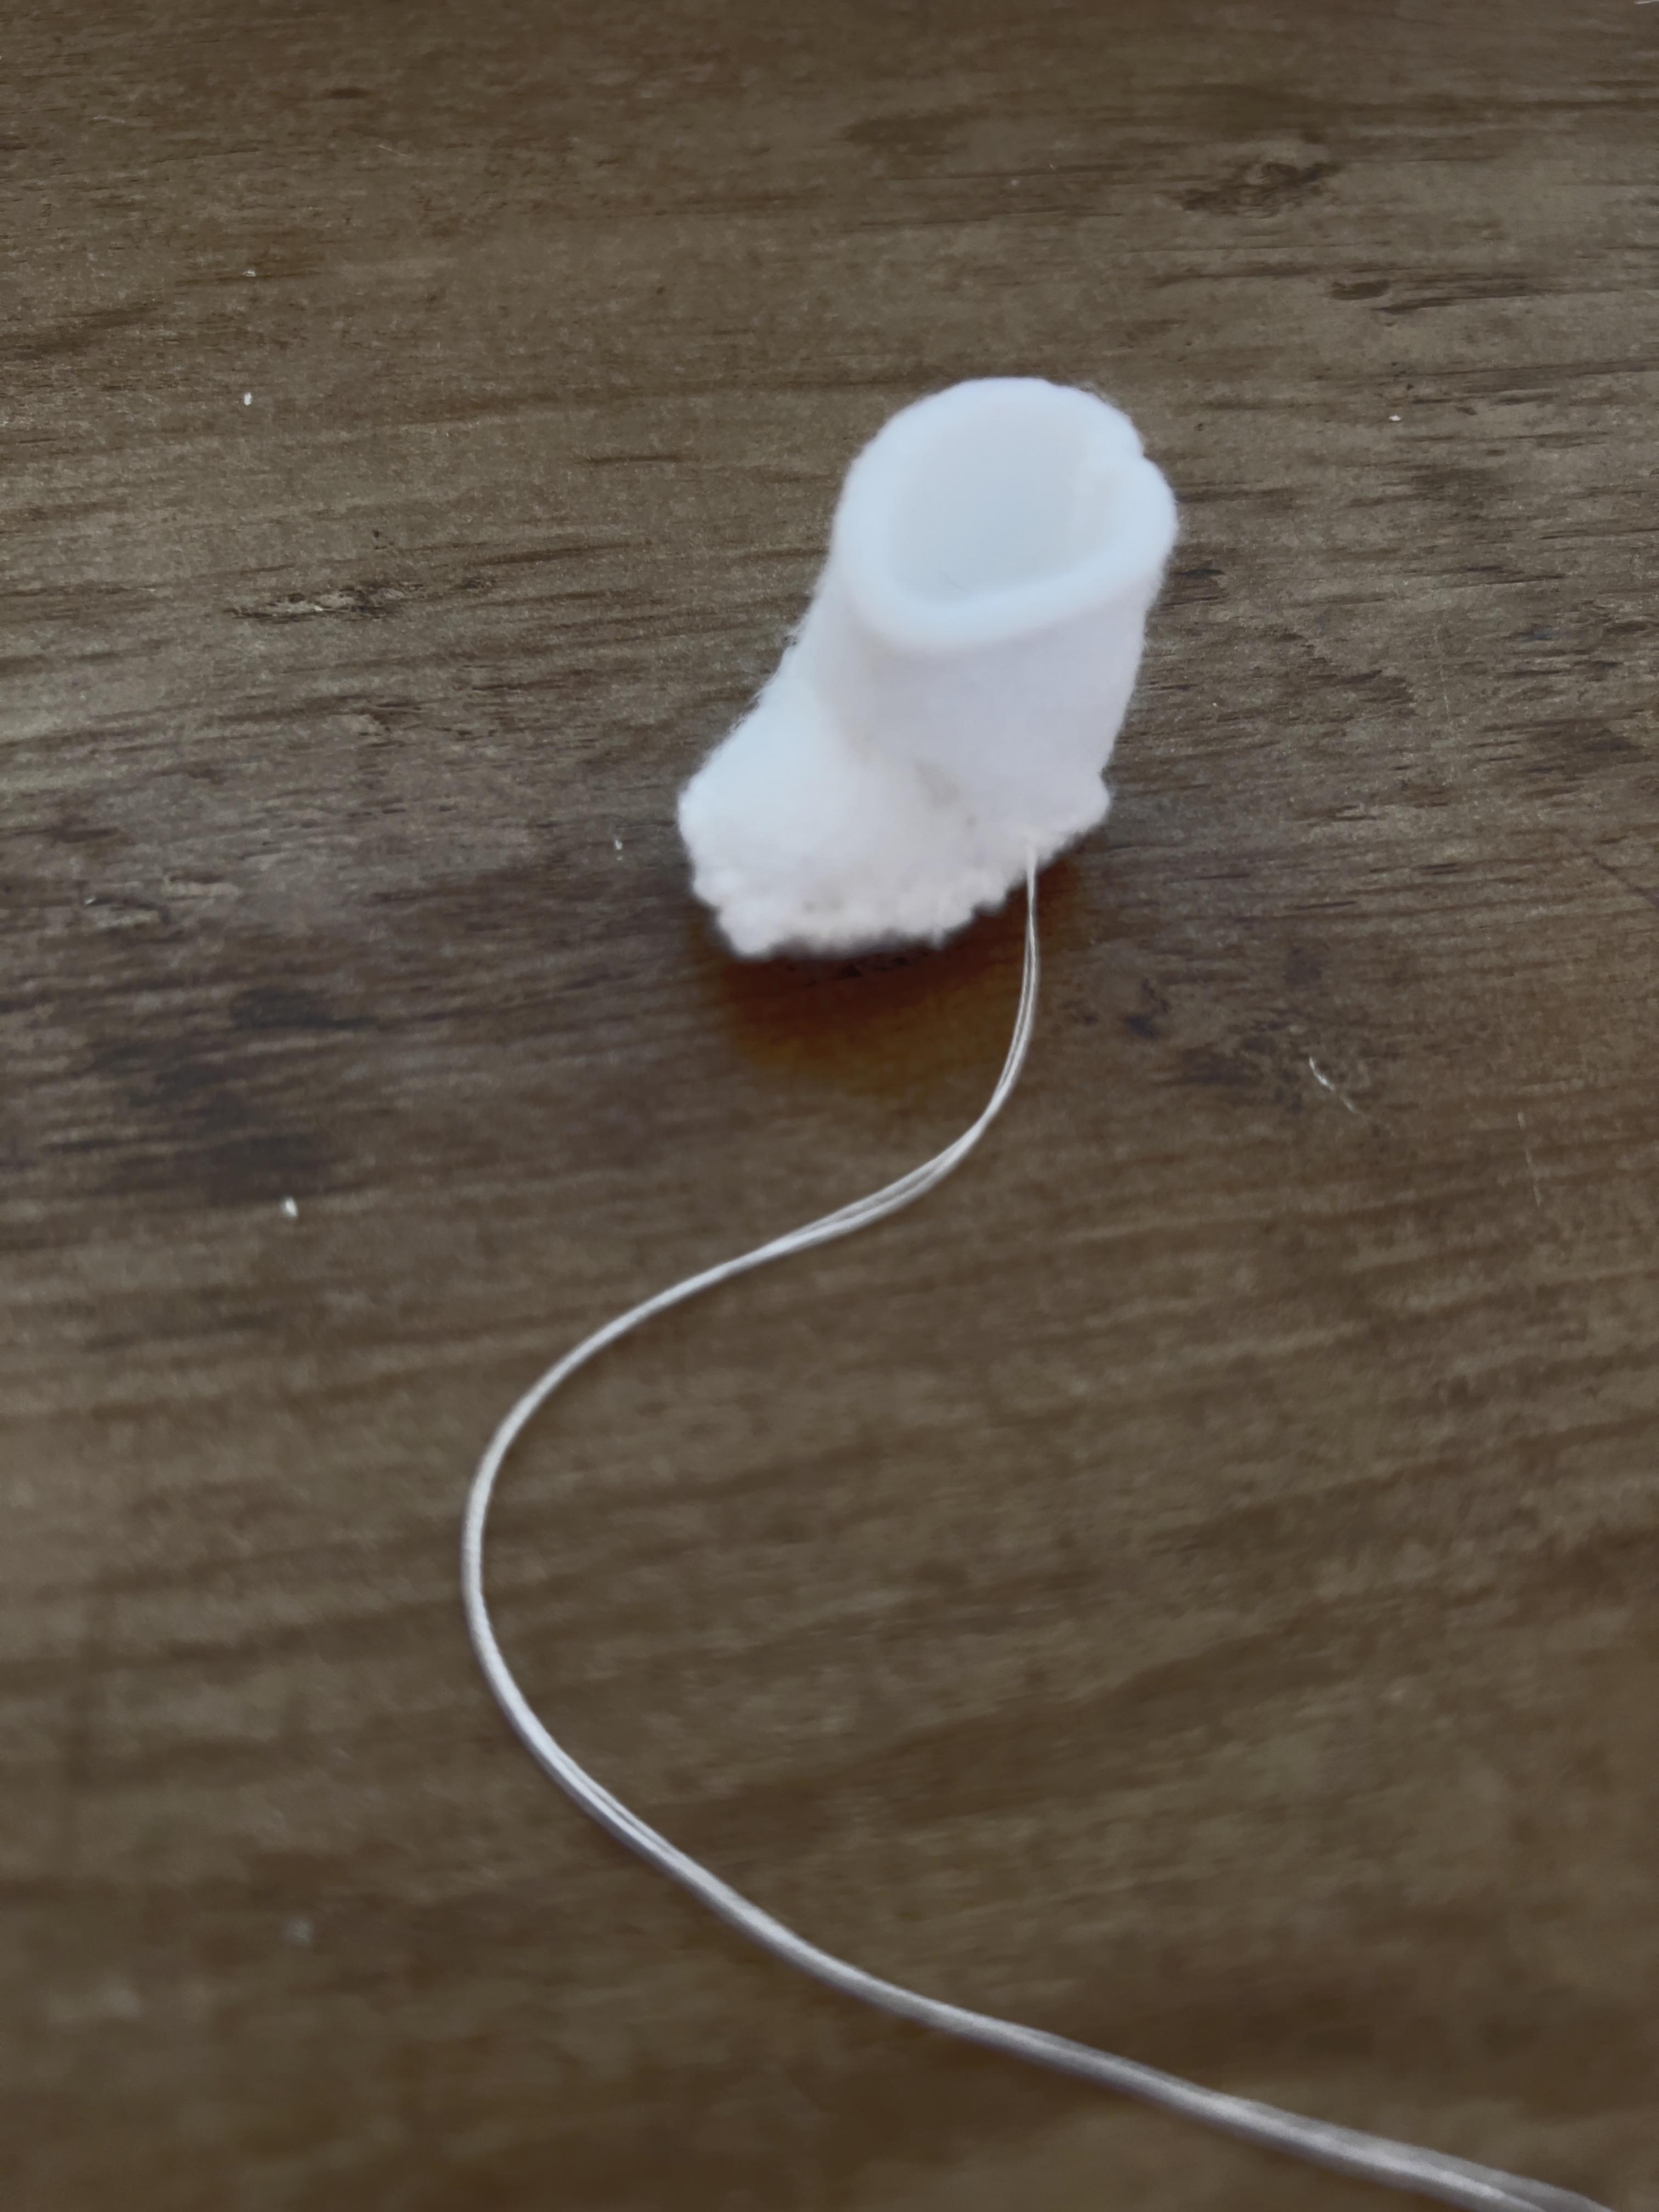
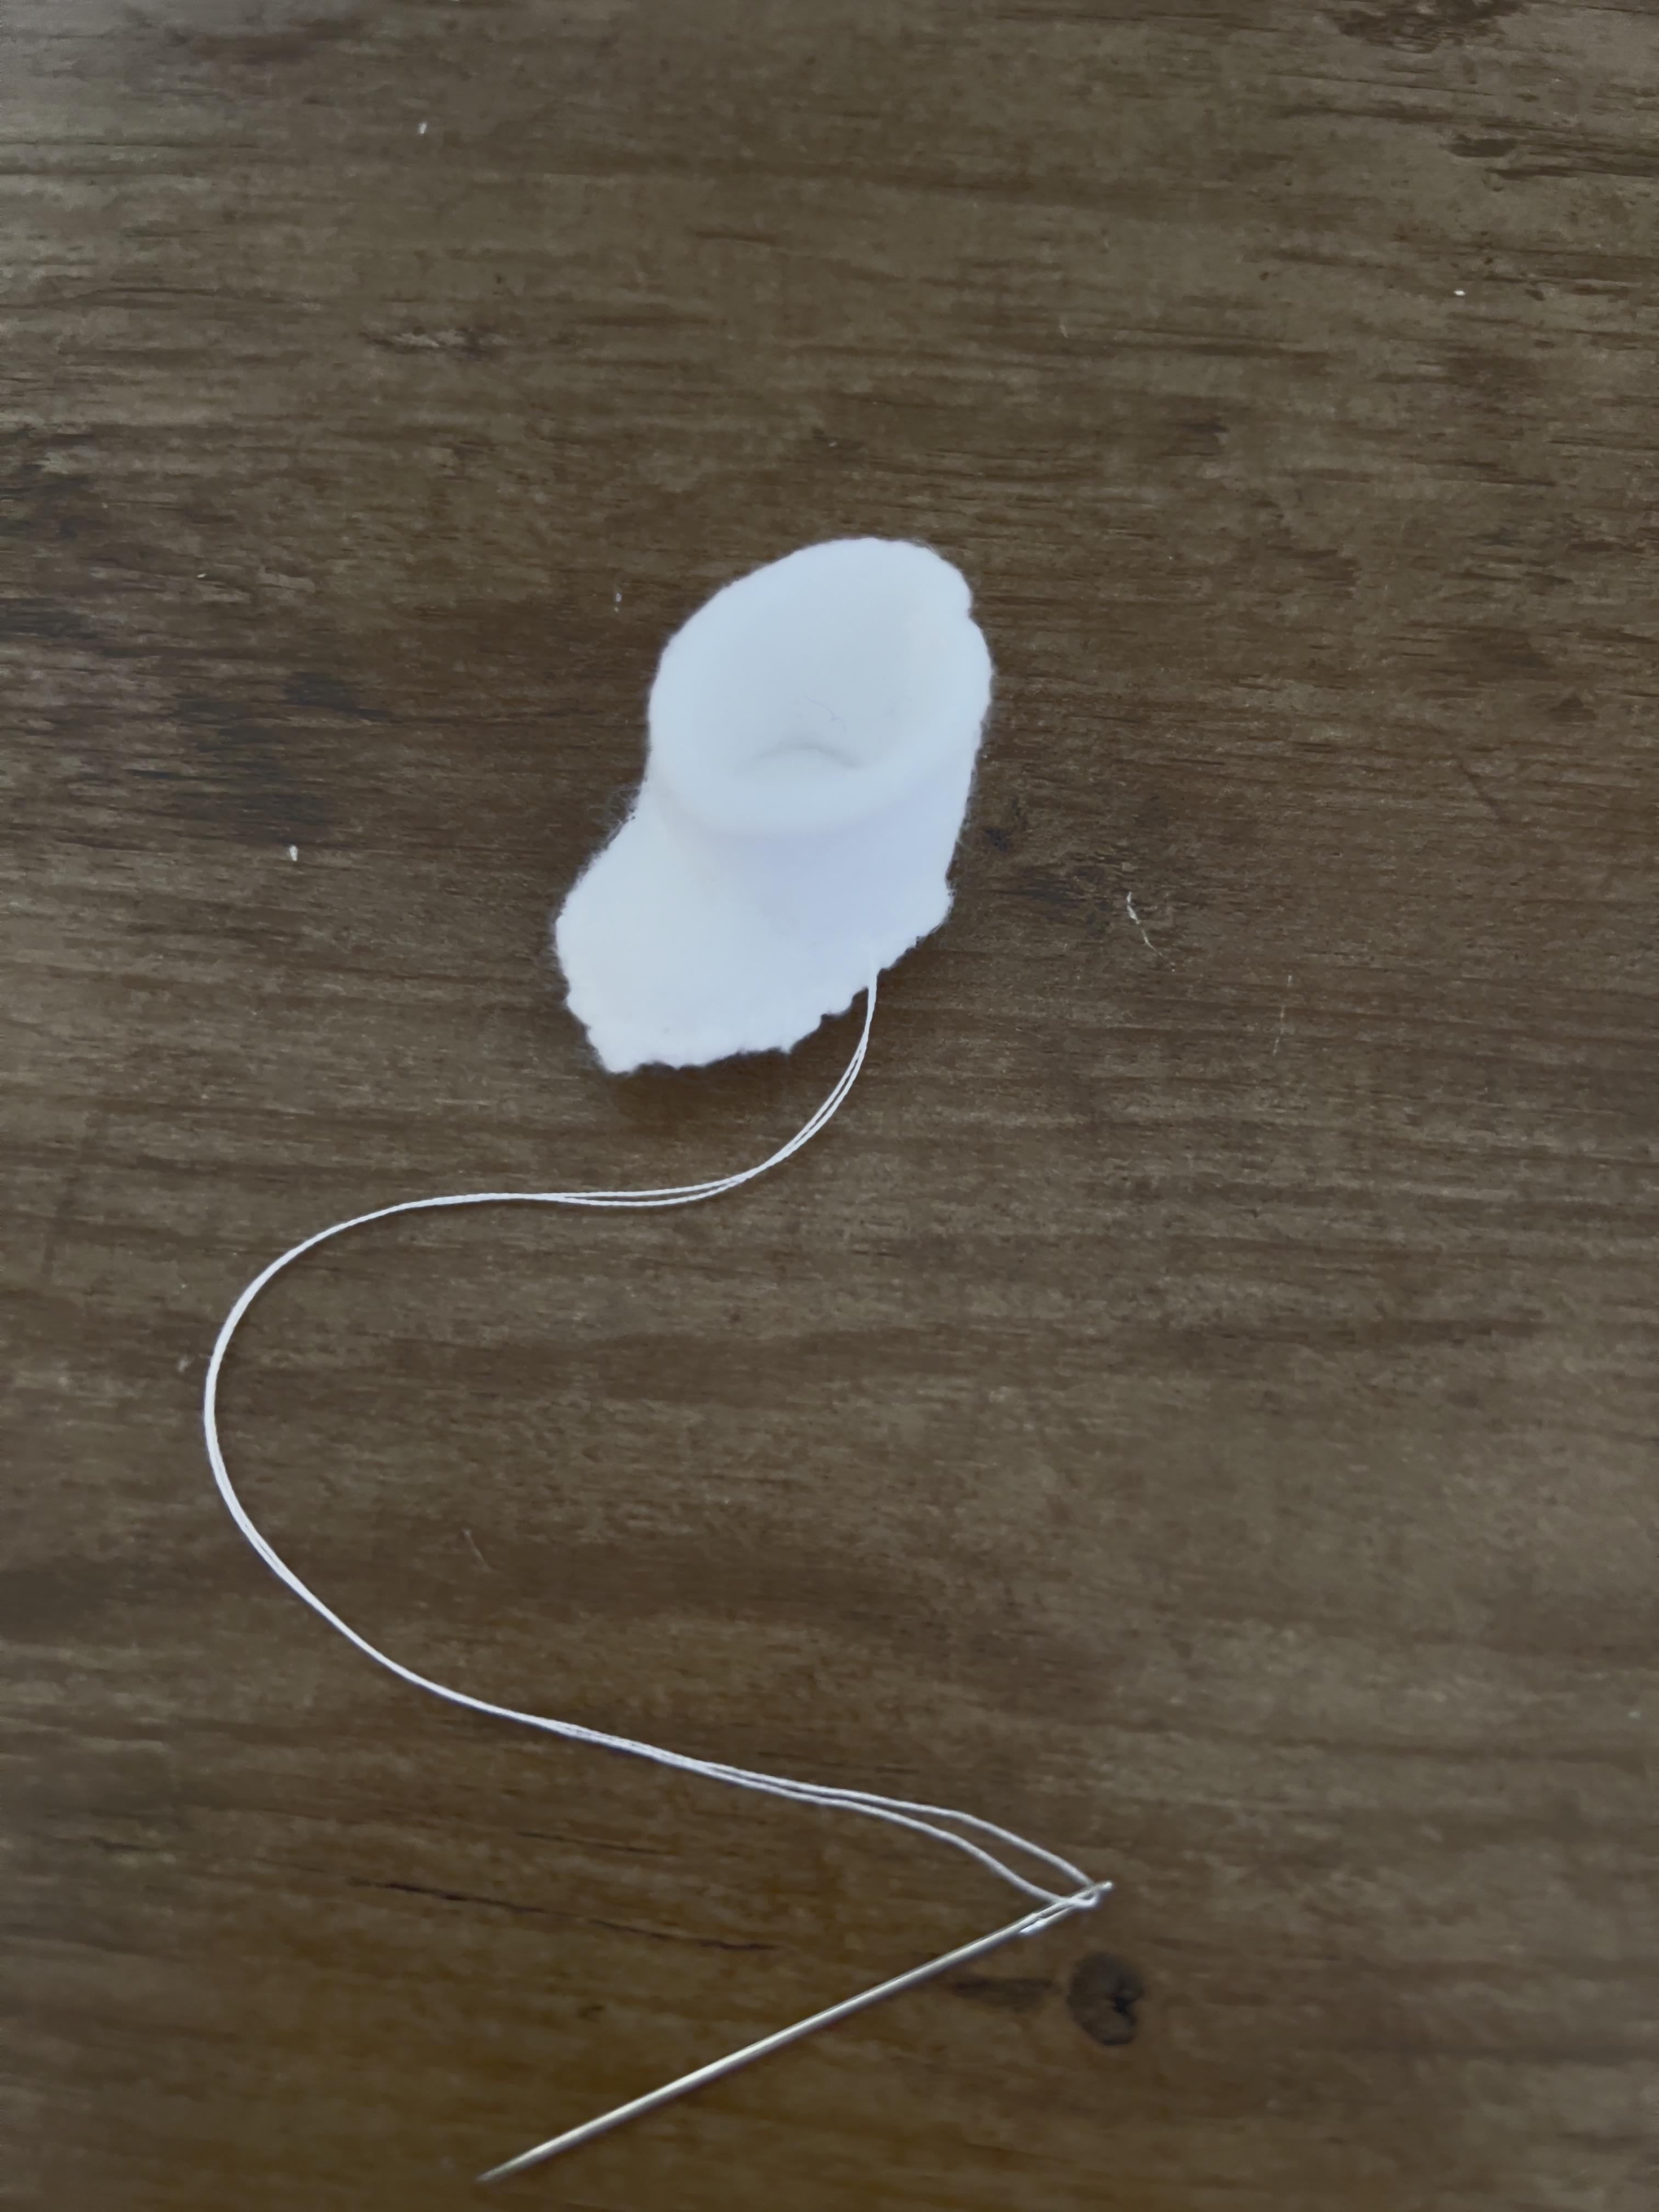
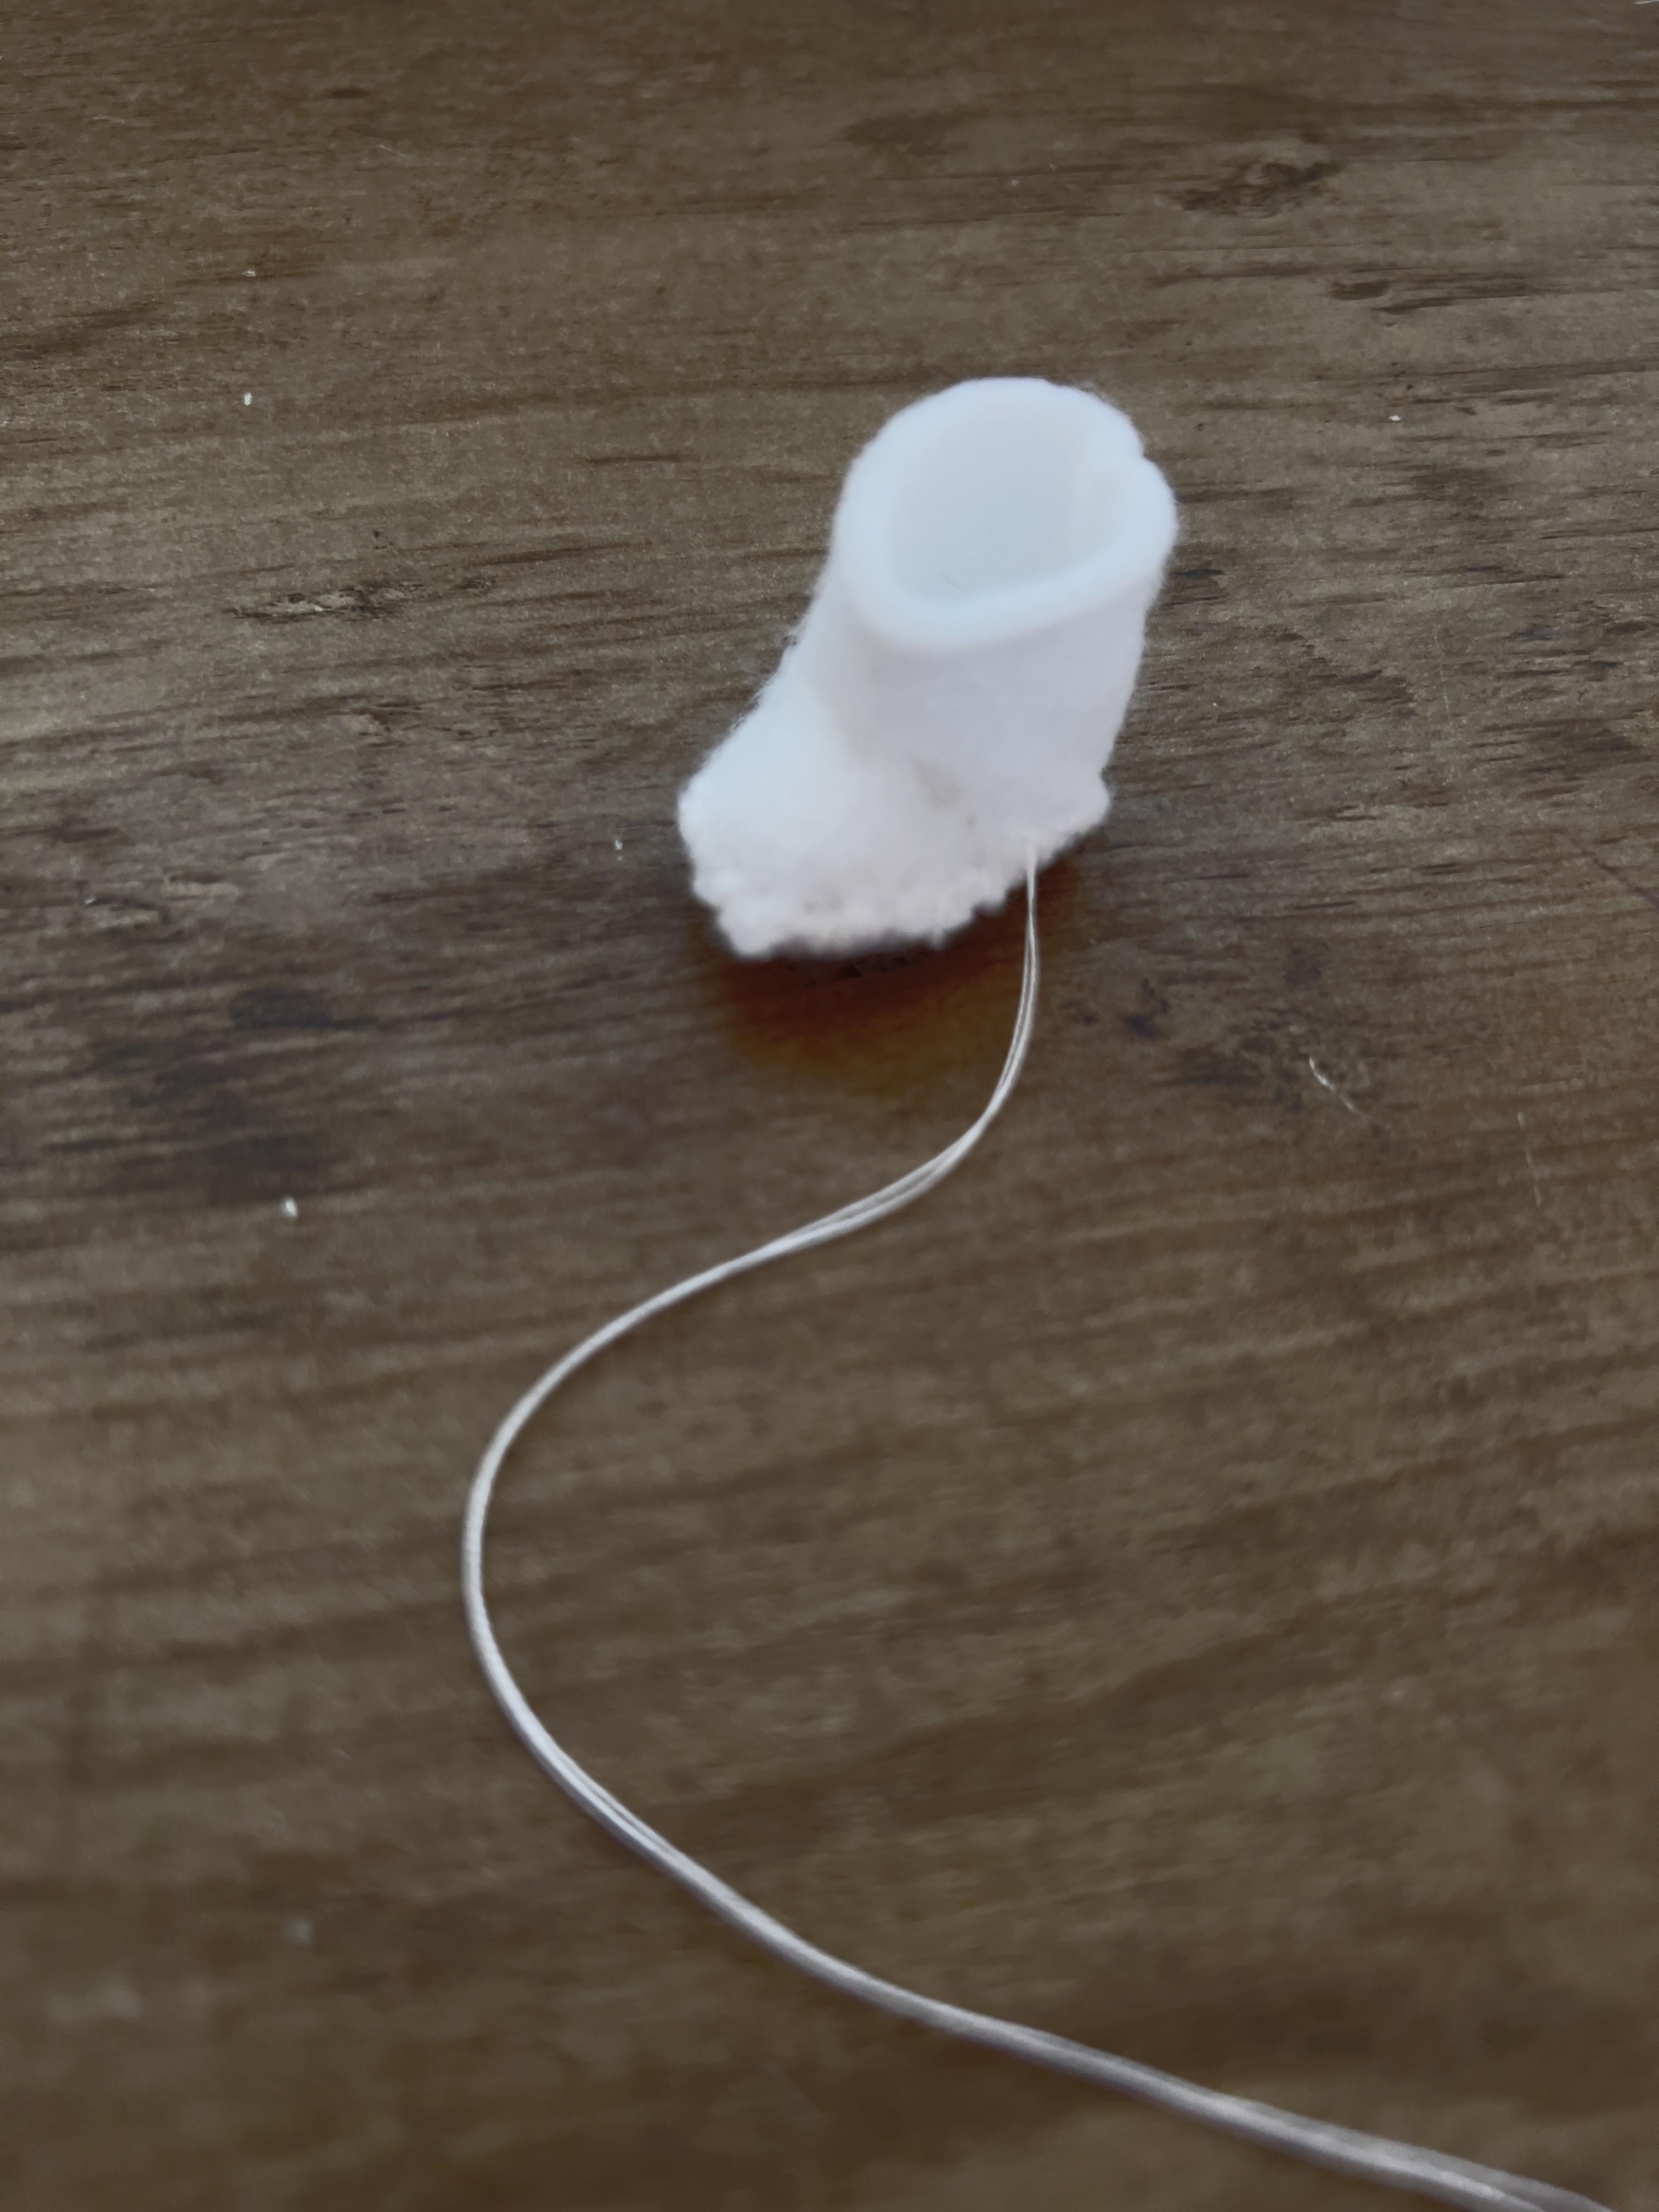
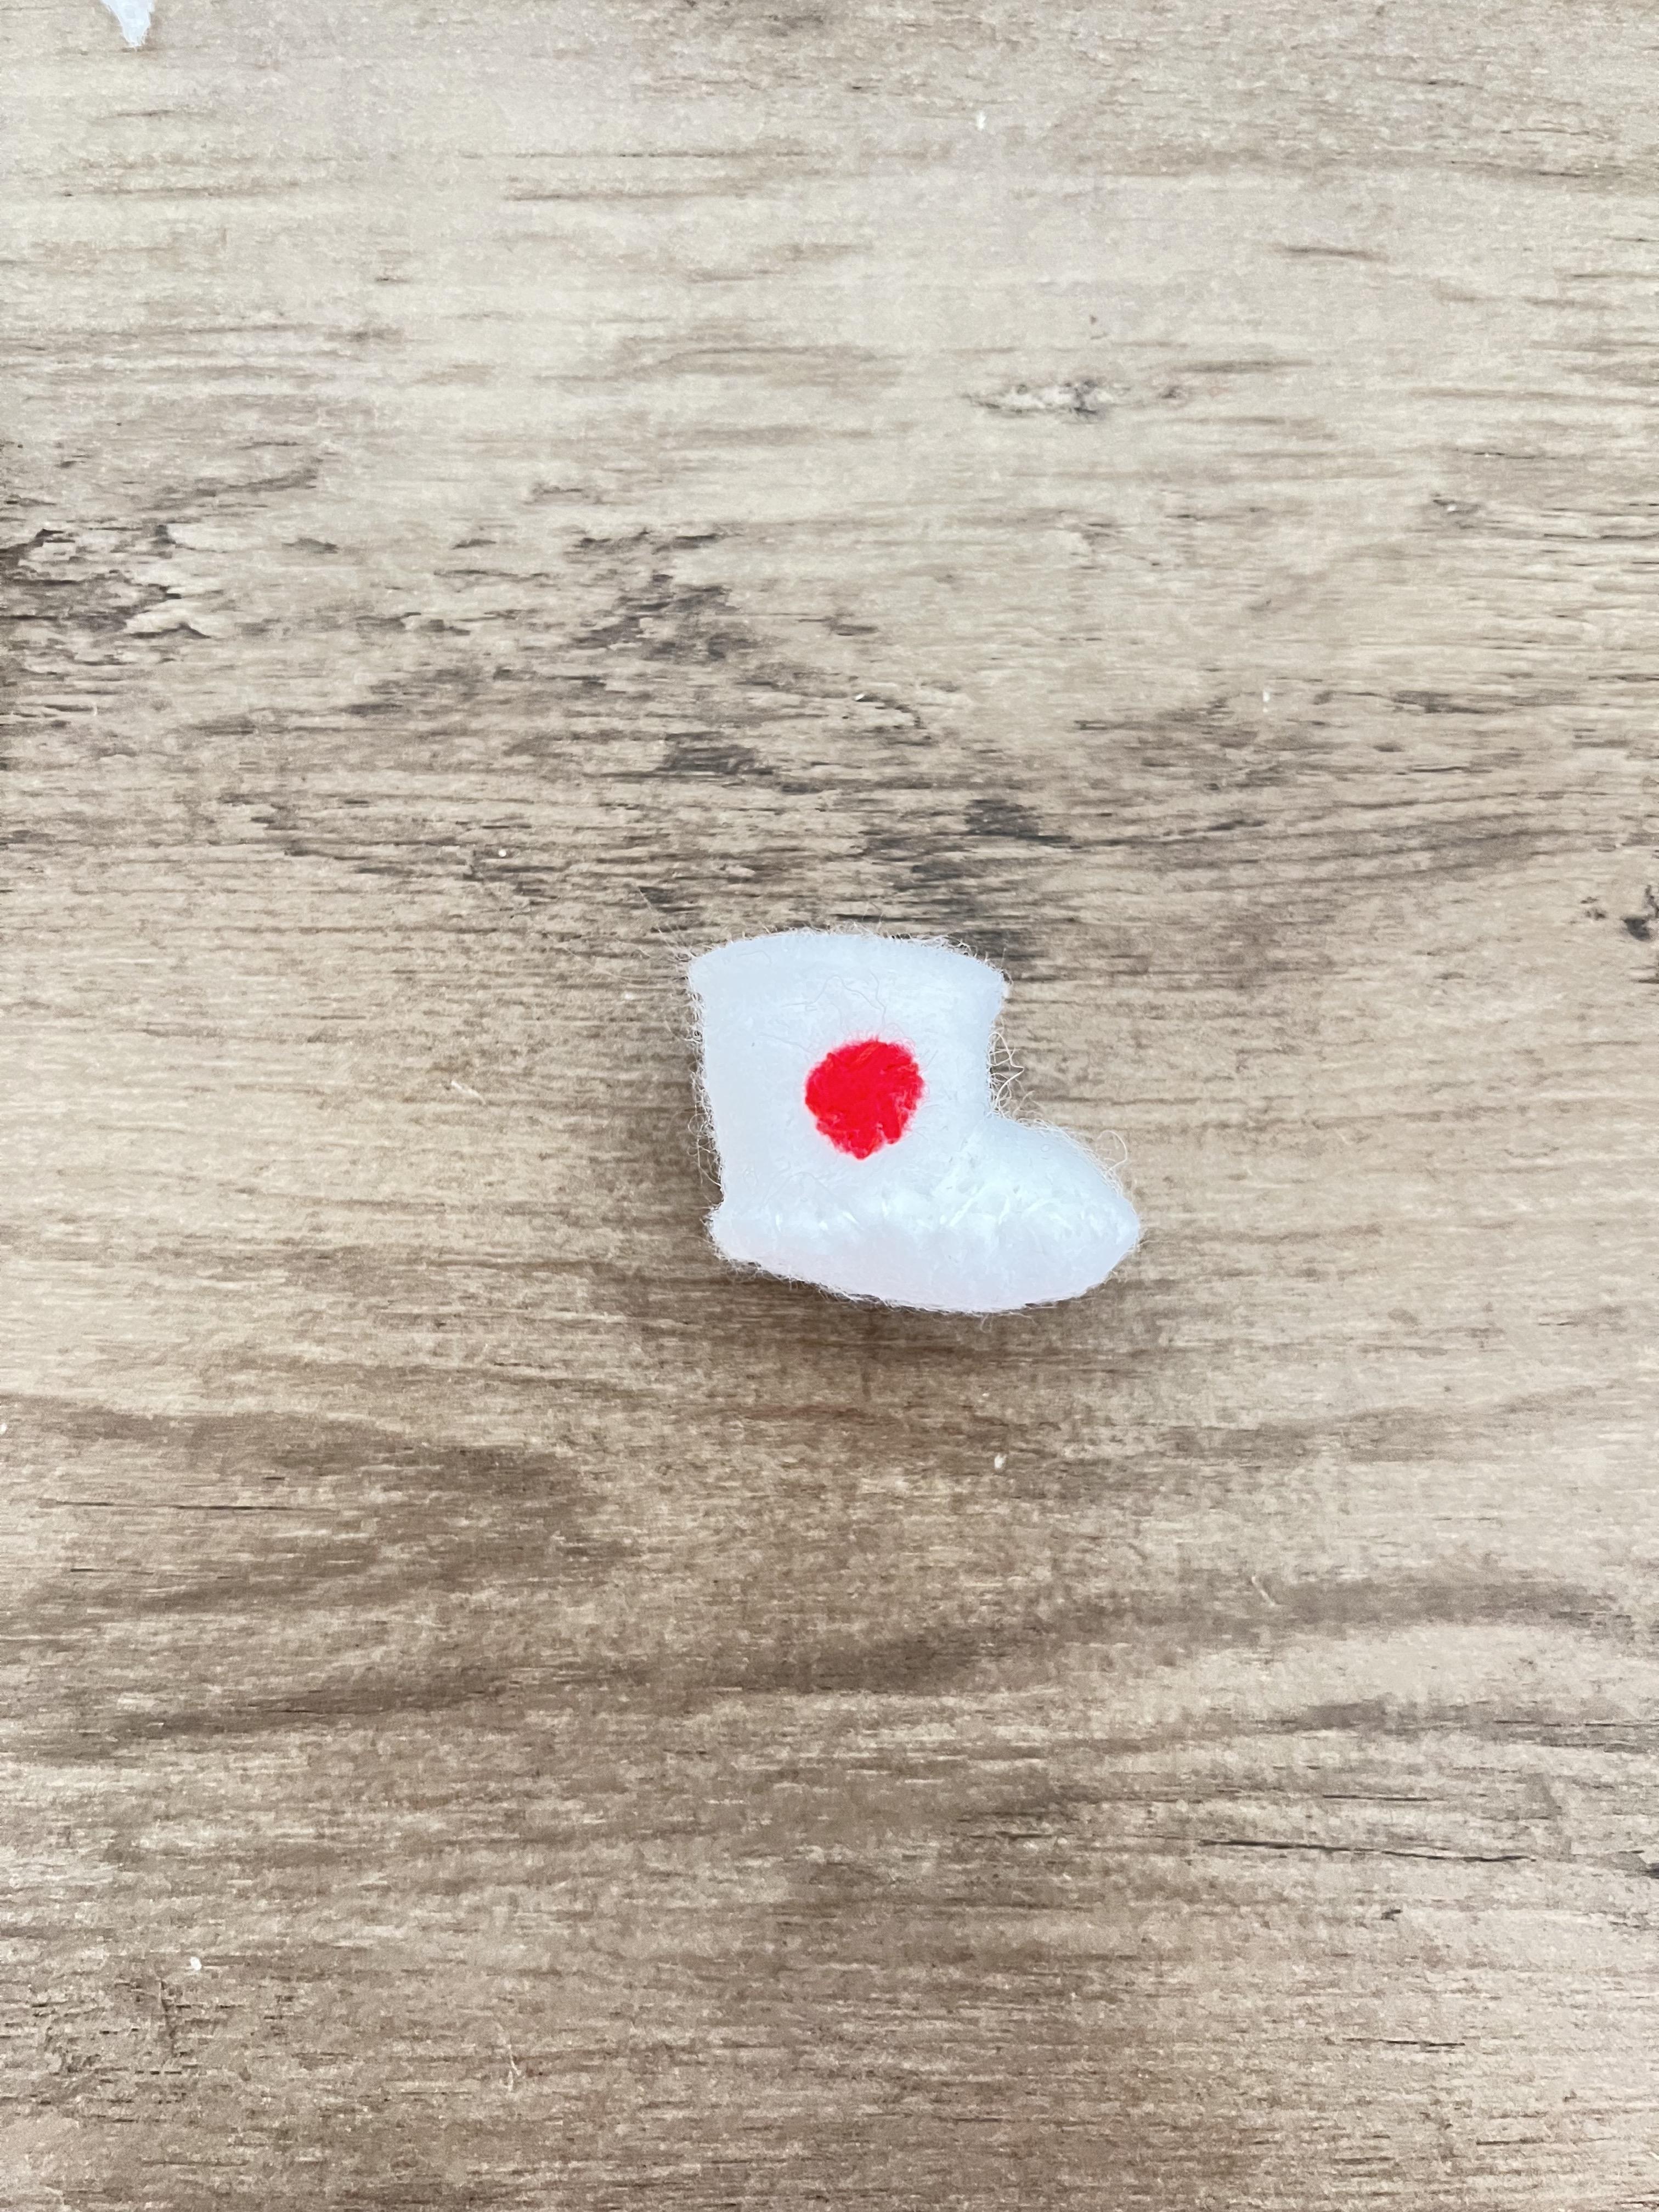
For his shoes, cut out two rectangles, four ovals, two half ovals, and two little blue circles as in picture 20. Stack two white ovals on top of each other and stitch around the edges (securing them together). Fold a white strip in half and sew up one side. Attach the white tube to the shoe base and stitch around the bottom. Sew the toe onto the end of each shoe. Sew the little circles on the inside of the shoes. (picture 36-38)
Sew a face on him and he's done.
Felting Russell's Hair


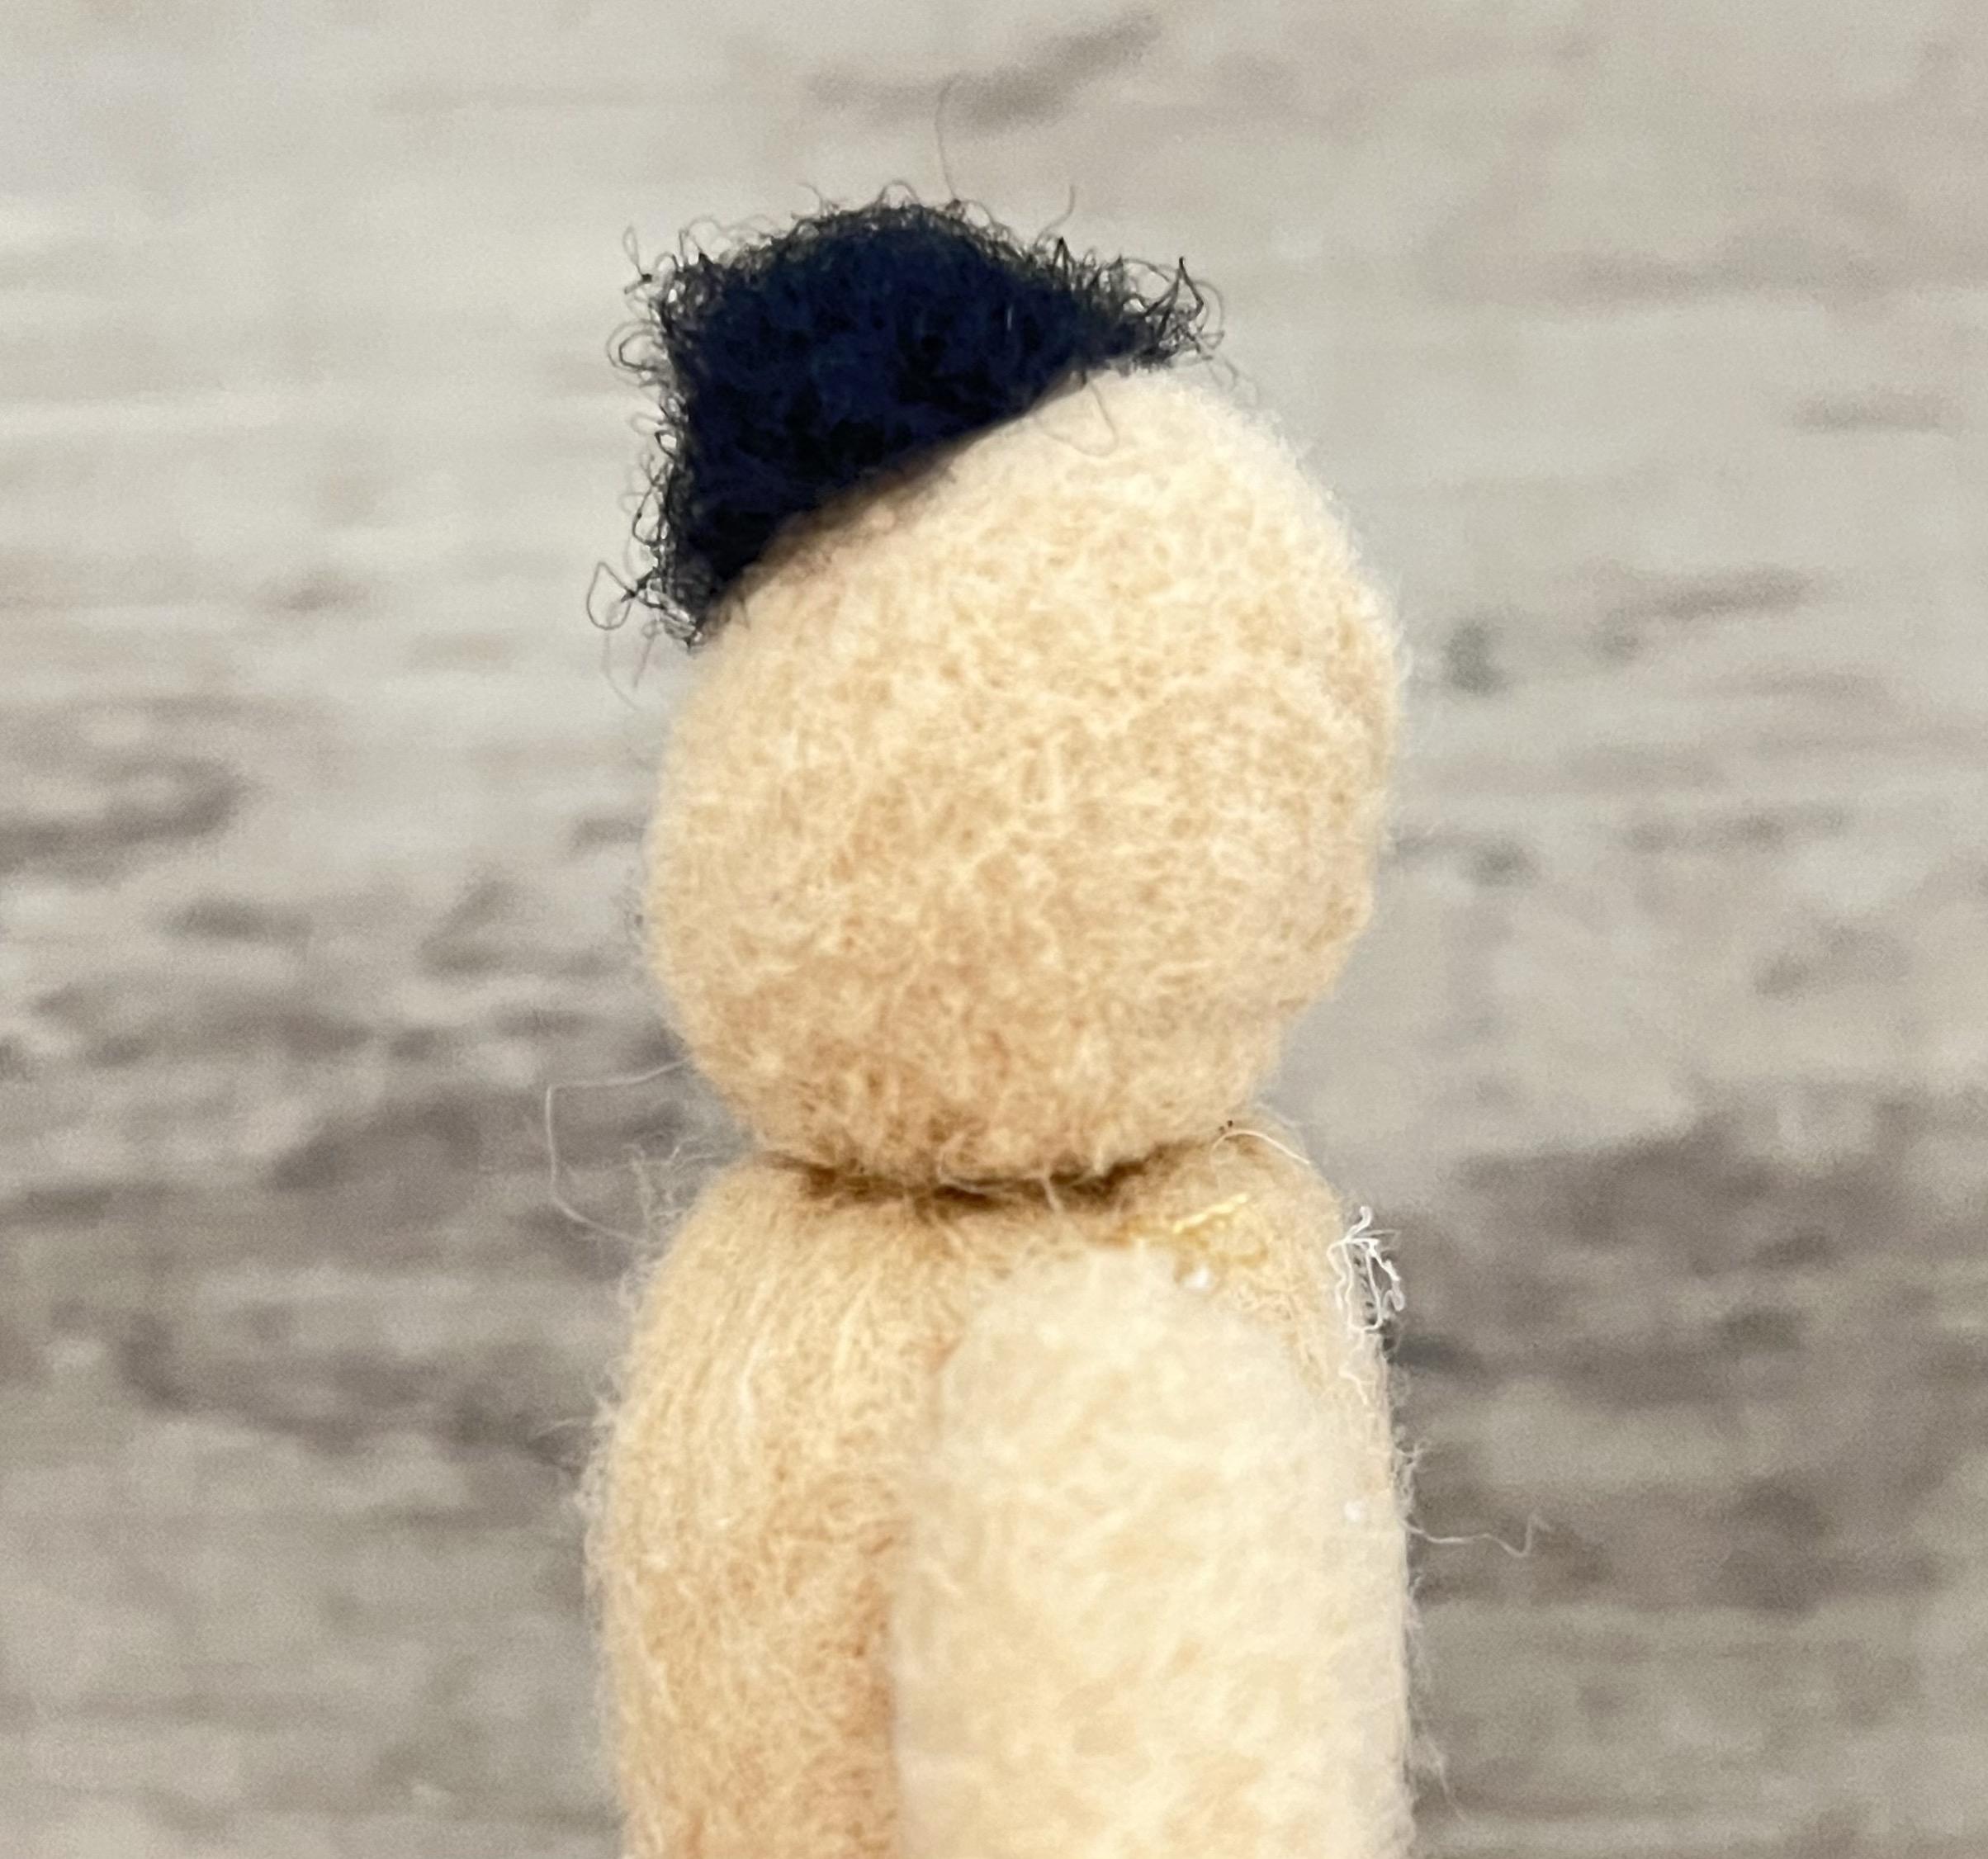
Just take a little bit of wool and felt it on the front of his head.
I don’t think he ever really takes his hat off, except for in the hospital episode, so you don’t have to do this step.
Sewing Russell's Clothes
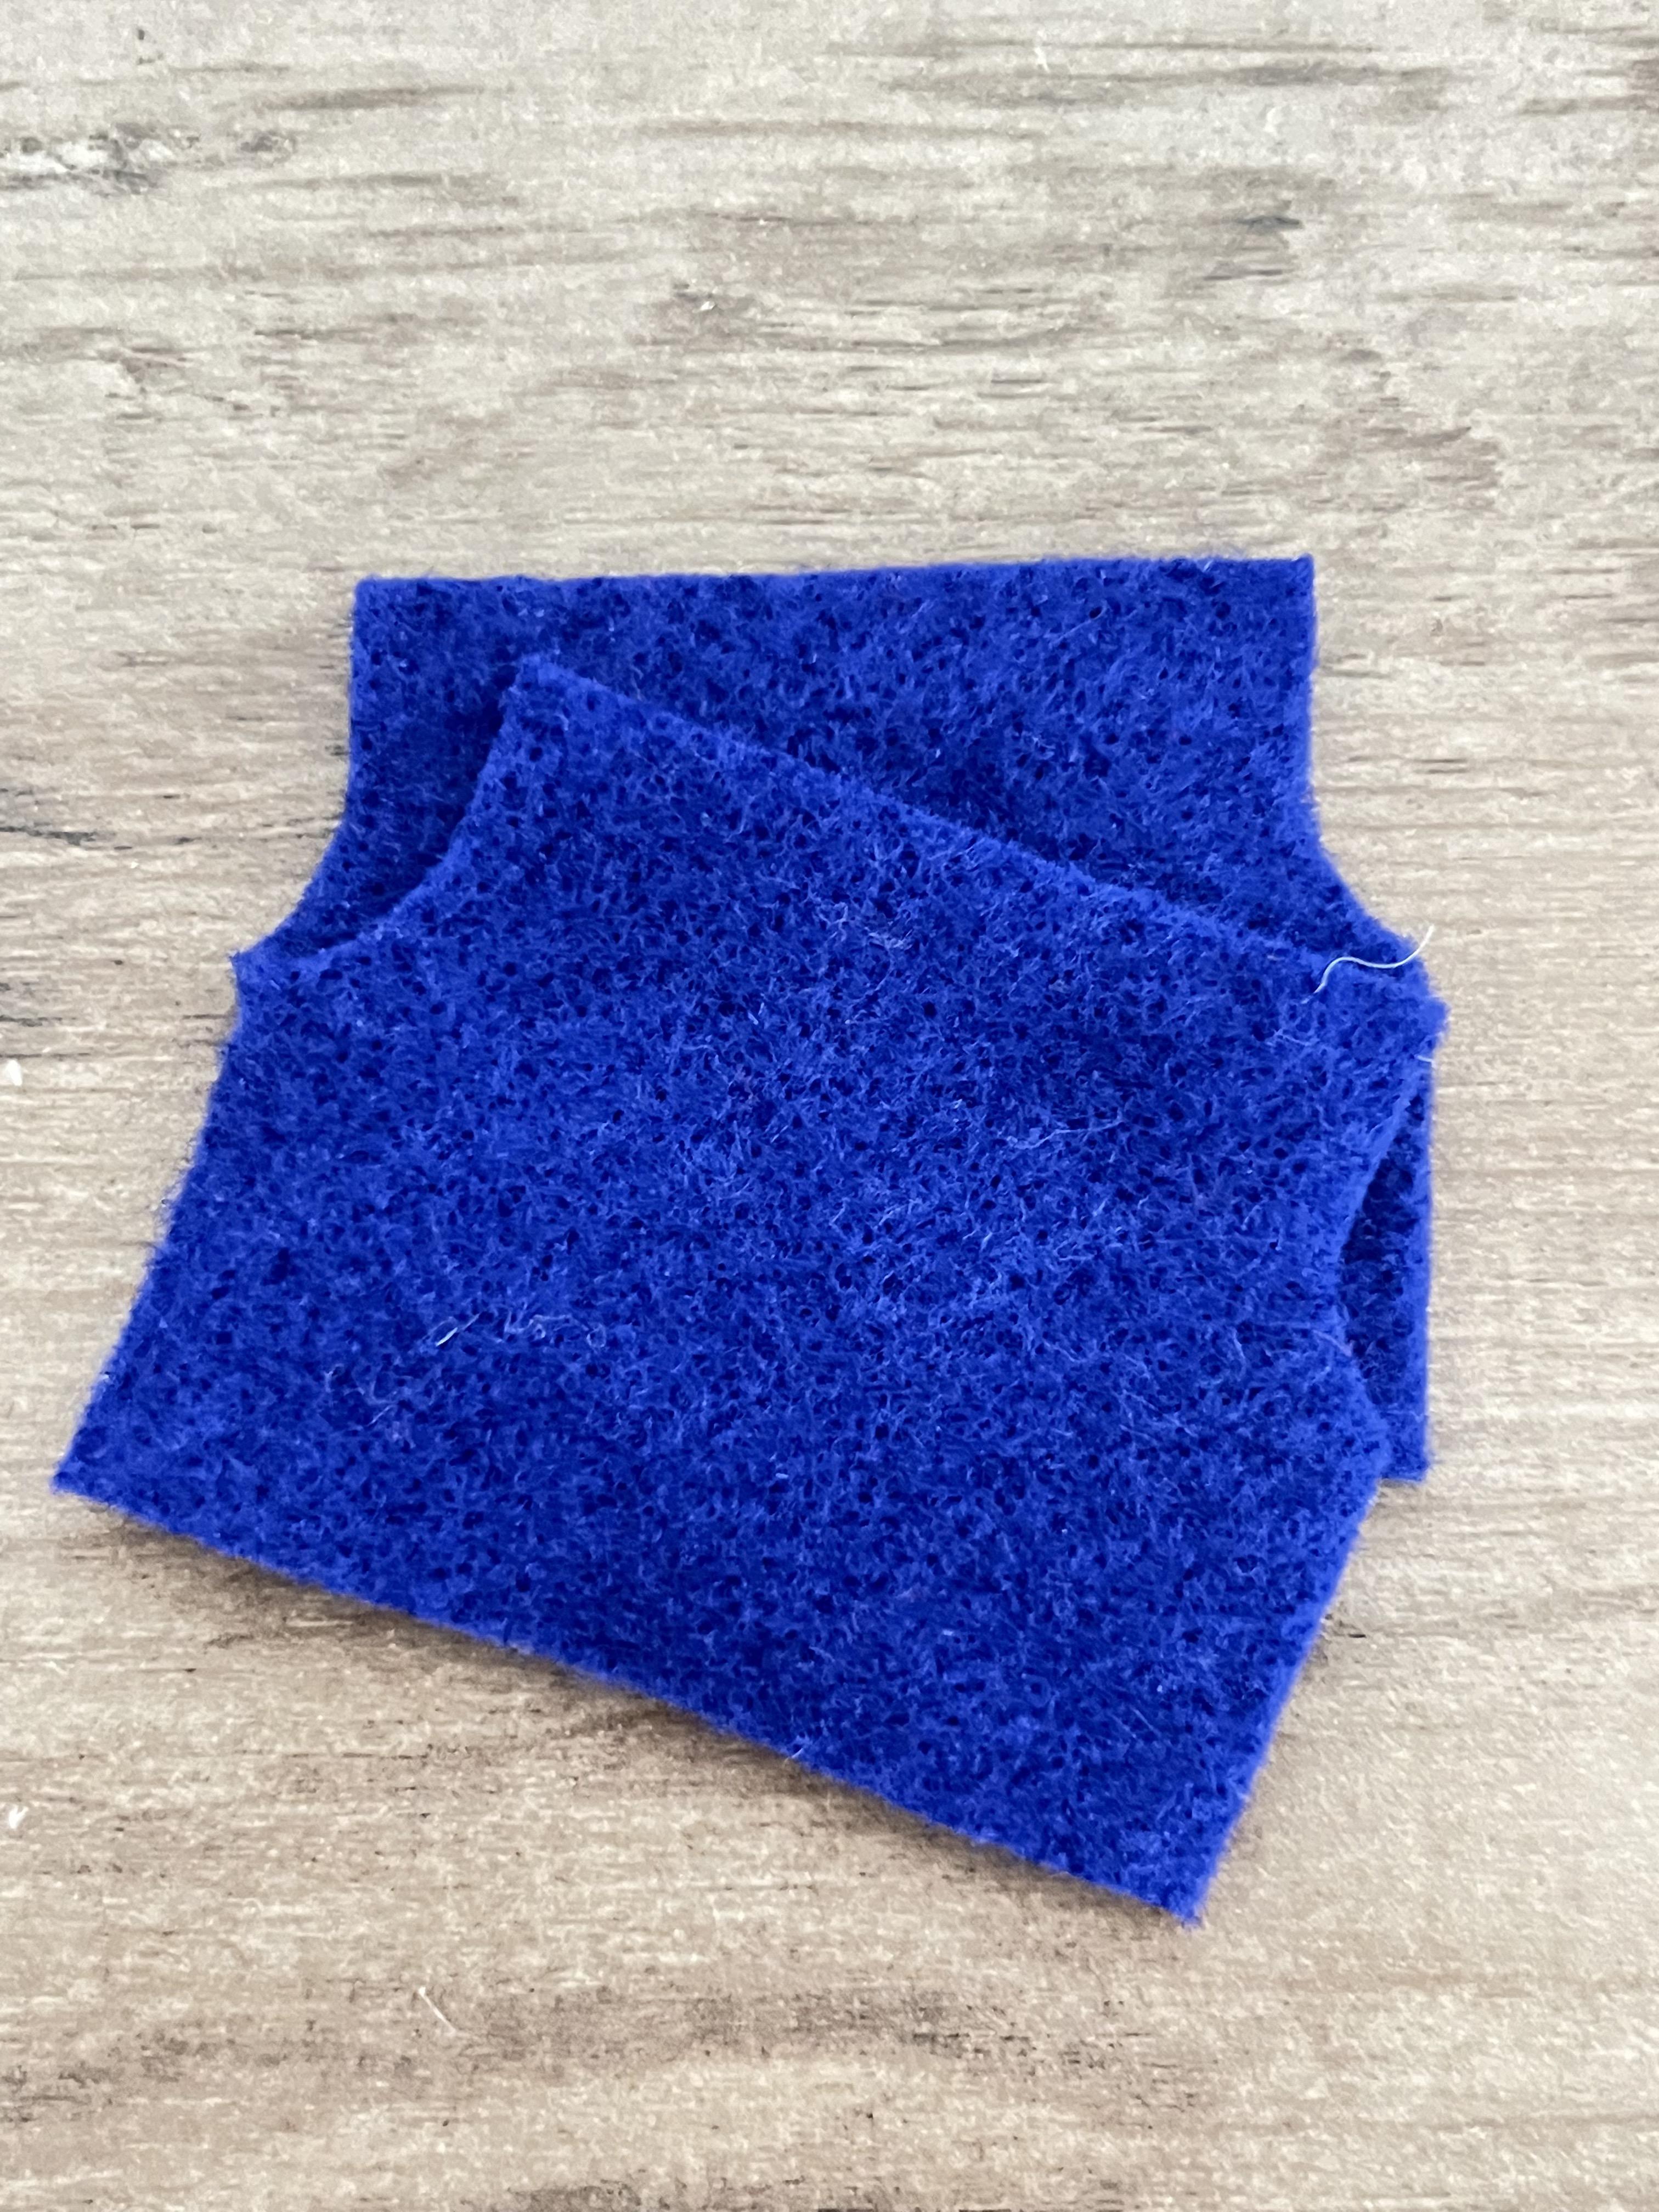


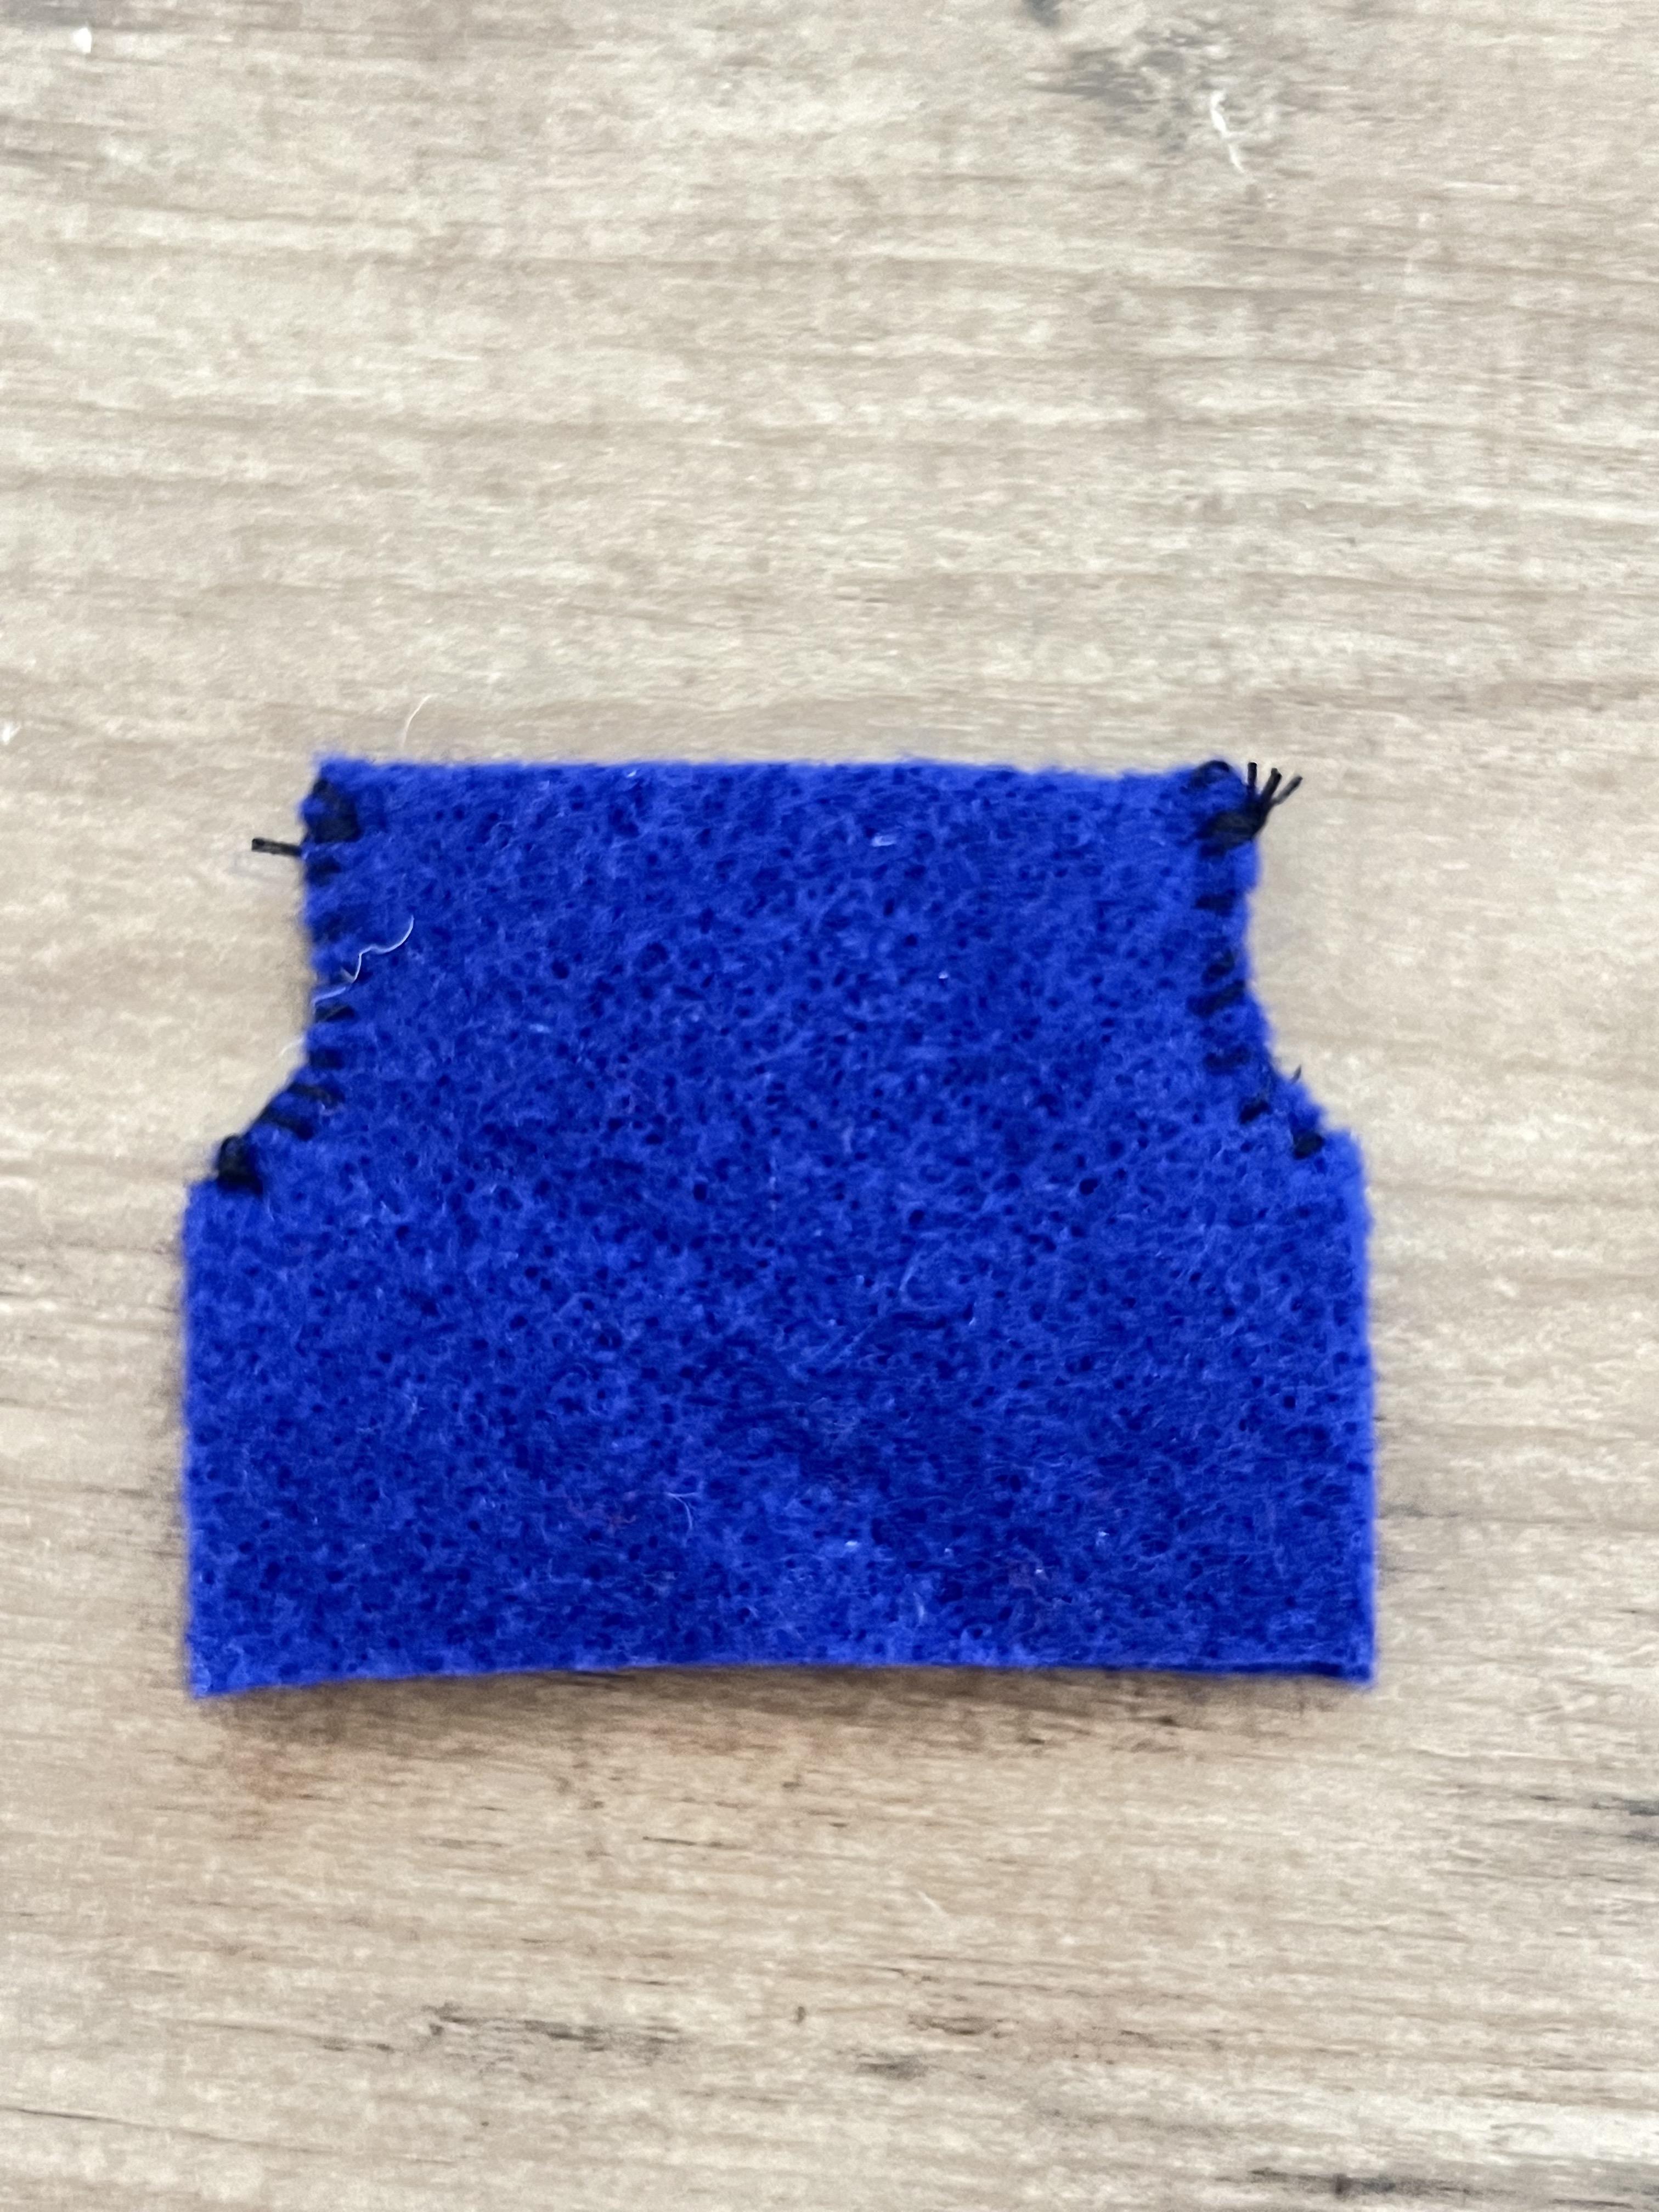
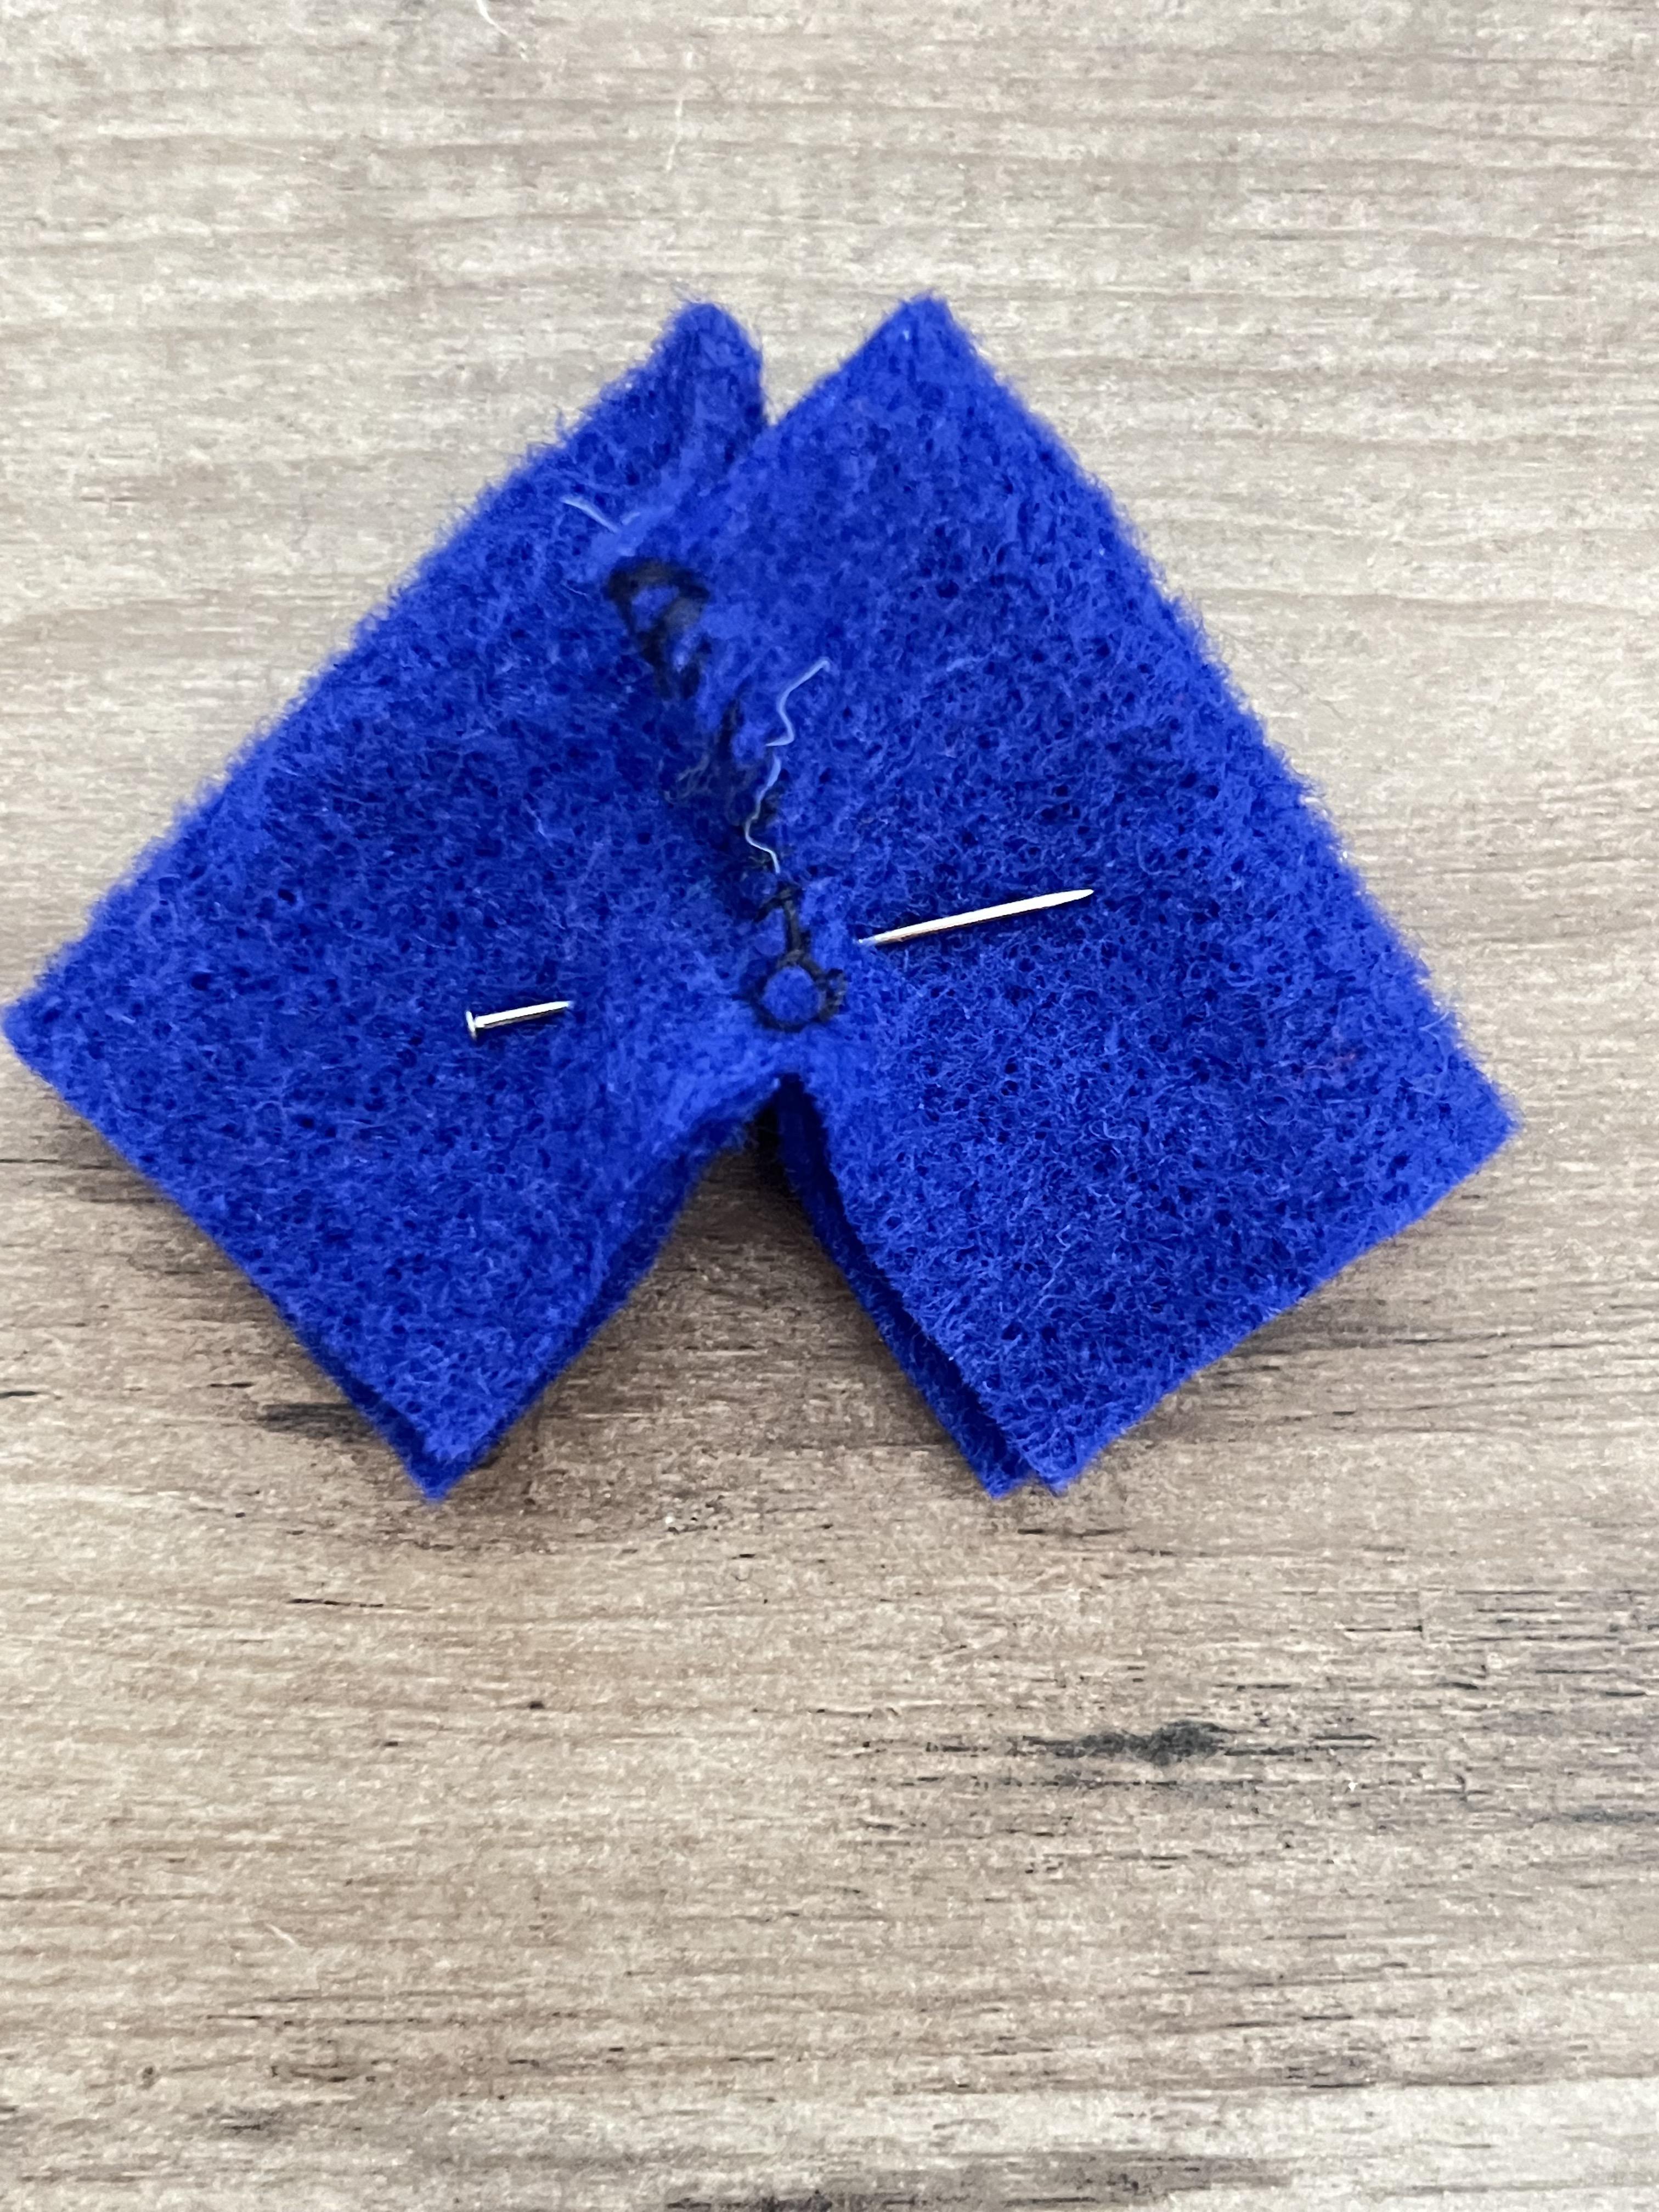


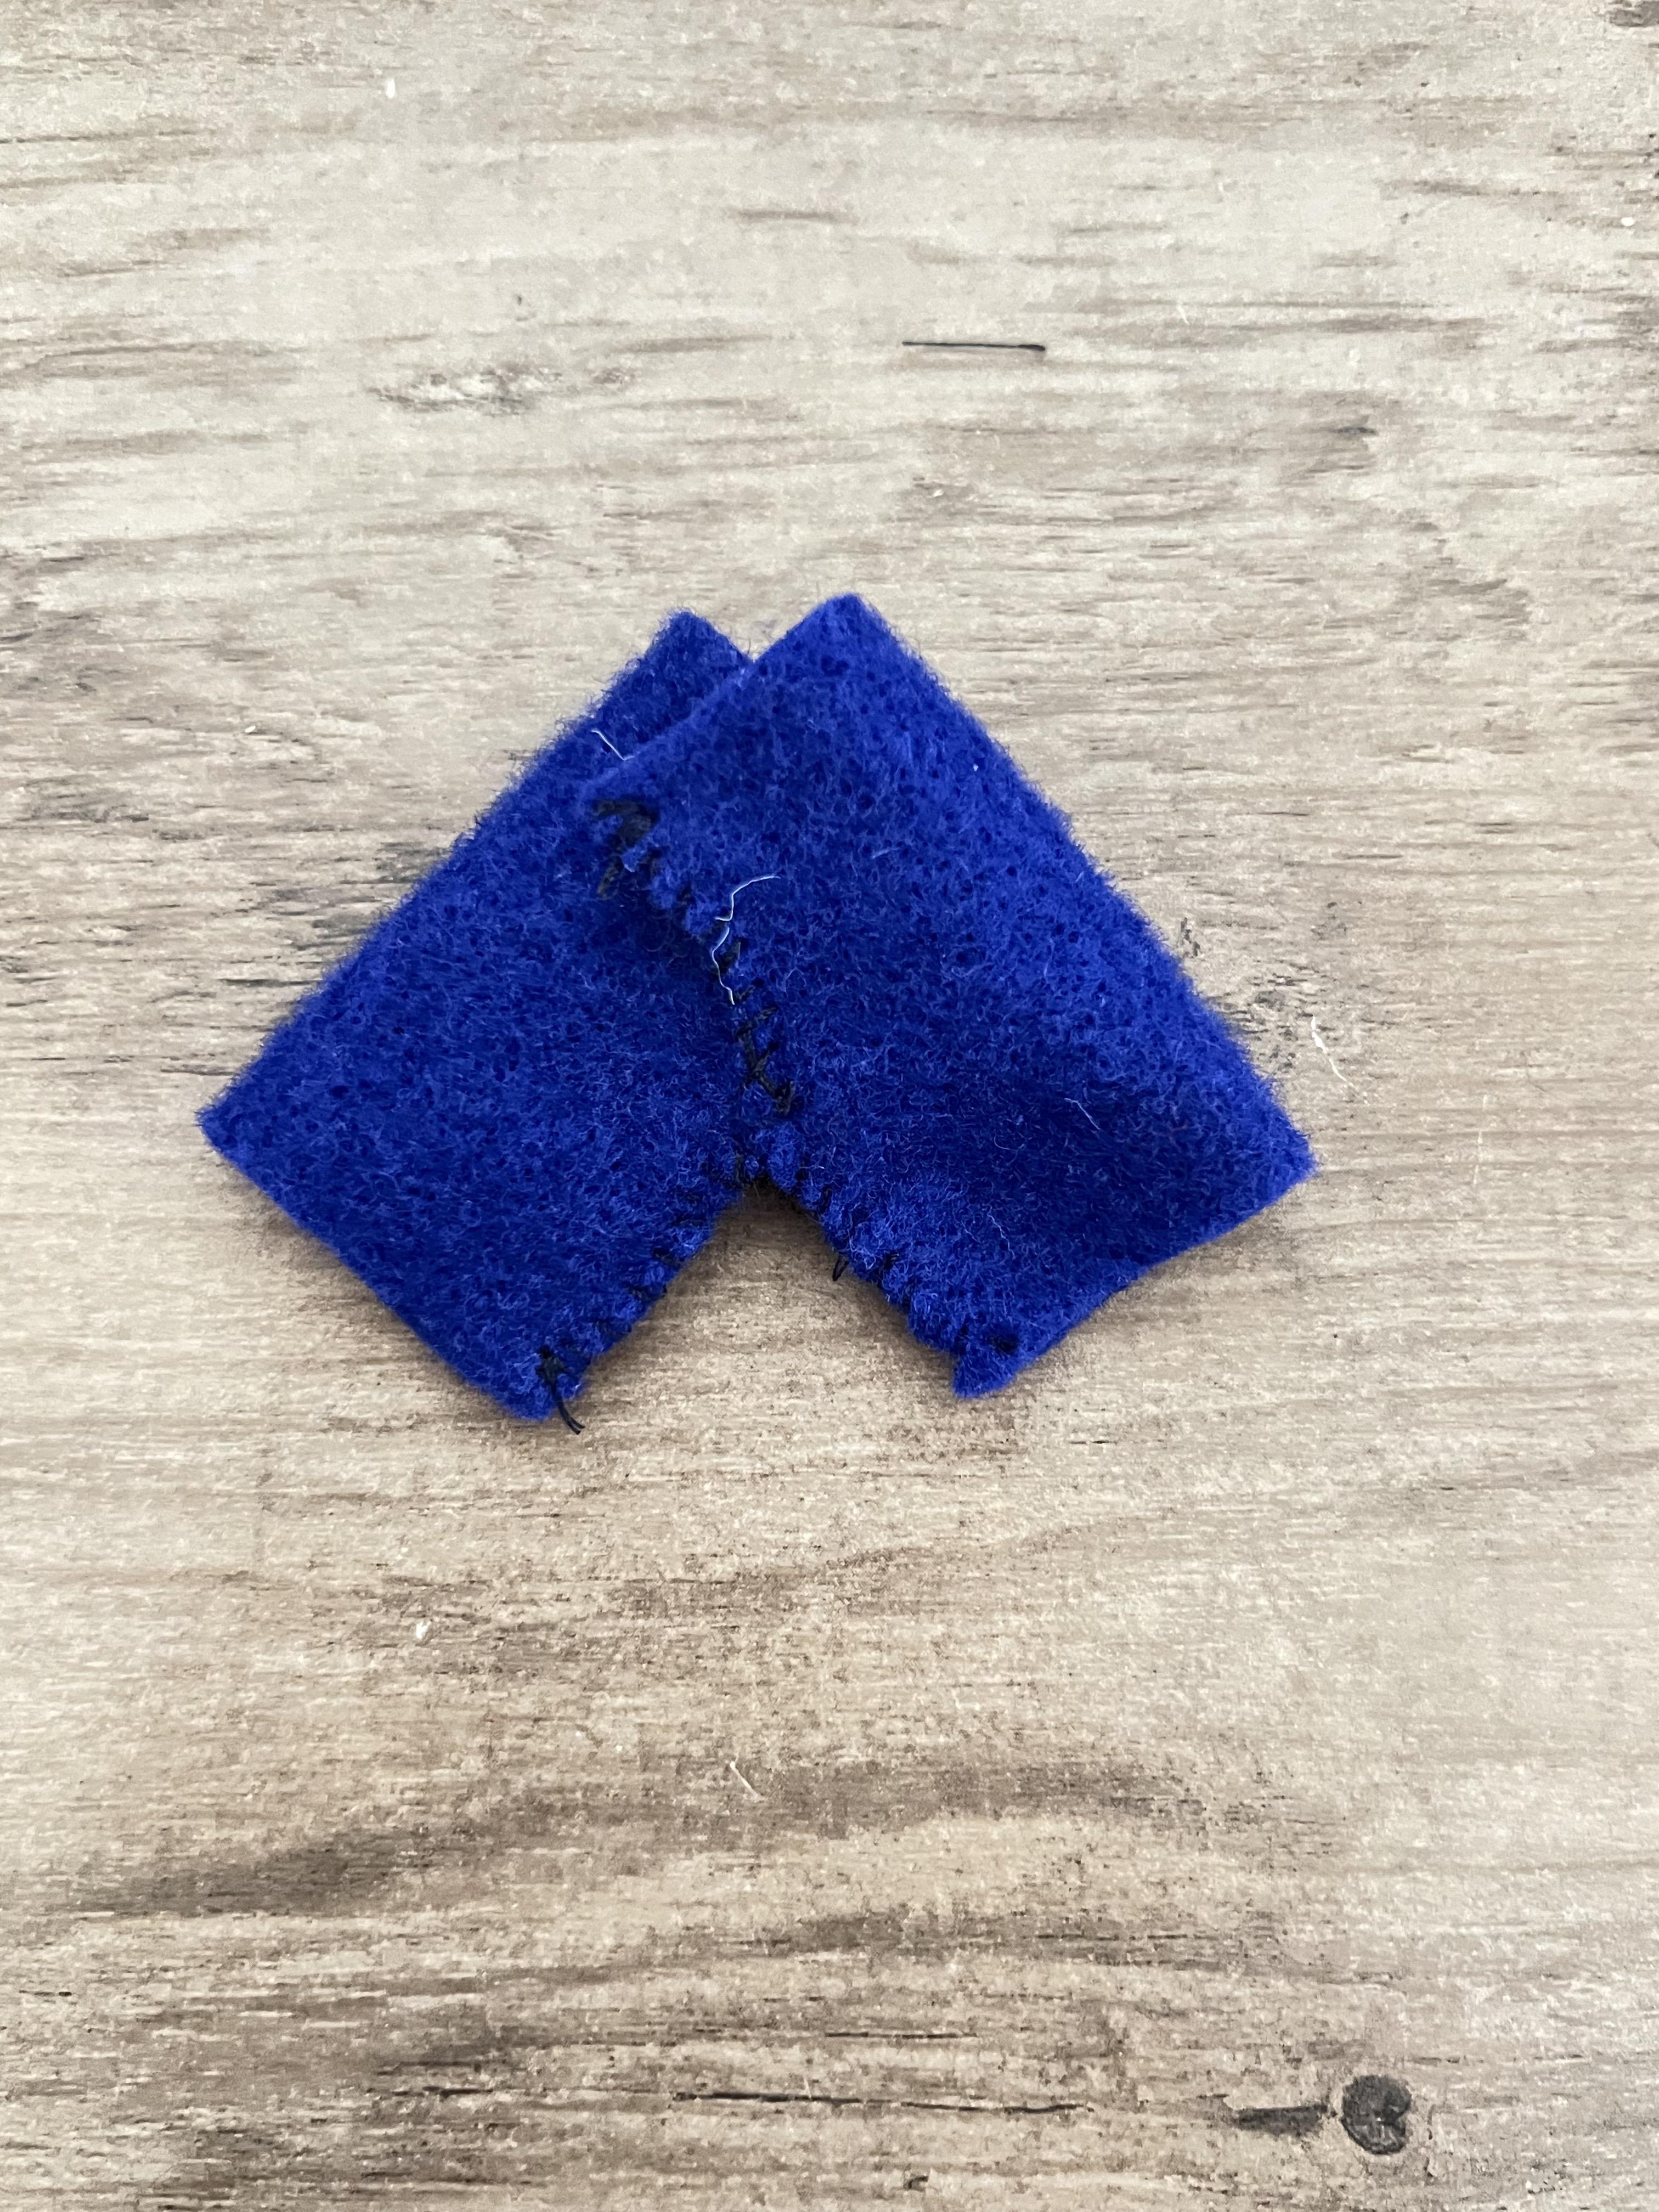









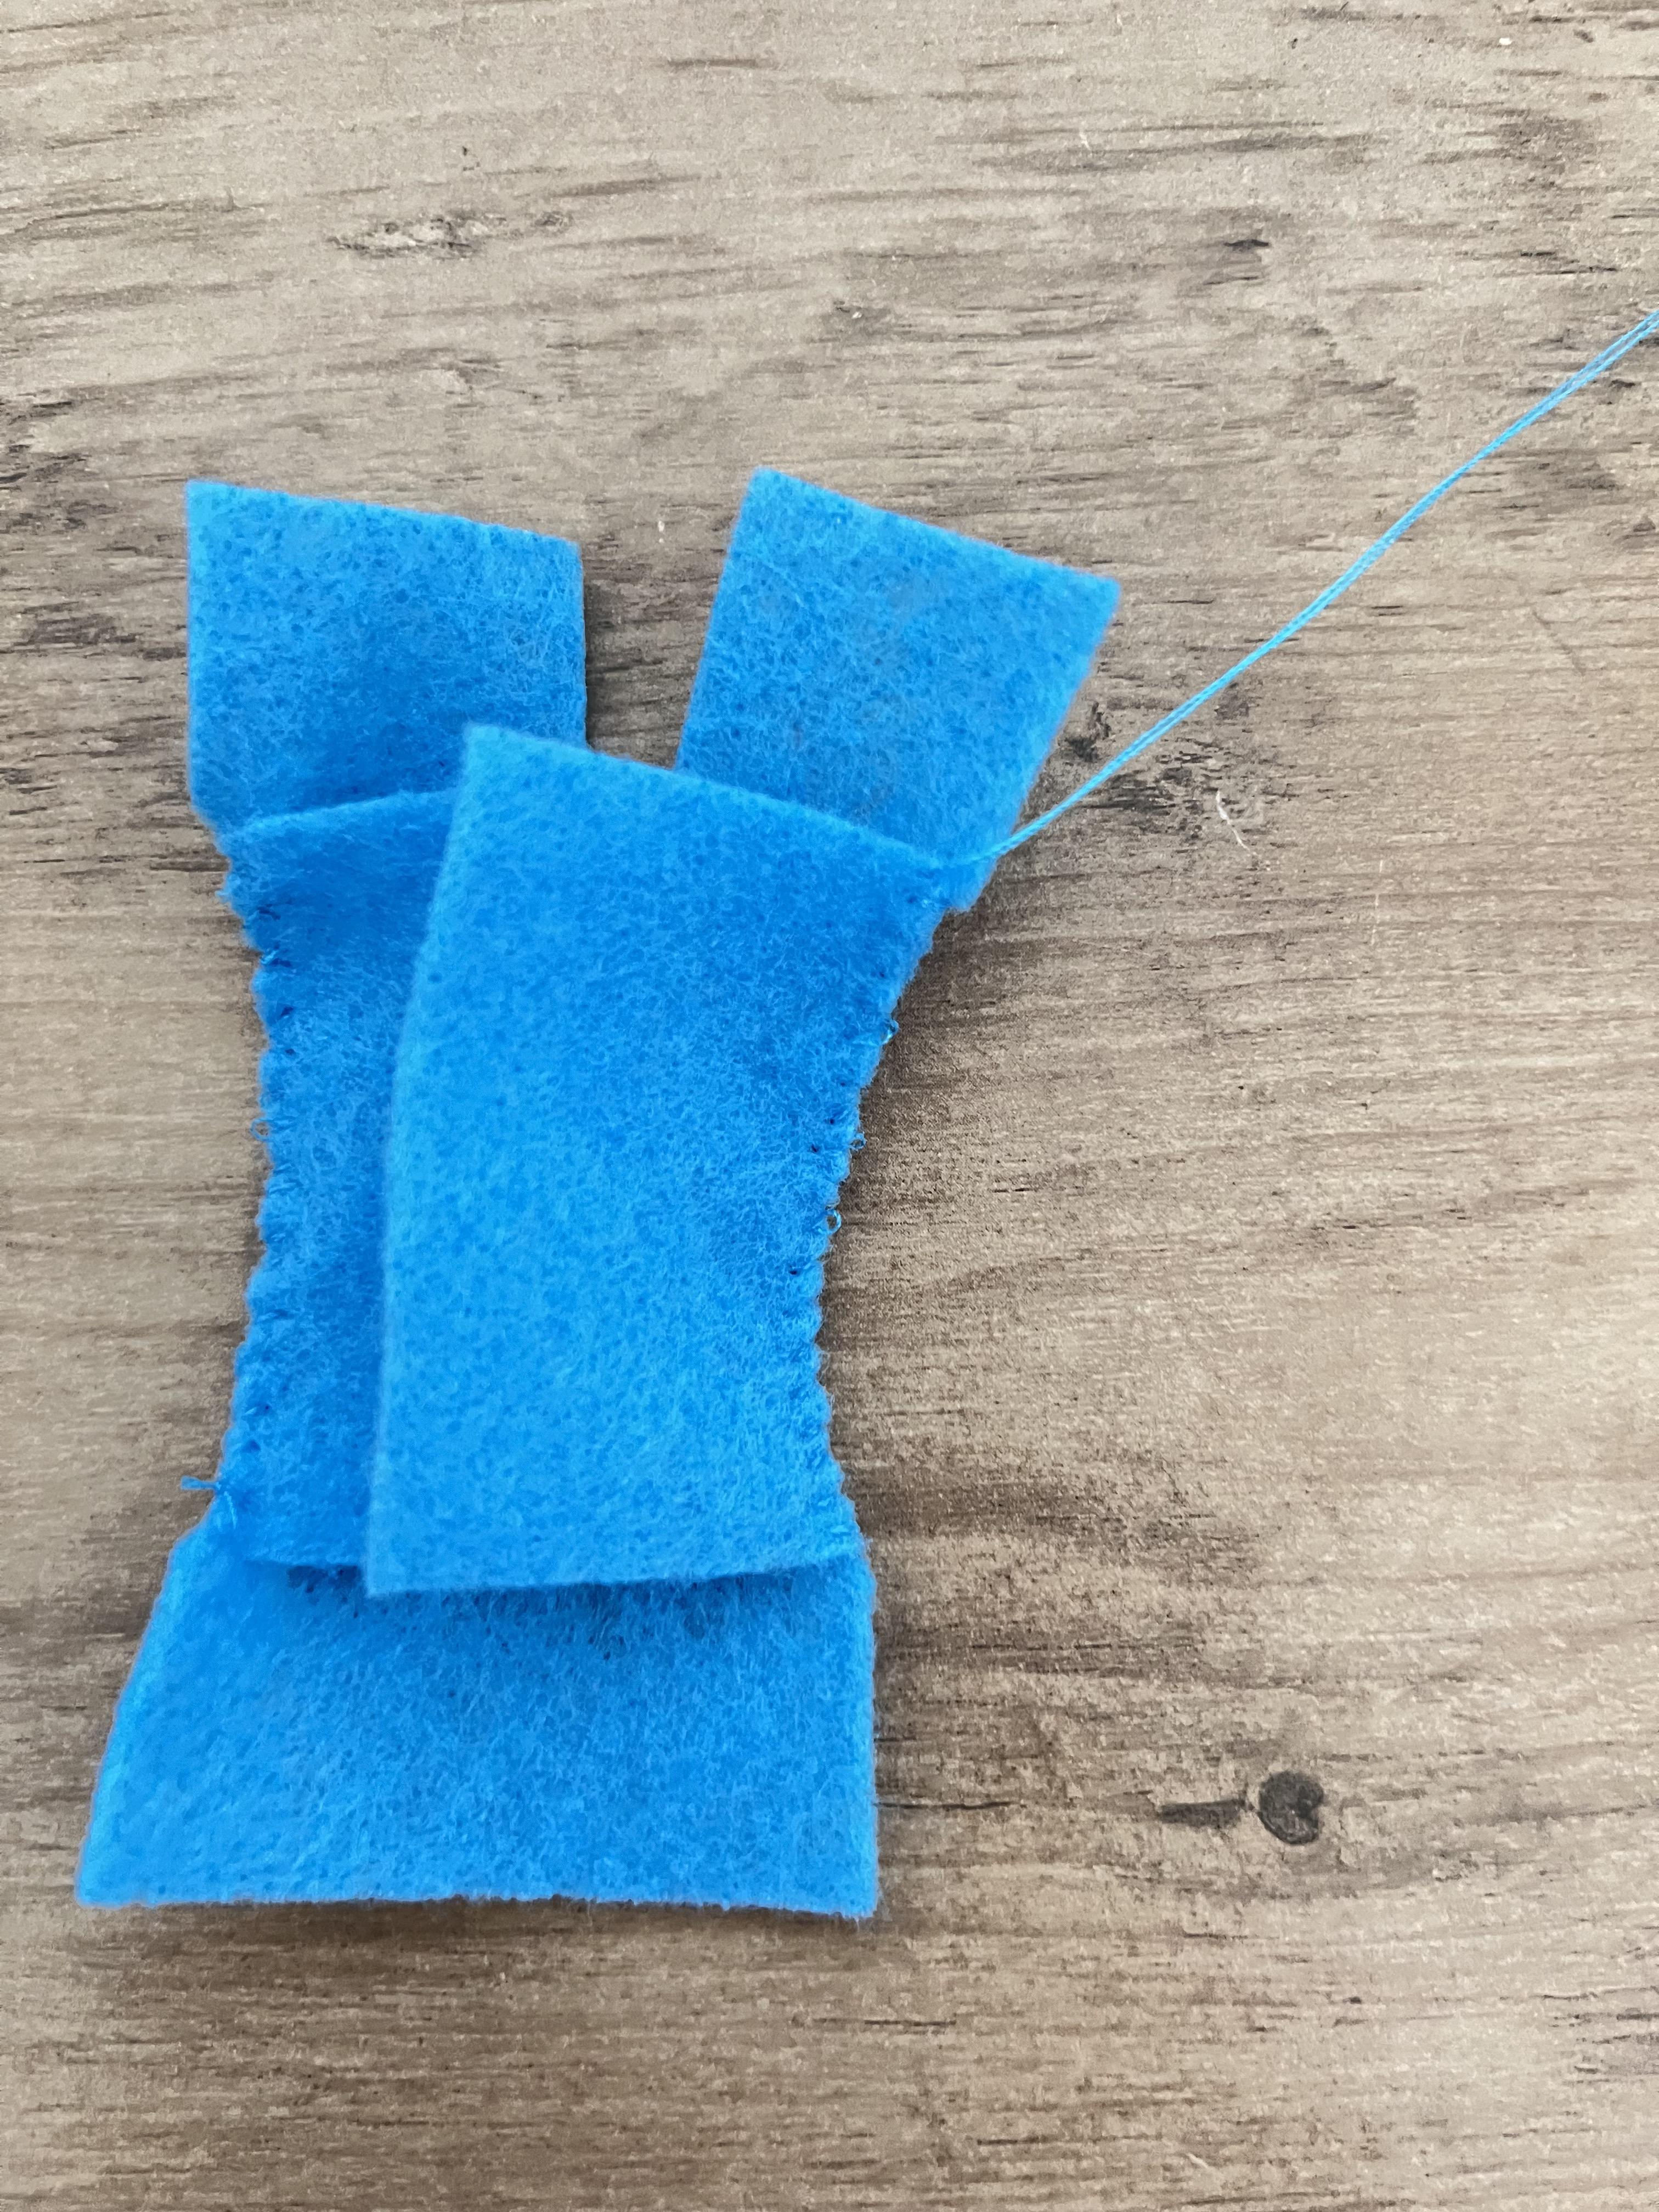

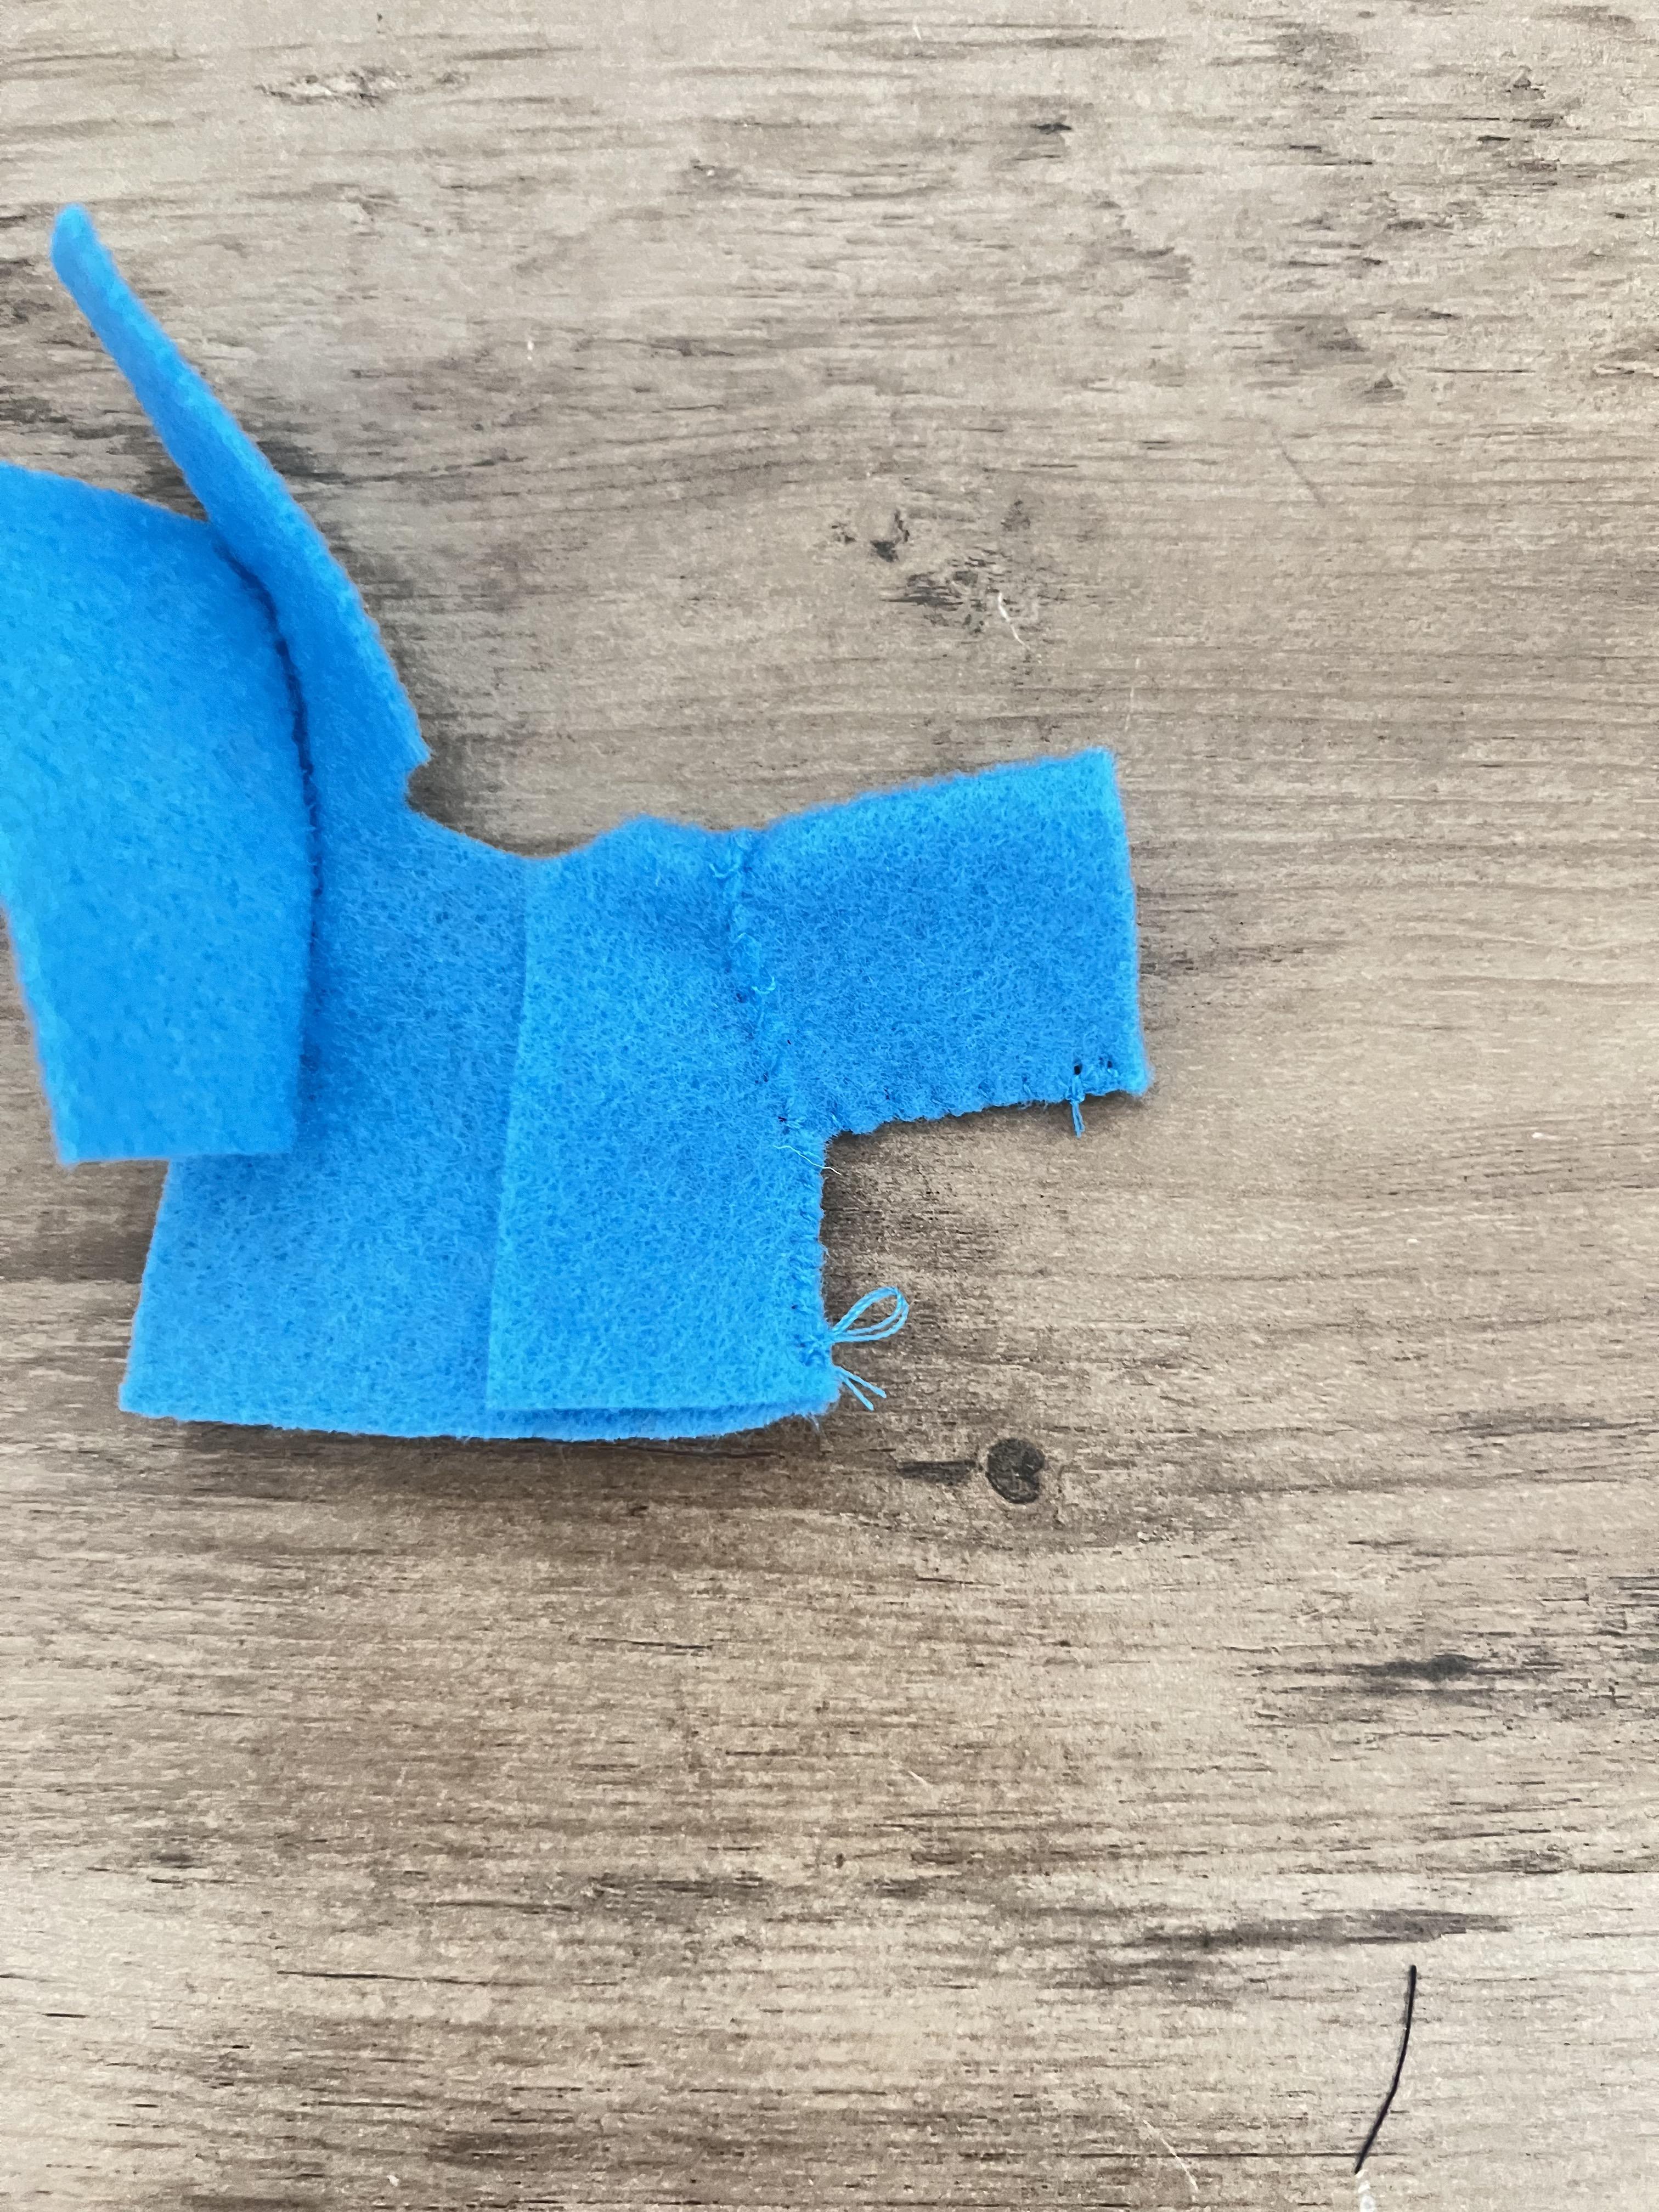

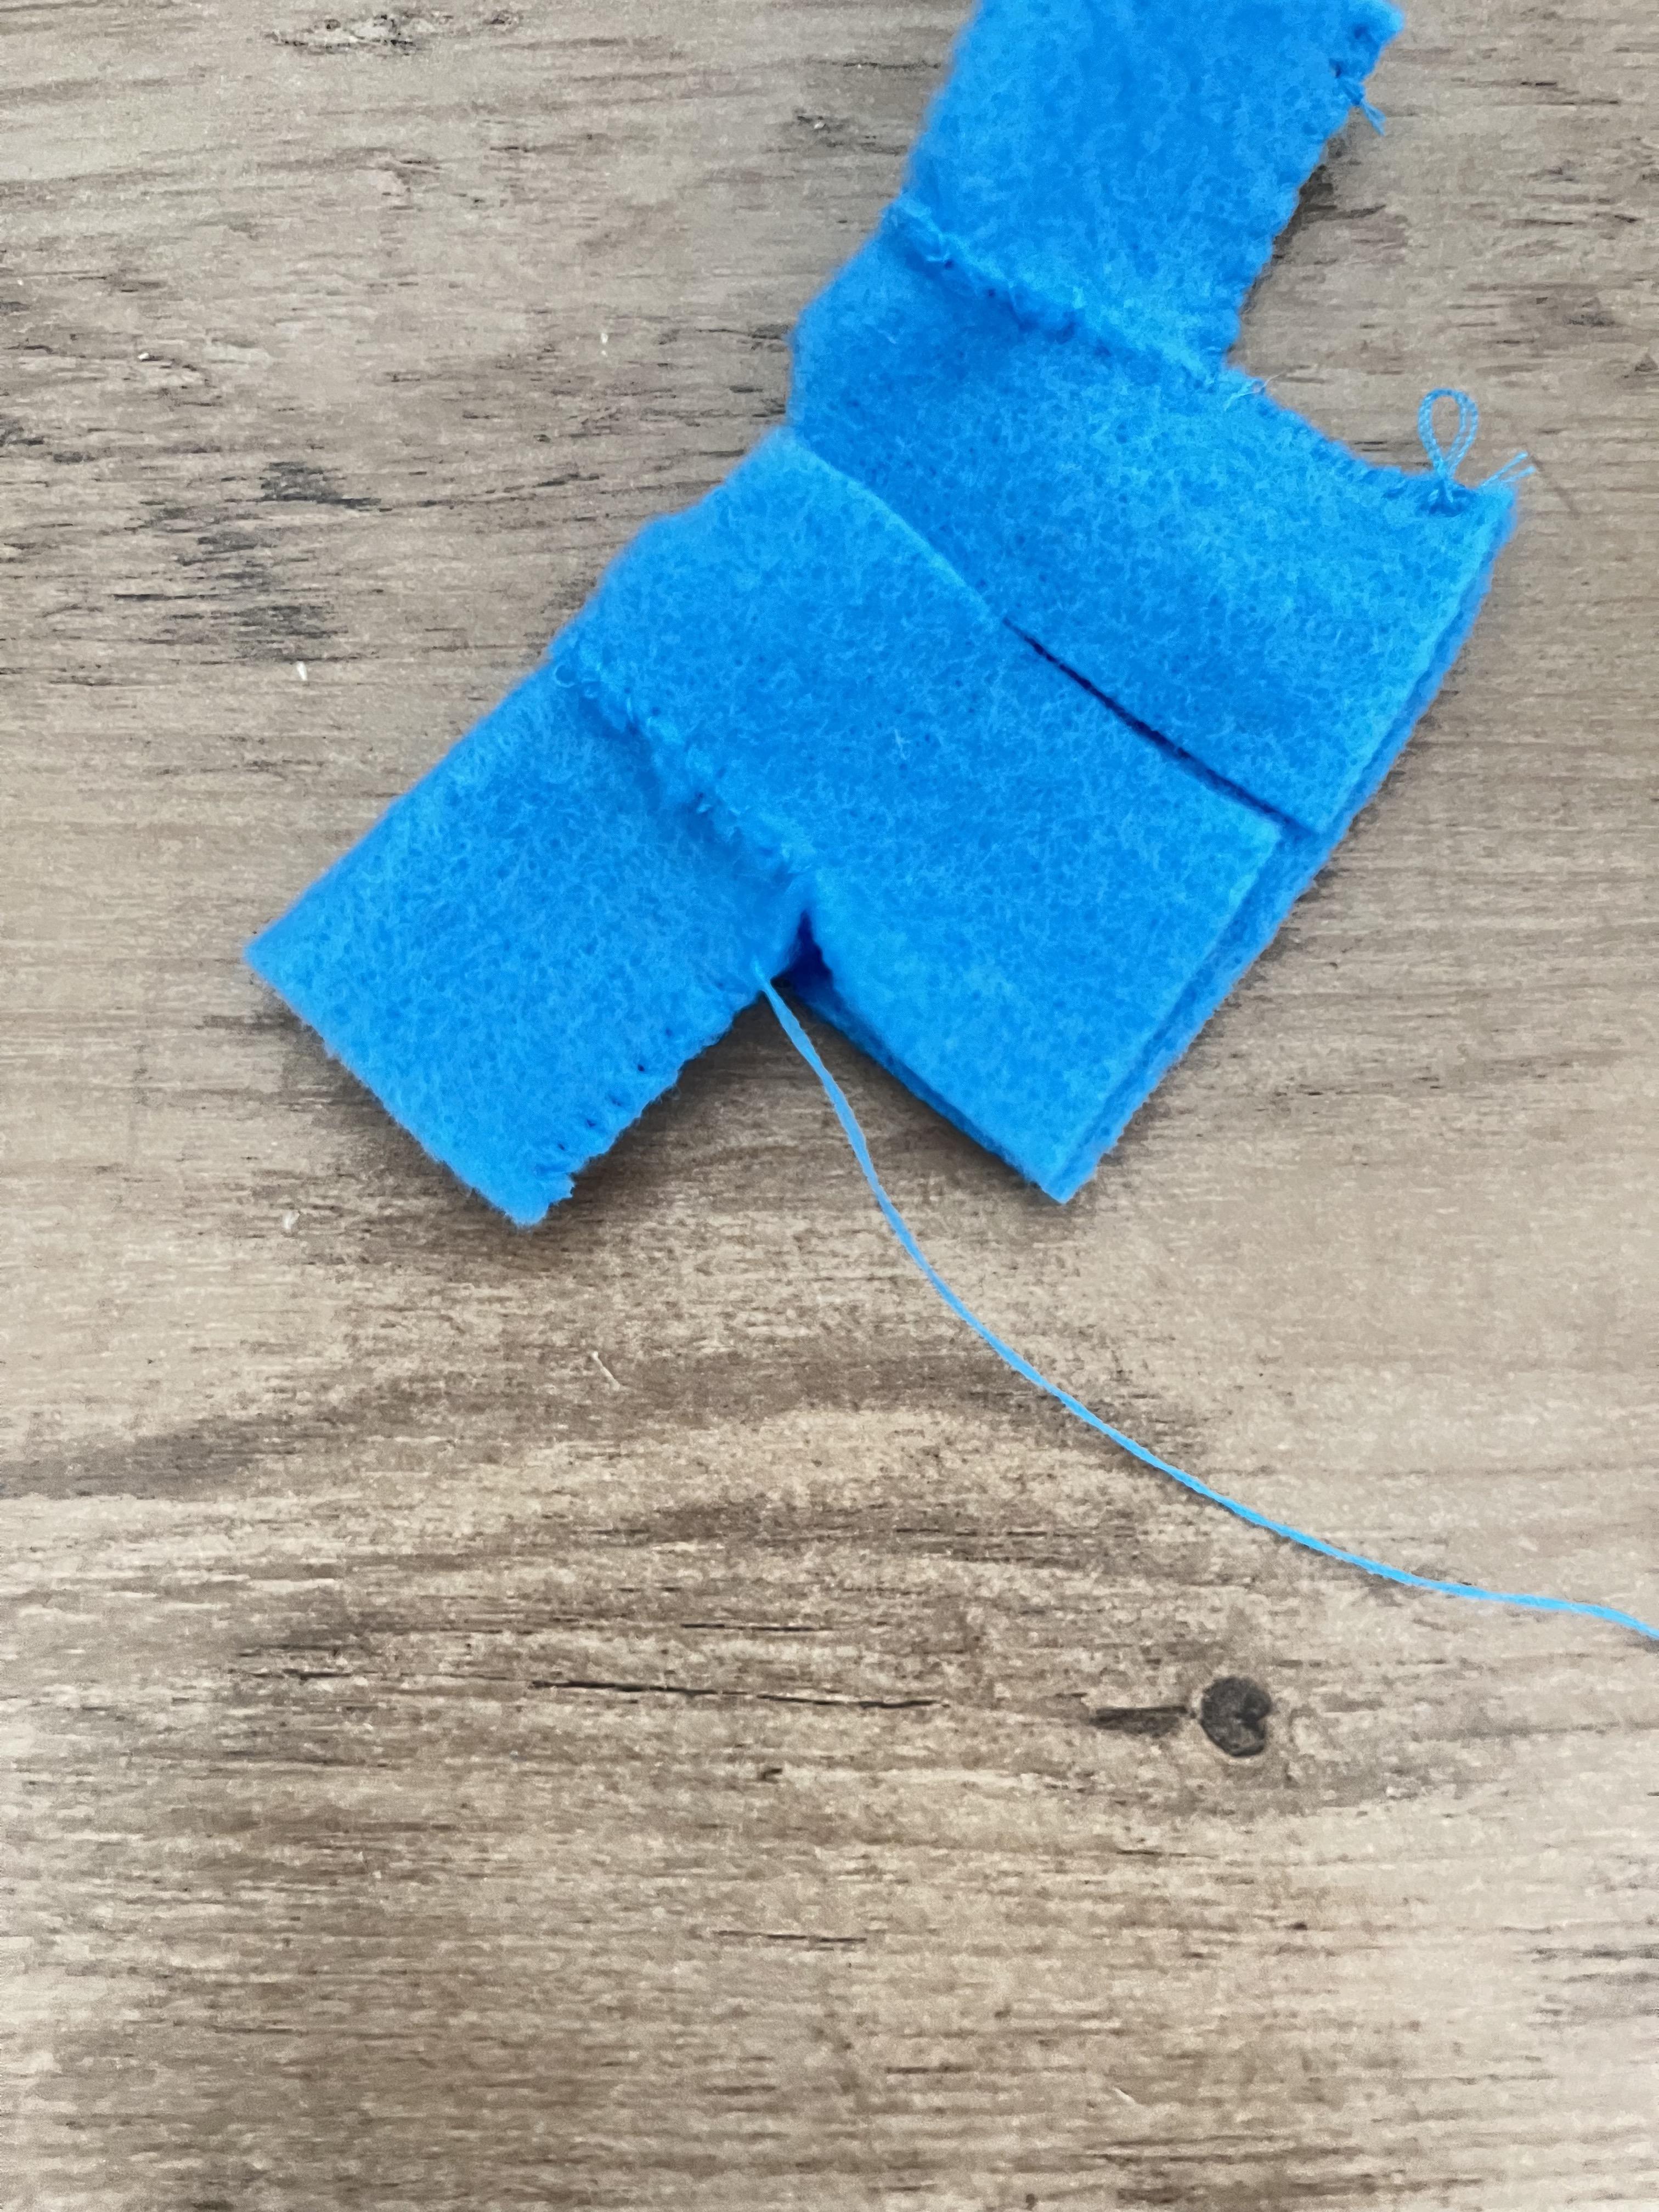

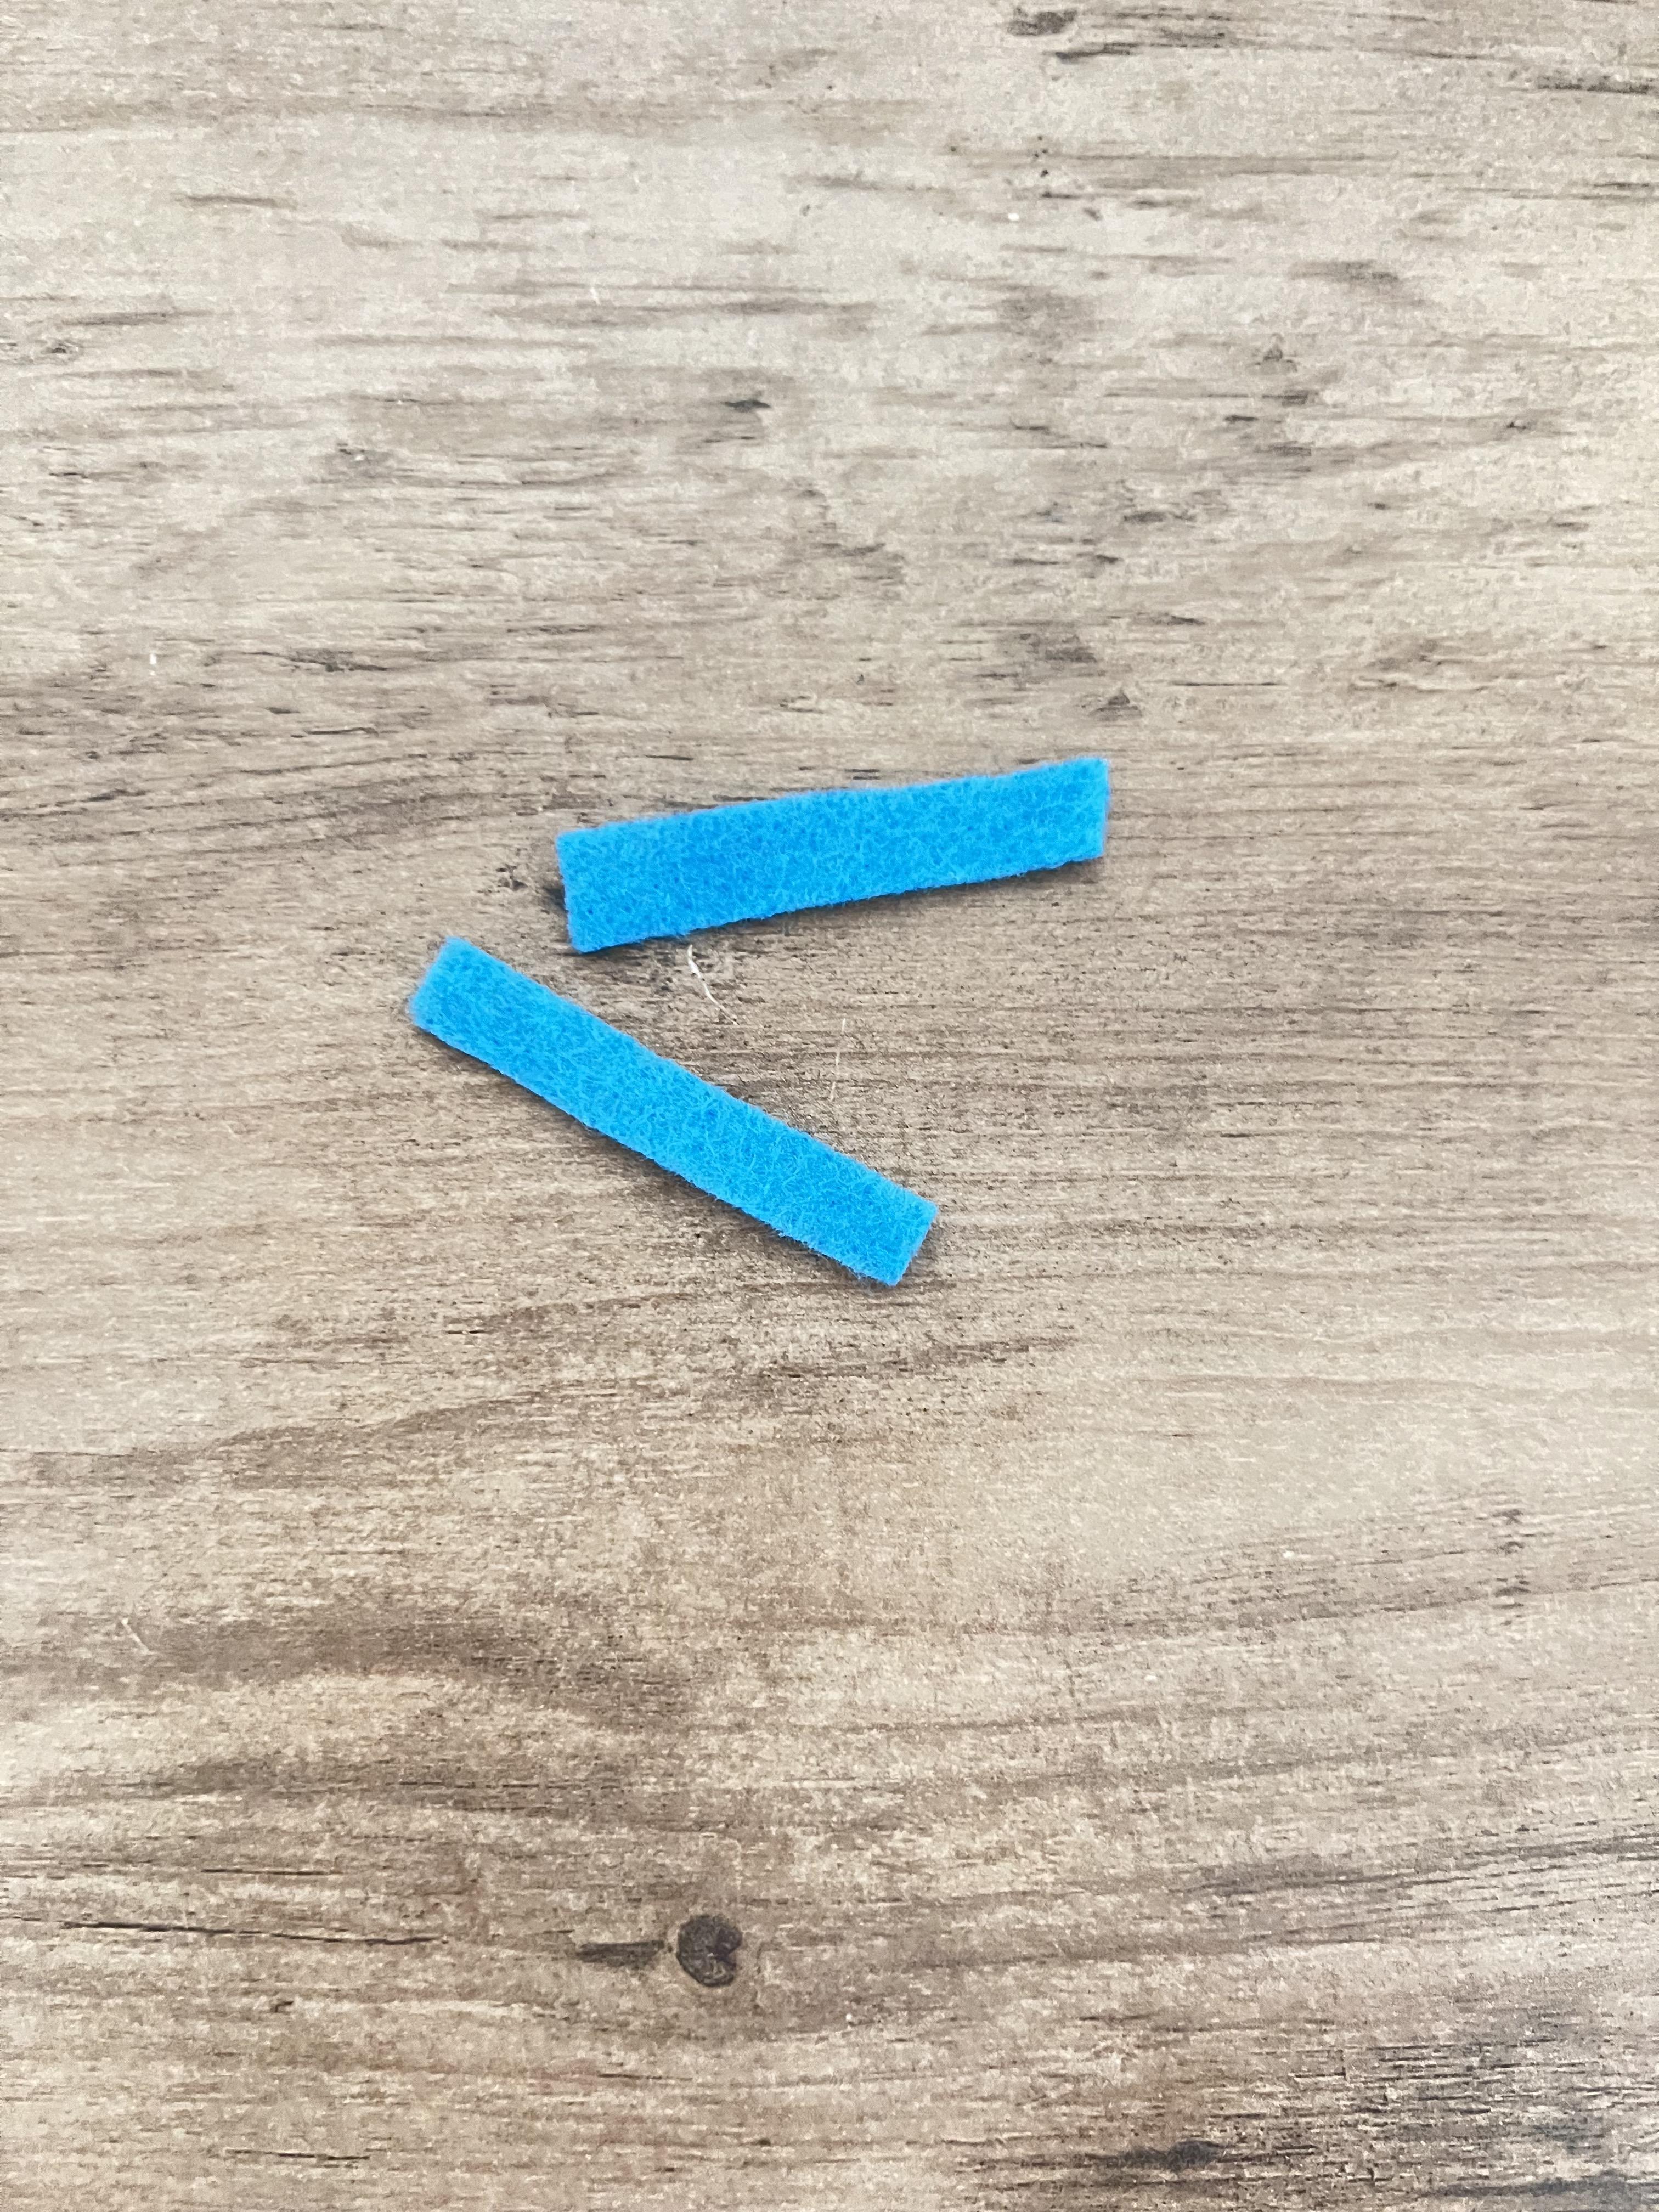

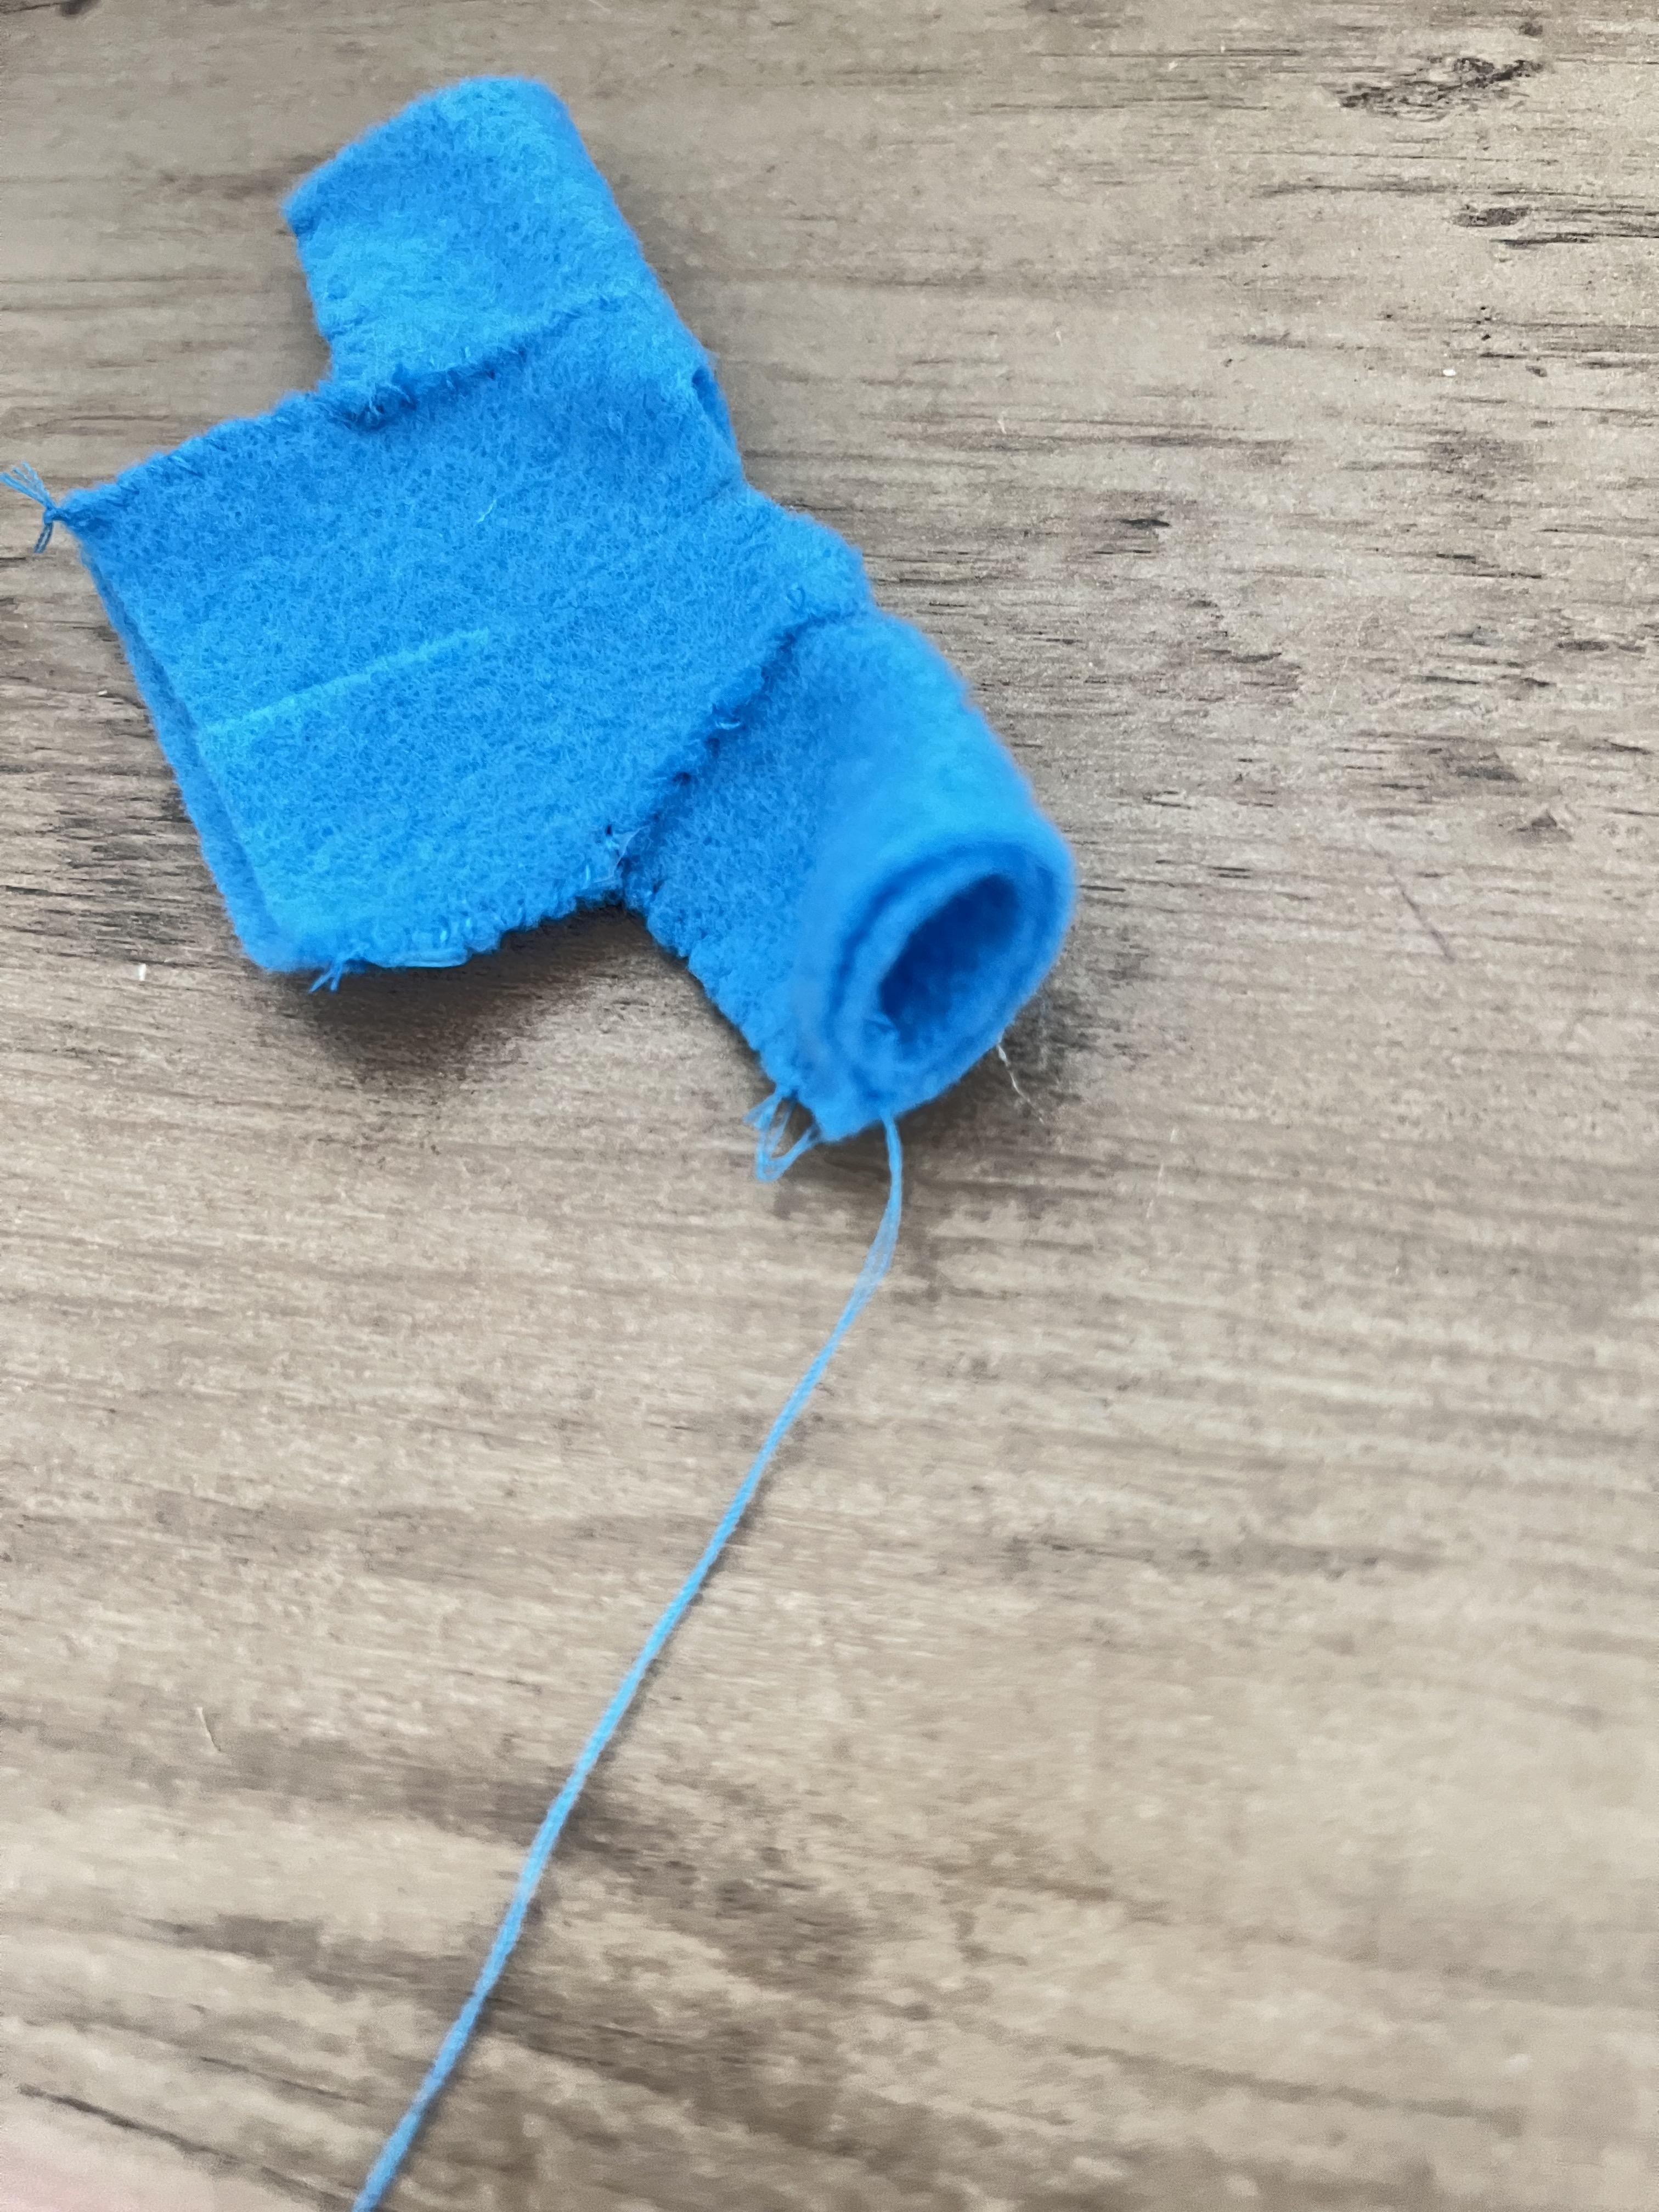
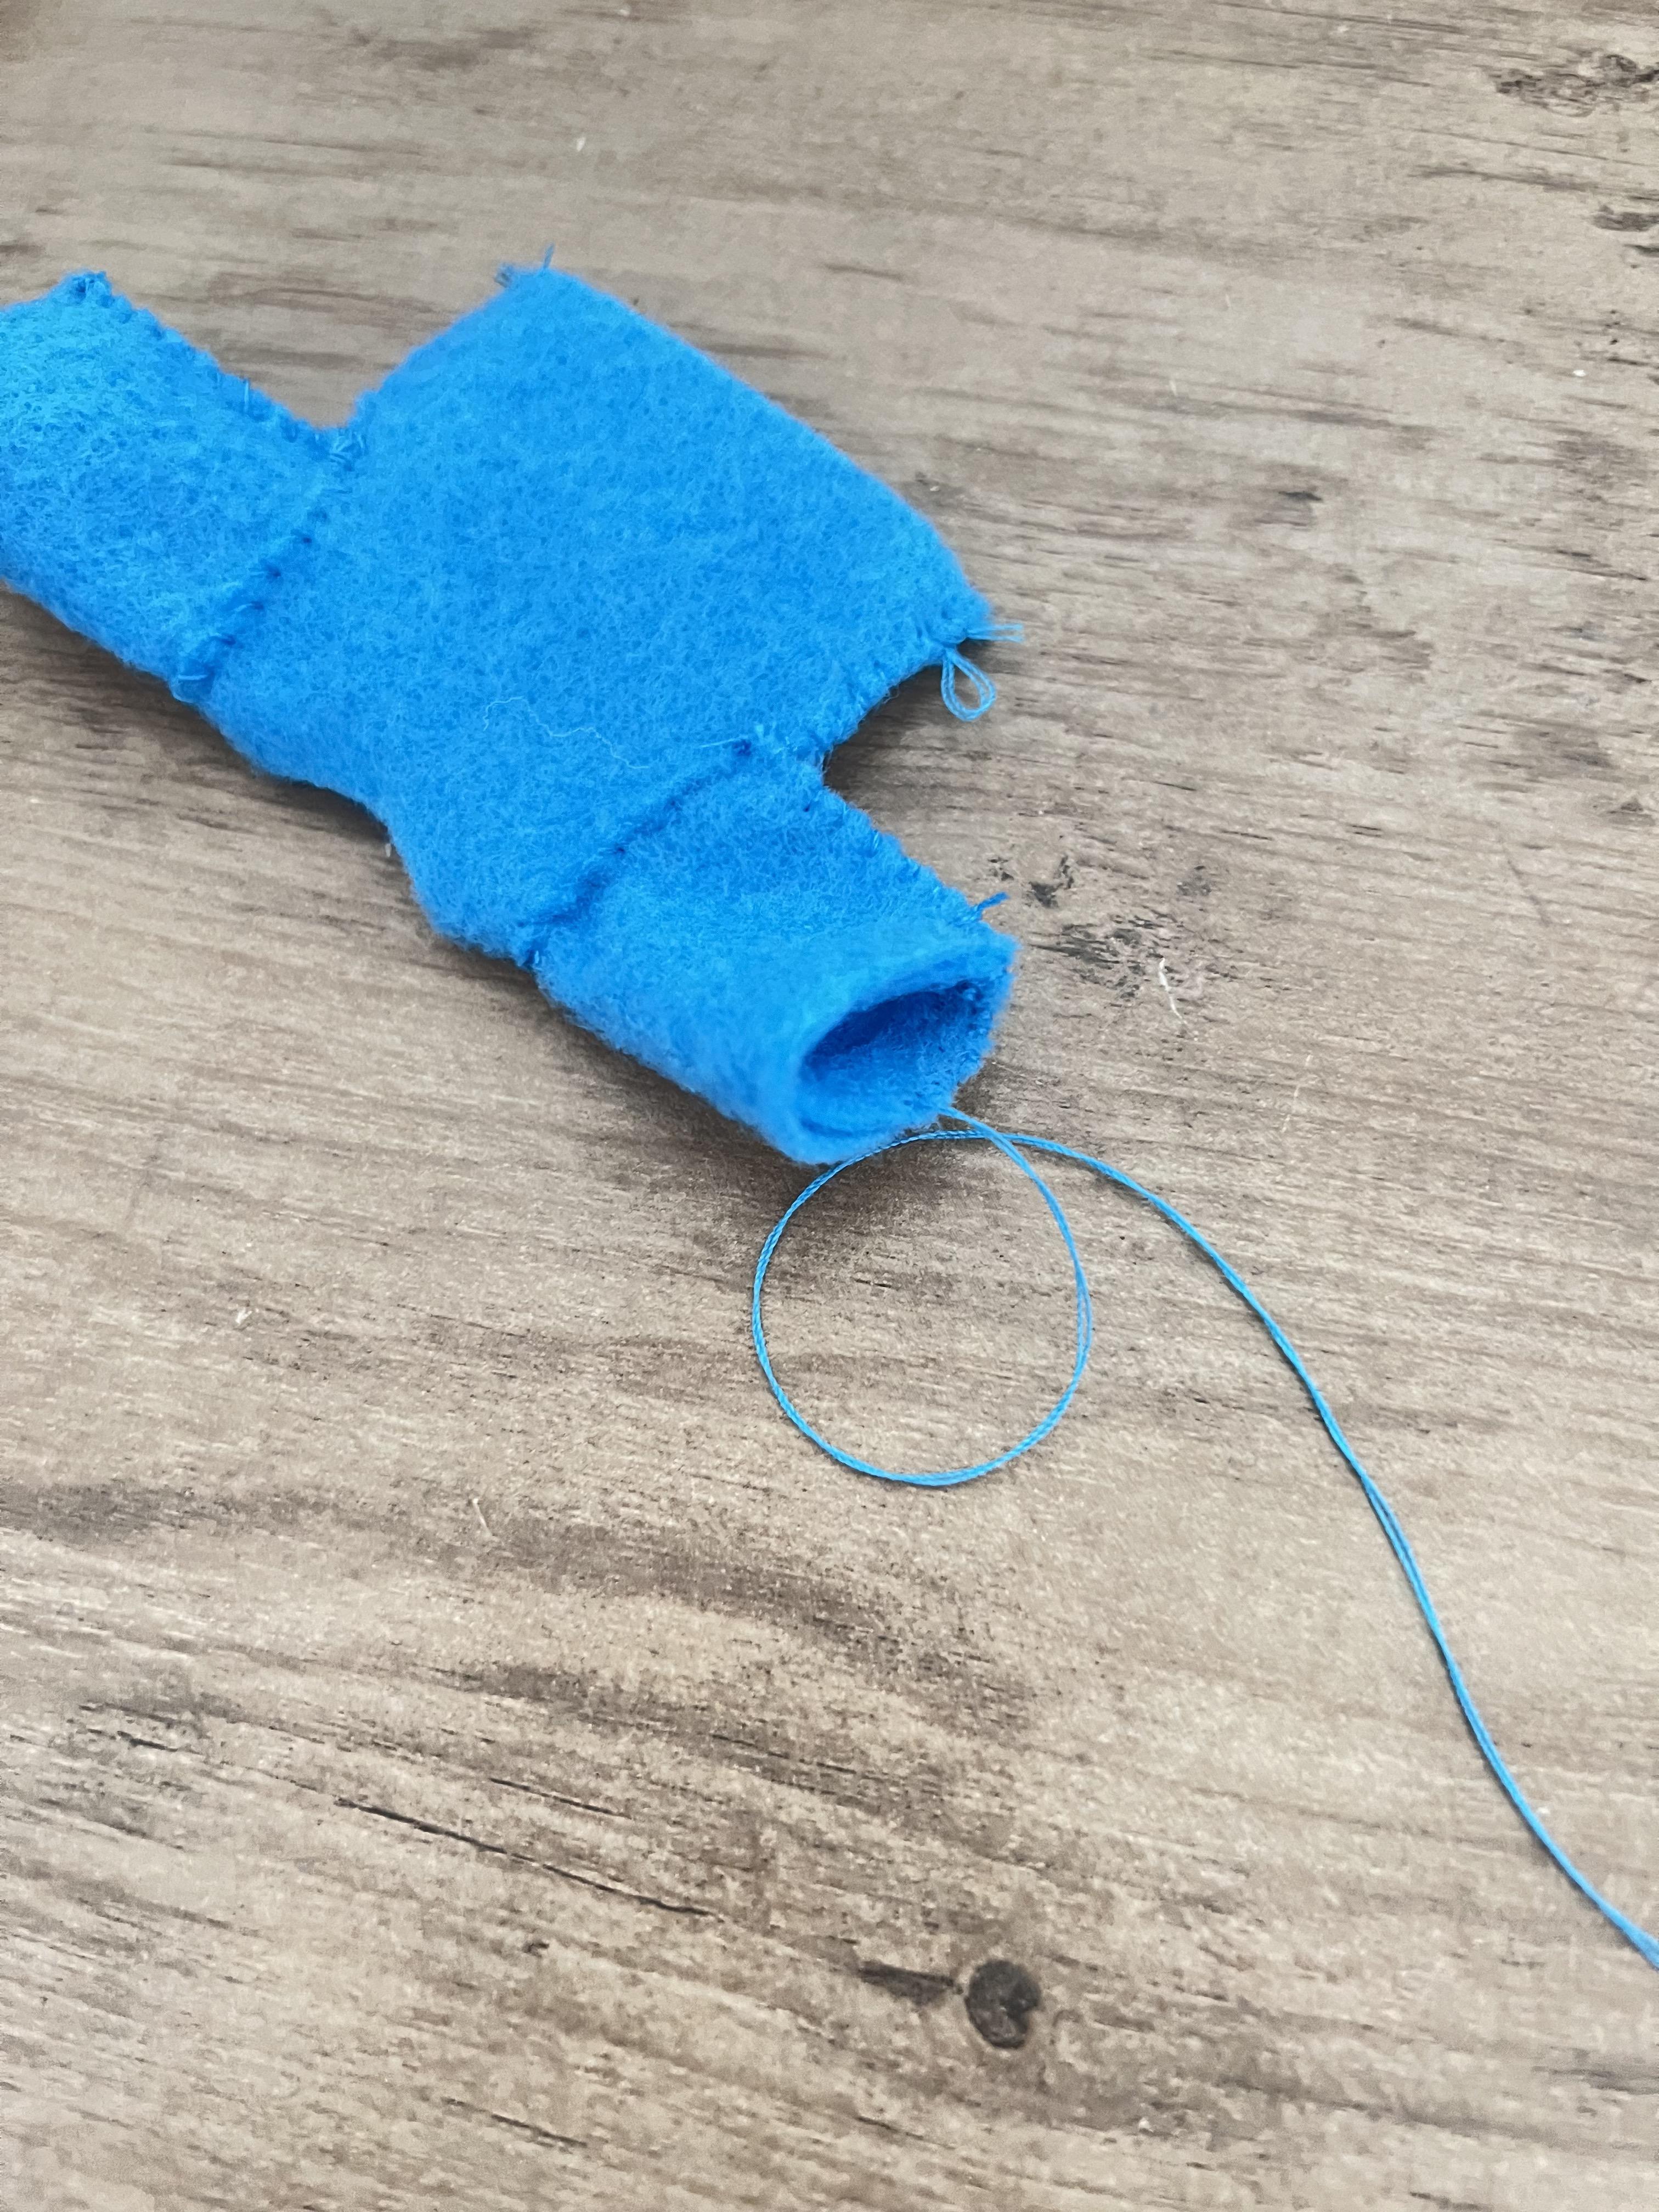

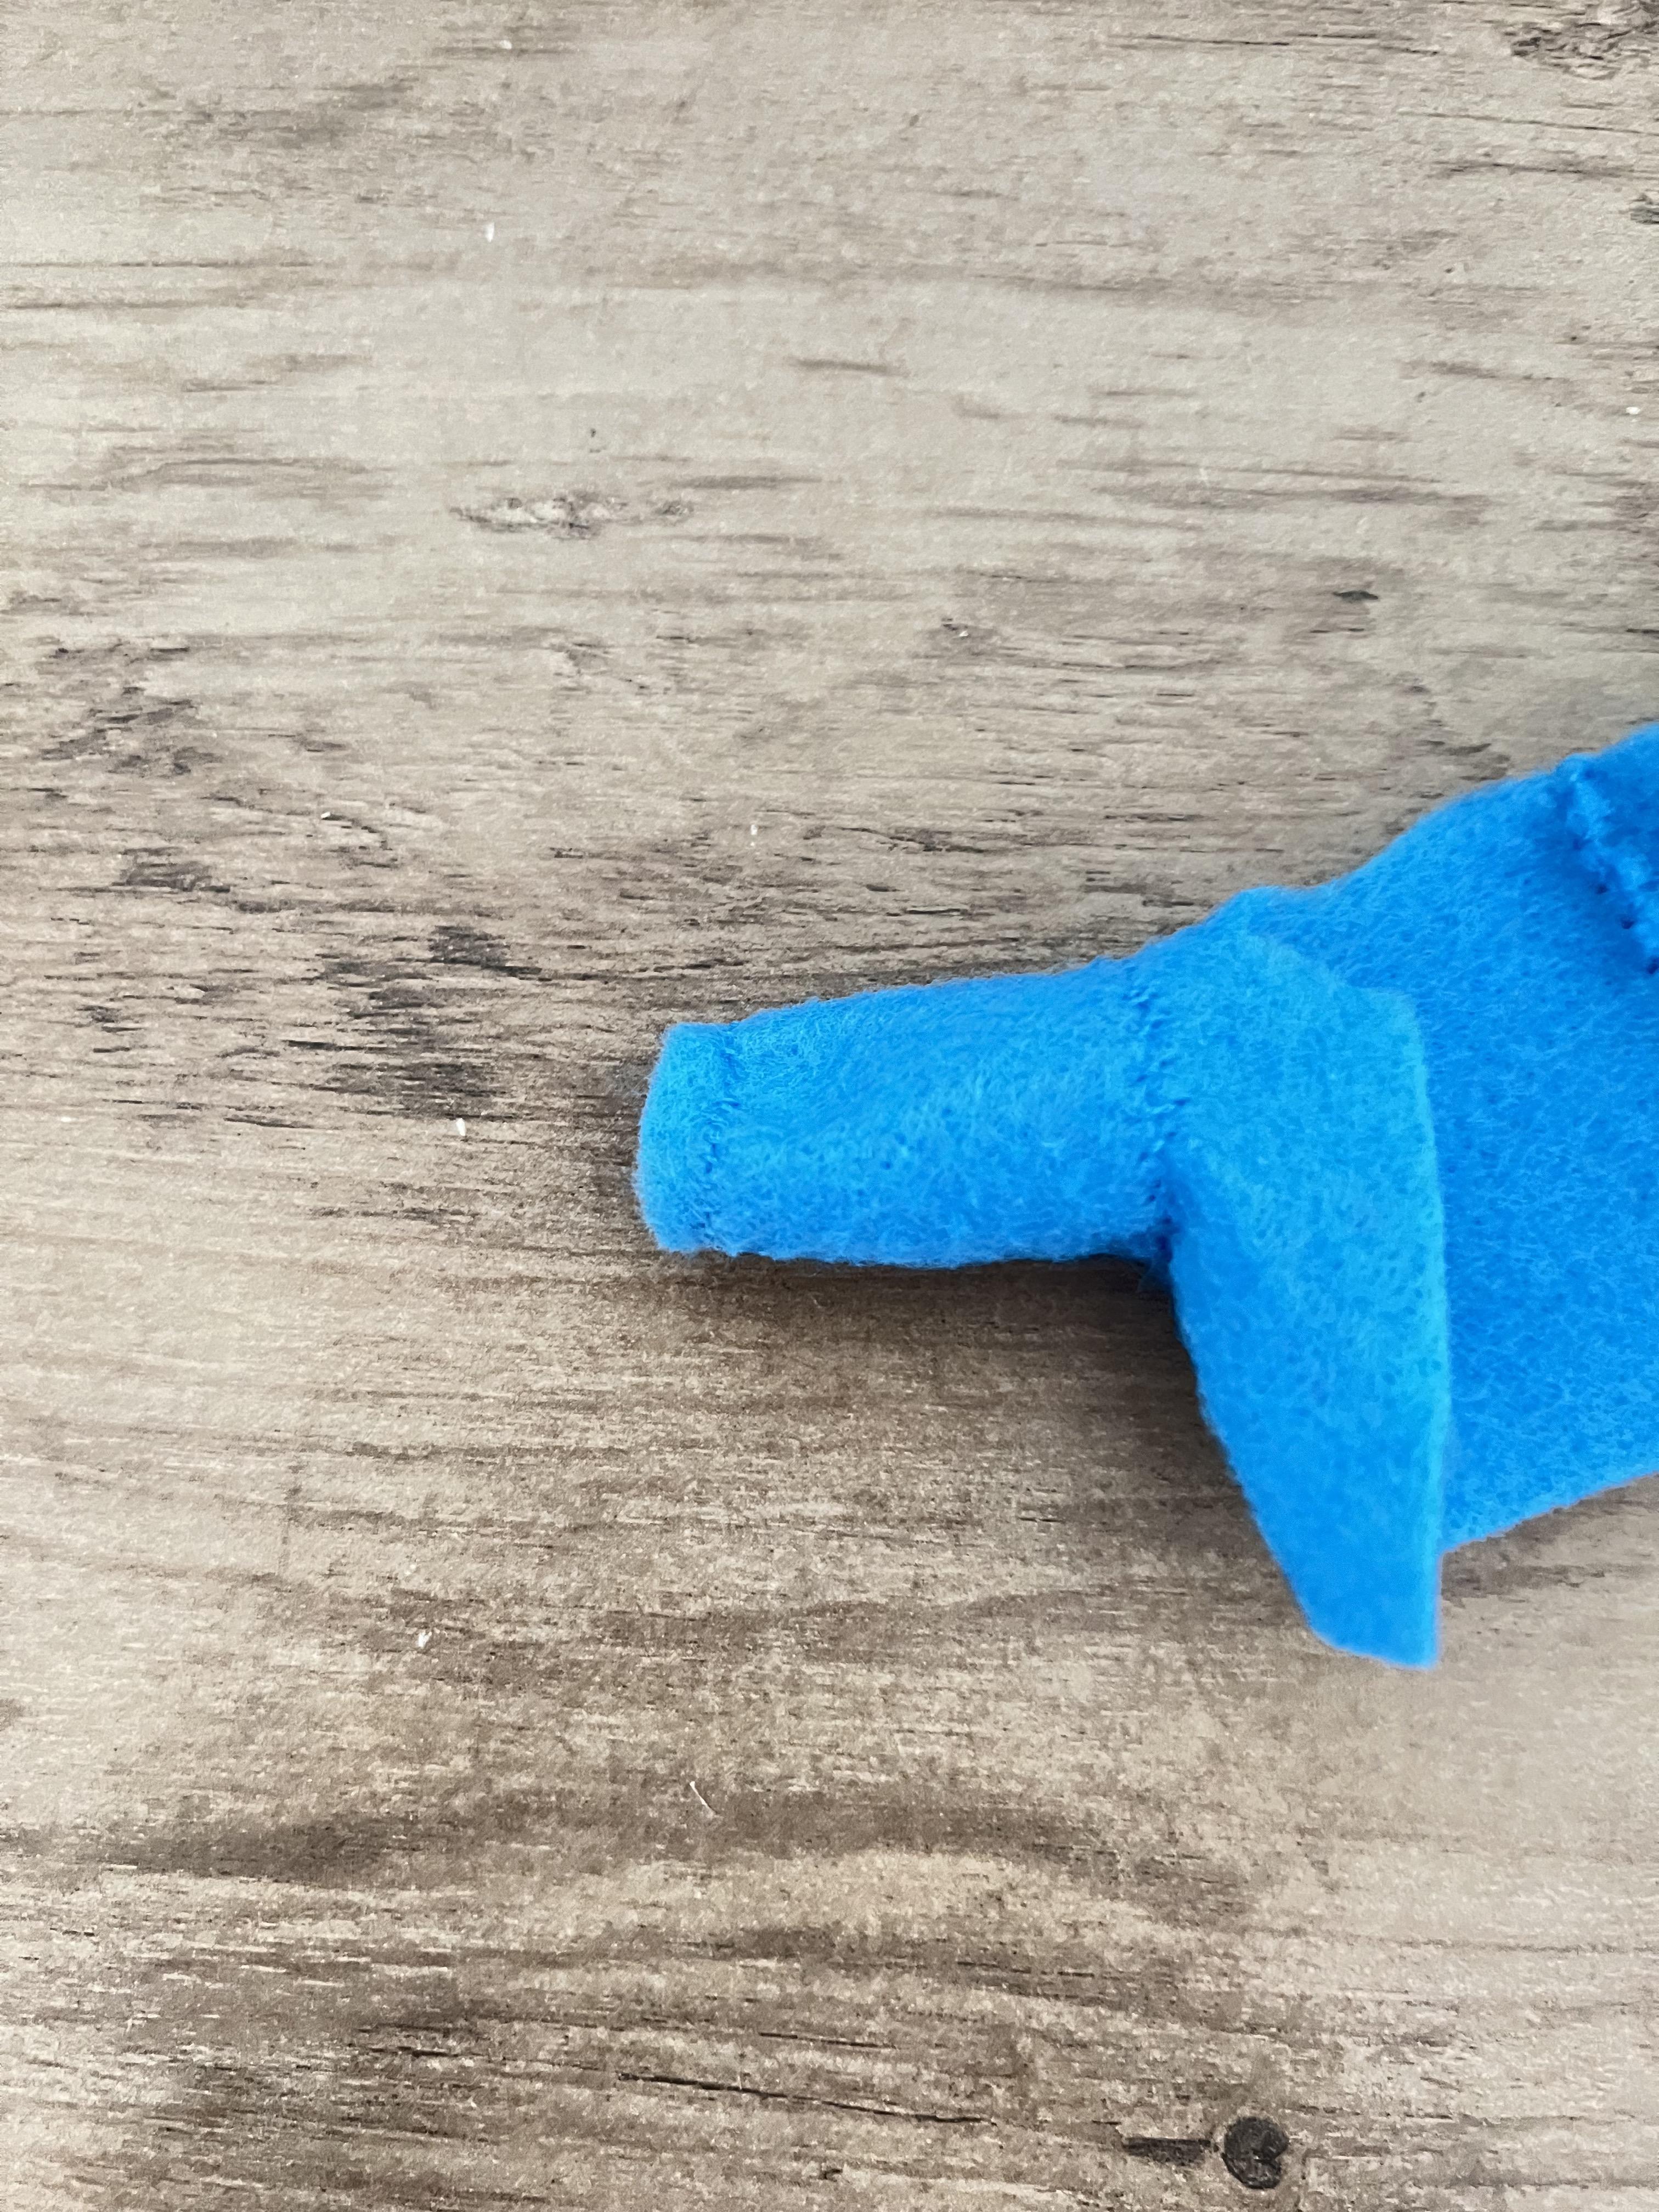







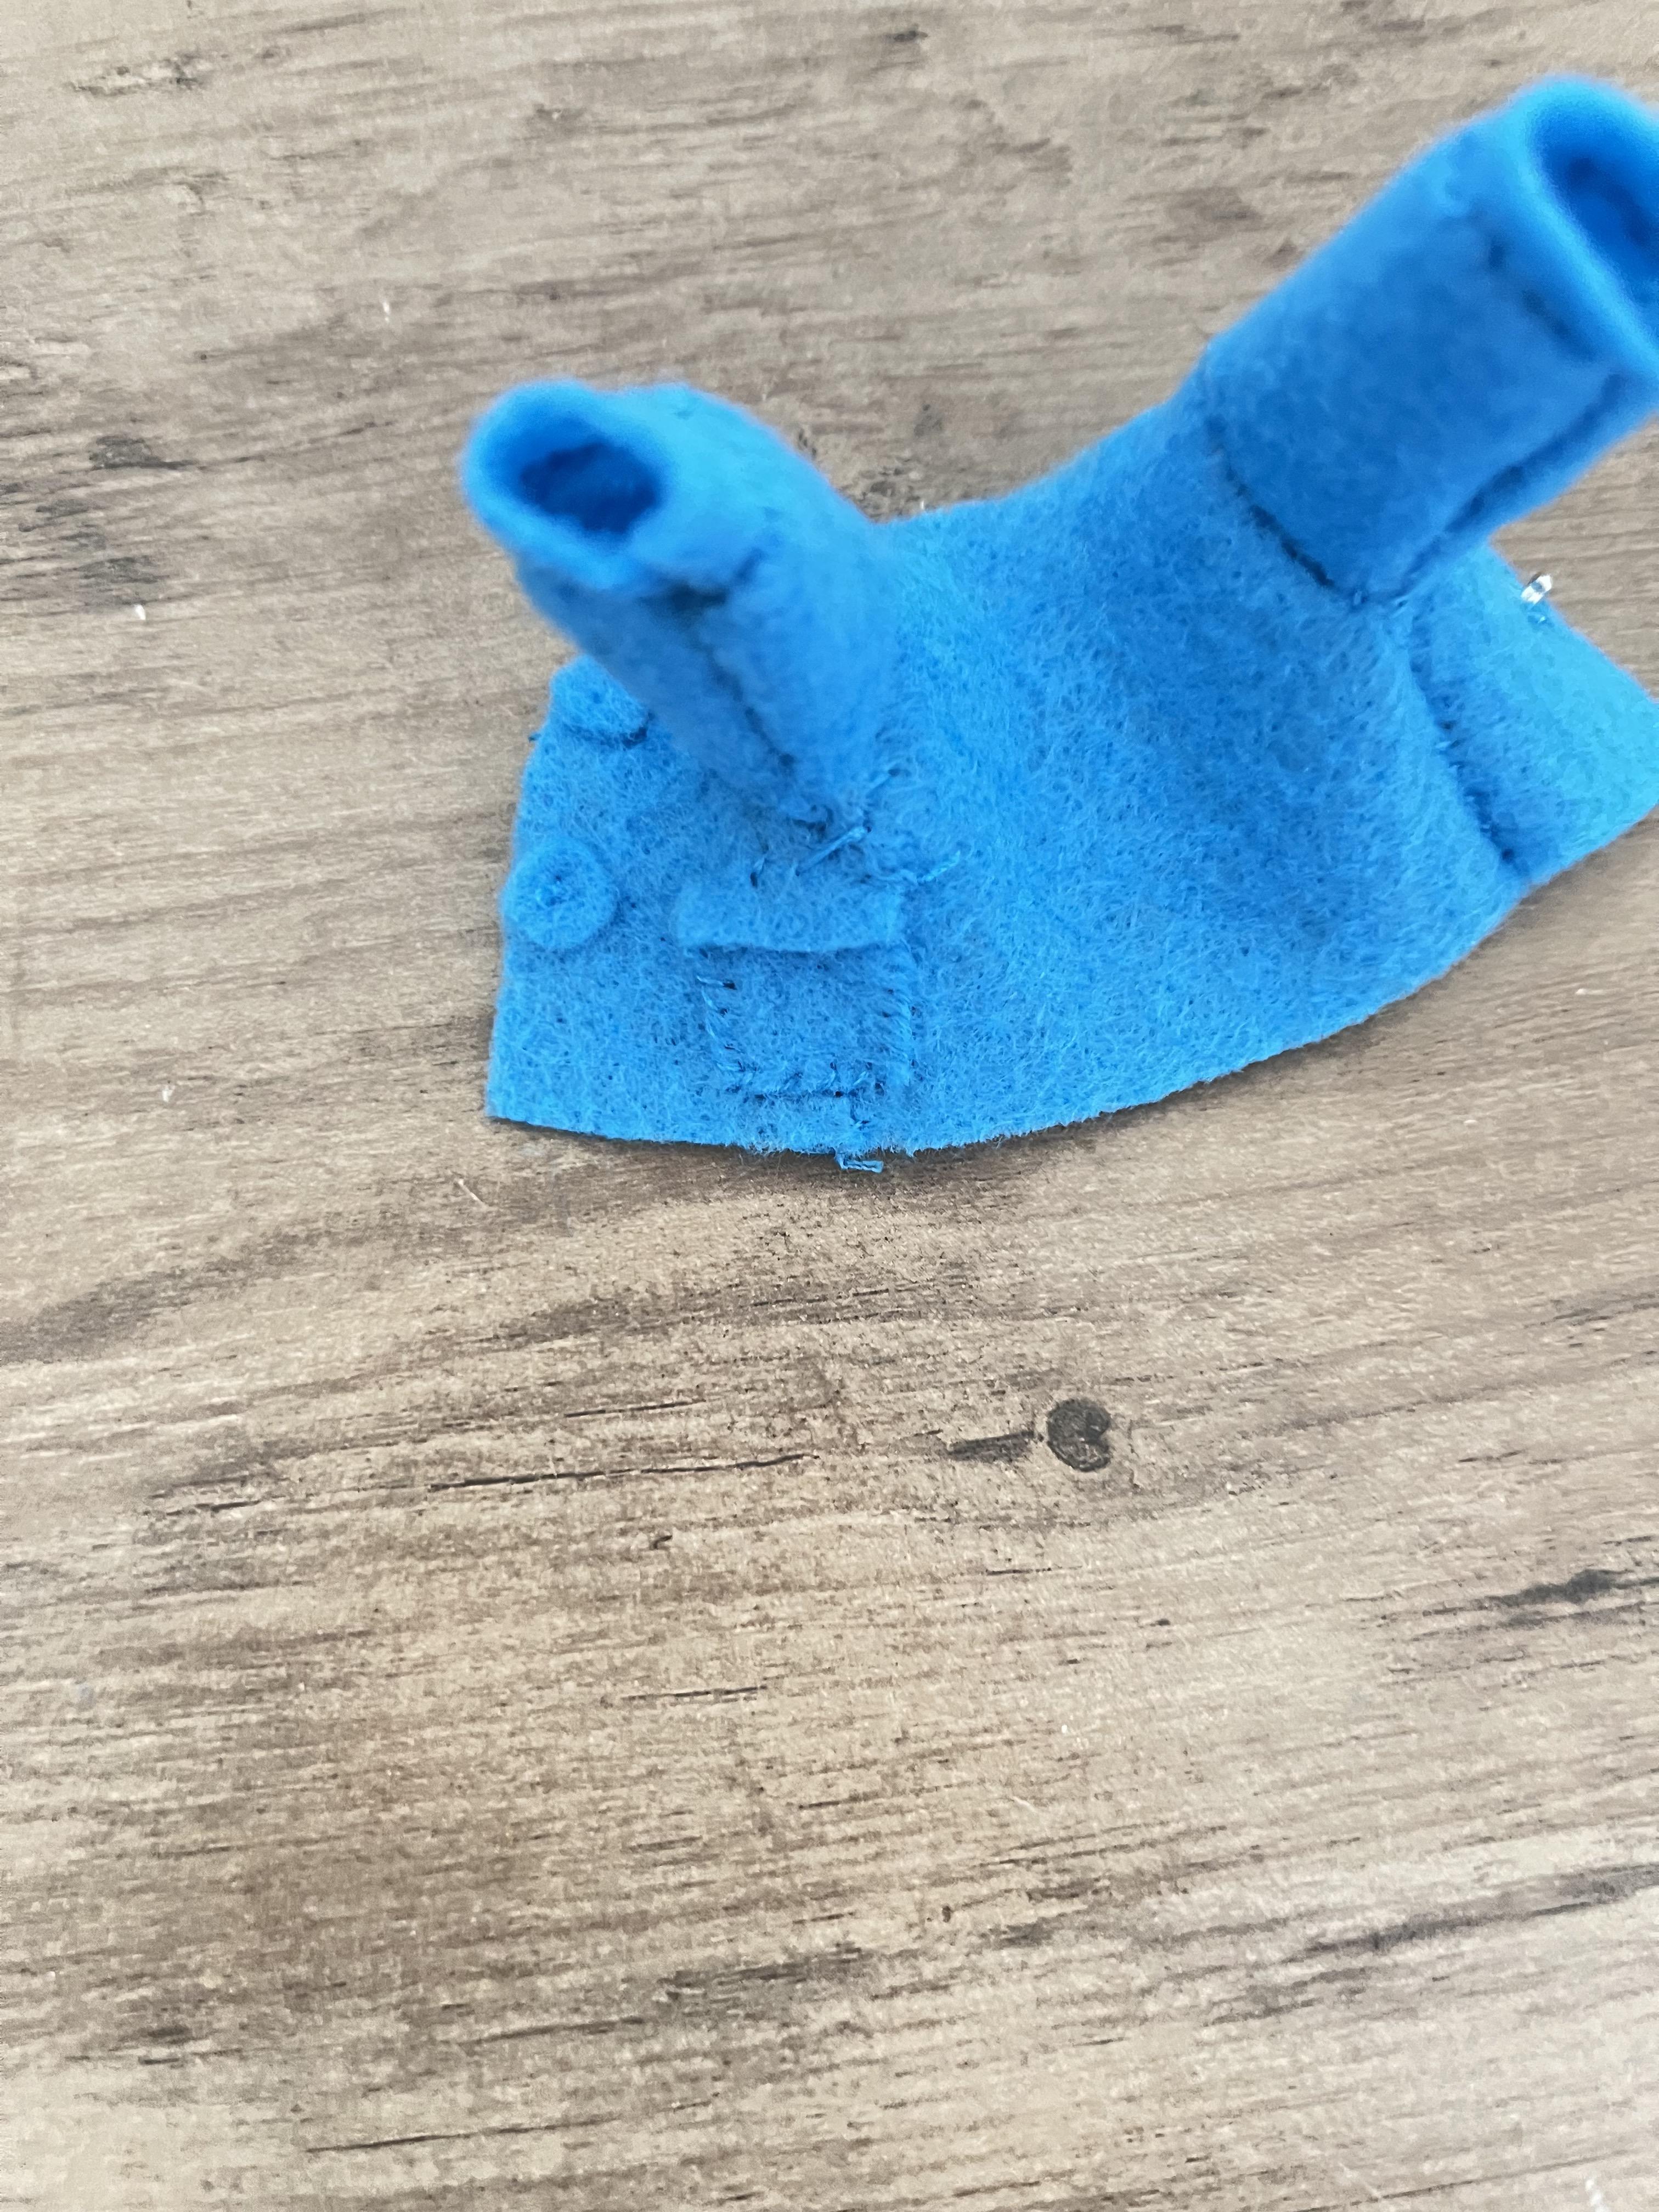

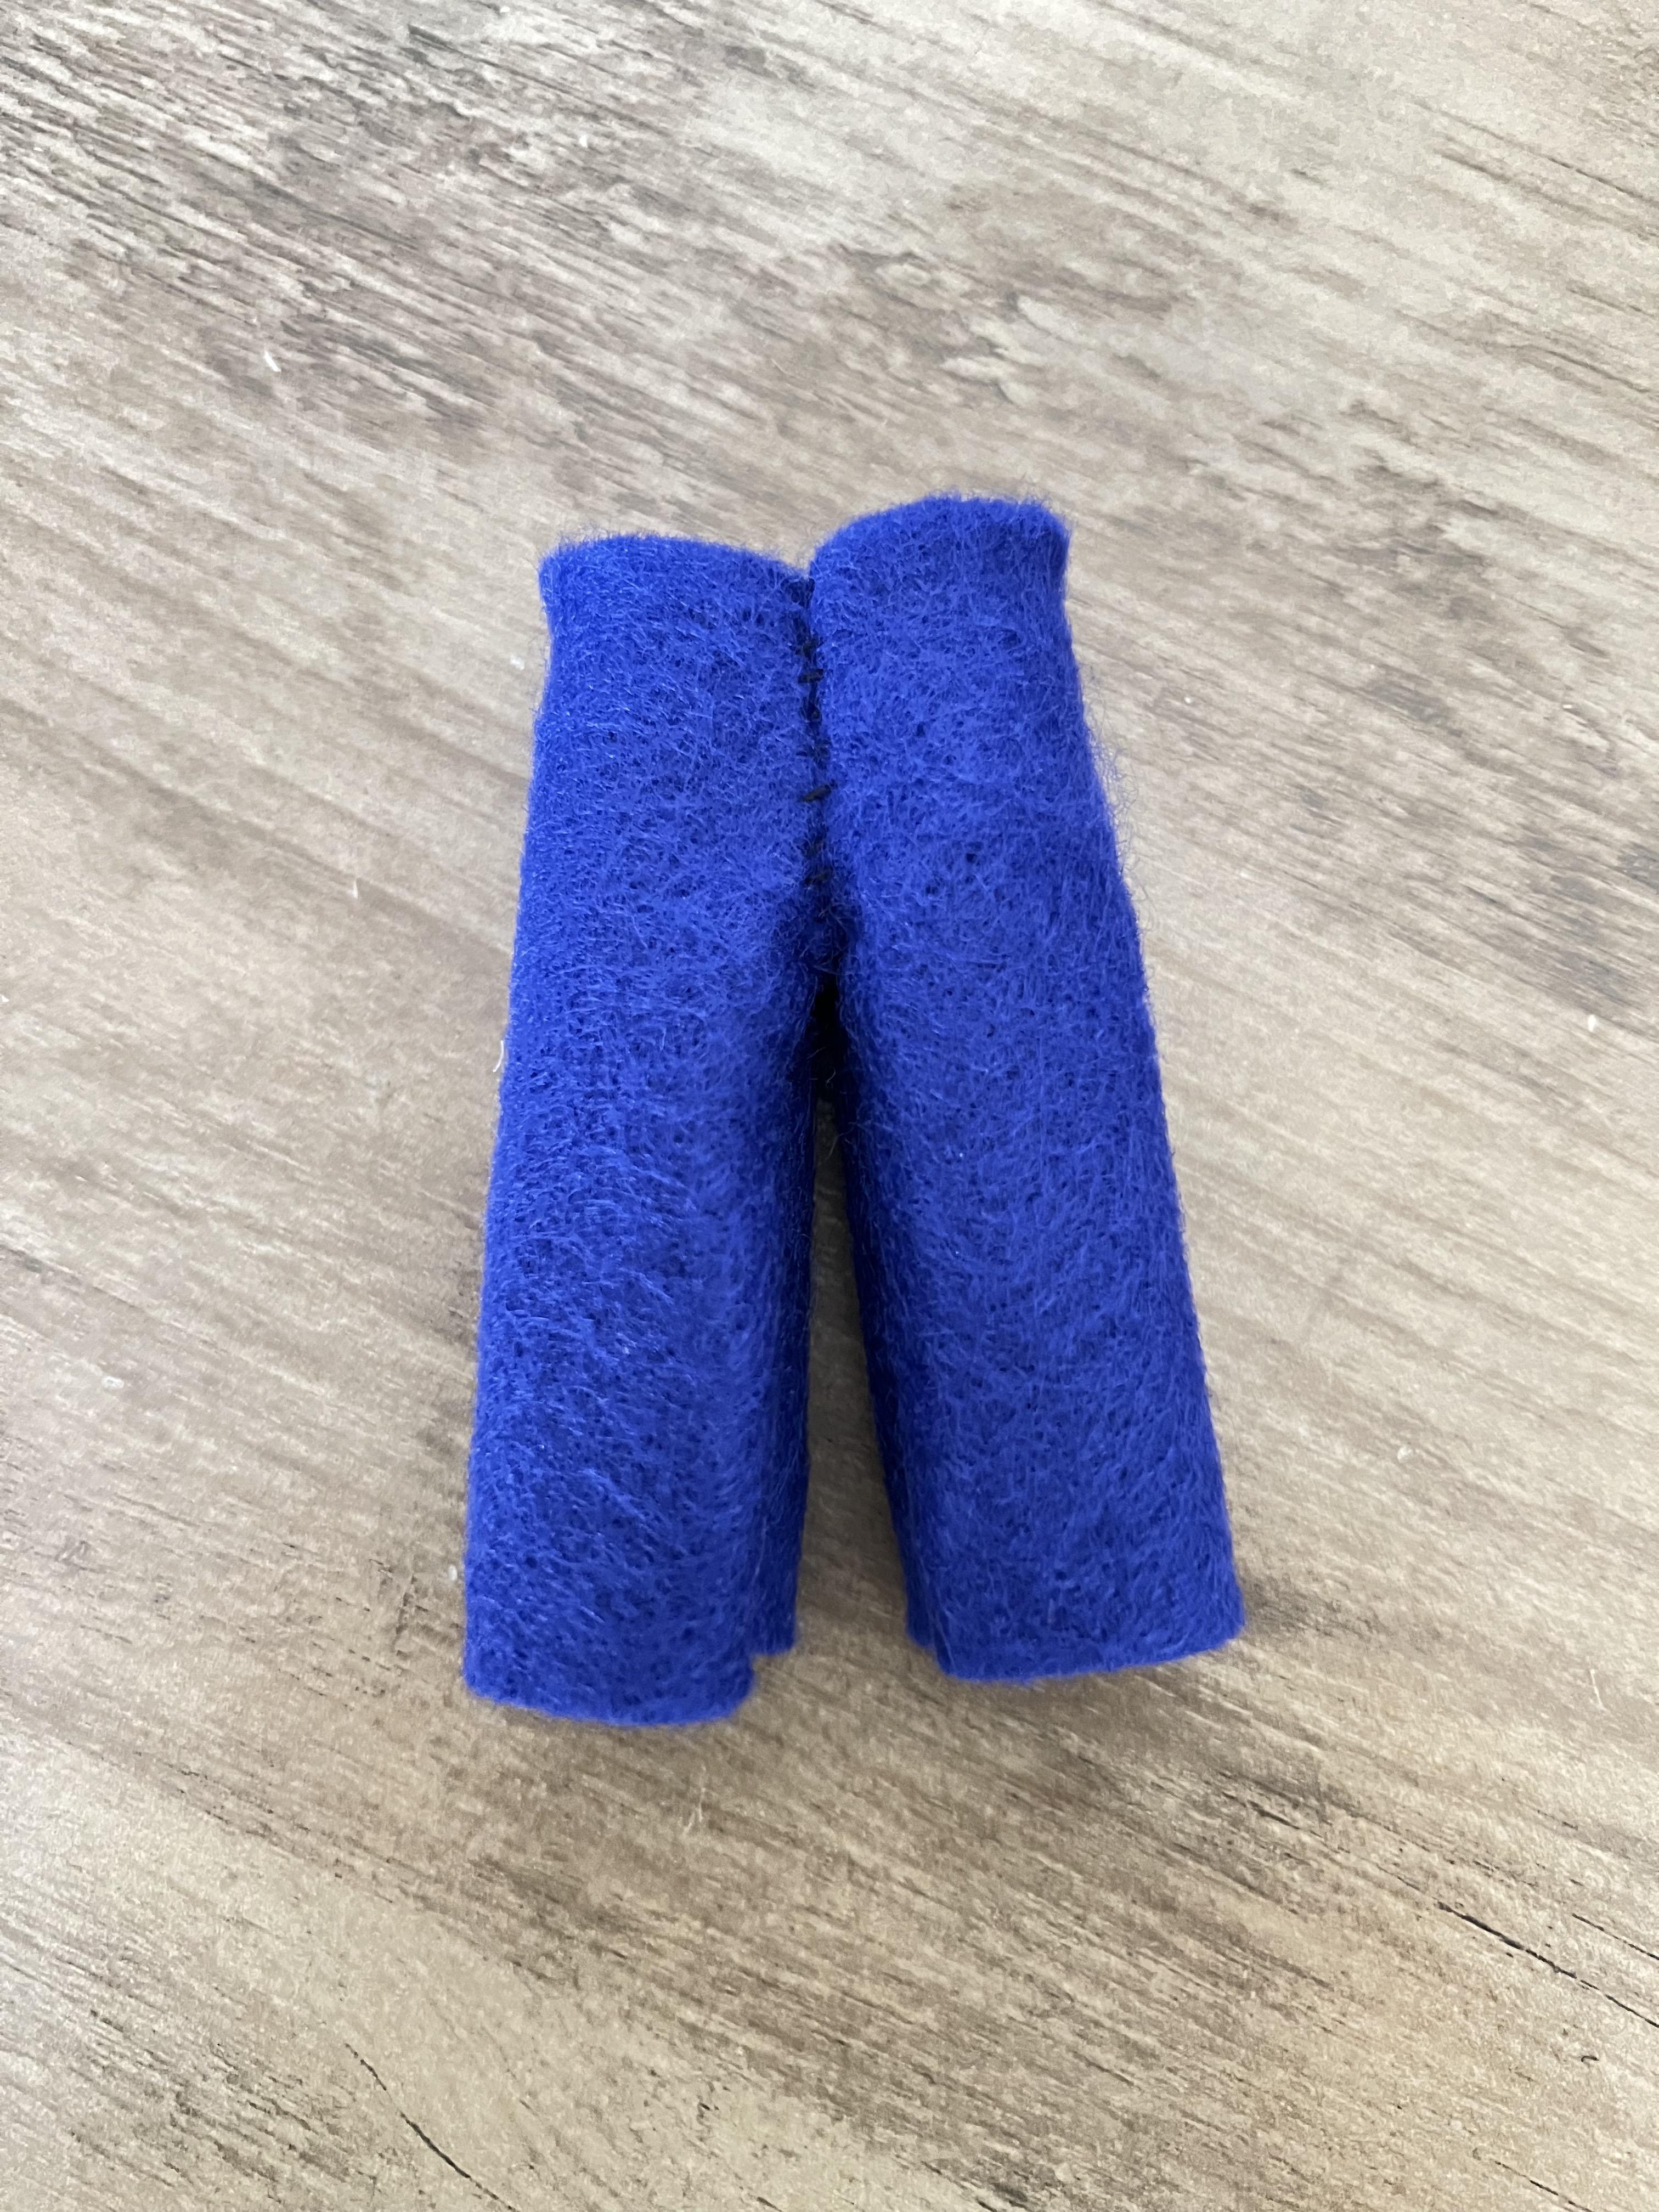
For his pants, you are going to do the same thing for Albert's pants, only a little smaller. Cut out two rectangles, and cut two 'j's into each side as in picture one. Sew up both sides of the pants (picture 2-4). Holding the two sides you have just sewn, push them together and slid a pin to hold it flat (picture 5). Starting on one side, sew along the edge (pictures 6-8). Flip the pants and they're finished.
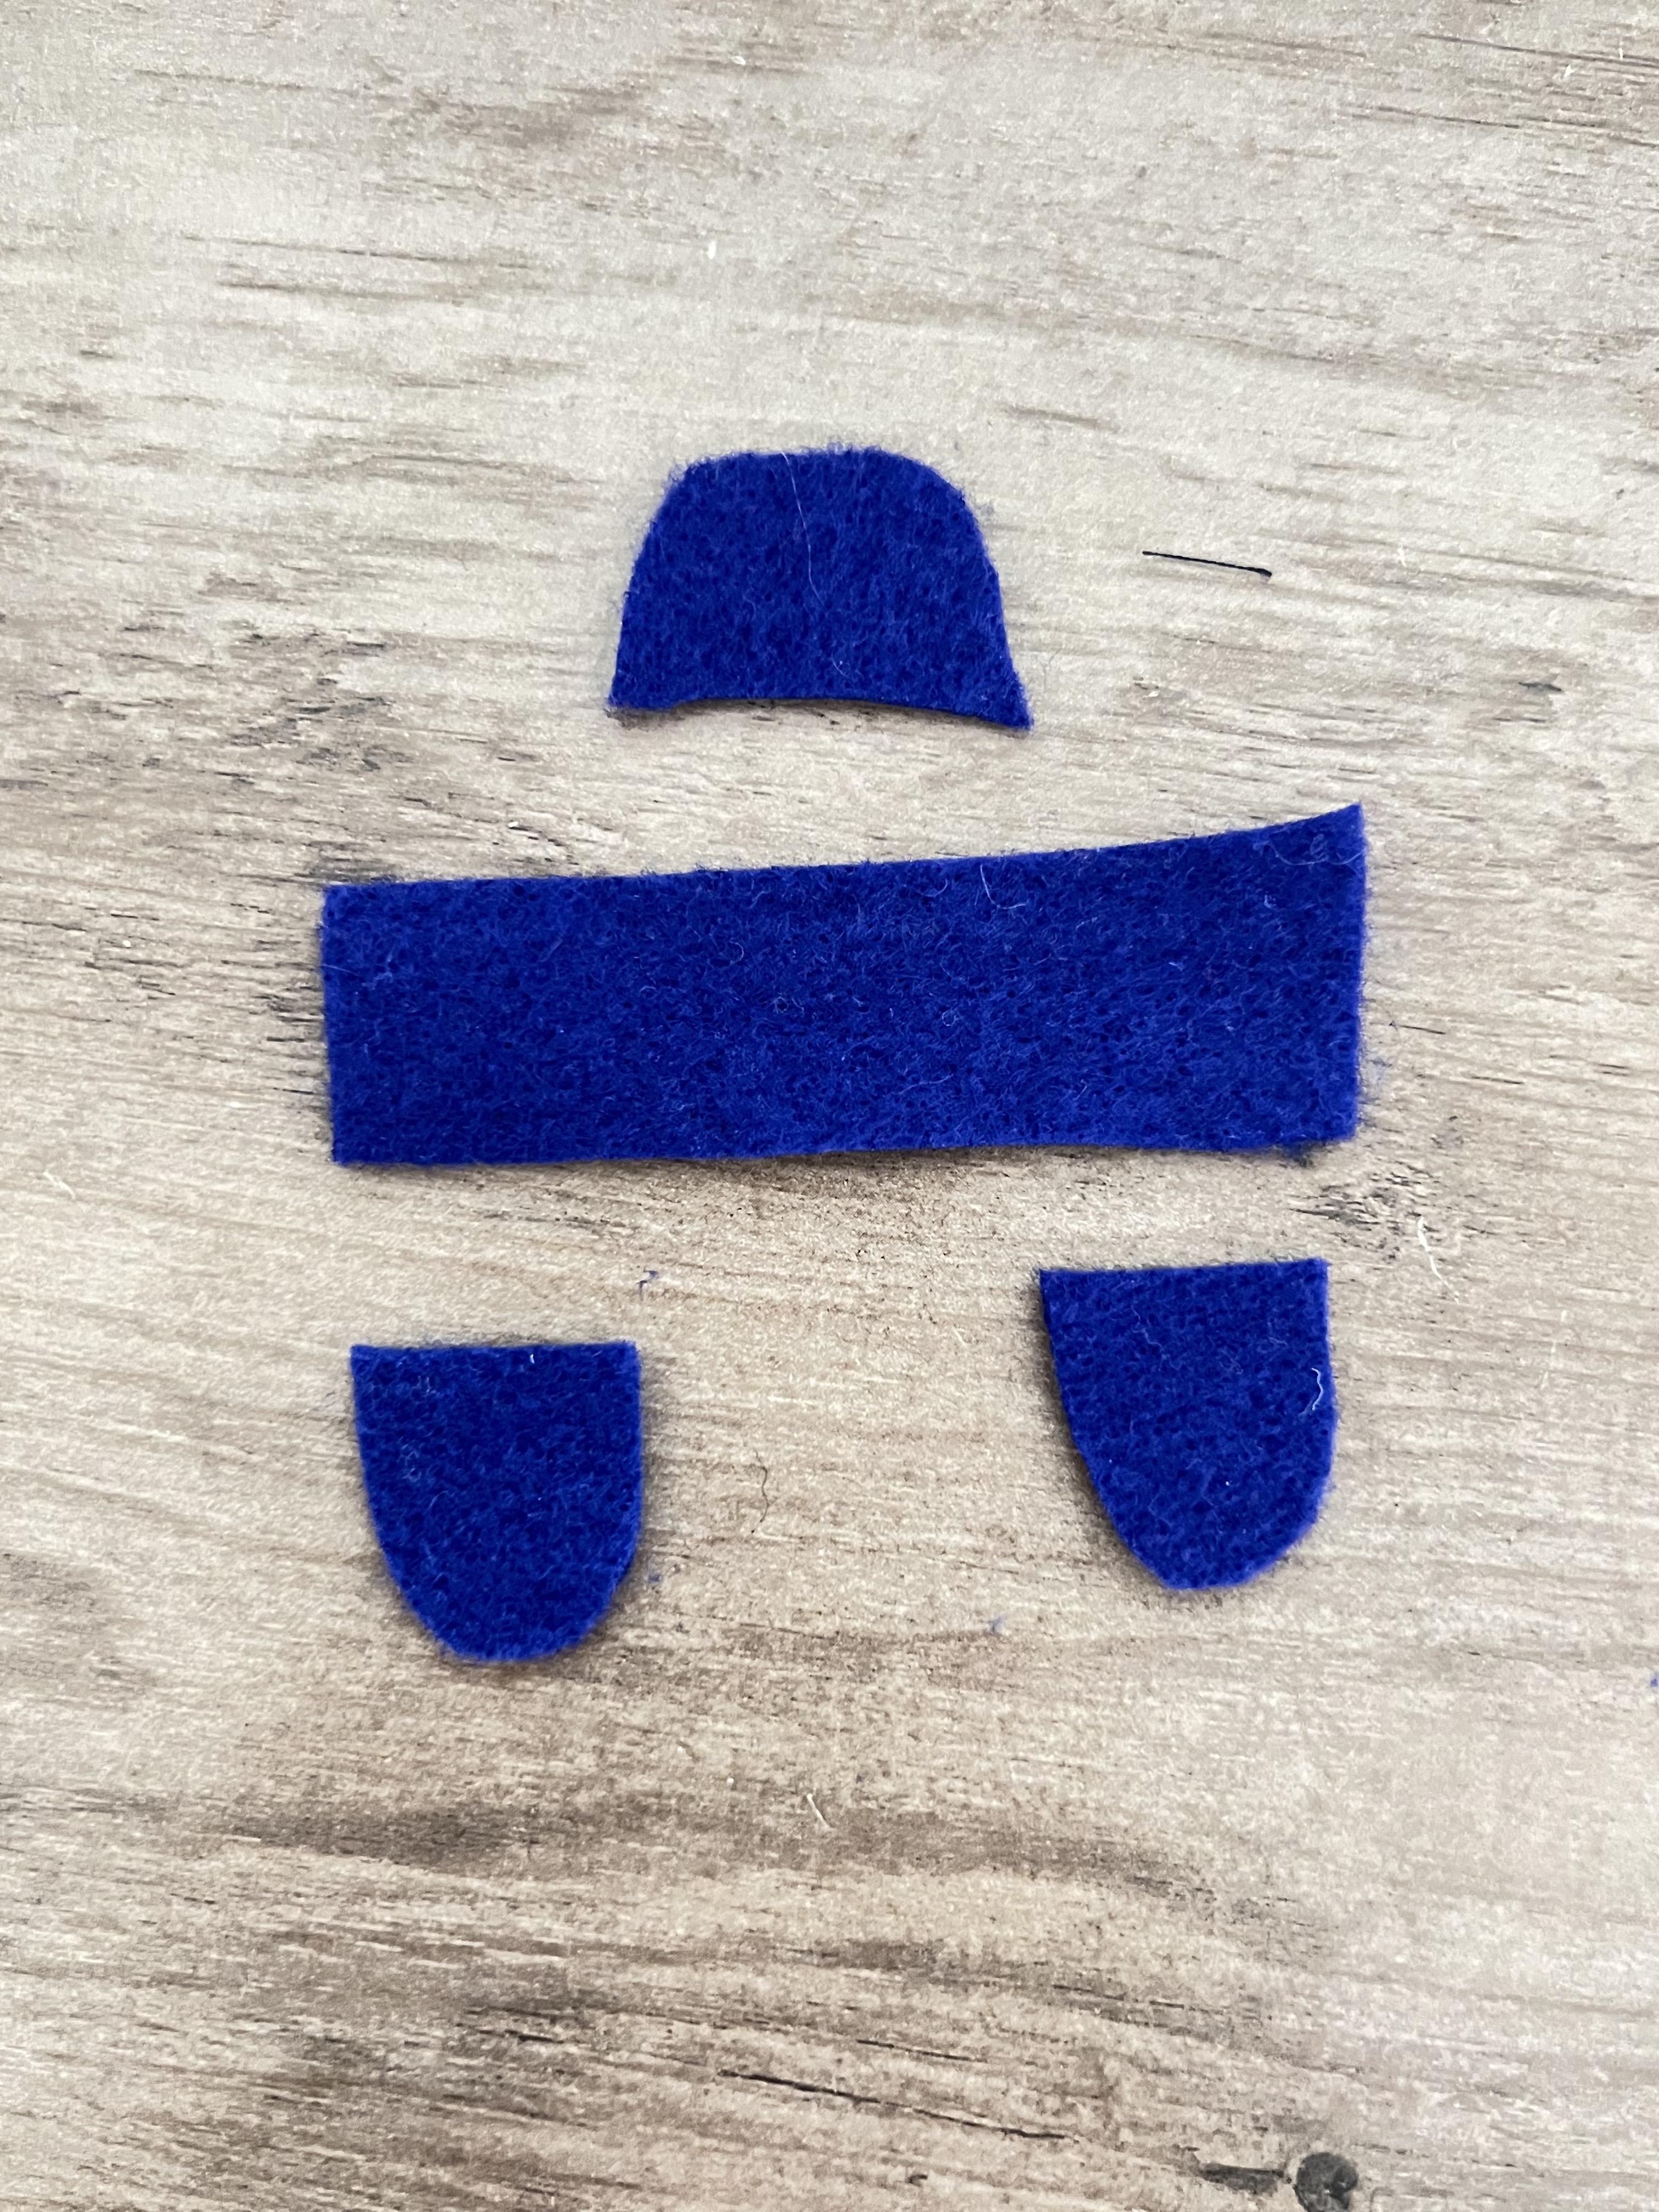
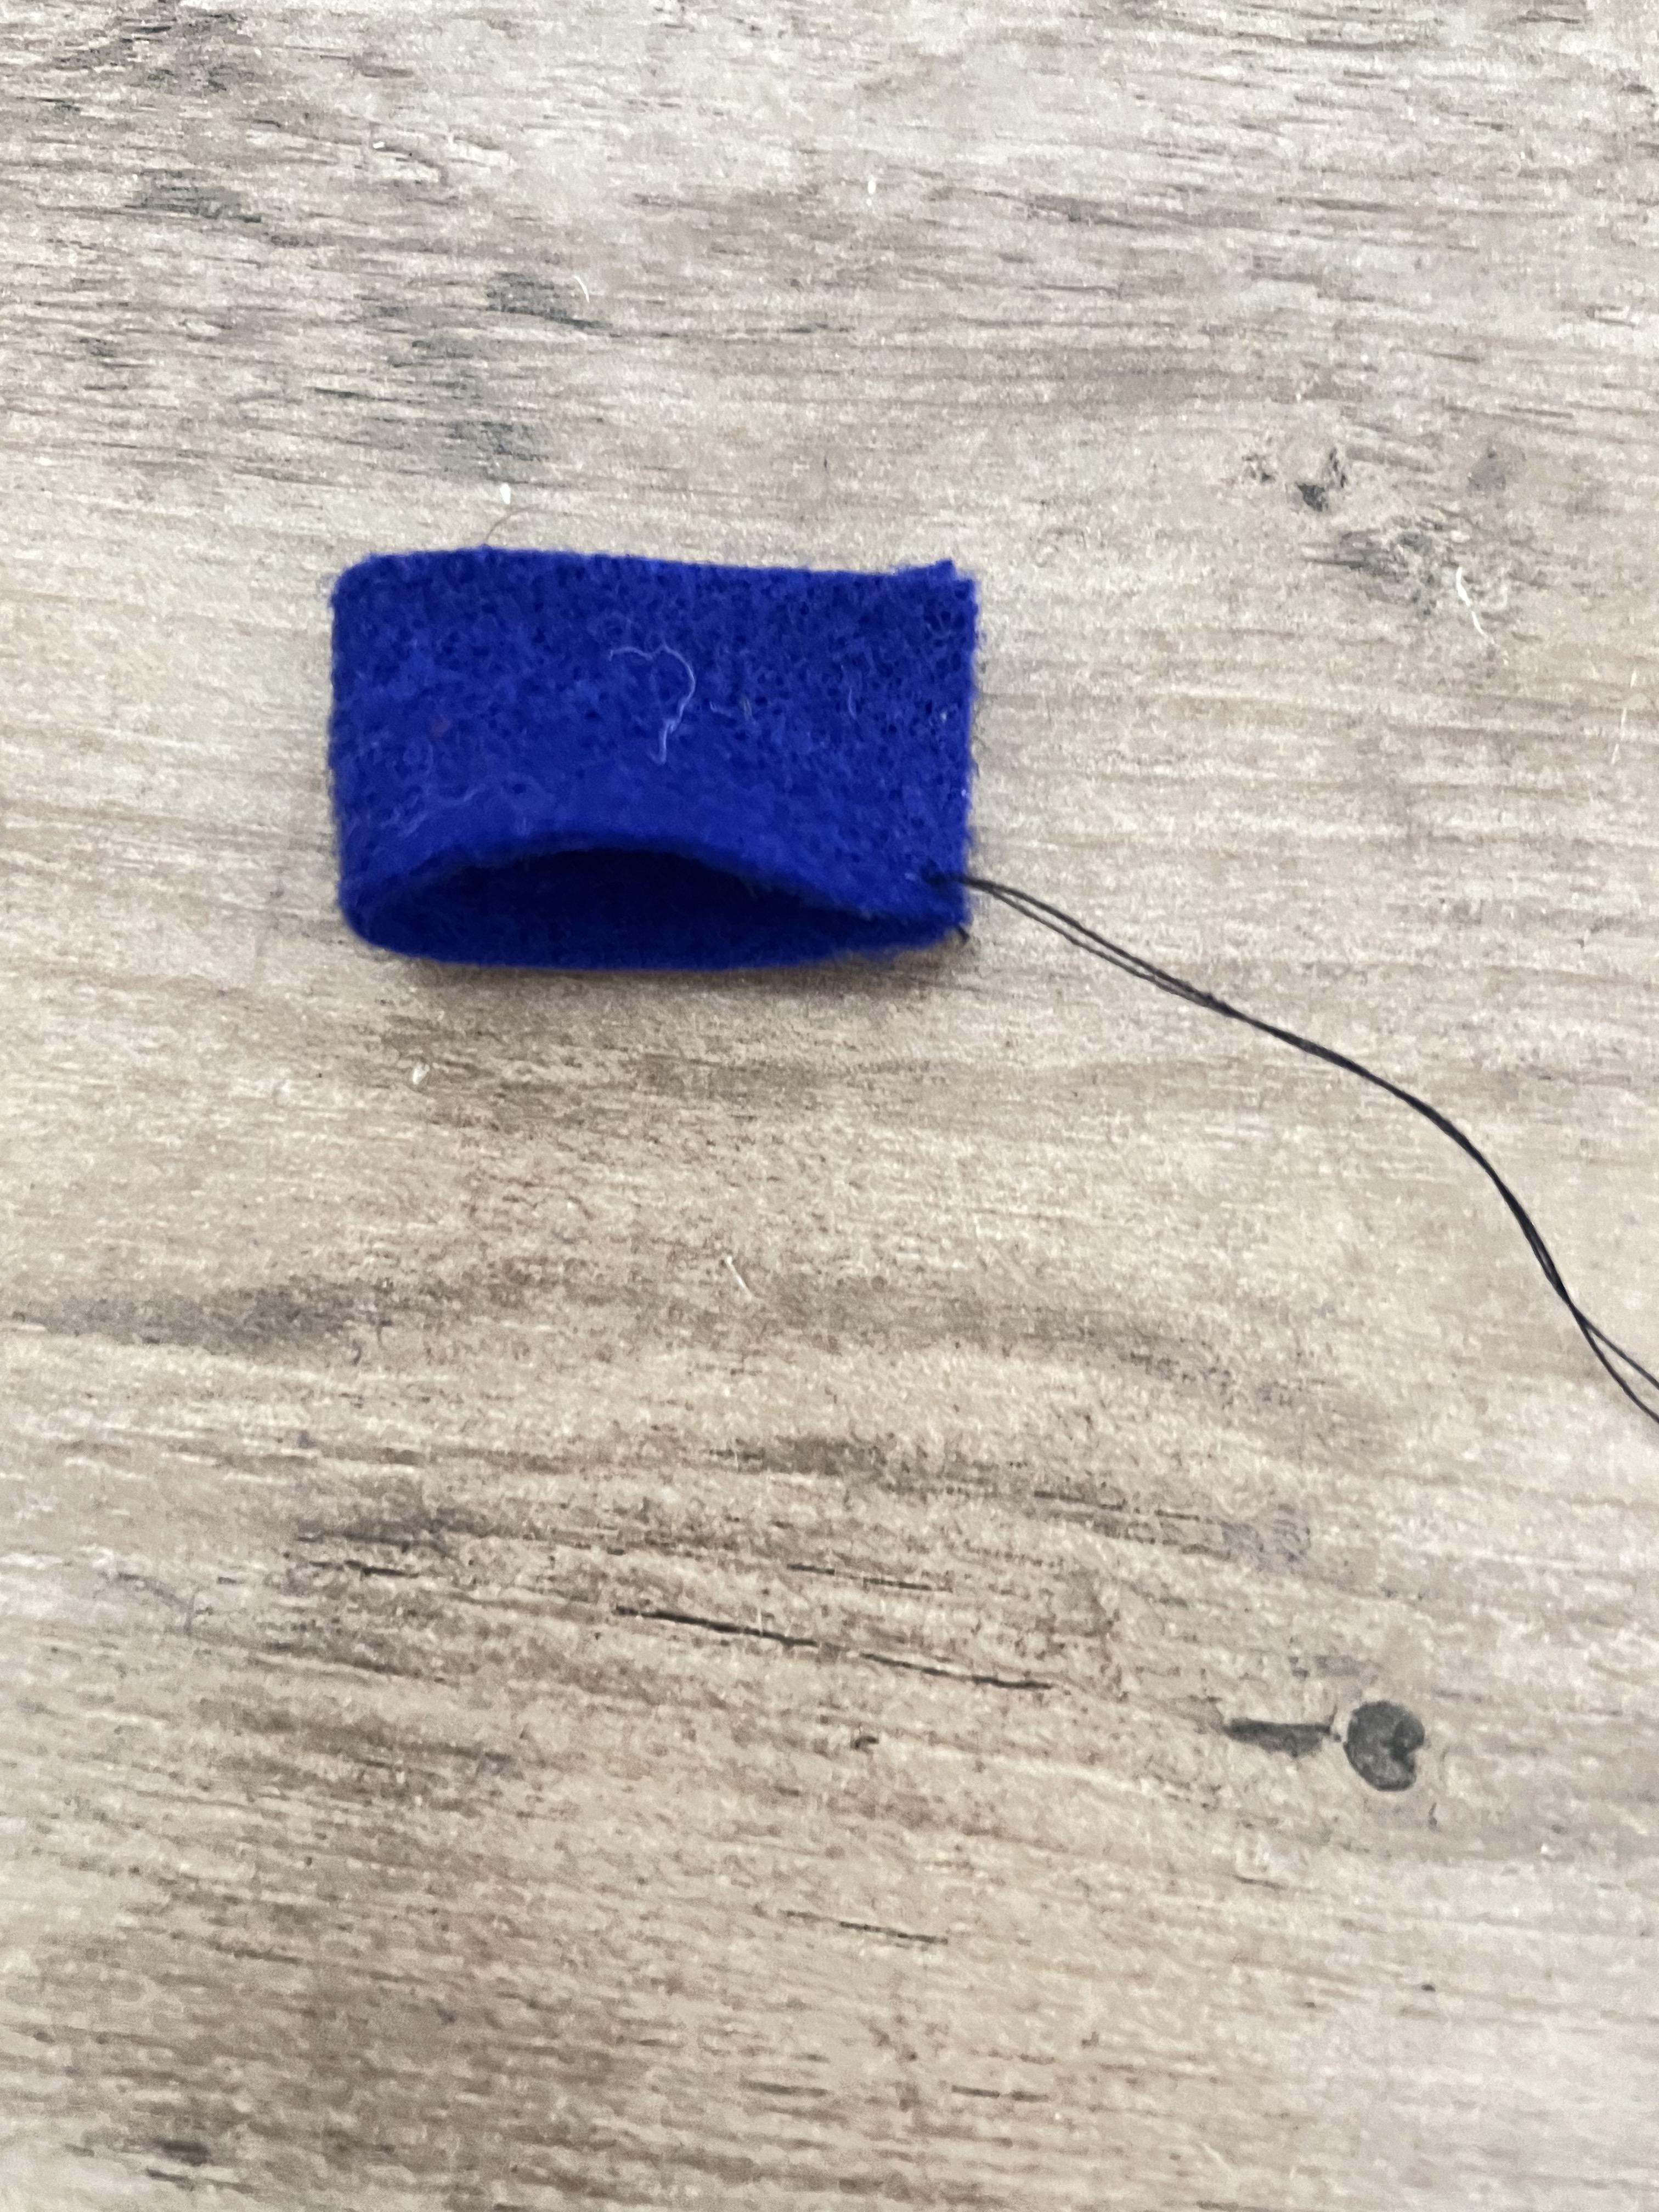
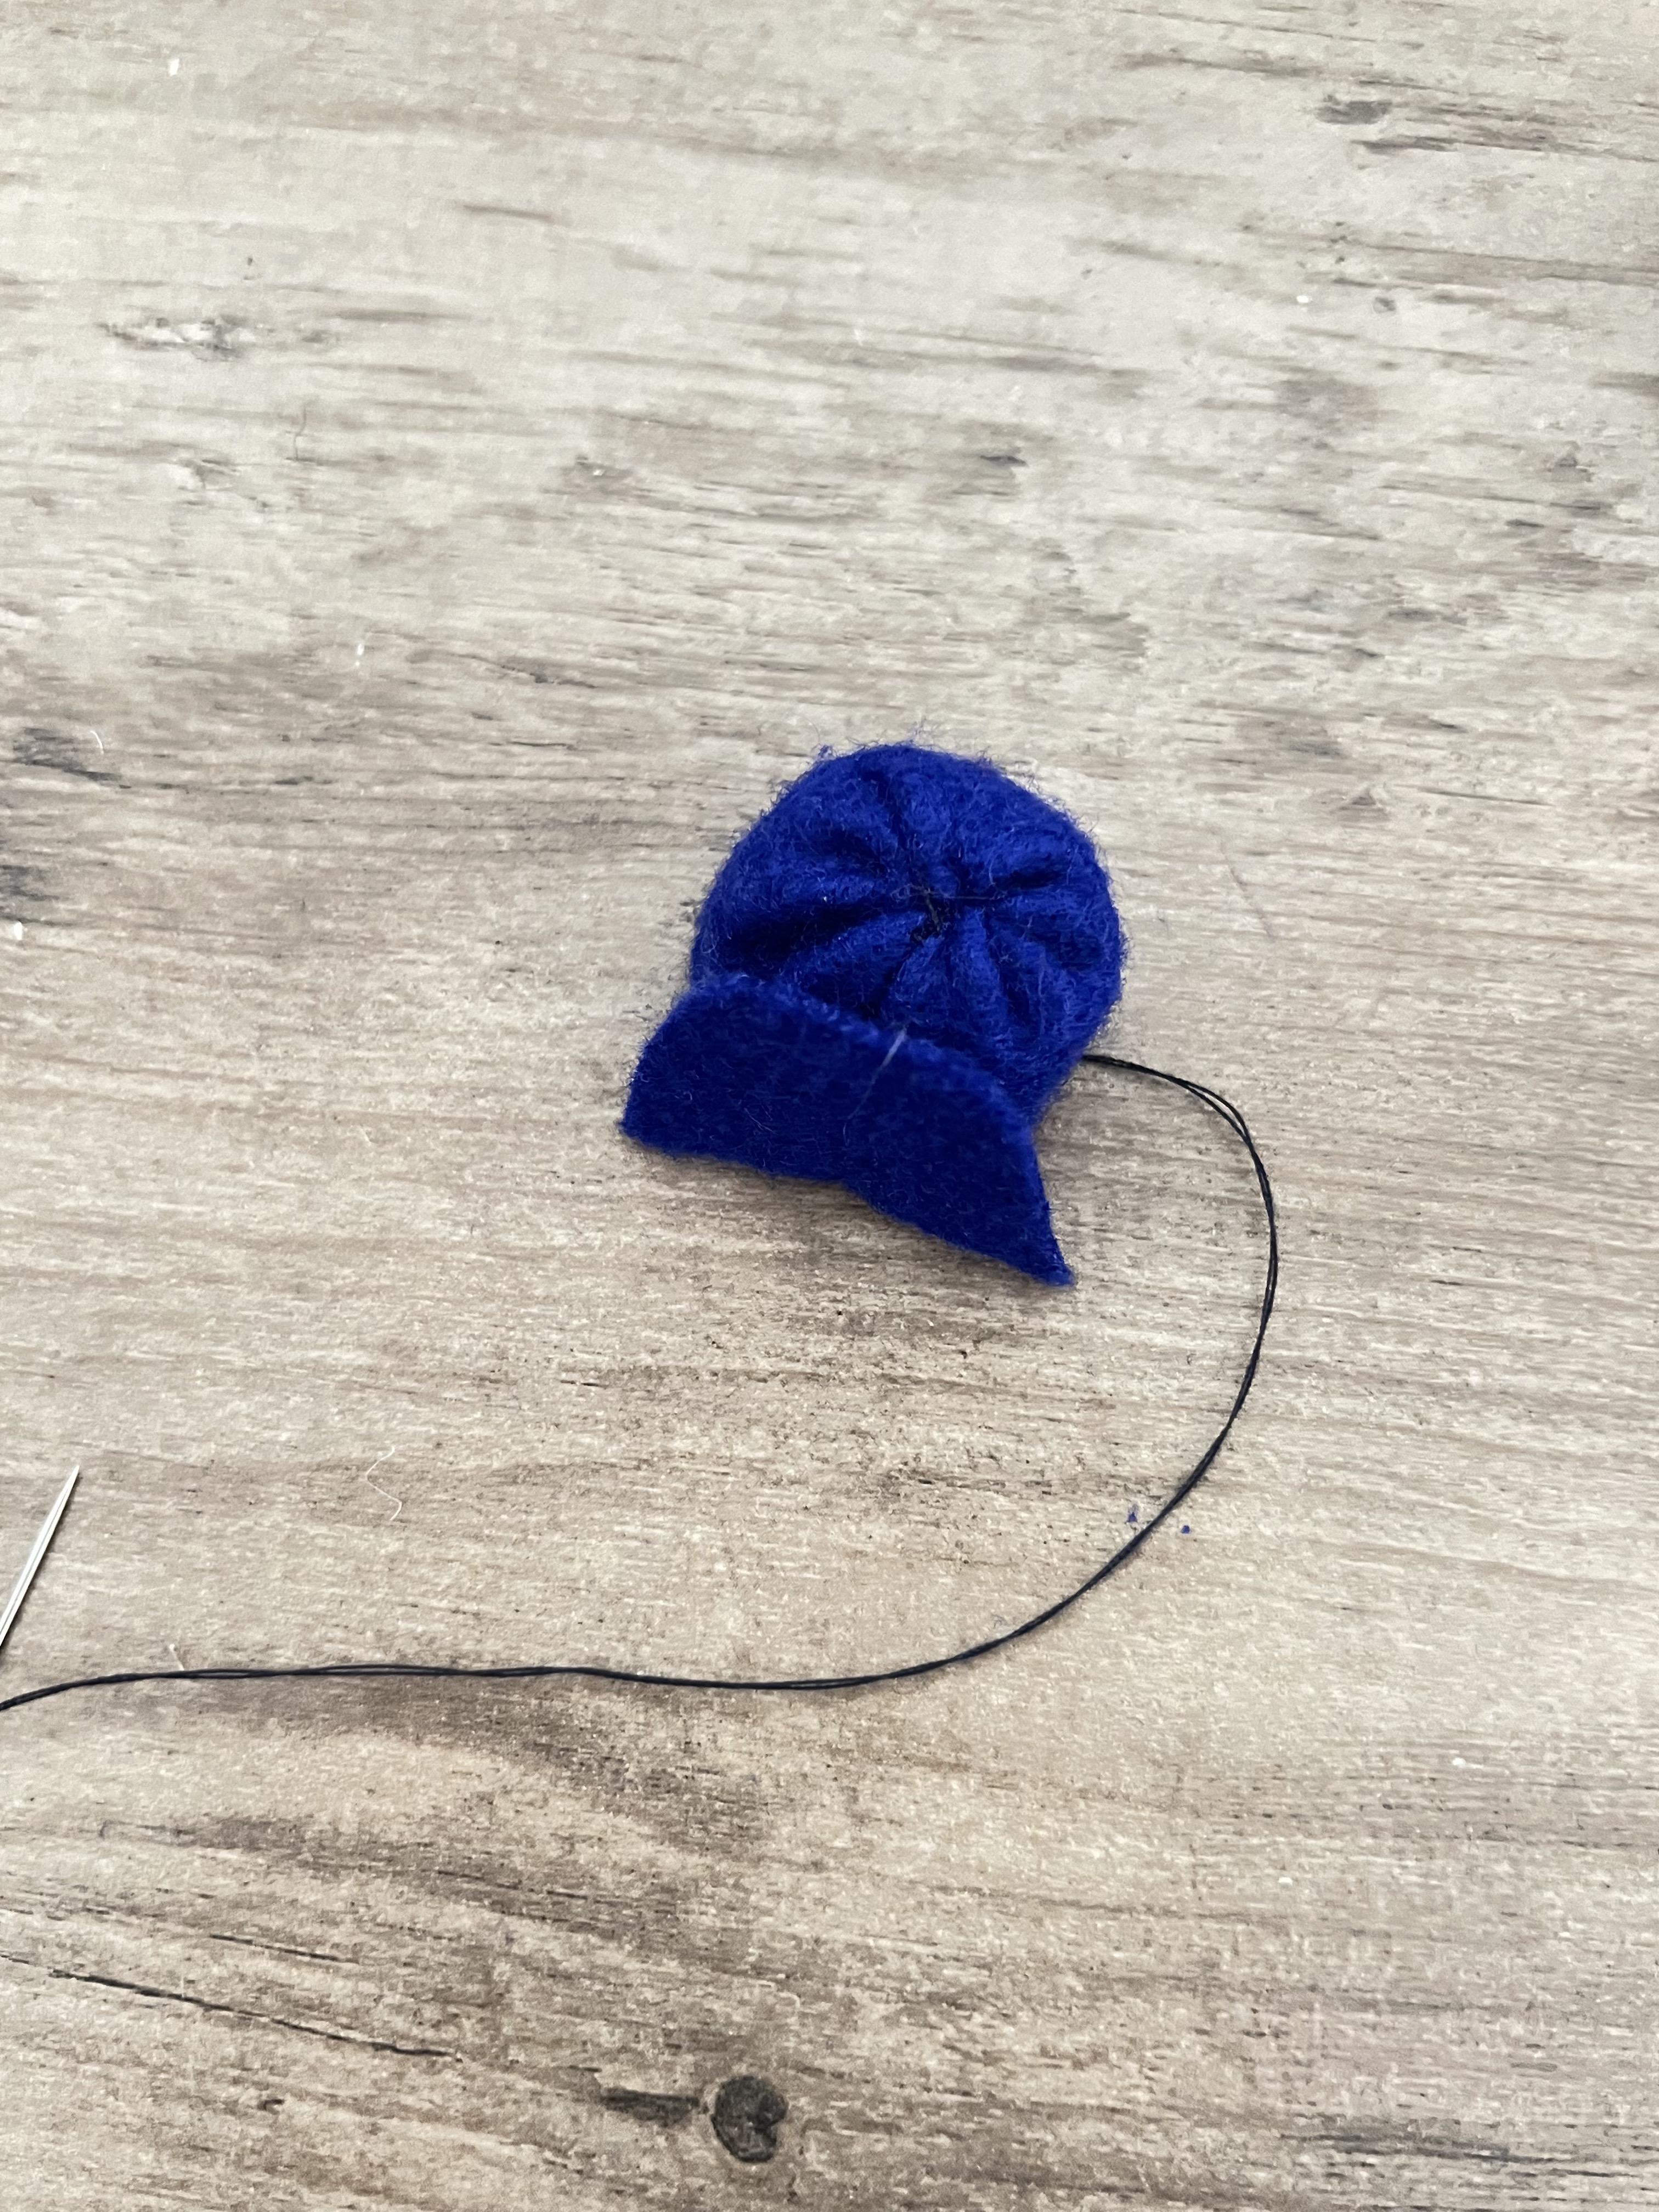
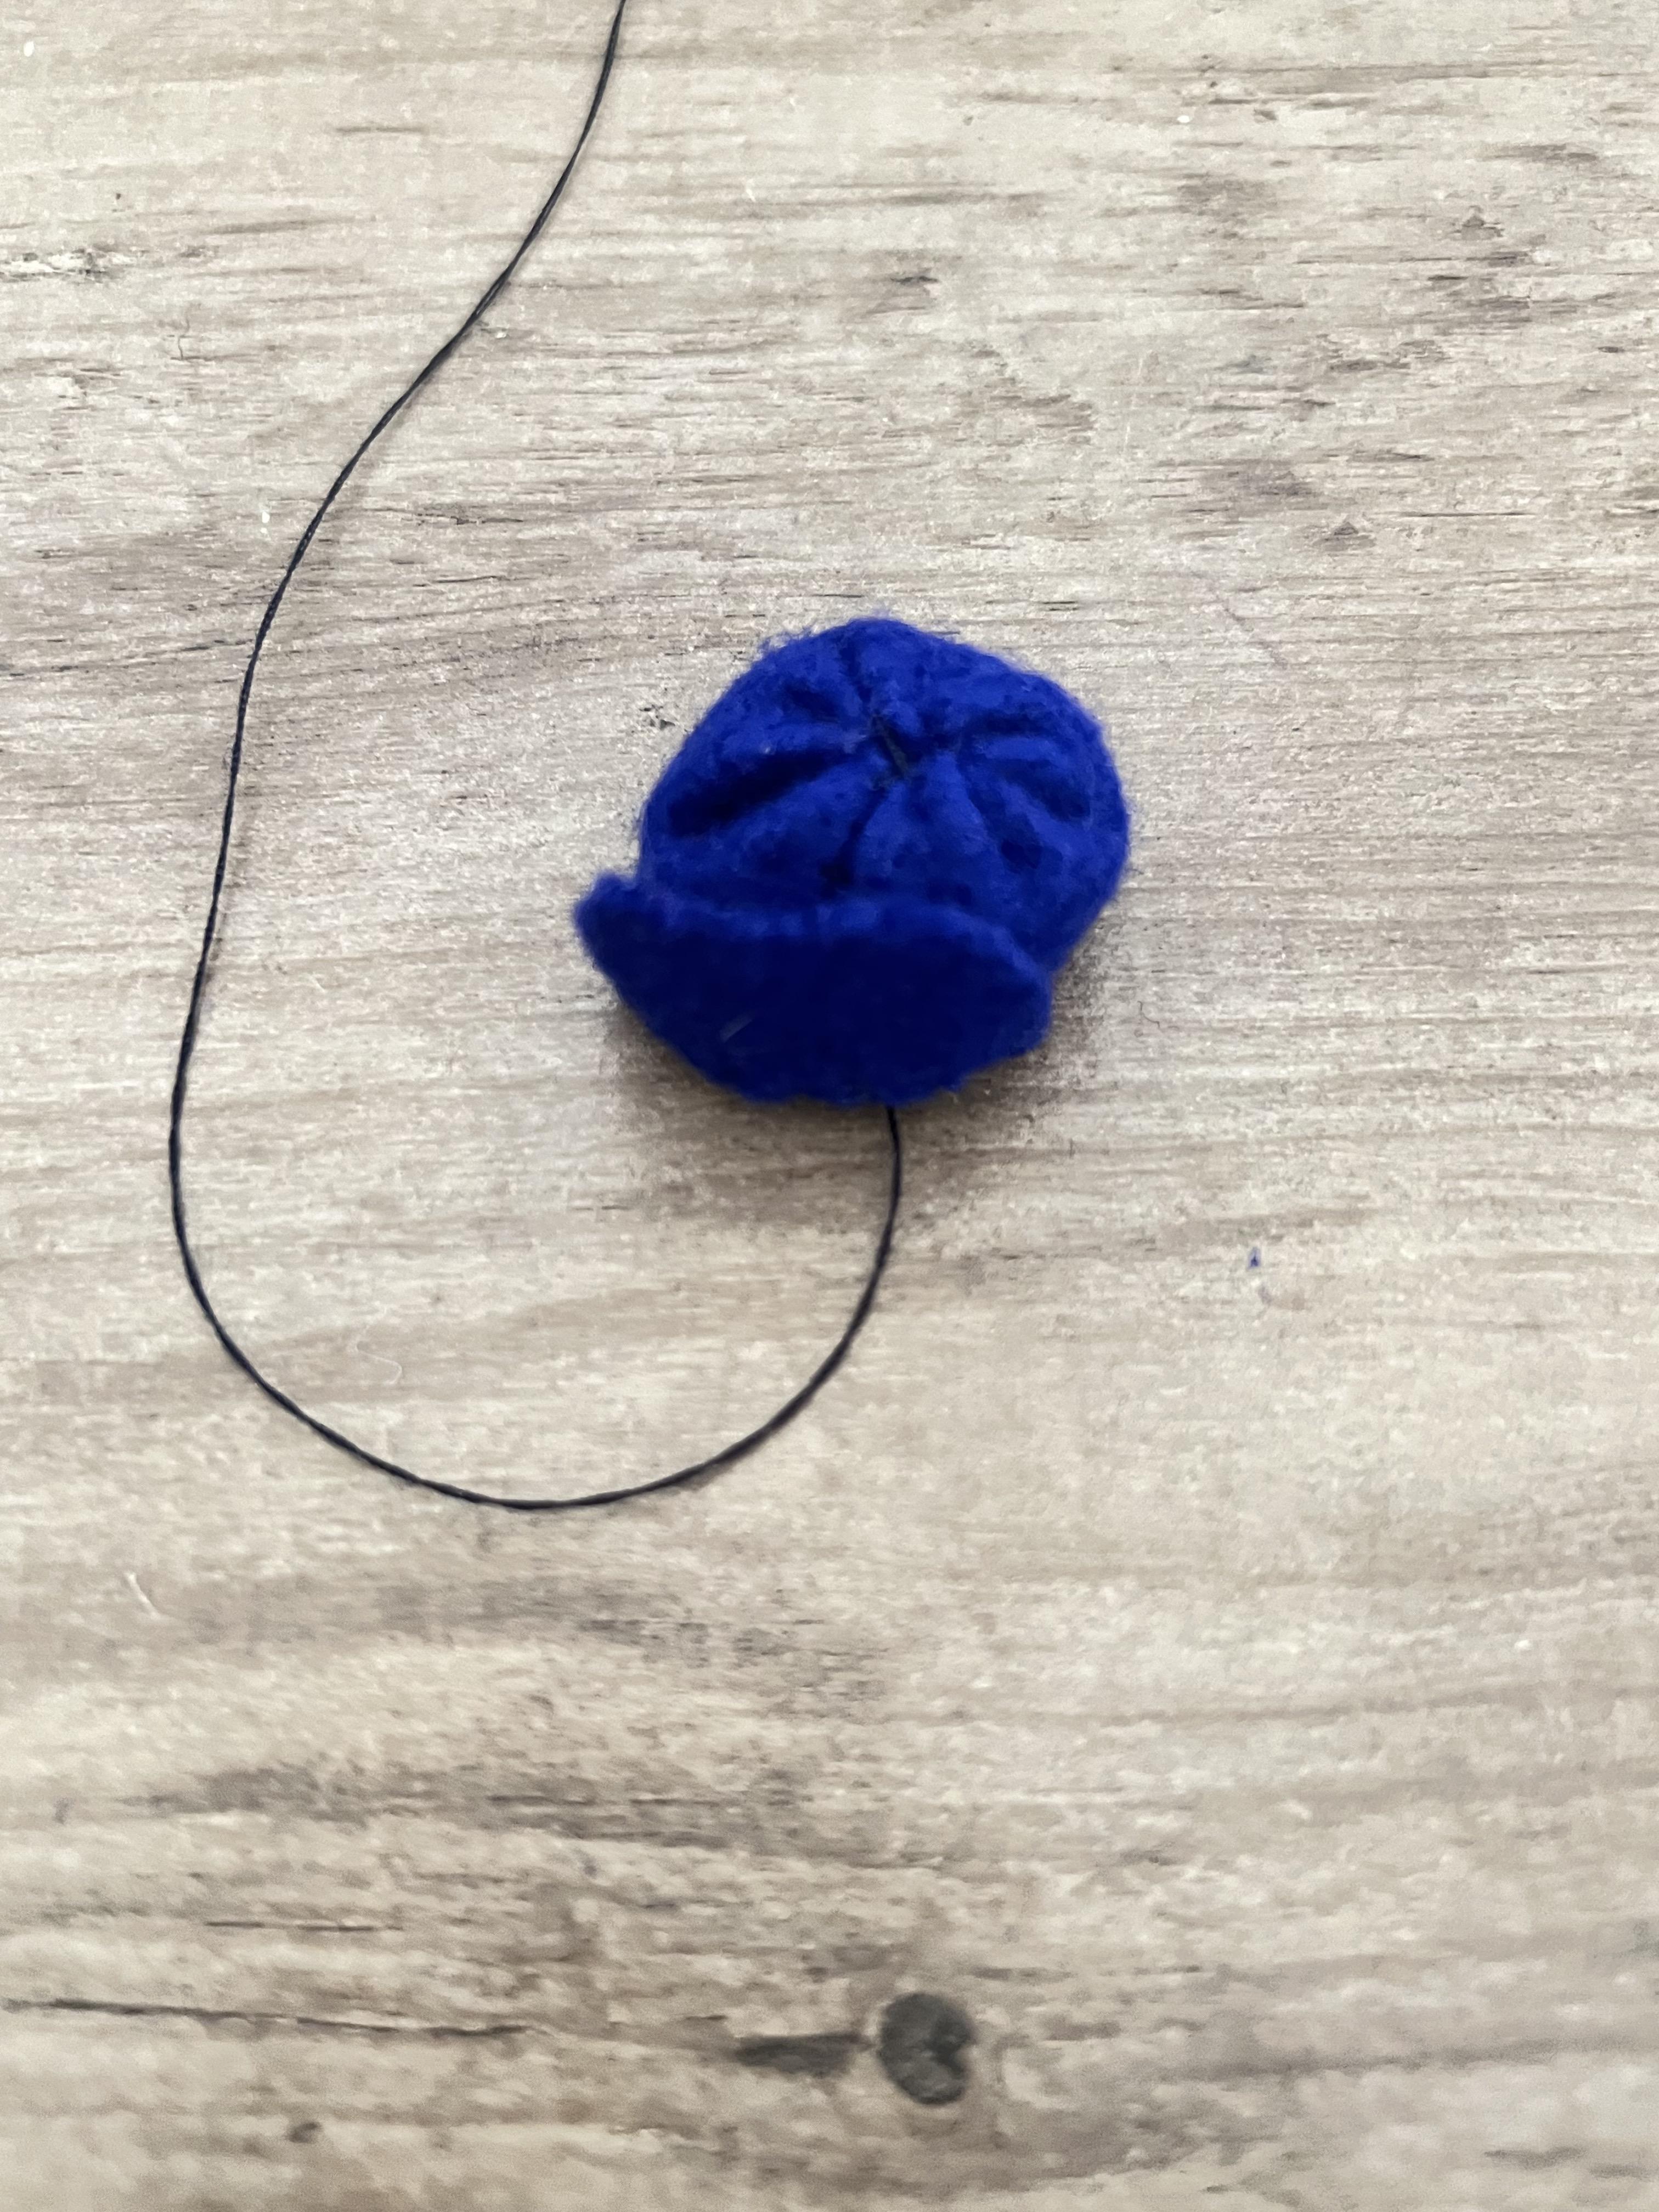
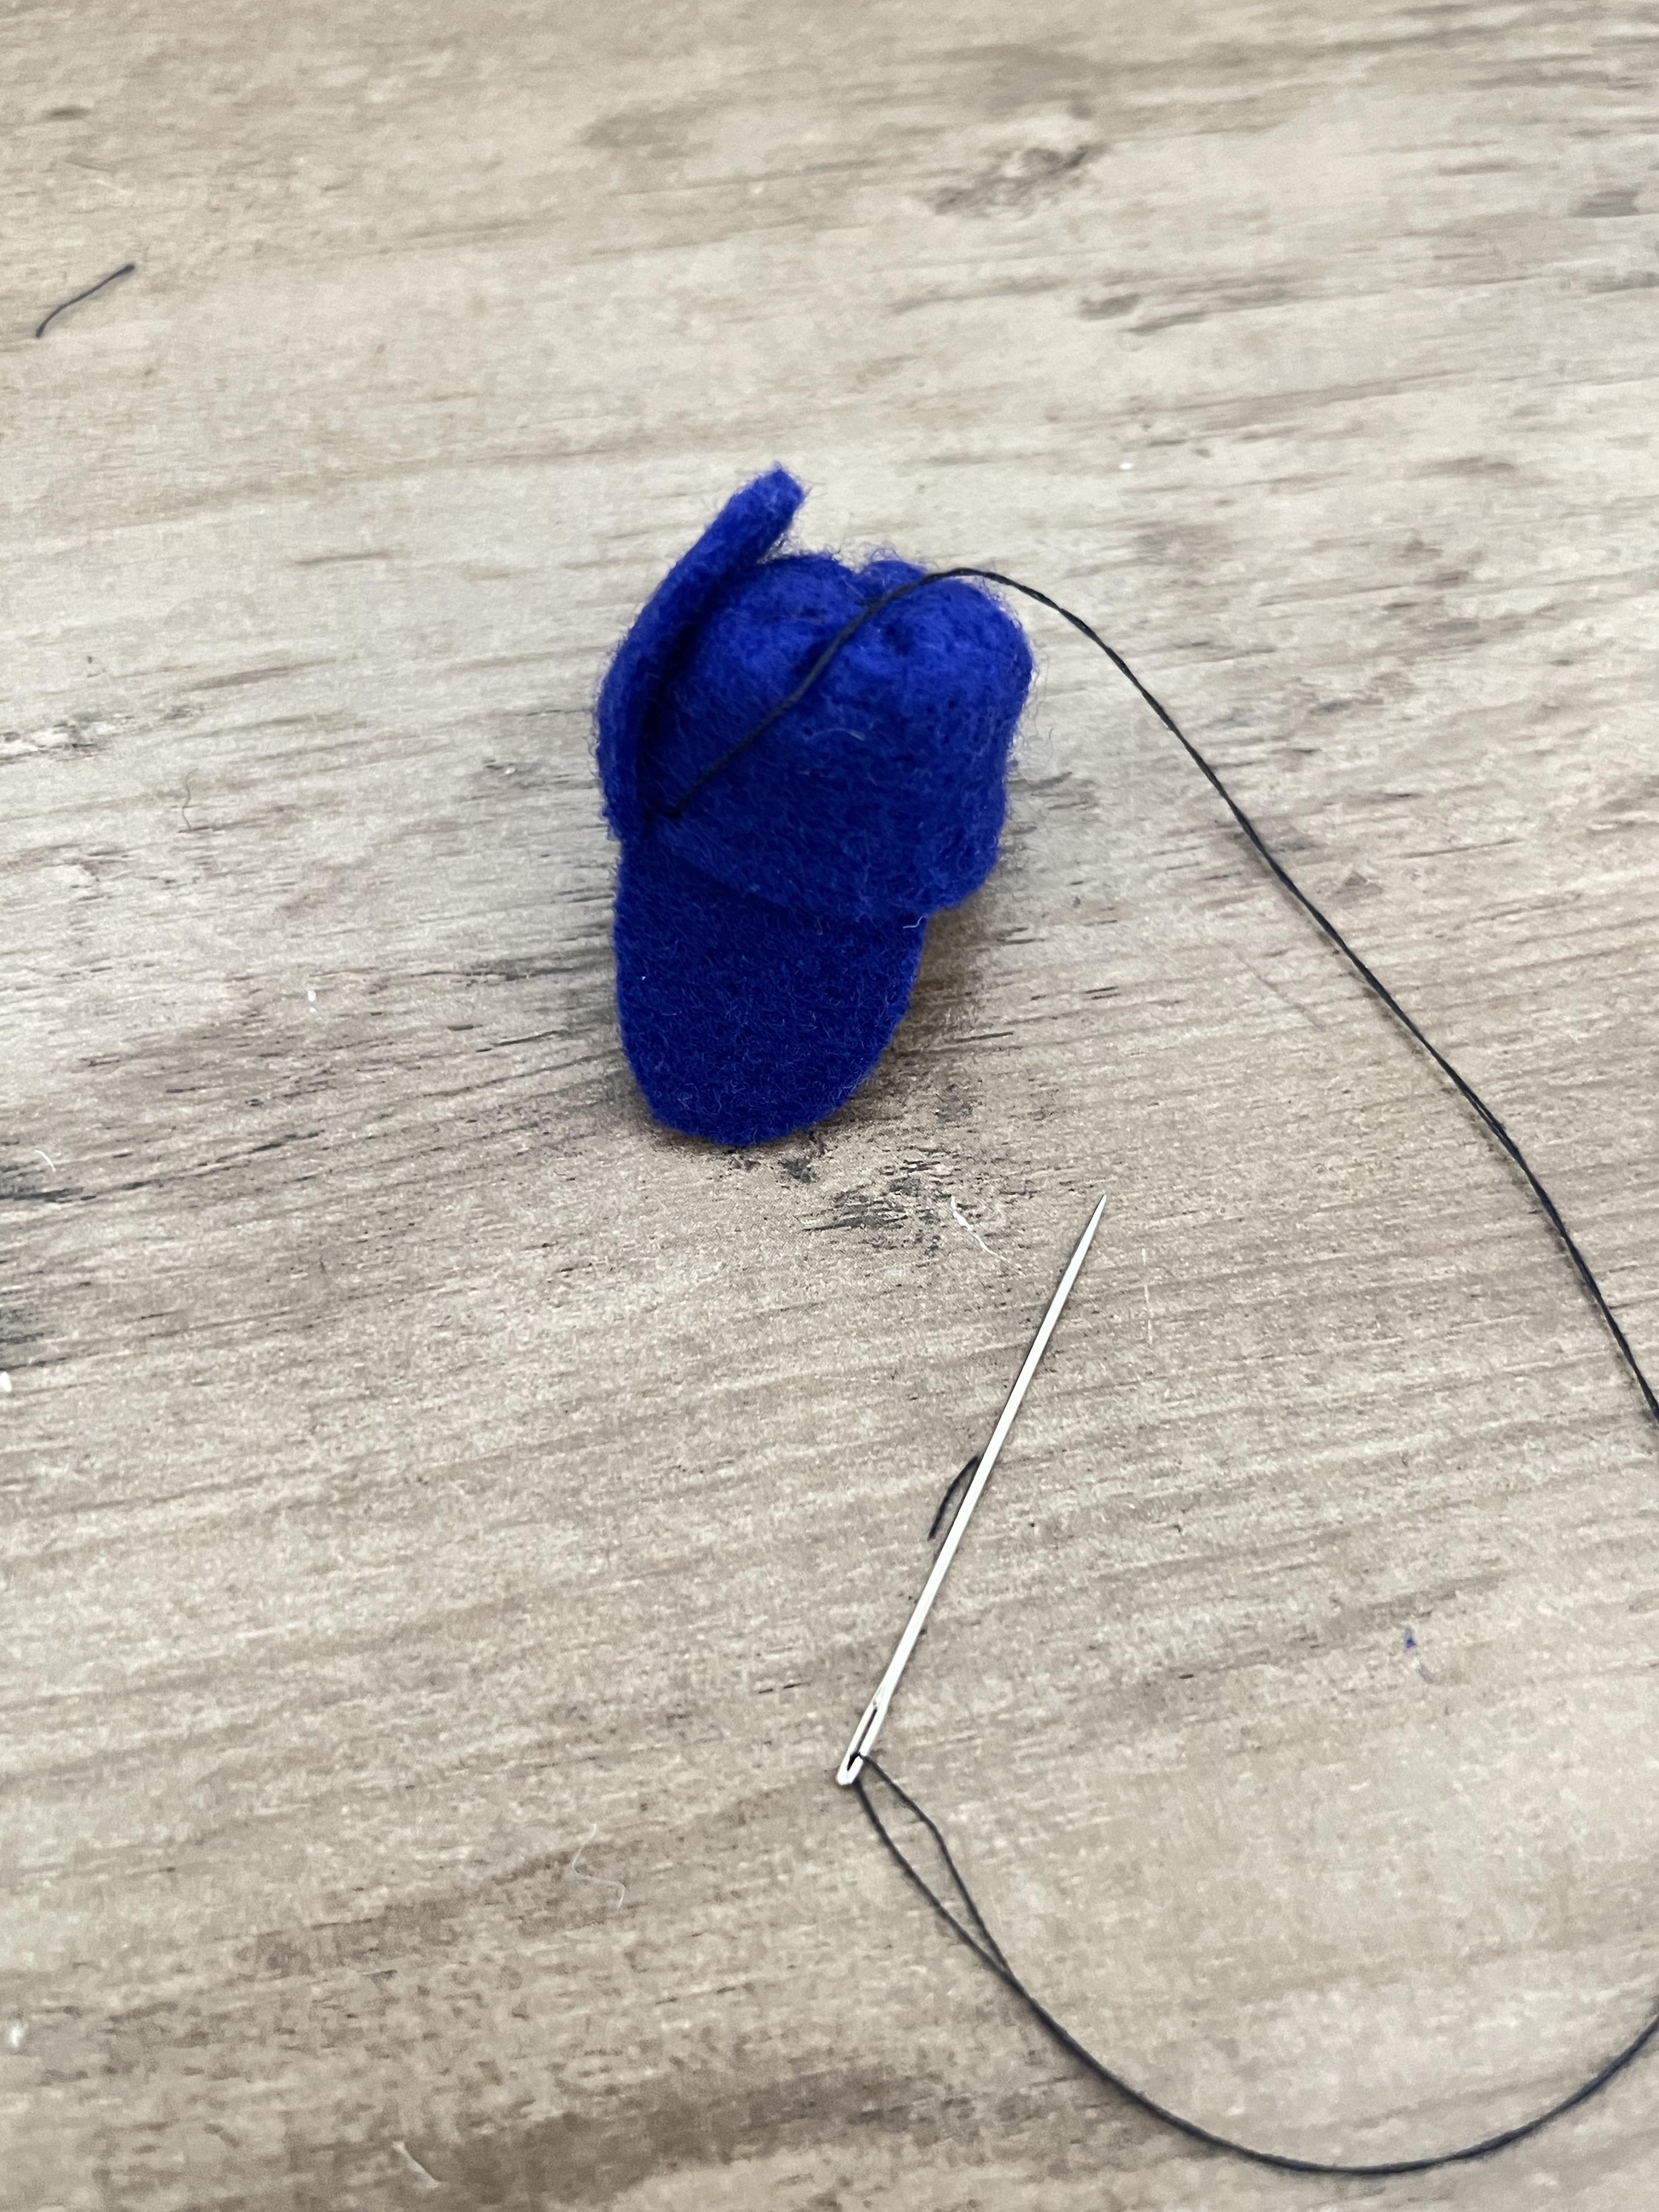
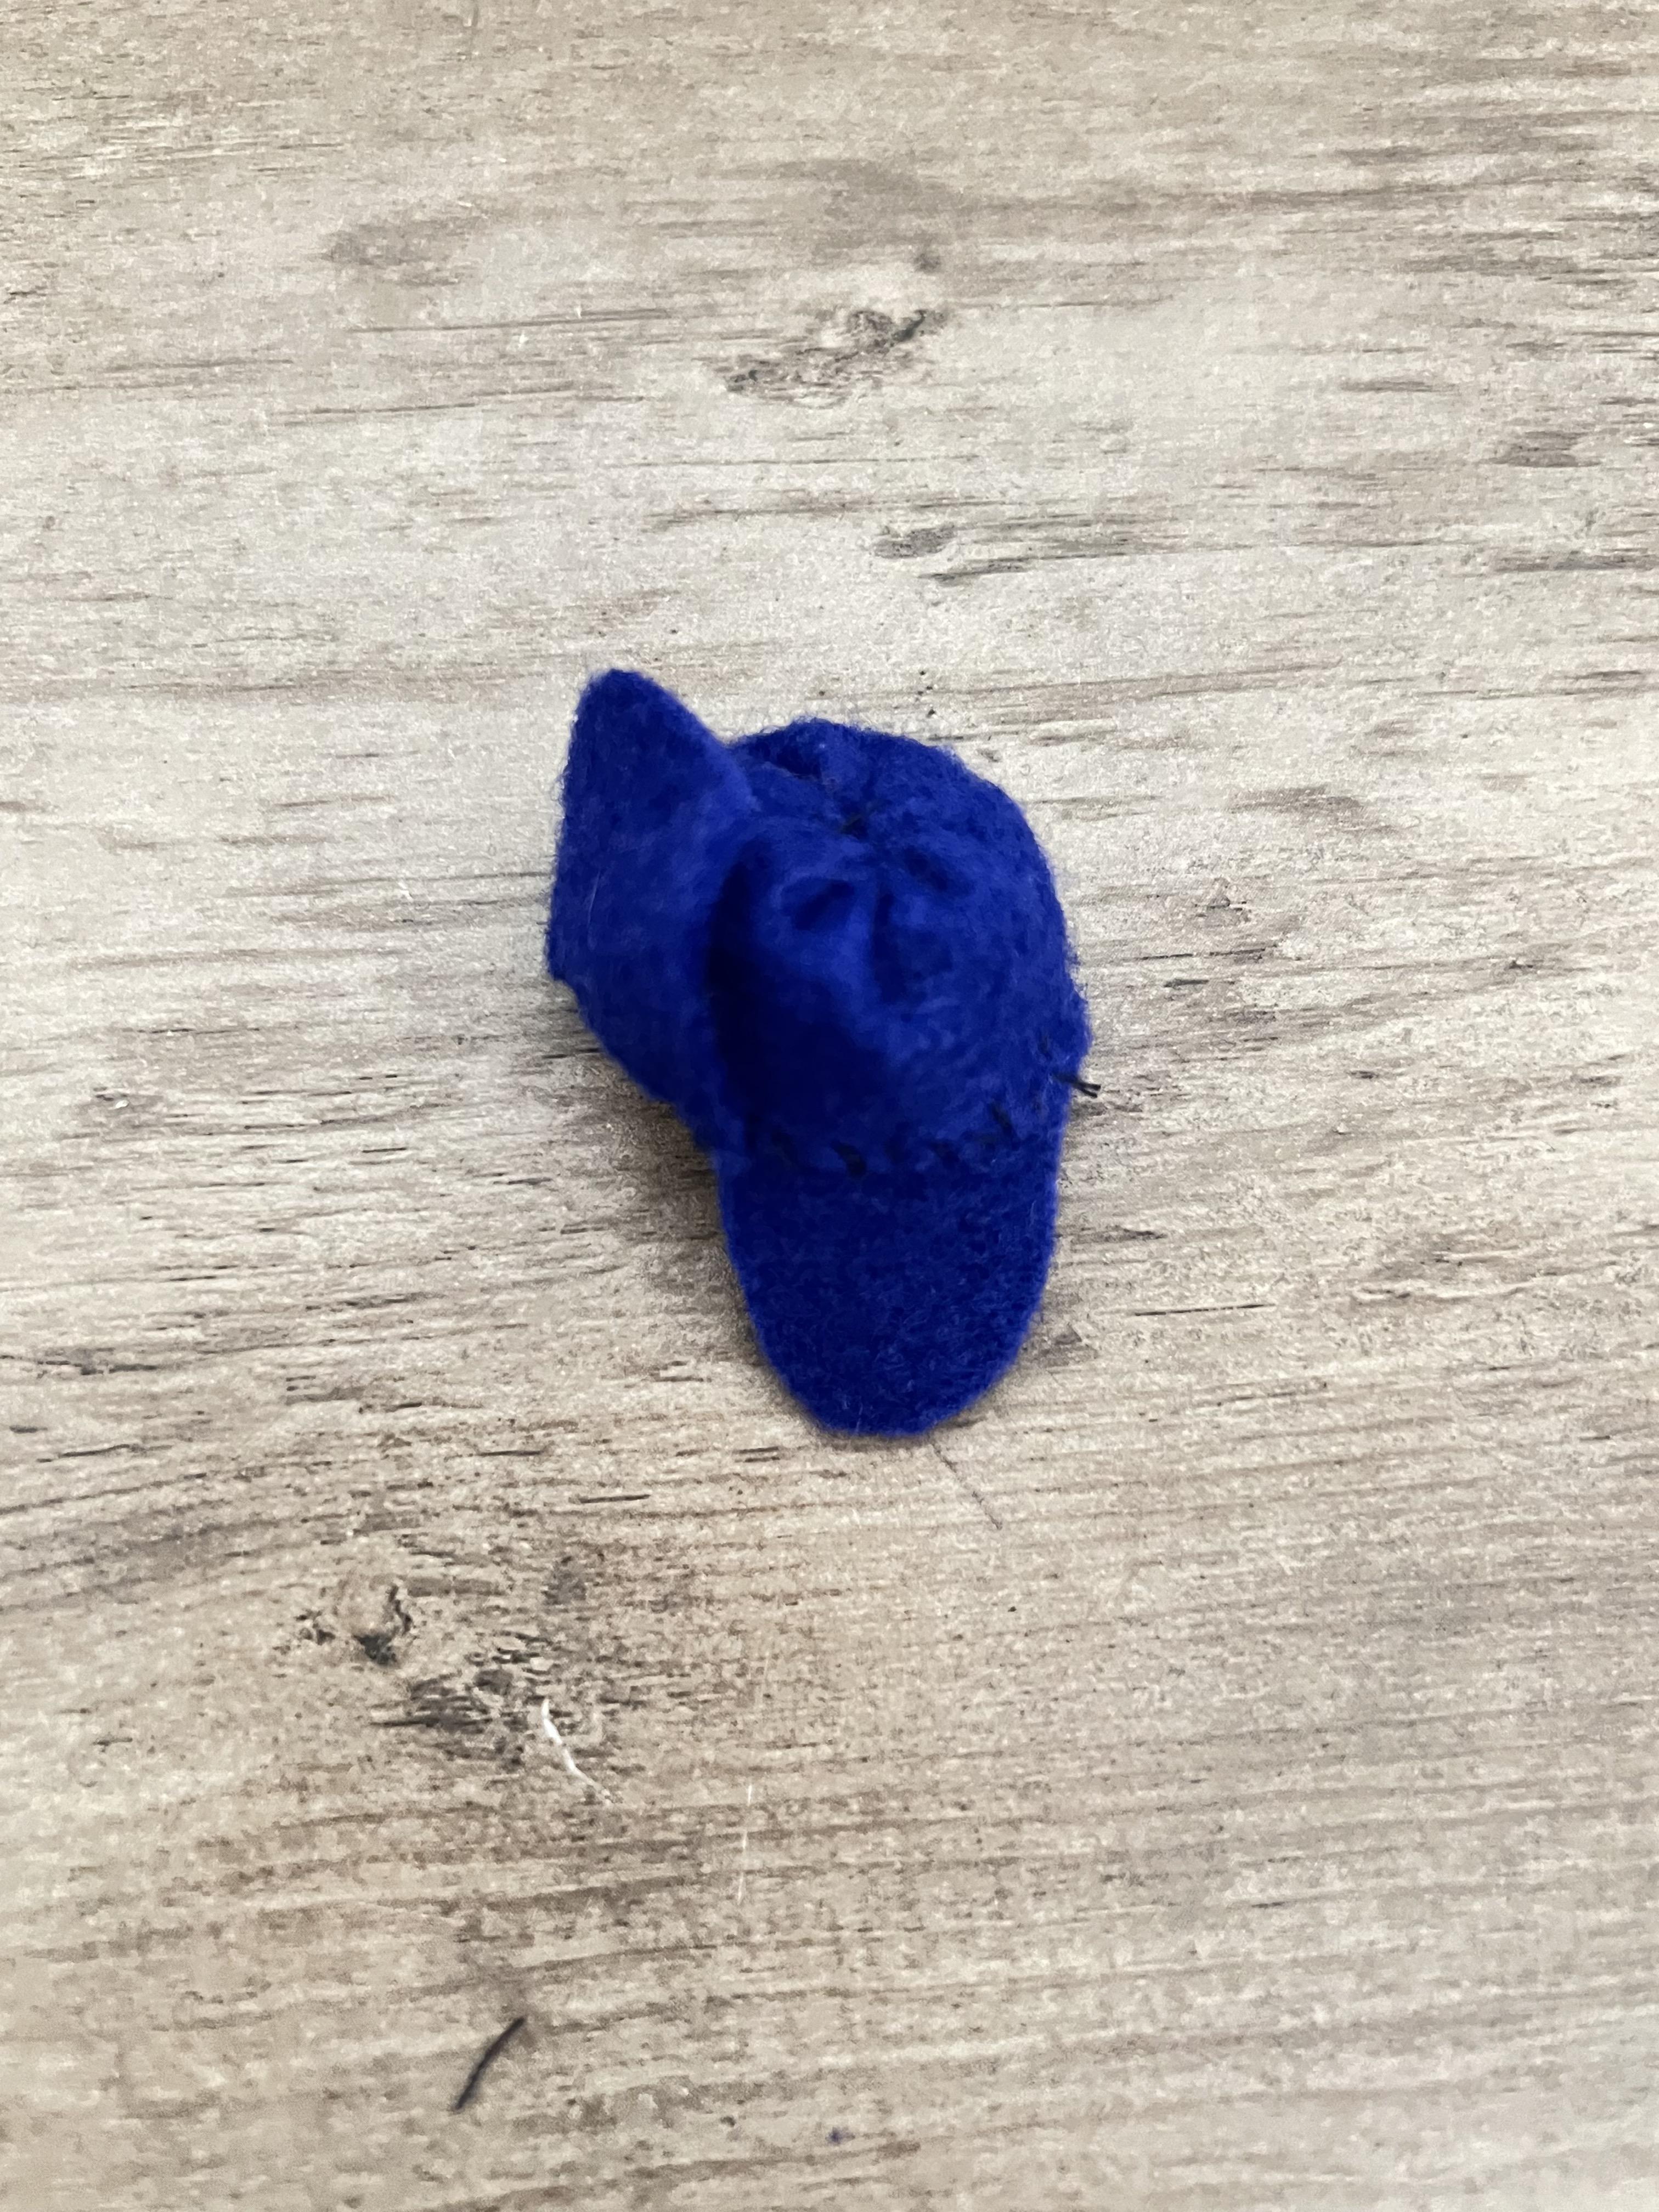
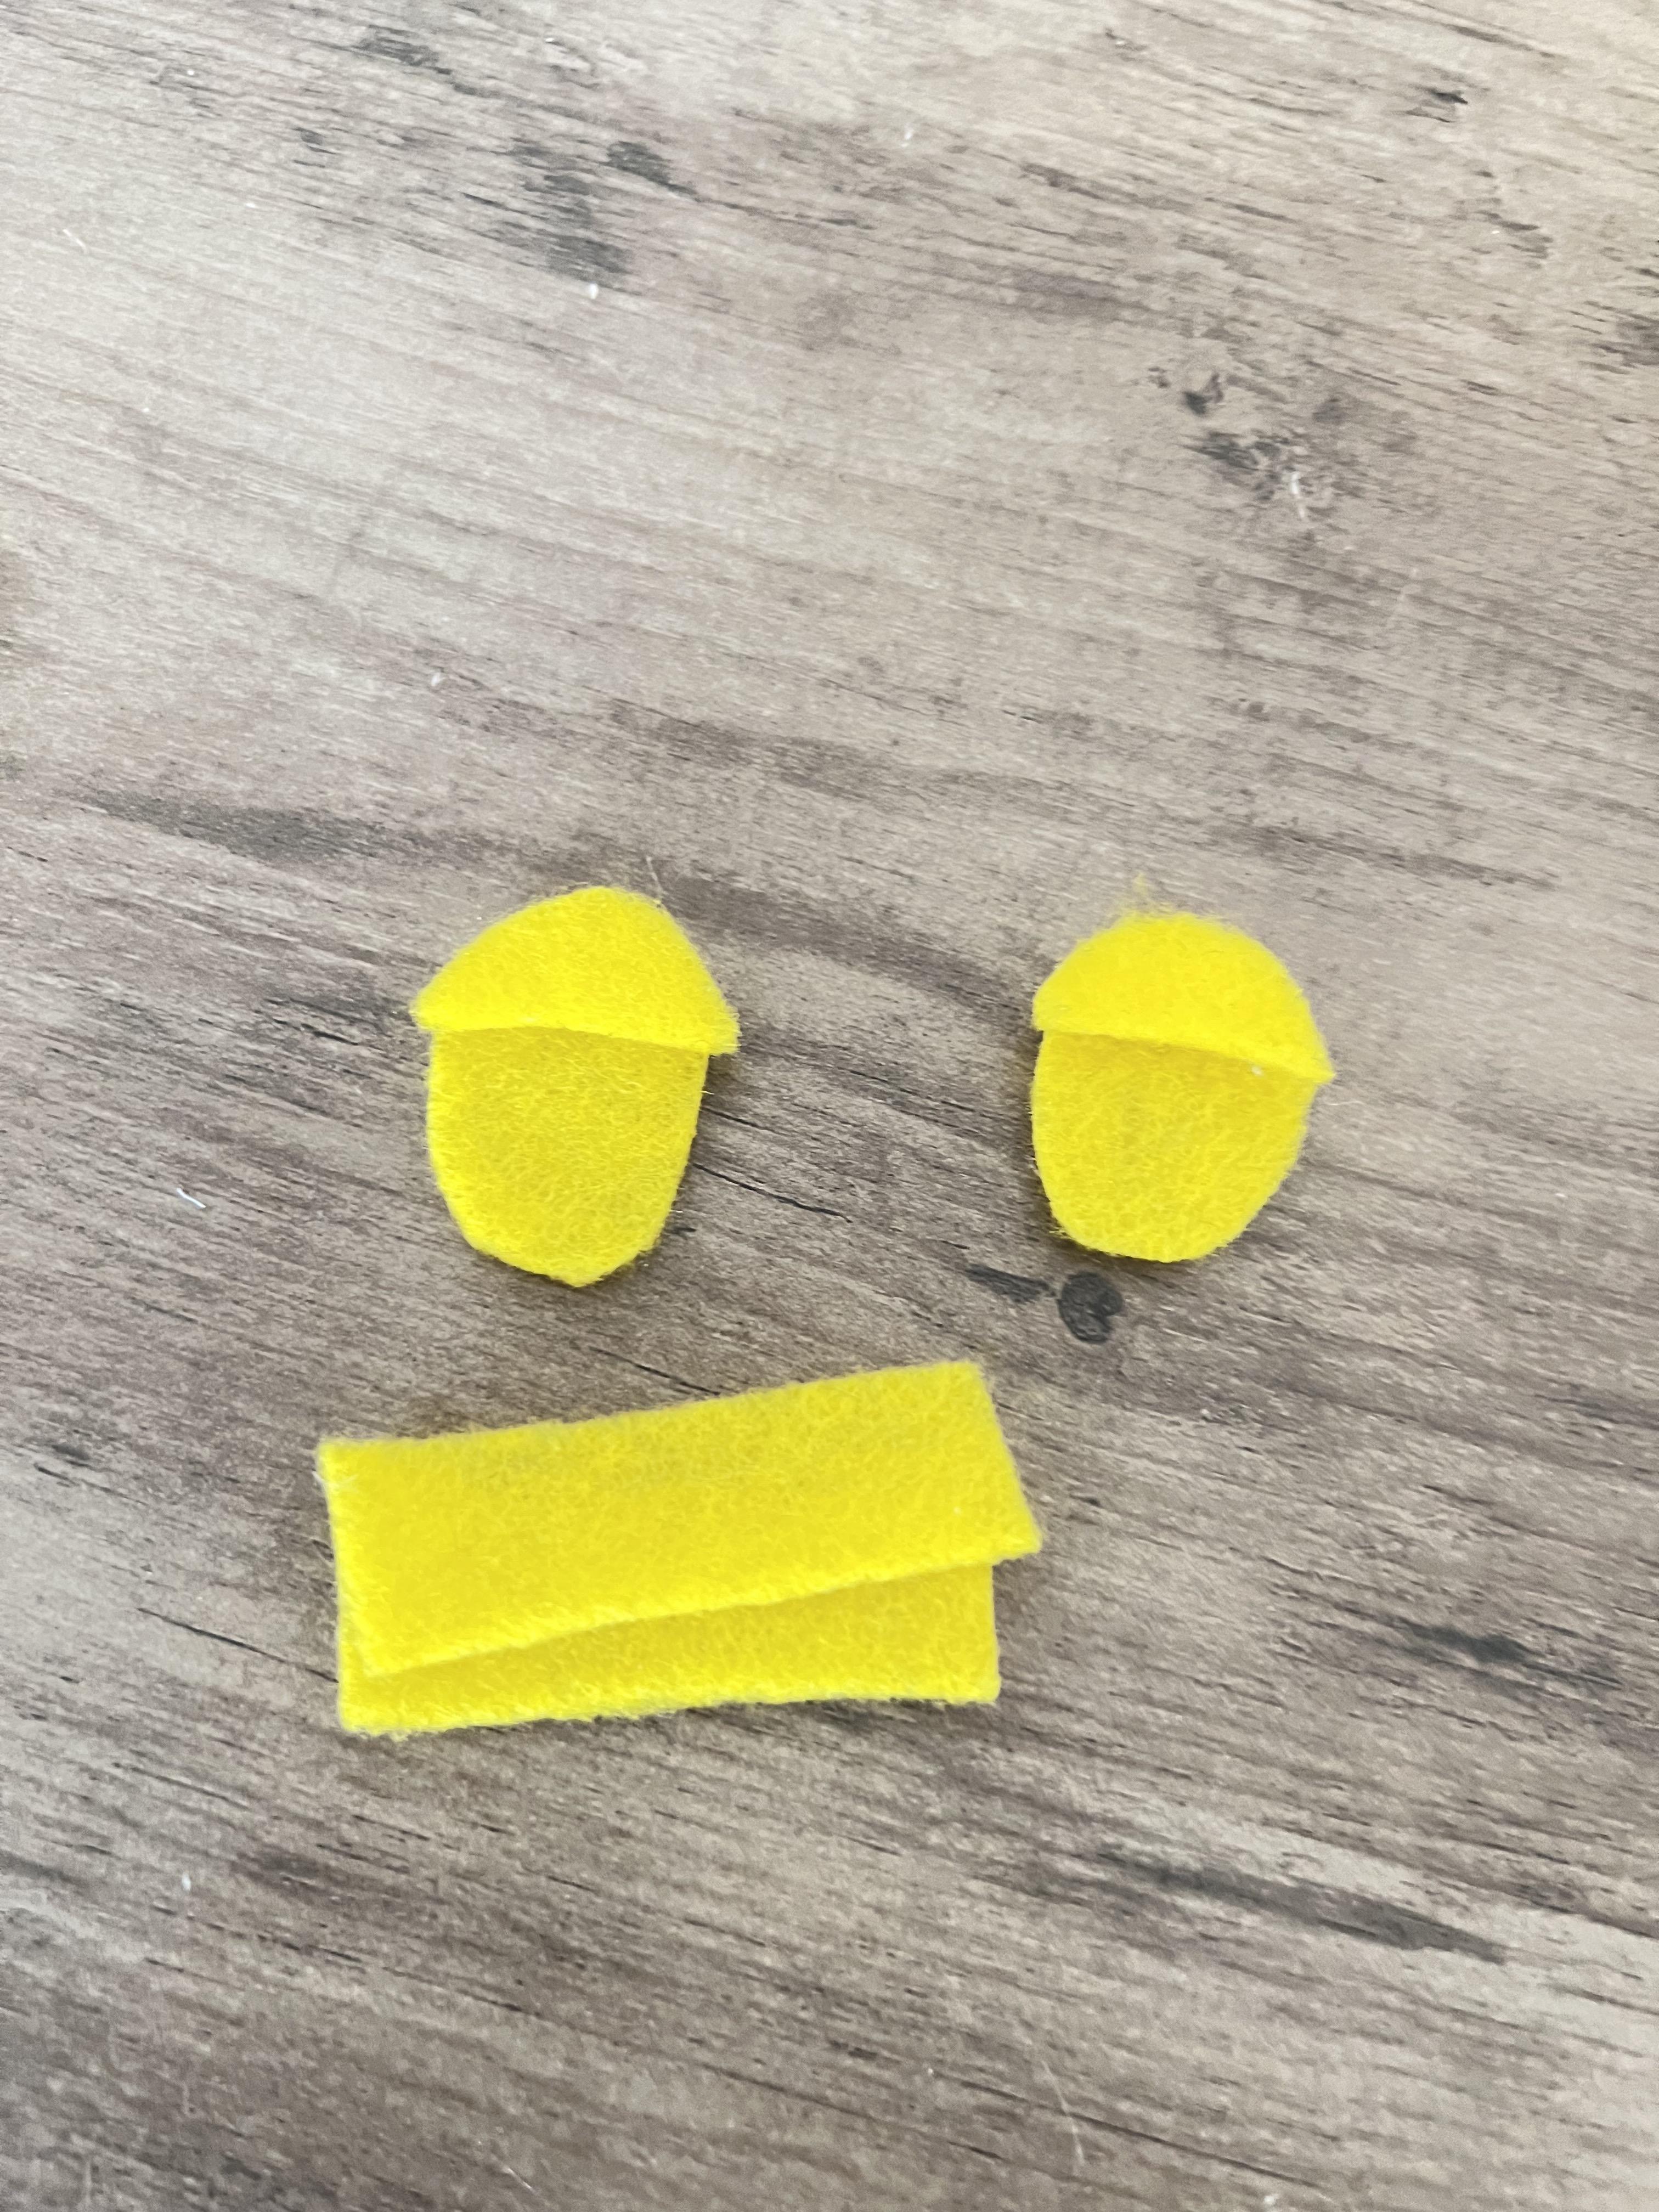
For his hat, cut out four shapes as in picture 11. Fold the rectangular piece in half and sew up the side. Scrunch the top by doing the running stitch around the brim. Make sure to pull it very tight. Next, sew the flaps onto the hat.
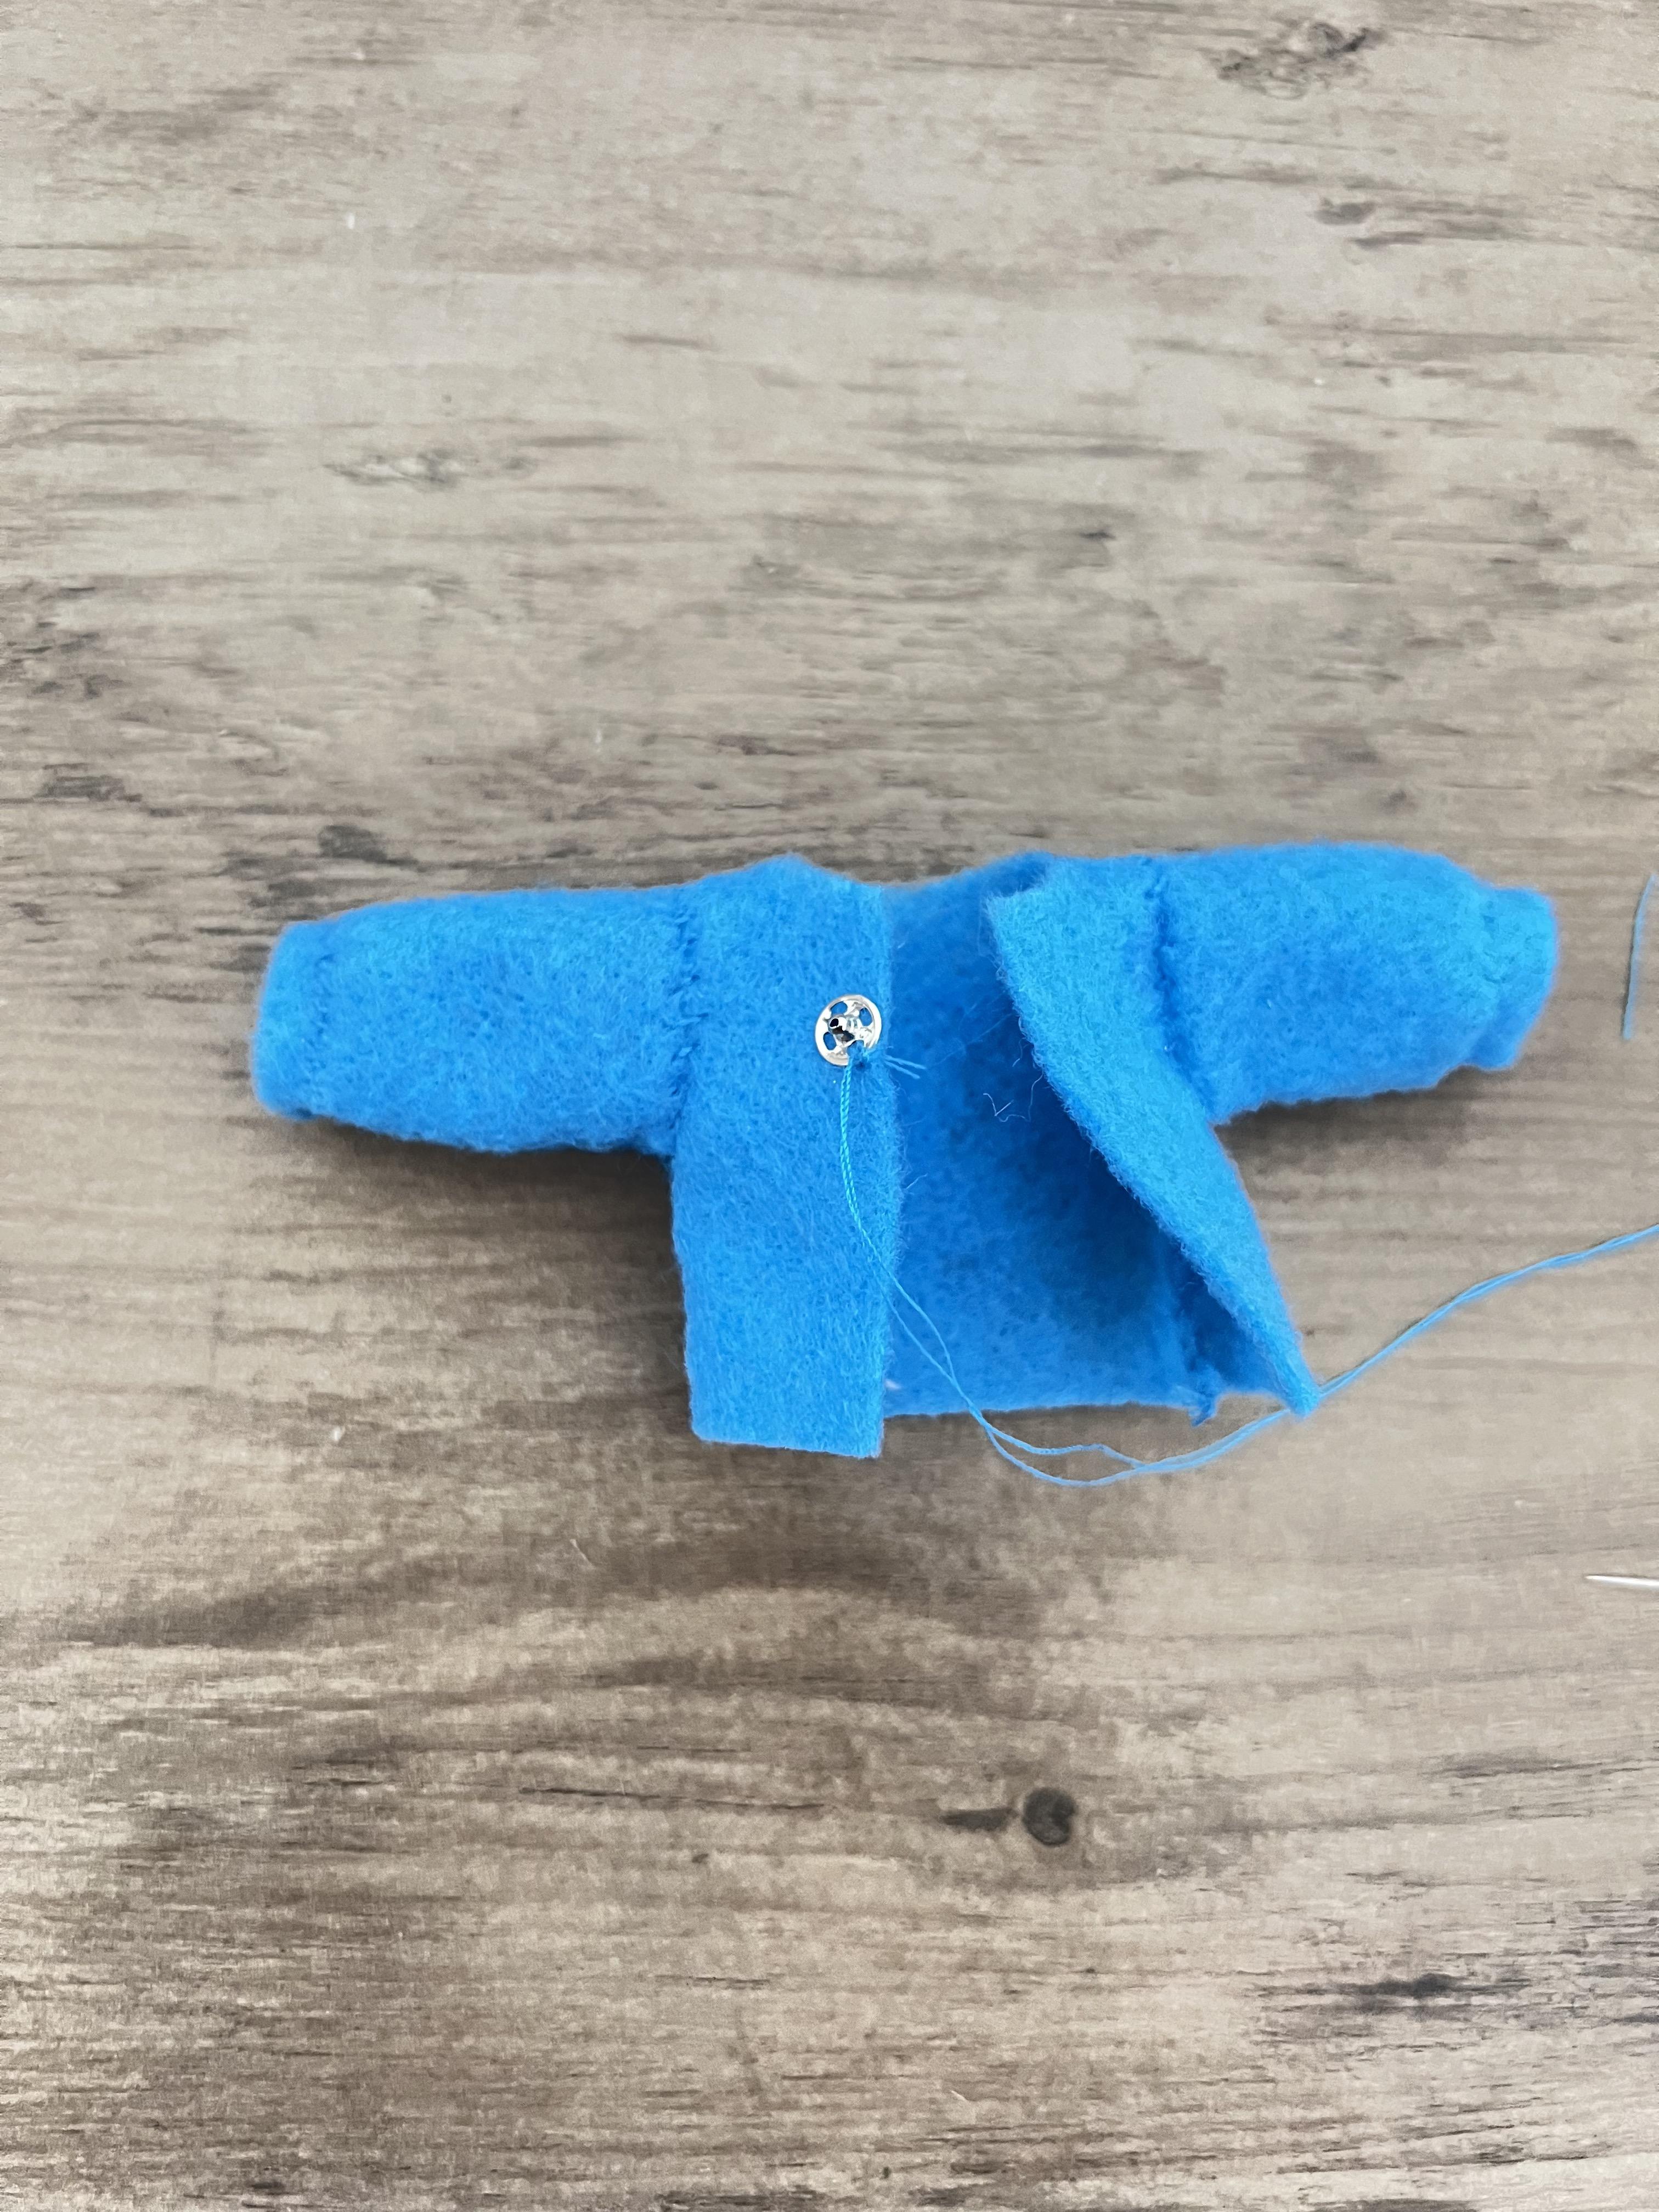
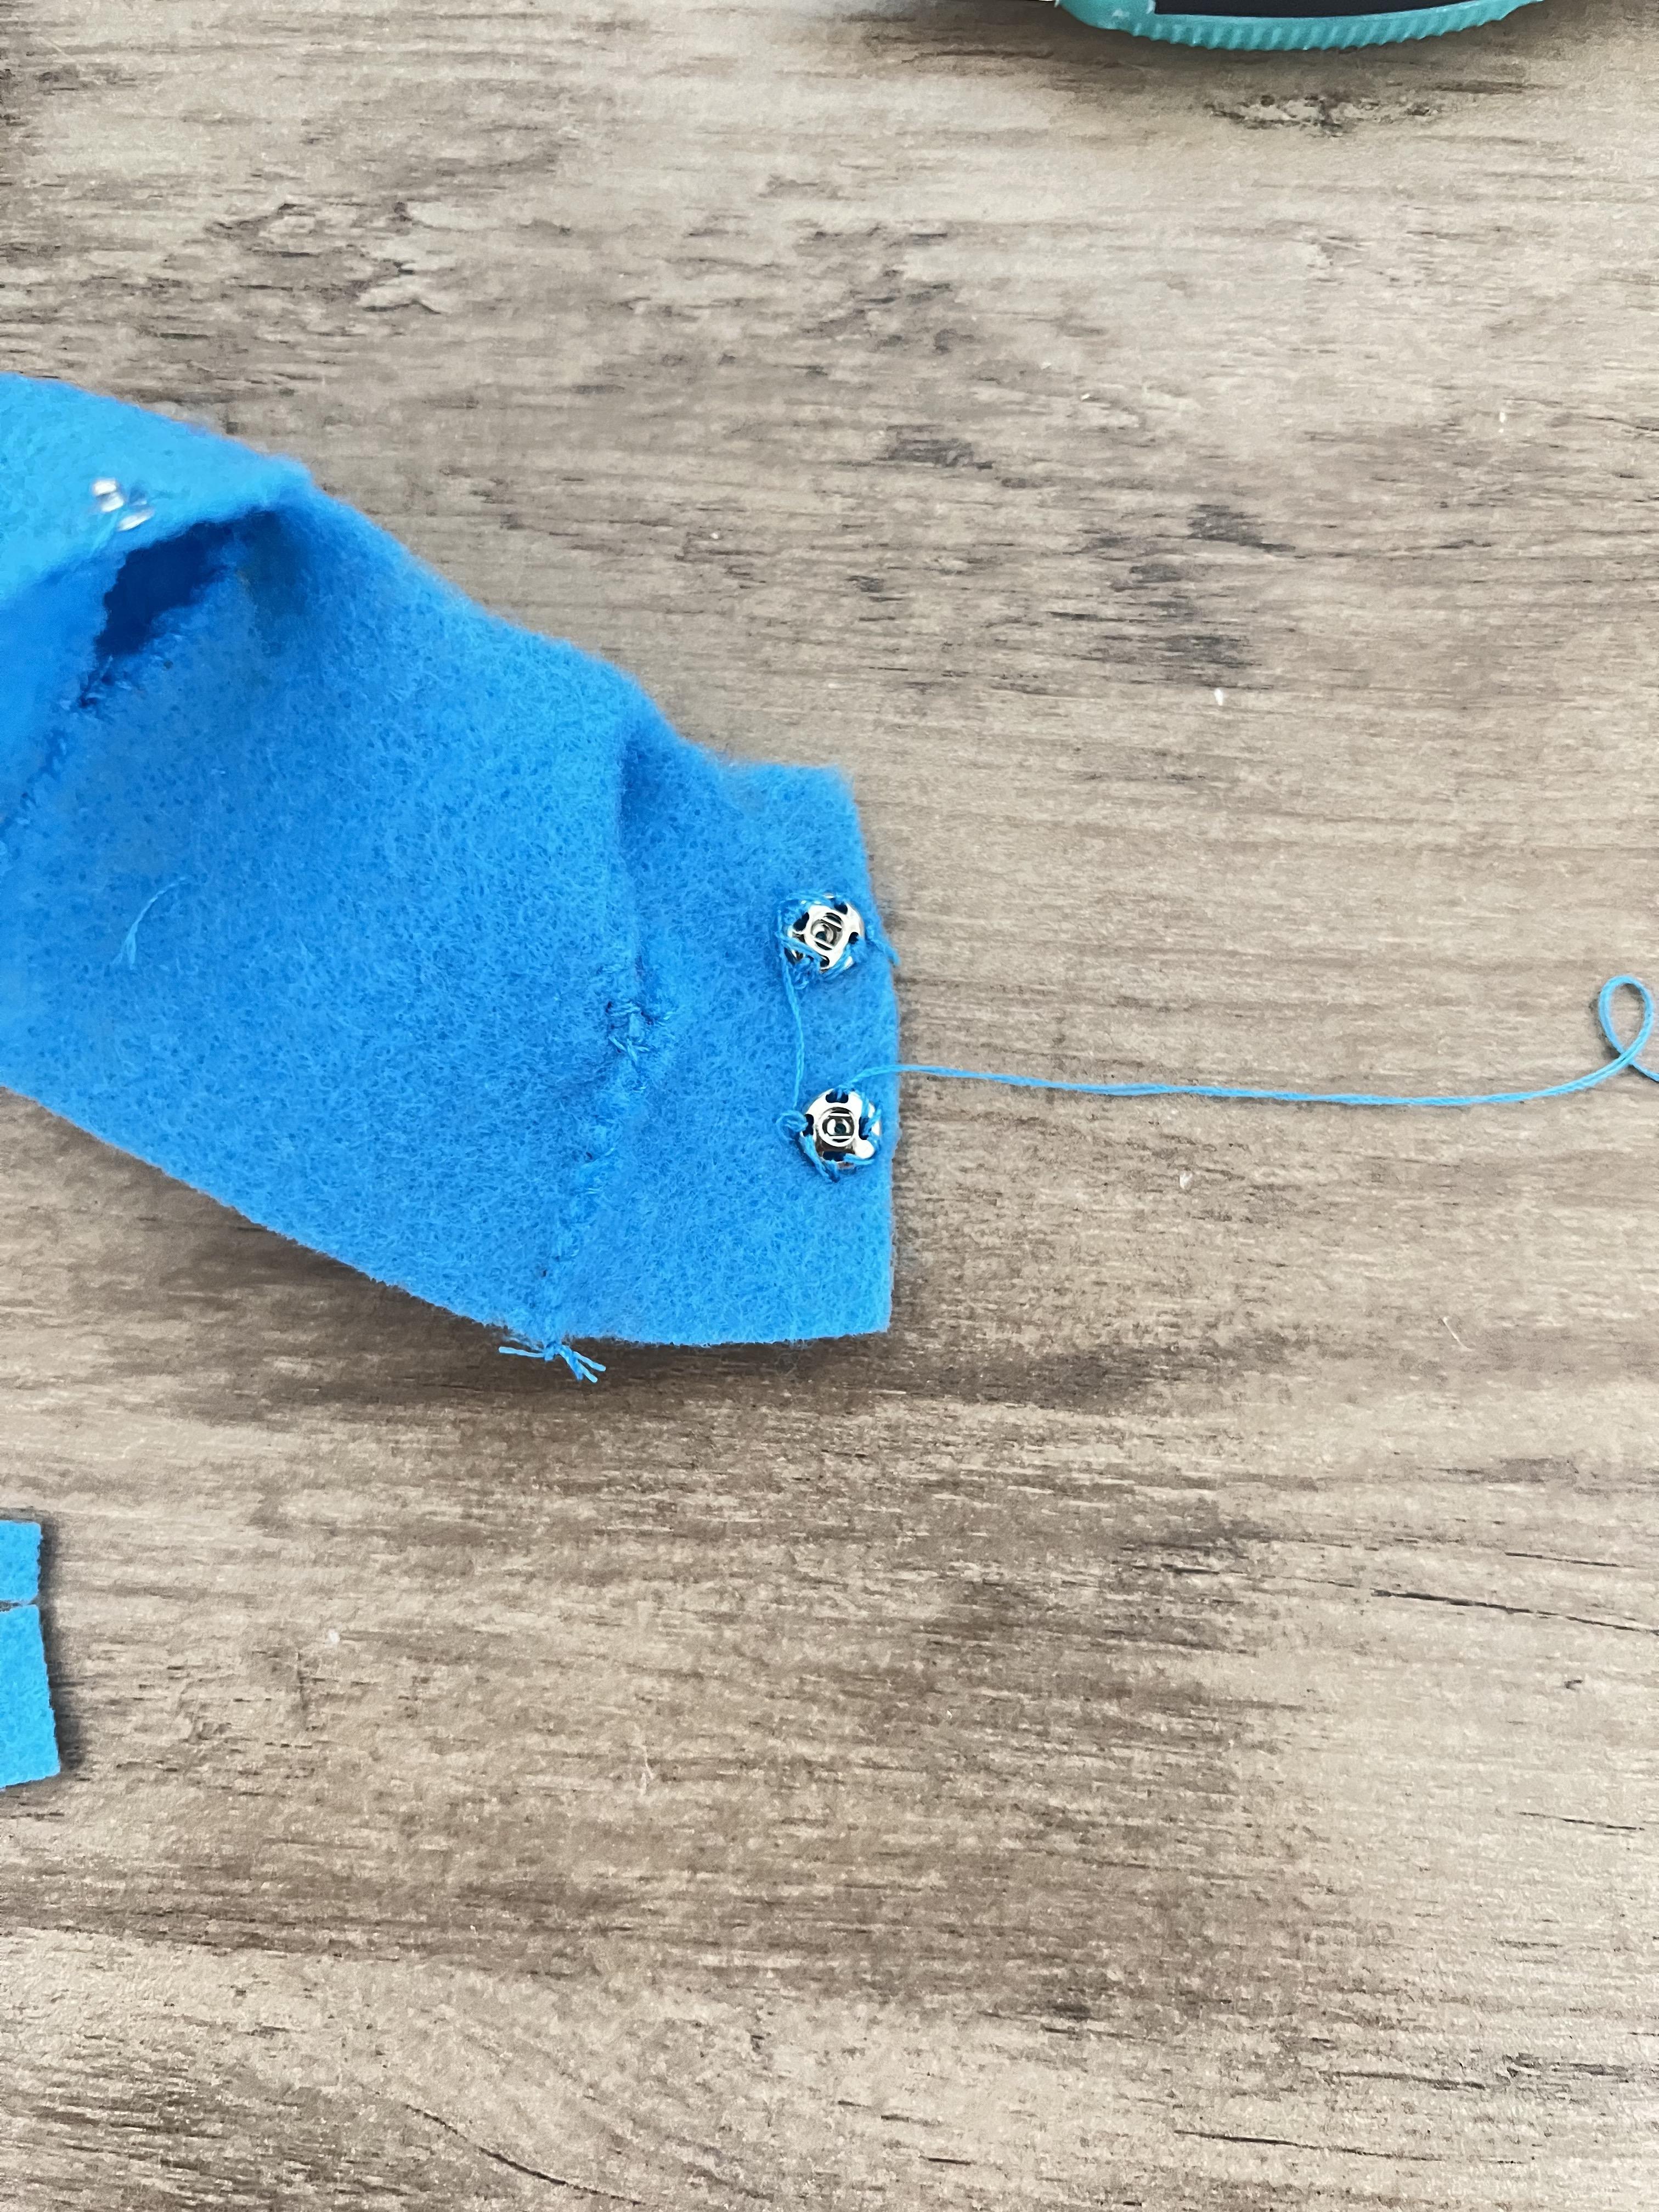
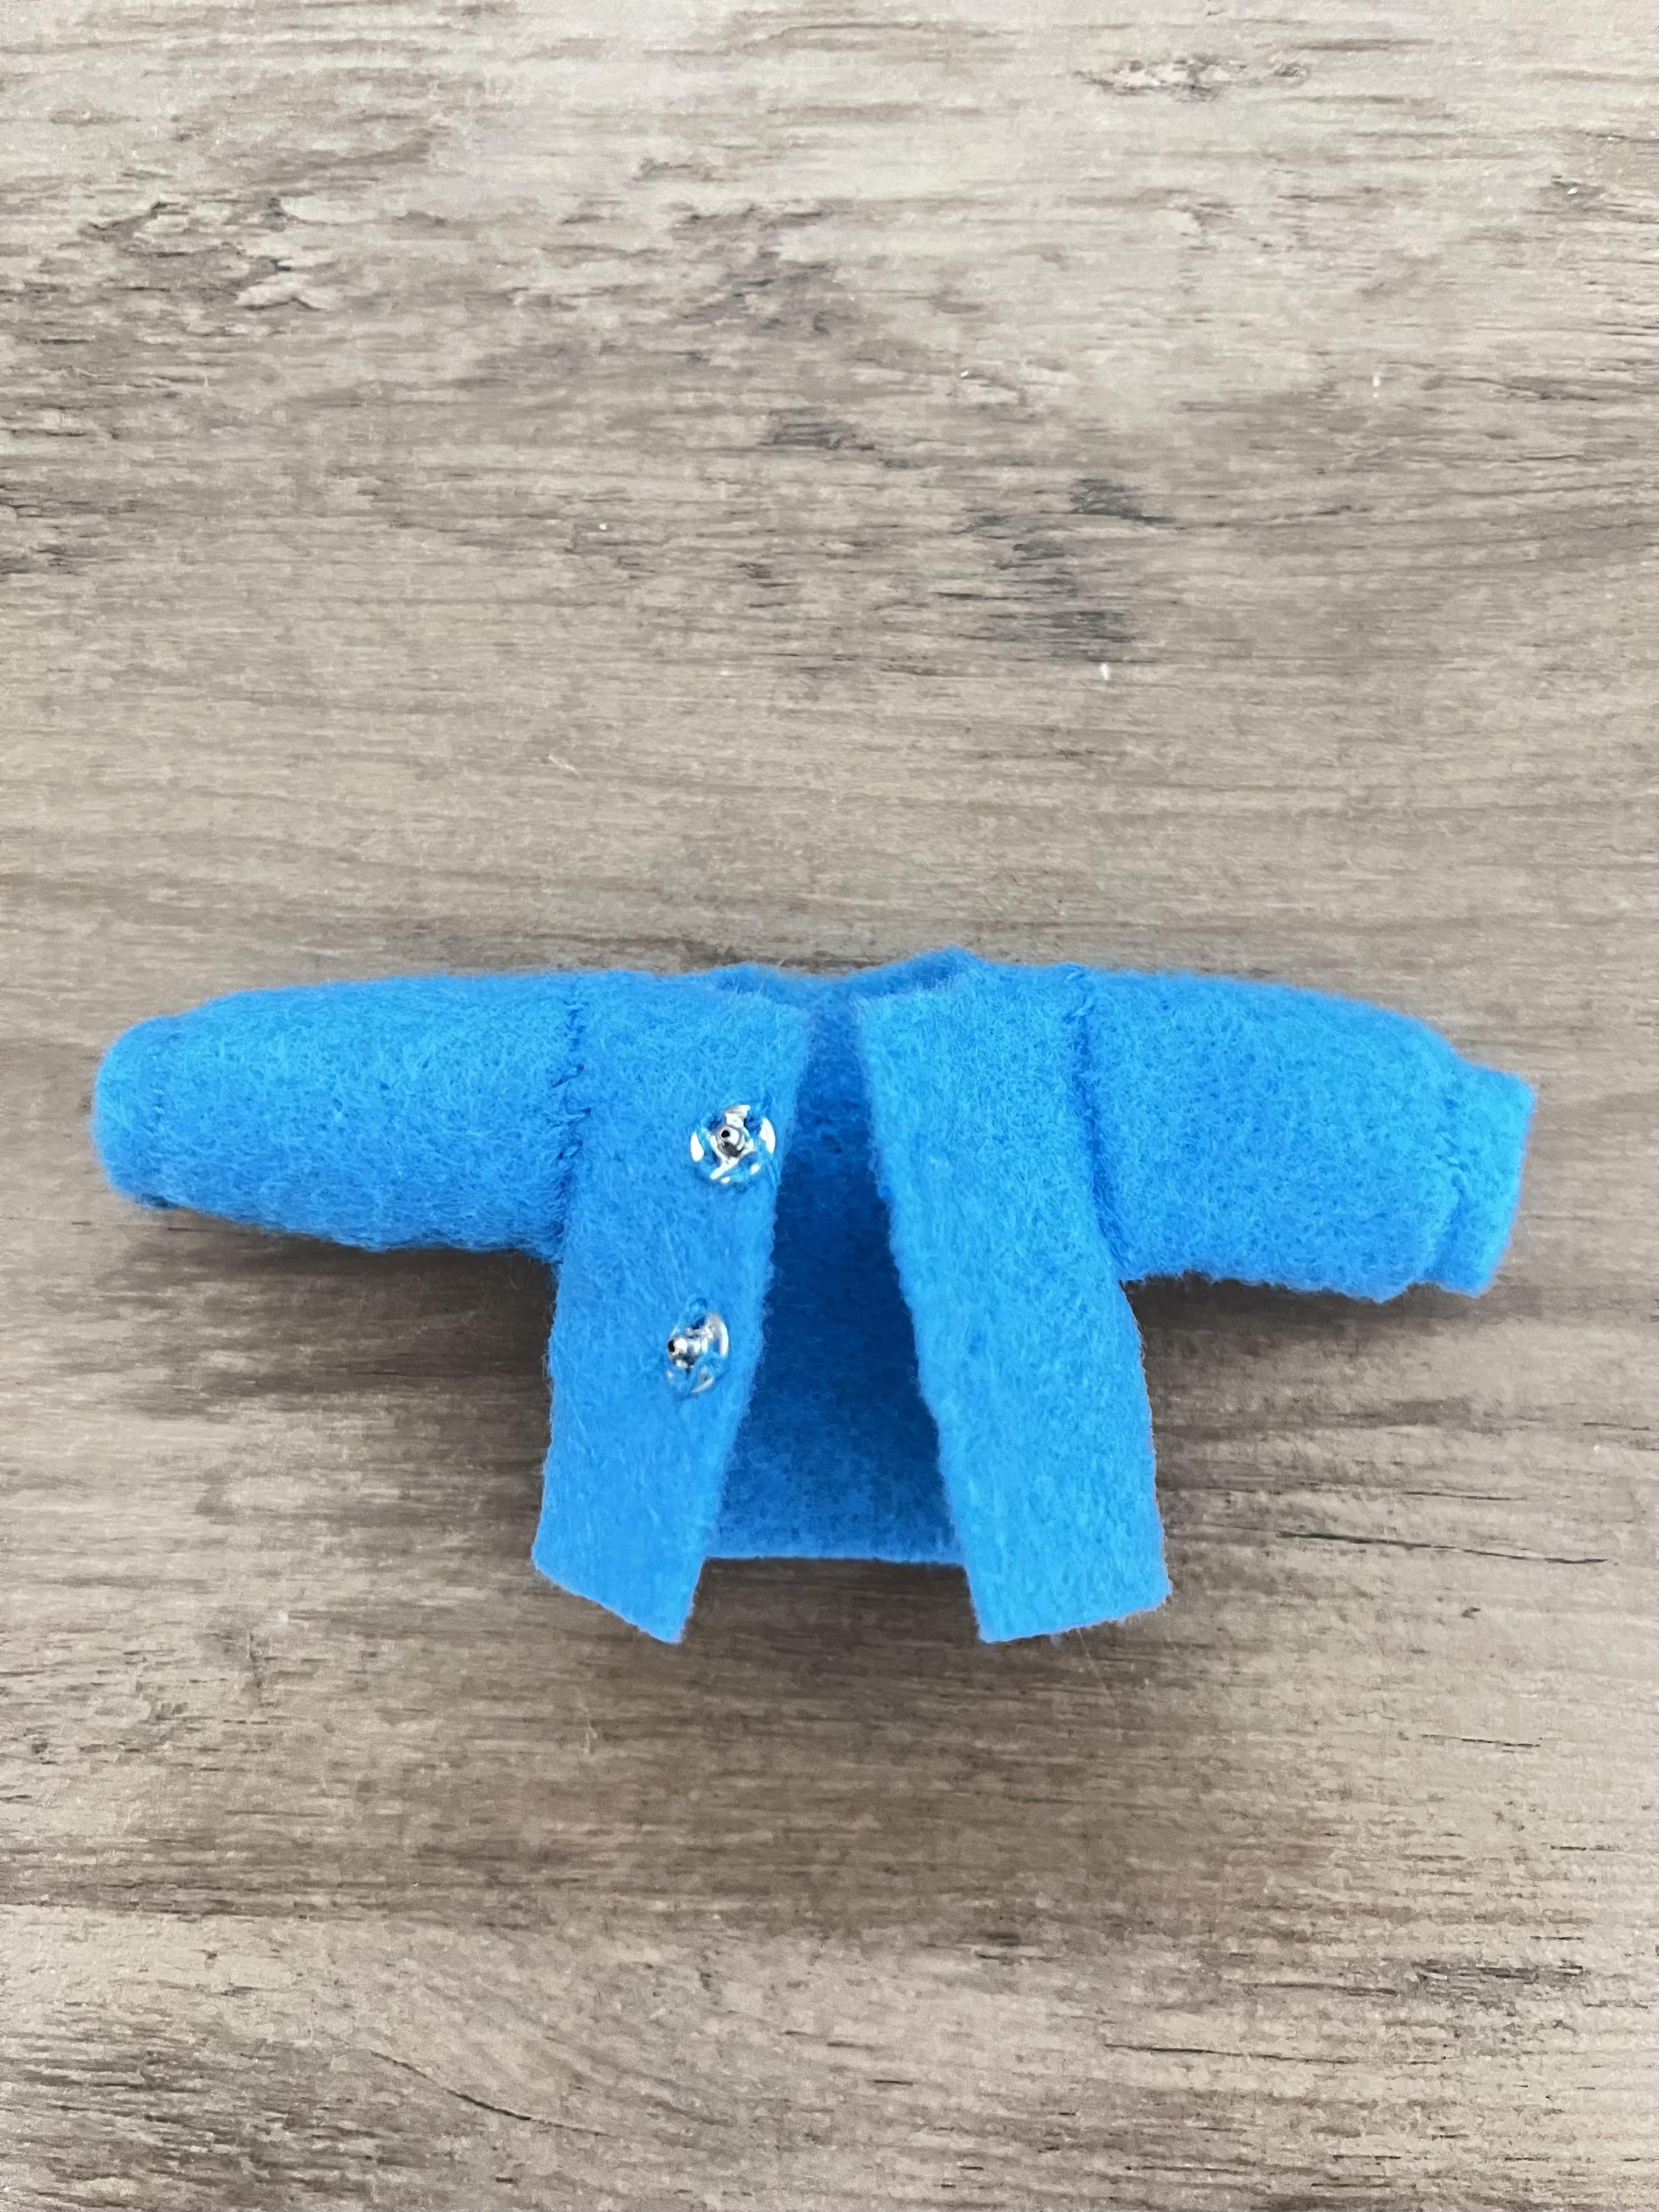
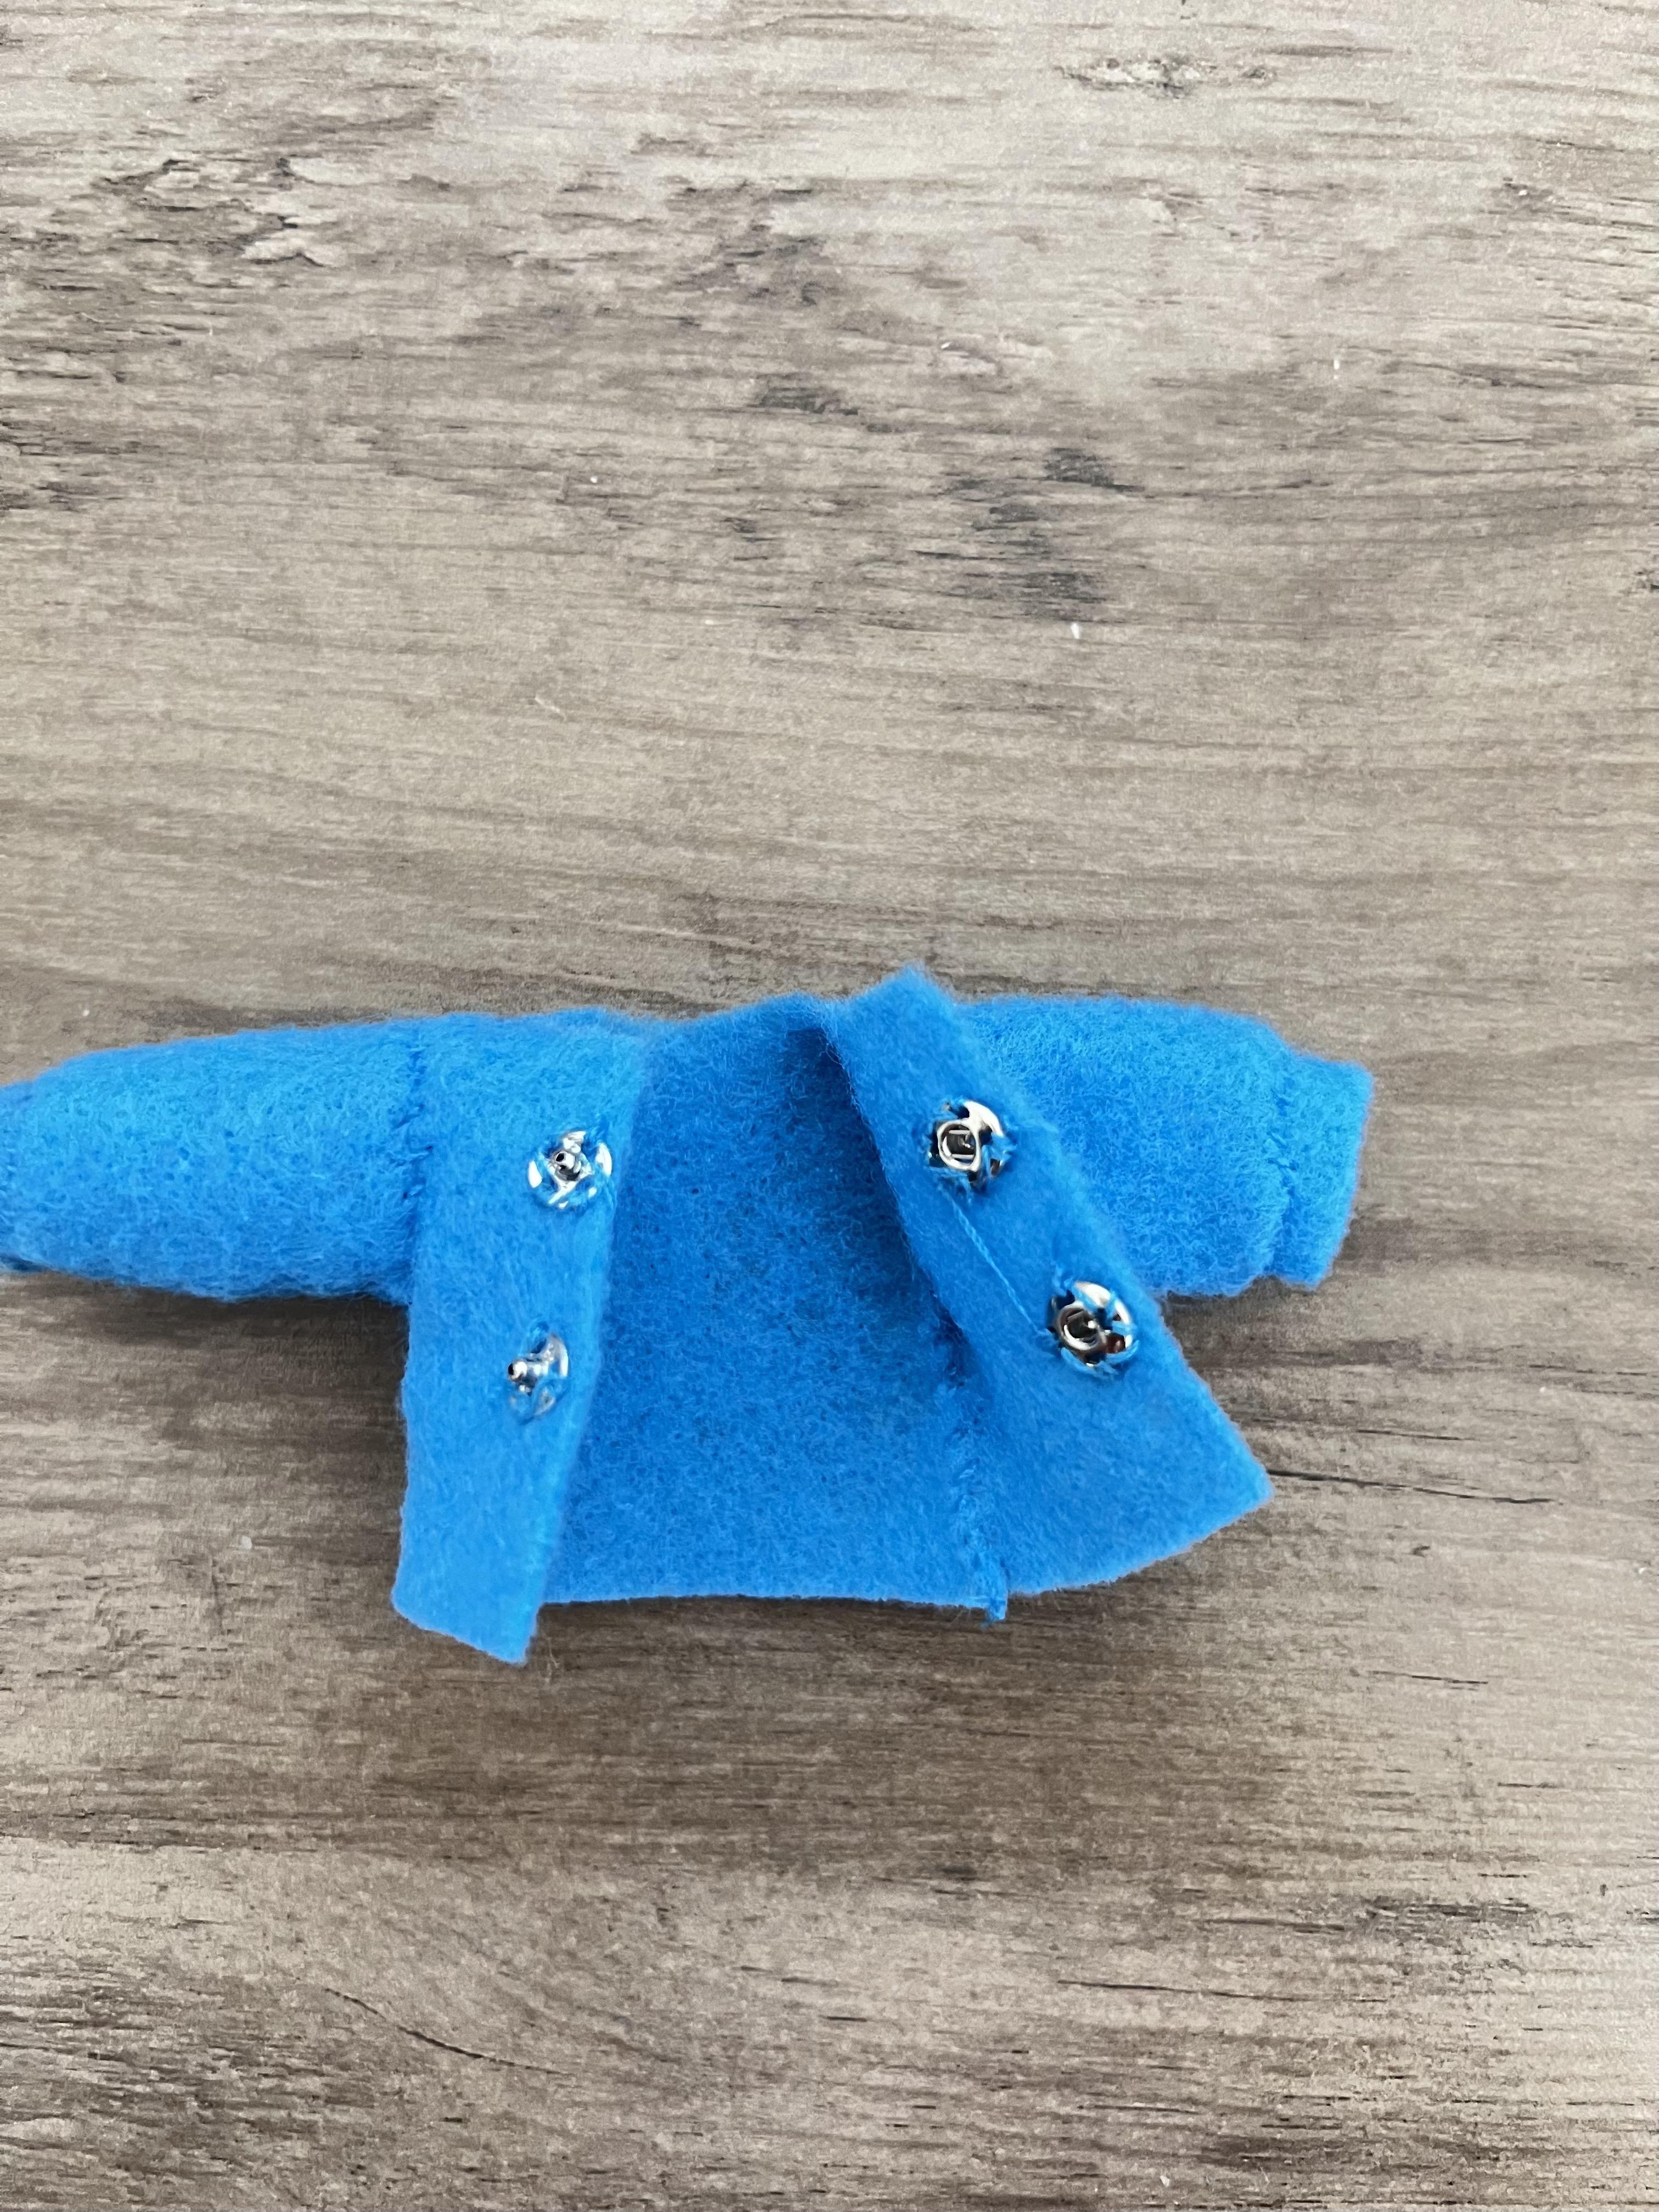
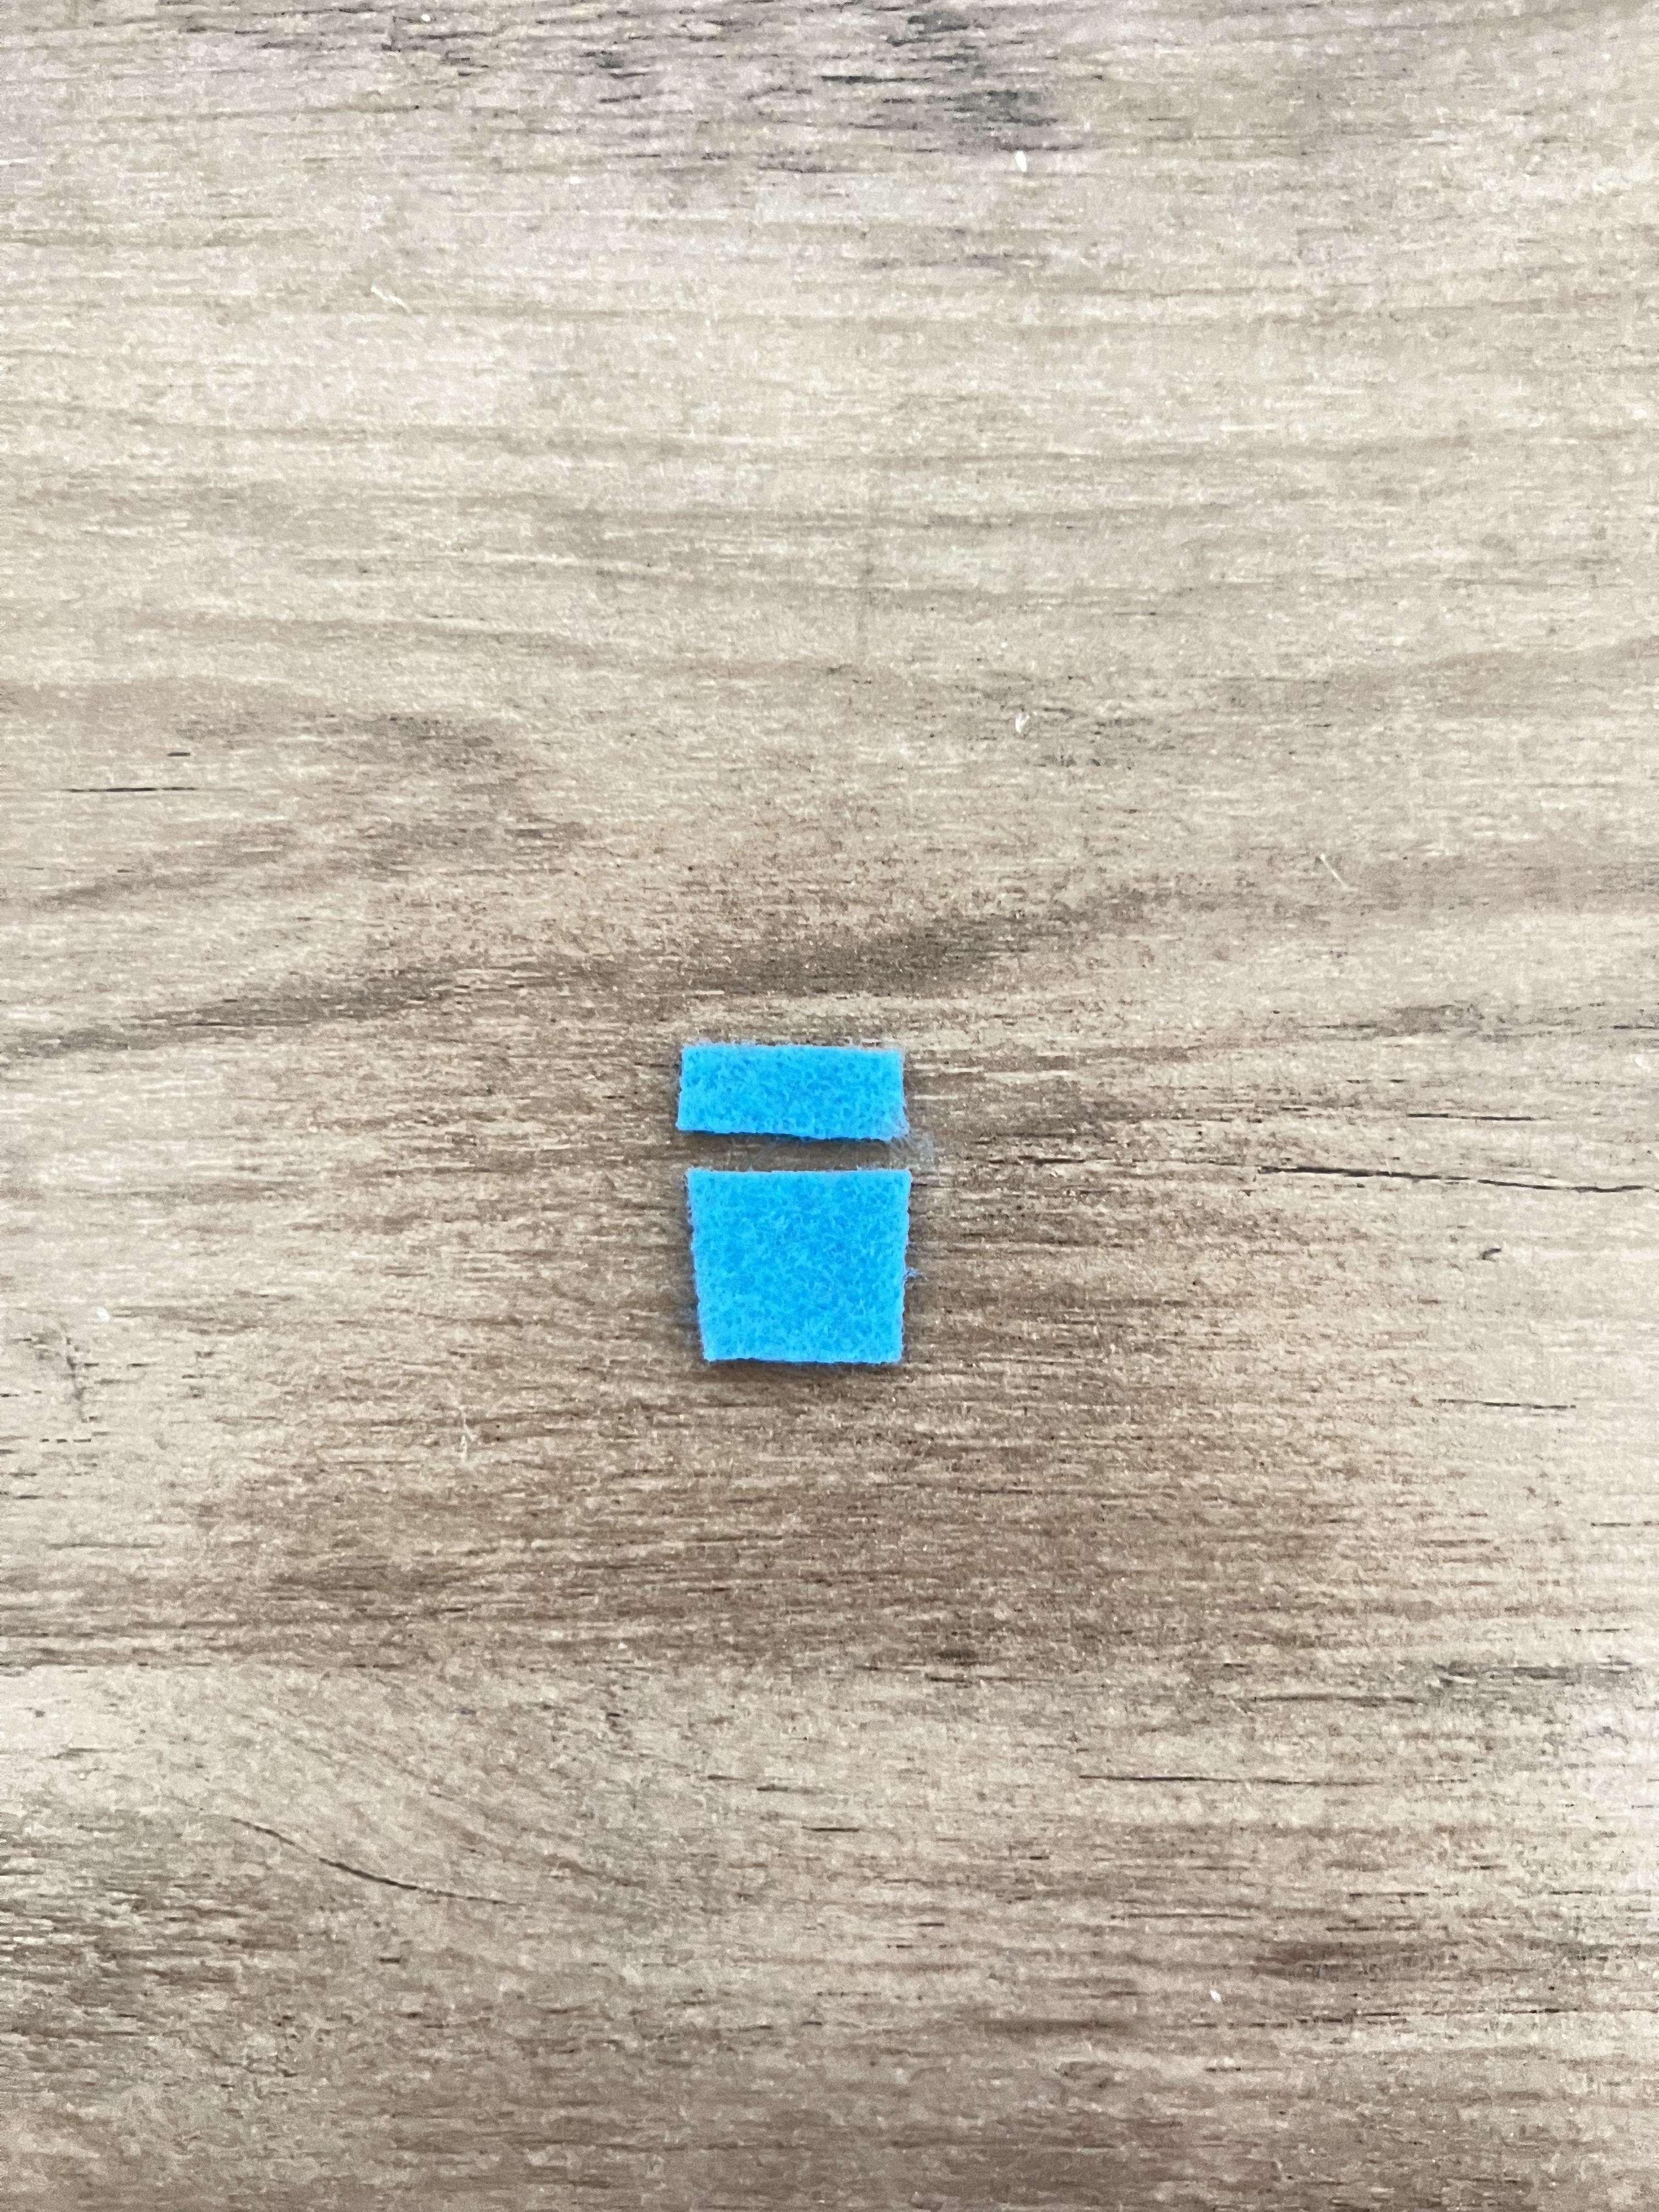
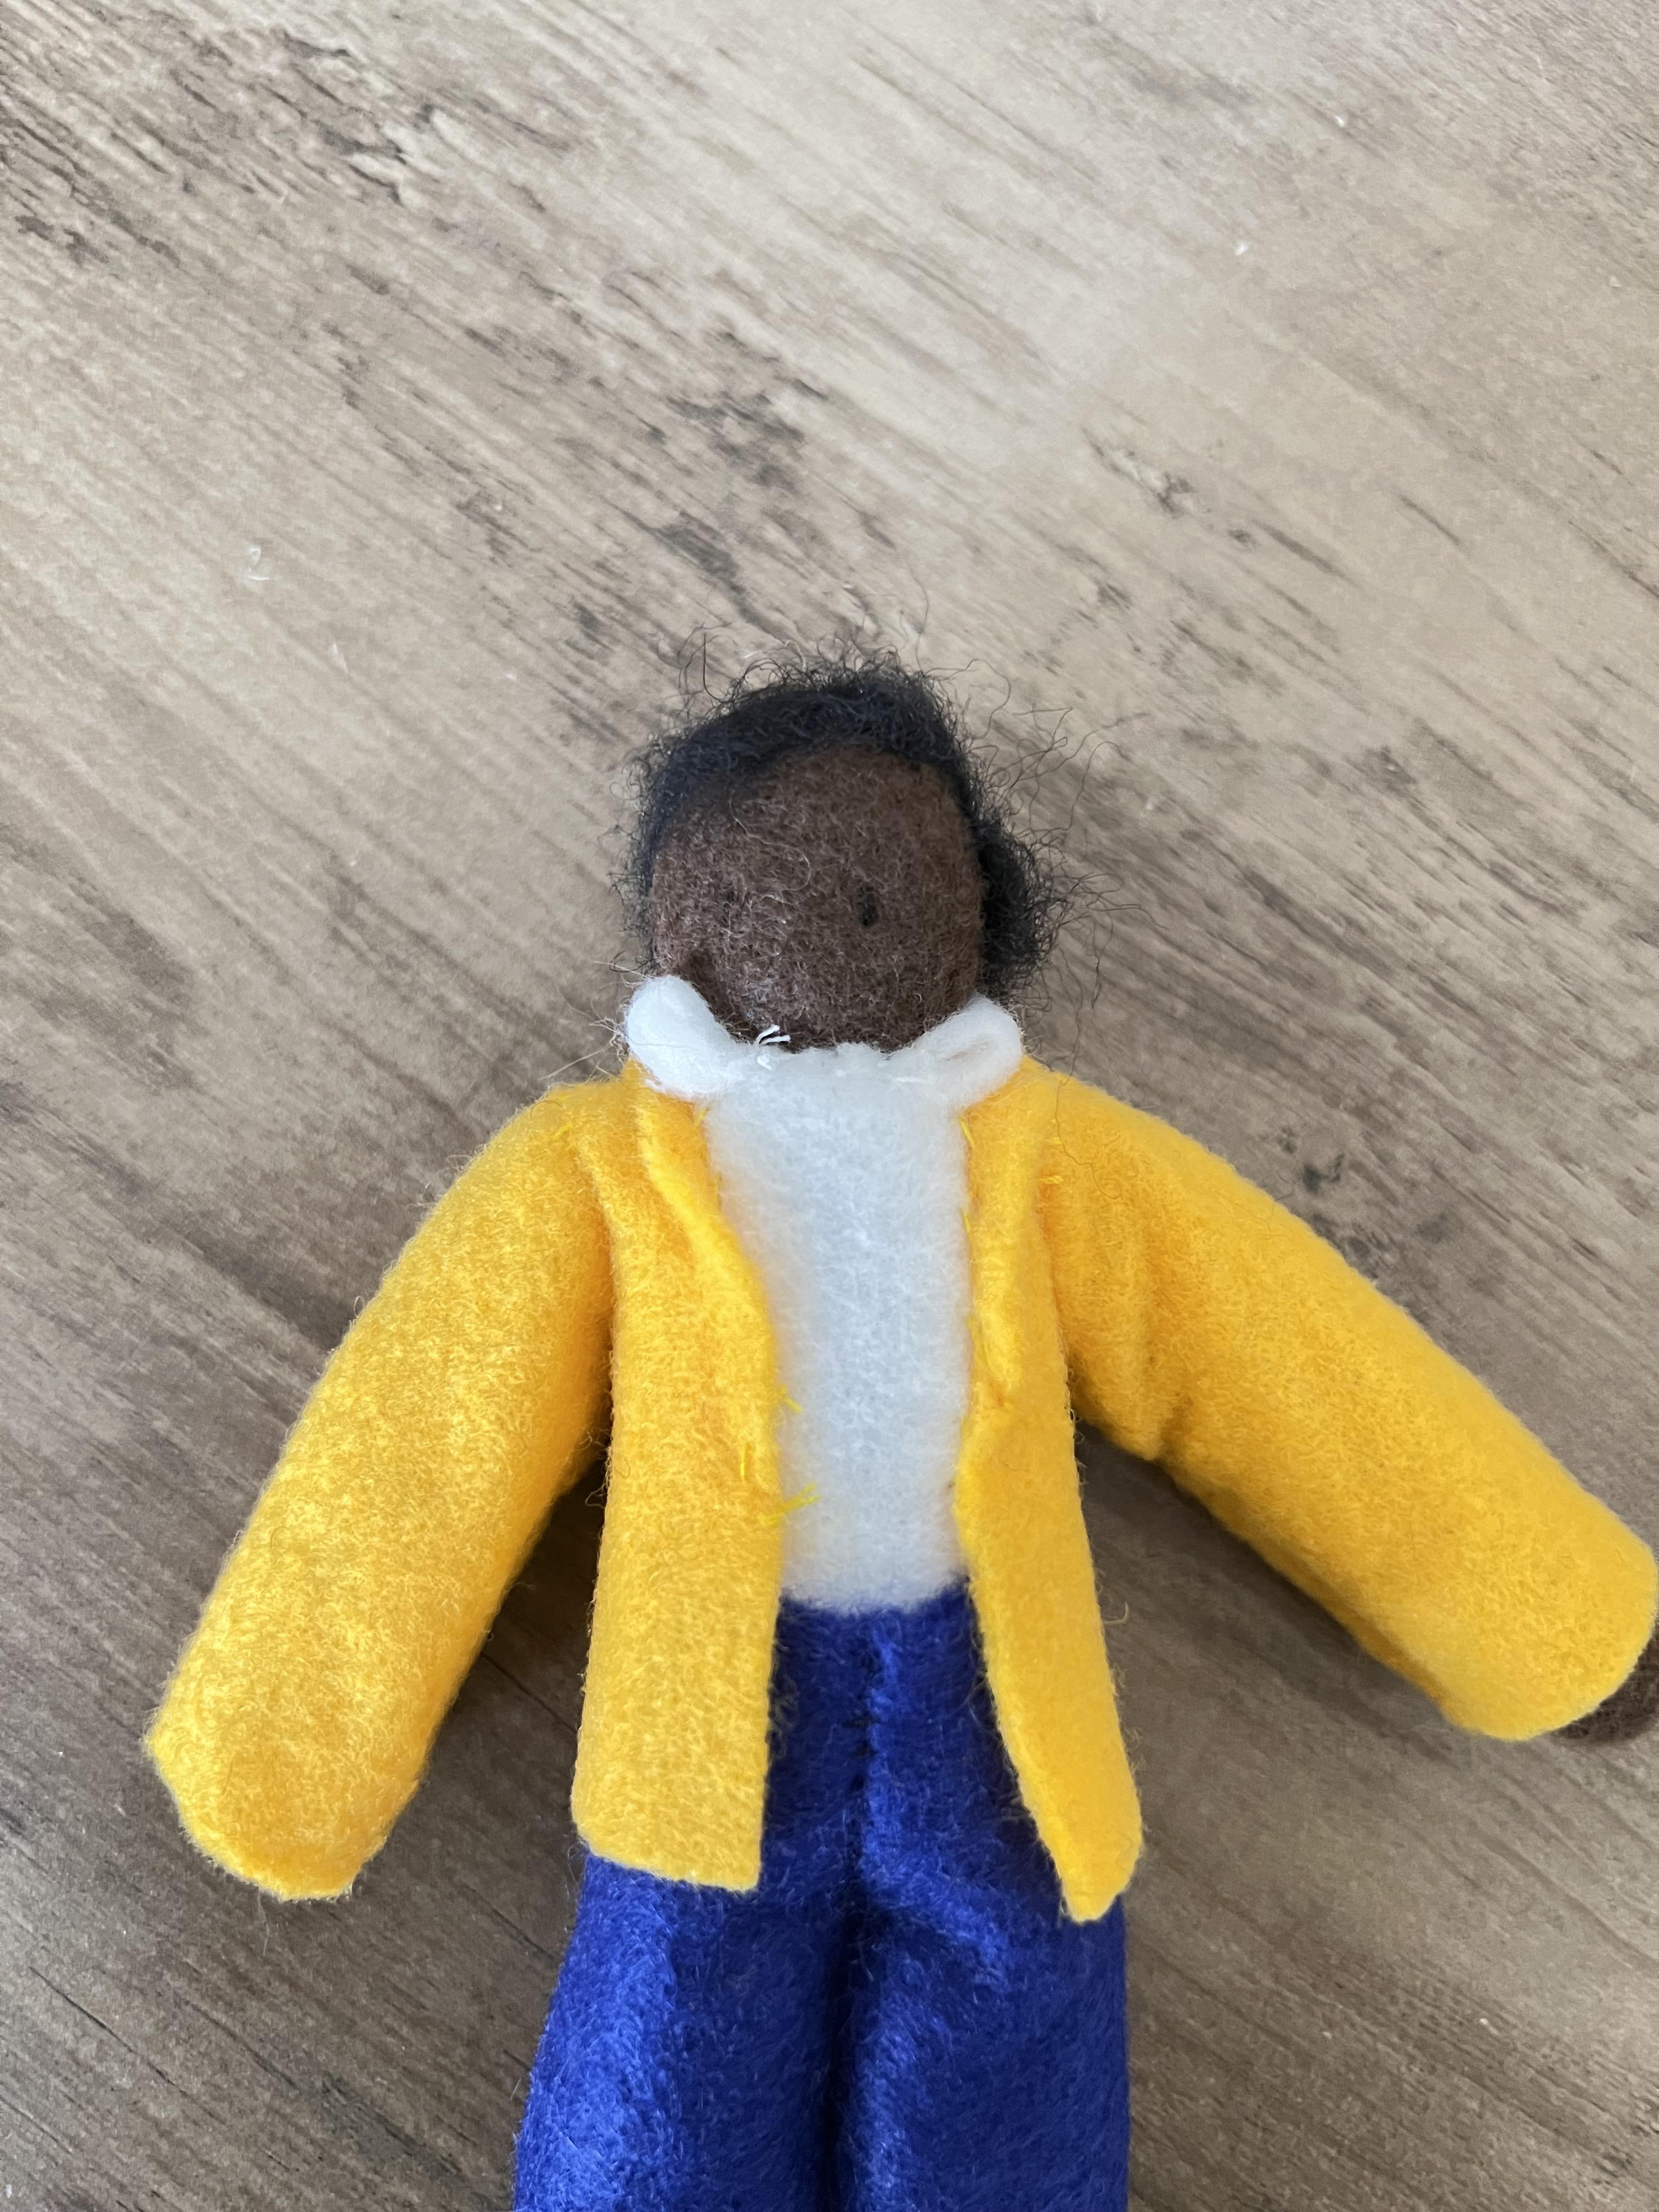
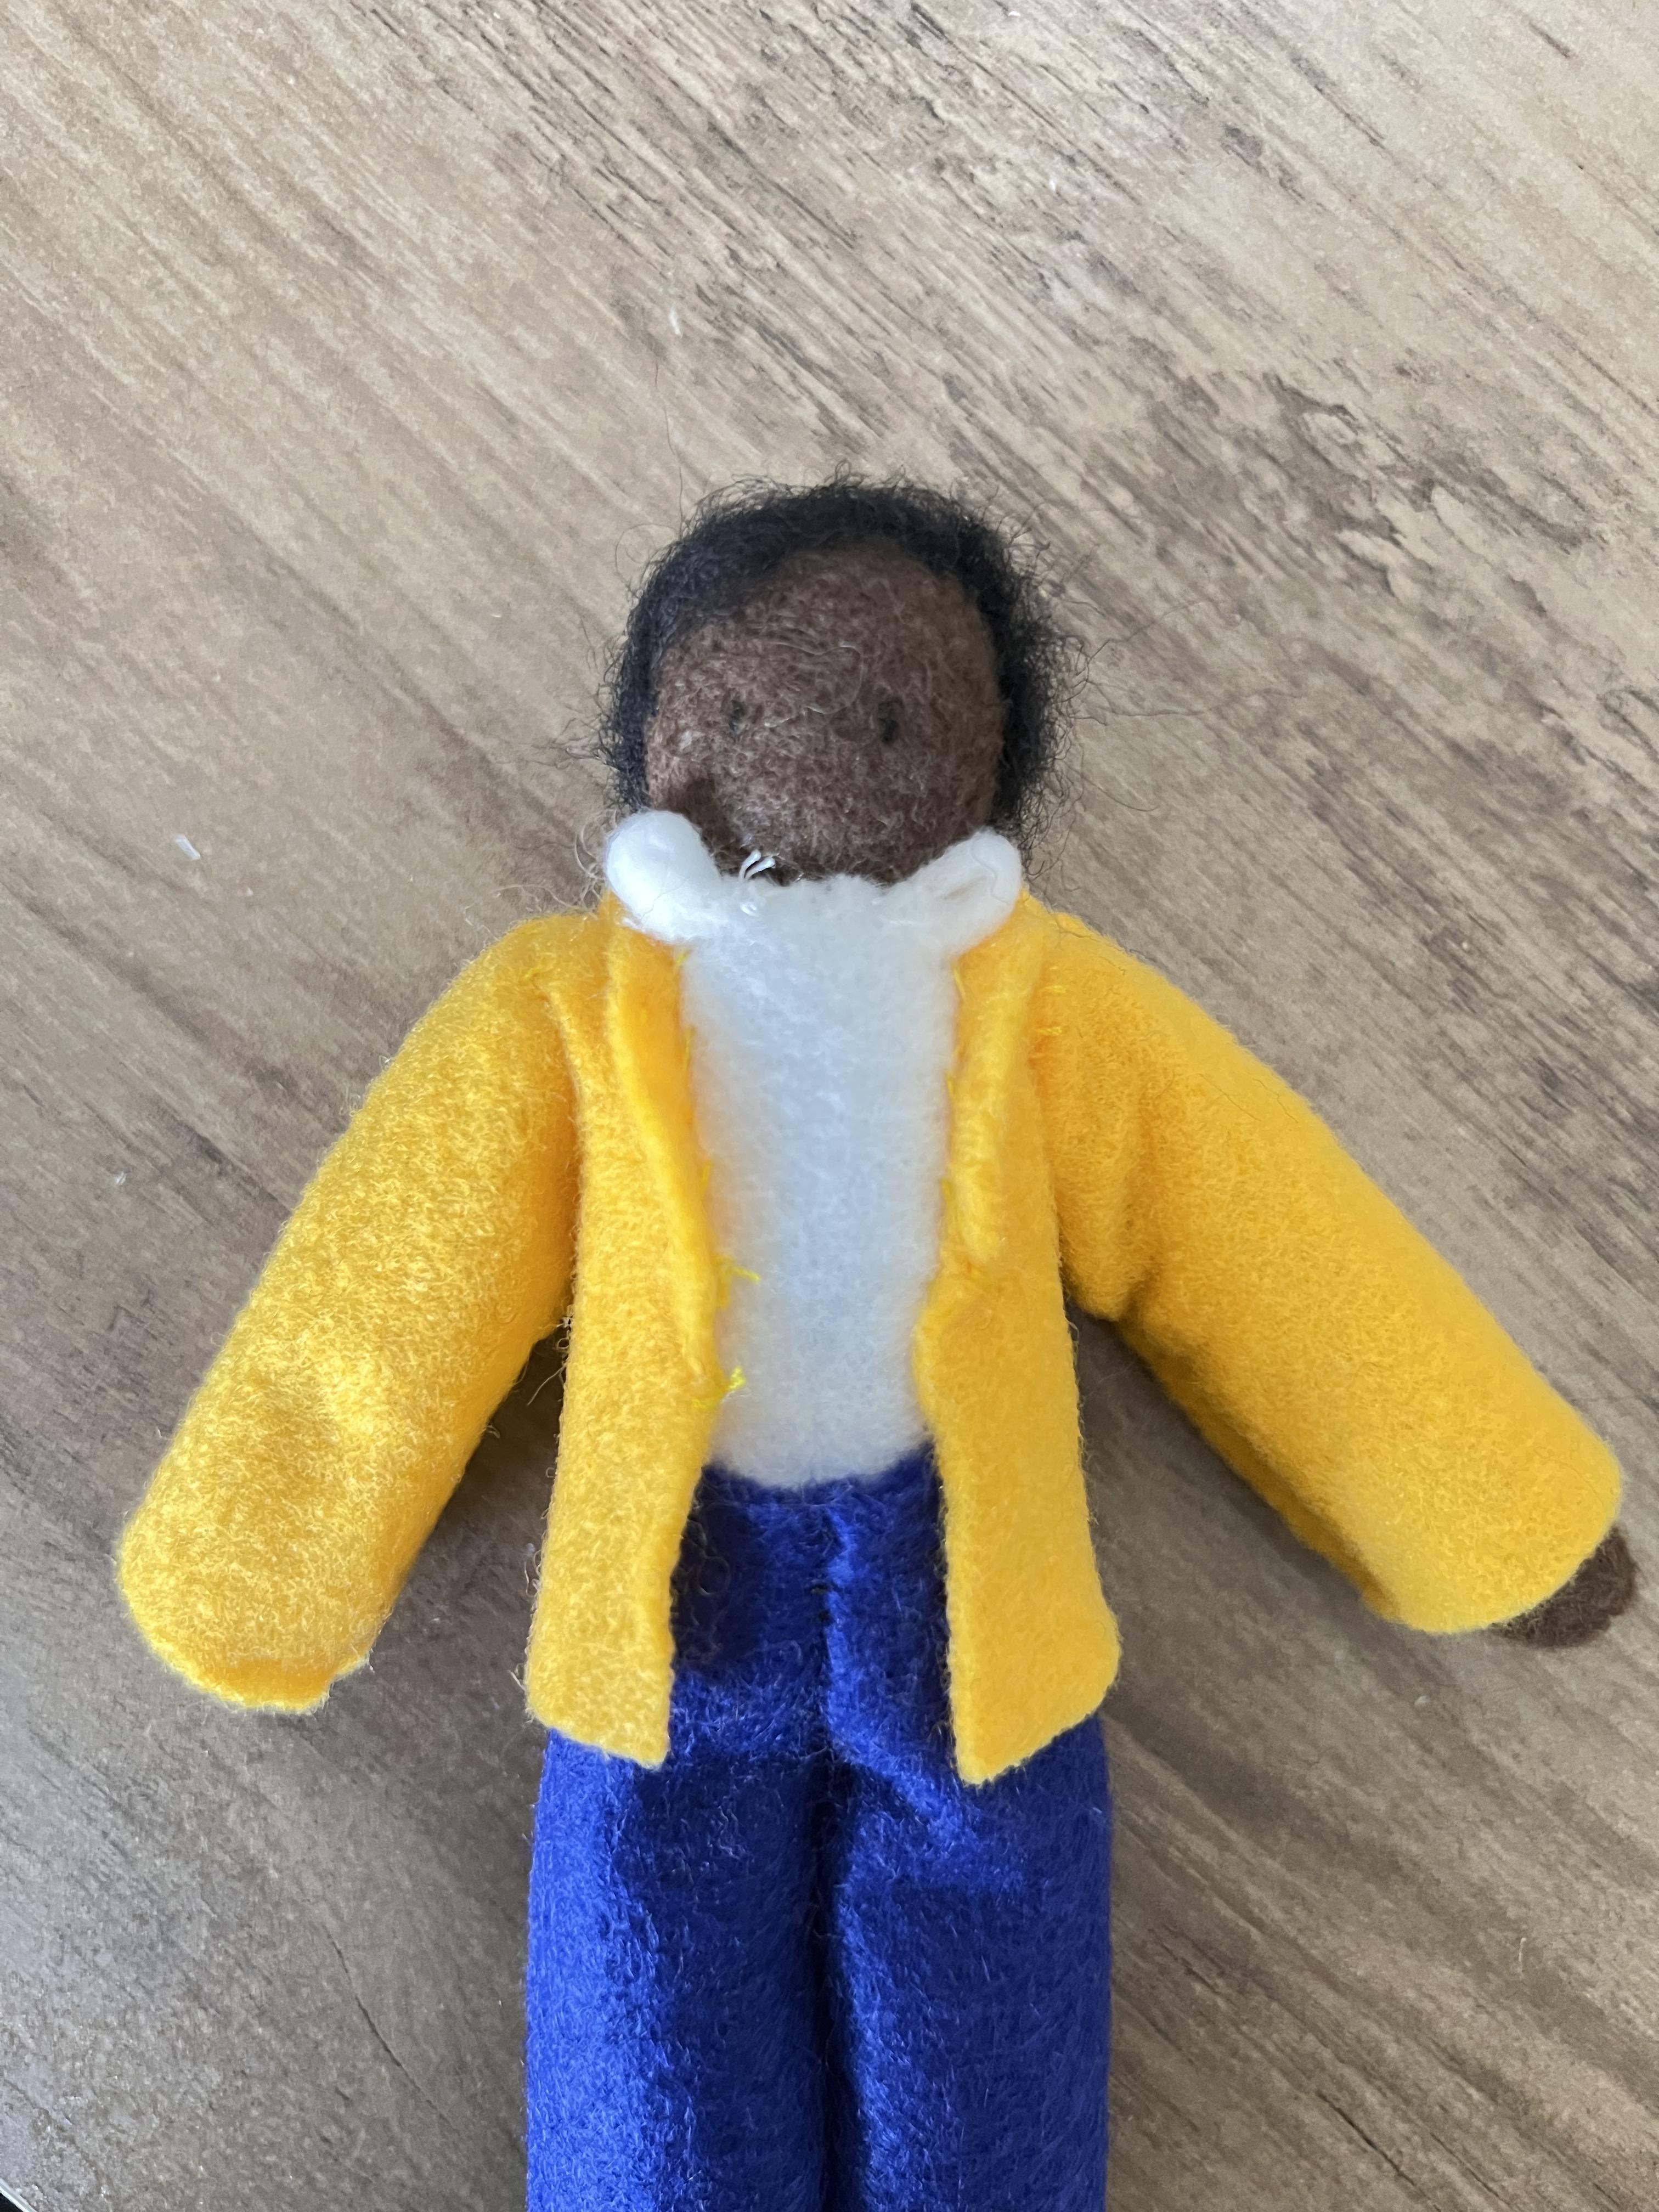
To make his jacket, cut pieces as you would for a shirt and cut the front down the middle up to the neck opening. Sew on the sleeves. Fold the jacket over like you would a shirt and sew both of the upside-down "L"s on both sides. Cut two strips for the cuffs and sew the sides up on each cuff. Sew the cuffs to the jacket. Sew snaps onto the jacket then, cut pieces for the pockets and buttons and sew them on.
Adding Little Details


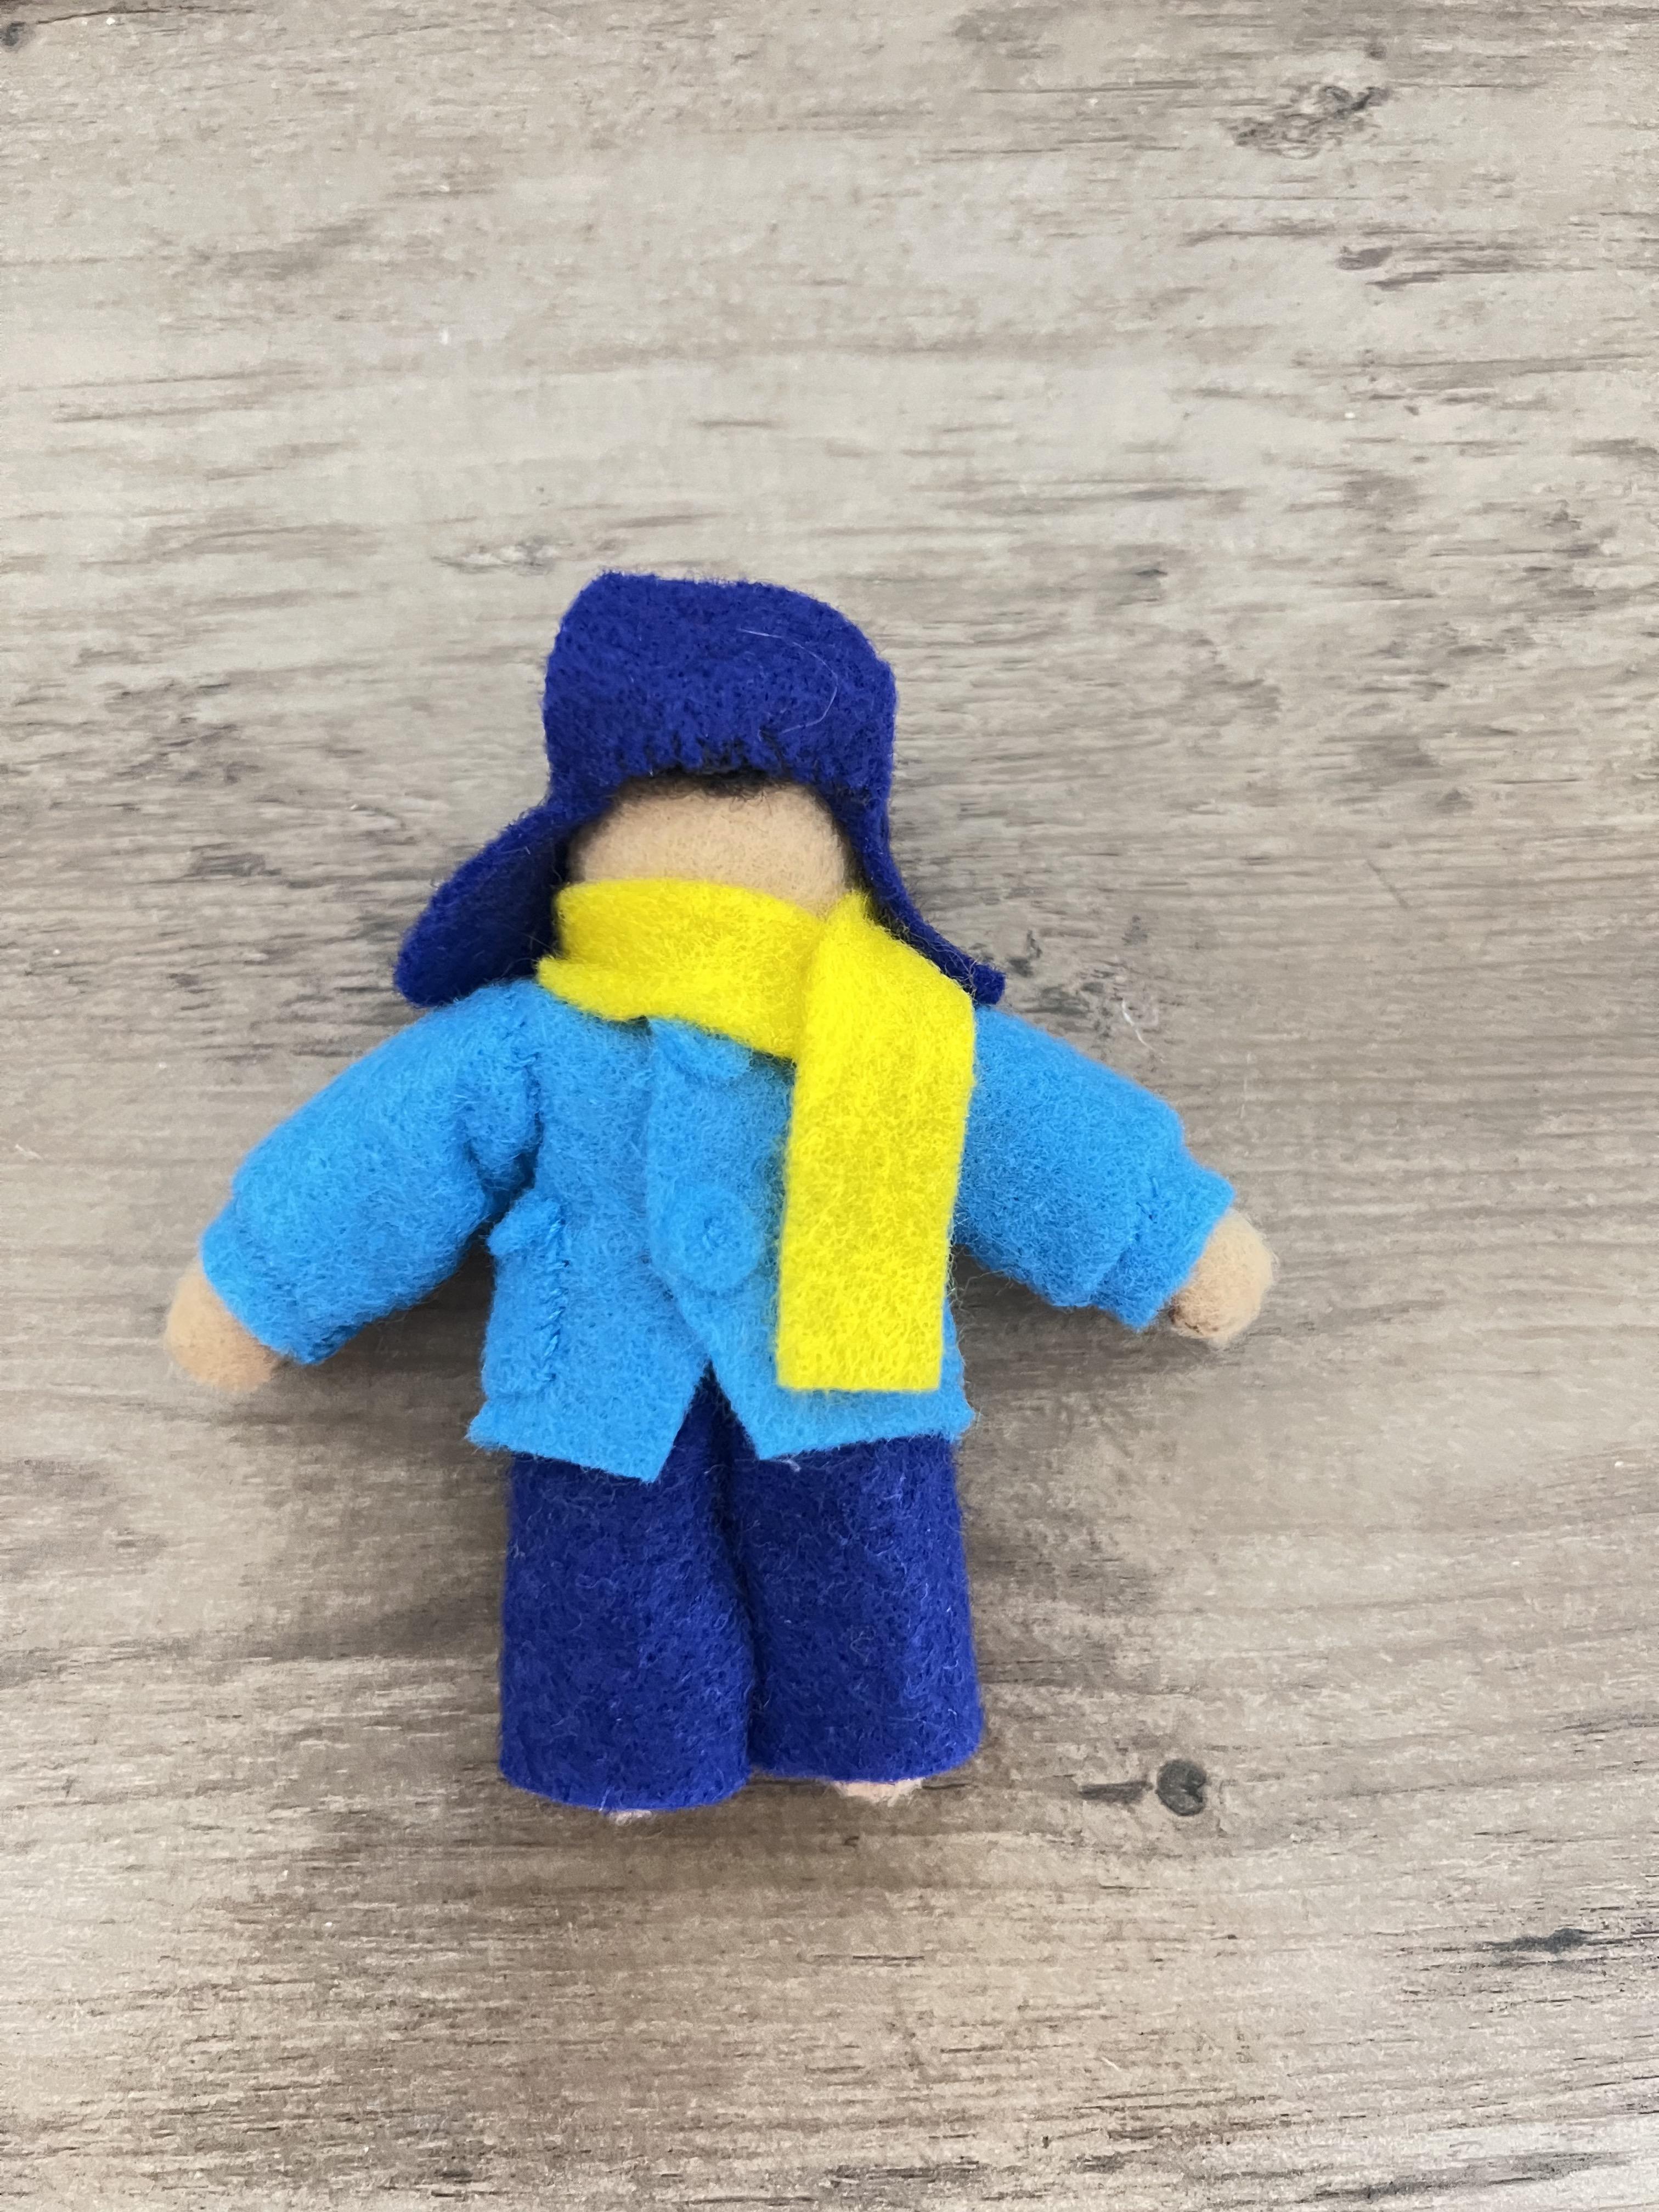







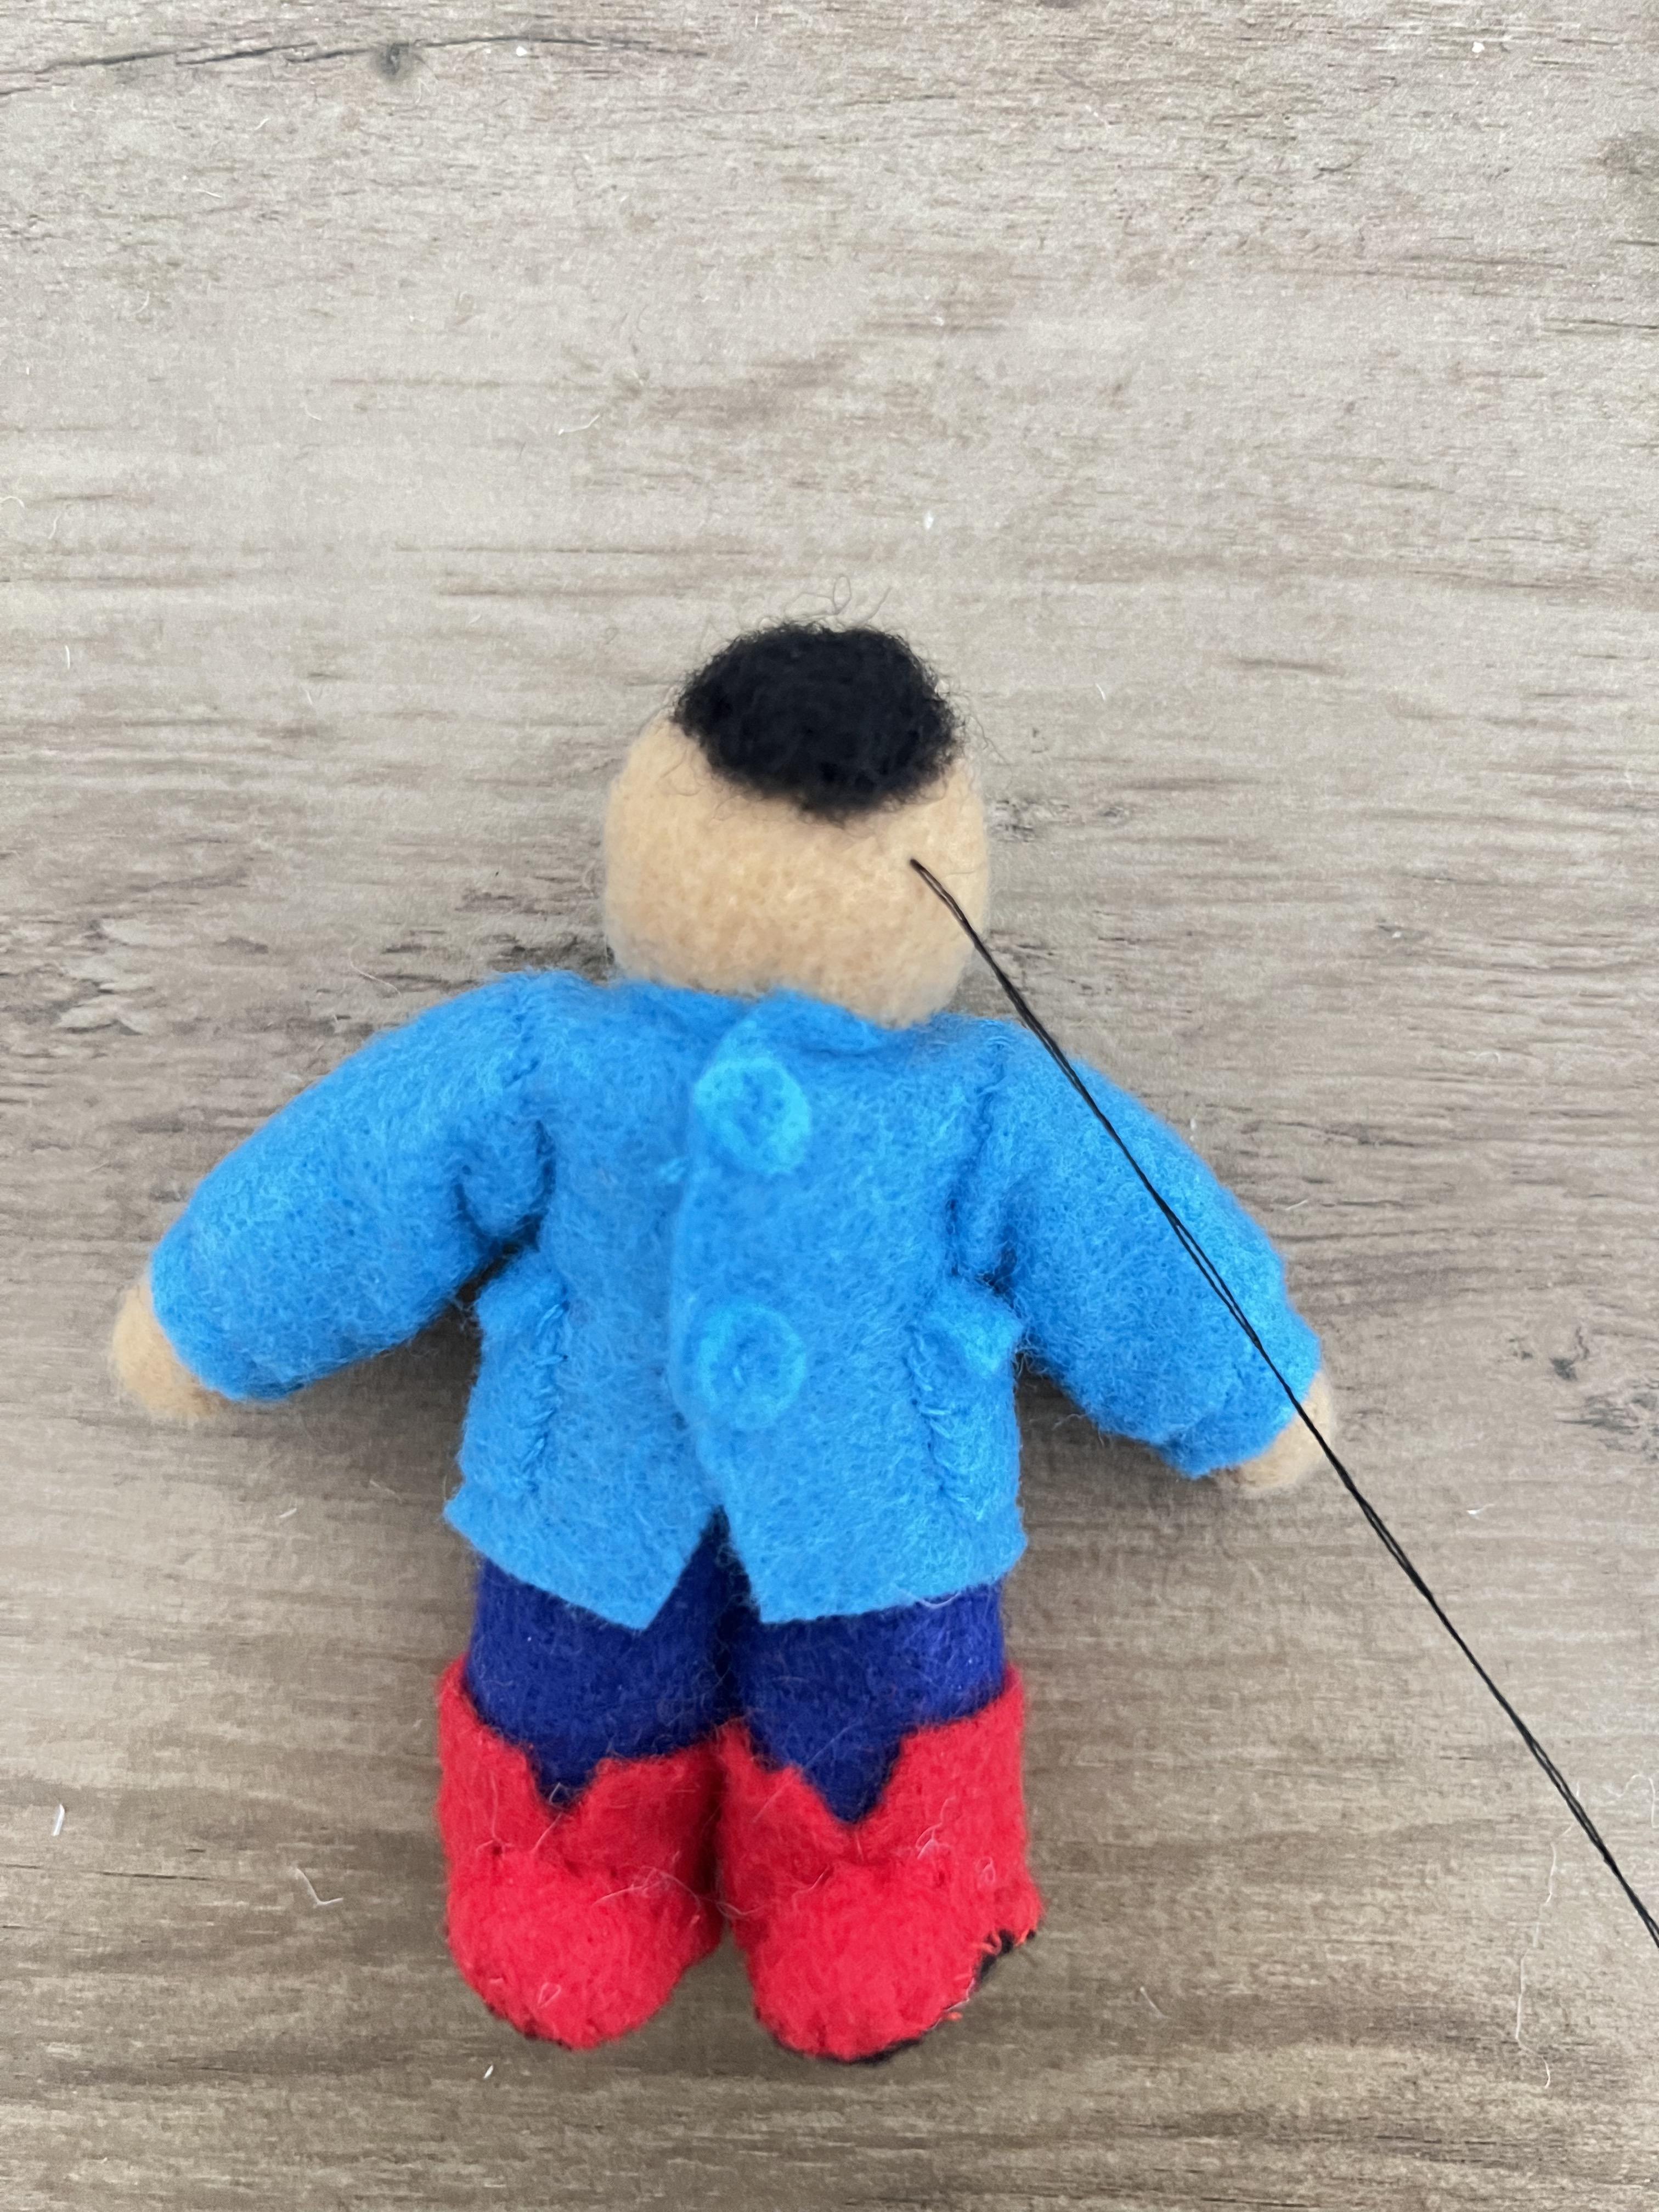

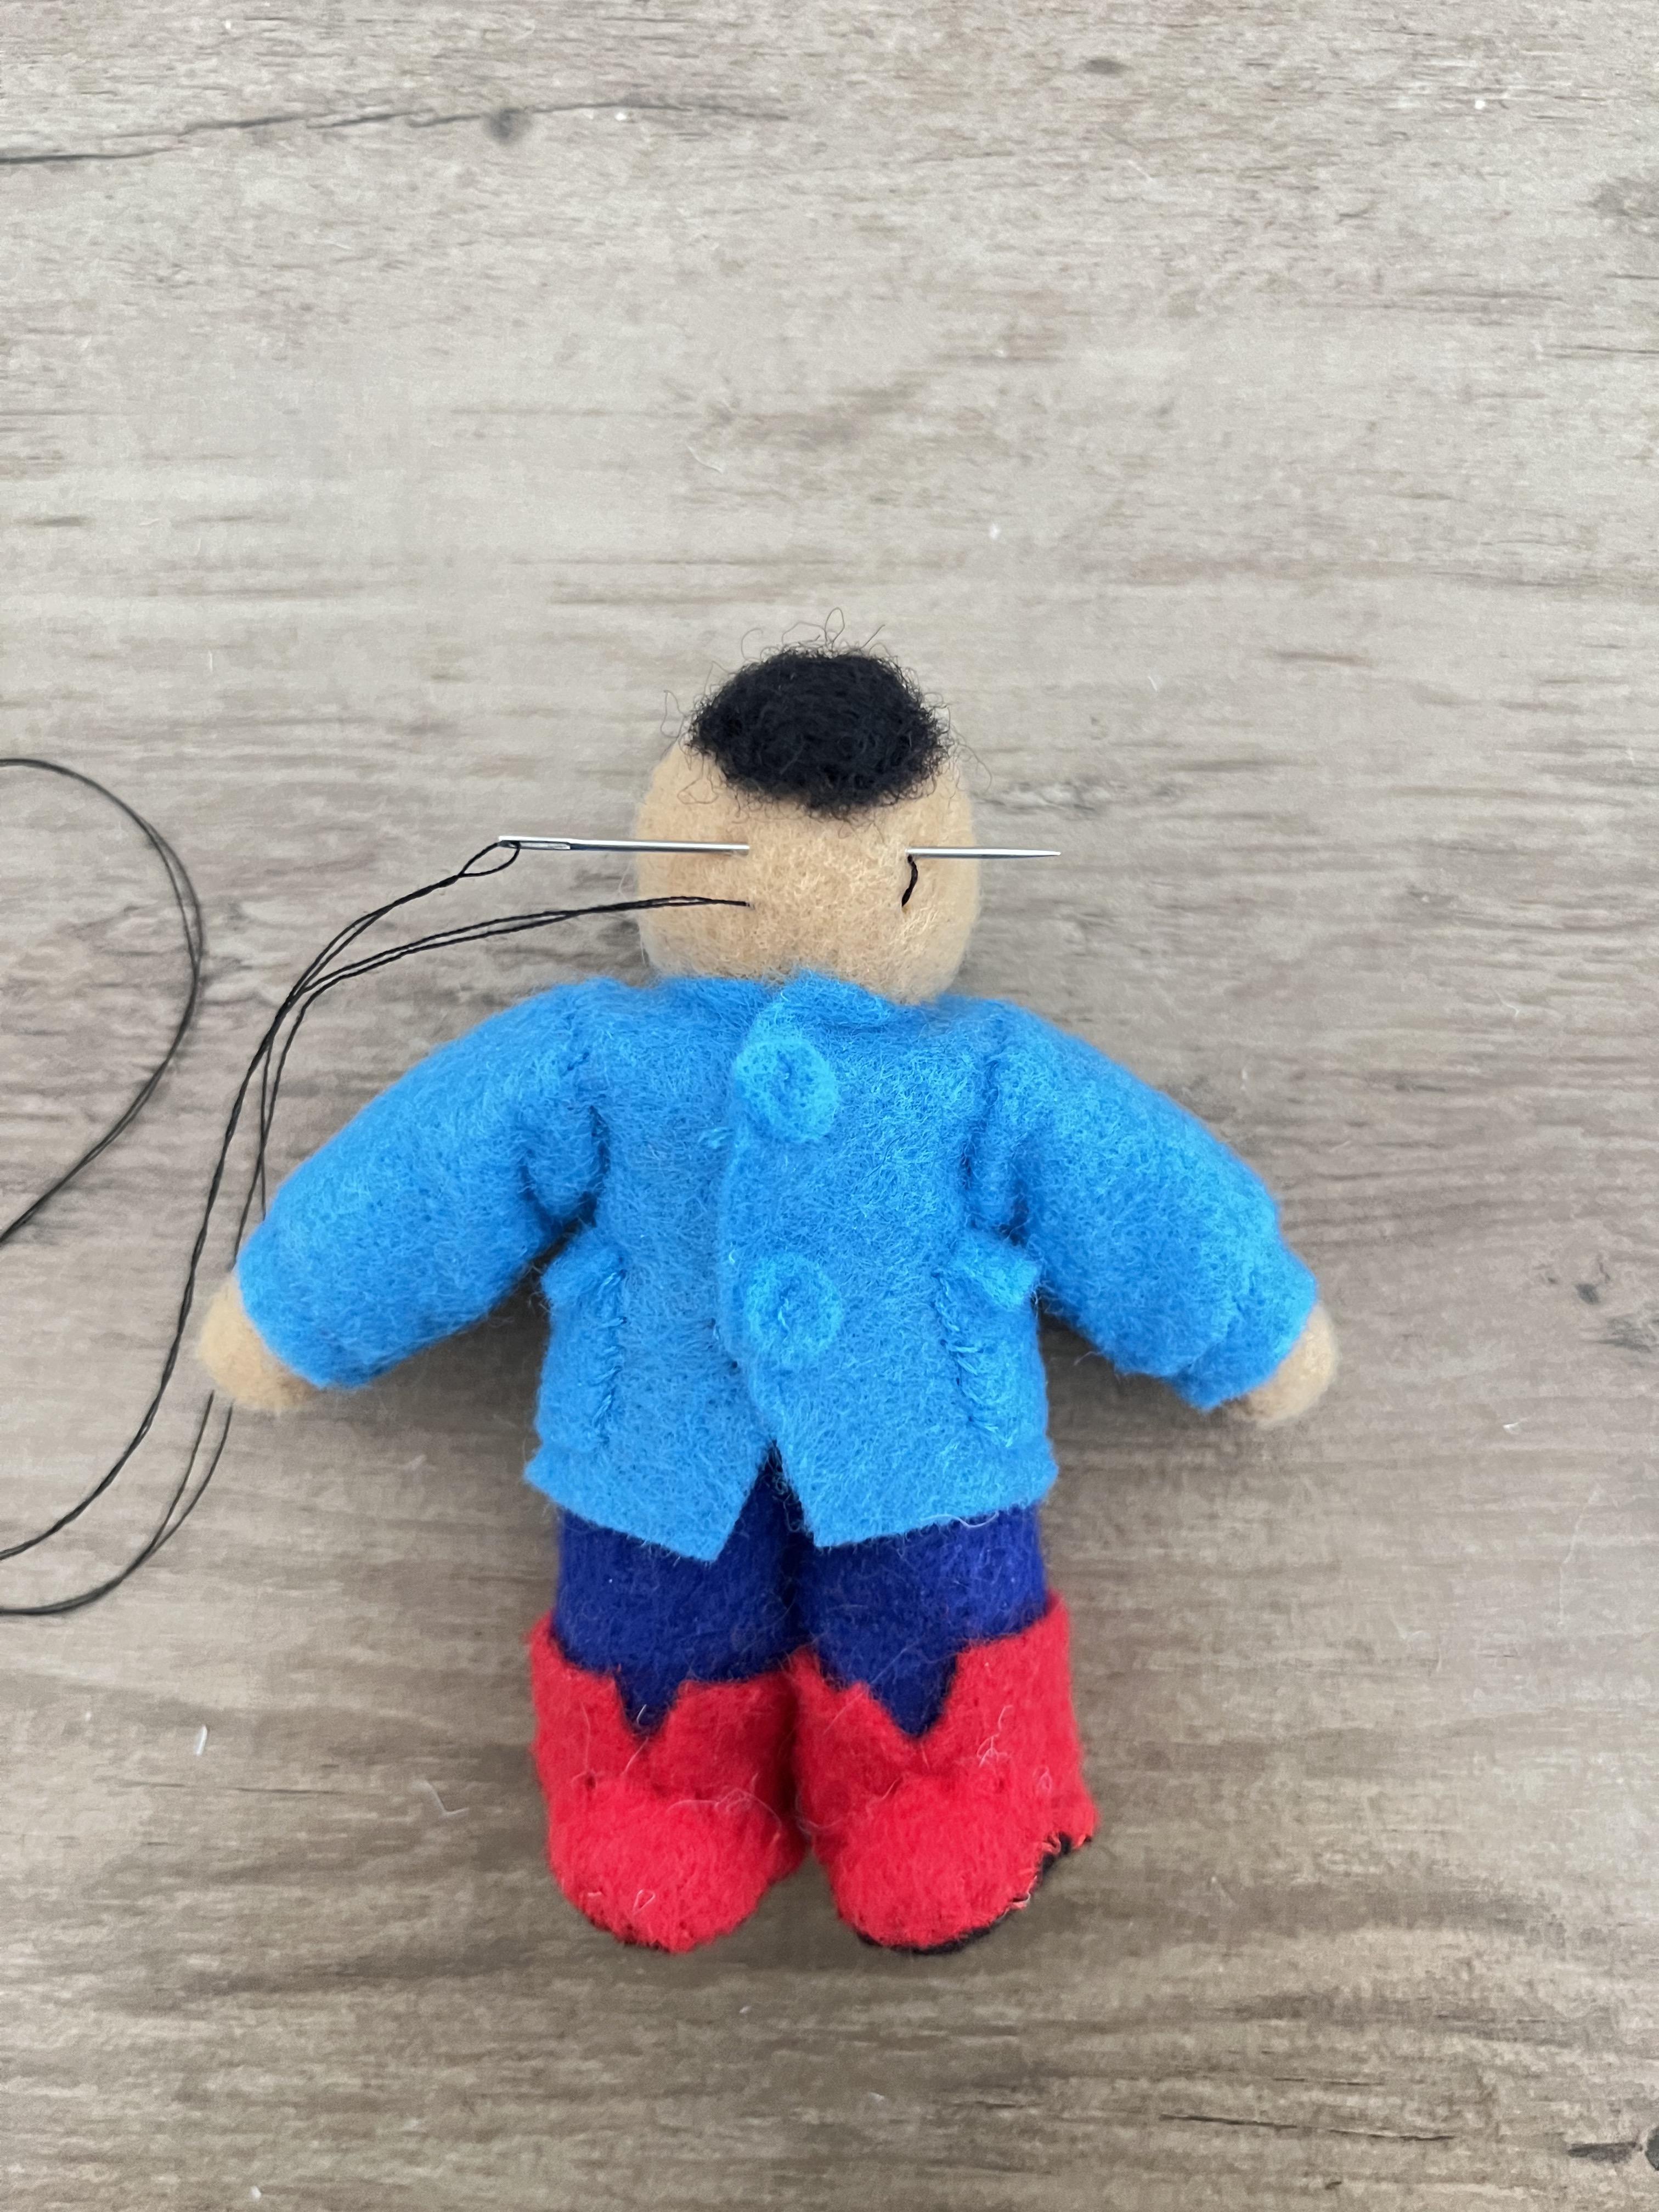

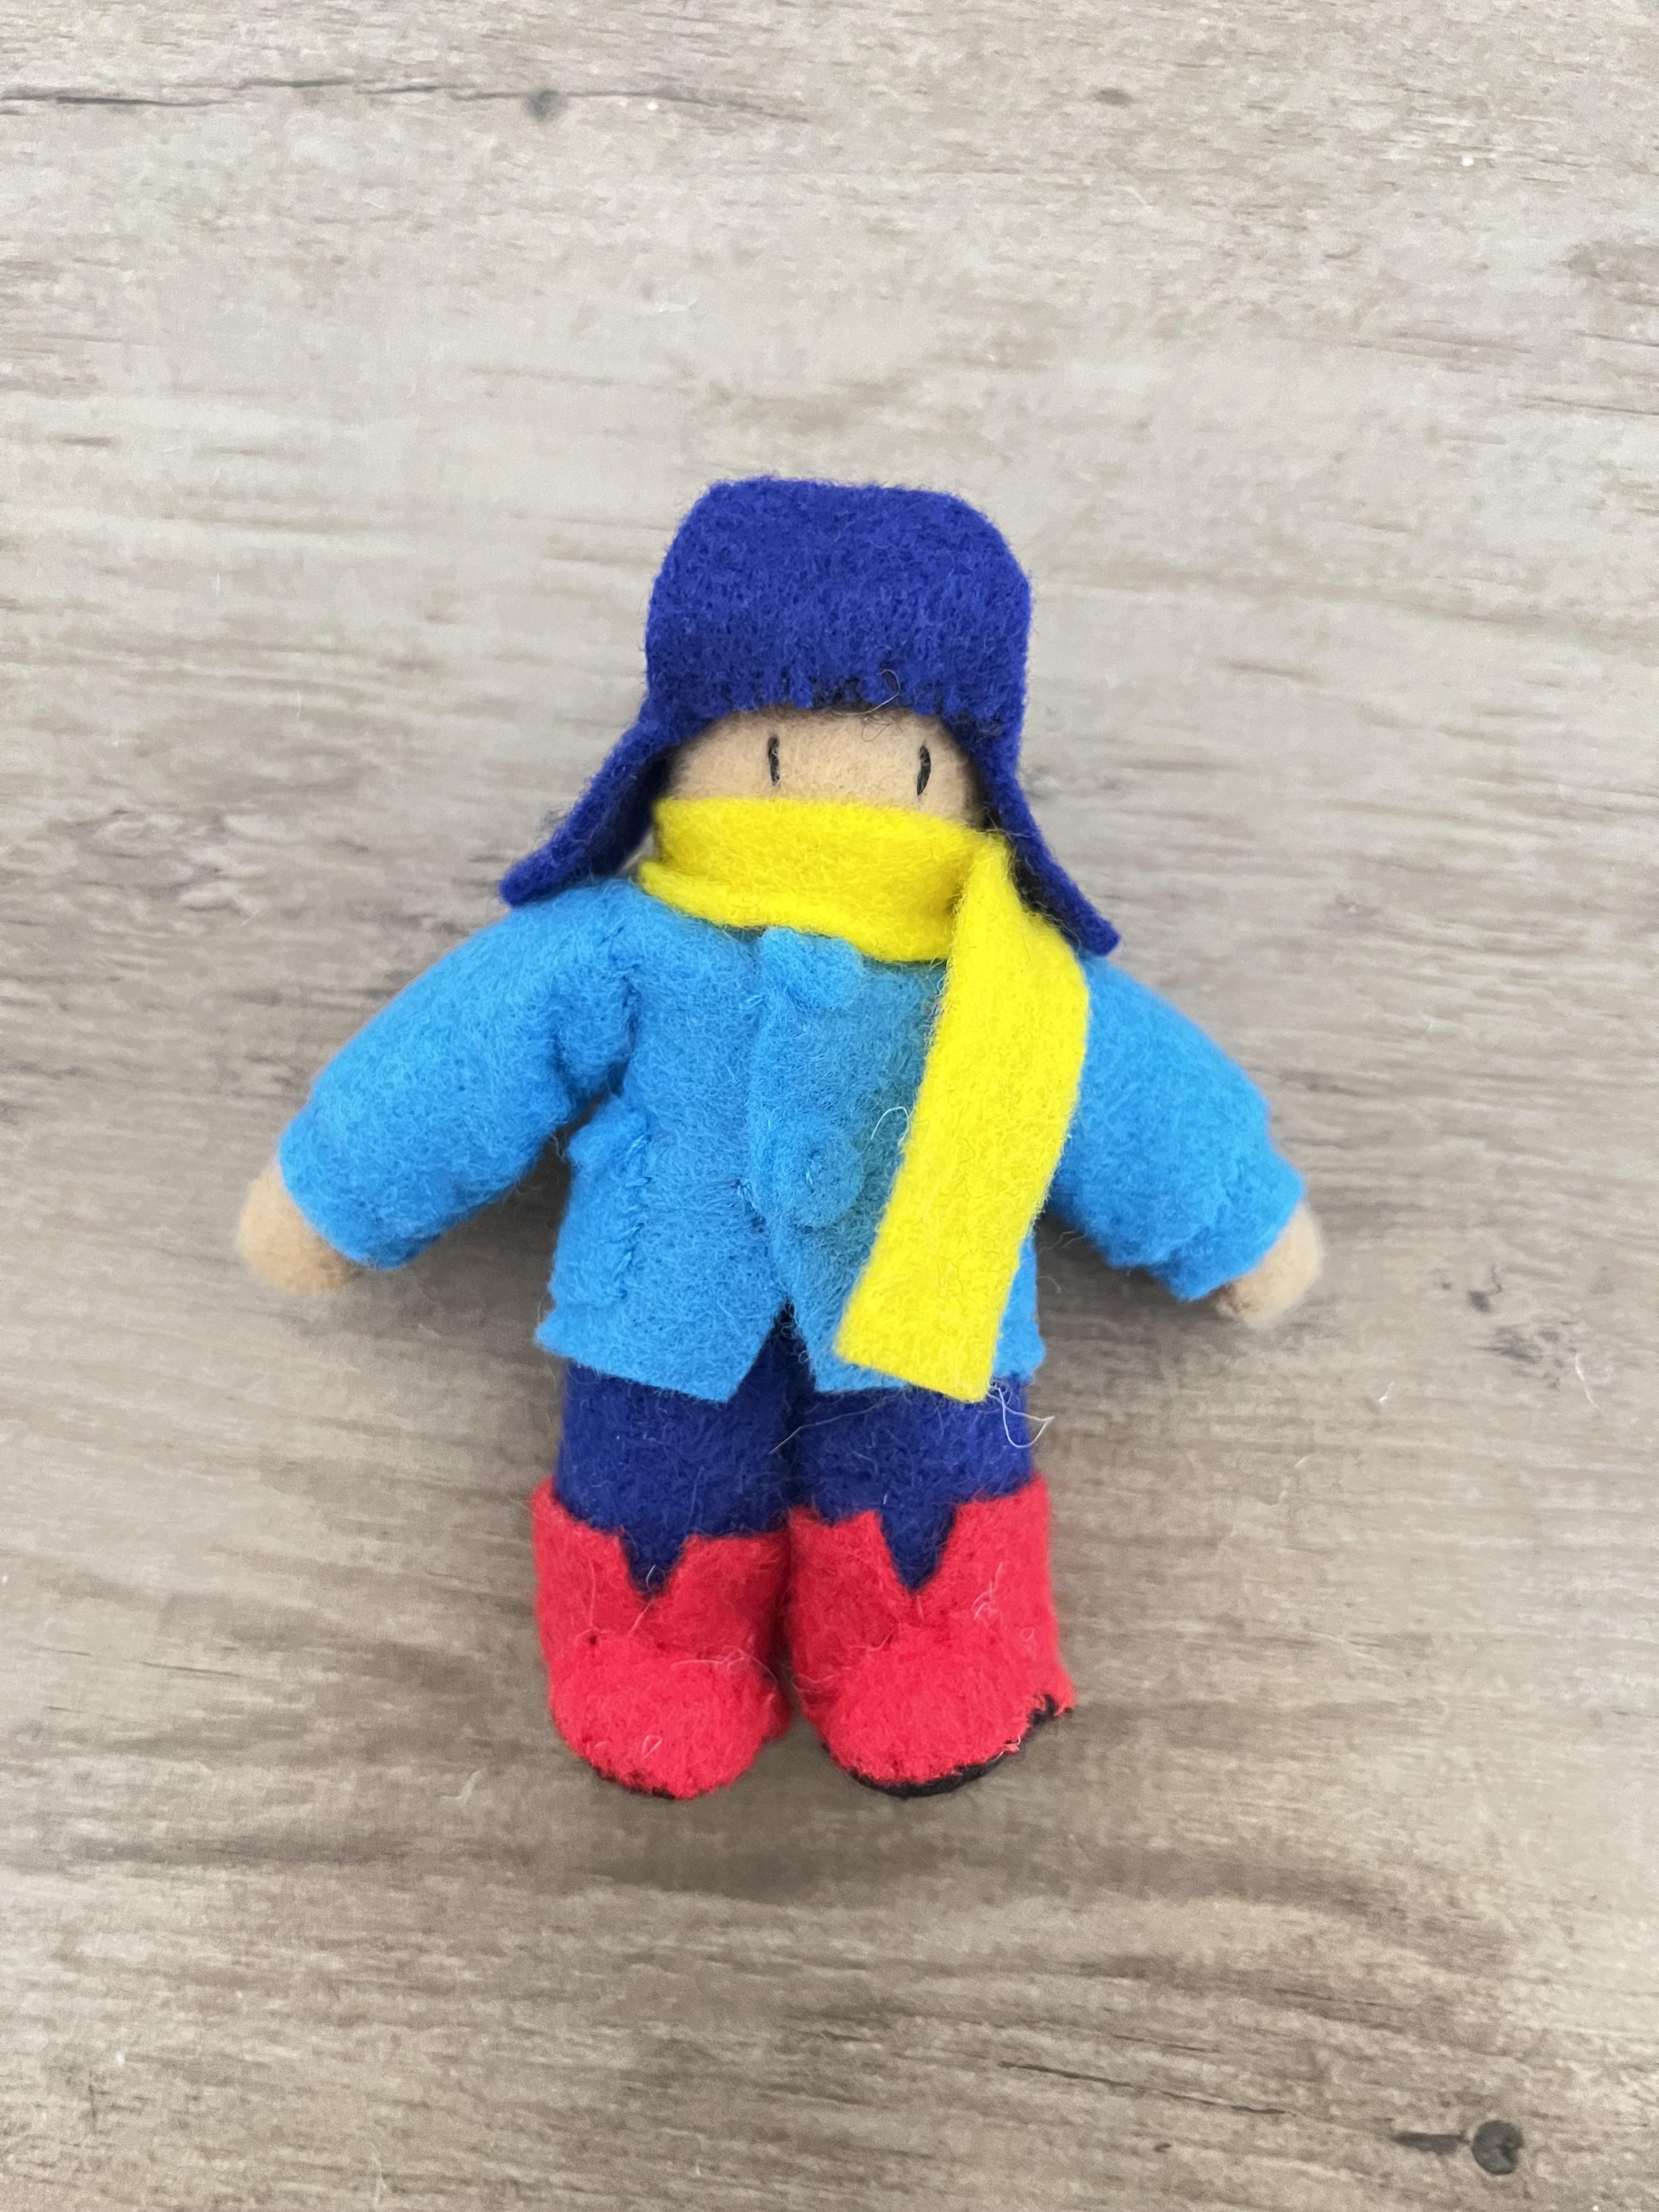
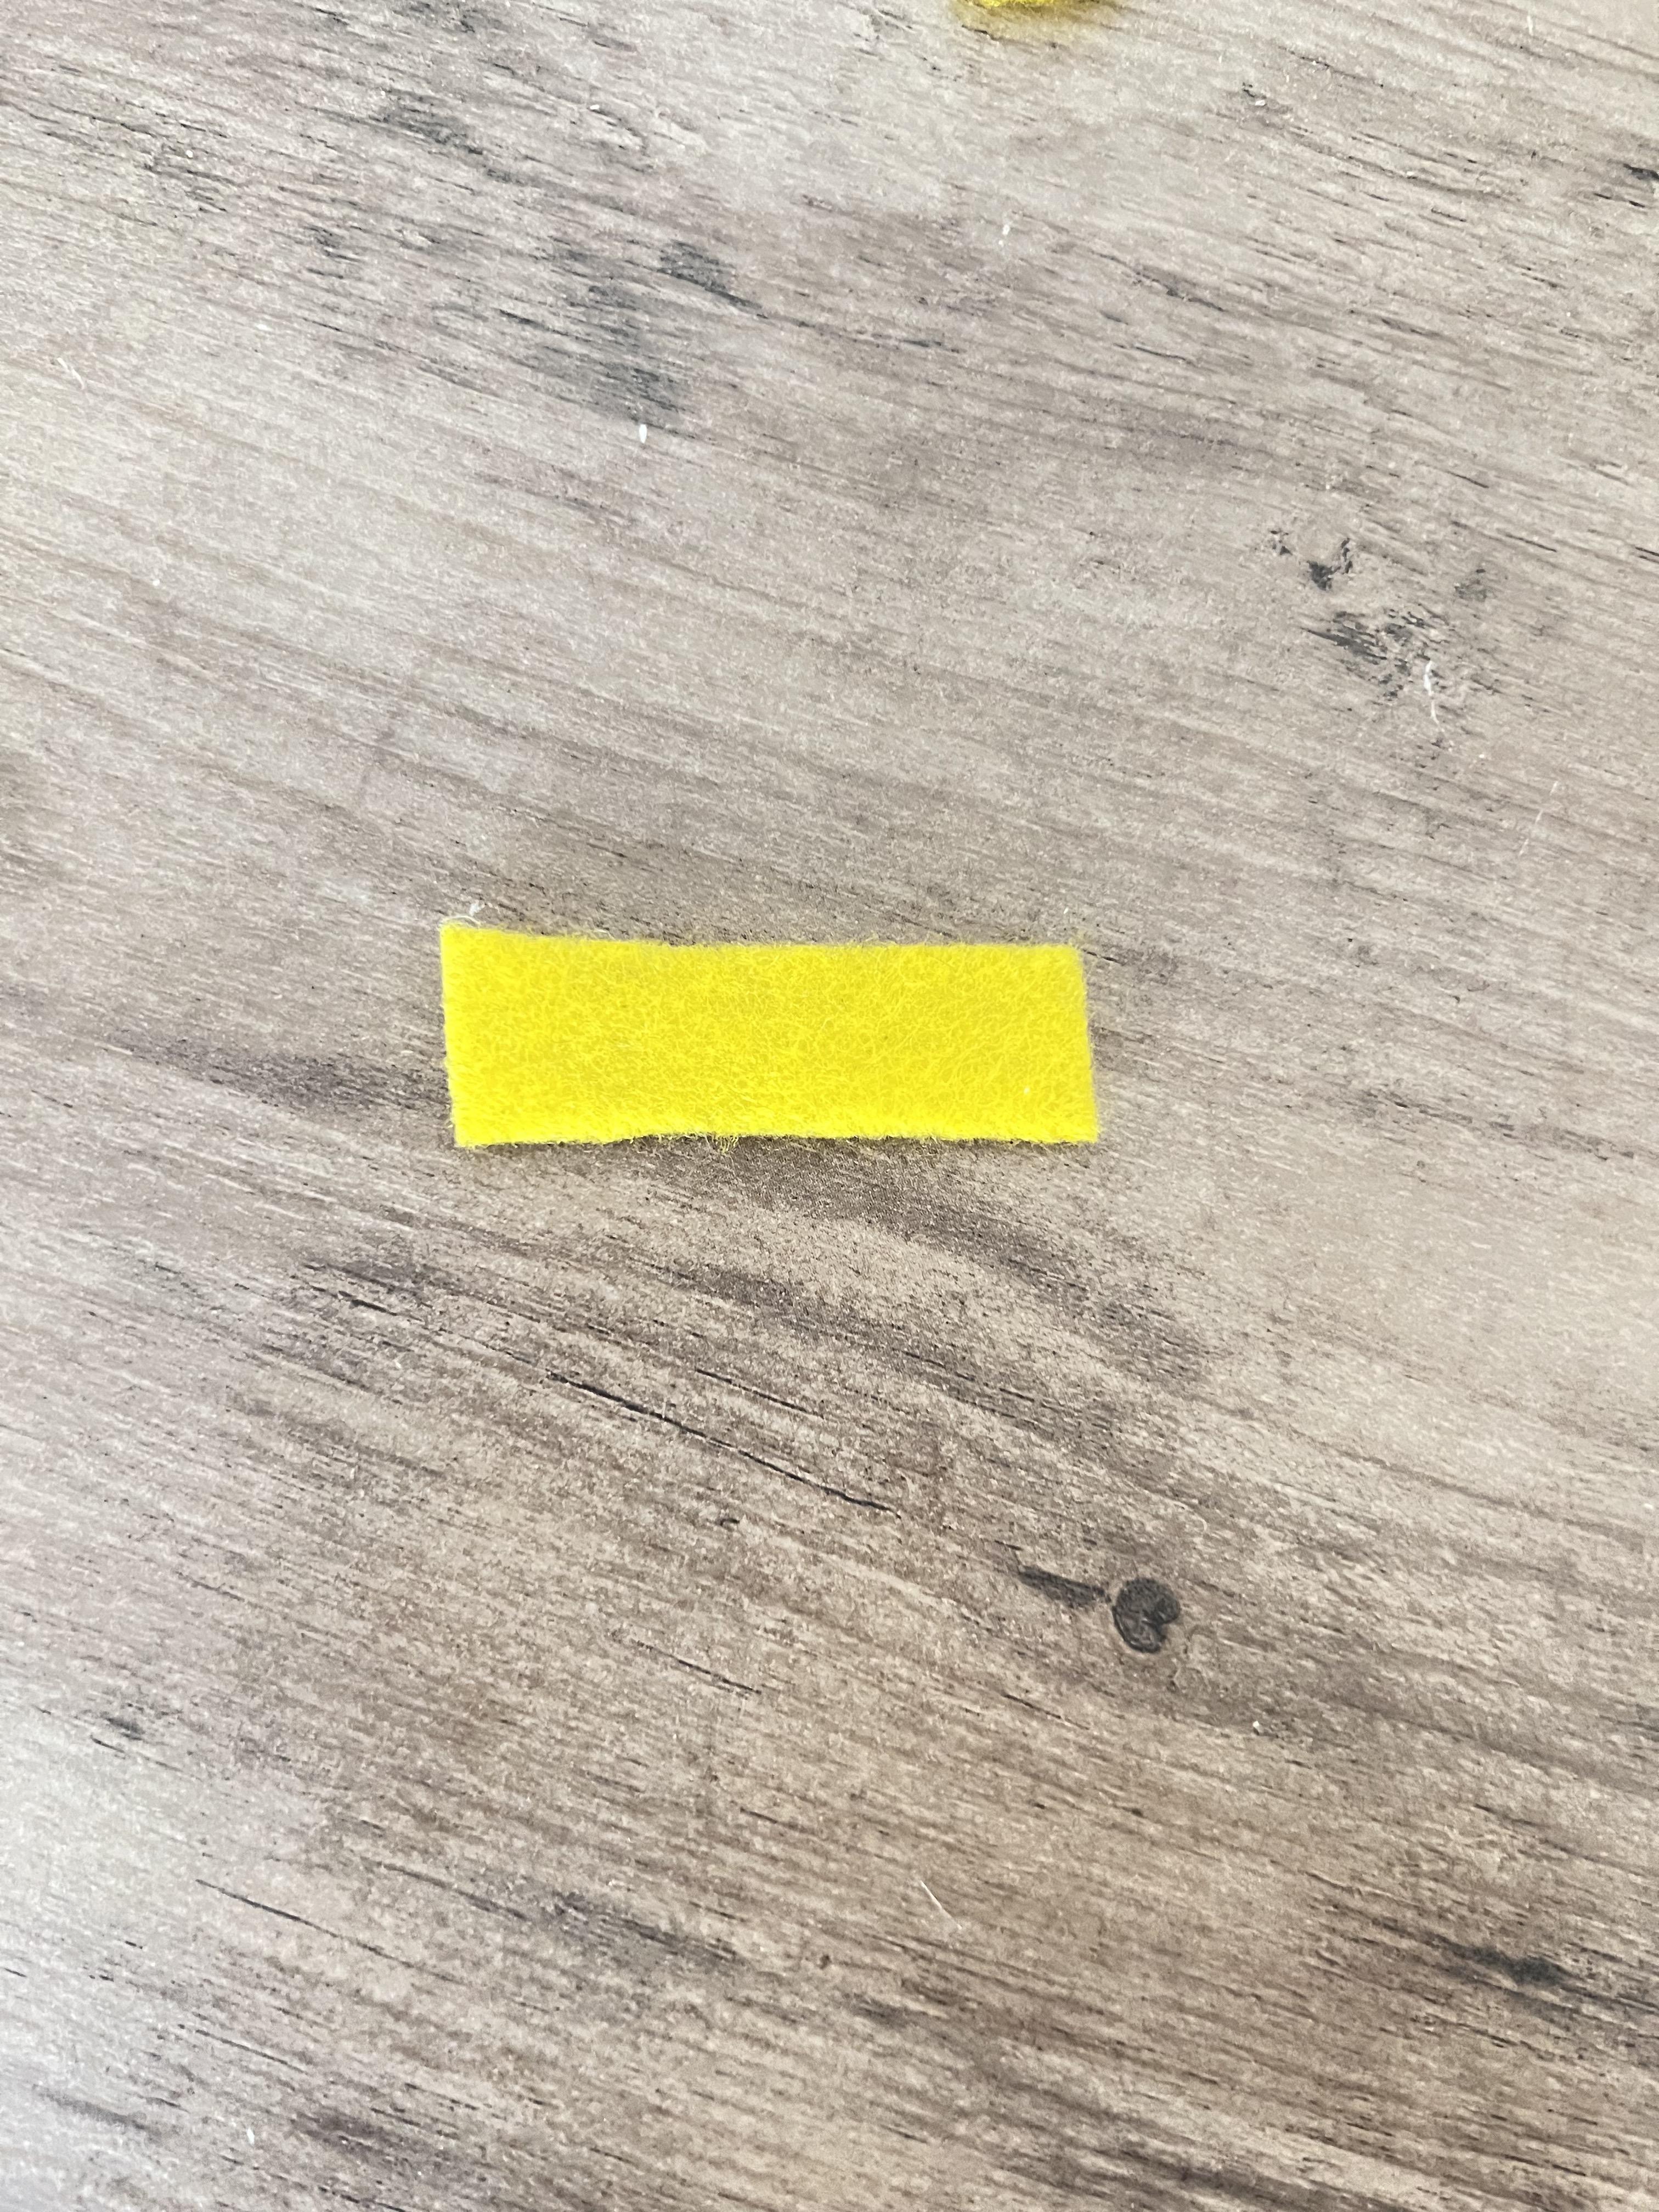
For his scarf, I cut out a strip of yellow felt and wrapped it around his neck.
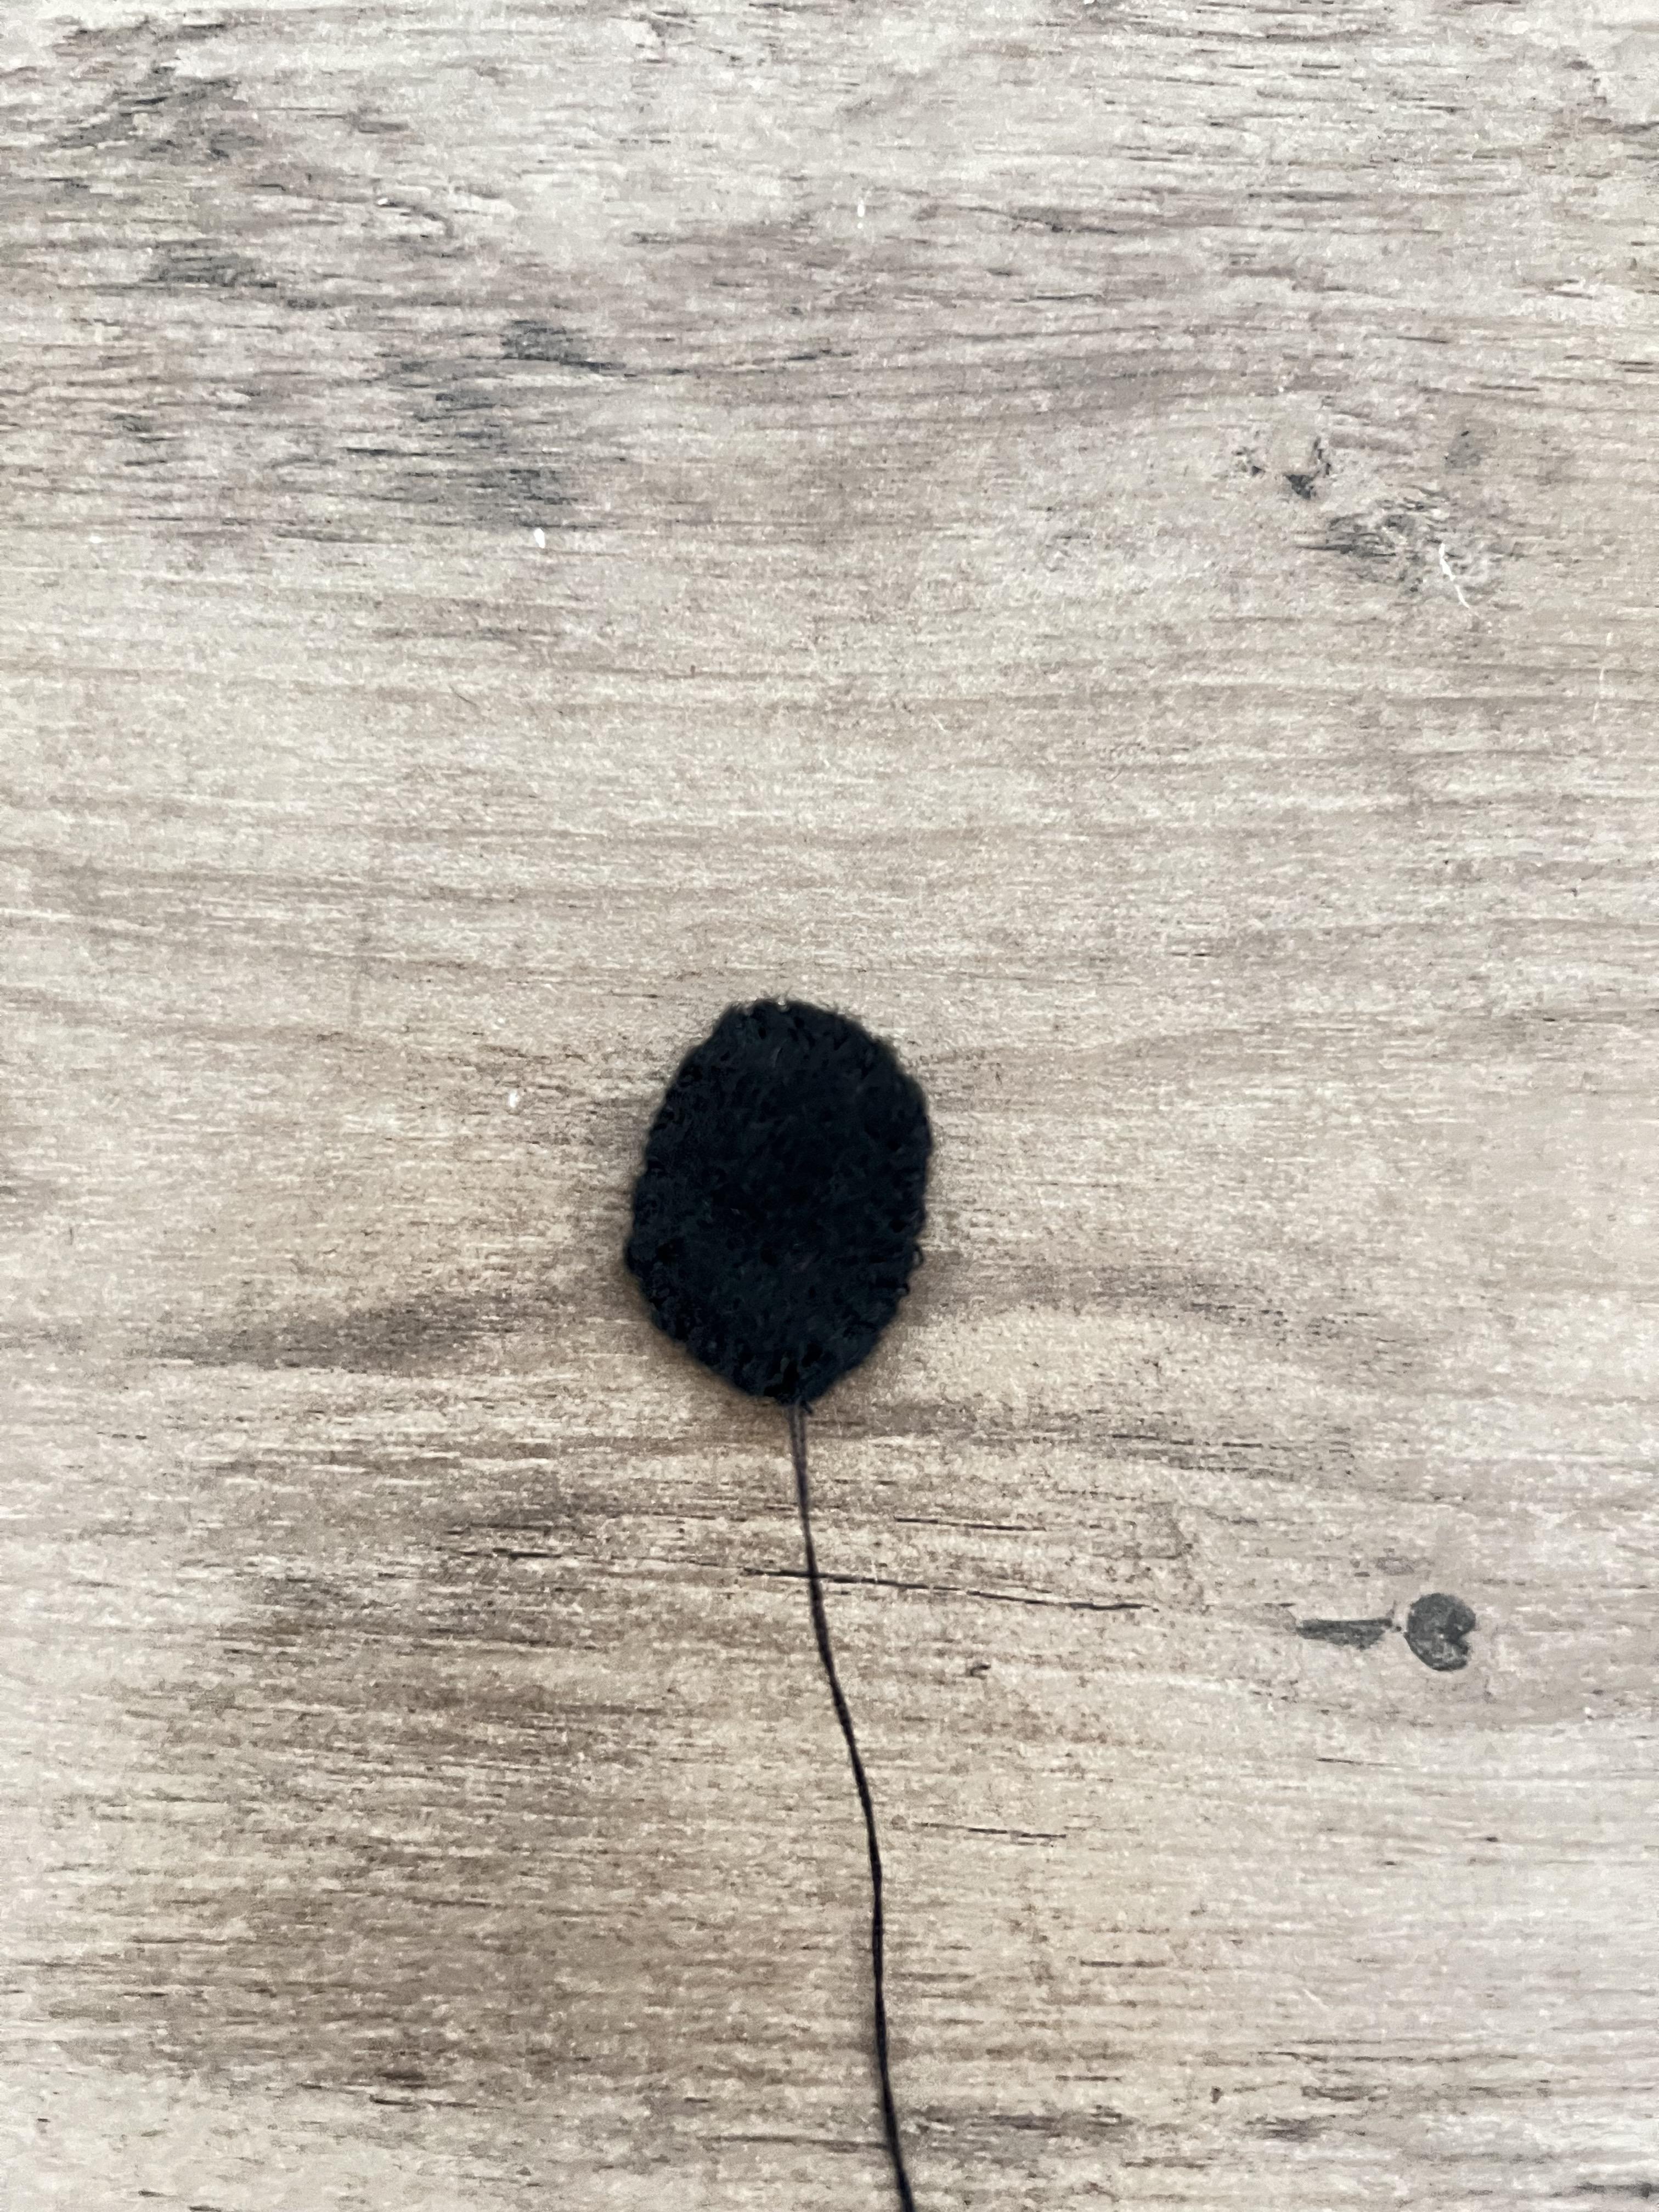
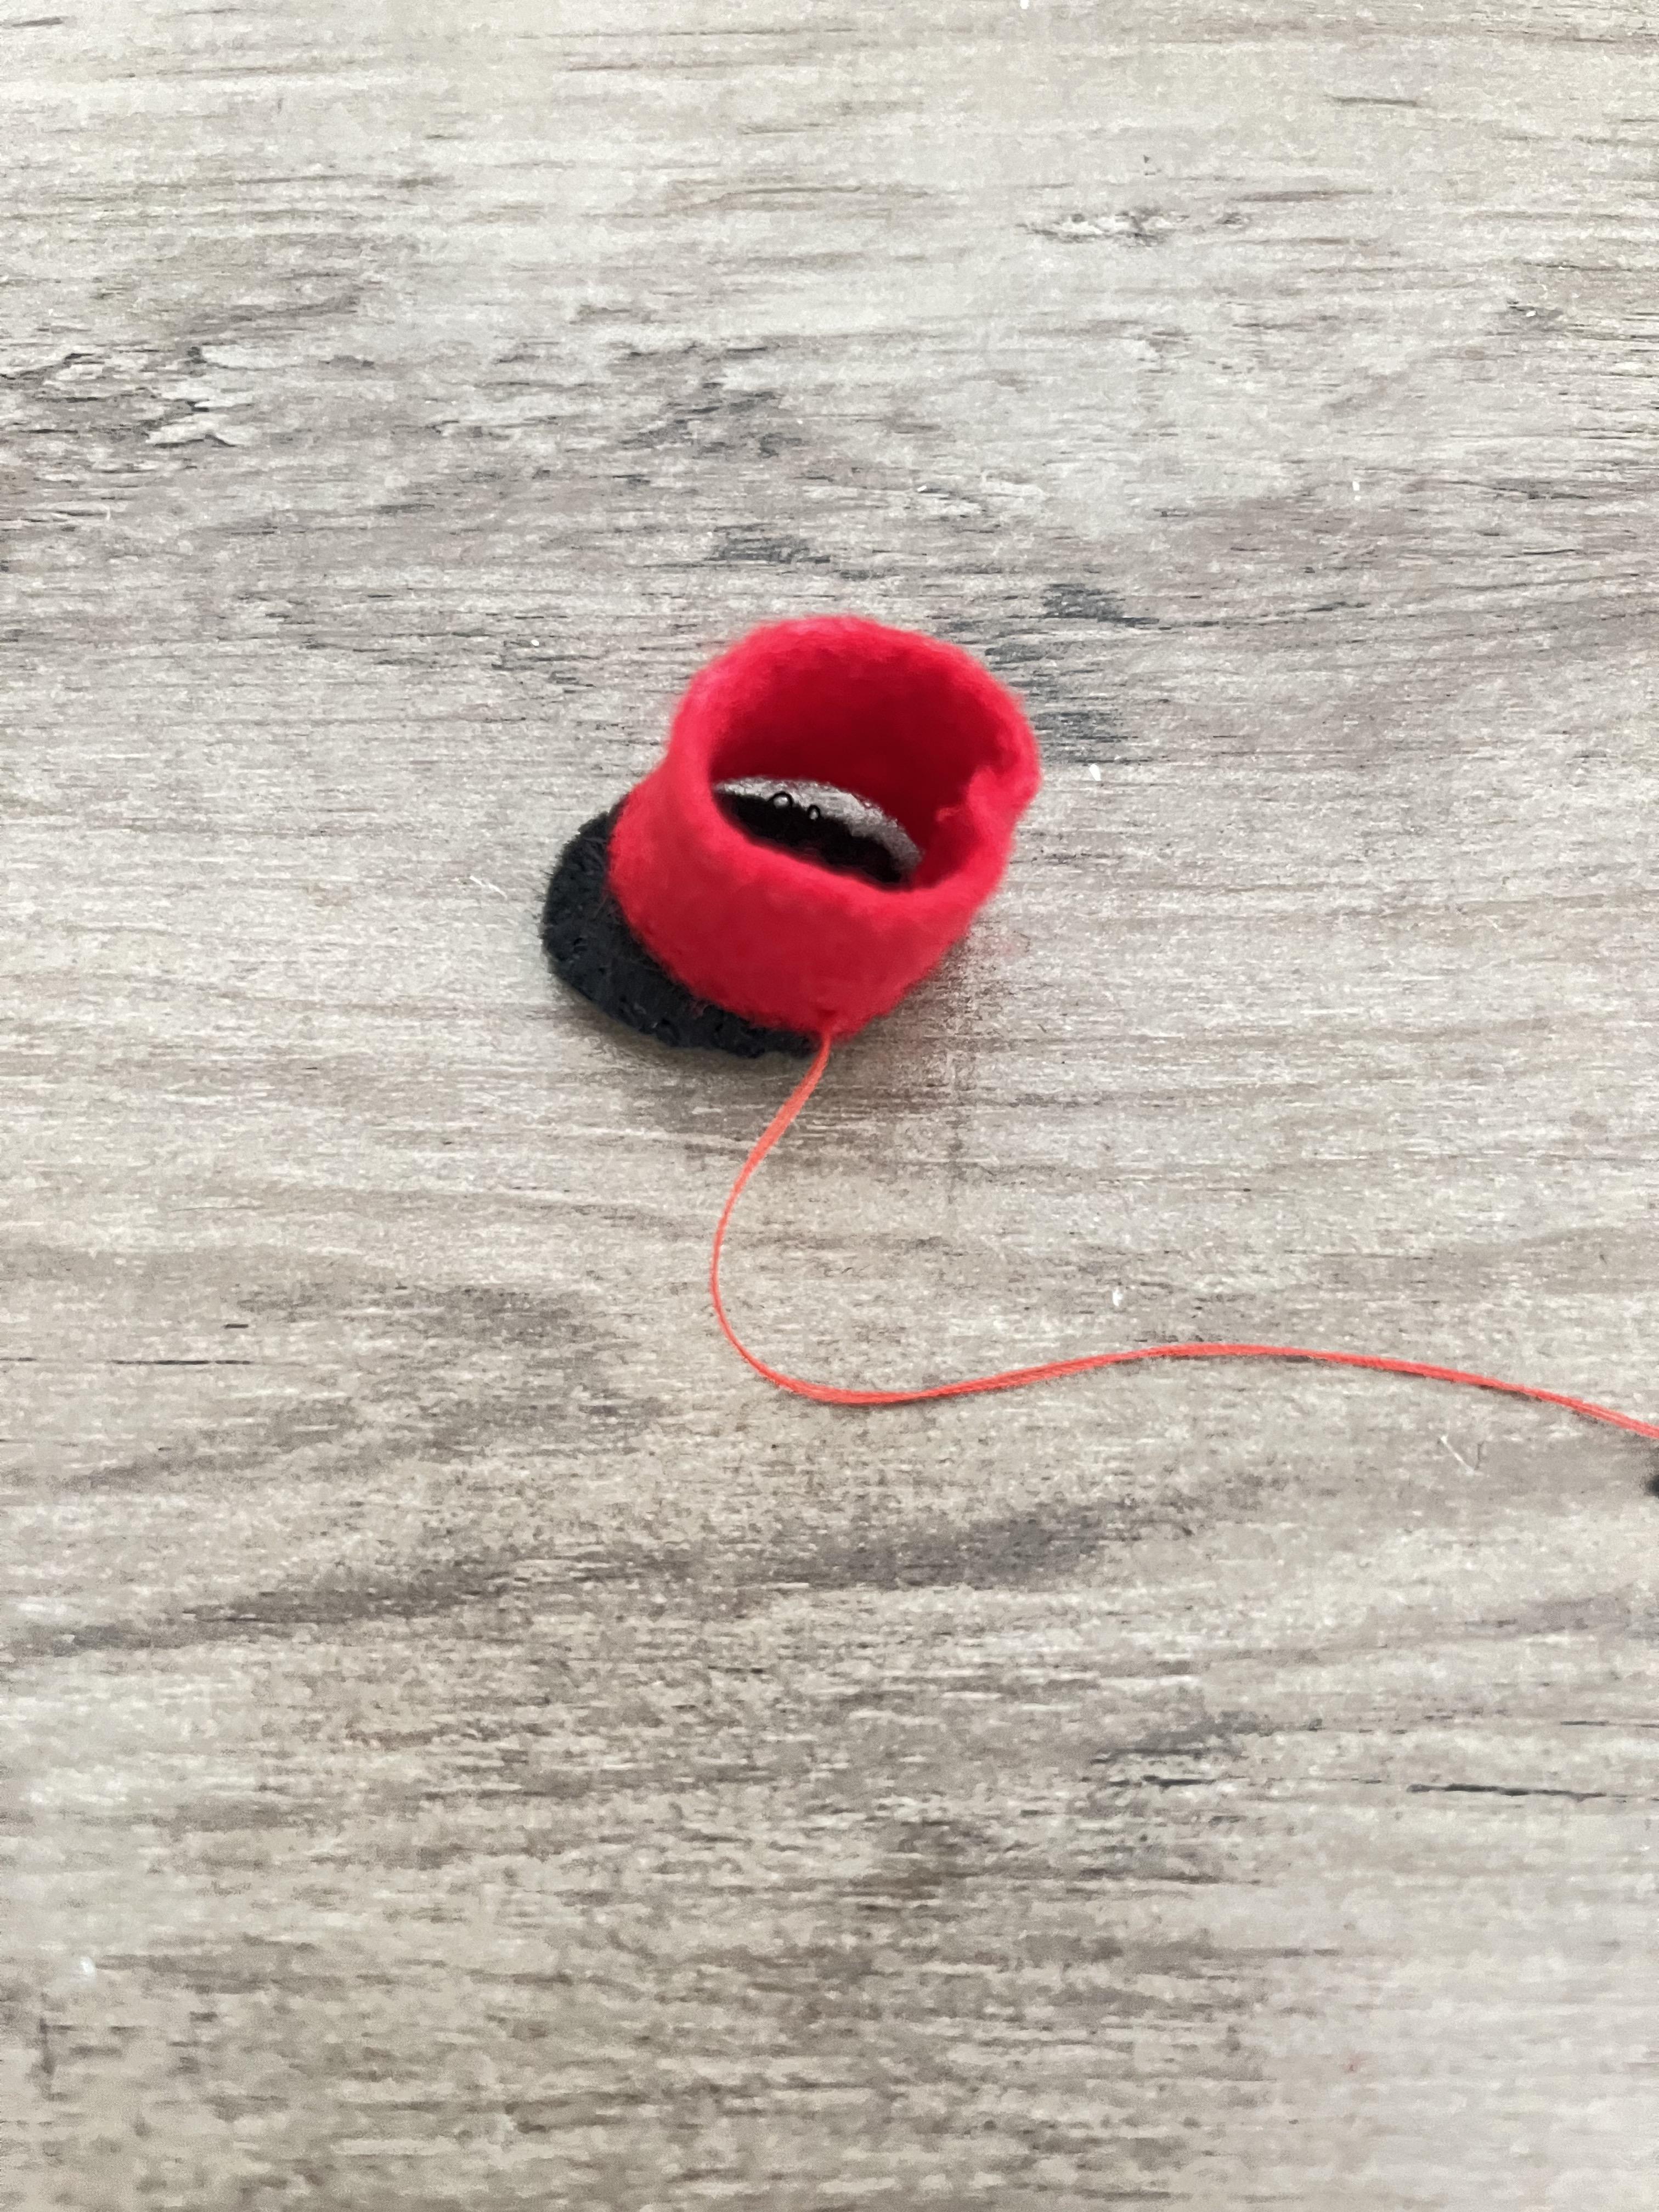
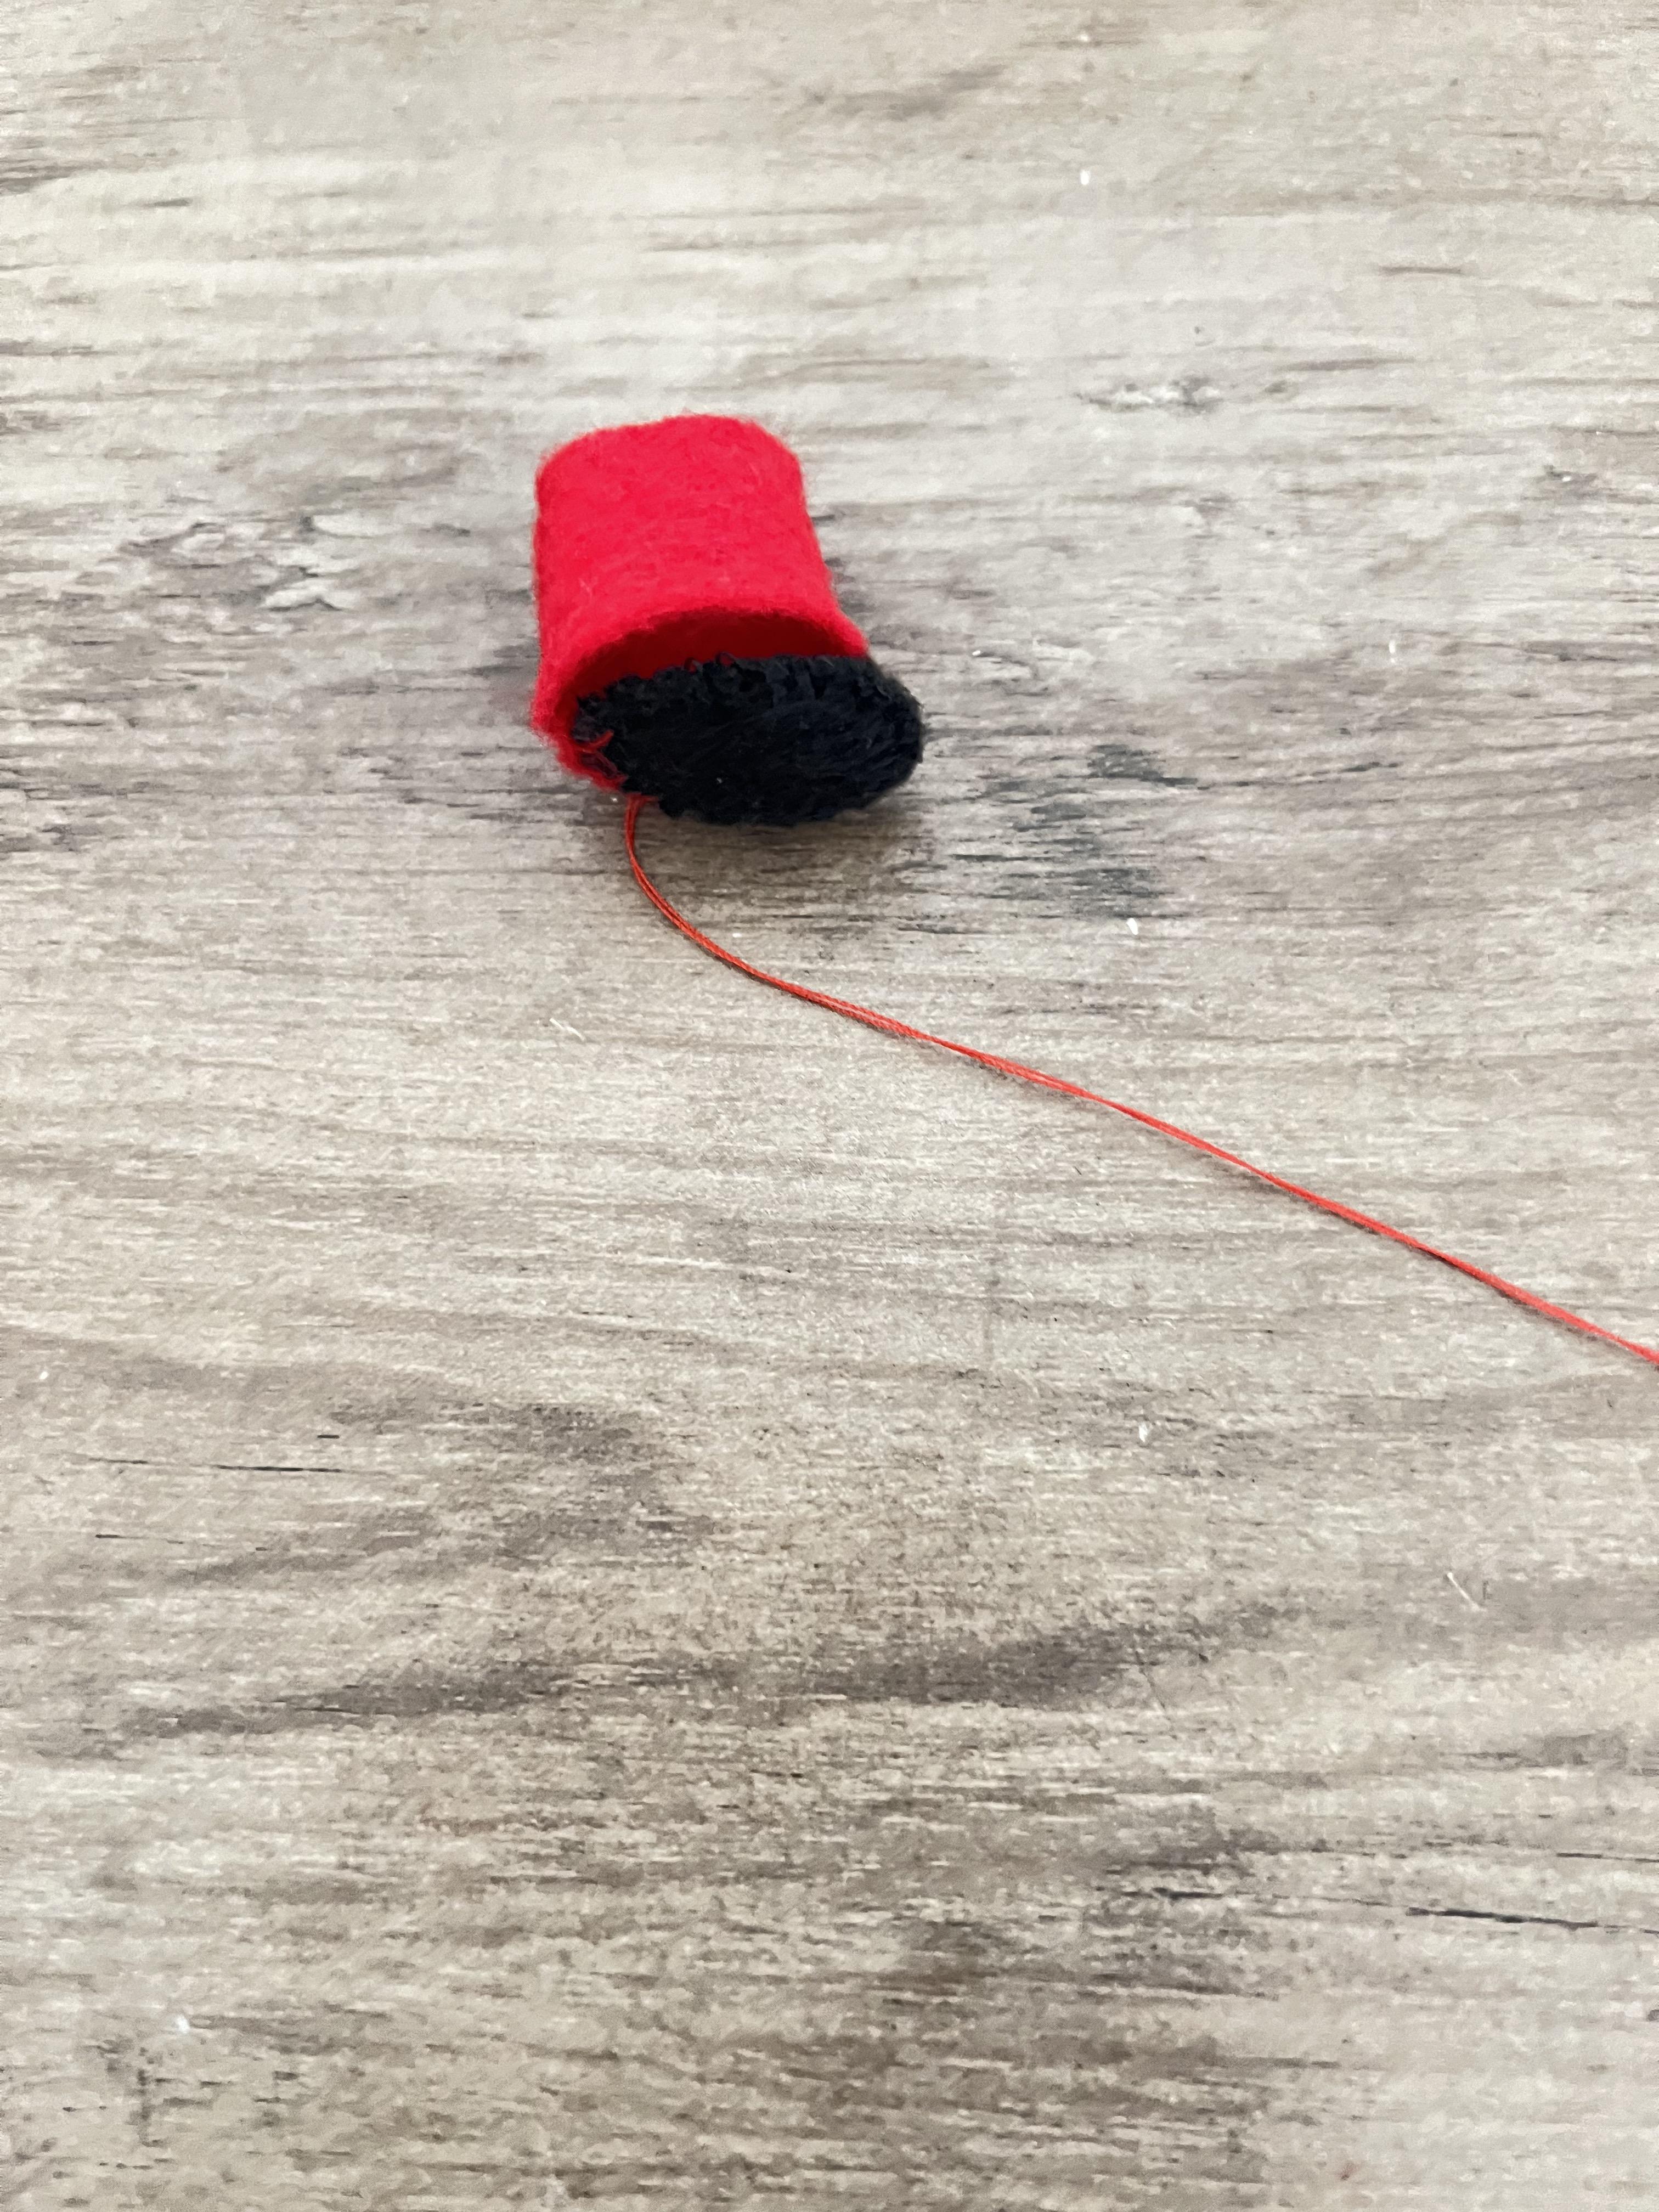
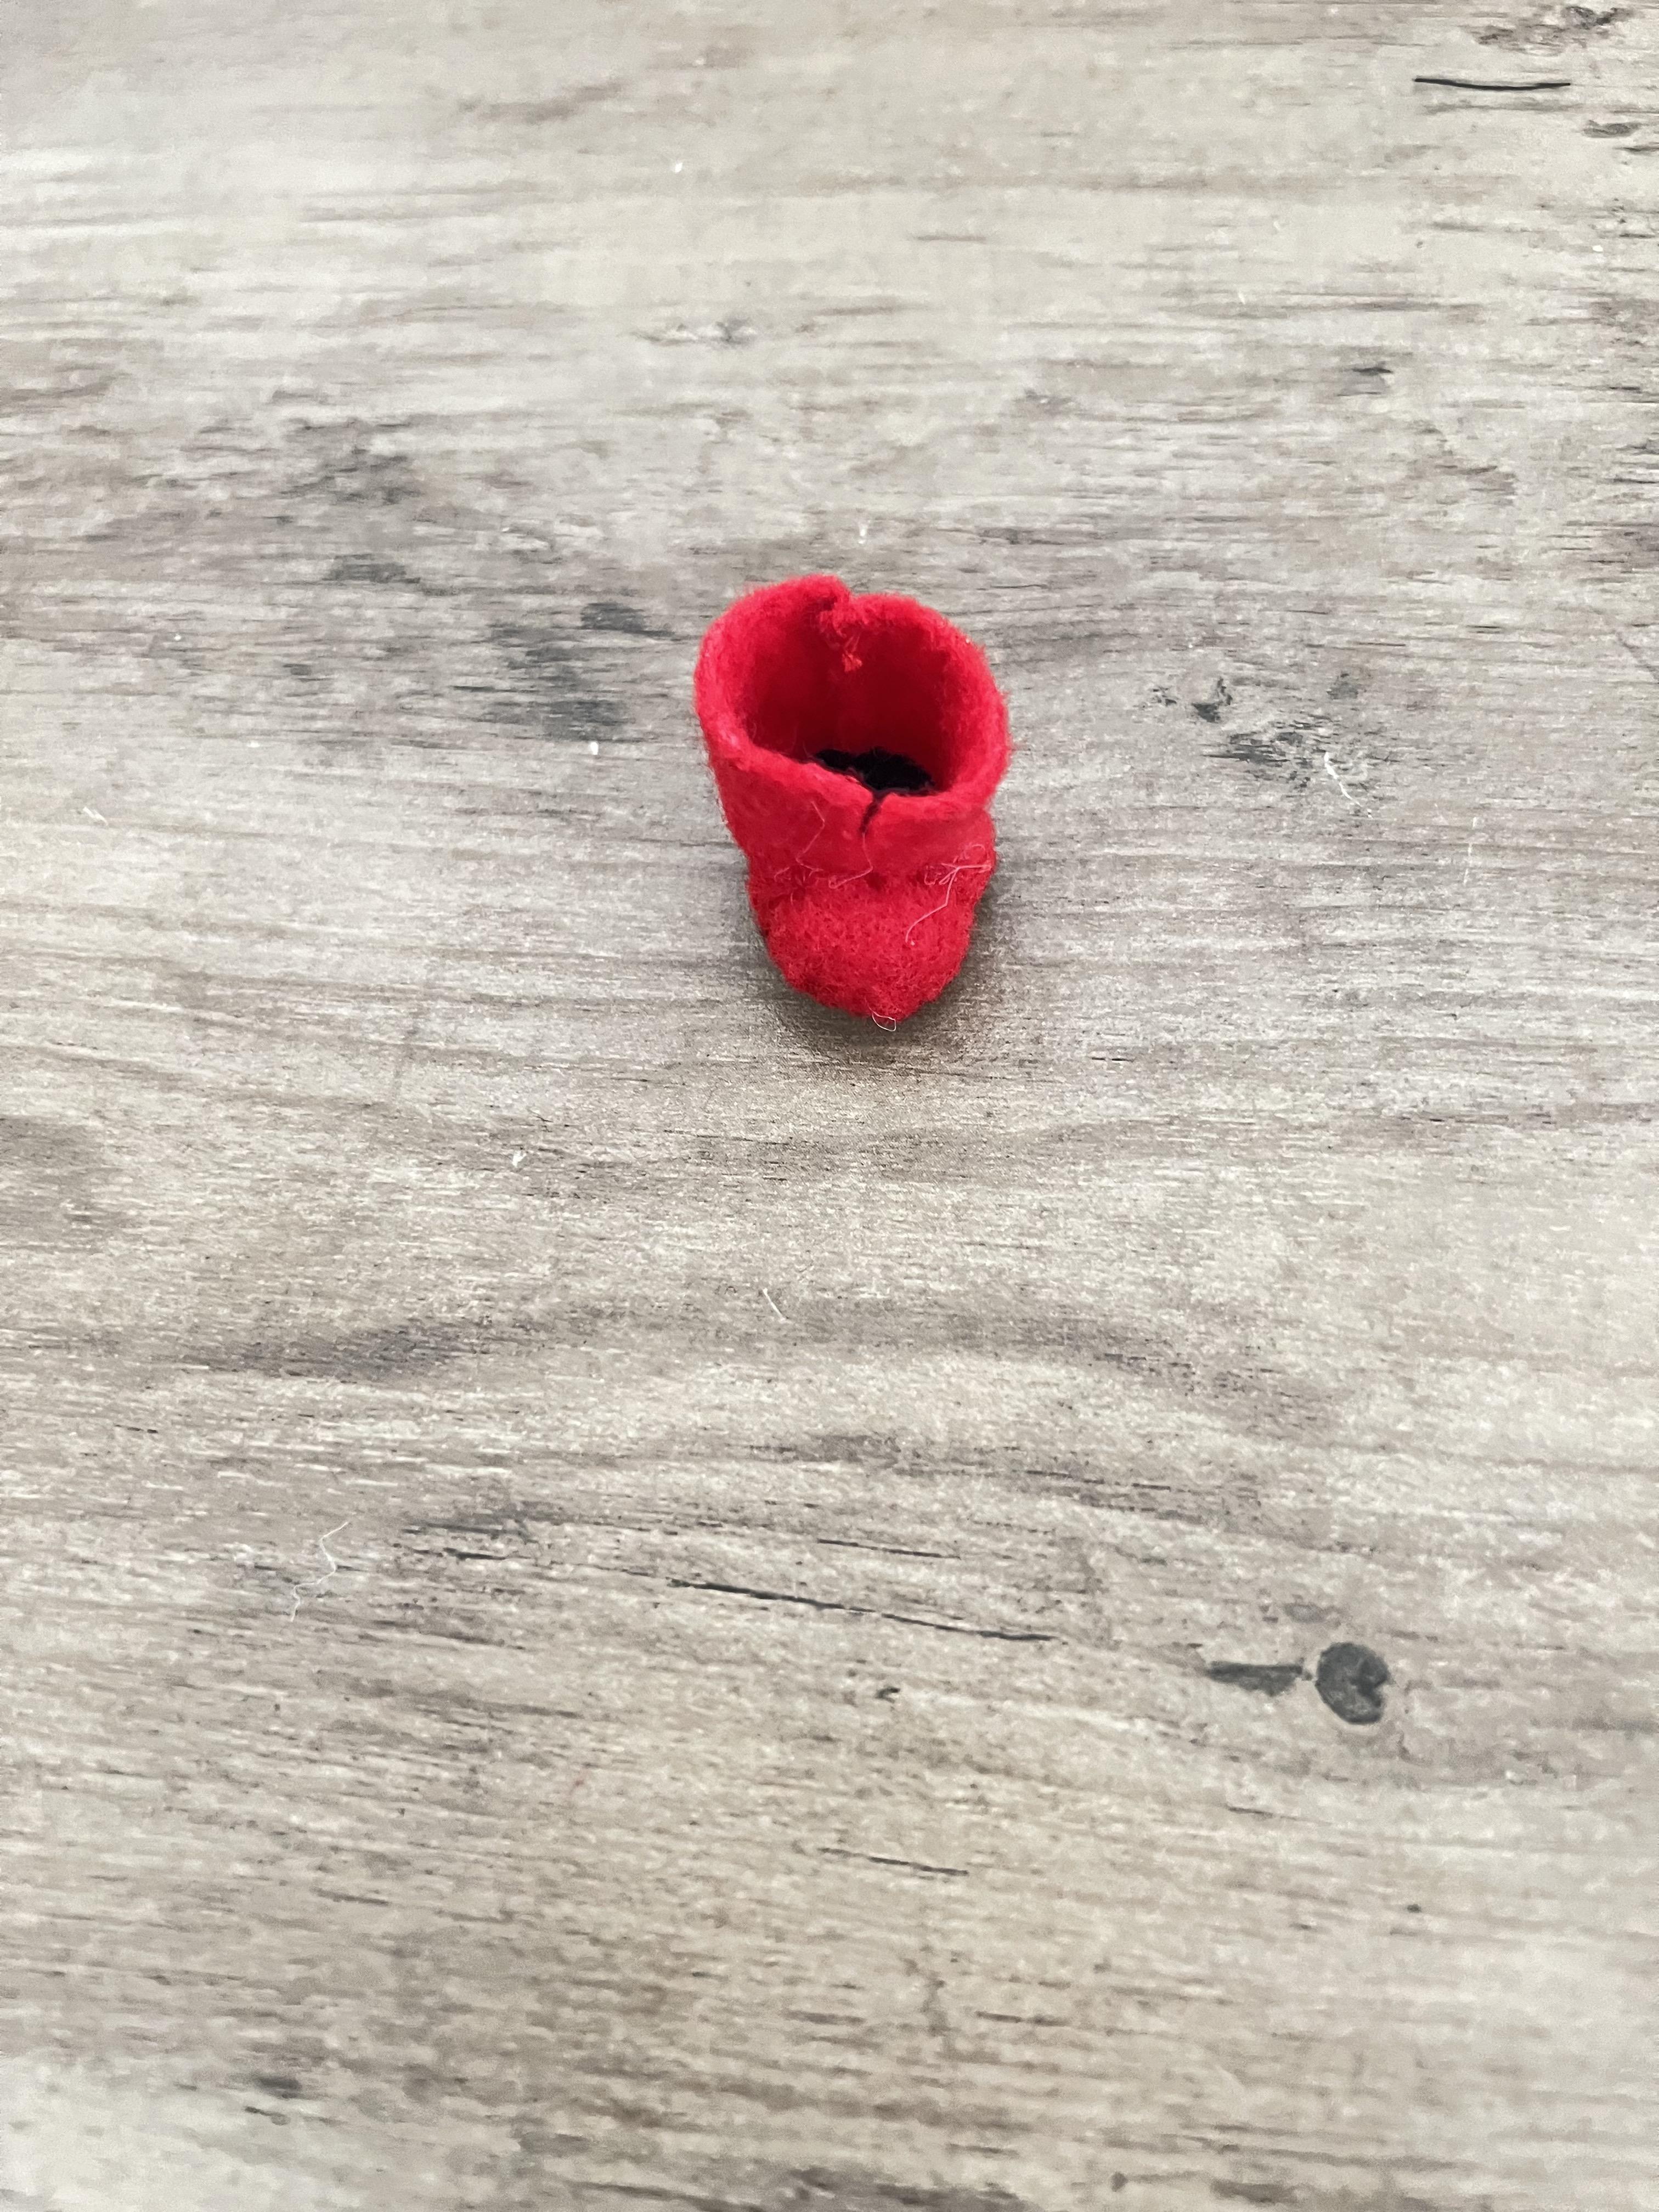
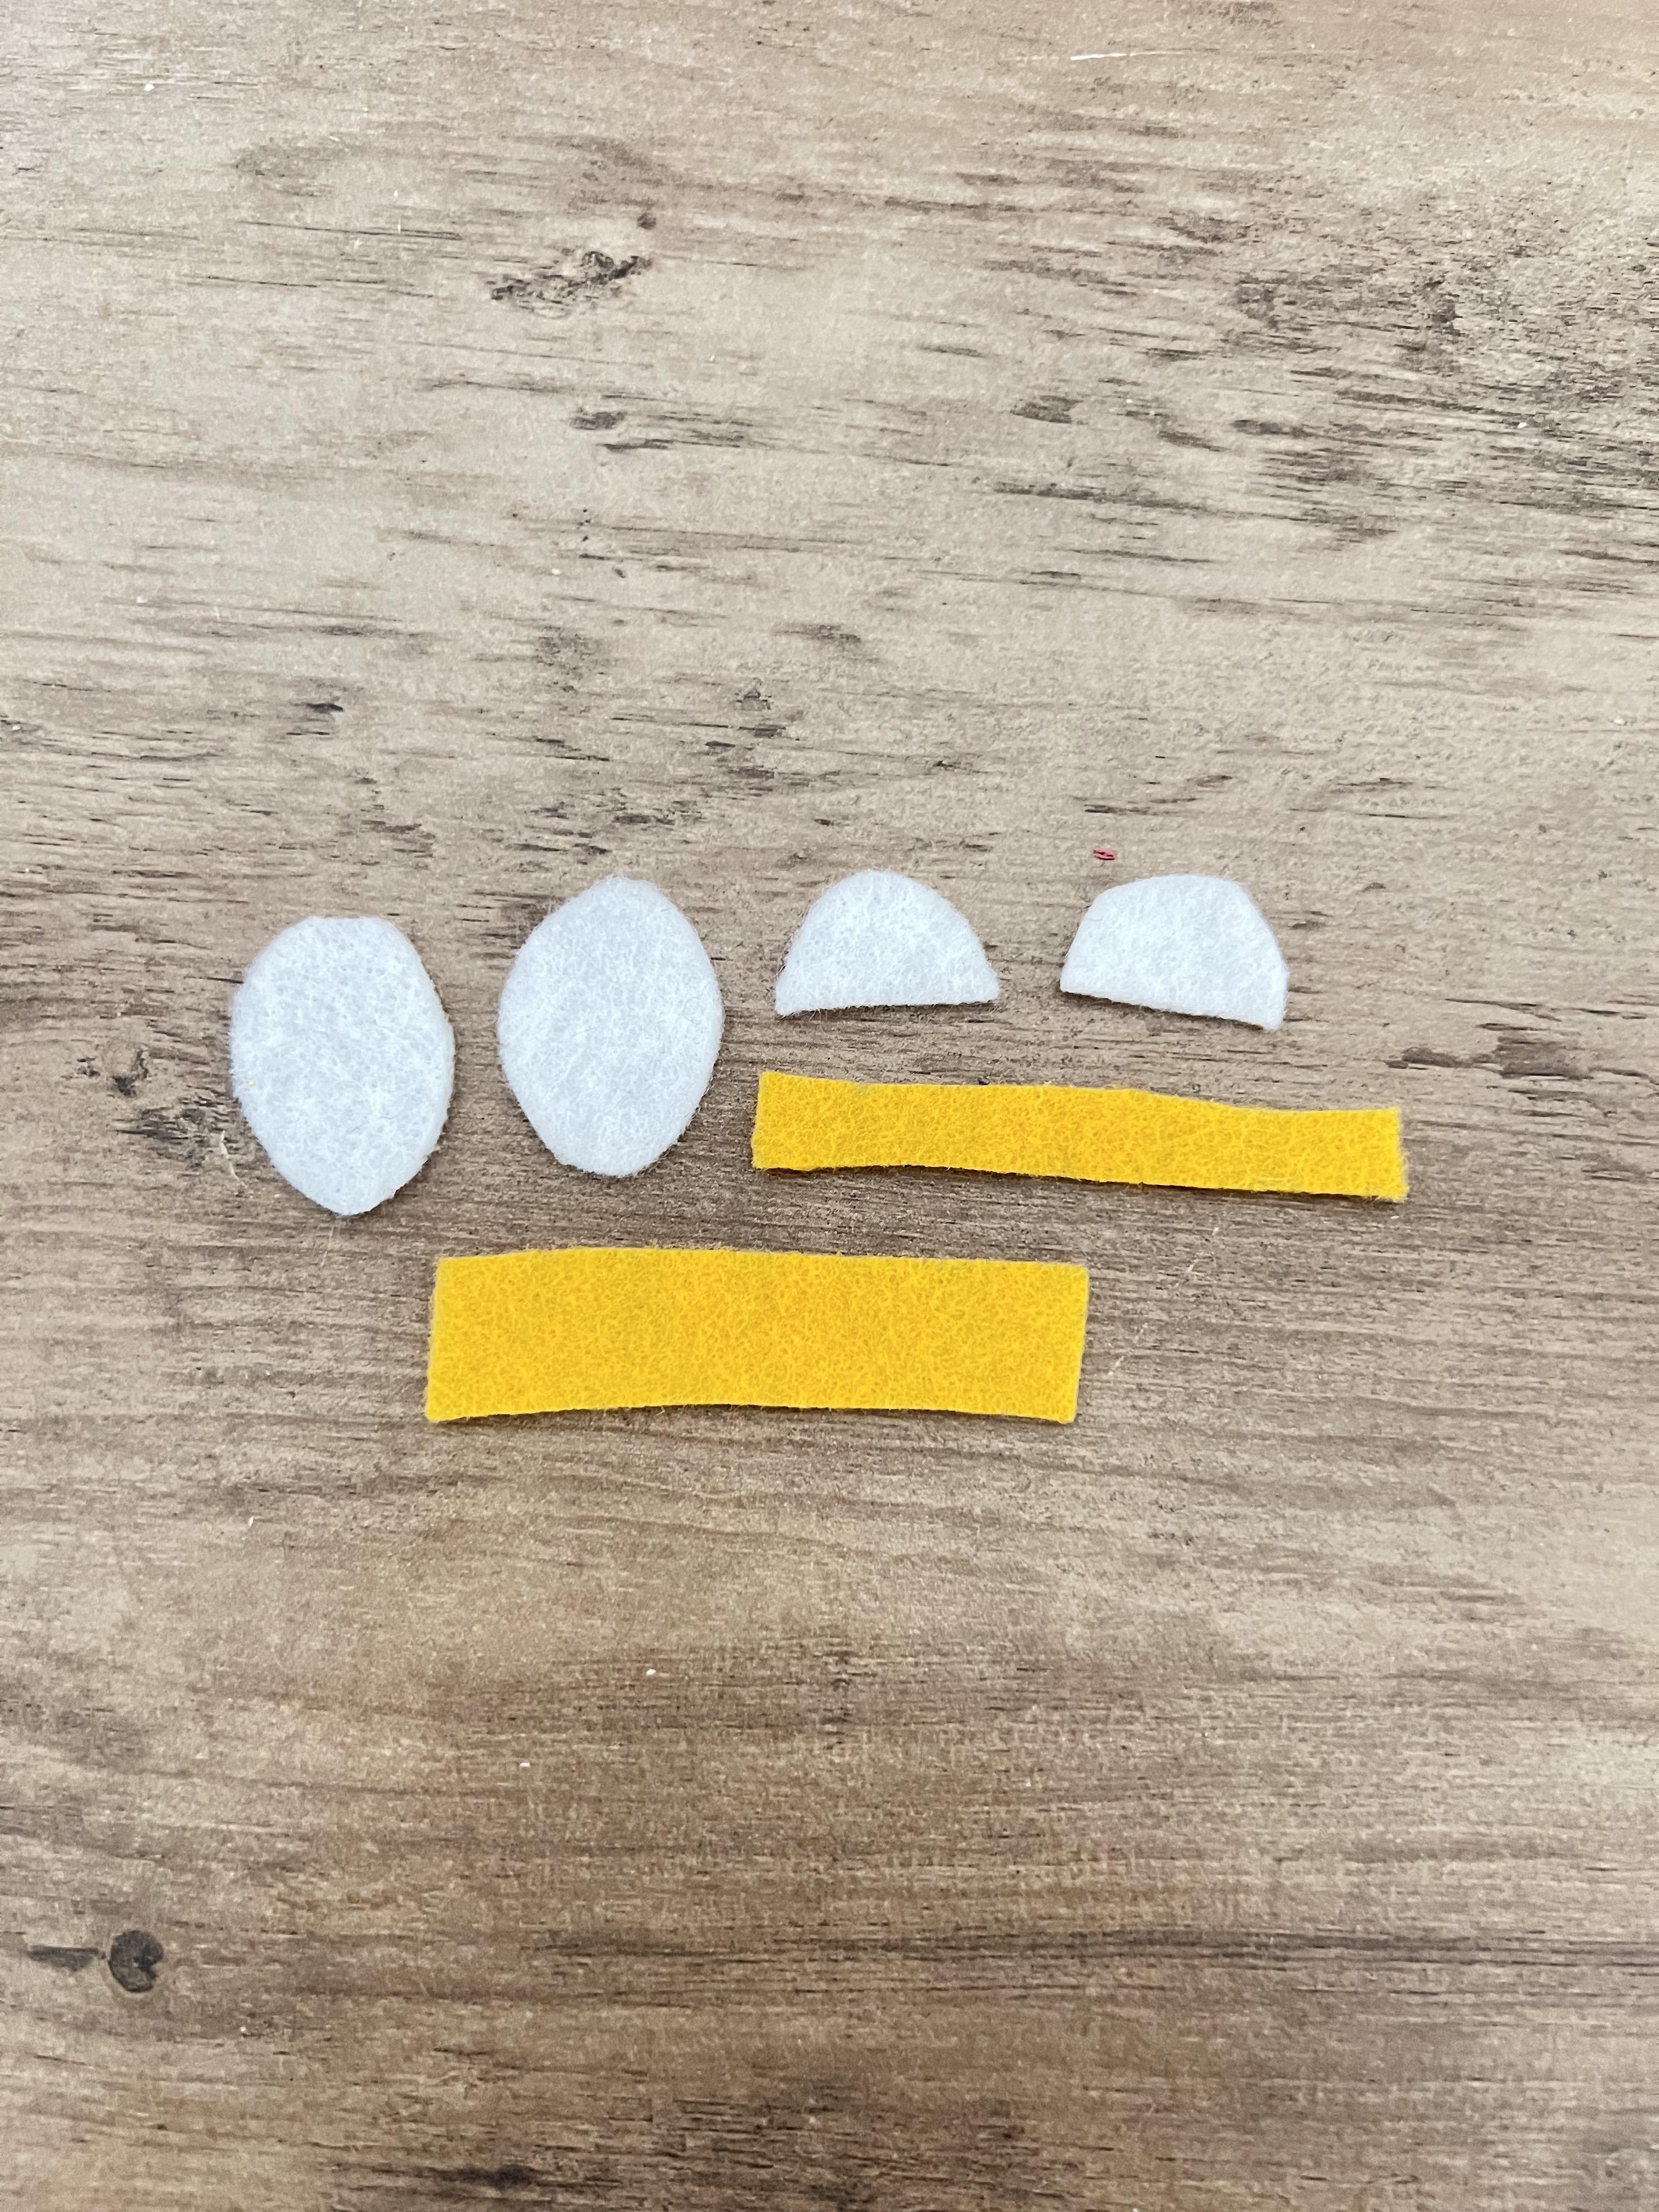
For his shoes, the method is still just like Albert's. Cut out four black ovals (two per shoe), two little red half-circles, and two red strips. To start, stack two black ovals on top of each other and stitch around the edges (securing them together). Fold a red strip in half and sew up one side. Attach the red tube to the shoe base and stitch around the bottom. Sew the toe onto the end of each shoe.
Sewing Dumb Donald
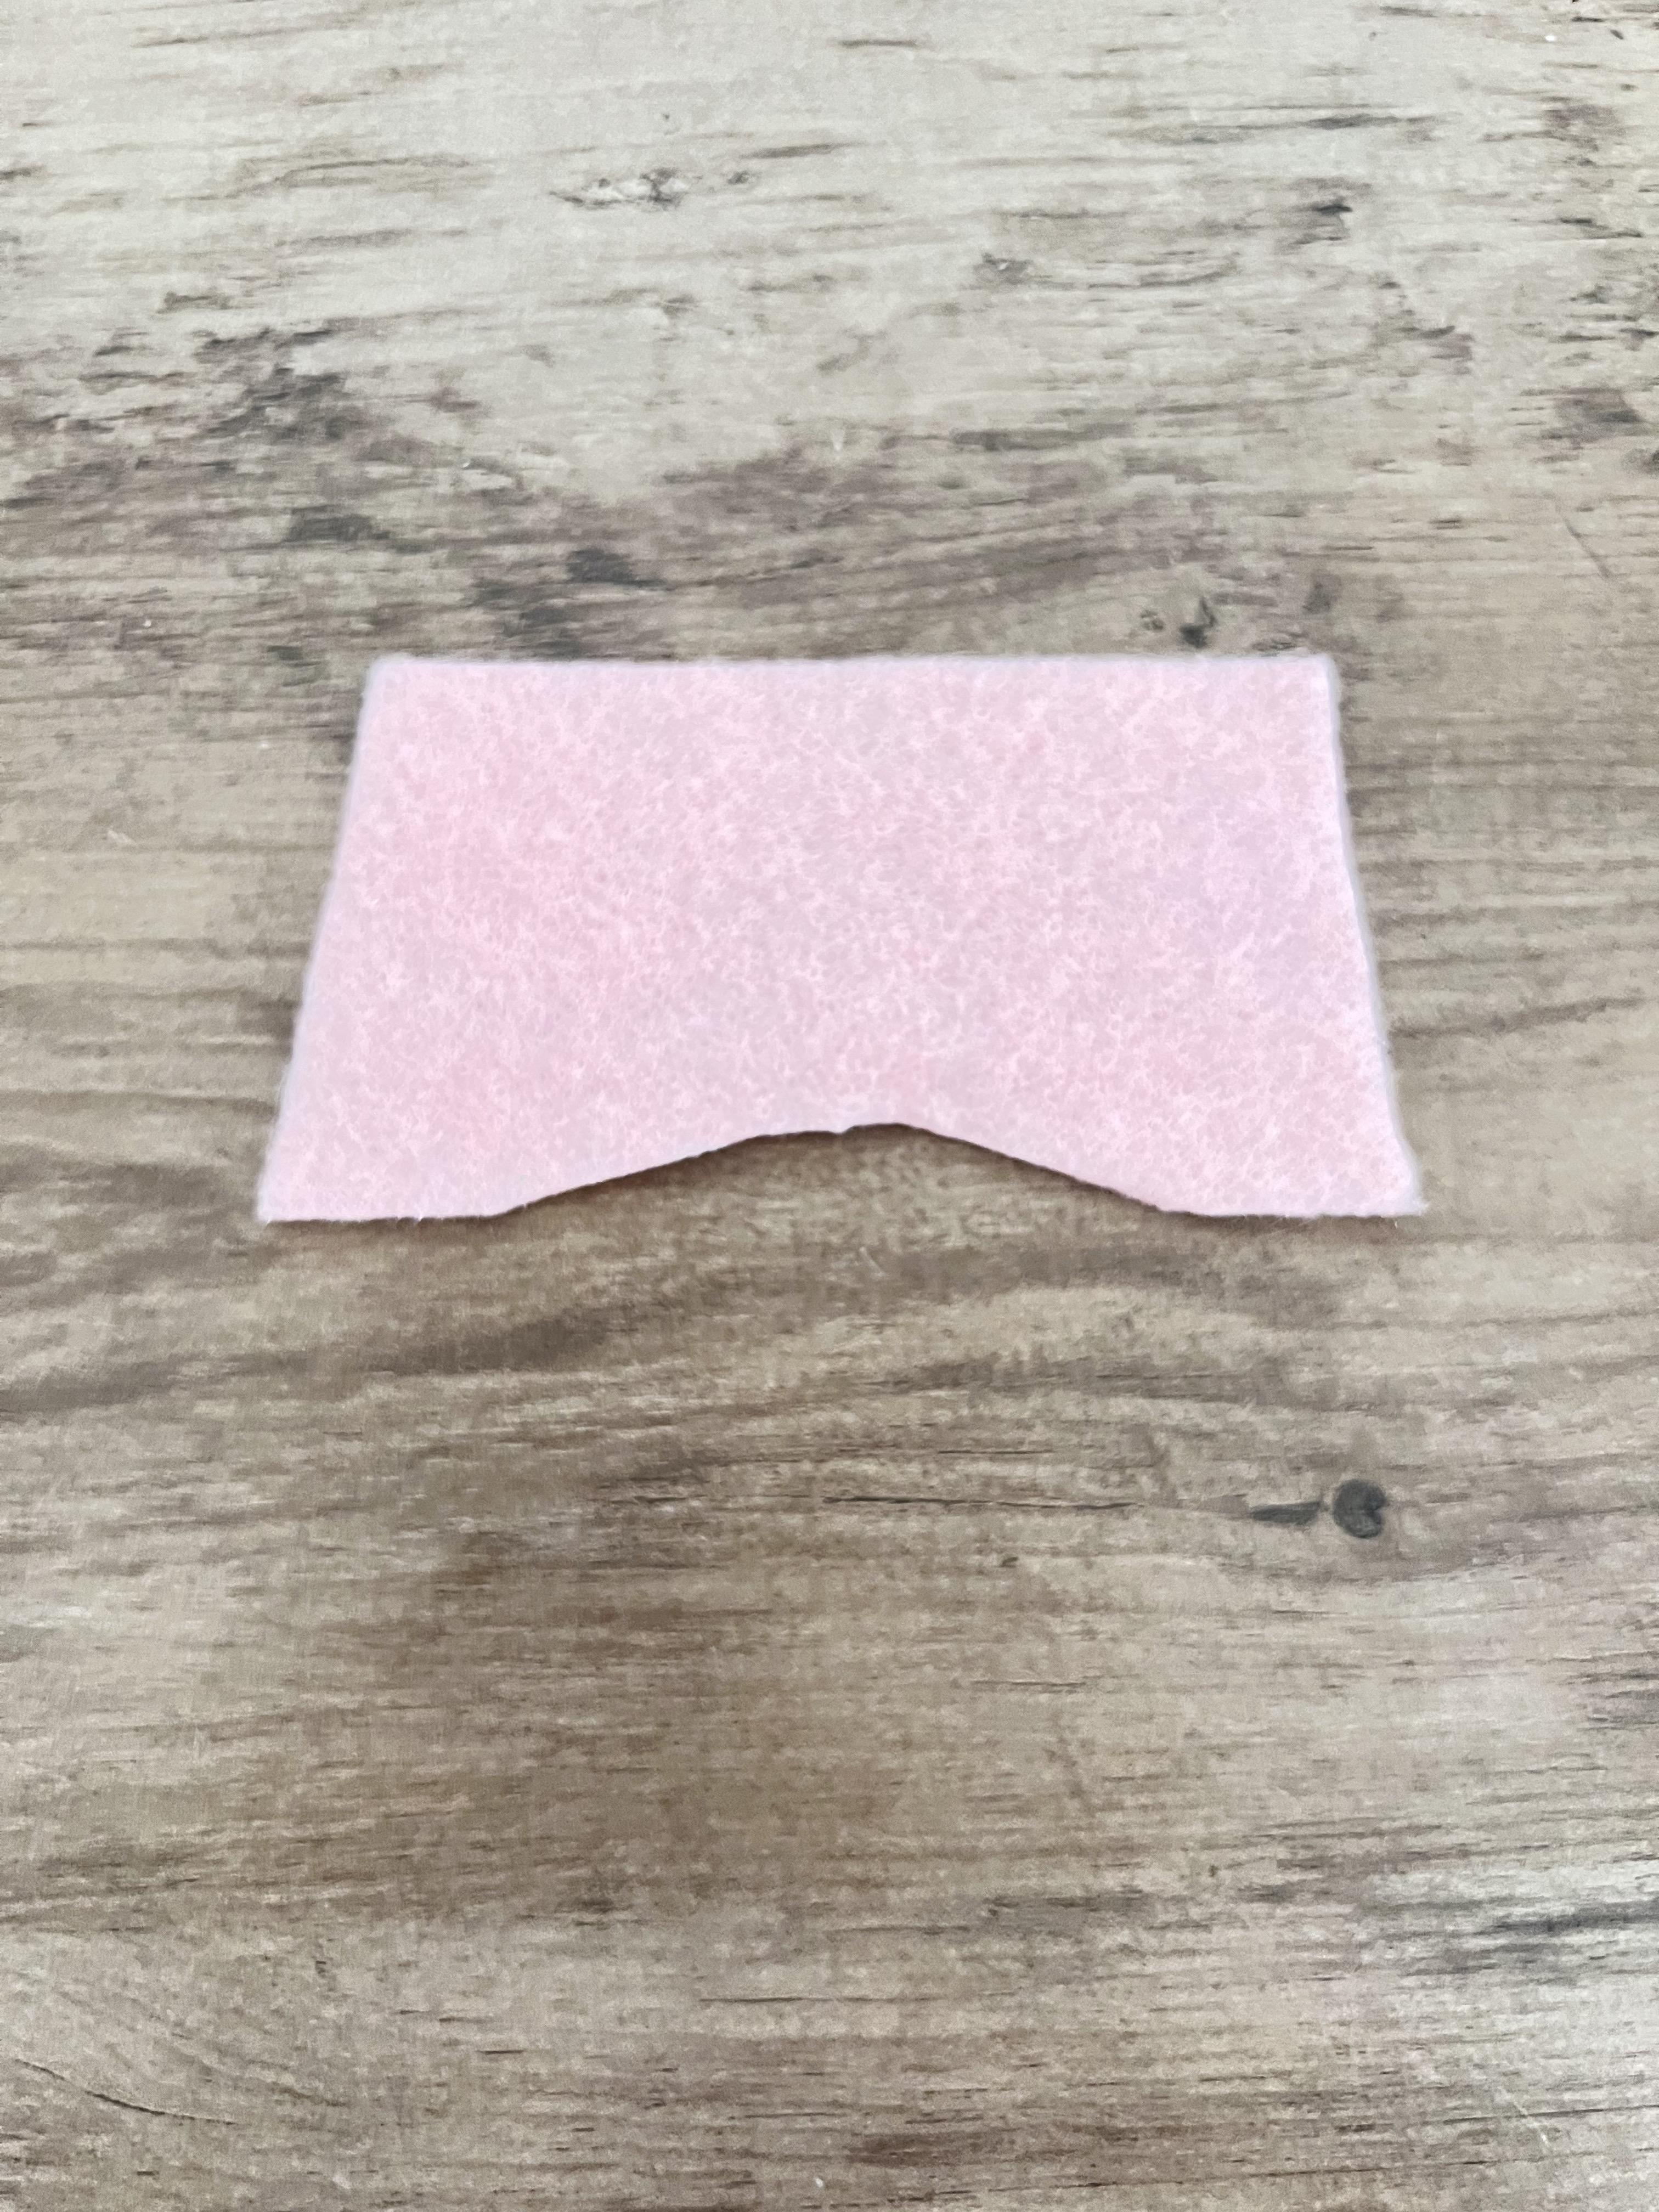
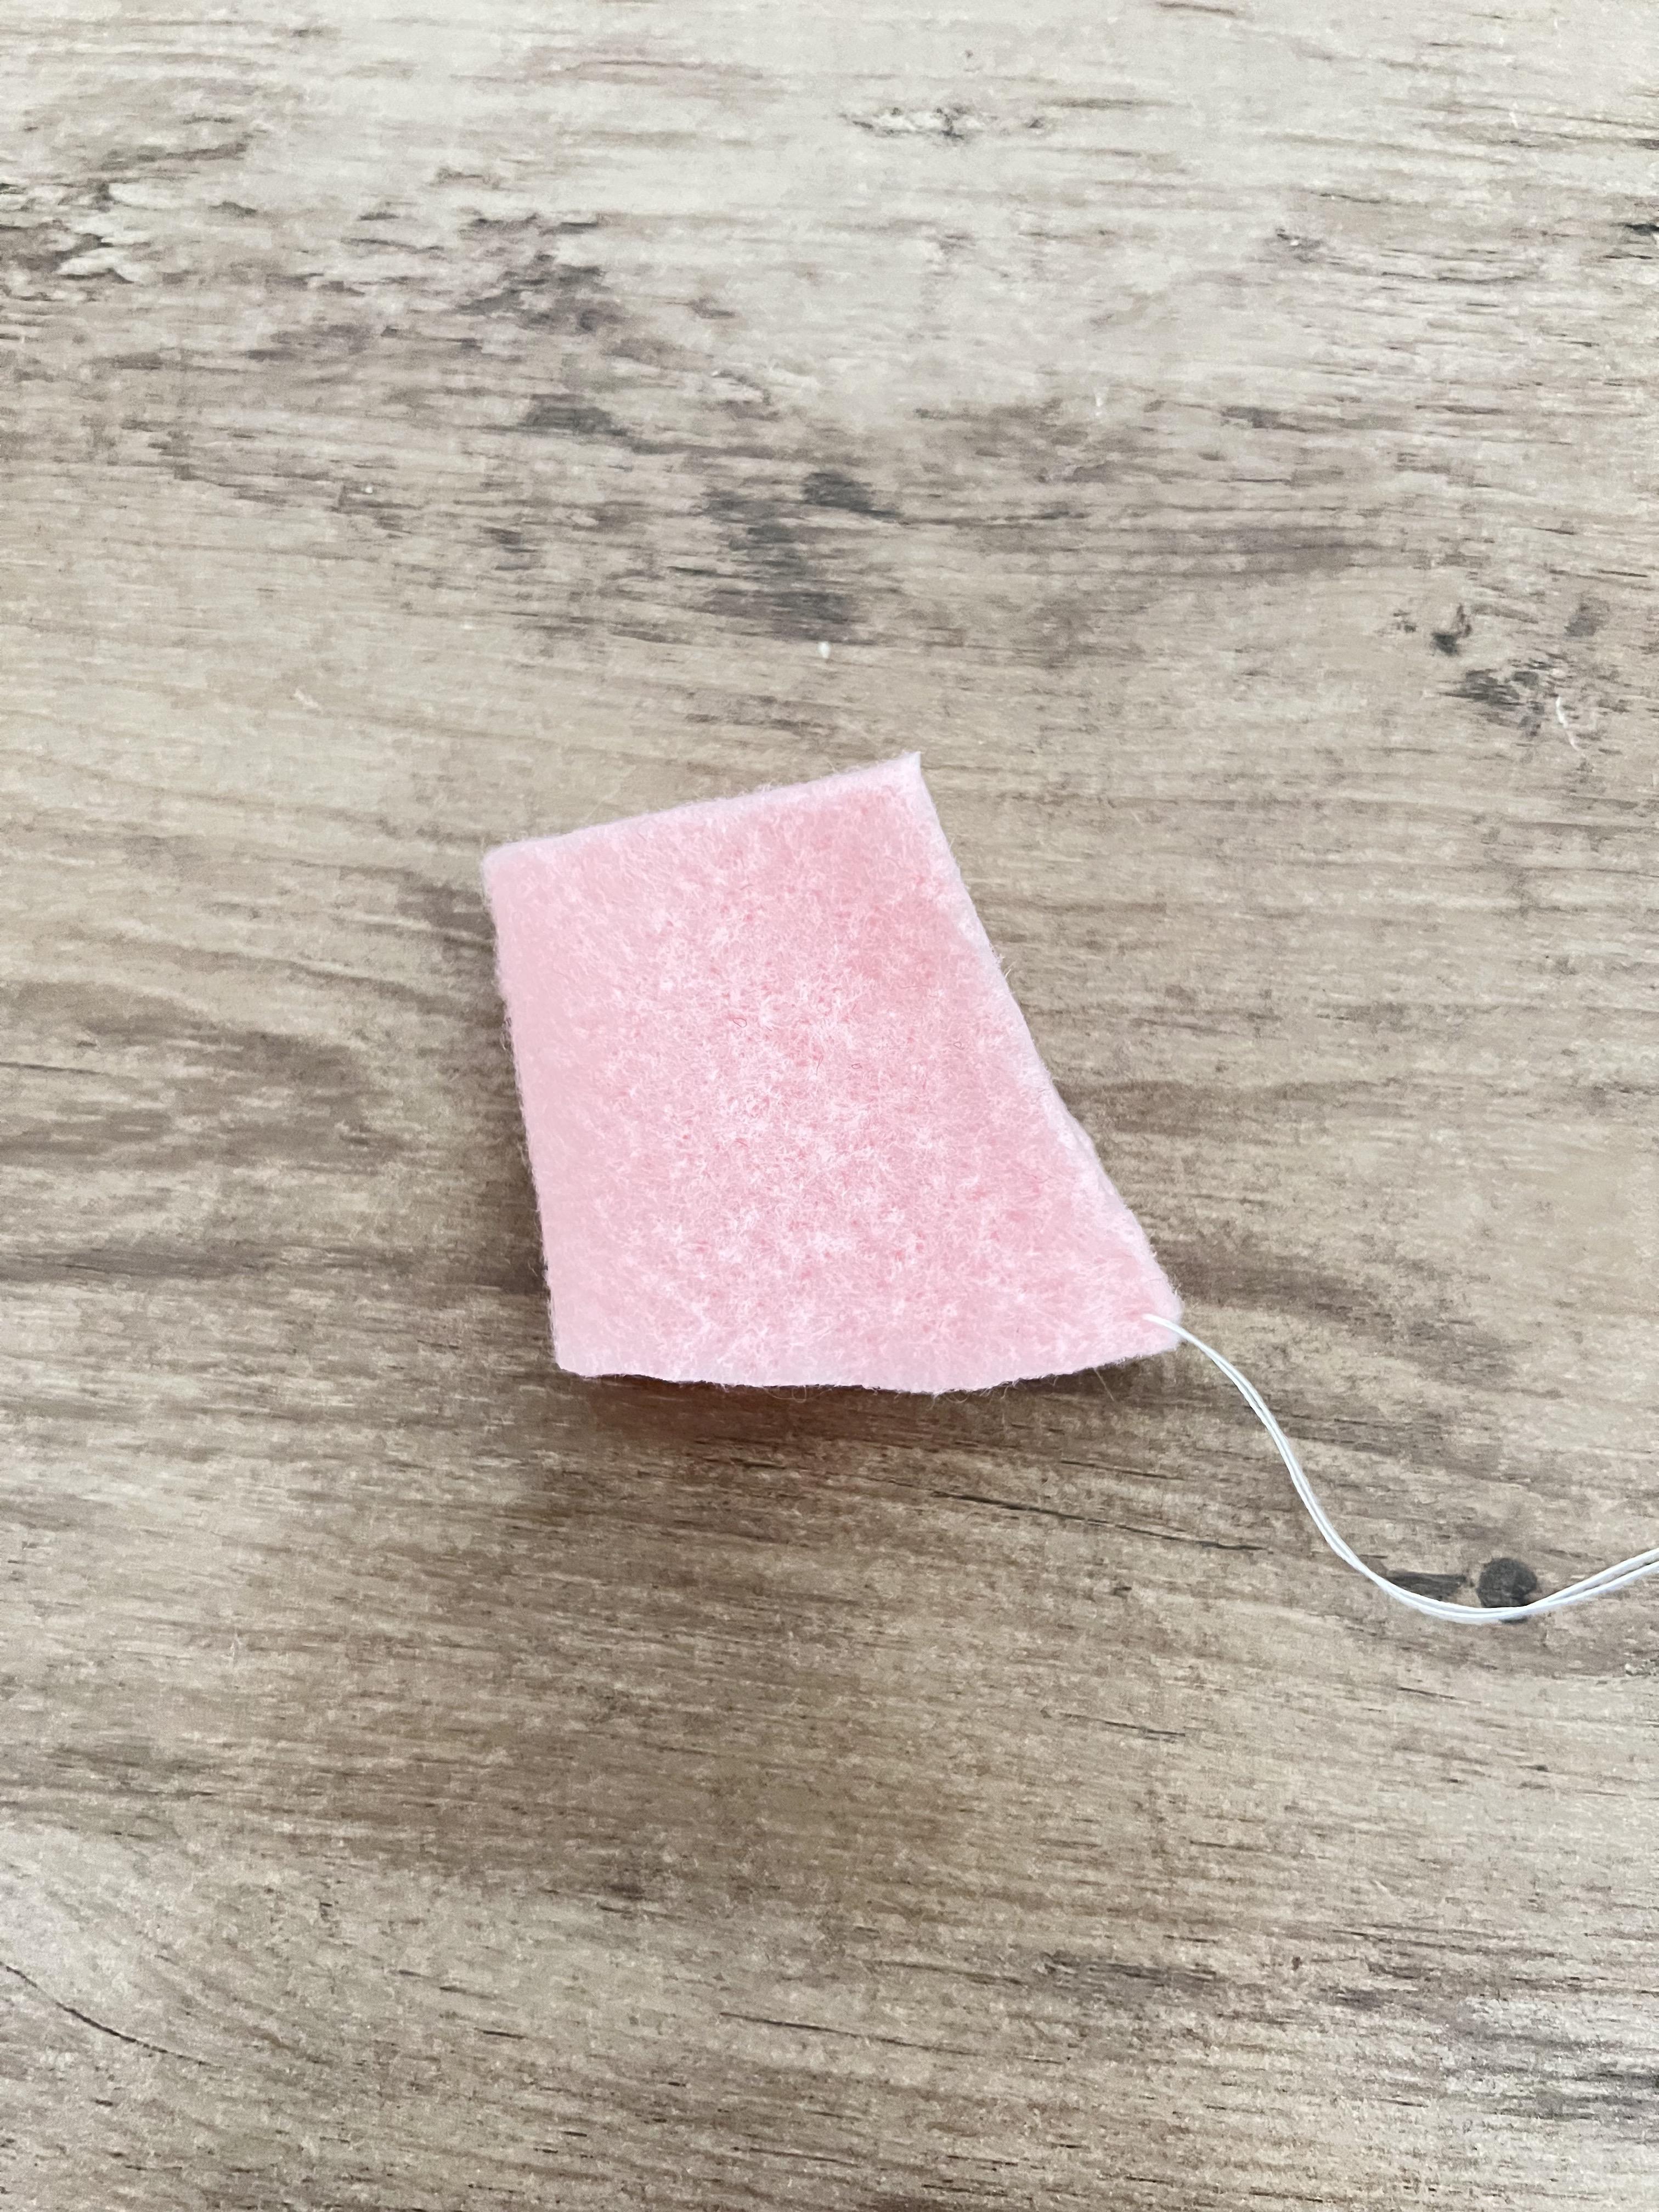
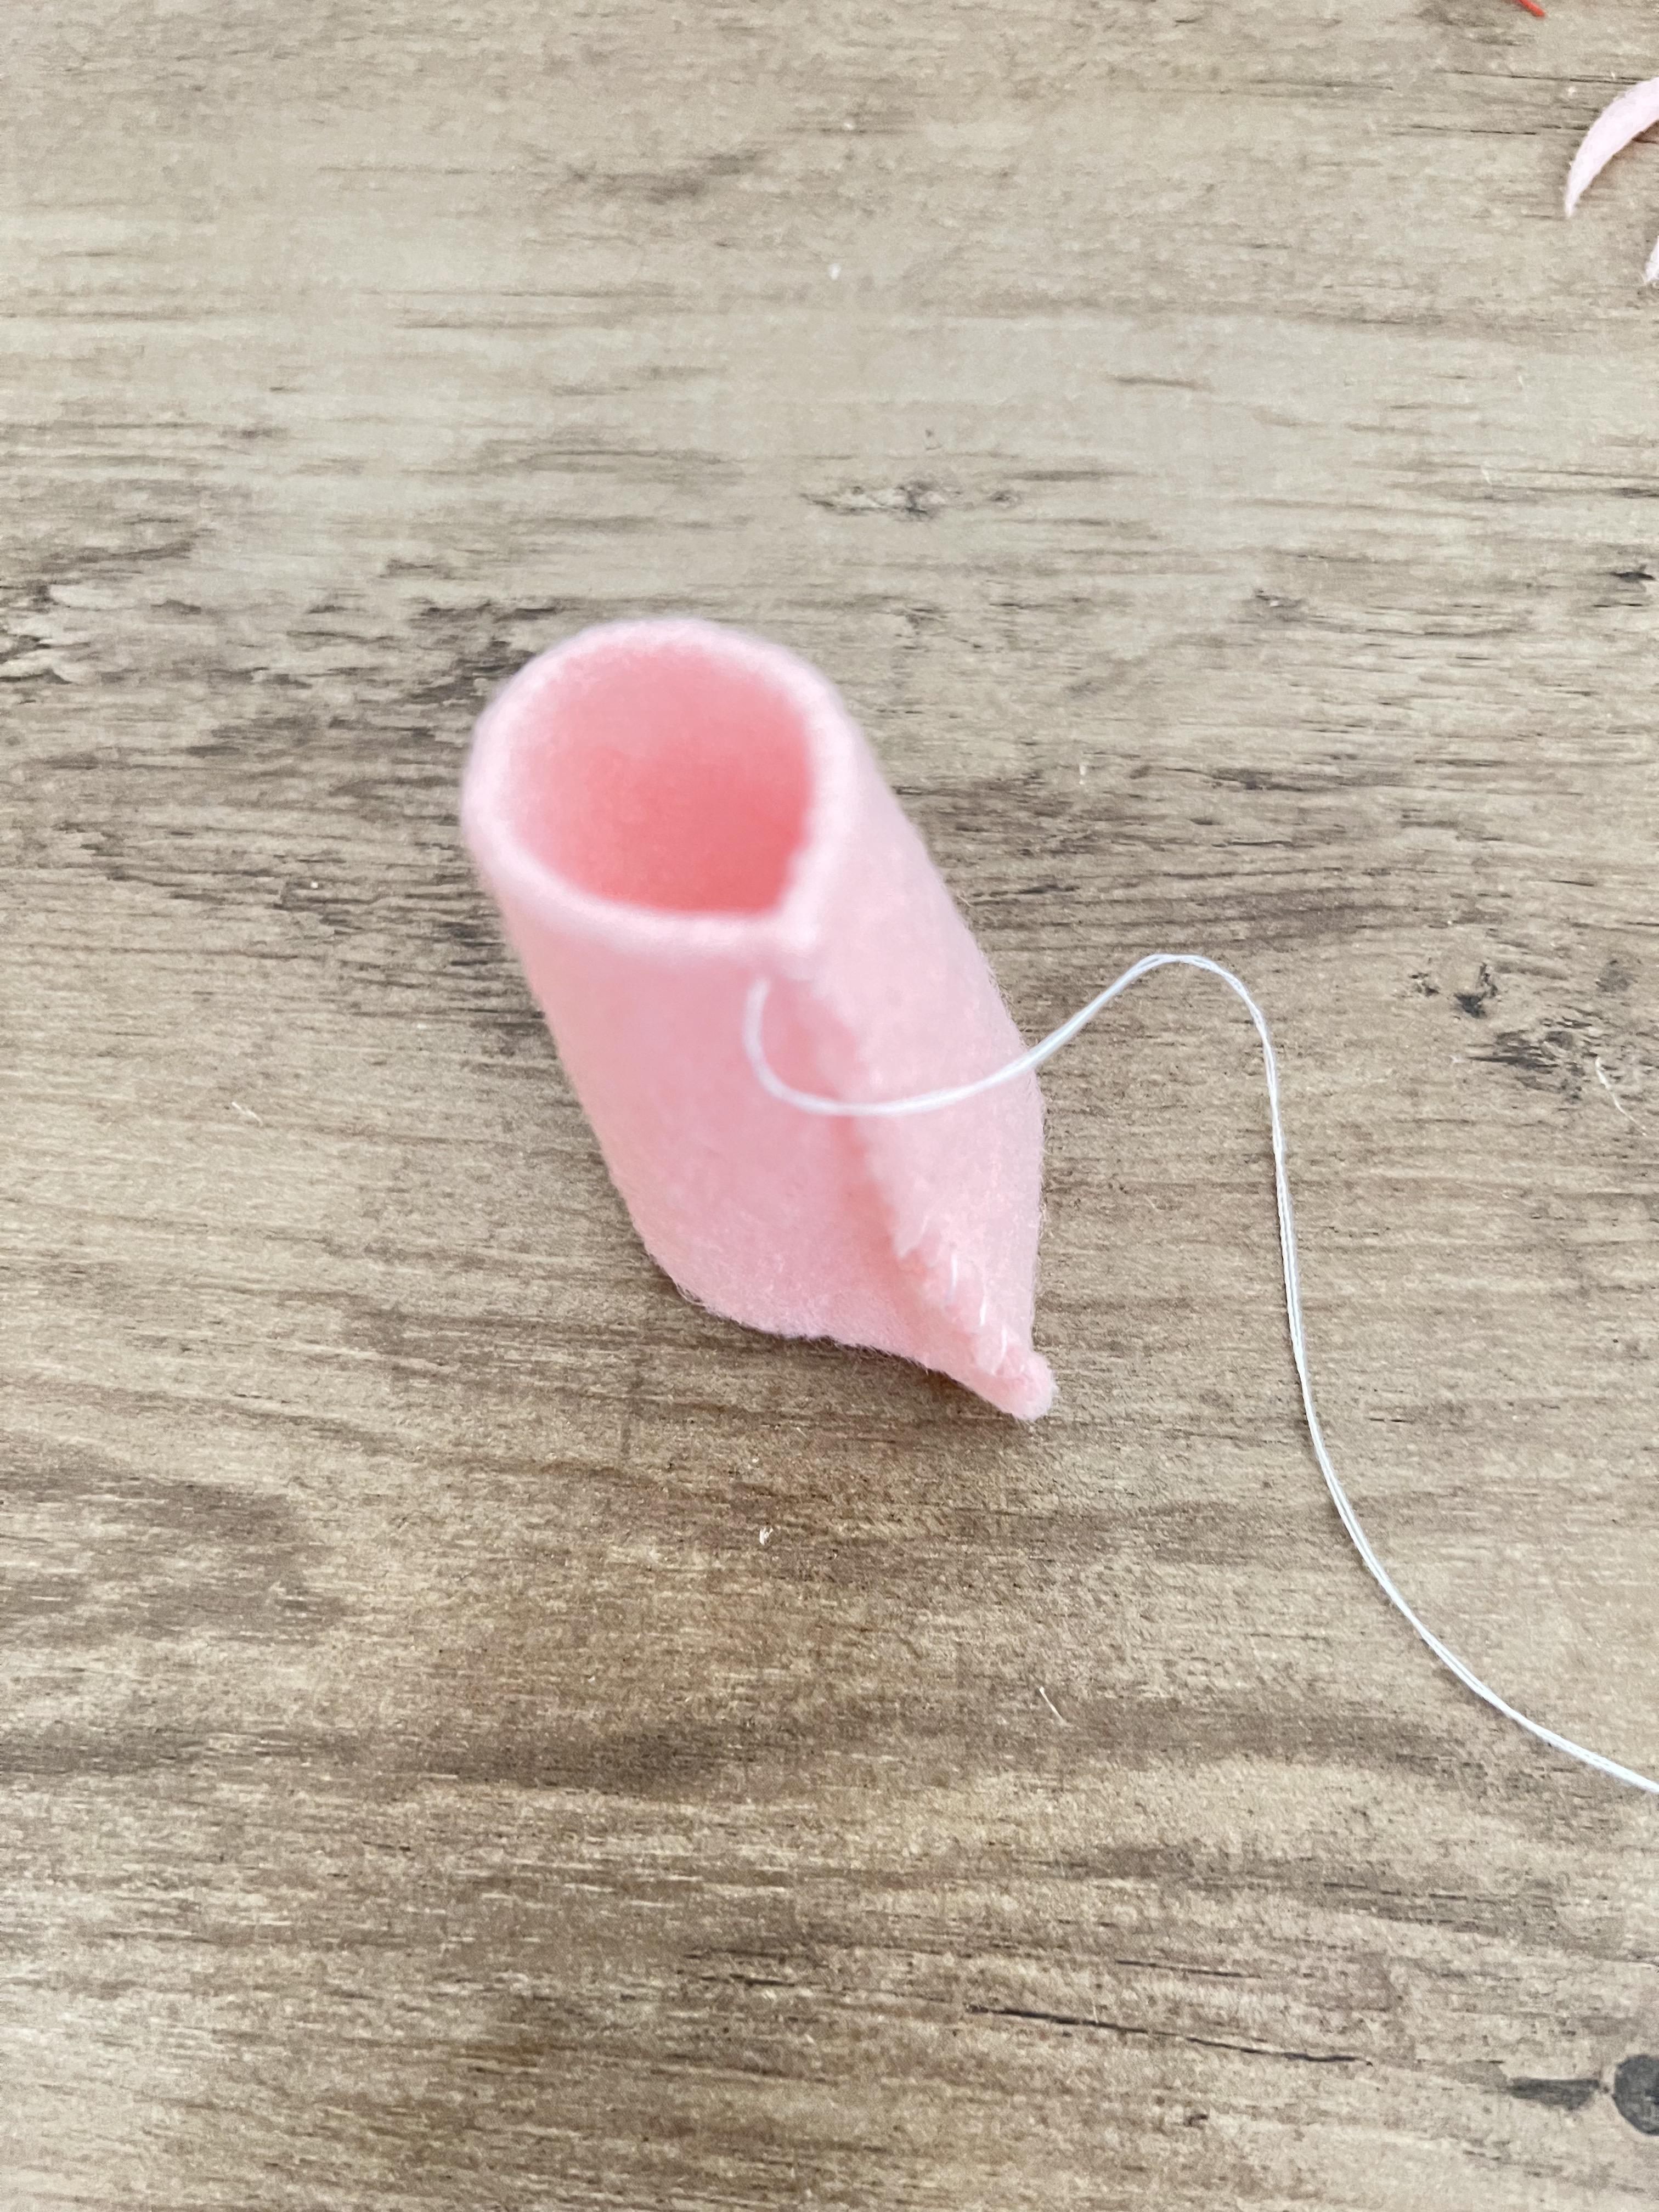
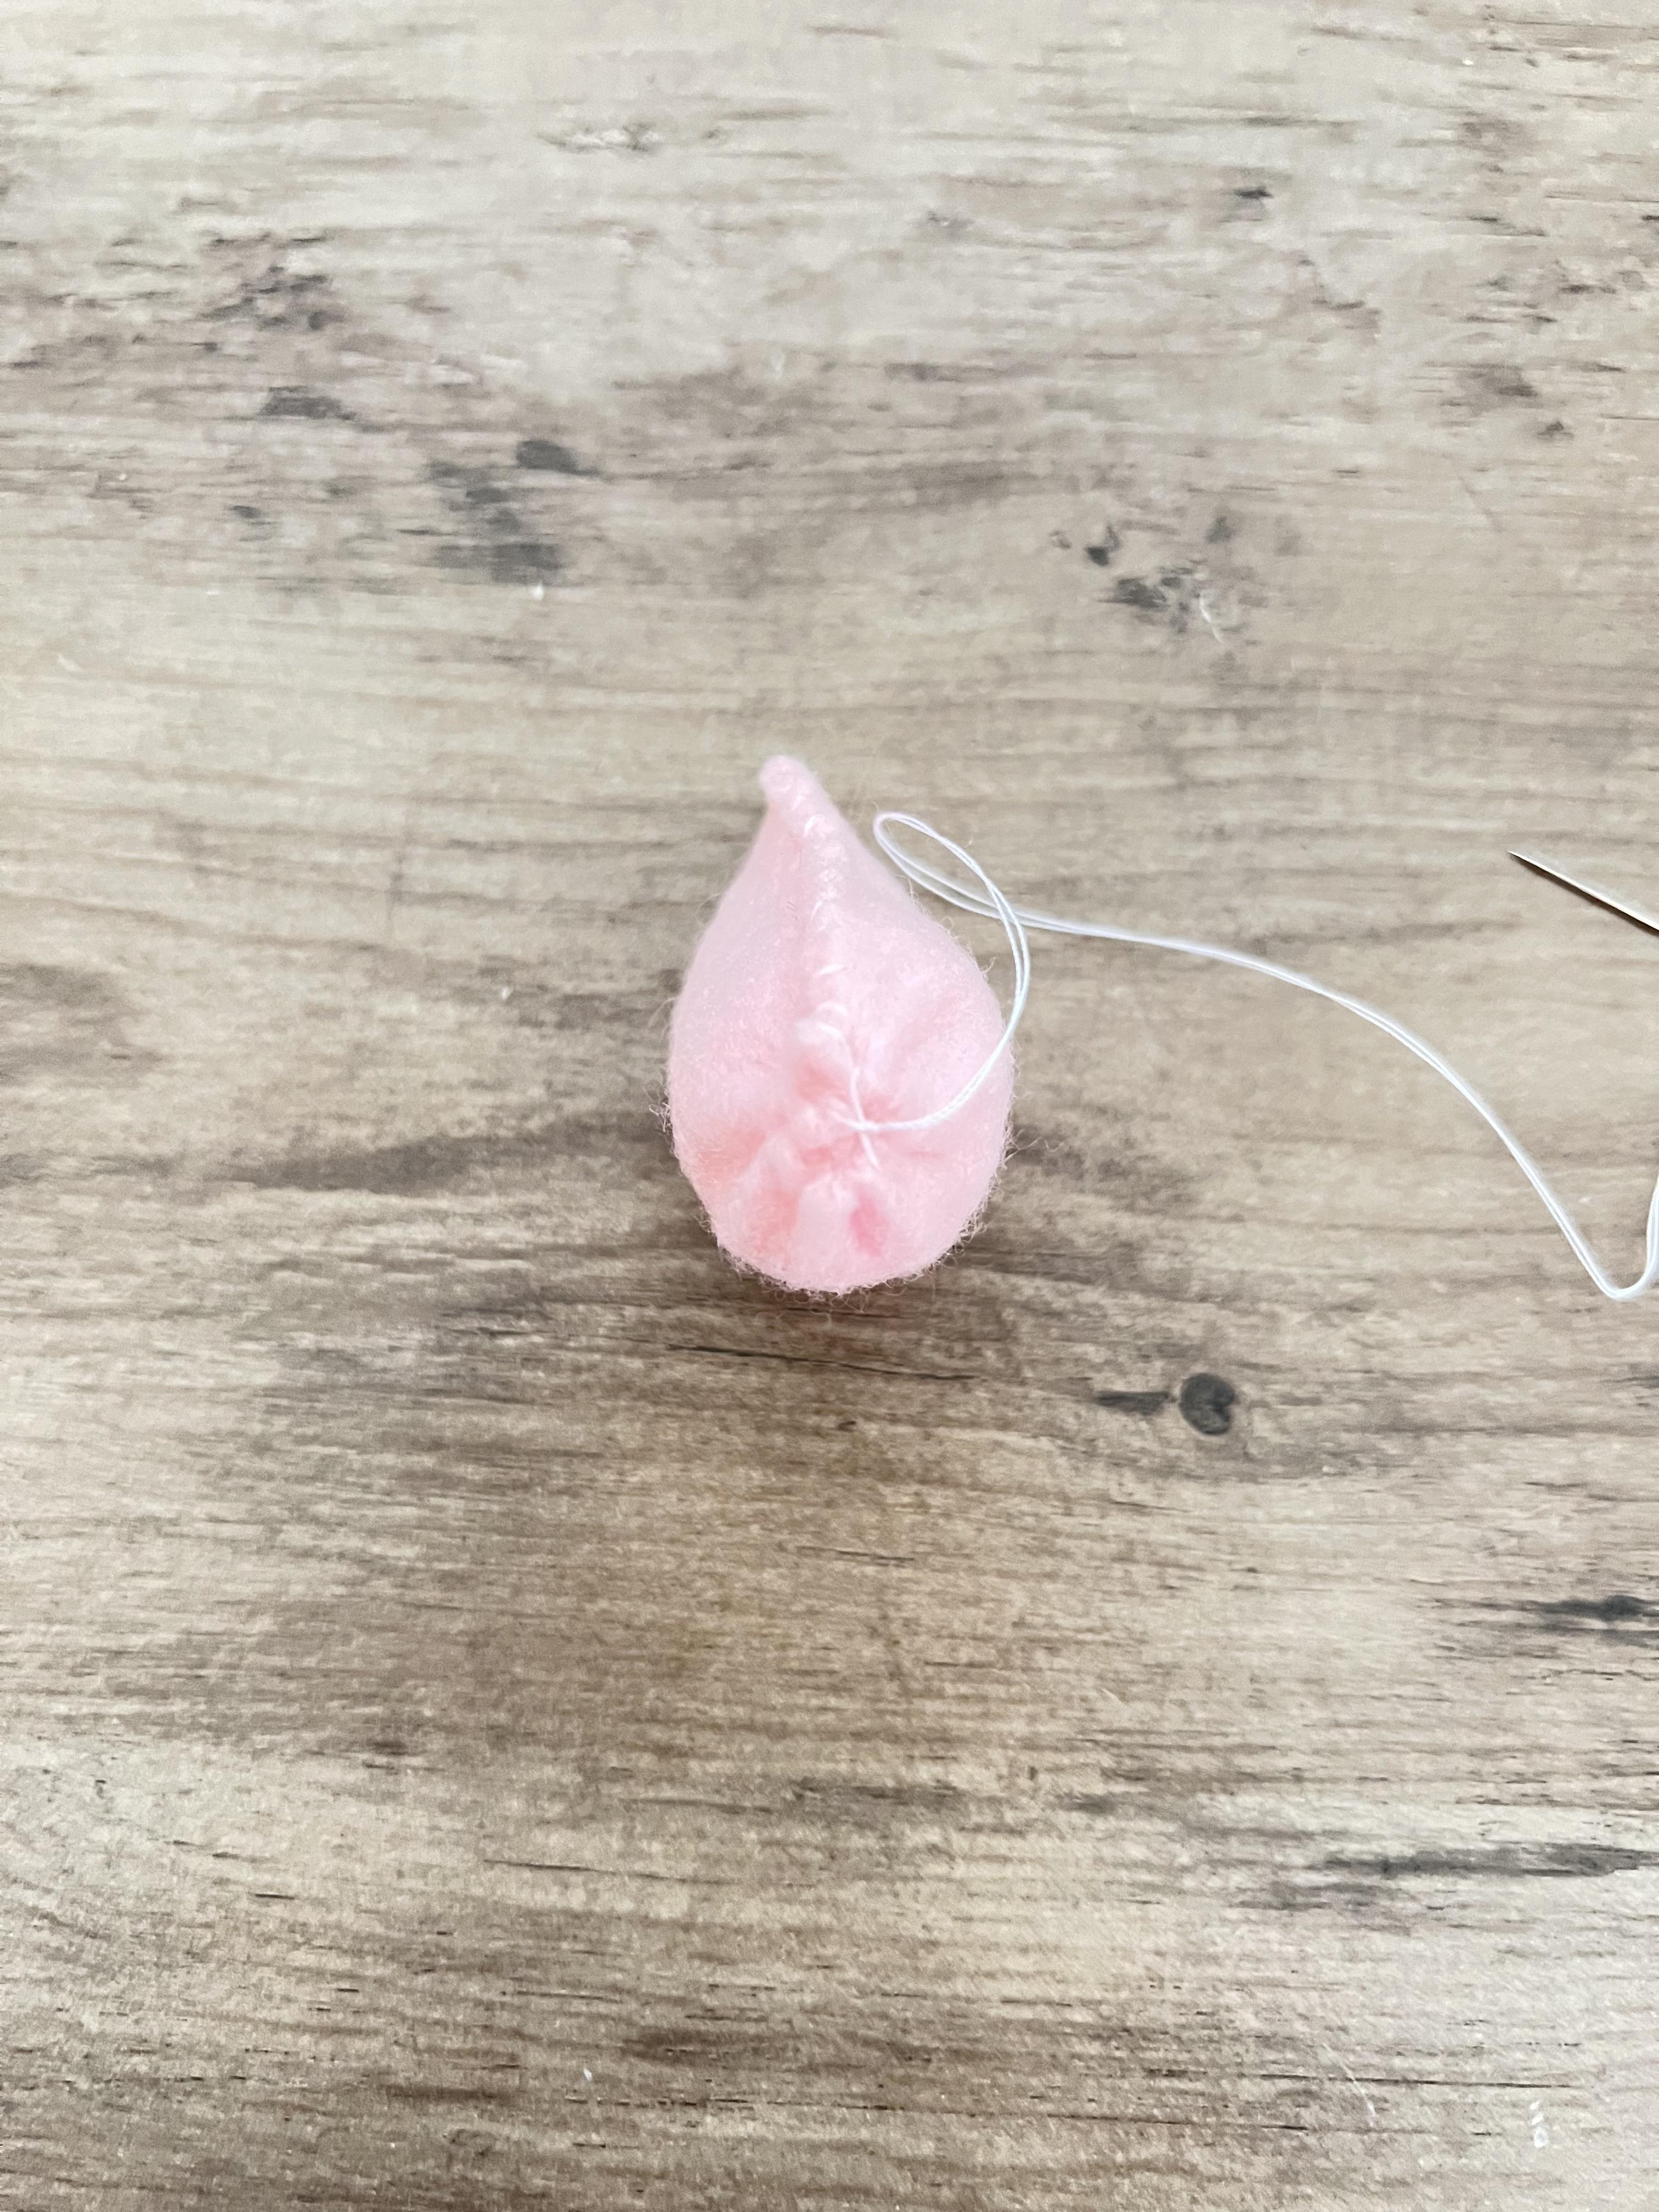

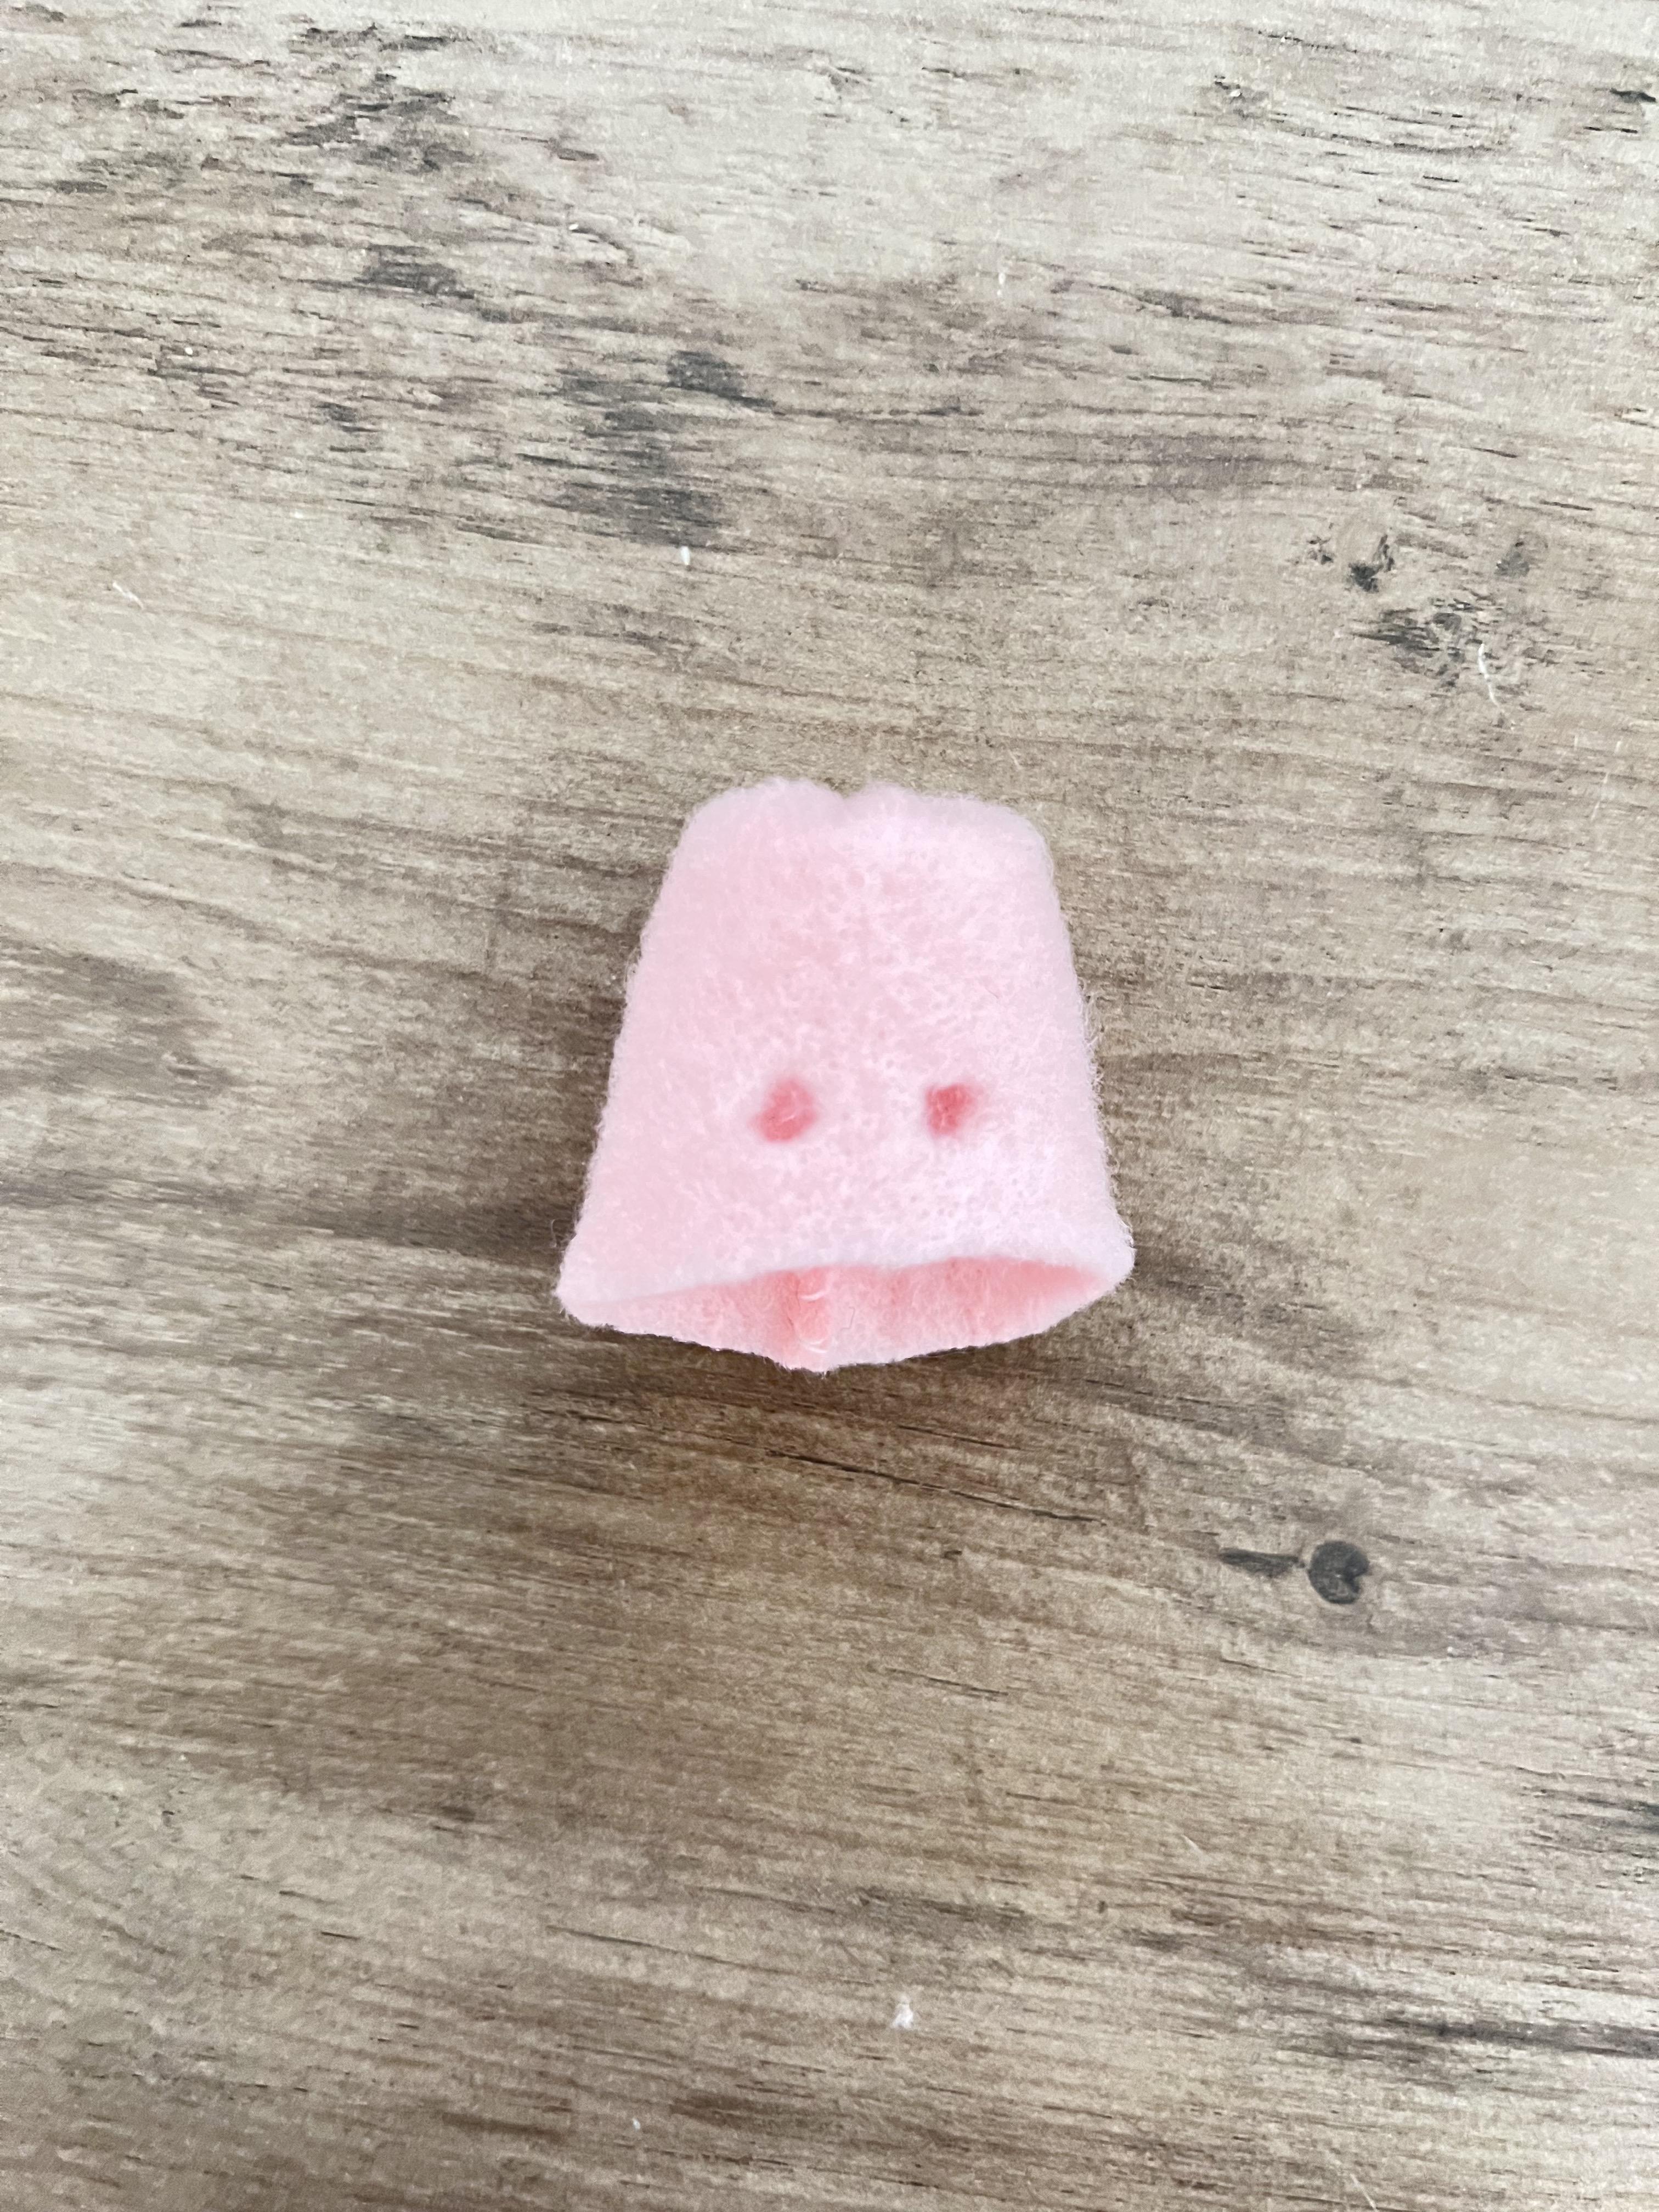
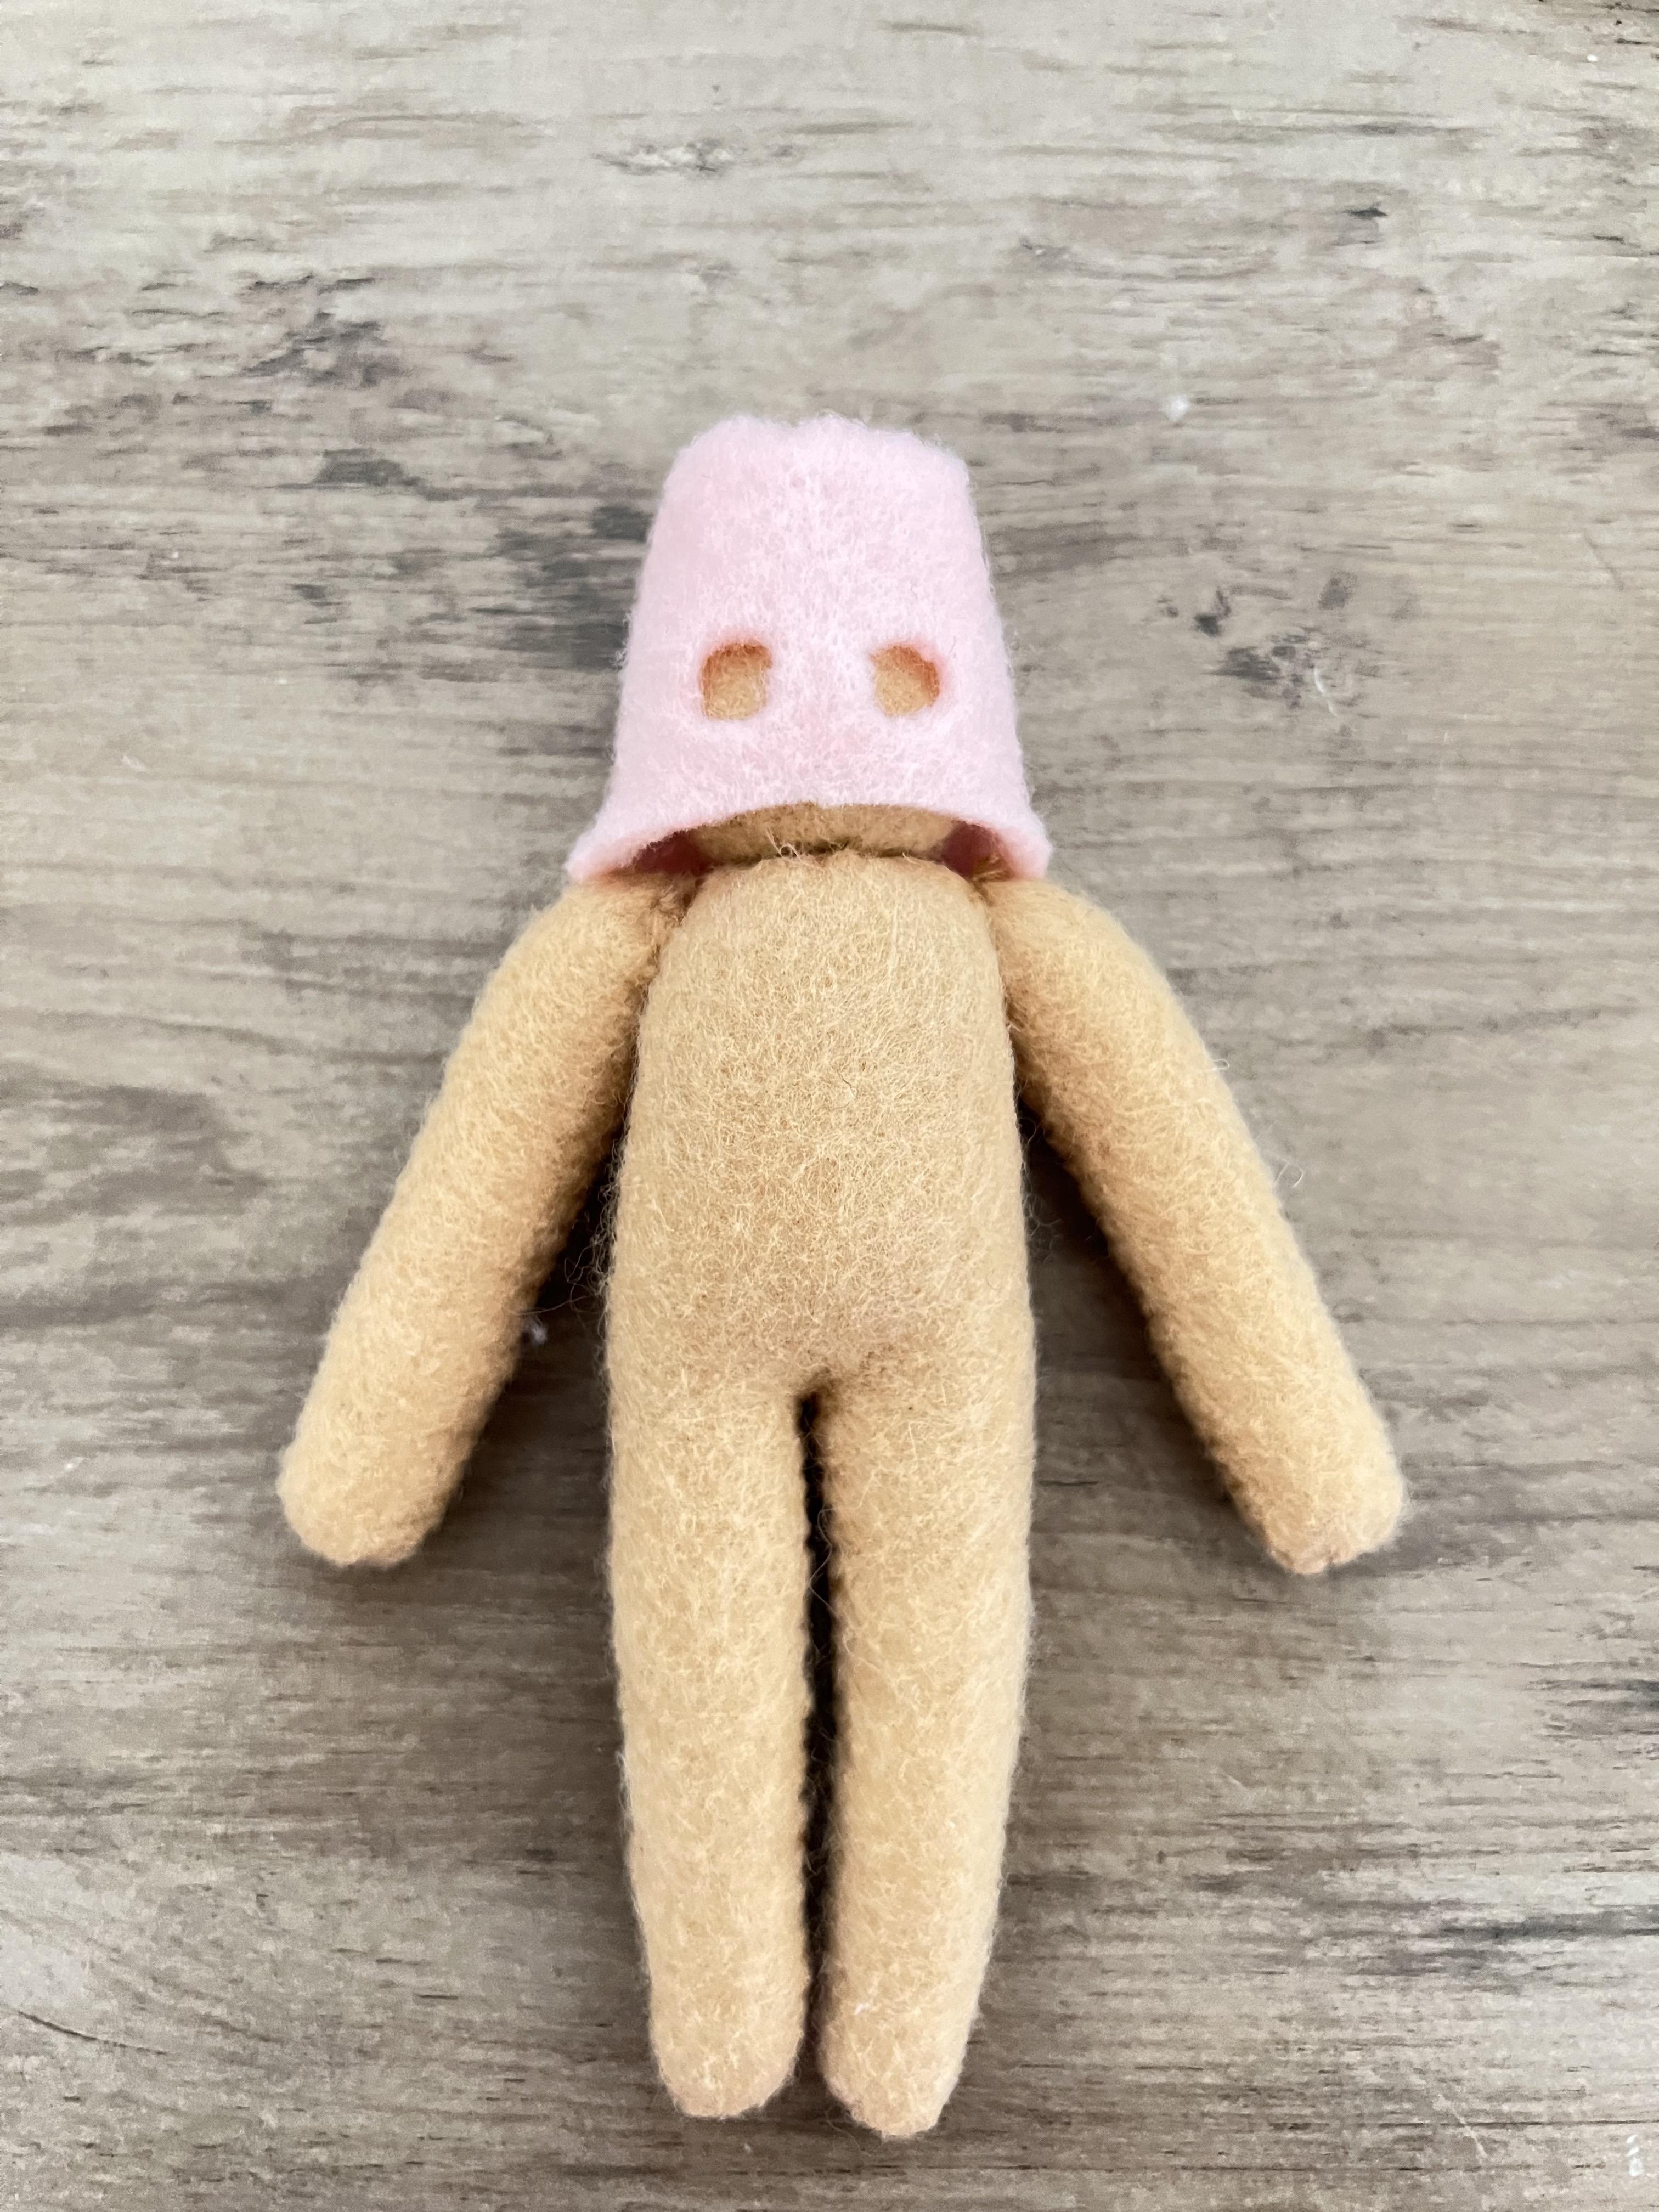


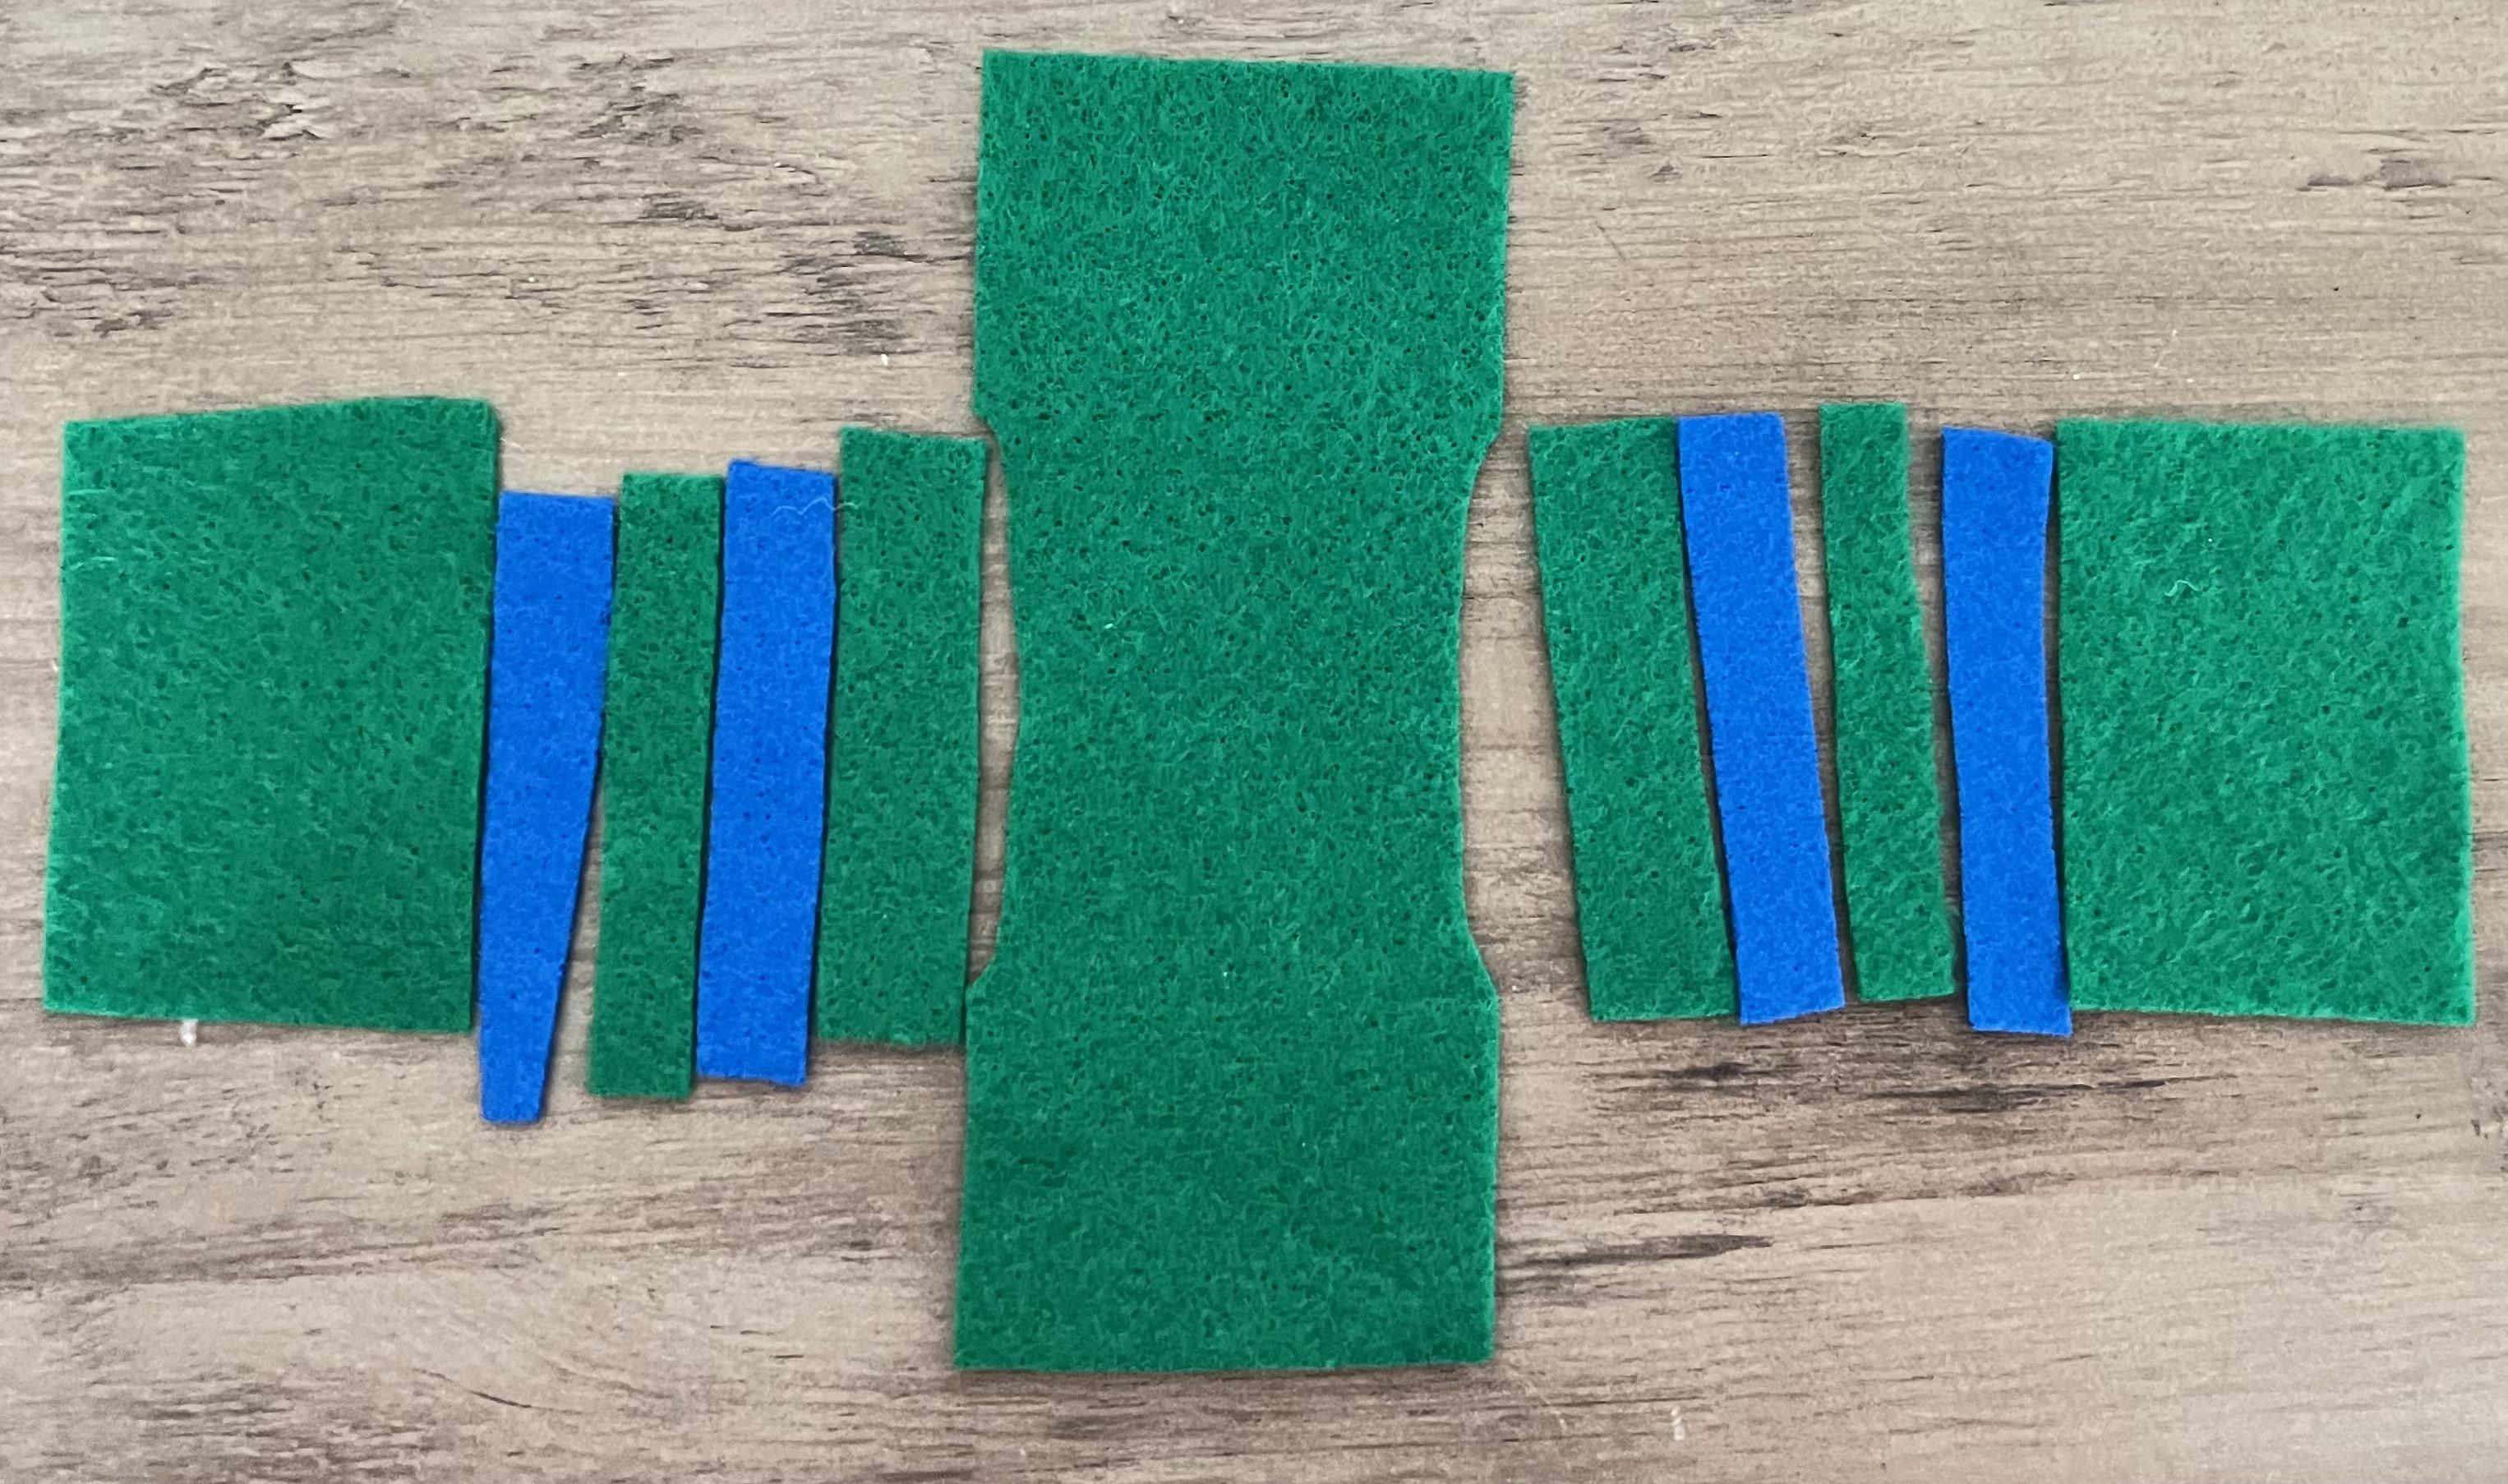

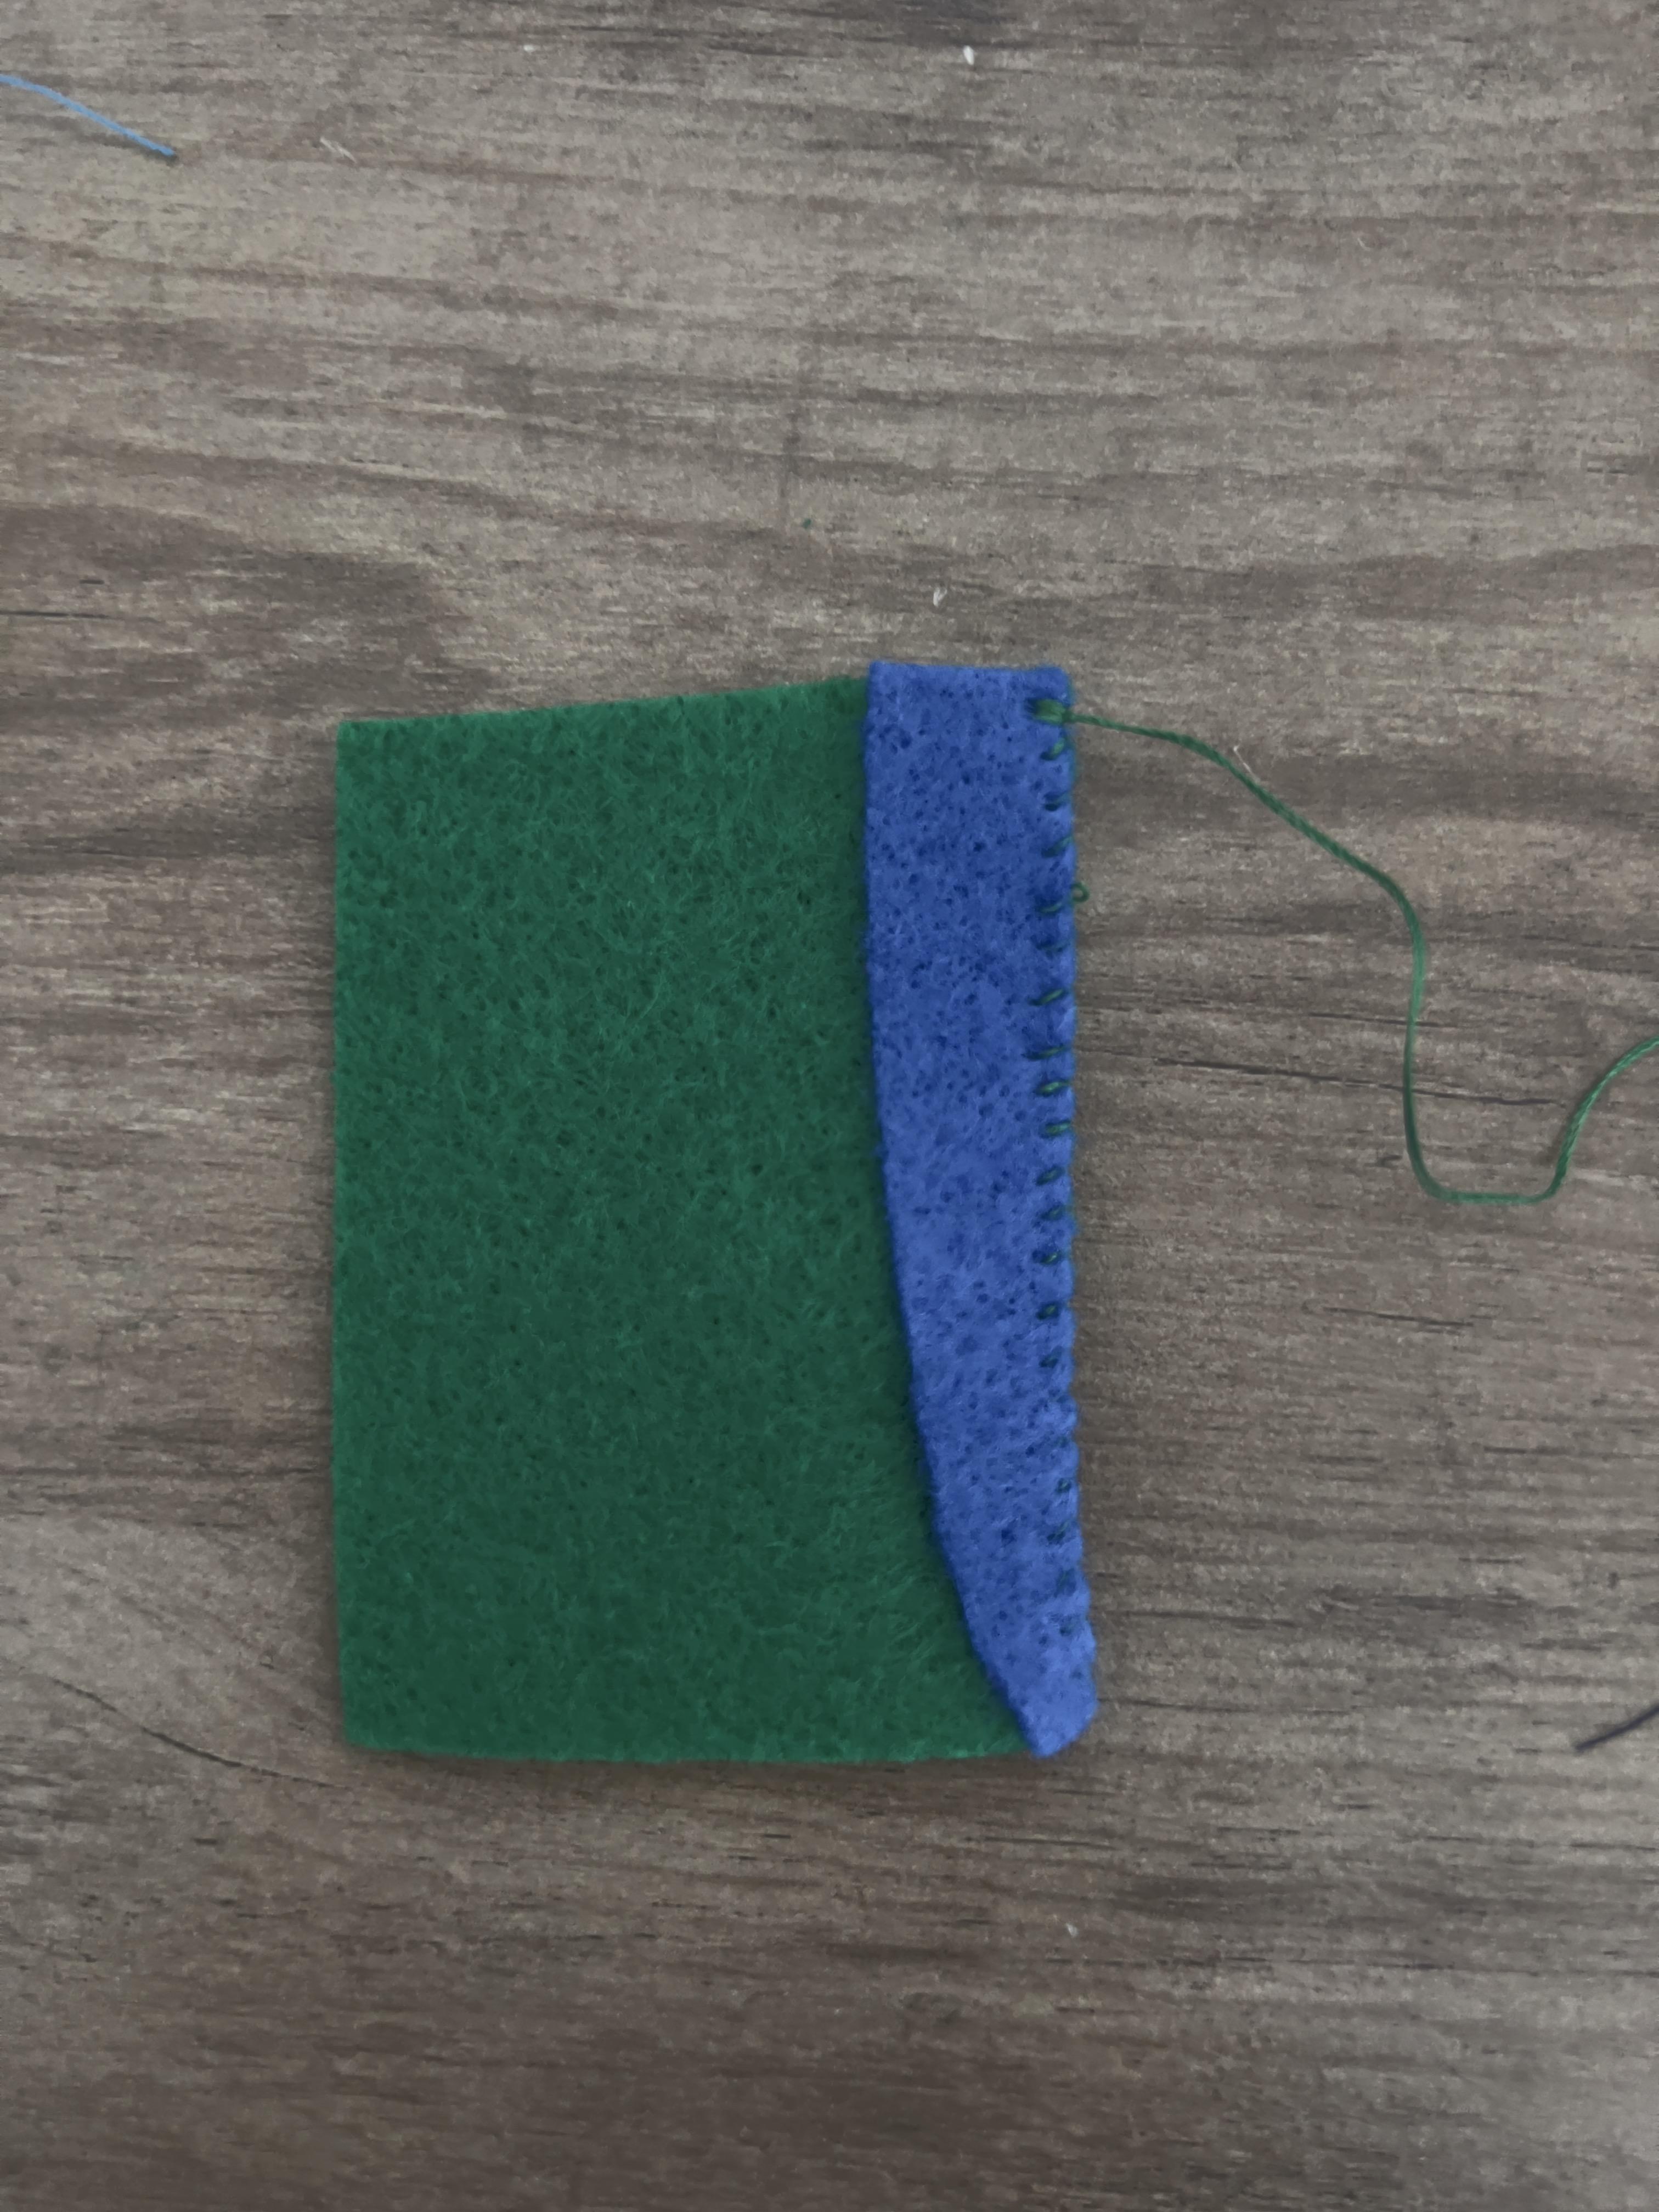
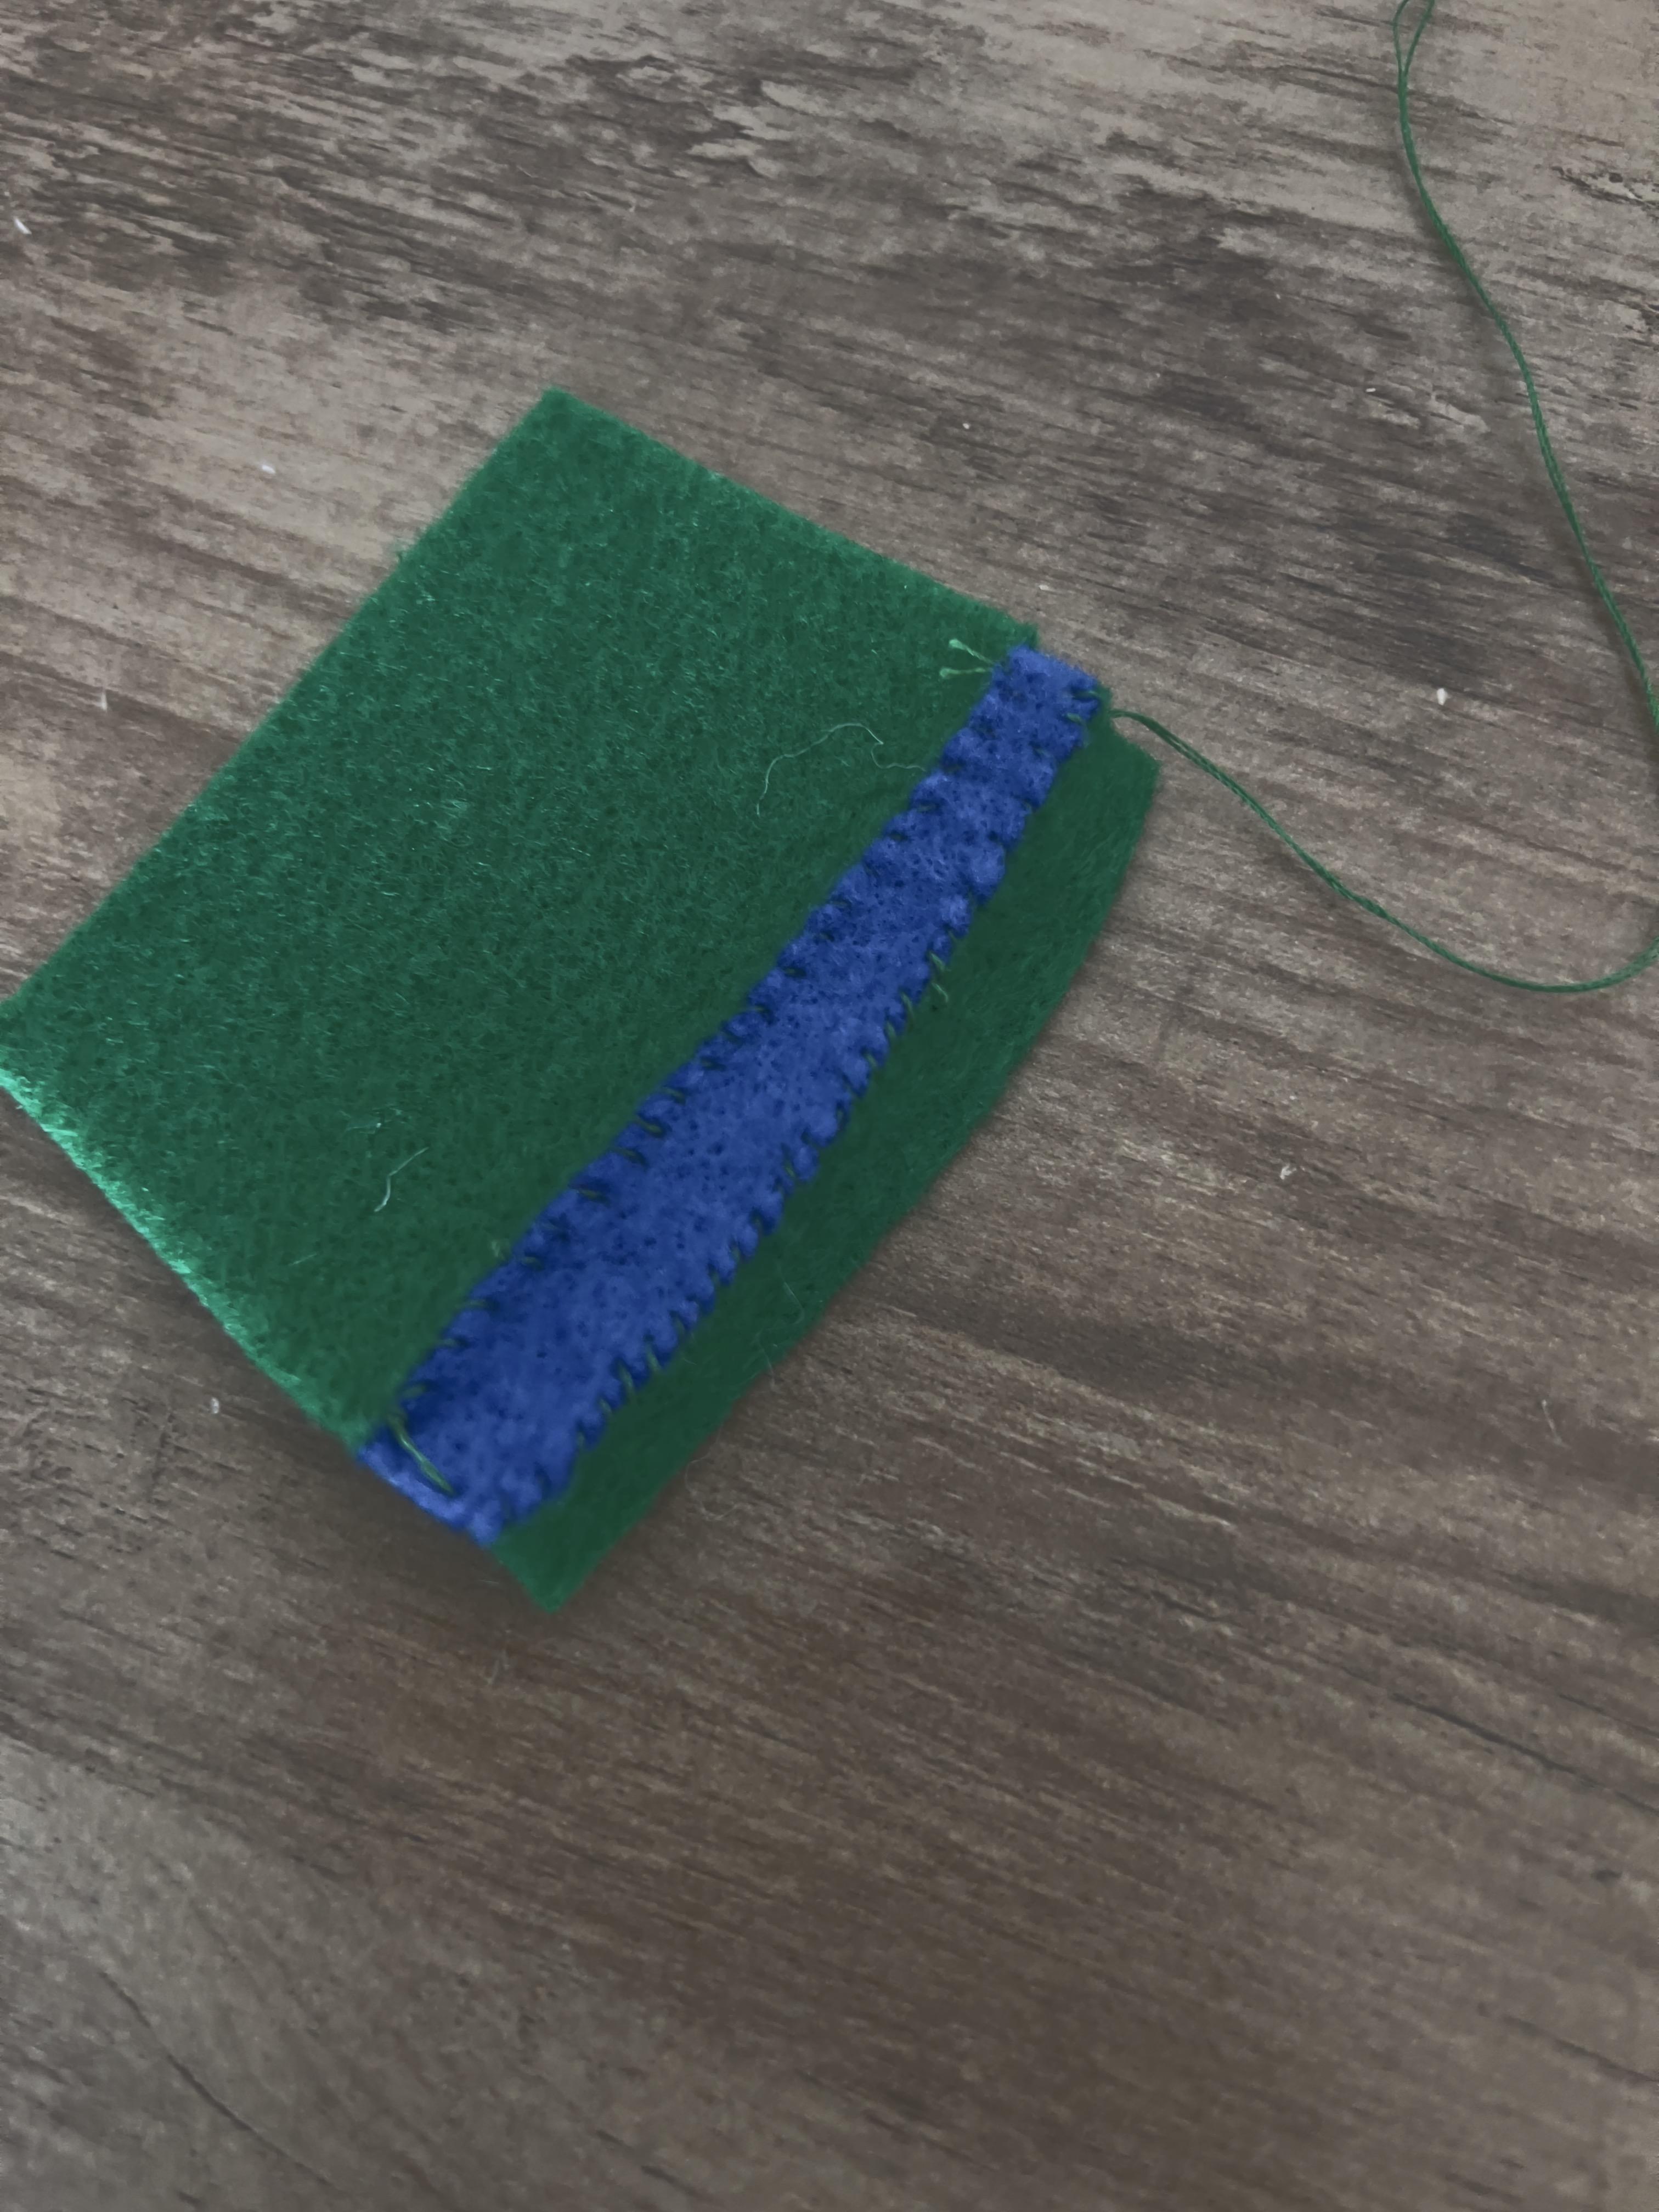
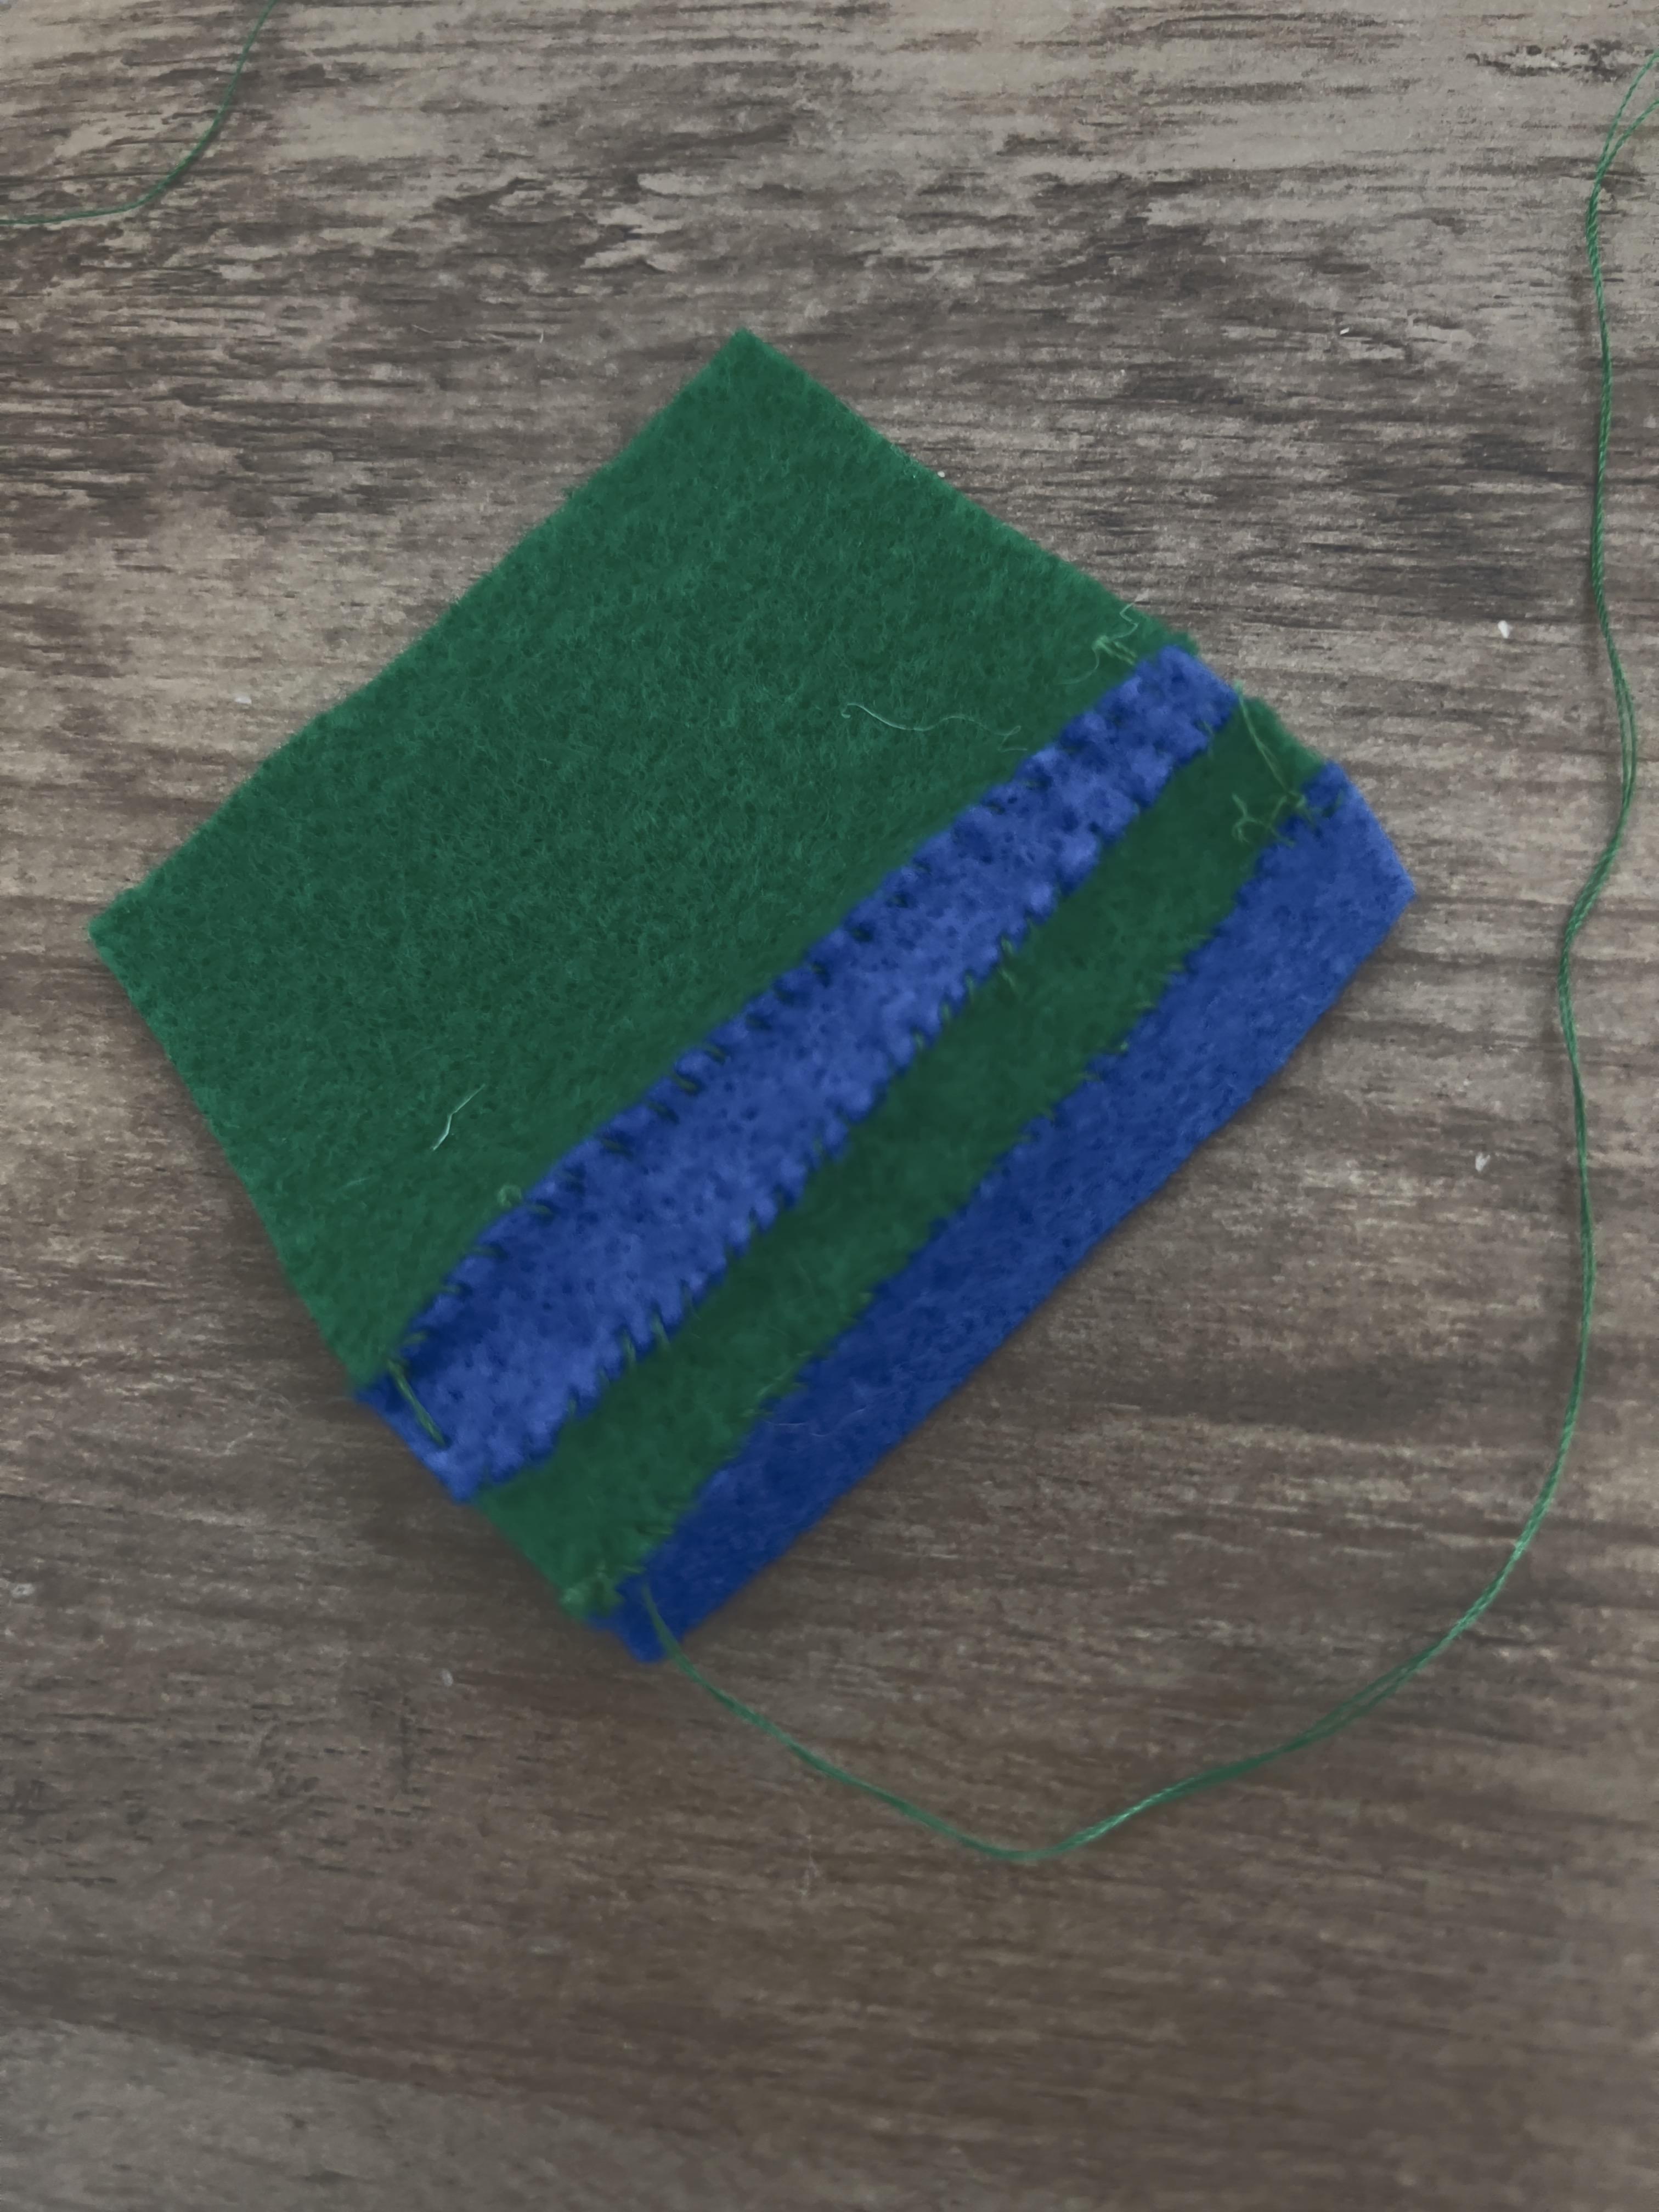


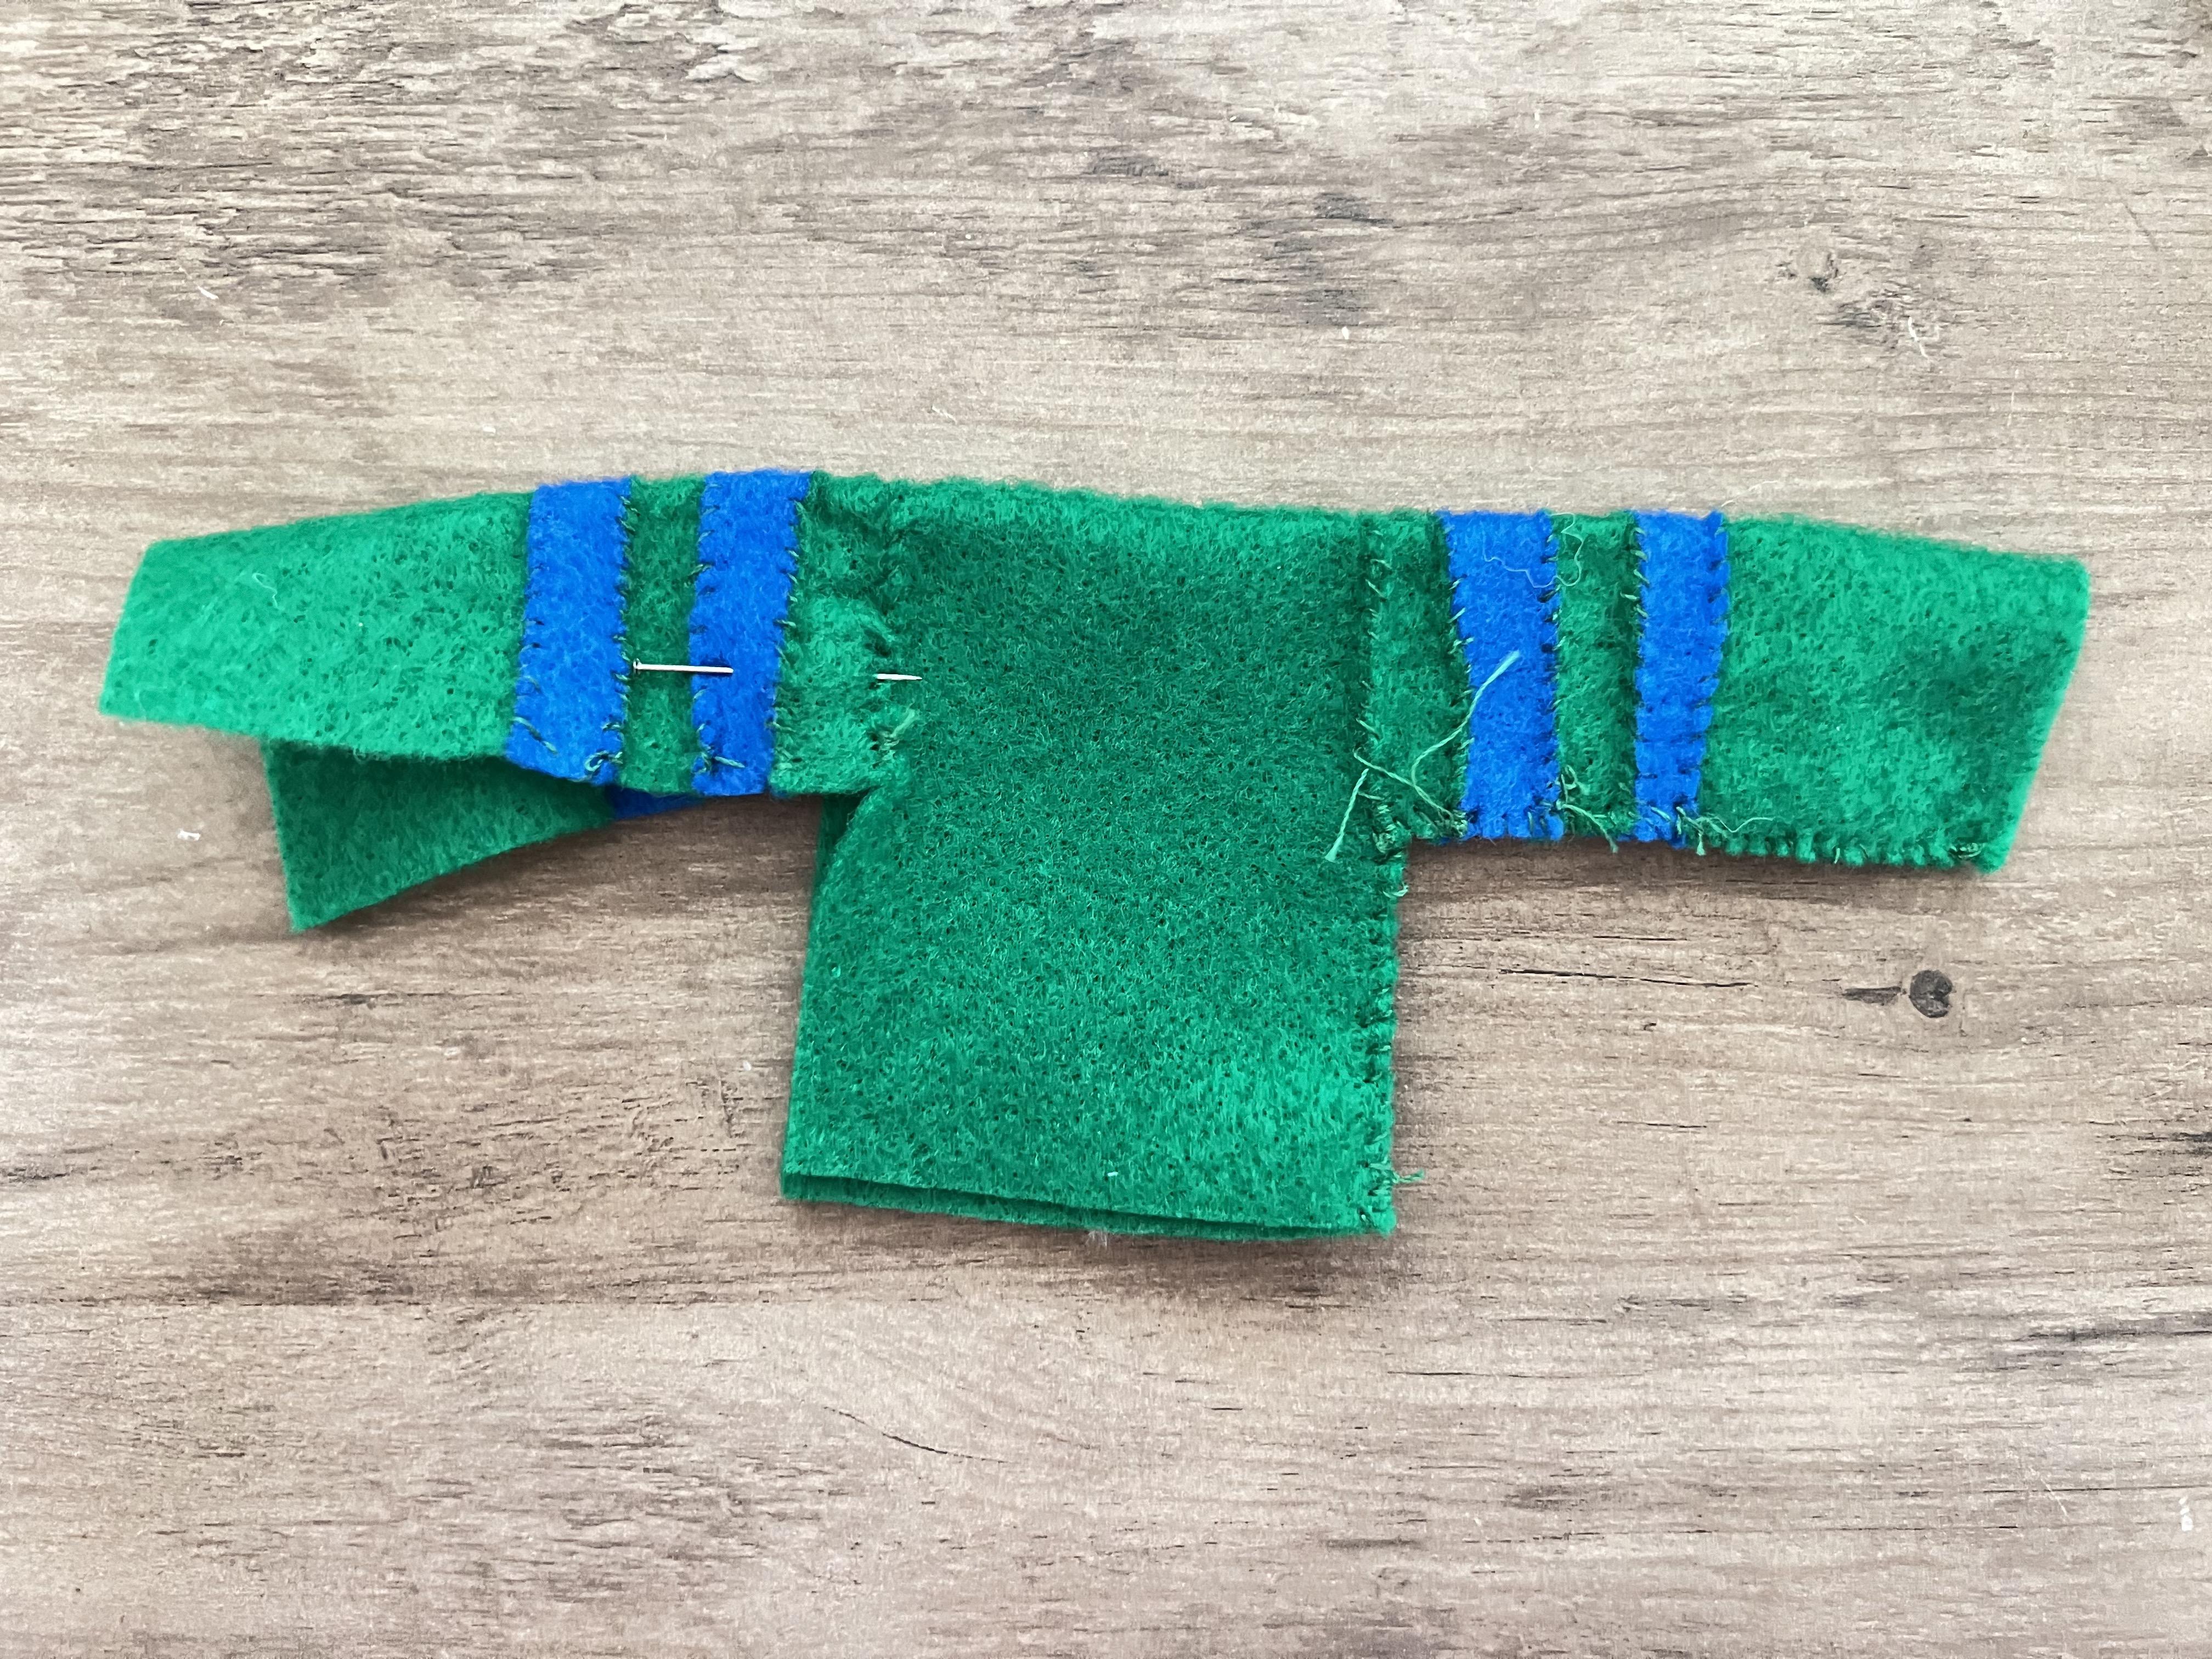
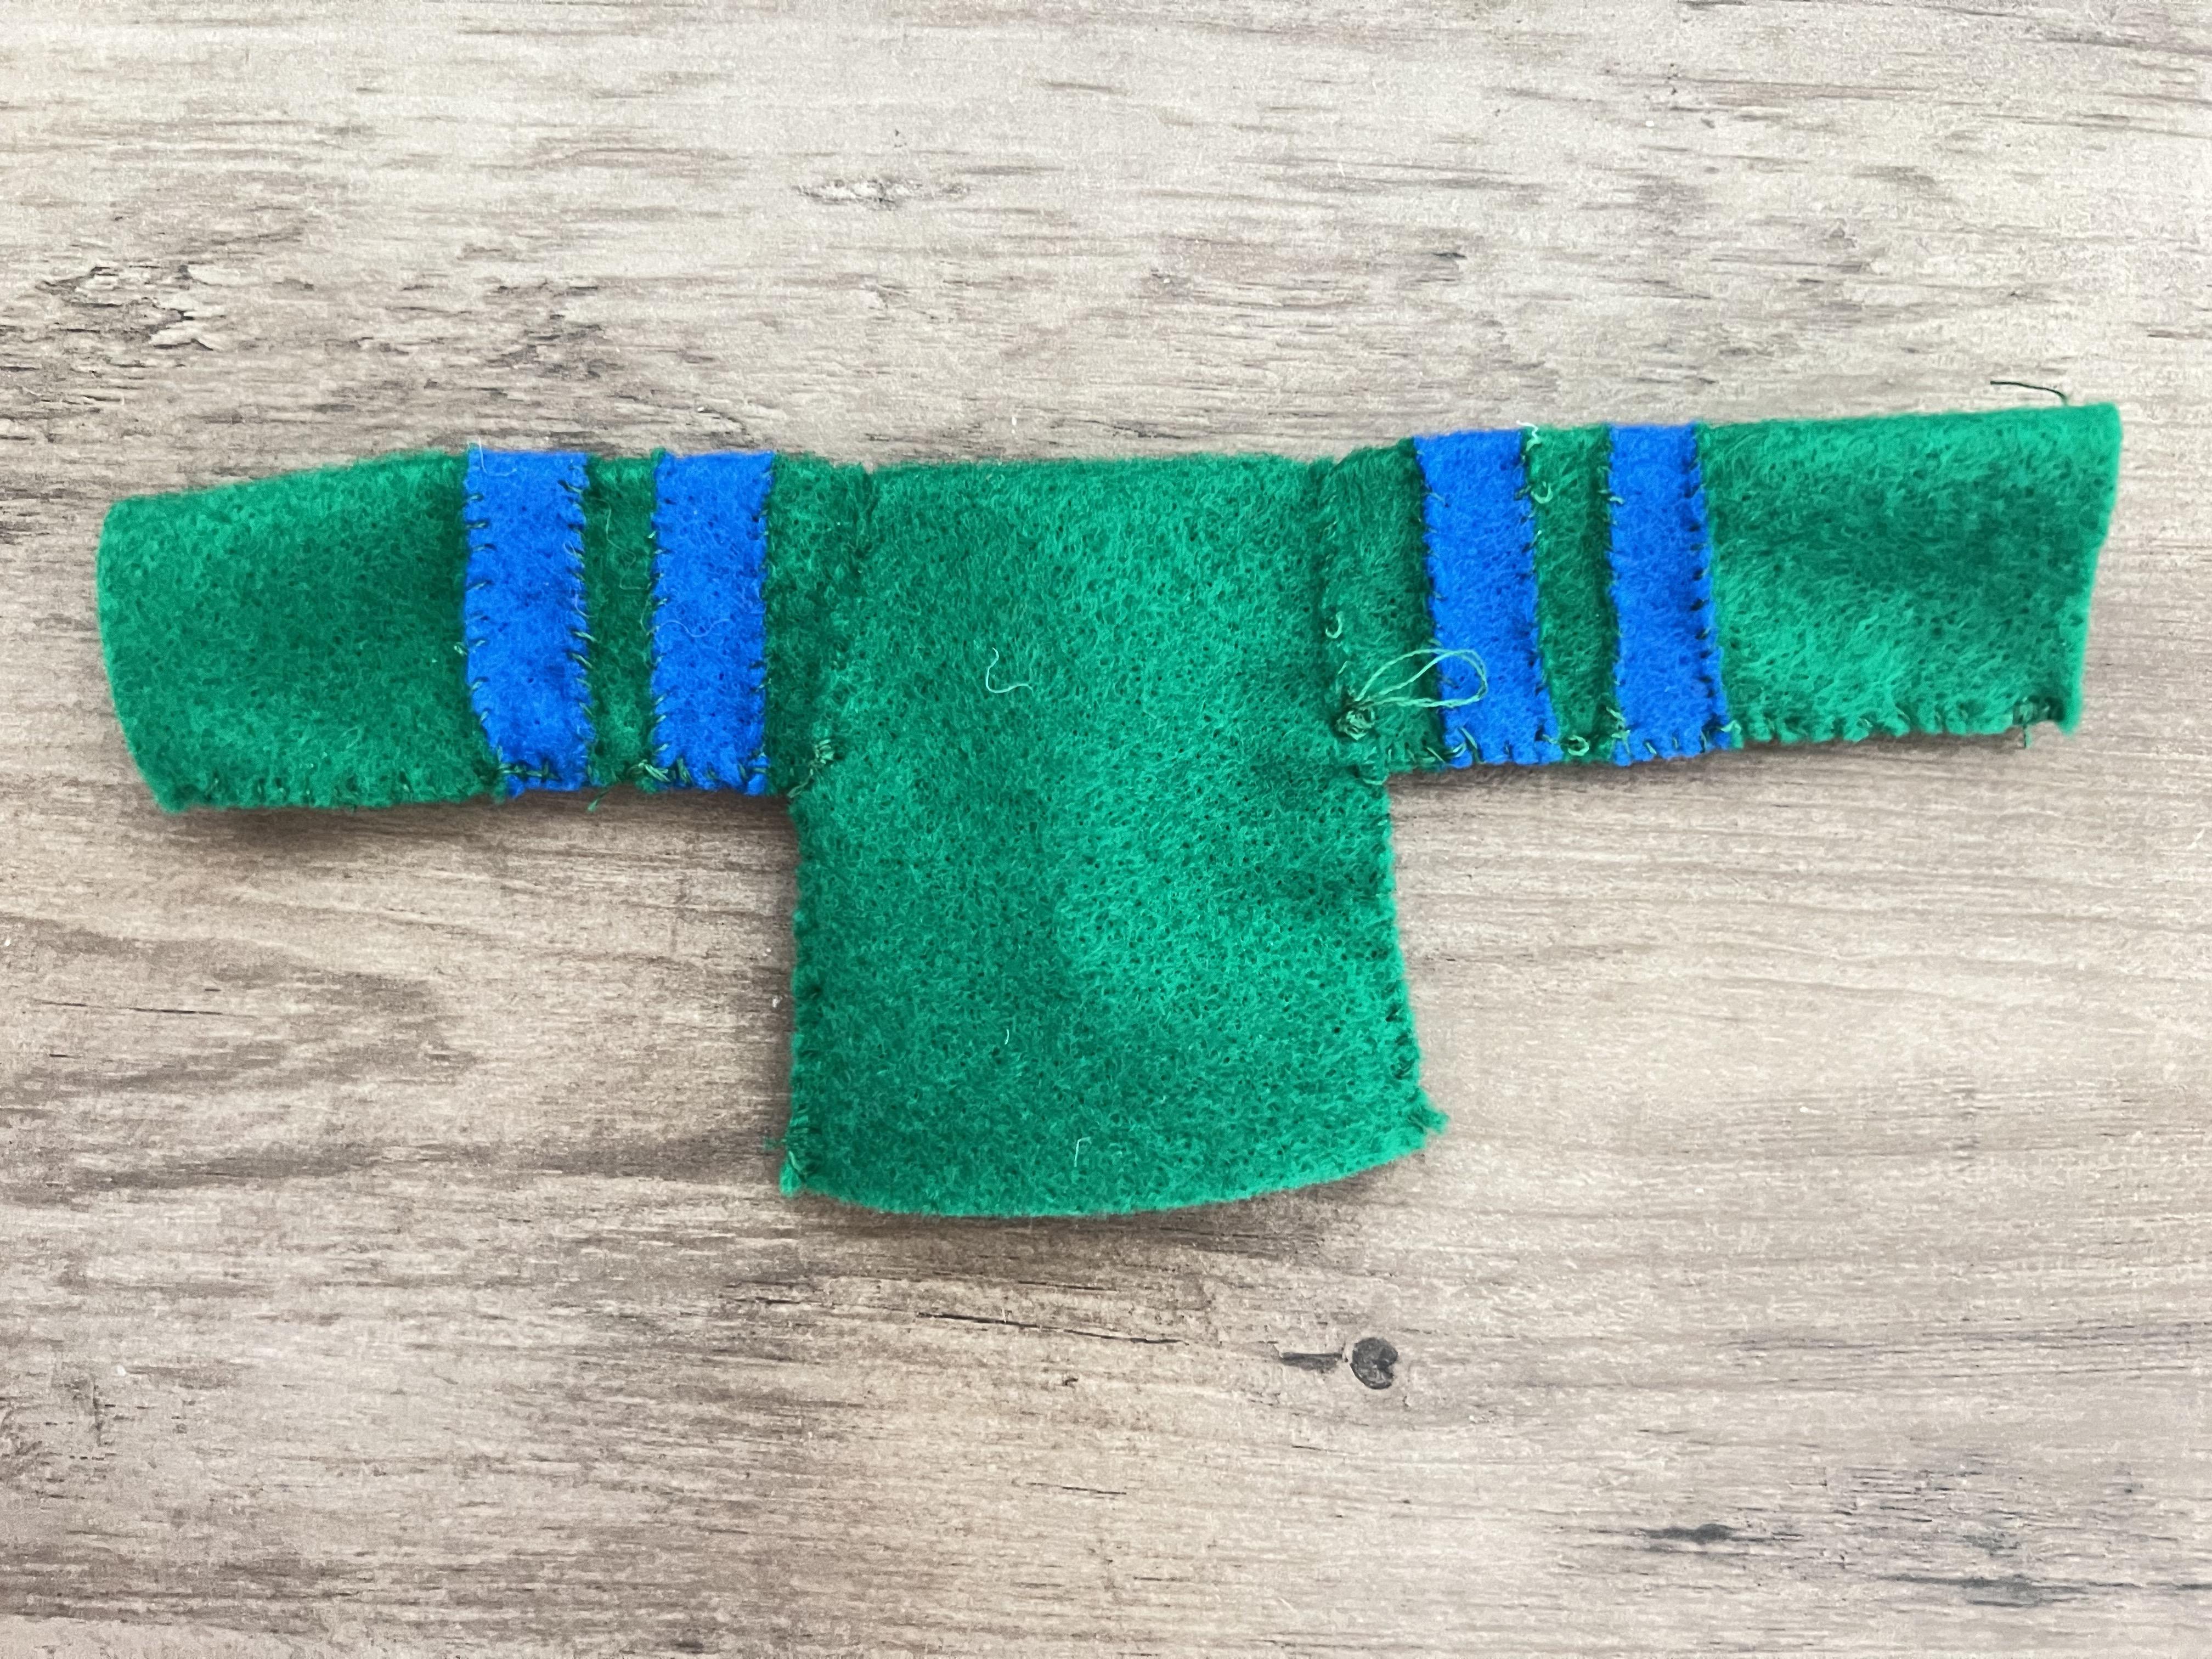

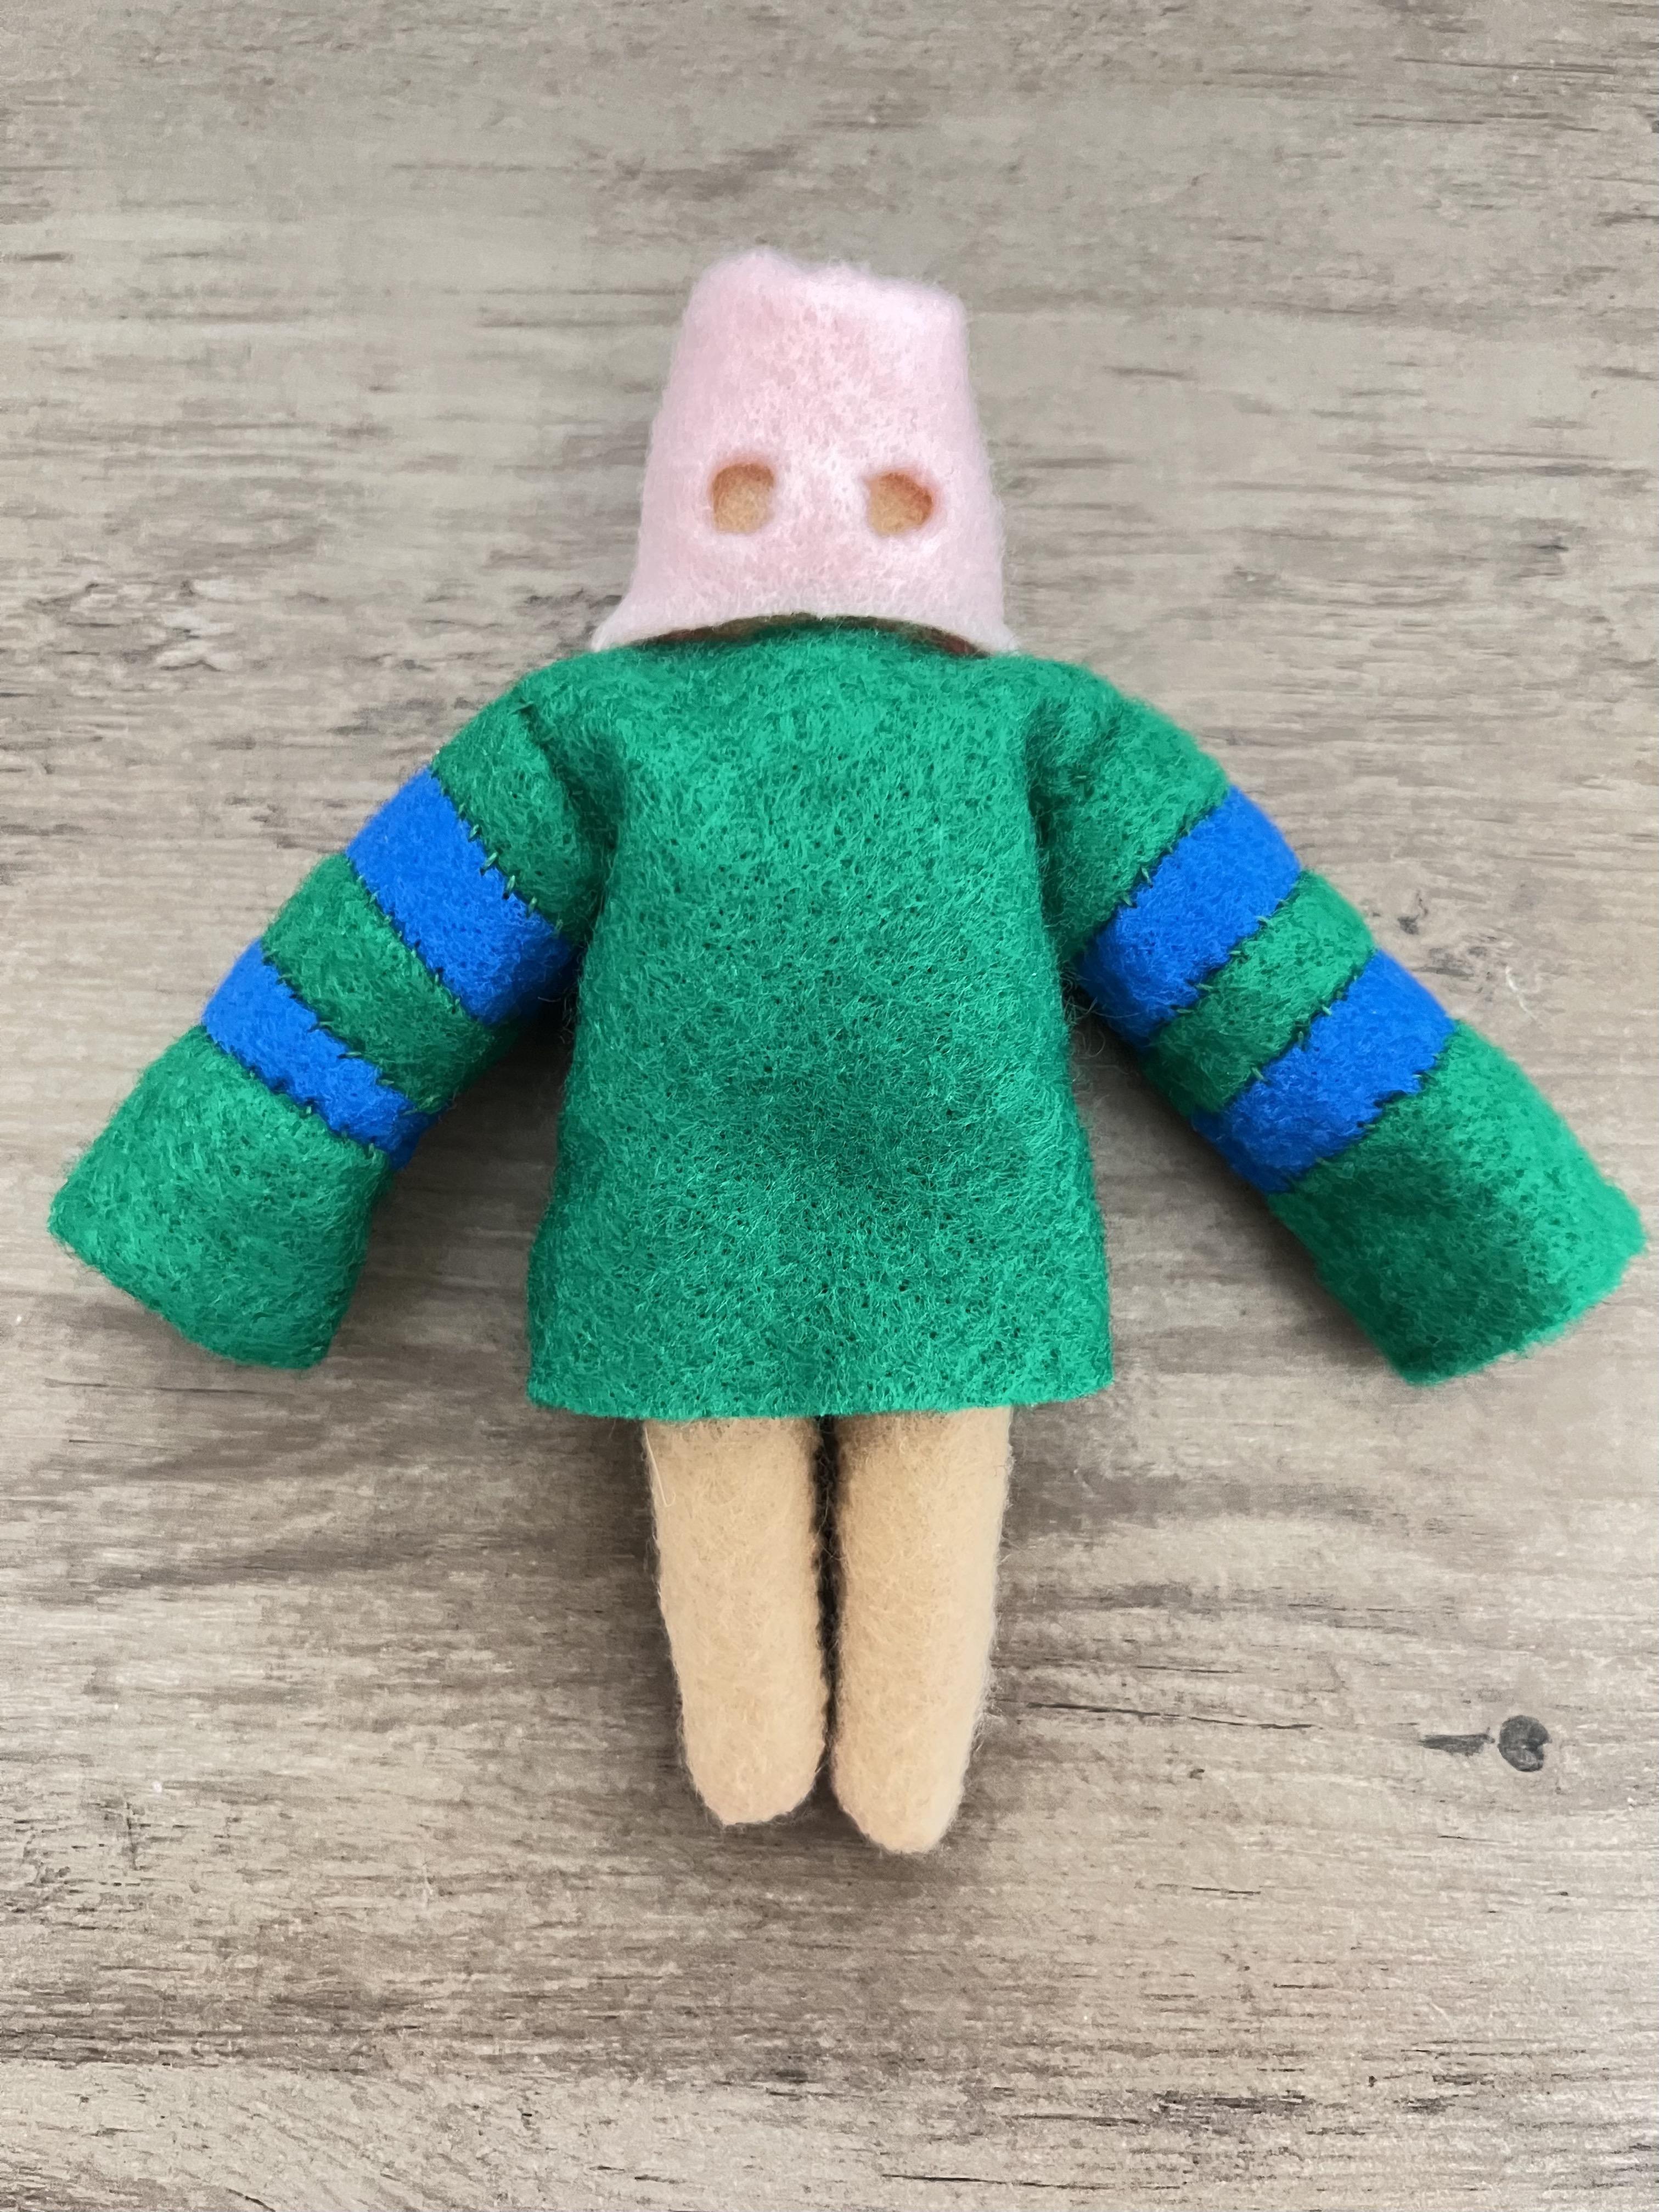
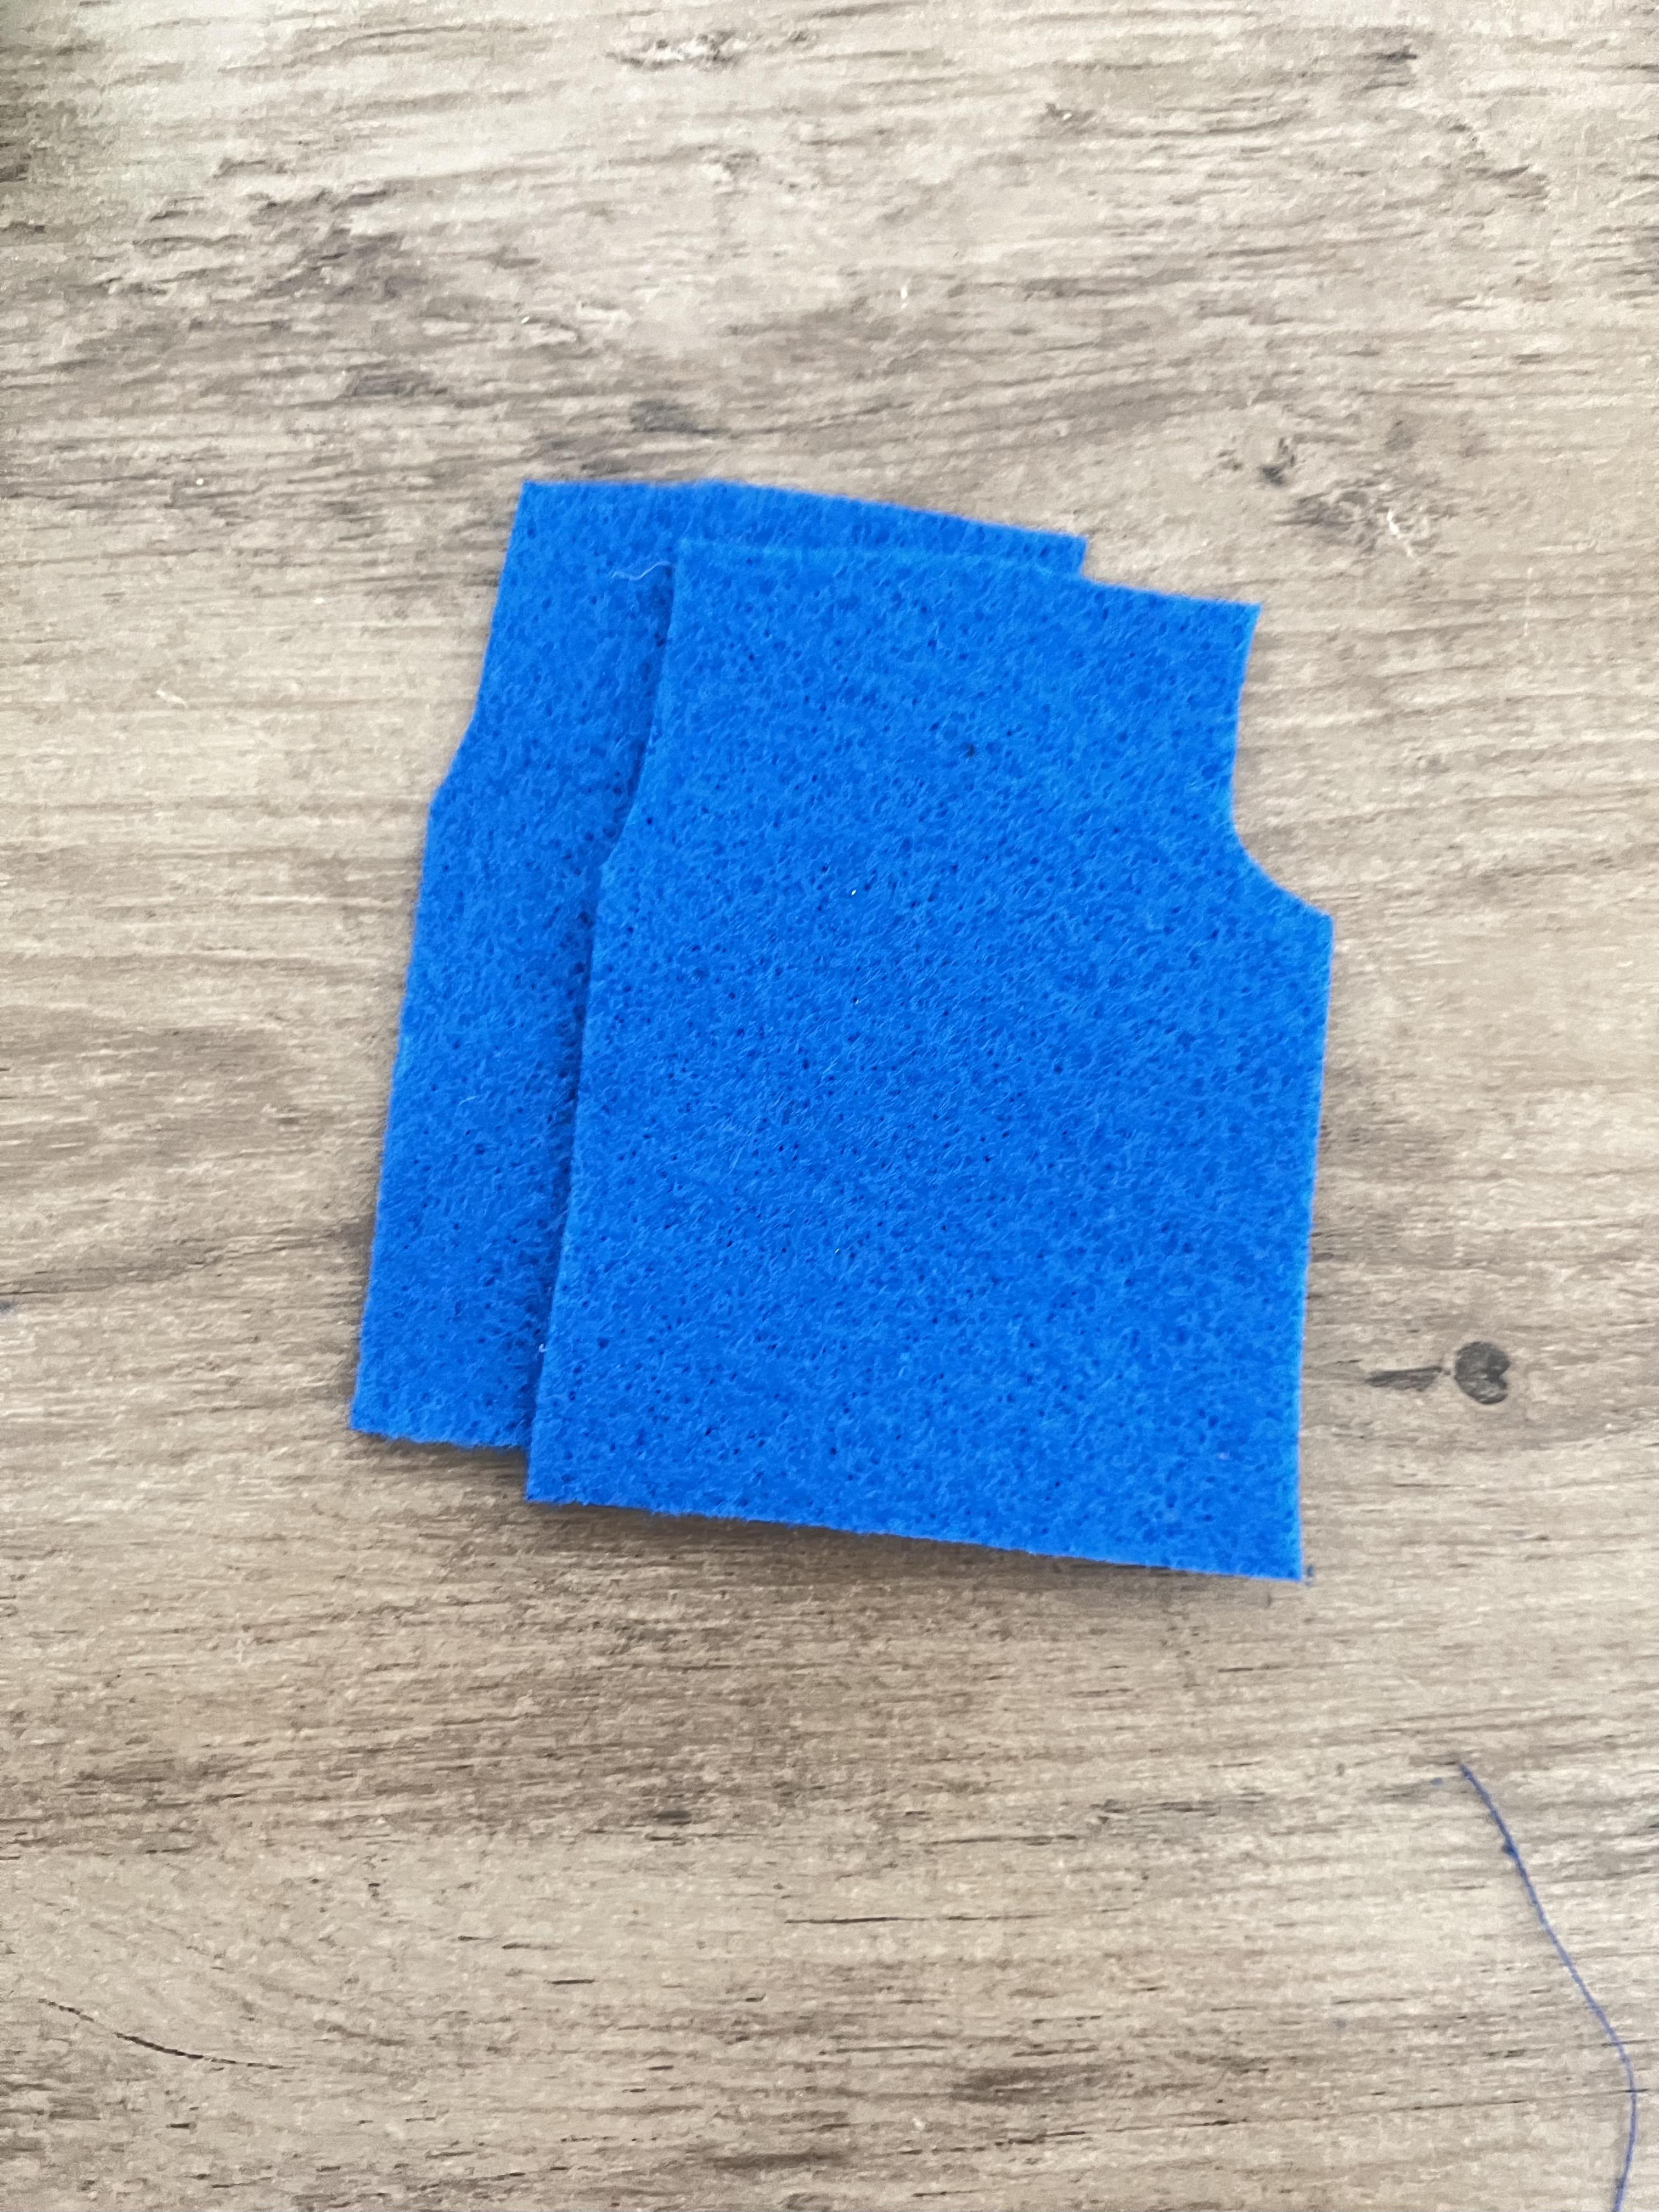











Since Donald wears that pink hat over his head, you won't need to felt any hair on his head. You will still need to sew his eyes on. You can sew his eyes first or his hat, it doesn't matter as long as the holes match up with his eyes and vice versa. Follow the pictures 1-6 to make his hat.
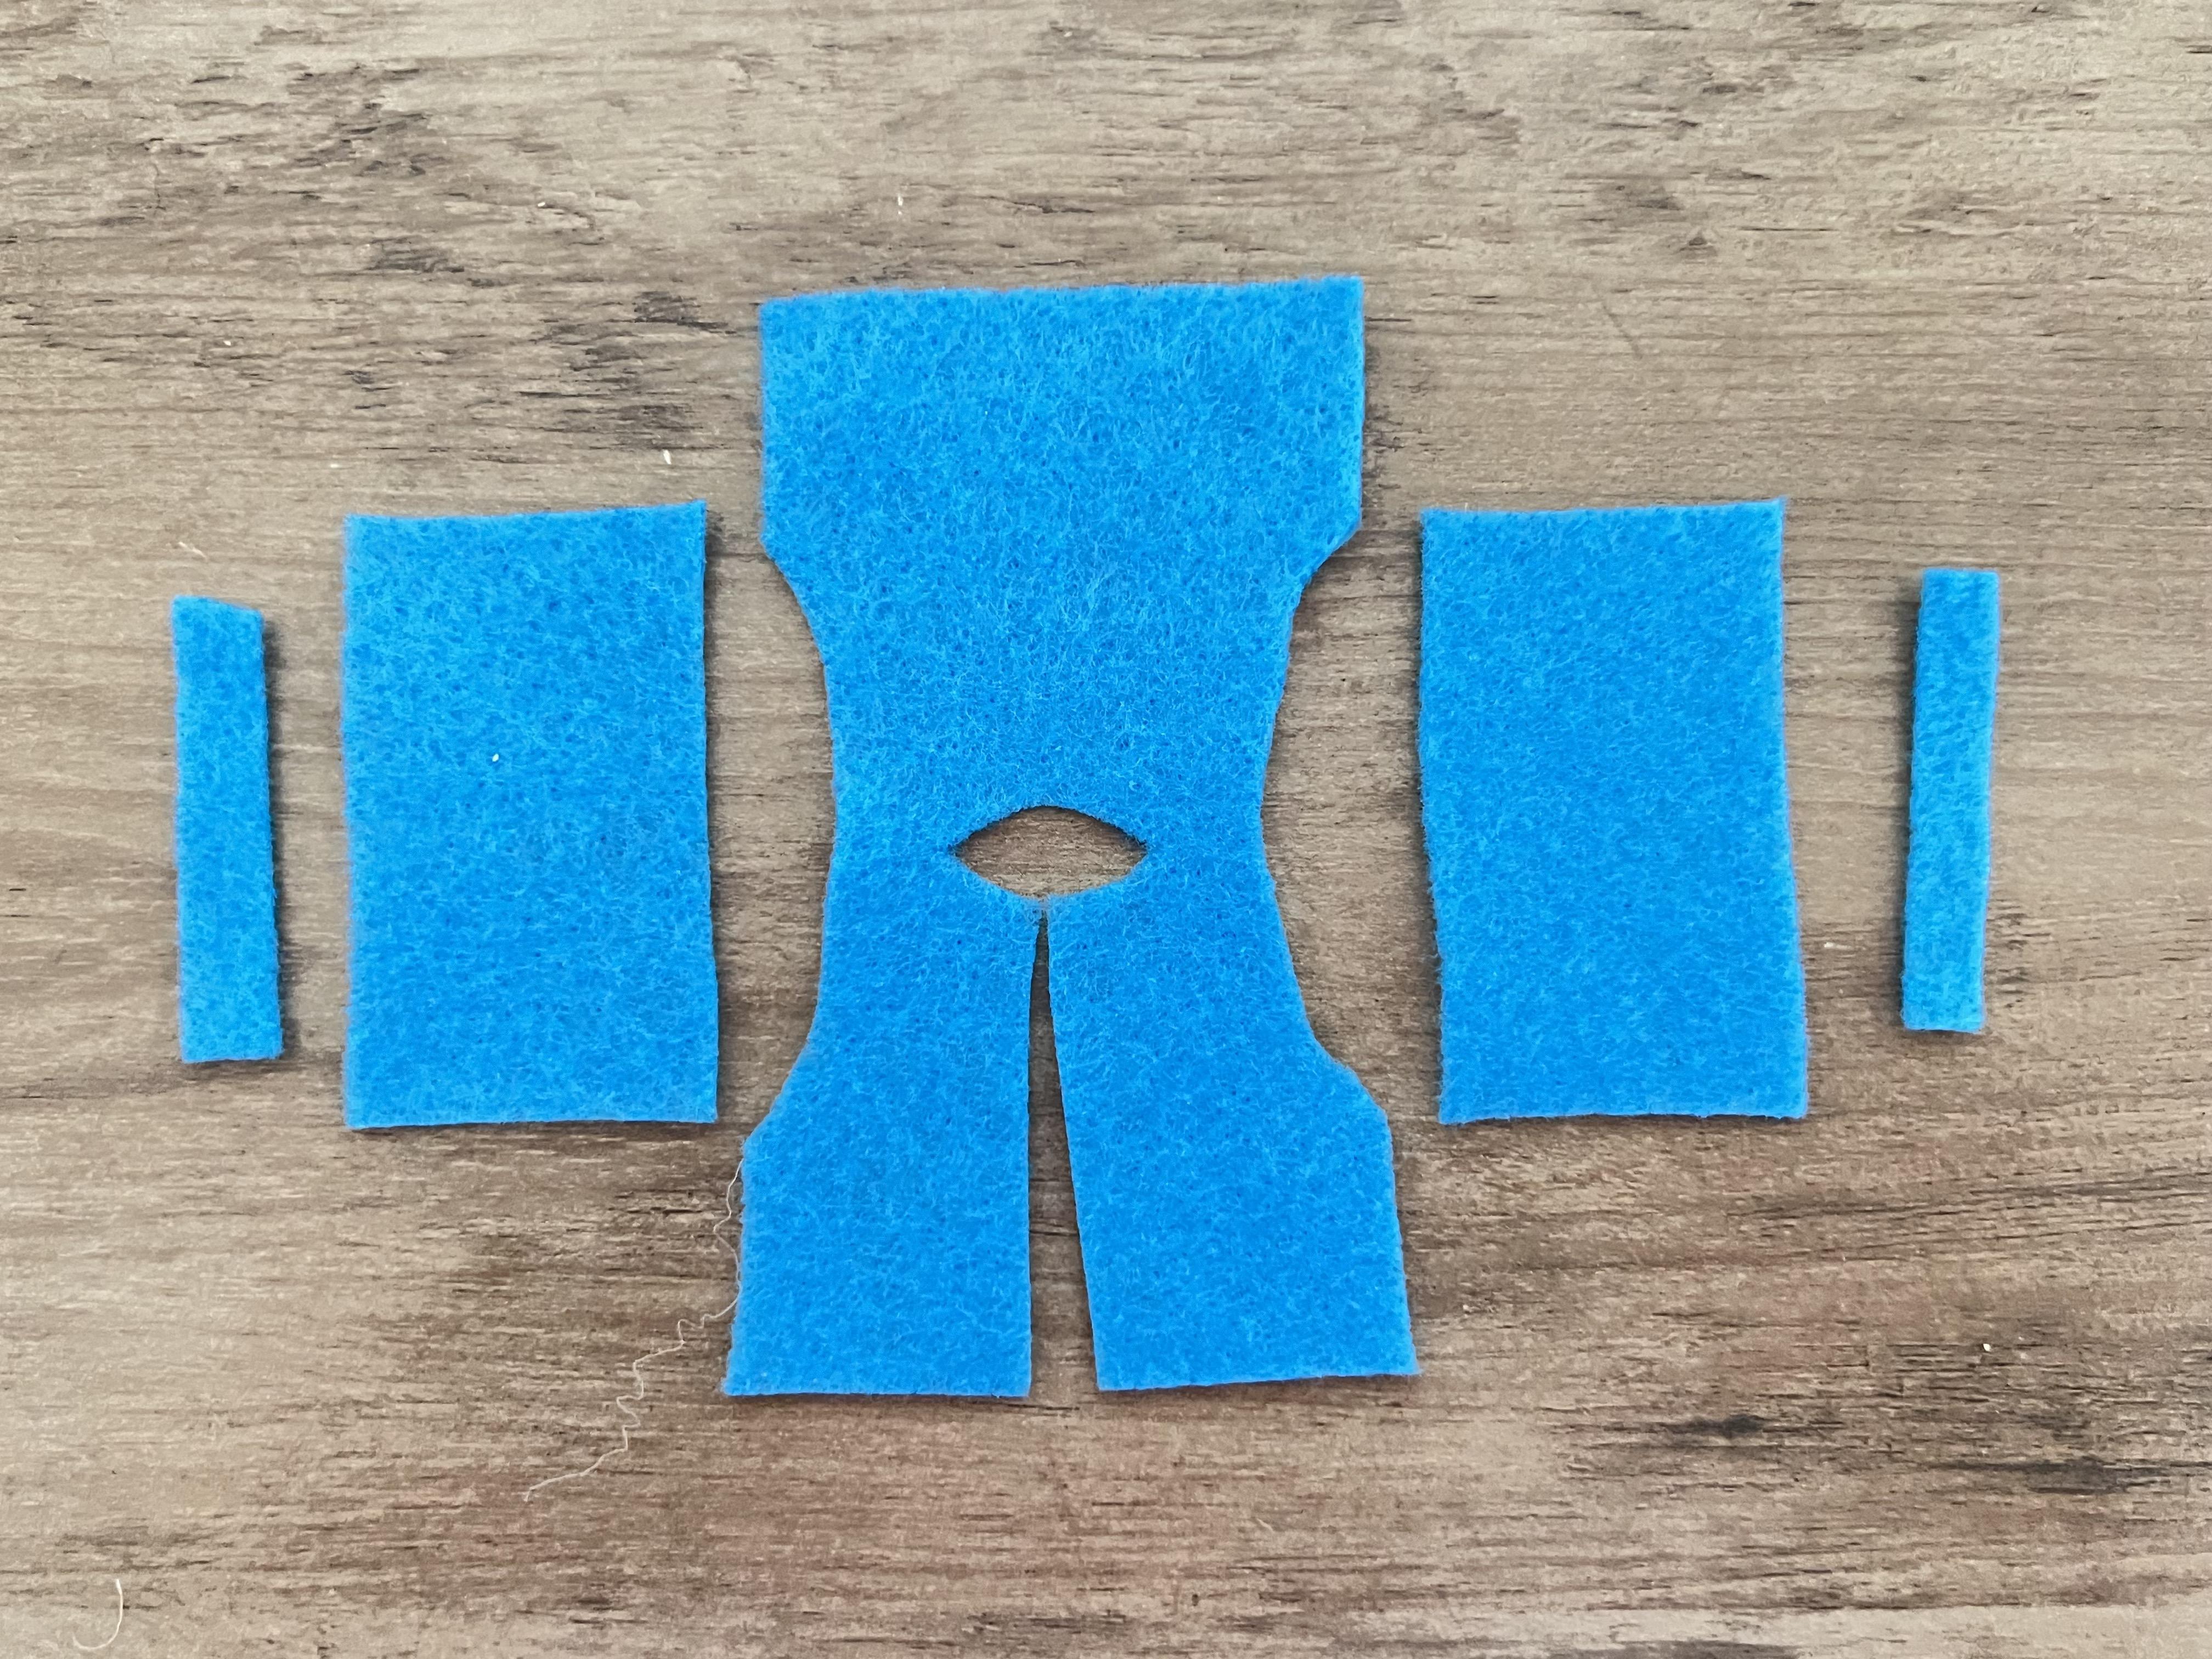
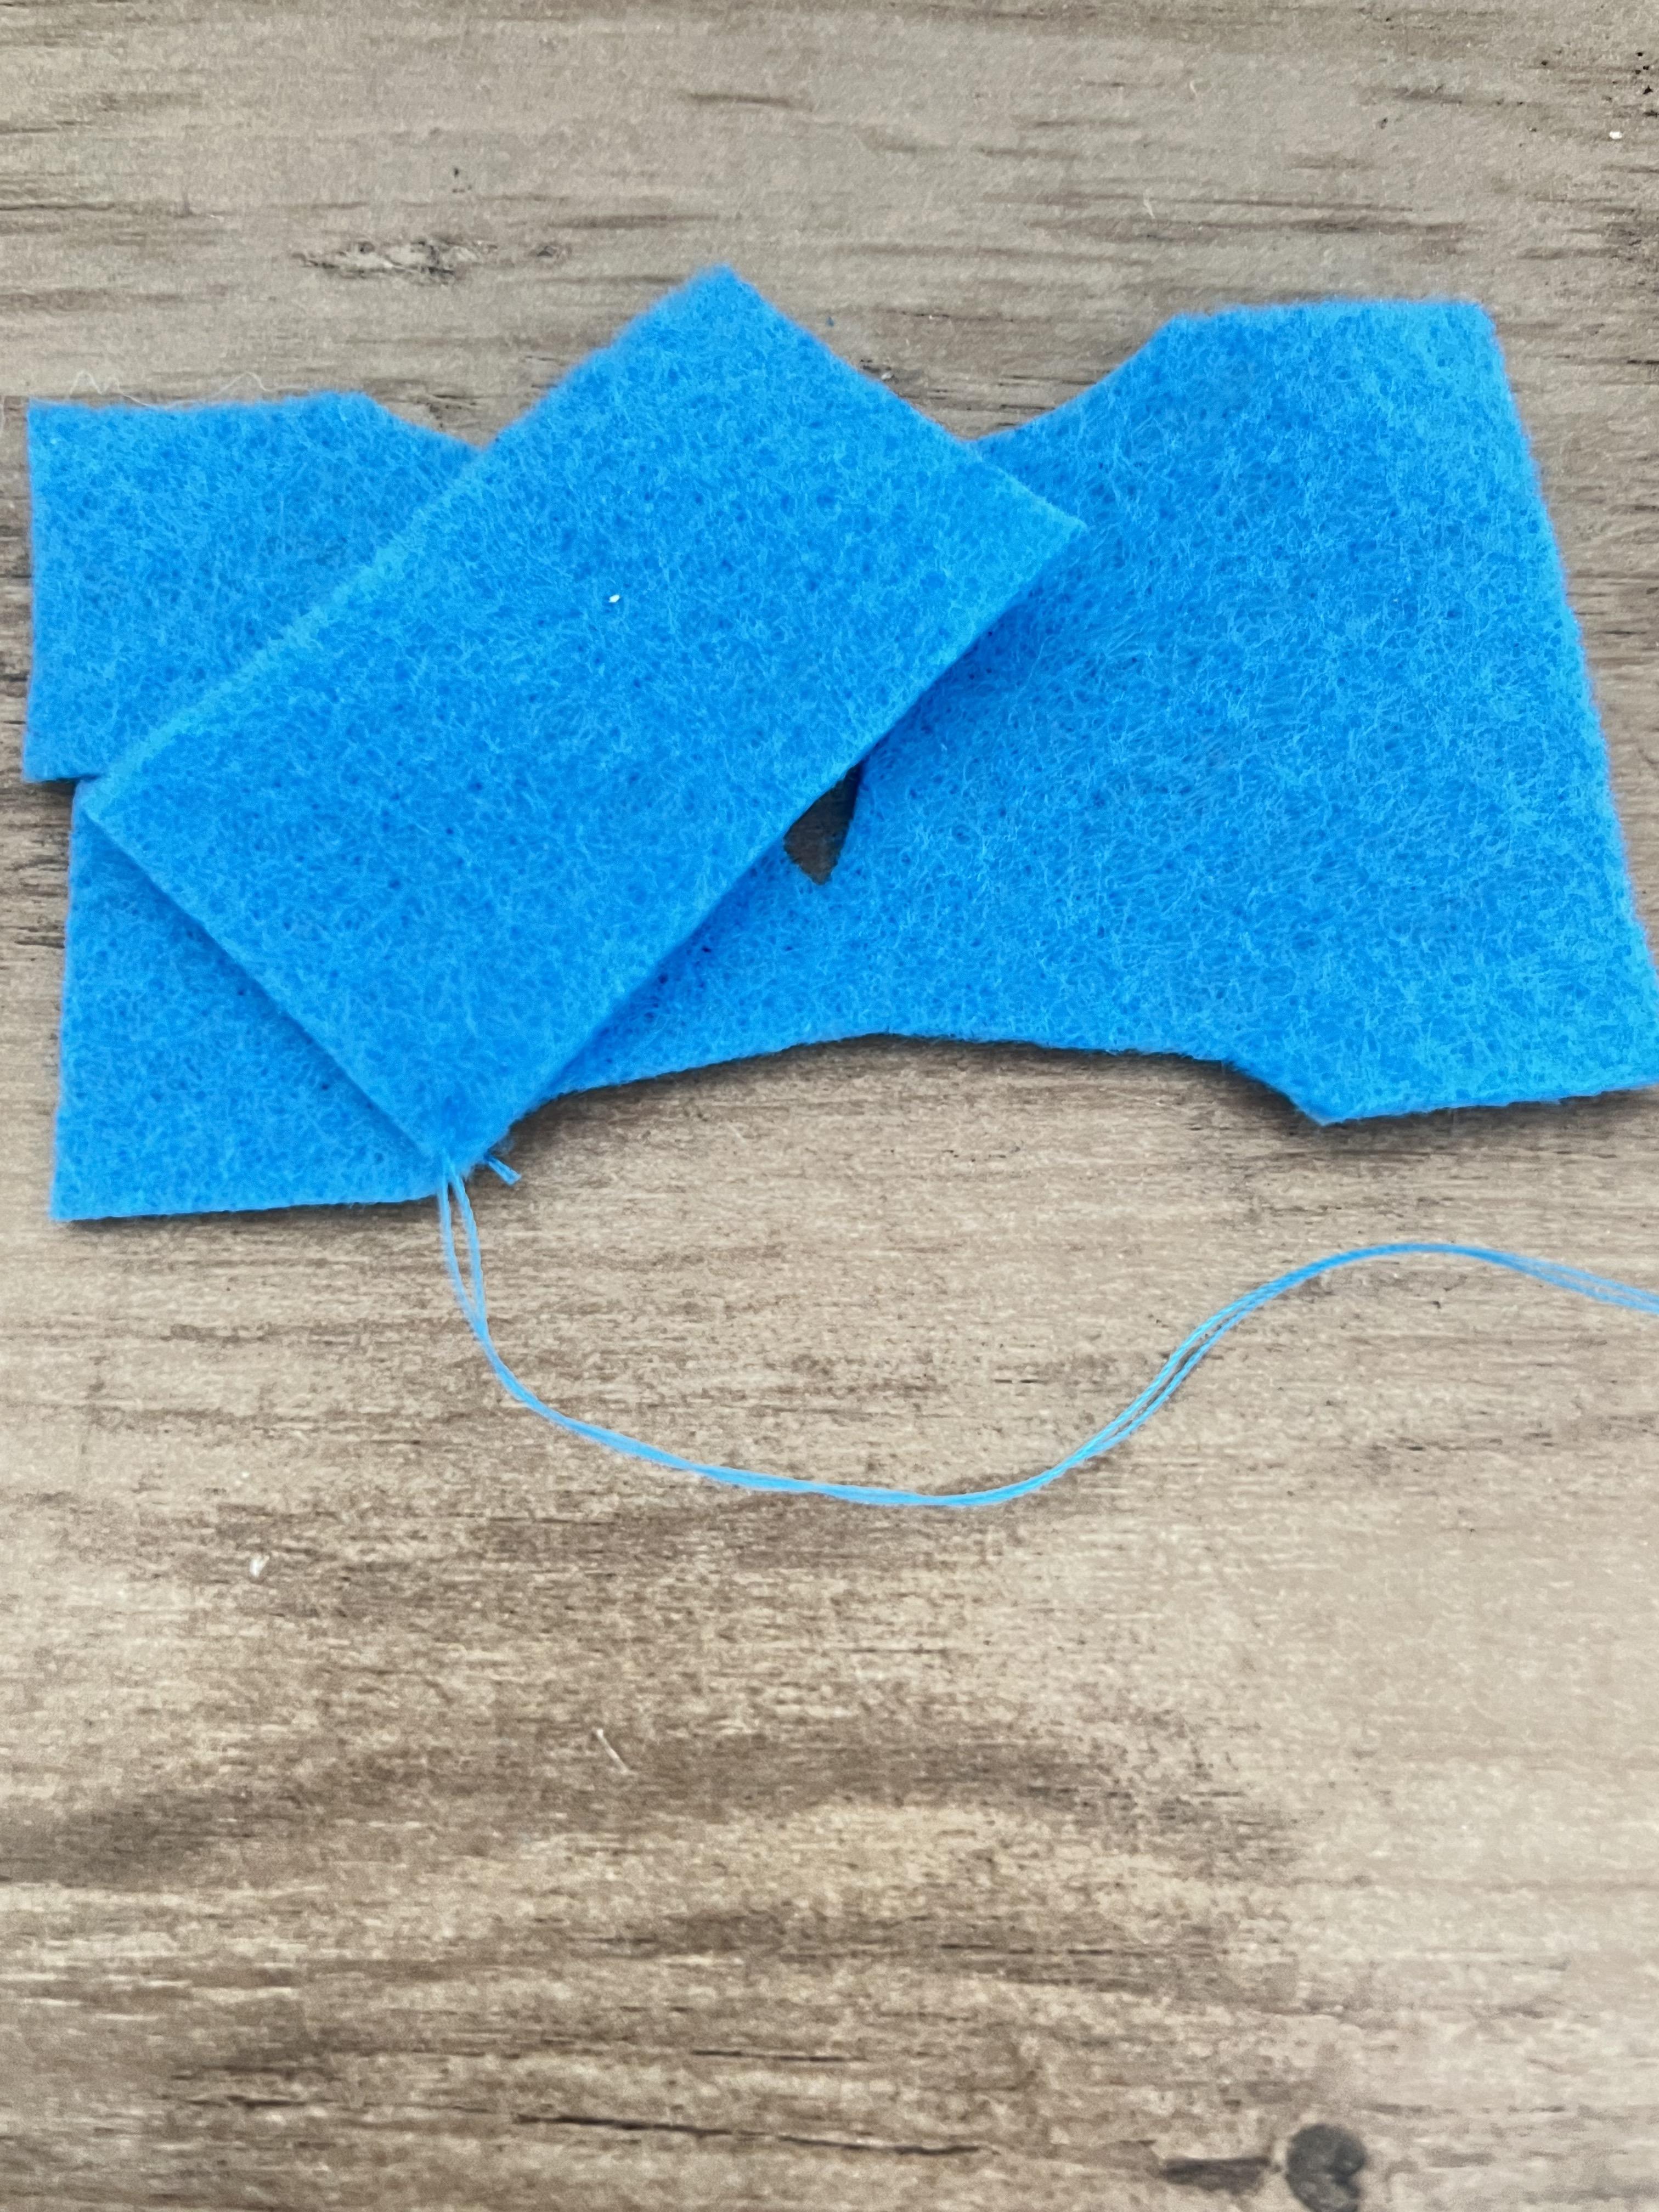
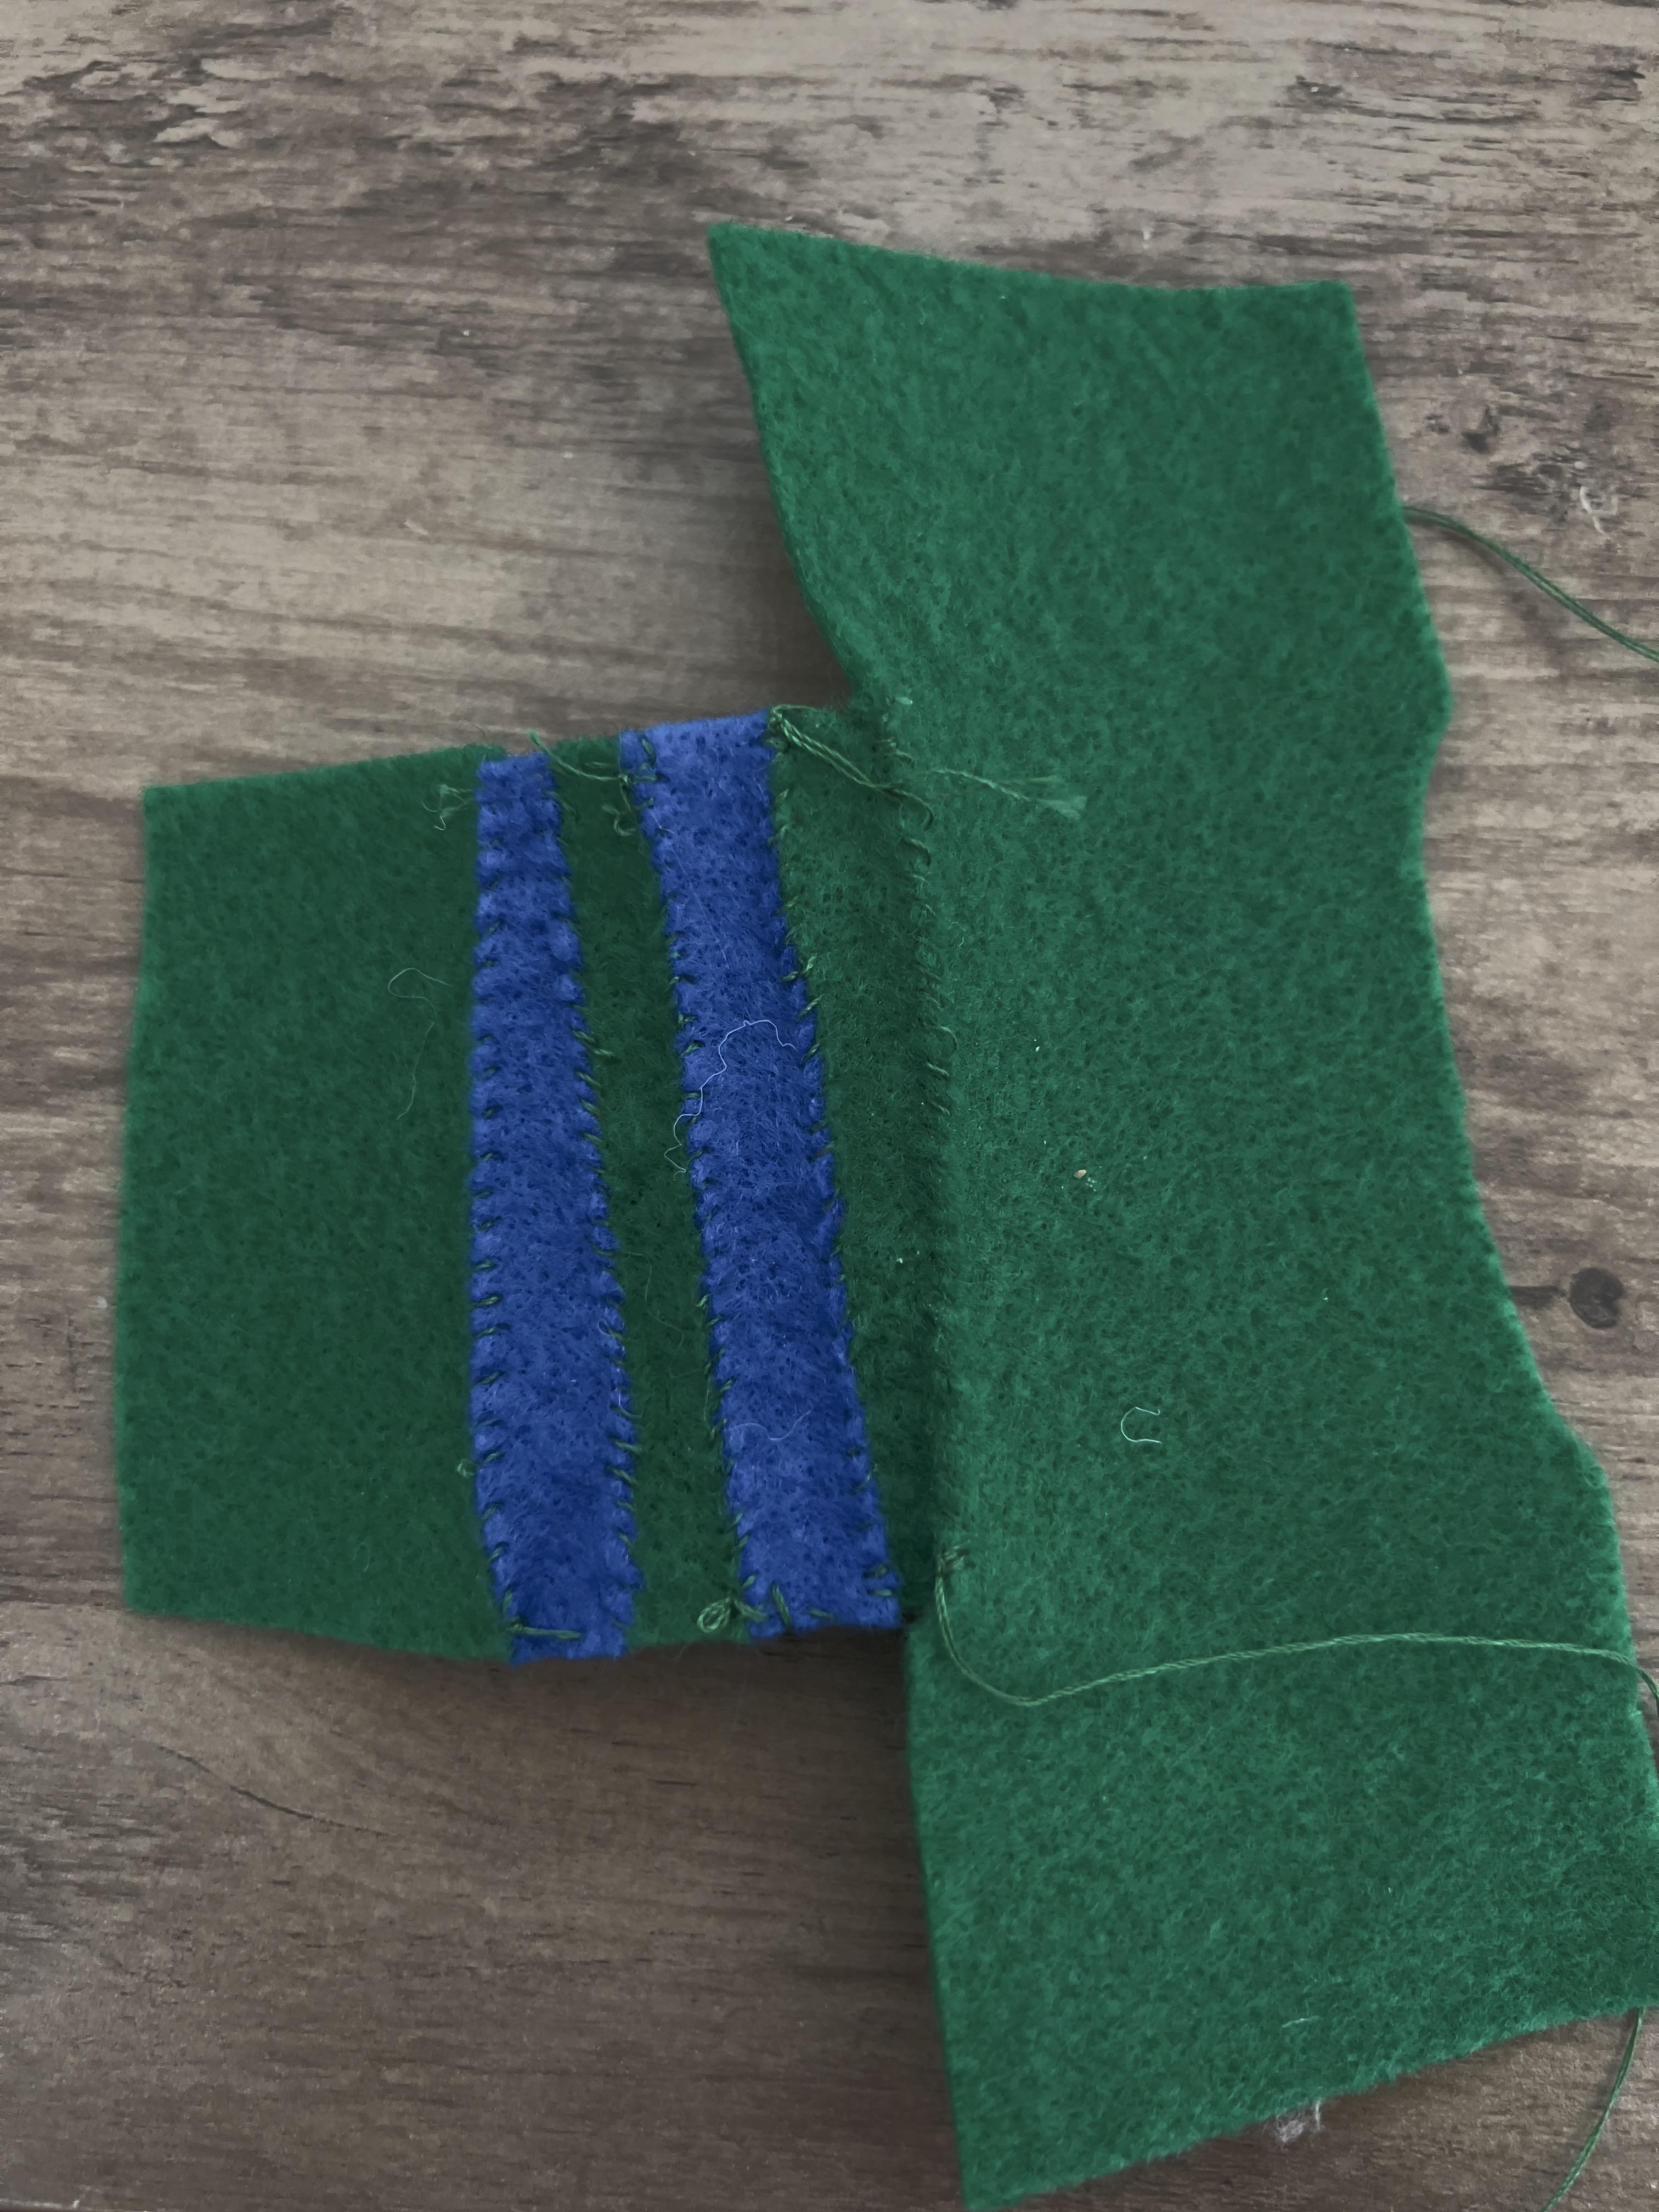
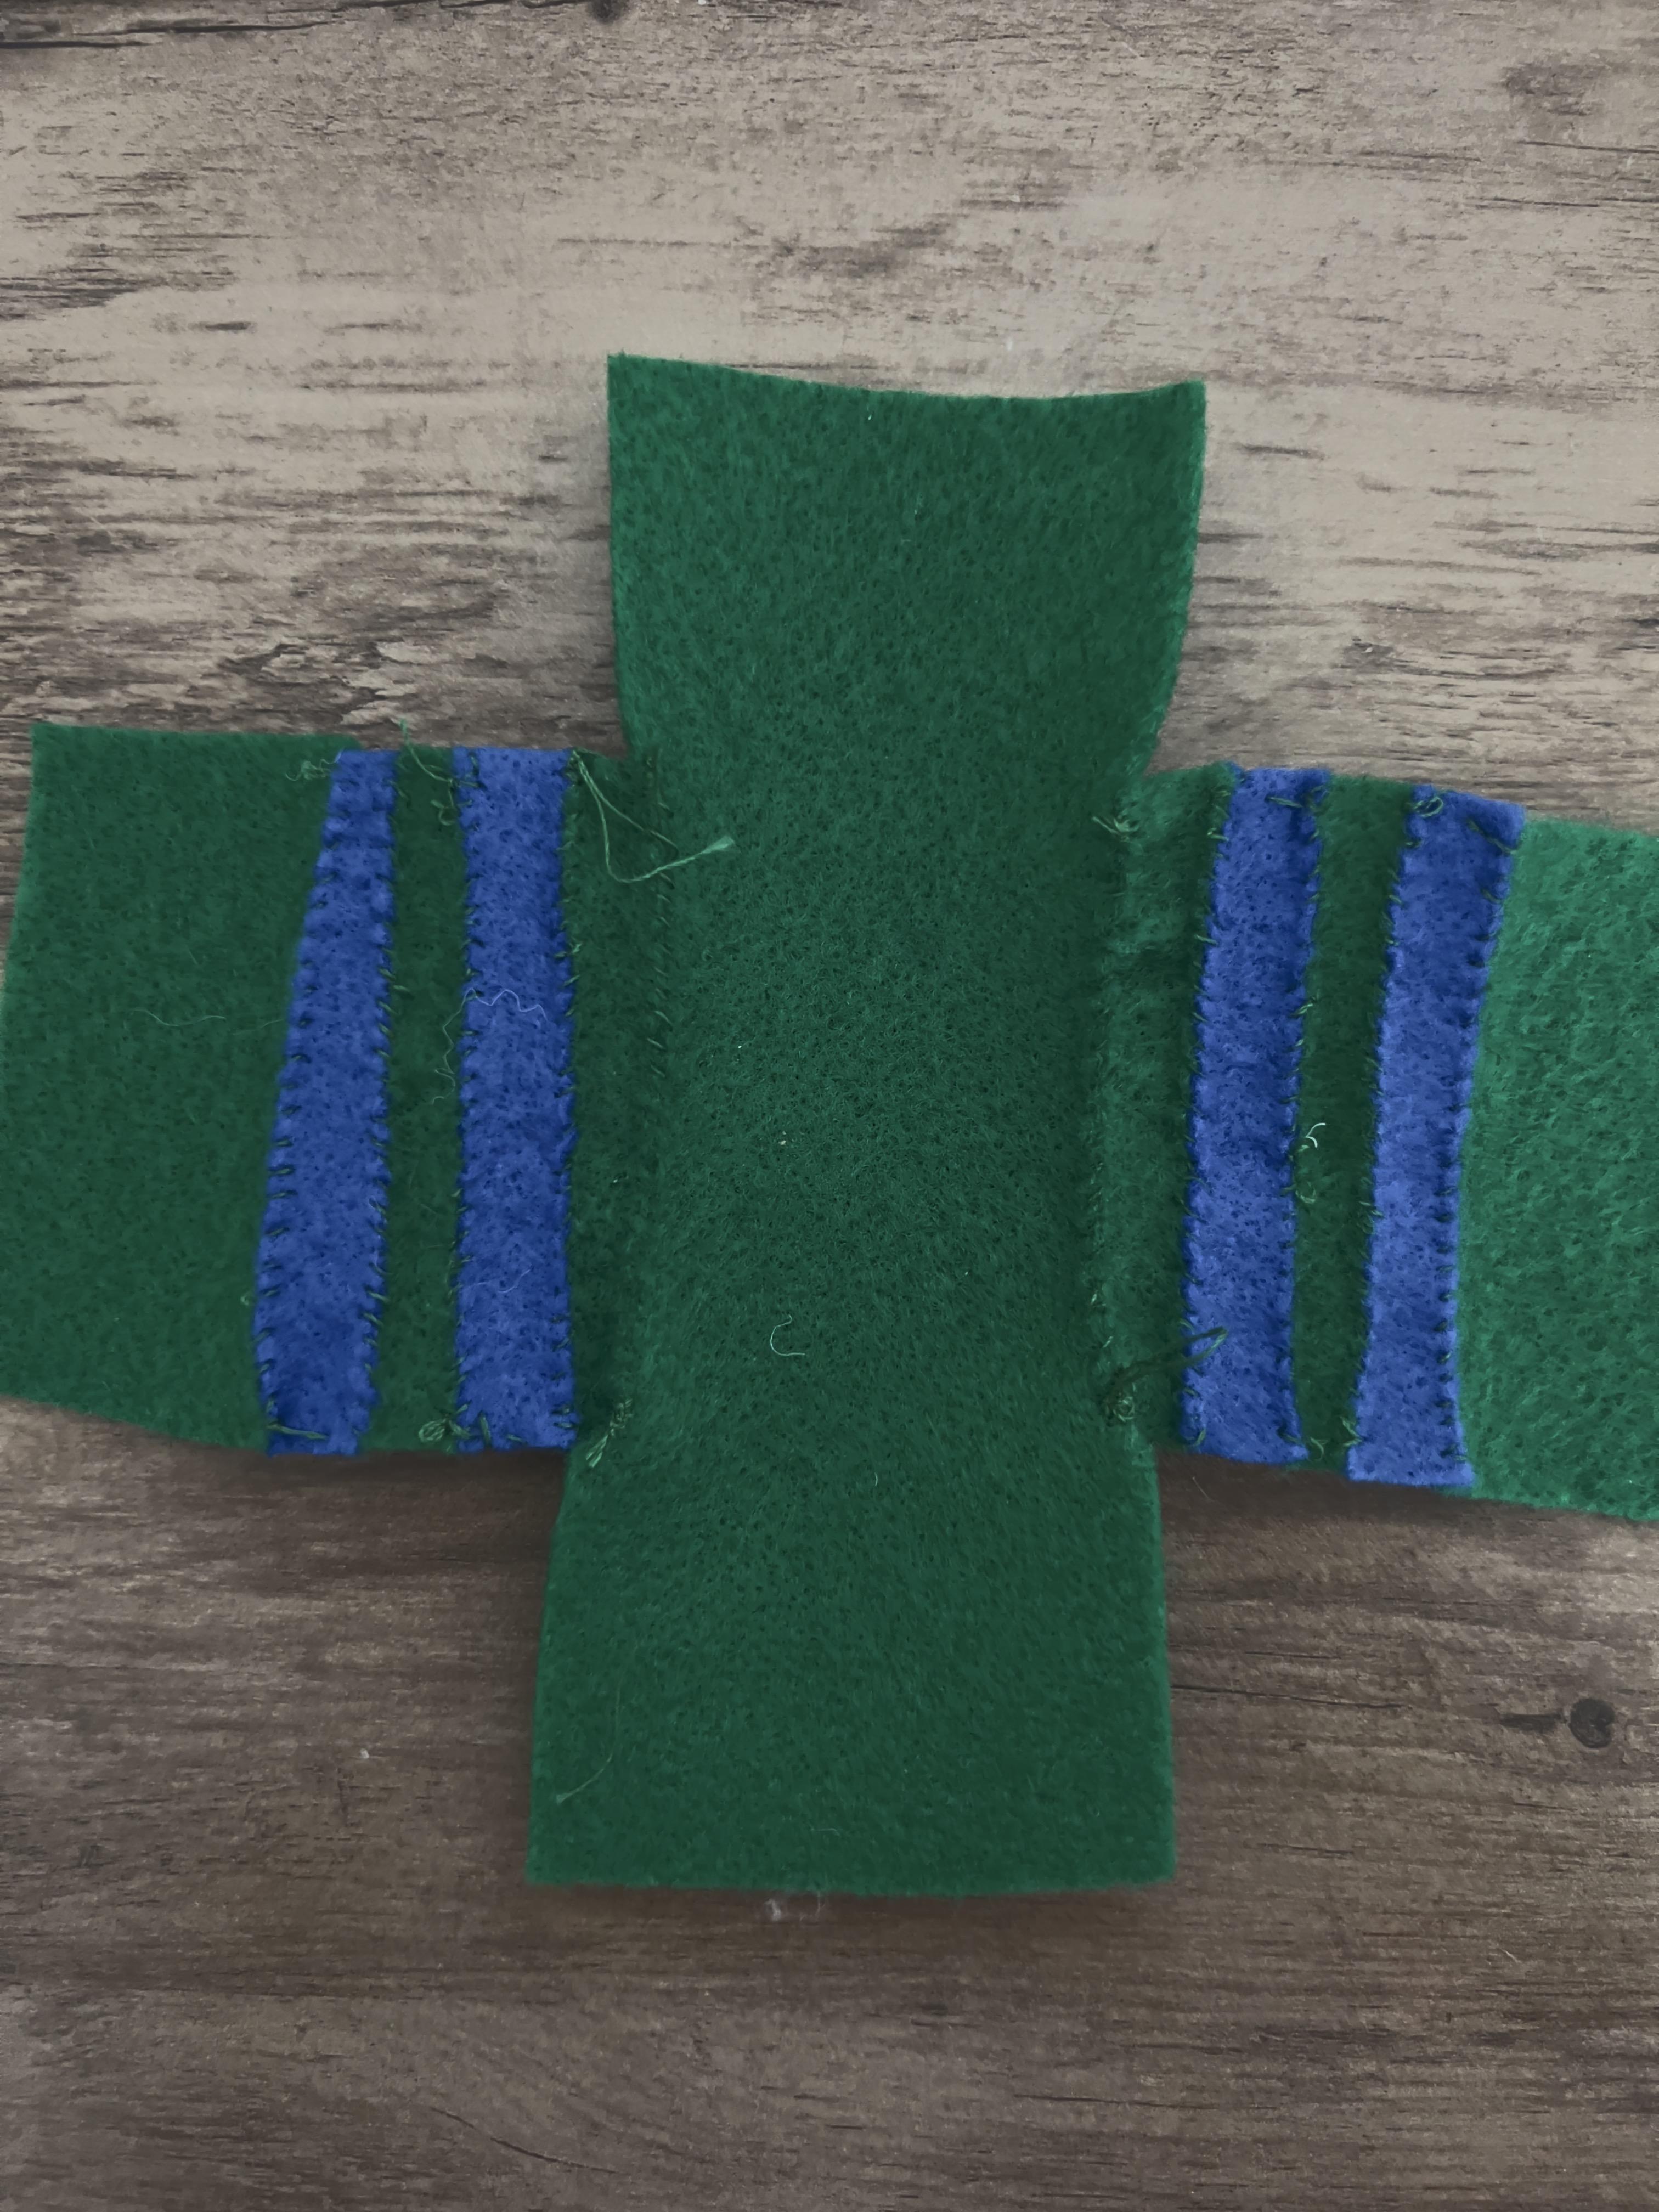
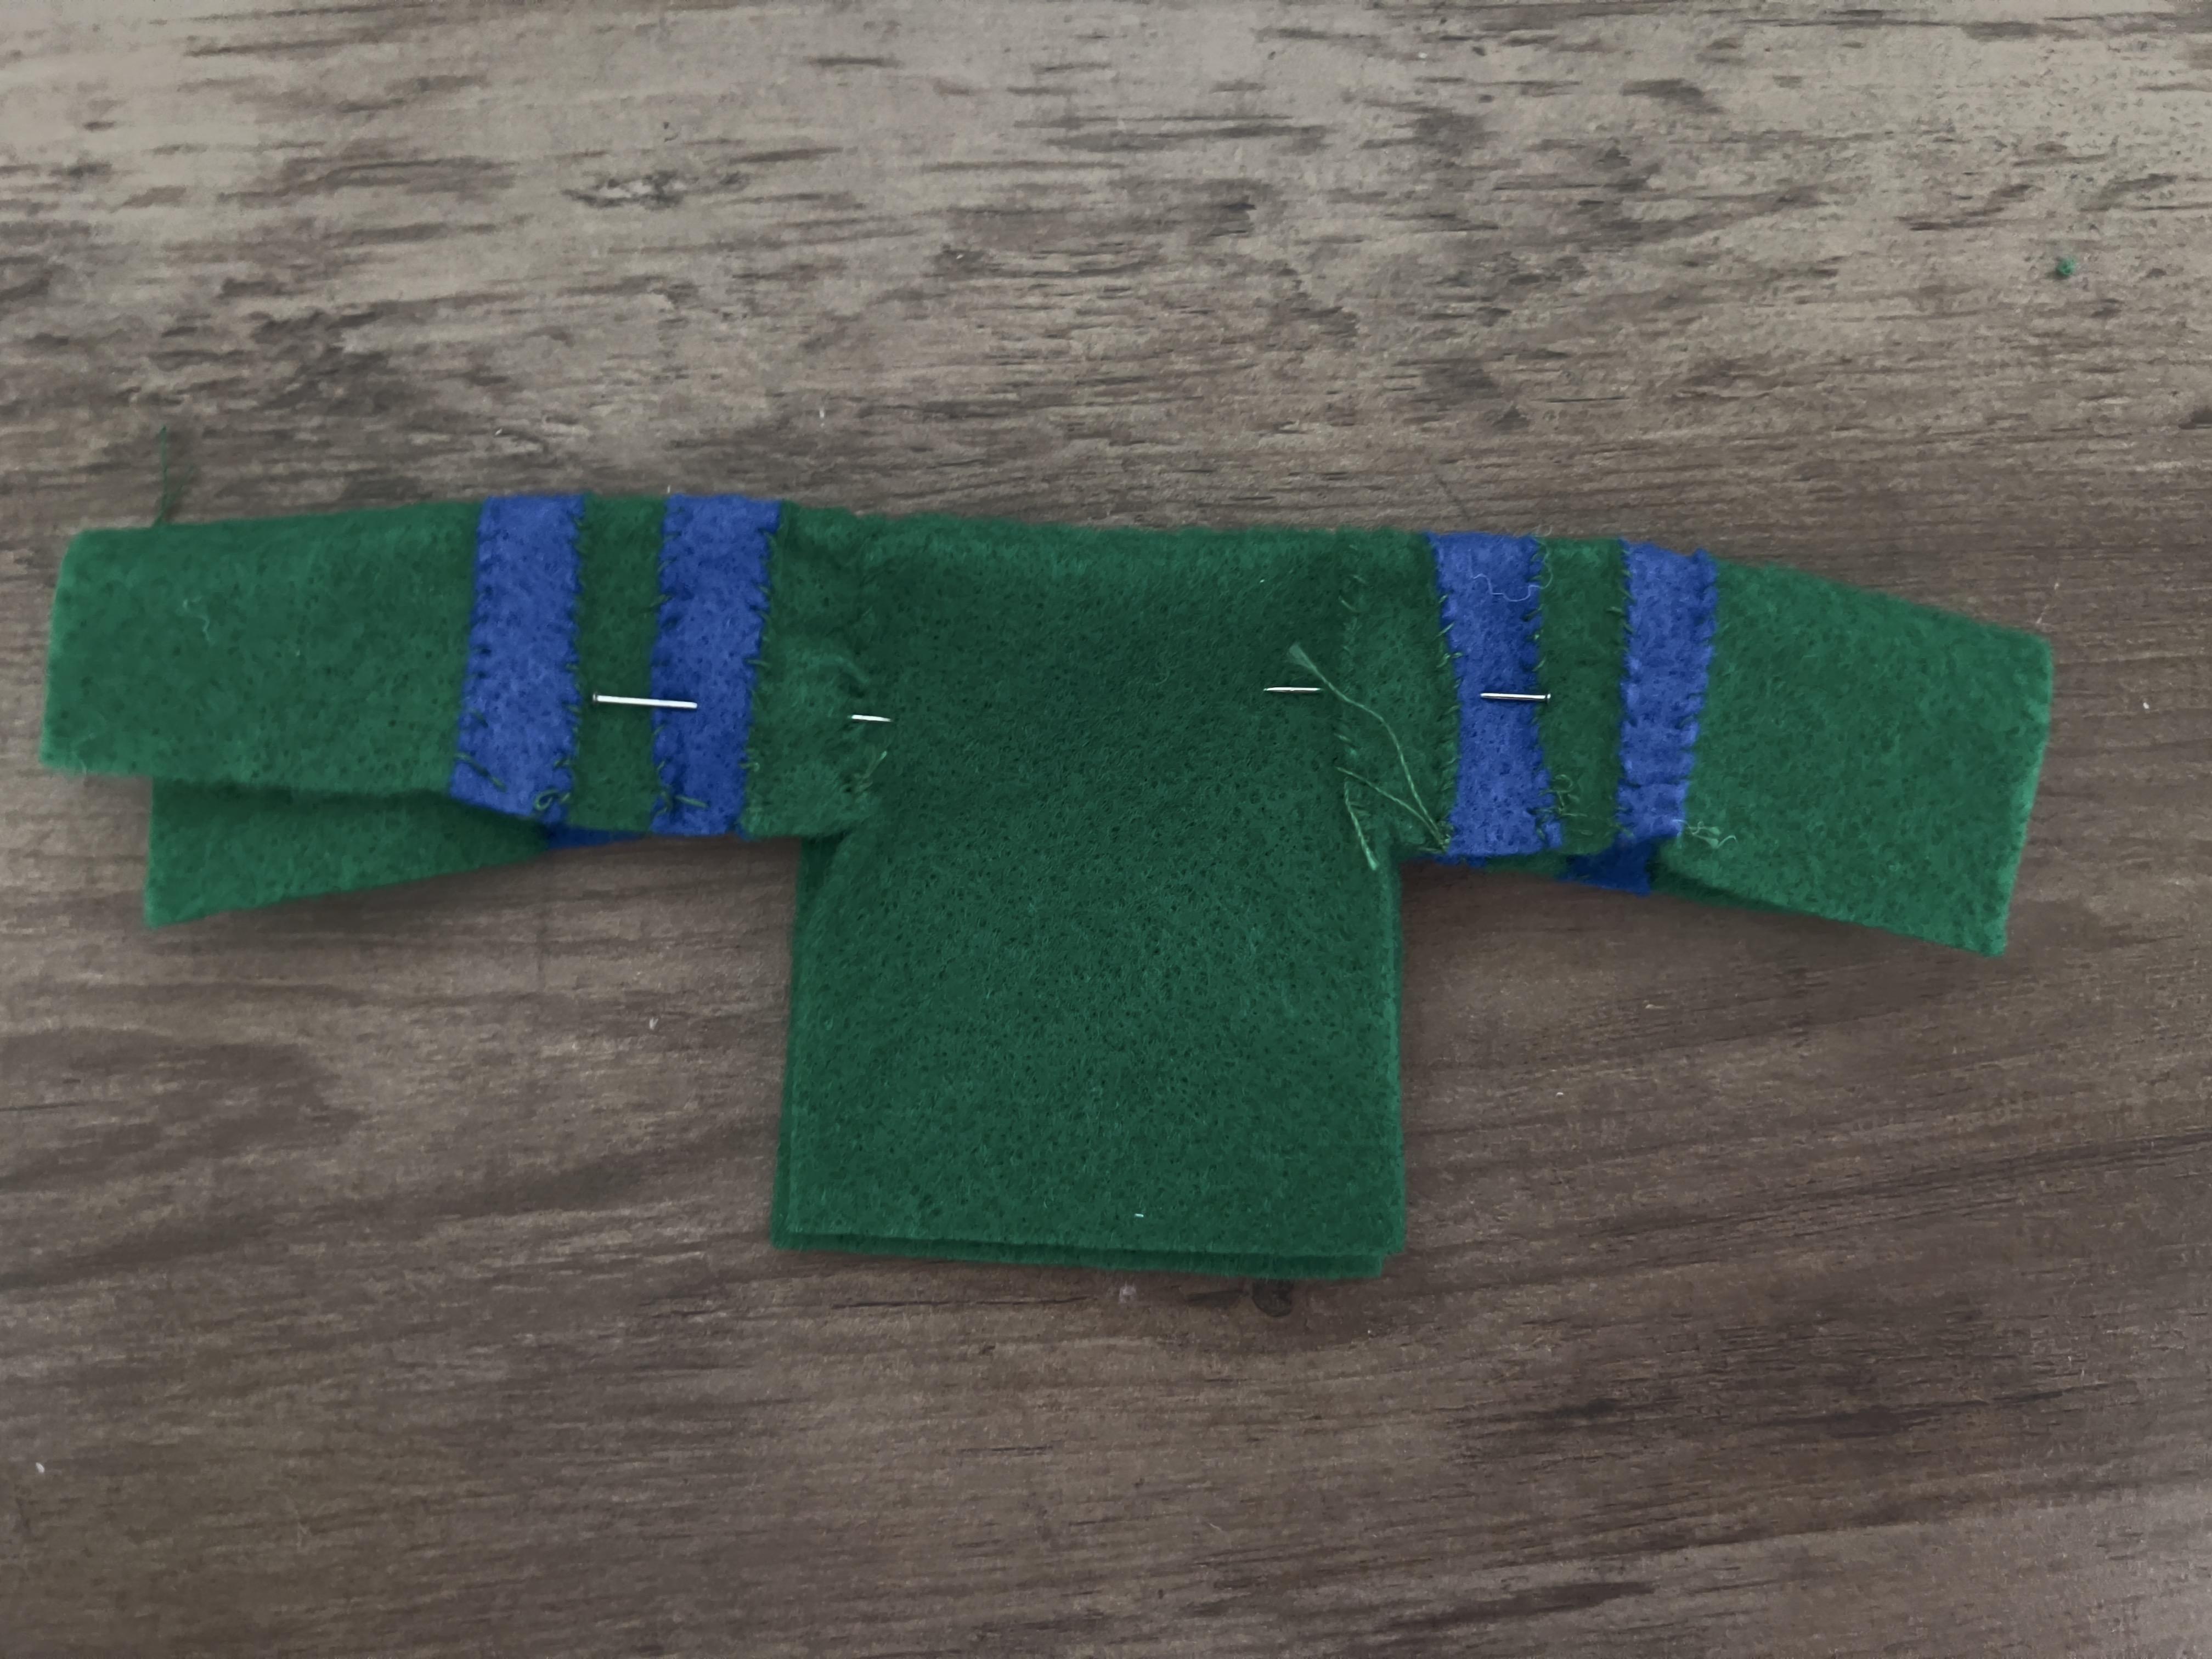
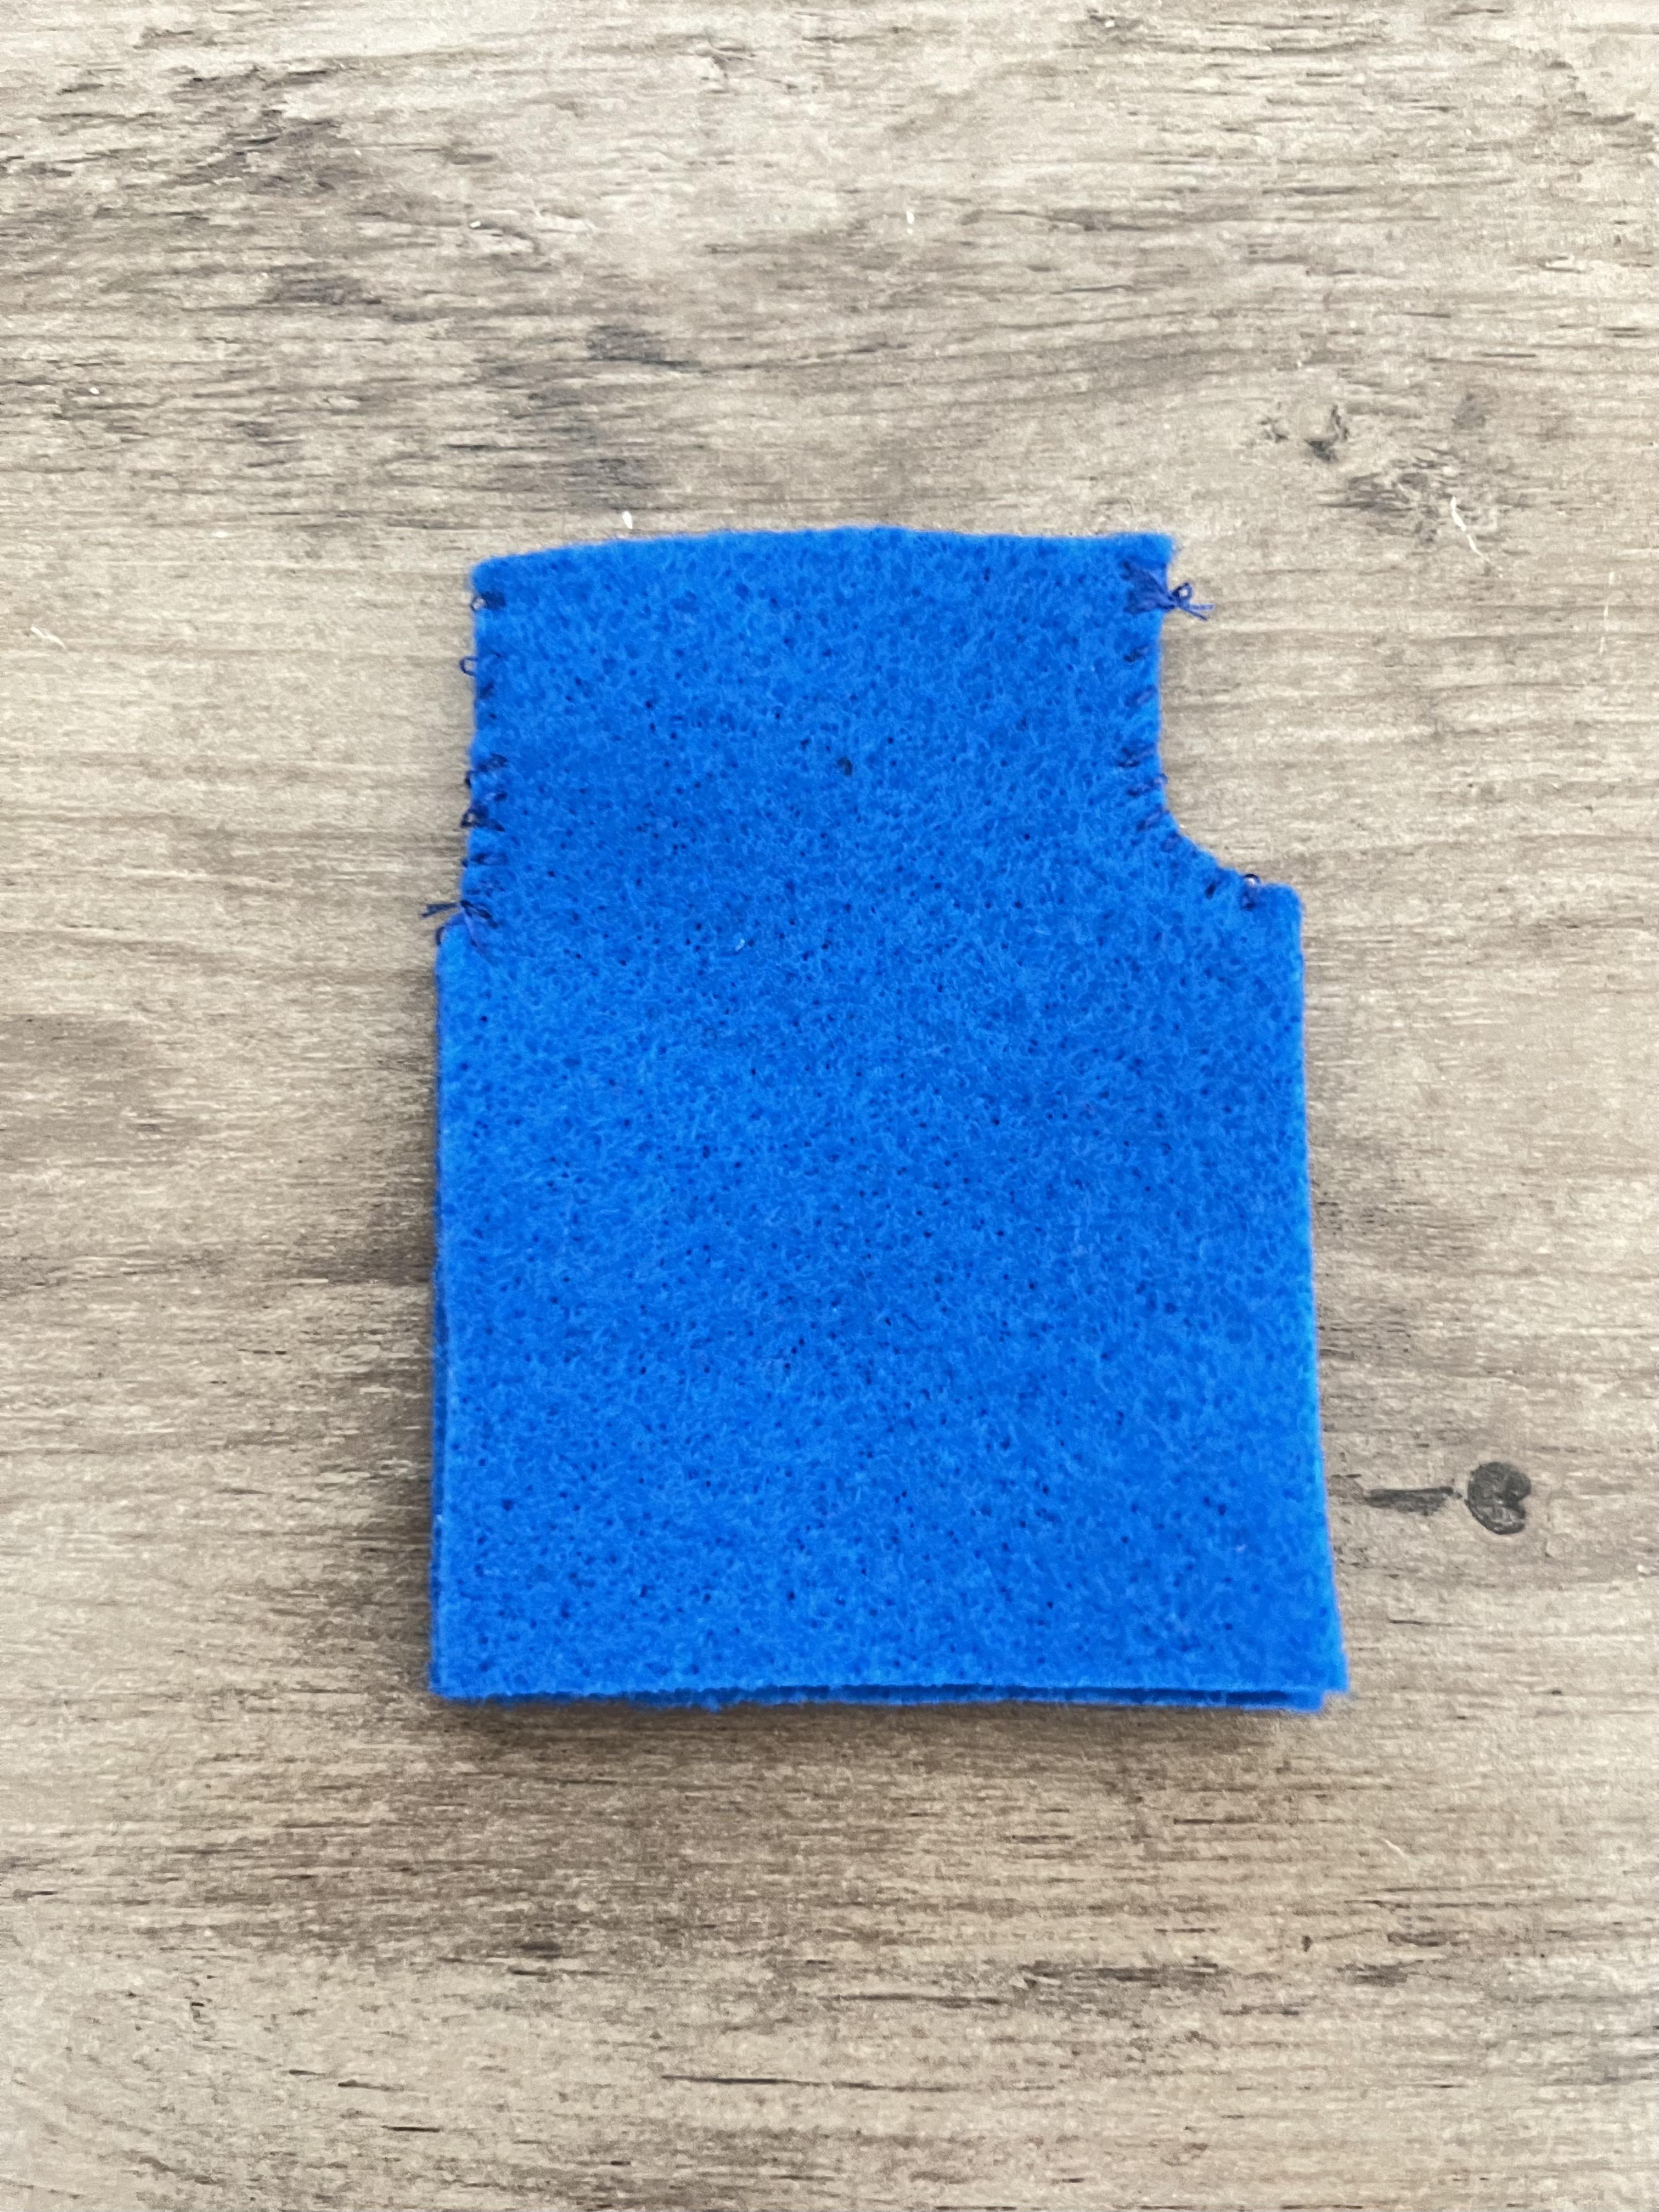
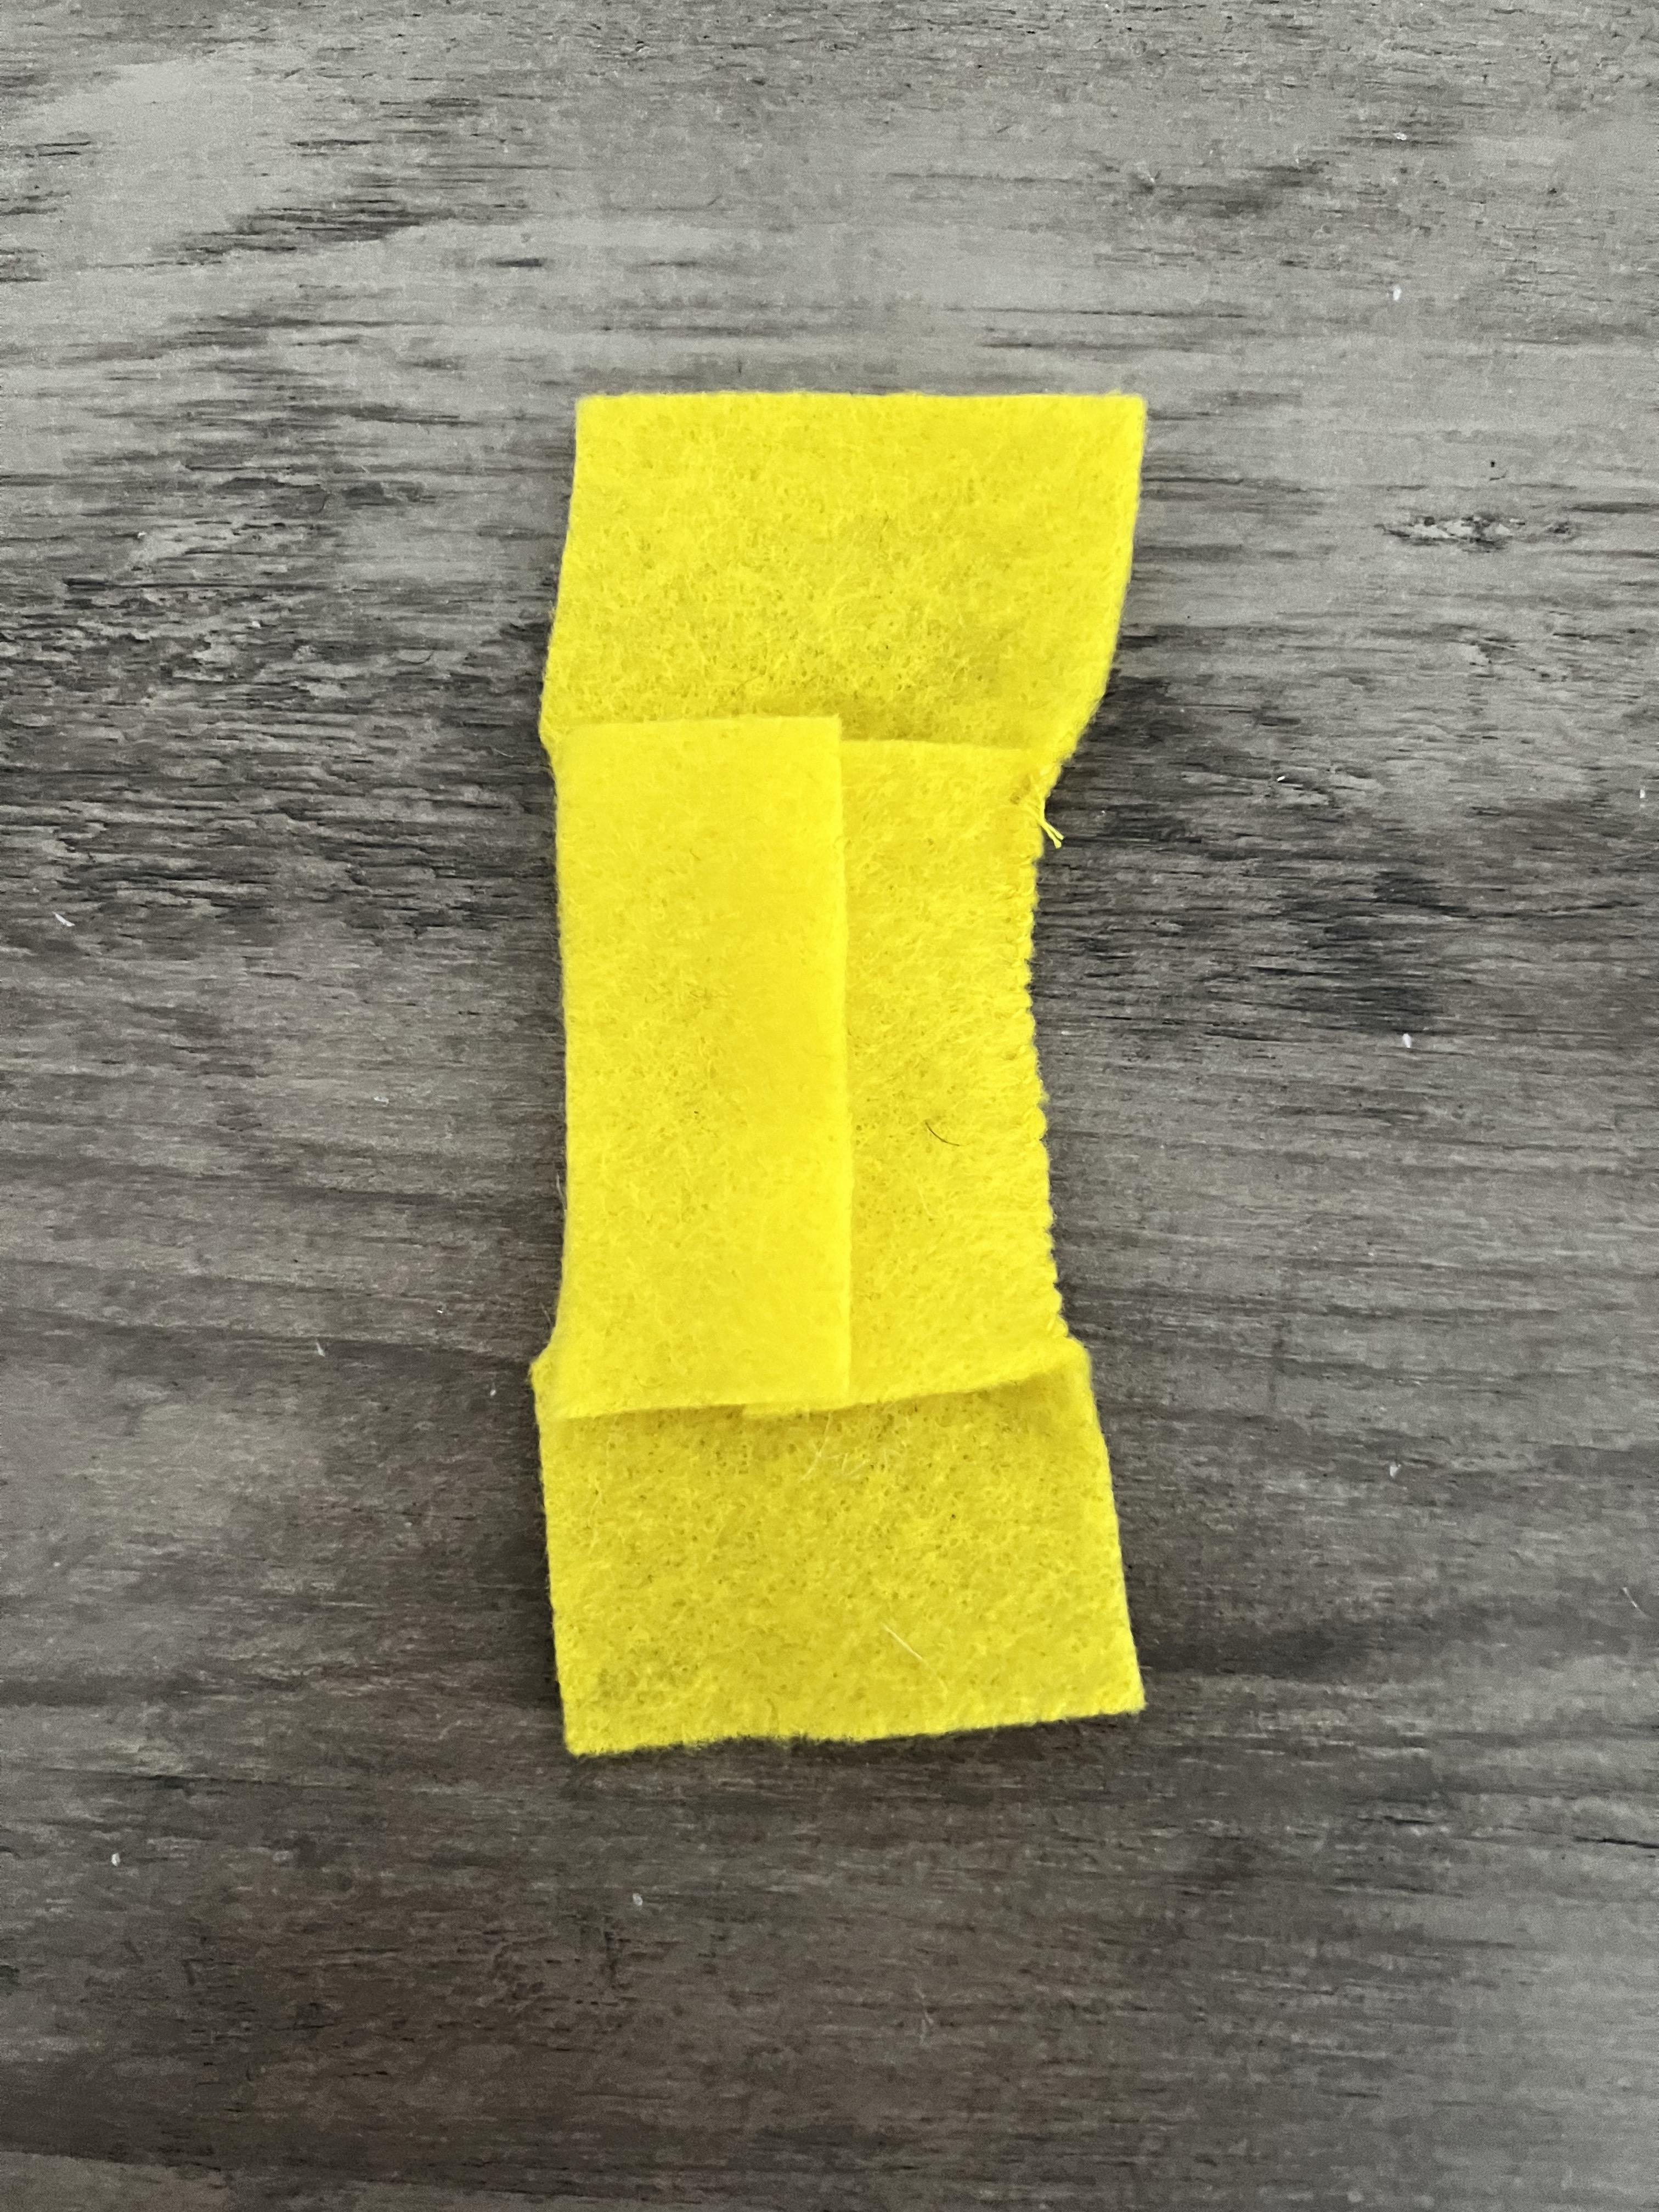
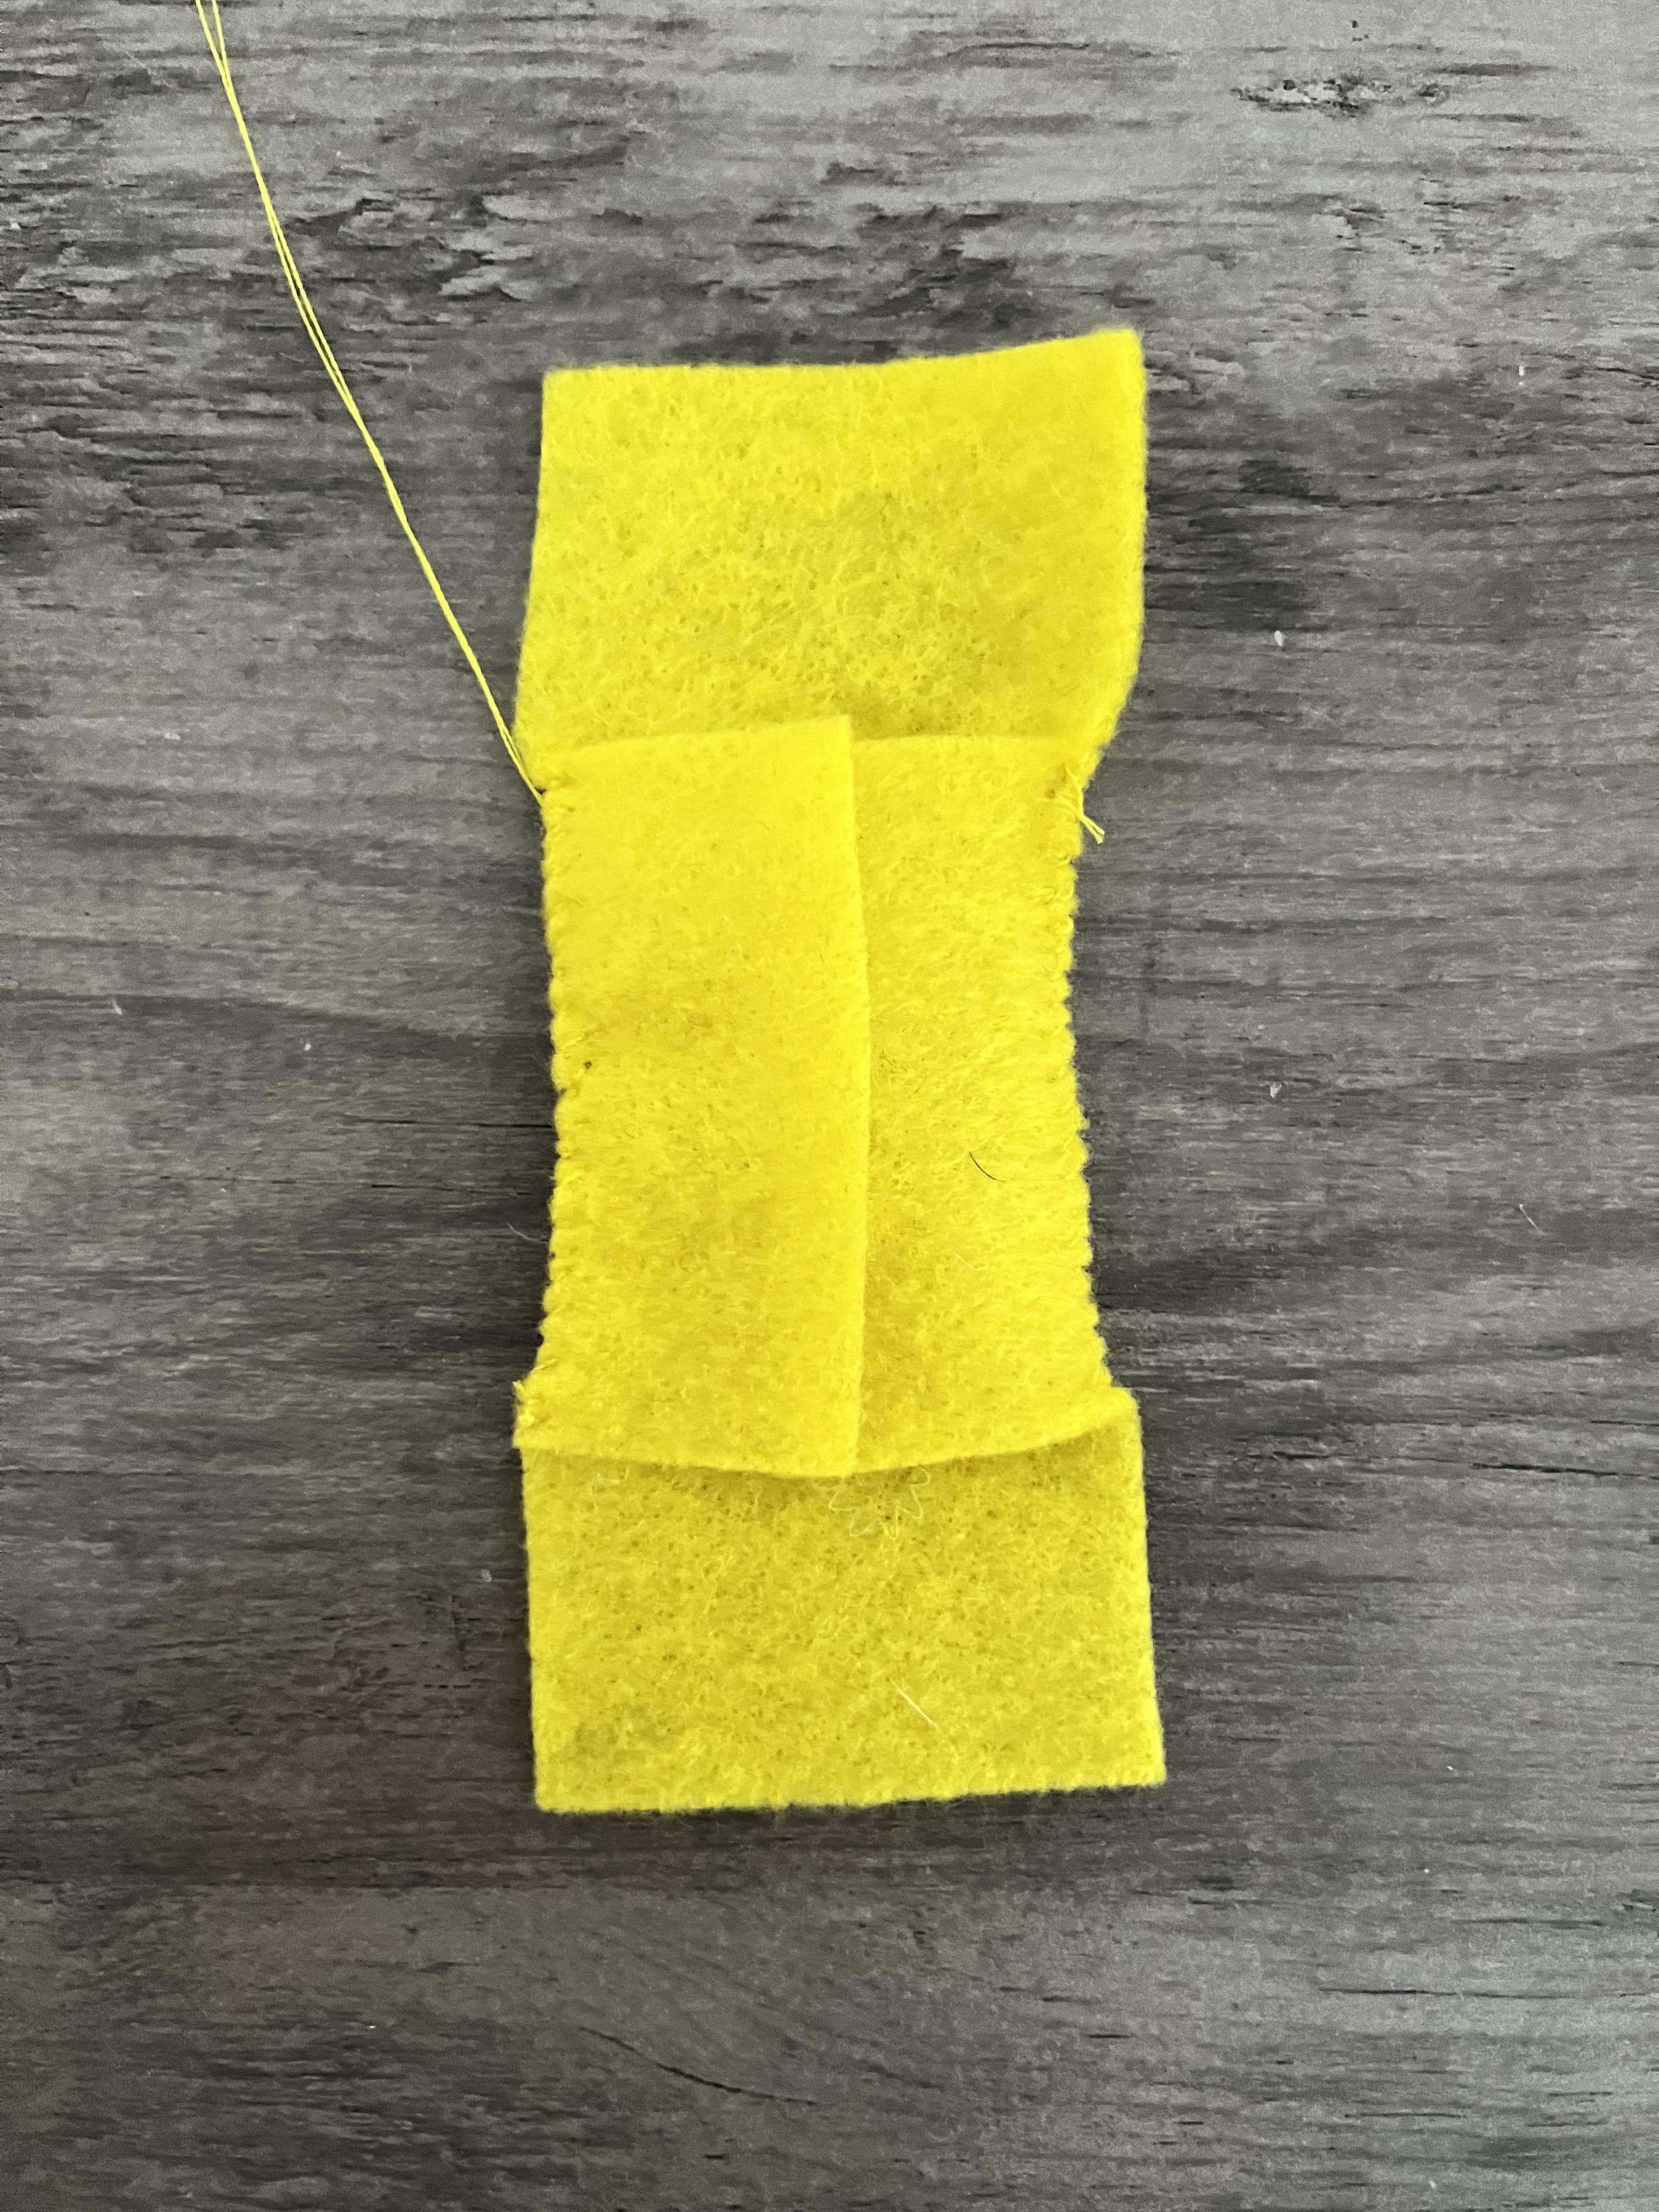
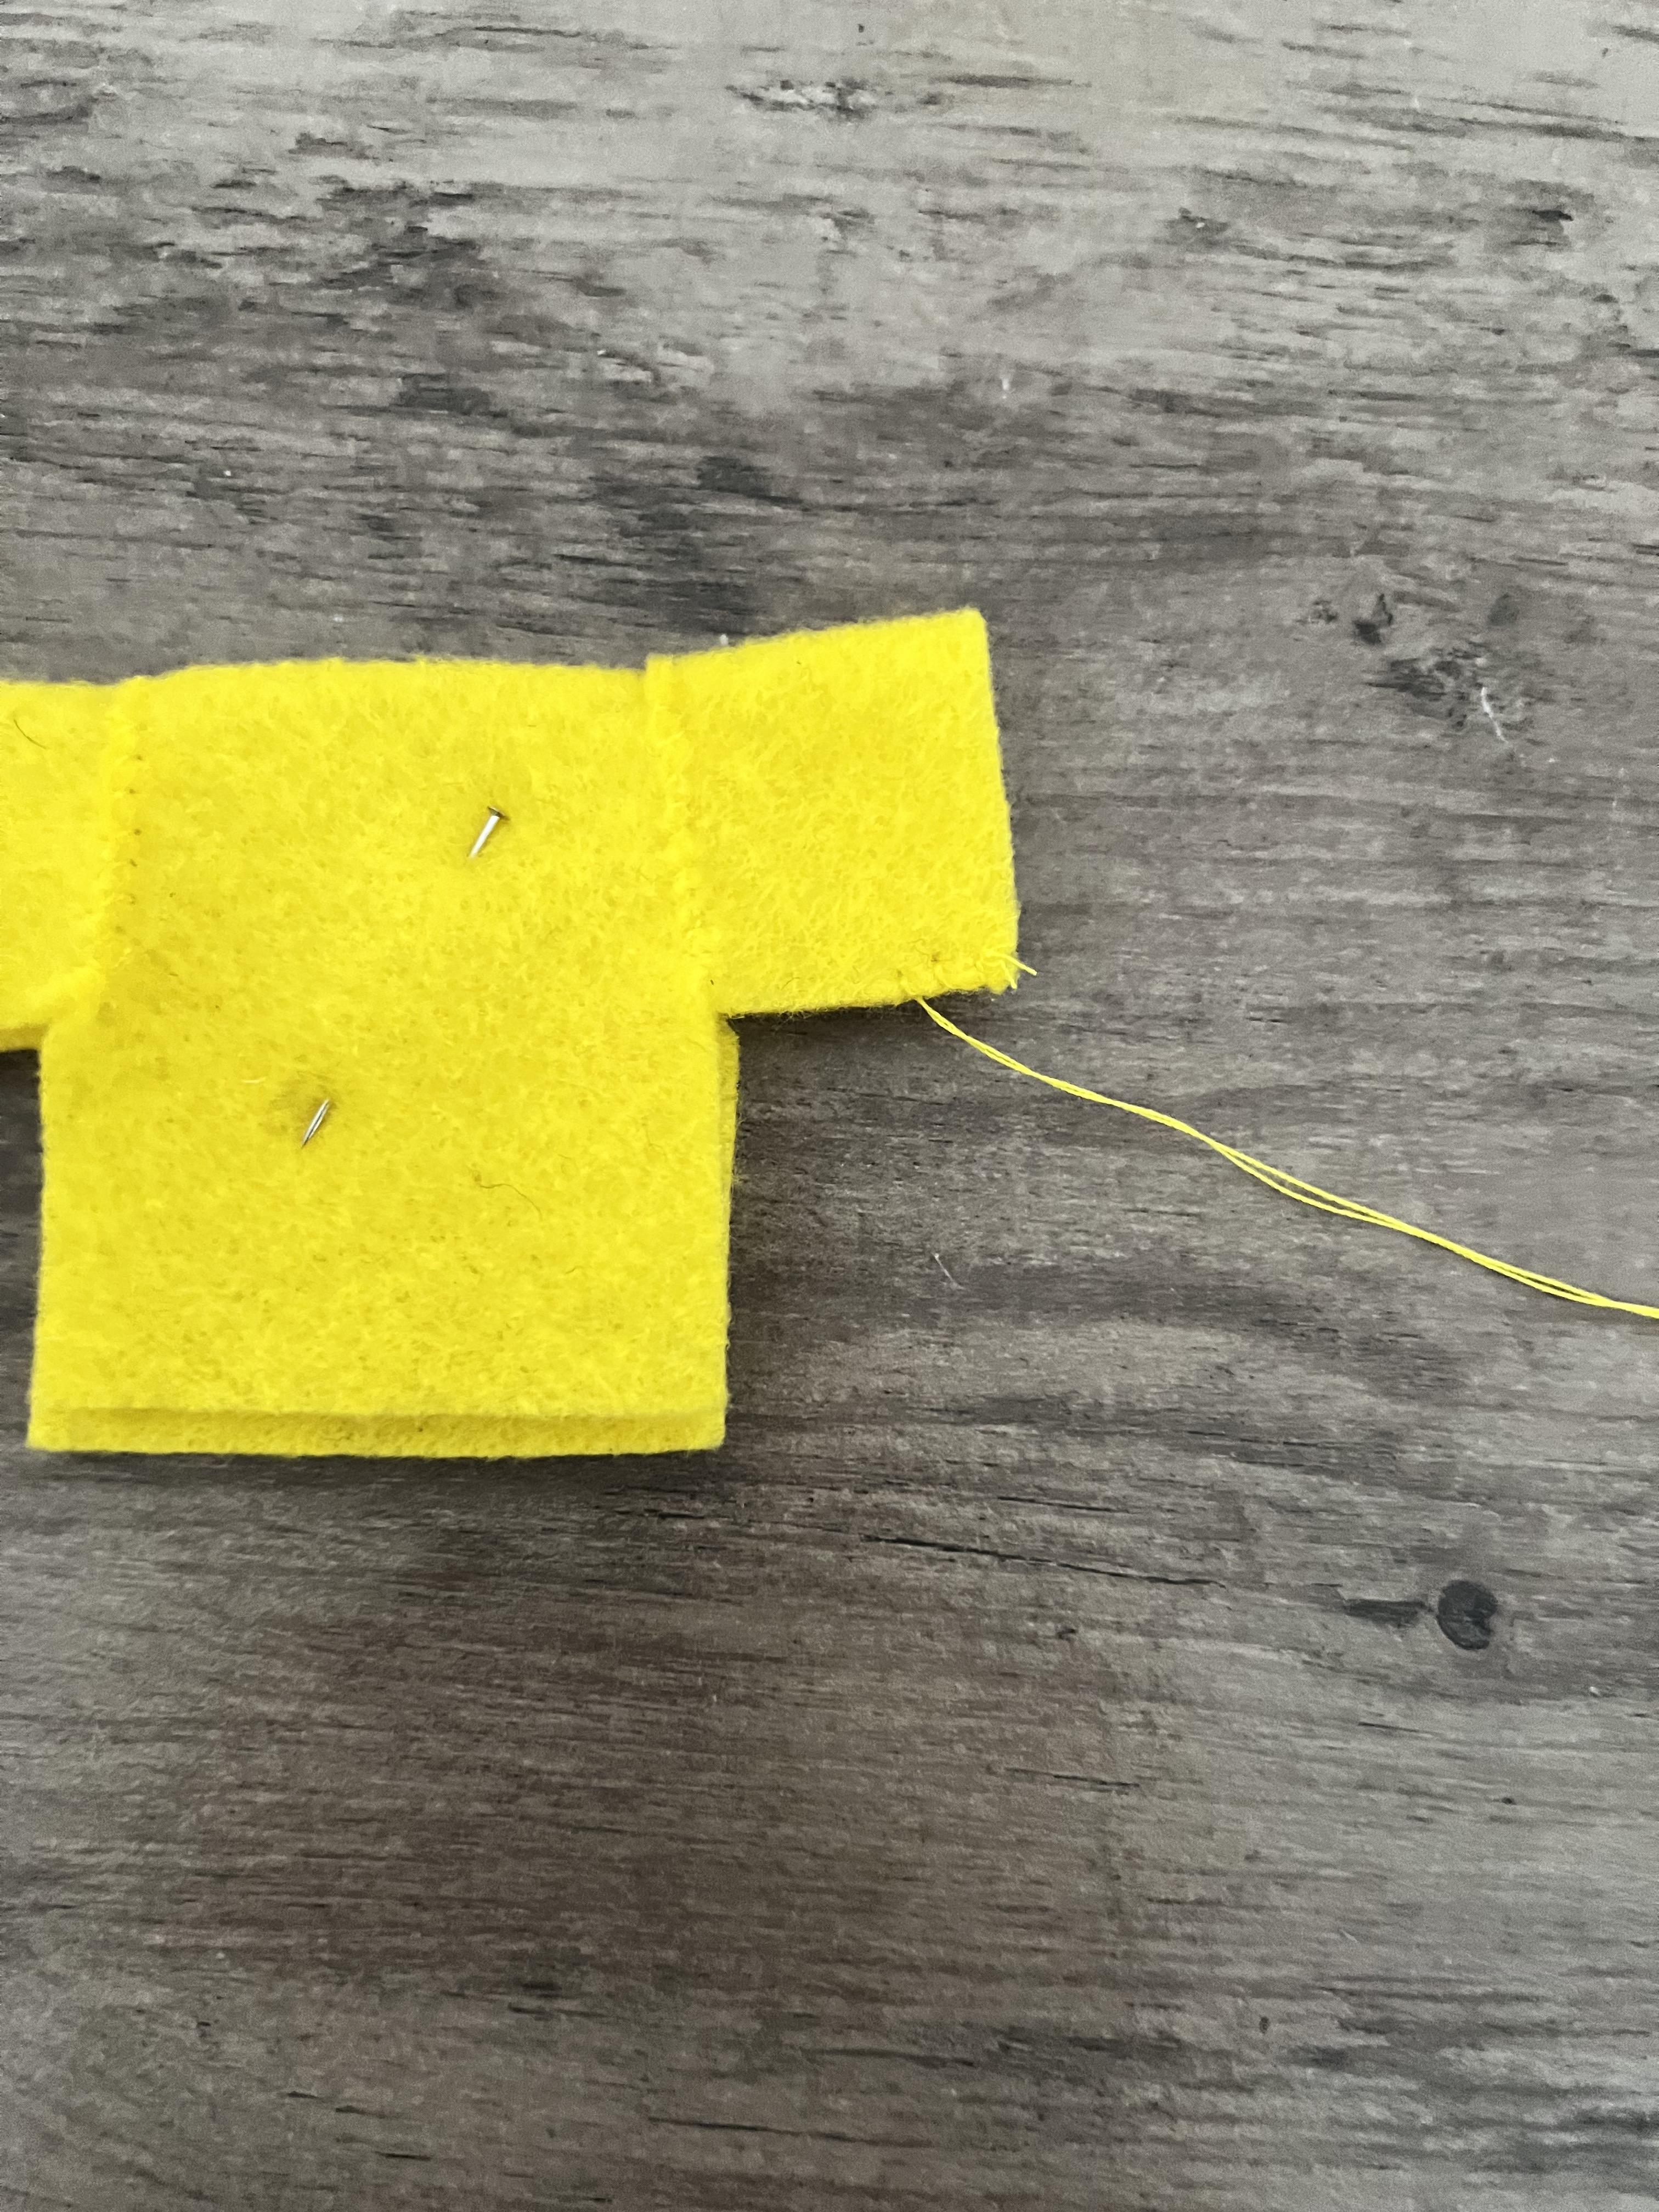
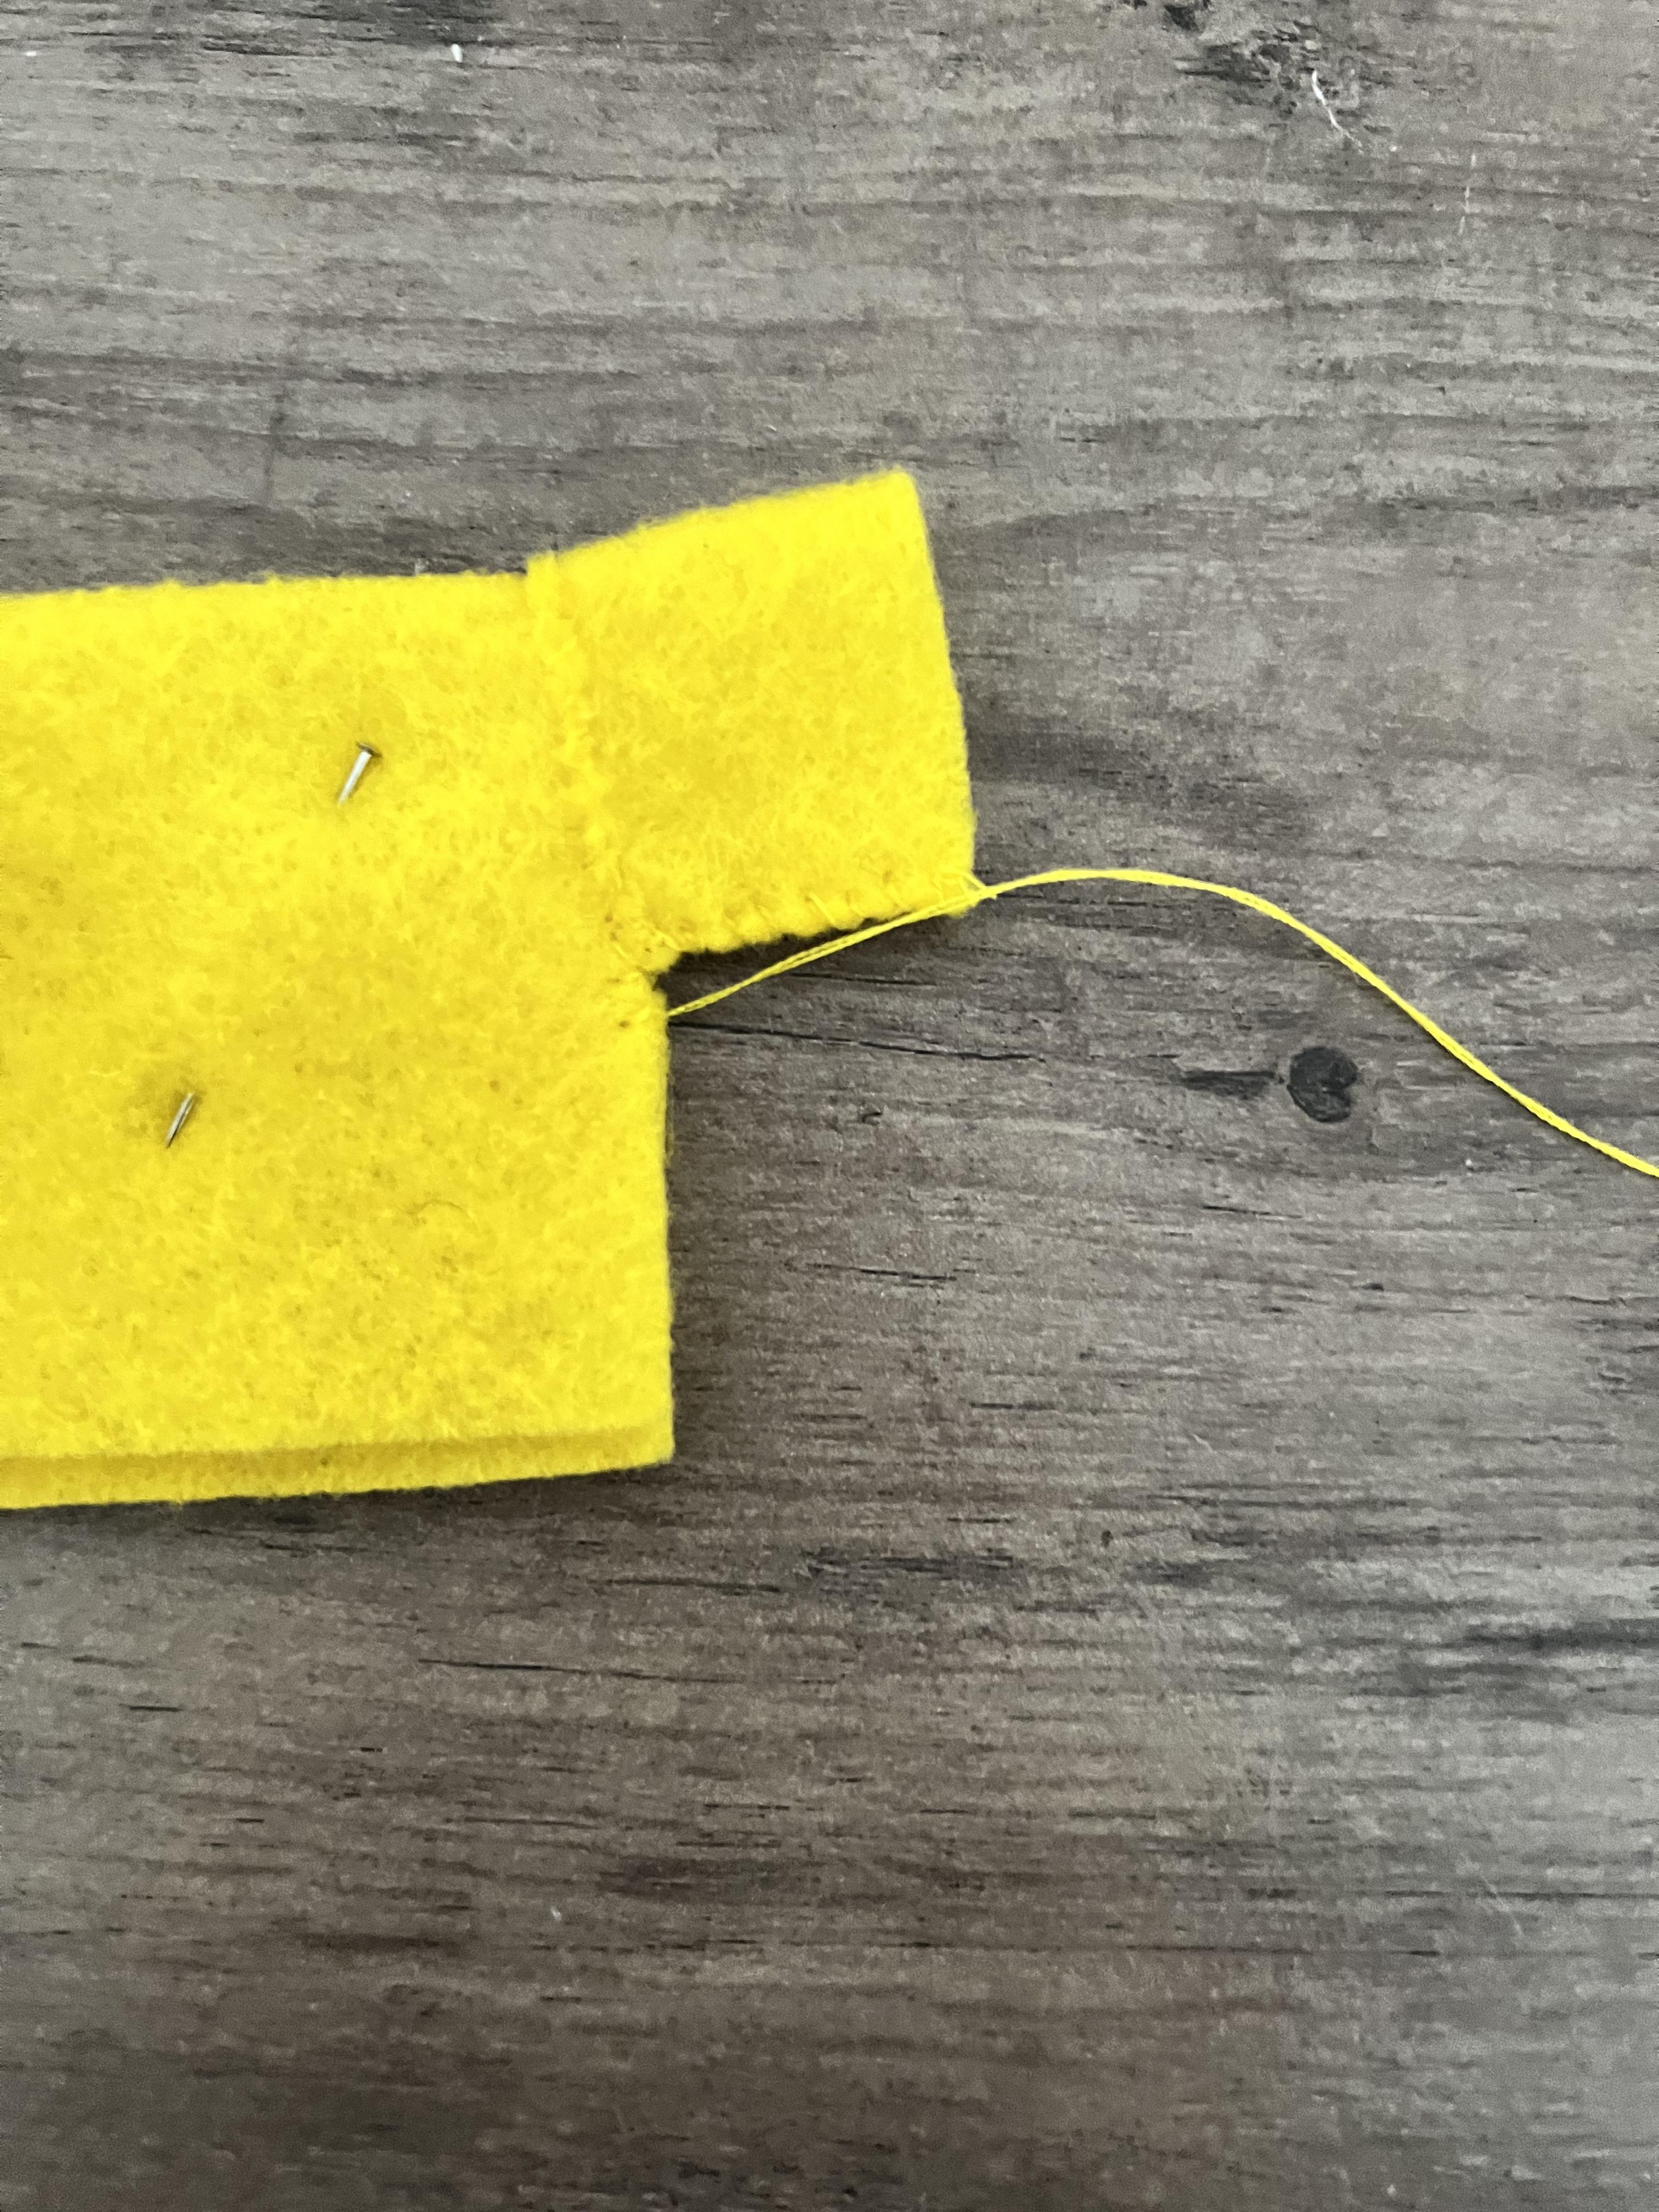
For Donald's shirt, cut a rectangle and then cut two indents on both sides for the sleeves. Cut two rectangle pieces for sleeves. Donald's shirt has two blue strips on each sleeve, so before attaching the sleeve to the shirt, cut and sew two blue strips to each sleeve. Sew each sleeve to each side of the shirt body. Fold the shirt in half and sew up each upside-down "L" shapes to form the shirt. Flip the shirt out and cut a hole to fit Donald's head.
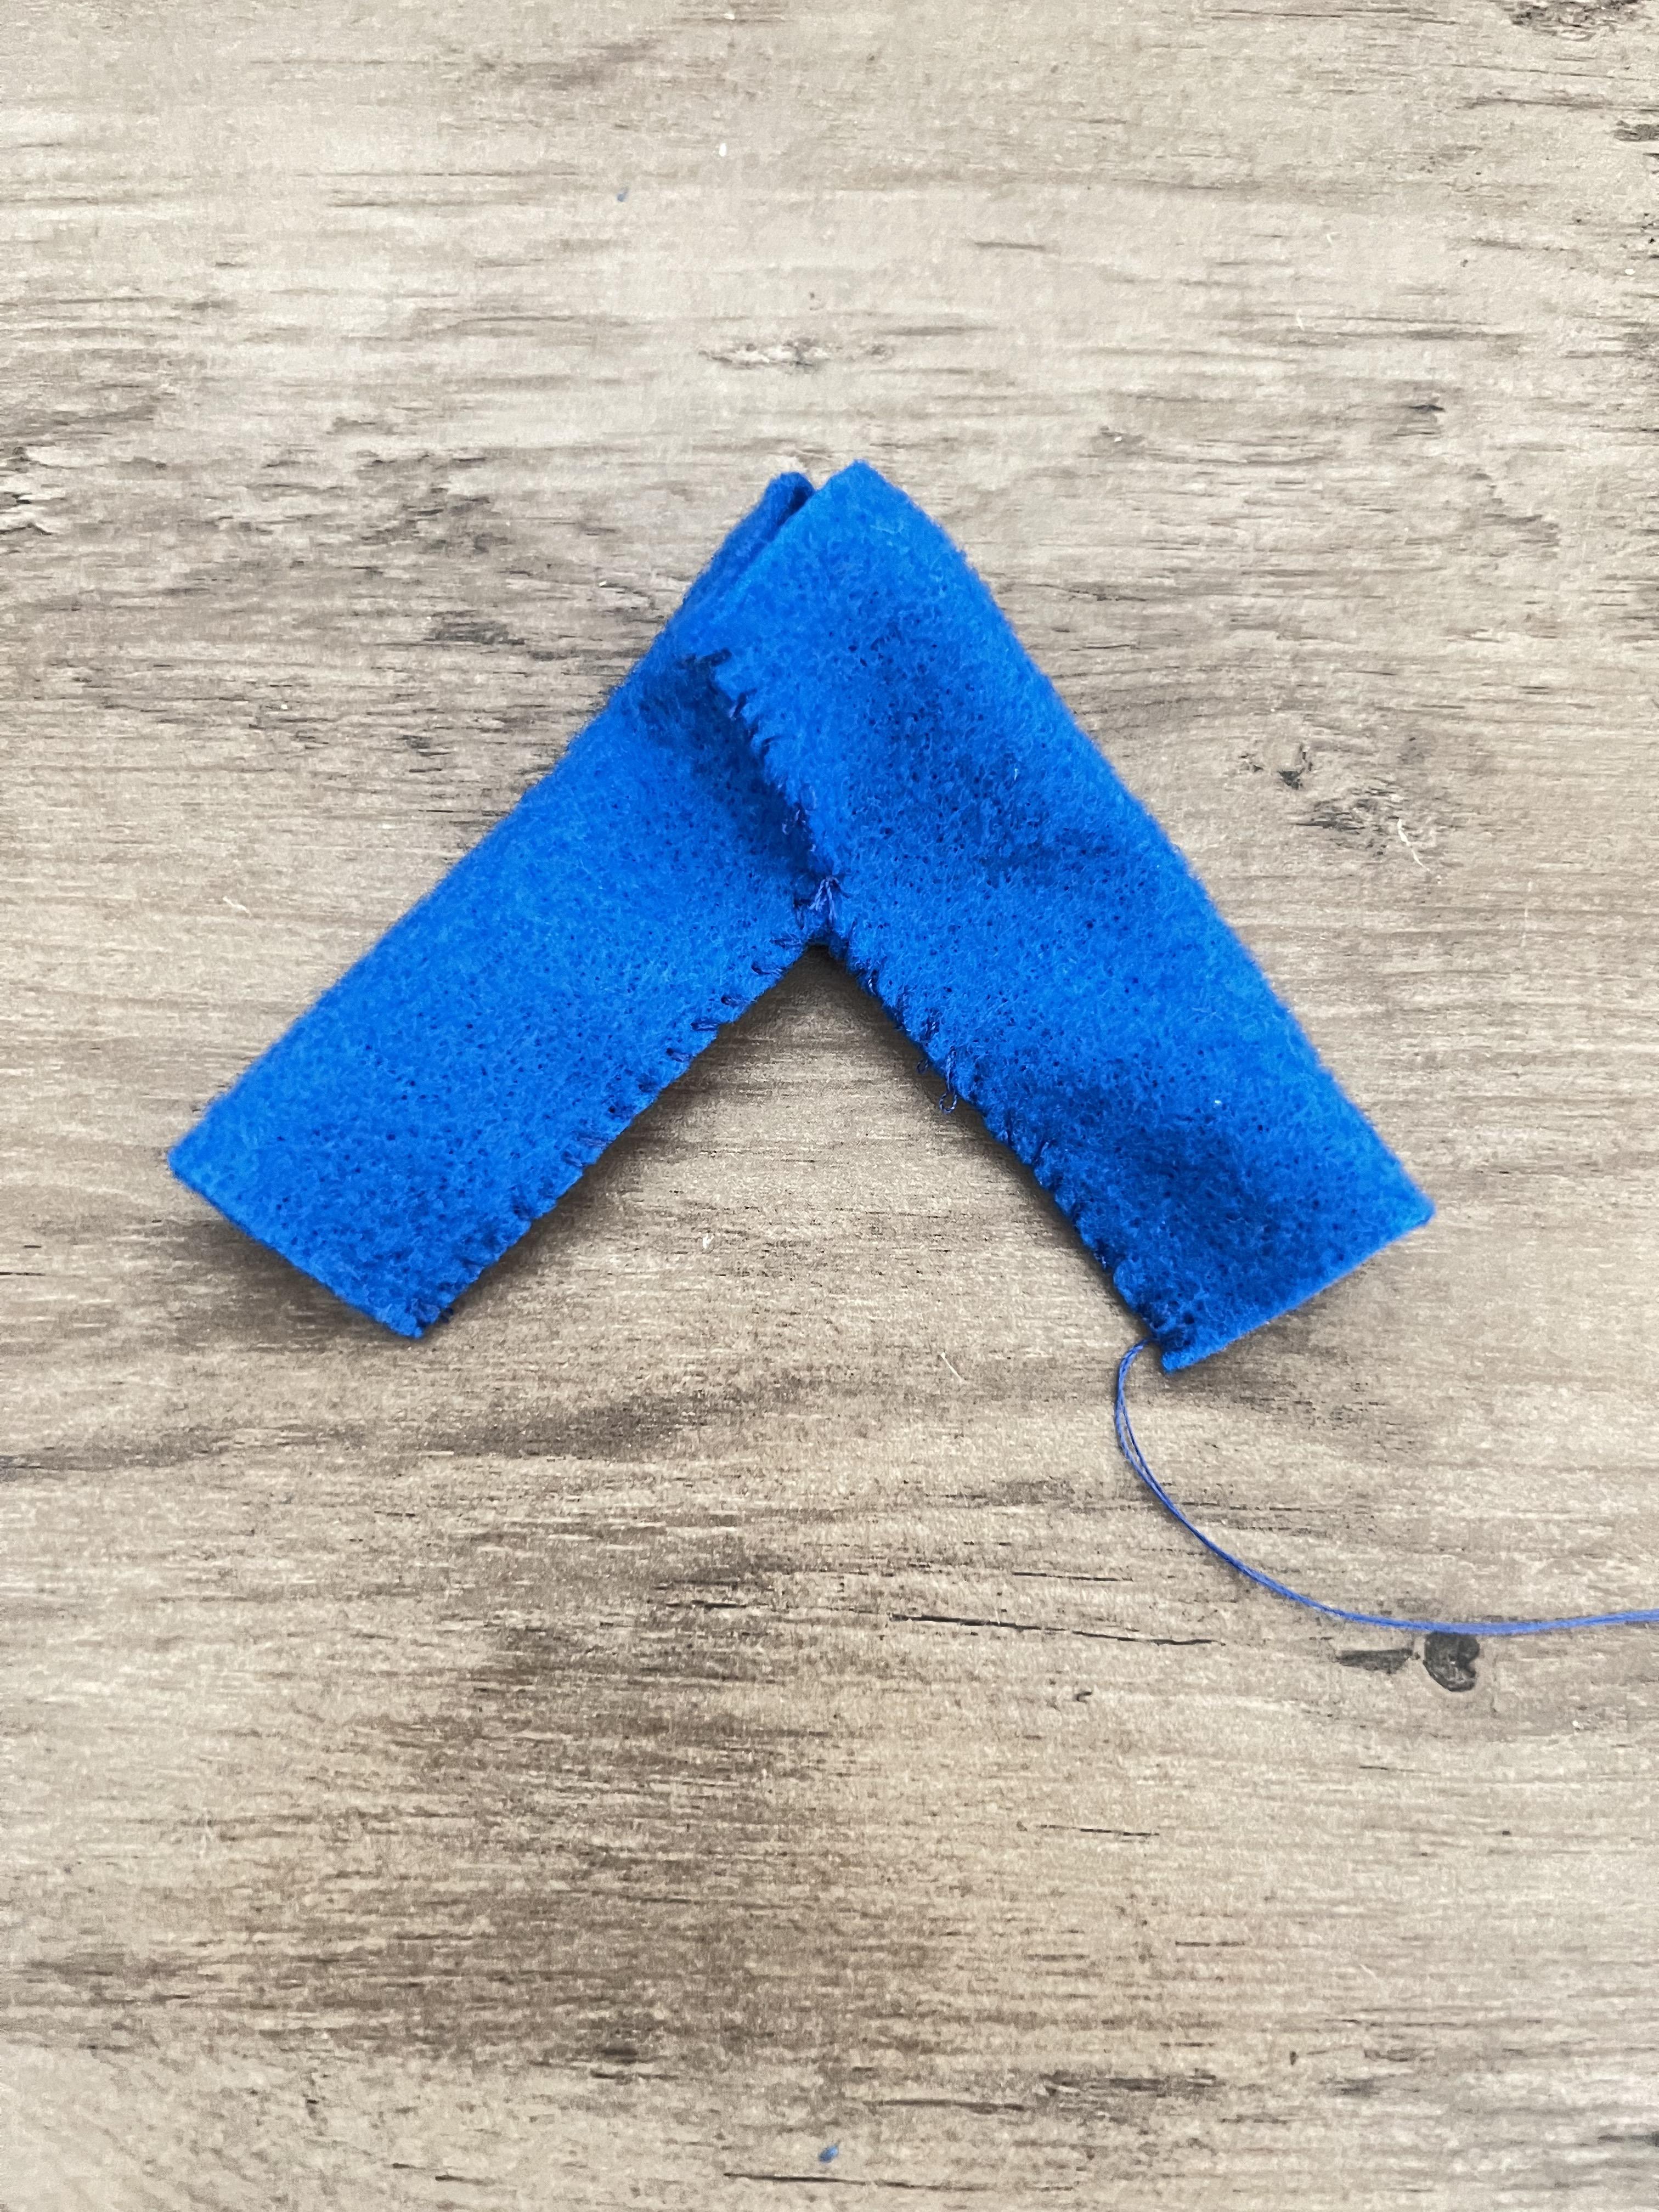
To make the pants, cut two rectangle and cut two "J"s along both sides of each rectangle. Sew both "J"s and then fold the pants and sew the "V" between the legs. Flip the pants inside out.
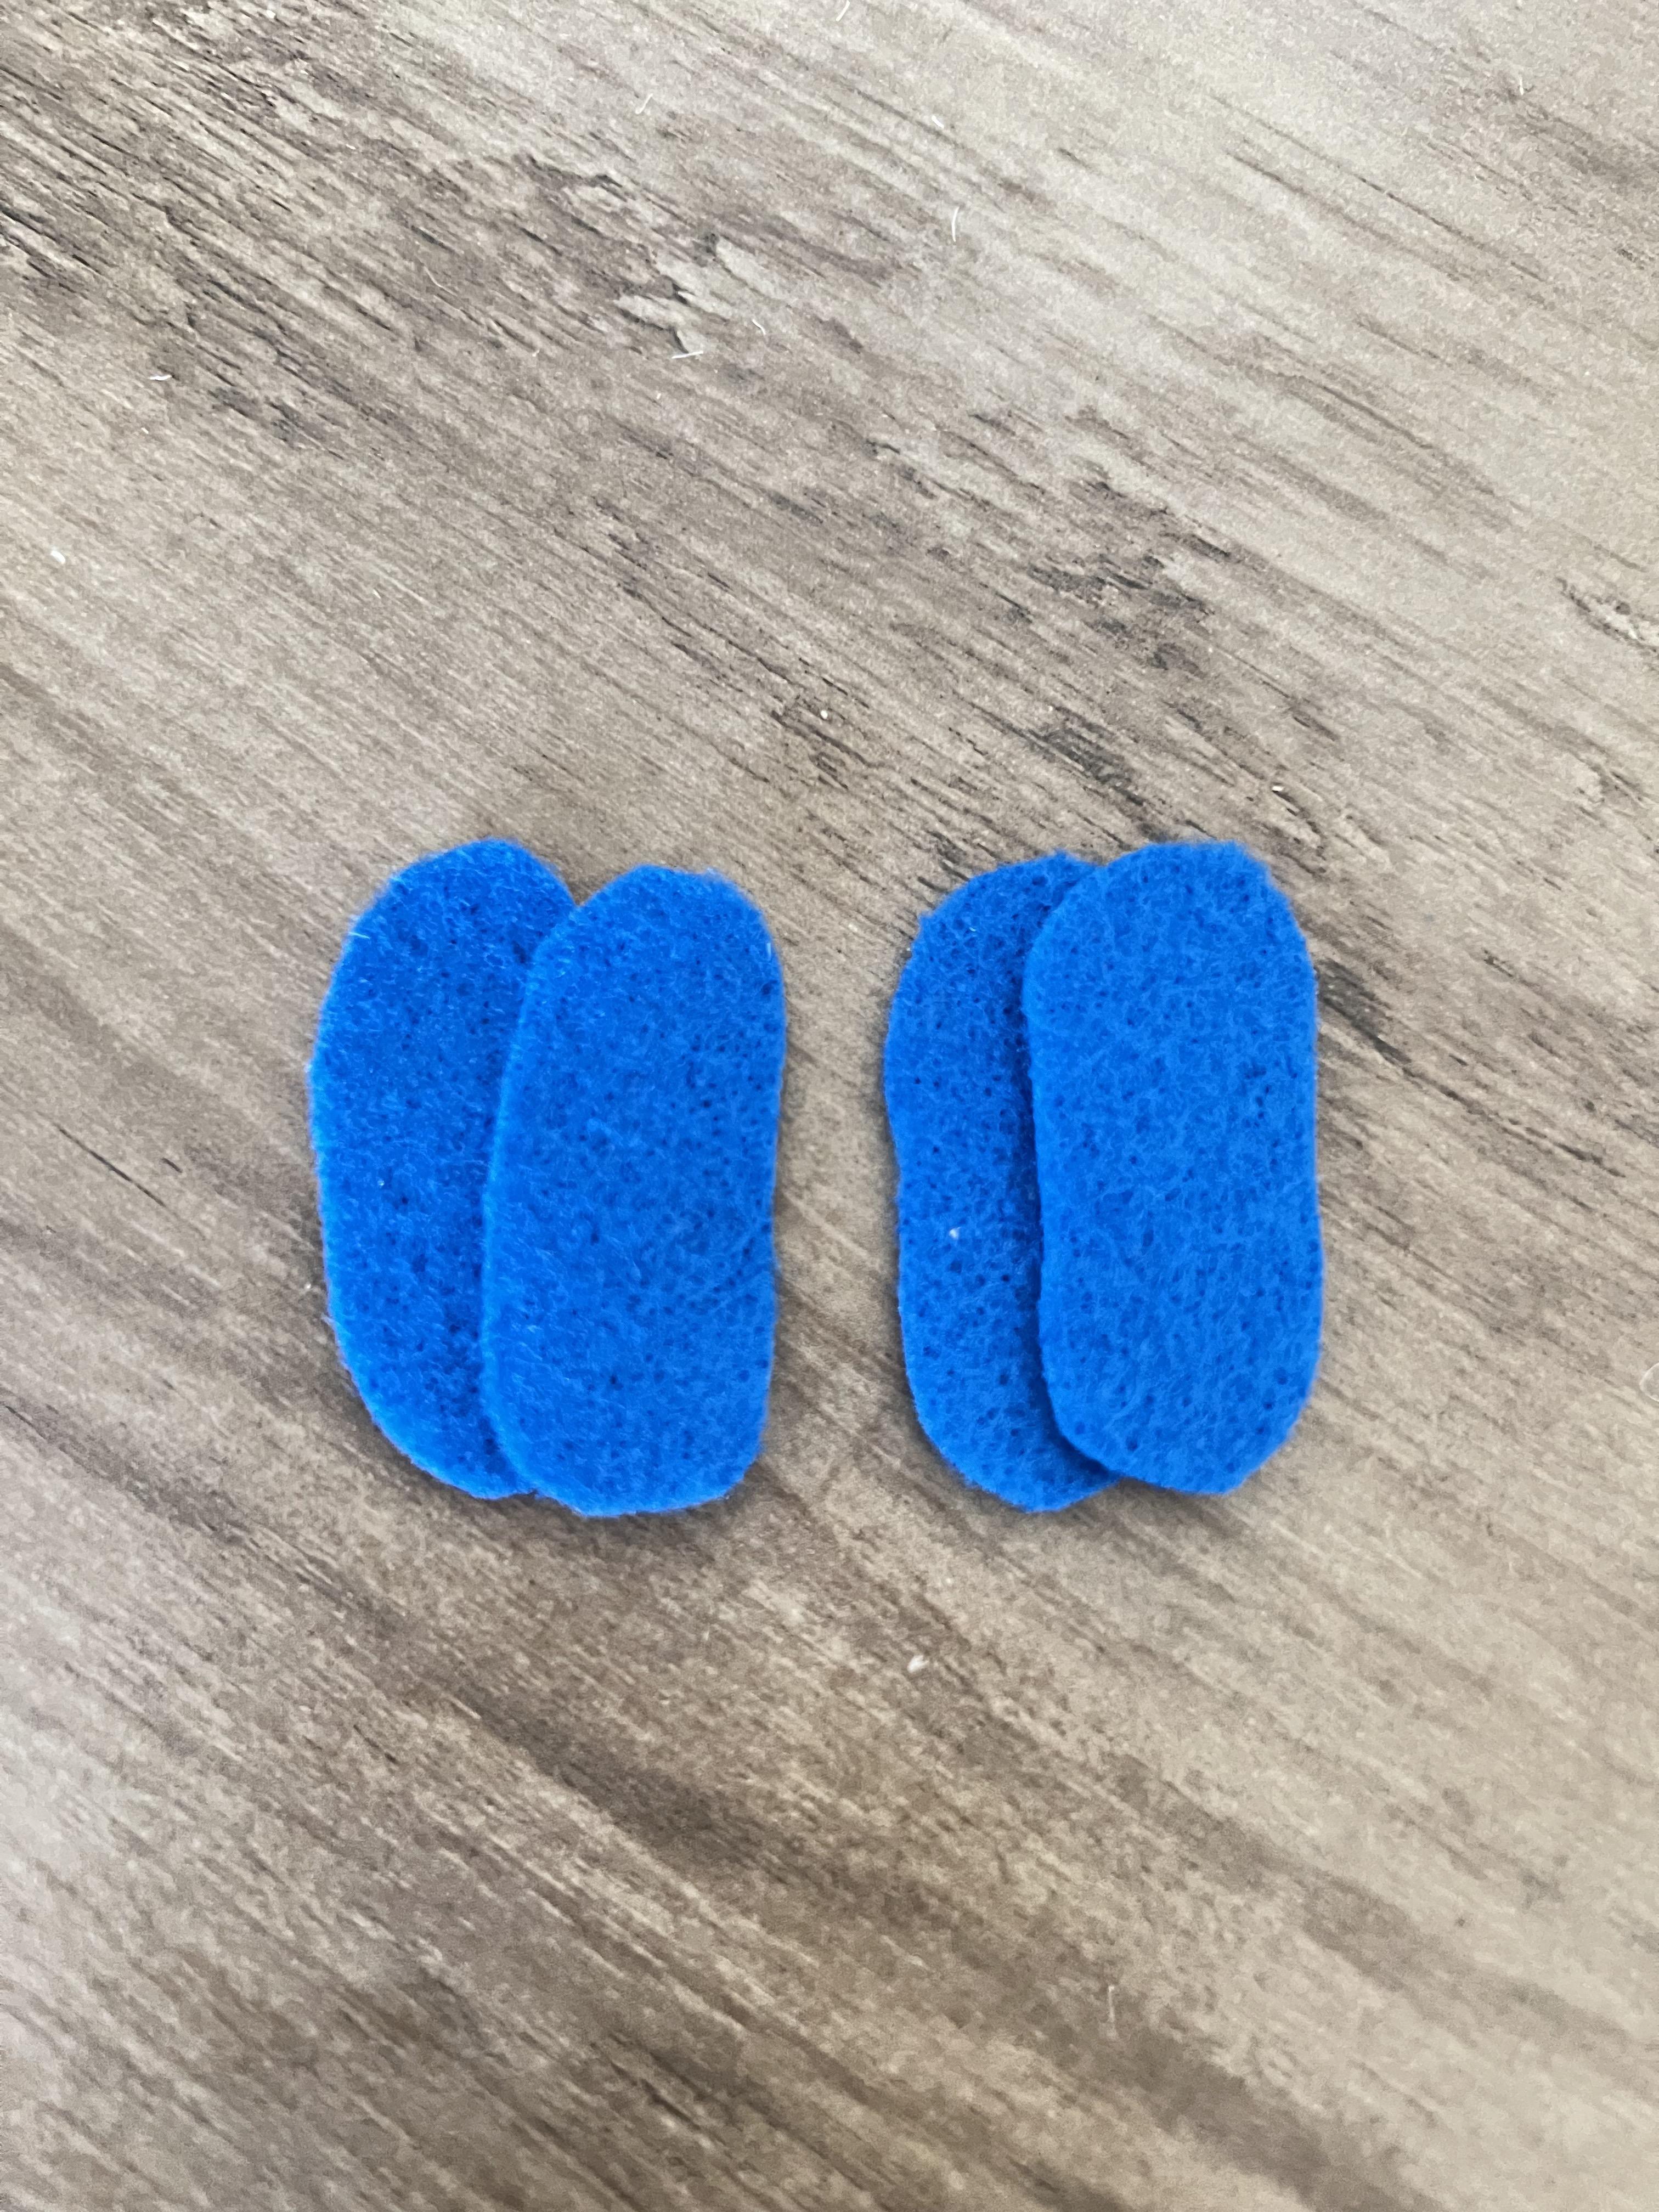
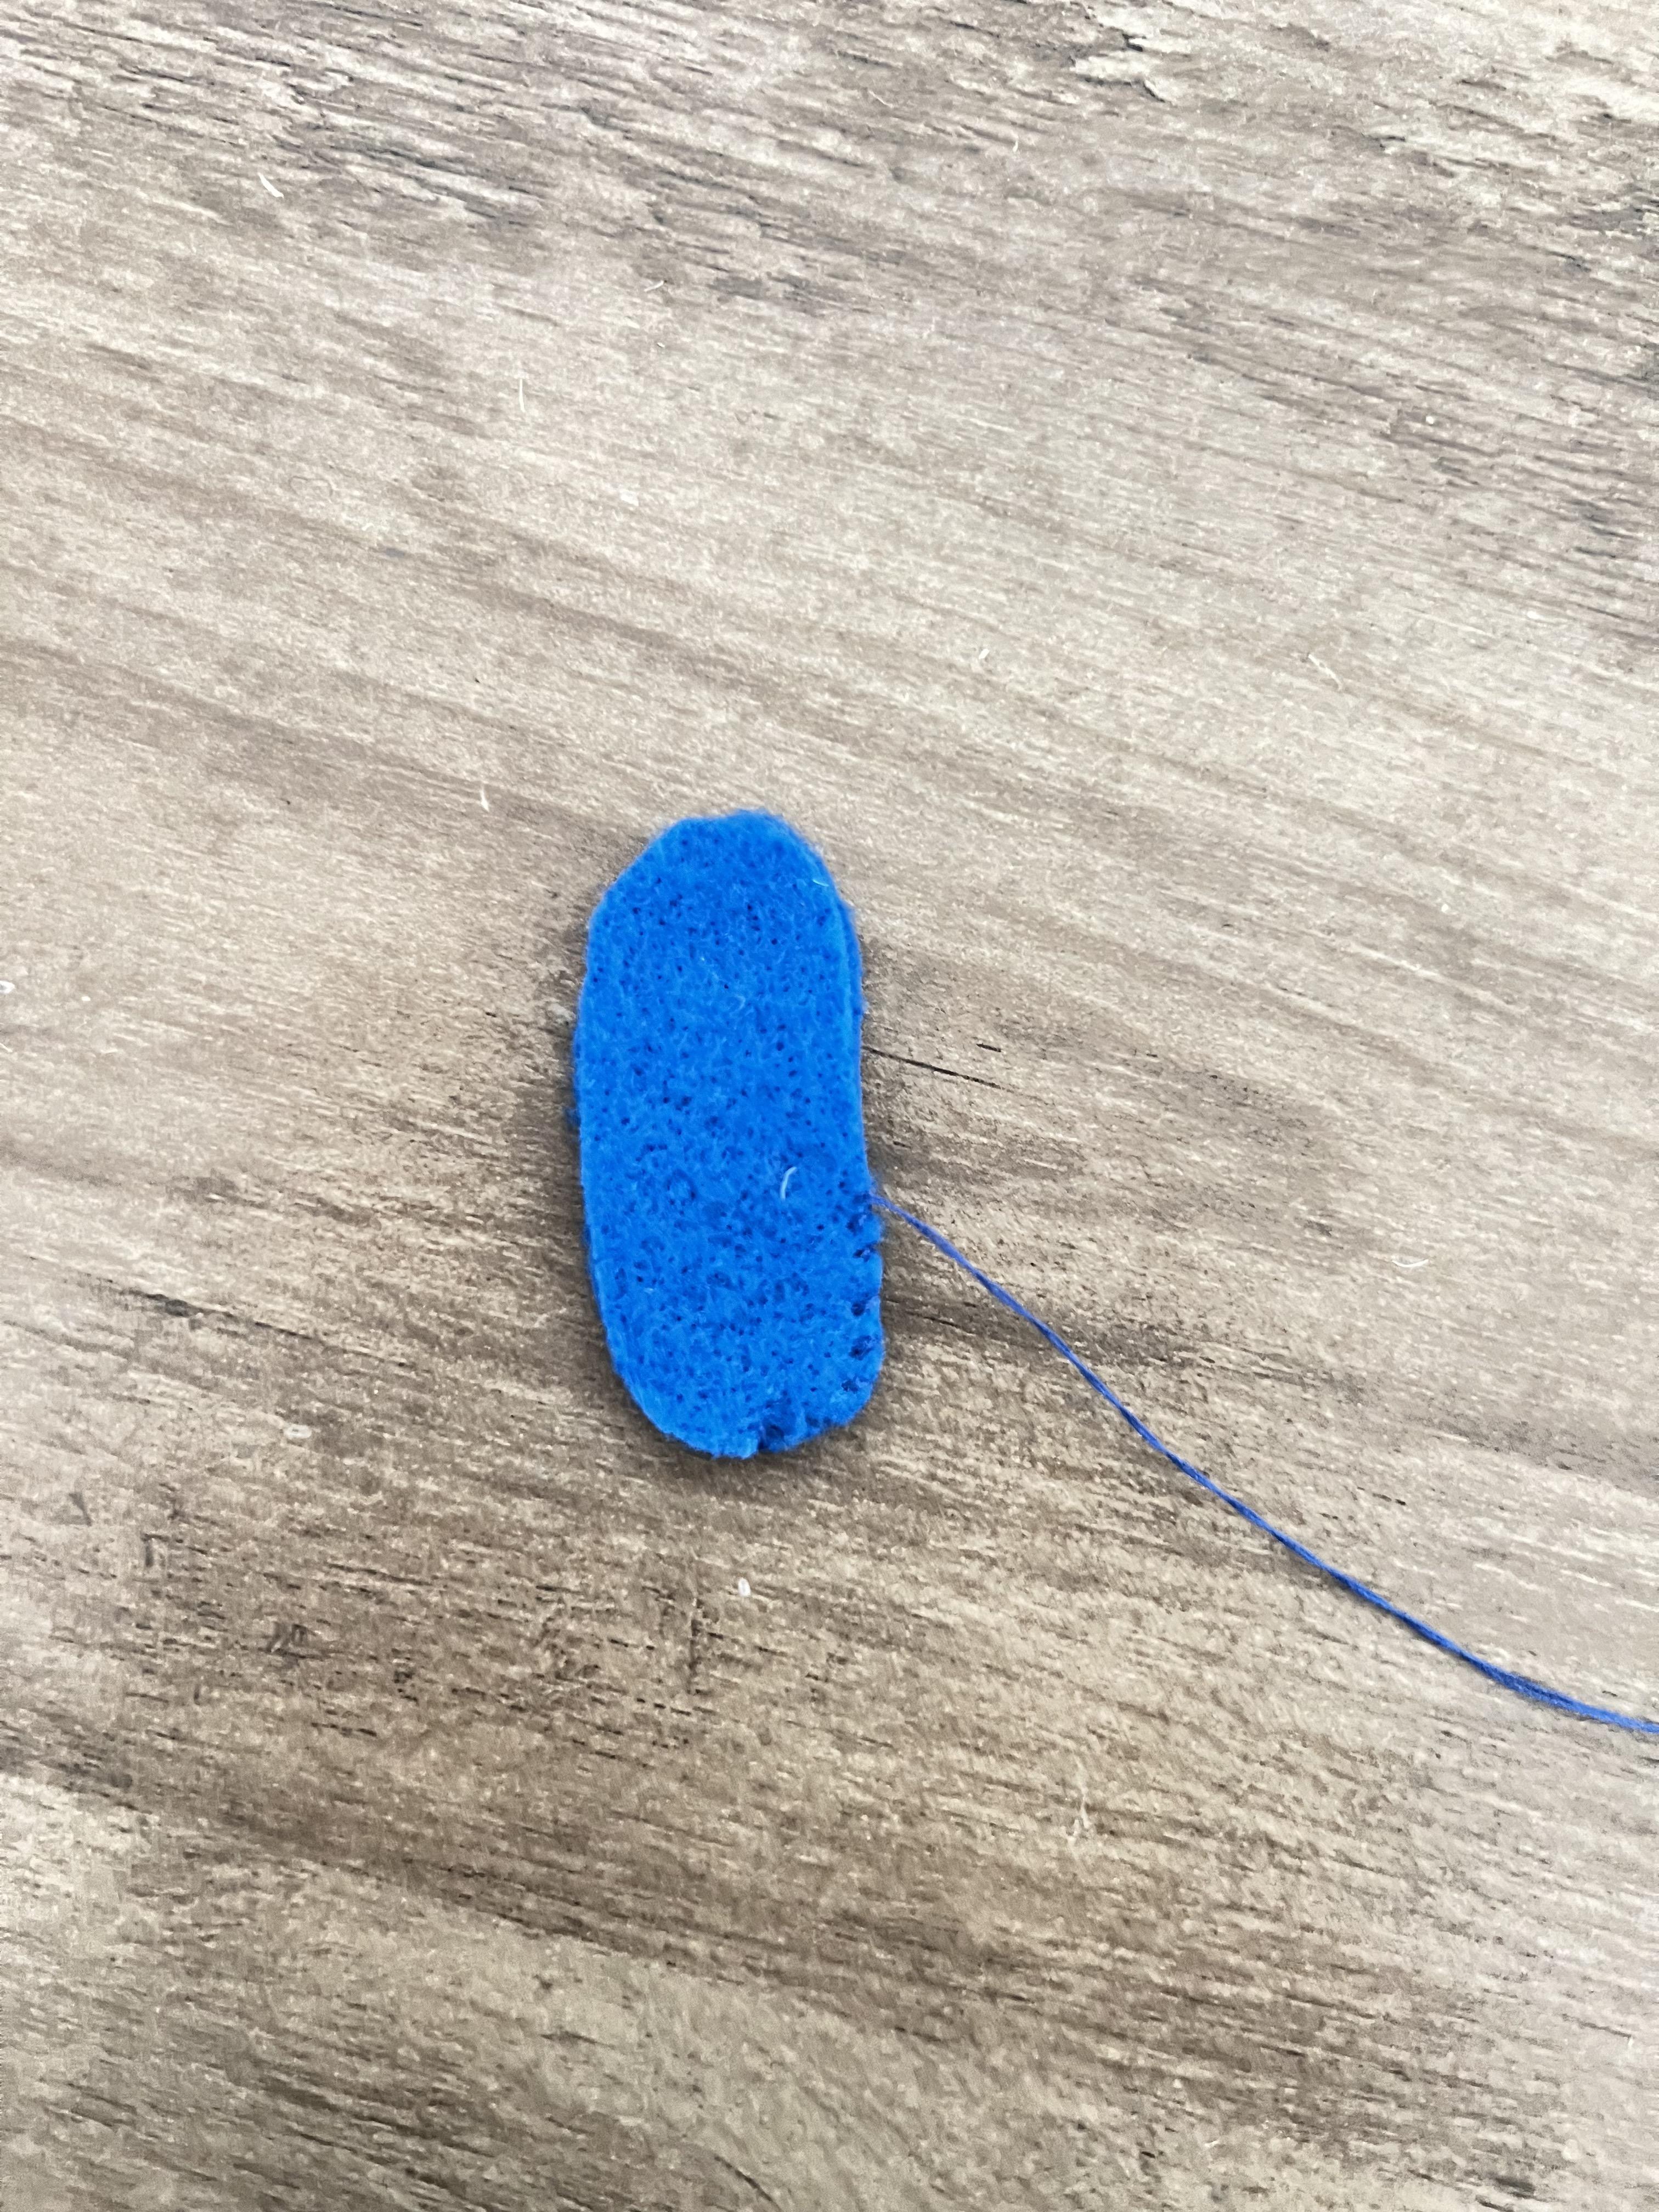
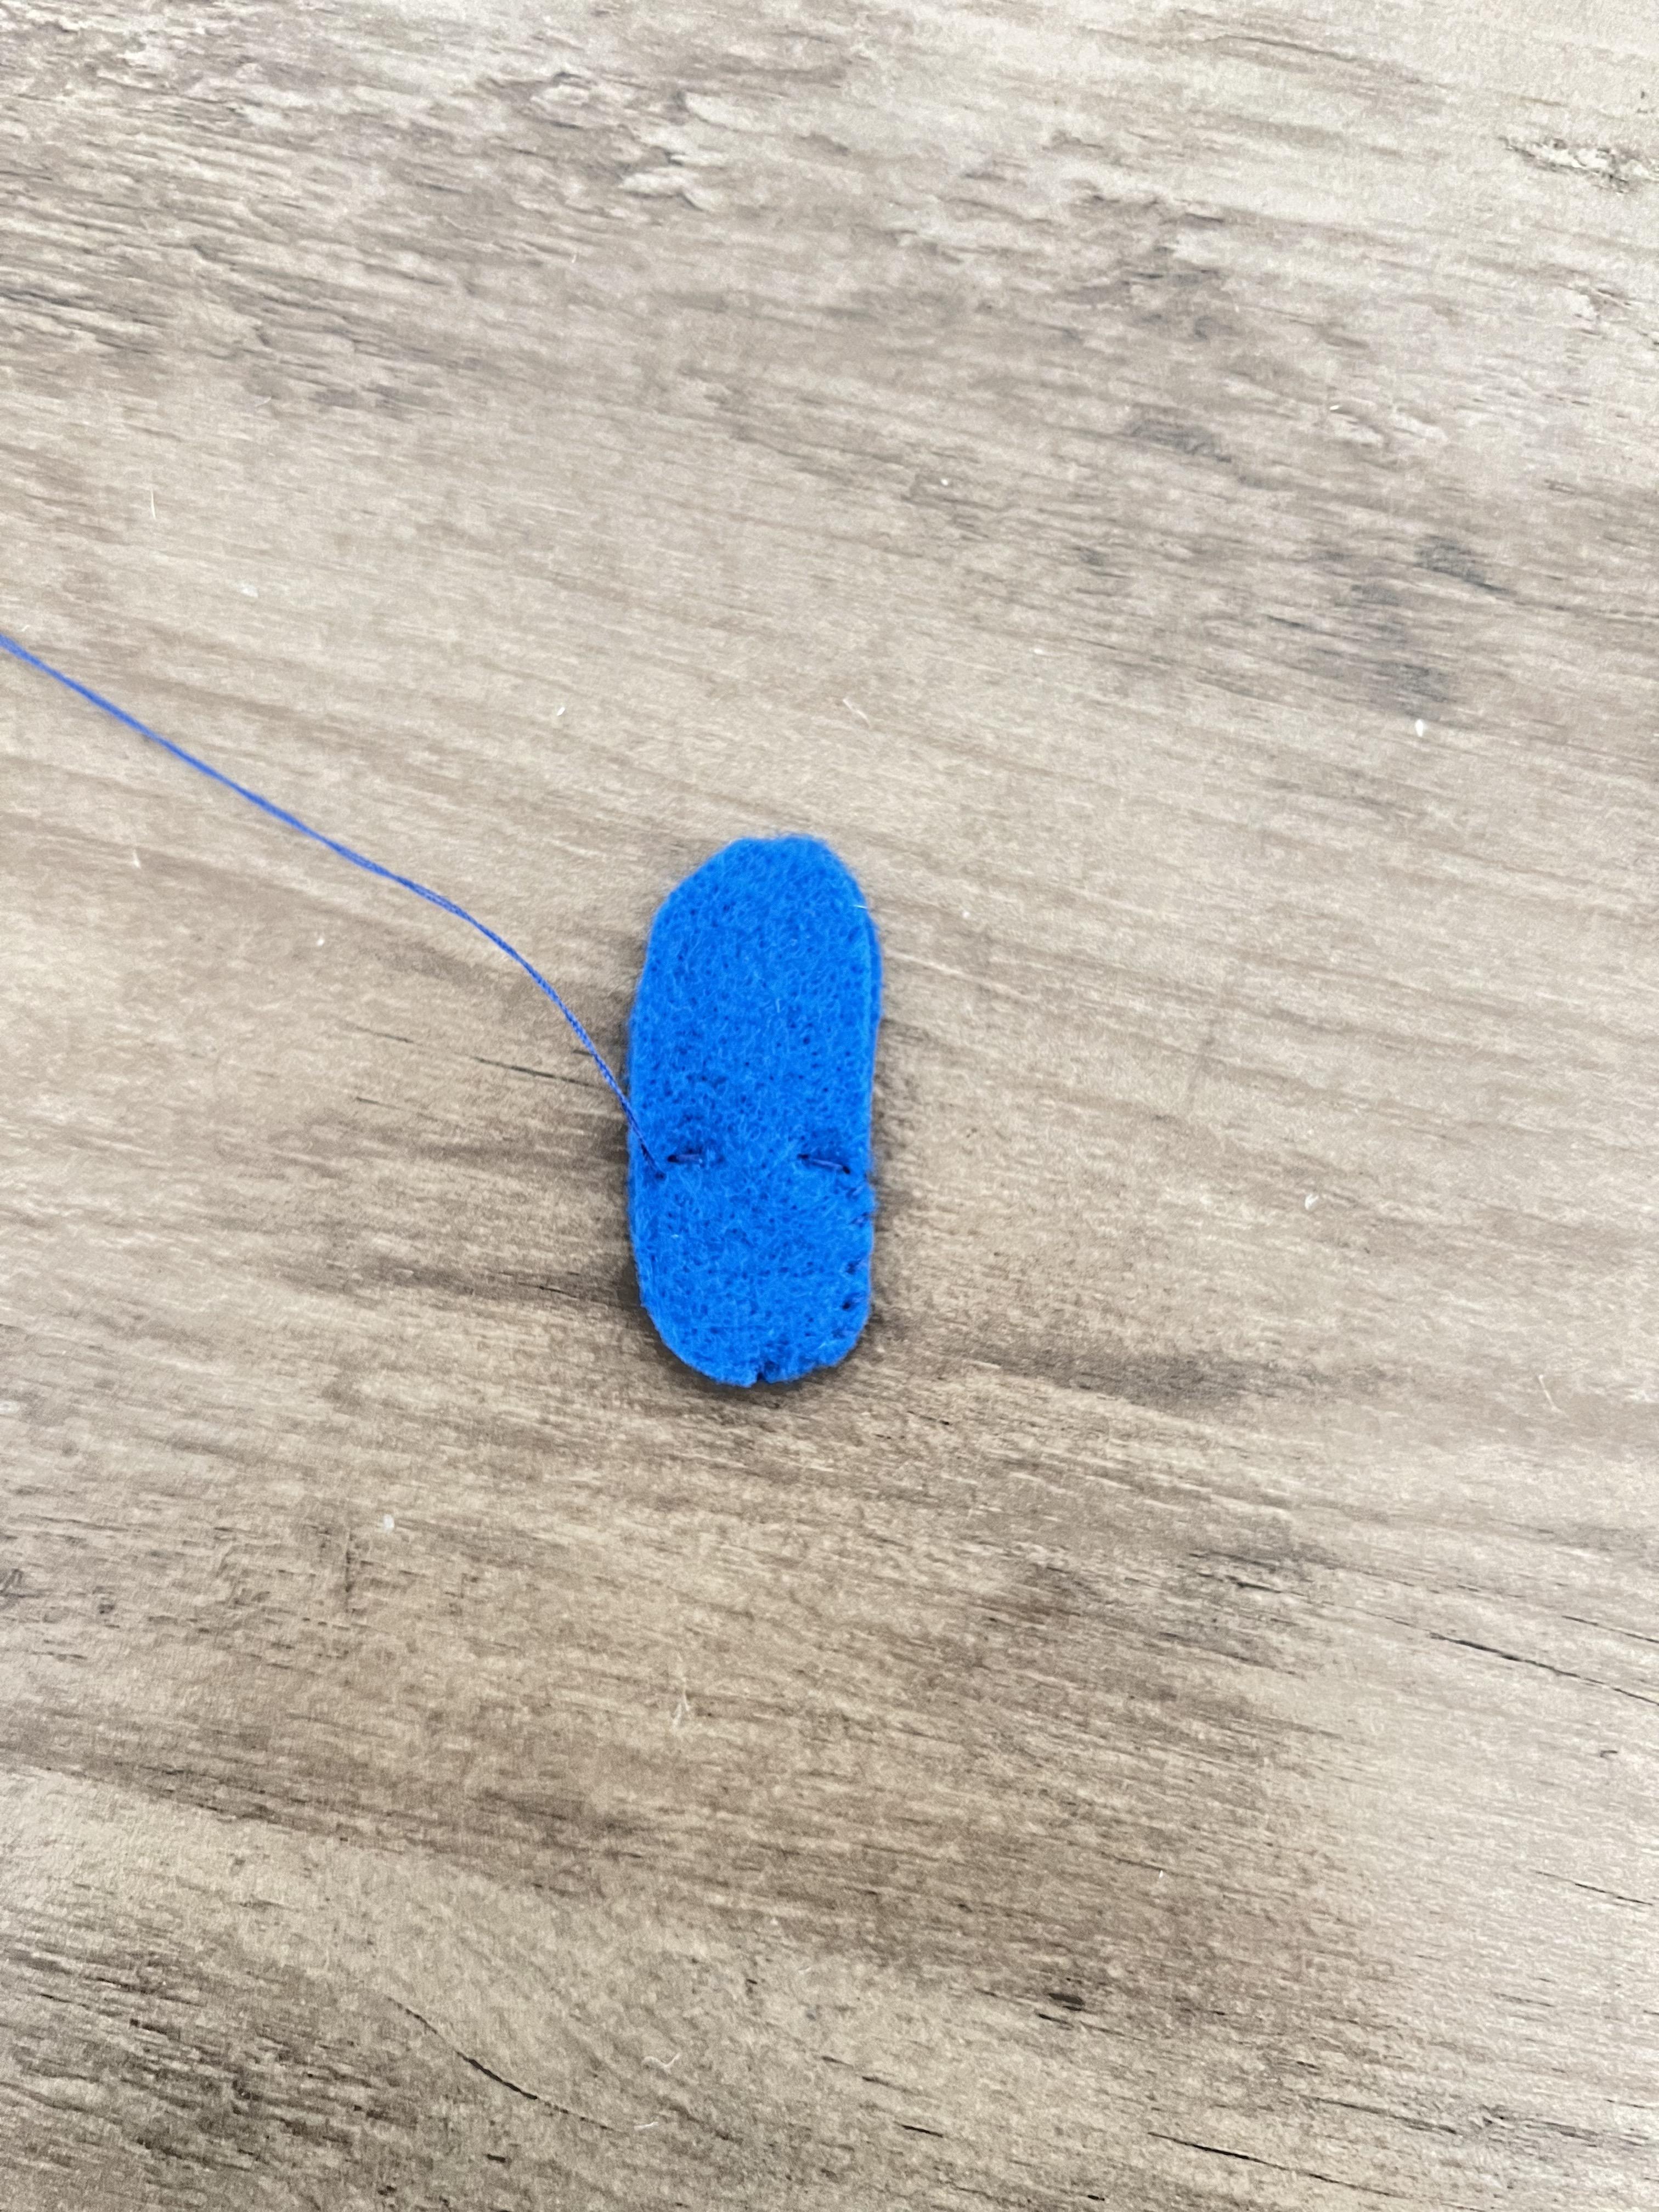
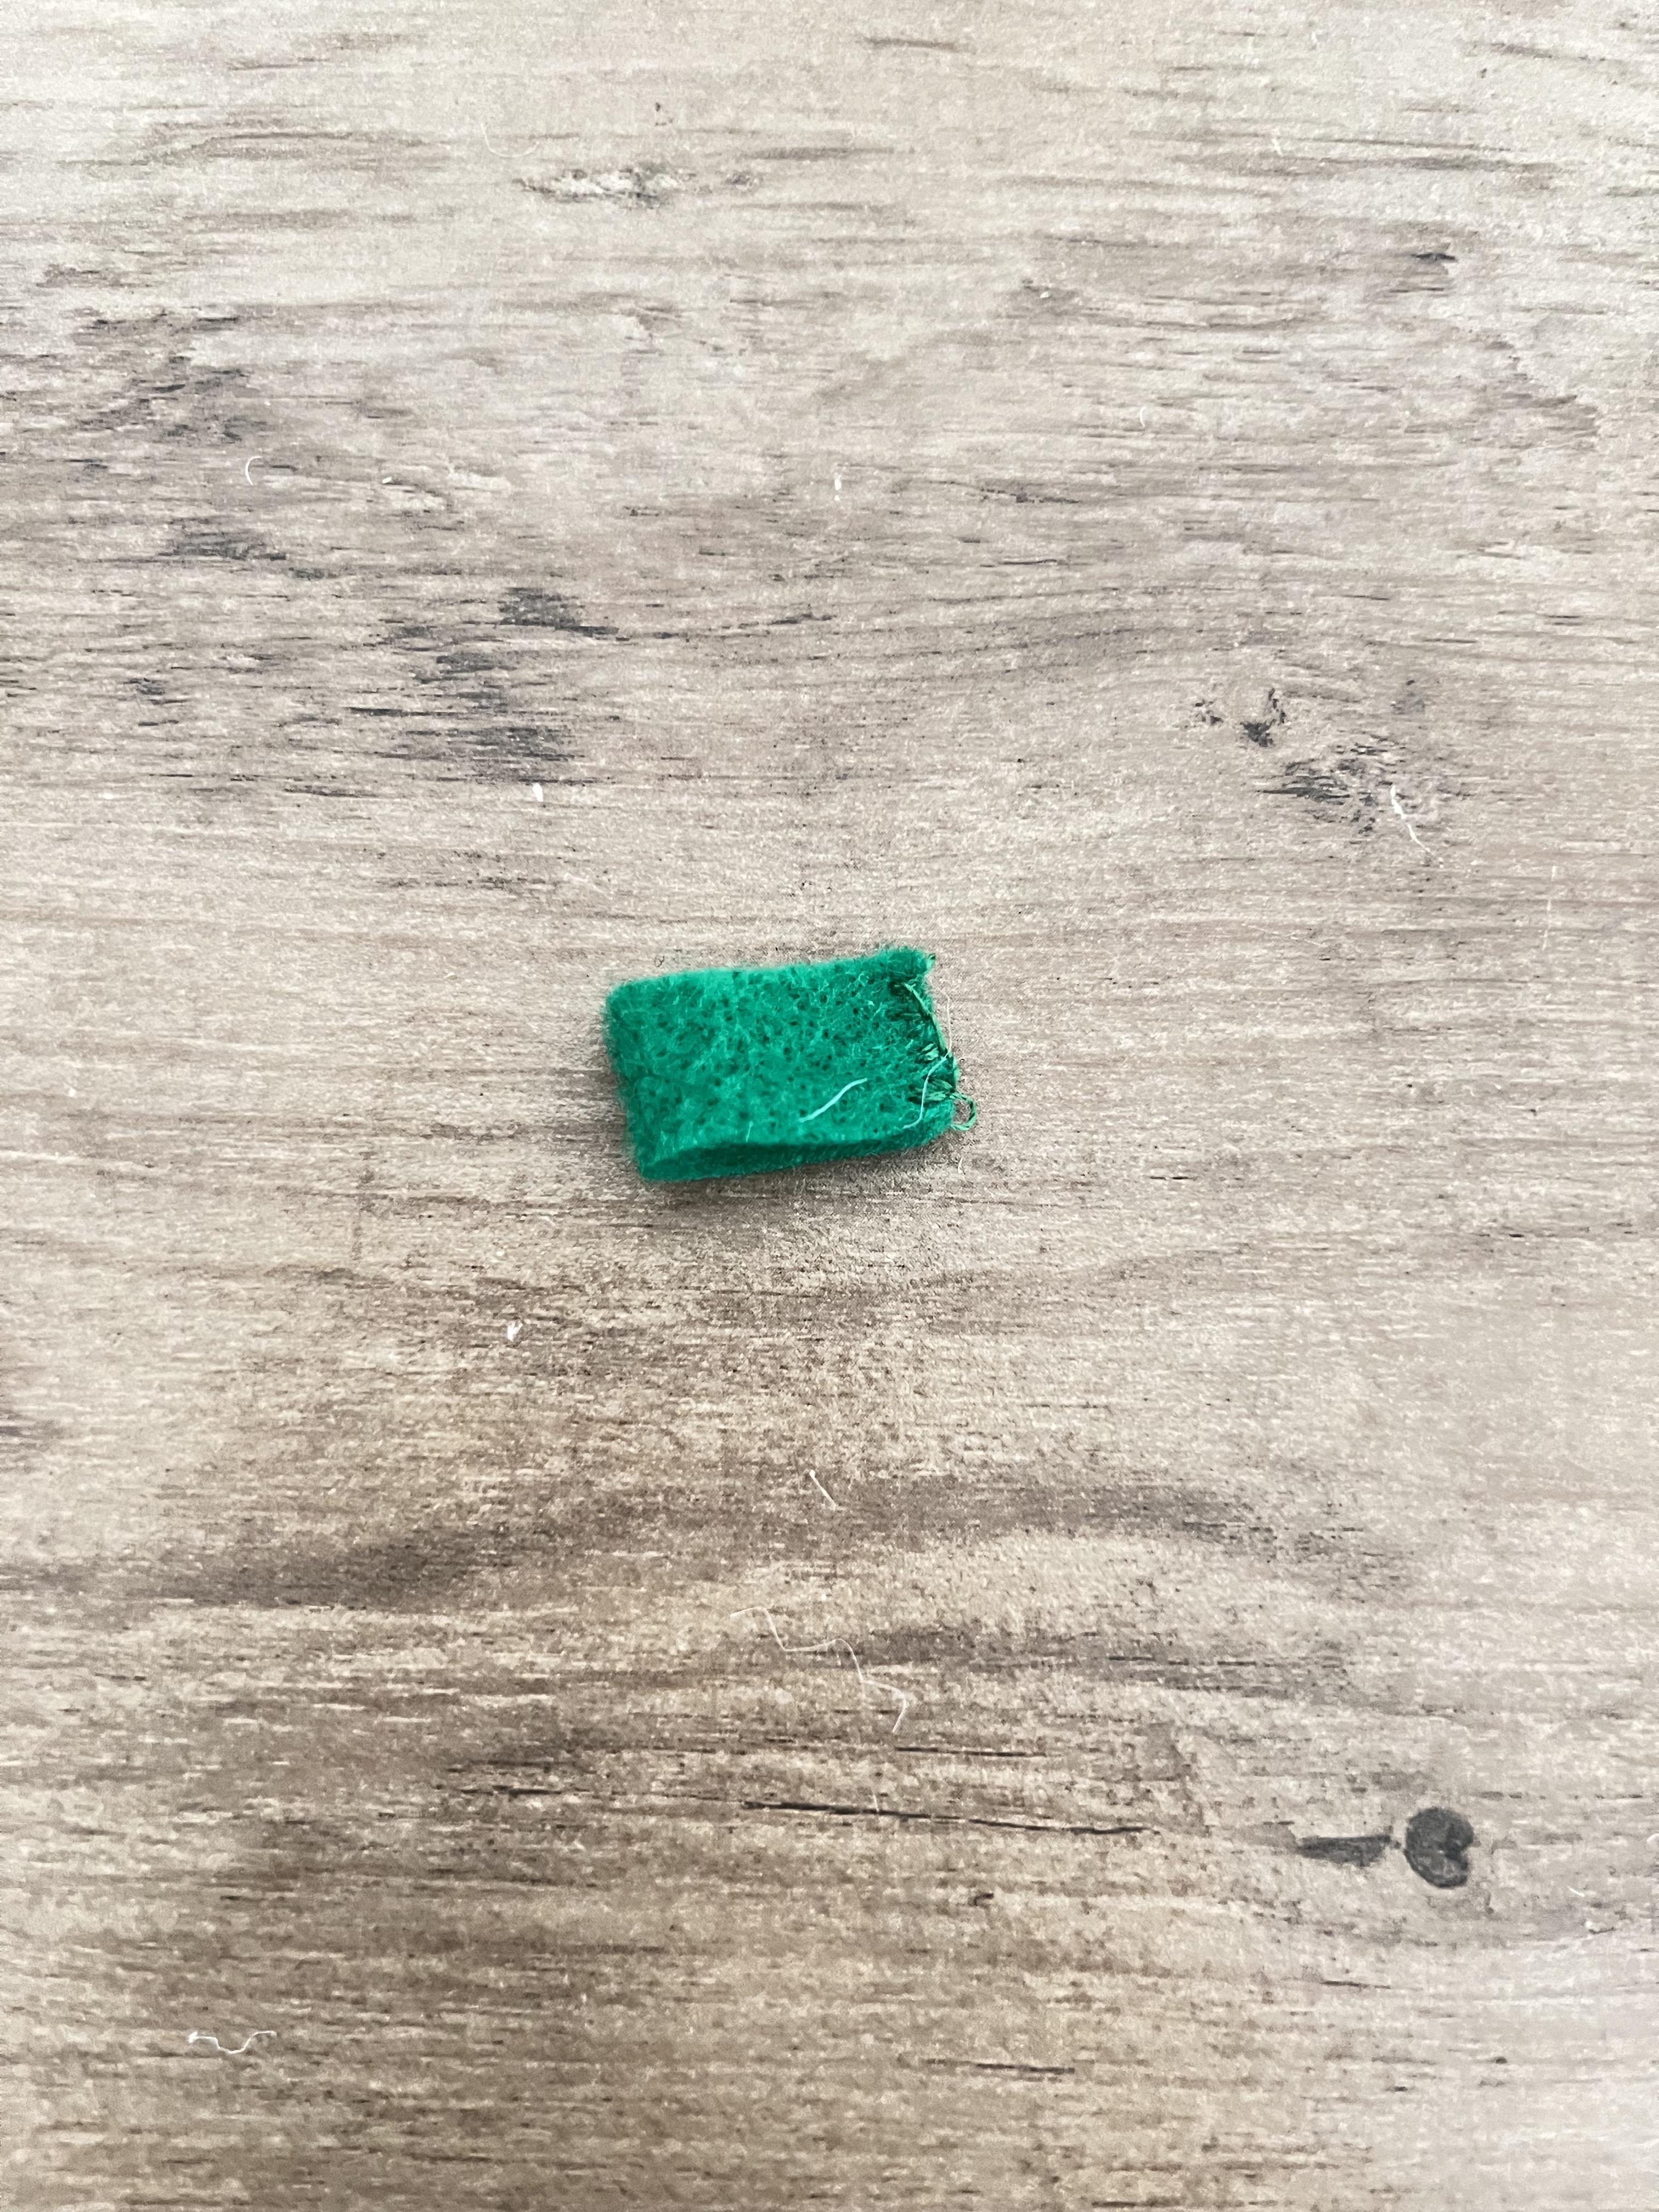
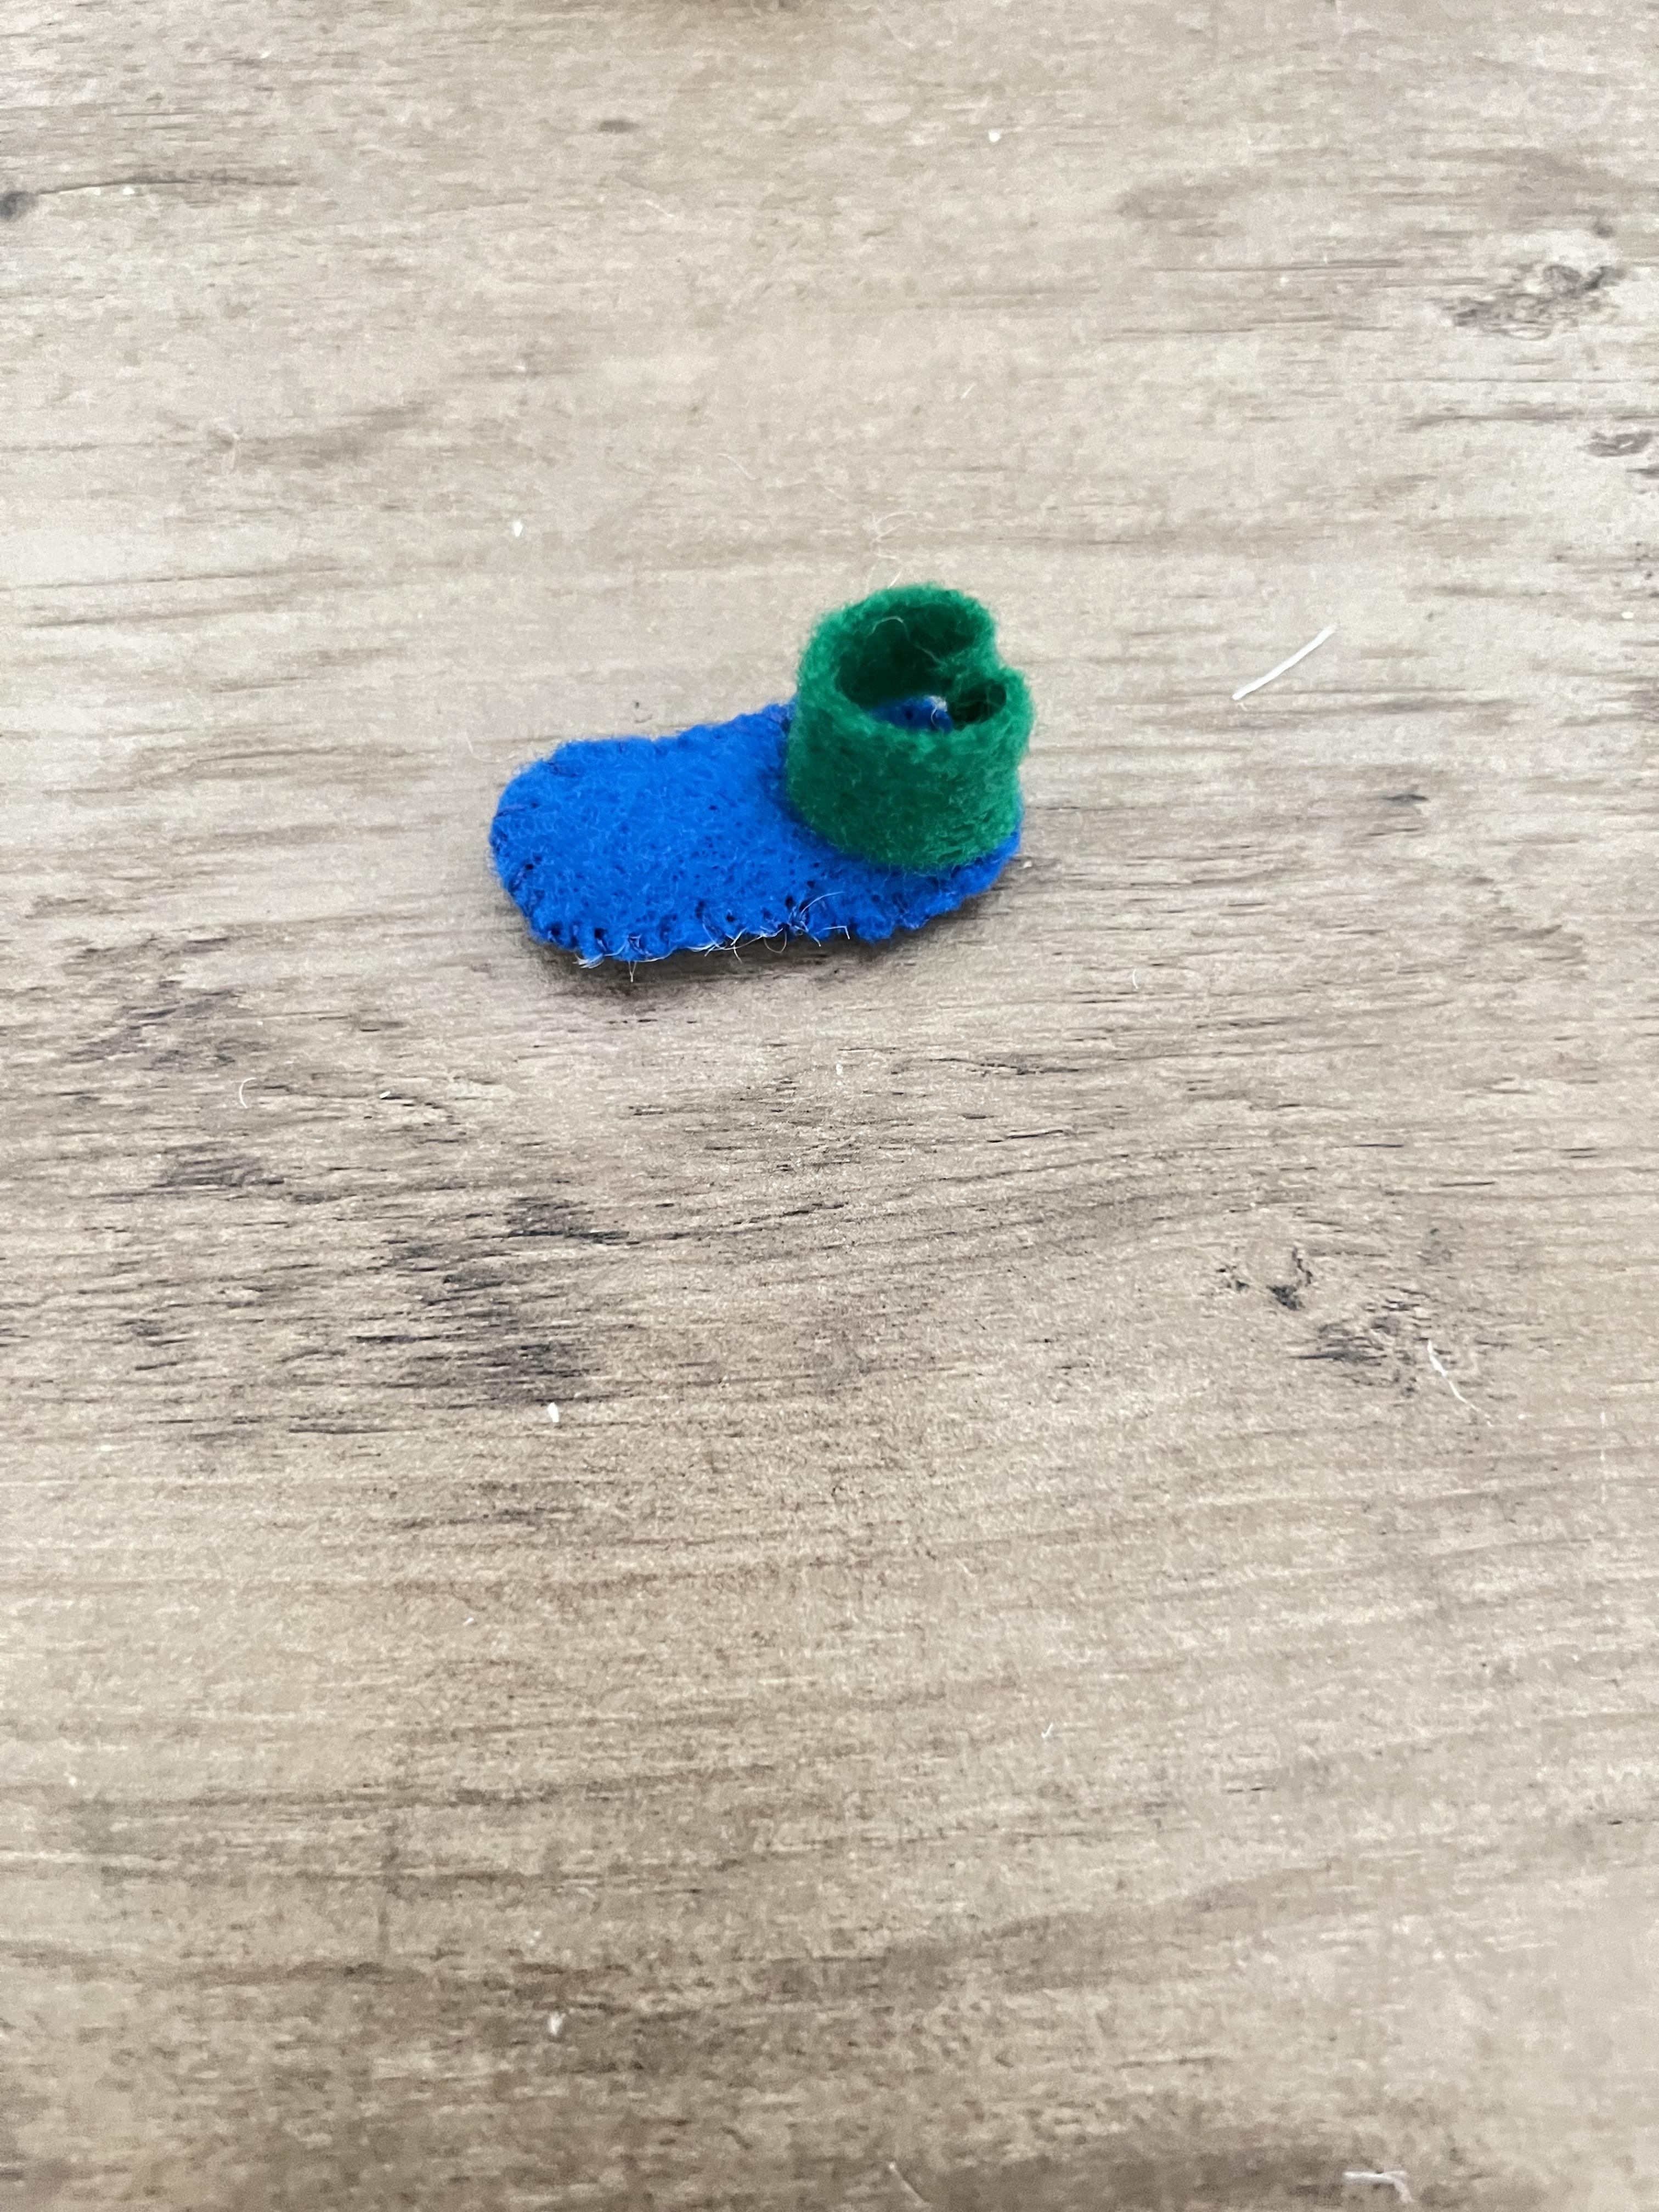
To make his shoes, stack two blue ovals on top of each other and stitch around the edges (securing them together). Don't go all the way around, because you will need to add a little bit of fluff in the end. Sew across the middle-ish of the shoe. Fold a green strip in half and sew up one side. Attach the green tube to the shoe base and stitch around the bottom.
Sewing Mushmouth's Clothes
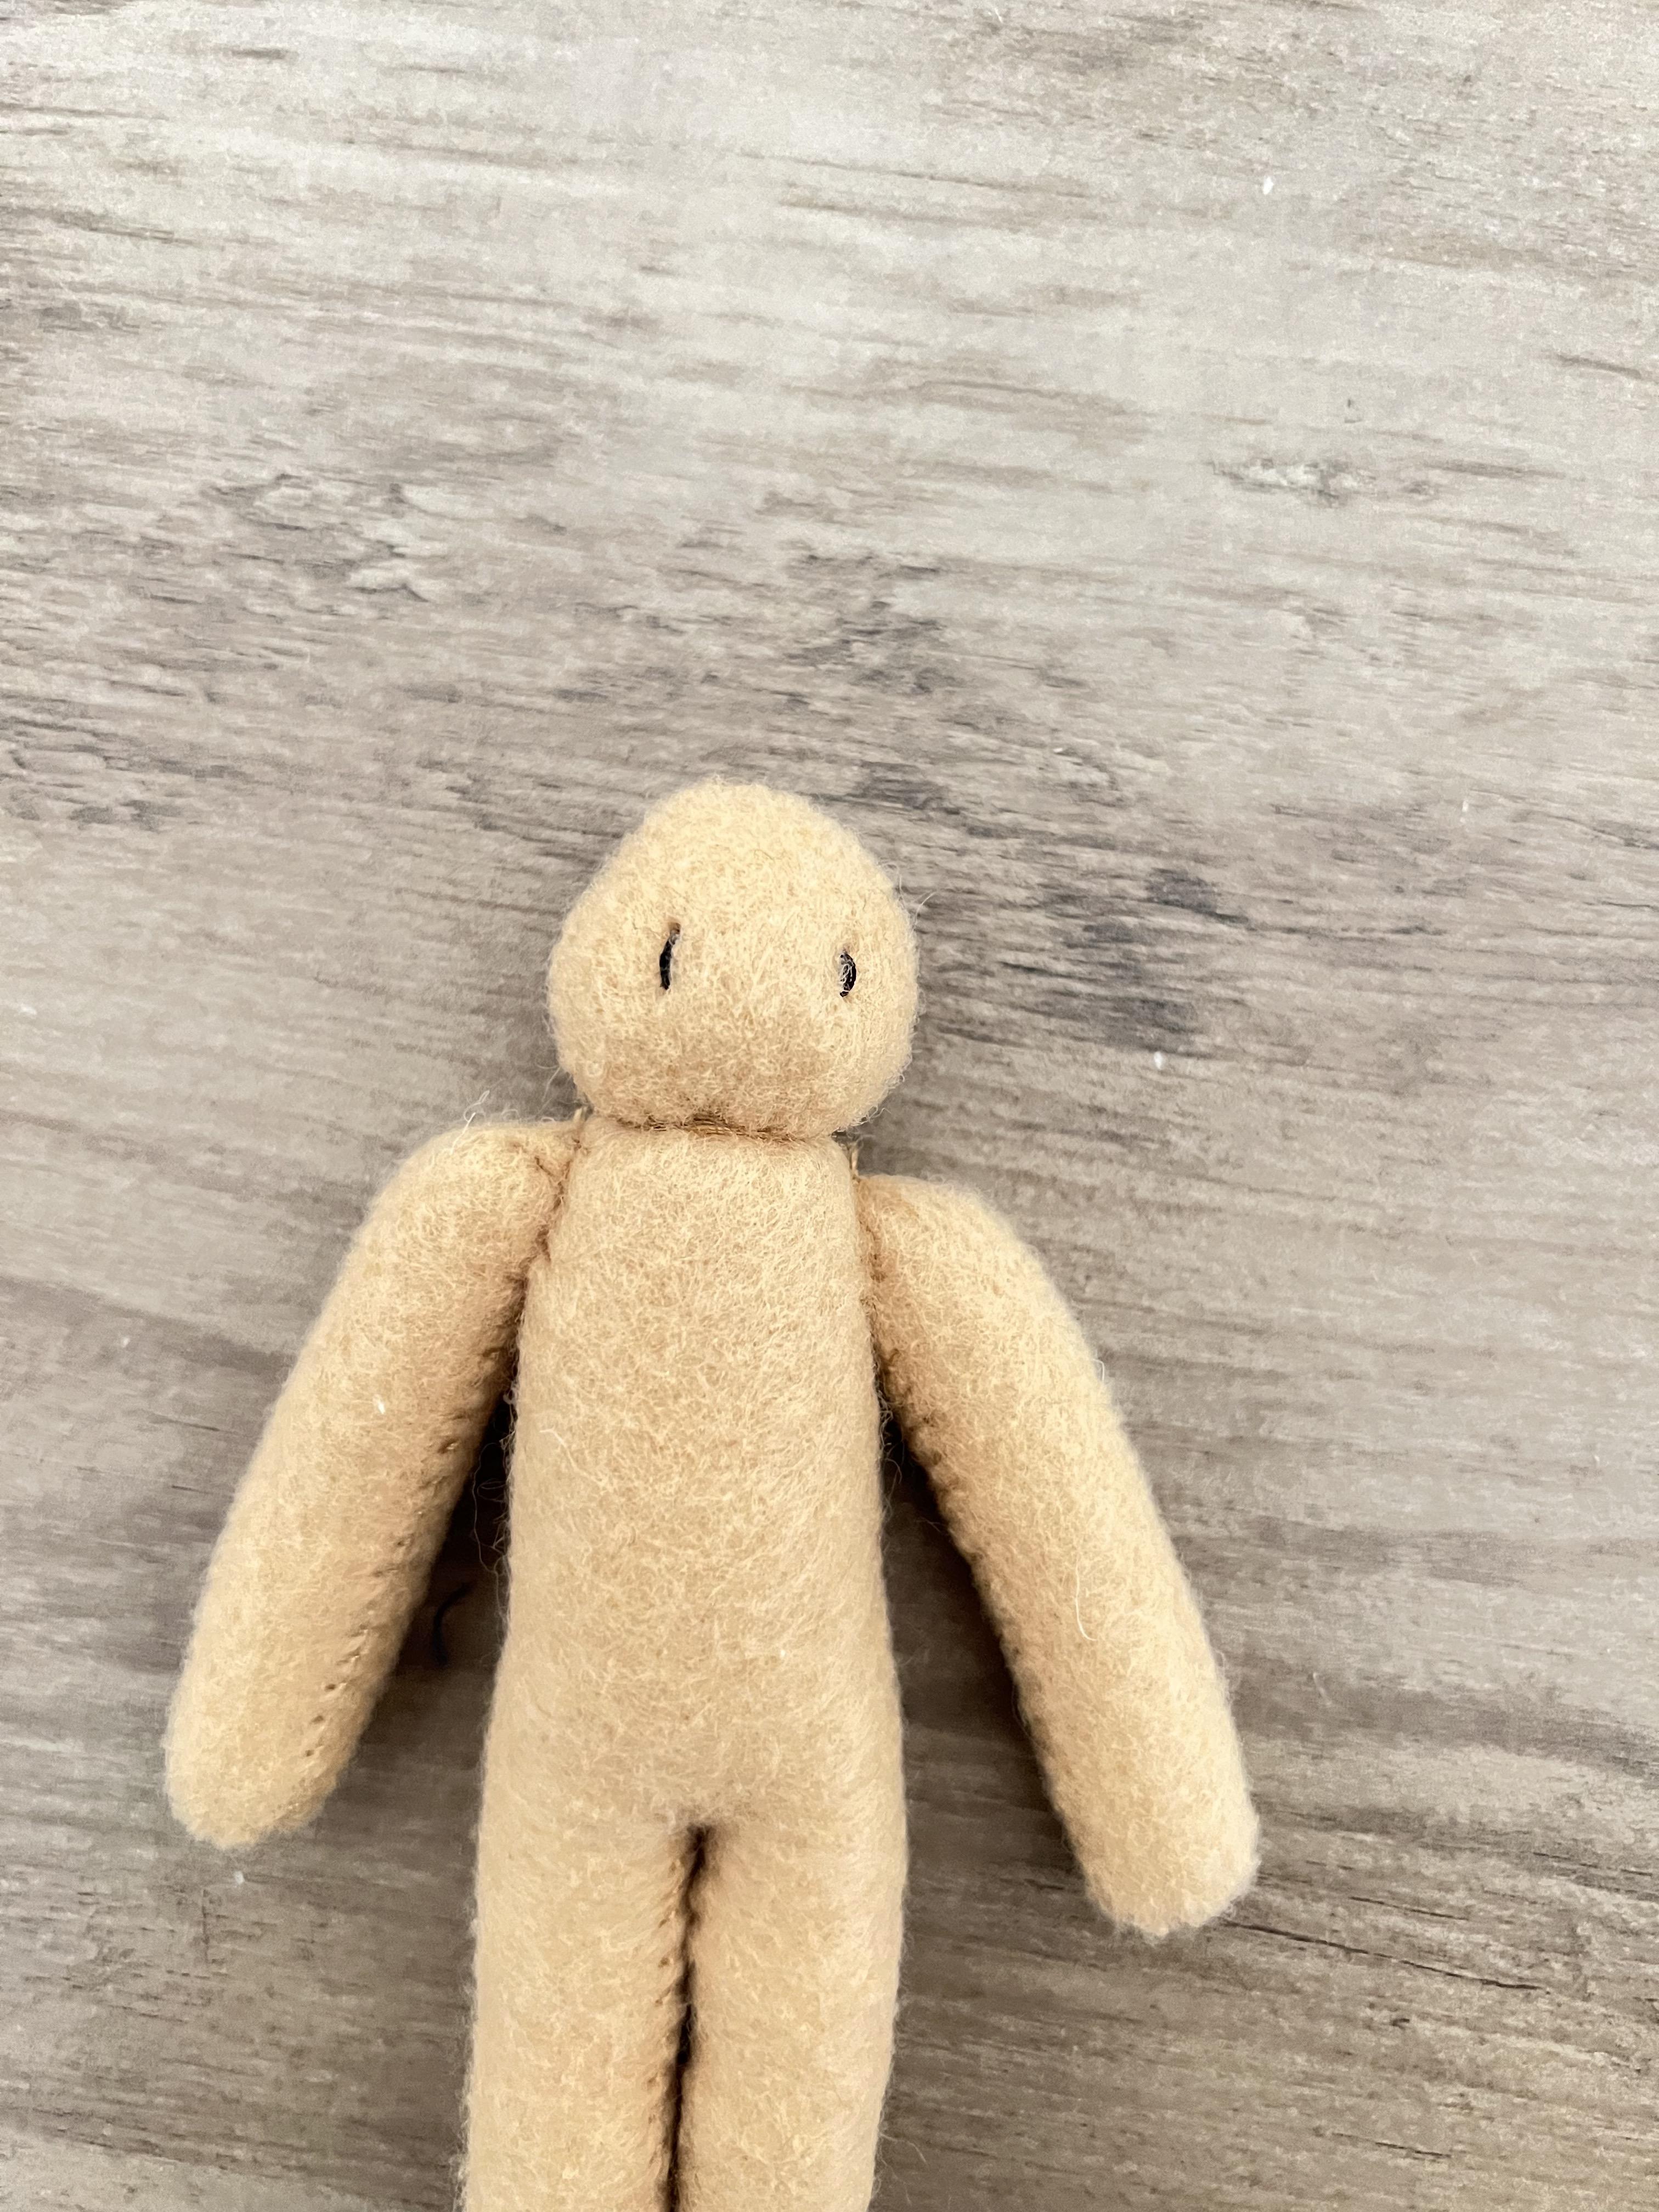


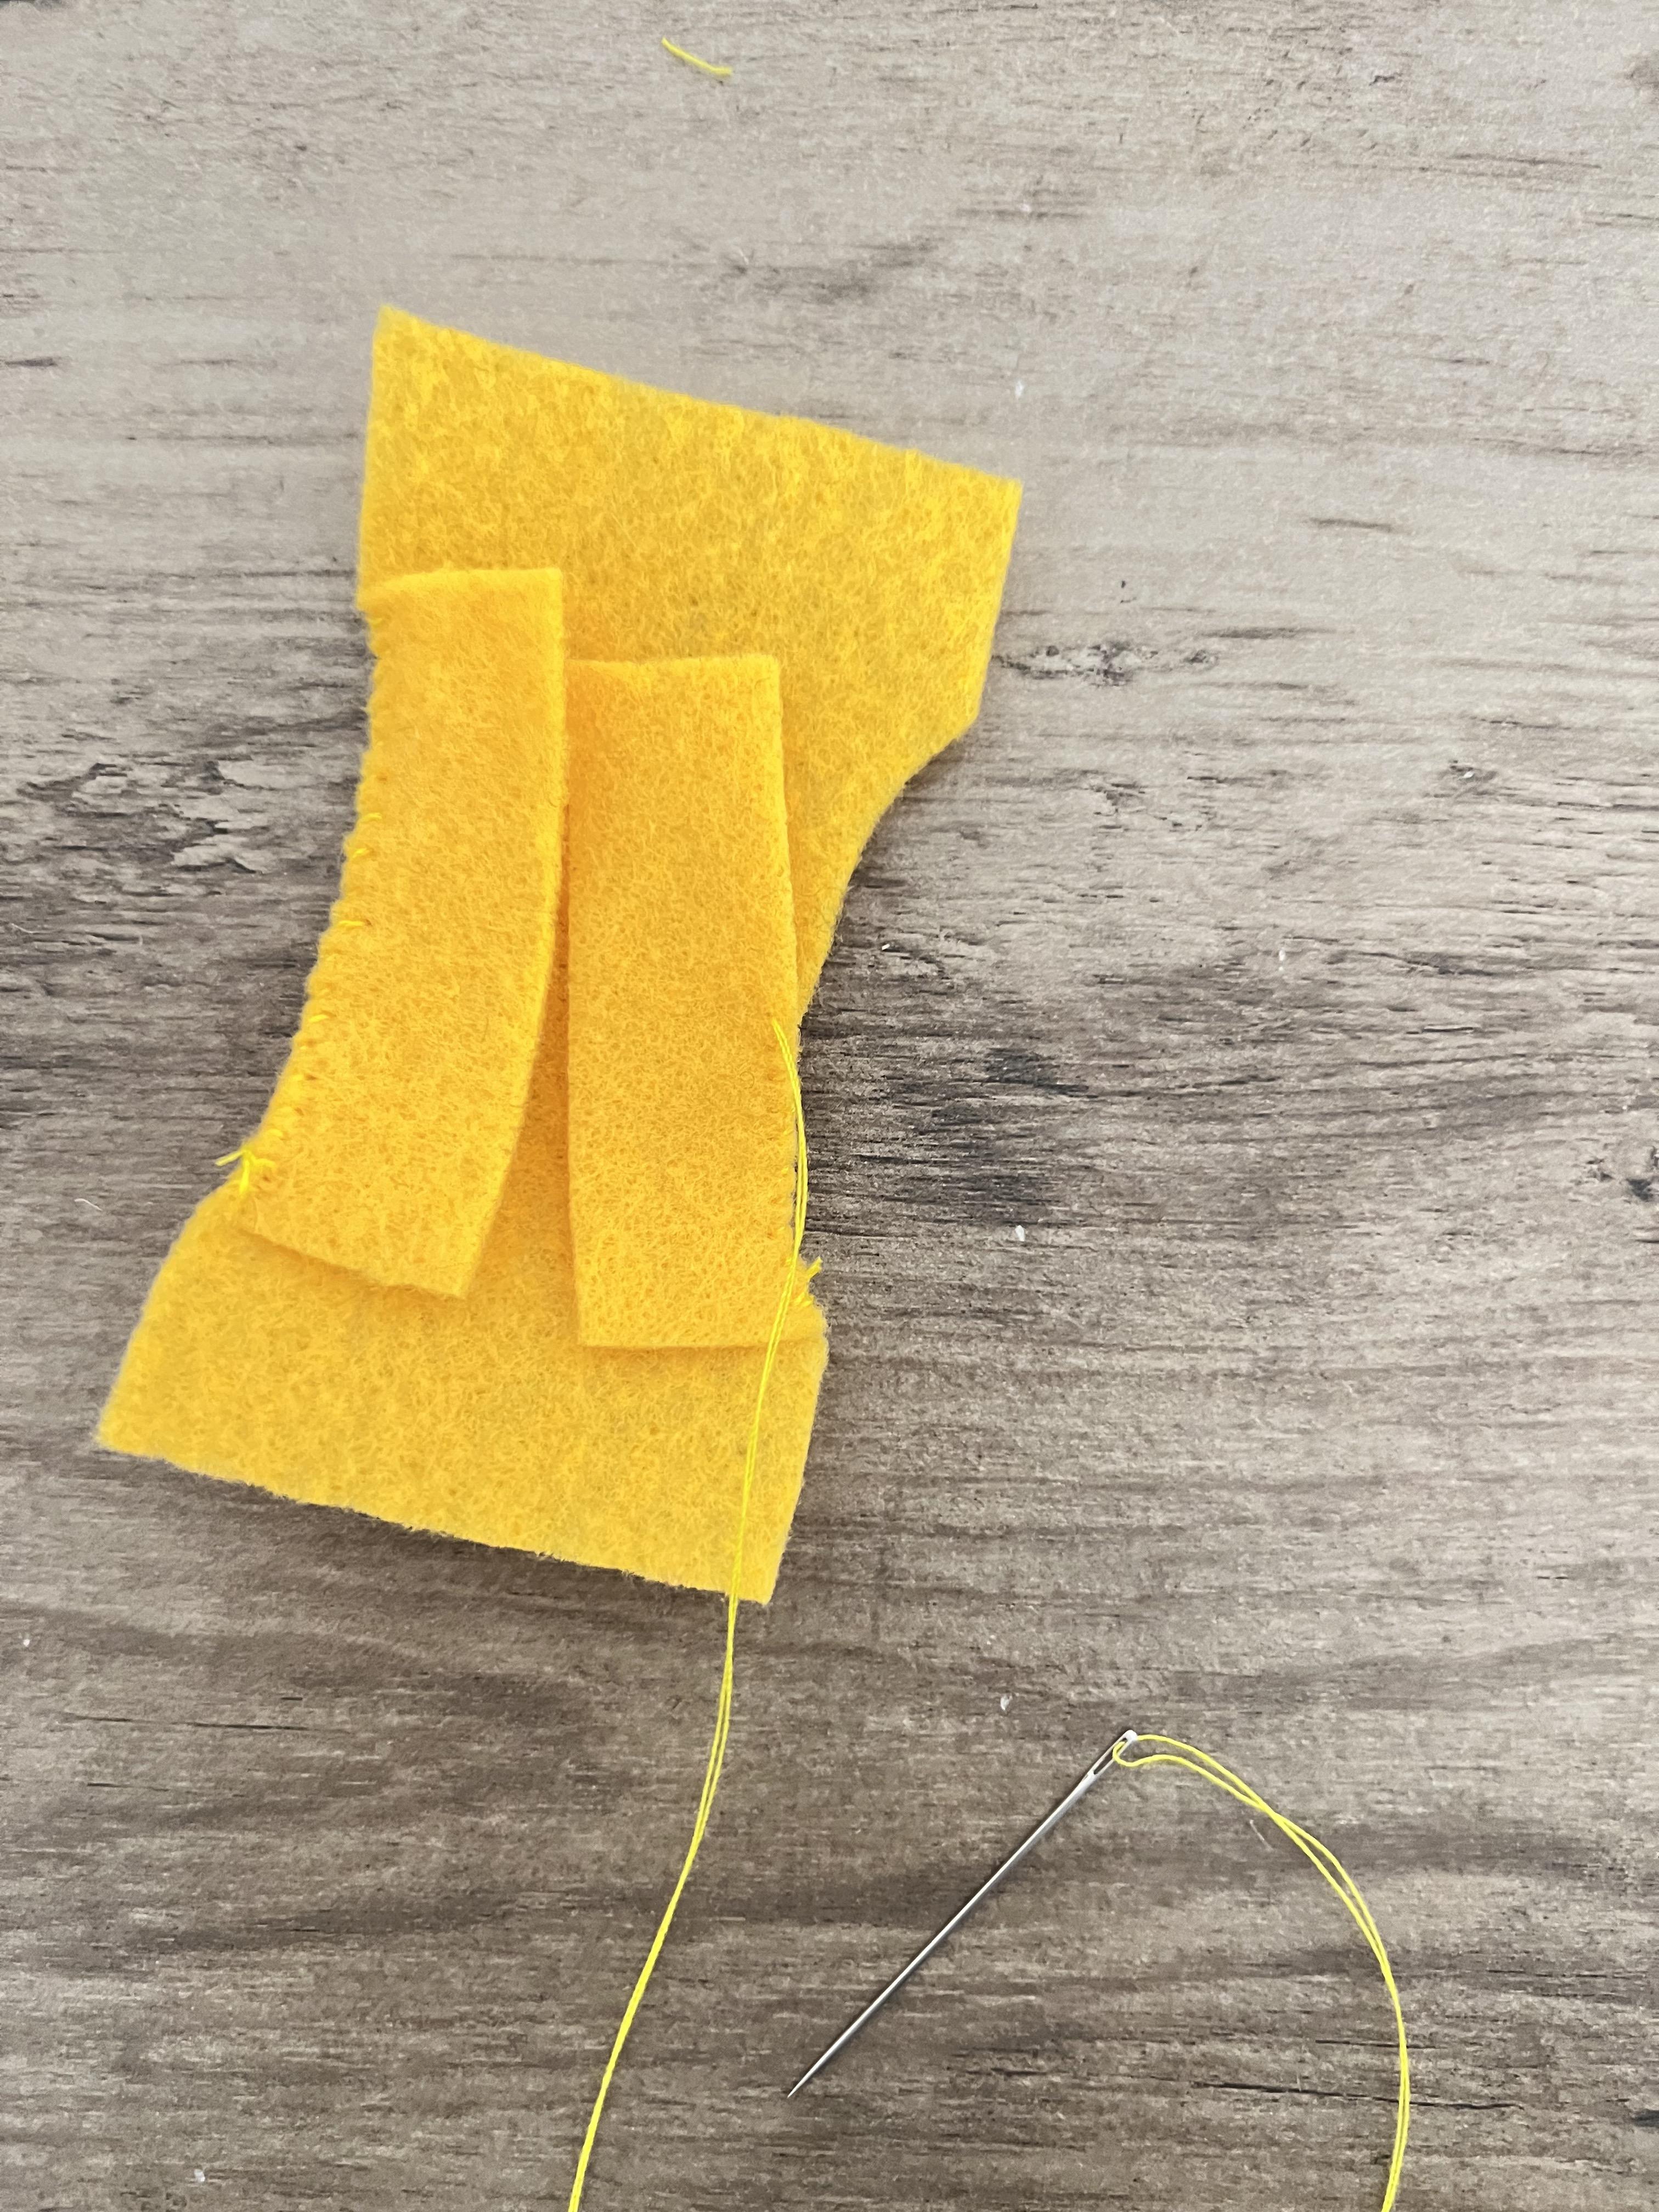


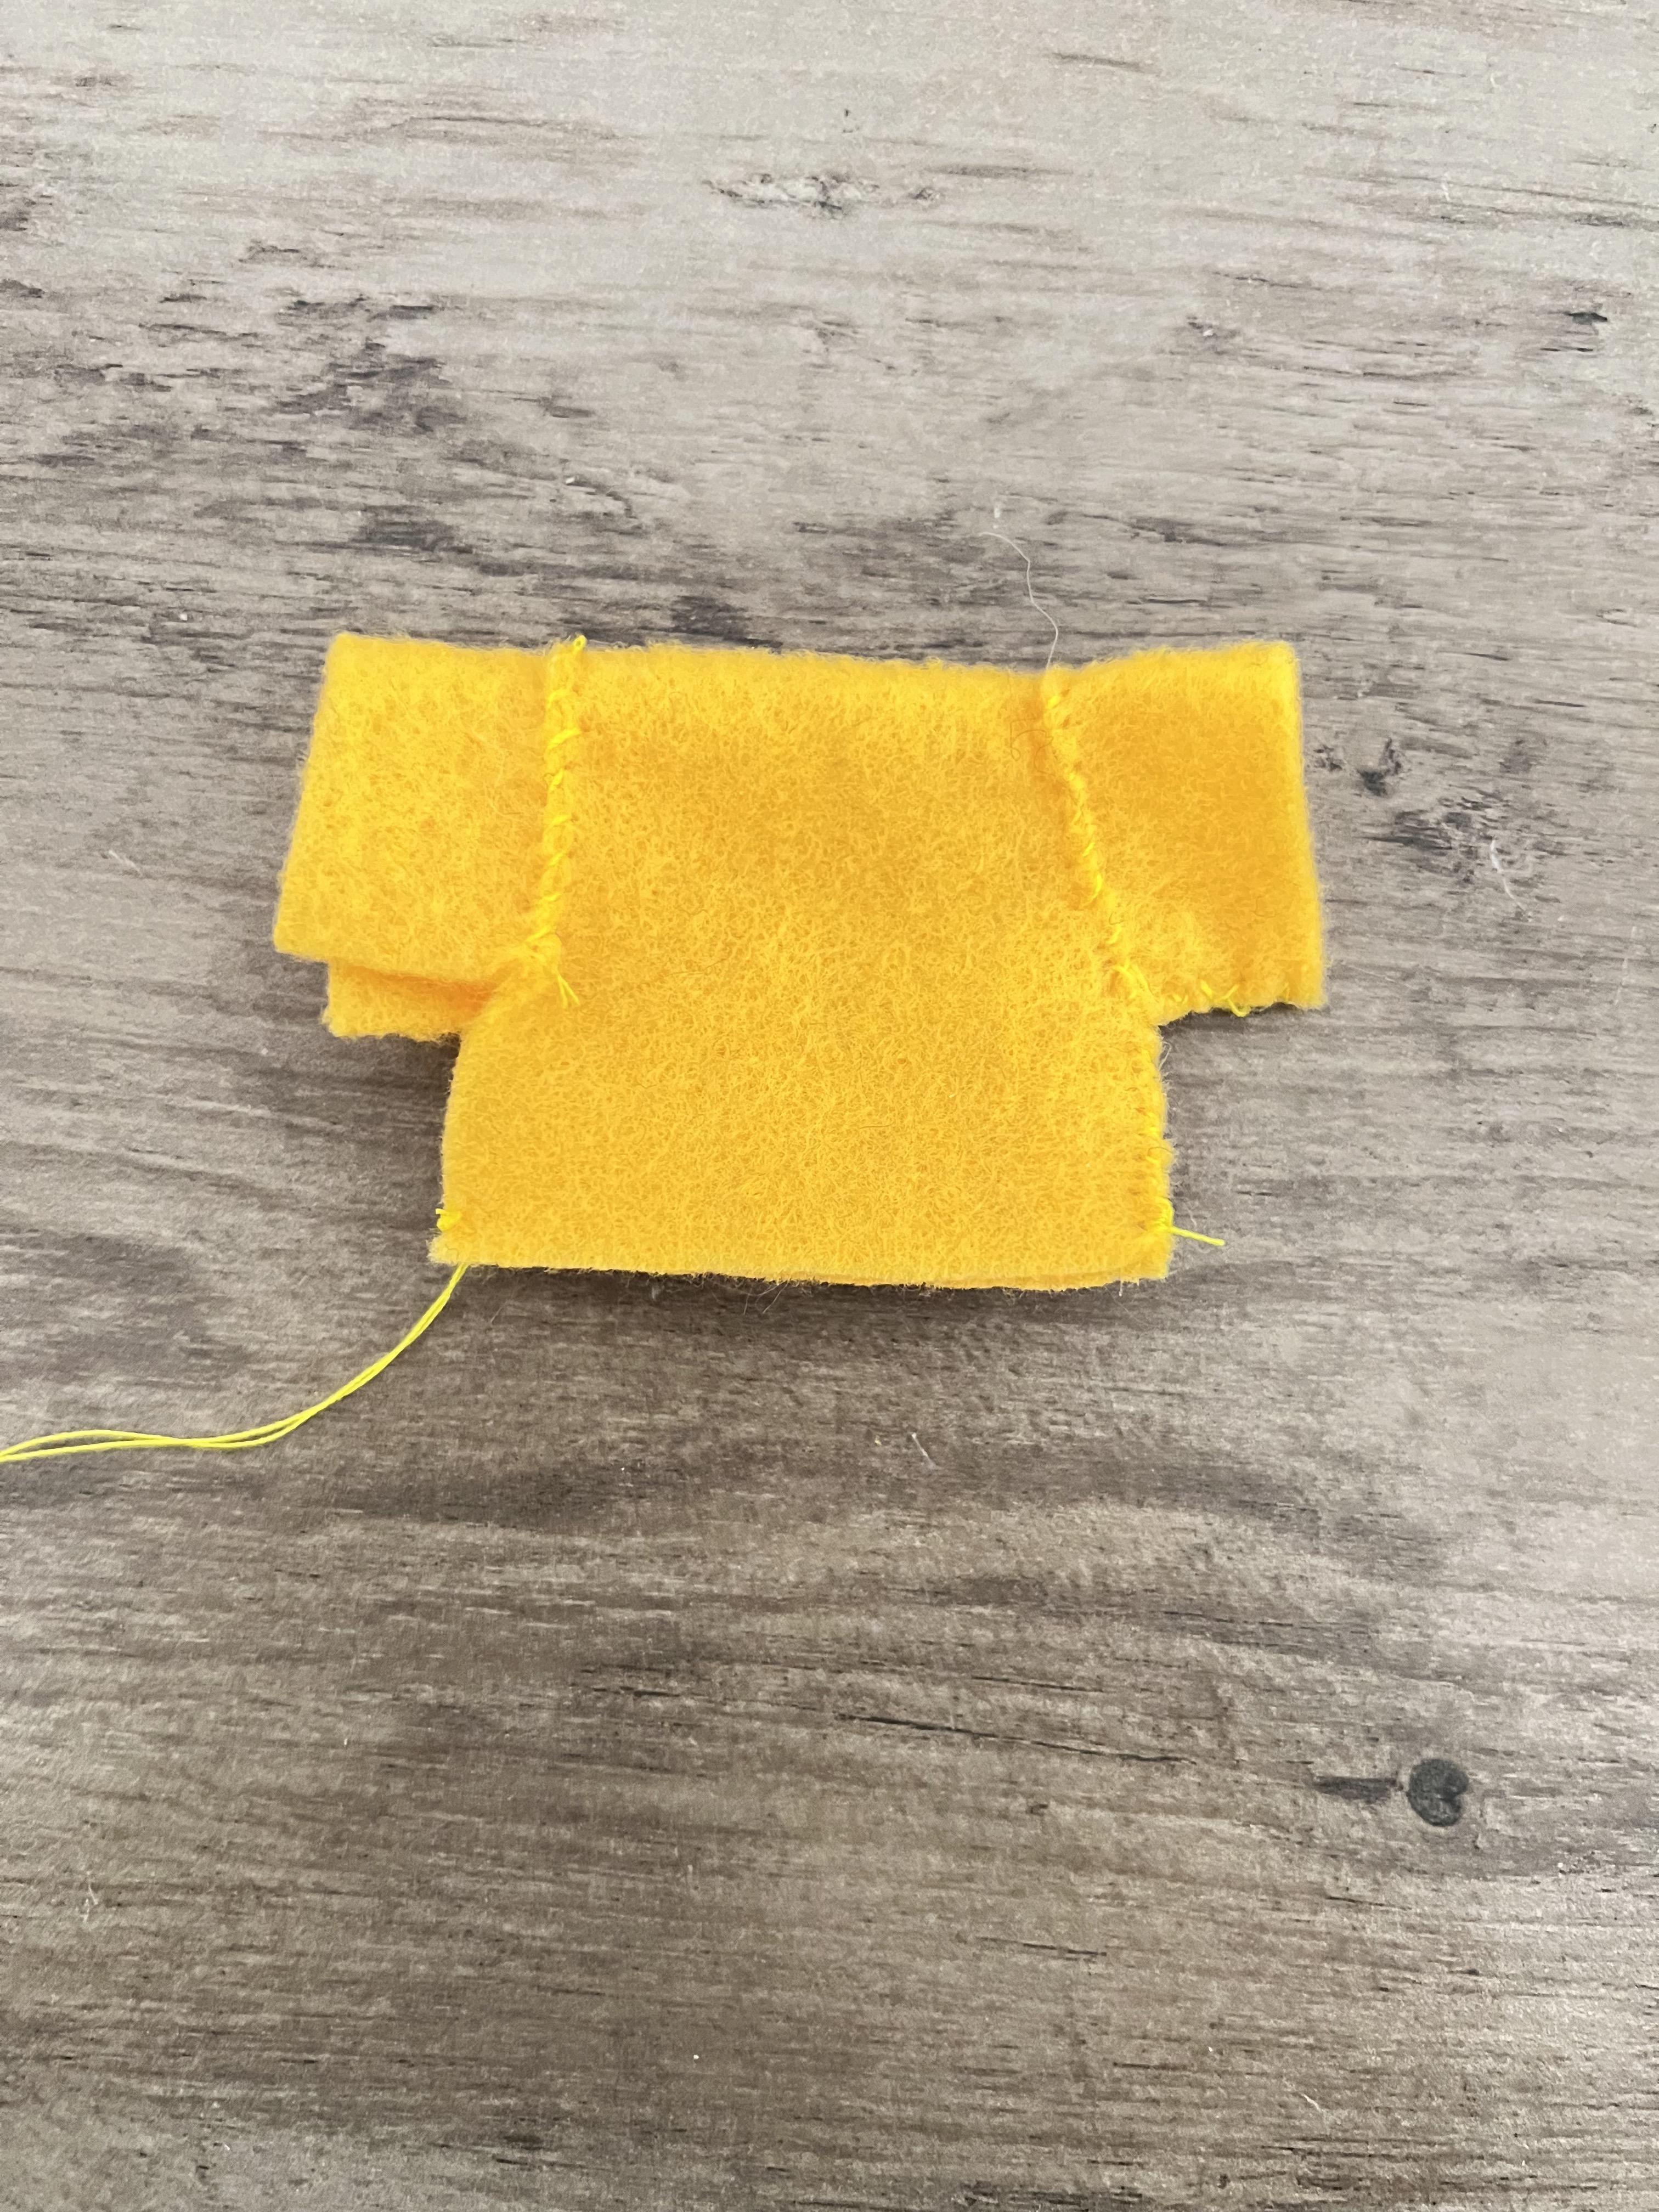
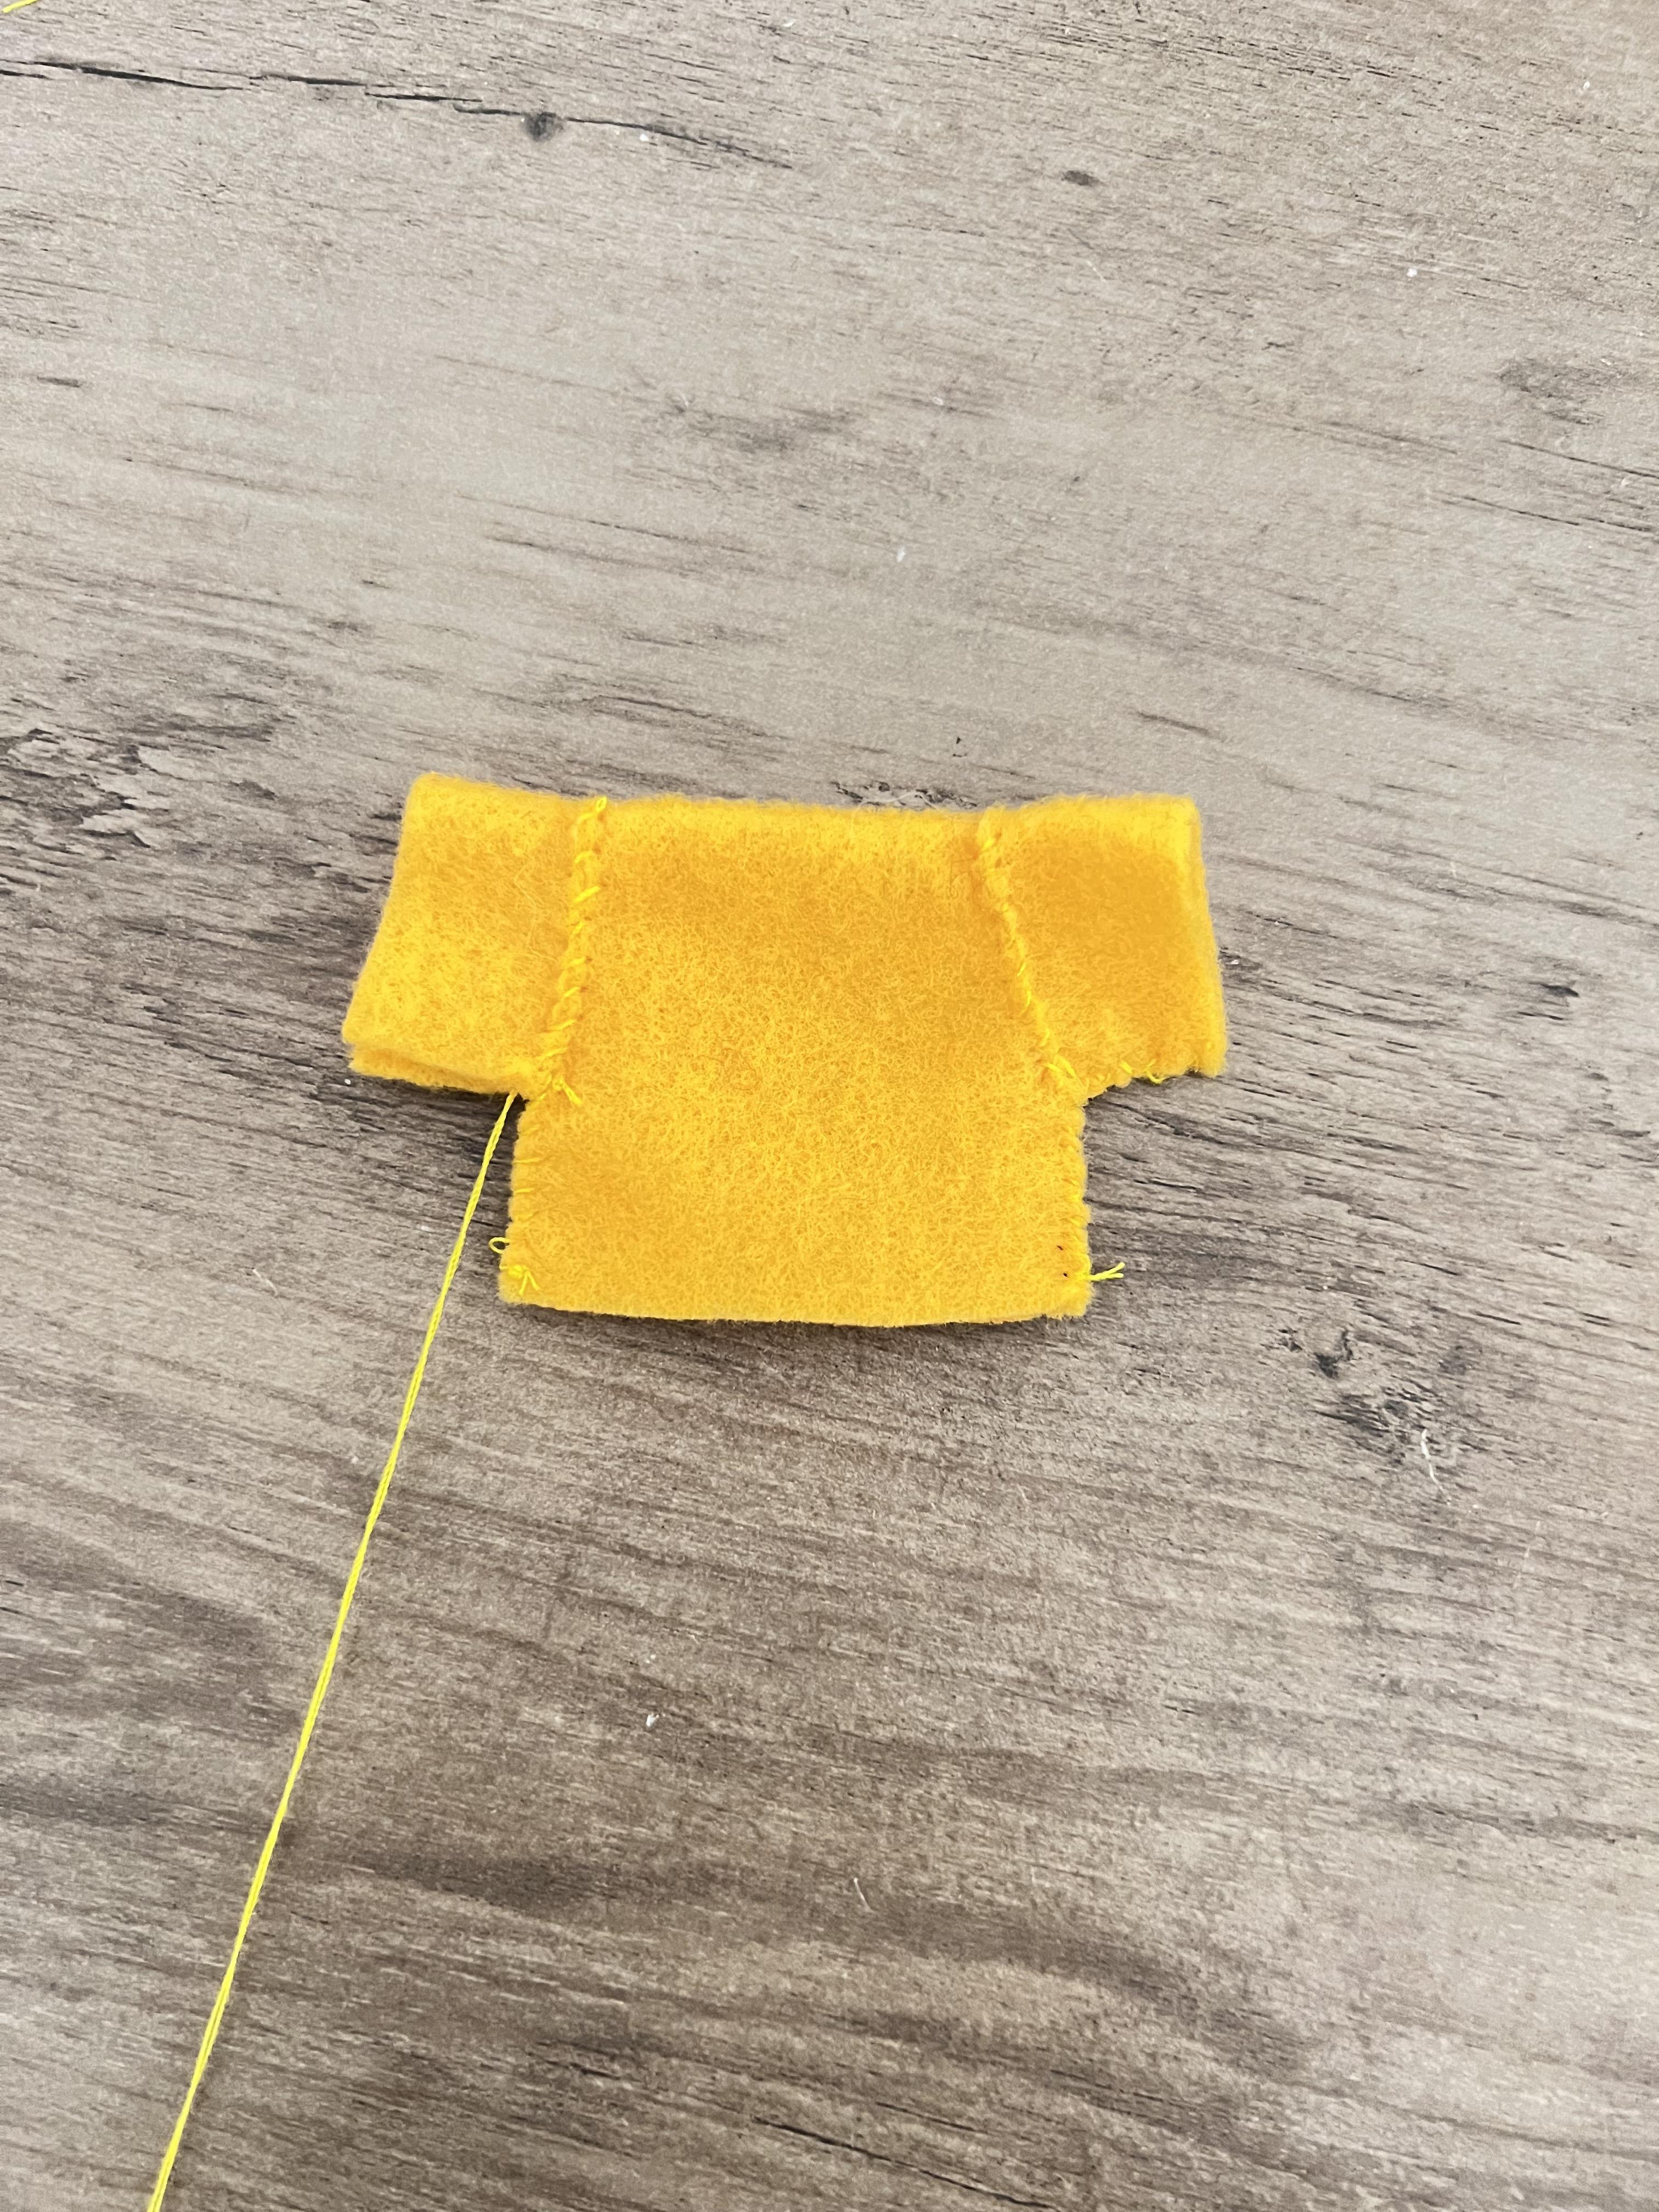


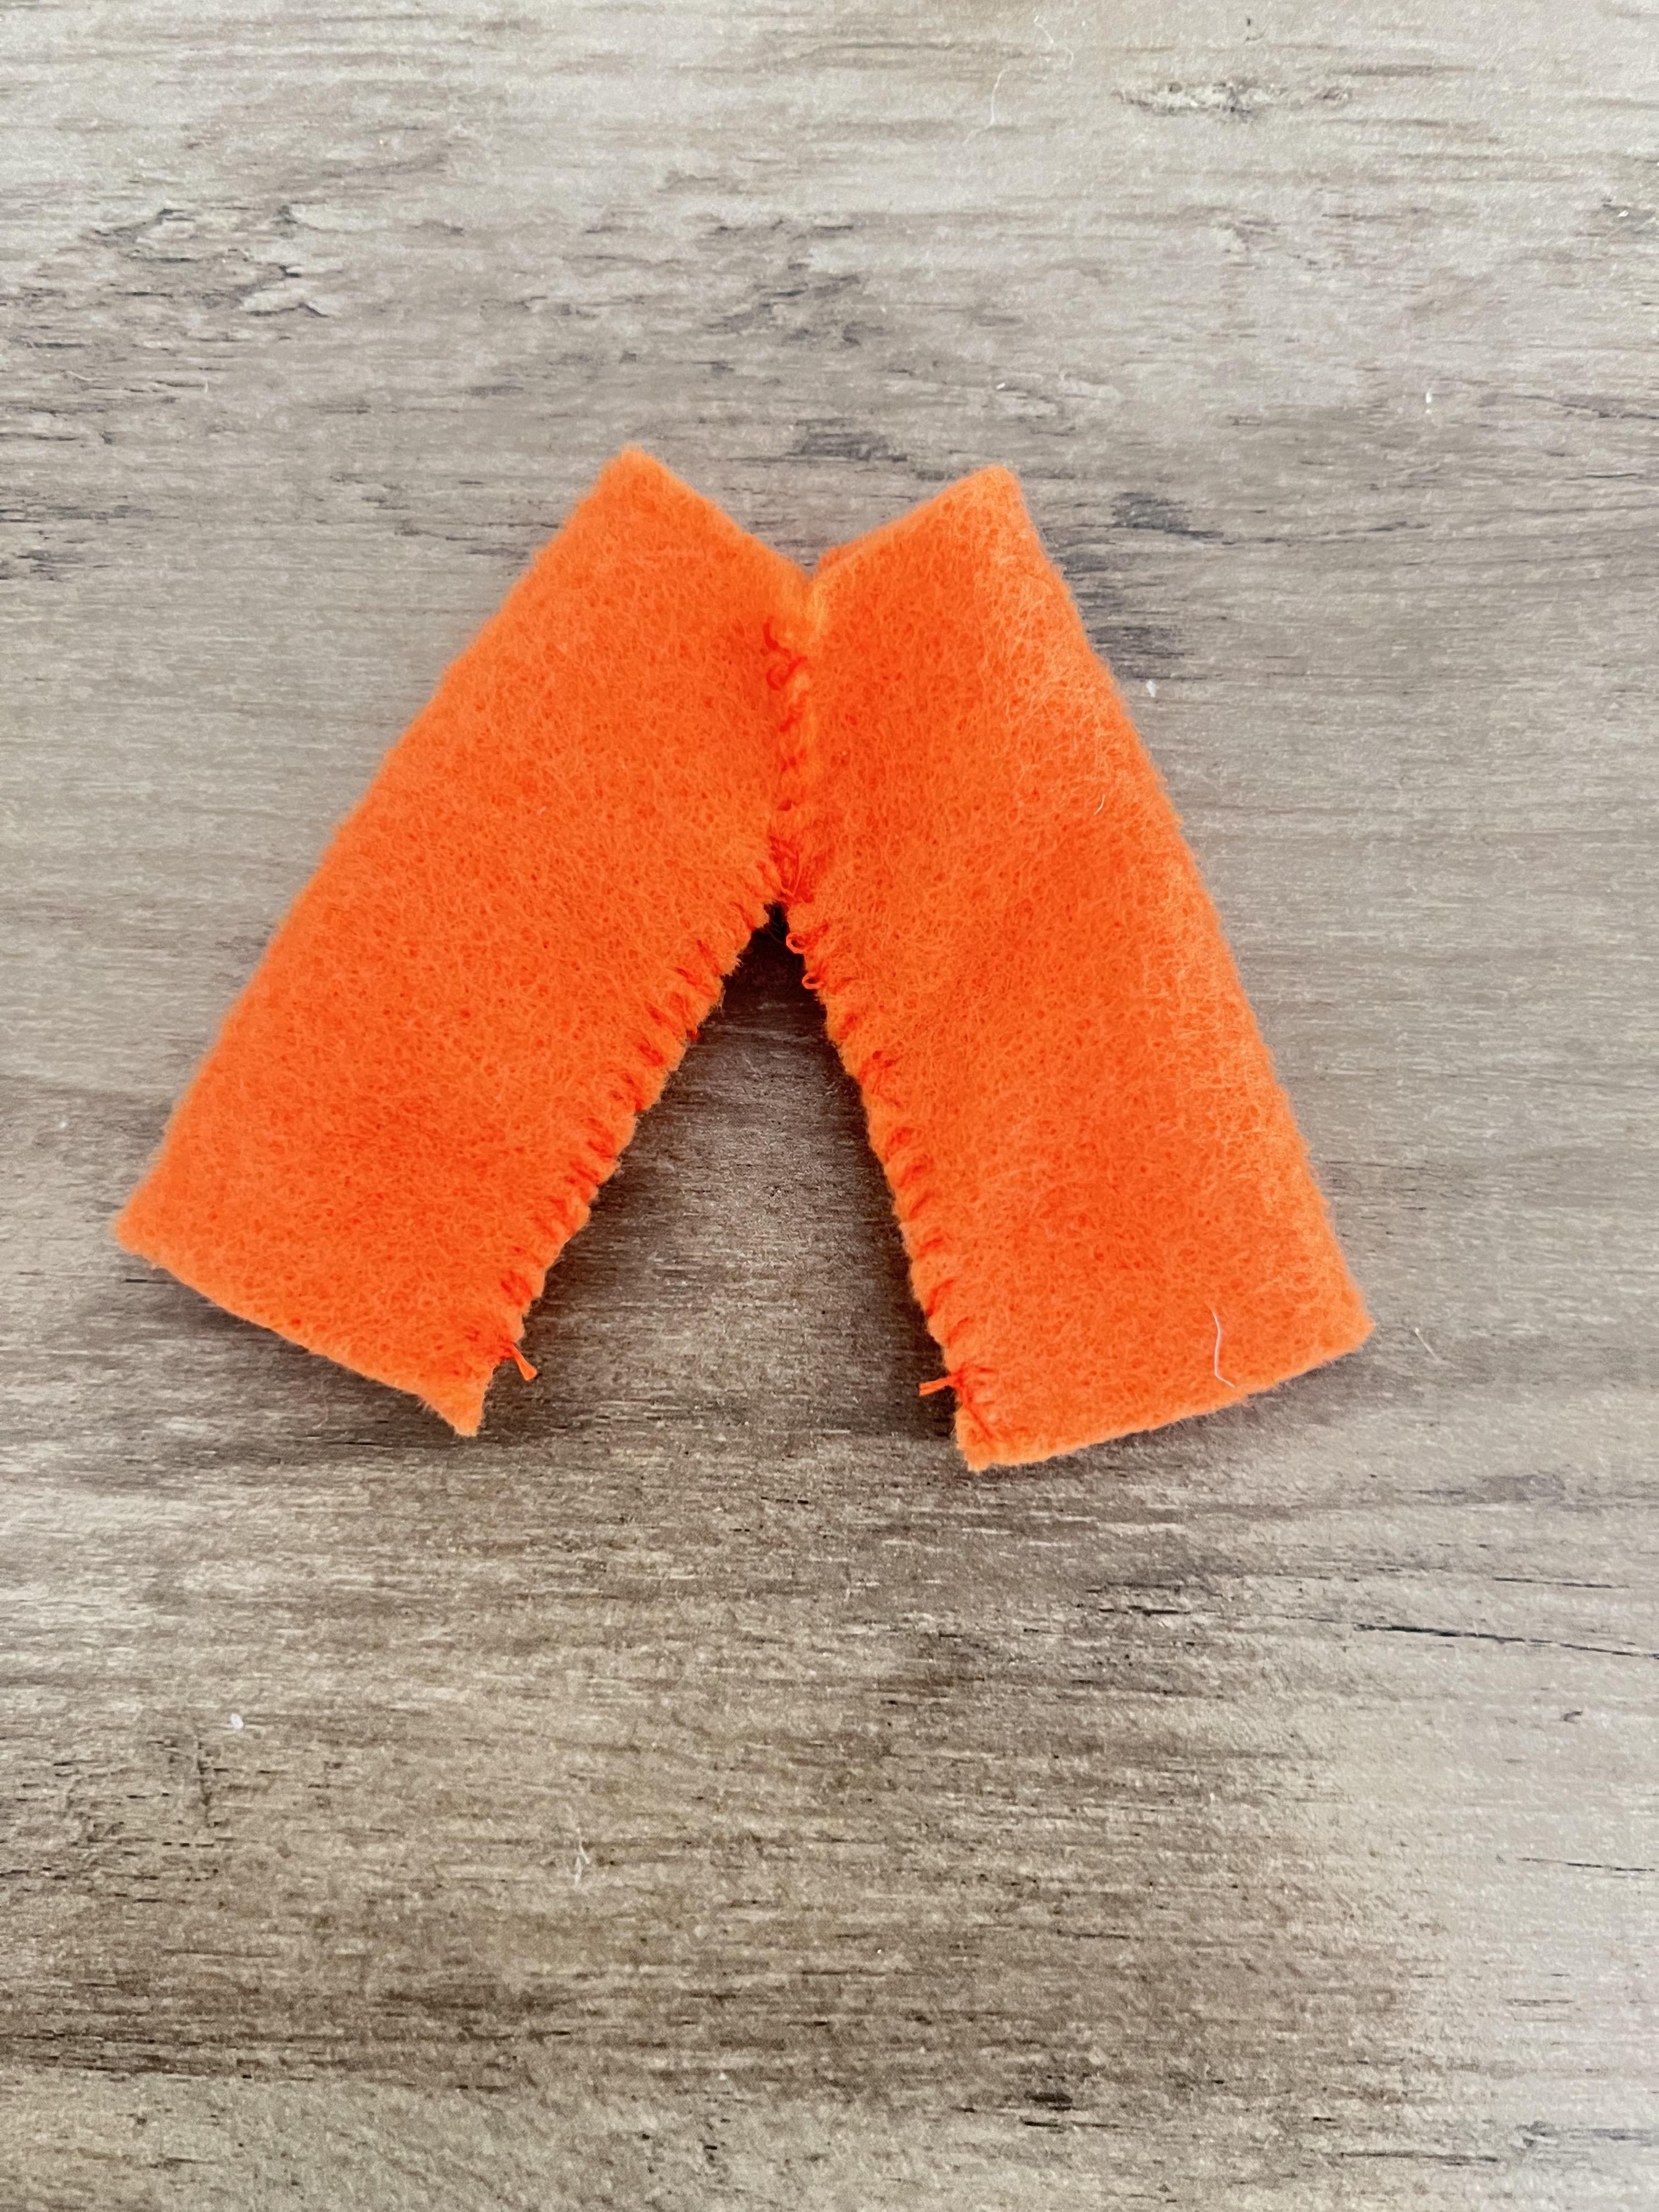


For Mushmouth's clothes, cut a rectangle and then cut two indents on the sides for the sleeves. Cut two rectangle pieces of felt for sleeves. Sew each sleeve to each side of the shirt body. Fold the shirt in half and sew up each upside-down "L" shapes to form the shirt. Flip the shirt out and cut a hole to fit Mushmouth's head.
For the scarf, cut a strip of blue felt and wrap it around his neck.
To make the pants, cut two rectangle and cut two "J"s along both sides of each rectangle. Sew both "J"s and then fold the pants and sew the "V" between the legs. Flip the pants inside out.
Mushmouth's Little Details


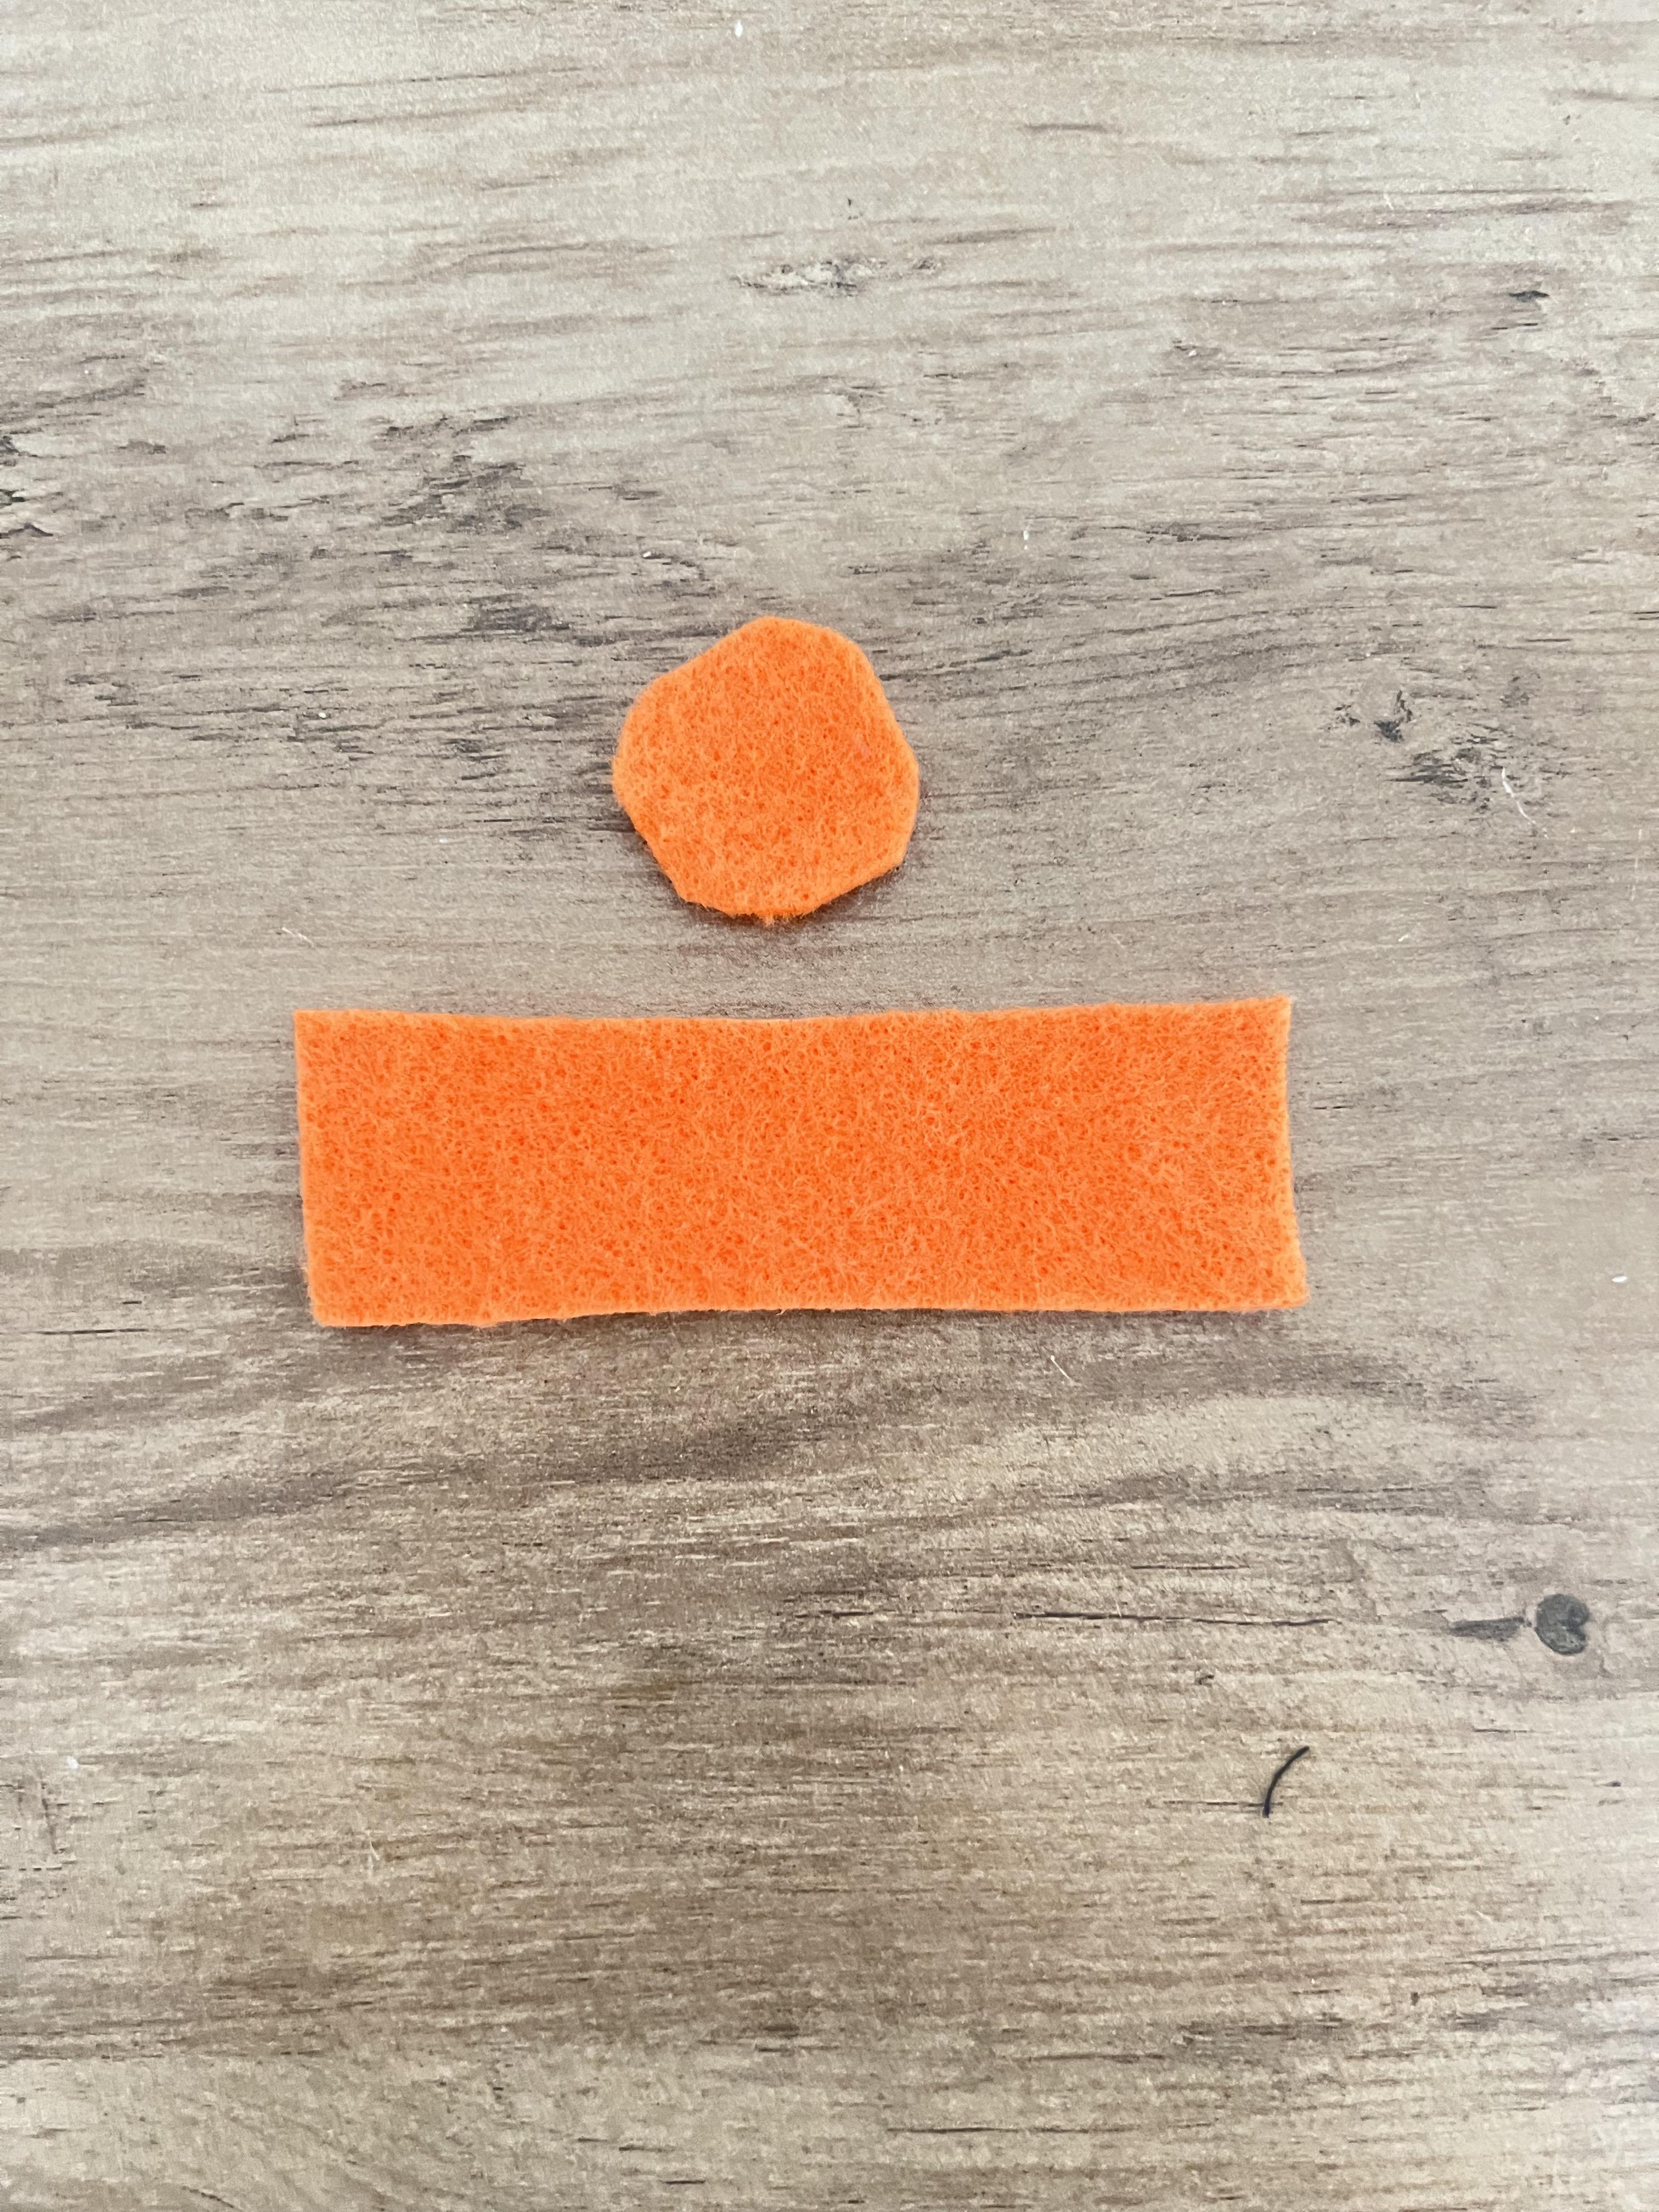
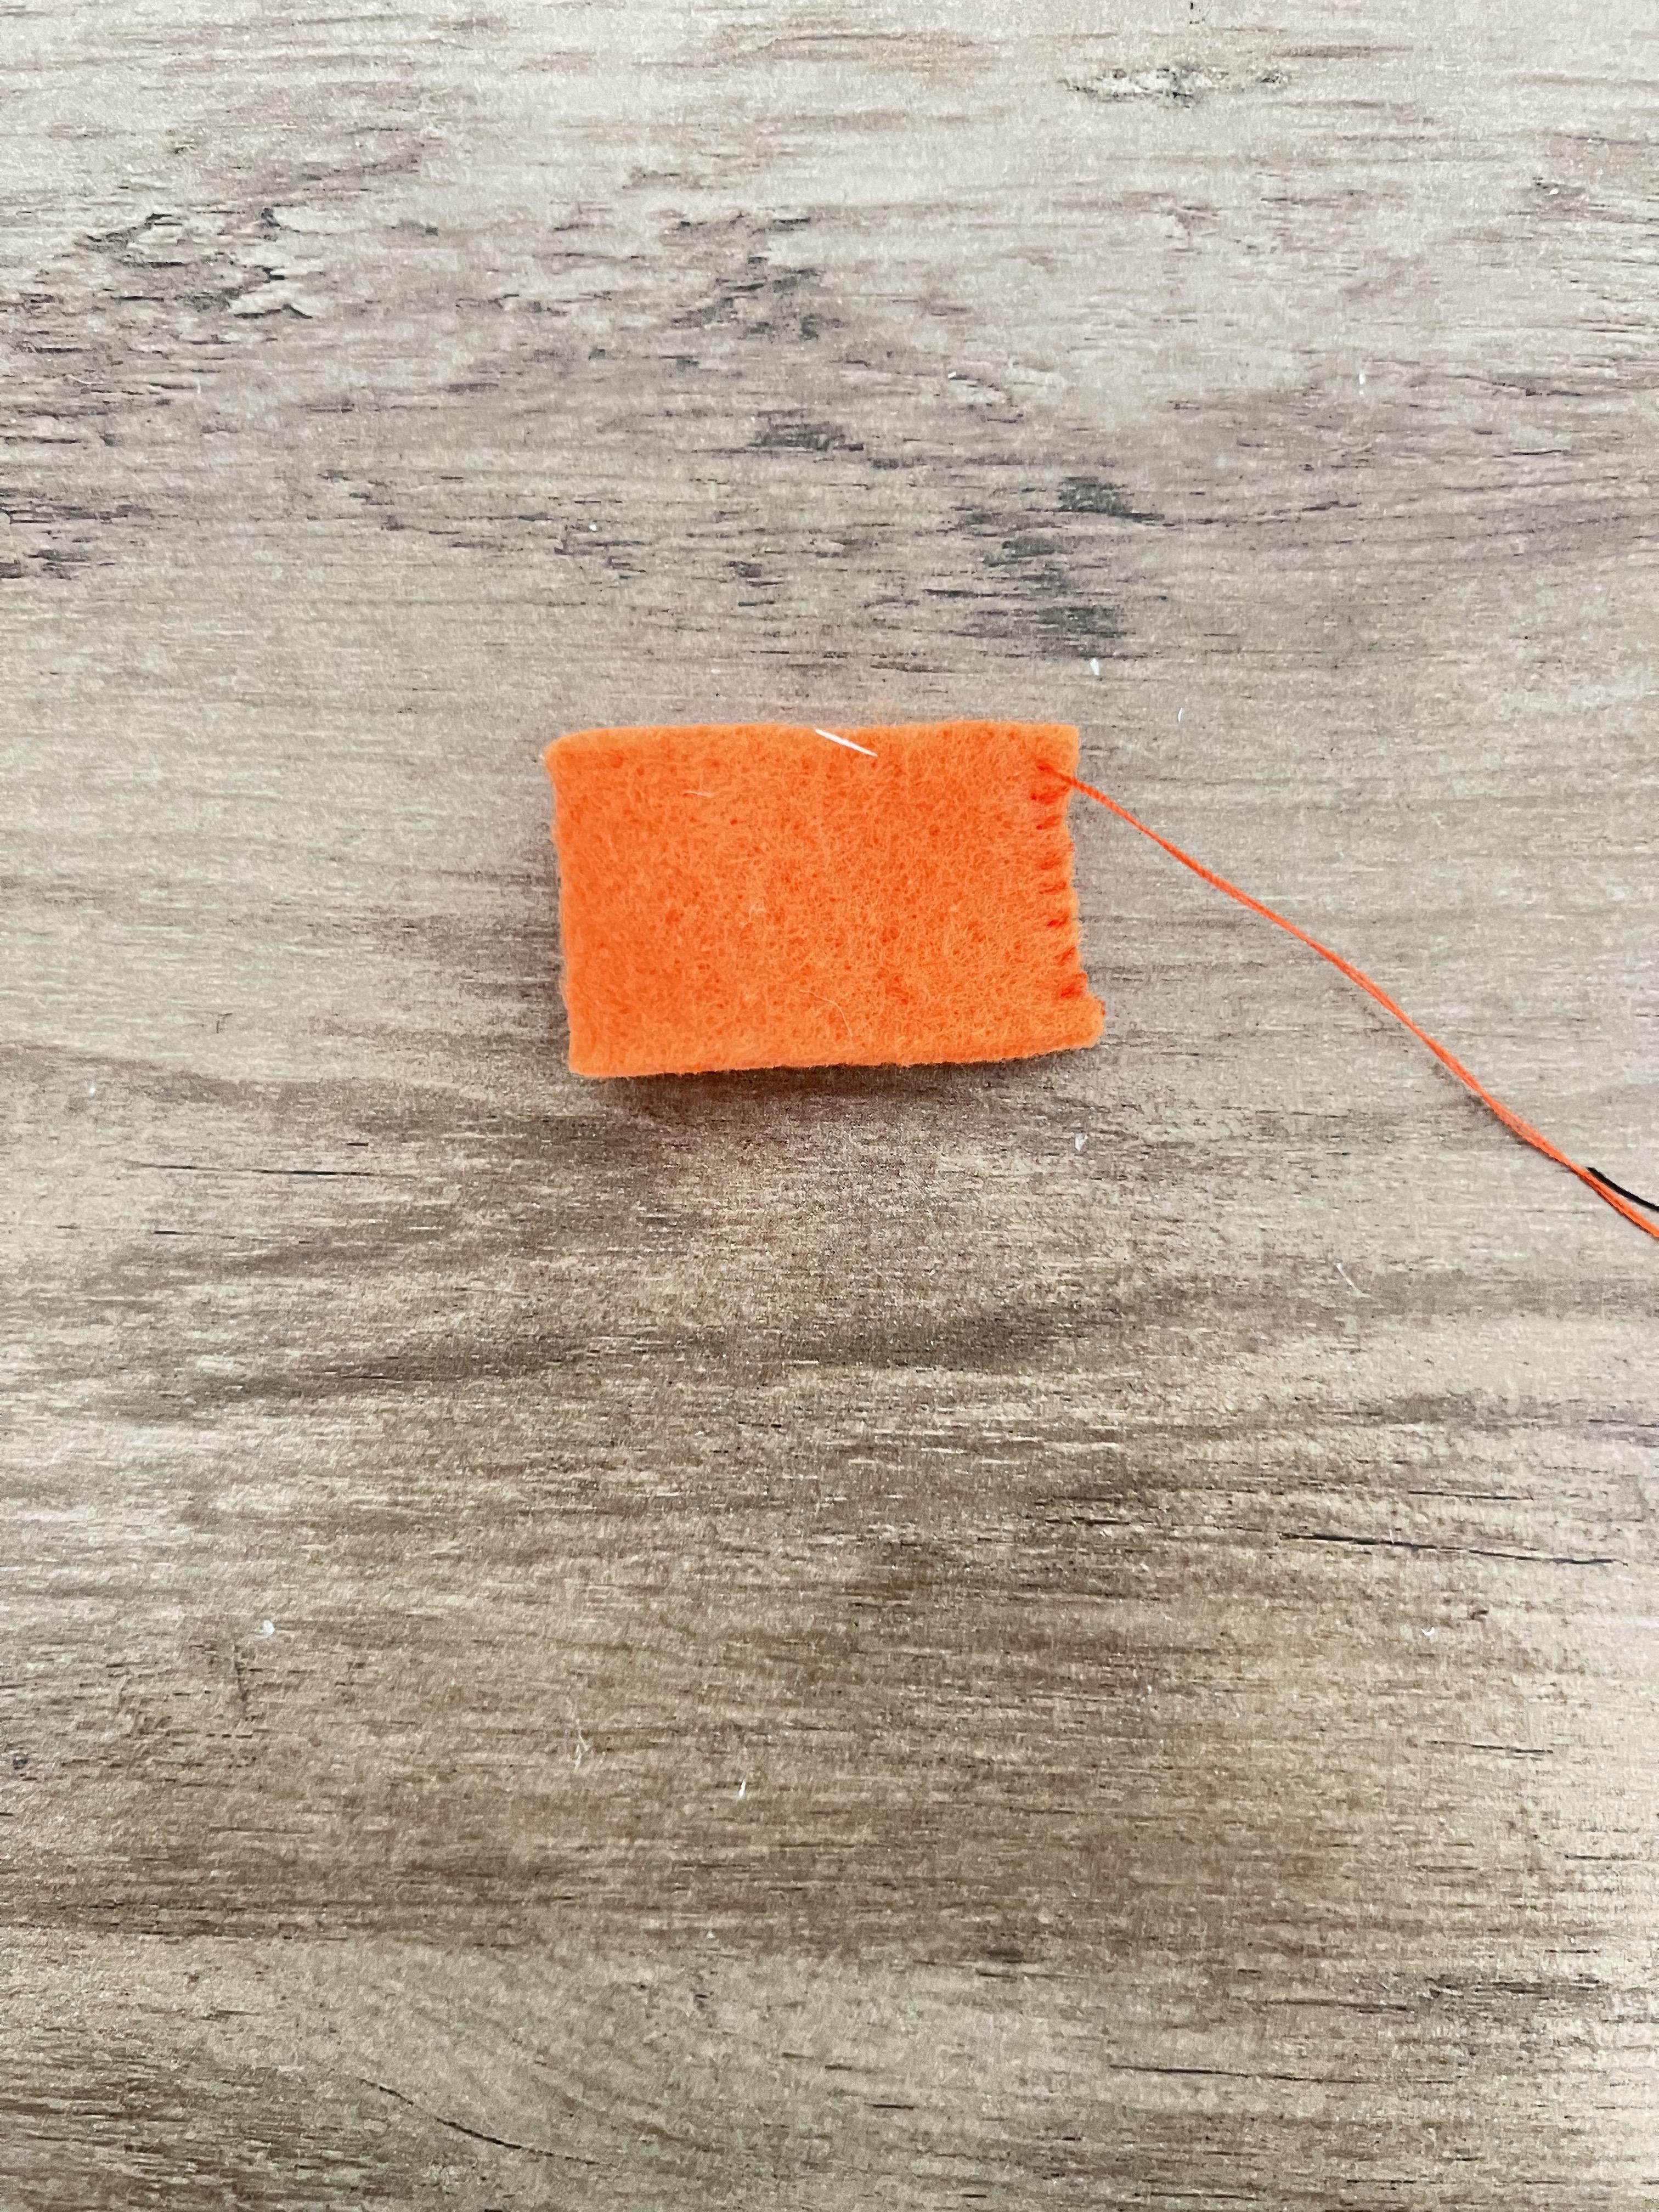
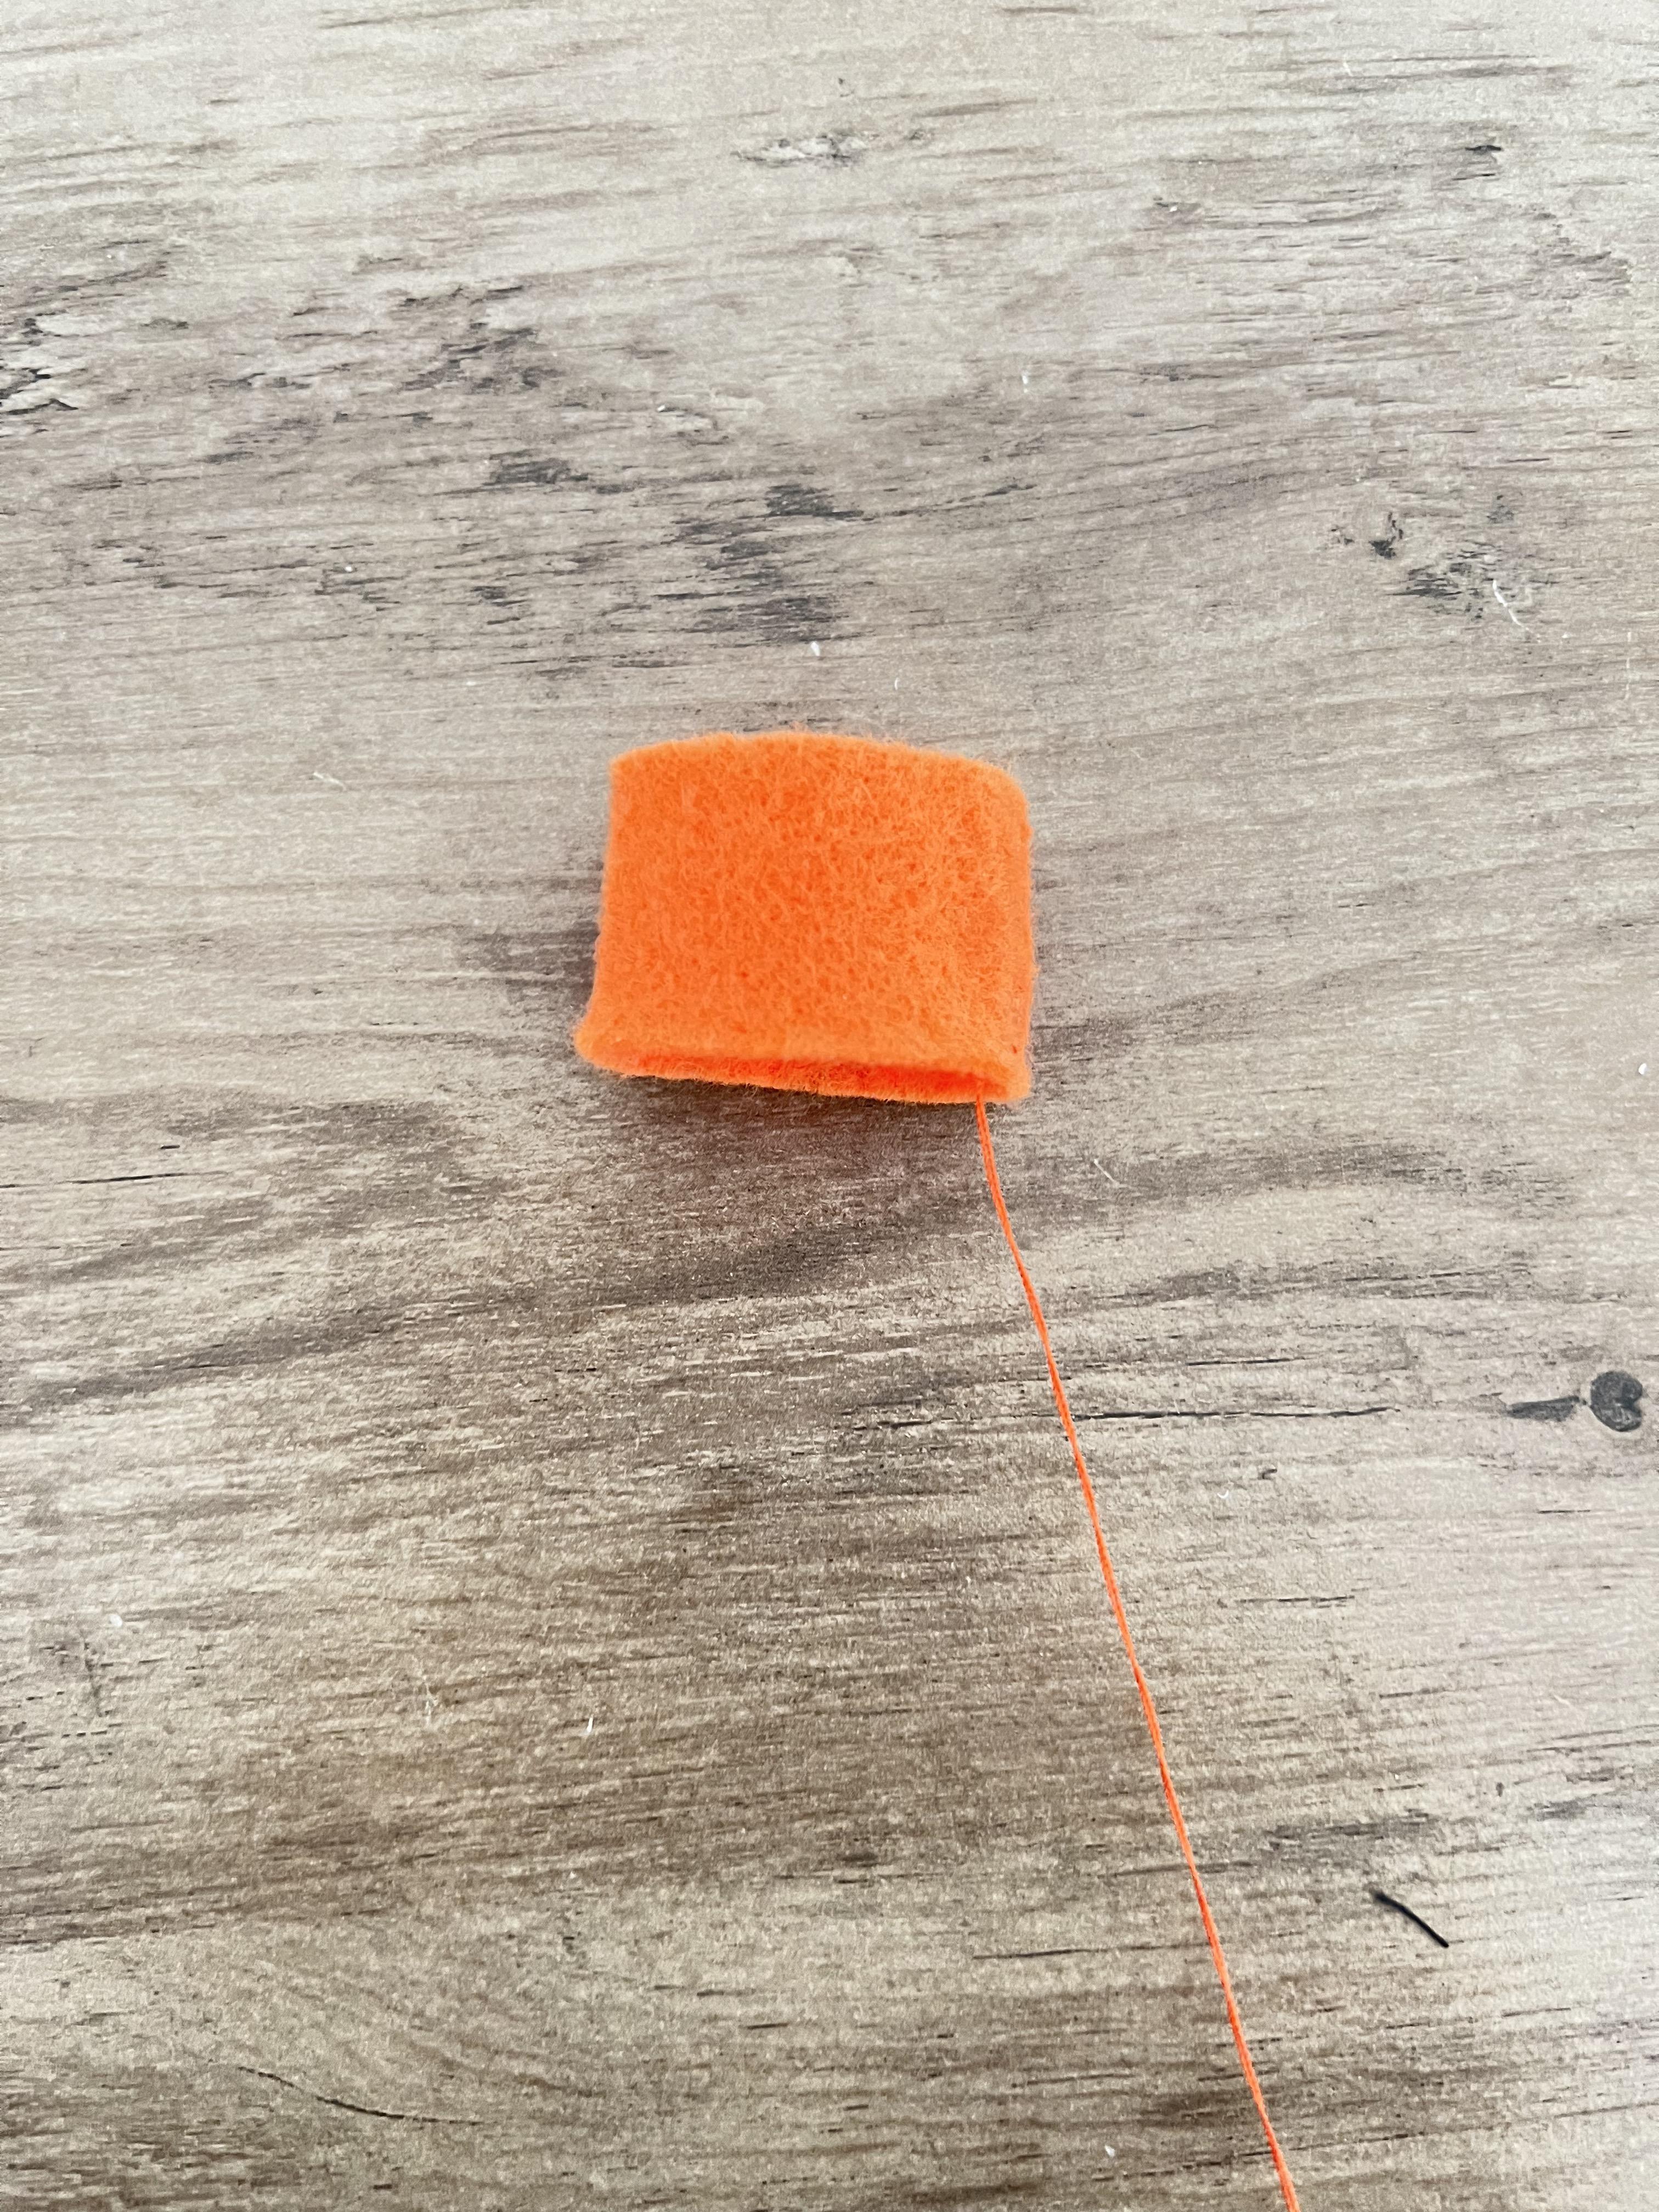


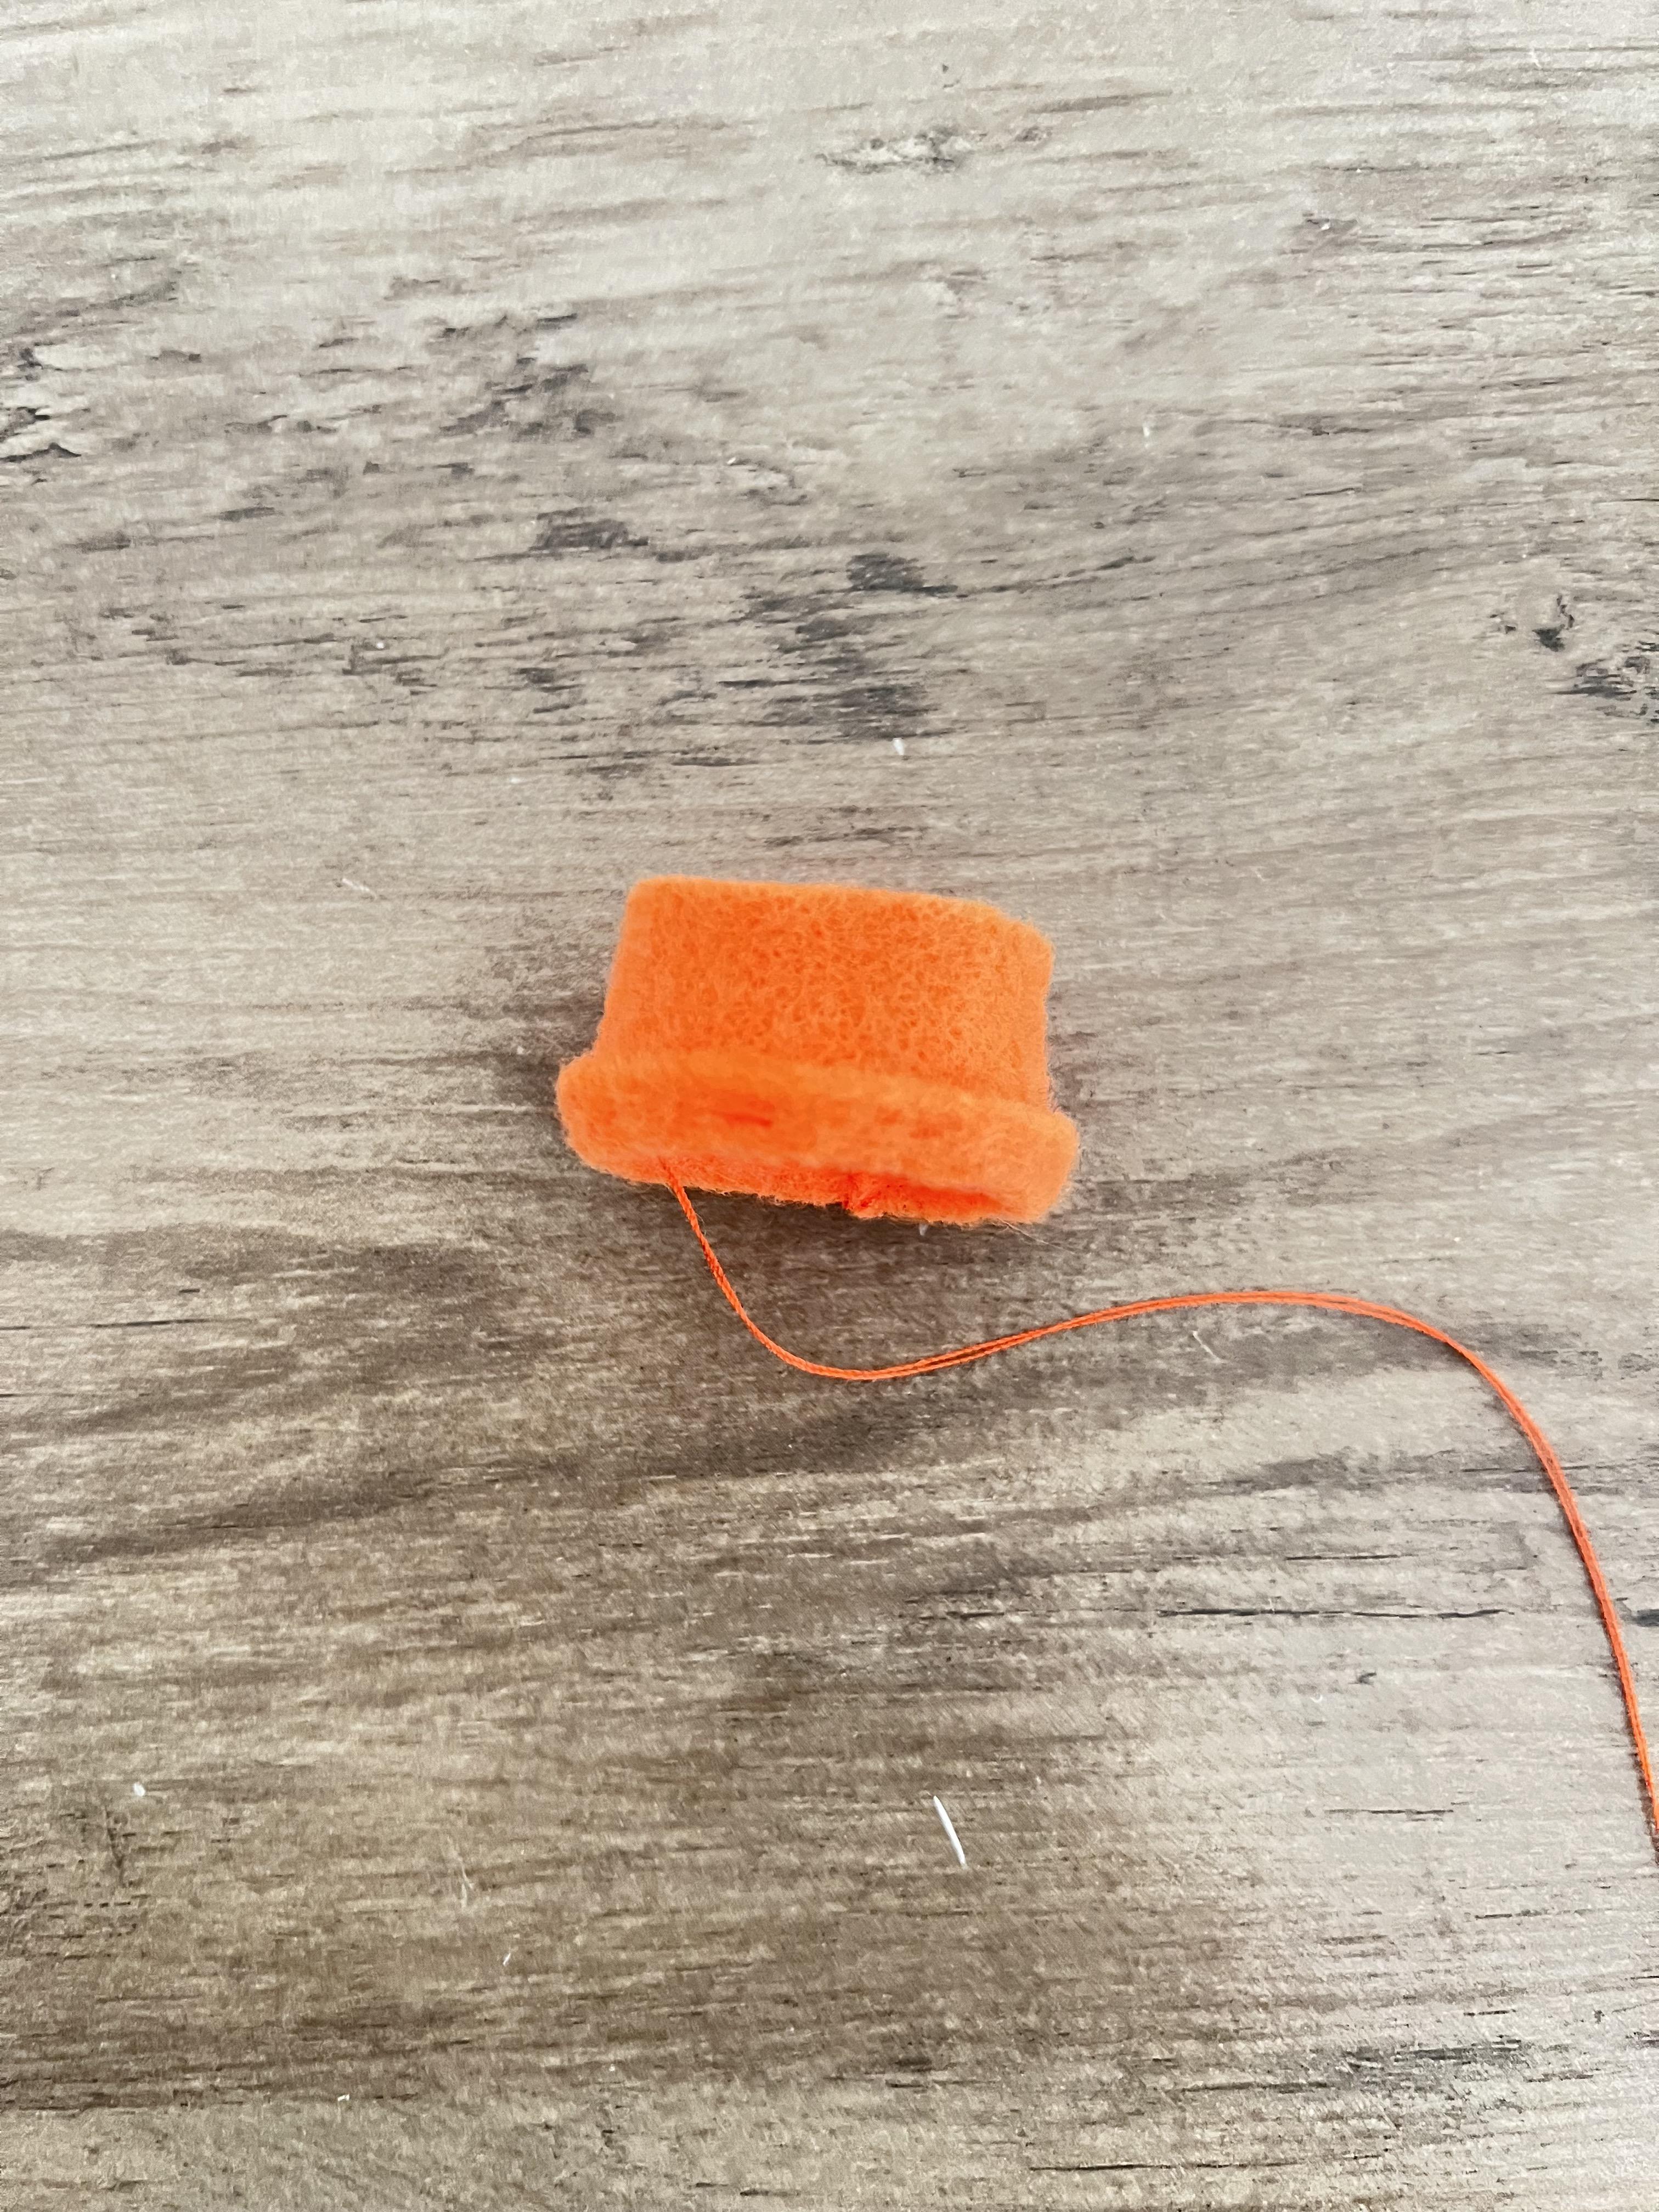

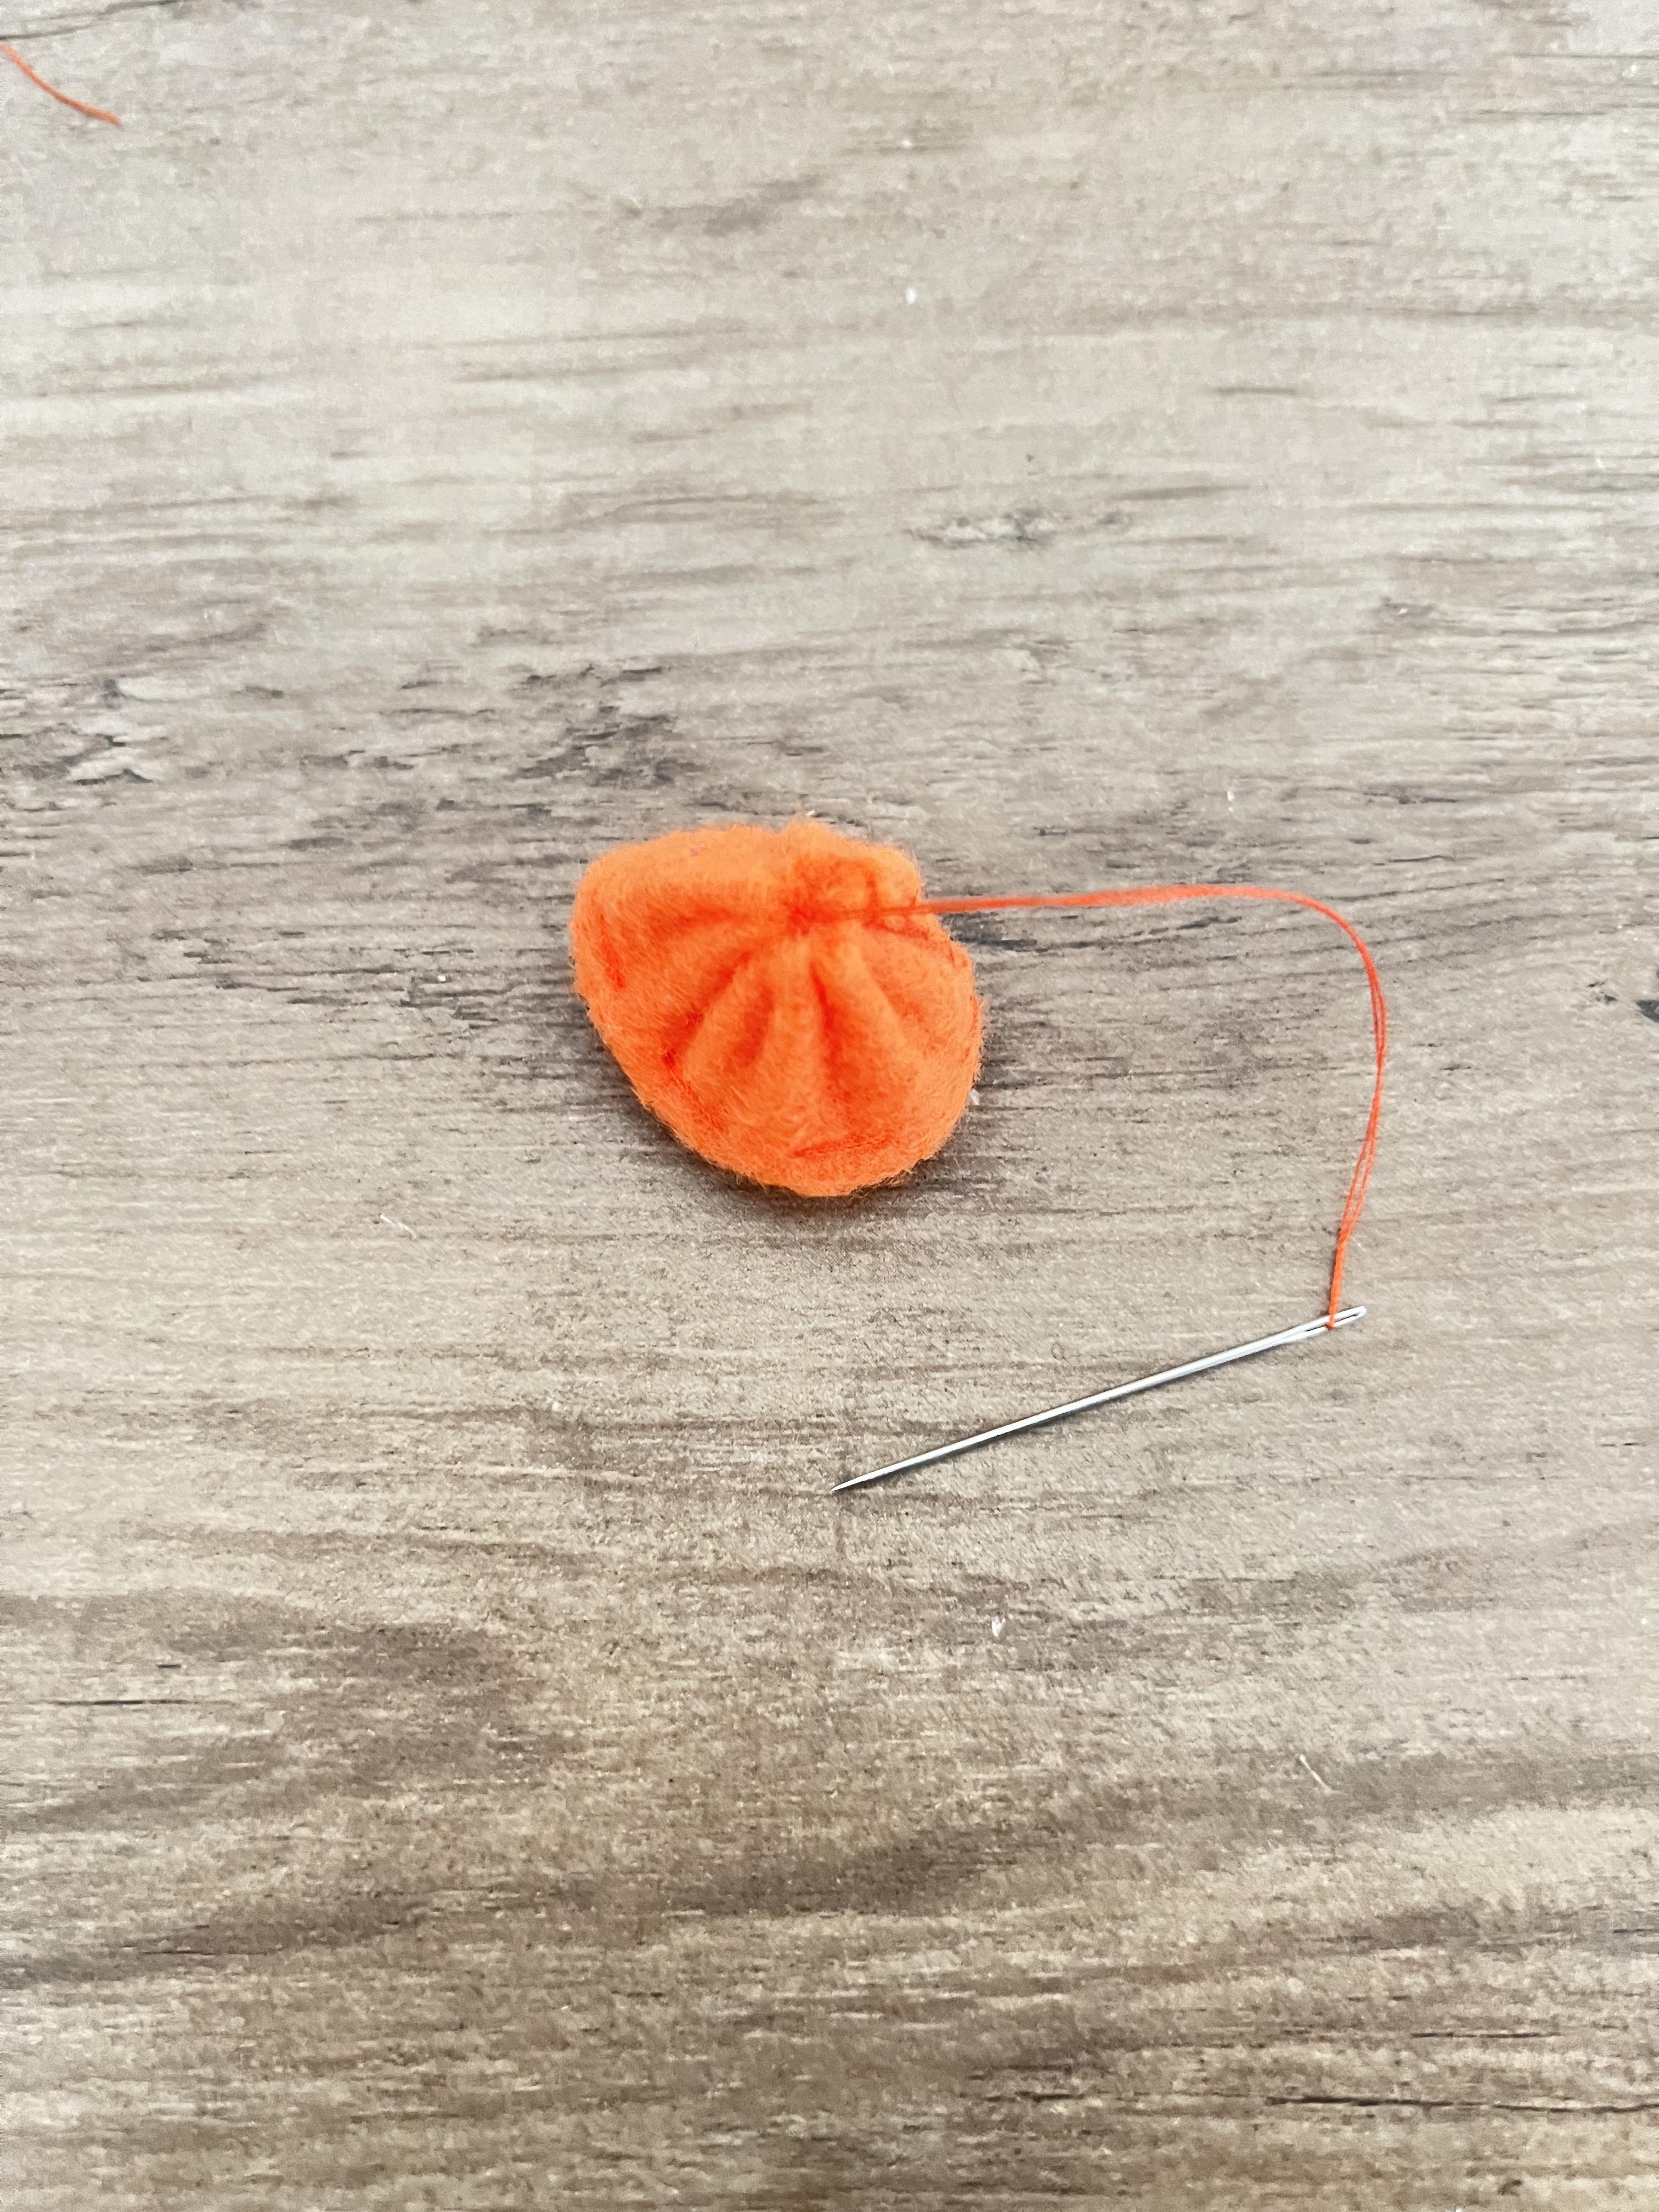
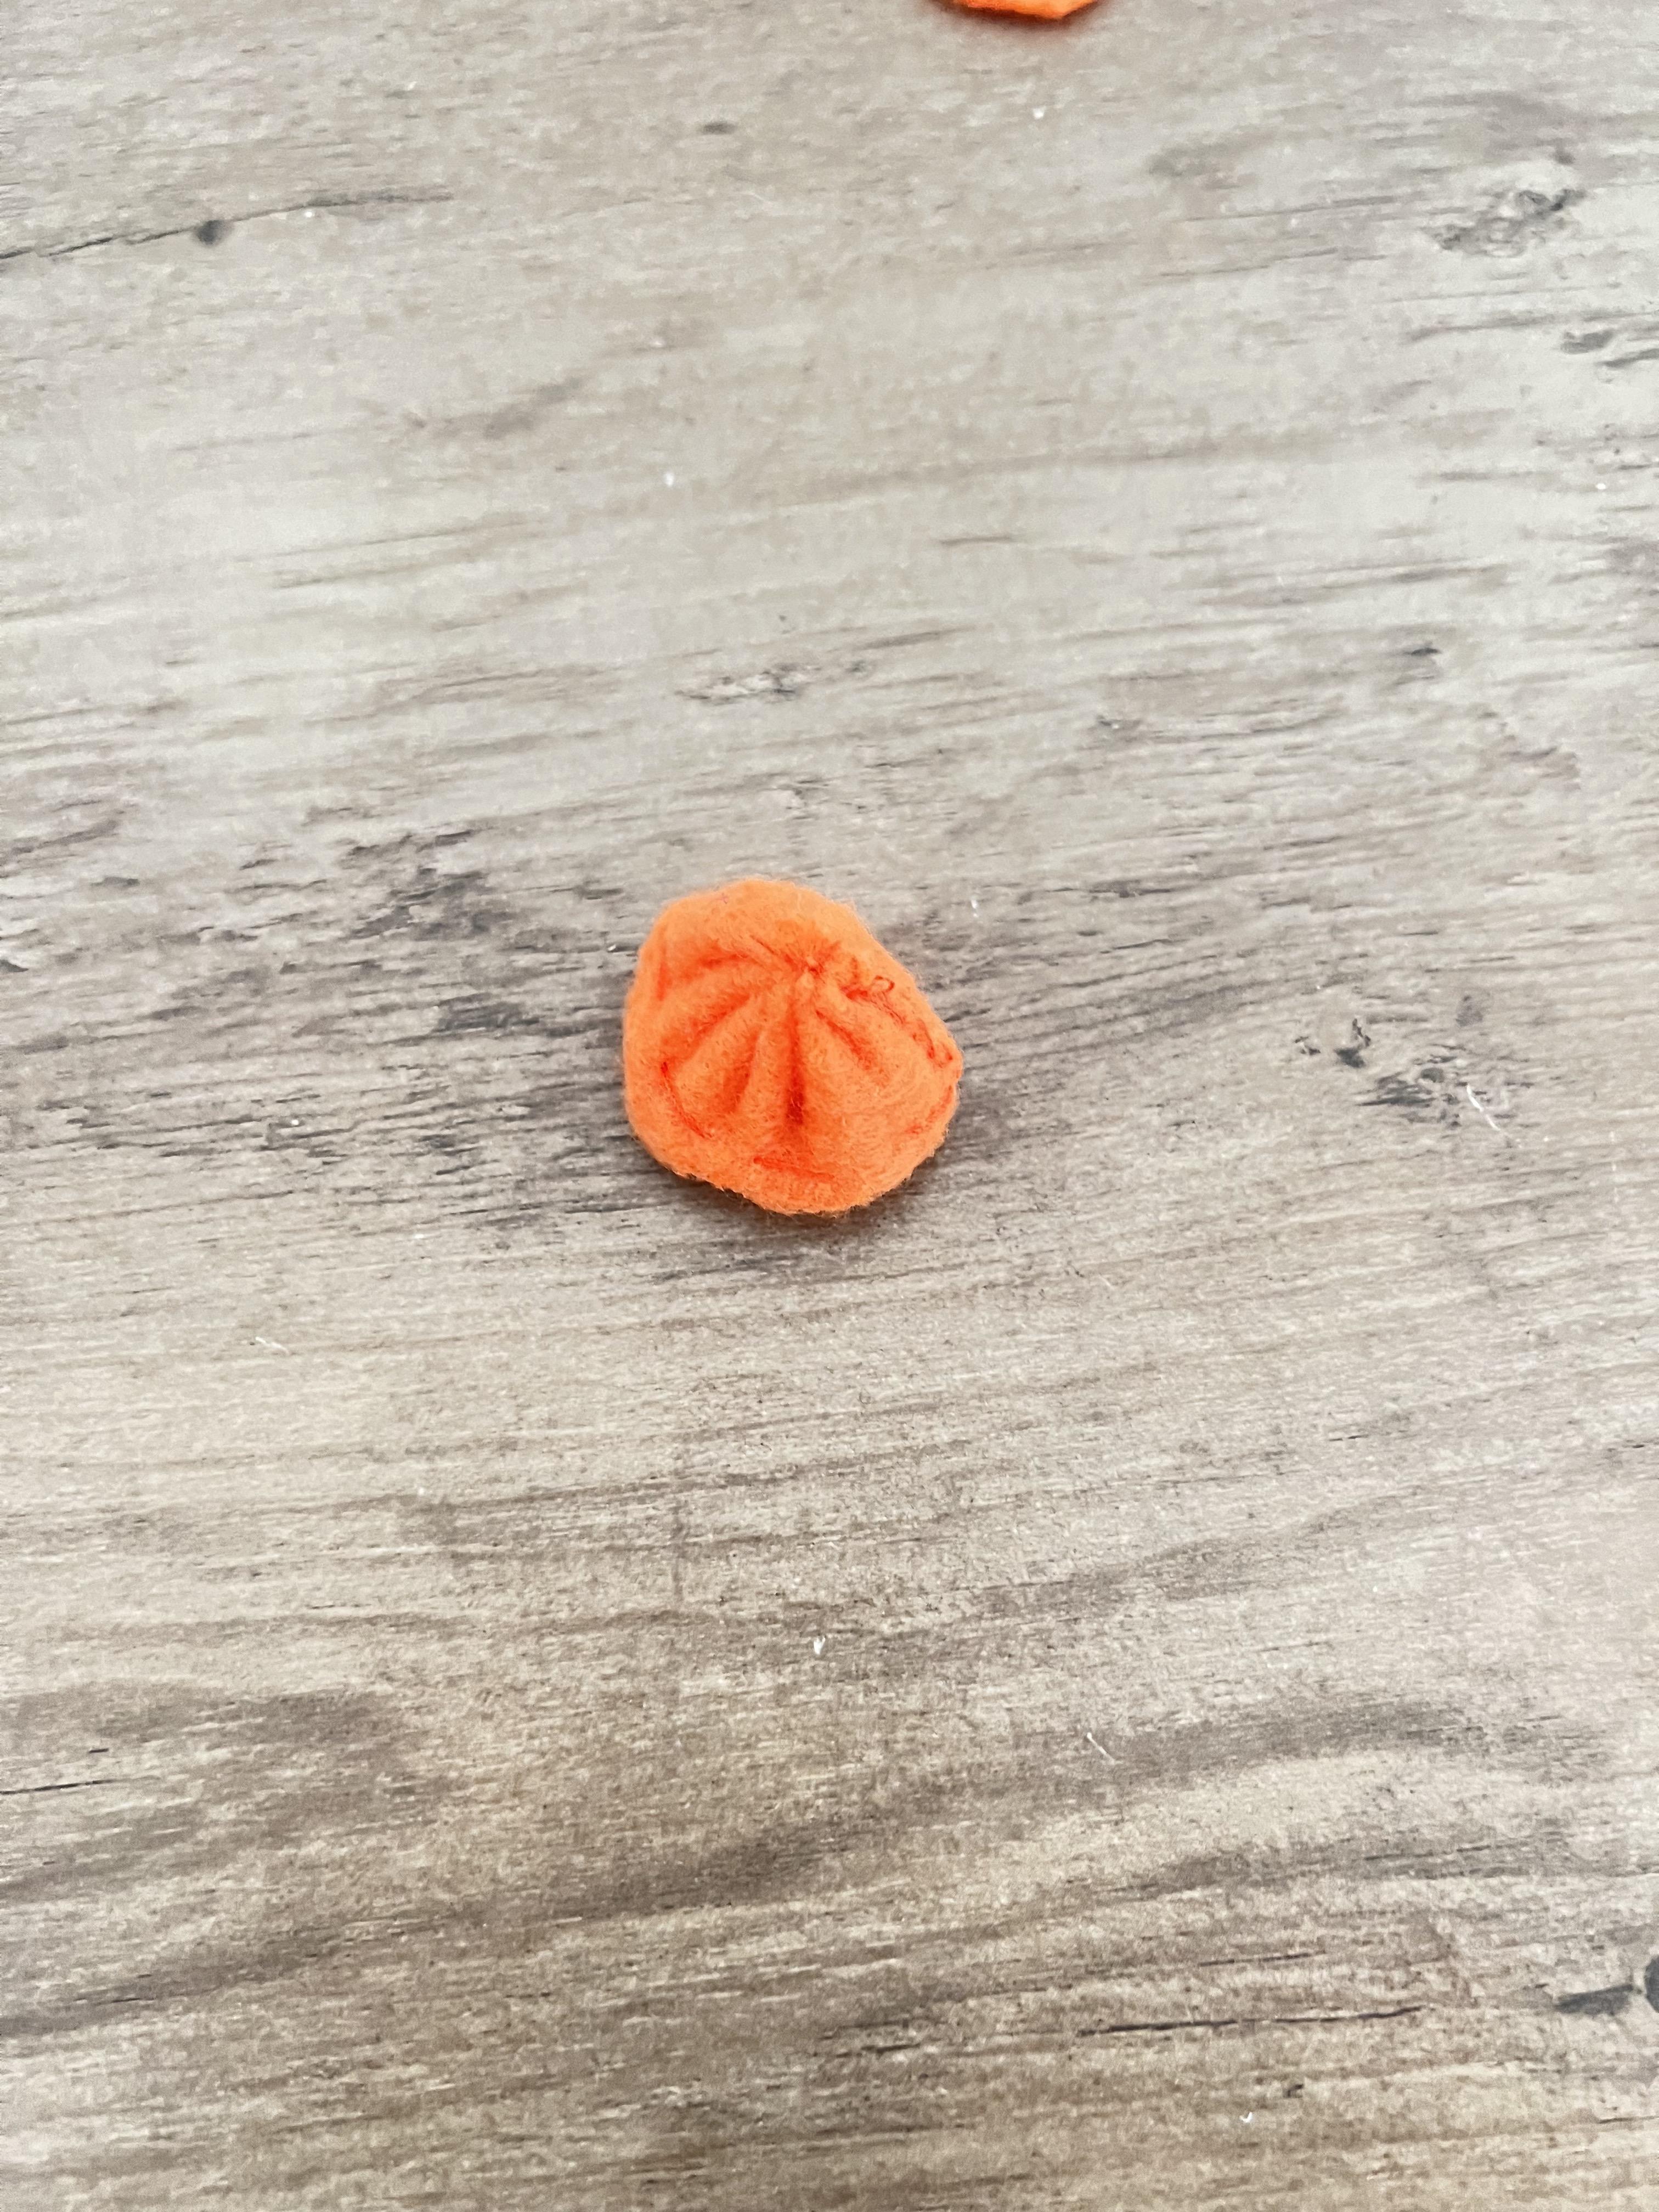


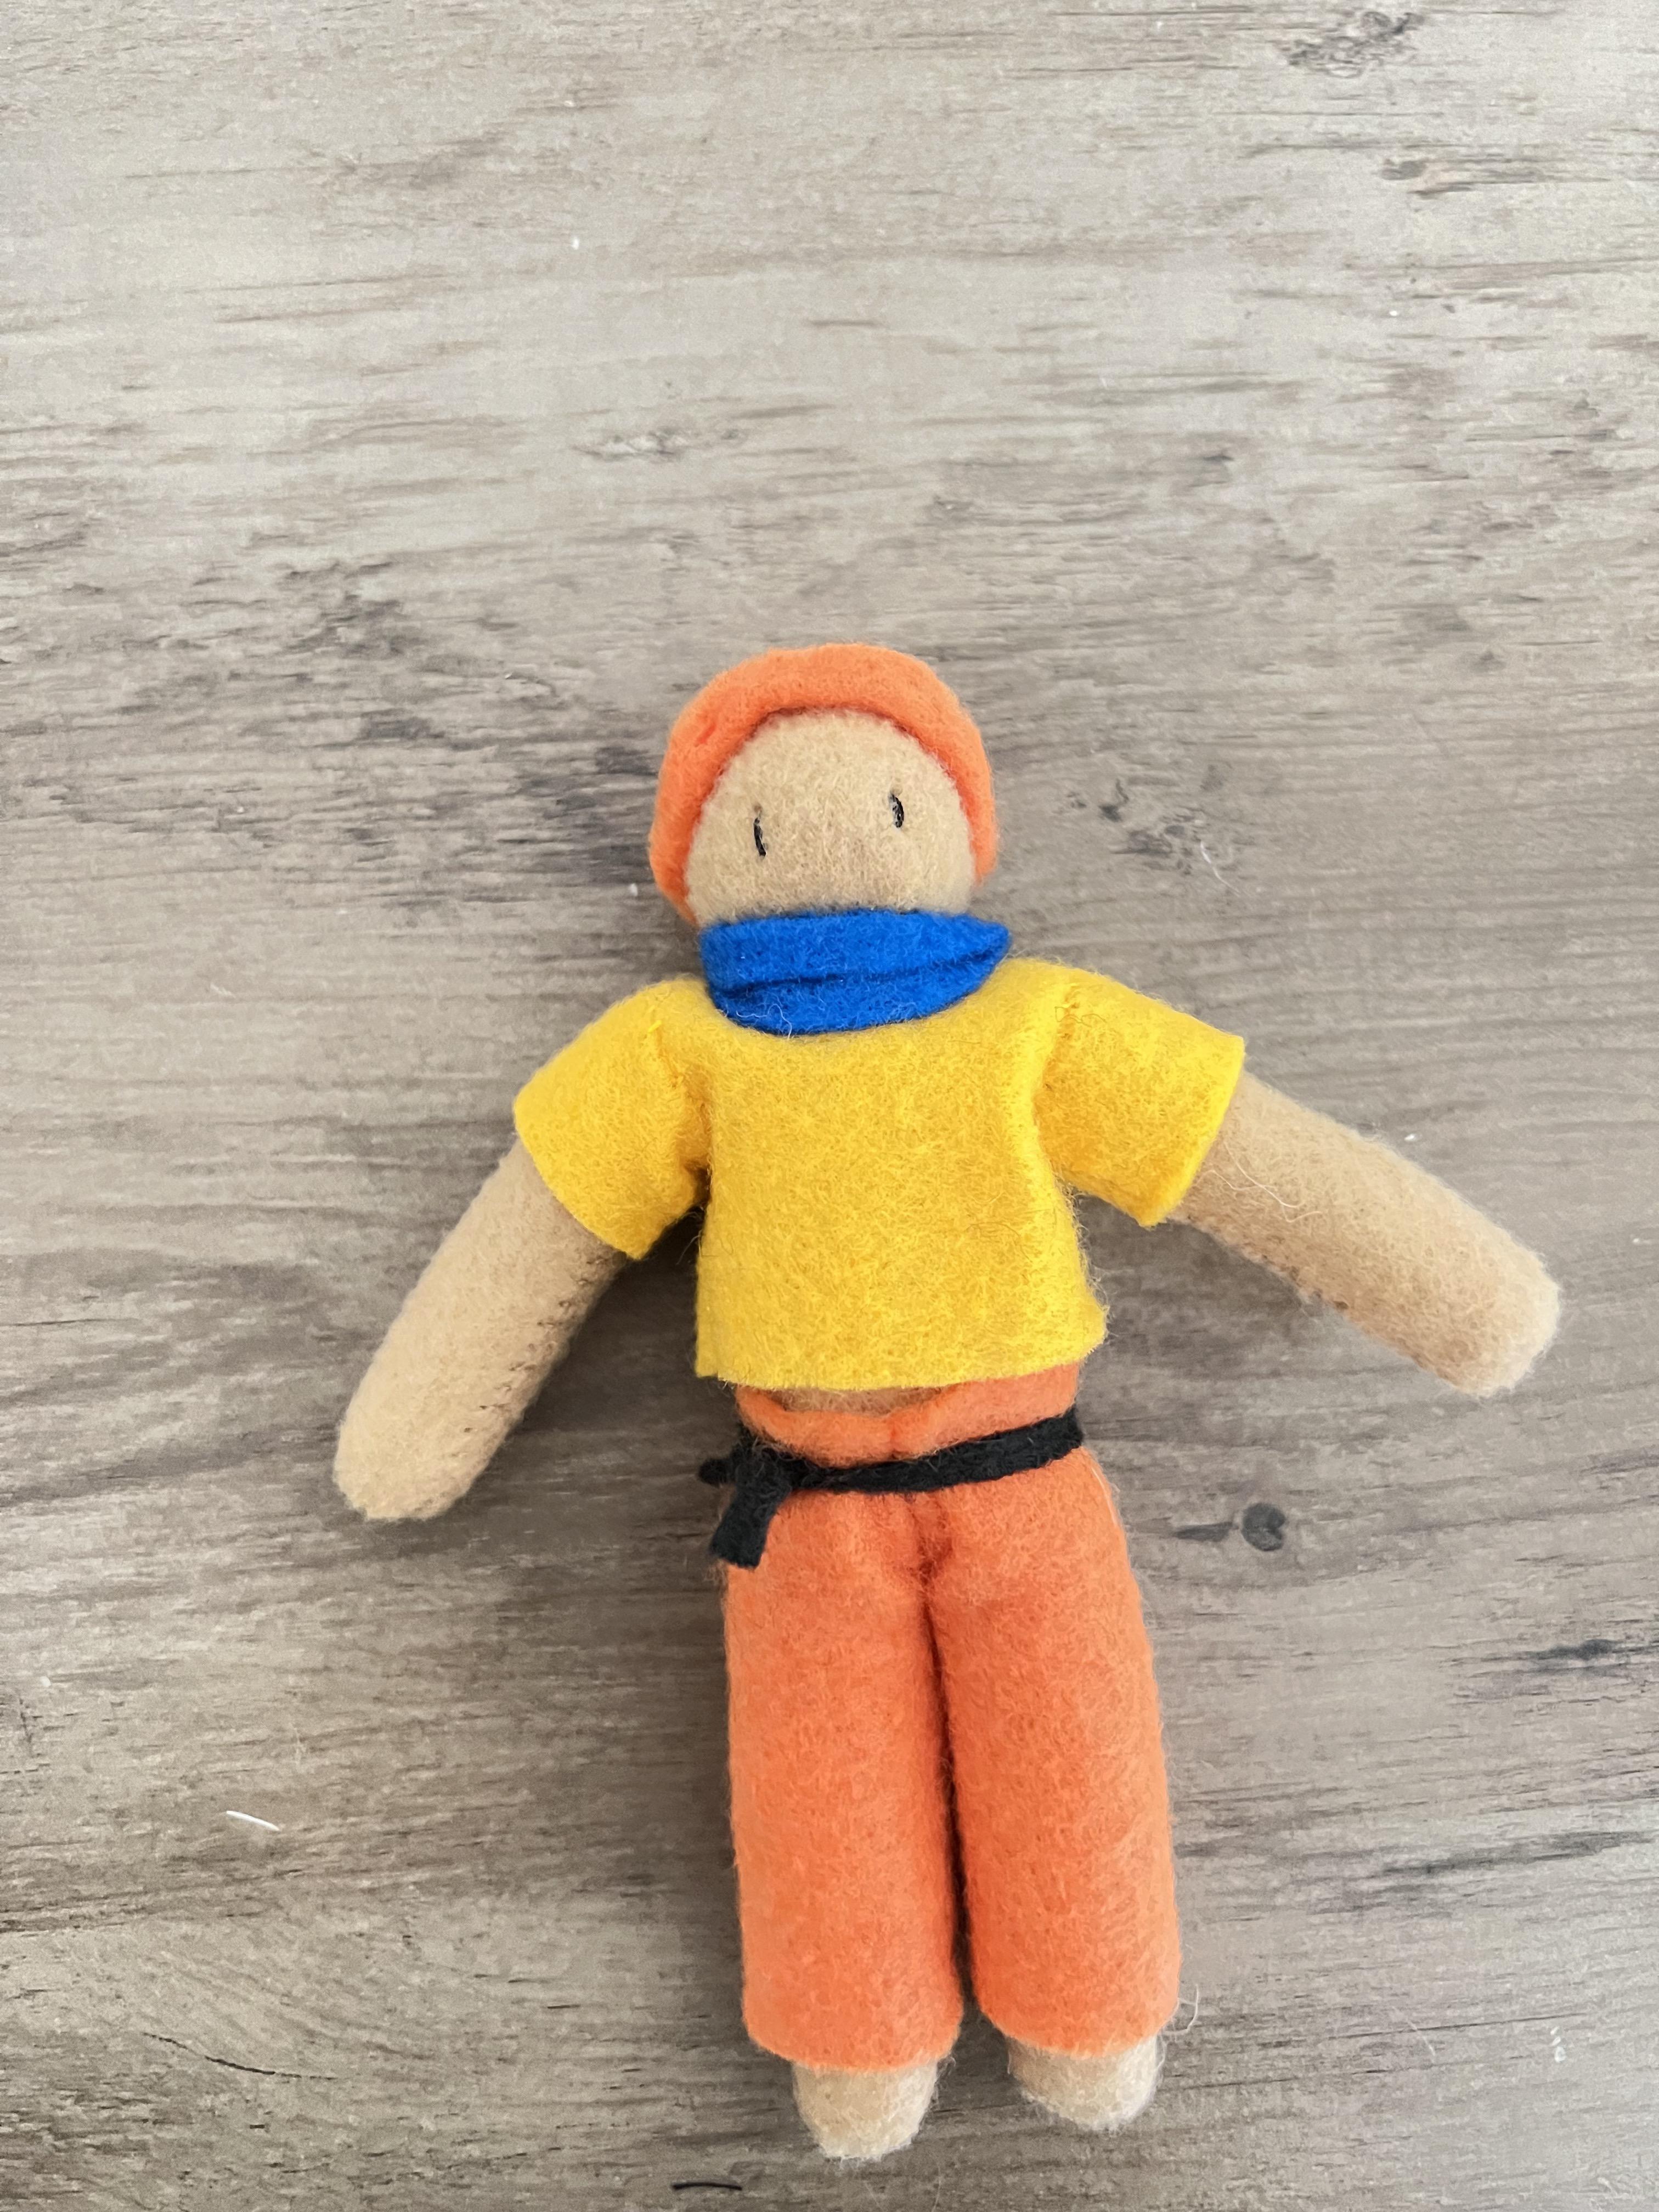


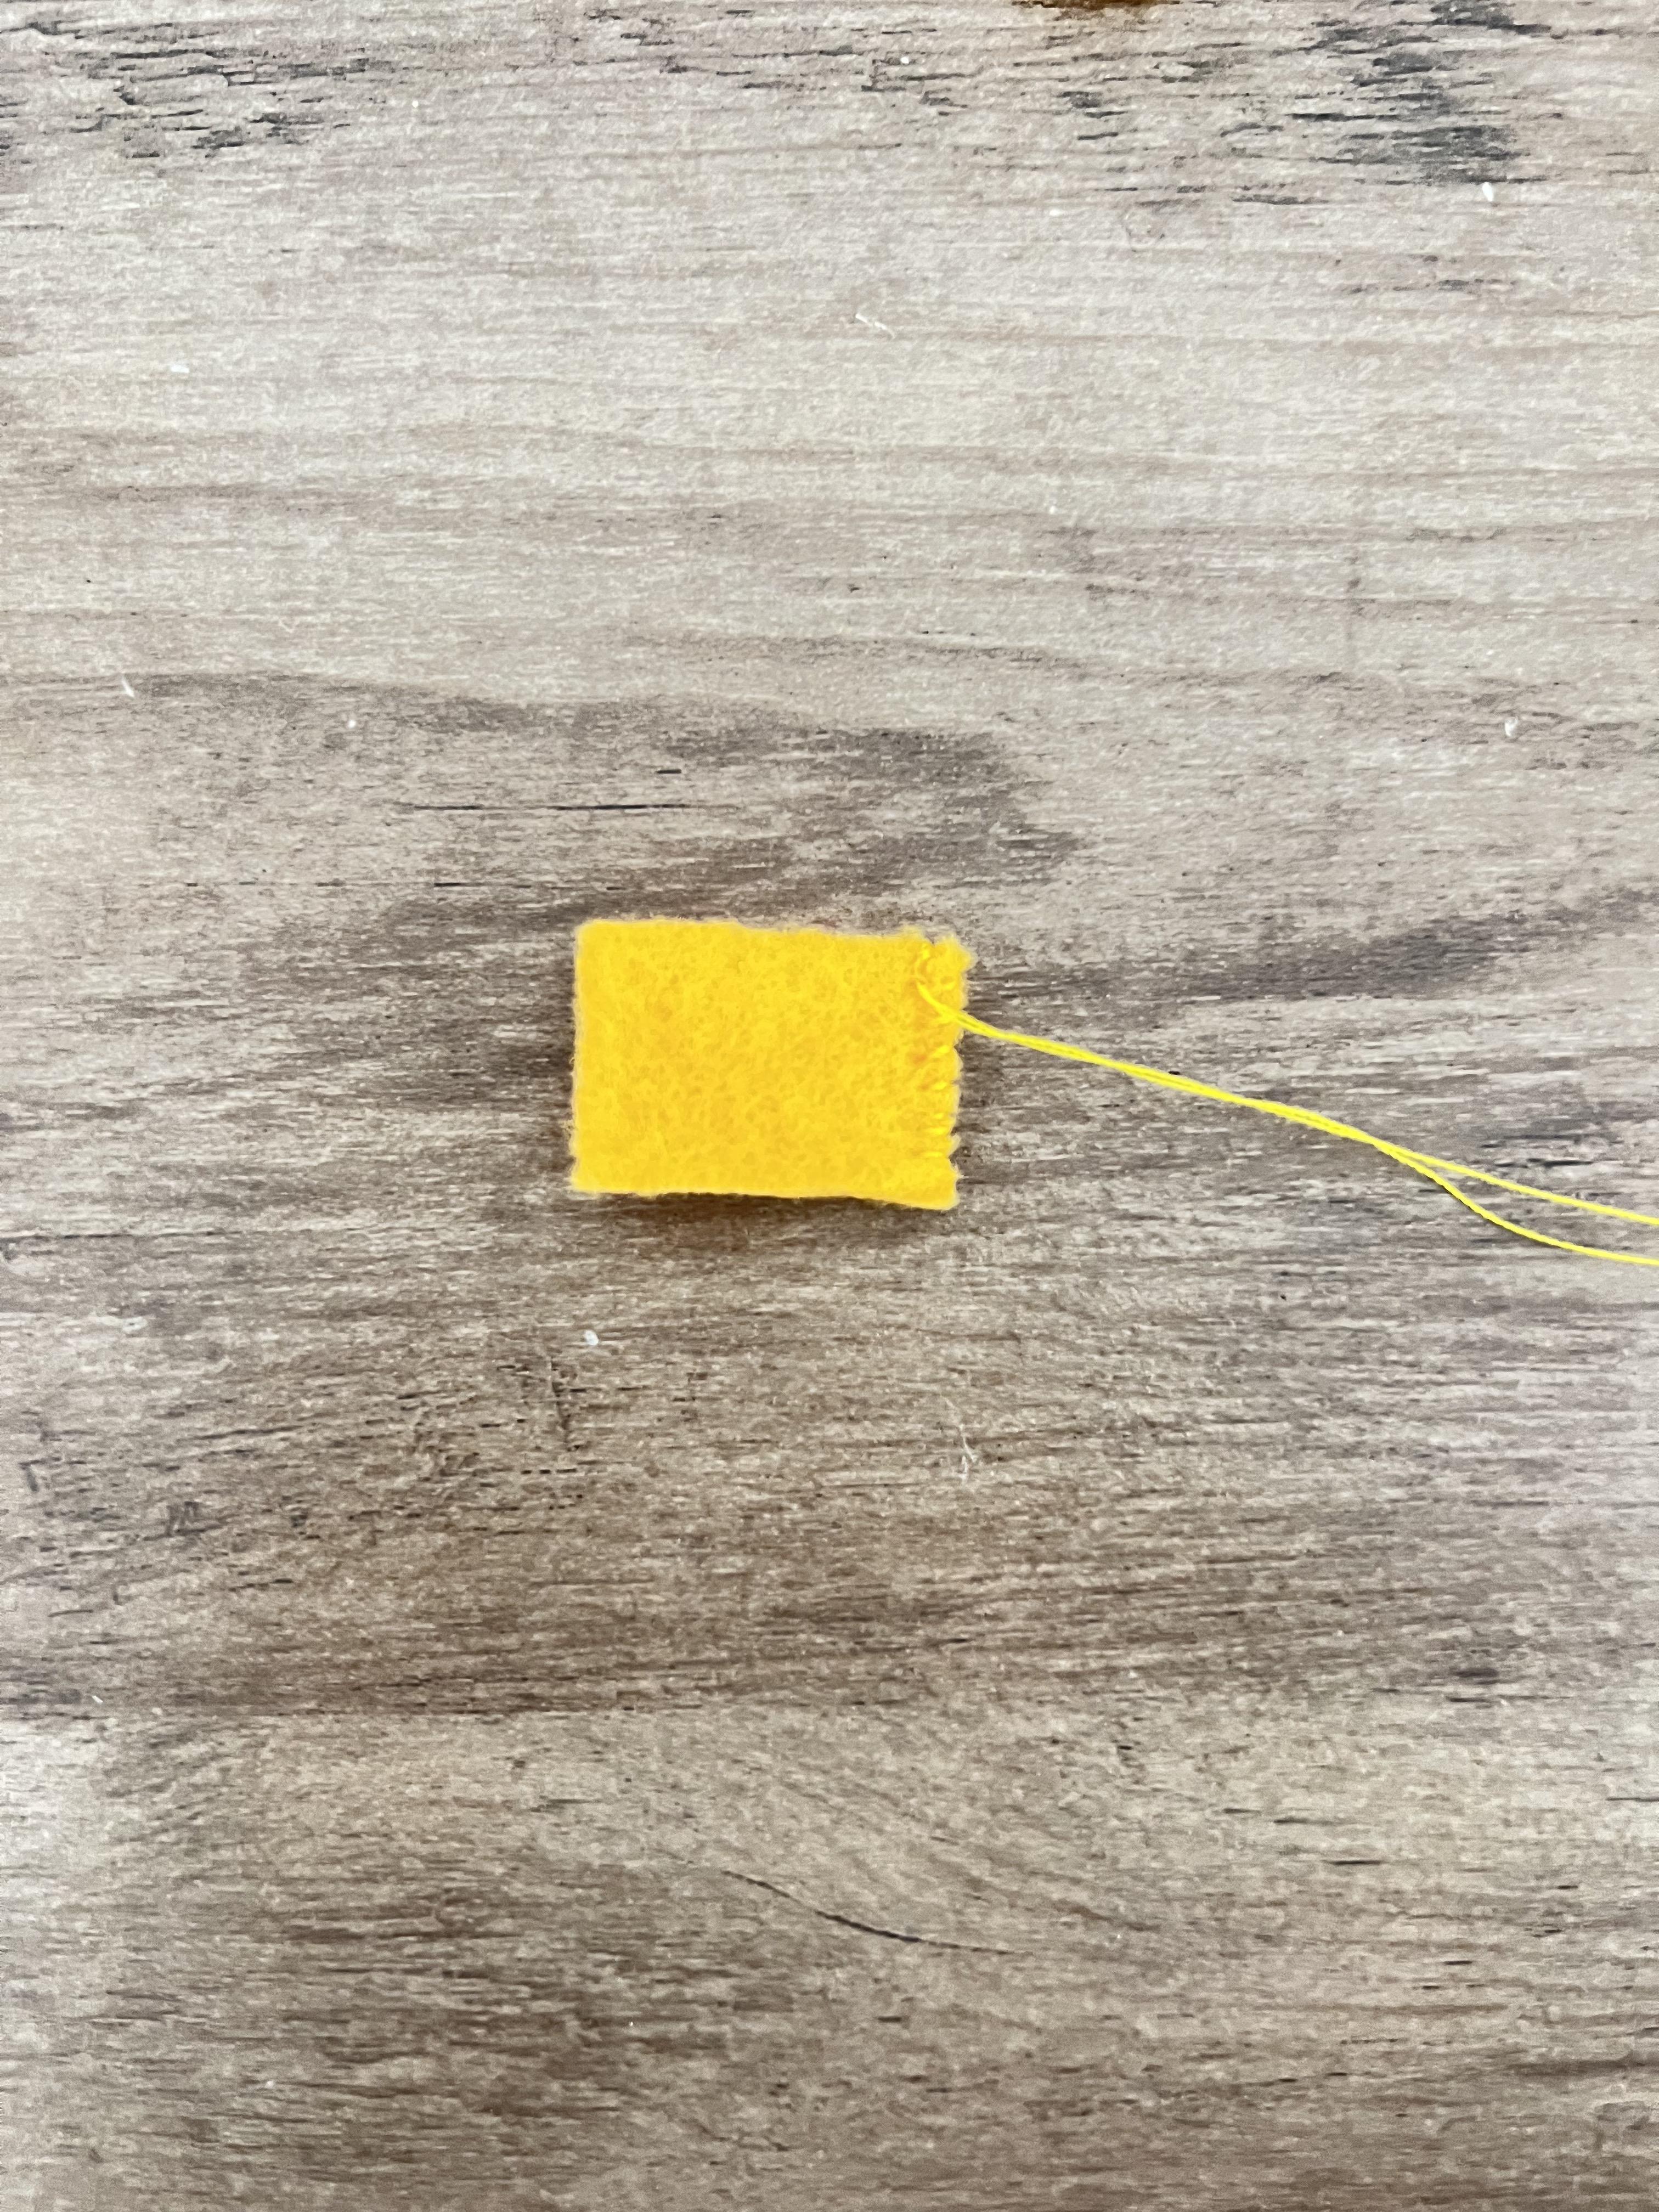







For his belt, cut a long black strip and tie it around his pants. For his hat cut out a circle and a rectangle as in picture three. Fold the rectangle in half and sew along one side. Fold up a tiny piece of the bottom of the hat, and scrunch the top. Then scrunch the circle and sew it on to the top of the hat.
Cut a tiny white square, cut a faint slit in the middle (to give the appearance of two teeth), and sew it on to his face.
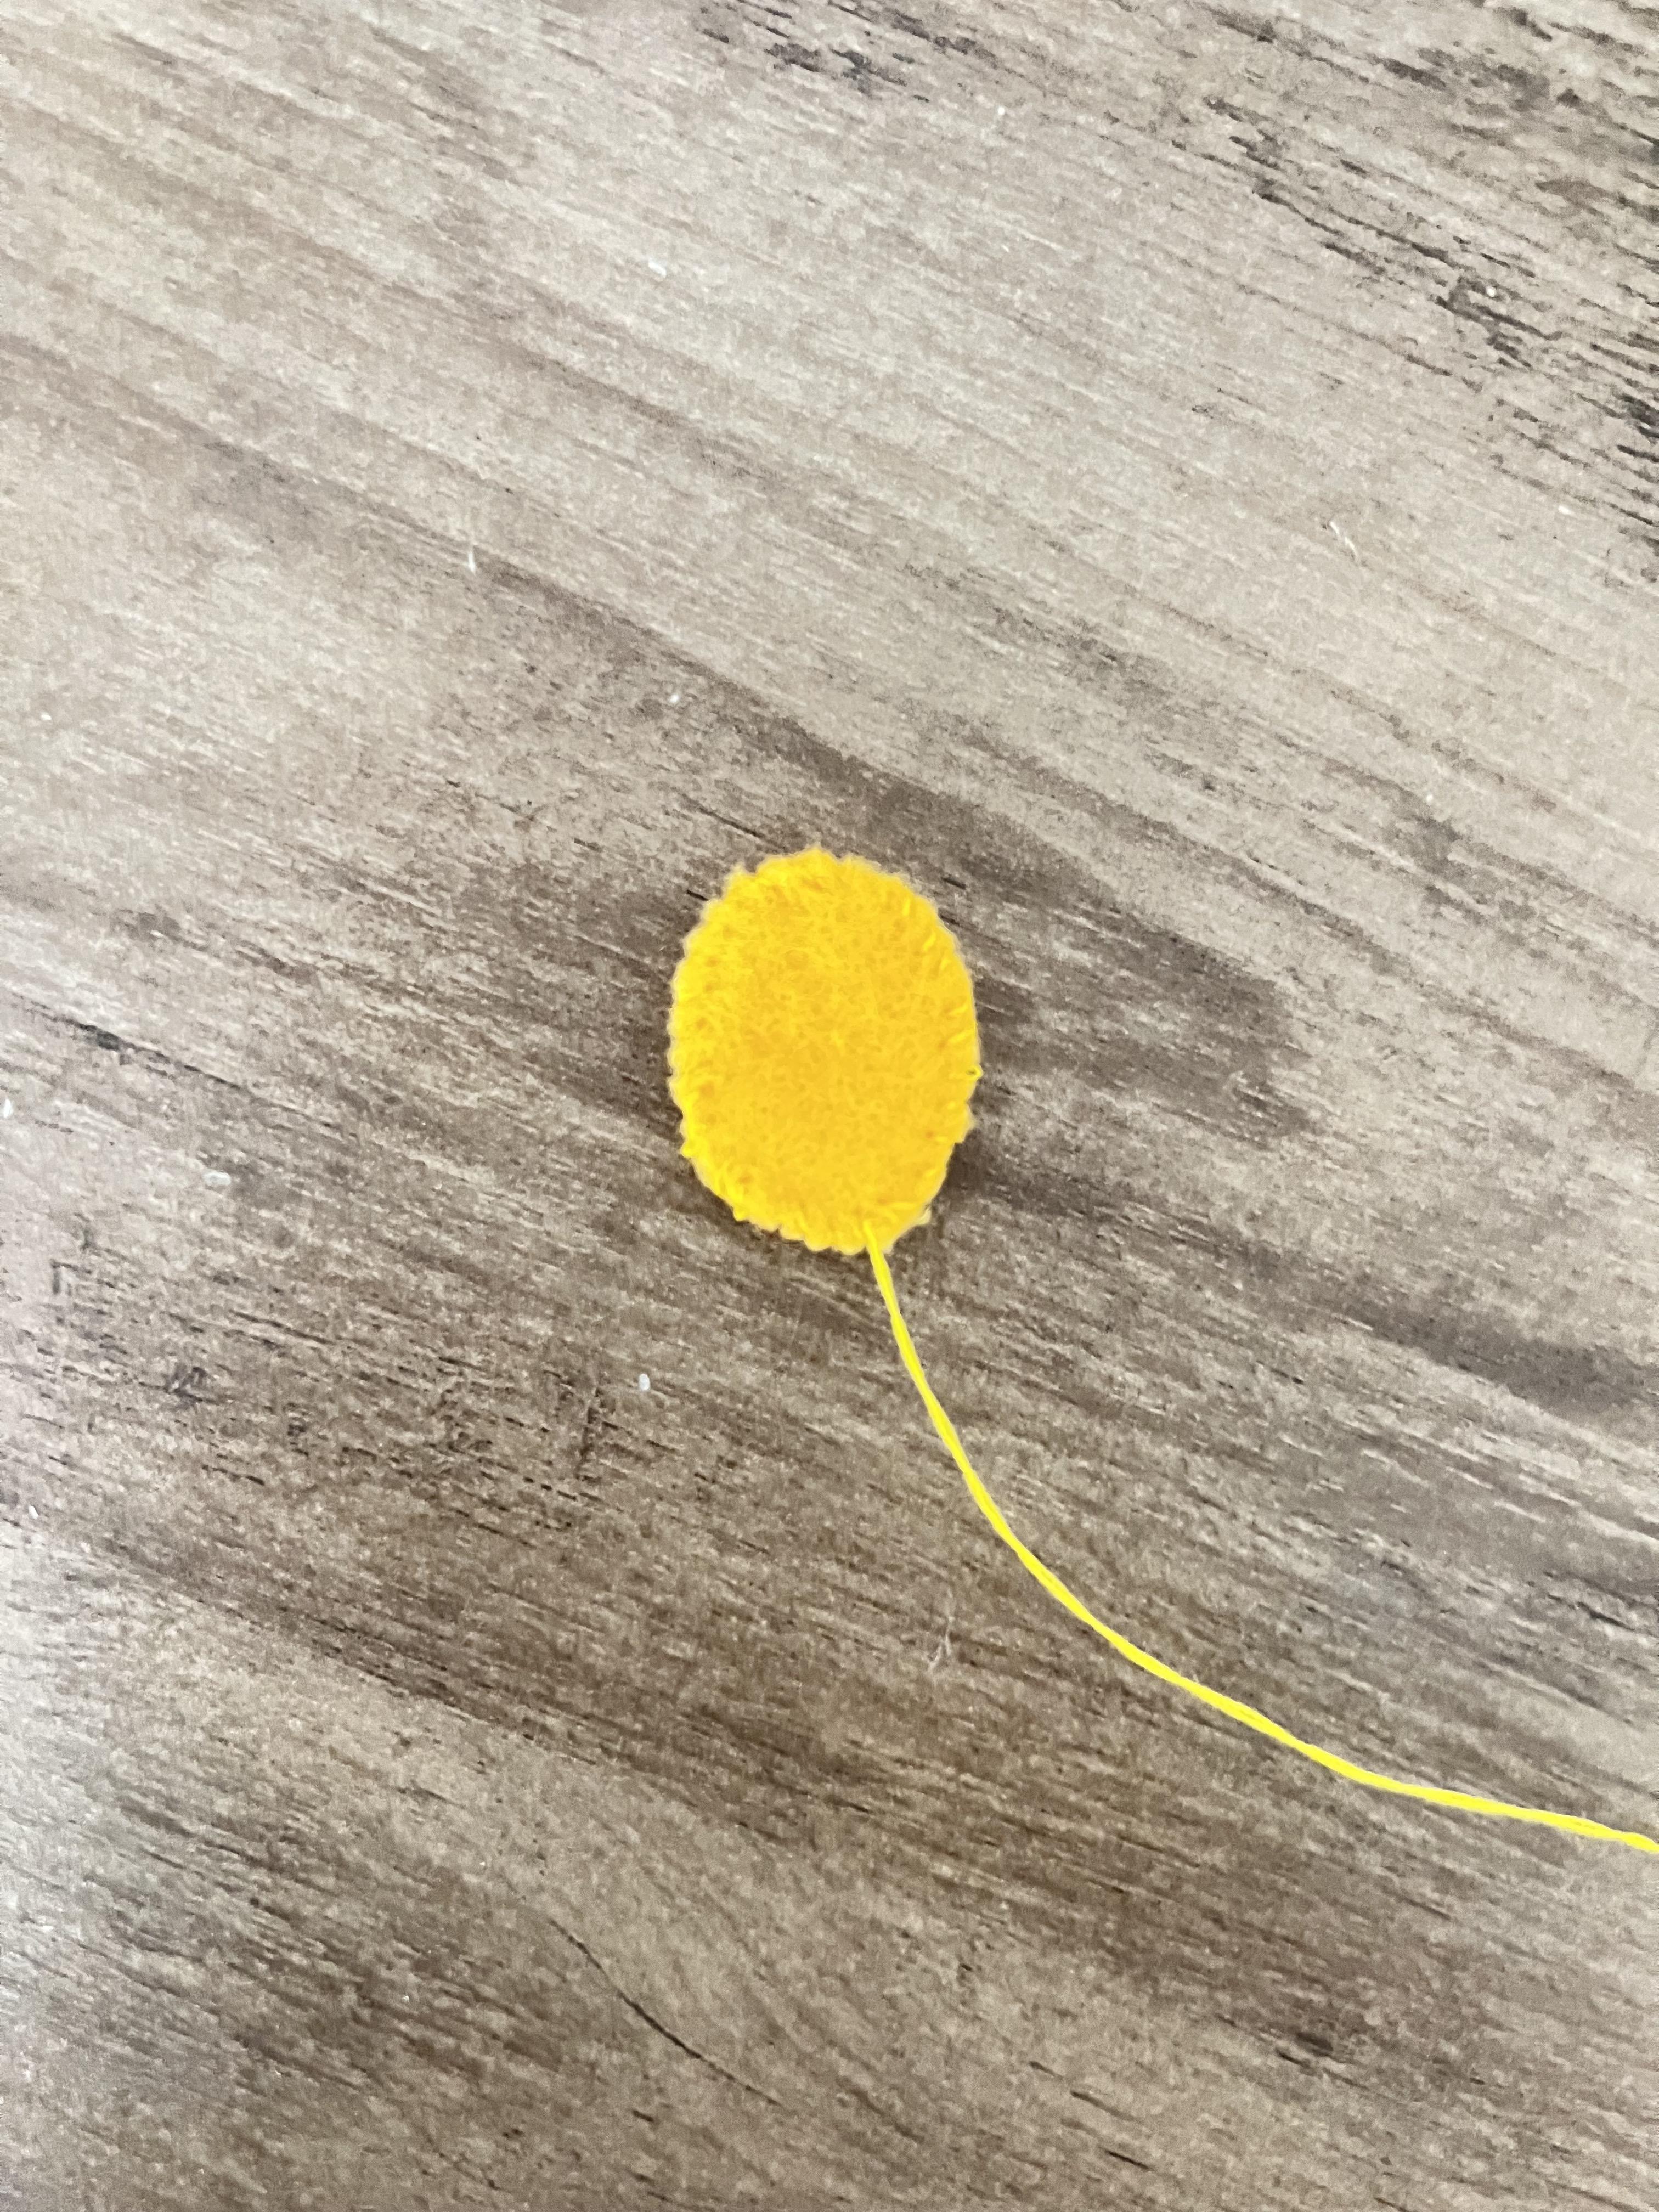
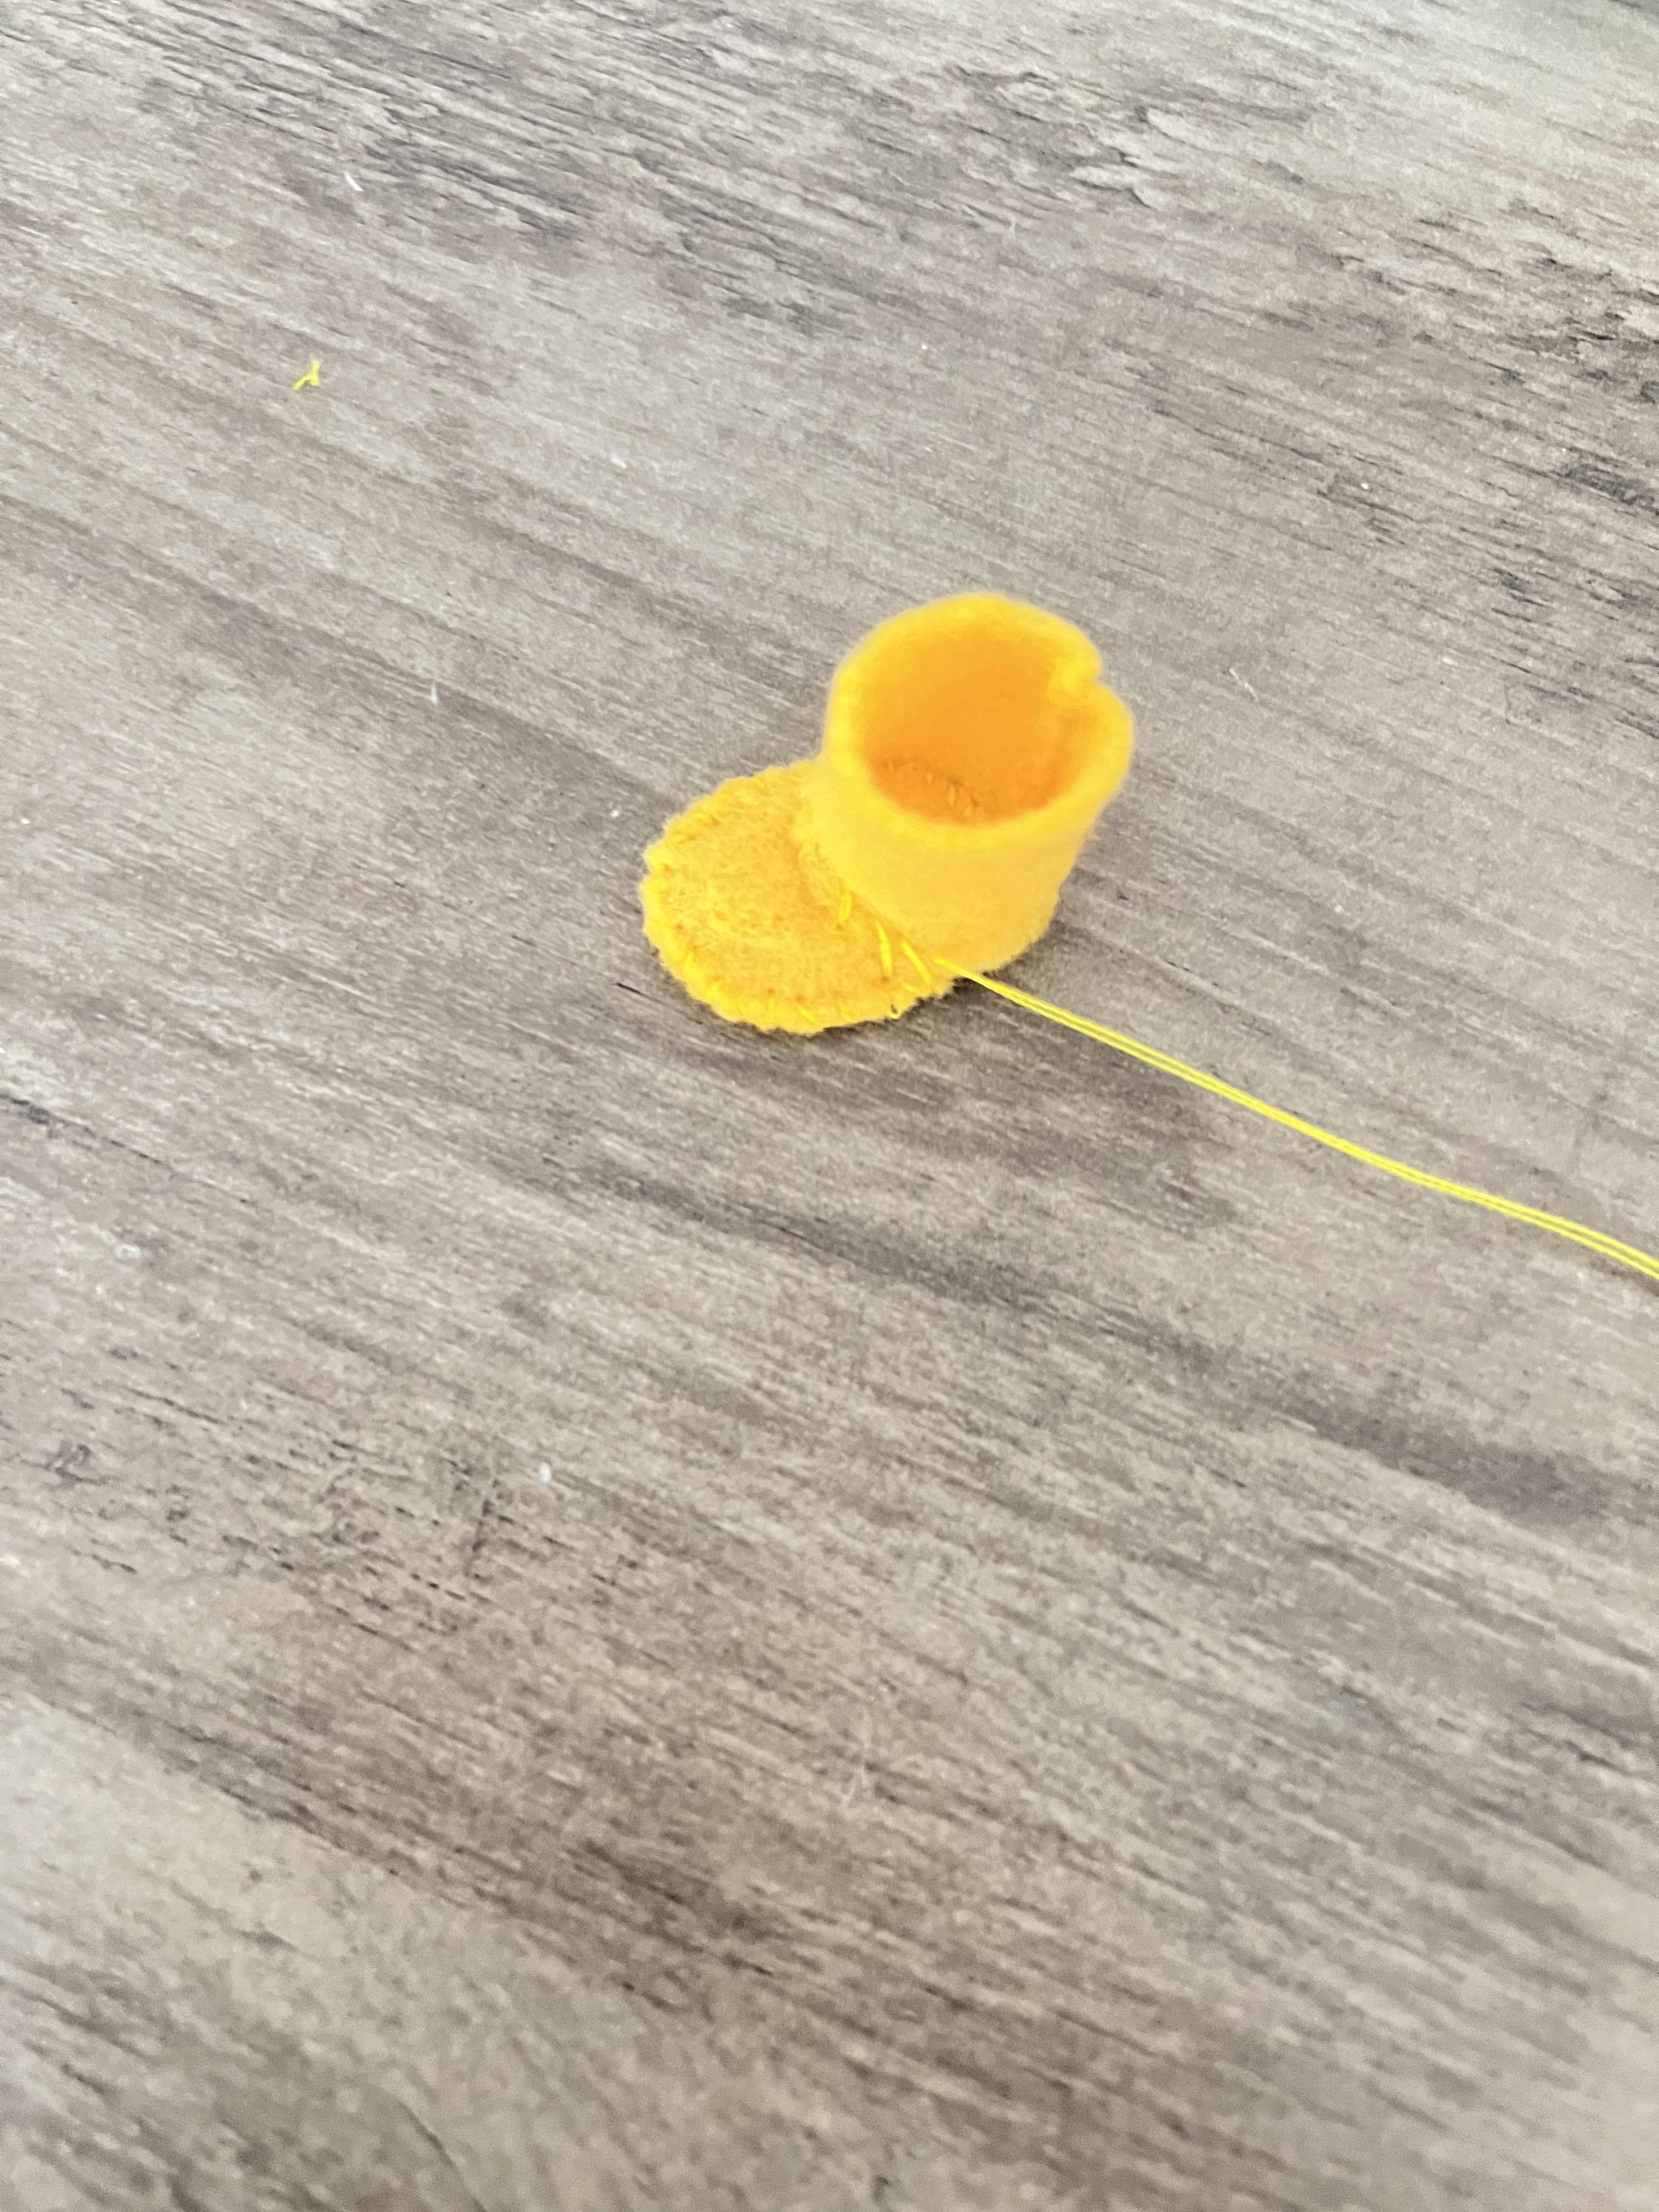
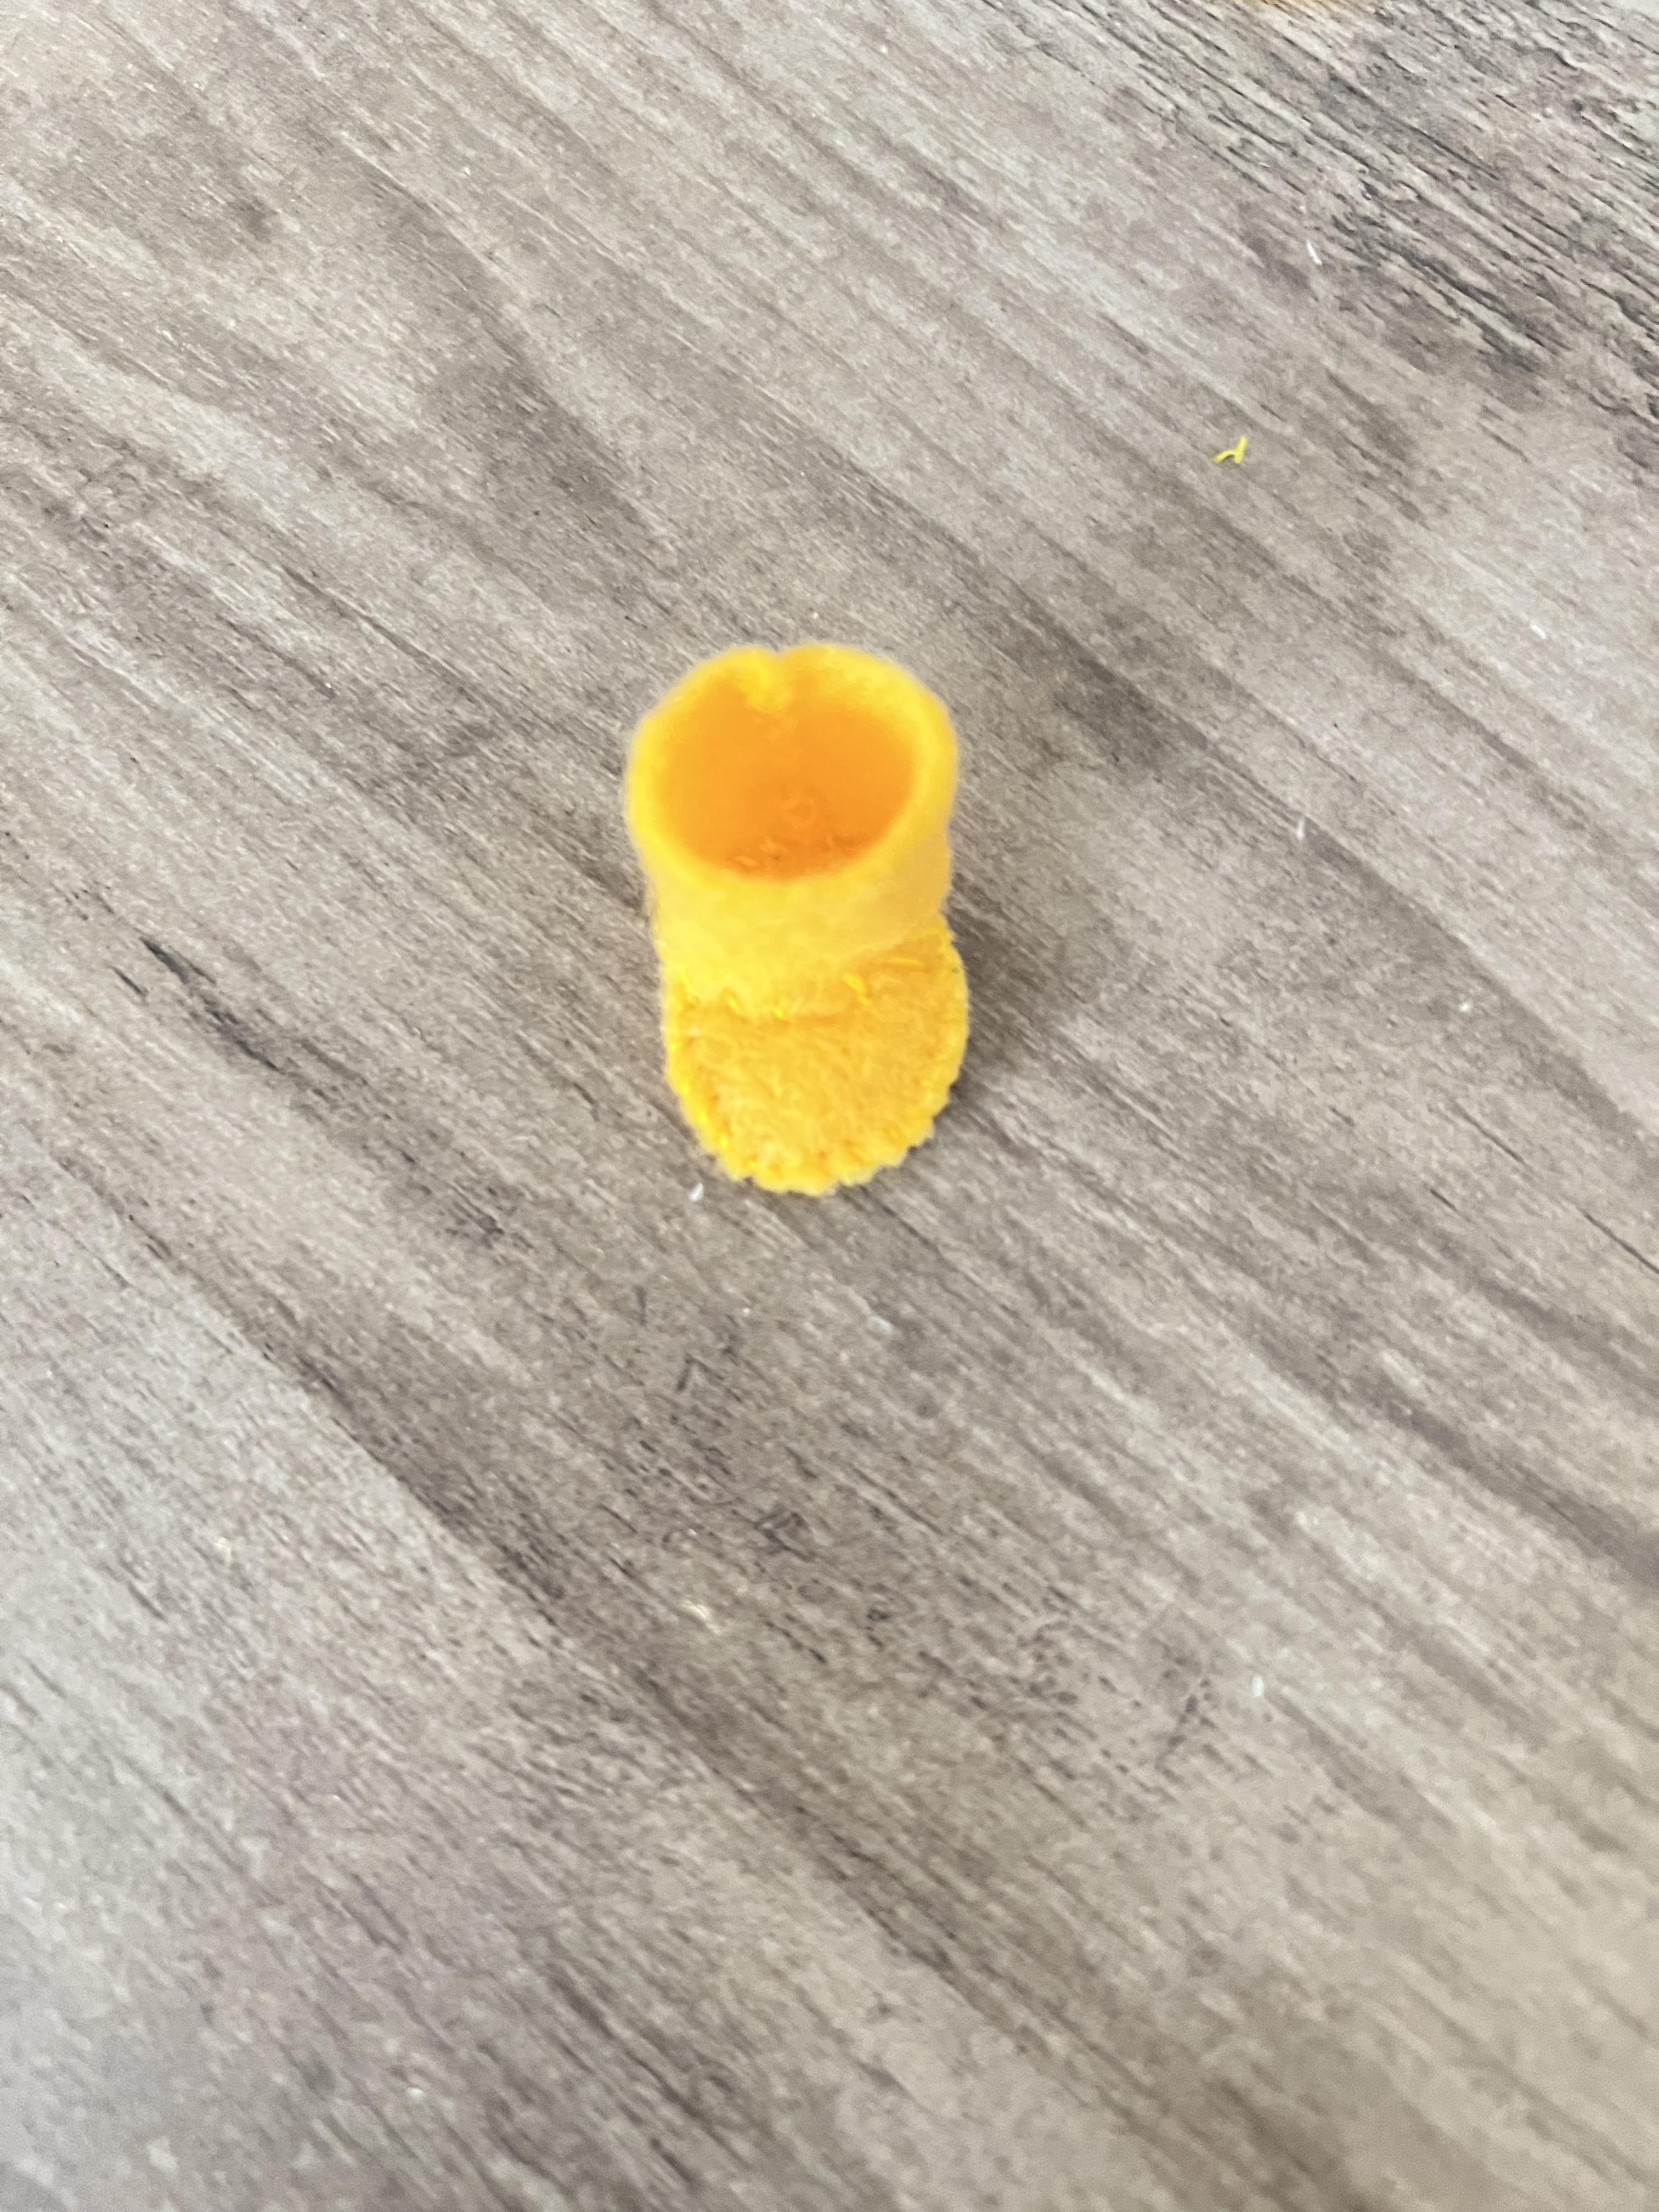
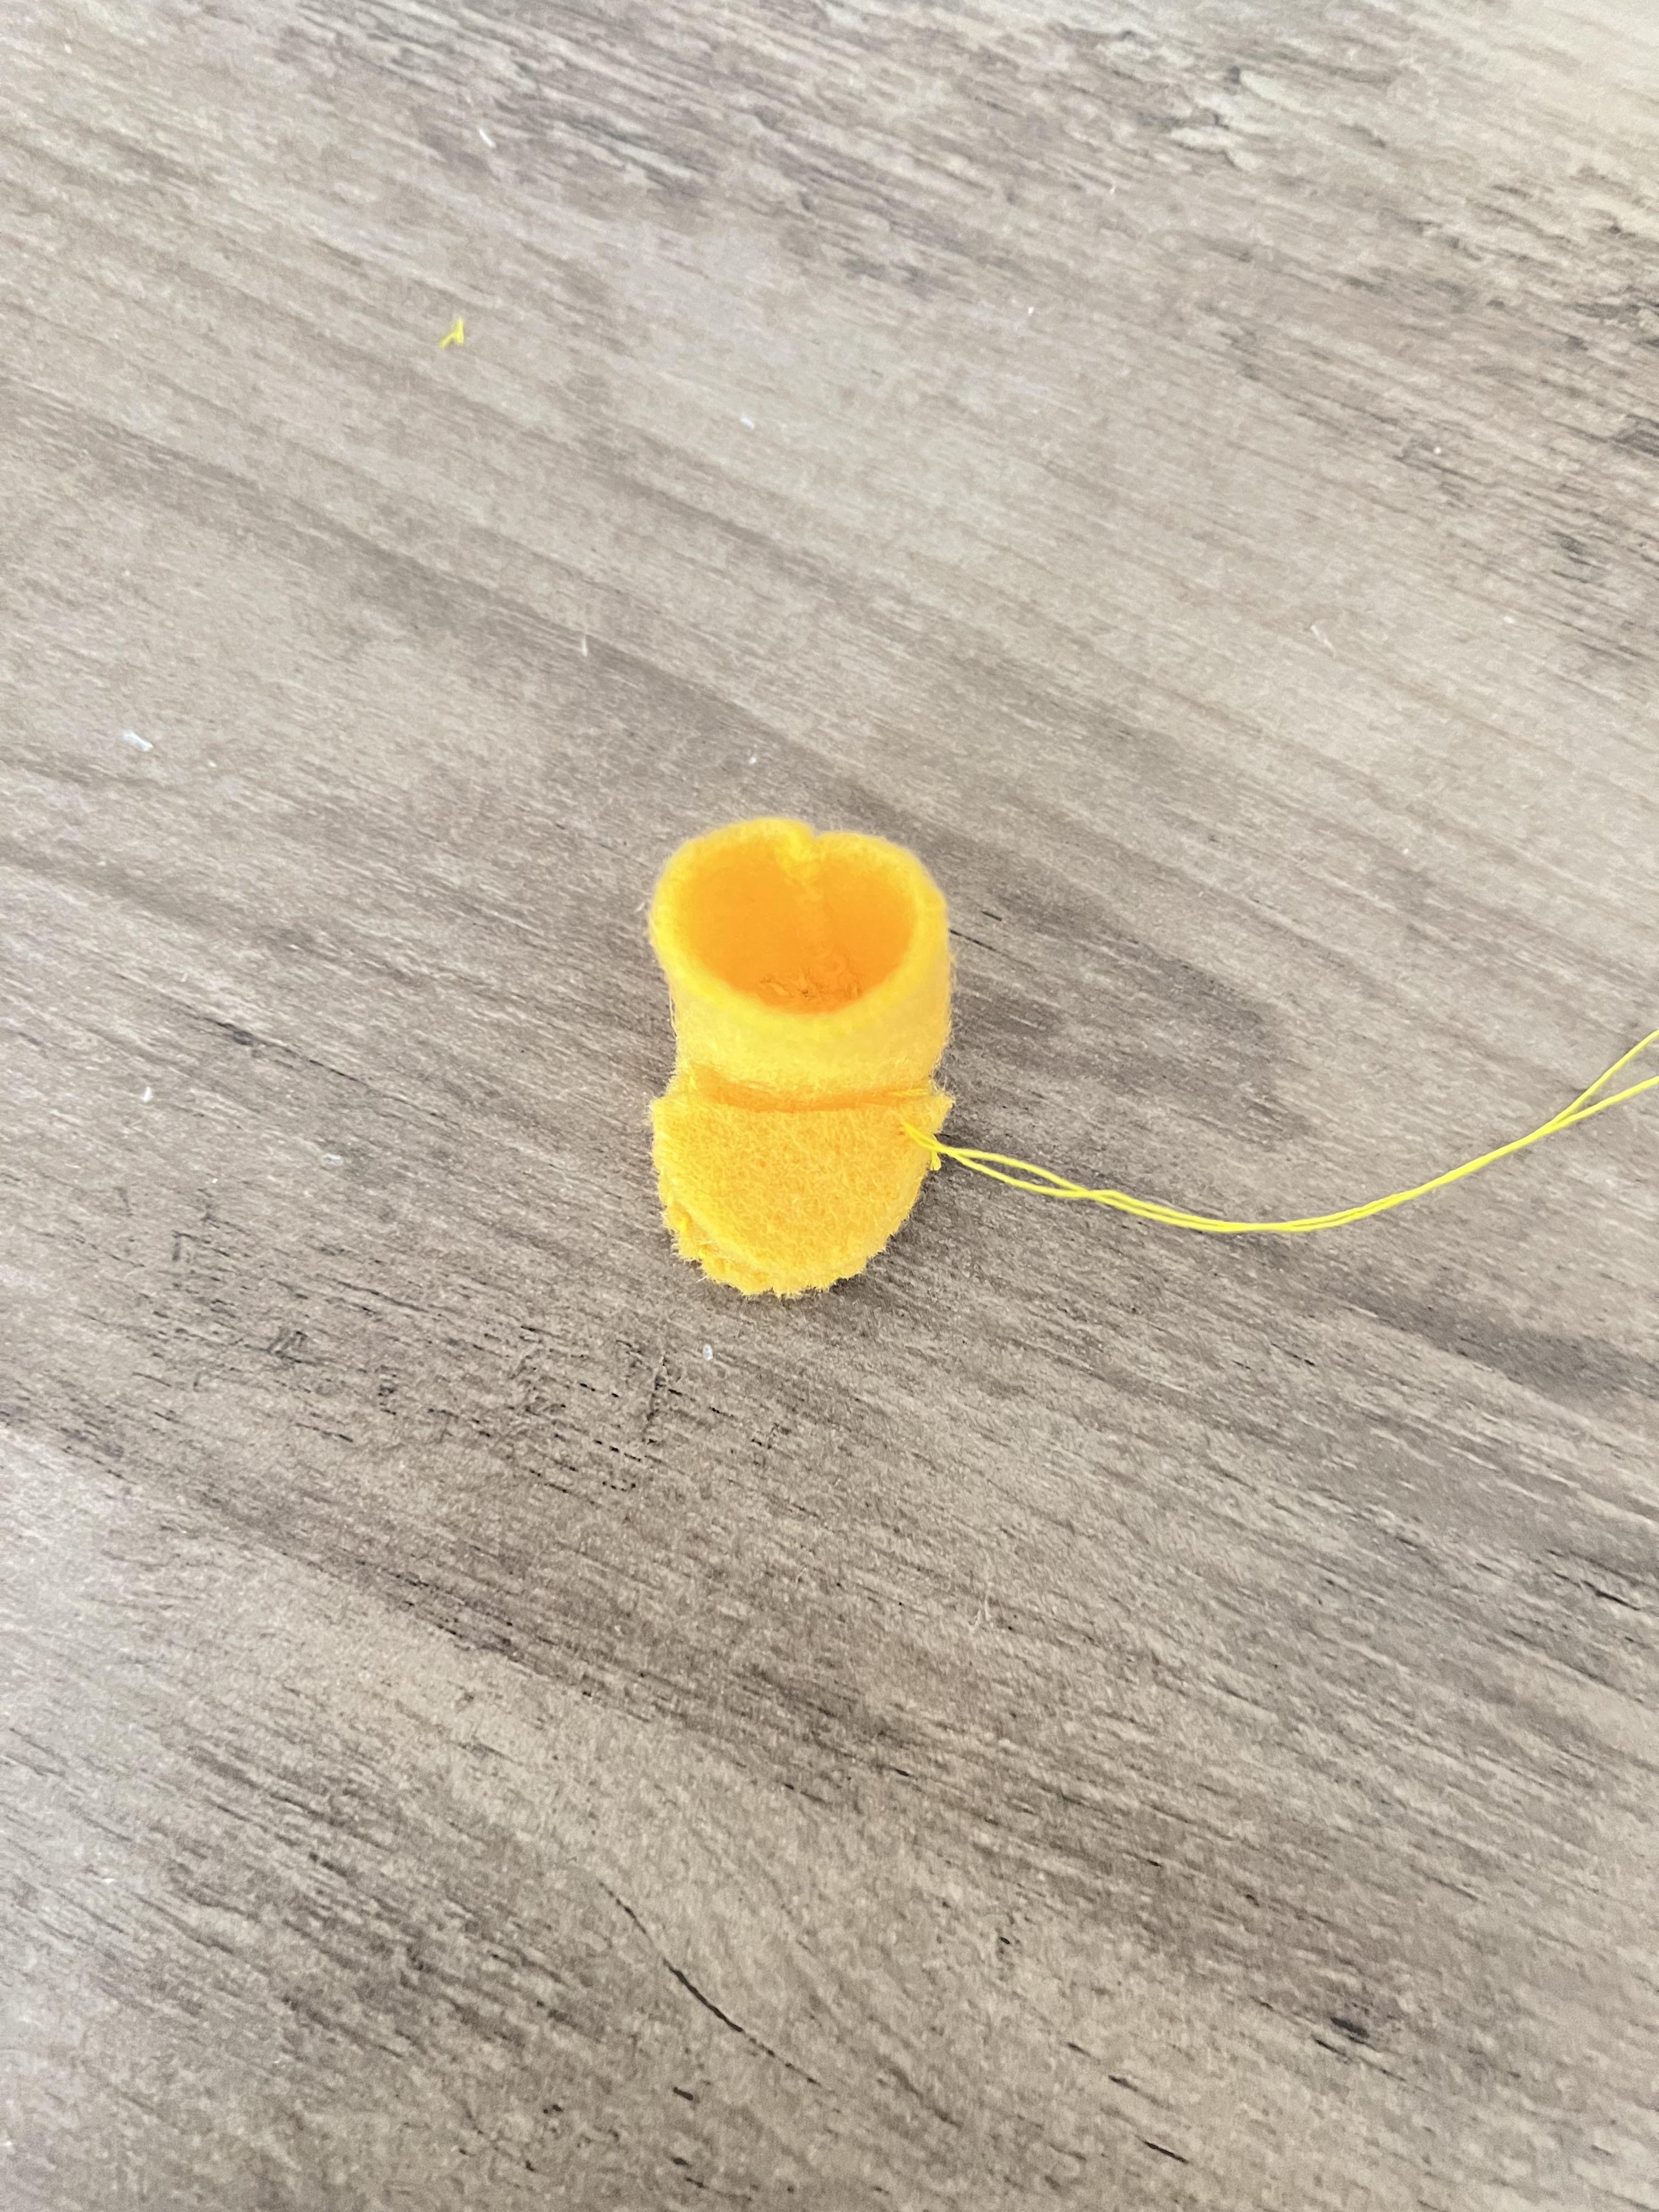
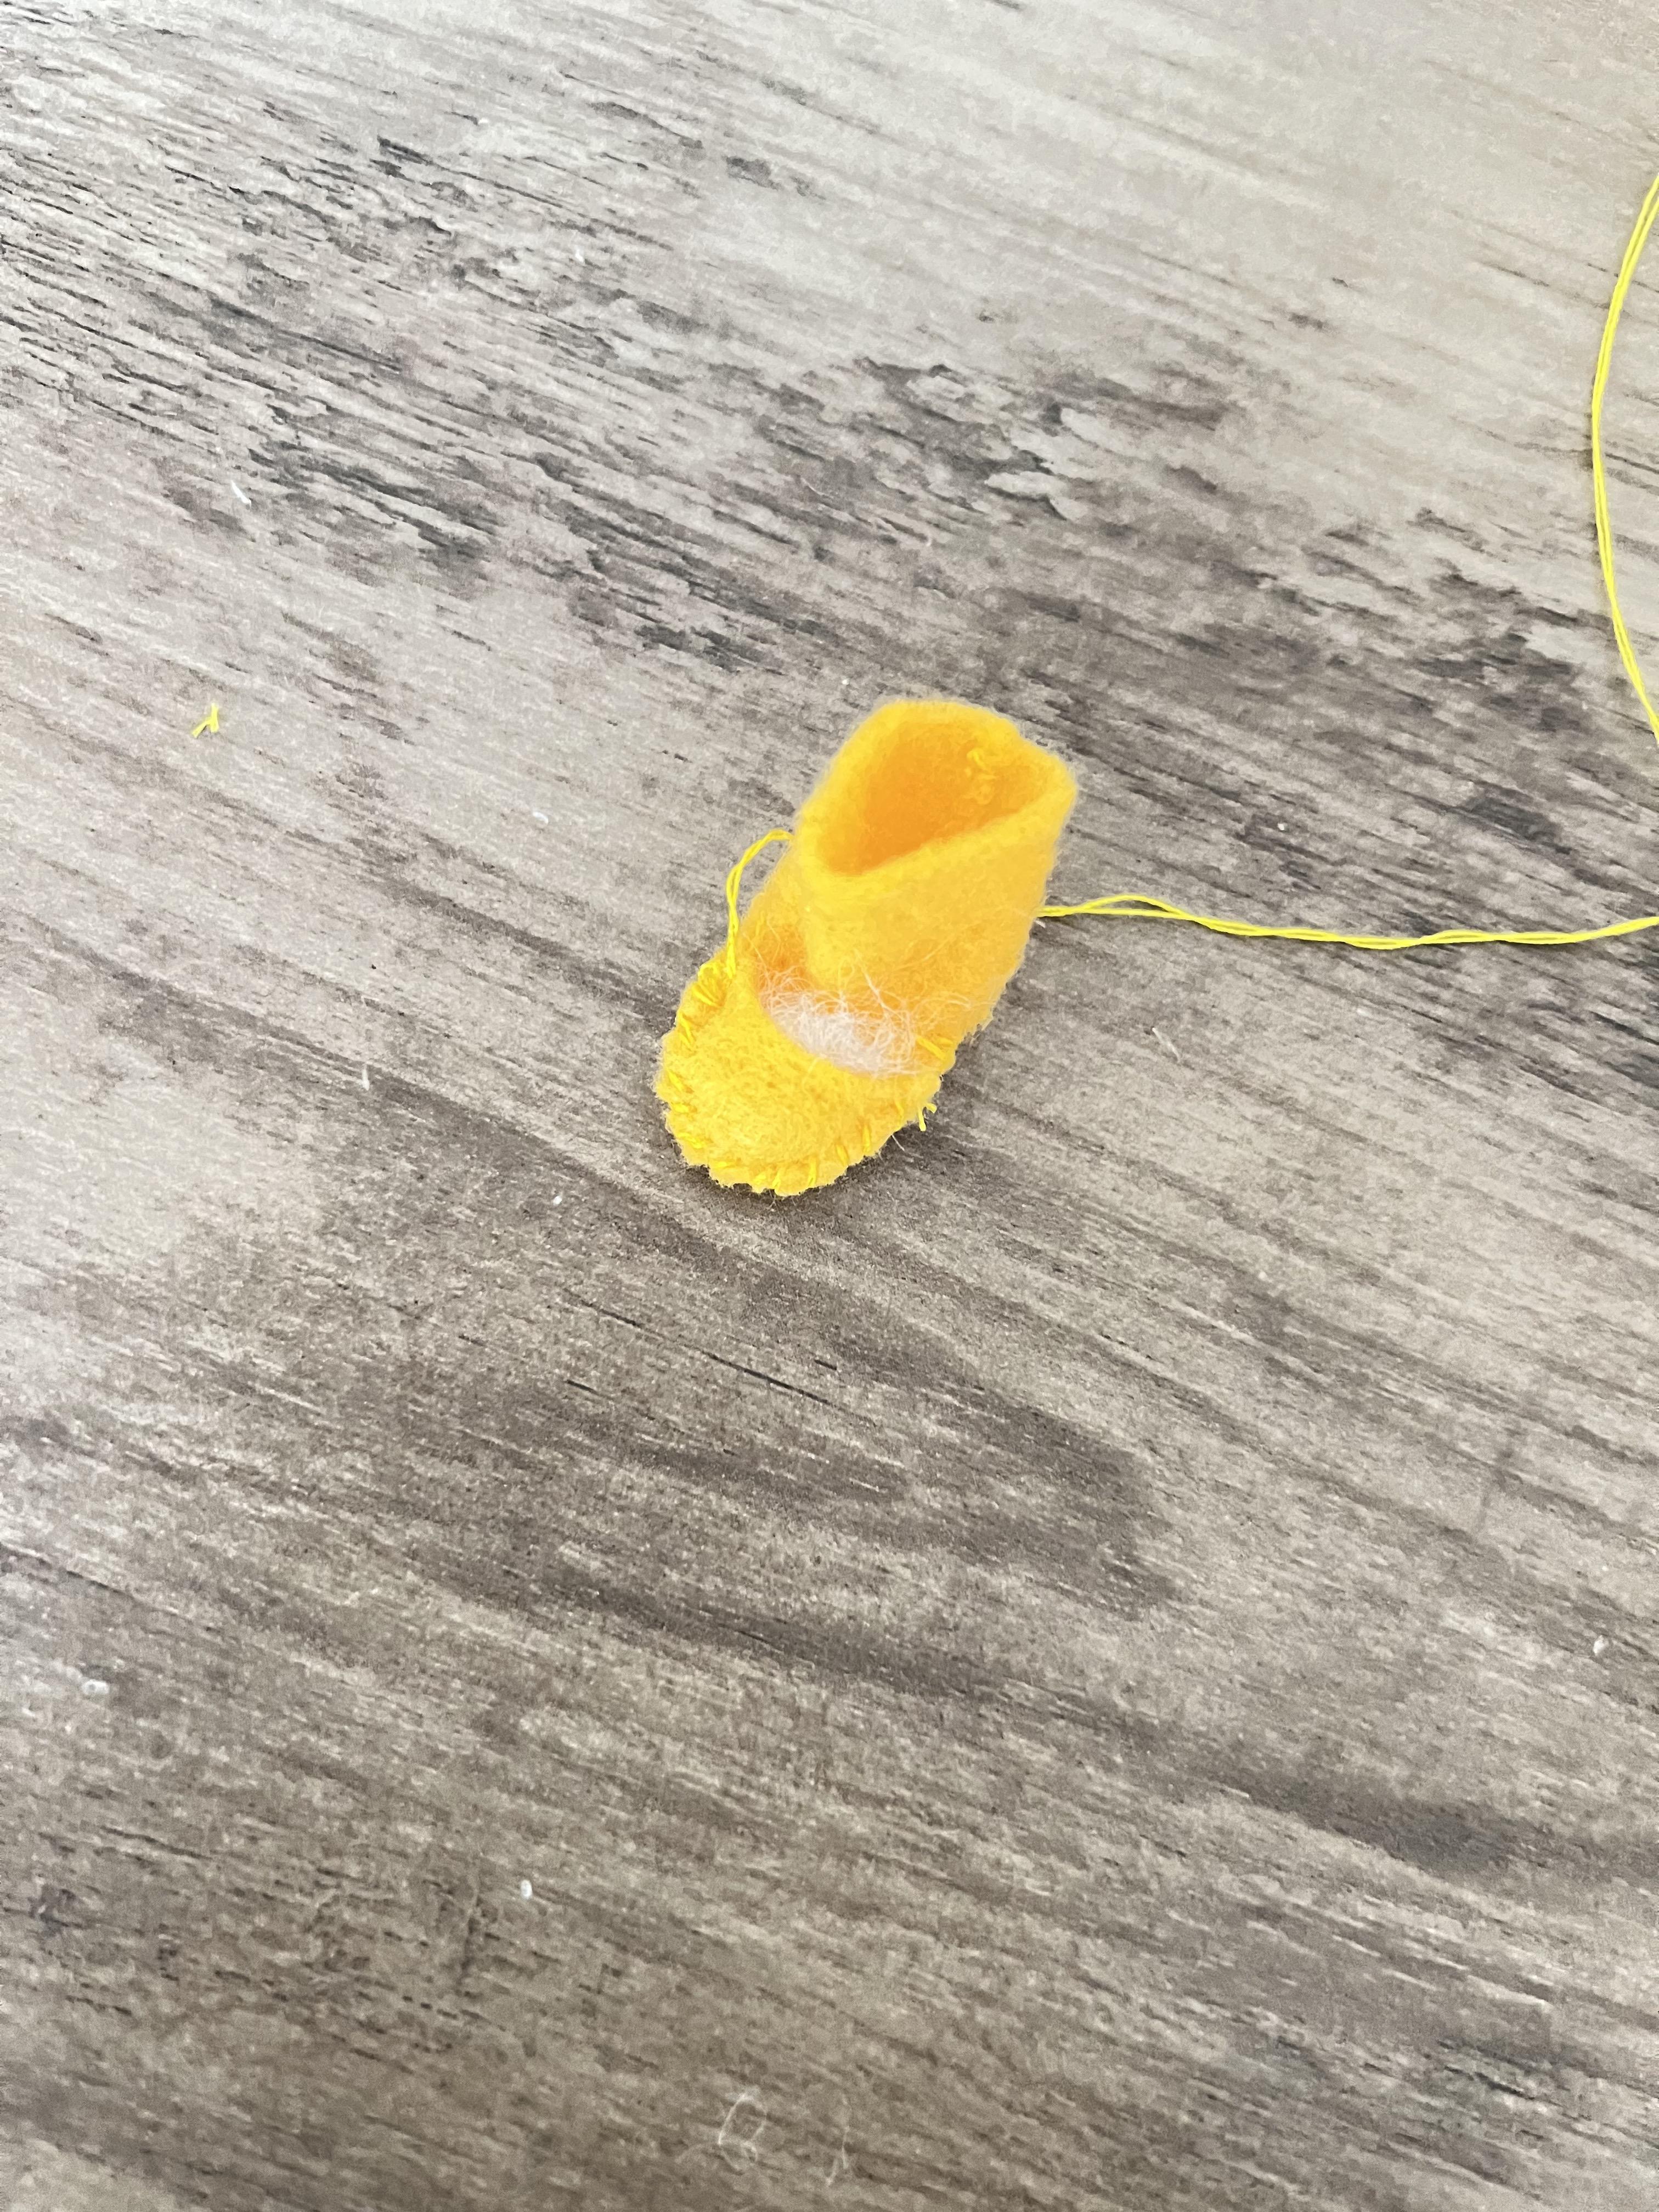
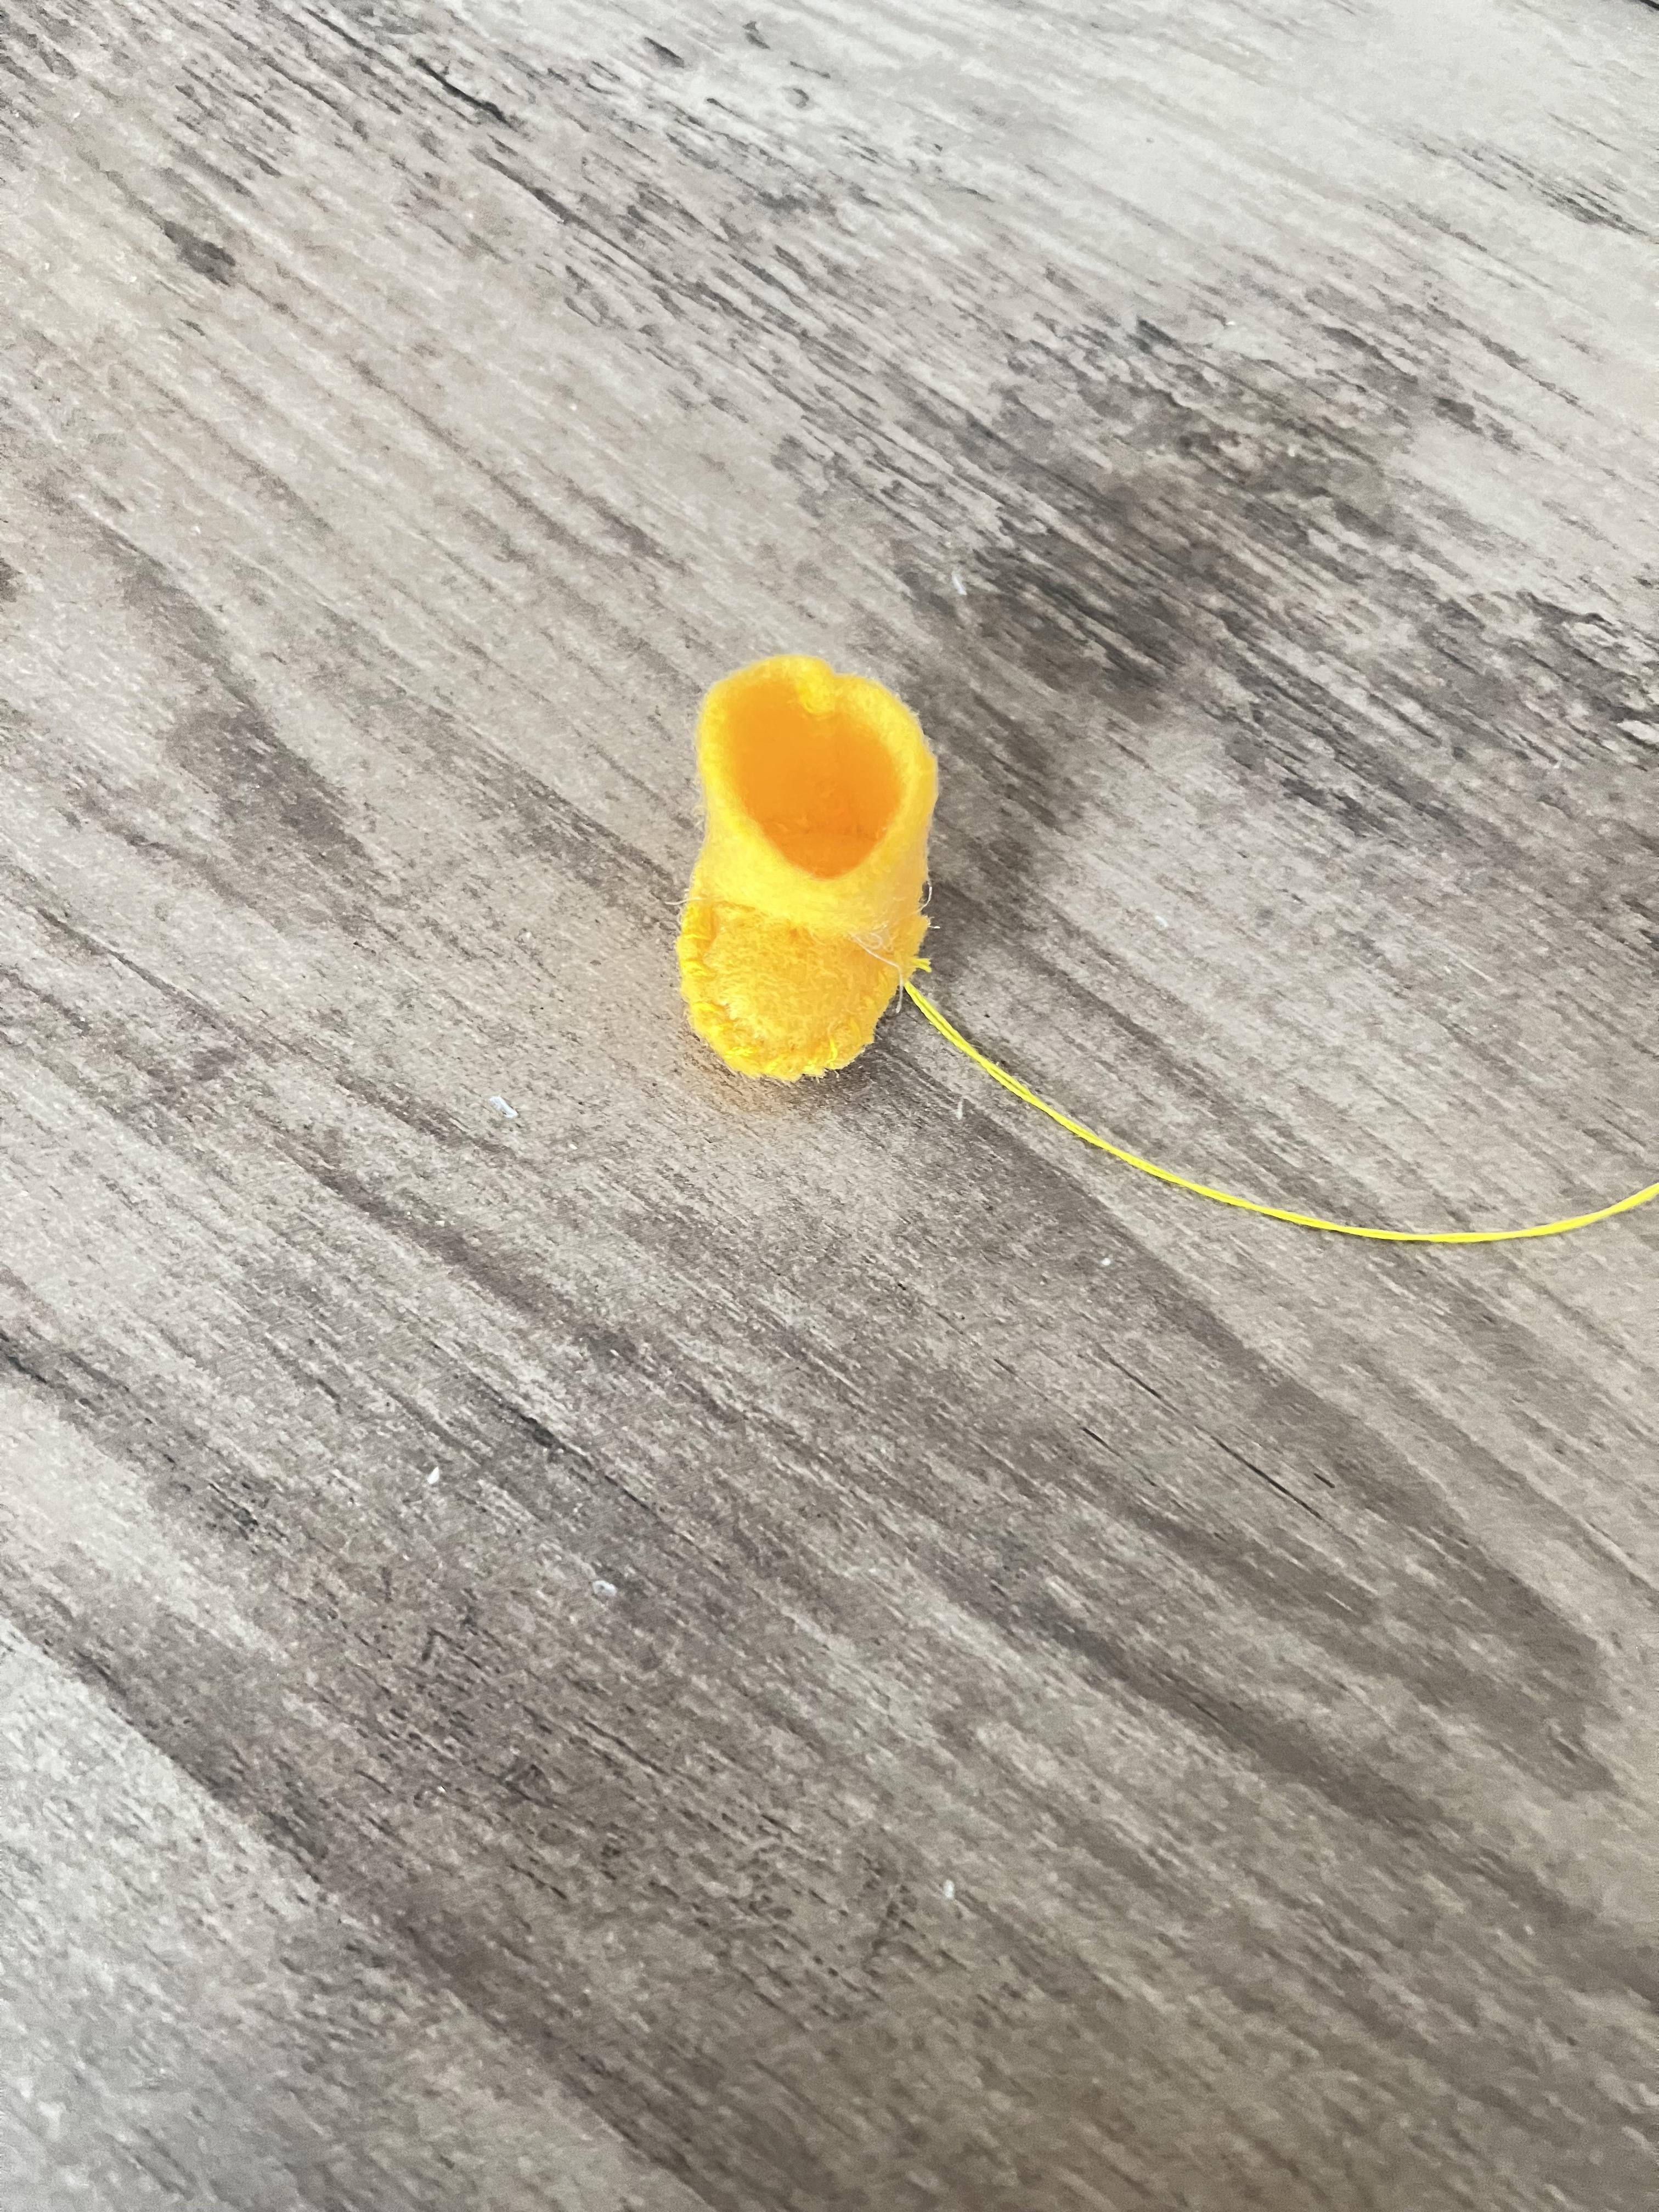
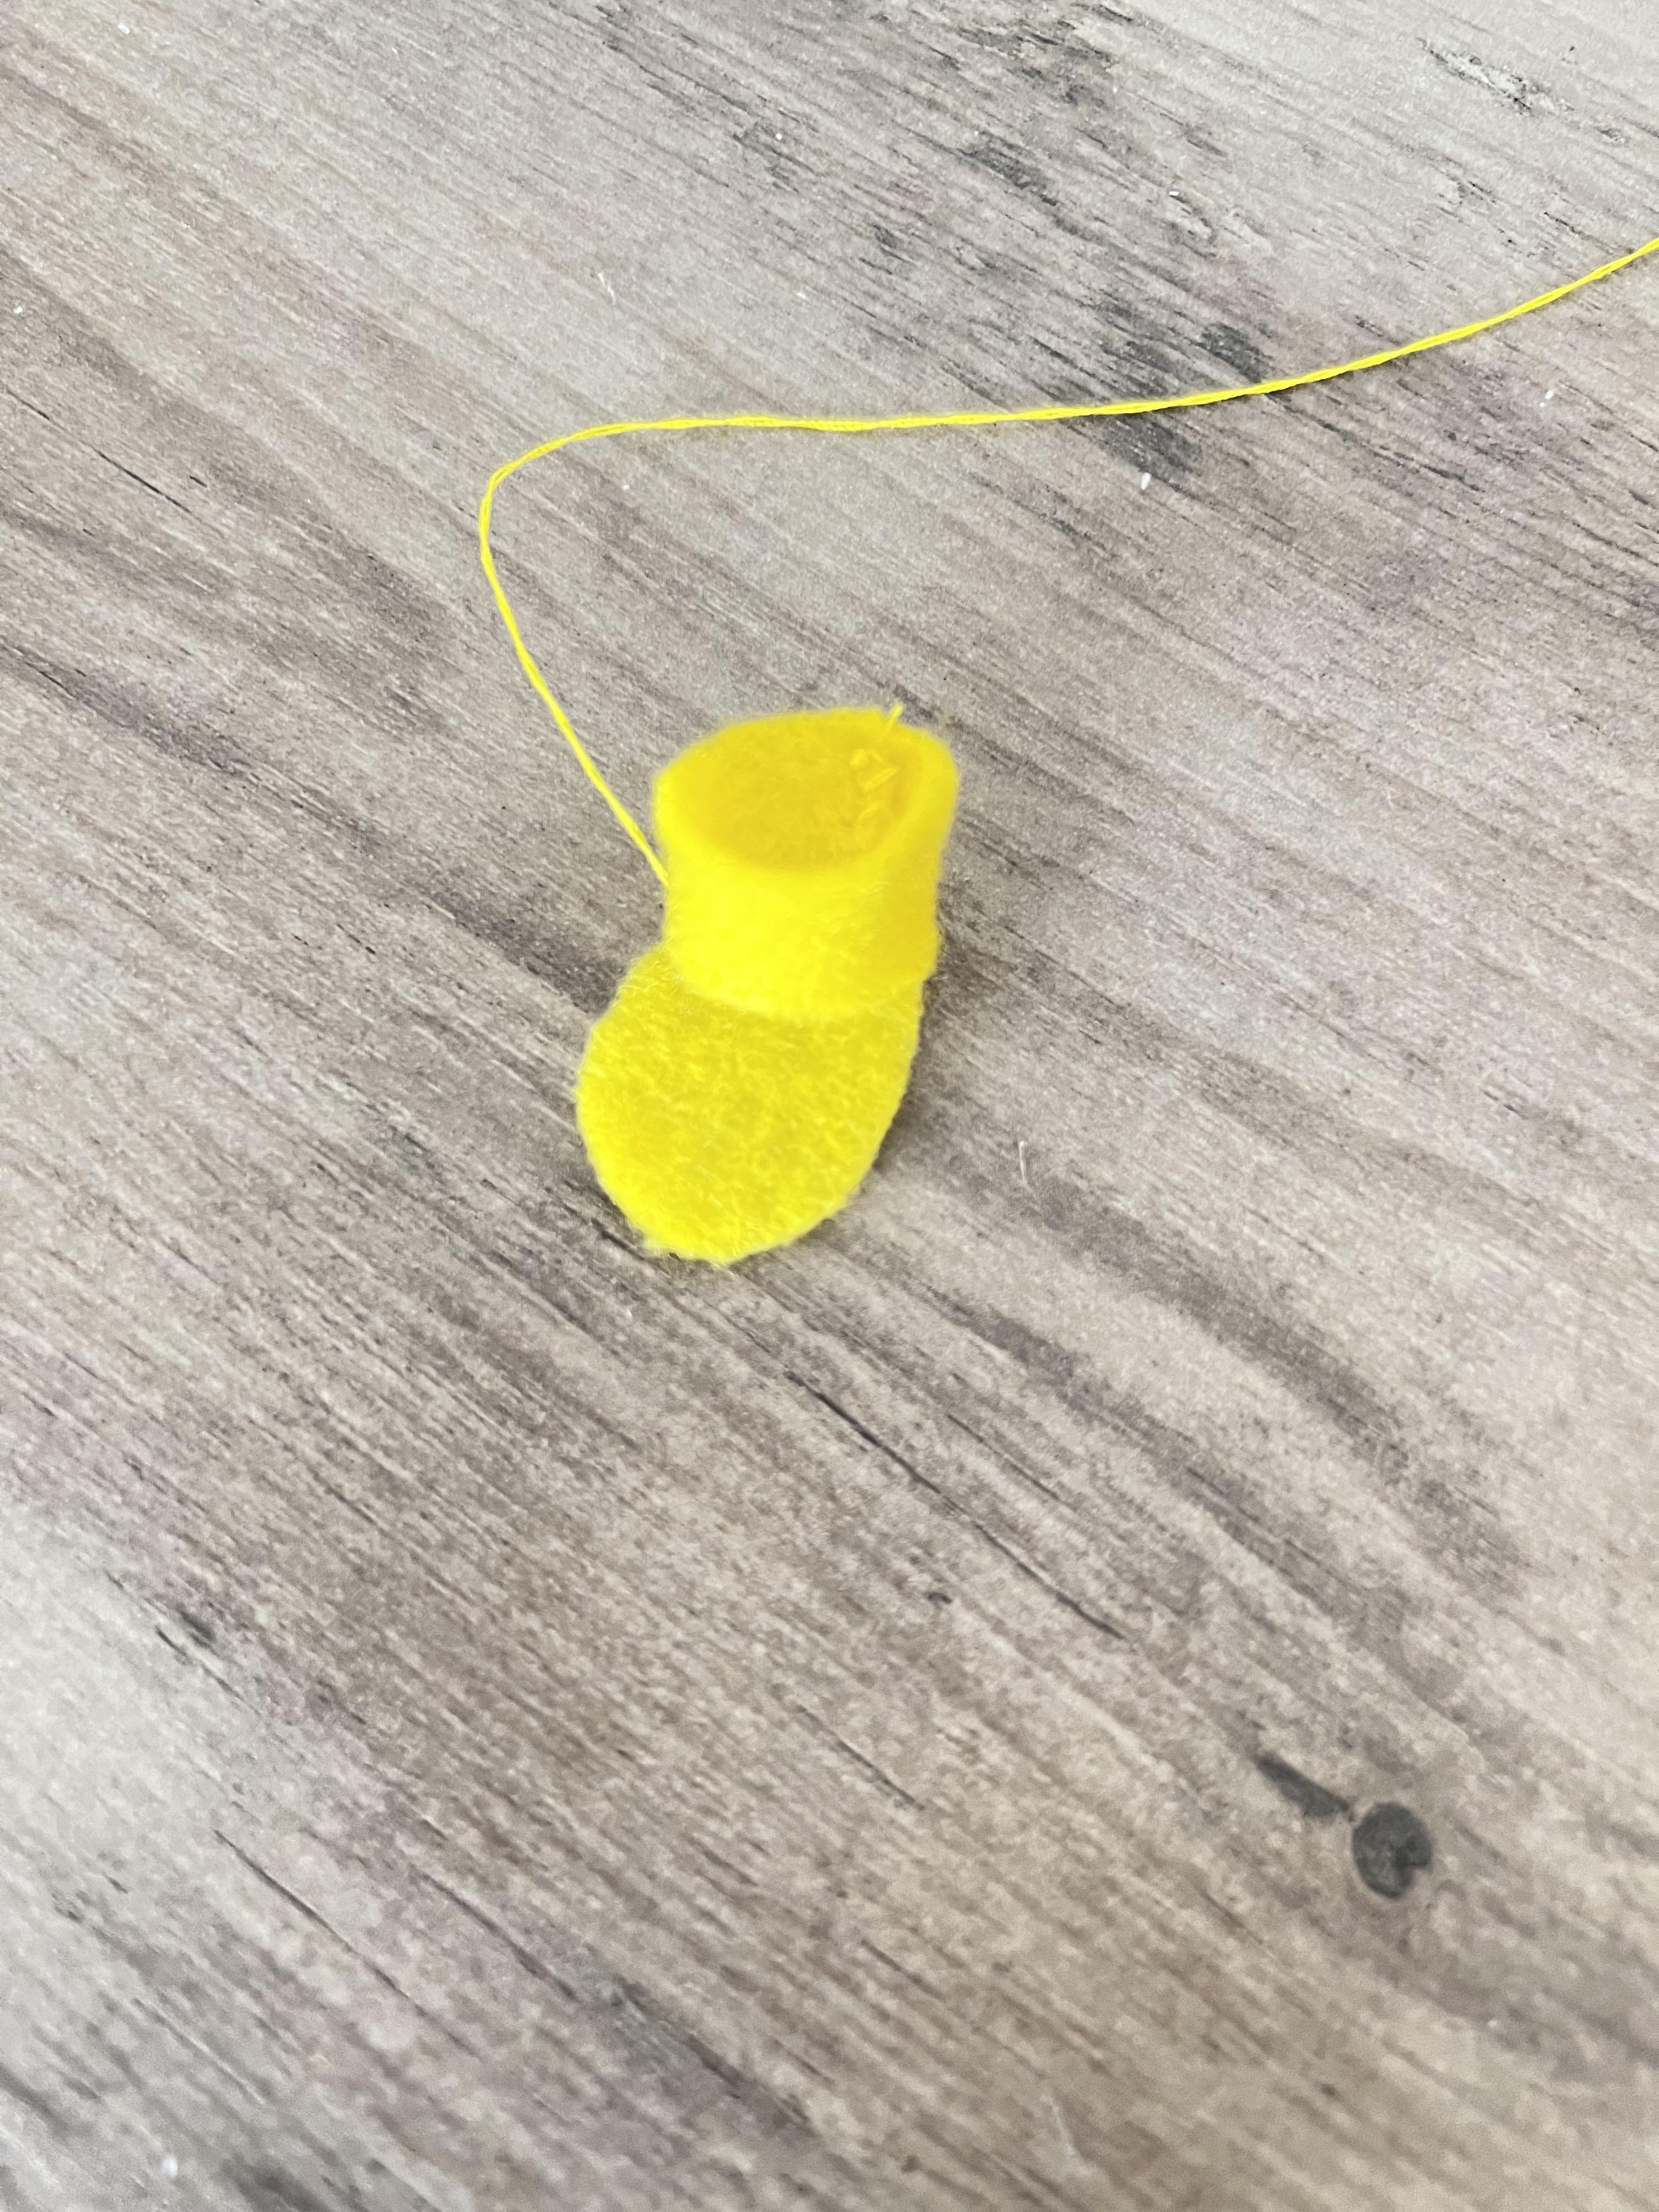
For his shoes, cut out two rectangles, four ovals, two half ovals, and two little blue circles as in picture 20. Following the same method that you did for Russell, sew Mush's shoes. Stack two yellow ovals on top of each other and stitch around the edges (securing them together). Fold a yellow strip in half and sew up one side. Attach the yellow tube to the shoe base and stitch around the bottom. Sew the toe onto the end of each shoe. Sew the little circles on the inside of the shoes. (picture 35-36)
Felting Rudy's Hair On


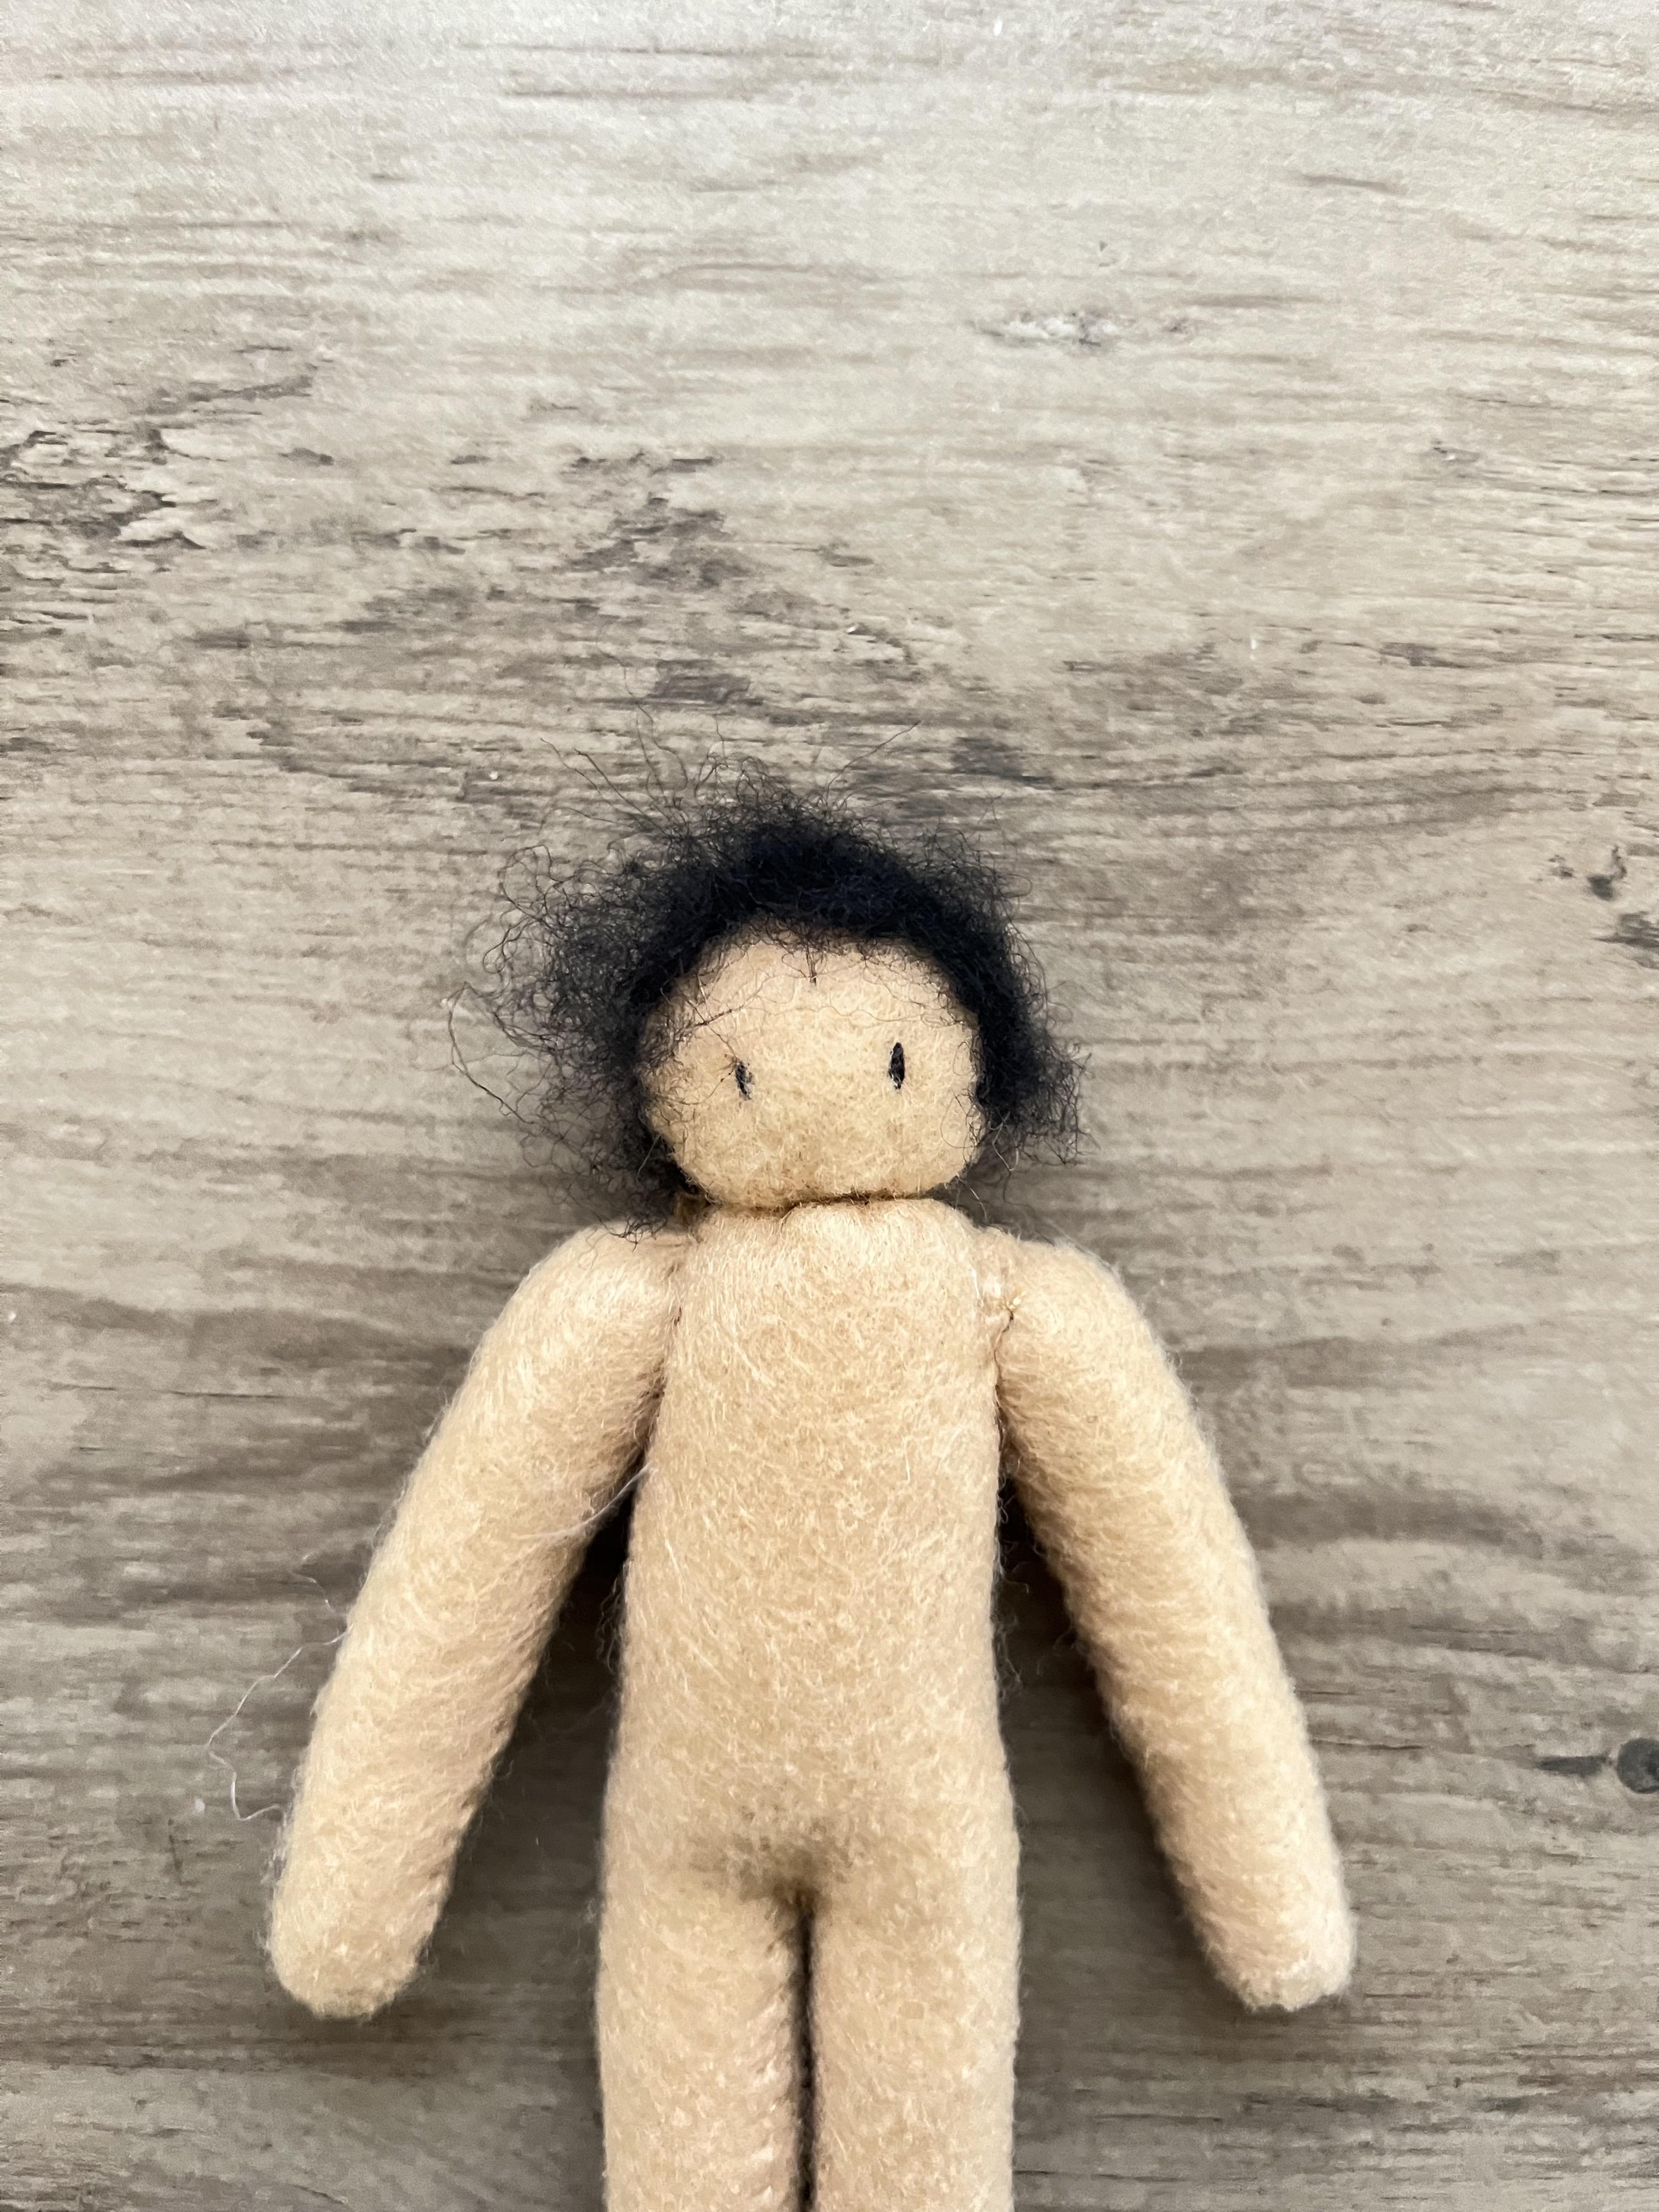
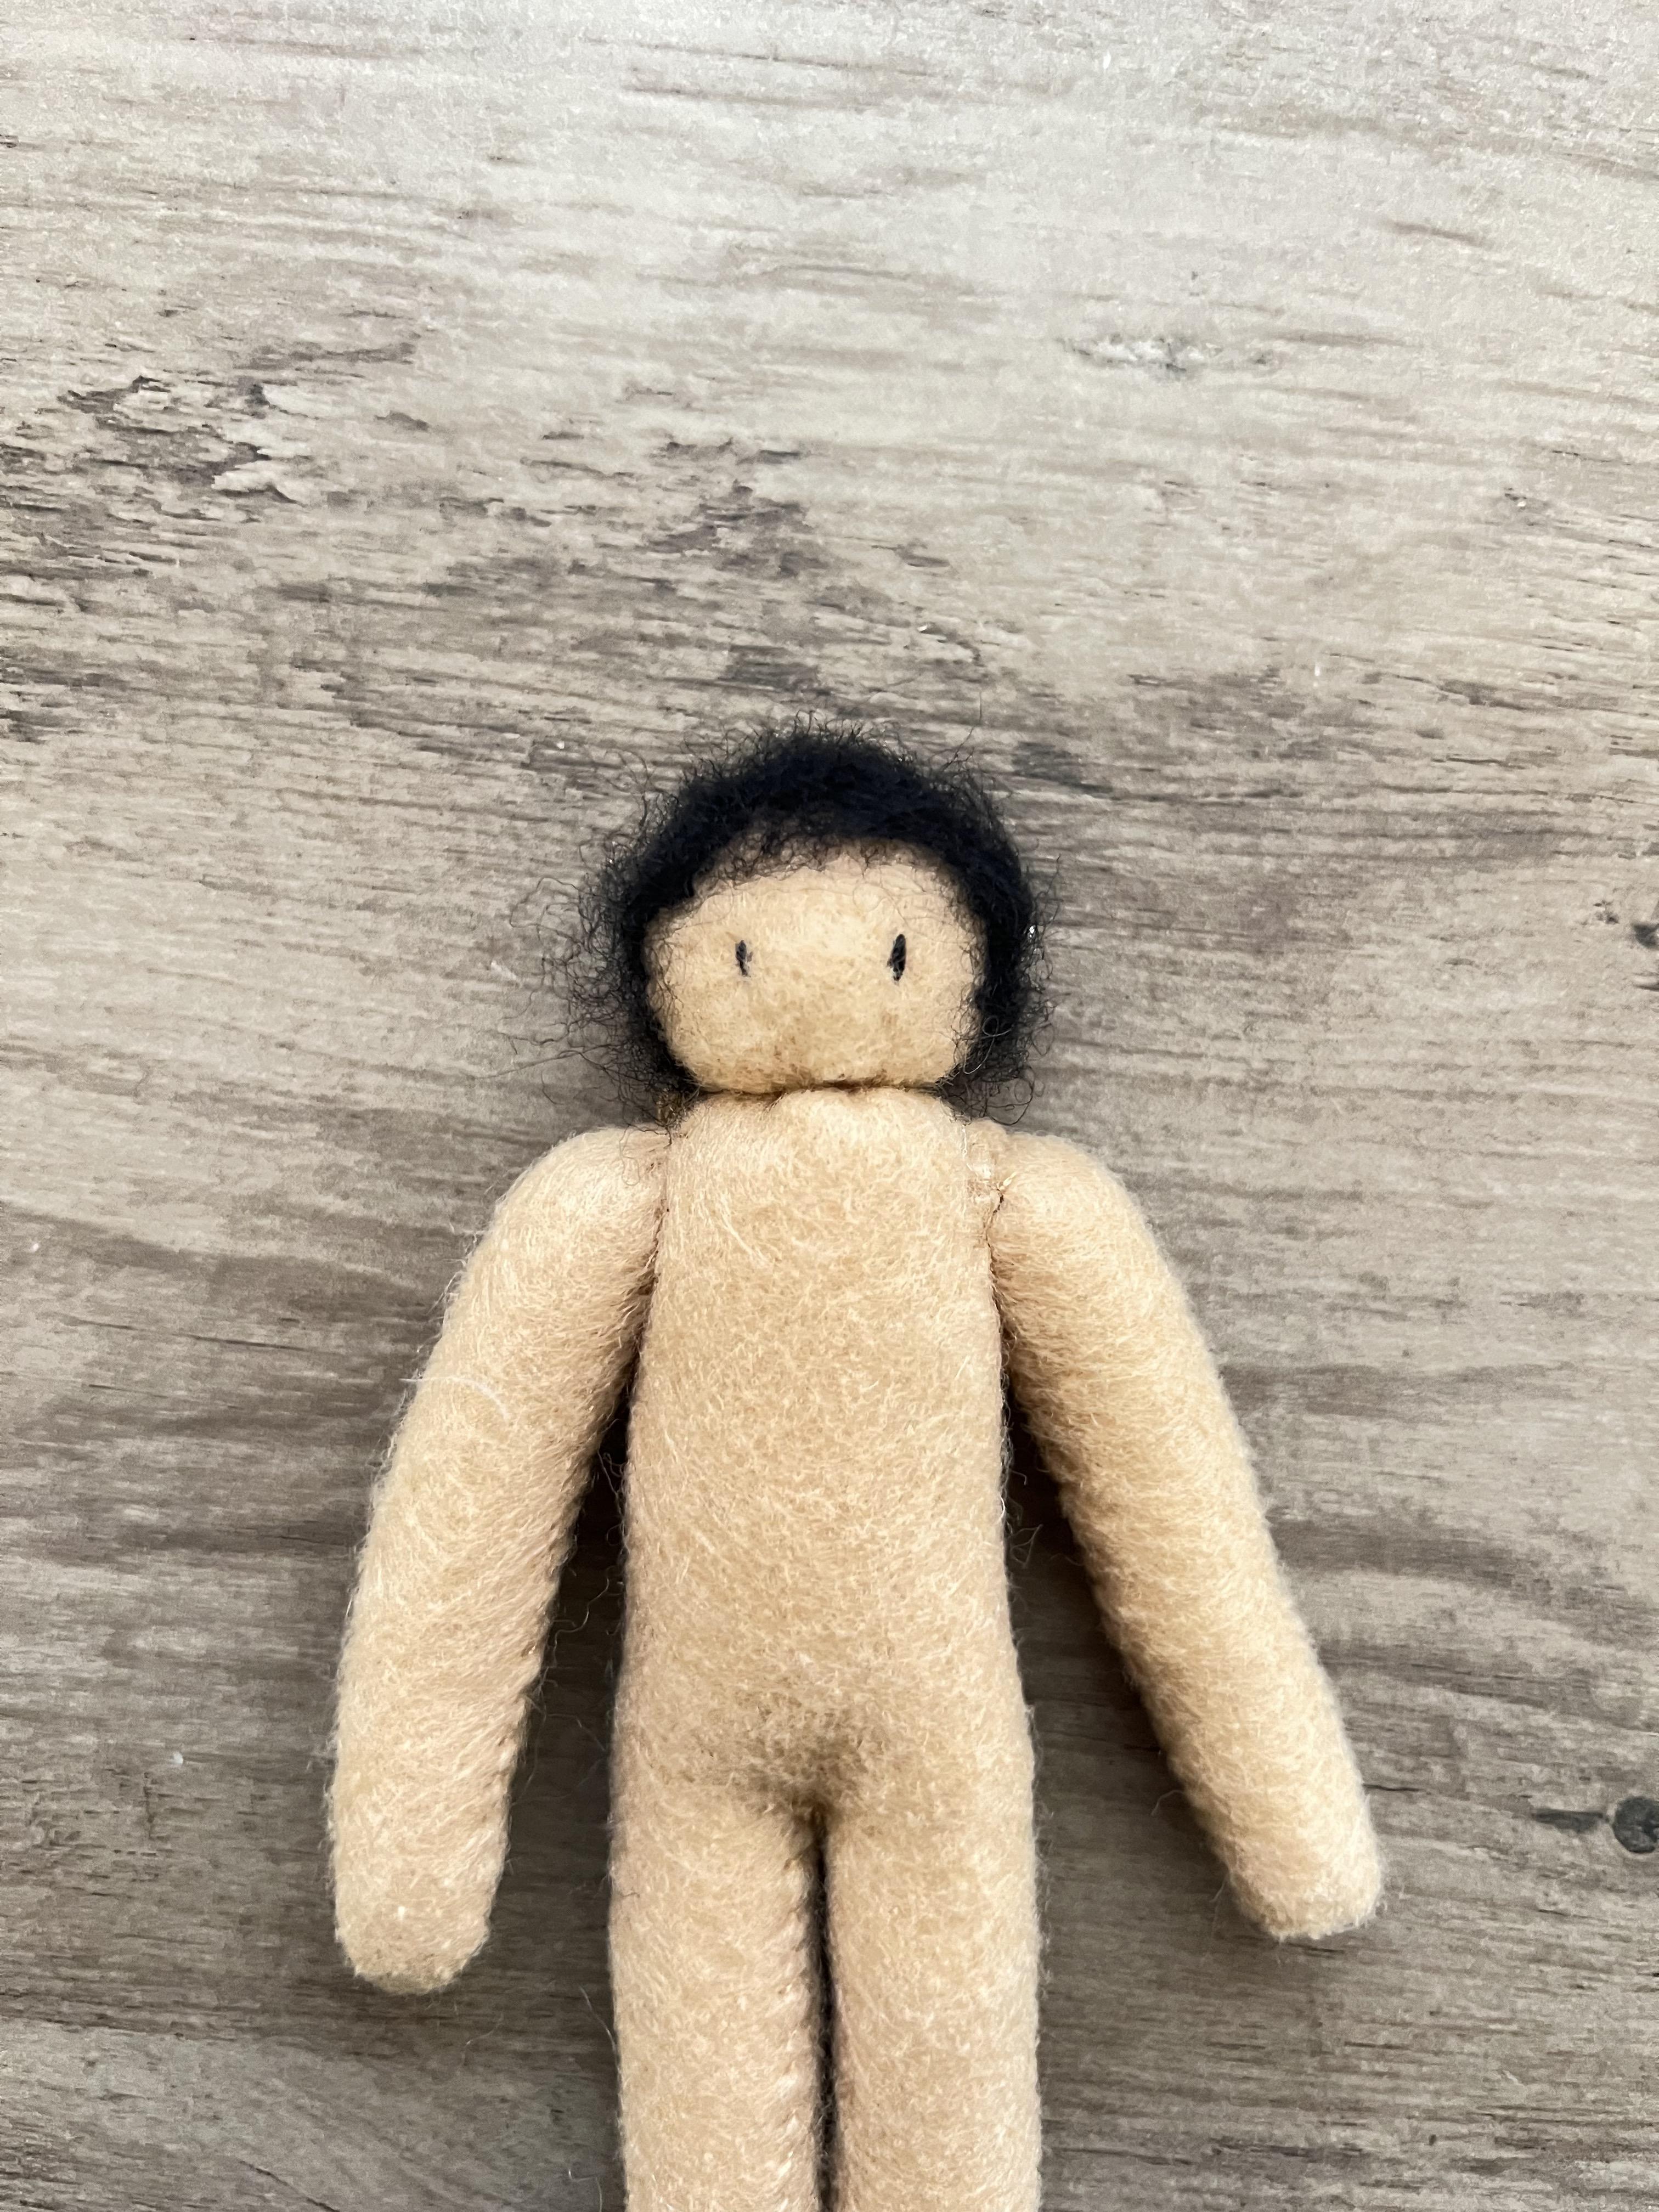
For Rudy's hair, felt a little bit of black wool all around his head.
Sewing Rudy's Clothes
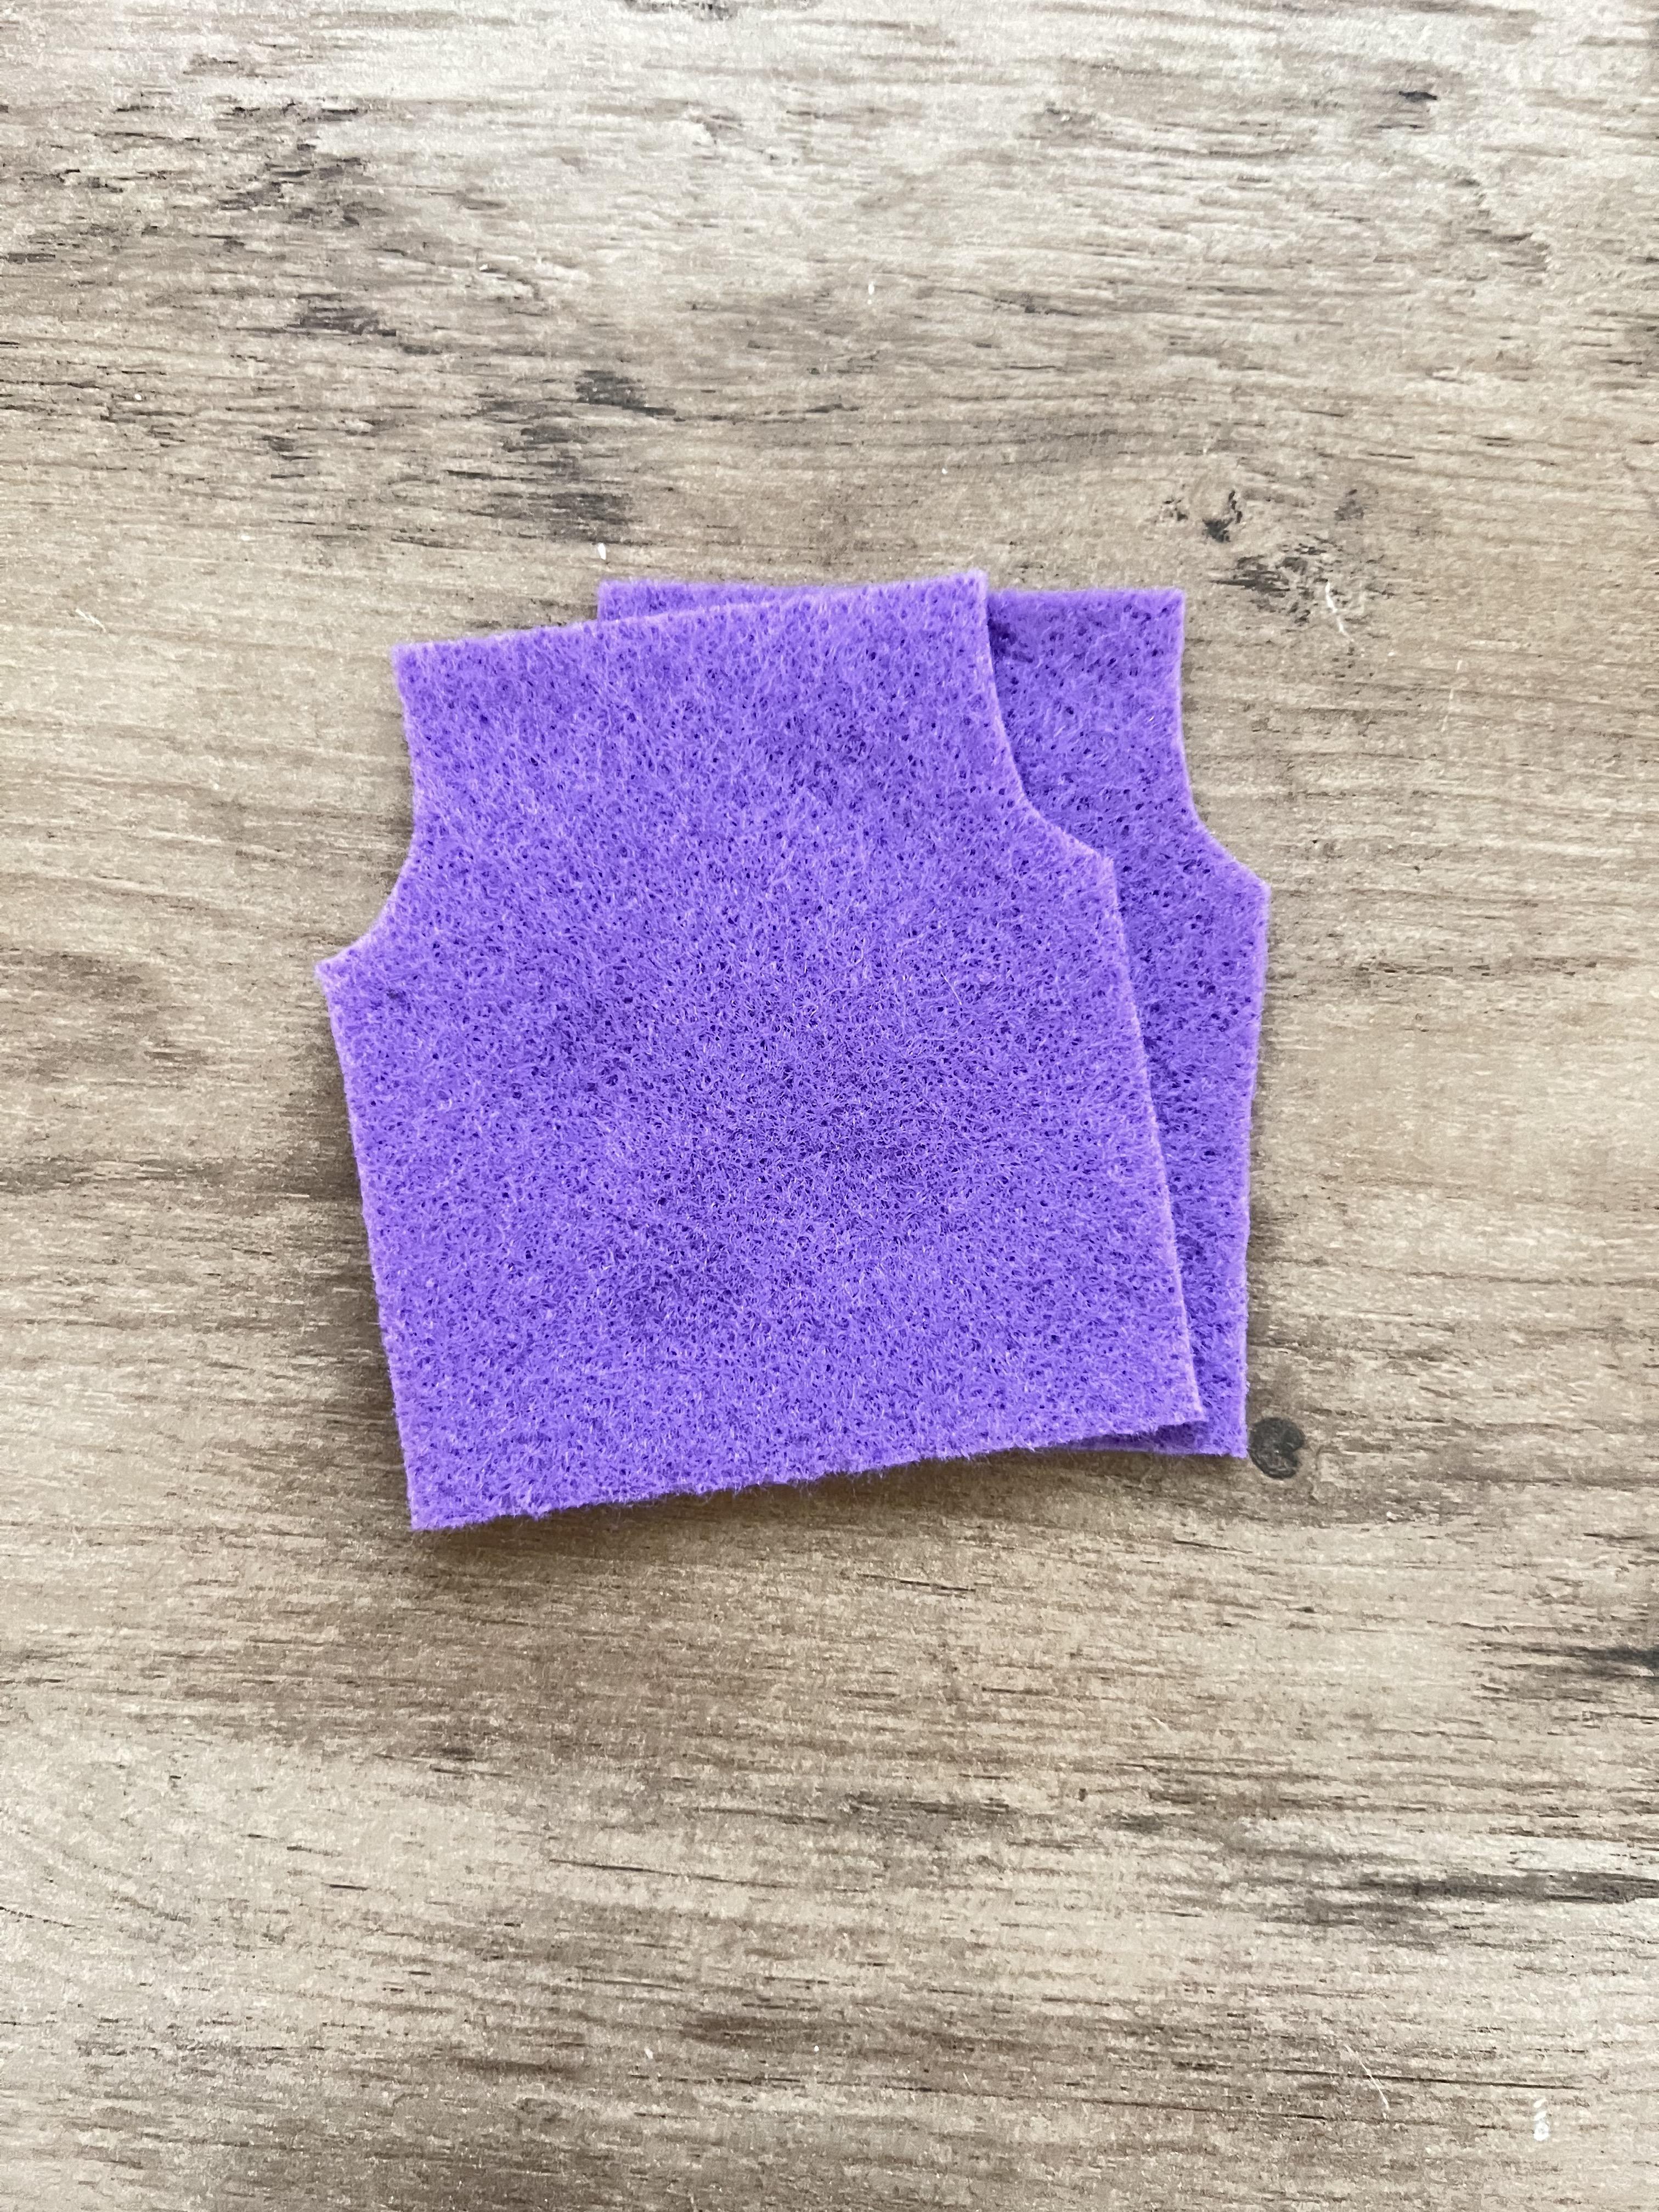


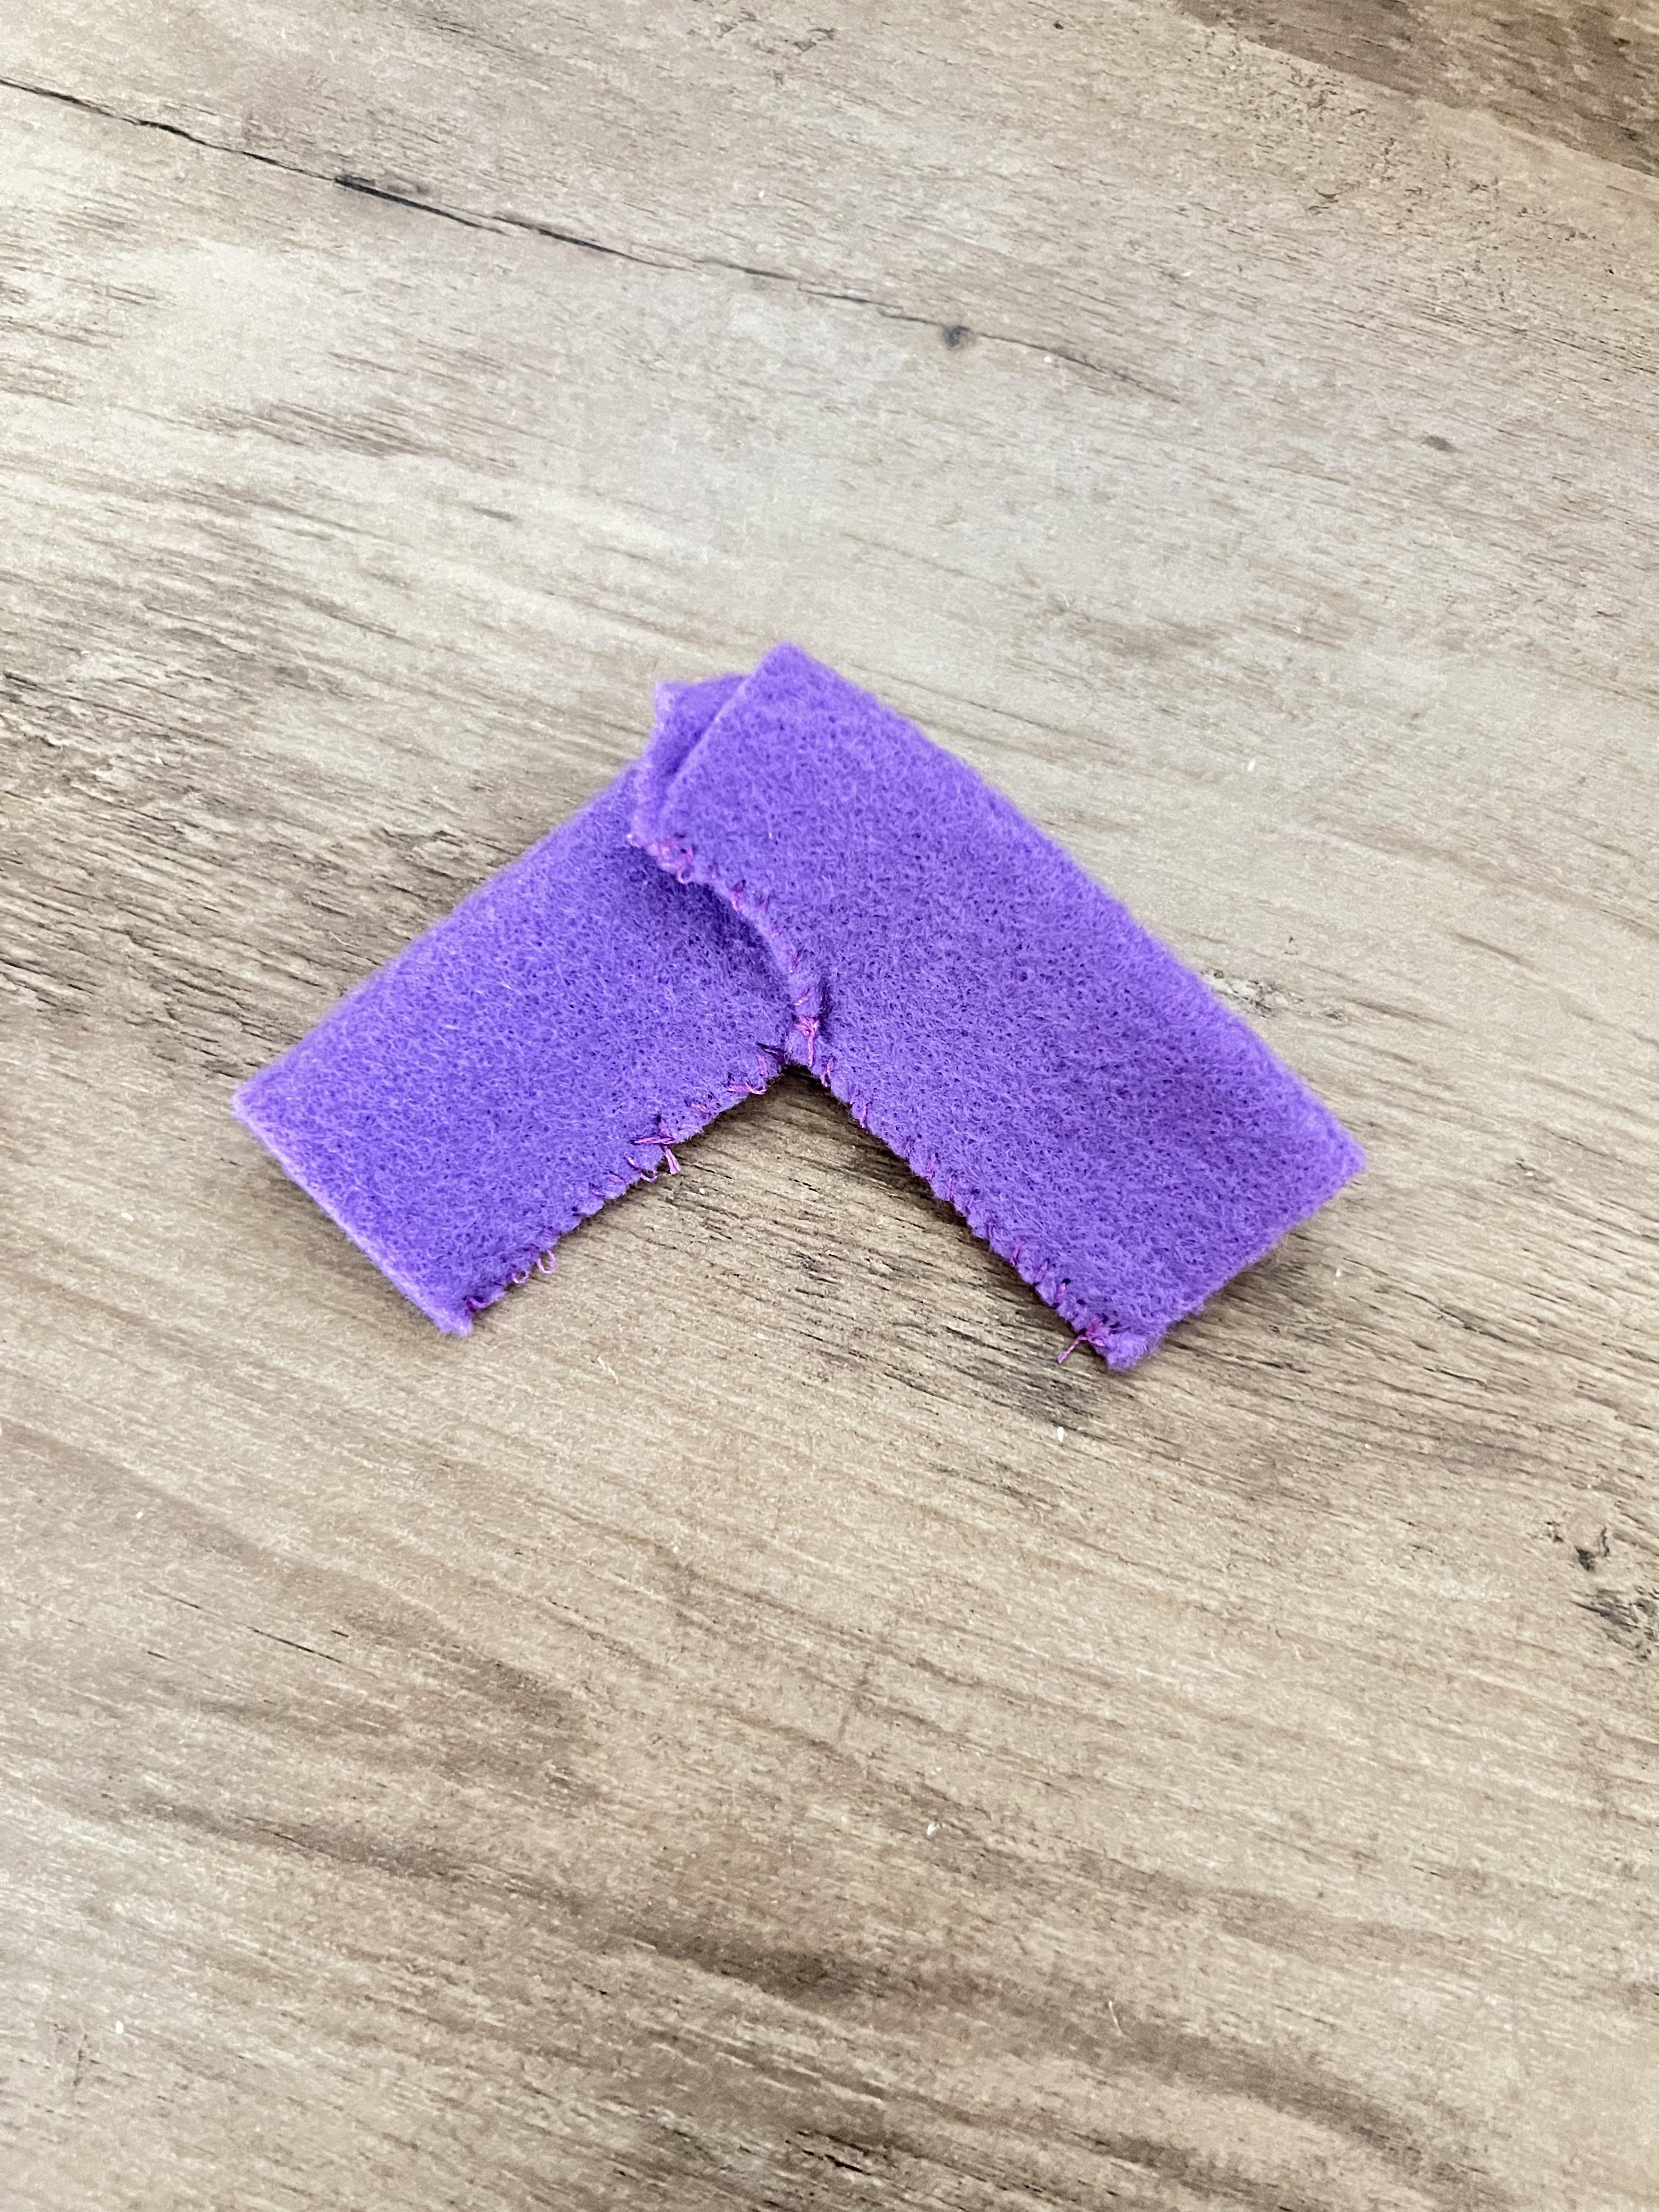
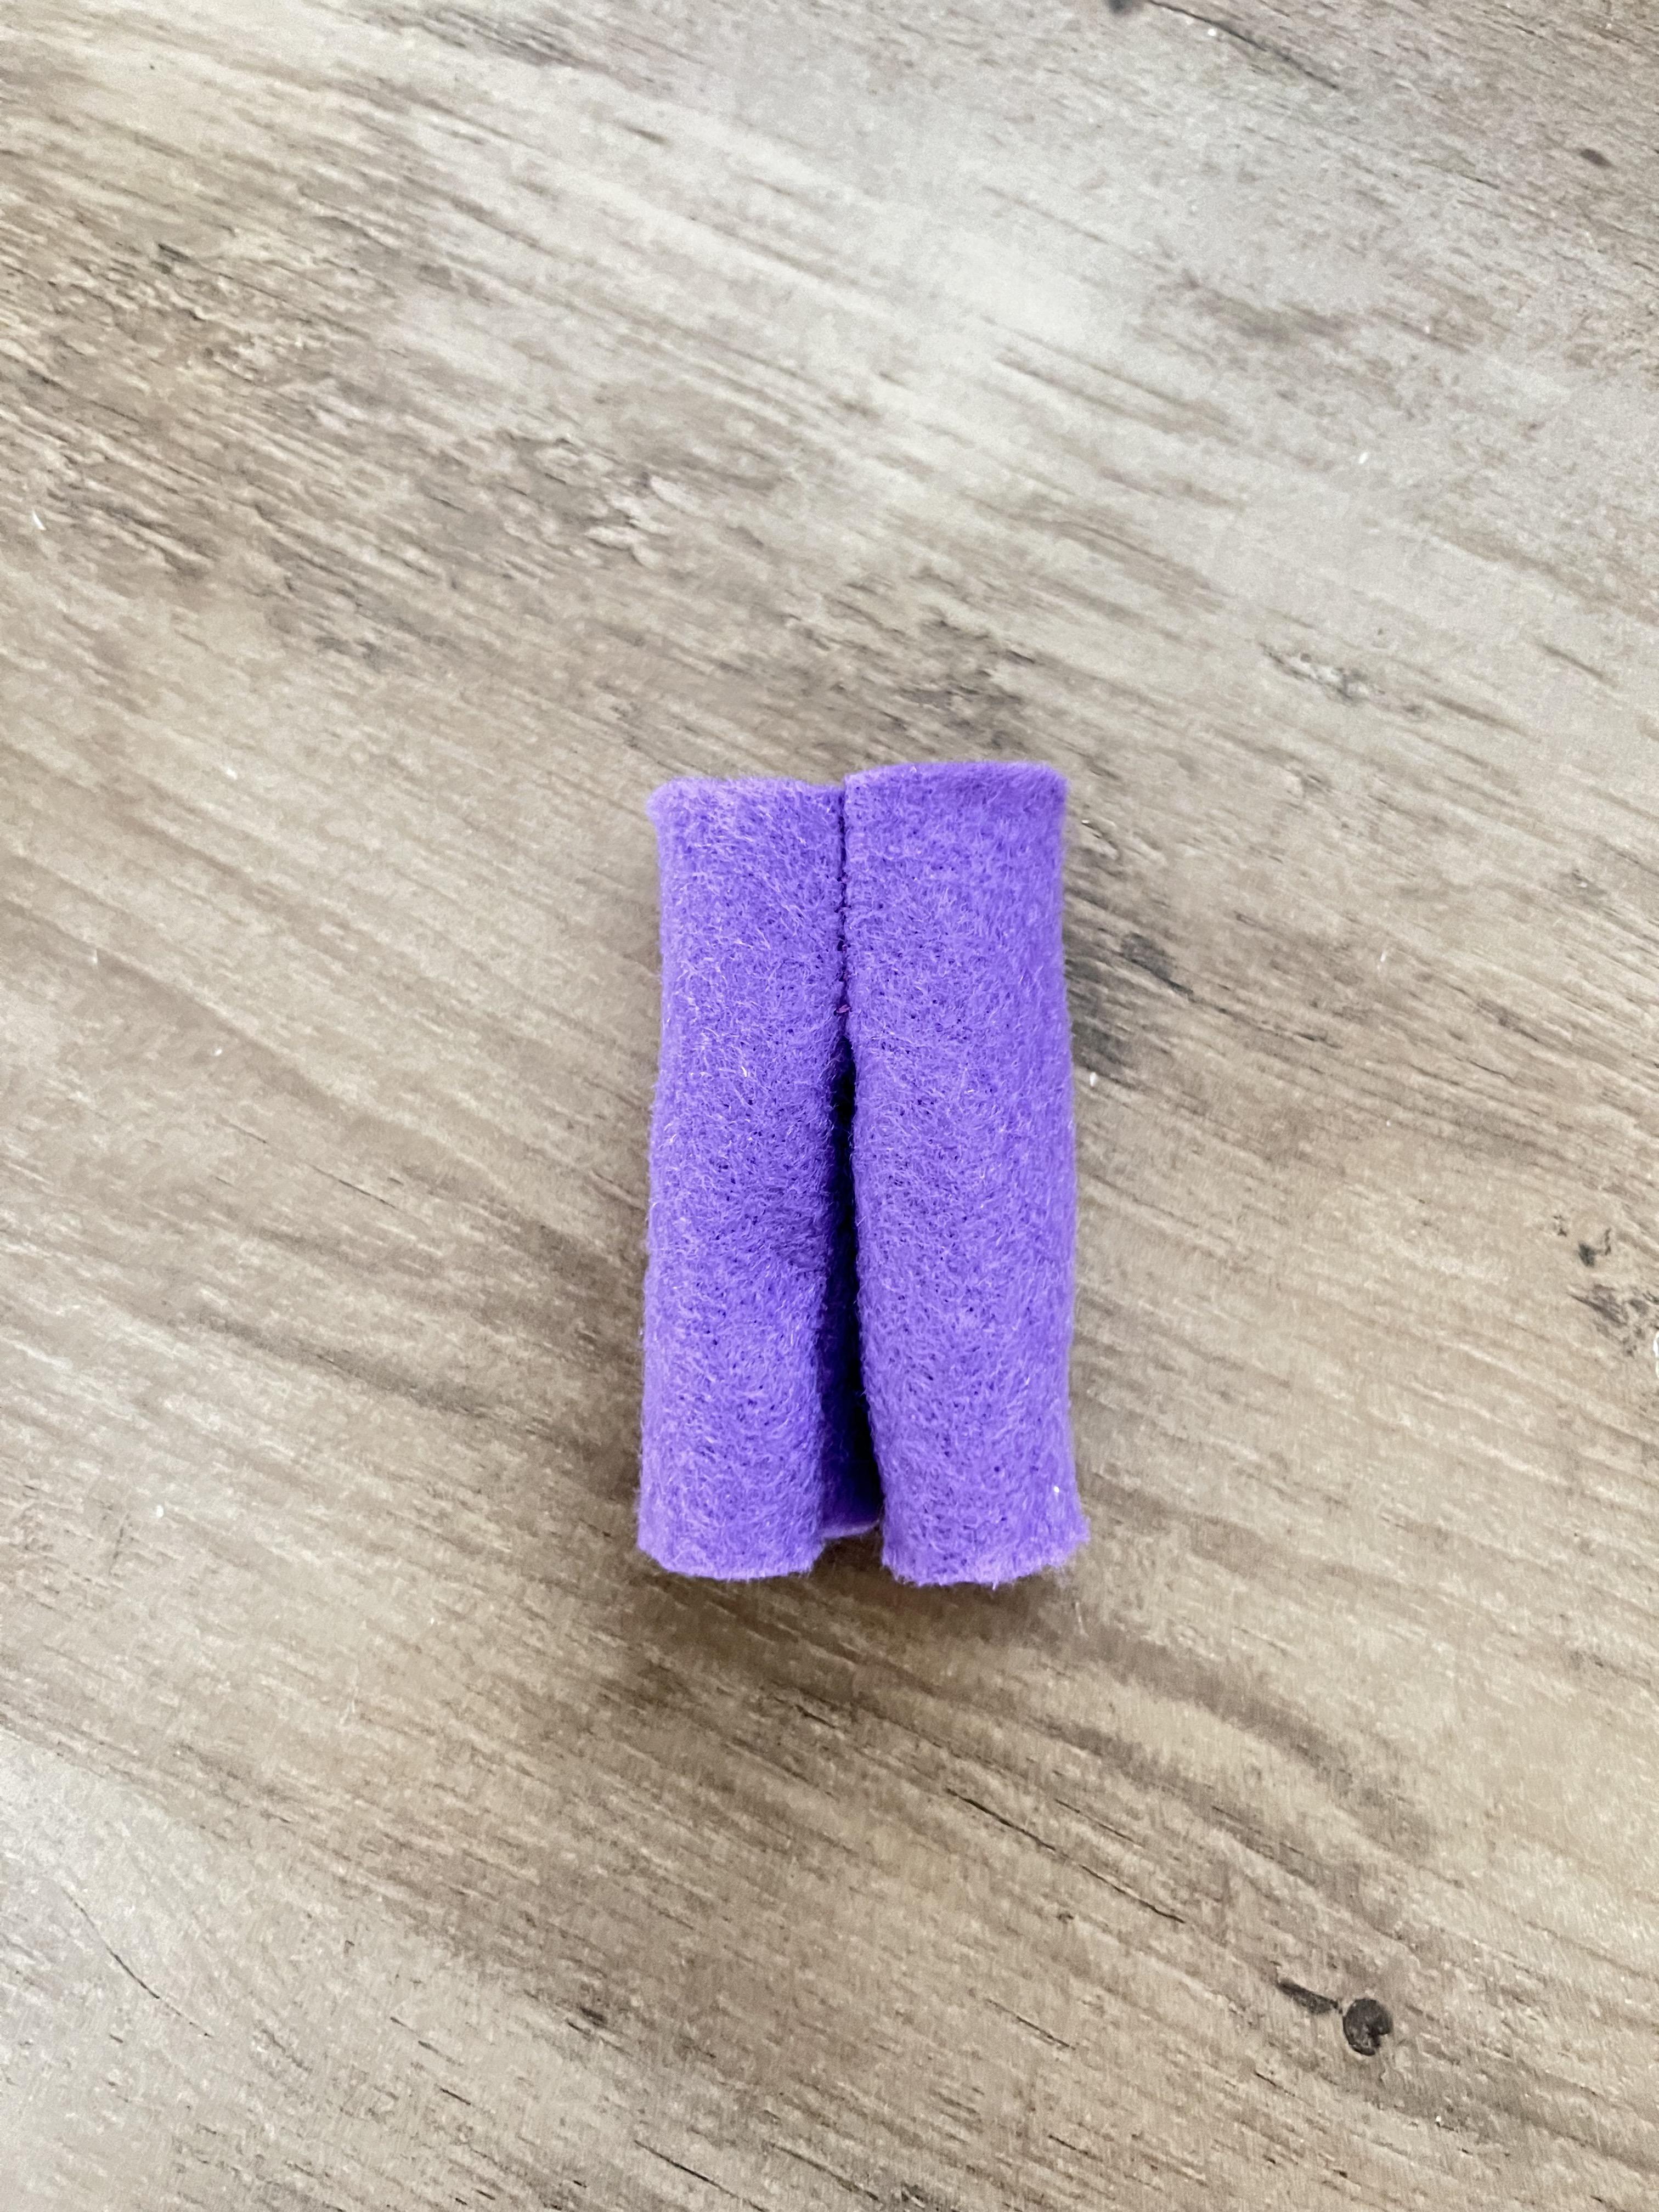
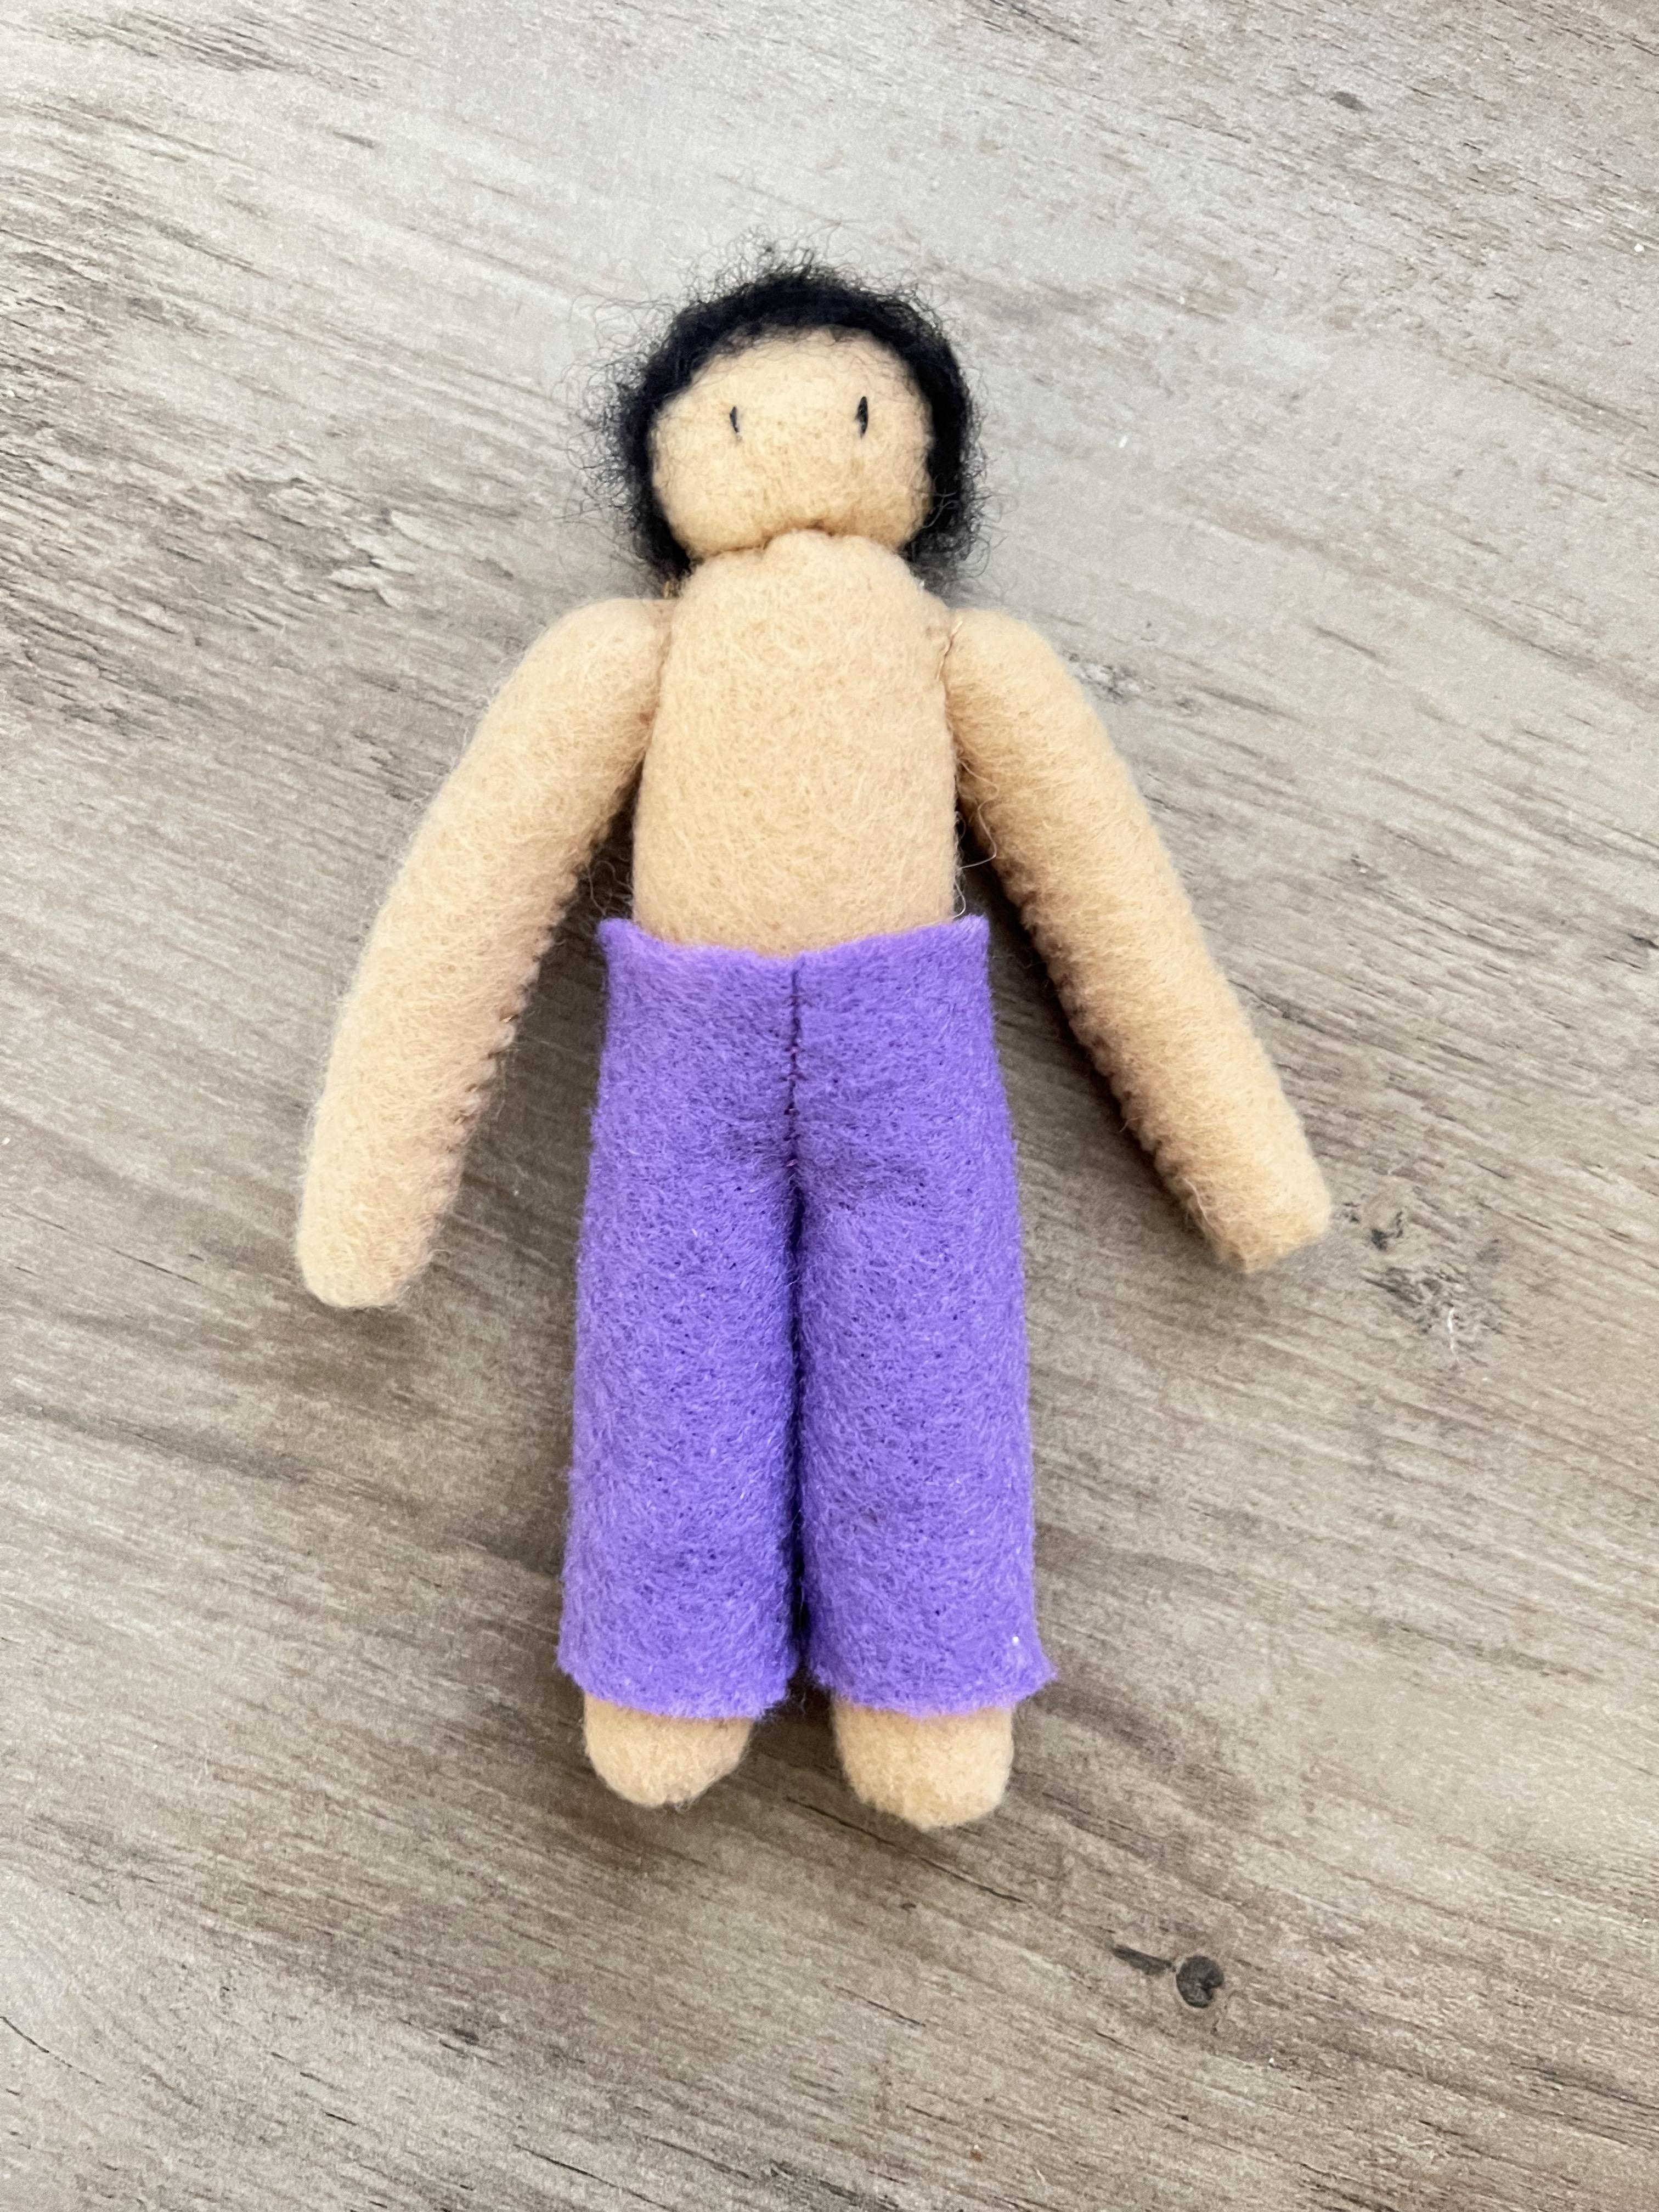

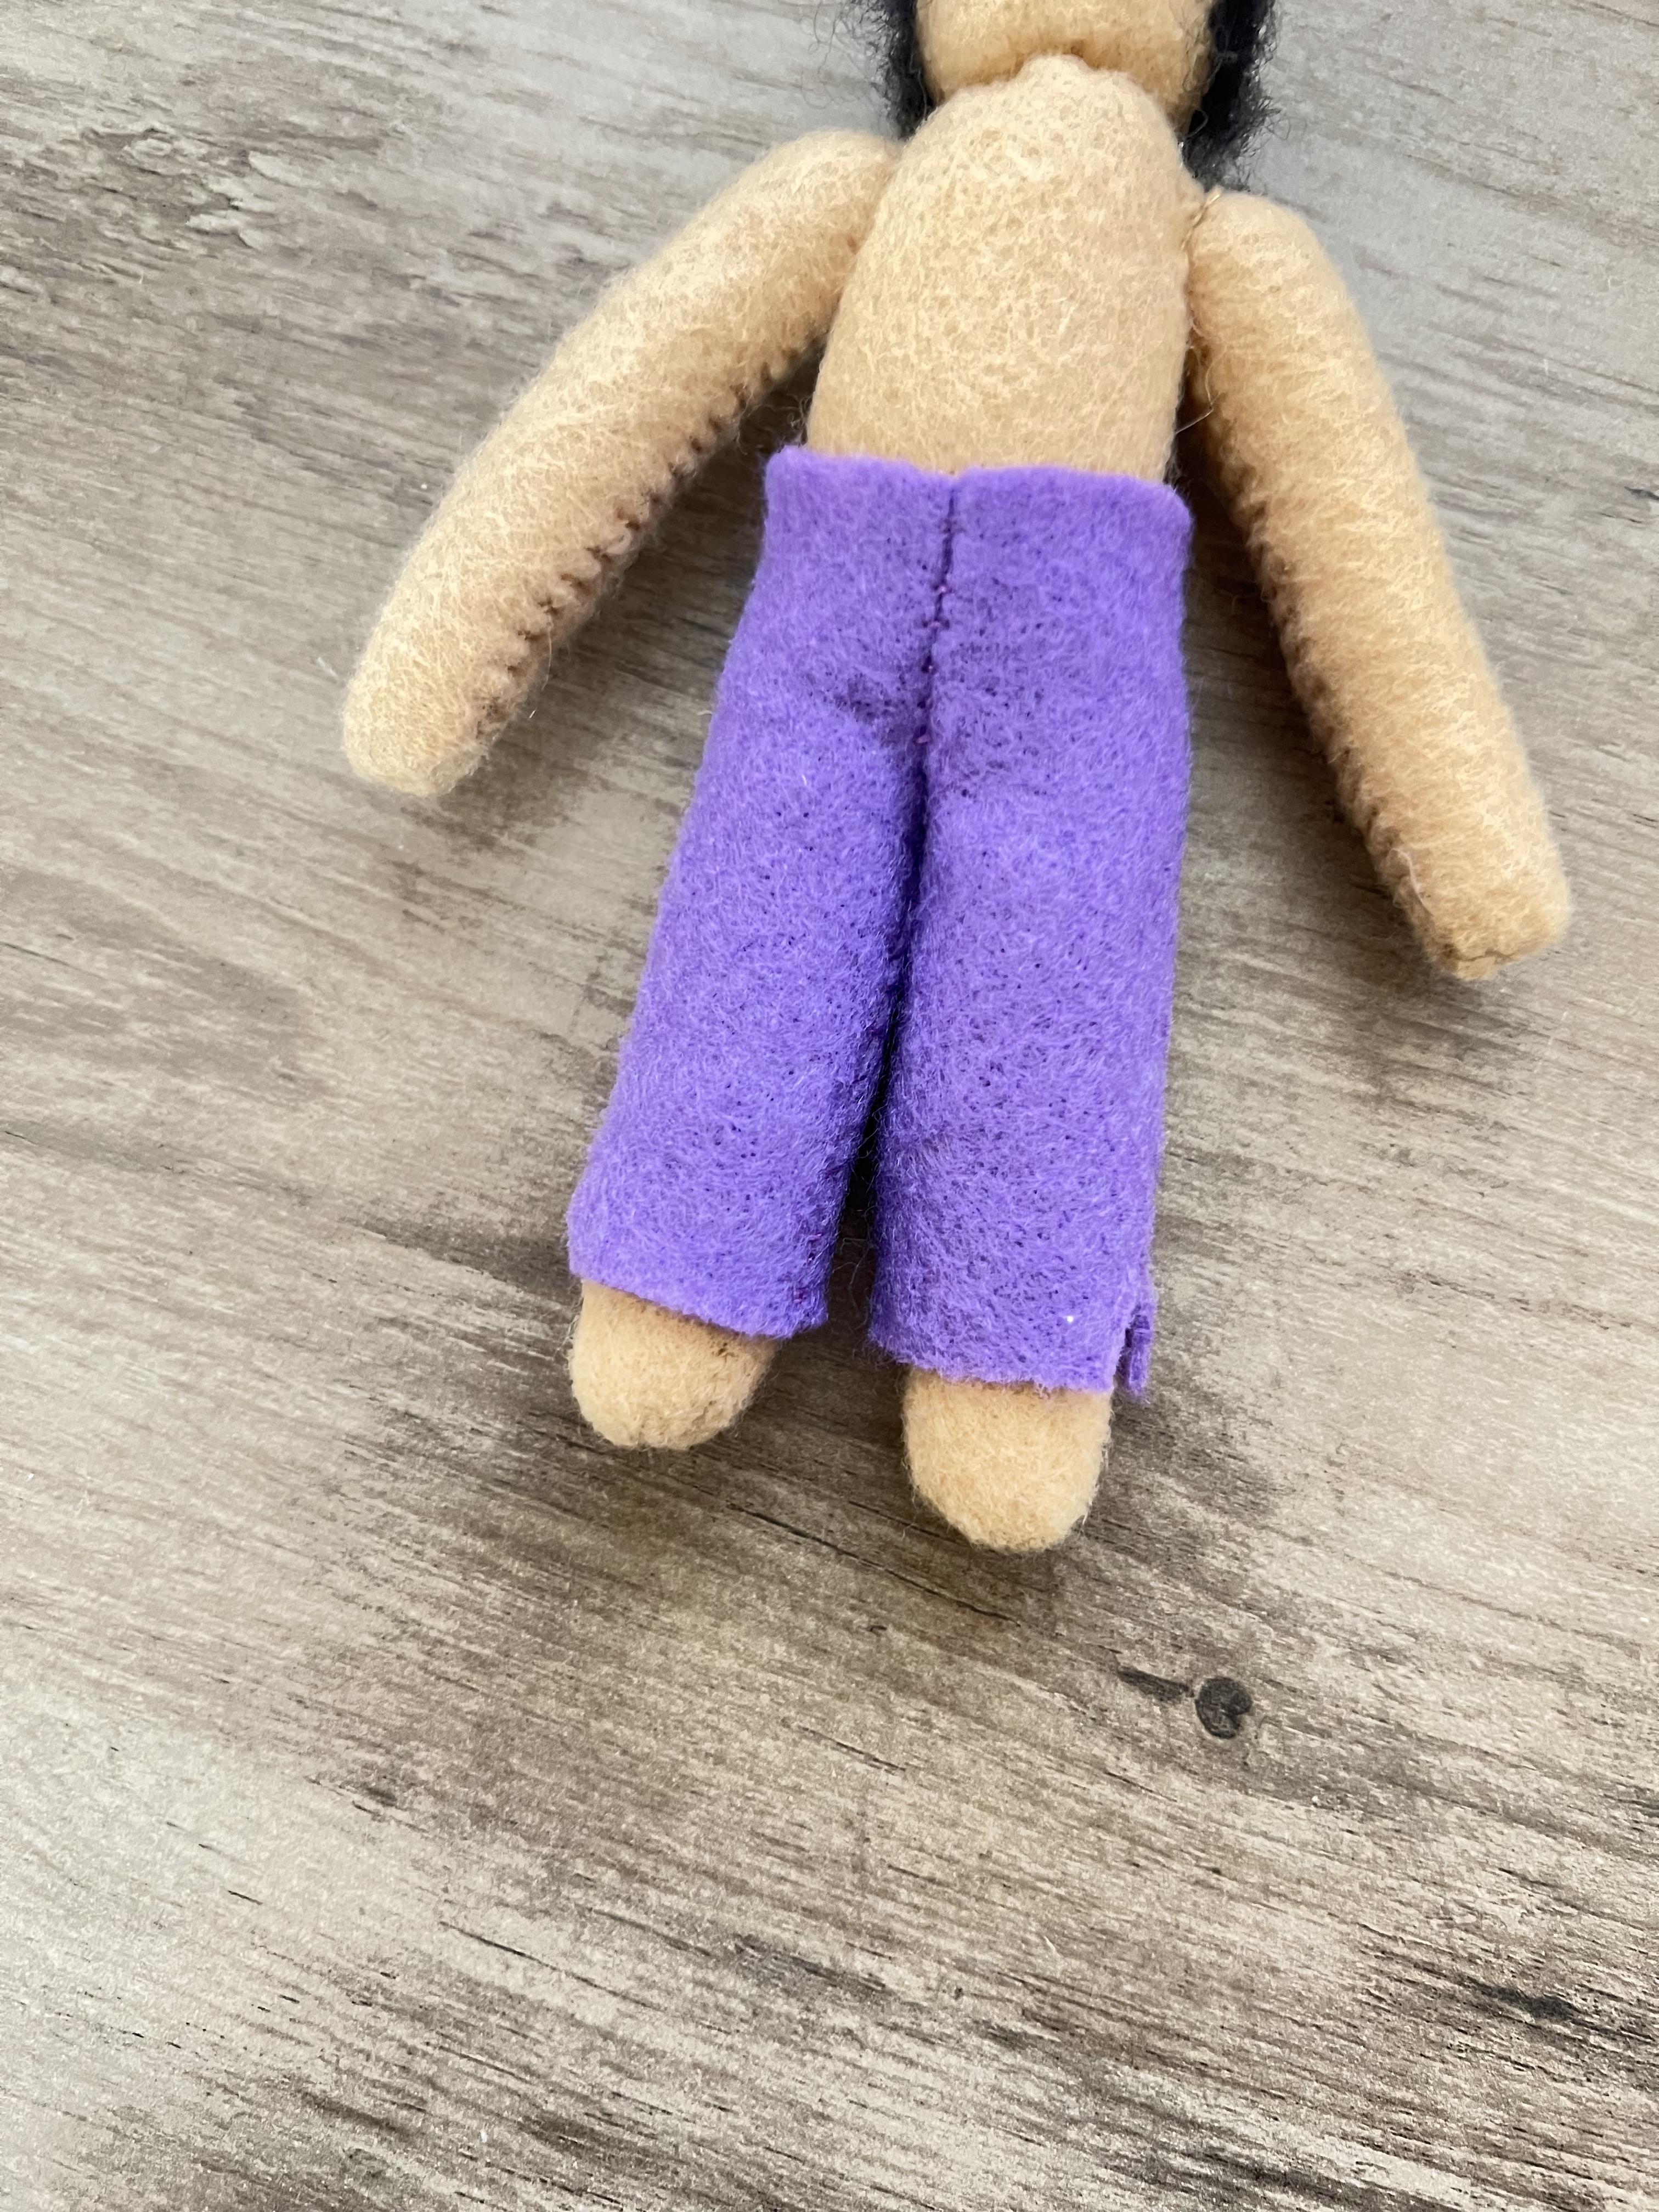
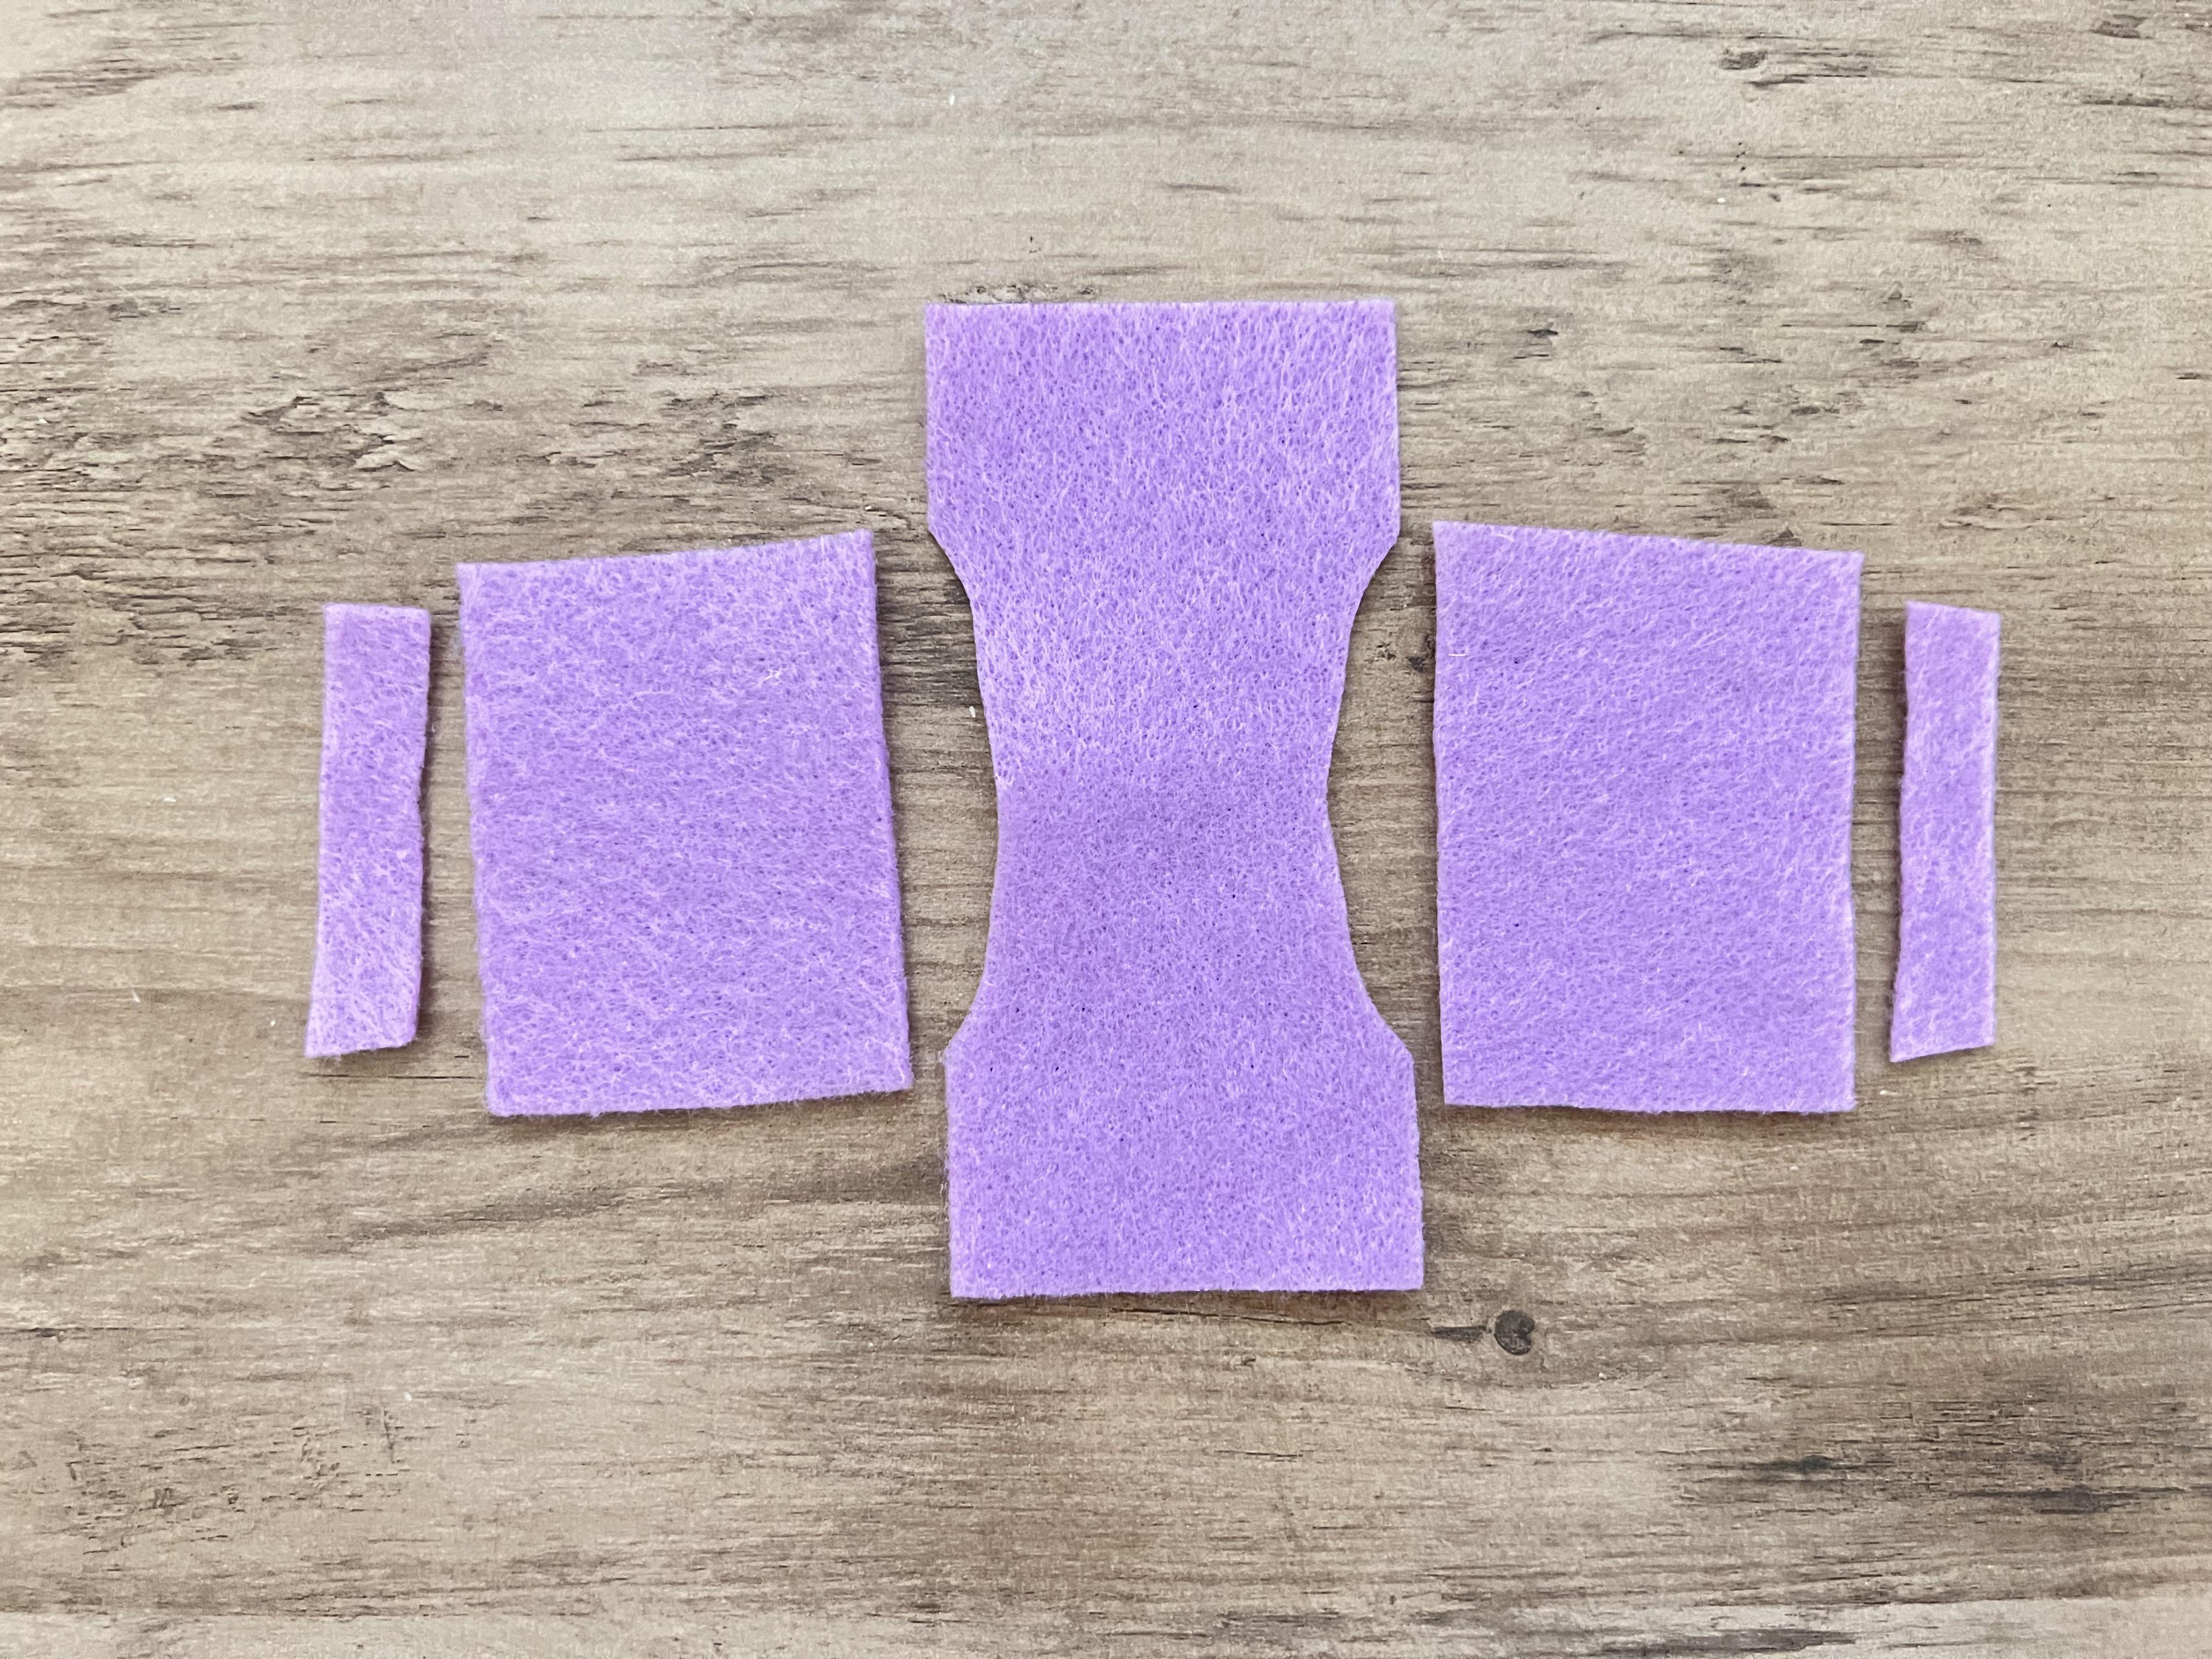

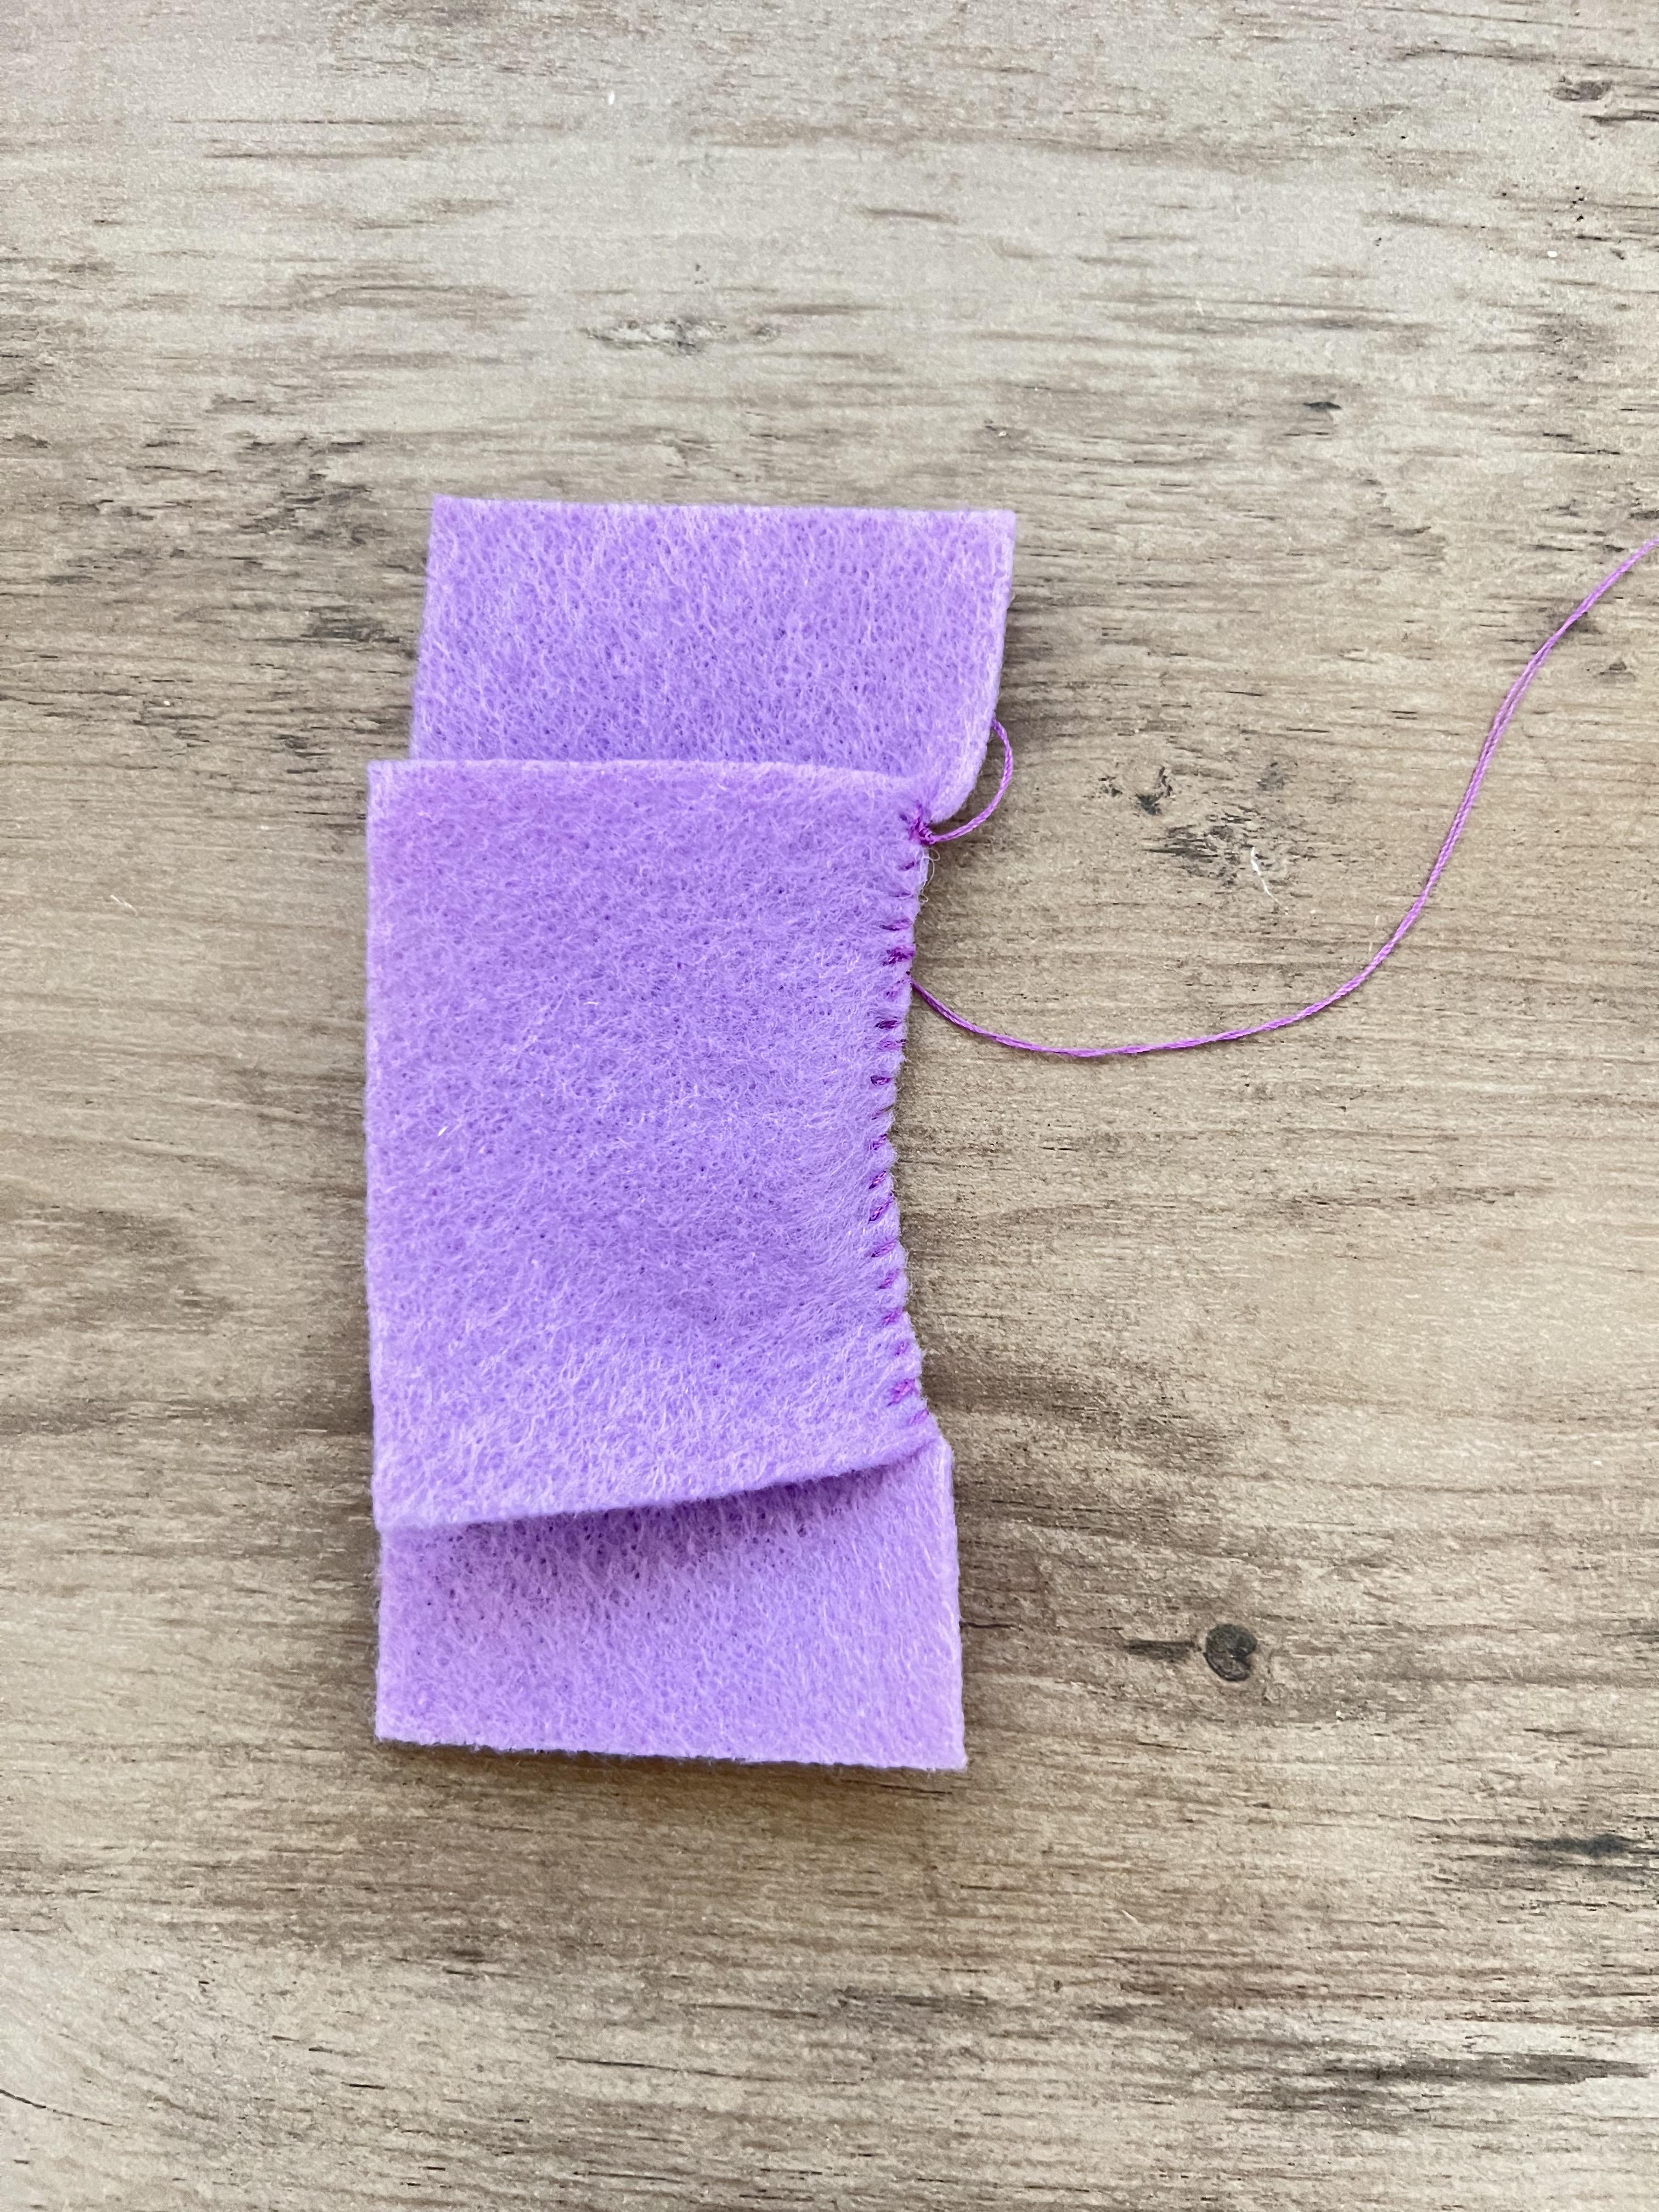

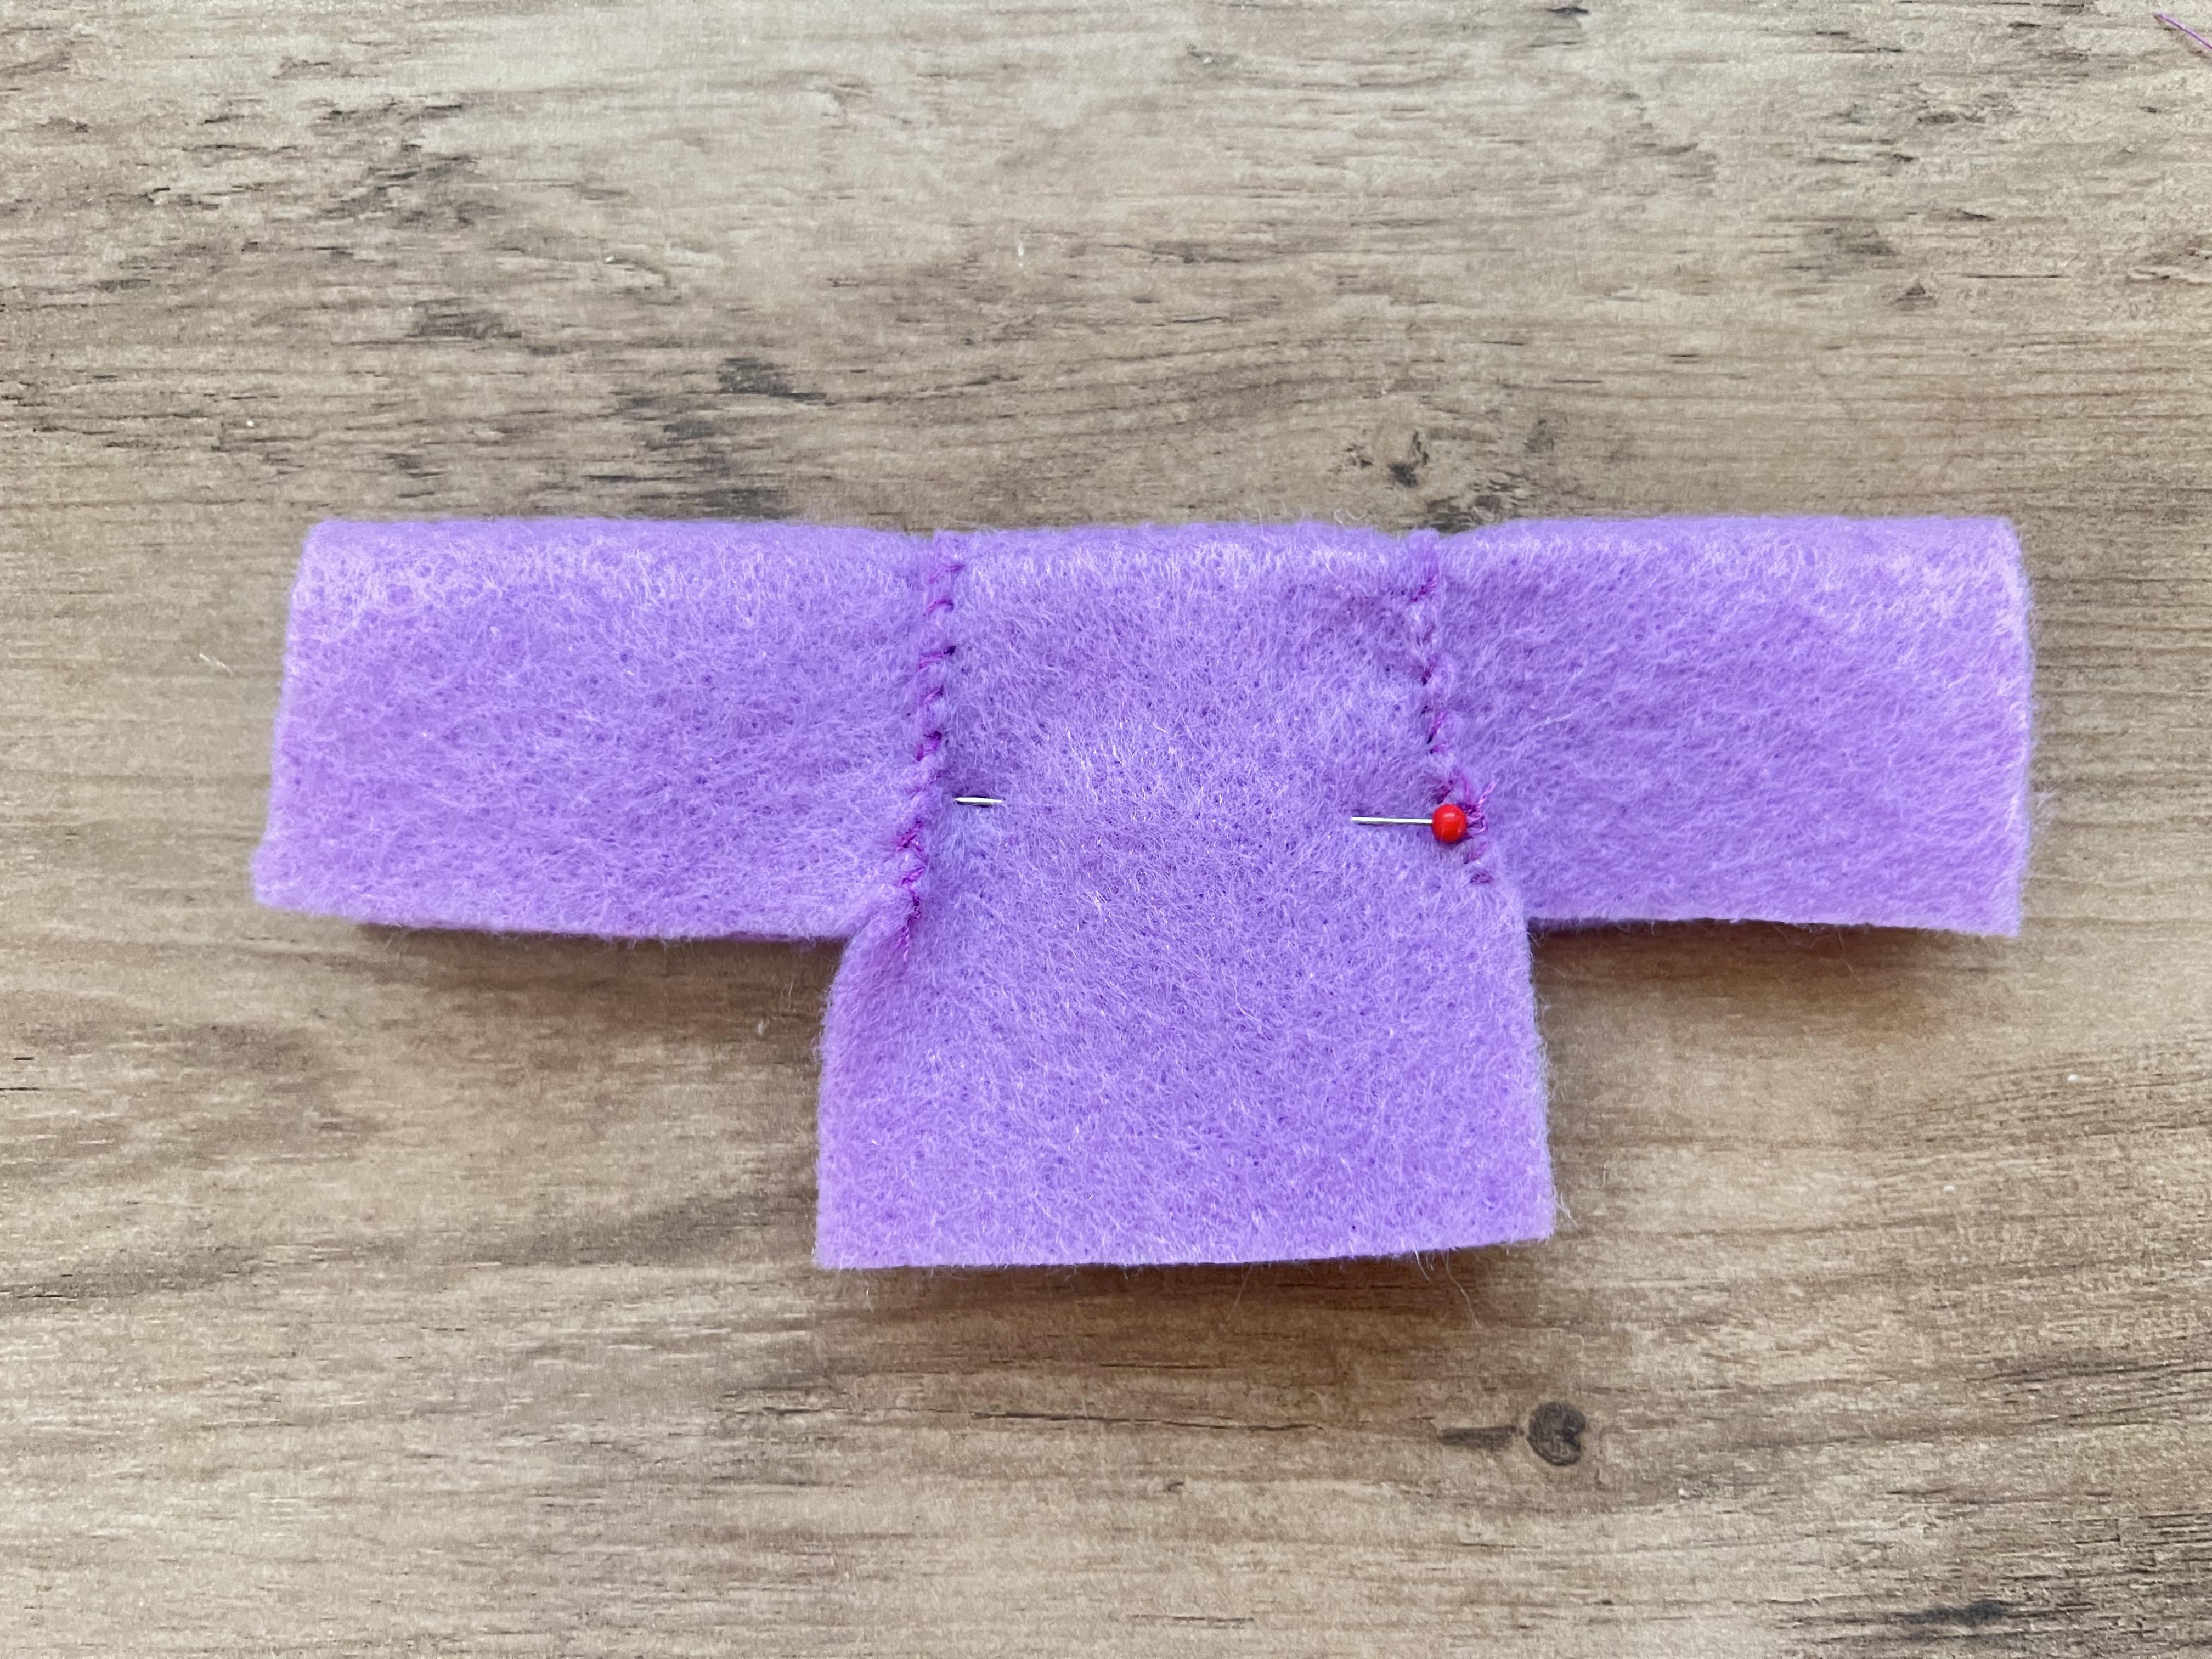

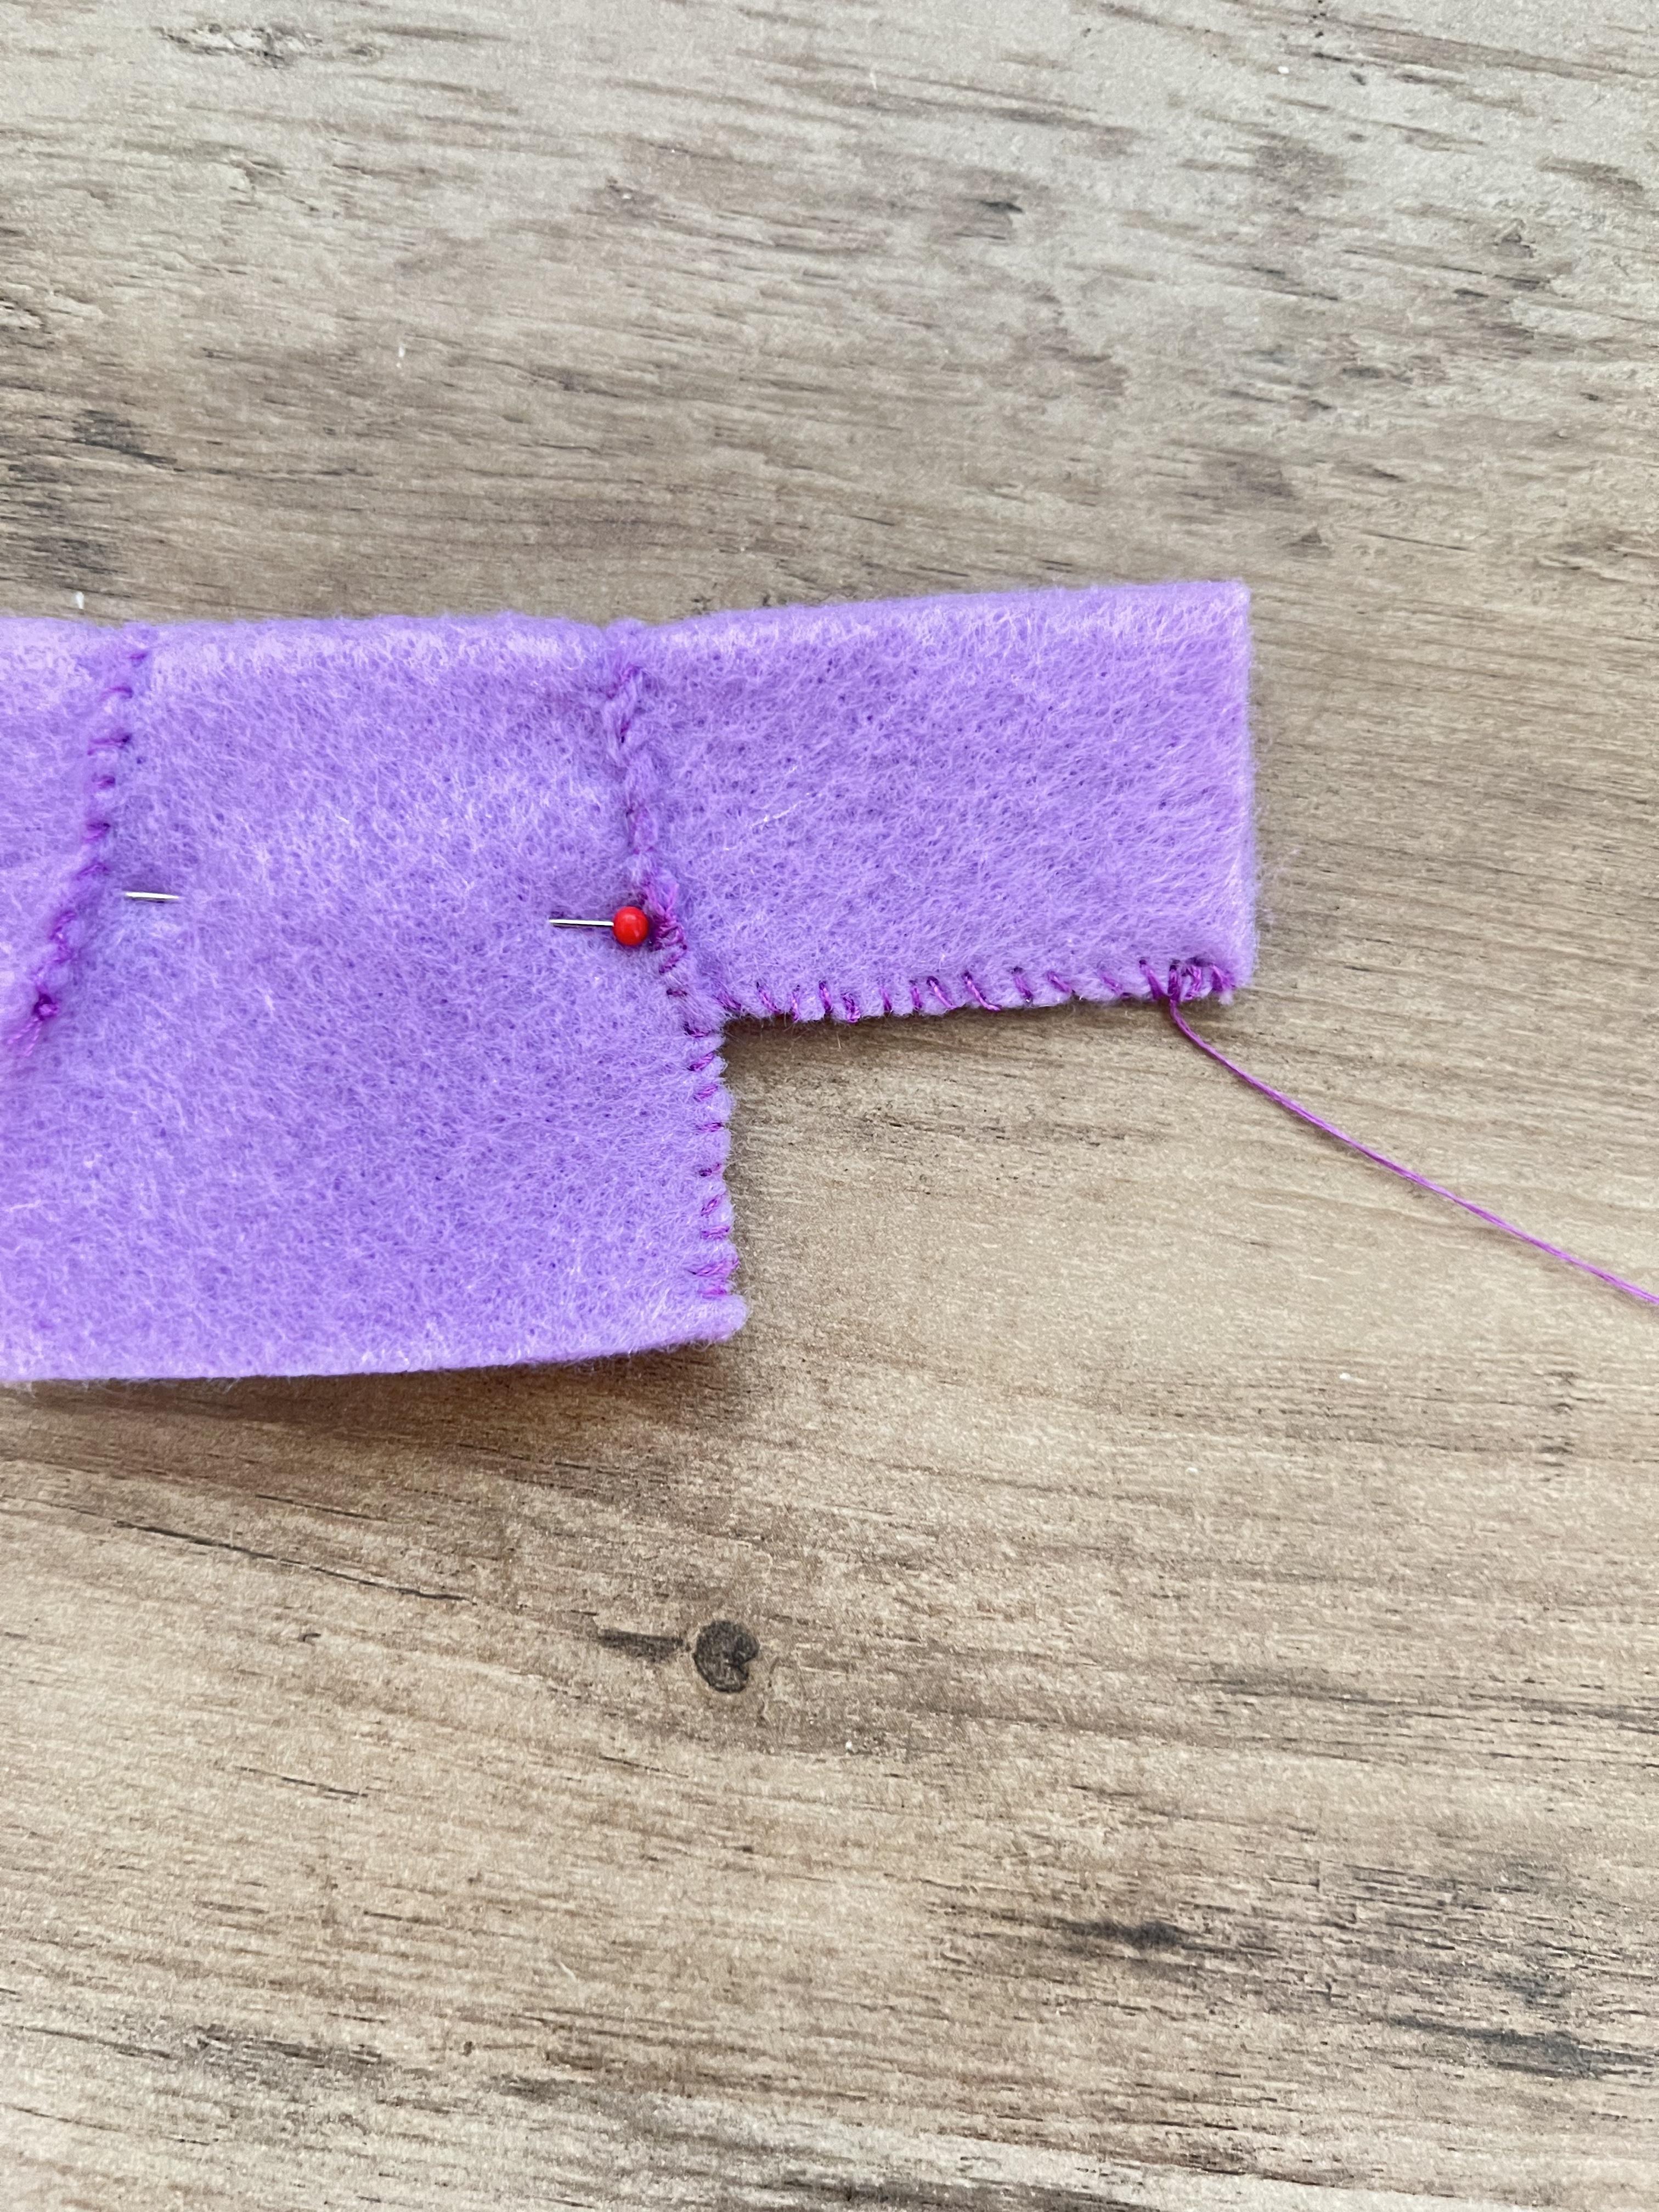
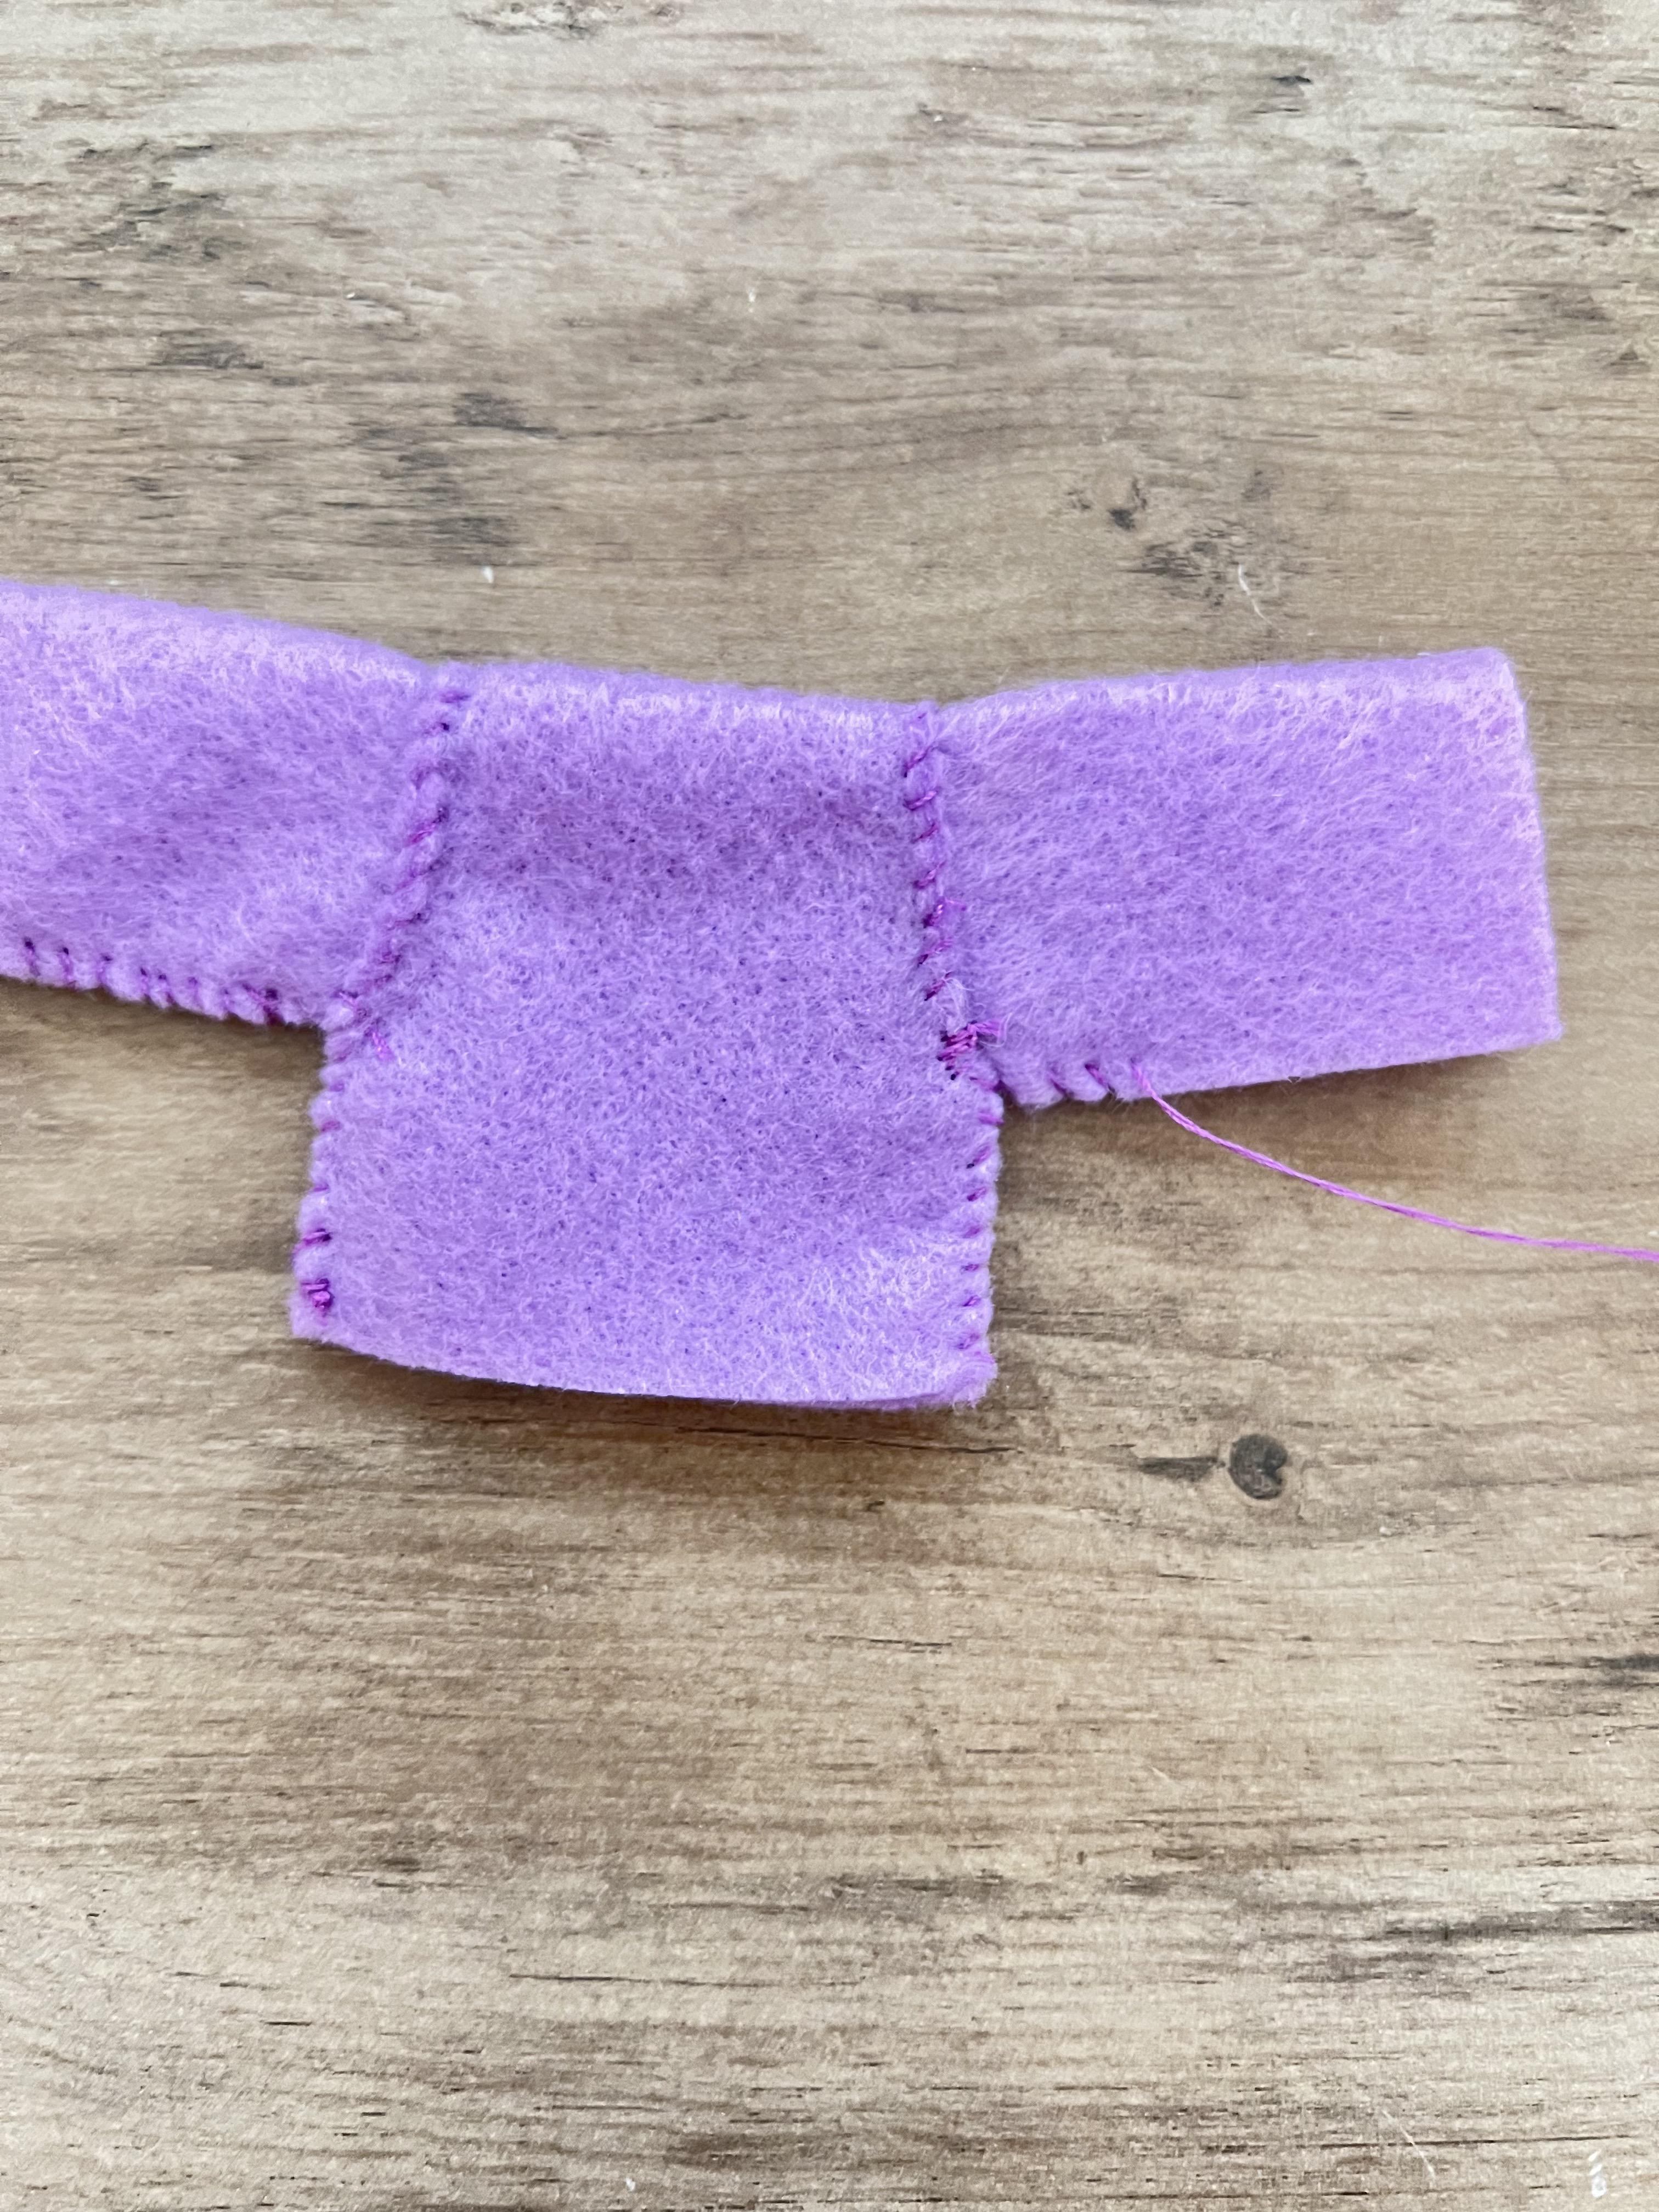


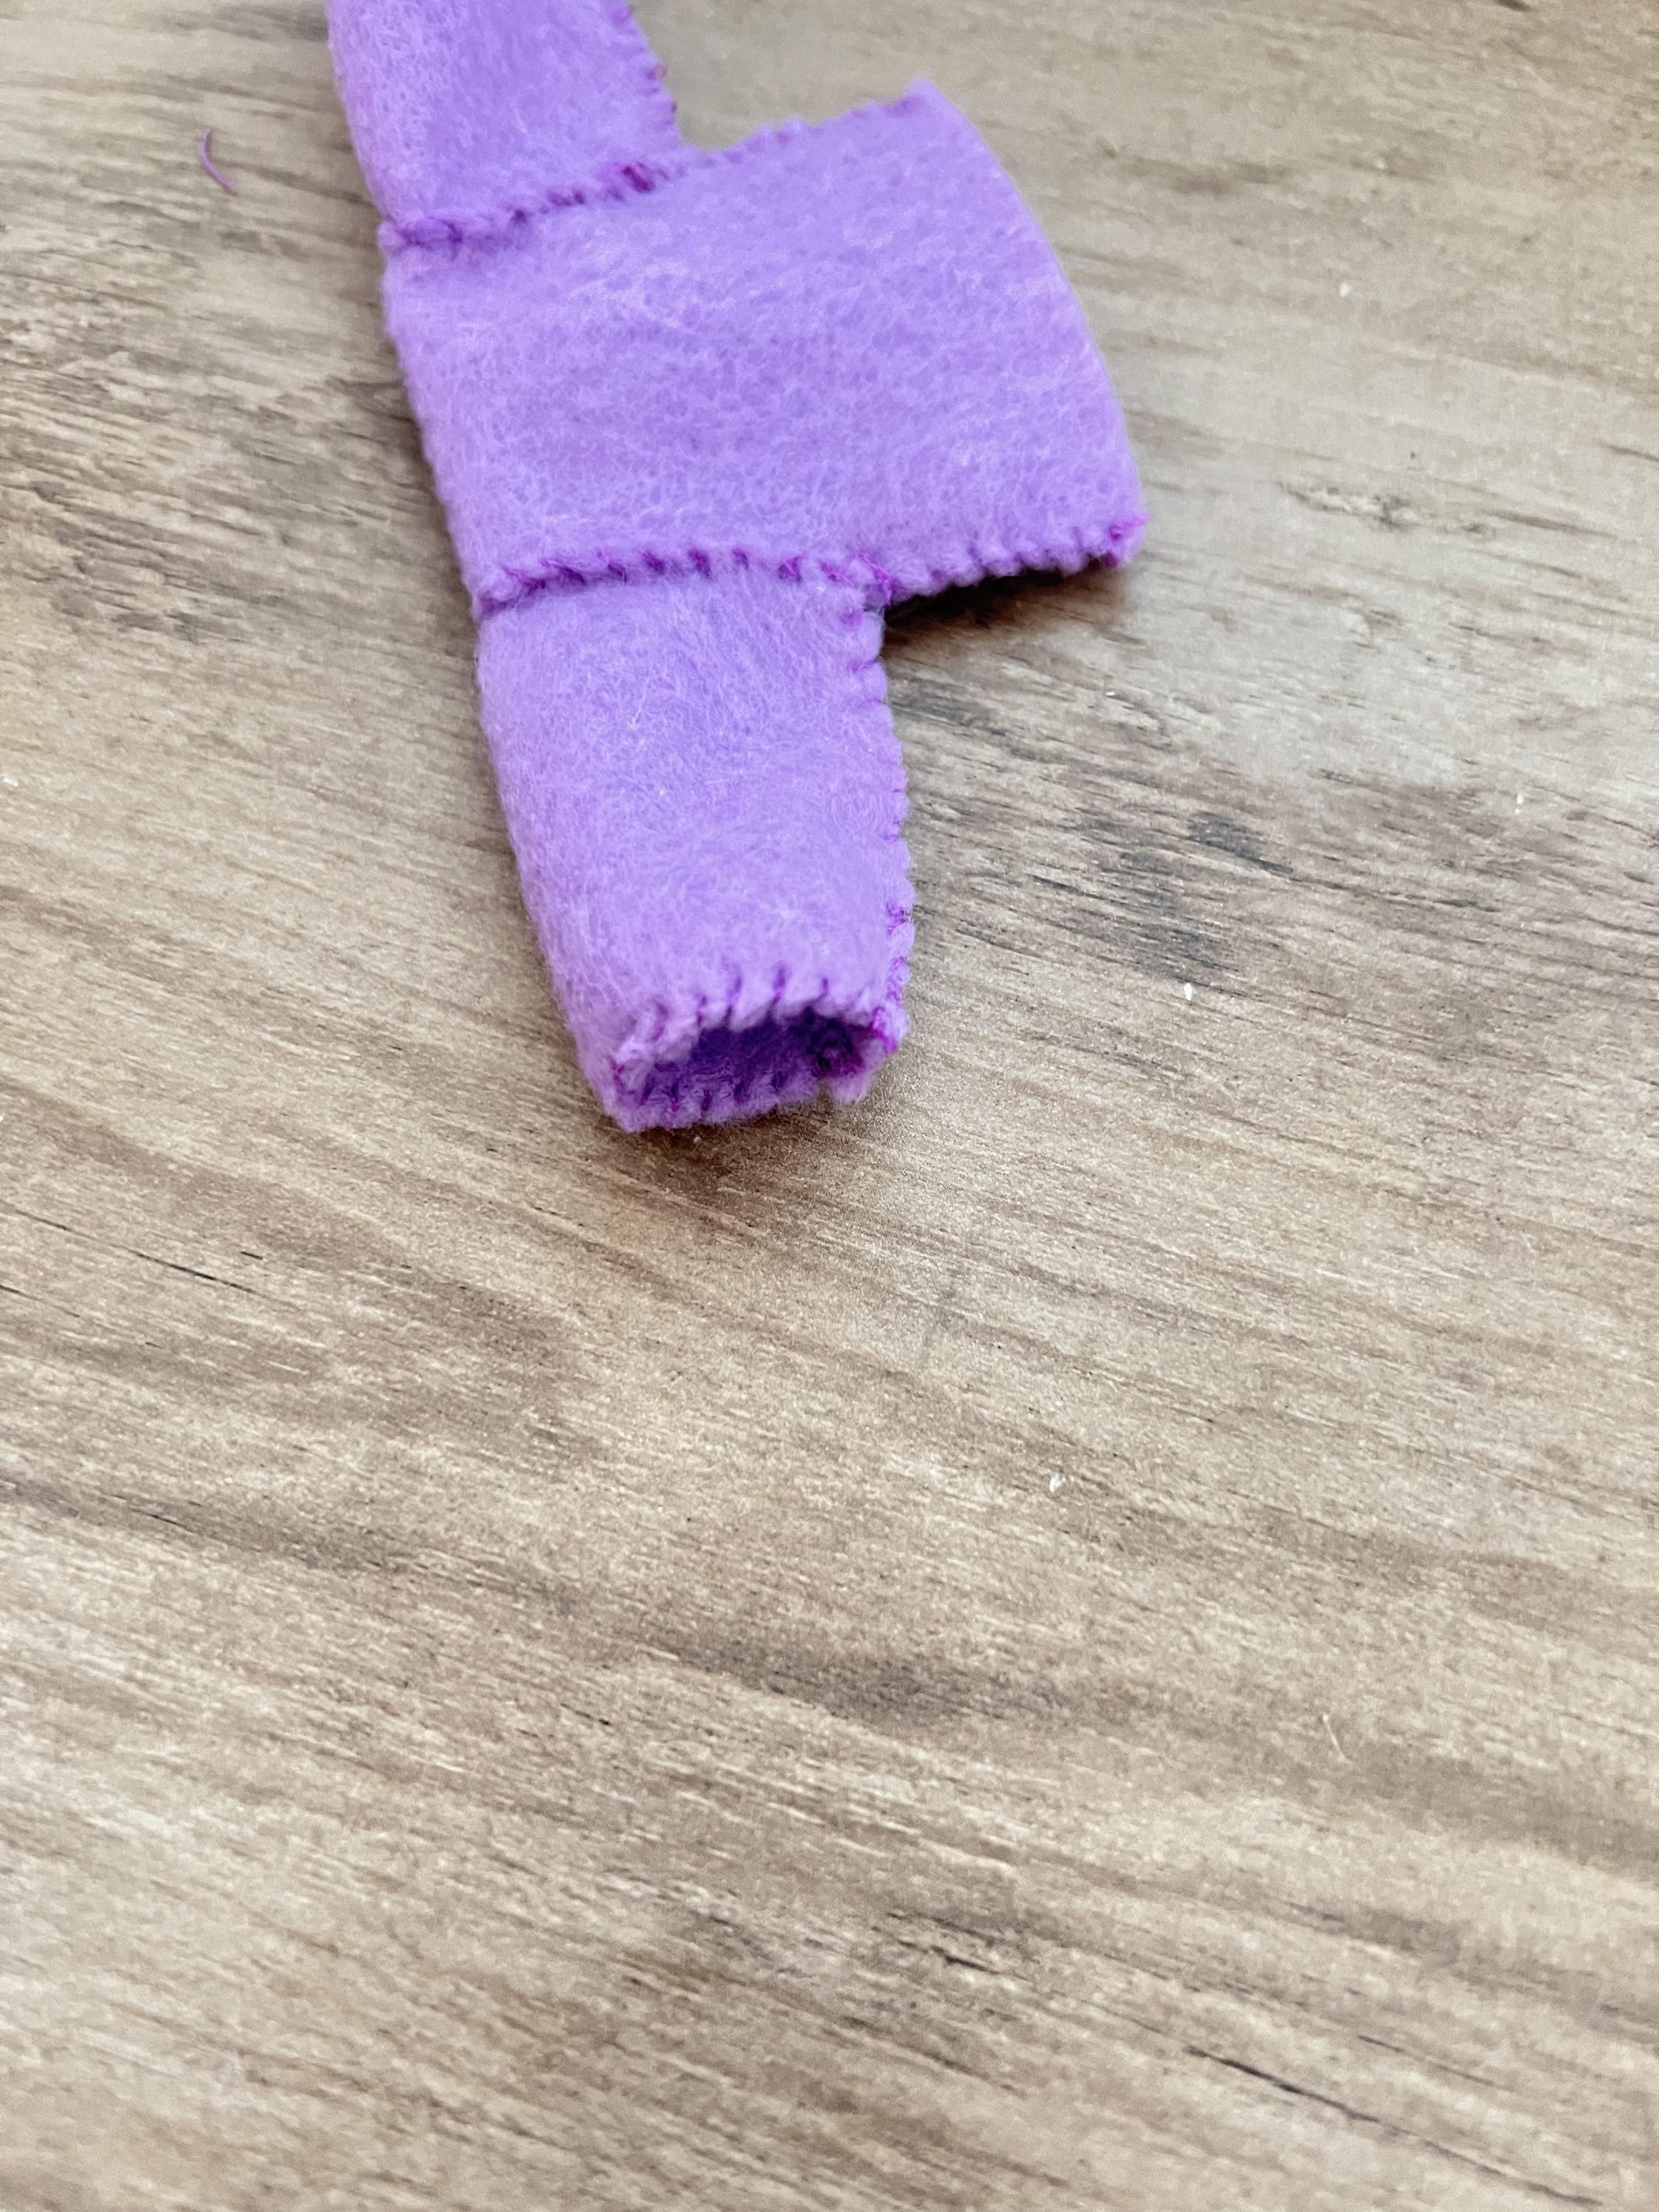
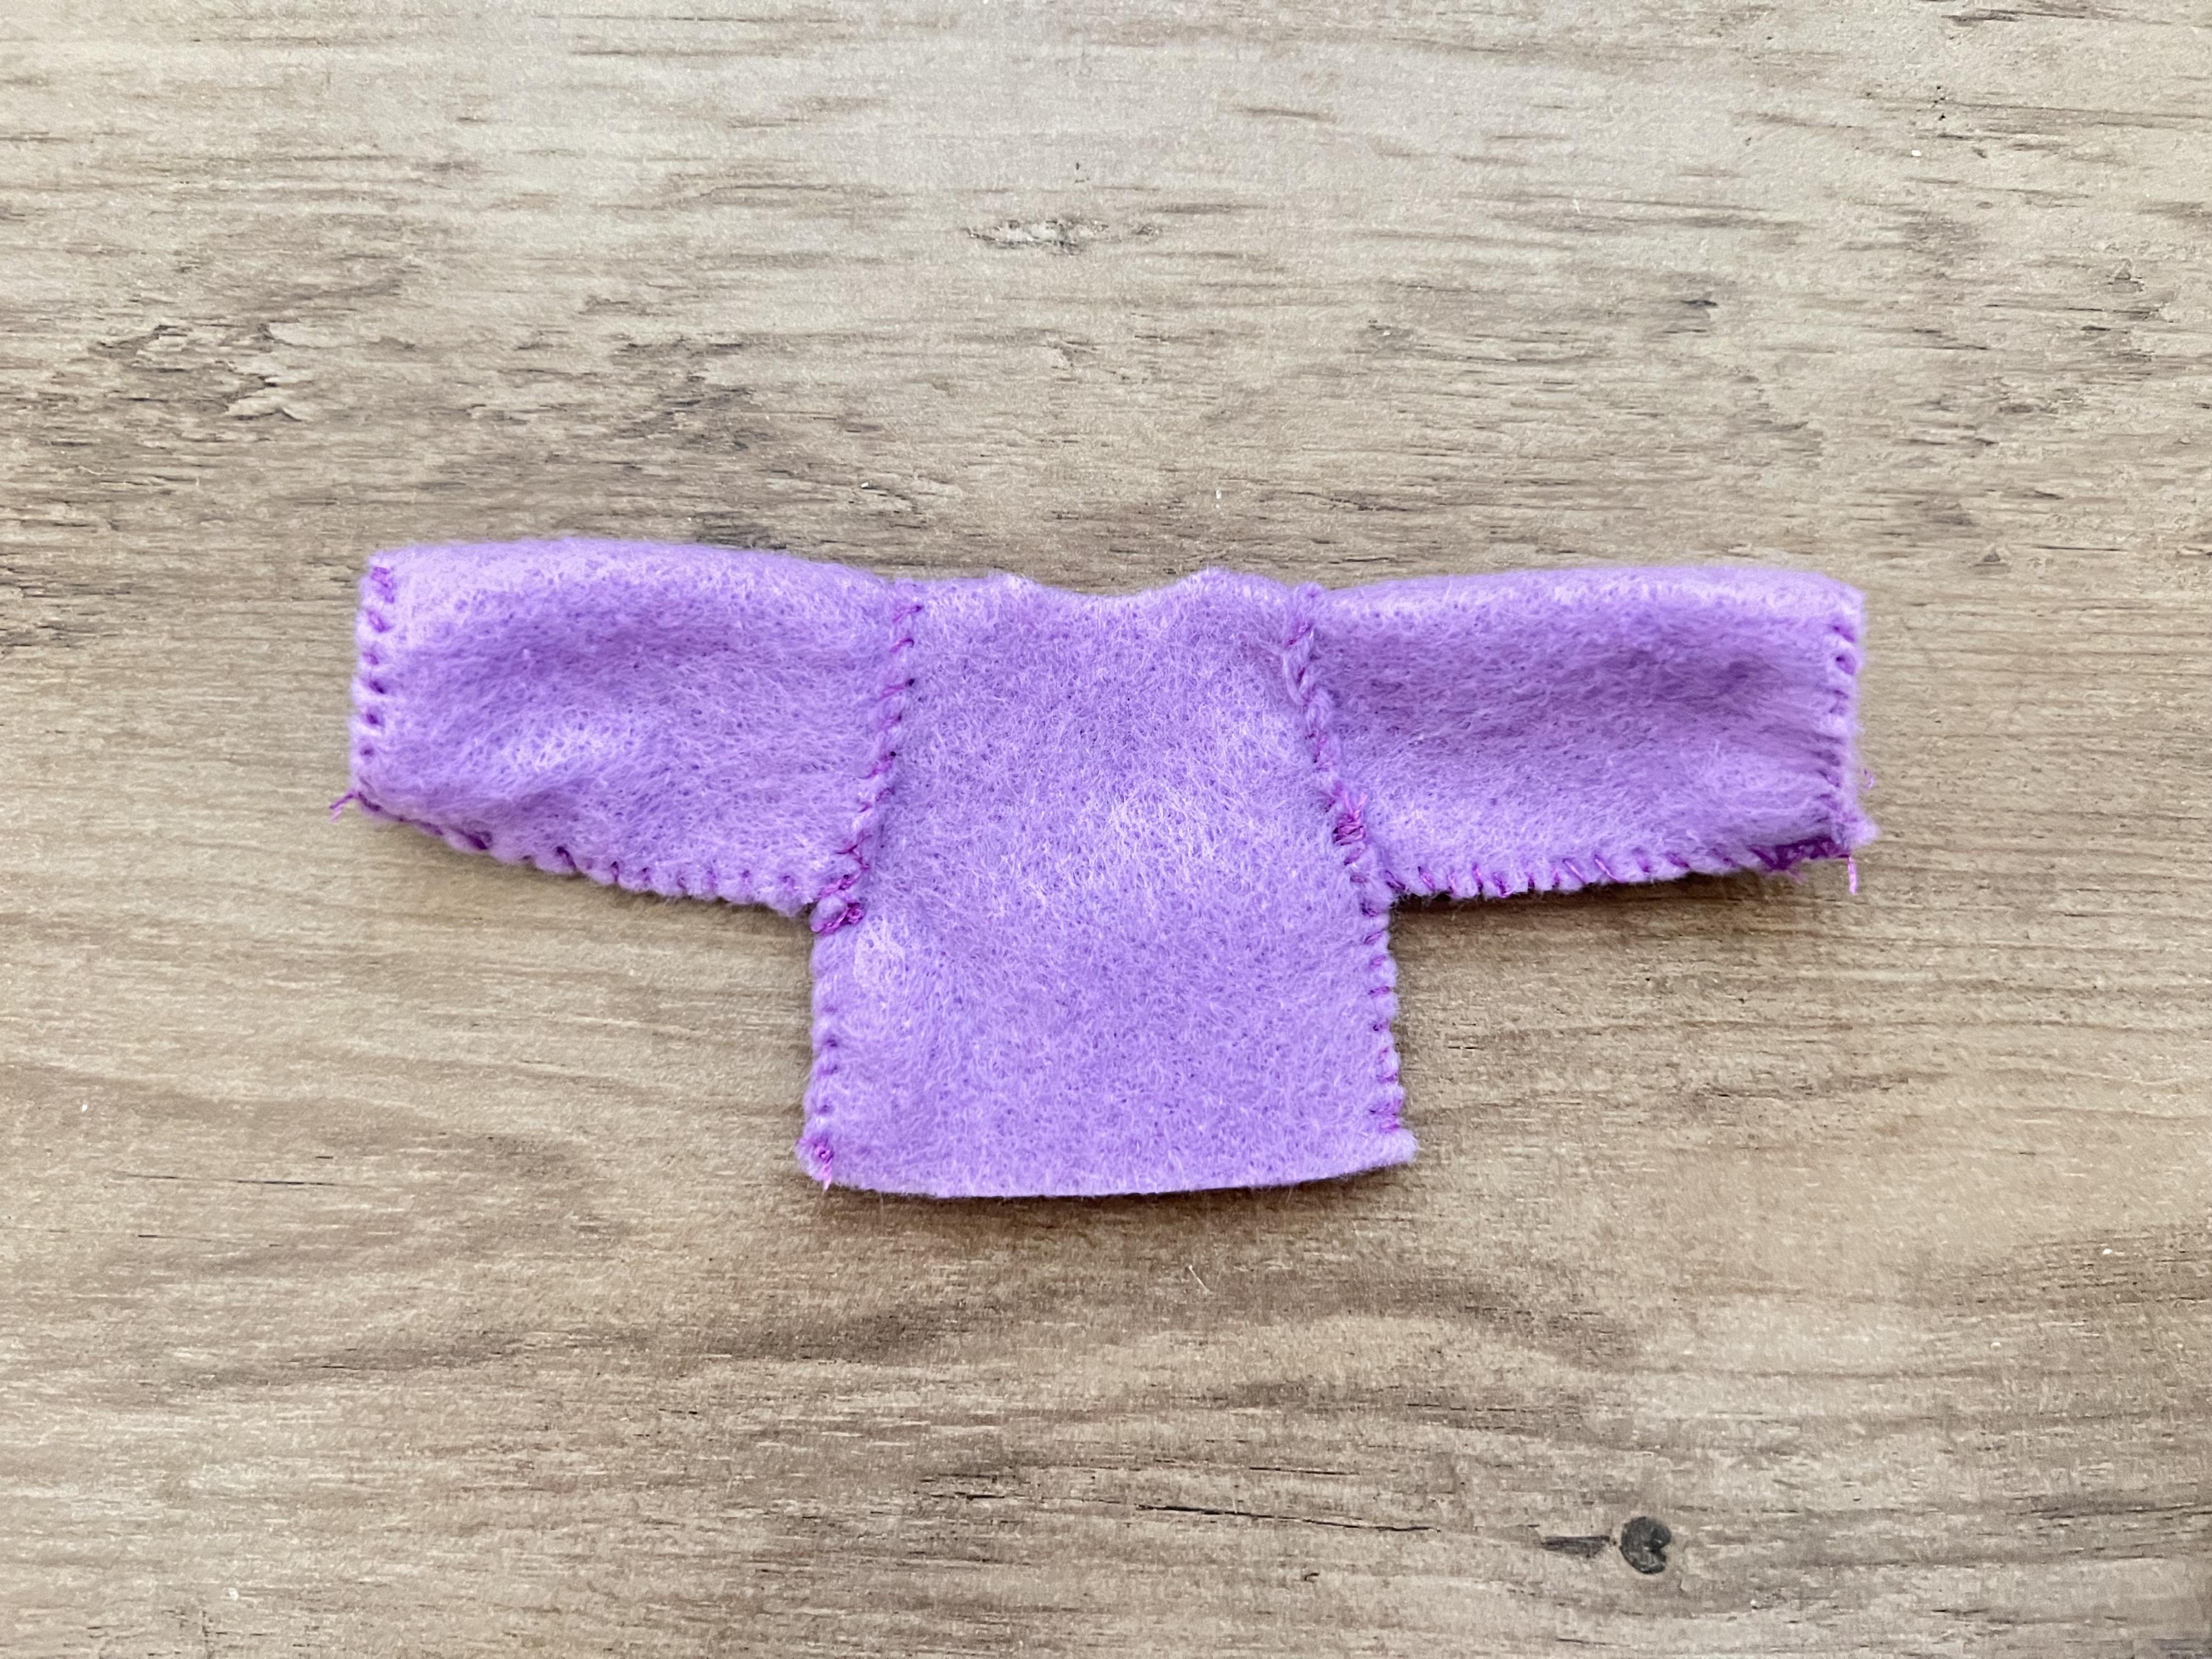


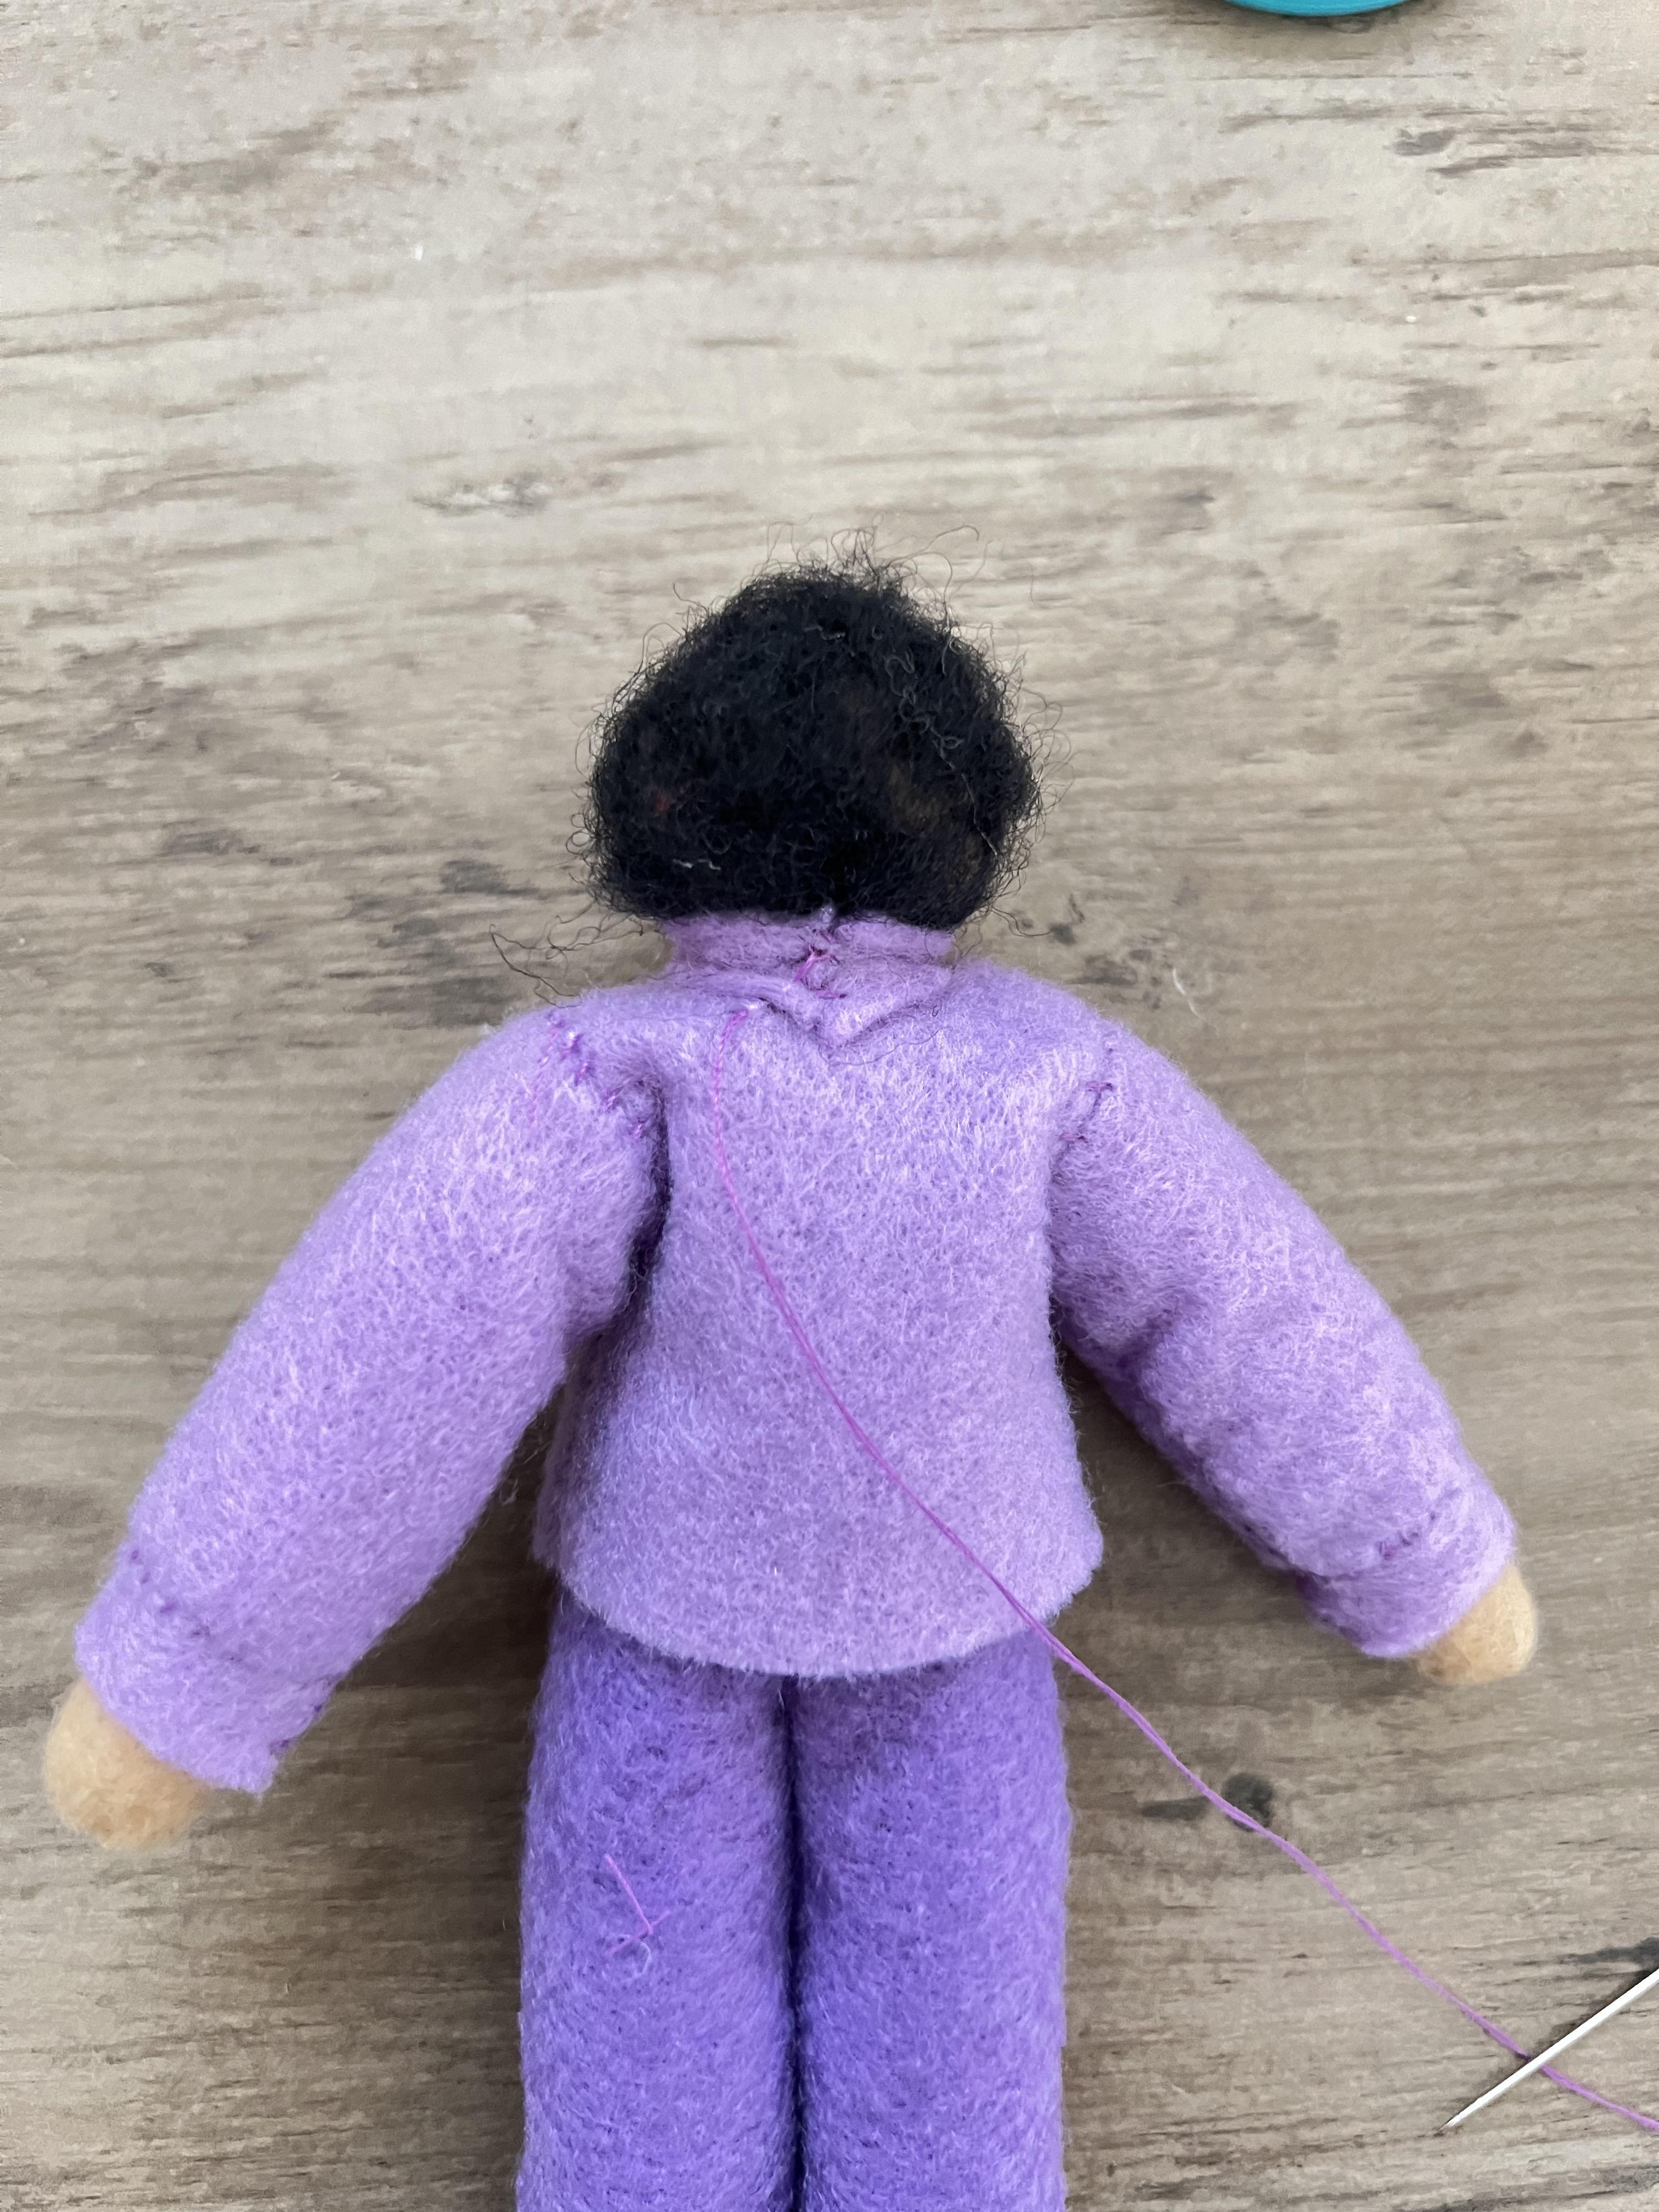


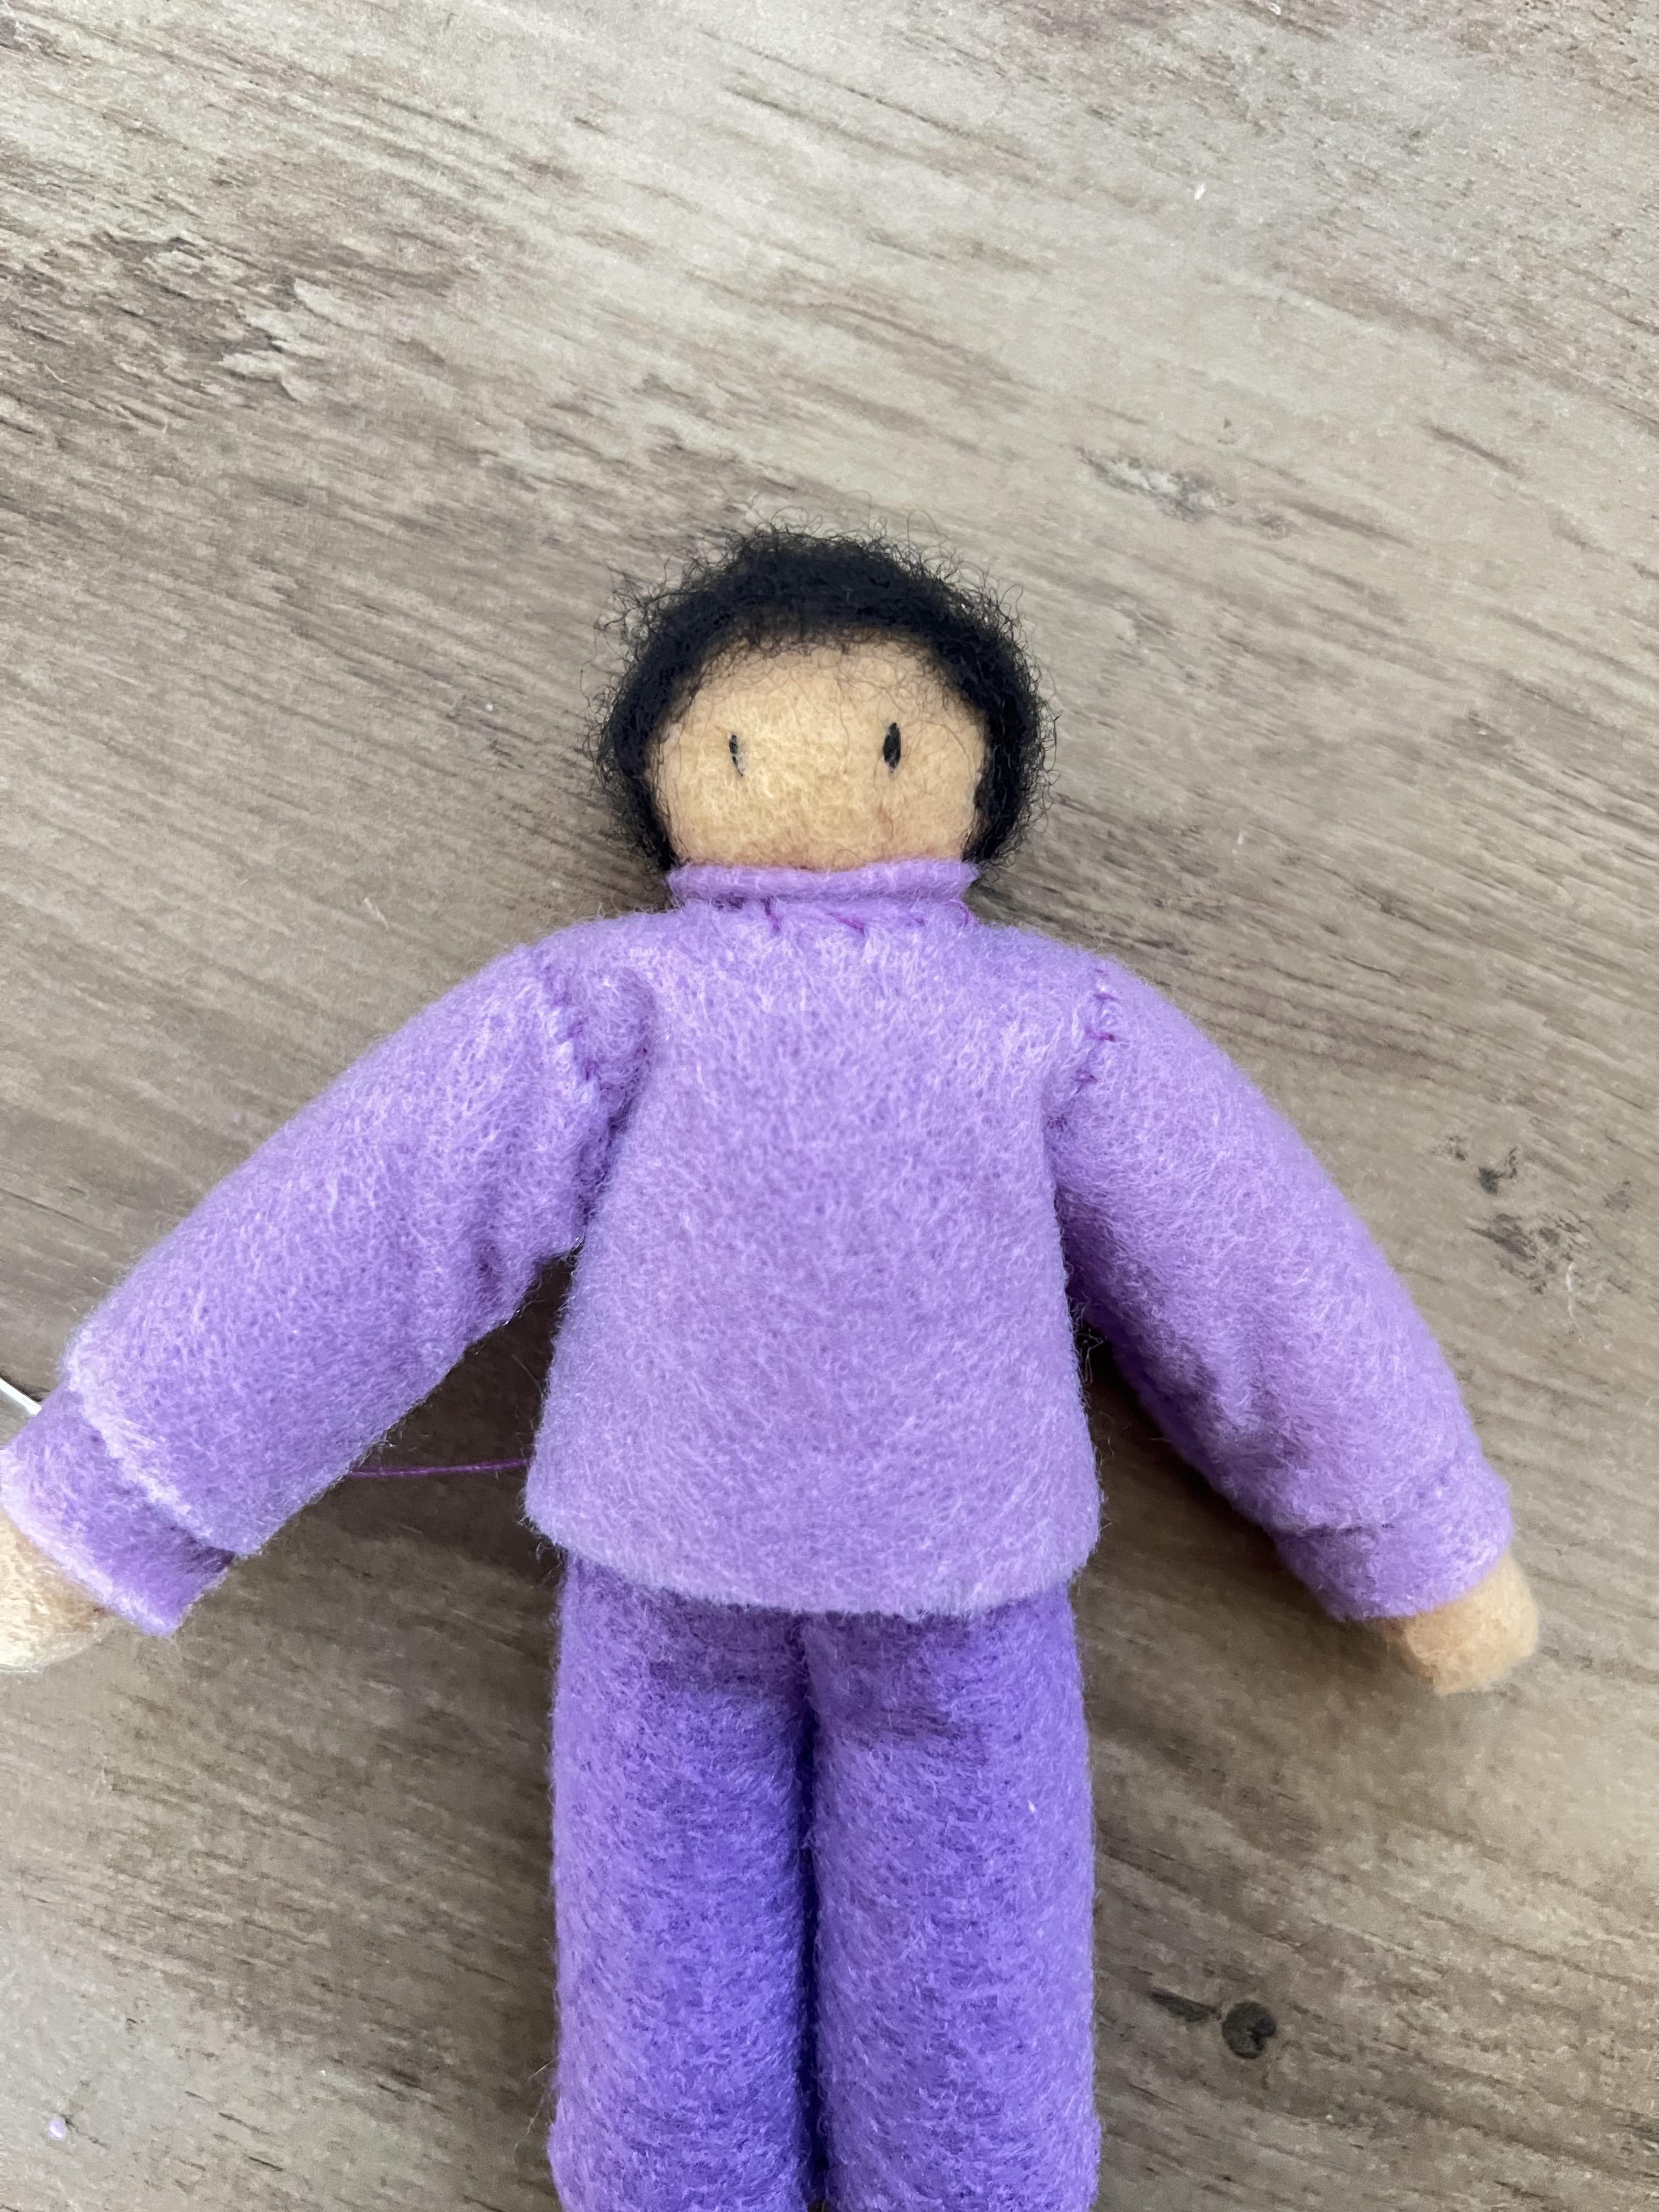


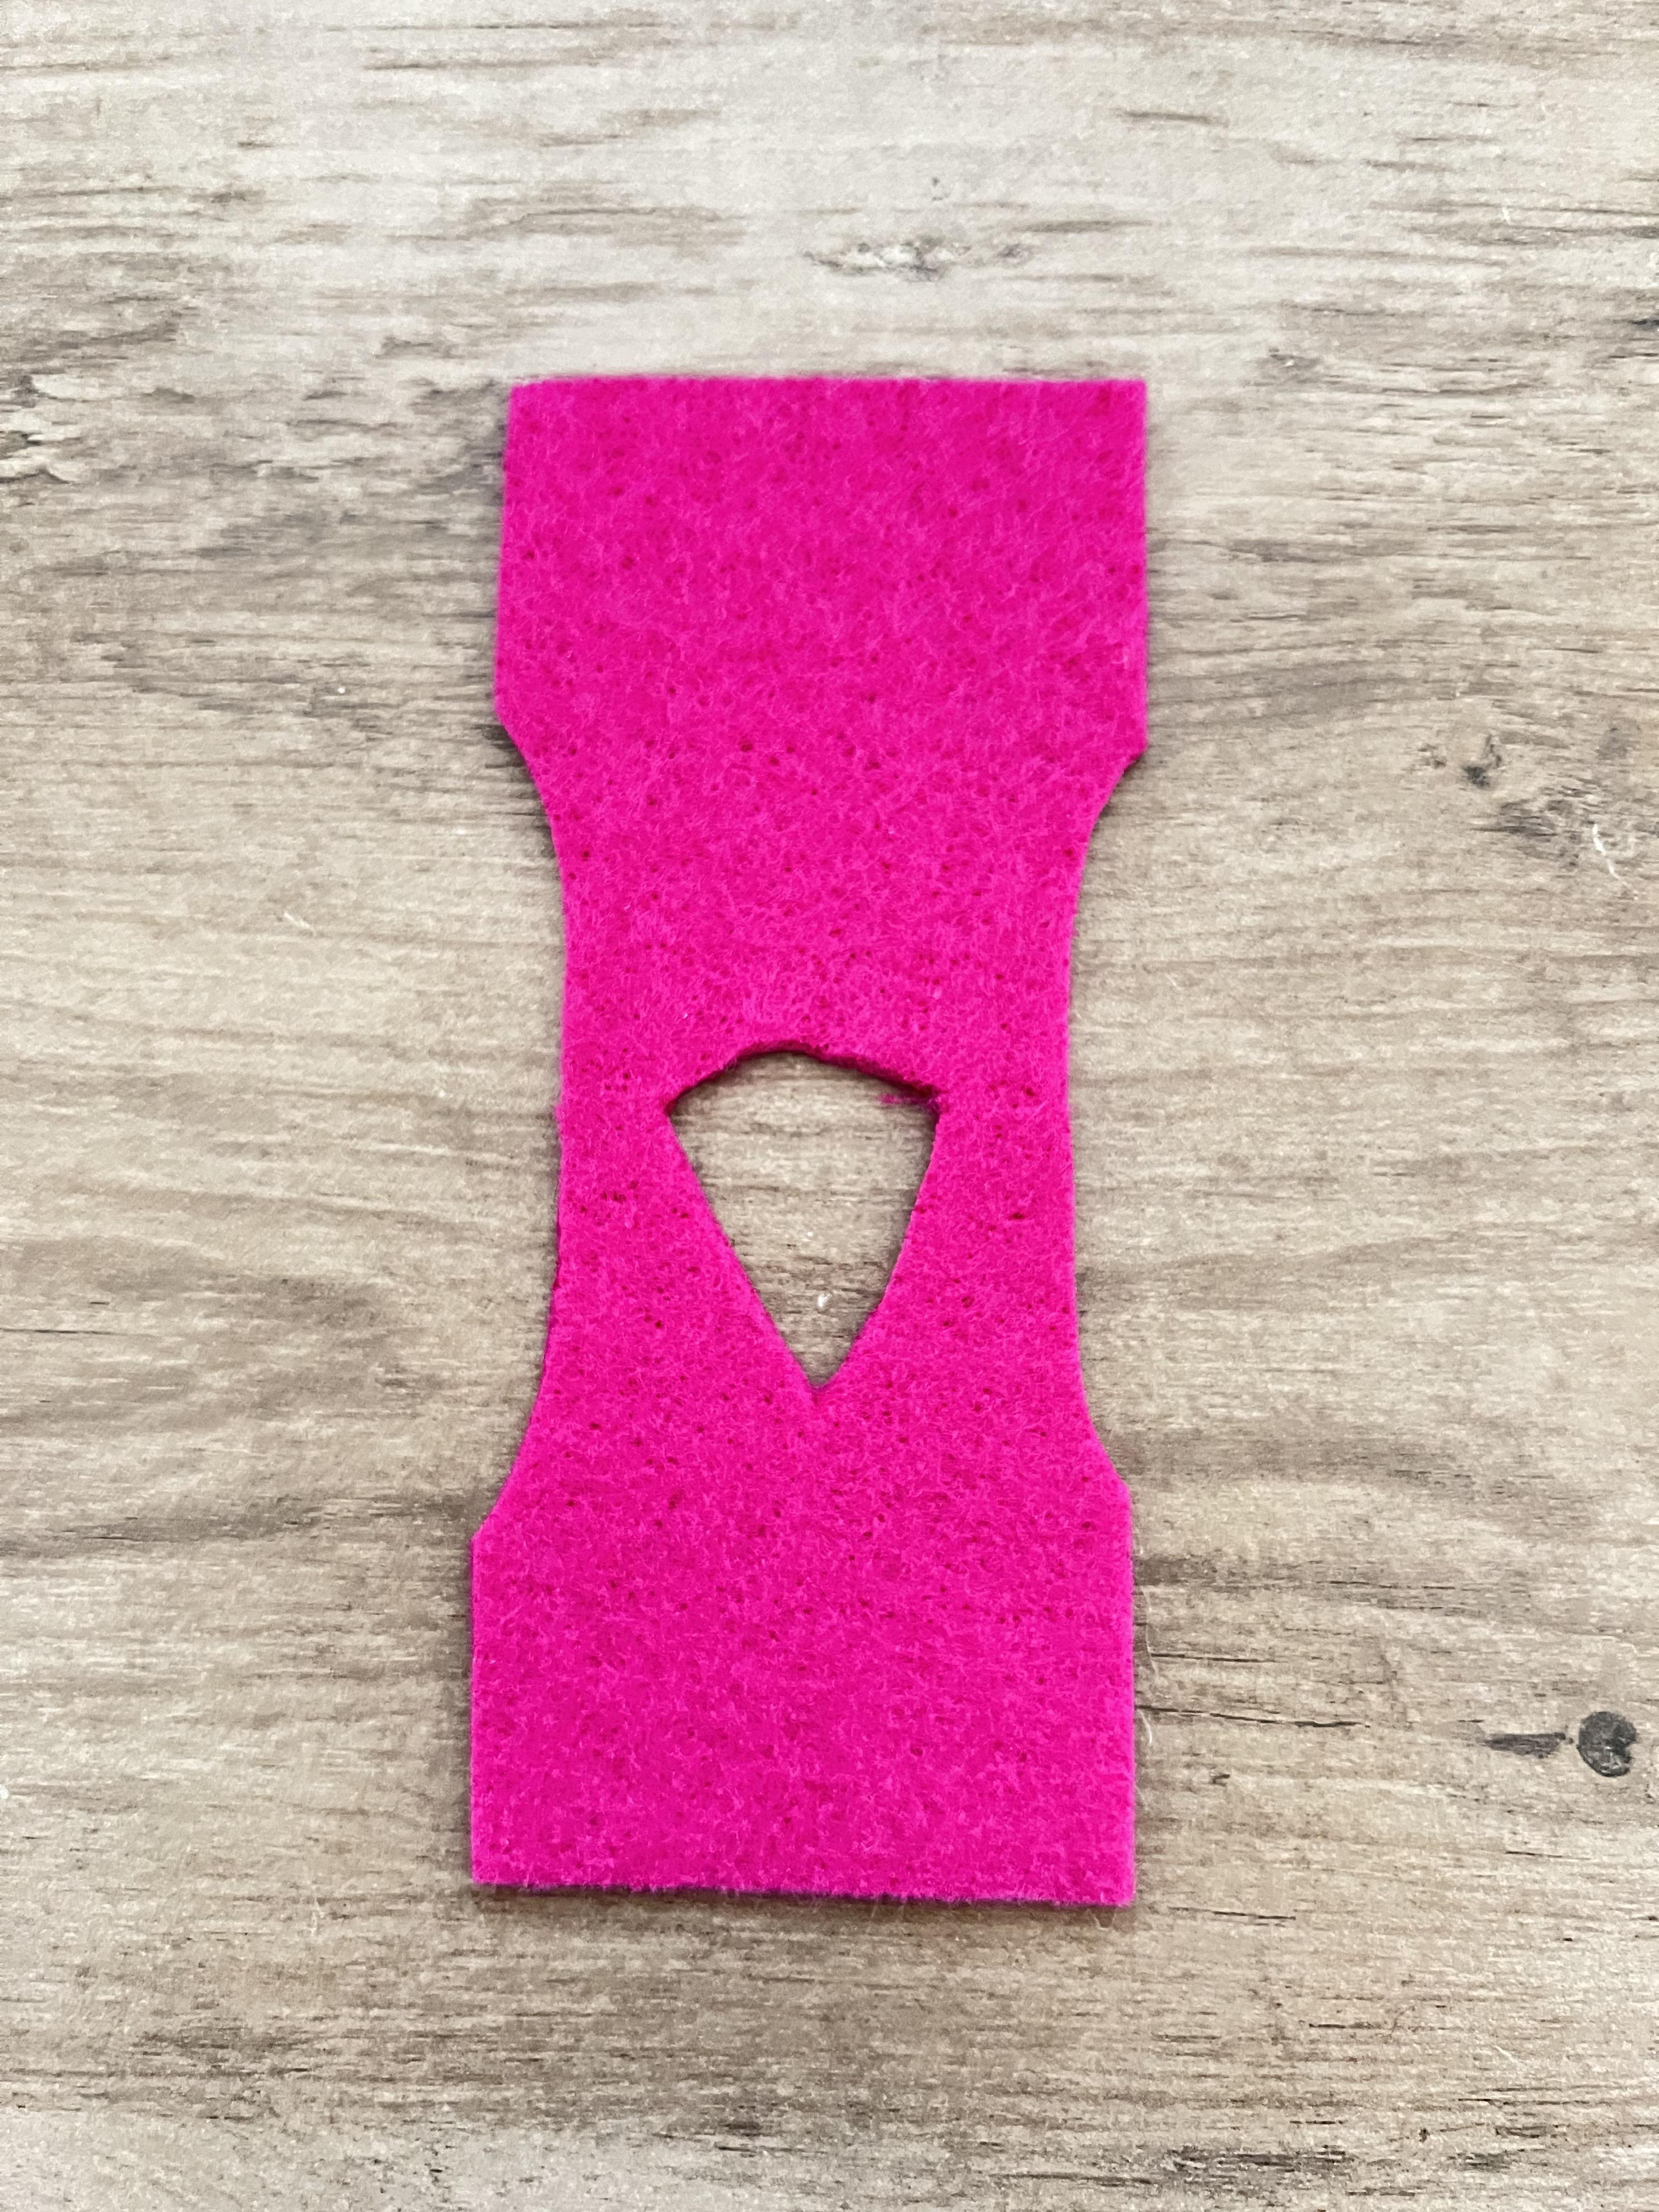
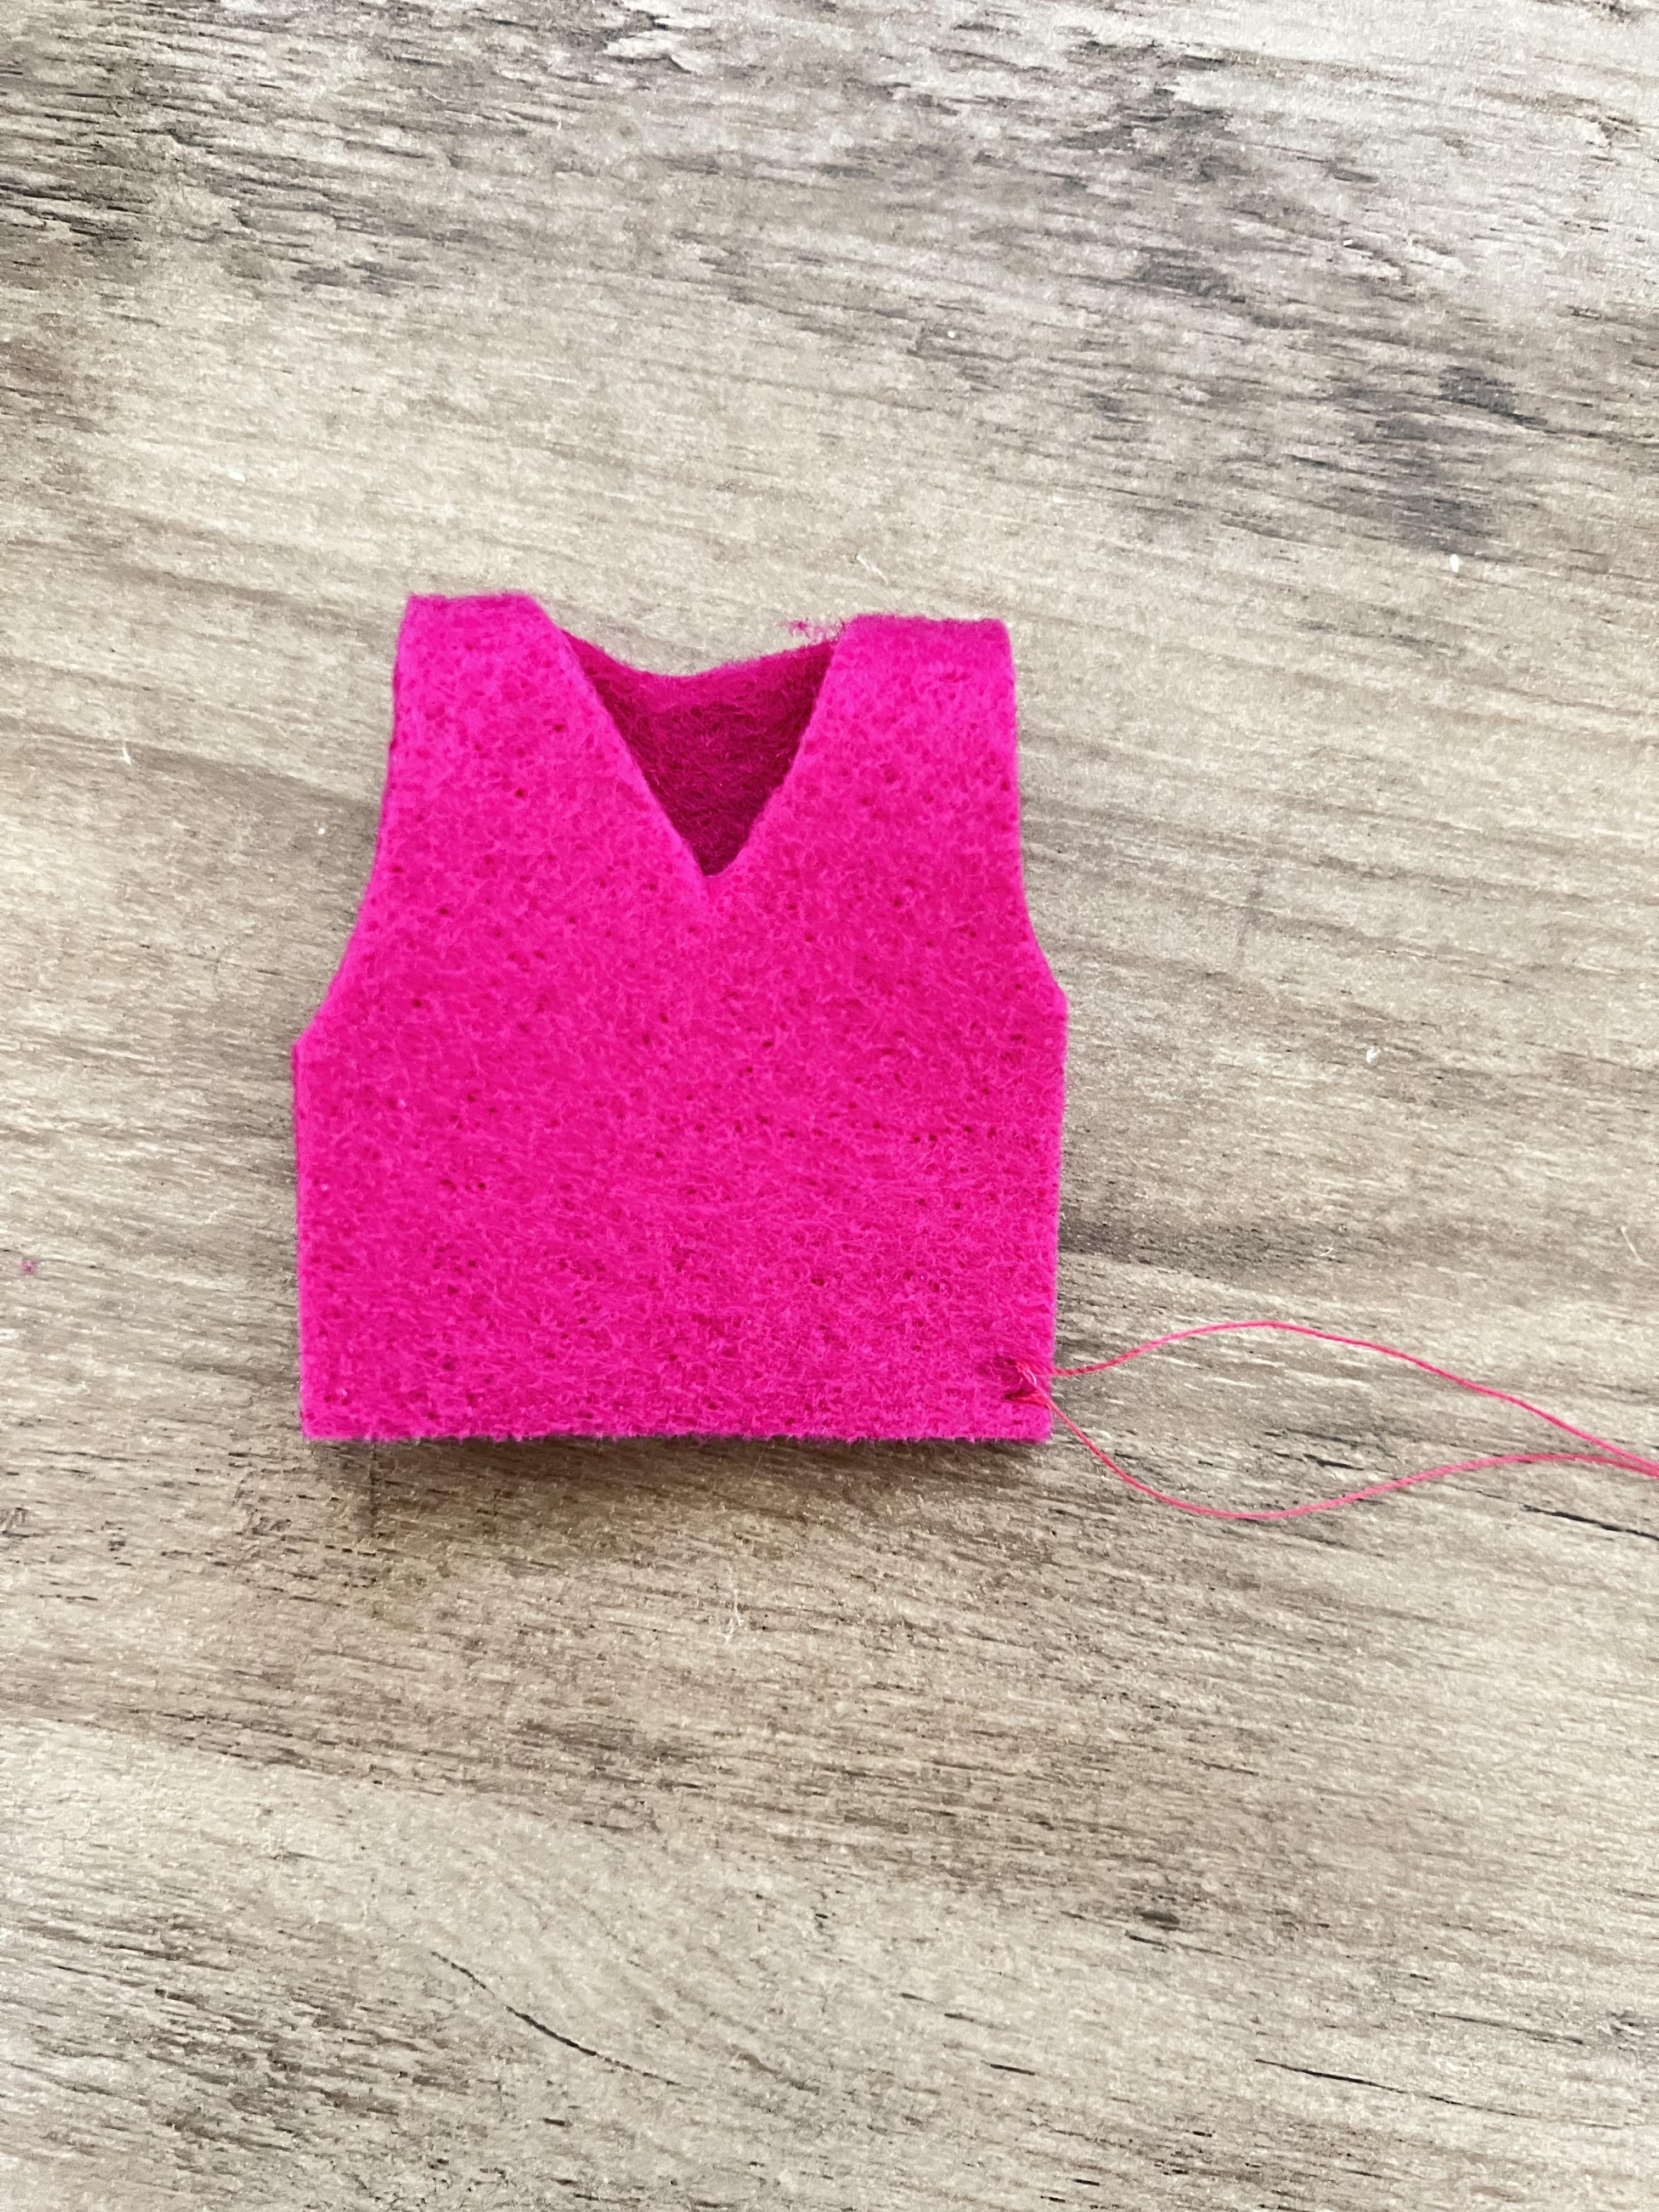
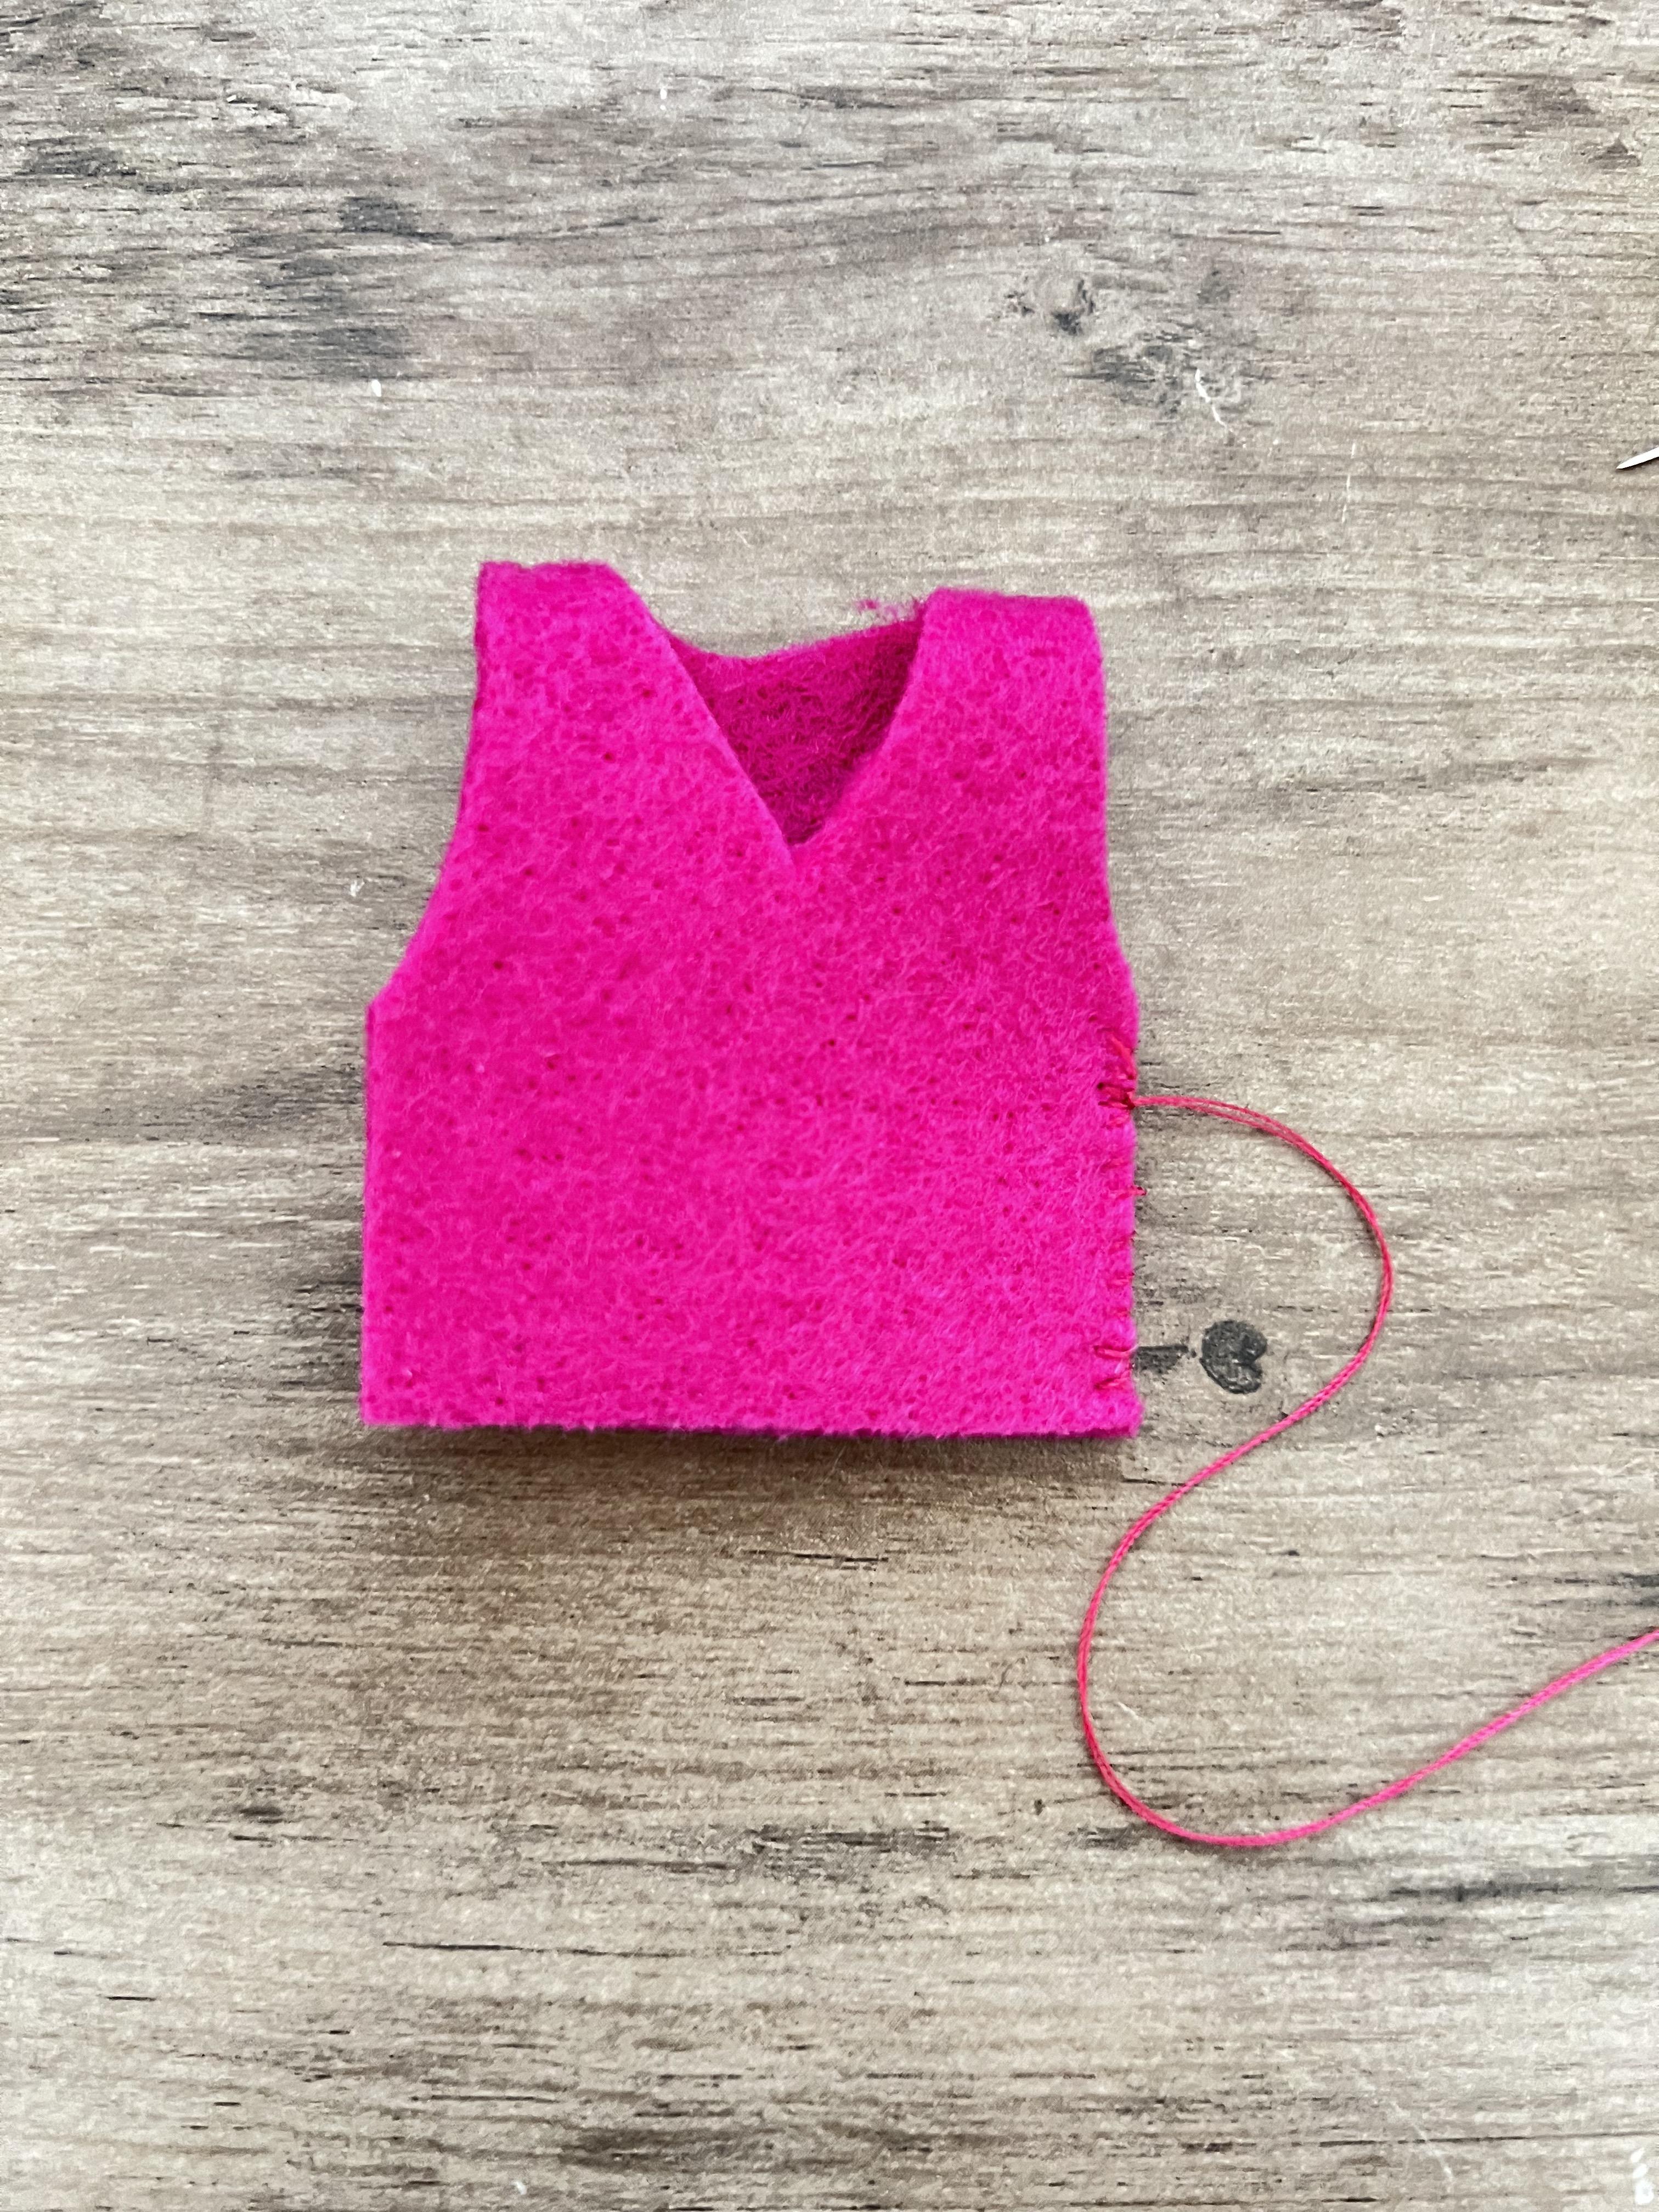
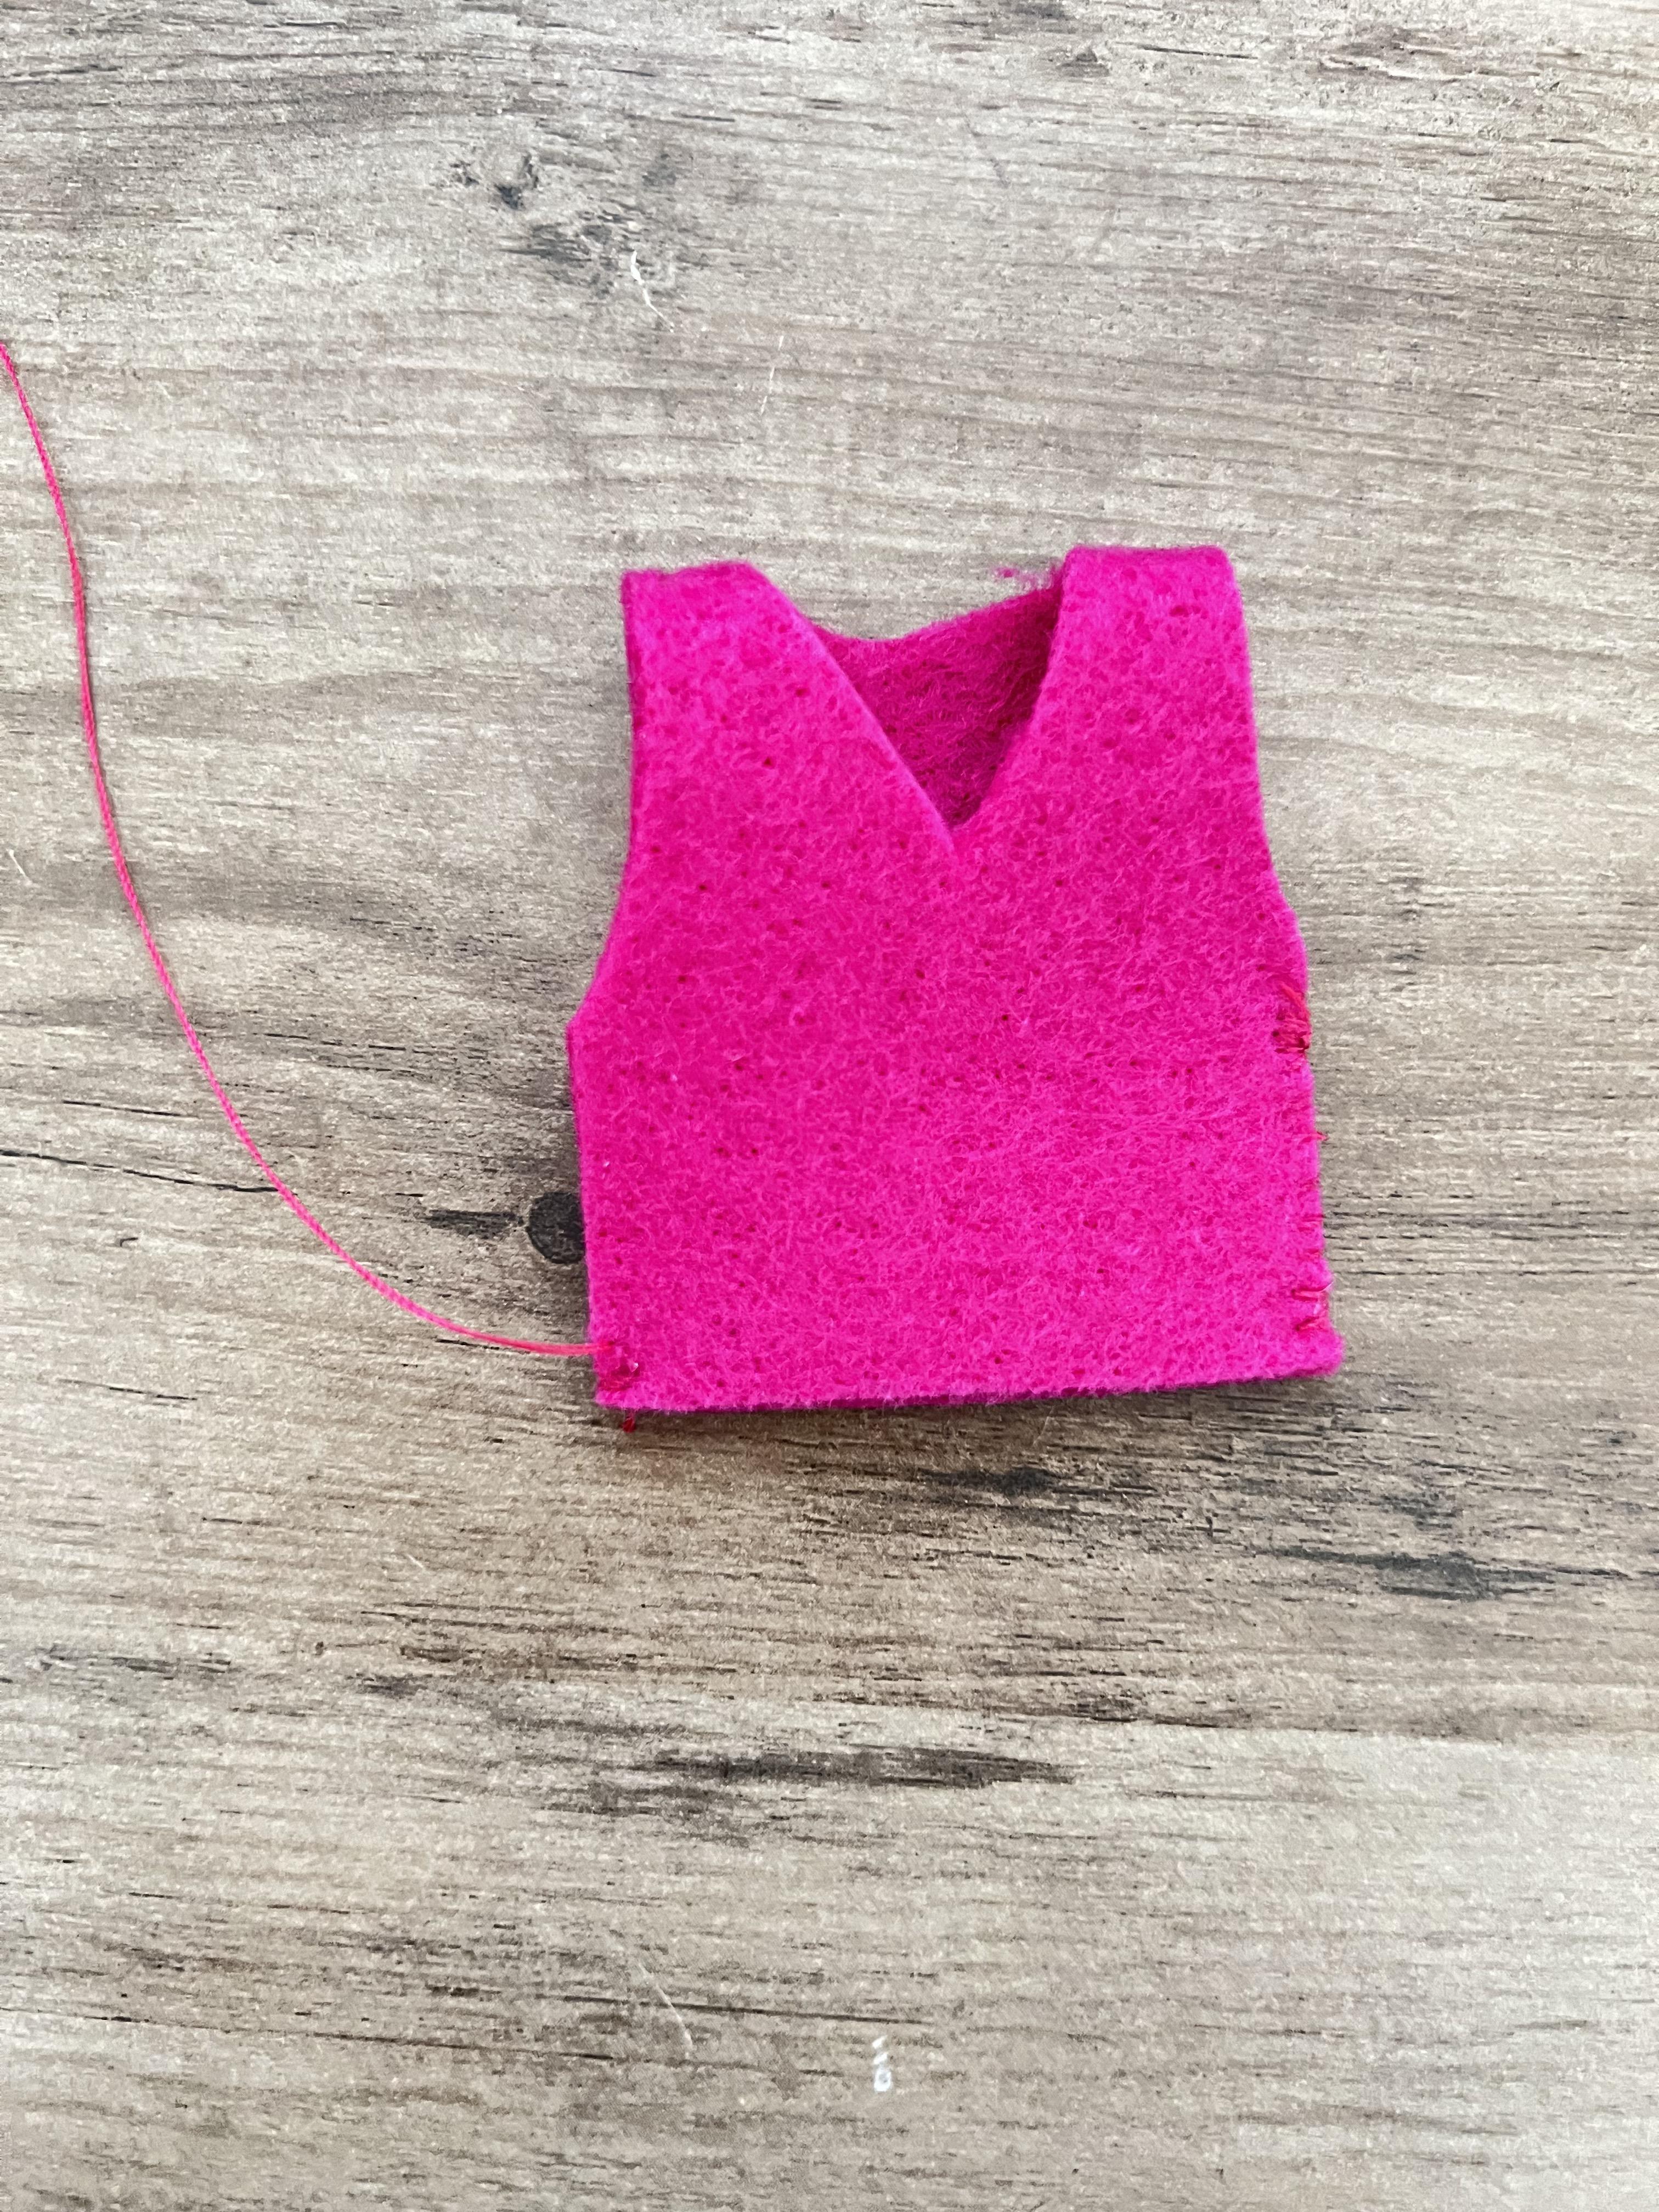
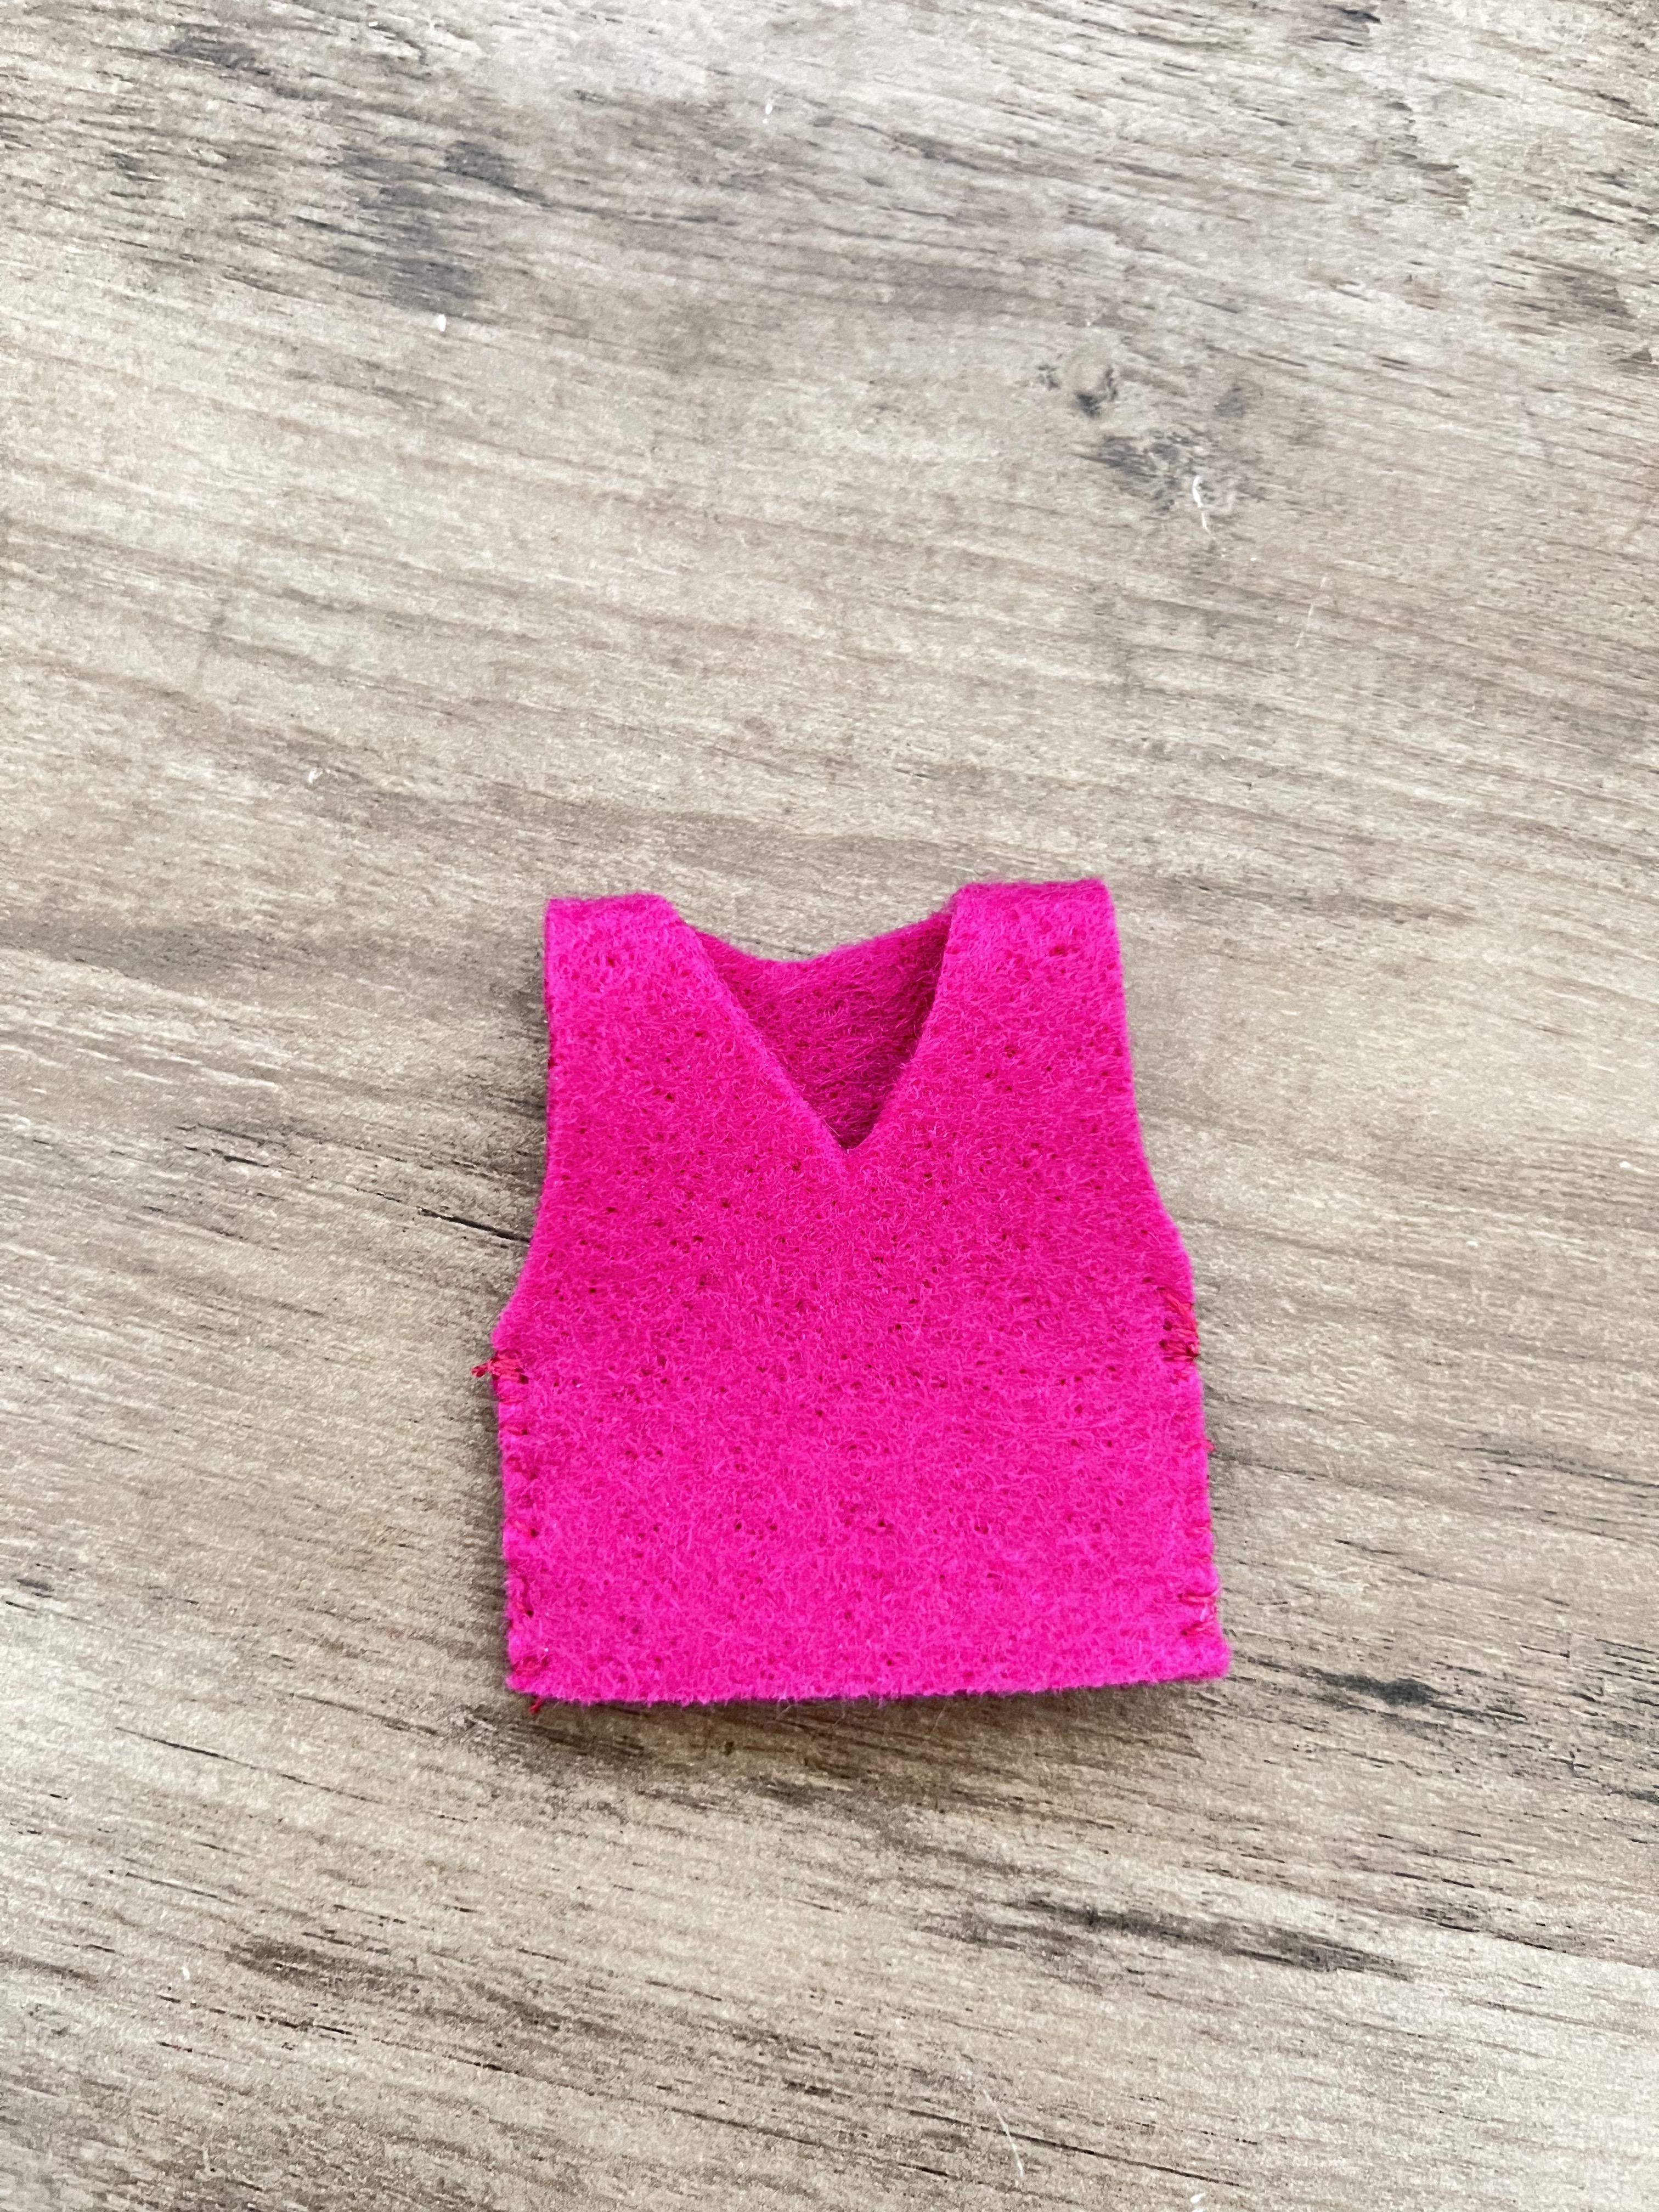


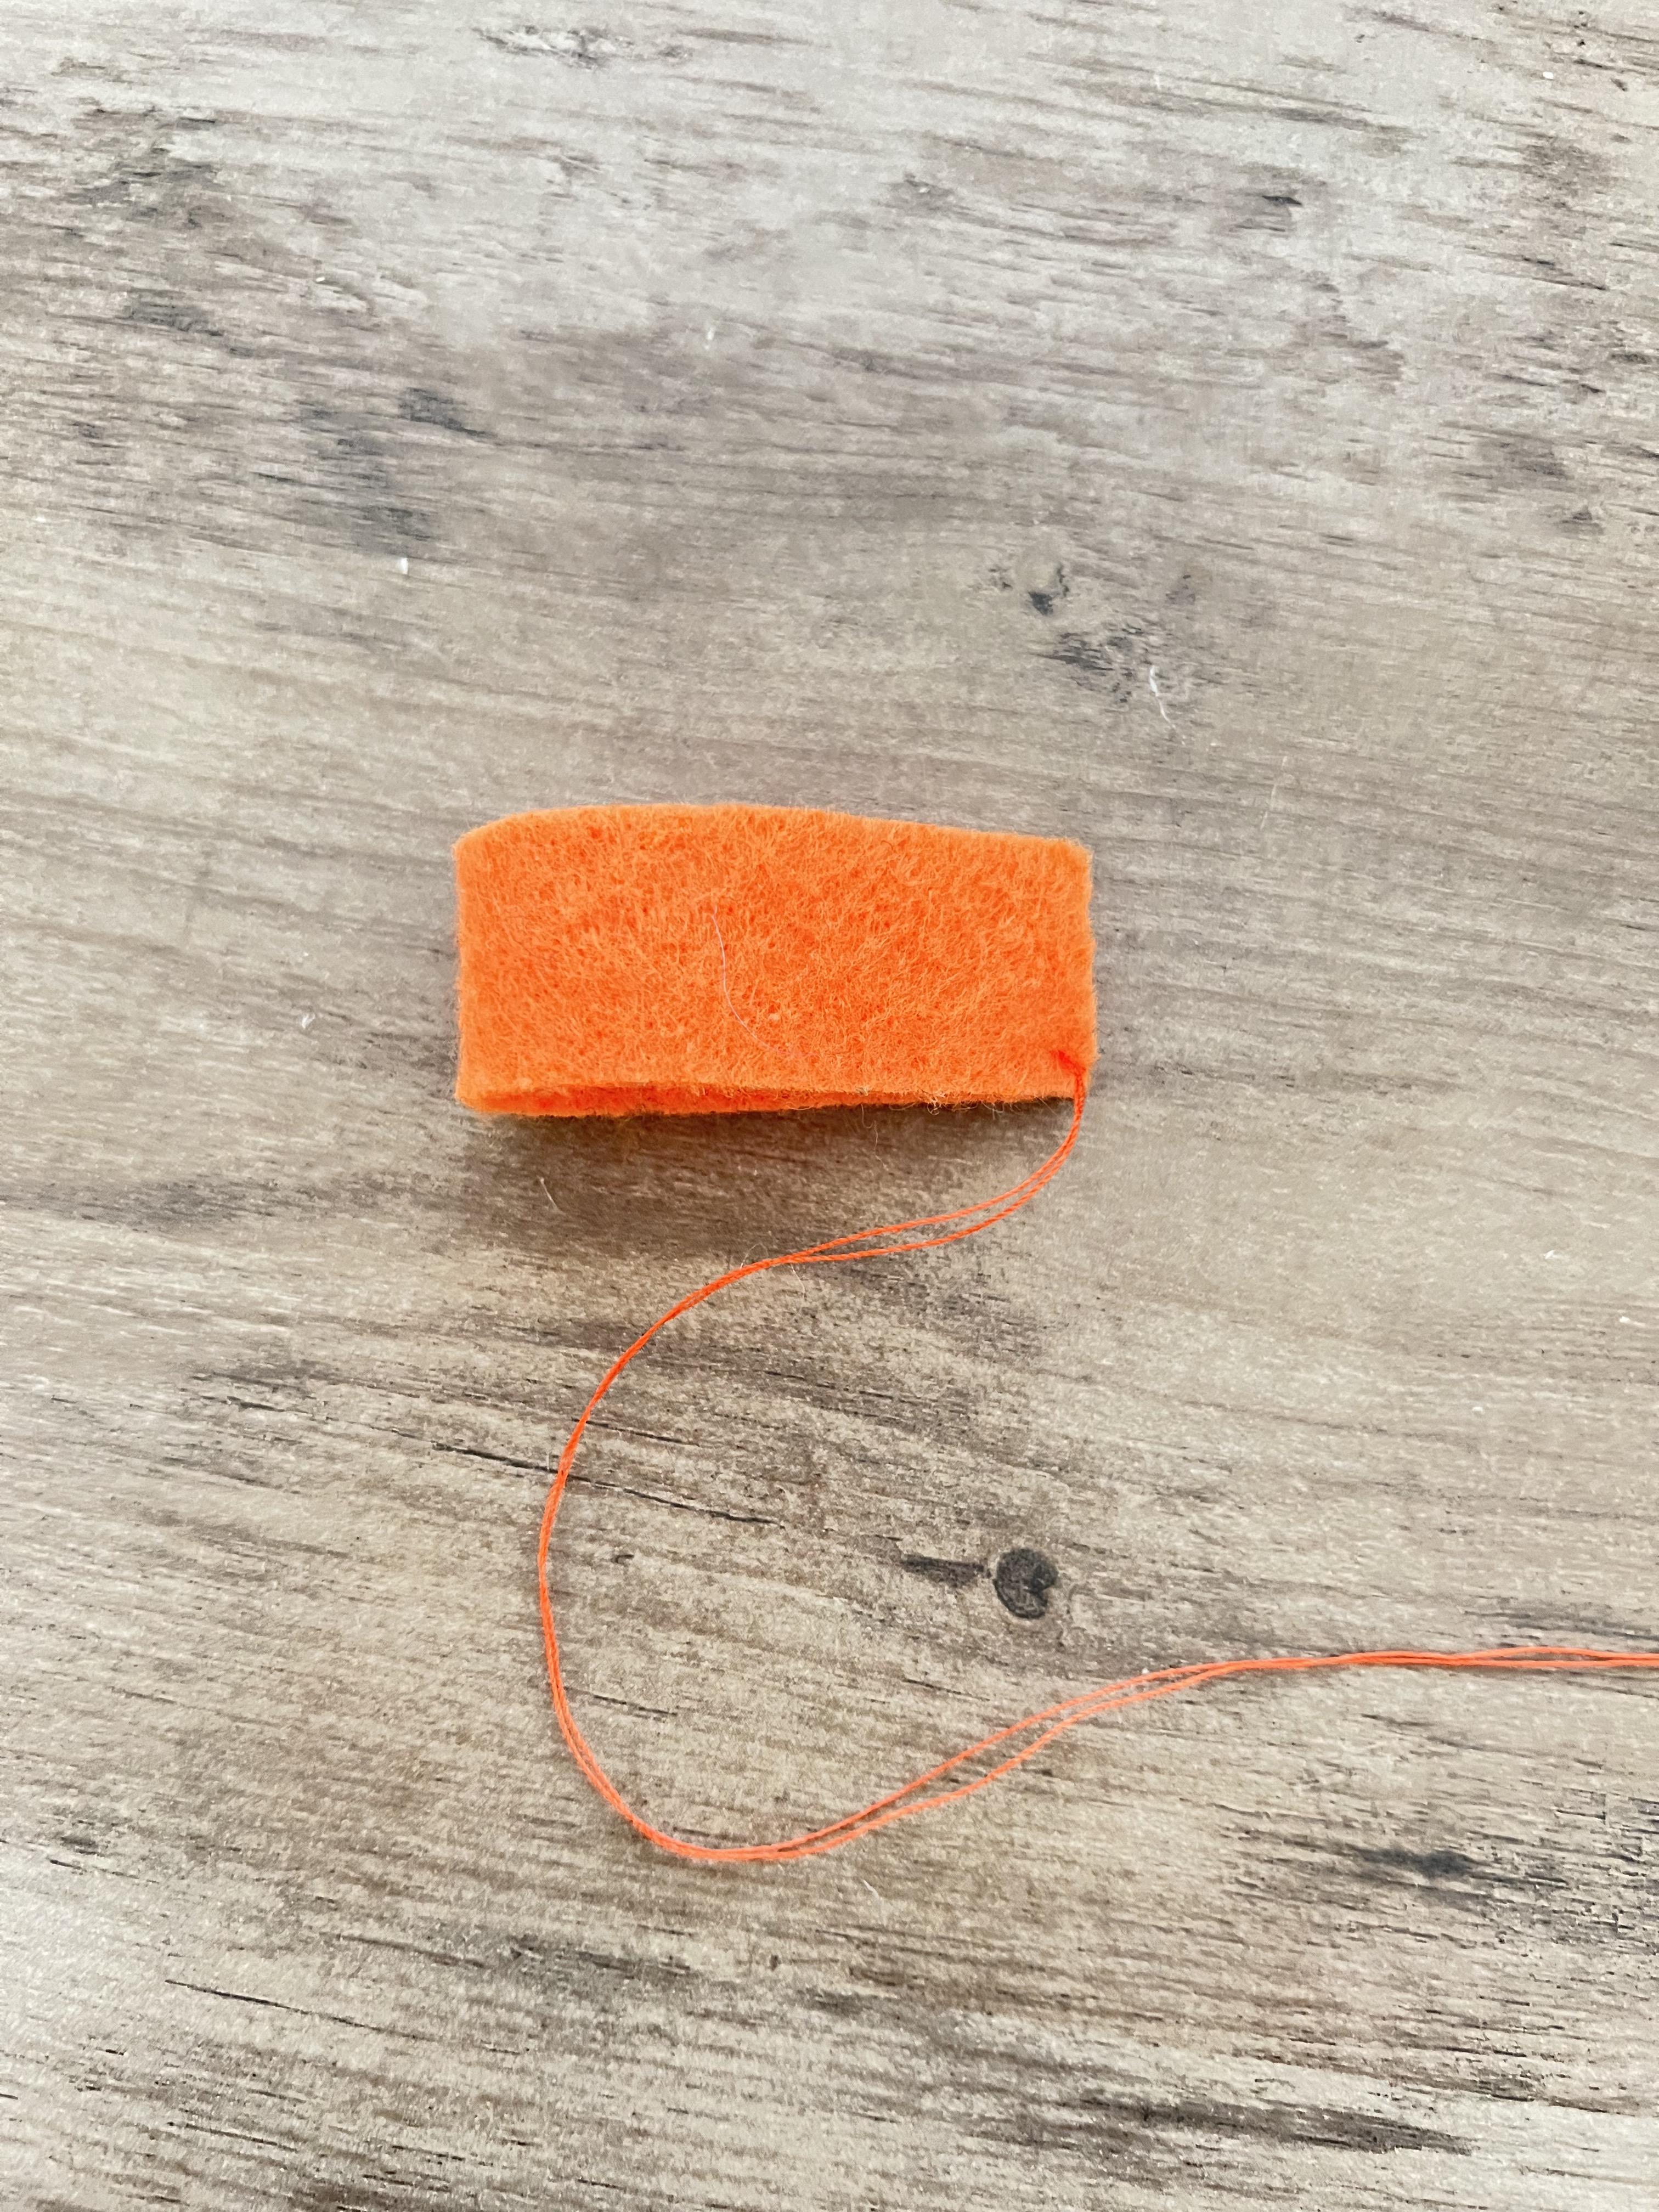
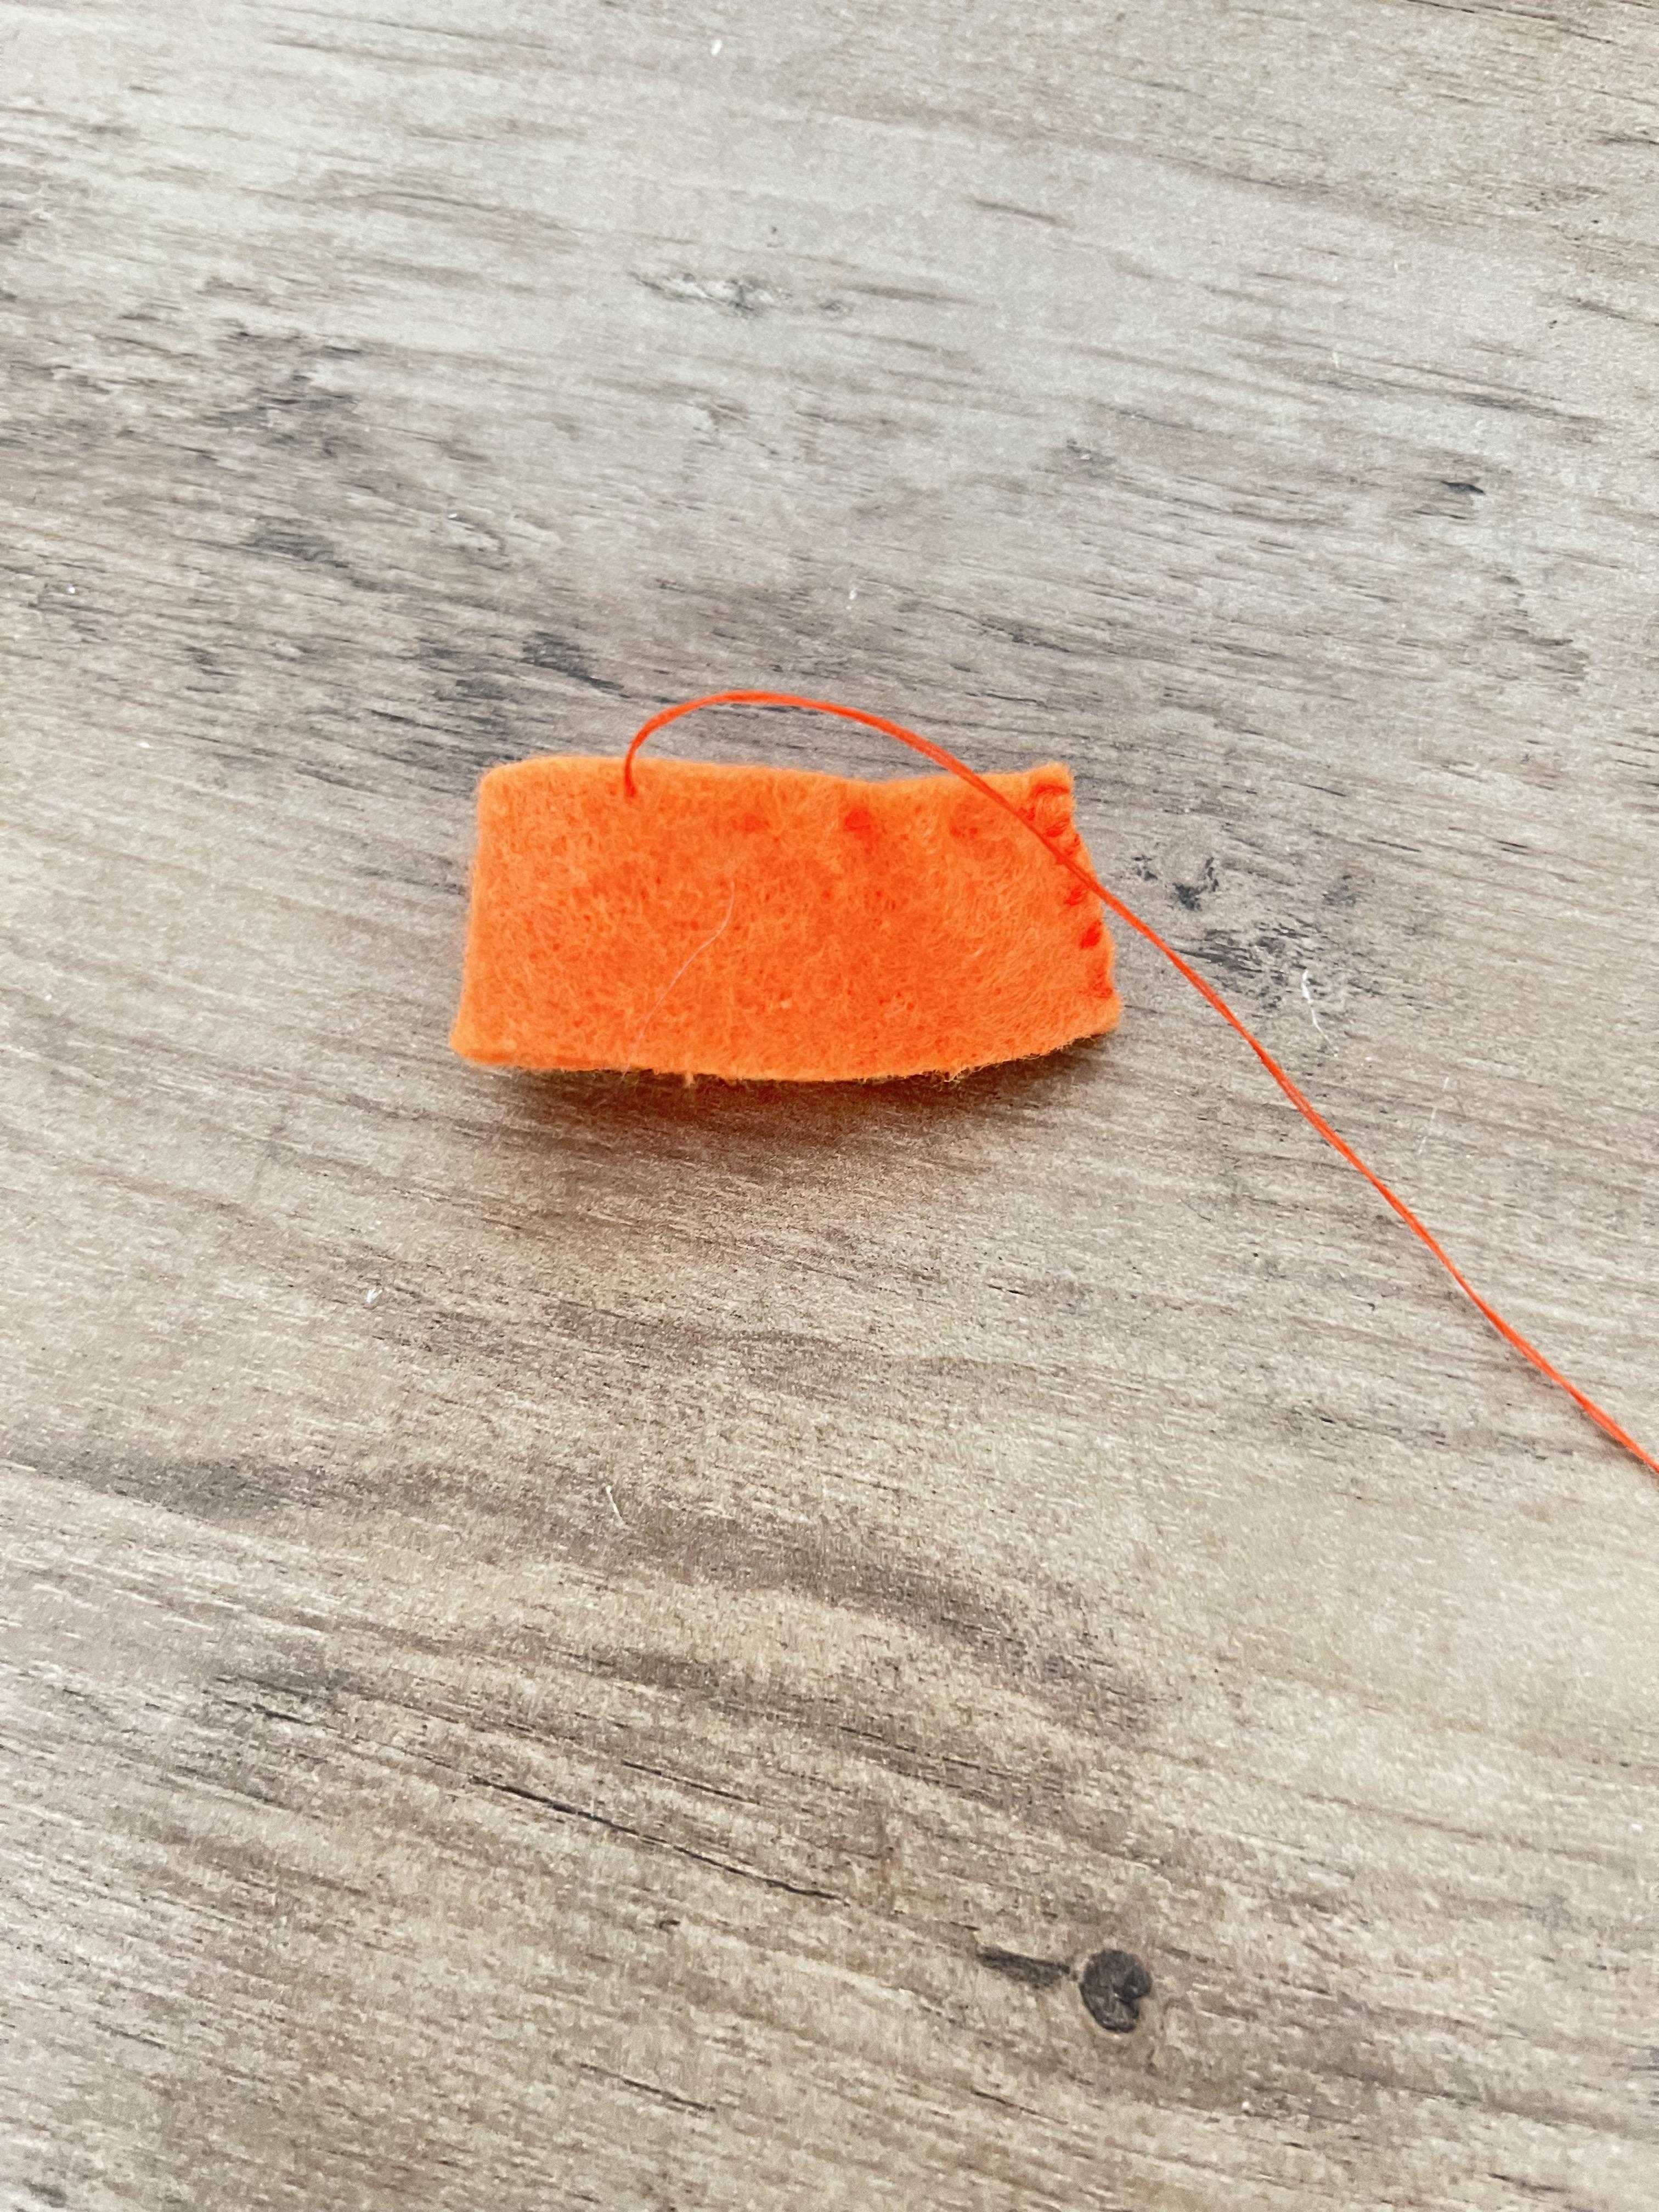

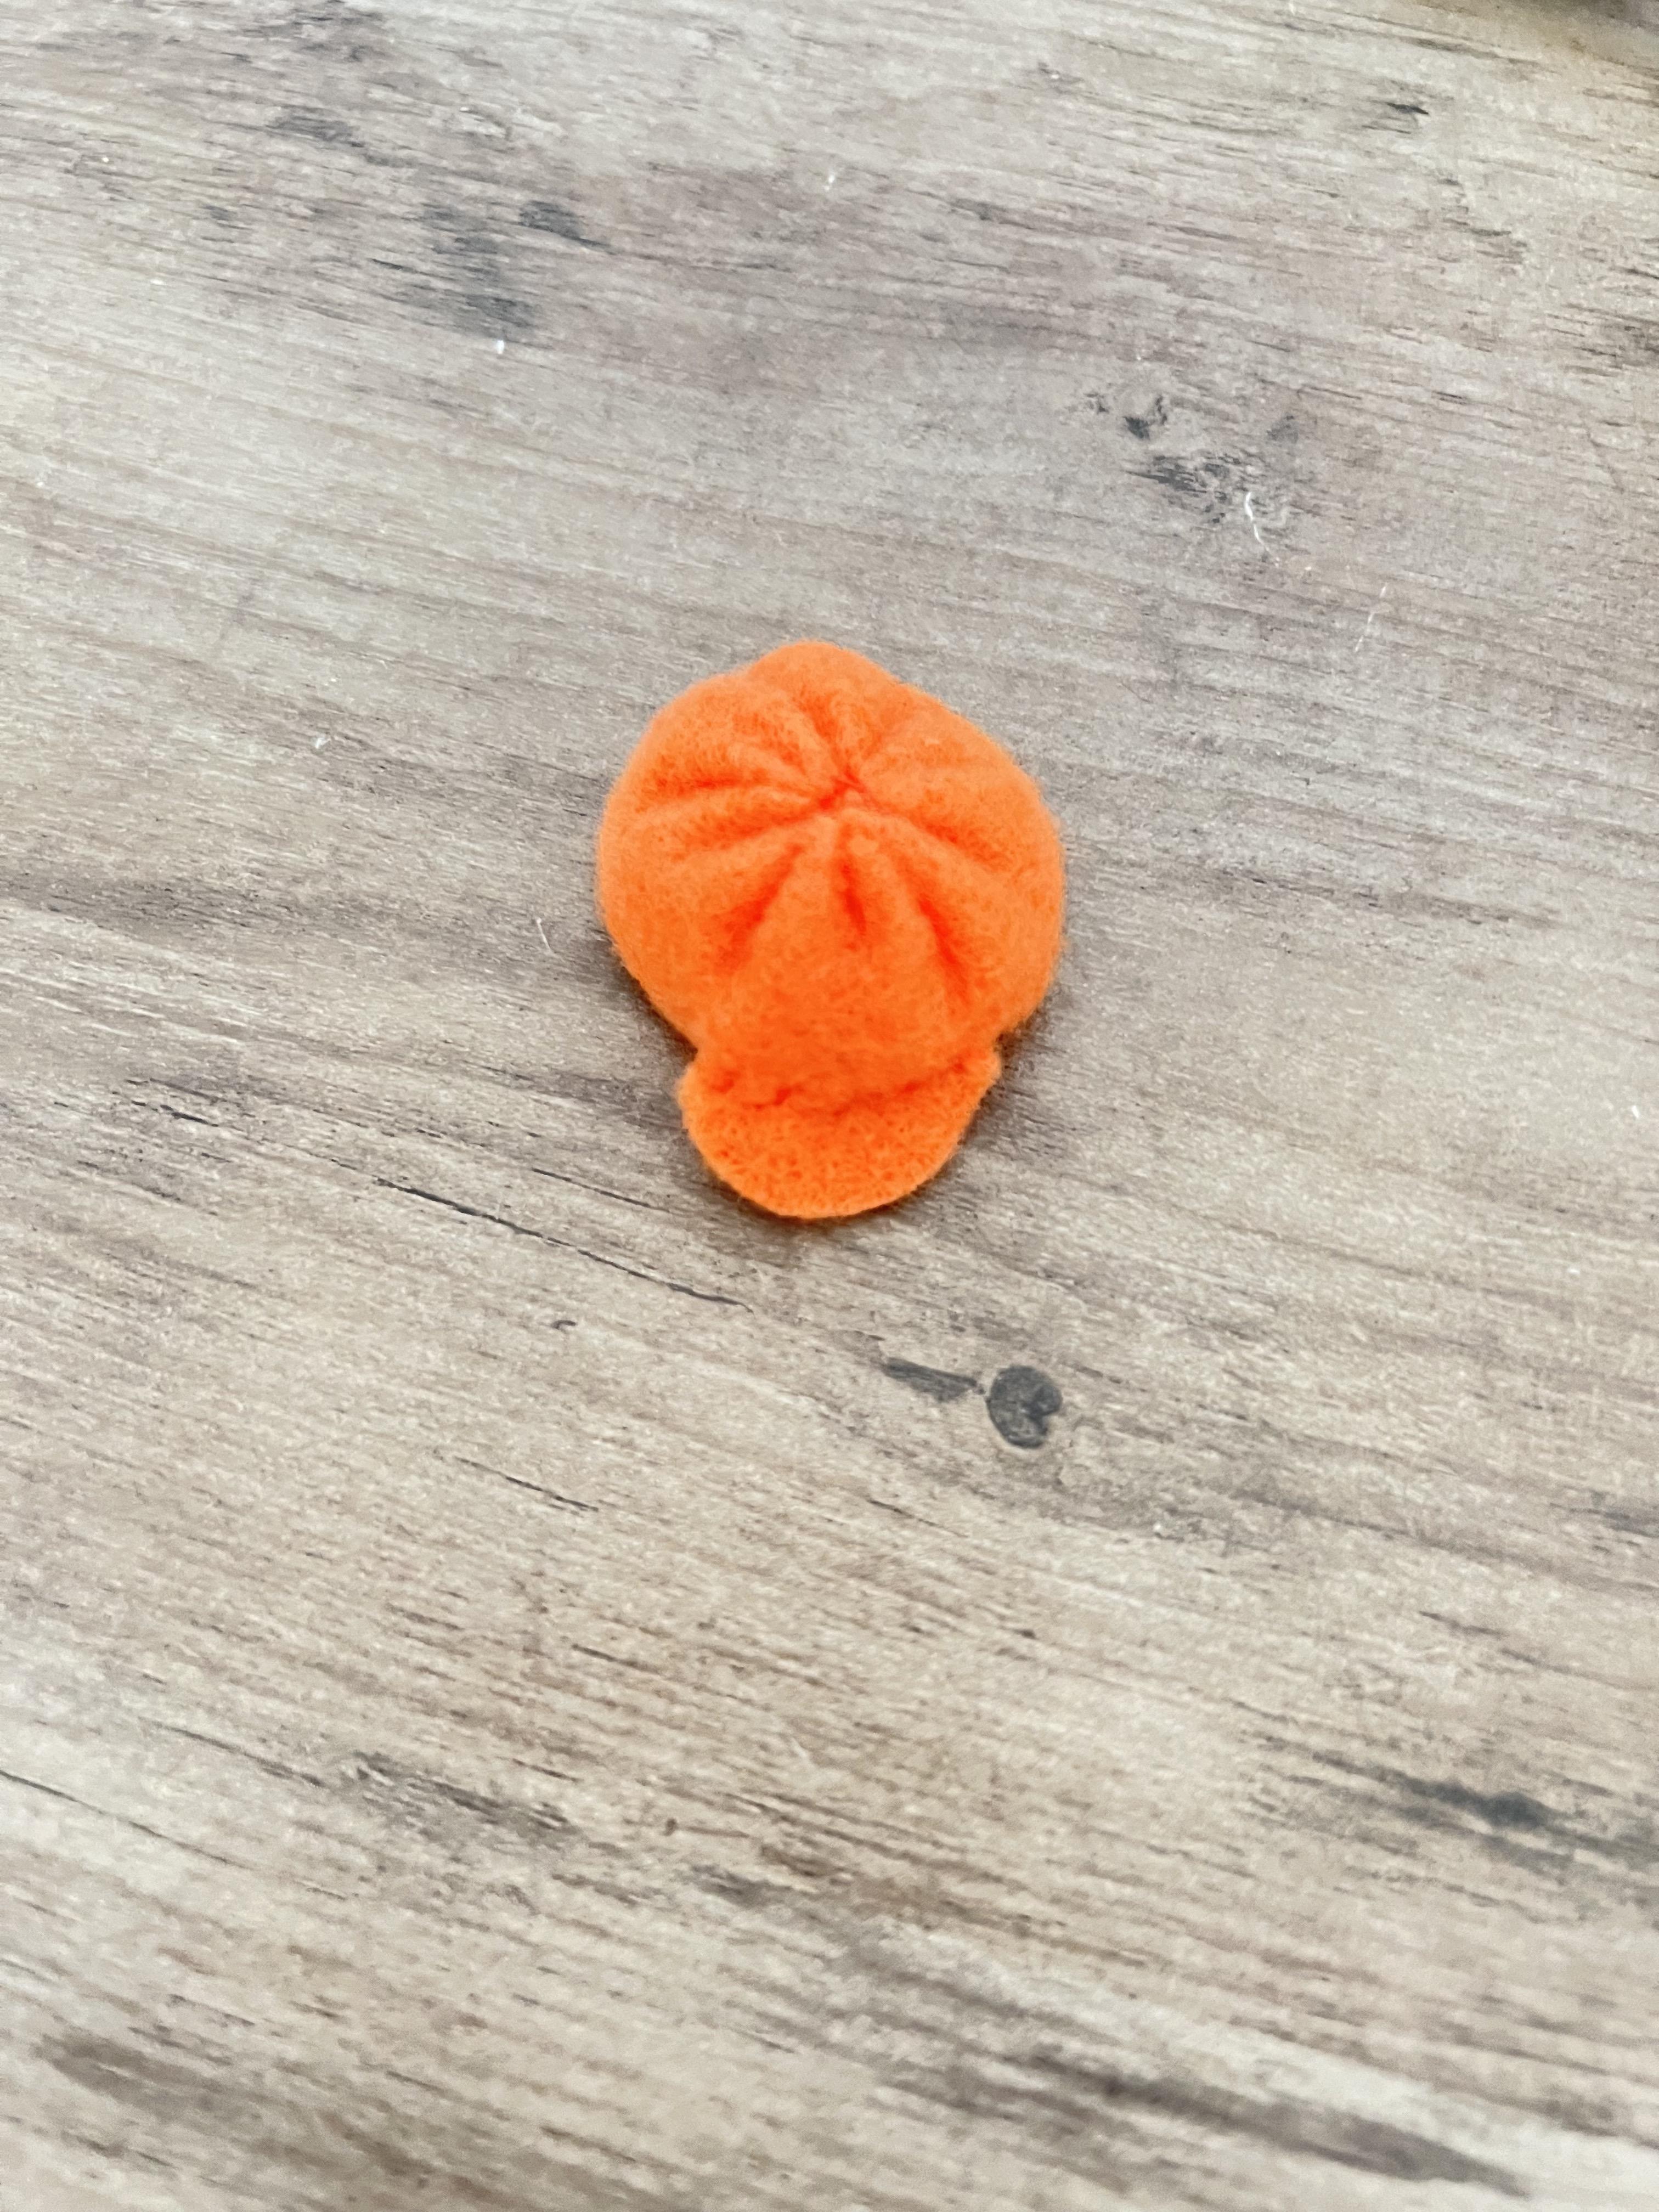


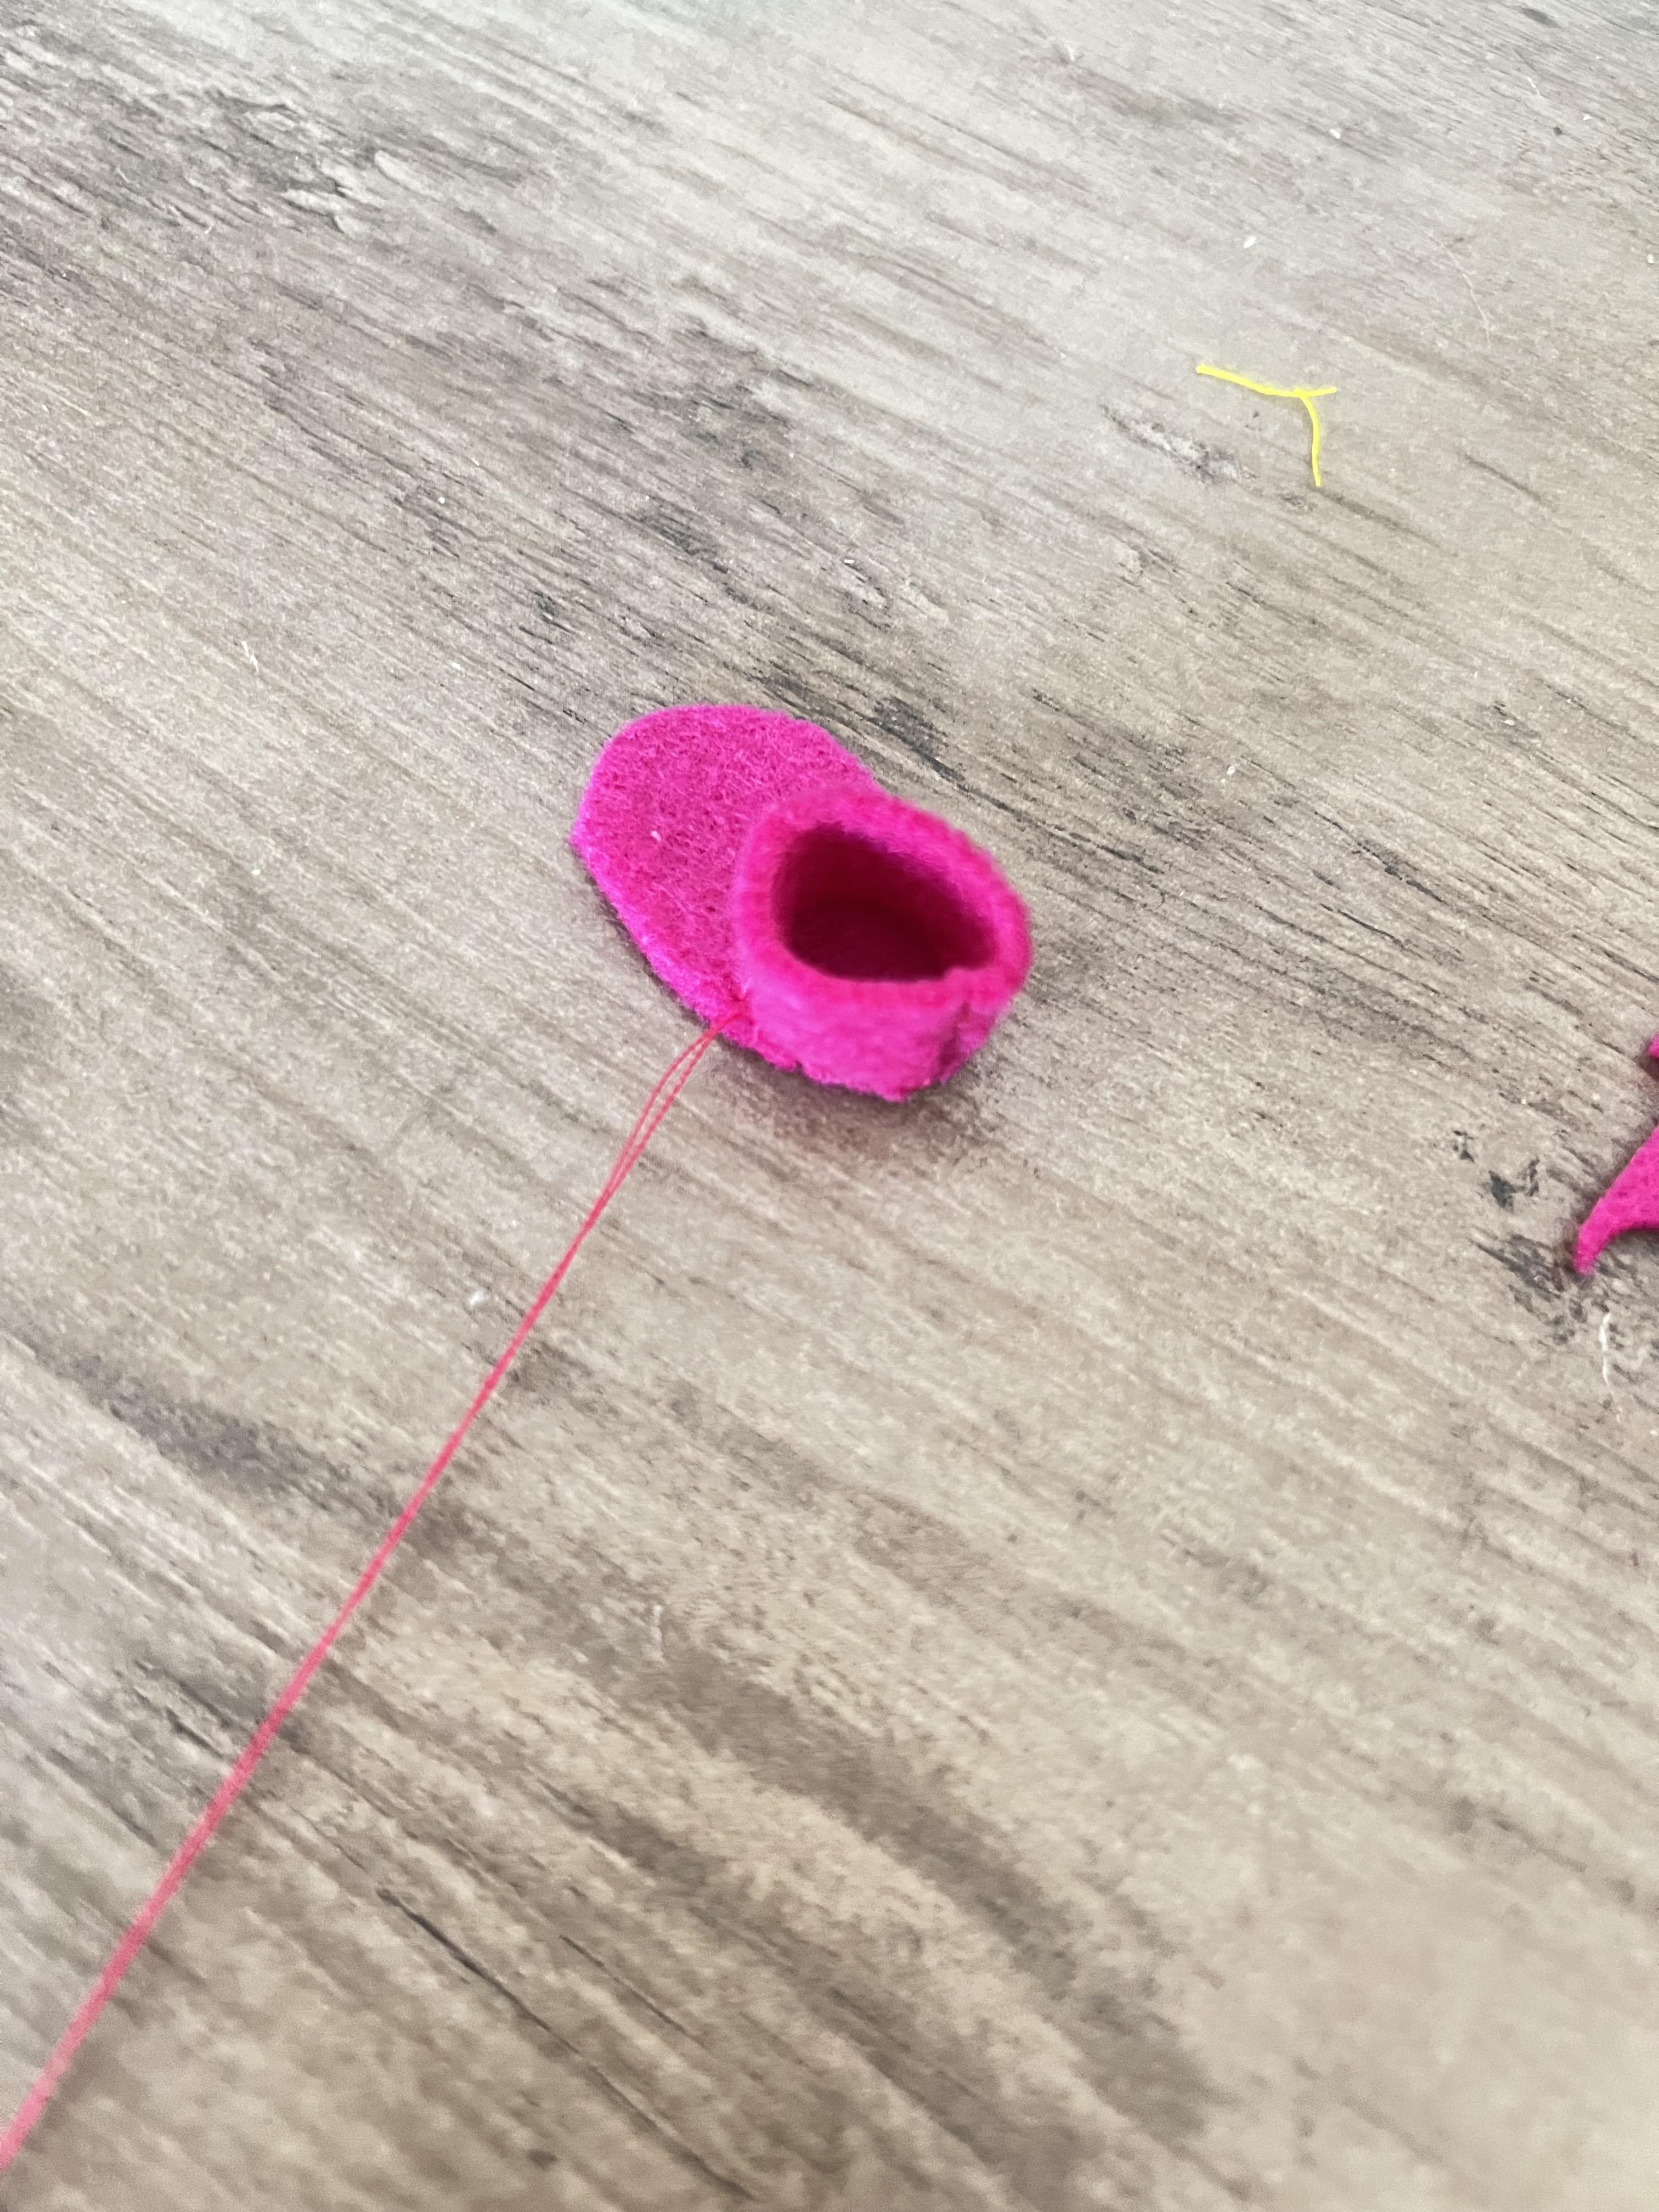




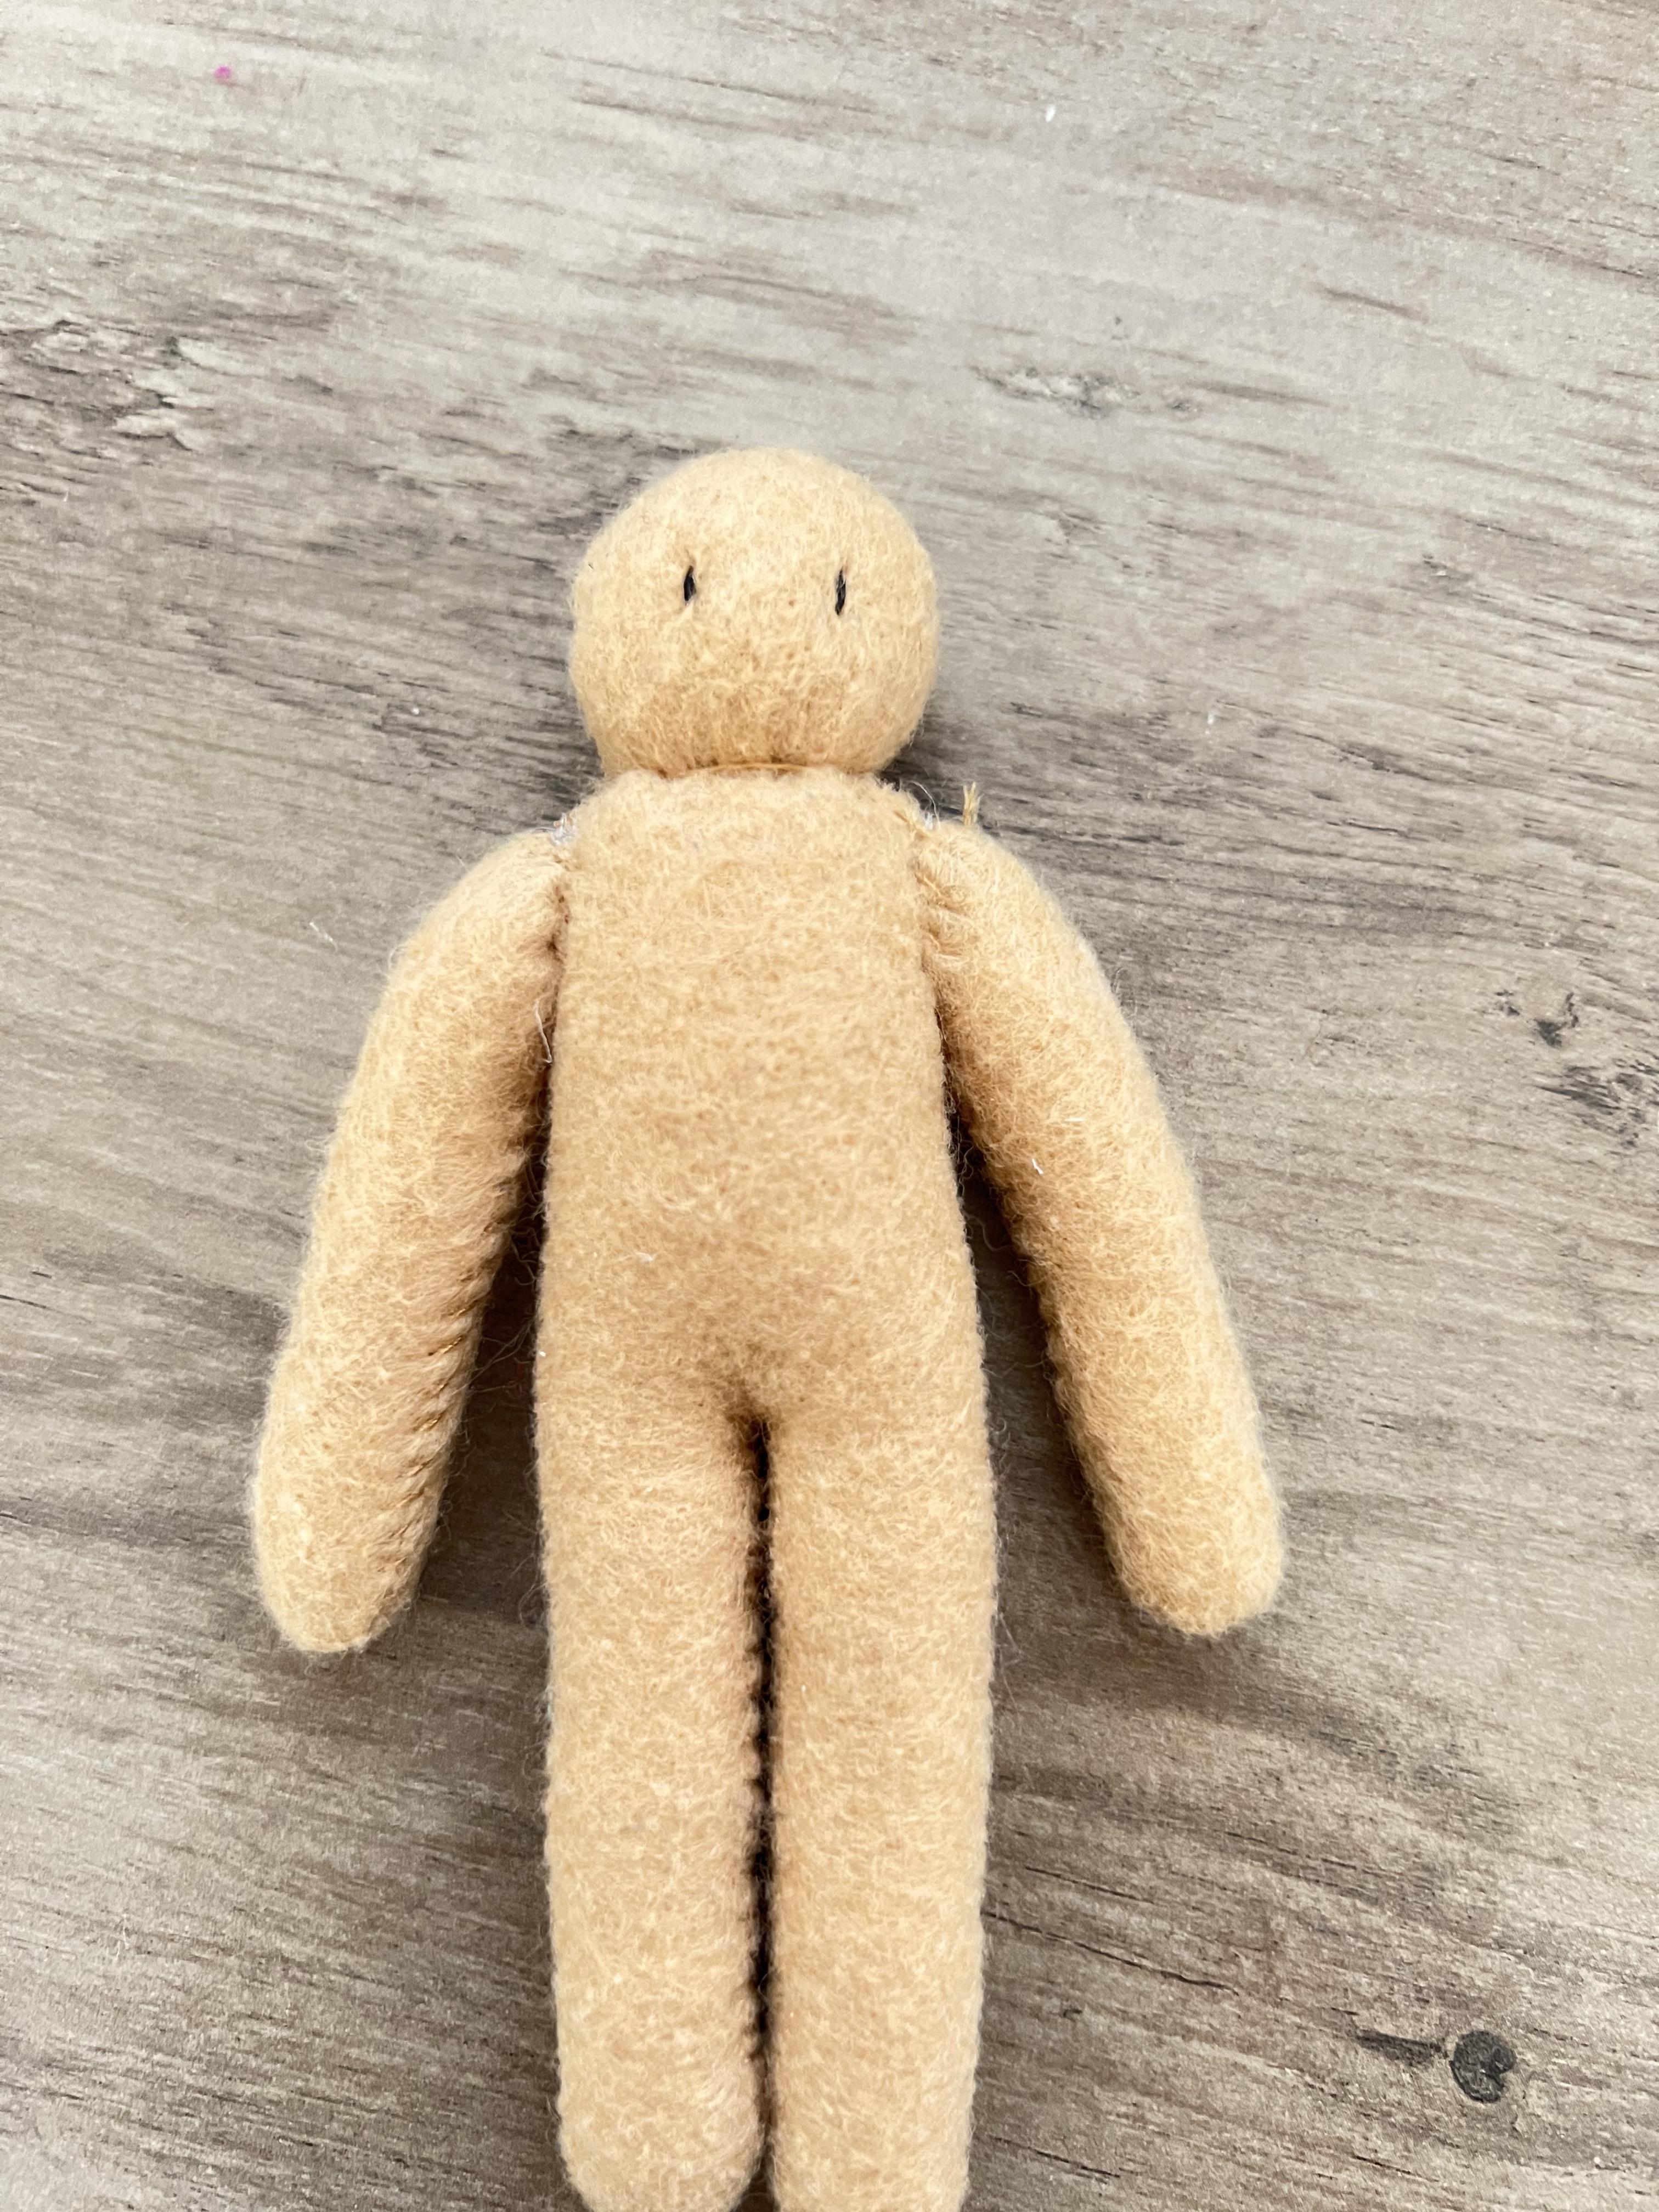
To make Rudy's pants, cut two rectangles and cut two "J"s on each side of each pant leg. Sew both "J"s and fold to form the pant legs. Then sew the "V" shape between the legs. Flip the pants inside out.
For the shirt, cut a rectangle with two indents for sleeves. Then cut two rectangles for sleeves. Sew a sleeve to each sleeve indent on the shirt body. Fold the shirt in half and sew up both of the upside-down "L" shapes on both sides of the shirt. Cut two smaller rectangles for wrist cuffs, sew up the sides of each cuff and sew one cuff each shirt sleeve. Cut a rectangle strip for the neck collar. Sew it around the neck opening and fold over.
For the vest, cut a rectangle like the shirt with the indents, but cut a "V" for the neck in the front. Sew up the sides and flip inside out.
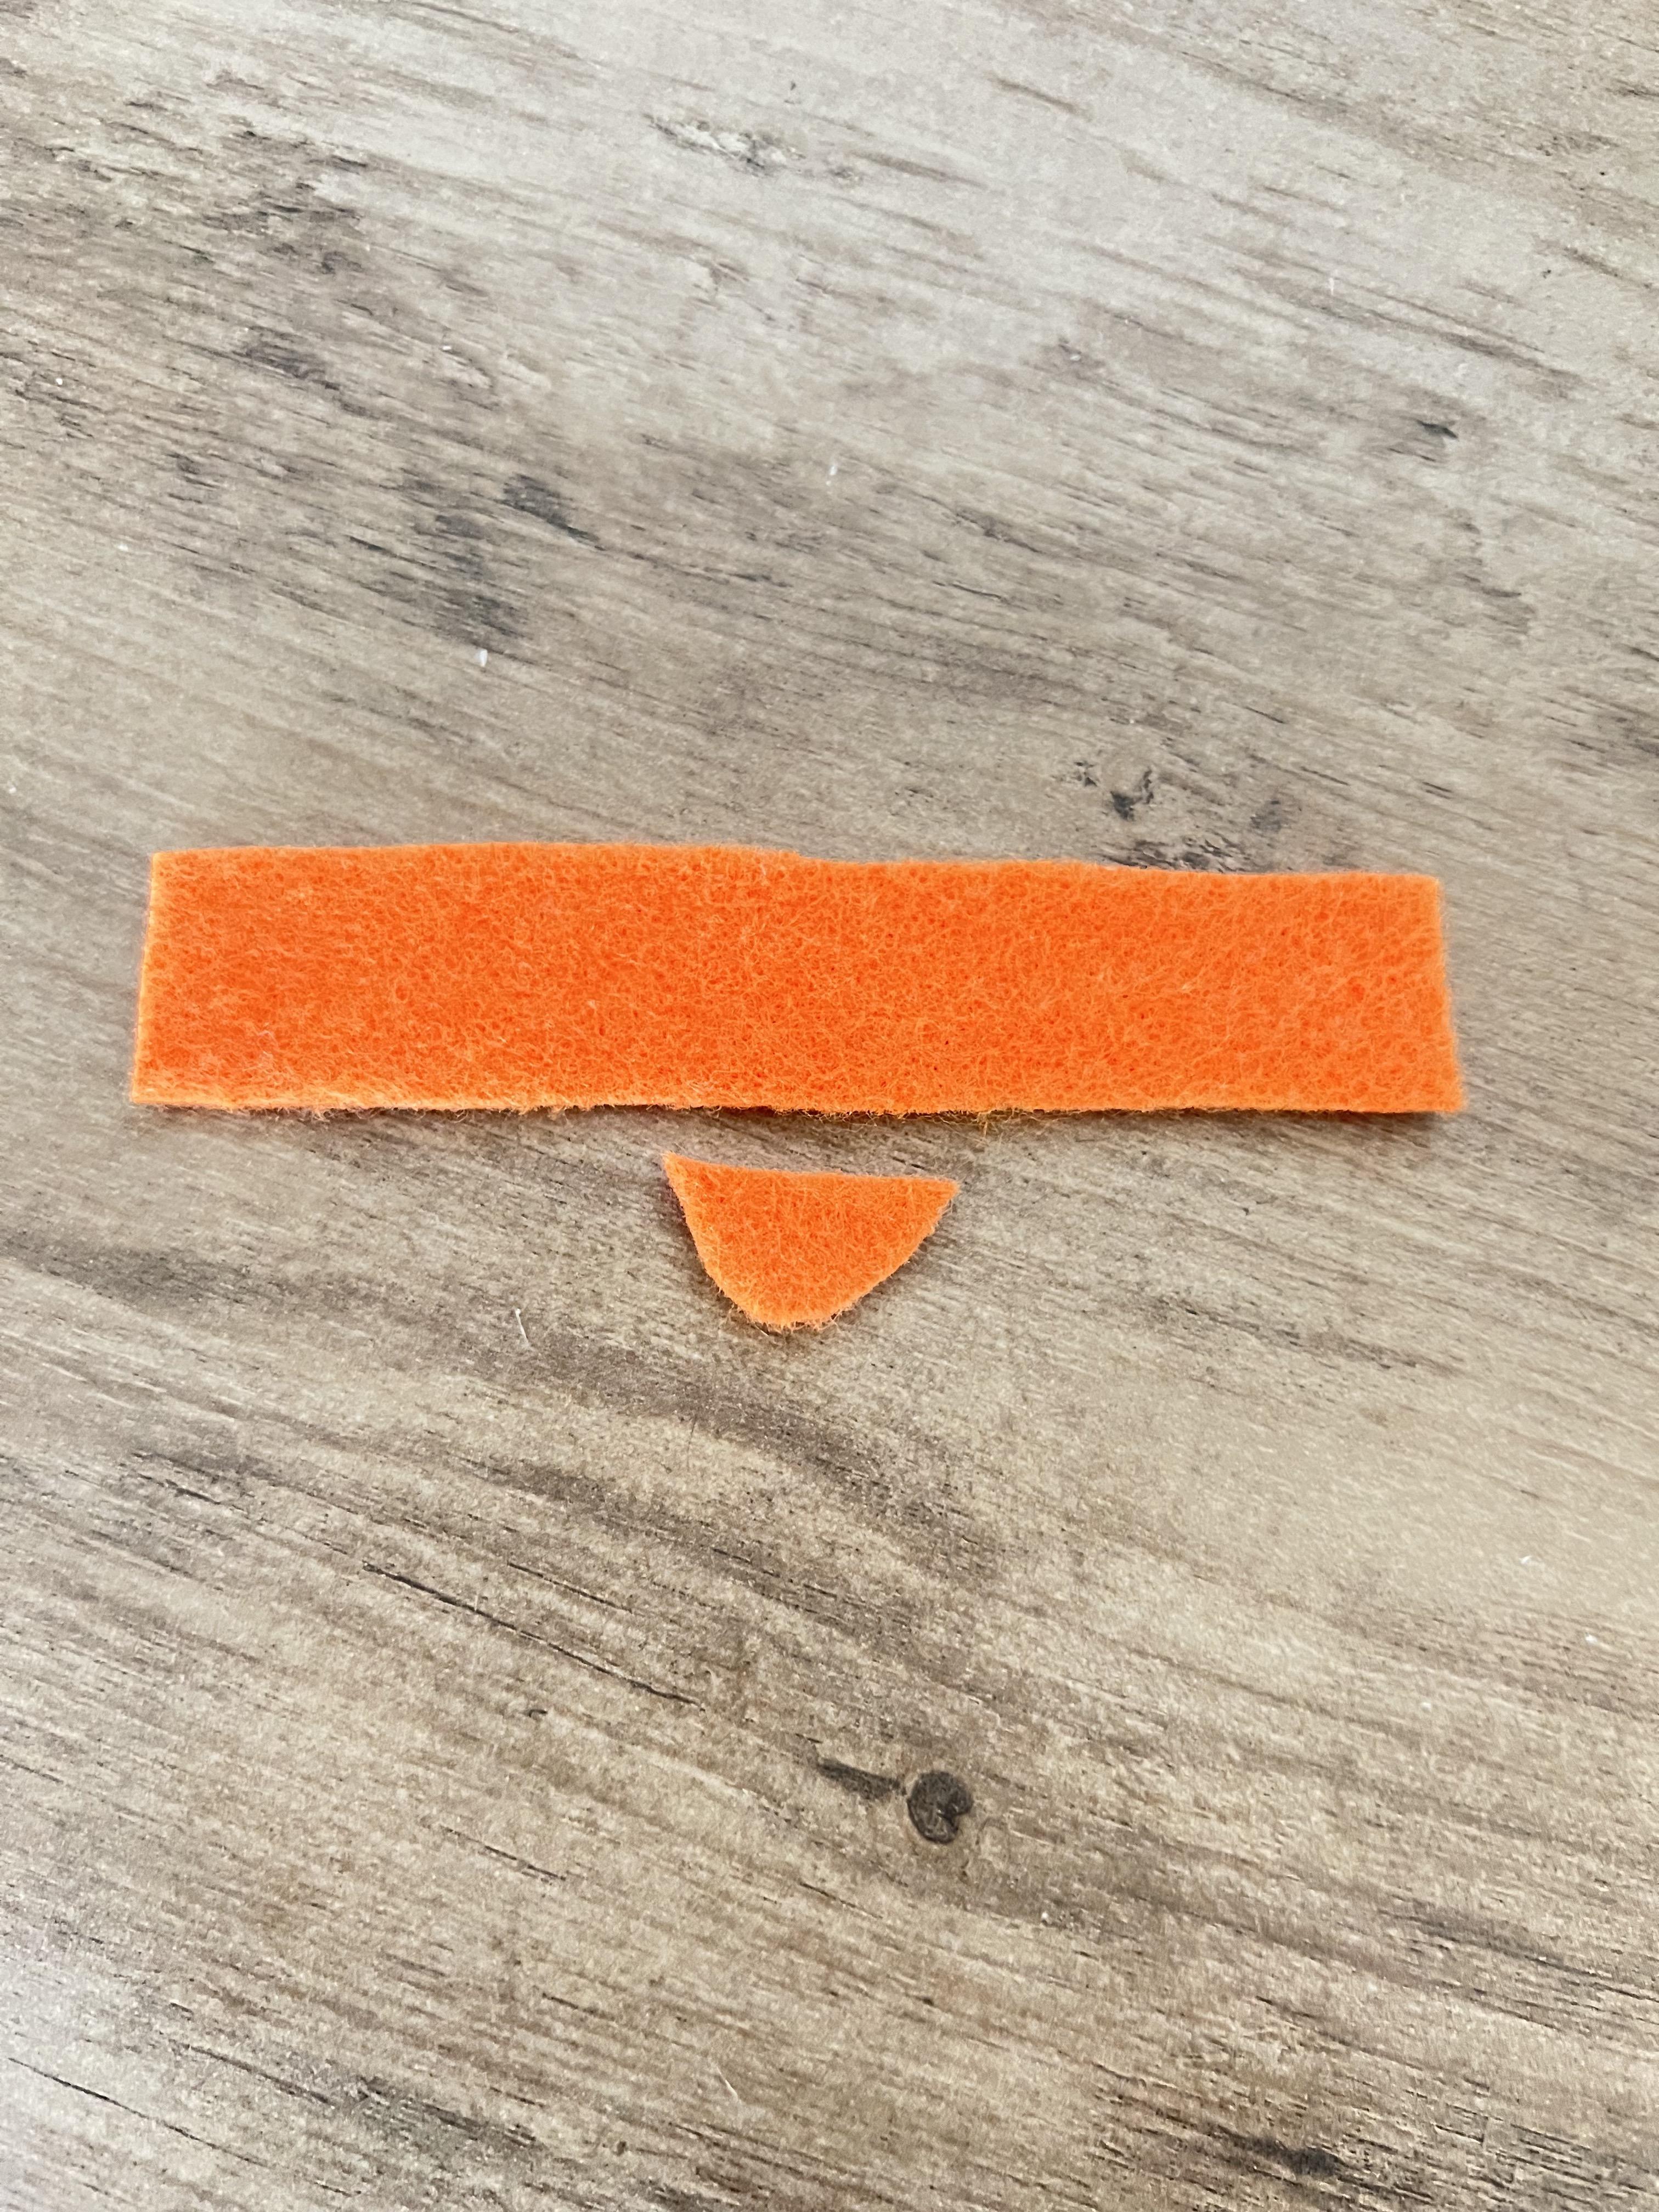
To make the hat, cut a rectangle and a piece for the bill of the hat. Fold and sew up the side of the rectangle and scrunch the top, attach the bill to the hat.
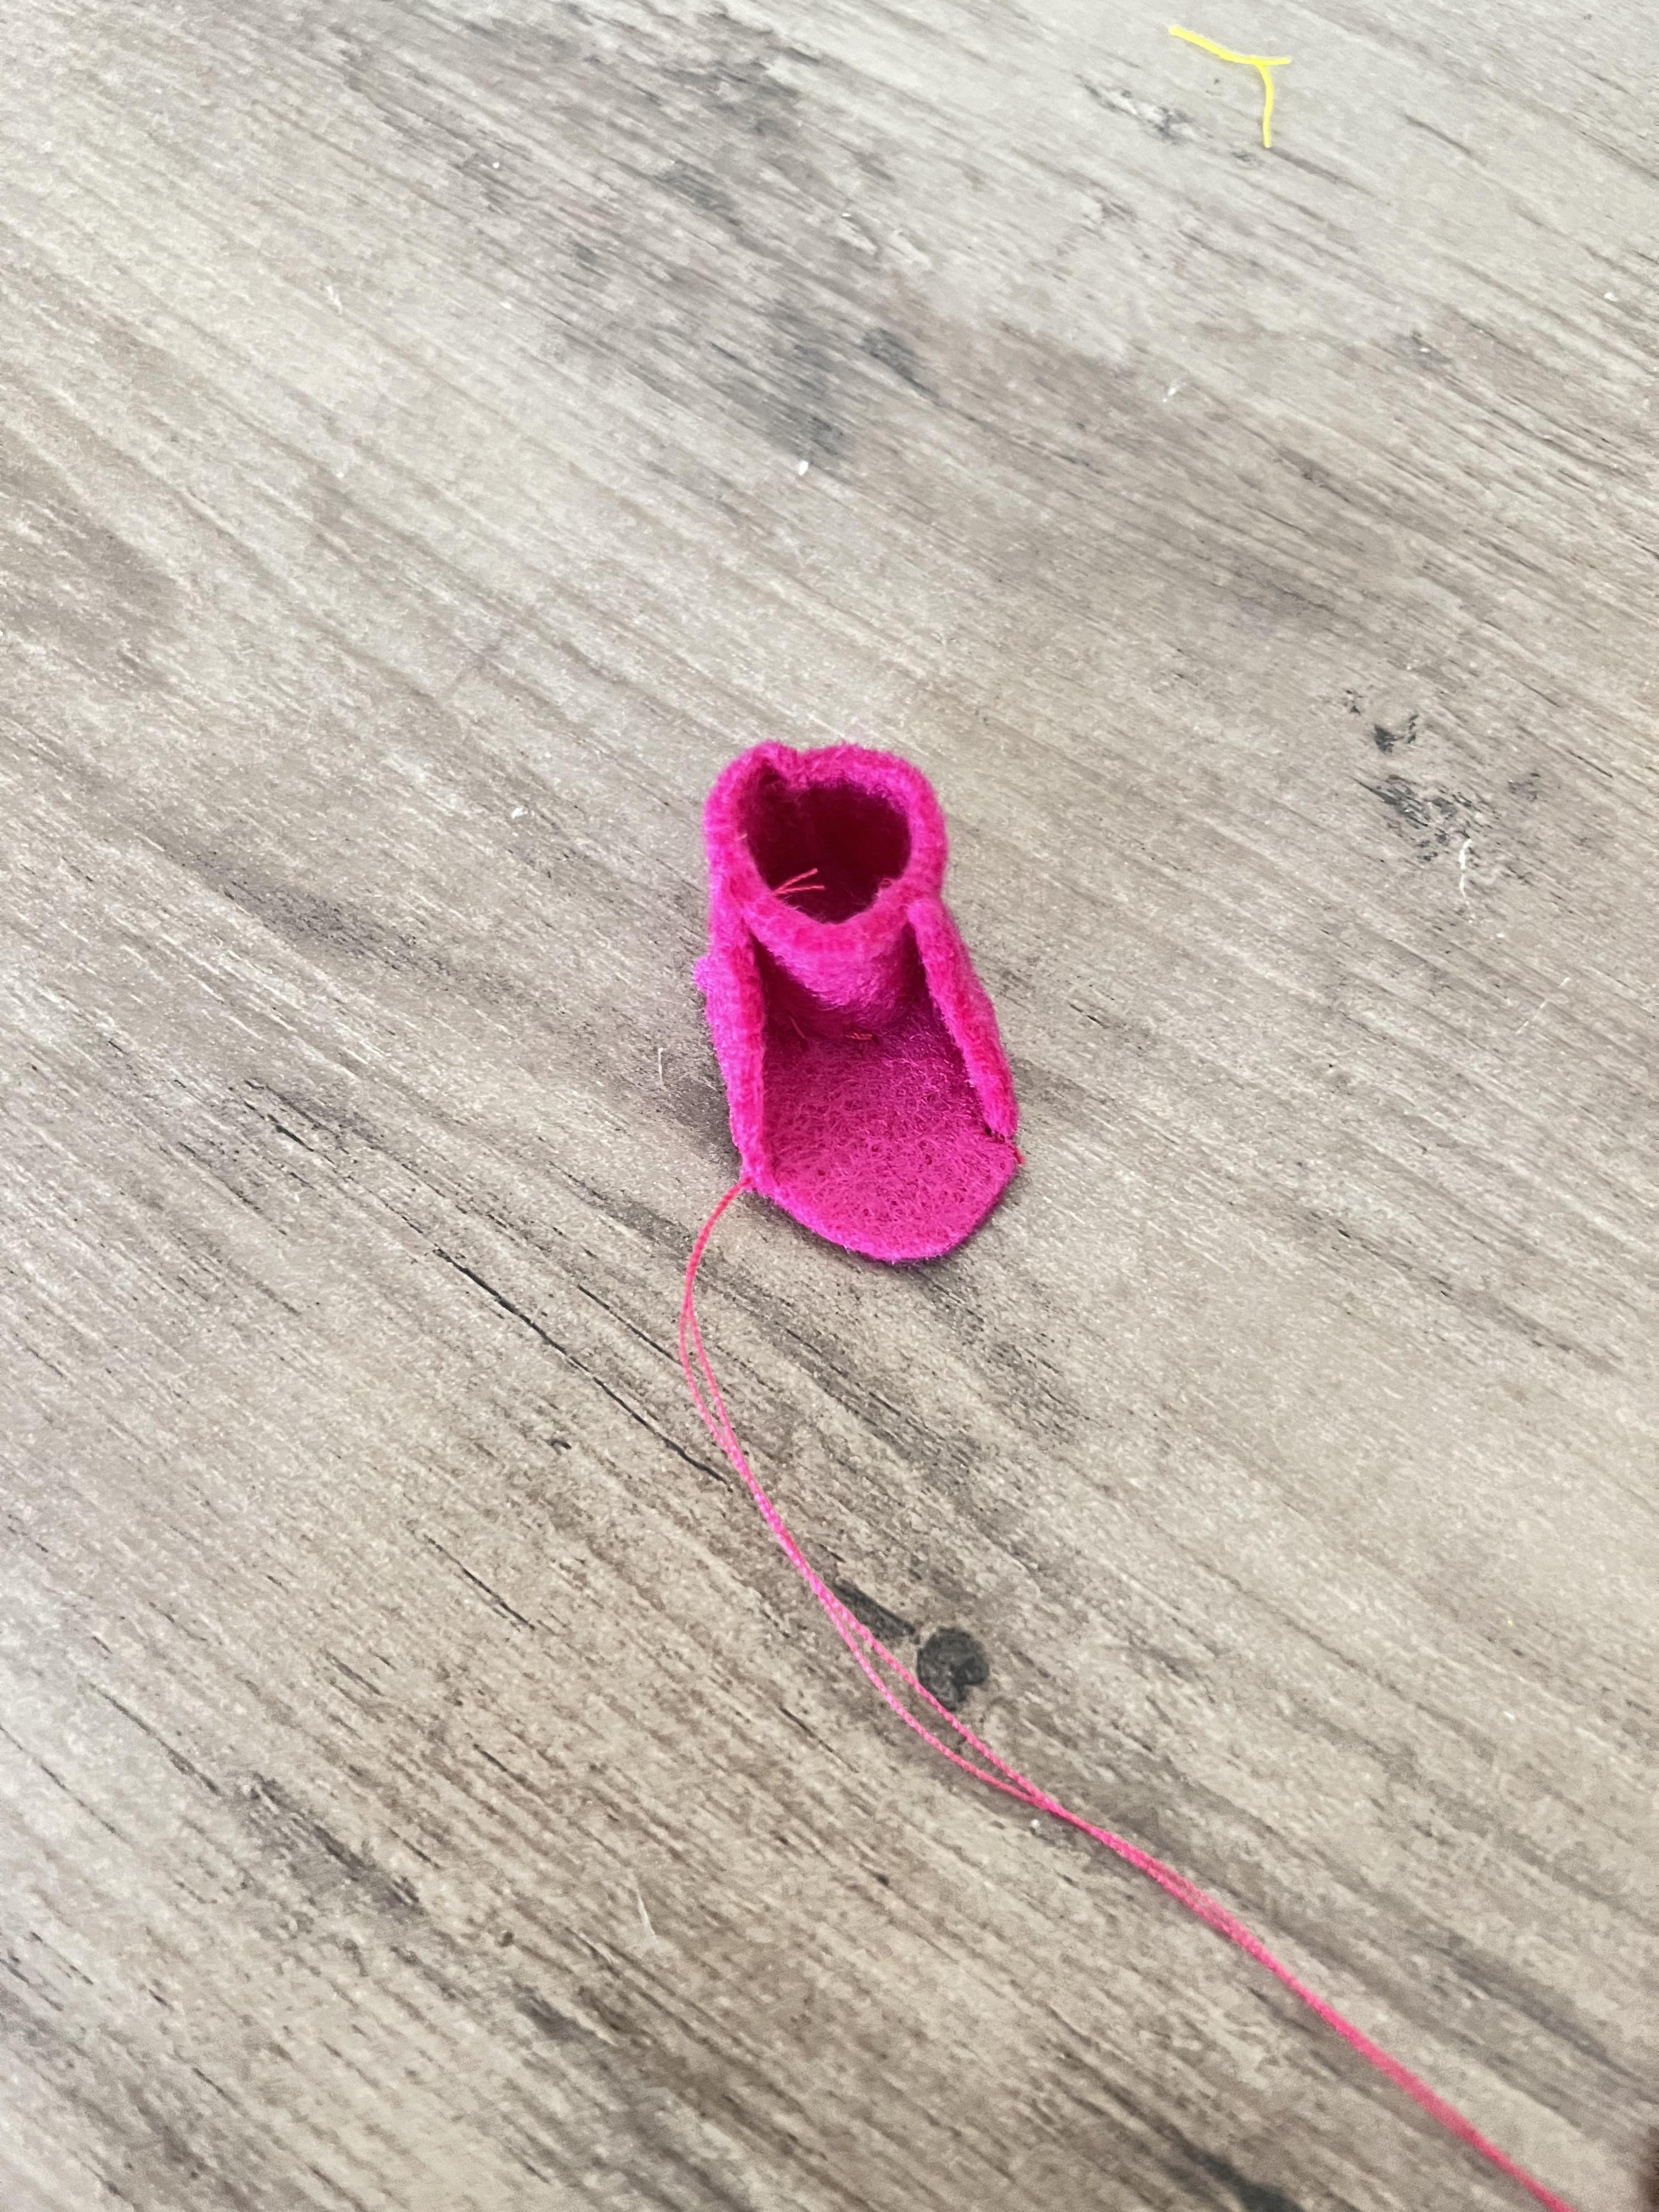
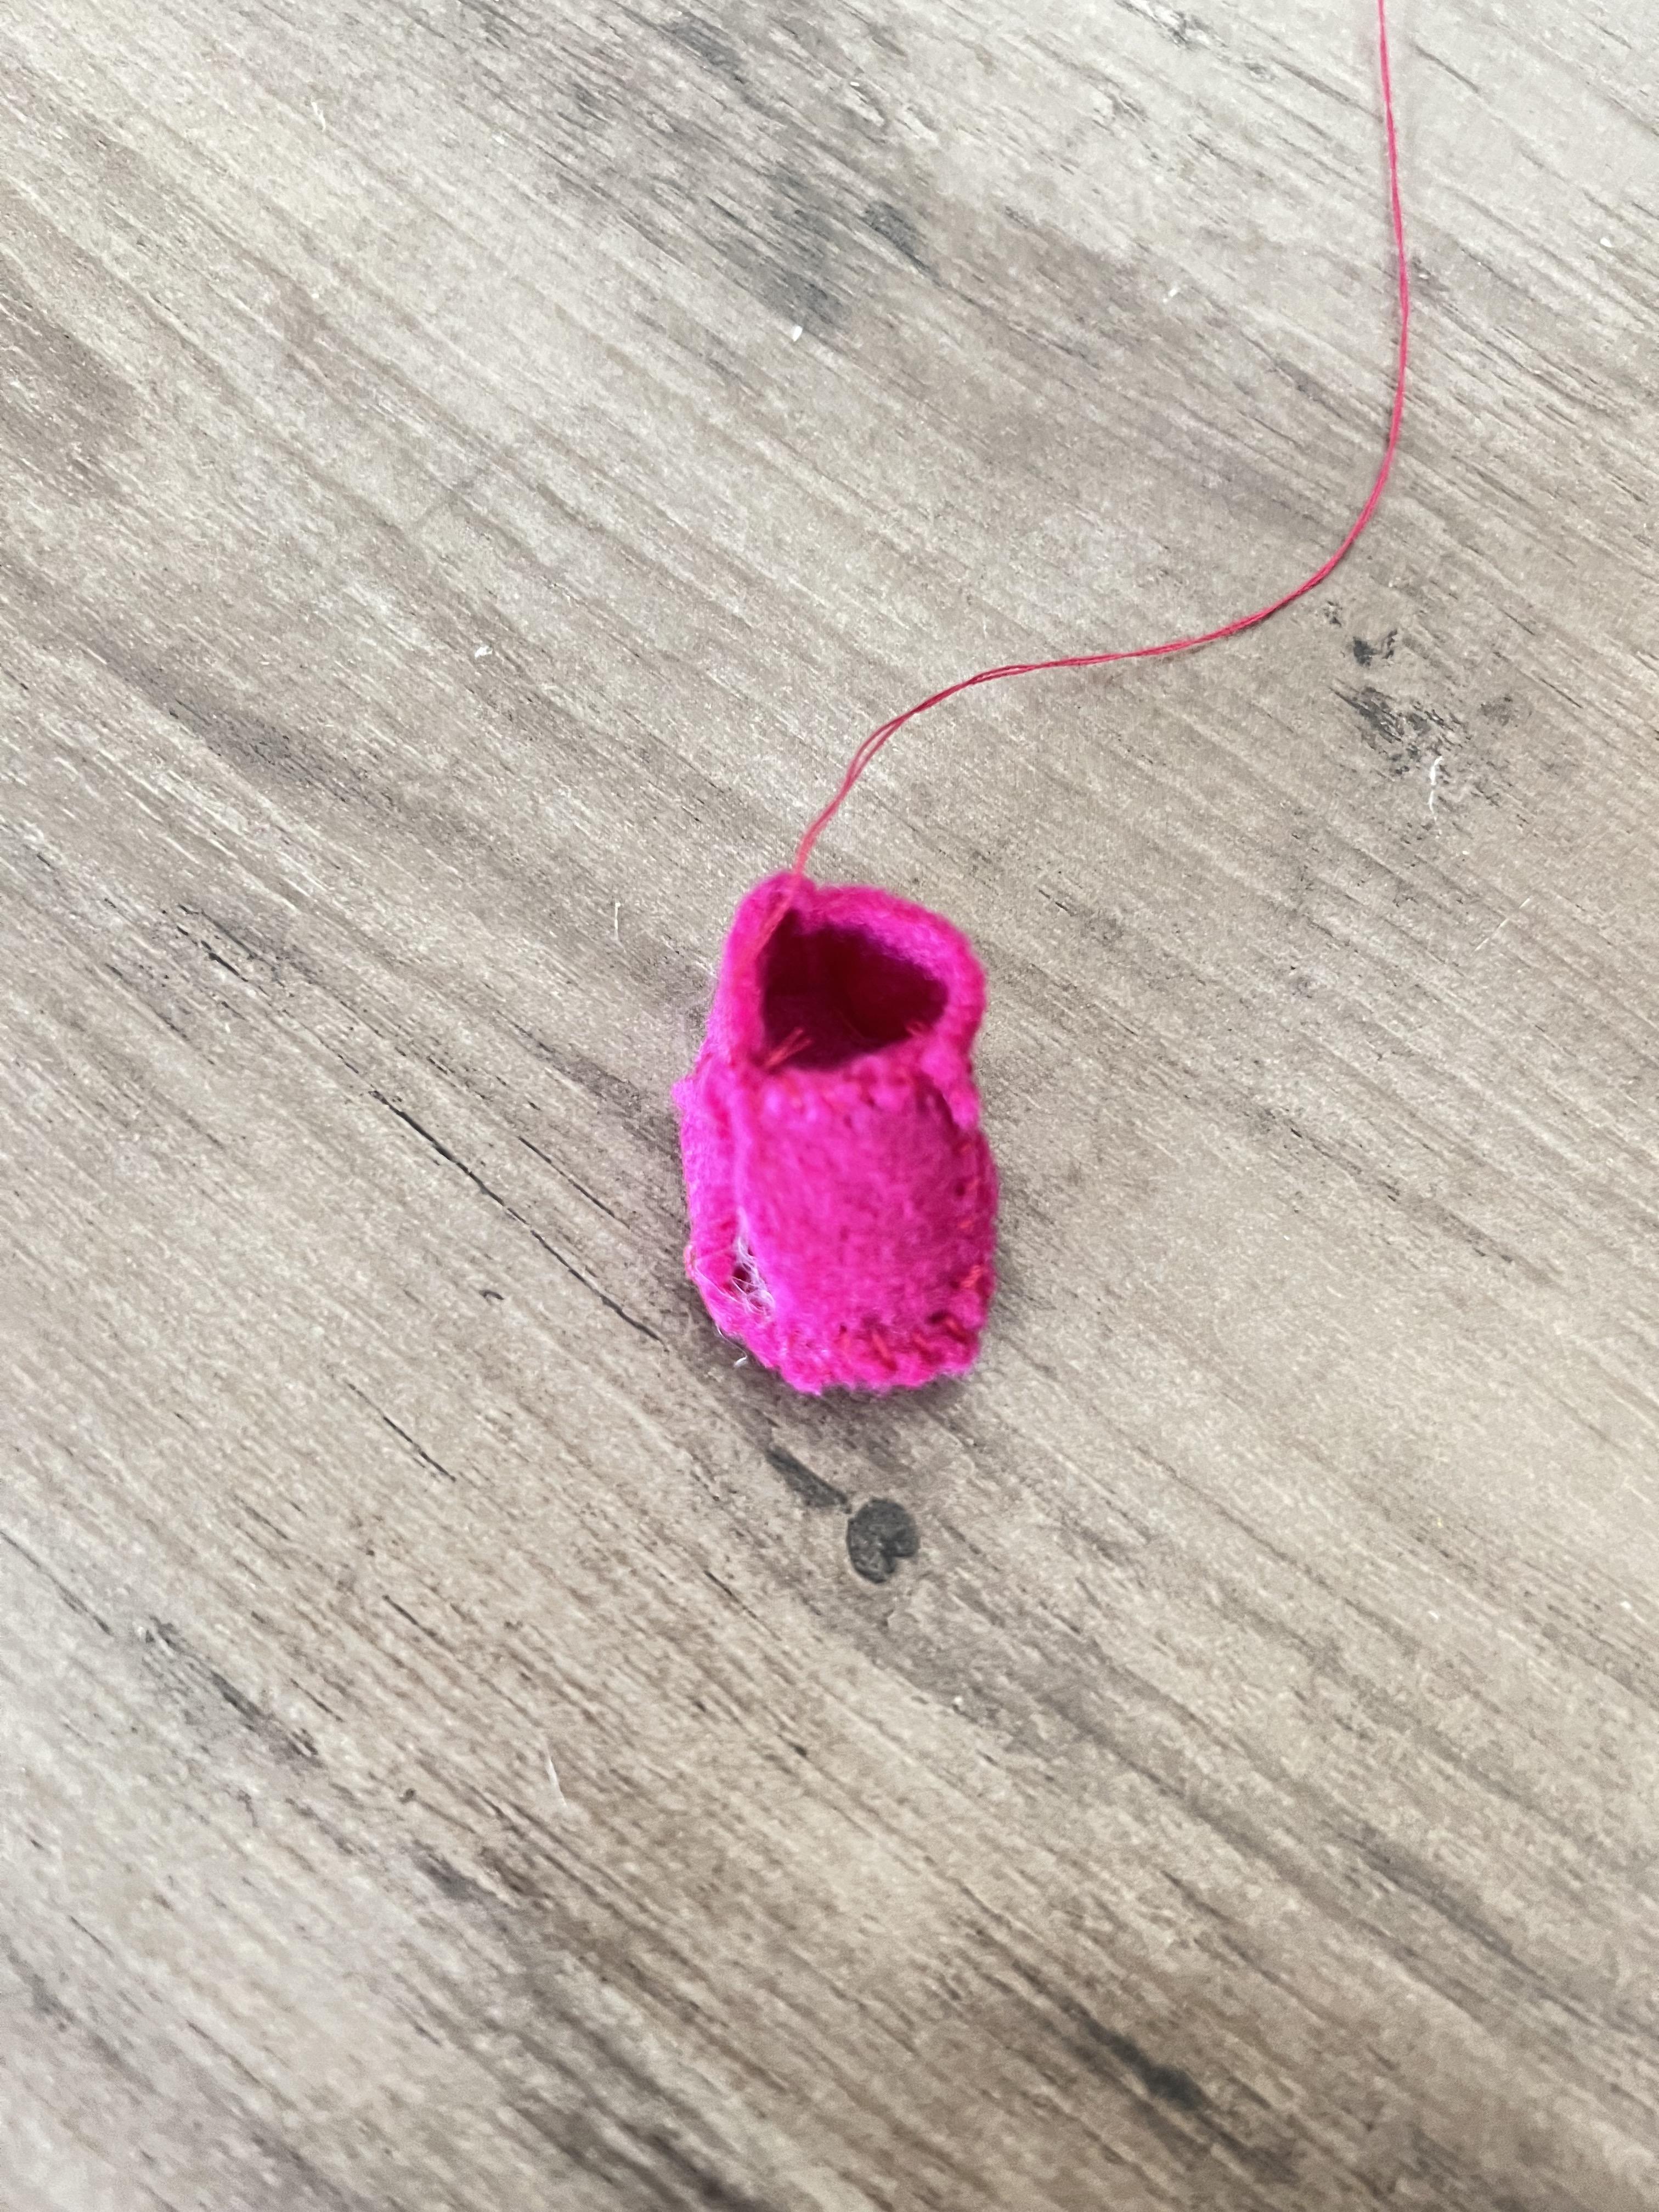
To make his very-complicated shoes, cut out pieces like the ones in picture 53. Fold a rectangular strip in half and sew up one side. Attach the pink tube to the shoe base and stitch around the bottom. Next, sew two triangle pieces to the tube/base. And the square-ish pieces to the shoe (please look at pictures 62-64). Repeat this for both shoes.
Felting Bucky's Hair


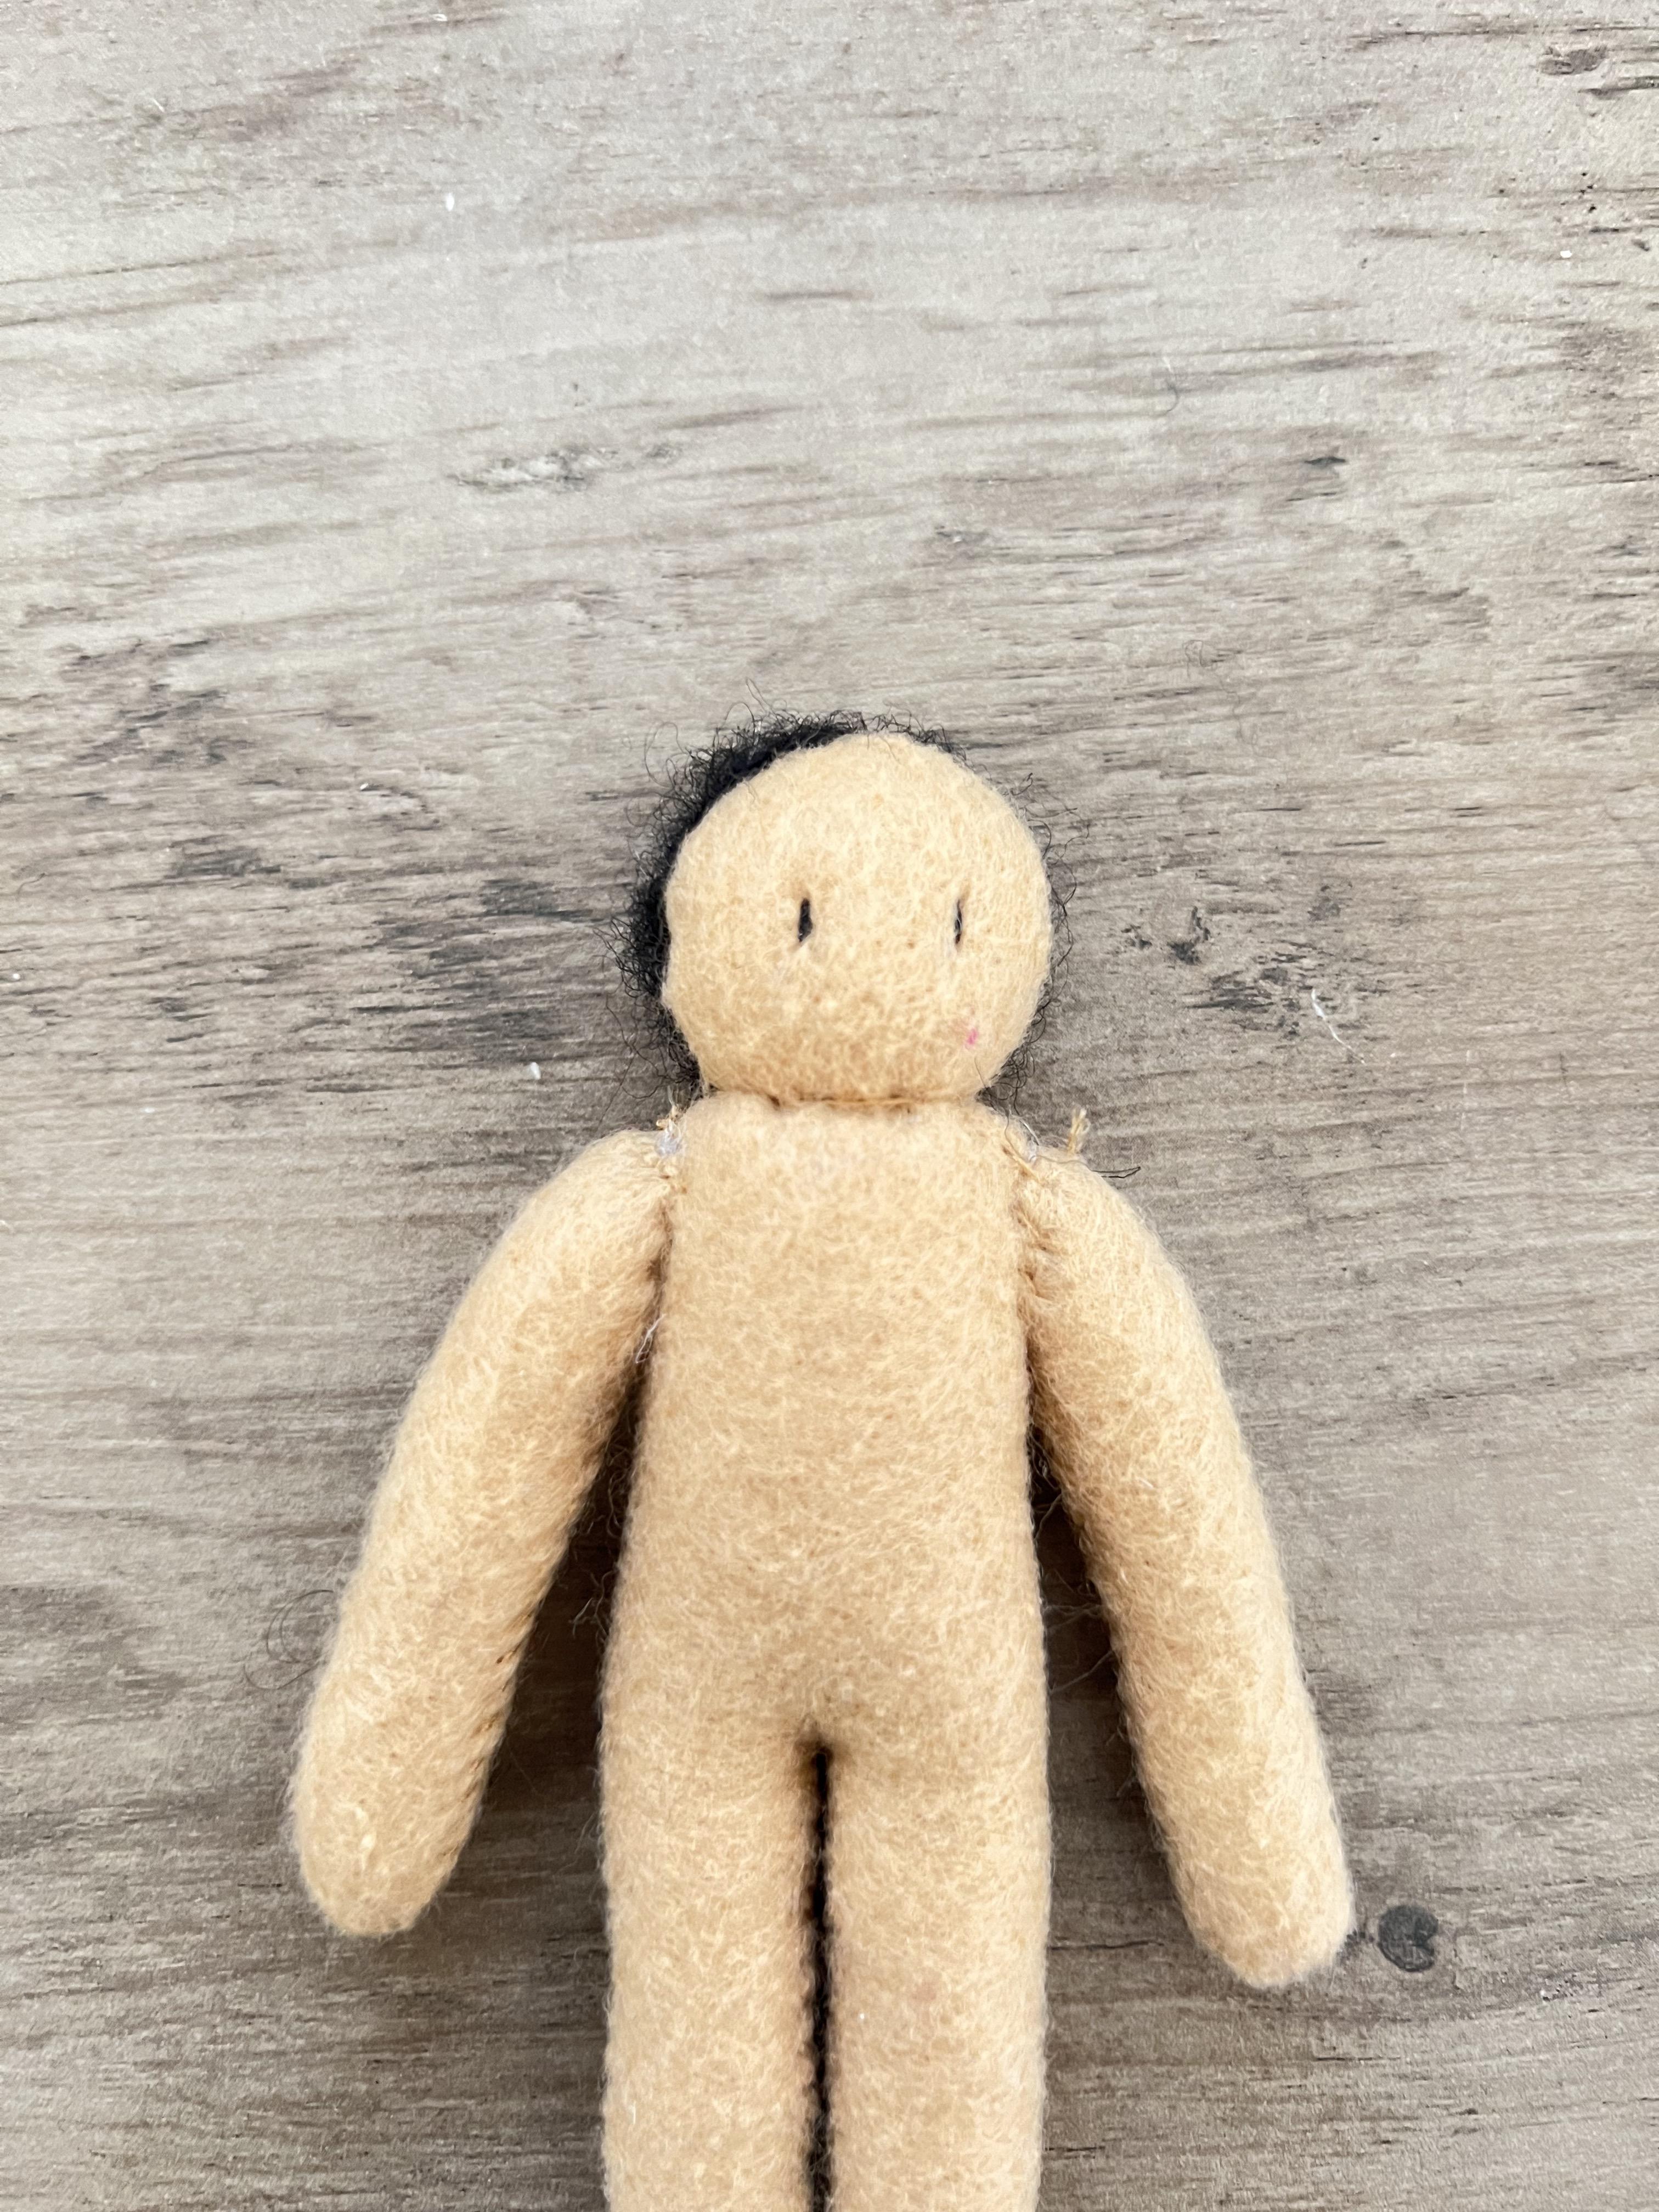

Felt some black wool around Bucky's head. (only on the back)
Sewing Bucky's Clothes



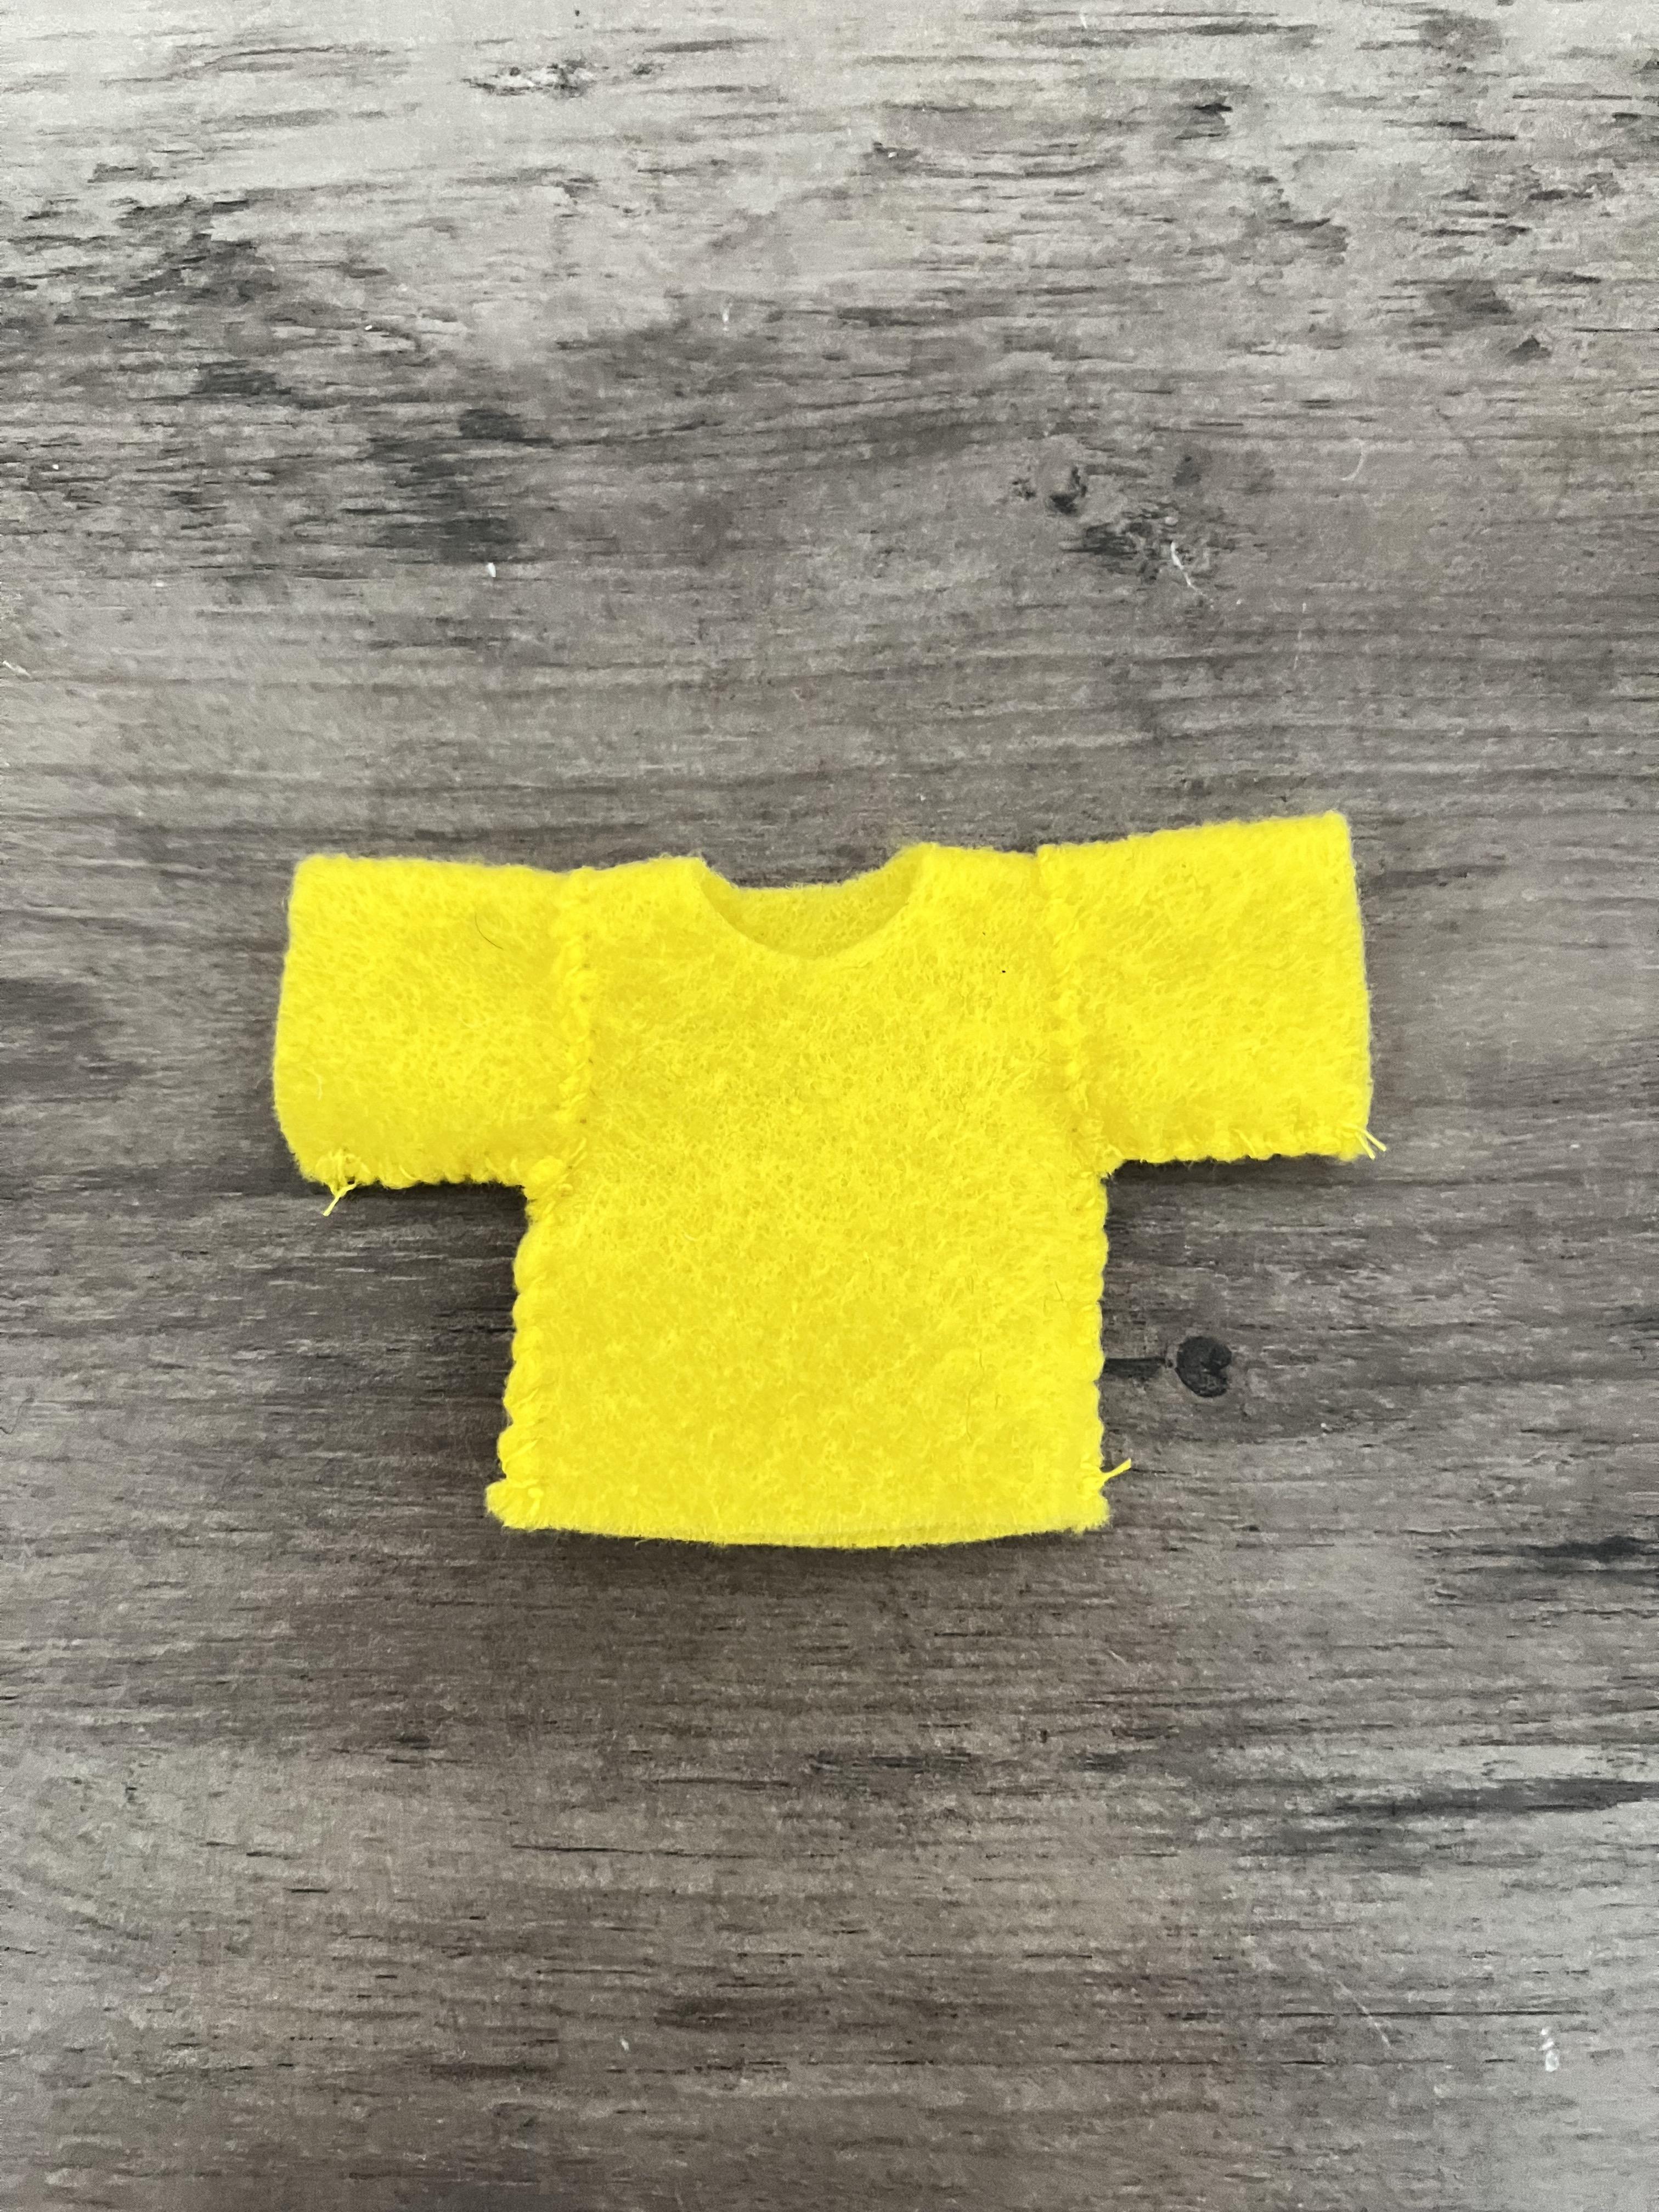

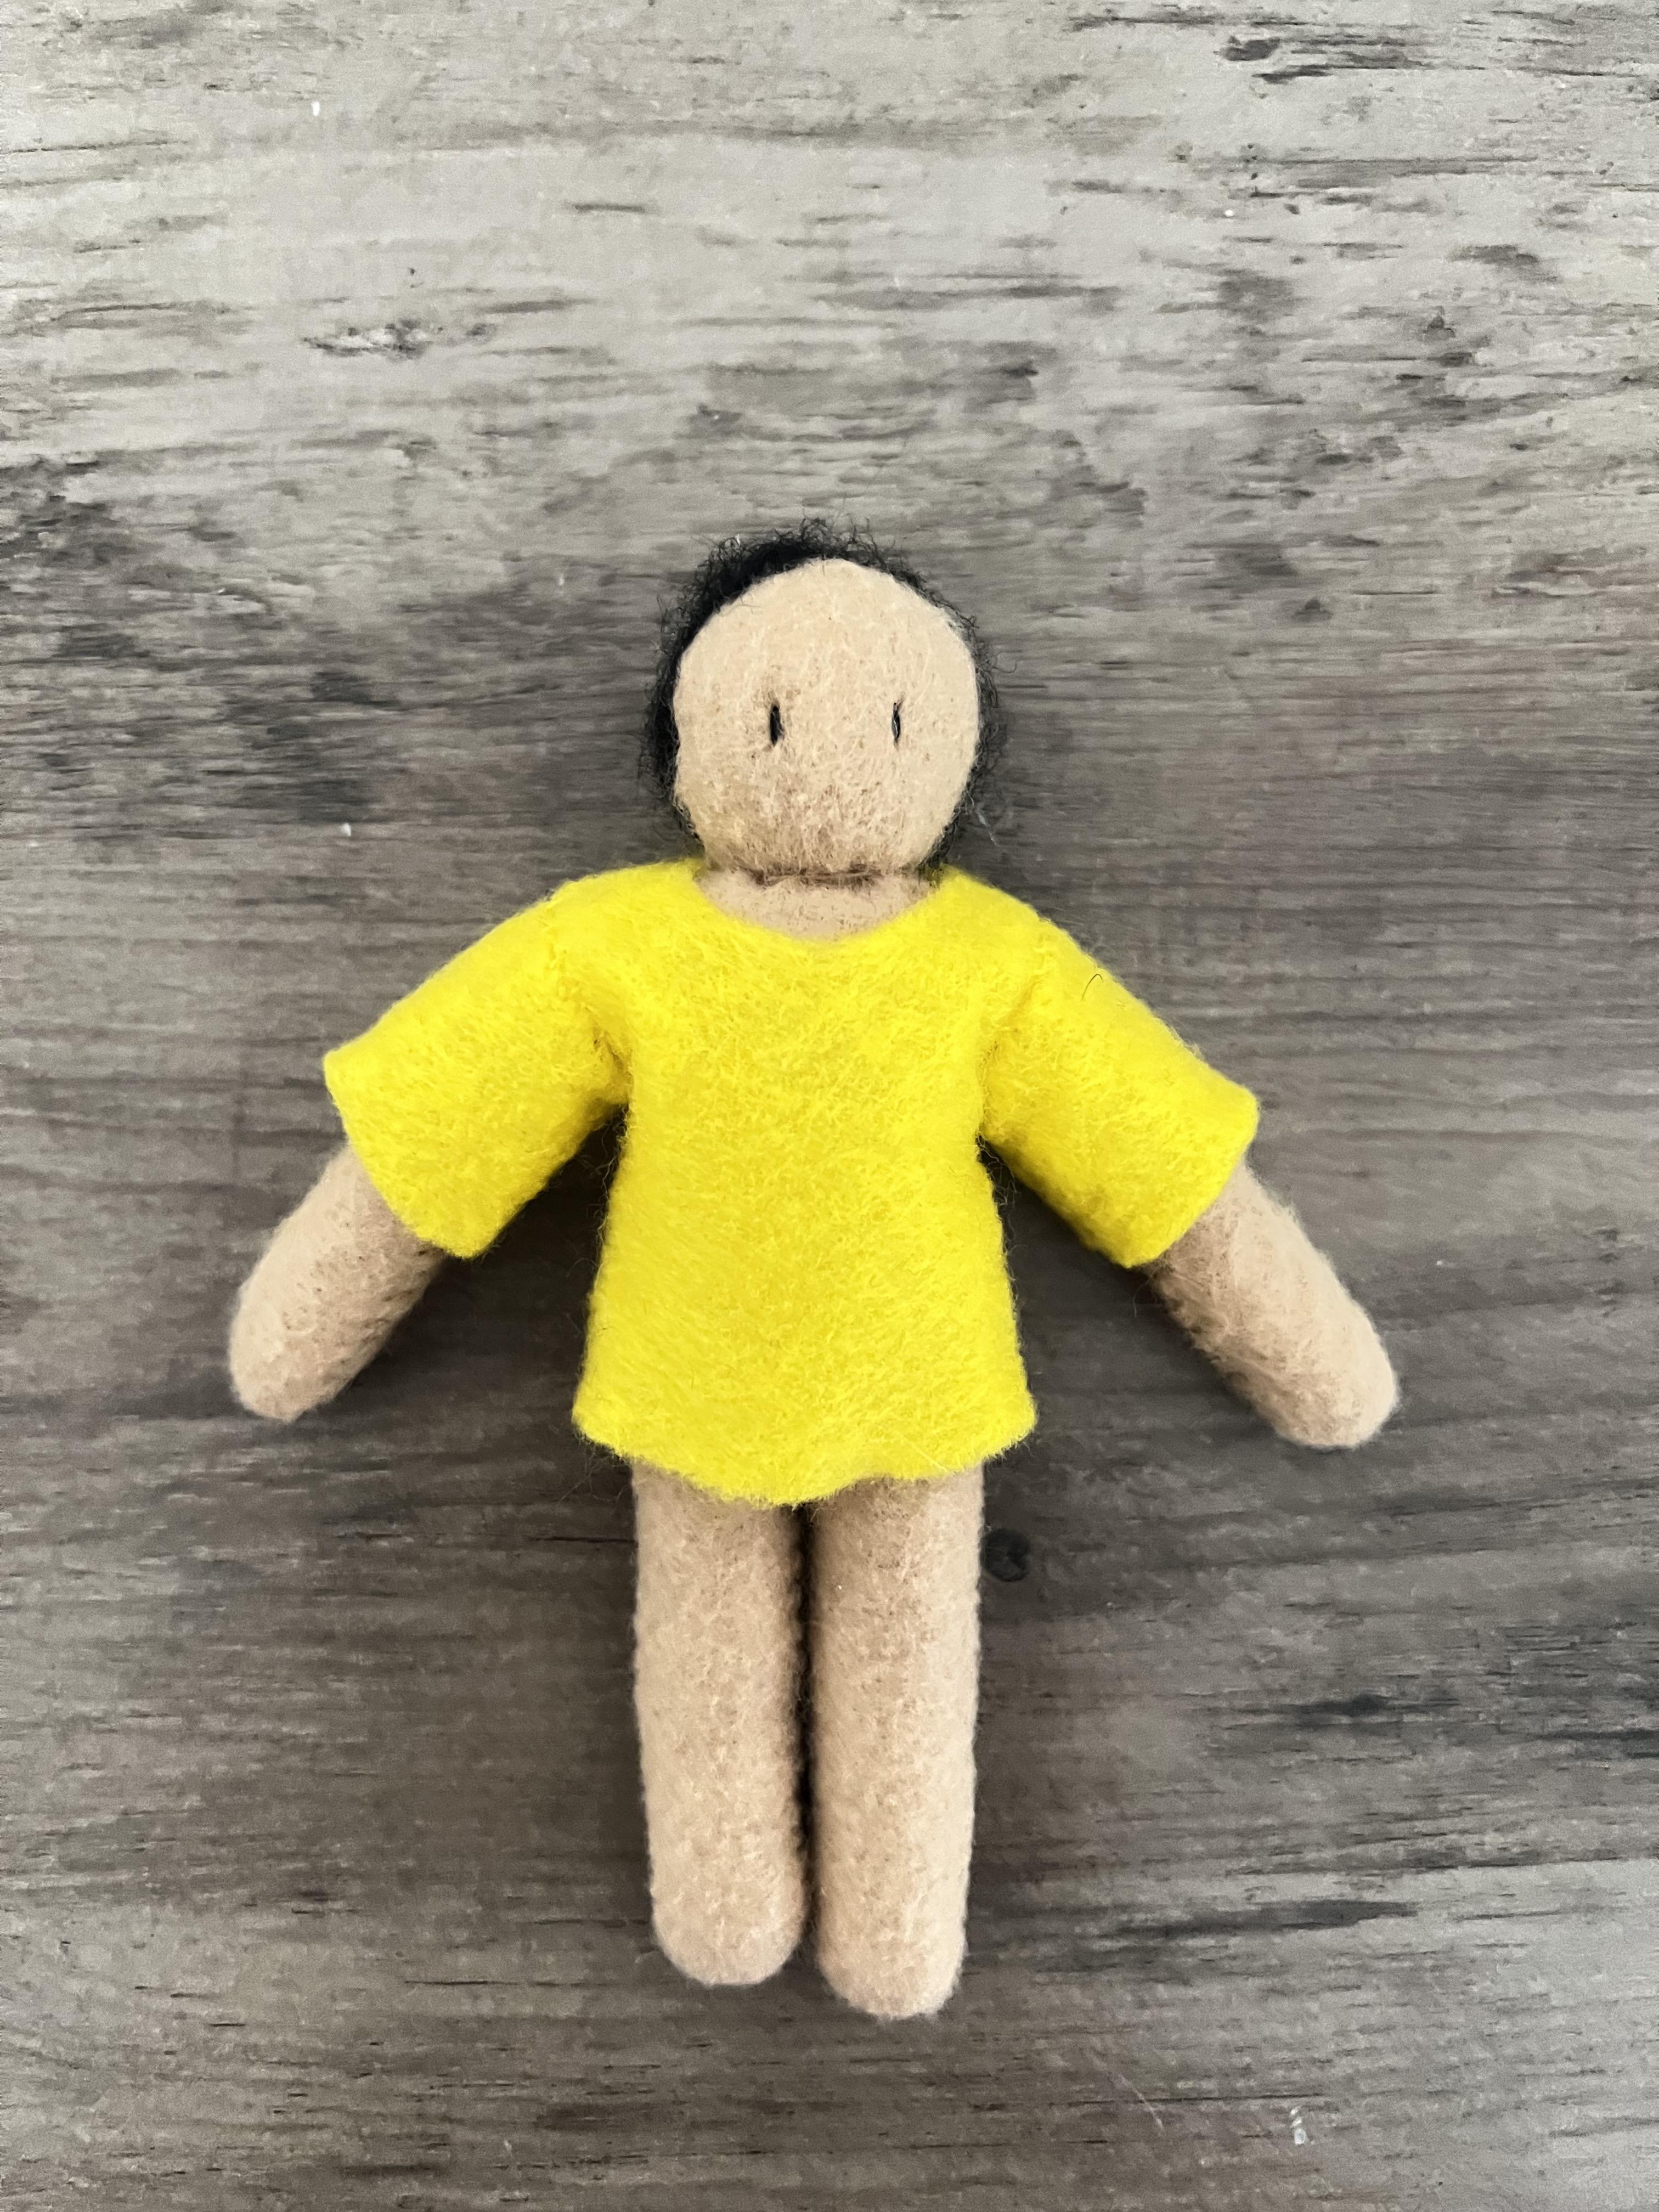
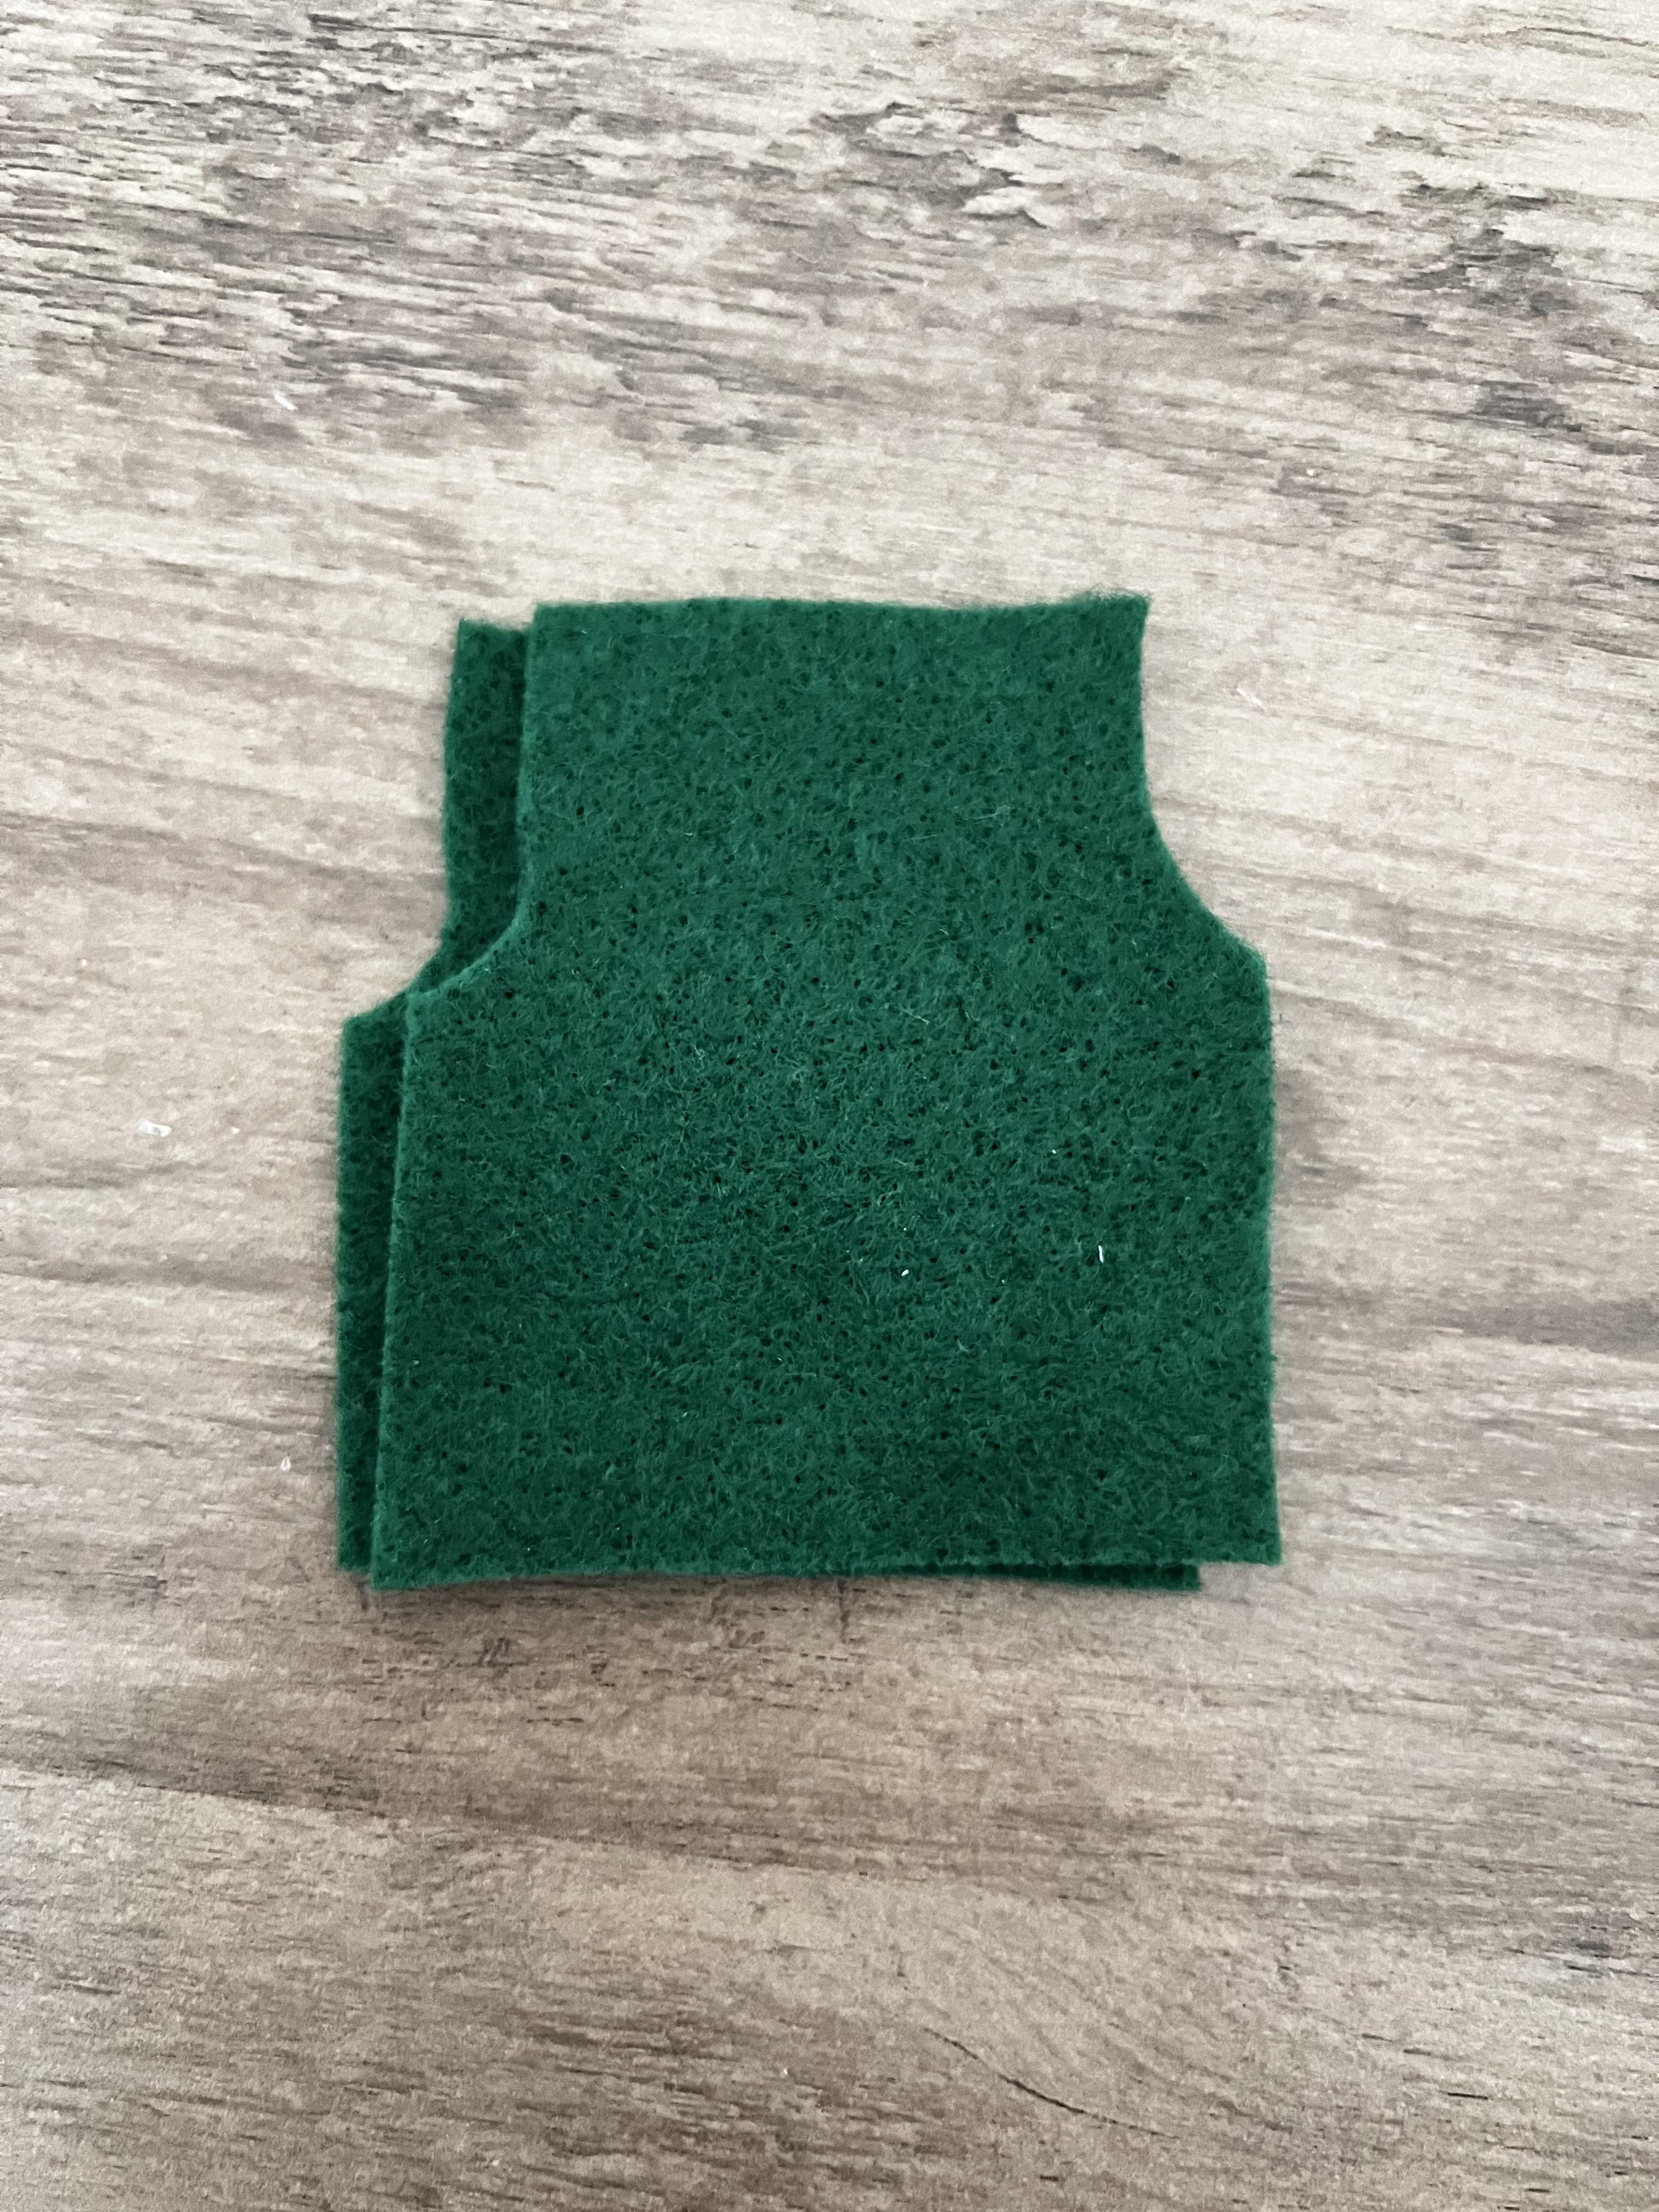

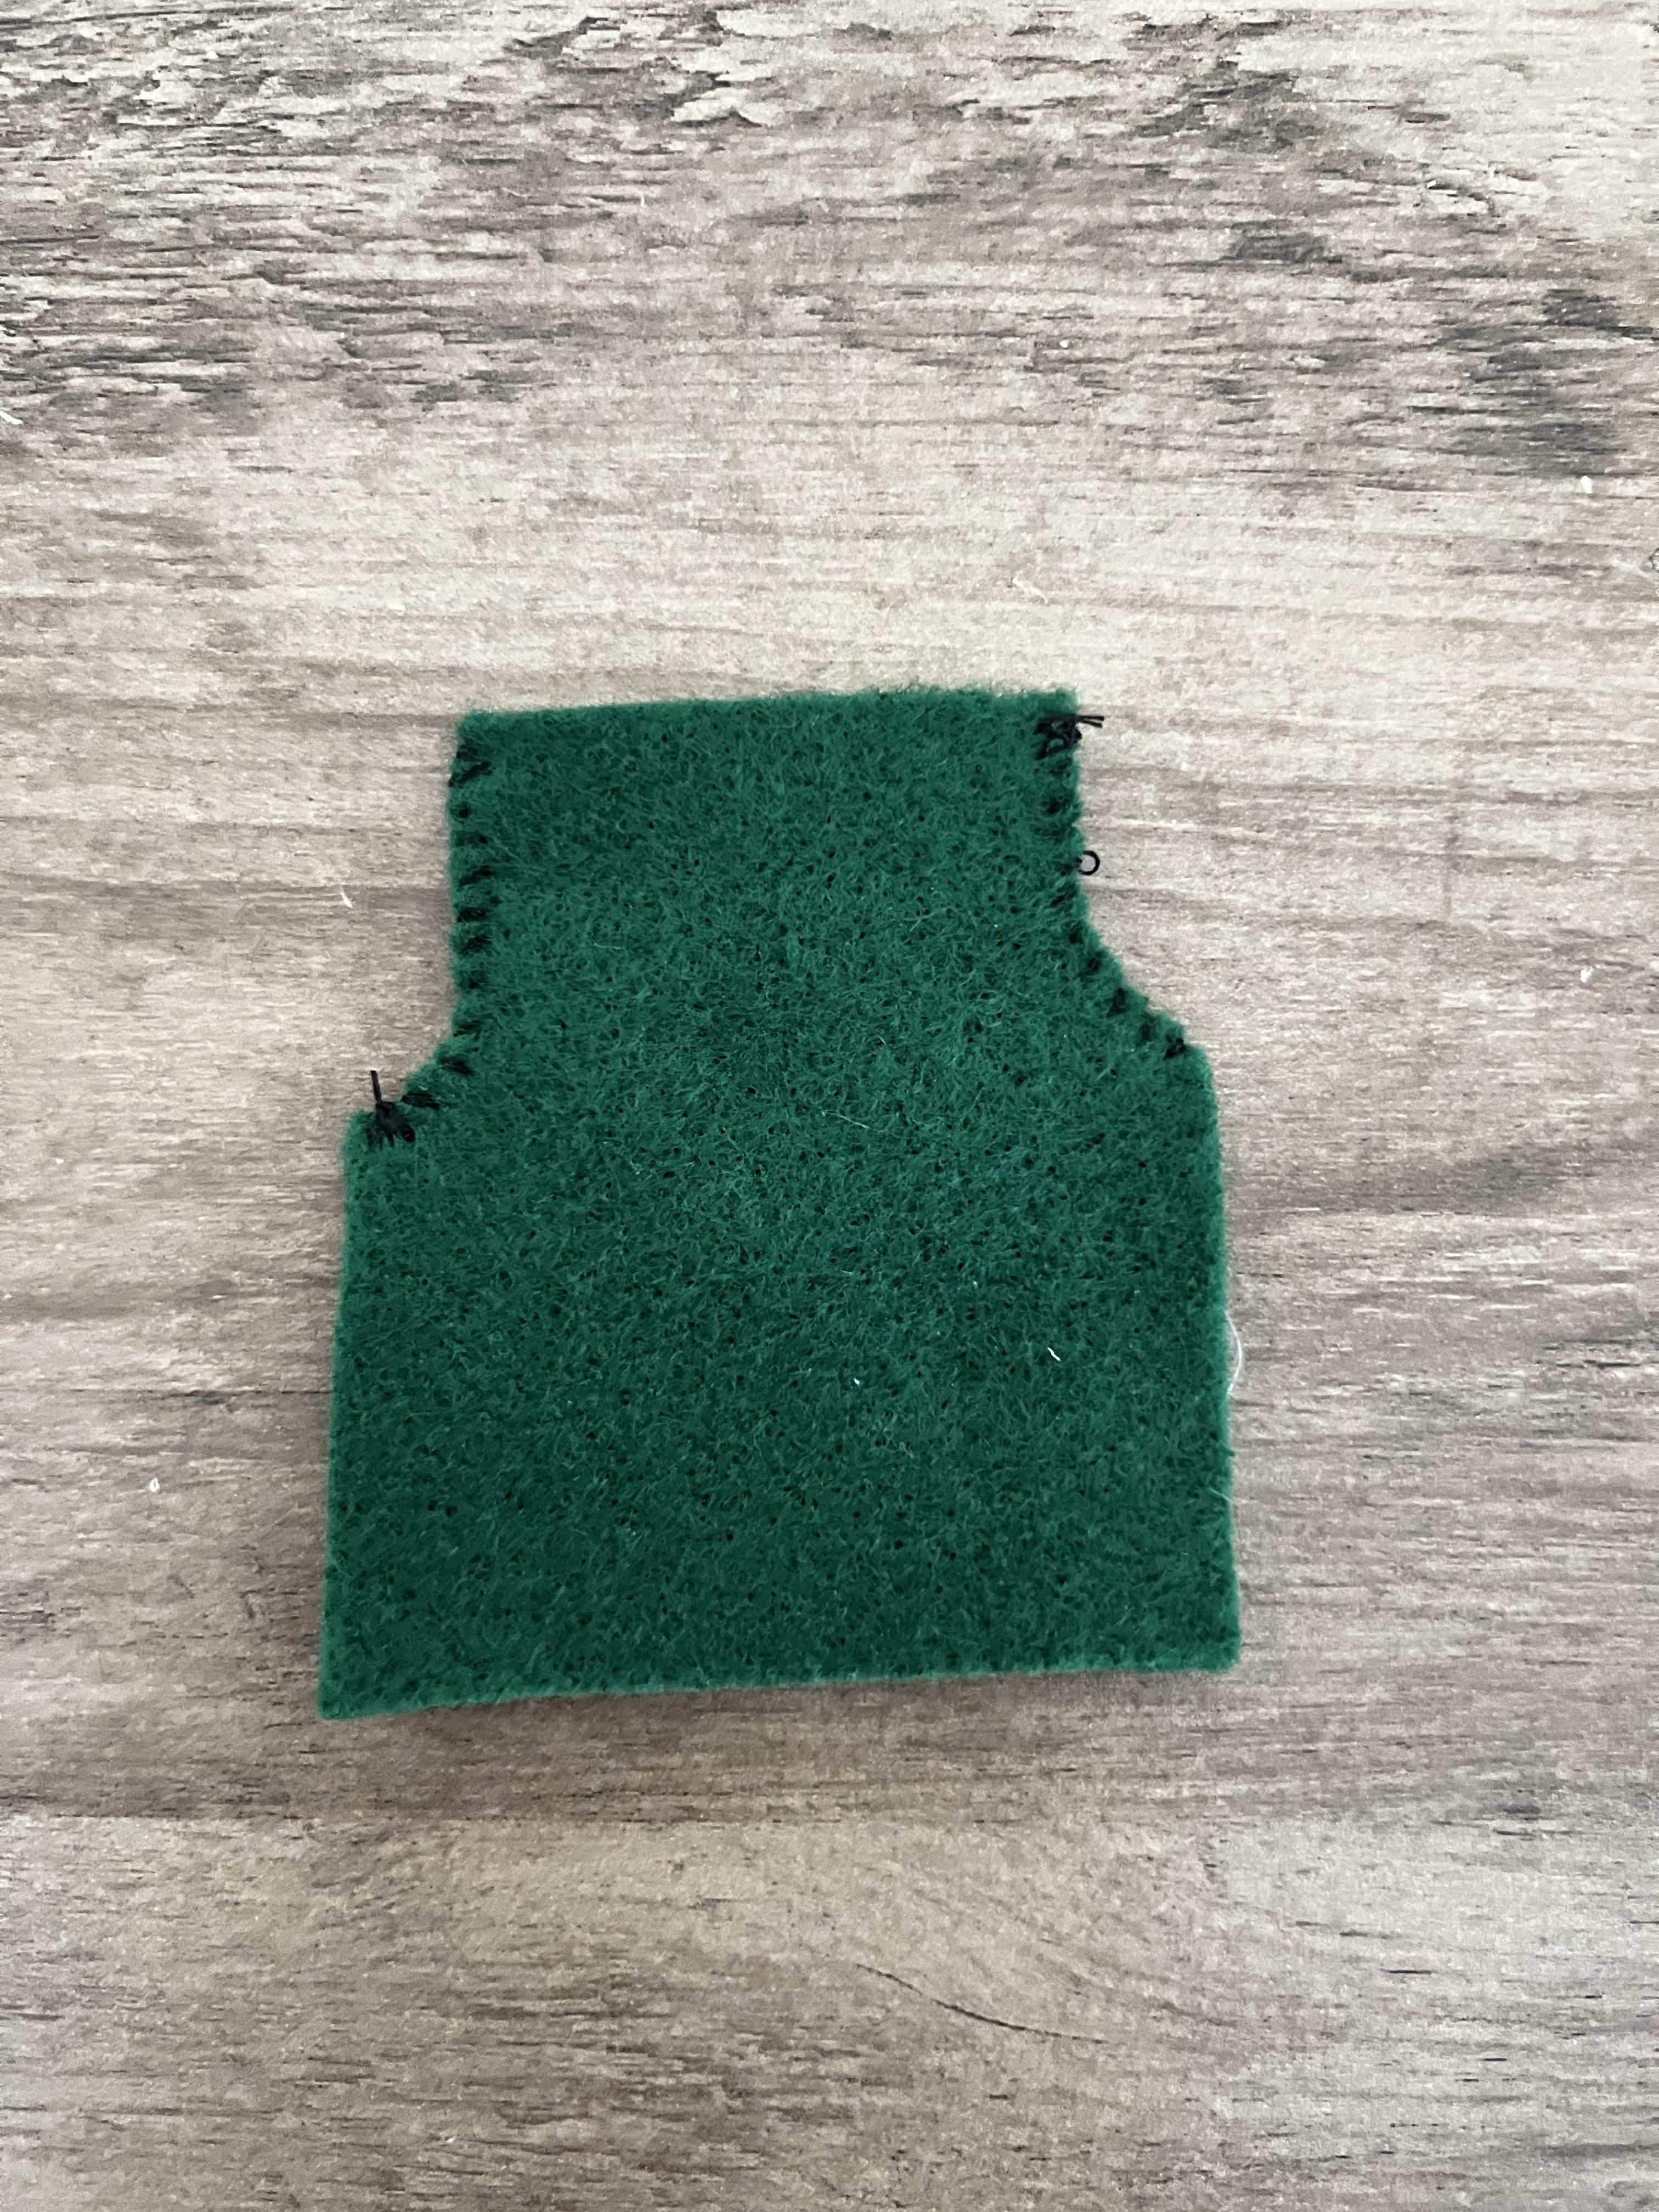





For Bucky's shirt, cut a rectangle and cut a indent on both sides for the sleeve. Cut two rectangles for sleeves and sew them to each sleeve indent. Fold the shirt in half and sew the upside-down "L"s on both sides. Flip the shirt inside out and cut a neck hole.
To make the pants, cut two rectangles with a "J" on each side. Sew both "J"s. Fold the pants to form legs and sew the "V" along the legs.
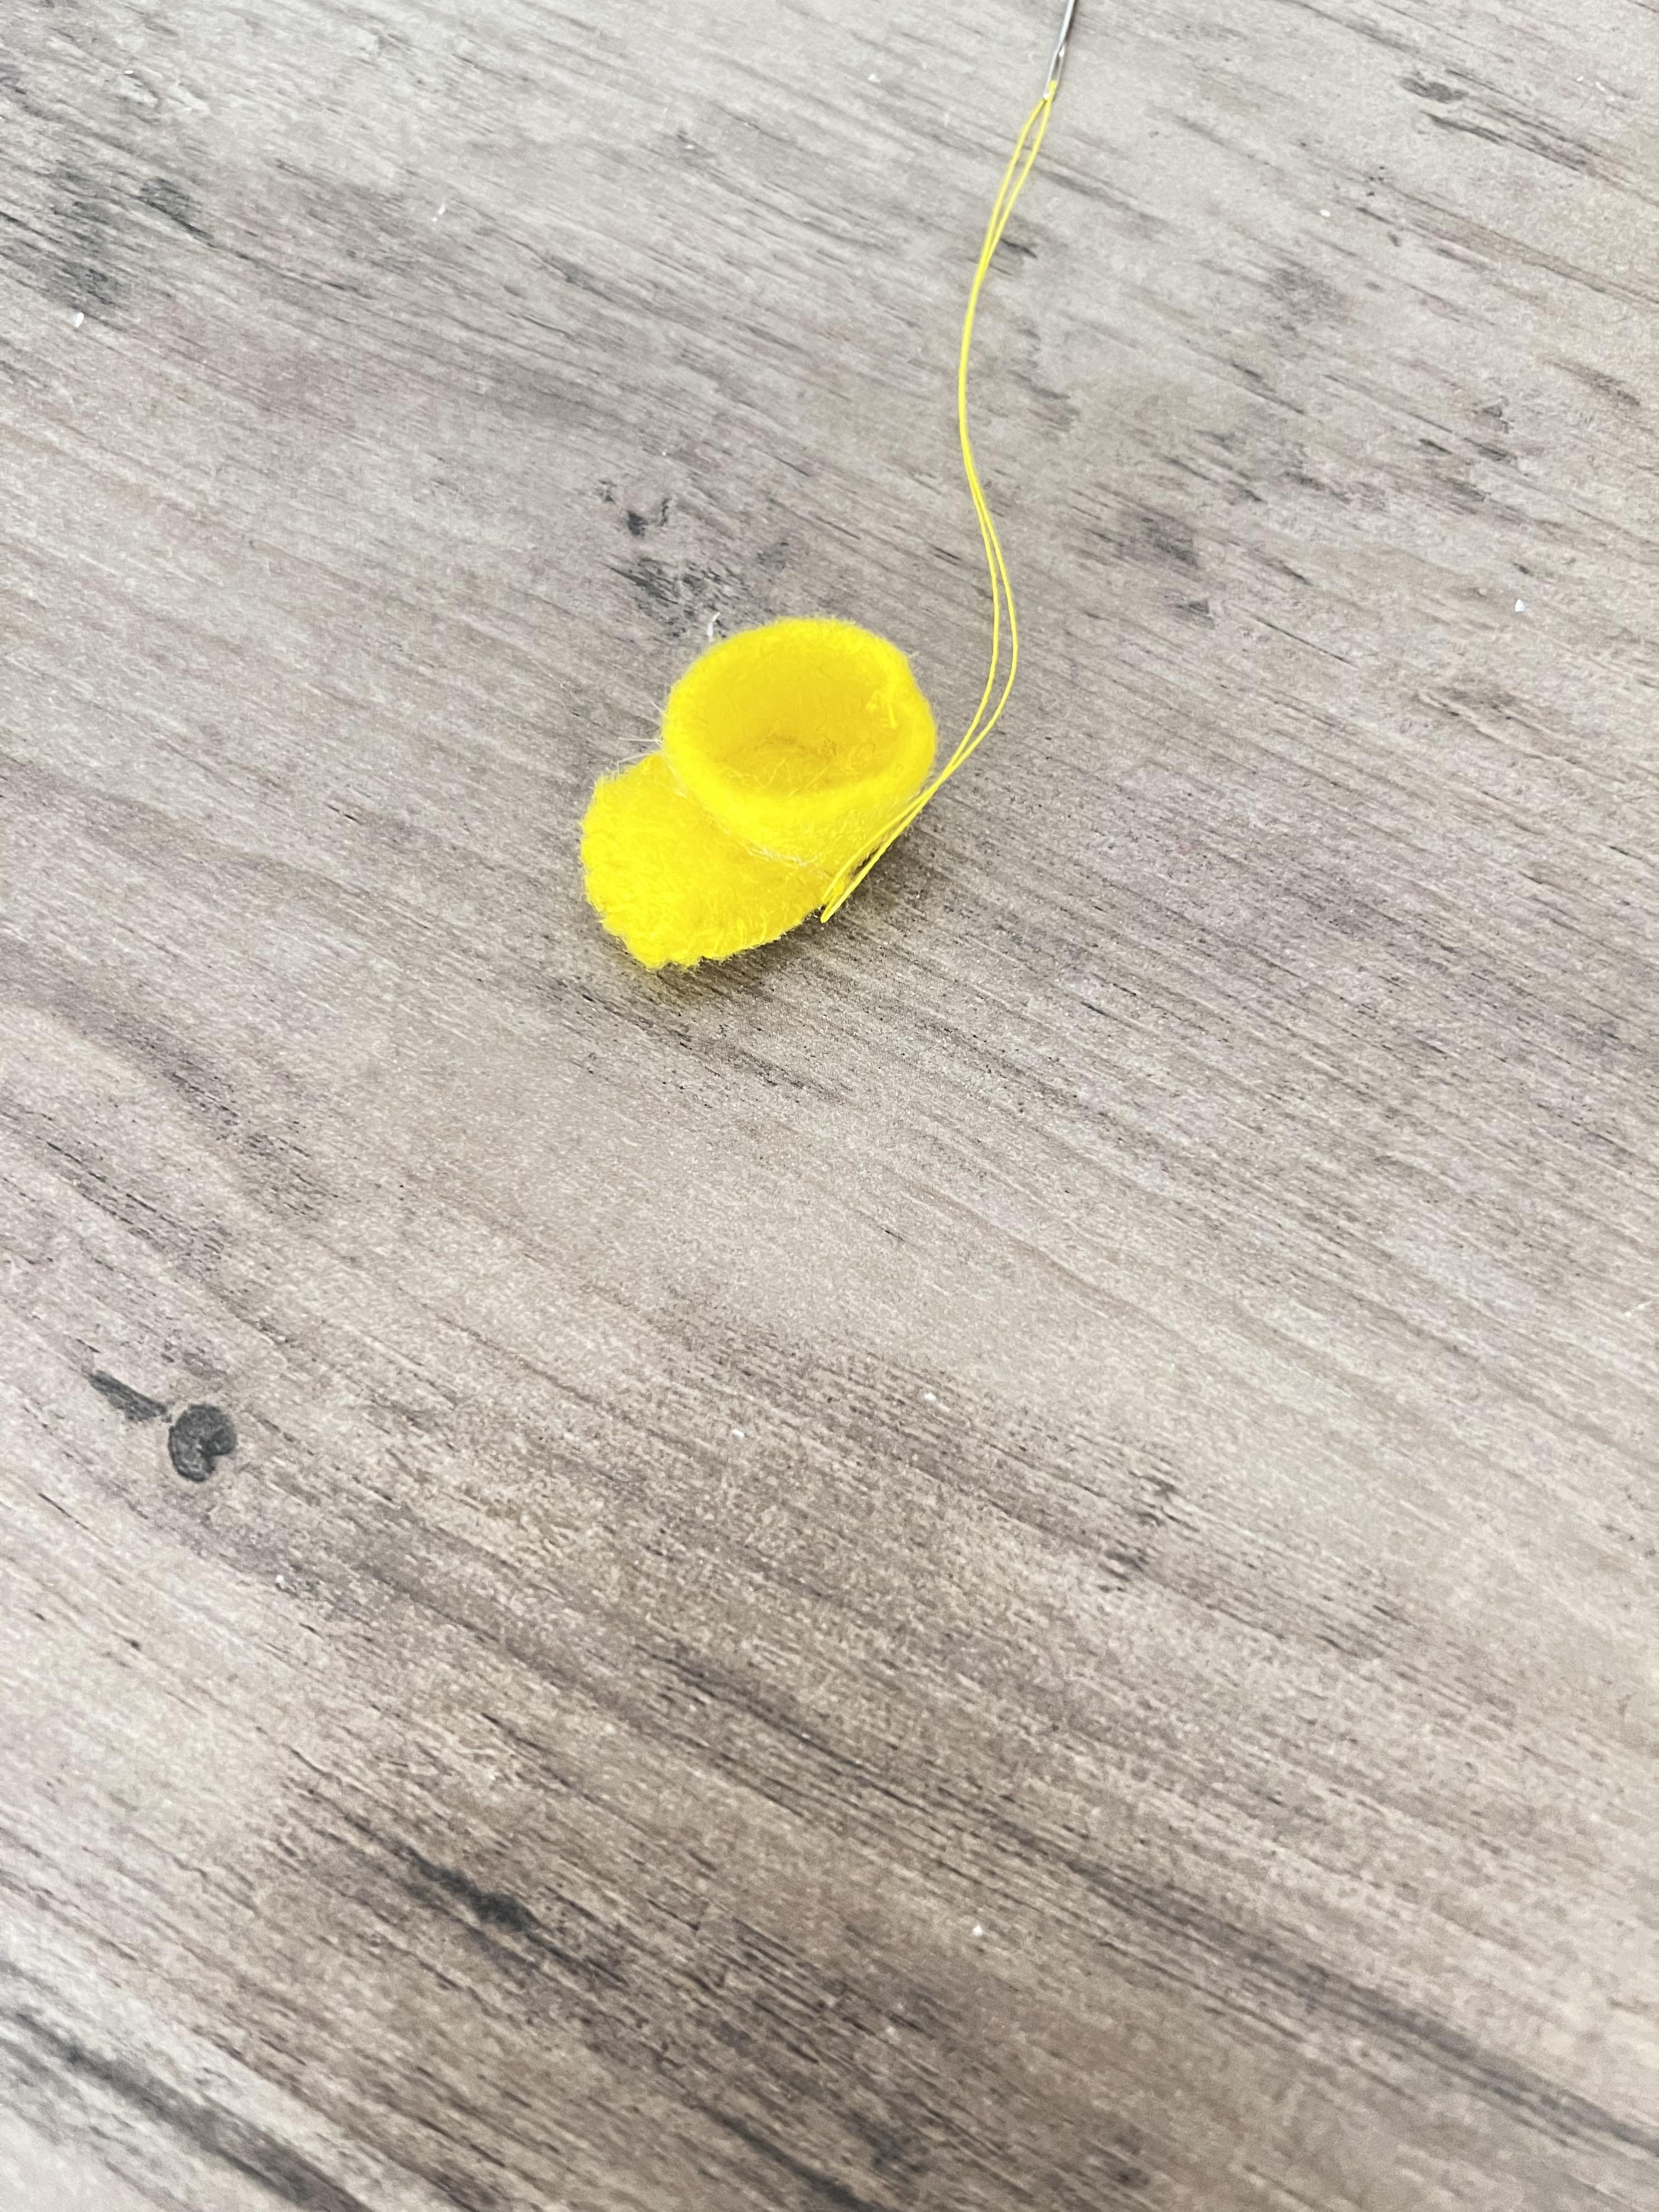
For his shoes, fold a yellow strip in half and sew up one side. Attach the yellow tube to the shoe base (a yellow oval) and stitch around the bottom. Sew the toe onto the end of each shoe.
Sewing Bill's Clothes
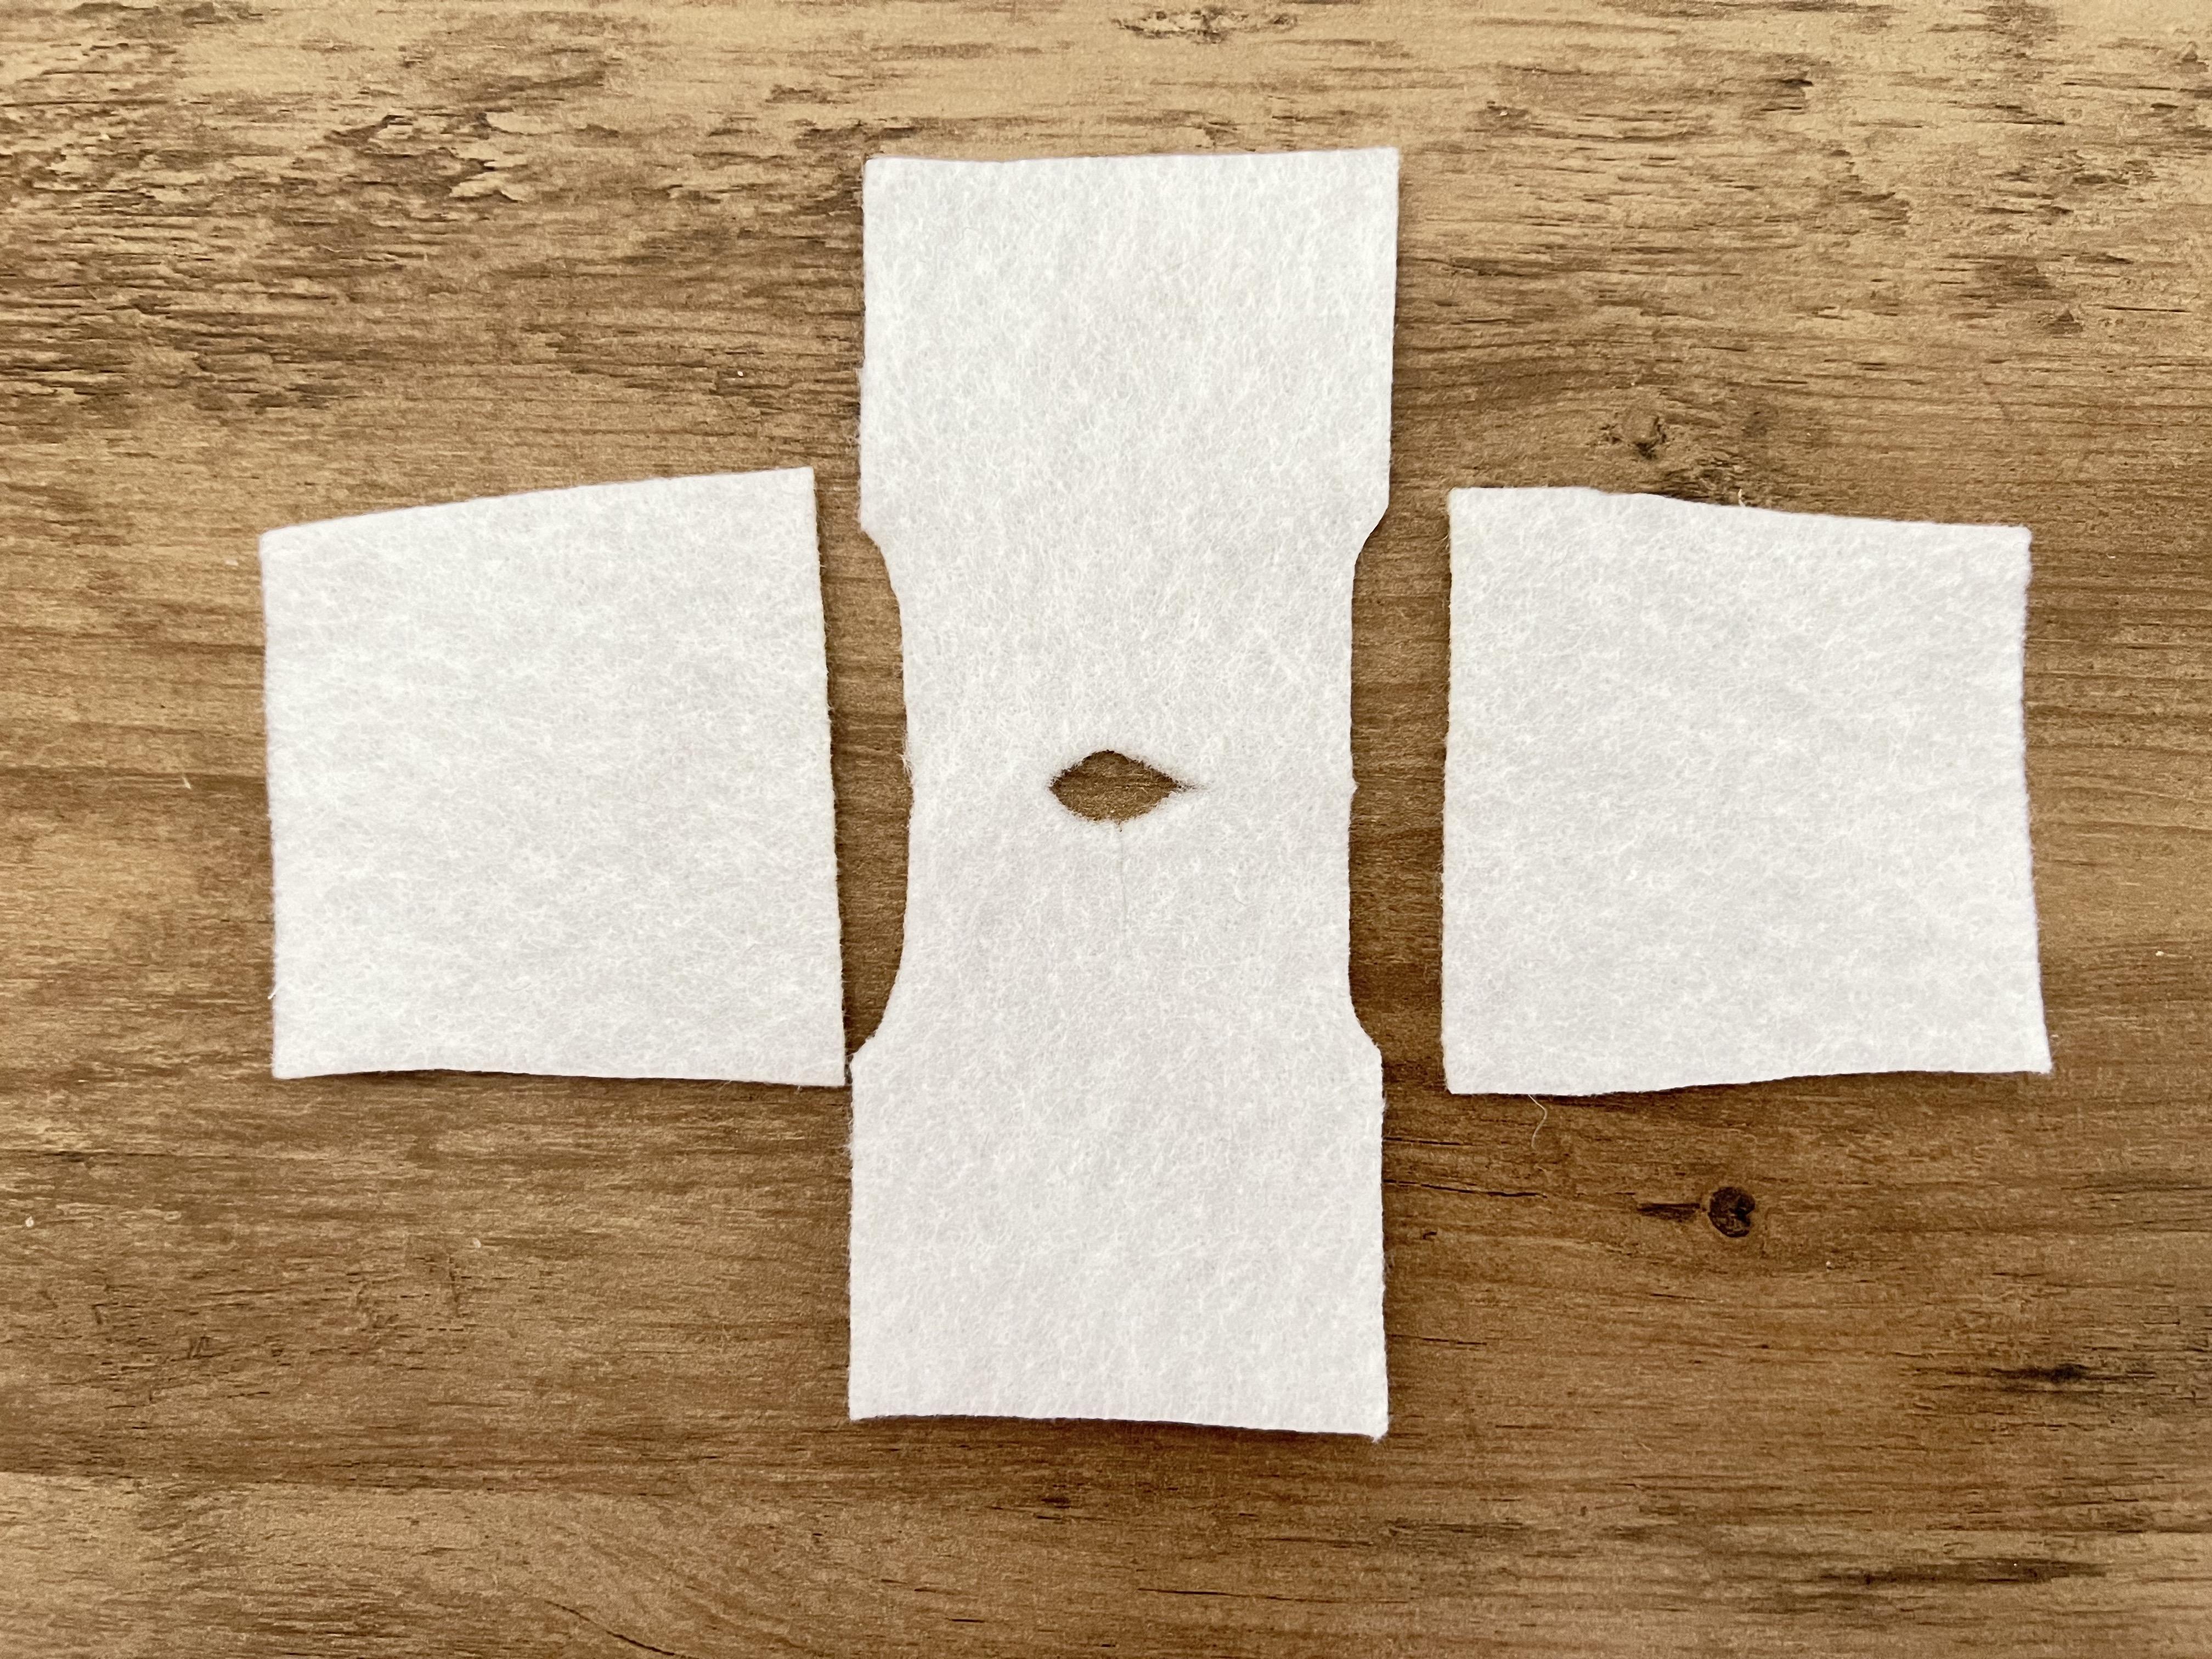


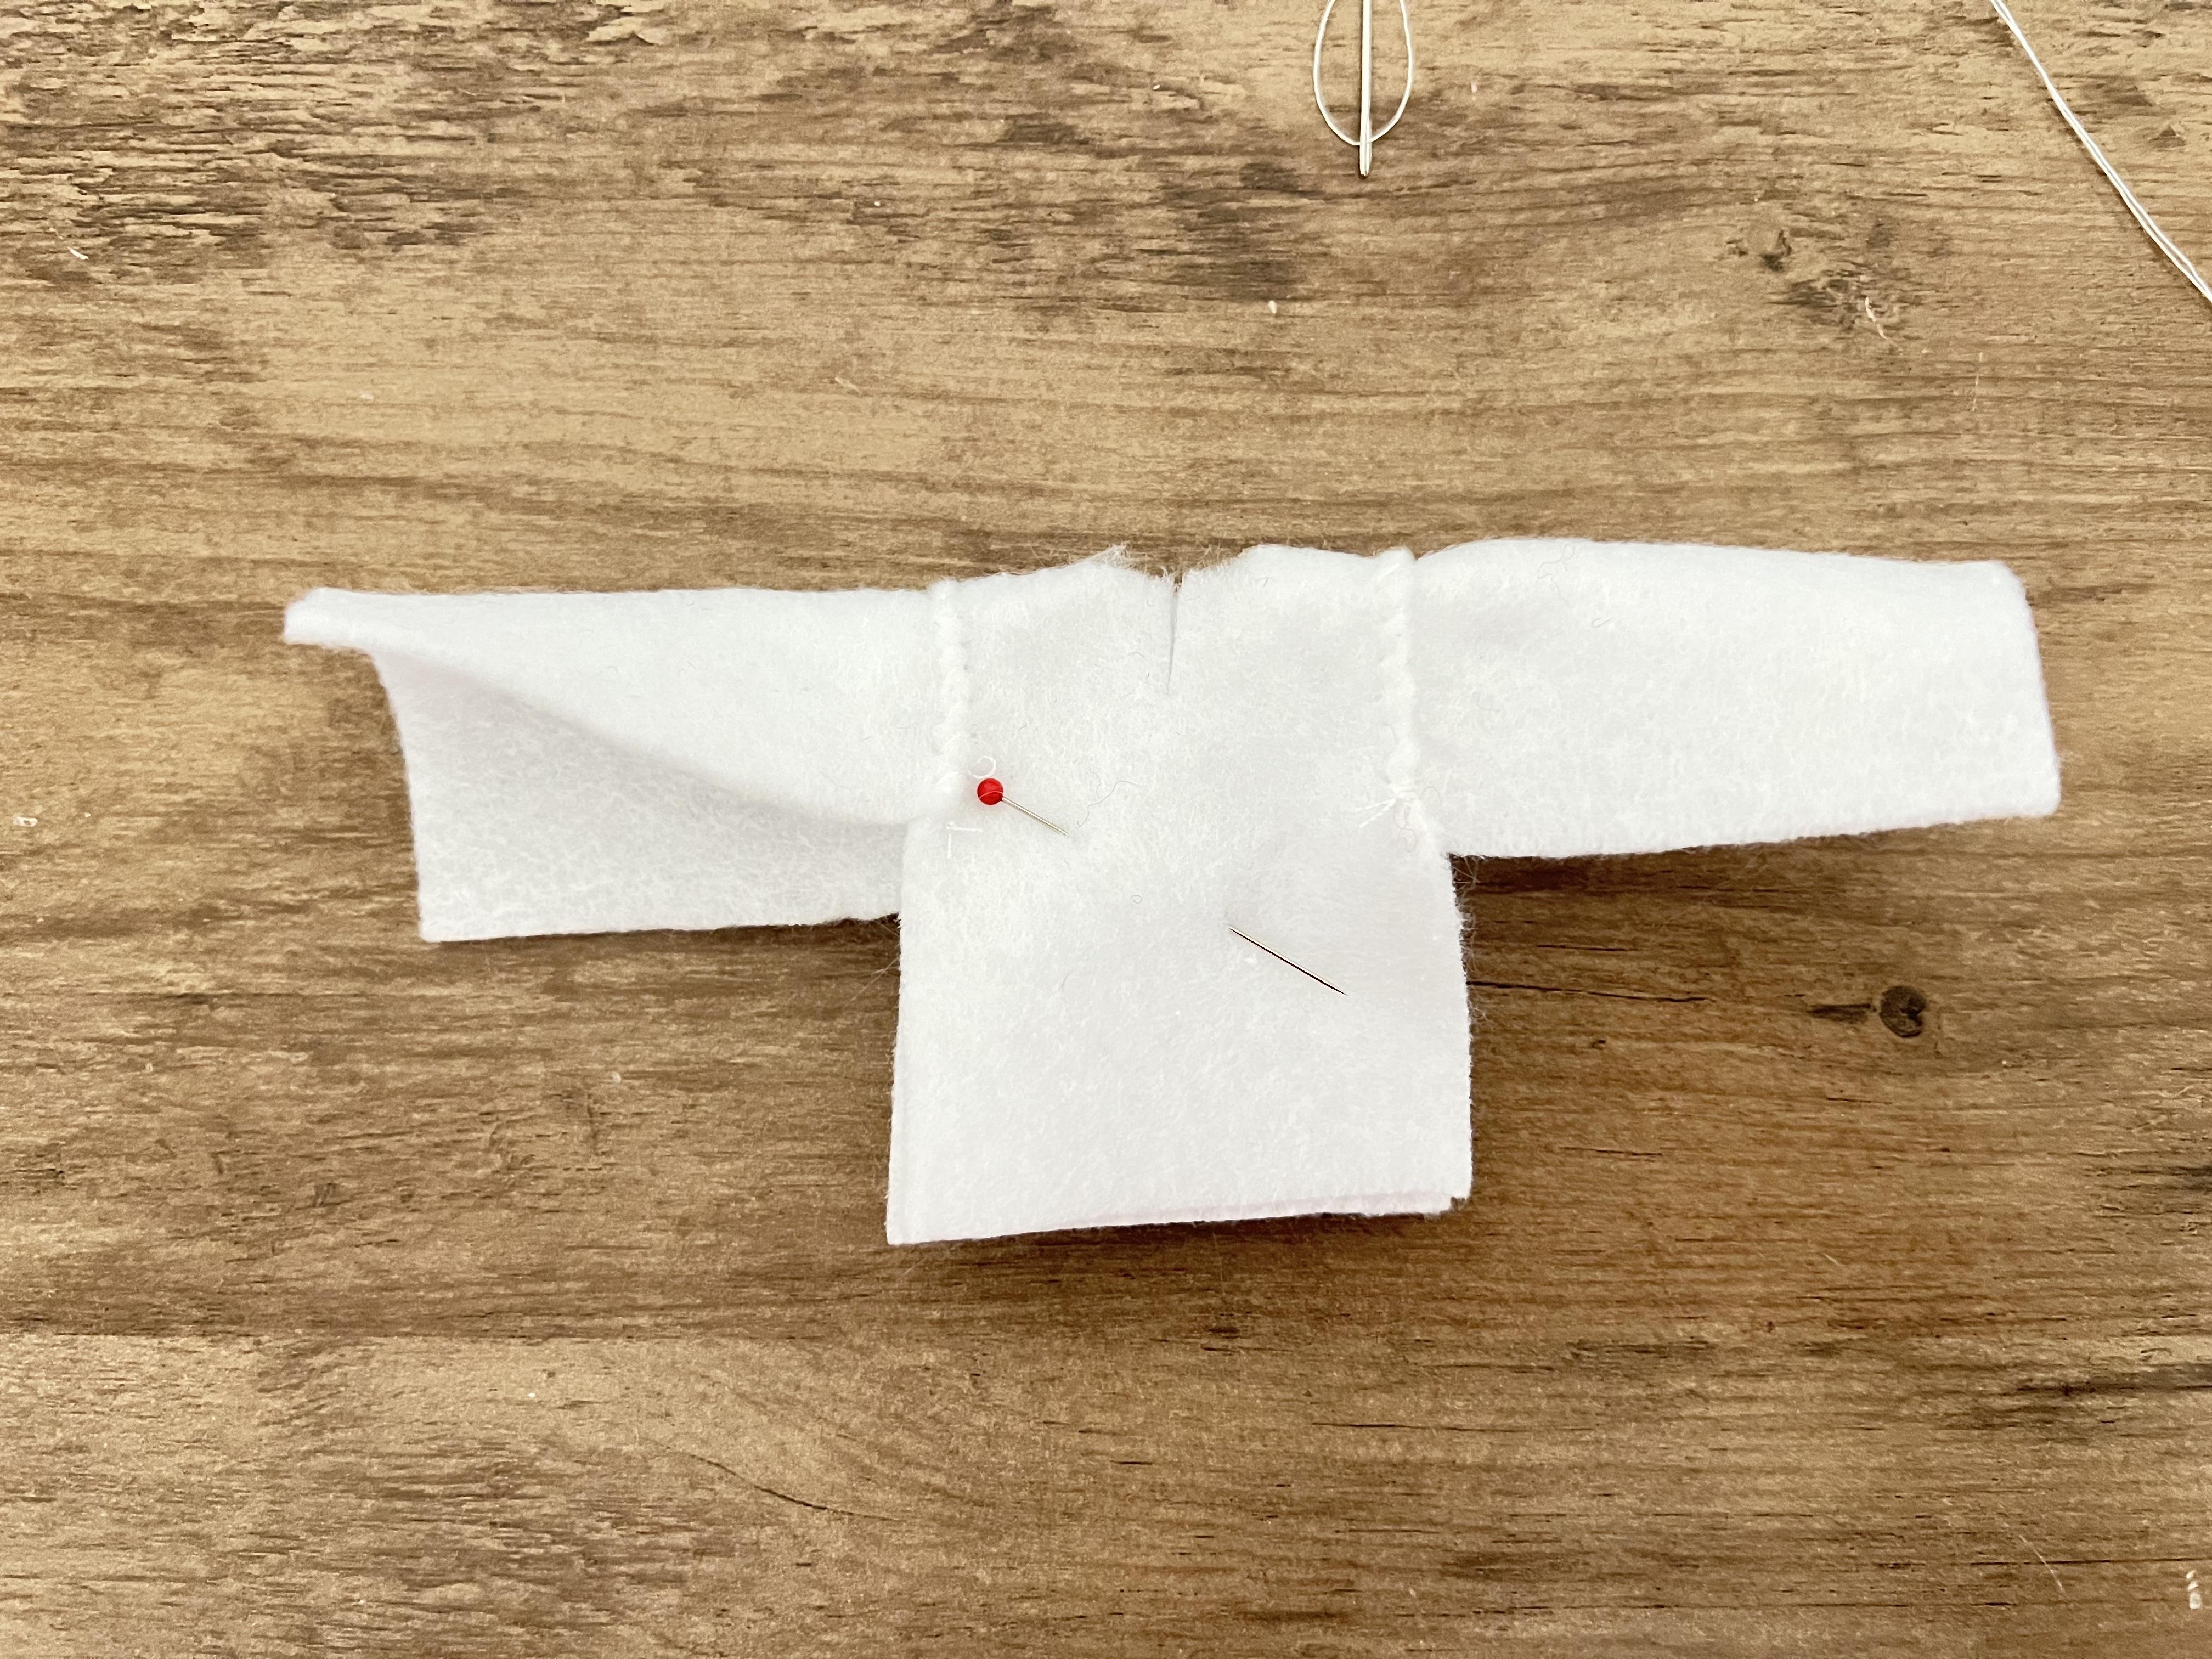


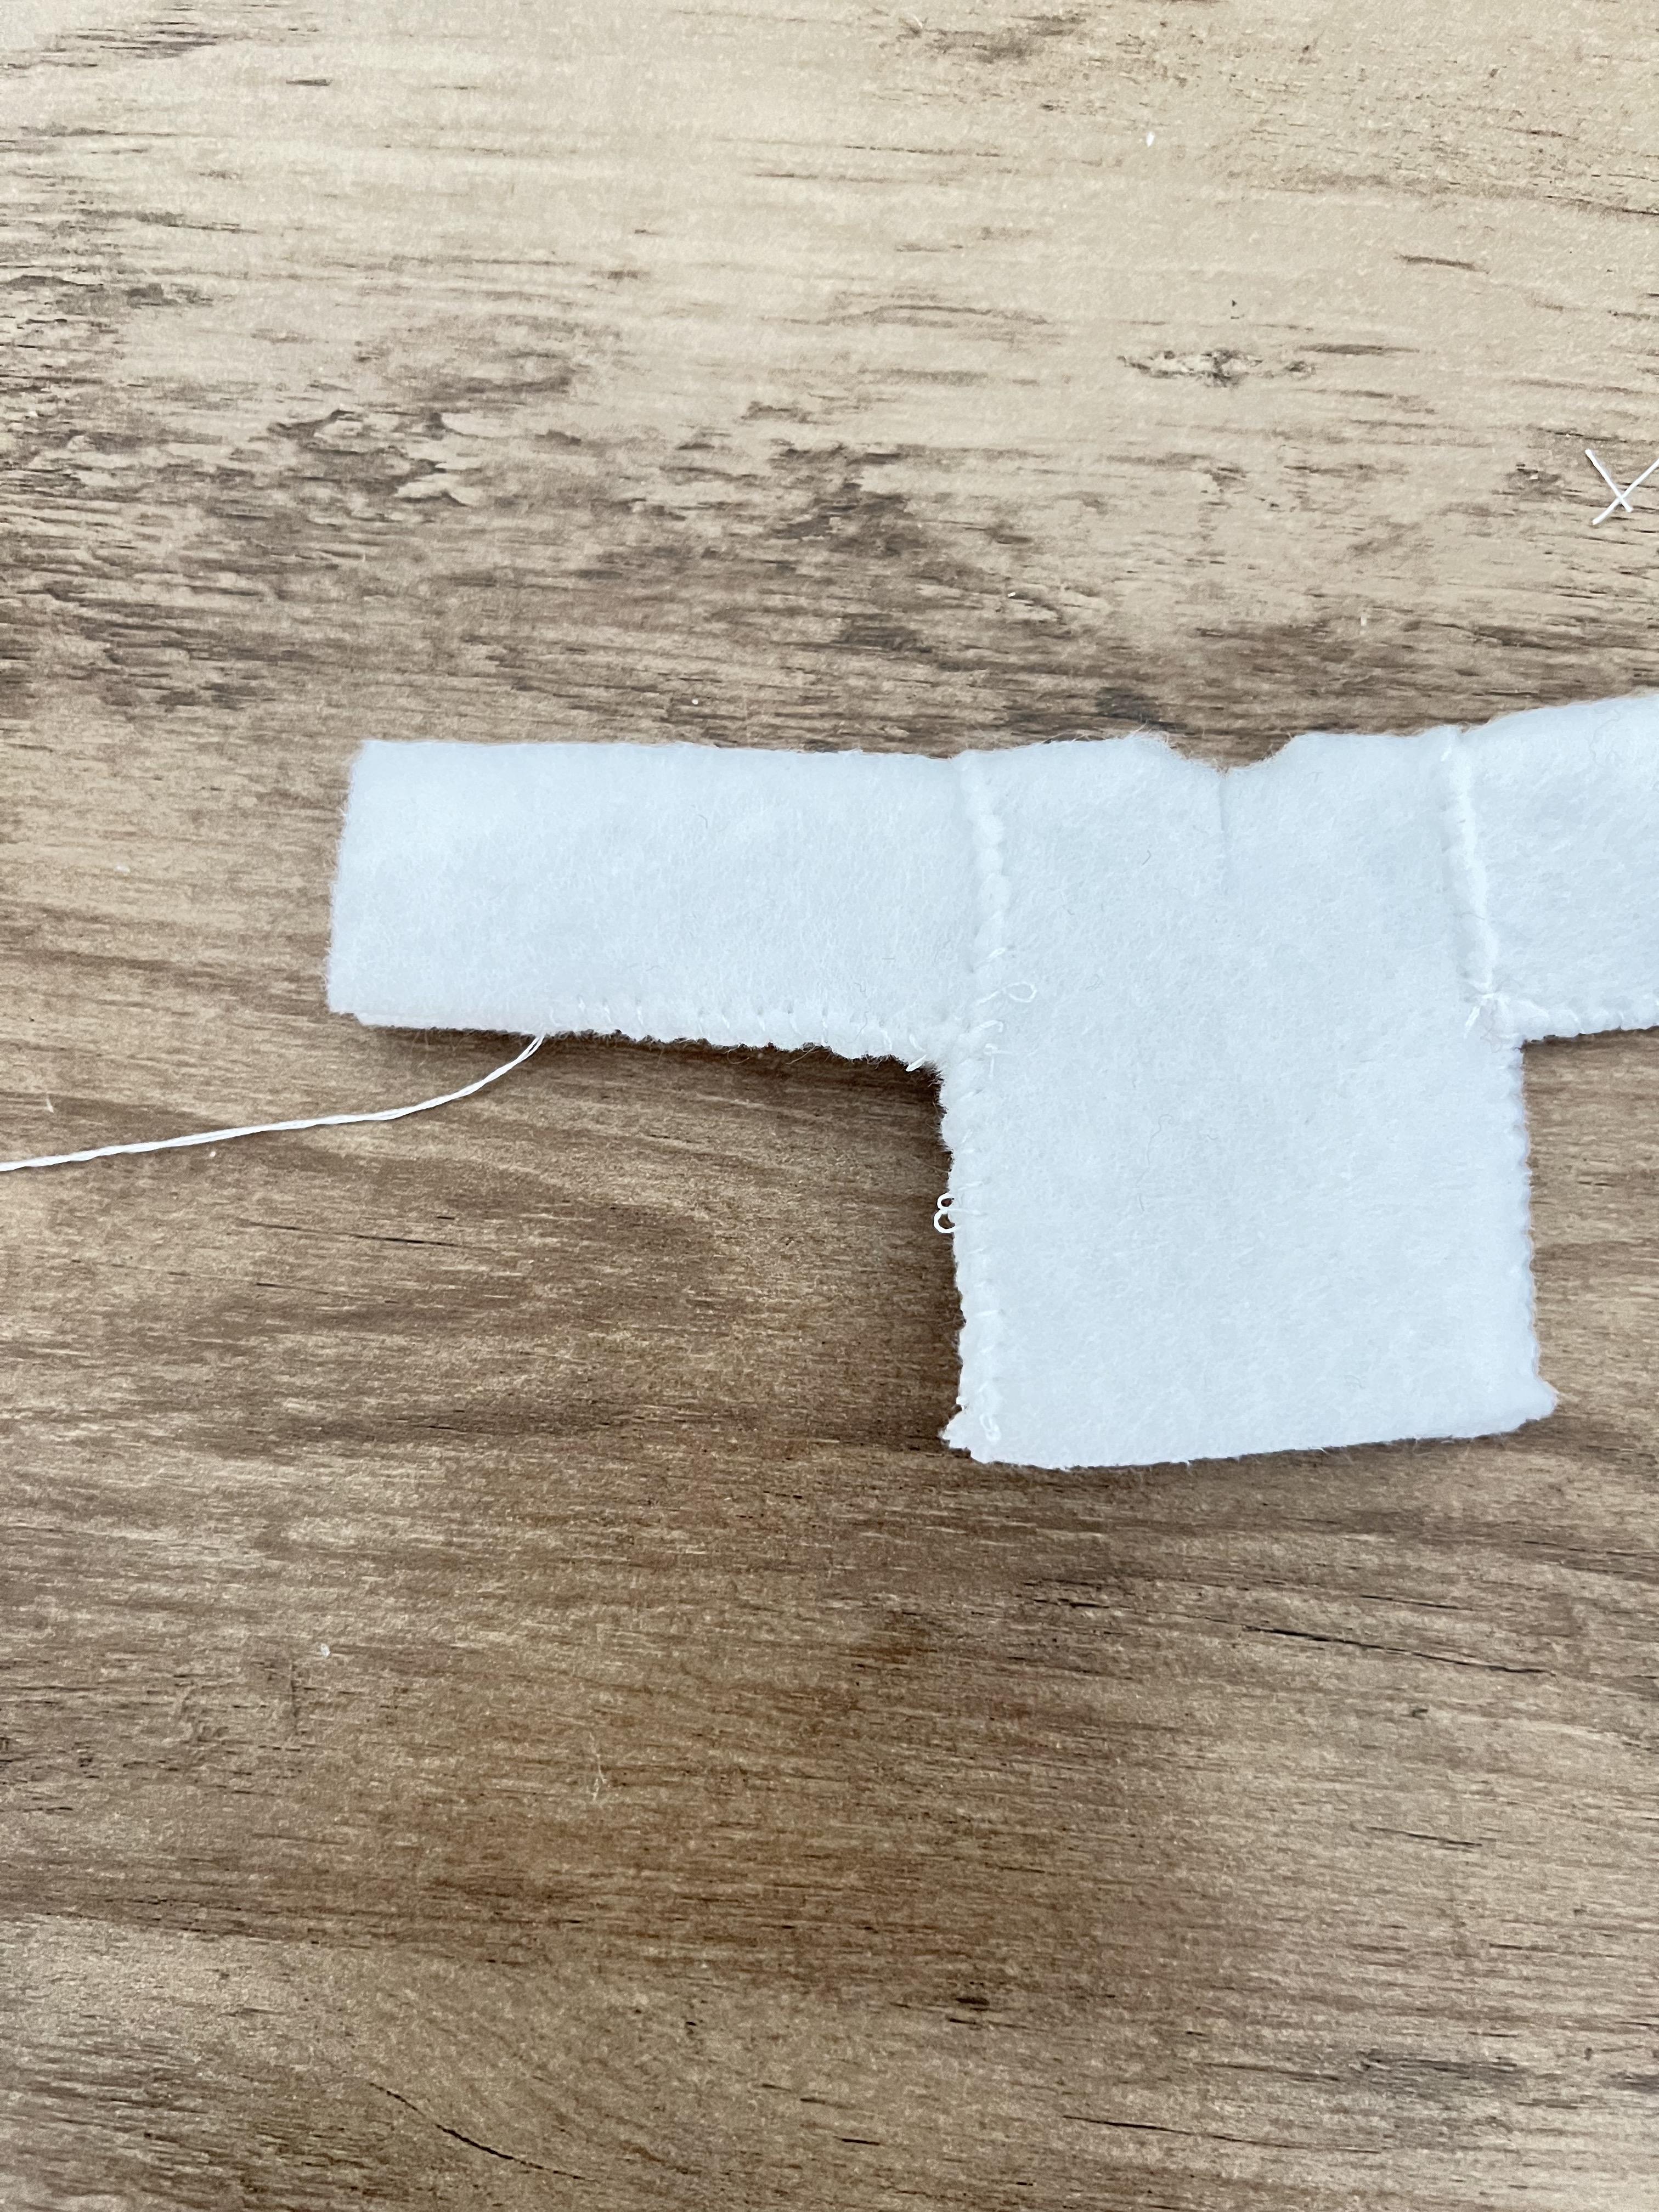
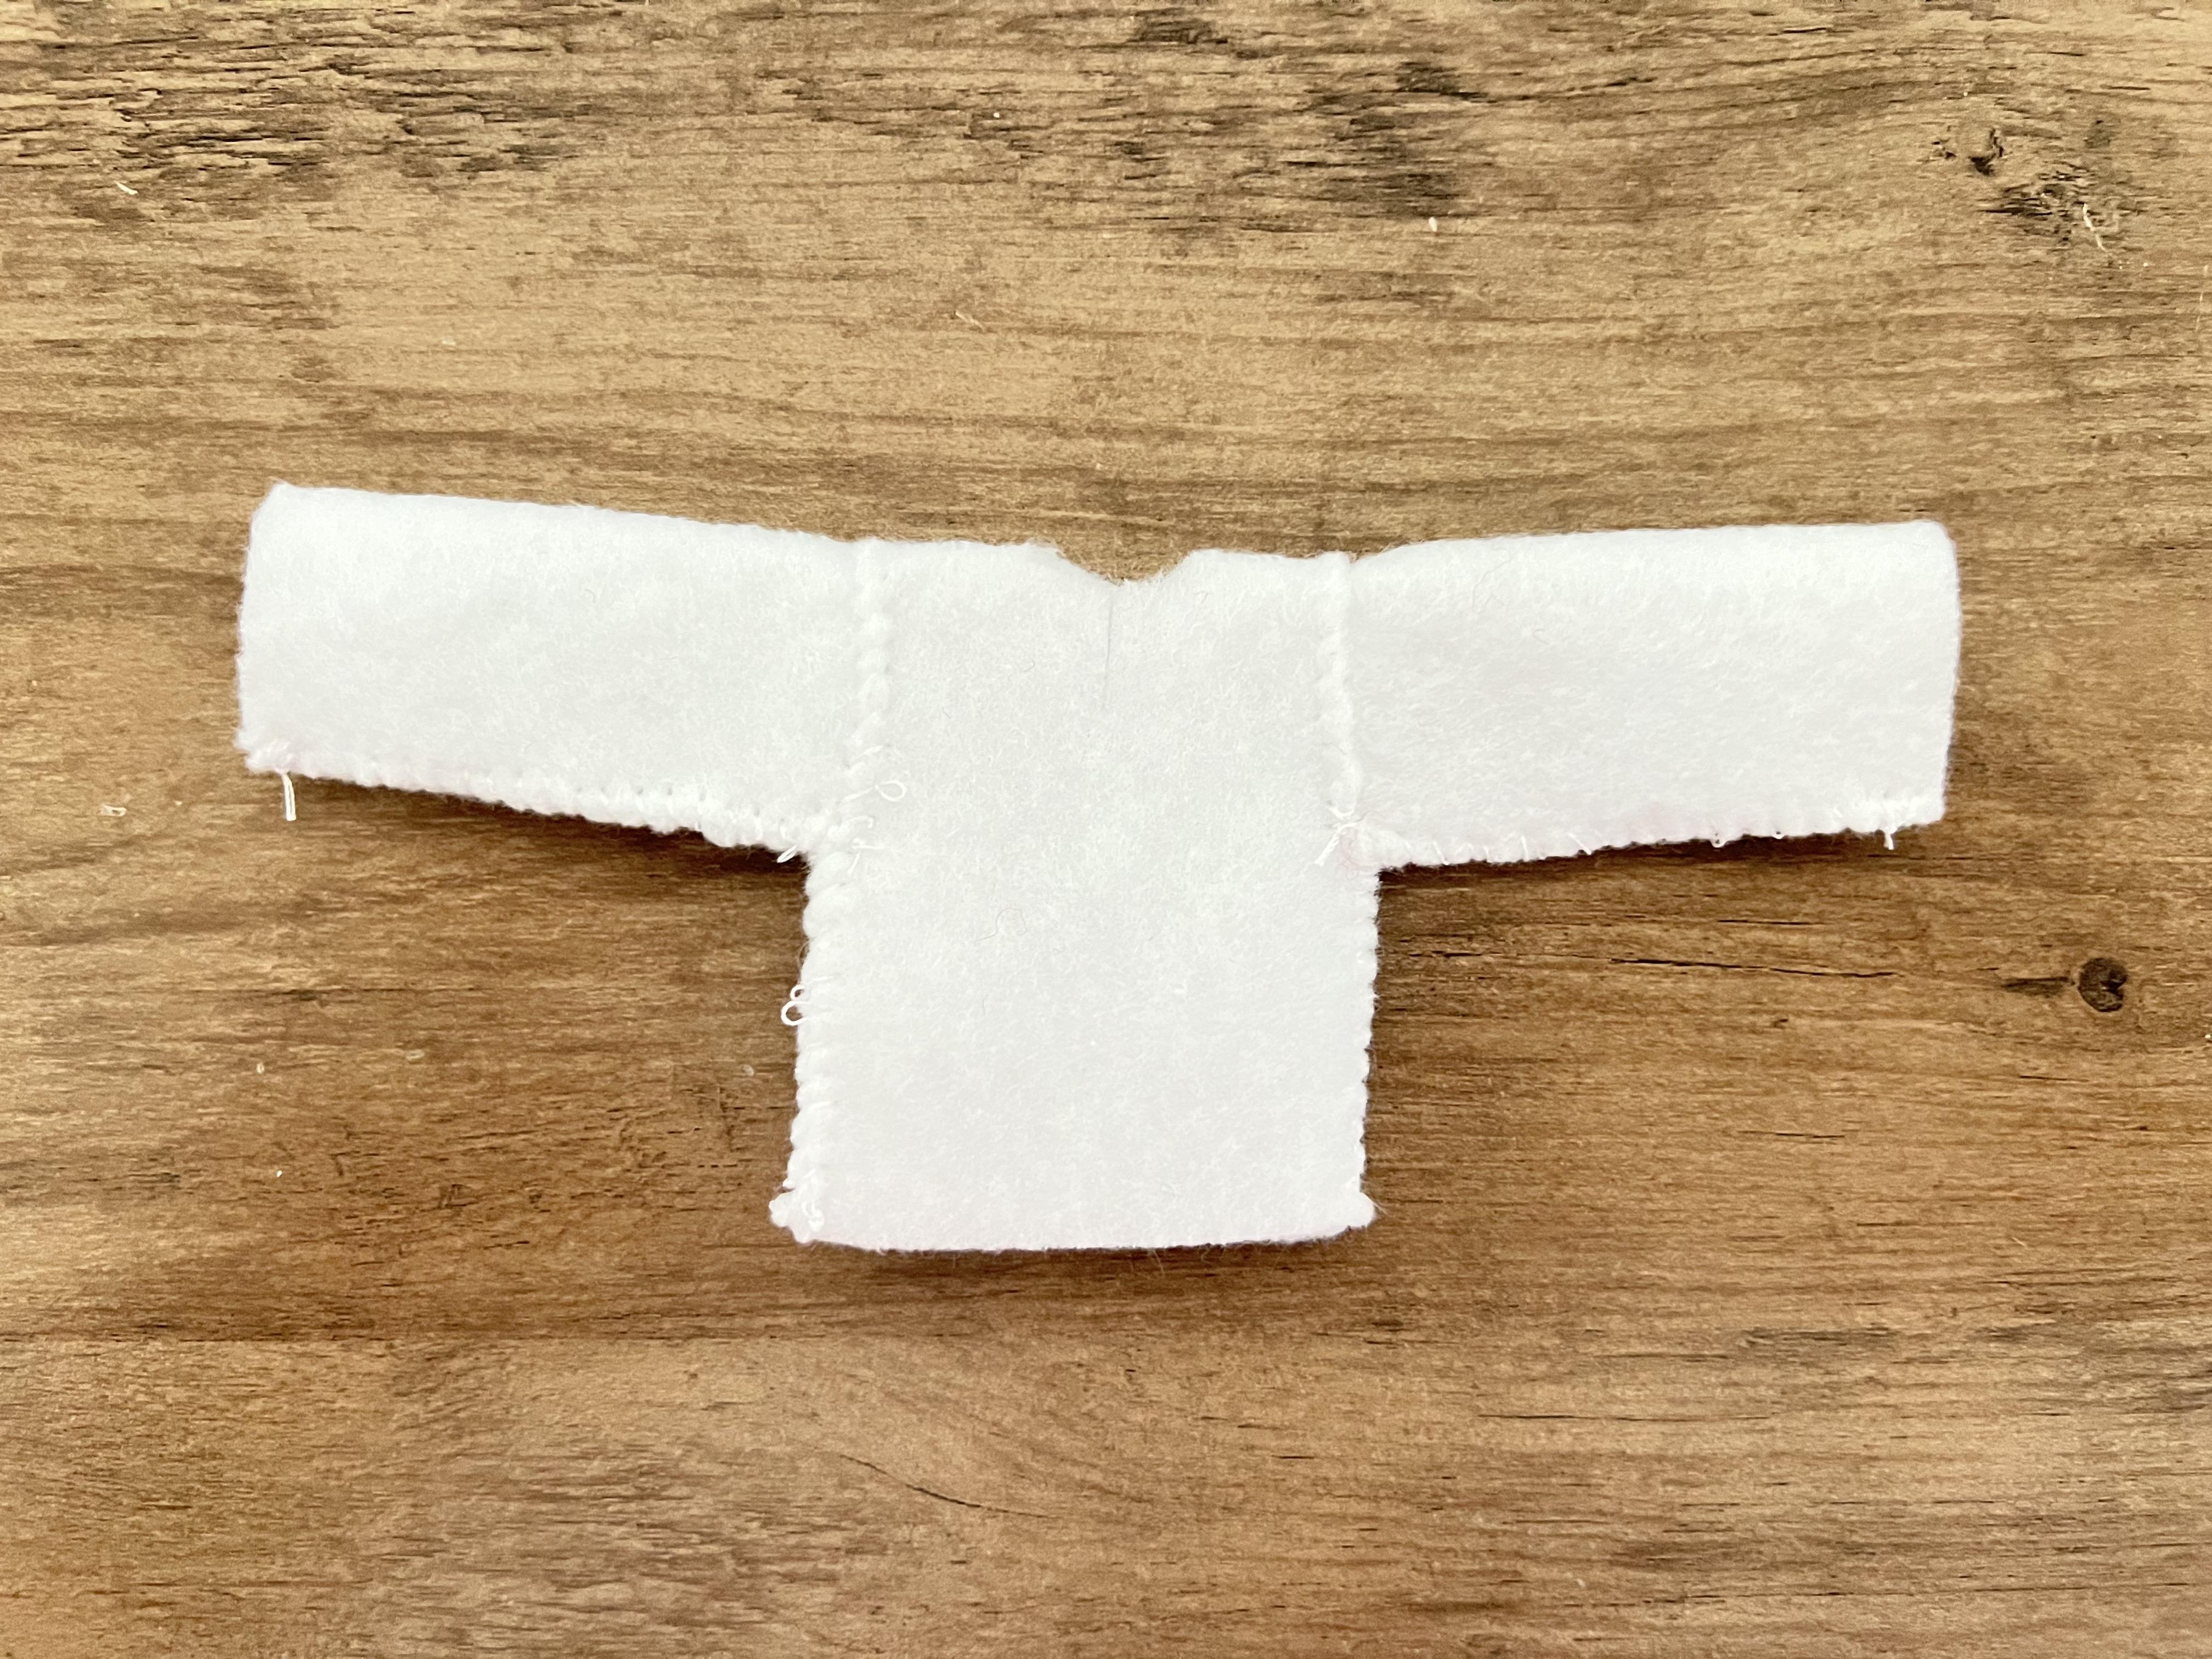


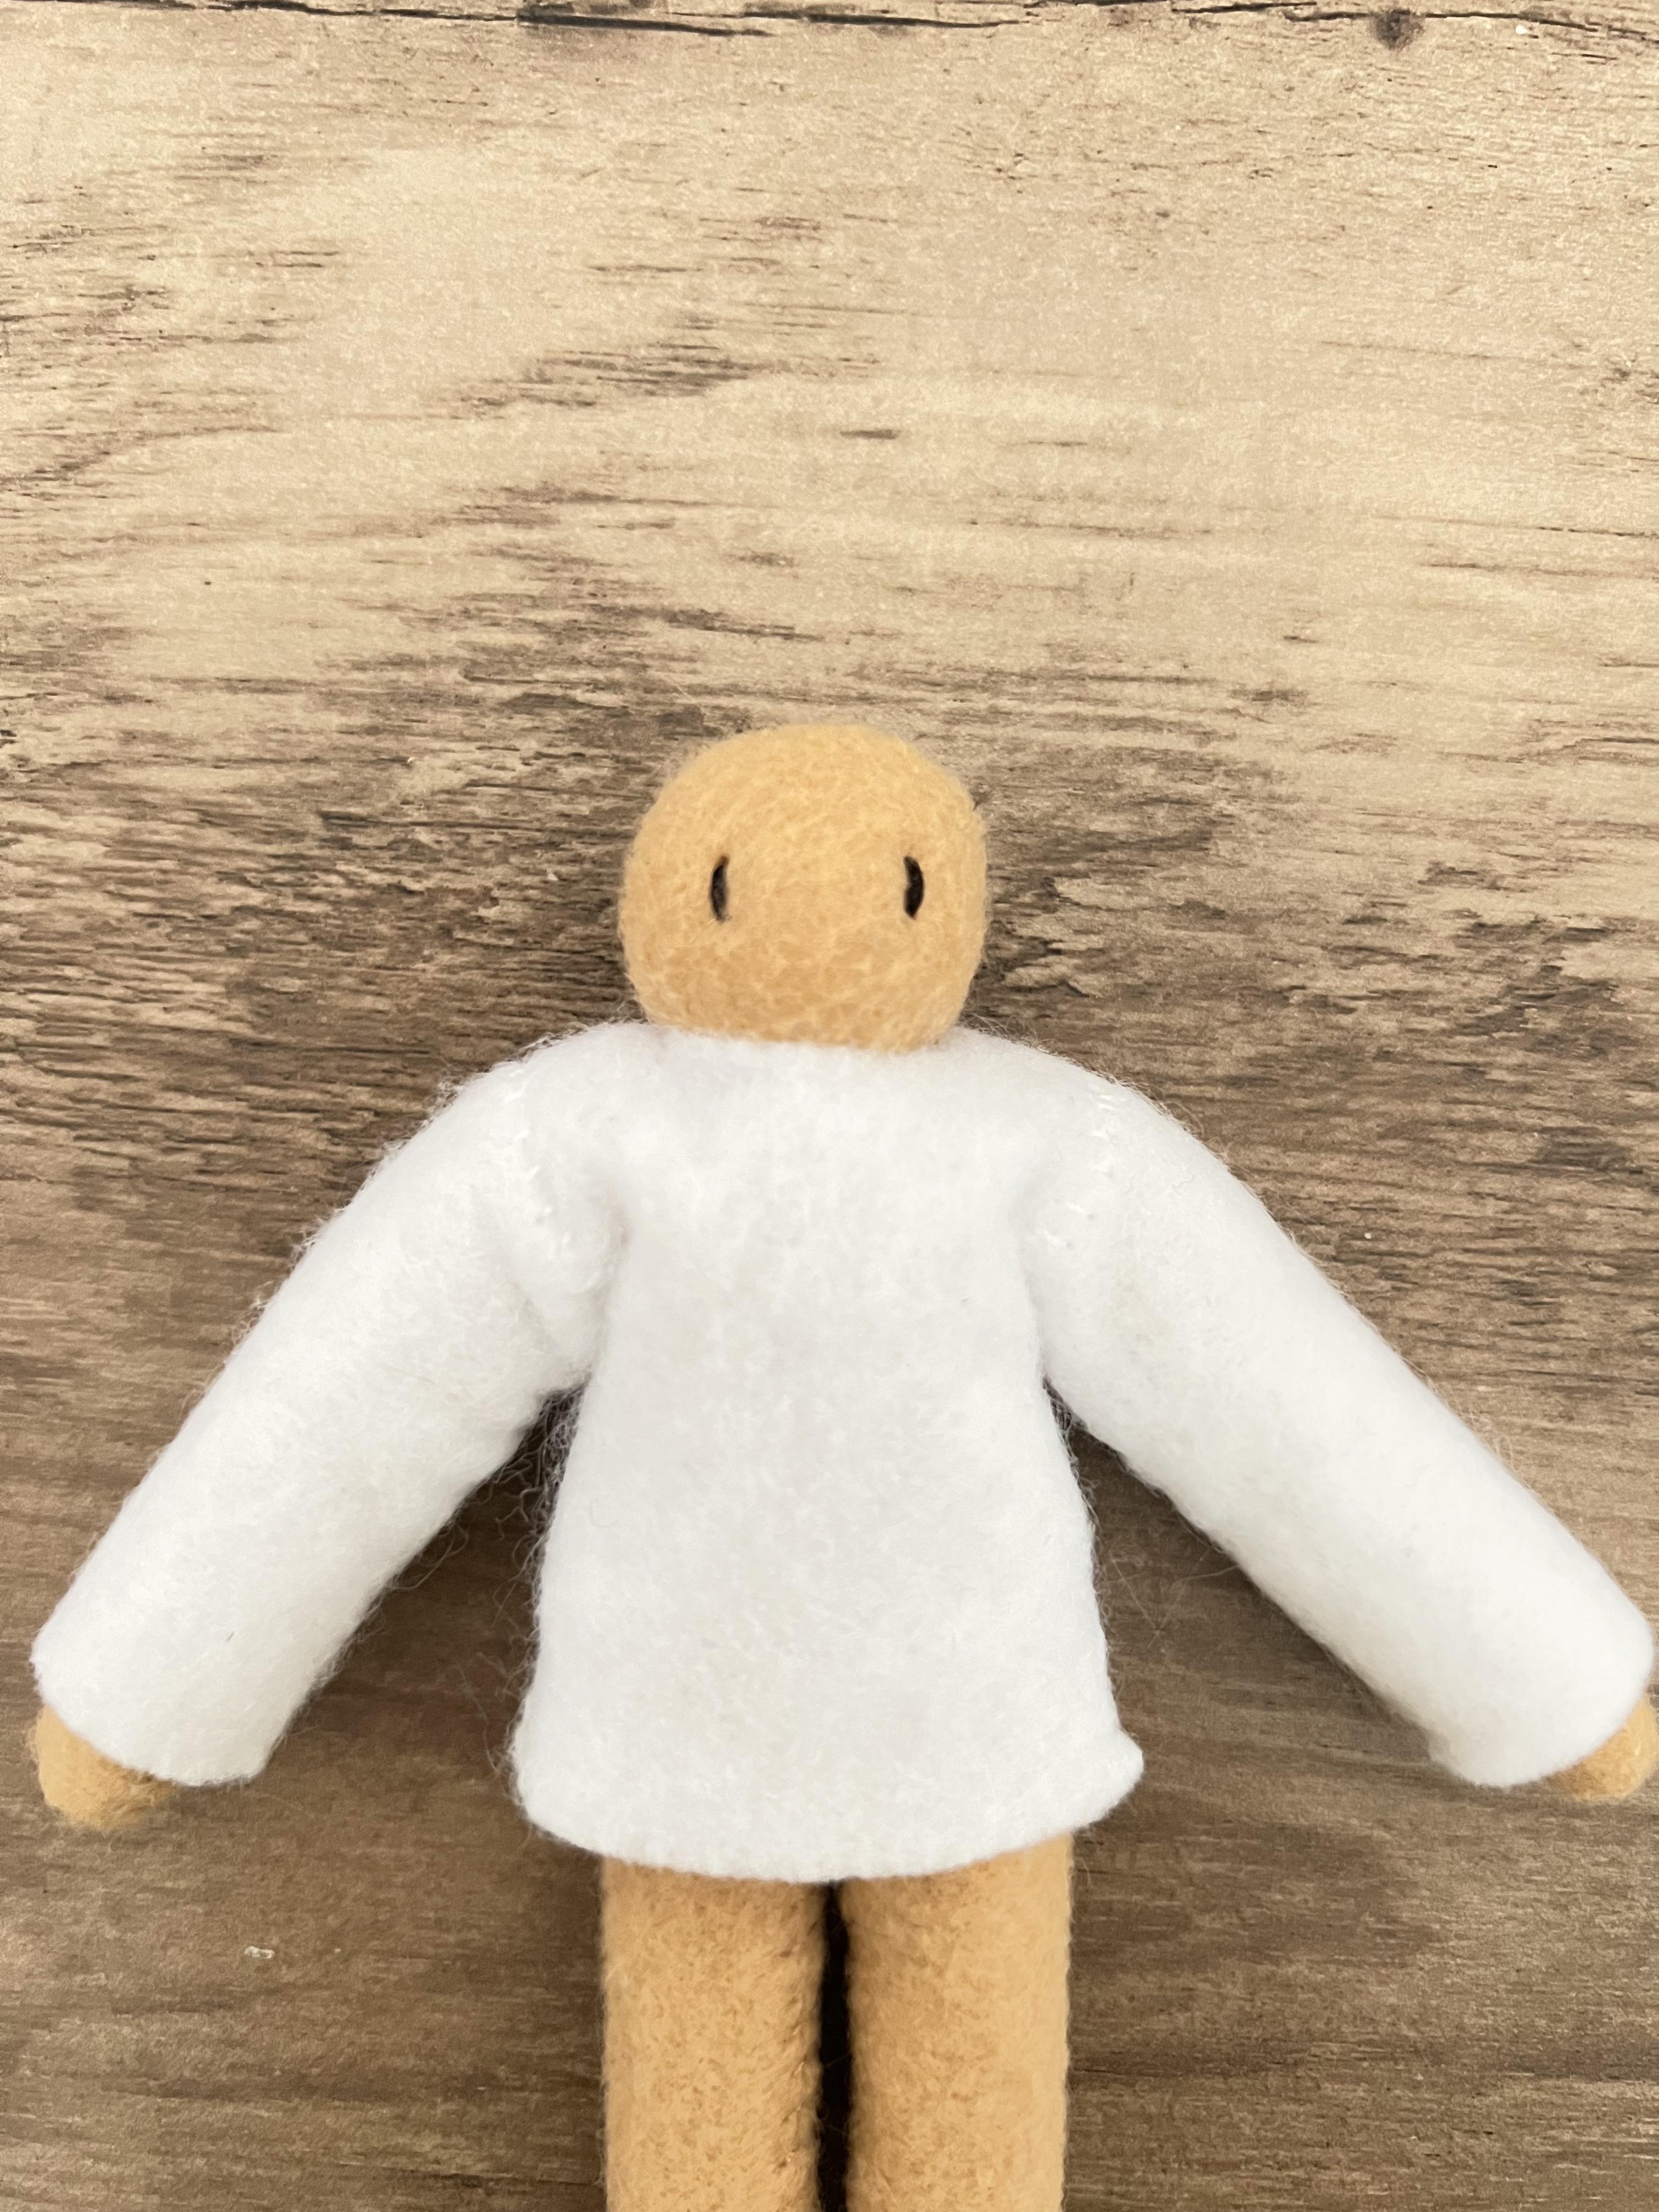

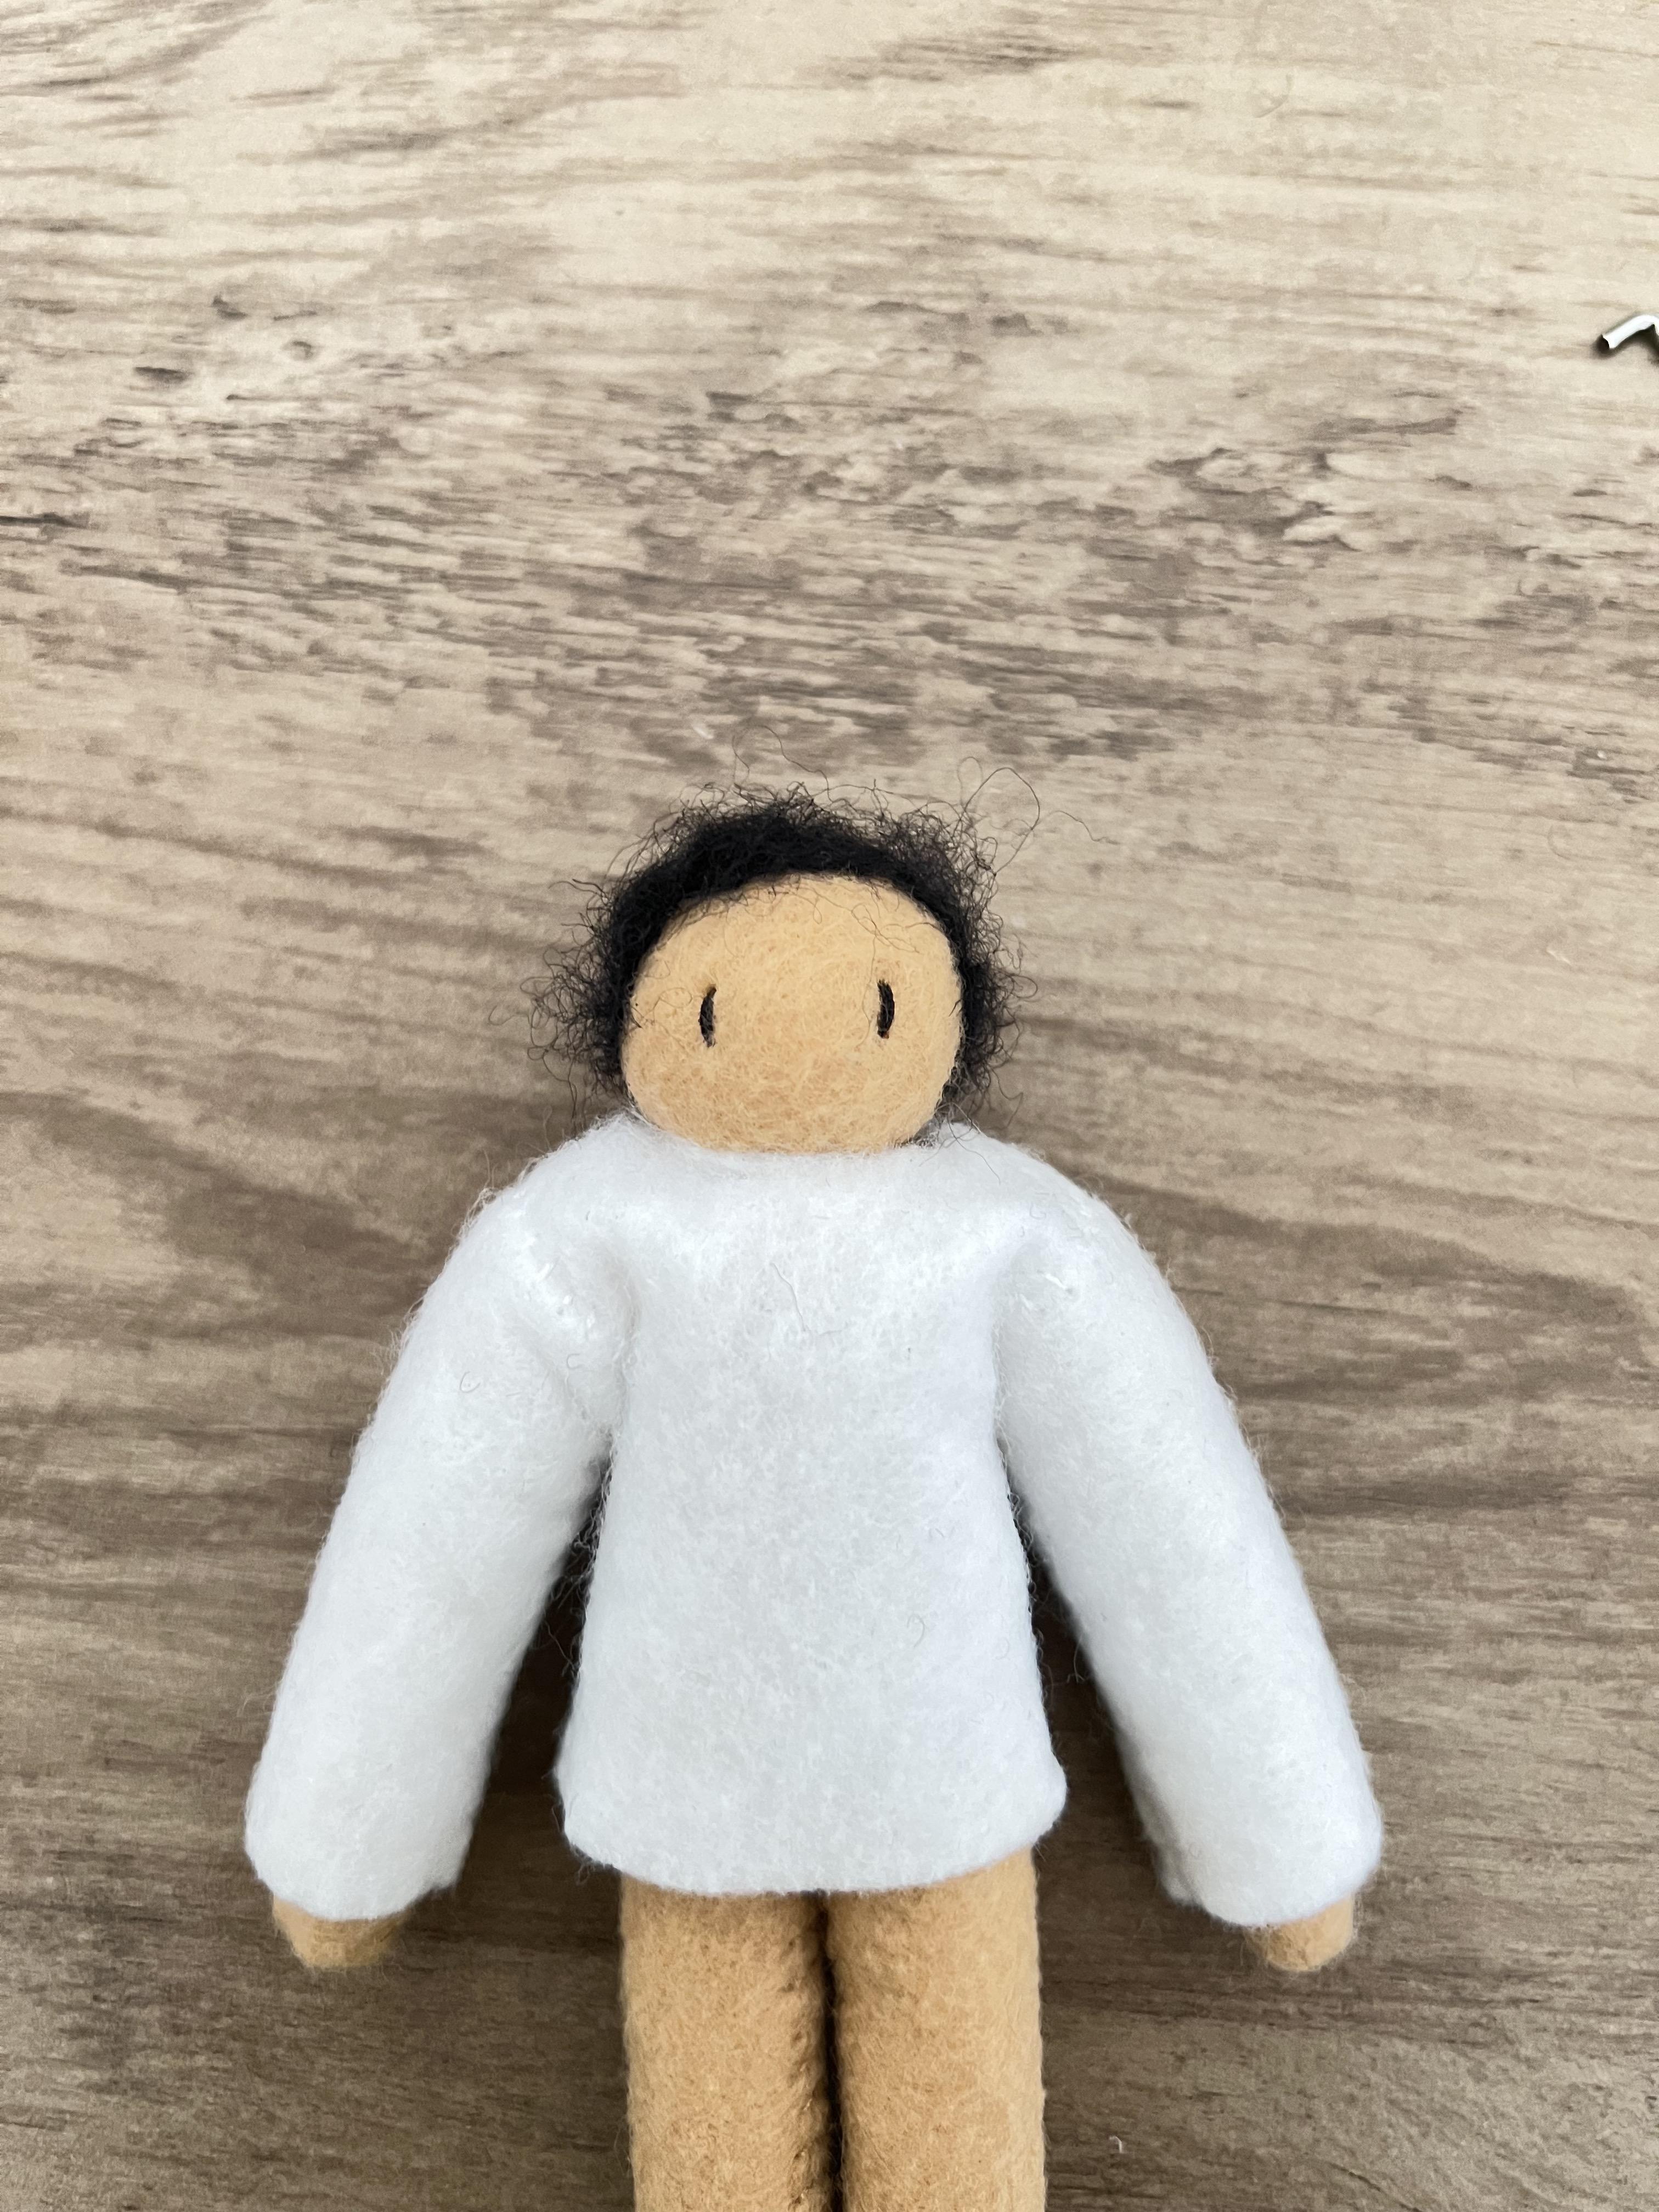

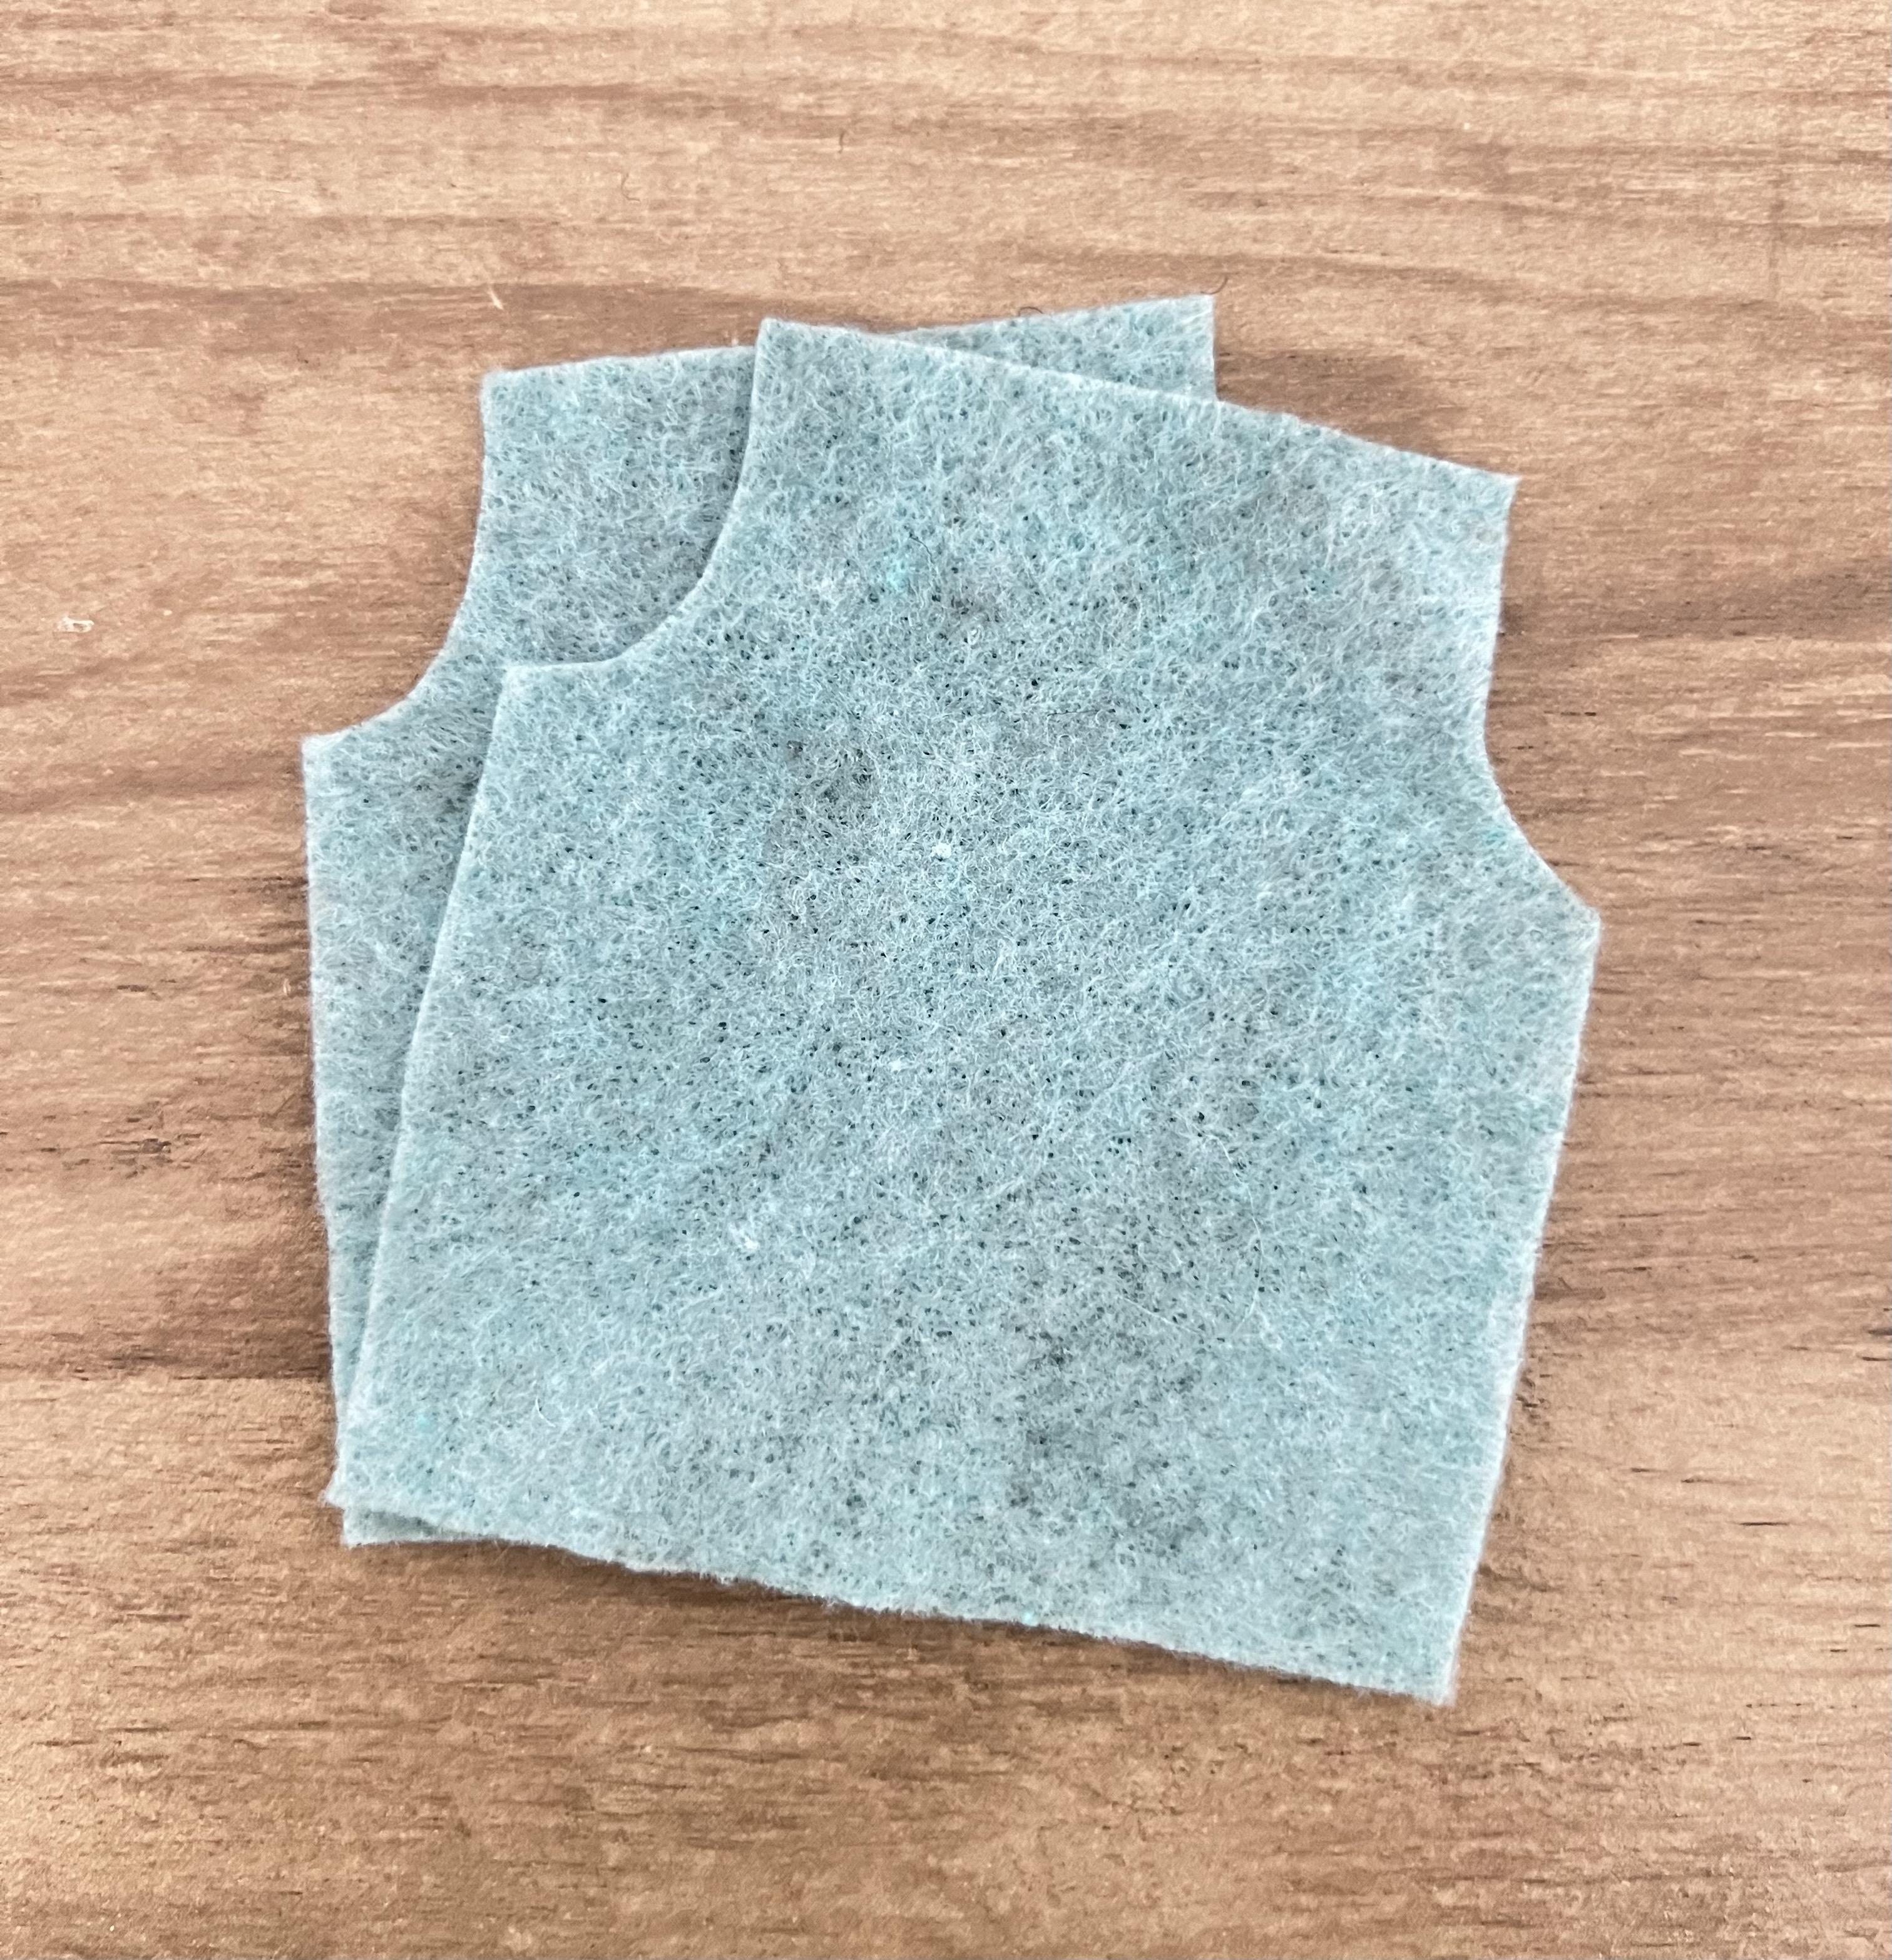
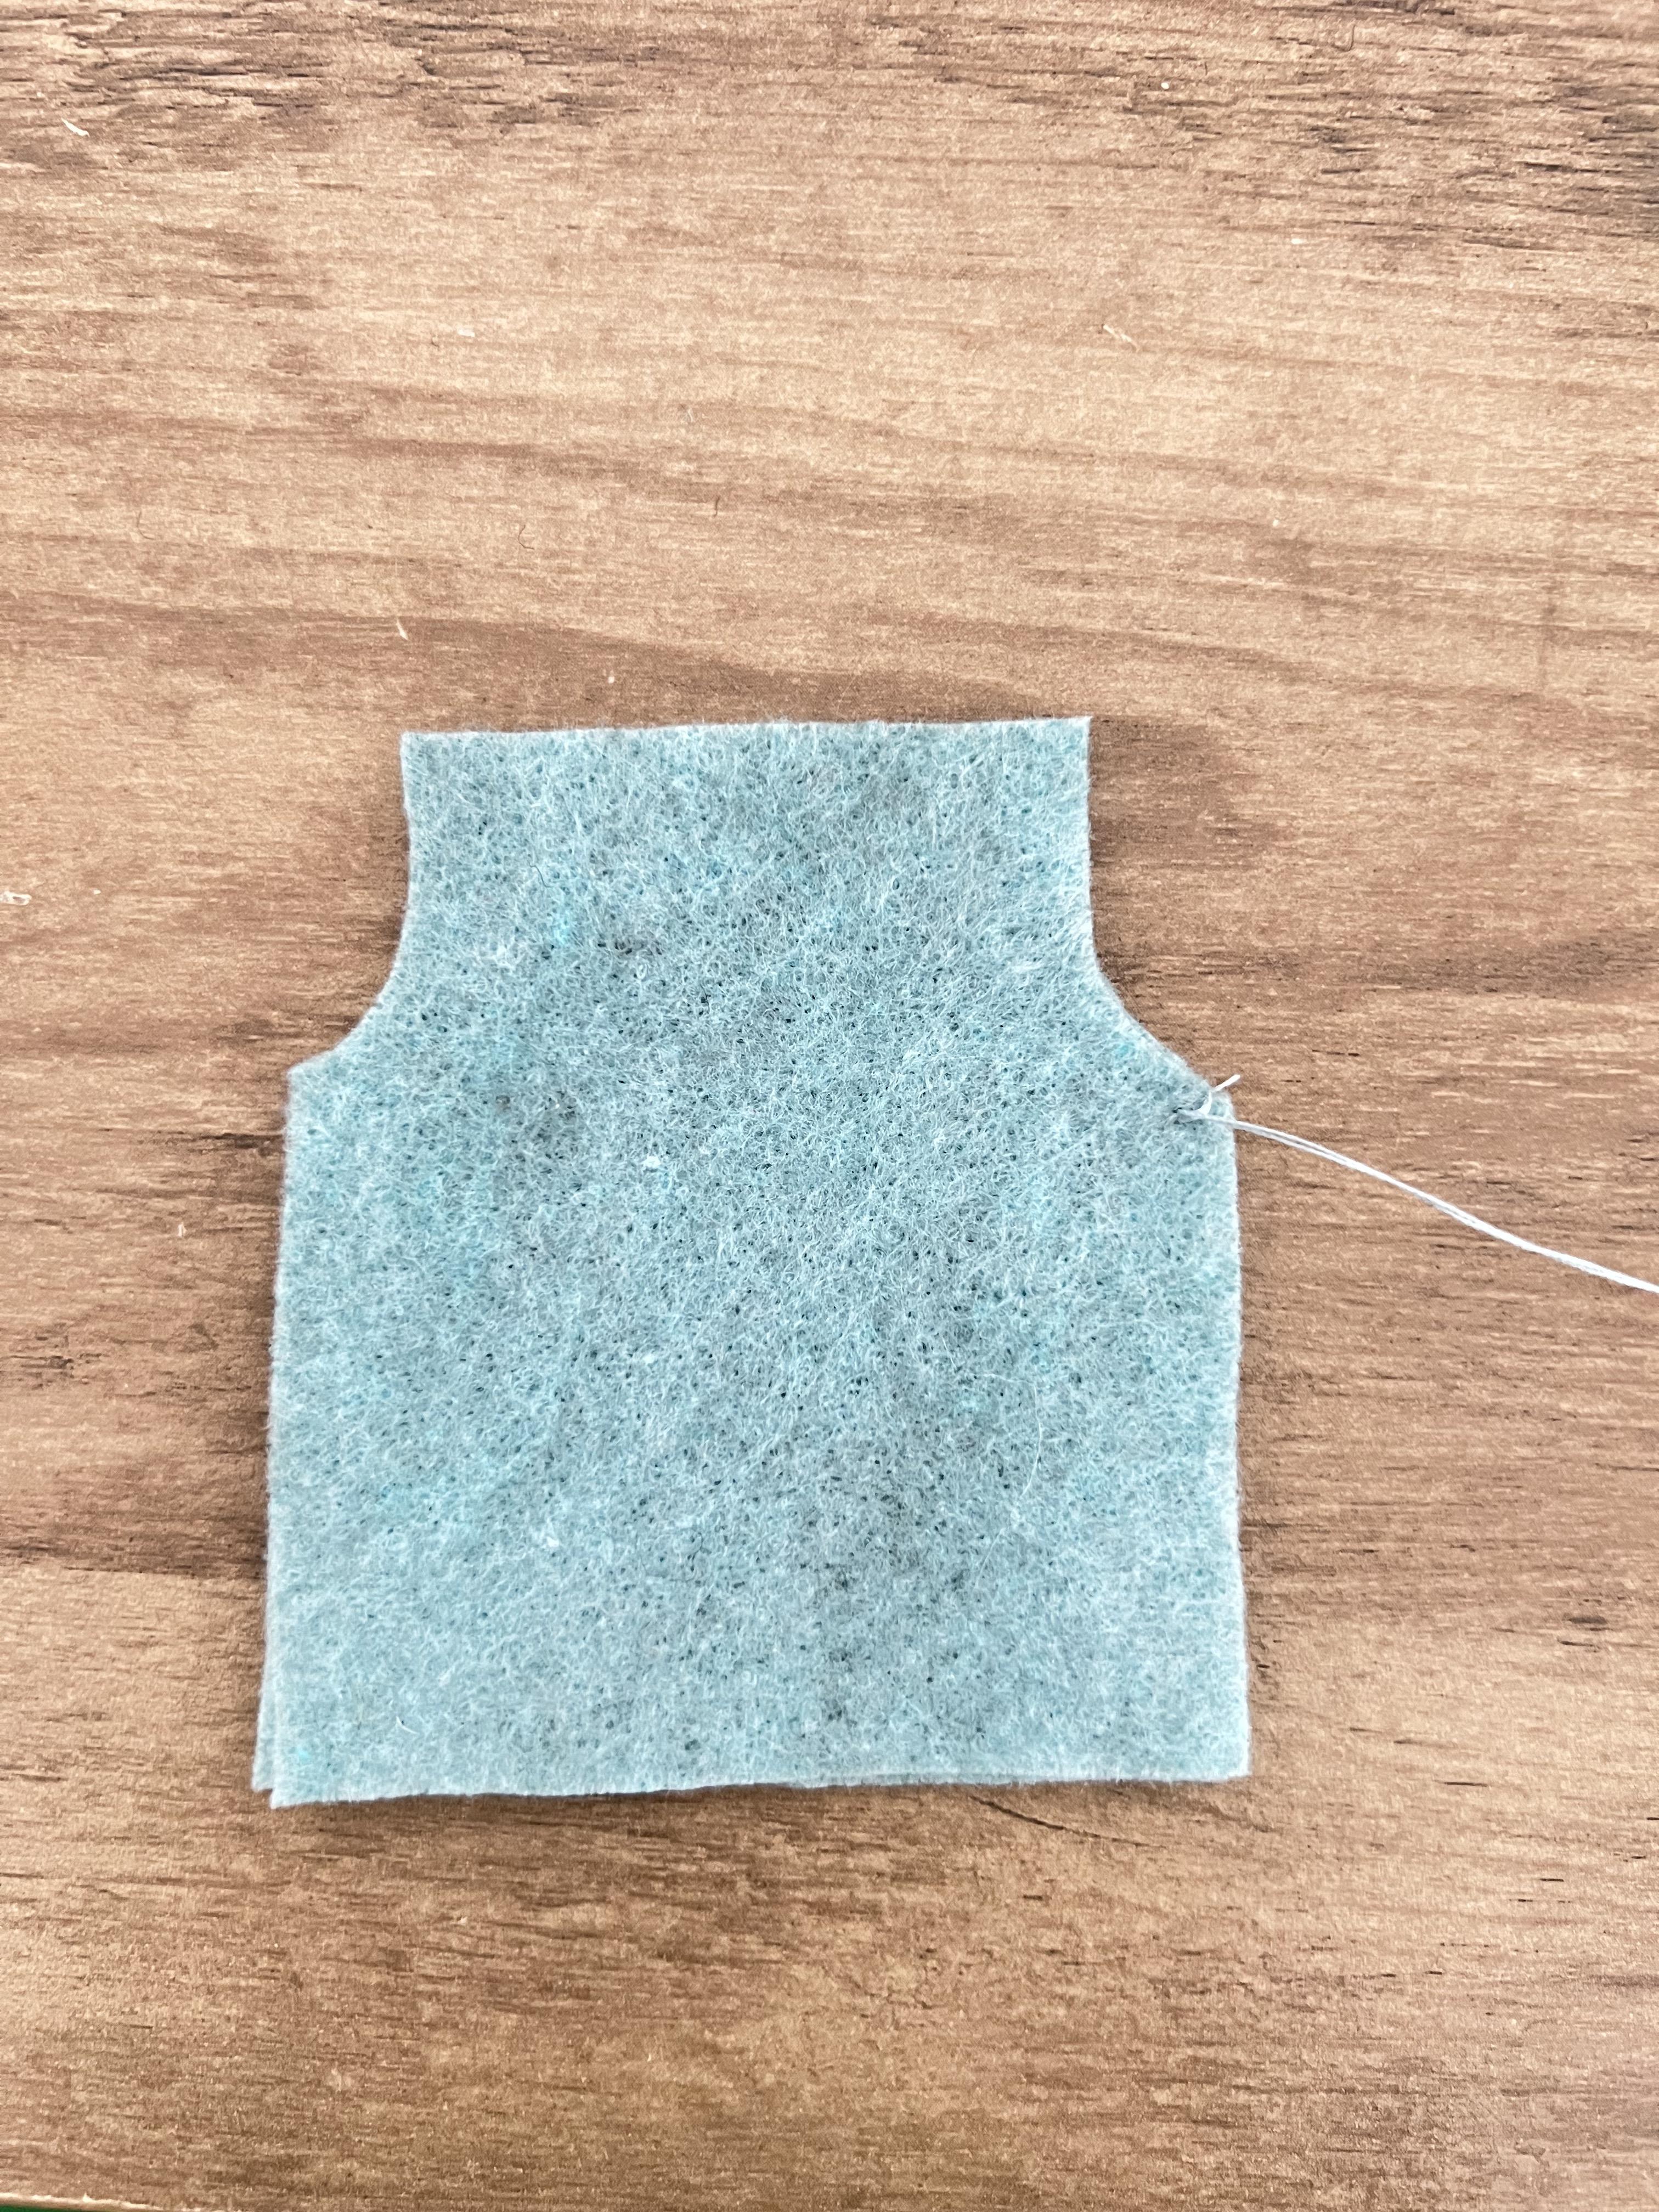
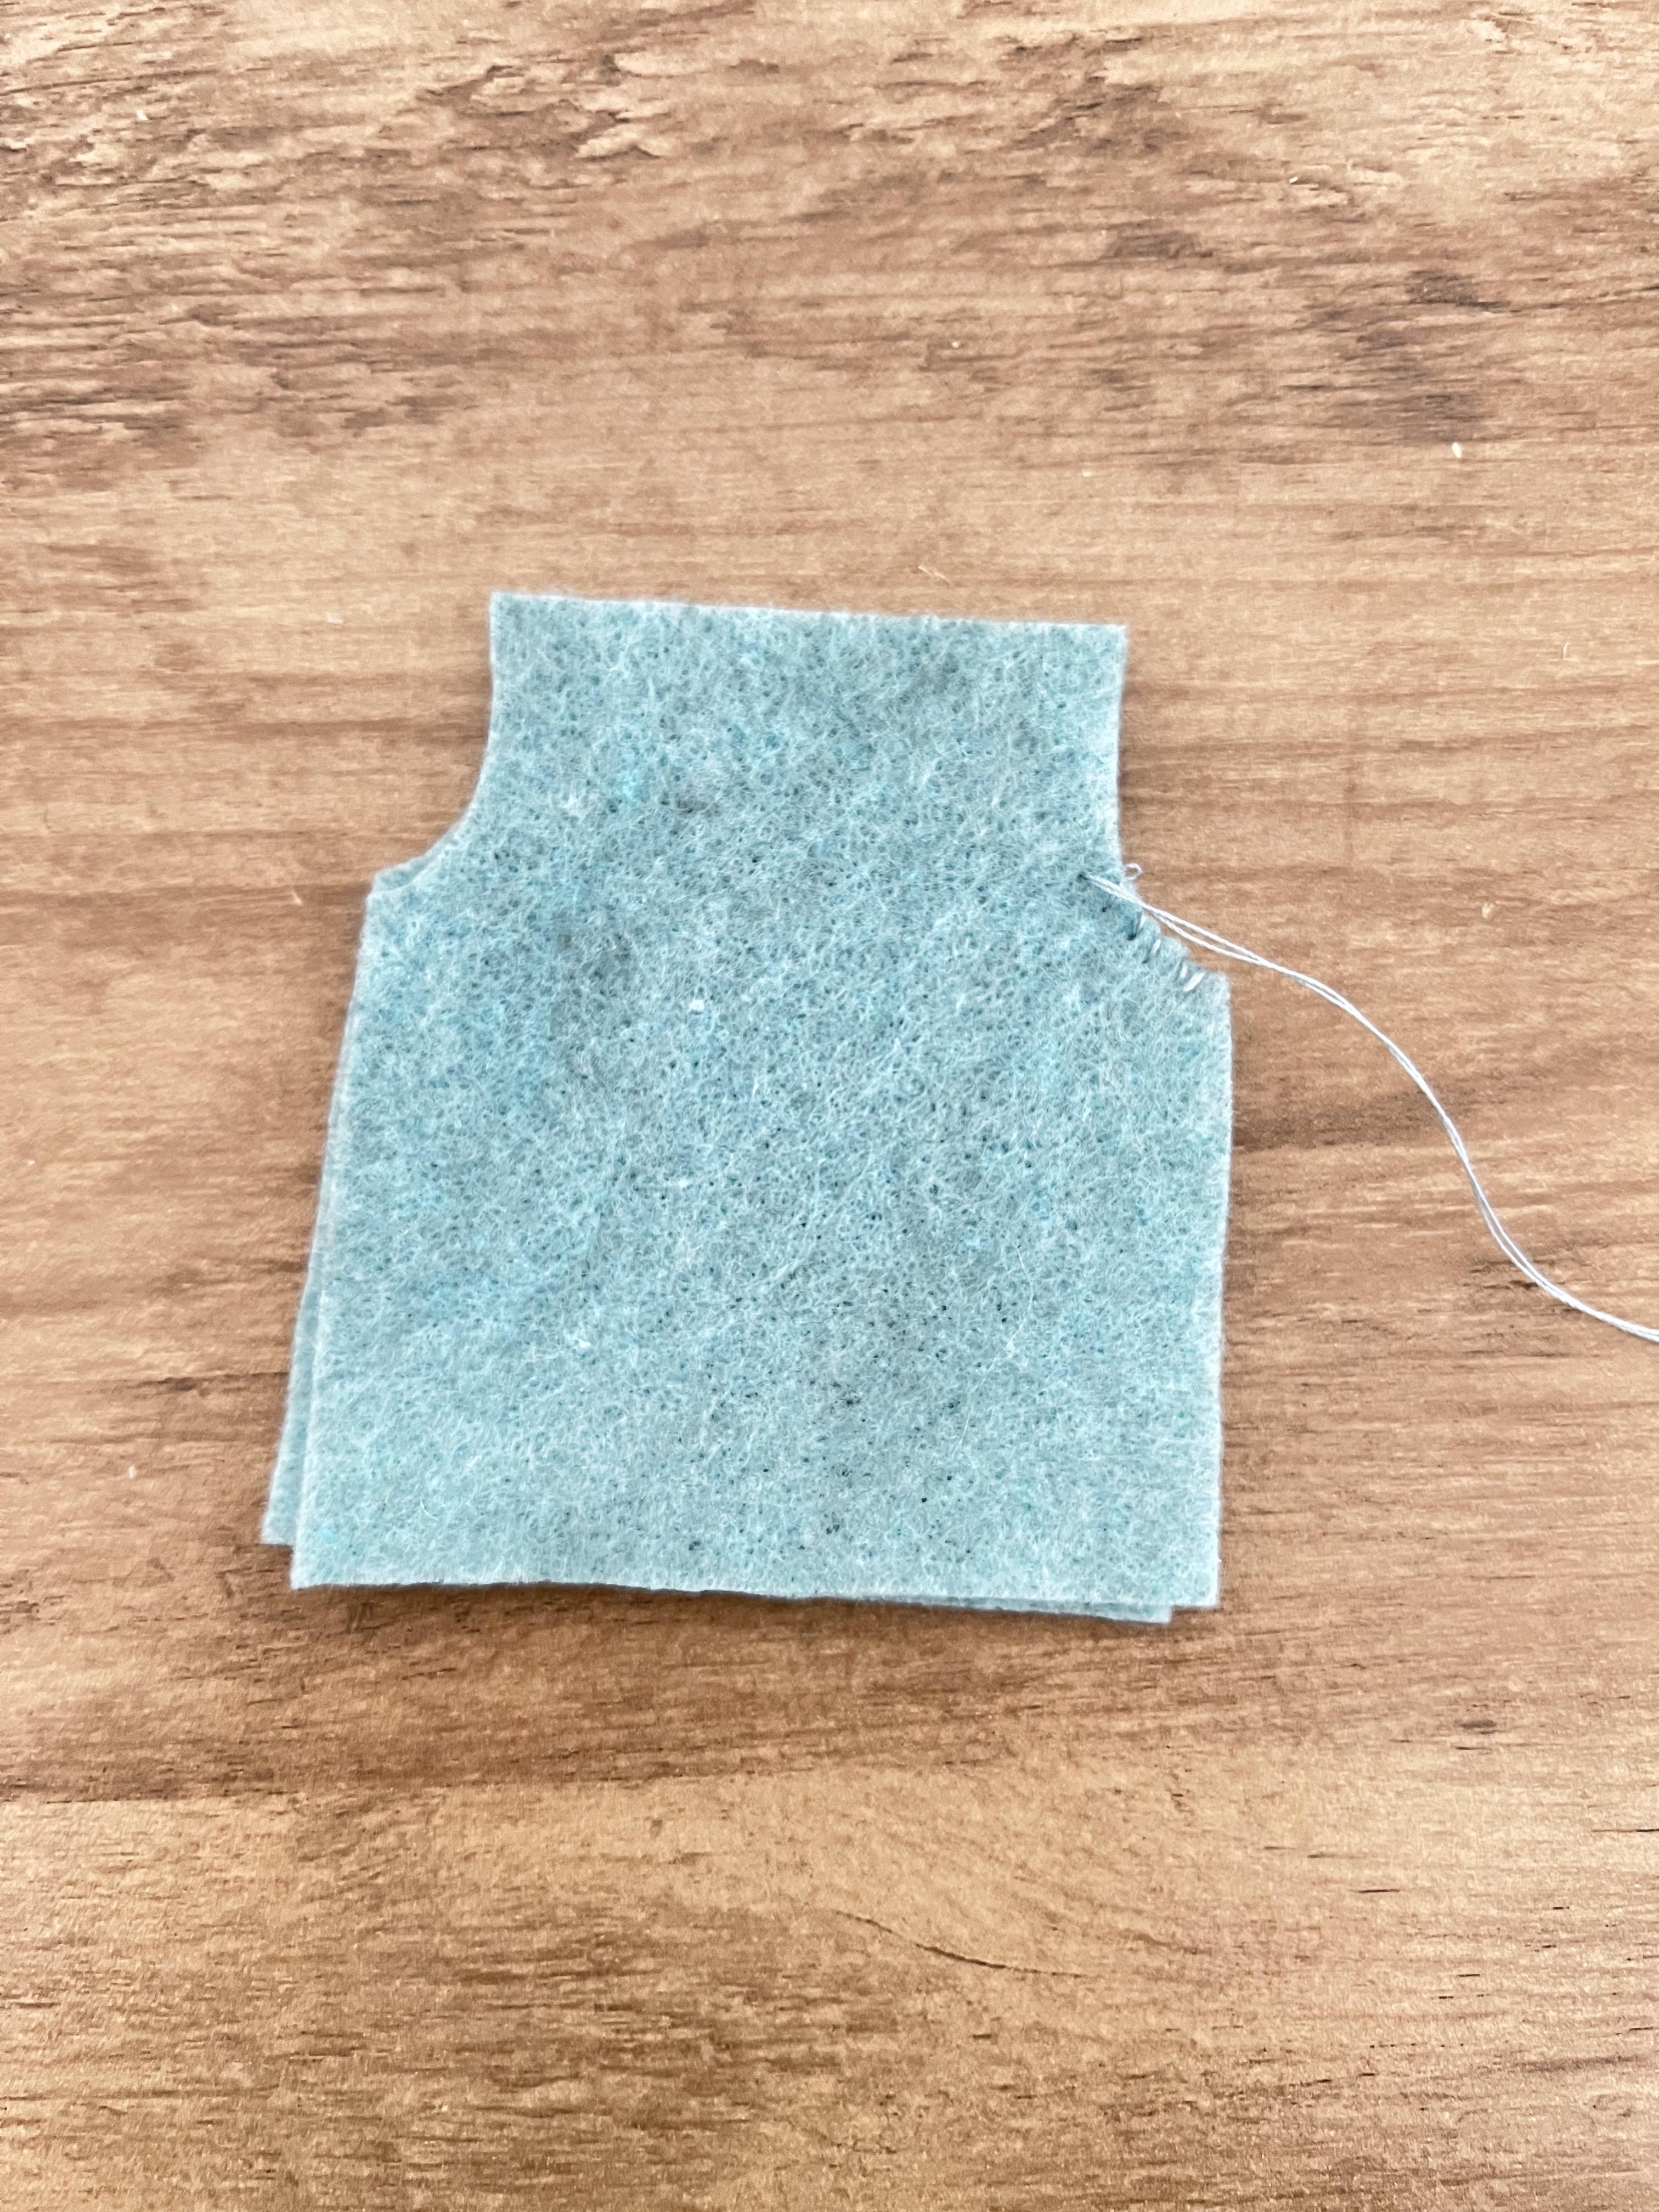


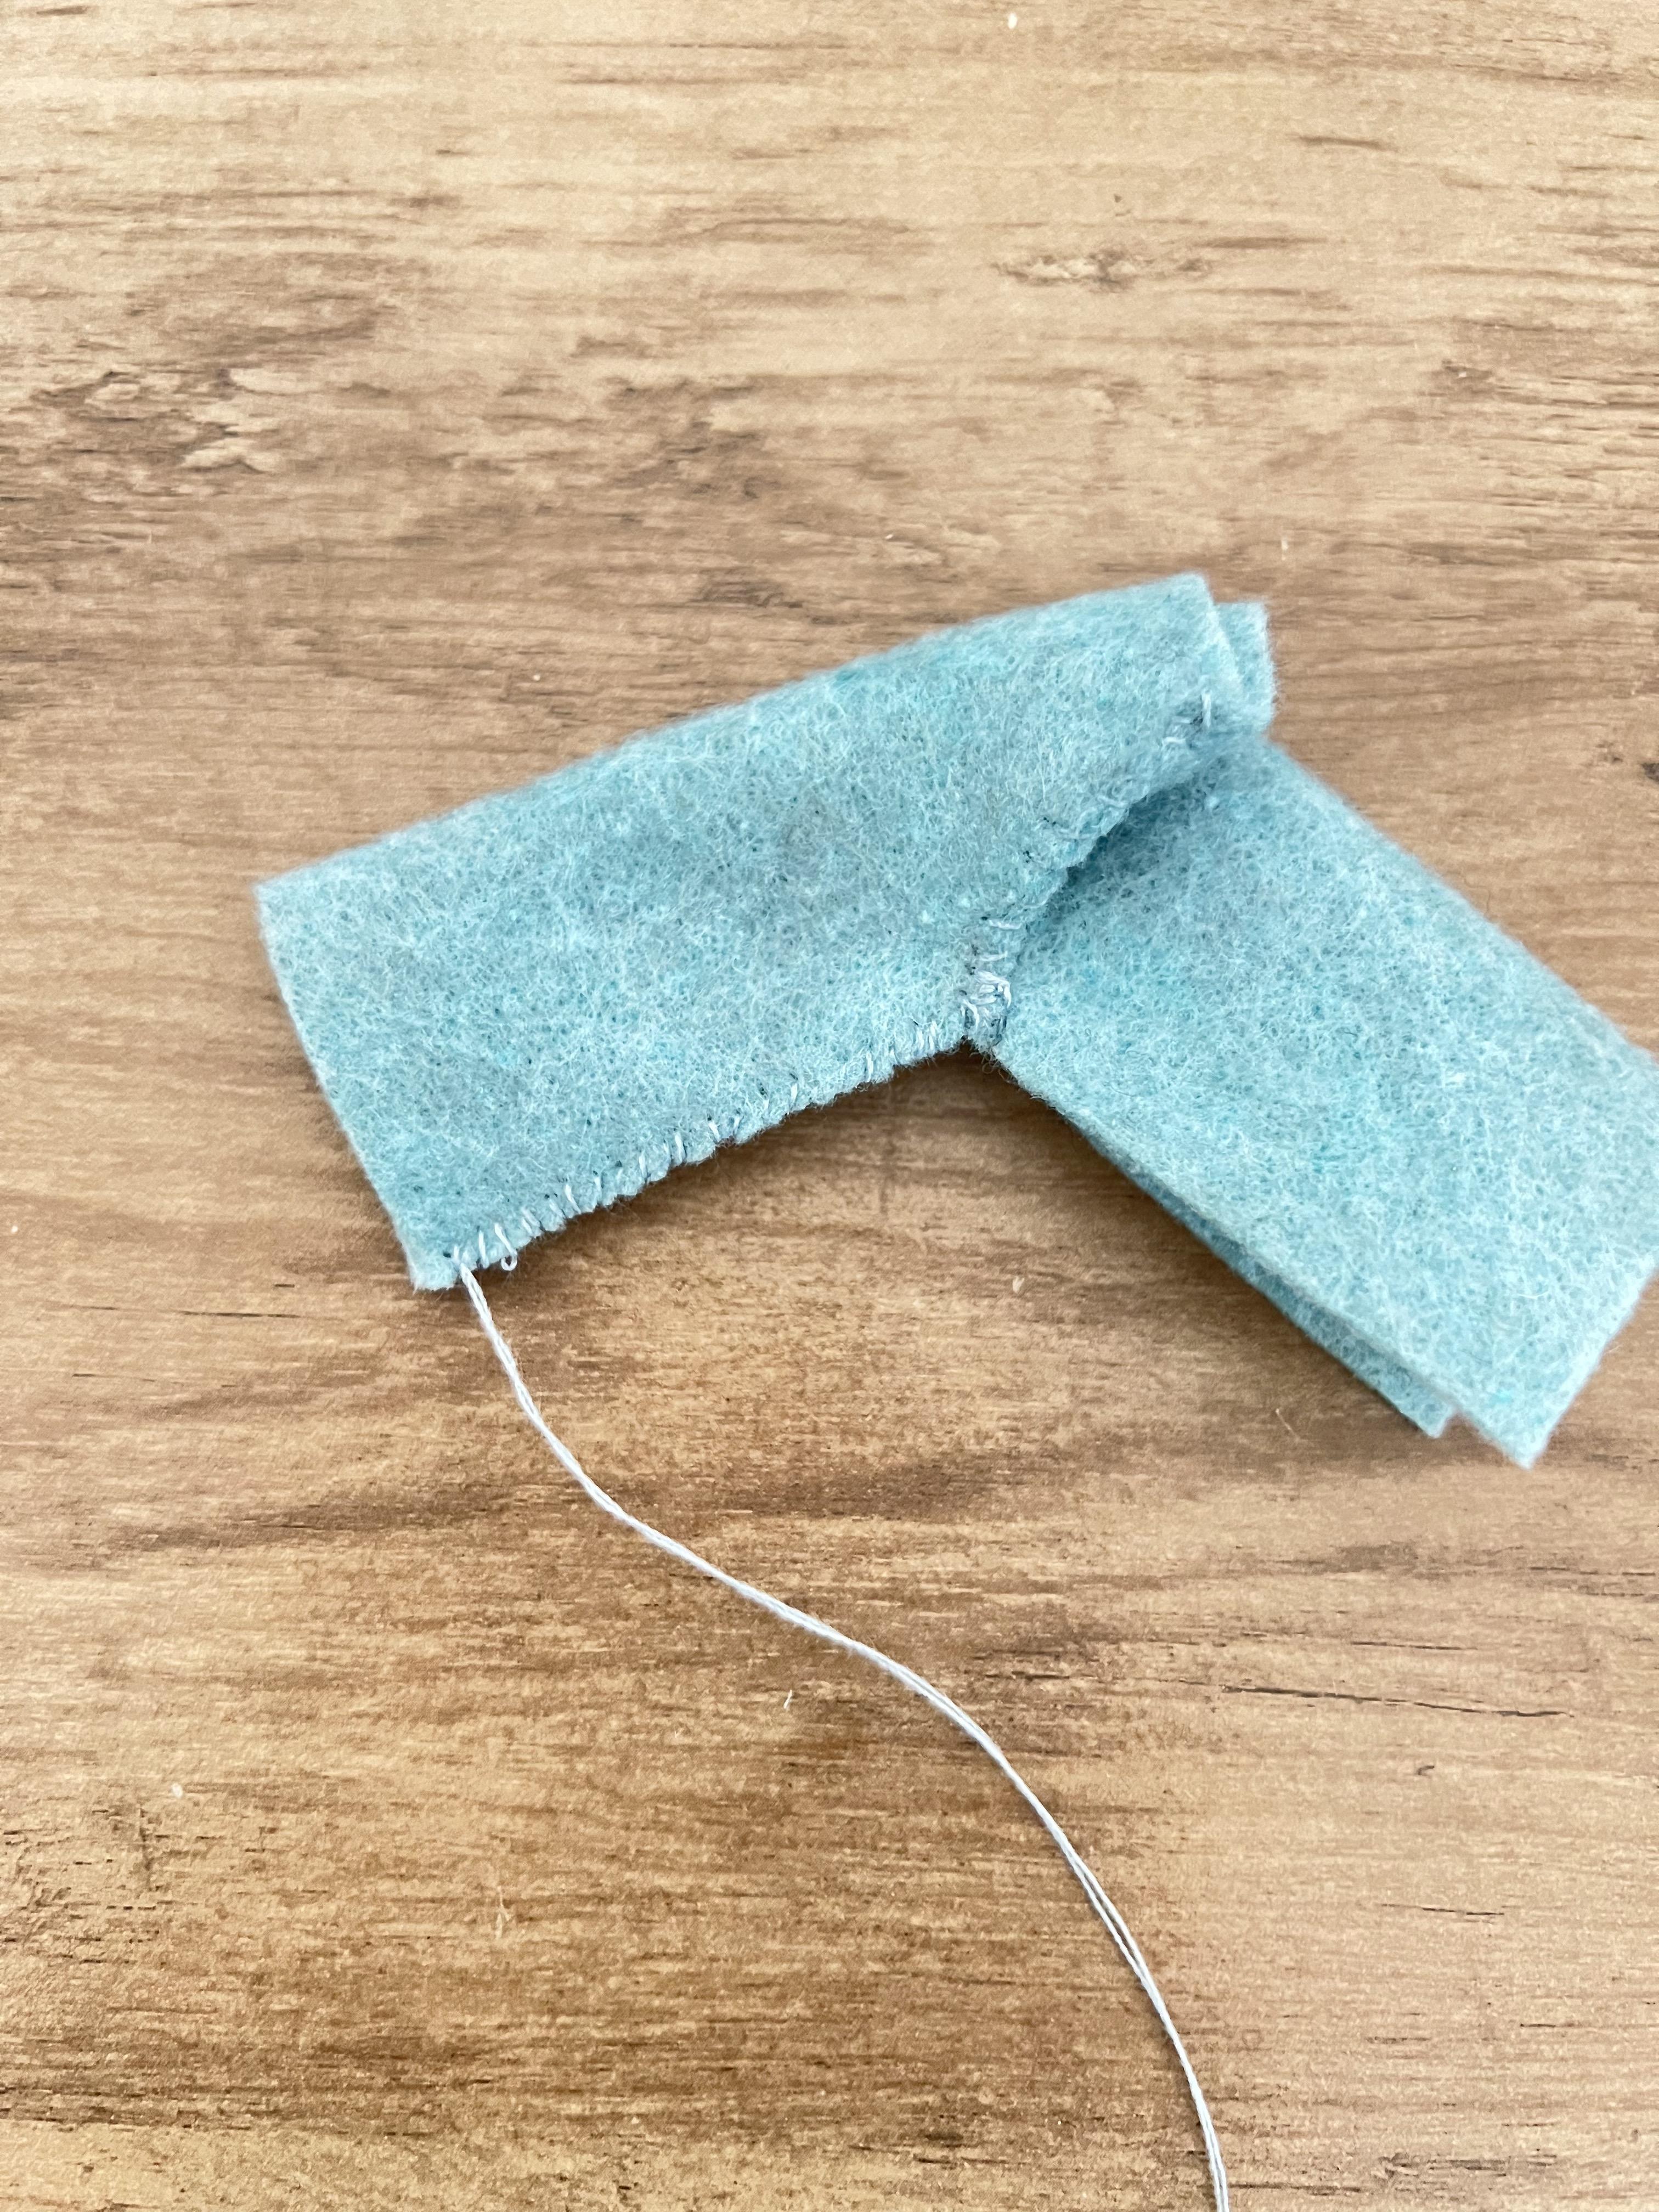
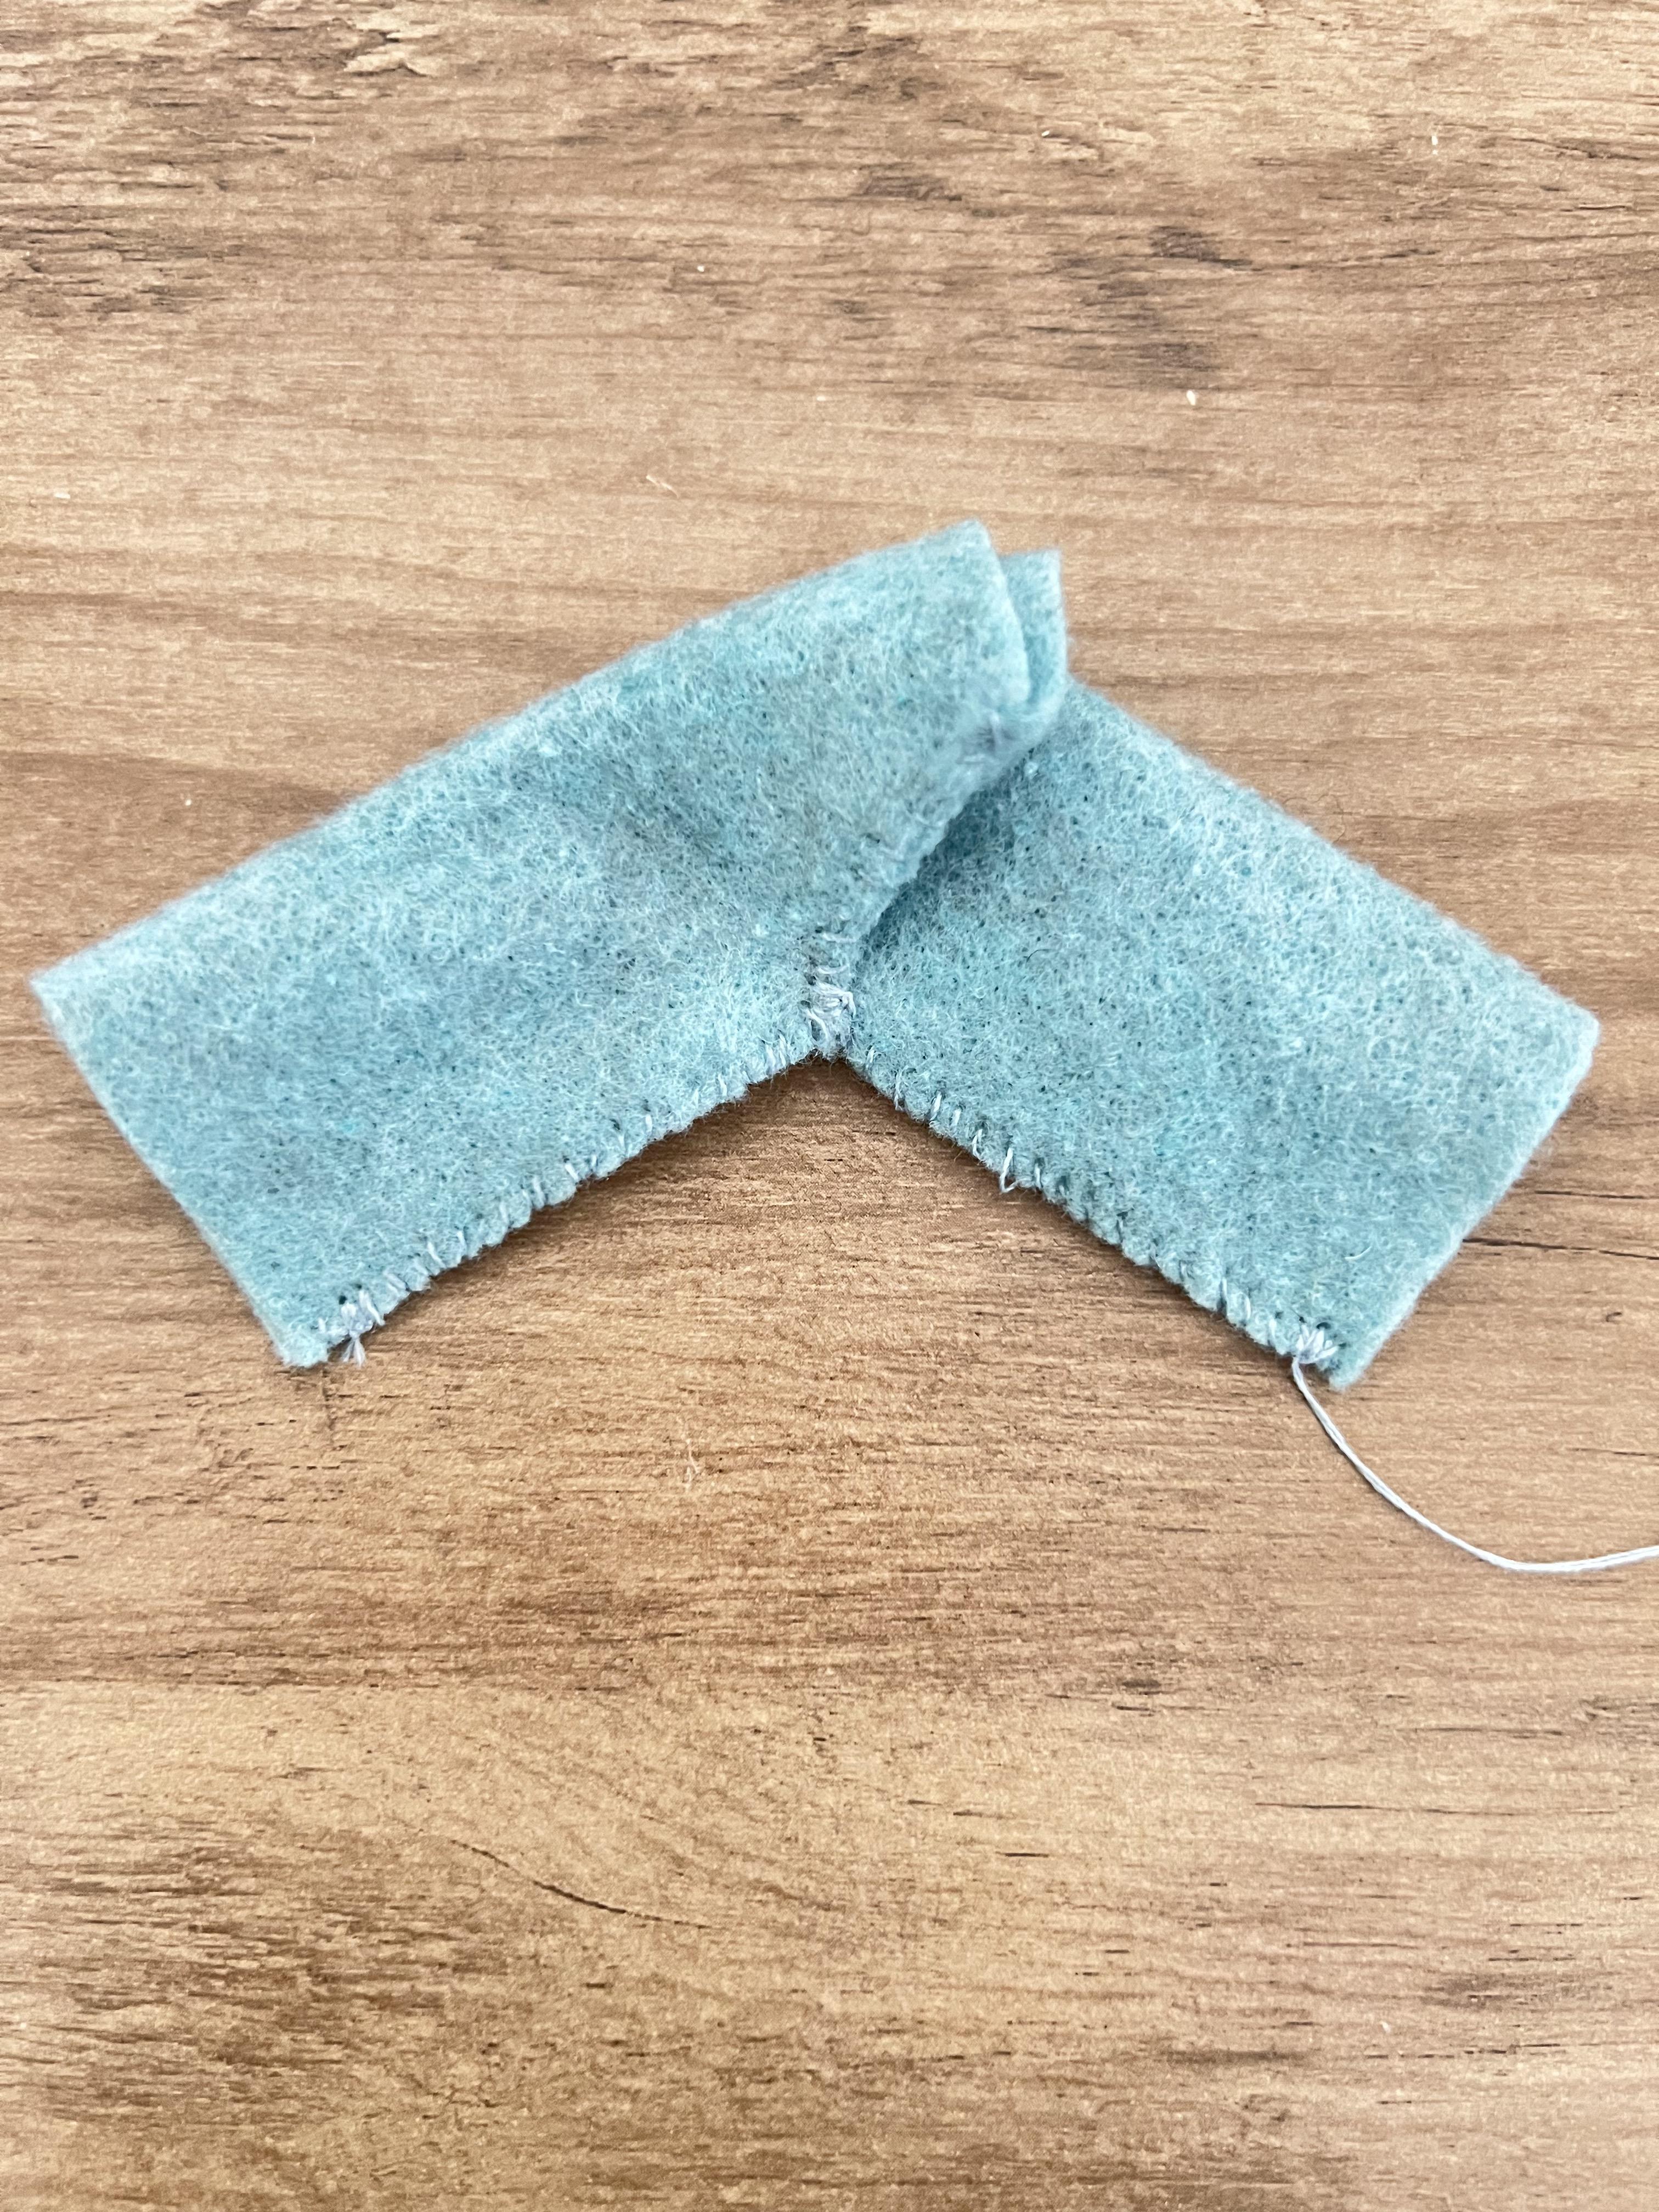

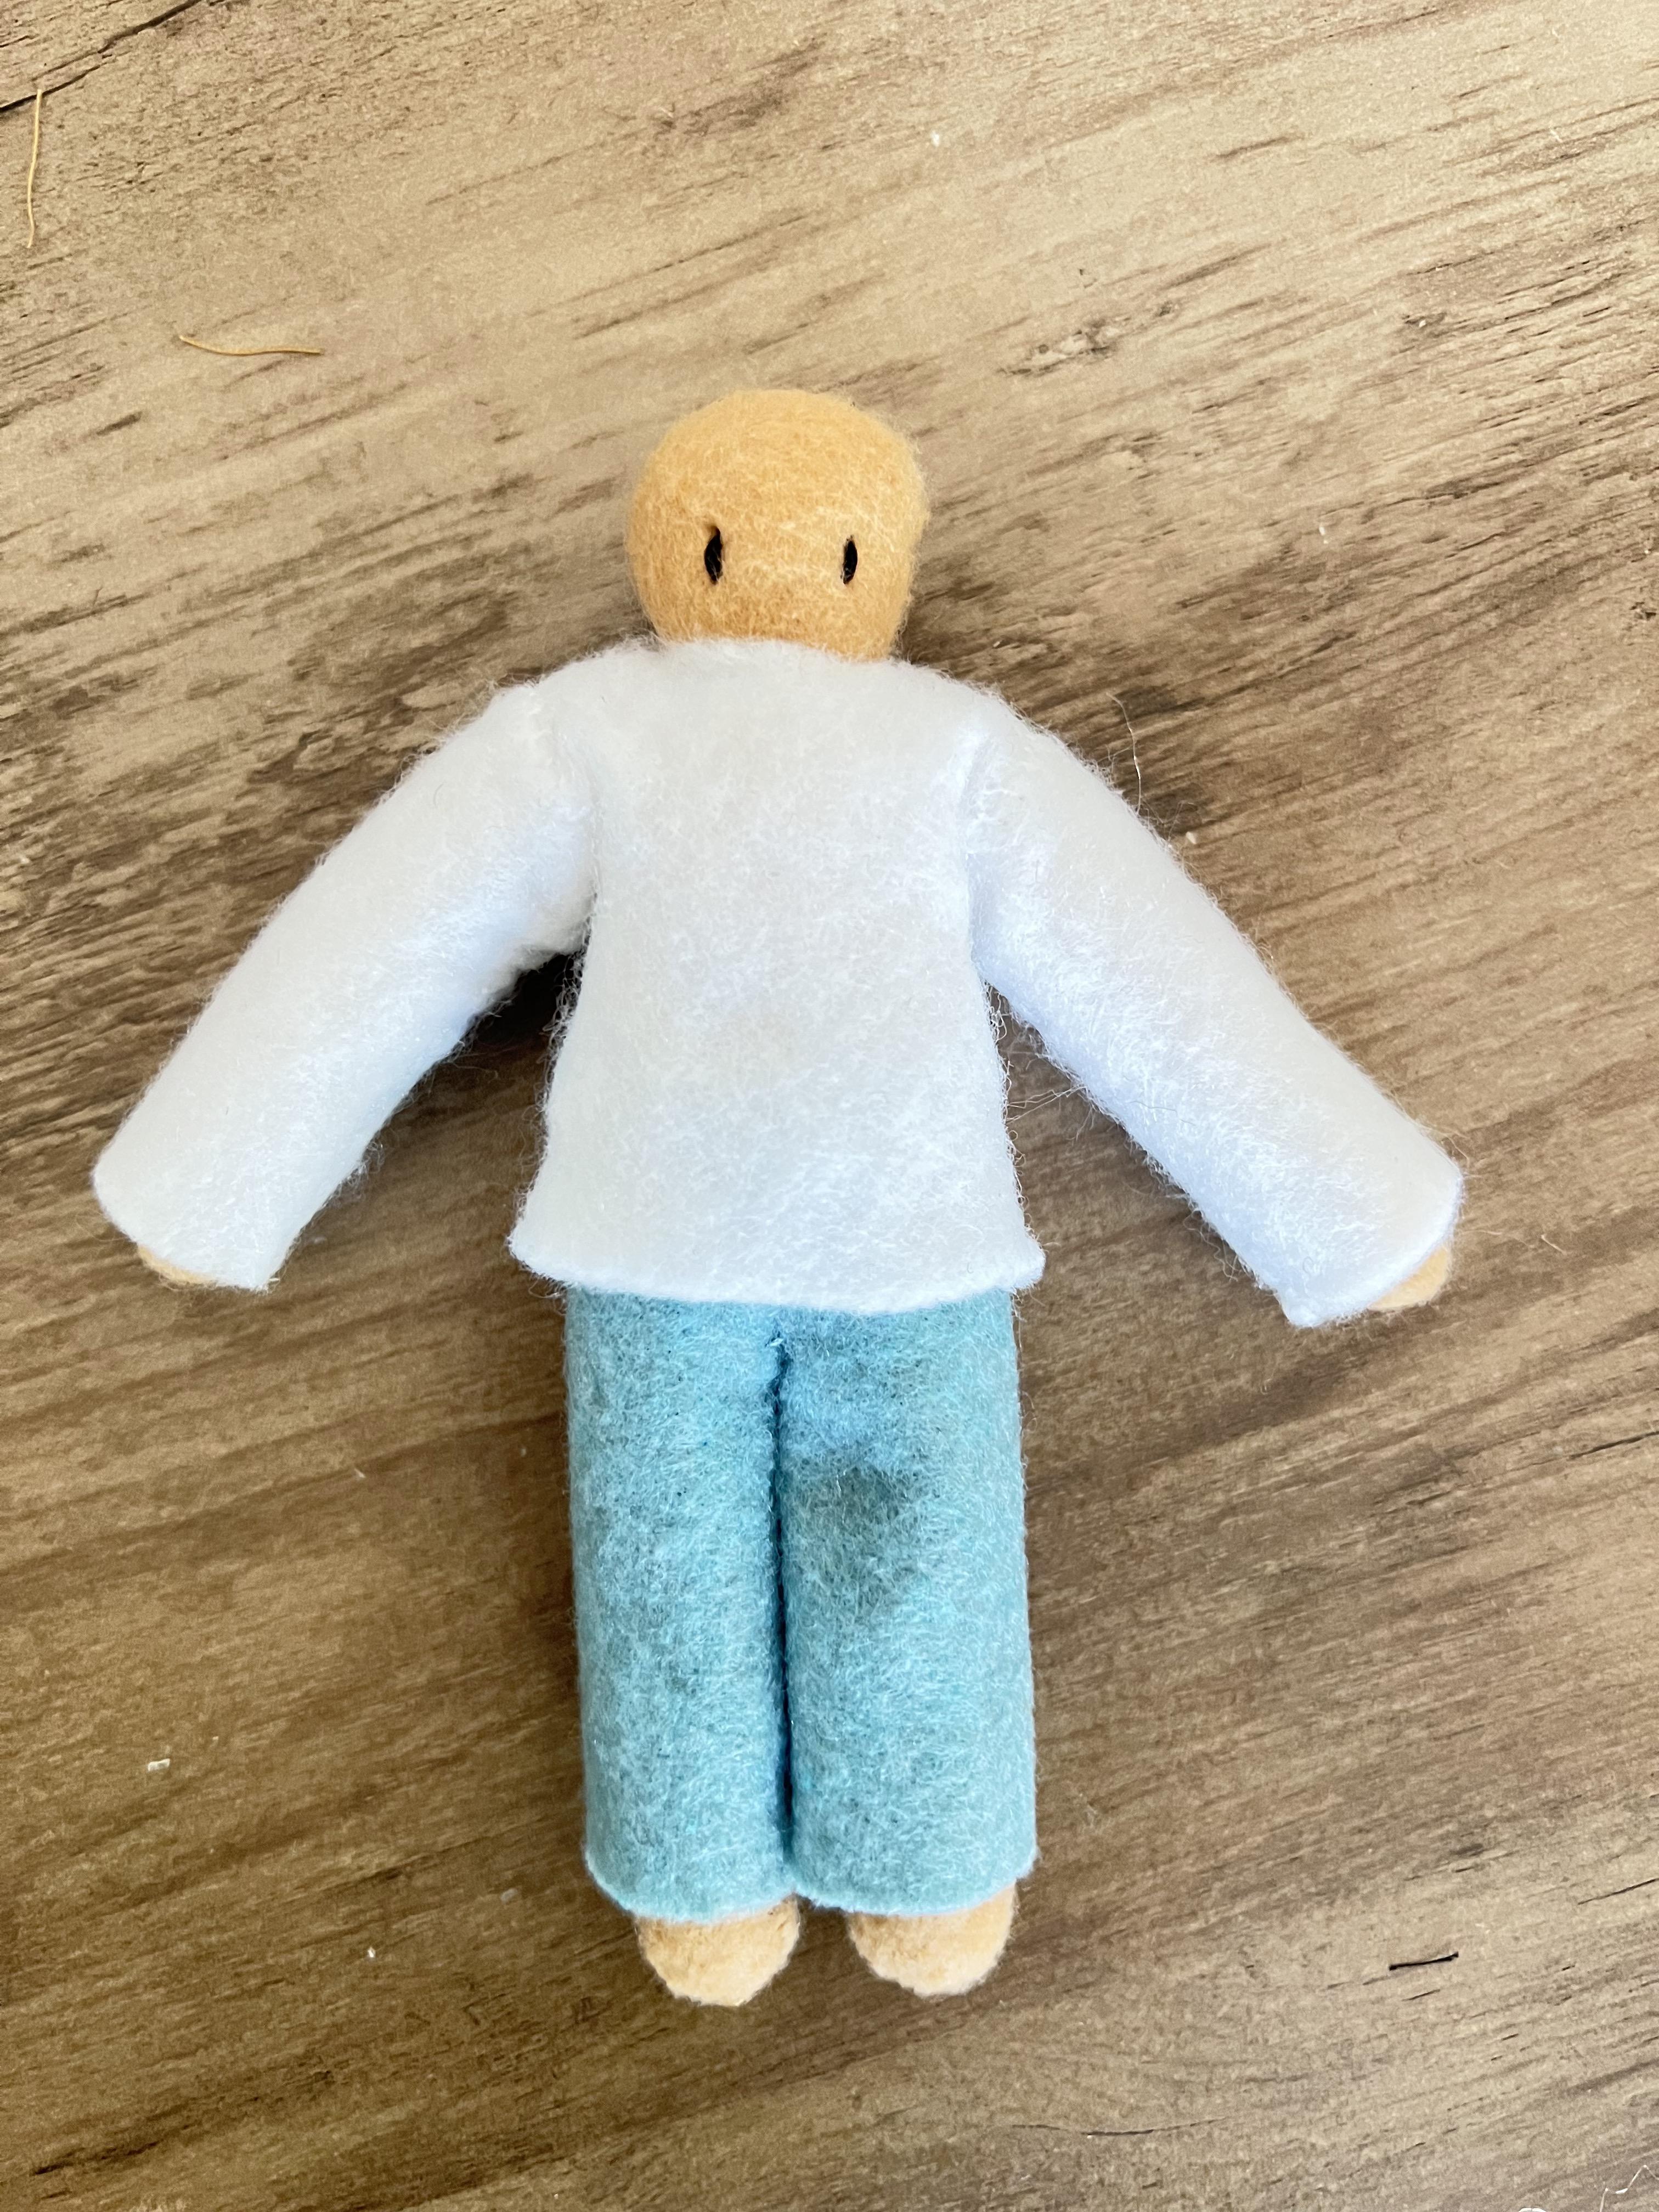
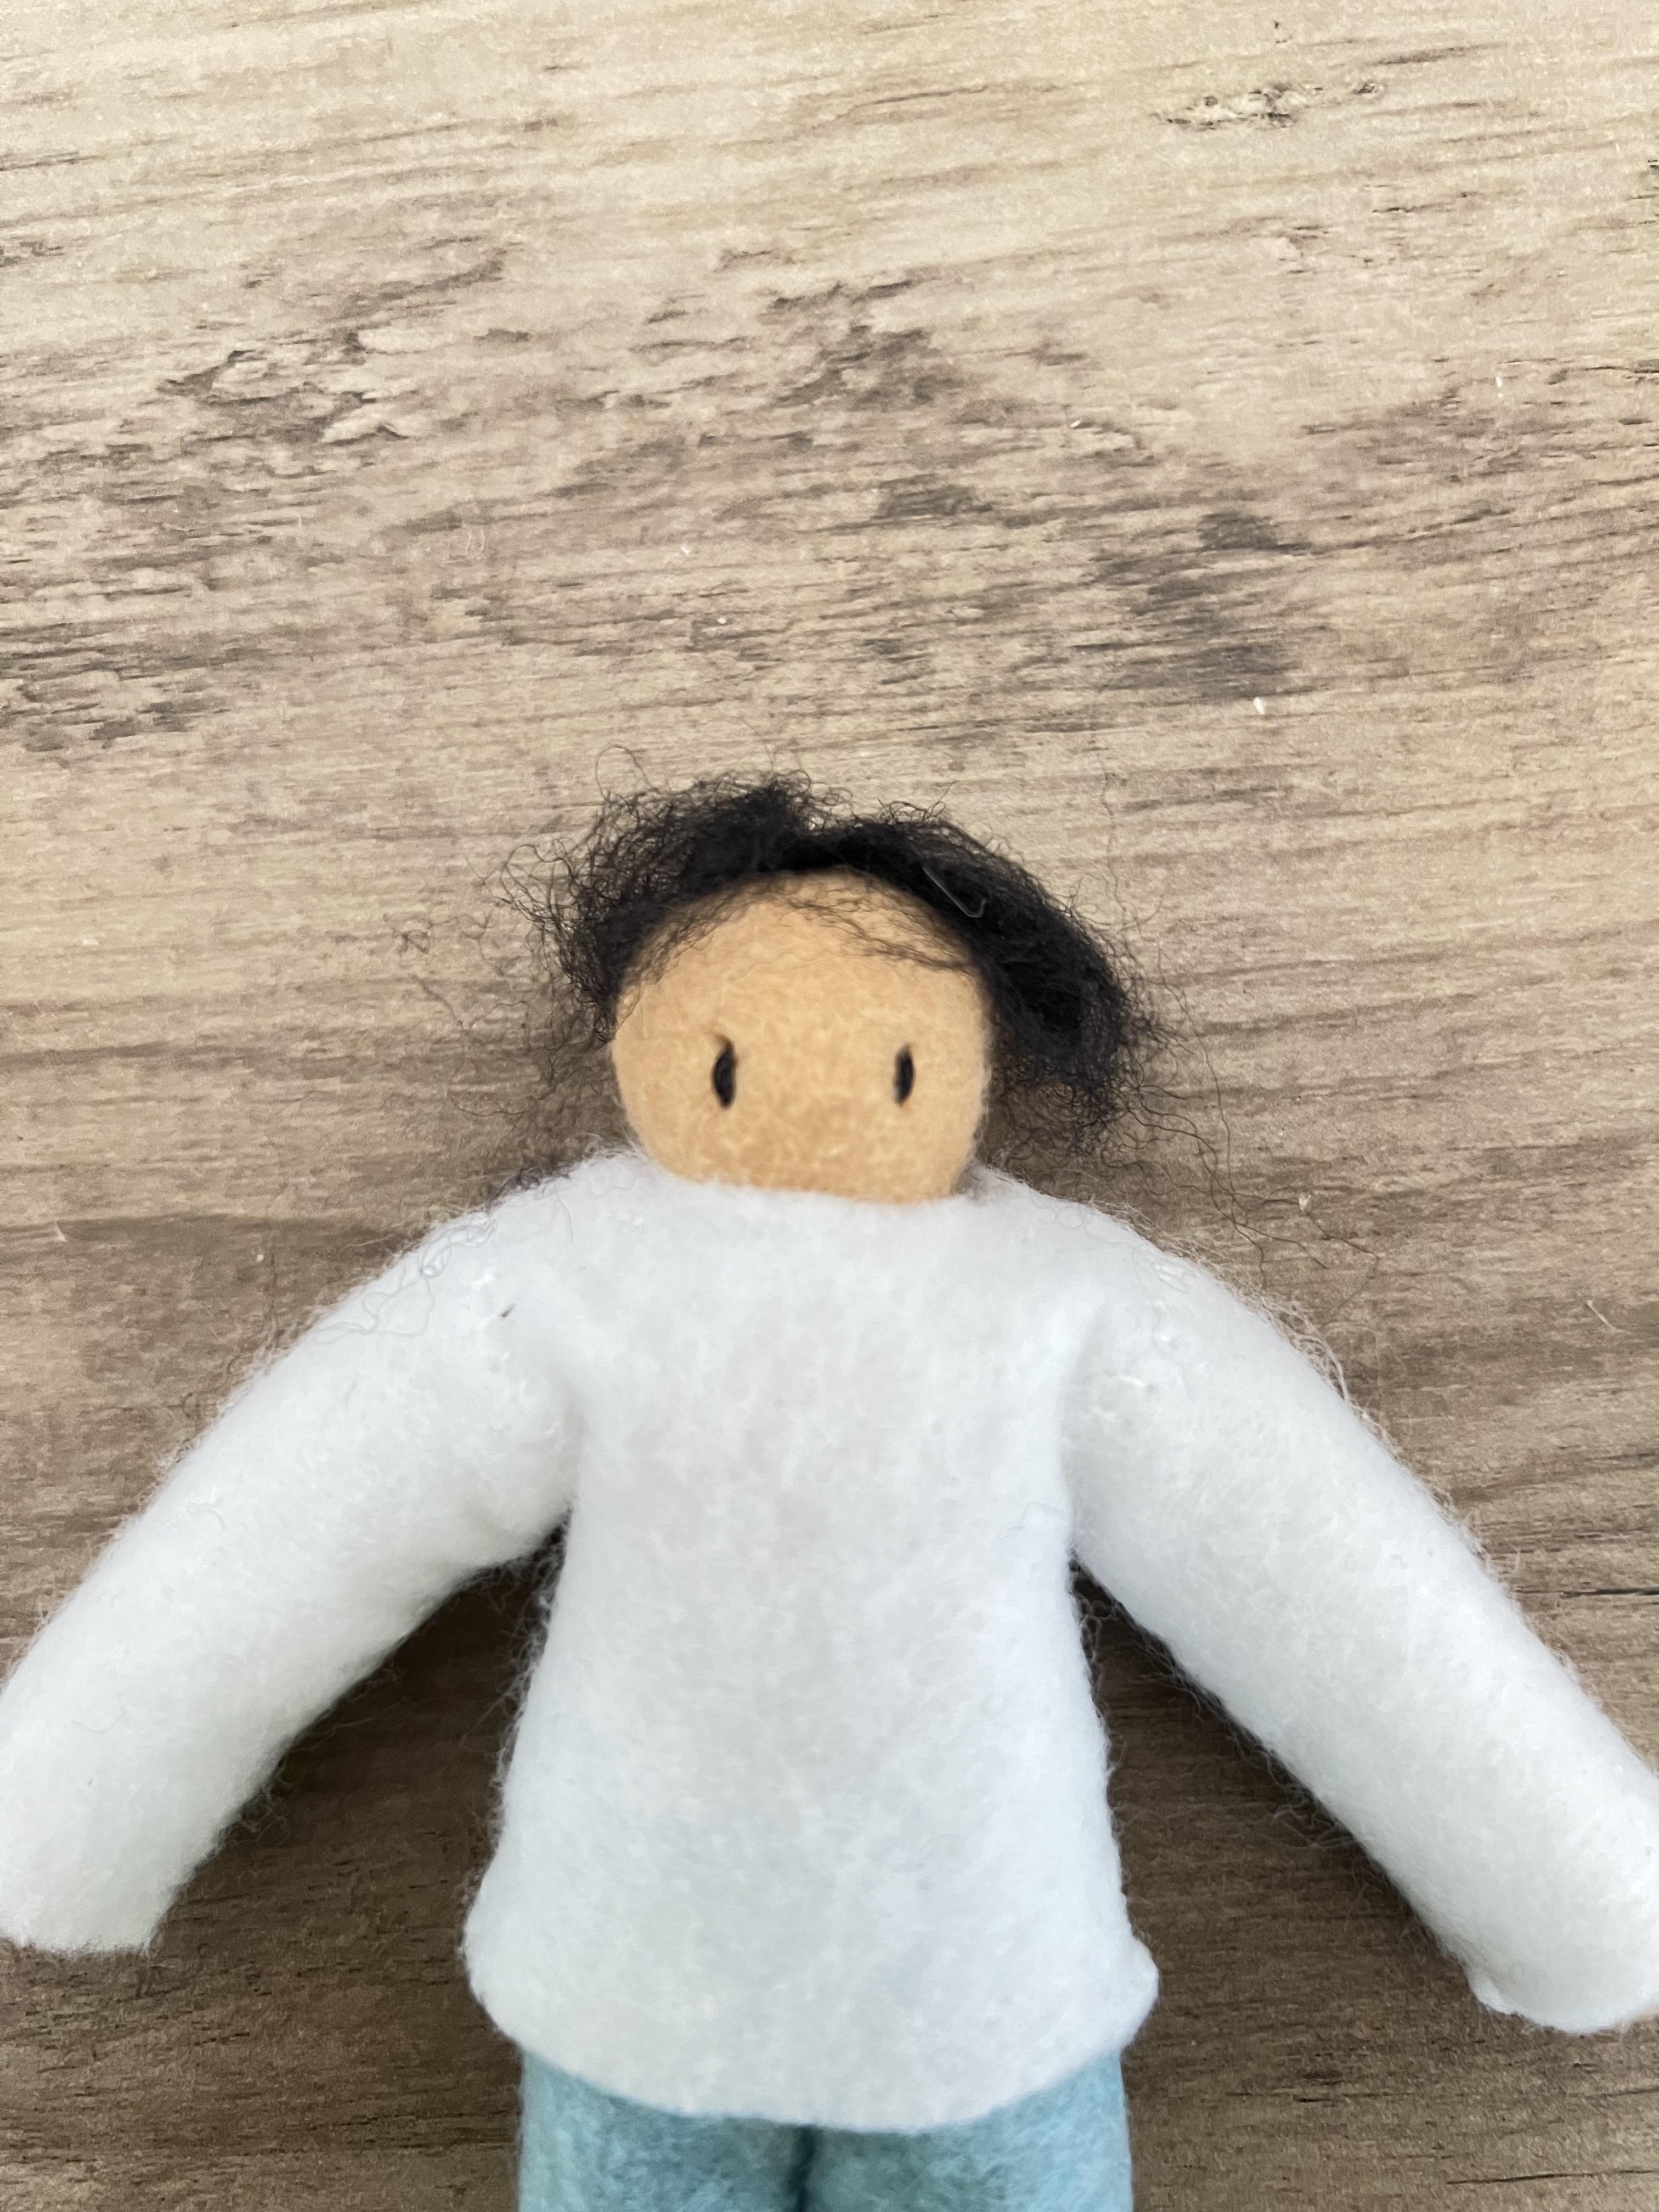

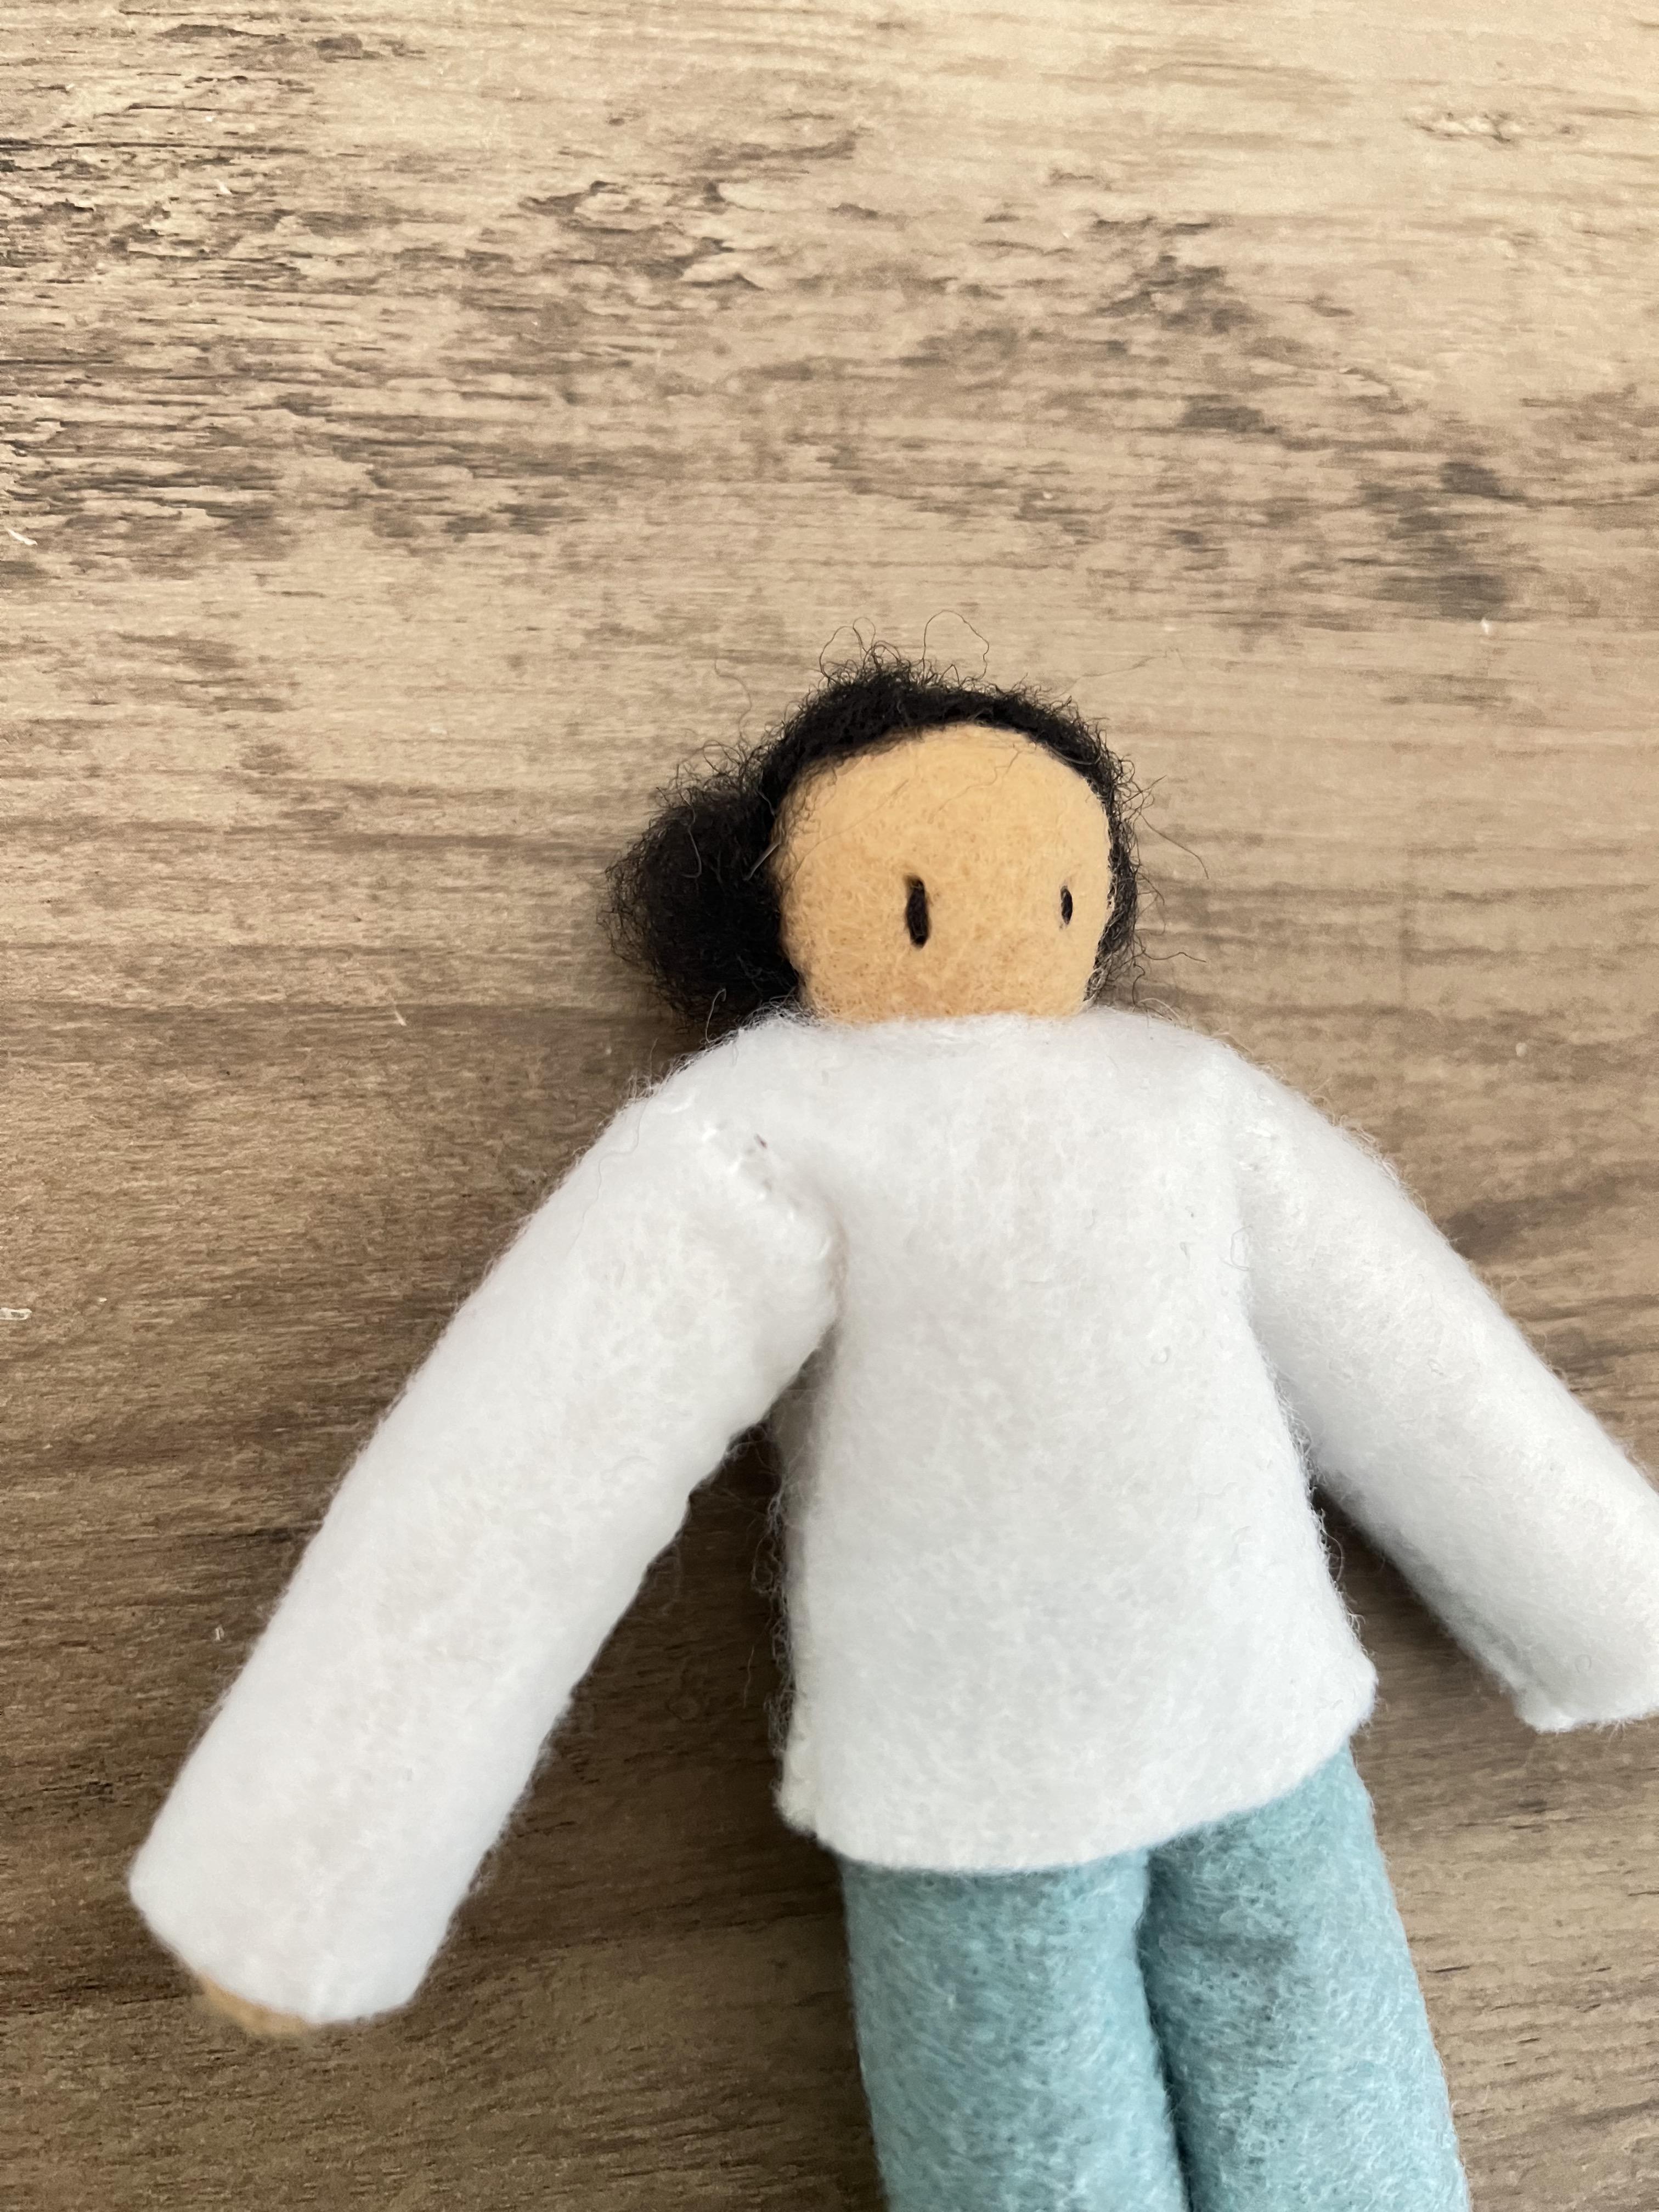

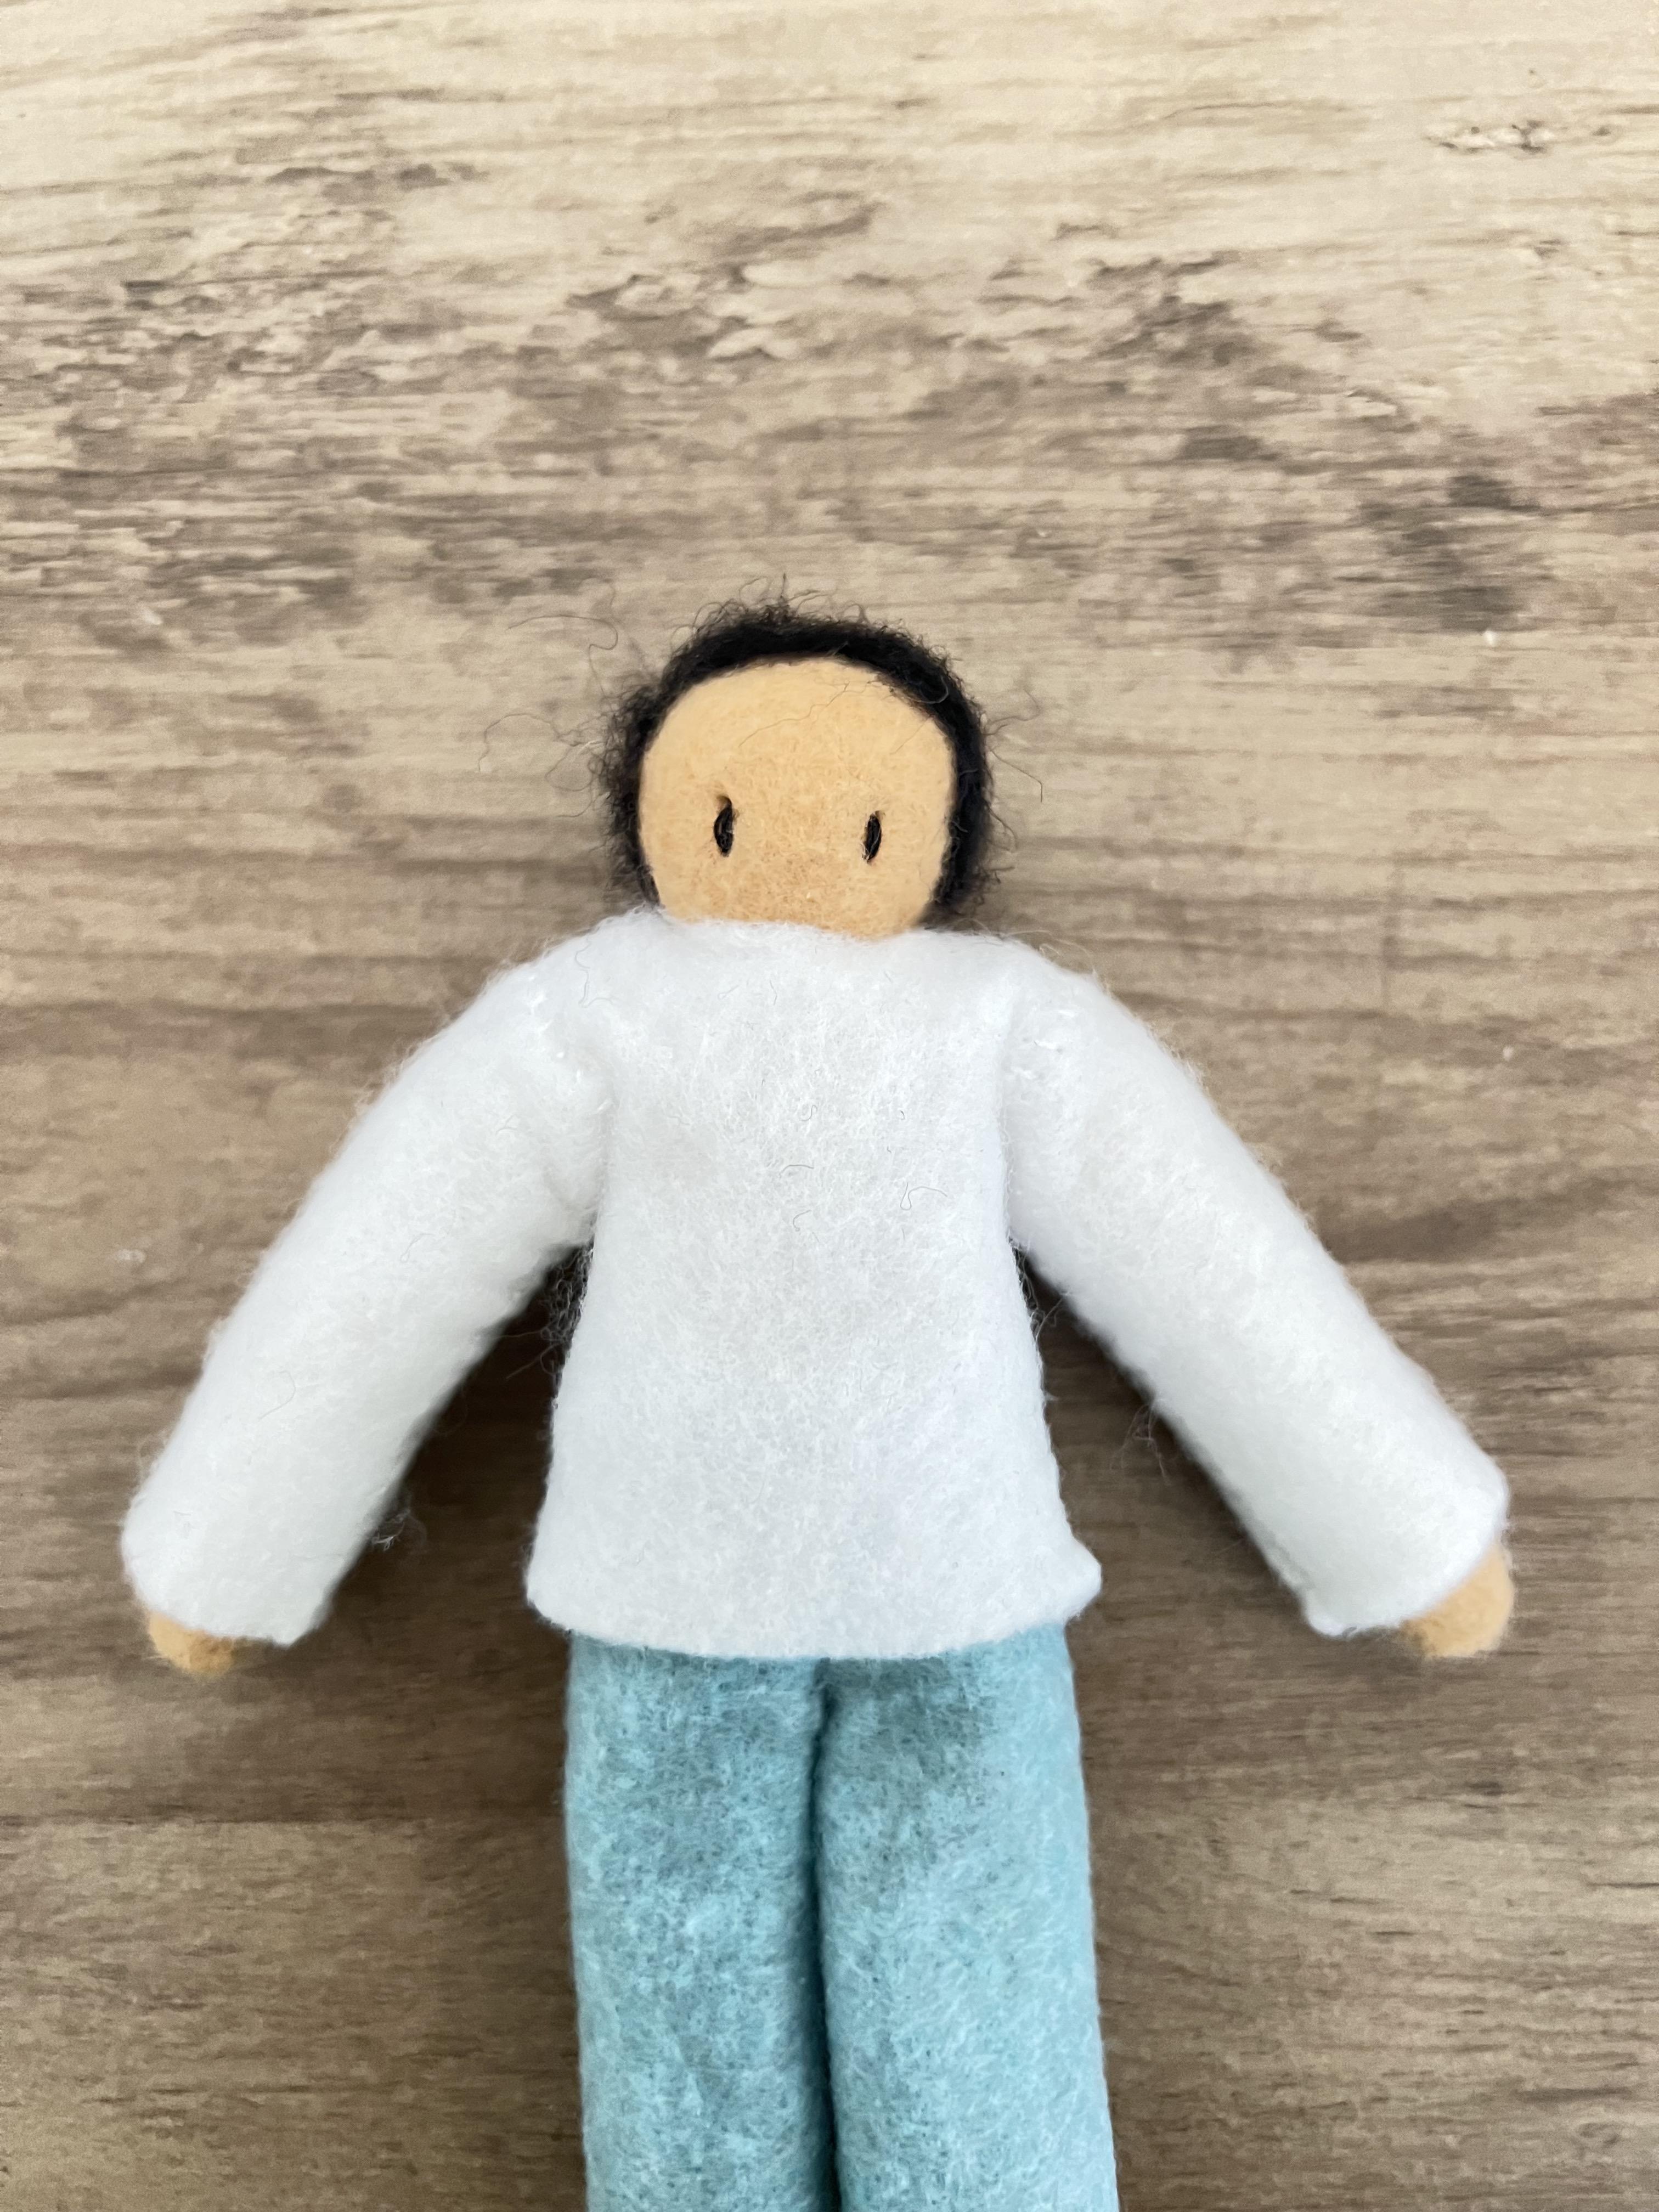




For Bill's shirt, cut a rectangle and cut a indent on both sides for the sleeve. Cut two rectangles for sleeves and sew them to each sleeve indent (make sure the sleeves are long enough for his arms). Fold the shirt in half and sew the upside-down "L"s on both sides. Flip the shirt inside out and cut a neck hole.
To make the pants, cut two rectangles with a "J" on each side. Sew both "J"s. Fold the pants to form legs and sew the "V" along the legs.
I felted Bill's hair at the end, because I had to make him a new head.
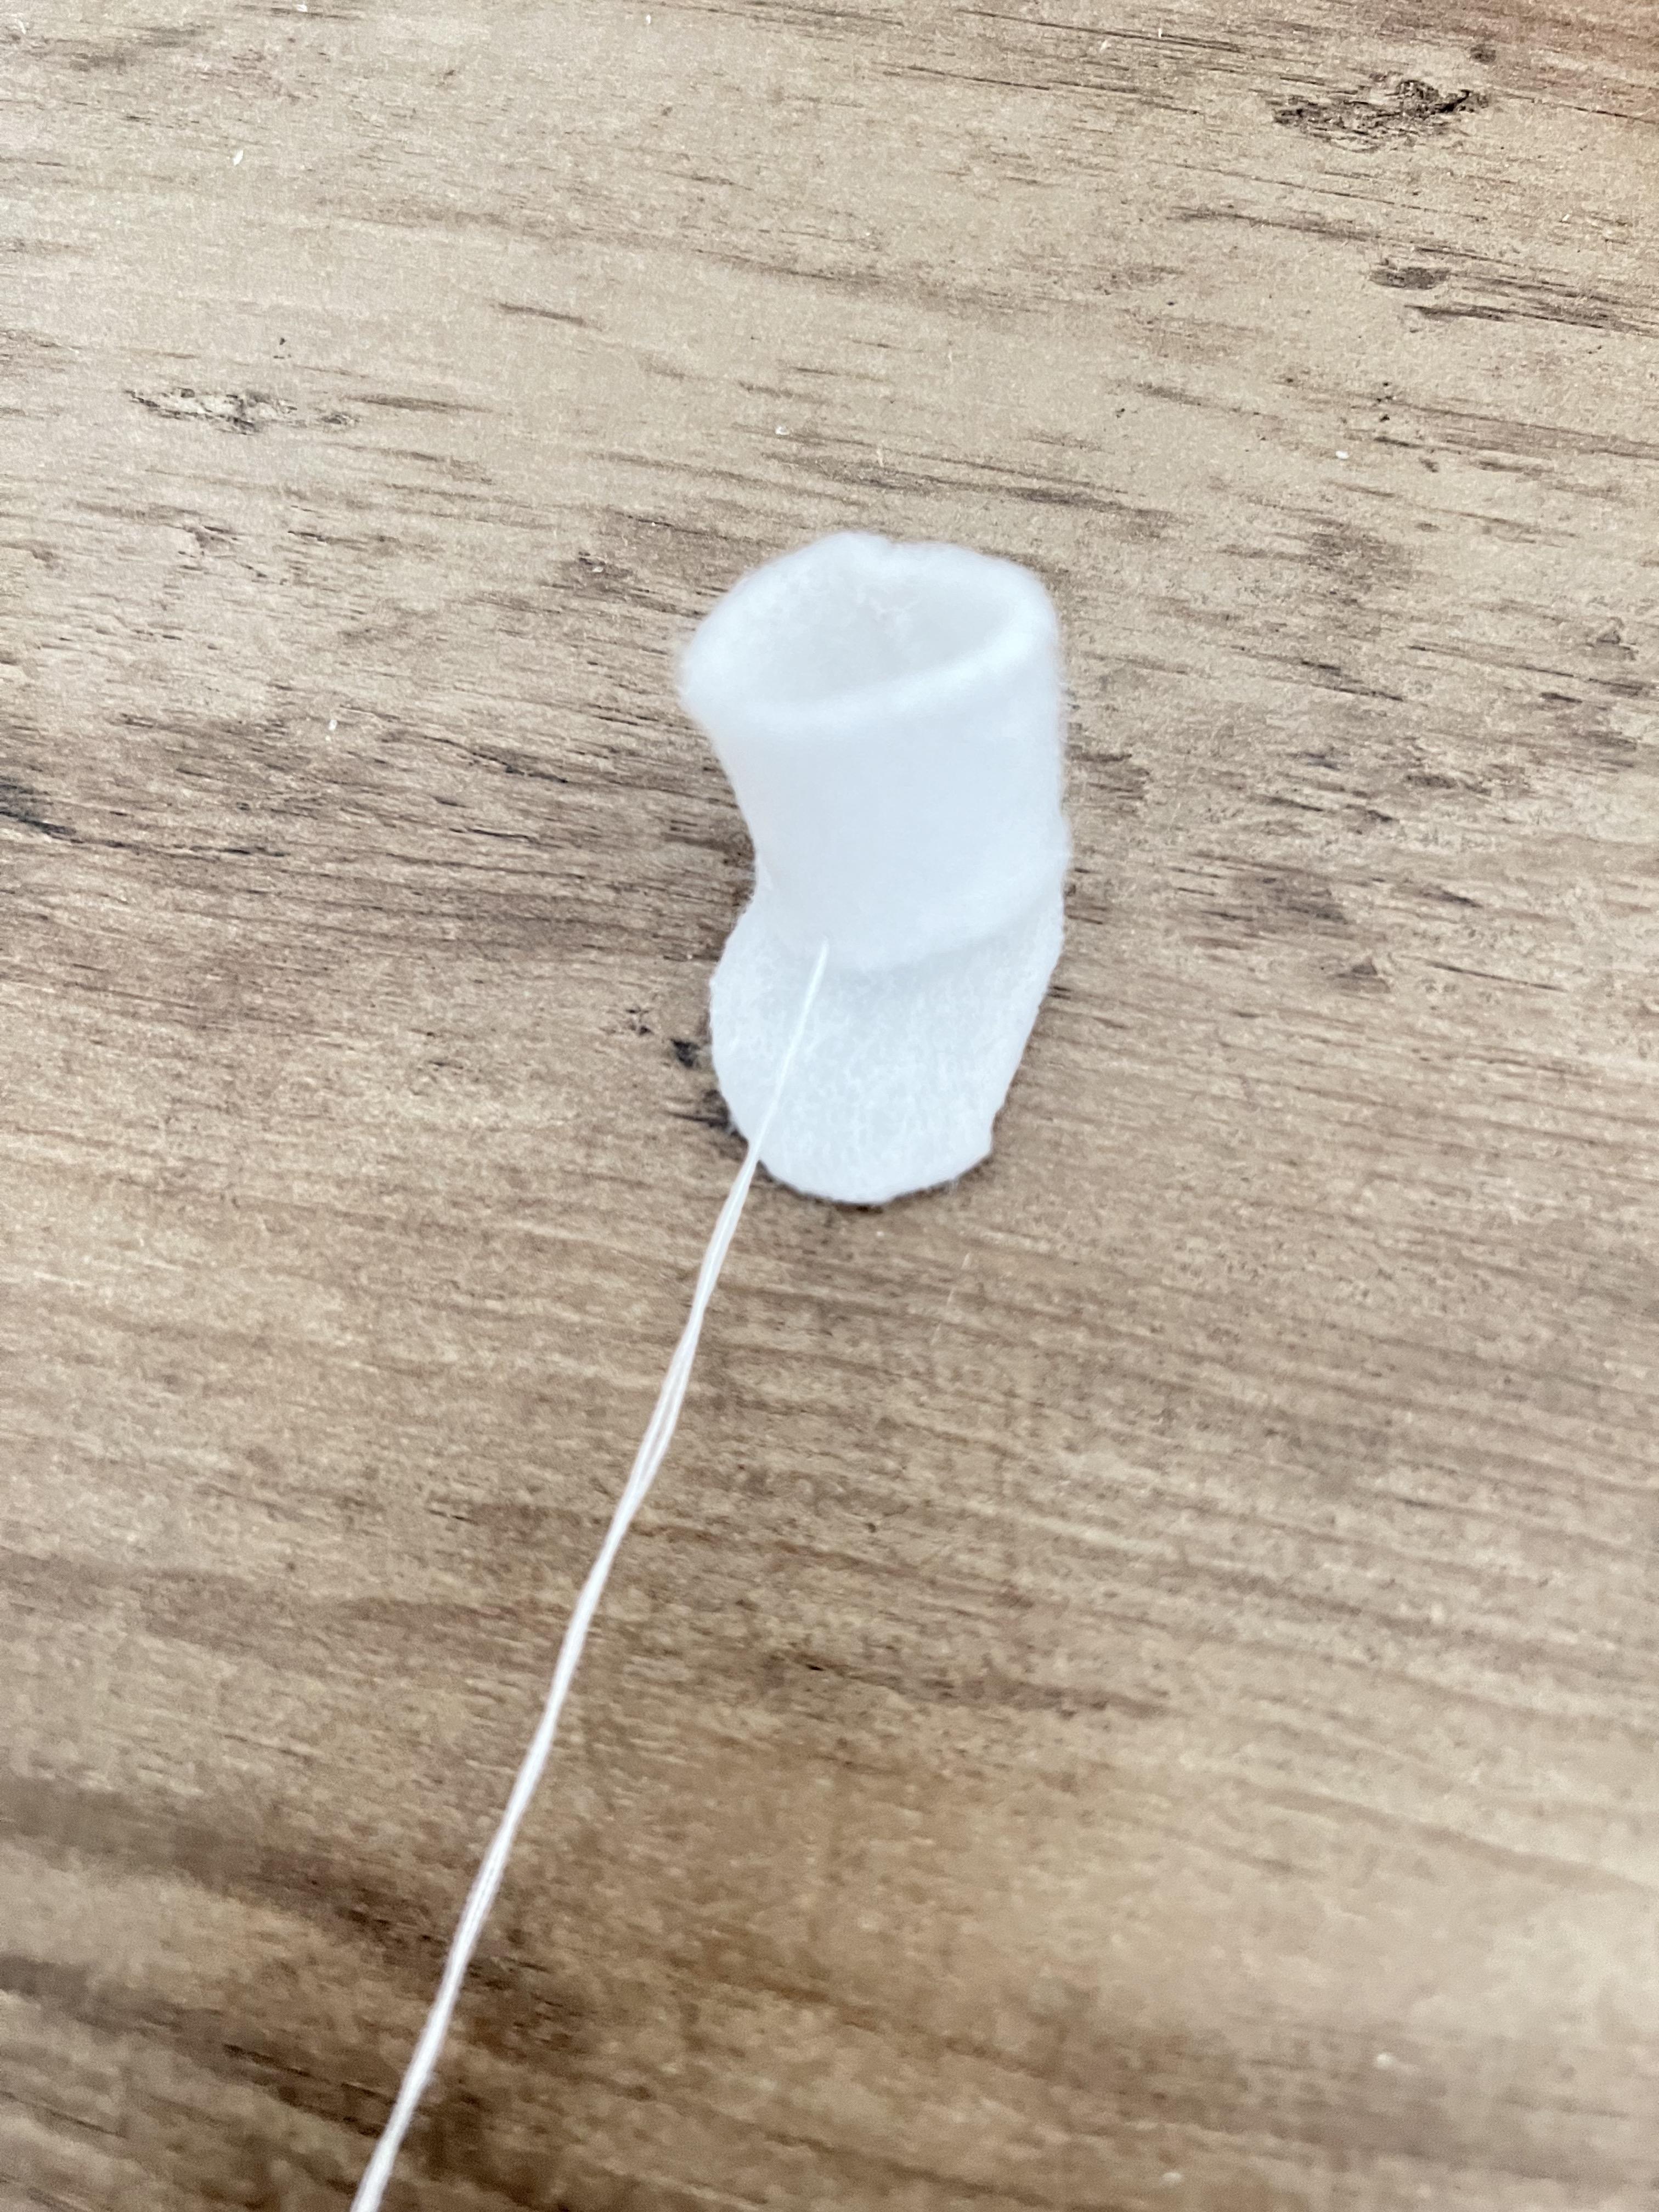
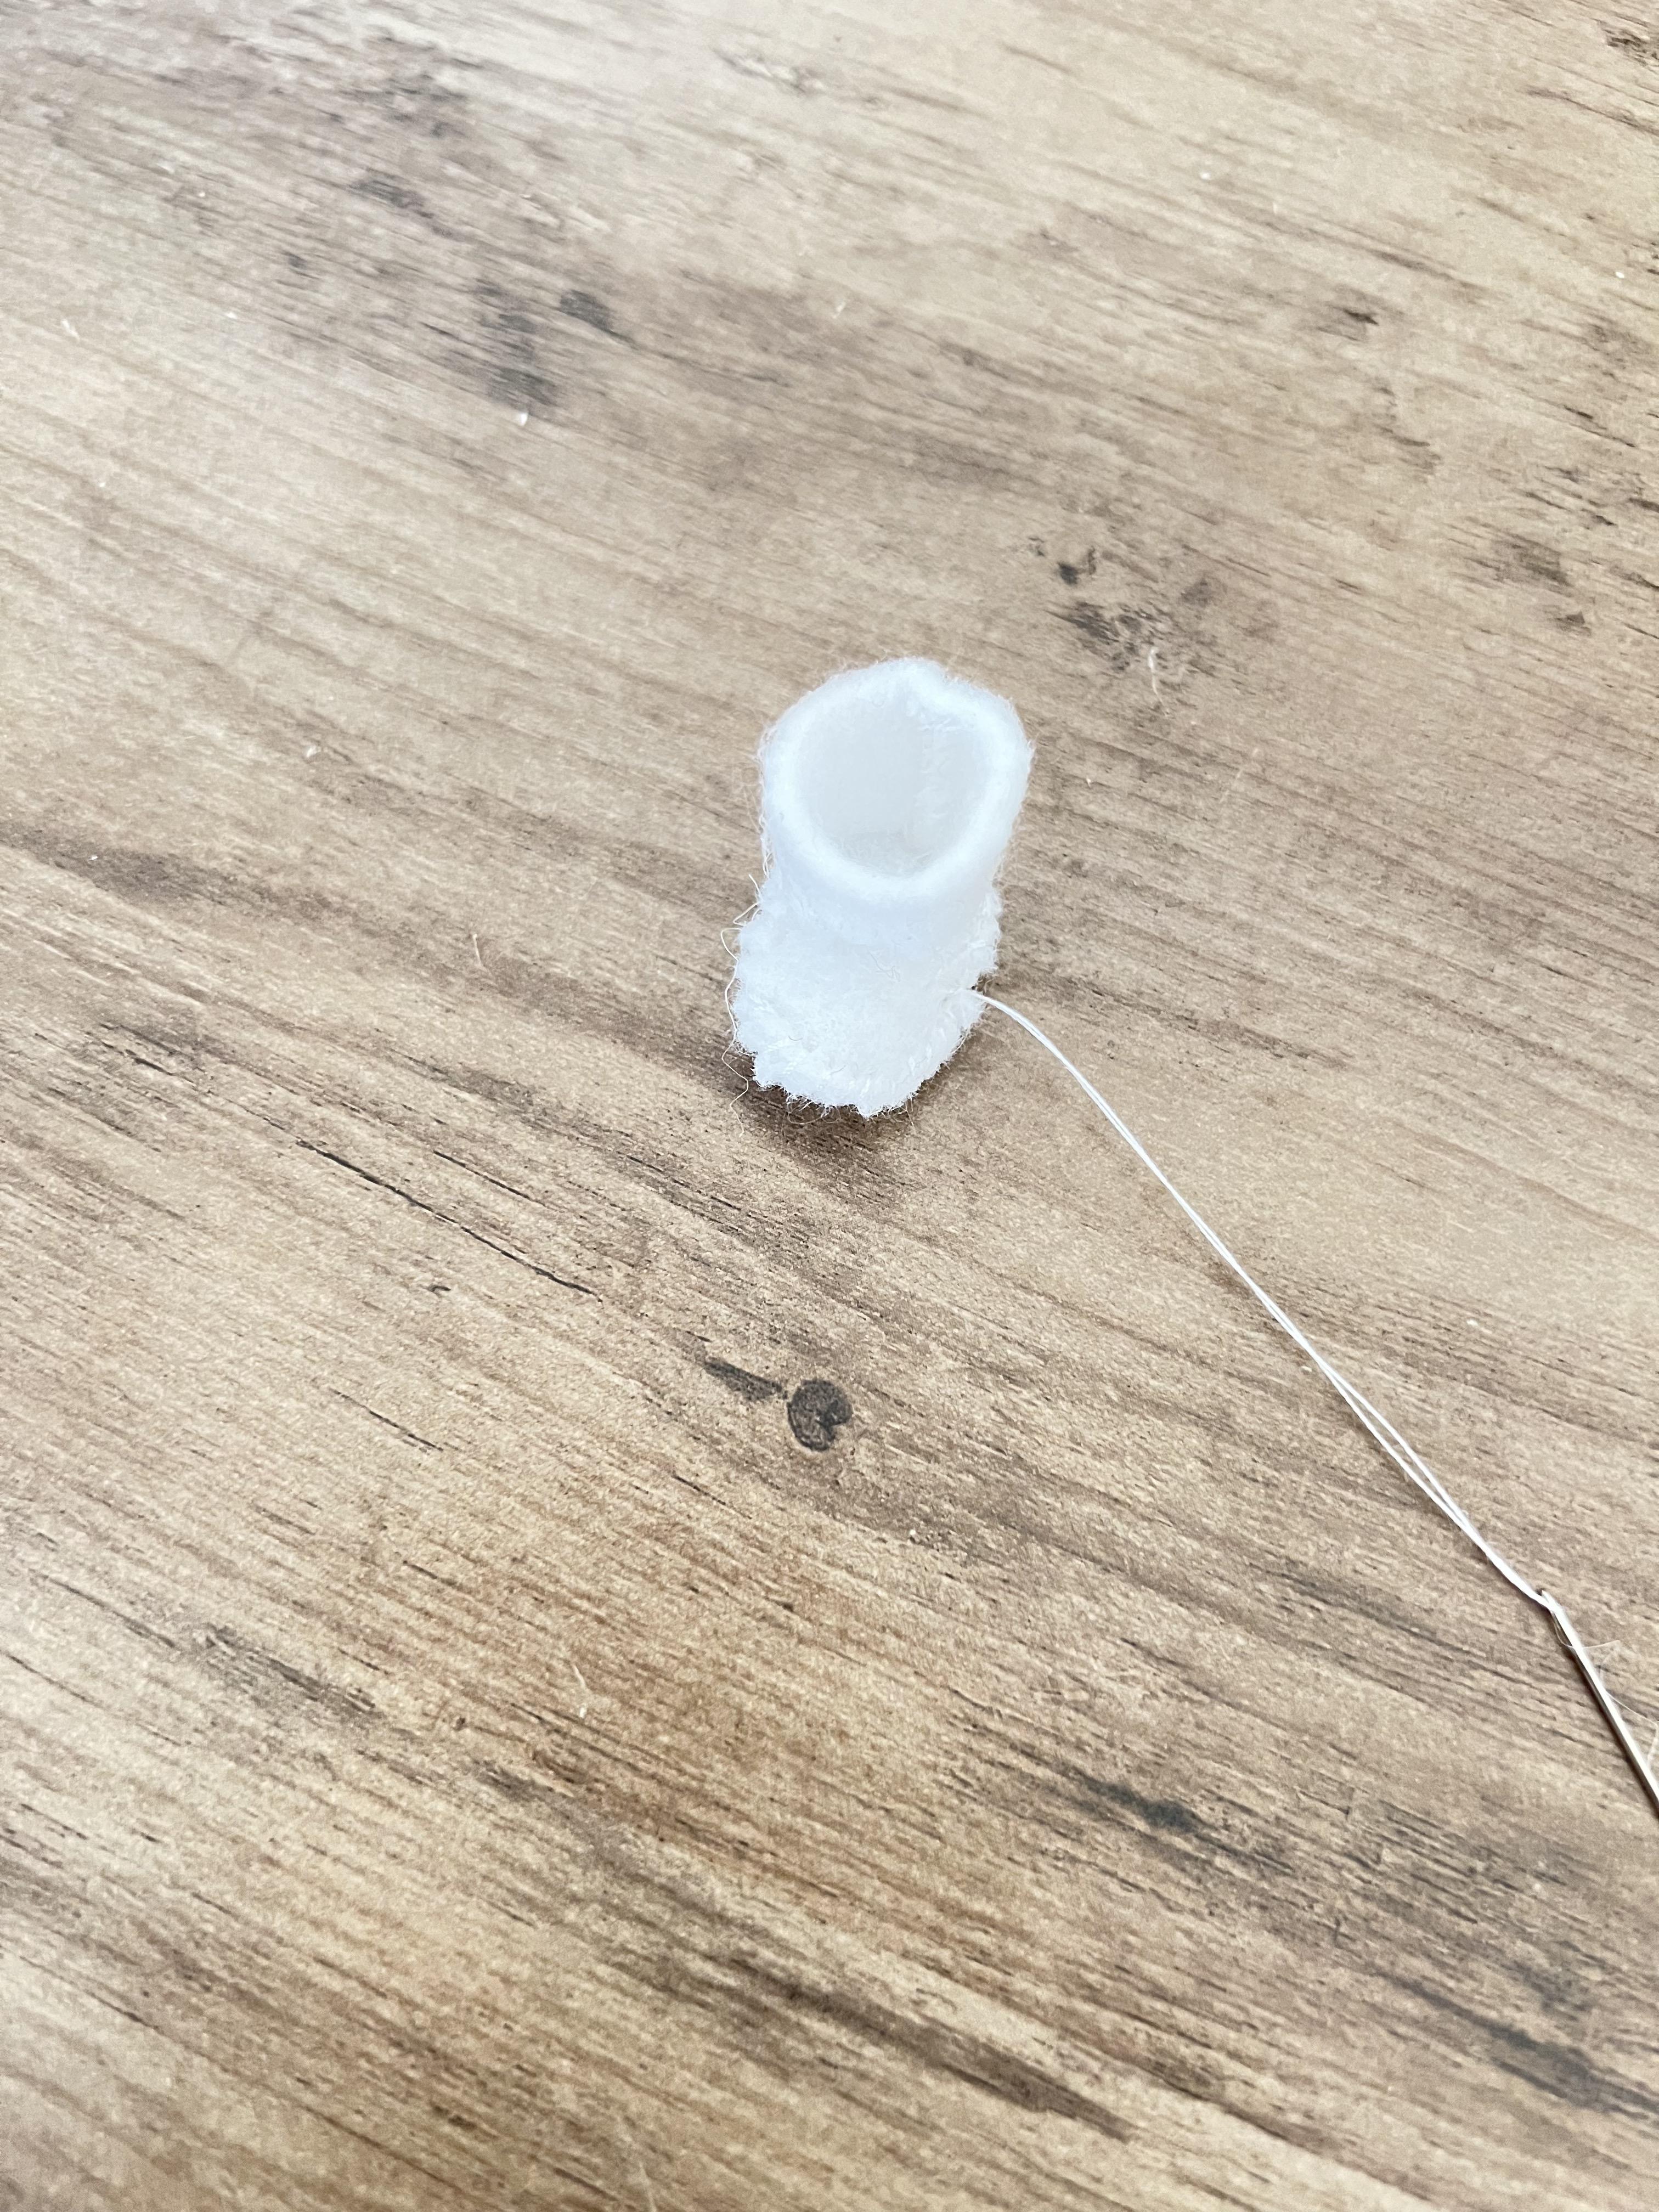
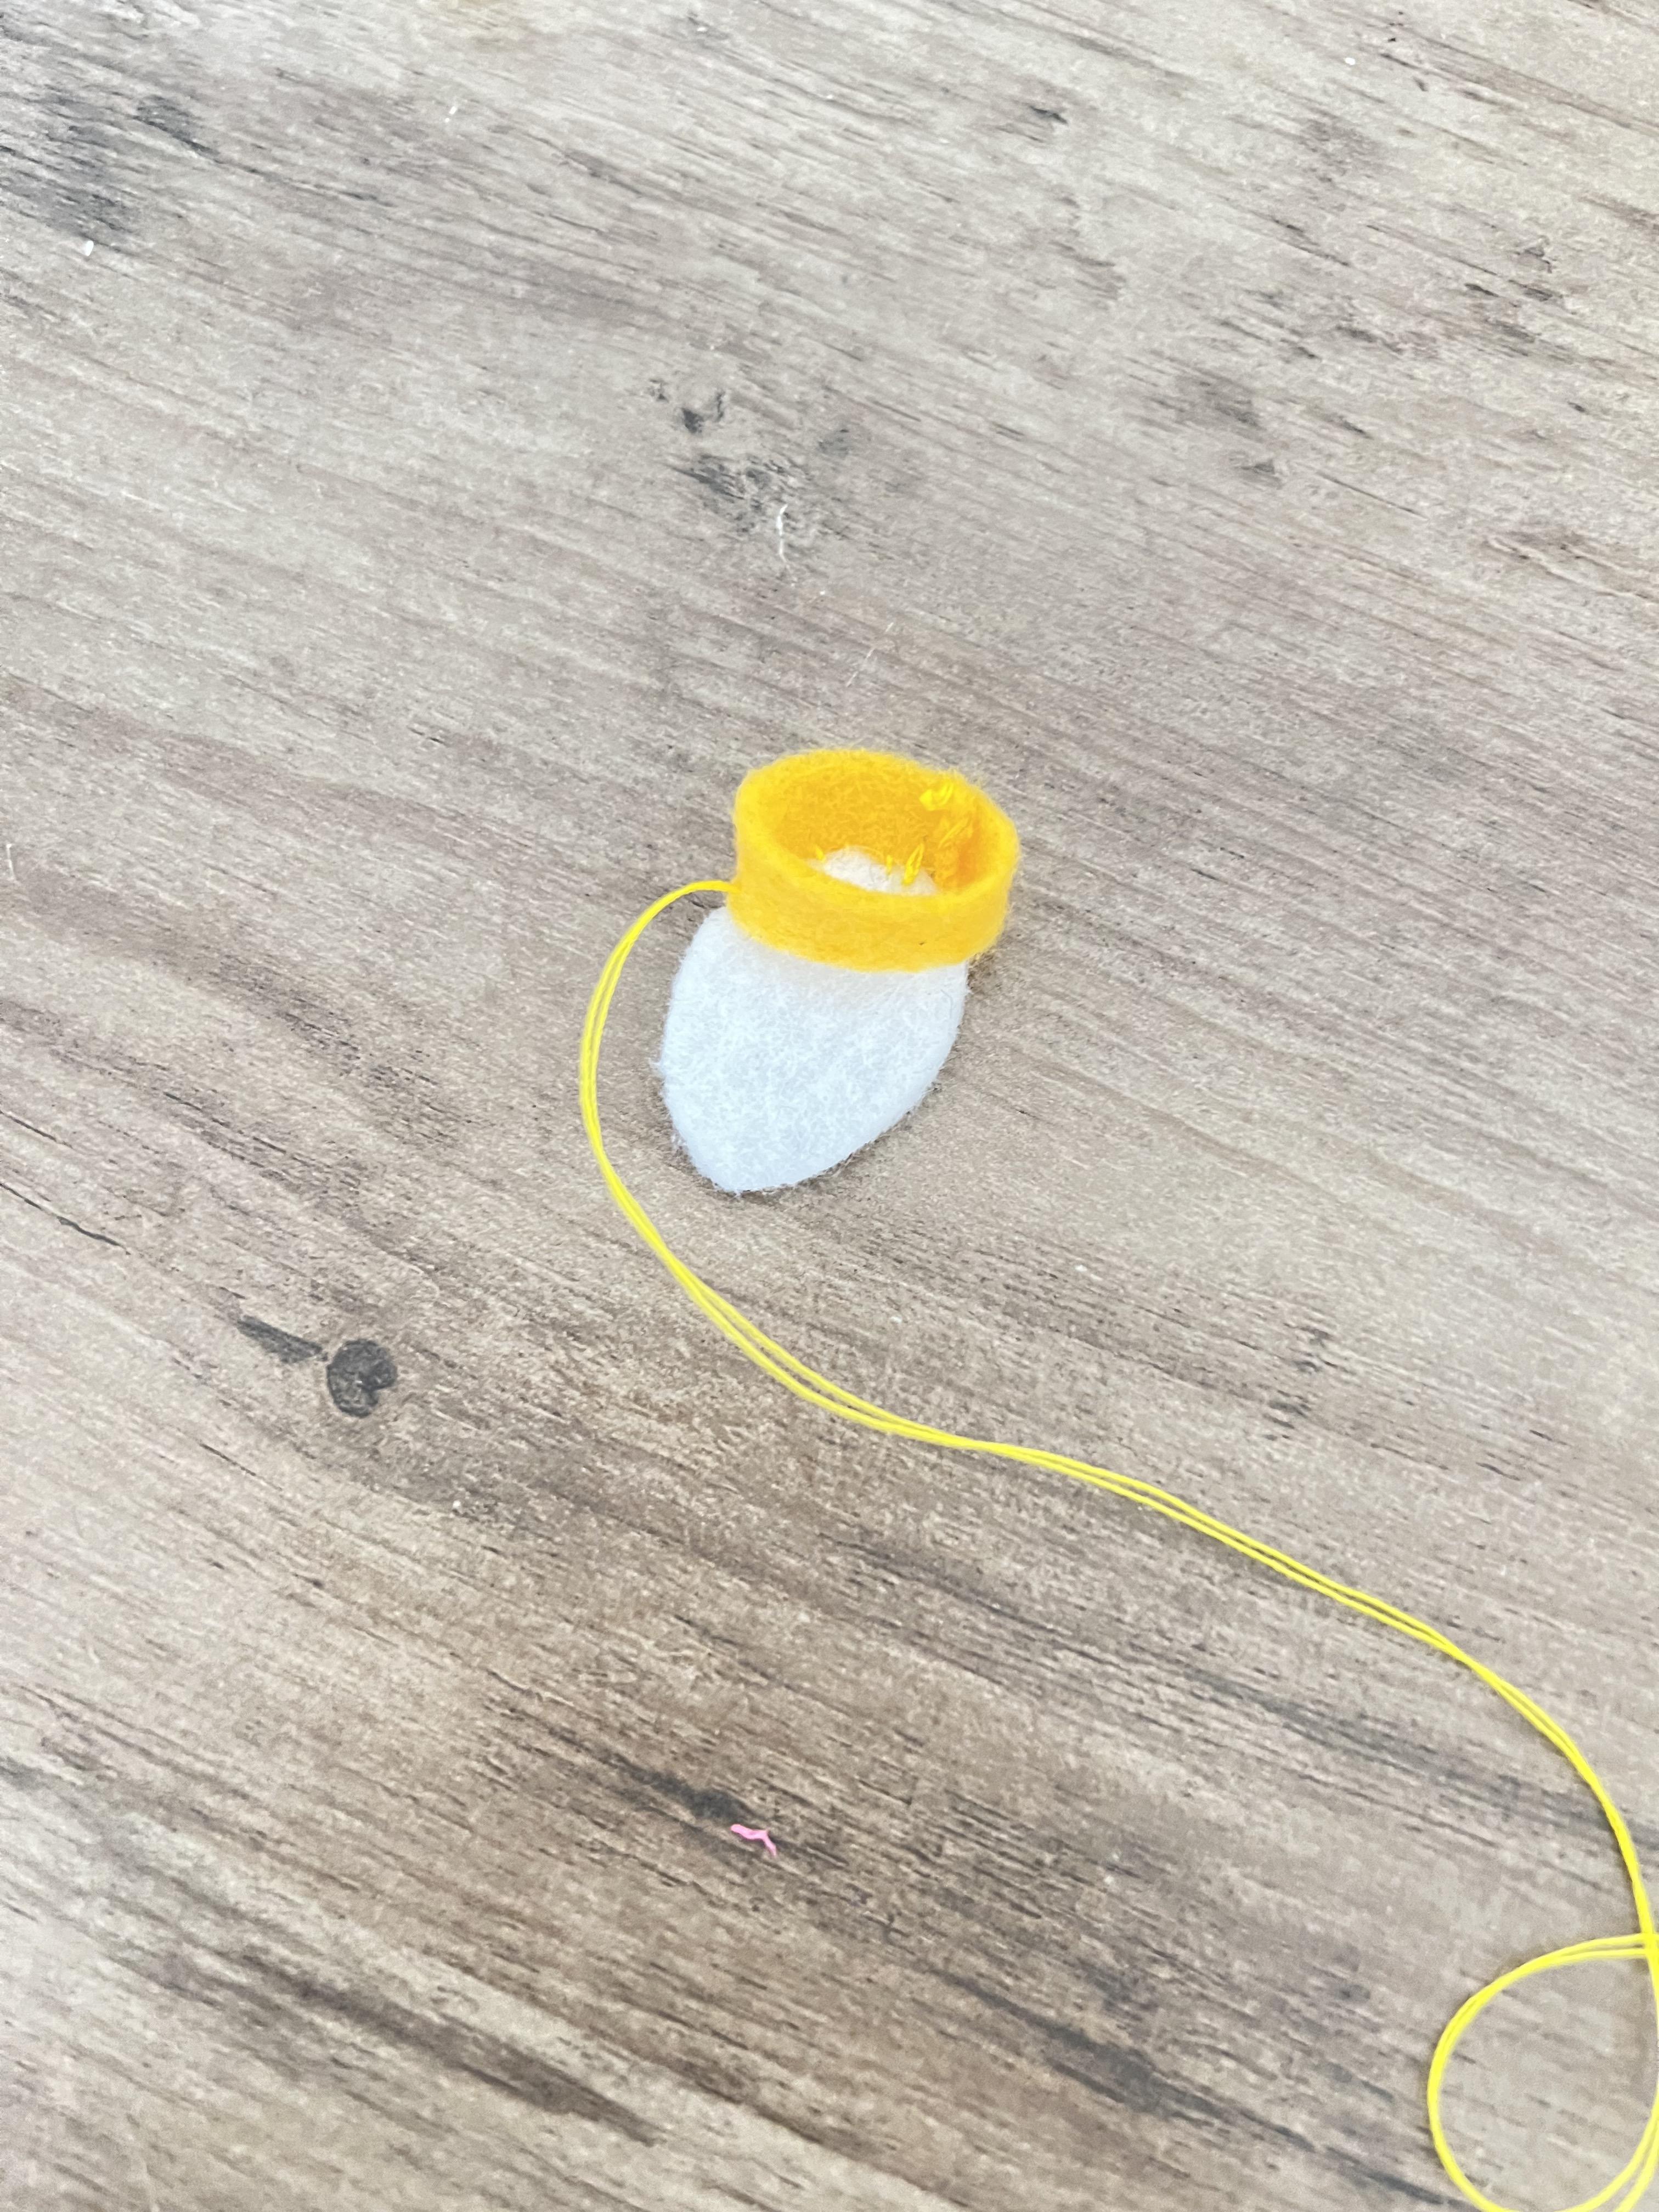
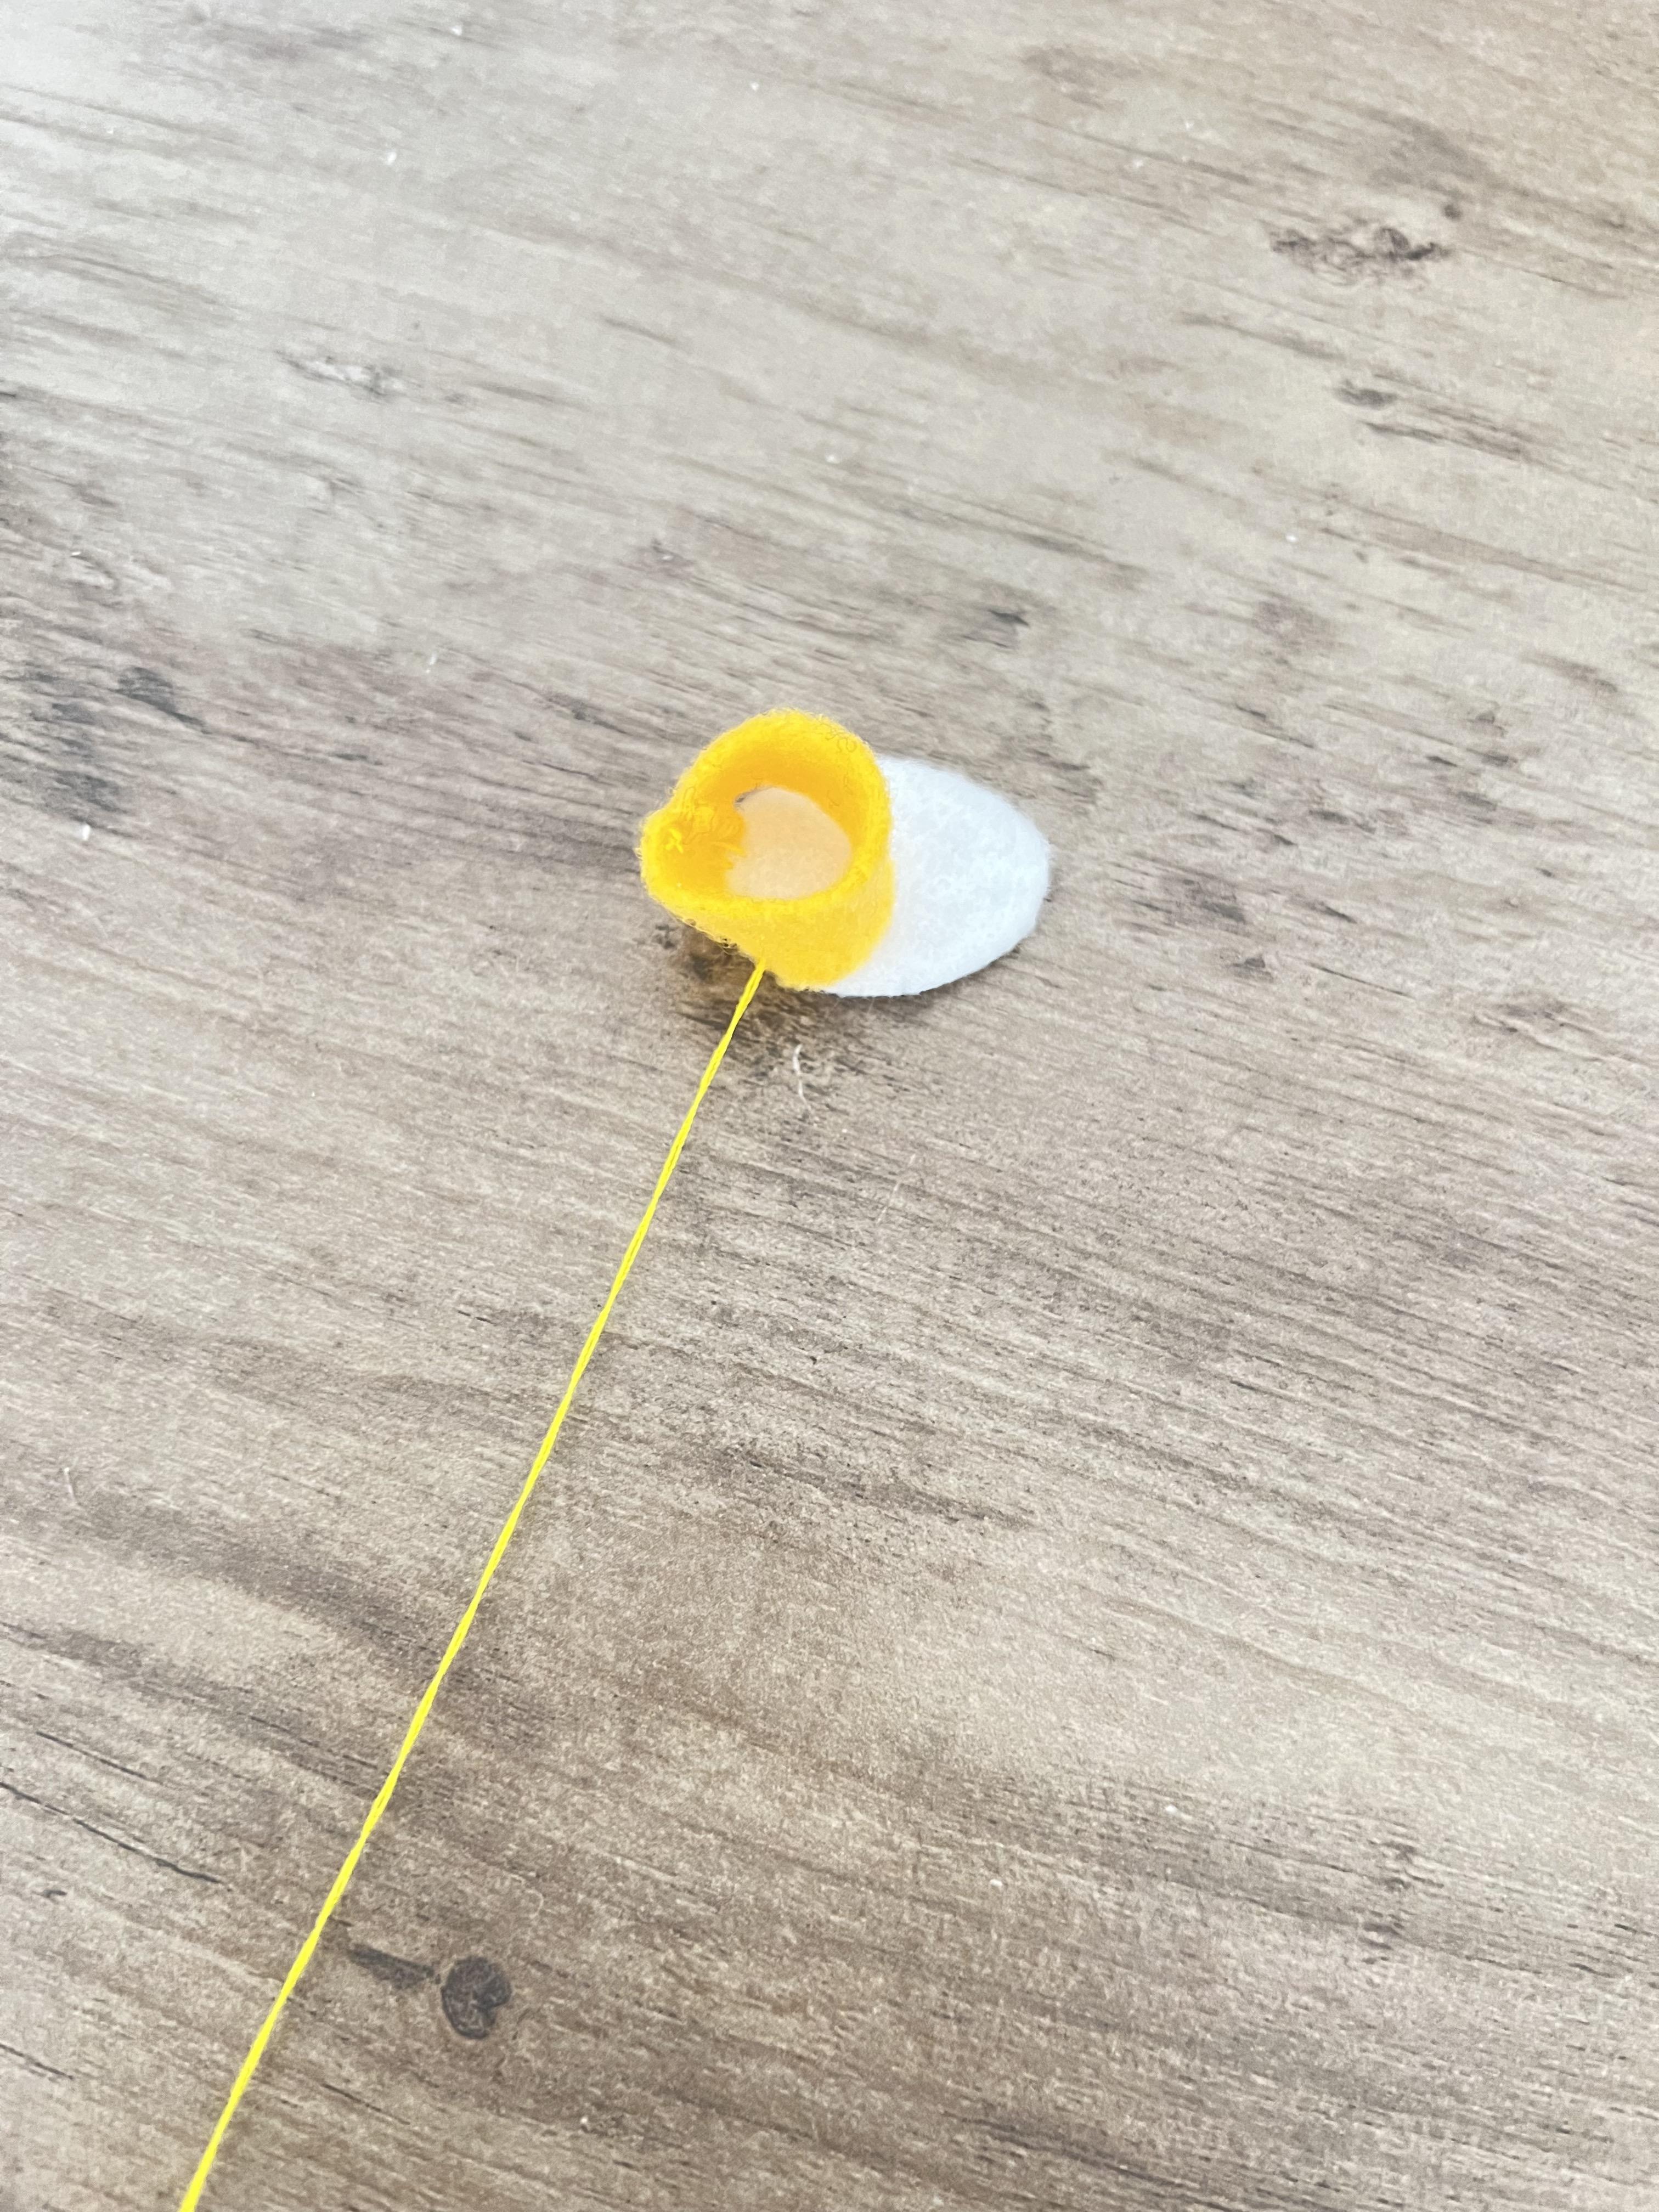
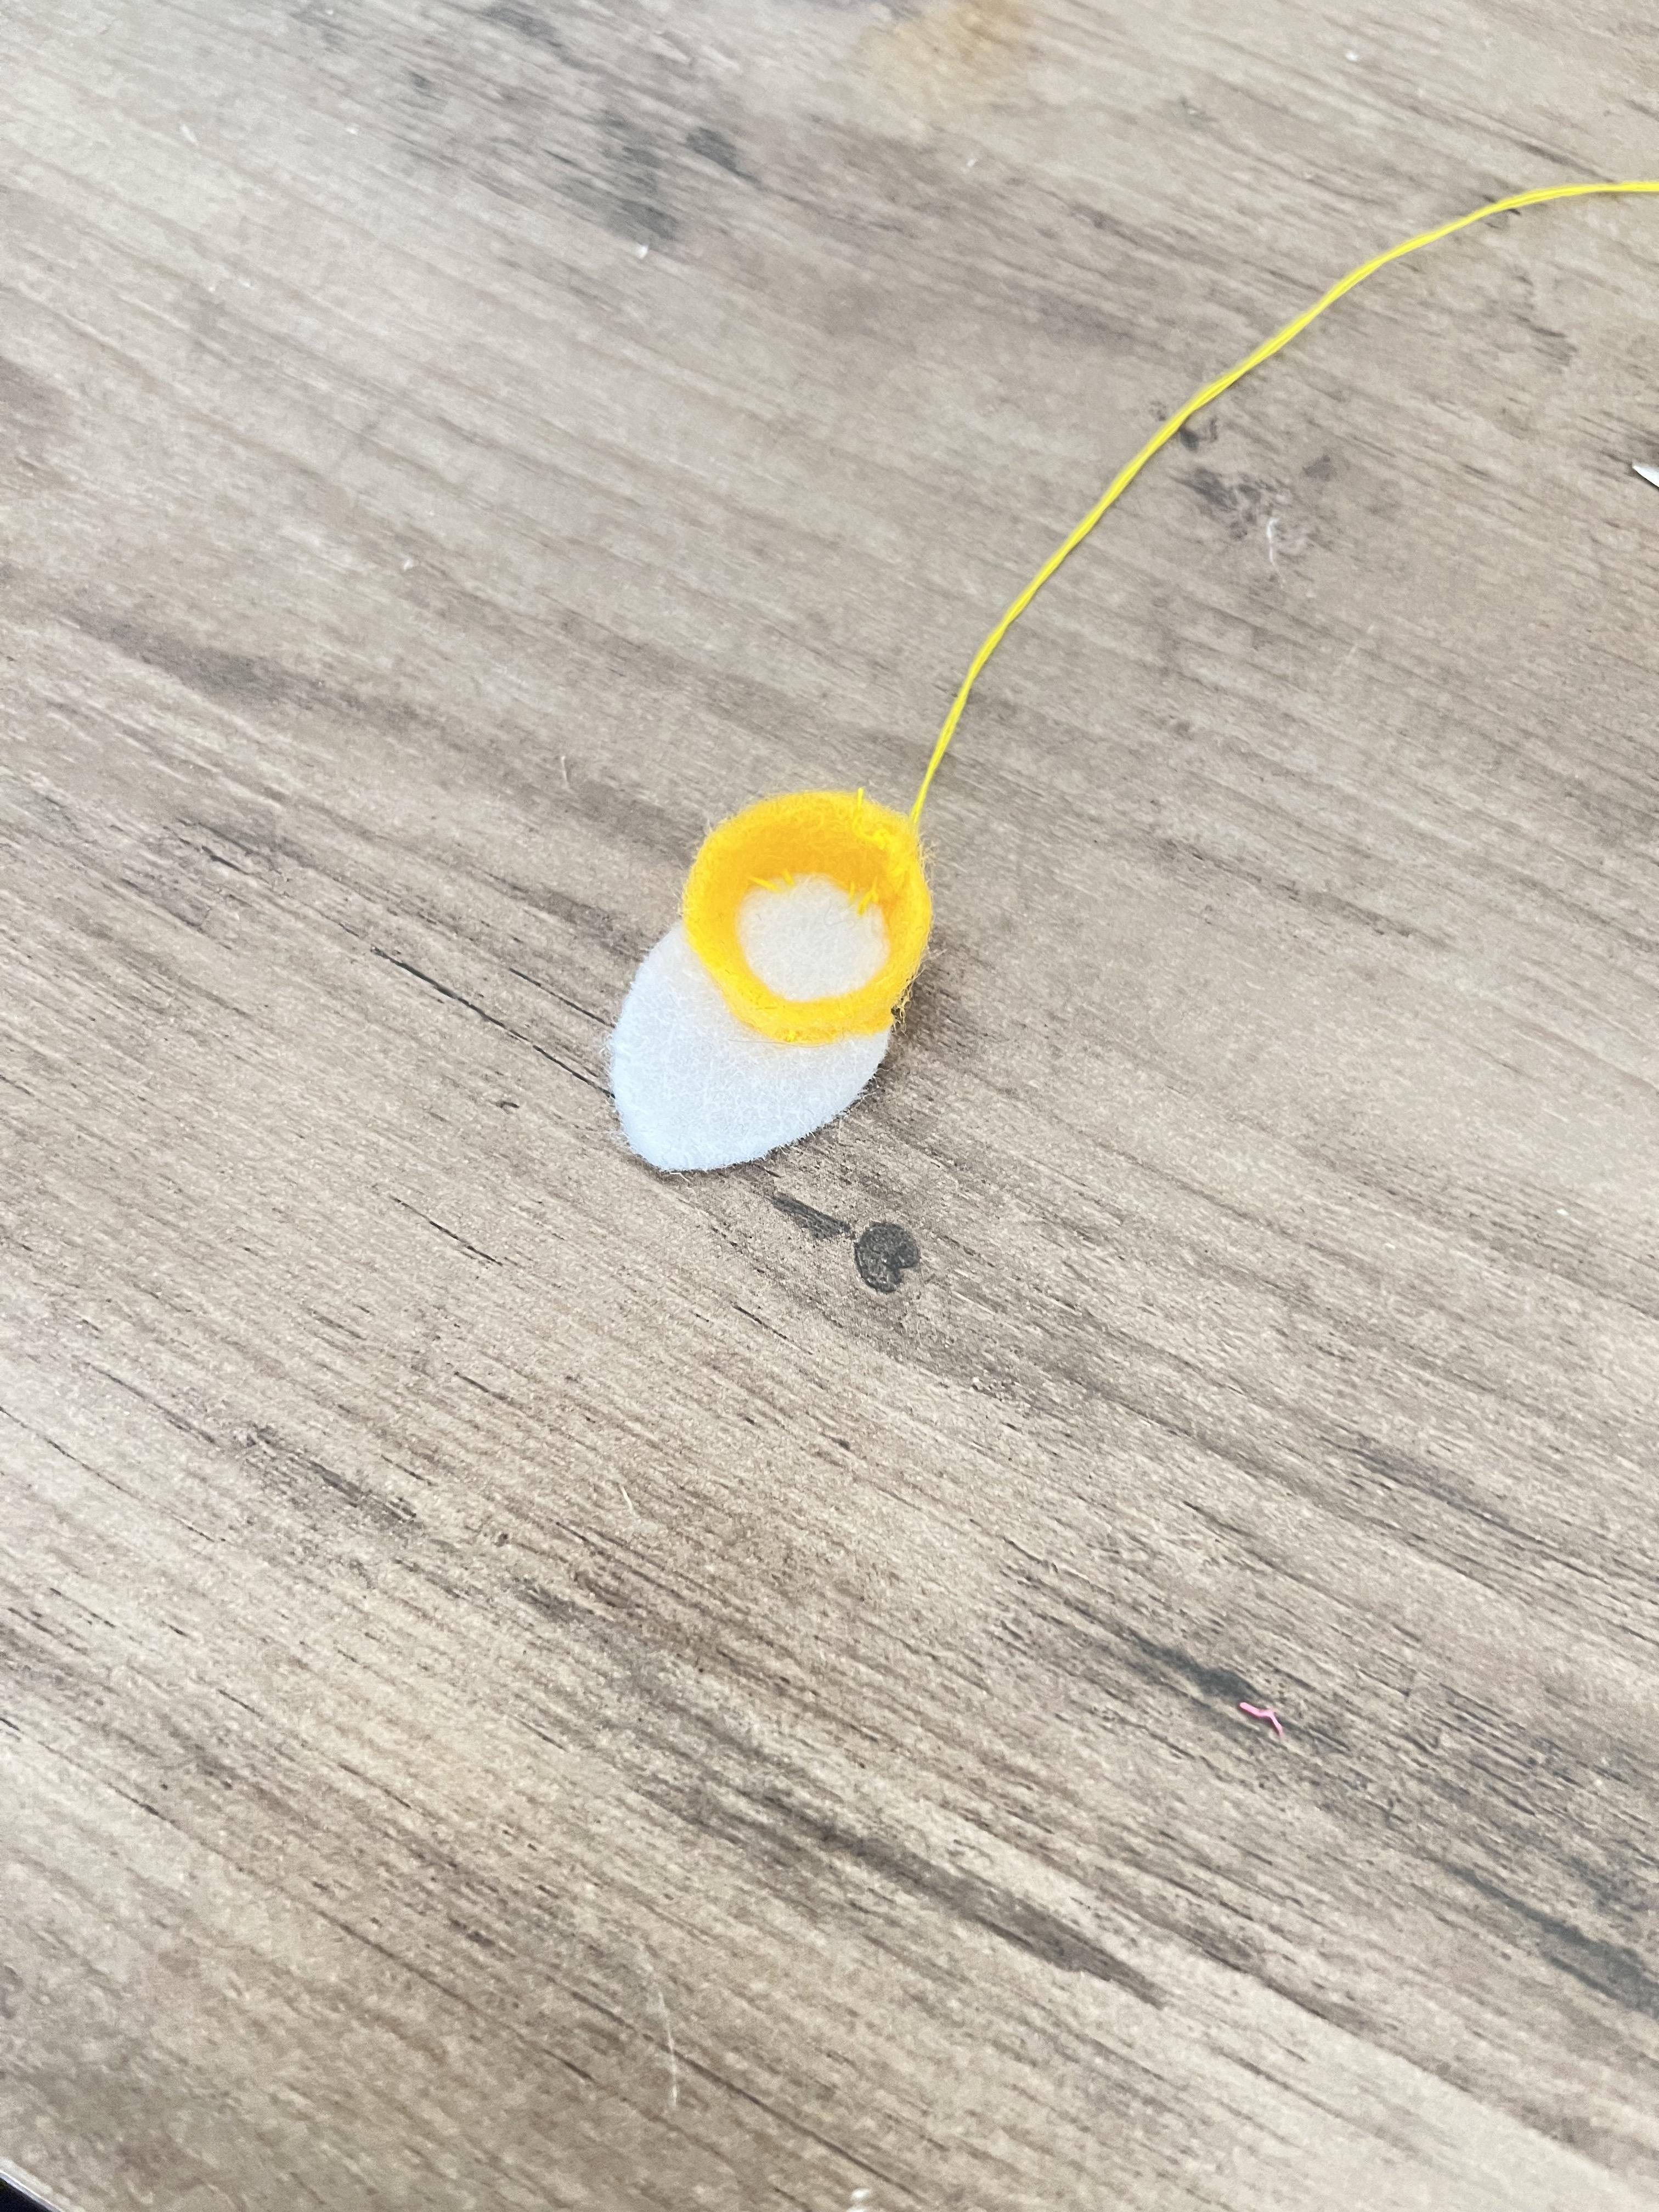
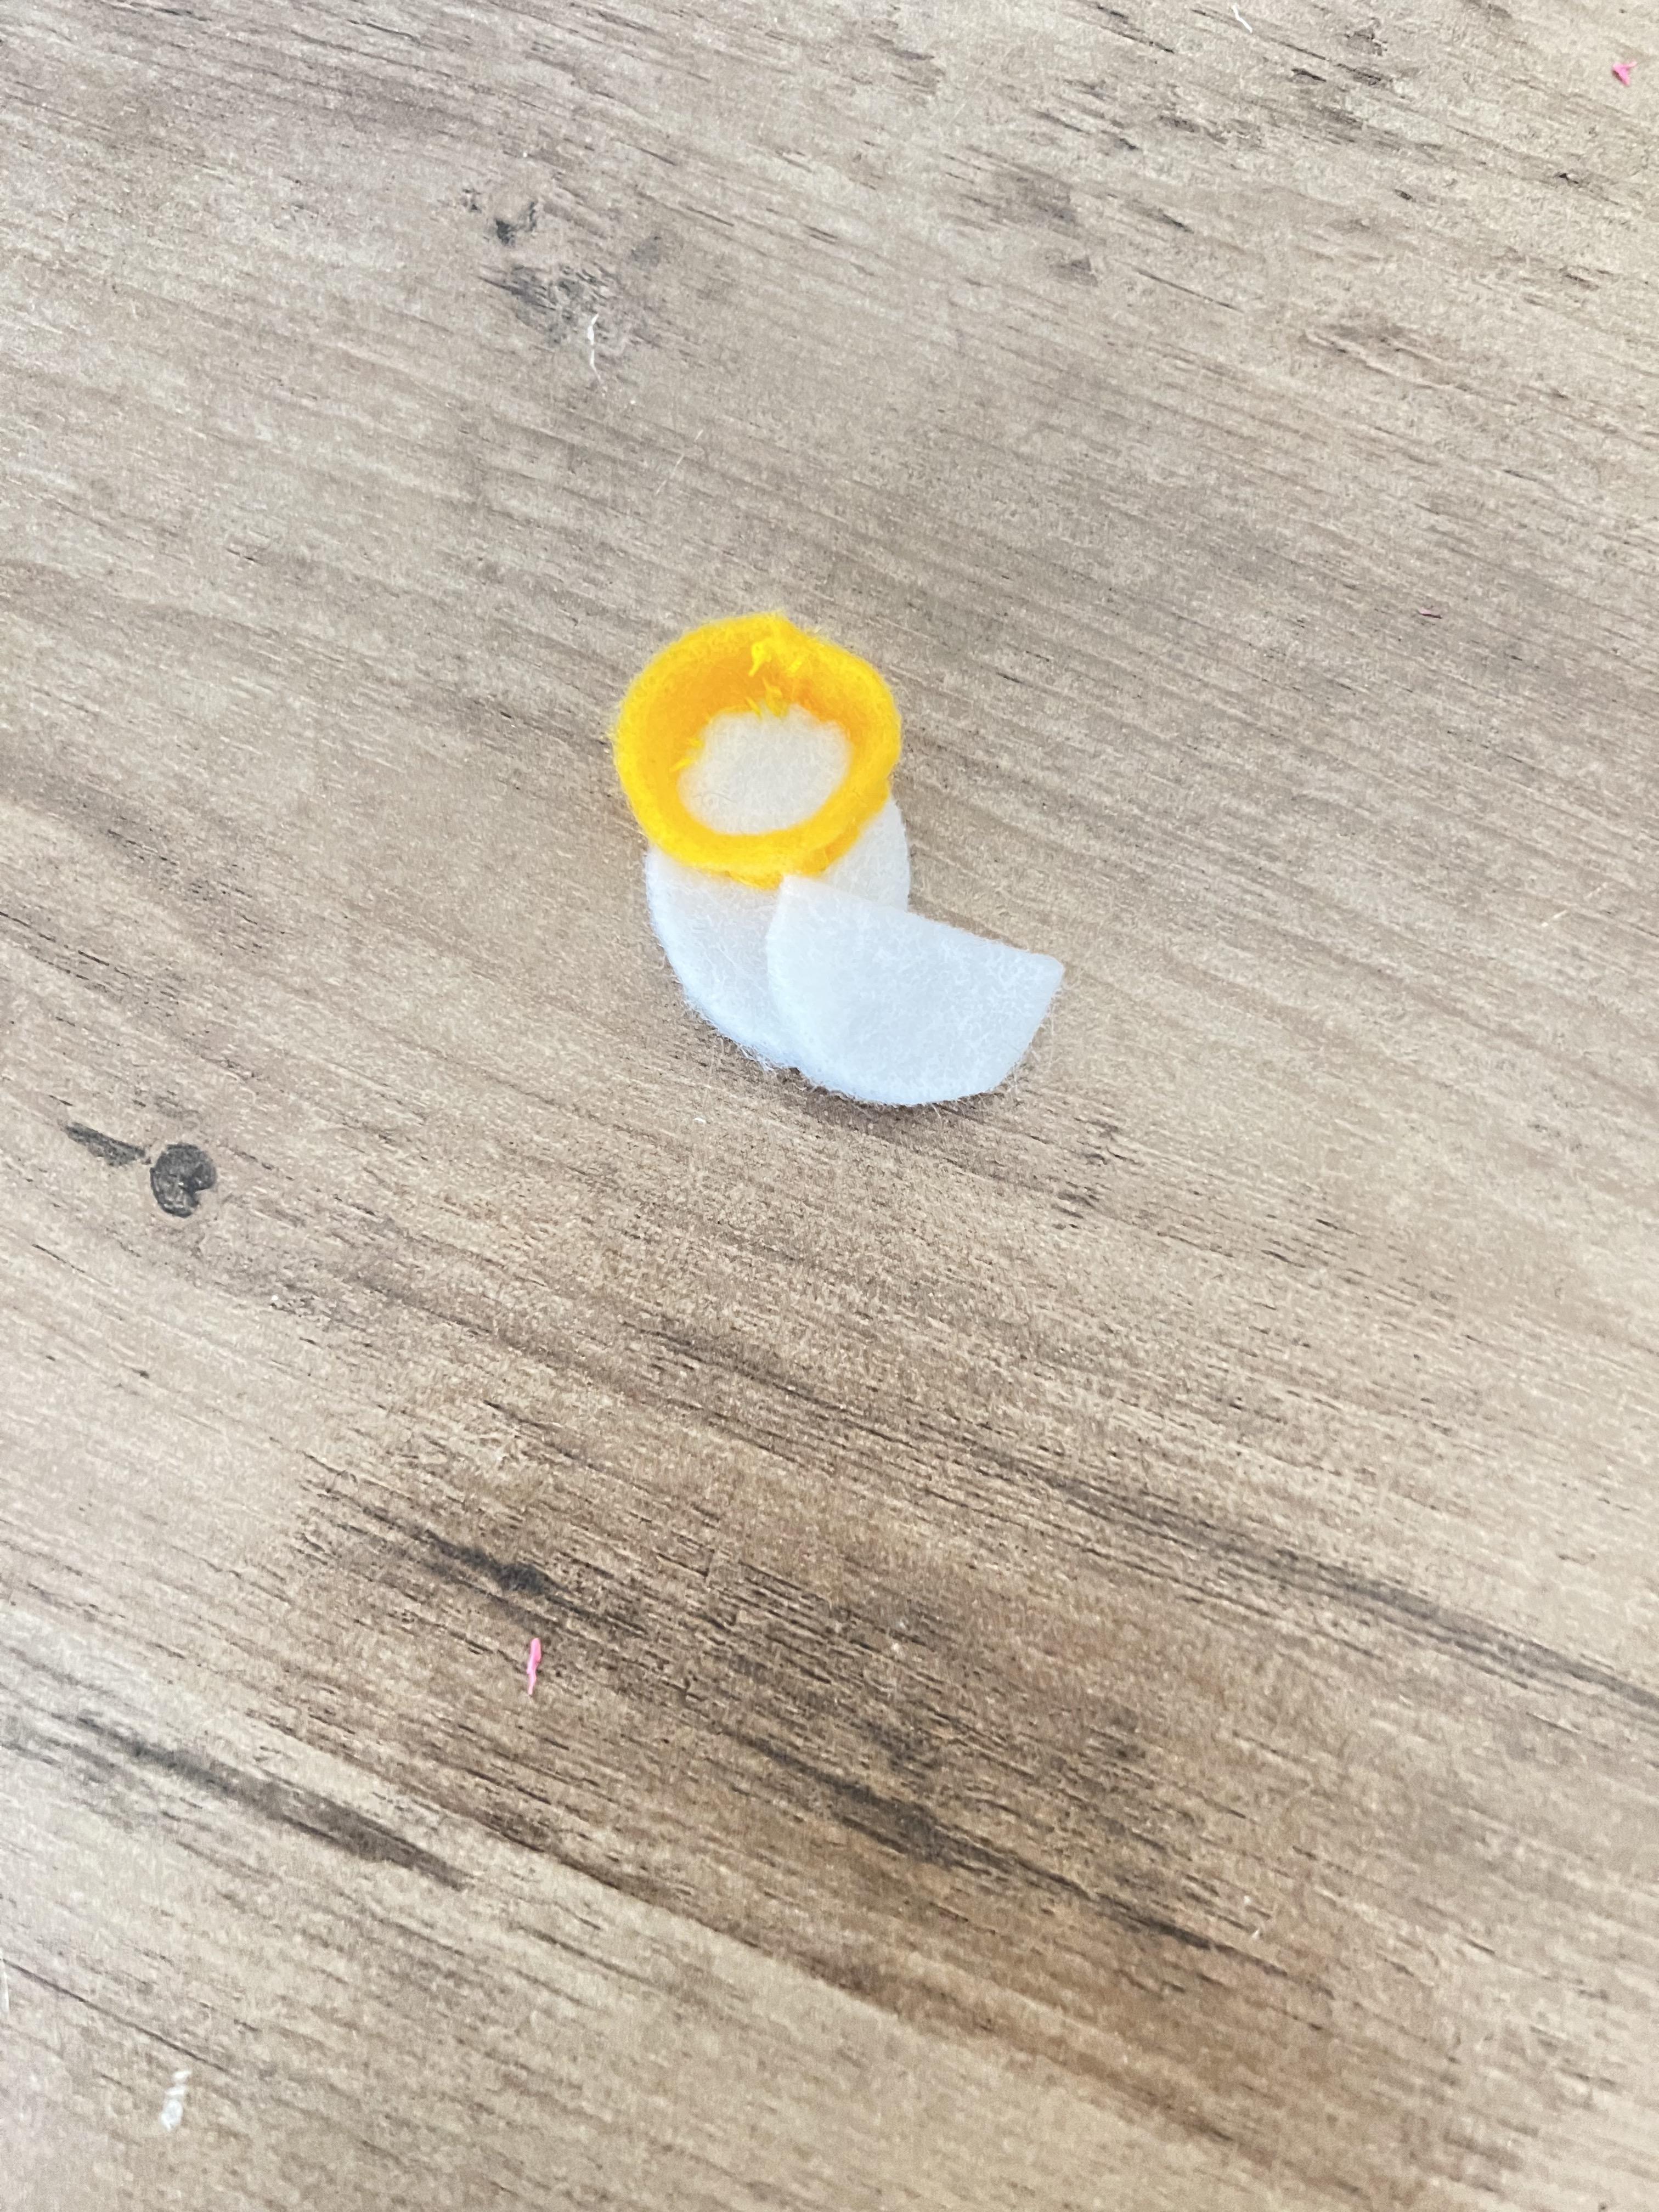
Following the same method that you did for Russell, sew Bill's shoes. The only difference will be that you won't need to stack two ovals. Fold a white strip in half and sew up one side, causing it to look like a tube. Attach the tube to the shoe base (a white oval) and stitch around the bottom. Sew the toe onto the end of each shoe.
Sewing Harold's Clothes


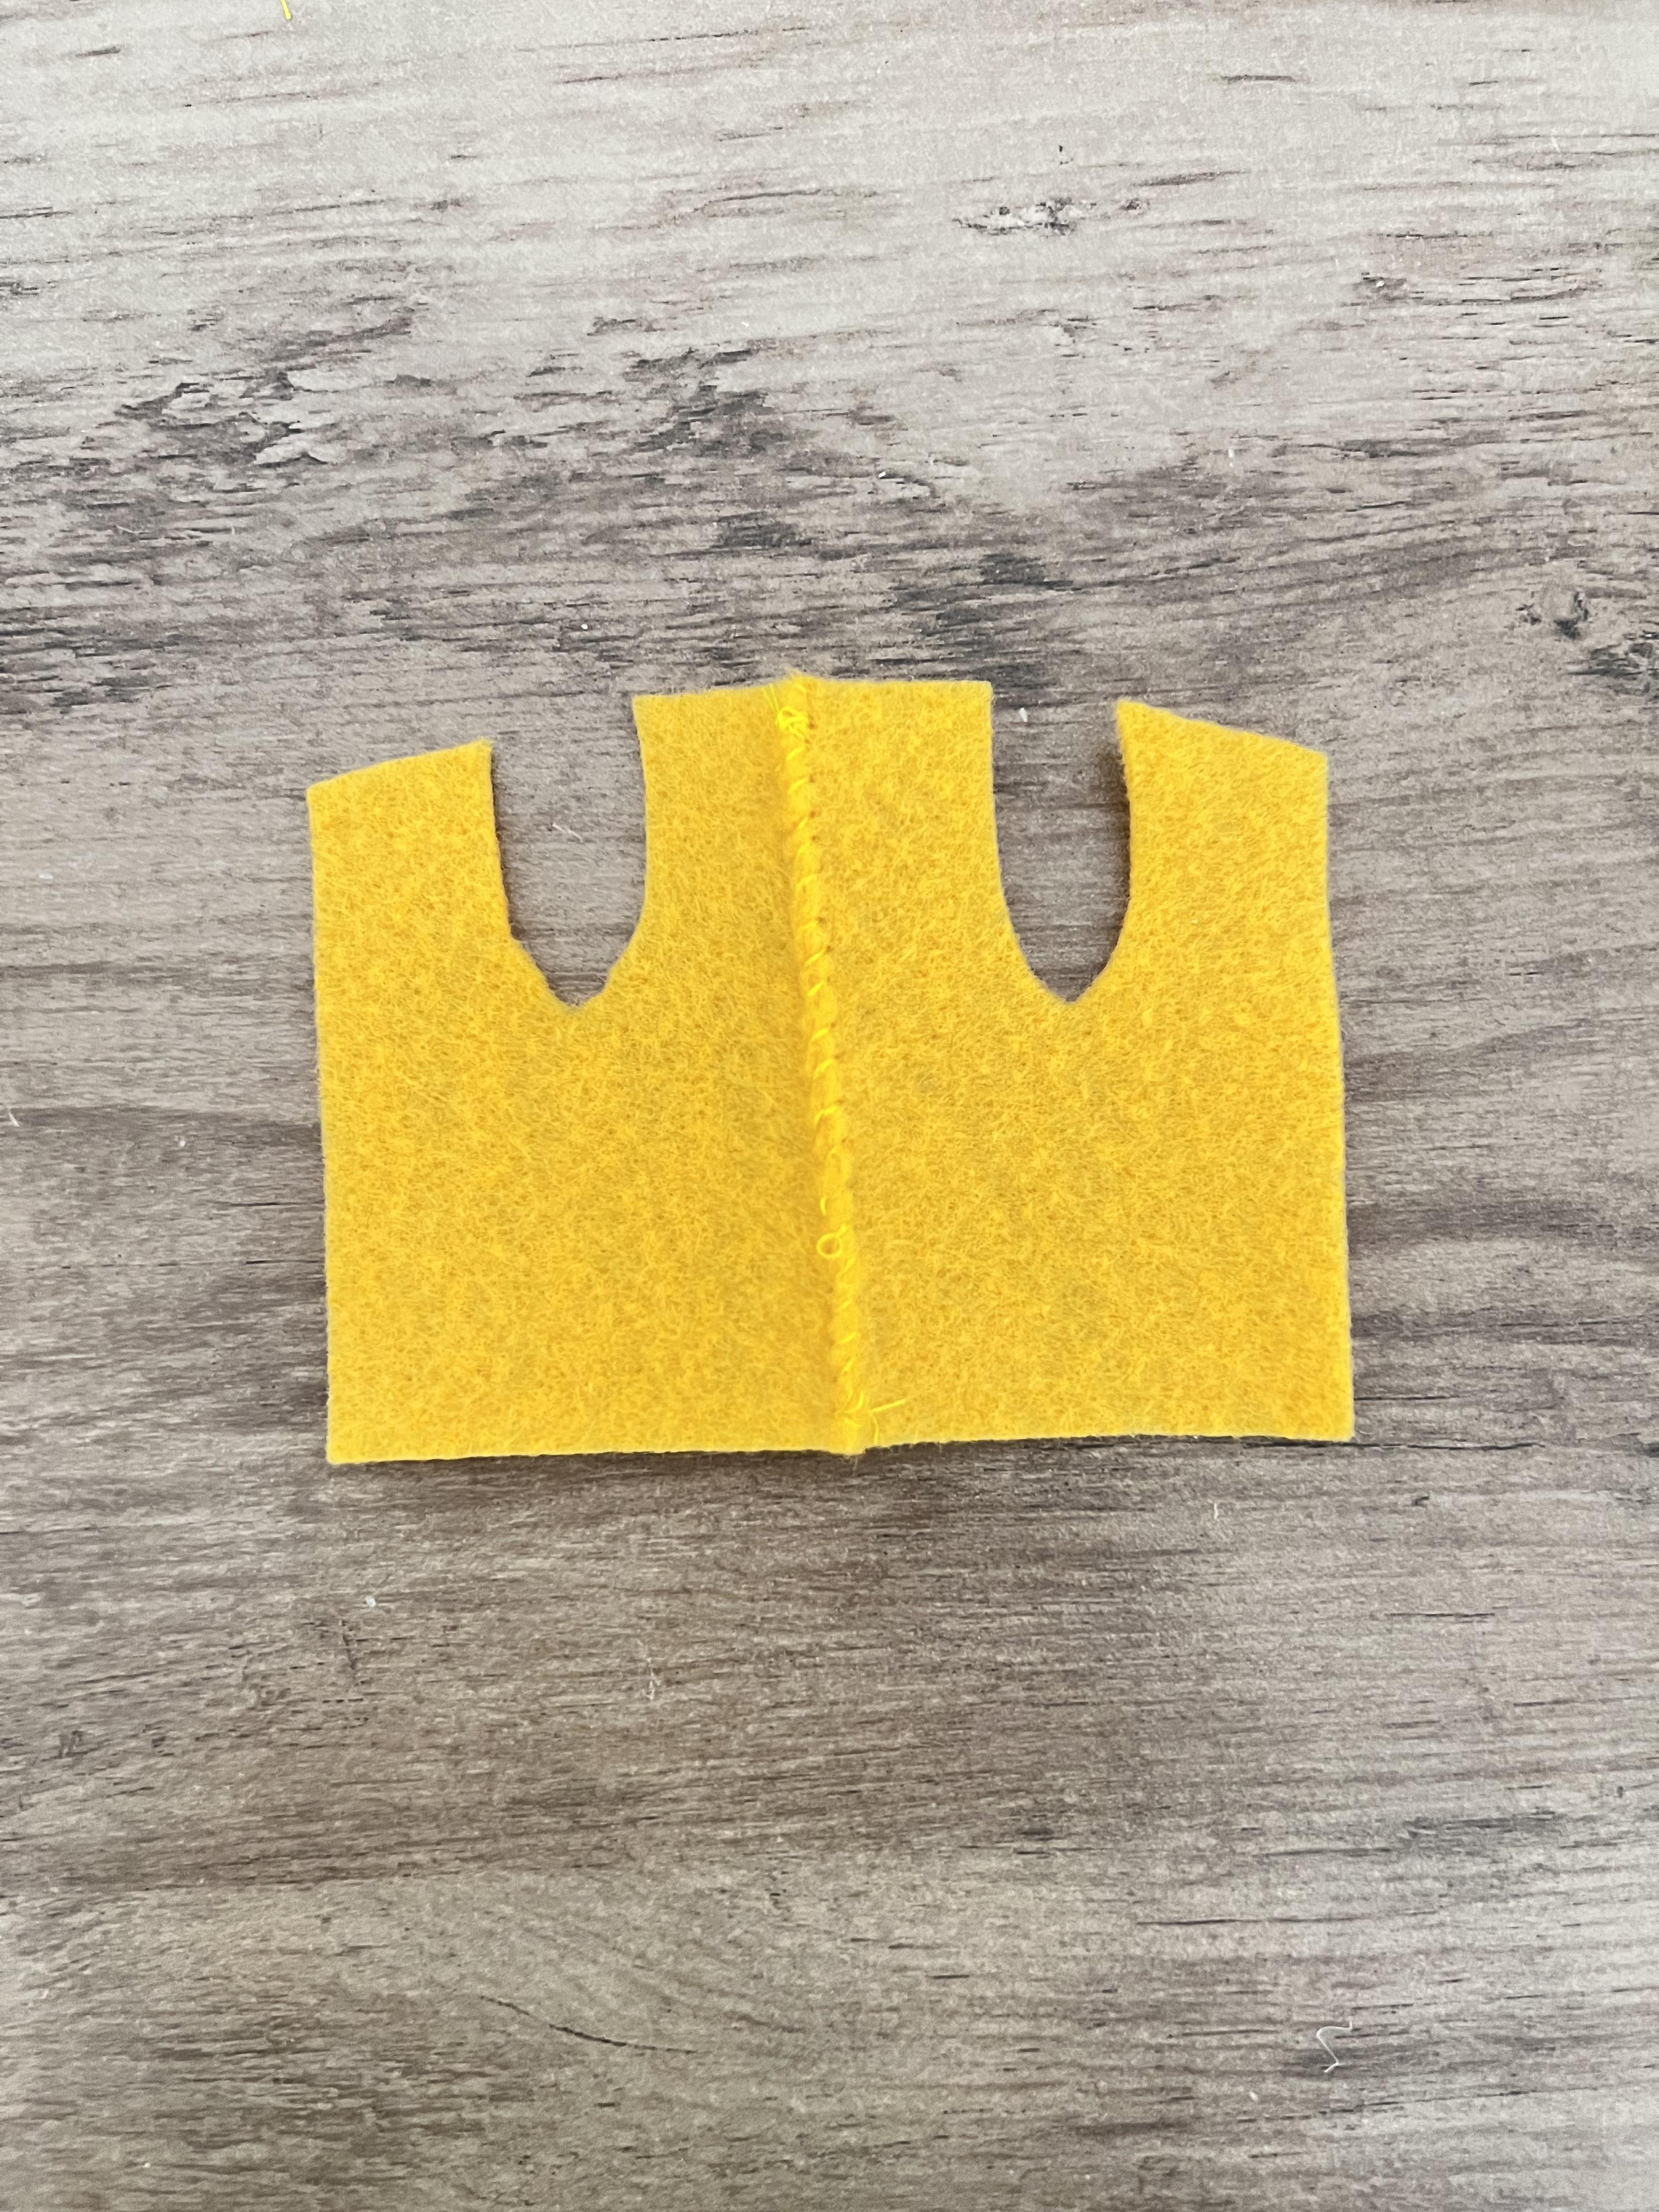


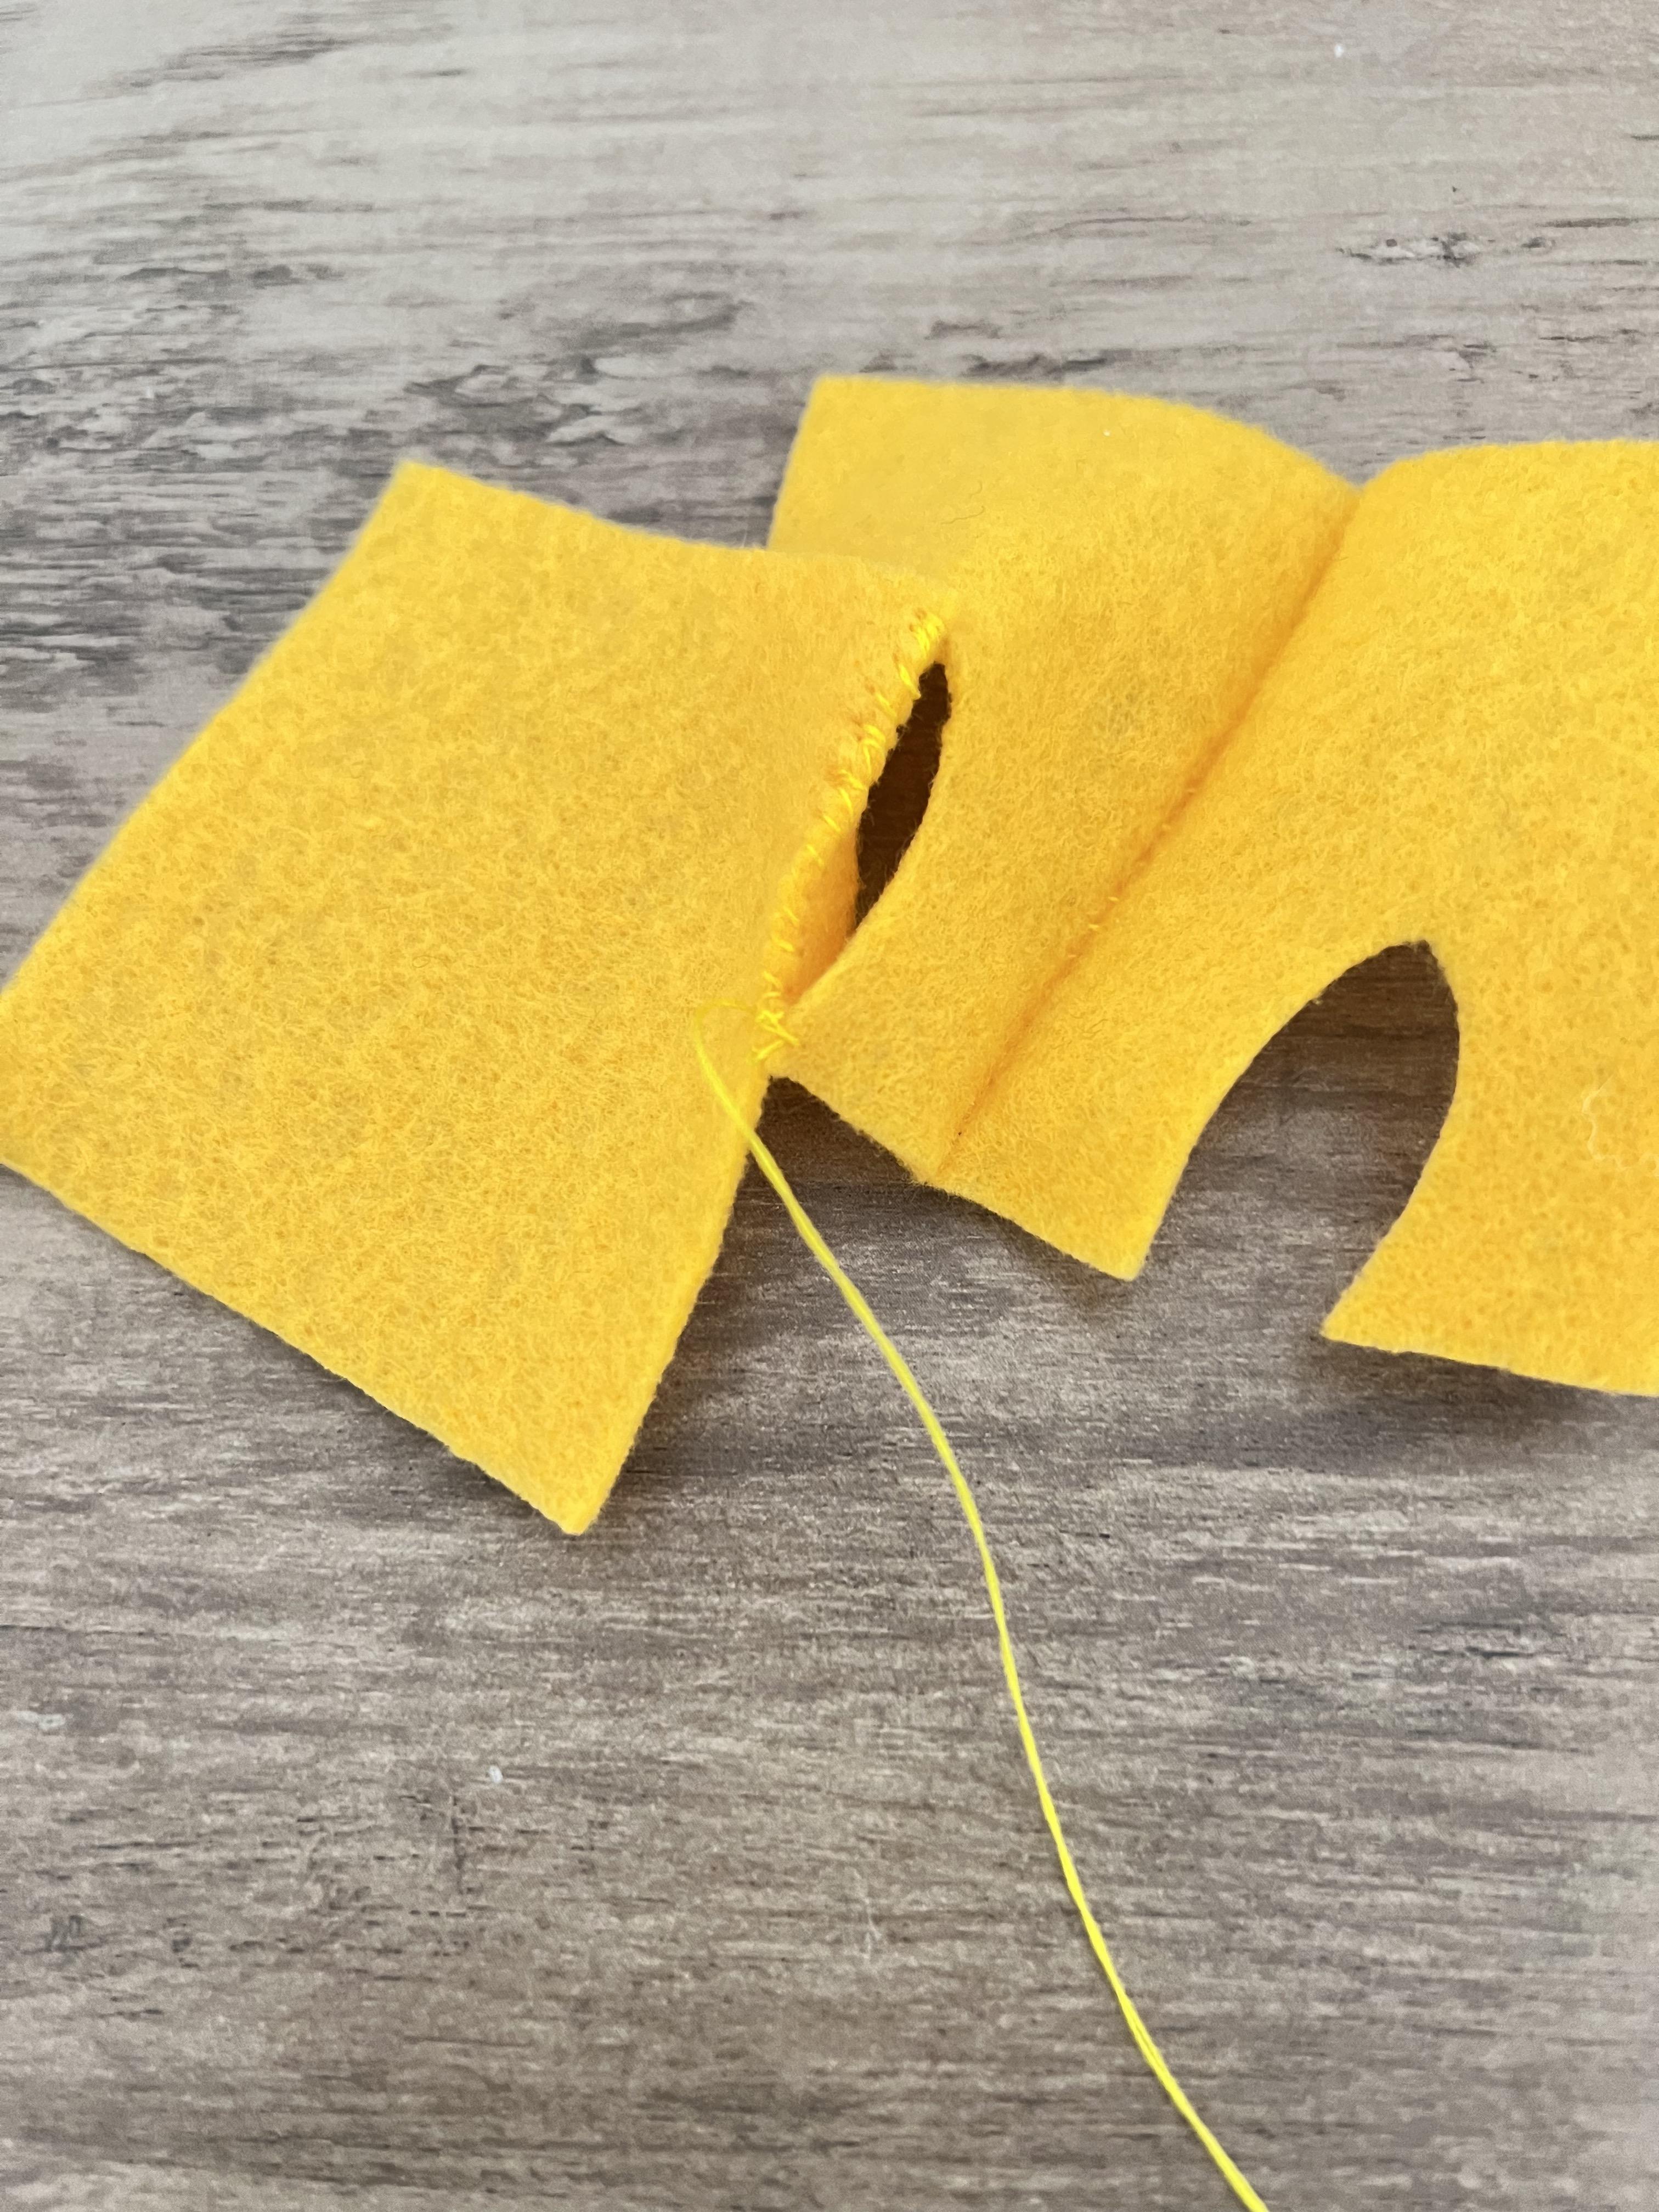


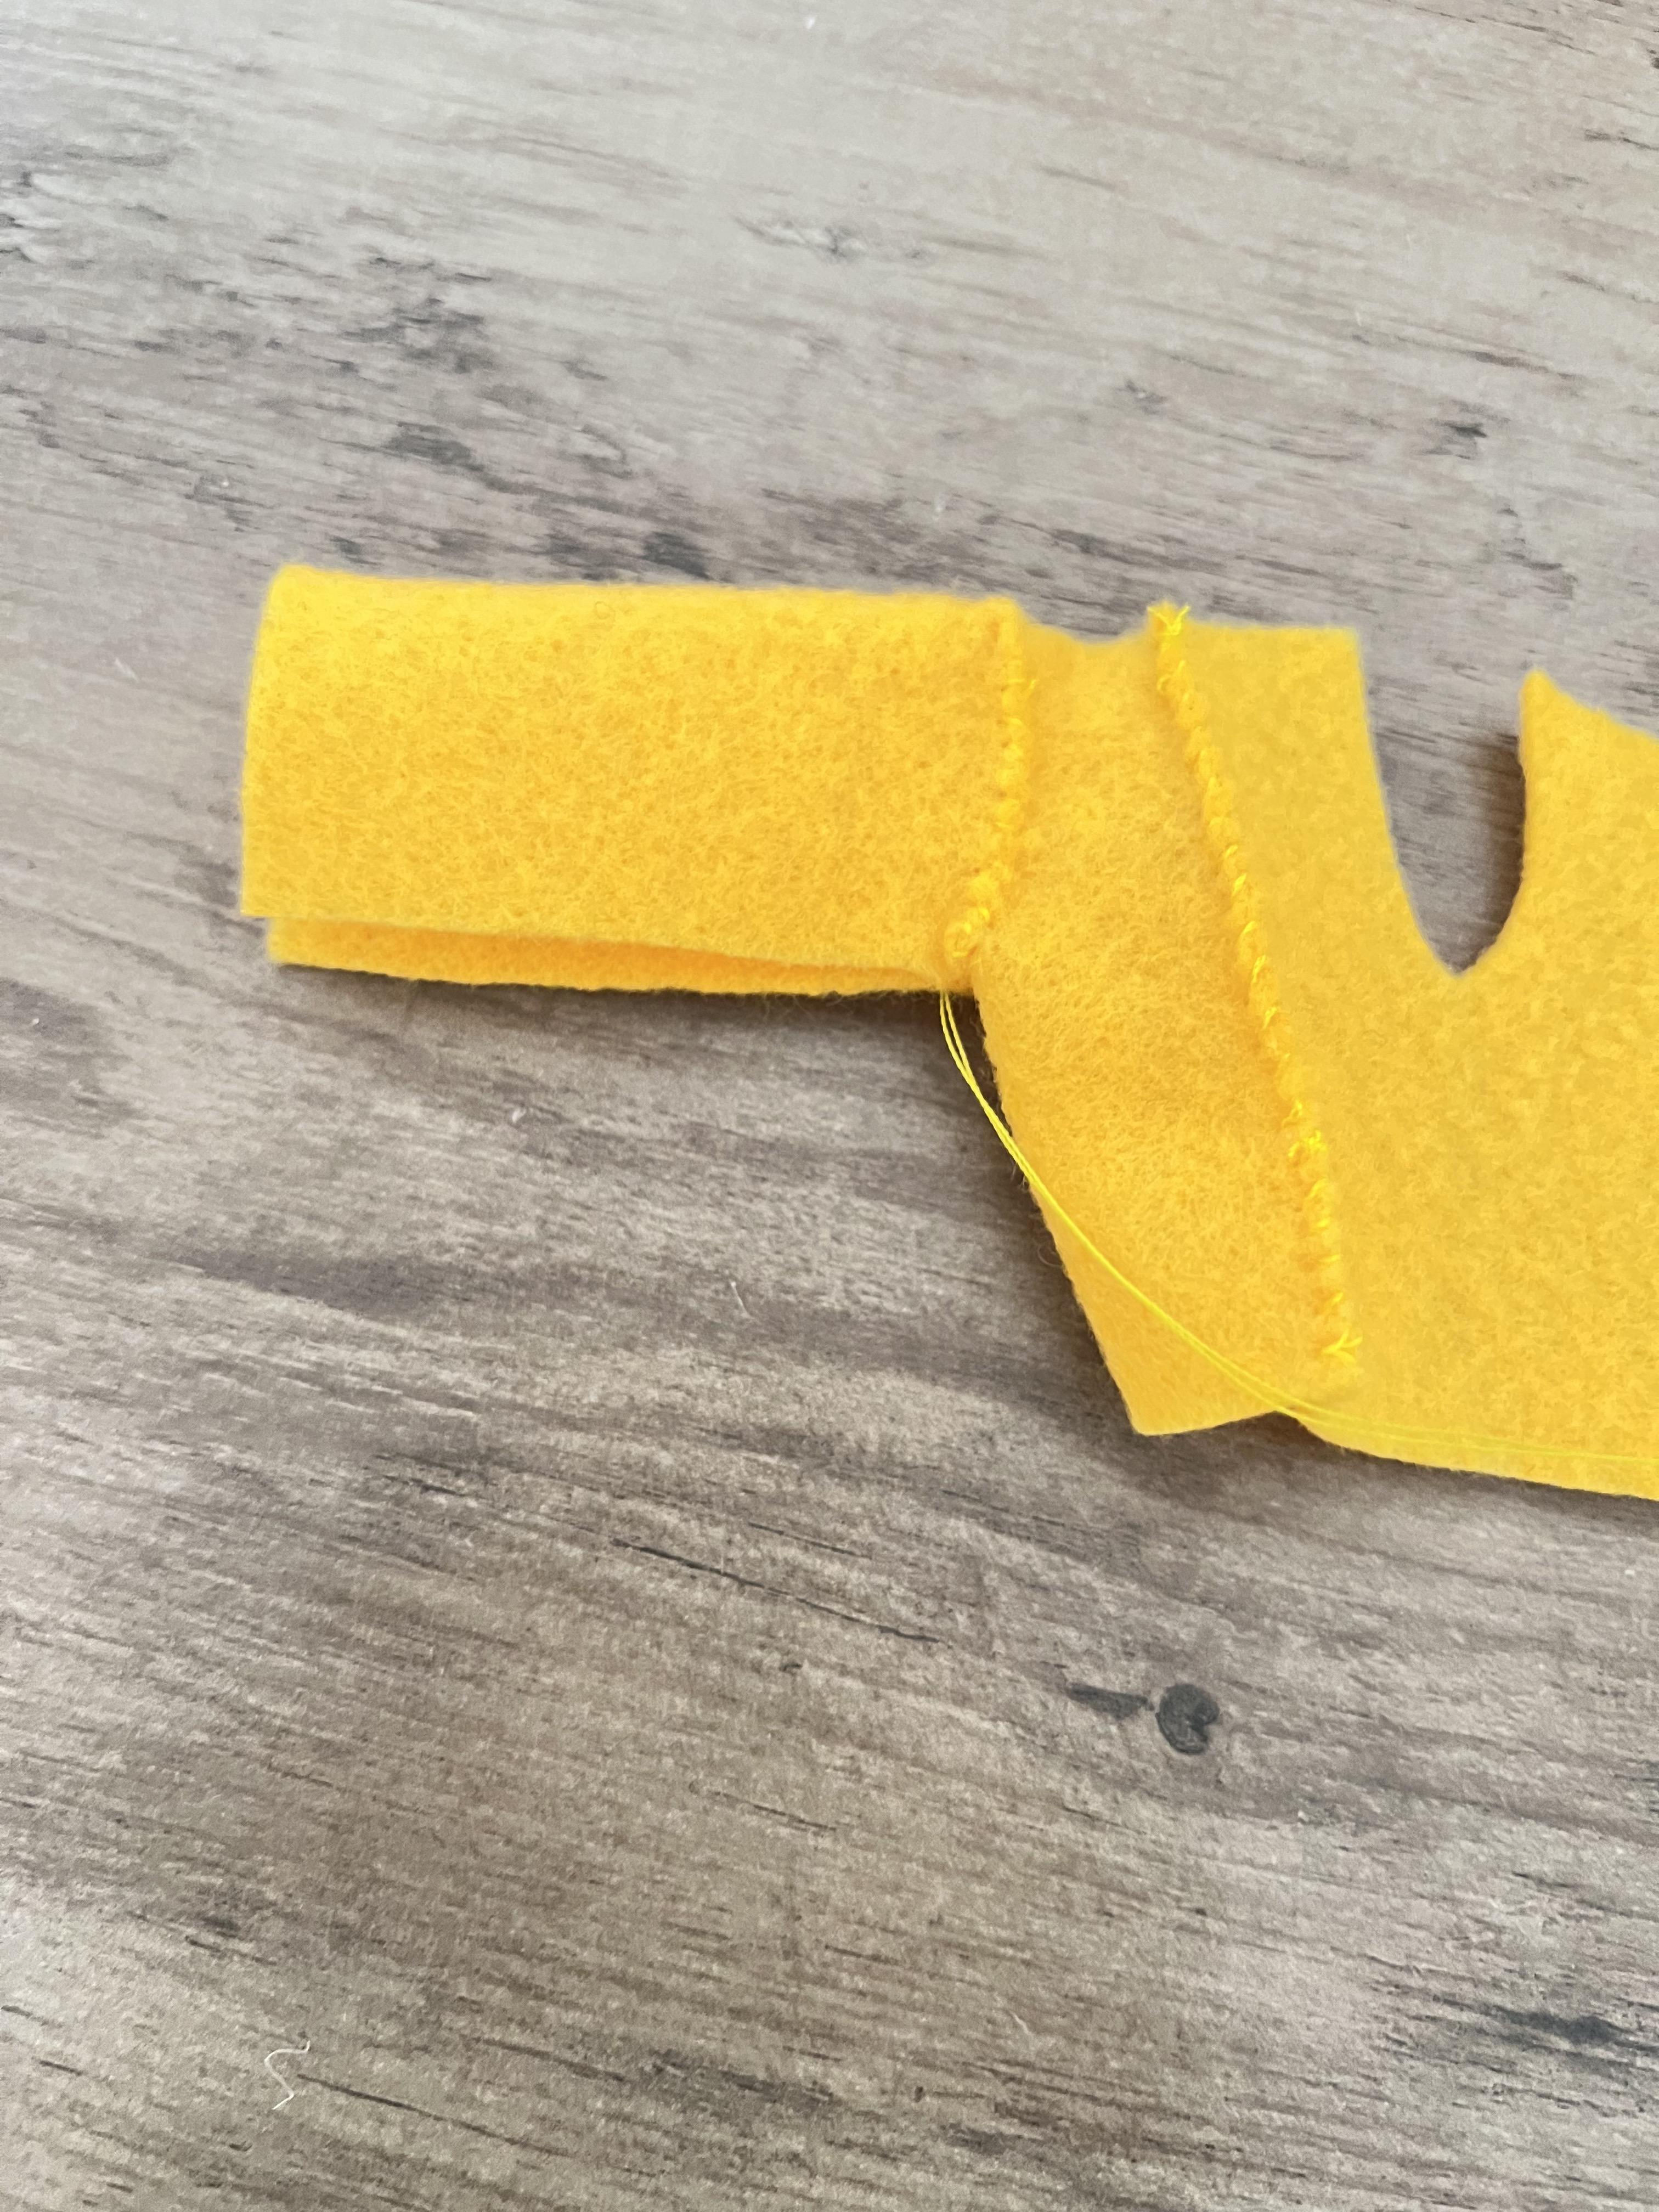


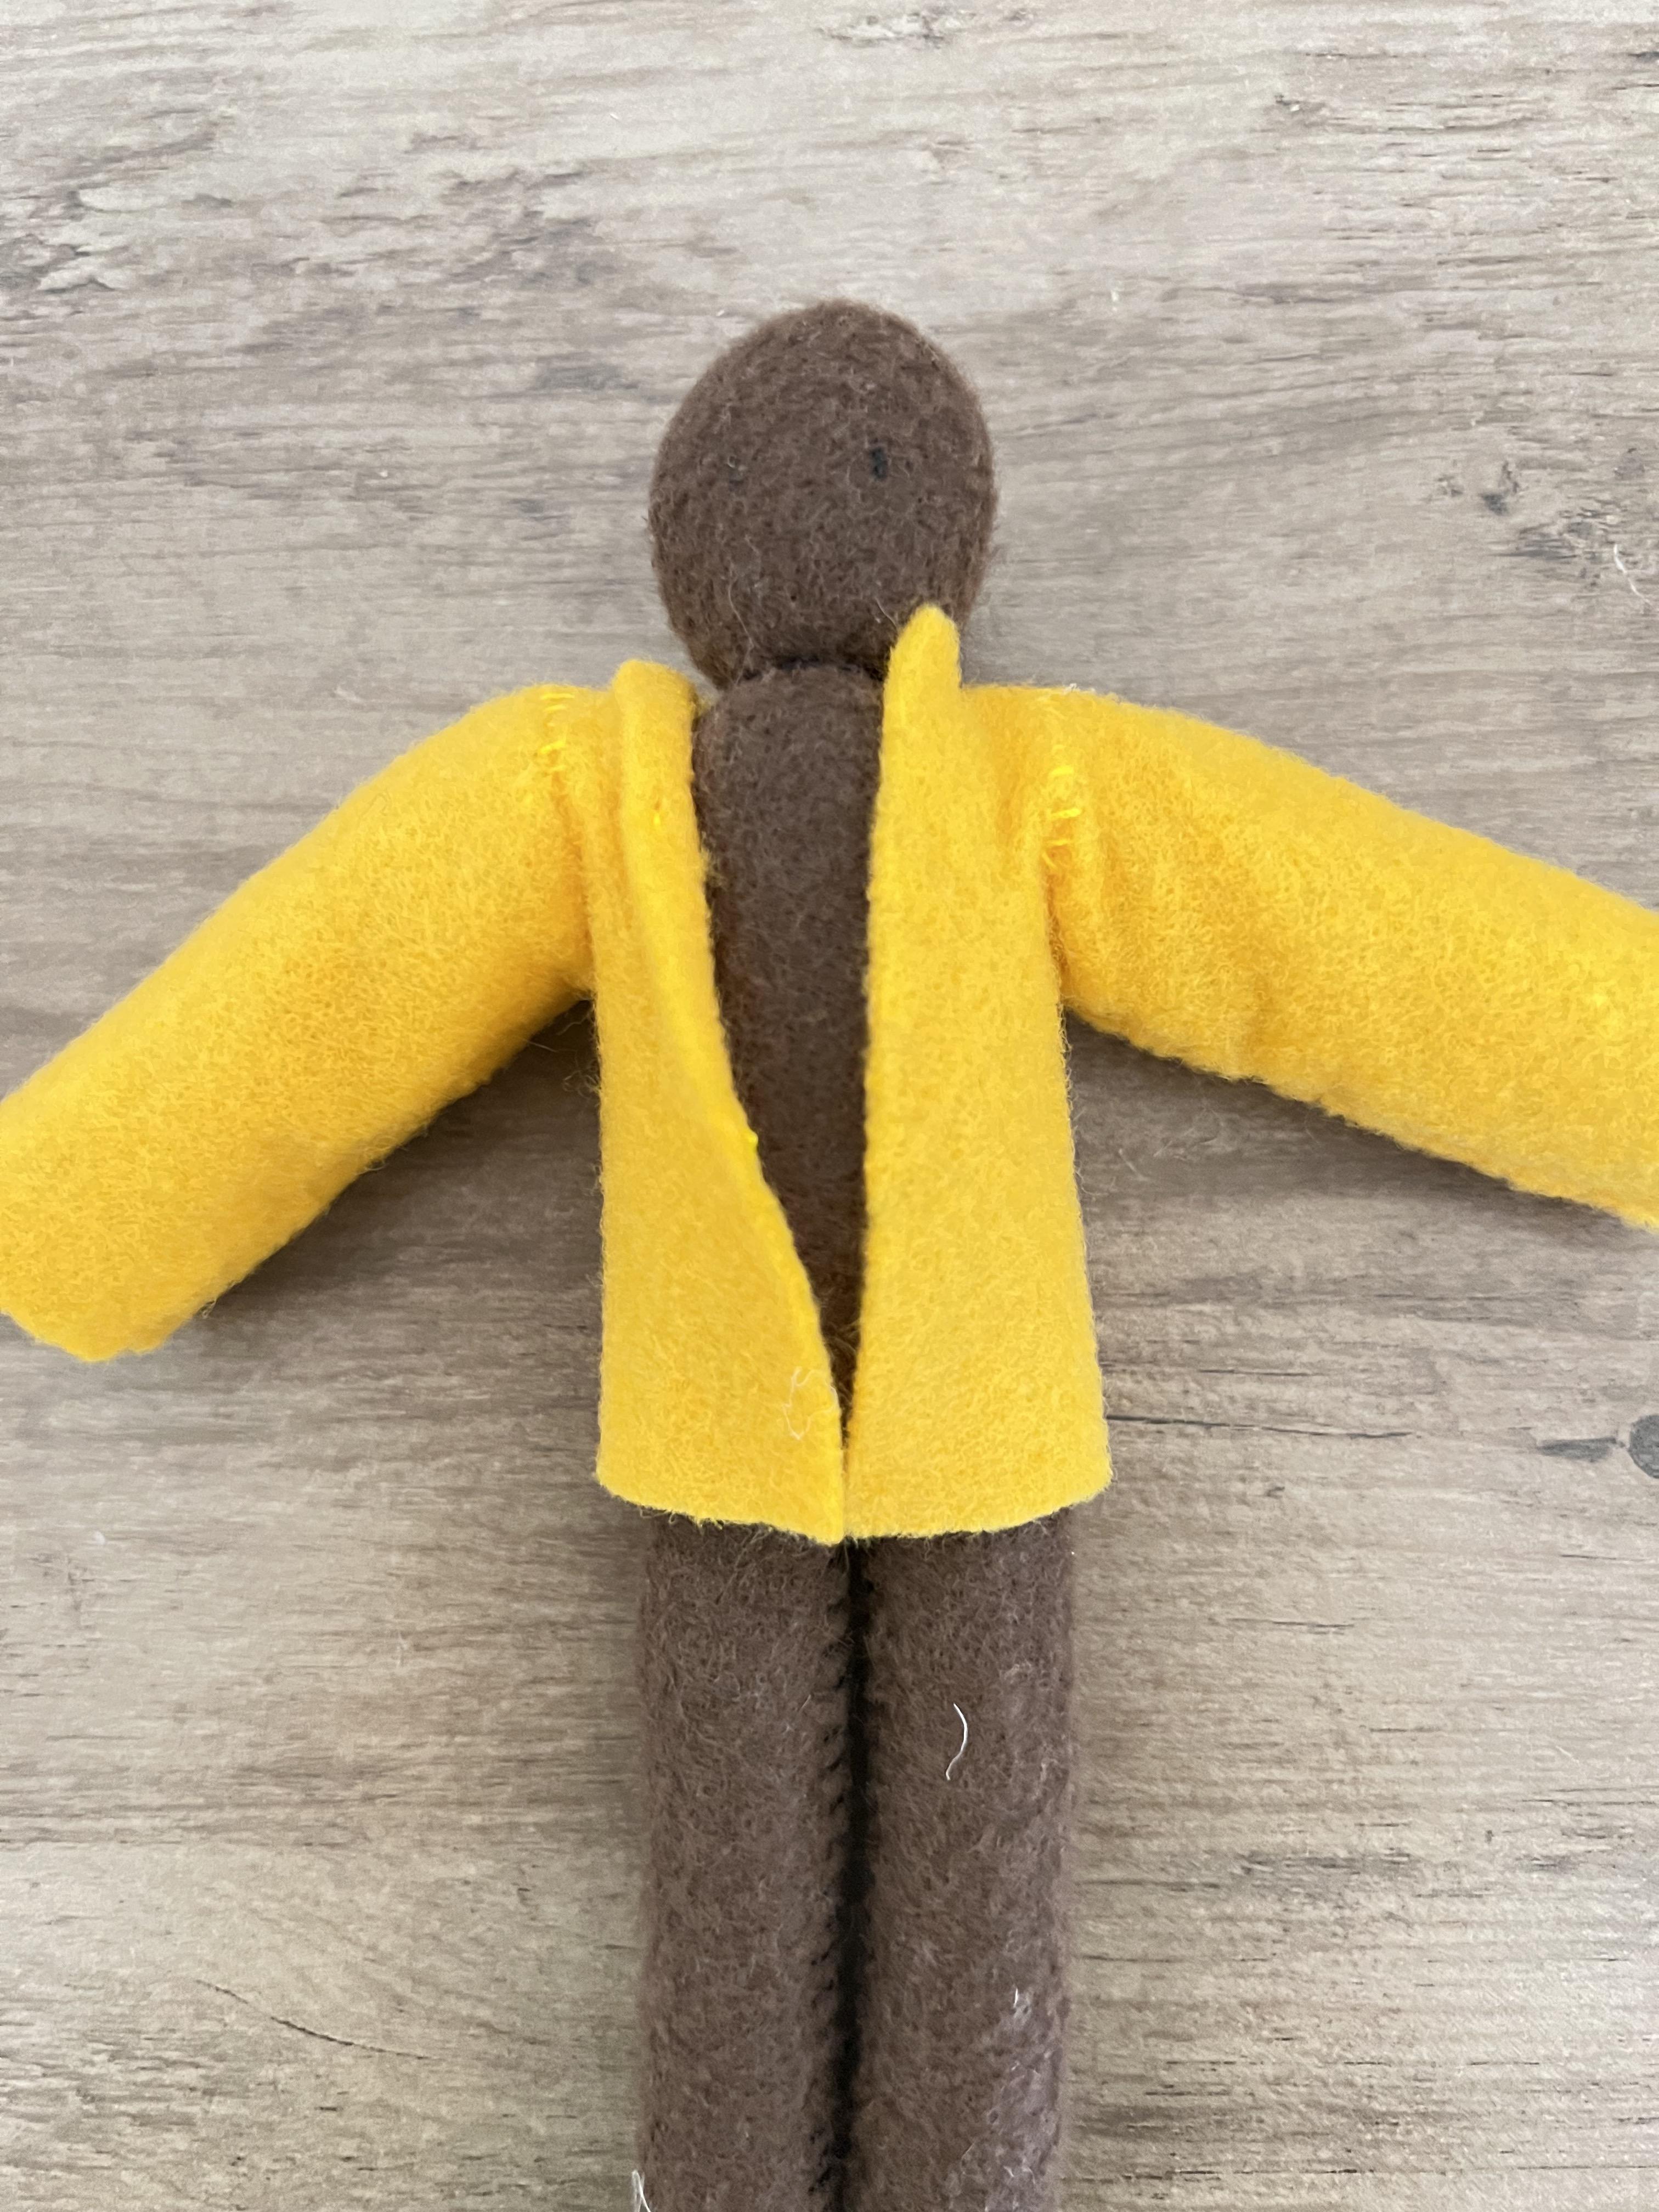
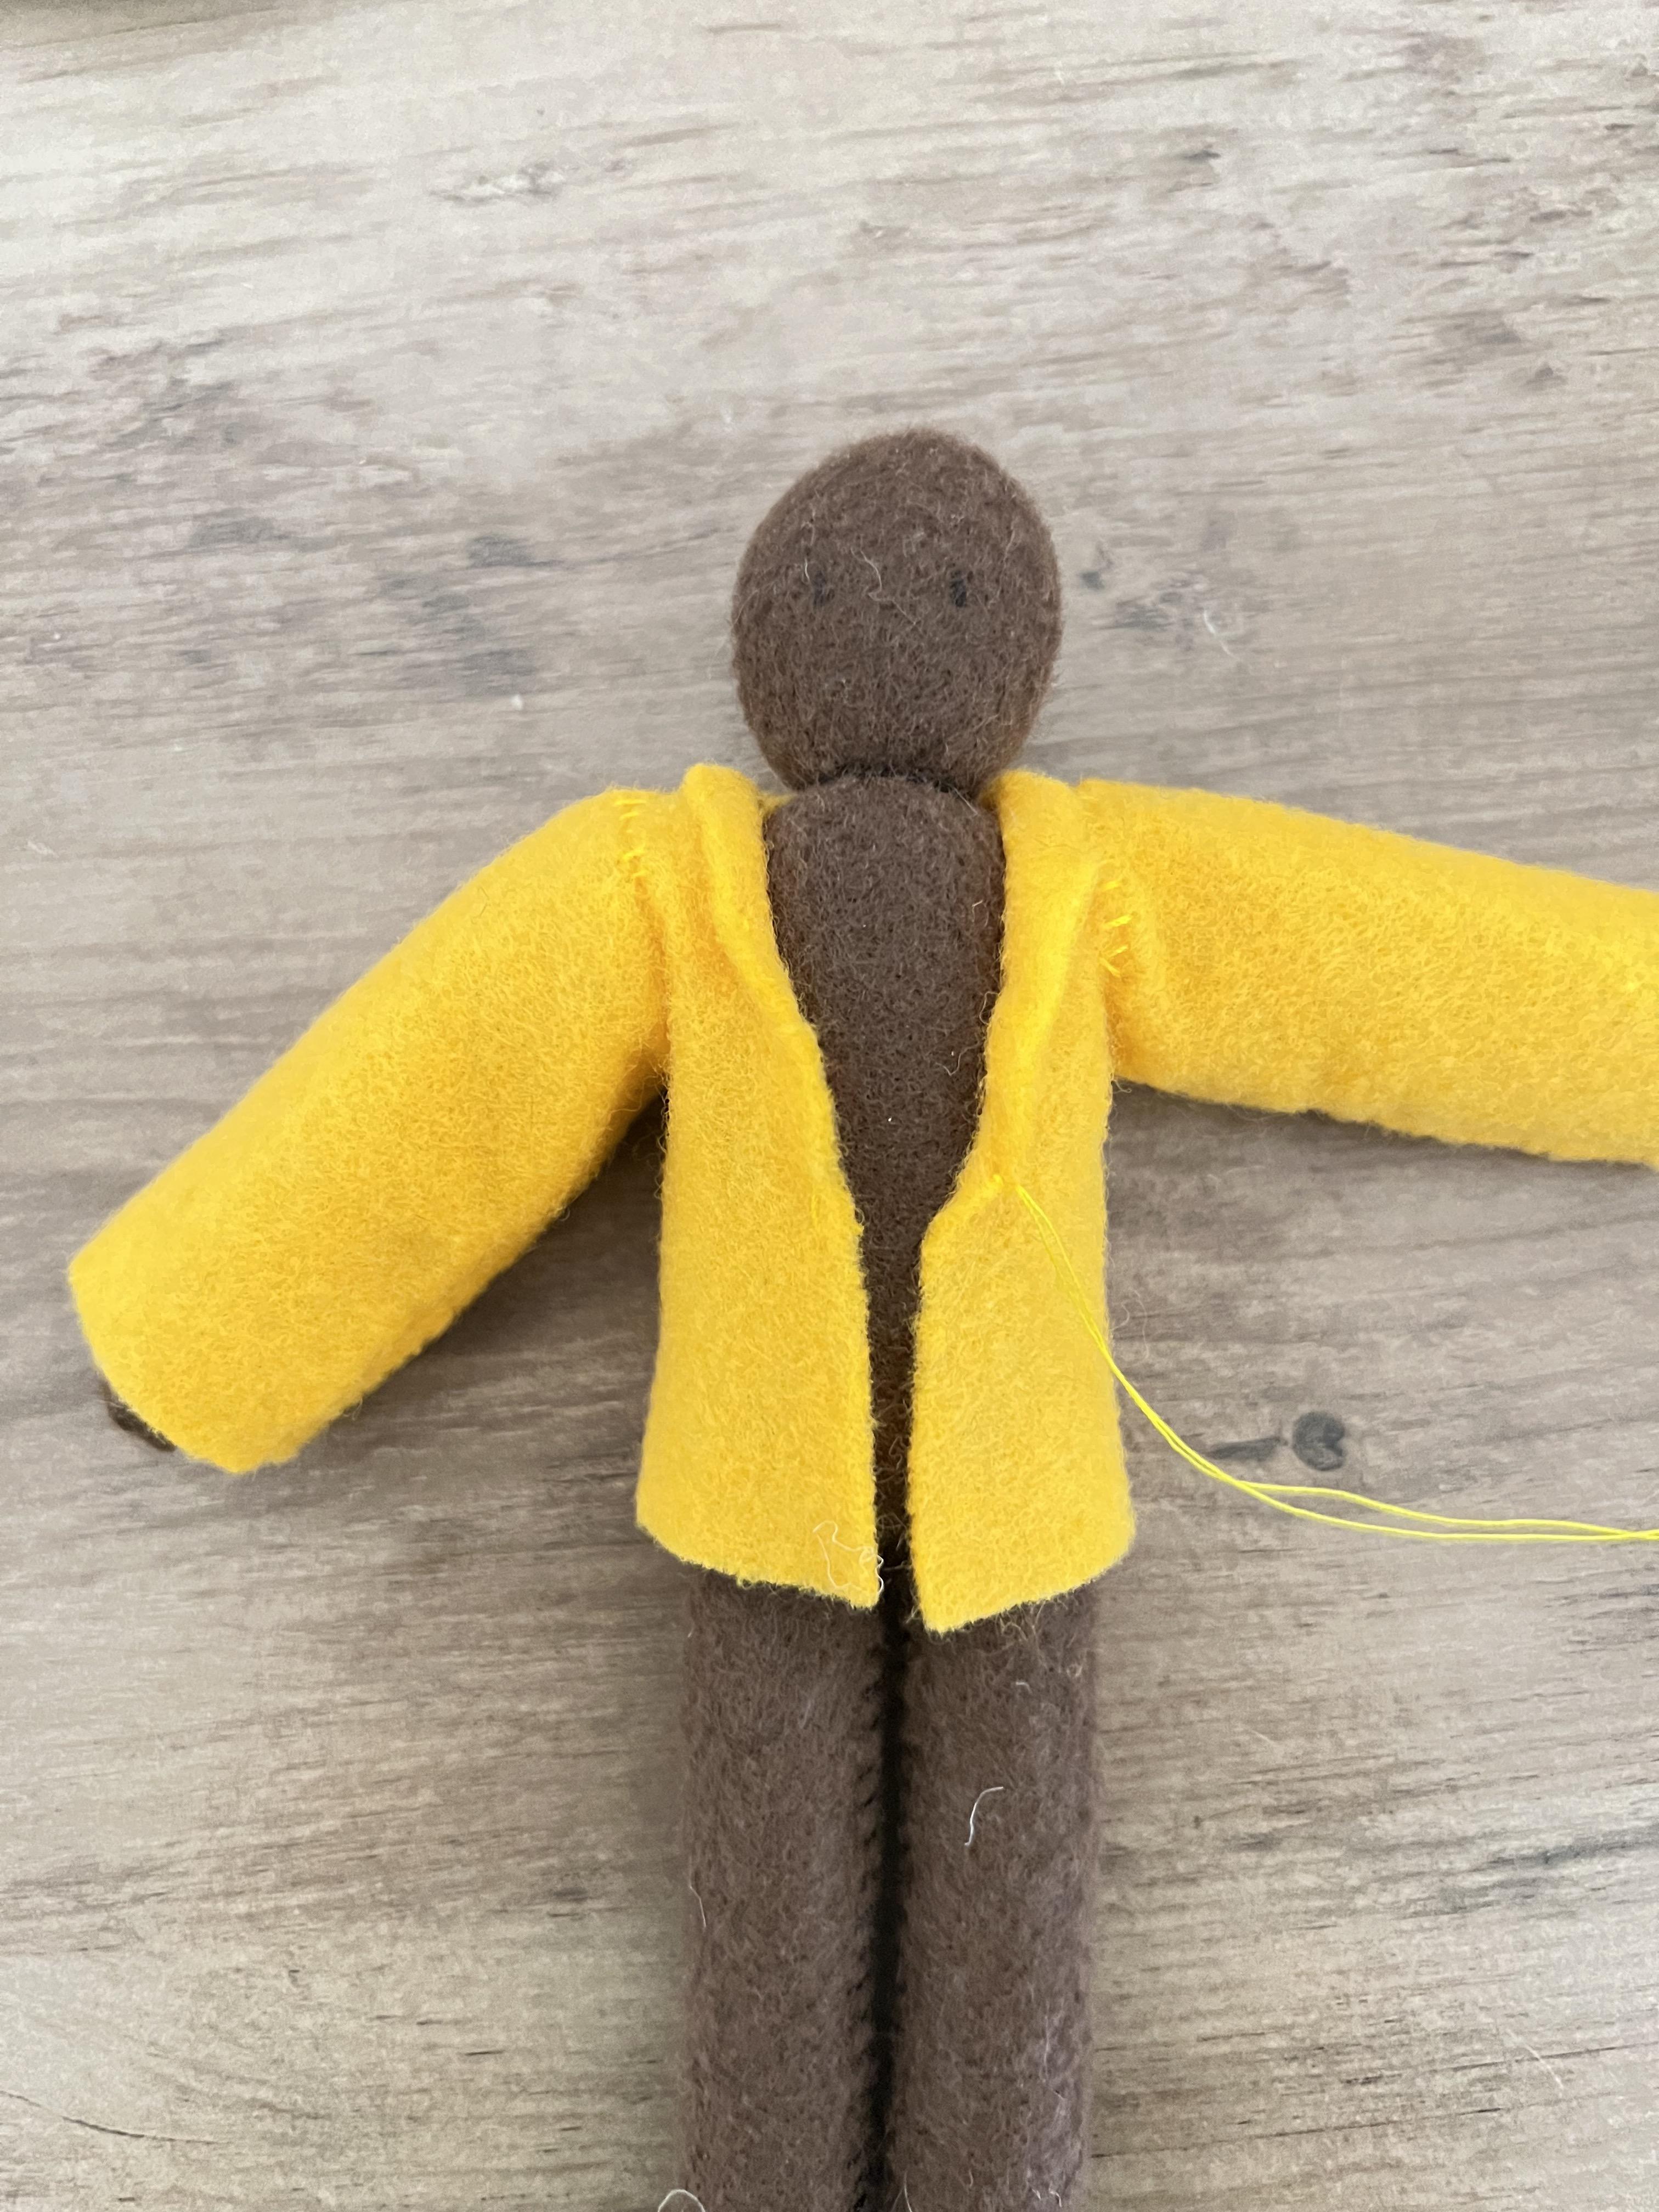


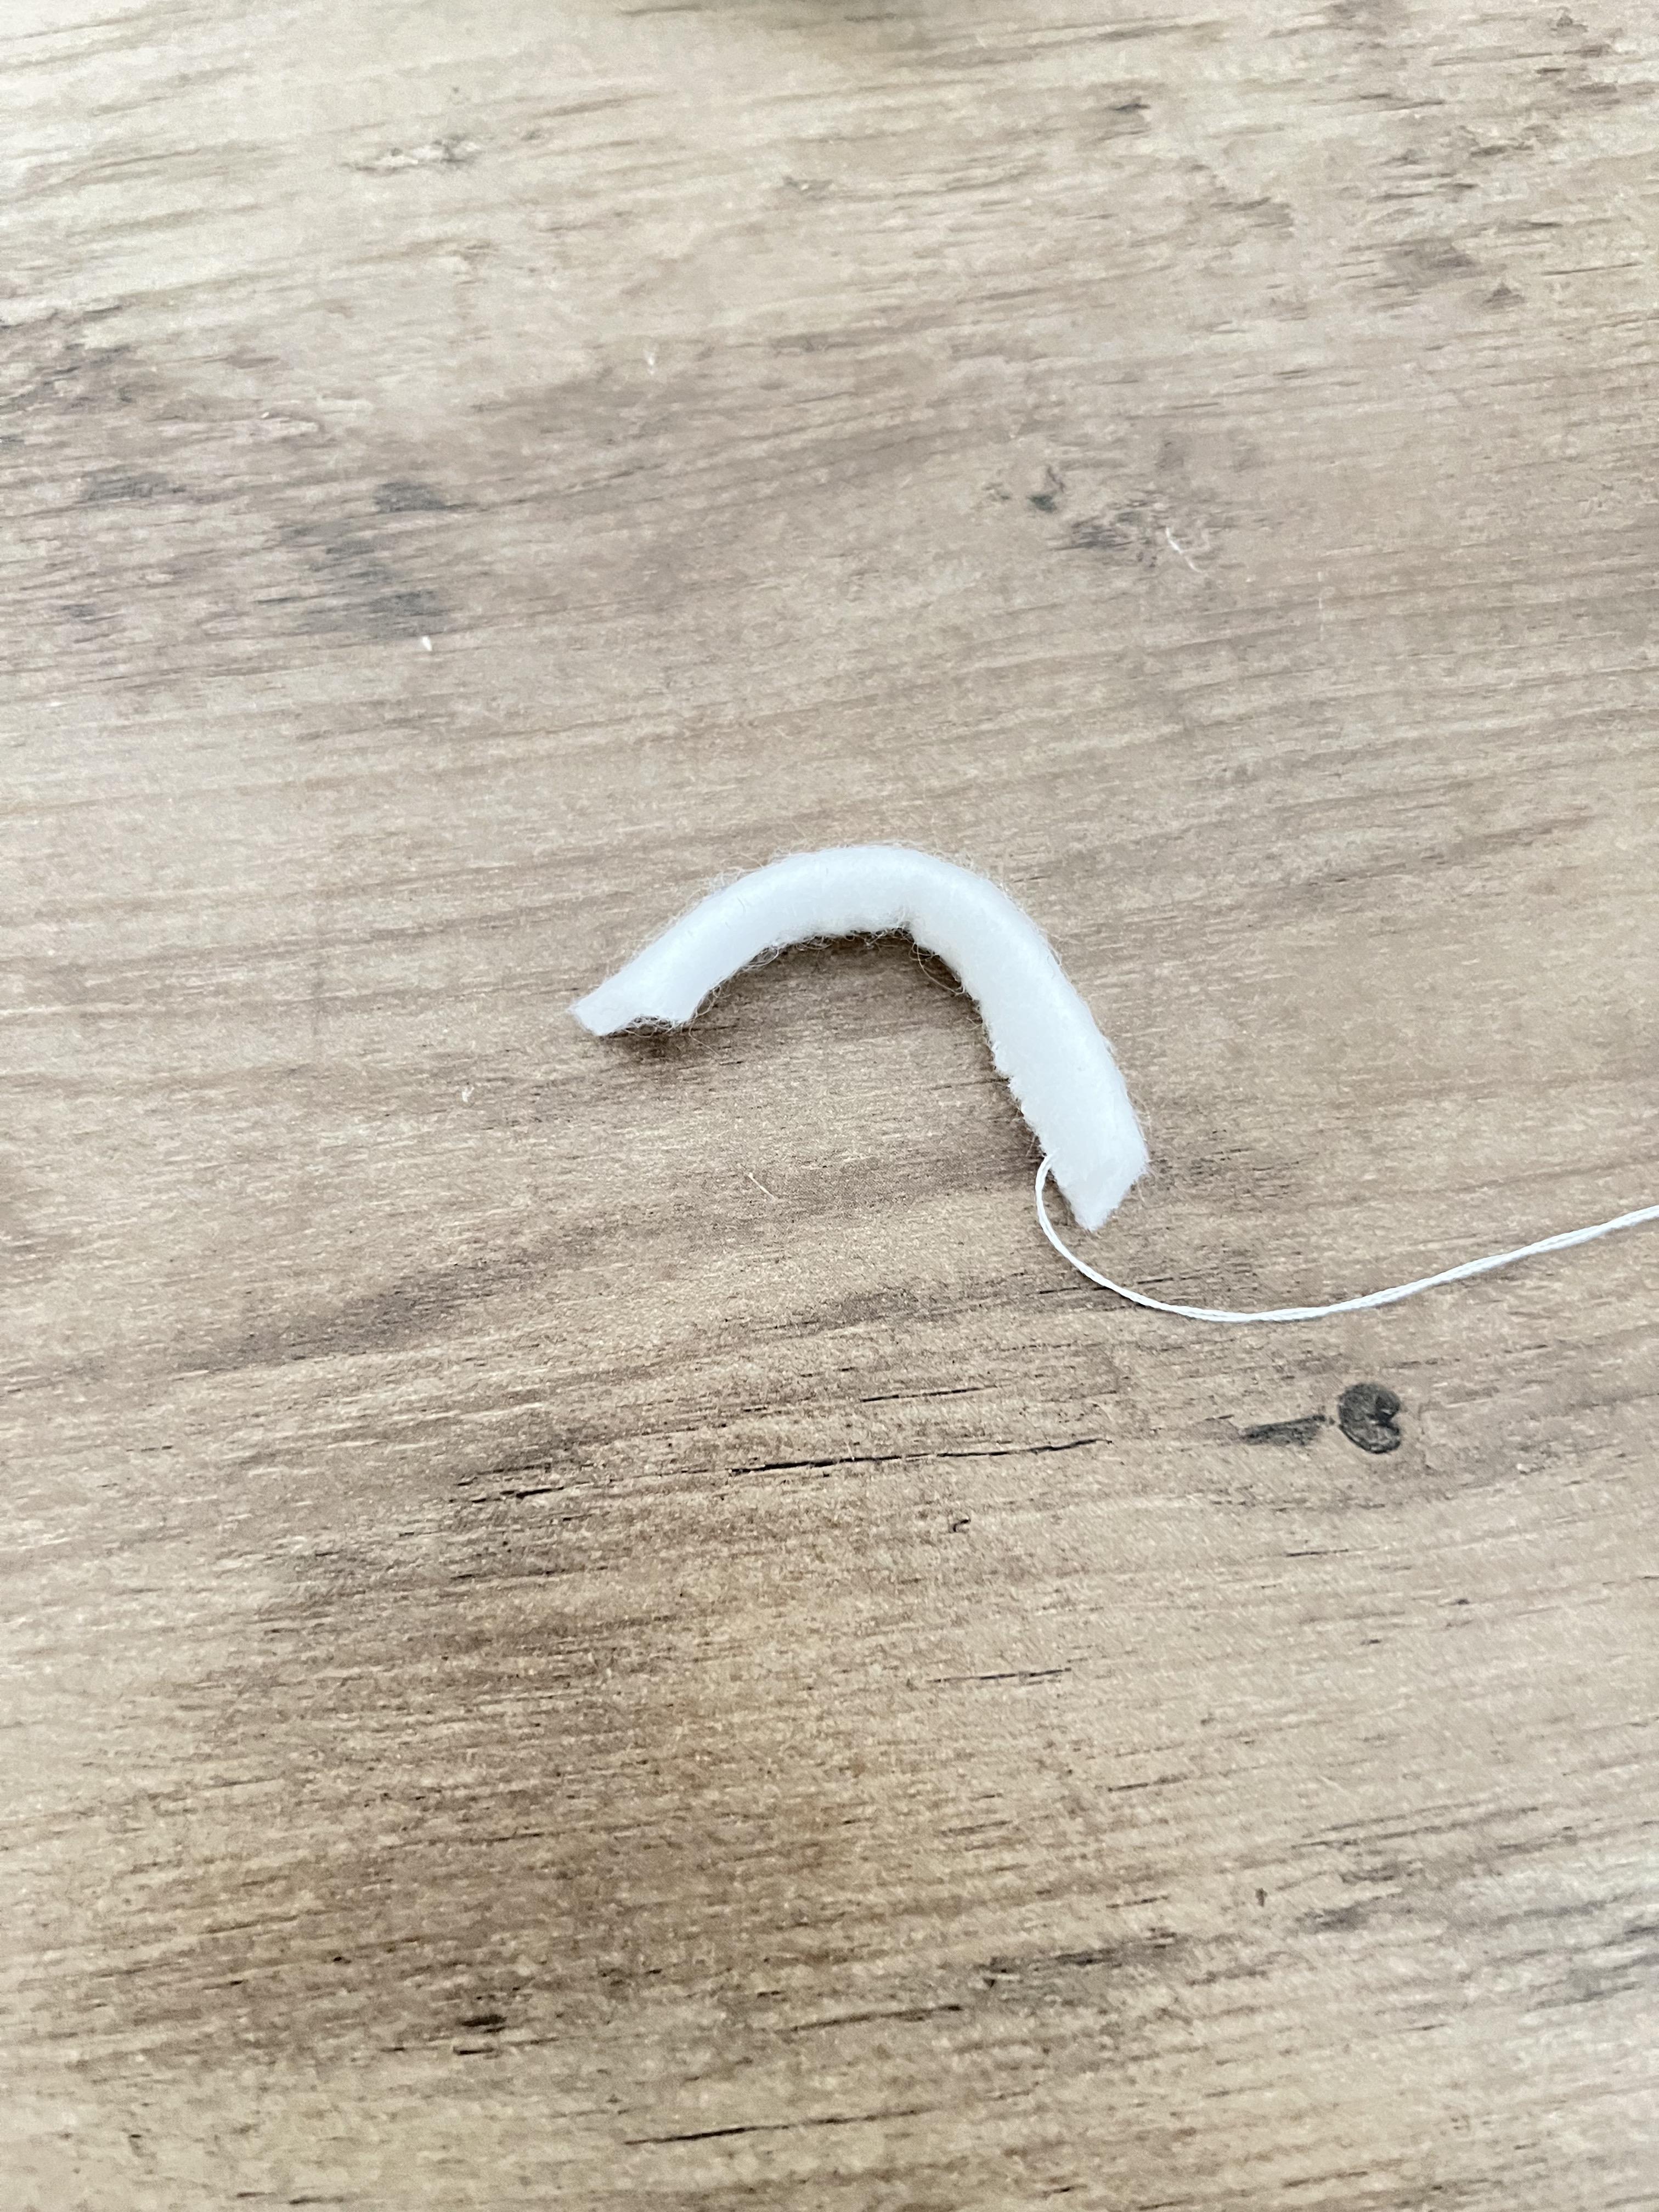
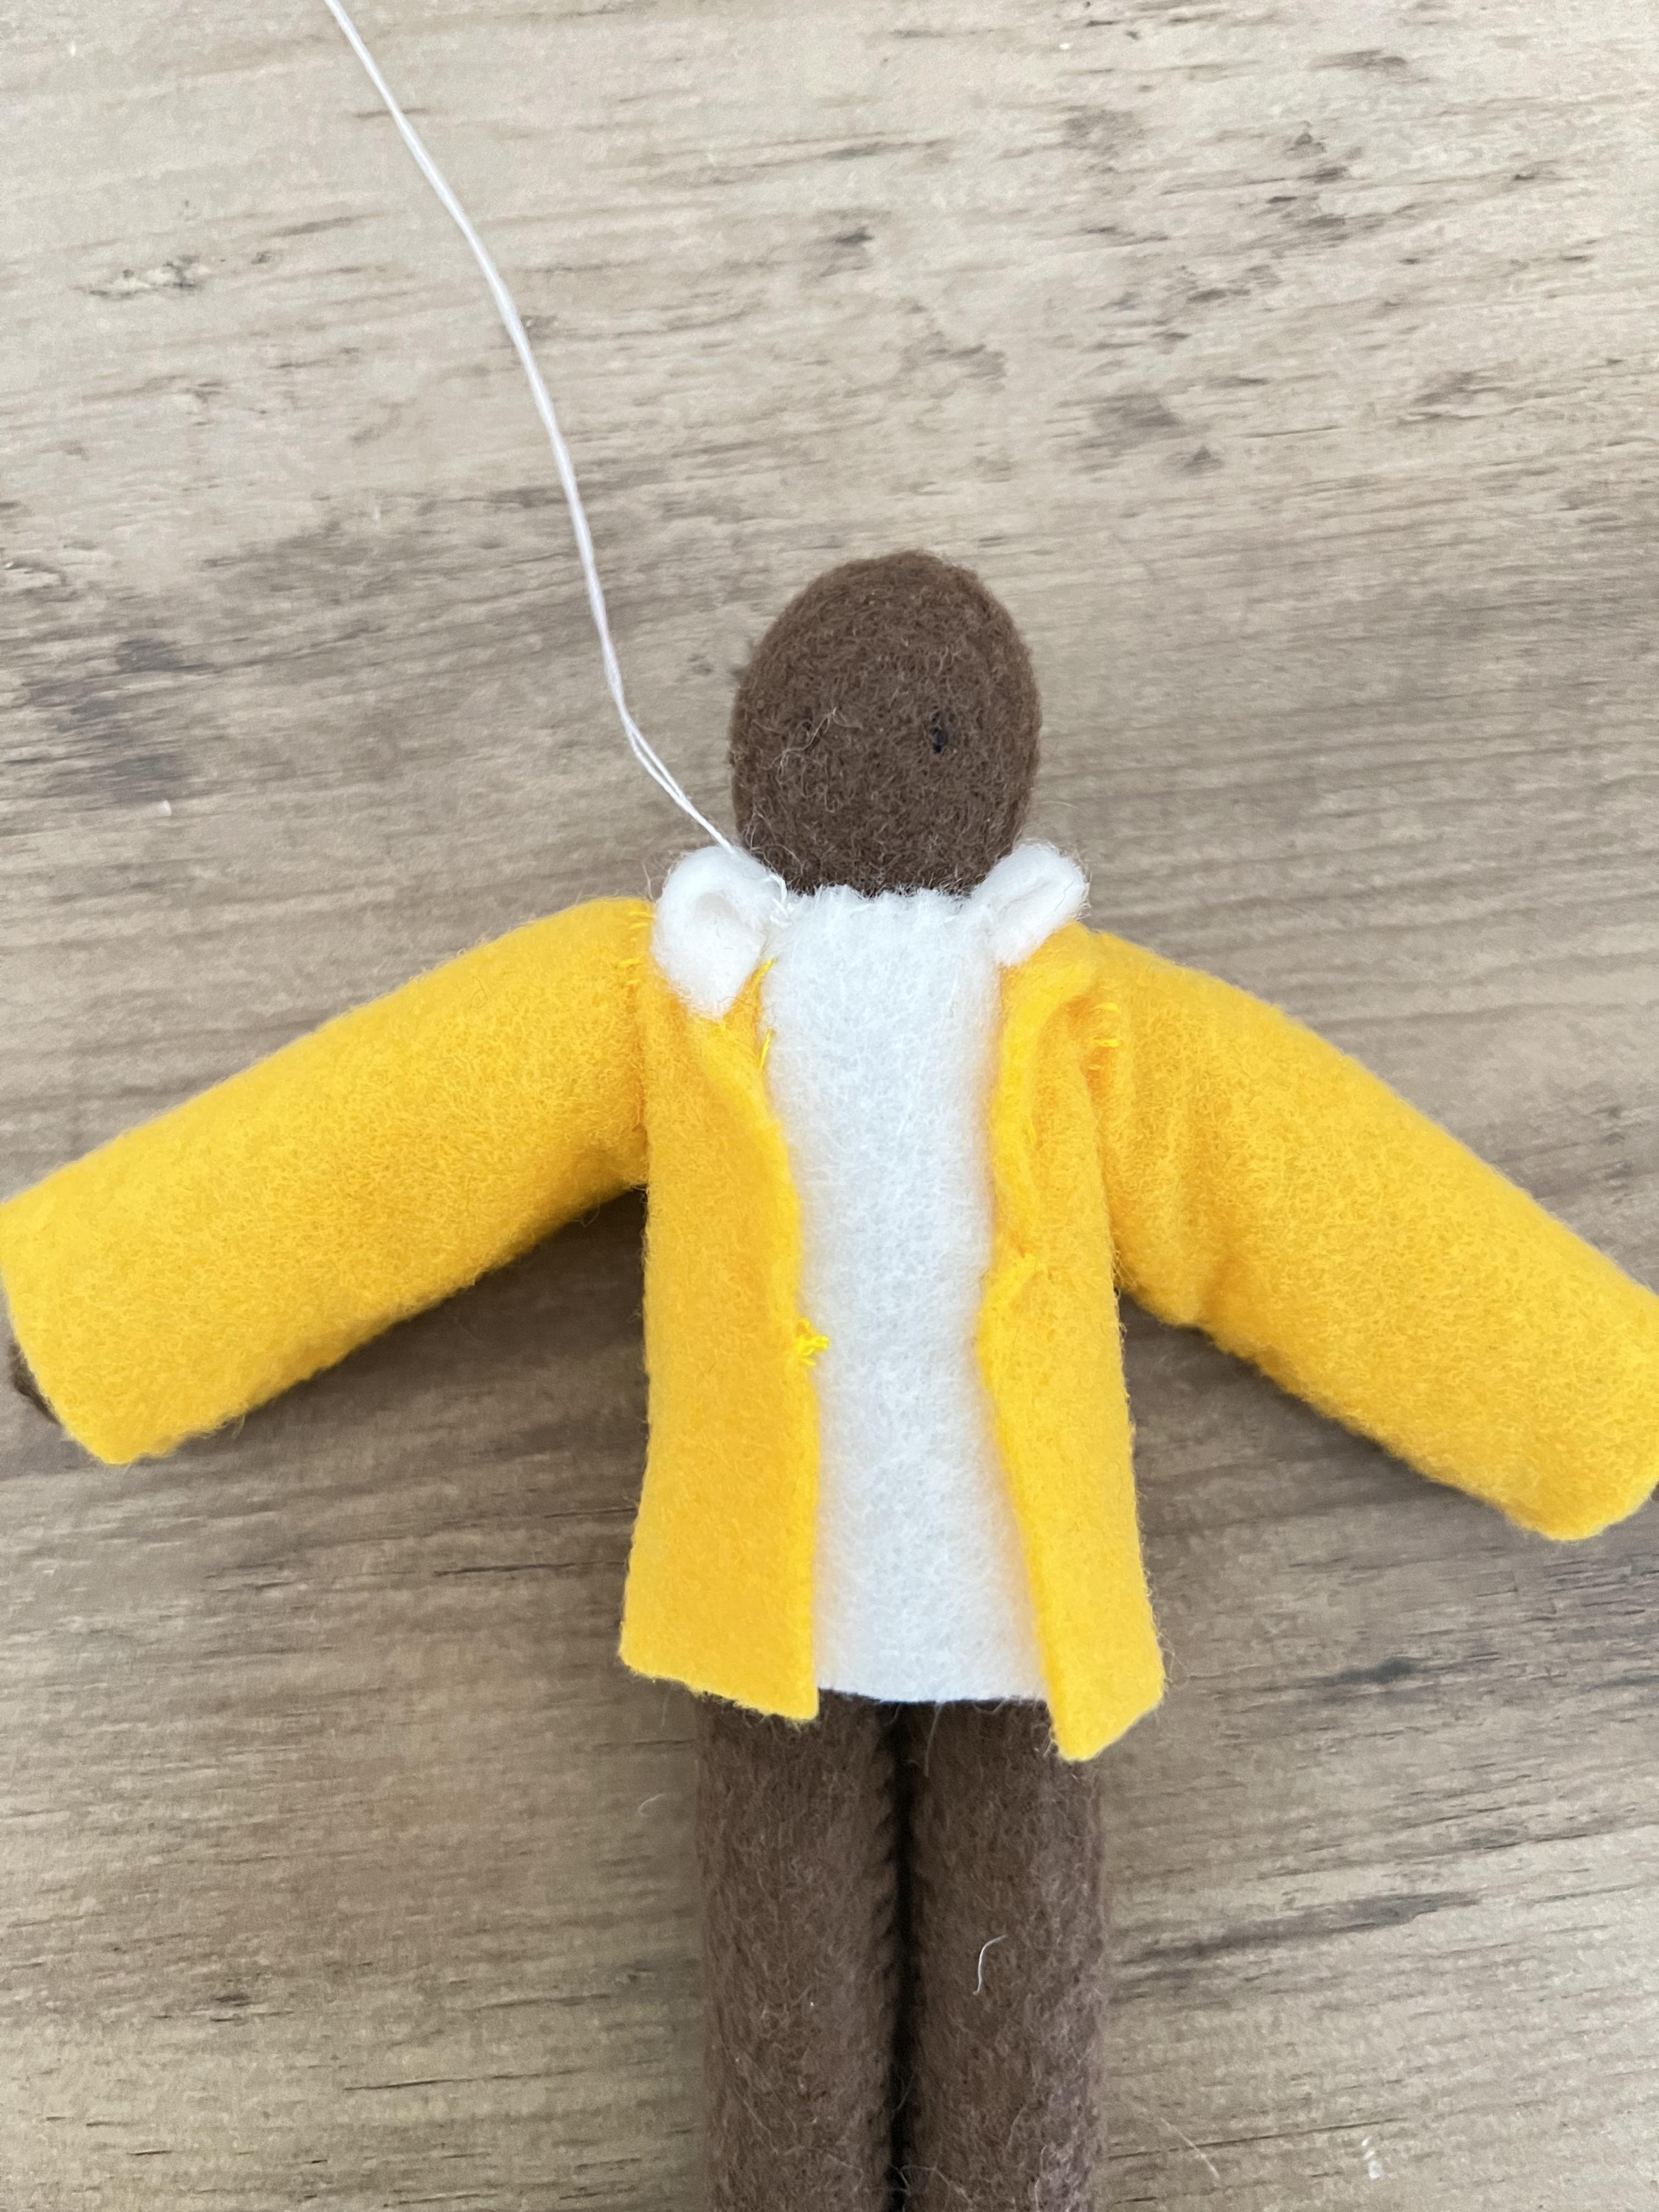
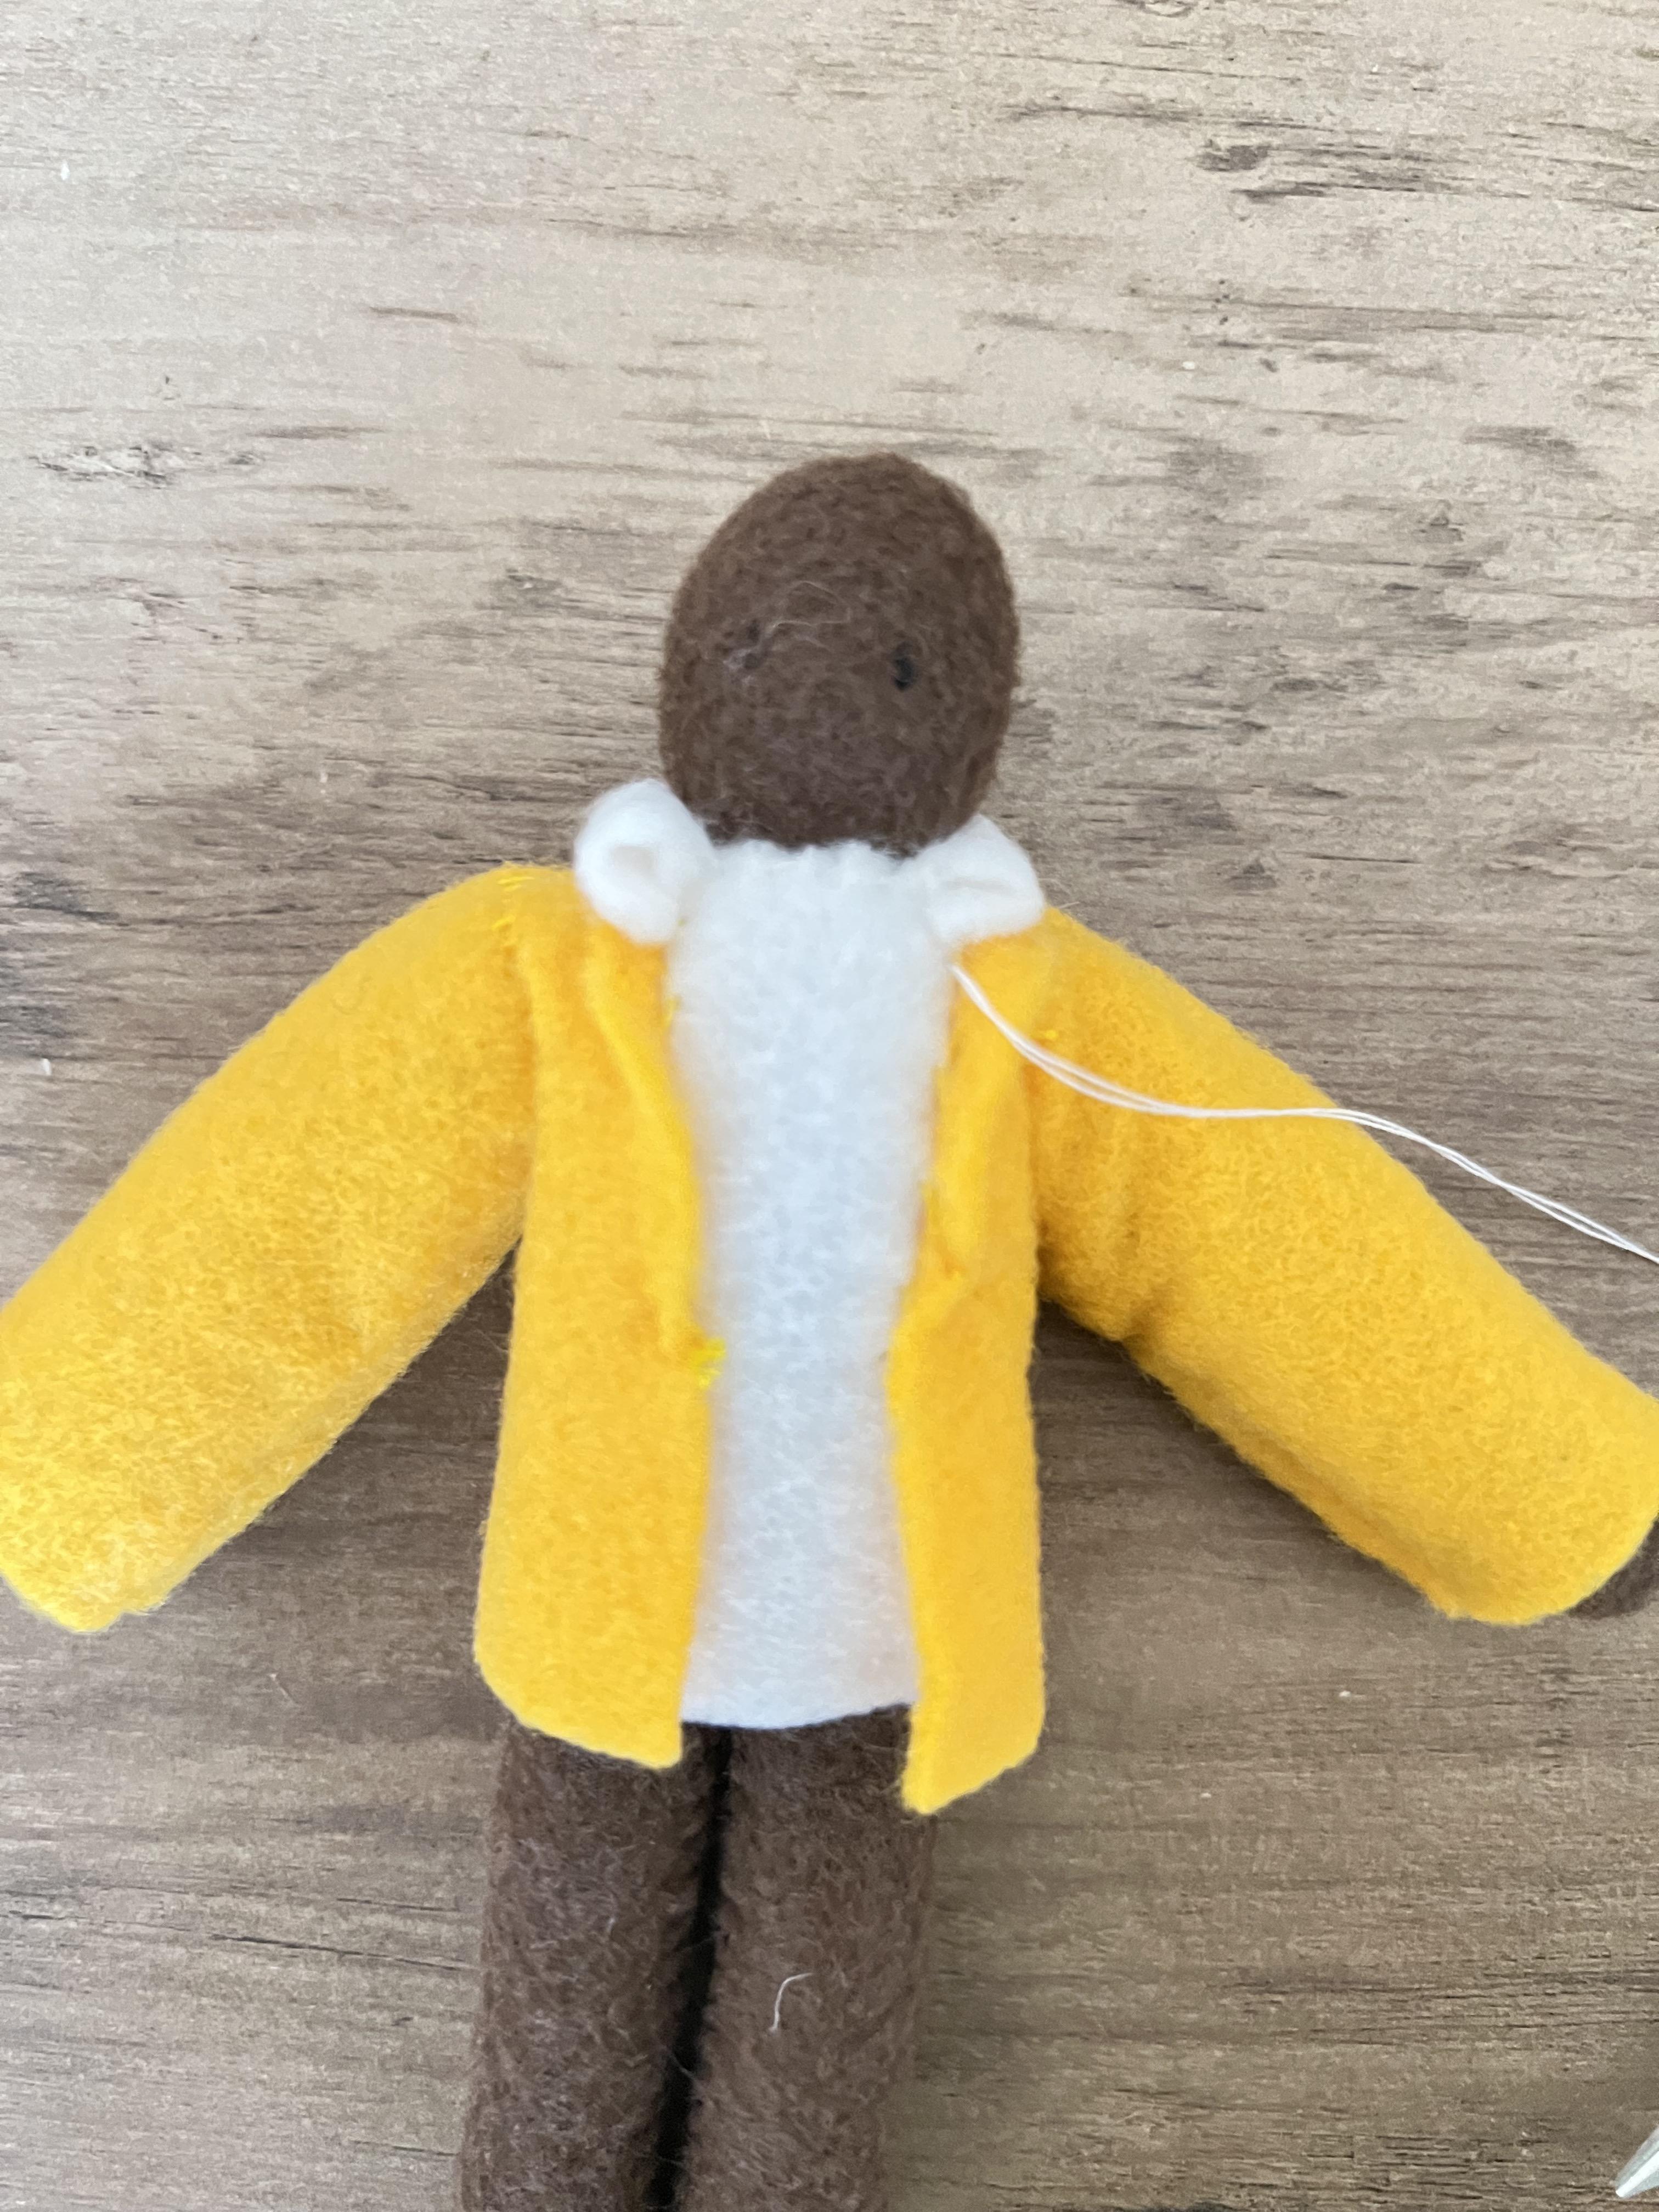

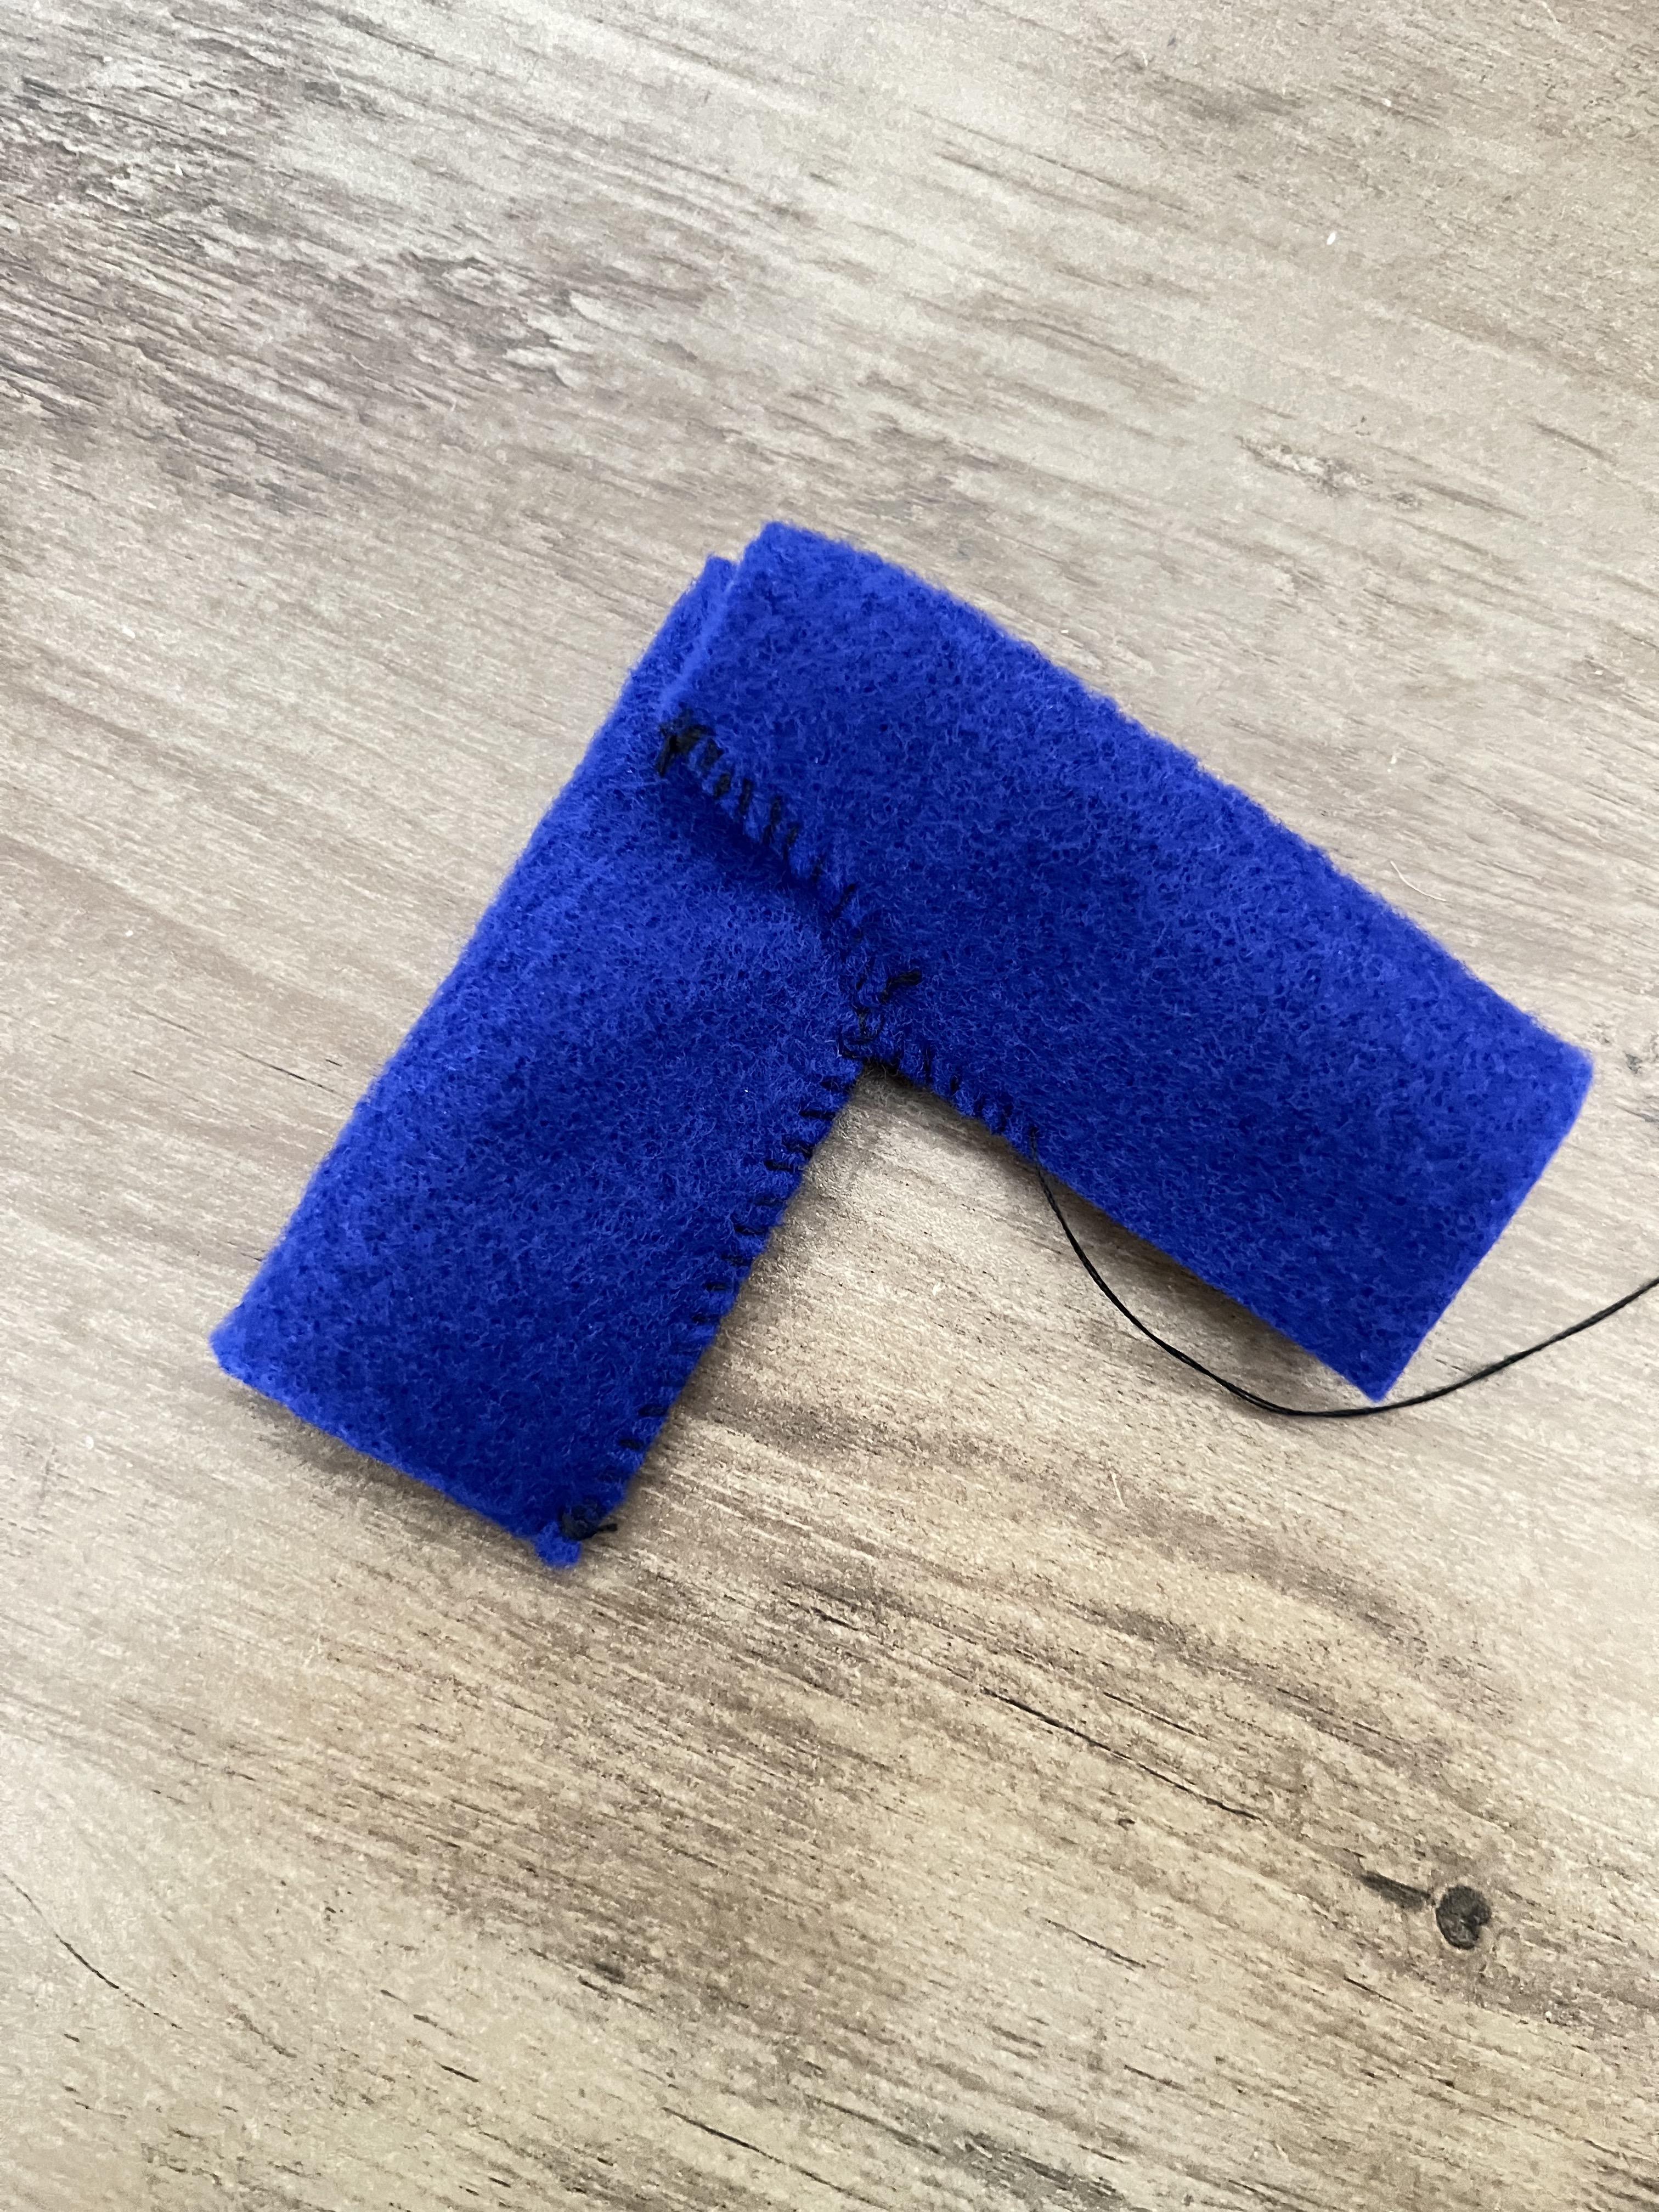


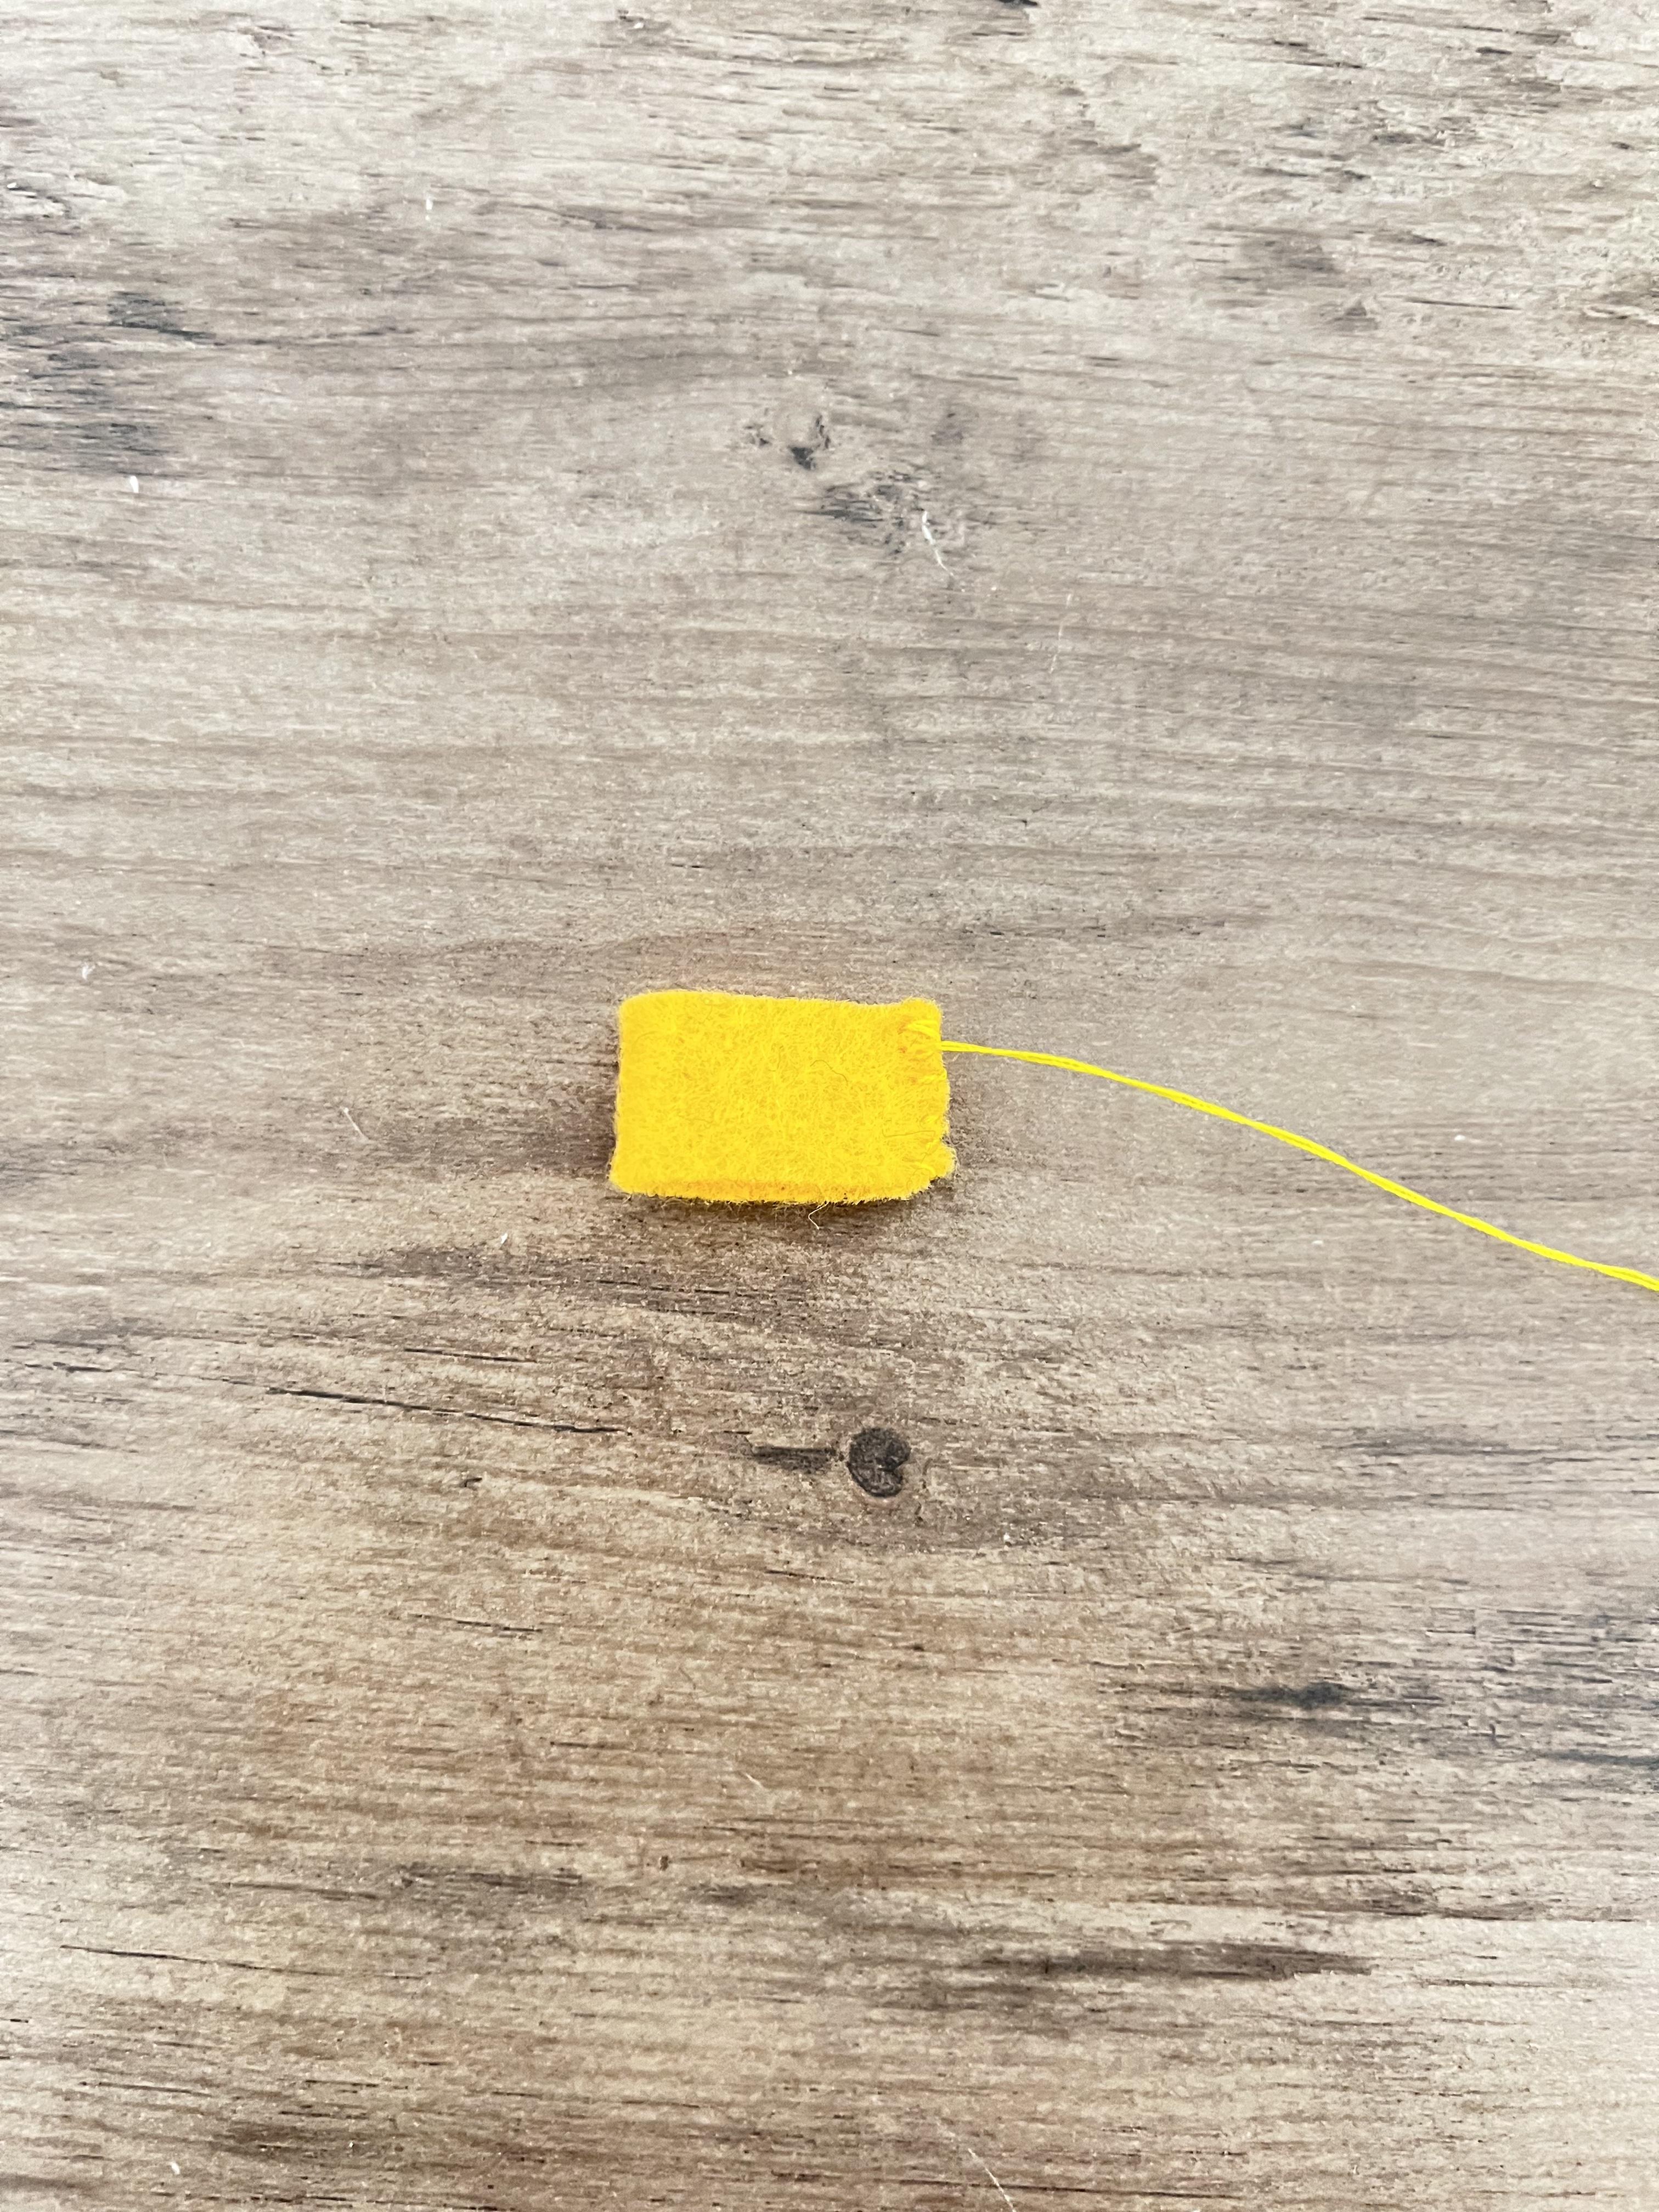
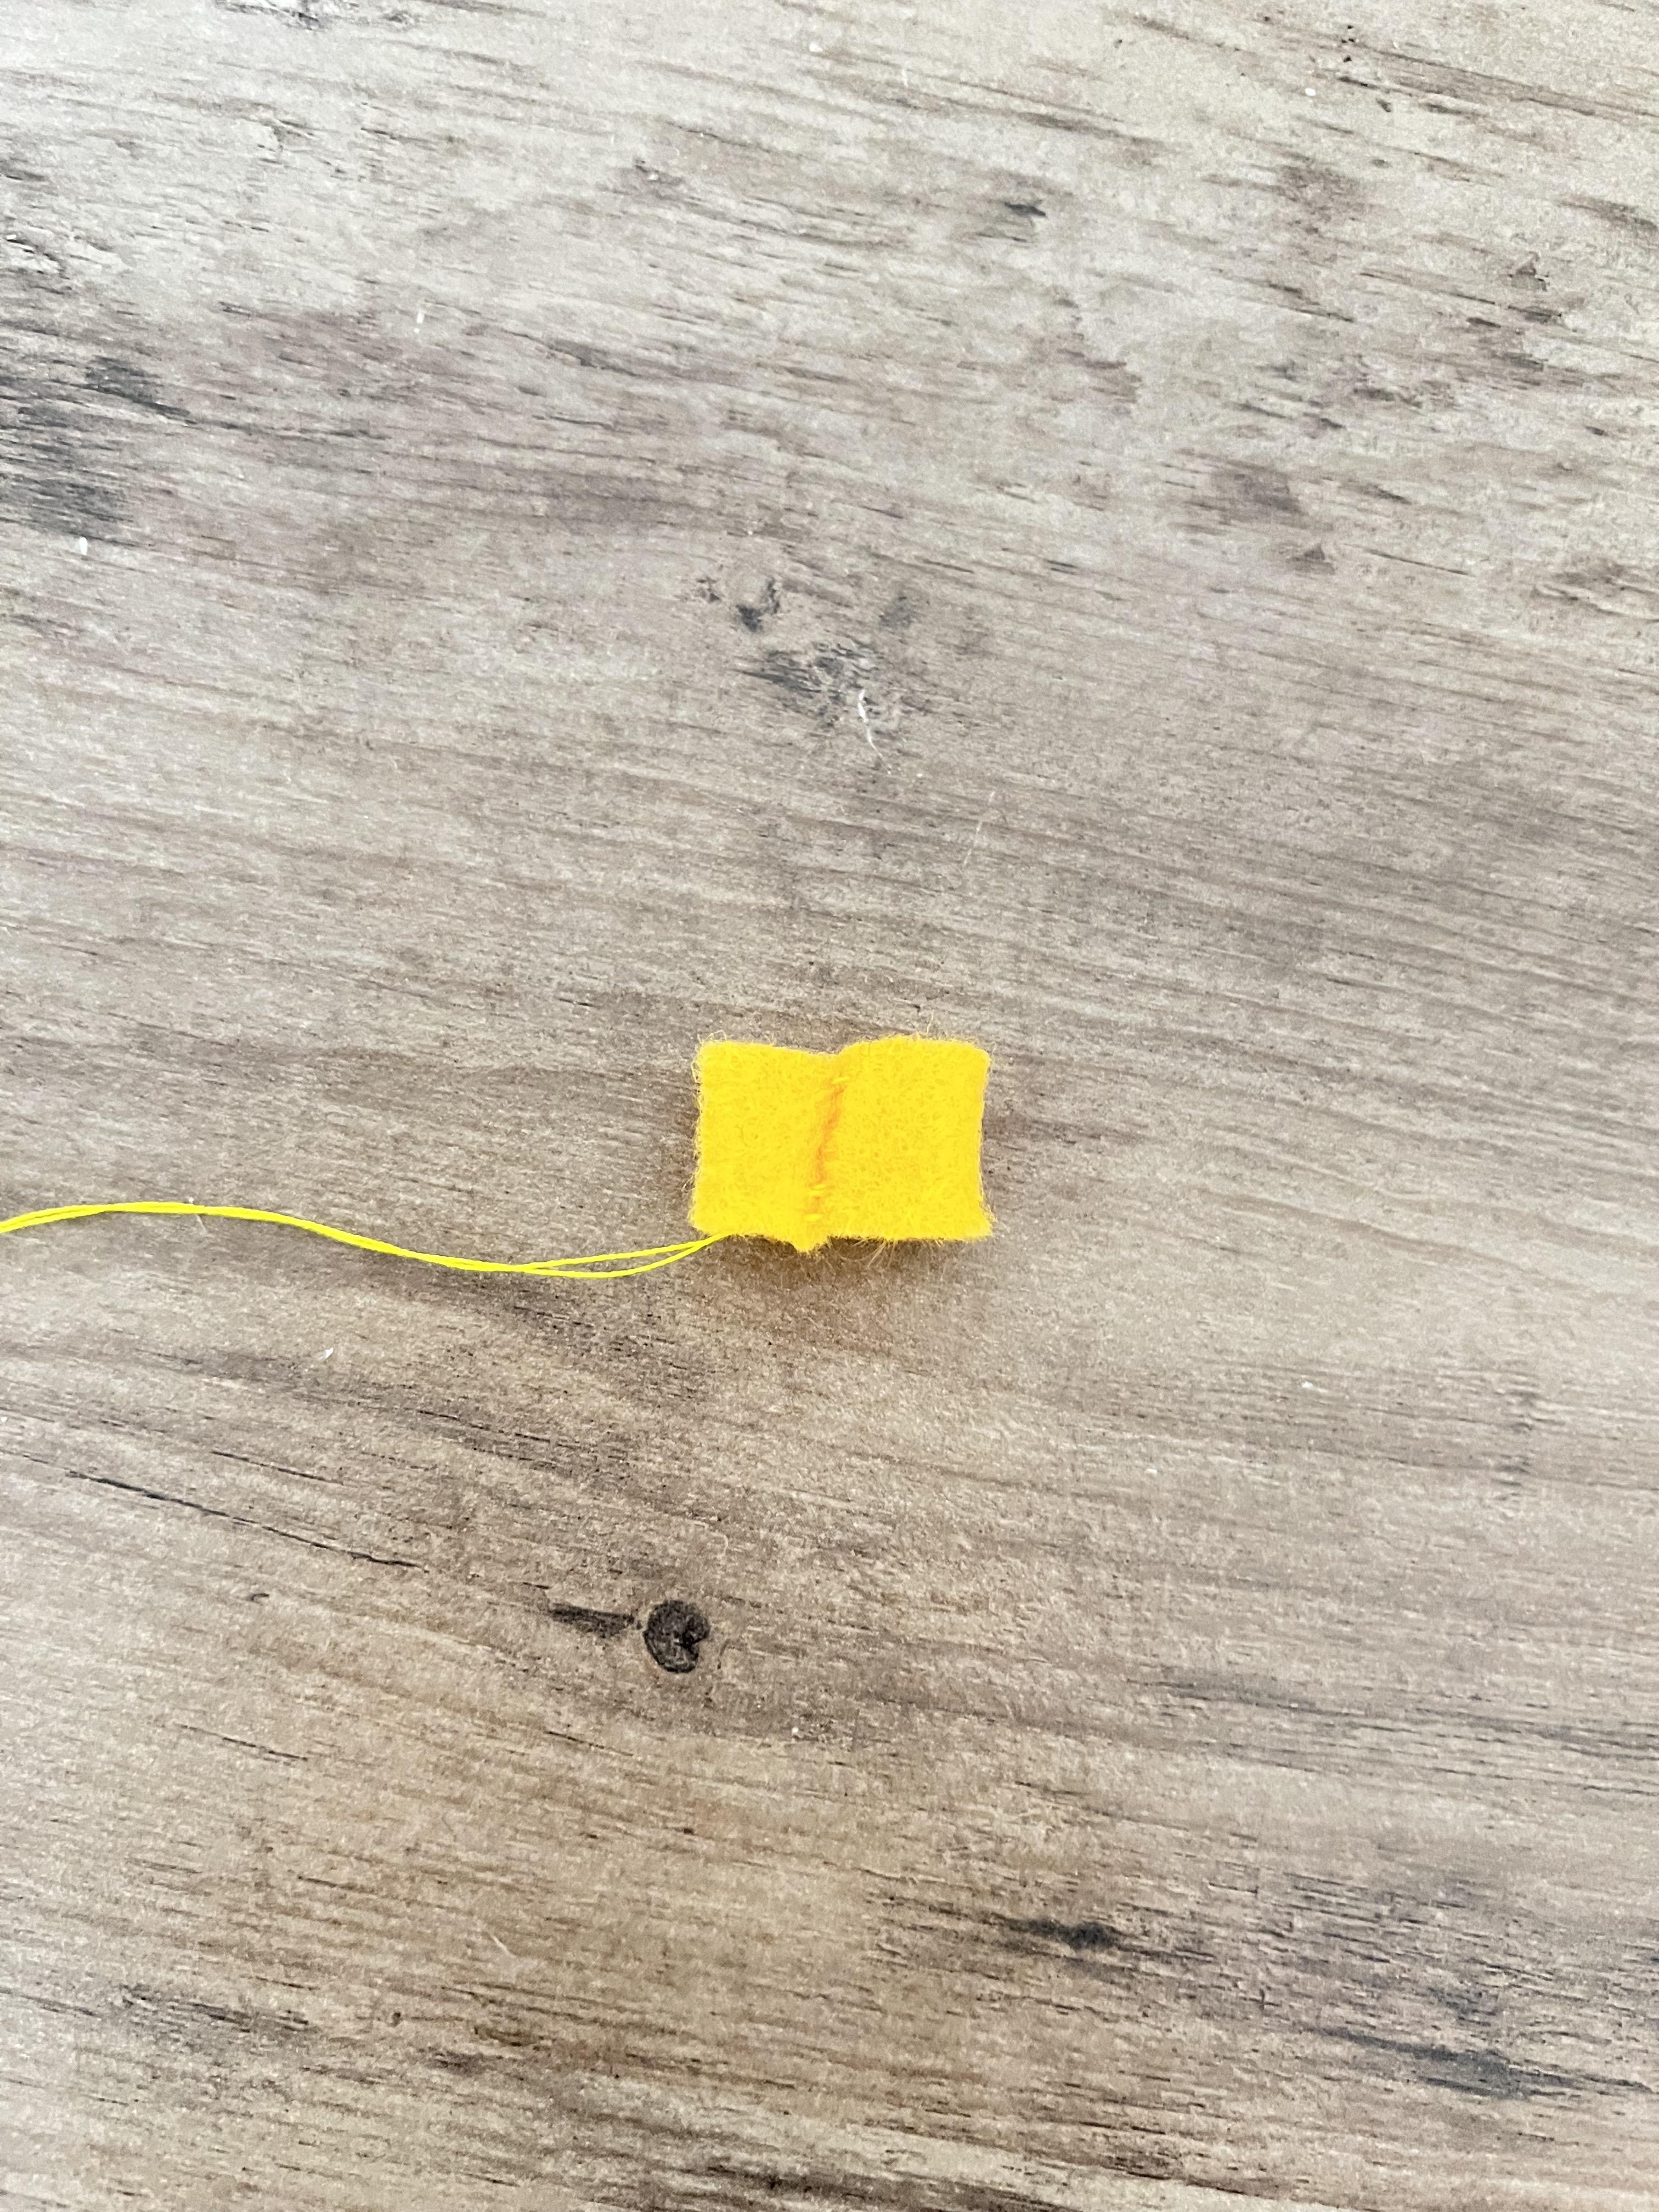

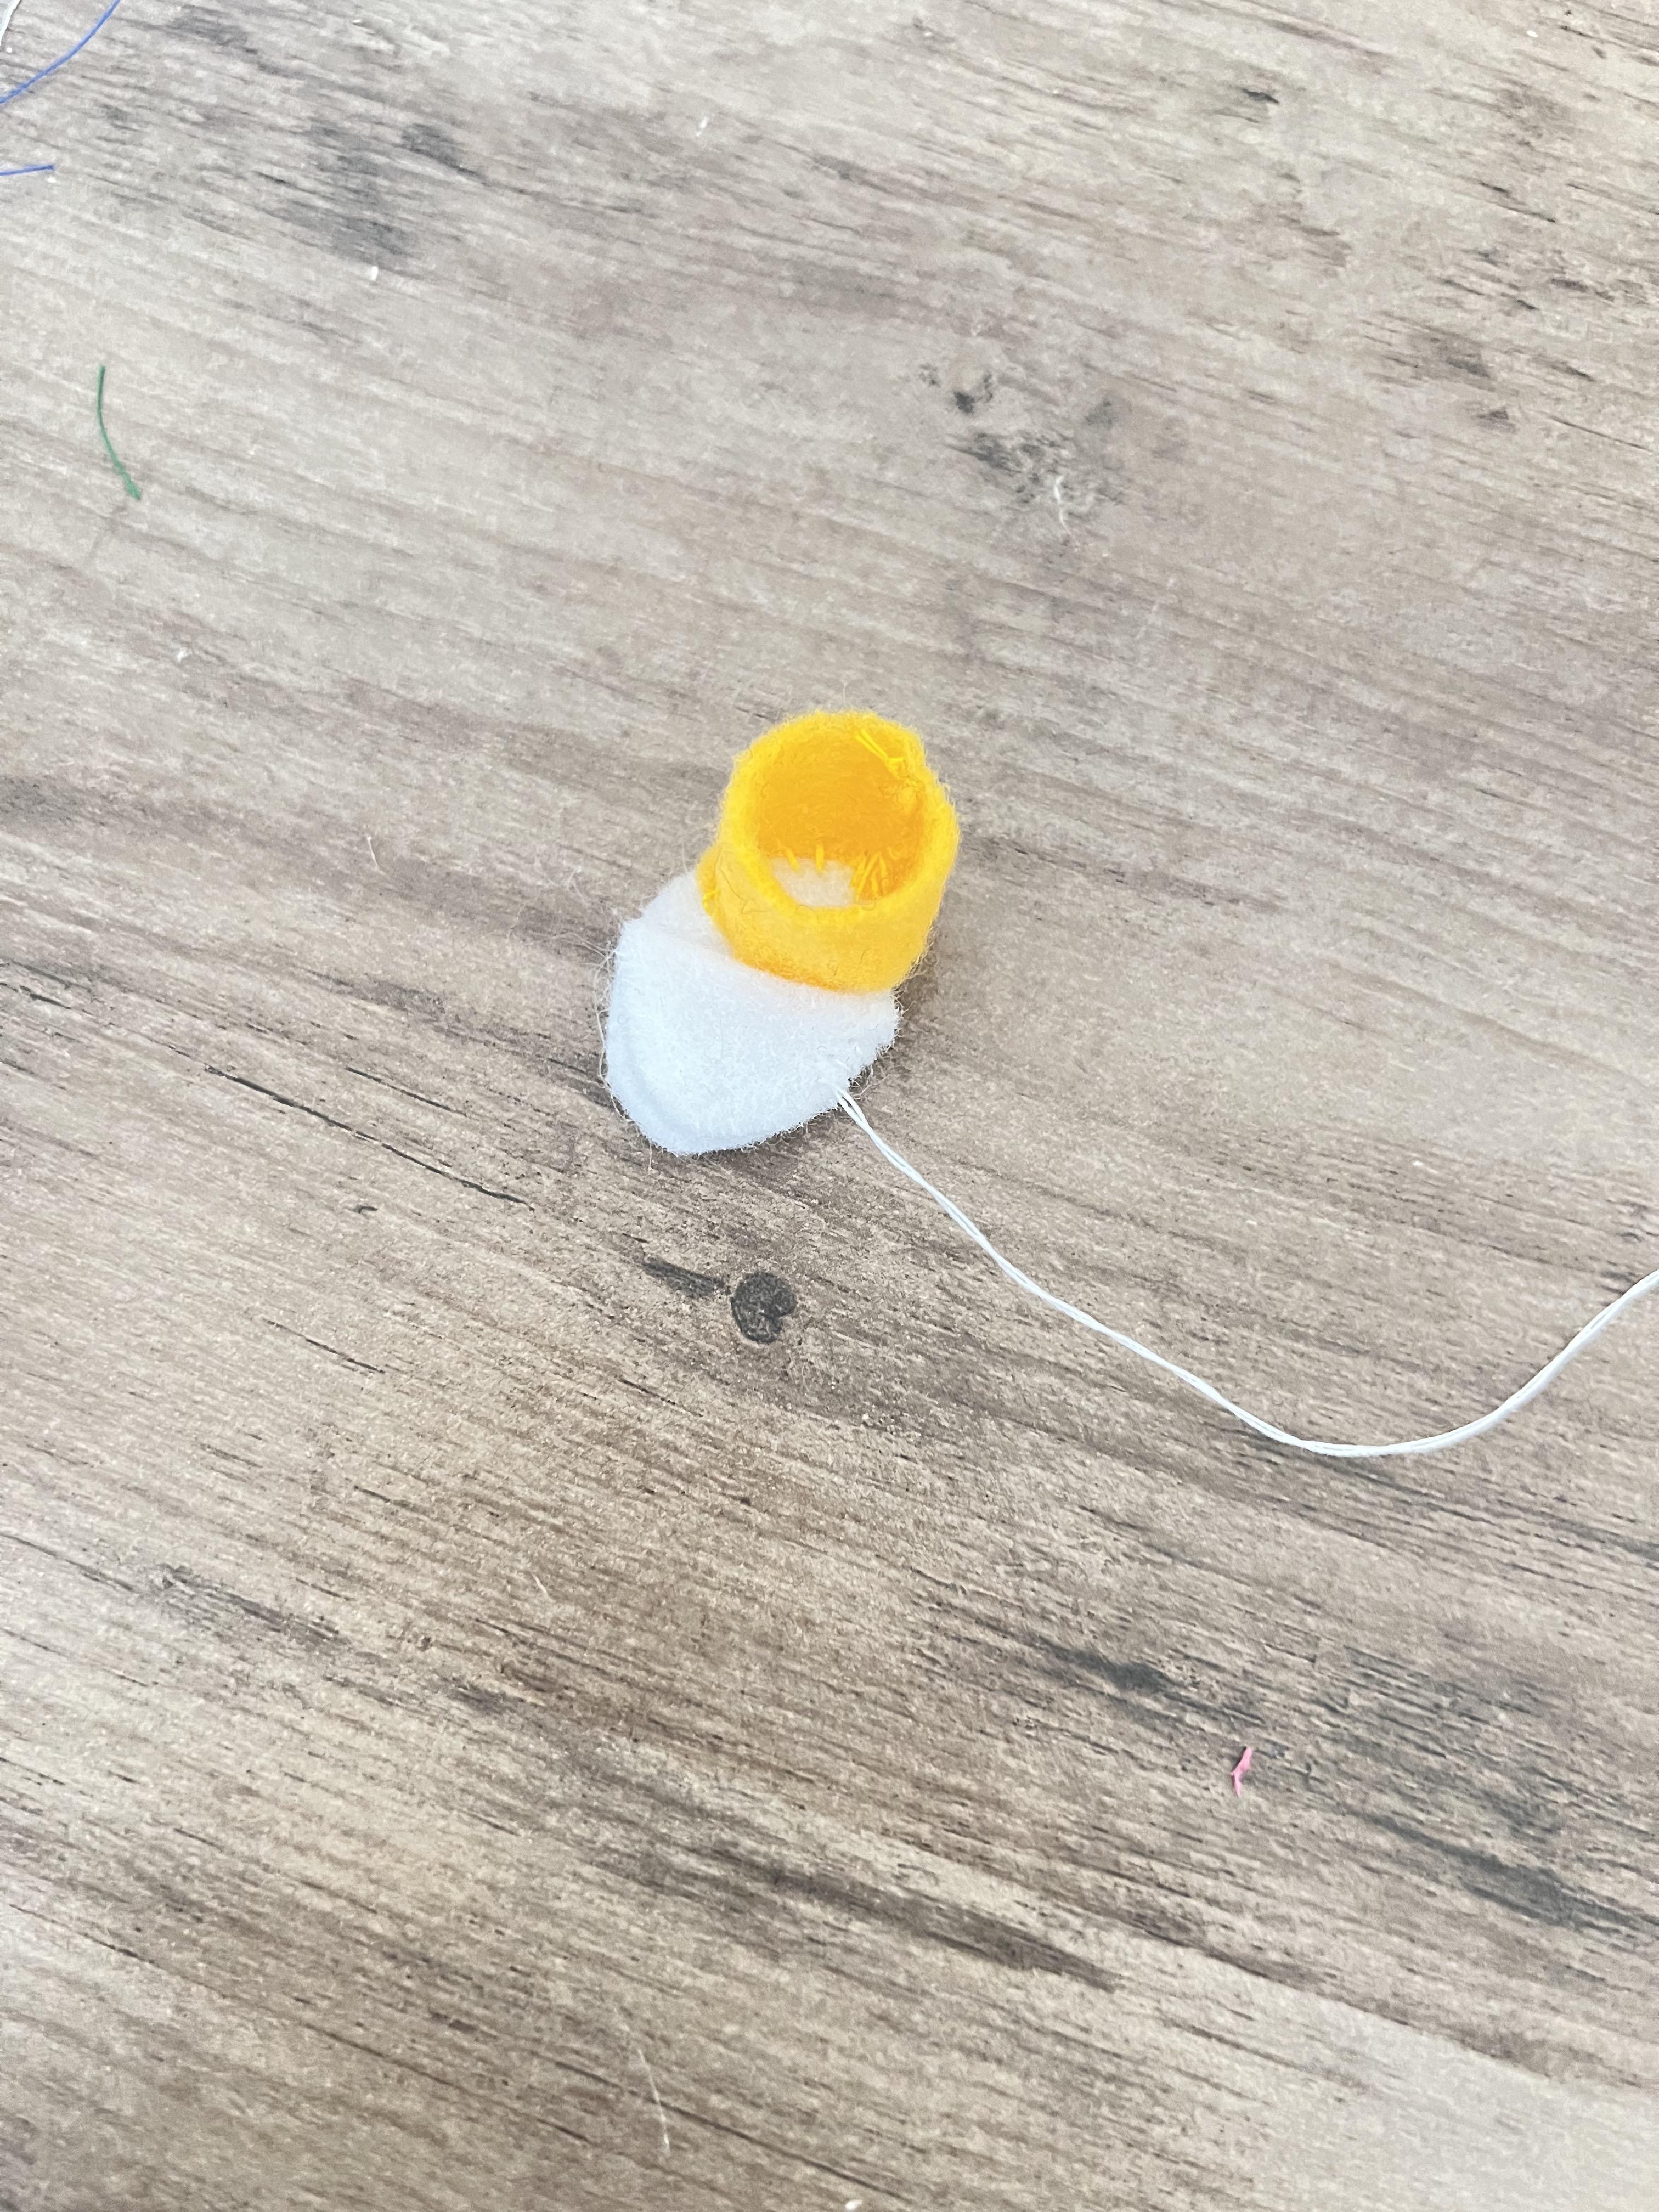

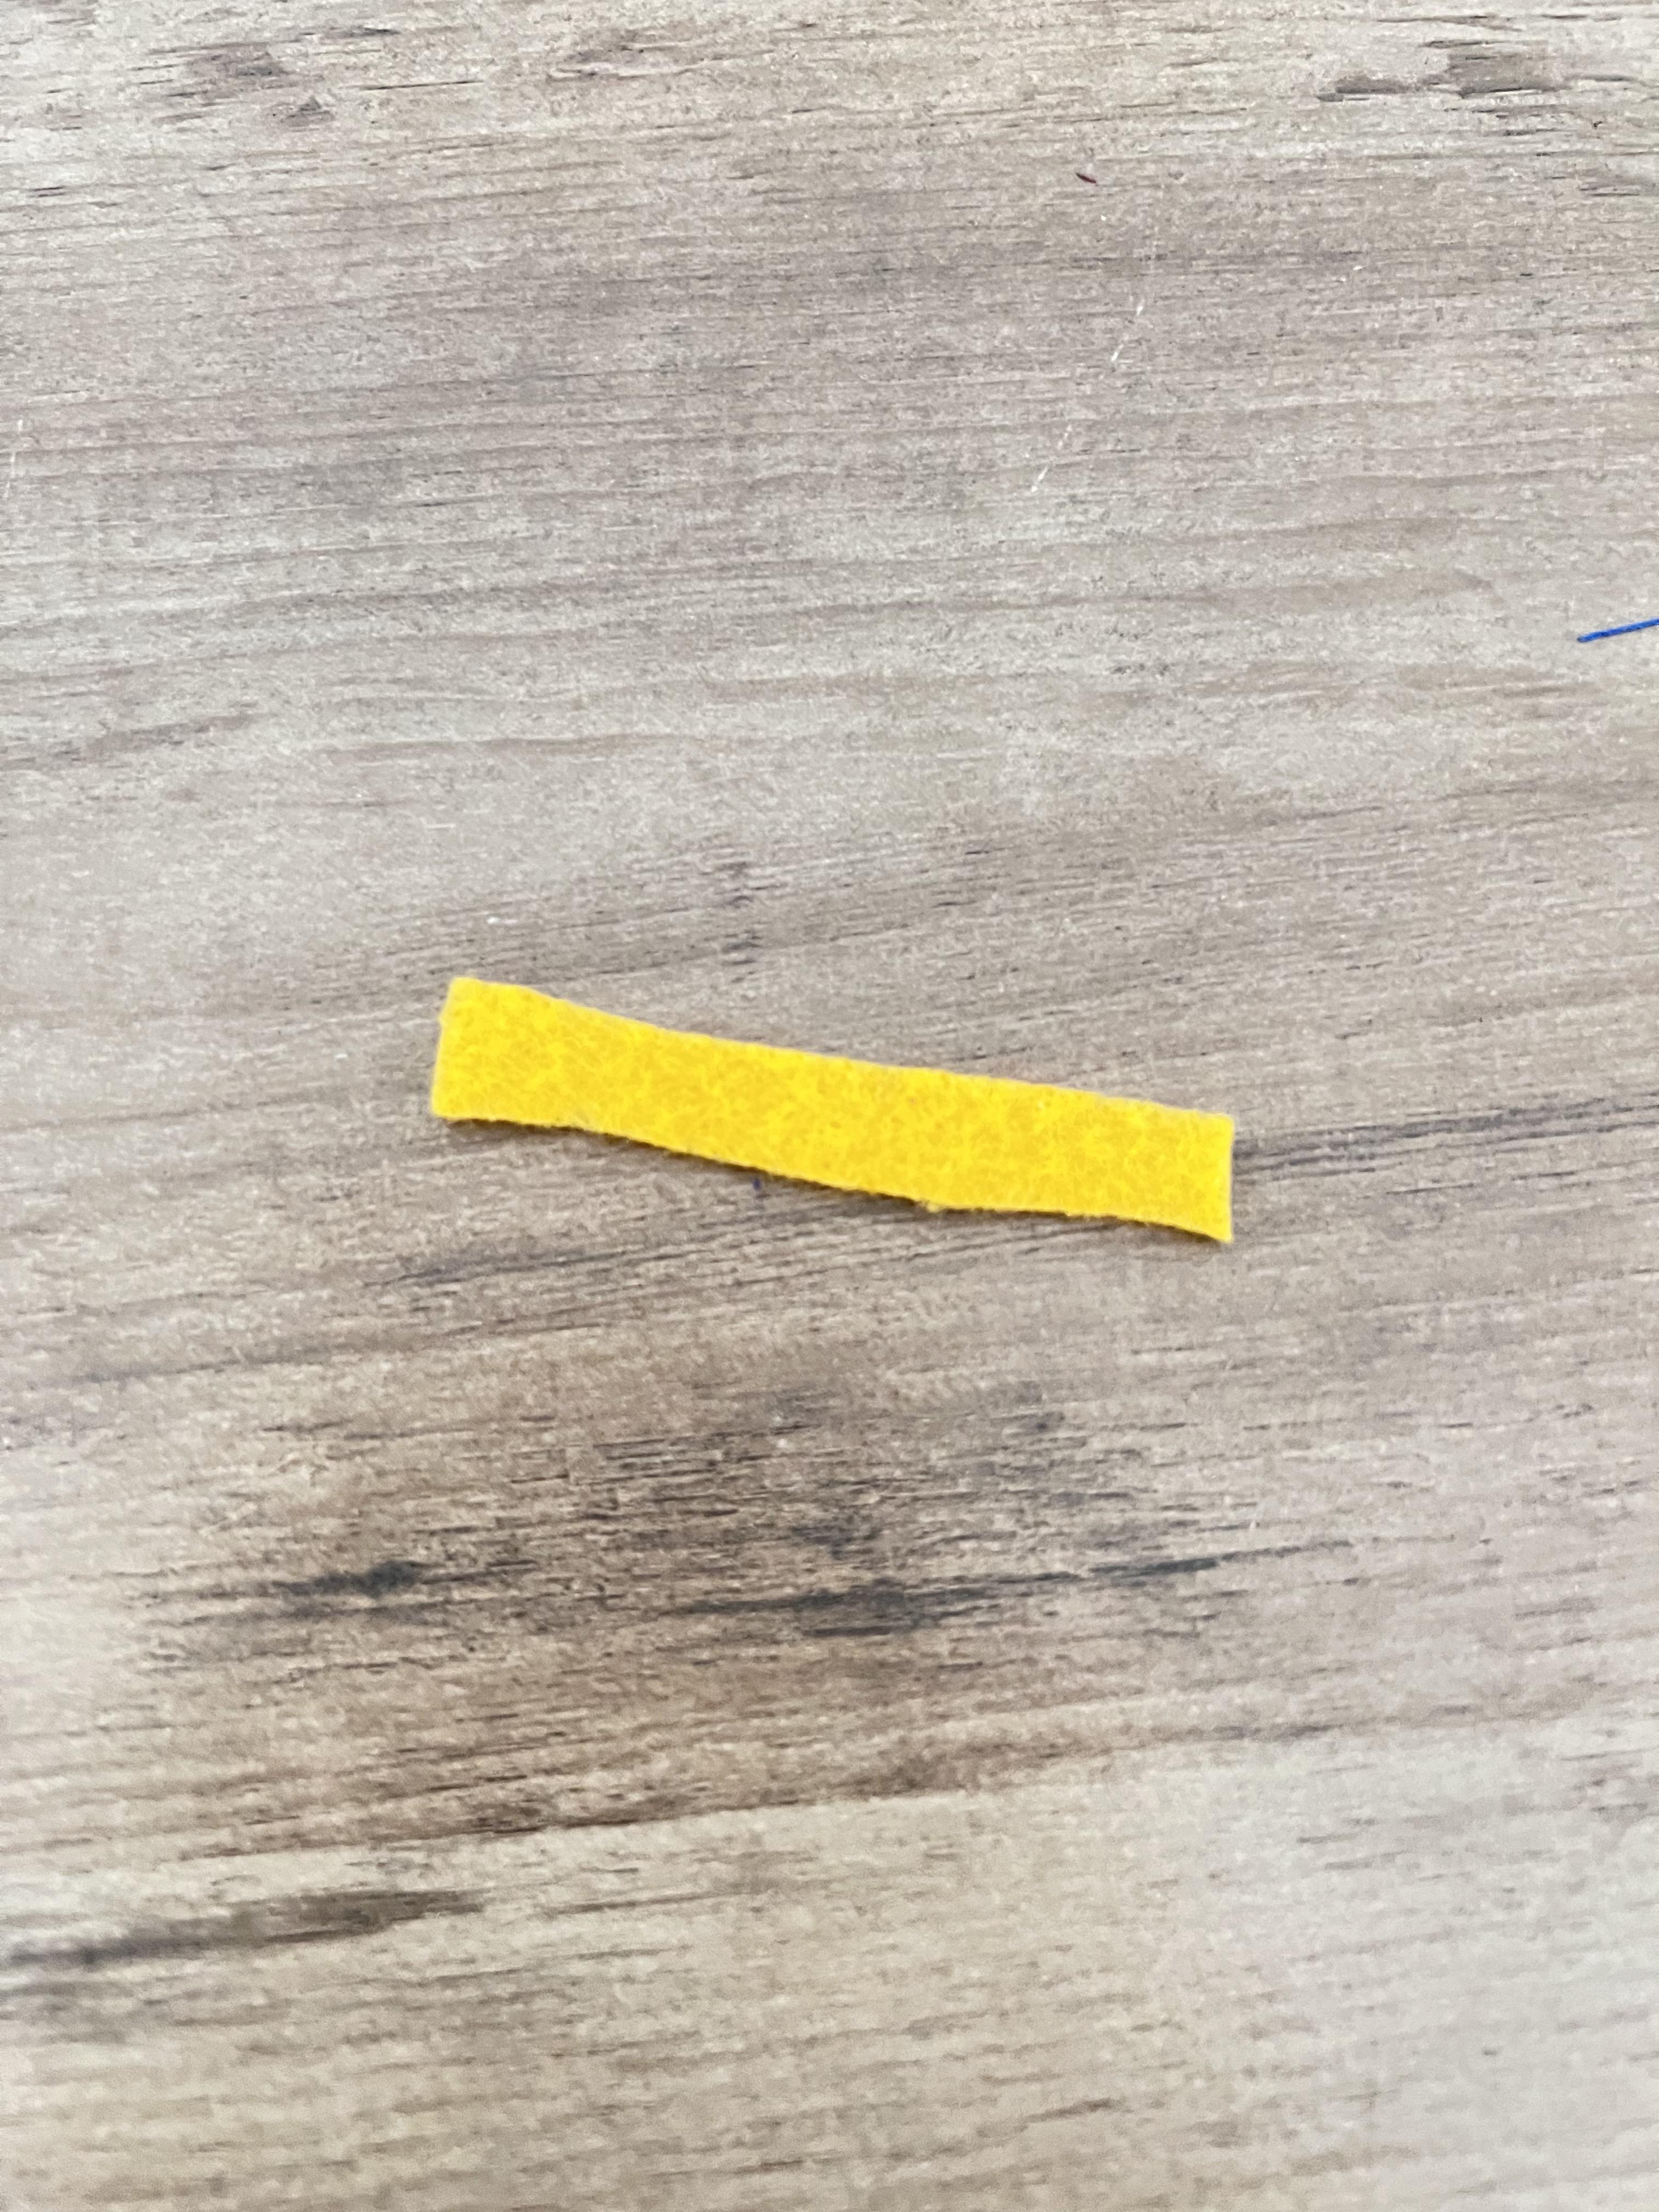





For Harold's jacket, cut two rectangles with a "V" in the middle of each one for arm holes. Sew up the back (picture 4), and open it out (picture 5). Cut two more rectangles for sleeves, and sew them in the "V" areas (picture 7-14). Flip the jacket inside out and make sure it fits him (there's nothing worse than when it doesn't). Flip it back inside out and sew the top of the shoulders. Then, flip it inside out for the last time. :D
Cut out two shapes like in picture 24 (one it for his collar piece). Sew the white rectangle to/under the jacket. Fold the collar in half (hot-dog style), and sew up the bottom of it. Sew this to the white rectangle and jacket.
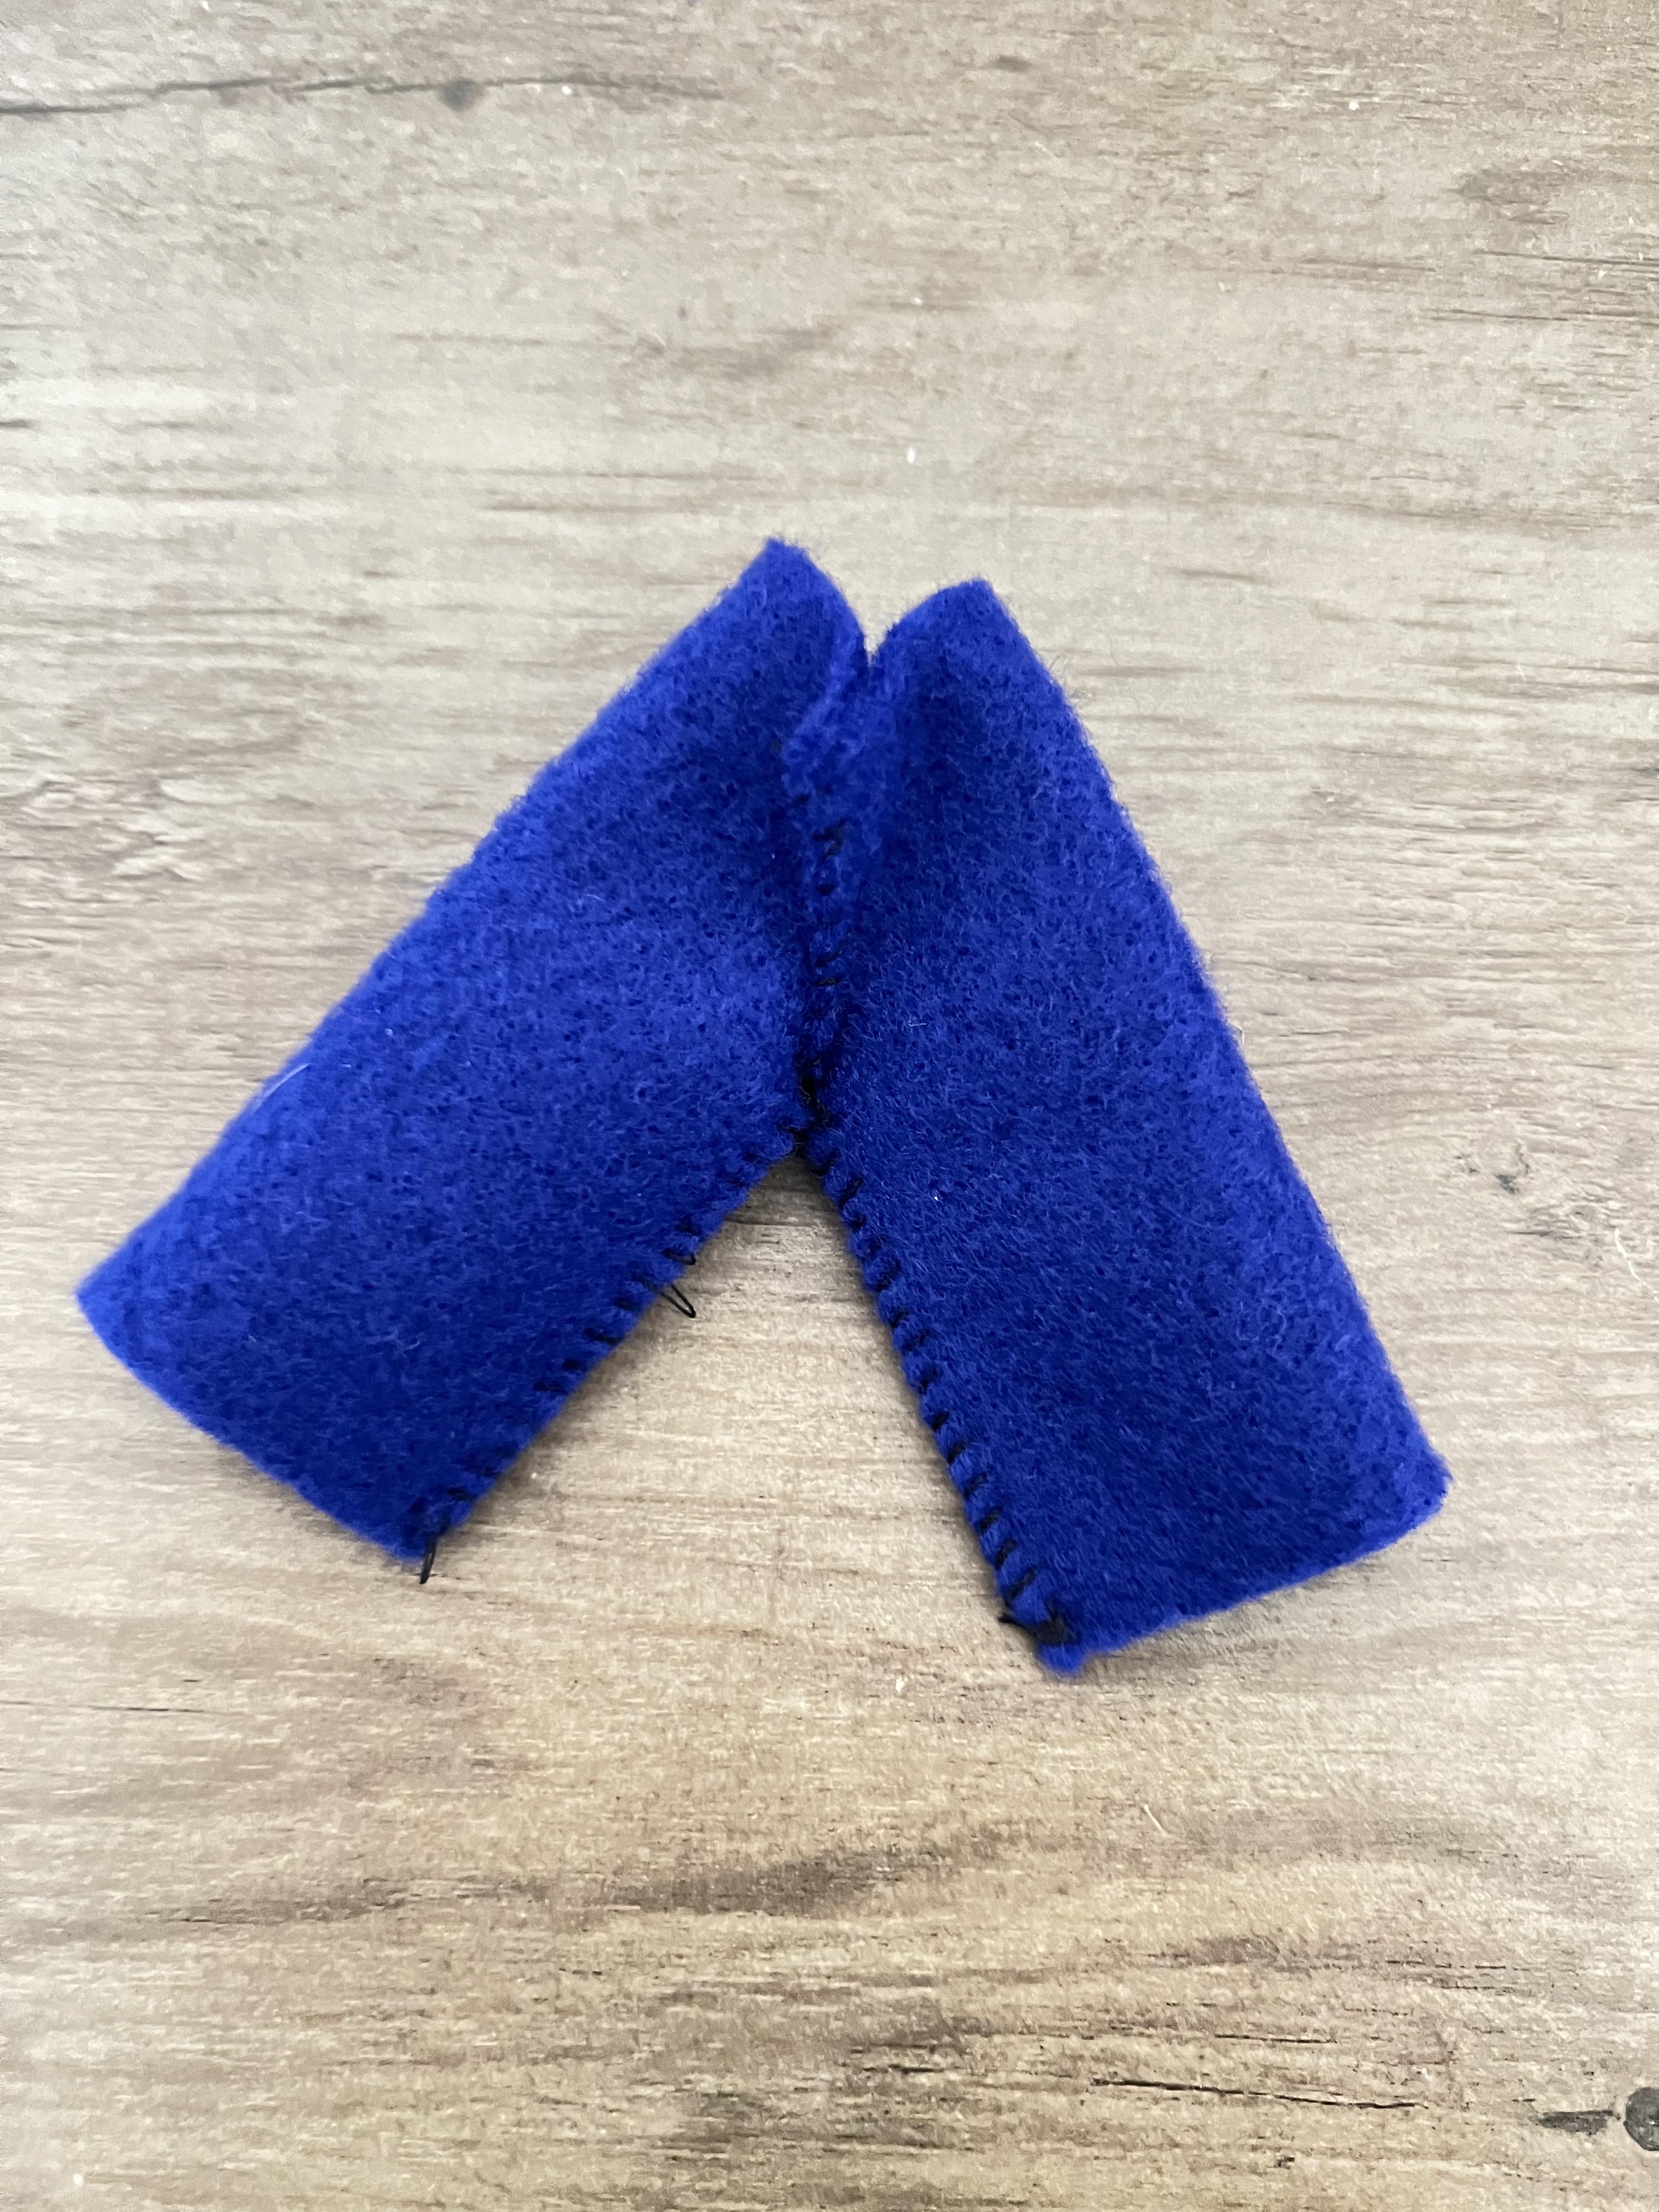
By this point, you should be a pant expert. Cut two rectangles with a "J" on each side. Sew both "J"s. Fold the pants to form legs and sew the "V" along the legs.
I felted the Harold's hair at the end.
Following the same method that you did for Bill, sew Harold's shoes. Fold a yellow strip in half and sew up one side. Attach the yellow tube to the shoe base (a white oval) and stitch around the bottom. Sew the toe onto the end of each shoe.
Conclusion

Well everyone, thank you for viewing this instructable. I had quite the time making these dolls. This project took over 300 pictures and more than two weeks (that's plus my procrastination) to make.
(I really like all the characters from the show, but my all-time favorites are Rudy, Dumb Donald, and Russell)
Note:
I made these for decorative purposes, so I sewed their hats/shoes to them. If you wanted to be able to dress and undress them, you will not want to do that.
Acknowledgements:
Shoutout to my sister Hanako2007, for helping me type this instructable.
And thanks to my mom and dad for encouraging me to actually do and finish this project.