Sewing a Hoodie

For this project you will need:
- 2.5m of cotton jersey knit or polar fleece
- Sewing machine
- Thread (for spool and bobbin)
- 30 A4 pieces of paper
- A printer
- A computer
- Tape
- Fabric scissors
- Chalk pen
- Clips (optional)
- Transfer paper (optional)
- Iron (optional)
Print Pattern

- Go to the website: https://www.moodfabrics.com/blog/the-boxwood-hoodi... and follow the instruction to print out the pattern.
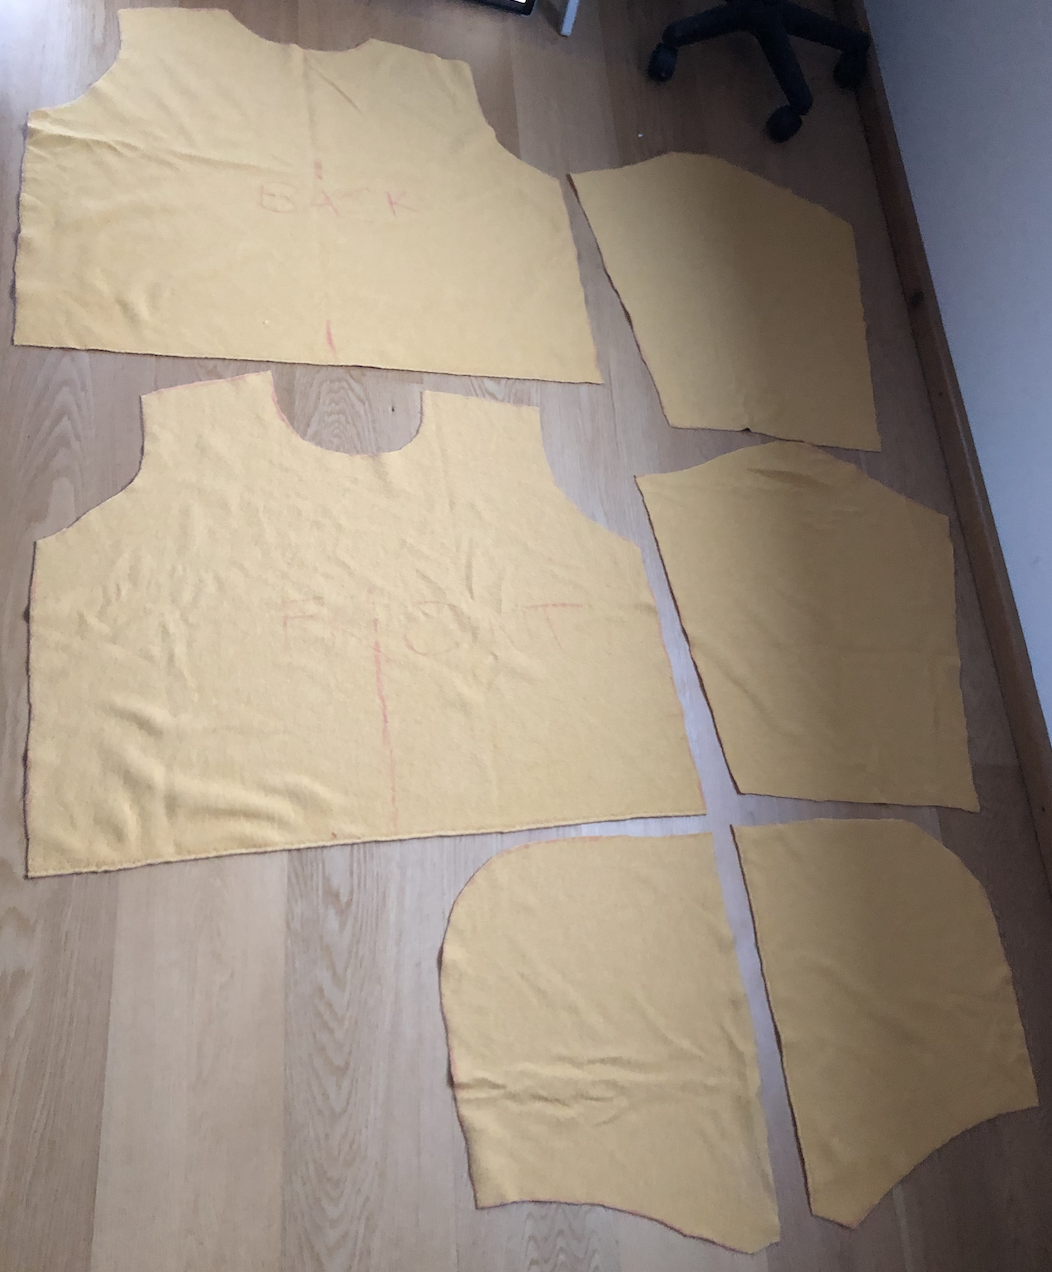
- Take the pattern and lay the paper on the floor like on the image above.
Taping and Cutting the Pattern

- Tape the paper together on the connecting sides.
- Used scissors to cut on the black outline, on the size that you want the hoodie to be later.
Cutting the Fabric

- Take the fabric and place it spread out on the floor.
- Place the pattern on top of it and trace it with the chalk pen.
- Traced all pieces use the fabric scissors to cut each piece out.
- Remember to look at the pattern closely for the reason that some pieces are needed twice, or the fabric needs to be folded.
Get the Sewing Machine Ready

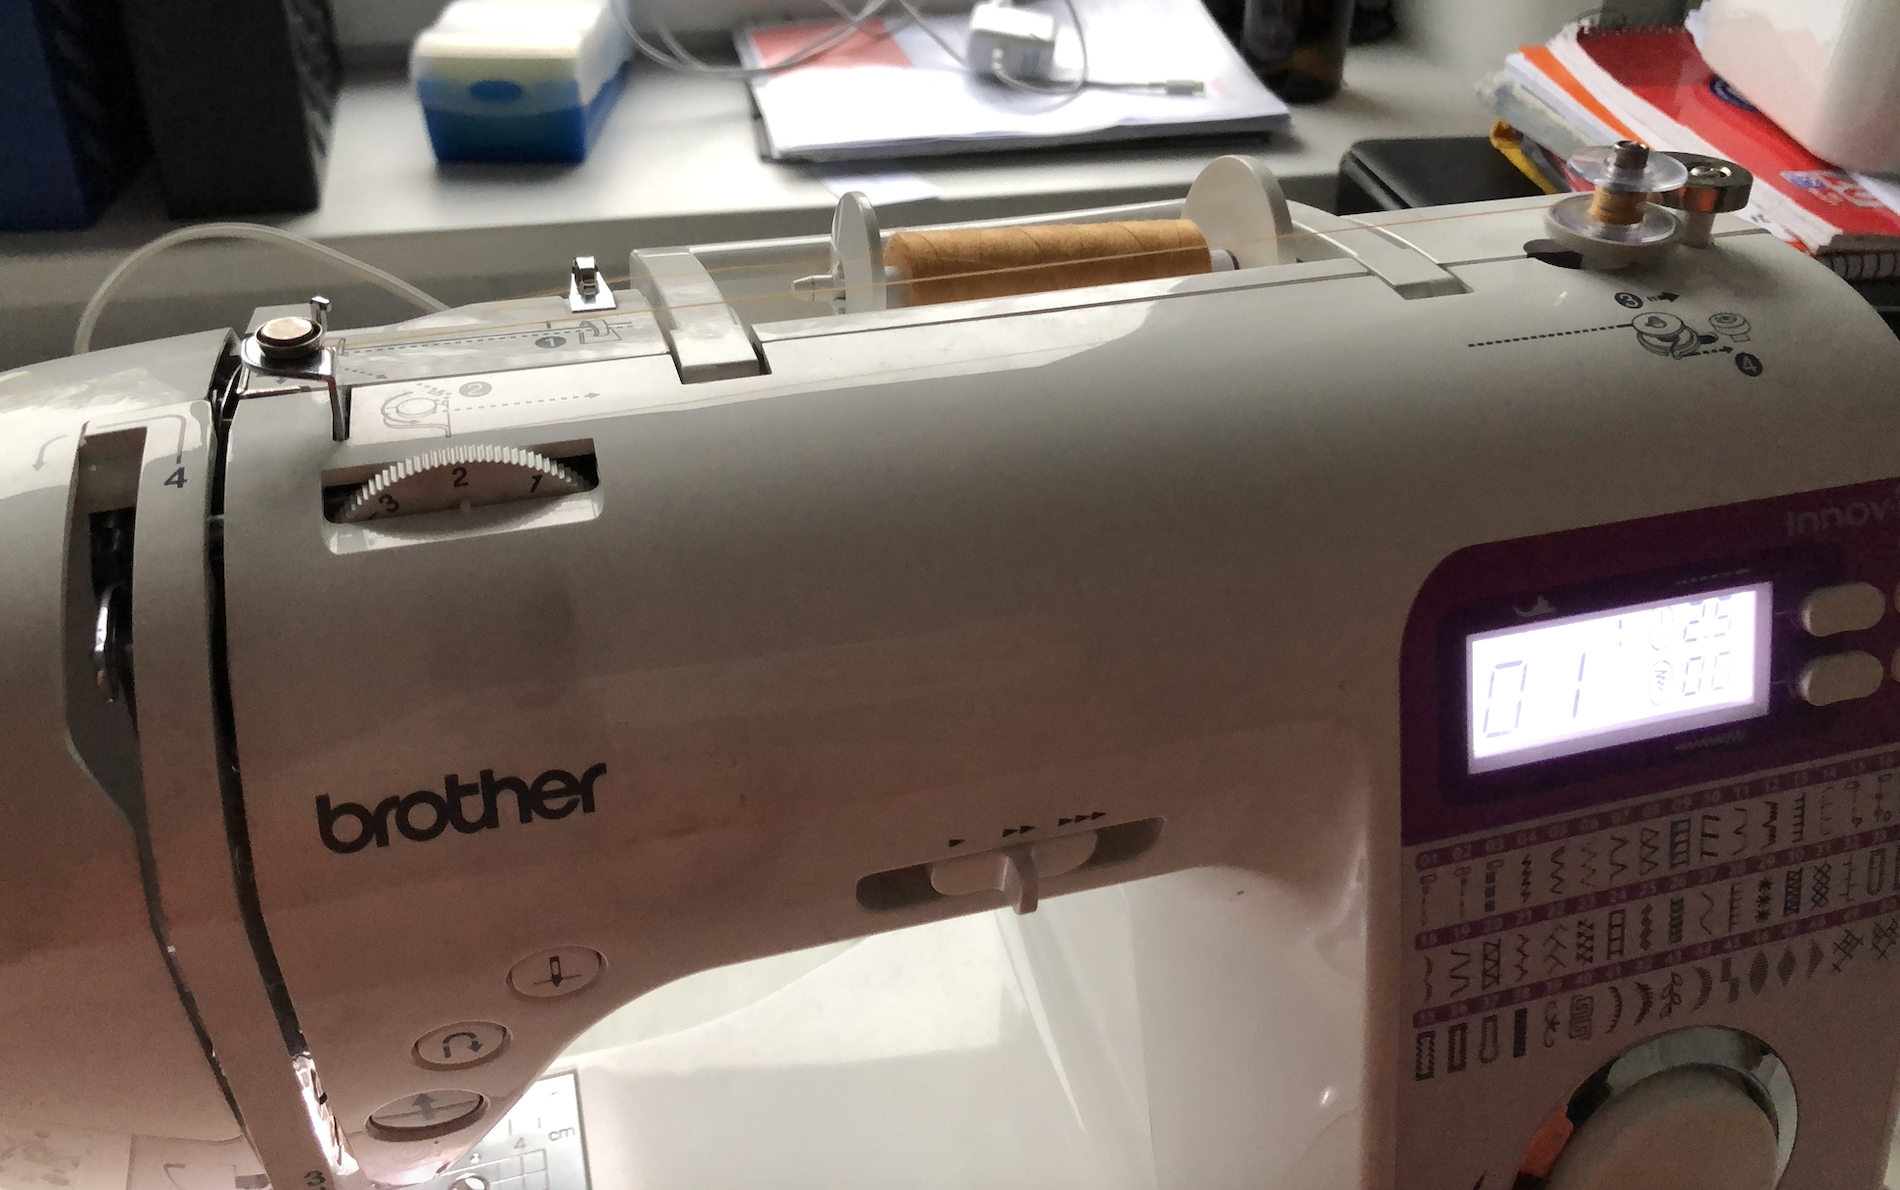
- Plug in the sewing machine and thread in you spool thread and the bobbin.
- Set your sewing machine to a straight stitch.
Sewing the Front and Back Together

- Take the front and back pieces of the hoody and sew it together at the shoulders and sides underneath the arm holes.
Sew the Sleeves

- Take one of the sleeves and fold them so you have the long sides together.
- Sew the sides together.
- Remember to make sure that you sew the sleeves together with the nice sides touching.
Attaching the Sleeve

- Place the sleeve into the arm hole so that the nice sides are touching in the inside.
- Clip the sleeve to the arm hole to make sure it fits accurately, if not then adjust the size of the sleeve.
- Sew around the arm hole where you places the clips.
- Remember to make sure that you are only two layers of fabric and not the other side of the sleeve.
Hemming the Sleeves

- Take the end of the sleeves and fold them over twice.
- Take the sewing machine and sew around the sleeve with at least 2 cm of the edge.
Second Sleeve

Repeat step 6 to 8 for the other sleeve.
Sew the Hood Together

- Take the two fabric pieces for the hood.
- Place them together with the nice sides facing each other.
- Sew around the hood where the clips are on the image above.
Sew the Edge of Hood

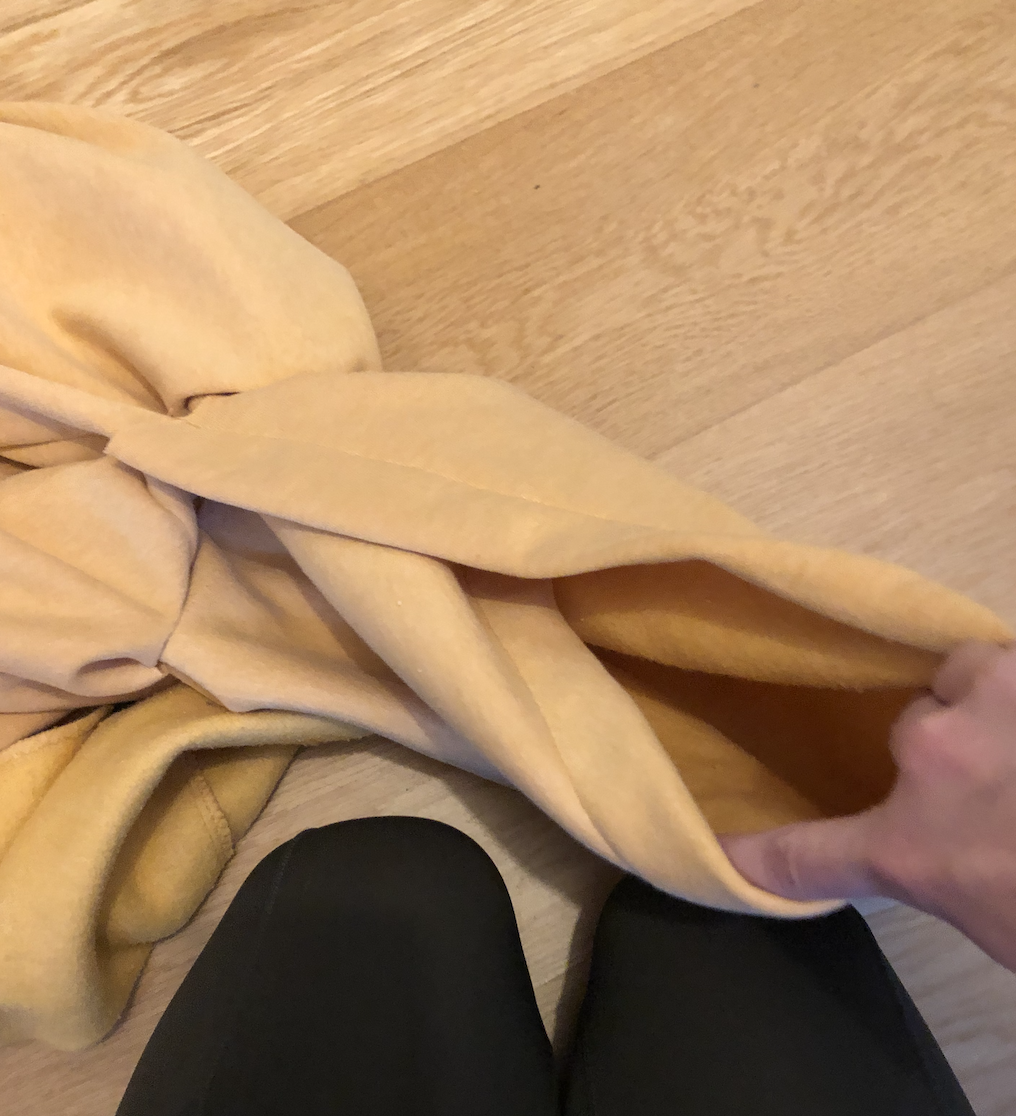
- Take the hood the wrong way around and fold about 3 cm from the inside to the outside like on the image above.
- Sew along the edge with about 2 cm distance to the fold.
Attaching the Hood

- Have the main body part flipped so the good side of the fabric is on the outside.
- Take the hood flipped the right way around and wrap it around the neckline (like on the image above).
- Use clips to secure the hood.
- When you flip the hood downward you have easier access to the seam.
- Sew along the clips with a sewing machine.
Overlock the Fabric

- Cut off any access fabric and thread with the fabric scissors.
- Use an overlocking stitch to overlock the fabric on the outside of every seam.
Customising the Hoodie (optional)

- If you want a unique hoody you can use transfer paper to print any design onto your hoodie. You can simply do this by printing a design on the transfer paper and then ironing the design onto the hoodie.
- Remember to read the instructions for your transfer paper because the instructions might vary.