Sewing the Whip Stitch

A whip stitch is an easy way to sew a seam fast. The way you sew a whip stitch encases the seam allowance in the stitching, so it can be used in conjunction with backstitching for an extra secure seam.
This stitch is another example of an overcast stitch, much like the blanket stitch from the previous lesson.
A whip stitch is often used to sew felt because it allows for nice flat seams. It's also used to join flat panels when knitting since it's almost invisible that way.
You can also use a closely spaced whip stitch to finish the edges of patches!
Tools and Materials
For this lesson, you will need:
- An embroidery needle
- Embroidery floss
- Felt
- Scissors
Sewing the Whip Stitch

Thread a needle and knot your thread. Because the whip stitch ends up angled, you'll want to start pretty close to the edge of your felt if you're sewing straight across!


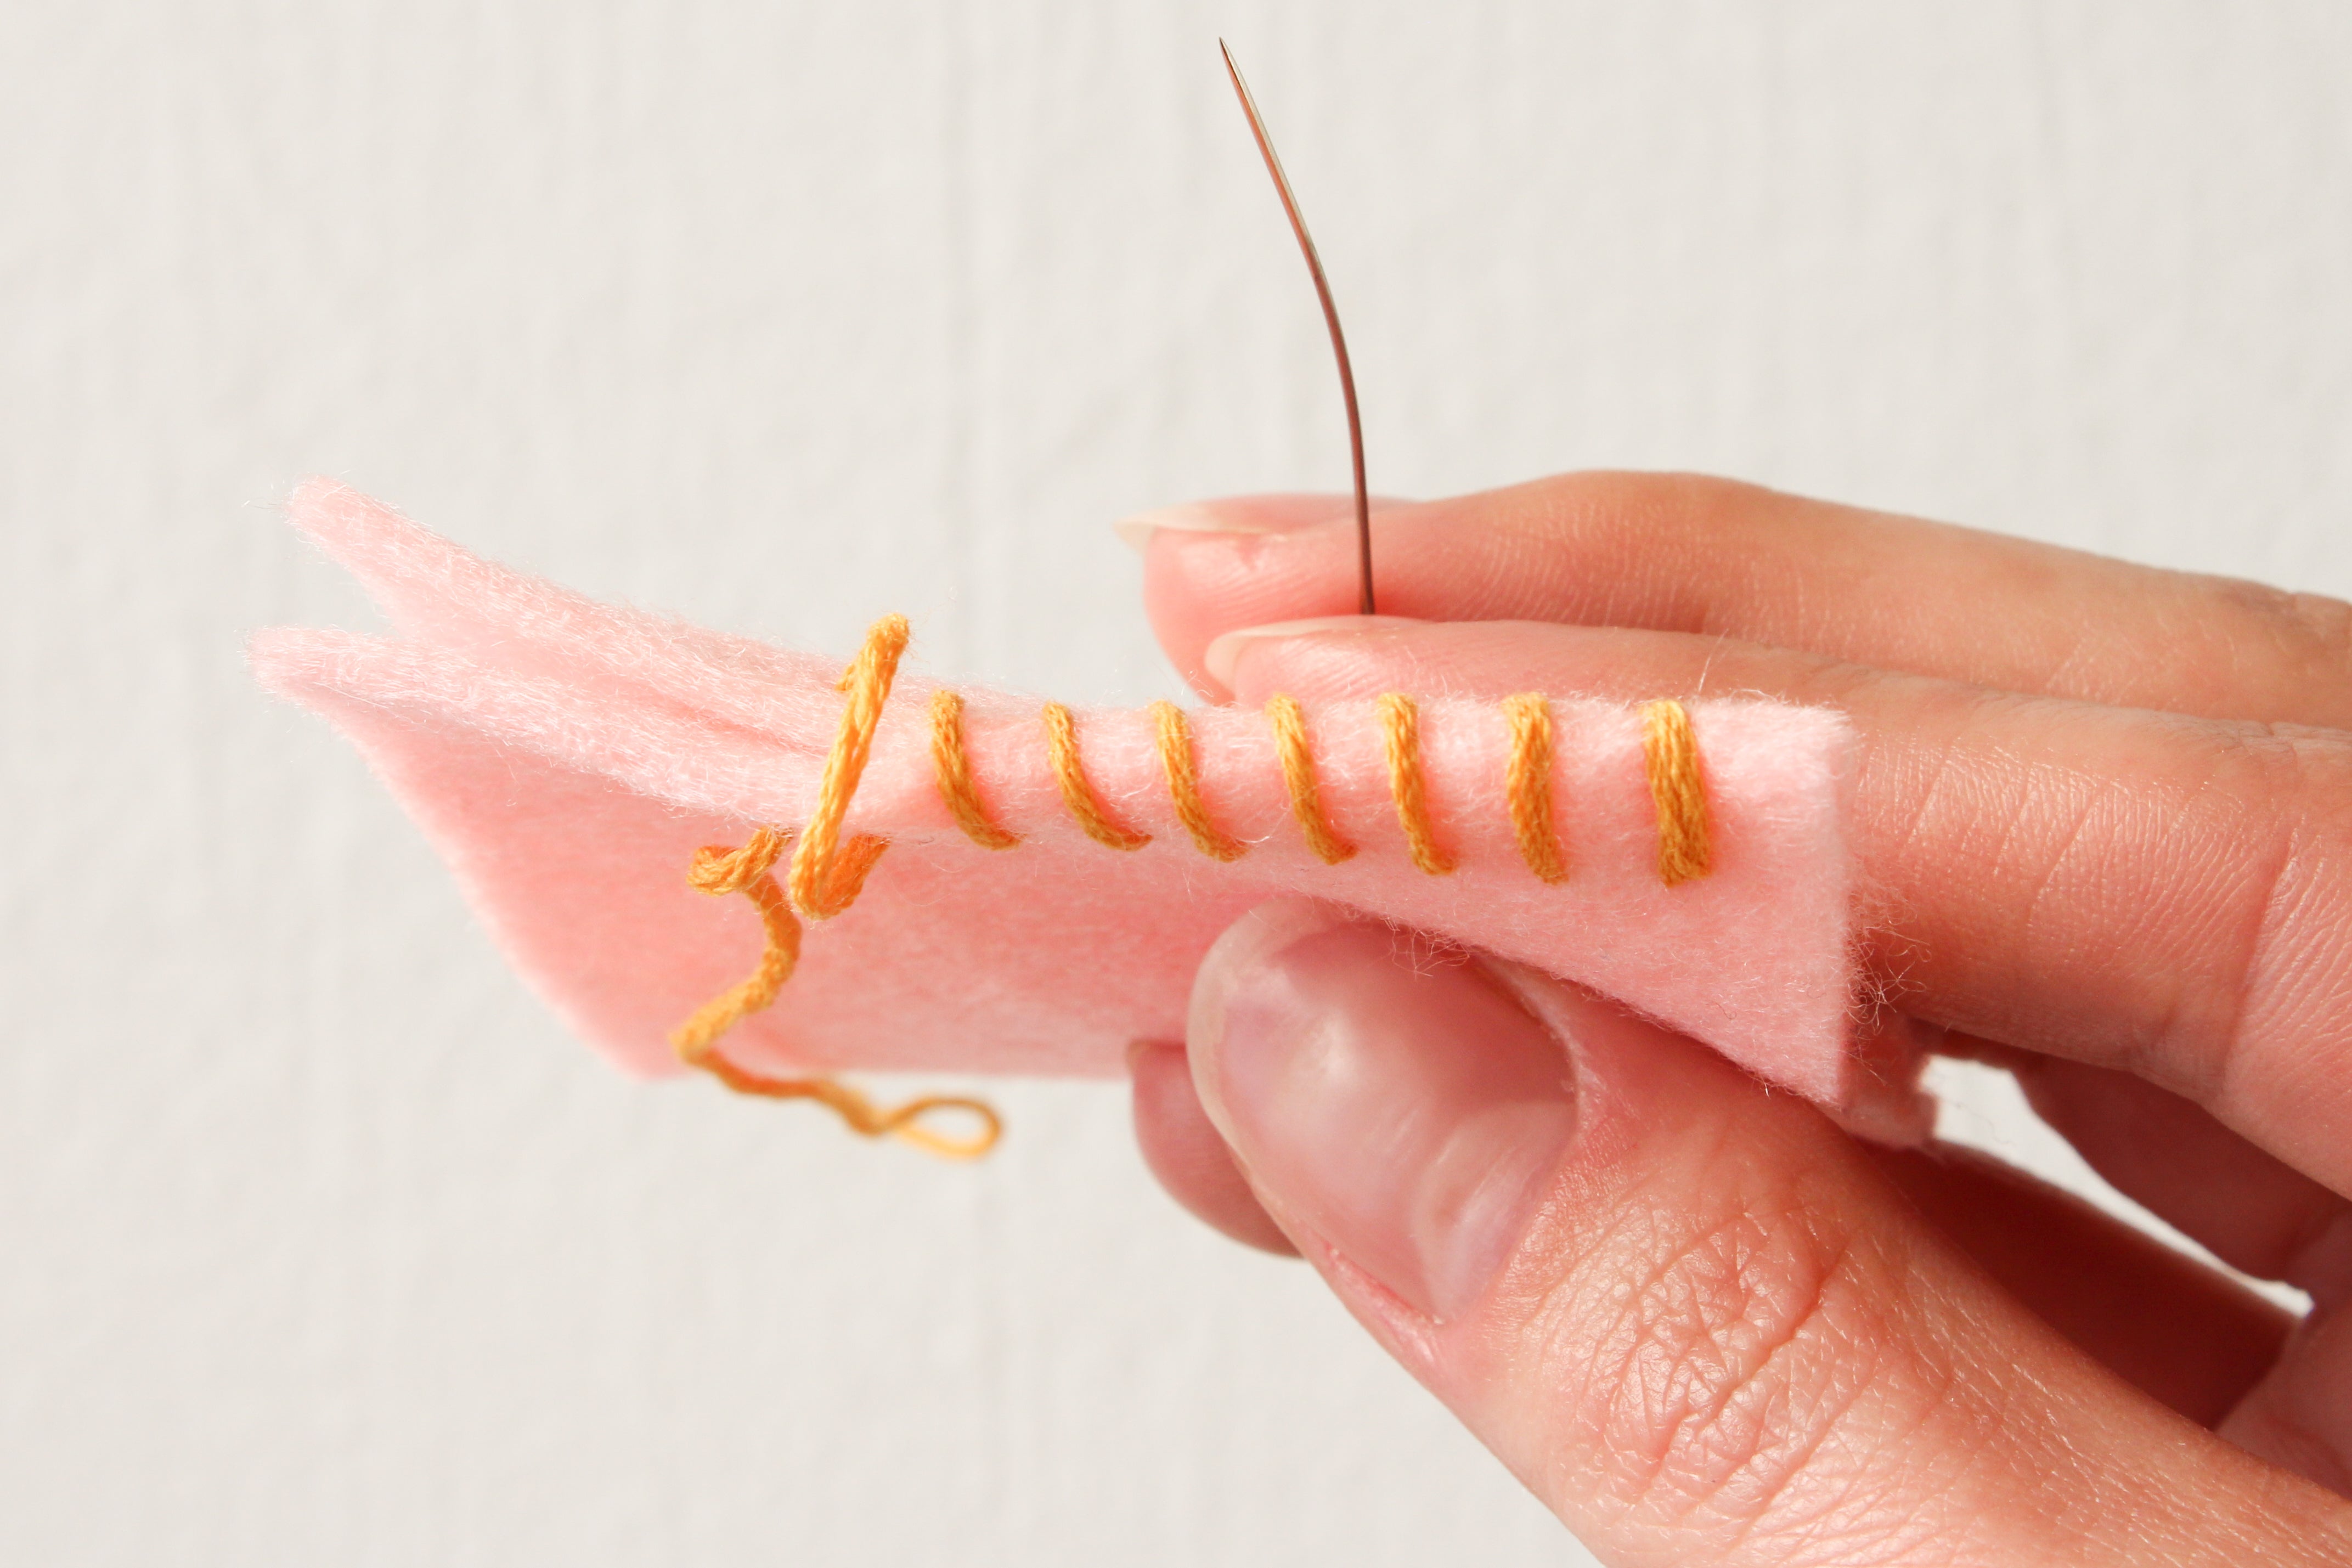
Start by pushing your needle through one piece of felt so the knot is sandwiched between the two pieces. Bring the needle over the top of the seam and back through both pieces of felt so the needle is coming out right under the original stitch.

Now, make an angled stitch with the needle. Push the needle through the back of the first stitch and out the front of the felt 1/8-1/4th an inch away from the first stitch.


Pull the needle through and a loop will form! This loop will cover the first stitch.


For the next stitch, copy the first! Insert the needle from back to front at an angle. You want insert the needle right behind the stitch on the front, and angle it so the tip of the needle should come out 1/8-1/4th inch away from the last stitch on the front side.

Keep on stitching until you get to the end!


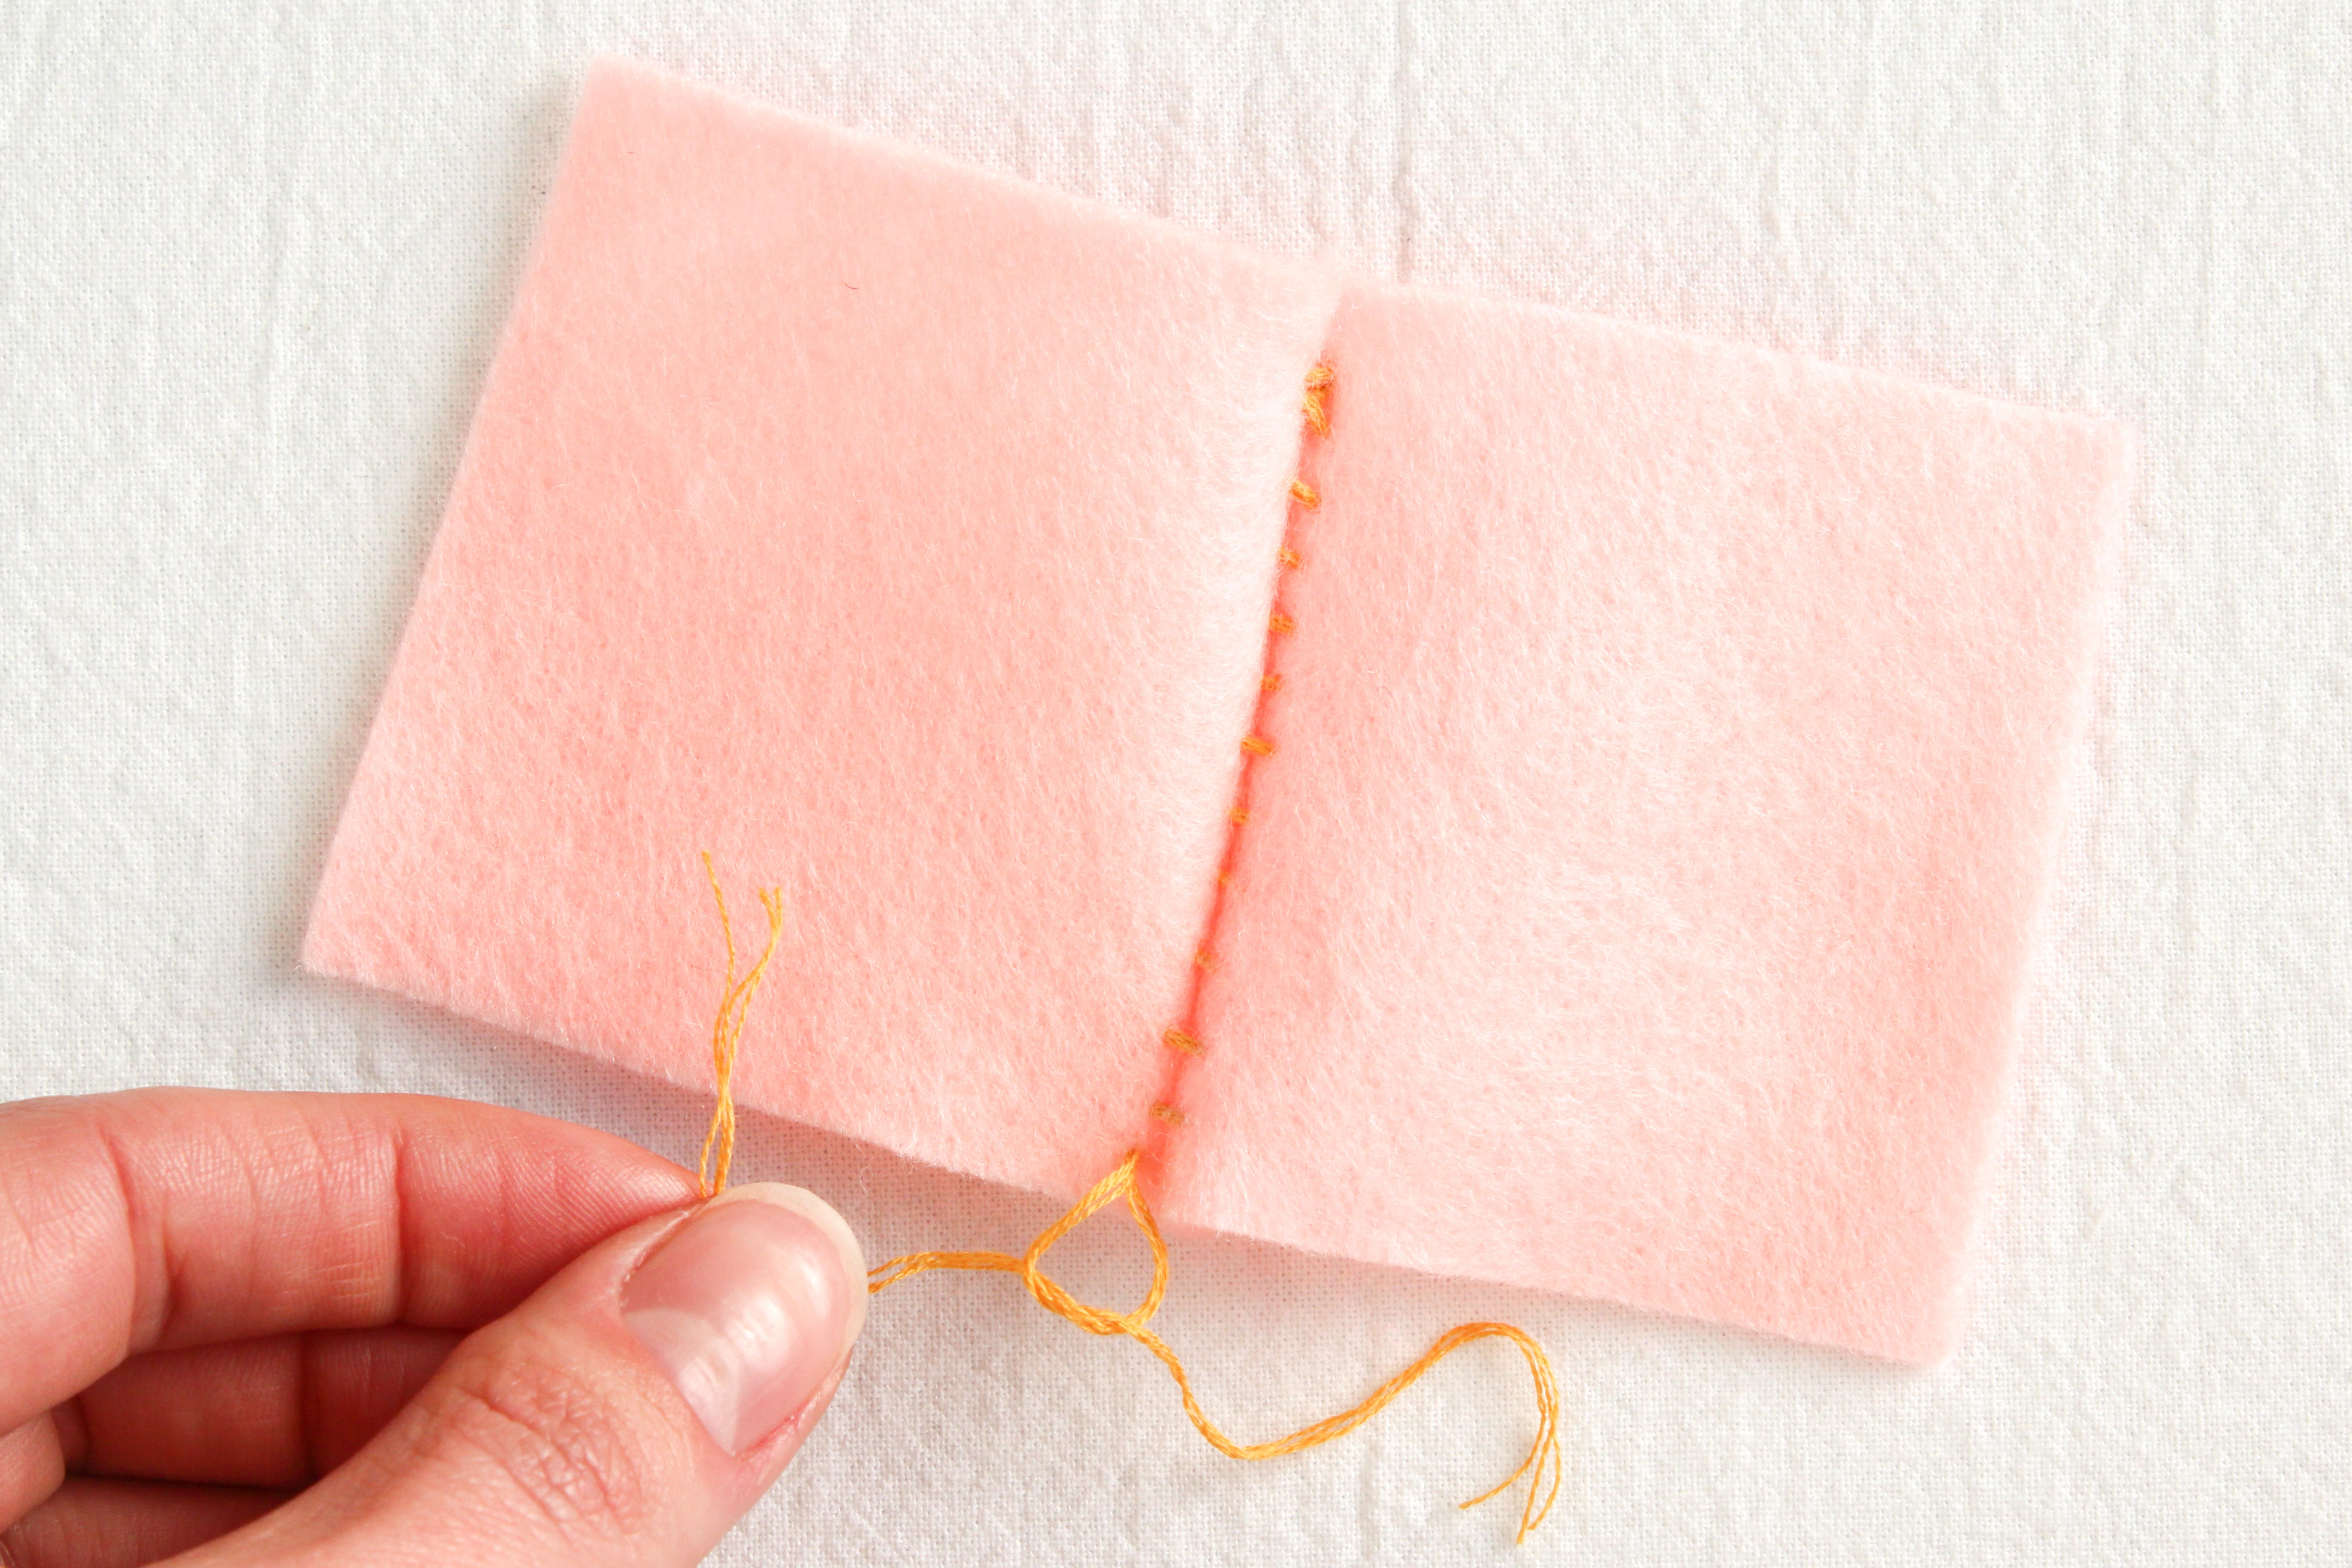
At the end, if you're near an edge, you can pass the needle between the pieces of felt as shown.


If you can, open the felt and split the floss to tie a knot. If you can't open the felt, follow the directions below to tie a knot!


Complete the last stitch and make sure the tip of the needle comes out between your two pieces of felt. Tighten this stitch down.


Separate the strands of floss and make a few knots. Tighten each knot down until it disappears between the two layers of felt. Trim the ends as close as you can get them!

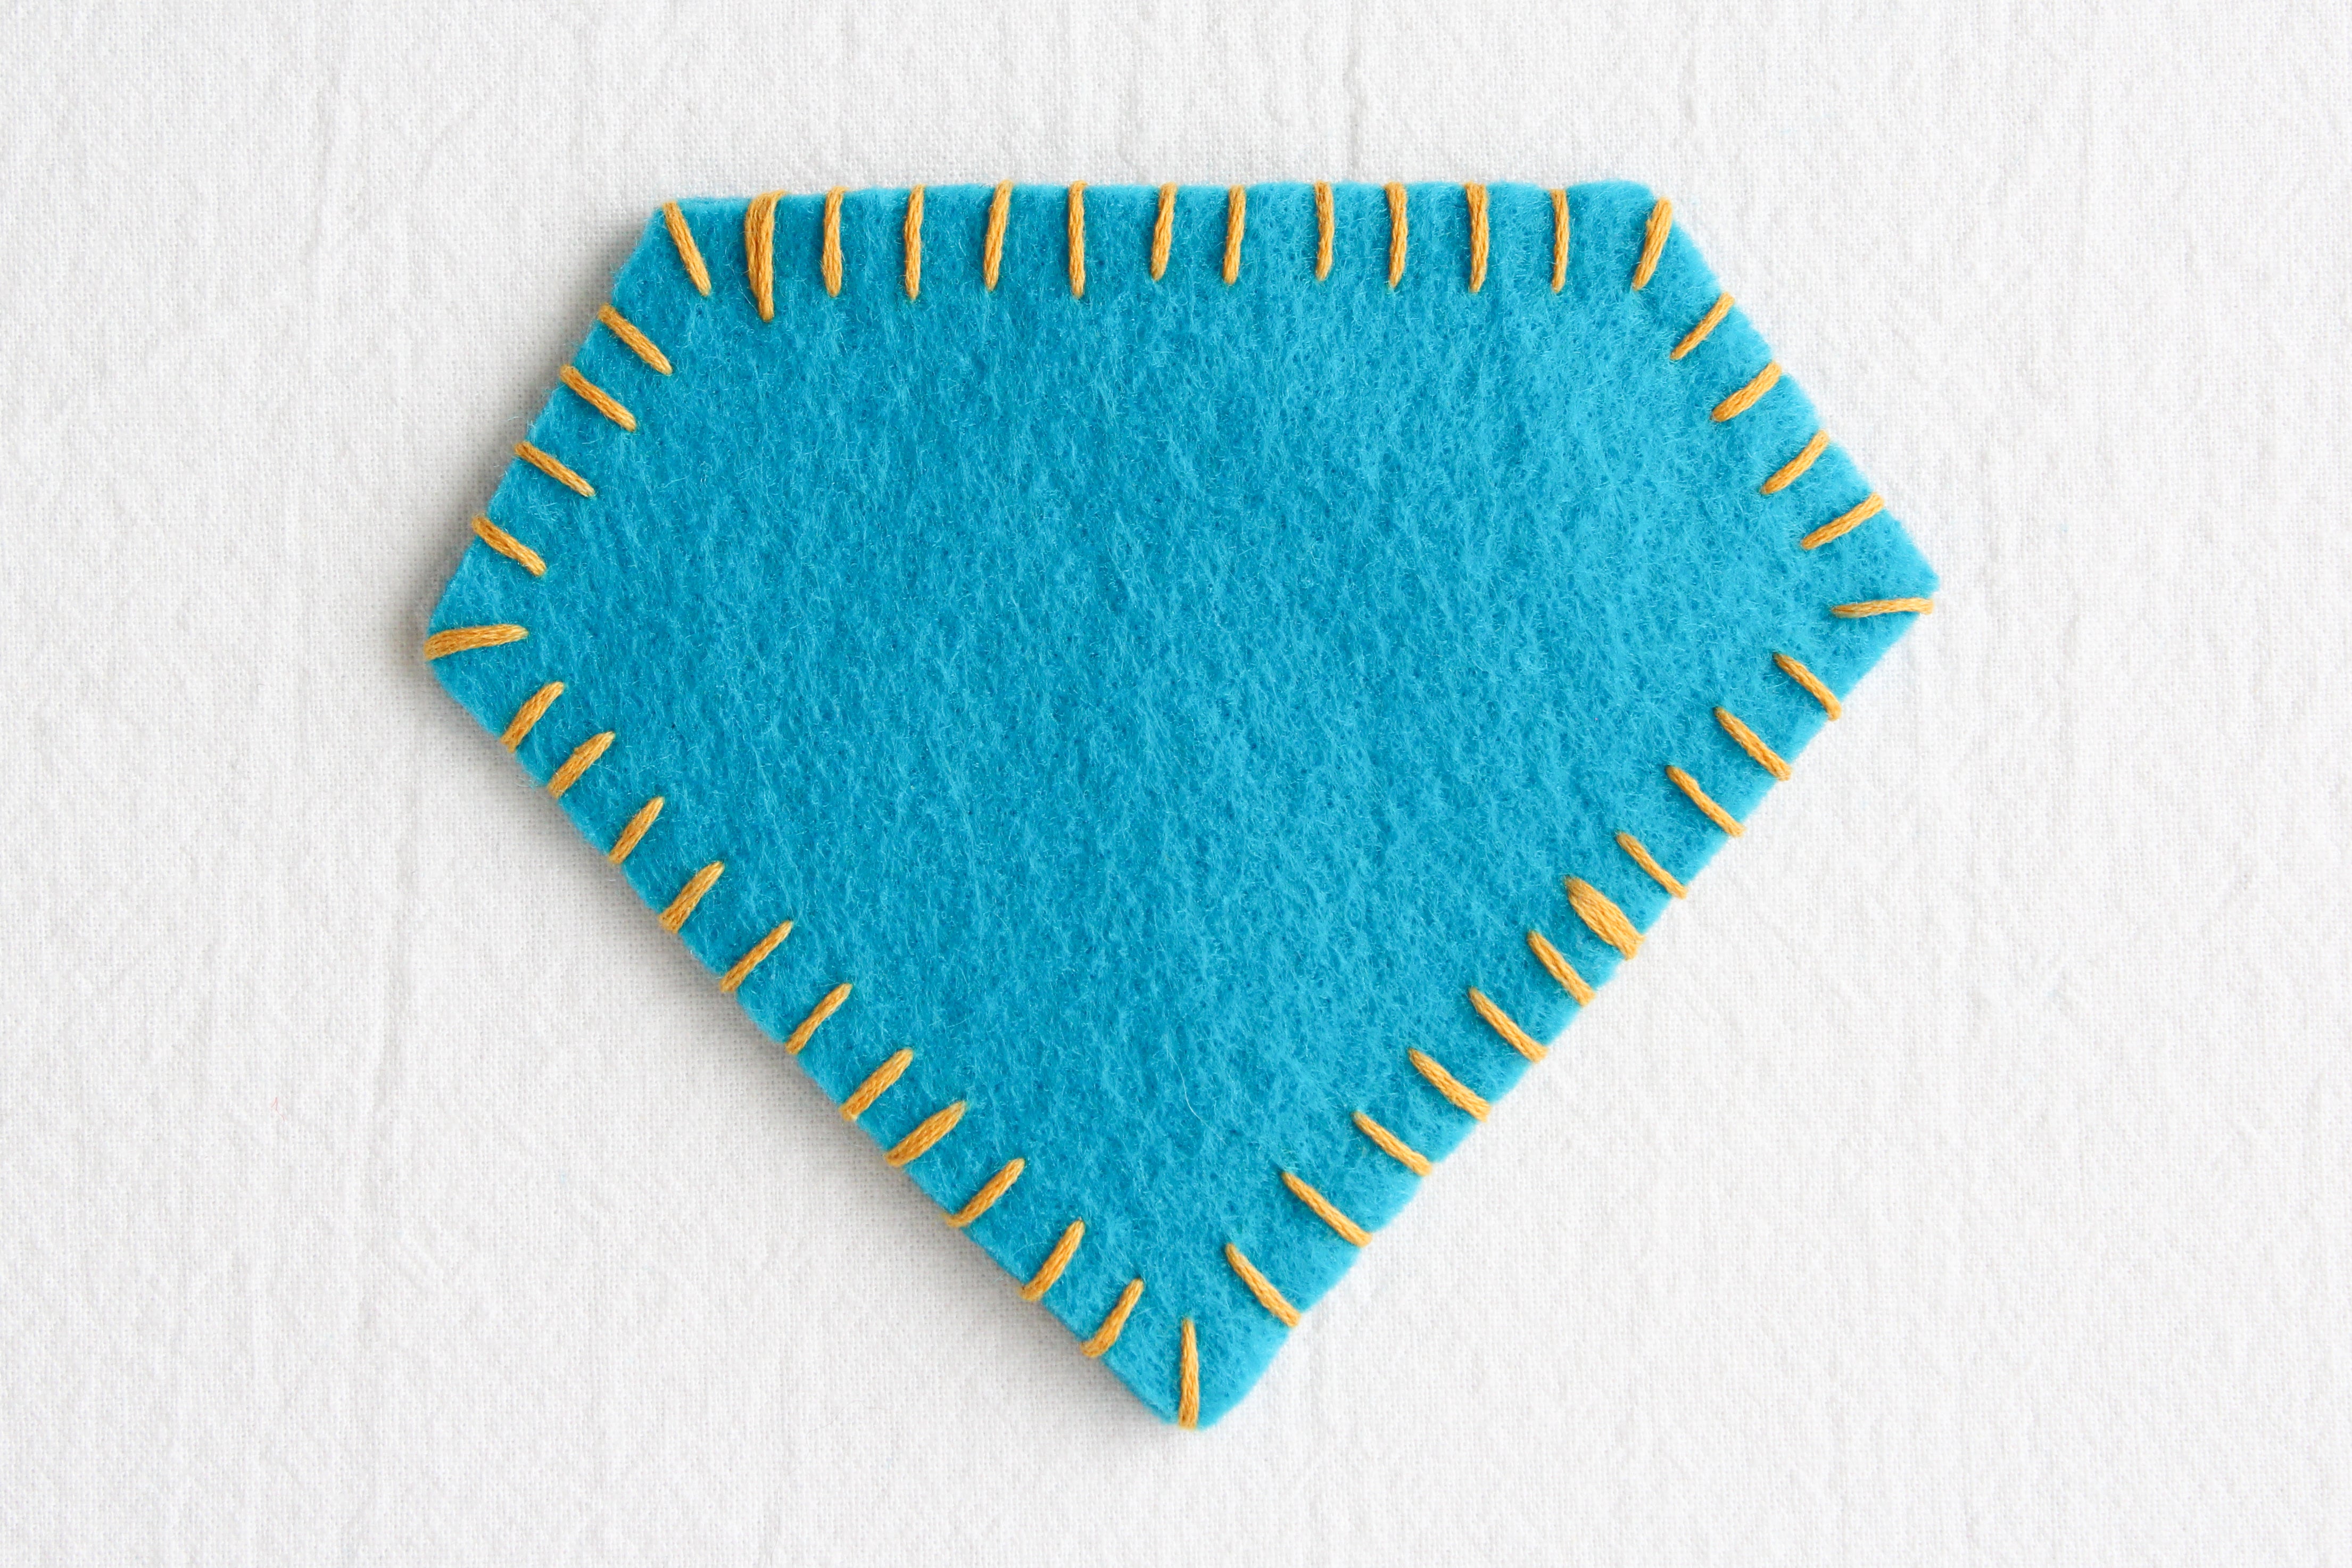
And you're done! If you're doing a flat whip stitch, it will look like the diamond above.

A whip stitch done on felt that is pulled flat or stuffed will flatten out as shown above.
The seam above was sewn using a whipstitch, even if it does look a little different than the seams on the diamond! In this case, the whipstitch is wrapping the flat seam allowance. These flat whipstitch seams are used very often by felt plush and toy makers because they're strong and stand up well to stuffing! They also make everything look much more handmade. :)
Practicing Your Stitching

I decided to make a coaster to show off this stitch. Click here to view the Felt Coaster instructable and get free patterns!
I think whip stitch is easy to use on any shape, honestly. I chose the diamond coaster to stitch because I knew the straight stitches at the corners would look sharp. :D

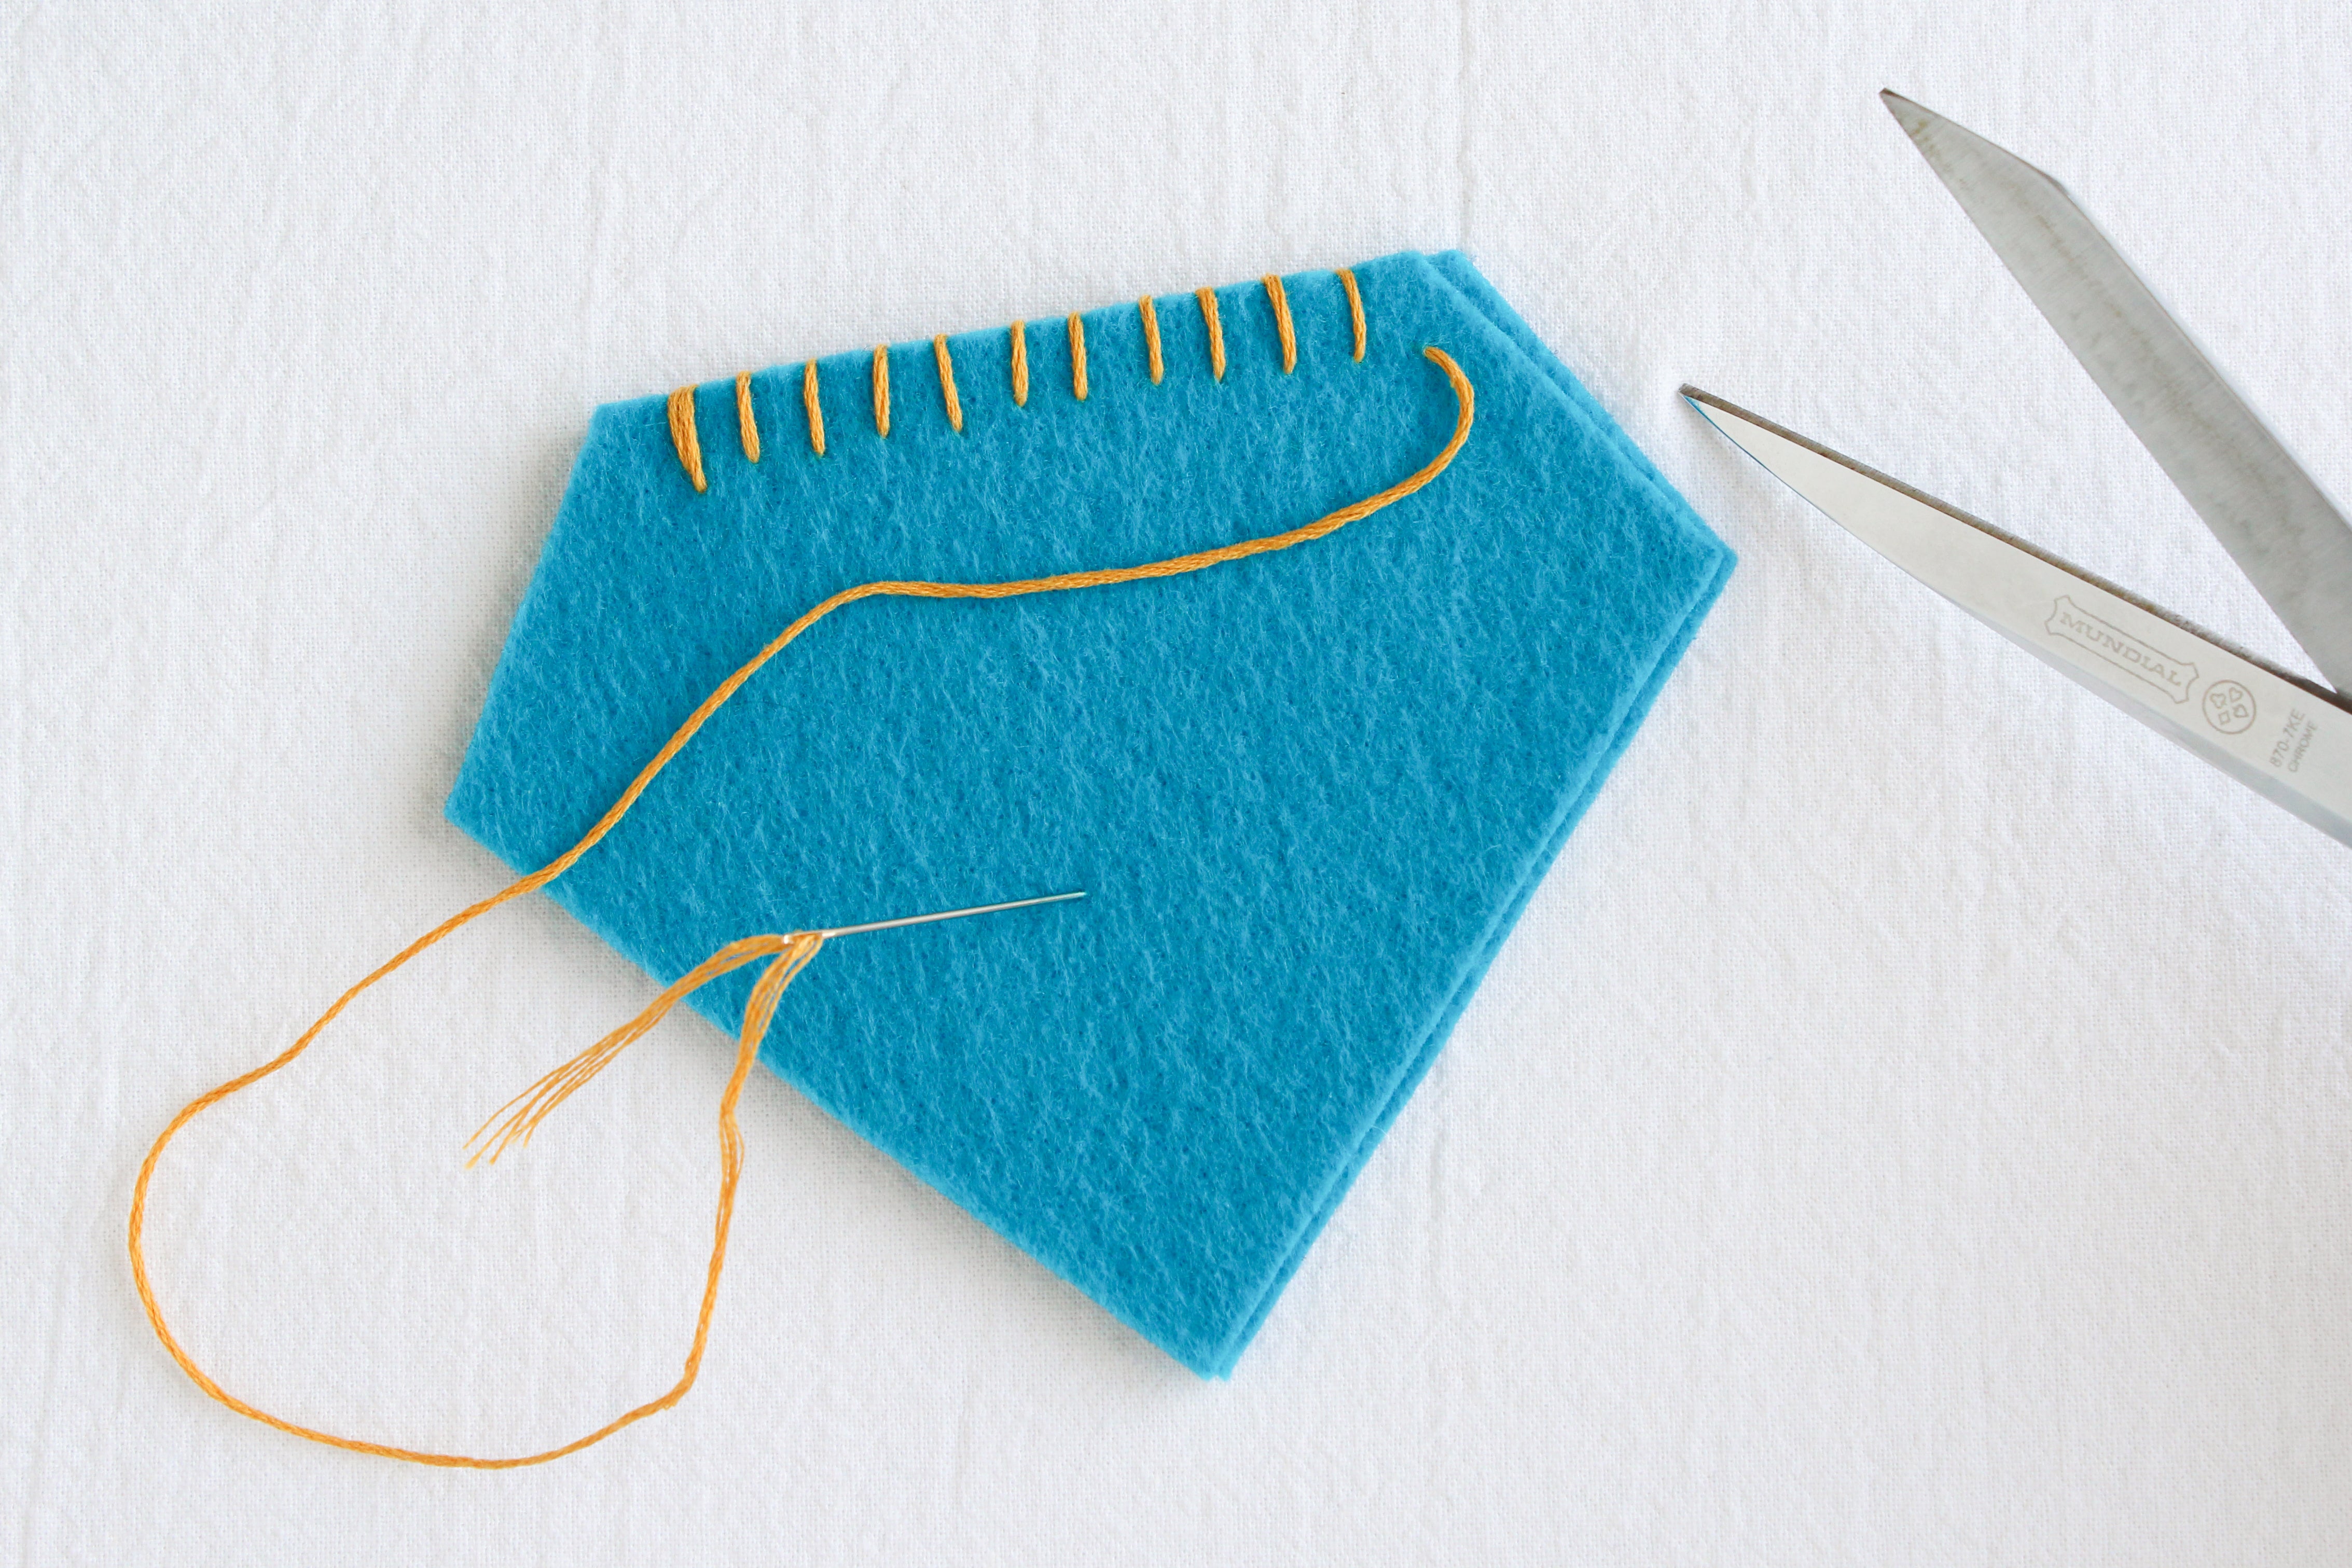
Start stitching as I showed you above - but keep in mind that the whip stitch can make your felt shift a bit!
A note about pinning felt: you can do it, but it does tend to leave marks. The thinner the felt is, the easier it is to pin. The felt itself is pretty grippy so I tend to sew it without pinning.


If you see the felt shifting, you can trim off the excess with a pair of sharp scissors! It's important to do this as you go since you won't be able to after you stitch.

Here's what the front of the coaster looks like - you can see where we started because the stitch is slightly longer. :)

And the back of the coaster! As you can see, I wasn't as concerned with trimming if the top of the coaster extended over the edge of the bottom one so it's a little wonky.
You did it!! Congrats on learning your first three stitches. Now we'll learn a few more advanced stitches and how to prepare your fabric before, during and after sewing.