Setup of IoT Bit on Your Mini Computers With Ubuntu Mate
by AltitudeTech in Design > Software
2091 Views, 8 Favorites, 0 Comments
Setup of IoT Bit on Your Mini Computers With Ubuntu Mate
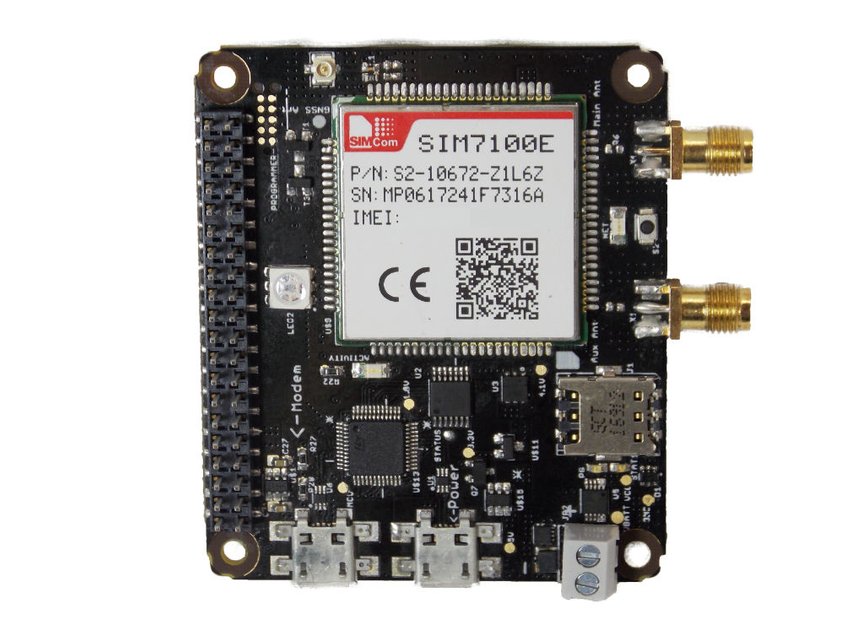
IoT Bit is proud to present our mobile data development board for a range of mini computers which provides them with 4G, 3G and GSM mobile data. Our intelligent HAT module provides your mini computer with mobile data, GPS positioning information and battery support. This is the perfect module for hackers, scientists, and creators as it gives your mini computer connectivity wherever you are. Simply plug our module into your mini computer and start playing.
The Iot Bit can integrate easily with the software on your operating system giving you access to general internet data through the mobile network. Using our API this hat gives you the ability to send SMS (text) messages. We also give easy access to the GPS on board which exposes location data.
We now have an Upgrade Antenna for 3G & 4G LTE.
HAT Features:
- Supports any micro Sim. Slot your Sim card in and get going.
- 4G Mobile Data for Mini Computer
- Easy set-up, with a single terminal command setup our software to streamline IoT Bit with your Mini Computer.
- Wake up your Mini Computer or trigger events with text messages.
- Wide range of external antennas for GPS and signal boosting.
- High-efficiency power regulation up to 3 amps.
- Use for external projects with a solar panel and battery pack.
- It can be used in conjunction with our Sensly gas monitoring HAT.
Mobile Data Options for the mini computer:
GSM (85 kbps) – Perfect for logging data from sensors and controlling your mini computer.
3G (4.5 mbps) – Fast internet connectivity for web browsing and small data transfers.
4G (100 mbps down/ 50 mbps up) – Ultra fast internet connectivity for your mini computer, excellent for large downloads and video streaming.
Power
4G operates at 3.3V, its power supply can be either a 3.6 – 4.2V LiPo battery with a battery protection IC or a 5V USB cable with a minimum of 2A current rating. If you are powering a Raspberry Pi 3 then it will need to have a minimum of 2.5A current rating.
Power Consumption Operation // Current Draw
- Idle ~25mA
- Modem on ~100mA
- Sending SMS ~200mA
- Making Call ~250mA
- Transmitting Data ~400mA
Compatible Devices
- Raspberry Pi 1-2-3
- Raspberry Pi Zero
- Asus Tinkerboard
- Rock 64
- Orange Pi
-
Samsung artiks Eagleye board
More coming soon...
Materials Needed
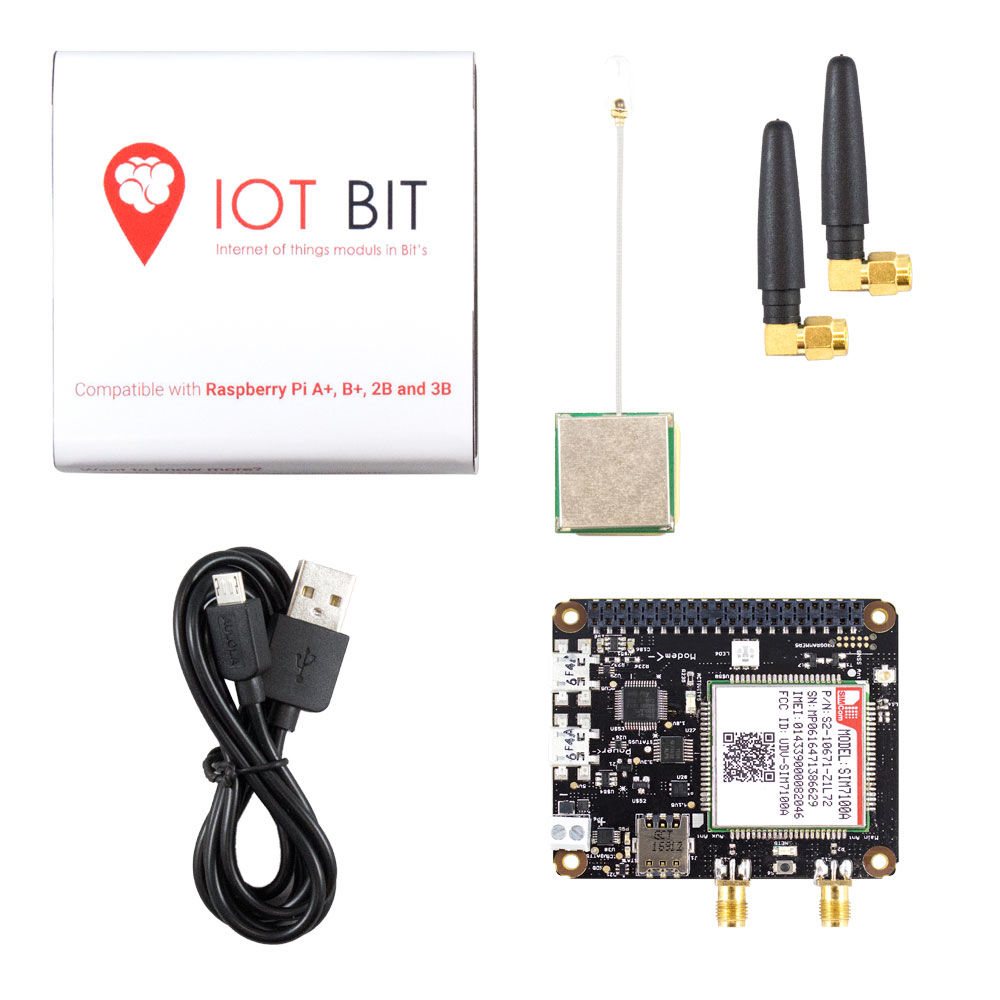
1 x IOT BIT Package
1 x Mini computer package like Raspberry Pi, Eagleye board, Tinker Board and Rock64
1 x Mouse
1 x Keyboard
1 x Monitor (hdmi or adaptor for hdmi)
1 x SD Card
1 x USB
40-Pin Header Layout
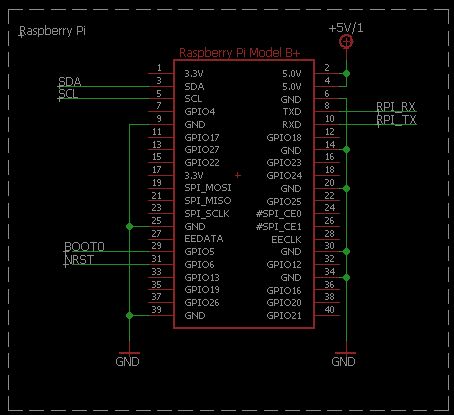
The schematic of the 40-Pin header to fit your project accordingly with the available pins.
Available Ports
Port//Description
1 Diagnostics port for output developing messages
2 NMEA port which outputs GPS information
3 AT command port
4 Modem port for ppp dial
5 USB-Audio port
IOT BIT & Your Mini Computer (Raspberry Pi) Setup
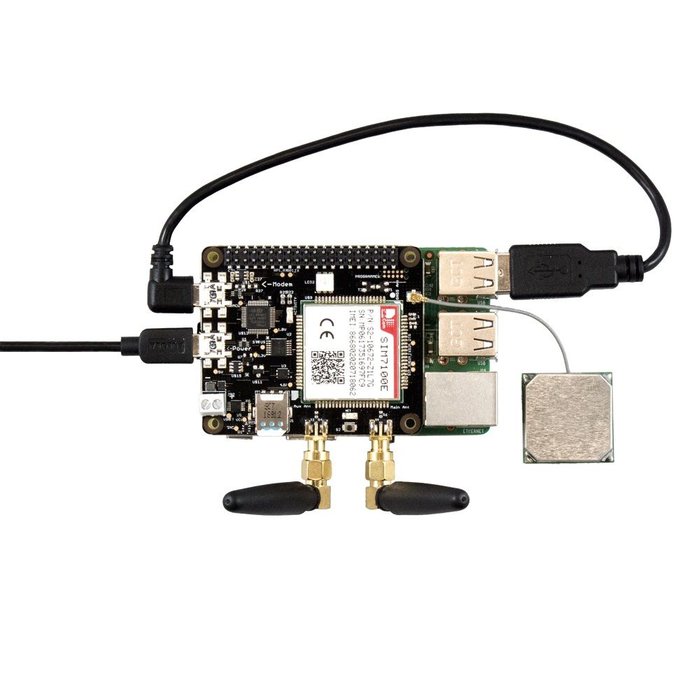
- Start By Placing the IoT Bit on to the 40 pin header.
- Plug USB charger into IoT Bit, this will power both the minicomputer and the IoT Bit since the IoT Bit is on the 4 pin header.
- Do not connect the Mini computer to power.
- Connect the antenas and gps into IoT Bit.
- Insert Sim card into the IoT Bit (most major provides accepted)
- Plug USB into the modem to connect to the mini computer.
Setting Up Ubuntu Mate on to Your Mini Computer
To get Ubuntu Mate onto your mini computer you need to first download the disk image, from the link provided below, and Burn it on to the SD card by using Win32 Disk Imager or Etcher You will need an SD card that is 8GB or bigger.
Once the image is burnt on to the SD card setup your account and password, you can change the resolution by simply using the comand "Sudo rasp-config" to set it to your preferred resolution.(remember to change the date and time once you have set up your system since it's required for the internet to work properly).
To ensure a more stable system it's recommended that the system be updated, by using the following commands in the terminal "Sudo apt-get update" followed by "Sudo apt-get upgrade".
After a restart you should be on the home page ready to connect to the mobile internet of the IoT Bit
To Download Ubuntu Mate: https://ubuntu-mate.org/download/
To Download Etcher : https://etcher.io/
To Download Win32diskimager: https://sourceforge.net/projects/win32diskimager/f...
Enable Uart

After the Restart there is two more things that need to be changed before we can setup the mobile network before this it is recommended that at this point you backup the system and the config.txt and cmdline.txt files.
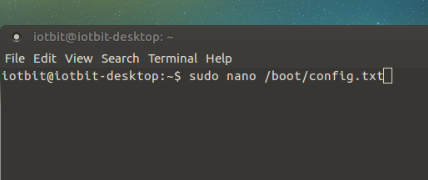
- Enable uart in the config.txt file, to do this you will need to use the following command line in the terminal:
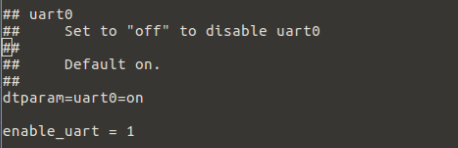
"sudo nano /boot/config.txt" - Scroll down to the bottom and look for the "dtparam=uart0=on" and "enable_uart = 1" and uncomment both lines by removing the "#" symbols, then press ctrl+x to exit the config file.
- Next step is to edit the cmdline.txt file by using the following comand line:
"sudo nano /boot/cmdline.txt" - Once inside the cmdline change serial0 for tty1 and delete the original tty1 section of the line.
Like so:
dwc_otg.lpm_enable=0 console=tty1,115200 root=/dev/mmcblk0p2 rootfstype=ext4 elevator=deadline fsck.repair=yes rootwait quiet splash plymouth.ignore-serial-consoles
Once this steps are done uart will be working, and both your cmdline.txt and the config.txt files should be changed.
If You wish to use the bash script instead that does all the steps above download the following Bash script from this link: https://github.com/Altitude-Tech/UbuntuMate_InstallScript
Setup Mobile Network
Once all the previous steps are completed is time to set up the mobile network in Ubuntu this is done by:
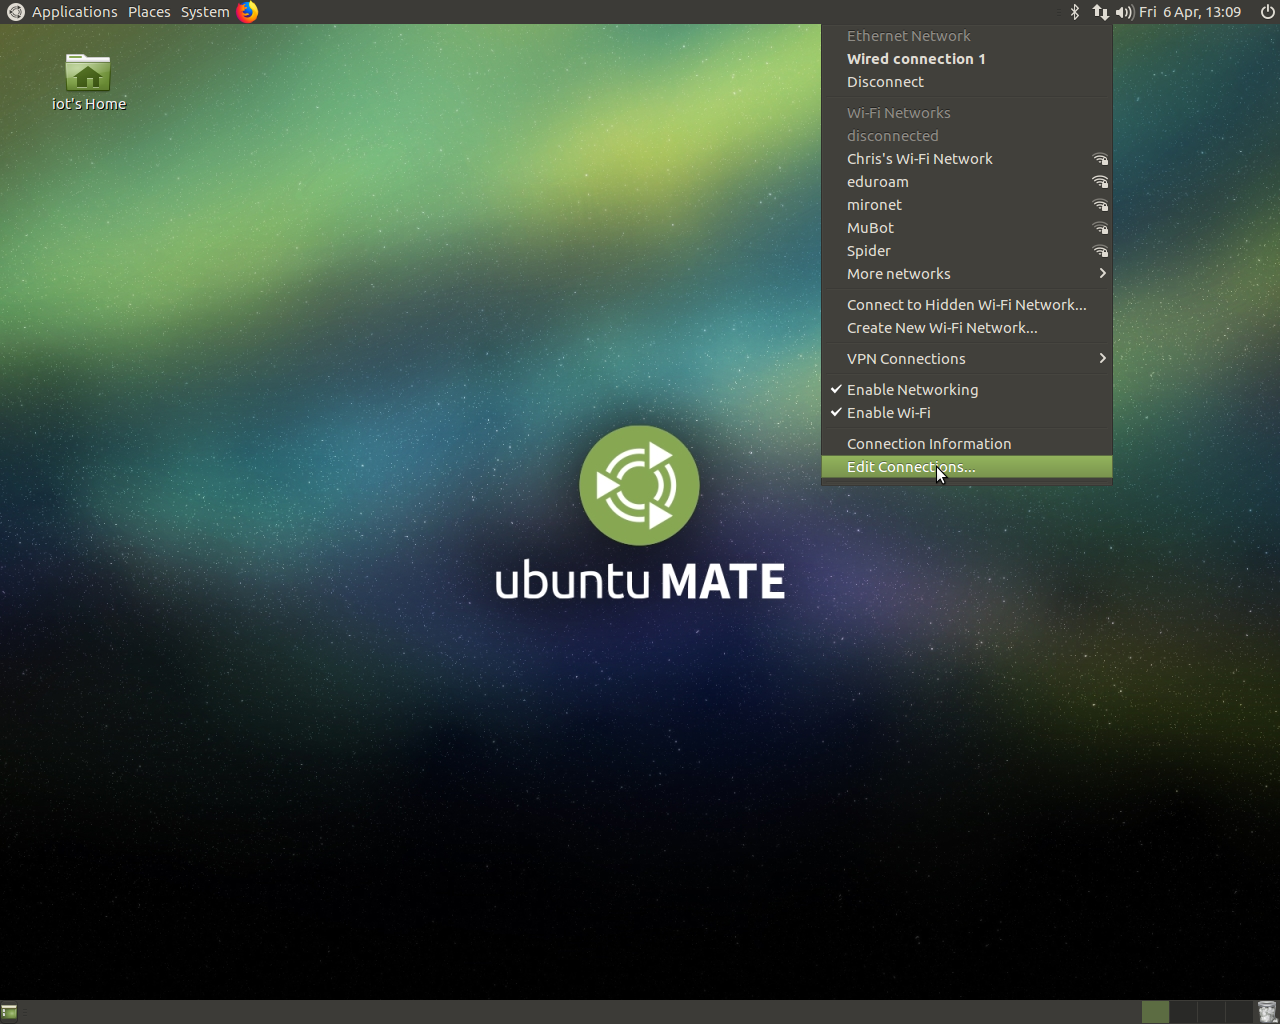
- Go to System -> Preferences -> Internet and Network -> Network Connections.
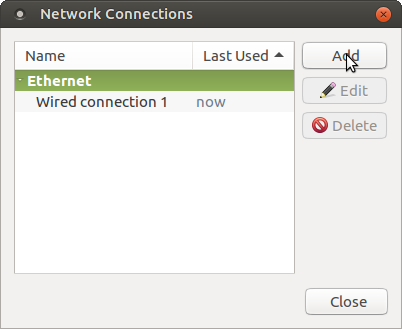
- Click add and select Mobile Broadband and click on create.
- Select the device SimTech and click next
- Select your Country/region click next.
- Then you can select your internet provider network (Company will be the one of the SIM card)
- Purchase your data from provider, then select your SIM card data plan. Eg. Pay as you go or unlimited data.
- Then just click apply and you should be able to add a password or delete any you don't want to use, remember most networks passwords are set to default as "password".
Done
Congratulations you've just setup Ubuntu on your Mini Computer, configured it to use the internet from the IoT Bit. For more information or any help don't hesitate to contact us we will respond to you a soon as soon as possible. Thank you for following our Instructables and good luck!!
Bonus Setup a Hotspot

If you wish to set up your raspberry pi as a hotspot using the mobile network you just setup just follow this steps:
- First thing you need to do is to connect the pi to a network network, eg.mobile network from IoT Bit.
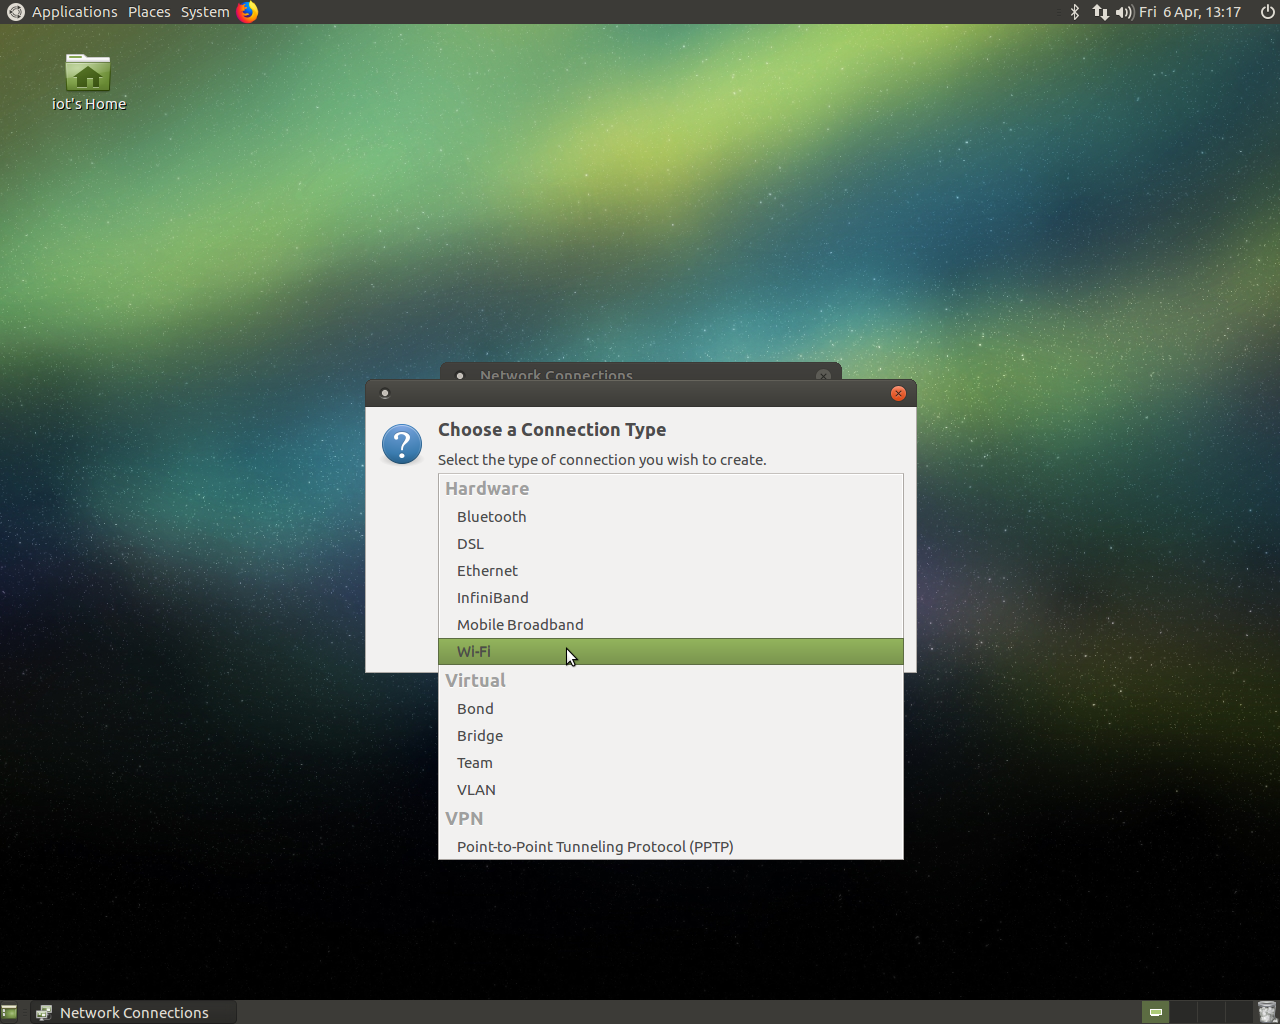
- In the internet menu click on edit connections then add.
- choose a WIFI type connection.
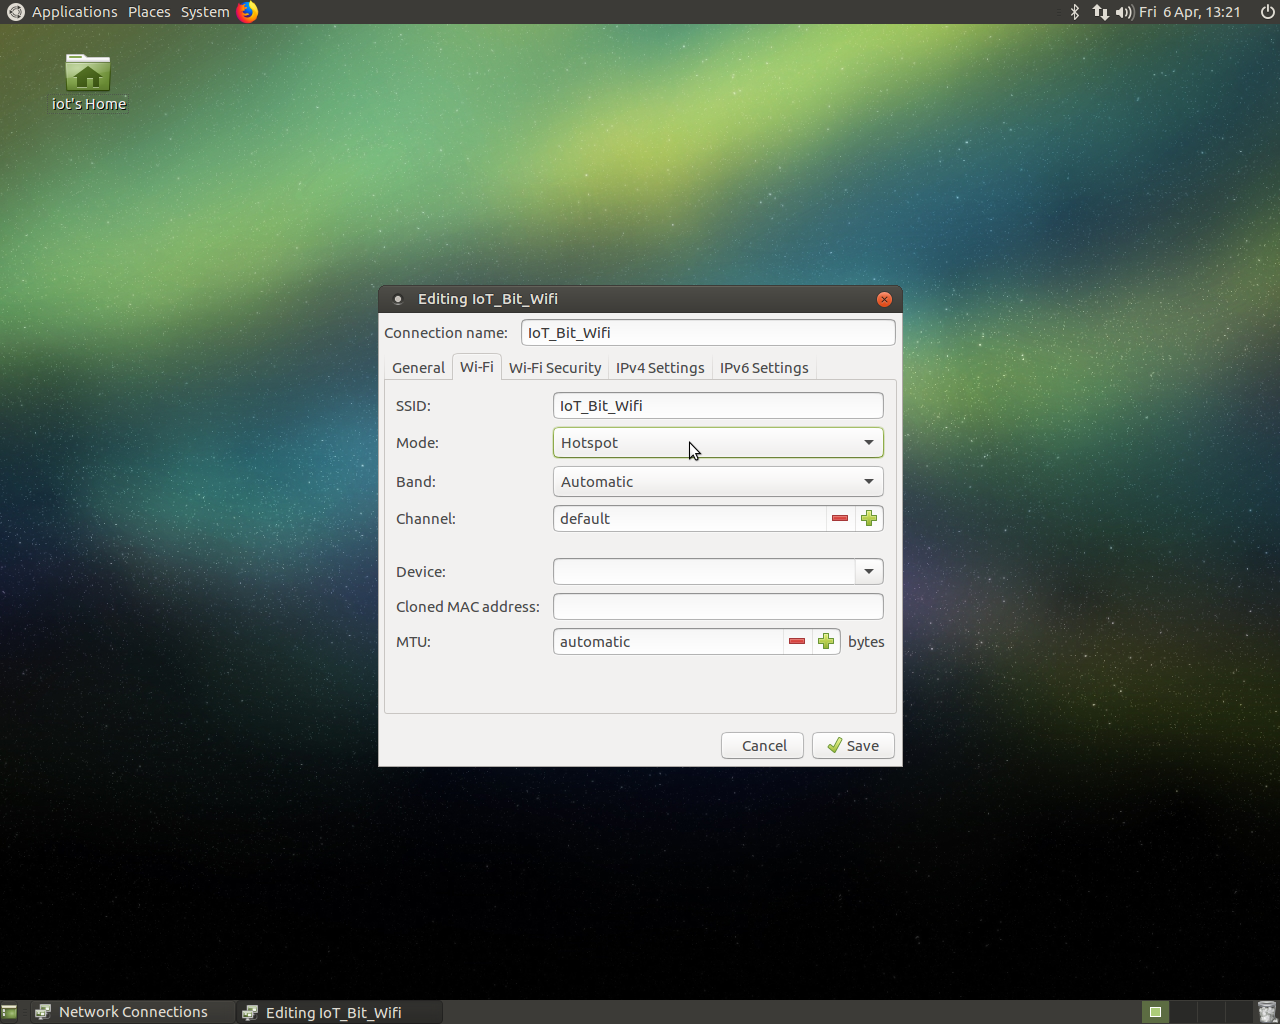
- Then when the editing window comes up select the wi-fi tab and set your SSID to your preferred name and change mode to hotspot.
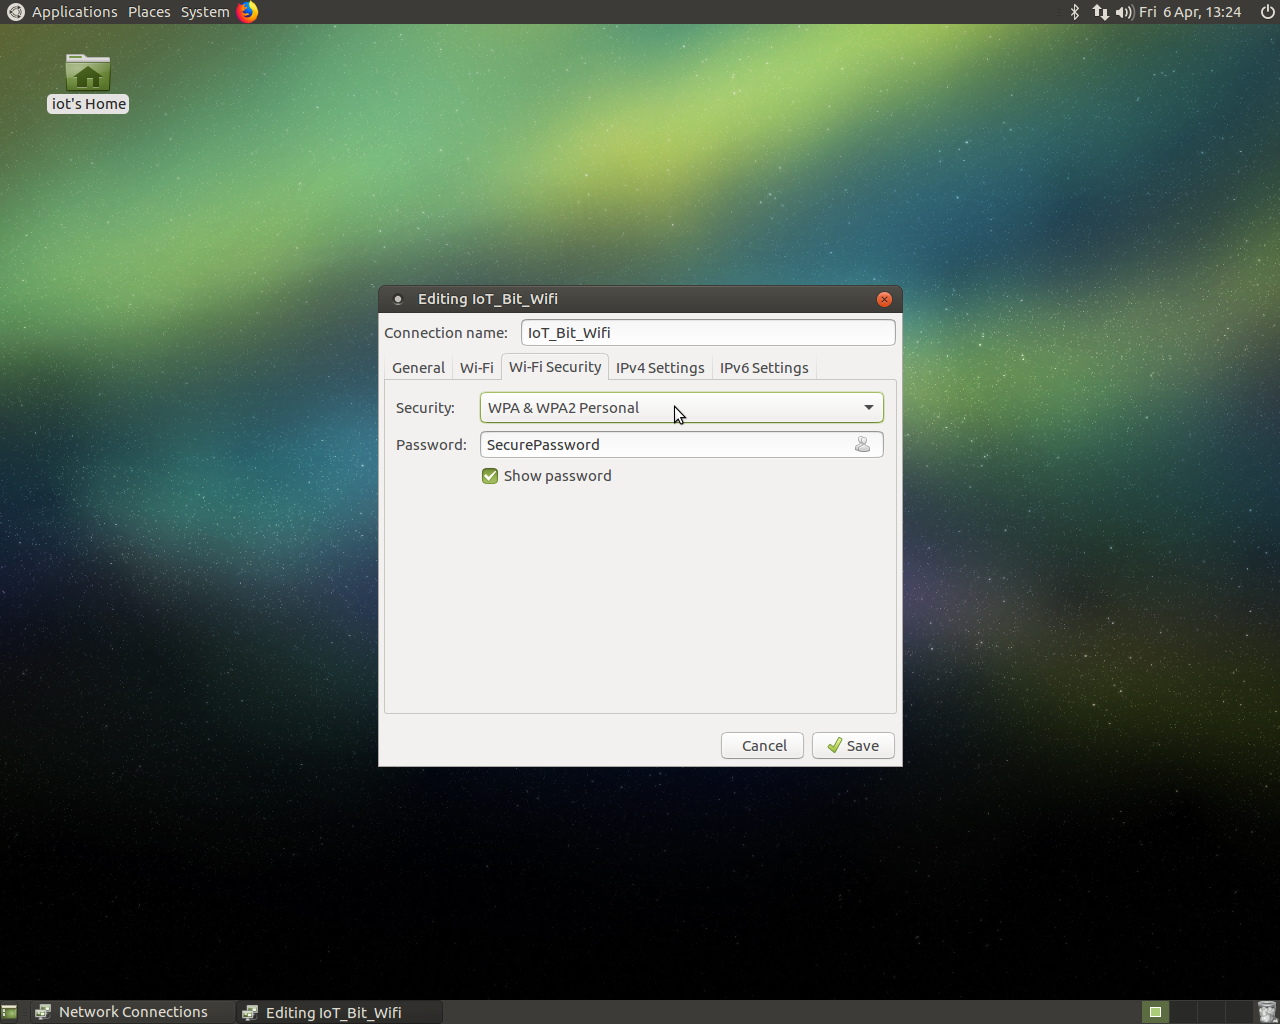
- then click on the Wi-Fi security tab and select WPA & WPA2 Personal and type in a password.
- finally in the IPv4 Settings tab select "share to other computers".
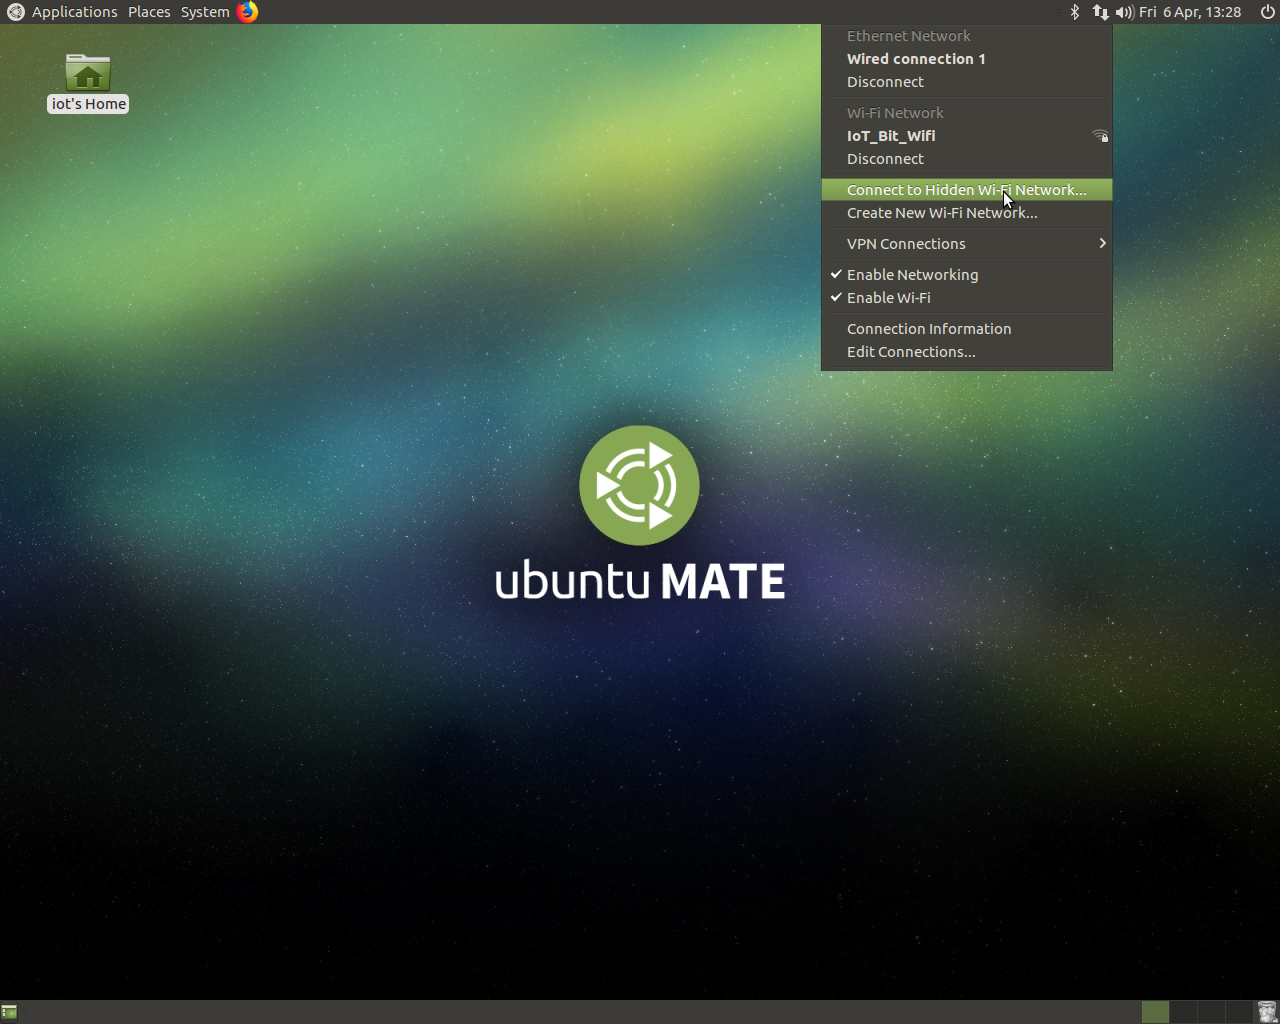
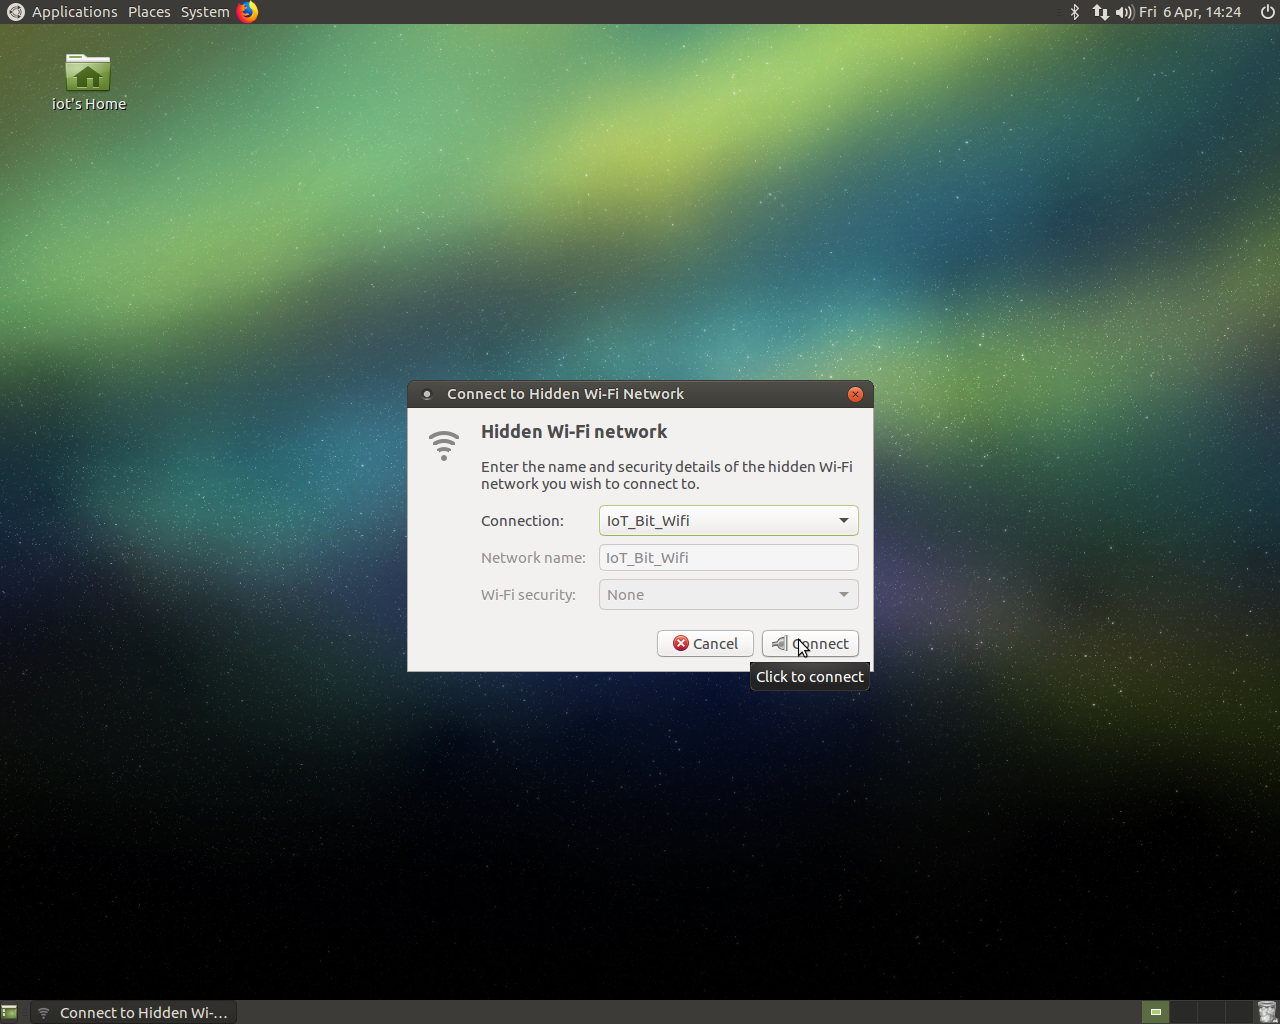
- After saving just enable wifi and click on connect to hidden Wi-Fi network and select connect to the Network you just created.
Now you shuld be able to connect to this network using your phone other laptops etc.