Setup a Raspberry Pi Without an External Monitor or Keyboard
by robopathshala in Circuits > Raspberry Pi
5251 Views, 7 Favorites, 0 Comments
Setup a Raspberry Pi Without an External Monitor or Keyboard

You no longer need an external monitor, keyboard, and mouse to get started with Raspberry Pi, there's another solution - headless mode.
Hardware Components
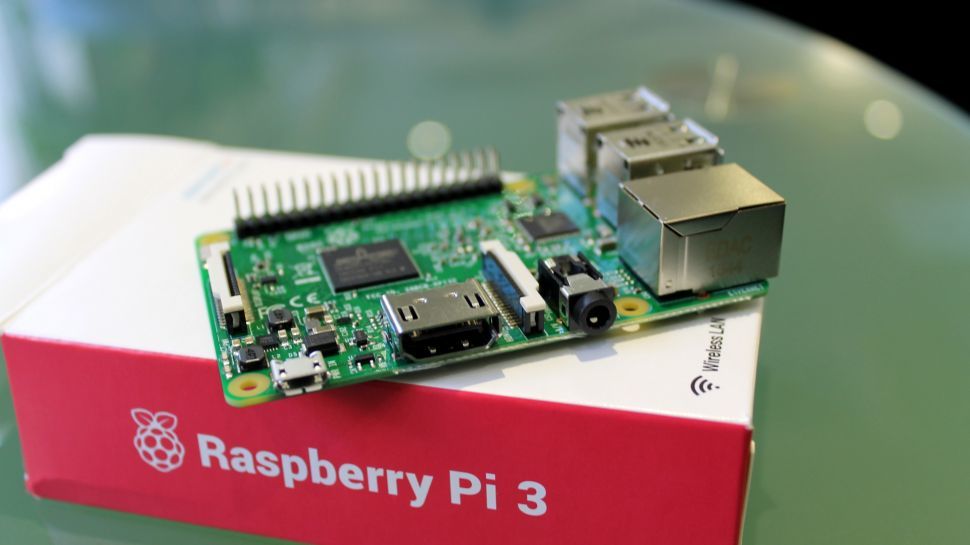
- Raspberry pi 3 Model B+
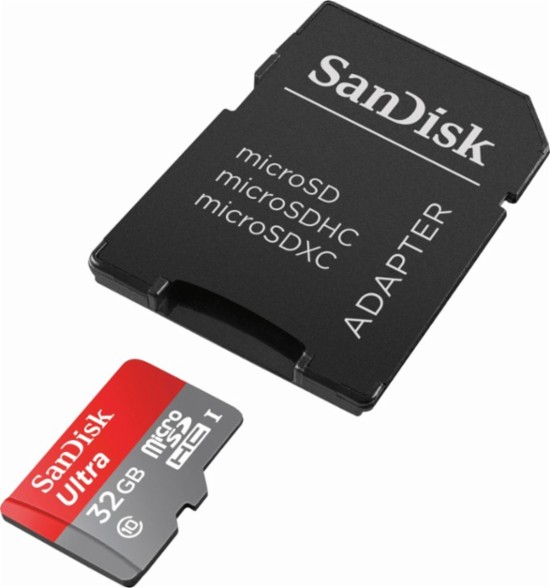
- SD Card Adapter
- microSD Card
- Computer with SD Slot (or an appropriate SD card adapter)
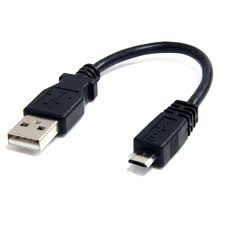
- Micro-USB to USB Cable
- Wi-Fi Router
Installing the Operating System


- Download Raspbian and extract the.img file.
- On Windows, right-click on the Zip file in your downloads folder and click Extract All.
- Insert the microSD into your computer's SD card slot via the SD card adapter.
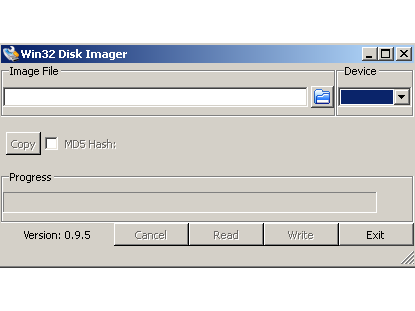
- Next, you'll need to flash the Raspbian image to the microSD with the help of Win32DiskImager but before that you need to format your SD card by using SDFormatter.
- SSH access is disabled by default. To enable it, create an empty file in the boot drive called ssh.
- On Windows, inside the boot directory, right-click in the white space, scroll to New and select Text Document. Enter ssh as the name.
Connecting to the Network


On Mac/Linux
- Create a new file in the boot drive called wpa_supplicant.conf.
- Follow code step below.
On Windows
- Download and install Notepad++ from here.
- Once installed, inside Notepad++ go to File > New to create a new file.
- In the top bar, select Edit > EOL Conversion. Make sure Unix (LF) is selected. It should appear disabled if it is.
- Select File > Save as, navigate to your boot drive and call the file wpa_supplicant.conf.
All OSs
- Paste in the code below labeled wpa_supplicant.conf
- Replace Your-SSID with your WiFi network, and Your-PSK with your WiFi password. This file will tell the Raspberry Pi to connect to the specified network when it boots up.
NOTE: Make sure your computer is connected to the same network as your Raspberry Pi.
Booting Up the Board
- Eject the microSD card and insert it into the Raspberry Pi's microSD slot.
- Connect the PWR IN micro USB on your Raspberry Pi to a 5v power source (e.g. your computer's USB port).
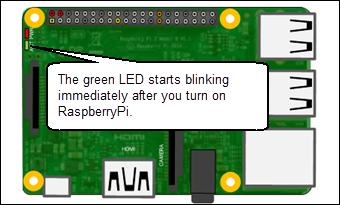
- Wait for the board to boot up - the green LED should stop flashing when it's finished booting up.
Get Your Raspberry Pi's IP Address
.jpg)
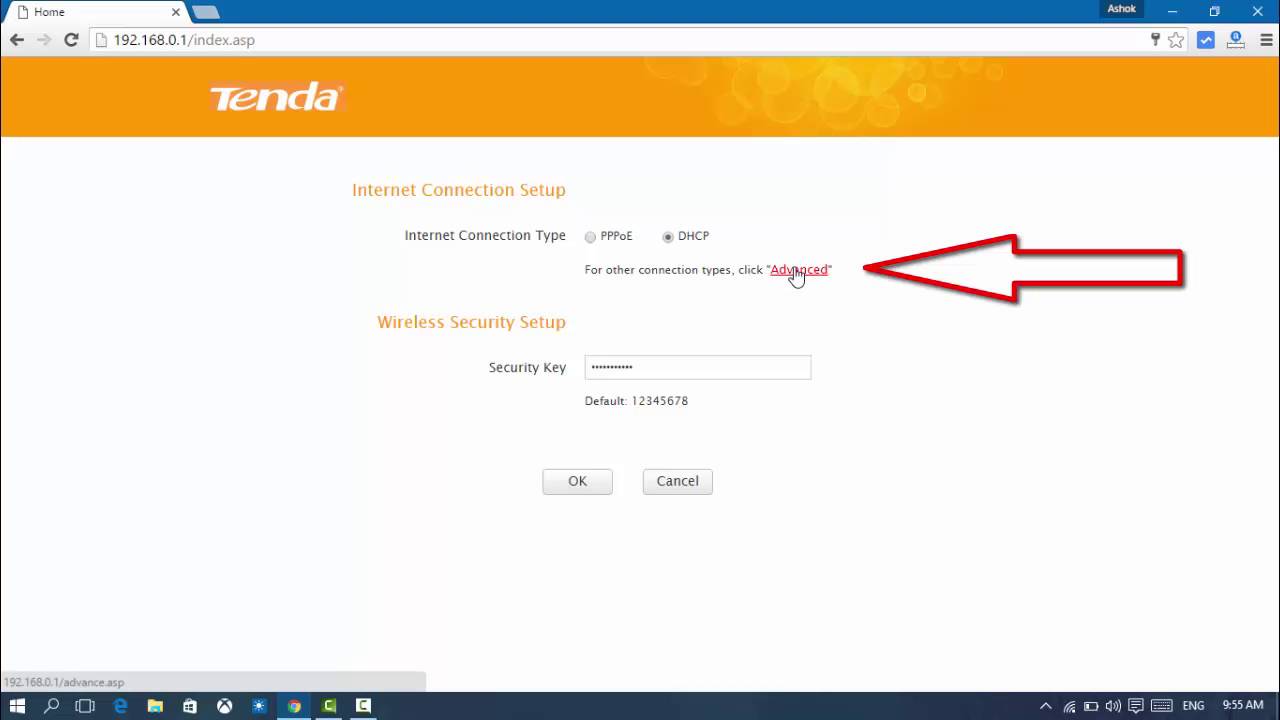
Login to your router
- If you have access to your router, you can login to it's admin panel via a browser. It's usually something like 192.168.0.1, 192.168.1.1 or 192.168.1.254.
- Look at the list of devices and find the IP address of your Pi. It should look something like 192.168.1.8.
Please note When entering a password in terminal or command prompt, you won't see it being typed, for security reasons. Simply type the password and hit the enter key.
Connecting to Raspberry Pi Via SSH
On Windows
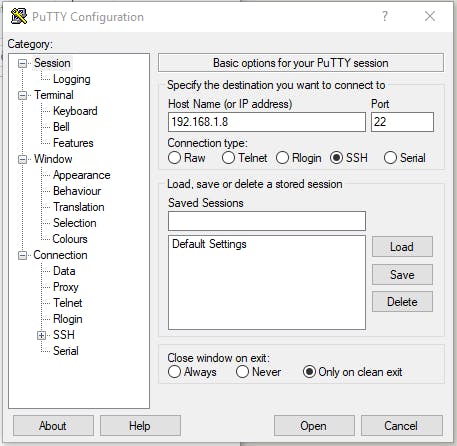
- Download Putty from hereto allow you to communicate with your board via SSH.
- Under Host Name (or IP address) enter the IP address for your Raspberry Pi.
- Click the Open button to create the connection.
On Mac and Linux
- Open a terminal window, and run ssh pi@ip-address.
- Replace ip-address with the one you attained in the previous step.
- You will be prompted to enter a password - the default password is raspberry.
That's it! You're now connected to your Raspberry Pi via SSH. You can configure the board by running
sudo raspi-config
Code(wpa_supplicant.conf)
country=IE
ctrl_interface=DIR=/var/run/wpa_supplicant GROUP=netdev
update_config=1
network={
scan_ssid=1
ssid="Your-SSID"
psk="Your-PSK"
key_mgmt=WPA-PSK
}