Setup a Headless Raspberry Pi
by yhdesai in Circuits > Raspberry Pi
41 Views, 0 Favorites, 0 Comments
Setup a Headless Raspberry Pi

This is a Step-by-Step guide on how to setup your raspberry pi as headless, that is, to access it via wifi without any input device (keyboard) or a display. This guide uses Raspbian Stretch Lite, Minimal image based on Debian Stretch.
Prerequisites
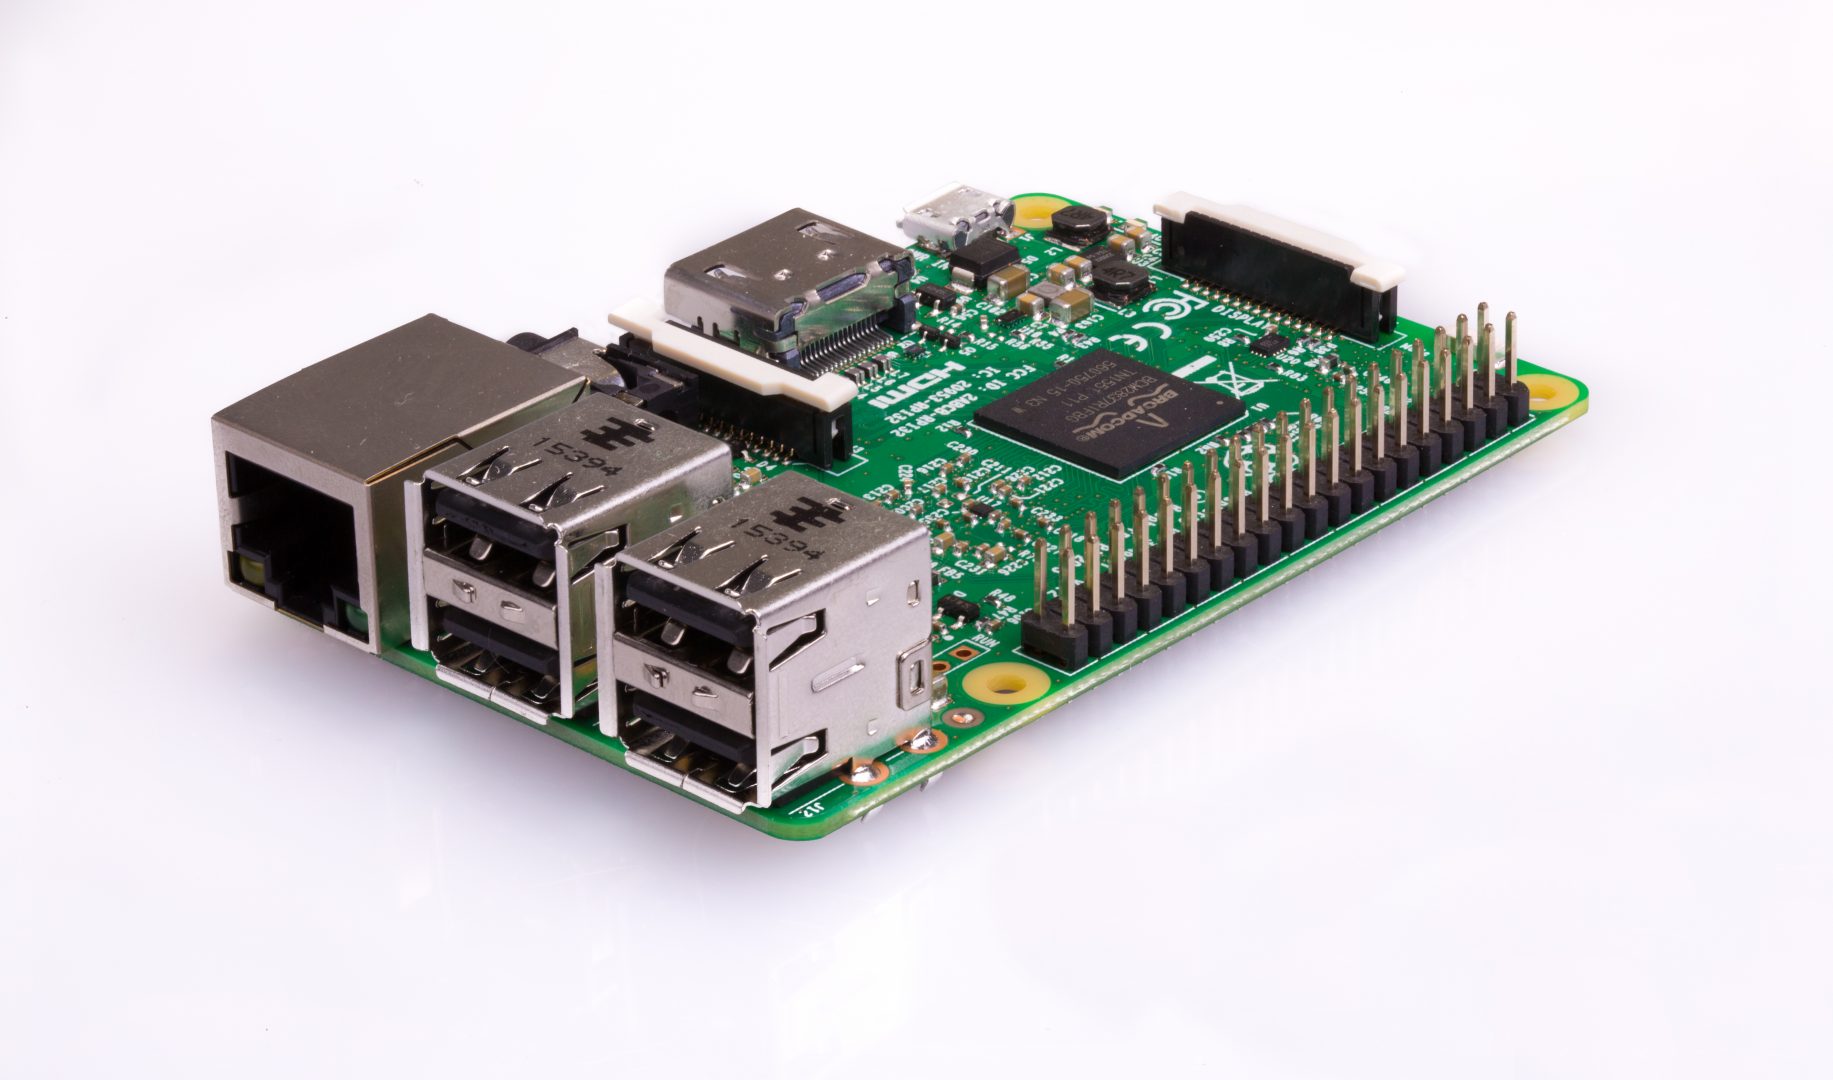
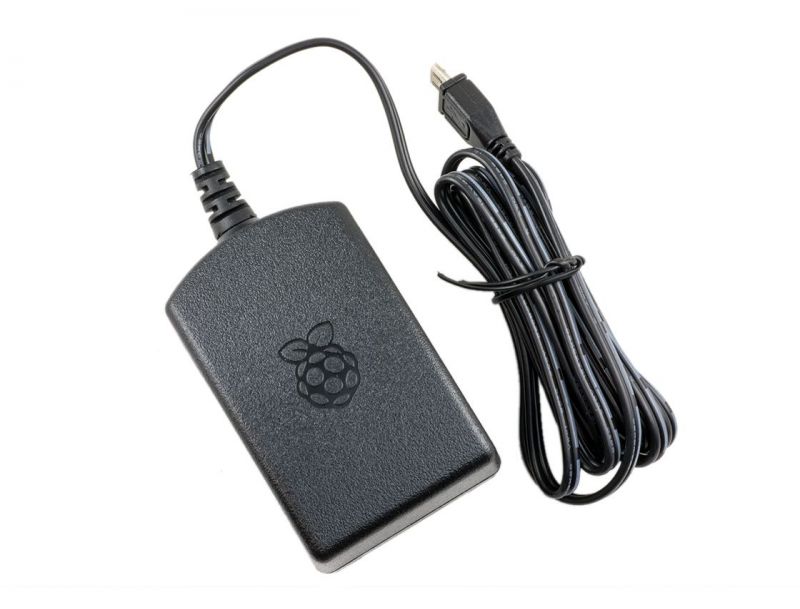
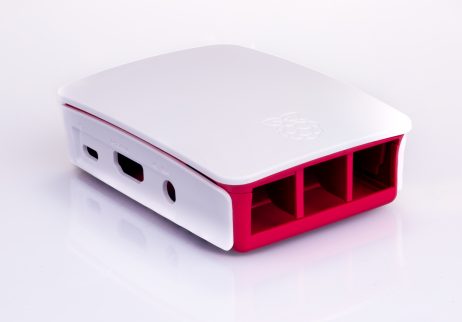


You will need
- Raspberry Pi
- Power Adapter, preferably 5V 2A
- Raspberry Pi Case (Optional)
- A Computer
- An SD card
- Some means to read/write an SD card (built-in or USB adaptor)
- A router with one spare ethernet socket / A Wifi router which you can login to
Downloading the Image
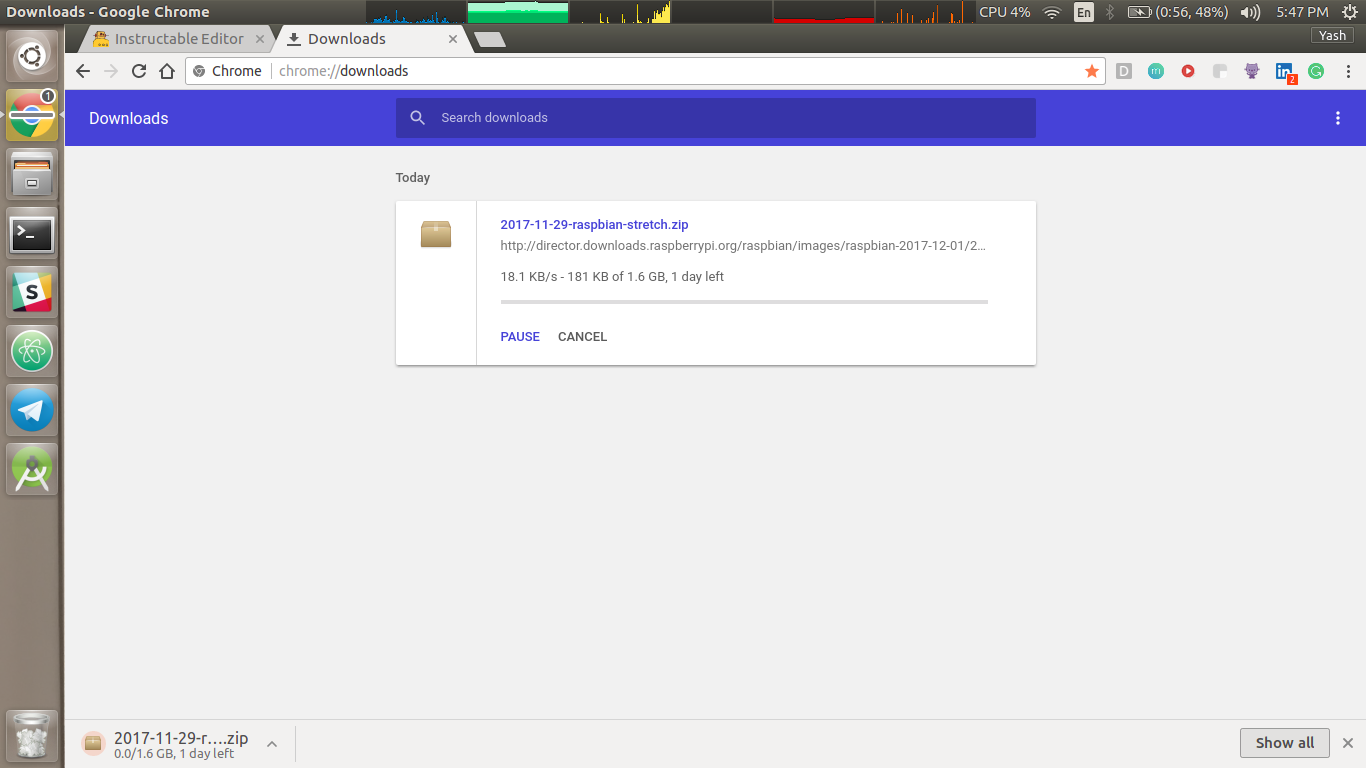
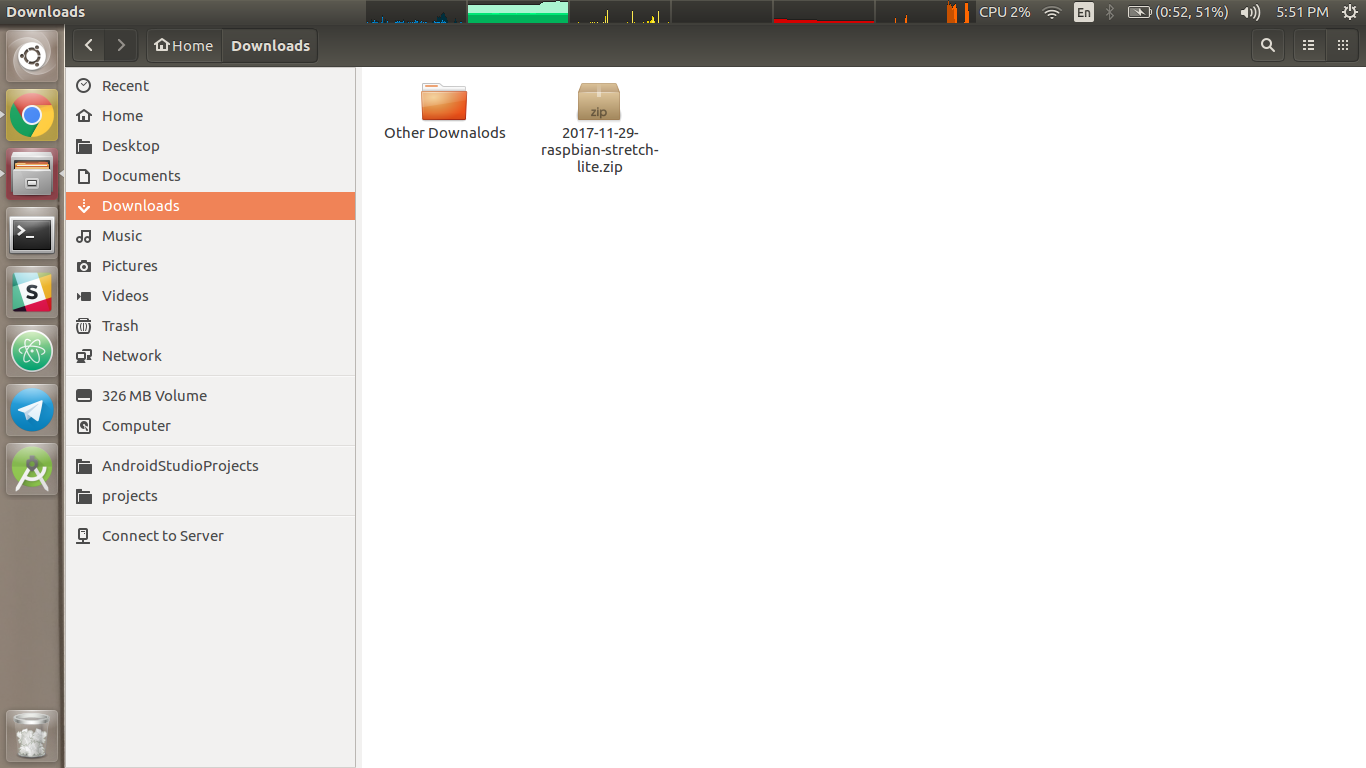
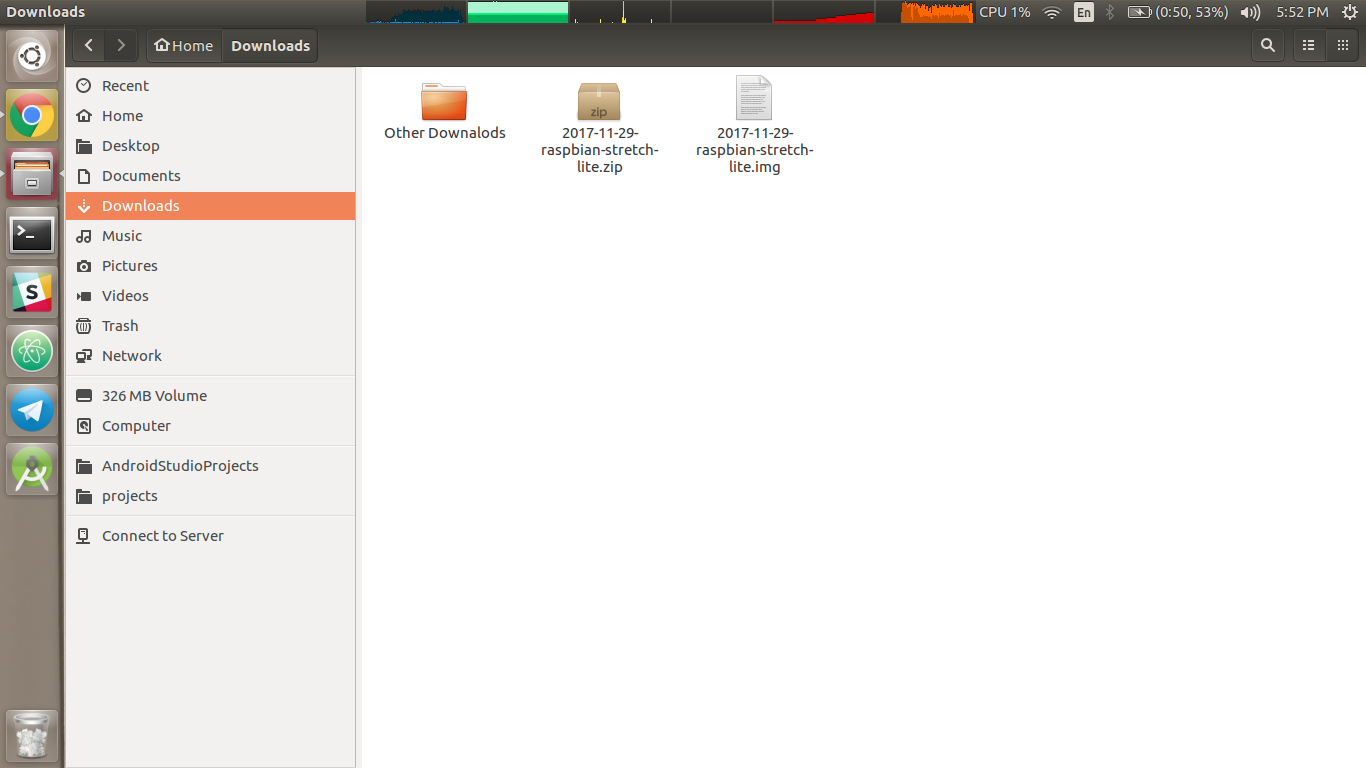
Unless you have some special preference, Raspbian Stretch Lite is the recommended os image to install.
To download the latest Raspbian Stretch Lite, Visit this link.
Once the file is downloaded, Unzip it using your favorite unzipper and you shall have an .img file.
Flashing the SD Card
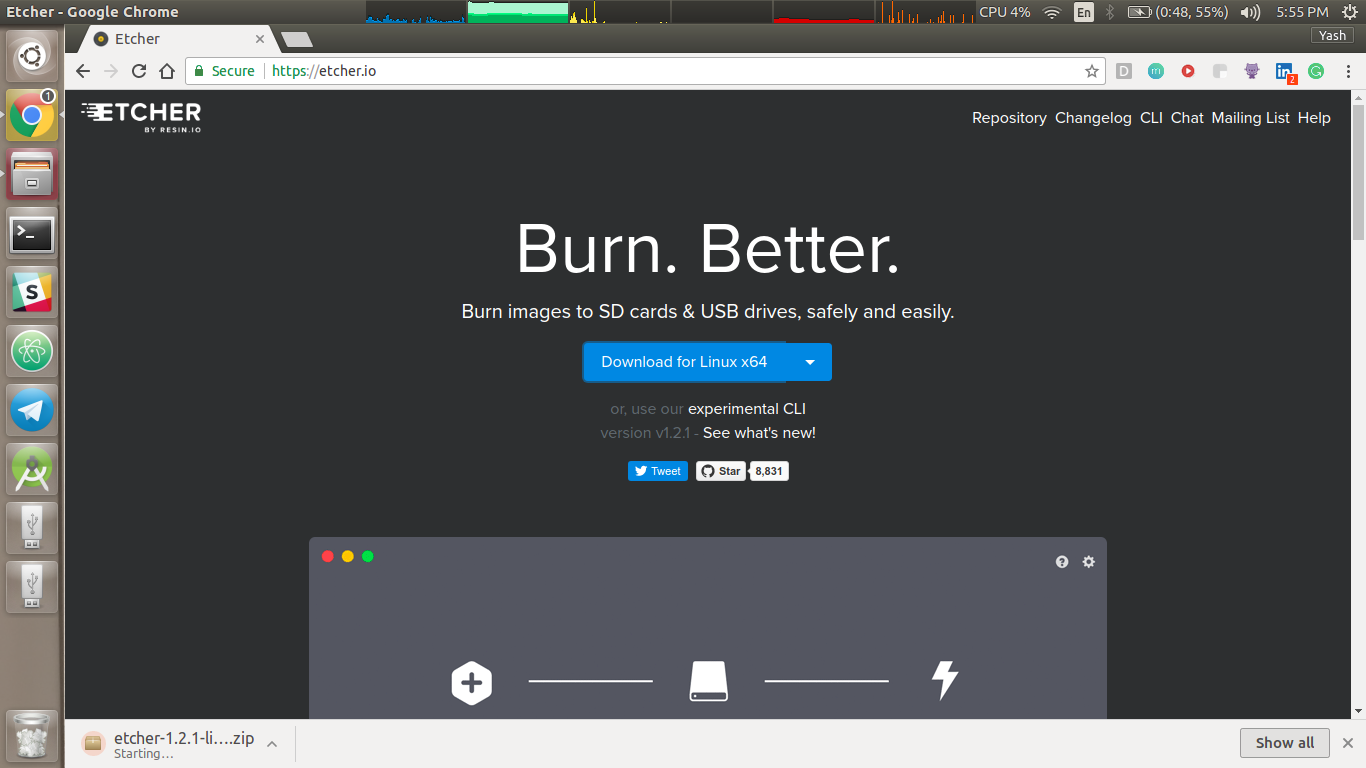
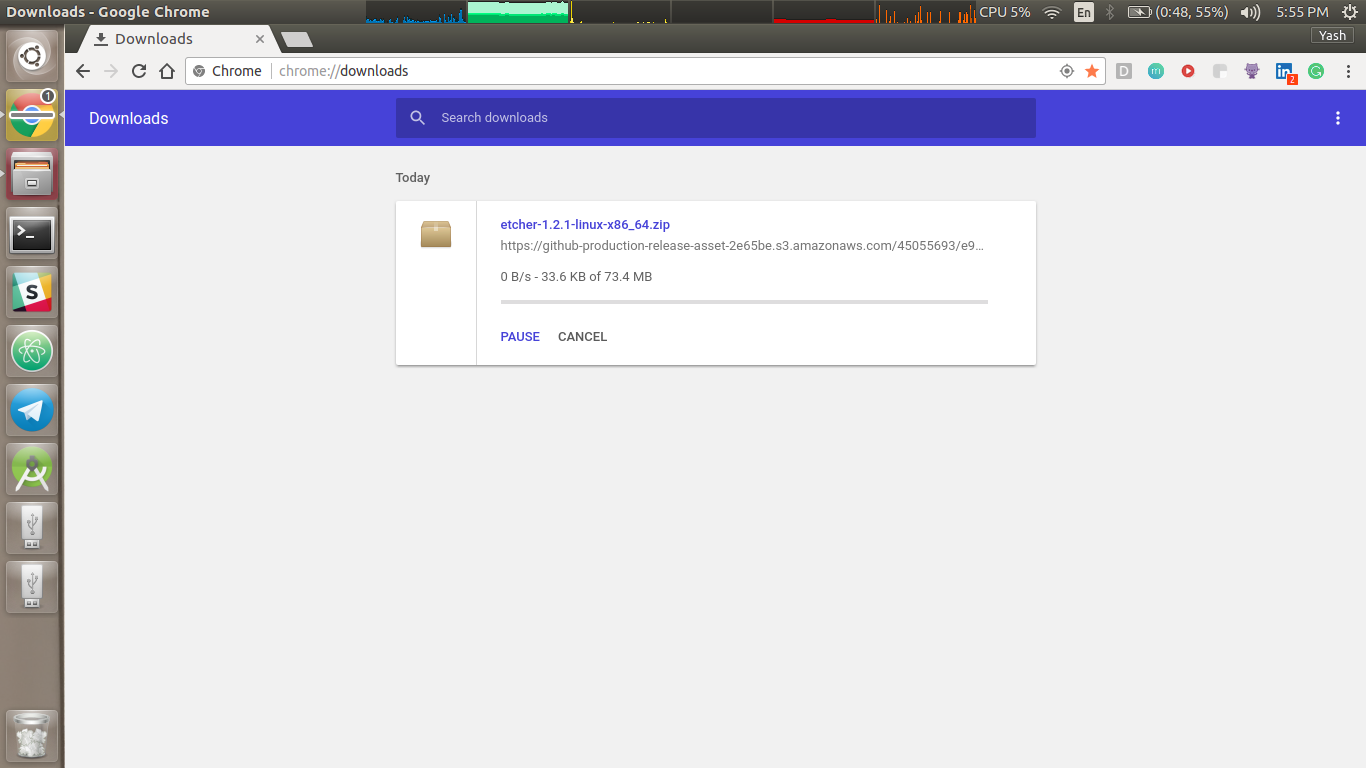
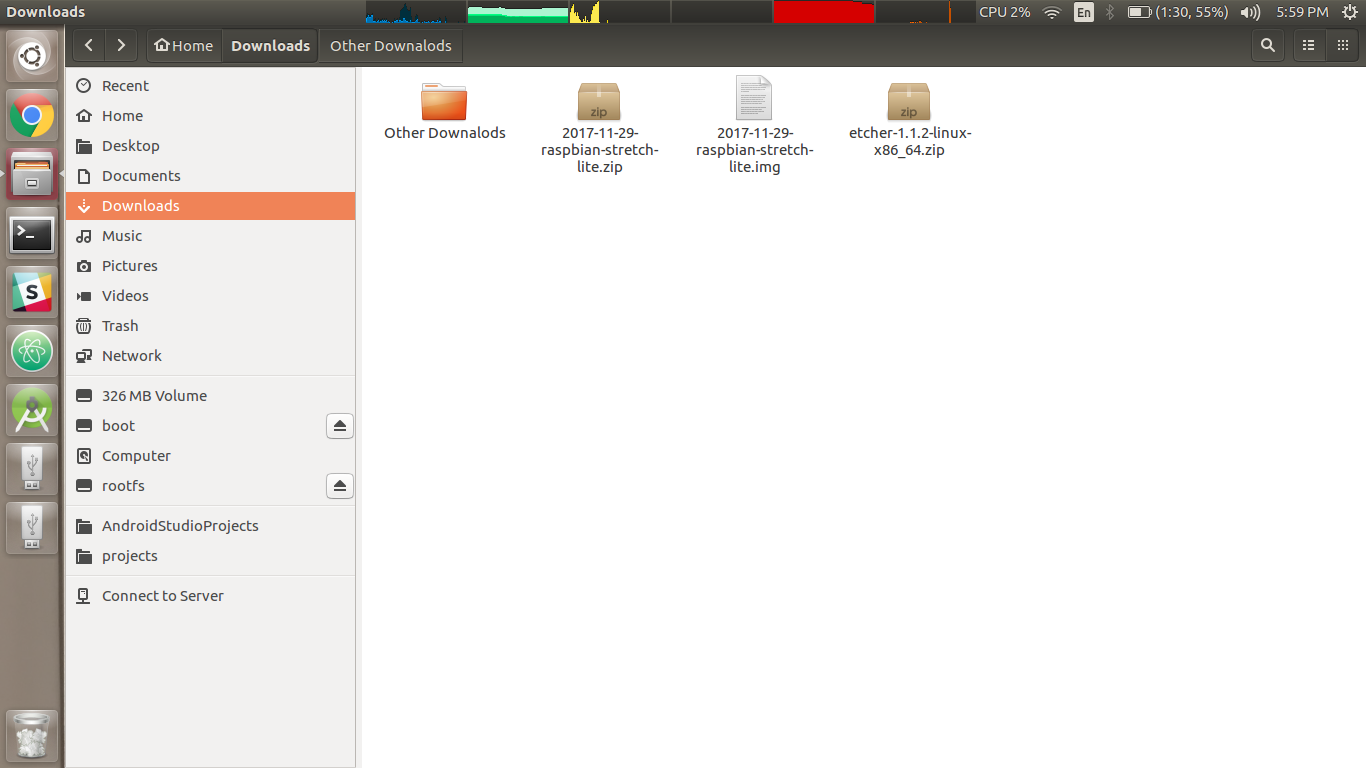
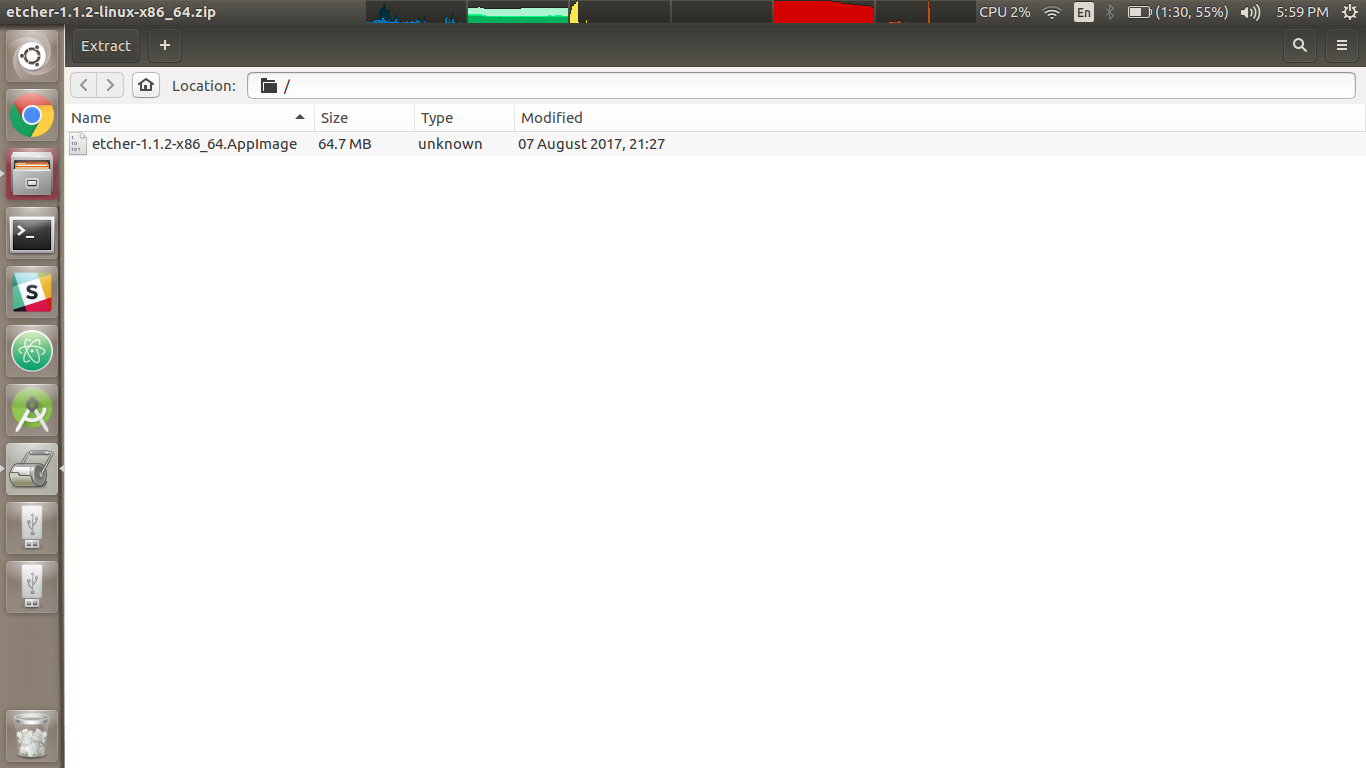
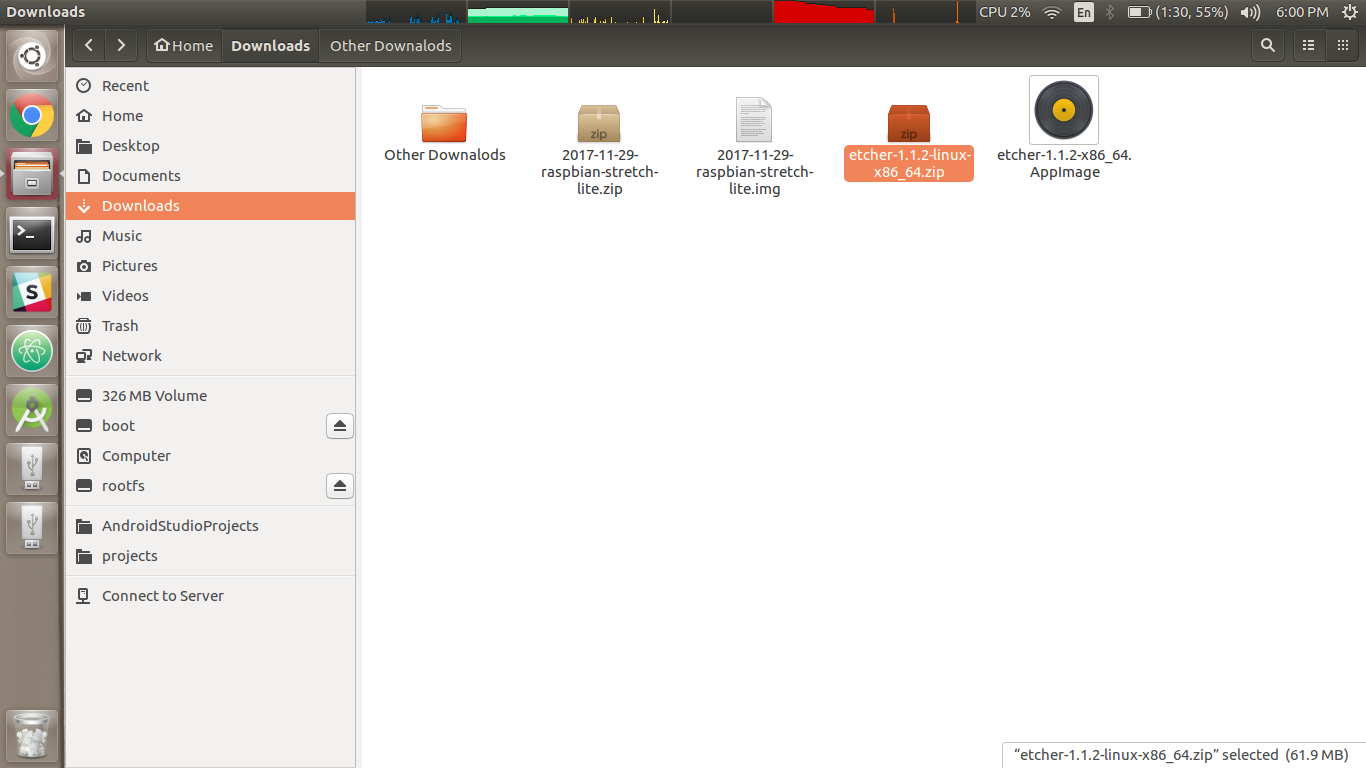
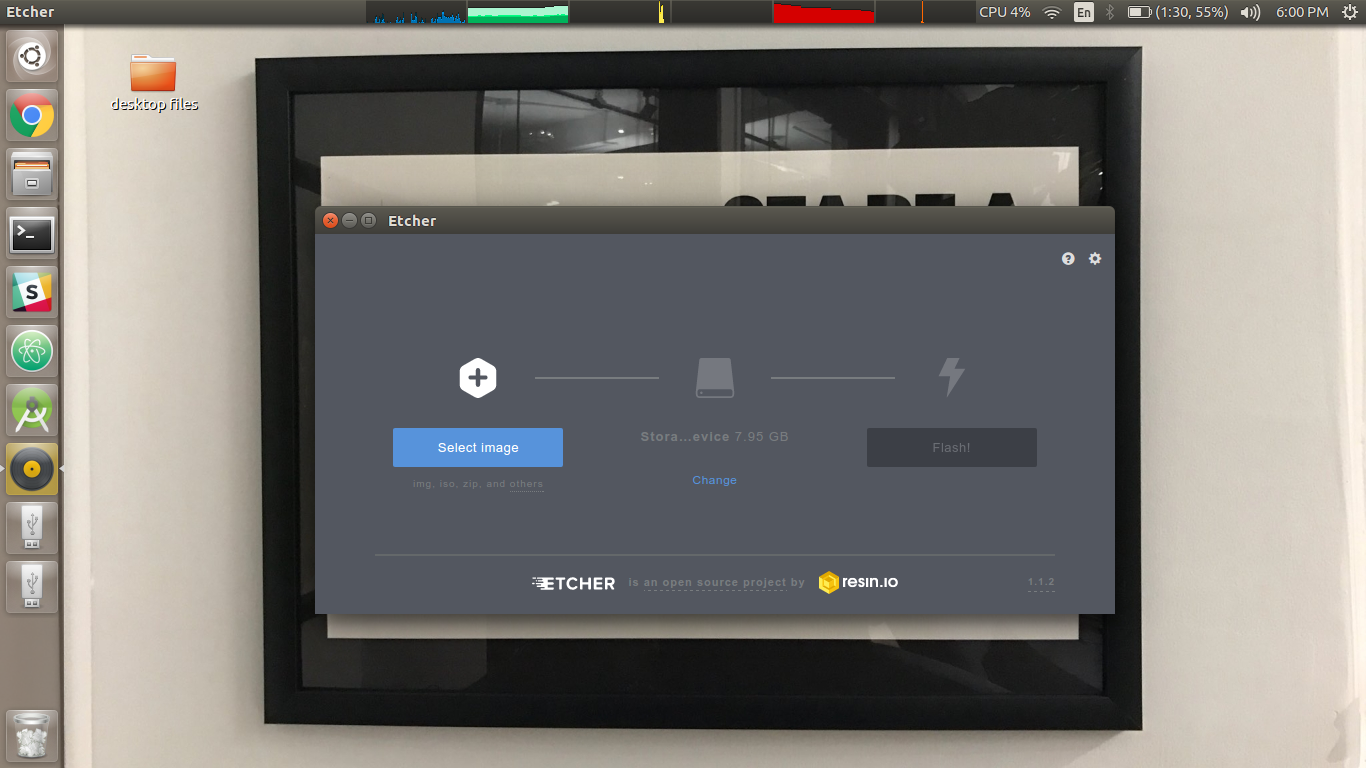
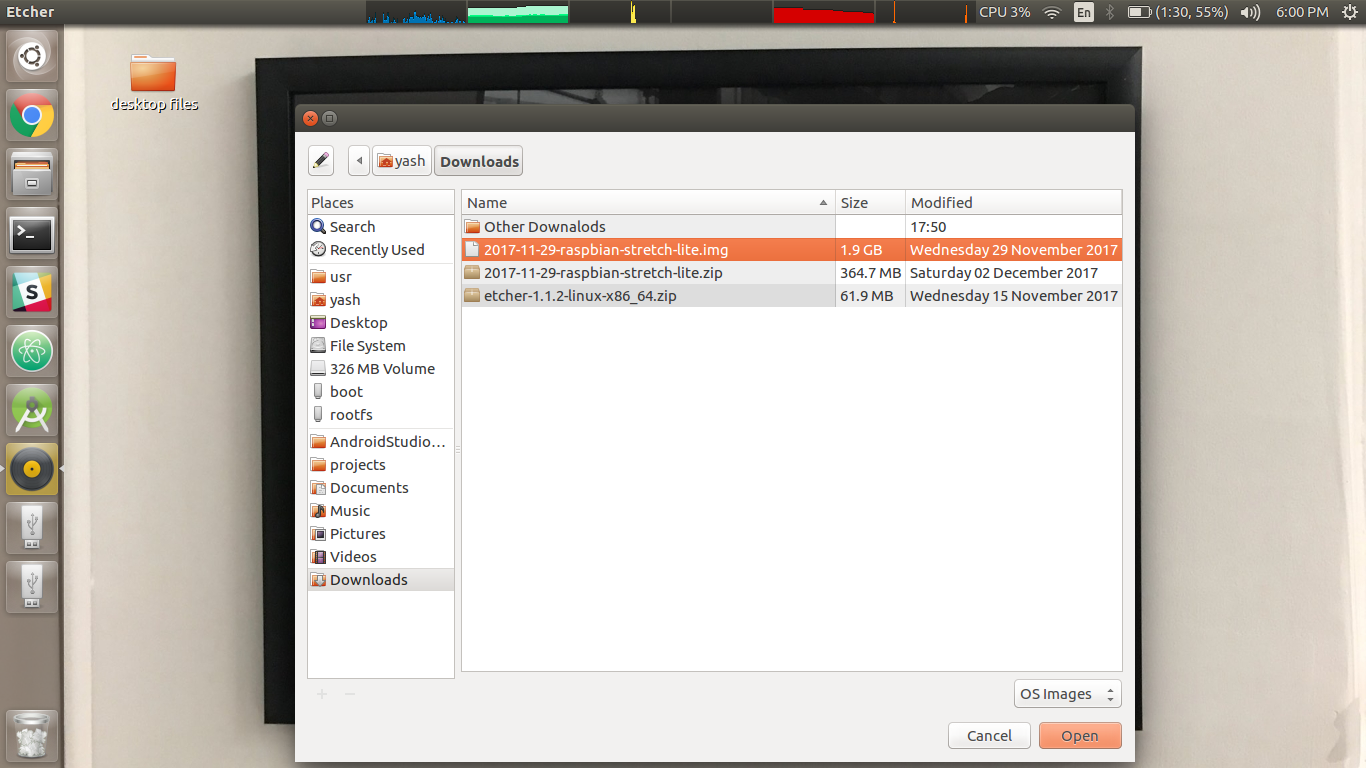
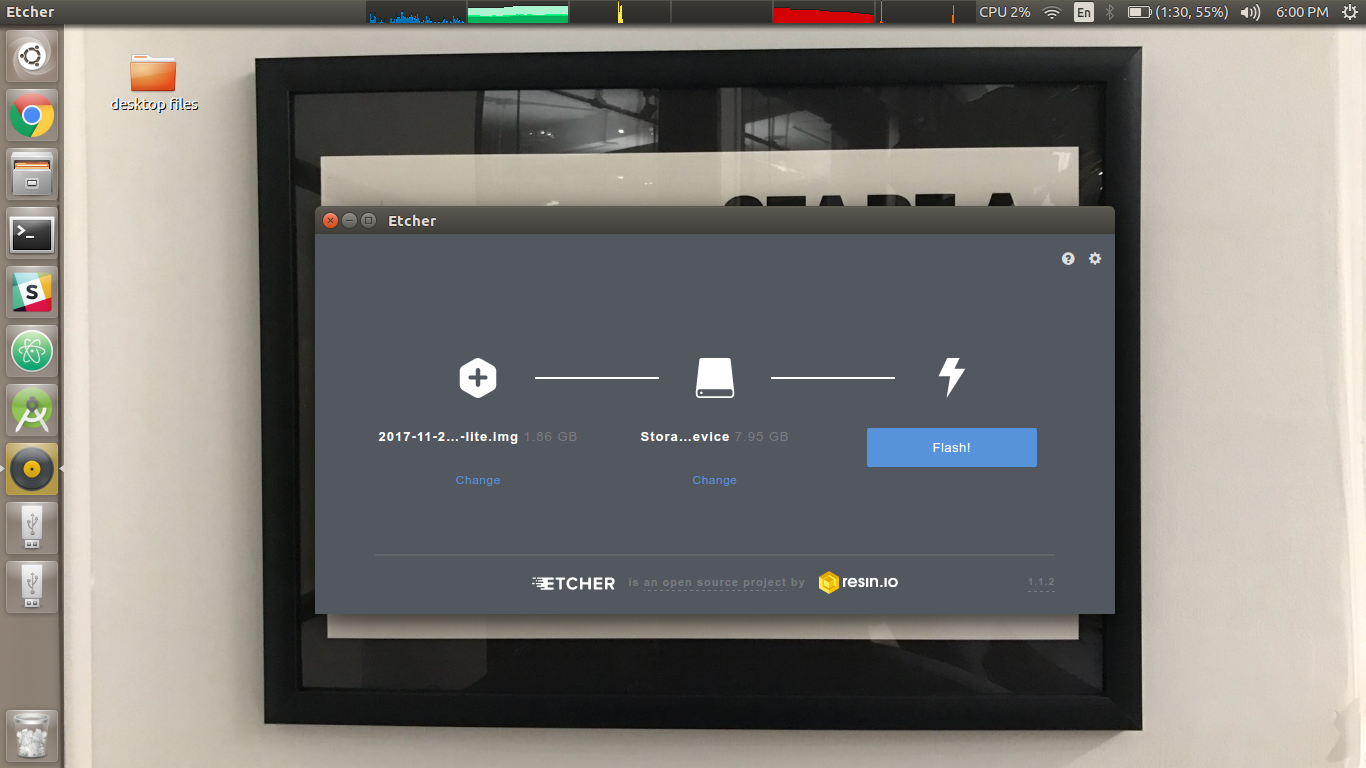
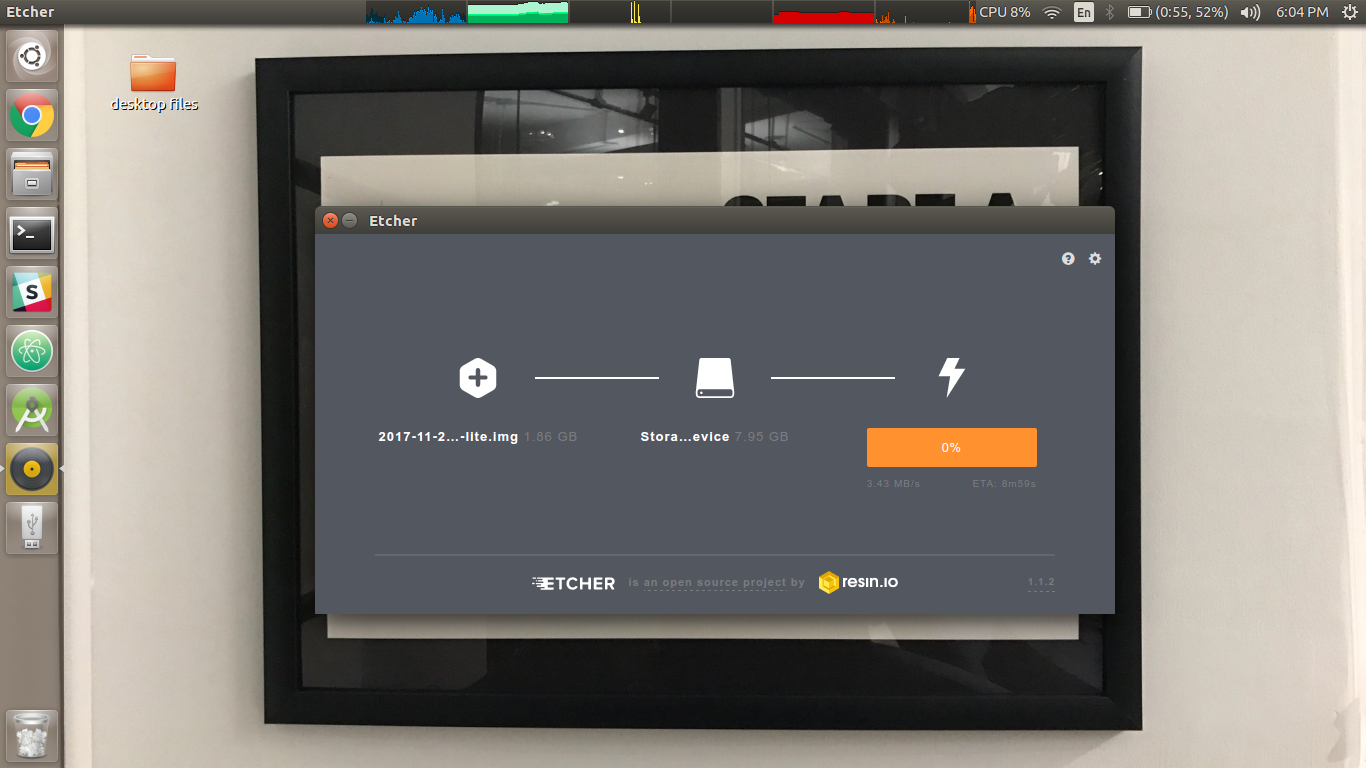
You will need to use an image writing tool to install the image you have downloaded on your SD card.
Etcher is a graphical SD card writing tool that works on Mac OS, Linux and Windows, and is the easiest option for most users. Etcher also supports writing images directly from the zip file, without any unzipping required. To write your image with Etcher:
- Download Etcher and install it.
- Connect an SD card reader with the SD card inside.
- Open Etcher and select from your hard drive the Raspberry Pi .img or .zip file you wish to write to the SD card.
- Select the SD card you wish to write your image to.
- Review your selections and click 'Flash!' to begin writing data to the SD card.
Enabling SSH
To enable ssh, Create an empty file called ssh in /mnt/sdc1/ folder of the BOOT disk. (i.e. /mnt/sdc1/ssh).
Booting Pi Up
Connect the Raspberry Pi with the power adapter and ethernet cable.
Login to your router and find the ip address of the pi. It should have the hostname raspberrypi.
Now you can use putty to ssh into the pi.
If you are a Linux User, Type in the terminal "ssh pi@ip-address-here"
The default password is raspbian. It is recommended to change the password when you boot the pi. To change the password, type the commeand sudo passwd.