Setup Blynk
In this tutorial, you will learn how to set up your Arduino board with Blynk and make it so that when you press a button in Blynk an LED lights up (I personally suggest the this as the esp32 has Wifi and Bluetooth built-in, which makes it good for IOT projects).
Supplies
- Arduino board that is supported by blynk (I will be using the esp32)
- USB cable
- Phone (iPhone or Android)
- Wifi
Add the Esp32 Core
If you are not using an esp32 then you can skip this step!
- Make sure that your Arduino IDE is version 1.8 or higher, if it is lower then this can cause problems. If it is lower then you will need to update it.
- First of all, we will need to download the CP210x Driver from https://www.silabs.com/products/development-tools/software/usb-to-uart-bridge-vcp-drivers
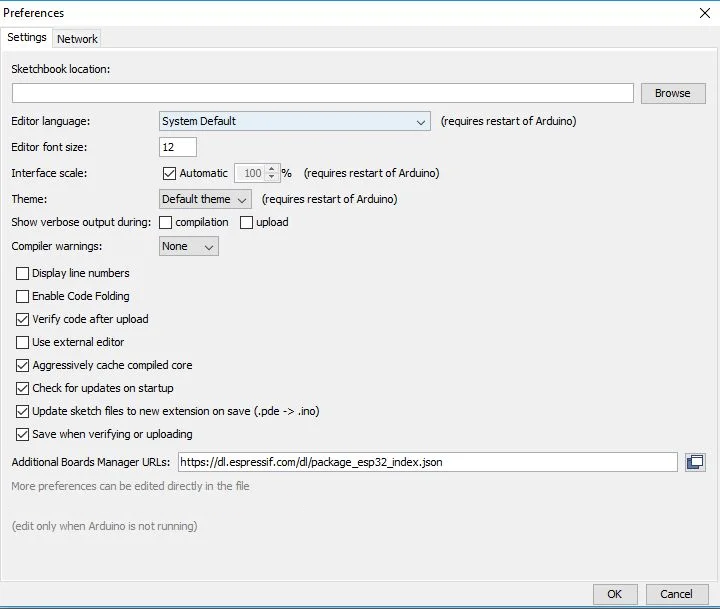
- After installing and setting up the drivers we now need to add in the esp32 core into the Arduino IDE, you can do this by selecting File > Preferences. Once in the preferences menu find the 'Aditional Boards Manager URLs:' after locating this paste in 'https://dl.espressif.com/dl/package_esp32_index.json'.
- Now go into Tools > Board and select the esp32 board that you are using.
- Finally, go into Tools > Port and select the port your esp32 is on.
Now your esp32 is ready to be used!
Setup Phone App


Now the first step to getting our board to connect to blynk is to download the app. You can download the app from the App Store or the Google Play Store. You can download the app by scanning either of the QR codes above.
After downloading the App then you will need to Create a new account.
Create a Blynk Application
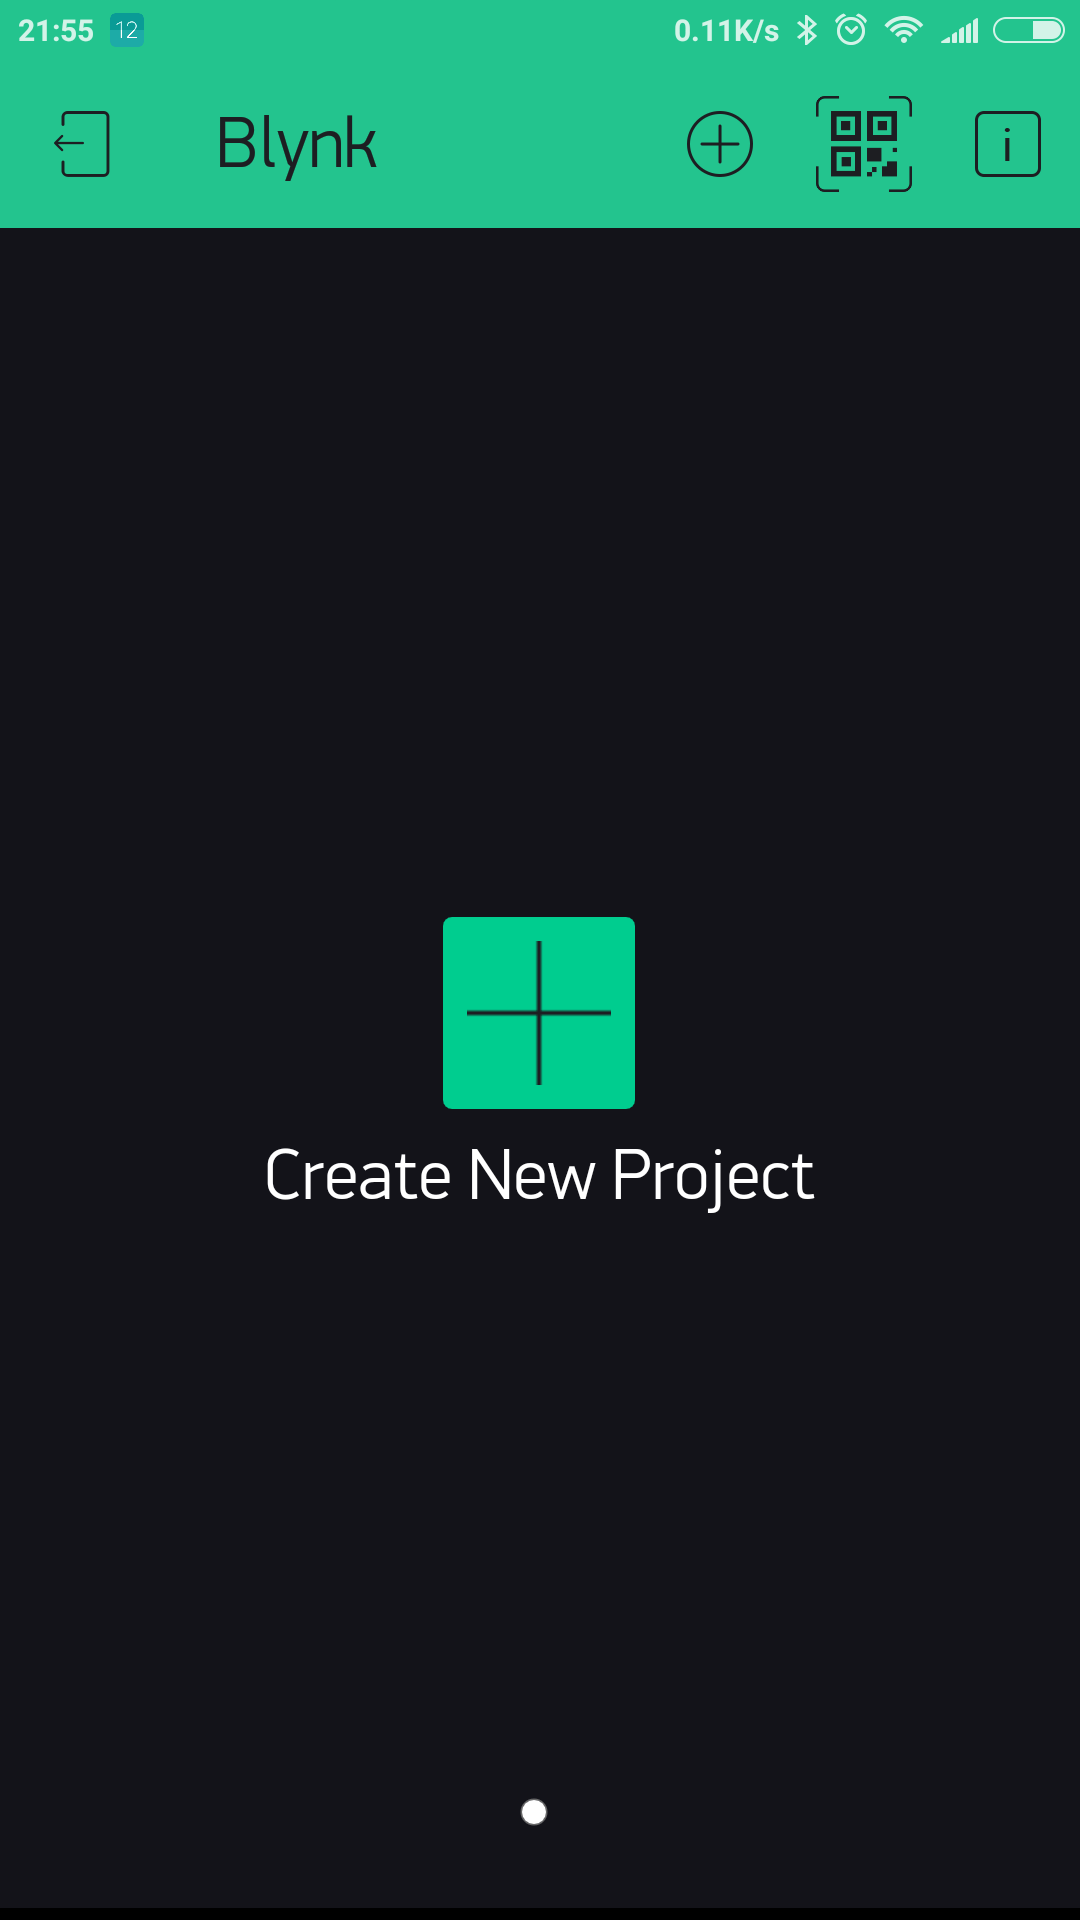
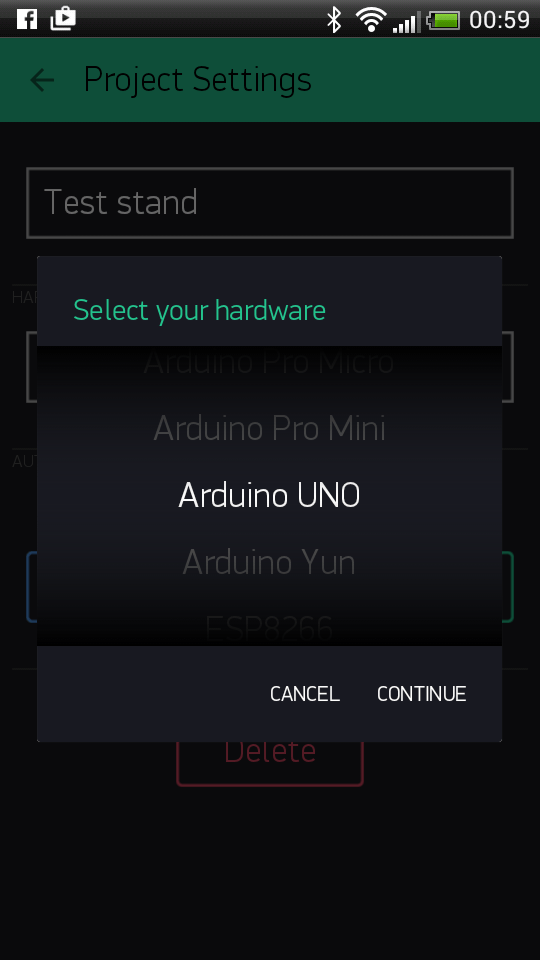
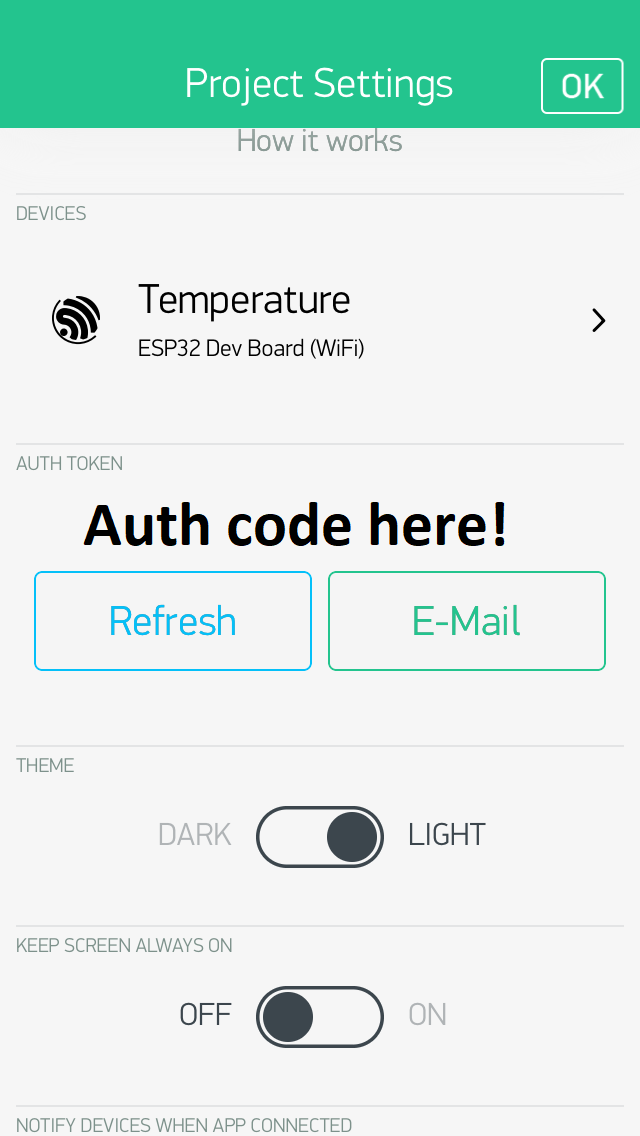
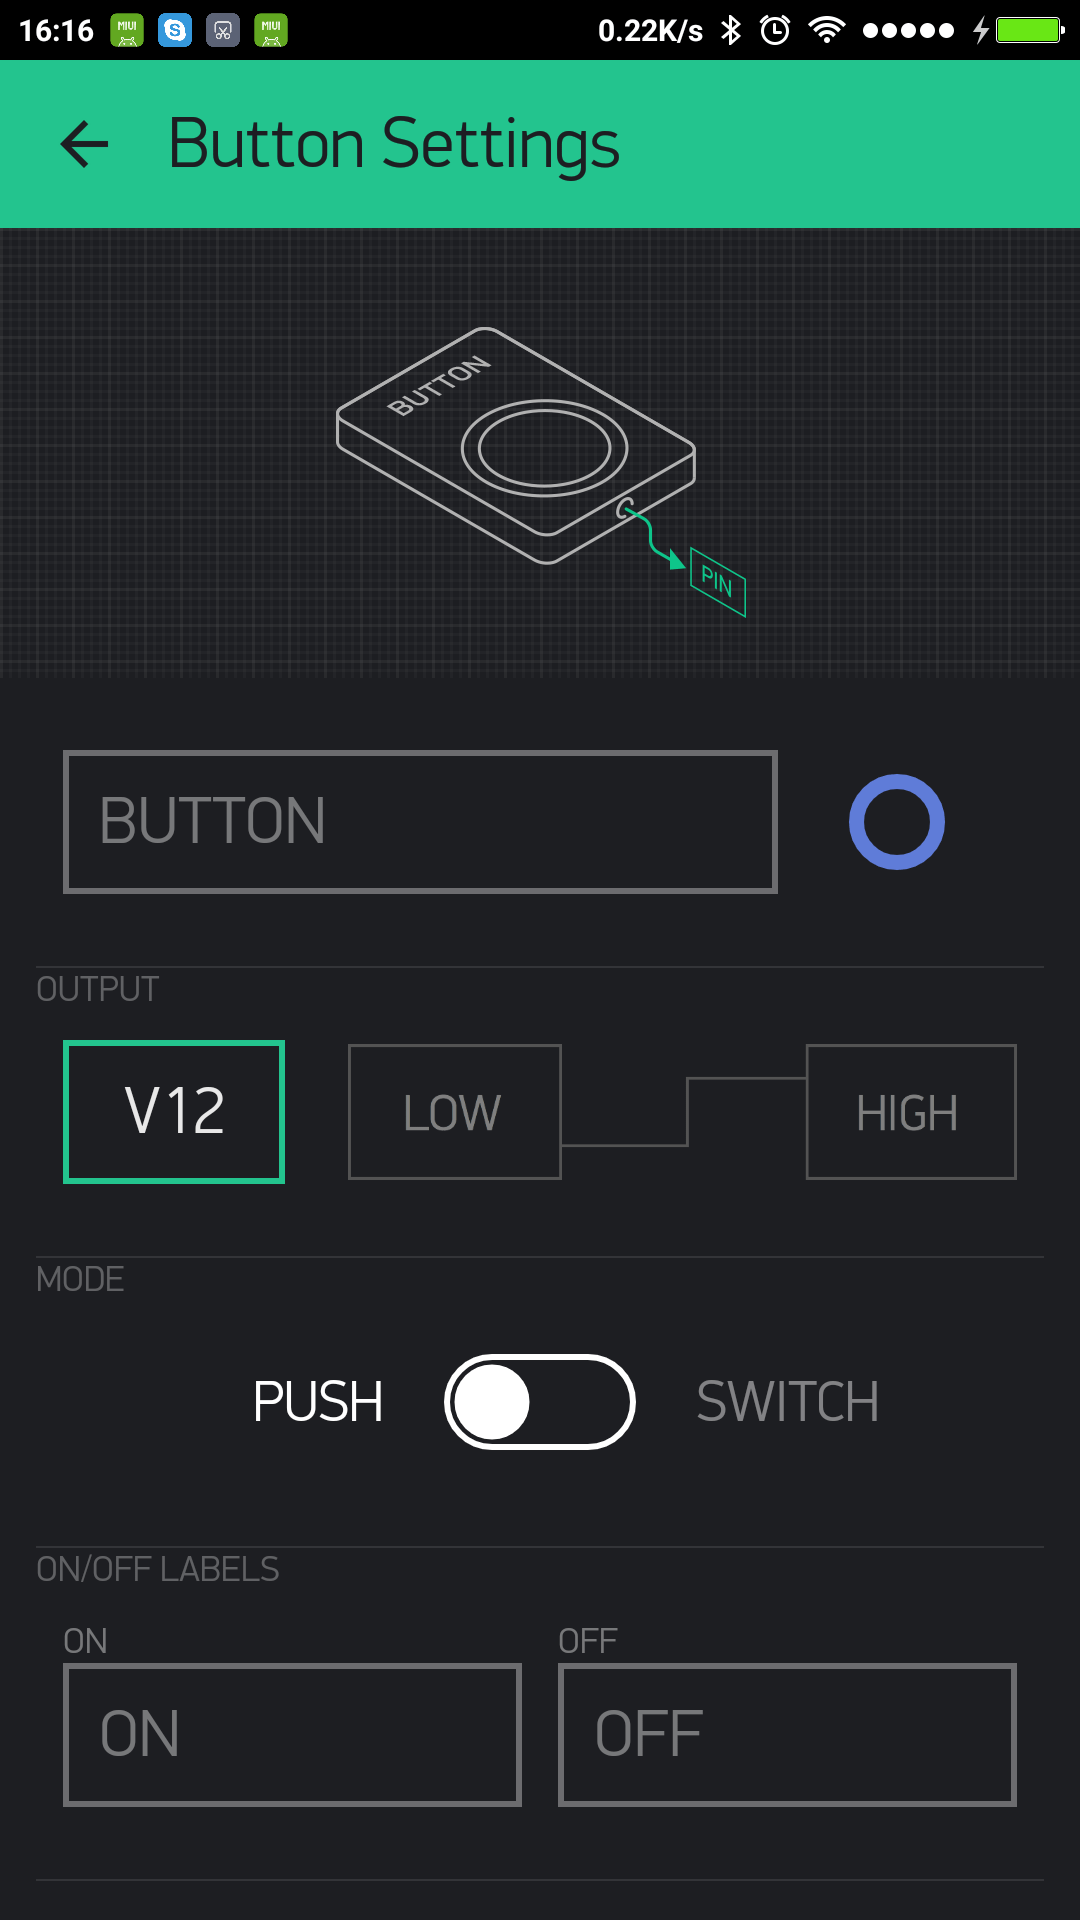
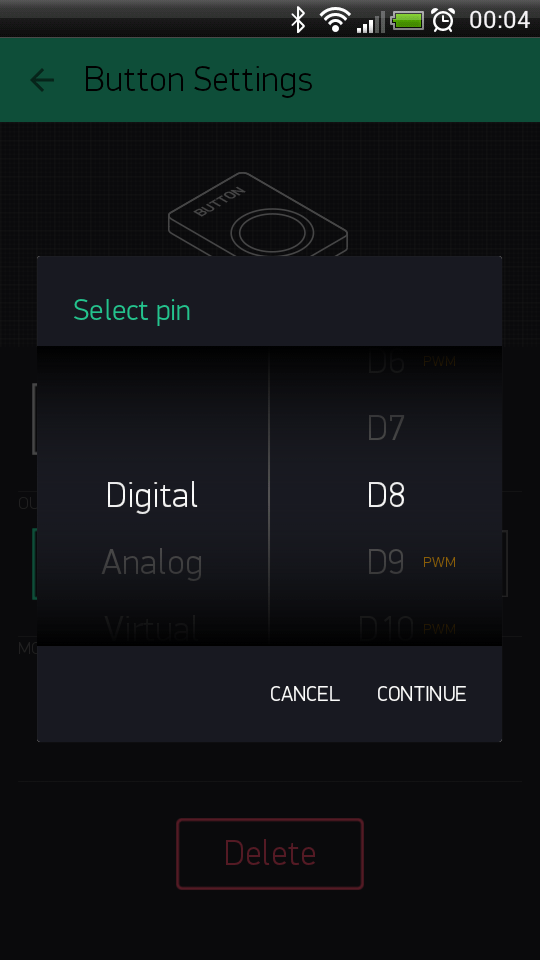
Once you've set up the app you can now build an application, in this tutorial we will build a basic program that allows you to turn on and off an LED. Now you will need to click the 'Create New Project' button, now you can create an application. First of all, put the name as 'Test'. After this select the board you are using and how it is going to connect. Now select 'Create Project'. After the application has loaded up select the nut icon, this will take you to 'Project Settings'. Now scroll down and find the 'Auth Token' section and write down the token (you will need it later!). Now drag and drop a button into the centre of the application and tap it to enter the settings menu for it and tap the are that says 'Pin' and scroll it to Digital and D8.
Download the Blynk Arduino Library
Go to https://github.com/blynkkk/blynk-library/releases/ and download the latest .zip file, for example, 'Blynk_Release_v0.6.1.zip' after doing this open the Arduino IDE and go into Sketch > Include Library > Add .ZIP Library and navigate to where you saved the .zip file you downloaded and select it. The Blynk Library is now installed! Finally, wire up an LED to digital pin 8.
Setup the Code
To work out what code you need for your board go to https://examples.blynk.cc and select your board and connection as well as setting the example to 'Blynk Blink', now copy the code and paste it into the Arduino IDE and find the line char auth[] = "YourAuthToken"; and replace YourAuthToken with the Auth Token you wrote down earlier and if you are using wifi find the line char ssid[] = "YourNetworkName"; and replace YourNetworkName with your network name and find the line char pass[] = "YourPassword"; and replace YourPassword with your Wifi password. Now you can run the code and open the app and click the play button in the top right-hand corner. Now you can click the button in the app and the LED will light up!