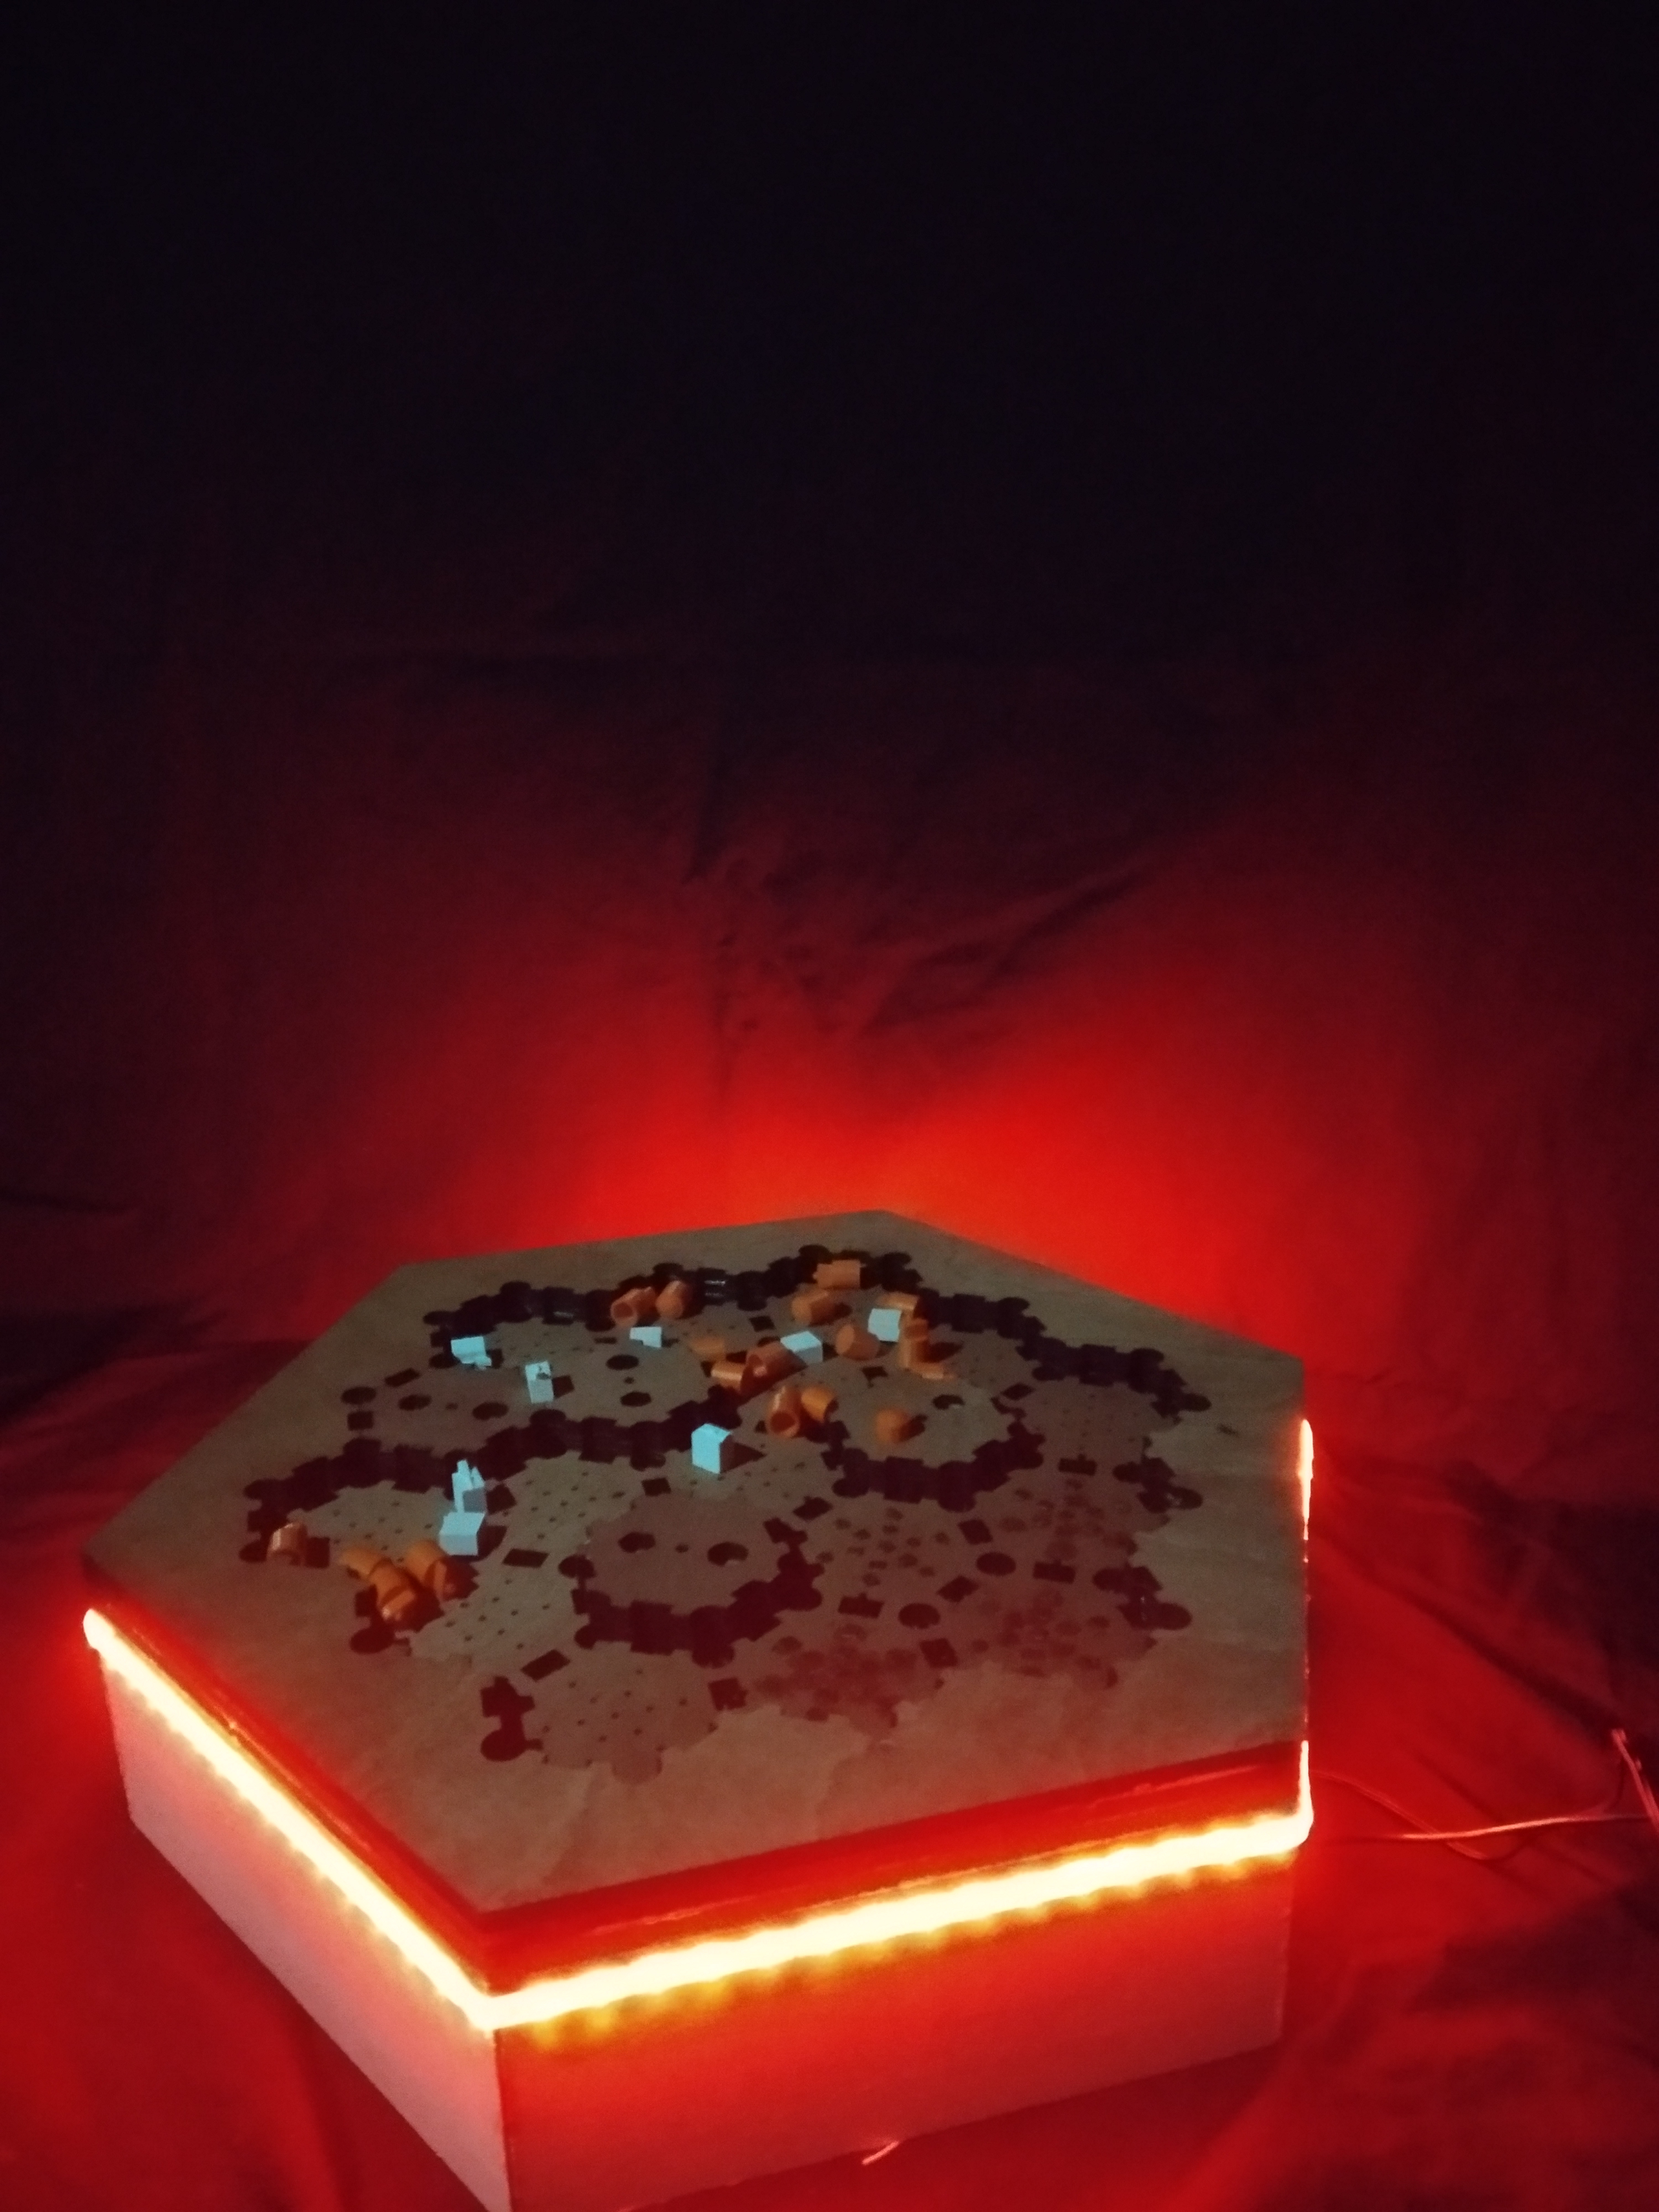
Settlers of Raspi - a Settlers of Catan Clone With Electronics
by stevenCopermans in Circuits > Raspberry Pi
1247 Views, 4 Favorites, 0 Comments
Settlers of Raspi - a Settlers of Catan Clone With Electronics

This instructable will guide you through the steps of creating "Settlers of Raspi", a Settlers of Catan game with electronics and a web interface.
Supplies
Below are the supplies you'll need in orde to follow this guide.
Note that some steps could be done differently, like using a breadboard instead of soldering certain parts.
This will just guide you through the process and supplies I used in my design, feel free to make any changes you want.
Hardware
- Raspberry PI 3 B+
- Arduino UNO
- MCP23017 (x9)
- Buttons (x 144)
- 10k resistors (just a few)
- 220 resistors (x144)
- 330 resistors (x19)
- 2x16 LCD
- MFRC522 RFID-Reader
- LDR
- White Leds (x19)
- RGB Ledstrip (common cathode)
- 16-channel CD74HC4067
- Bi-directional Level-converter
- 4 plates of multiplex 8mm x 524mm x 454mm
- Lots of cables
- Copper plate
Making the Case


Making the case for this project is our first objective, this'll make installing the hardware easier.
Lasercutting
Download the 4 included .AI files and take them to your closest laser-cutting-shop along with your multiplex plates.
And then lasercut those plates with the provided files ;p
Keep all the parts that are cut out, you'll need them.
Putting it together
For the assembly, glue the plates in the following order: Catan_Base > Catan_Base_Holed > Catan_Border_Tiles_Bottom > Catan_Border_Tiles_Top
Wait with adding a case for the electronics, as you'll need some space to work with first.
The tiles
Unfortunatly, this section is not yet finished and will be updated once it is
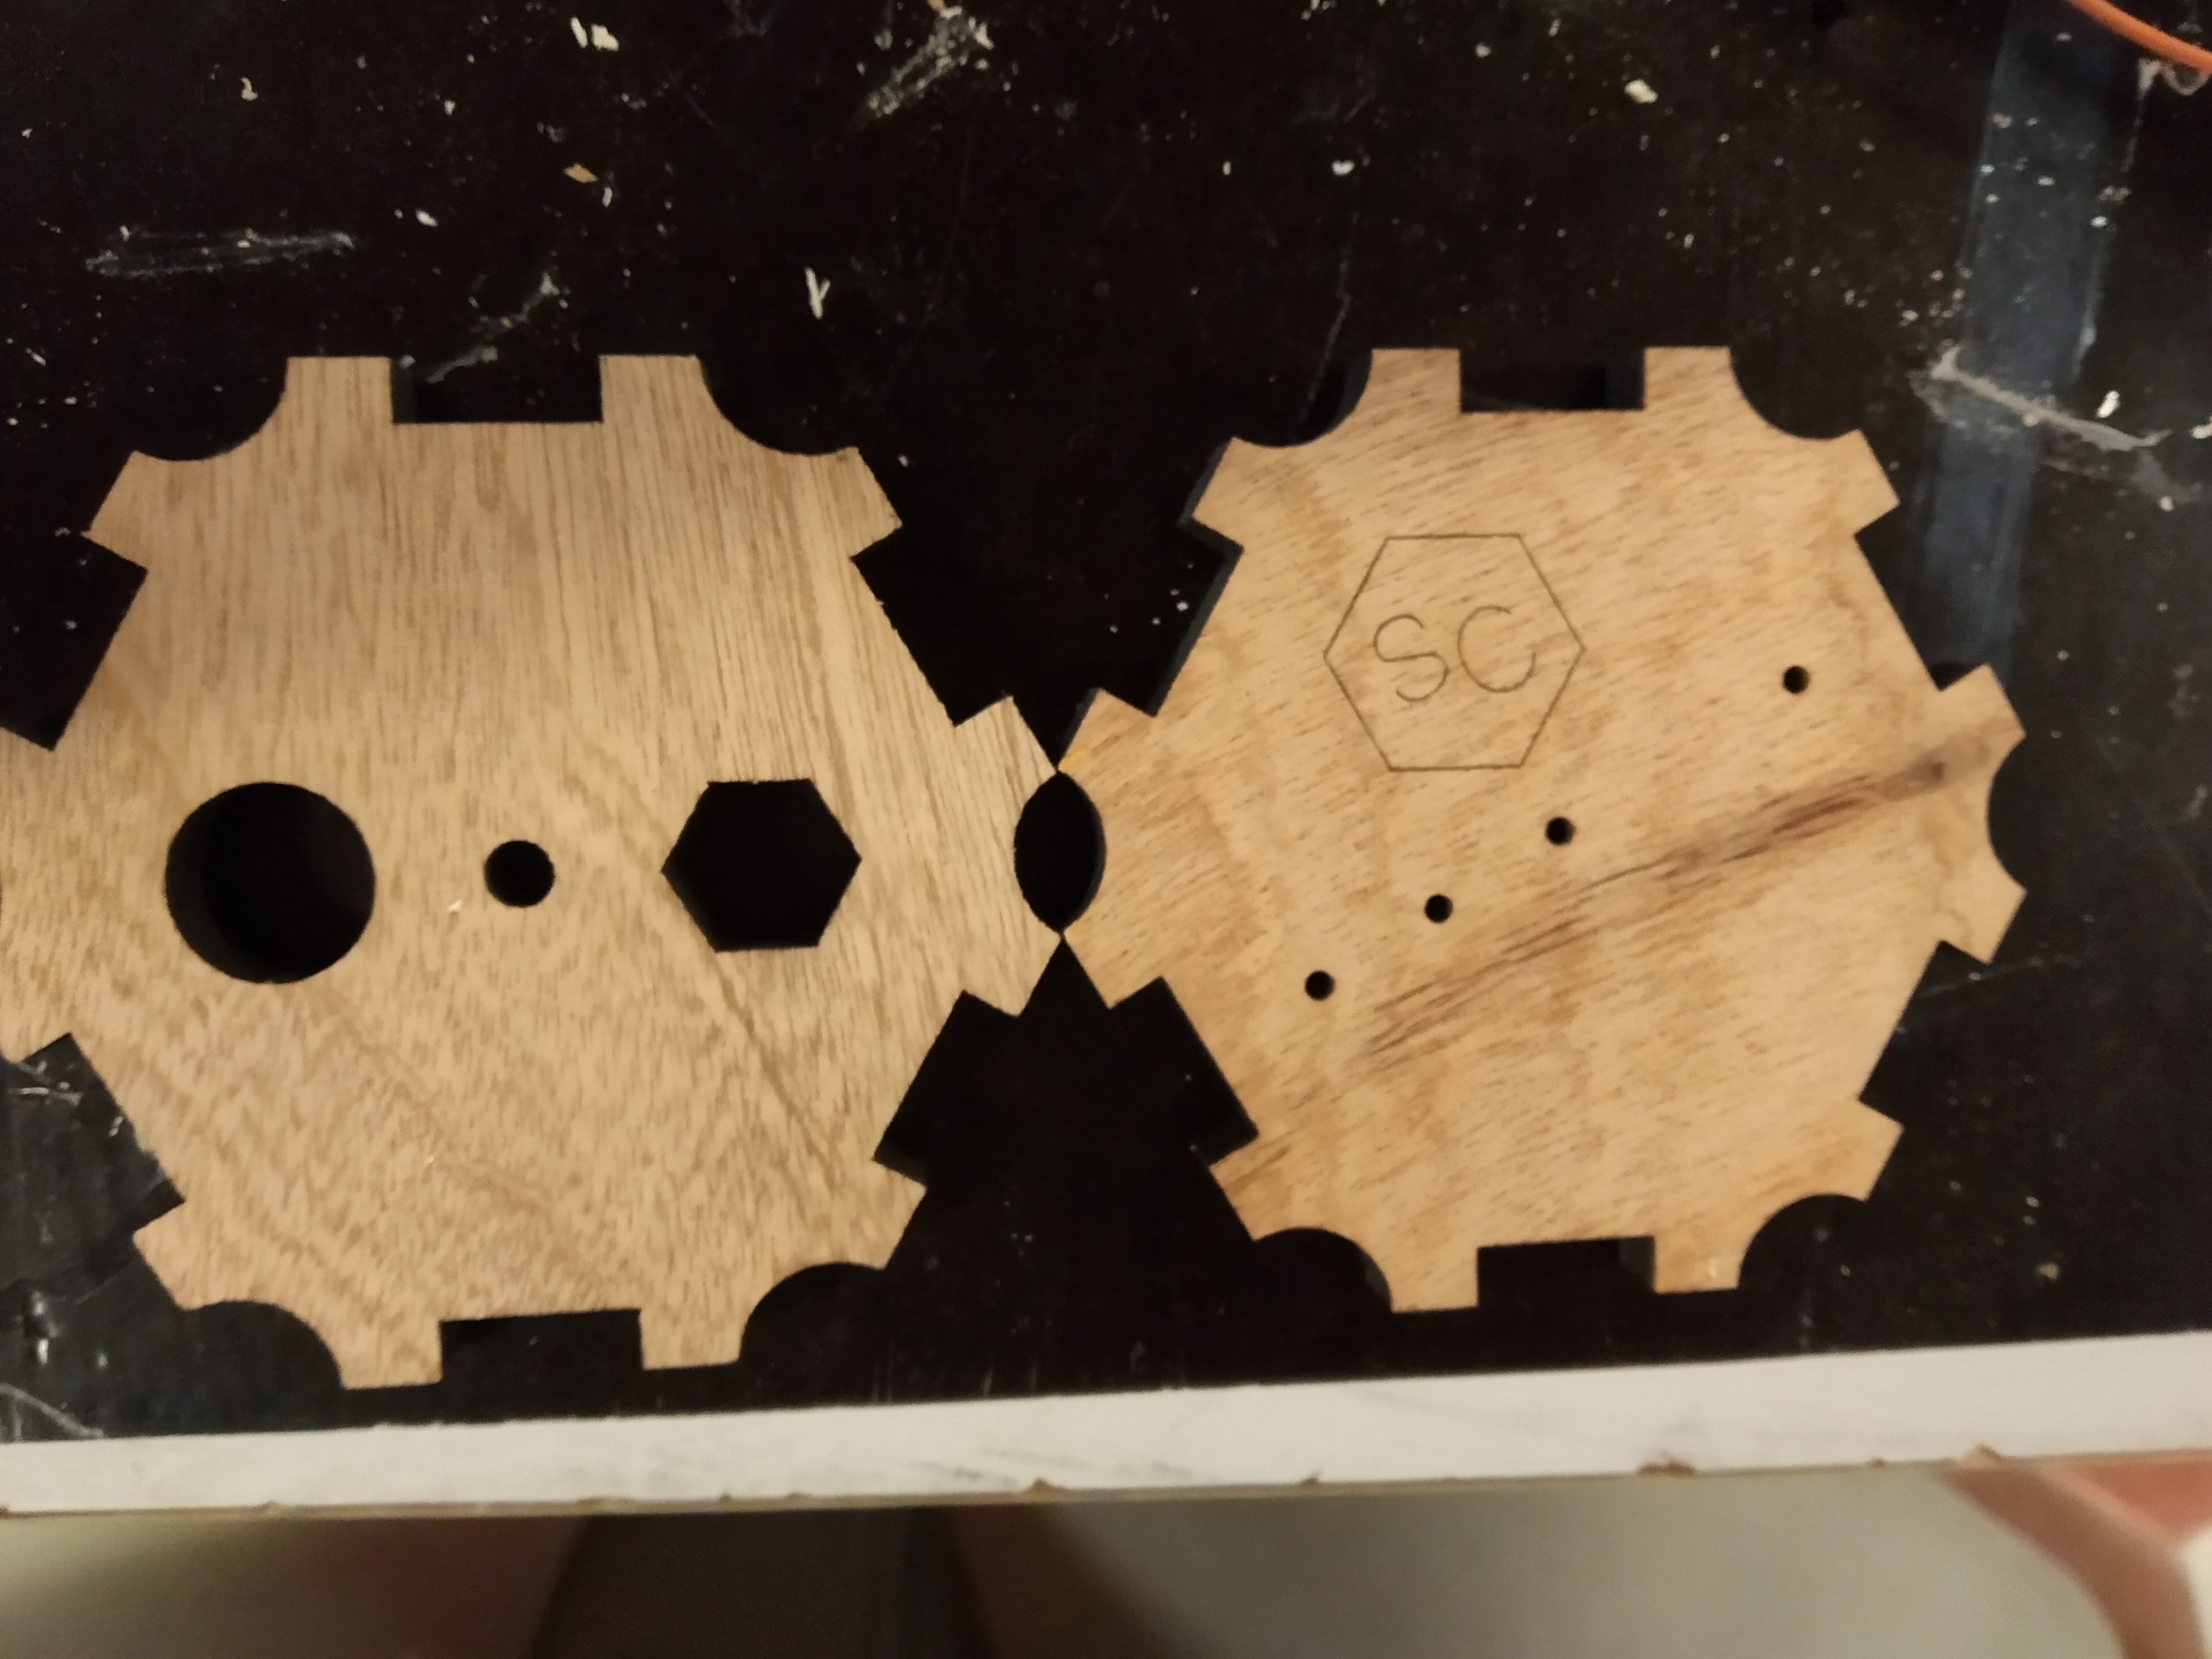
The tiles for the game are also gotten from the lasercutting files (win-win right, as this prevents wasting materials).
The picture abovedisplays the top (left) and bottom (right) parts of the tiles.
In 1 side of the tiles, hollow out some of the wood, so that you have some space to put electronics in.
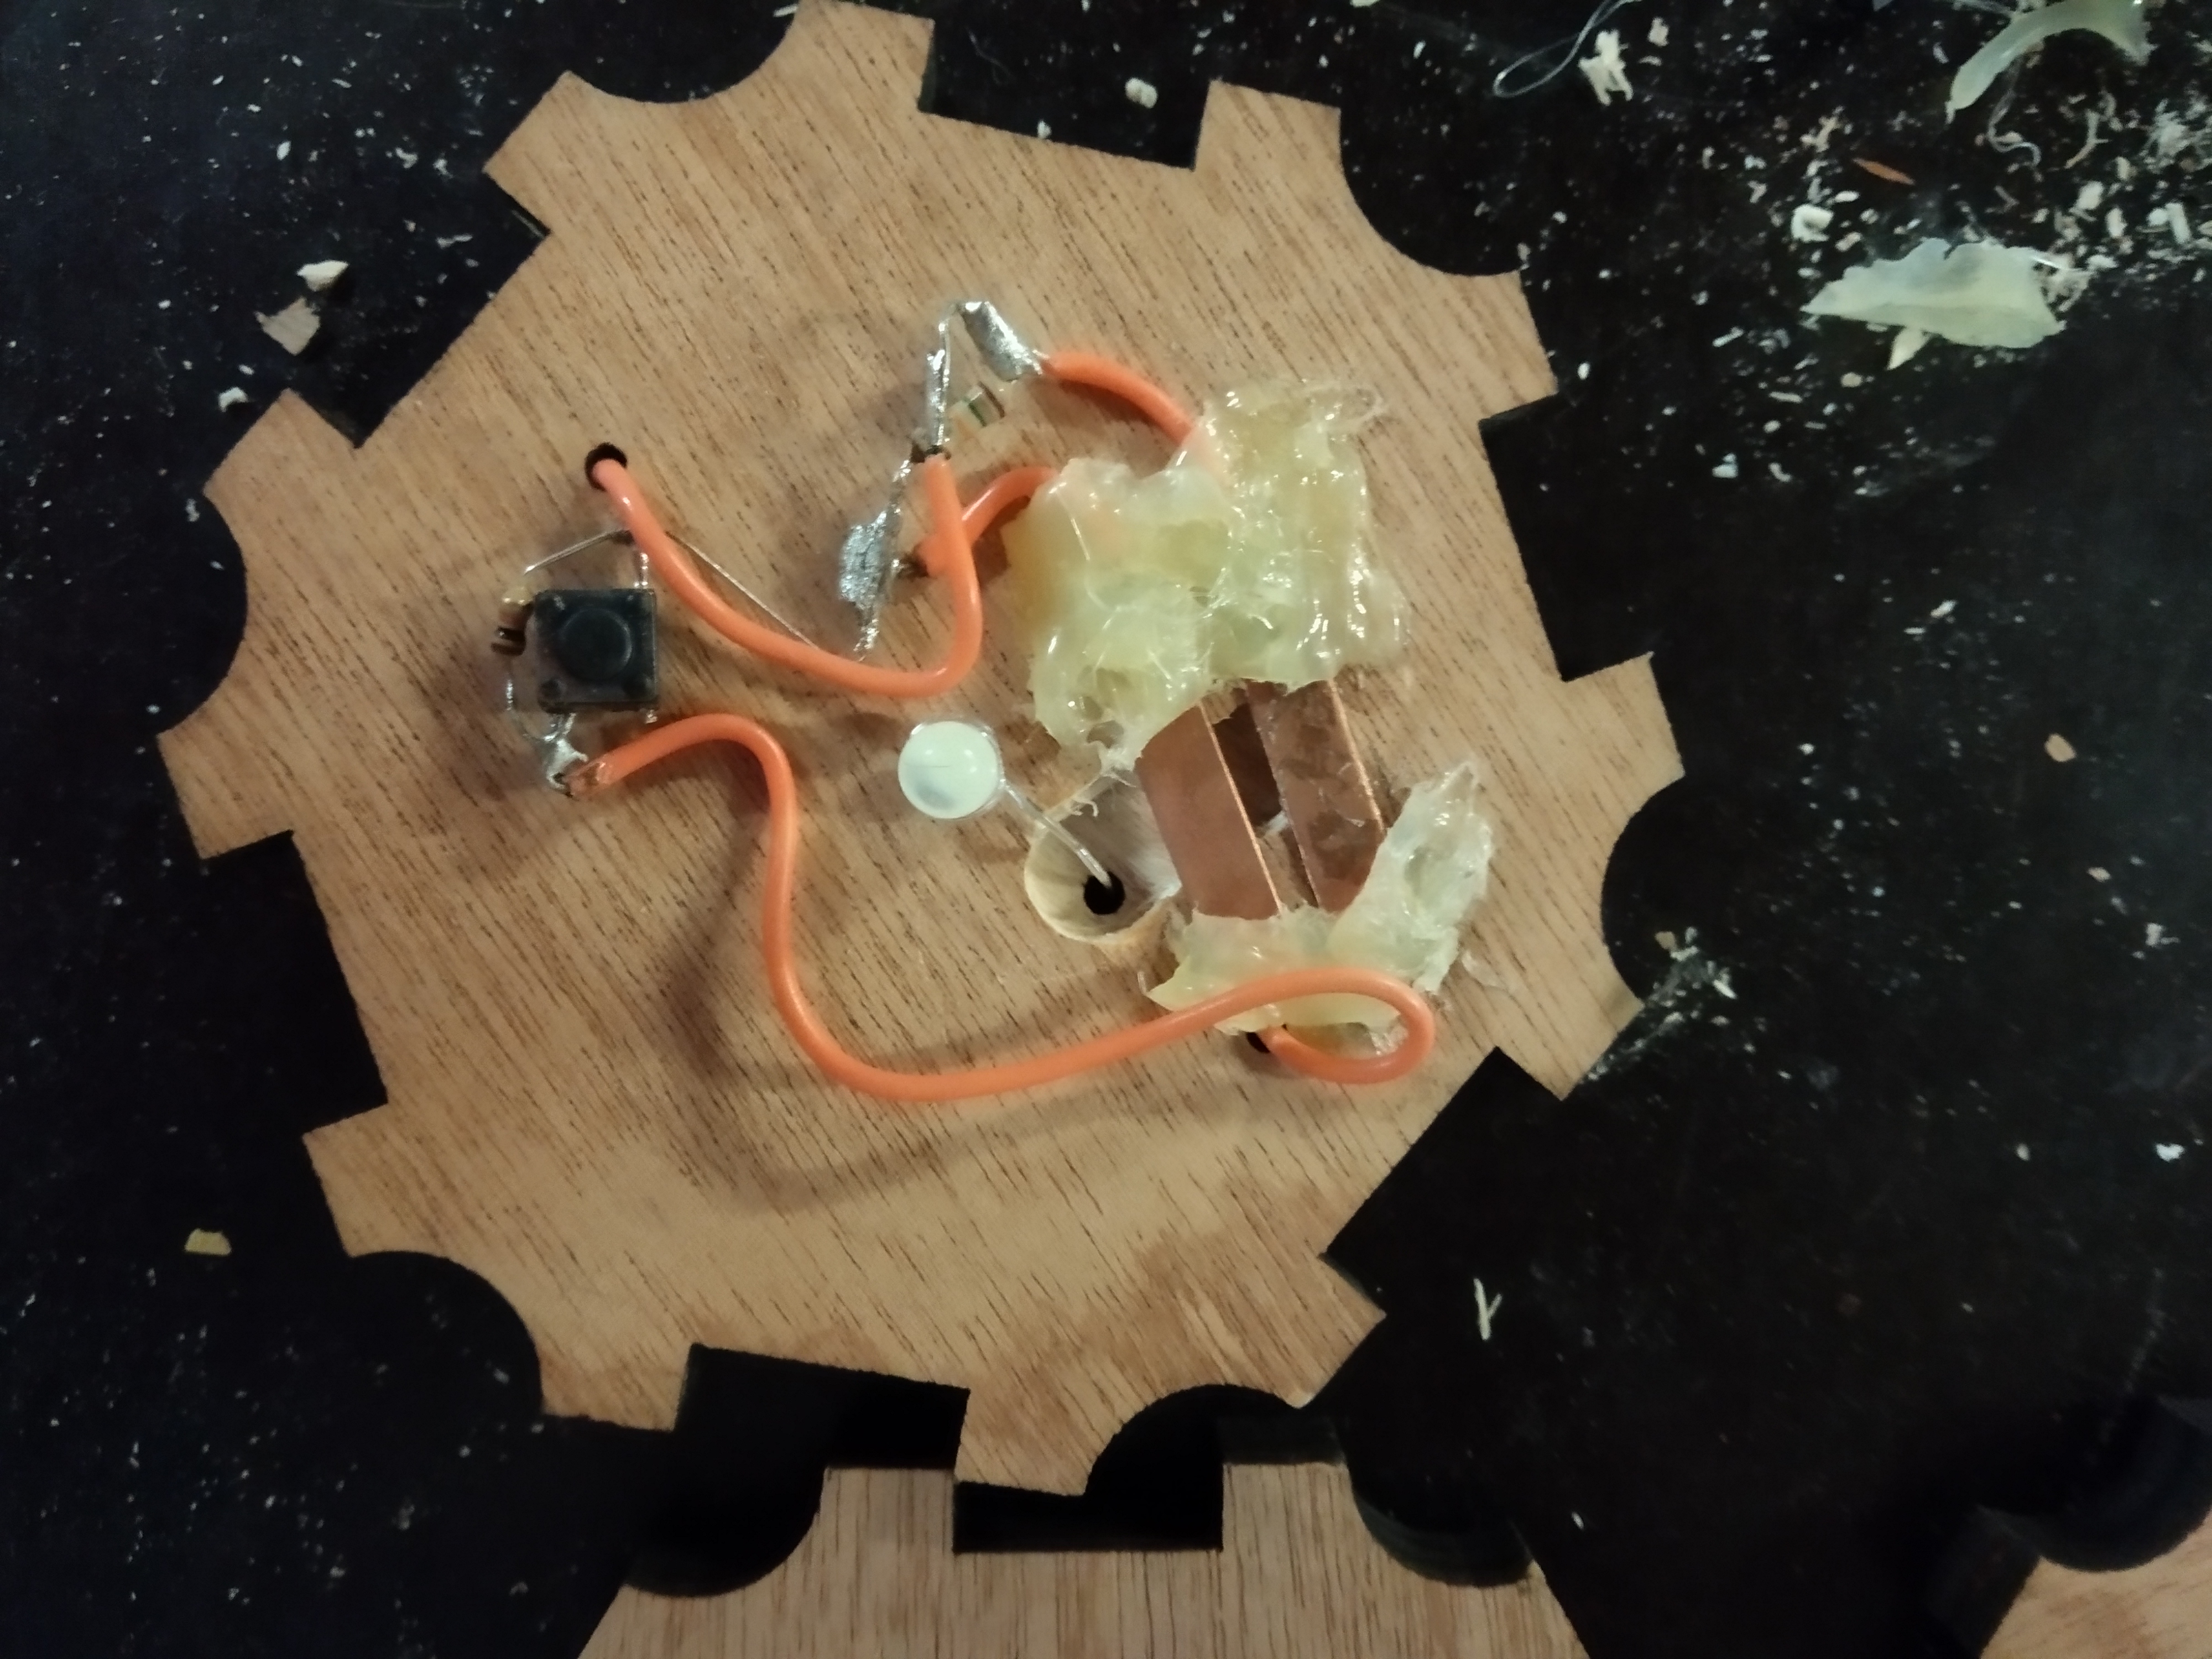
For each of the tiles you'l need: 1 10k resistor, 1 resistor in the range of 18k to 47k (each type of tile needs a different resistor, the 6 types over this range) and 1 white LED.
Now put the electronics in (take a look at the picture above).
Shove the ends of the cables through the small holes on the bottom-tile (only holes that matter are: Centered hole: anode of the LED, hole closest to that center hole: cathode of the led).
Now, cut your copper plate into small 5x5mm pieces, and solder them to the cables sticking out of the holes on the outside of the bottom tile.
The Electronics
Wow, you already made it this far?
Let's get it on with then ;)
This section is rather easy to explain, just follow the scheme included here.
Downloads
Setting Up the Raspberry PI
Woohoo, now on to the fun part! Setting up the raspberry pi :D
Installing the raspberry pi
Creating the image
First off, you'll need to download both of the linked files.
Now follow these steps:
- Insert your micro-SD card into your computer
- Open Win32 Disk Imager
- Select the .img file you just downloaded
- Click 'write'
In order to get access to the pi, we'll need just a few more steps
- Go to the SD-card's boot directory
- Create a text file called "ssh.txt"
- Delete the .txt extension
- Open the file "cmdline.txt"
- At the end of the file, add ip=169.254.10.1 (but keep this on the same line as all the other text.
Setting up the pi
Plug 1 end of an ethernet cable in your pc and the other end in your pi.
Now power the pi, wait a solid 5min to be sure the pi has started correctly.
Open your favorite SSH client (I use Putty) and connect to the IP we gave the pi in the steps above.
Default username and password are "pi" and "raspberry".
In raspi-config, enable I2C.
Getting the pi on wifi
In order to get your raspberry pi on your wifi, type in following commands:
sudo -i
wpa_passphrase "mySSID" "myPASSWORD" >> /etc/wpa_supplicant/wpa_supplicant.confwpa_cliinterface wlan0reconfigure
Don't forget to replace "mySSID" and "myPASSWORD" with the SSID and PASSWORD of your router.
Downloading packages and scripts
We'll need to install some packages and scripts in order to get this project up and functional, so please enter following commands:
sudo apt install mariadb-serversudo apt install apache2 -ypip install Flask Flask-Cors Flask-MySQL Flask-SocketIO PyMySQL
Setting up the Database
In order for us to use the program to its full potential, we're going to need to install our database! So let's do this shit!
mysql_secure_installation
When it asks for our password, just press enter, as we have not yet created a user.
Next it's going to ask us if we want a root password, select yes, and enter the desired password.
Select yes on all the remaining questions.
sudo -imysqlgrant all priveleges on rpiUser.* to ''@'%' identified by '';FLUSH PRIVELEGES
make sure you create a user called rpiUser with the password omgThisIsSoSecret
Downloading the Application Itself!
We're almost there, just hang in with me a little bit longer!
Follow some commands (once again):
cd /home/pigit clone  https://github.com/StevenCopermans/Settlers-of-Ra... SettlersOfRaspi
cd SettlersOfRaspisudo cp -R Website/ /var/www/html/sudo cp -R SettlersOfRaspi/ /home/pi/SettlersOfRaspisudo mysql -u root -p << DATABASE.sqlsudo nano /etc/rc.local
At the end of the file that just opened, just before the exit, add the following line:
python3 /home/pi/SettlersOfRaspi/app.py $
Then press ctrl + X > y > enter
The Arduino
Last step! Wooo
Download the Arduino folder
Open the folder in the arduino program, and upload the script!
That's it! We're done!
Enjoy the game! :D