Setting Up and Editing a Windows 8-like Home Page for a Web Browser (Outdated)
by crash770 in Design > Websites
4777 Views, 5 Favorites, 0 Comments
Setting Up and Editing a Windows 8-like Home Page for a Web Browser (Outdated)
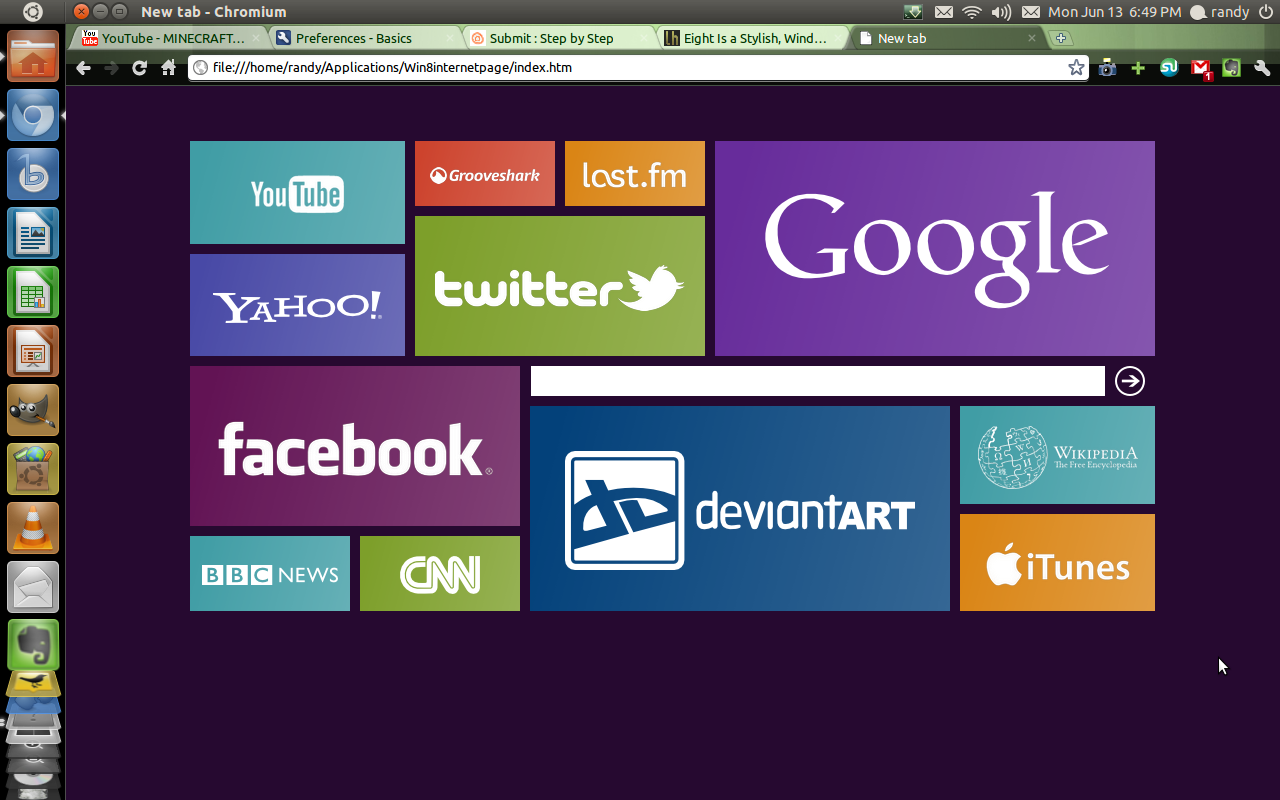
(EDIT 3/10/2012: This tutorial is outdated, visit http://eight.kx.cz/index.htm for the updated files and tutorial)
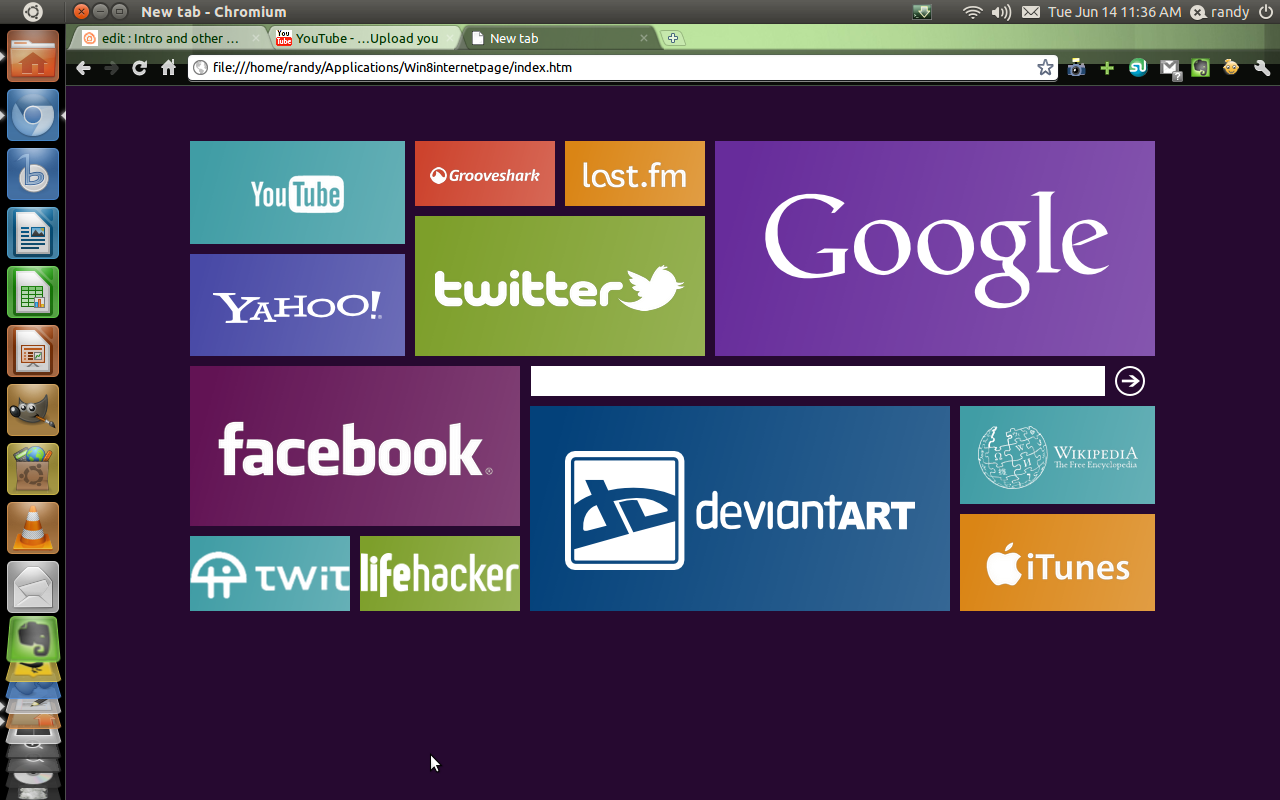
Now, I saw this on lifehacker (http://lifehac.kr/mJY5GF ) the other day, and figured I should put up a more detailed tutorial for it. This is a simple web page that stays on your computer that gives your home page a look like the windows 8 interface (http://youtu.be/p92QfWOw88I if you haven't seen it) or like the Windows phone 7 "Tiles".
Prerequests:
-A OS with a Browser that can load locally-stored html pages as a home page (I will be using Ubuntu 11.04 with Chromium)
-Ether Firefox, Chrome(ium), Internet Explorer, or Opera.
For editing:
-The GIMP or like photo editing program
-A text editor, notepad will work
The page and all of the code is credited to flatmo1 from deviant art (http://flatmo1.deviantart.com/ ) so check him out, he has some awesome skins on his page.
This is the one that I made, and I'm still editing it:
http://bit.ly/mSywUo
Selecting the Right Package
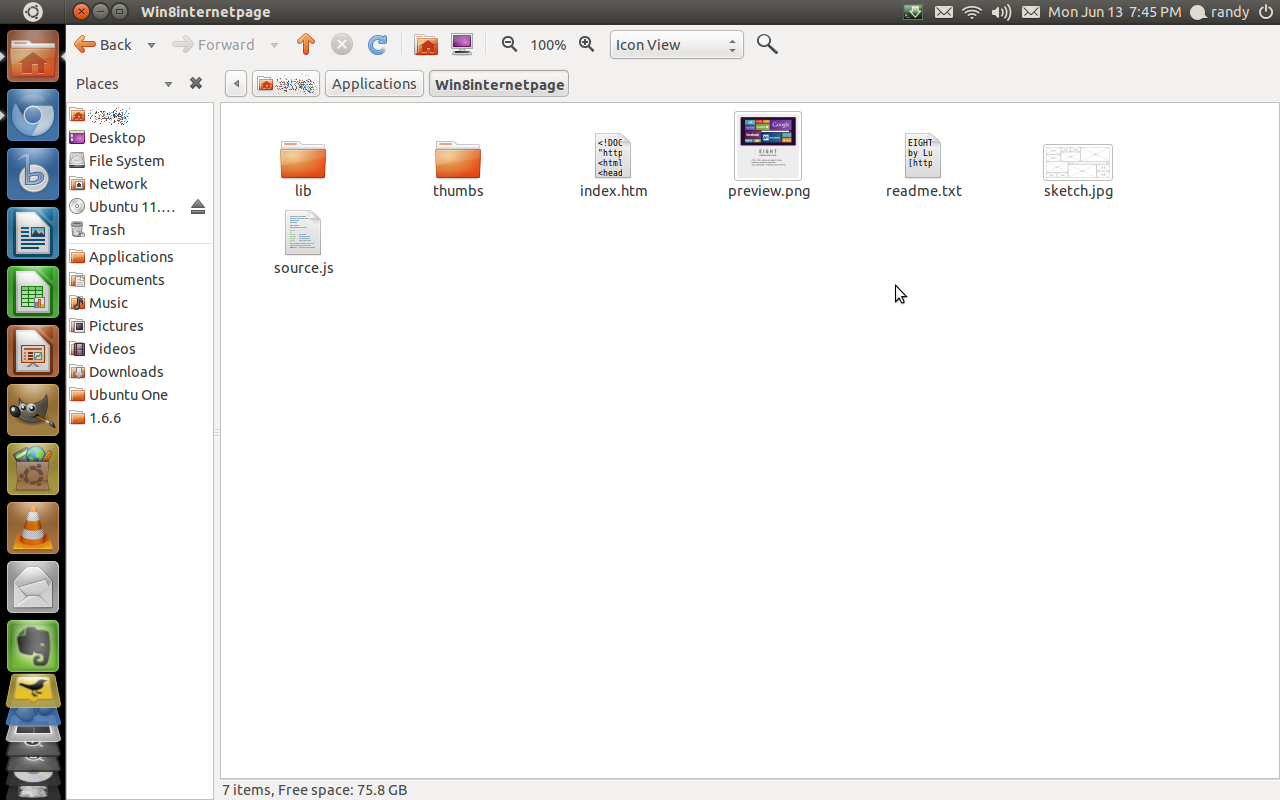
Alright, now you need to select the right file for the webpage.
People using other browsers like FIREFOX , or INTERNET EXPLORER need this file:
http://www.deviantart.com/download/212847573/eight___firefox_start_page_by_flatmo1-d3iq28l.zip
for people using CHROME(IUM) , OPERA , or SAFARI, the link to the original webkit version was taken down by multiupload. you can try the FF and IE version above, or use mine (warning: pre-edited with all my favorites, but you can still follow this tutorial, it should work): http://dl.dropbox.com/u/11783628/Win8internetpage.zip
now extract the file to a safe location, for me it was under ~/Applications/Win8internetwebpage
Setting Up the Browser
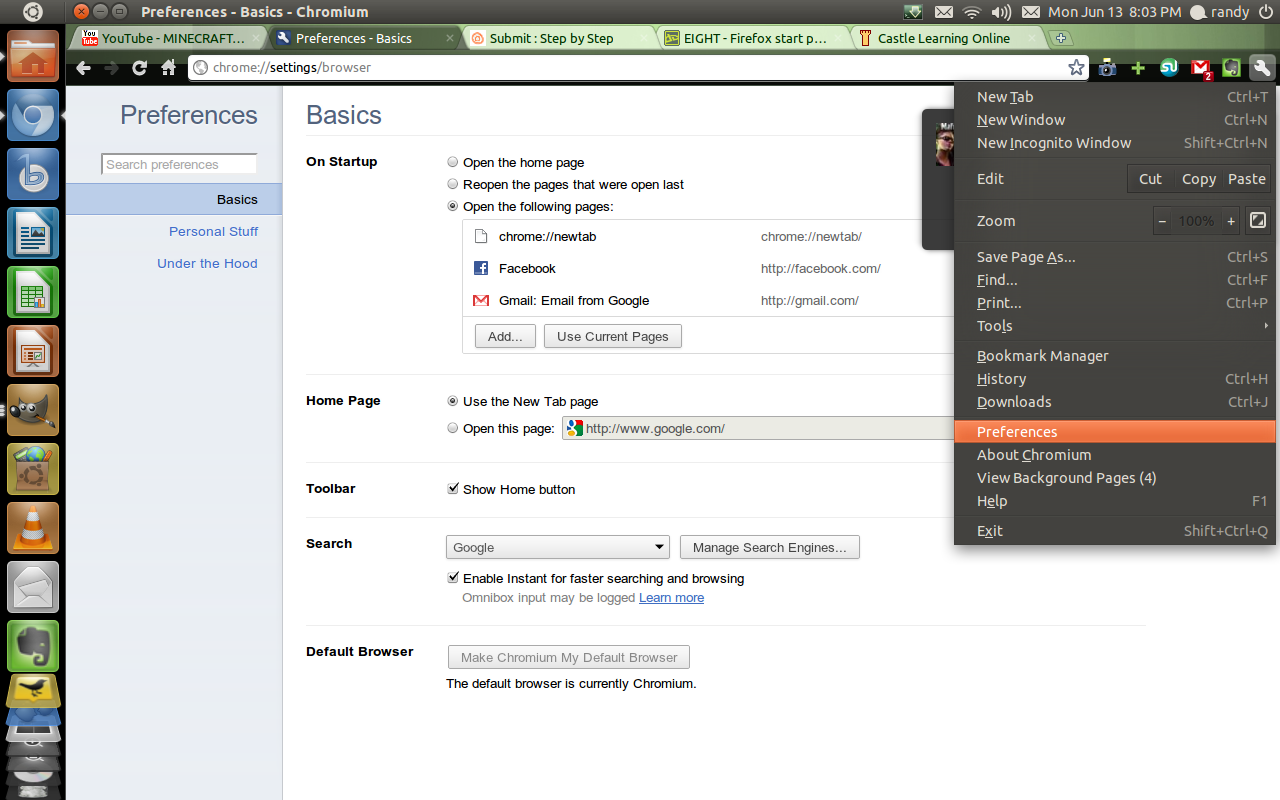
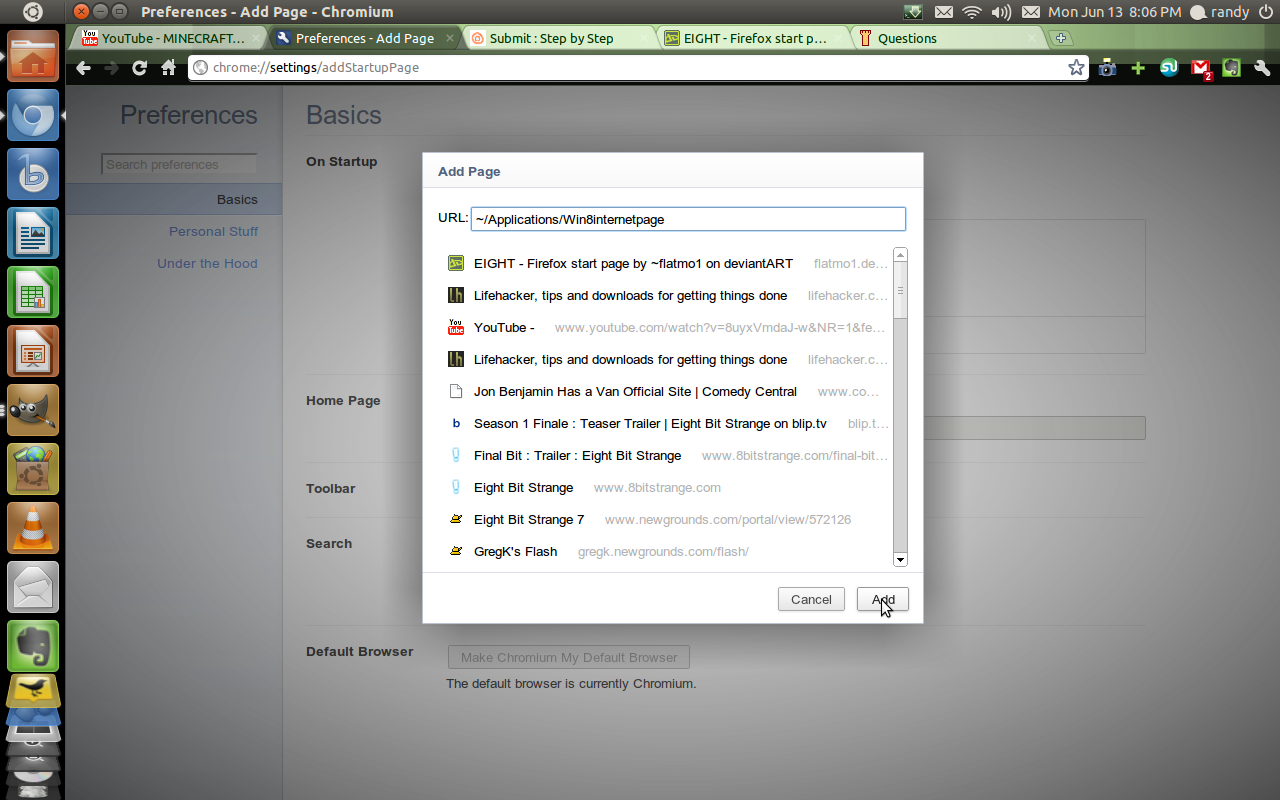
Time to play with preferences. Open up your browser and bring up your settings. Go to your home page/tab(s) settings and add the physical location of the index.htm to your URL slot. For example, I would enter ~/Applications/Win8internetpage/index.htm when a Windows user would use C://Your/File/Location/index.htm
NOTE: CHROME(IUM) USERS MIGHT HAVE TO ADD file:/// IN FRONT OF C:/ TO GET IT TO WORK!
YOUR DONE. VICTORY IS YOURS
http://youtu.be/3suGfhnT2Sg
Now onto editing the Tiles... yay....
NOTE: CHROME(IUM) USERS MIGHT HAVE TO ADD file:/// IN FRONT OF C:/ TO GET IT TO WORK!
YOUR DONE. VICTORY IS YOURS
http://youtu.be/3suGfhnT2Sg
Now onto editing the Tiles... yay....
Customizing the Page (overview)

 - gedit_020.png)
Customizing this page is easy... within a limit....
One limit is that you CANNOT add/subtract/resize tiles from this page without editing a lot of the code, which isn't recommended if you don't know what your doing.
There is four things you can easily edit on this page:
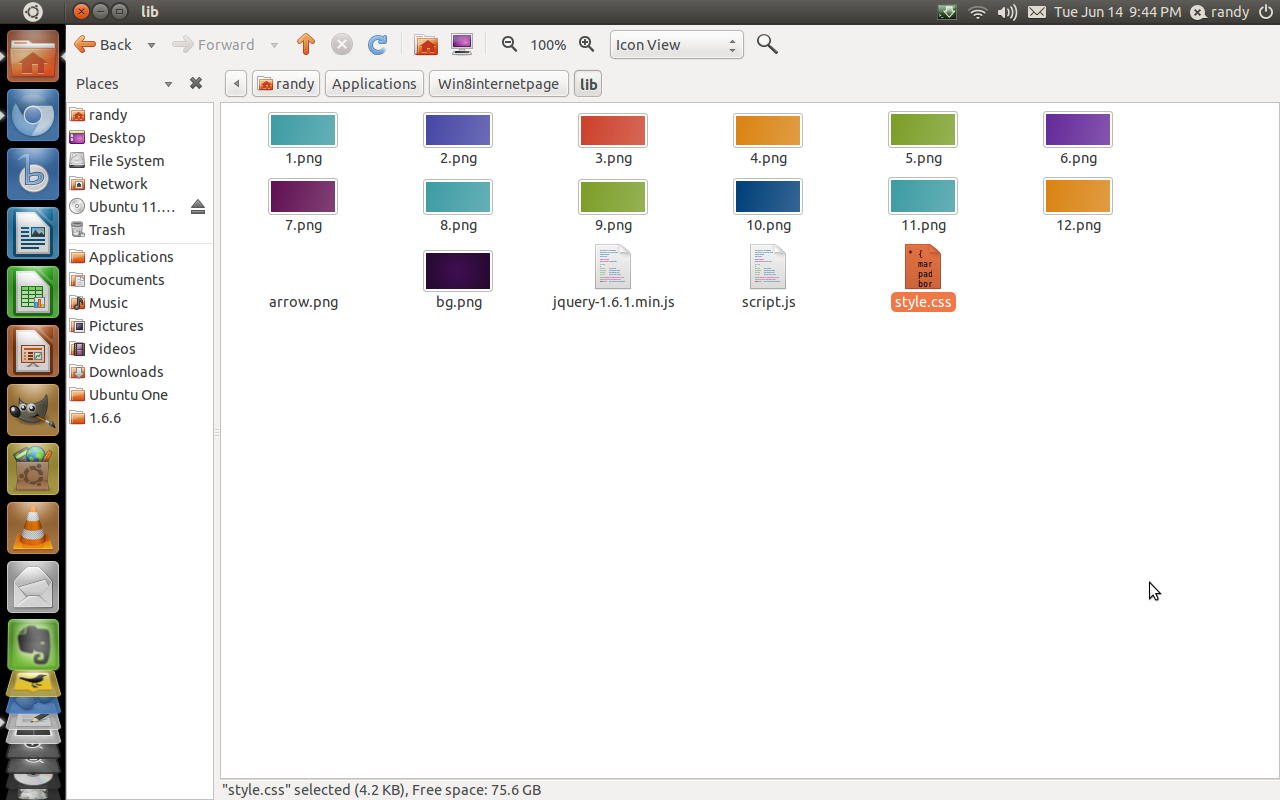
-The location on the page (use the reference image on the location step)
-The logo of the Tile (the images located in the thumbs folder)
-The URL associated with said logo
-The Gradient behind said logo (in the lib folder)
Use the file reference image attached to this step to help you locate these files. Also, familiarize yourself with the source.js file. Use the second image as a guide.
Changing a Logo
Alright, so to change a logo, we need to do the following things:
1) Find and download the image you want to replace it with. I used this (http://bit.ly/jtFZKA ) to replace the cnn tile and this (http://bit.ly/iRBvAs ) to replace the bbc.co.uk tile.
2) I then opened them up in The GIMP and removed the backround (make it transparent) and then upped the contrast and brightness up to the max.
2b) Make sure you leave a small gap (about 20px for width) between the logo and the canvas edge
3) Save them as PNG, to the thumbs folder, and make sure transparency is enabled.
NOTE: Remember the name that you saved it as, and make it simple.
Editing the Source.js File
 - gedit_020.png)
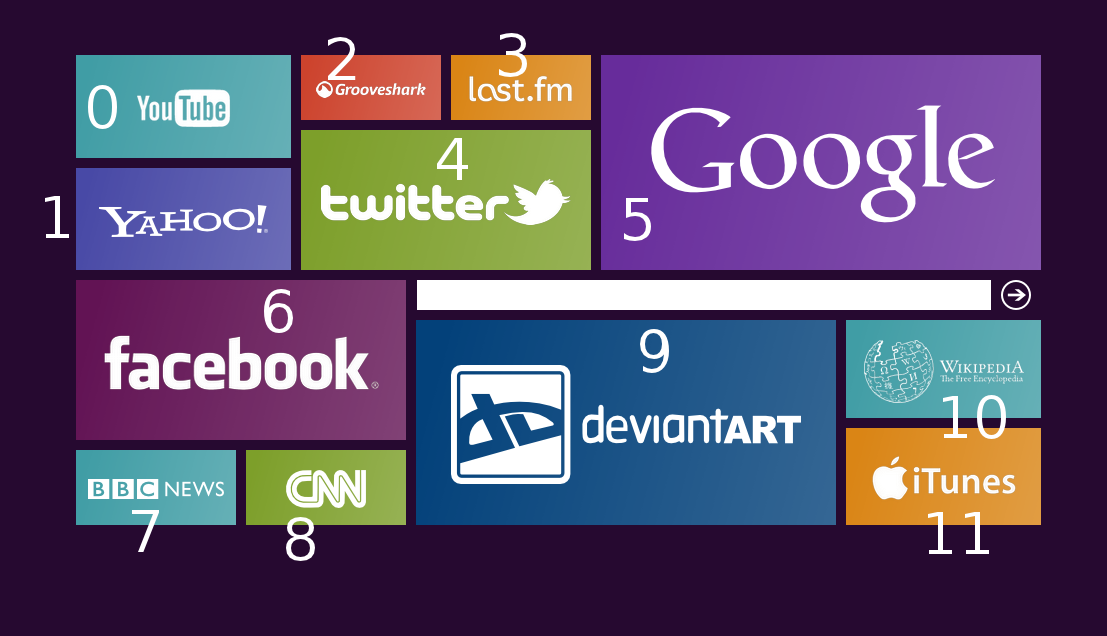
To put the files together, you first need to select a slot.
1) Locate the right destination slot on the script ( Use the slot # Reference Guide, 2nd image)
2) Enter in the correct information under the slot's array (discussed below)
Now enter you title, in the first line of the array, and in half quotes.
For the next line, enter the URL that you want it to point to, in half quotes. IE: the lifehacker one should point to http://www.lifehacker.com
Lastly, enter in the name of the logo image file saved in the thumbs folder, also in half quotes.
So, for example, this:
bookmarks[7] = new Array(
'BBC News'
'http://www.bbc.co.uk'
'bbcnews.png'
would change to this:
bookmarks[7] = new Array(
'This Week In Tech'
'http://www.twit.tv'
'twit.png'
YOUR DONE! Just refresh the page and your changes will show.
http://www.myfacewhen.com/341/
On to changing gradients
Editing the Gradients
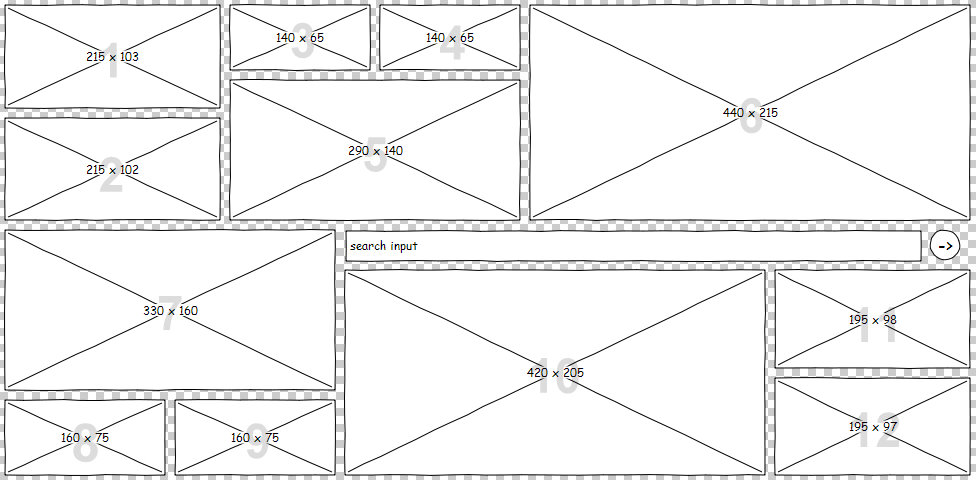

Changing the gradient is easy, just make sure they are the right size
1) Following the sizes on the reference image below, resize it to the appropriate size, if you don't, it'll tile the image if its too small.
2) rename your gradient to the proper slot number
3) copy it to the lib folder
do a quick refresh and your done!
1) Following the sizes on the reference image below, resize it to the appropriate size, if you don't, it'll tile the image if its too small.
2) rename your gradient to the proper slot number
3) copy it to the lib folder
do a quick refresh and your done!
Adding Extra Features
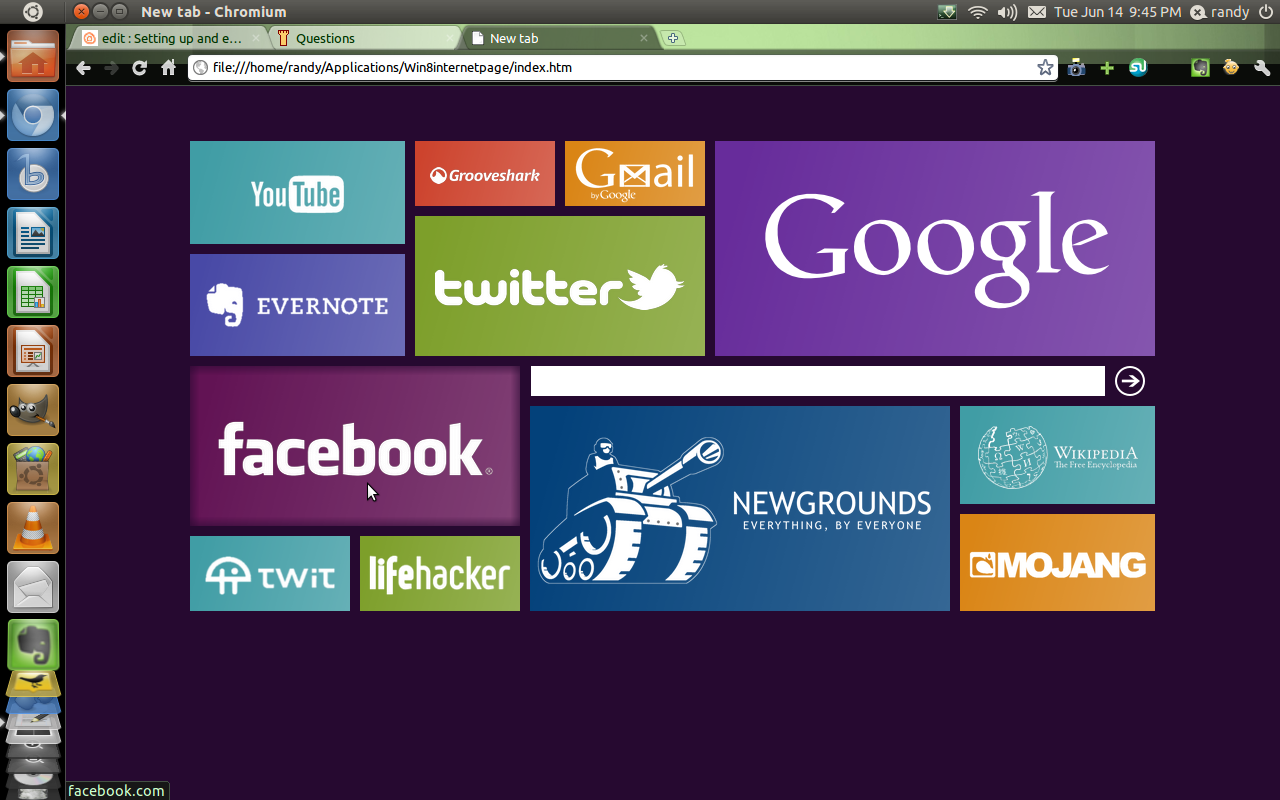
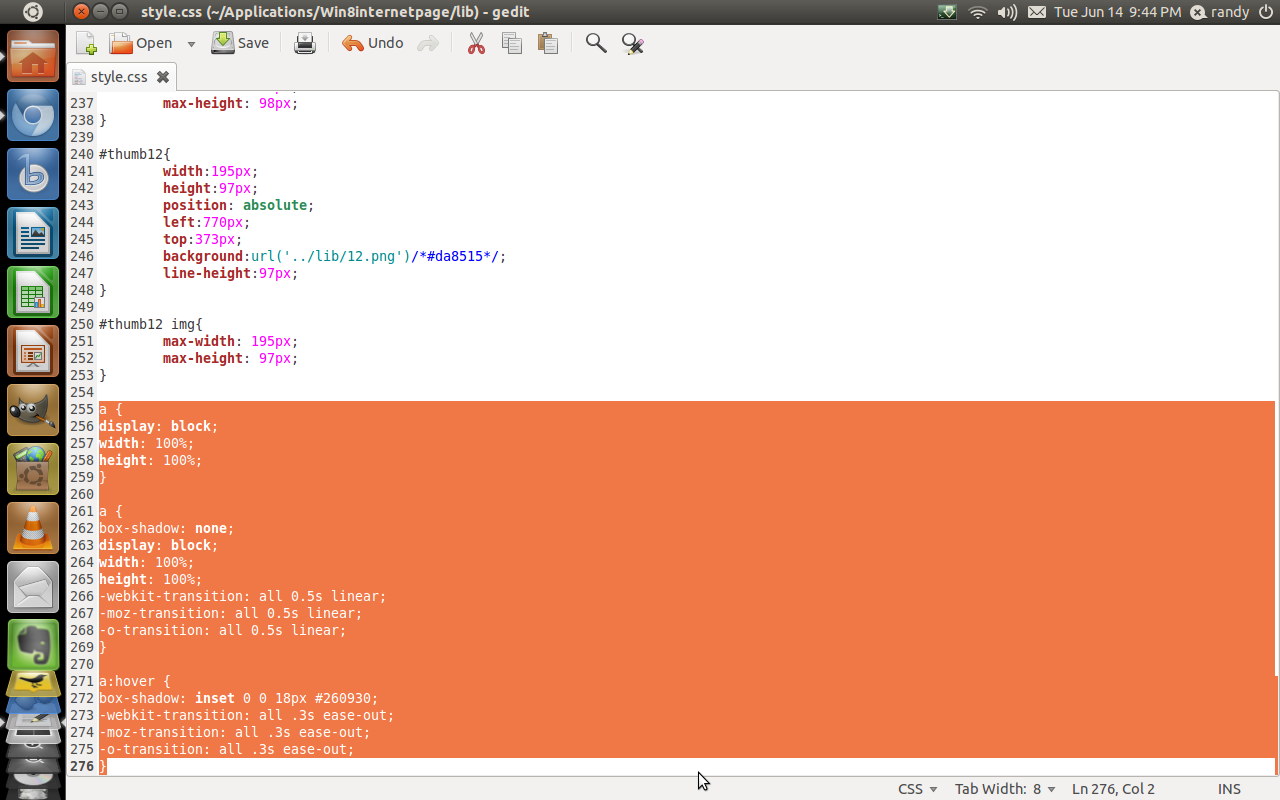
There is two things you can modify to make it slightly better.
-You can make it so the clickable section takes up the whole tile
1) open up ./lib/style.css
2) Scroll to the end and add this:
a {
display: block;
width: 100%;
height: 100%;
}
3) Save and refresh the page.
-You can also add a blur around the edges when the mouse hovers over it
1) open ./lib/style.css
2) At the bottom, add this:
a {
box-shadow: none;
display: block;
width: 100%;
height: 100%;
-webkit-transition: all 0.5s linear;
-moz-transition: all 0.5s linear;
-o-transition: all 0.5s linear;
}
a:hover {
box-shadow: inset 0 0 18px #260930;
-webkit-transition: all .3s ease-out;
-moz-transition: all .3s ease-out;
-o-transition: all .3s ease-out;
}
3) Again, save and refresh
Hosting the Page.
After your done, you can host your page online. You can do this through the traditional way of buying a host, etc. Since that can get expensive for a simplistic little page like this one, we can pull off the same thing with Dropbox (http://www.dropbox.com ), which if you don't have, you're missing out.
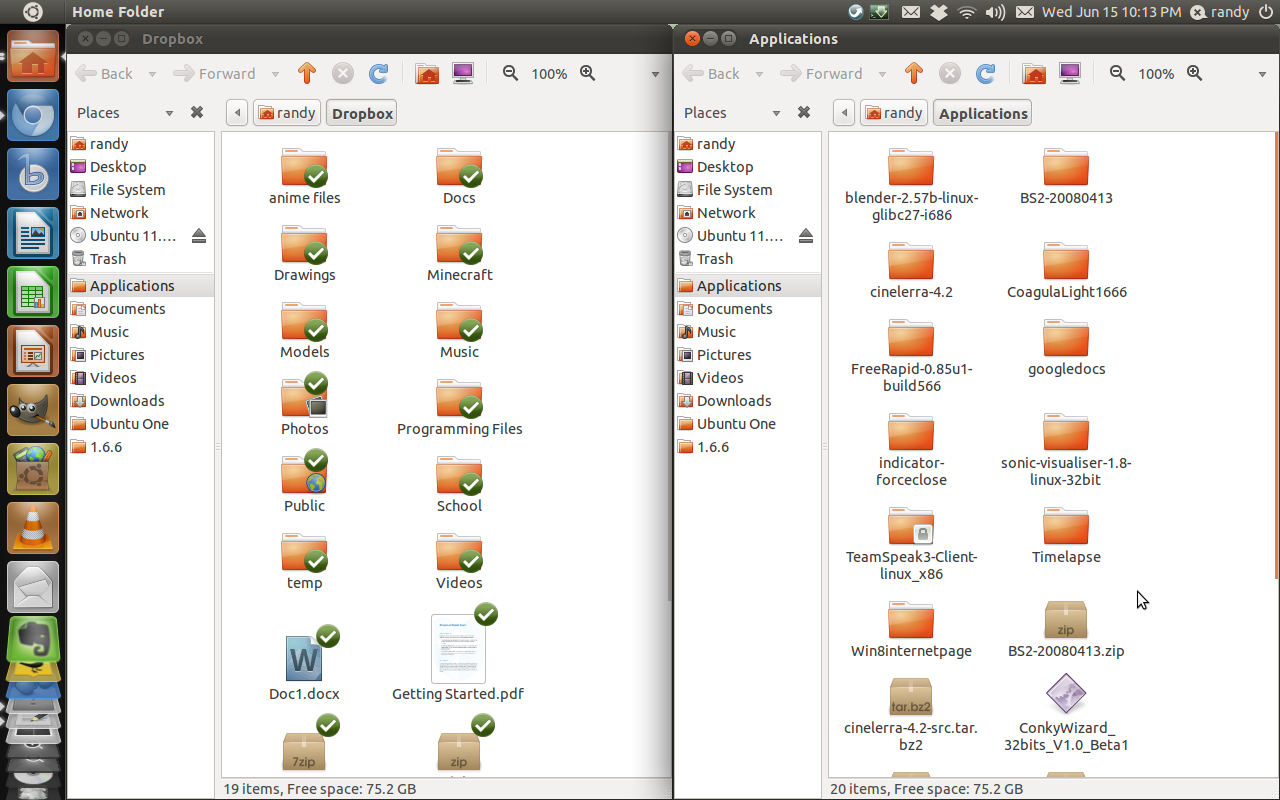
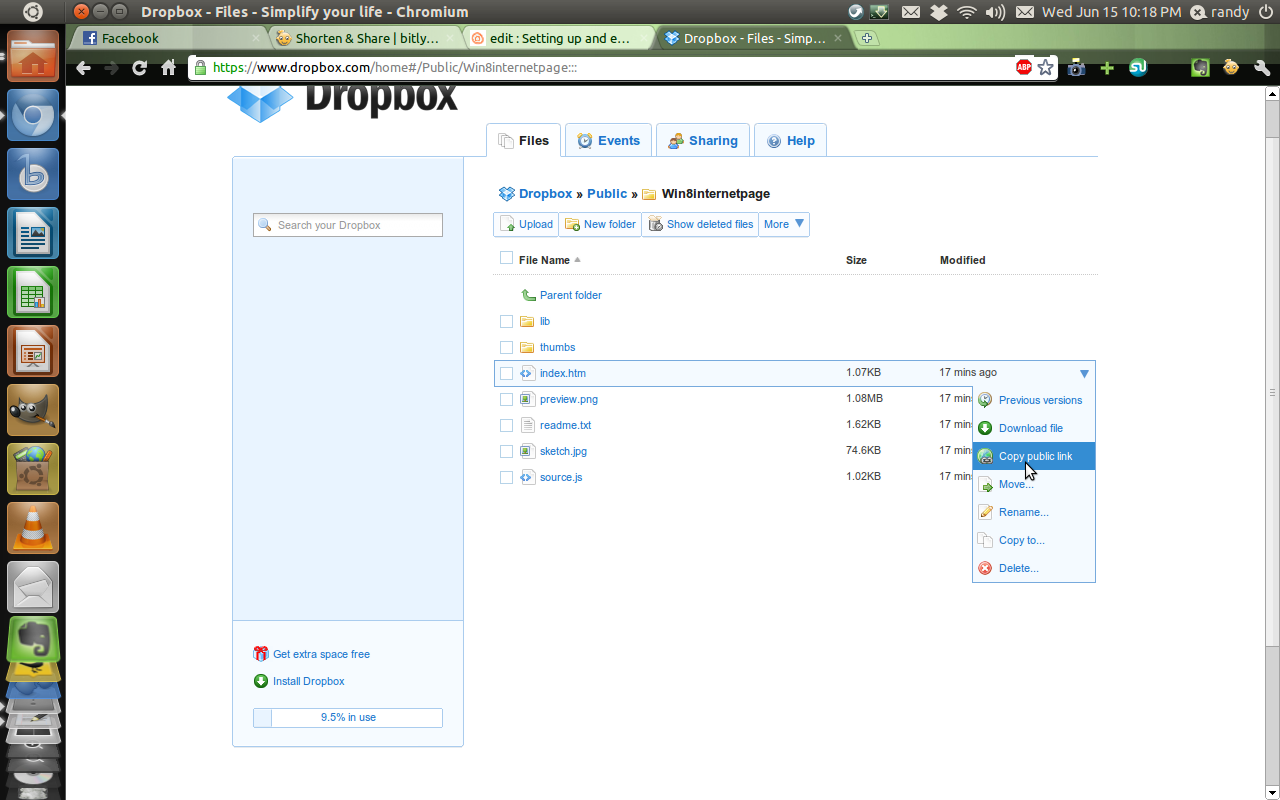
So after getting dropbox installed and set up, open up your DB folder. Copy/Move/Link your webpage folder to your public folder. Now go to dropbox.com and login. Navigate to your page's folder and copy the public URL of the index.htm file. This is it, you can use this URL to view your page.
TIP: It's good to shorten this link using bit.ly or tinyurl.com