Setting Up a Computer Based DVR (with Mythtv for Linux).
by Computothought in Workshop > Home Theater
21339 Views, 51 Favorites, 0 Comments
Setting Up a Computer Based DVR (with Mythtv for Linux).
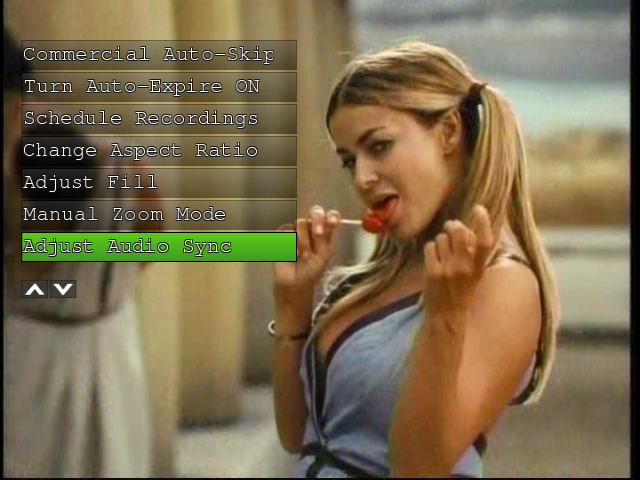
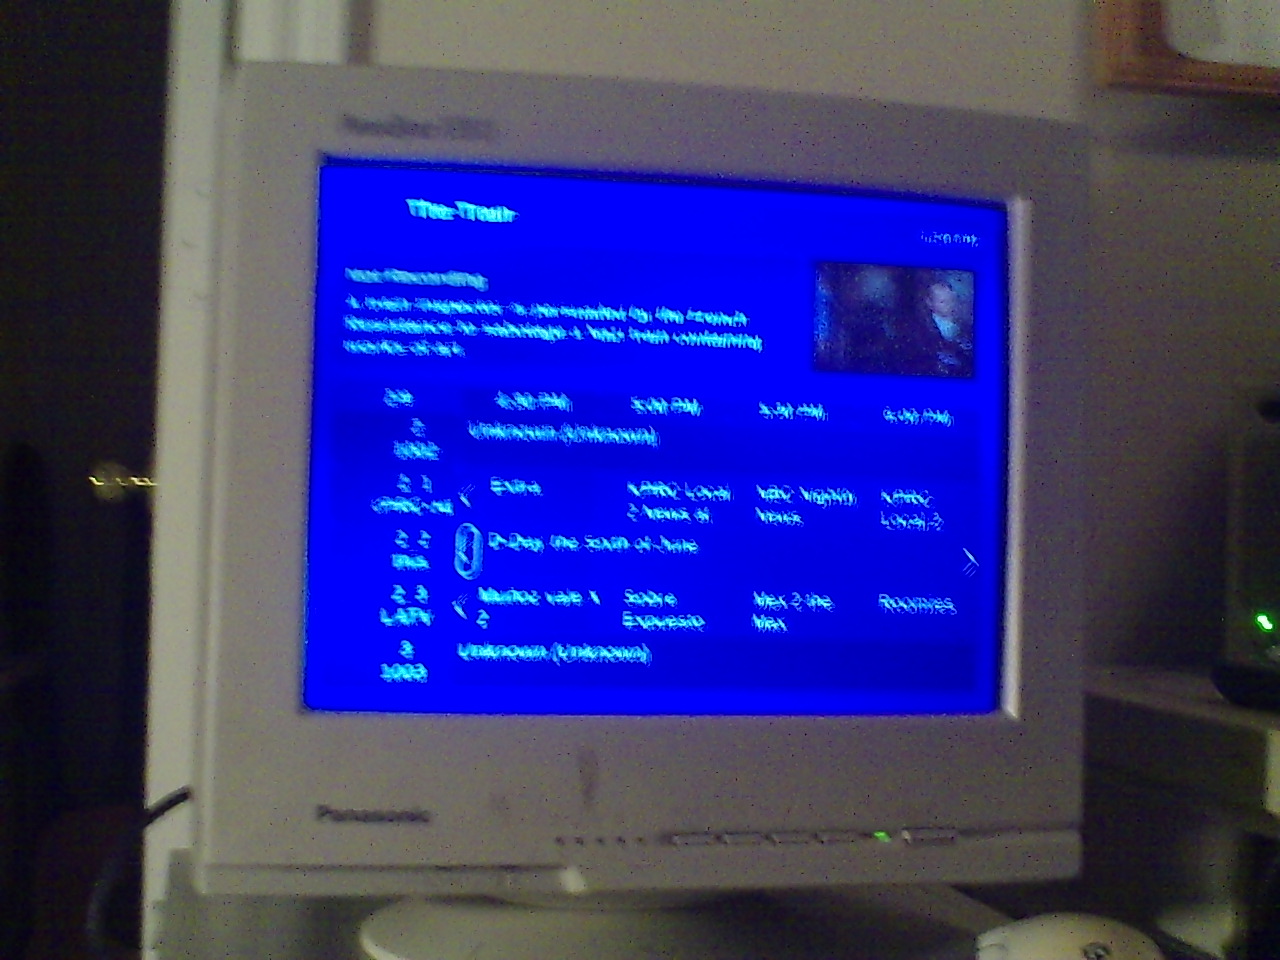
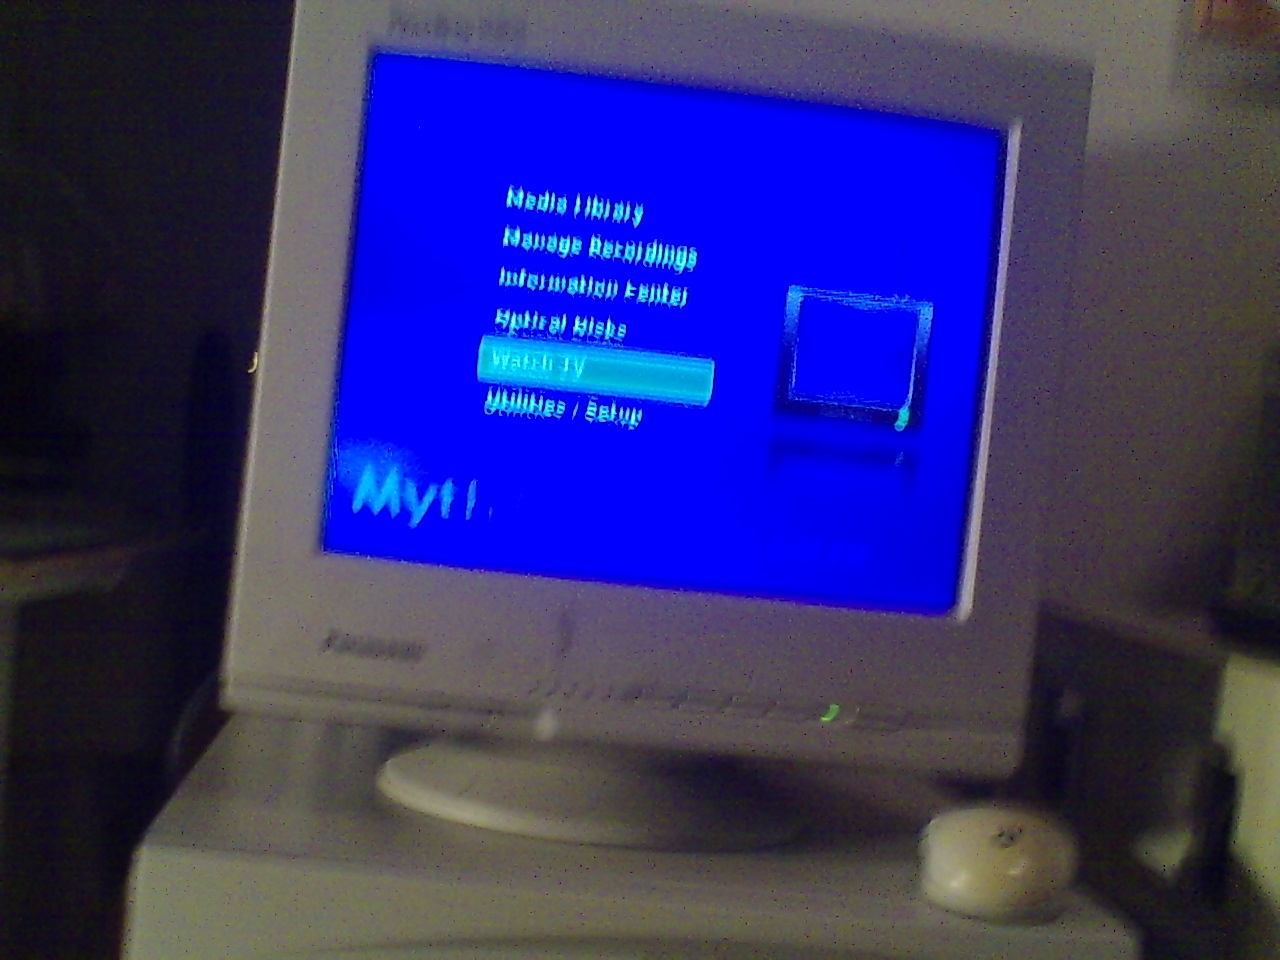

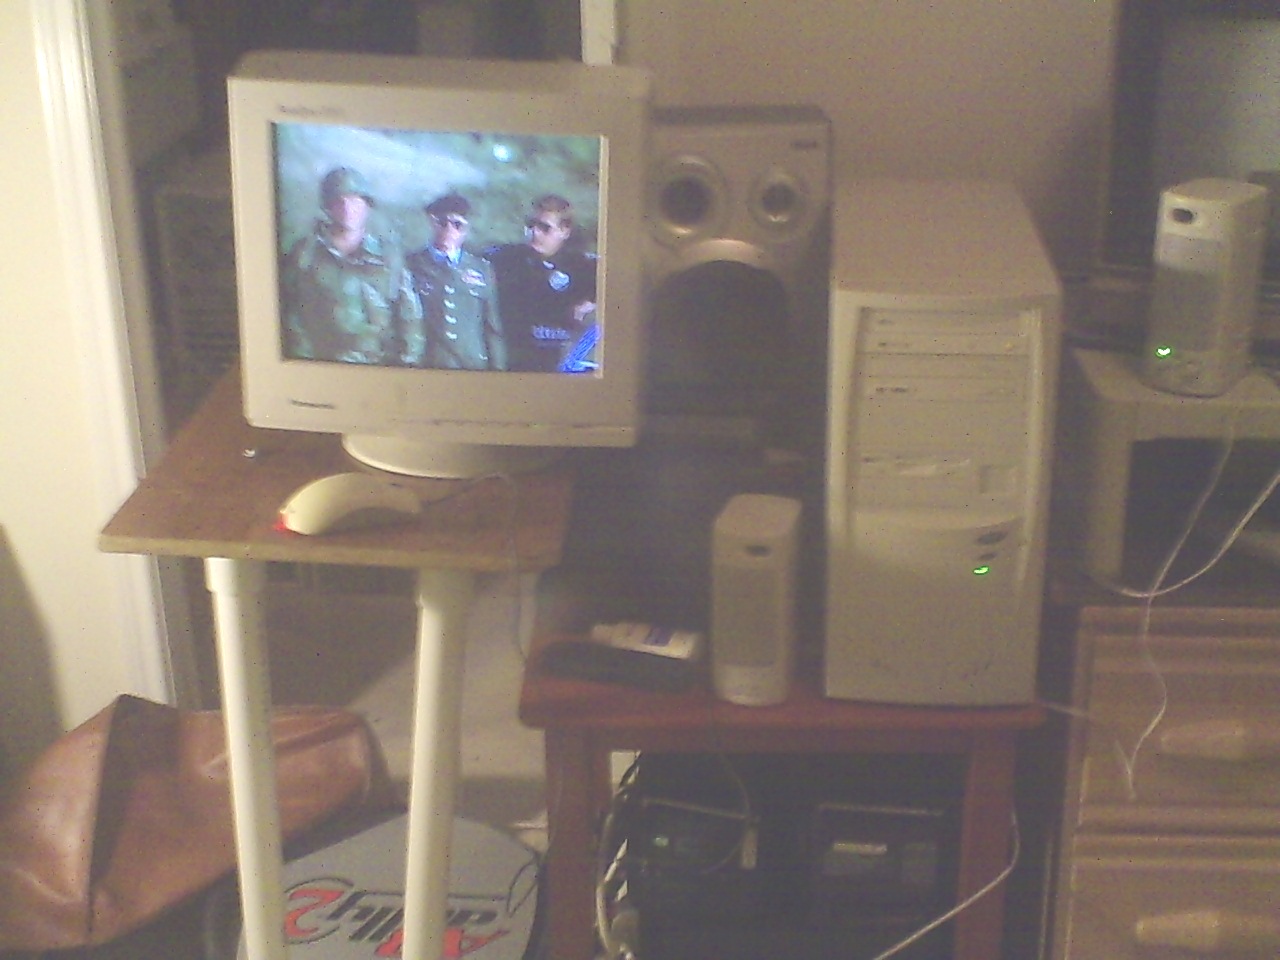
Note: Pardon my less than perfect picture taking.
What's Needed.
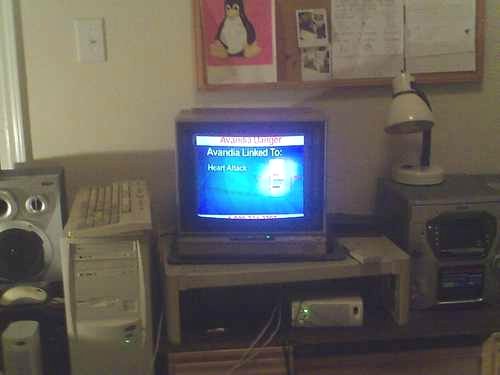
Monitor or computer ready tv with input compatible with your vga or better video card.
Video source to record from such as: cable
Satellite Dish.
Over the air TV antenna. (https://www.instructables.com/id/Yet-another-dtv-antenna/)
etc. (What I am using)
"Digital" tuner/capture card or usb based unit. (i.e. Hauppage) Older cards are analog and will not work generally with the new media.
Network connection for updates and to be able to stream your media.
--------------------------------------------------------------------
For advanced users:
----------------- --------------------------------------------------
The BTTV HOWTO
This section is only for those whose modules don't load automatically and/or correctly.
Once your card is installed, you can load the bttv module if your kernel hasn't already done it for you. Using the modprobe command as root, type
# modprobe bttvThe modules videodev and i2c may be required prior to this if you are running a pre-2.4 series kernel. By default, the bttv will try to autodetect your card type; you can inspect /var/log/messages to see what it finds. If it doesn't autodetect properly, you can add the card=# option to the end of the previous command to force a your particular card type, a list of which are found on your system in your kernel source Documentation if installed in the usual place (/usr/src/linux. If you get in trouble and need to remove the module, you can use rmmod:
$ rmmod bttvYou can then reload the module with the appropriate options.
If necessary, load the tuner module, with
# modprobe tunerIf the tuner is not correctly identified you may need to supply the magic number for tuner-type:
# modprobe tuner type=#
You may need to dig into your case to see which tuner you have if you can't find the maker and model in the printed specifications that came with your hardware, or if this information is otherwise unavailable. It should be marked with the brand name and may support one or more of the three major broadcast standards in use in the world, whether NTSC, PAL or SECAM. In general, chipsets manufactured for the US market are NTSC; for Europe, PAL, and Asia PAL or SECAM. Some countries support more than one standard.
Once you have identified your tuner, select the value of n from the following list:
tuner= n type of tuner chip
--------------------------------------------------------------
tuner=0 Temic PAL (4002 FH5)
tuner=1 Philips PAL_I (FI1246 and compatibles)
tuner=2 Philips NTSC (FI1236,FM1236 and compatibles)
tuner=3 Philips (SECAM+PAL_BG) (FI1216MF, FM1216MF, FR1216MF)
tuner=4 NoTuner
tuner=5 Philips PAL_BG (FI1216 and compatibles)
tuner=6 Temic NTSC (4032 FY5)
tuner=7 Temic PAL_I (4062 FY5)
tuner=8 Temic NTSC (4036 FY5)
tuner=9 Alps HSBH1
tuner=10 Alps TSBE1
tuner=11 Alps TSBB5
tuner=12 Alps TSBE5
tuner=13 Alps TSBC5
tuner=14 Temic PAL_BG (4006FH5)
tuner=15 Alps TSCH6
tuner=16 Temic PAL_DK (4016 FY5)
tuner=17 Philips NTSC_M (MK2)
tuner=18 Temic PAL_I (4066 FY5)
tuner=19 Temic PAL* auto (4006 FN5)
tuner=20 Temic PAL_BG (4009 FR5) or PAL_I (4069 FR5)
tuner=21 Temic NTSC (4039 FR5)
tuner=22 Temic PAL/SECAM multi (4046 FM5)
tuner=23 Philips PAL_DK (FI1256 and compatibles)
tuner=24 Philips PAL/SECAM multi (FQ1216ME)
tuner=25 LG PAL_I+FM (TAPC-I001D)
tuner=26 LG PAL_I (TAPC-I701D)
tuner=27 LG NTSC+FM (TPI8NSR01F)
tuner=28 LG PAL_BG+FM (TPI8PSB01D)
tuner=29 LG PAL_BG (TPI8PSB11D)
tuner=30 Temic PAL* auto + FM (4009 FN5)
tuner=31 SHARP NTSC_JP (2U5JF5540)
tuner=32 Samsung PAL TCPM9091PD27
tuner=33 MT20xx universal
tuner=34 Temic PAL_BG (4106 FH5)
tuner=35 Temic PAL_DK/SECAM_L (4012 FY5)
tuner=36 Temic NTSC (4136 FY5)
tuner=37 LG PAL (newer TAPC series)
tuner=38 Philips PAL/SECAM multi (FM1216ME MK3)
tuner=39 LG NTSC (newer TAPC series)
tuner=40 HITACHI V7-J180AT
tuner=41 Philips PAL_MK (FI1216 MK)
tuner=42 Philips 1236D ATSC/NTSC
tuner=43 Philips NTSC MK3 (FM1236MK3 or FM1236/F)
tuner=44 Philips 4 in 1 (ATI TV Wonder Pro/Conexant)
tuner=45 Microtune 4049 FM5
Don't forget to load any other modules you may need, including btaudio if you plan on recording or capturing audio to another application.
After you know which modules and options you need, you can automate the process by putting the information into /etc/conf.modules or /etc/modules.conf, depending on your distribution. Then, running an application which needs the driver will cause it to be loaded automatically with the appropriate options. The following is an example entry:
		# TV
 alias	char-major-81    bttv
 pre-install bttv        modprobe -k tuner; modprobe -k msp3400
 options                 bttv               radio=1  card=3
 options tuner           type=2
Software Install for an Existing Linux Install.
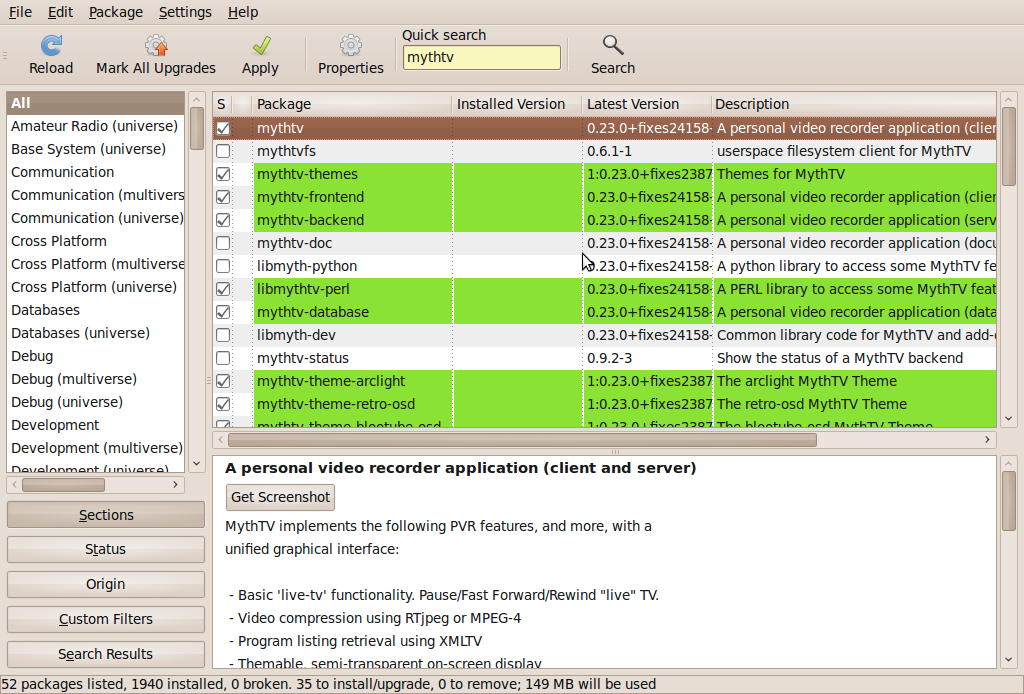
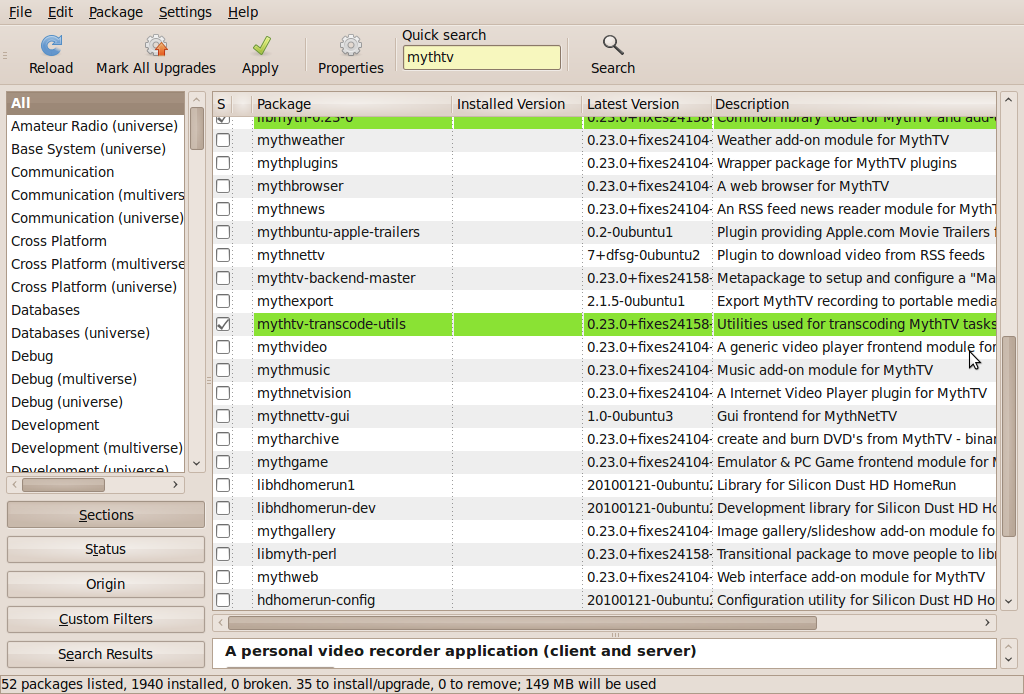
Make sure you are connected to the internet to get the add-ons..
You will get a plethora of choices. Check Mythtv to start. Make sure the choices for both the back end and the front end are checked. Backend is the DVR/server part and the front end is the viewer part.
Some people will put the backend (tuner and or storage system) on one machine and the front end ( video viewing) on another or several machines. We will be putting both on one system.
You may want to add extra modules such as Mythweb (so you can use your touchpad or other computing device) so you can look up tv listings and or check the status of you mythtv box.
Press apply.
Close the Synaptic Package Manage when done..
Configuration.
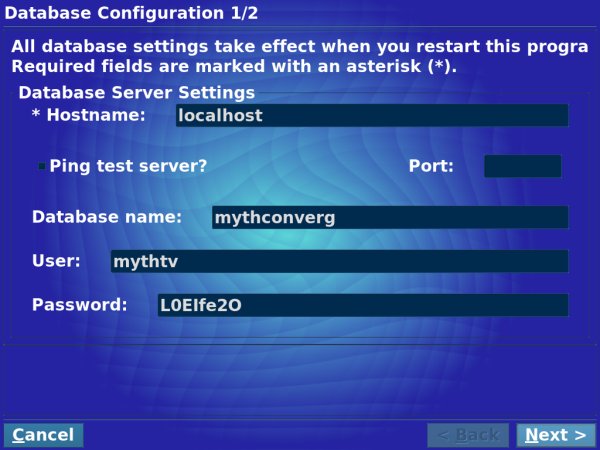
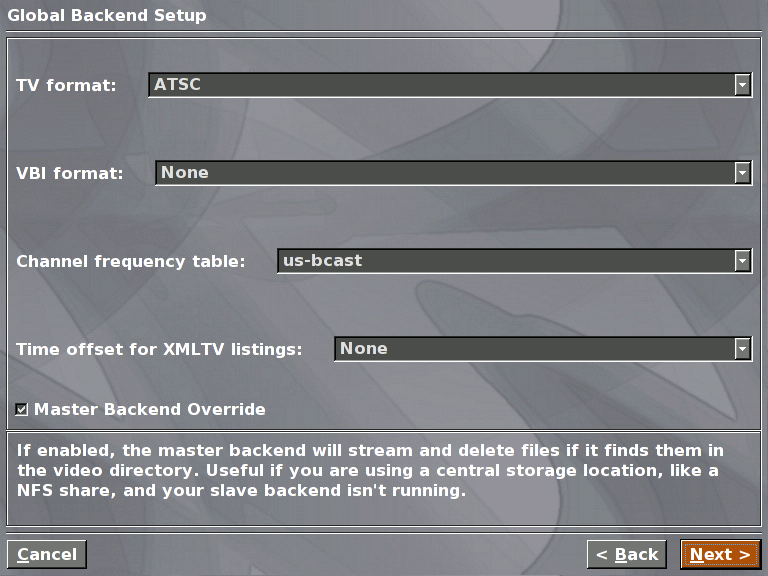
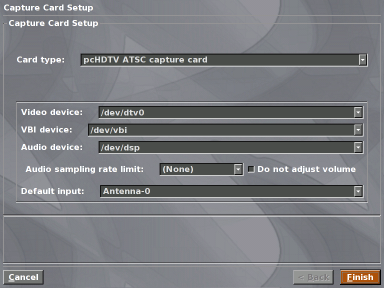
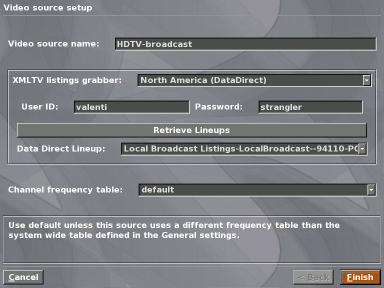
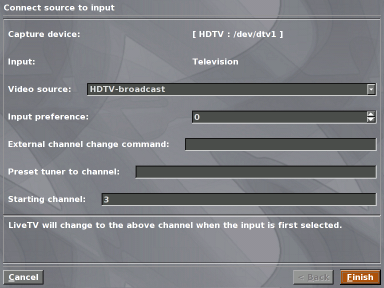
Under the System > Administration you should see the back end option.
Reinstall if one or moth are mossing.
Now you want to start the backend option so that you can config your setup. Most of the settings can be left as is, but you do want to tell Mythtv what kind of capture card you are using (brandname, detecting watchable channels, and etc, what your video source is, where you want to get your tv lists from, and etc. Mythtv is usally pretty good about detecting the card if it is a brand name but, it does not always select the atsc option. Just adjust the card type to do that.
You will also want to set up the options for the remote controls. (I just use a wireless keyboard for controls.
For more info to go:
http://www.mythbuntu.org/
http://www.mythtv.org/docs/
http://parker1.co.uk/mythtv_ubuntu.php
or contact me if you have any questions.
Fire It Up
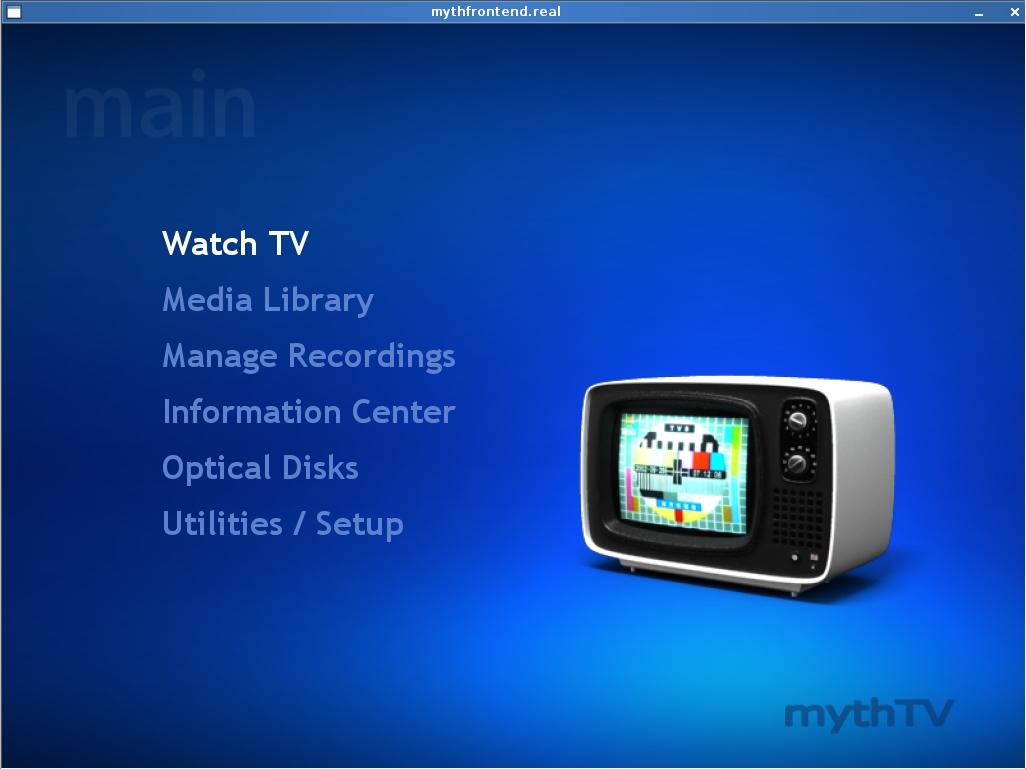

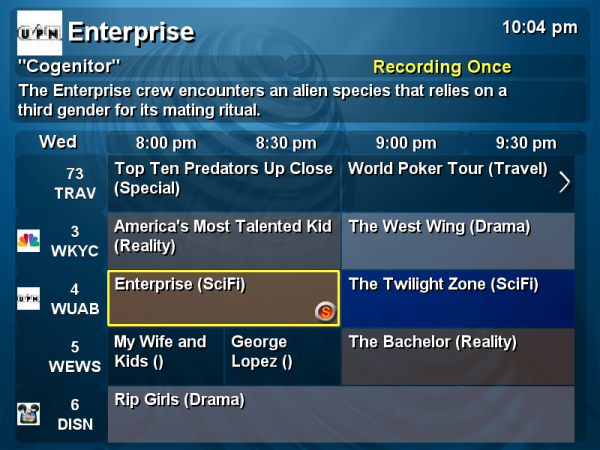
Under the Applications > Sound & video you should see the Mythtv front end option.
Click it...
Alternative Install.
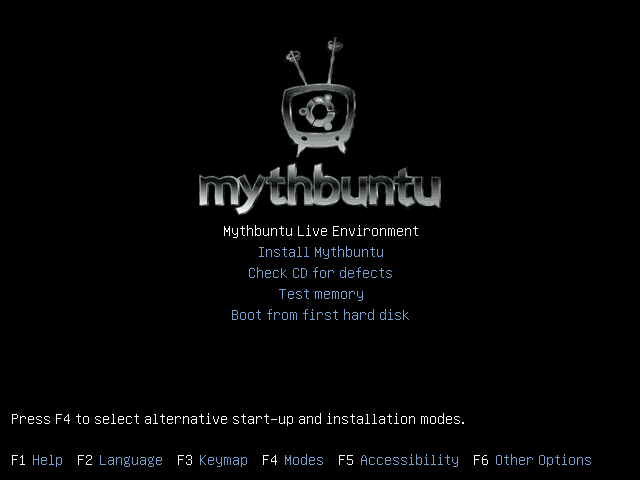
TitanTV Scrape.
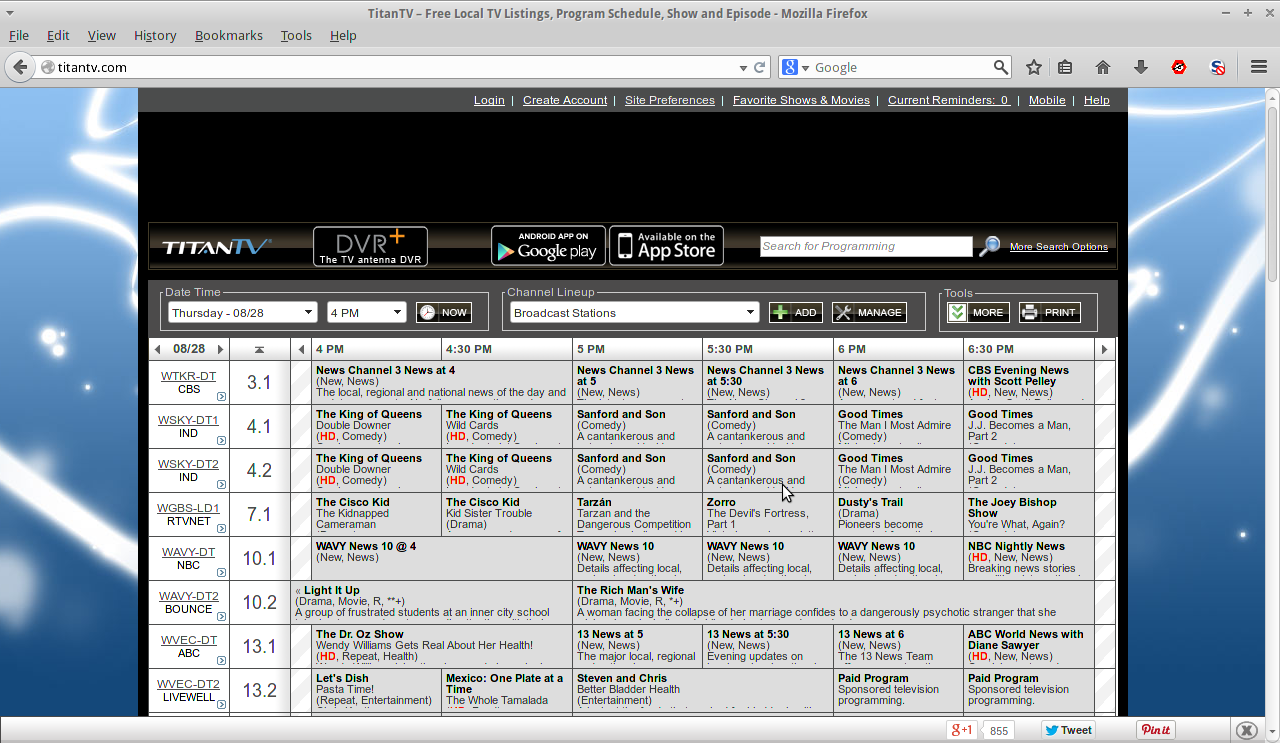
This allegedly a script that will scrape Titantv.com for listings and then import them into MythTV. I have not tested it, so USE AT YOUR OWN RISK.
File is attached.