Setting Up Tinkercad for Classes of Students
by DrWan in Design > 3D Design
8143 Views, 8 Favorites, 0 Comments
Setting Up Tinkercad for Classes of Students
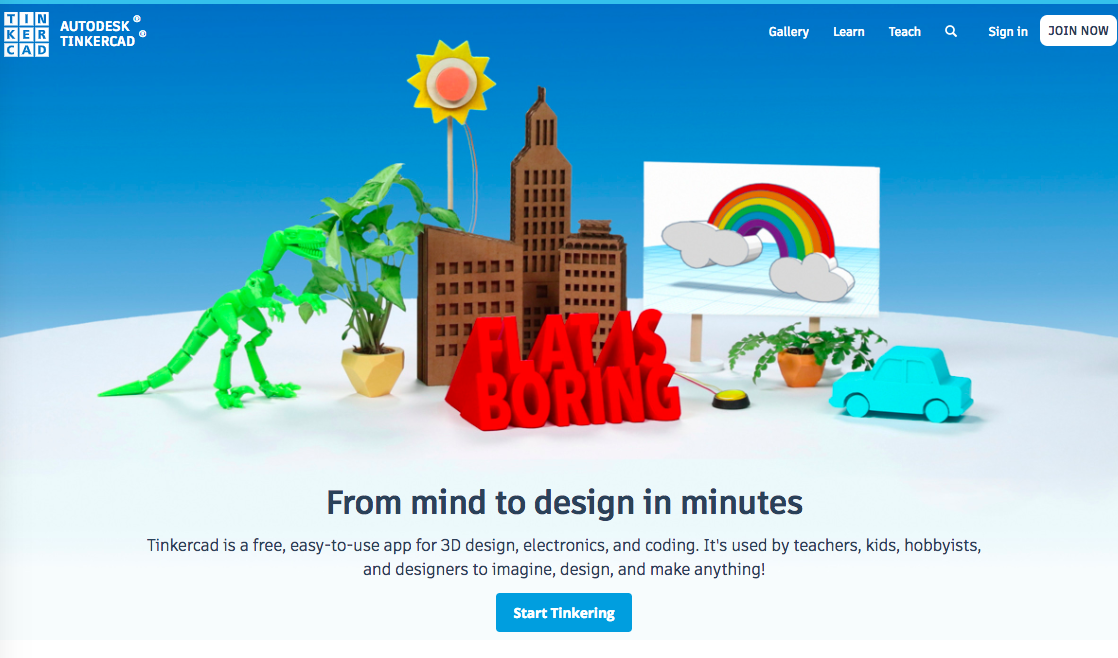
This is a quick guide to setting up Tinkercad for the classroom of students under 13 years old.
Set Up Your Own Account
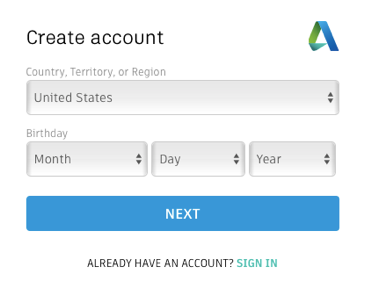
1. Go to www.tinkercad.com and sign up by clicking the blue “SIGN UP” button in the top right corner.
a. If you have any other Autodesk products, you may already have an account and click on “SIGN IN”.
b. Your students may have used this before. If they have, they click “SIGN IN”. After they sign in, go to step 8 to direct them to the 3D tutorials.
2. This should to the screen after you click on “SIGN UP”. Make sure that the correct region is selected. Autodesk takes protection of children seriously, so when students younger than 13 sign-up, they will need parental consent. (For Student Sign up see next step)
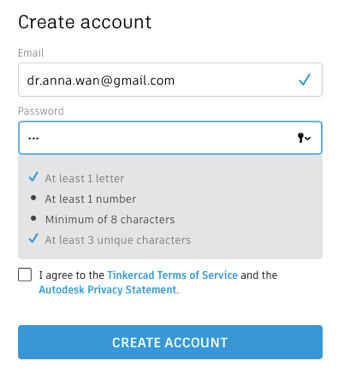
3. Type in an email and password. Make sure that your password is compliant. Accept the terms of service if you would like to use this program and click “CREATE ACCOUNT”.
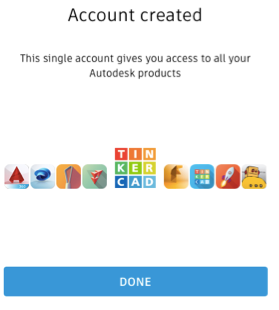
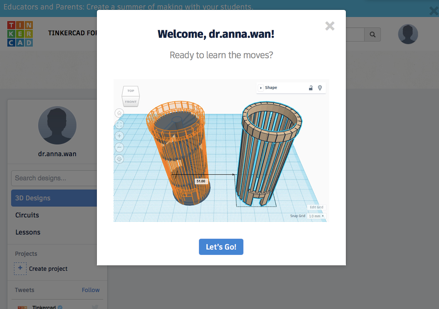
4. After clicking “DONE” you will be directed to the first tutorial activity. Click “Let’s Go”.
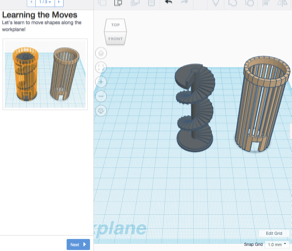
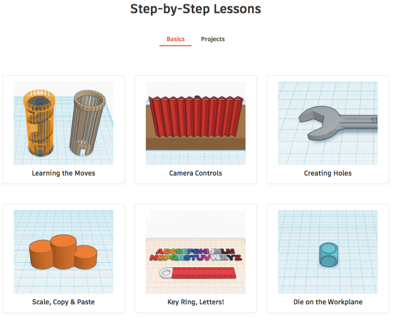
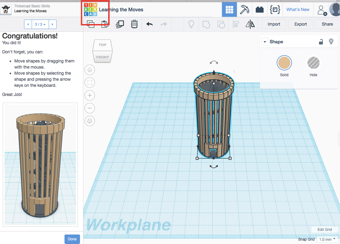
5. The first tutorial is to learn to click and drag. All items move on a plane when you click and drag. Follow the instructions on the left and click through the step-by-step instructions. Once complete, there will be stars. Click “NEXT” to advance to the next tutorial. The tutorials are in the following sequence:
a. Learning the Moves
b. Camera Controls
c. Creating Holes
d. Scale, Copy, & Paste
e. Key Ring, Letters
f. Die on the Workplane
6. At any point in the tutorials or any other part of Tinkercad, you can click the Tinkercad icon in the top left corner to go to the homepage to create designs.
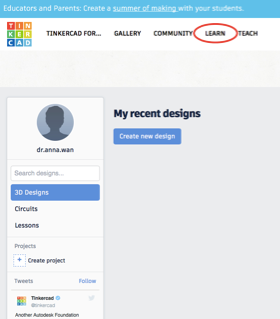
7. To get back to tutorials, click “LEARN” and you will see the page with all the tutorials. To start creating your own design, click on “Create new design”.
Setting Up Student Accounts
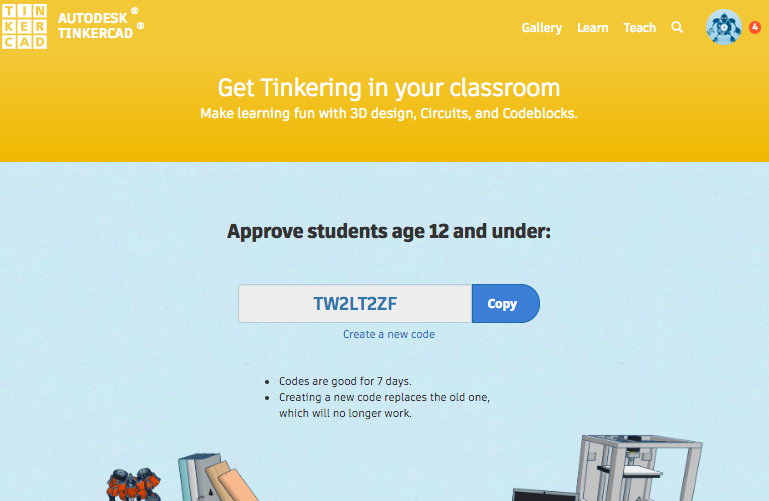
1. As a teacher, go to your home screen and click "TEACH". Your students will need this code when they sign up.
2. With the students, go to "SIGN UP"
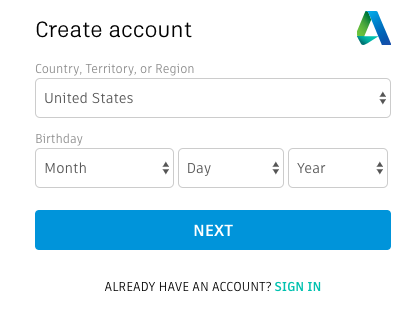
3. Make sure that the correct region is selected. Autodesk takes protection of children seriously, so when students younger than 13 sign-up, they will need parental consent.
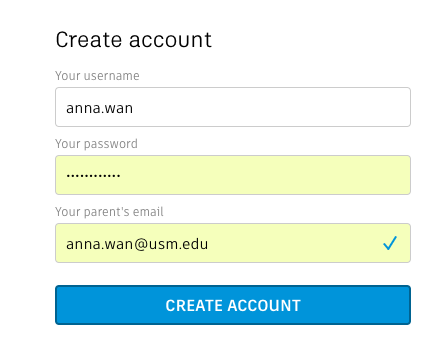
4. When they are under 13, they will have to submit their parent's email.
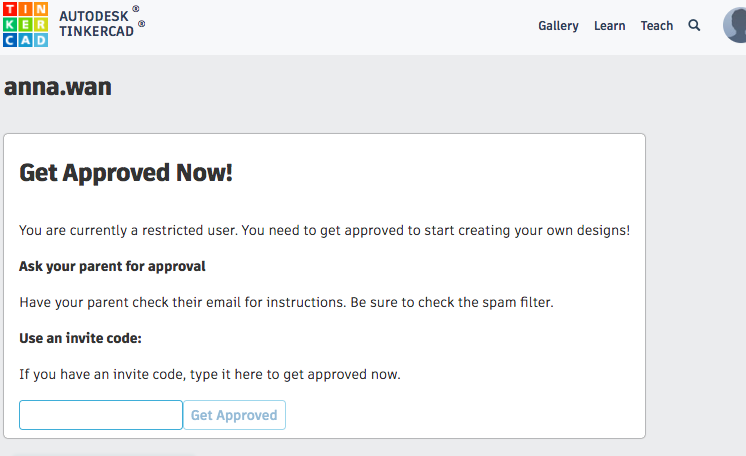
5. Once they sign in, the first screen for them will be the screen where they put in you code.
6. Then have them click on "LEARN" and they will be taken to the tutorial section.
7. You can manage student projects within your account.