Setting Up Raspberry Pi With Azure IoT Hub
by akhanexperiments in Circuits > Raspberry Pi
4972 Views, 2 Favorites, 0 Comments
Setting Up Raspberry Pi With Azure IoT Hub
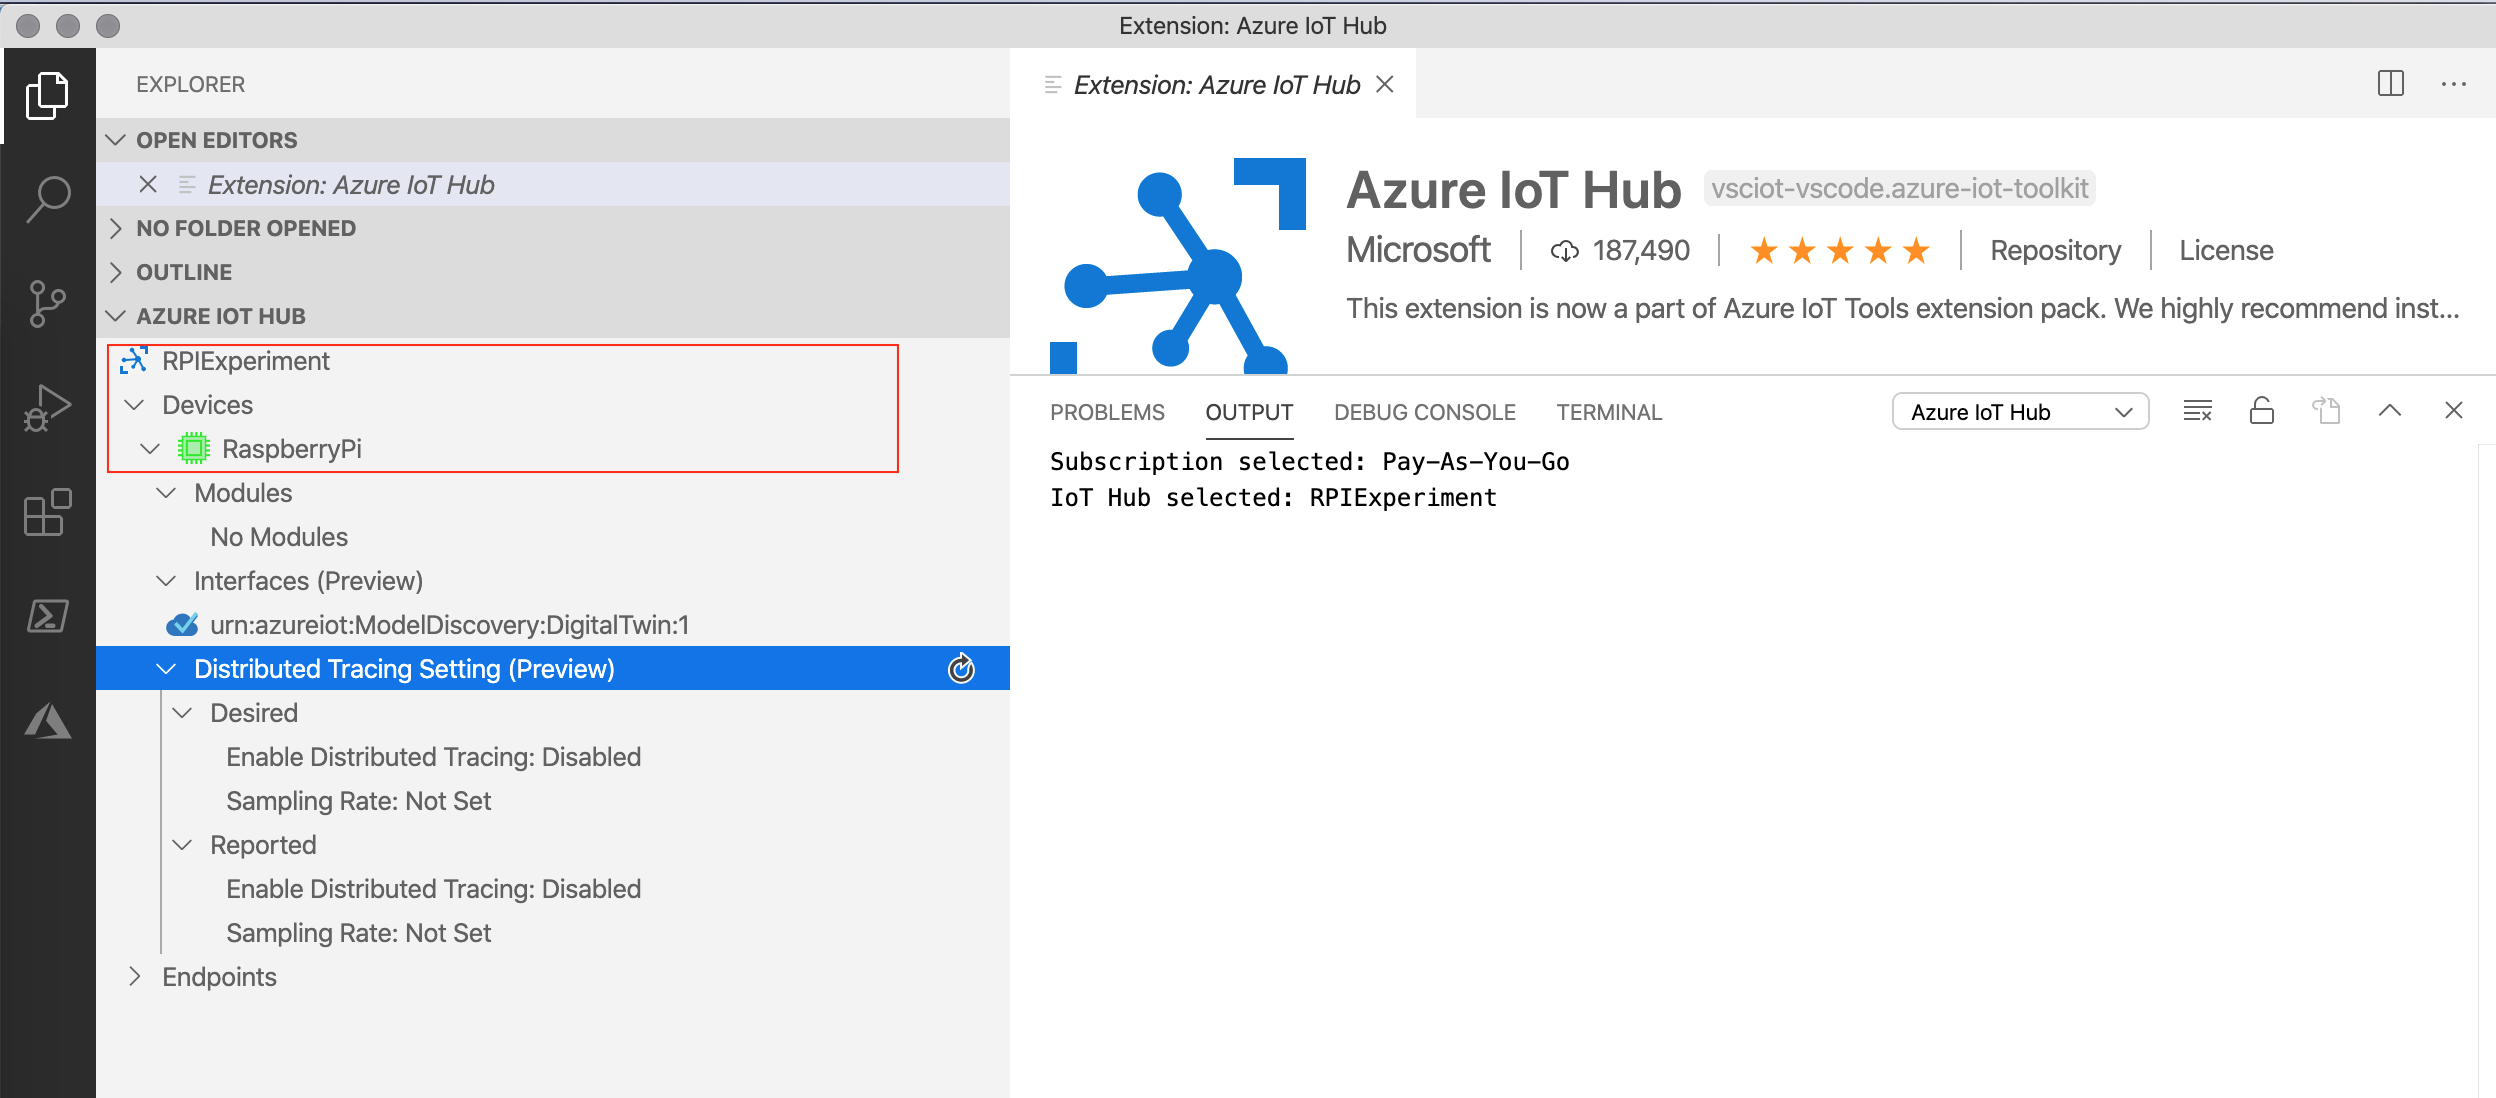
The purpose of this instructable is to get practical hands-on exposure to the capabilities of Azure IoT Hub. The article covers signing up for Azure IoT Hub, setting up a Raspberry Pi, and connecting the Pi with Azure IoT Hub to send telemetry.
What you will get:
- A working Raspberry Pi with a Node.js program sending telemetry data to Azure IoT Hub
- Azure IoT Hub receiving telemetry data
Who’s who in the zoo:
Raspberry Pi: Raspberry Pi is arguably the most popular computer of all time. It is tiny, cheap and easy to setup. The article works with Raspberry Pi 3+ version.
Azure IoT Hub: IoT Hub is a cloud-based managed service that sits between IoT devices and the backend analytics/processing system. The management of telemetry and data traffic from a large number of IoT devices, managing state of the devices and ensuring security and reliability was a major challenge in IoT-intensive solutions rollout. Azure IoT Hub solves this problem by acting as a front-line interface for millions of devices to connect to it reliably and securely, and it then enables routing of data, signals and telemetry for processing to the downstream cloud-based backend system. This article makes use of Microsoft’s provided sample code in GitHub.
Setup Azure IoT Hub


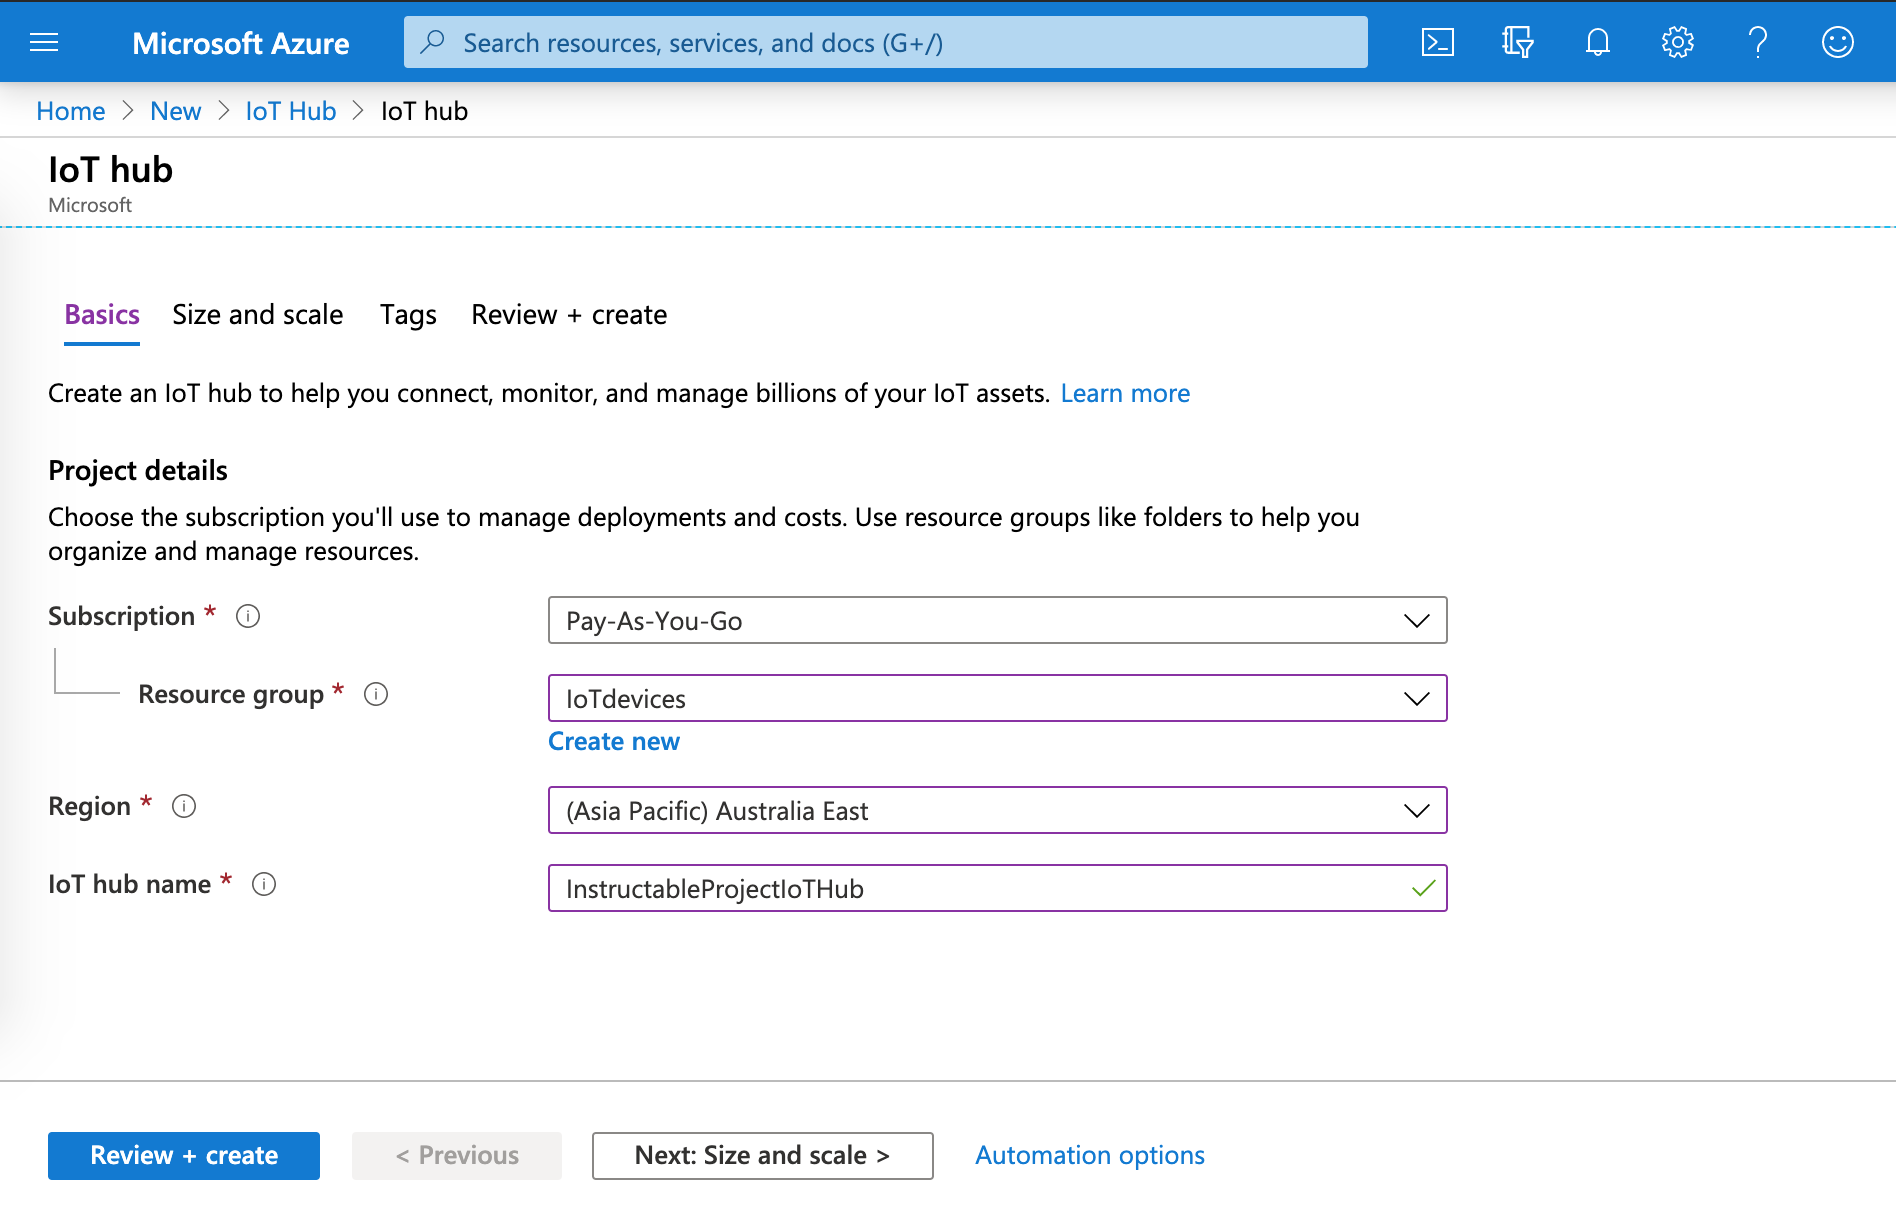
- Sign-up for *free* Azure trial account by visiting Azure website. Once your Azure account is up and running, go to the menu on Home Page and click on Create Resource.
- Search for IoT Hub in the resource list, select IoT Hub from the results and click Create.
- Enter following values to setup Azure IoT Hub and click on ‘Review and Create’
Subscription: F1 - Free Tier
Resource Group: this is a collection of resources. If you have an existing collection, select that or create a new resource group (it just requires a name)
Region: select your region
IoT Hub name: enter a unique name
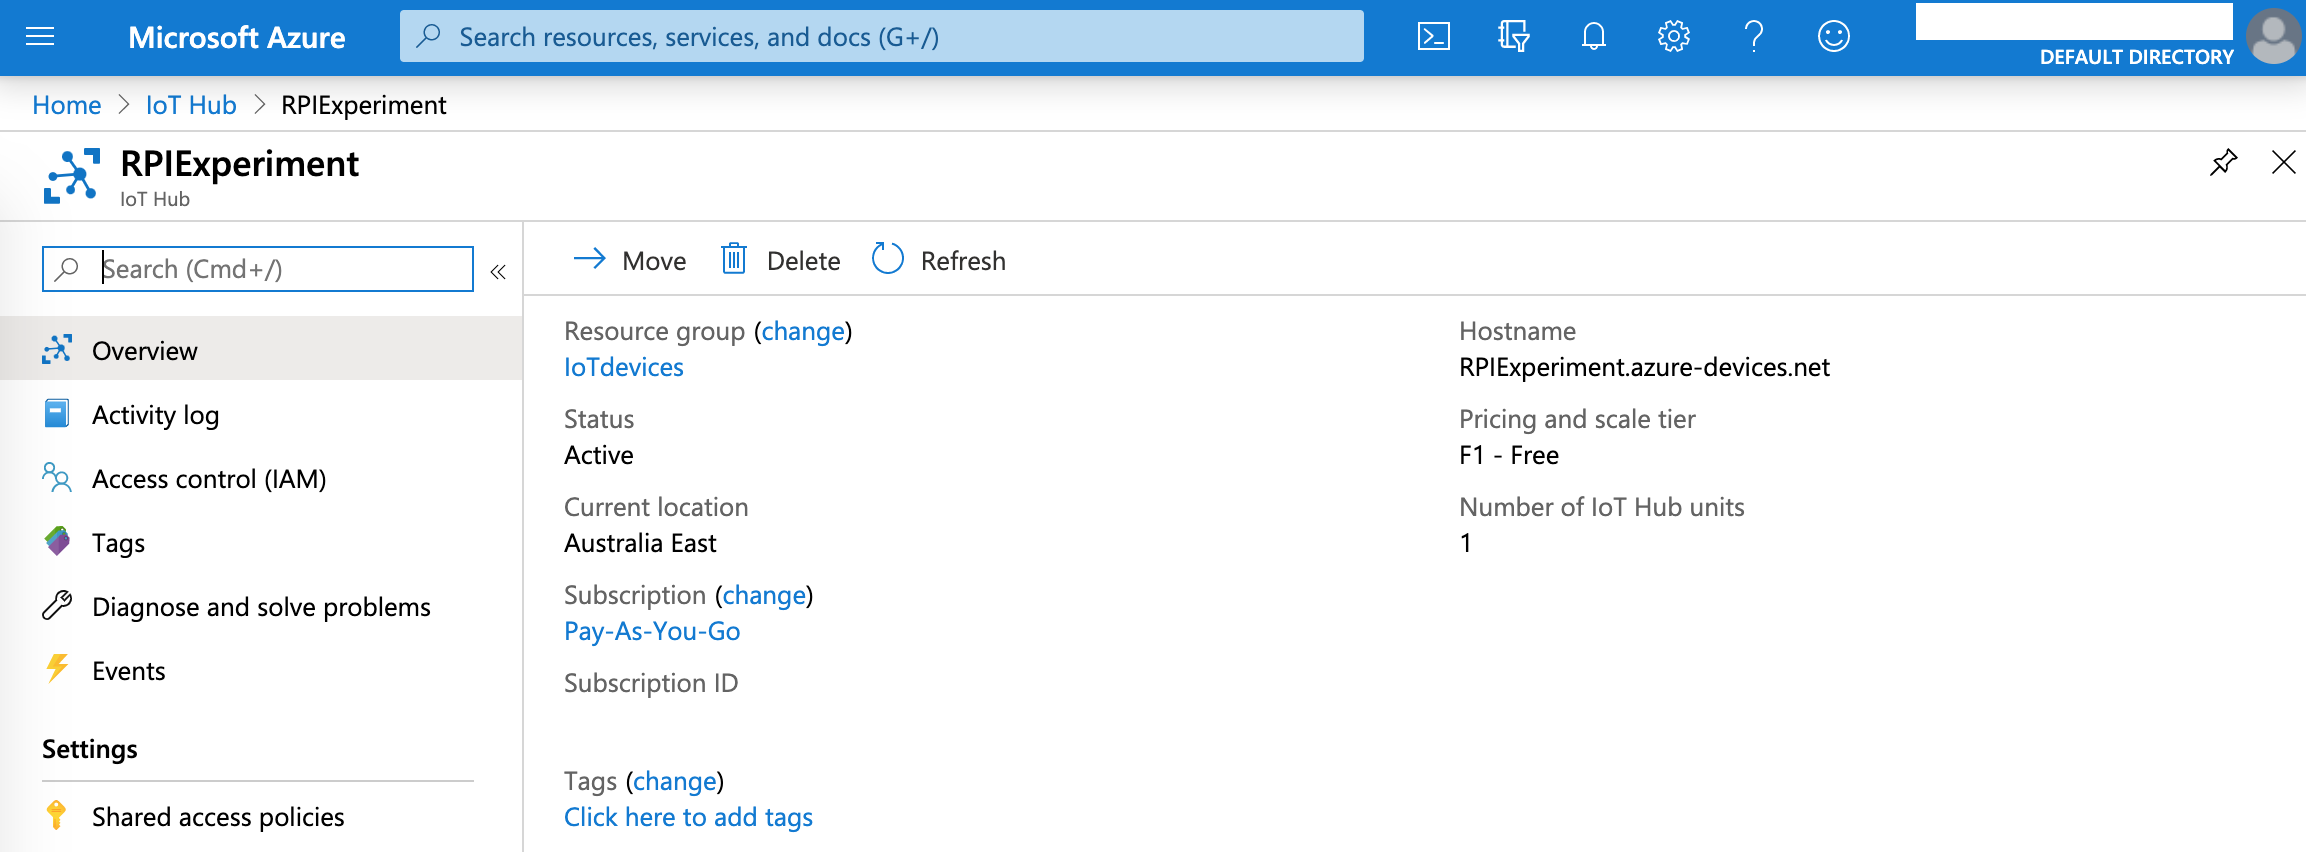
- The system will take a few minutes to create a new Azure IoT Hub resource. Once ready, click on it to view the resource dashboard.
Setup Raspberry Pi
Save Raspbian Buster on SD card through your Windows or Mac machine. Insert SD card in the Raspberry Pi and boot up. Once the desktop appears, connect to Wi-Fi.
For troubleshooting, visit Raspberry Pi official documentation.
Create a Device in Azure IoT Hub

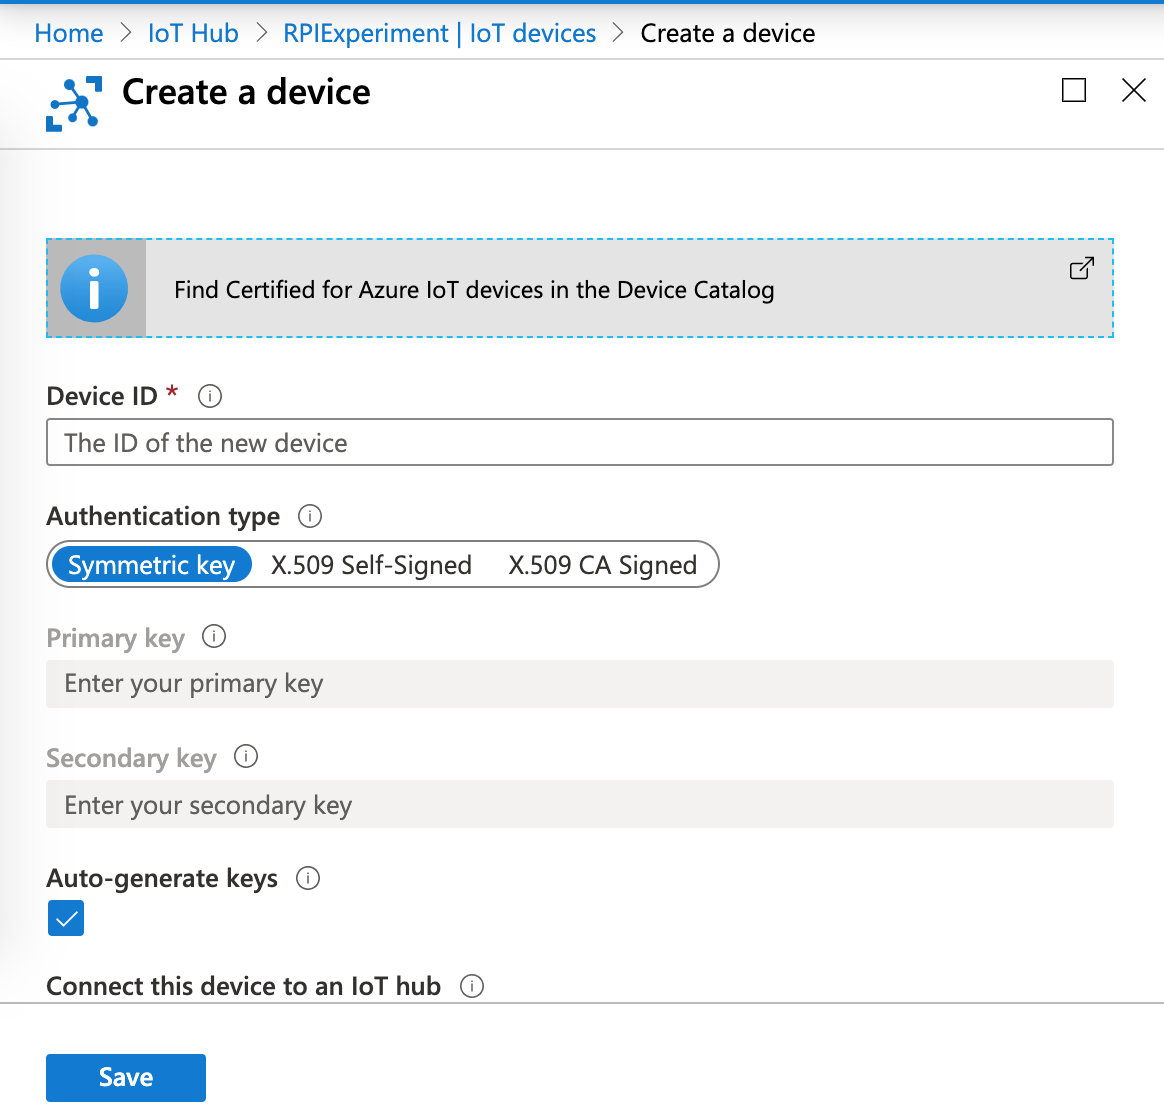
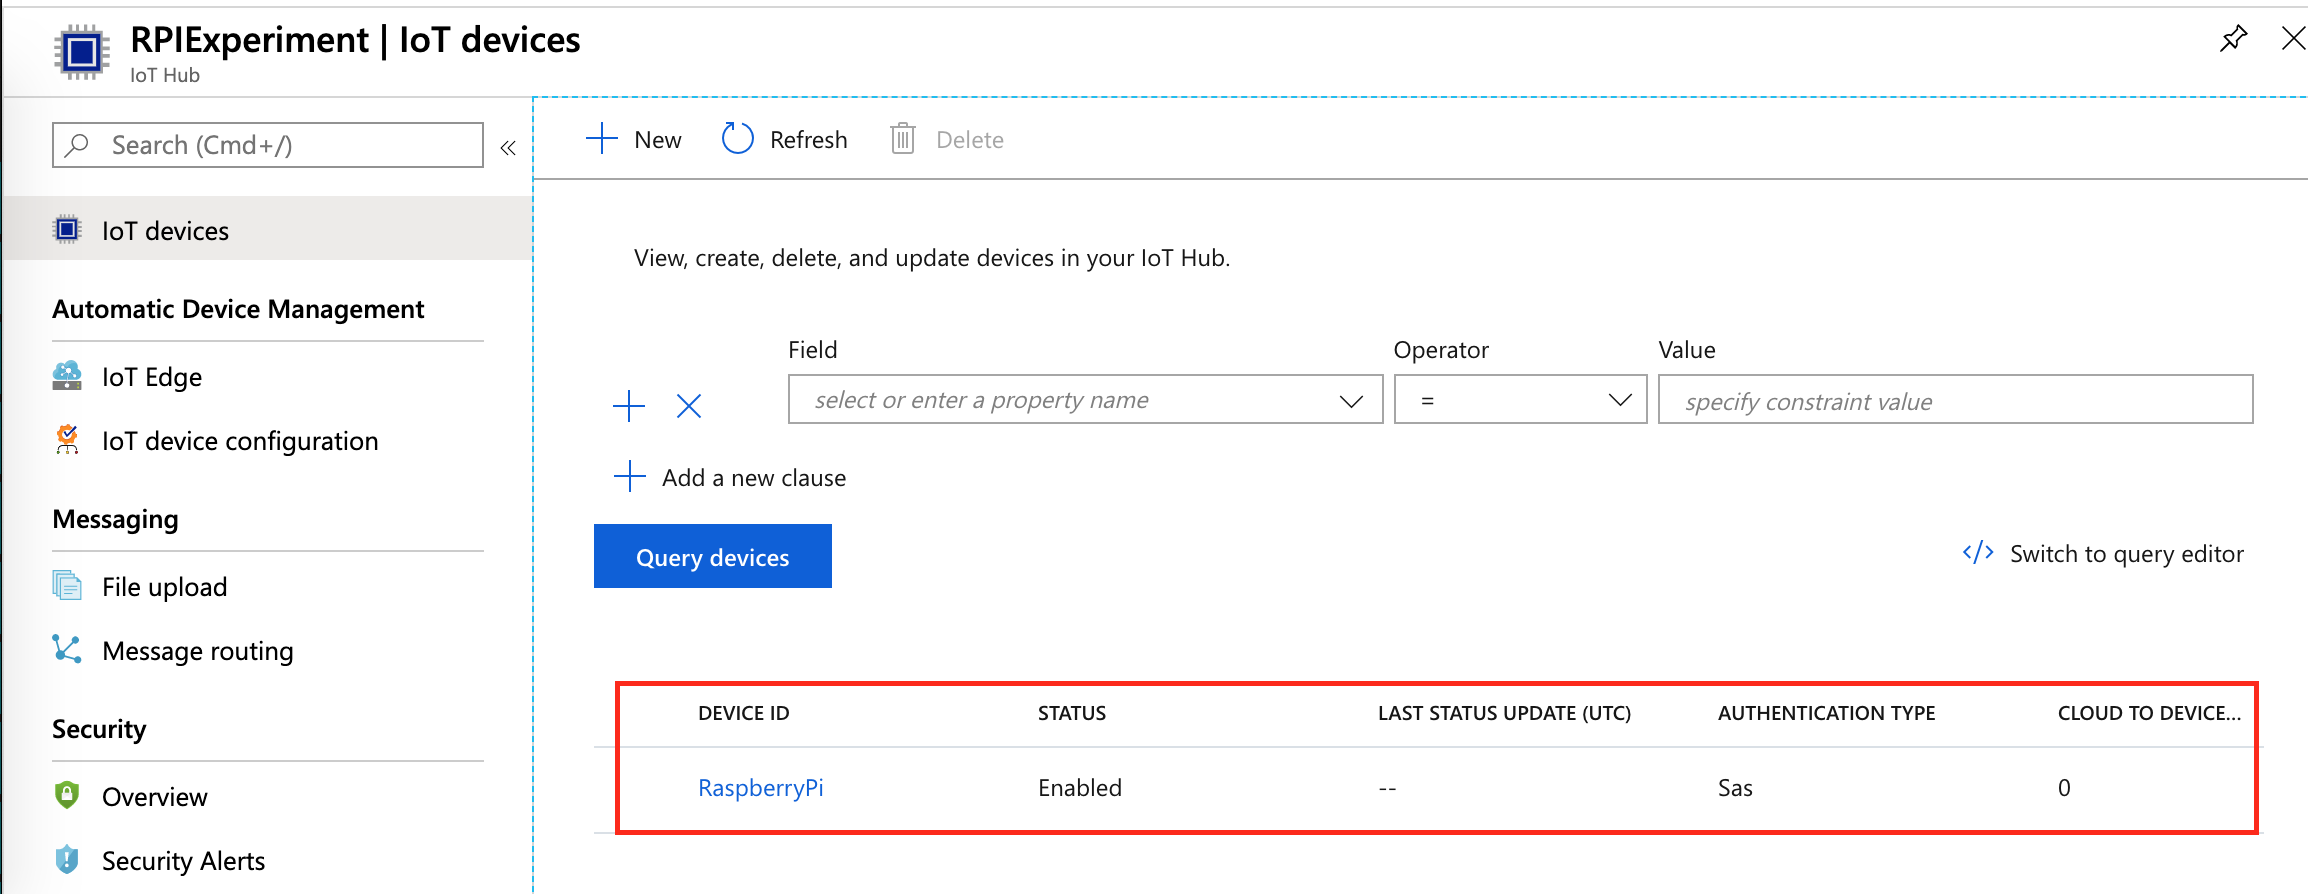
- Go back to Azure portal and click on IoT Devices in the Azure IoT Hub resource page. Click ‘+NEW’ to create a new device
- Enter Device ID (recognisable name), leave the rest of the fields with defat values and click Save
- This will create a device in IoT Hub
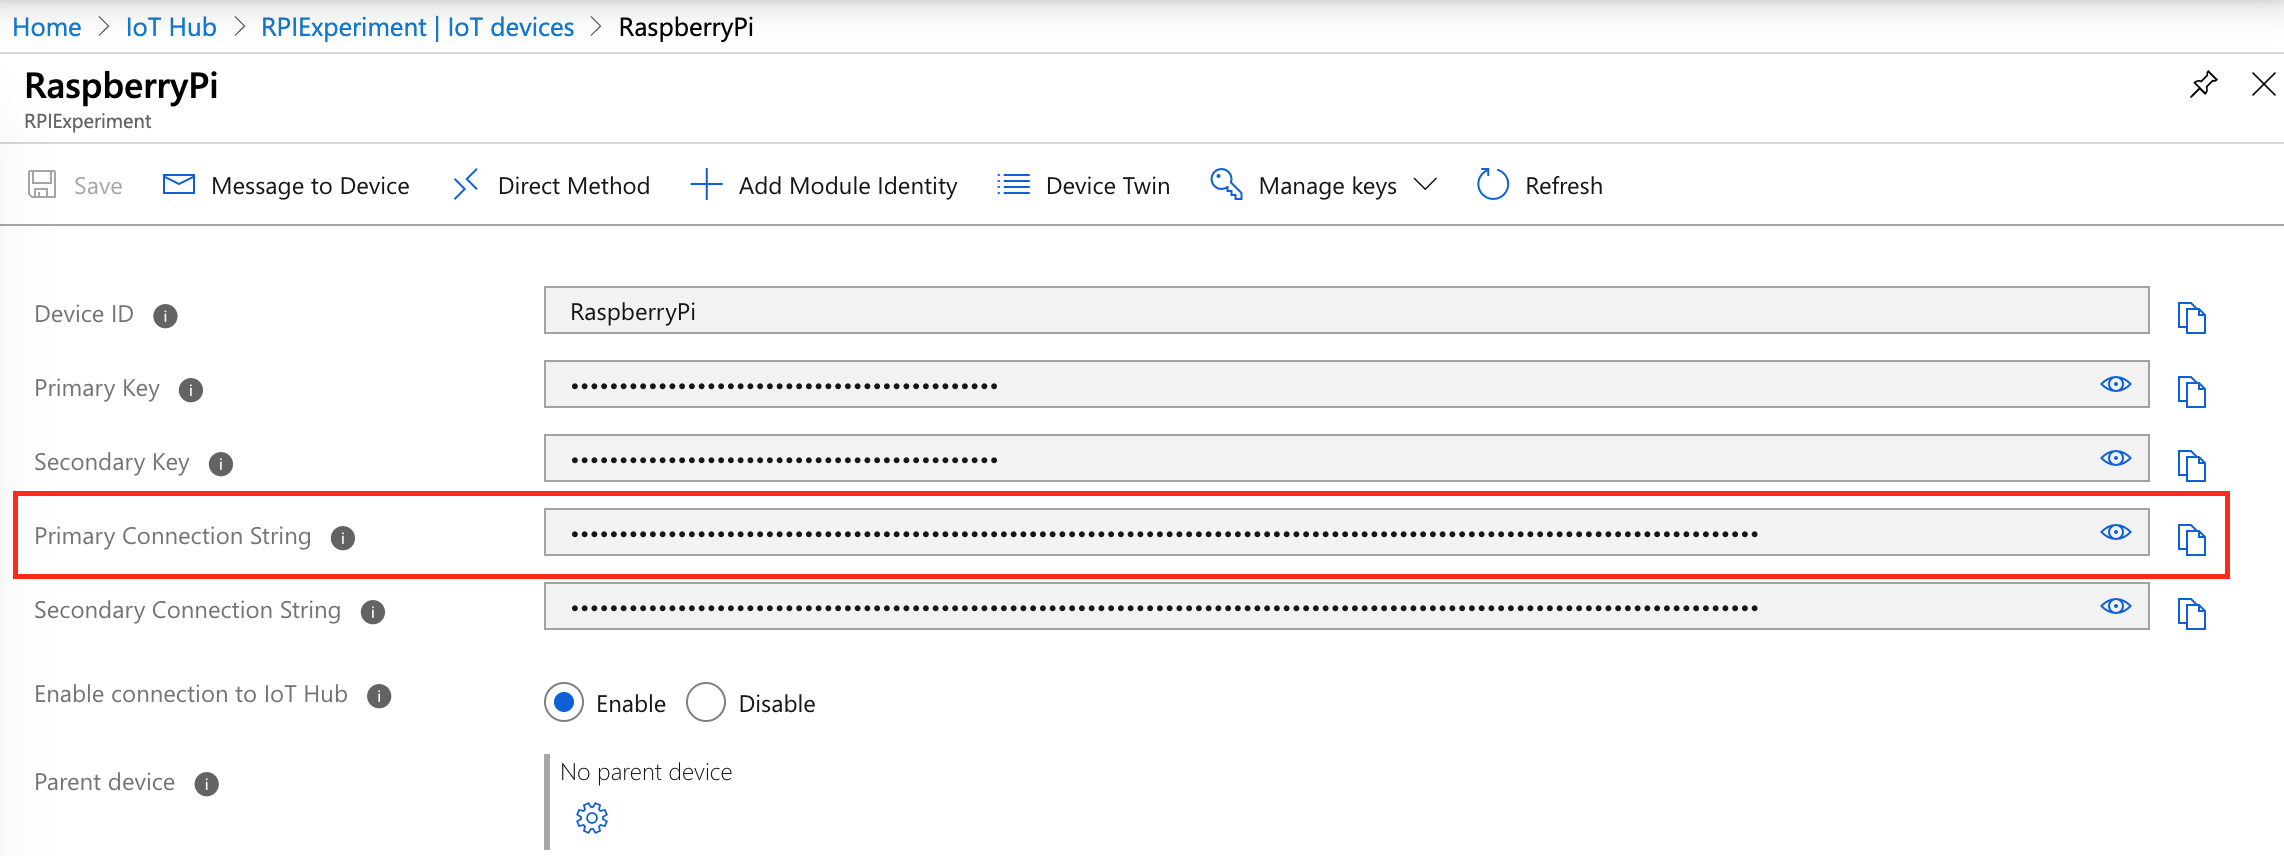
- Click on the device and copy Primary Connection String
Deploy Code on Raspberry Pi and Connect With Azure IoT Hub

Microsoft has published sample code, quick starts and tutorials in GitHub to give a quick start to IoT Hub projects. We will make use of Raspberry Pi tutorial. The tutorial makes use of node.js but fret not, you don’t need a working knowledge of node.js to create this project.
- Connect to the device using SSH client. Generally speaking, it will be PuTTY for Windows and Terminal for Mac machines.
- Connect to Raspberry Pi
ssh pi@raspberrypi.local
- Check Node.js version, it should be greater than 10.
node -v
- Get the source code from GitHub to Raspberry Pi
git clone https://github.com/Azure-Samples/azure-iot-sample...
- Go to code directory and install
cd azure-iot-samples-node/iot-hub/Tutorials/RaspberryPiApp
npm install
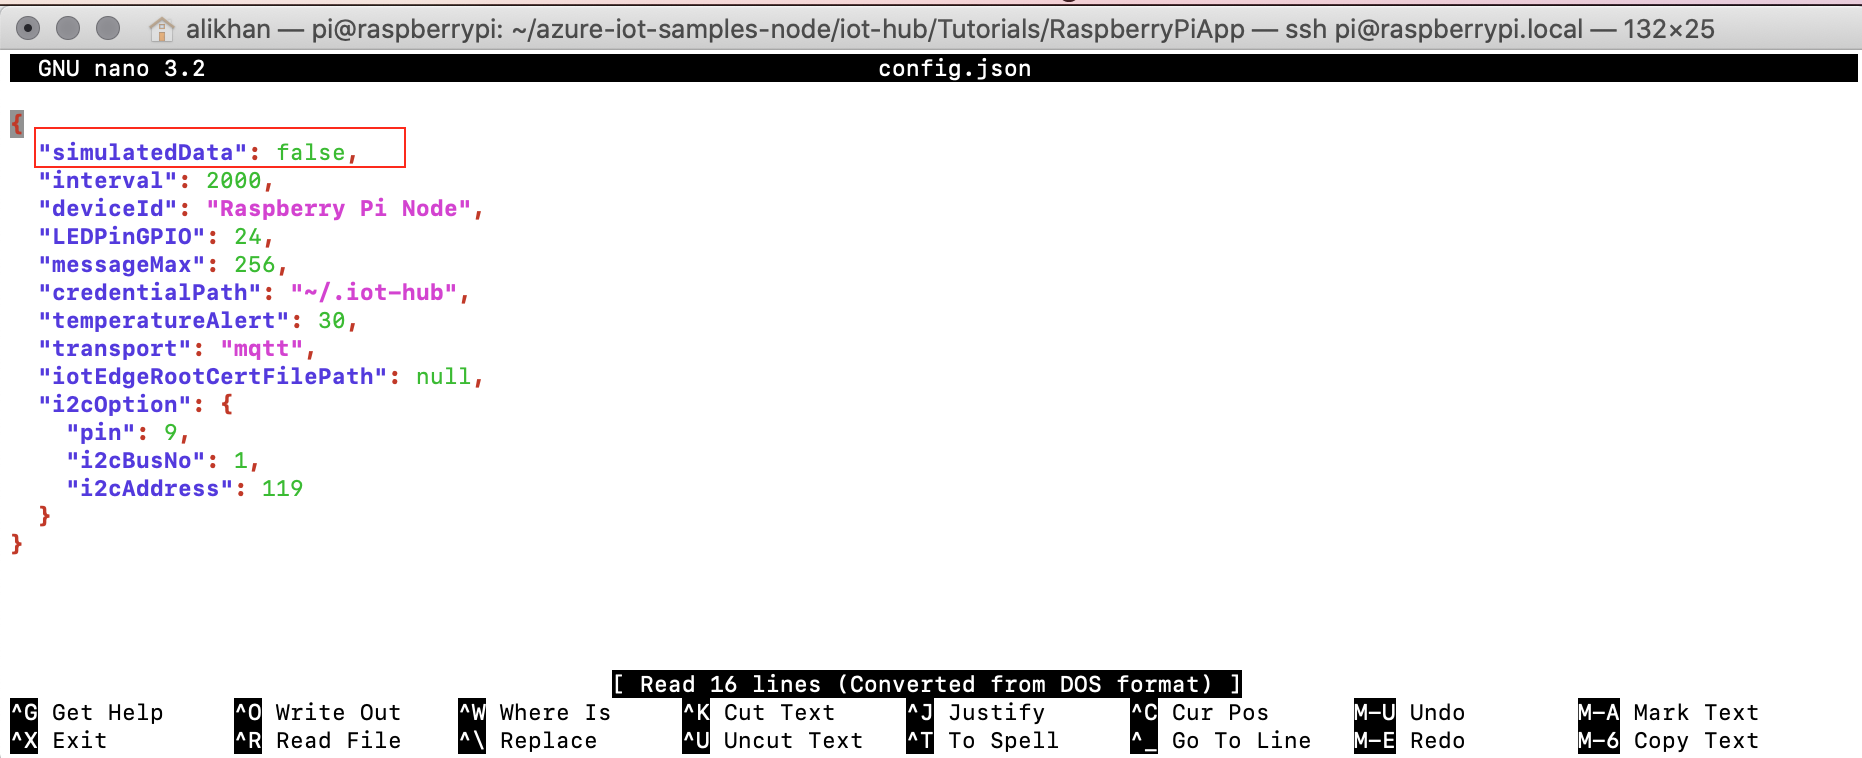
- Next, we will configure the app to send ‘simulated’ temperature data to Azure IoT Hub. Go inside the folder and edit config.json through command prompt or Raspberry Pi desktop. Change the highlighted text to ‘true’
- Go back to SSH client and enter previously copied device Connection String to connect Raspberry Pi to Azure IoT Hub
sudo node index.js ‘Device connection string from Azure IoT Hub’
View Telemetry Data in Azure IoT Hub
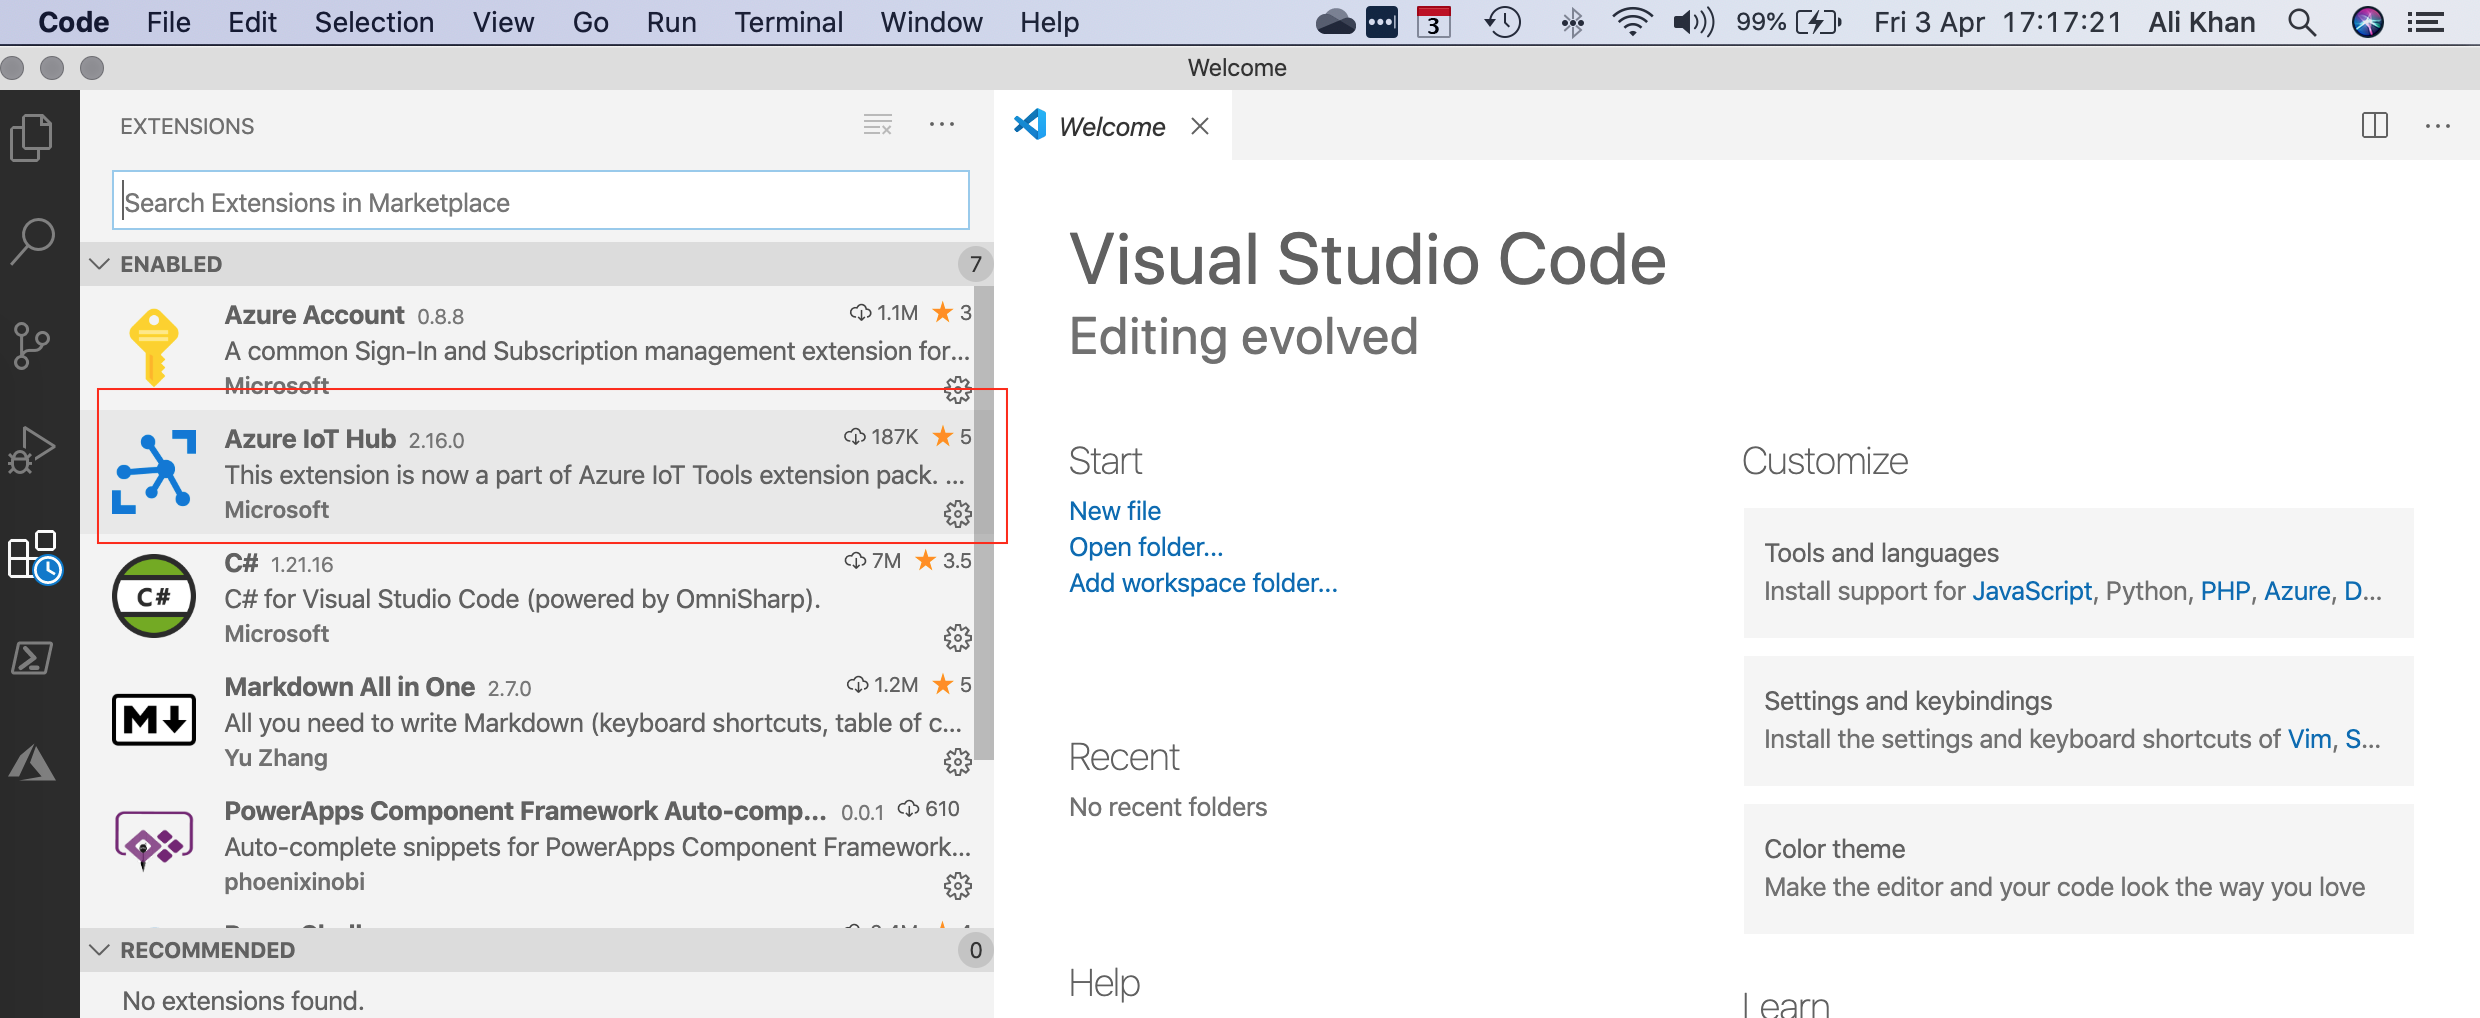

To view telemetry data received in Azure IoT Hub, we will use Visual Studio Code. If you don't have the VS Code already installed, please download from the website.
- Open Visual Studio Code and click on Extensions. Install Azure IoT Hub extension
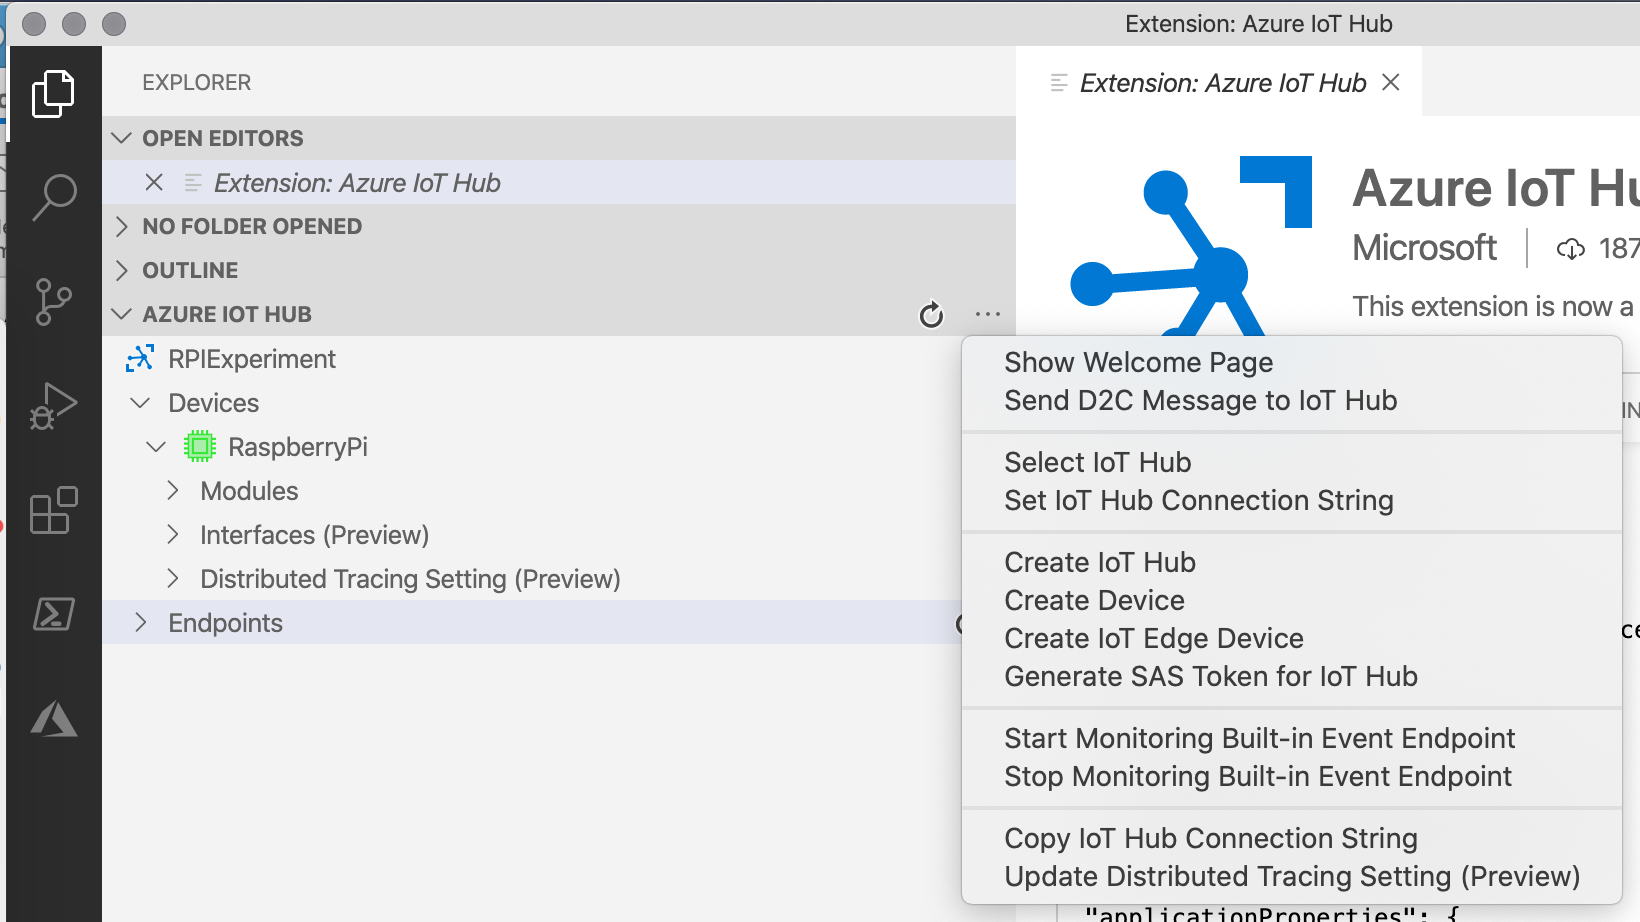
- Once the extension is installed, click on Azure IoT Hub in explorer. It will ask you to log in to access Azure Portal and will then show Azure IoT Hub resource and Raspberry Pi device
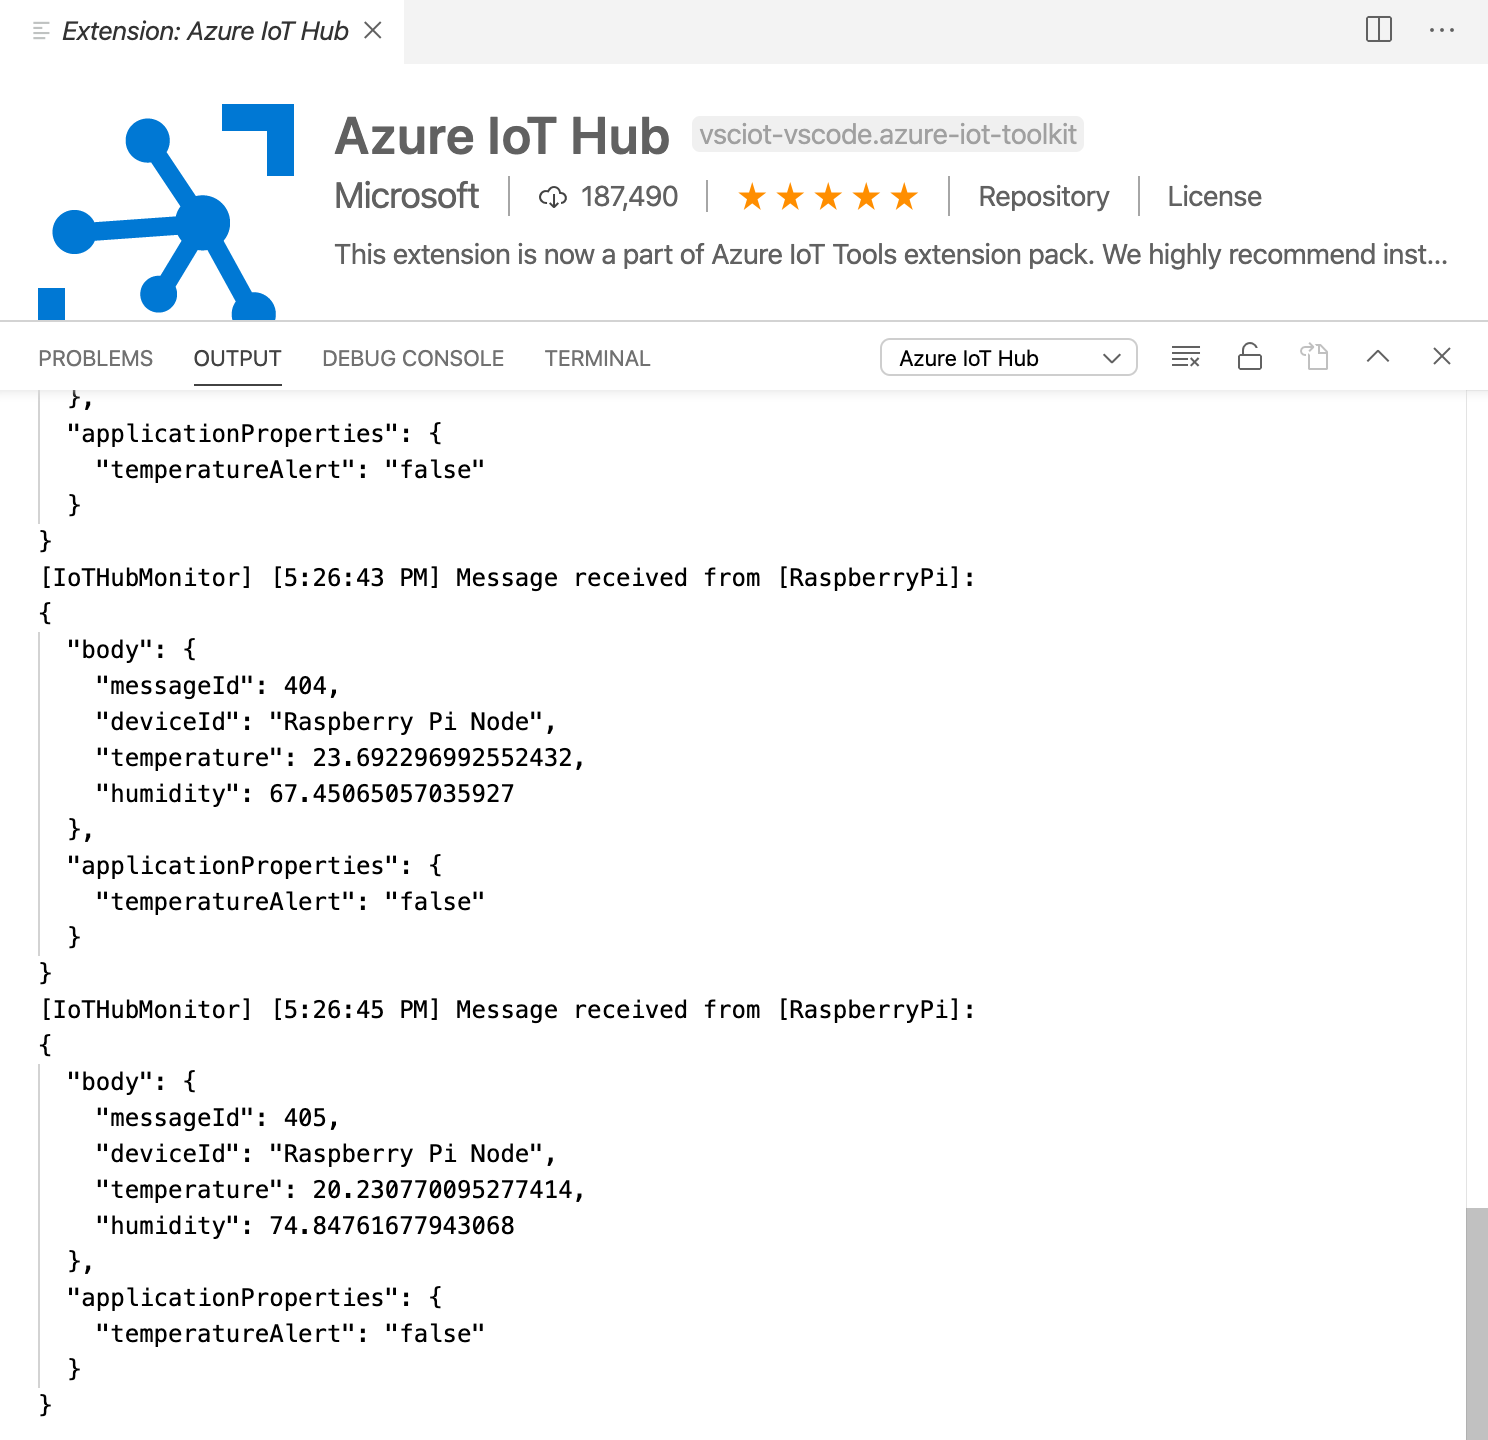
- Right-click on the device and click on ’Start Monitoring Built-in Event Endpoint’. This will start showing the telemetry data received from Raspberry Pi
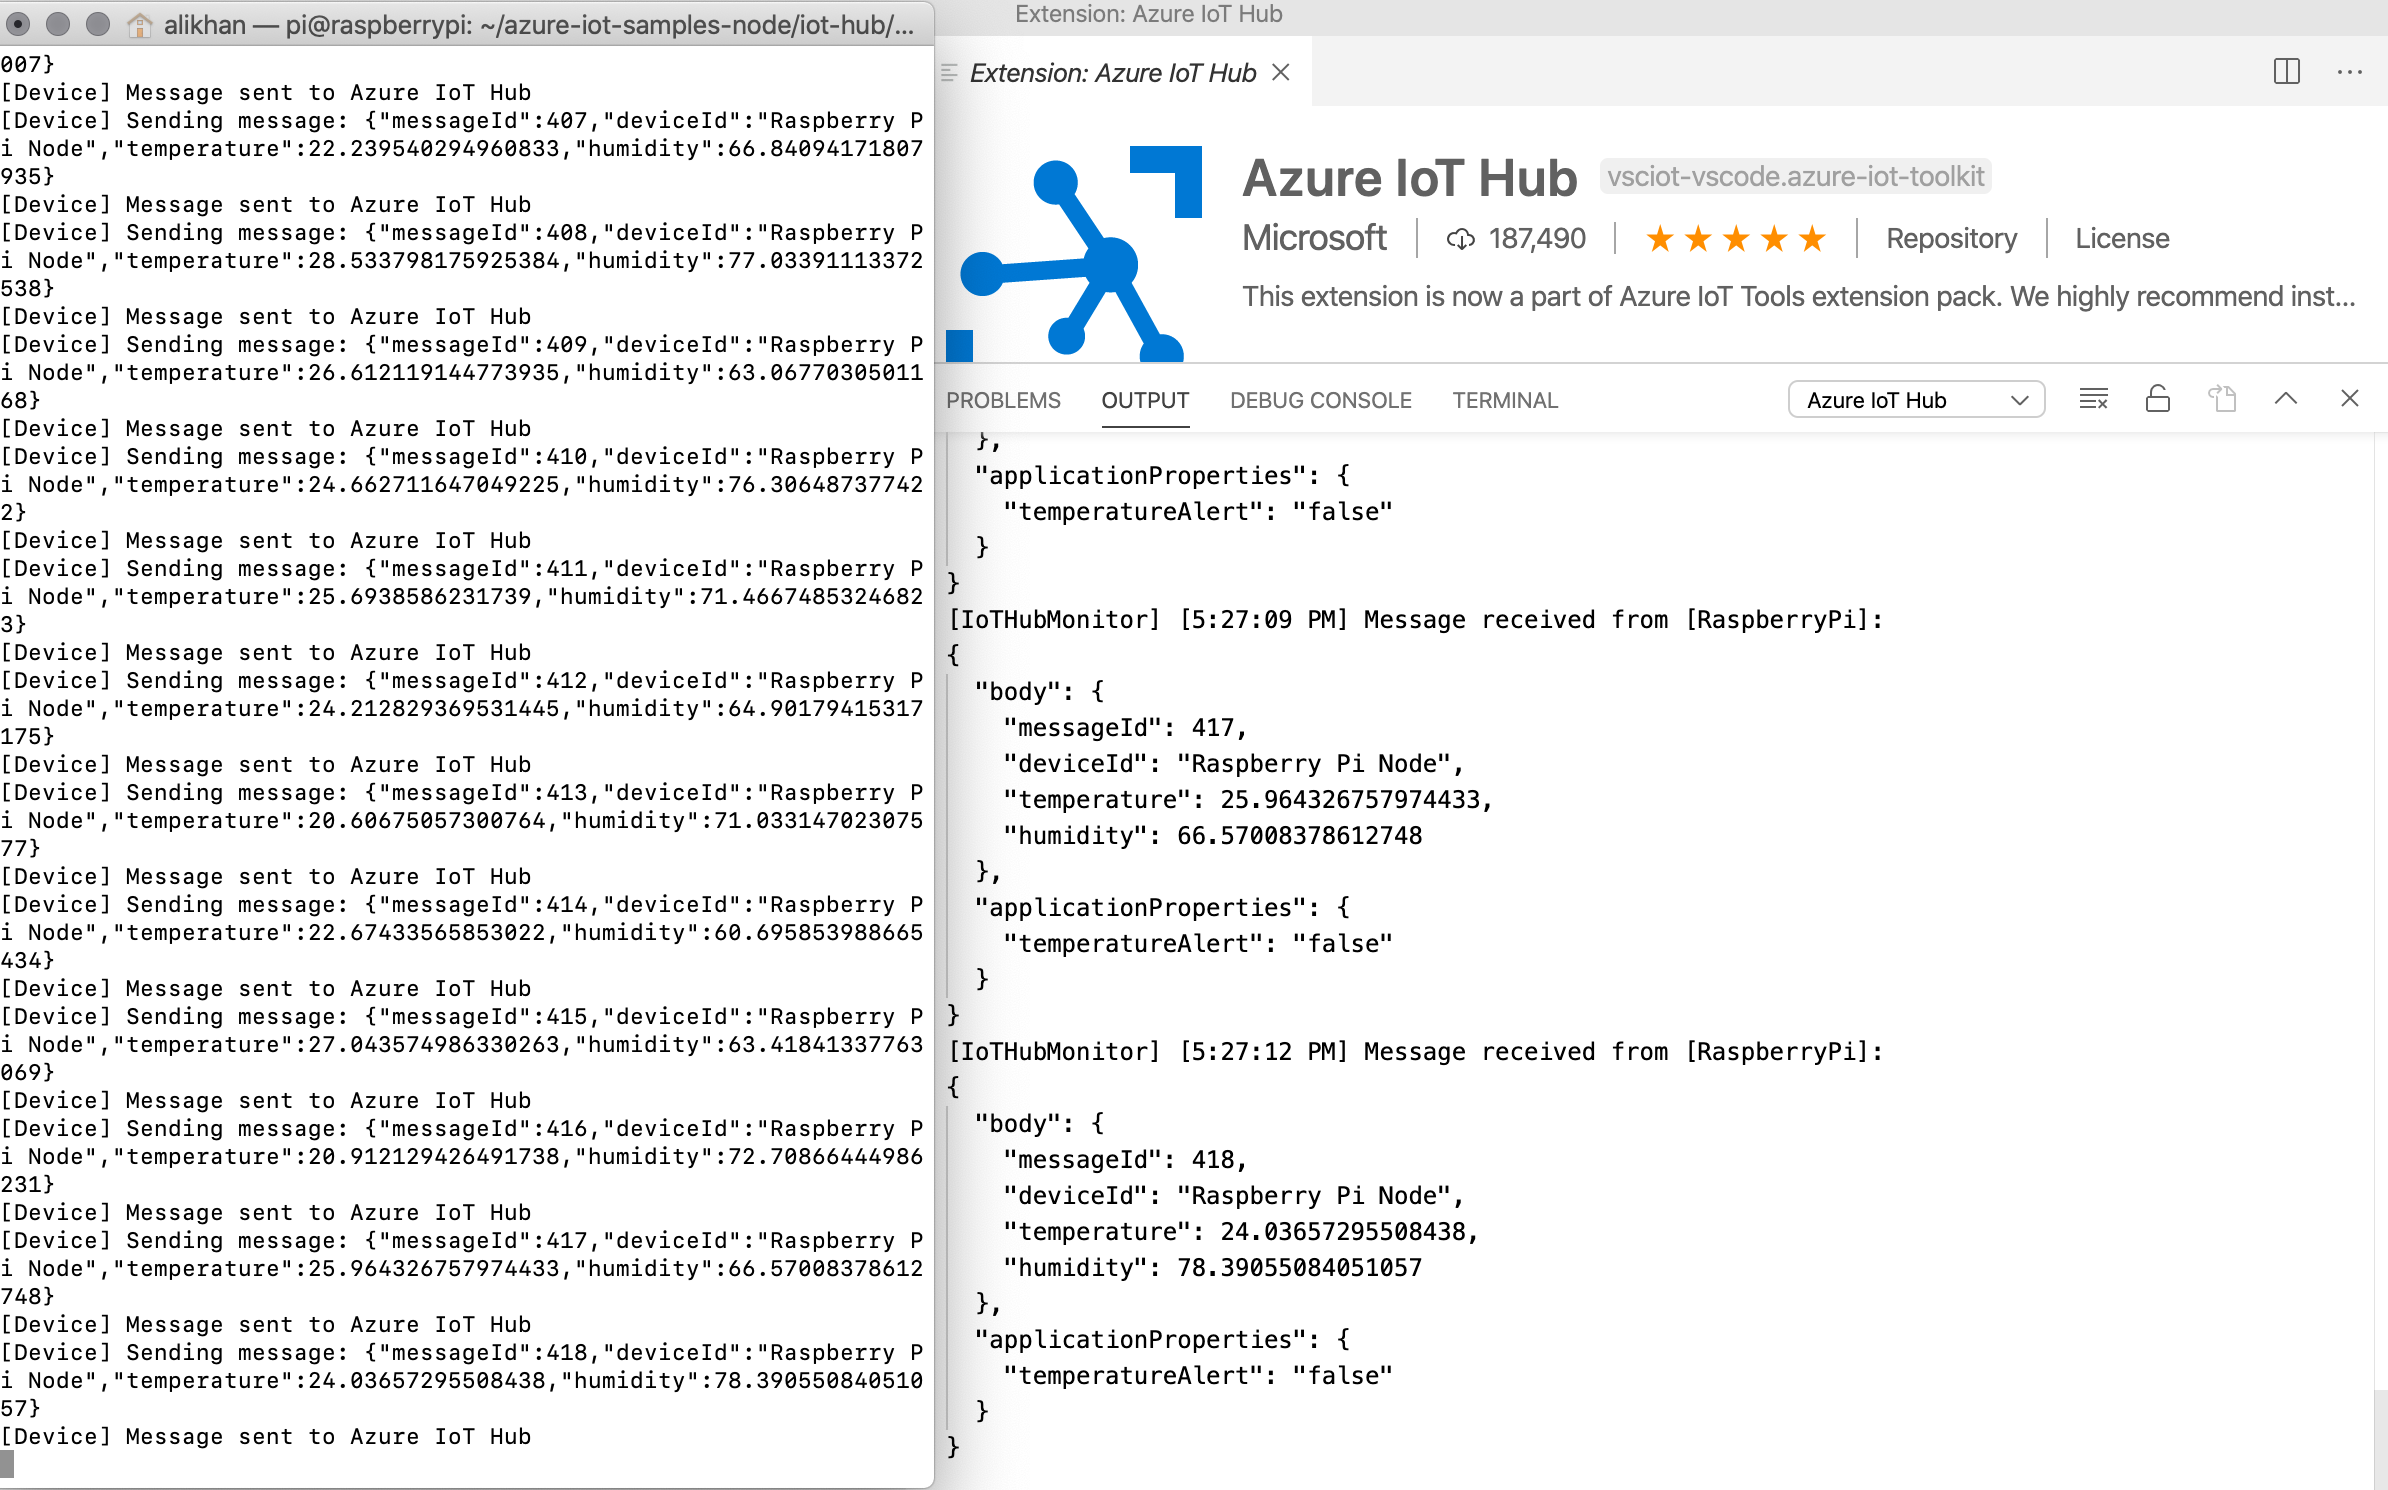
The side-by-side screen view shows SSH client (sending data to Azure IoT Hub) and Visual Studio Code (showing telemetry data received at Azure IoT Hub).
Hope you find it interesting and useful. Feel free to share your feedback. Happy Raspberry Pi-/ing/