Set Up a Raspberry Pi Using a Mac
by lordfili in Circuits > Raspberry Pi
69987 Views, 20 Favorites, 0 Comments
Set Up a Raspberry Pi Using a Mac
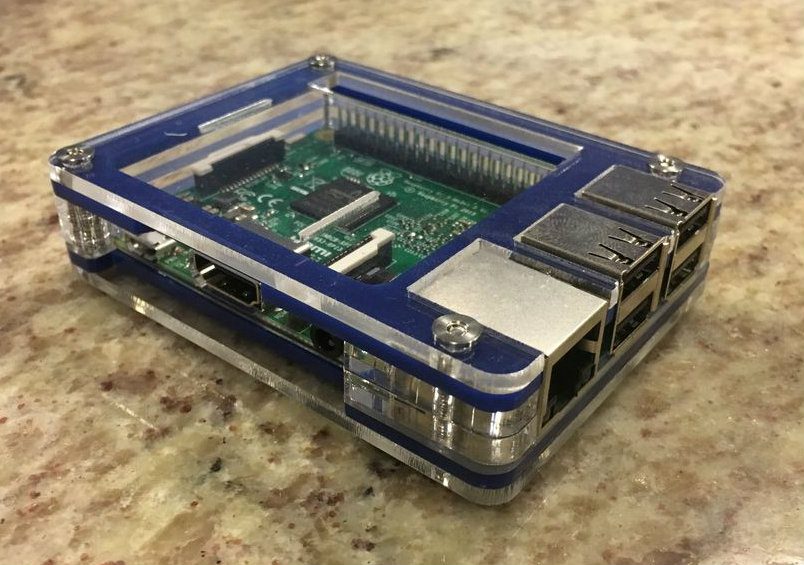
So, you want to use a brand new Raspberry Pi? That's great! Unfortunately, unless the Raspberry Pi you purchased was part of a kit including an SD card with pre-installed software, you're also probably trying to figure out exactly how to go about getting one set up. If you've got access to a Mac running Mac OS X, then this instructable can help!
By the end of this instructable, you will have a working Raspberry Pi 1, 2, or 3, with Raspbian installed.
Prefer to watch this instructable in video form? Fantastic! The video embedded above is exactly what you're looking for! I made this video as a precursor to setting up BrewPi - a fermentation temperature controller, but the instructions are the same regardless of your intended use.
Materials
This instructable assumes that you will be installing Raspbian on a Raspberry Pi 1, 2, or 3, which means you have access to an Ethernet port. This means that you will need, at a minimum:
Raspberry Pi (See note below for Zero)
Micro USB Power Supply
4+GB SD Card (Micro SD for modern Raspberry Pis)
Ethernet Cable
You also may need an SD card adapter (to hook the SD card up to your computer).
Raspberry Pi Zero note - Although Raspbian works perfectly with a Raspberry Pi Zero, due to the lack of built-in Ethernet on the board, you will either need a USB Ethernet adapter that you can use to configure the Pi, or a Serial-to-UART cable. Setup of the Pi via either of these means should be considered advanced and is not within the scope of this tuto rial.
Hook Up Your SD Card & Prepare to Flash
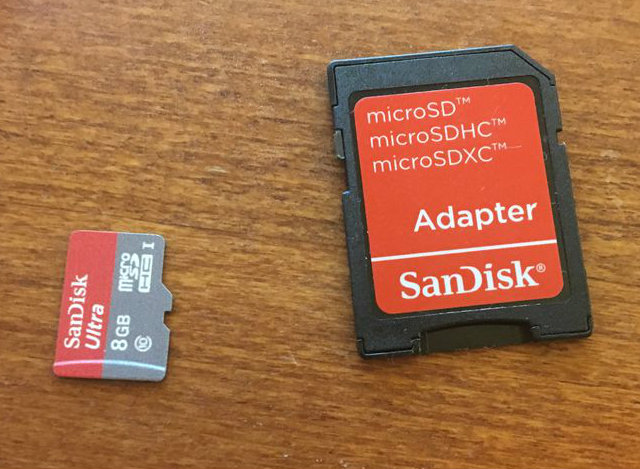
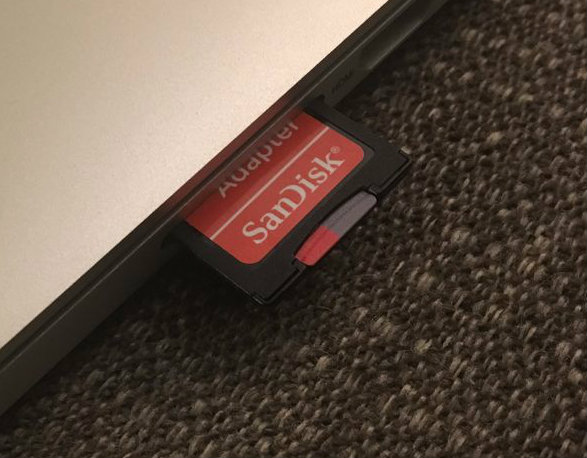
The first thing you need to do after collecting your materials is hook up your SD card and prepare to install the software. Insert your SD card into a card reader attached to your computer (using a Micro SD adapter if necessary).
Next, bring up the terminal. To launch the terminal in Mac OS X:
1. Click on "Applications" in the dock
2. Scroll down to the "Utilities" folder
3. Click "Terminal"
Once you've launched the terminal, locate the device name & unmount the disk:
1. Type `diskutil list` in the terminal
2. Review the list and find the SD card device name (Will be something similar to `/dev/disk2`) - Look for the device that is the size of the SD card you are using
3. Unmount the disk by typing `diskutil unmountDisk /dev/disk2` (replacing disk2 with the disk identifier of your SD card)
Note - Be careful! Before you proceed, make sure the disk name you selected is correct. It is almost certainly not disk0 and is probably not disk1. If you select the wrong disk, you may end up damaging your computer. You have been warned!
Download & Install Raspbian
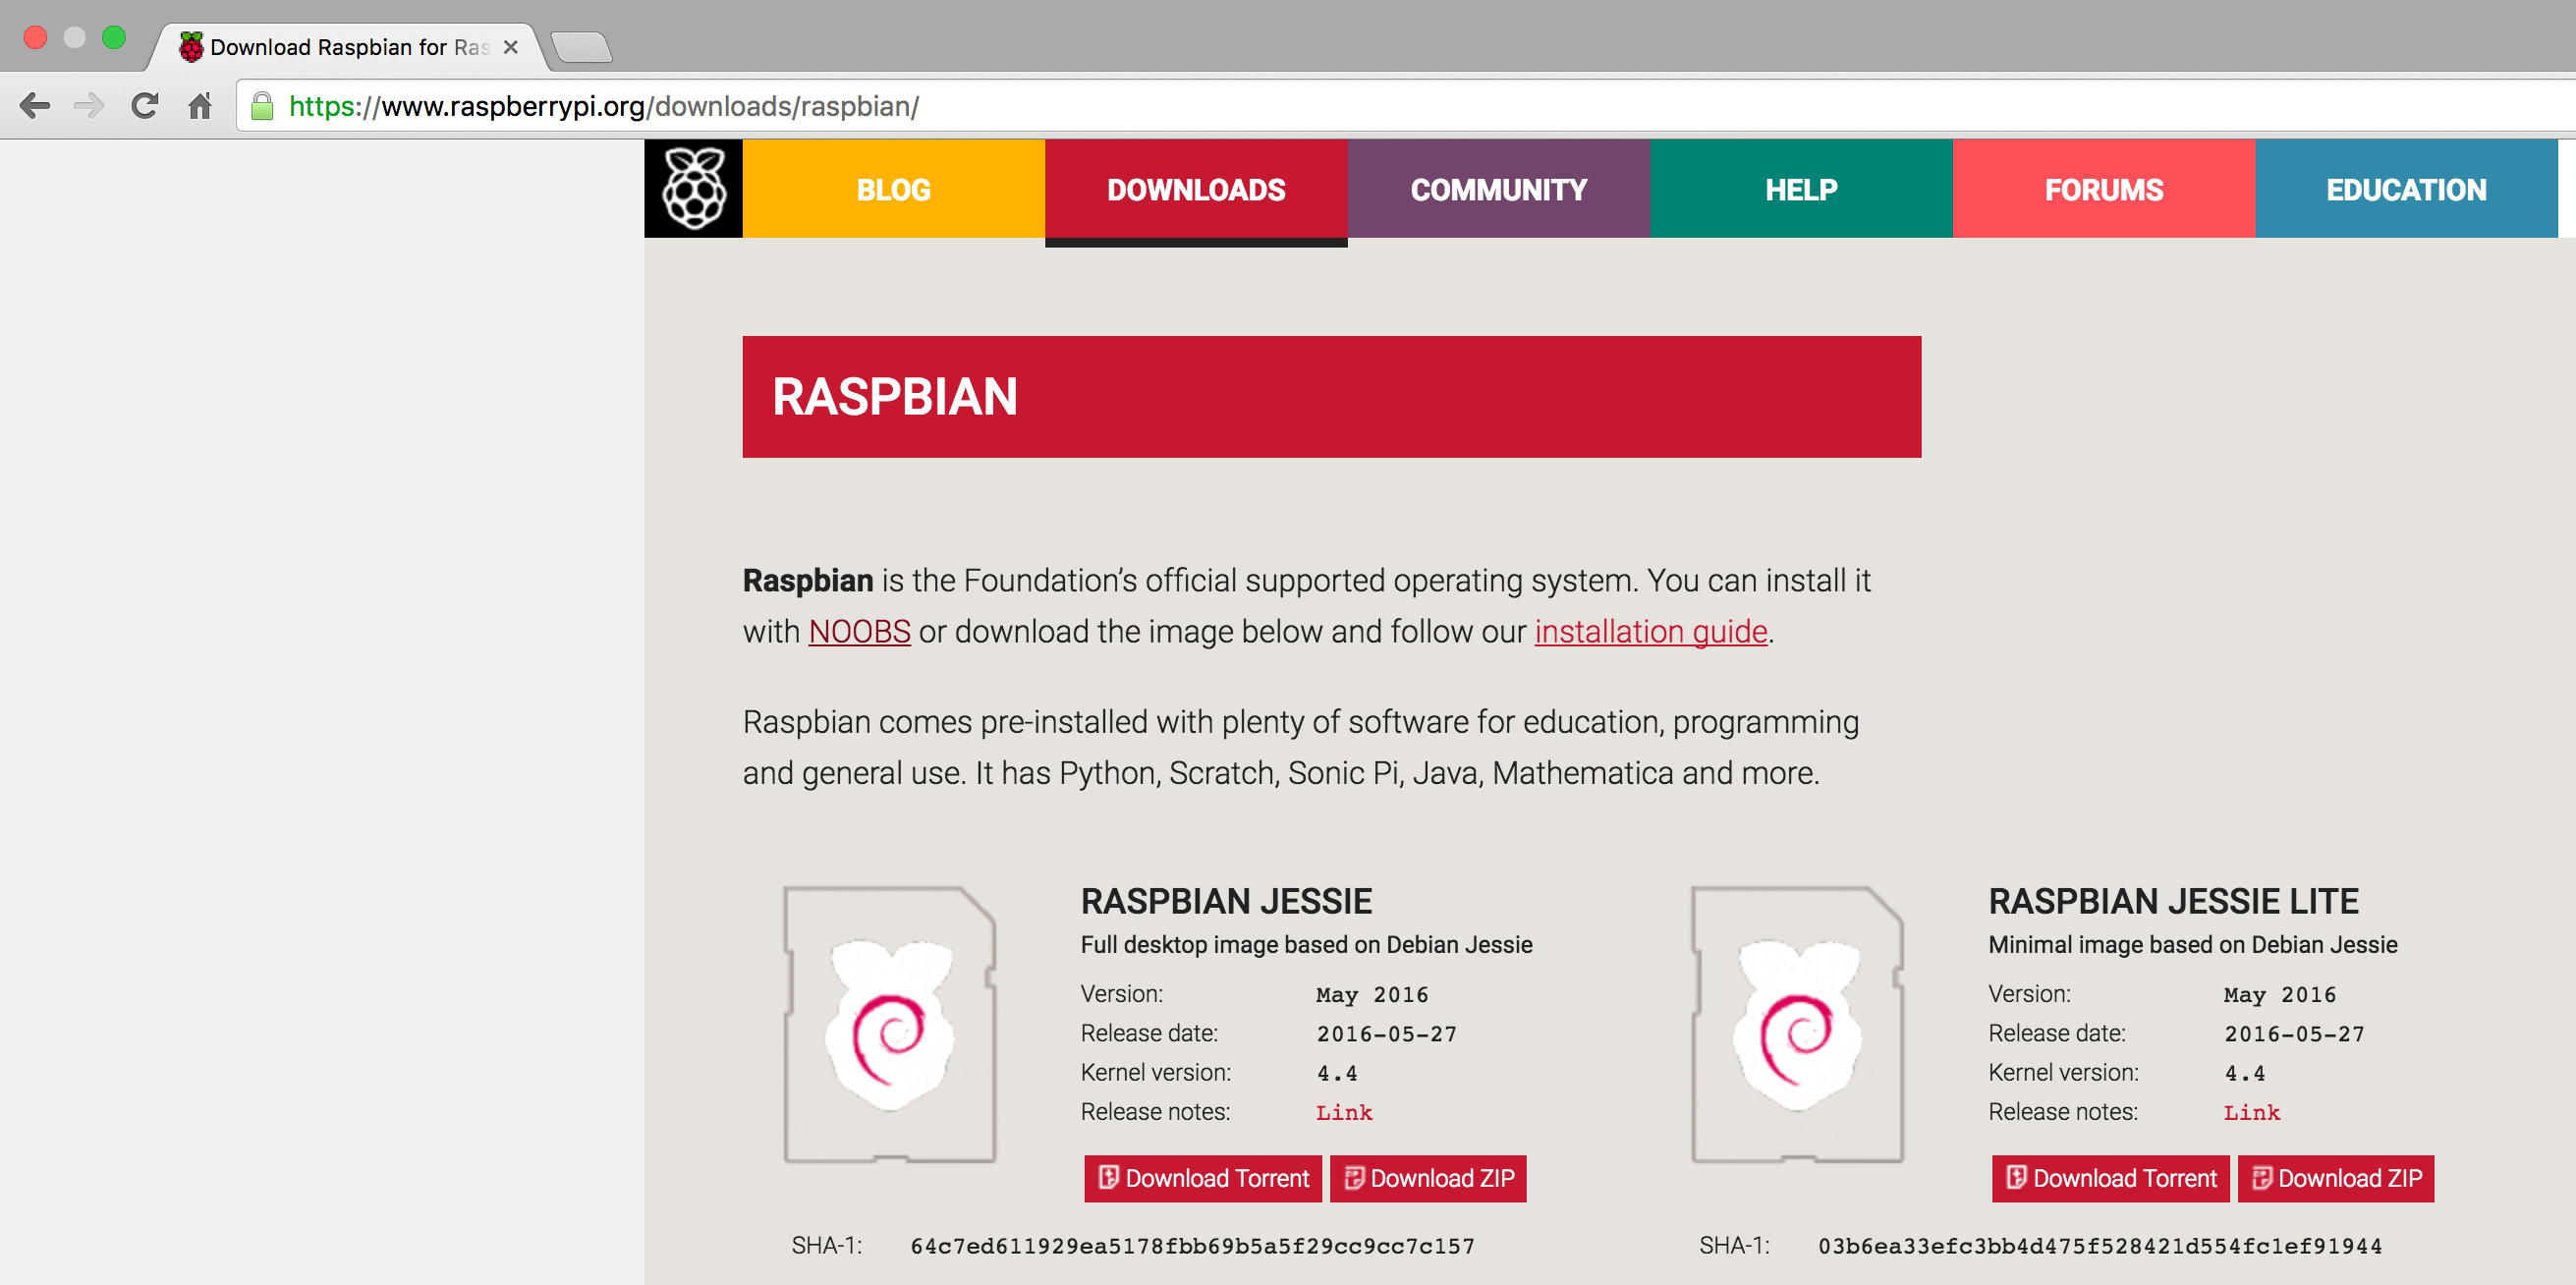
Next, download Raspbian:
1. Go to: https://www.raspberrypi.org/downloads/raspbian/ in a web browser of your choice
2. Download the version of Raspbian you prefer. I recommend the "Lite" version for headless applications (like BrewPi), but use the version you are comfortable with.
3. Expand the file that you downloaded and make note of where you expanded it
Once Raspbian is downloaded, it's time to write it to your SD card:
1. Return to the terminal
2. Change to the directory where you extracted the image file (`cd ~/Downloads` for your Downloads directory)
3. Run a command similar to this to write the image file to your SD card: `sudo dd bs=1m if=2016-05-27-raspbian-jessie-lite.img of=/dev/rdisk2`
To determine the exact command you need, replace the file name after `if=` with the name of the image you extracted earlier. Replace the device name with the disk number you used in the previous step, but replacing `/dev/diskX` with `/dev/rdiskX`. Including the `r` will make it write faster.
Received an error with that command? Drop the `r`, and use the `/dev/diskX` device instead.
Note - Again - be careful! Make sure you use the correct device name here! Using the wrong device name could delete everything on your computer.
Connect the Pi & Locate the IP Address
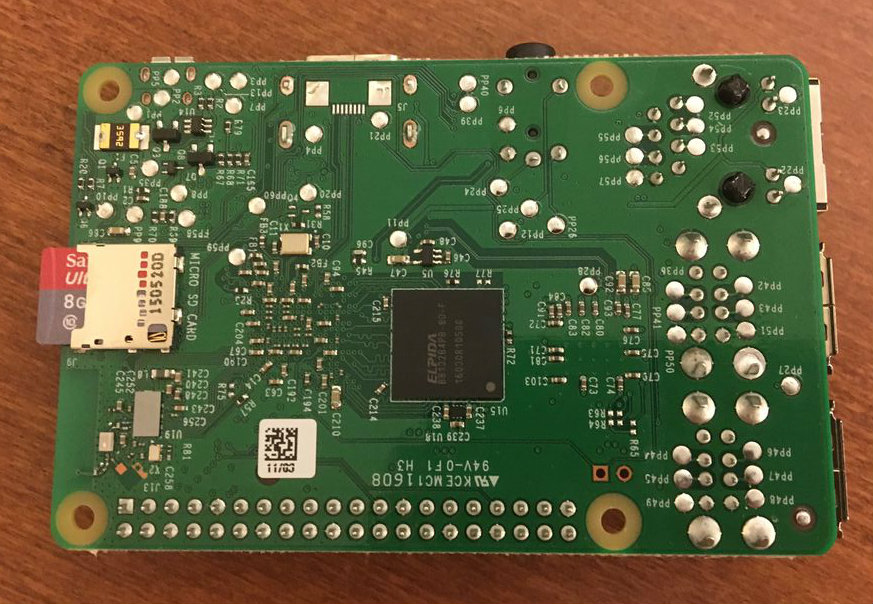
At this point, you're in the home stretch! Unplug the SD card from your computer, and plug it into the Raspberry Pi. Plug your Raspberry Pi into Ethernet, and plug the Micro USB power supply into the Raspberry Pi.
Make sure the Ethernet connection you use to connect your Raspberry Pi is connected to the same network as your computer.
Once this is done, we need to determine your Raspberry Pi's IP address. Thankfully, this is easy to do from a Mac. Return to the terminal on your Mac, and run the following command:
`arp -a | grep raspberry`
Look for the IP address in the text that is returned (It will be something similar to 192.168.5.236).
Update the Raspberry Pi & Complete Final Setup
One last step! We need to connect to the Raspberry Pi and complete the setup.
To connect to your Raspberry Pi, type the following command at the terminal (replacing the IP address with the one you discovered in the previous step):
`ssh pi@192.168.5.236`
In this case, your username is `pi` - the default password is `raspberry`. Enter the password when prompted.
Now, you're ready to update the Raspberry Pi's software. Run the following commands in the SSH session you just launched:
1. `sudo apt-get update`
2. `sudo apt-get upgrade` (Choose `Y` when prompted)
3. `sudo shutdown -r now`
At this point you've updated the software on the Pi and have restarted to let the updates take effect. Wait a minute, then reconnect to the Raspberry Pi (the `ssh` command above) and run the final setup script:
`sudo raspi-config`
I recommend running option 1 (Expand Filesystem) and option 2 (Change Password) at a minimum - take a look under option 9 (Advanced Options) for additional modifications you might want as well.
Congratulations - You have now set up your Raspberry Pi!