Set Up a DHT11 Temperature and Humidity Sensor With Arduino Uno
by Alex_chu in Circuits > Arduino
5636 Views, 4 Favorites, 0 Comments
Set Up a DHT11 Temperature and Humidity Sensor With Arduino Uno
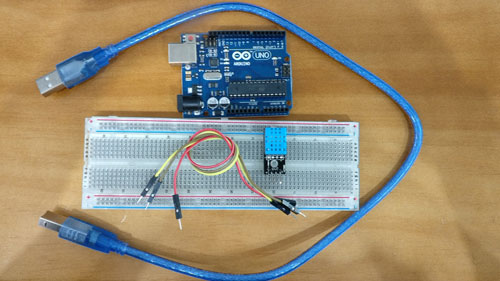
The DHT11 sensor is an easy way to quickly measure surrounding air temperature and humidity. It’s a great little device to slip into environmental control systems, weather stations, and garden monitoring systems.
Here's a simple way to get started with a DHT11 sensor so you can incorporate it into your projects. The provided example code will quick-start your inclusion of this module. For this introduction, a DHT11 sensor pre-mounted to a PCB was used which eliminates the need to manually place a 10k Ohm resistor and an additional unused pin.
What you'll need:
Hardware
- DHT11 sensor
- Arduino Uno
- Dupont Wire
Software
Hook Up the Sensor to the Arduino Uno
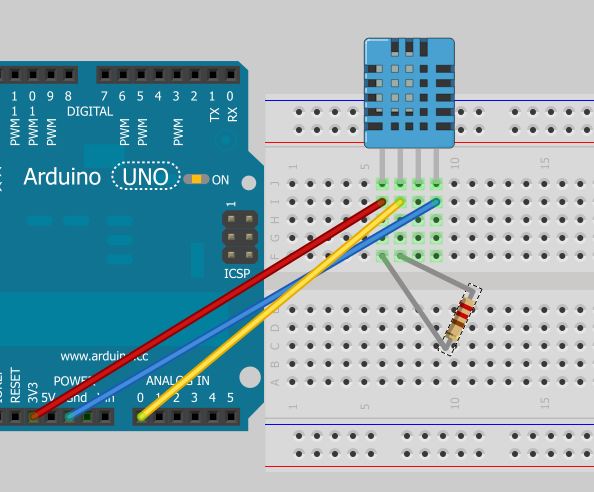
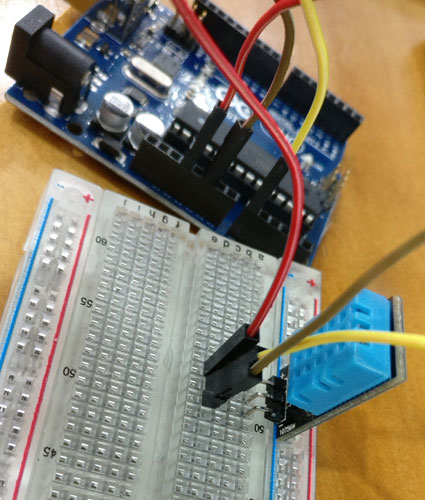
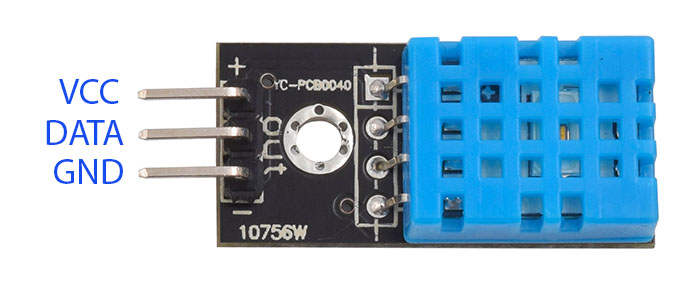
First, let's hook up the sensor to the Arduino Uno. You don't have to use a breadboard, but we did here.
Note: if your sensor isn't mounted, you should use a 10k Ohm resistor between the data and power cable like in the Fritz image above.
DHT11 > Arduino Uno
VCC > 3.3V
Data > A0
GND > GND
Run the Example Code
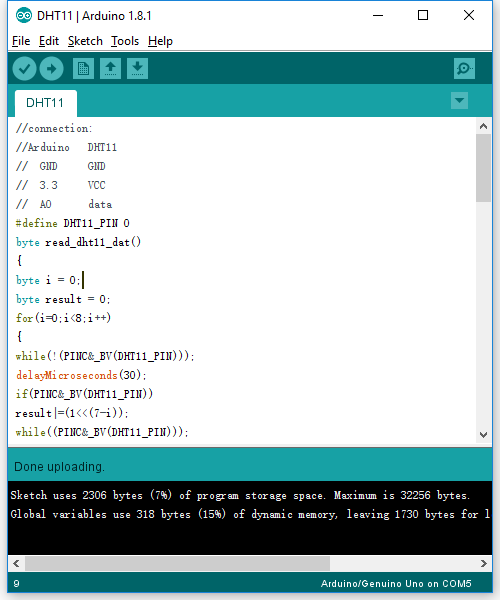
Next, let's run an example code which you can get here!
Read the Serial Data
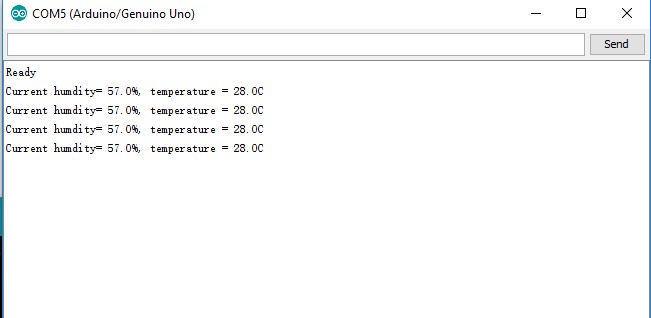
Now we can open up the serial monitor in your IDE and watch the sensor data come in on the Arduino Uno in strings showing humidity and temperature
And that's all there is to it!