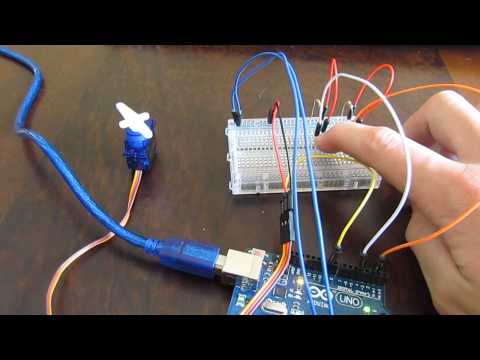
Servo Tutorial
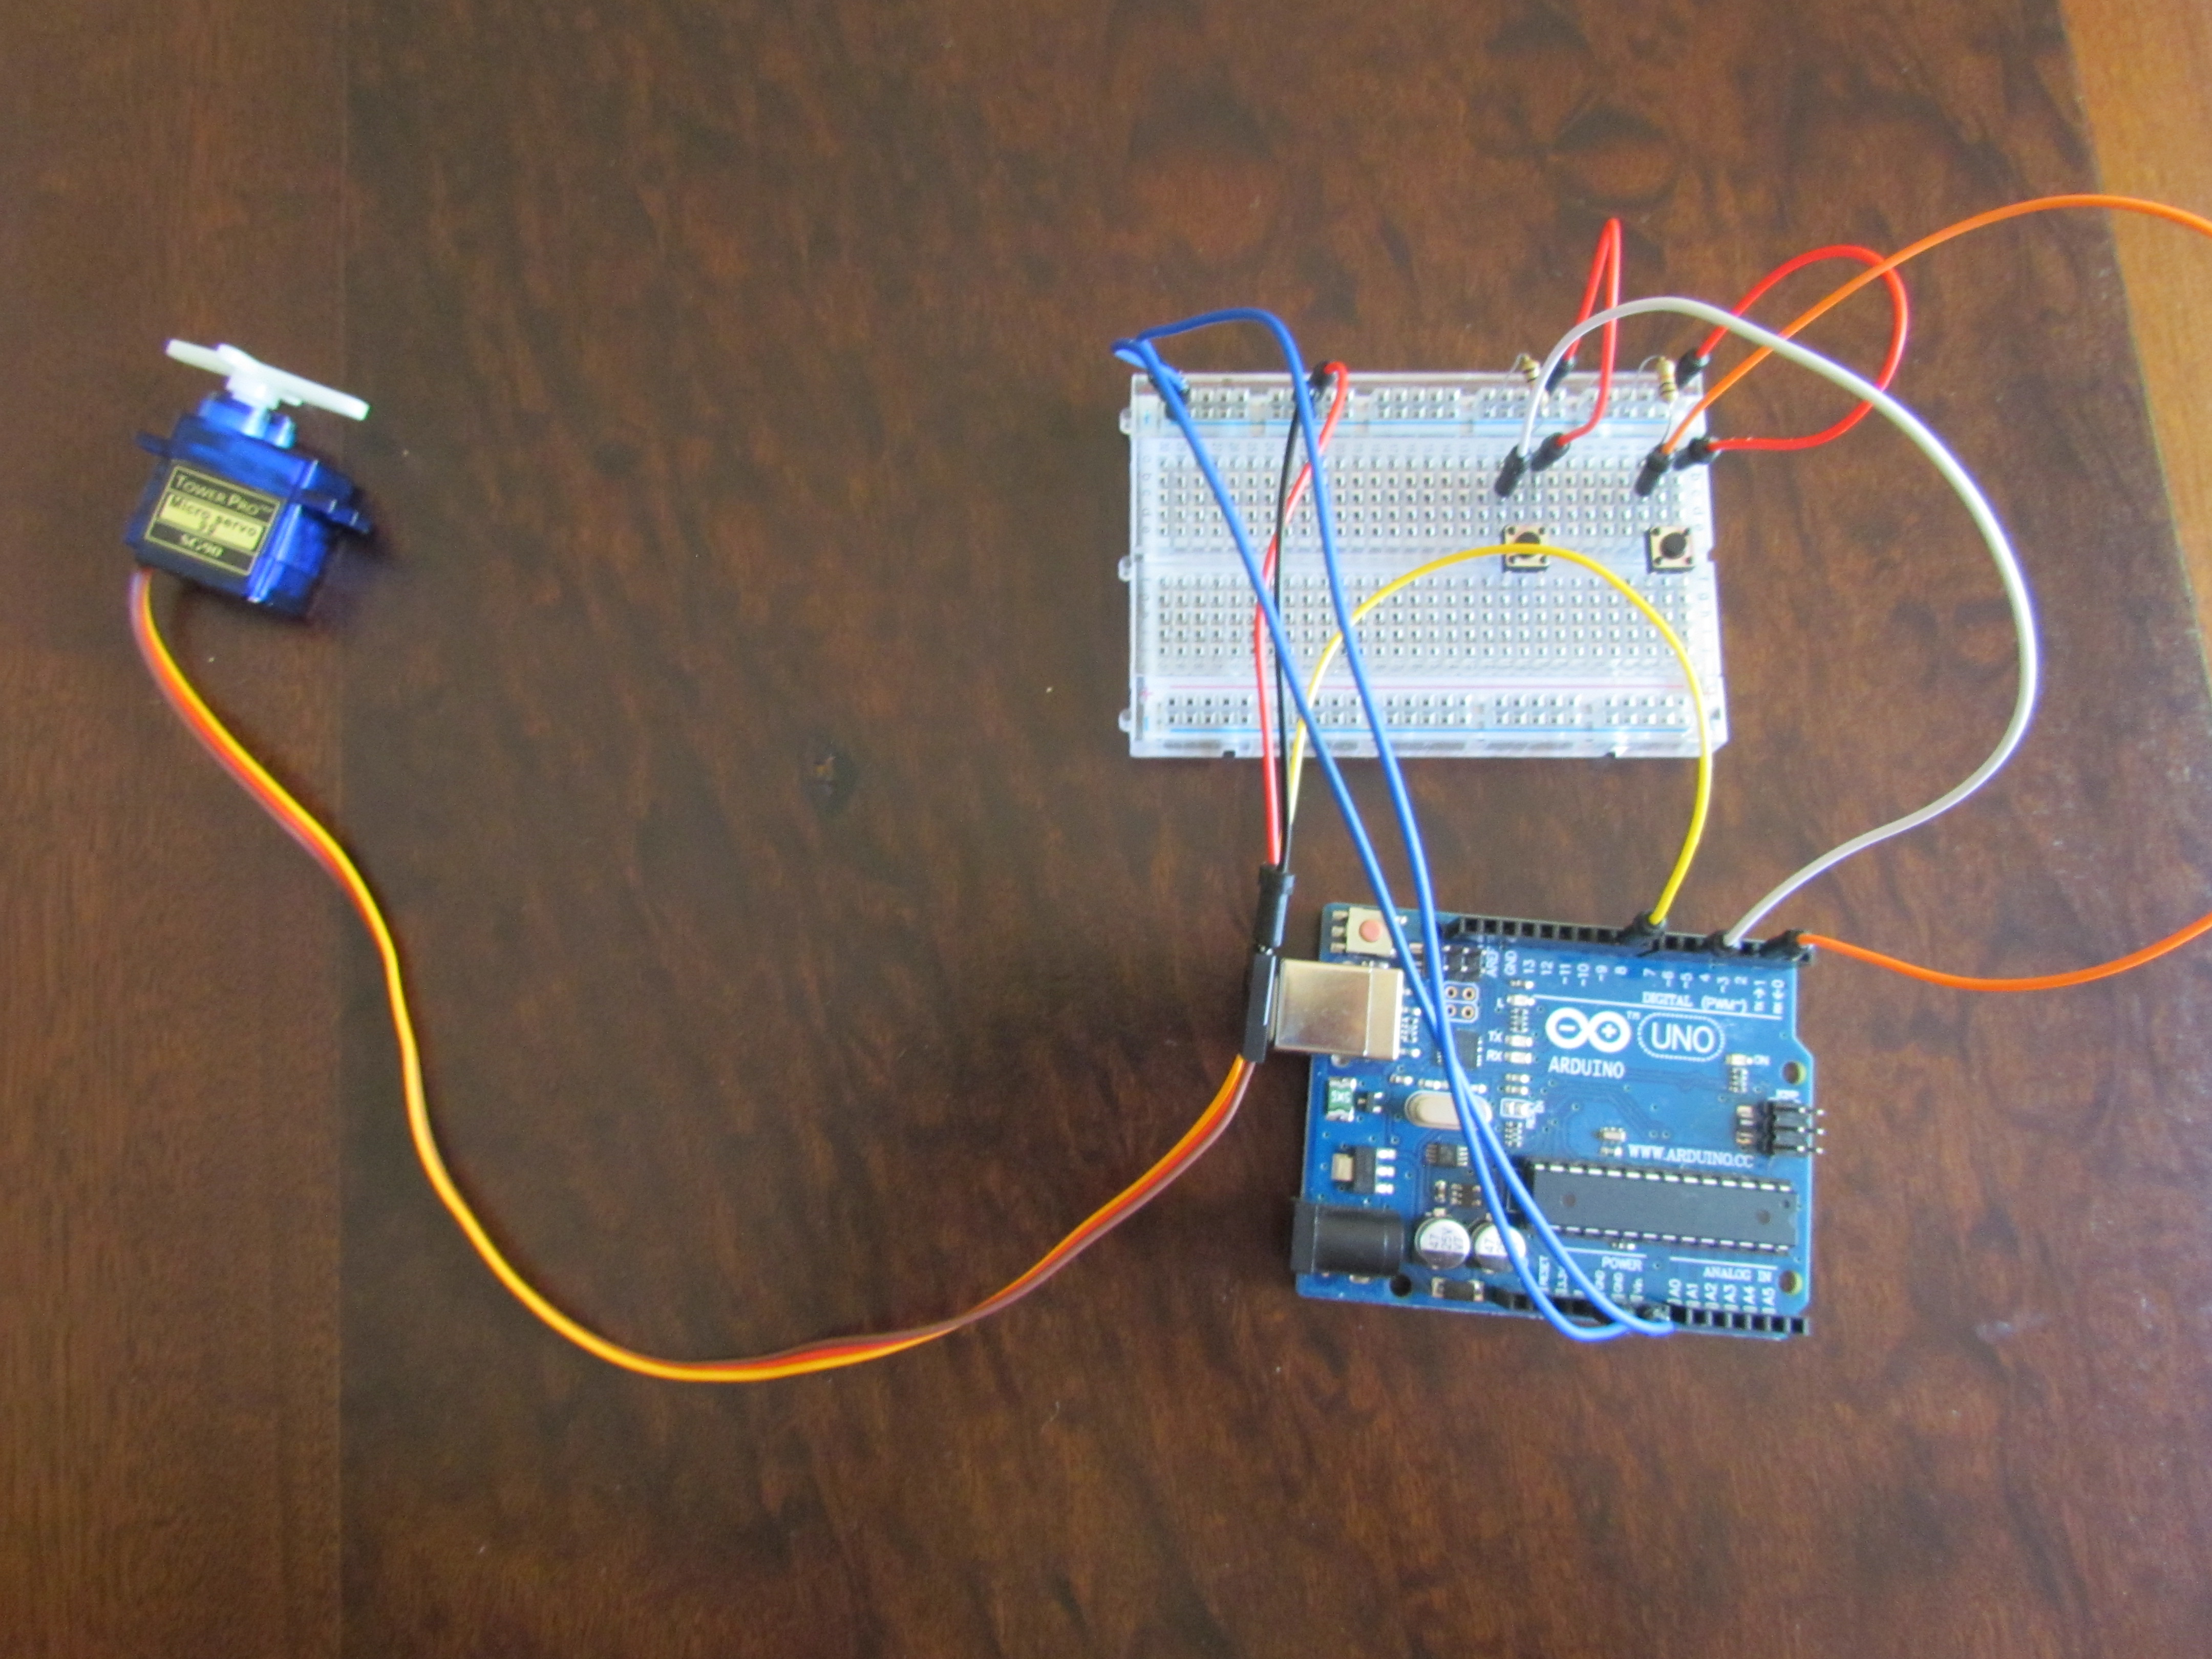
Using an Arduino to control a servo motor with the use of two pushbuttons.
Get the Appropriate Components
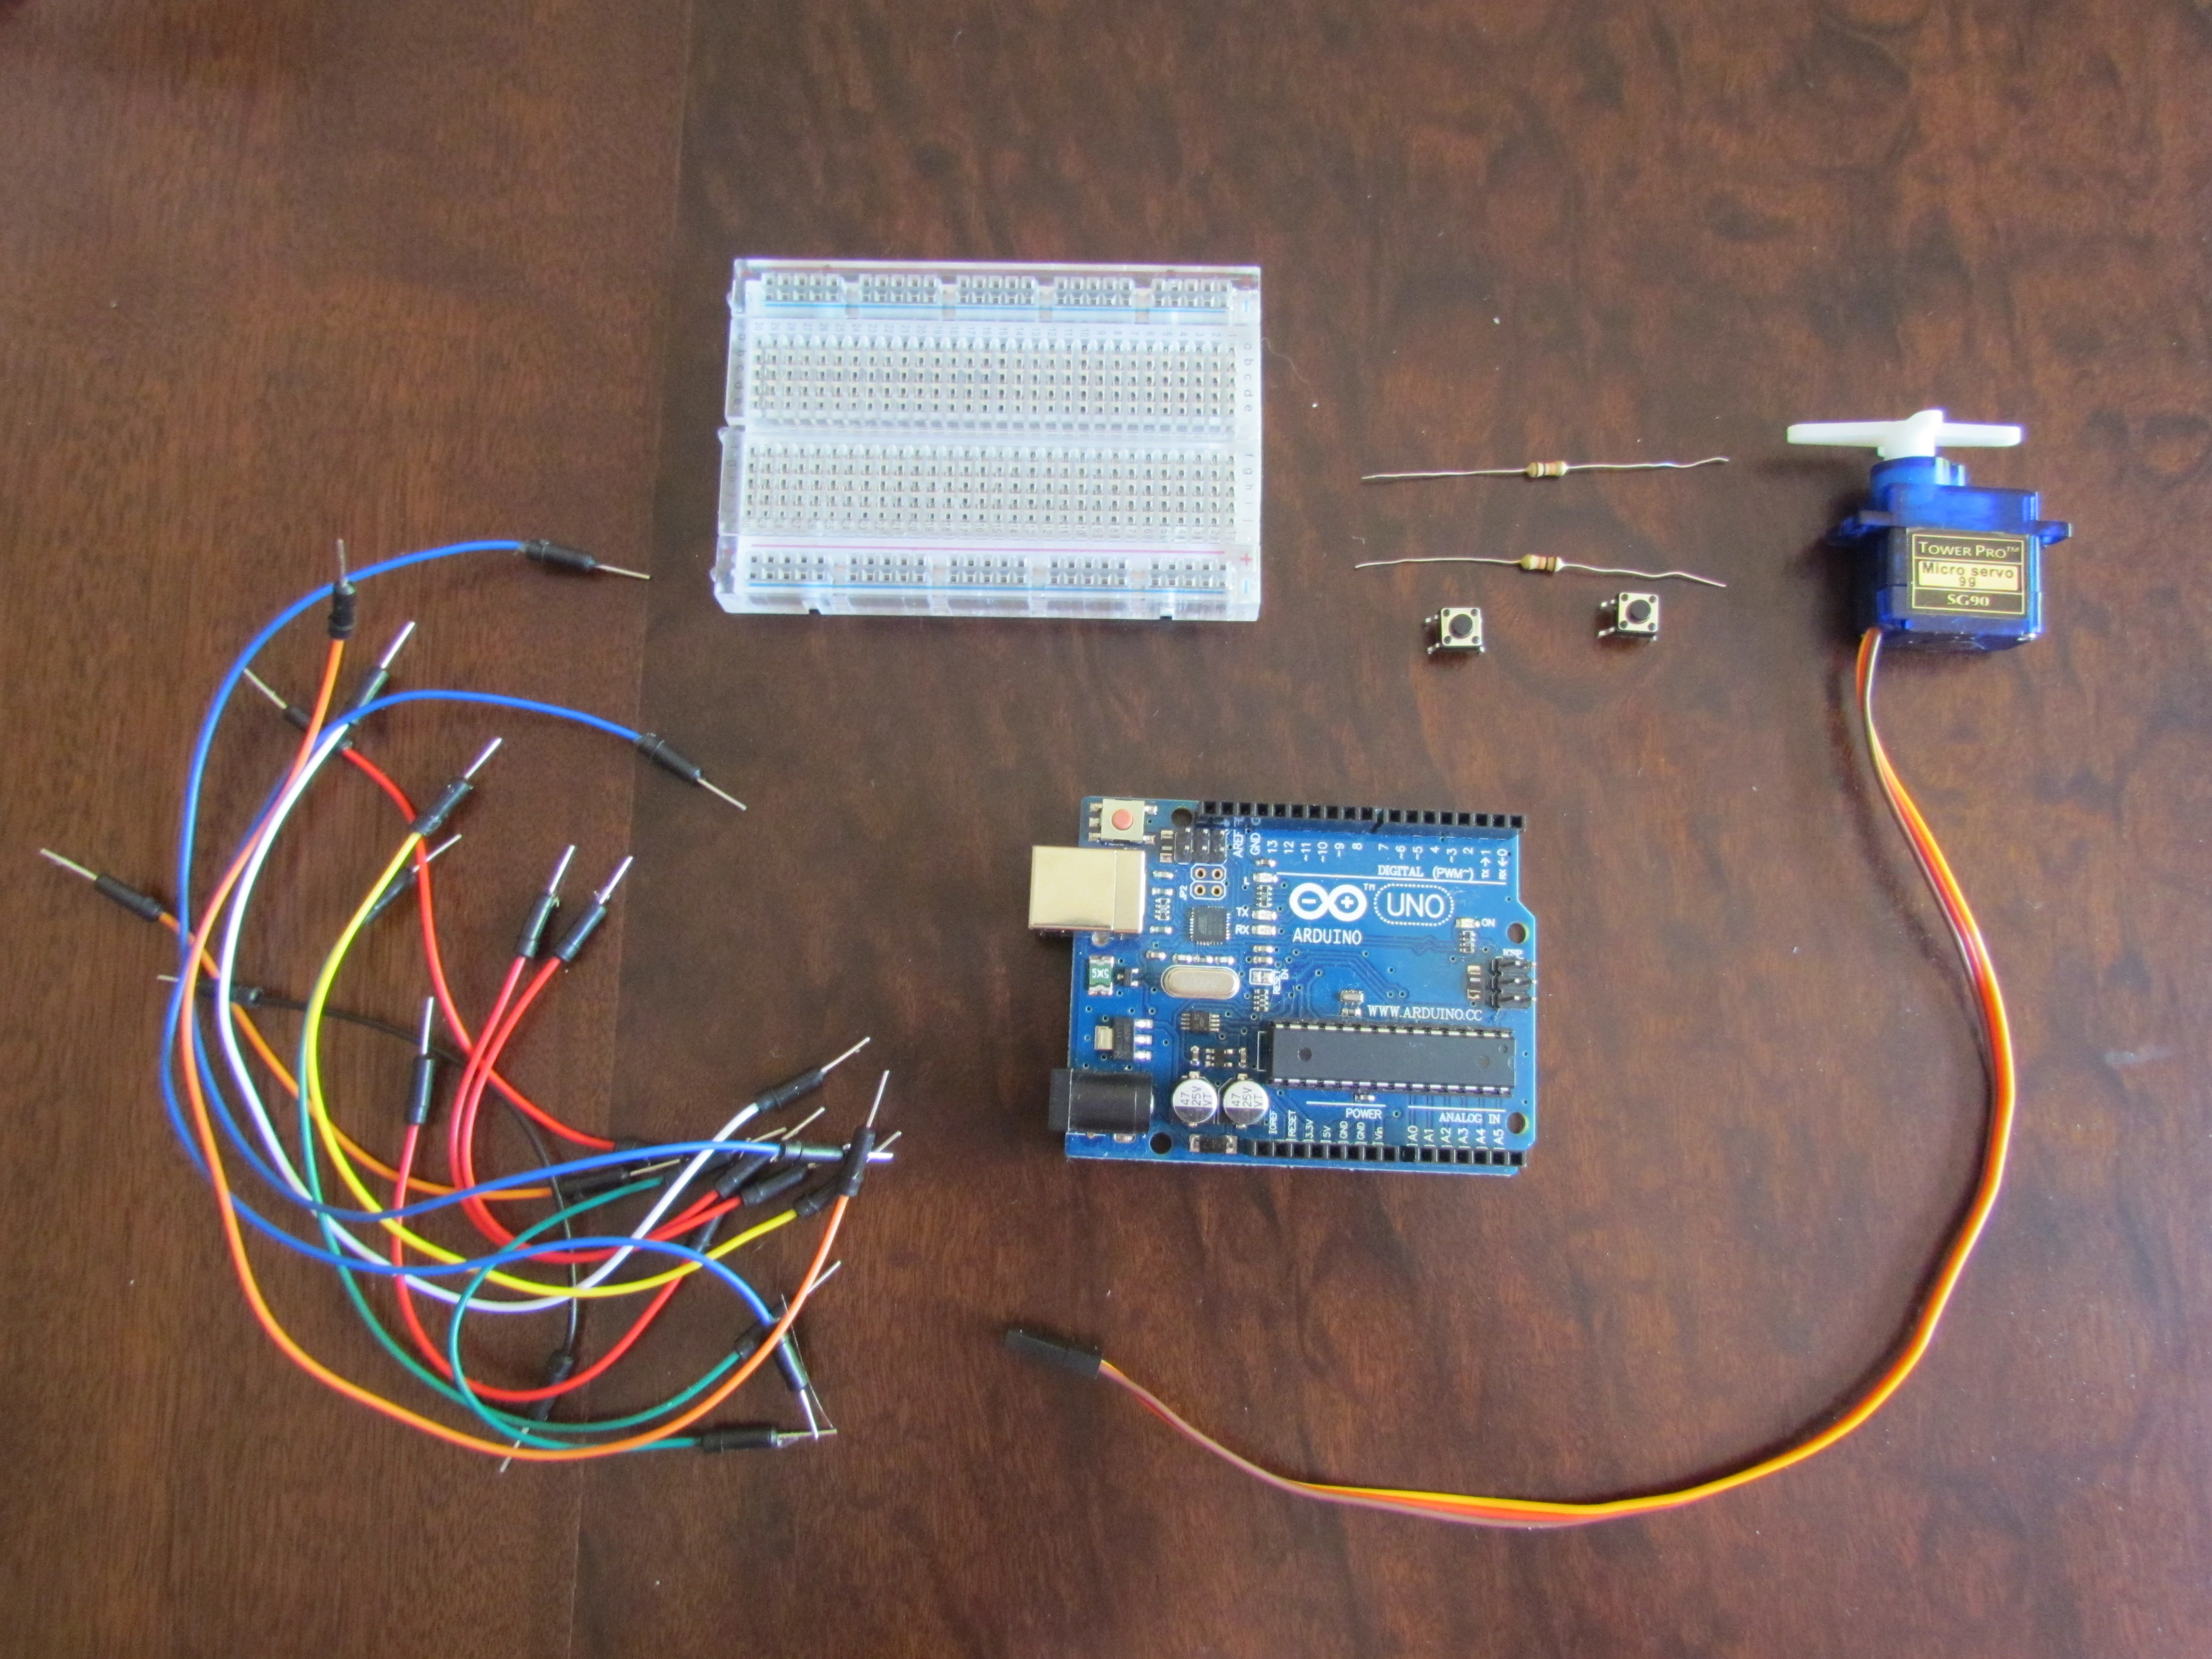
Please use the links provided if you need any of the components also check out the site for other great arduino goodies, they ship worldwide for free and there service is great. Plus you support me :)
Go to the site here.
Thanks for your support.
1) Arduino Link: Arduino Compatible Uno R3 Rev3 Development Board
2) Breadboard Link: Half-size 400-Pin Electronics DIY Breadboard or 830-Point Solderless Electronics DIY Breadboard
3) Push Buttons Link: DIP P4 Sqaure Switch Push Buttons (100-Pack)
4) Jumper Cables Link: Multicolored 40-Pin DuPont Breadboard Jumper Wires (20cm)
5) Two 10k Ohm Resistors Link: DIY Universal 1/4W 1% Metal Film Resistor (600PCS)
6) Servo Motor Link: Tower Pro SG90 9g Gear Steering Servo
Connect the Power
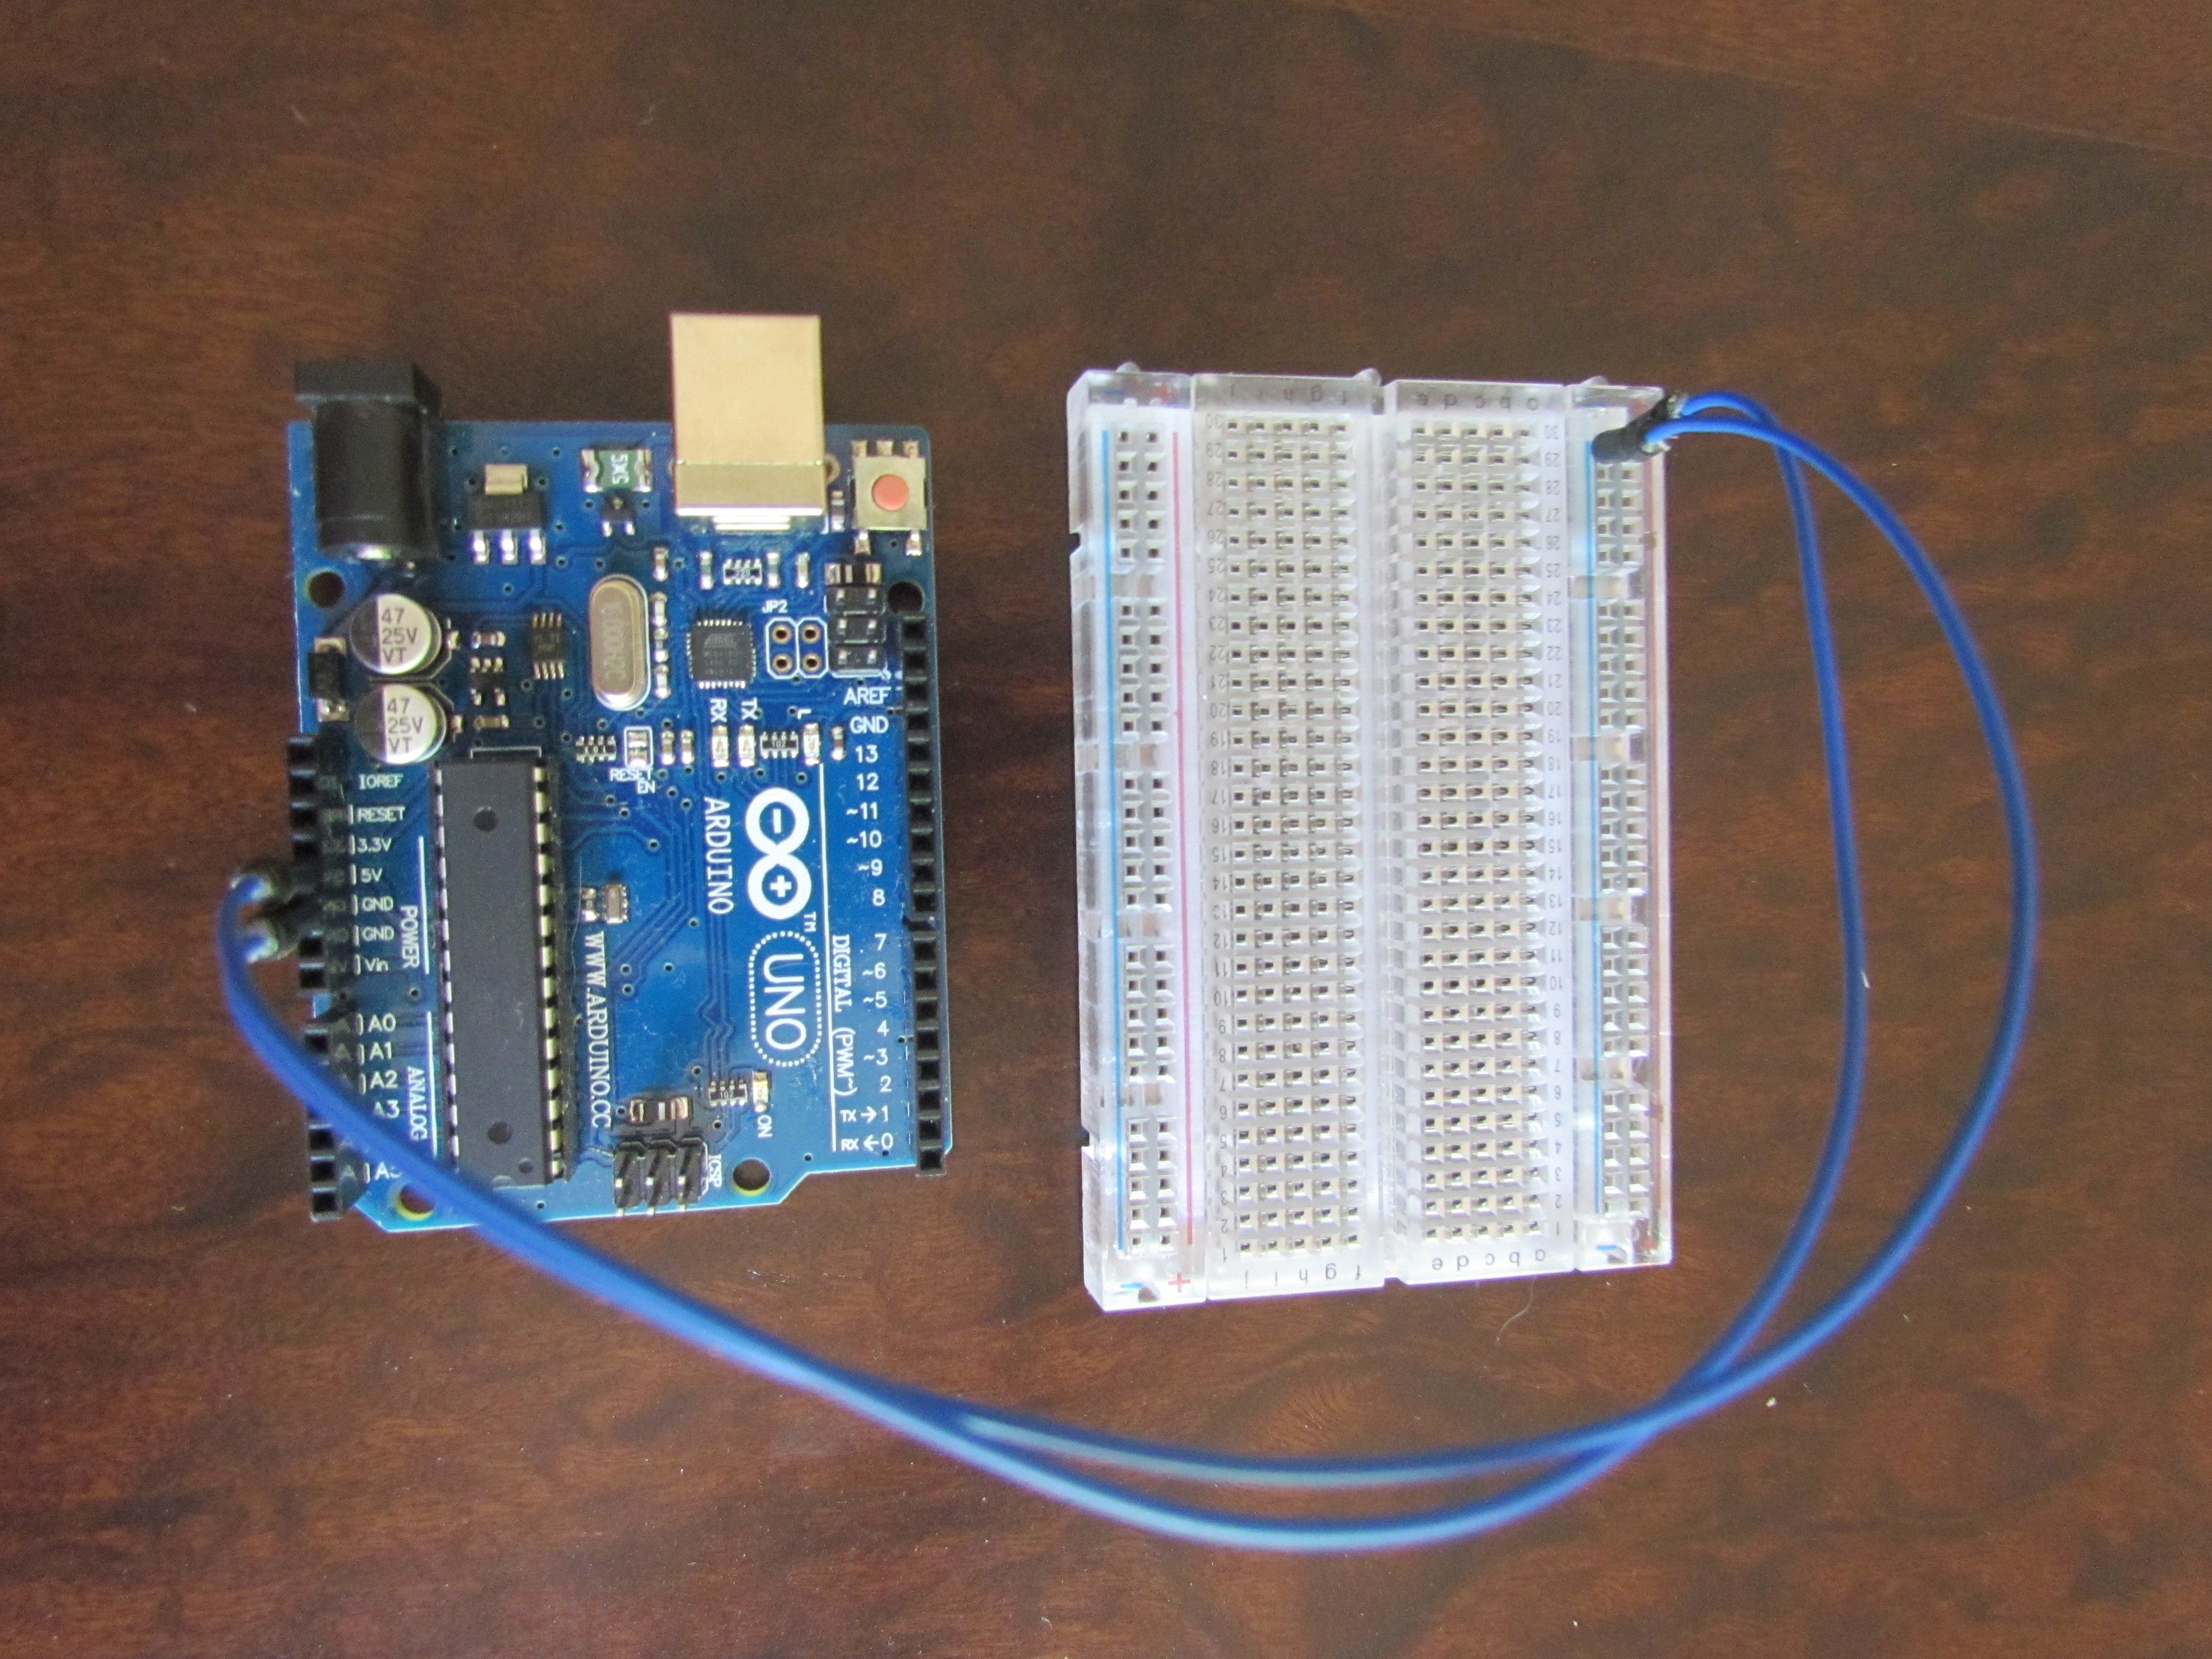
Connect the GND and 5V
Connect the Servo
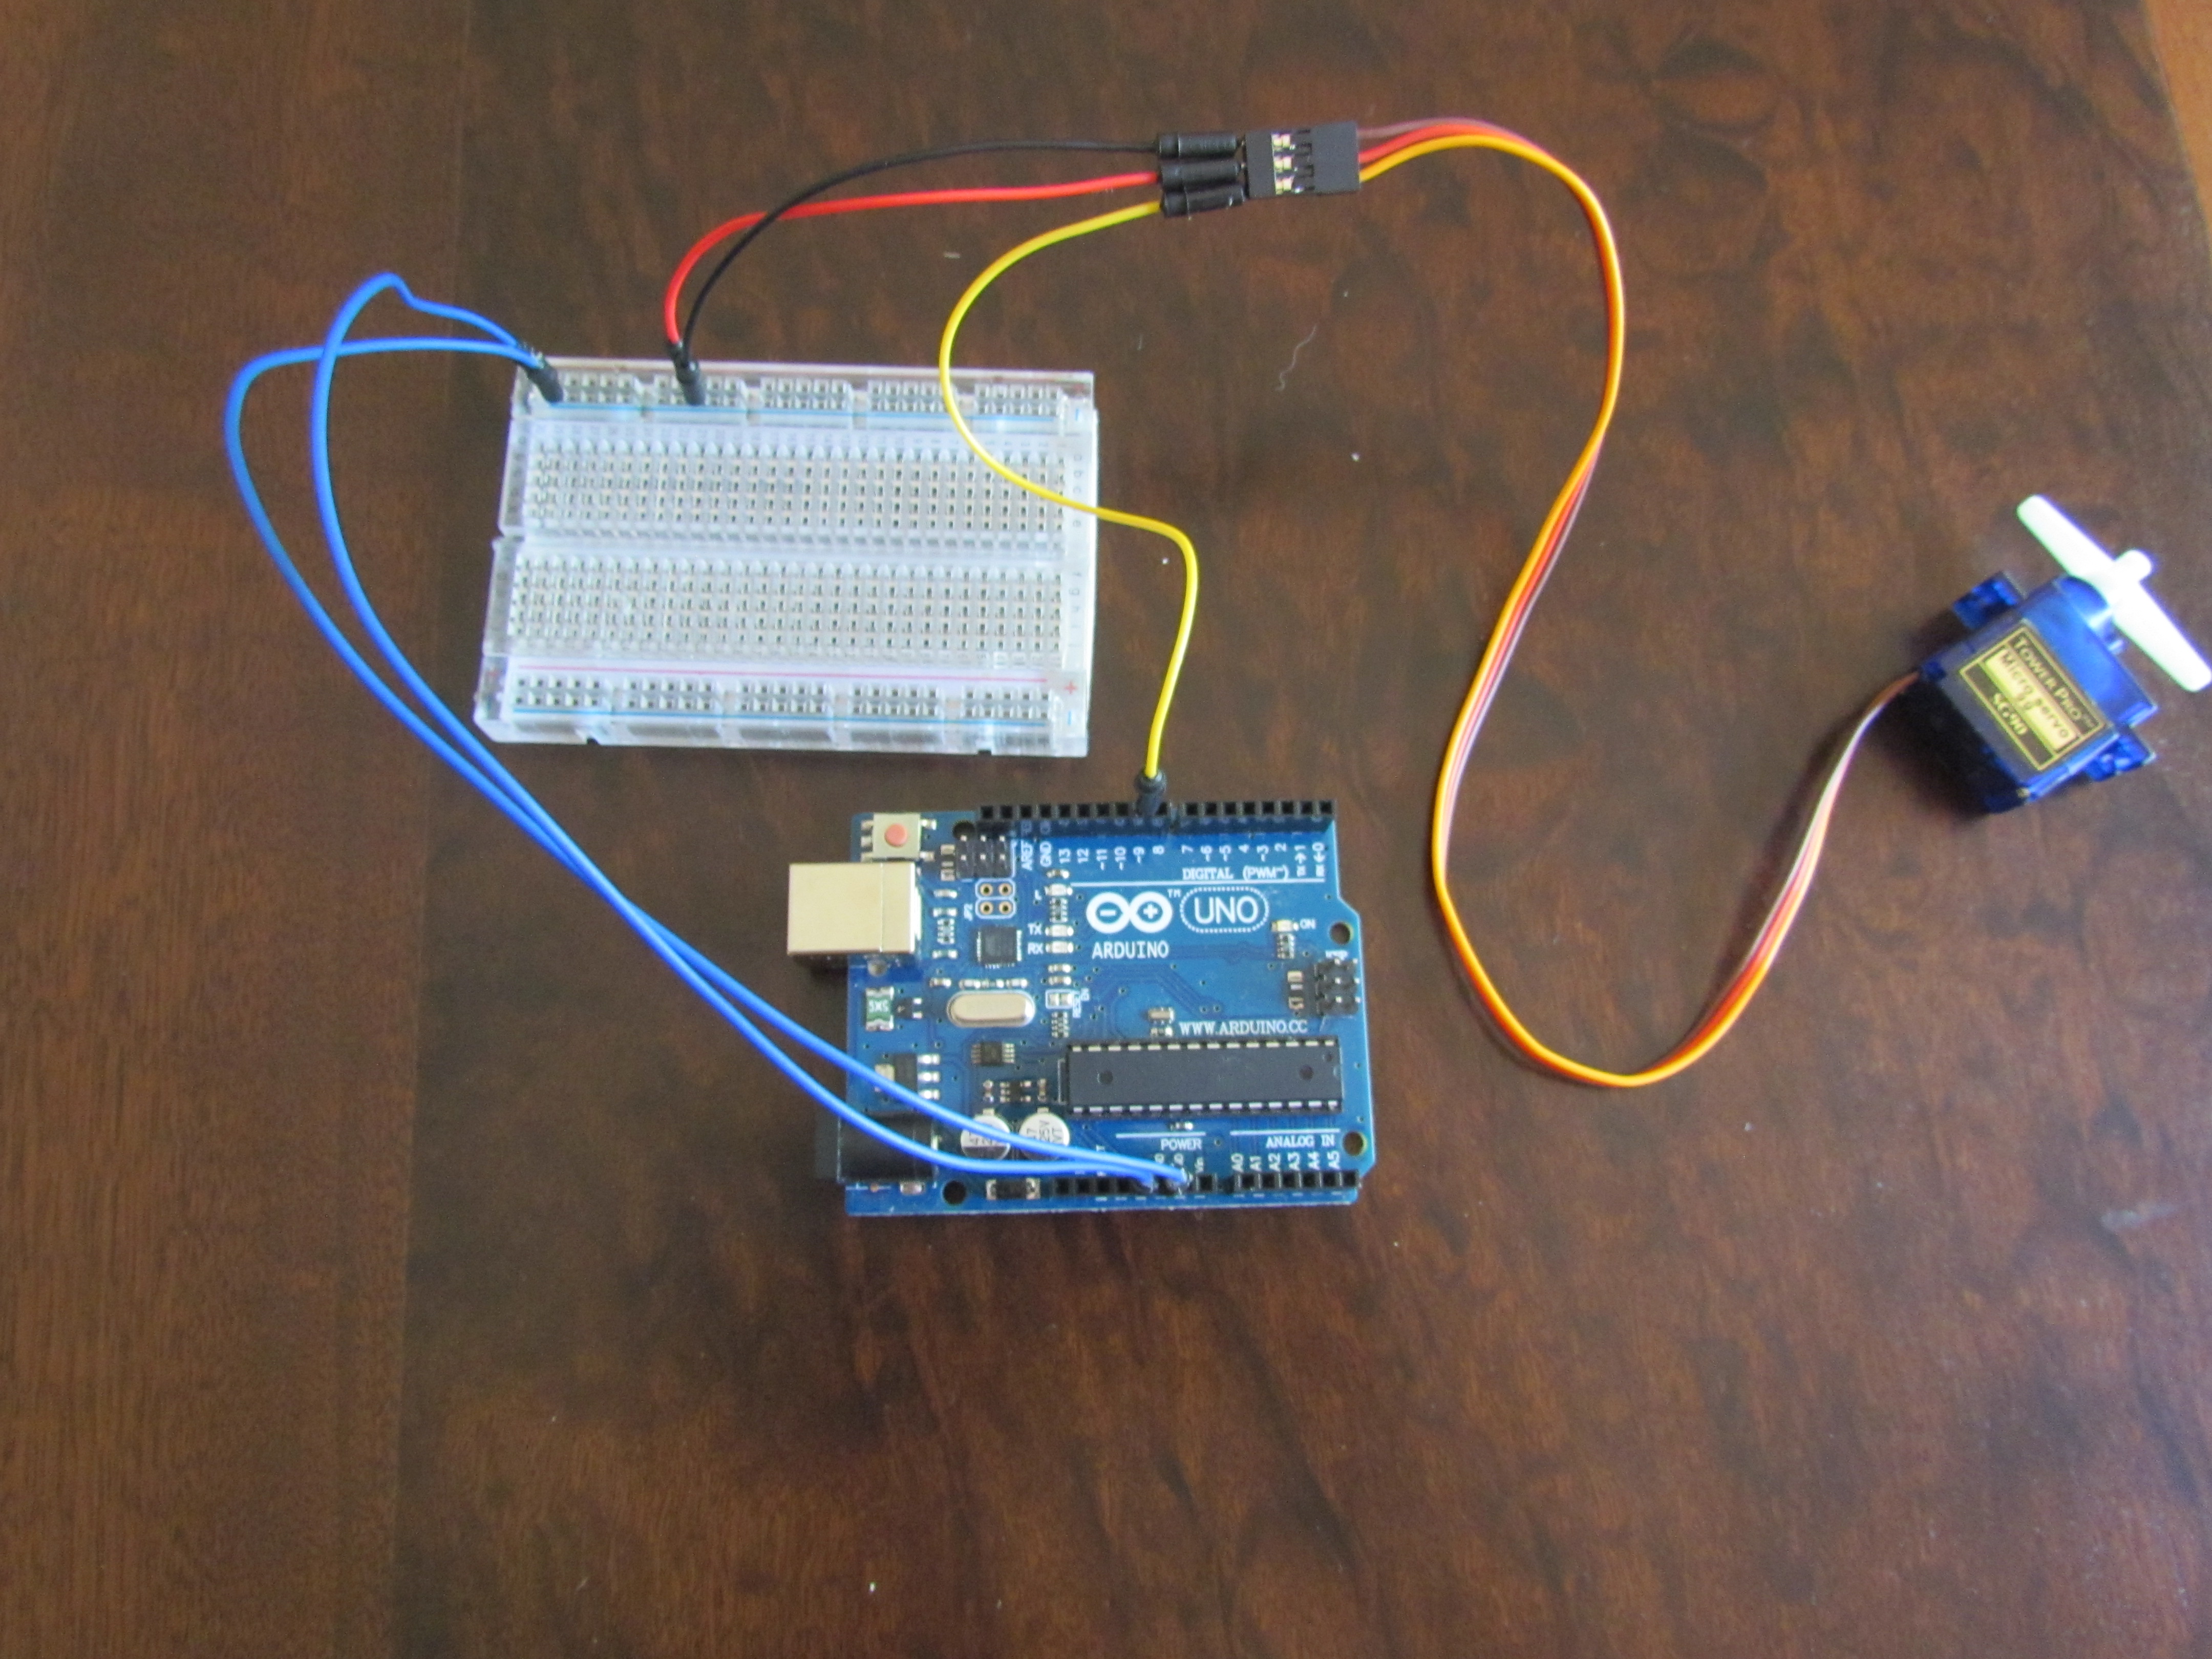
Red to 5V
Brown/Black to GND
Orange to pin 9
Connect the Buttons
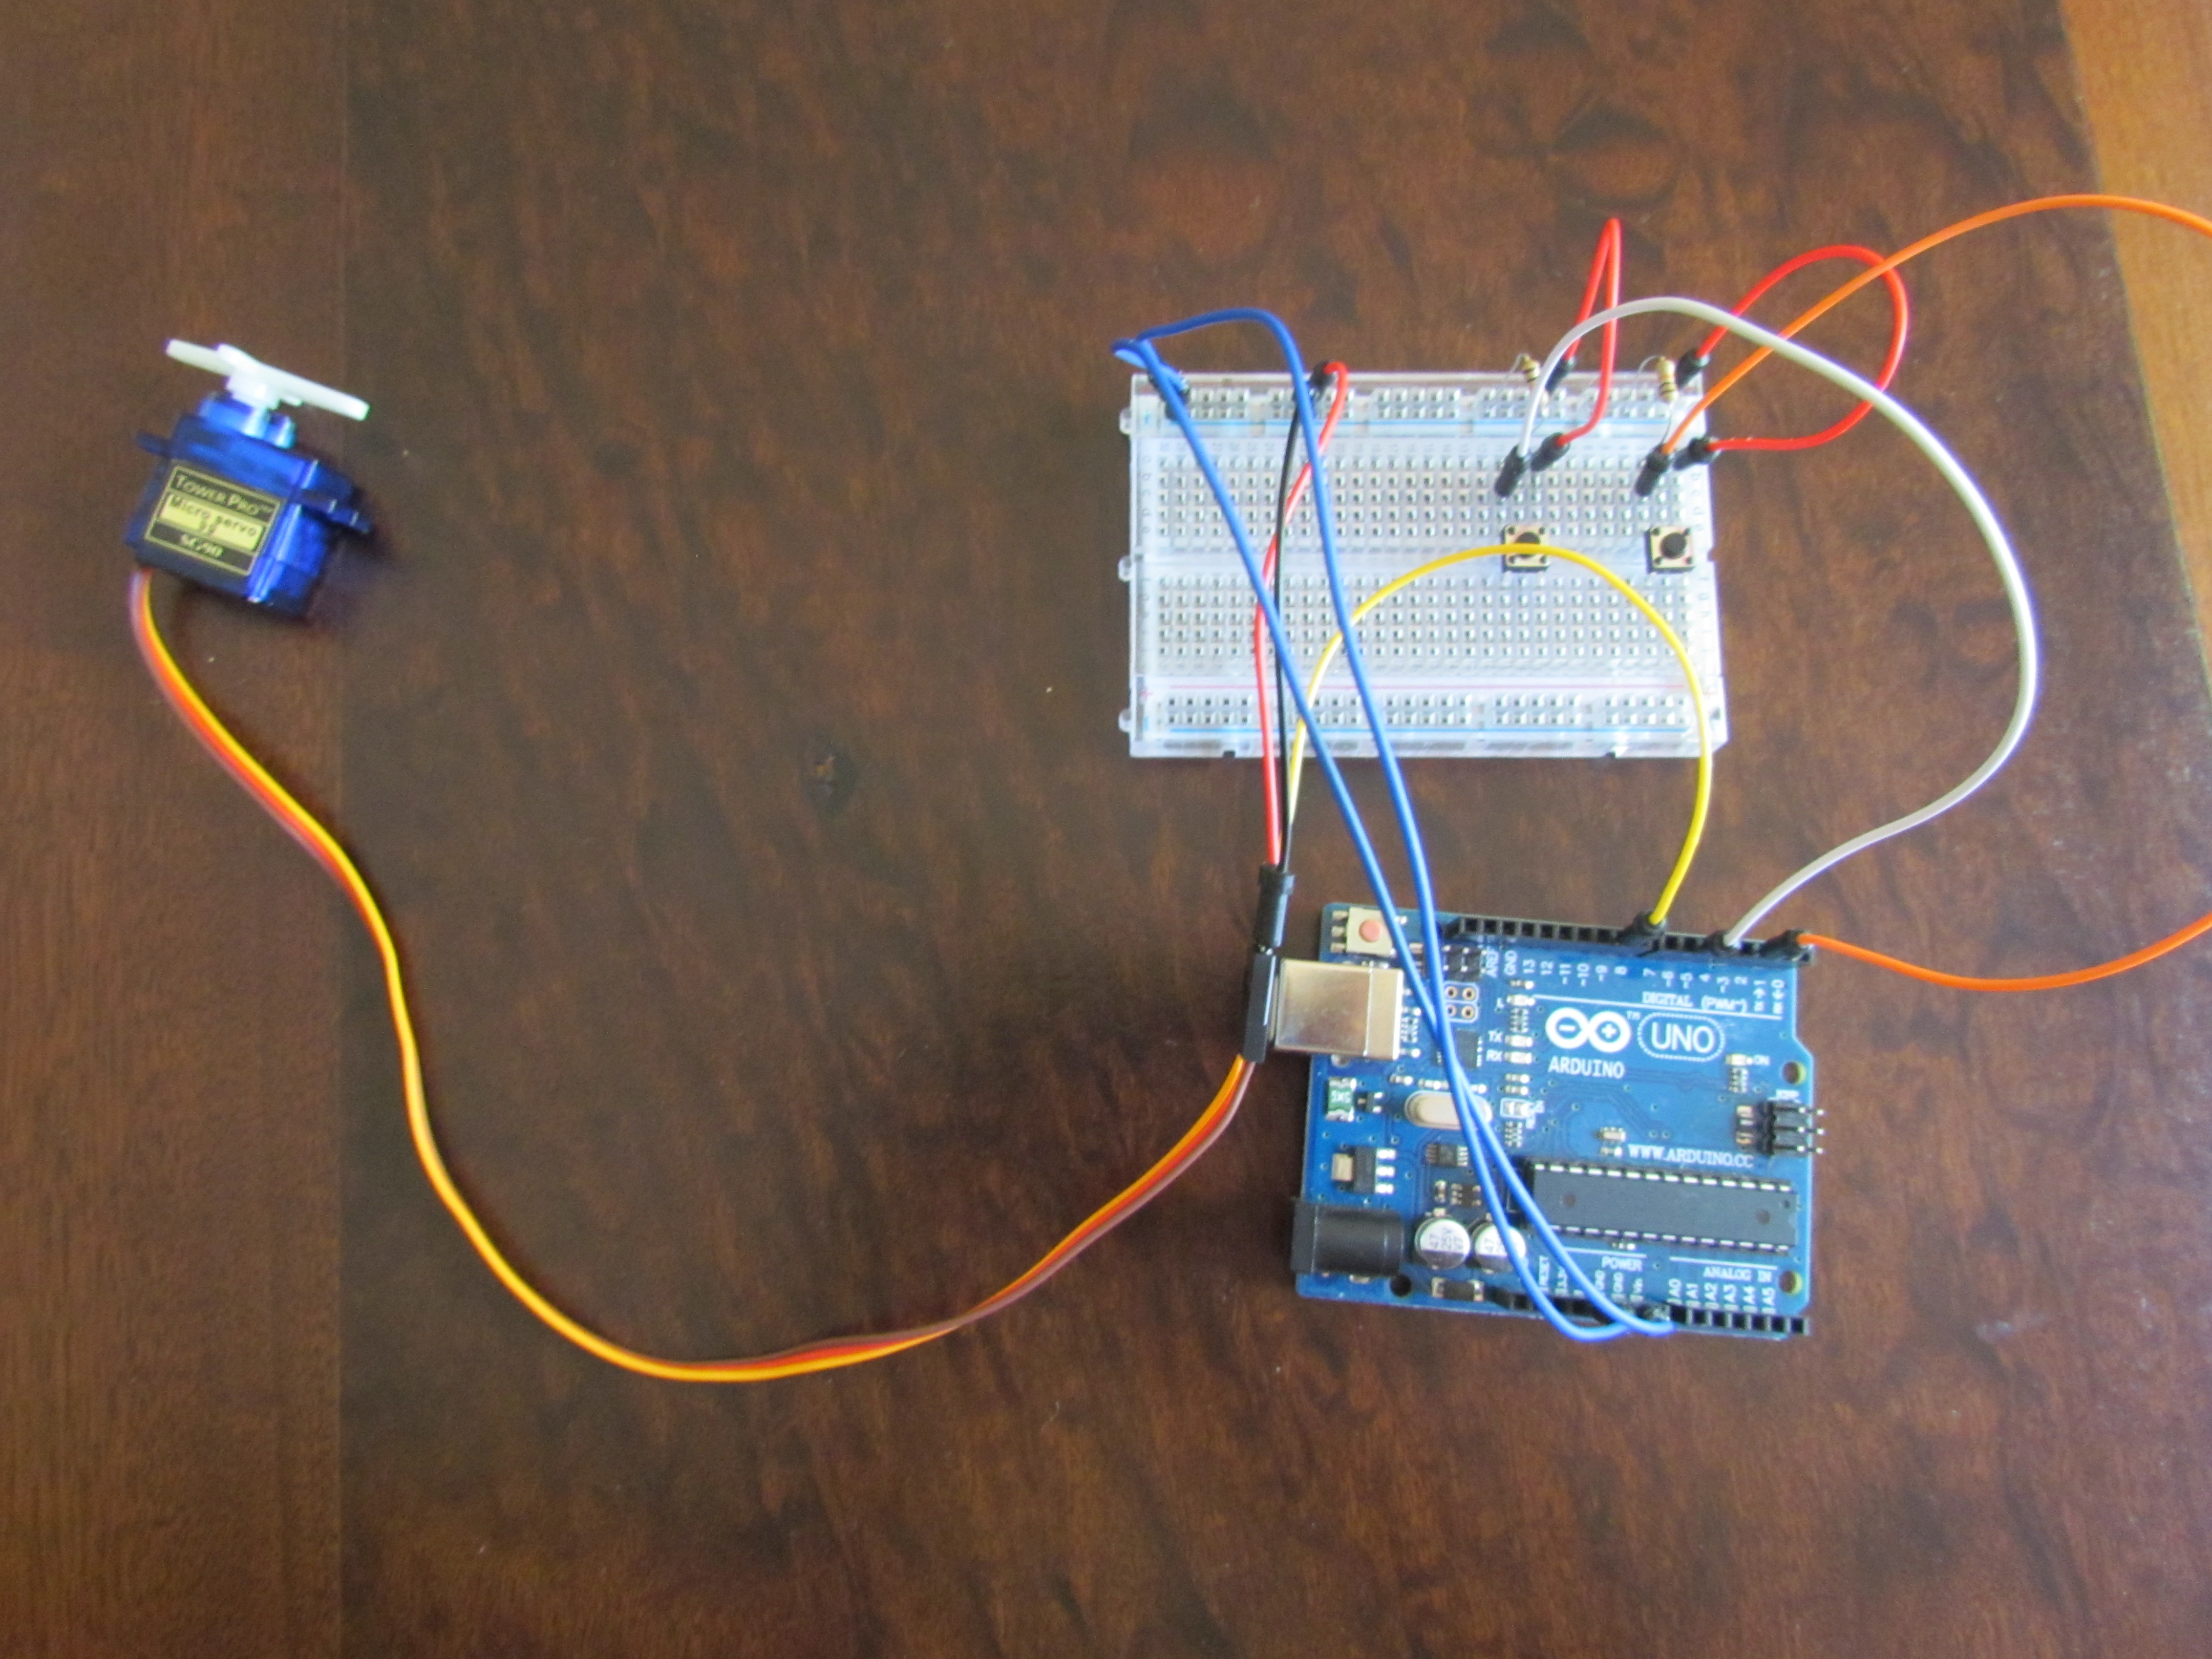
One of the buttons to DIGITAL 2
The other to DIGITAL 4
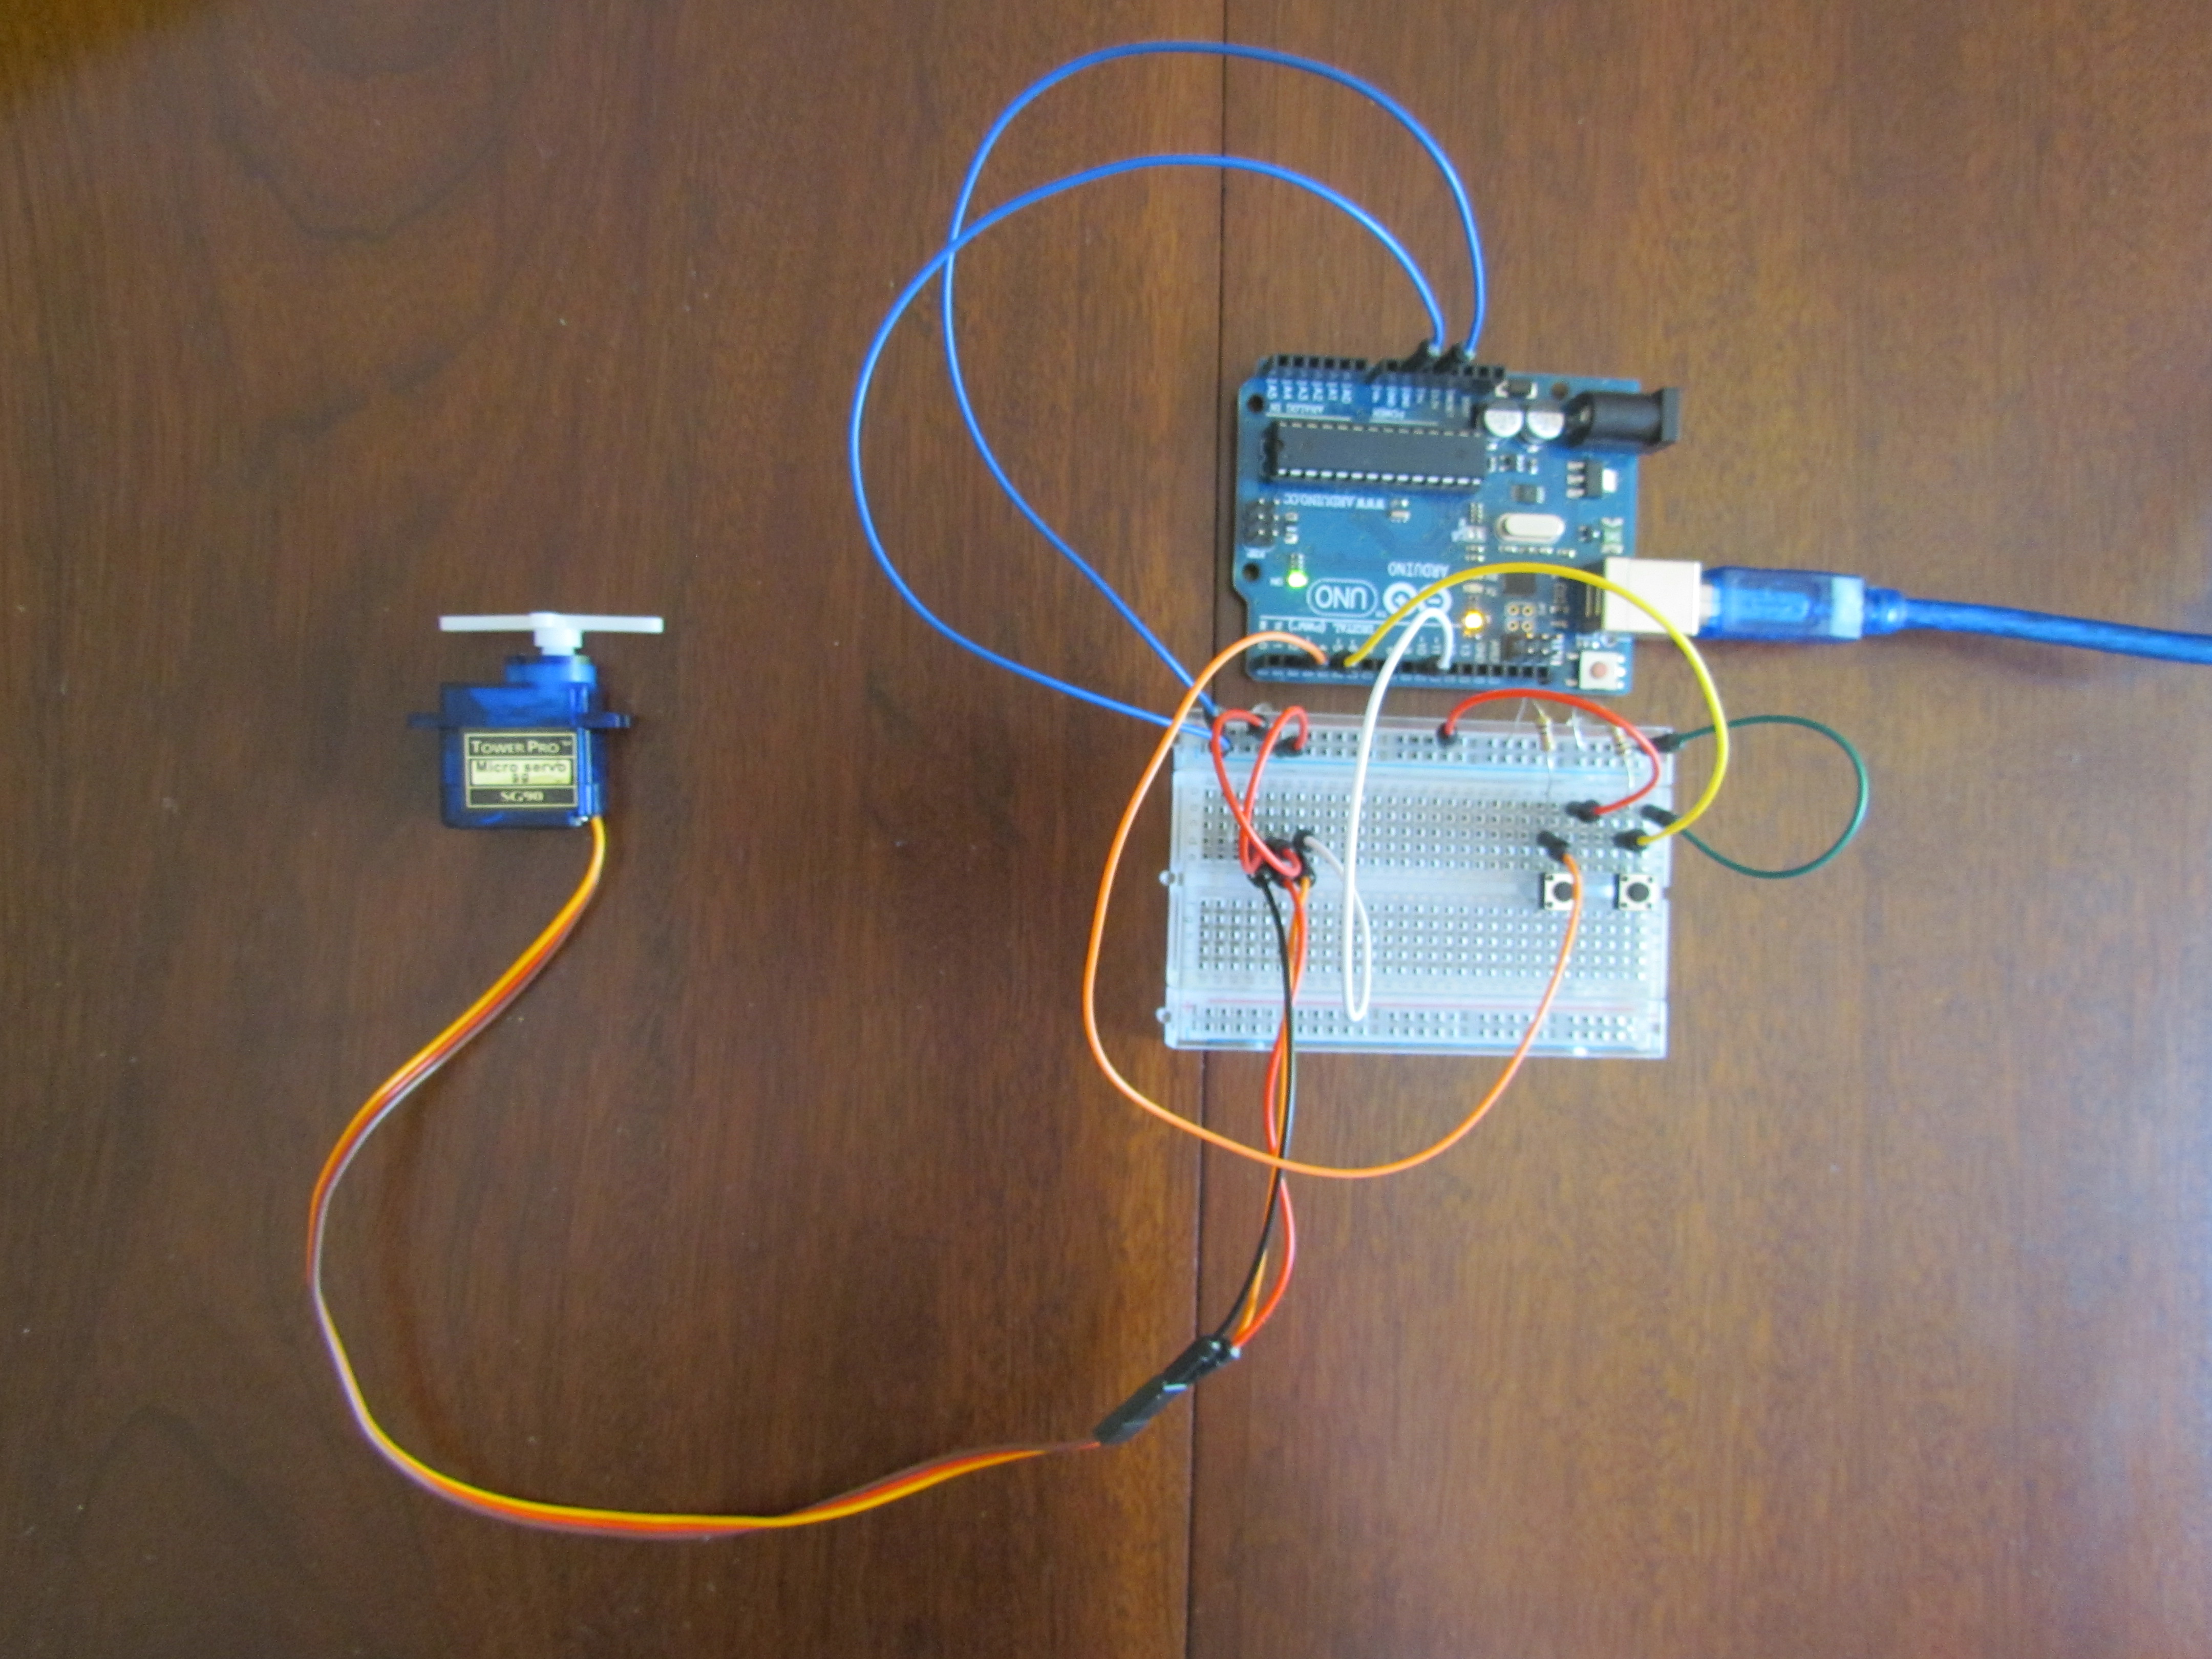
Check the Circuit
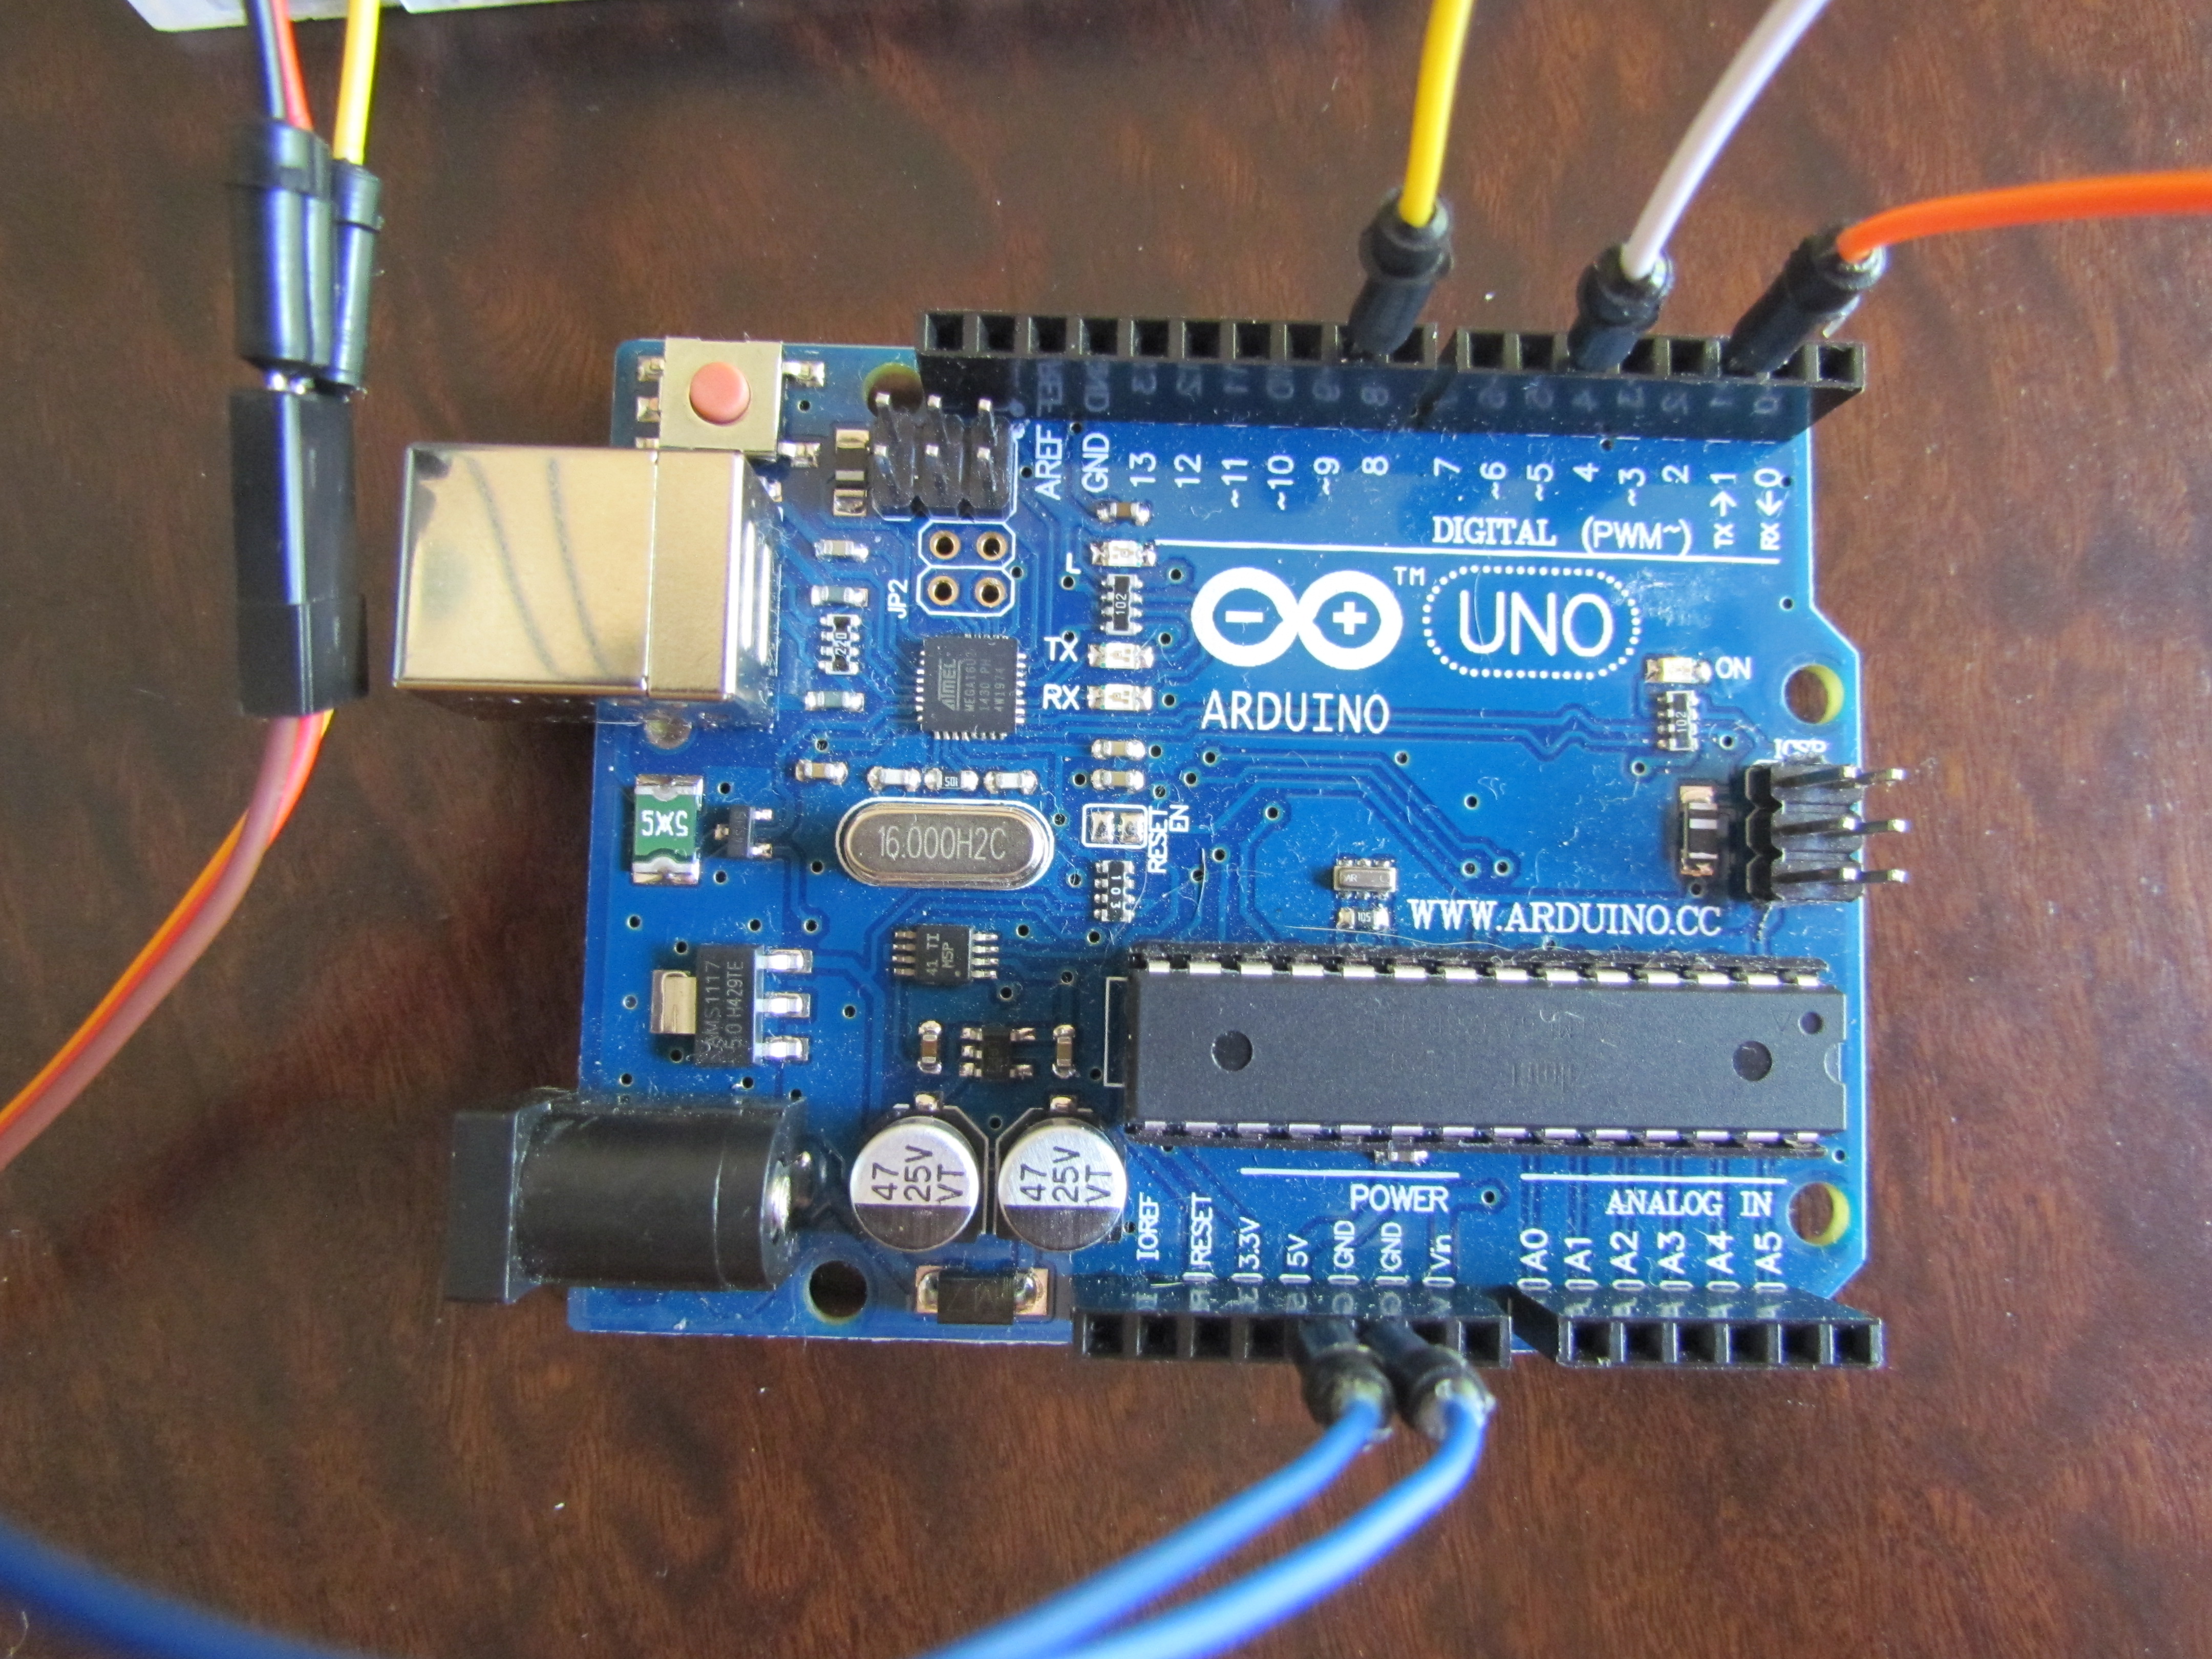
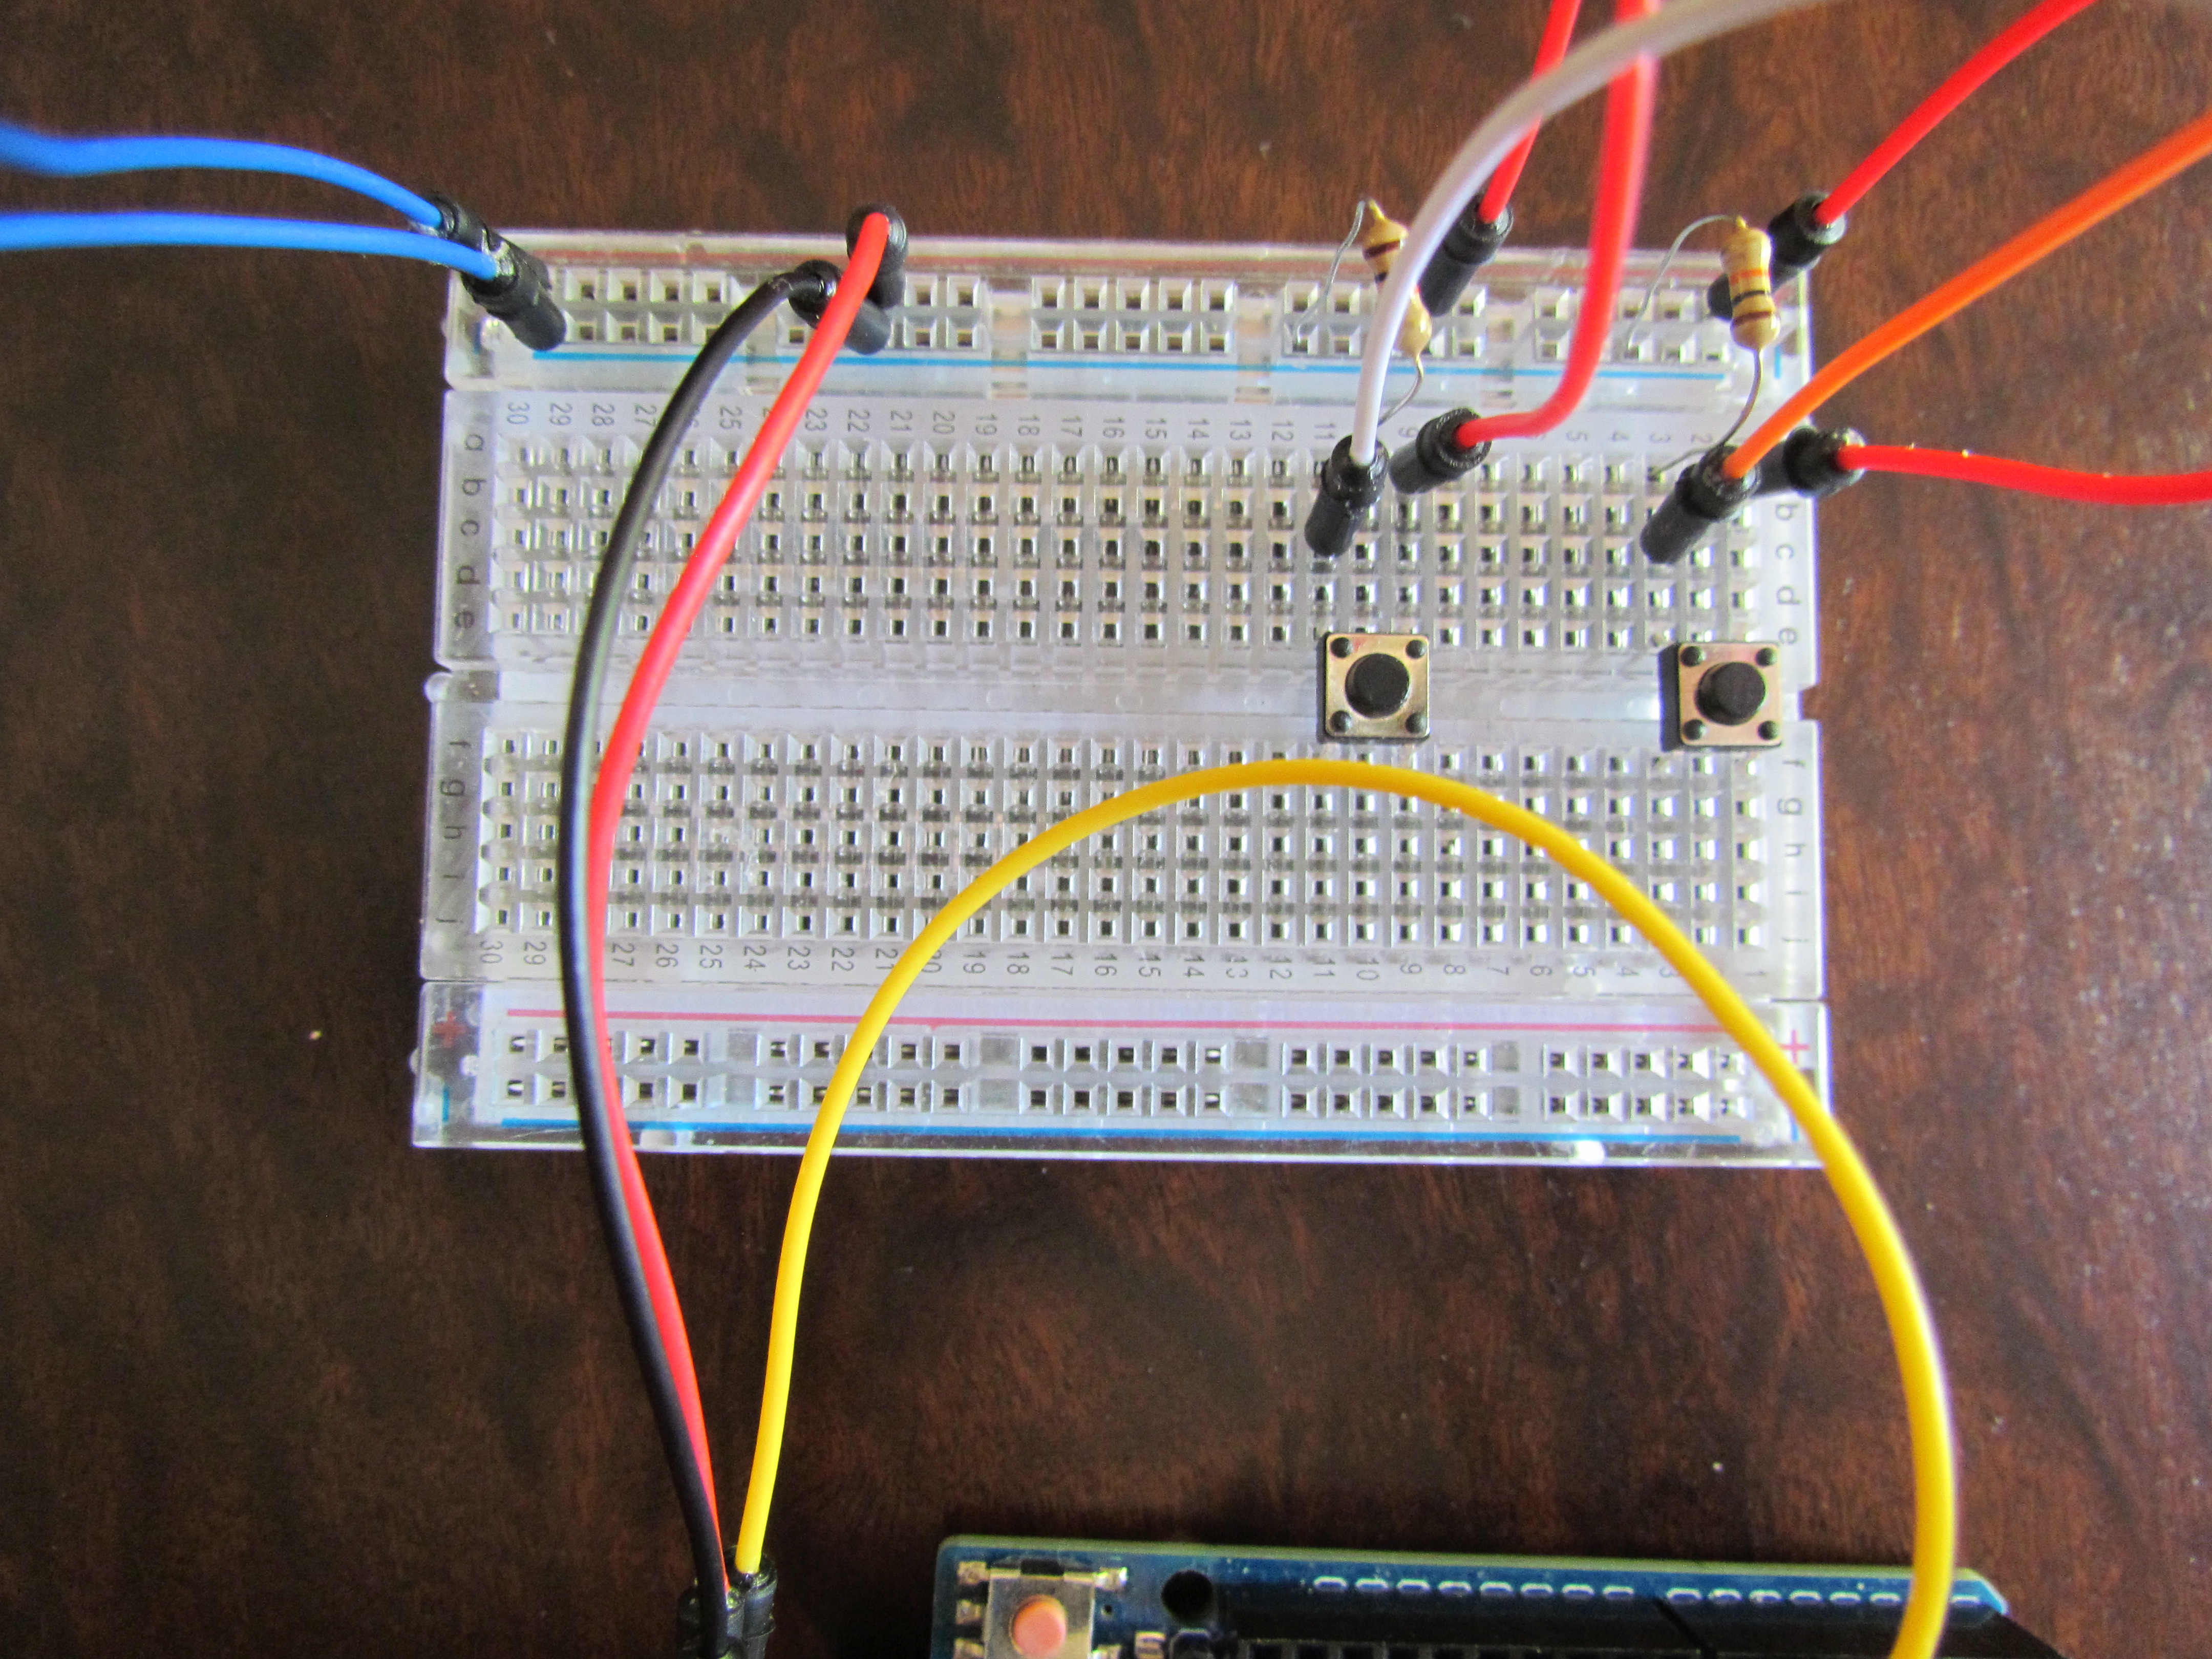
Make sure the circuit is correct
The Code
I used the Sweep example from Arduino and altered it to work.
#include <Servo.h>
const int buttonPin = 2;
const int buttonPin2 = 5;
int buttonState = 0;
int buttonState2 = 0;
Servo servoA;
int position = 0;
void setup() {
servoA.attach(9);
pinMode(buttonPin, INPUT);
pinMode(buttonPin2,INPUT);
}
void loop() {
buttonState = digitalRead(buttonPin);
buttonState2 = digitalRead(buttonPin2);
if(buttonState ==HIGH && position < 180){
servoA.write(position++);
delay(5);
}
if(buttonState2 == HIGH && position > 3){
servoA.write(position--);
delay(5);
}
}
Complete
