Service Razer Black Widow Ultimate Keyboard
by izzyspeaks123 in Circuits > Computers
5053 Views, 39 Favorites, 0 Comments
Service Razer Black Widow Ultimate Keyboard
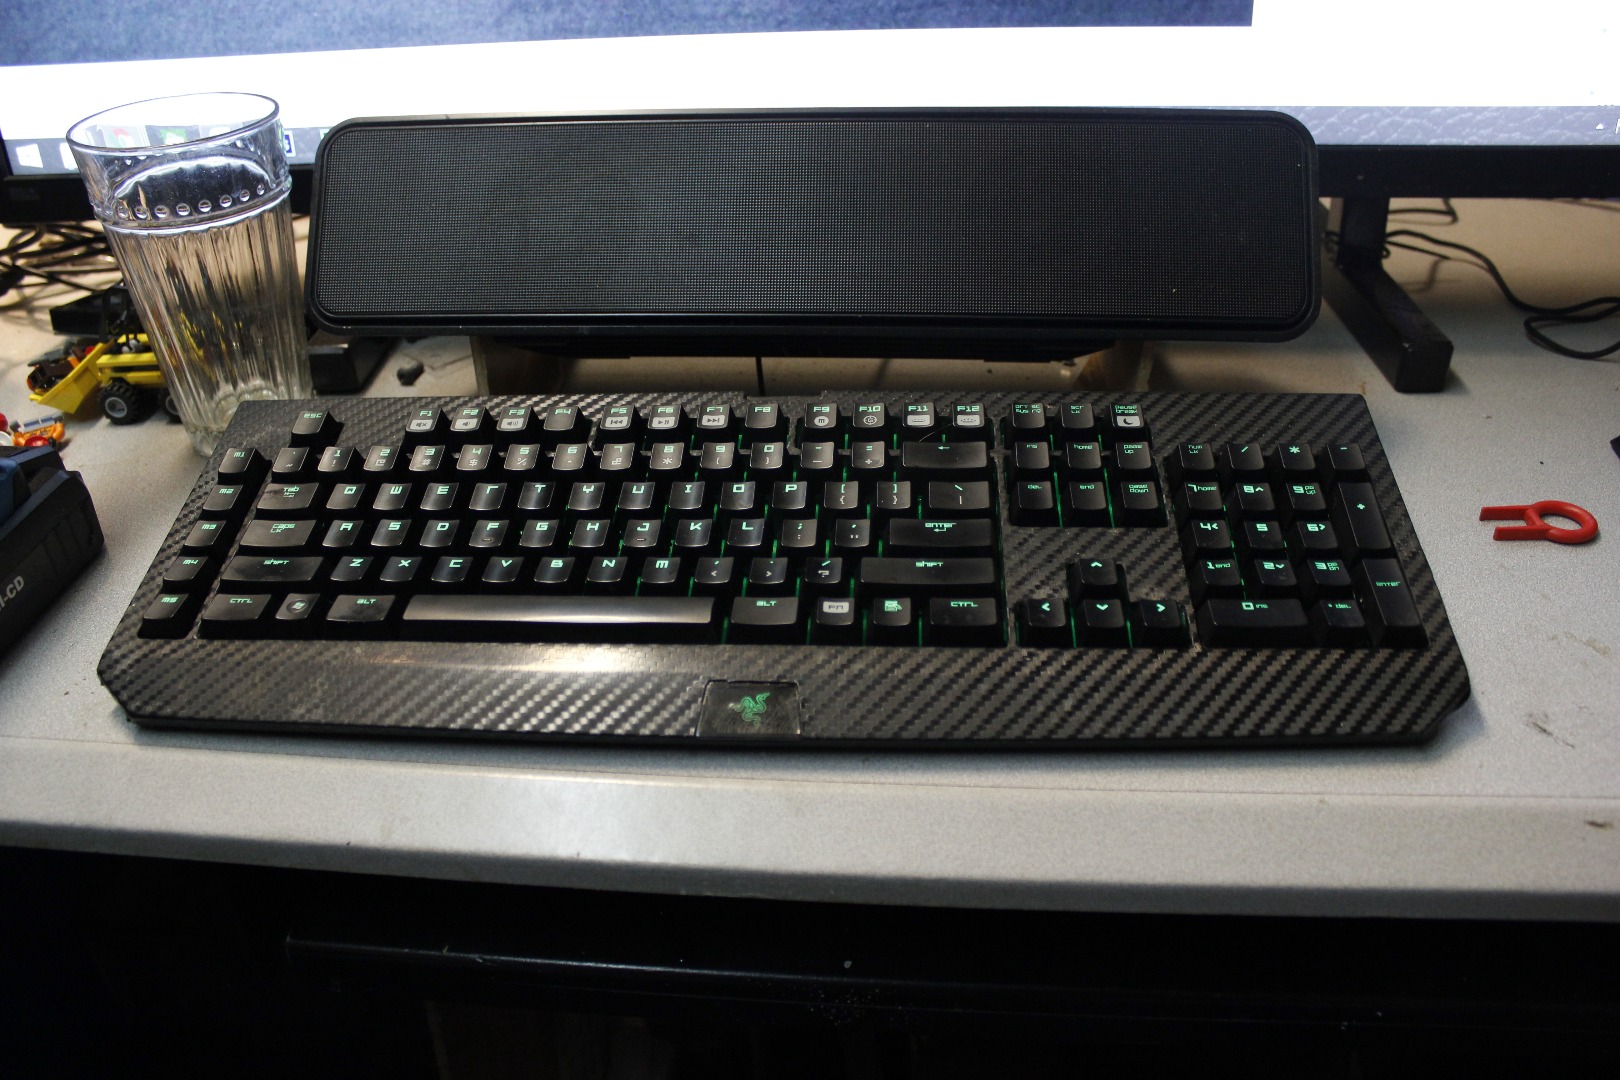
I absolutely love these keyboards. Like any other piece of high performance anything it must be maintained. I do this yearly to make sure that my keyboard stays at the top of its game. If I have missed a step or was unclear please let me know so that I can correct it.
For this bit of housekeeping you will need:
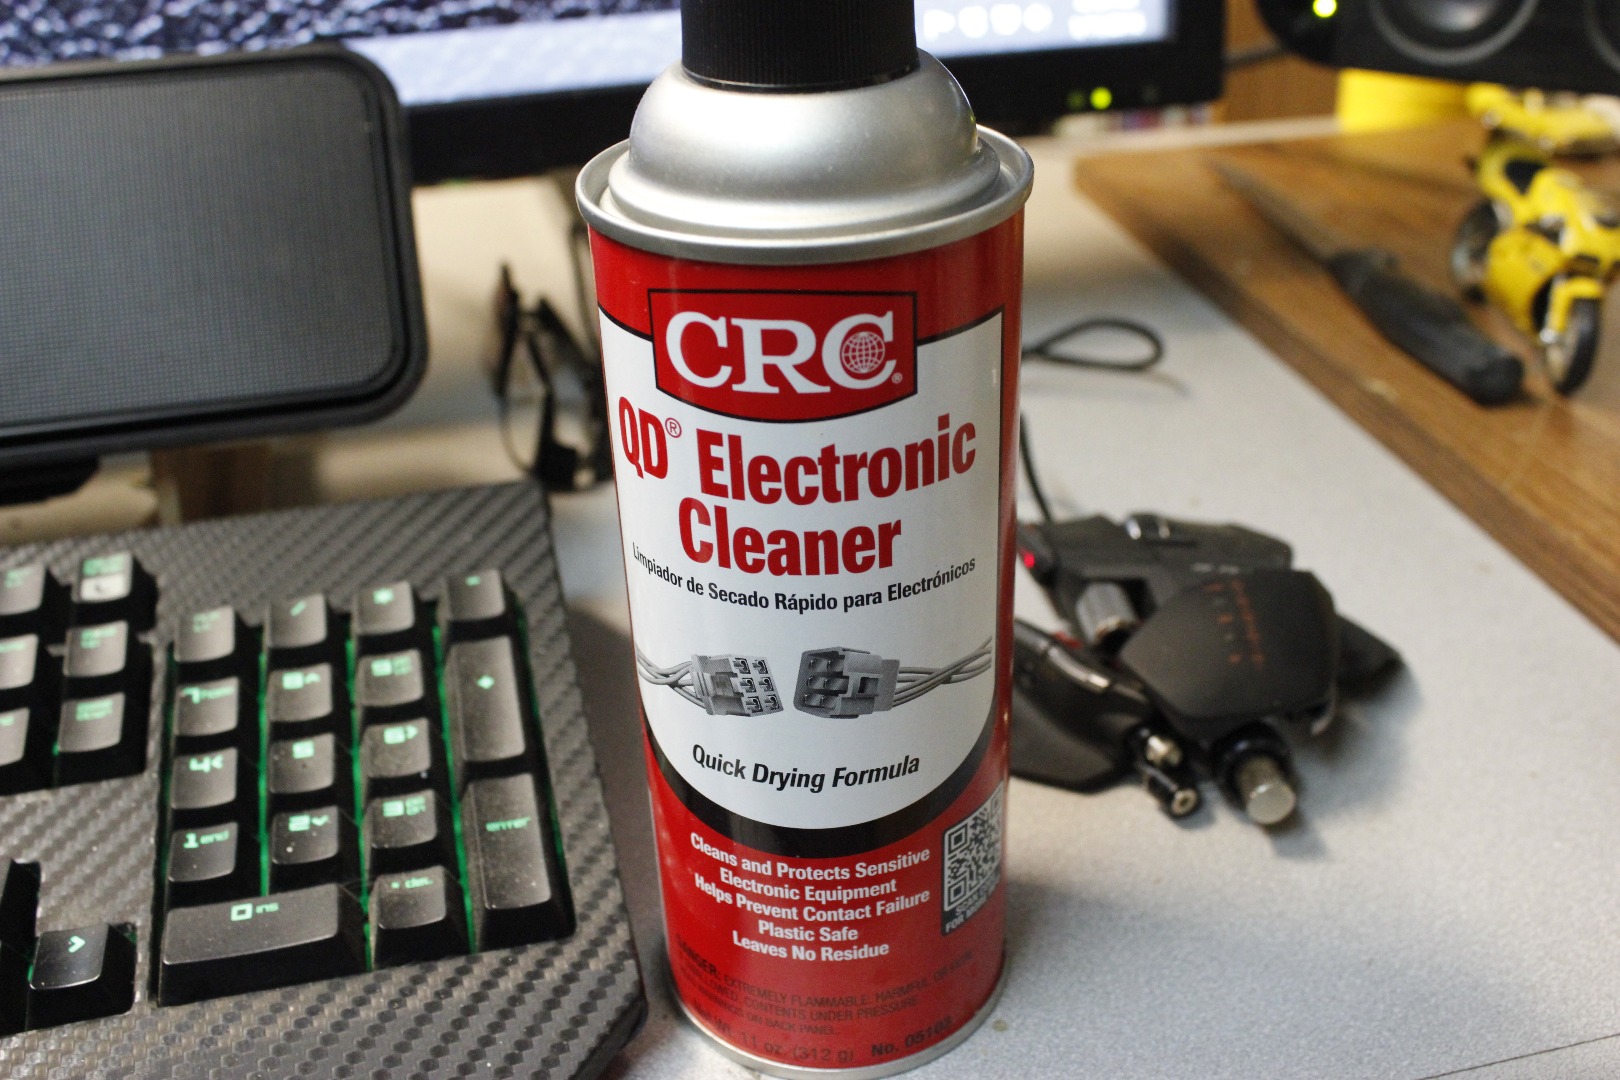
1. CRC electronics cleaner. I will not vouch for any other product. DO NOT use the CRC Electromotive cleaner as it will interact with the plastics and destroy your keyboard.
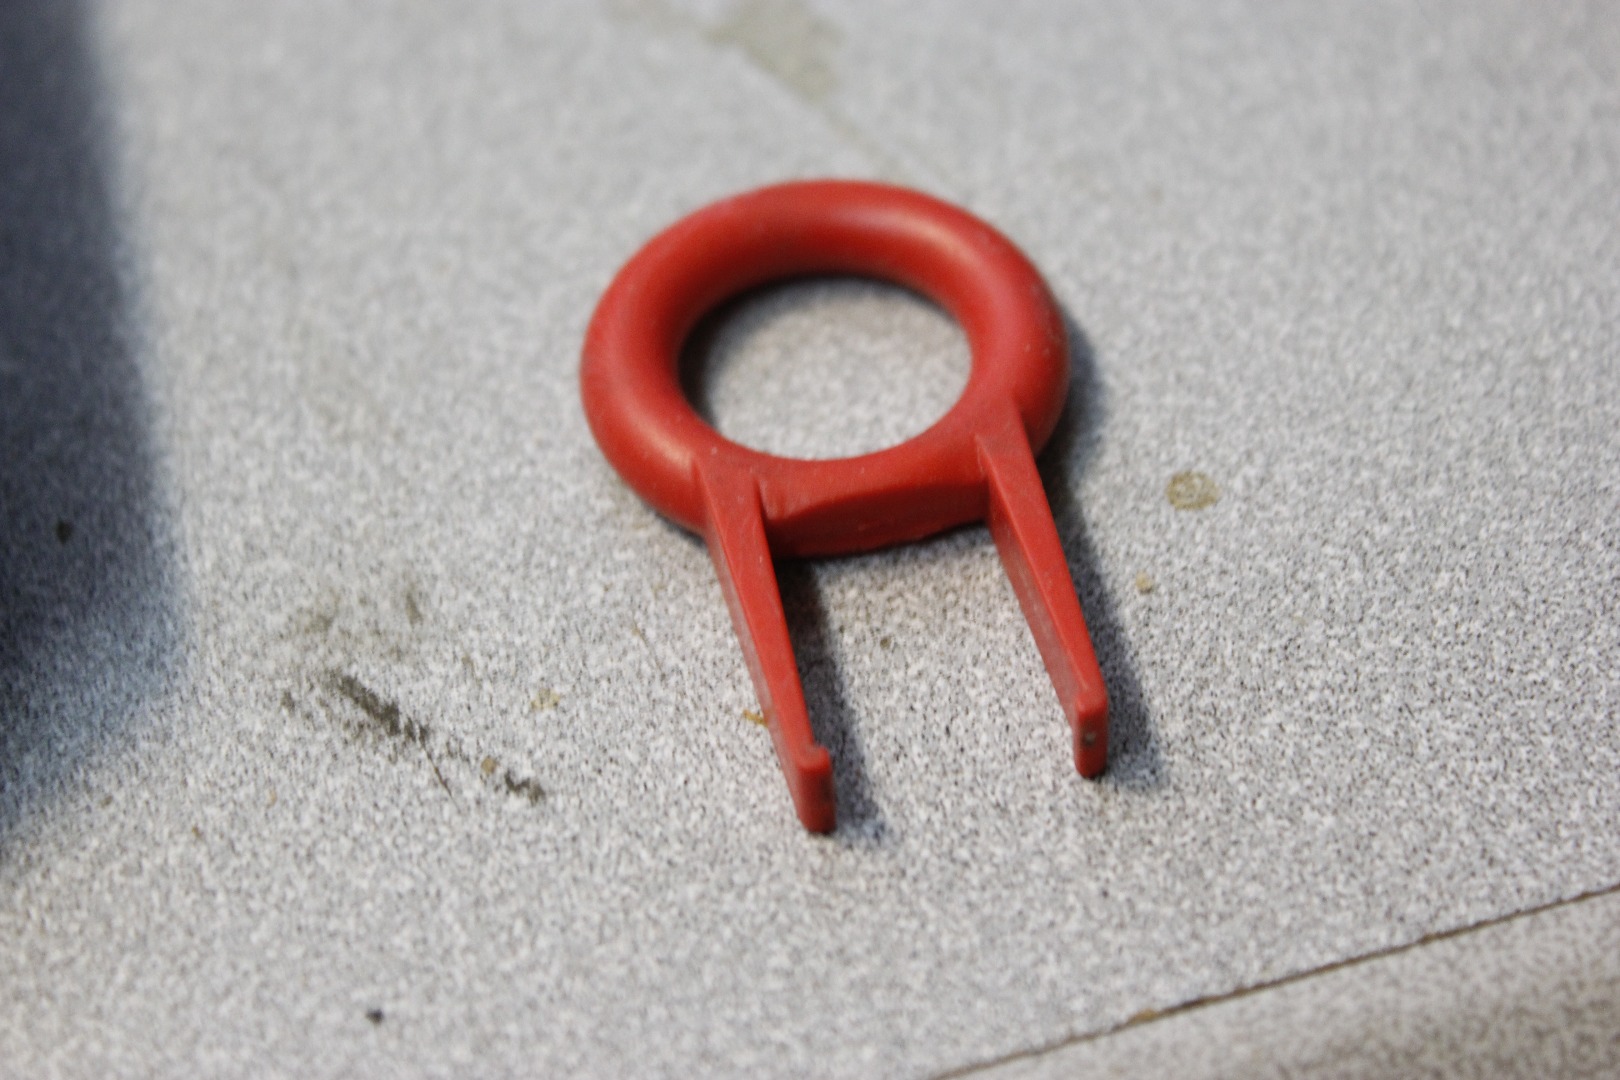
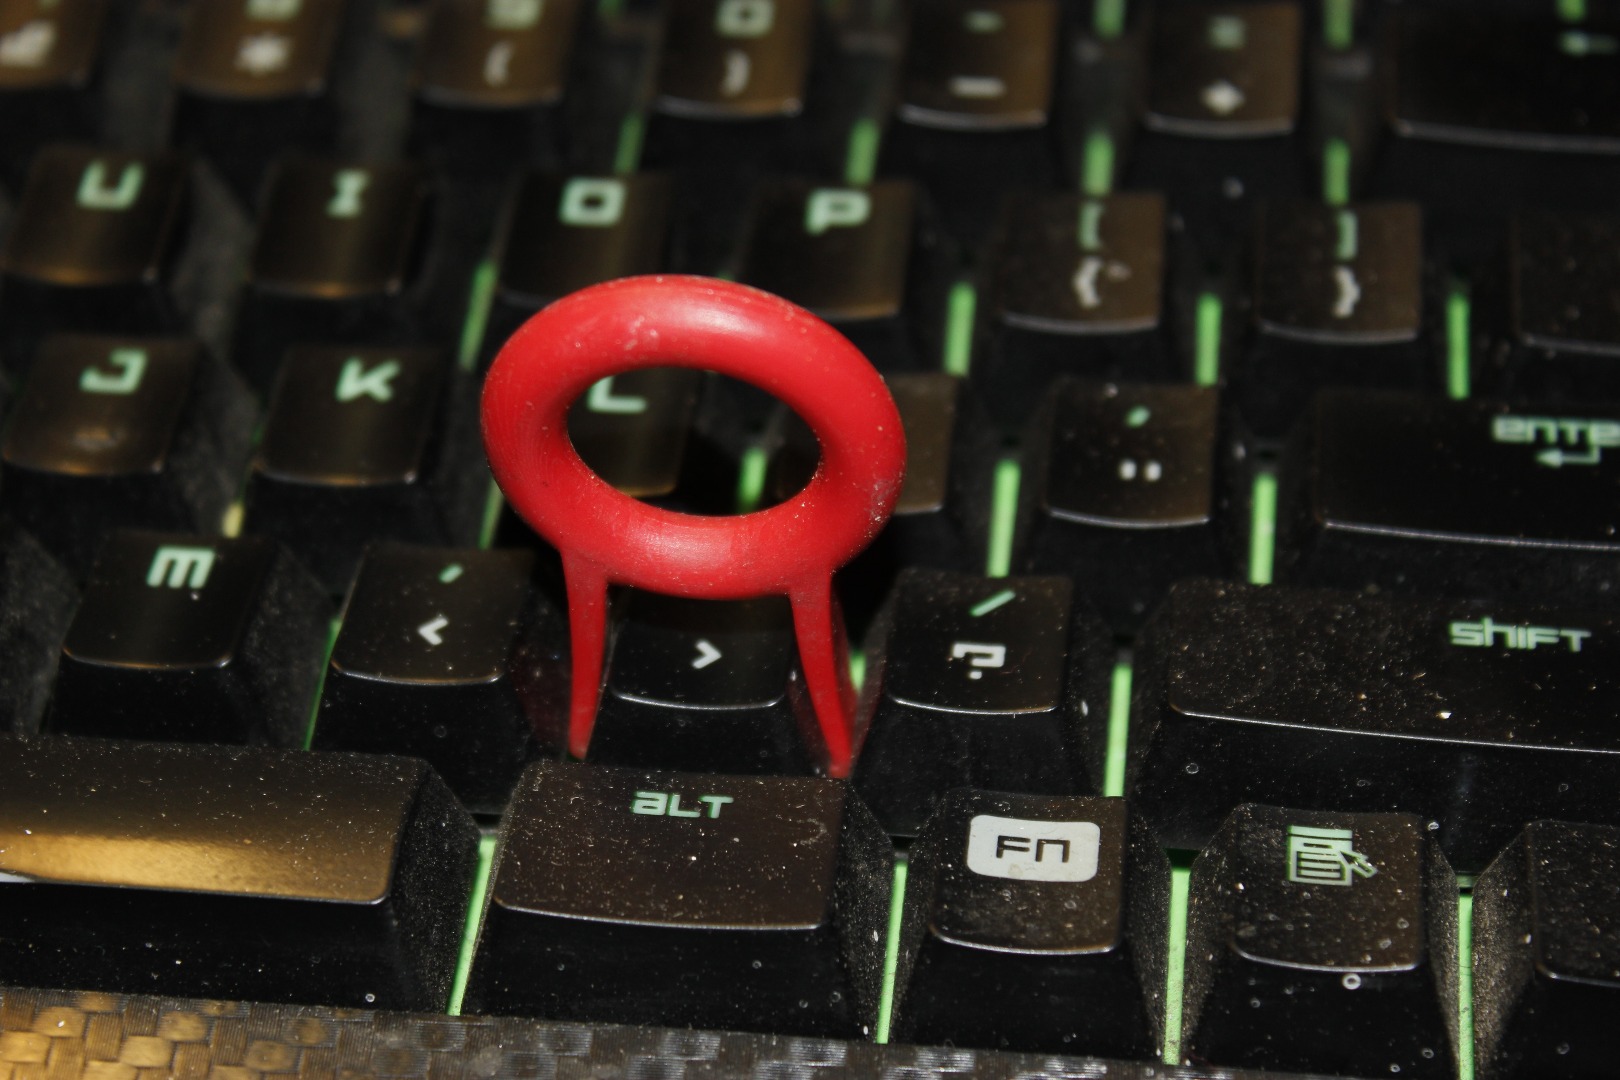
2. Key puller. Do not even bother to try any other tool. A key puller costs a whopping 90 cents. A busted switch will kill a whole day and yet some more money.
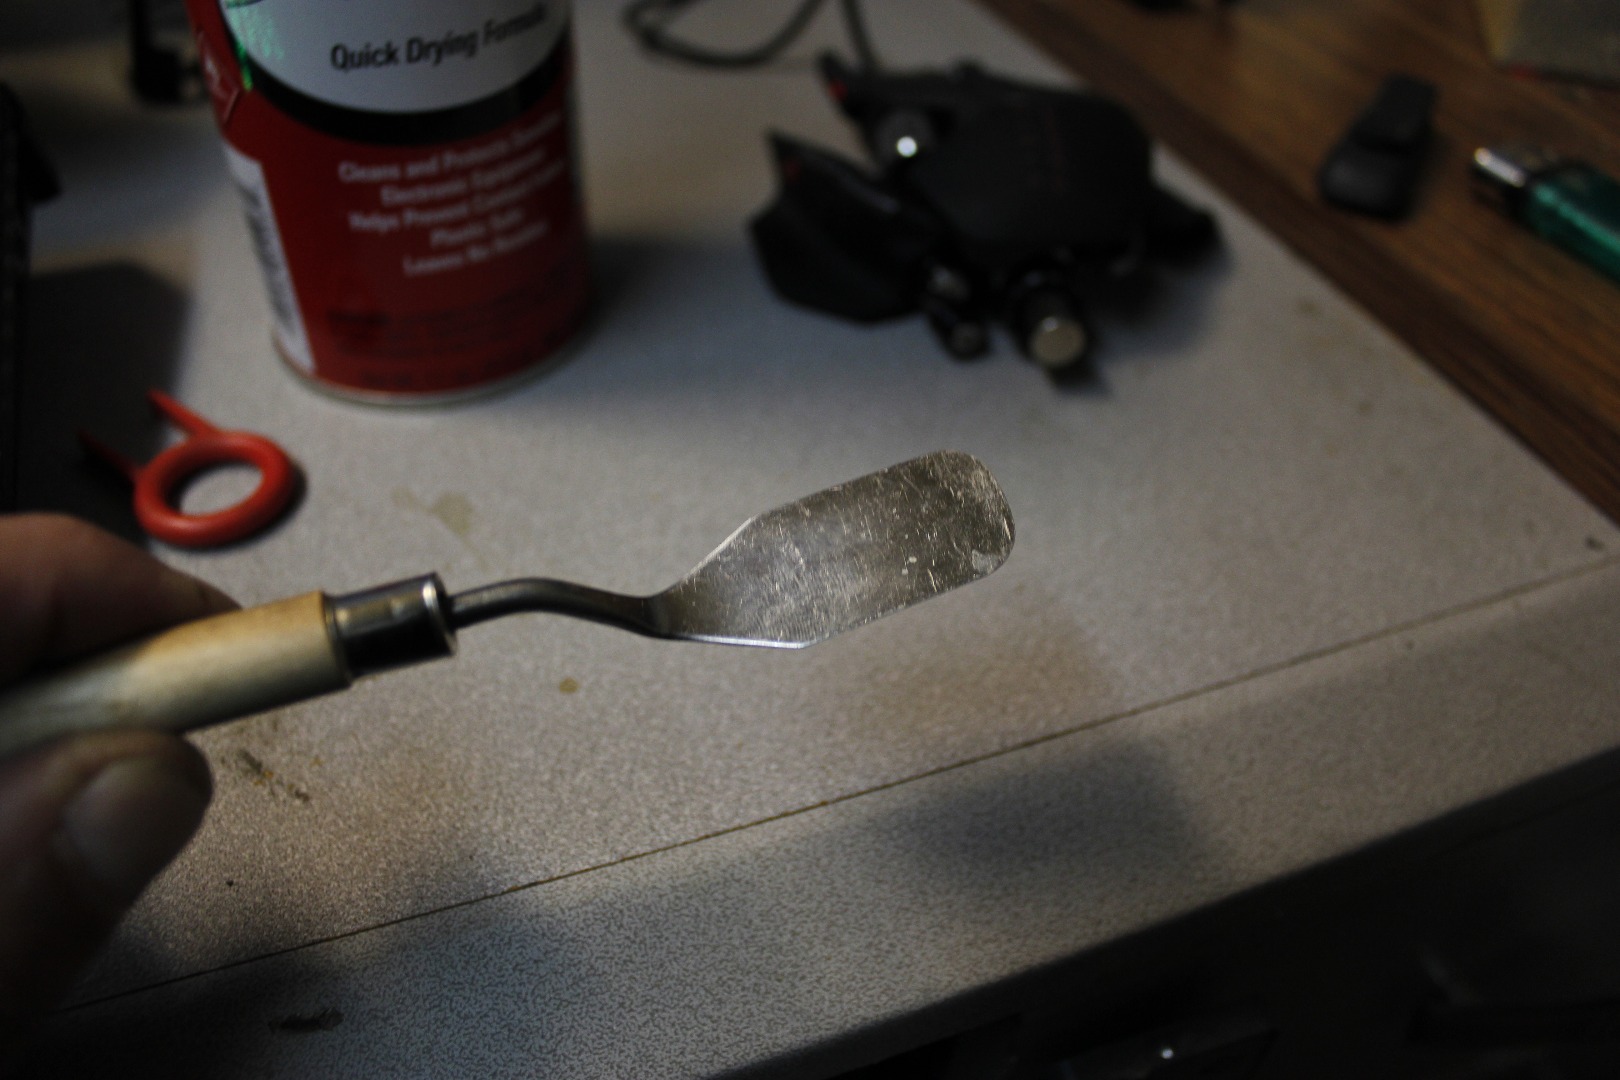
3. Small spatula for lifting the double space key from their switch.
4. Noodle strainer
5. Soft soap (hand variety is best as it removes finger oils well)
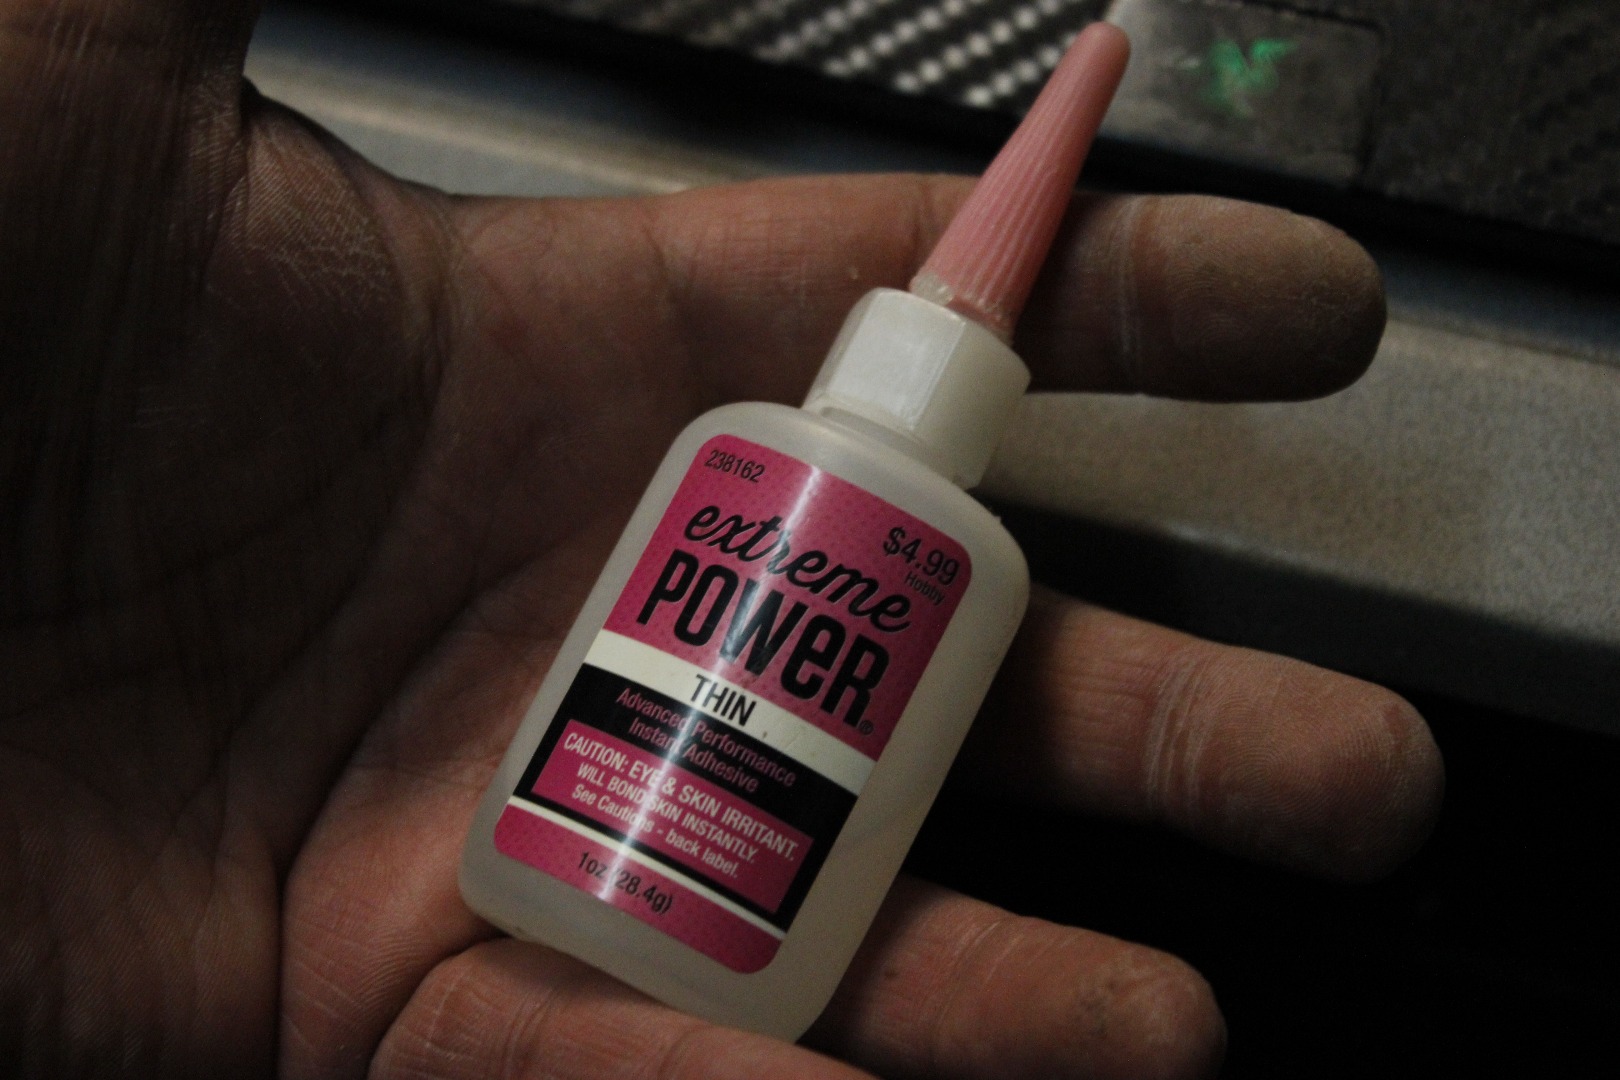
6. Super glue for that possible goof up.
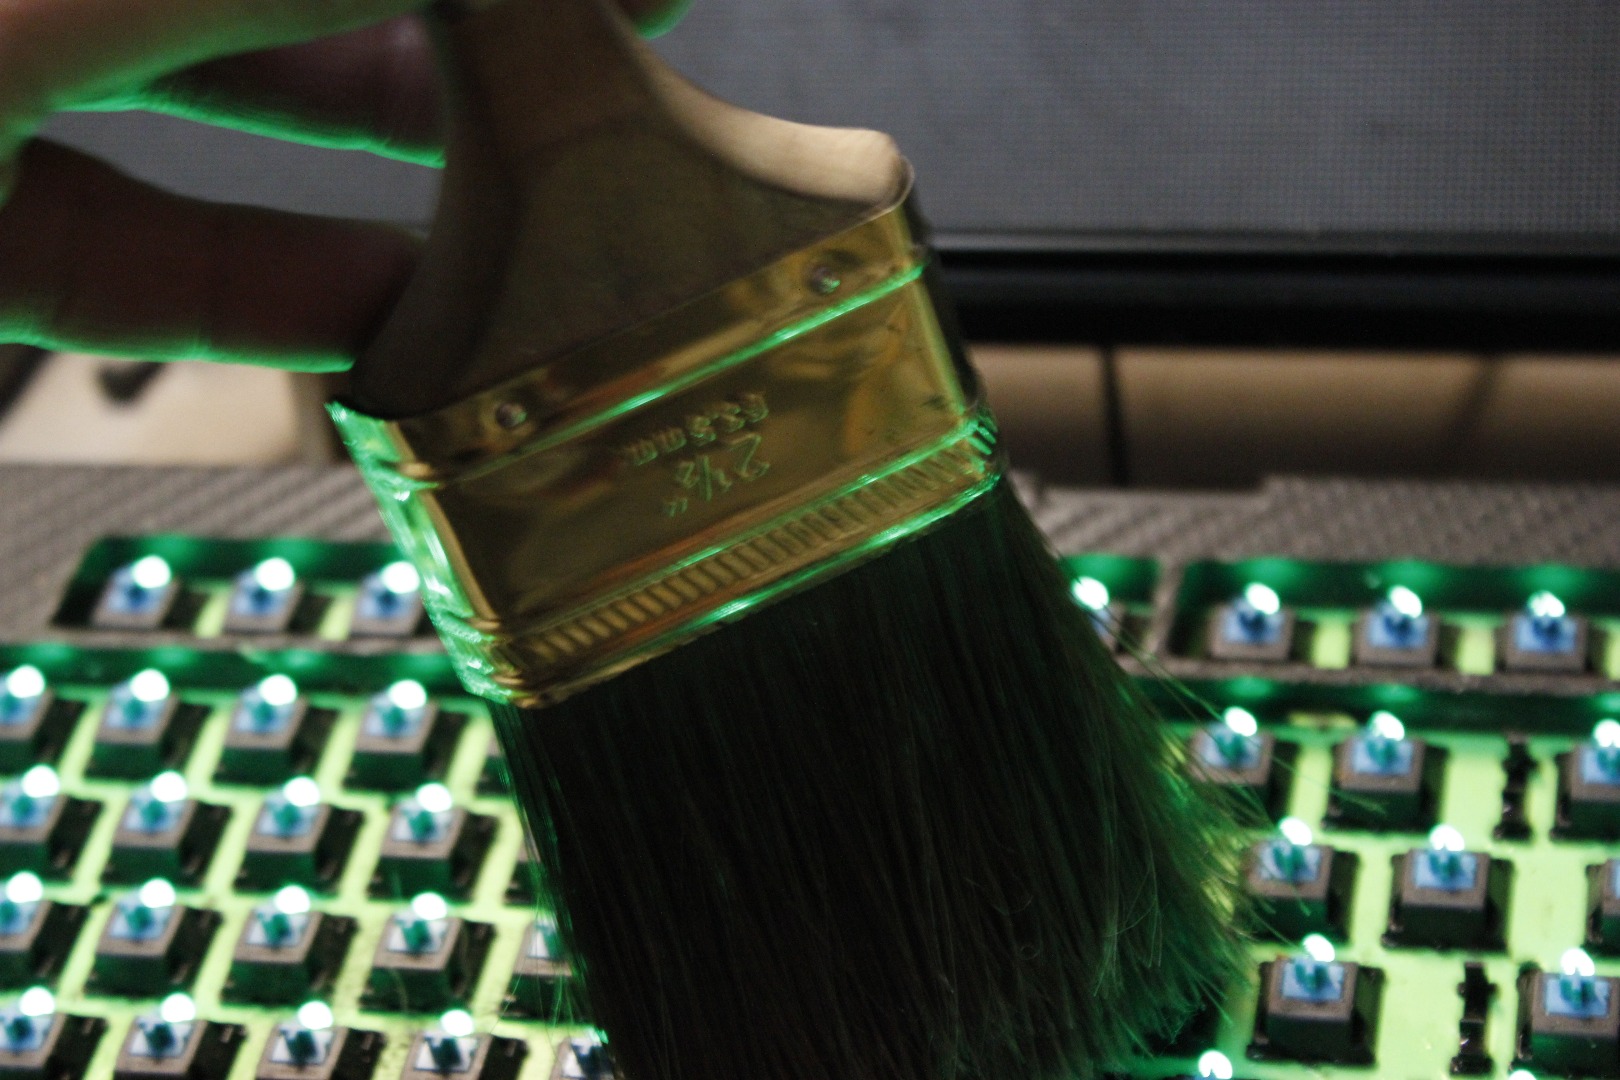
7. Soft bristle paint brush. Make sure it is clean clean because you will otherwise end up putting more debris in the keyboard. And for cryin out loud don't use the cheap ones as they will shed bristles all over the place.
8. Container for collecting all the keys. This is also important as nothing will anger you more than losing a key and having to stare at your error while you wait for a new key to come.
This Instructable can be done in whole or part. If you only want to address a sticking key this will only take a few moments.
When doing this Instructable force absolutely NOTHING.
Removing the Keys
This is the simplest part of the whole process but it is also the step you can create the most damage so pay attention and take your time.
I did mine powered up I would really suggest that you don't. Not that it will hurt anything it is just that your computer might act a bit crazy when removing and installing key. I was getting my netflix binge on so I removed the F4, F5, and F11 keys first.
Let's get down to business....
FIRST - Take a picture of the keyboard. You will need this for the reassembly.
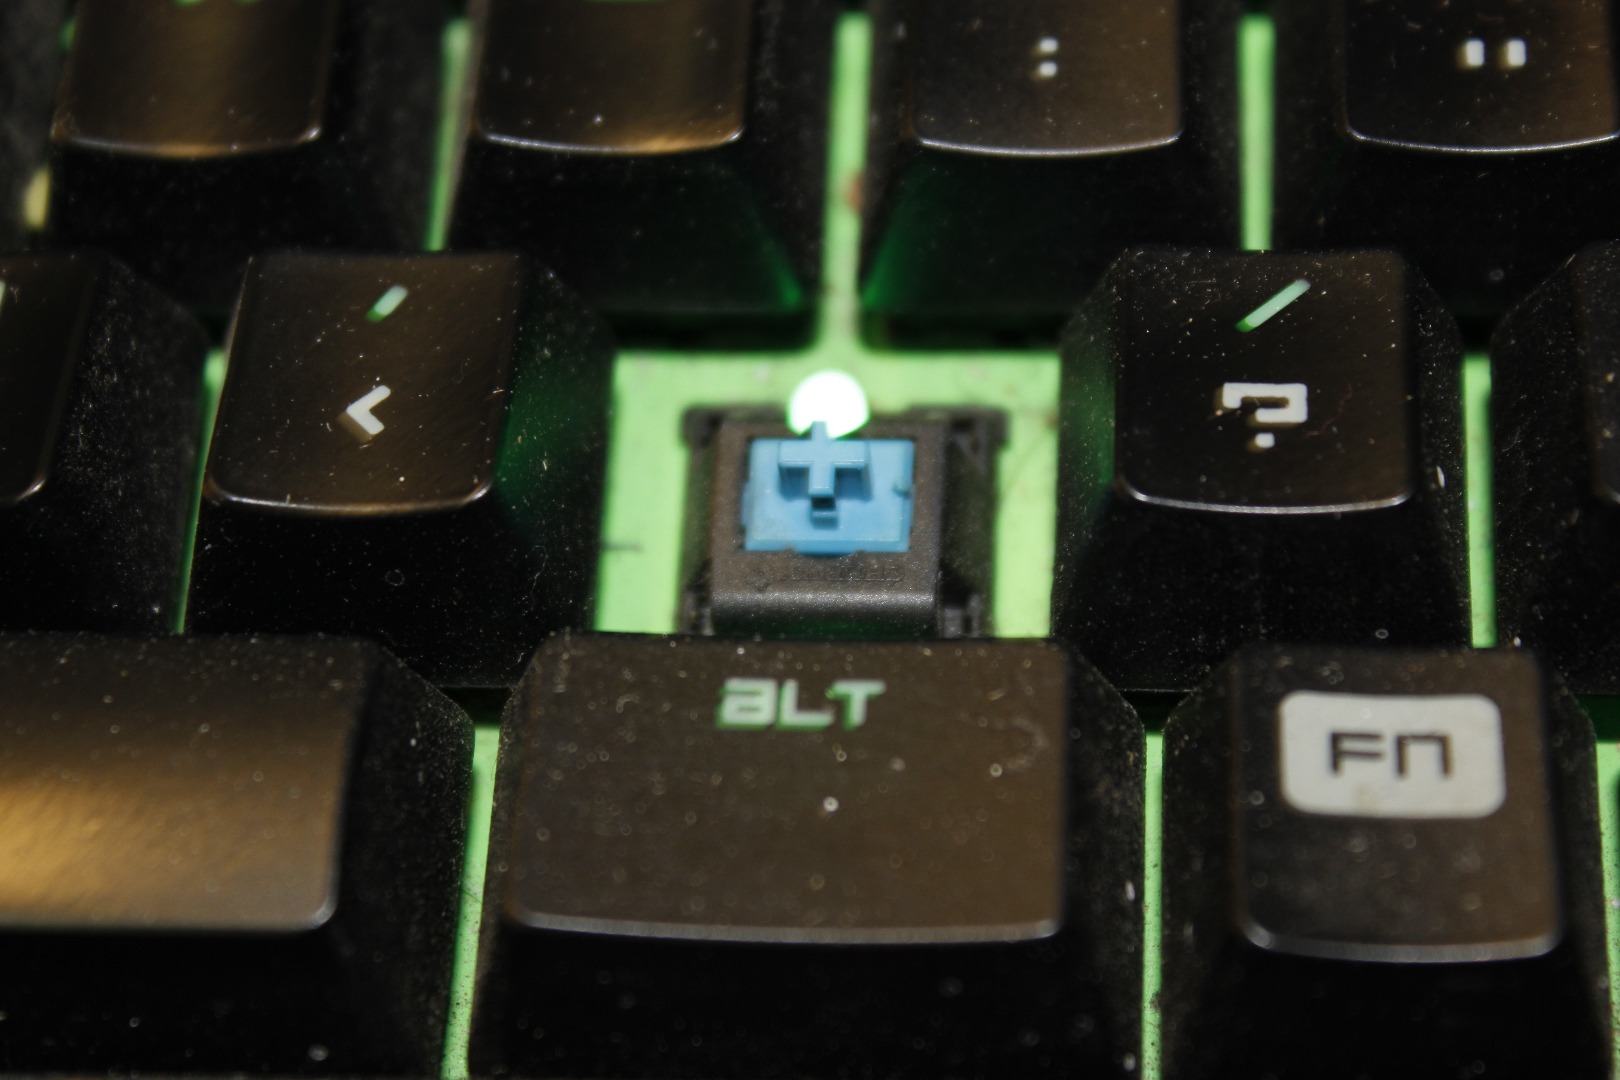
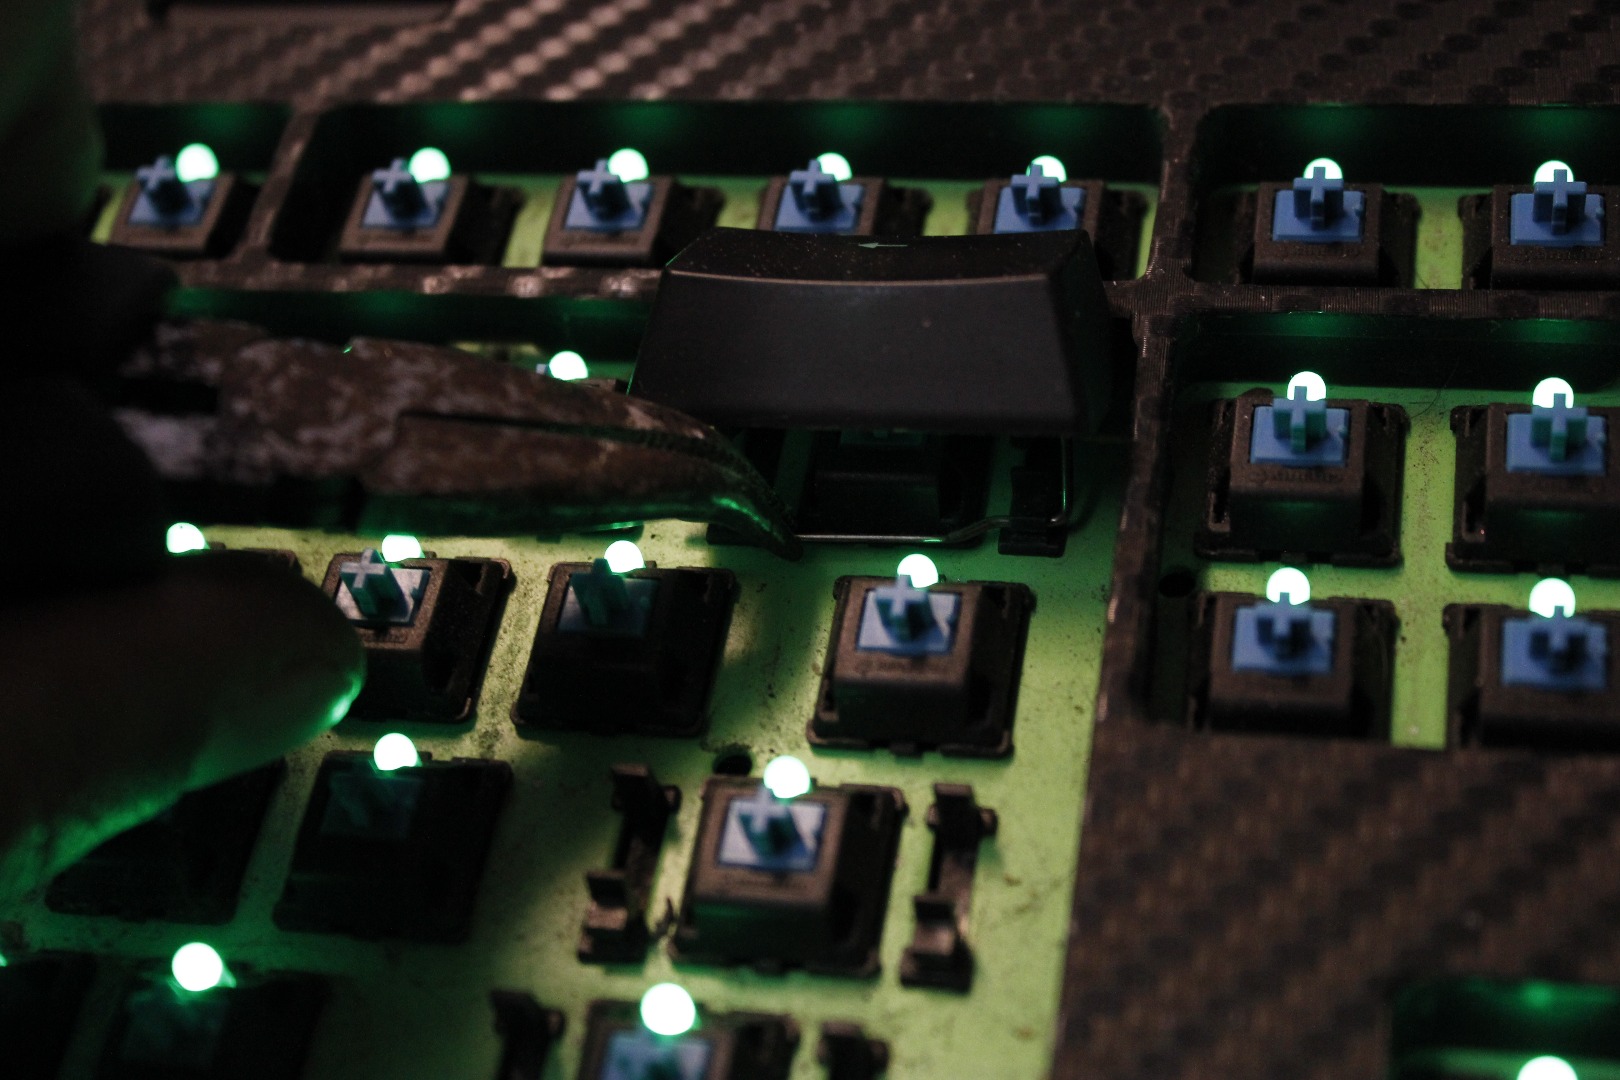
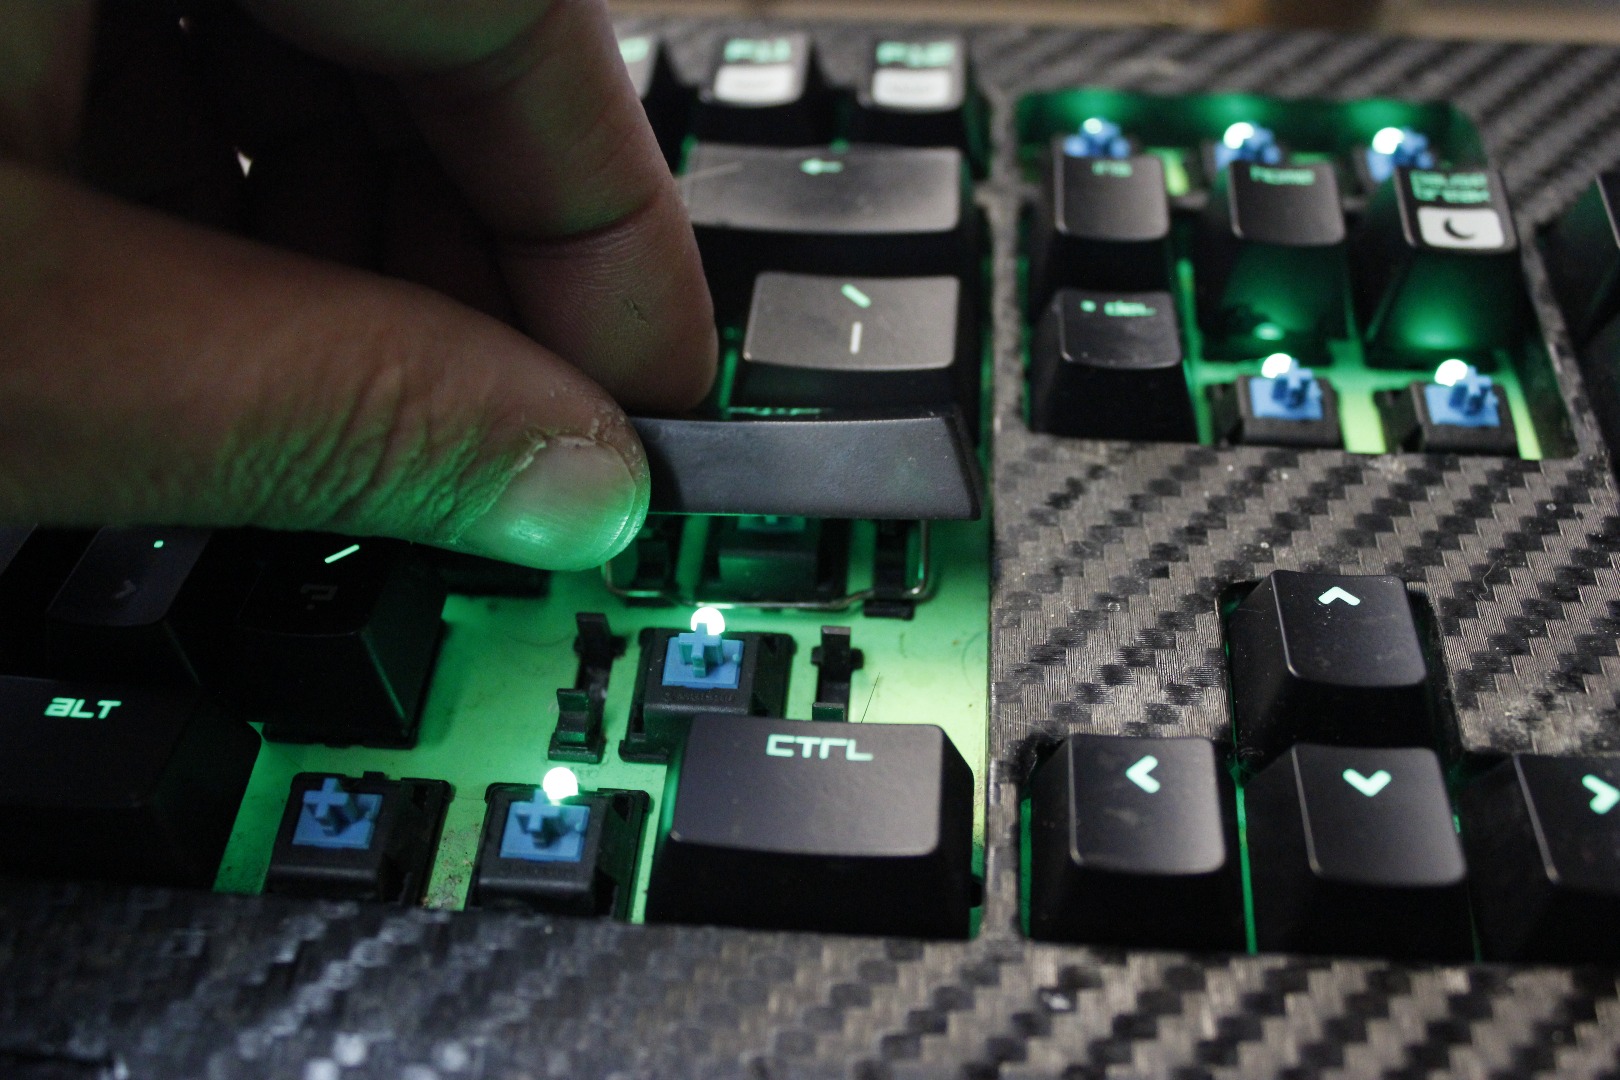
We will remove all the single space keys first. Insert your key puller like shown in the photo and lift straight up. This should not require lots of force. If it seems you must force it, look to the second photo so you can see what you are trying to take apart.
It is on the sides of the plunger on the switch that junk likes to build up. Once we have all the keys removed we will address this.
Collect all the single space keys in the container.
Remove Double Space Keys and the Spacebar
If you are having no issues with your dual space keys you could skip this step.
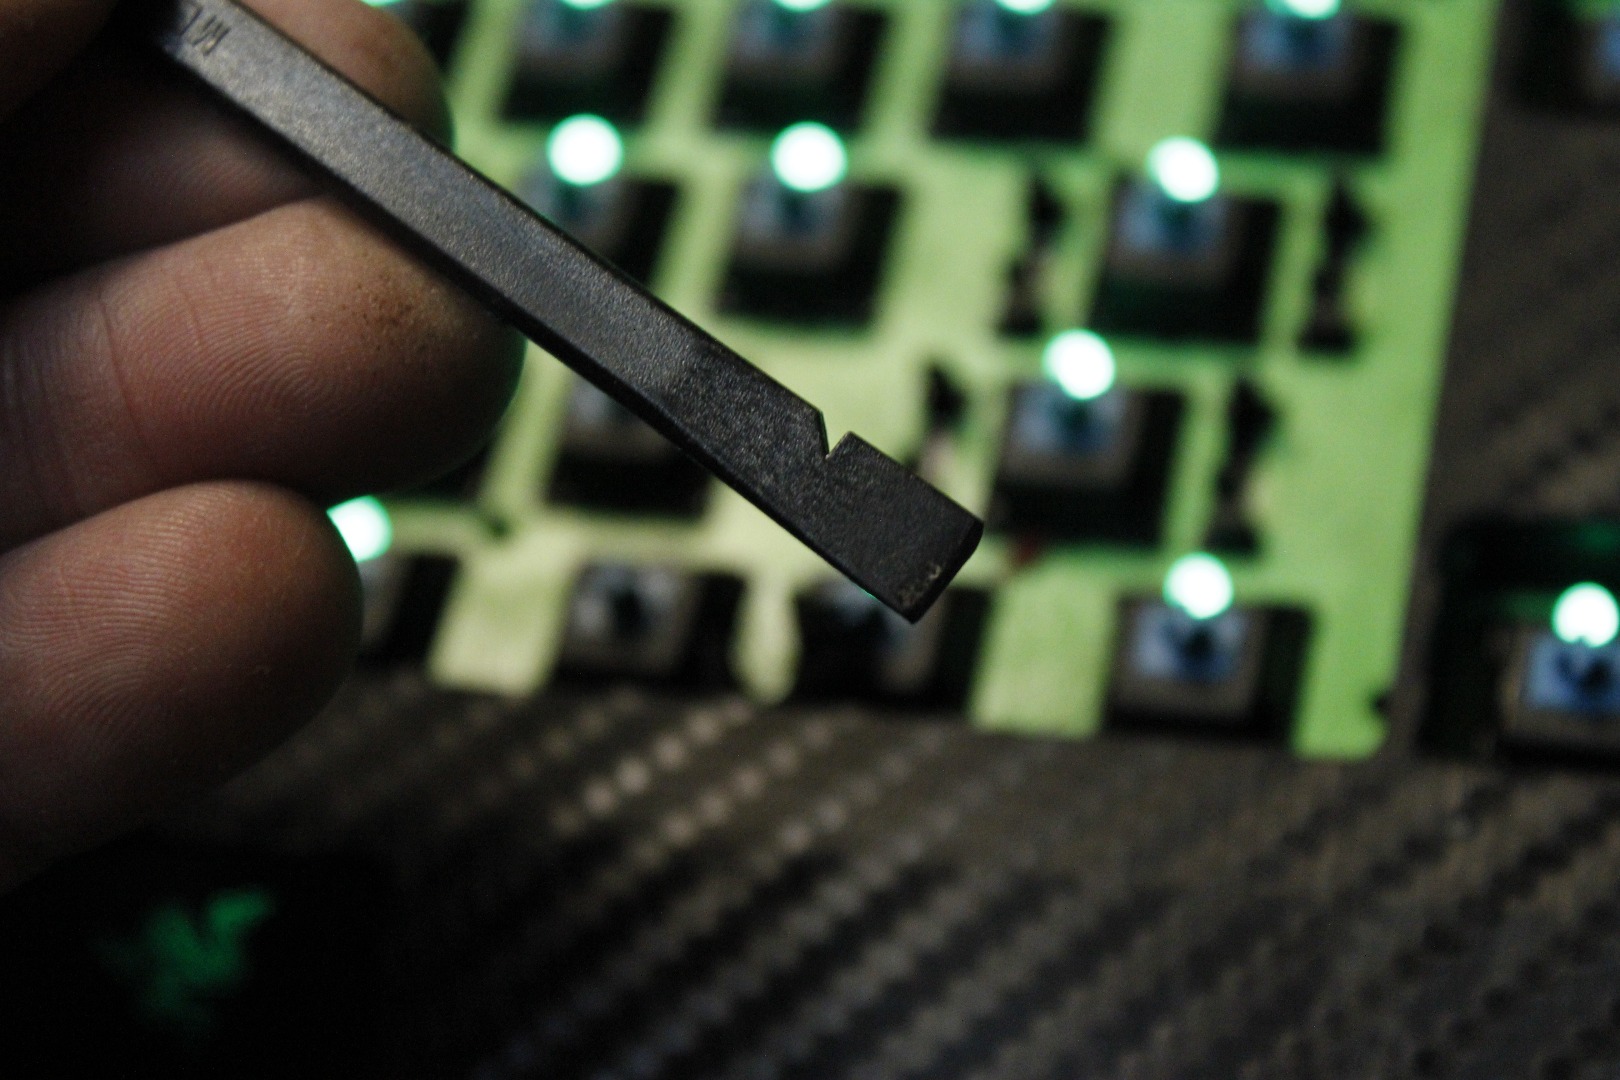
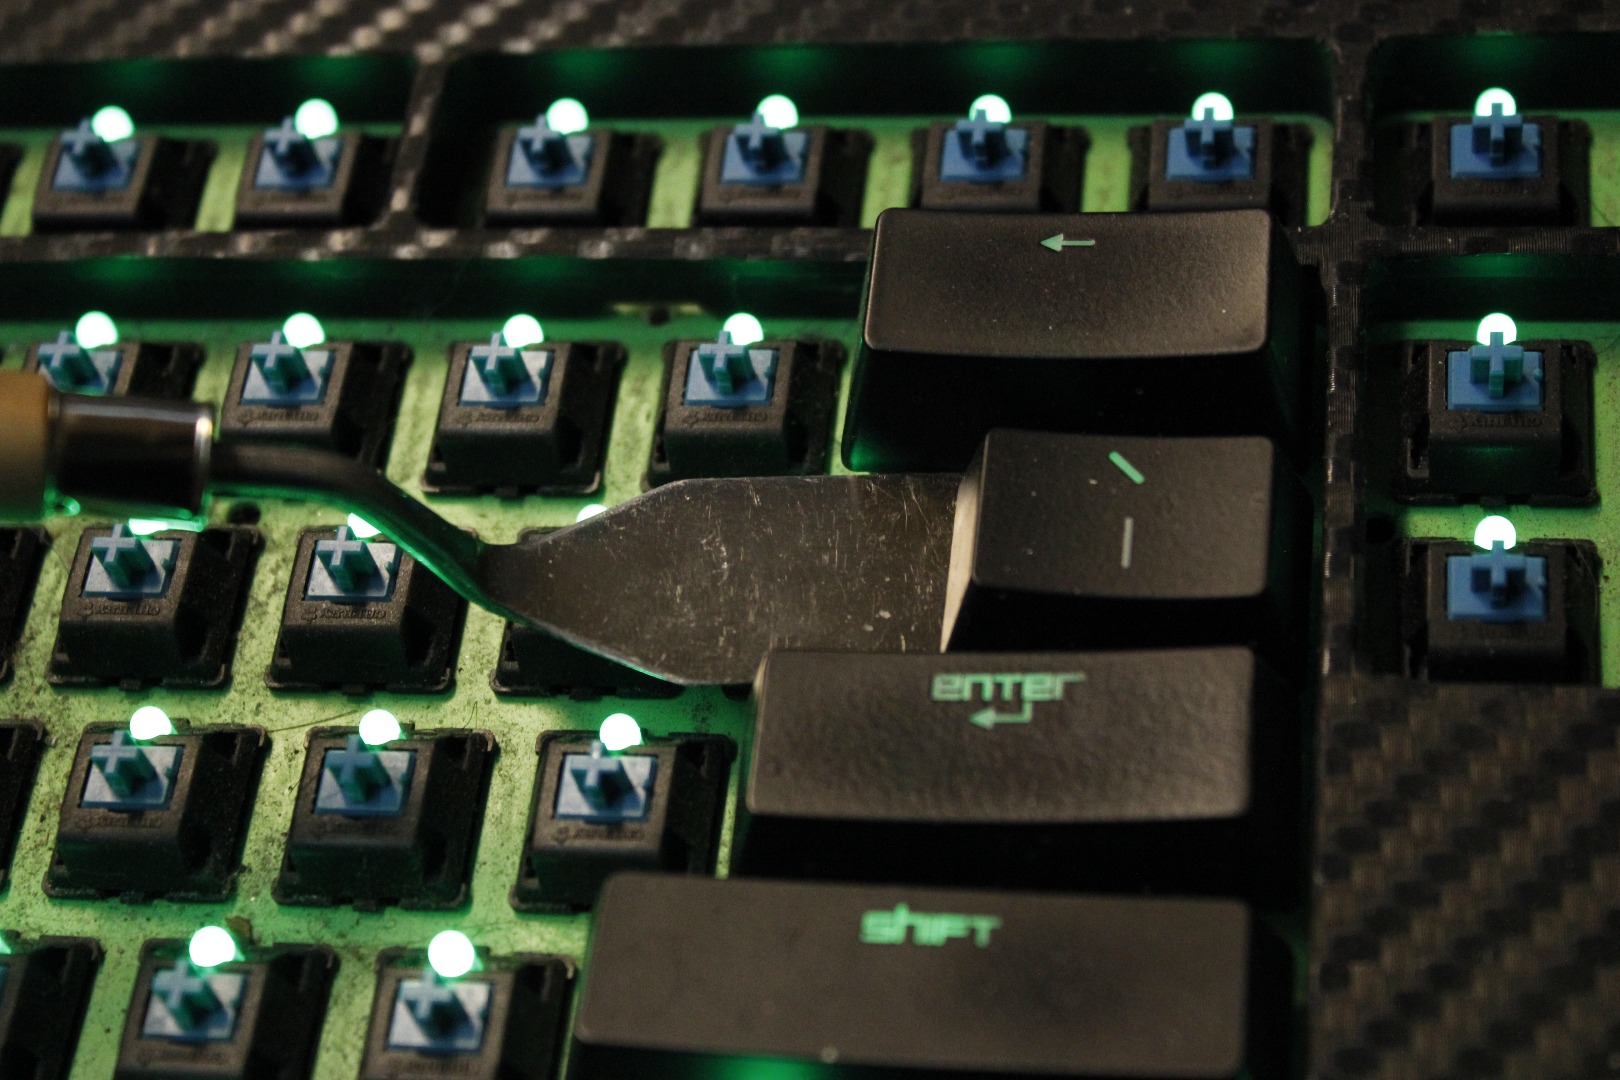
To remove a dual space key you will need a spatula tool and a plastic spudger. Do look at the notes before beginning this step.
Slip the spatula under the key and lift gently with a prying motion with emphasis on lifting the center. They sometimes pop off in one try sometimes they take several attempts. The bail clip will keep you from lifting the key off the keyboard completely. Once the key is loose stop there.
Now we will release the bail clips to release the key.
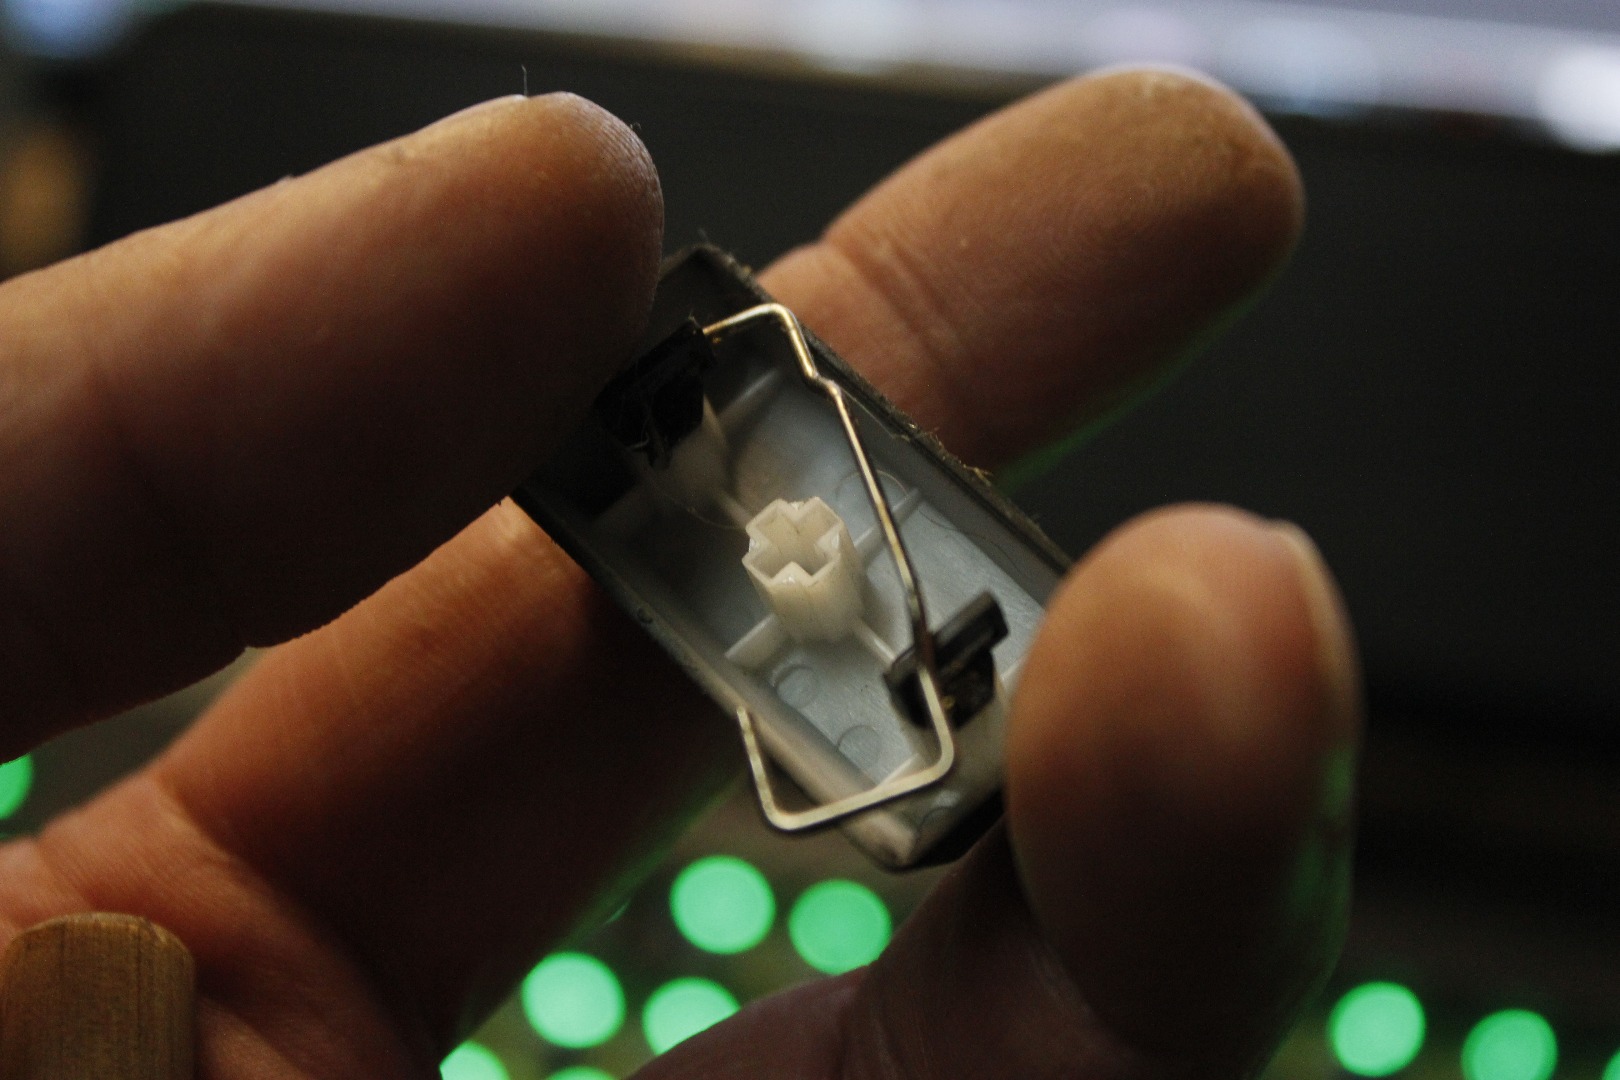
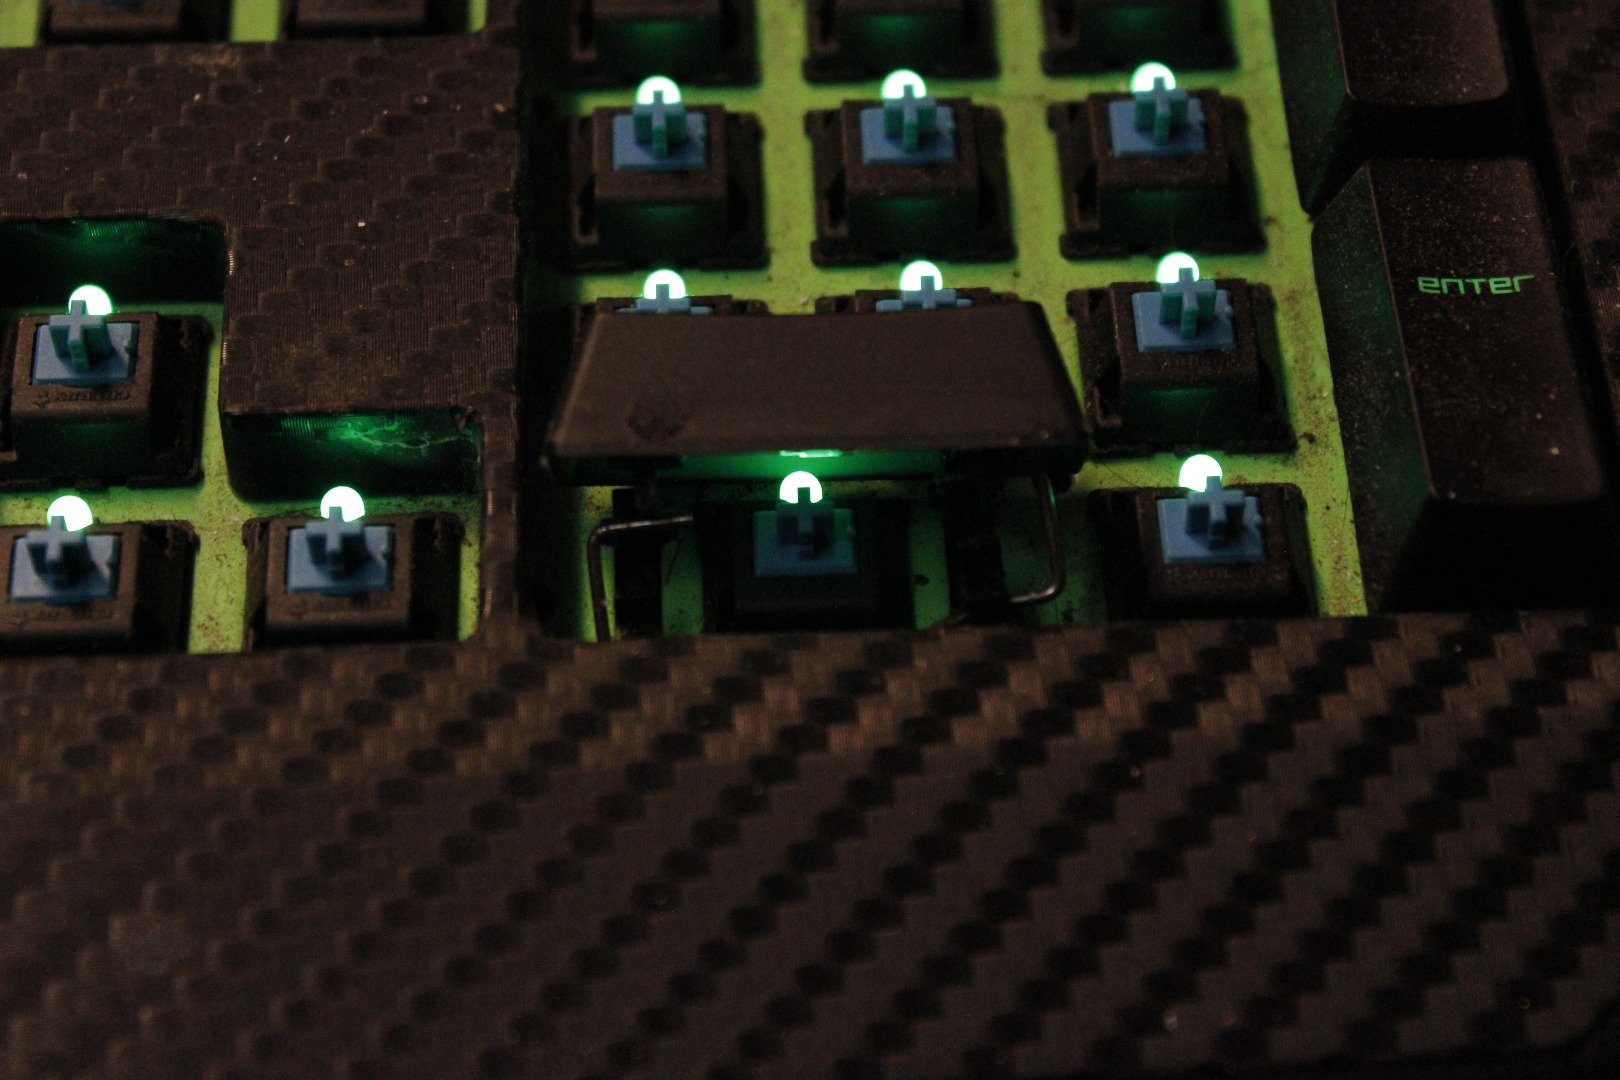
I had one of the bail pedestals come out so this is a great opportunity to show you how the clip works. There is a latch on one side; you will need to pry the bail from the latch. If you do have one of the pedestals come out don't panic, if they are not broken they will snap right back in.
Push the bail out of the latch with your plastic spudger to release the key. Collect these and lets move to the next step.
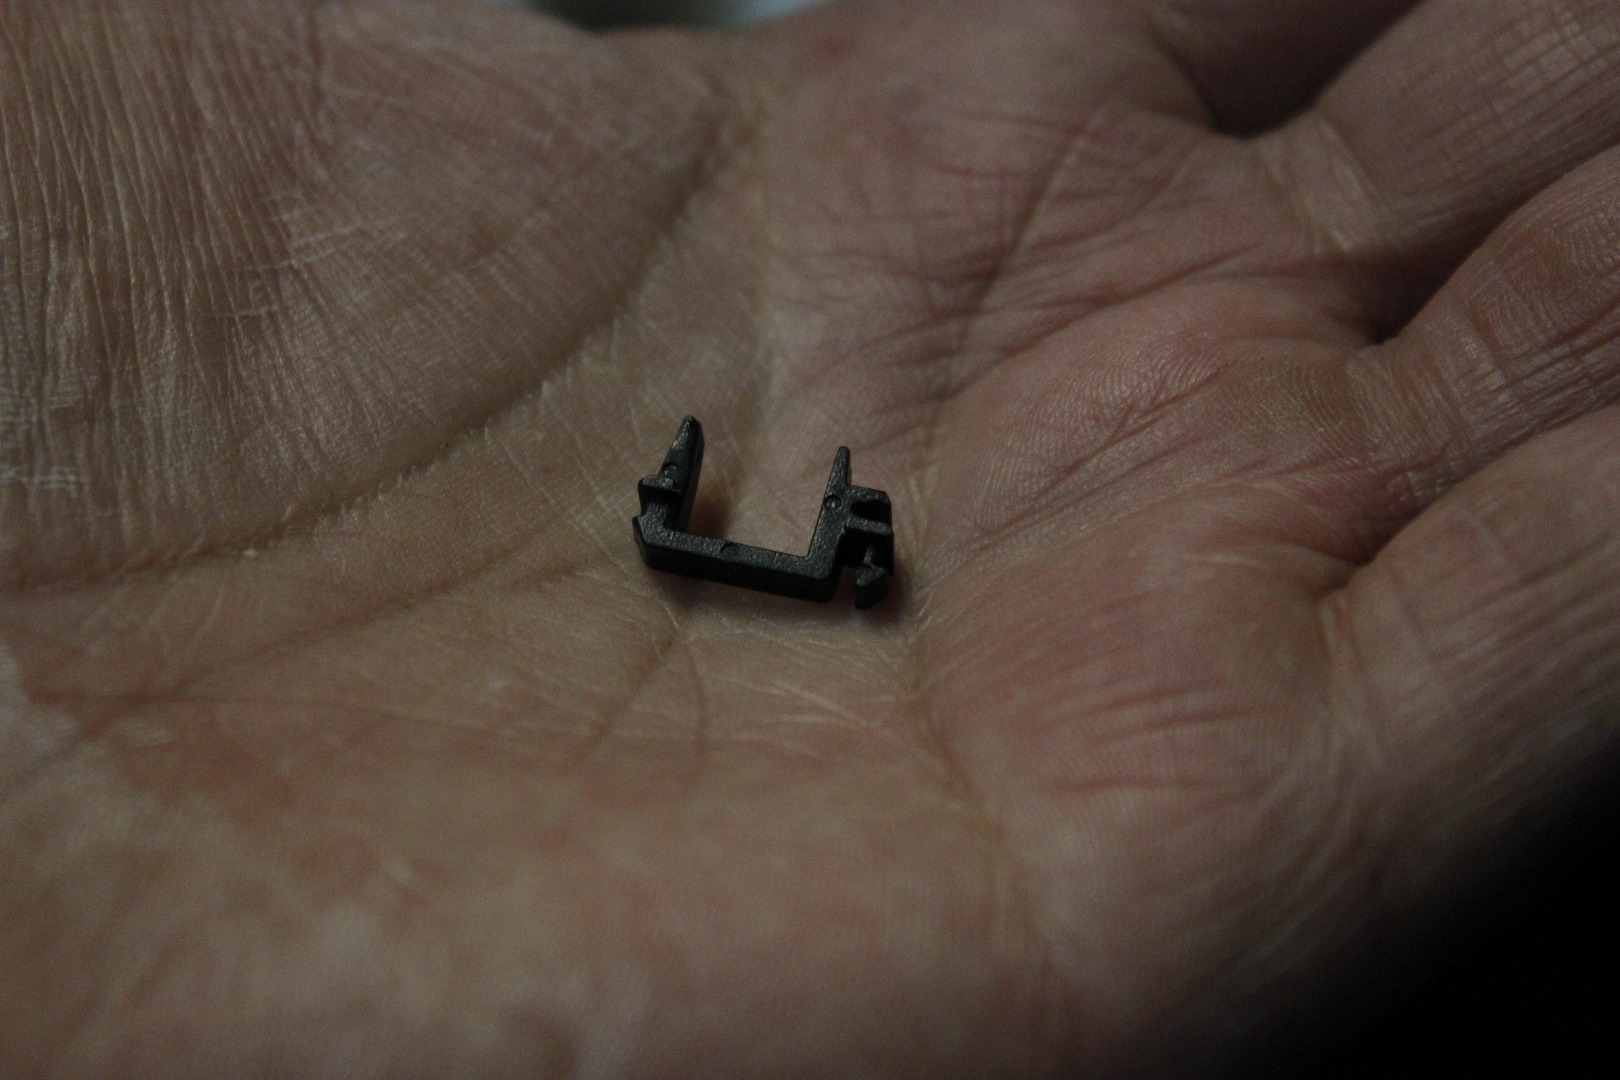
If the bail mounts on the key pulls out of it don't panic. Just collect the tiny part and keep it handy for the step after the washing.
Now to Wash the Keys
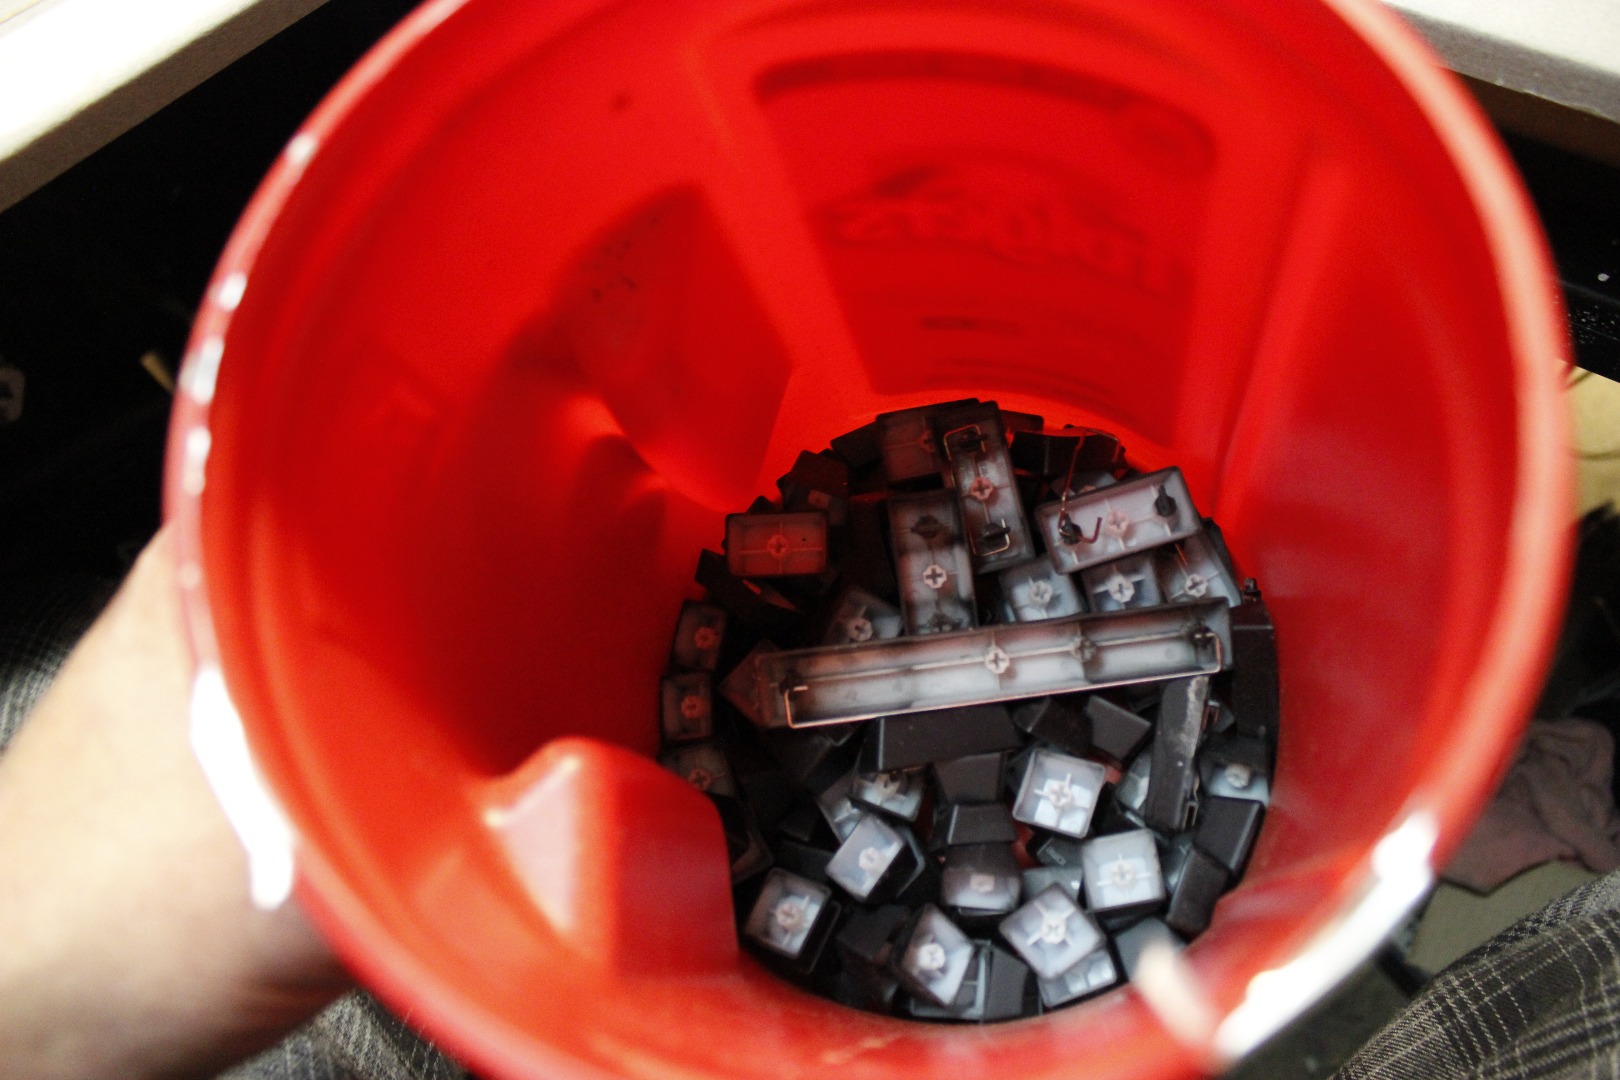
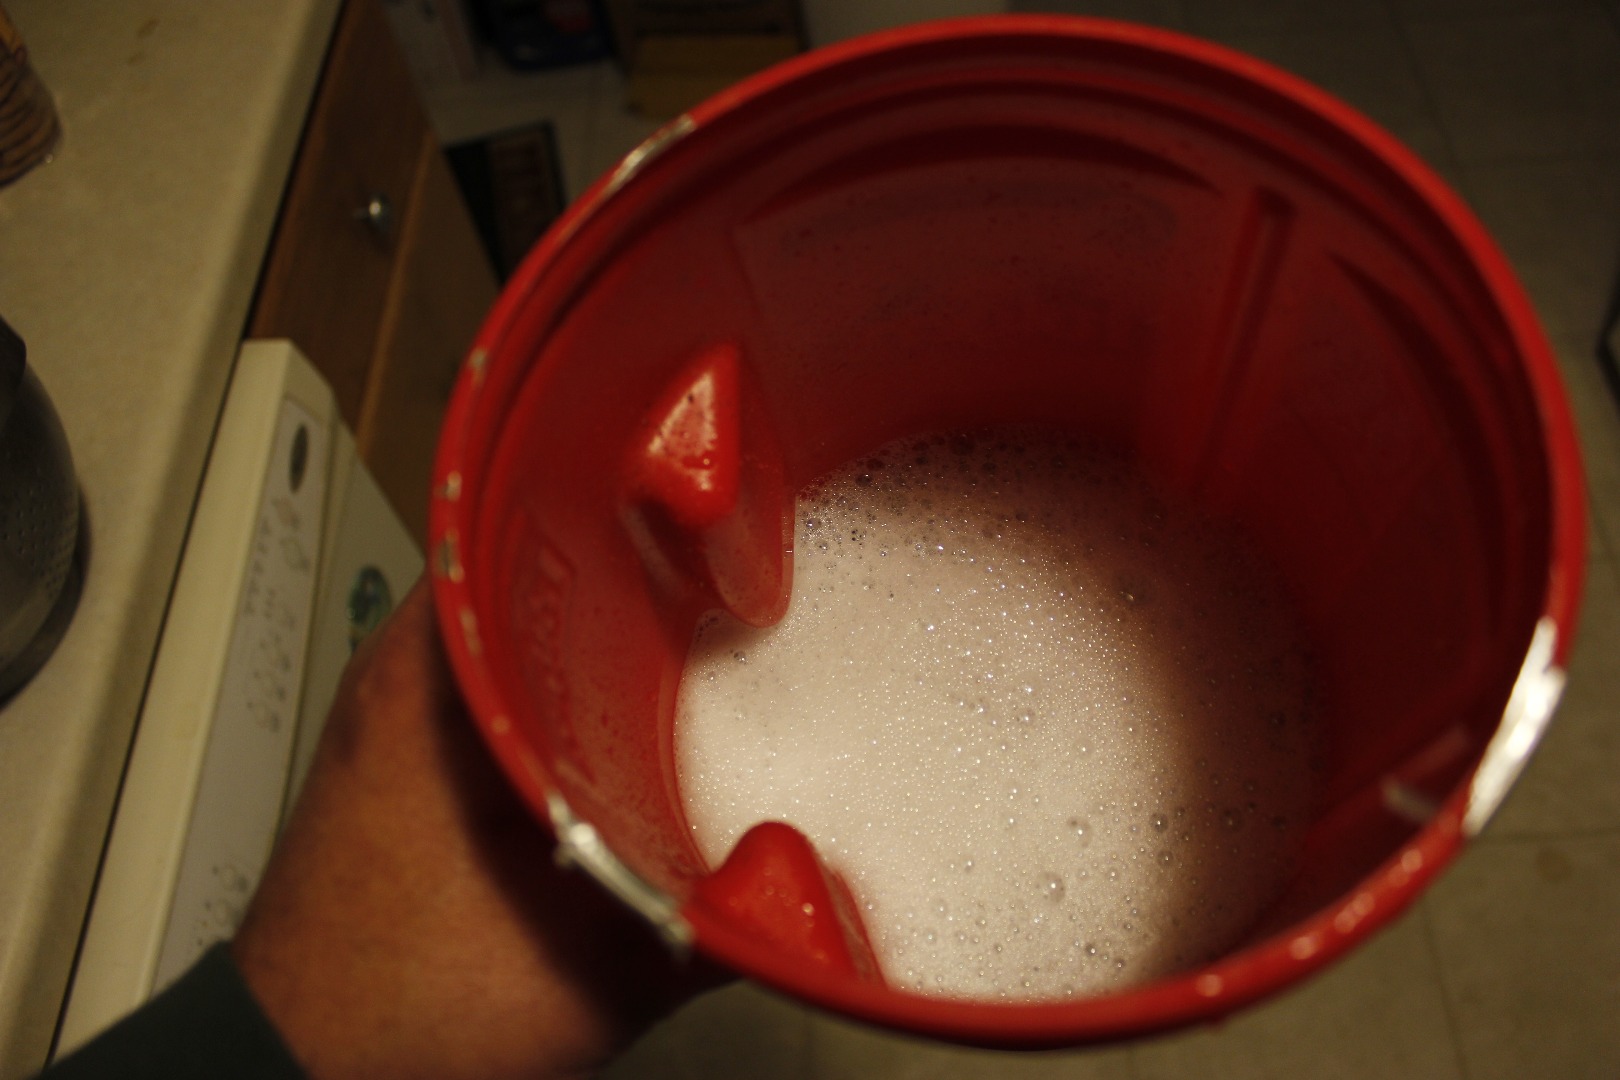
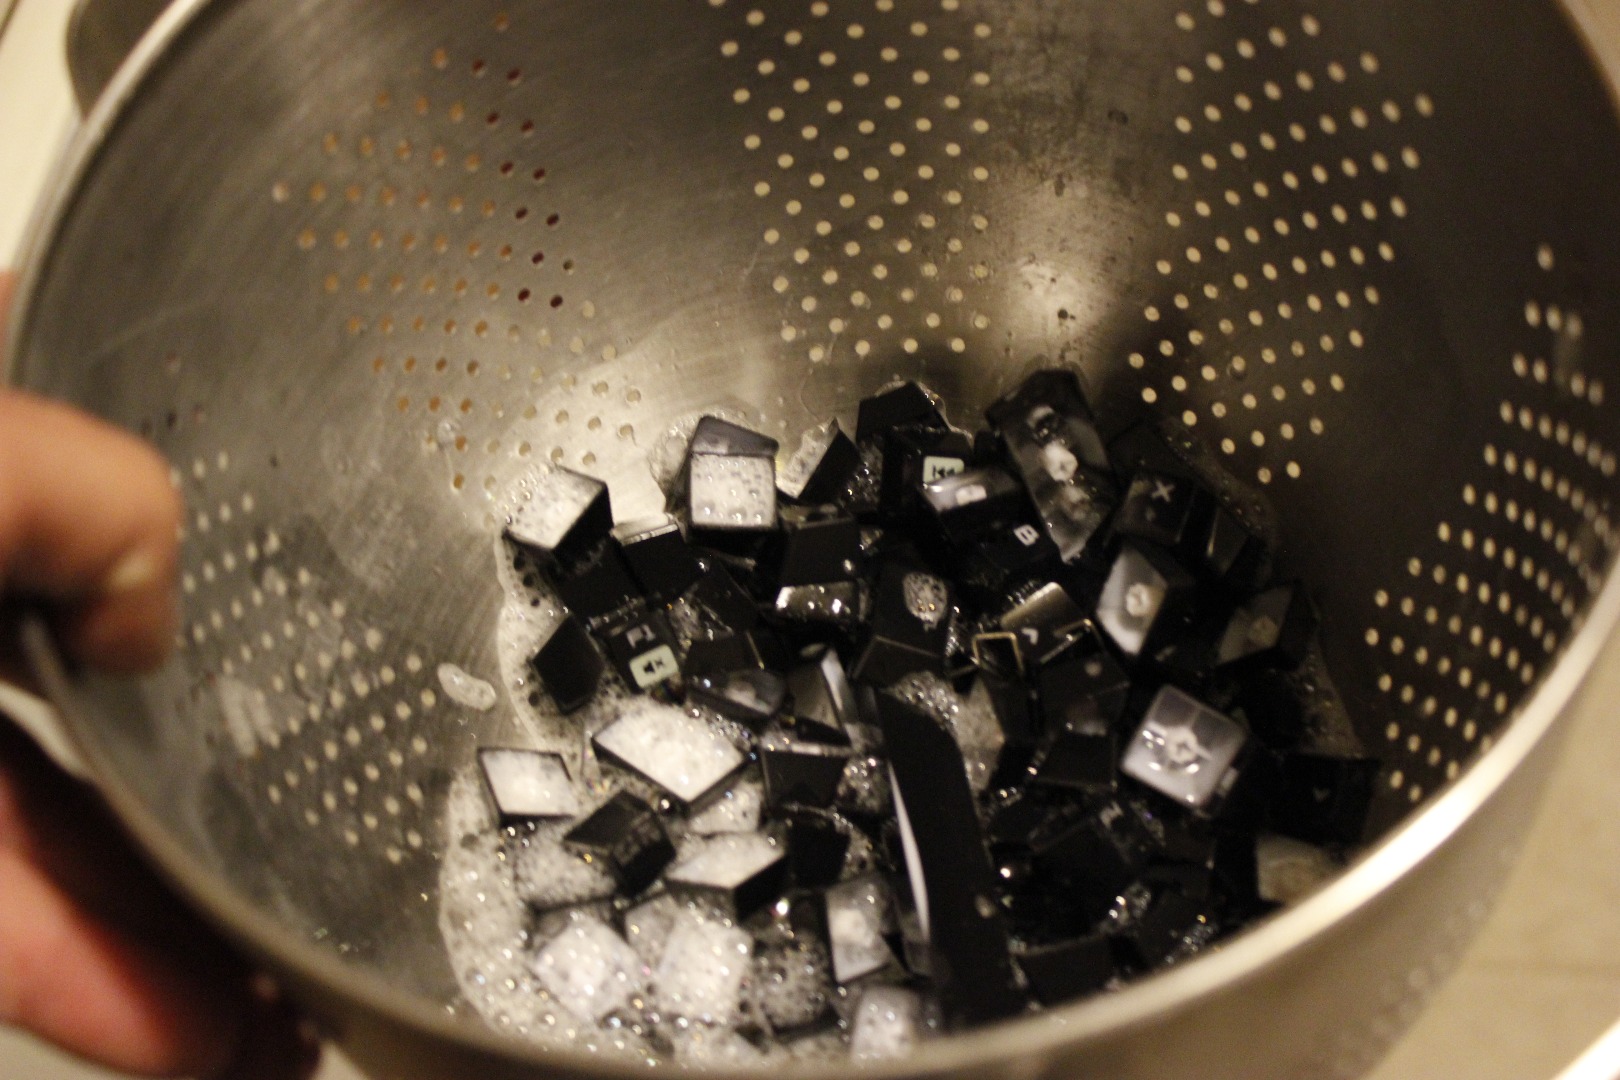
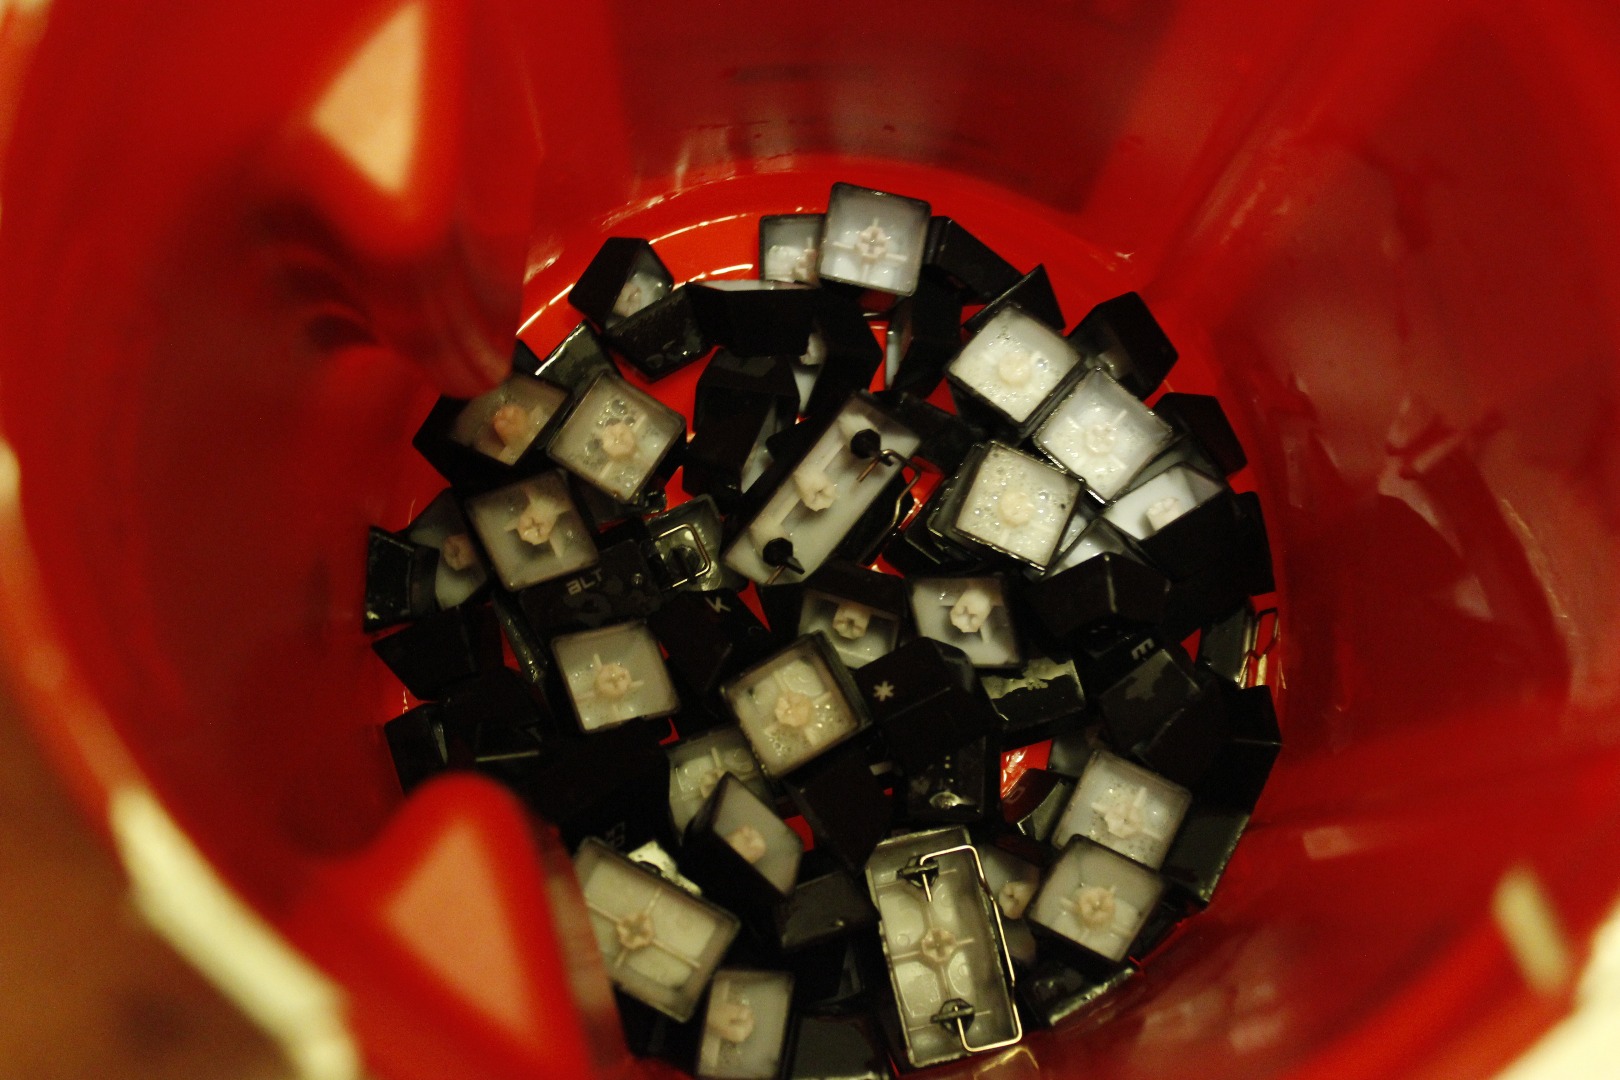
I have heard stories of people washing these in a dishwasher. I do not recommend this. This is such an easy step lets not add a possible catastrophe to this simple step.
I washed them in my coffee can with mild soap. Nothing serious; just a few minutes of hand washing. A bit of a soak might even be warranted.
After washing I dumped them all into a noodle strainer and rinsed them off.
Now dry them all off and don't be lazy and use a hair dryer because you will most likely melt a key or two or blow them all over the place. (see badge of shame while you wait for a replacement key to come in the mail)
Now lets go back and prep the keyboard to accept the keys.
Clean the Keyboard Base

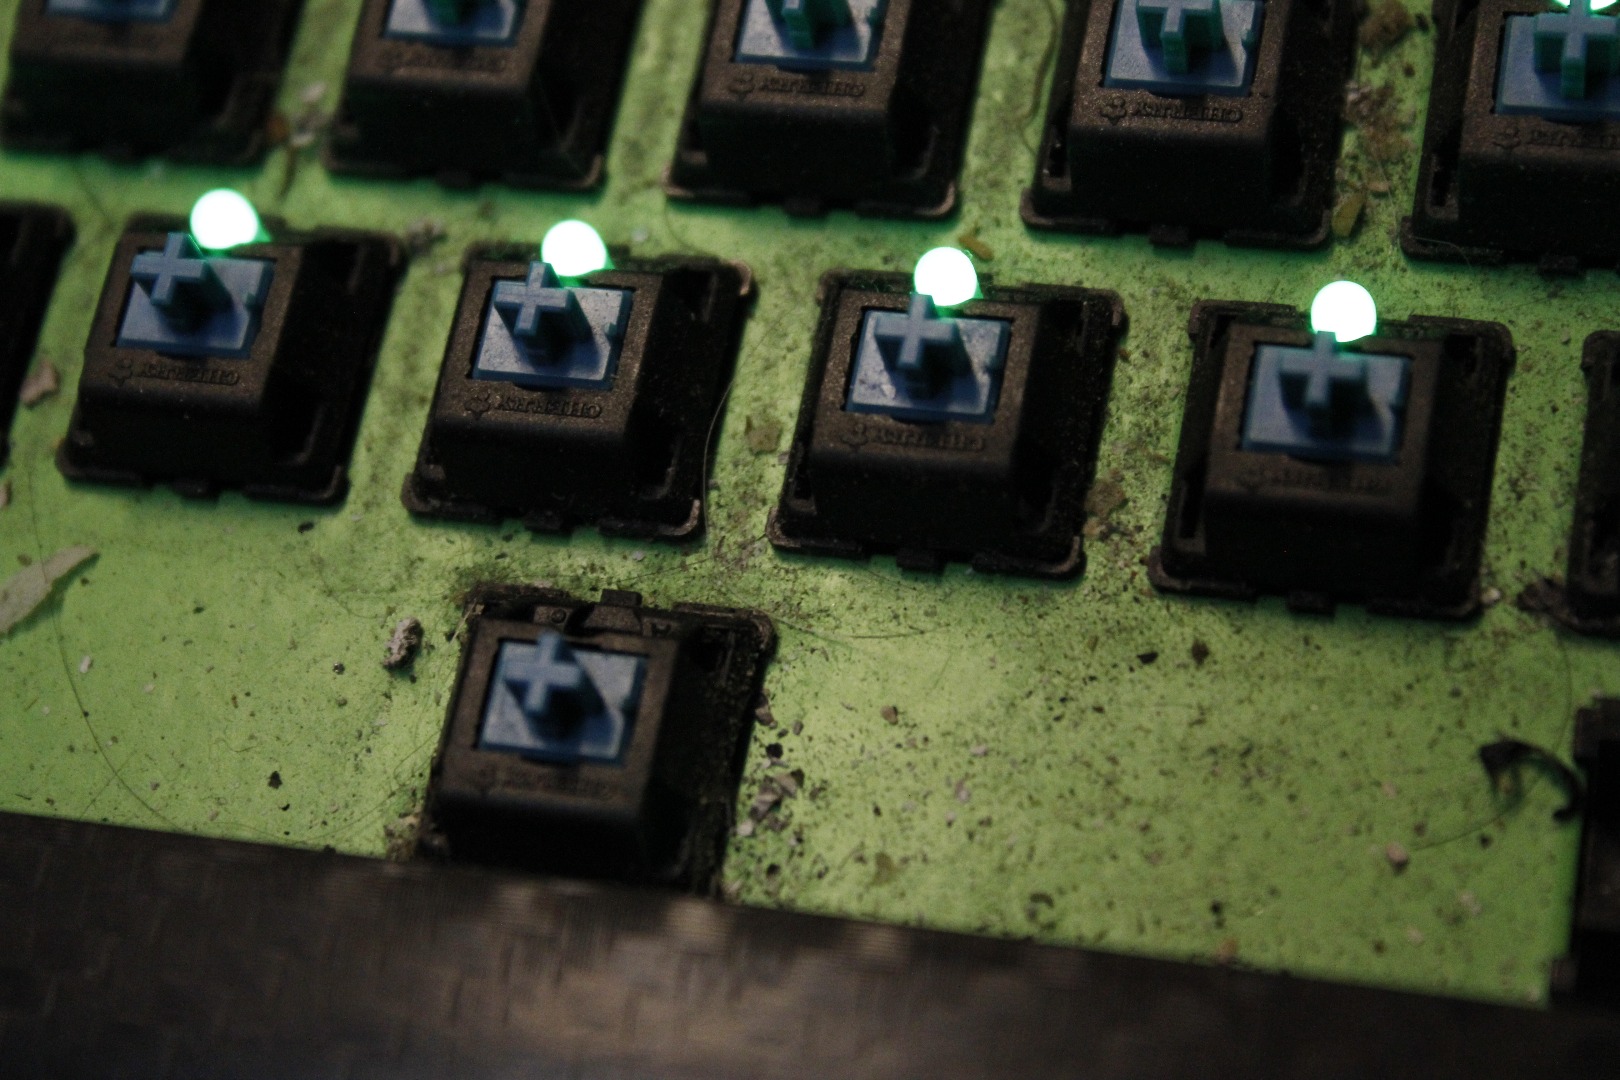
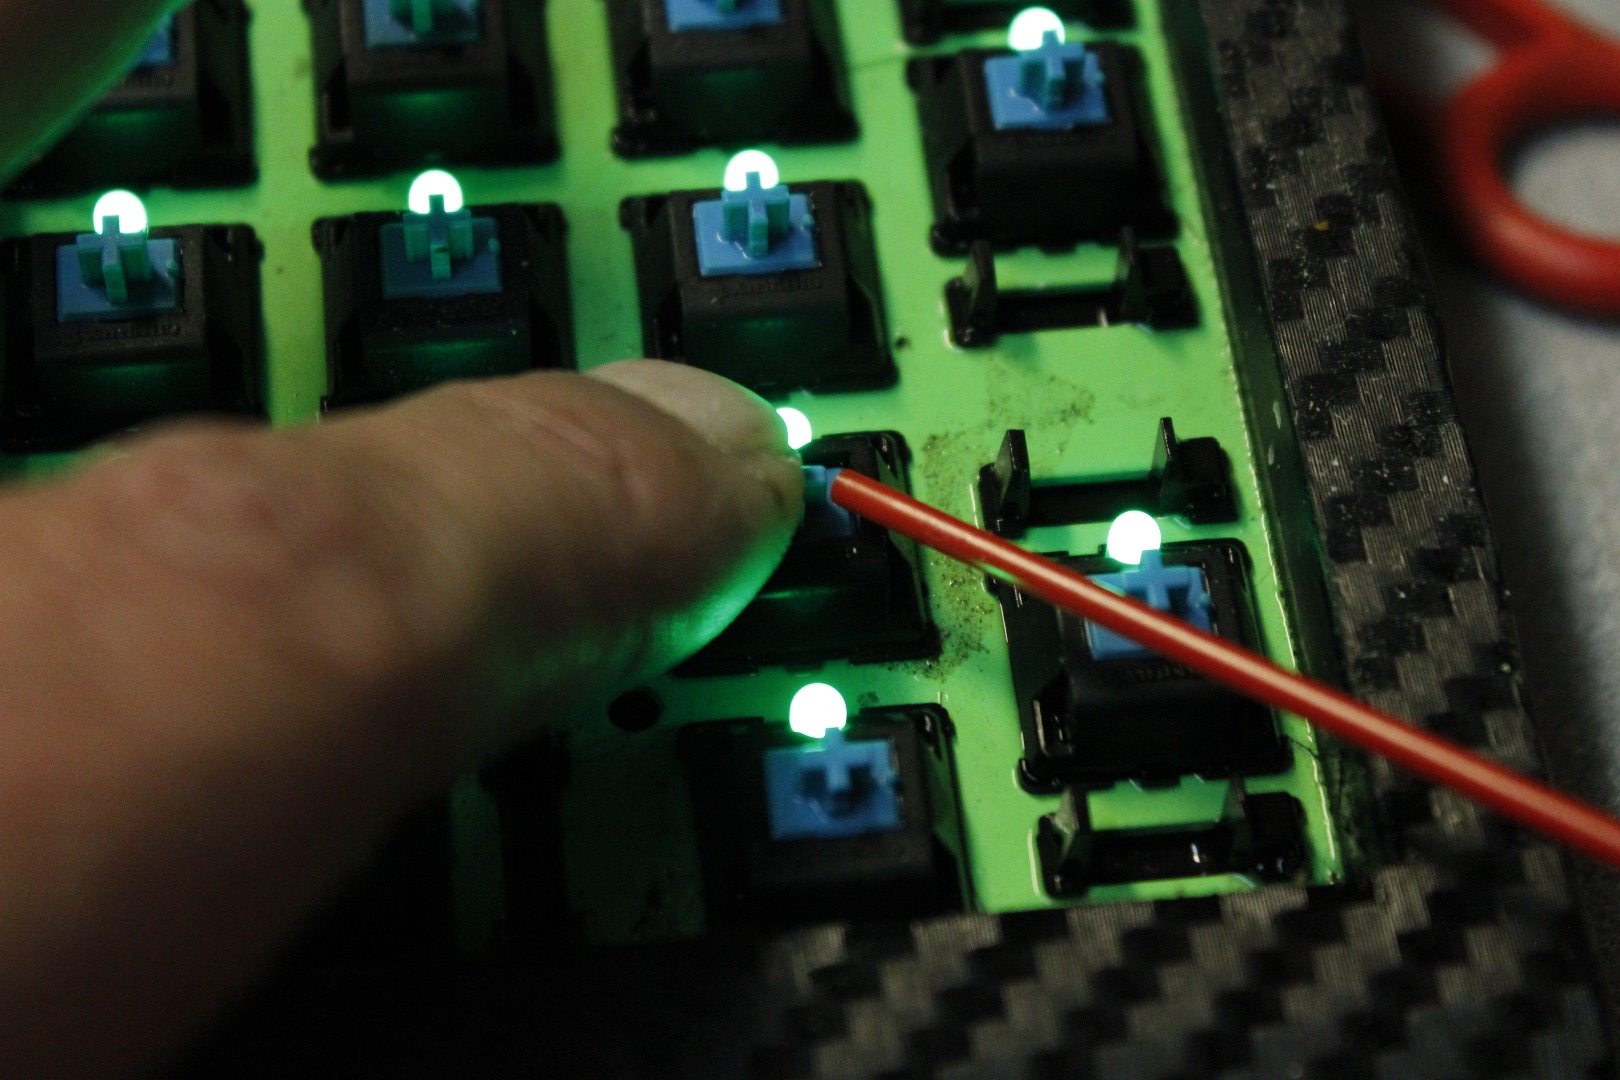
If yours is like mine and I am sure it is. I don't even eat at my machine and it turned into the mess you see.
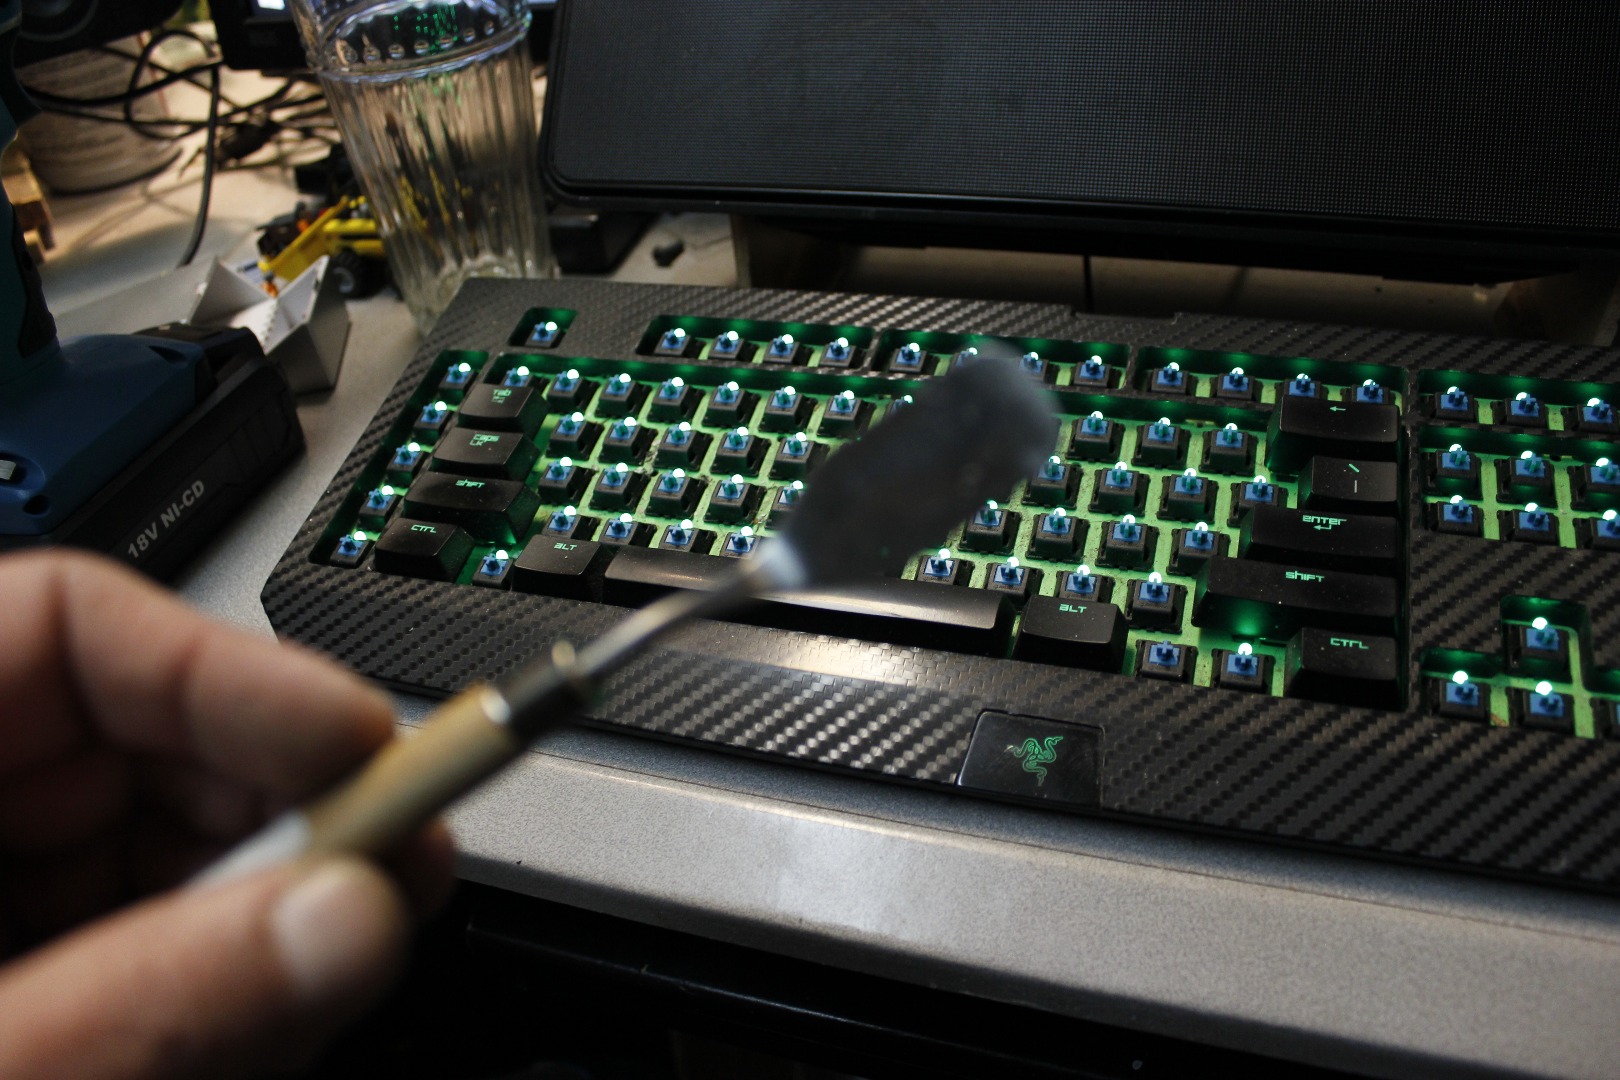
I used the CRC cleaner to break all the debris loose and then scrubbed vigorously with my paint brush. Repeat as needed. The small debris will mean nothing when it ends up in the bottom of the keyboard. I usually disassemble the entire unit once every two years.
Now that we have the base clean lets move onto the switches.
With each switch I depress the switch a bit and then spray out the switch with the CRC cleaner. I move quickly in this step. Just press the switch down a bunch of times give it a squirt, push it a few more times and move on. Do this in rows or groups to make sure you do not miss a switch. Once the unit has dried (will dry real fast) quickly press the switches and look for ones that are still sticky. Clean these a second time.
Wipe out any big garbage that is still stuck on the base.
Re-assembly
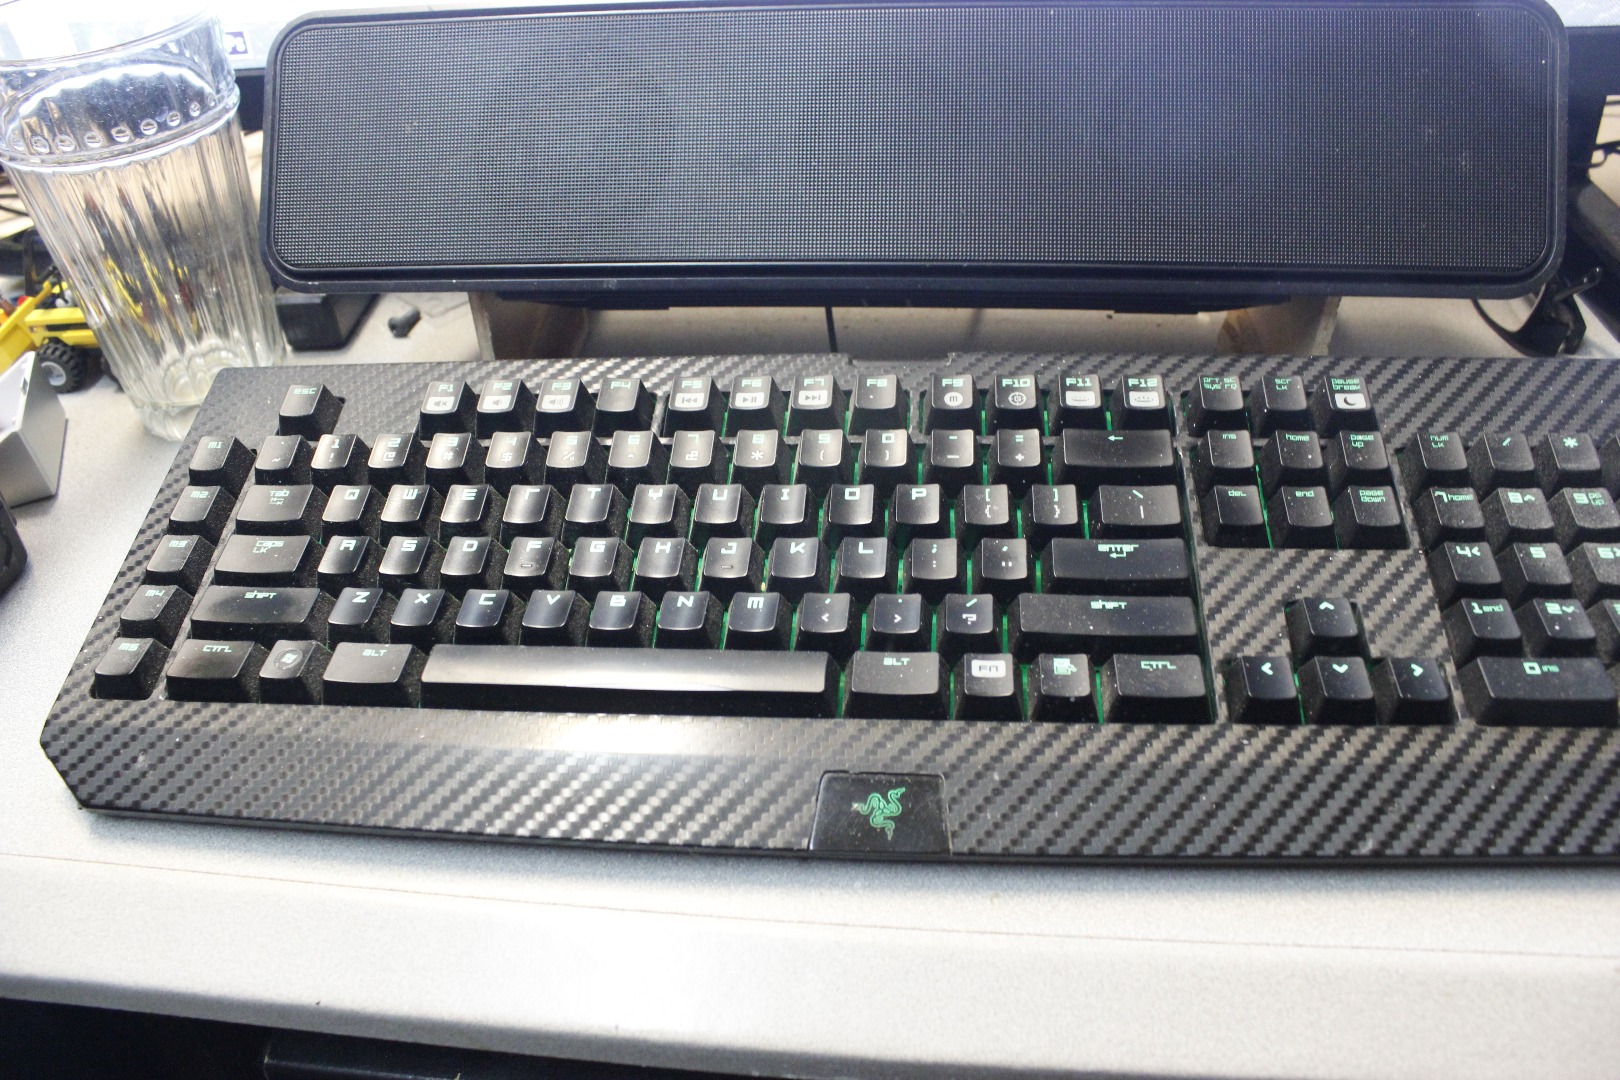
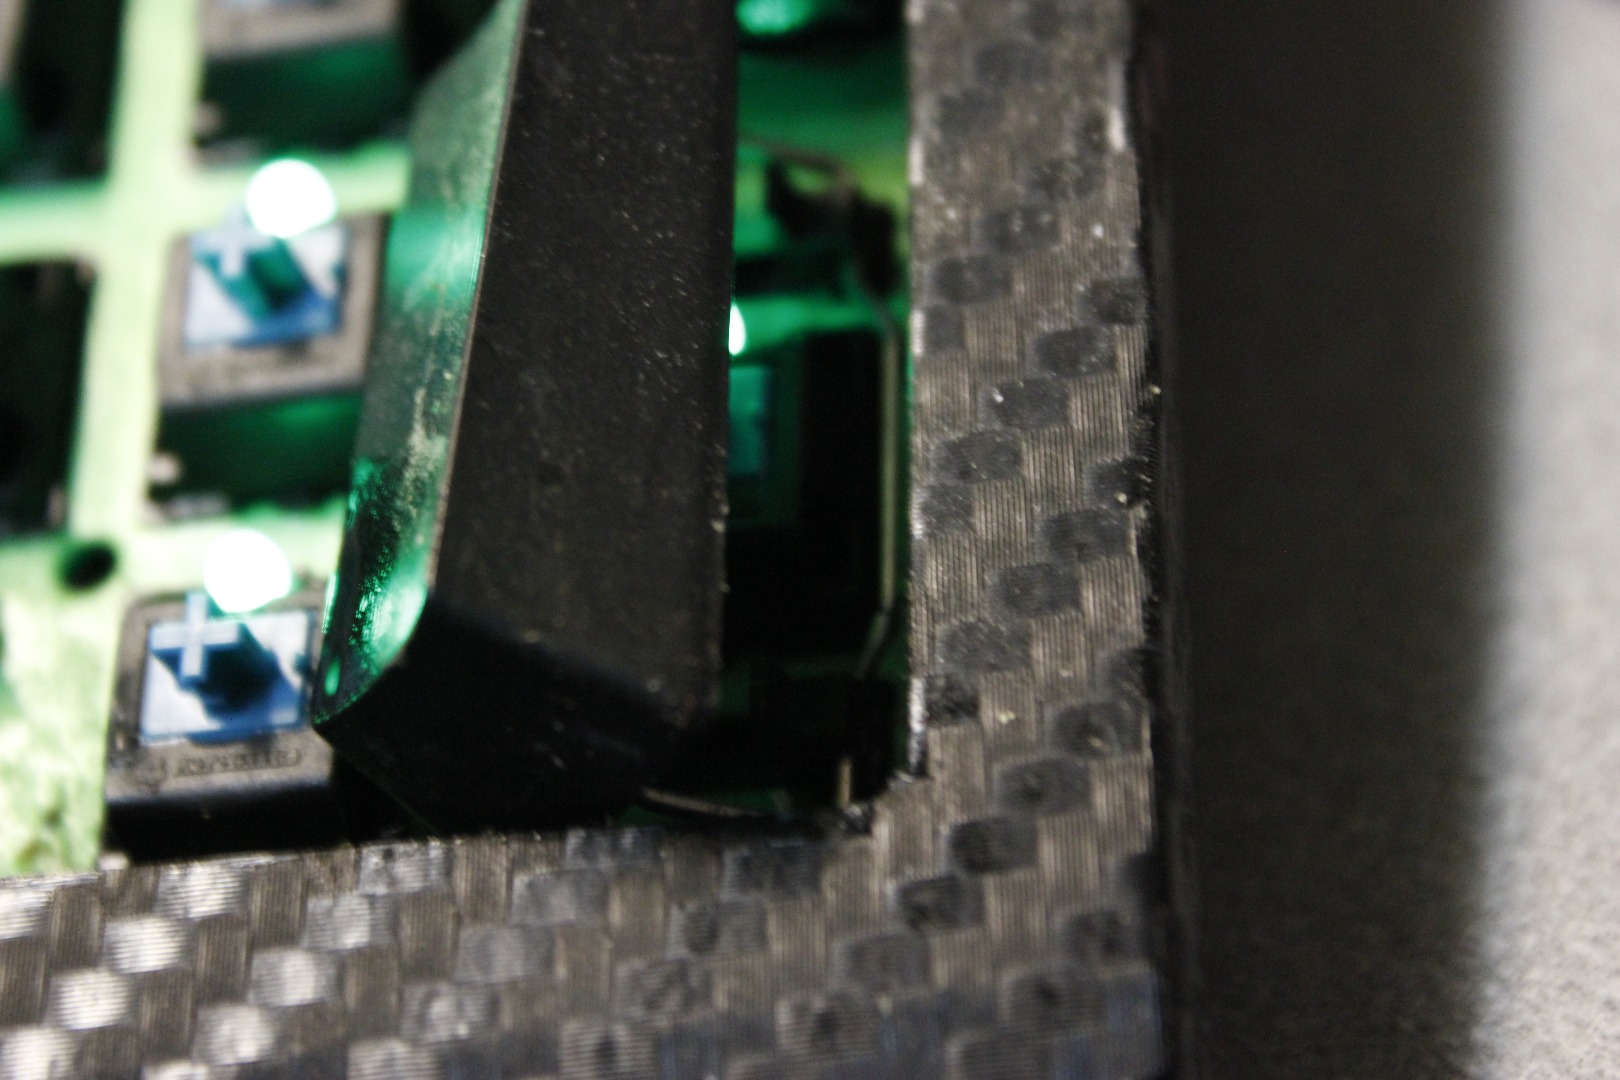
Now lets get it all back together. Now will be the time that you glue in any of the bail mounts on the keys that came out. They are directional so make sure which way you glue them.
If you removed the dual space keys lets put them in first. Again you will need your spudger to slip them back into the latch. Do not use lots of force. They should go back in rather easy. Listen for the latching sound. Once latched move to the next side or next key.
Once we have all the dual space keys in place we need to install all of the single space keys. Refer to your photo you took and install the keys. I set the key on the switch so I could feel it line up and push it down until it stops. At this point I again push the key rapidly to make sure it is not sticking and then move on to the next key.
It is not uncommon for some keys to still act a bit goofy for a few days after cleaning. If a key does not respond press it down and rock it around a little and this will clear any residual debris from the switch.
Once the final quirks are worked your keyboard should work like new.