Sensorgnome (Raspberry Pi) - Downloading Data
by sensorgnome in Workshop > Science
412 Views, 1 Favorites, 0 Comments
Sensorgnome (Raspberry Pi) - Downloading Data

SensorGnomes are an essential component of the Motus Wildlife Tracking System.
These devices act as radio receivers in a world-wide network, listening to radio transmitters that have been deployed on birds, bats, and insects by researchers trying to answer questions about movements on multiple scales. The
SensorGnome was originally designed at the Phil Taylor Lab at Acadia University and is now available for sale by Compudata and RFS Scientific.
Here I explain how to connect to your Raspberry Pi SensorGnome and download Data
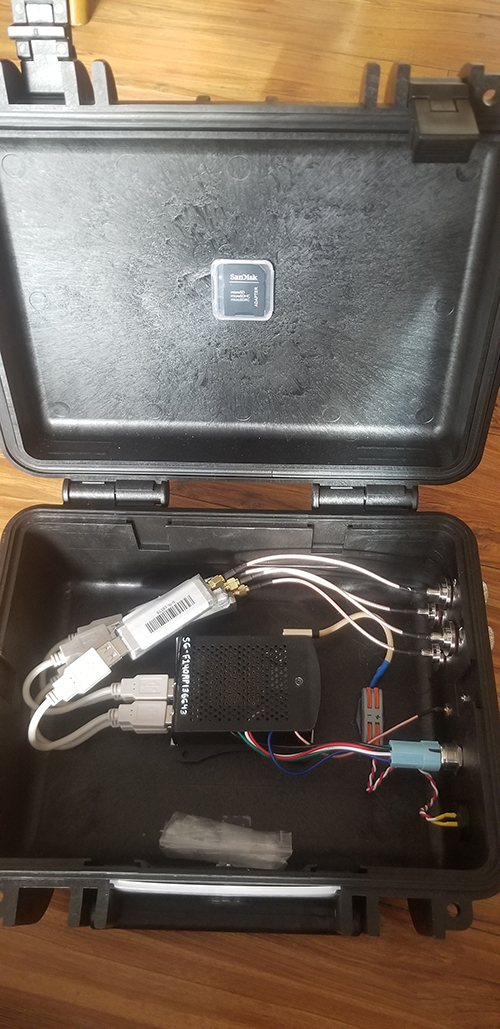
A Raspberry Pi has 4 USB ports and an Ethernet port on one end. Most will also have a pushbutton attached.
See Sensorgnome.org for more information.
Supplies
- Sensorgnome
- Laptop or smartphone
- [Optional] Ethernet cable
- Power supply with microUSB (to power SensorGnome)
Power on Your SensorGnome
Plug in the SensorGnome to power it on. You can tell it is on when a red LED begins flashing from the top of the case.
Wait for 1-2 minutes to allow the SensorGnome to load its software.
(Option 1) Connect to the SensorGnome Using Wi-Fi

Once the Raspberry Pi has booted up, click double-press the Pushbutton switch to activate the Wi-Fi.
Once active, the Pushbutton should blink slowly at a rate of 0.5 seconds on and 0.5 seconds off.
Using a phone or laptop, look for a Wi-Fi network with a name such as “SG-###RPI3###”, where ‘#’ can be any letter or number.
Connect to the network using the same name of network as the password.
(Option 2) Connect to the SensorGnome Using an Ethernet Cable
This is an alternative method to connecting to your SensorGnome from the method above.
Once the Raspberry Pi has booted up, insert one end of the Ethernet cable into the Raspberry Pi’s Ethernet port and the other into your laptop.
Download and Install an FTP Client
(Method 1 - WINDOWS/MAC/LINUX) Download SensorGnome Data Using FileZilla
- If using your Laptop, download and install the program FileZilla from the following website:
https://filezilla-project.org/download.php - Open the program and in the top bar you will see four text fields labelled Host, Username, Password, and Port.
- In the ‘Host’ field, enter the address sftp://192.168.7.2 if you are connected via Wi-Fi. If you are connected by an Ethernet cable, enter the address sftp://sgpi.local.
- For the username enter pi and for the password enter raspberry. The port field should be left blank.
- Click the Quickconnect button and you should see the following progress text in the Status frame.
- The folders visible on the left-hand side of the window are on your laptop (‘Local Site’) – we will call this sections frame 1. After clicking the Quickconnect button, you should also see folders appear in two frames located on the right-hand side of the window – this is the internal storage of your SensorGnome (‘Remote Site’). We will call the top and bottom sections frame 2 and frame 3, respectively.
- To navigate through your SensorGnome’s storage, you can use either of frames 2 or 3 but note only frame 3 shows files (frame 2 is for navigation only!).
- Navigate to the ‘root’ of the Sensorgnome, either by clicking on the folder ‘/’ in frame 2 or by clicking the ‘..’ folder in frame 3 until you can no longer navigate further.
- To access data stored on the SensorGnome, navigate through the following folders: media >> internal_SD_card >> SGdata. In the final folder you will see one folder for each day the SensorGnome has been collecting data. Folders will be labelled with the following date format YYYY-MM-DD.
- To copy files from the SensorGnome to your laptop, simply select all the folders you wish to download, right click and select download. They will be automatically copied to the folder you have open in frame 1.
(Method 2 - ANDOID) Download SensorGnome Data Using 'ES File Explorer'
- If using your Android smartphone, go to Google Play and install 'ES File Explorer'.
- Once installed, open the program and open the top-left menu, select the 'Network' option, and then 'FTP'.
- You should now see a single folder labelled 192.168.7.2. Open it. If you are prompted for a username and password, enter "pi" and "raspberry", respectively.
- Once the folder has been opened, navigate through the following folders in this order: media >> SD_card >> SGdata
- In the final folder, you should see a folder for every day the SensorGnome has been collecting data labelled with the following date format: YYYY-MM-DD
- Select which folders you wish to download and then select copy on the bottom-left corner.
- Now, open the menu once more and this time select local and then either Internal Storage or SD card, depending on where you want to store the files on your phone. From there, navigate to the folder where you want the files to end up. To add a new folder, select the three dots on the top-right corner and then select New.
- Once you have navigated to the correct folder, select the paste button on the bottom-left corner of the screen.
- Compress the files by selecting the newly pasted folders and pressing the three dots at the bottom-right corner of the screen (more) and then selecting compress.
(Method 3 - IOS) Download SensorGnome Data Using 'FTPManager'
Instructions are in development....