Sensor Data Visualization With MESH Blocks
by MESHprj in Circuits > Electronics
1311 Views, 8 Favorites, 0 Comments
Sensor Data Visualization With MESH Blocks
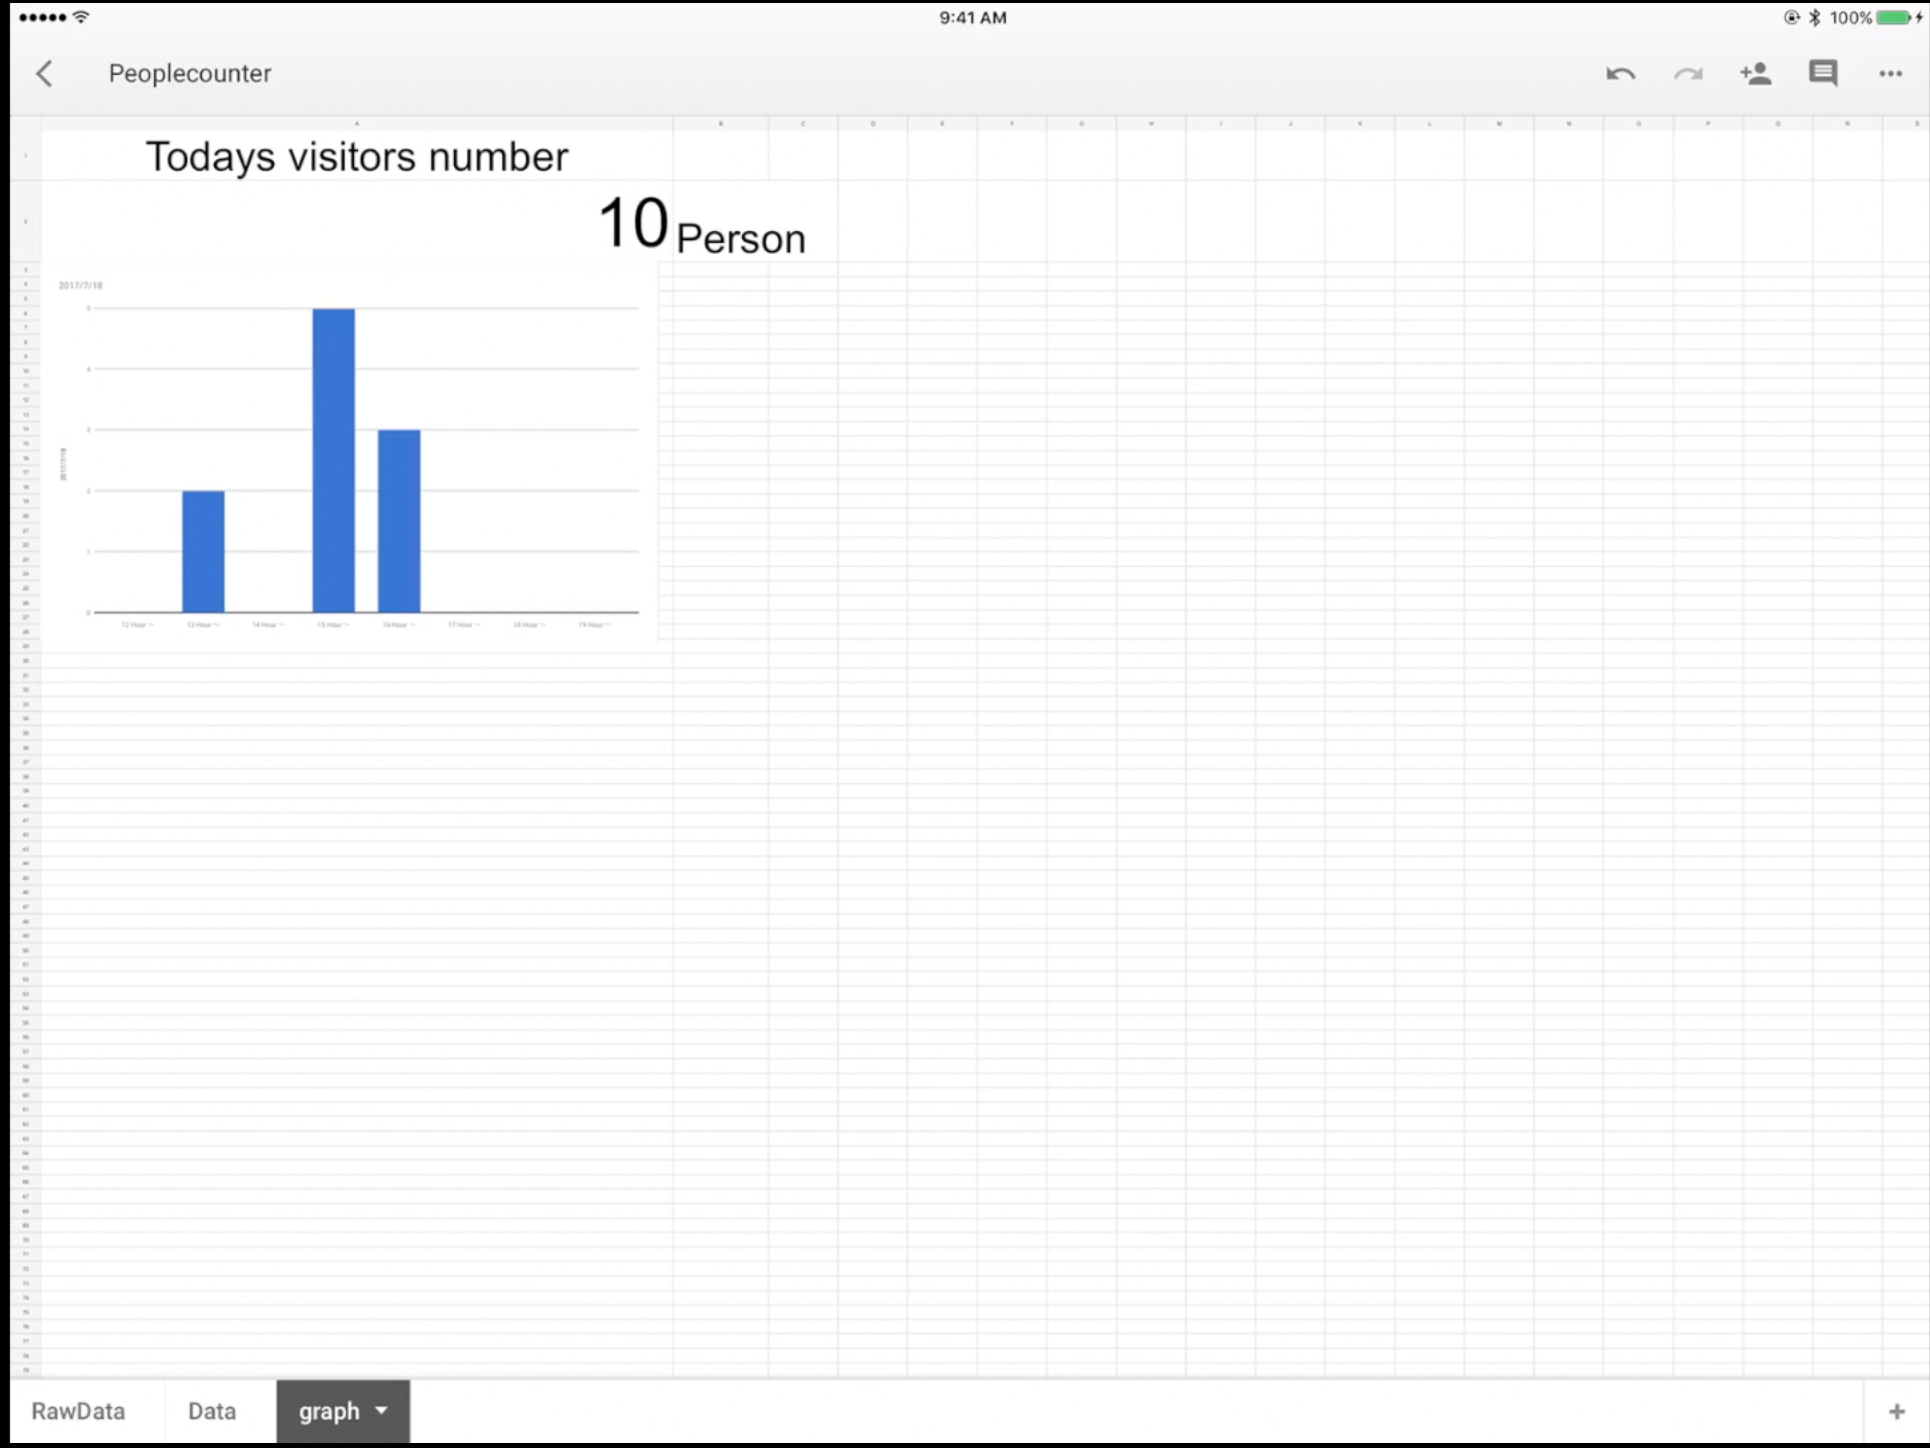
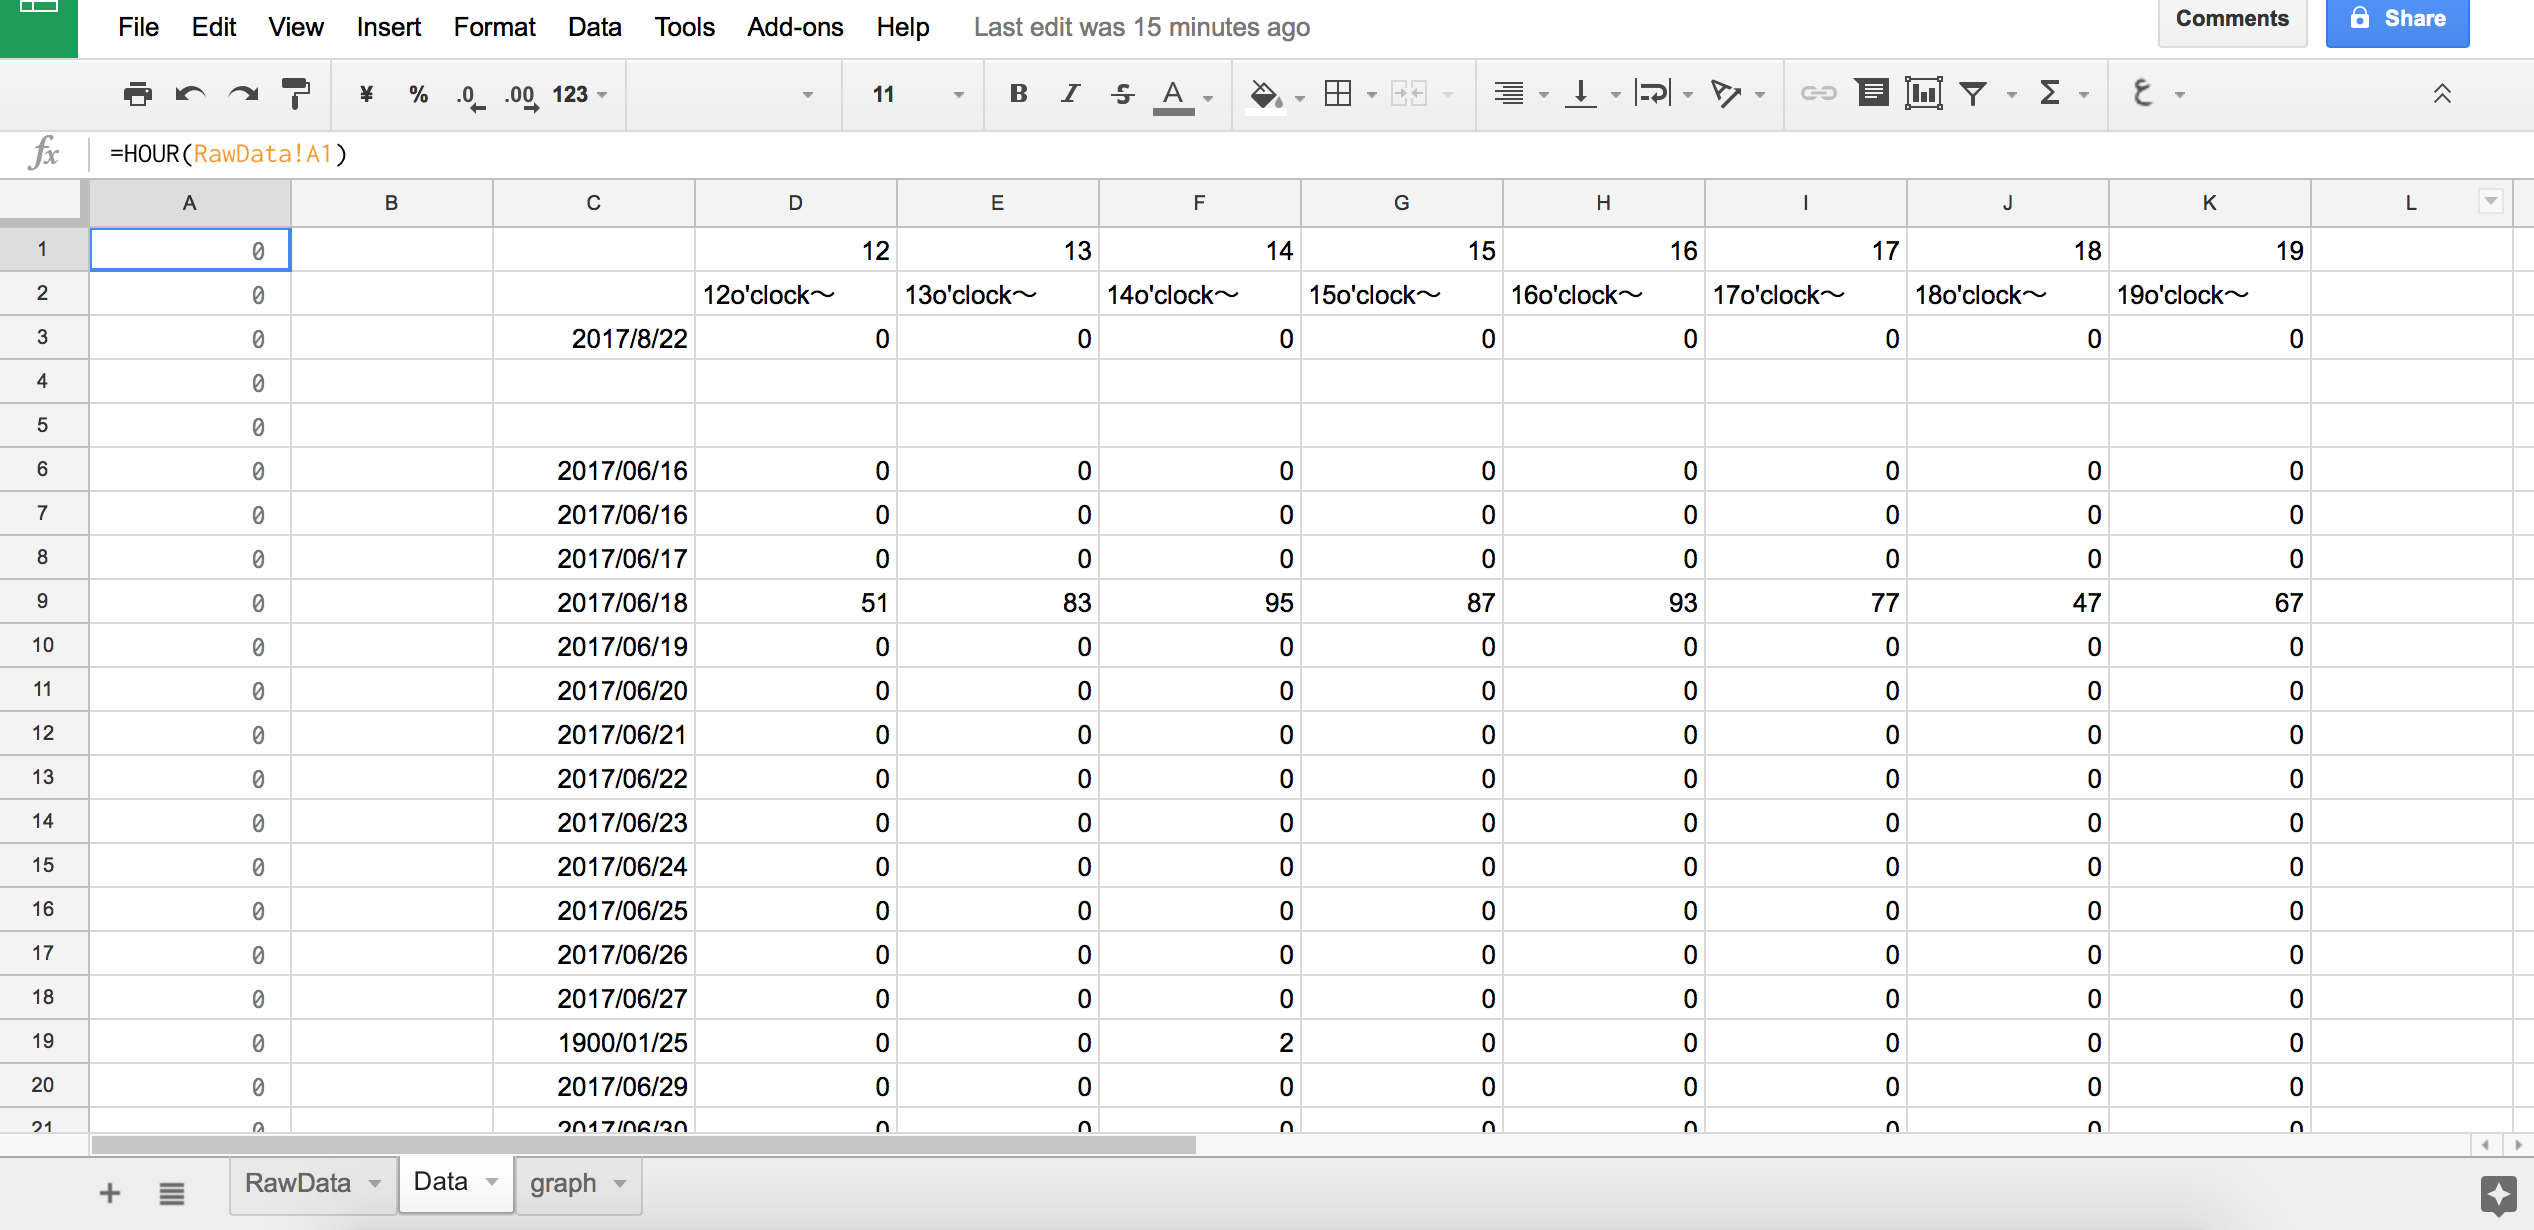
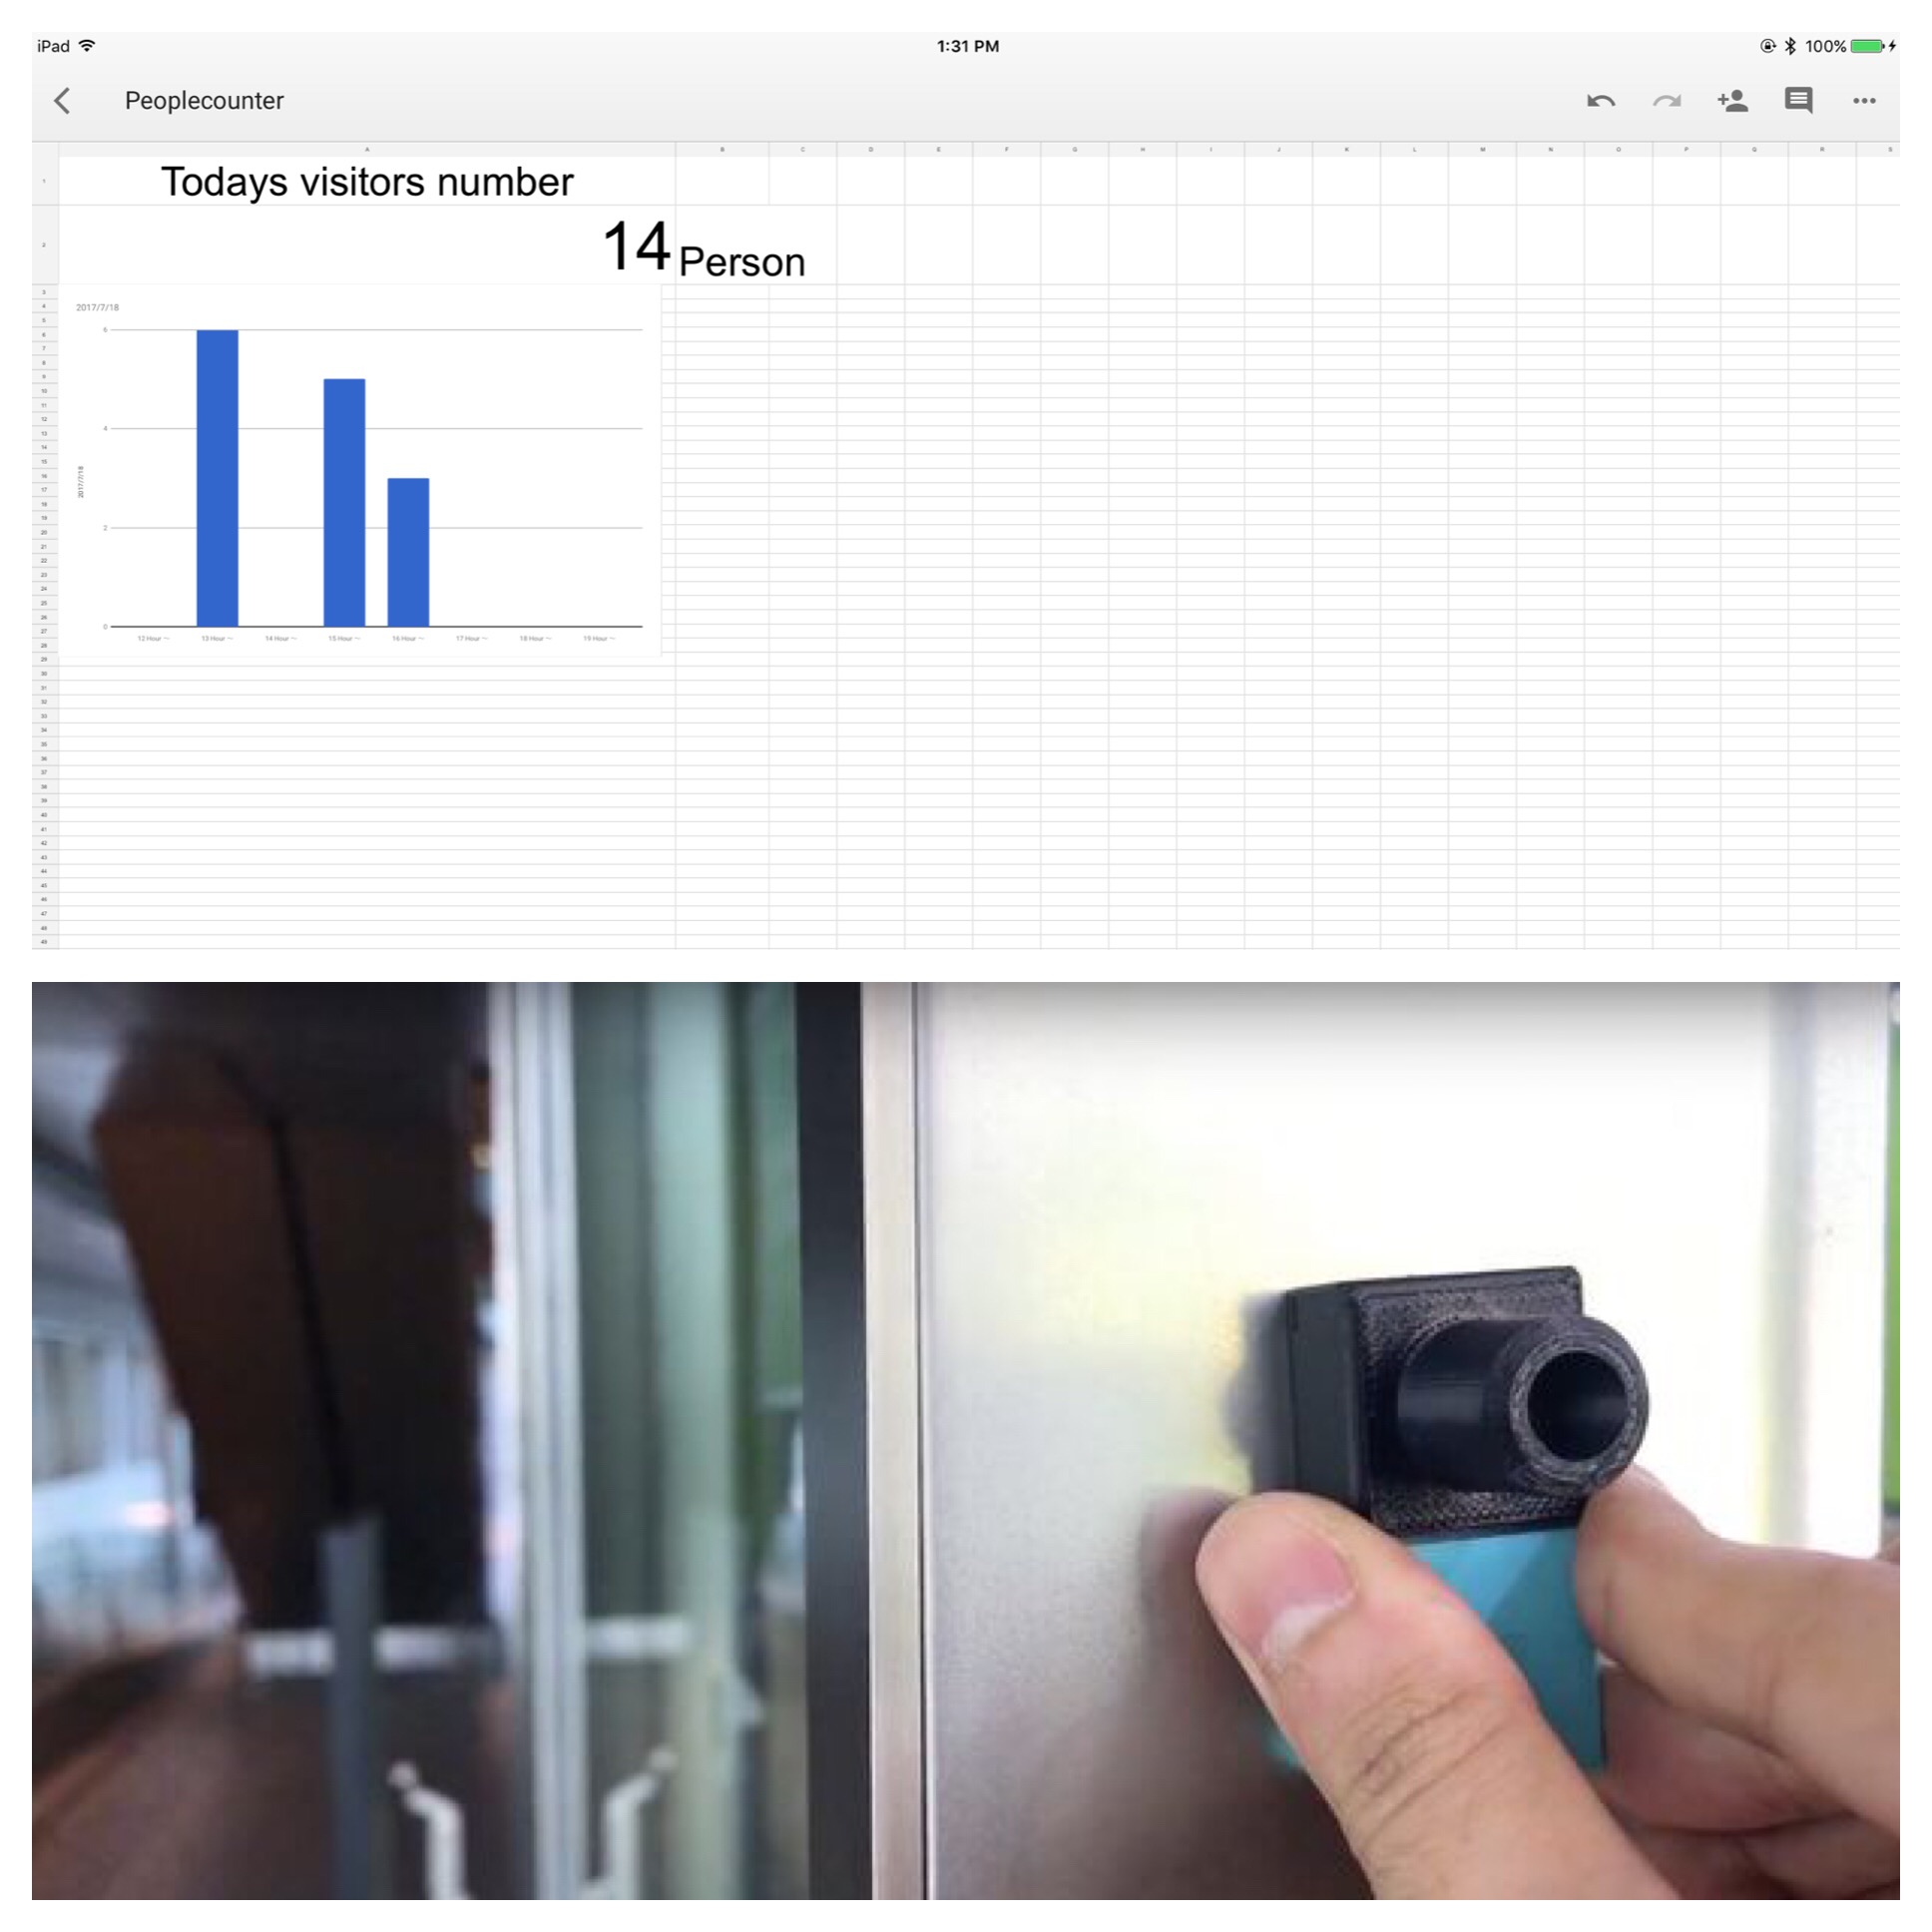
Tracking and visualizing sensor data is super easy with MESH blocks. In this project we tracked the volume of traffic entering and exiting a storefront in real time, logged the data to a spreadsheet, and finally visualized the data in a graph. We used our own MESH motion sensor, but you can easily switch the MESH sensor for any other sensor and use our 10-pin GPIO to enable integration and data tracking in a Google spreadsheet.
To capture the data, we connected our sensor to a Google spreadsheet via IFTTT.
If you are interested in a more sophisticated data visualization We also have an integration with a customizable data visualization dashboard called StatX using our SDK.
---
To learn more about MESH visit our website or better yet get MESH IoT blocks on Amazon at 10% off with discount code MAKERS00 as a thank you for checking out our Instructable.
Materials
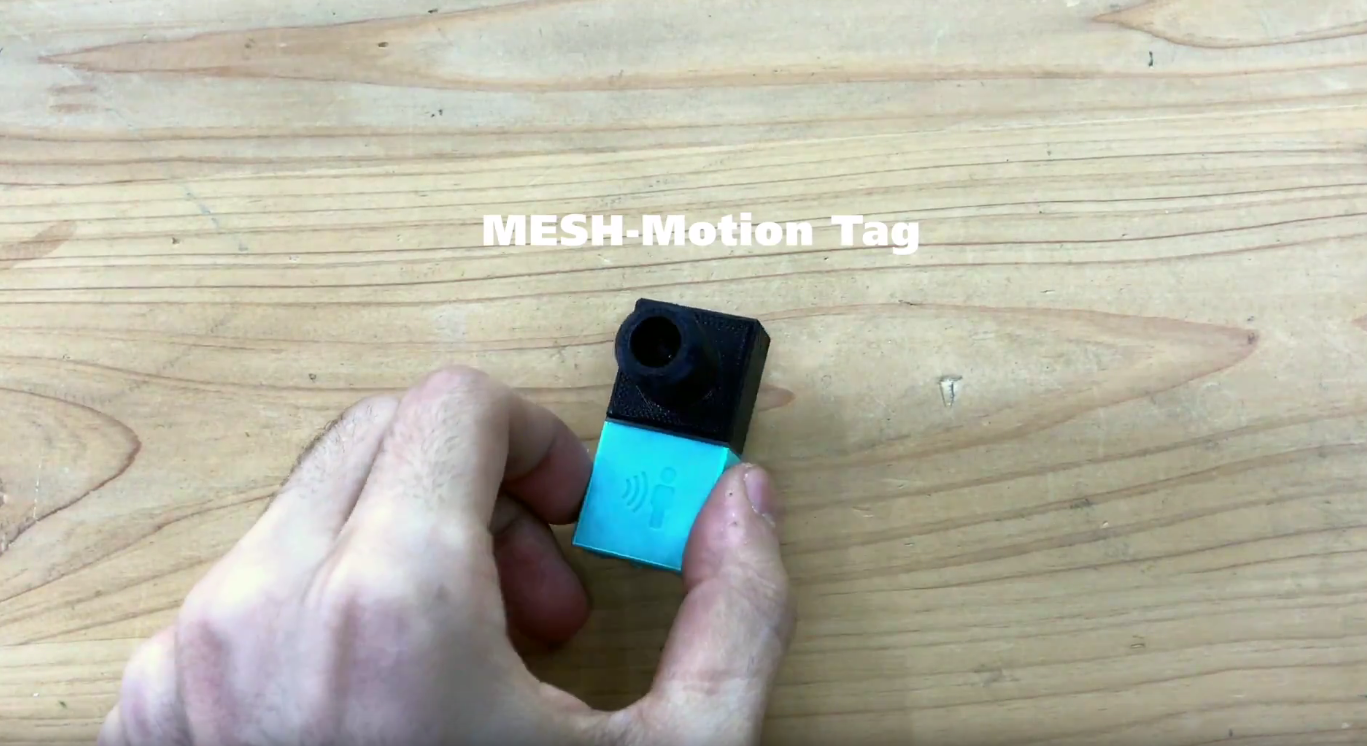
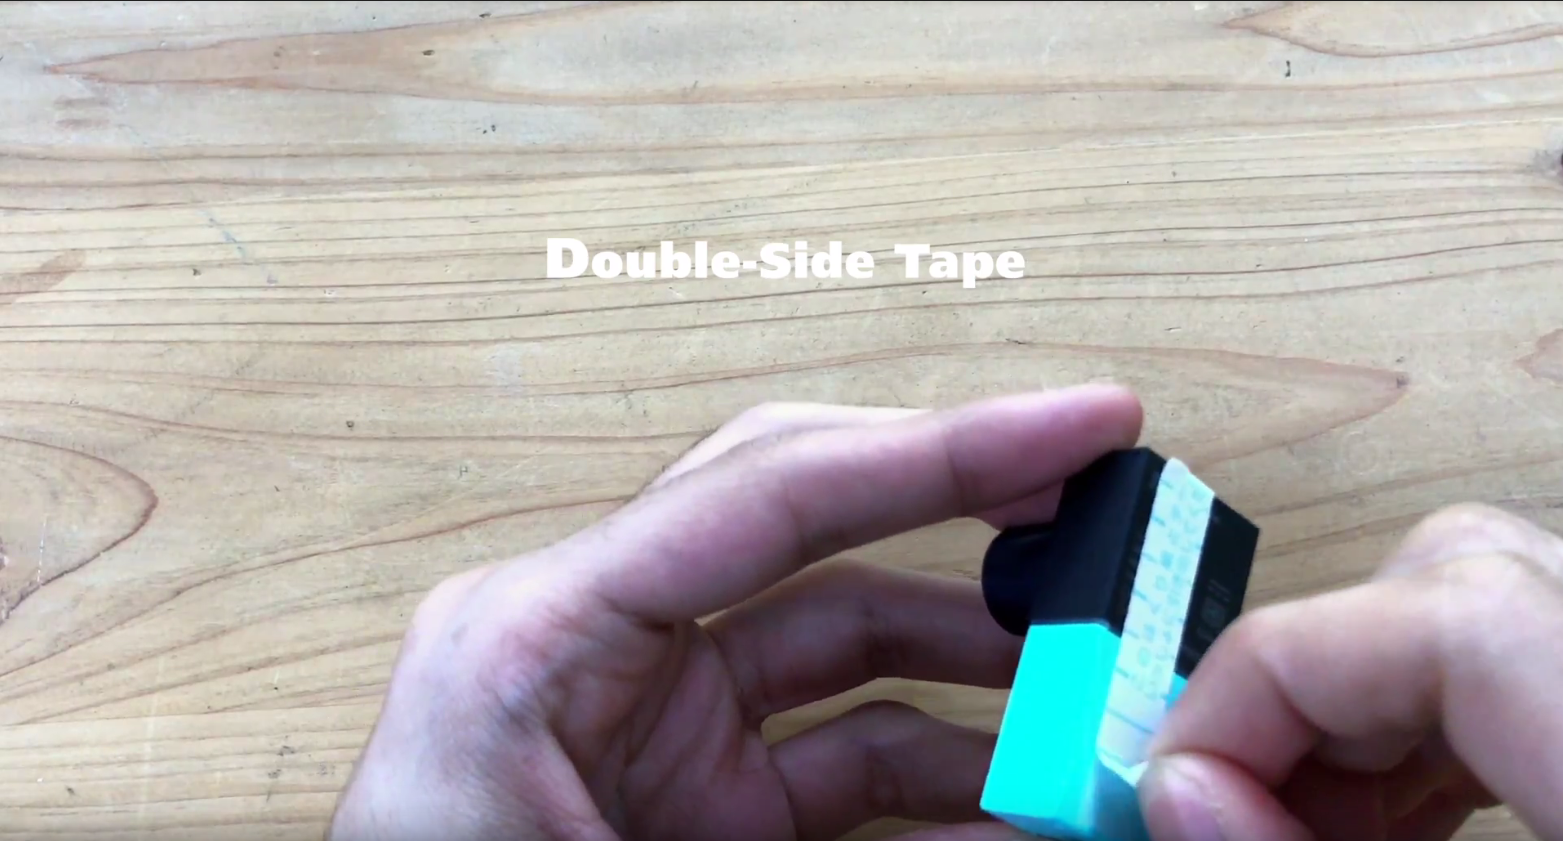
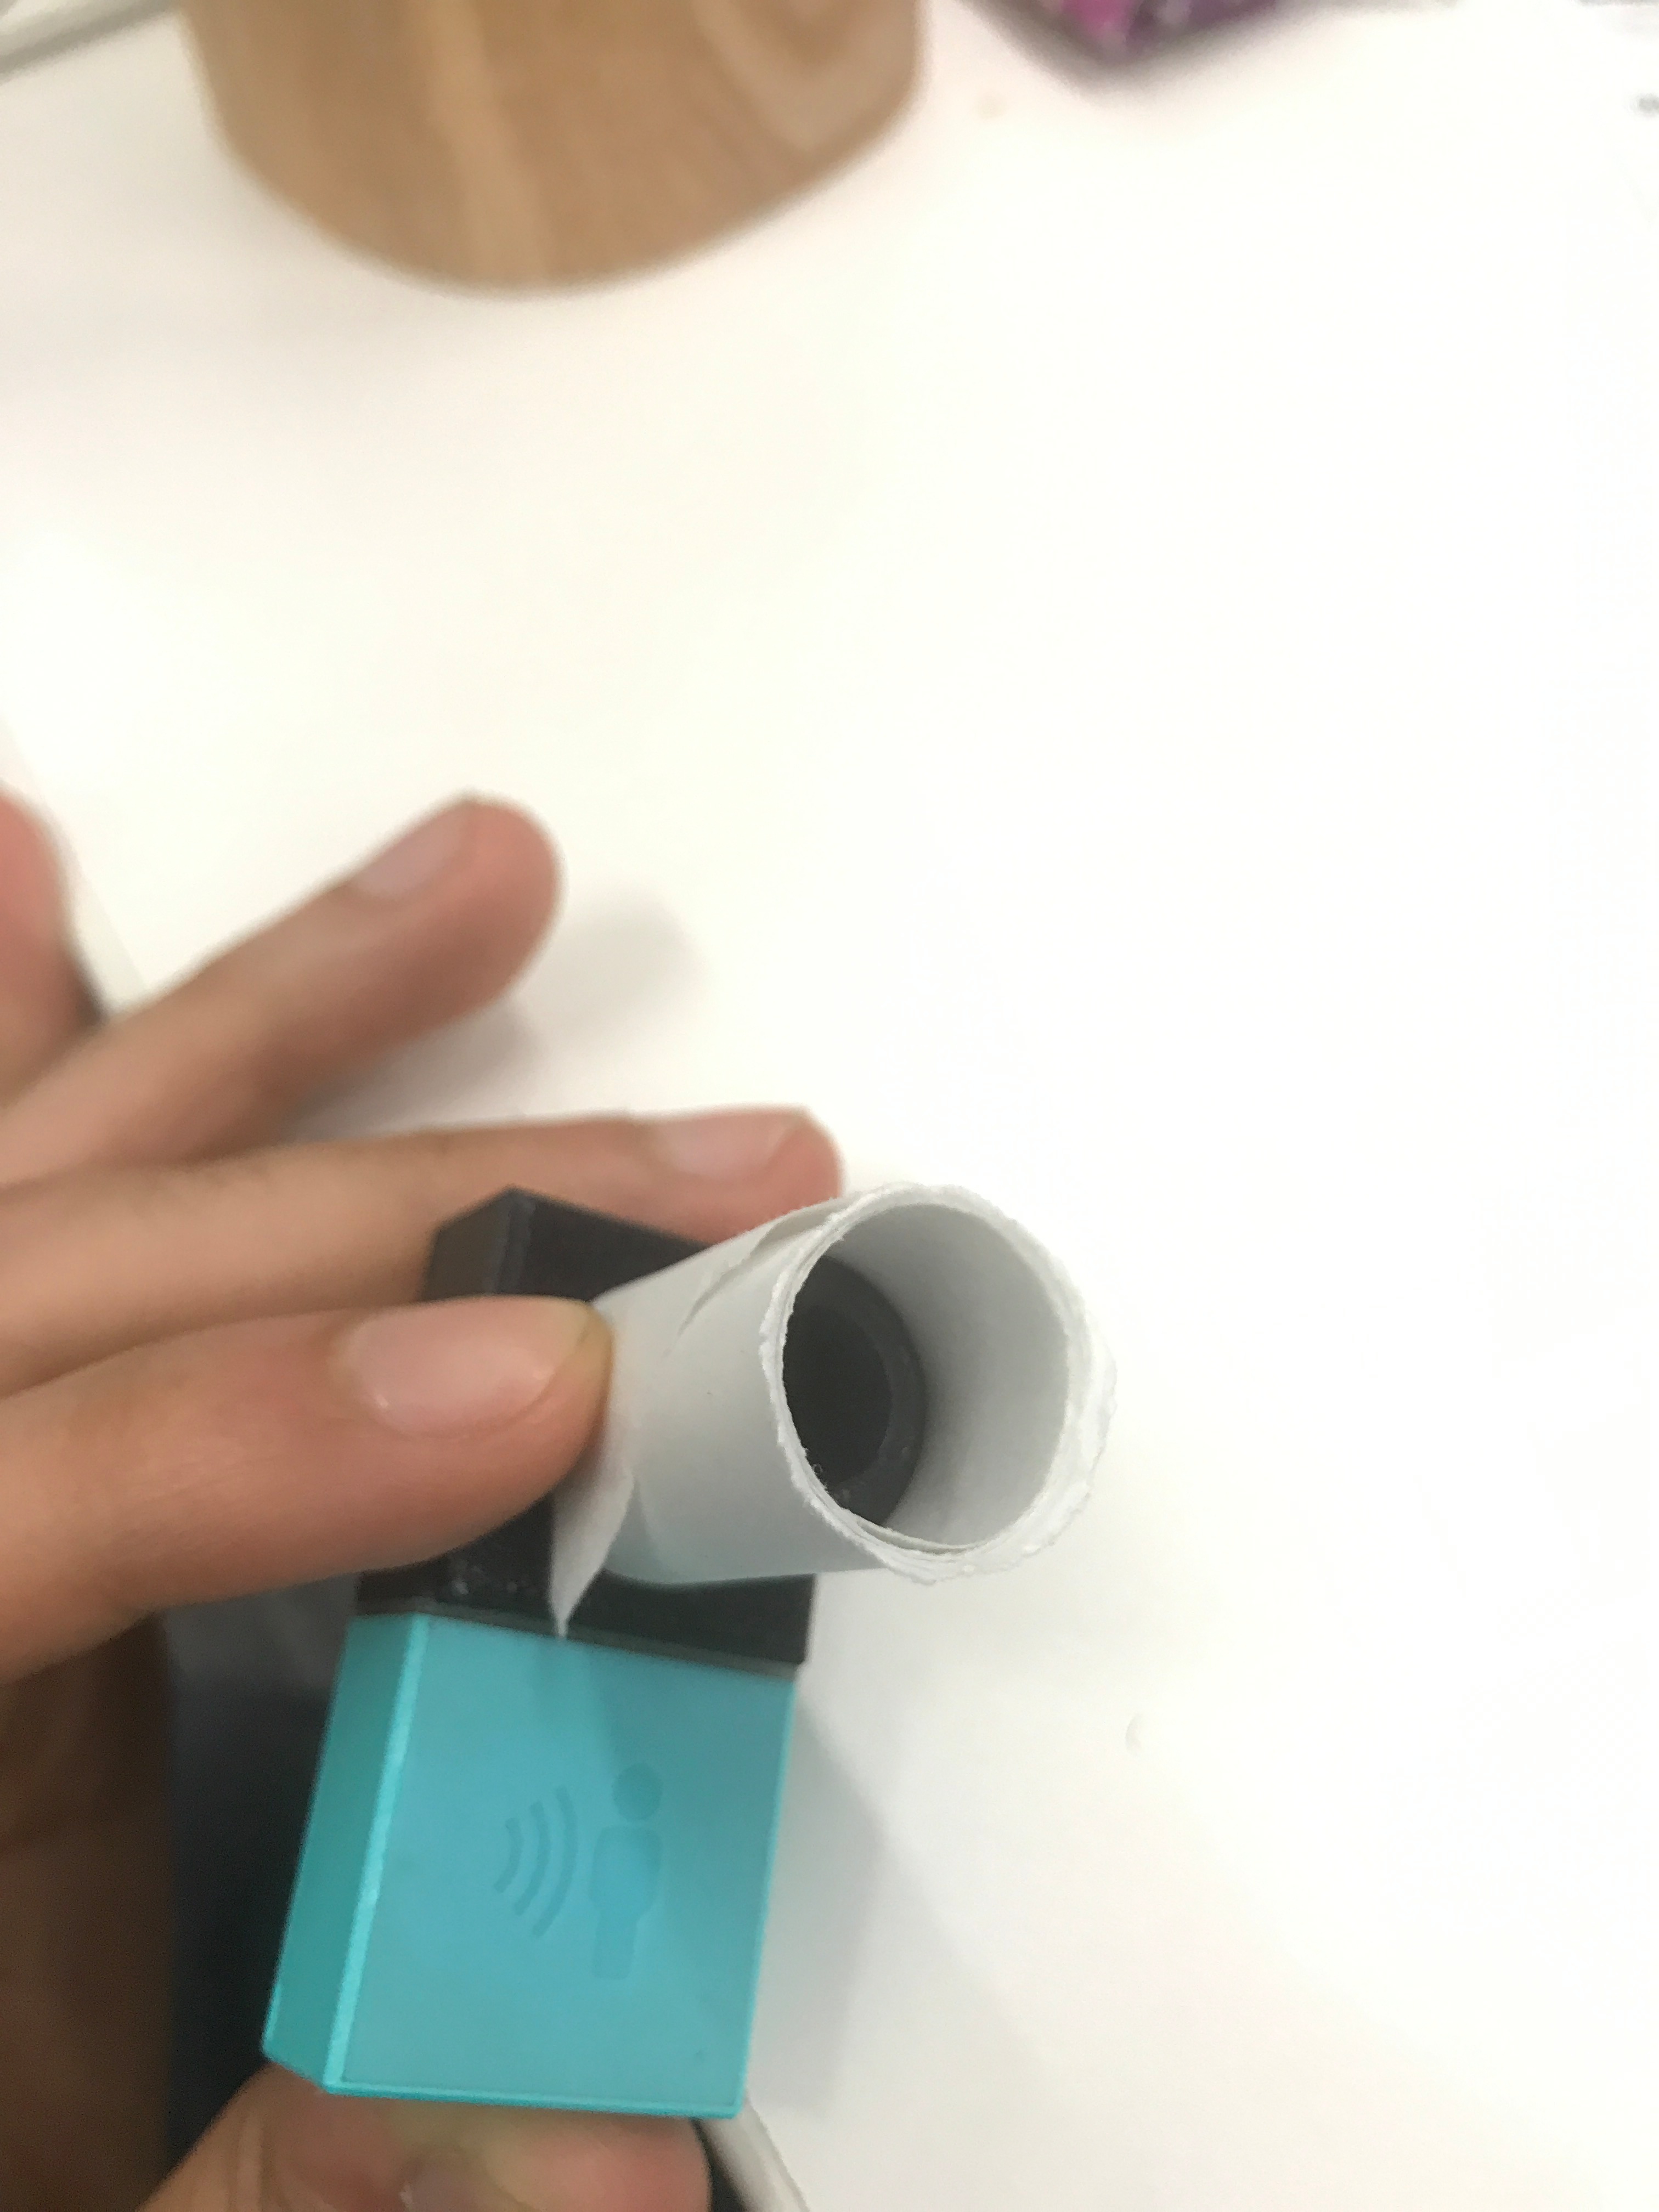.JPG)
Tap-and-Go IFTTT Integration
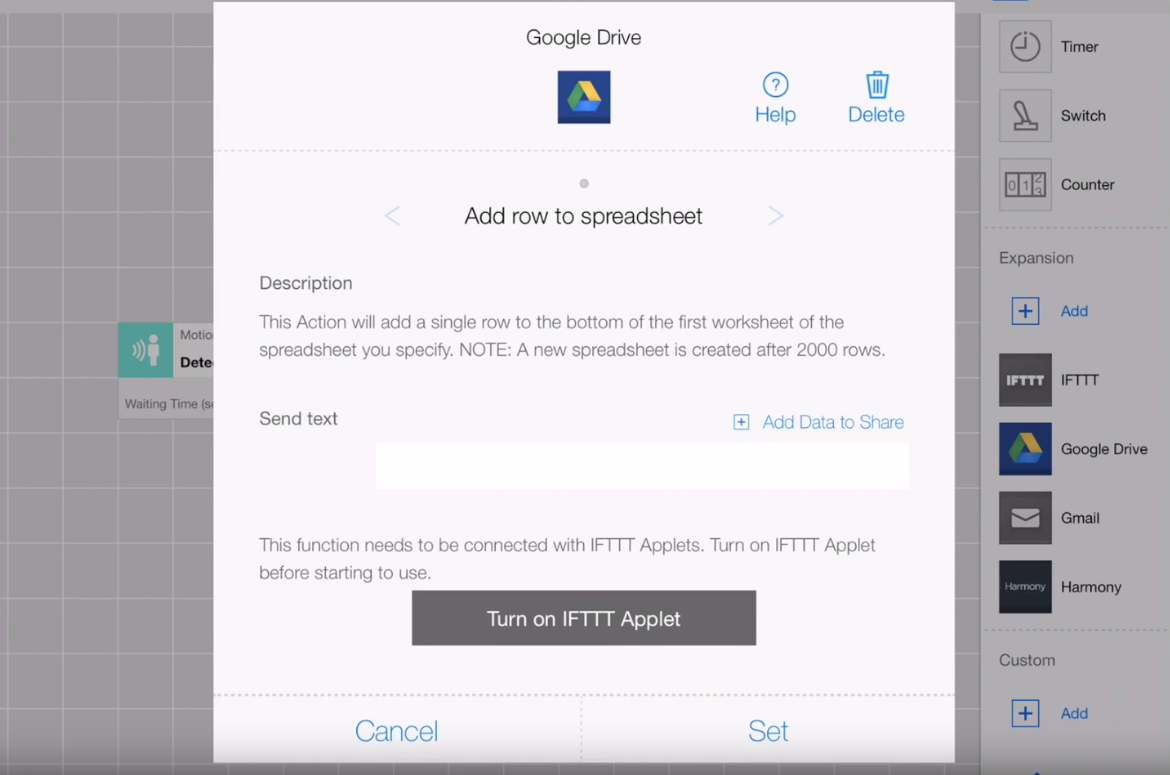
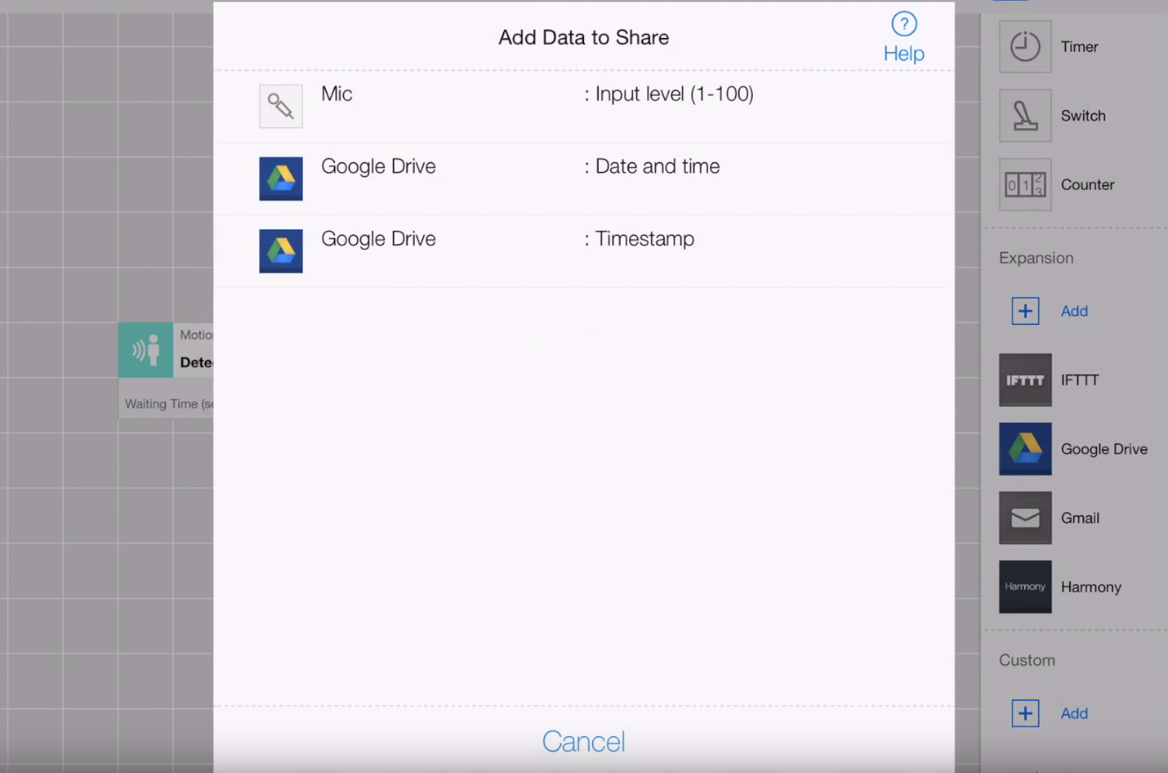
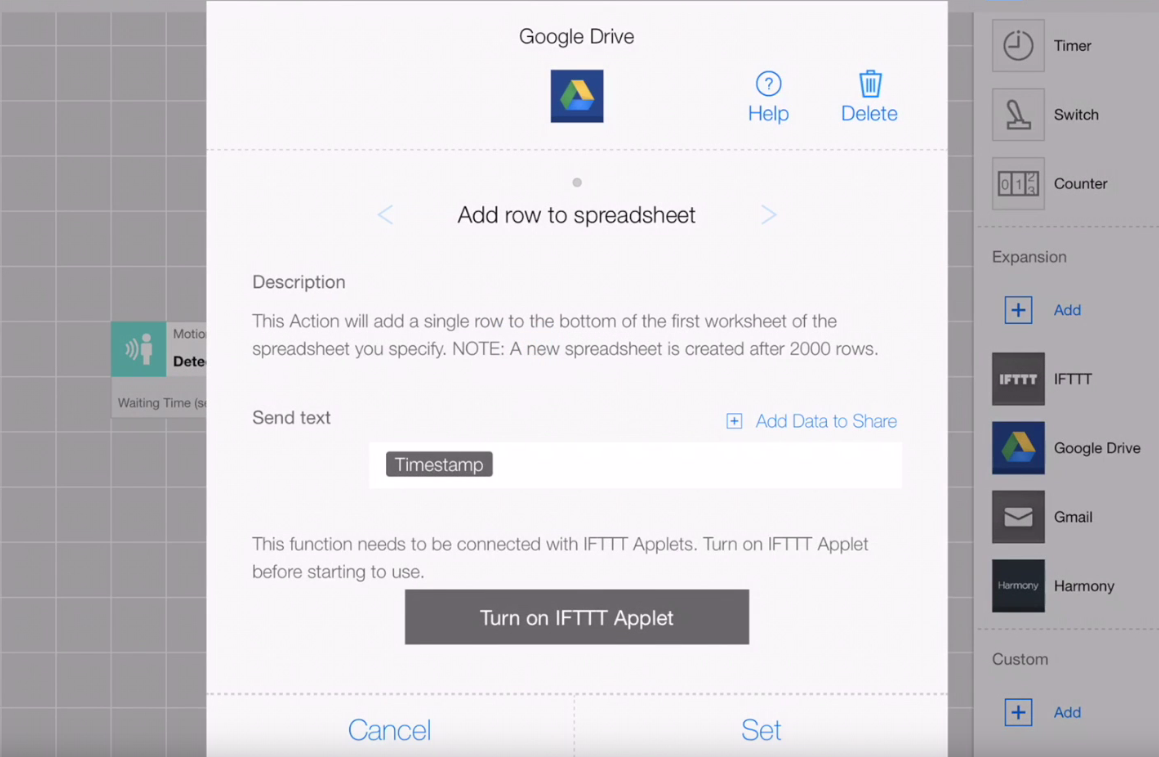
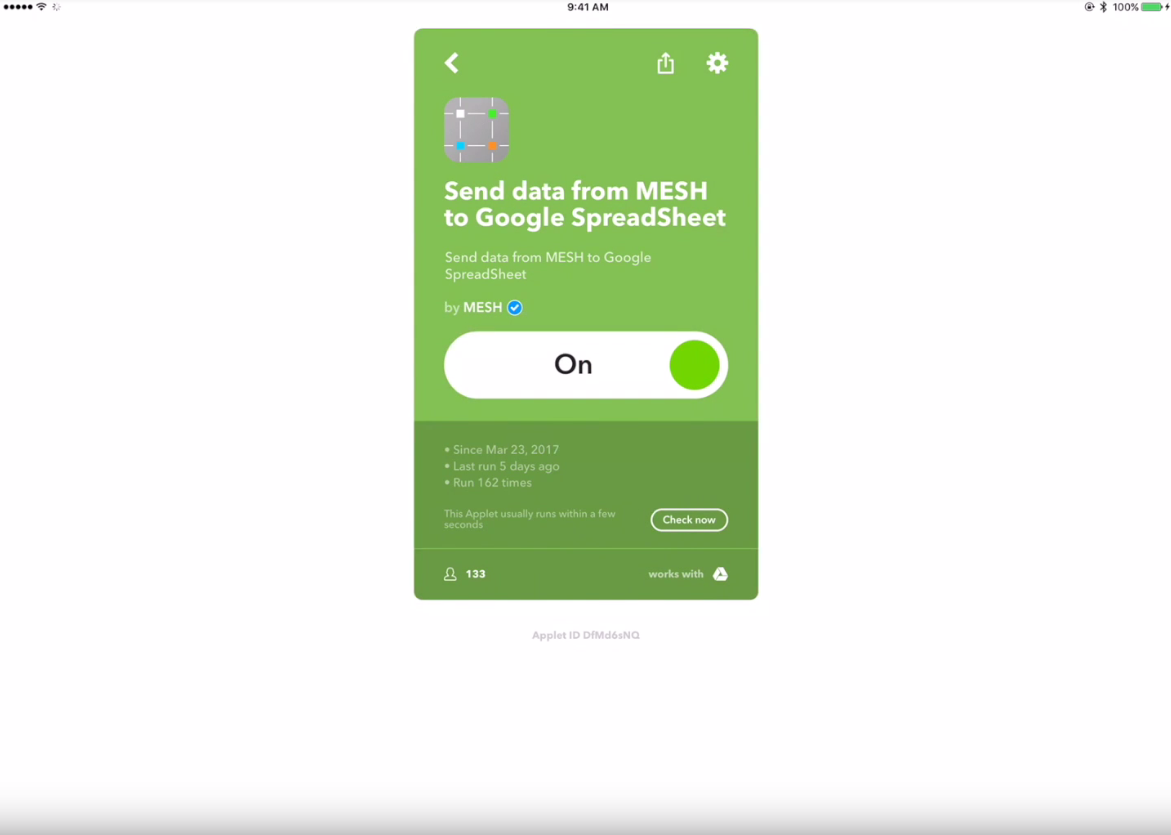
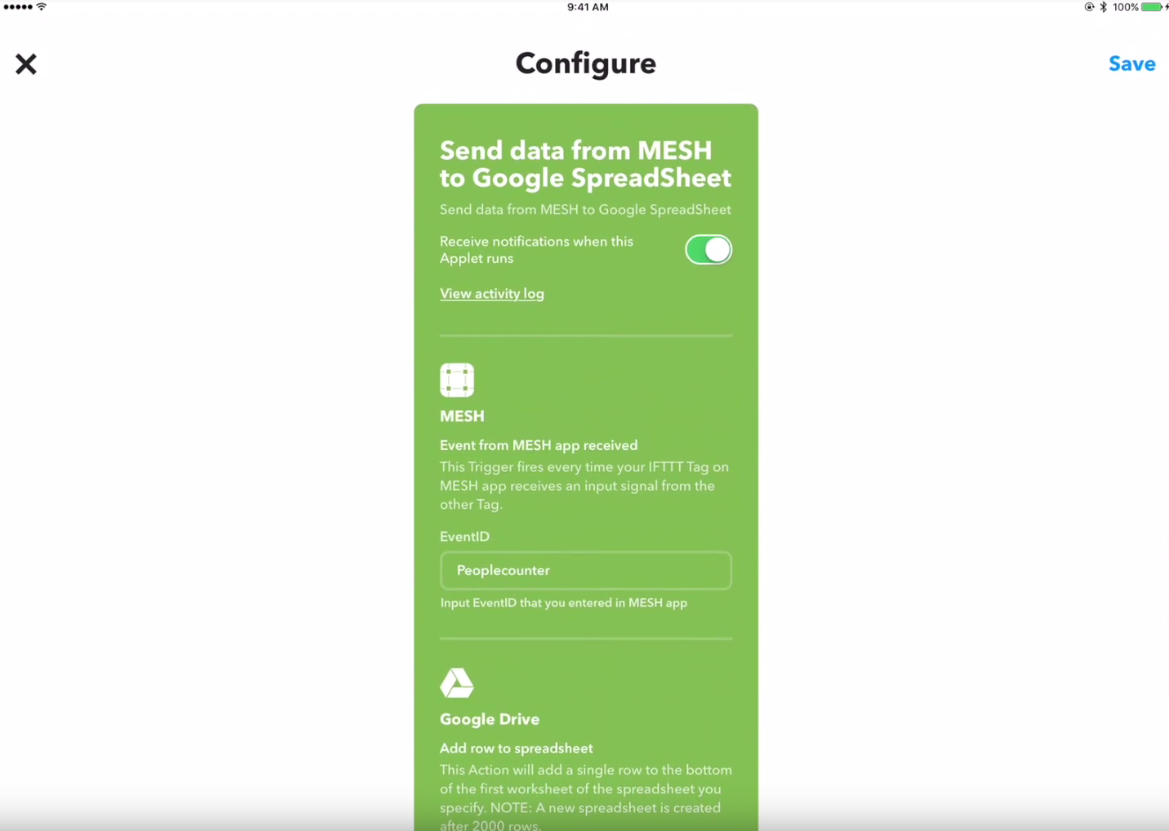
The next step is to set up the the Google Sheets integration via IFTTT from the MESH app. The MESH app includes built-in applets for popular IoT devices and web services for near-instant integration and pre-made functions.
- Open the expansion menu ("+" icon) on the dashboard in the MESH app to view built-in IFTTT applets.
- Tap the "Google Drive" block and select "Start using" to set up and link to IFTTT.
- Tap the "Google Drive" block and set the function to "Add row to spreadsheet" (default setting).
- Tap "Add Data to Share" to select the sensor data you'd like to send to the Google spreadsheet (We selected Timestamp only among the options Date & Timestamp and Input Level.).
- Tap "Turn on IFTTT Applet" - Once you've turned on the IFTTT block, a unique IFTTT key will appear. Copy the unique IFTTT key and then tap "Ok" to proceed to IFTTT.com.
- Activate IFTTT applet in the new window on IFTTT.com
- Register or sign into IFTTT.com.
- Enter the IFTTT key on the "Connect IFTTT to your MESH app" window.
- Return to the MESH app and tap "Turn on IFTTT applet" and slide applet "On."
-
Now customize and modify options for Spreadsheet name and Google Drive folder (or keep the default settings). Then, tap "Save."
-
Tap "Save " and "Done"
-
Tap "Set" on the Google Drive block to being using the project.
For a detailed guide to setting up IFTTT in the MESH app, please check out our FAQ - How do IFTTT Applets Work?
Create the Recipe in the App.
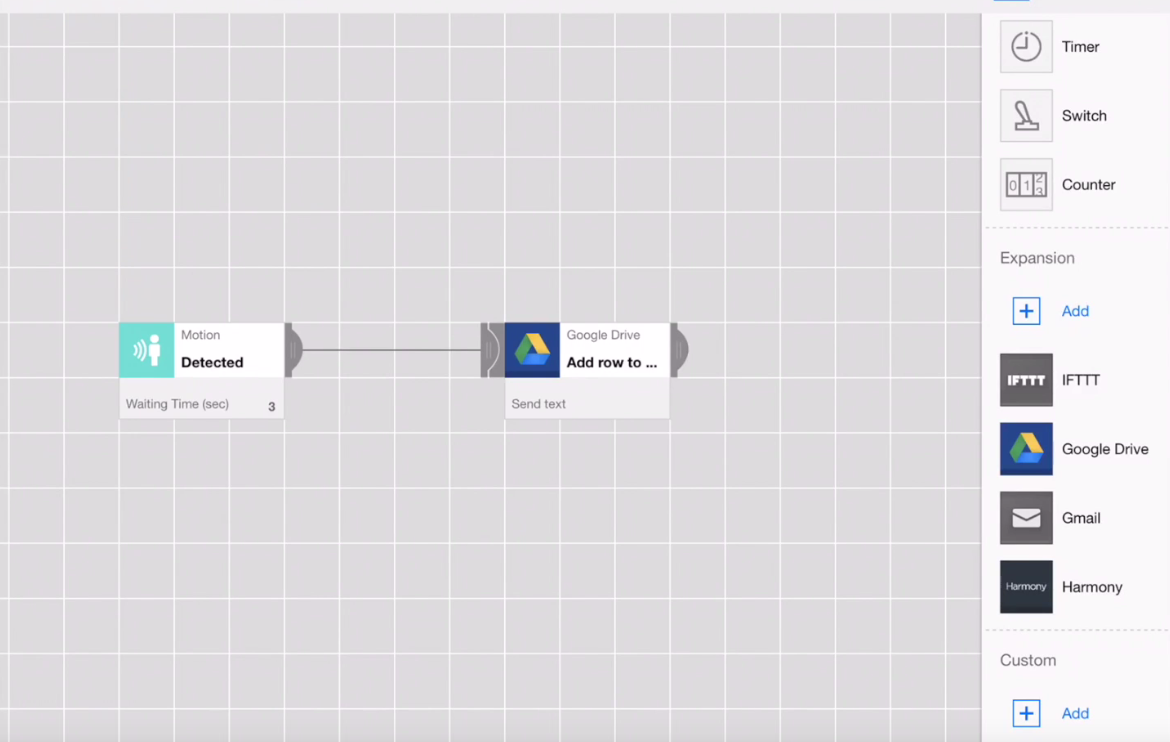
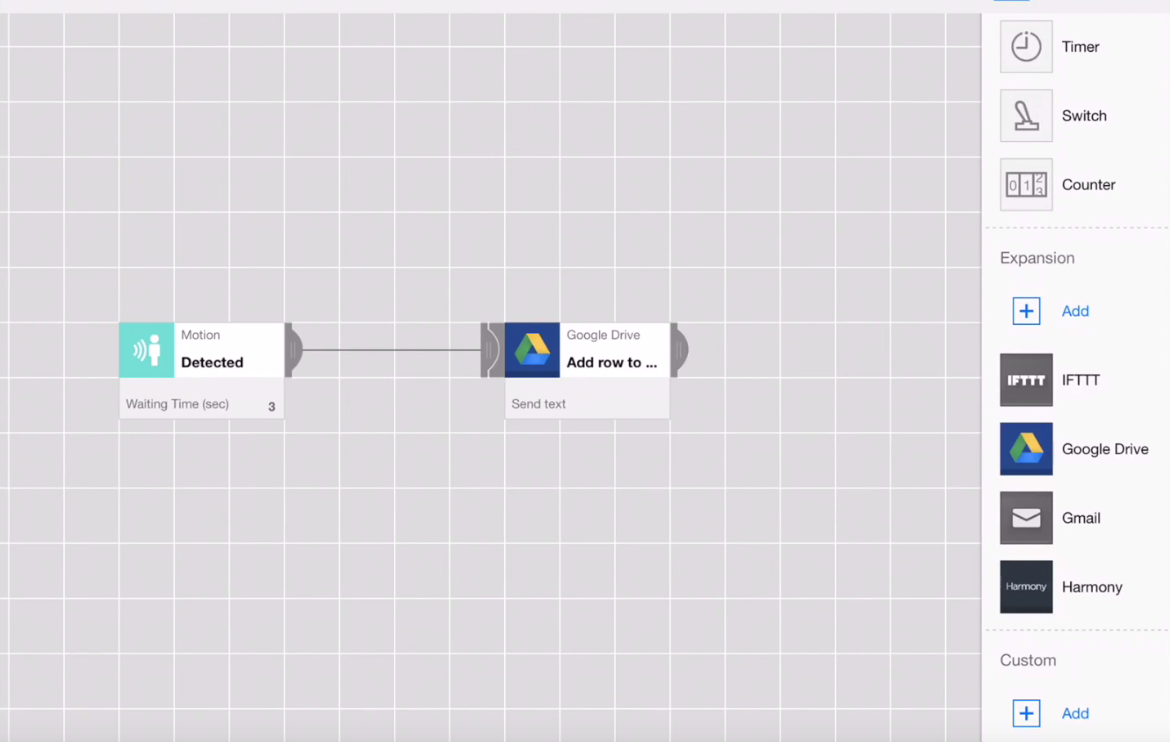
Launch the MESH app and set up the recipe connecting MESH Motion to a Google Sheet via IFTTT.
- Pair MESH Motion to the app via Bluetooth.
- Drag a MESH Motion icon onto the canvas. (Tap the icon to customize settings.)
- Drag a Google Drive icon onto the canvas.
- Connect the two icons.
Place MESH Motion in Your Desired Location.
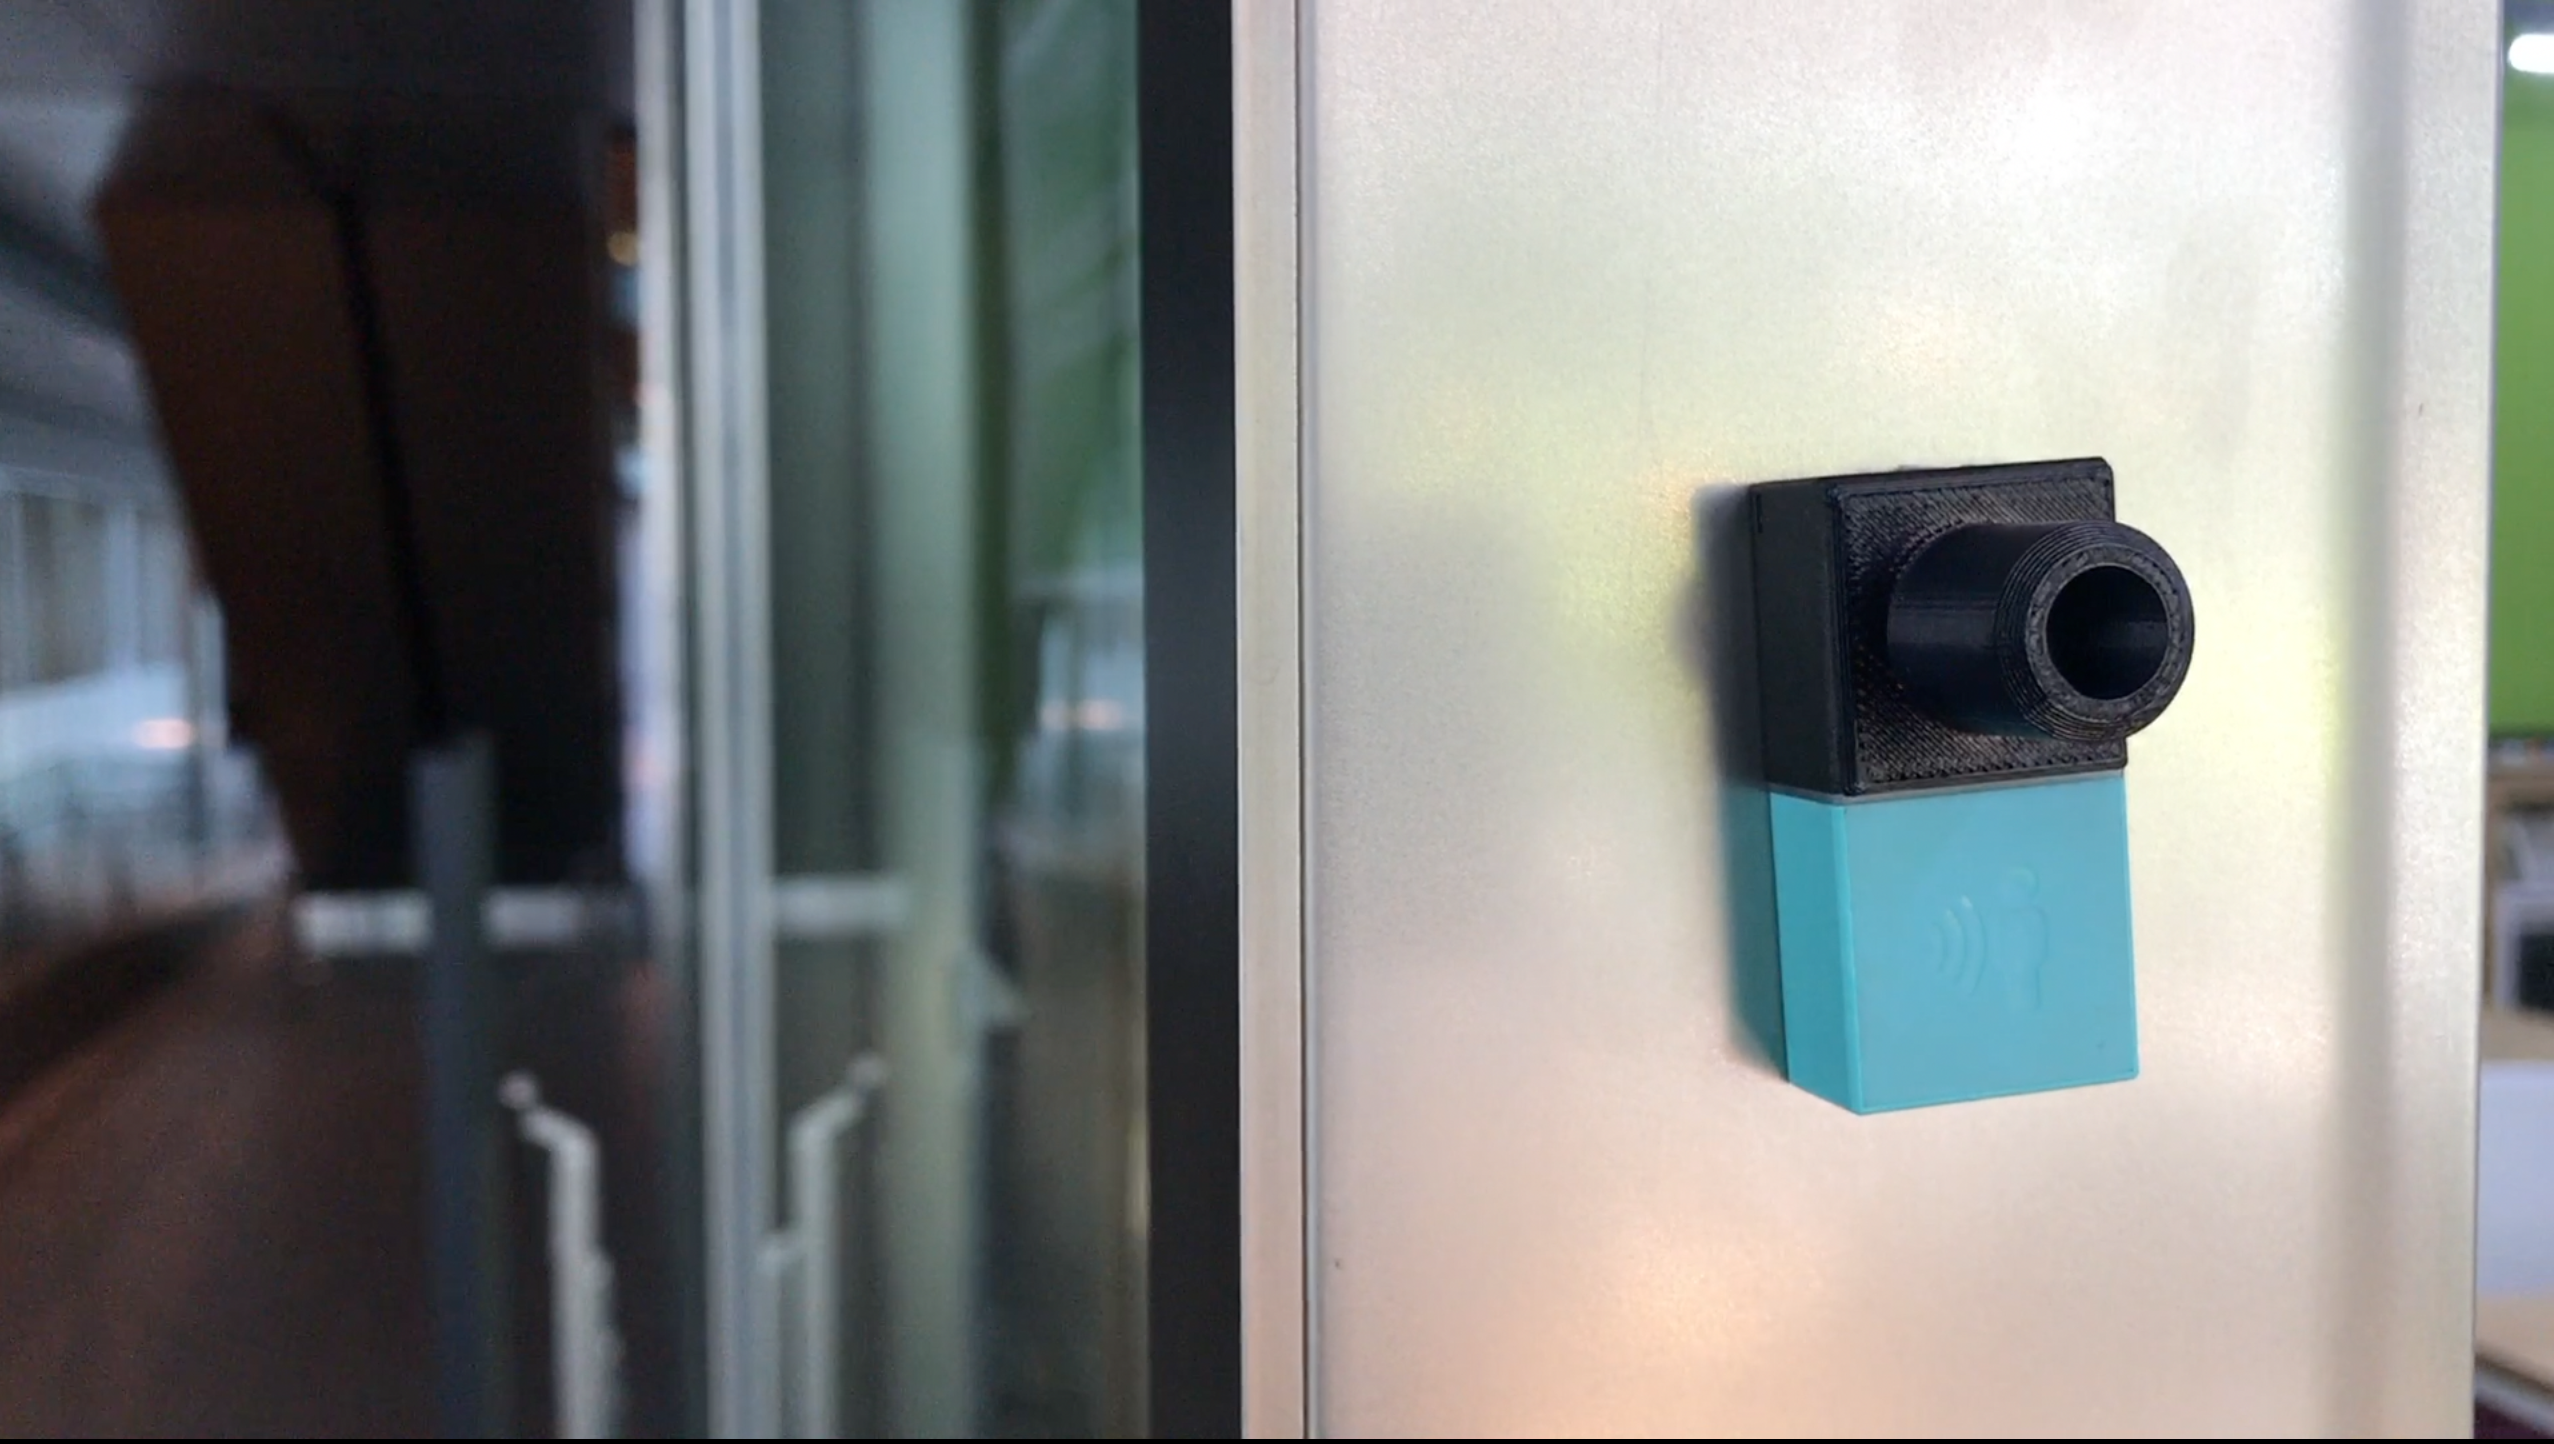
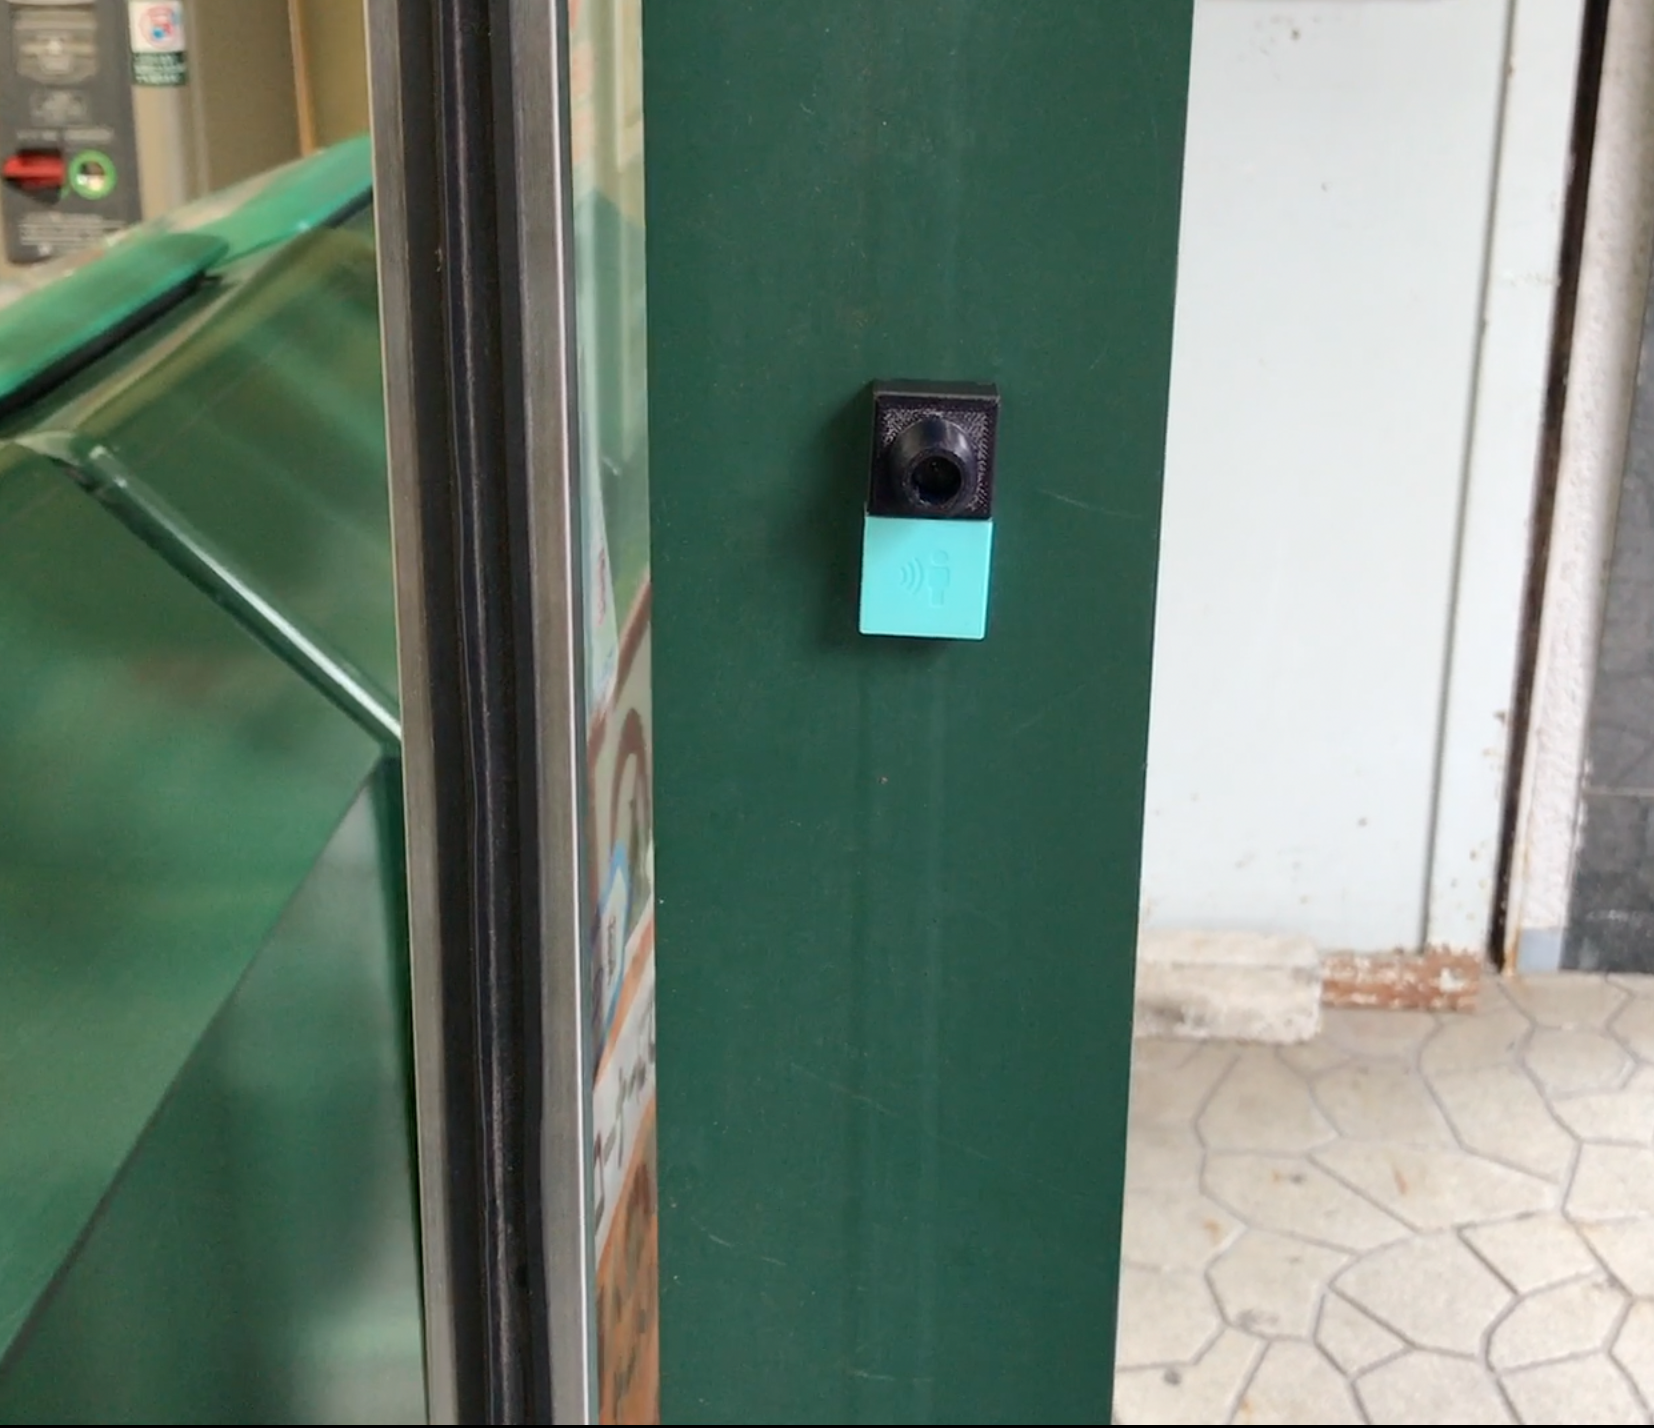
Place MESH Motion in a location that can easily and accurately capture motion (or foot traffic in our case).
Test, Launch, and Collect Data
