Sensor Board
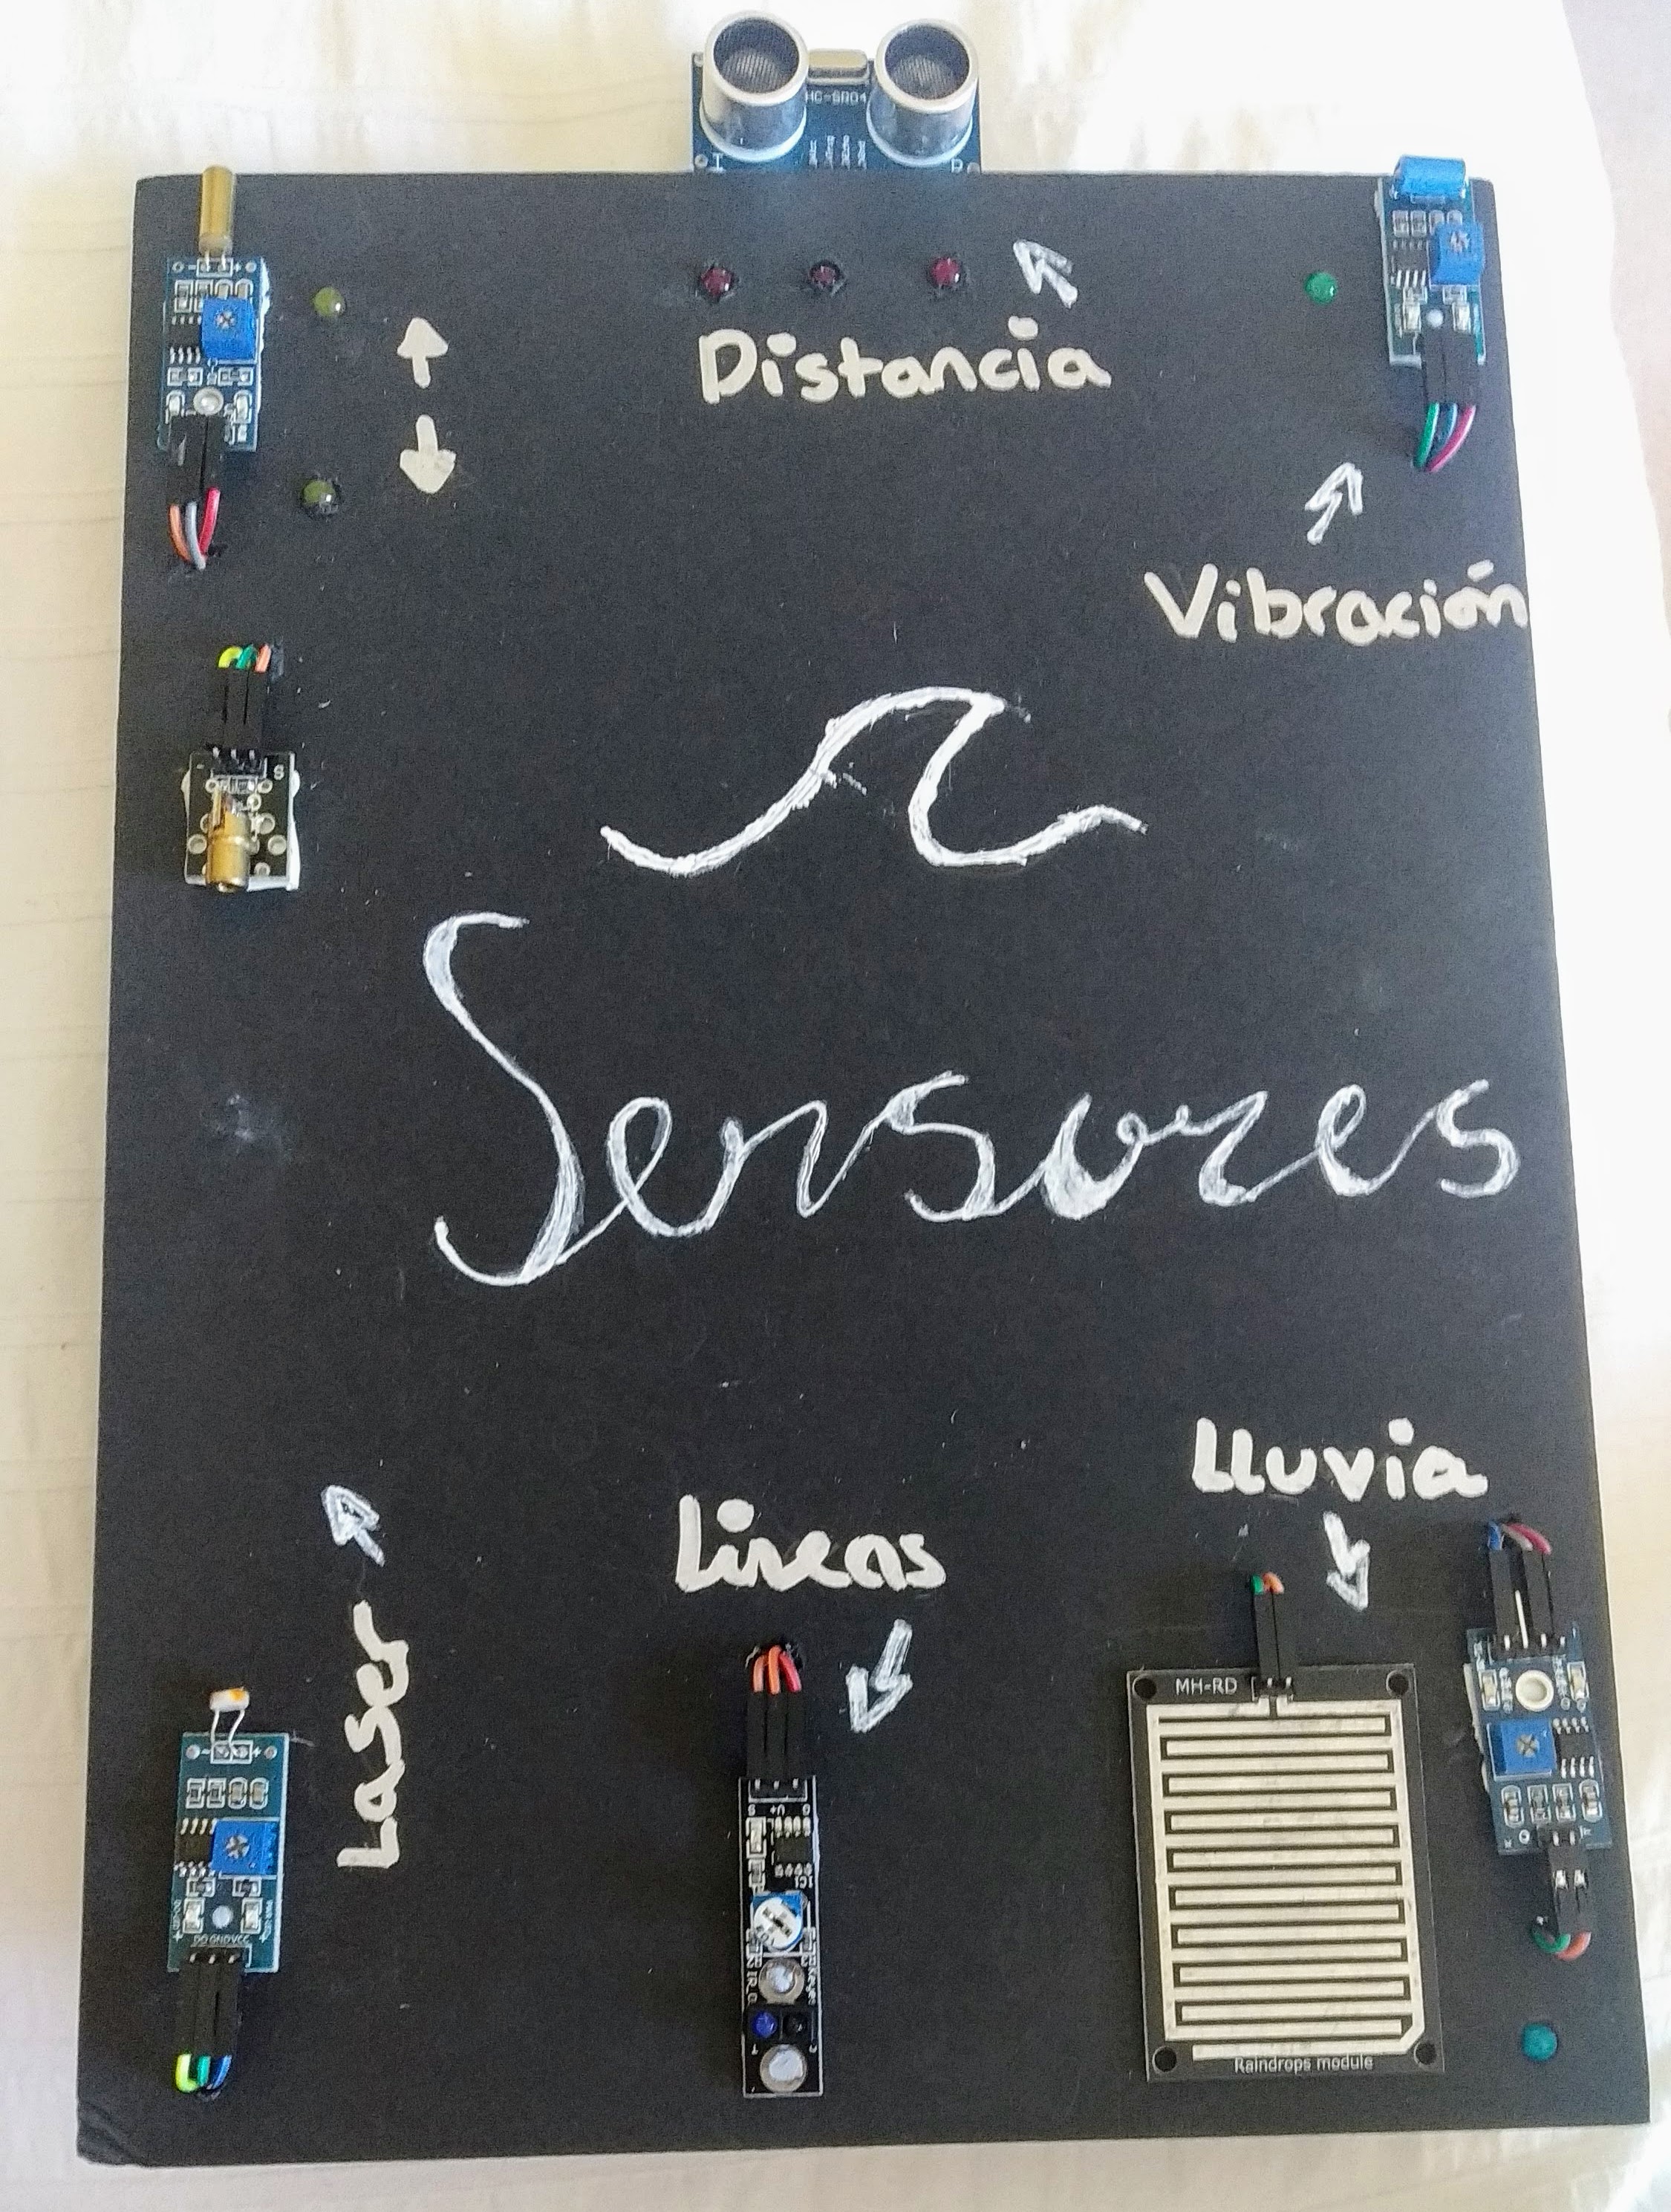
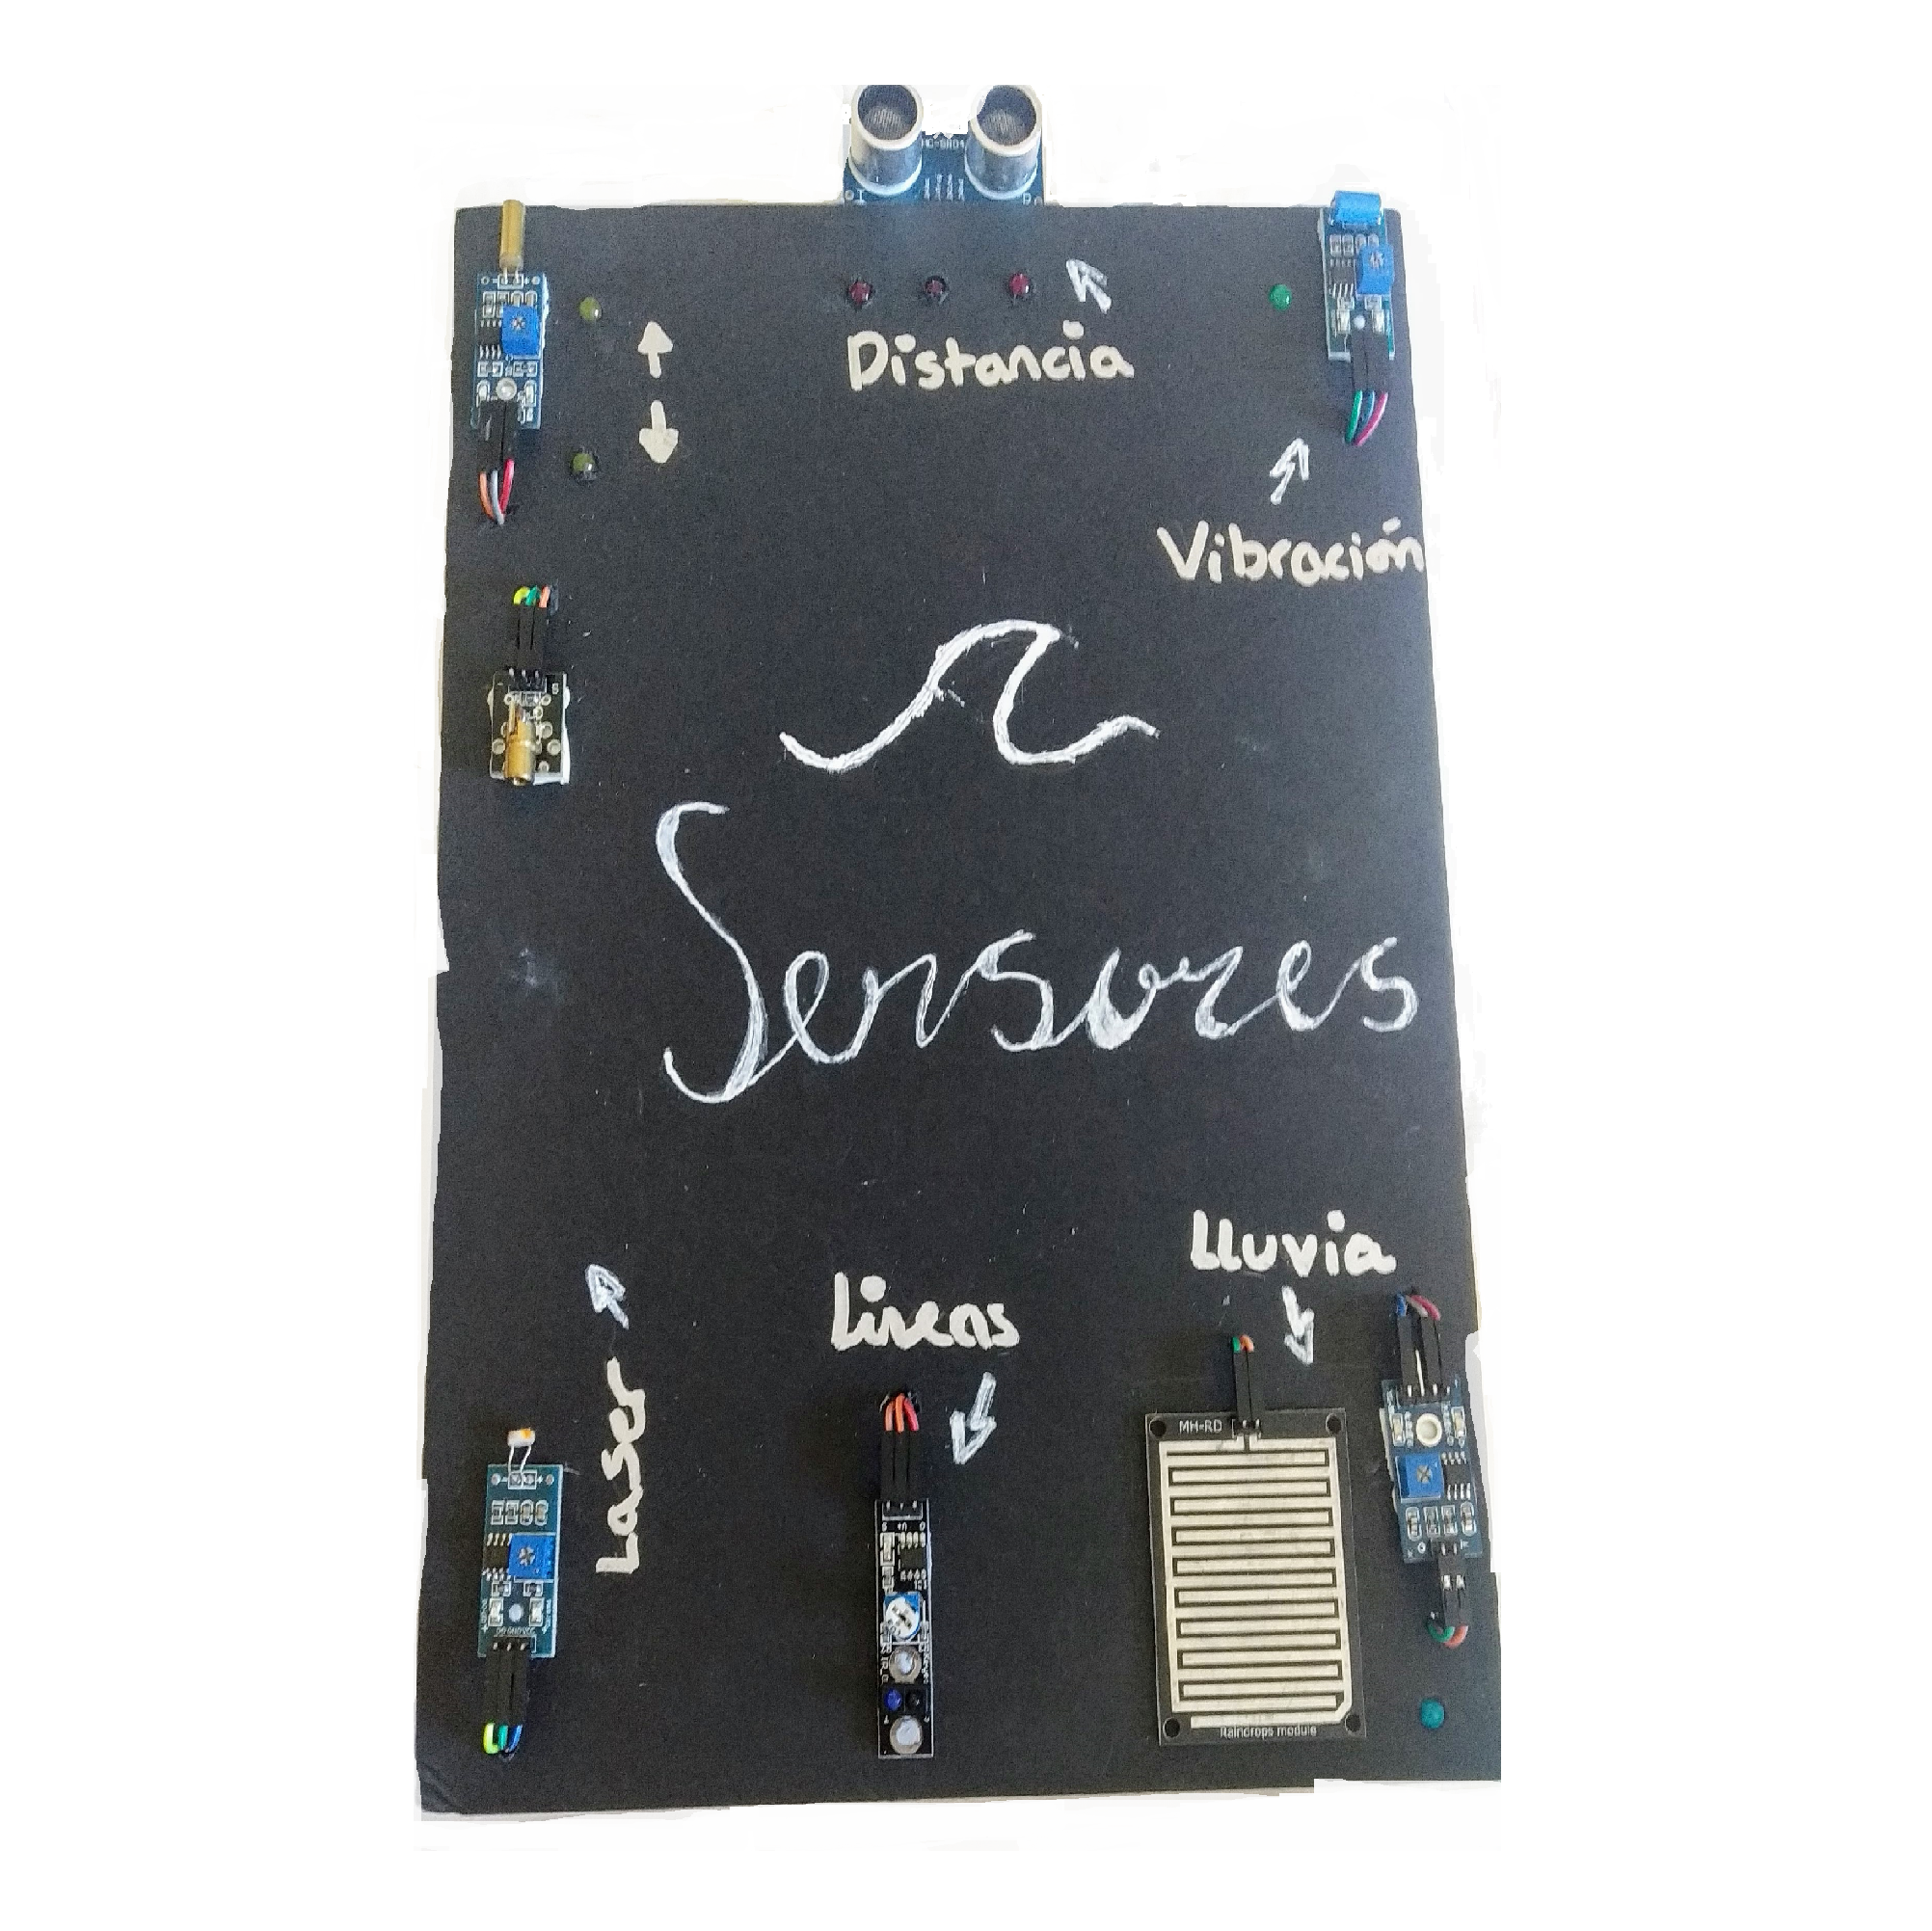.png)
The sensor board is fun to use as well as very insctructive for those starting to use sensors and learn how they work and how to program them. After completed it can be used to show and instruct others or simply for paying around as they are pretty fun .
Supplies
You will need:
•thick board (foam)
•cables
•arduino
•sensors I used these; raindrop, vibration, inclination, distance, the laser and tracking sensor.
•pen to decorate
•protoboard
Organsing the Sensors
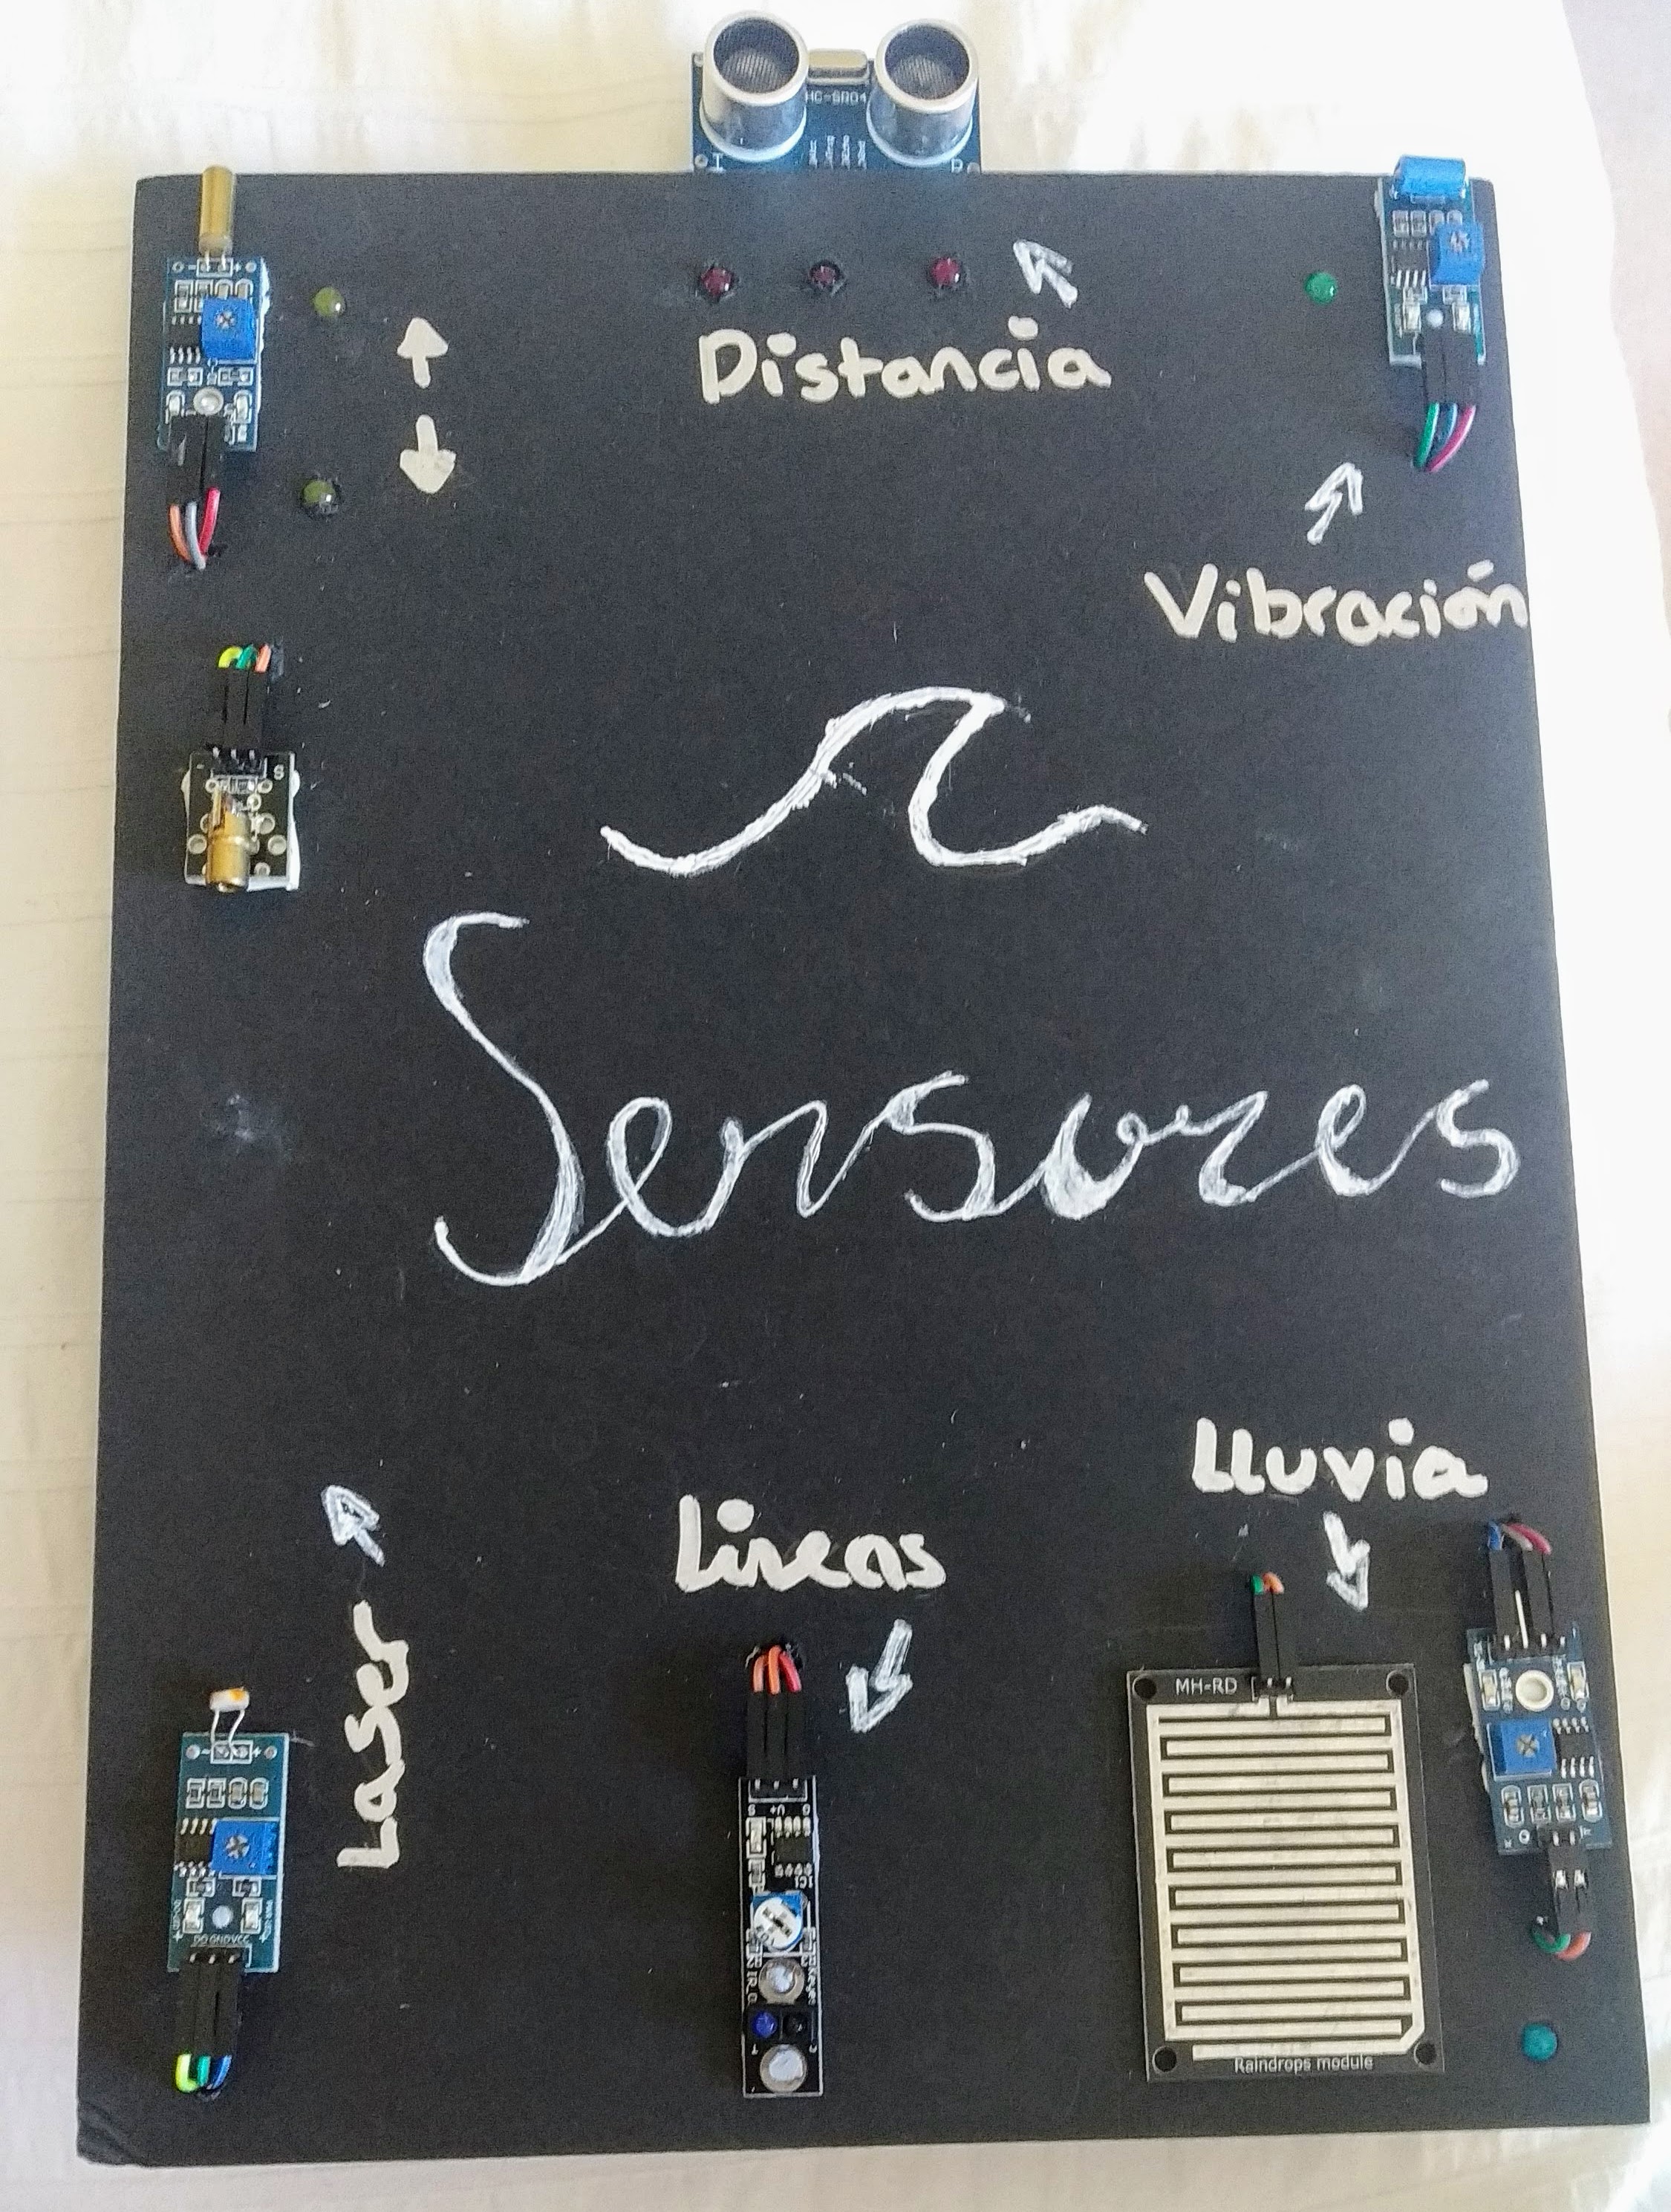
TIPS:
I made holes with a pen in order to fit the leds
I stuck the sensors to the board with glue.
The protoboard and arduino I stuck in the other side in order to make it look cleaner as all the cables will be in that side
Organising were to put the sensors is important as some need more space than others for example the laser has two parts which need to be aligned and far apart. So make sure to prepare this before starting so that it all fits.
Cable Organising
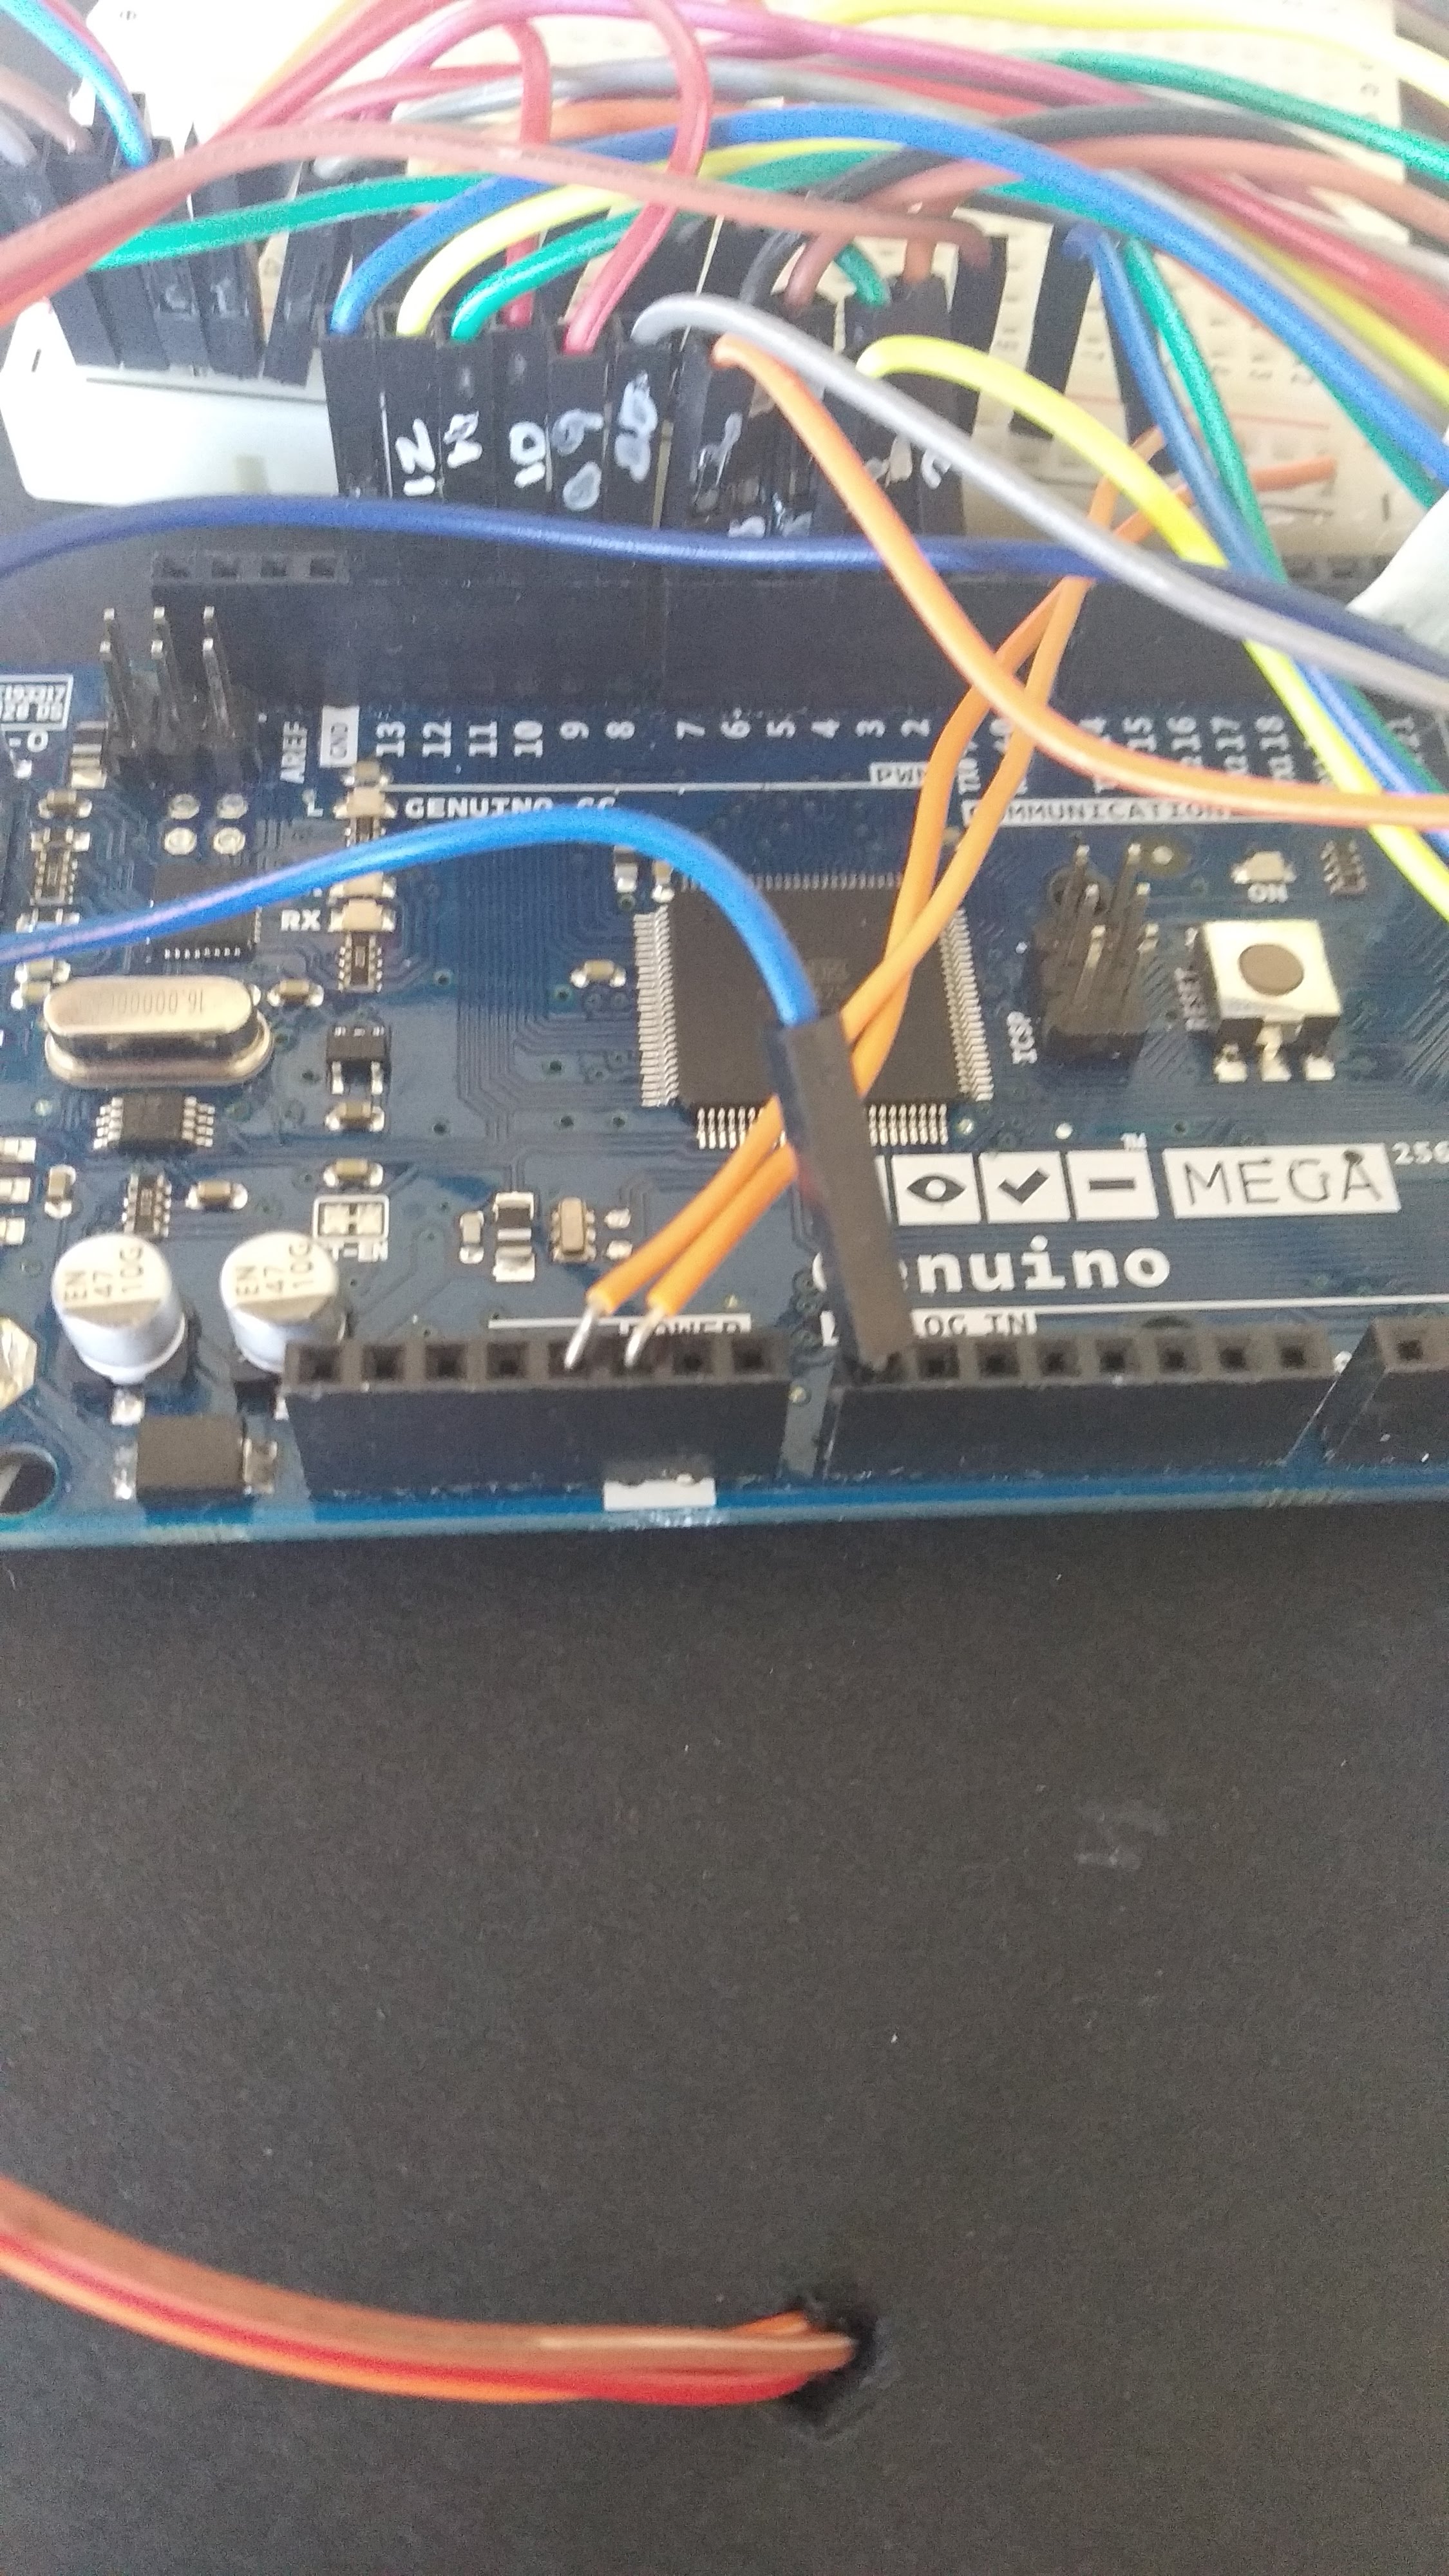
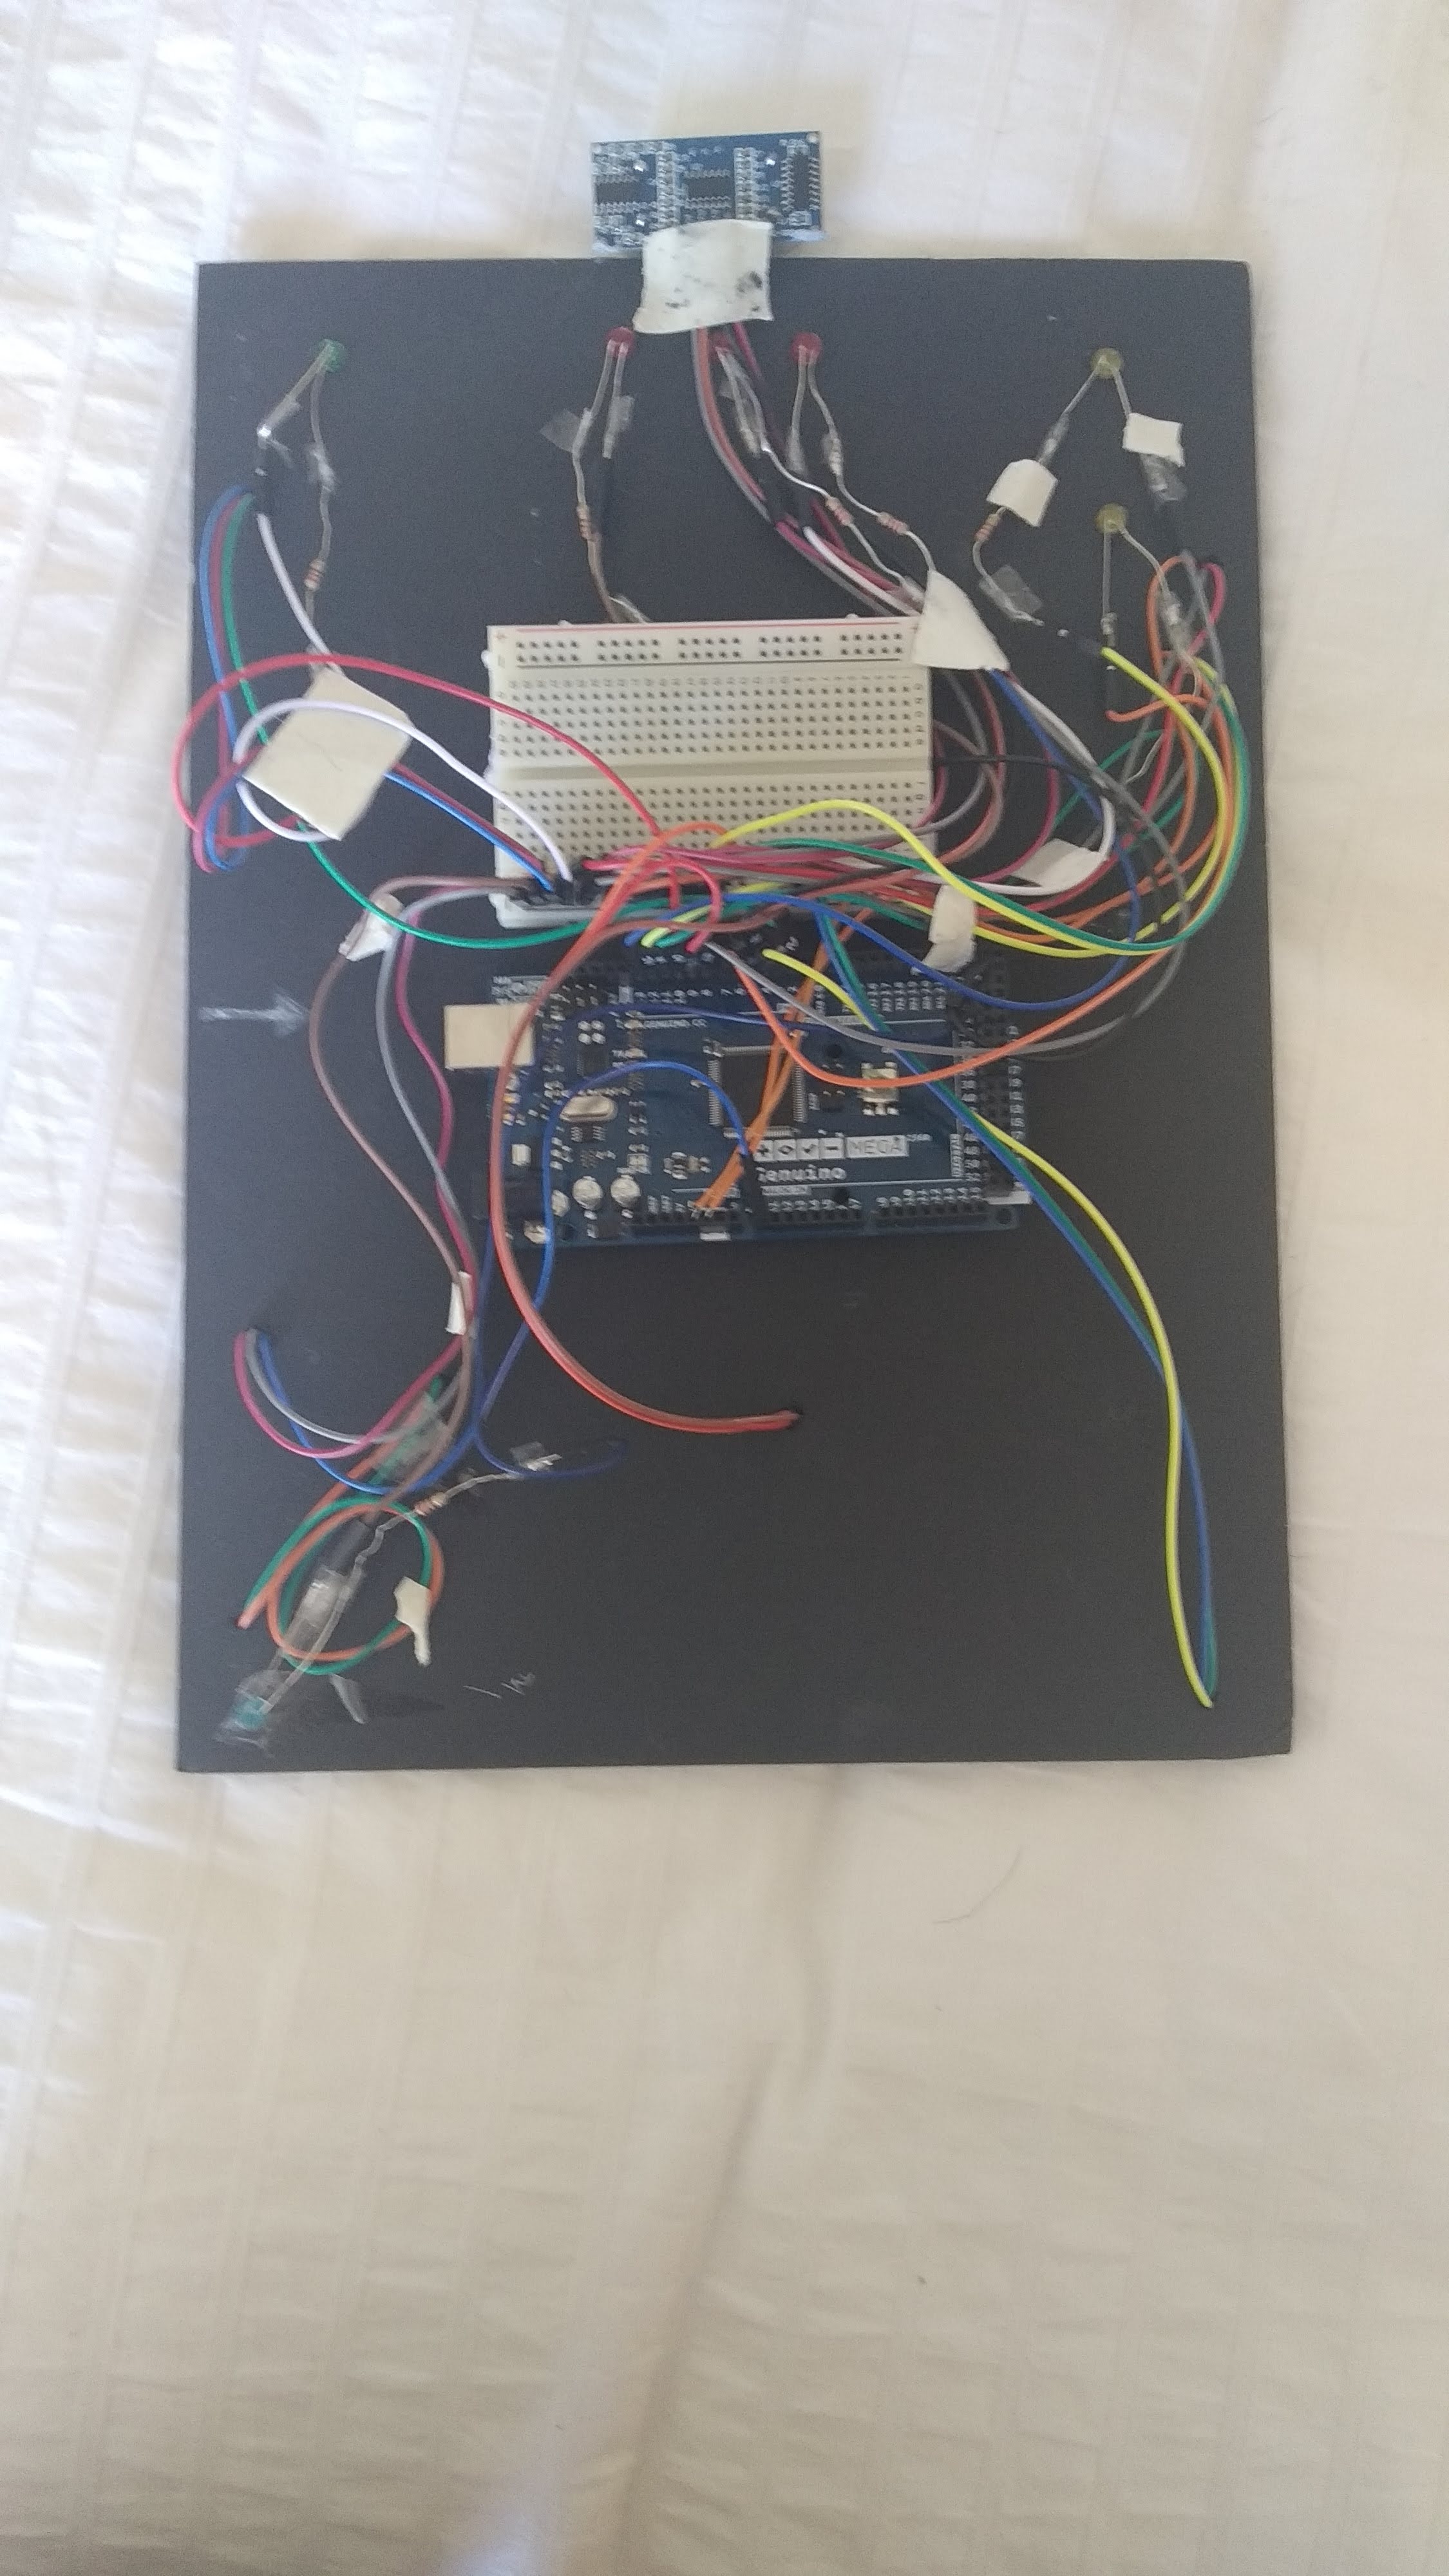
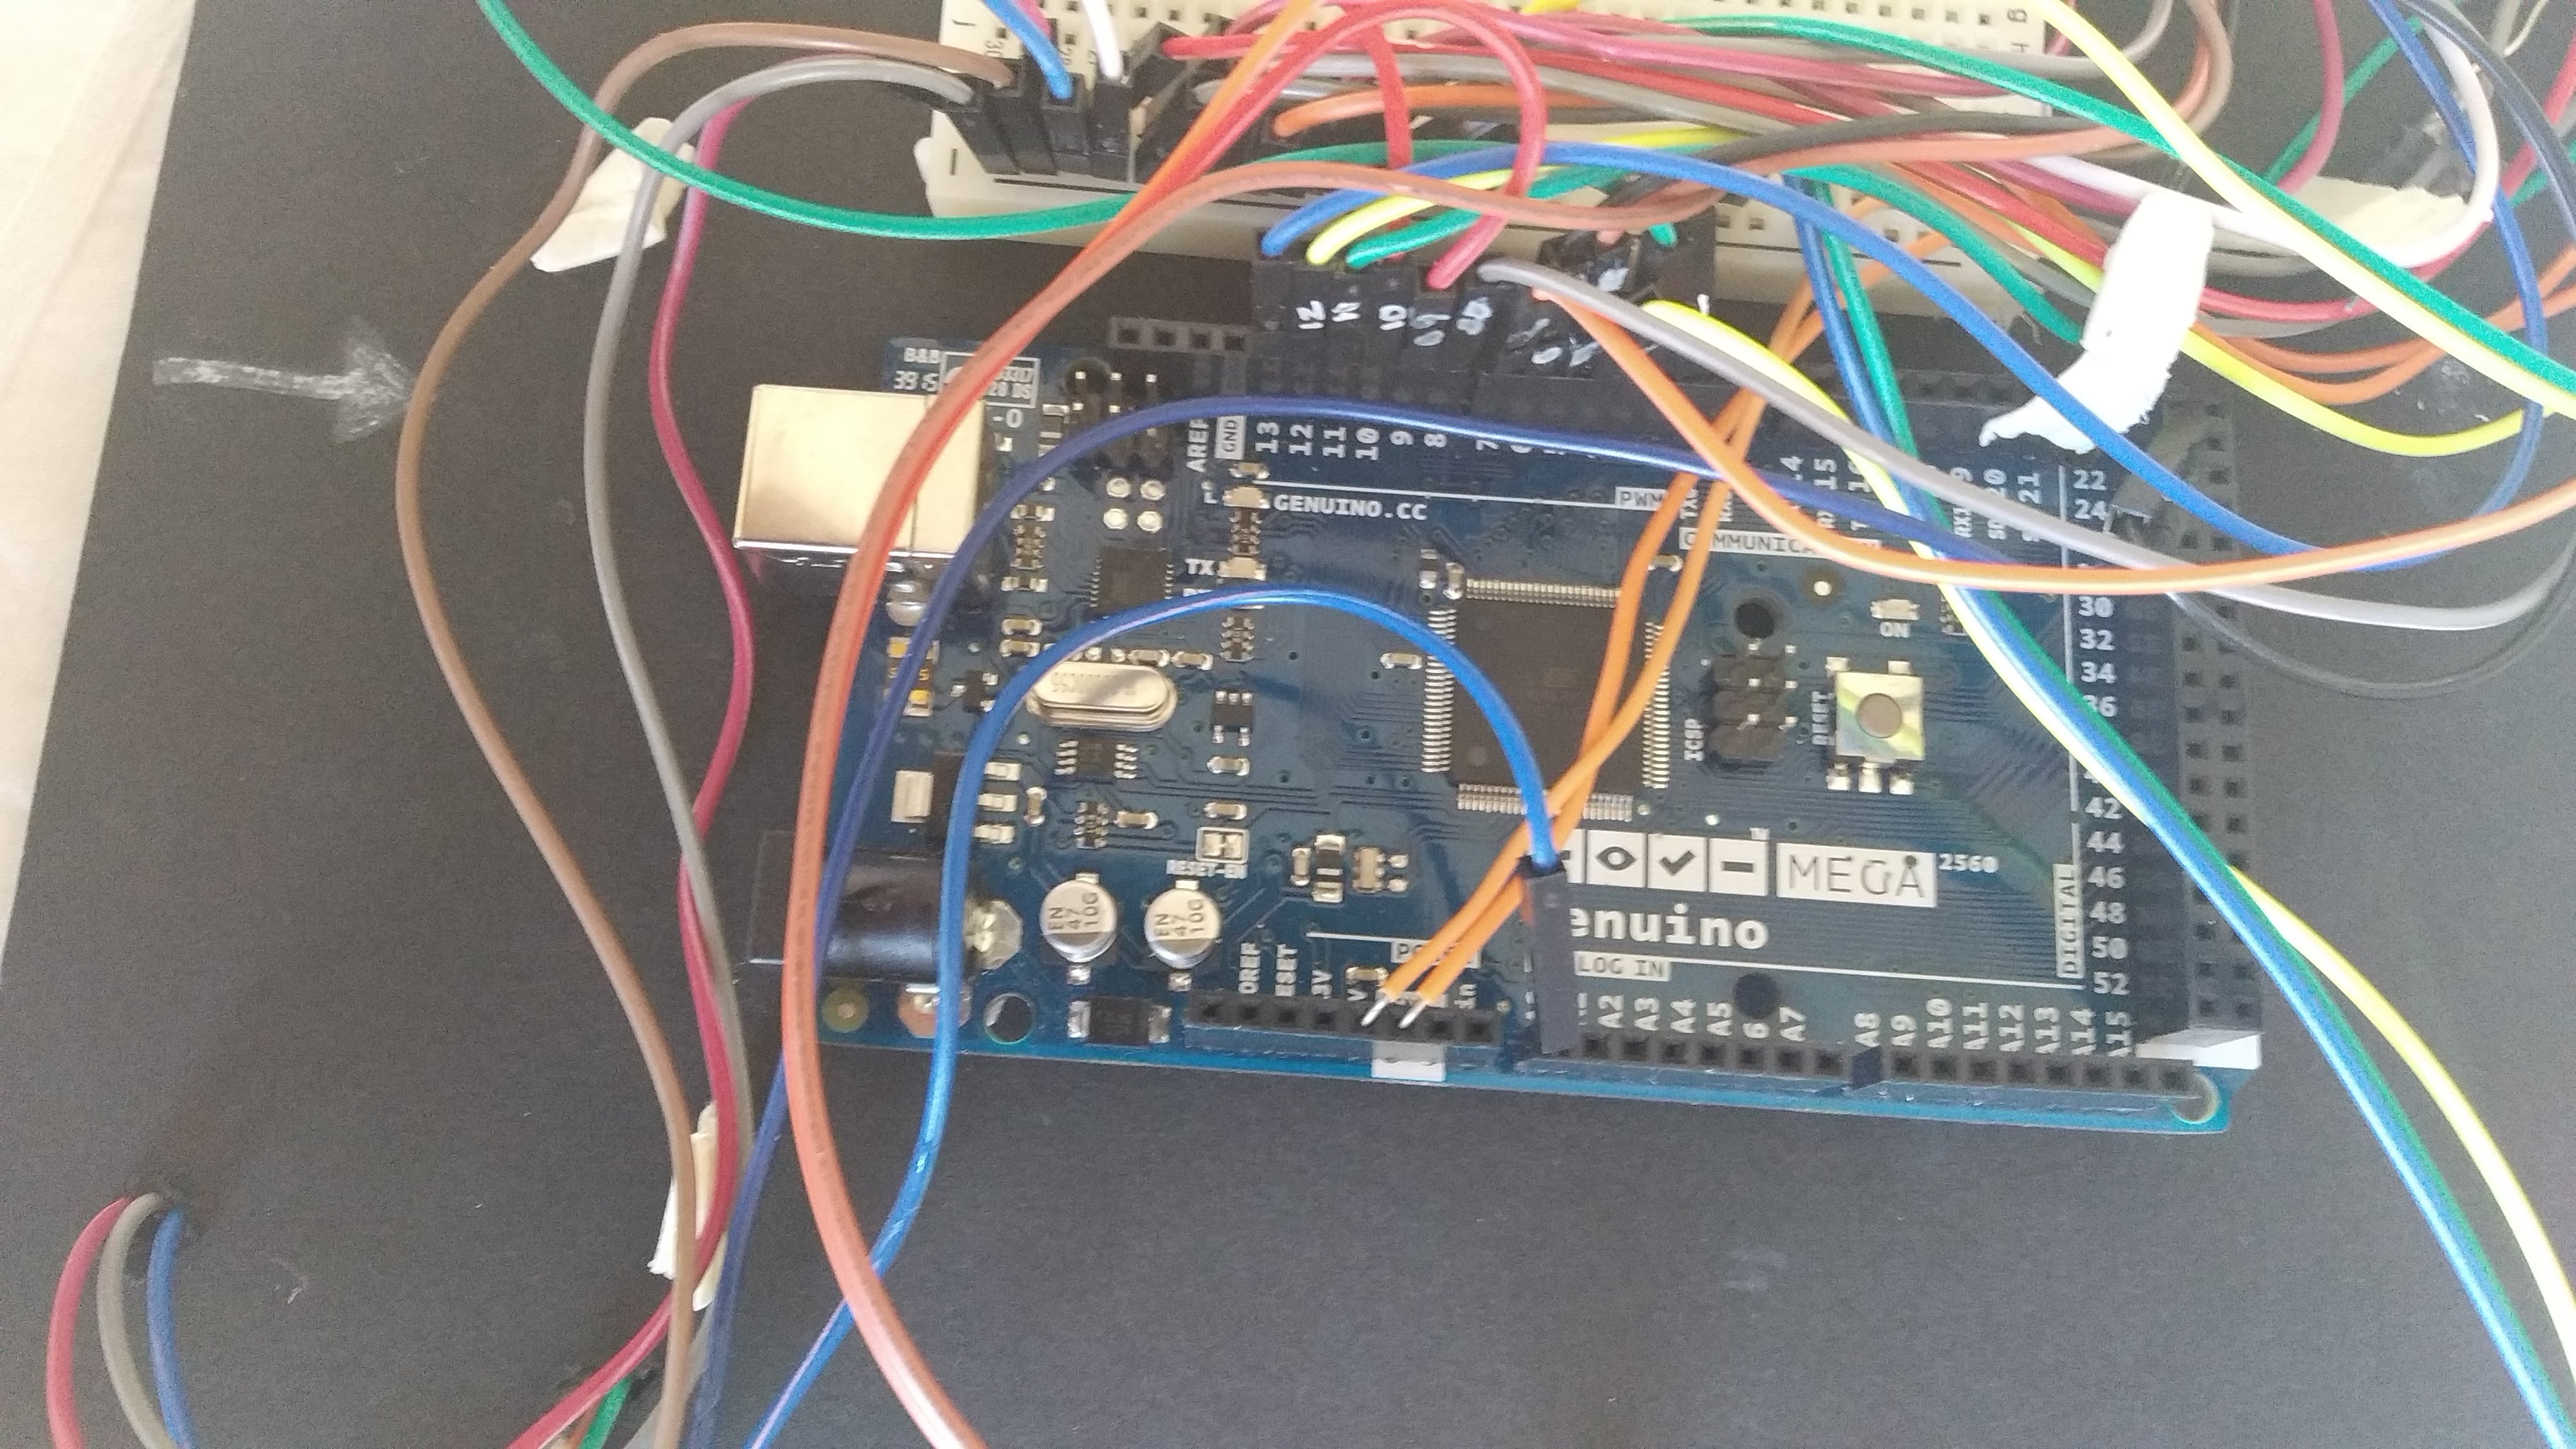
Firstly I made sure that the cables for each sensor were together and clear to identify as if not if there is a problem later on finding the error is really difficult in all the chaos. You can look how it looks in the back in the foto.
At the end we will make it even neater by hiding the cables with a cover.
Cabling
.png)
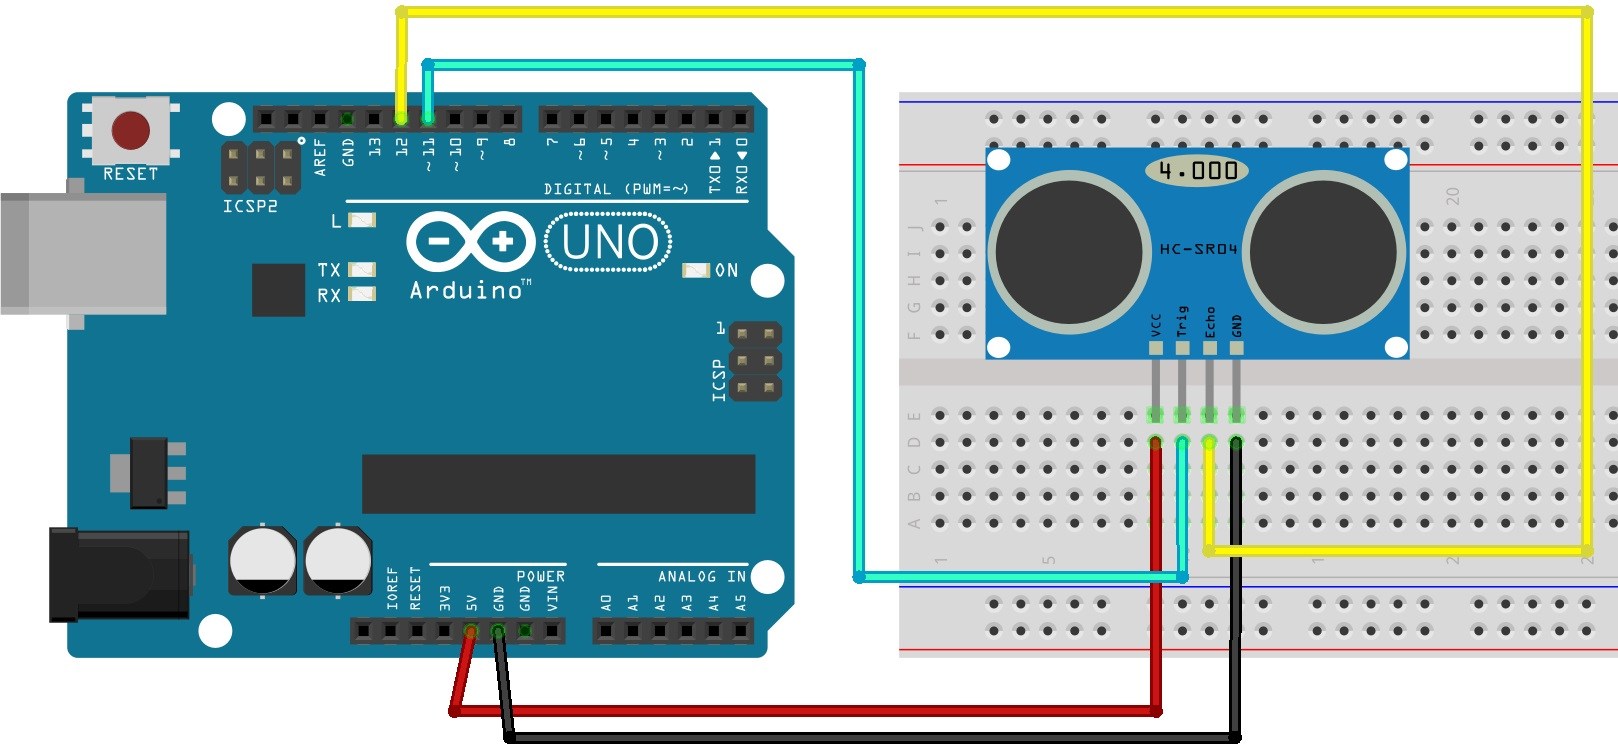
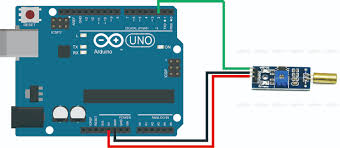
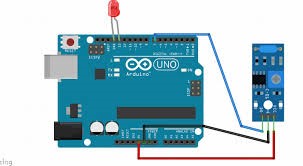.png)
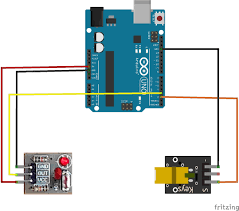
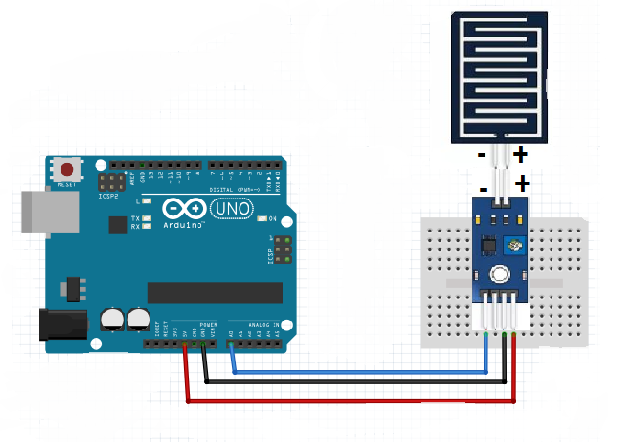
Here i show you how to cable each sensor to the protoboard.
Programming
Here you have the file with the program it is all labeled in order for you to understand each line and to be able to delete parts just in case you are not going to use that sensor.
Downloads
Finishing
To decorate the board you can label each sensor and draw around them with a pen
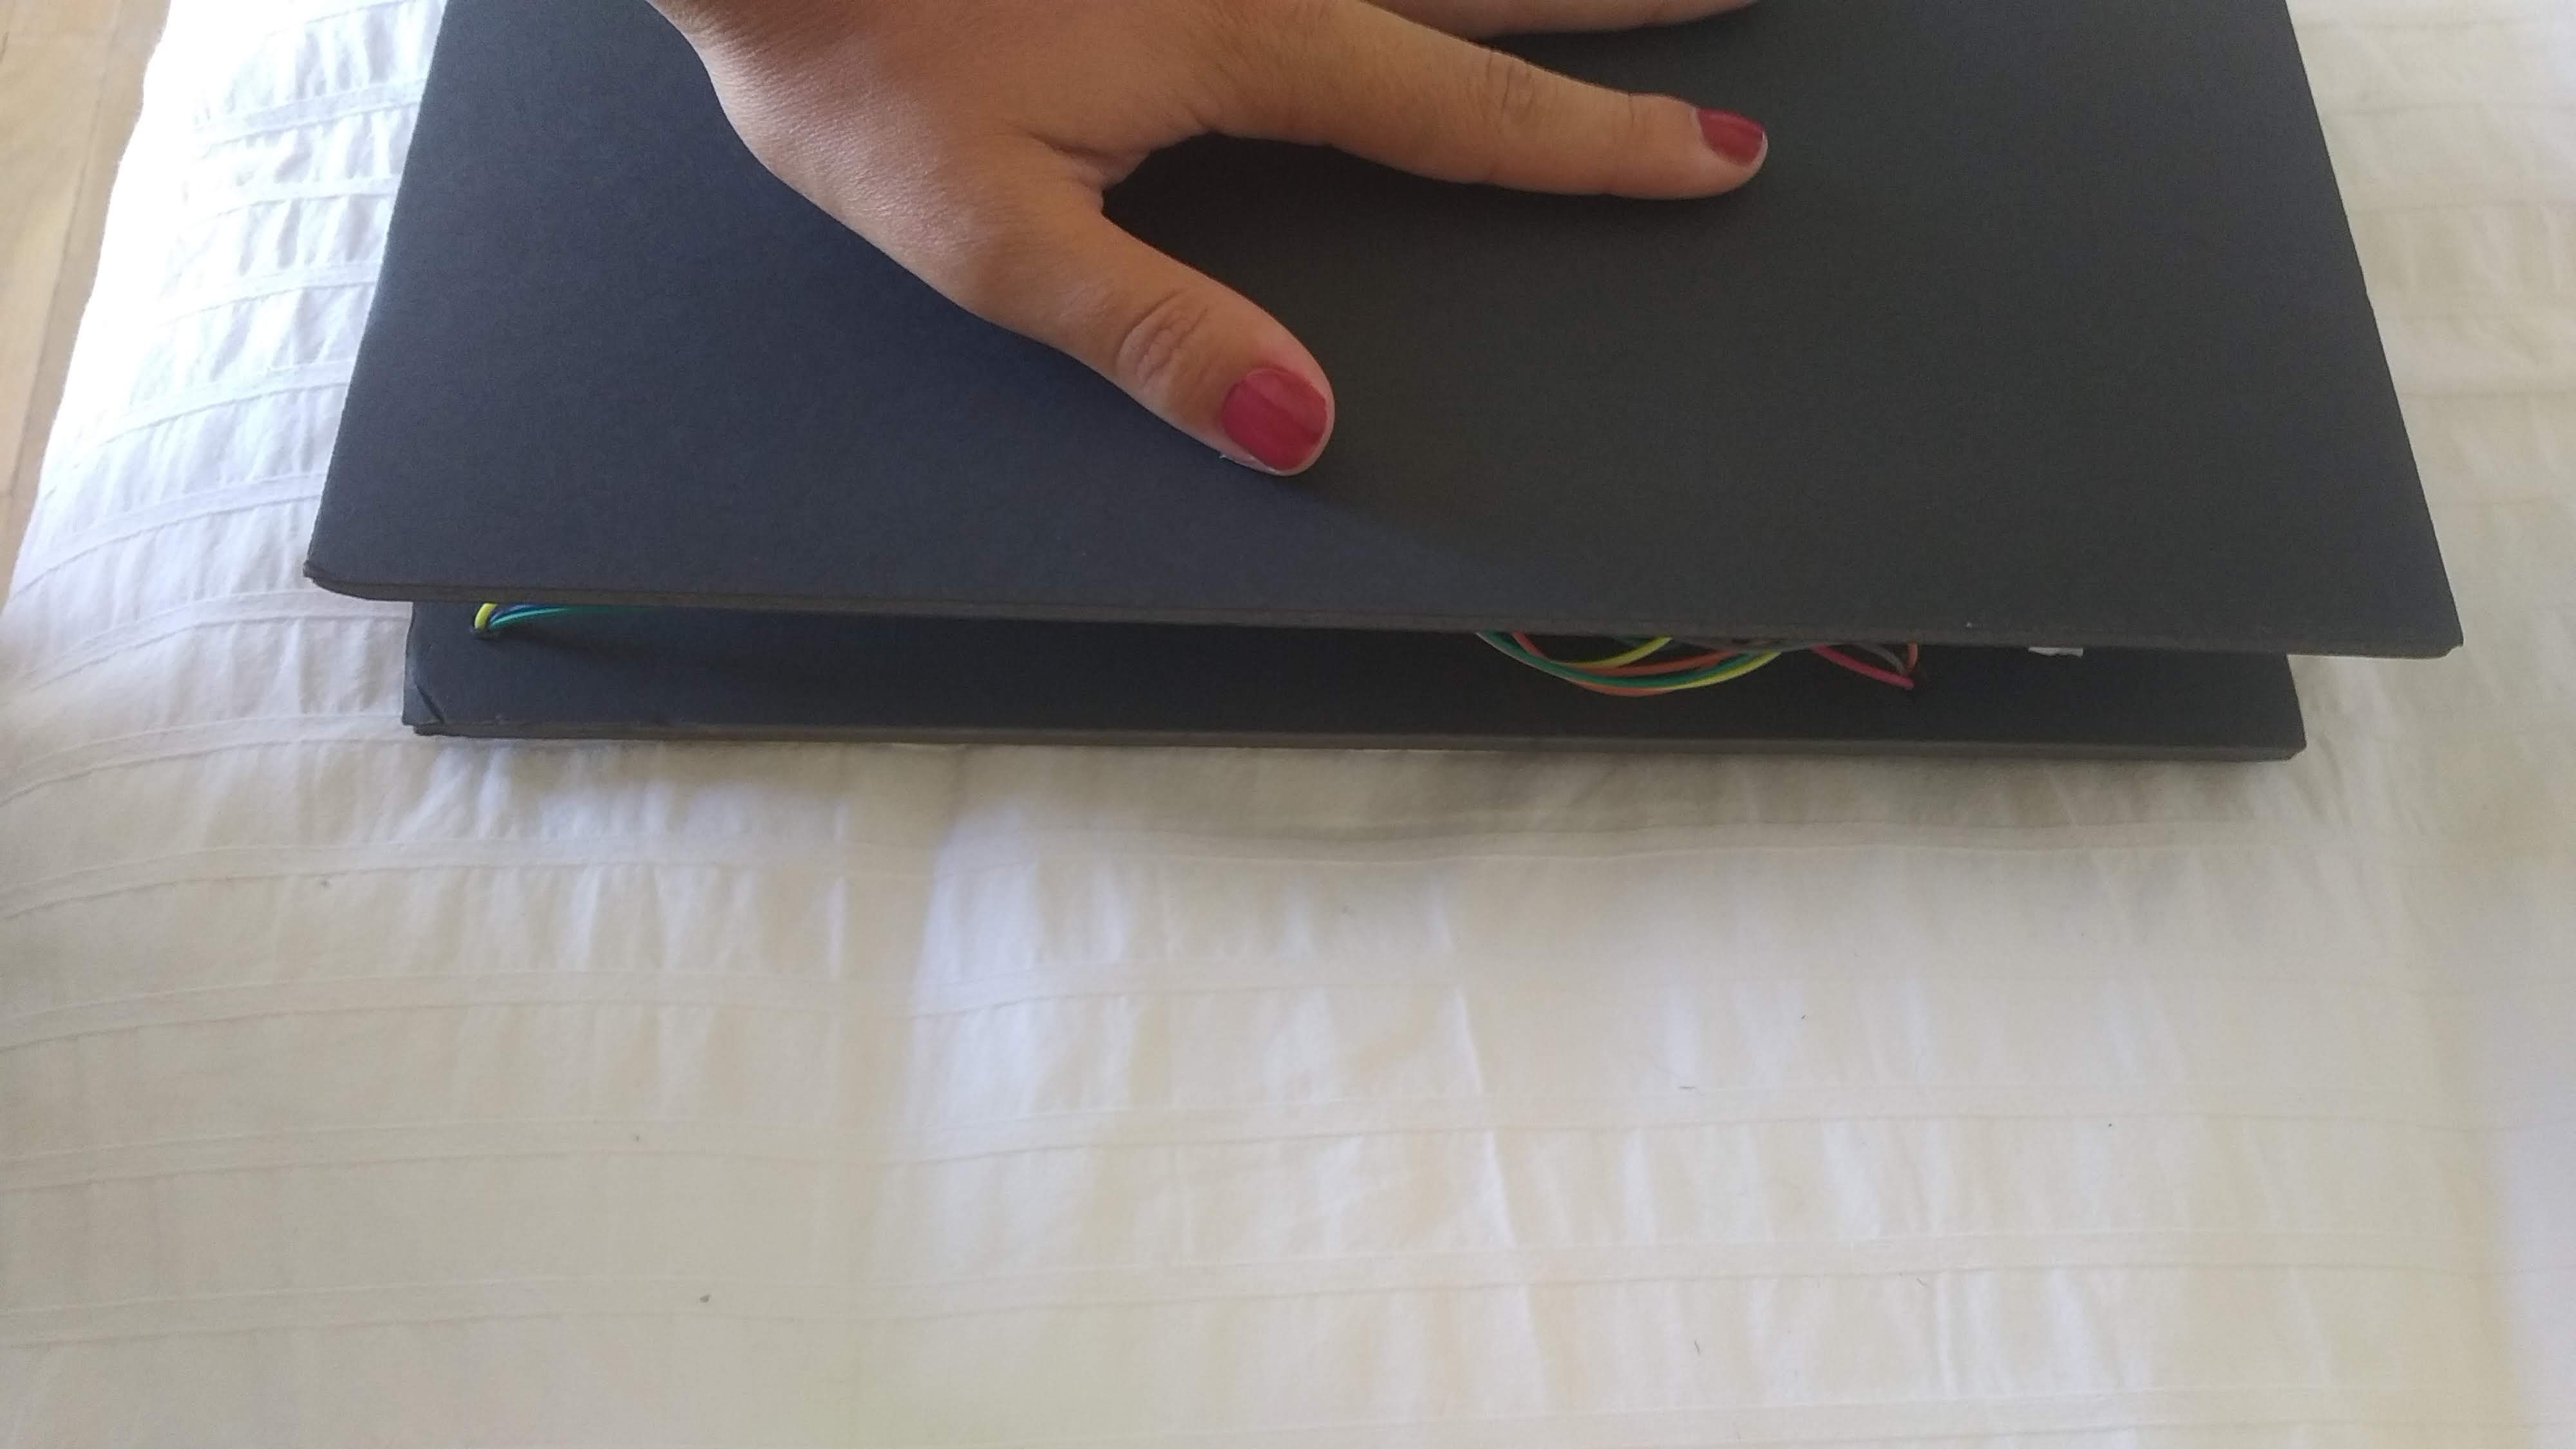
*Also to protect the cables and make the board much neater you can stick another board to the back of the board using separtors or screws or any other sold stick eg.narrow hard tube.In order to give some space for the cables by attaching the screws at every corner of the board in order to sustain both boards together and hide the cables.*