Sending Information With Helium Atom
by WrittenAir in Circuits > Wireless
1633 Views, 4 Favorites, 0 Comments
Sending Information With Helium Atom

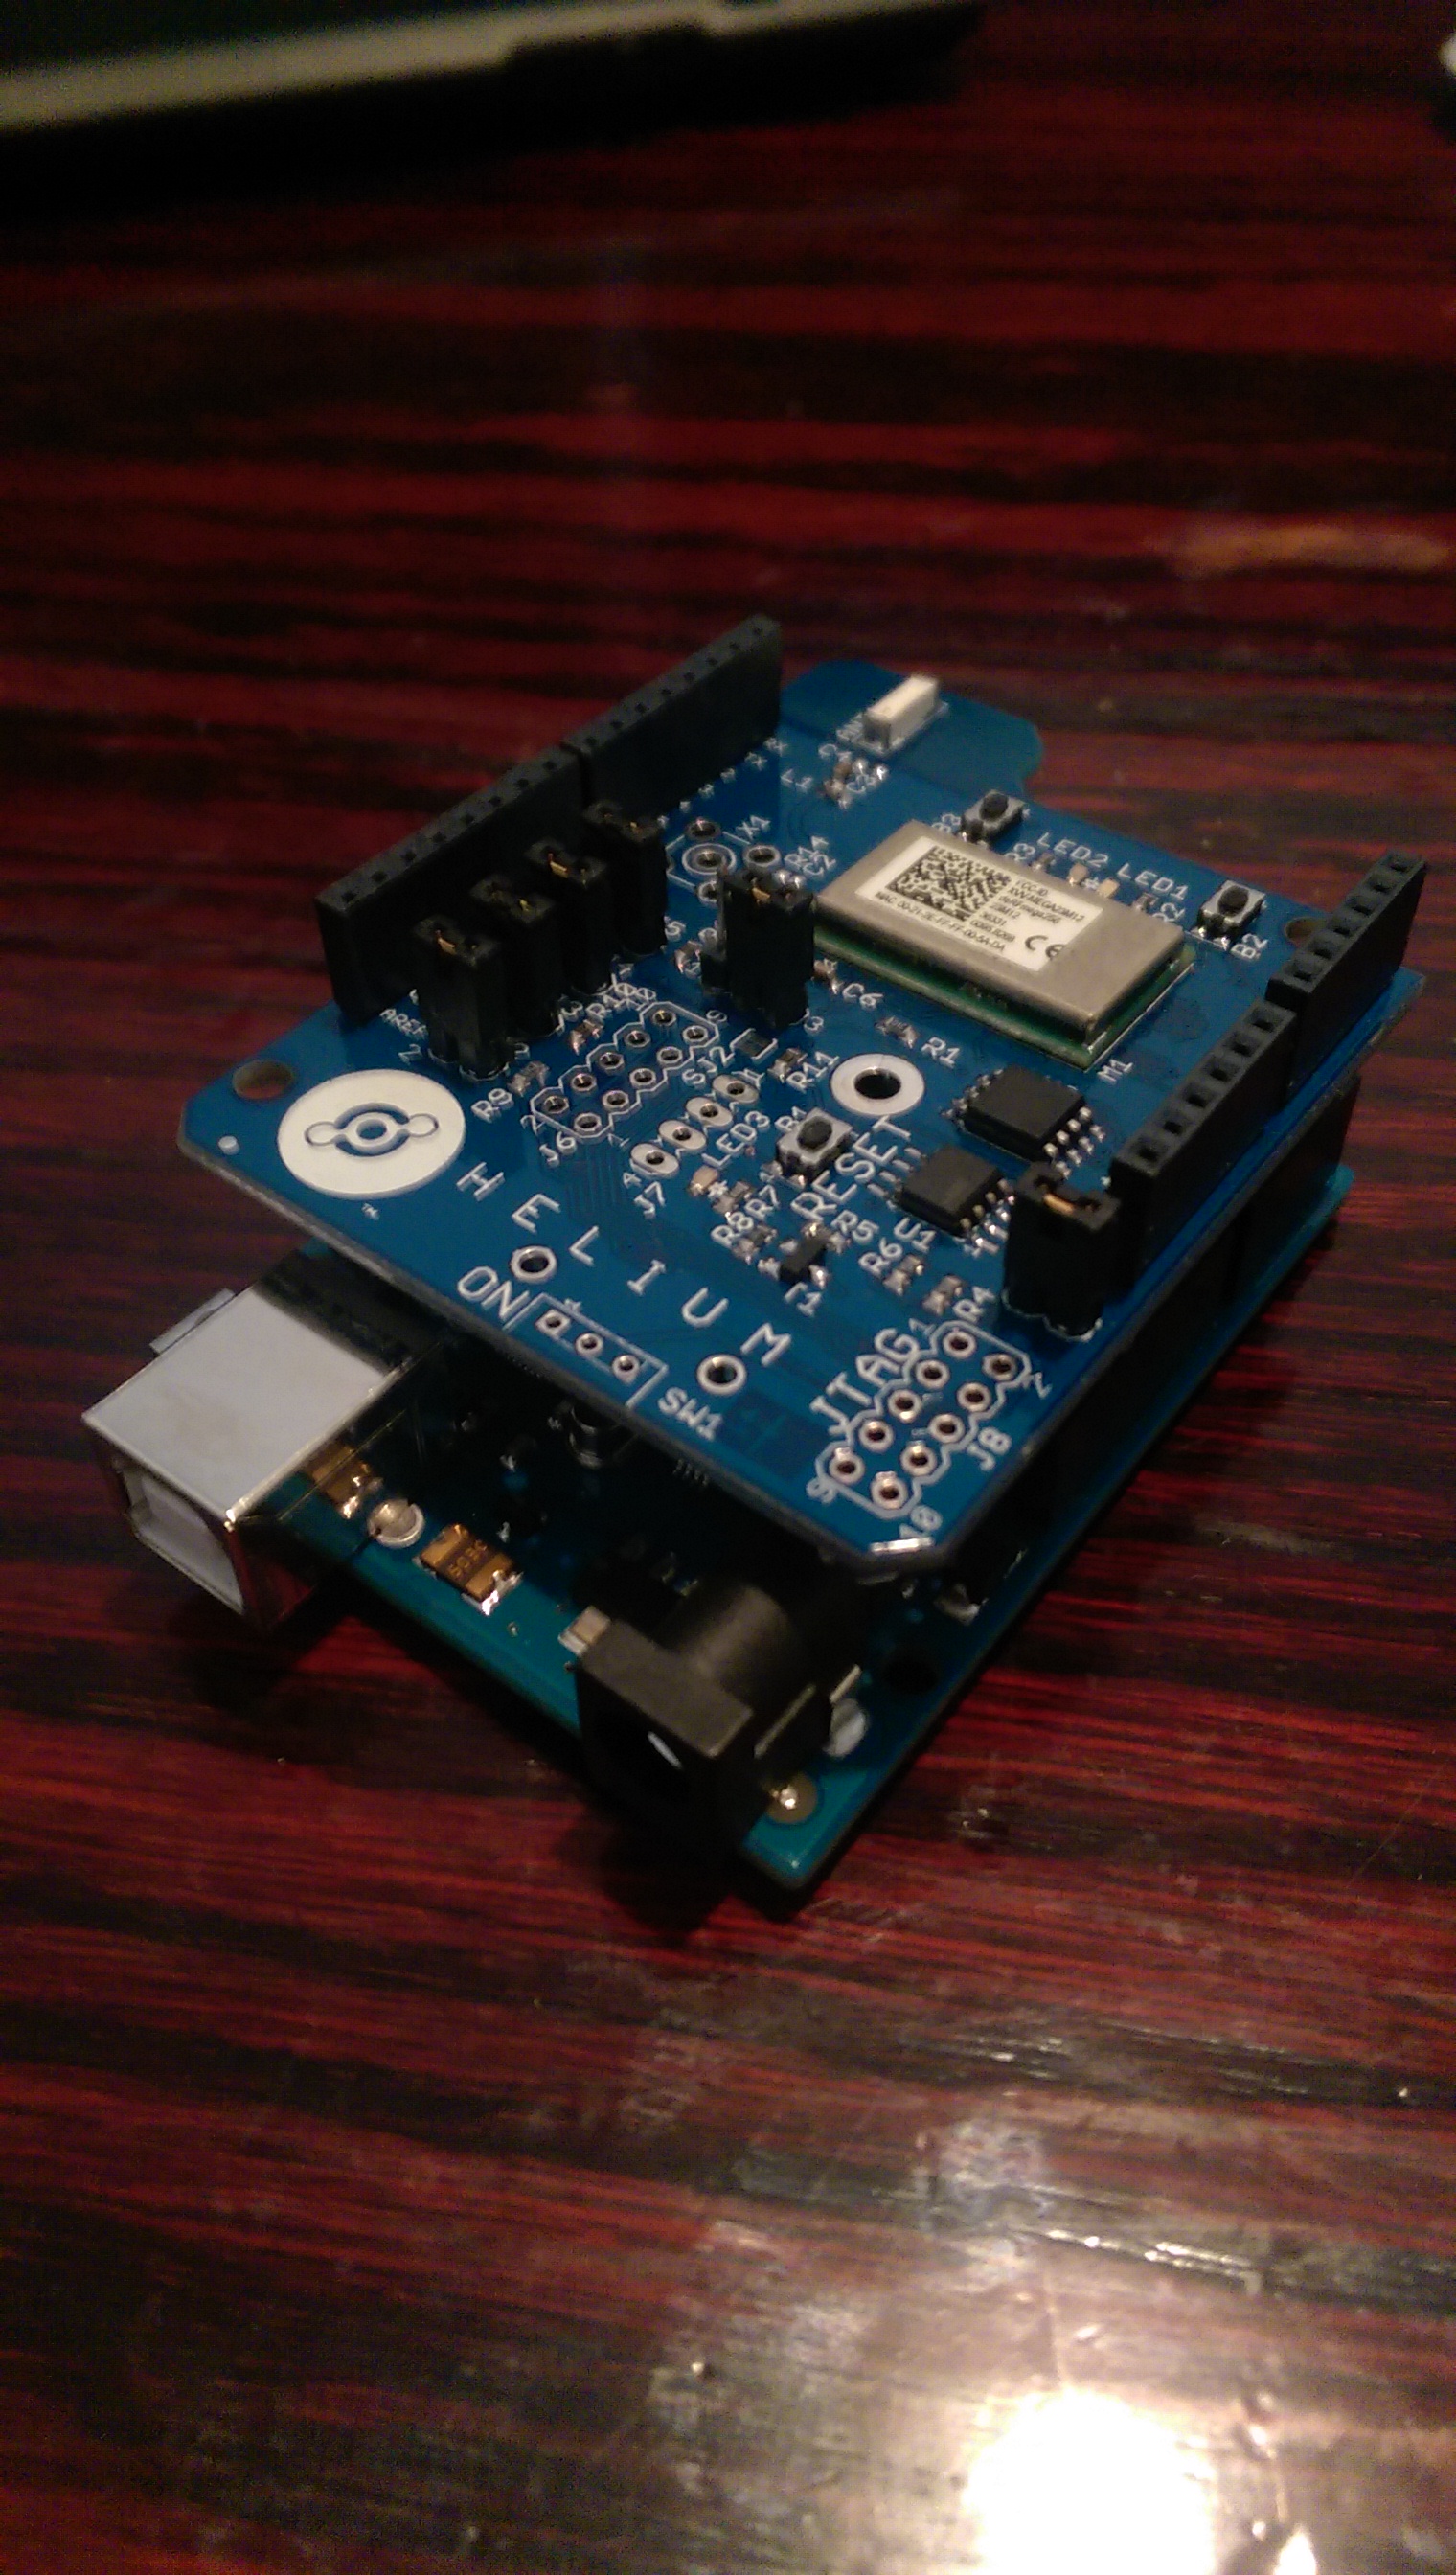
Helium is a complete wireless platform for the internet of things, supplying integrated hardware, software interfacing, and a built out infrastructure to easily, efficiently and securely connect objects to the internet. There are two hardware components: the Atom and the Bridge. The Atom is the small device which communicates to the Bridge, which then takes this information and passes it onto the internet. For this demo we will be using the Helium Atom dev shield on an Arduino uno.
Other helpful Helium resources include:
Download Helium Library
Since the Atom dev board is a shield on top of an Arduino Uno you'll need the Arduino IDE to program and load the code onto the device. The Helium-Arduino Library supplies the functions needed for opening connections and packaging messages. Detailed information on using the Helium-Arduino library can be found in Helium Docs. Download and get both running.
Coding in Arduino
Always start with your include statements
#include <SoftwareSerial.h>
#include <helium.h>
Next you must declare your Helium modem
HeliumModem *modem;
In the void setup function the modem must be initialized
void setup()
{
modem = new HeliumModem();
}
Data is sent within your loop function. First declare a data pack and define the number of elements it will contain. Then append the data to the packet followed by sending the packet through the modem. Follow this with a delay time to set the frequency of sent packages.
void loop()
{
  DataPack dp(1);
  dp.appendString((char *)"Hello World");
  modem->sendPack(&dp);
  delay(500);
}
DataPack is Helium's way of wrapping your data to send it to/from an Atom. You must declare the size of the data pack followed by what is in it in order. Notice in the above code I appended one string to the data pack, so dp was set to 1. If we wanted to send another thing, for example an unsigned 16 bit word, along with the string we would need
DataPack dp(2);
dp.appendString((char *)"Hello World");
dp.appendU16(yourdata);
Details on appending different data types can be found in the Helium Docs.
Code above. This program repeatedly sends "Hello World" from your Helium Atom.
Connect and Upload to Hardware
The Atom communicates to the Bridge which connects to the network, so both hardware devices must be powered up to work. If you have a bridge of your own make sure it is powered up, either powered by and connected vie ethernet cable or powered by a wall socket and connected via 3G. The dev board Arduino will be powered by the usb needed to upload your code onto it, but can also be powered separately.
Upload your code onto the Arduino dev board. Run a program on your computer that leverages one of Helium's APIs to subscribe to your device. Tutorial for subscribing via Ruby. You should now see the data sent from your Helium Atom!
If you found this helpful and/or want other tutorials, feel free to ping me @WrittenAir
Thank you, and have fun making!