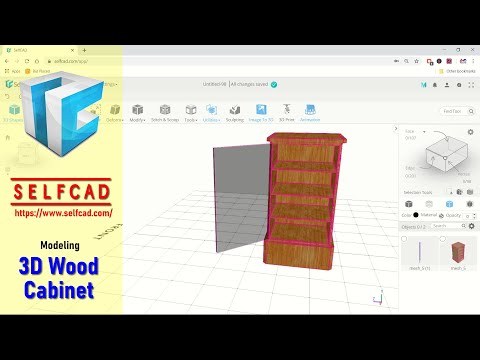
SelfCAD 3D Cabinet
In This tutorial we can learn how to create 3d cabinet in selfcad with some basic command line extrusion, insert, and add details, Check it out!!!
Creating Top and Bottom Base
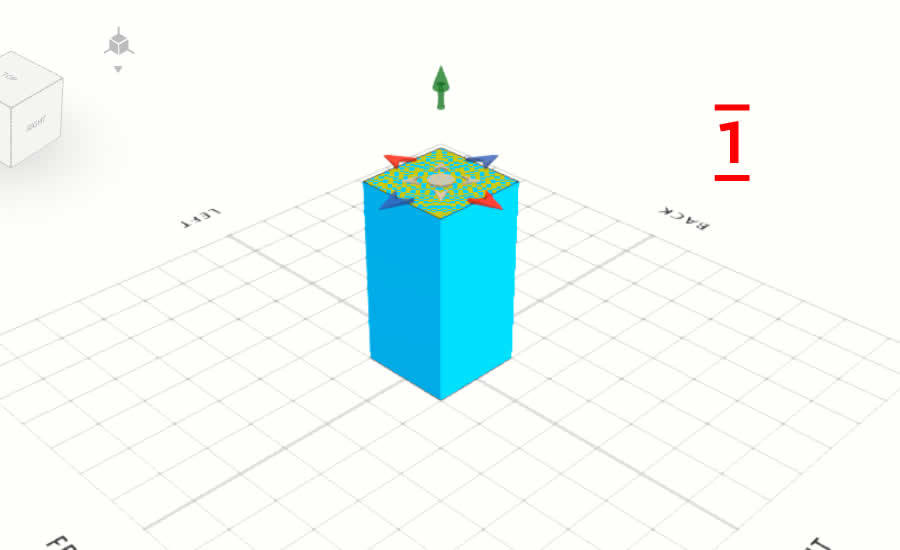

> First drop and drag cube objek
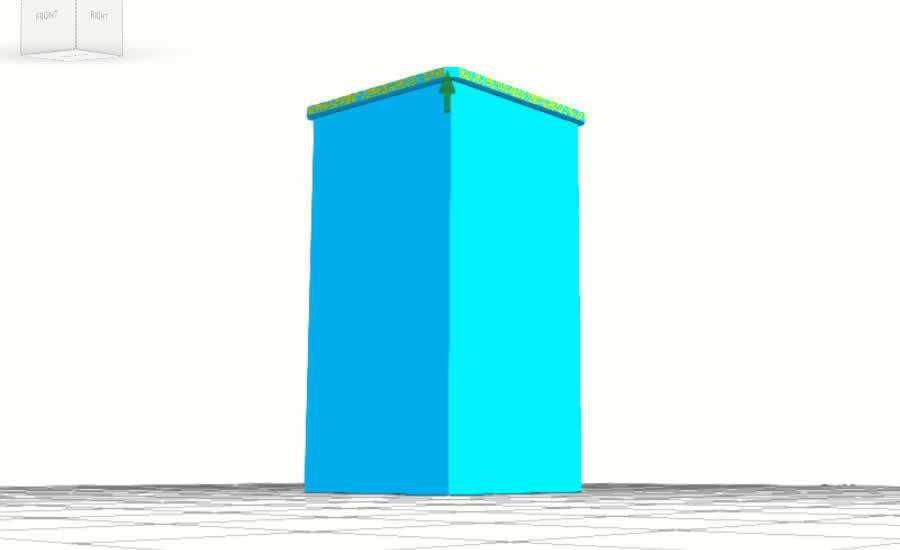
> Use face selection and select on the top face. Use move tools to move in green axis
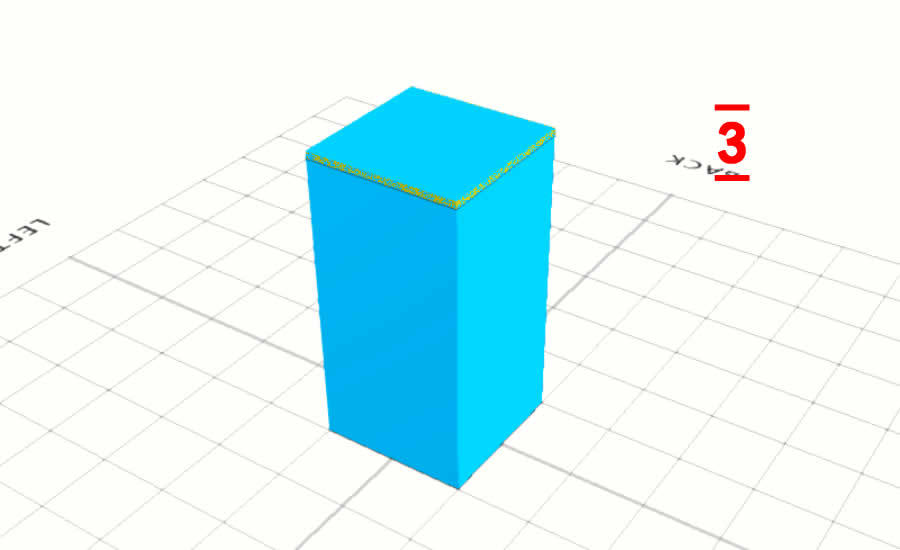
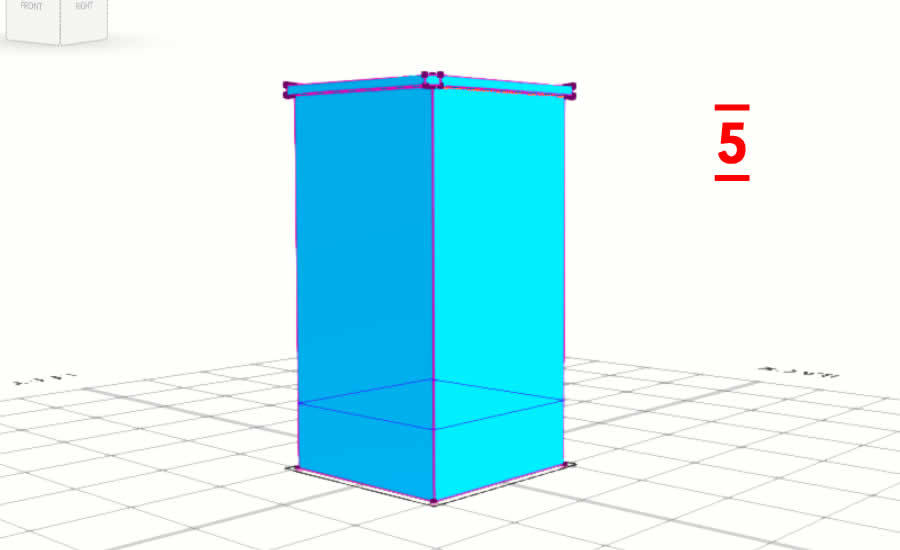
> After it we can use extrusion tools, to extrude with amount 5
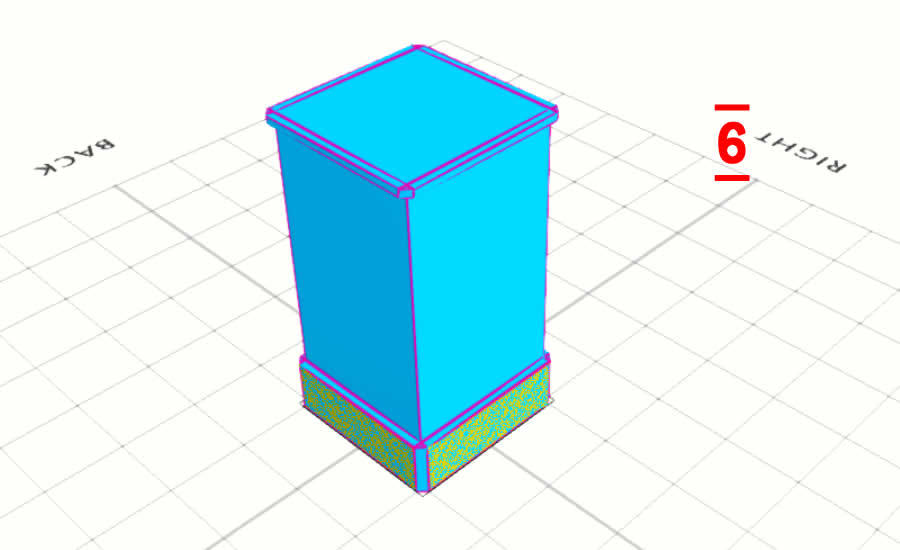
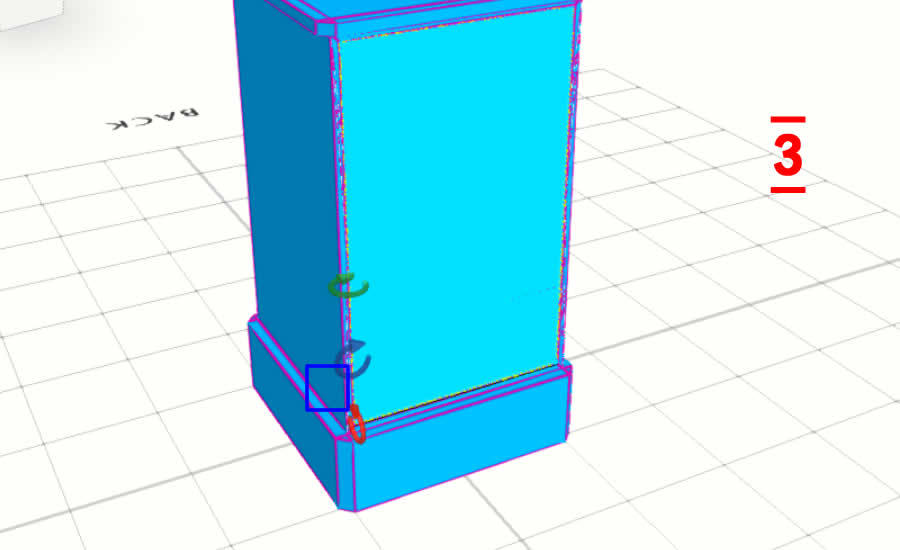
> Next you can select all side face, and extrude again with individual and connect neighbors.
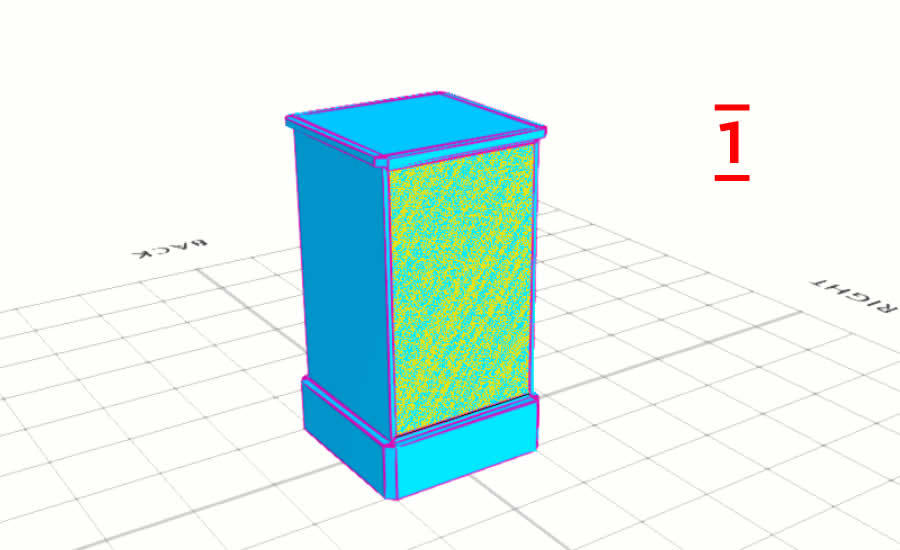
For the bottom
> Deselect face selection
> Click modify > add details. Select from top and hold, move to the bottom. It will be create new edges (make sure automatic loop finding active
> Do the same steps, to extrude all faces
Editing Top Face
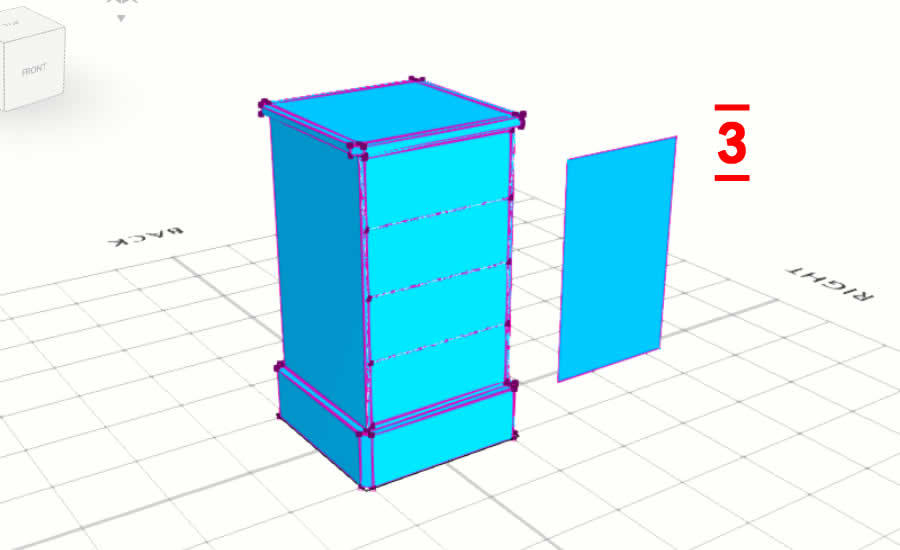
> Use face selection > and select at front face
> Click modify > insert and give amount 3
> Next you can press ctrl button (hold) > move drop and drag to the right
> After it select 3d model object, click modify > add detail. And you can create 3 new edges
Create Hole
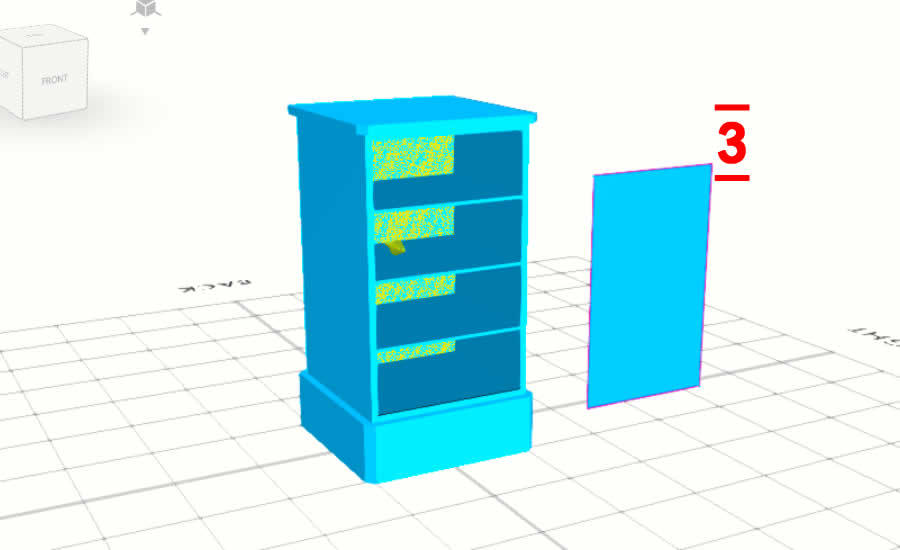
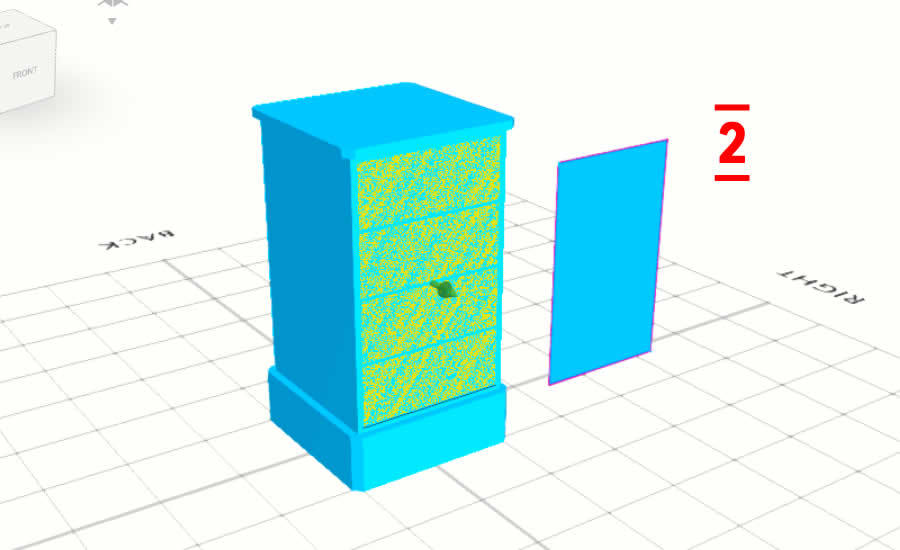
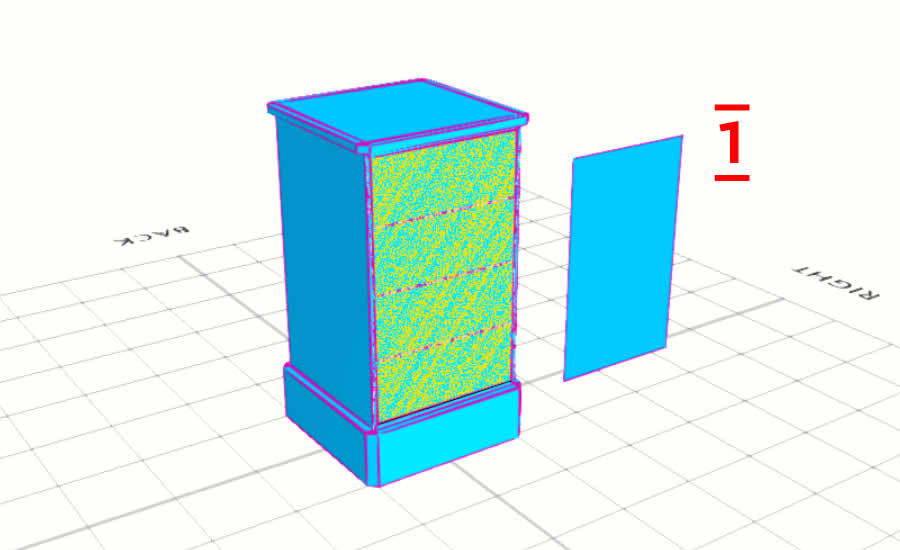
> Use face selection and select front face
> Click modify > insert > active individual and give amount 1
> Click modify > extrusion > and move to back, so it will be create hole
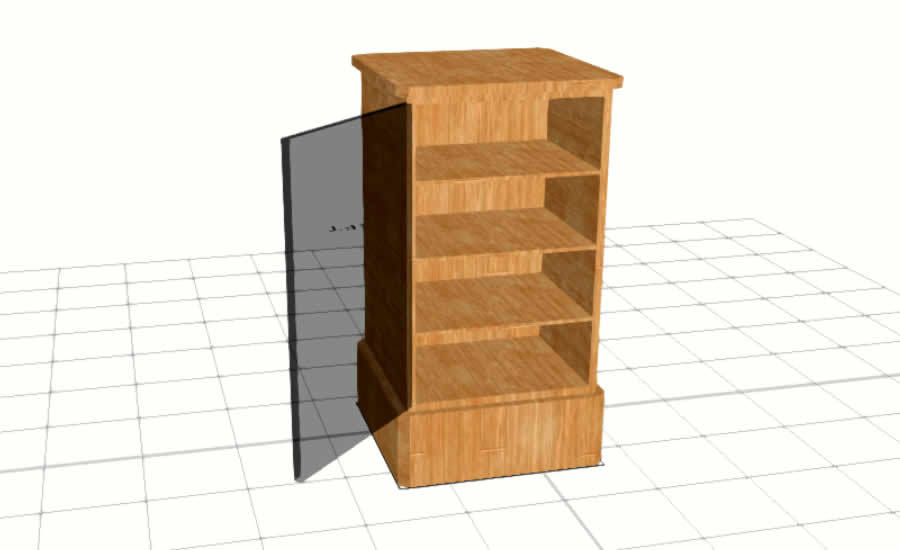
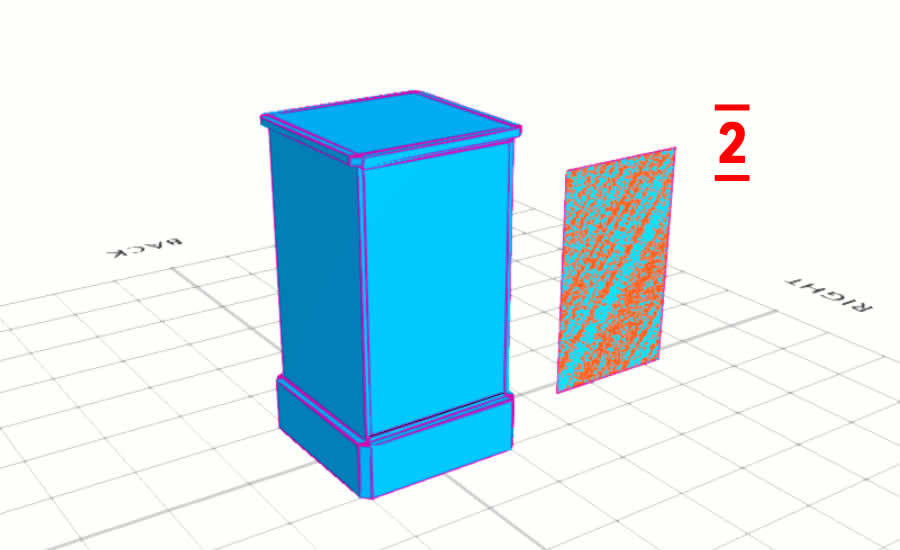
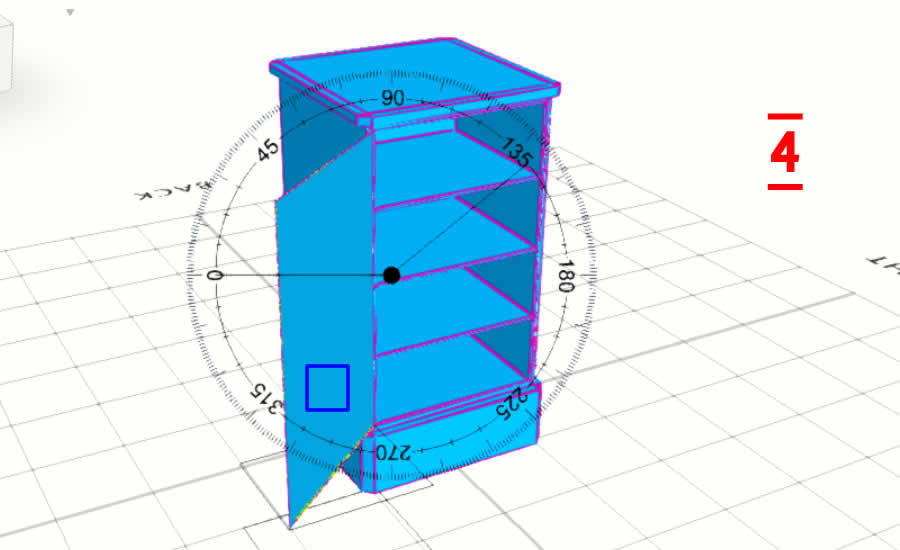
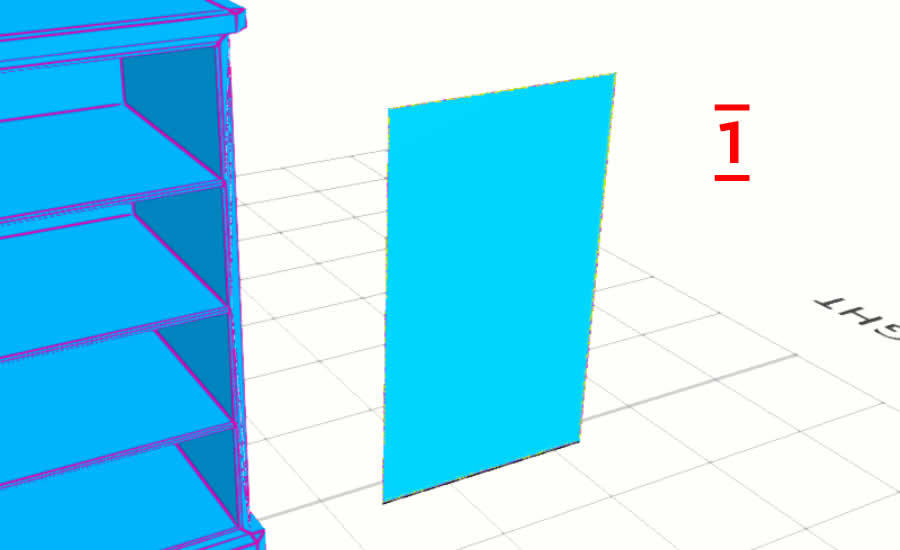
Creating Door
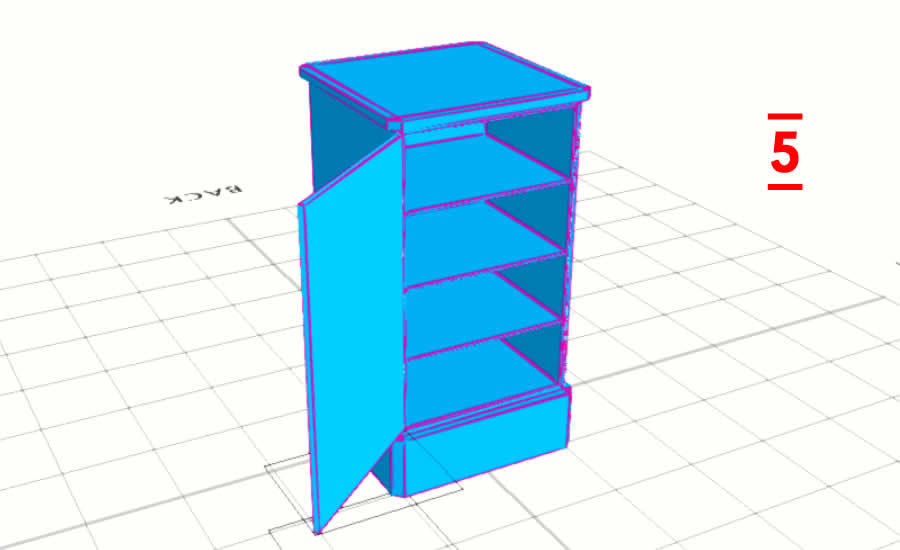
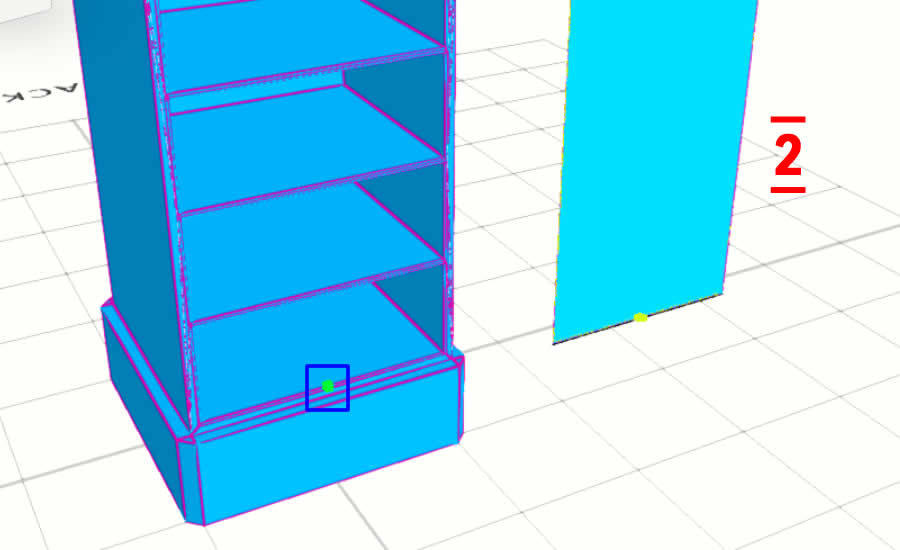
> Select Surface object. Use edge editing, and select all edges
> Click utilities > Snaps > and click on bottom in front 3d model, to move the surface
> Next you can use rotate with specific gizmo location
> Afterit we can use add thickness with amount 3
Video Tutorial