Self-watering Flower Pot !! With Arduino
by buseslnn in Circuits > Arduino
285 Views, 1 Favorites, 0 Comments
Self-watering Flower Pot !! With Arduino
.jpeg)
.jpeg)
.jpeg)
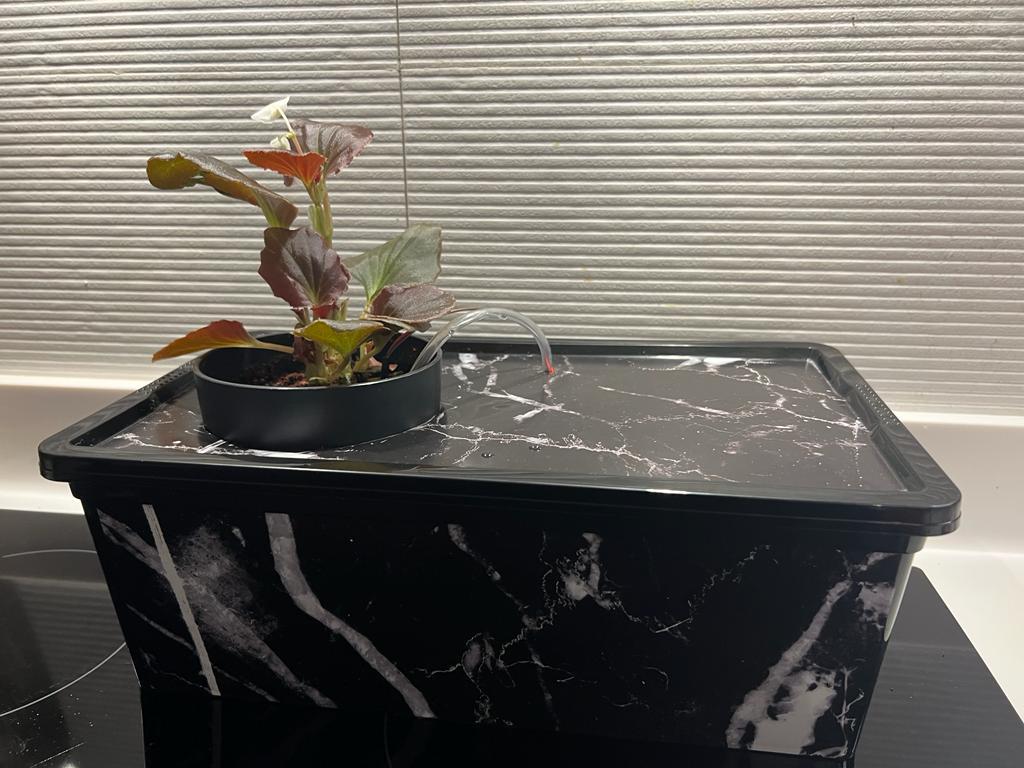
In this Instructables guide I will show you how to make your own - Arduino -automatic watering system for your "desk" flower (or plant). The whole procedure is very easy and you can complete this guide in about 30 min.
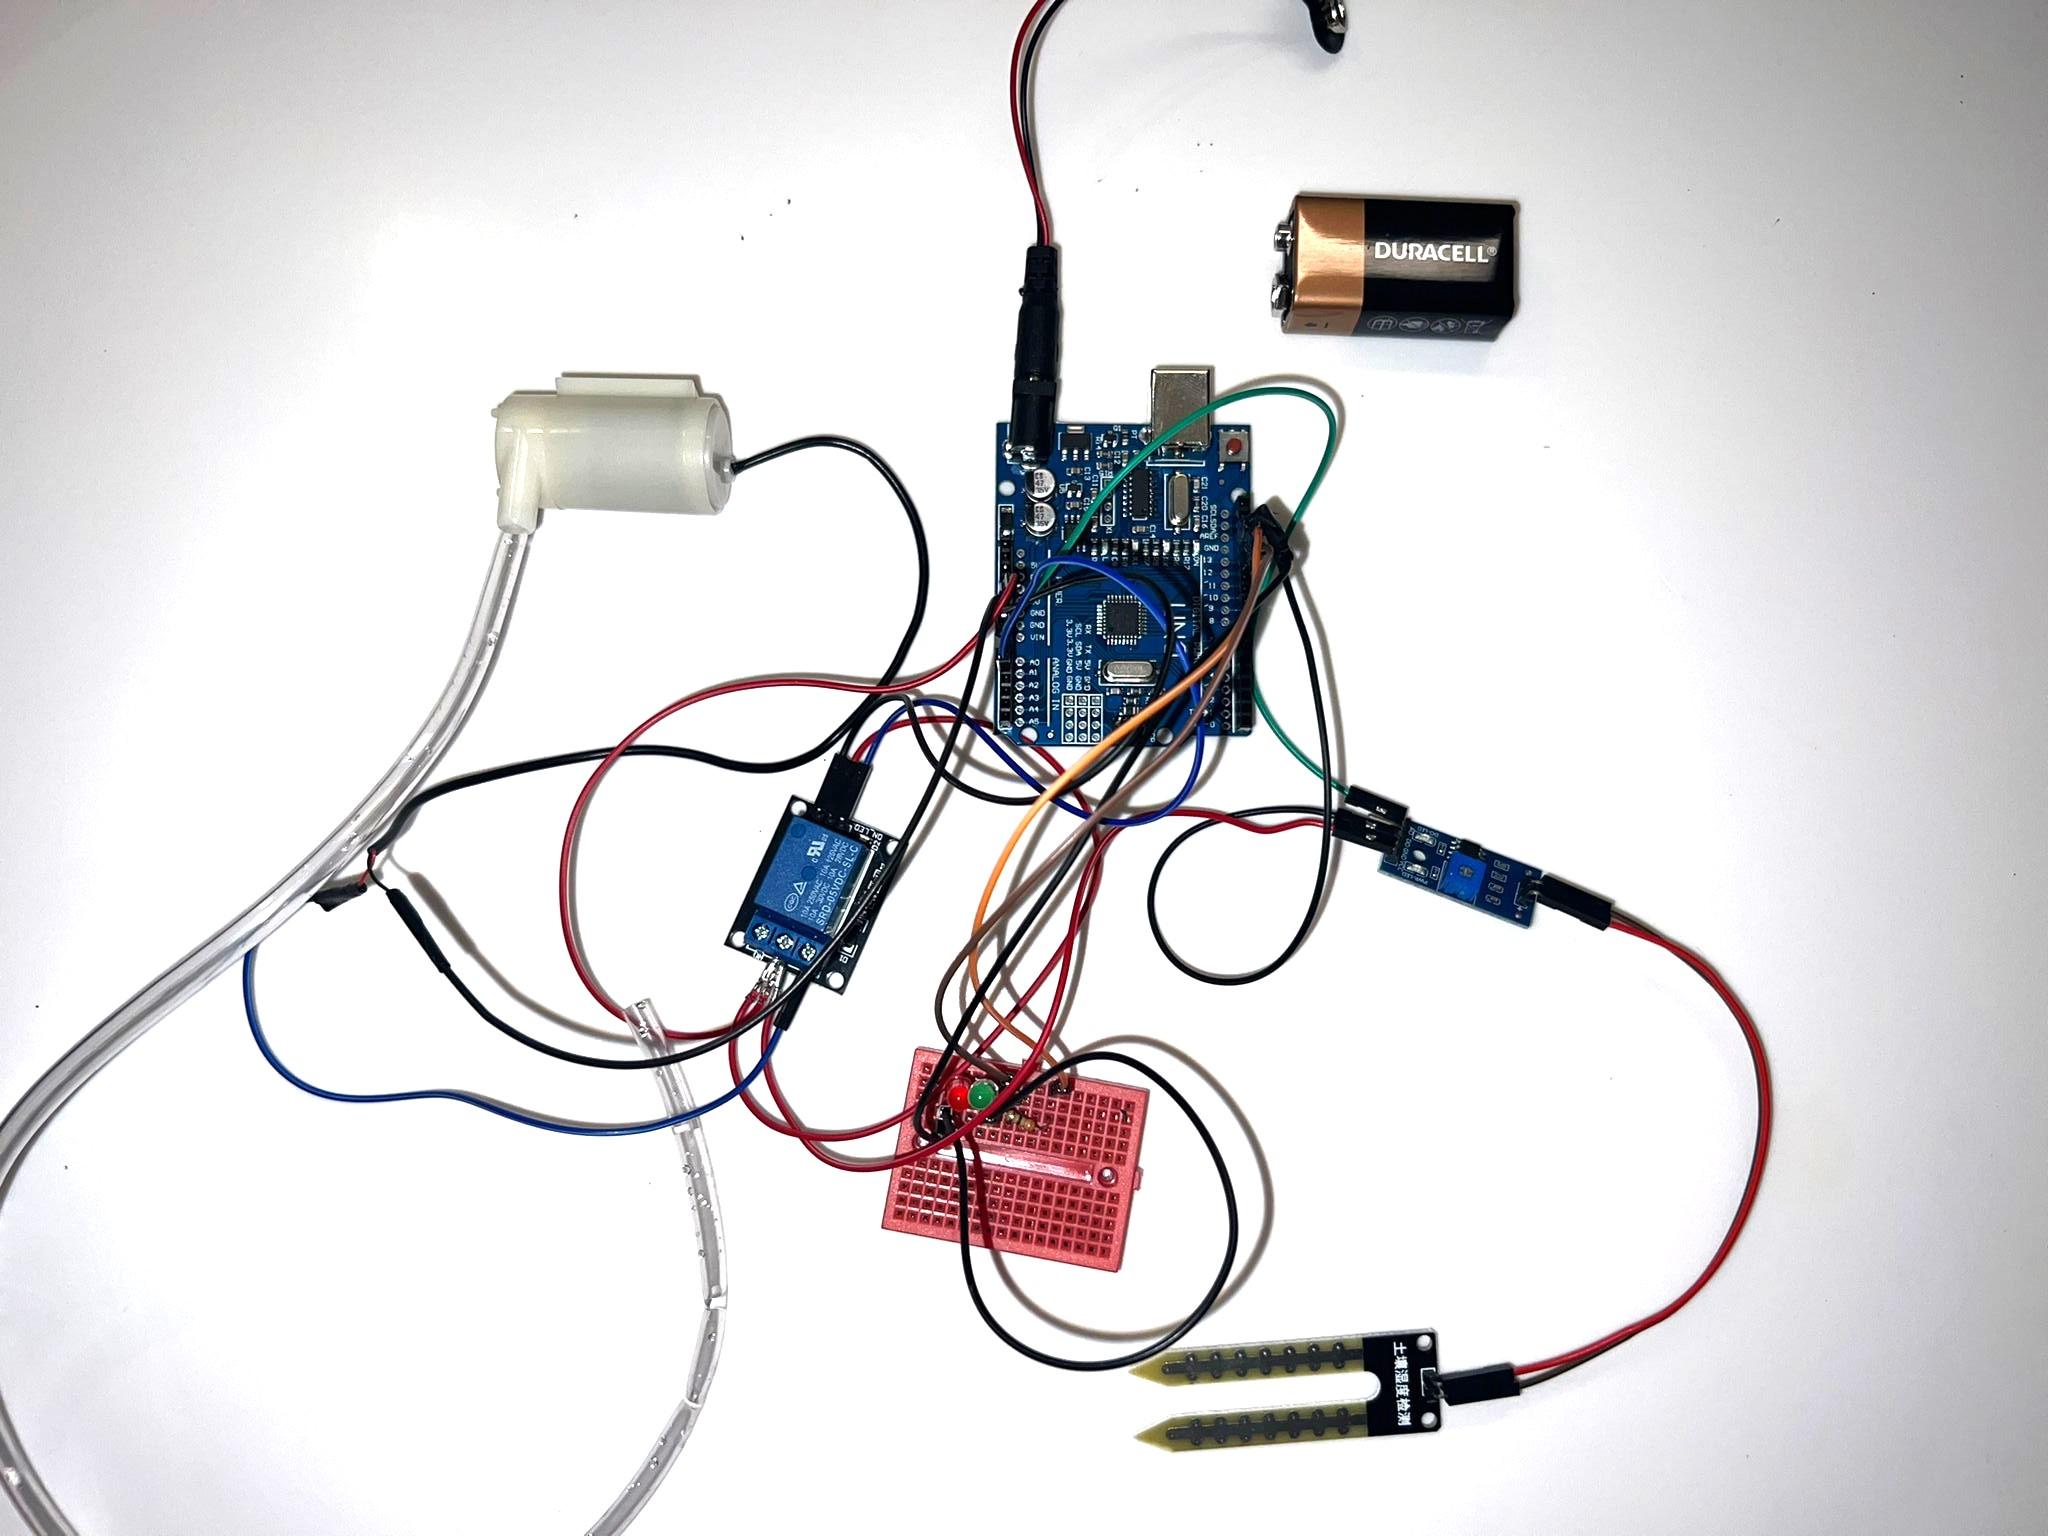
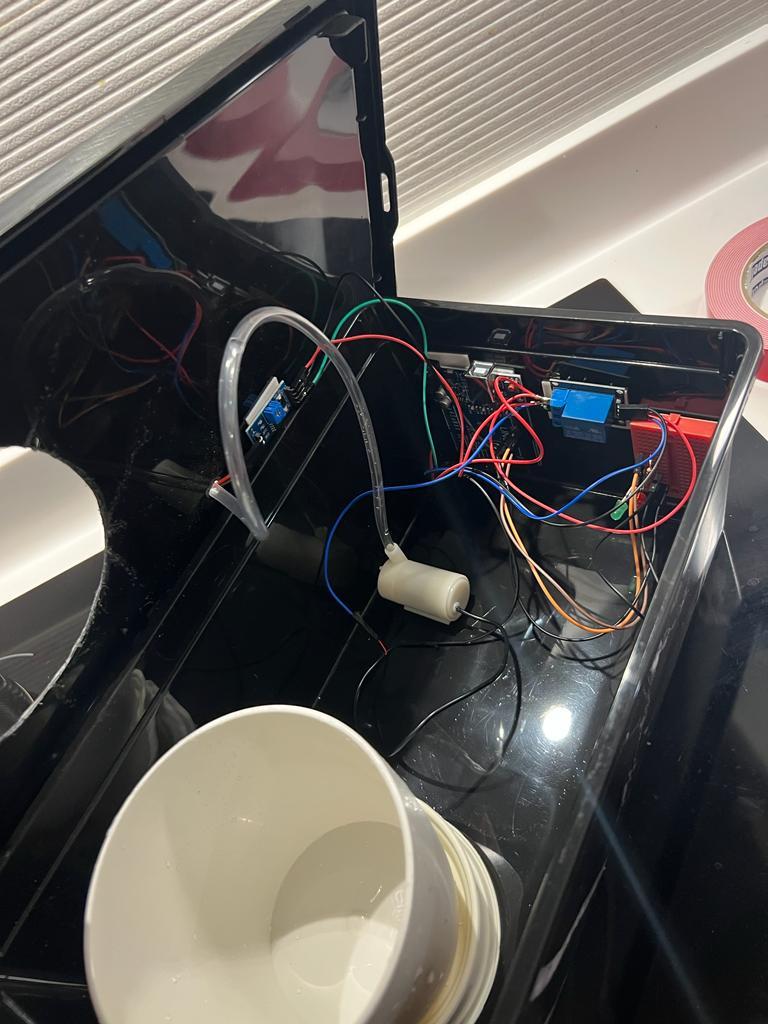
The goal is to automatically watered the plant when the soil moisture decreases, so we will use one "soil hygrometer" sensor for this measurement. For watering, we will use one small air-pump motor that will blowing air into the bottle from one small pipe! The pressure will throw the water from the other pipe to our plant.
if you want you can also use the Arduino uno, Arduino Pro mini or Arduino nano board.
So, let's get started!
Supplies
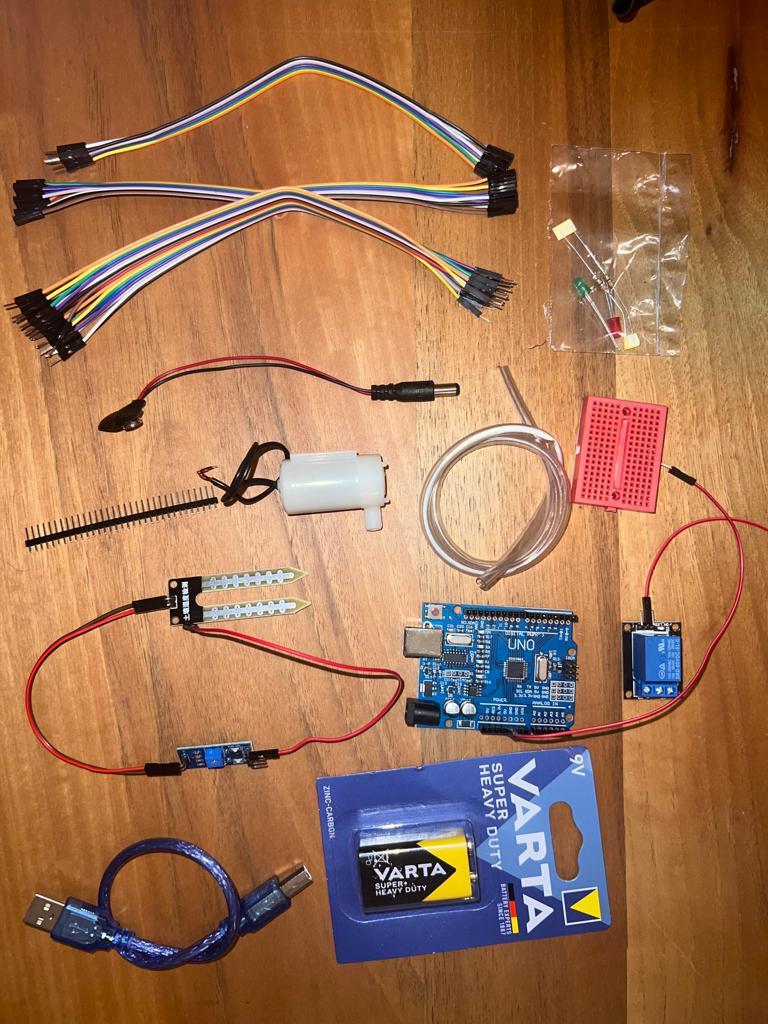
What You Will Need ?
Bill of Materials:
- Arduino Uno SMD + USB Kablo
- Mini Breadboard
- Toprak Nem Sensörü
- 5mm Kırmızı Led
- 5mm Yeşil Led
- 330 ohm Direnç x2
- 5V Tekli Röle Kartı
- Mini Dalgıç Su Pompası Motoru
- Su Pompası Hortumu
- 9V Pil Klipsi
- Jumper Kablo Seti
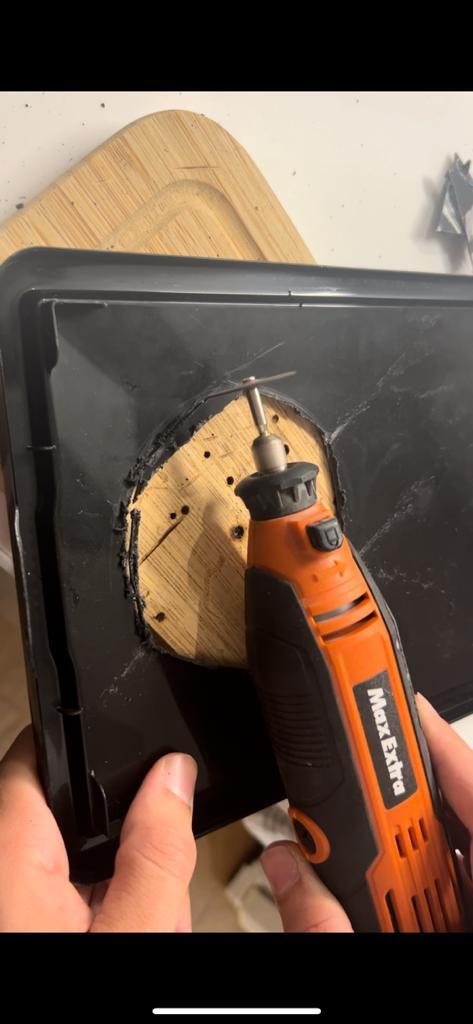
Creating Pot for System and Flower
.jpeg)
follow the steps below :
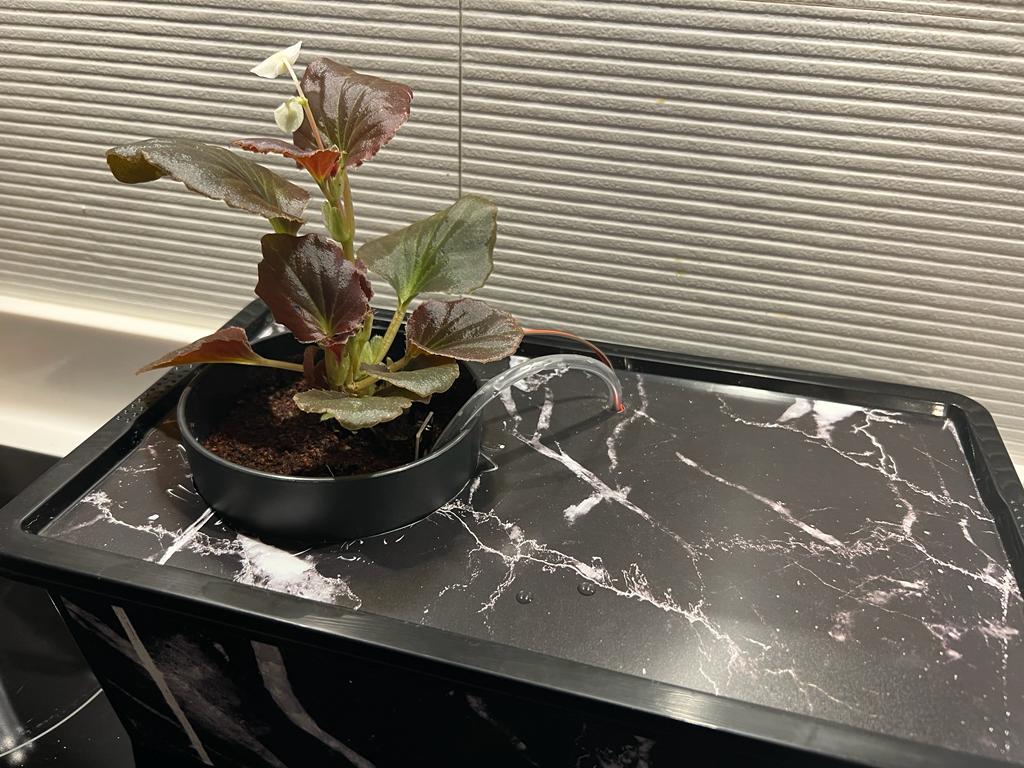
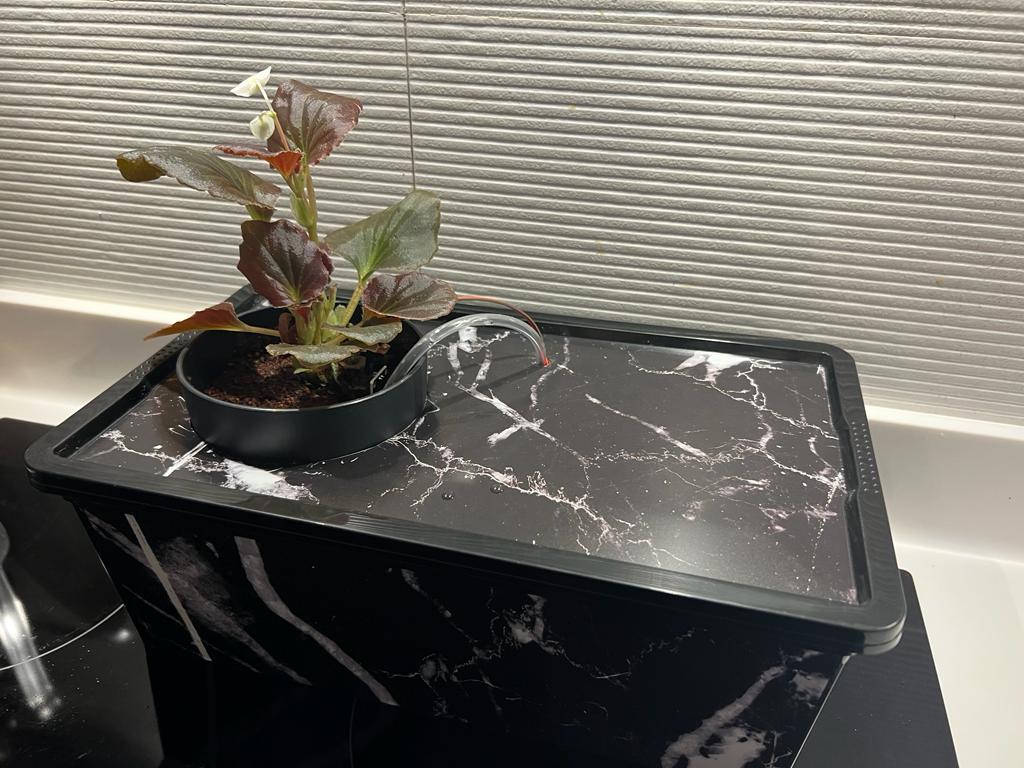
- Open the two hole on the storage conatiner lid.
- One hole for the flower pot , other hole for the watering pipe.
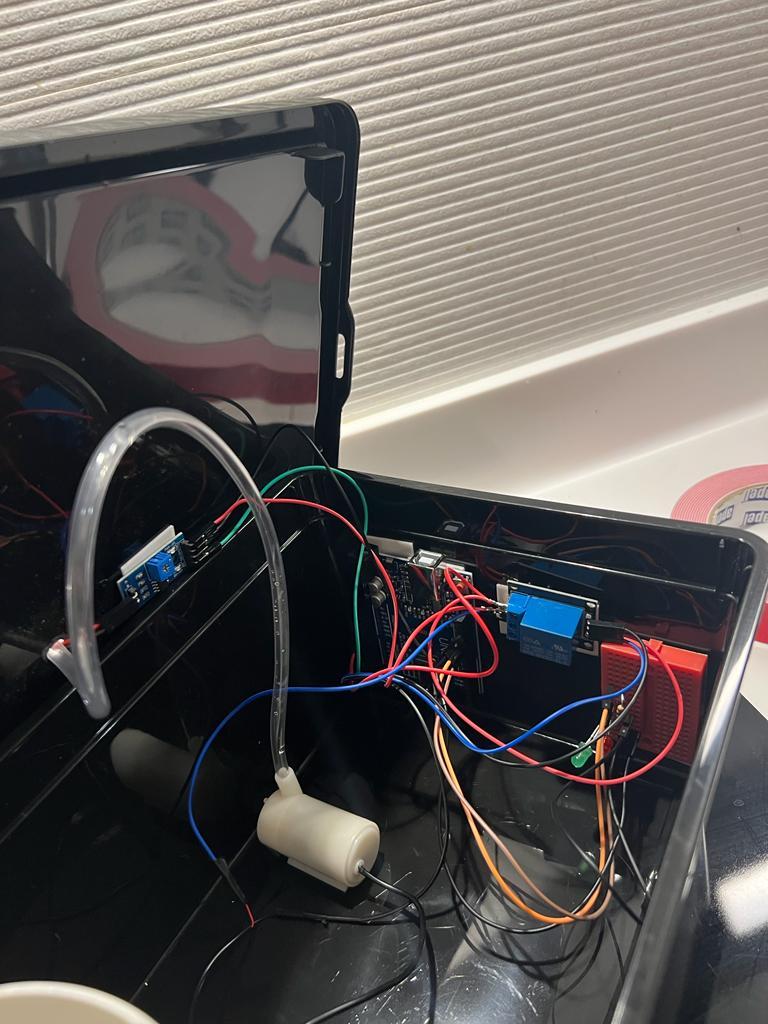
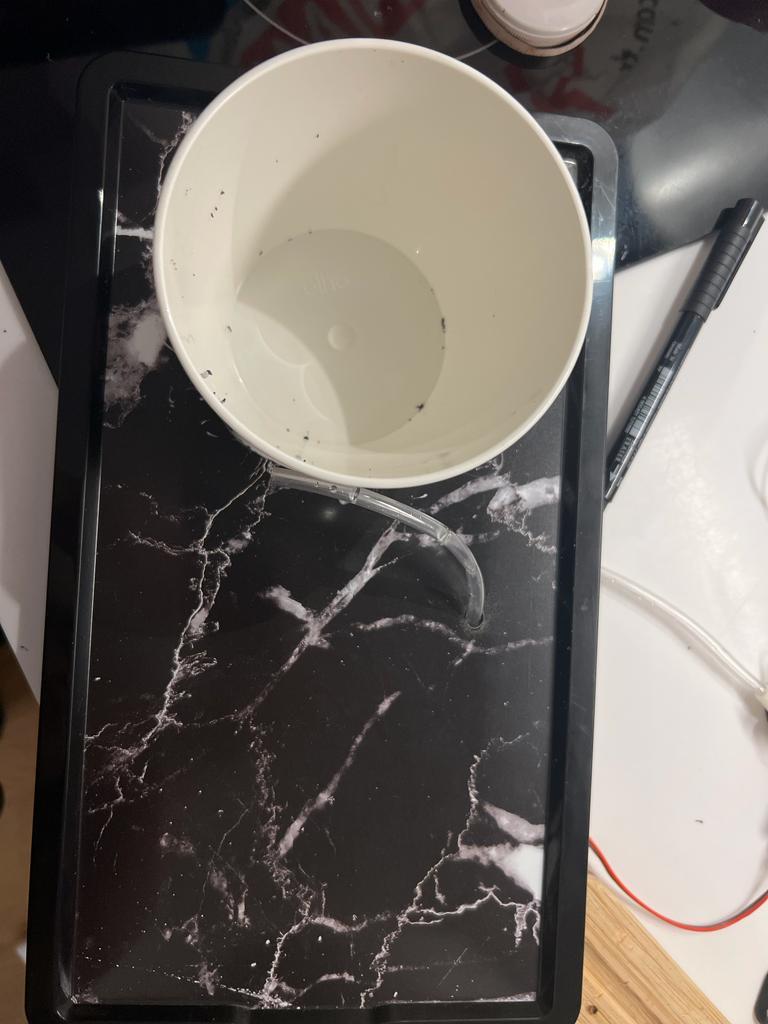
- Make sure that the system is not visible from the outside by placing your system neatly in the storage container and placing the pipe and flower in their places.
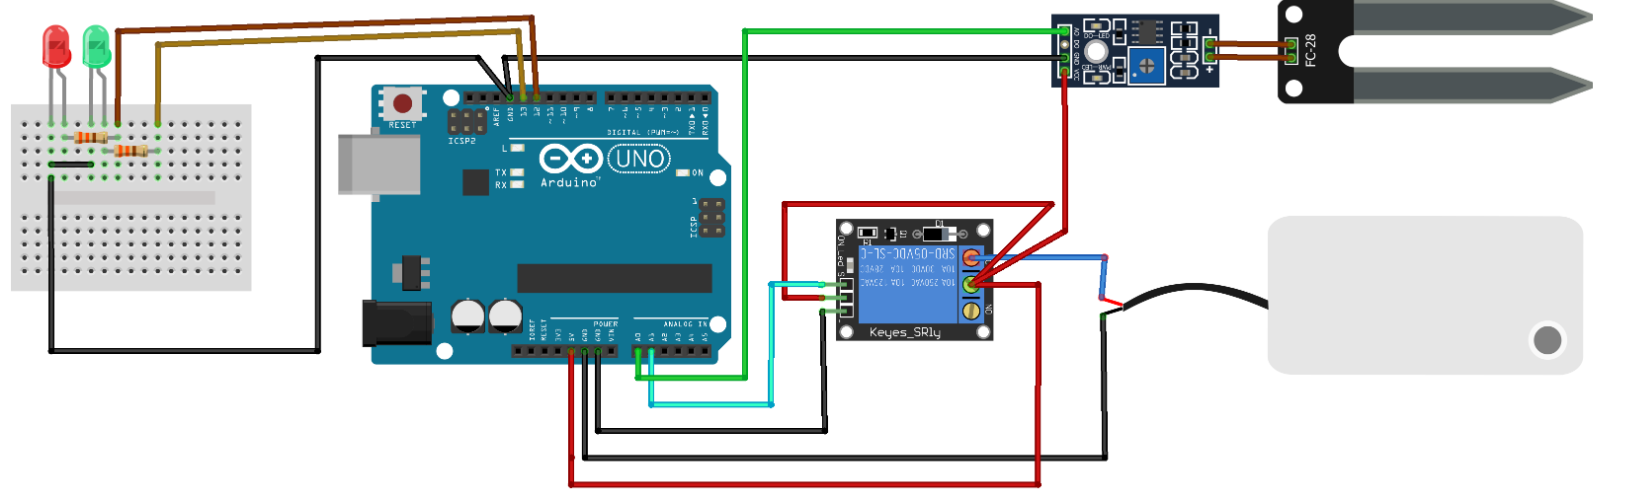
The Circuit
.png)
1-The connections are pretty easy, watch the above image with the breadboard circuit schematic.
2-After making the connections of our project as shown in the drawing above, we can upload our code to the arduino uno.
The Code
.png)
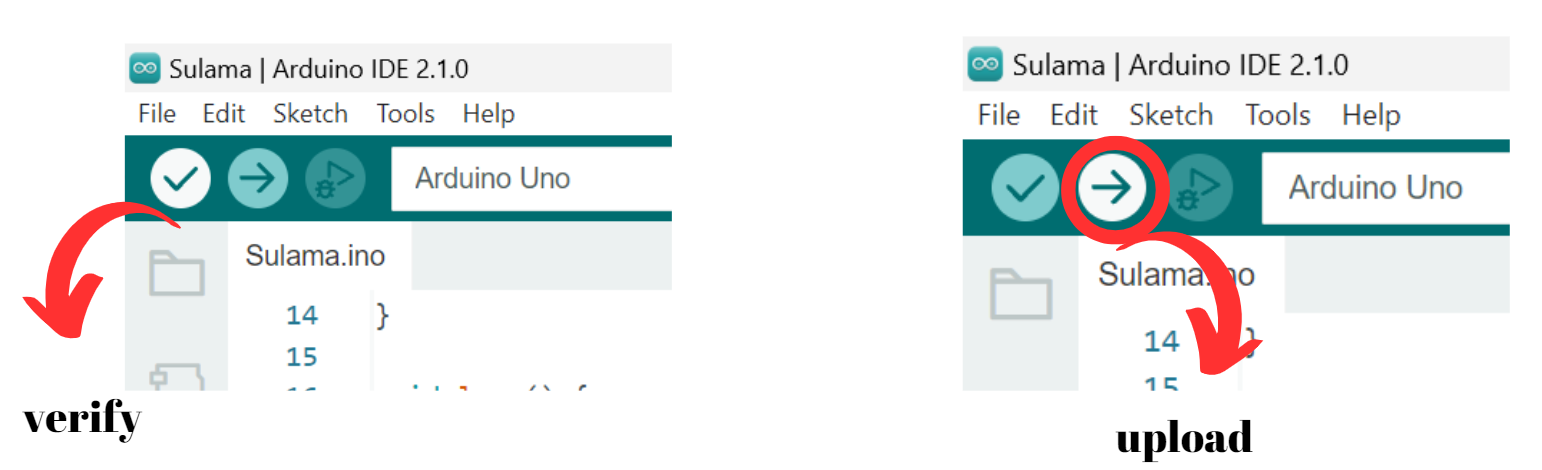
1-Open the Arduino IDE . Write the code the below.
Arduino Code :
#define ToprakSensoru A0
#define SuMotoru A1
#define YesilLed 13
#define KirmiziLed 12
void setup() {
pinMode(ToprakSensoru,INPUT);
pinMode(SuMotoru,OUTPUT);
pinMode(YesilLed,OUTPUT);
pinMode(KirmiziLed,OUTPUT);
digitalWrite(SuMotoru,HIGH);
Serial.begin(9600);
}
void loop() {
if(analogRead(ToprakSensoru)>700)
{
digitalWrite(SuMotoru,LOW);
digitalWrite(YesilLed,LOW);
digitalWrite(KirmiziLed,HIGH);
}
else
{
digitalWrite(SuMotoru,HIGH);
digitalWrite(YesilLed,HIGH);
digitalWrite(KirmiziLed,LOW);
}
delay(1000);
}
2-Then, verify the code . If it has not give an error , upload the code.
Well Done :)
.jpeg)
.jpeg)
Now you have your own Arduino automatic watering system for your small plant or flower! Keep in mind that it will also need a sunlight to grow up, so place it near a window. Of course don't forget to refill your bottle with water after some days ;)
You can watch the process video : https://youtu.be/ceczsZ25l74