Self Watering Herb Planter (3d Printable, Tinkercad)
by WoodCafe in Design > 3D Design
1315 Views, 5 Favorites, 0 Comments
Self Watering Herb Planter (3d Printable, Tinkercad)
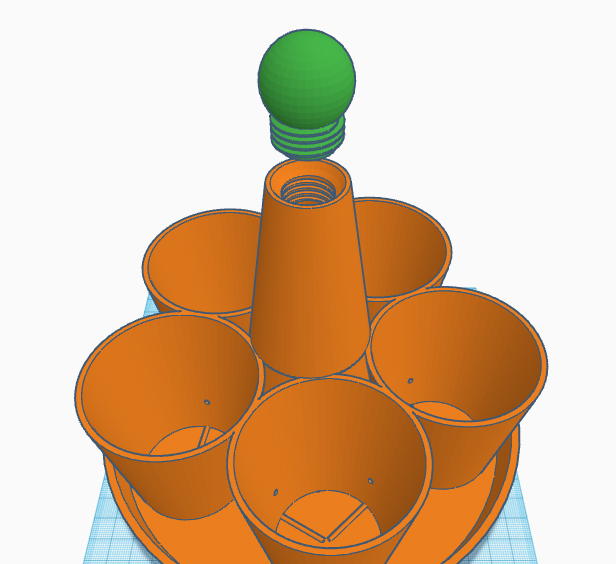
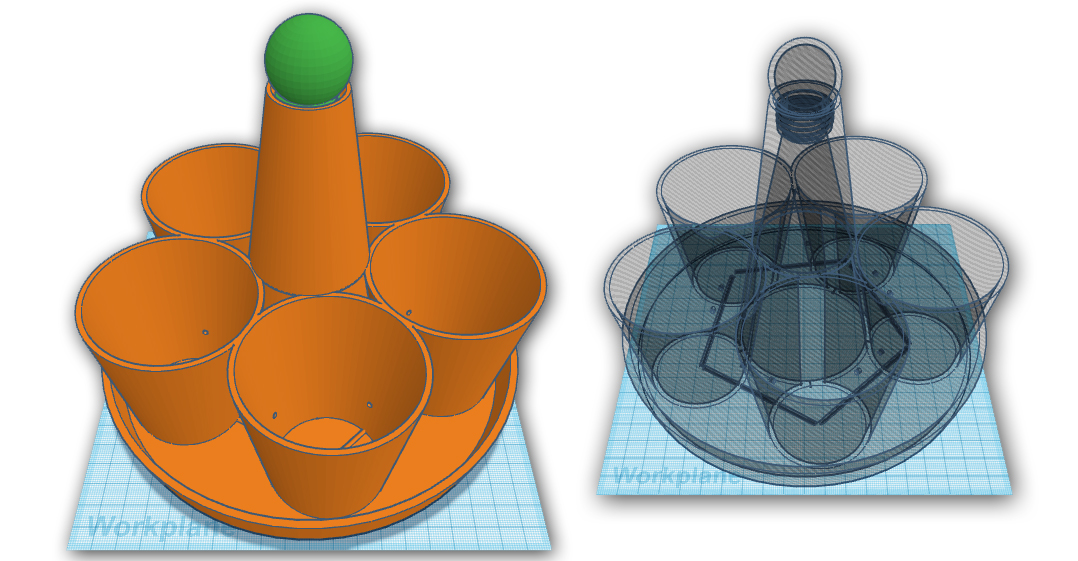
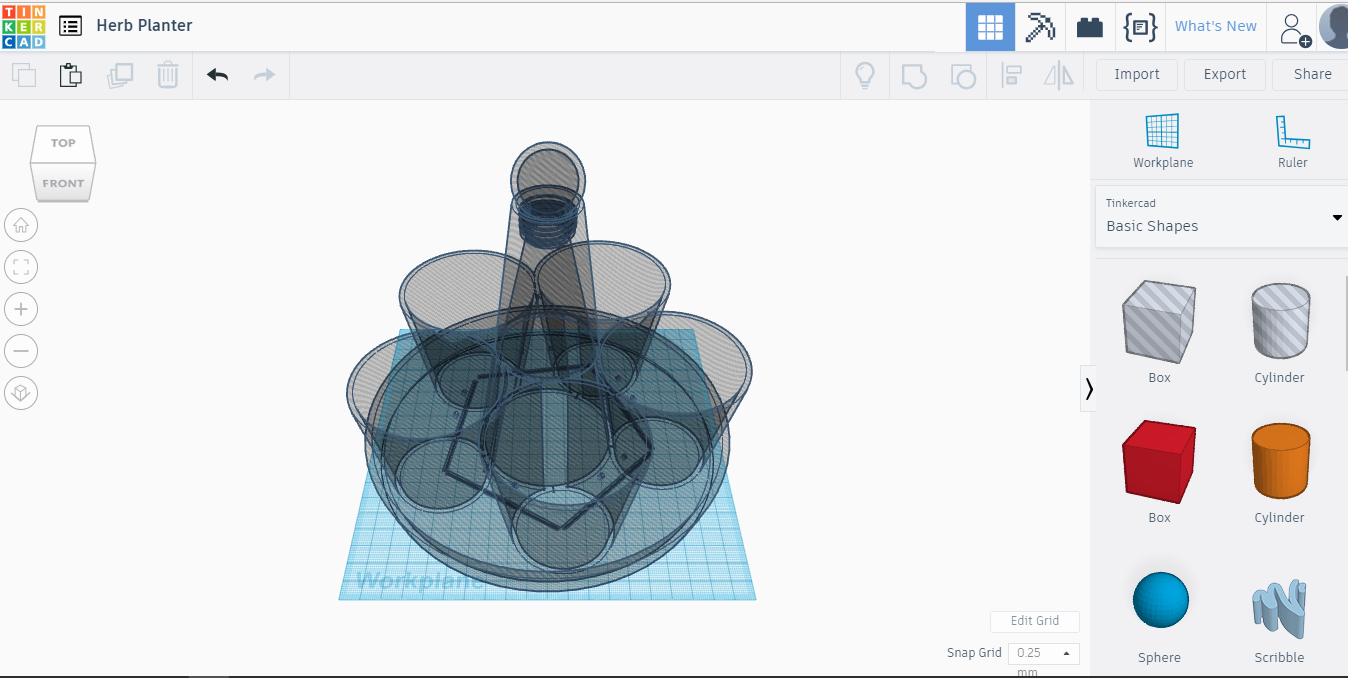
Hello. This is a digital prototype of planter, designed in Tinkercad.
It has 5 pots for plants and the center cone, I call it Watertower, is for water. Watering happens from the bottom of every pot, through tiny holes and pipe system.
Never tested that planter physically so far, but hopefully I can do that very soon. Need to find a 3D printer only. How hard can it be ;)
This instructable is about how to design this planter on Tinkercad. I have used Tinkercad now for a 2 weeks only and found it as very easy to understand and great tool to build 3D models for printing.
For first, I'm not native english speaker and my writing is not any better than speaking, but I really hope I can explain clearly enough, what I made up. And agree...screen recording is better to understand, but my laptop is not that good to make good video. I'm sorry, you have to read that and watch pictures. Or just download the file and try to print it.
It's good to get to know Tinkercad basics before you start using it first time. The step-by-step lessons are really helpful.
Also you might be interested in Tinkercad keyboard shortcuts, because those are very useful and will make your work much faster.
You can check everything out here https://www.tinkercad.com/learn/ There scroll down for shortcuts.
Getting Started

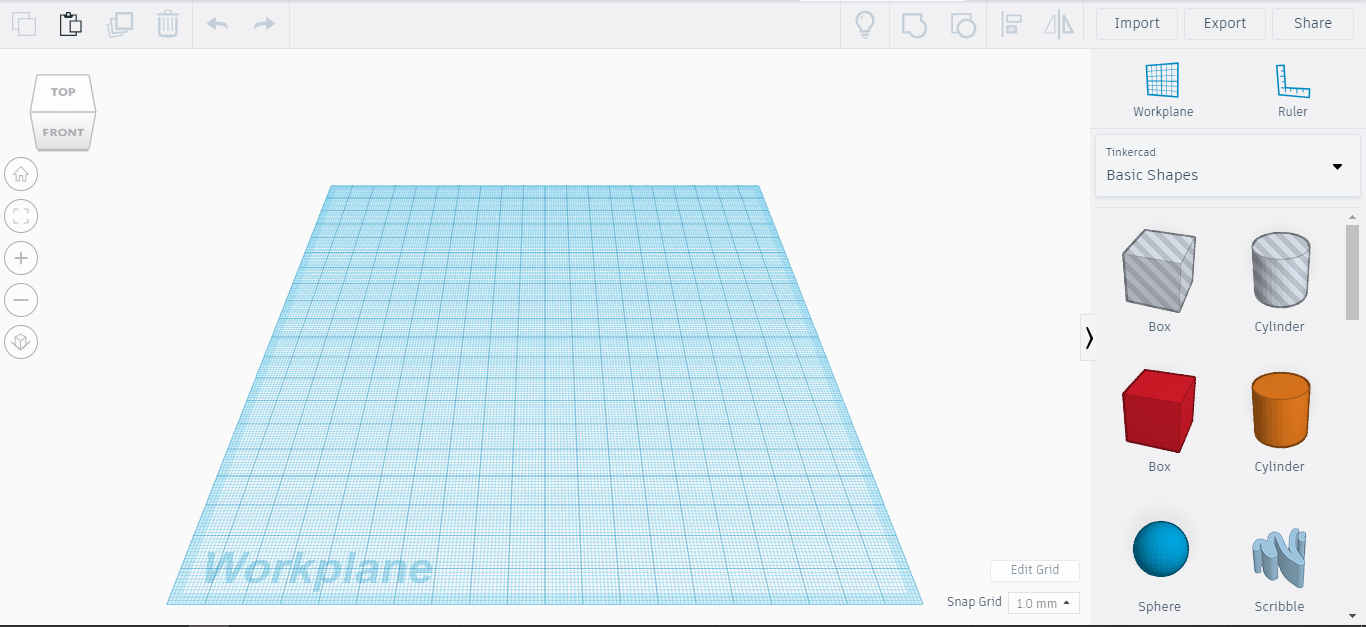
Let's get started then.
All you need is:
- computer with internet connection
- web browser
- Autodesk account
- 3D printer(optional), if you want to print that planter
Go to tinkercad.com website and sign up for account if you don't have one already.
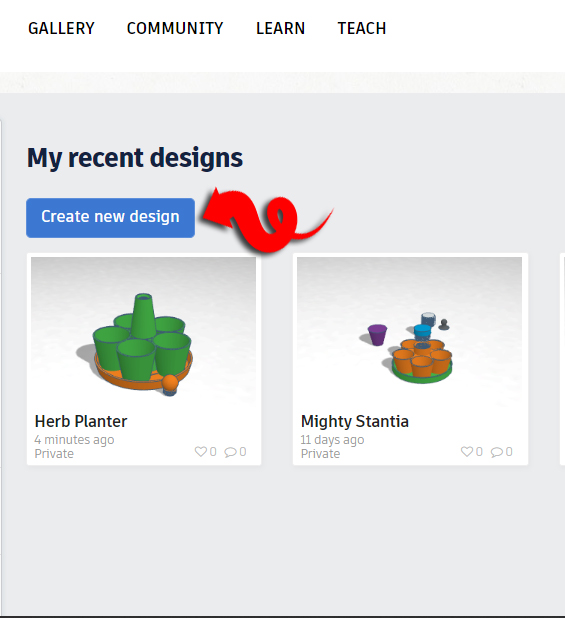
Once you are registered and logged in to Tinkercad, create New Design.
The Bottom Plate
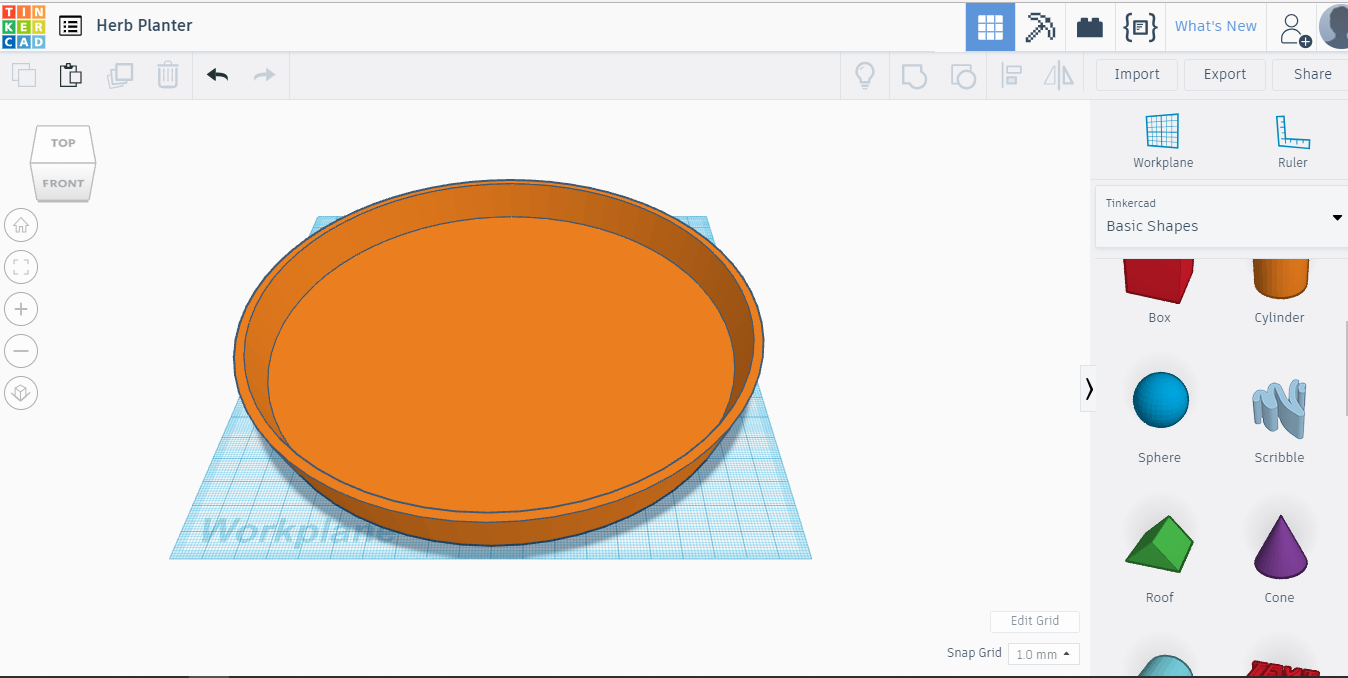
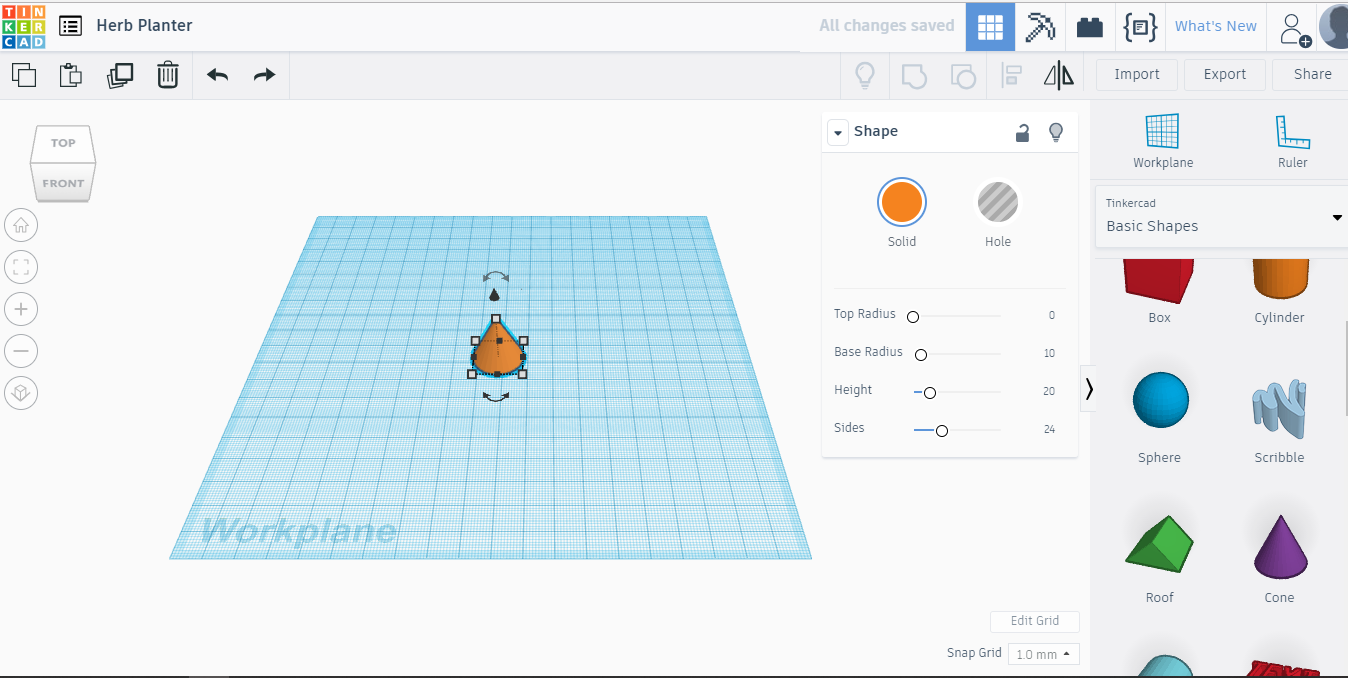
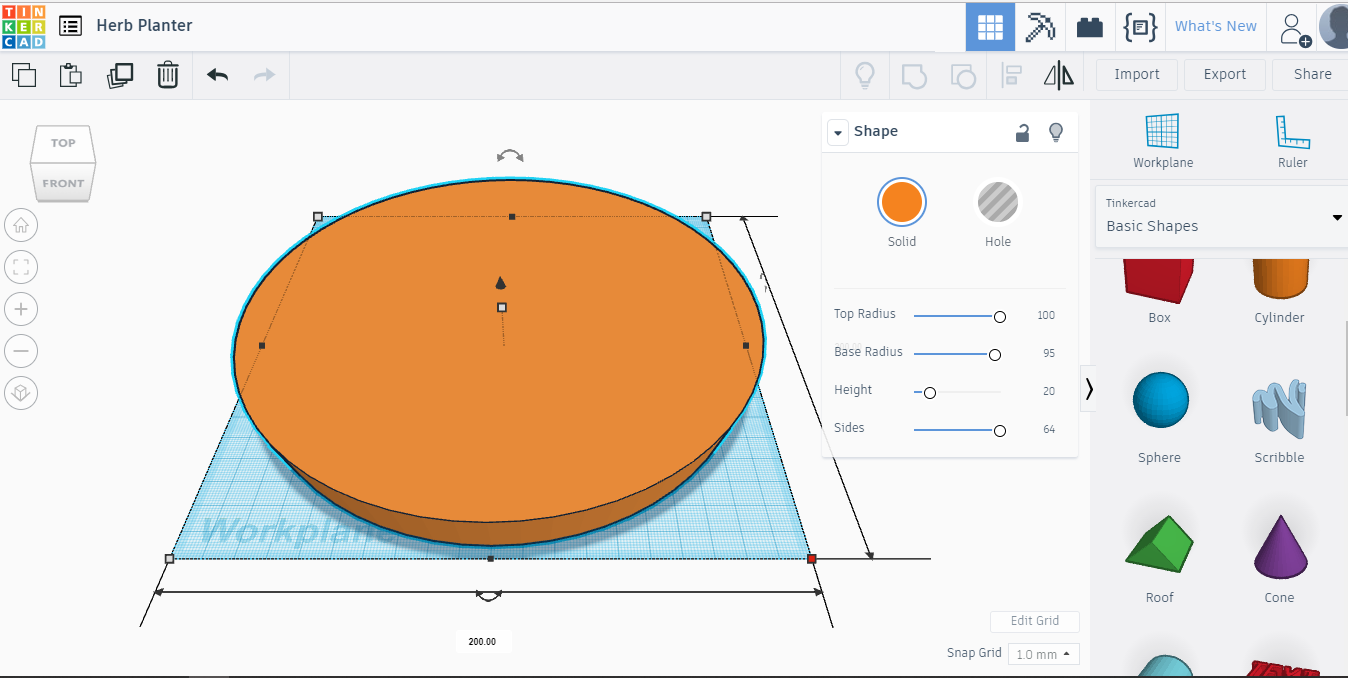
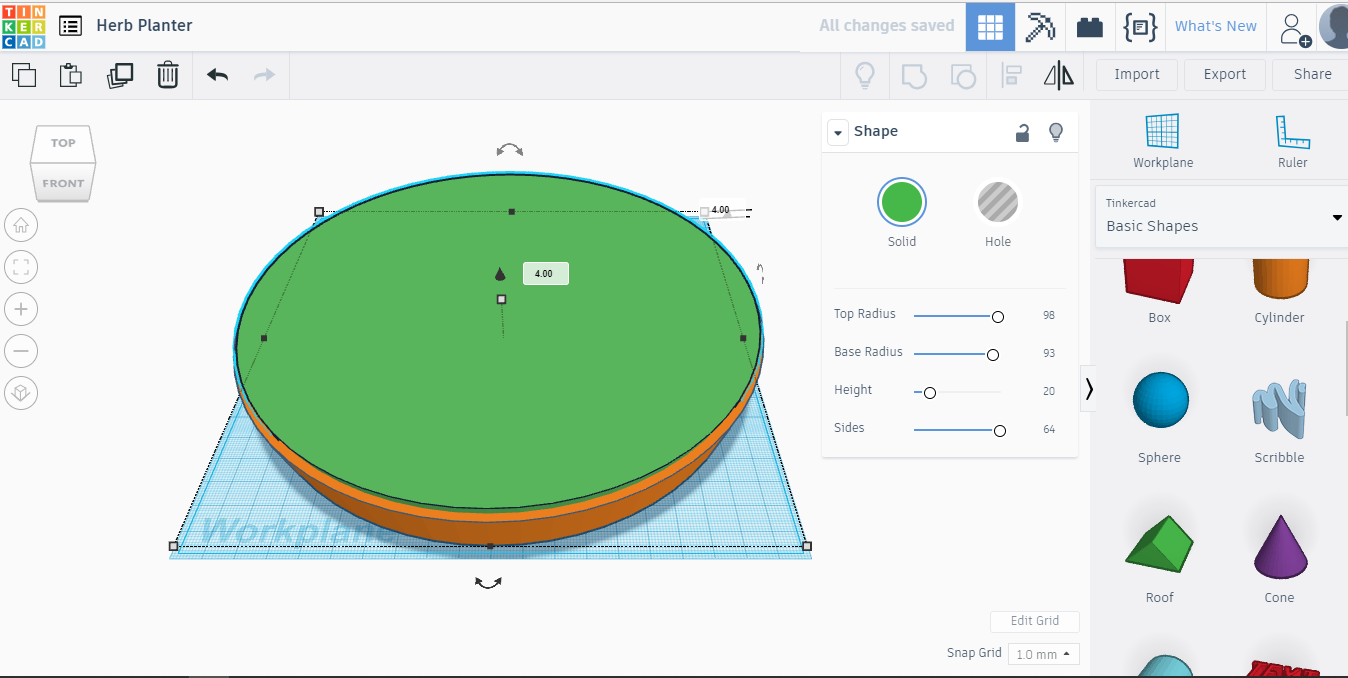
On the right side of screen you can see Basic Shapes menu. Drag a Cone from there to the Workplane. I made it orange, 'violent' is not my favorite color;) Scale it like follows, Top Radius:100, Base Radius:95, Height:20, Sides:64. Drag and place created object to the center of the Workplane.
Make a copy of that created Cone(ctrl+D), change color to green to make it visible.
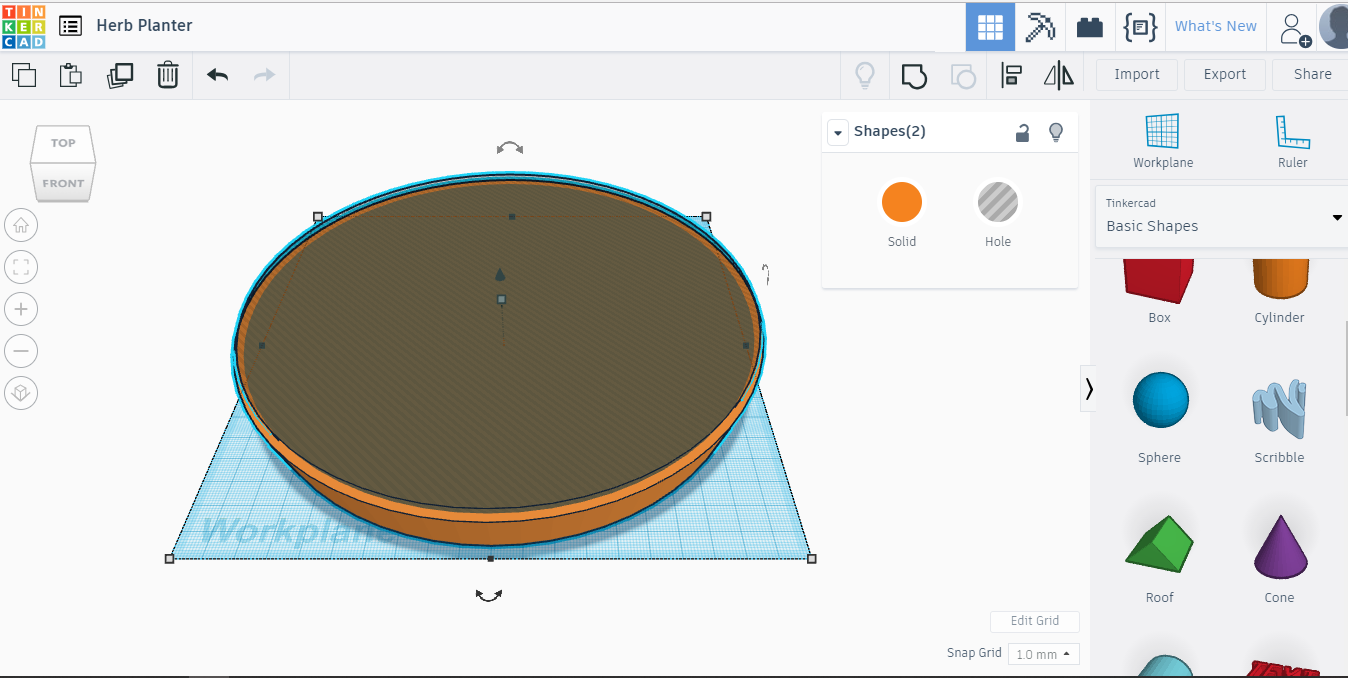
Make following changes to dimensions. Top Radius:98, Base Radius:93, lift it up by 4mm. You can lift object while it's selected and click+hold left mouse button down on the black arrow above your selected object and drag upwards. Make sure your both objects are centered. To check that, drag, with holding left mouse button down, over both objects and then click Align tool or hit L from keyboard. Click middle black dots on Workplane. If those colored gray, then you're centered.
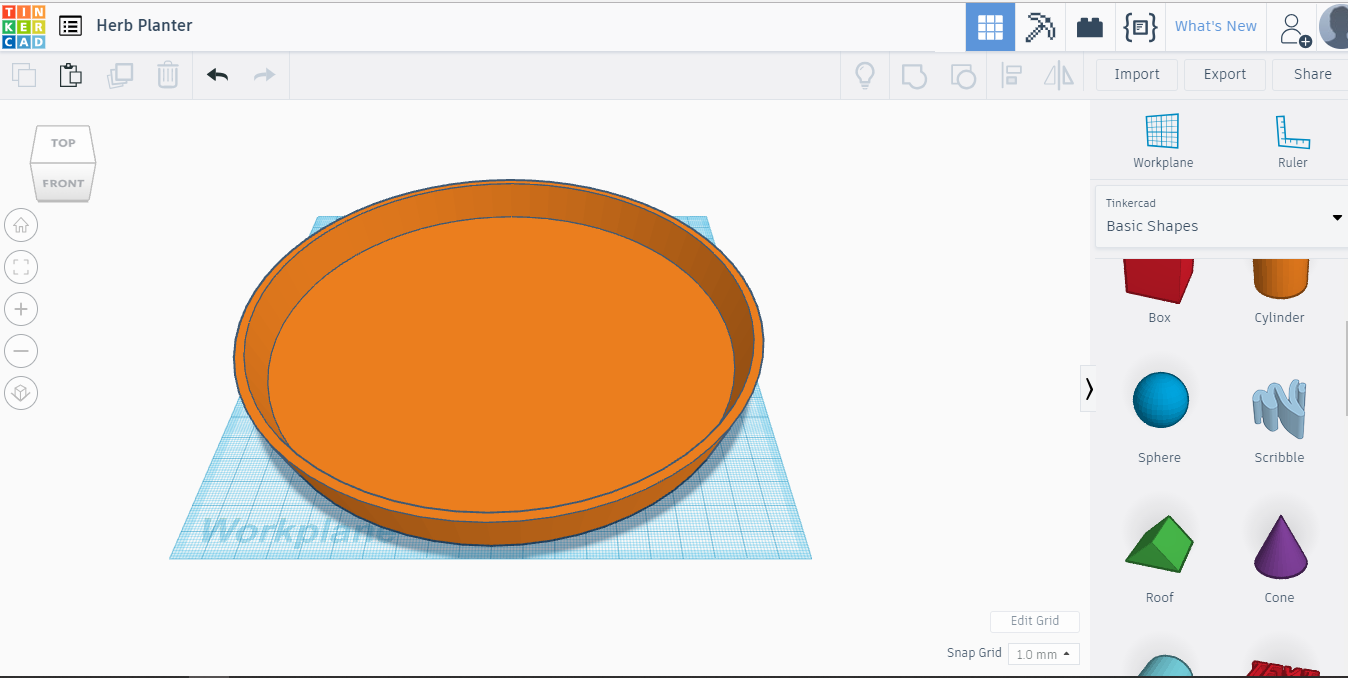
Select green piece and change it from Solid state to Hole, select both again(ctrl+A to select all or drag with mouse over everything, then click on Group tool or ctrl+G. One piece is ready, we have bottom plate done. No worries, it's not that simple, there's still a lot to do.
Making Pots for Plants
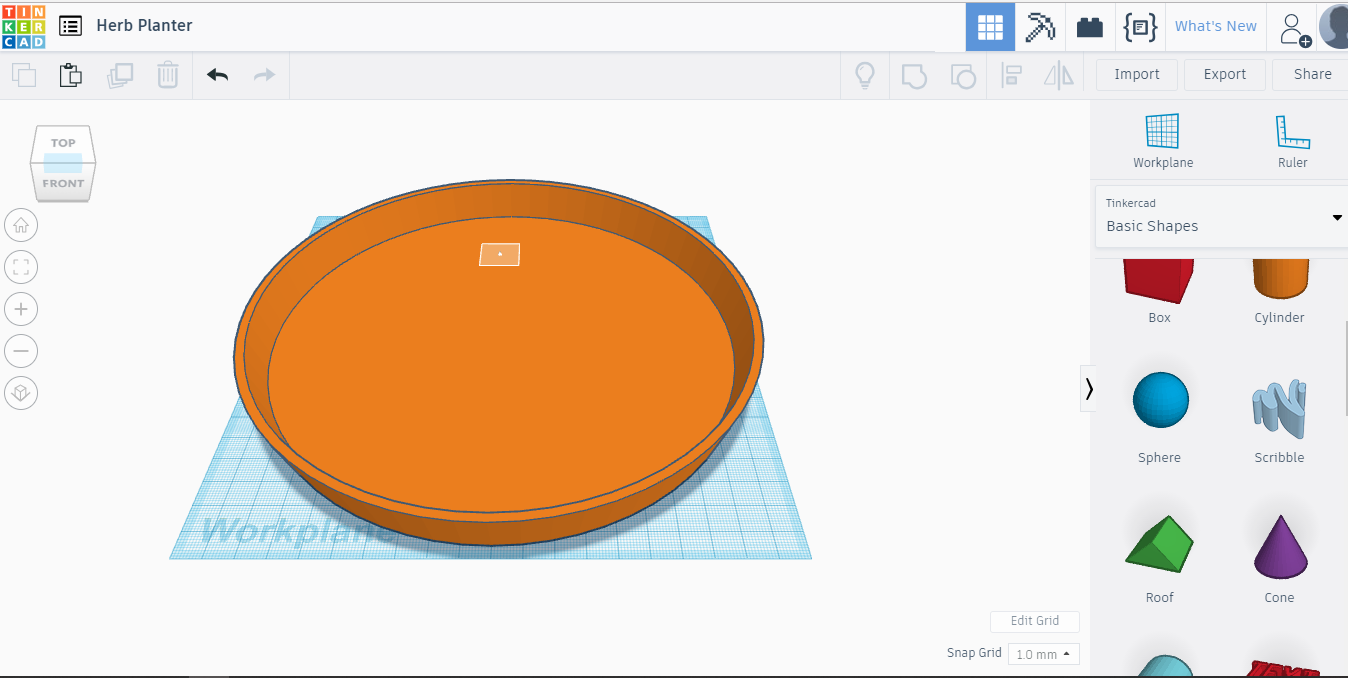
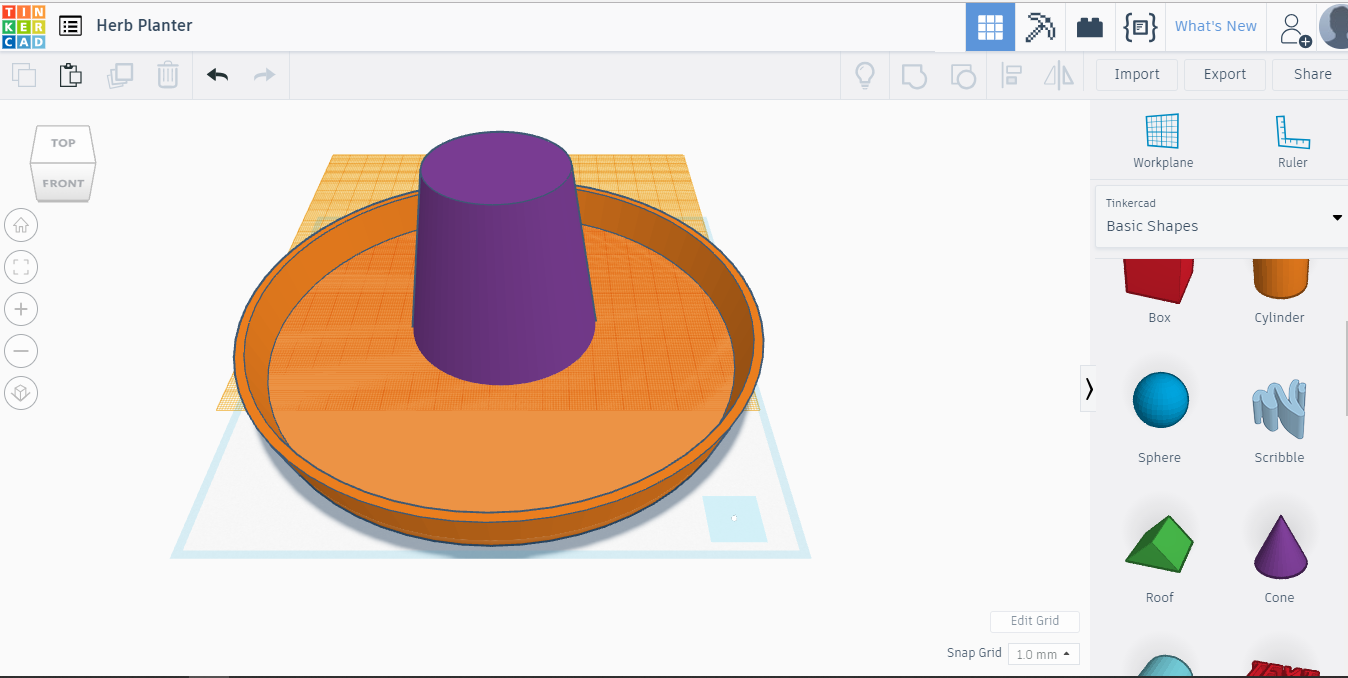
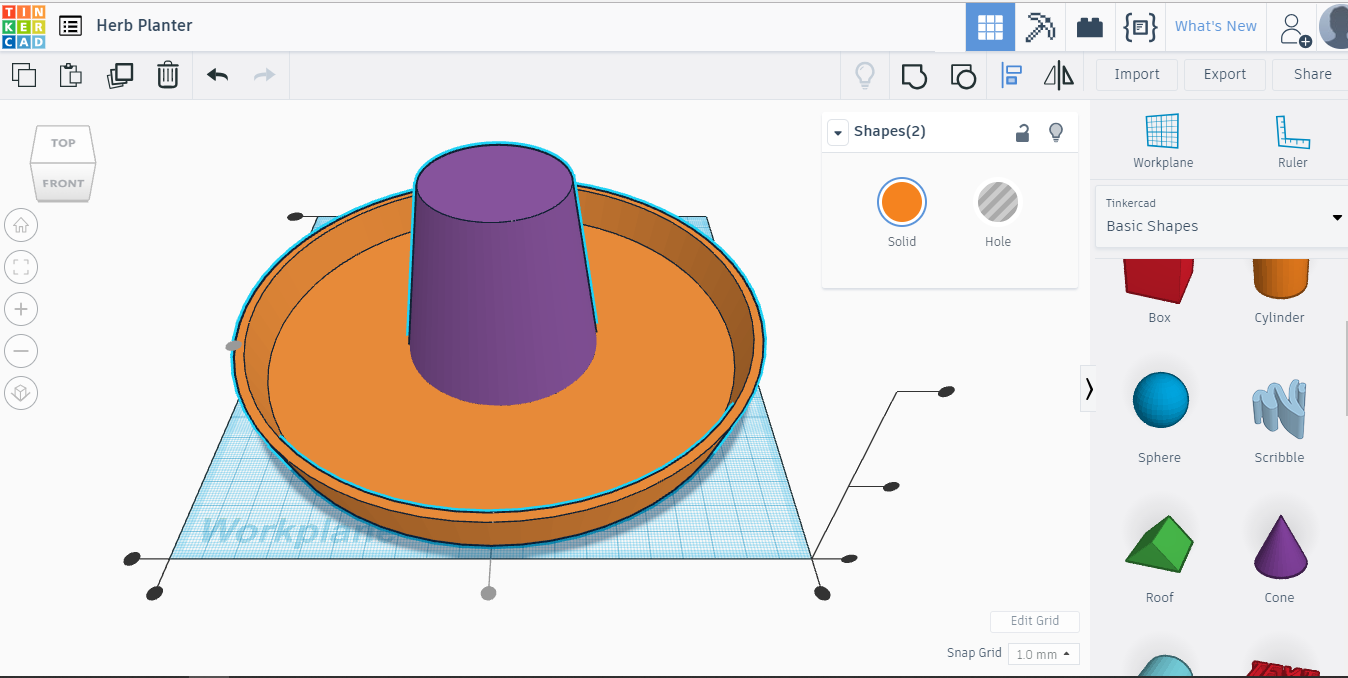
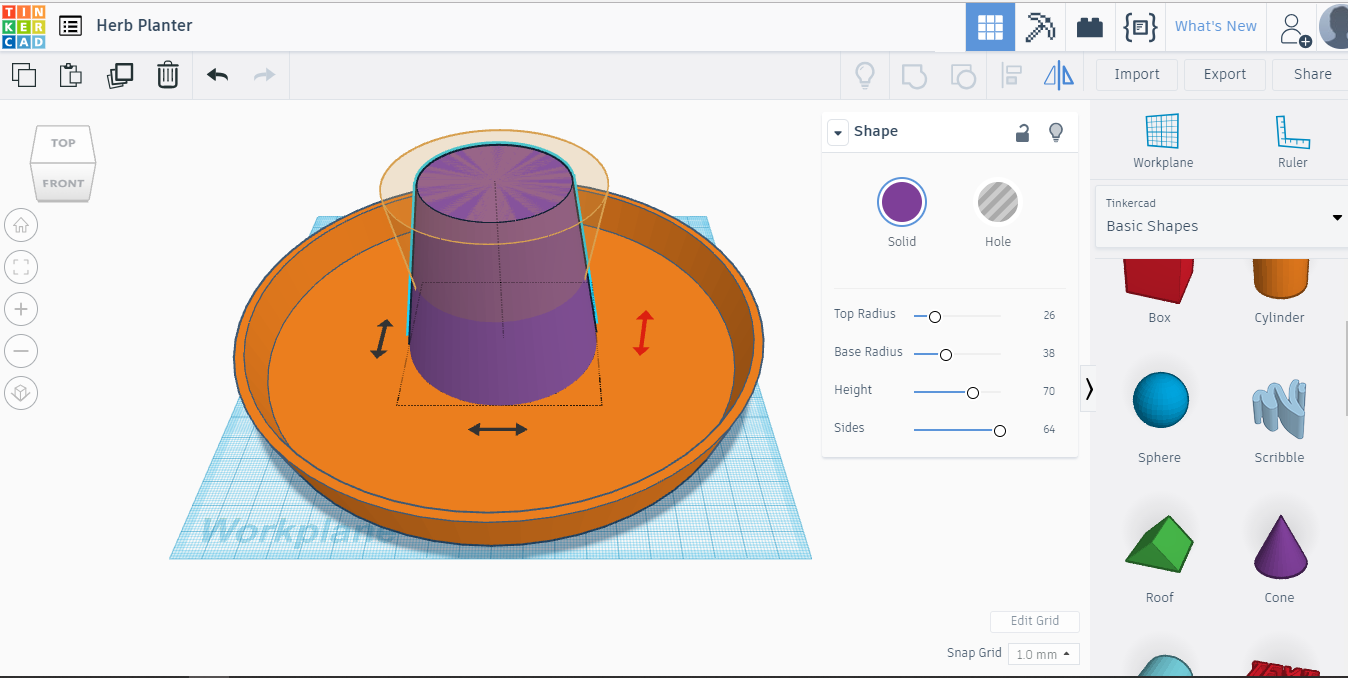
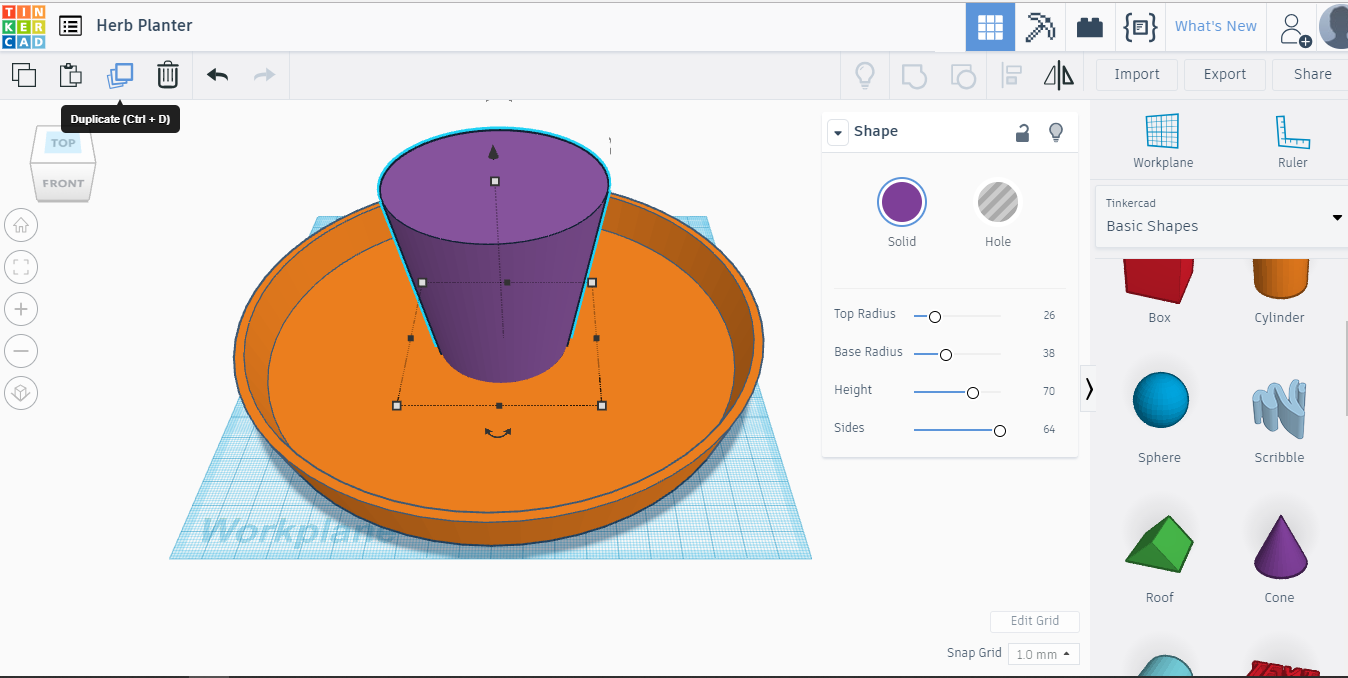
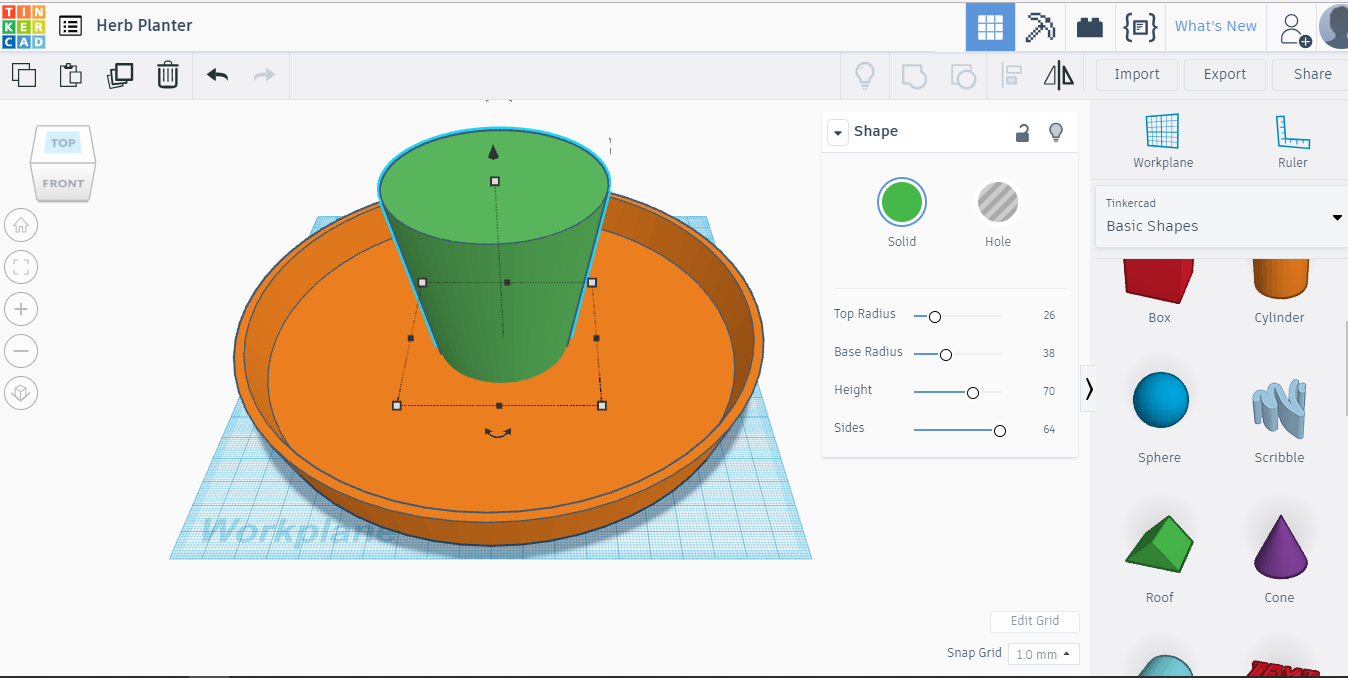
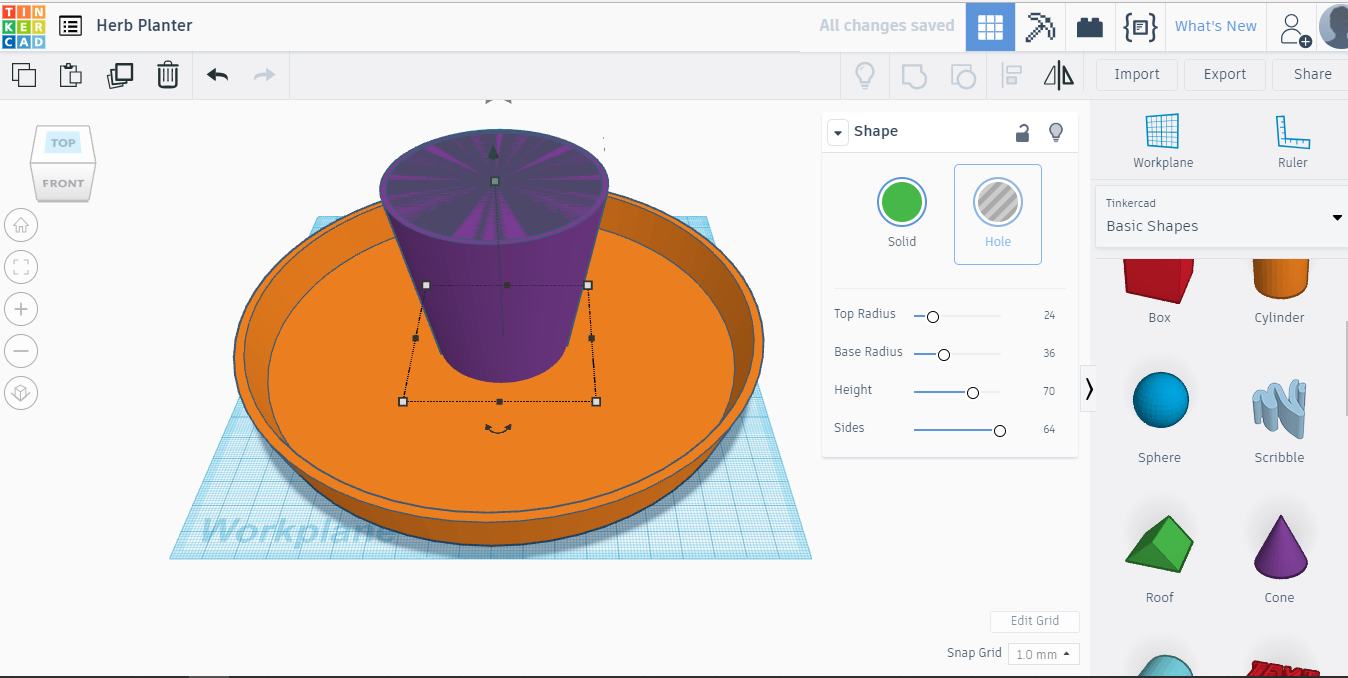
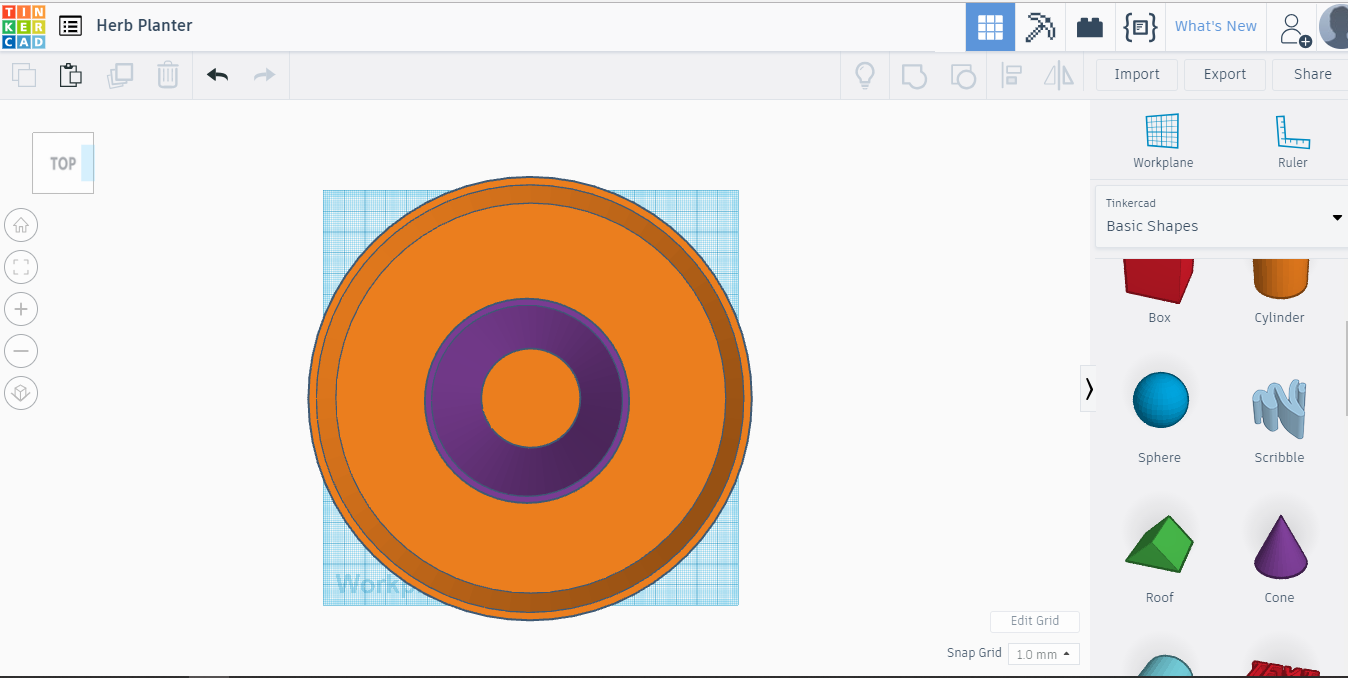
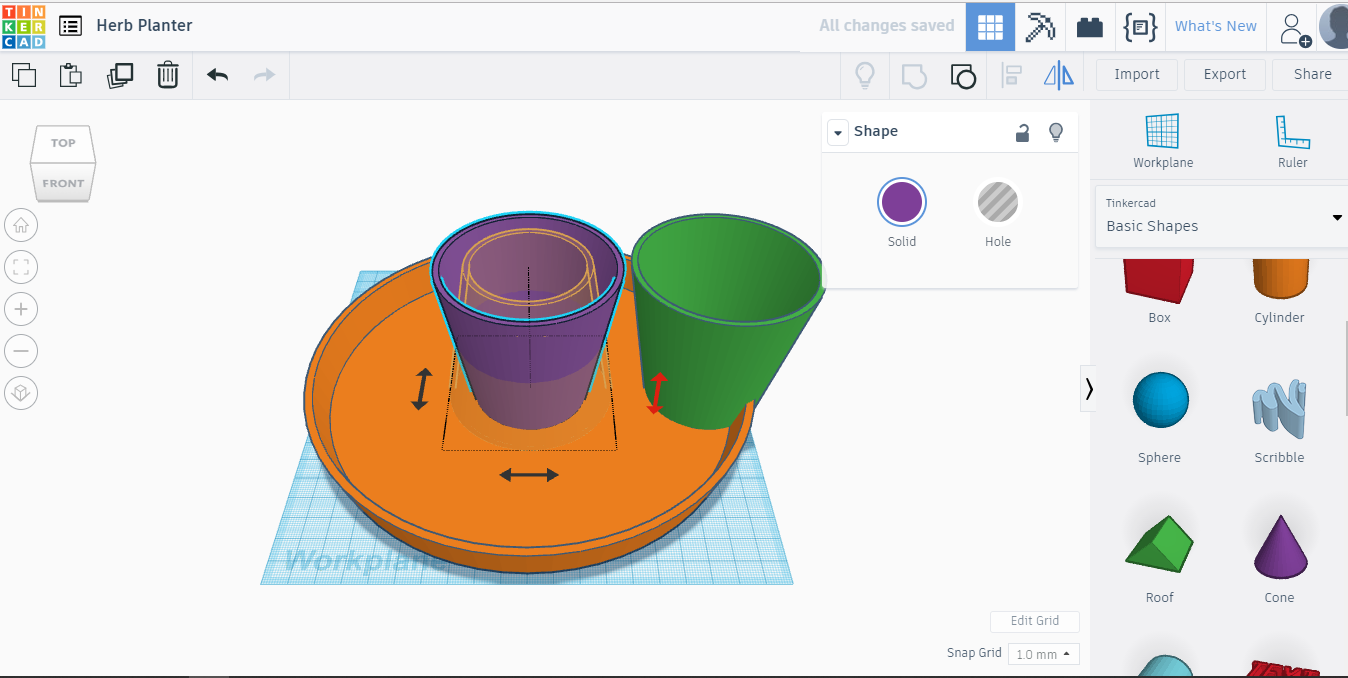
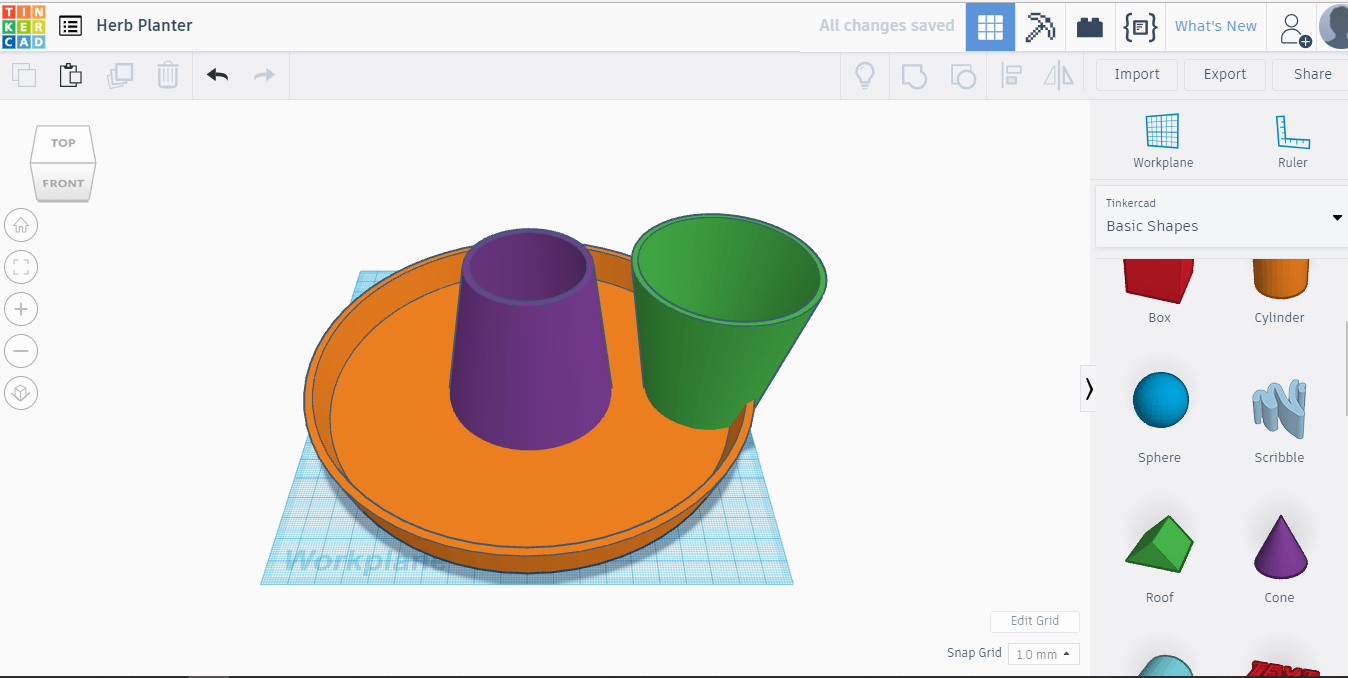
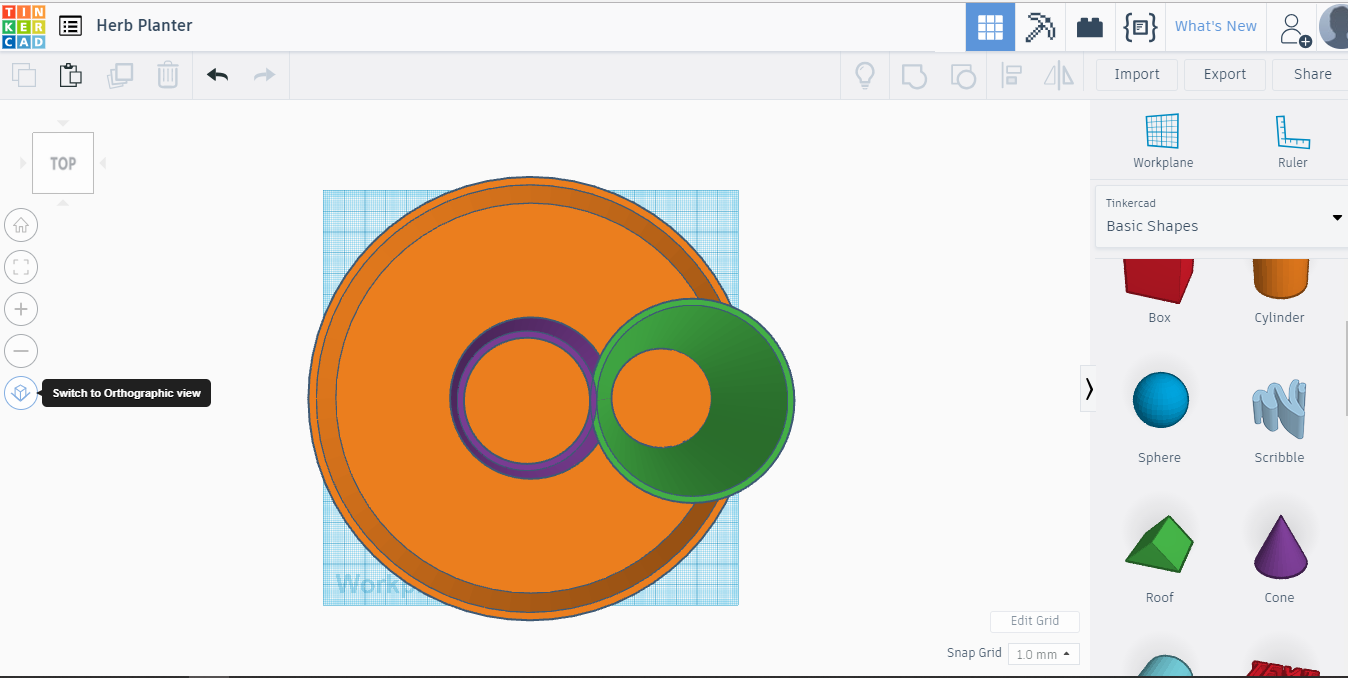
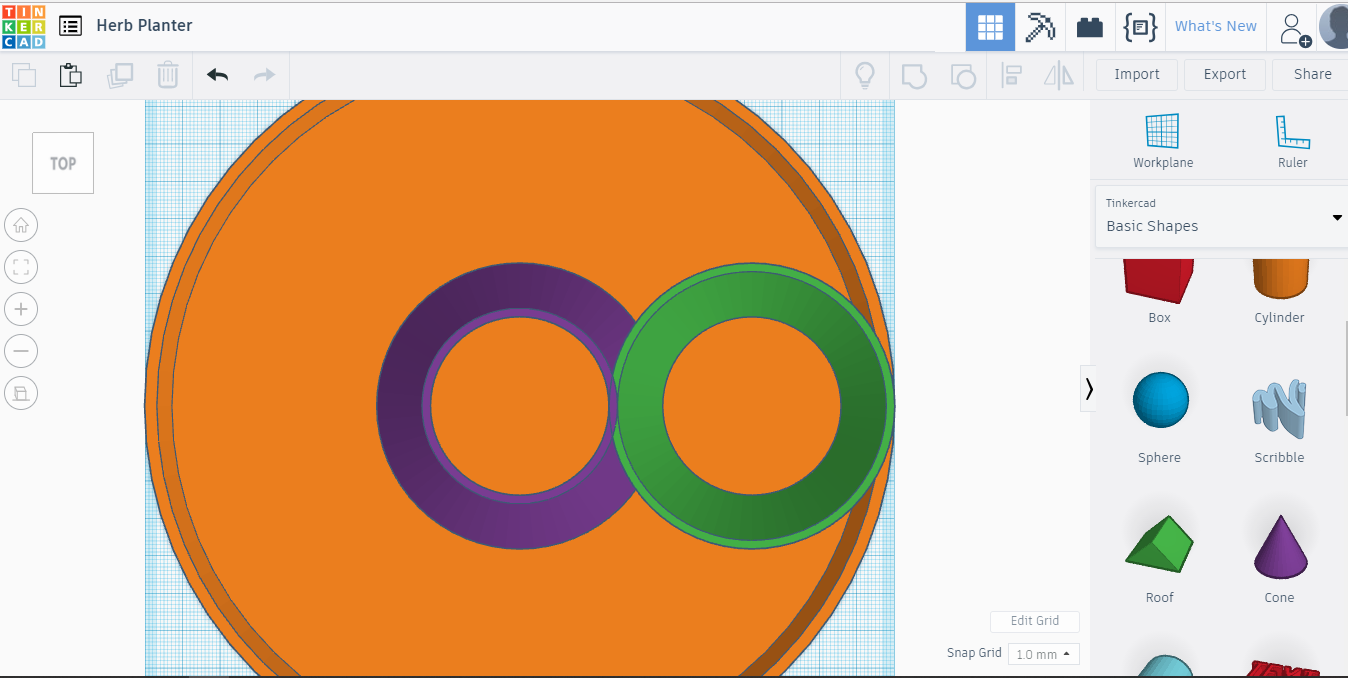
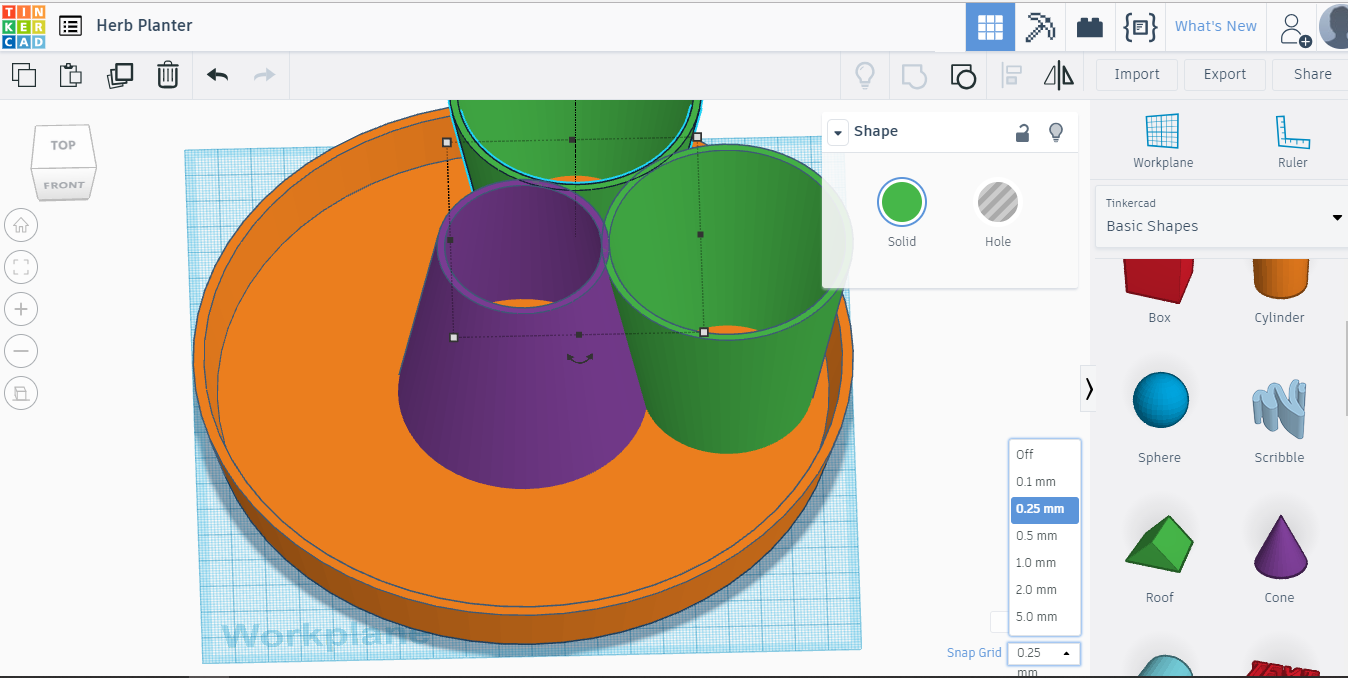
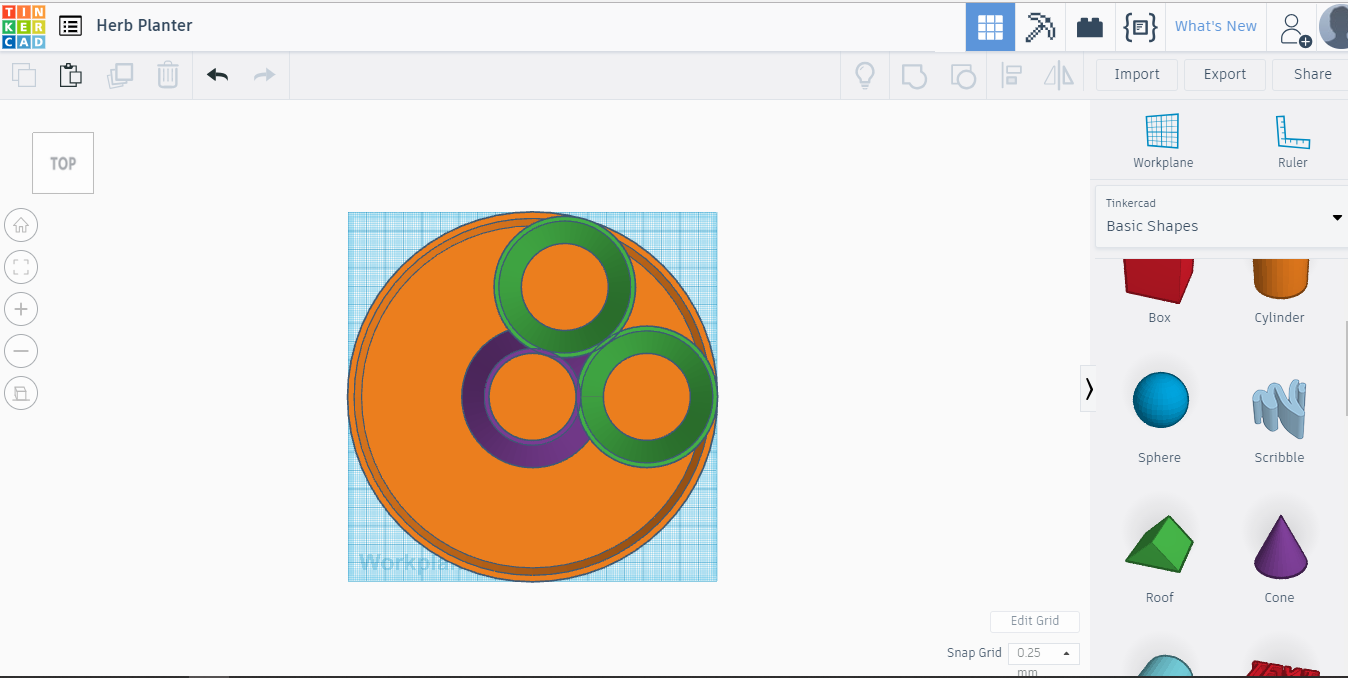
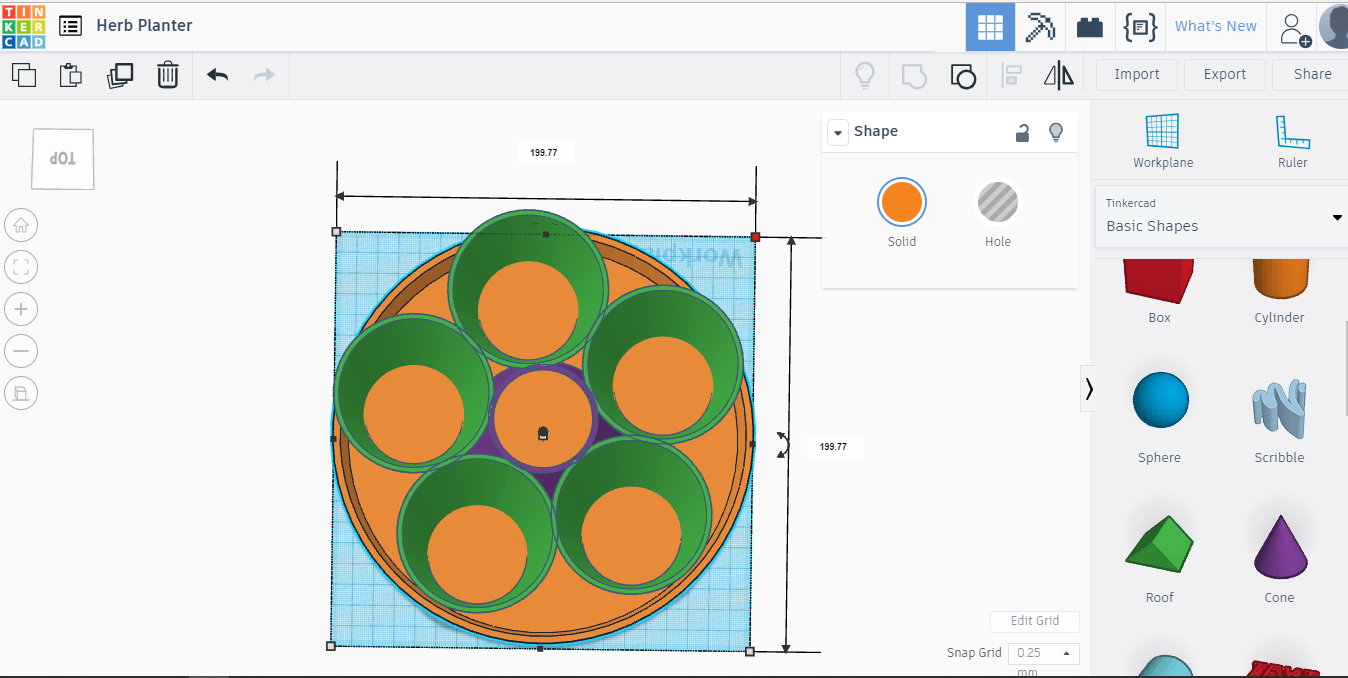
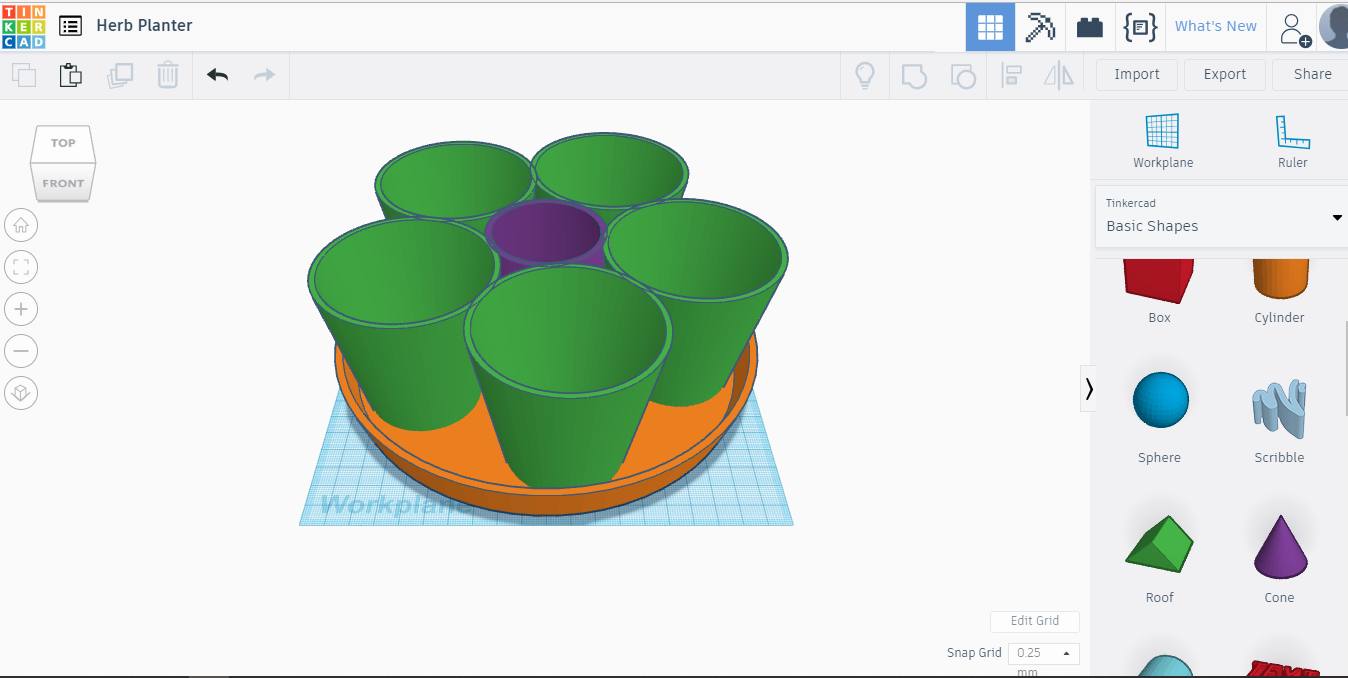
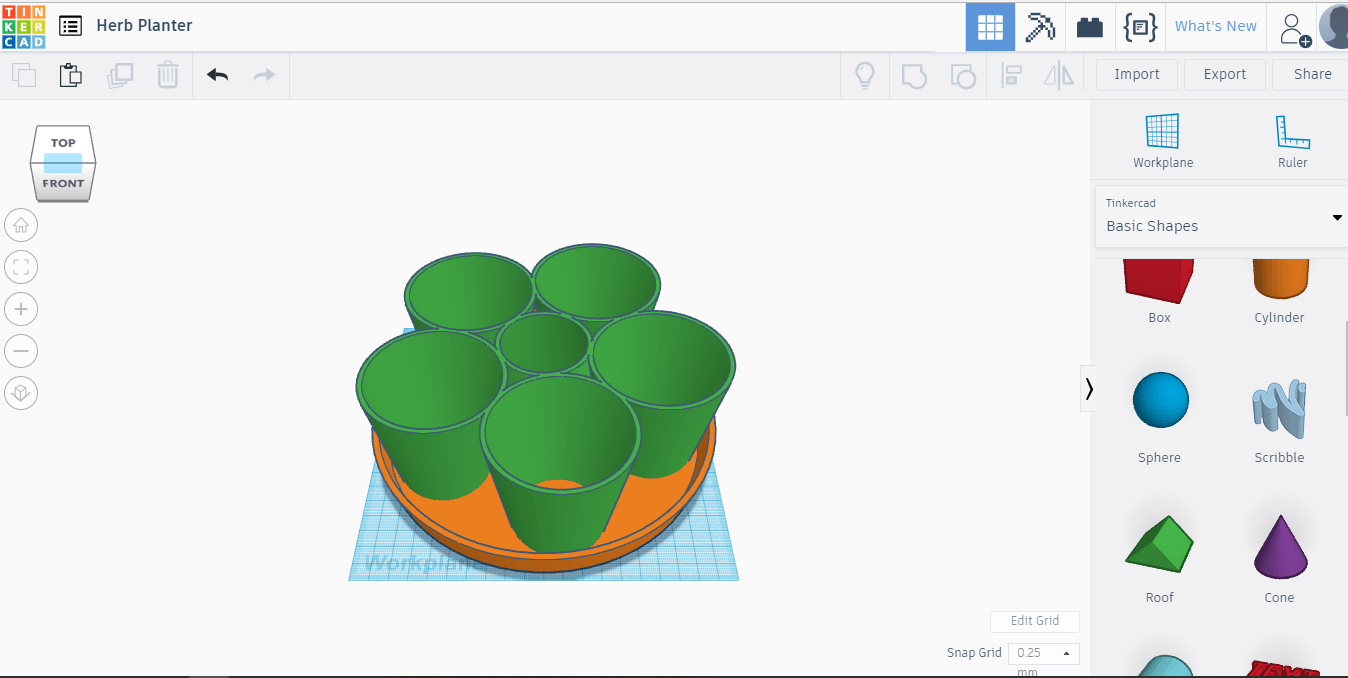
In this step, there will be 5 pots for plants at the end. Lets go...
Get new/additional Workplane(W), put it inside bottom plate. Then get Cone from right menu to that Workplane. Change Cone dimensions, top R:26, base R 38, height: 70, sides:64
Select Workplane(W), click somewhere on empty area, this way we got rid of Workplane. Center both objects by select all(ctrl+A), hit L from keyboard and click center black dots on both sides. Select center(violet) pot and click Flip or hit M, and turn it upside-town by clicking right side arrows. Click(select) that pot/cone again and duplicate it(ctrl+D) or find icon for that on top-left on your screen. Change to different color to see it better. Set Top Radius:24, Base Radius:36. Make it Hole.
While selected. SHIFT click on violet pot and Group(ctrl+G). If you have difficulties to select two pots only, select all(ctrl+A) and SHIFT click on bottom plate, then Group(ctrl+G). Now we have, hollow cone or pot without bottom, because we did cut inside out. Select our just made pot and Duplicate(ctrl+D). Move it away from original and maybe change color. Flip that center pot upside-town again. Click on it, hit M from keyboard and click right side arrows. Move the green pot close to violet one, with mouse or with the arrow keys. Move it a bit inside of violet pot wall, see on picture. To see it better, switch from Perspective view to Ortographic view. Icon on left side of screen, the bottom one.
TIP: For fine nudging, change Snap Grid value to 0.25 or even to 0.1mm!
Now, duplicate and move that green pot around violet one 4 more times. Space them evenly and with good overlap(about wall thickness) between each other and with touching about with half wall thickness to center one. Now we can Group all pots(select and hit ctrl+G), to make one solid piece.
Making the Water Tower and Cap
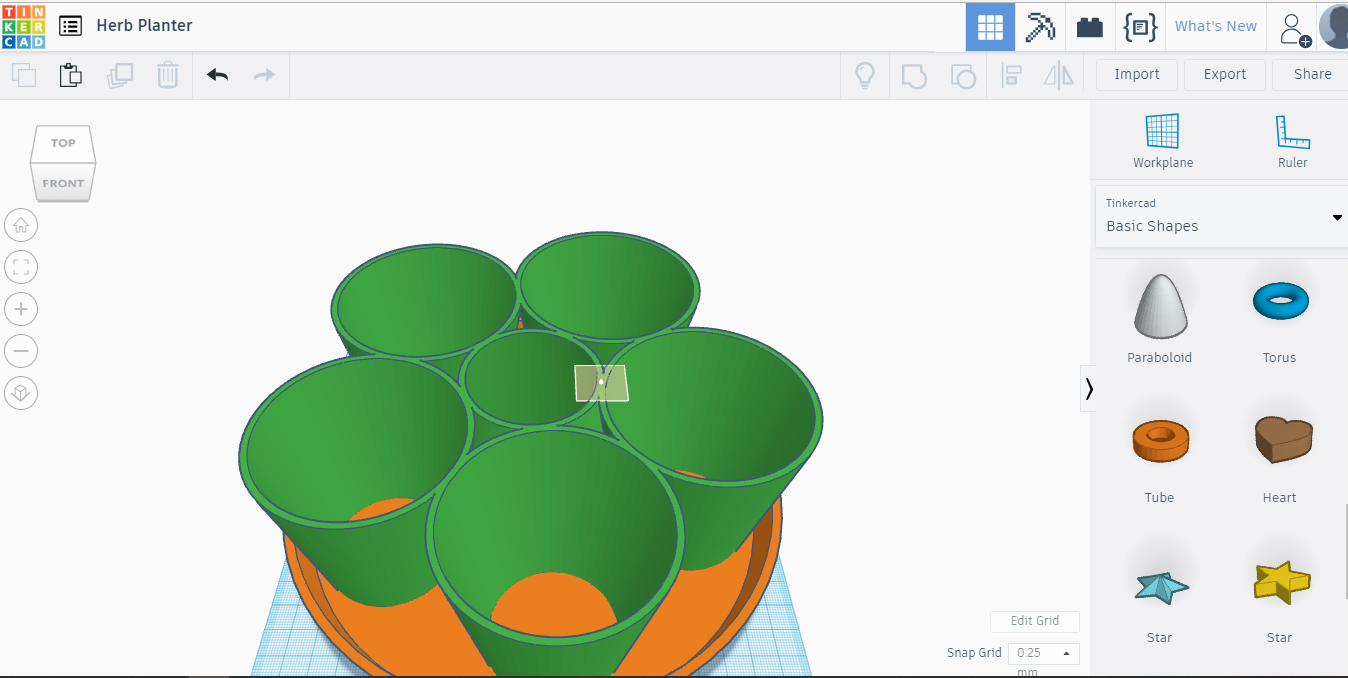
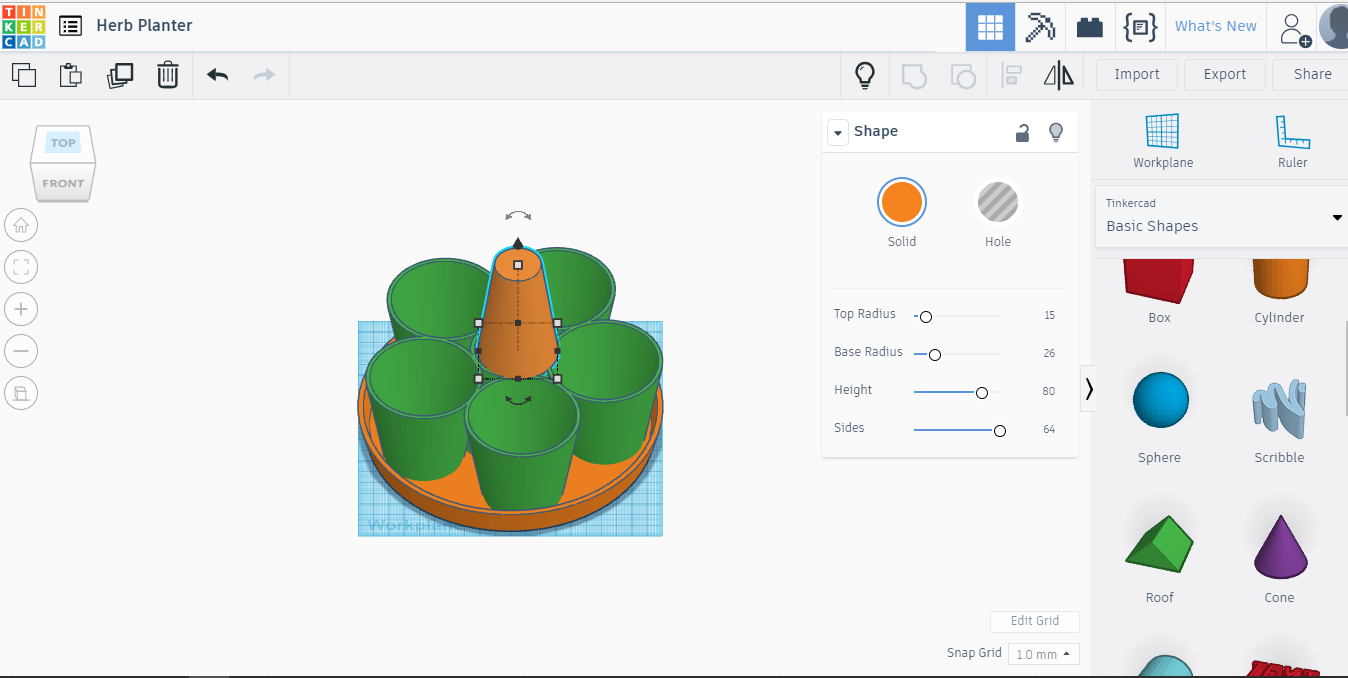
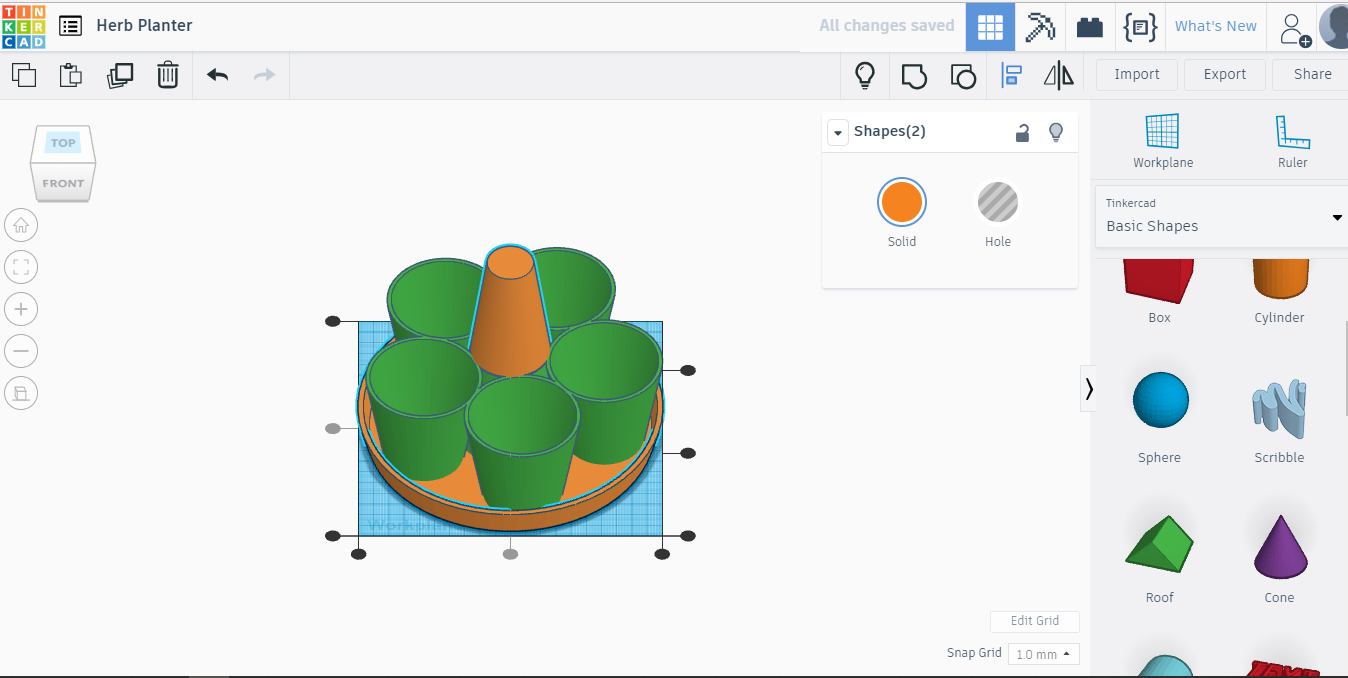
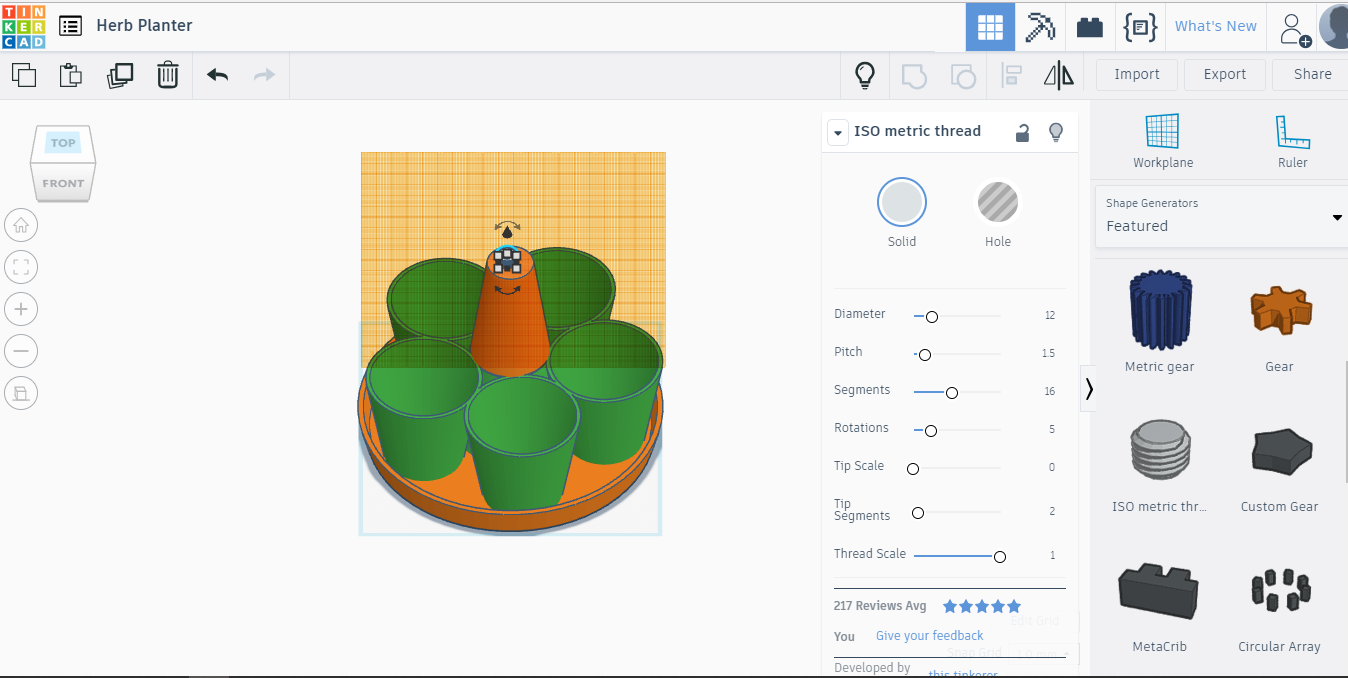
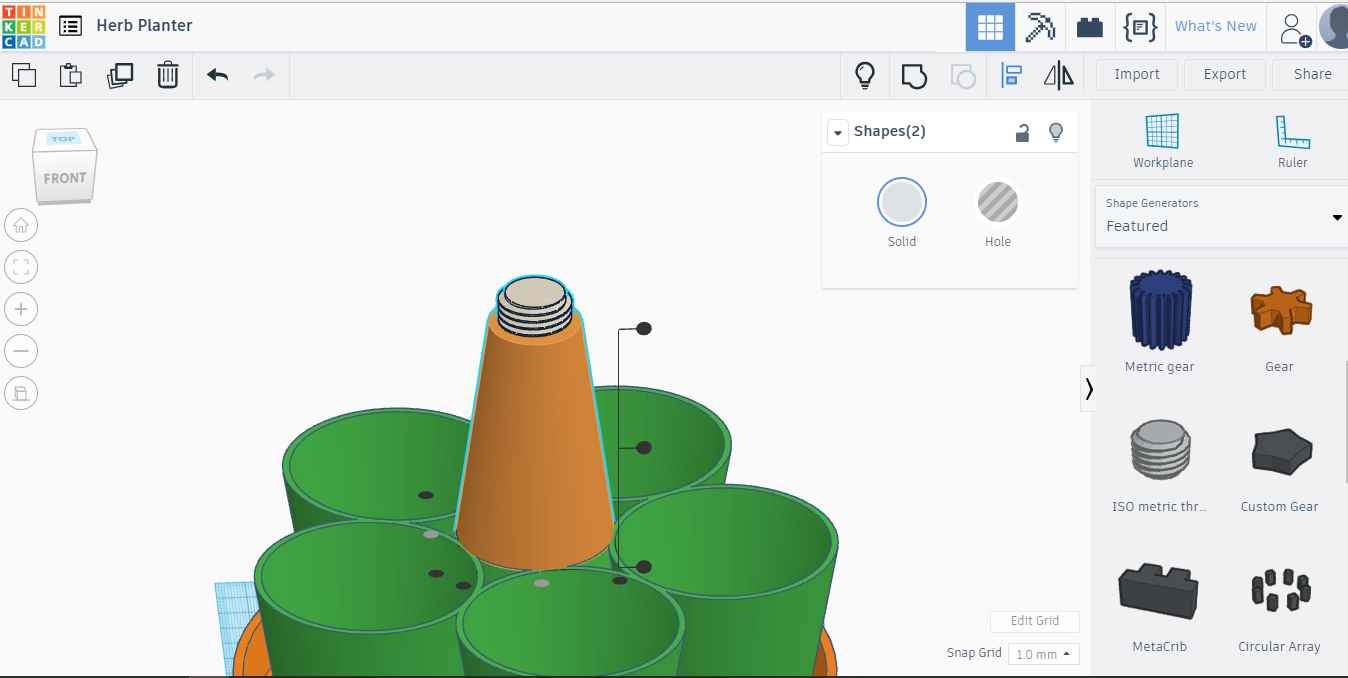
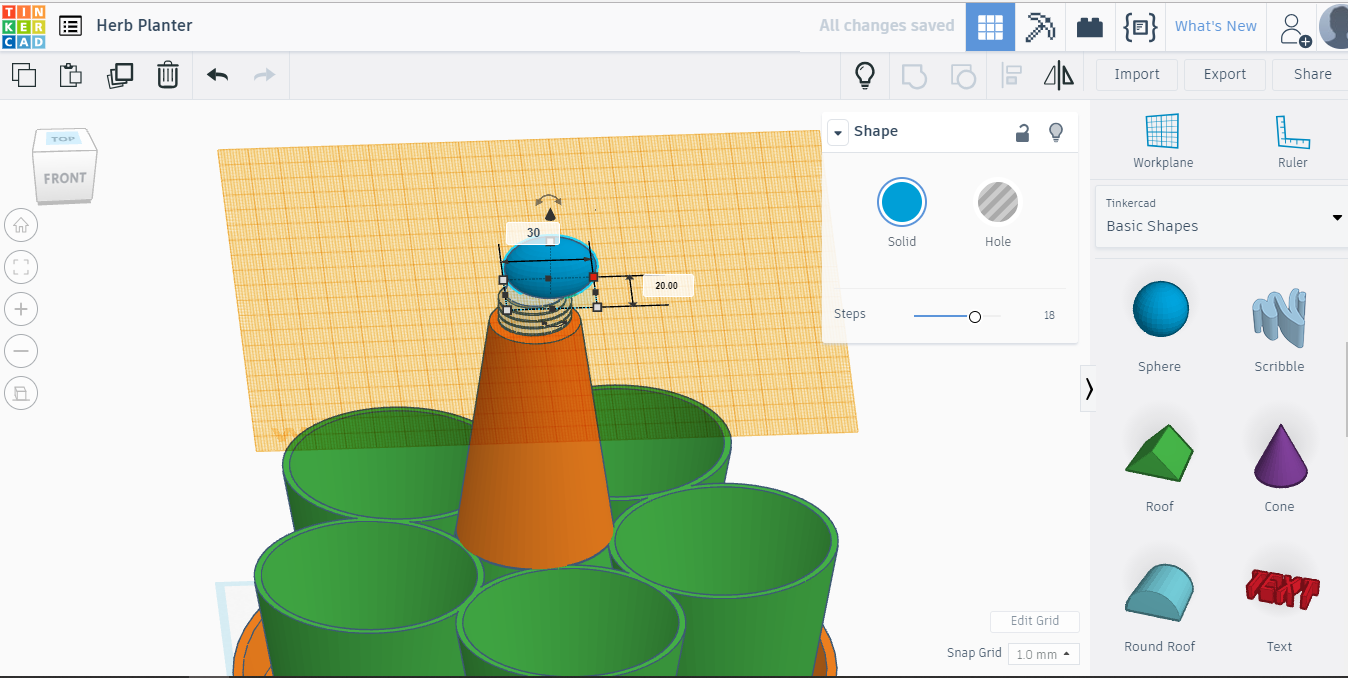
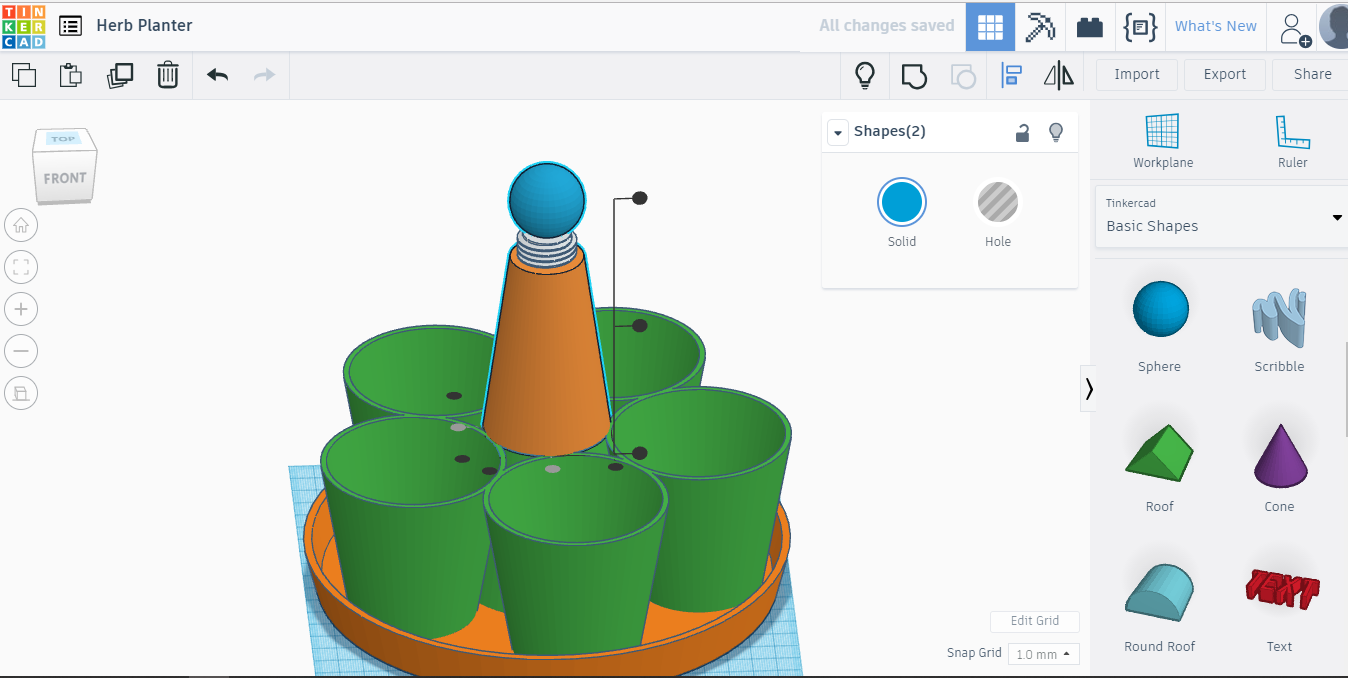
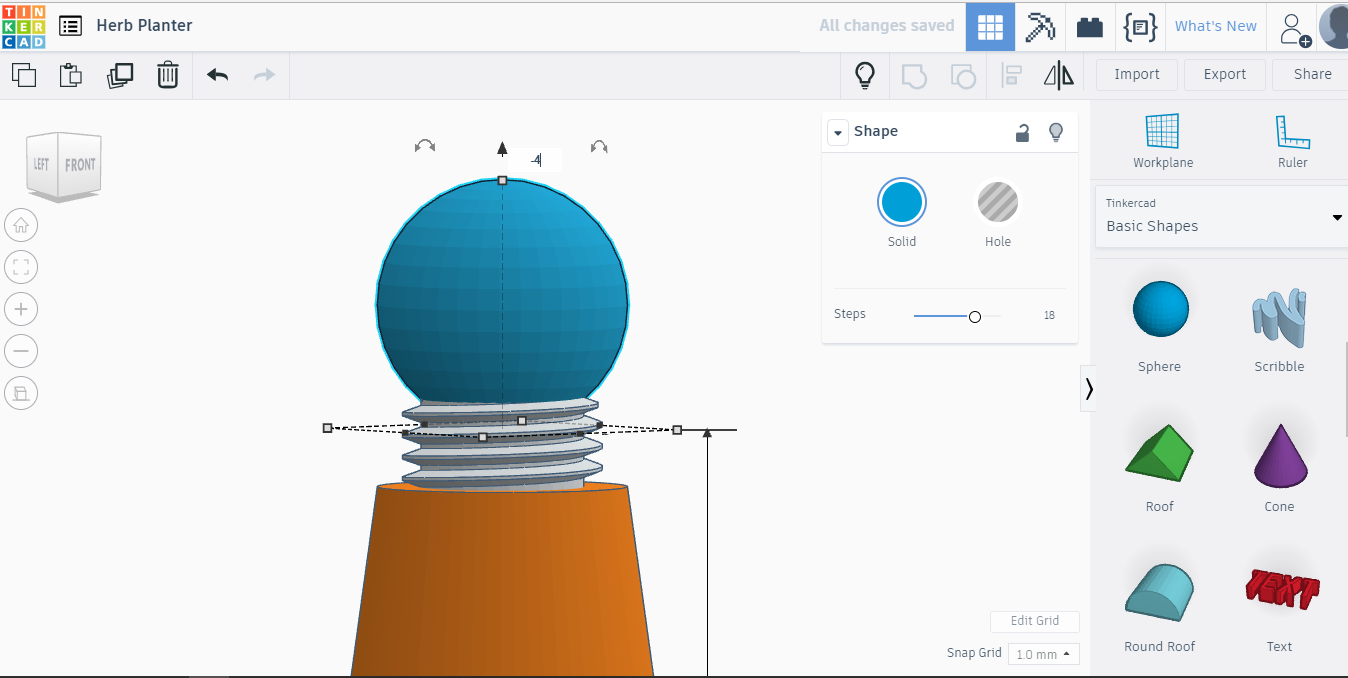
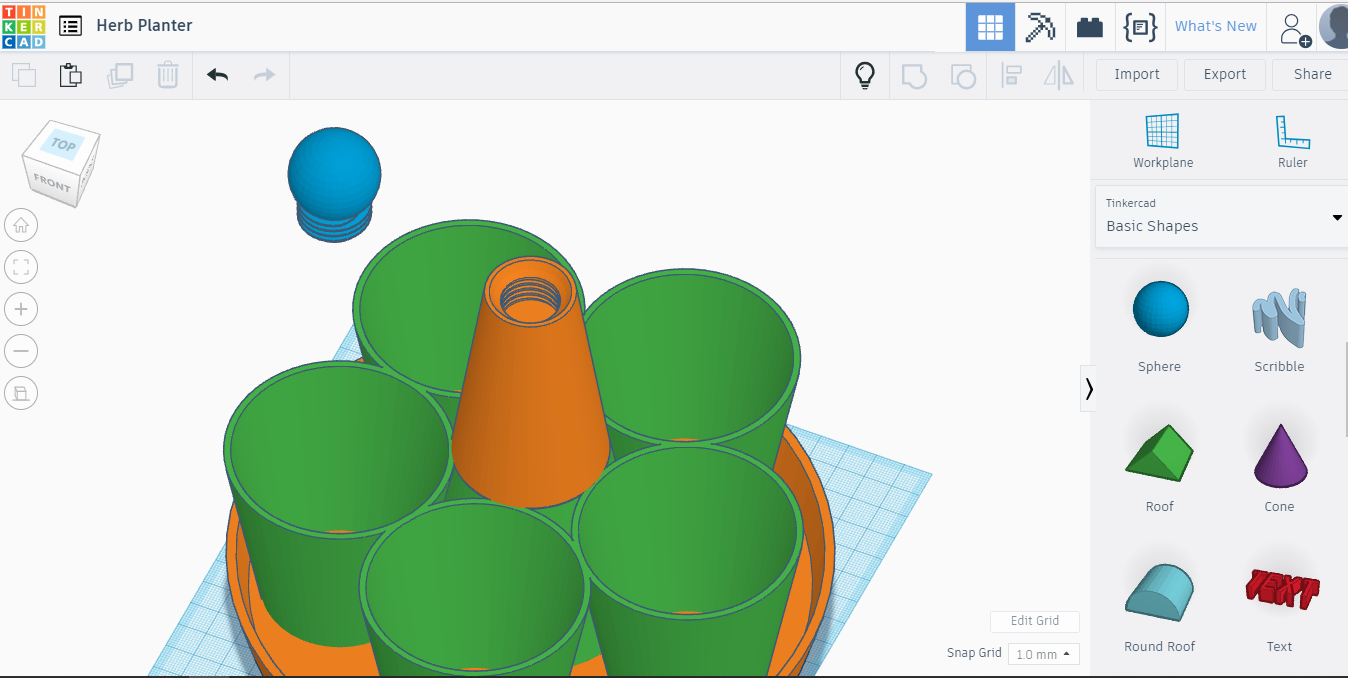
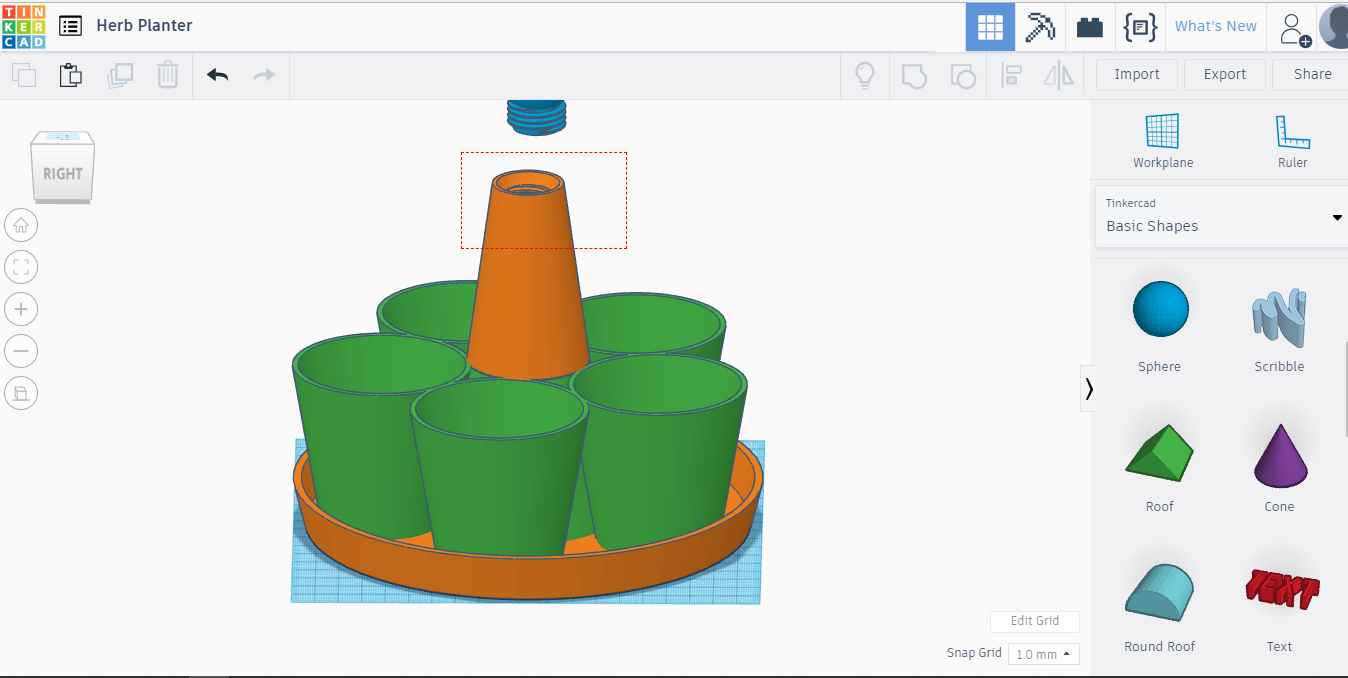
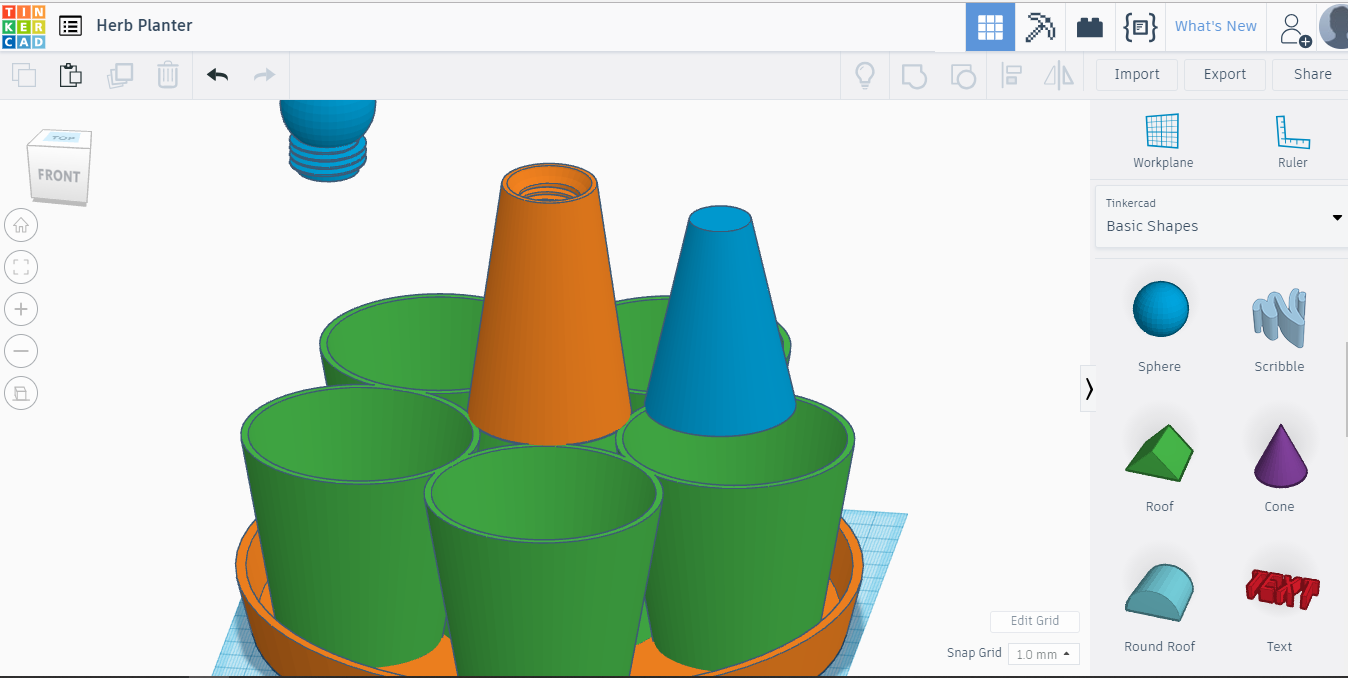
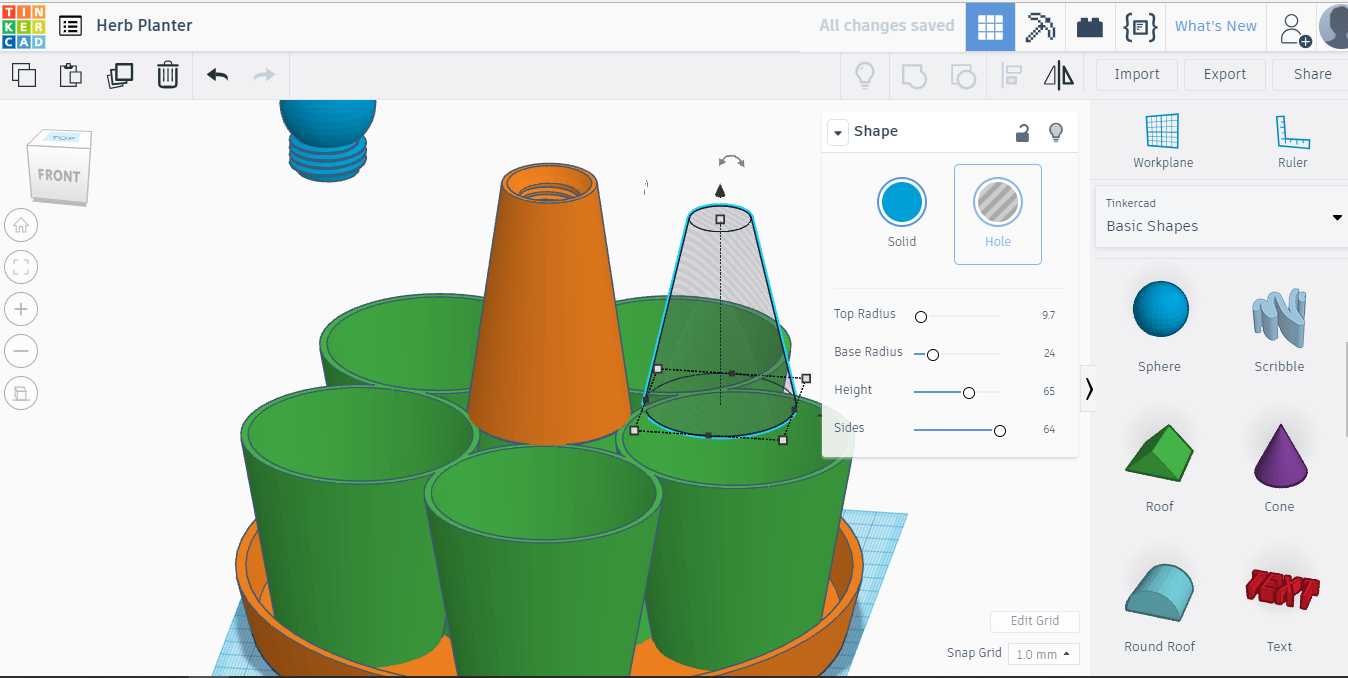
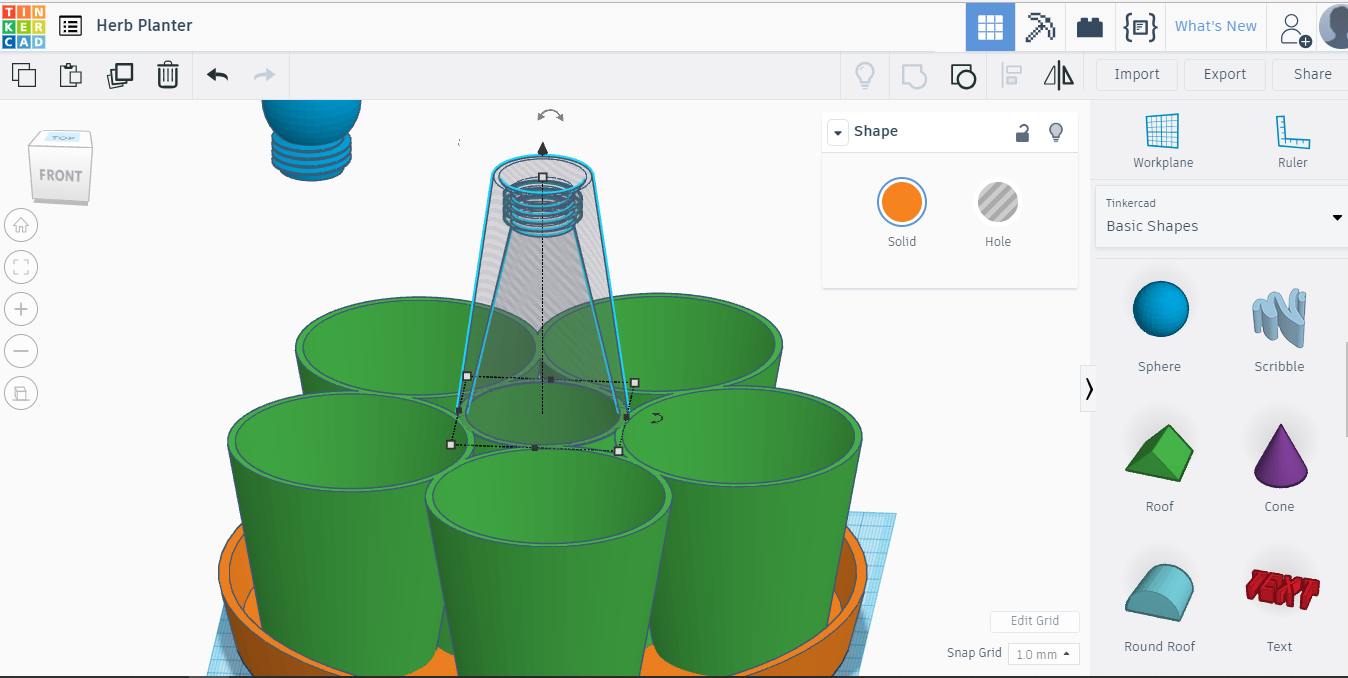
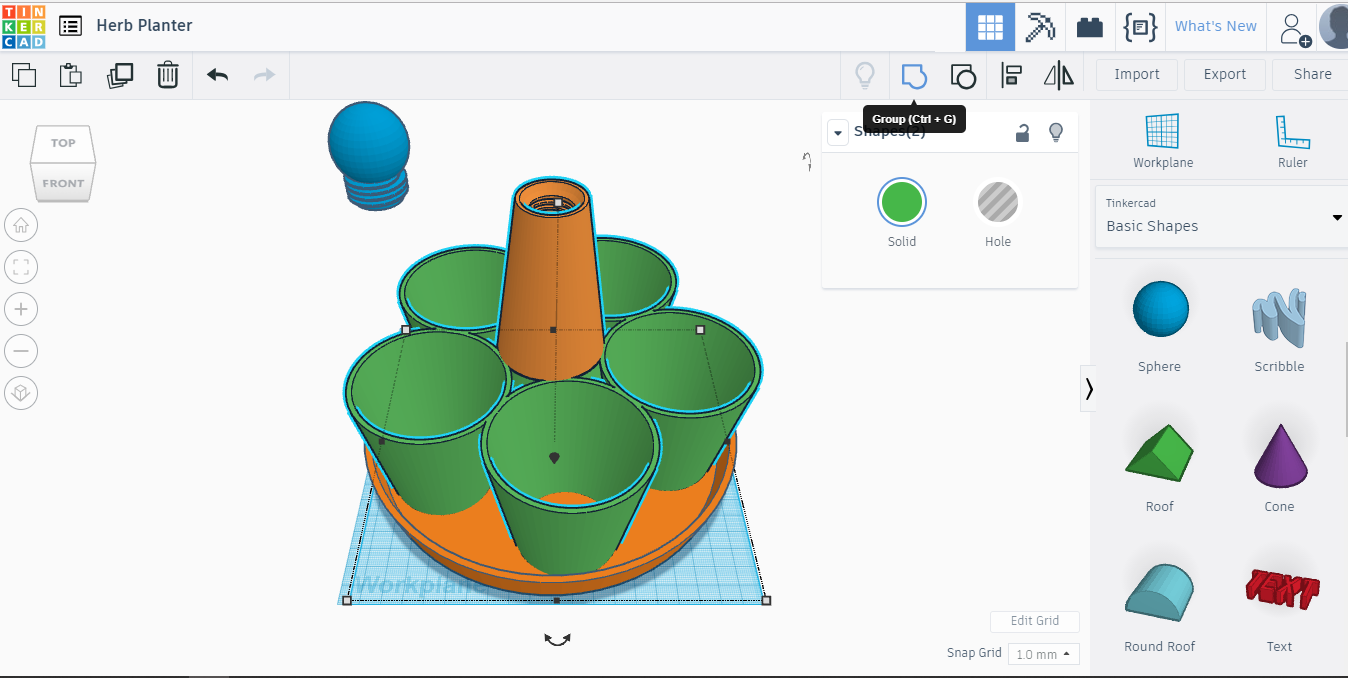
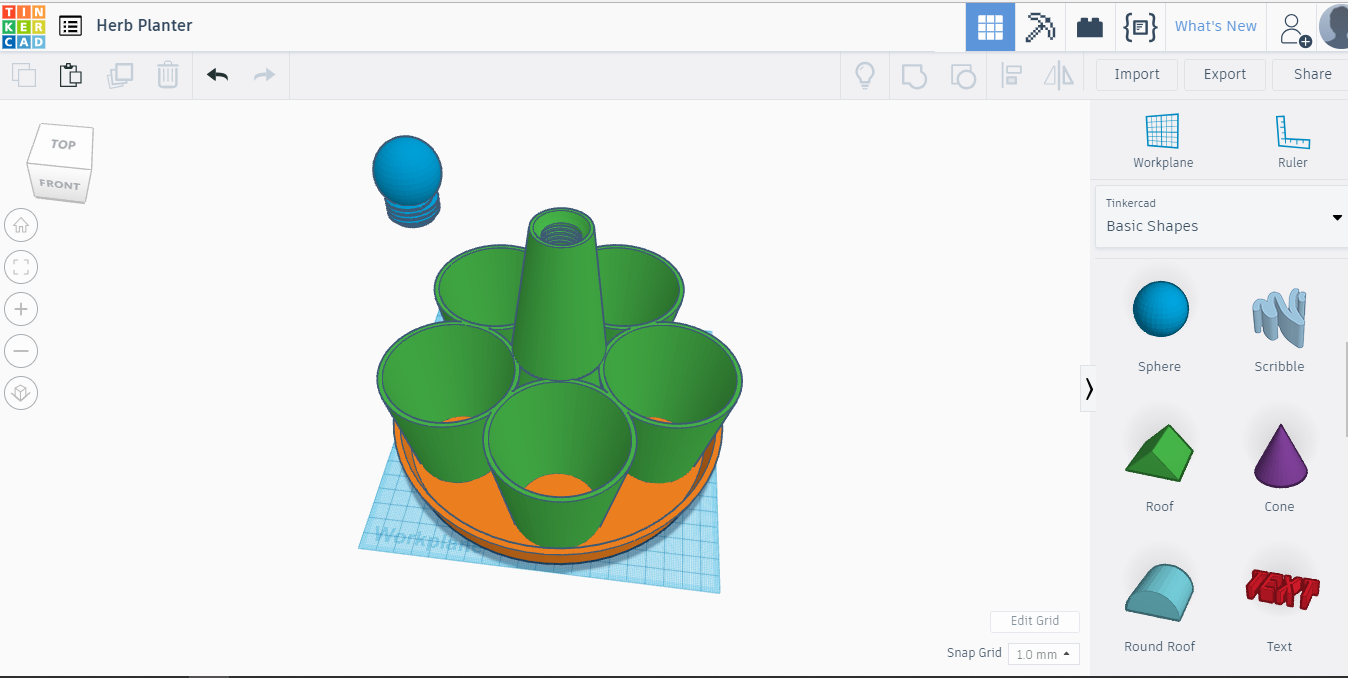
In this step we will raise the center with another cone, to make Watering Tower for our planter. Long step, but there's lot of pictures to make sense to it.
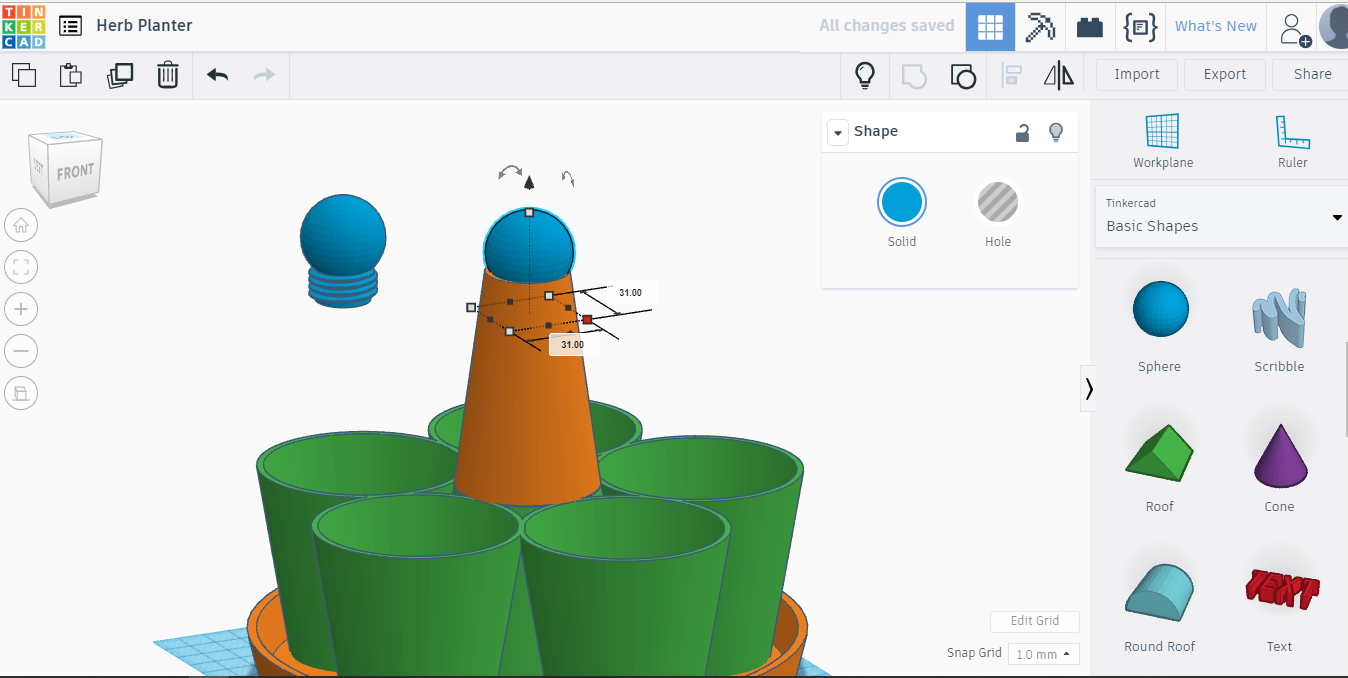
Get Workplane(hit W) and put it on top of green object(check images). Bring in Cone from right menu and put it on the Workplane. I like to change that color to orange, violet is not my favorite:) Change that Cone values as follows, Top Radius:15, Base Radius:26, Height:80 and Sides:64.
Hit W from keyboard and click somewhere on empty space to get rid of current Workplane. With new cone selected, SHIFT click on bottom plate and center the cone, L from keyboard and click both black dots on the middle. Those will turn gray after centering.
For next step we have to create a threaded knob or cap for water tower. We will make that tower hollow a bit later.
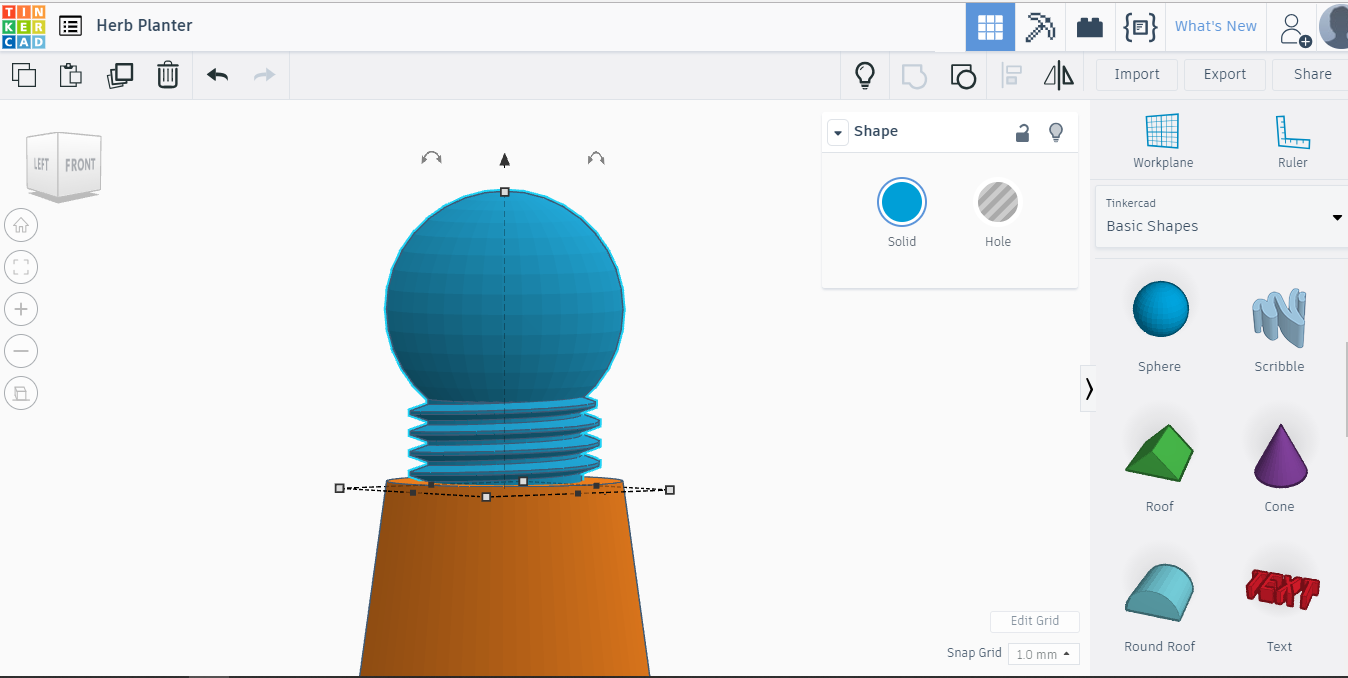
For first lets start with cap. Hit W and click on top of orange cone. From right menu, select Shape Generators Featured section and find "ISO metric thread" and place it on new Workplane. Hit W again and click on empty space on scene(hide Workplane).
Select threaded piece and give following values to it. Diameter:24, Pitch:2.6, Segments:32, Rotations:4, Tip Scale:0, Tip Segments:5, Thread Scale:1. Center Thread with Cone. Select it, SHIFT click Cone and hit L. Those black dots again.
Put new Workplane to the top of threads and get Sphere from Basic Shapes on top of it. Set Steps to 9 for Sphere and resize it to 30mm. 9 steps is not smooth Sphere, but it will give us better grip for screwing it on and off. Click on white nodes around the Sphere and you'll be able to change its values. Hit W and click outside of objects to remove Workplane again. Center new sphere and bring it down by 4mm, enter -4 when dragging it down from black arrow, above the Sphere.
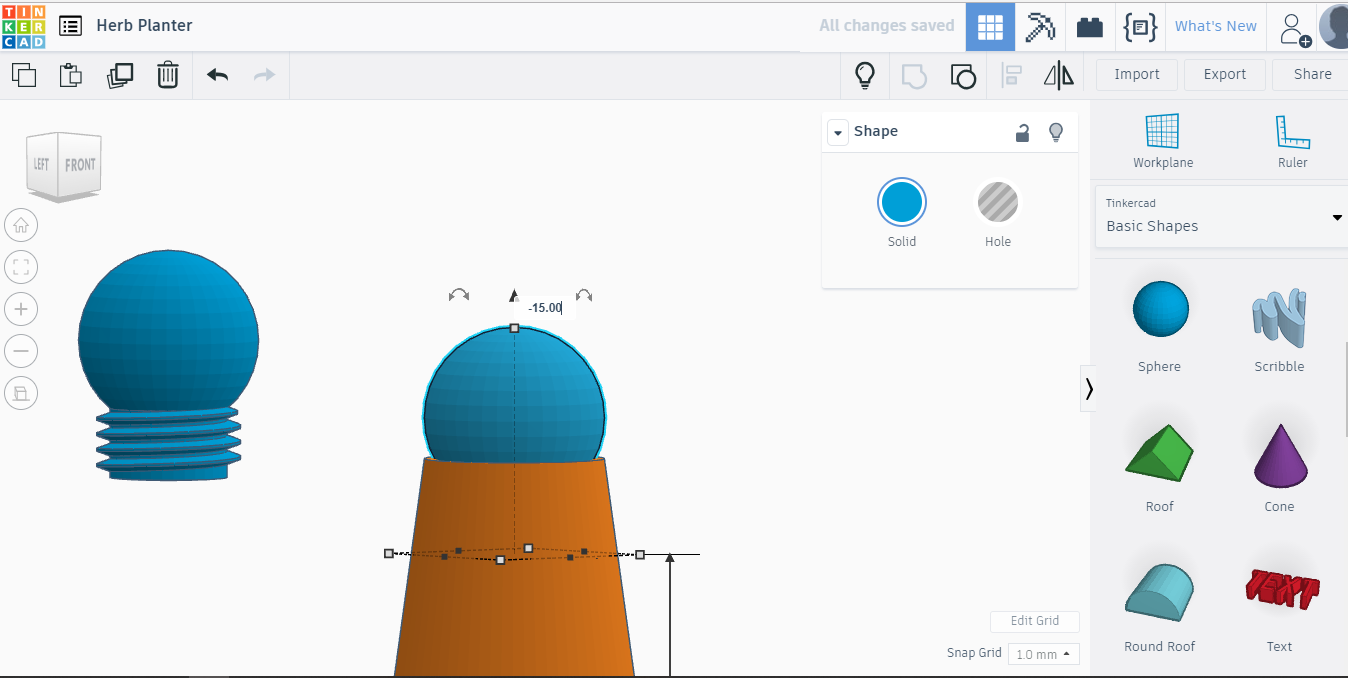
Select thread and Sphere and Group those(ctrl+G). Duplicate(ctrl+D) it and drag copy of it aside for later.
Another good tip, ALT+drag will duplicate it as well!
Select our Cap above the cone and drag it down from upward pointing arrow and enter -15. It moves it 15mm down into the Cone. Now we need to enlarge it by 1mm on both sides, width and length, to make our cap fit into threads after printing. Hope it works. And again...center it with Cone. I think you already know how to do that;)
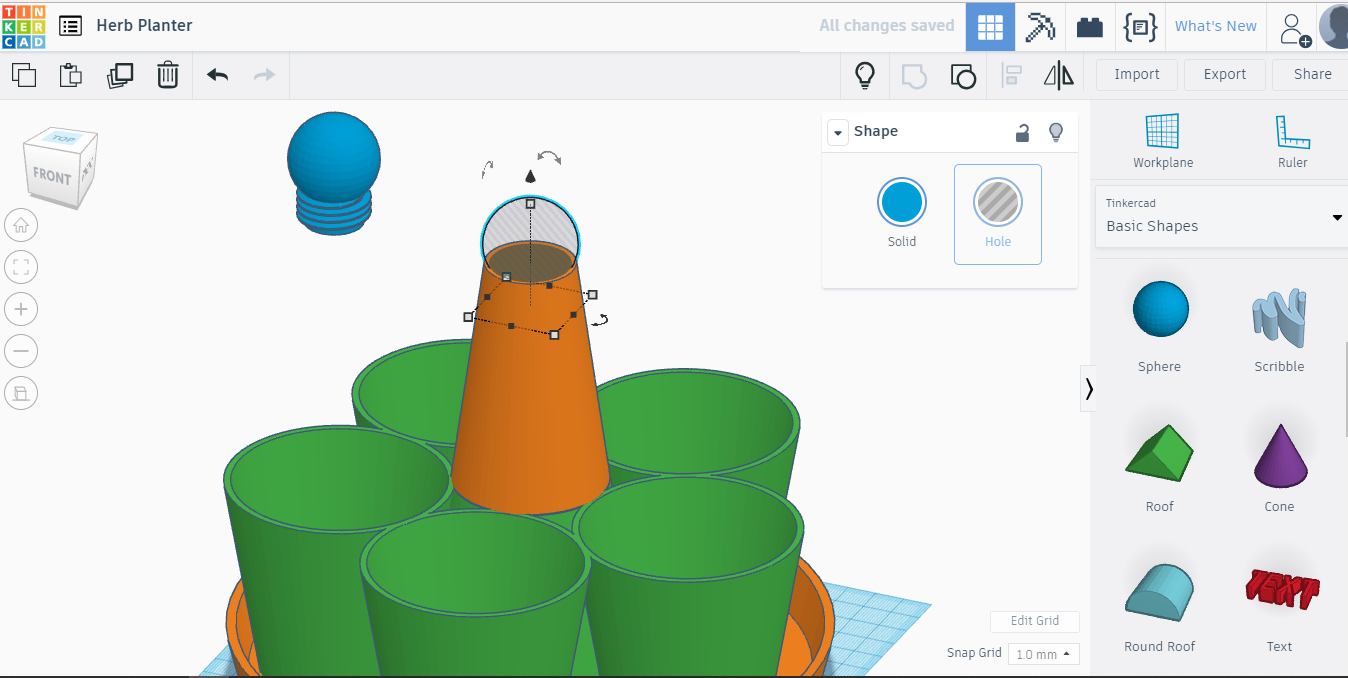
Make it, I mean Cap, Hole, by selecting it and click Hole. SHIFT click Cone and Group(ctrl+G).
Now we need to make that cone hollow. We need another cone for that, but little bit smaller, to cut inside out of our orange cone.
Hit W and put Workplane on the top of green pot section. Drag Cone from right, Basic Shapes section onto it and change dimensions as follows. Top Radius: 9.7, Base Radius:24, Height:65, Sides:64.
Again I'm sorry but I need to change that color, violet feels like 'violent'. It's my issue I think, but blue is much better :)
Hit W and click on empty space to remove Workplane. Select blue Cone and make it Hole and SHIFT click bottom plate. Then center by hitting L and clicking on middle black dots. When those dots are gray the piece is centered with bottom plate.
Now you can't see Blue Cone anymore, because it moved into the Orange Cone. Drag with your mouse over the top of Orange Cone to select both cones and then make it a Group(ctrl+G will do). Now, when you change that Orange Cone state to Hole, you will see that it's hollow now. Turn it to Solid again, select Cone and Pots group under it and make Group. Now it's one solid piece and with same color.
Plumbing:)
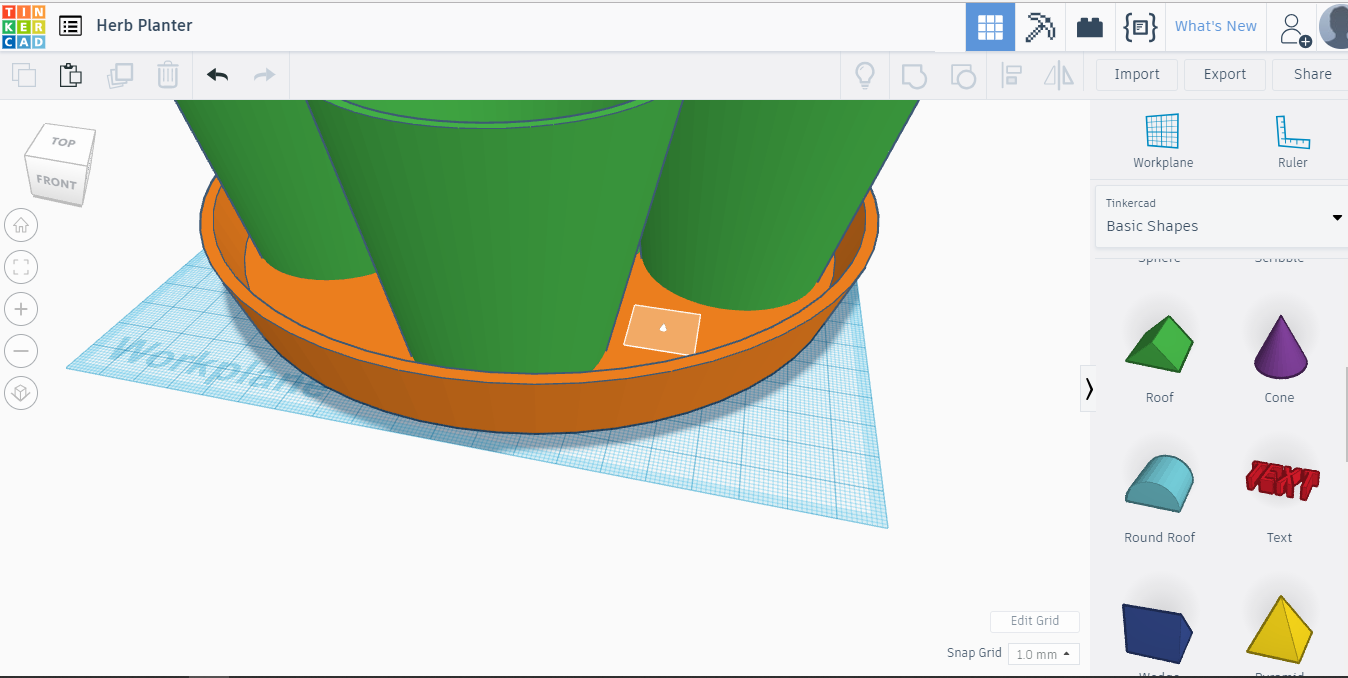
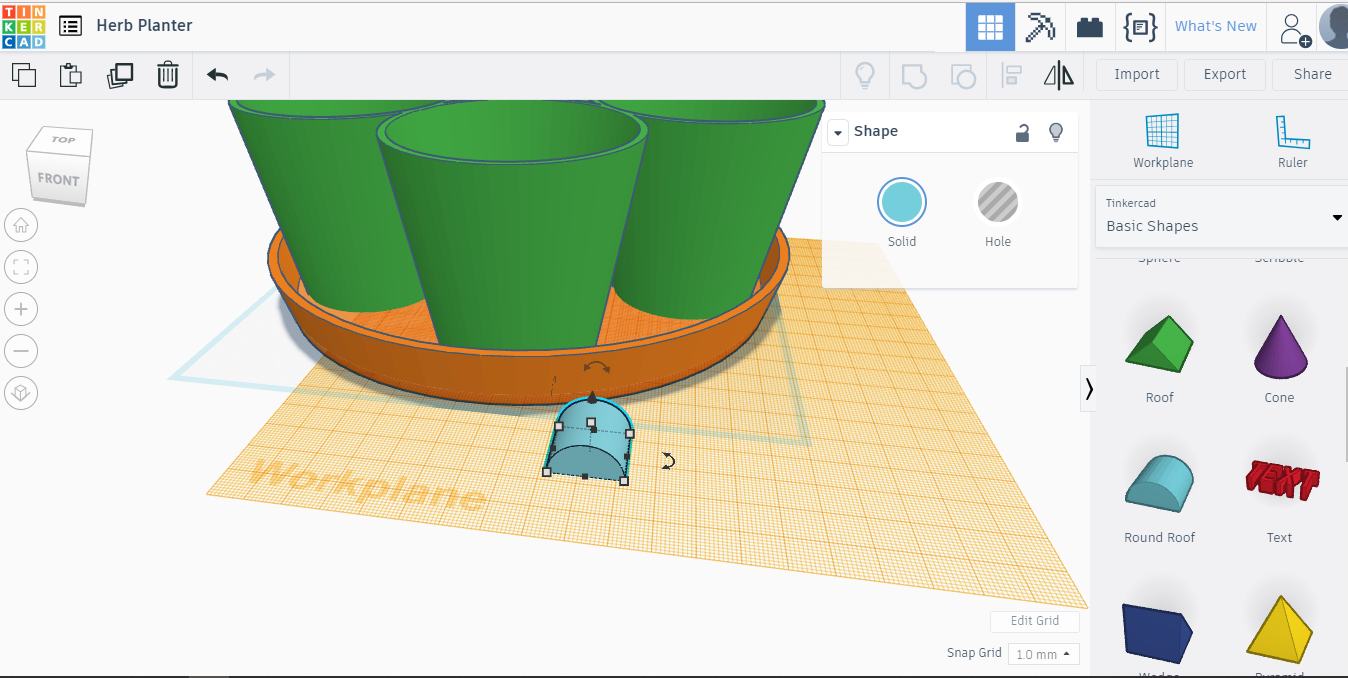
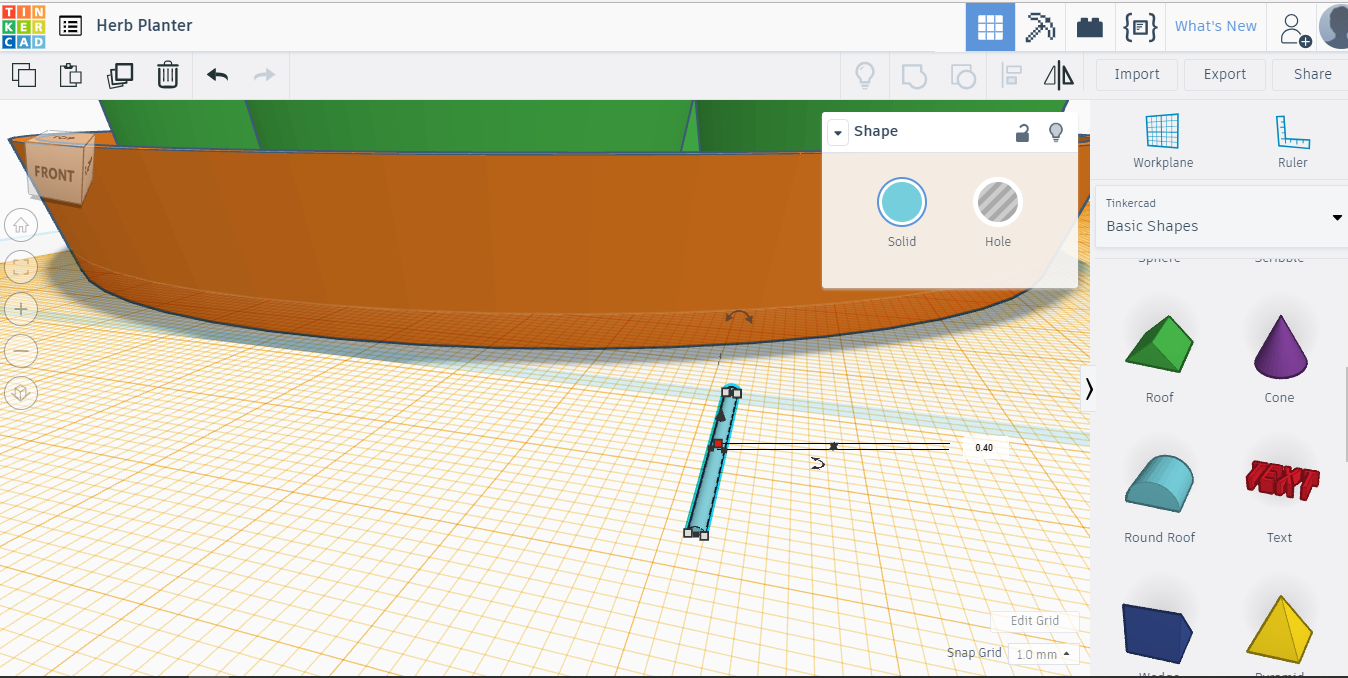
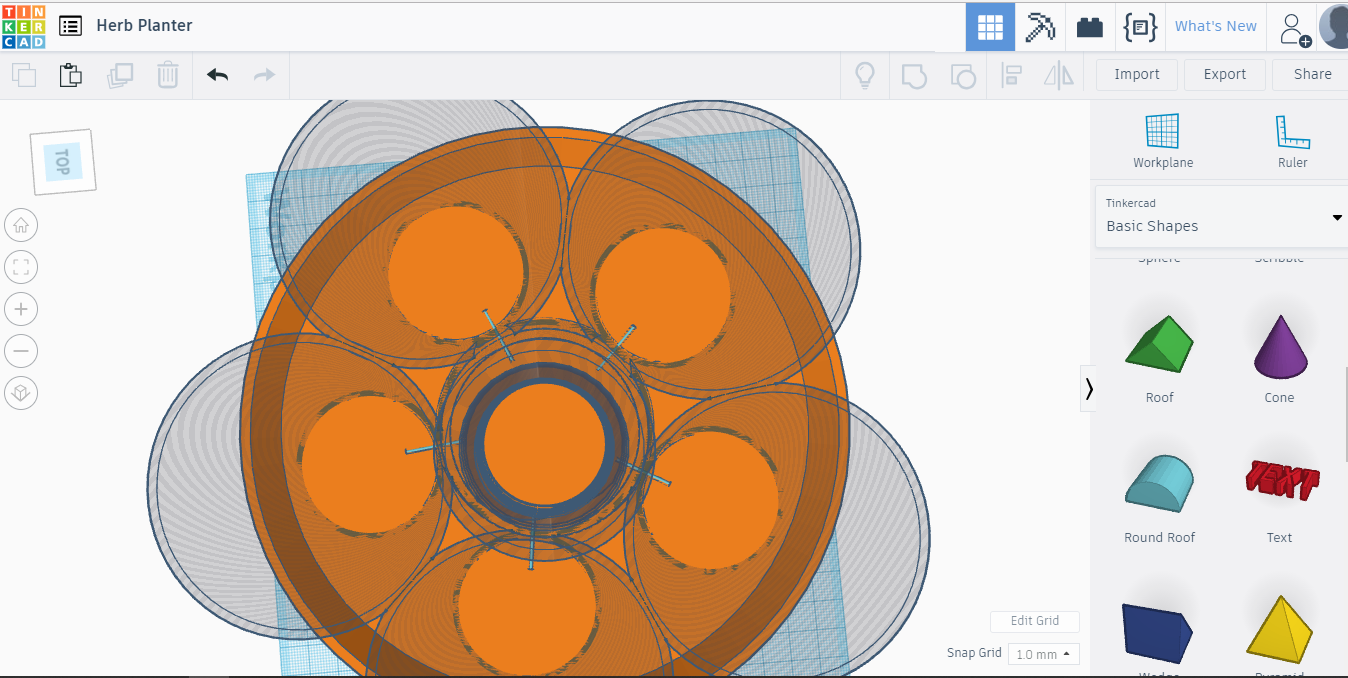
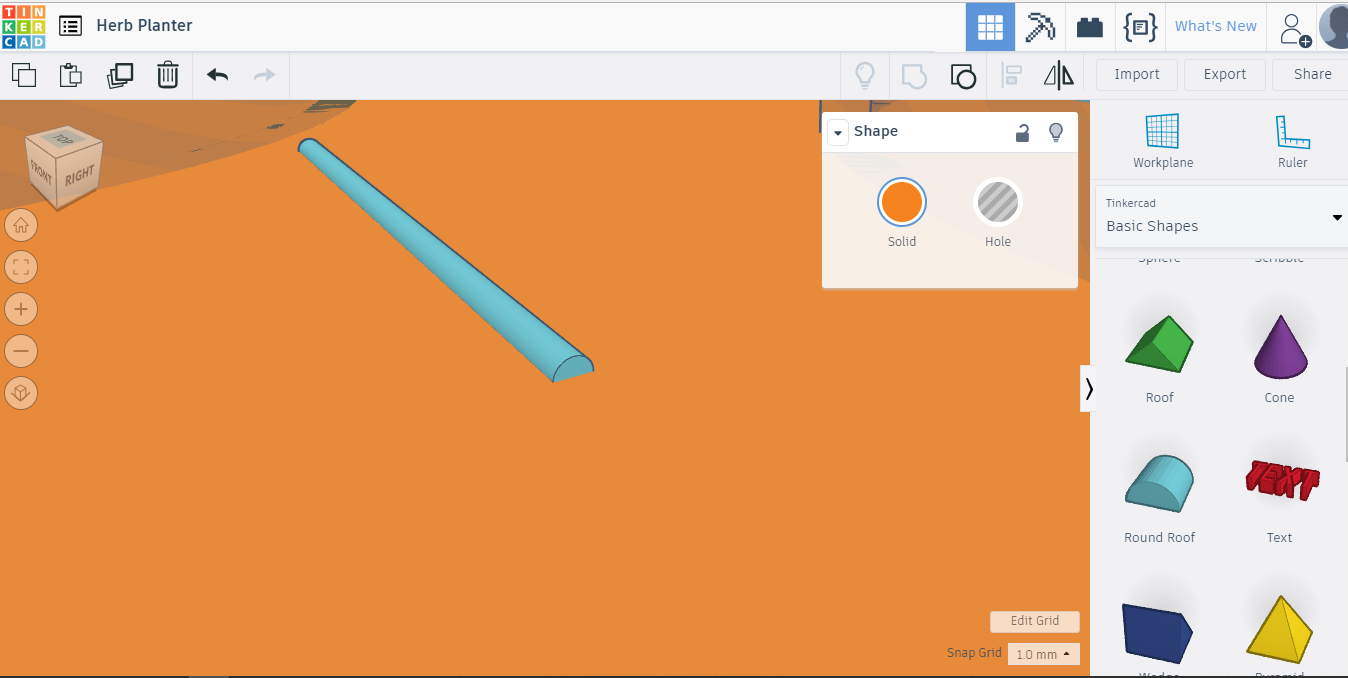
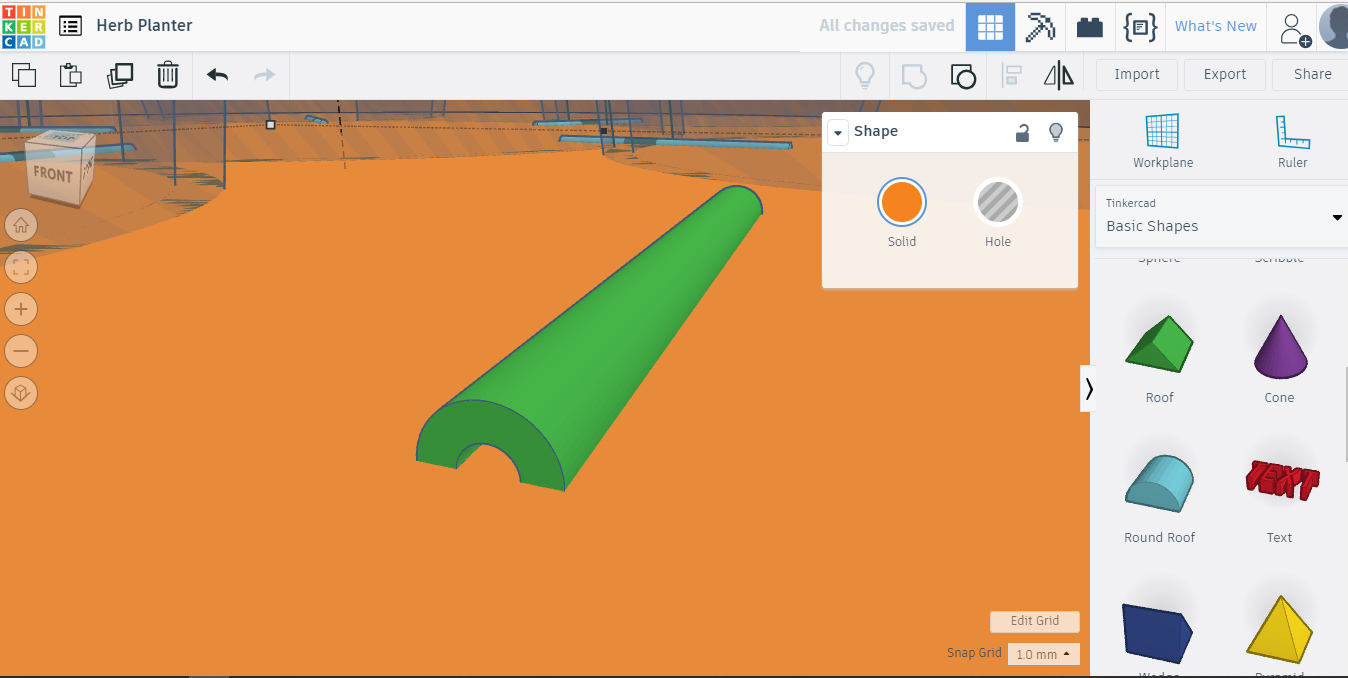
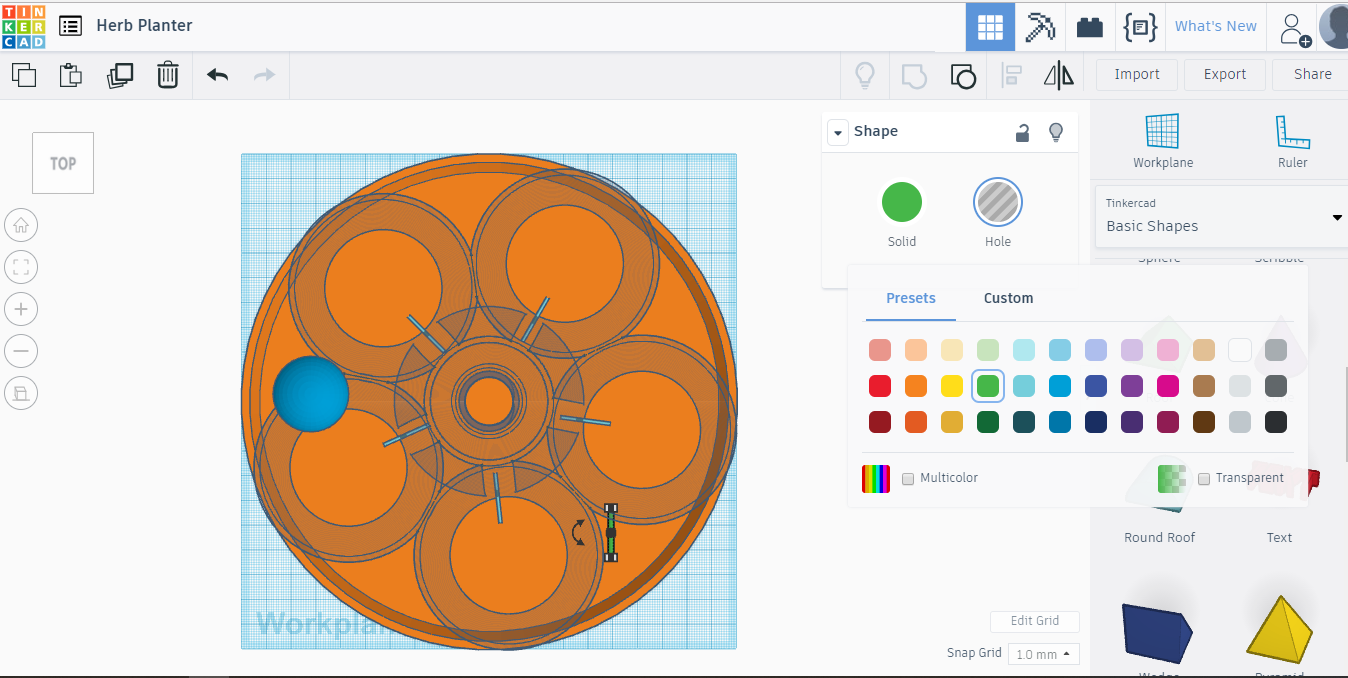
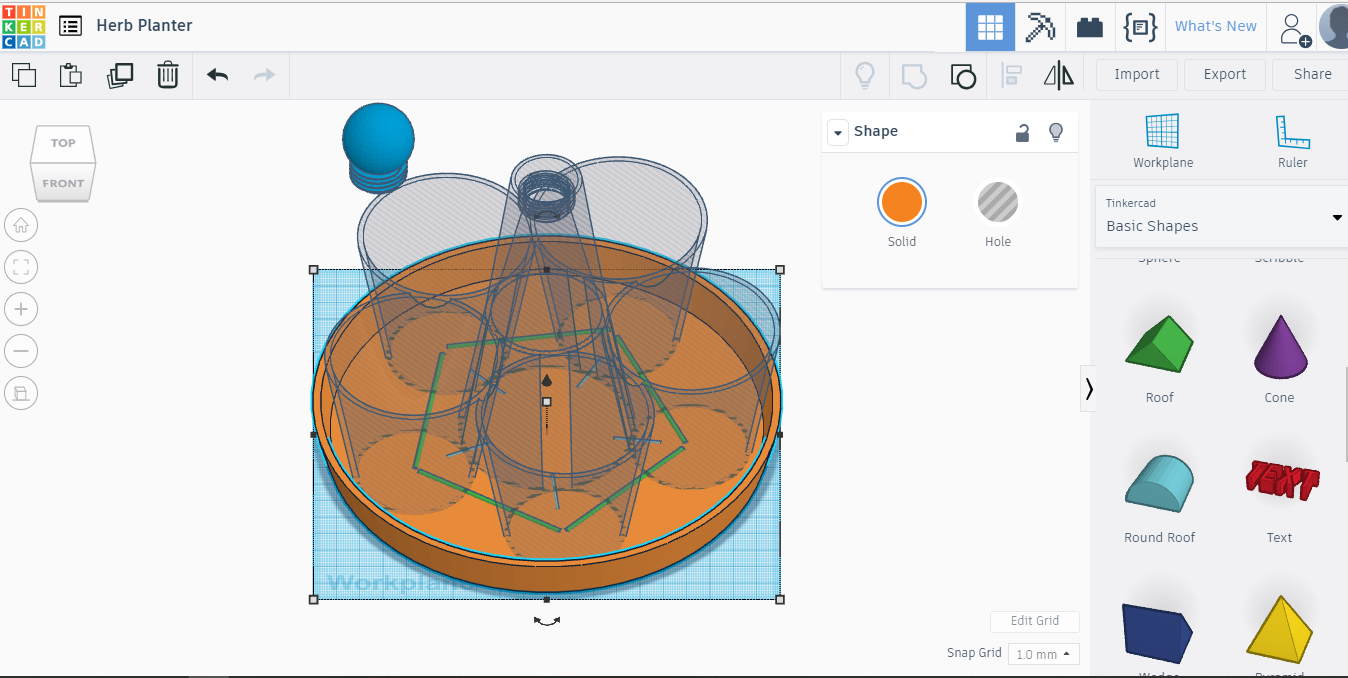
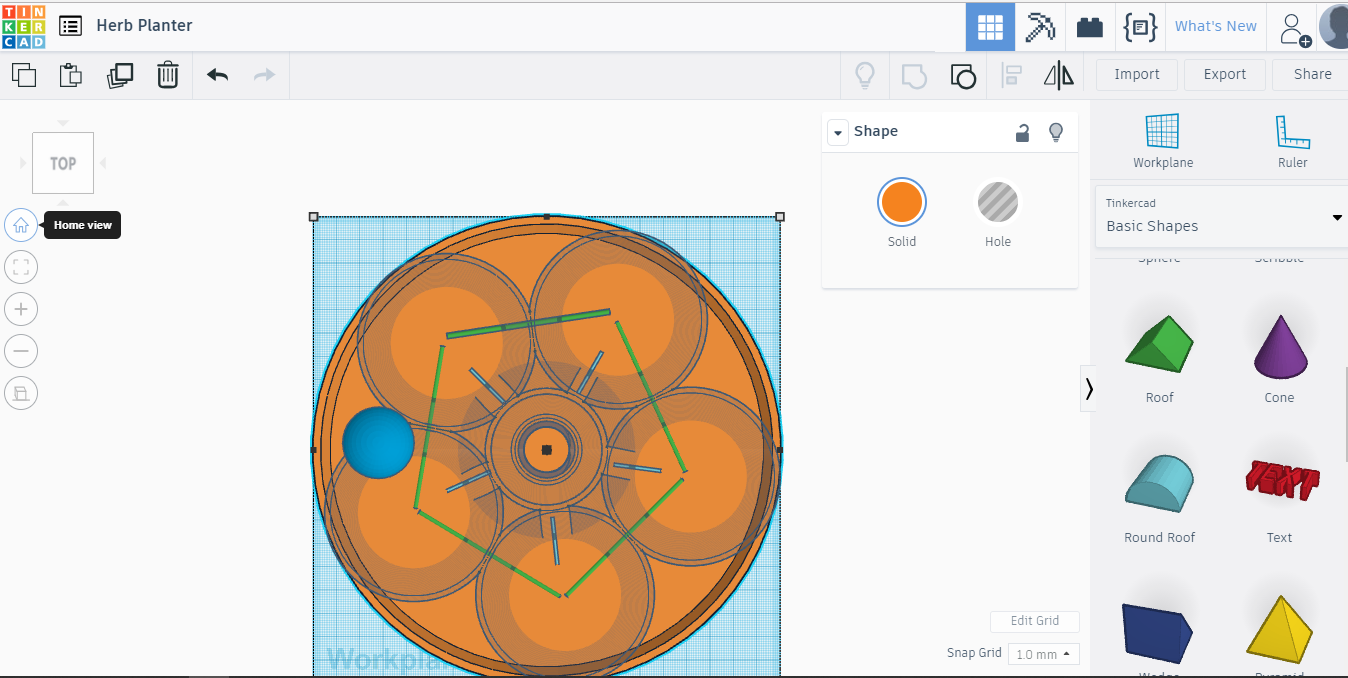
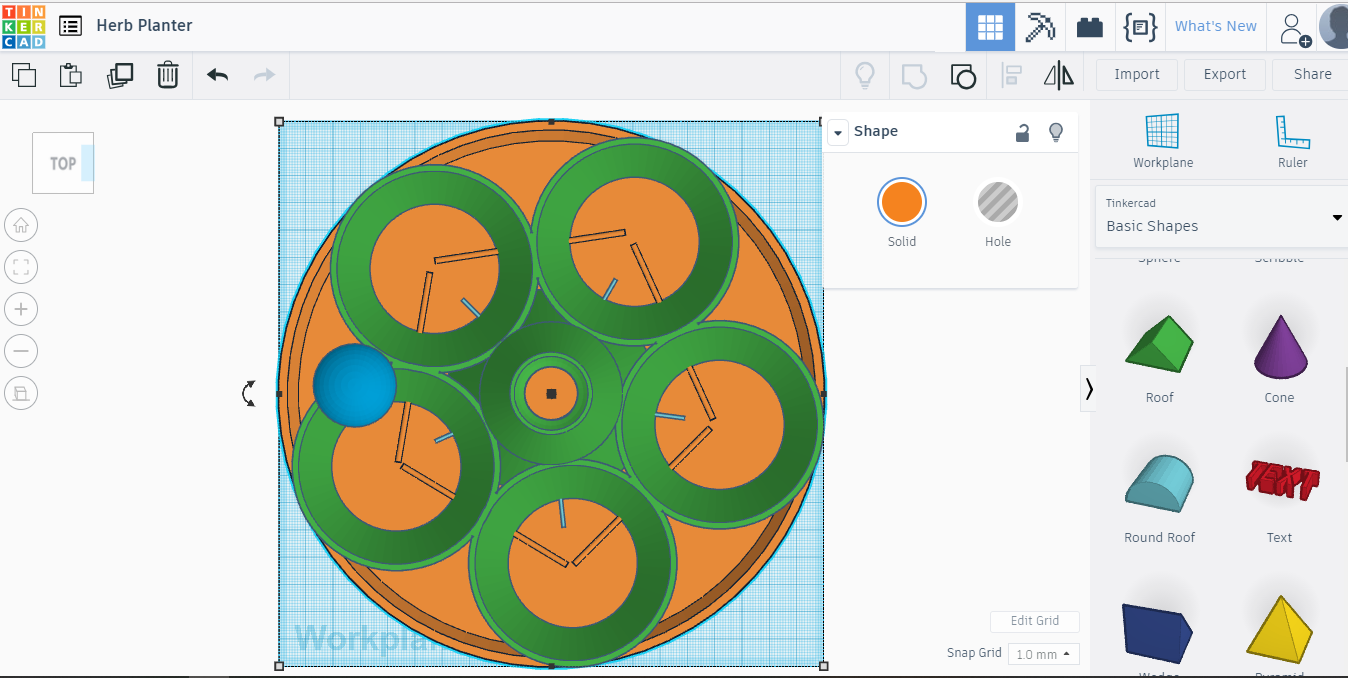
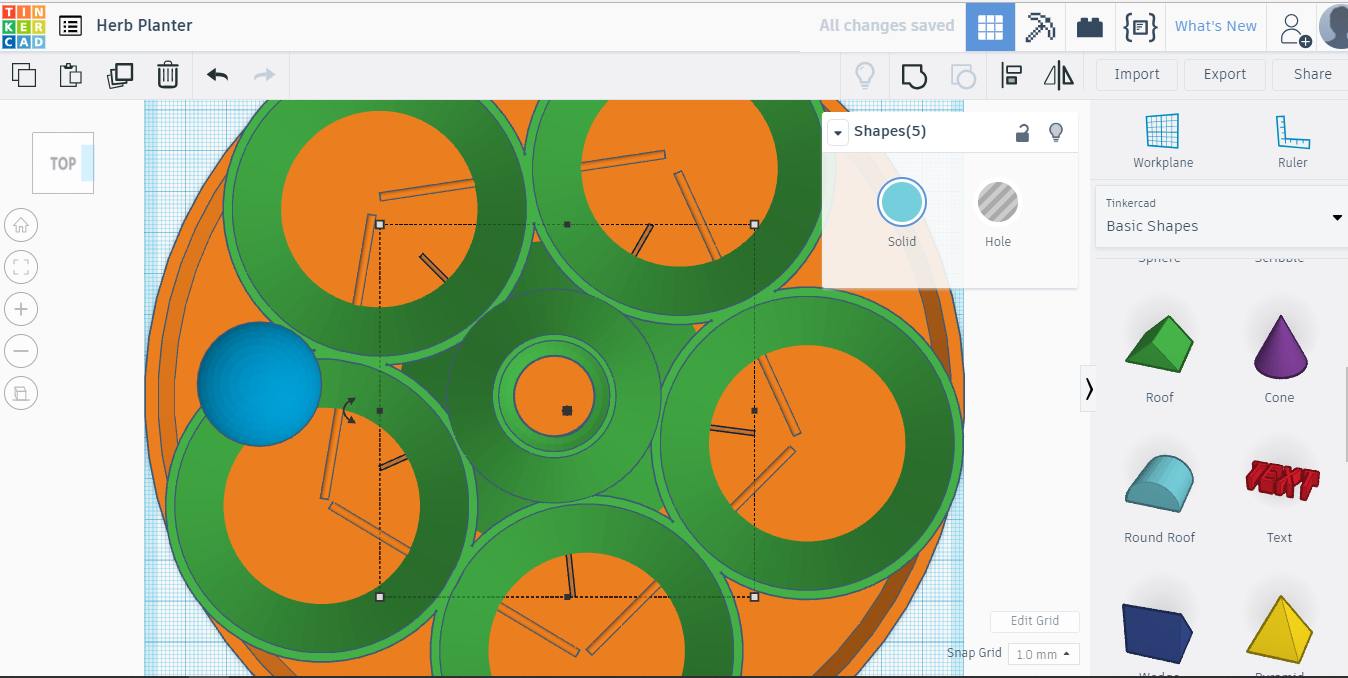
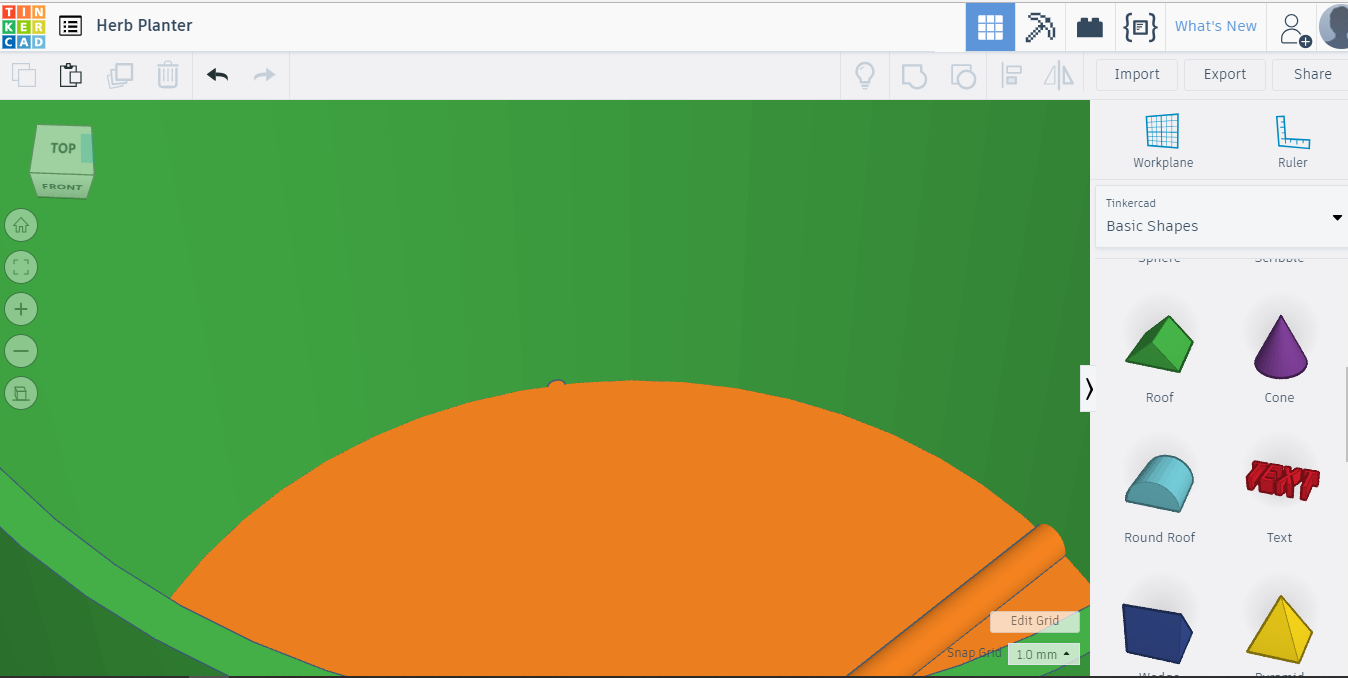
Next thing is to make some watering pipes and holes for pots. Water income will be on the bottom plate, so we can bring new Workplane onto it. Just hit W and click on the free place on that plate inner surface. From Basic Shapes select Round Roof and drag it to the Workplane. We need to make it really small, less than millimeter width and height. There's no need for too much water, it can trip very slow. These dimensions are just a guess, I can see the real water flow after I have printer one. Let's give following dimensions for that Round Roof/Half Pipe — like thing. Height:0.4mm, Width: 0.8mm, length can be default 20mm for moment.Get rid of Workplane. How? Check previous steps ;)
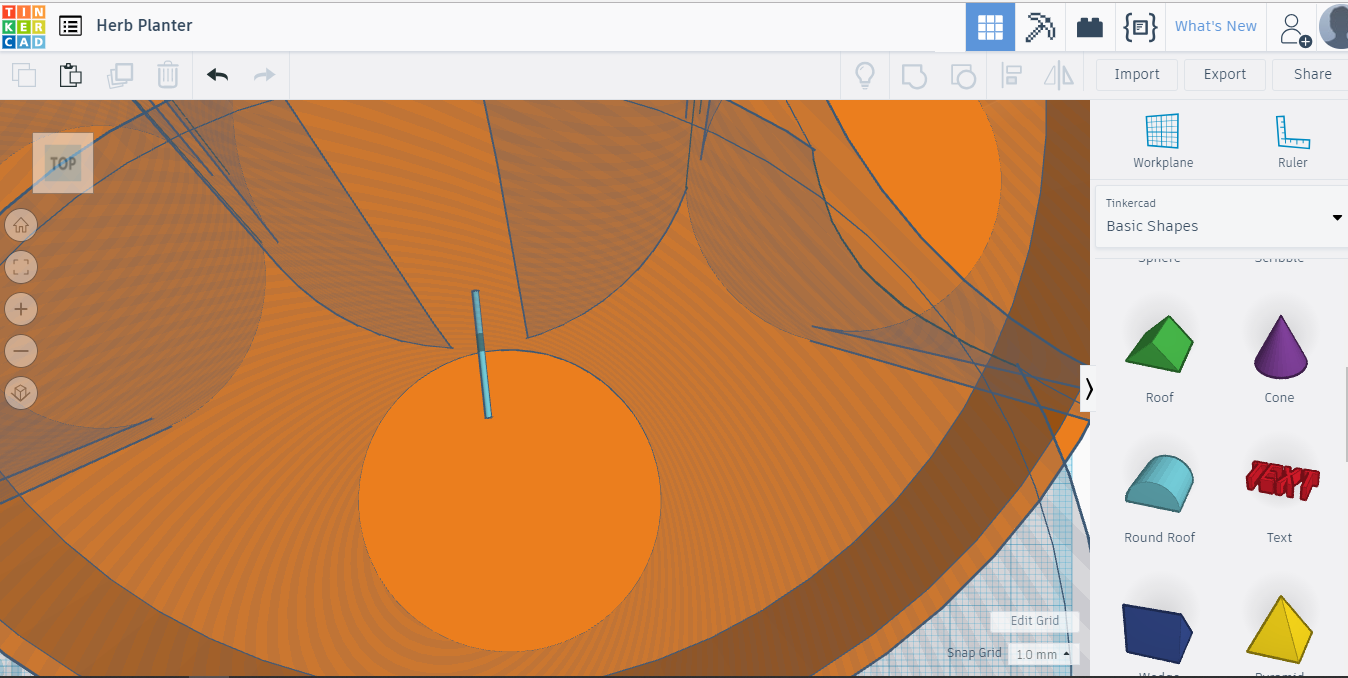
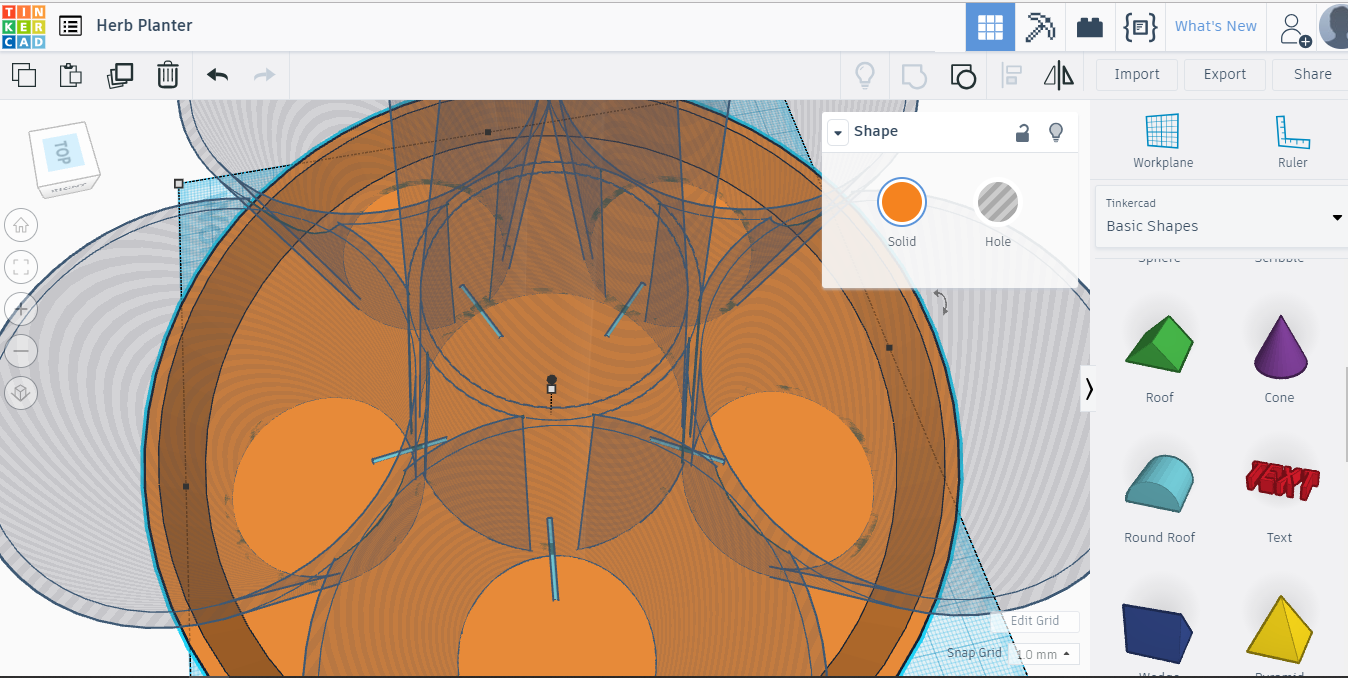
So, water must come in to the pots where the soil will be. But I think that it is good to connect all 5 pots together, just for any case. Example for clogged up hole in one pot and maybe then all 5 pots are more with the same conditions for plants. Let's connect all 5 pots to water-tower with just created small thing. Set view to From Top and Duplicate and move copies to all pots like on the pictures. You have to rotate each one, there's arrows visible when piece is selected. You can make green part Hole for better view.
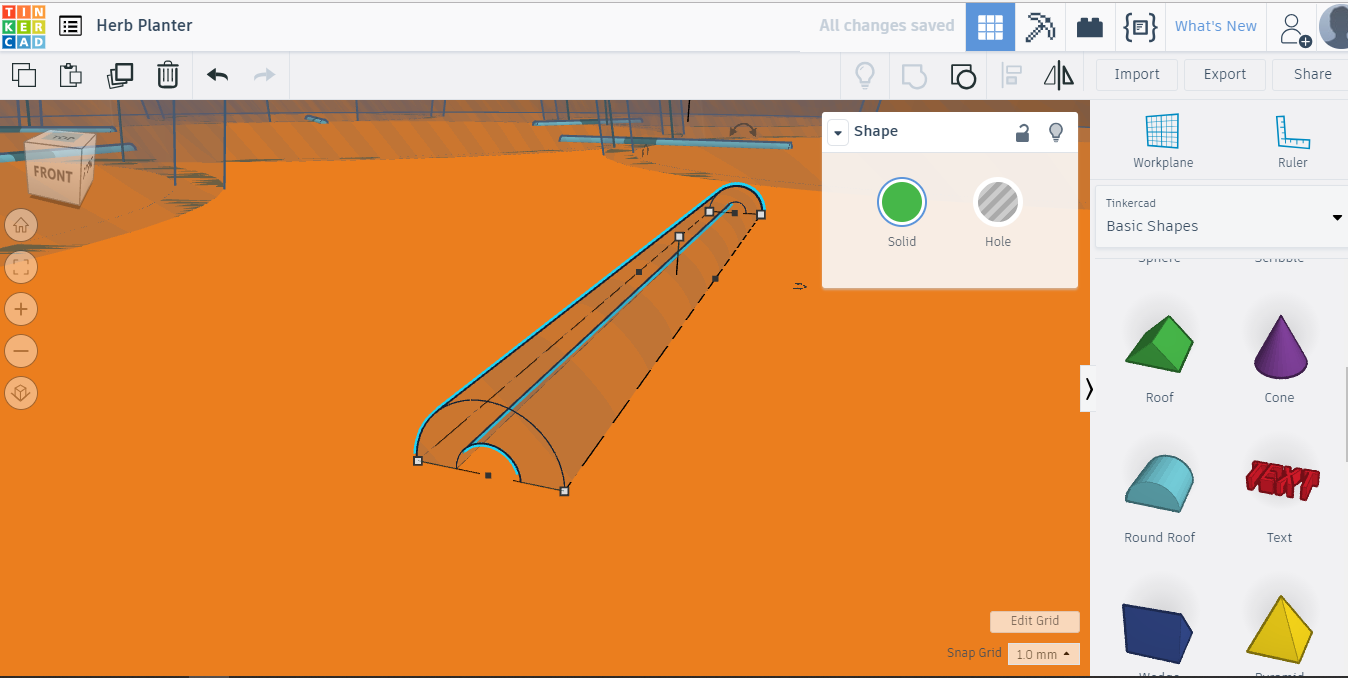
Now duplicate one small Round Roof piece and drag it to the free space on bottom plate. Duplicate it again, give different color to it and add 1mm to piece width and 0.5mm to height. Now we have one bigger and another smaller. Make smaller one Hole. Then center with both selected and Group(ctrl+G). Change piece length to about 70 or maybe 60. Switch to Top view again and Duplicate and rotate that piece 4 more times and place as you can see on pictures. Select all green straws and bottom plate and make Group, ctrl+G. It turns green, but I changed it to orange. Let's turn pots section back to Solid and select all blue sticks at the bottom. We will set those as Hole. SHIFT click on green pots section and Group. Now we have little holes on the bottom of each pot, connected with the Water Tower.
Hollowing the Cap
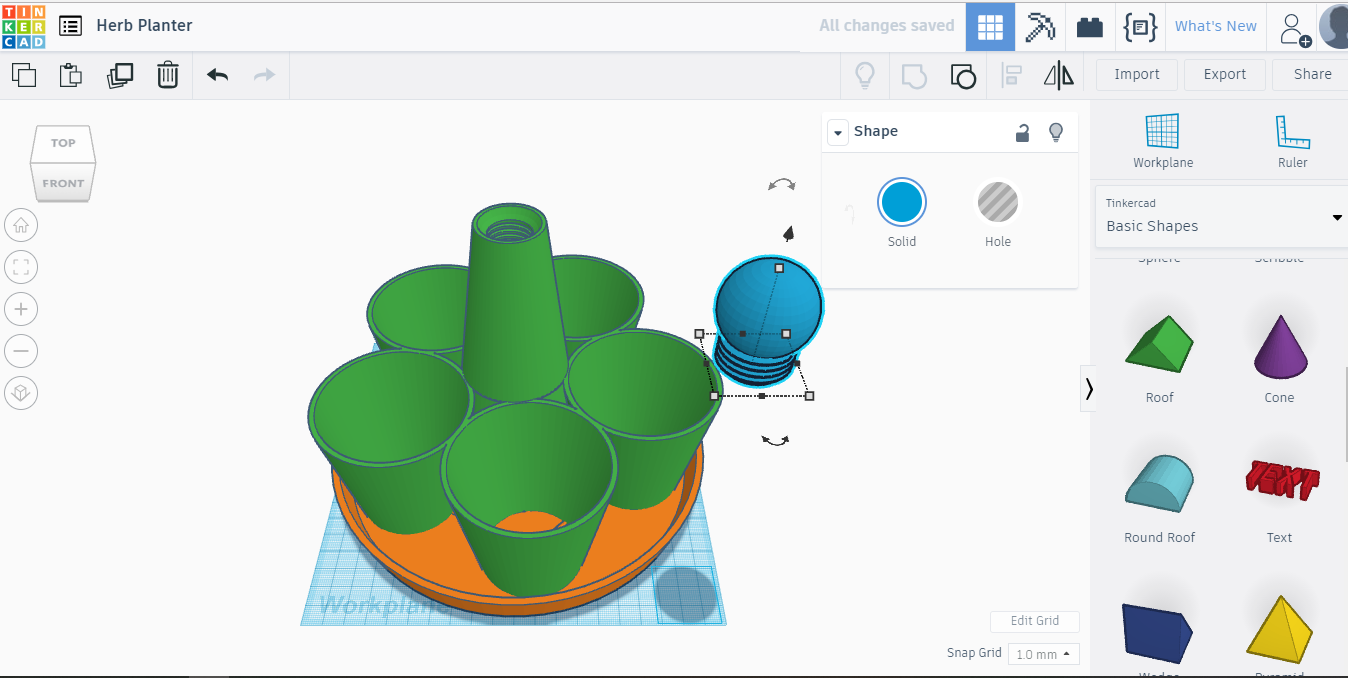
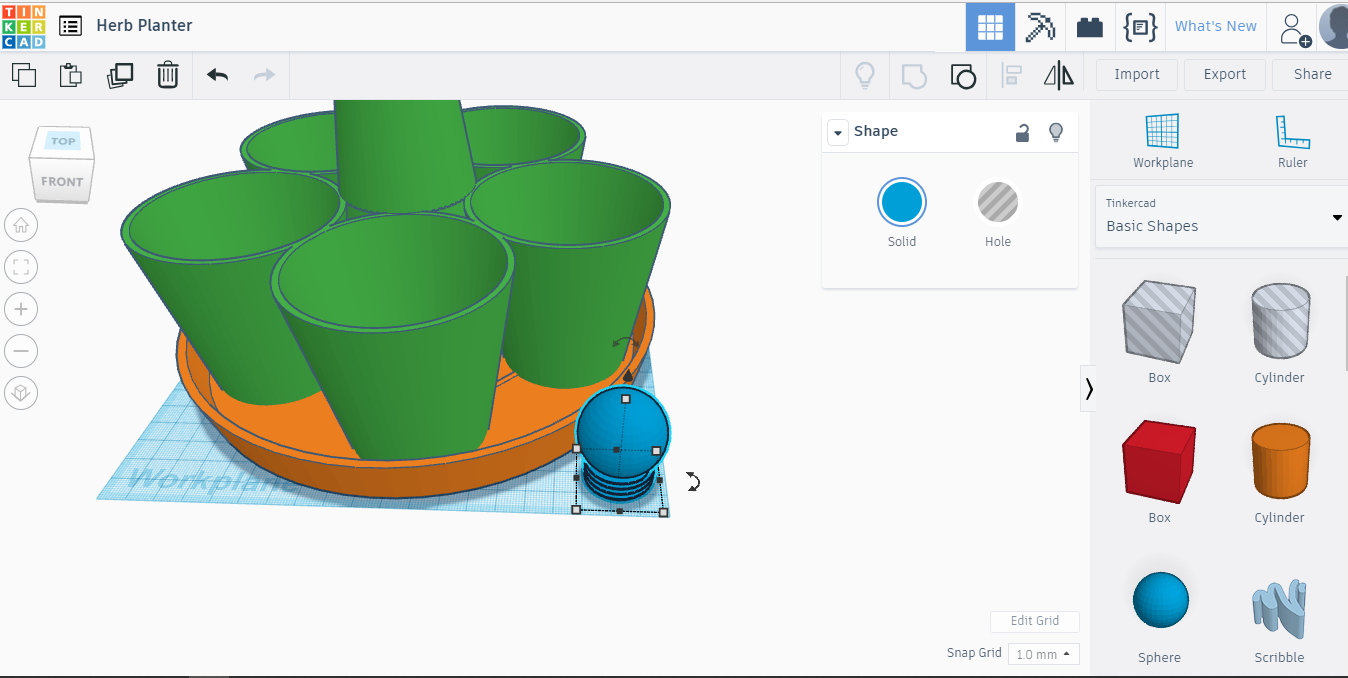
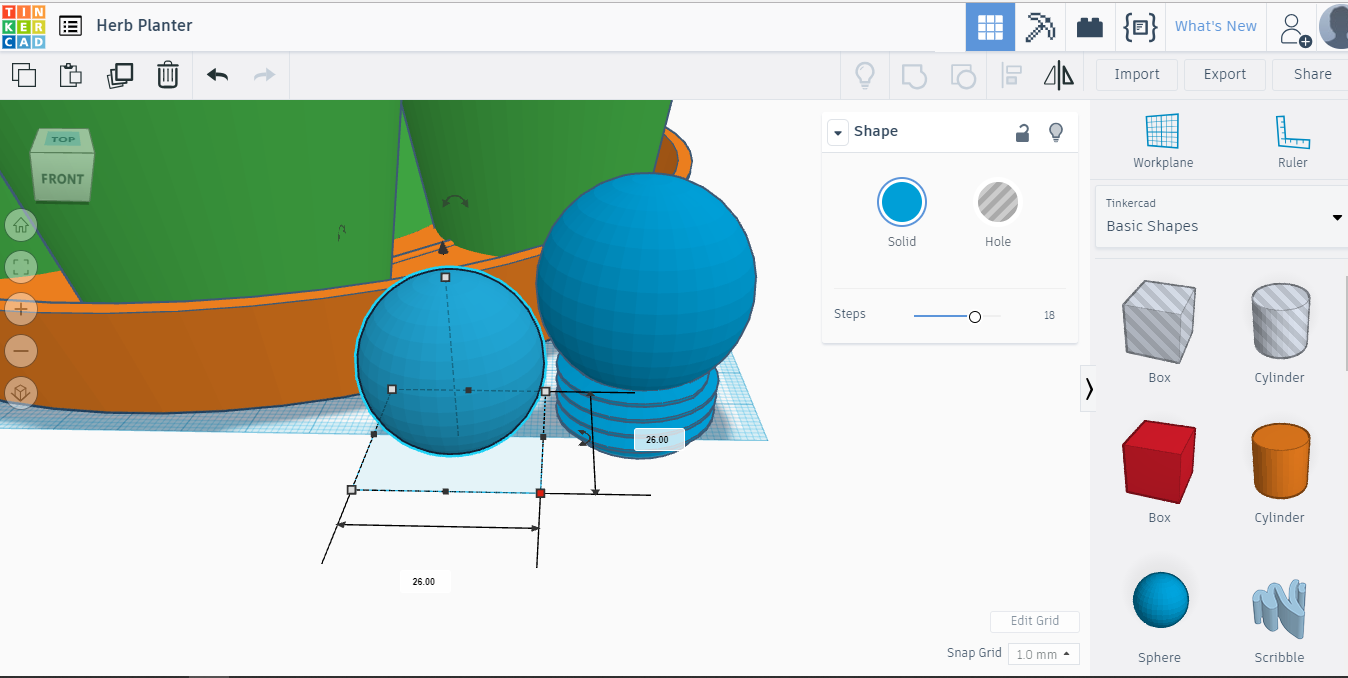
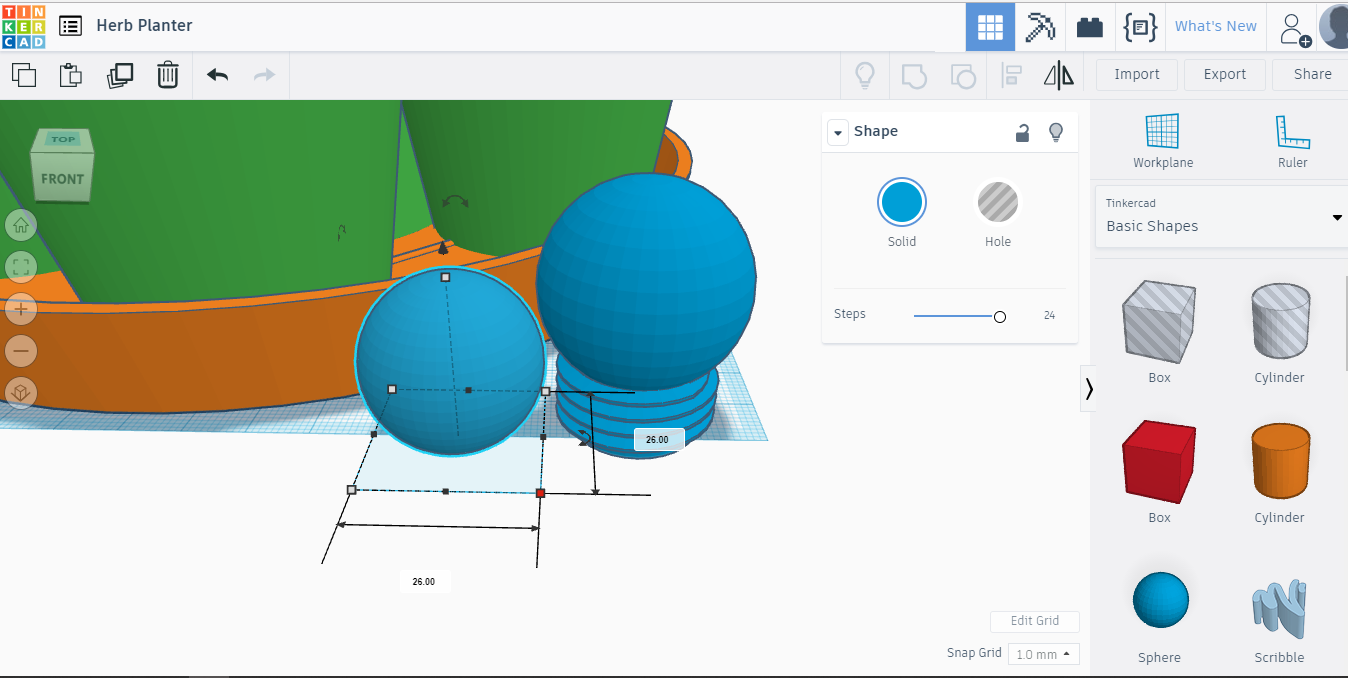
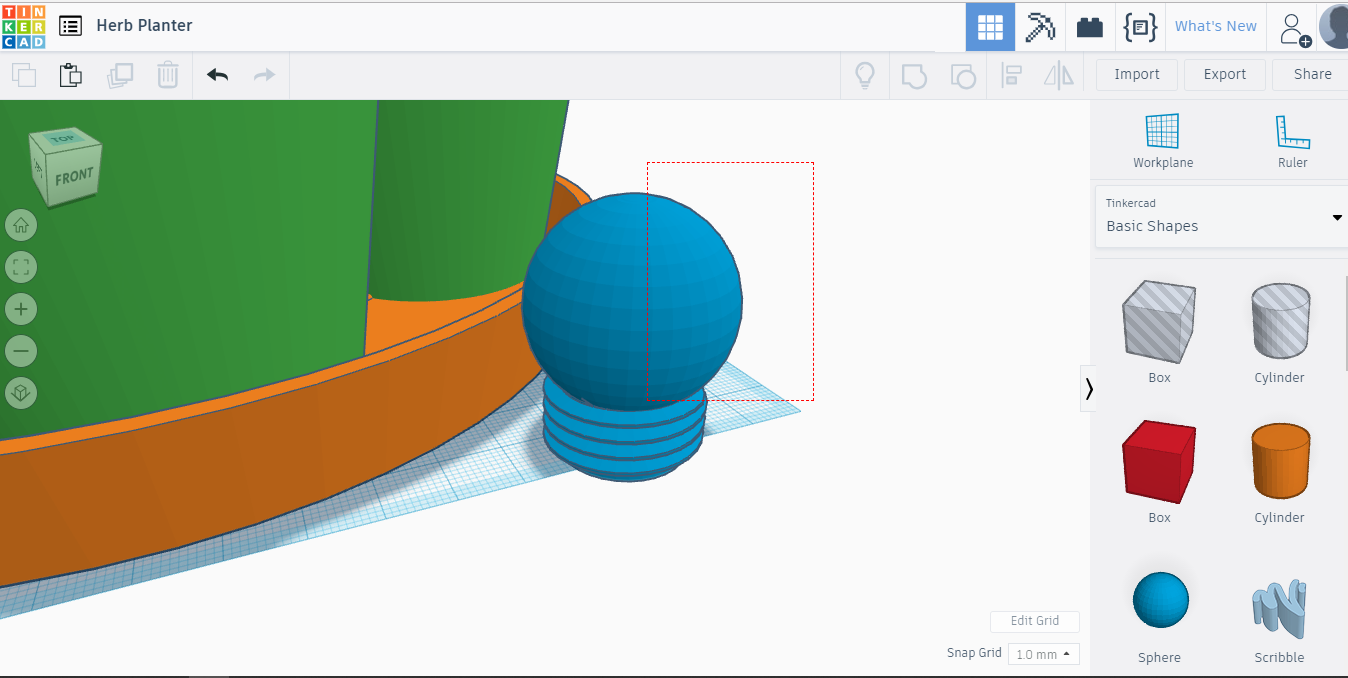
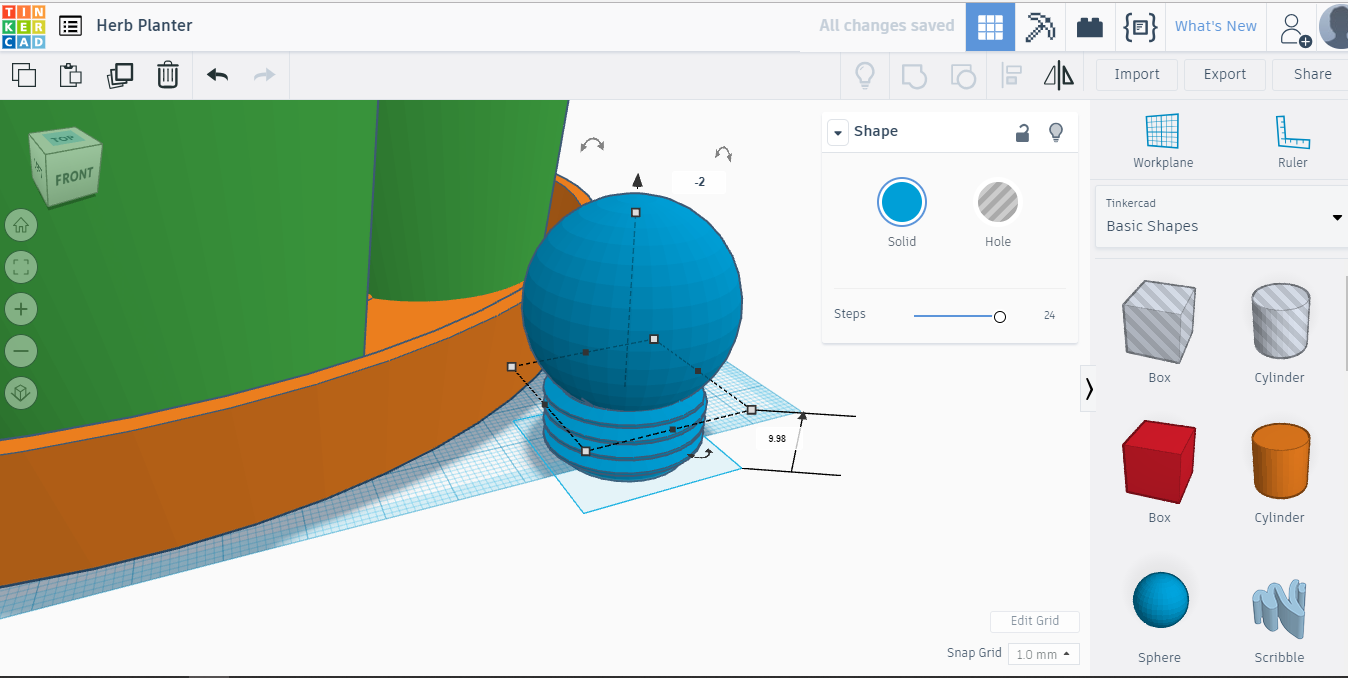
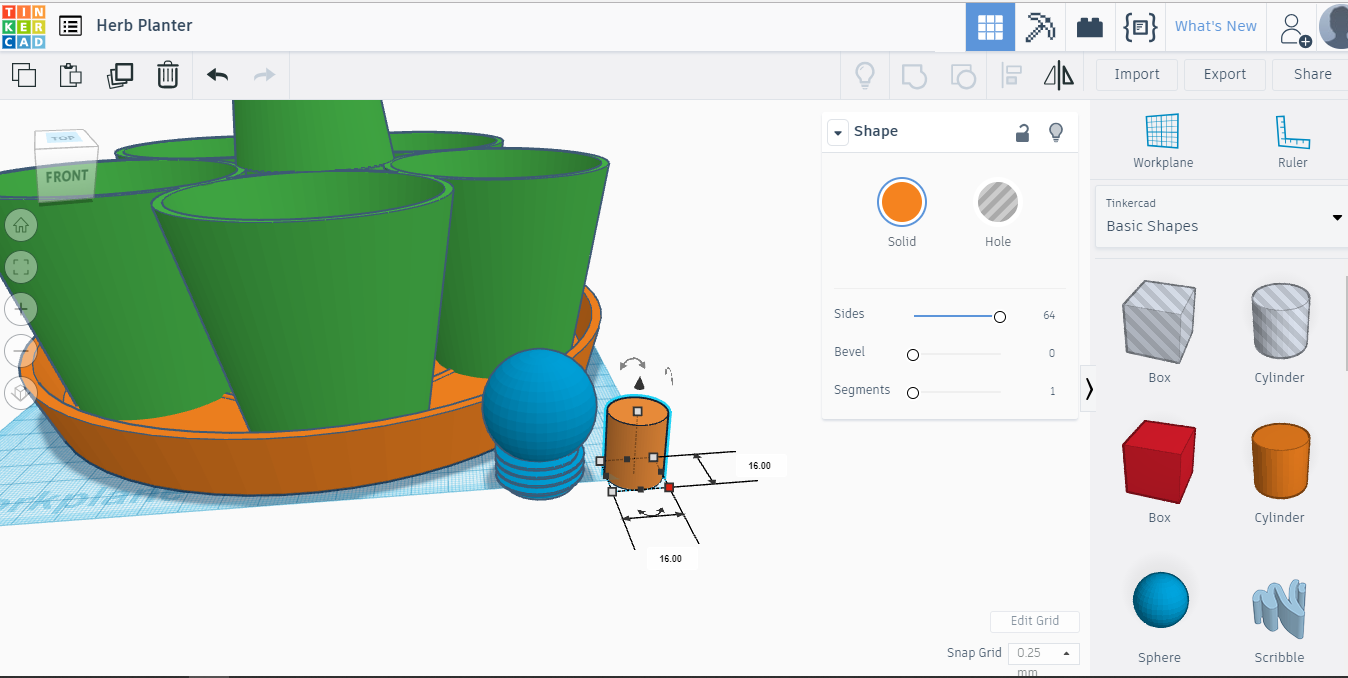
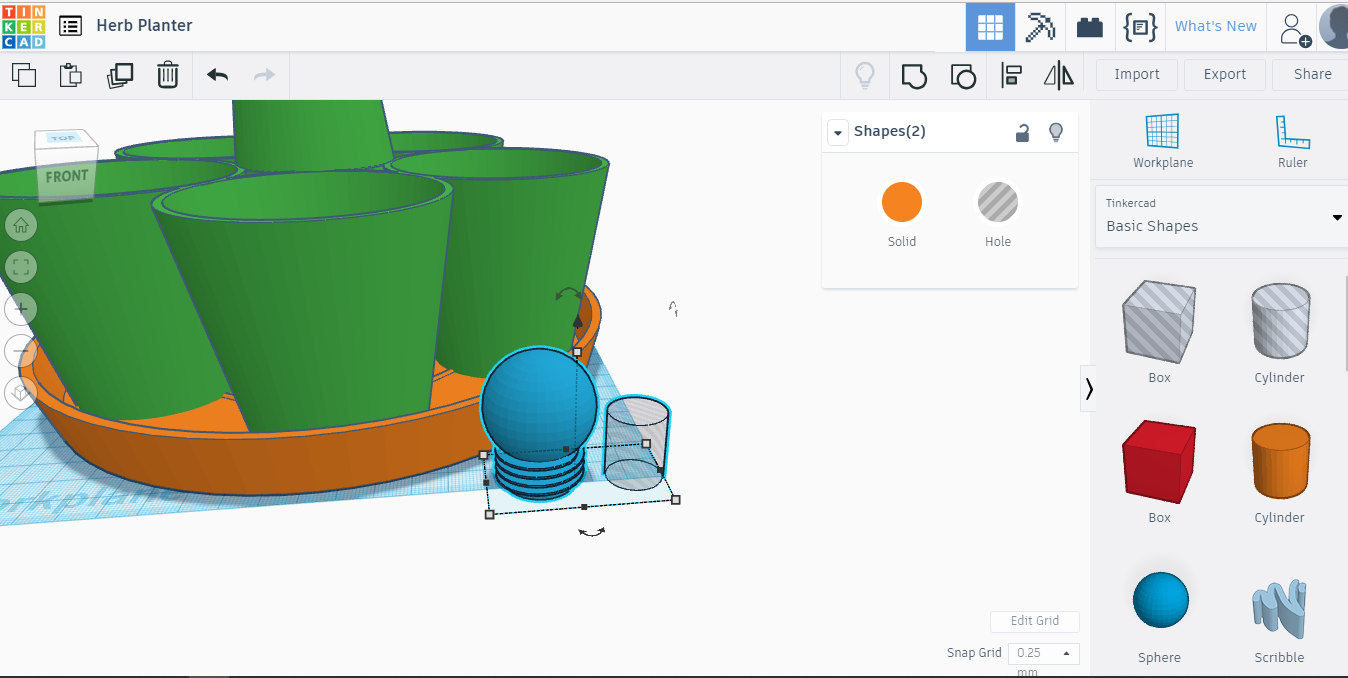
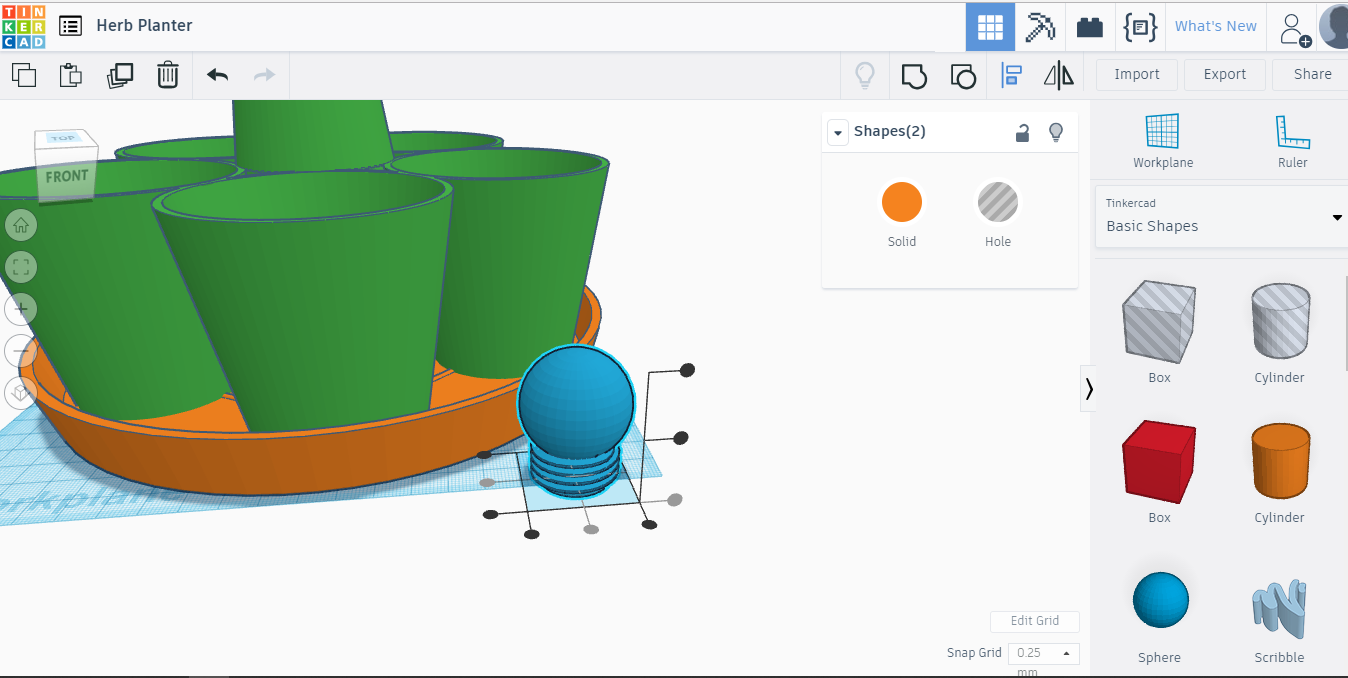
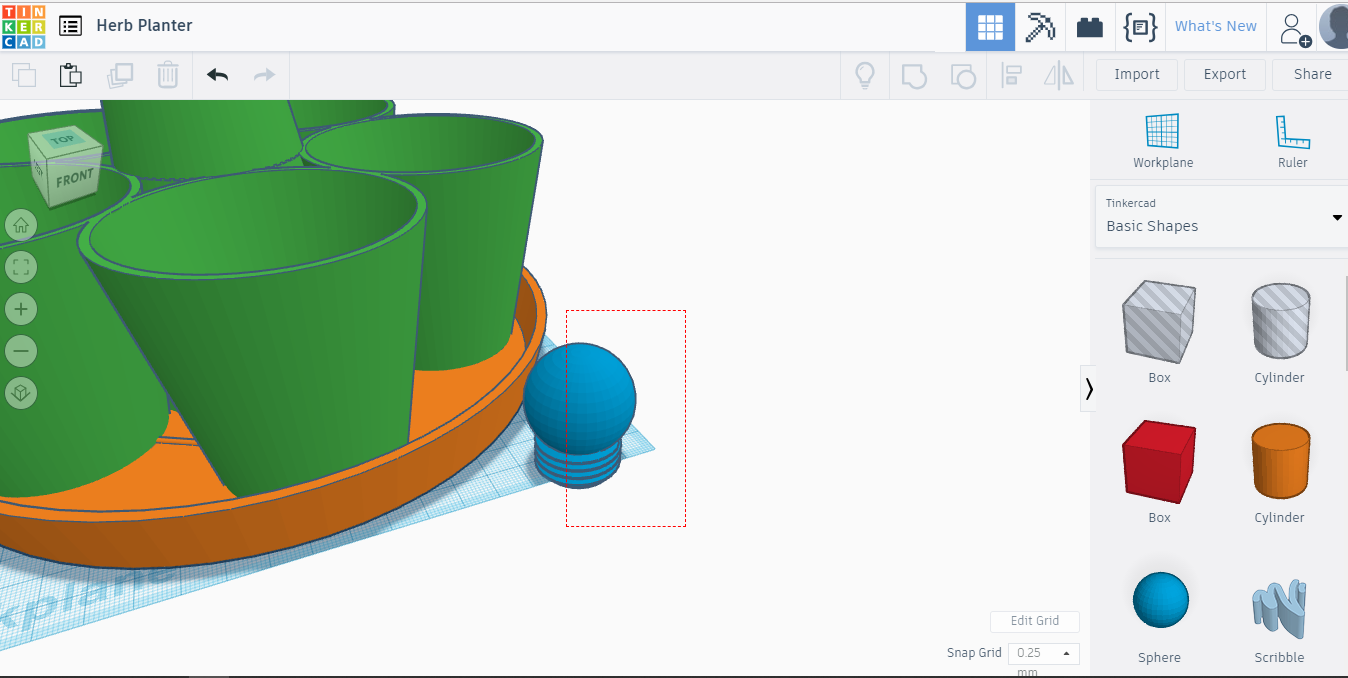
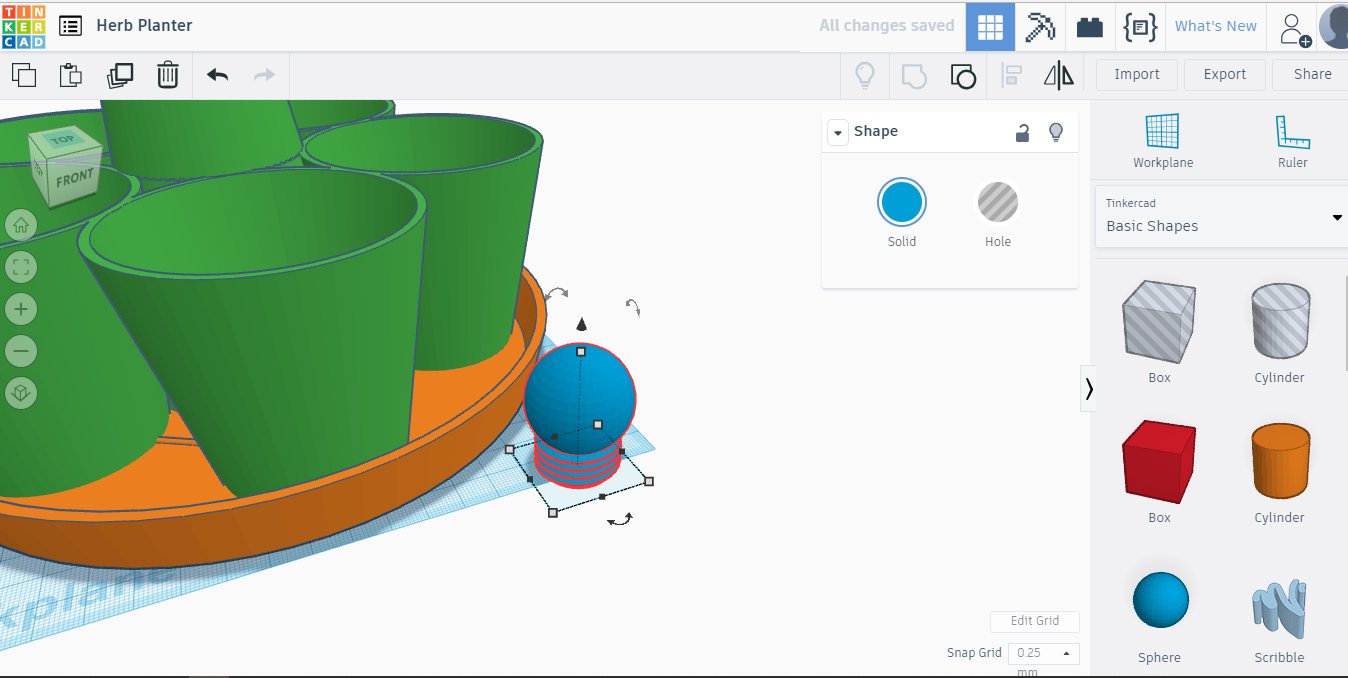
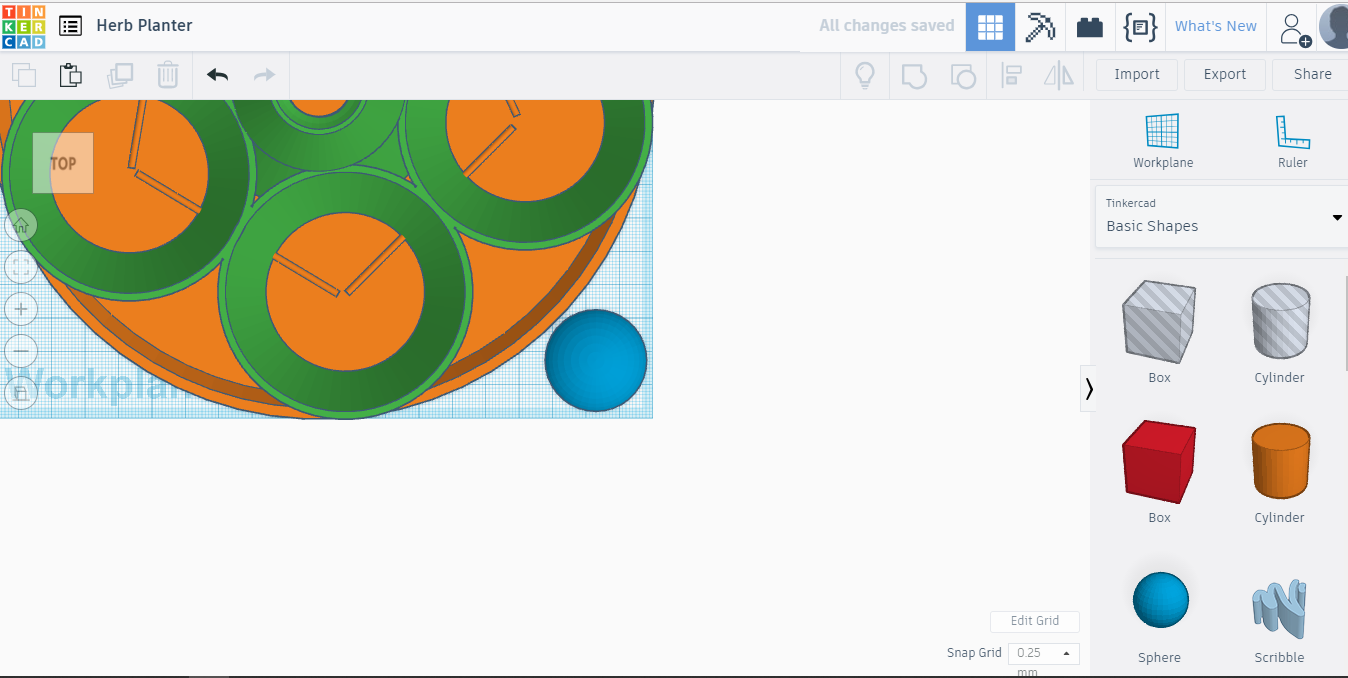
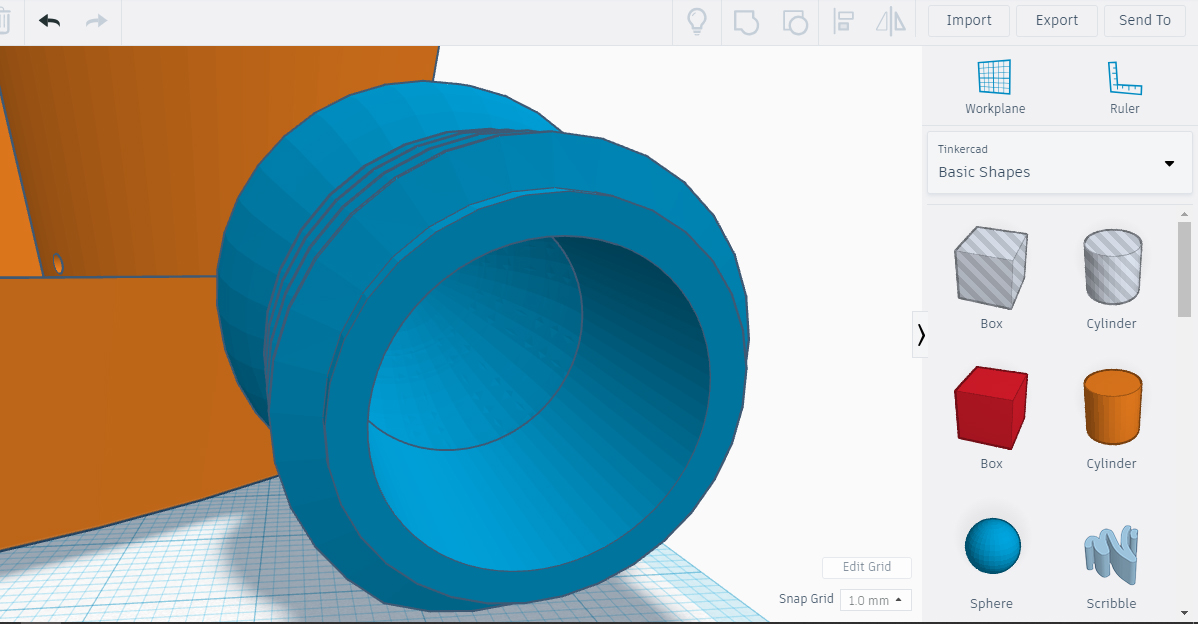
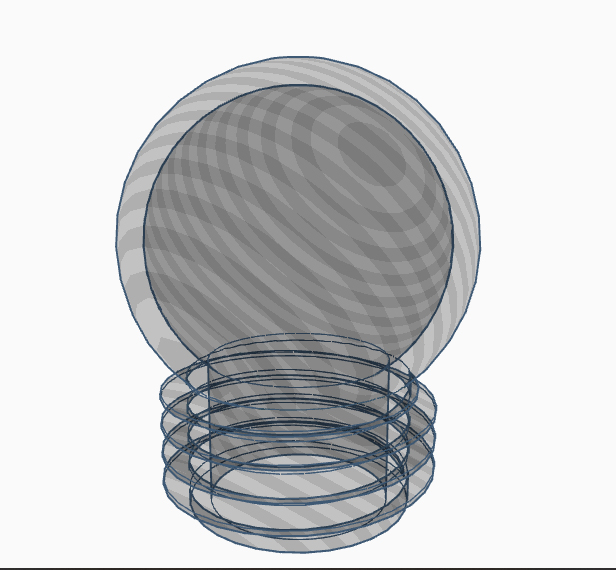
The cap for Watertower is not ready for printing jet. It's full, solid, lets make it hollow.
Move it to the one of the Workplane corners and drag down from upward pointing arrow a little, now you are able to type in 0 and hit Enter. It sits on the Workplane now.
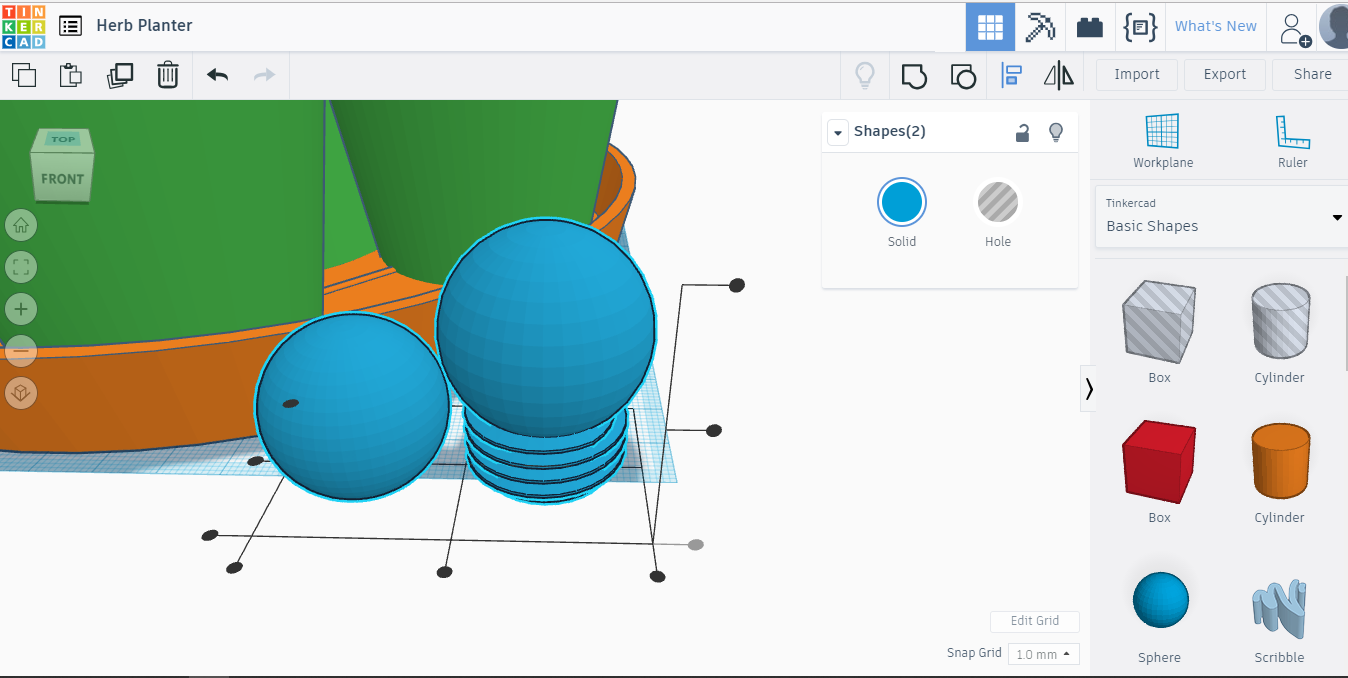
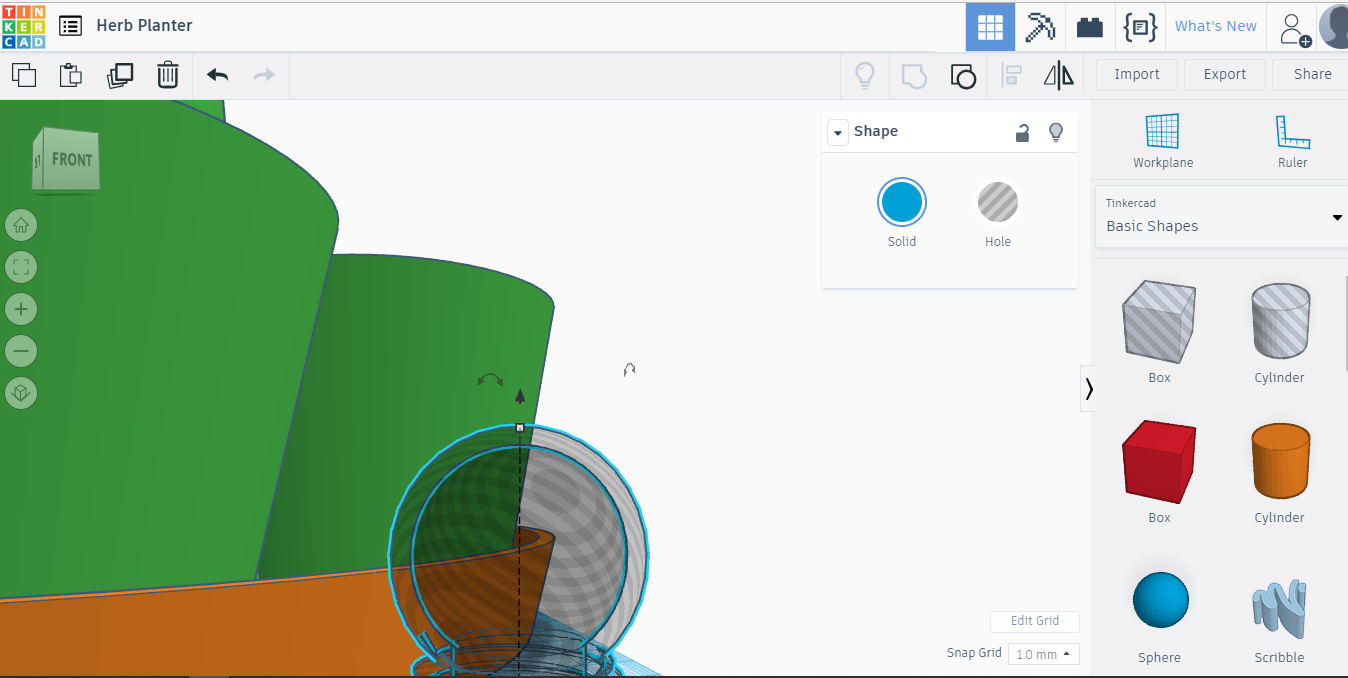
Now we need smaller Sphere and Cylinder to make that cap hollow. Drag new Sphere next to the cap and set dimensions to 26x26x26 and Steps 24, to make it smoother. With this dimensions we will get 2mm wall thickness for our hollow Sphere of the cap. Now select both, the cap and new Sphere by SHIFT clicking and hit L to align. Click on middle black points on bottom surface and the upper dot on vertical line.
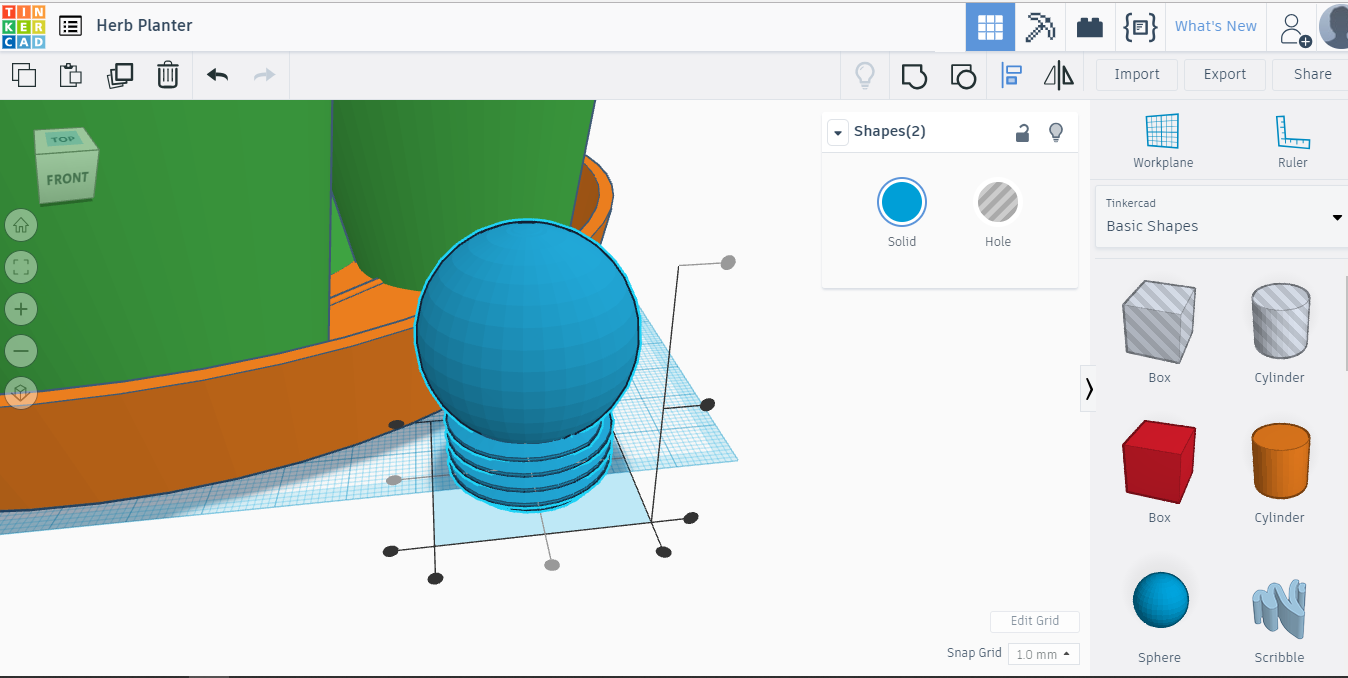
Now select both again by dragging mouse over while holding down the left mouse button. Then SHIFT click on cap to select only new Sphere which is inside the cap at the moment. Drag it down by 2mm. Start drag from upward pointing black arrow and enter -2 from keyboard right next to your mouse pointer. Now click Hole and select both again, then click Group or ctrl+G. Select cap and make it Hole to see that it's empty or hollow now.
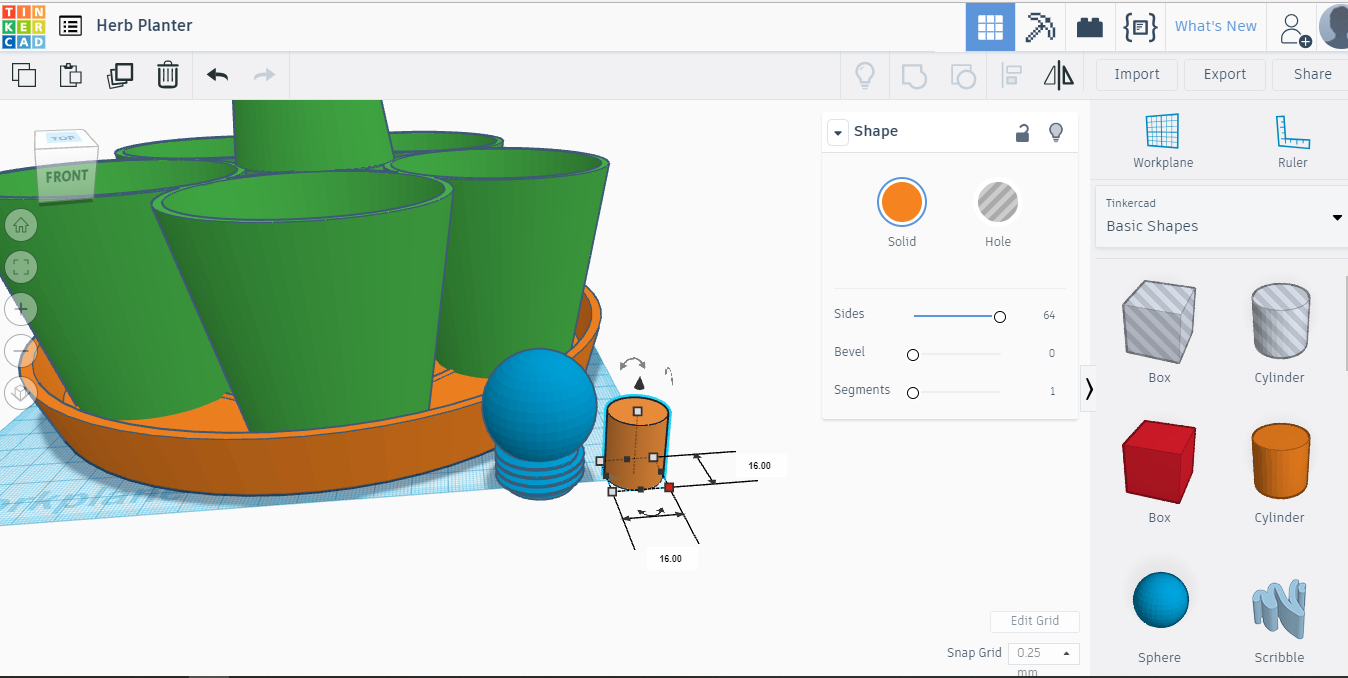
Next will be the Cylinder for the leg or the threaded part of our cap. Get new Cylinder from basic shapes and set dimensions to 16 for width and length and set Sides to 64. You can leave height as it is. Make it Hole and center with the cap, so it moves inside to the threaded part of cap. Select both, by draging over the cap only and make it Group, ctrl+G. Now when you make the cap Hole, you can see that it's empty or hollow. Make it Solid again and move to the corner on our Workplane, this is also a printing area. Change the view to TOP to ensure that its correctly positioned.
Finishing Up - Last Step
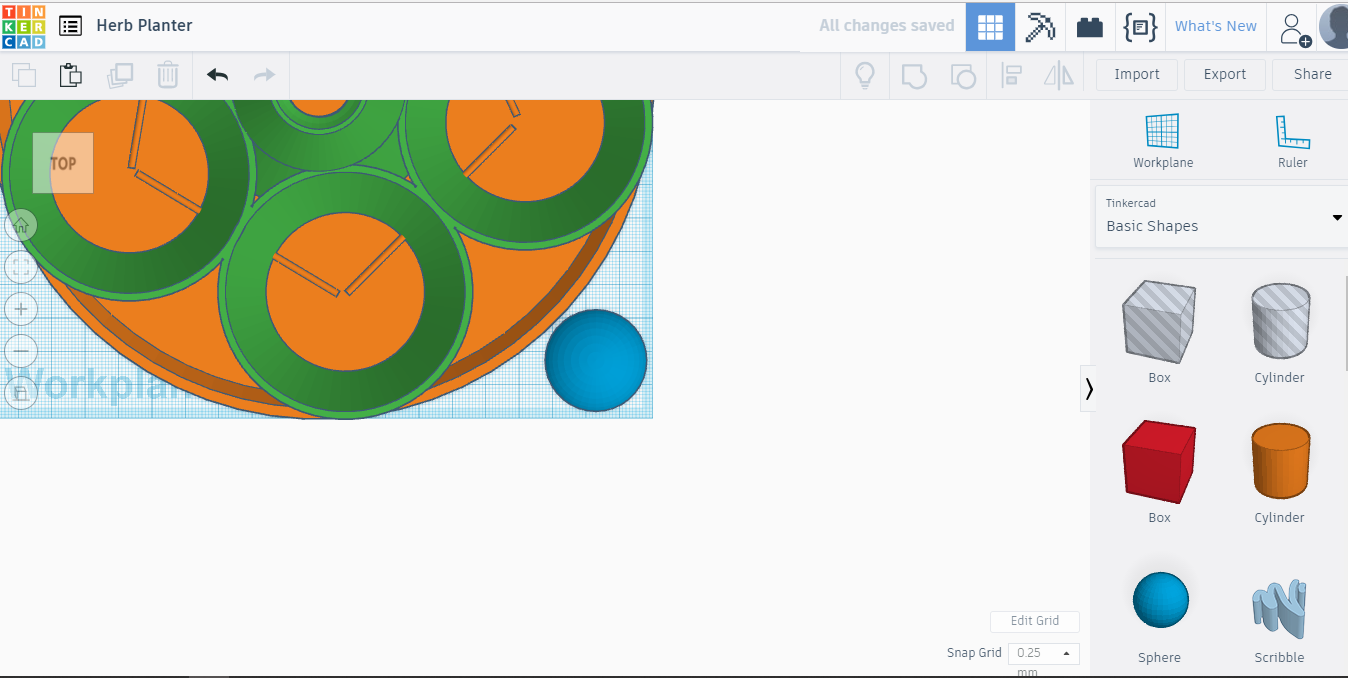
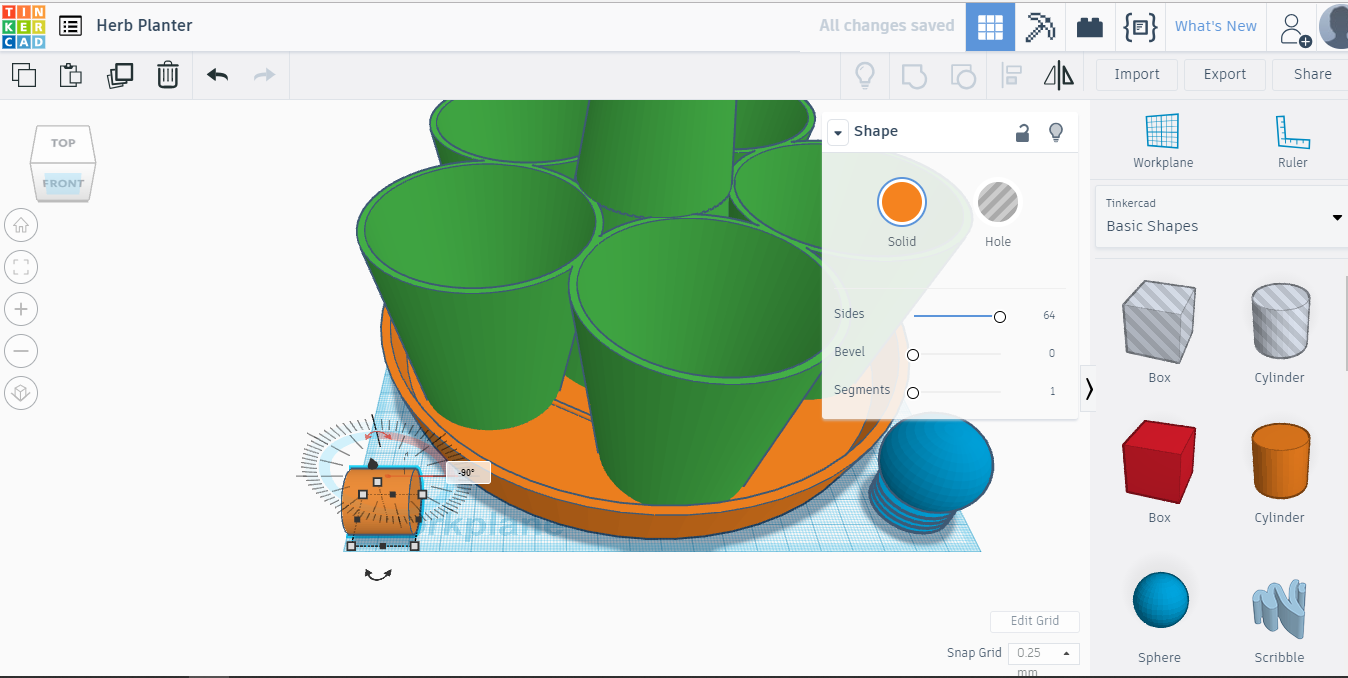
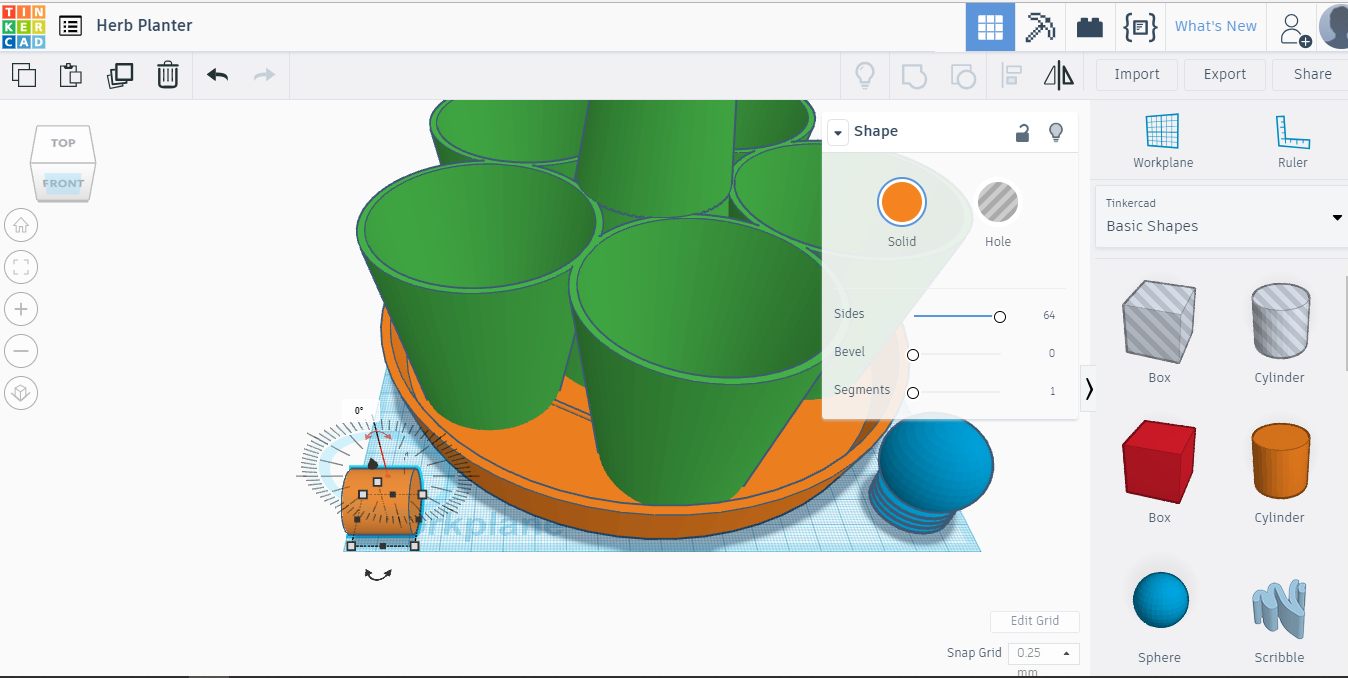
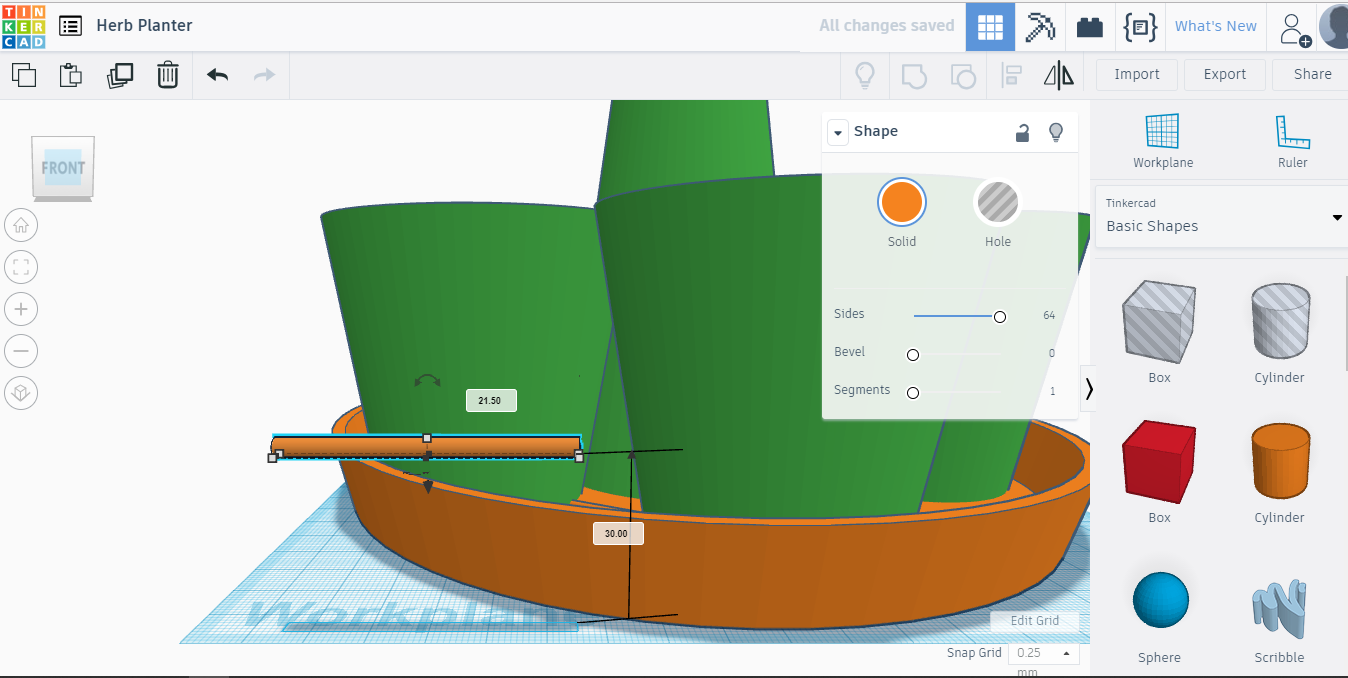
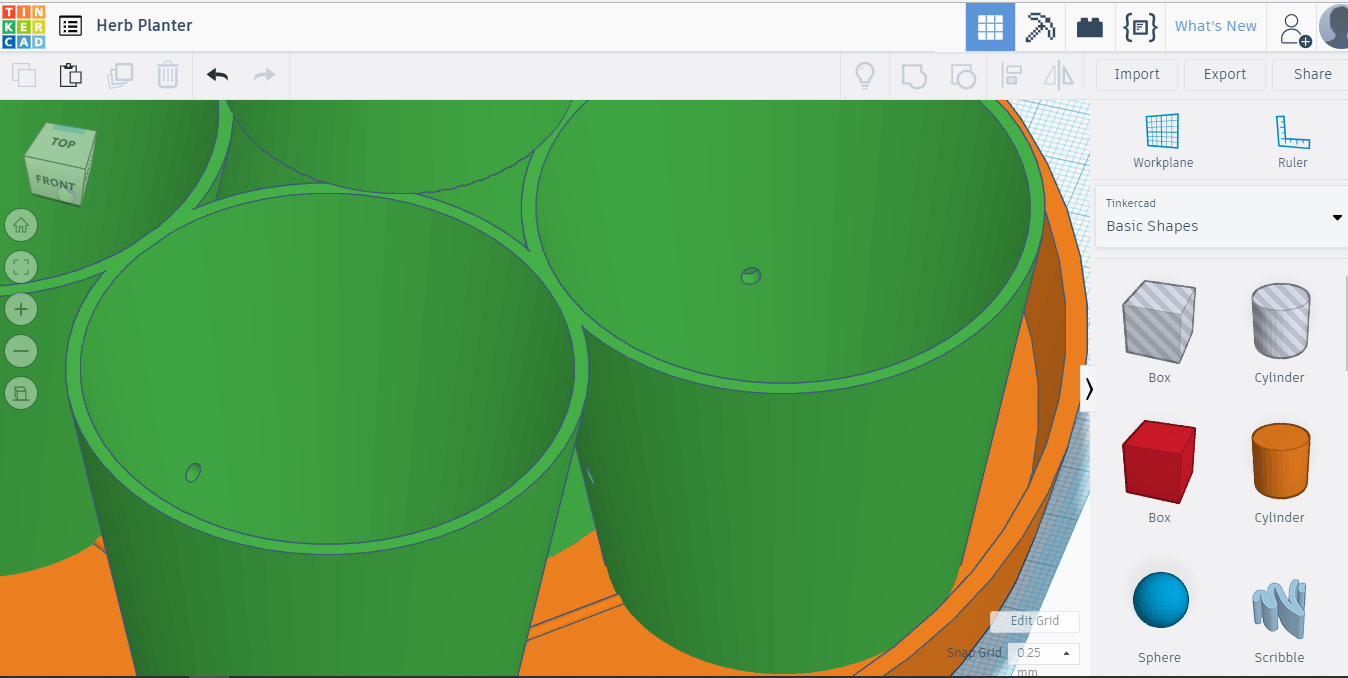
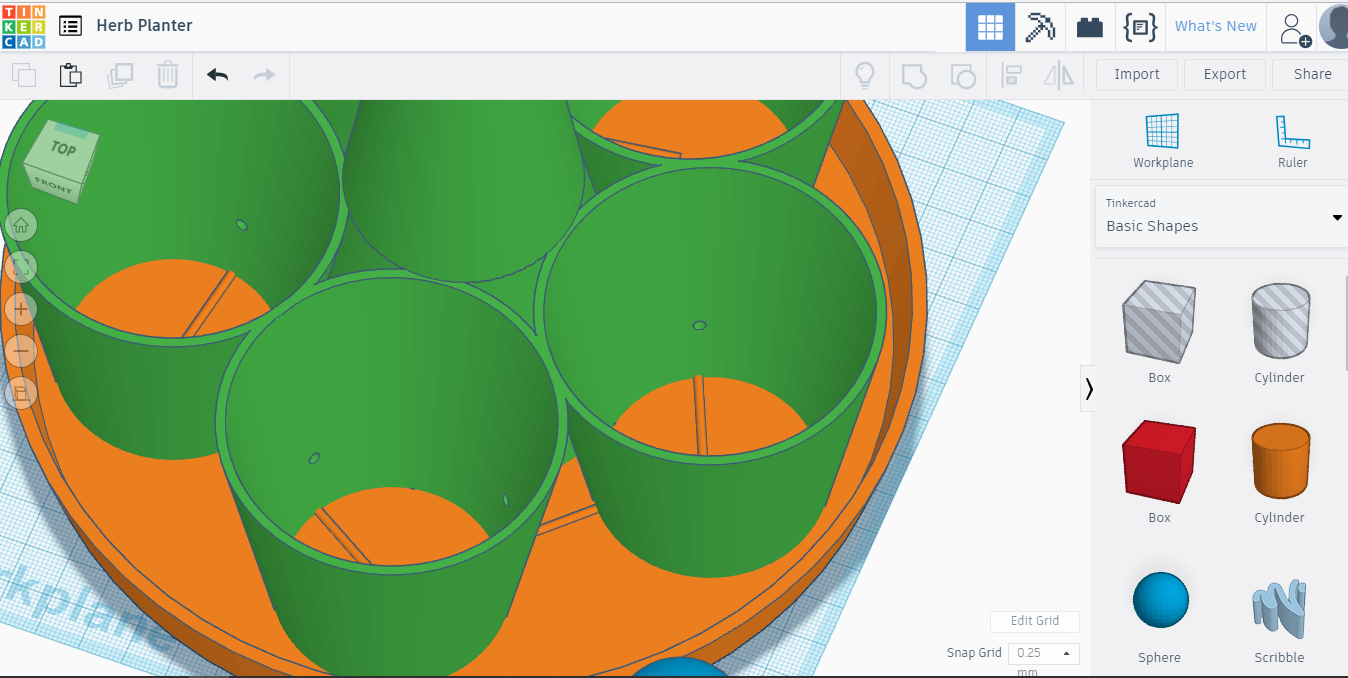
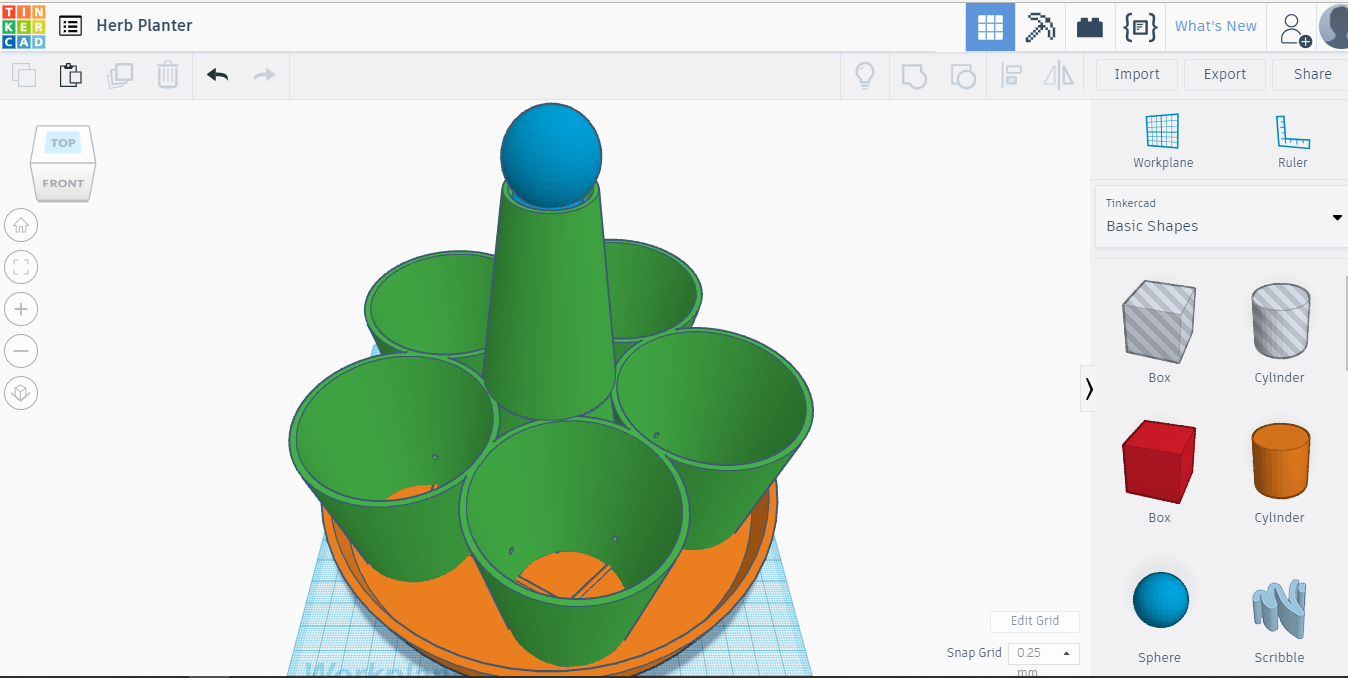
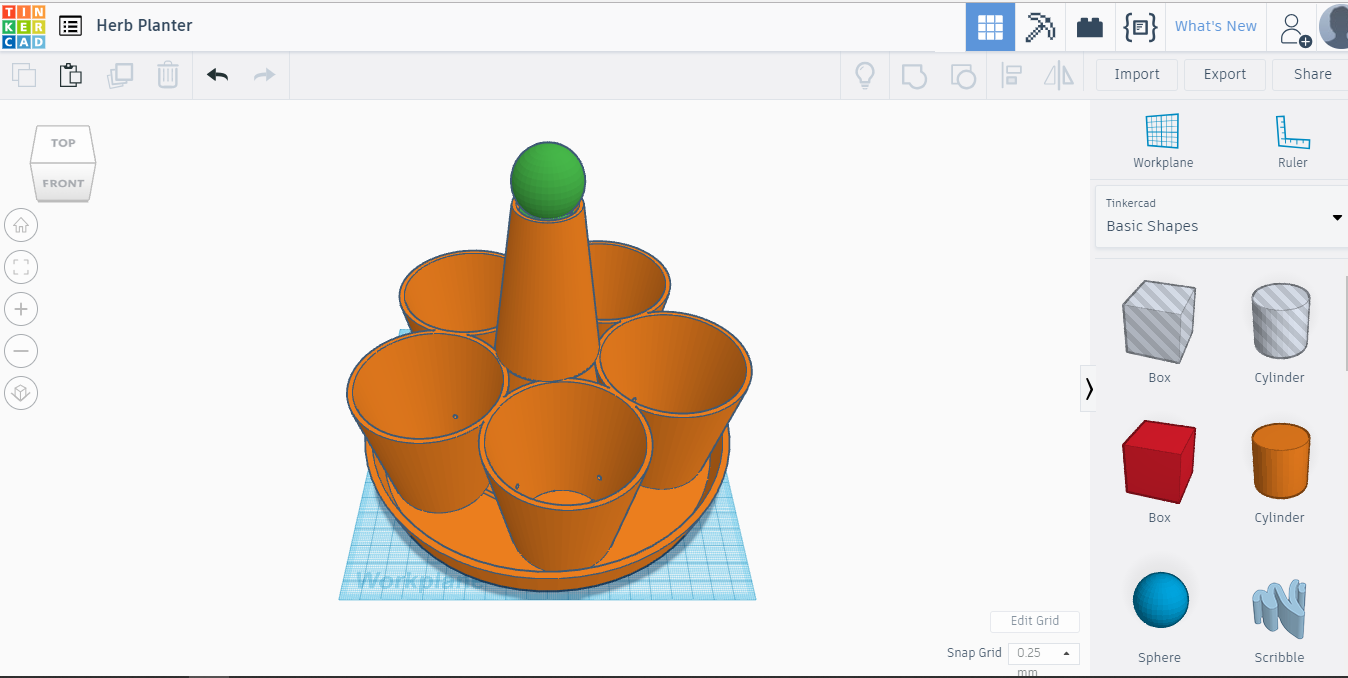
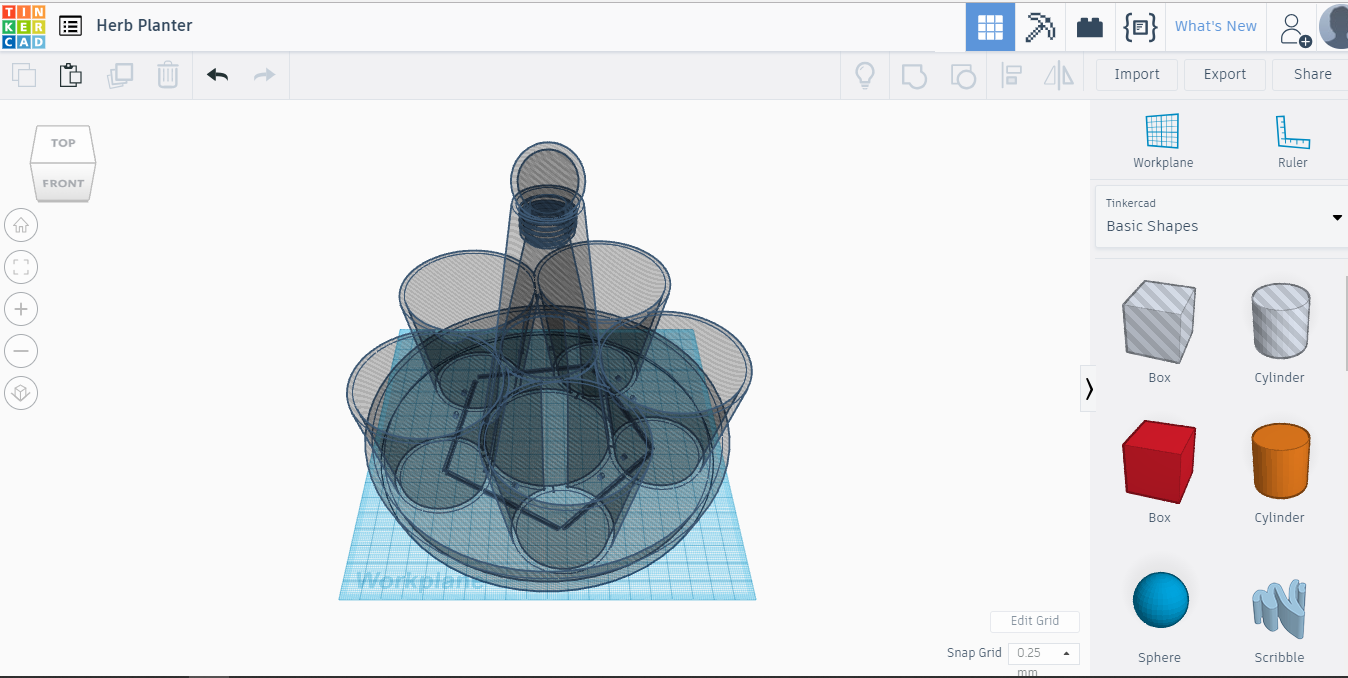
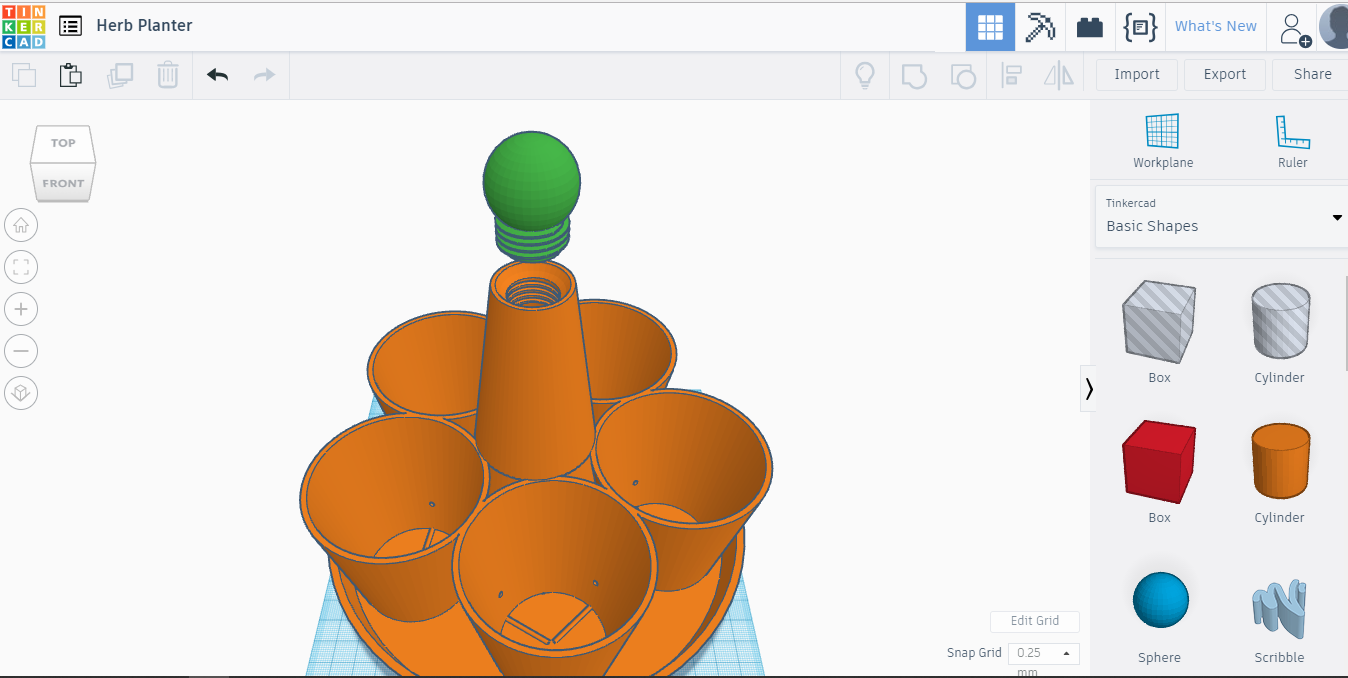
As I'm writing this instructable same time while I'm inventing that thing, I realized that it needs overflow holes for the pots. So the water can't rise too high and make a swamp into our pots. We'll do that with Cylinder I think.
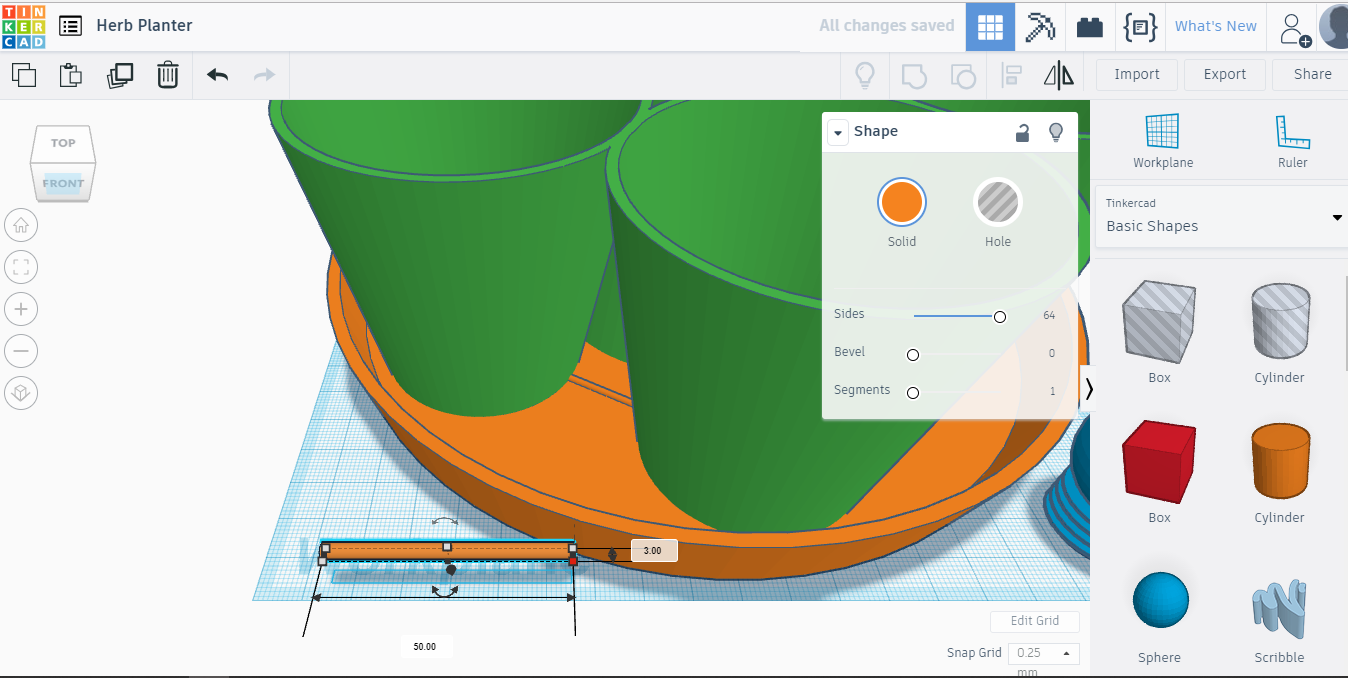
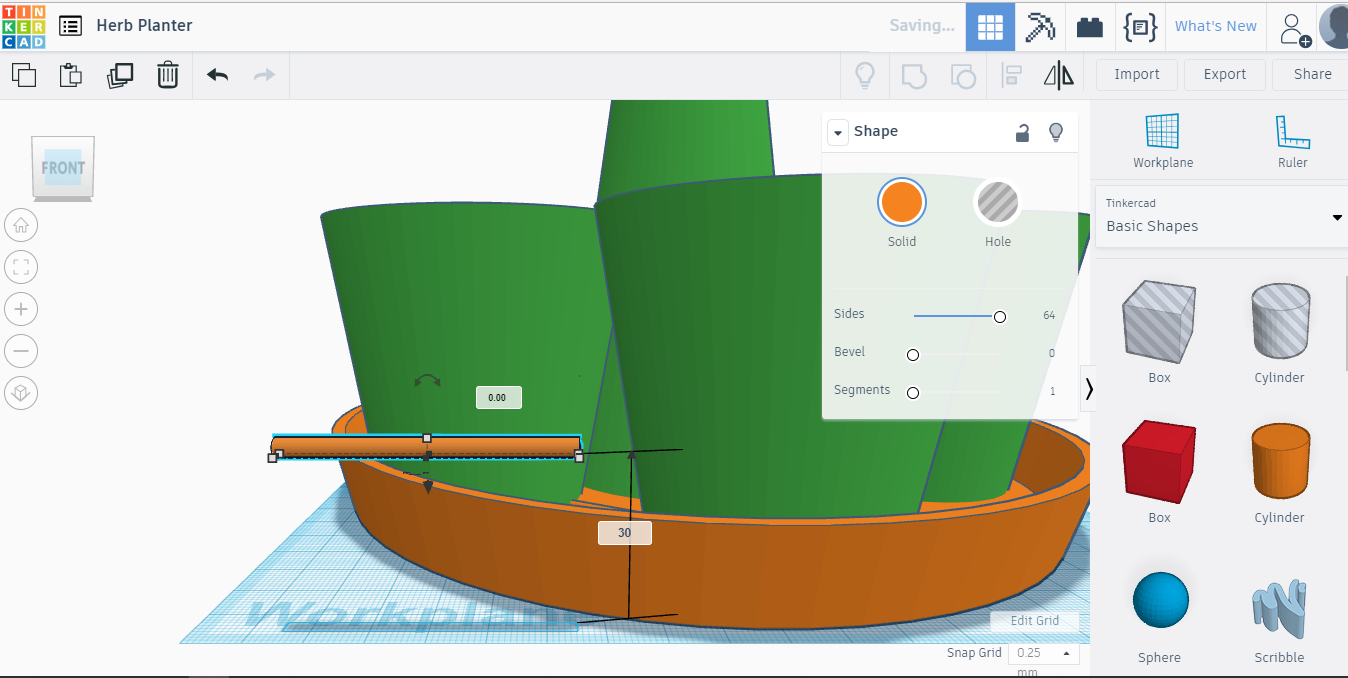
Let's bring new Cylinder in. Make Sides 64, width and length 3mm, hight 50mm and rotate it from left to right by 90 degrees. While selected you'll see rotation arrows next to the object. Just grab and move to rotate,
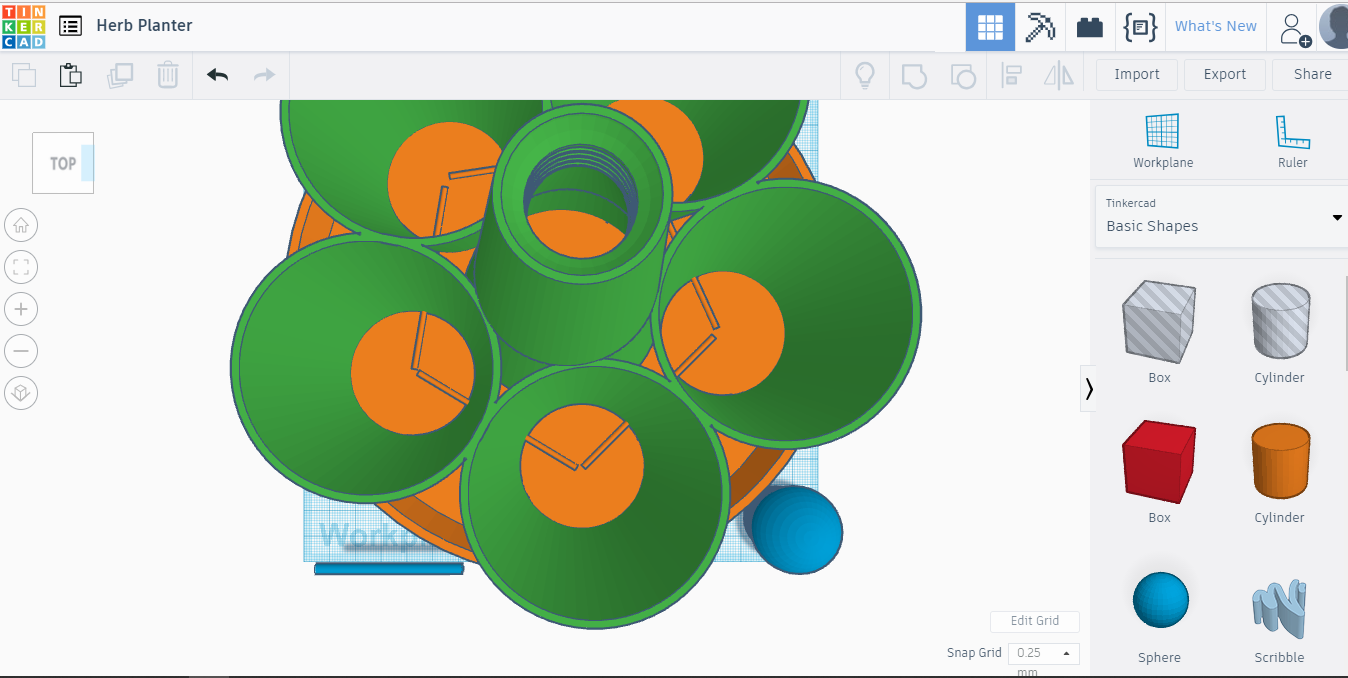
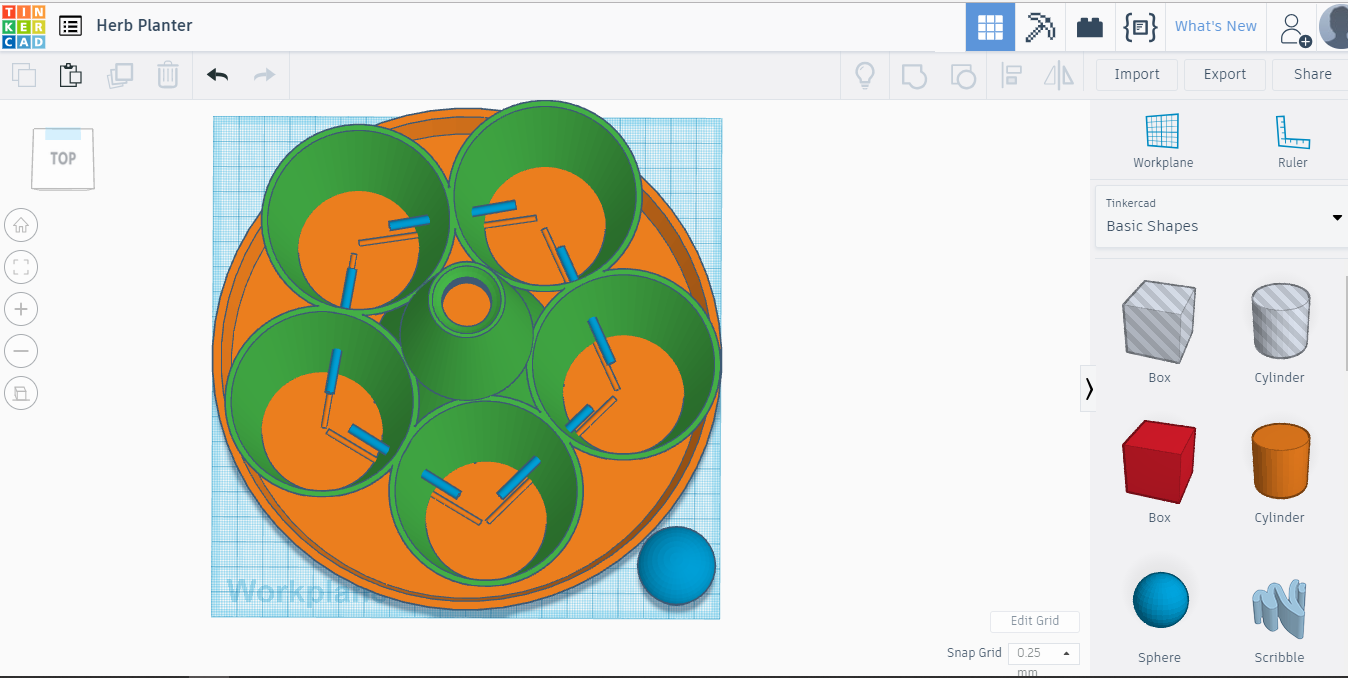
Next step is to rise it 20mm above the bottom. While selected you'll see black arrow which is pointing down. Click and drag it upwards and enter 20 from keyboard. Do 20, even if the picture shows 30, it's better. Change color to blue for example to see it better and change view to the TOP. Now we need to rotate and duplicate that stick 4 times, like we did with bottom 'pipes'. And place between the pots, just like you see on pictures. When done, select all 5 blue sticks, by SHIFT clicking on each and make them Hole. Now SHIFT click on green pots section and Group those, ctrl+G. And there are the holes now. Finaly select all but the cap and make it a Group, this way it will be one solid piece.
We are done I guess.
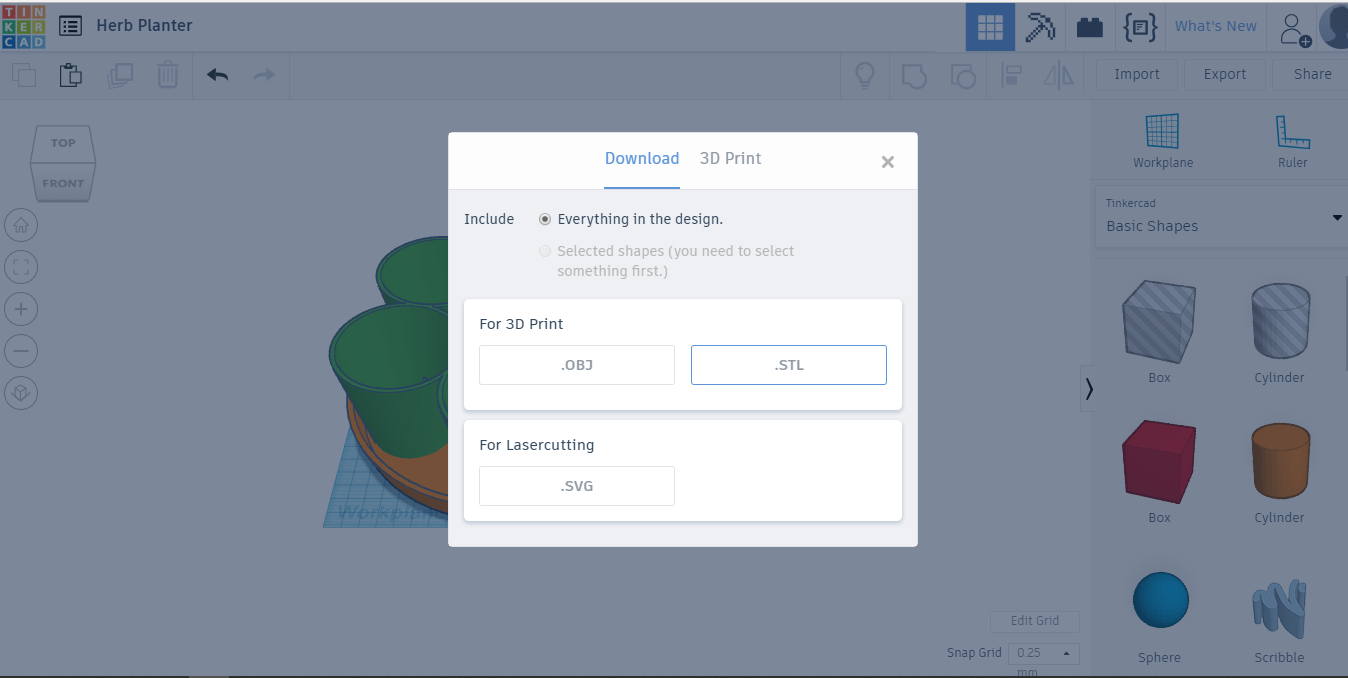
For printing, we are using export button and save it as.STL file. If I will find 3d printer to test it, I'll post results afterwards here. Now I can only show that Tinkered design. Maybe someone can test it and post pictures in comments.
And then there's planting. You can plant five plants, little flowers or mini herbs I think. Fill pots with moist growing substrate, give a little more water after filling with soil, dry soil can't take much water from bottom. It's Capillarity Action and I will not explain it here. Here is a good explanation. https://en.wikipedia.org/wiki/Capillary_action
Put your plants in and fill up the water tank. Now it waters your plants.
Thanks for reading and Thank You Thinkercad! I have one more favorite app to use for free. And here is the .STL file for printing.