Security Sensor
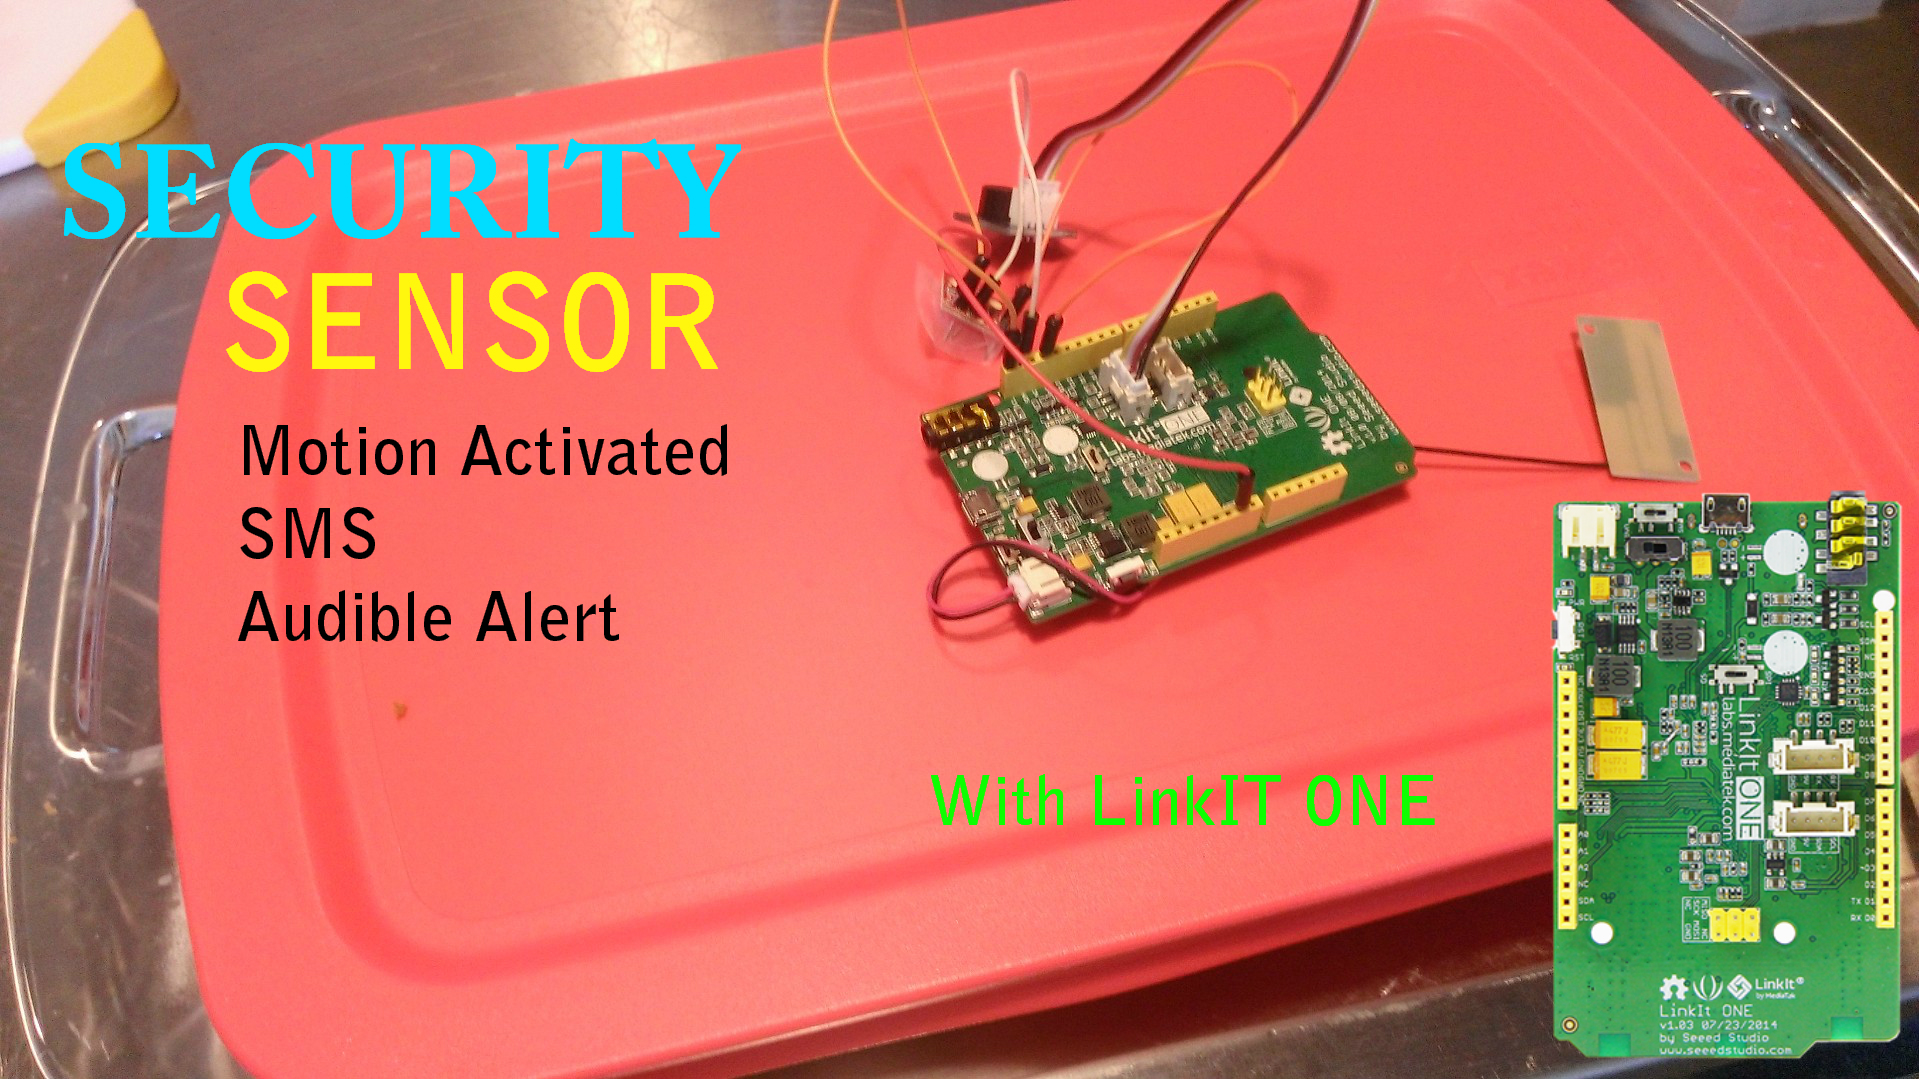
We have an issue with brownie's at our house. My wife is a fantastic cook, and often makes baked treats for her co-workers. The problem is we have several mouths in the house, which means even more hands to go steal them before she can take them to work the next day! In a previous instructable, I created a cookie jar alarm to counter that very problem, but brownie's are a bit different. They don't exactly go into a jar. In fact, the container they reside in could come in many different shapes and sizes, so I needed a different solution to tackle this problem.
That's where the security sensor comes into play. Using the LinkIt ONE and a few sensors, we can create a nice motion sensing alarm that will alert my wife whenever anybody tries to get into the brownie pan!
Supplies
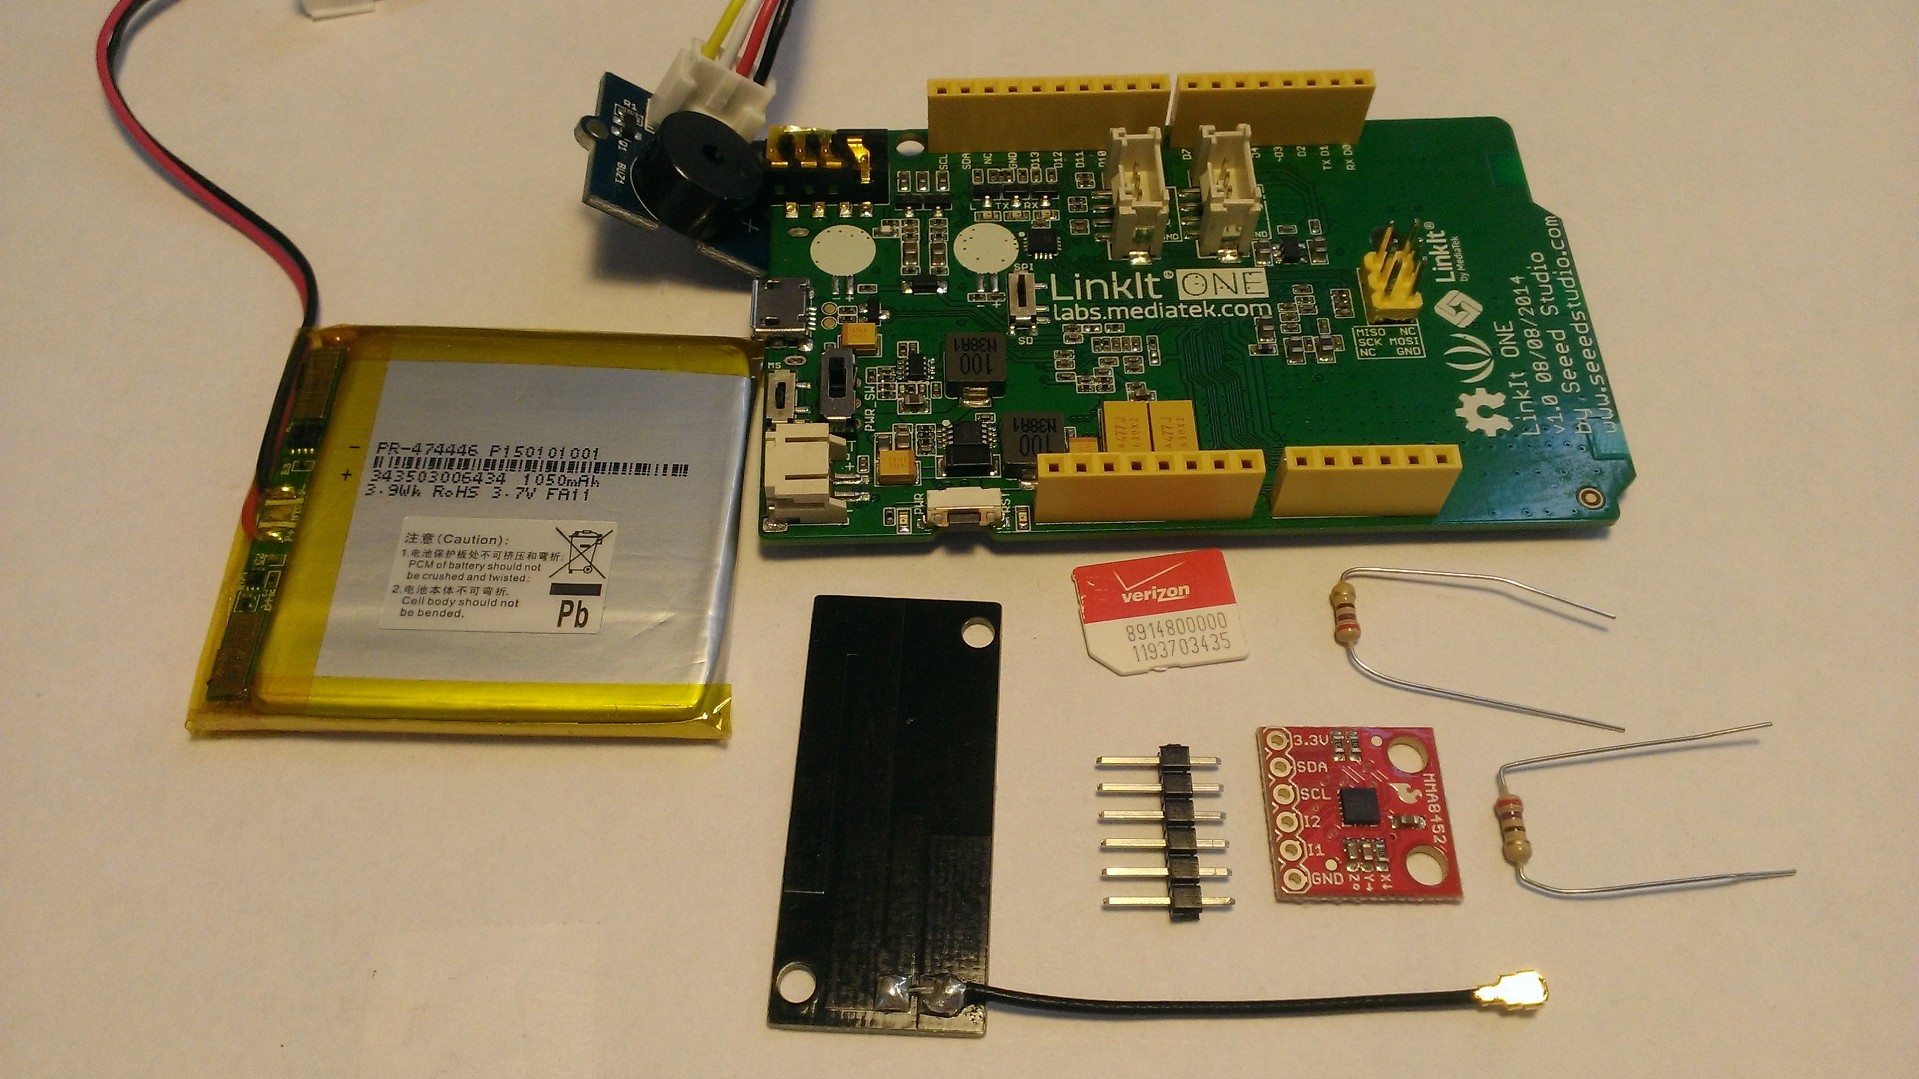
- LinkIT ONE Board
- Prepaid Sim Card
- Triple Axis Accelerometer
- (2x) 330ohm resistors
- Grove Sensor Buzzer (optional)
- LinkIT ONE GSM Antenna*
- LinkIT ONE Battery*
*These items should come with your LinkIT ONE Board*
Prepping Your LinkIT ONE for GSM Capabilities
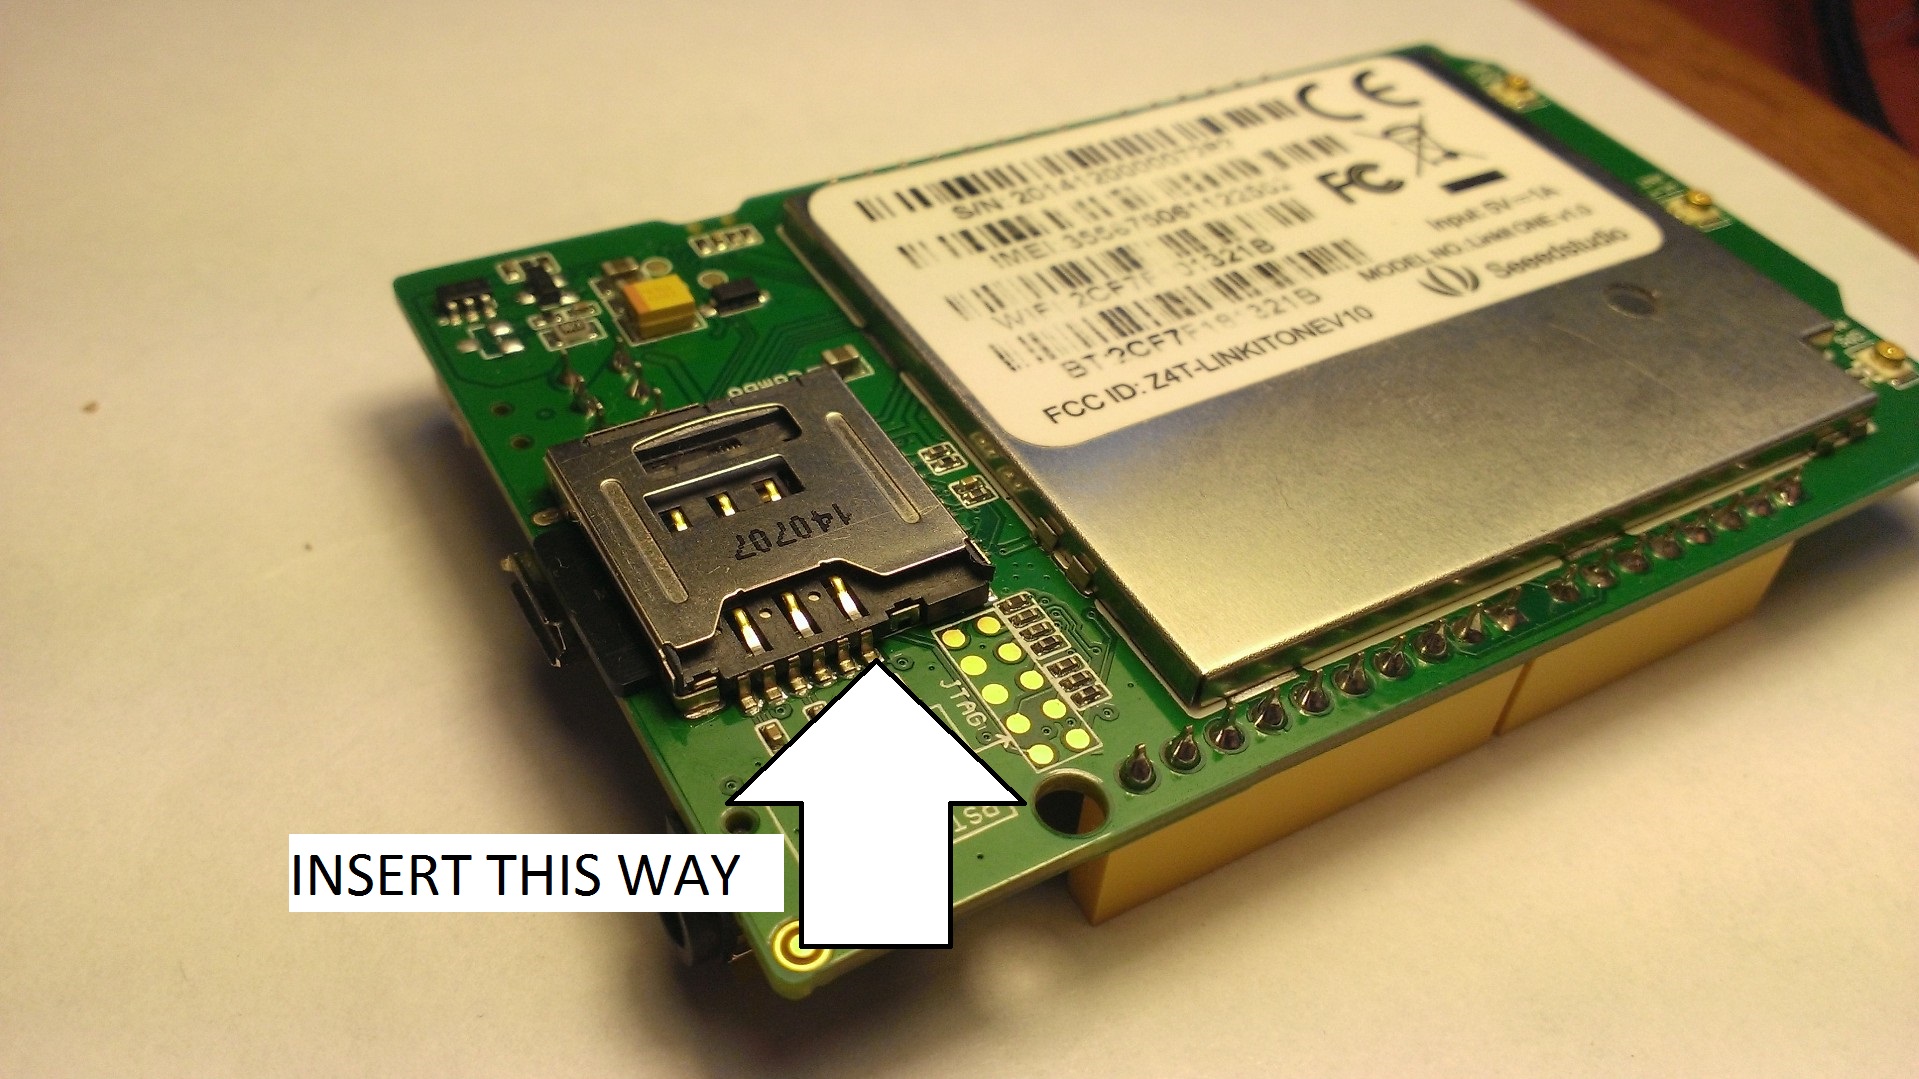
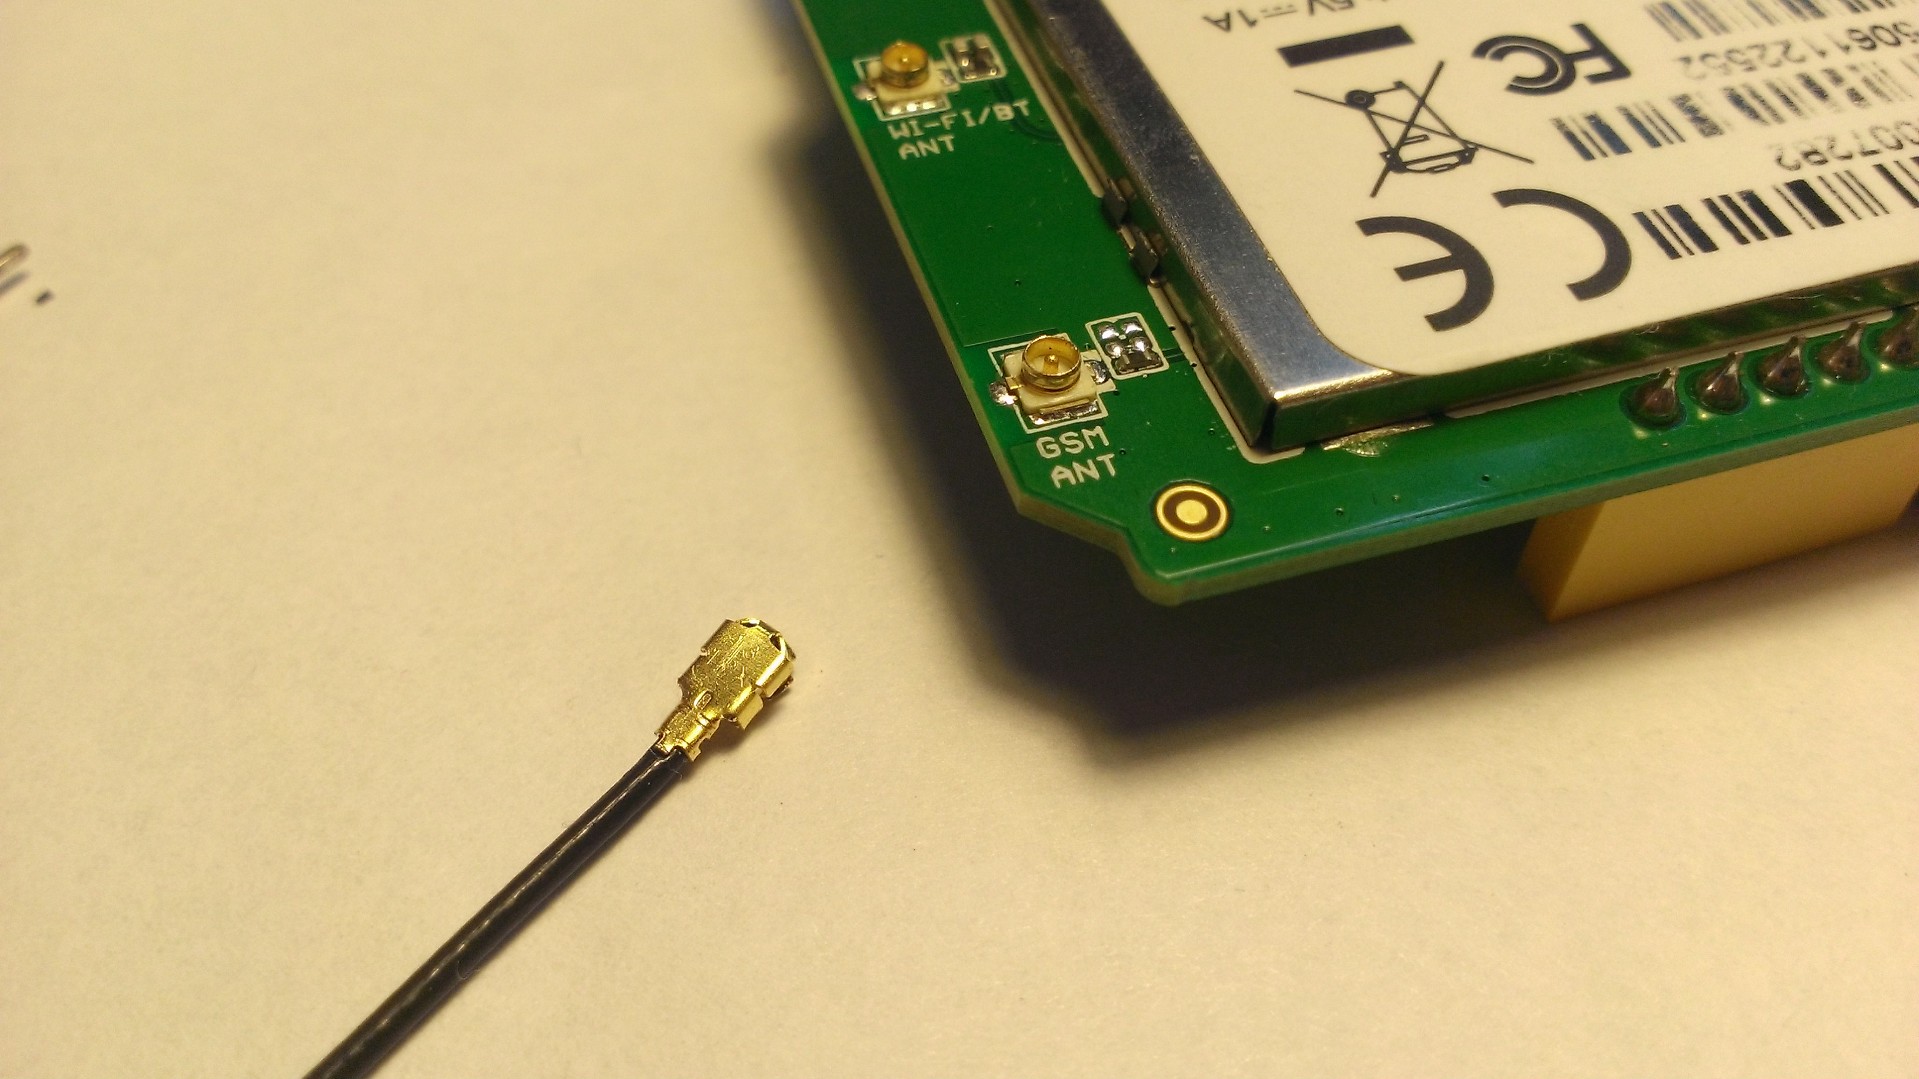
We want to the board to send a text alert to someone every time it detects the brownie pan has been moved. This is where one of the coolest features of the LinkIT ONE come into play: GSM capabilities. With the LiknIT ONE we are able to send and receive text messages, and voice calls! The best part is all of these features are baked right into the board!
But with great power, comes great confusion. Getting our LinkIT ONE prepped and ready for text messages can be a bit confusing, so let's walk through it:
1. First, configure your board and make sure that the SPI/SD switch is pushed to the SPI position. This tells your LinkIT ONE to enable the SIM card slot
2. Enter your sim card into the back of the LinkIT ONE. Follow the arrows on the picture above.
3. Plug in the GSM Antenna that came with your LinkIT ONE. It plugs into the slot on the back of the LinkIT ONE labeled 'GSM'.
Hooking Up the Triple Axis Accelerometer
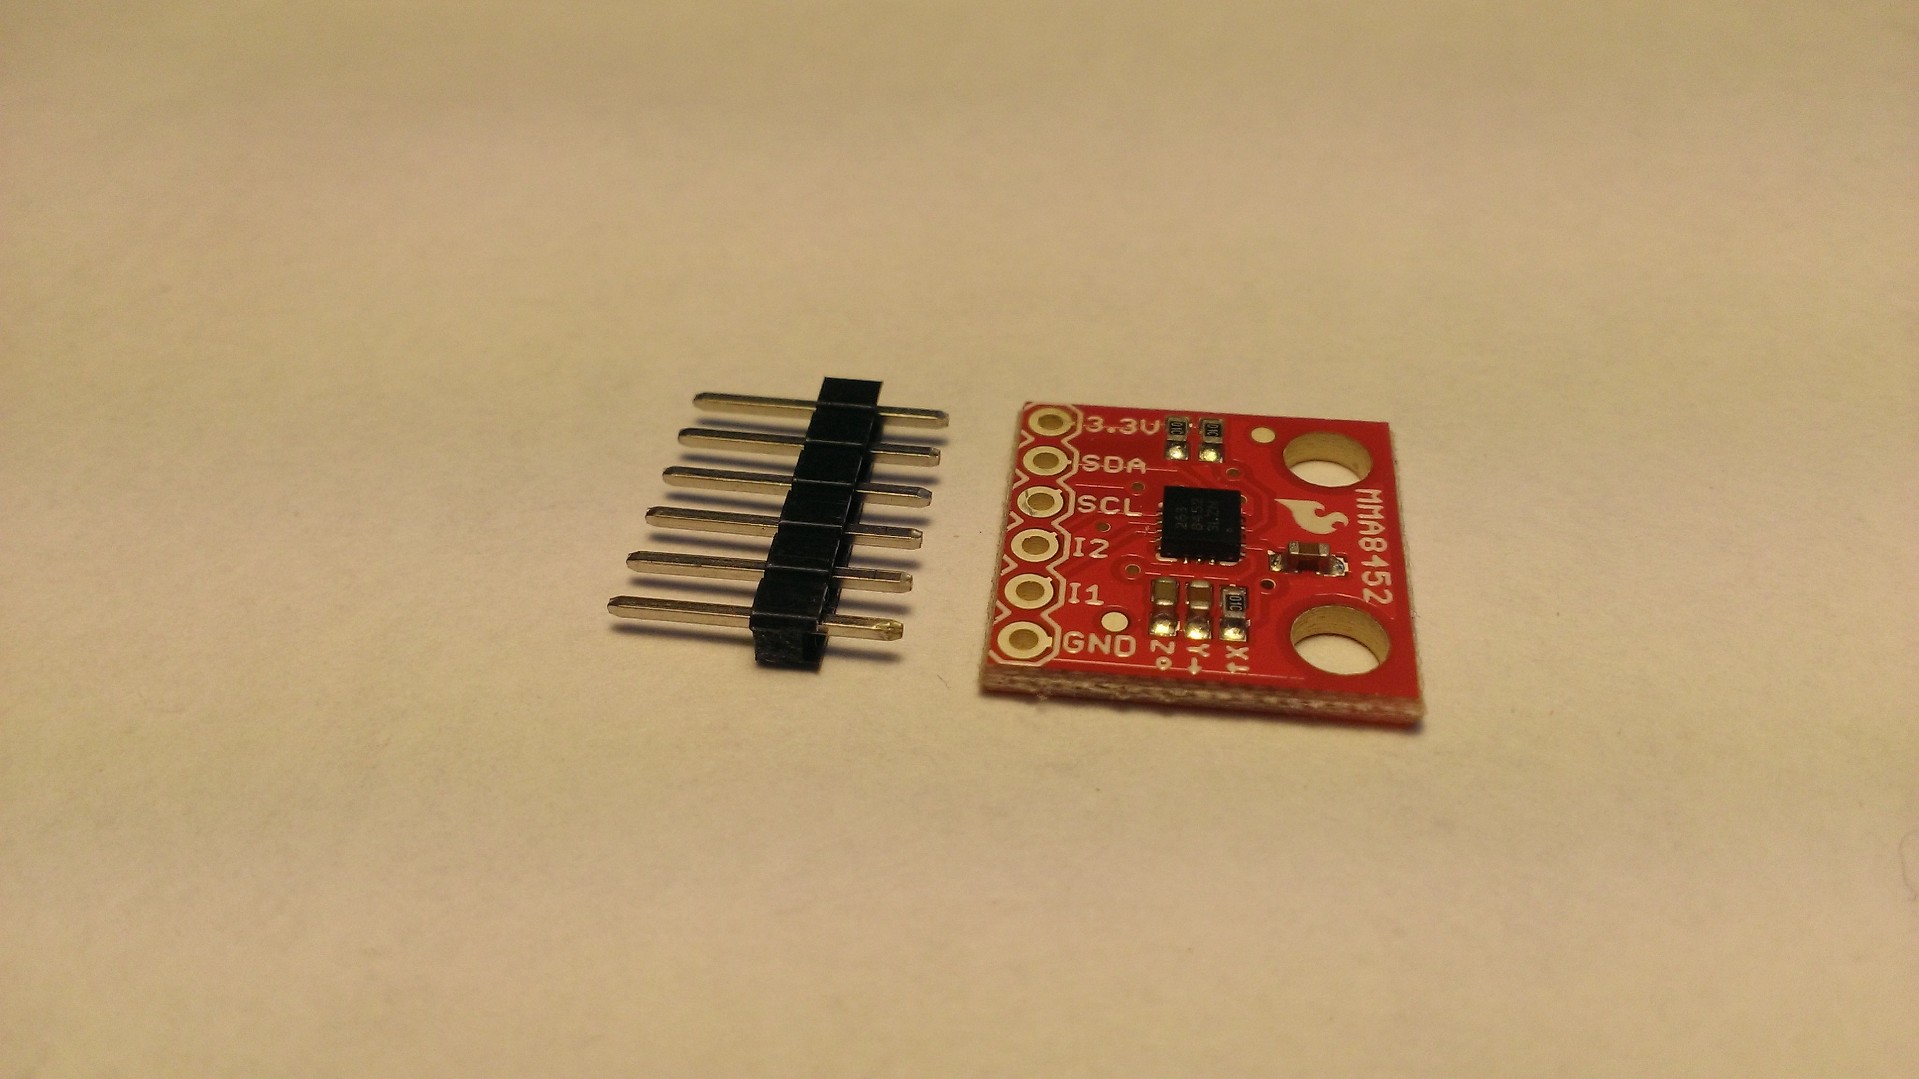
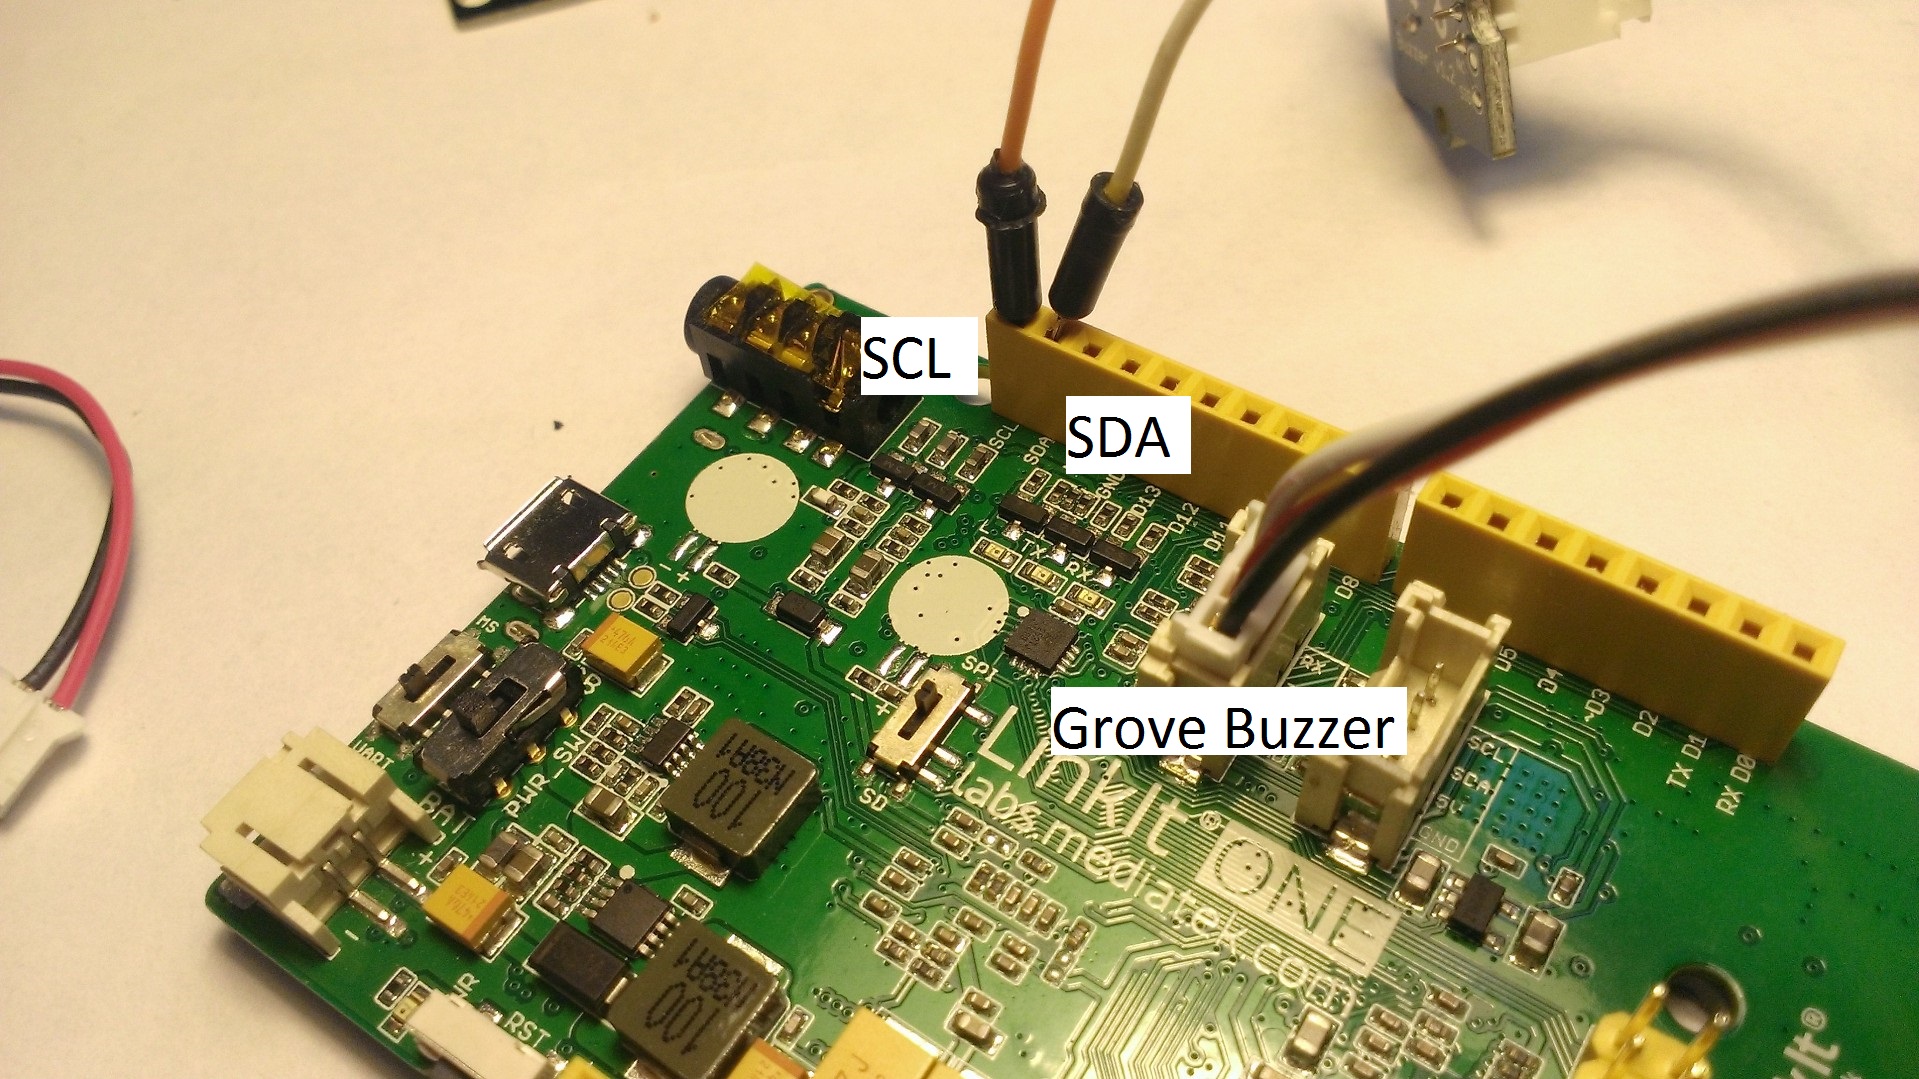
Next we'll plug in our Triple Axis Accelerometer and get that up and running. If you got your Triple Axis Accelerometer from Sparkfun, it probably needs to be soldered first to a set of headers. If you don't have an experience with that sort of thing, there are some other excellent instructables out there to teach you how.
Then you'll want to hook up the circuit for your TAA (Triple Axis Accelerometer). I've included a diagram above for how to hook it up. You'll want to make sure you hook up the SCL and SDA connections to the LinkIT ONE connection of the same name.
When using the TAA, you'll also need a special Library. This library allows you to easily interface with the TAA from your LinkIT ONE. Please download it and install it with your Arduino IDE.
Hooking Up the Buzzer and Battery
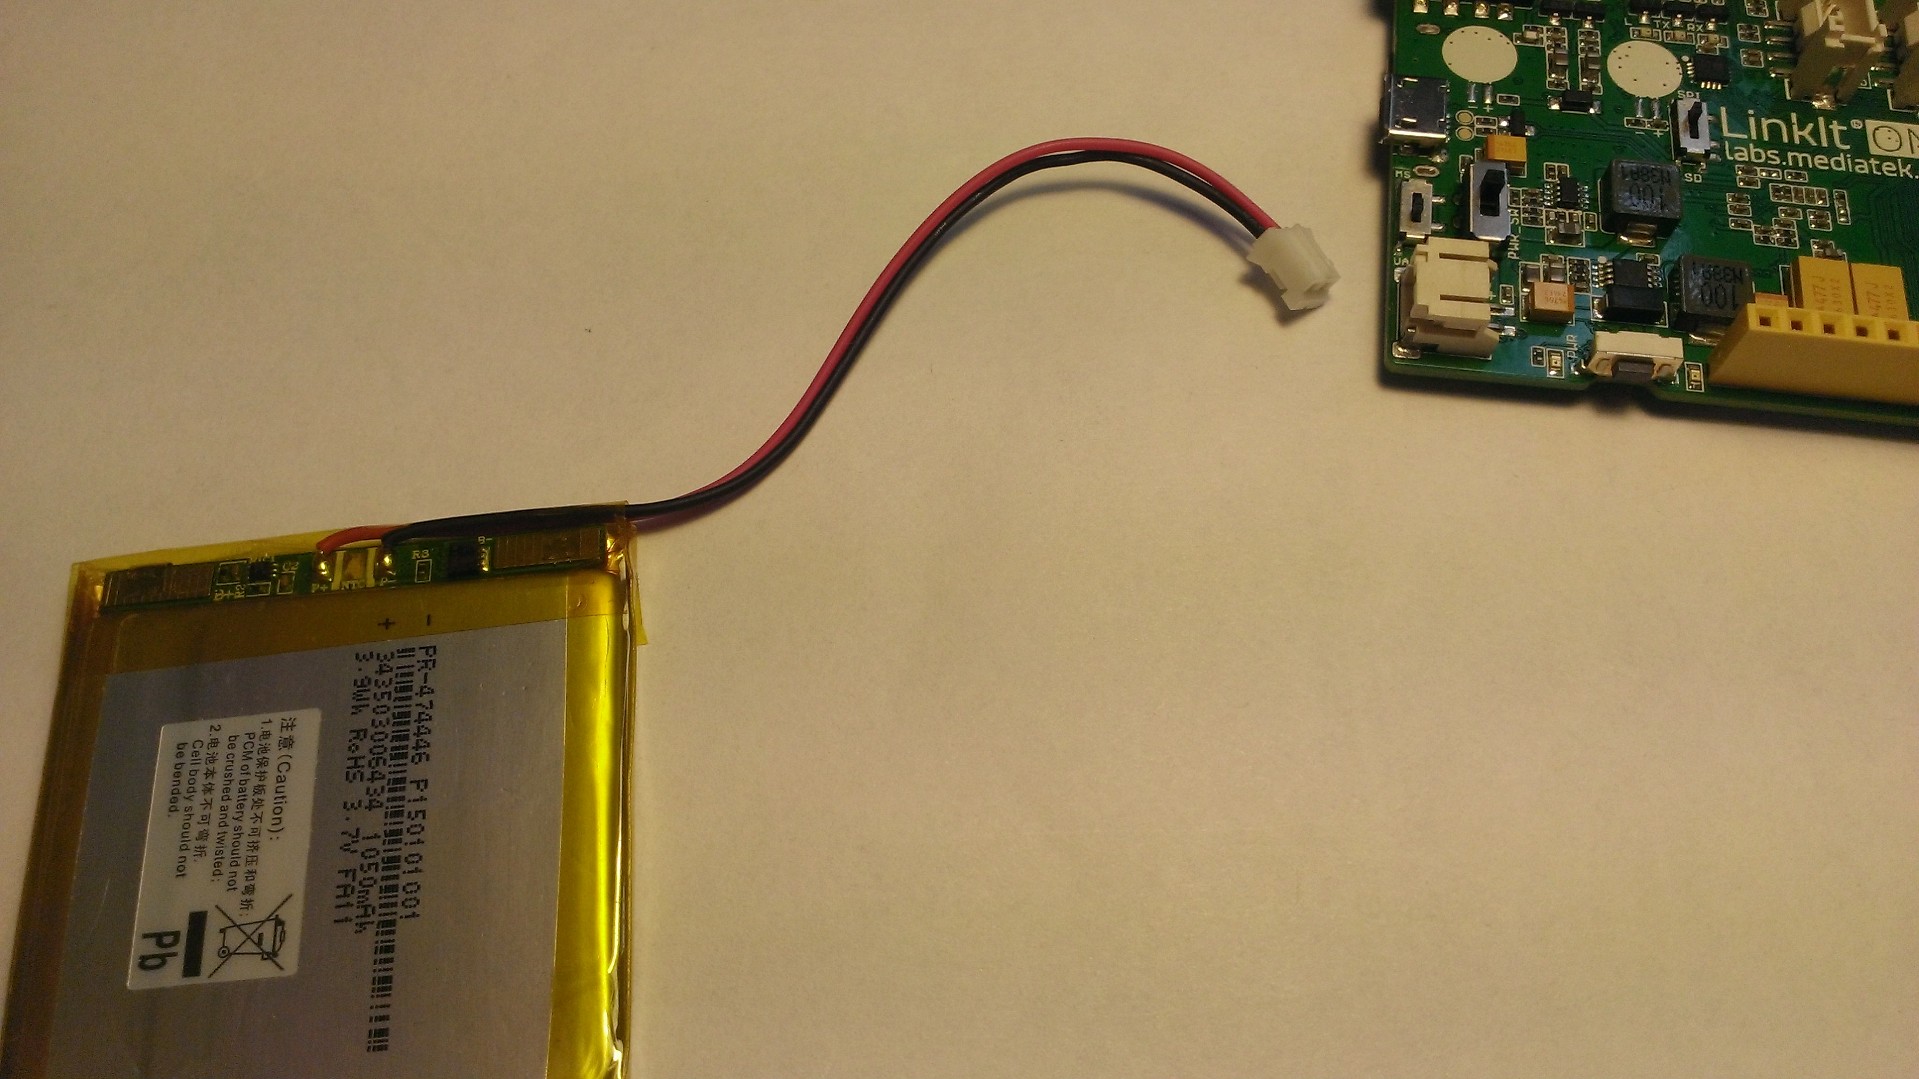
While both of these items are optional, I would highly recommend them. The battery is more obvious, as it will prevent us from making sure the brownie pan is always within reach of an outlet.
Then buzzer will help give an audio indication that someone is trying to get into the brownie's, and act as a deterrent.
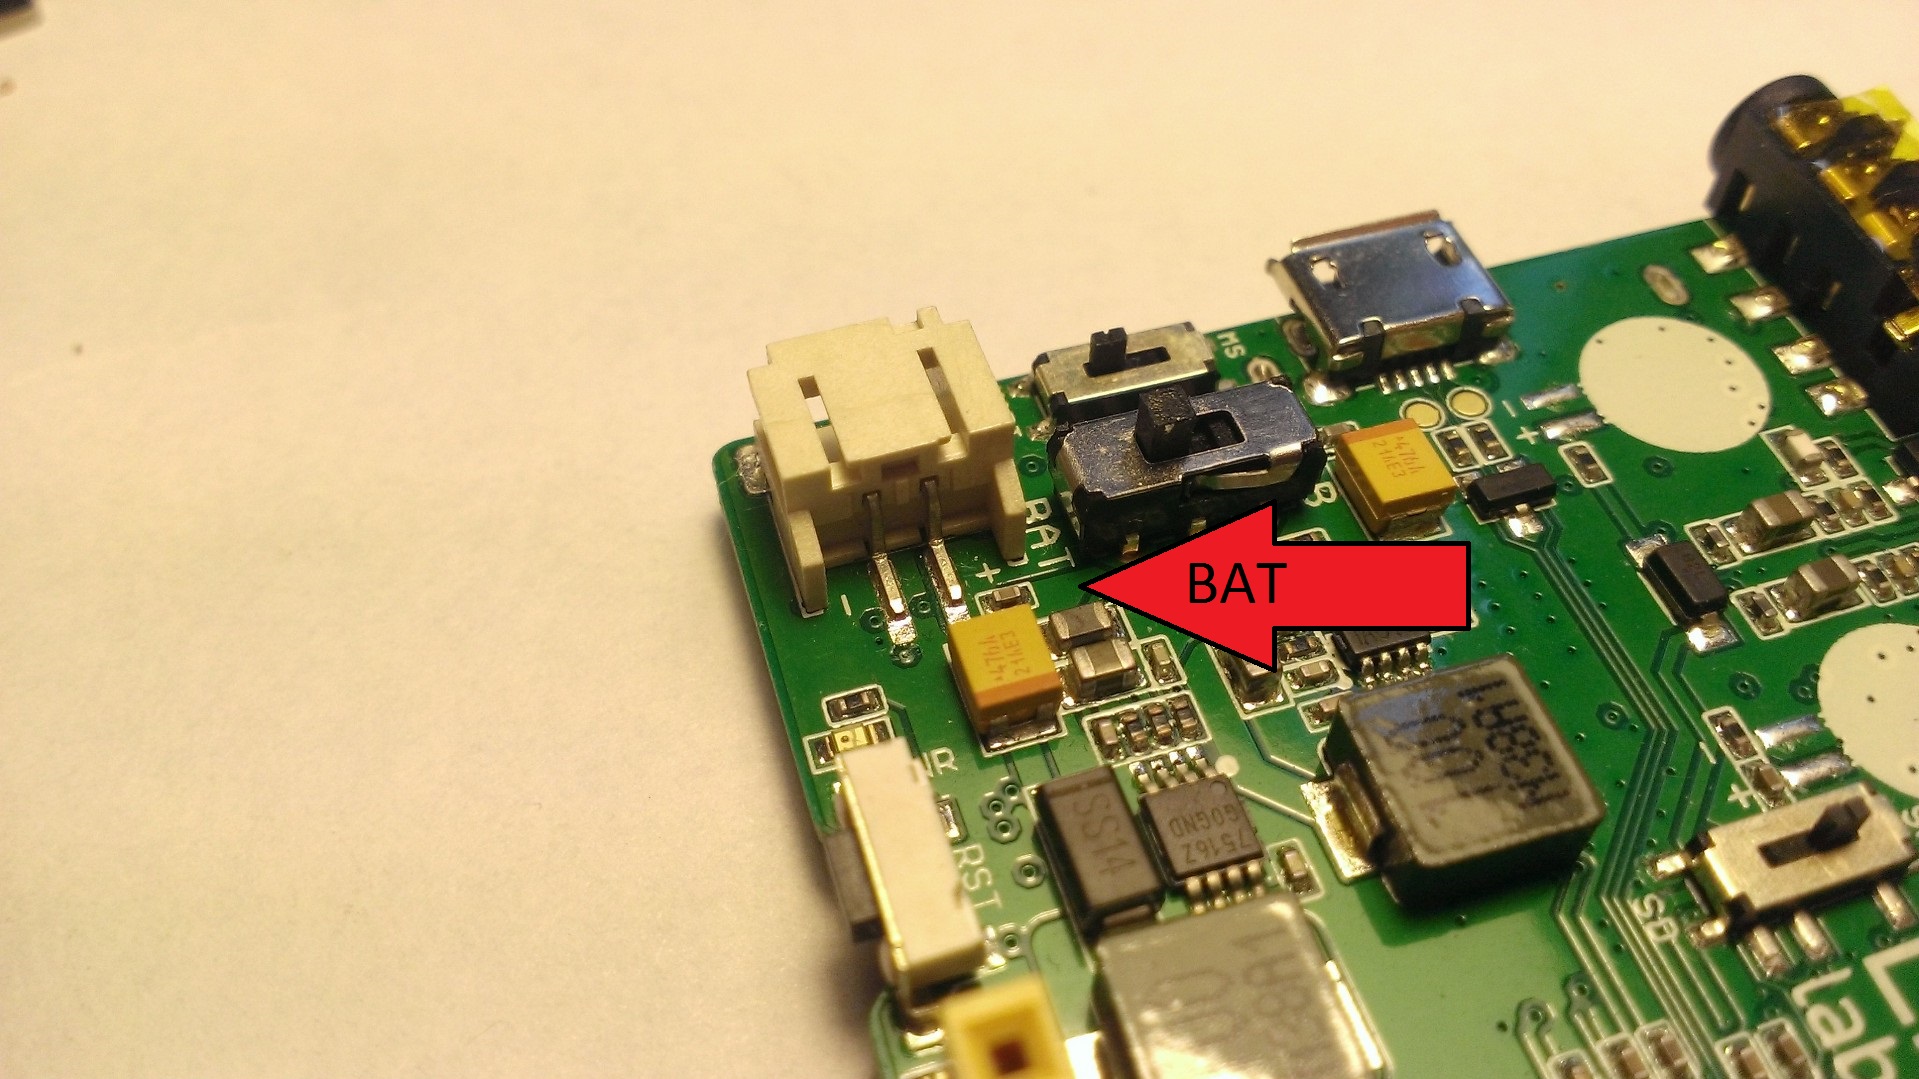
The grove sensor buzzer is a great, easy way to add this functionality. You'll simple want to plug that into the grove sensor port (also baked into the board!).
IF you decide to use the battery, be sure to switch the LinkIT ONE to the 'BAT" option to tell it to run off of battery power and not usb power!
Deploying Code

Now we'll plug our LinkIT ONE board to our computer and deploy some code to it. Download the attached code file and copy and paste it into your Arduino IDE. From there, deploy it to your LinkIT ONE. IF you need help with that or have trouble, I would recommend taking look at the LinkIT ONE manual put together by Mediatek. It's very detailed.
The logic of the code revolves around a core theme: Checking for movement. That entire process revolves around constantly checking in with the TAA to check for movement of any kind. We don't care what dimension it is in, because if that brownie pan has moved we want to know about it! If we do sense movement, we want to be sure to sound the buzzer off and send out a text message.
The code is commented pretty heavily, and each logic piece separated out into it's own function. This is done to allow you to better understand it without having to go through it piece by piece. If you have any questions about the code, please feel free to comment so it can be addressed.
Downloads
Deploying the Device
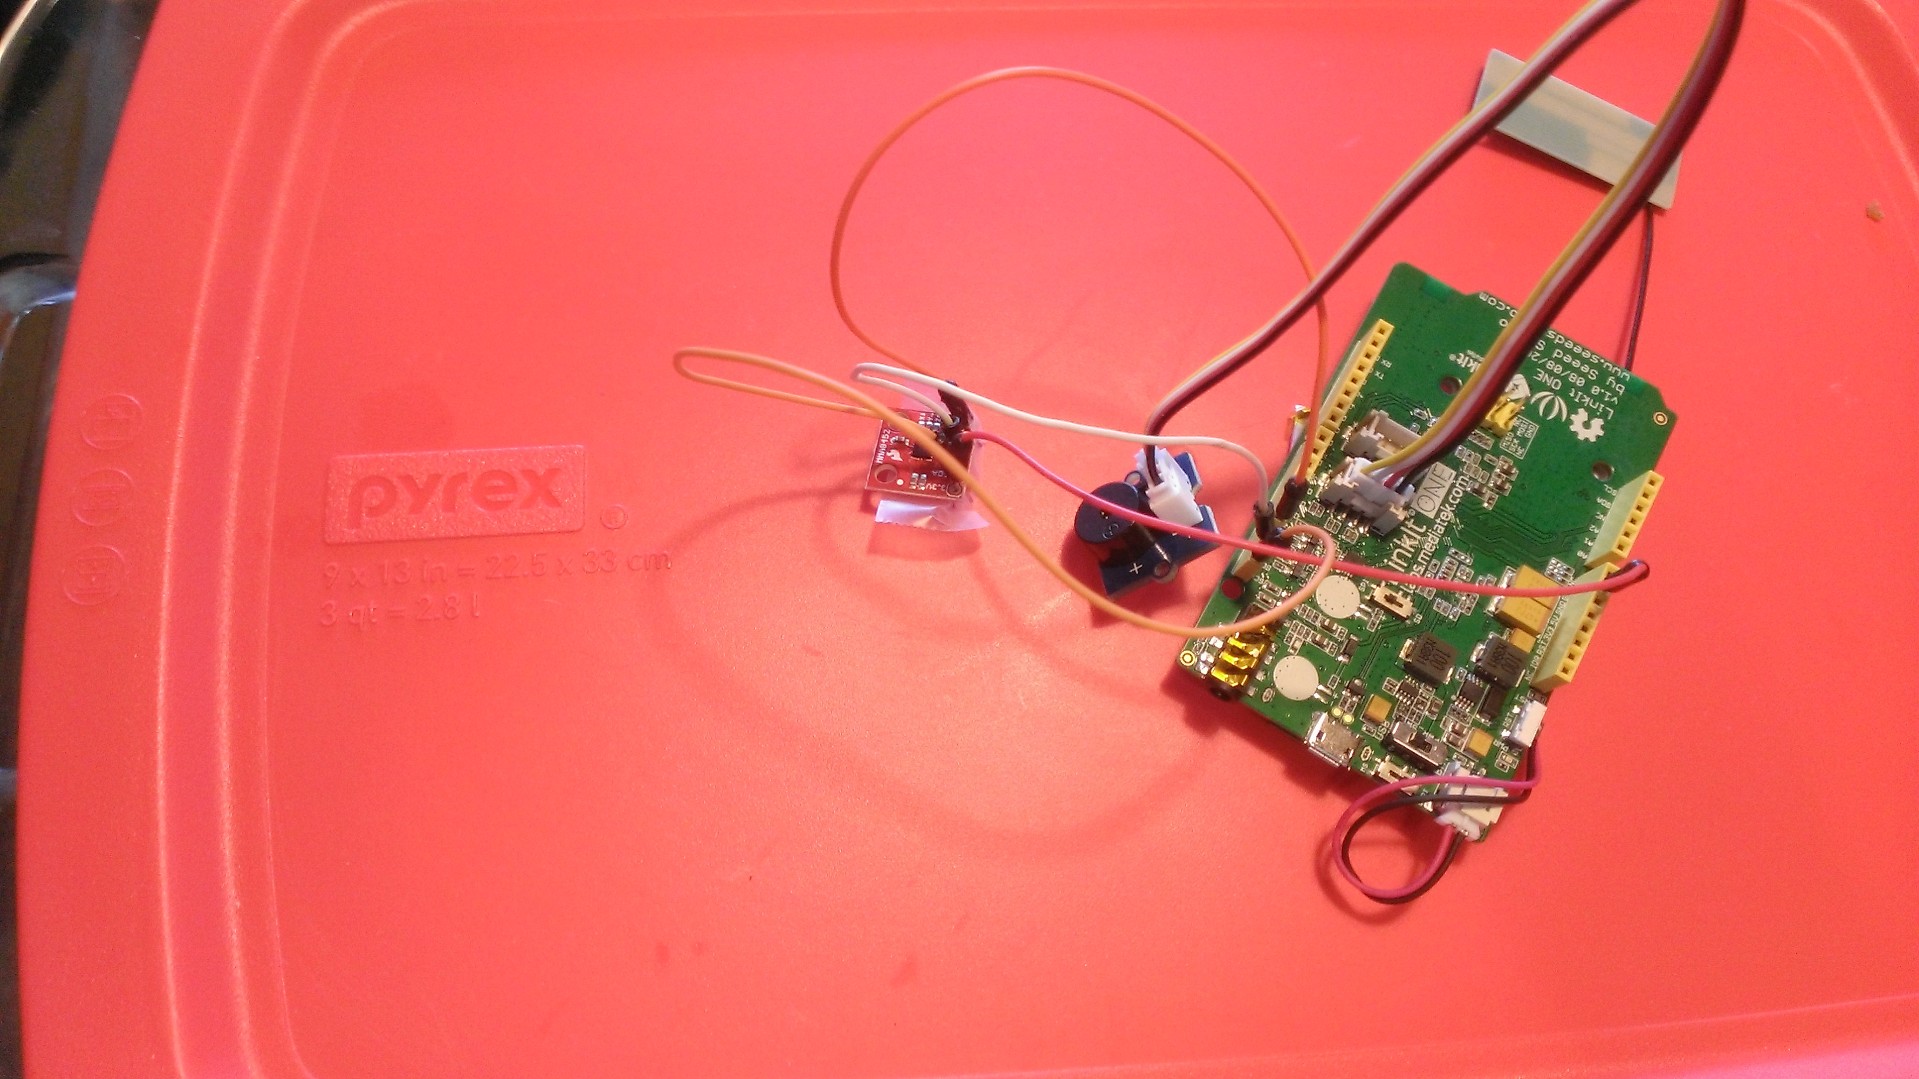
Now, all that's left is to deploy the device! I Simply put mine on top of the brownie pan in question. Now, whenever someone goes and tries to open it up, a text message is sent alerting the user that someone is getting into the brownies!
Happy security sensing! Hope this project helps you protect something valuable in your house!