Secret Wall-Mounted Home Automation Tablet
by darkmadda in Circuits > Remote Control
2192 Views, 2 Favorites, 0 Comments
Secret Wall-Mounted Home Automation Tablet
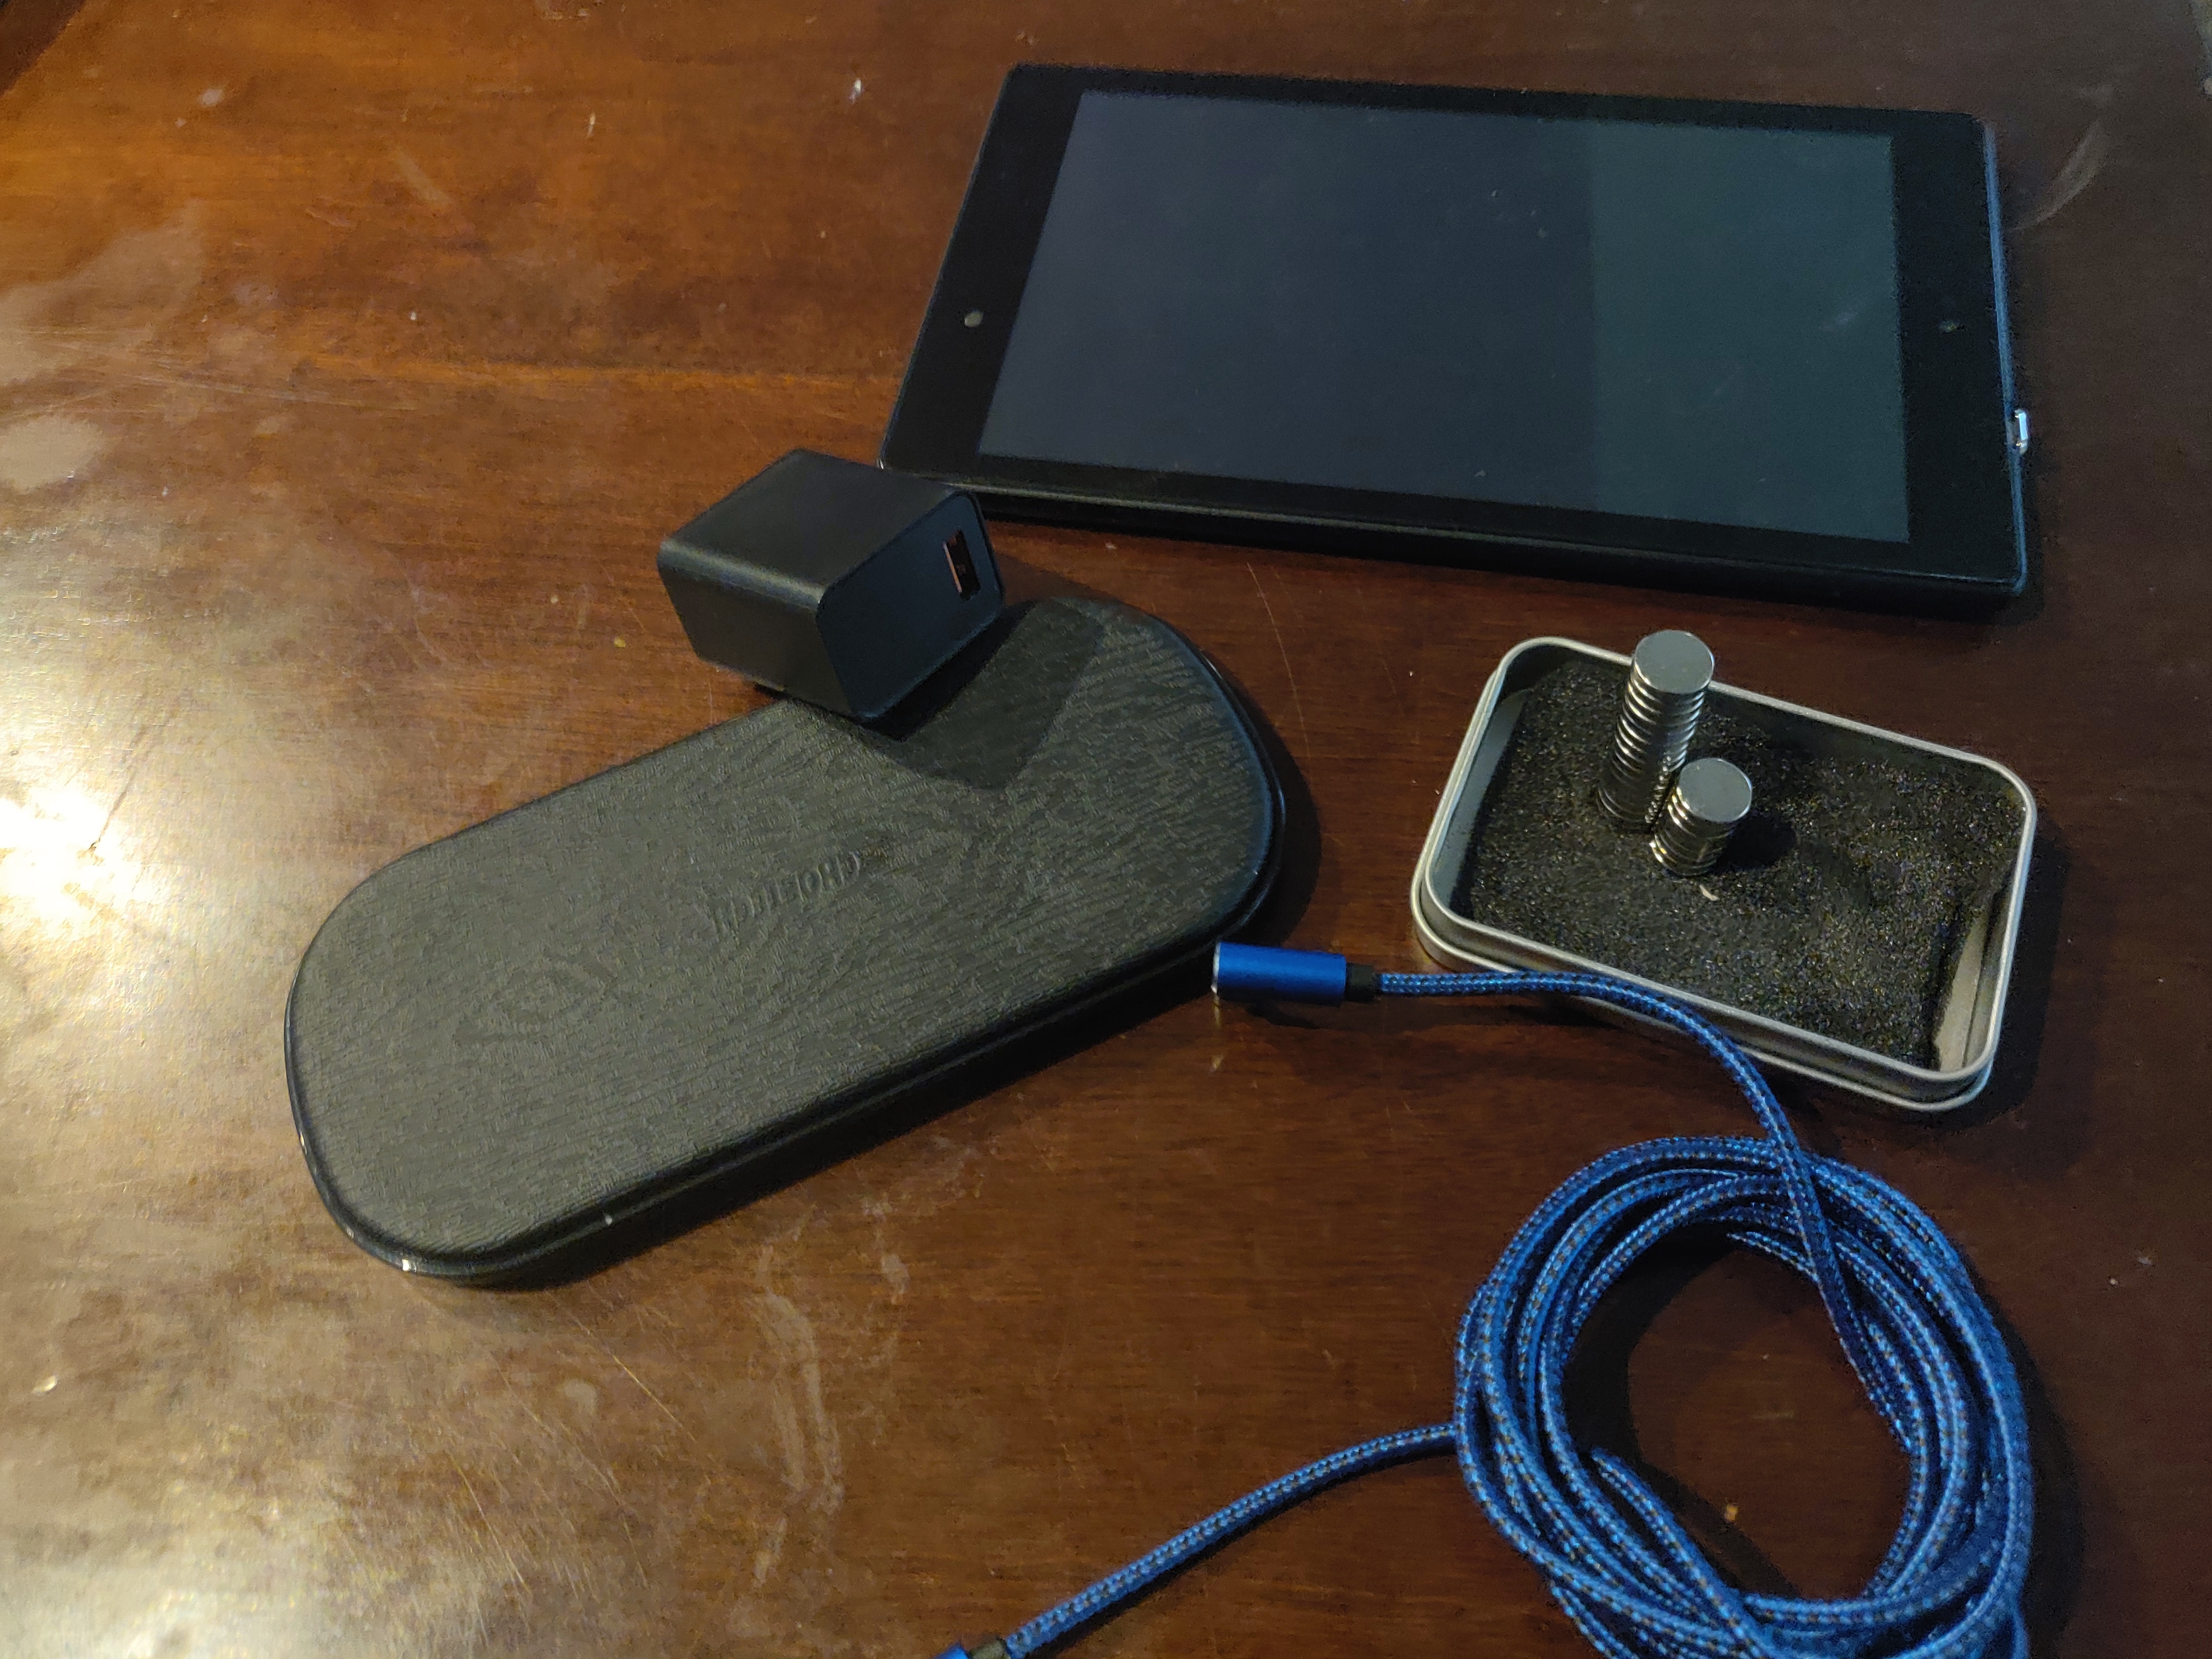
This instructable will go over how to create a mount for an openHAB tablet(https://www.openhab.org/) where the tablet can be removed at any time, where it will charge without a cable and leave the wall appearing completely normal when no tablet is attached to the wall.
This is my first instructable so hopefully it's easy to understand if you have any advice on how to make it better please hit me up.
Supplies
- Tablet (Amazon Fire HD 8 2018 or other)
- OpenHab - Habpanel (https://www.openhab.org/)
- Kiosk Browser Lockdown(https://play.google.com/store/apps/details?id=com.procoit.kioskbrowser&hl=en_US)
- Neodynium Magnets (11.50 - Amazon)
- wireless charging pad (25.95 - Amazon)
- wireless charging receiver (13.99 - Amazon)
- Right angle usb cable ( 3pk, 9.99 - Amazon)
- PD usb power brink (2pk, 9.99 - Amazon)
- Tools to cut drywall
- Supplies to repair wall (patch, spackle, plaster, texture, paint - Home depot)
- Soldering Iron, solder, wire
Place Magnets in Tablet
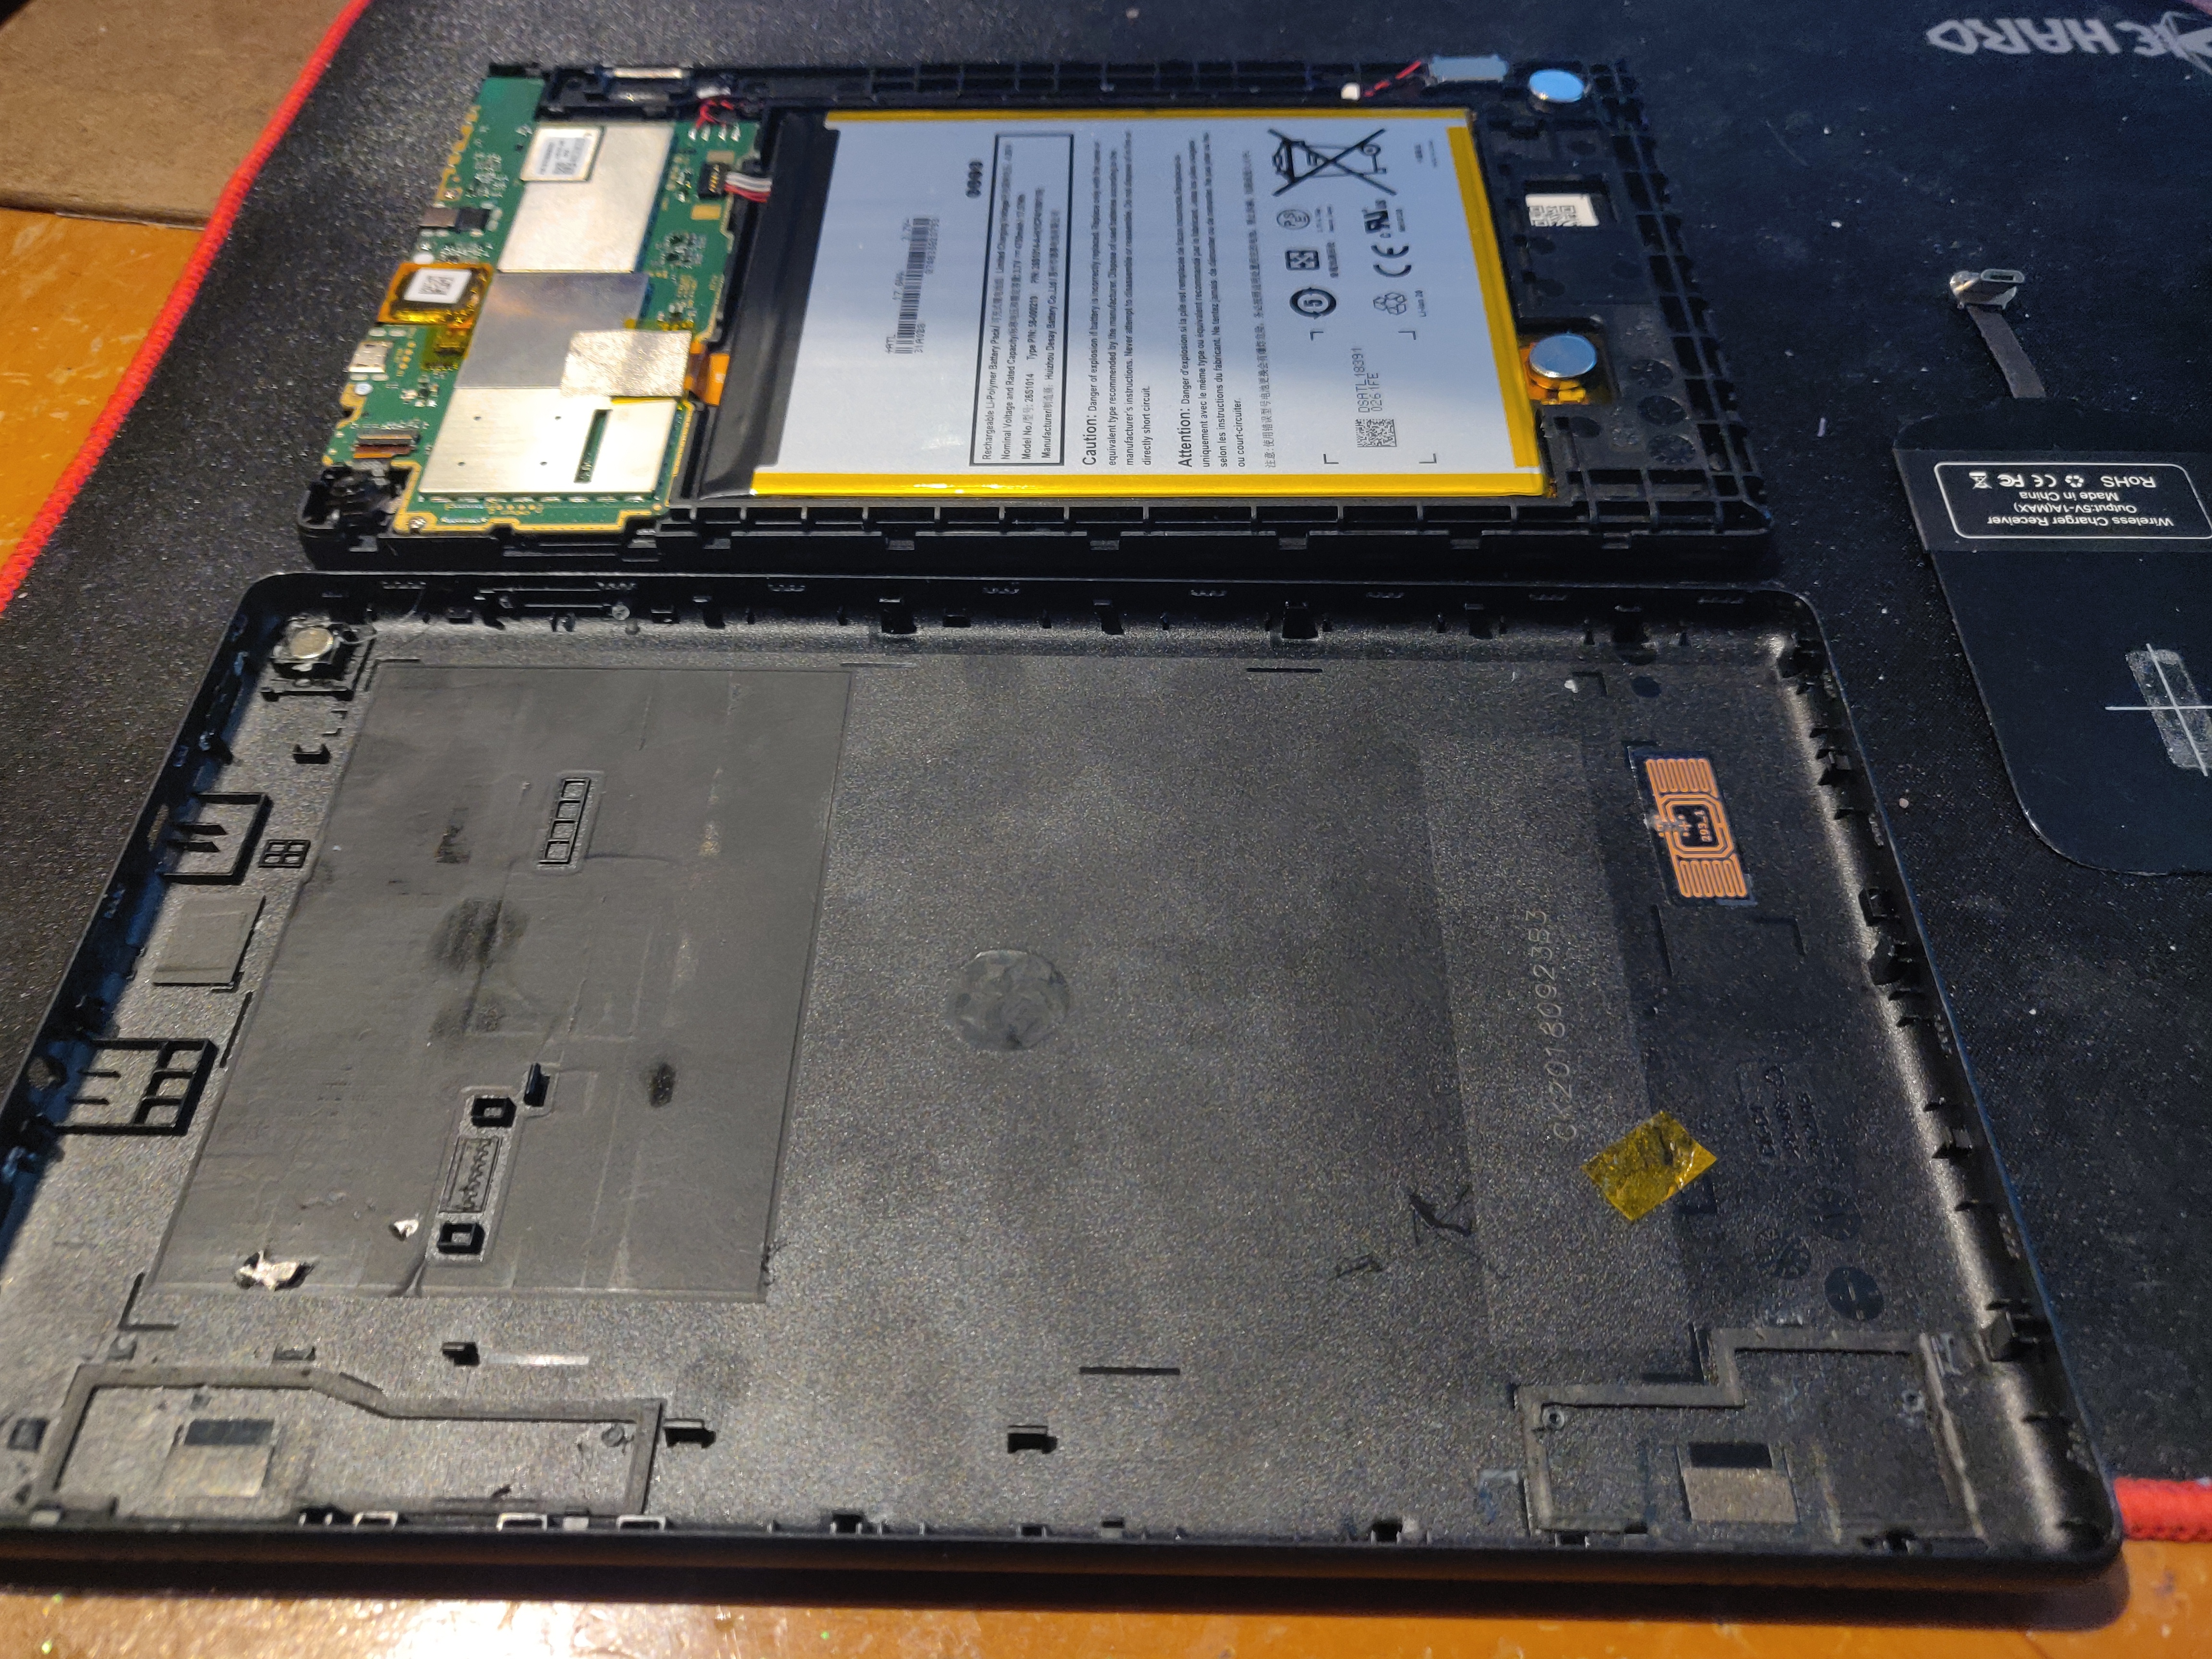
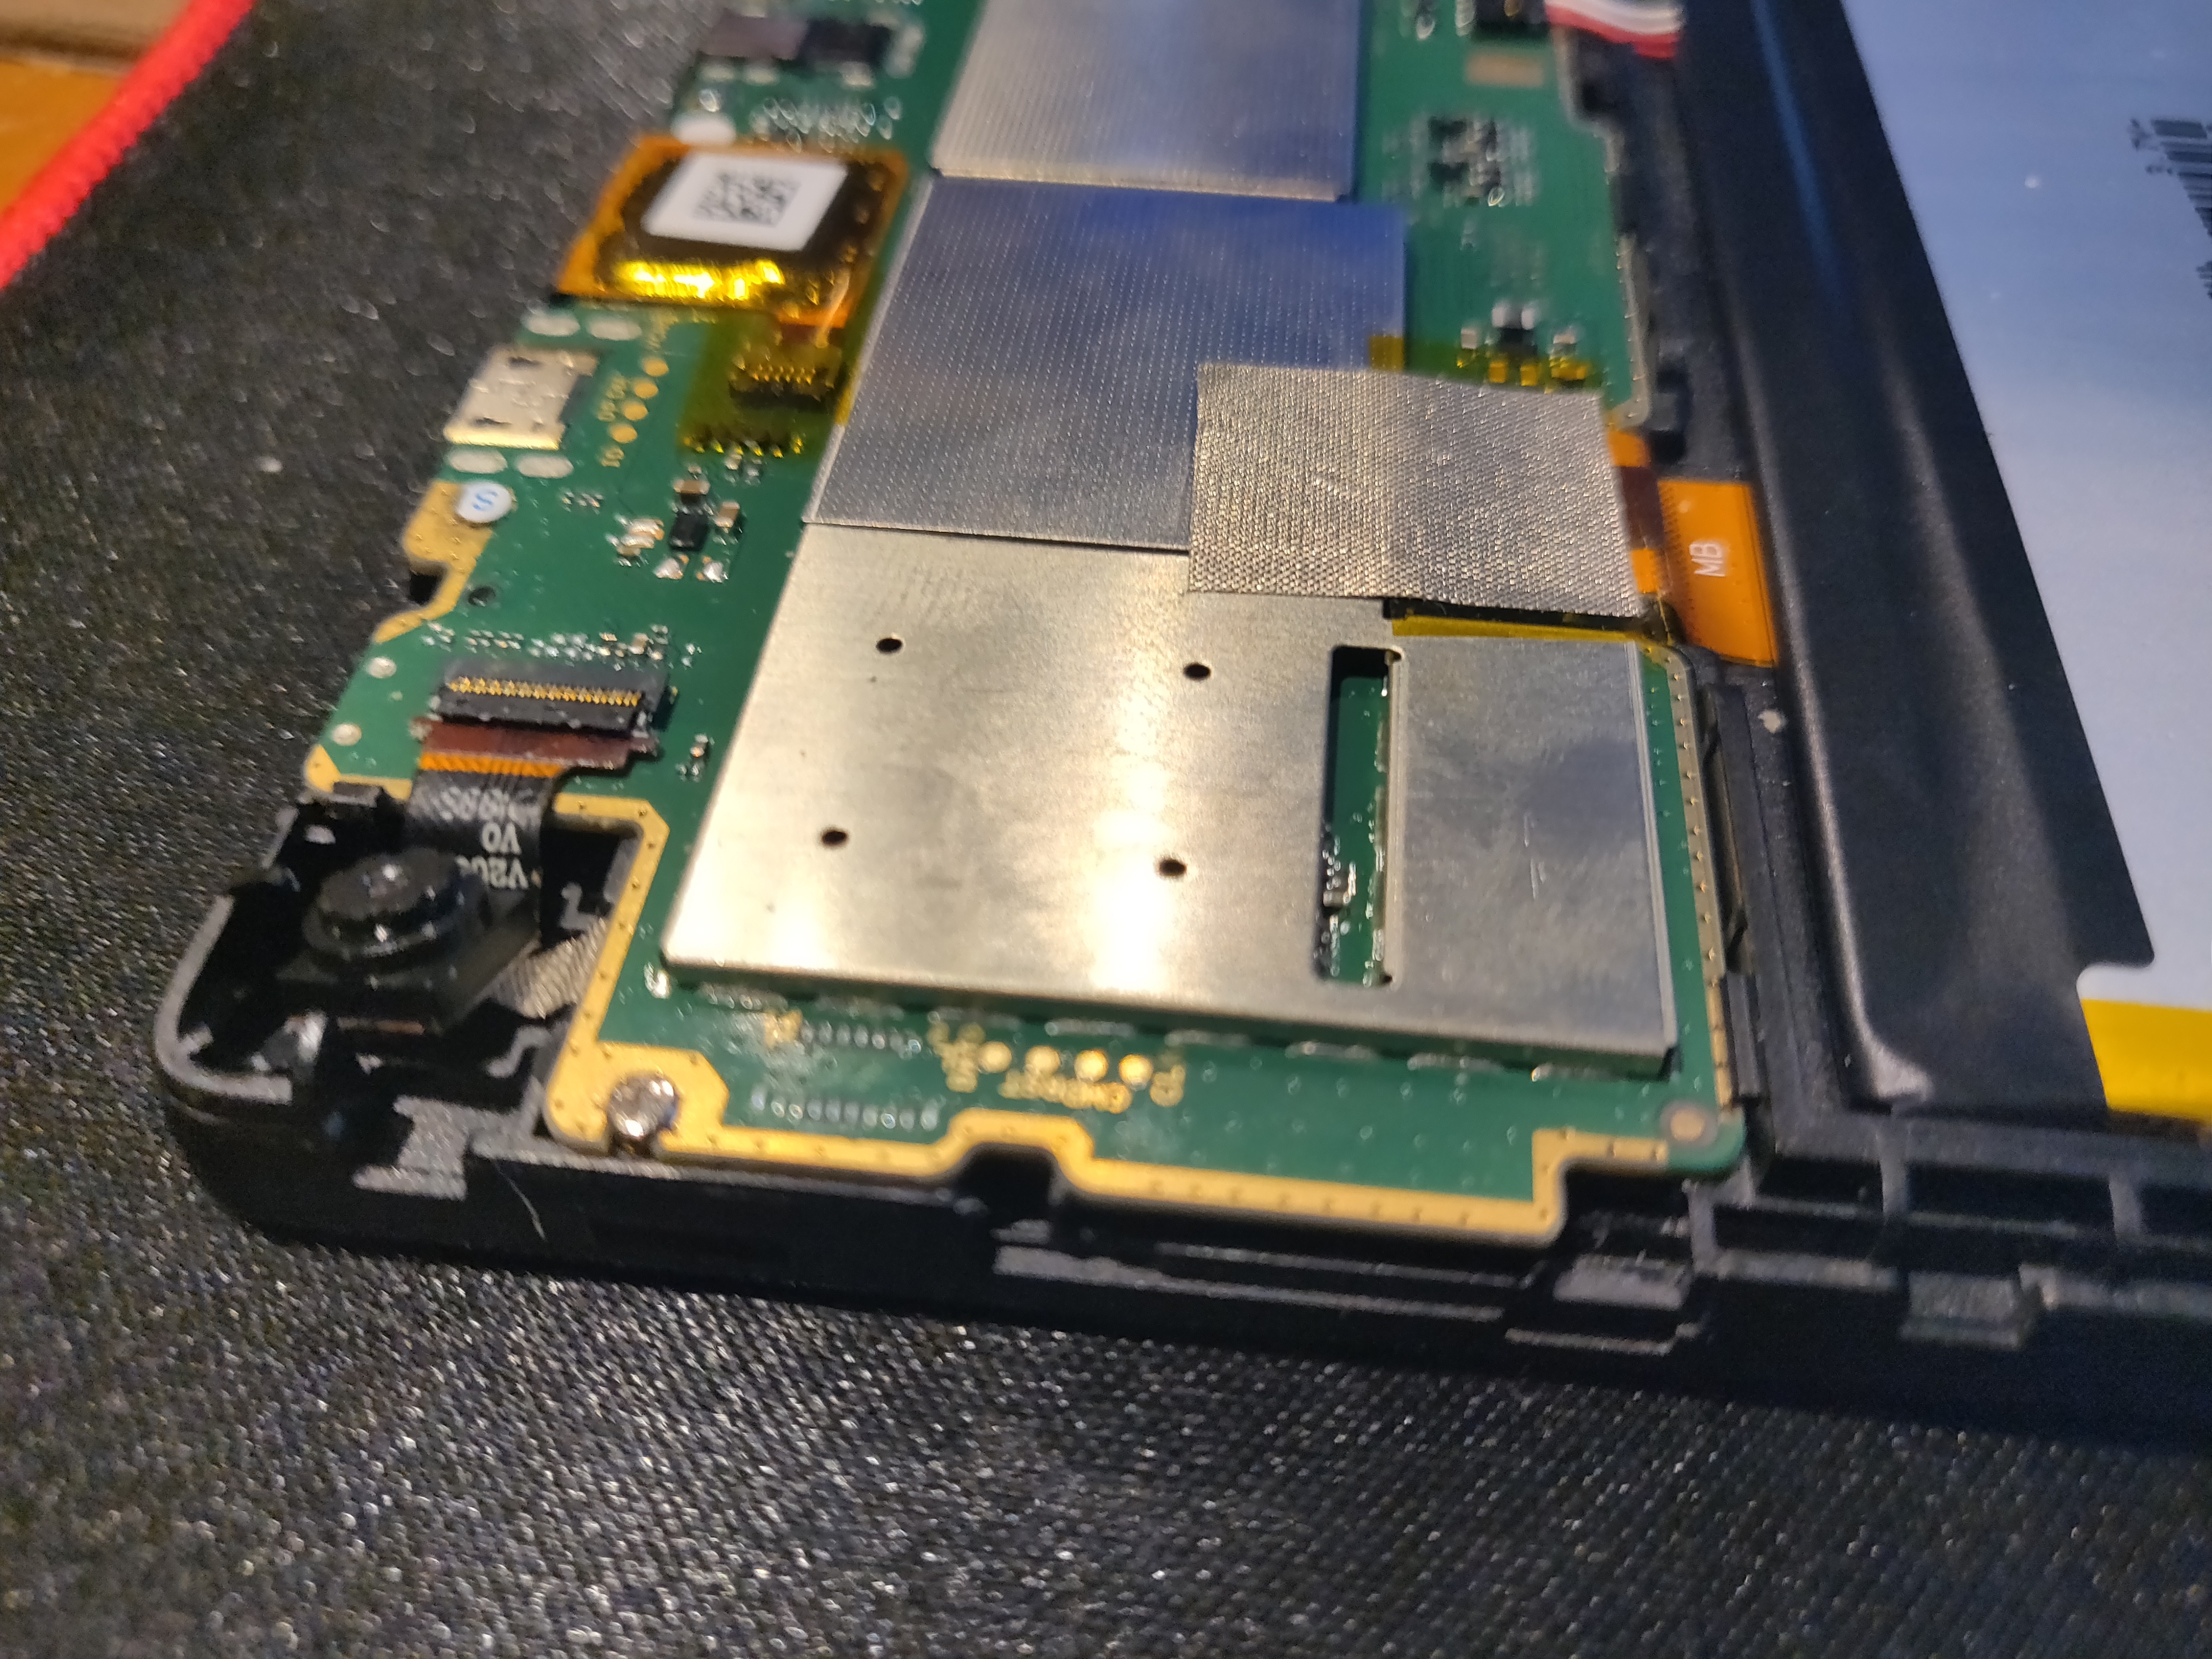
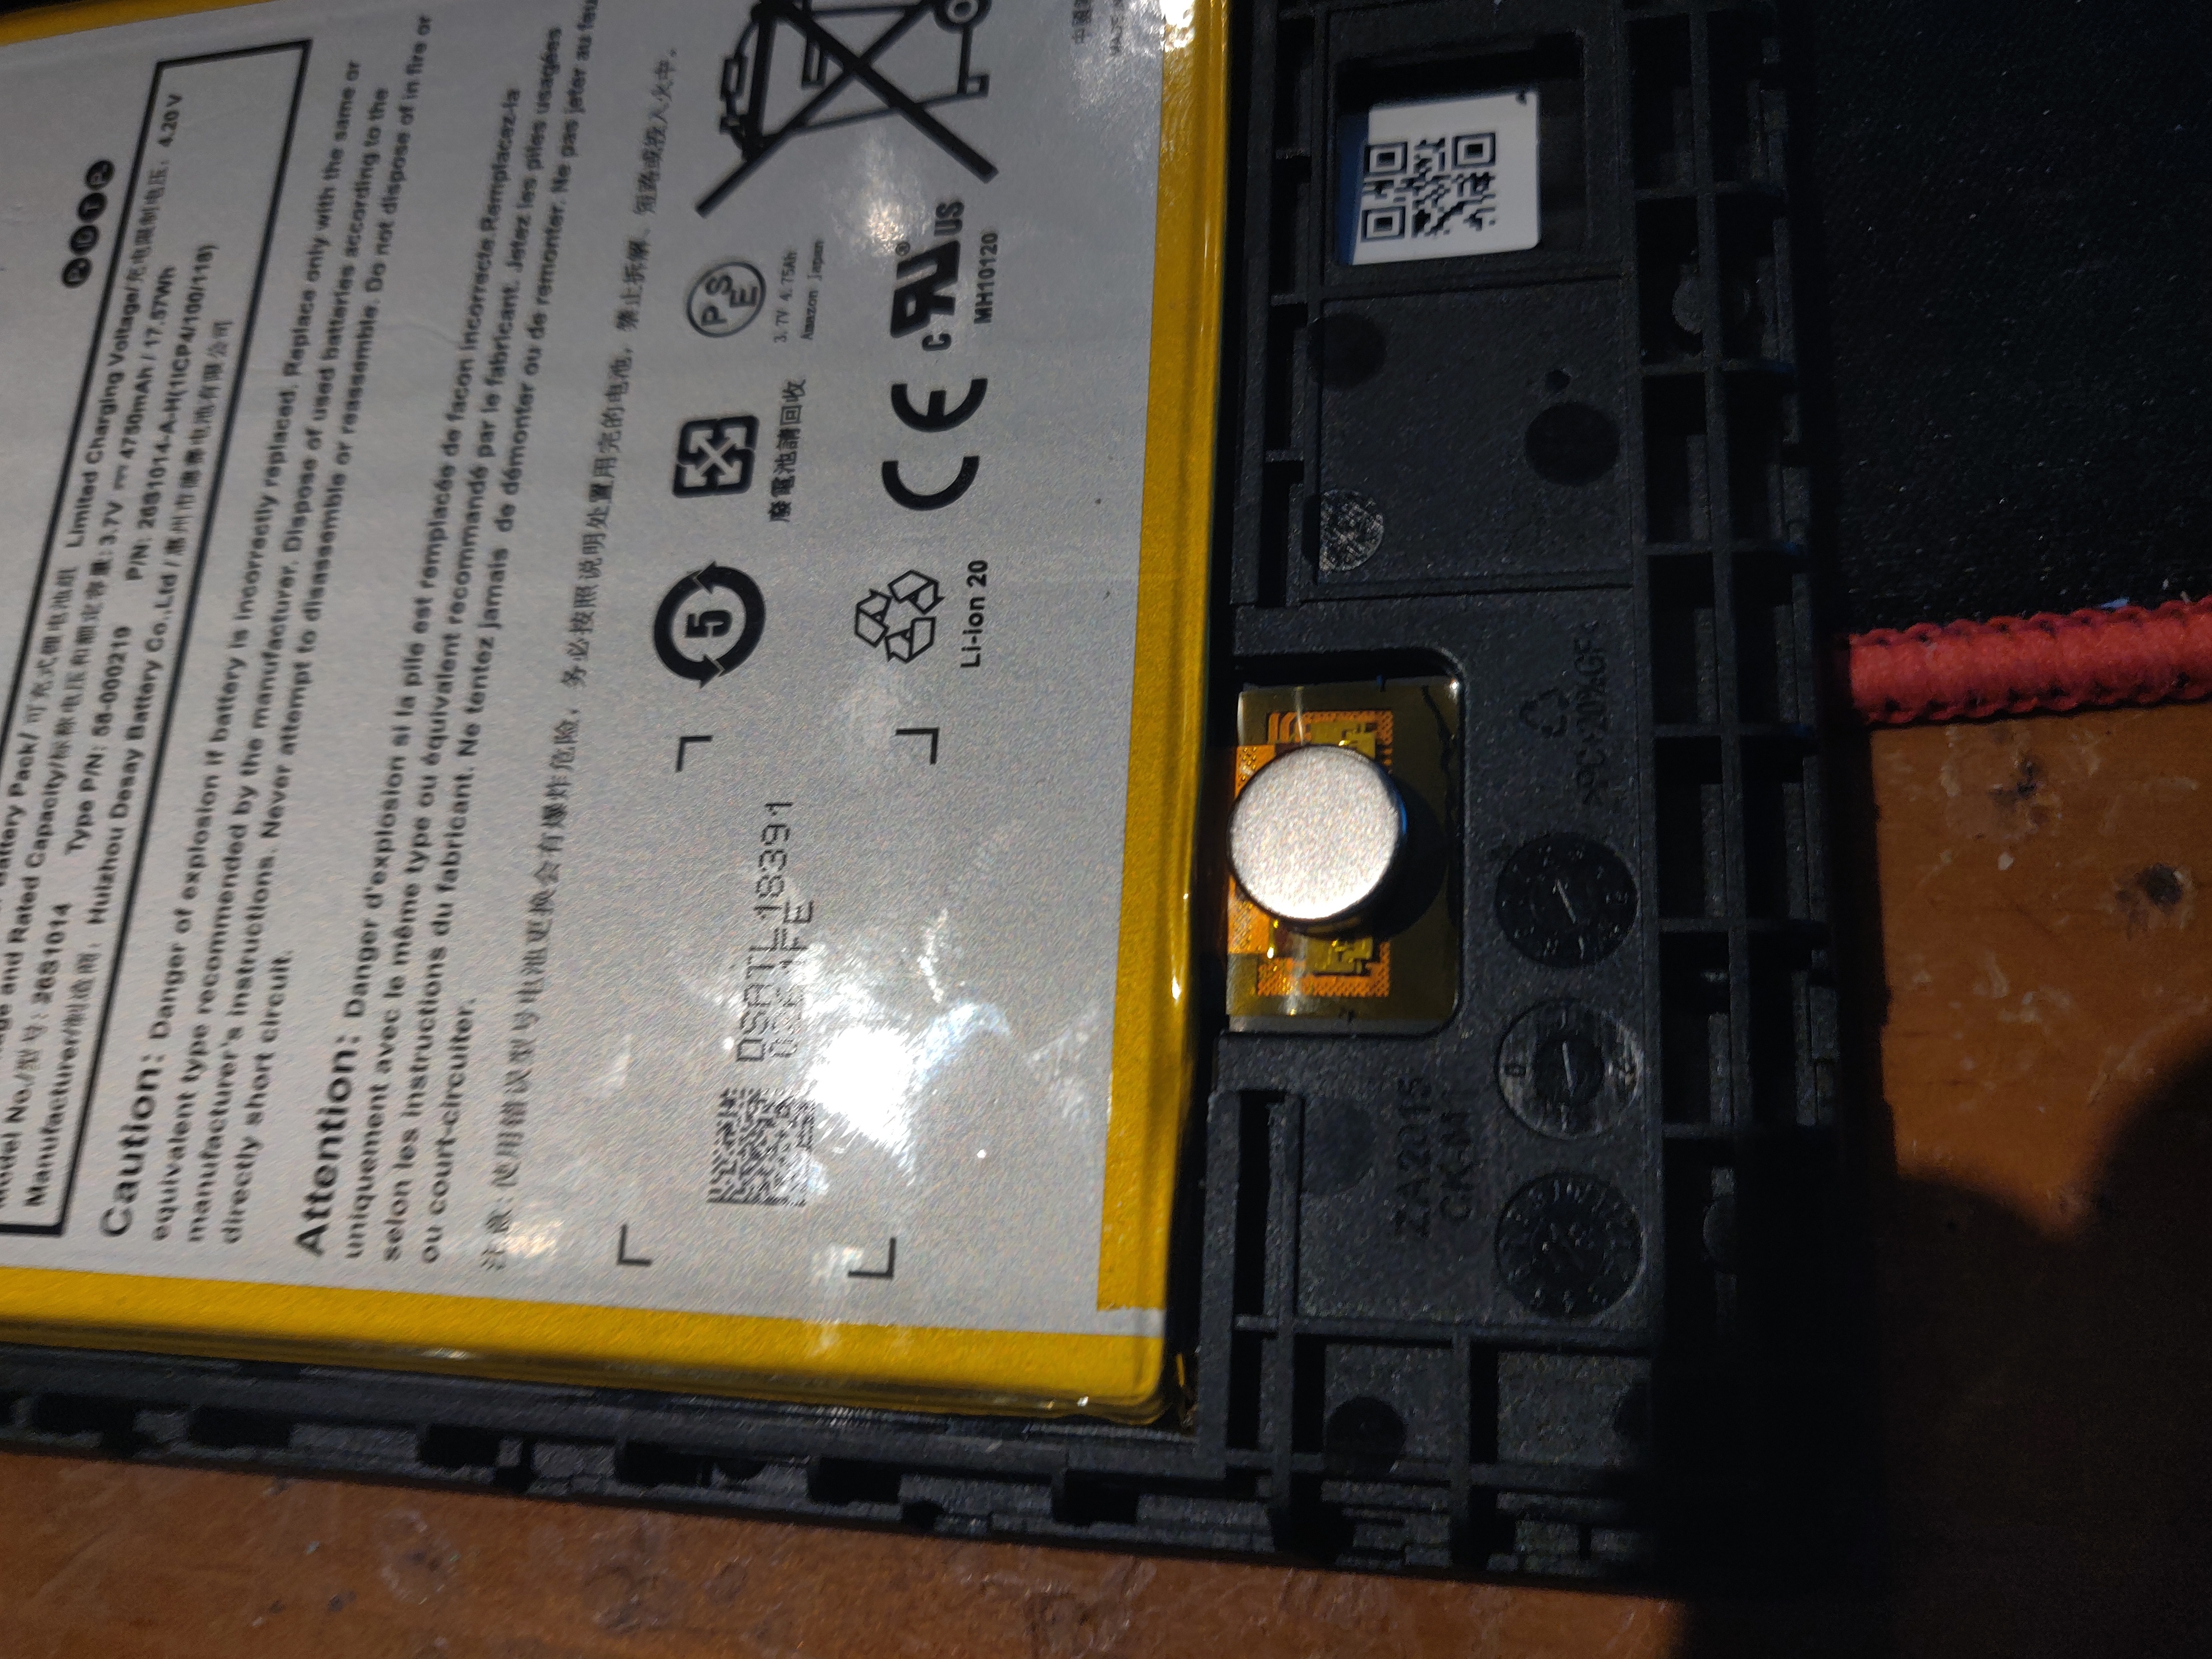
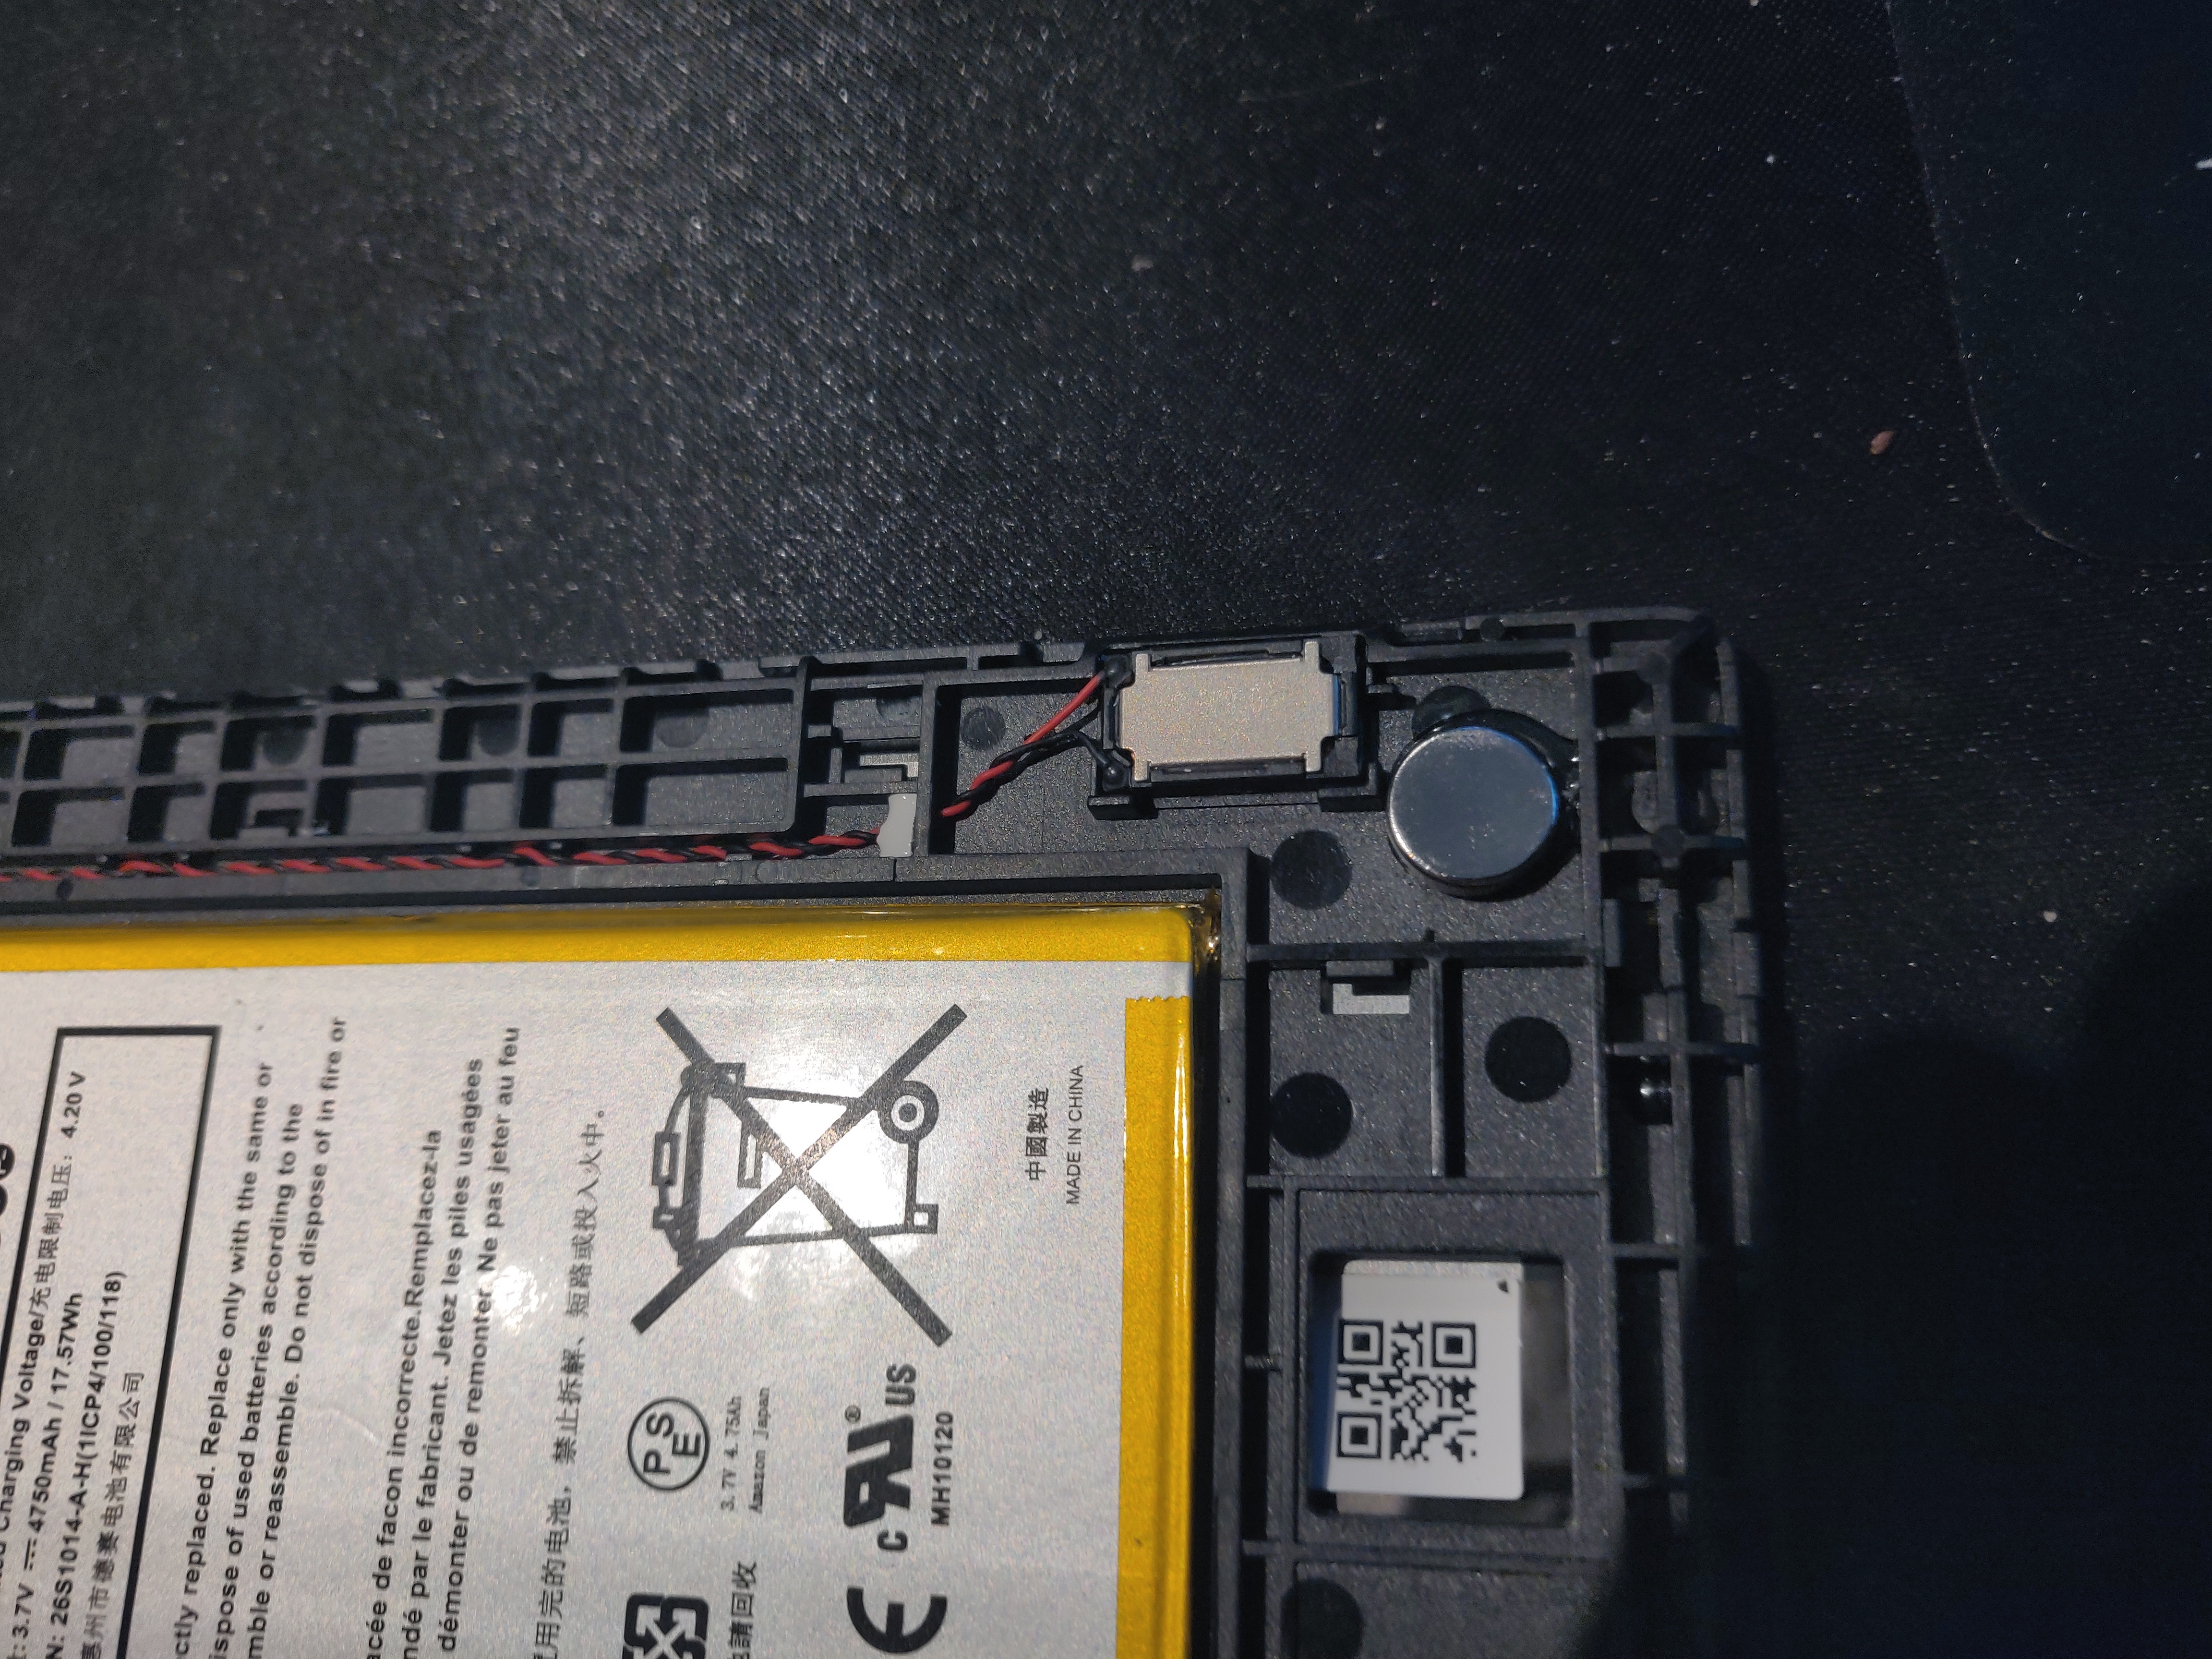
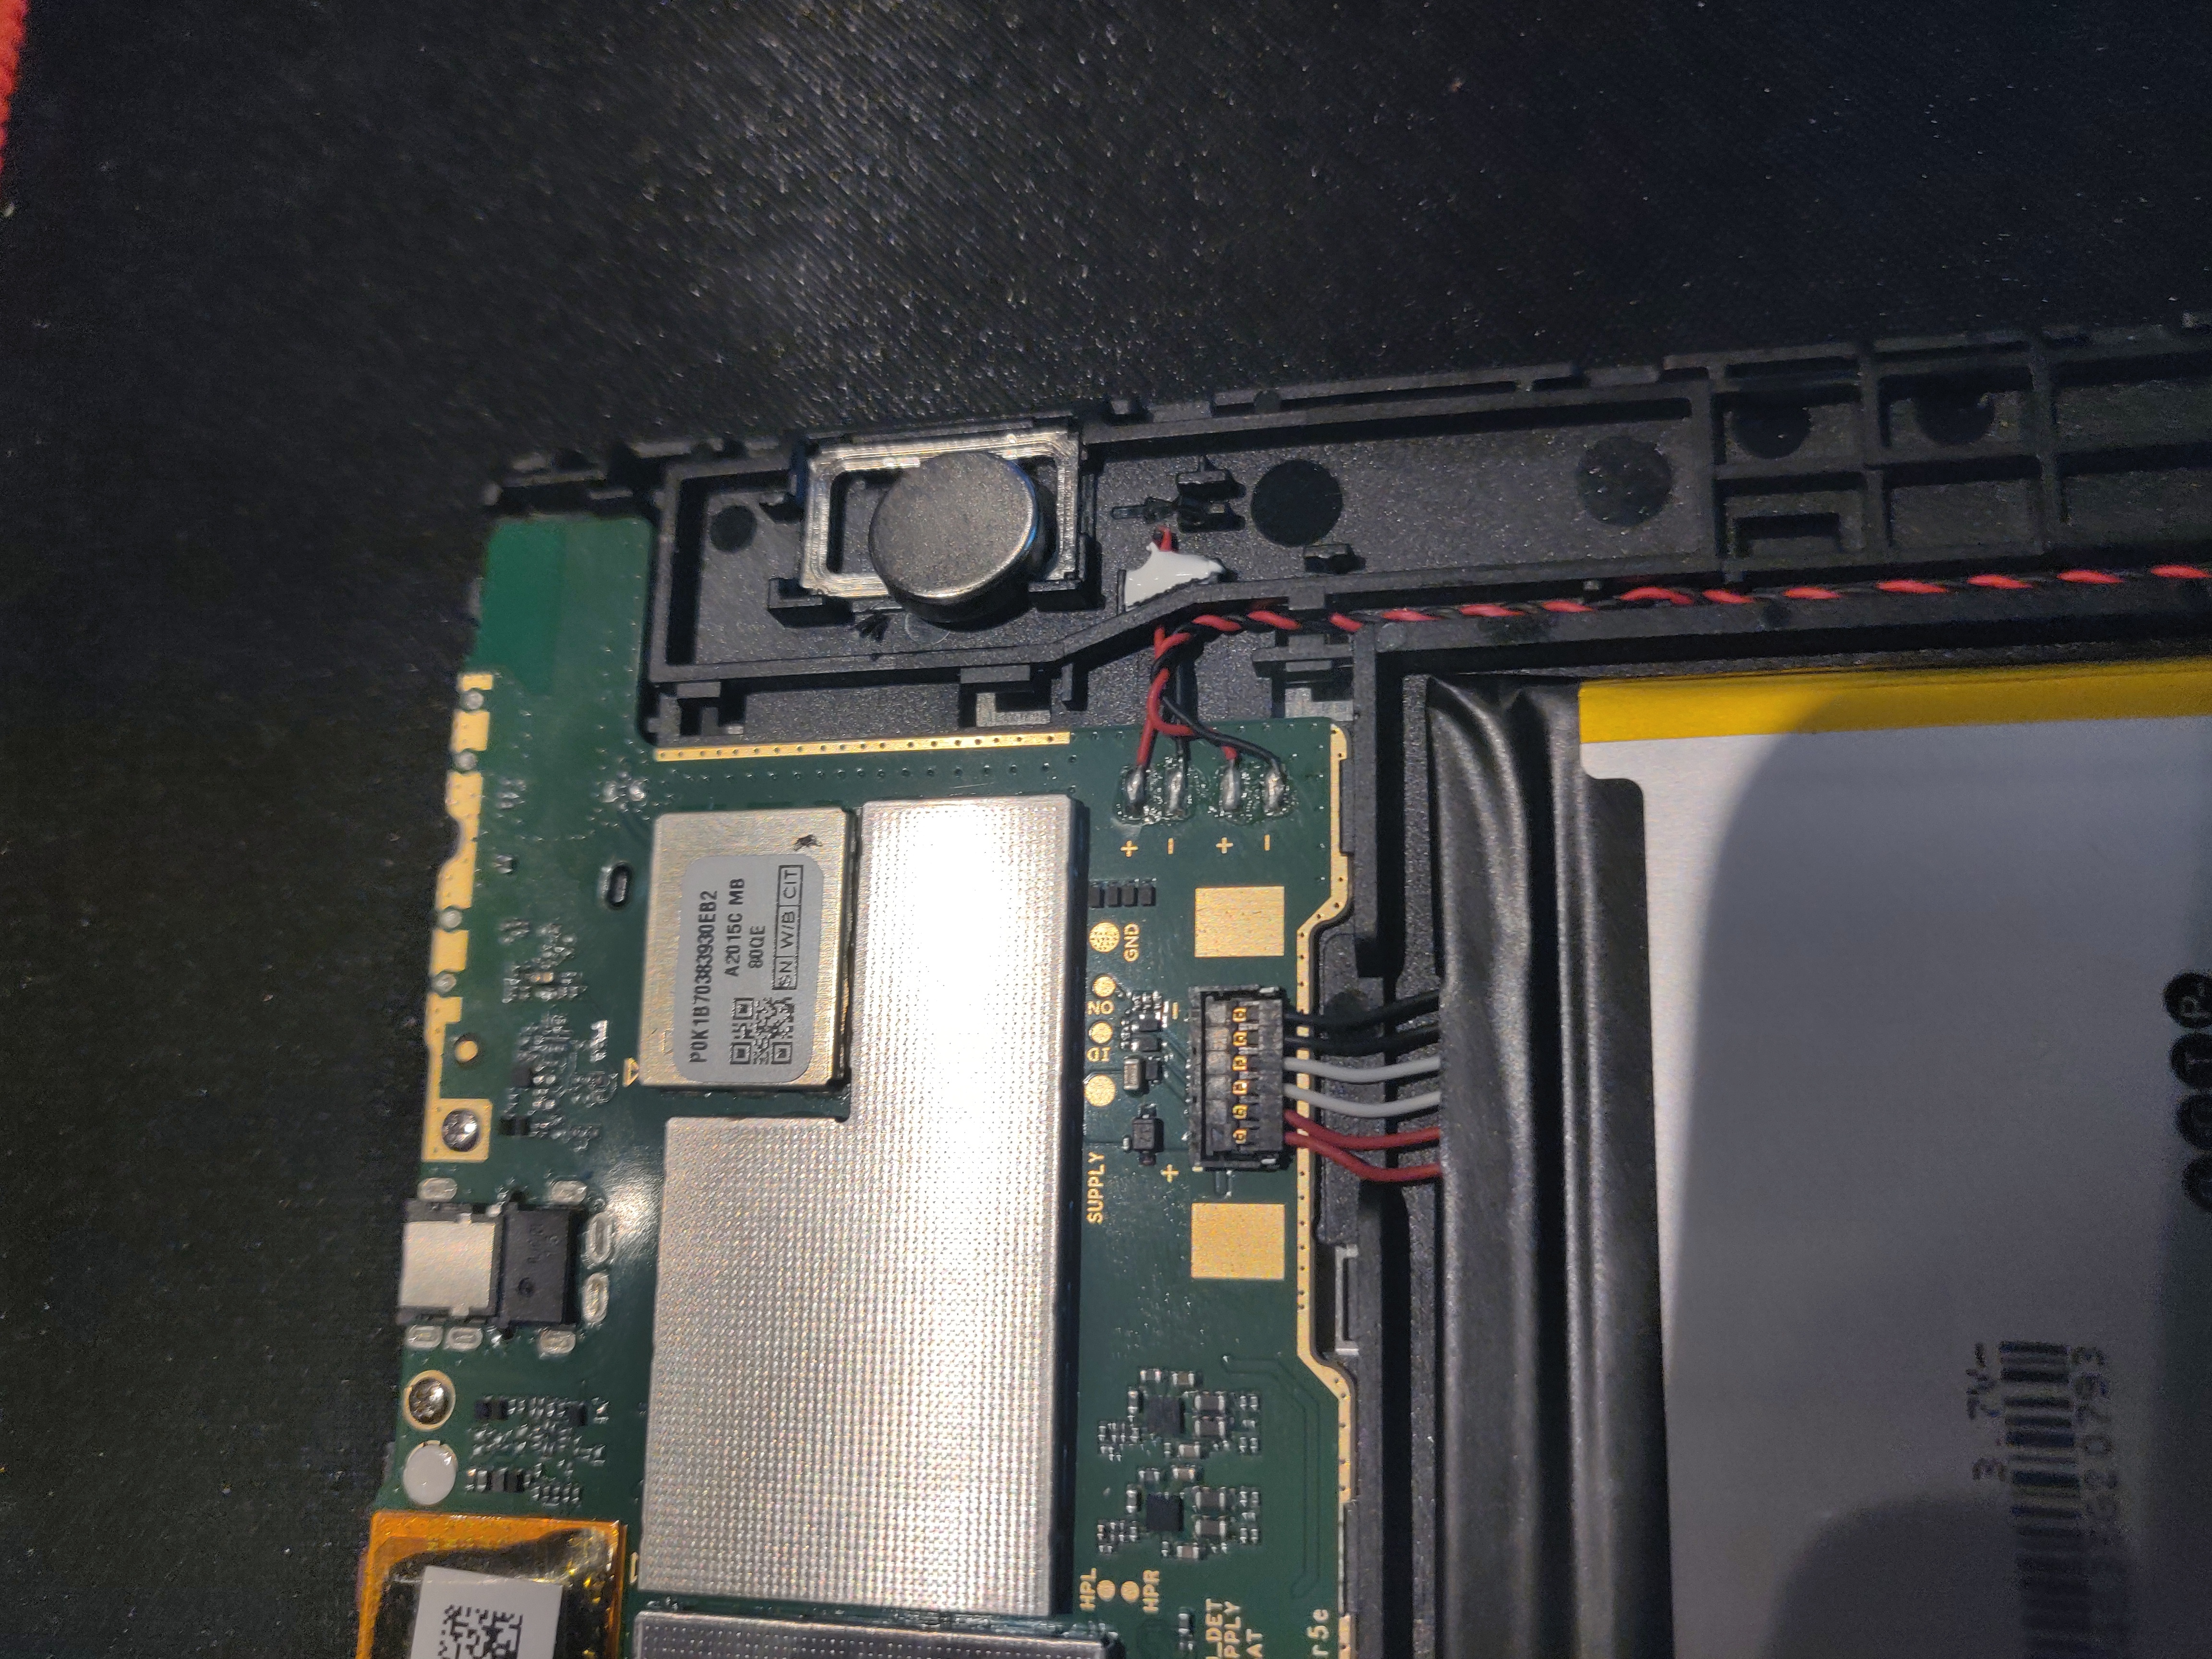
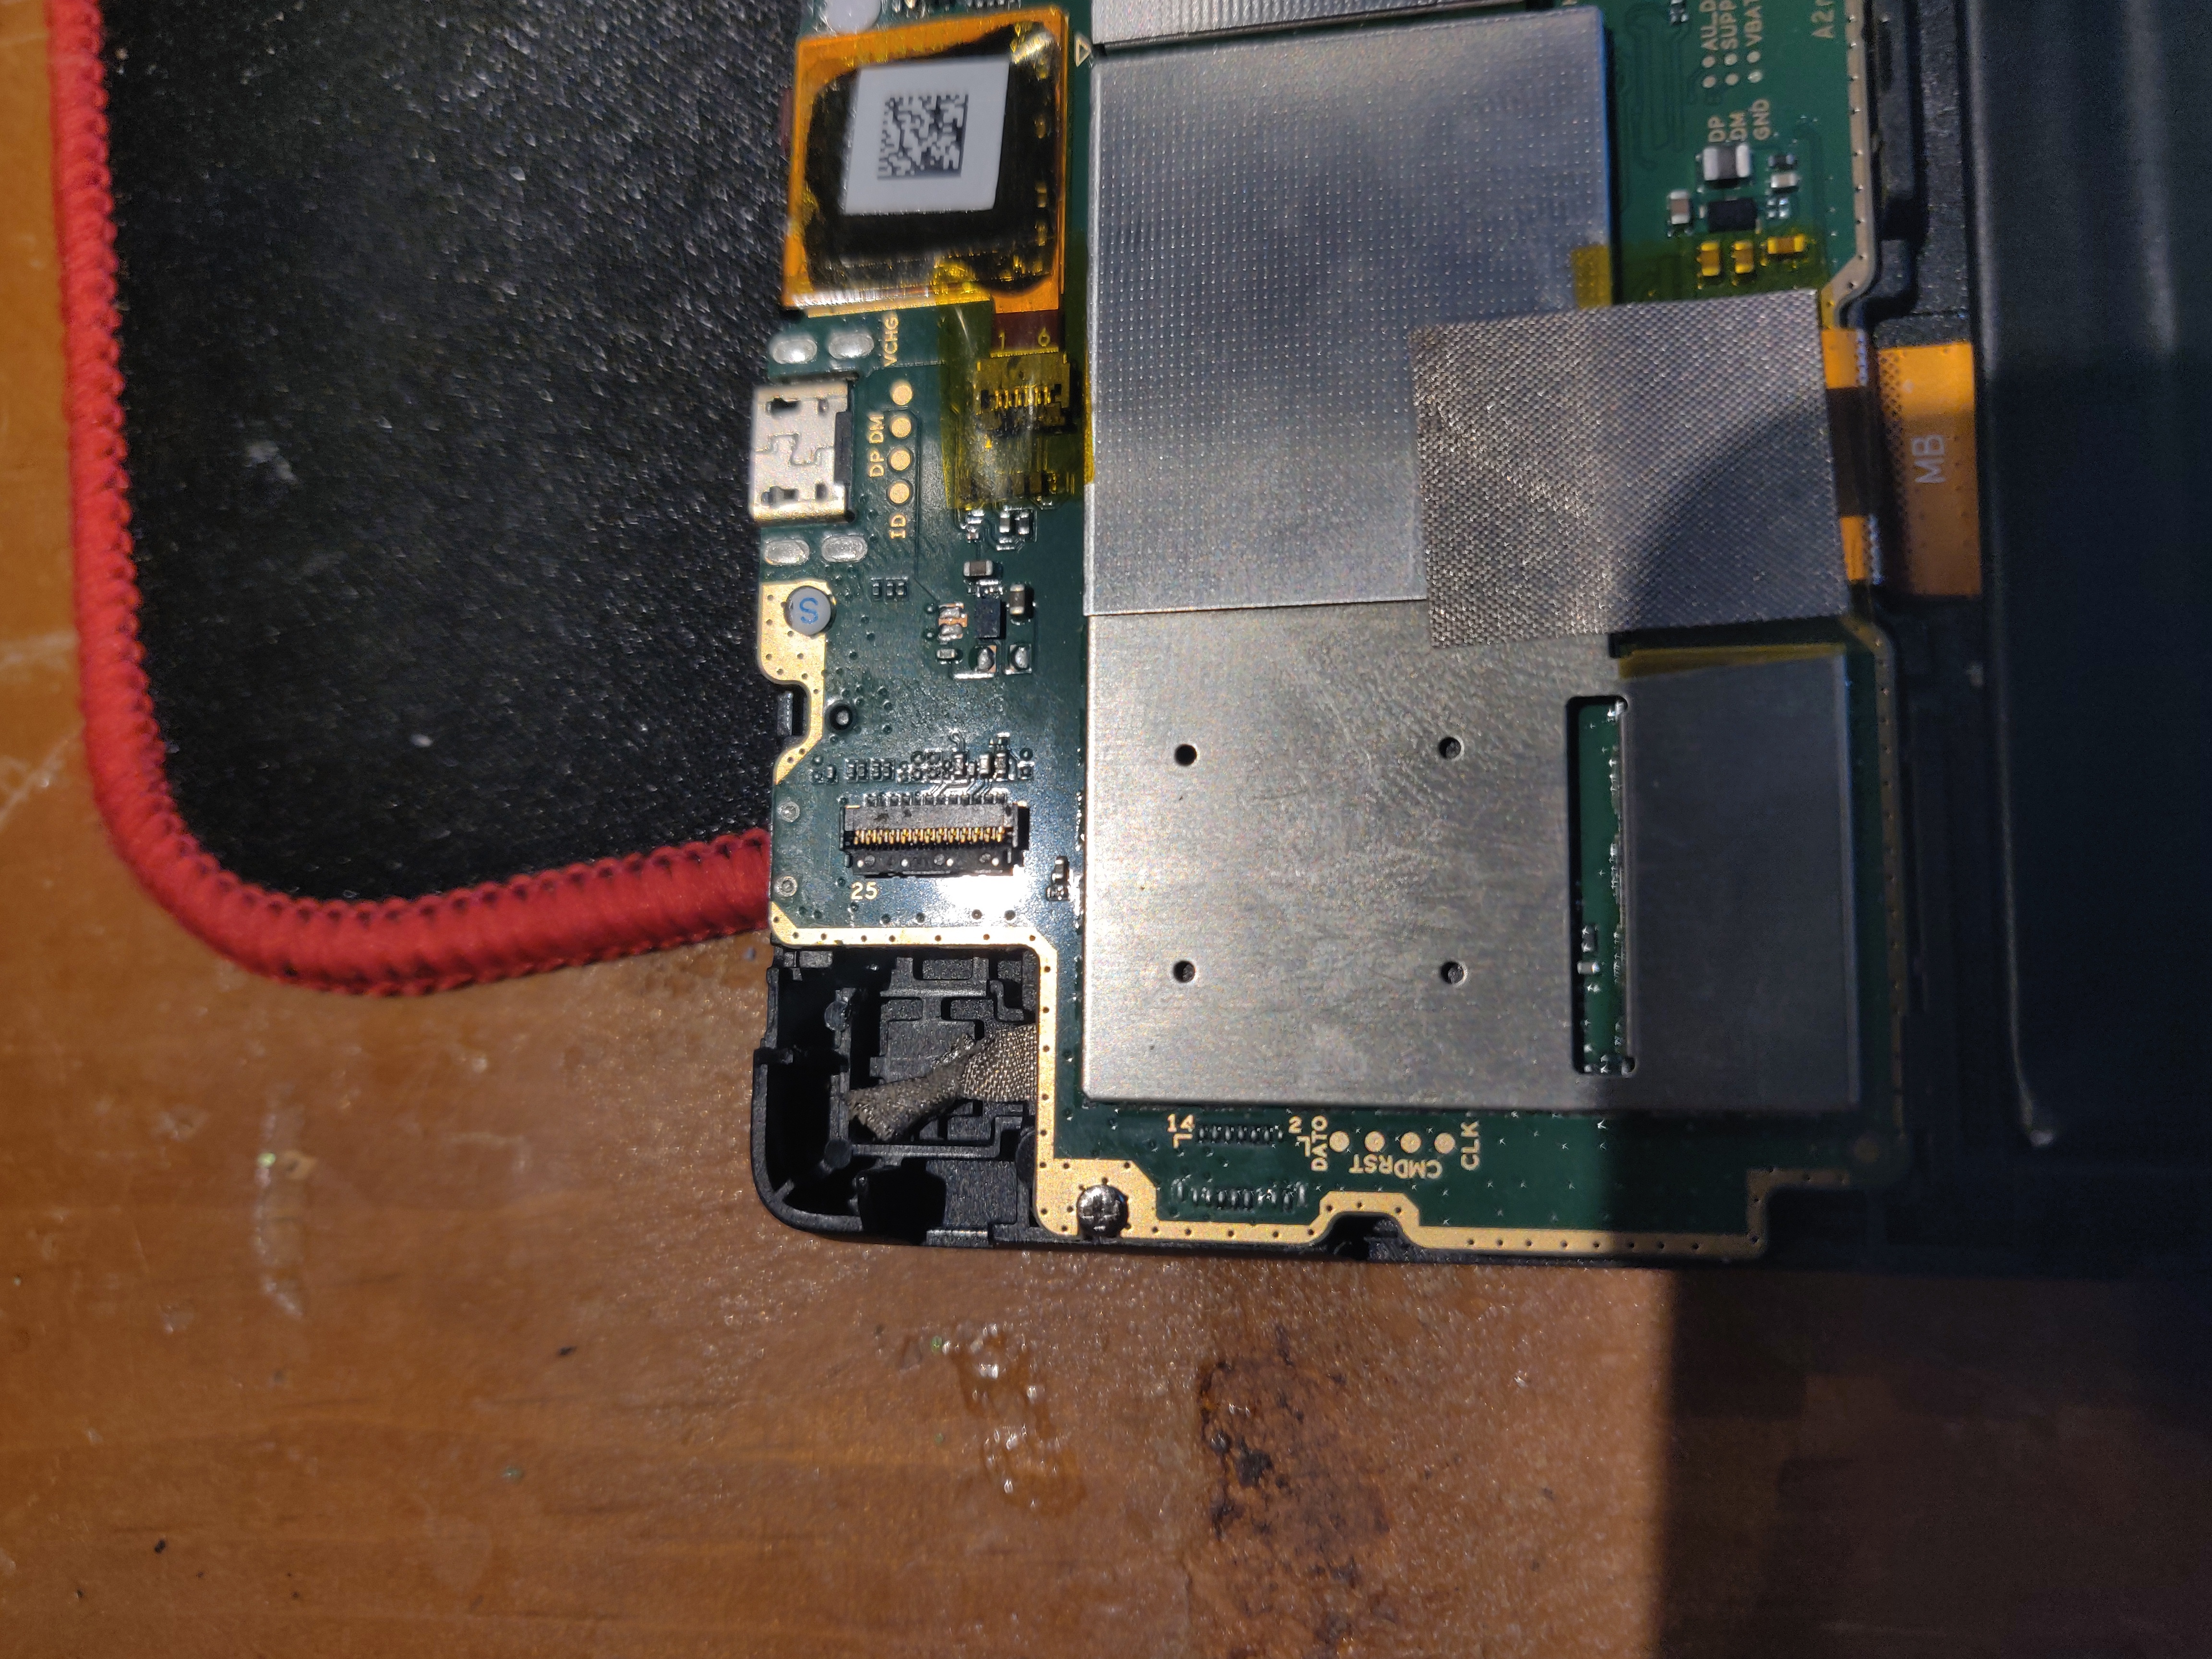
For this build, I used a Kindle fire HD 8(2018) that I was able to pick up from craigslist for 30$, check ebay, craigslist, the classifieds, etc.
I choose the tablet, particularly that model/year because for a kindle root was prefered to allow me to replace the home launcher with the kiosk software i used. (https://play.google.com/store/apps/details?id=com.... I really liked this app because it allows you to lock down the tablet to always remain in the openHAB habPanel interface.
First, you must open the tablet and locate locations you can hit magnets. On my tablet, I found 4 locations that worked. I had to remove the camera and one of the speakers which worked out just fine because those are things my tablet would never use.
You can see in the images where I put the magnets, you can do the same or choose your own locations. It won't really matter because later we will put matching magnets in the wall.
Install Wireless Receiver
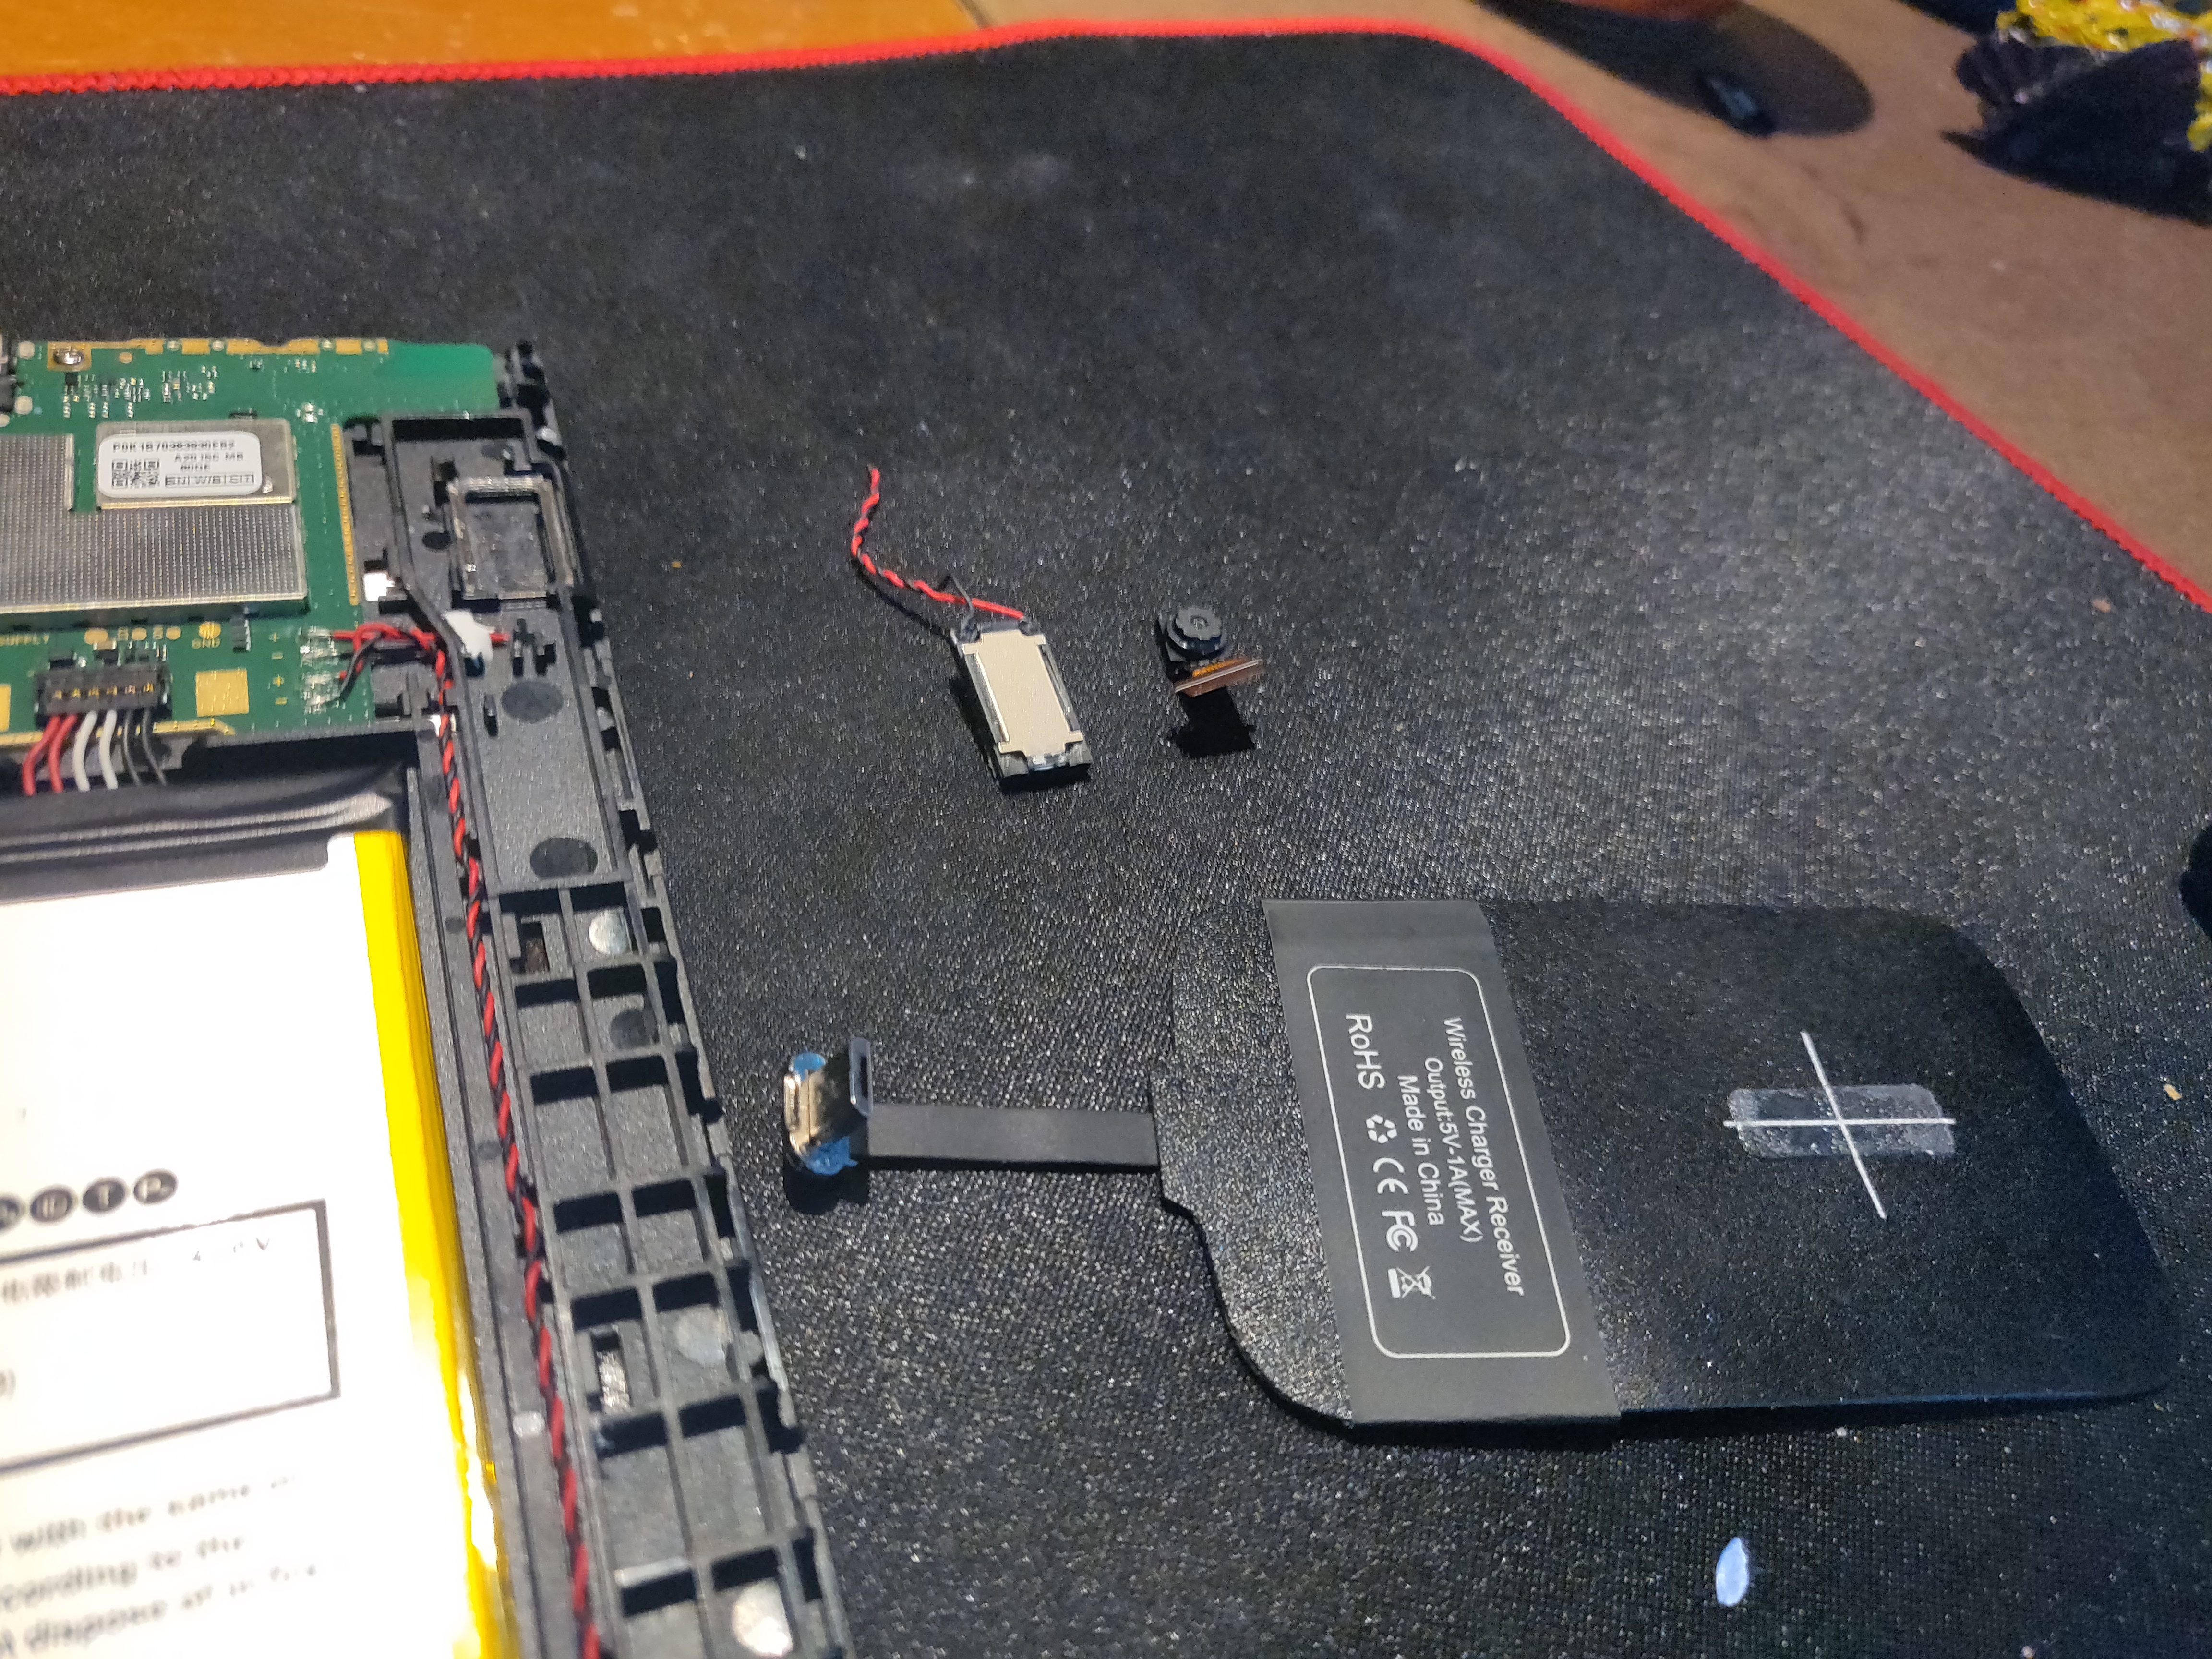
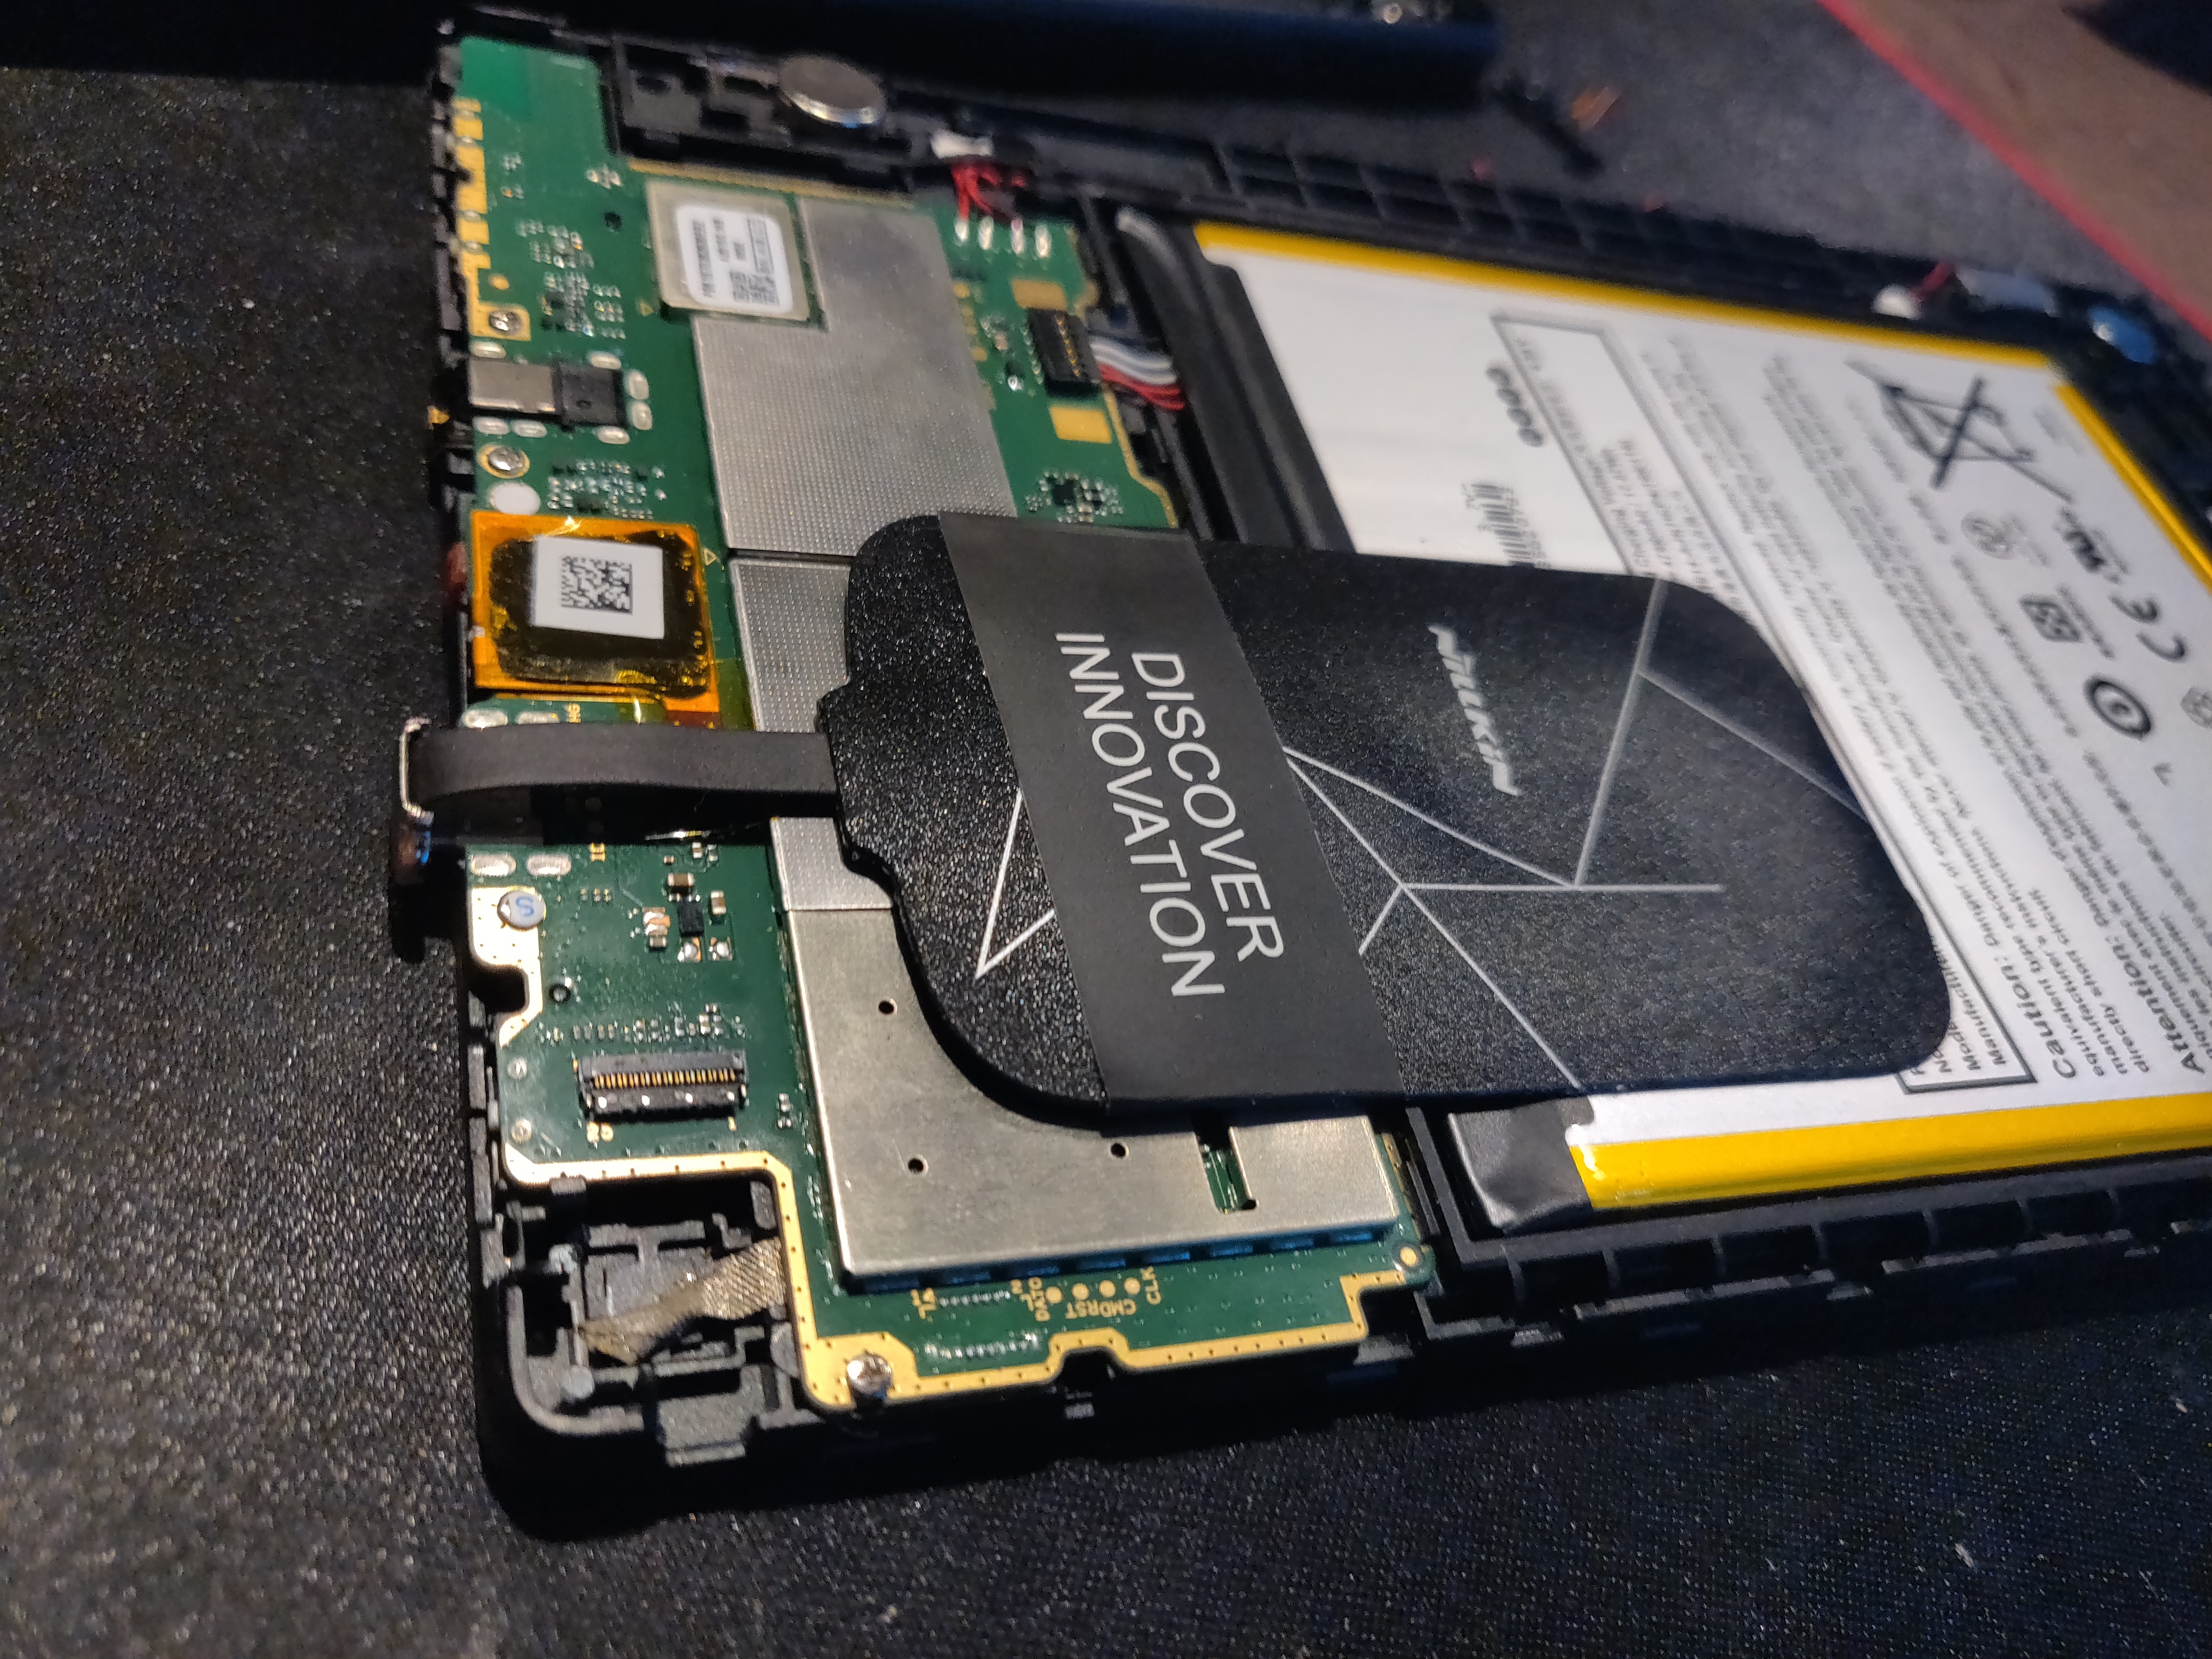
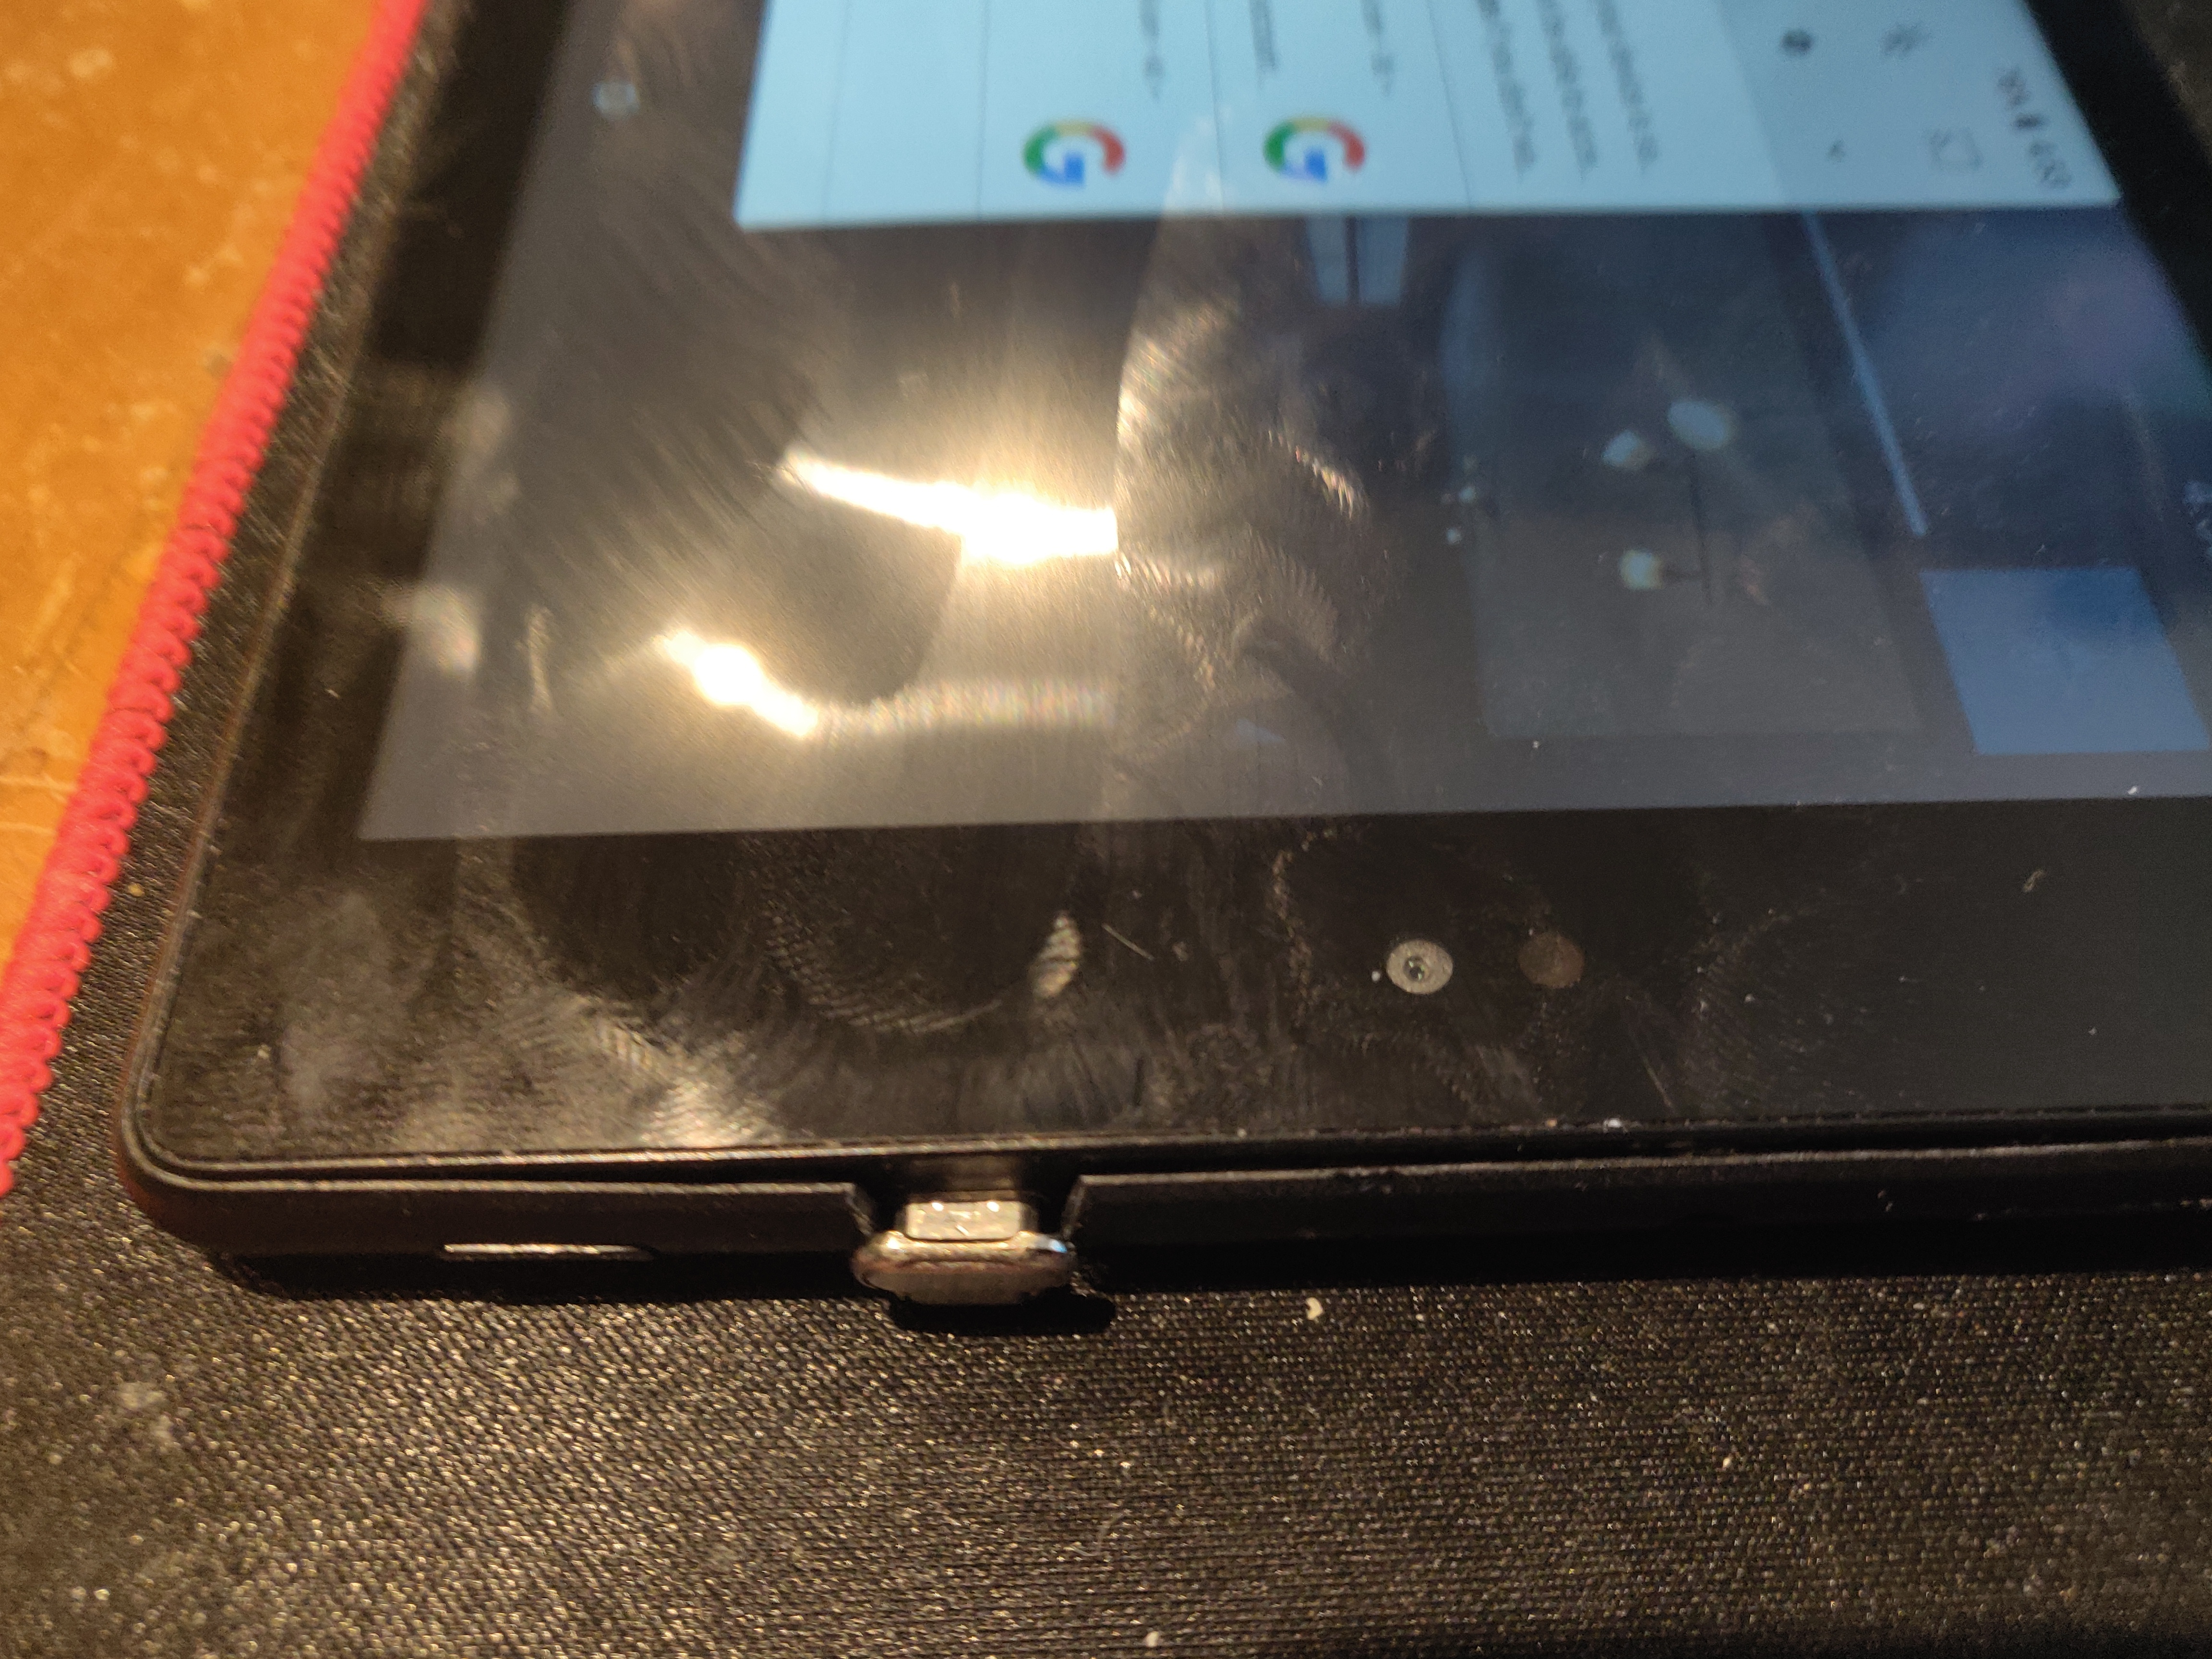
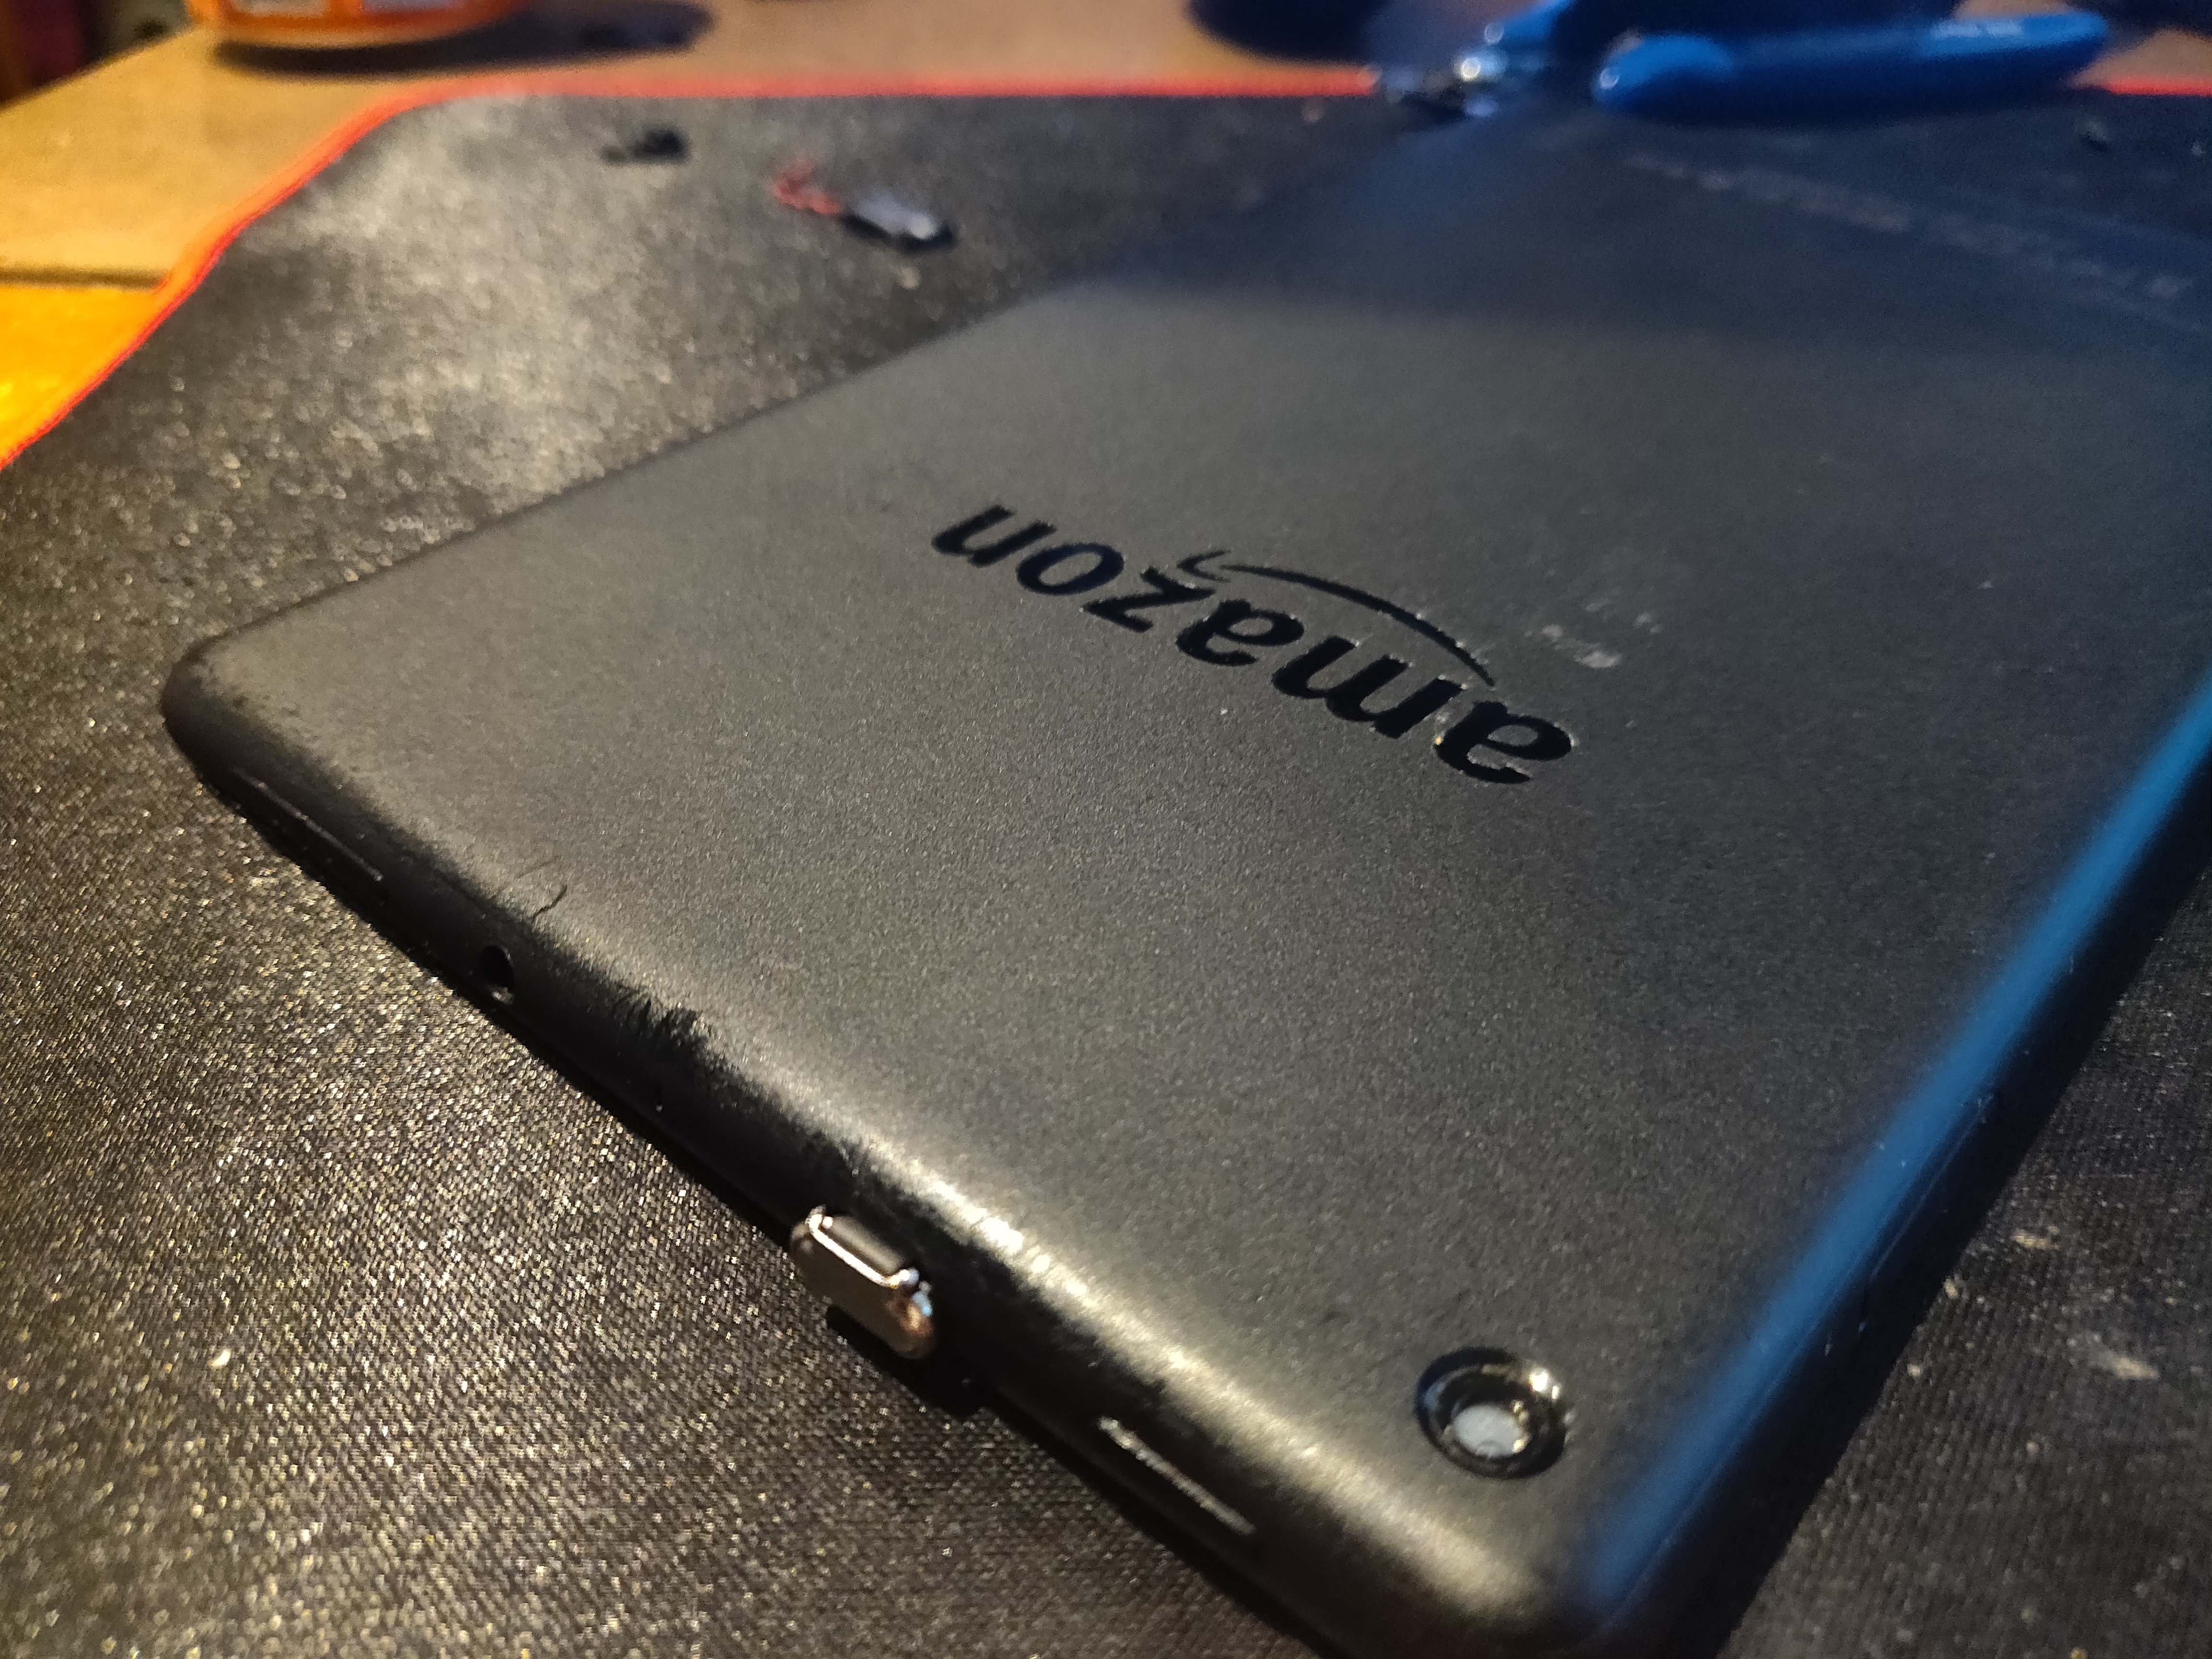
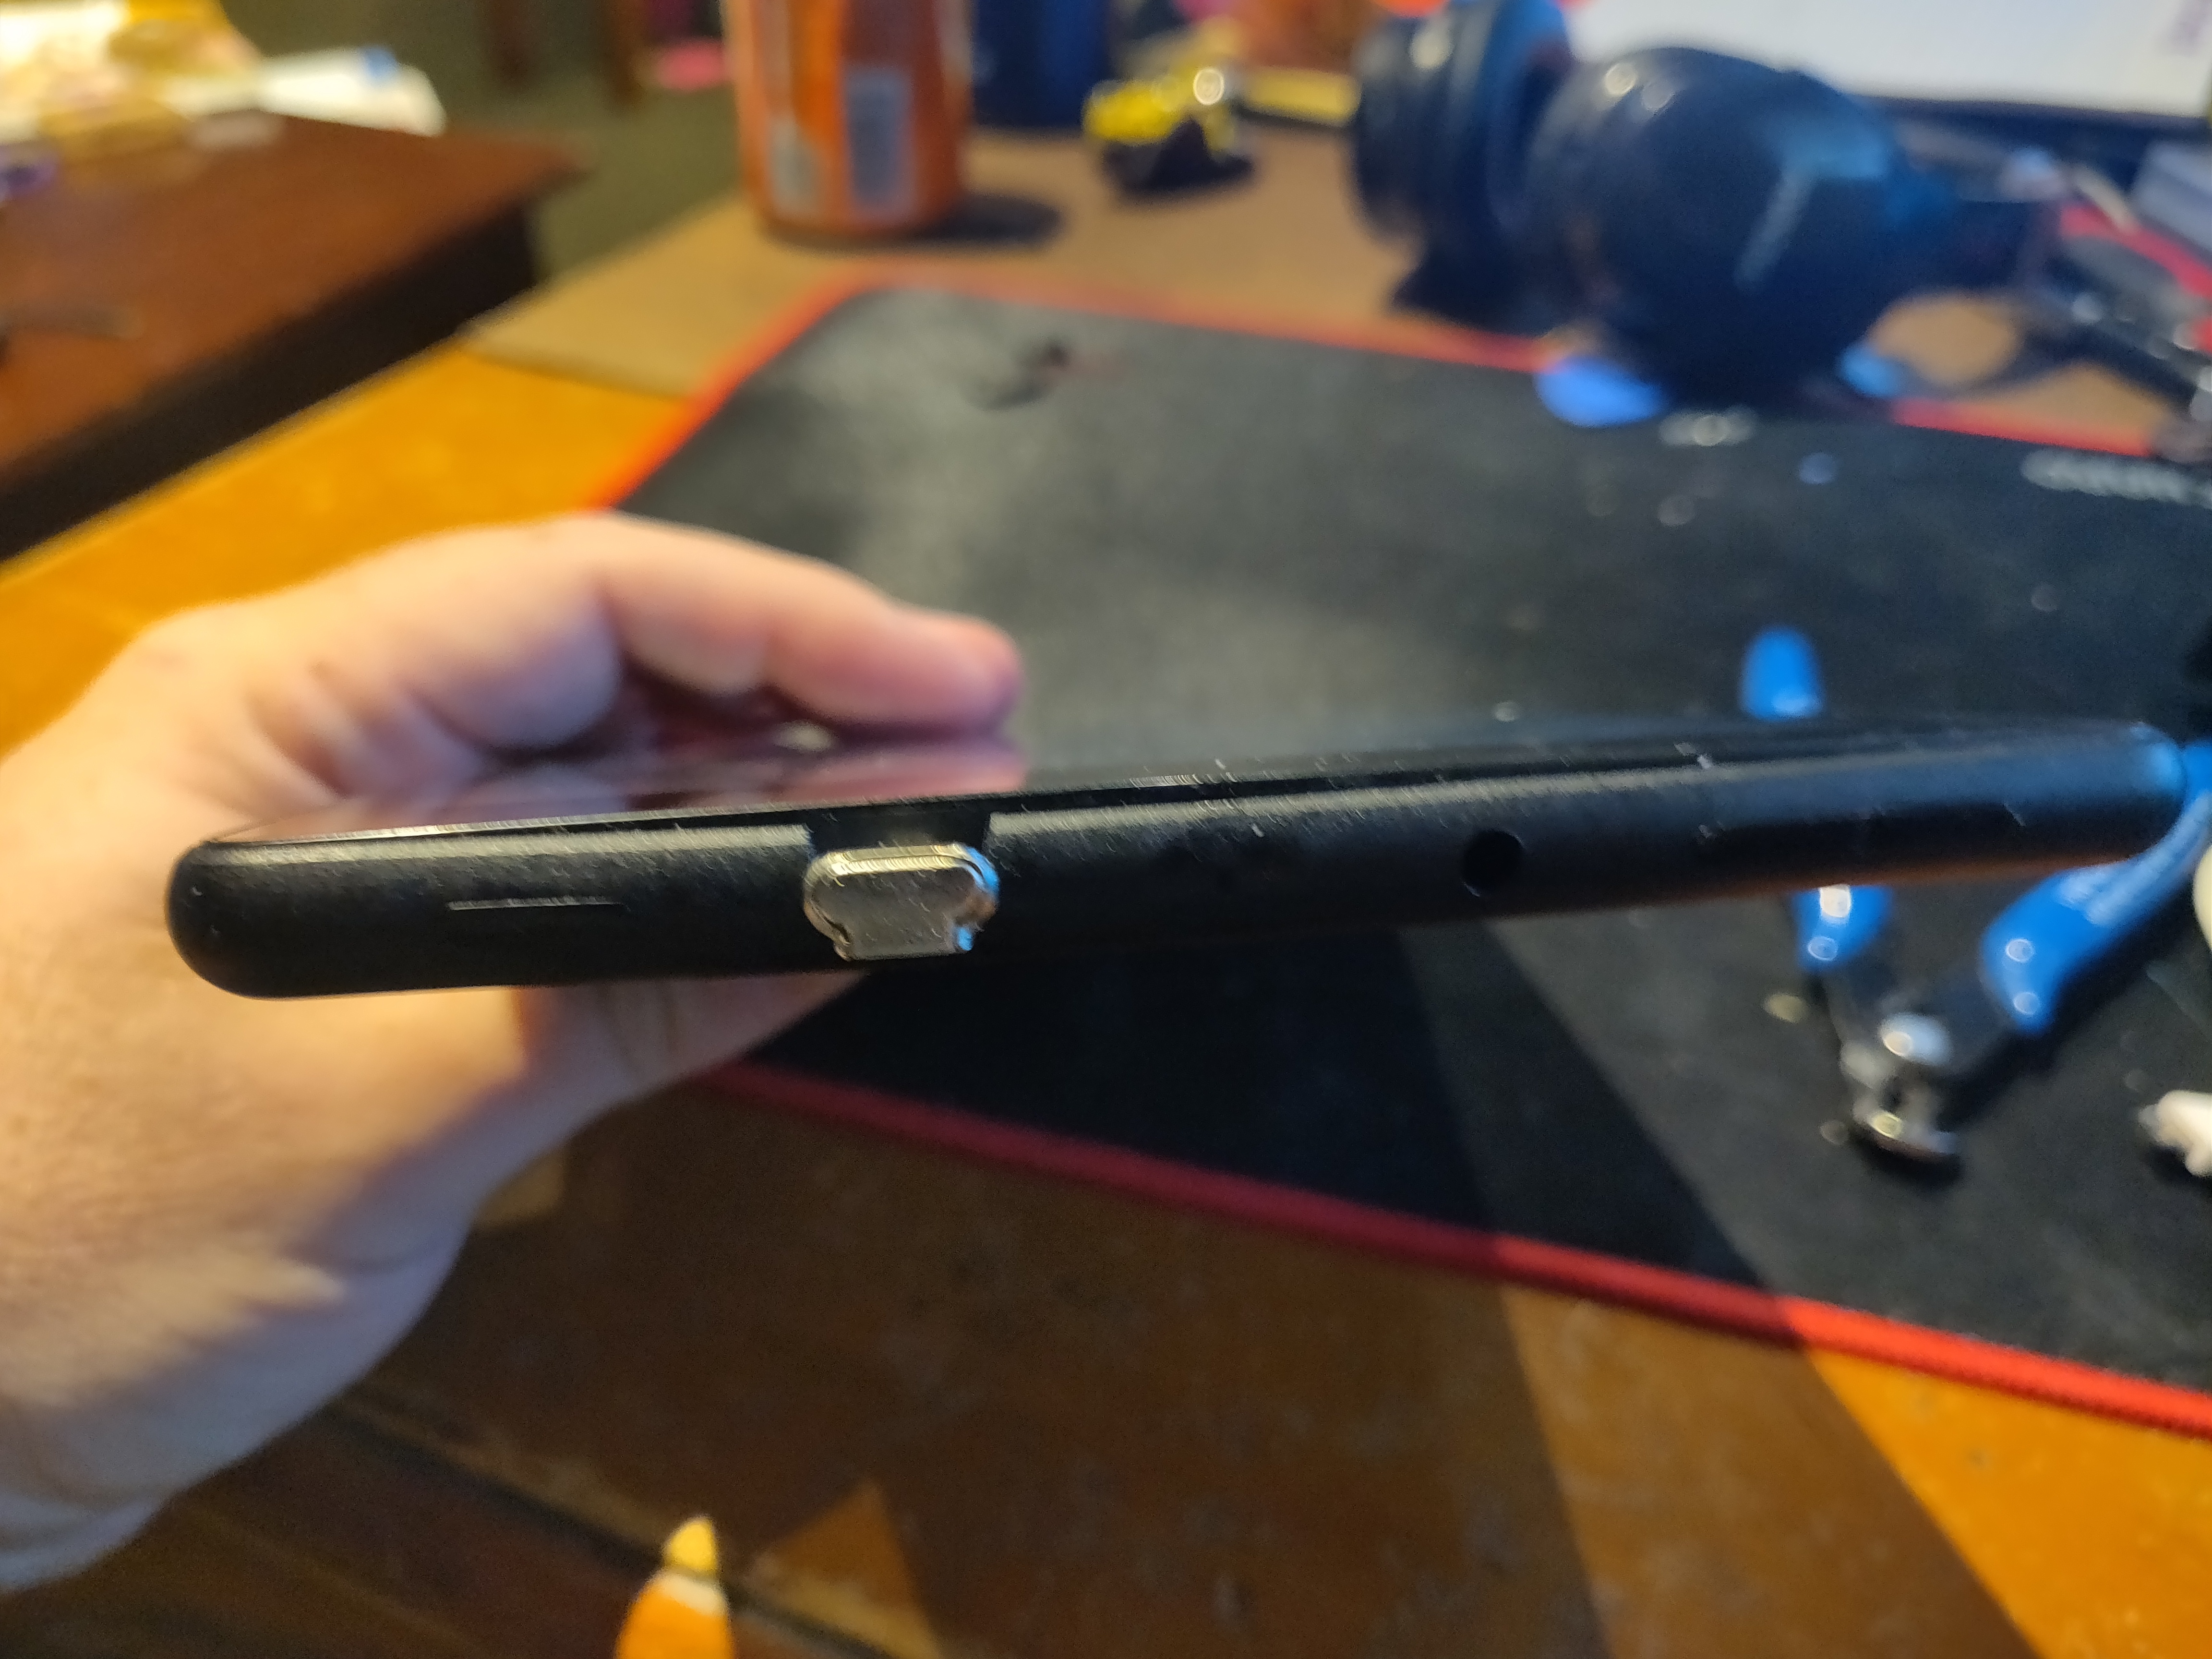
Since the kindle fire didn't have wireless charging by default I had to install a wireless receiver. The receiver I used i got off amazon for $15 (https://www.amazon.com/gp/product/B01DLYF0Q0/ref=p...
Find a good place to place it in reach of the USB port. If you are using another tablet be certain that you get the receiver the orients correctly to the direction of the USB port.
After that, you're ready to close up the tablet. with my tablet, I had to cut a little plastic around the USB port so that the cable didn't get pinched. With these installed the kindle in particular closed up without any real bulge, it snapped back together and nothing looked out of place (other than the USB port now in use.)
Note that once the USB wireless receiver is installed you will not be able to use the USB port anymore. You will now need to charge the tablet wirelessly whenever necessary.
Prepare Wall for Installation.
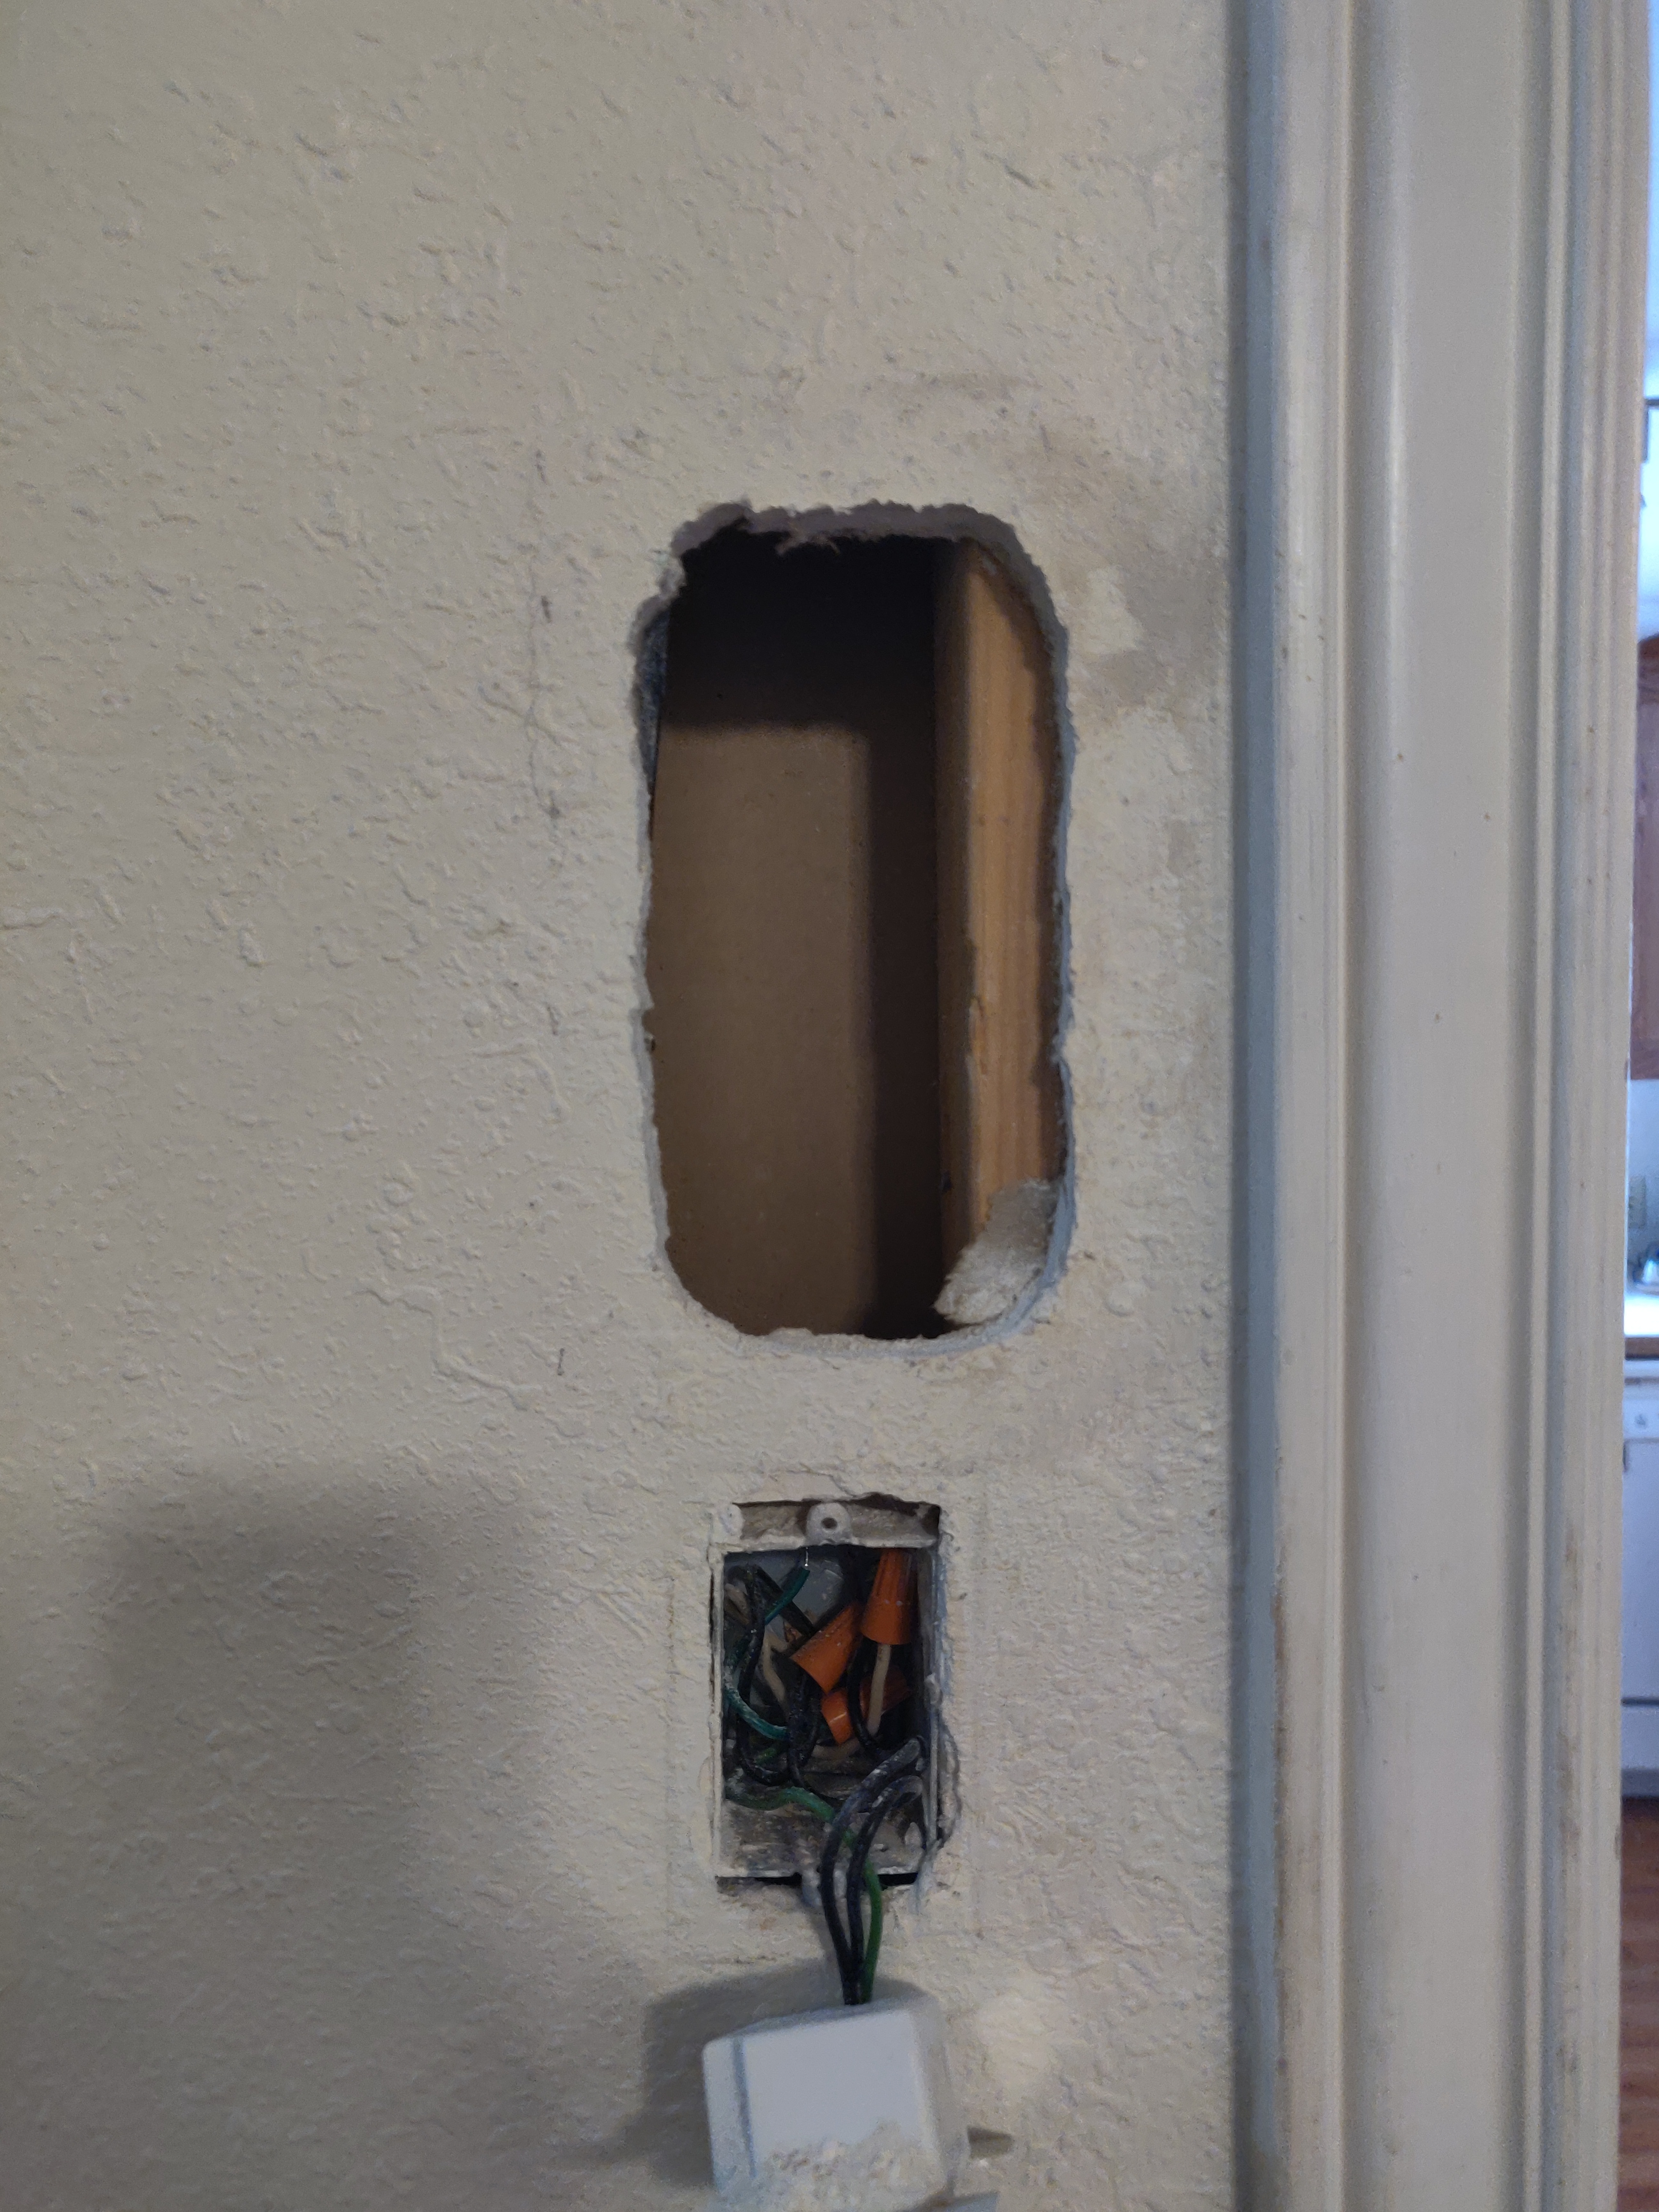
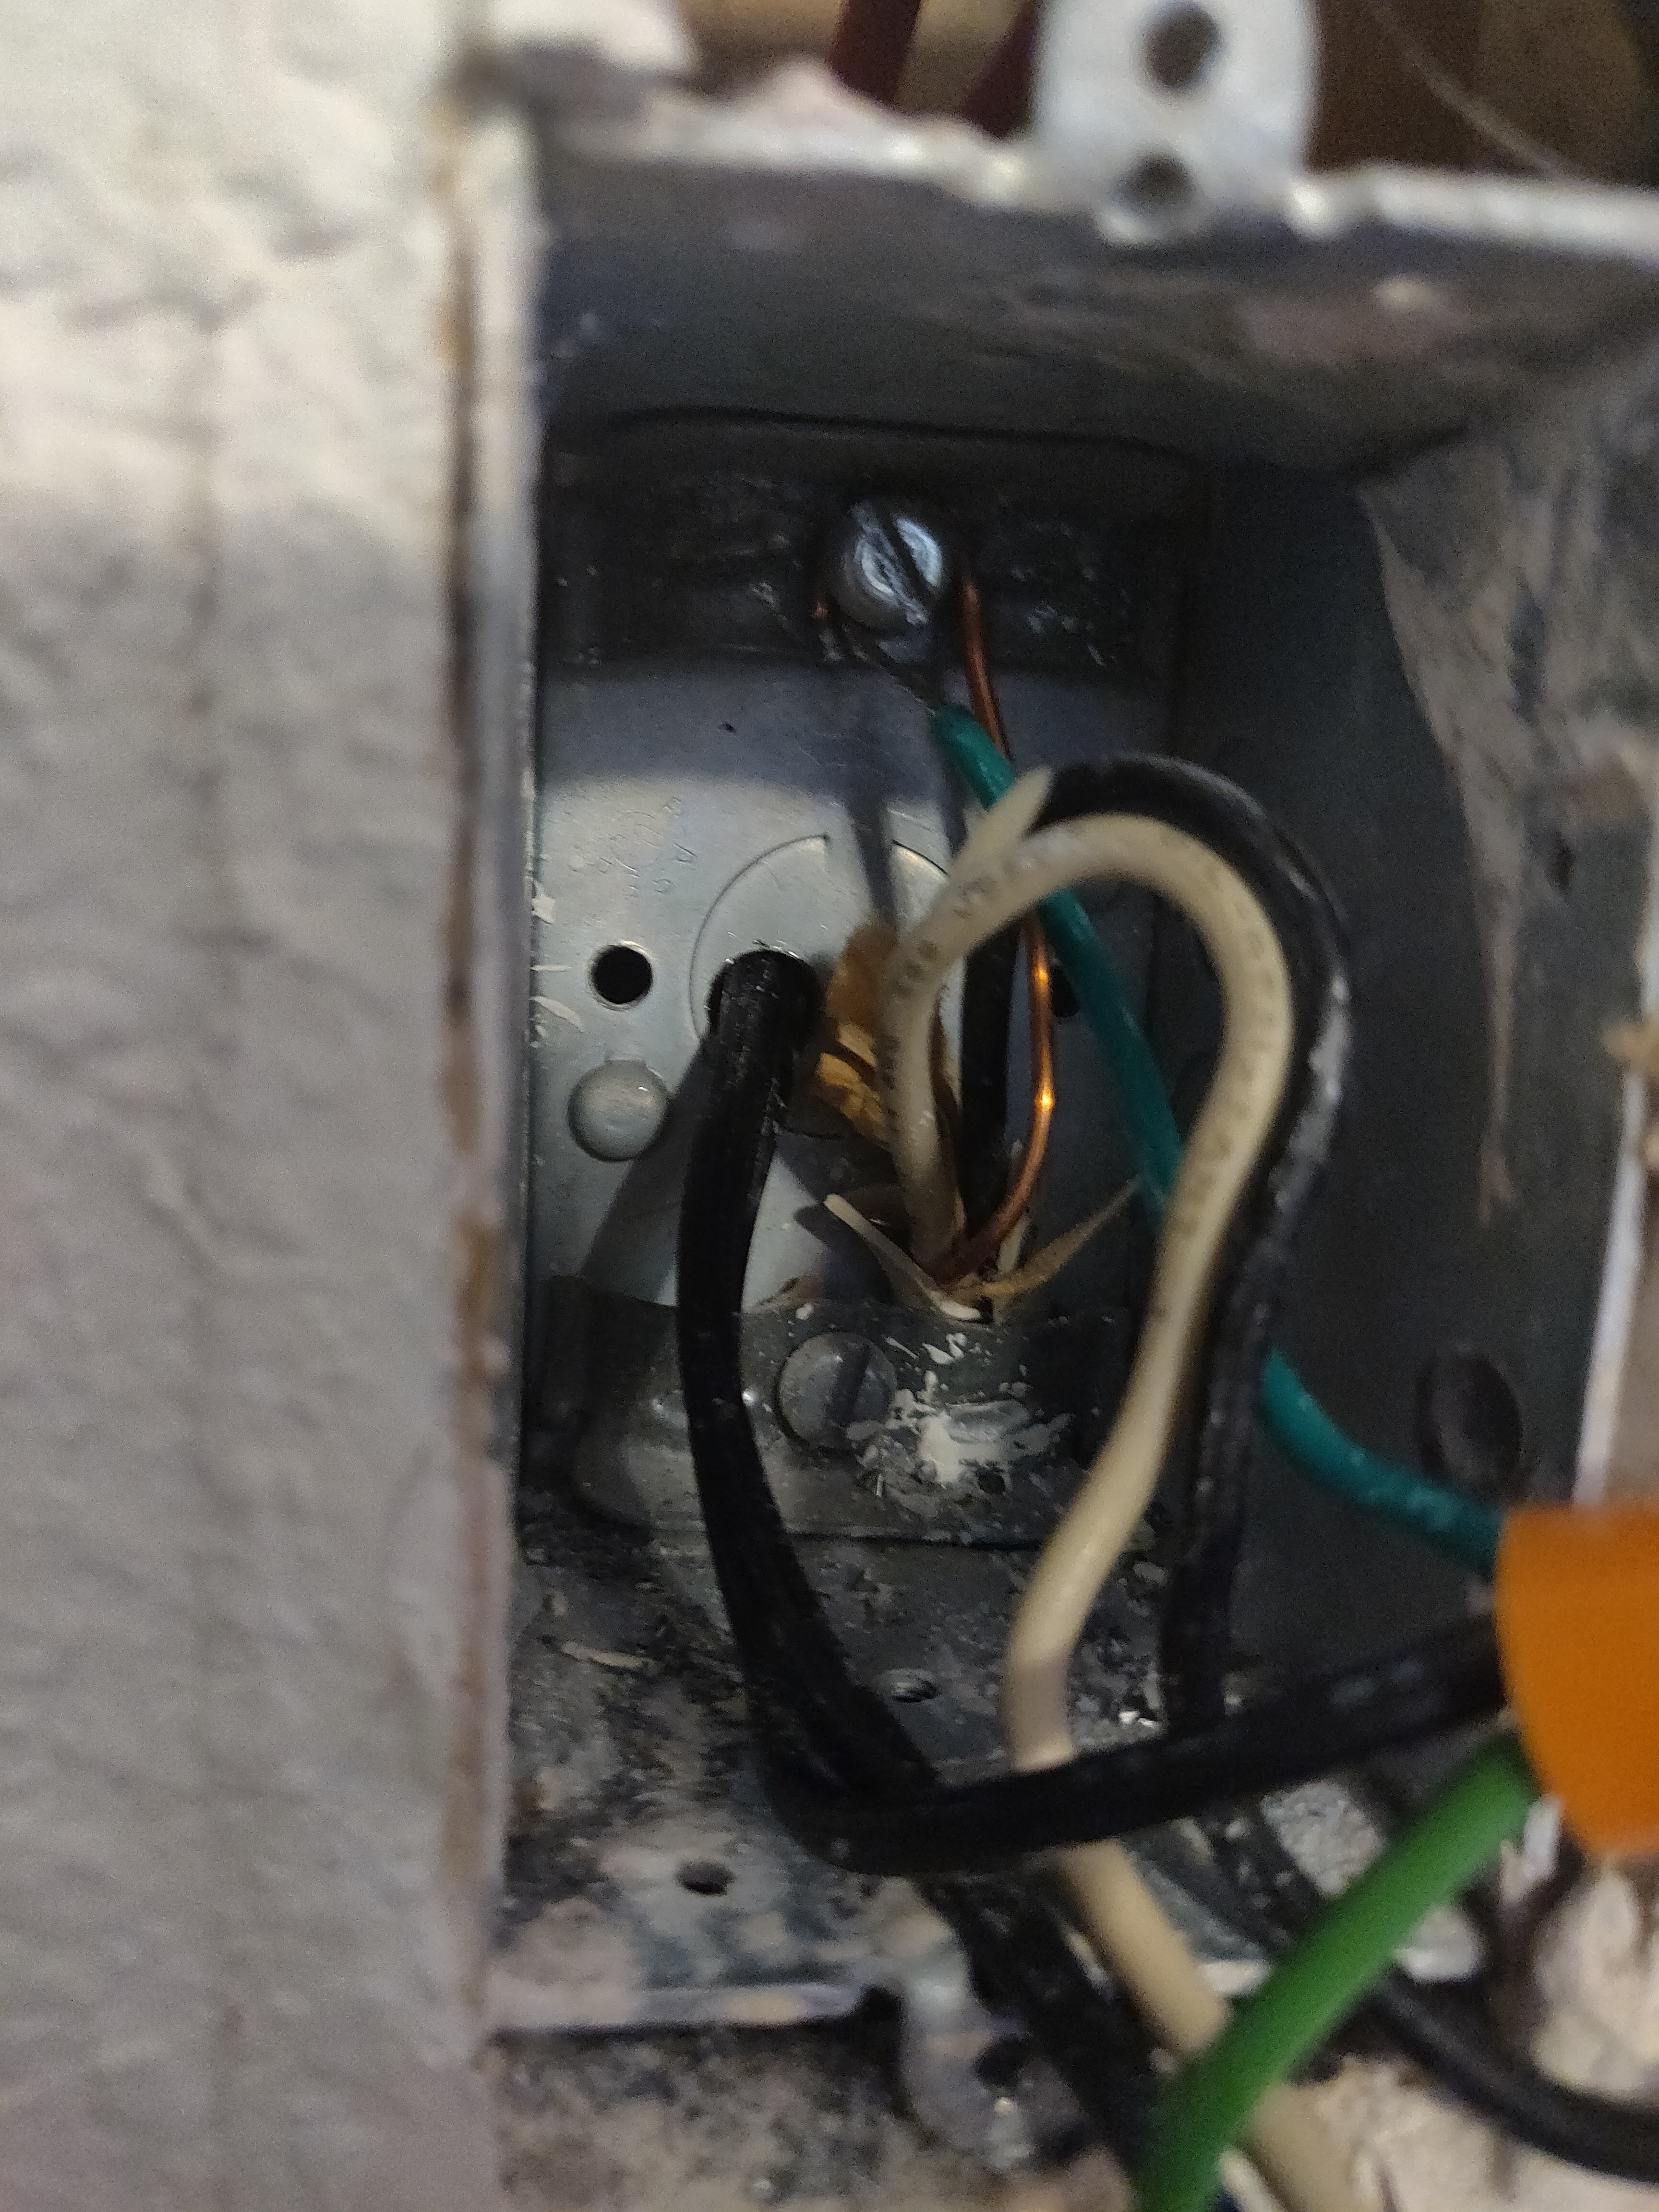
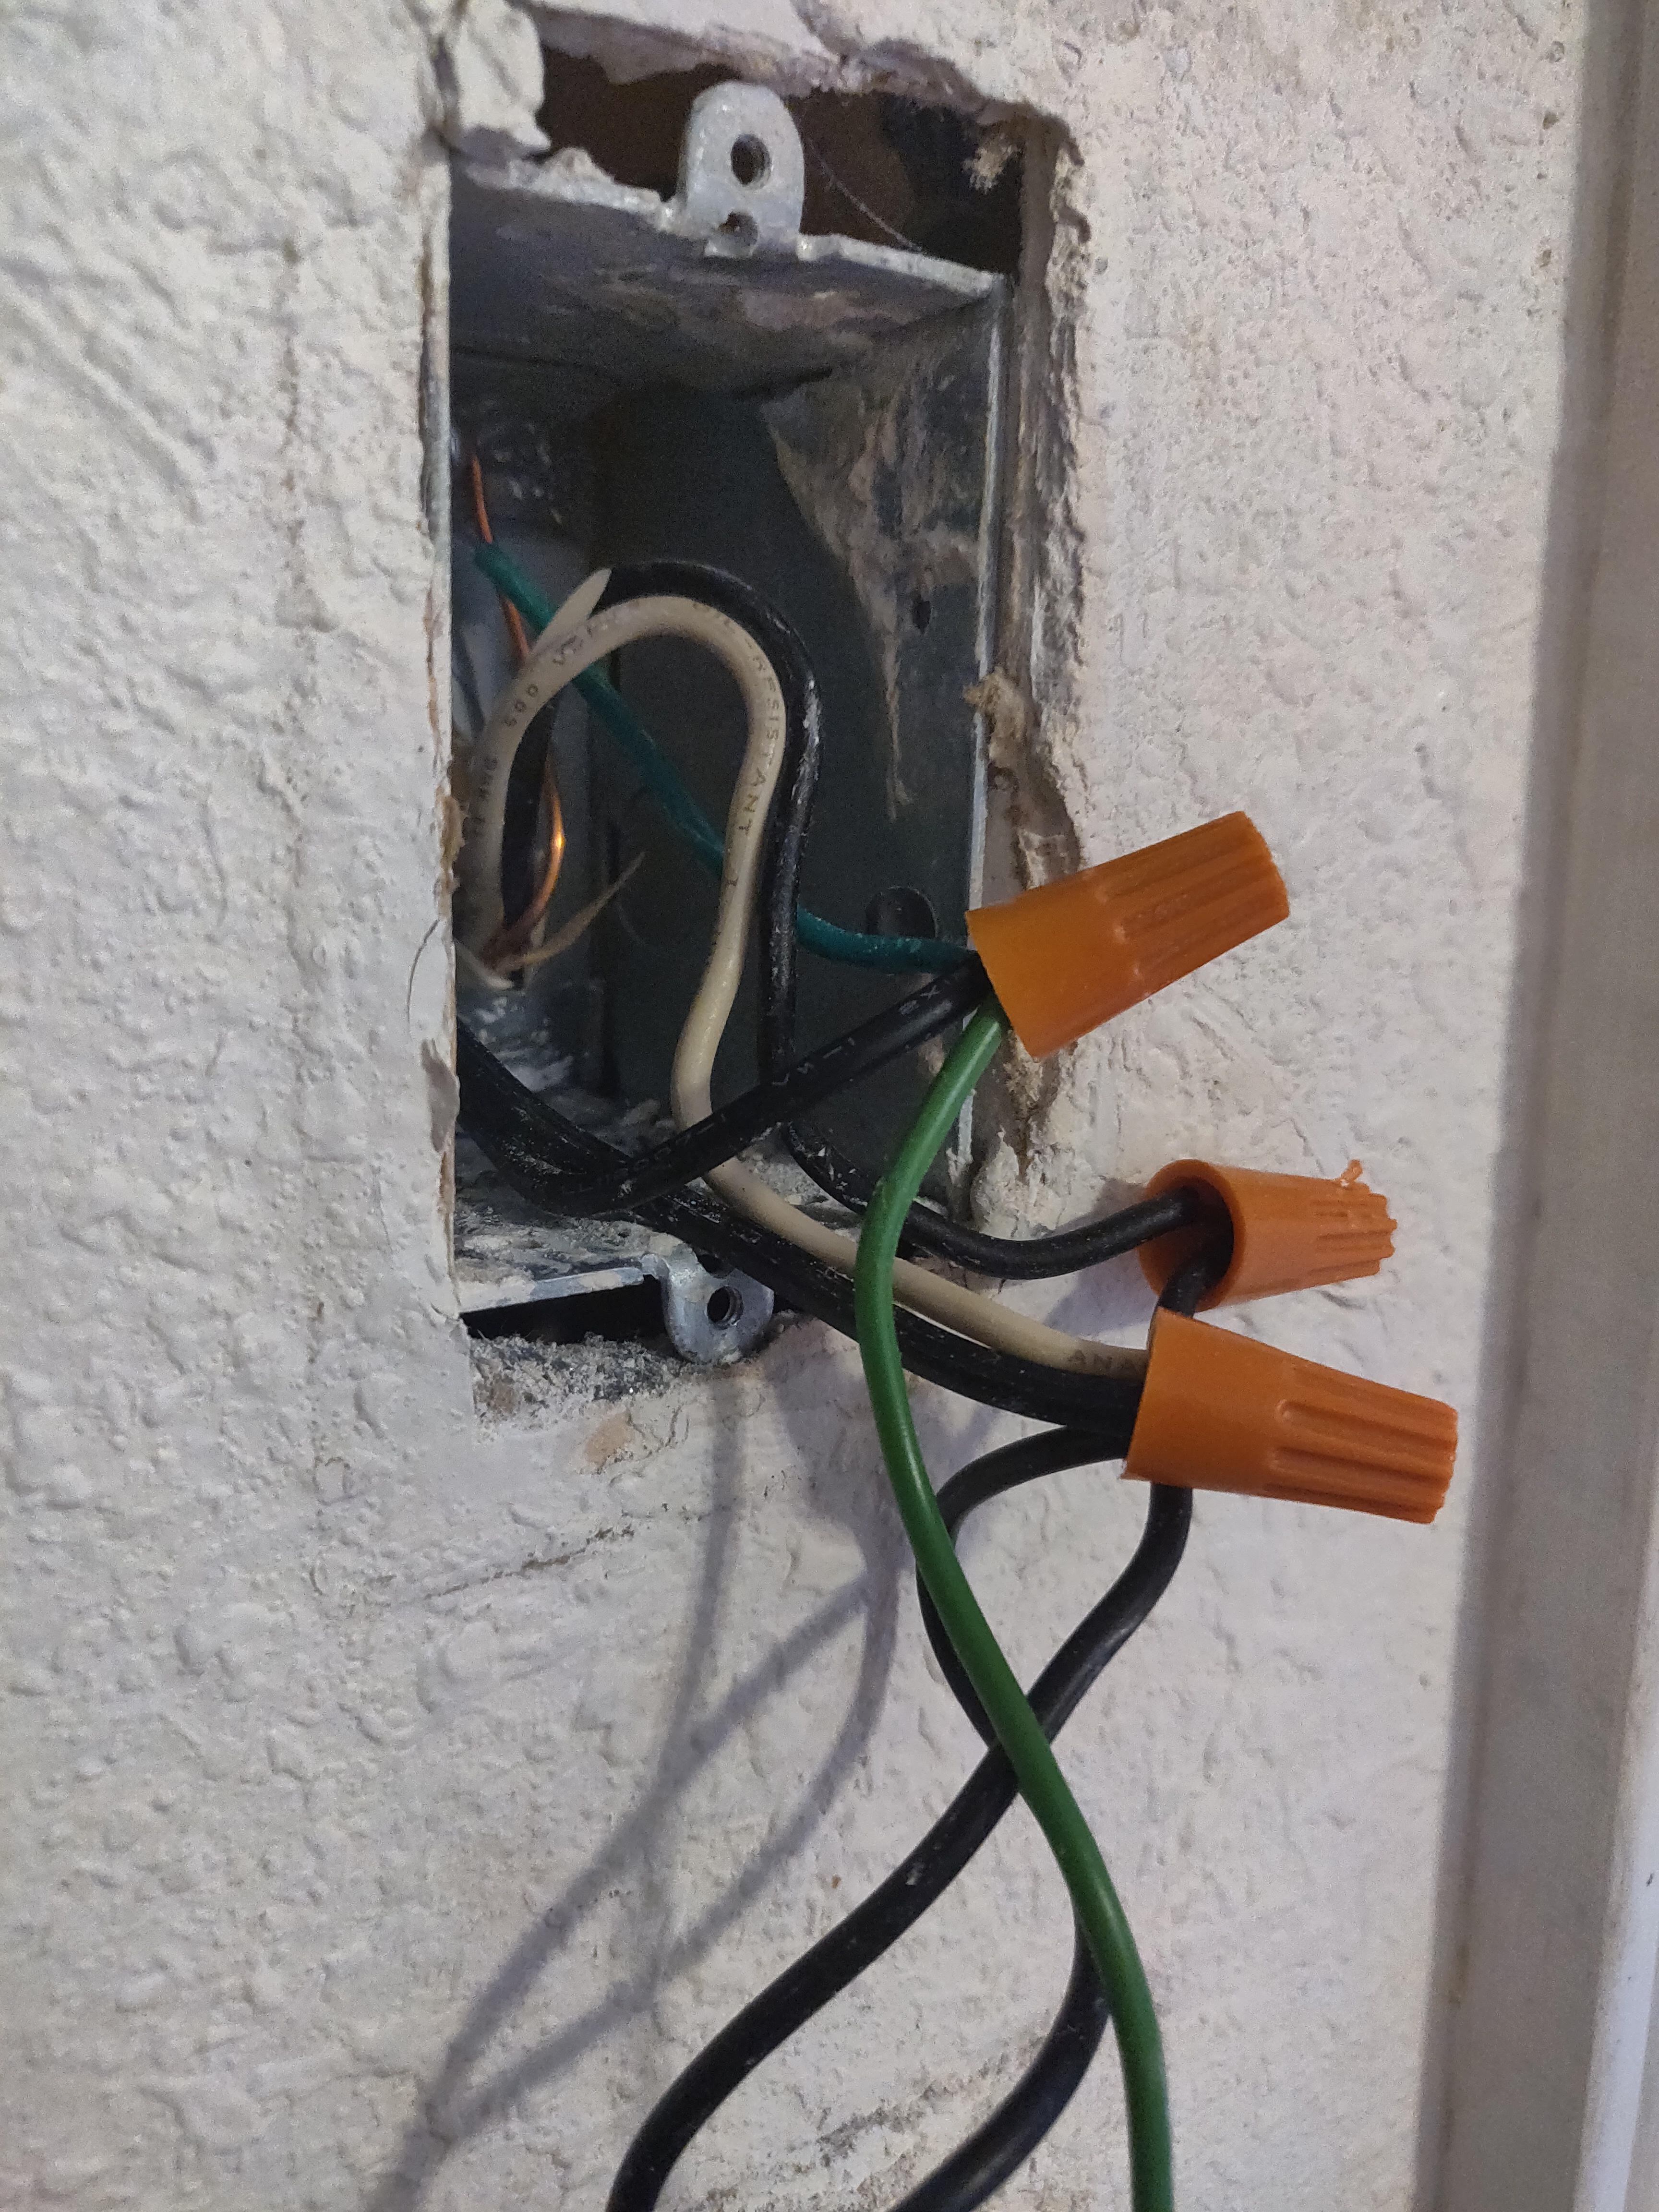
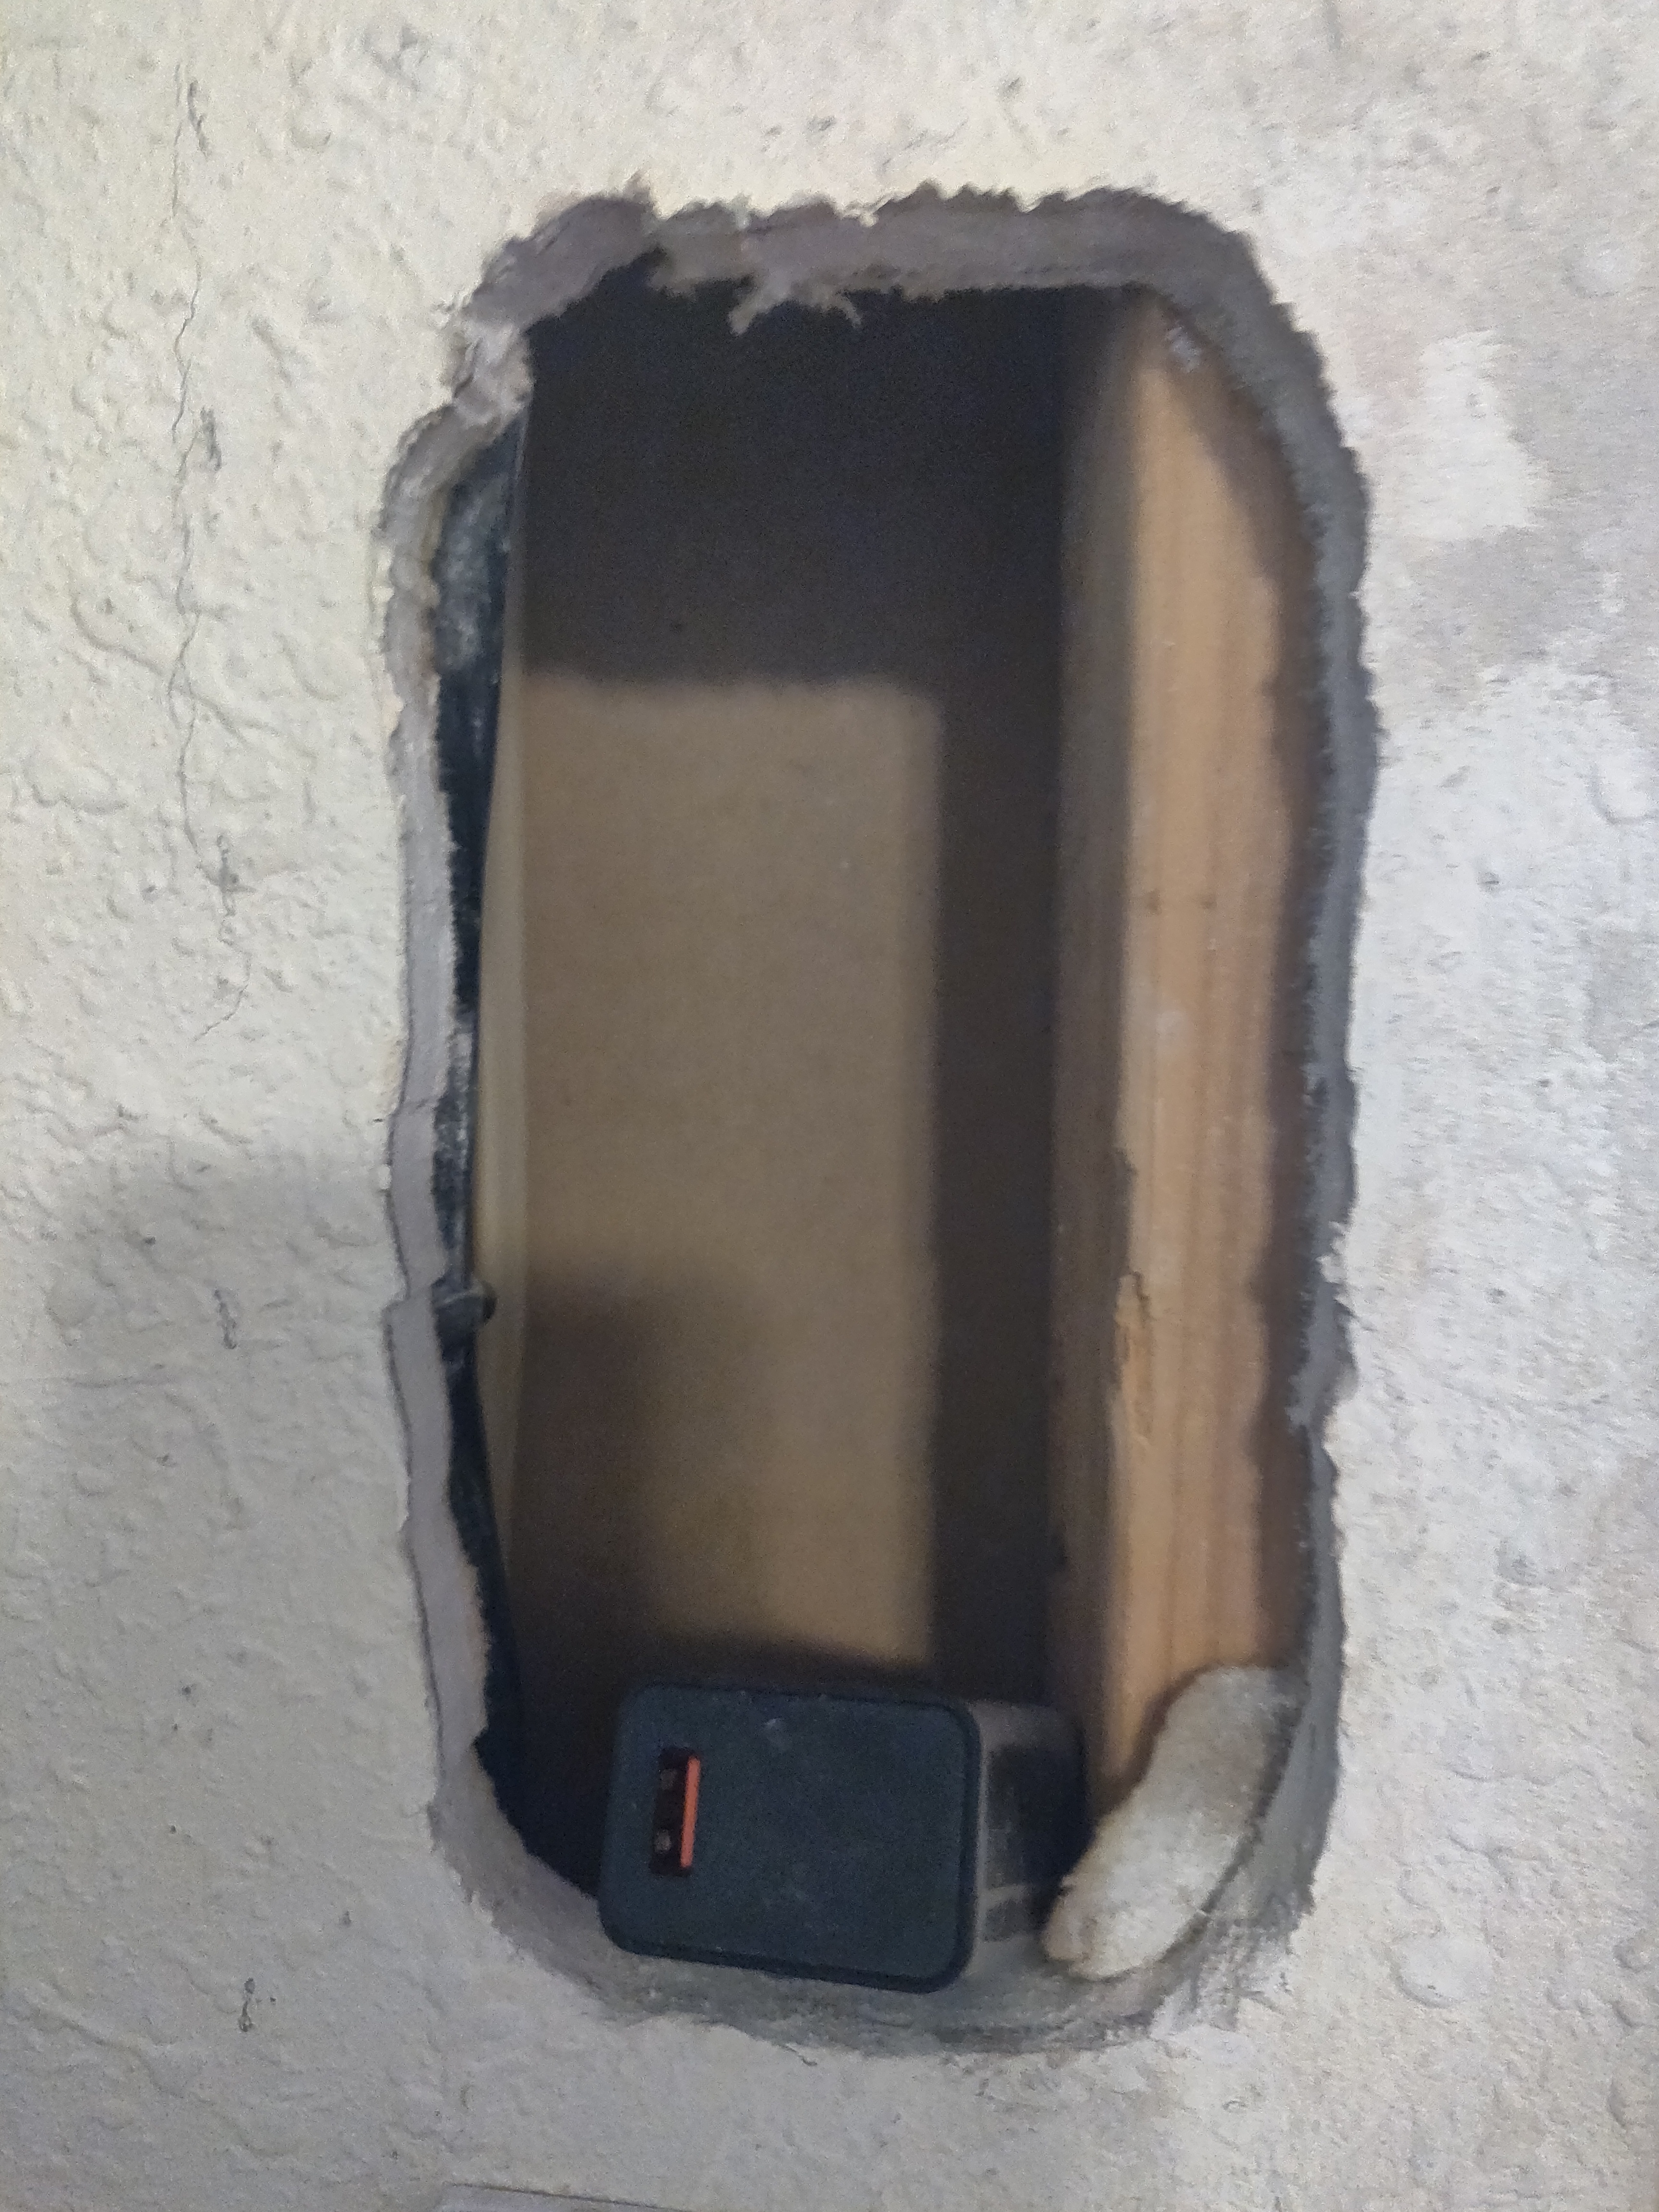
Now for the part that was the most intimidating to me.
Using your drywall tools find a location to install the tablet. I choose a location near a light switch so I could draw power for the charger.
I took the wireless charger pad on the wall to mark where to cut.
I used a power tool to circle cut the hole in the wall. I didn't do the best or cleanest job at cutting the hole (you can see it in the pictures.) I assume you will do better than me.
I soldered two wires to the ends of the USB power brick and those wires were fed into the light switch power.
Install Wireless Charging Pad
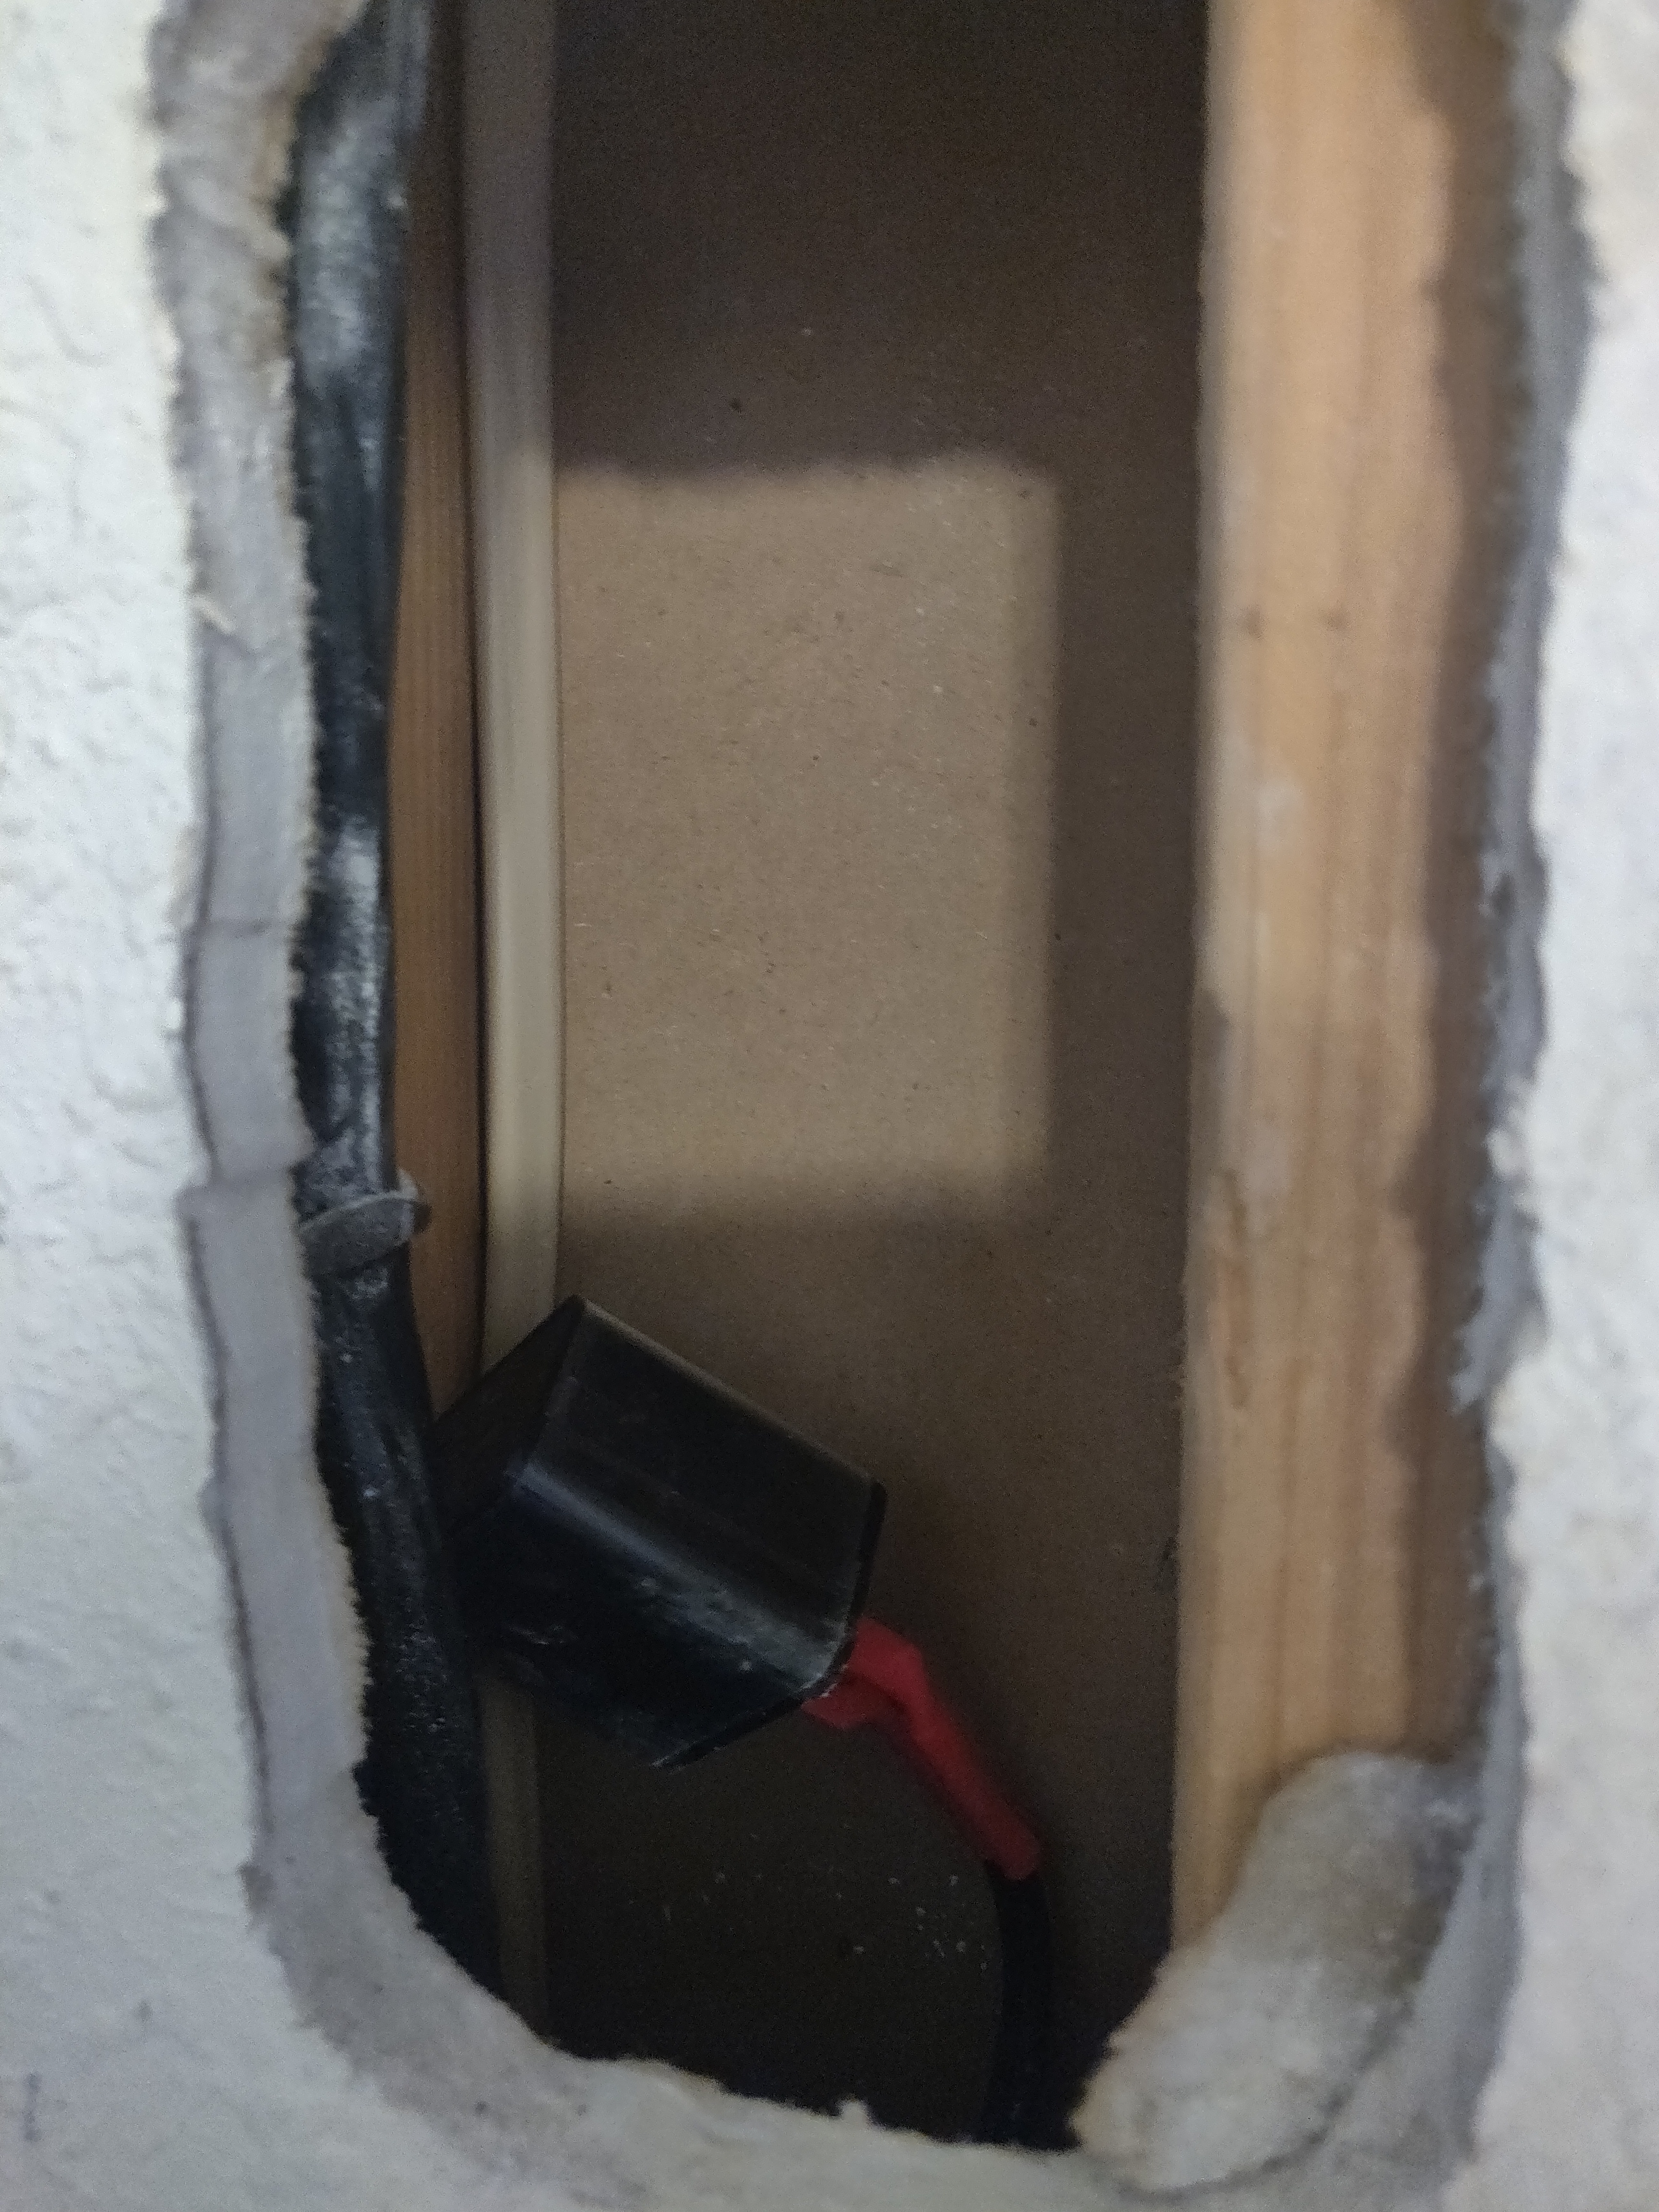
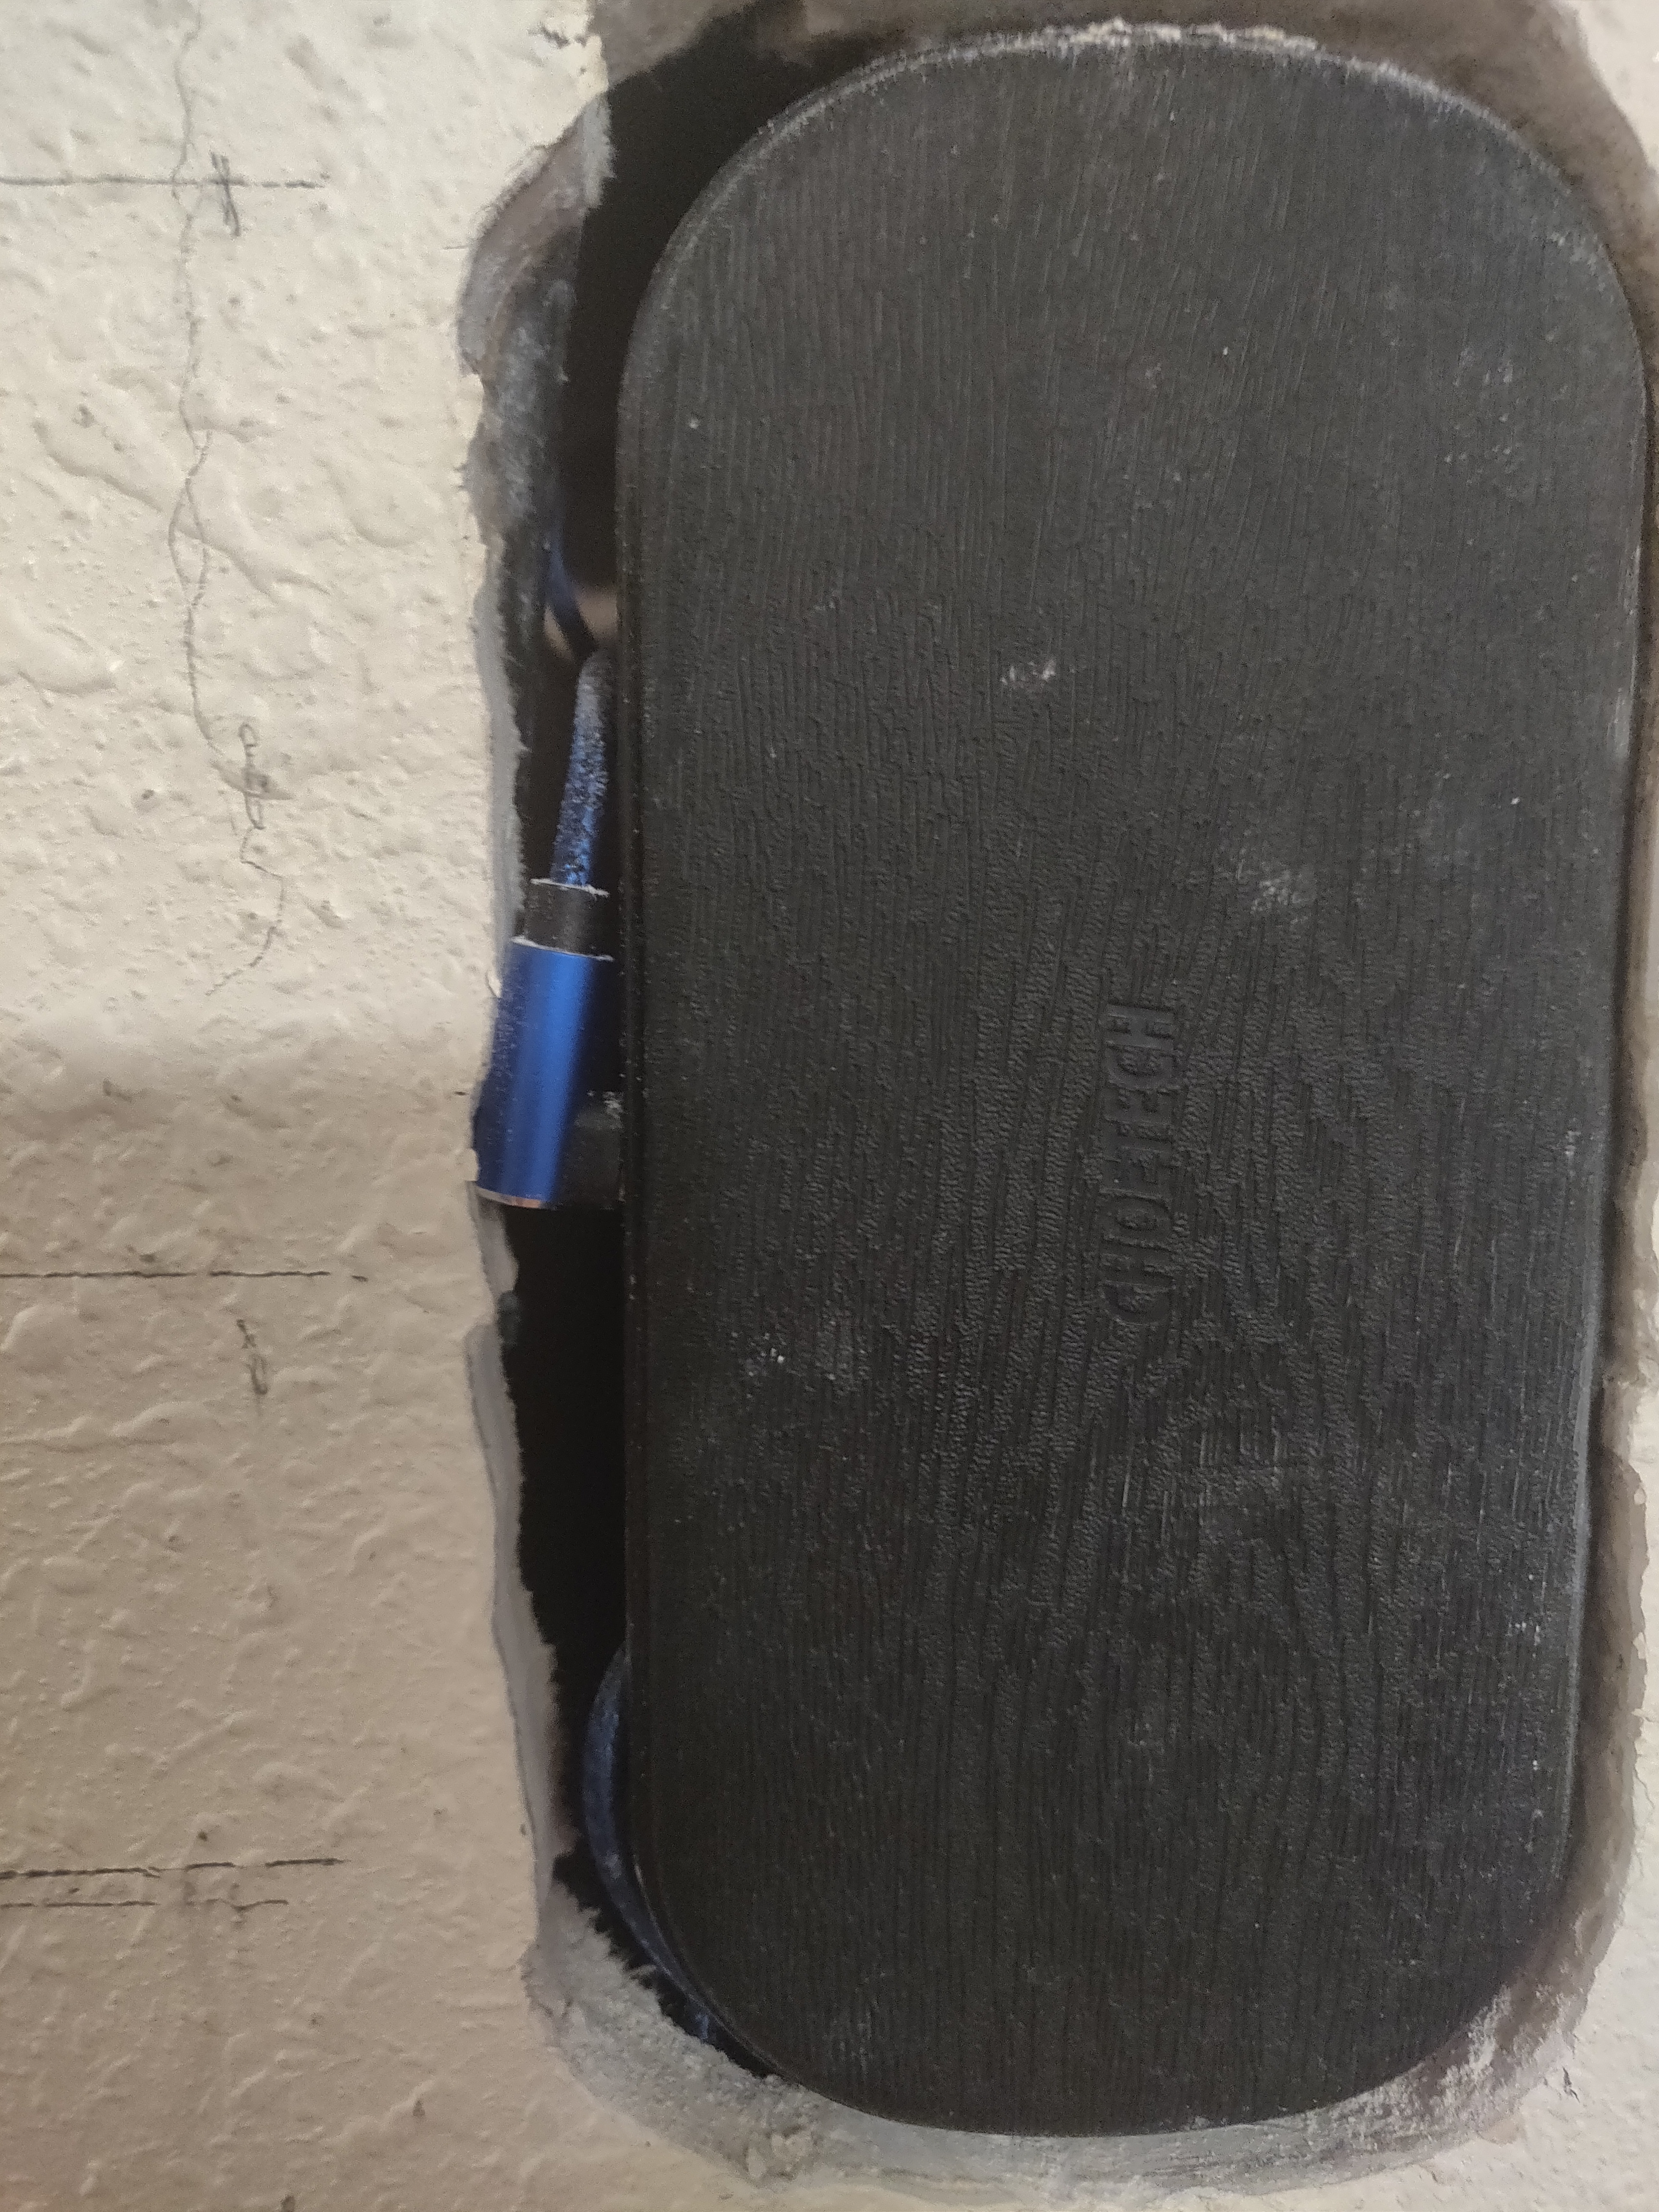
This is where it starts to get really tricky. Even with my sloppy cutting the hole for the charging pad was actually perfect. I had to use a right-angle USB cable to reduce the complexity and size of the hole in the wall.
Once the pad is plugged into the USB power brick behind the wall make sure you move it as close to the surface of the wall as possible. I can't state it enough that it is critical that this be as close to the surface as possible.
The pad I used was a 5 coil pad which allowed for the placement of the tablet to be a little more lenient. Initially, I tried a single-coil and fount that the placement of the tablet had to be in an exact location with absolutely 0 tolerance for misplacement. Even with the 5 coil pad, I had to be in a relatively exact location to start charging. I don't know if this was because of the particular receiver I had installed in the tablet so you might have better luck with another.
Also, make sure you get the right power brick. The 5 coil pad I bought required a QC power brick below I will list all of the parts I used.
- 5 coil wireless power pad (https://www.amazon.com/gp/product/B07PYQQ1R7/ref=ppx_yo_dt_b_asin_title_o00_s00?ie=UTF8&psc=1)
- USB QC power brick (https://www.amazon.com/gp/product/B07PYQQ1R7/ref=ppx_yo_dt_b_asin_title_o00_s00?ie=UTF8&psc=1)
- Right-angle usb cable (https://www.amazon.com/gp/product/B07Q4TNJFK/ref=ppx_yo_dt_b_asin_title_o07_s00?ie=UTF8&psc=1)
Install Magnets and Repair Wall
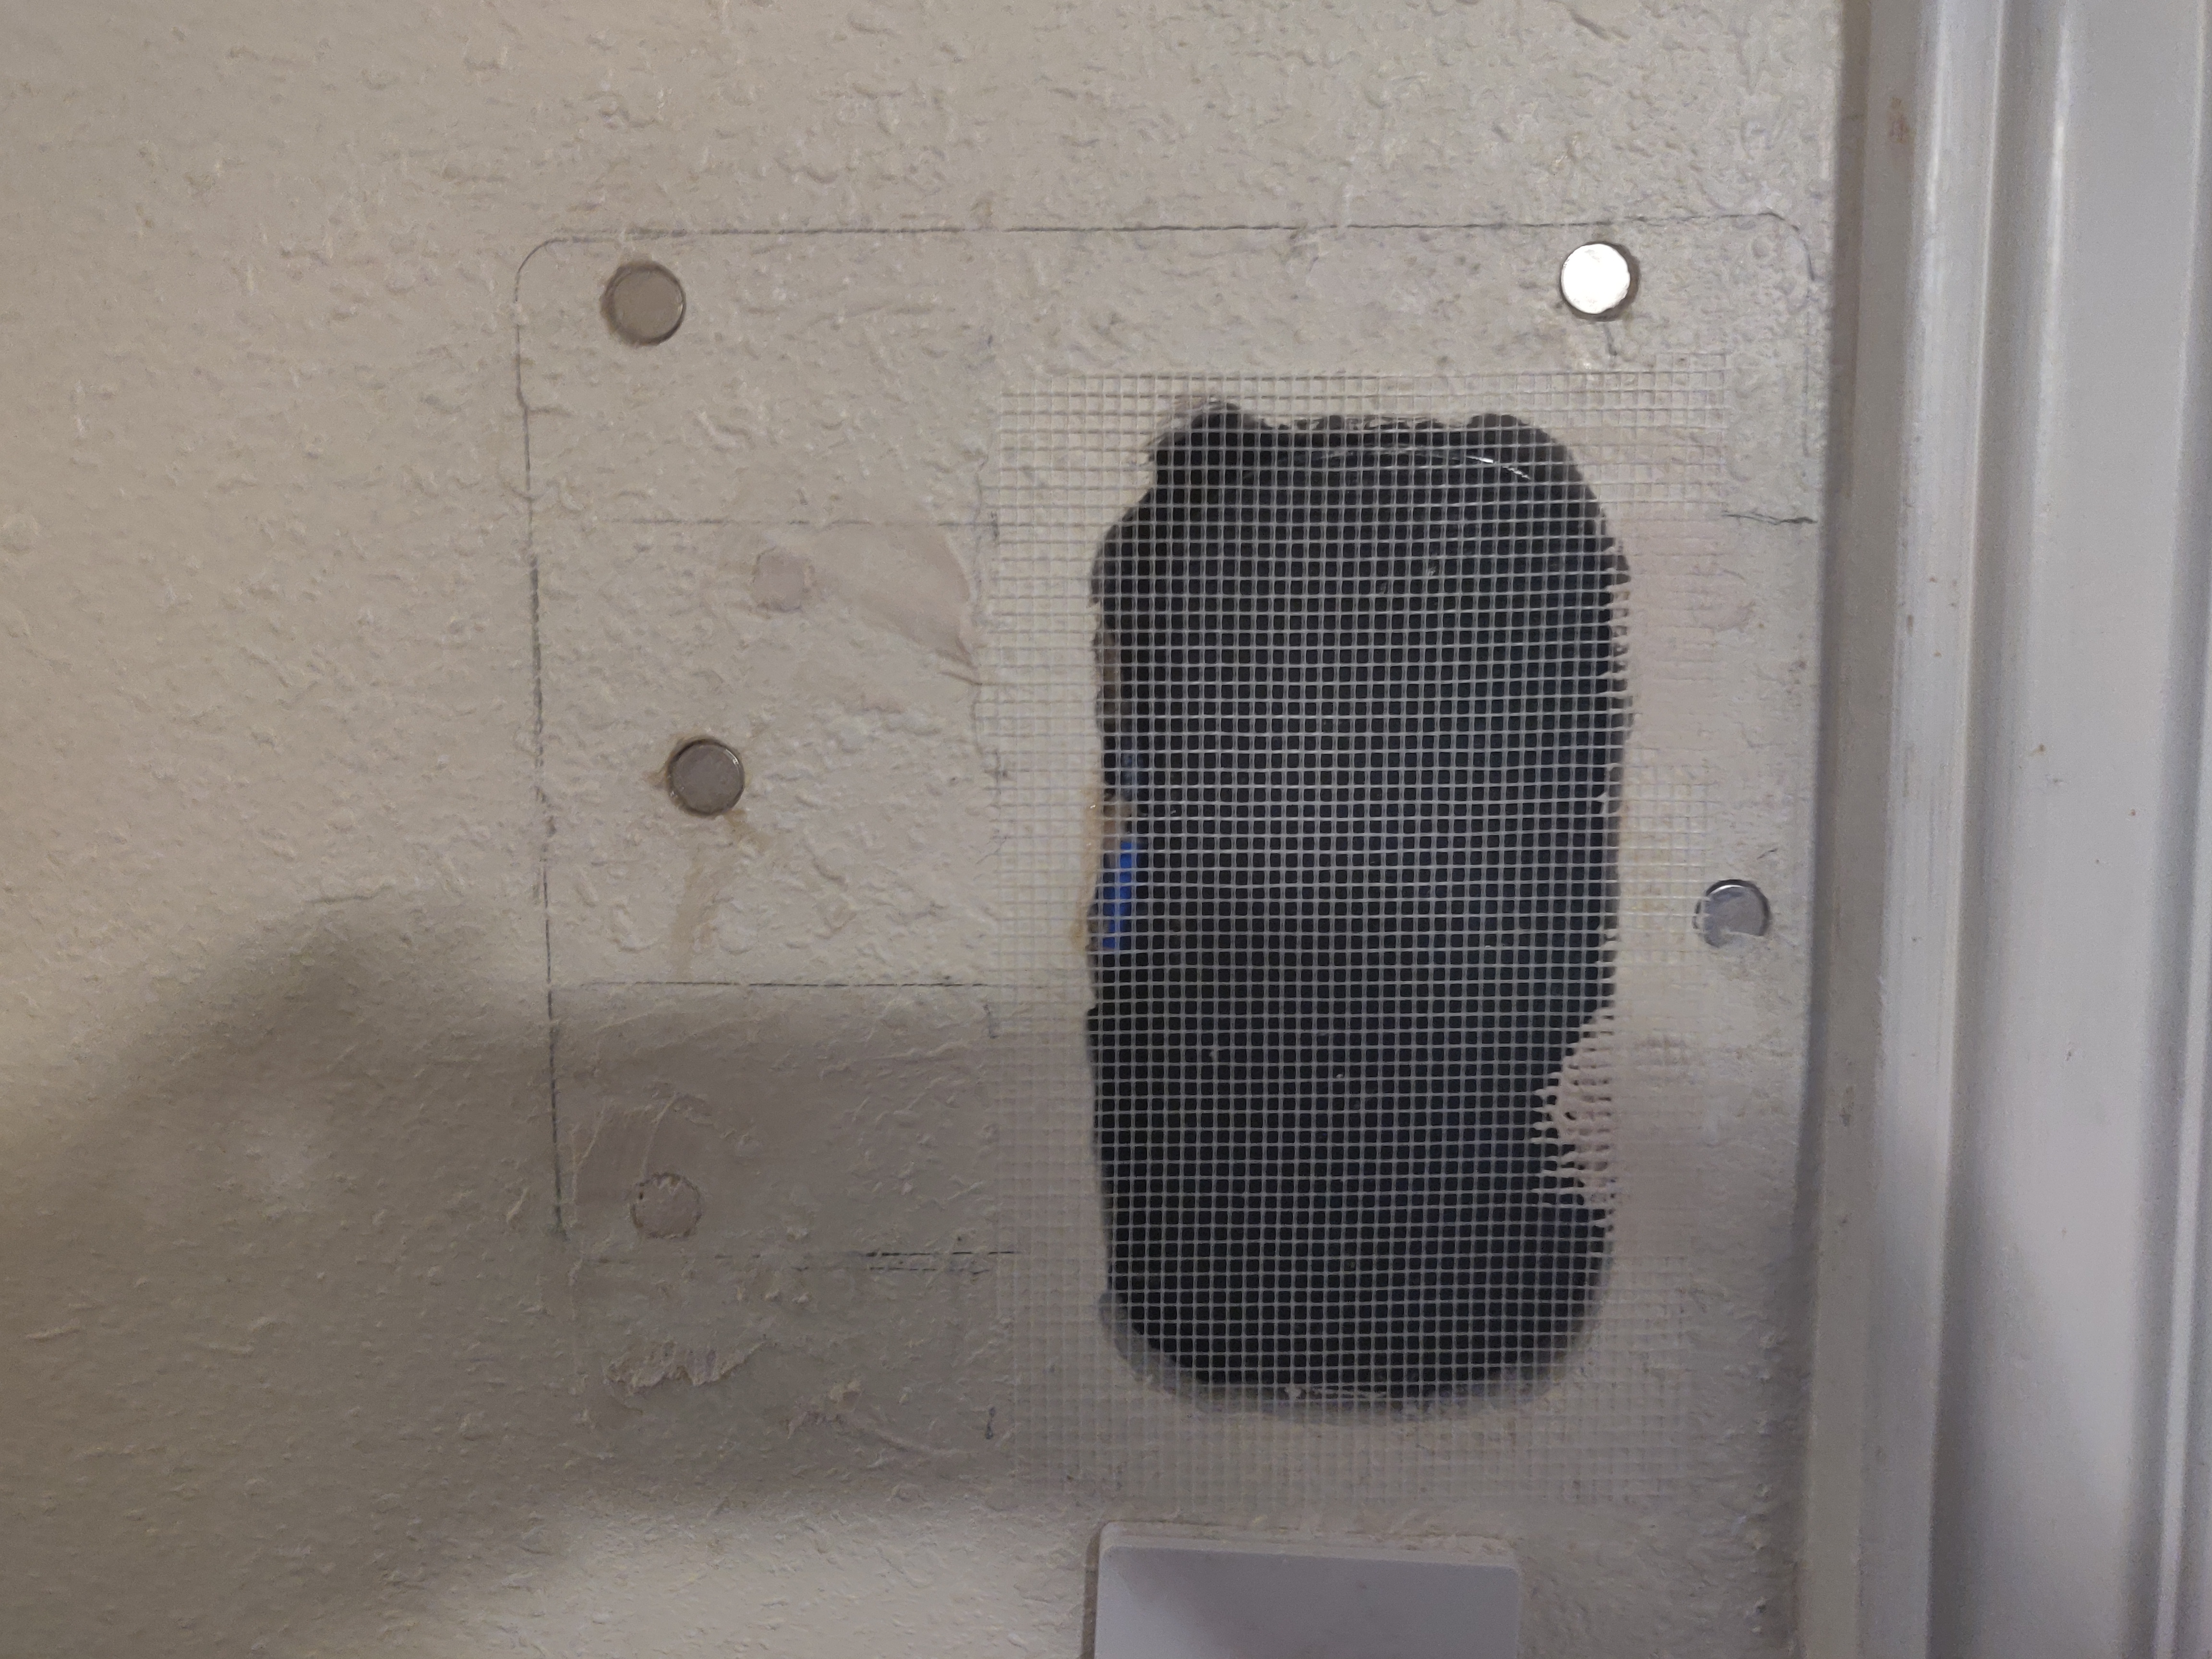
This step is very hard.
Fist you have to place the magnets. This sounds easy but you have to align so that when the magnets hold the tablet to the wall that they charge the tablet. I created a template of where the magnets were positioned on the back of the tablet by tracing the magnets on a piece of paper. Then when I placed the tablet on the wall I found the position where the tablet started charging and taped the template to the wall.
Then with the template on the wall, I drilled holes in the wall at each of the points on the template. Don't go all the way through the drywall so that when you place the magnets they won't fall through the back.
After drilling the holes you can install the magnets. Make sure you orient them so that they will match the orientation of the magnets in the tablet. I used some construction glue to glue the magnets into the wall. Also, I used a stack of three magnets at each point because I need to make sure the link is strong. It will be going through drywall and through the plastic of the tablet casing so multiple magnets will help the tablet not fall off the wall easily.
after the magnets are installed you can patch up and paint the wall. This is really tricky because it has to be super thin for the charging to work. I tested multiple times after patching the drywall to make sure it would still charge. It took me a long time to figure out that I had to wait for the drywall patch to dry before doing a successful test. I think that the moisture in the drywall stops the charger from working.
After the drywall dries and you have a successful test (it took me like 5 tries to get the thickness right). But once i did all that was left was to add drywall texture and paint. I would be very patient letting the paint dry. if you try putting the tablet back on the wall the magnets will make the tablet press against it too hard and when removed it pull up the paint(it happened to me on my first try). Just wait 24 hours (even if the paint says it drys faster.)
here is a link to the magnets I used: 10.99 - Amazon
Enjoy Your New Wall Mounted Tablet
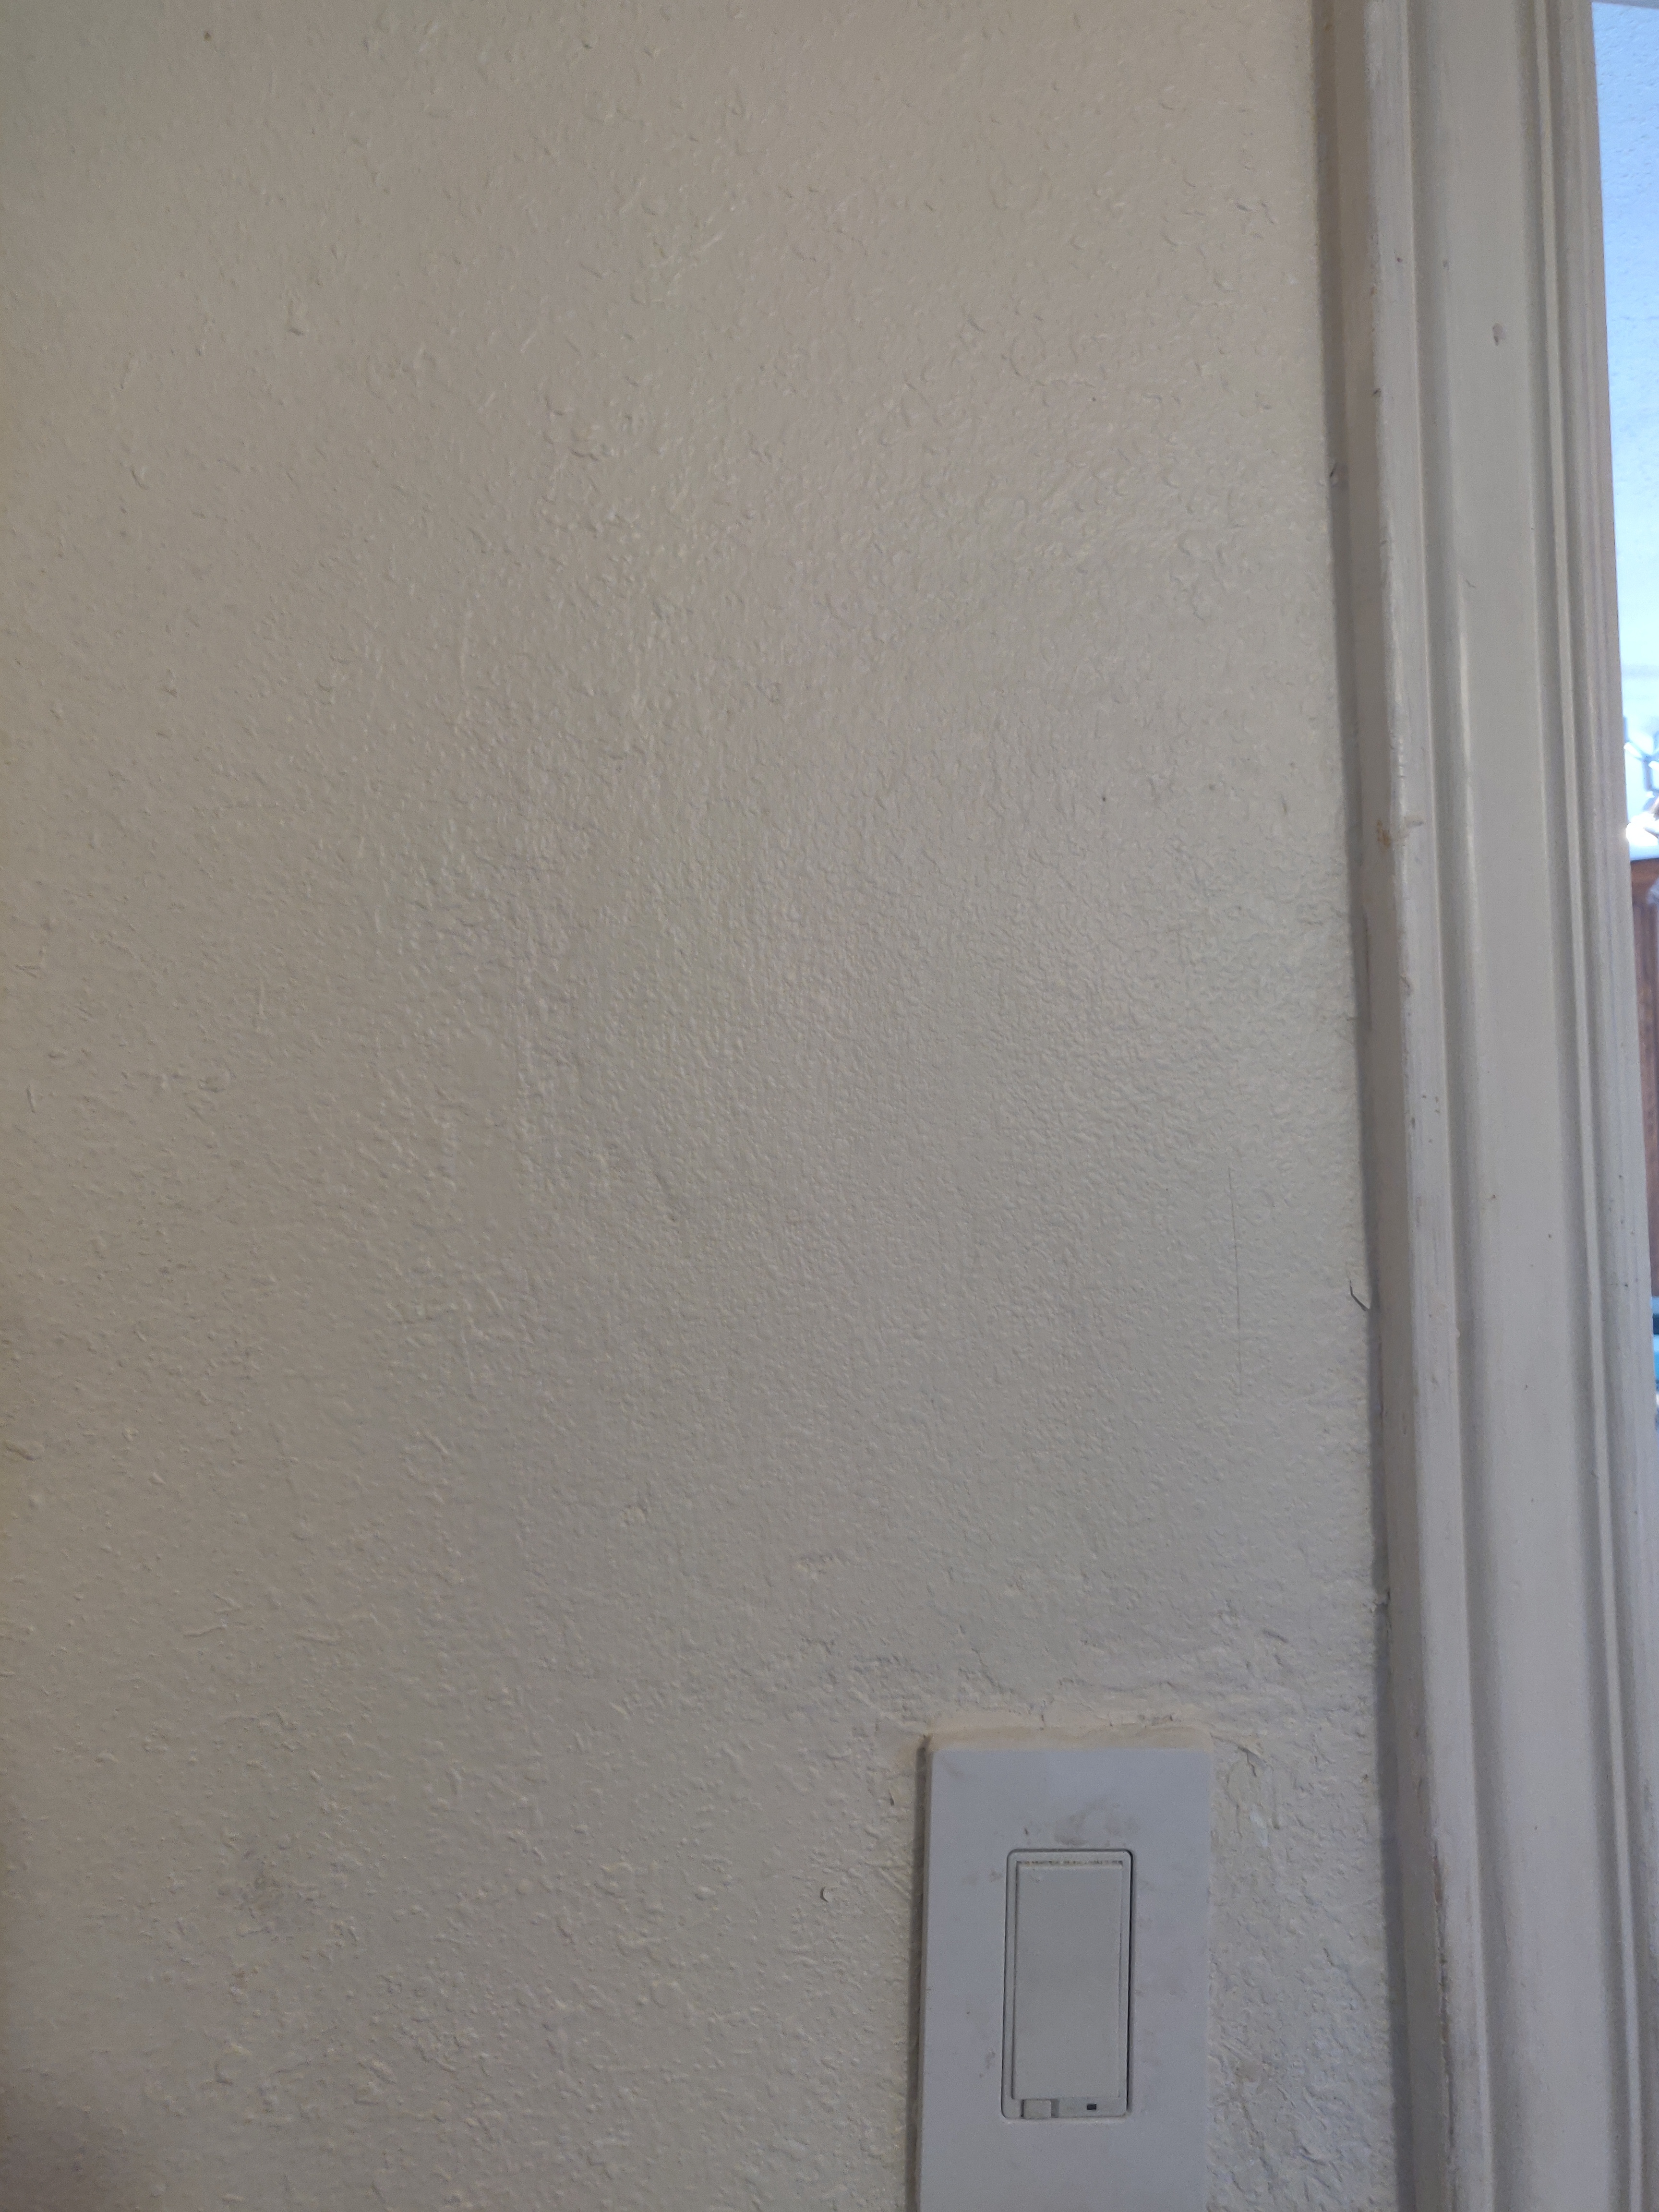
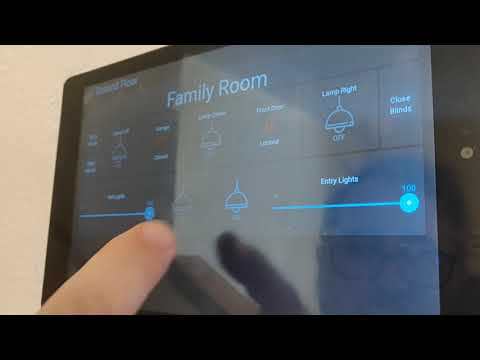
If everything goes to plan your wall should appear as any other wall. But stick a tablet against it in the correct place and you have a tablet stuck to the wall charging itself. Take it off and use it around the house and put it back when you're done.
Just know it might take some trial and error to get it all right. I found it to be an art more than a science (i have 3 more to install so hopefully they go a little easier.) Hit me up if you like this or if you are able to do it yourself. I'd love to know someone else has success.
It was a fun project and the results are exactly what i wanted.