Secret Compartment in Photo Frame
by alan0001 in Workshop > Laser Cutting
3768 Views, 56 Favorites, 0 Comments
Secret Compartment in Photo Frame
You need to Hide something from your Friends, Your Sister, your brother ?
This Instructable is for you to make a hidden Compartment behind the Photo Frame to hide small Things inside.
Gather all Supplies and Let's start to make a Project.
Supplies
1> MDF 4mm Thickness
2> LASER cutting machine
3> Fevicol Adhesive
4> Photo of yours
5> Some Hidden Things.
6> Acrylic 2mm thickness
Measure Your Image Size
I start measuring my Reference Image using a Measure tap or Foot ruler.
My Image Dimension is 150mm x 95mm .Dimensions help us to identify internal frame dimensions and we can use them as reference to make frames.
Design Your Frame
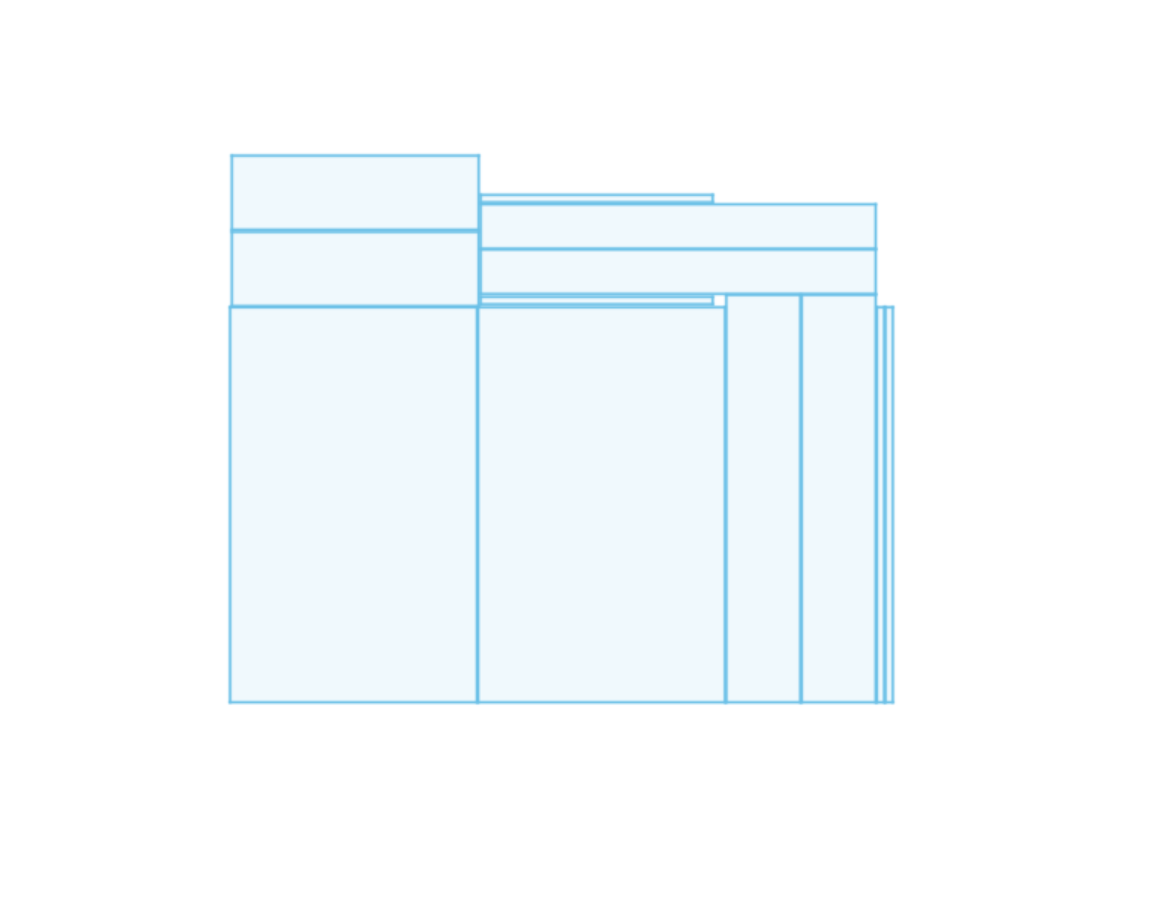
If you have good visualization skills,you need to design your frame in 2D and cut it on an MDF board.( manually draw on board and cut pieces.)
I am not a good visualizer, so indeed I make all the things first in cad software and then execute in real life.
So I started designing frames in 3d.
I use Autodesk Fusion360 to design parts in 3D.
1> make a square as per the reference dimension of your image.
2> I use a 4mm MDF board so I need a 4 mm offset on each side to fit my image inside of the frame.
3>take offset 4mm .
This is just the front side. Same design for back side.
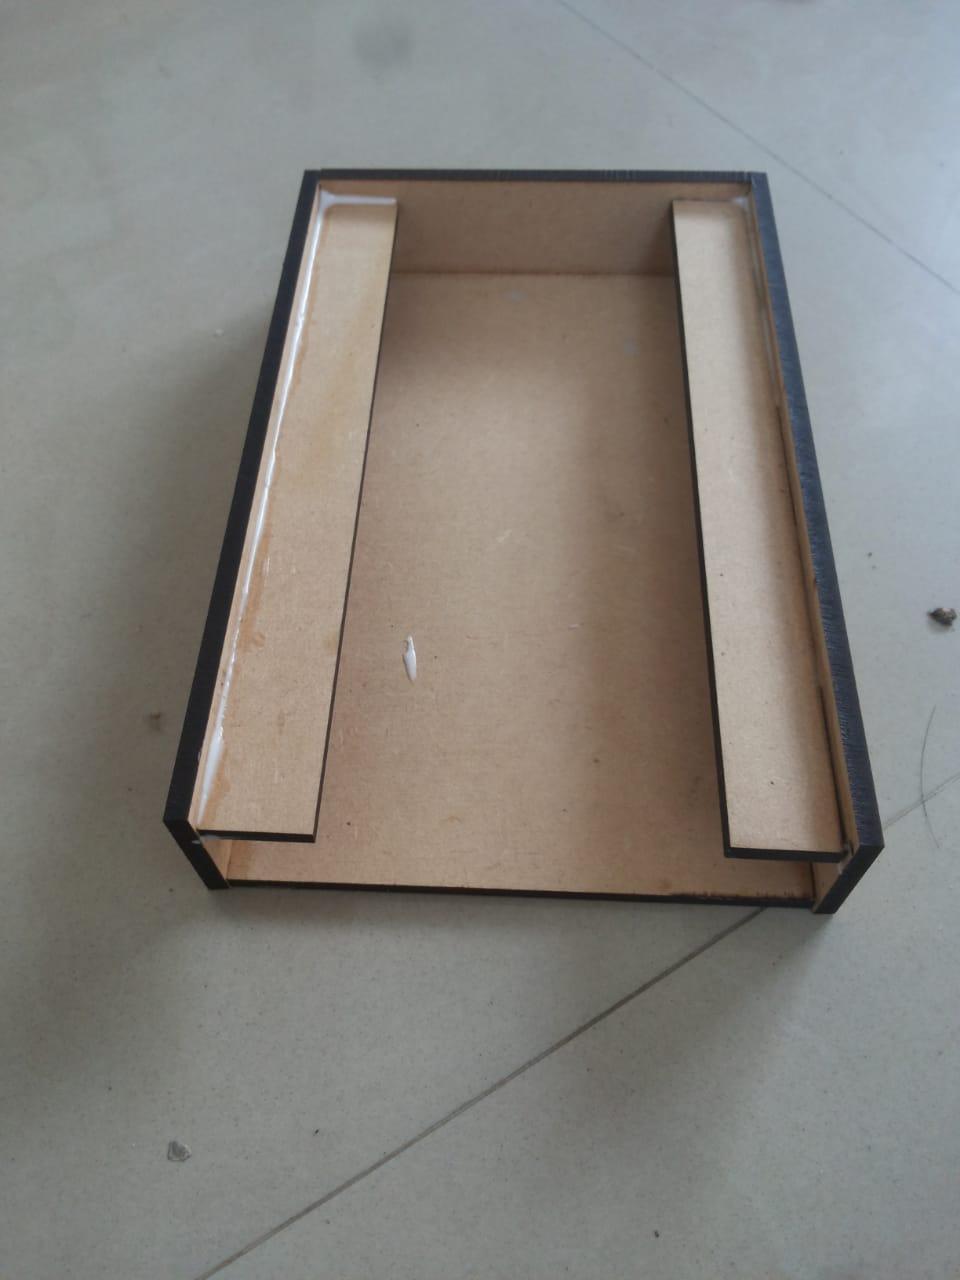
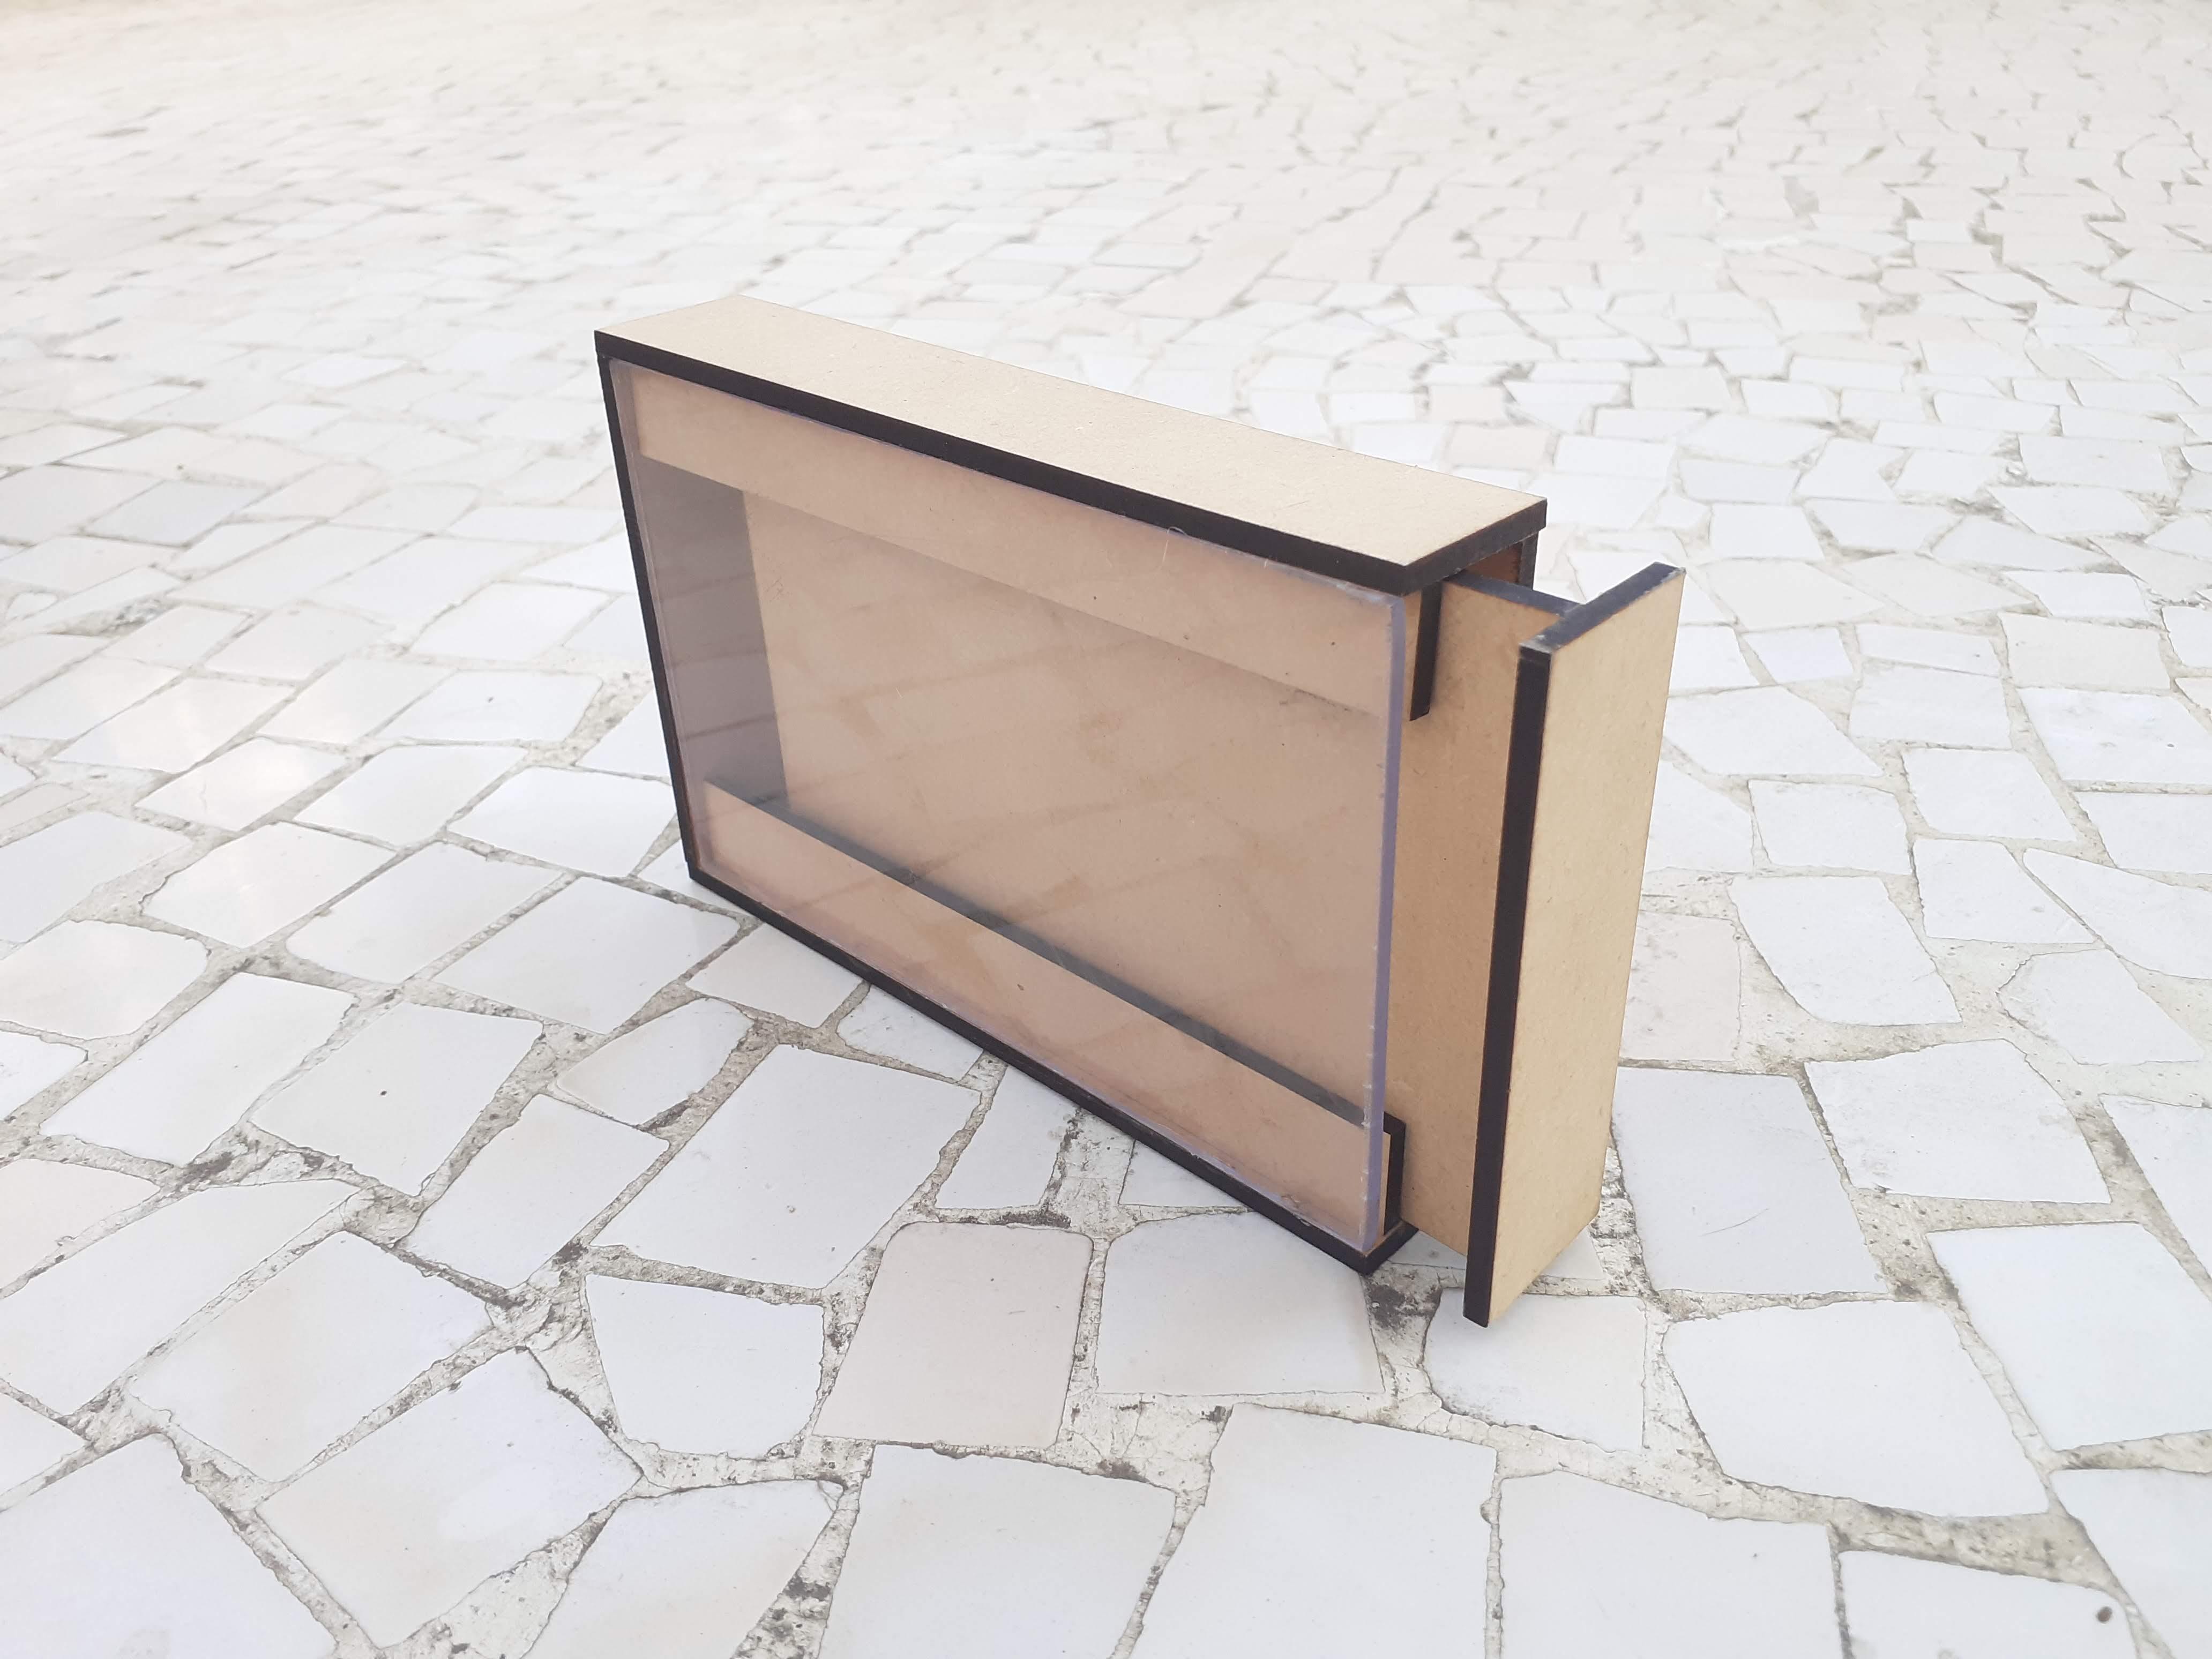
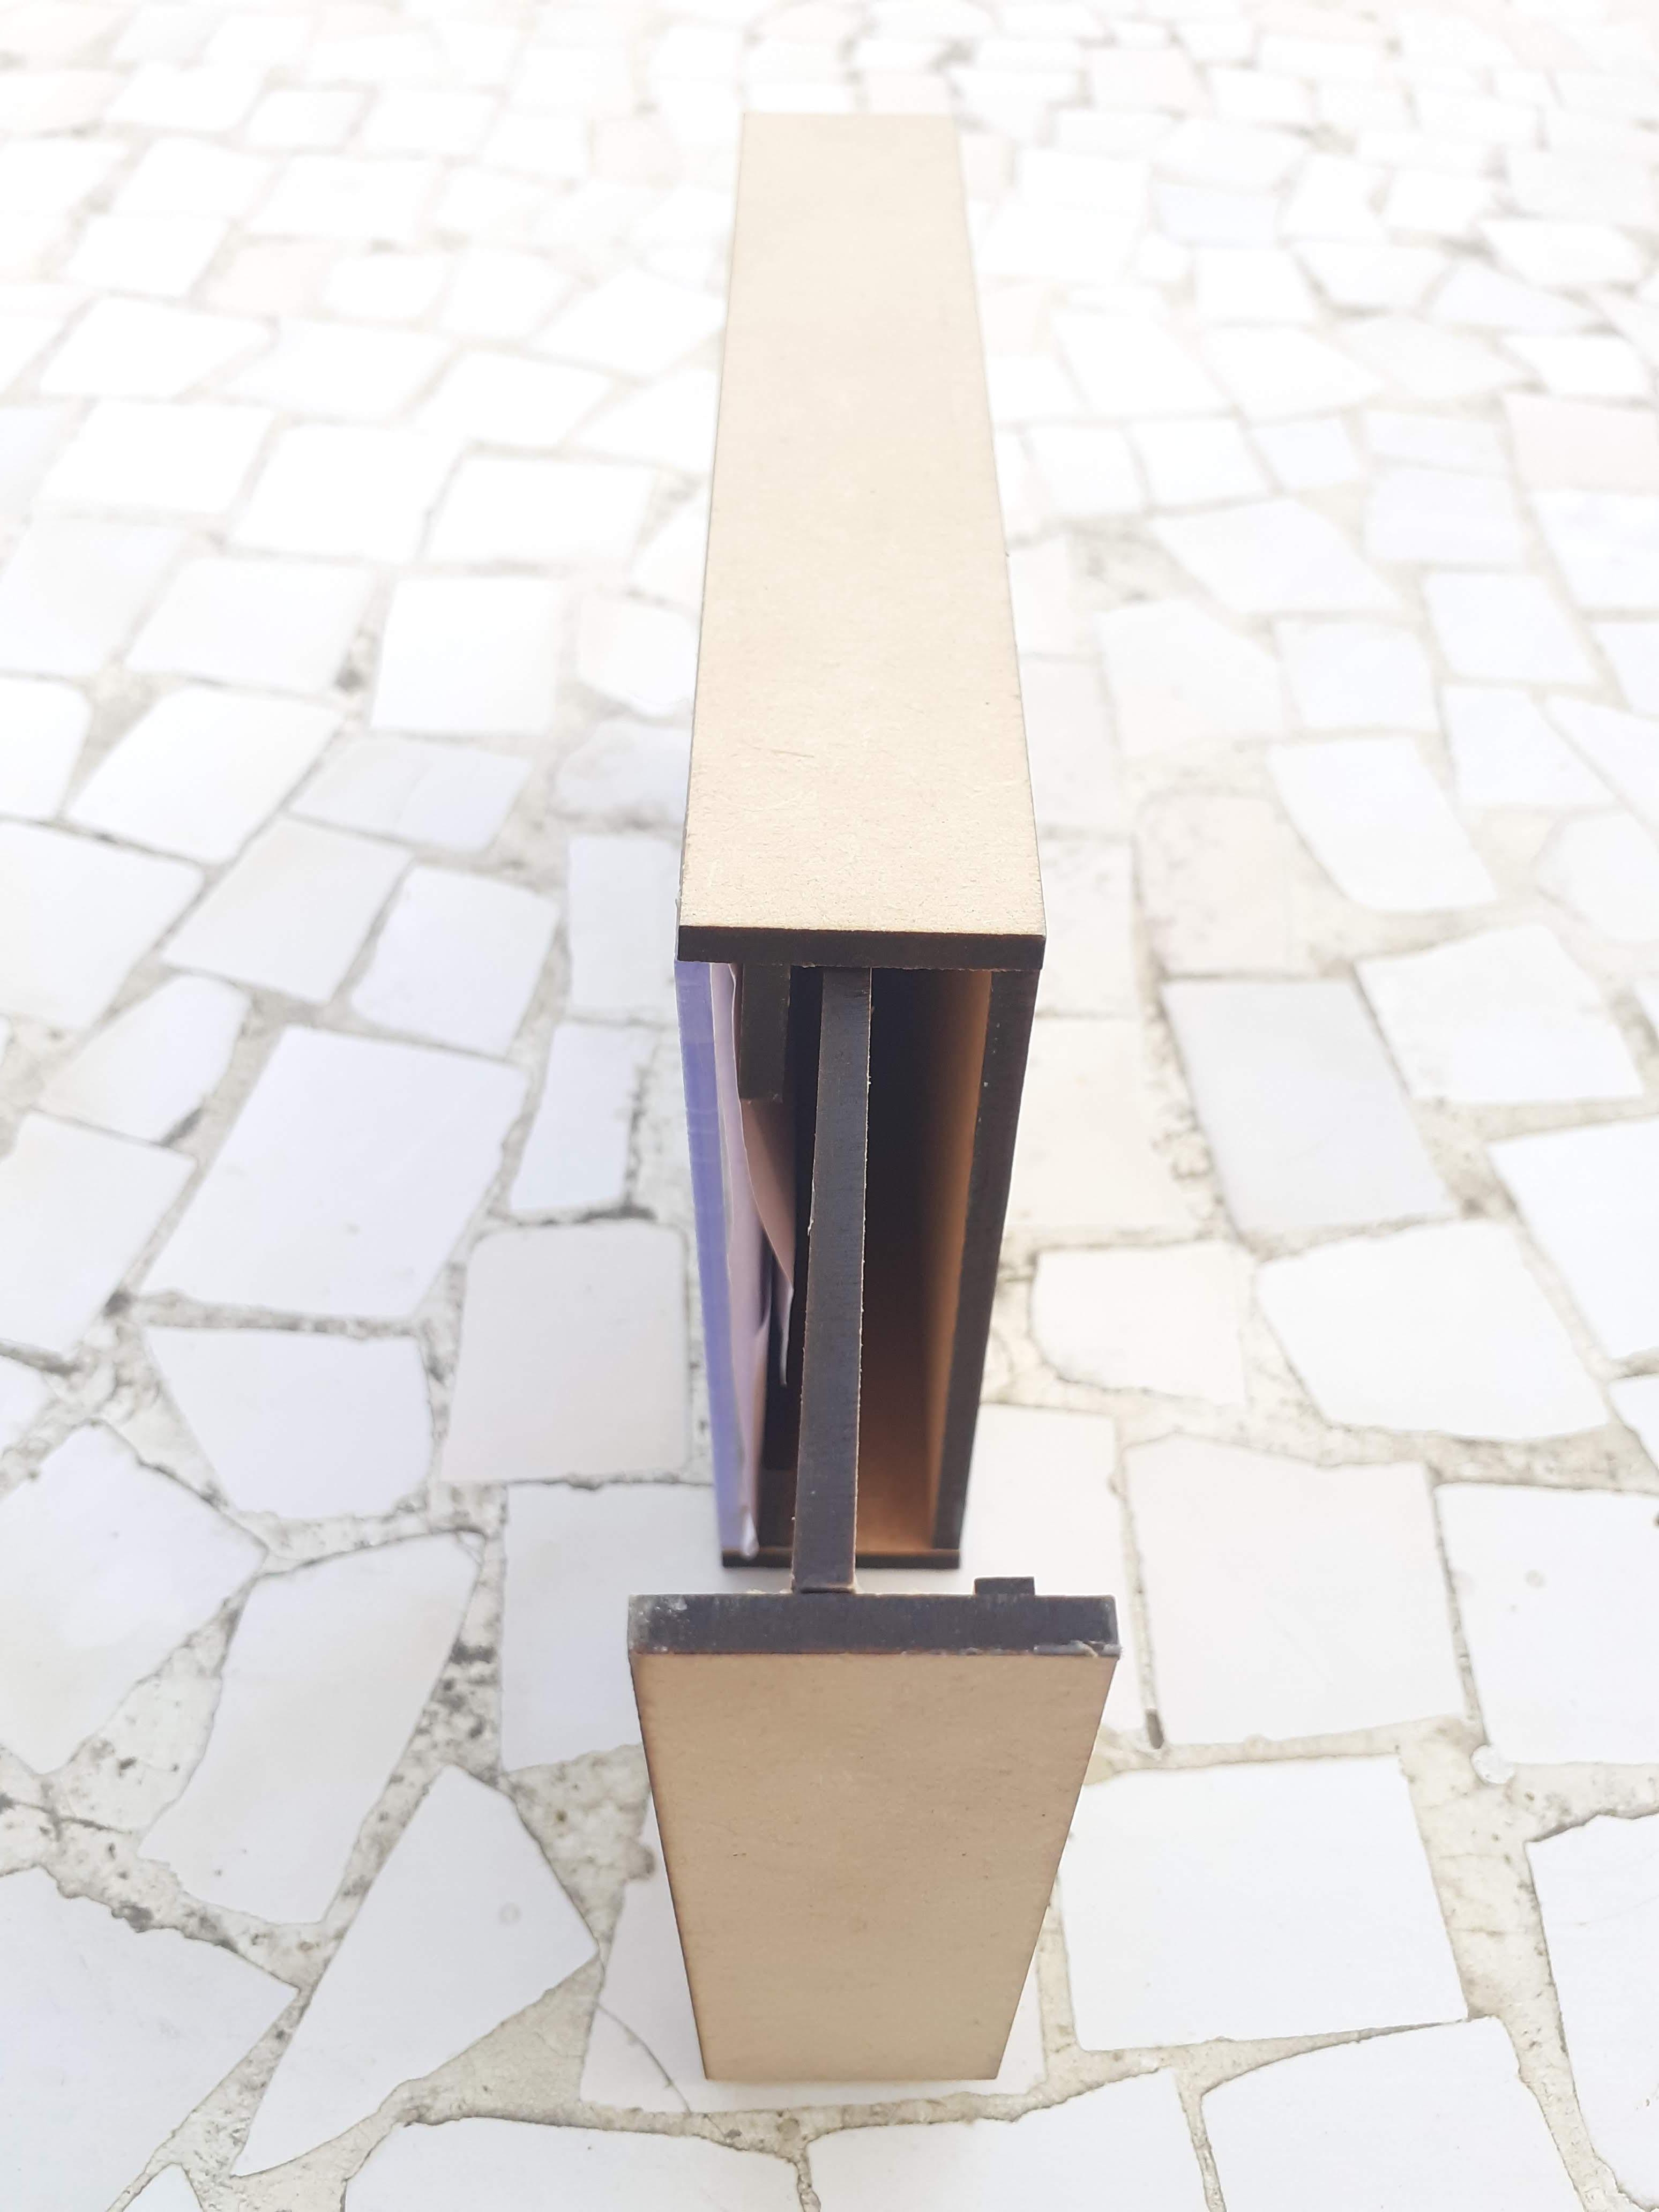
4> design hidden compartments inside need Slit to slide our image inside and left space is used for hiding our things.
5> For the slit we design a 5mm thick MDF strip to stick inside the frame.
6> Total Compartment space is behind the image ,so we can not vary height and Length of frame.We can vary width of Compartent space as per need.
I use the total 20mm width to hide my things behind my image.(you can manually increase it as per need.)
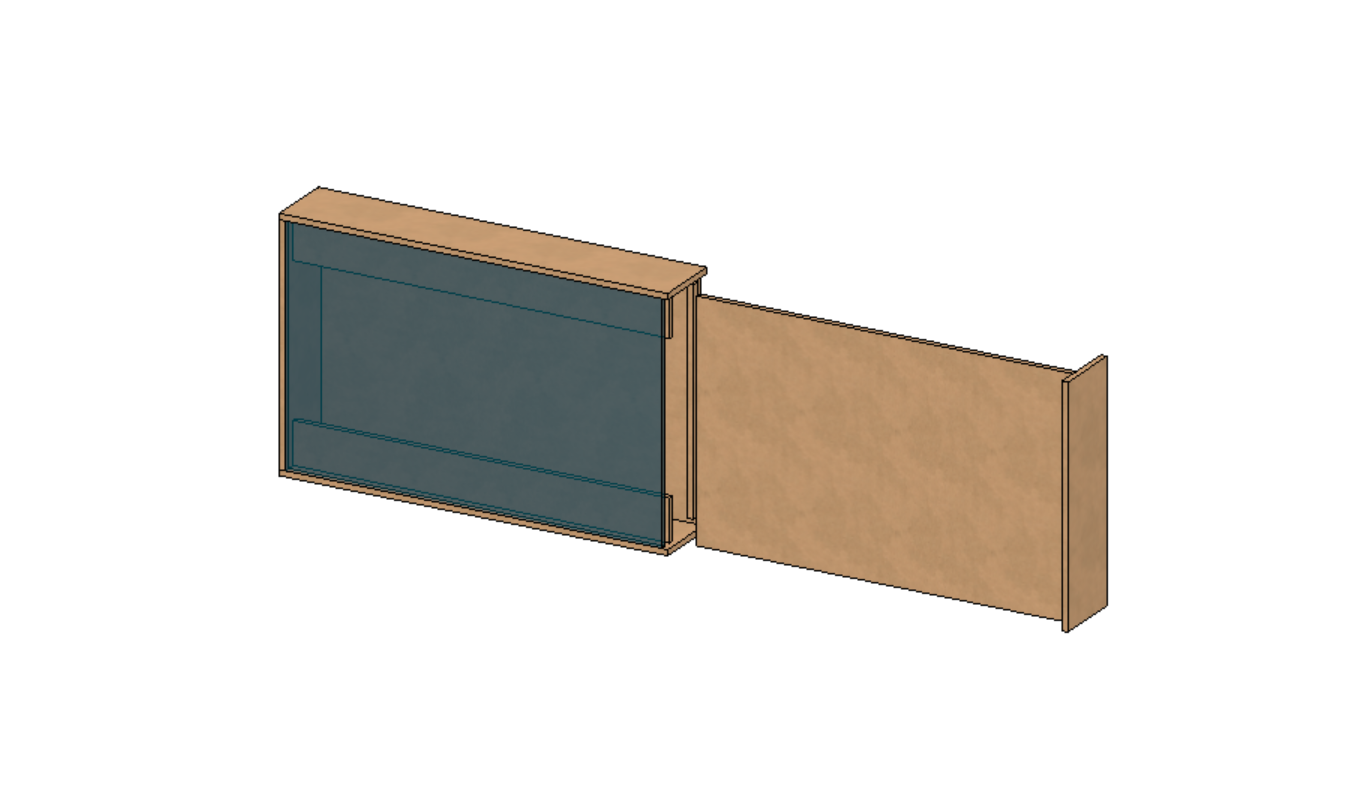
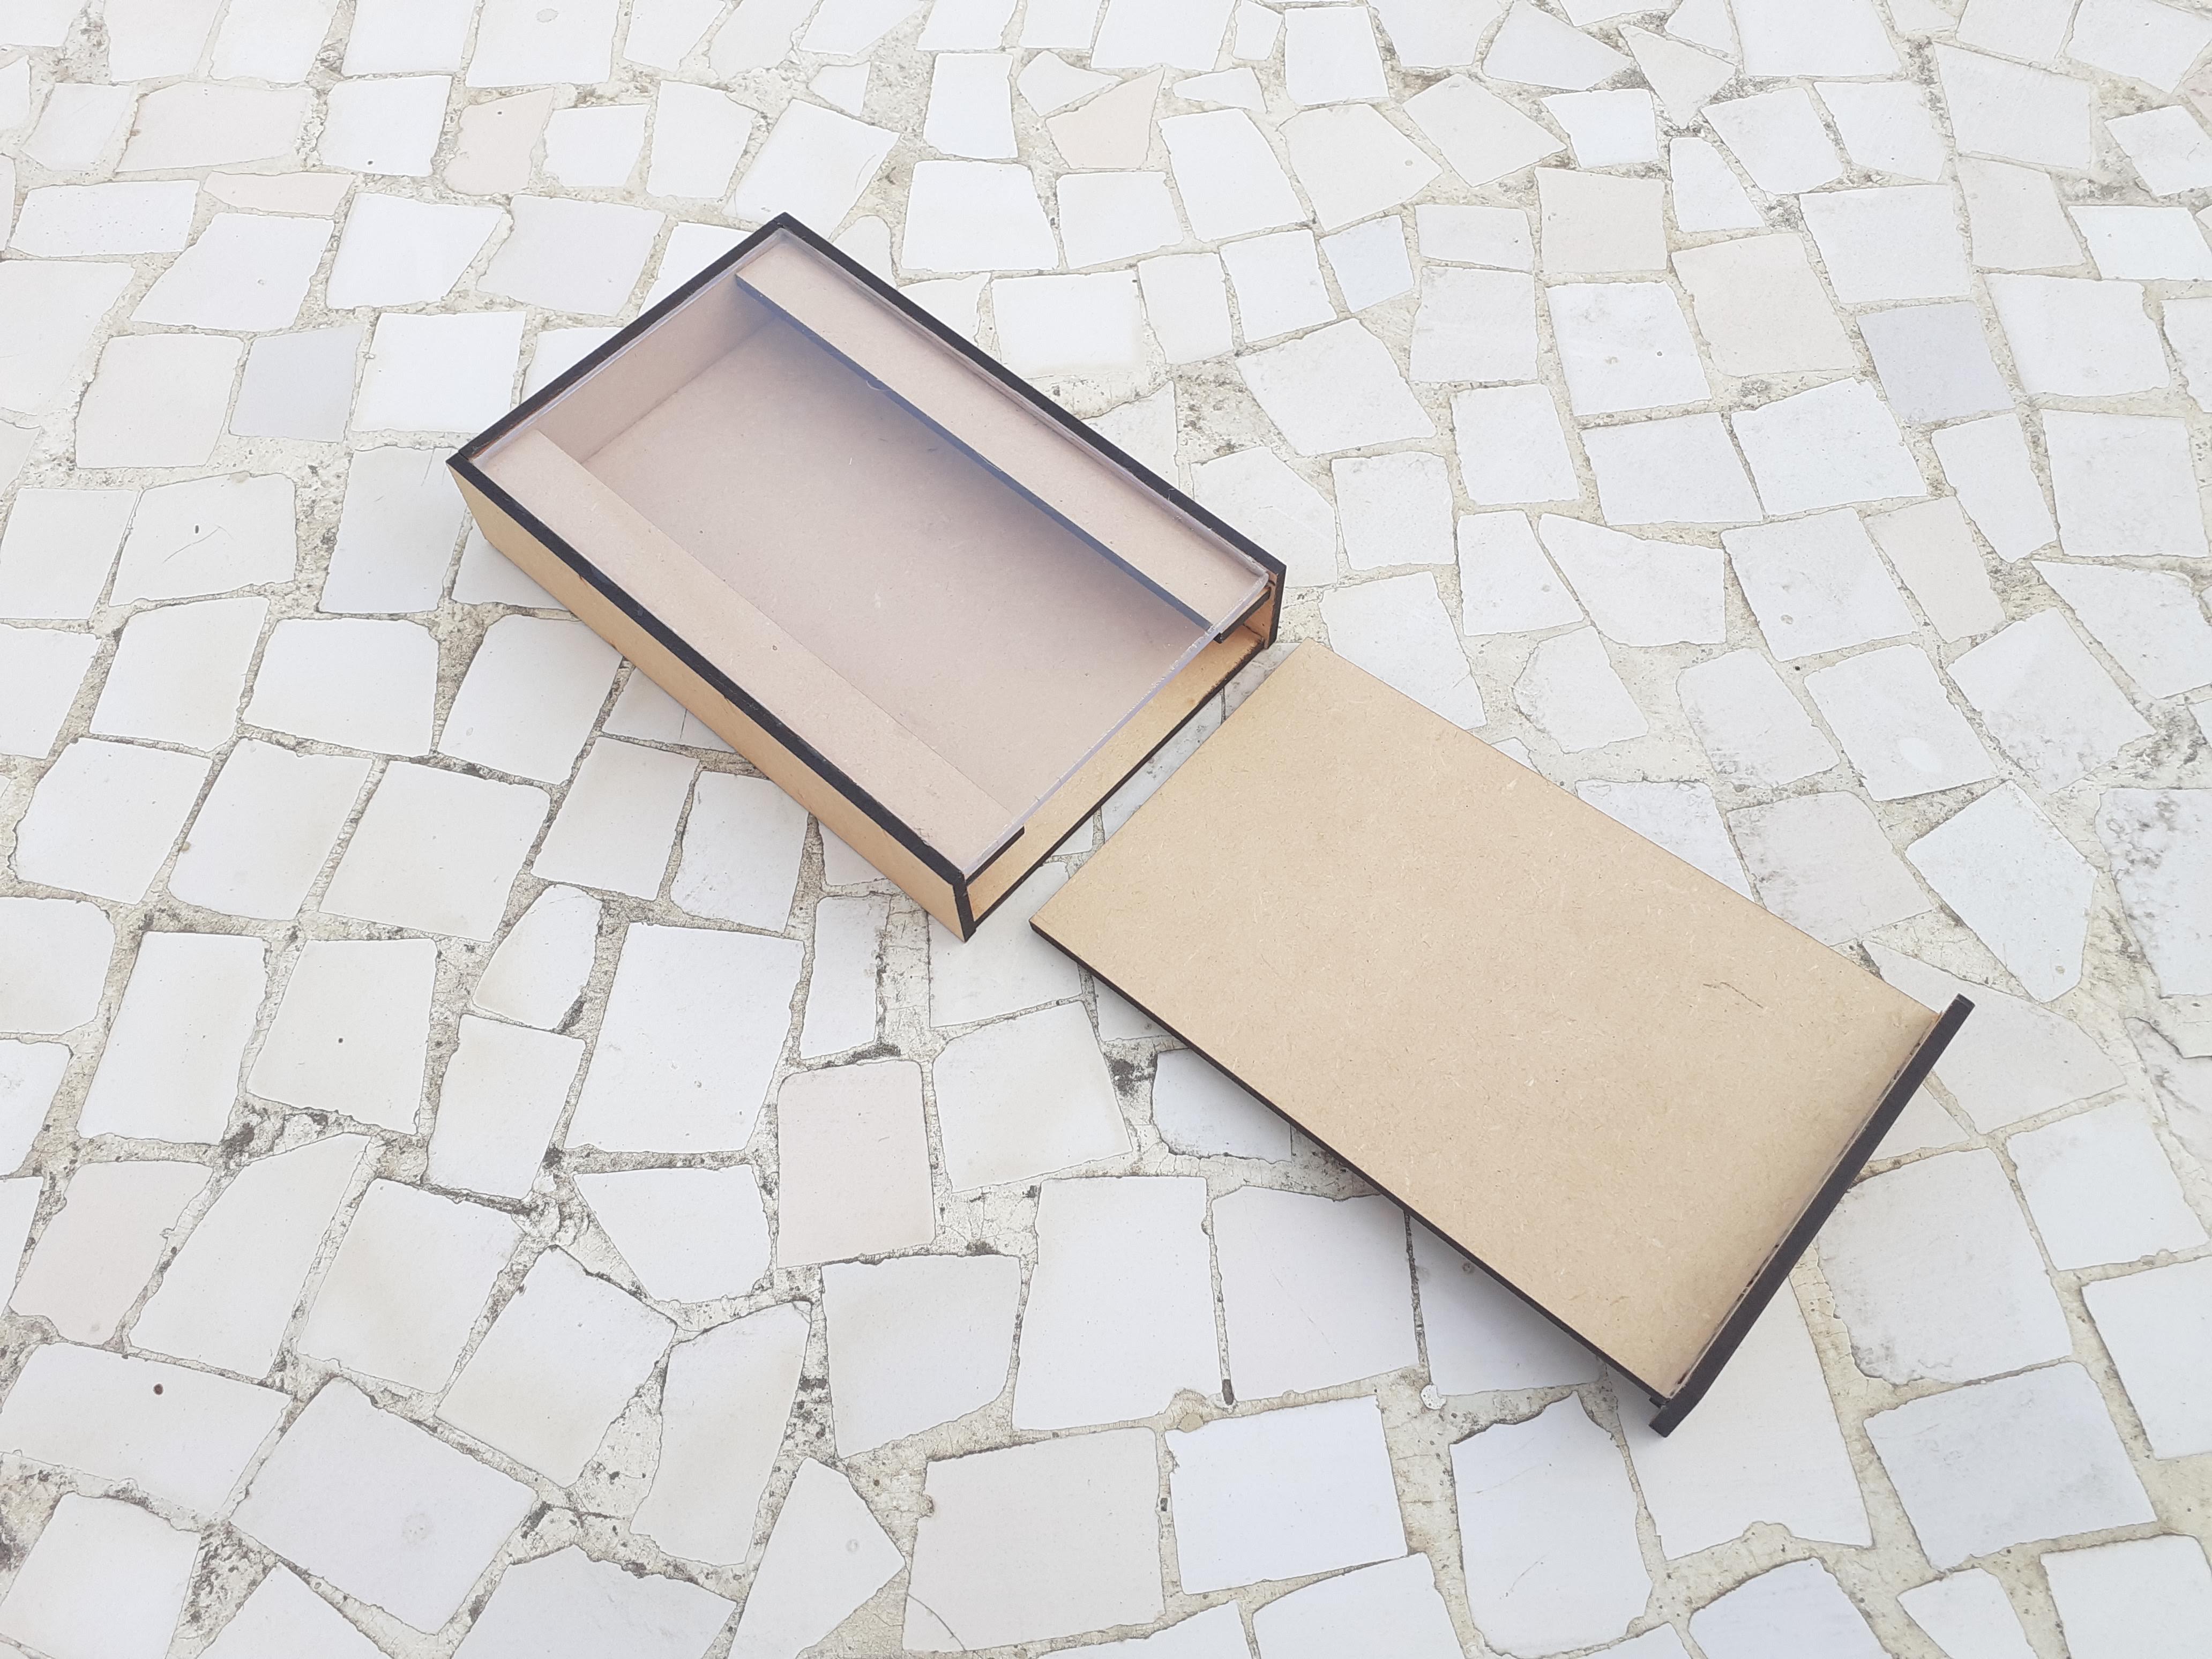
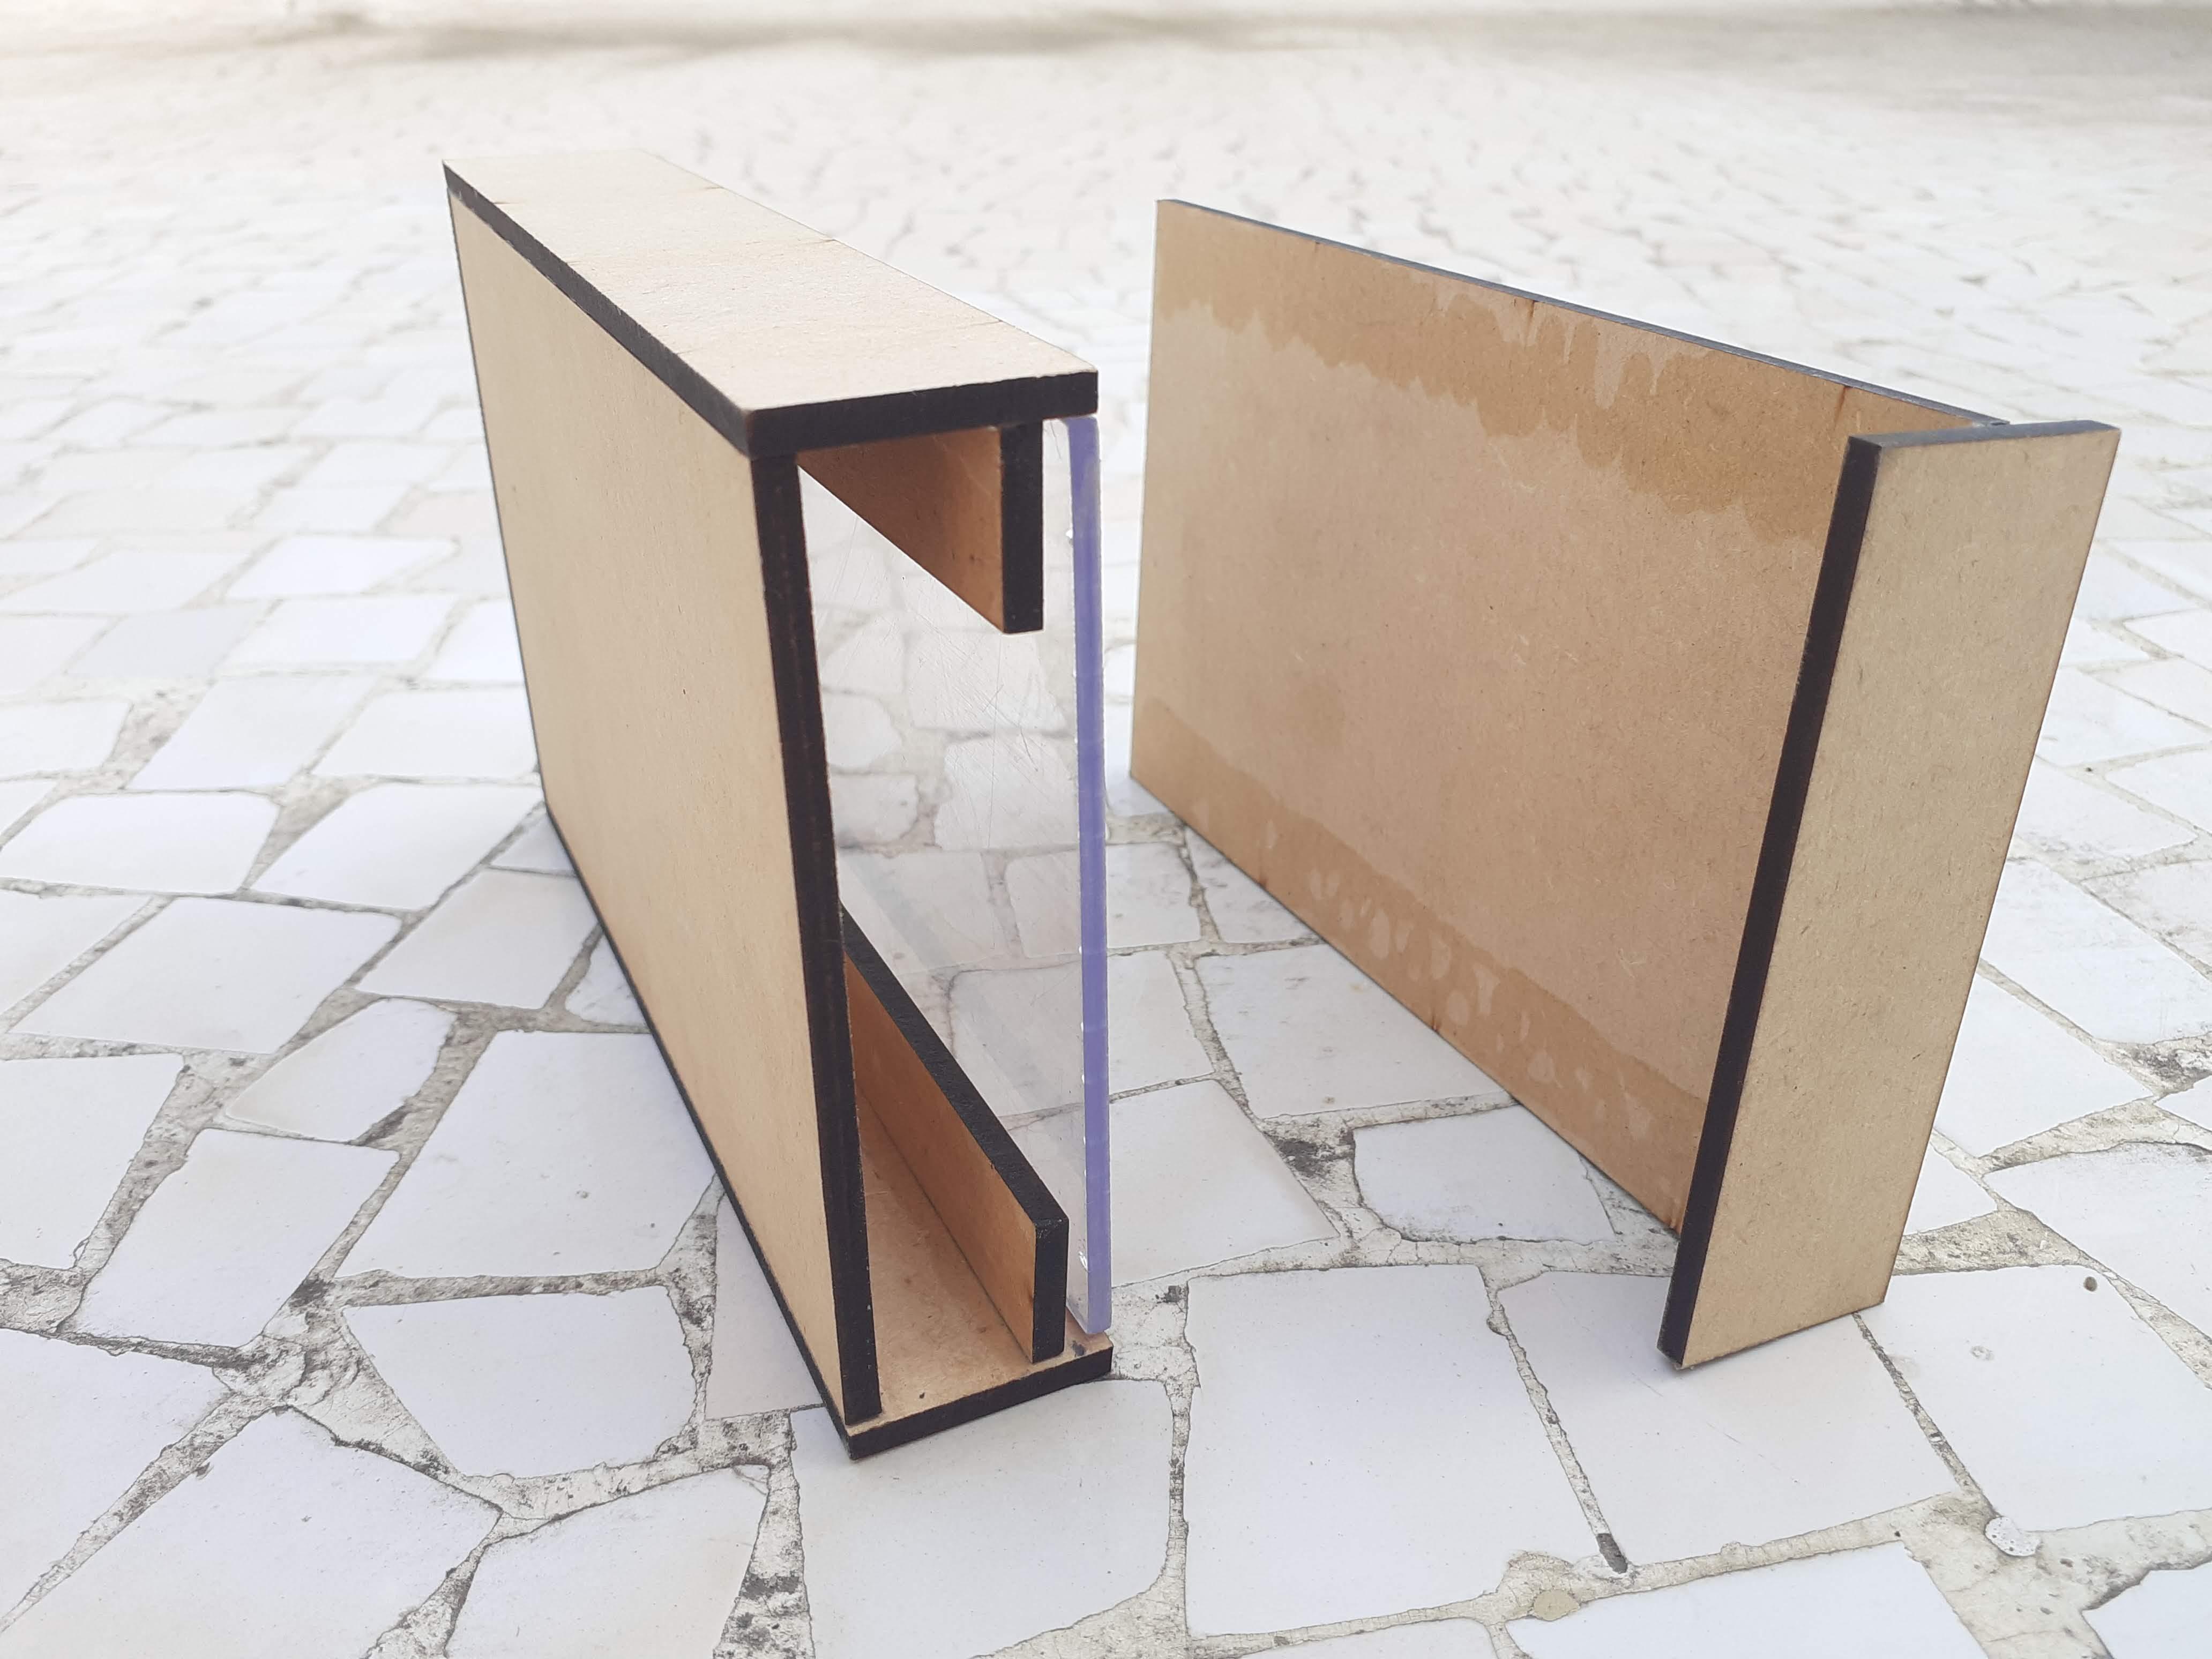
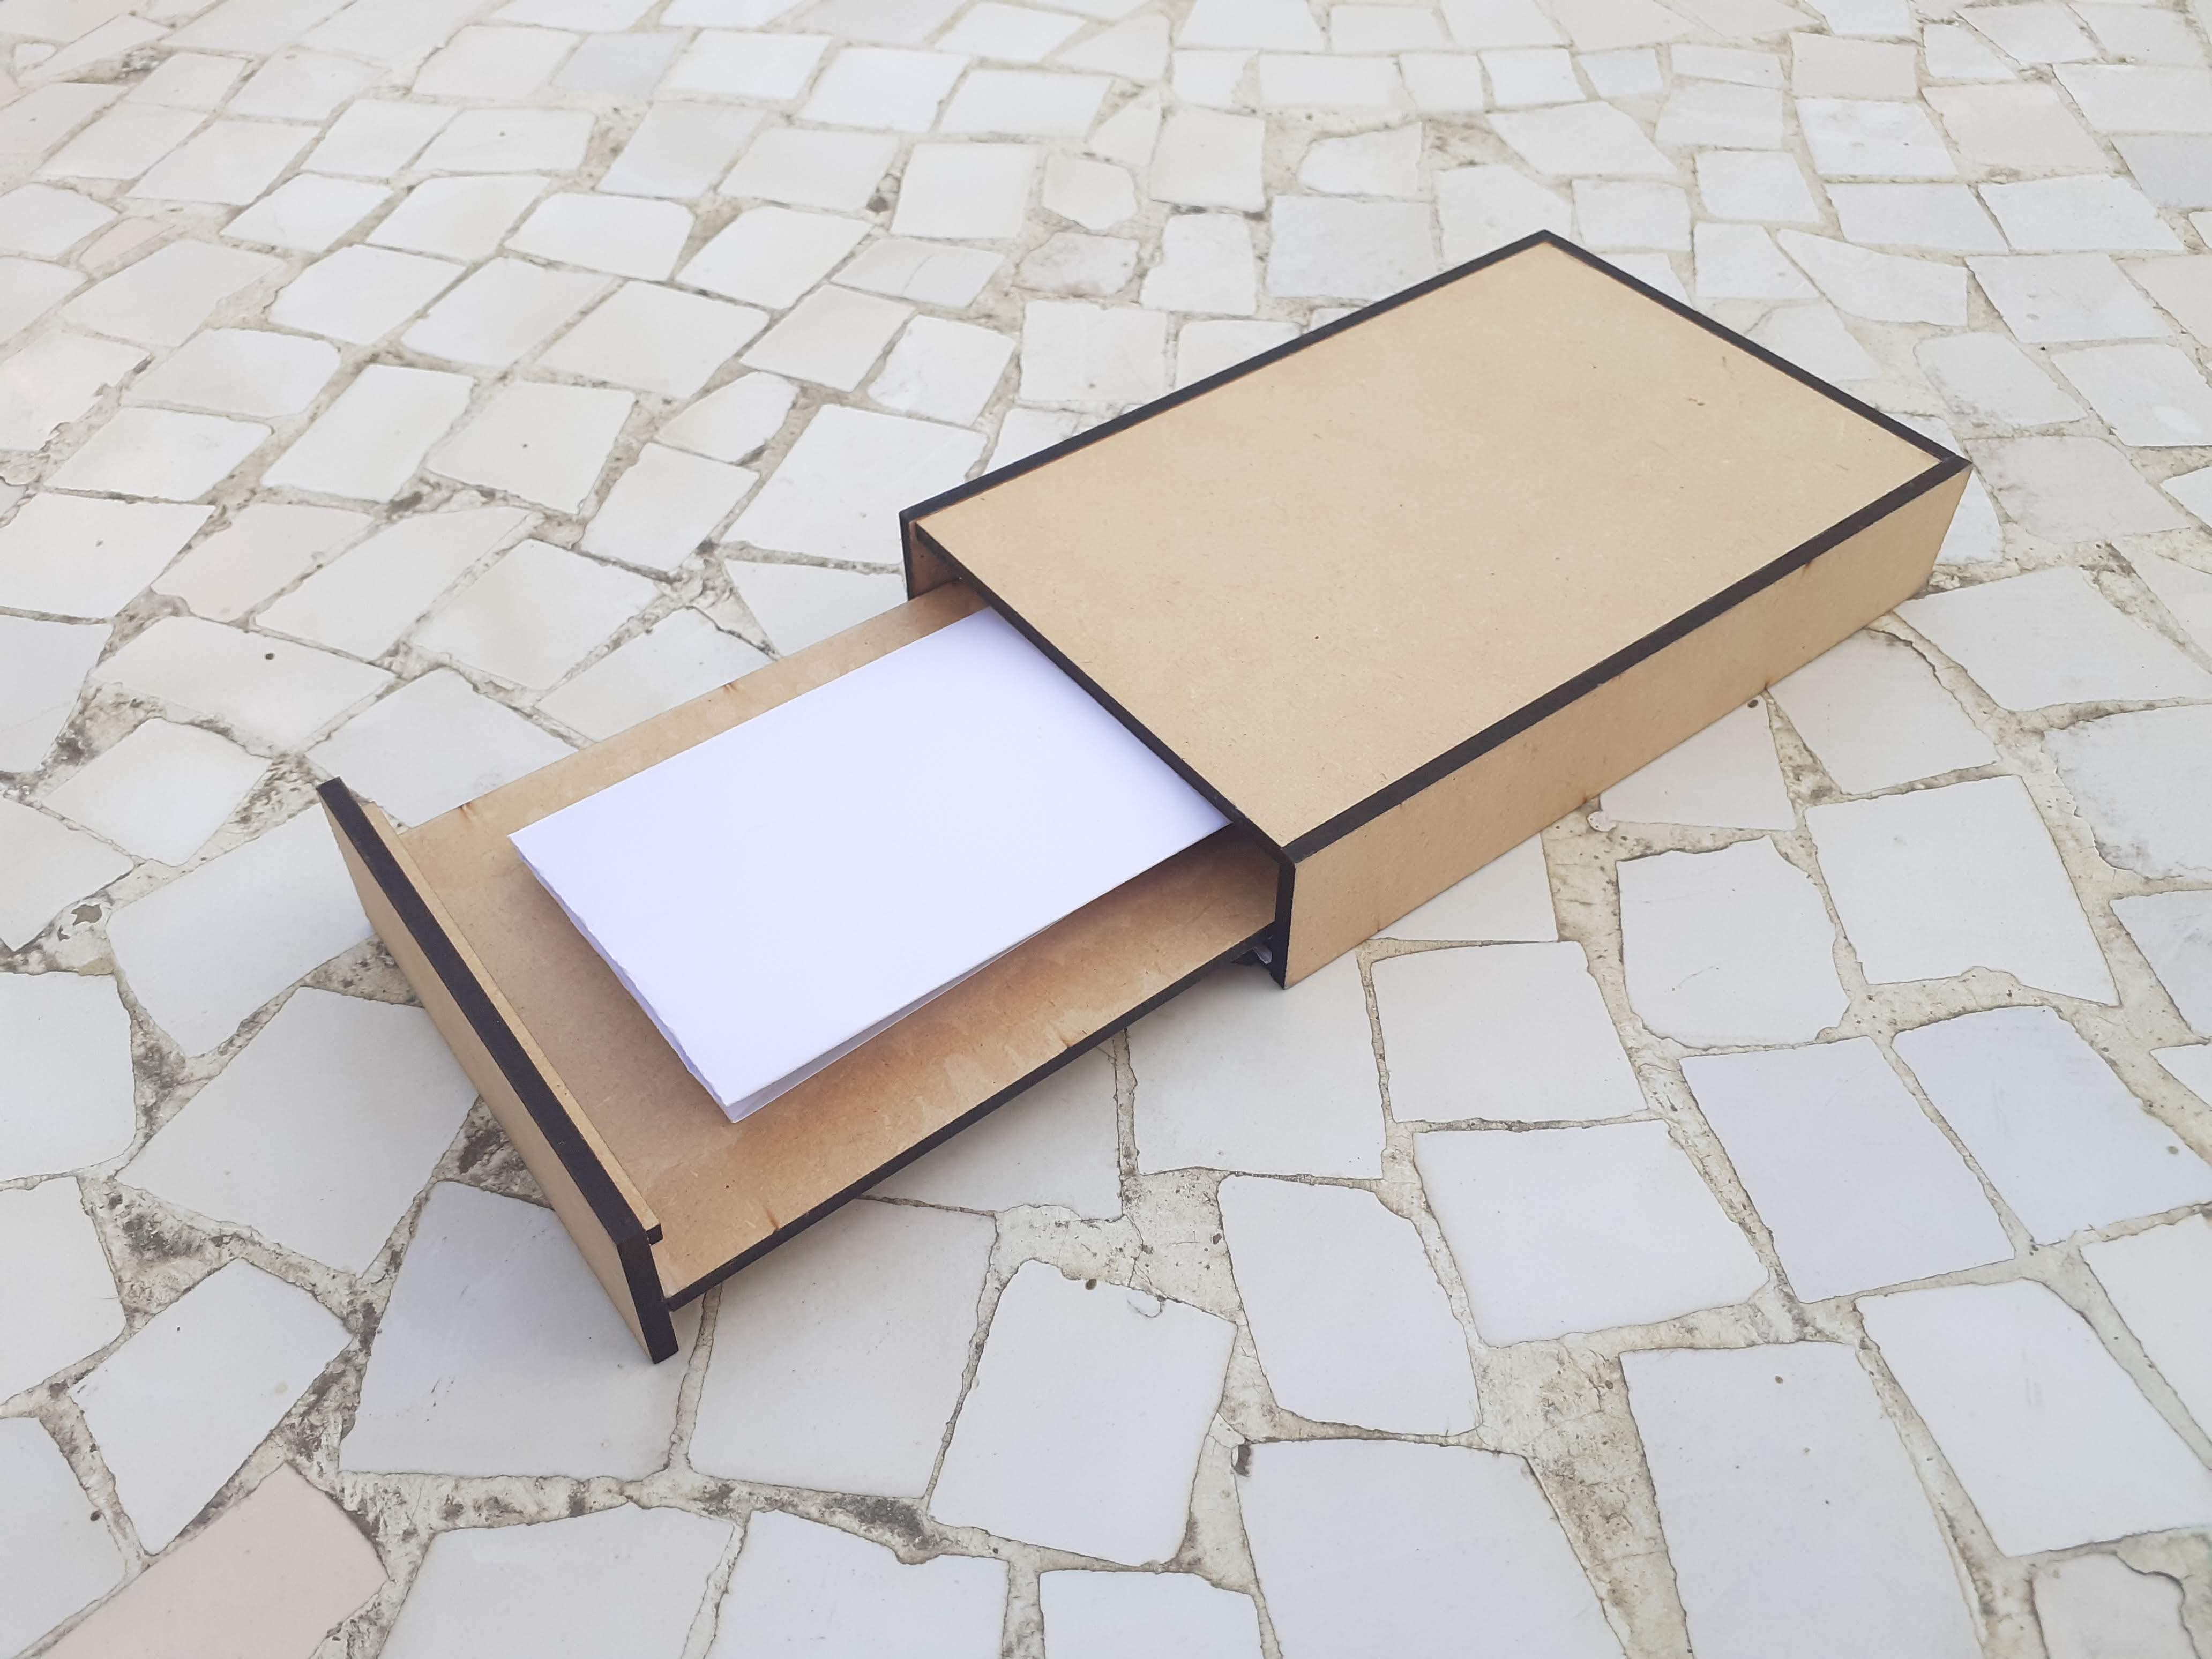
7> For the sliding door we make another rectangle, the same as the image dimension which is slid behind the image to hide our things.
Also the side door Part is attached with this sliding part.
8> for image transparency we place clear Acrylic on front.
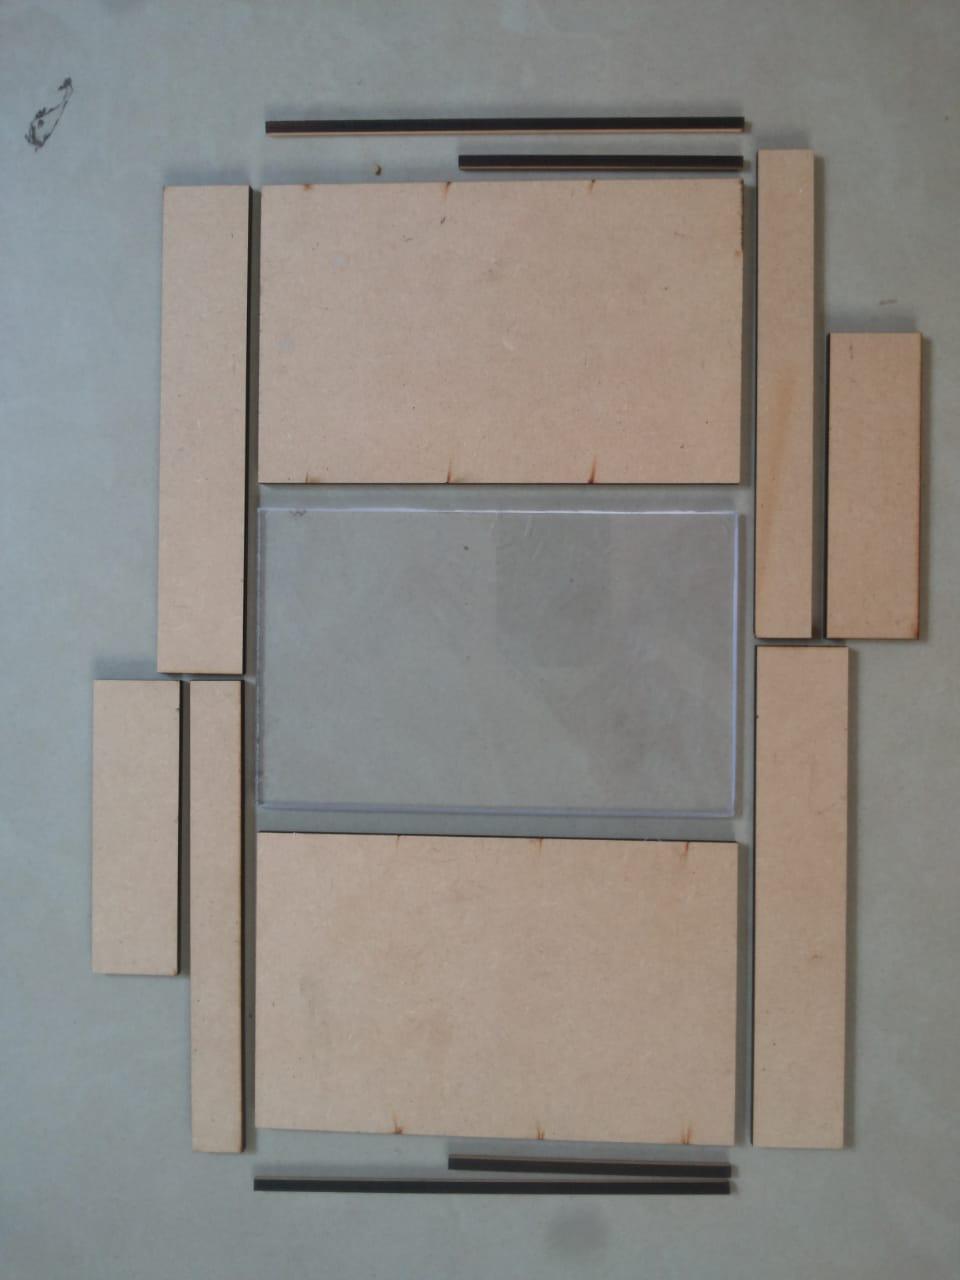
9> I use Laser cutting machine to cut all the parts.
10> export sketch as dxf file to make Laser cutting file.
11> Import file in Laser cutting software and cut on 4mm MDF material.
Downloads
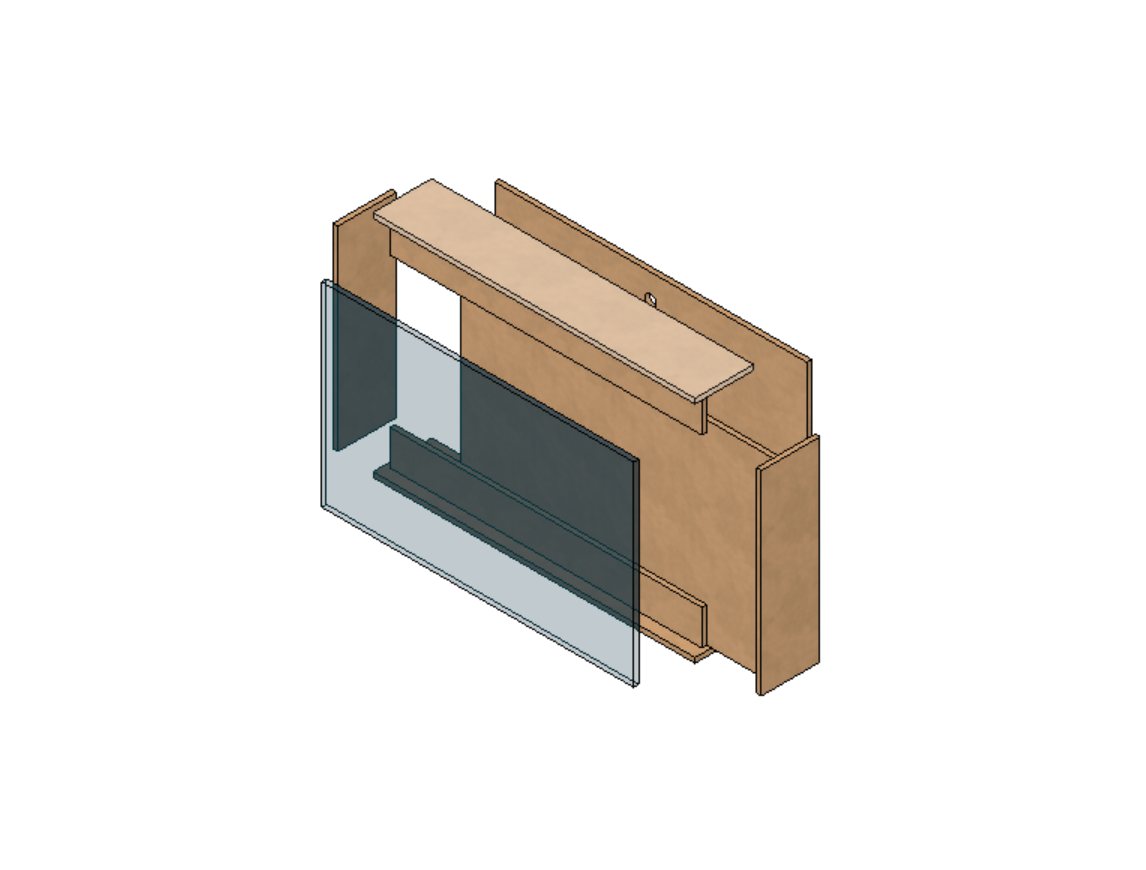
Assembly of Parts.
.jpeg)
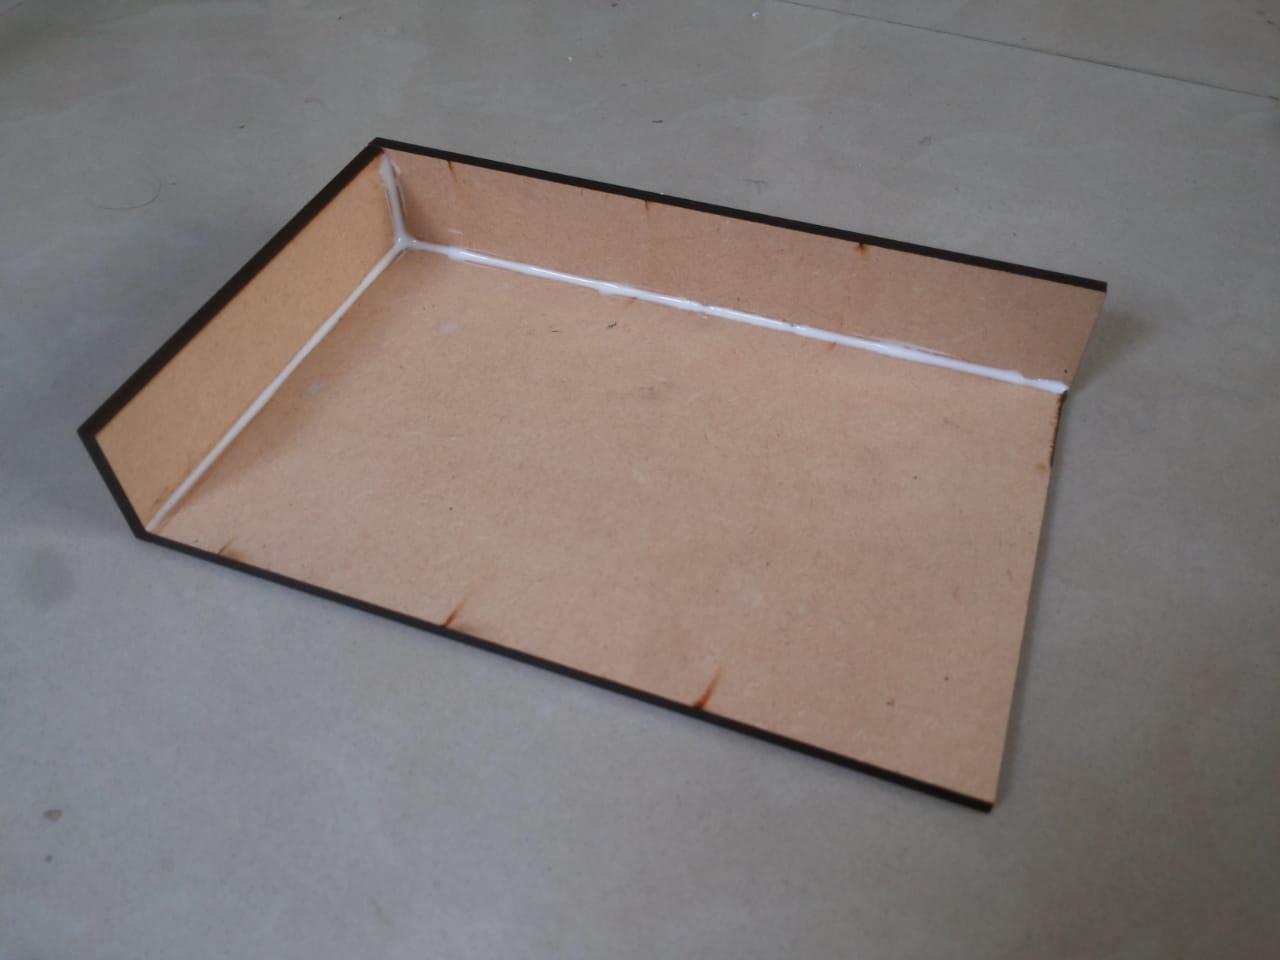
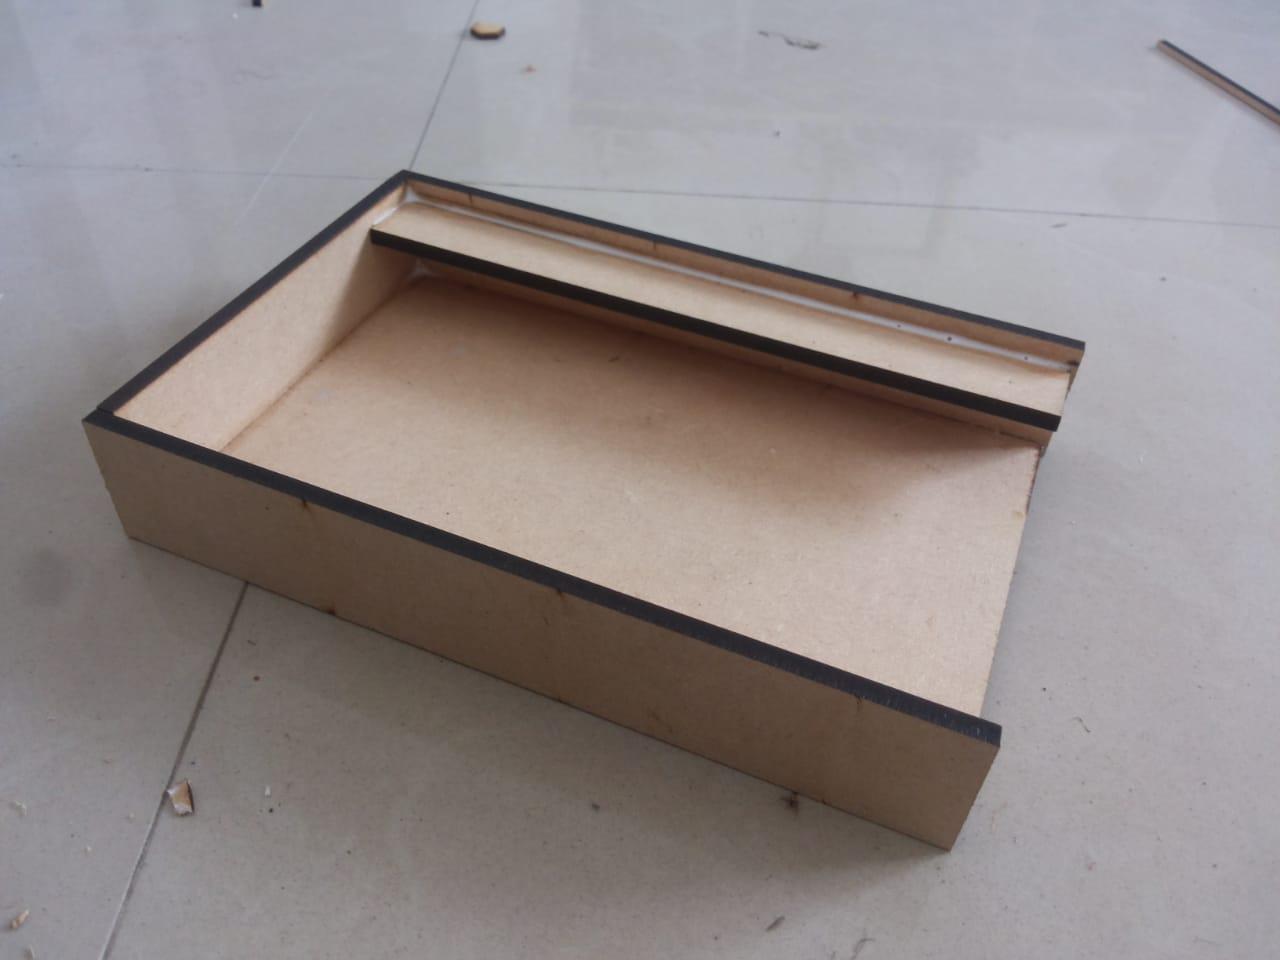
For assembly of parts, I use Fevicol Adhesive to join All MDF and acrylic parts.
Follow Image instruction to stick all part correctly.
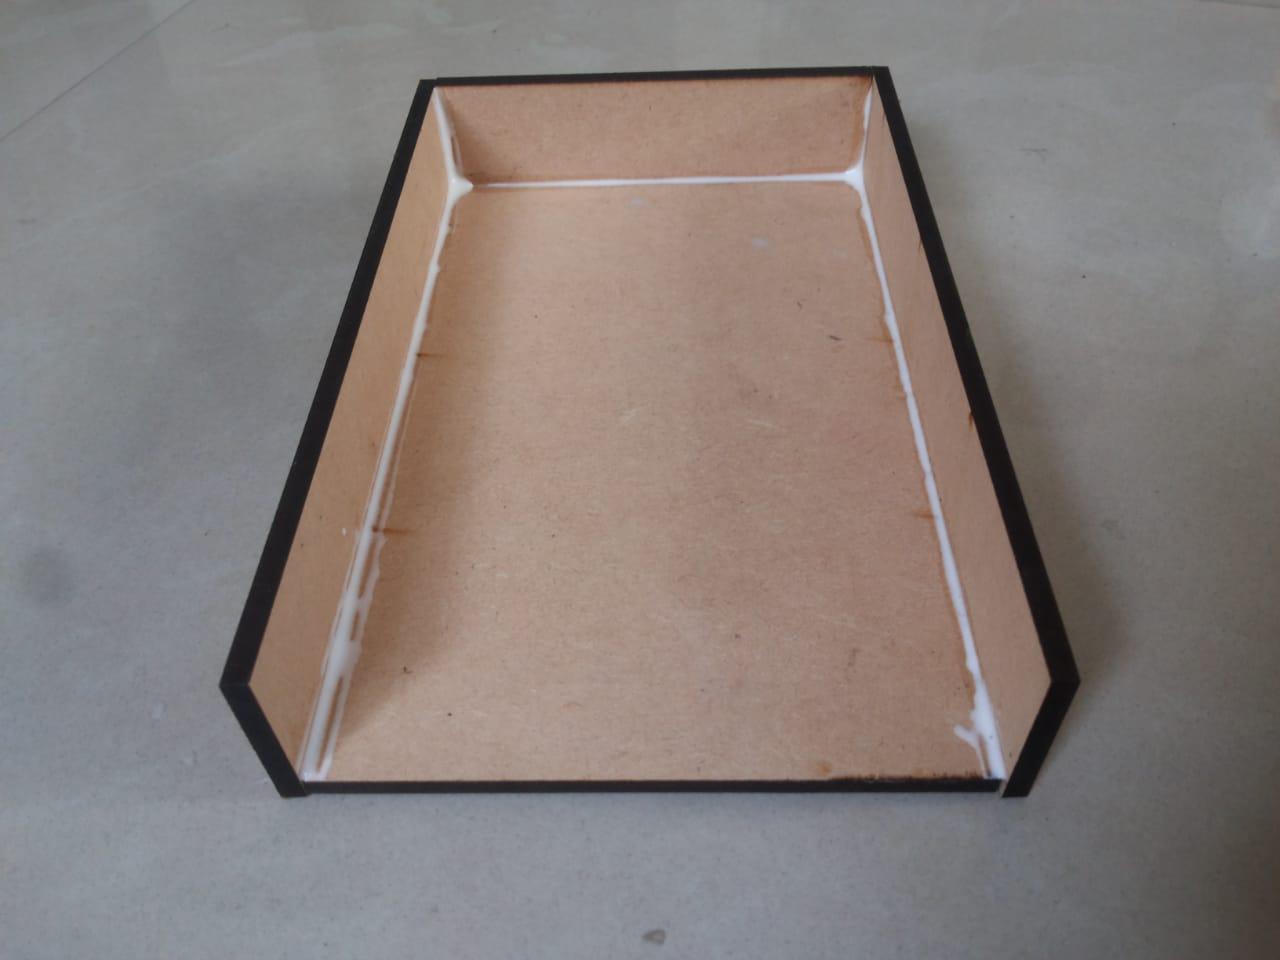
First Join 3 sides using adhesive.
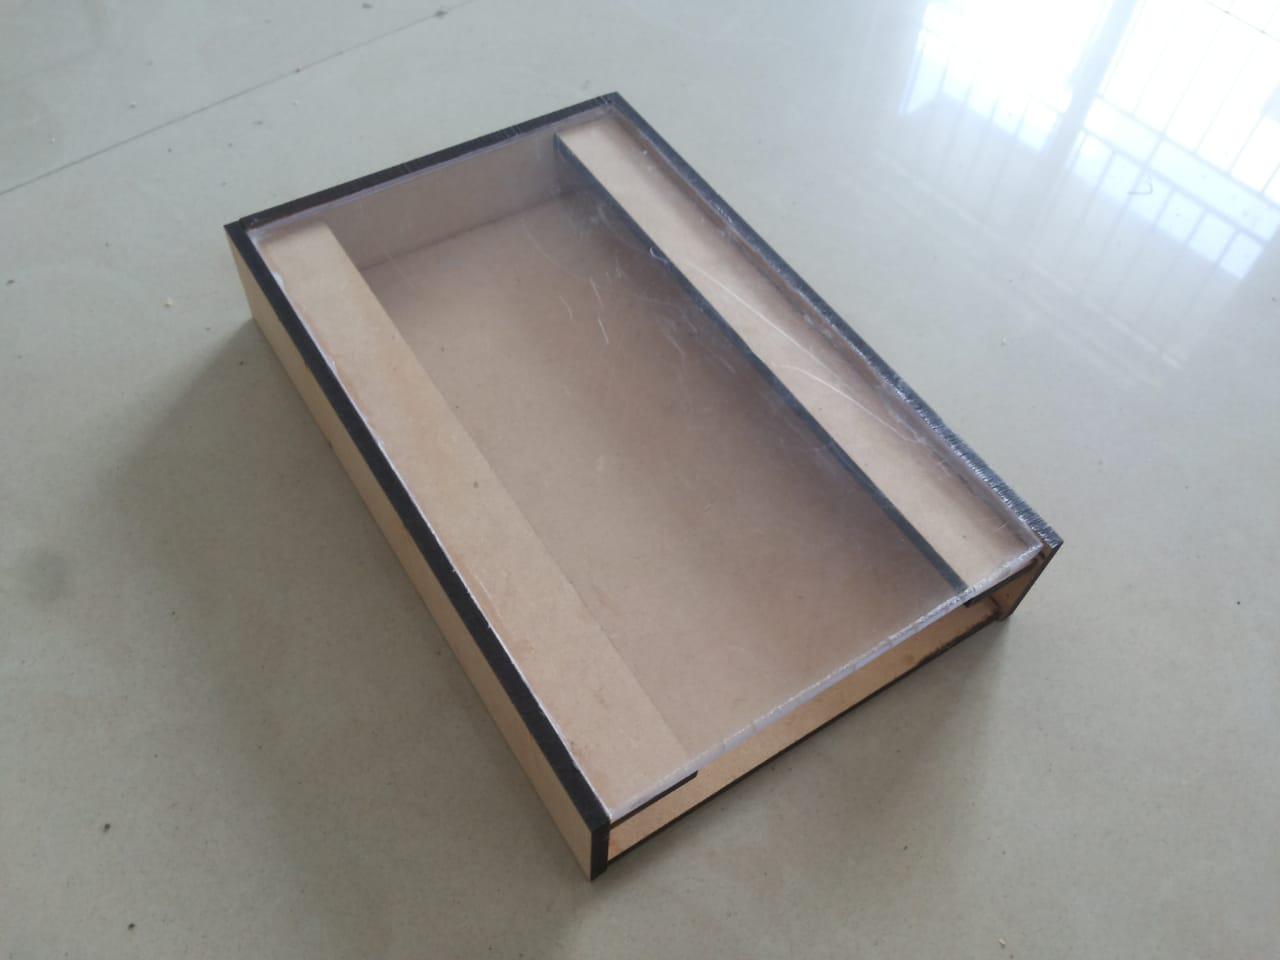
stick 2 slit on both side horizontally.
stick slider parts and handle .
use transparent acrylic on front side.
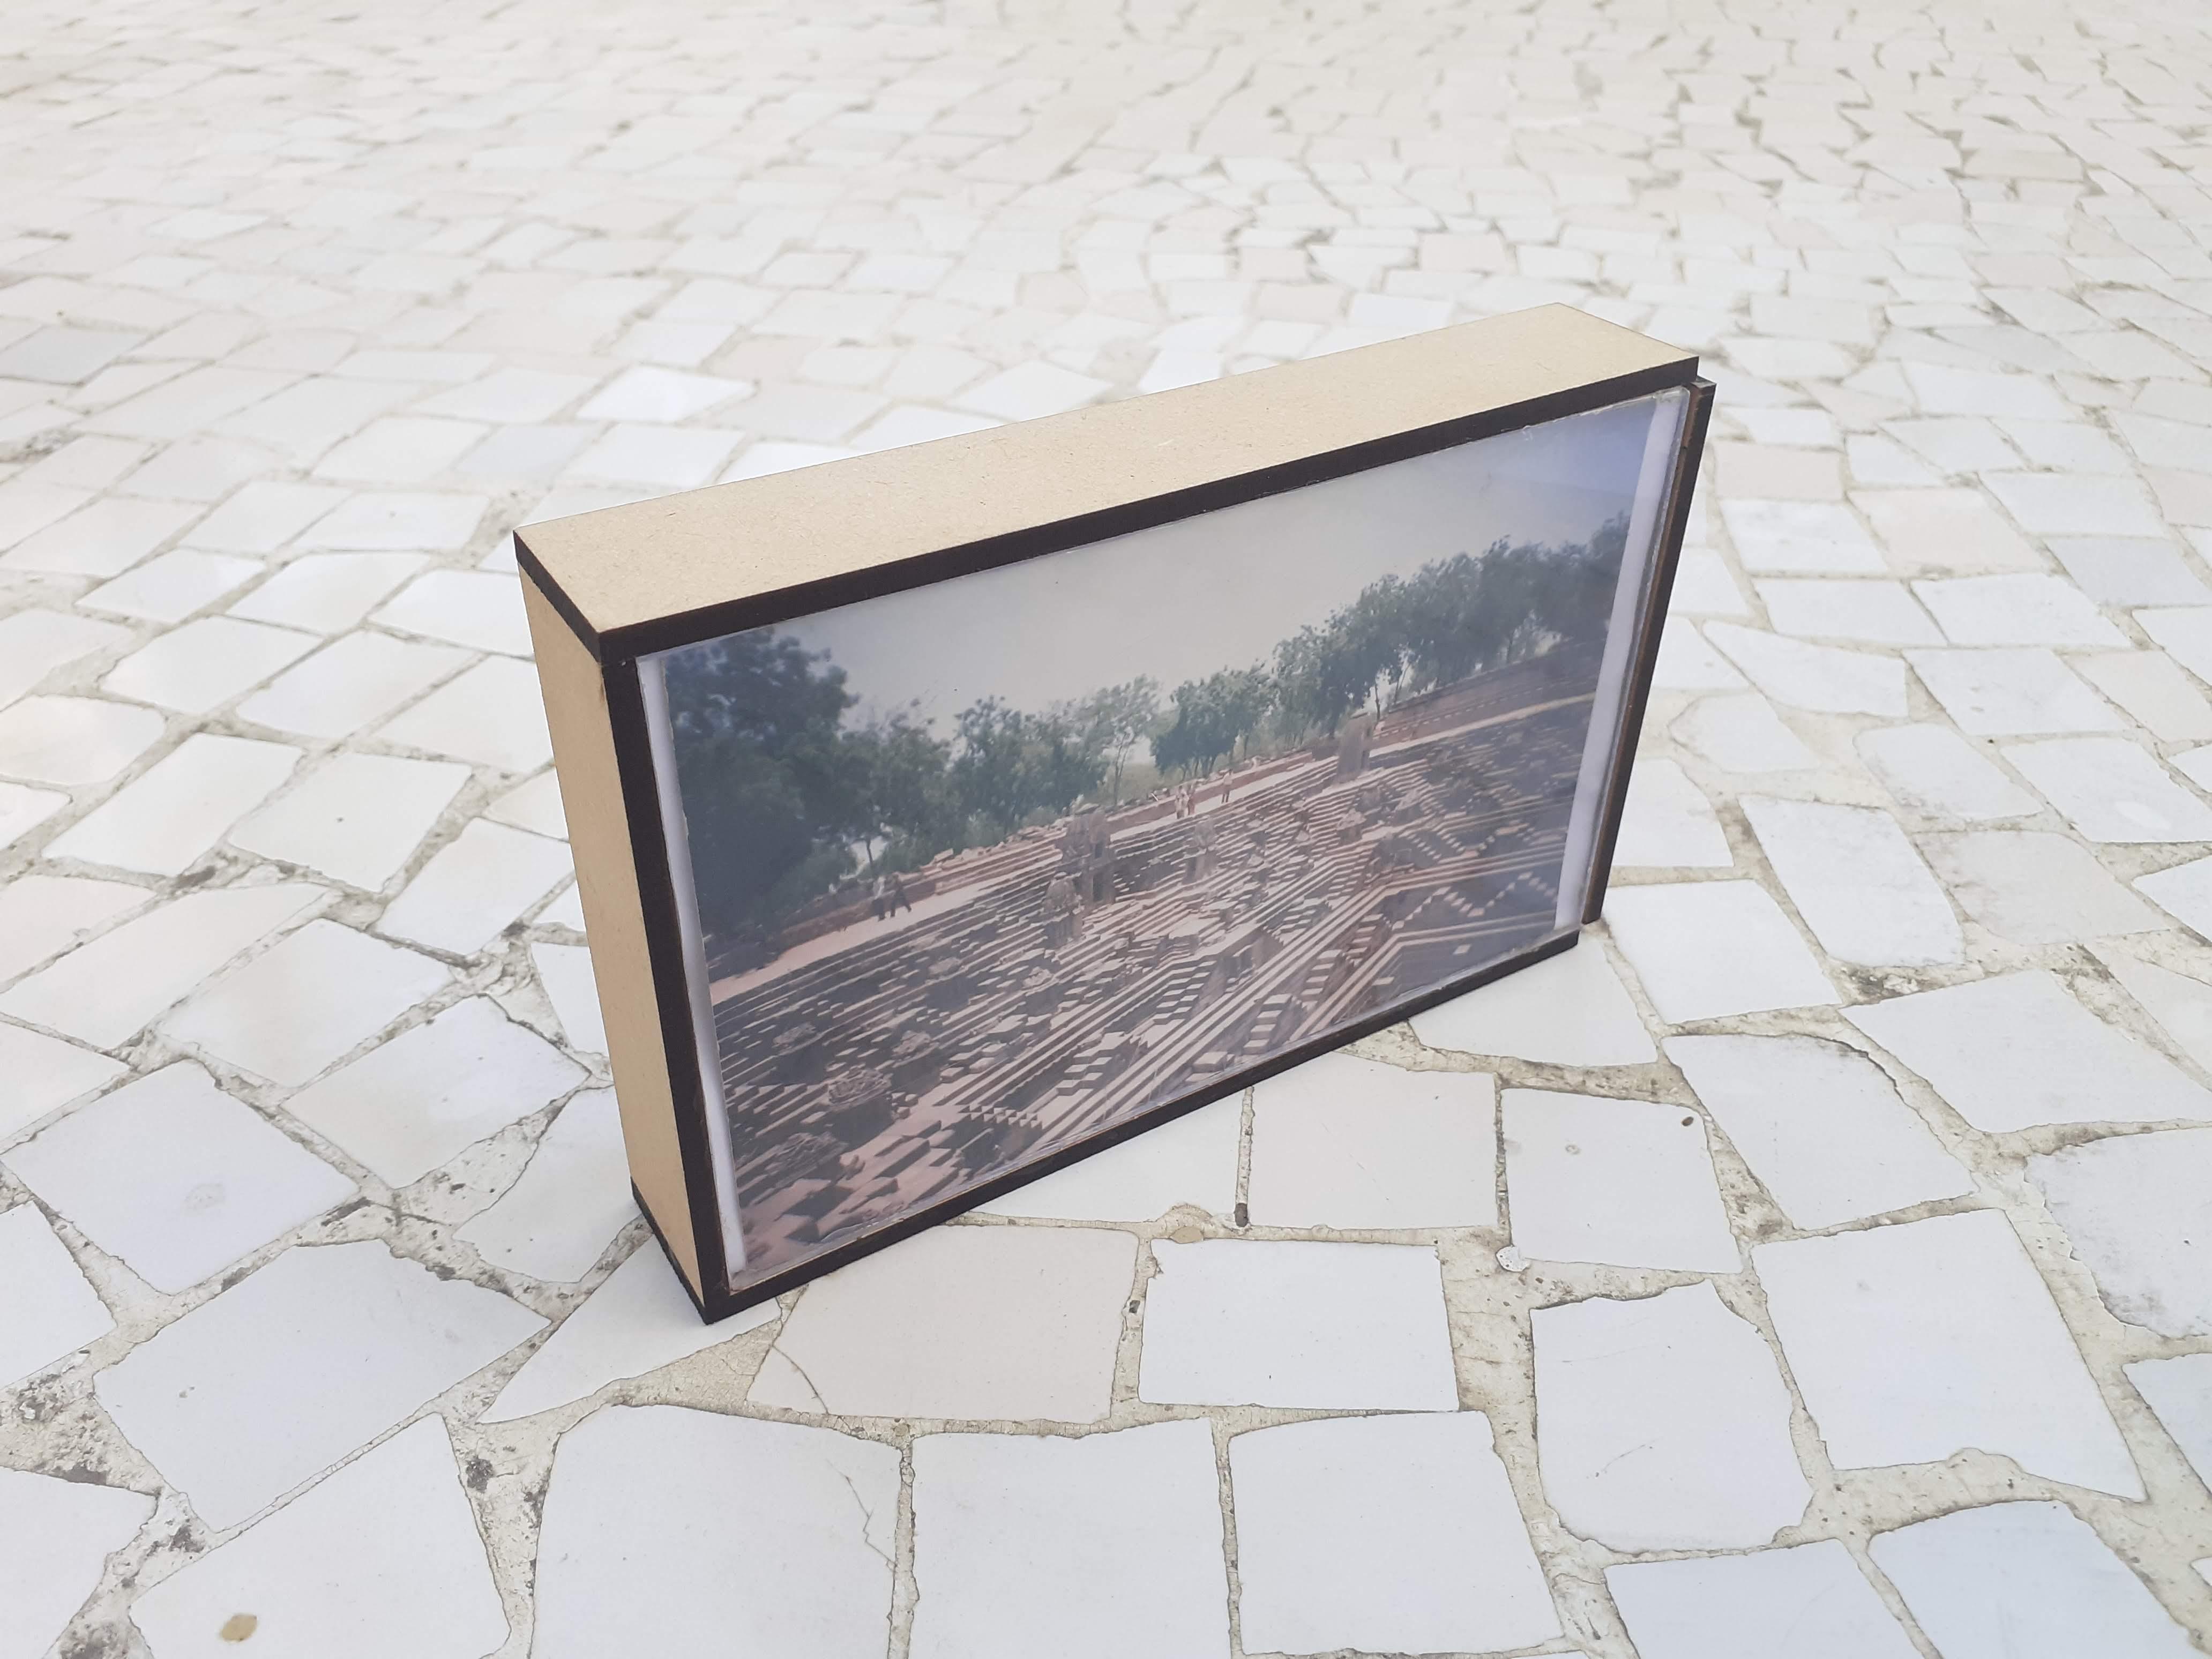
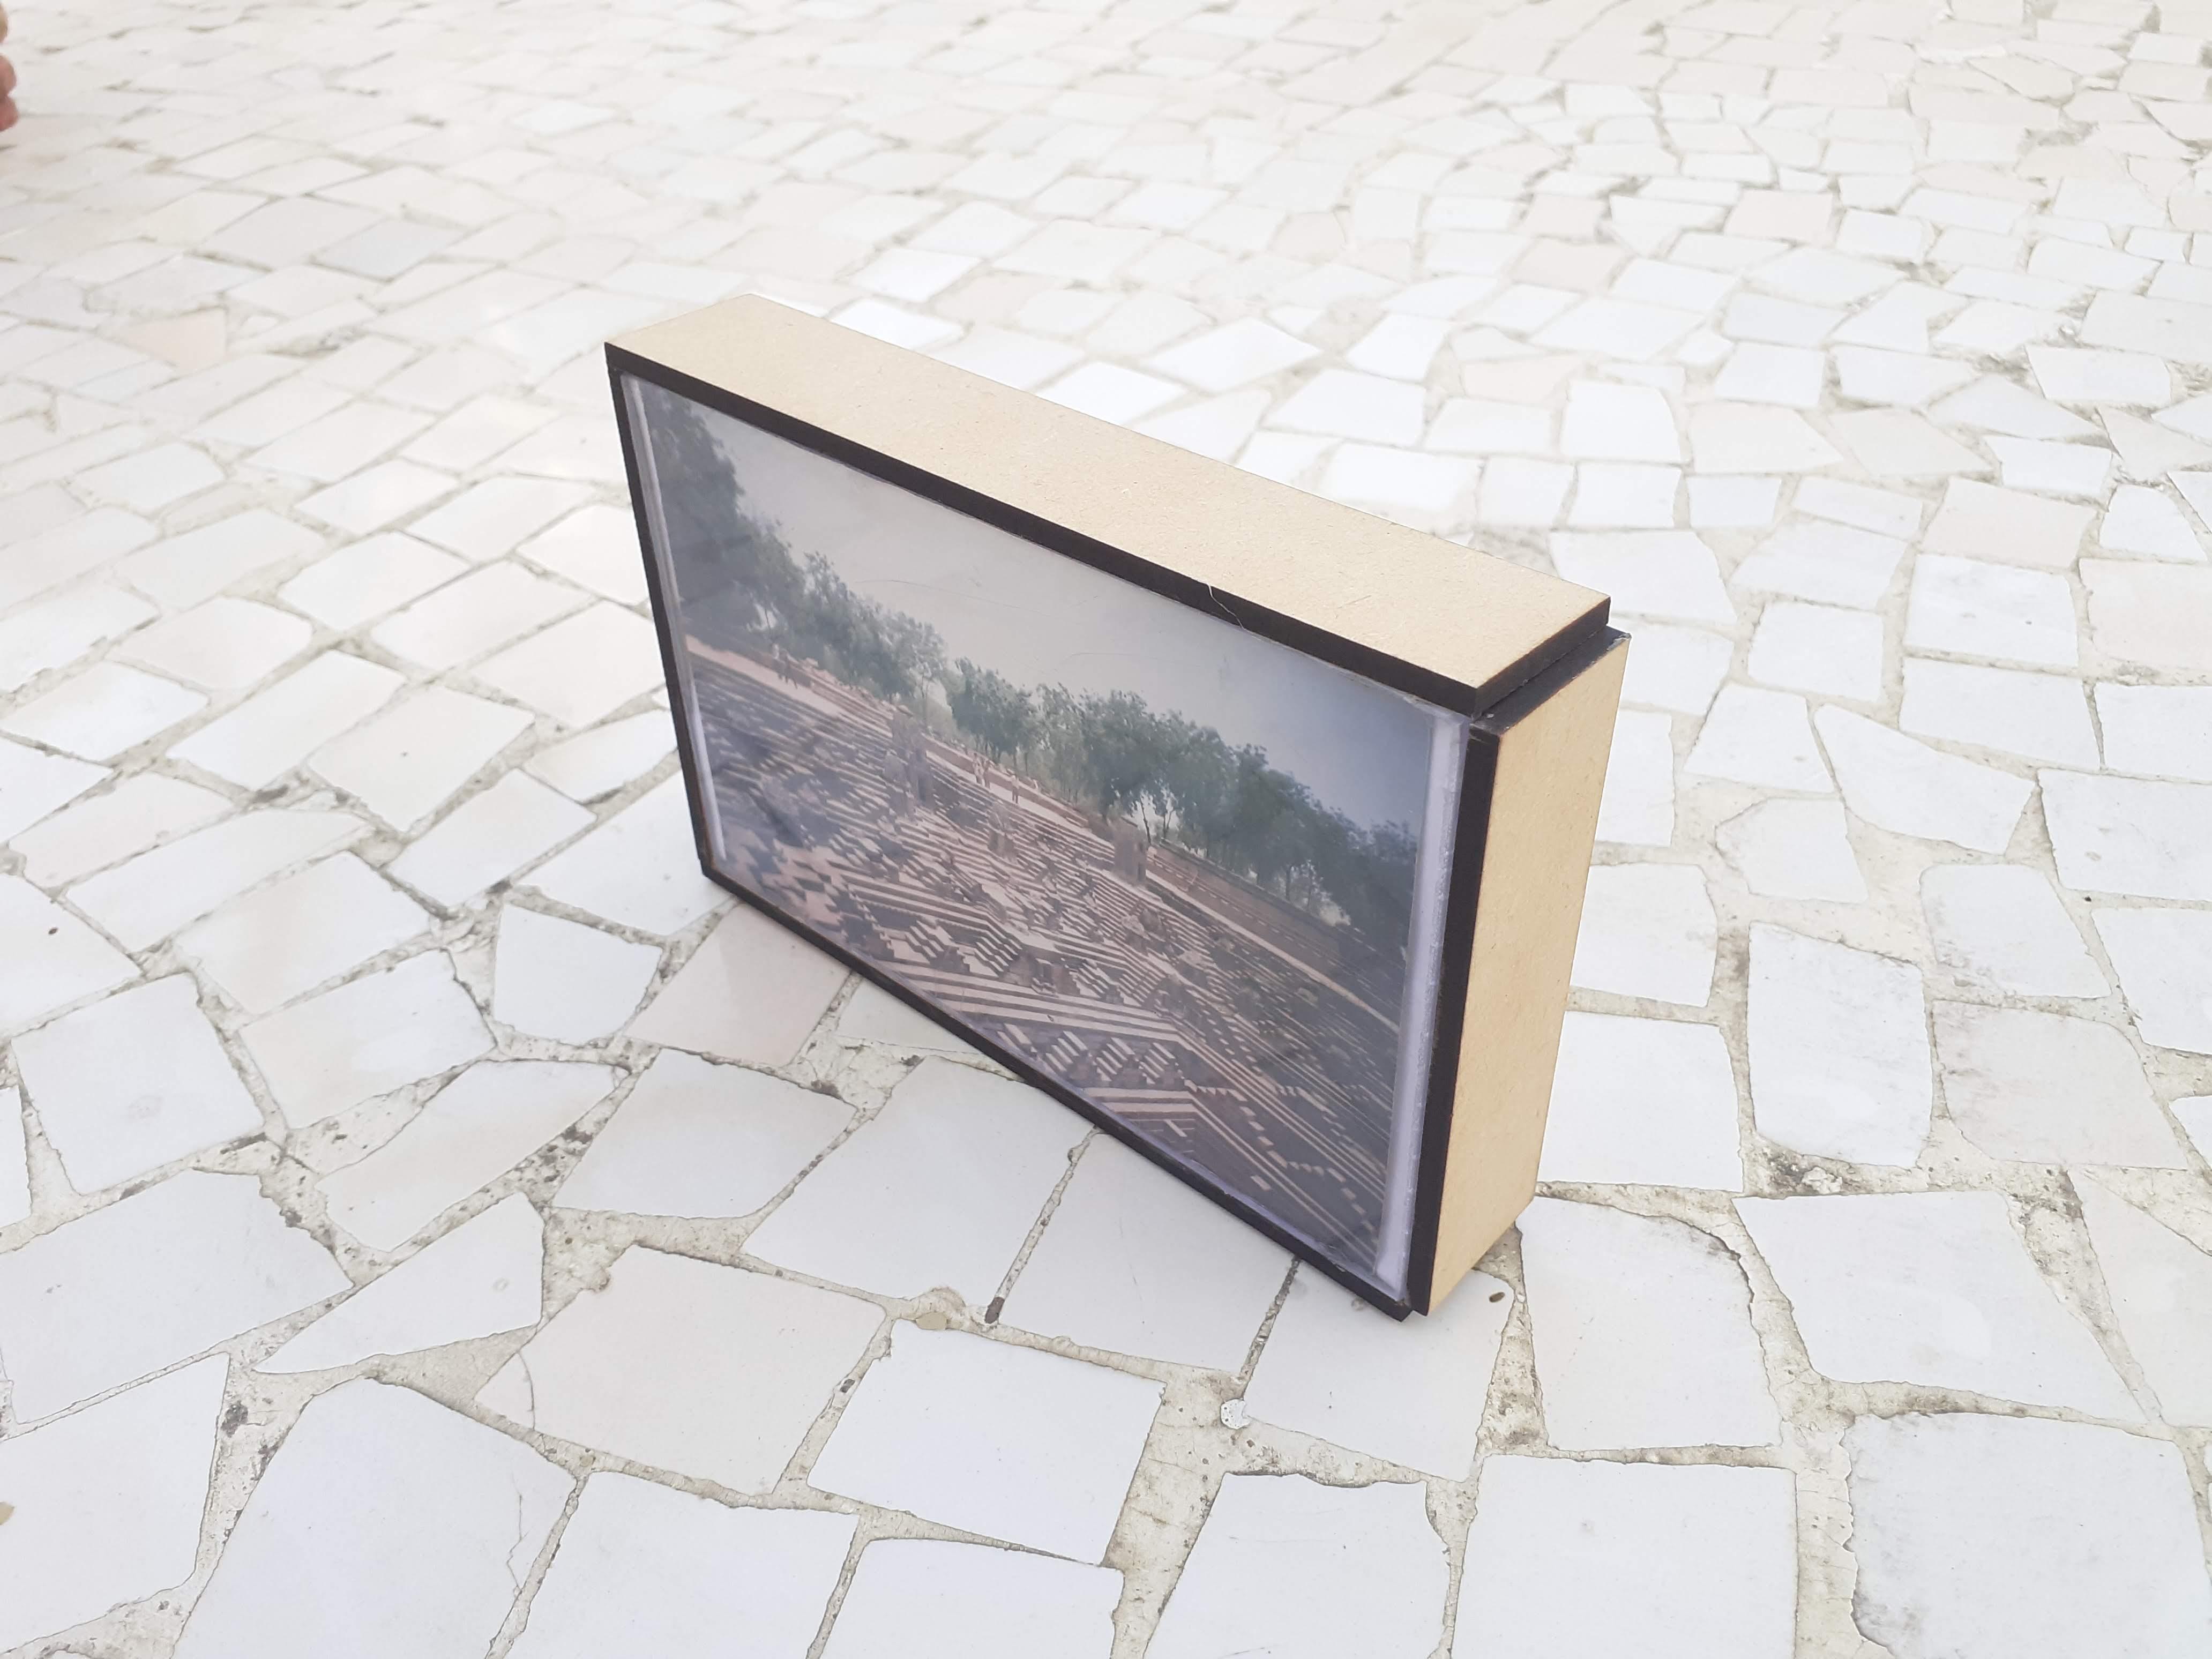
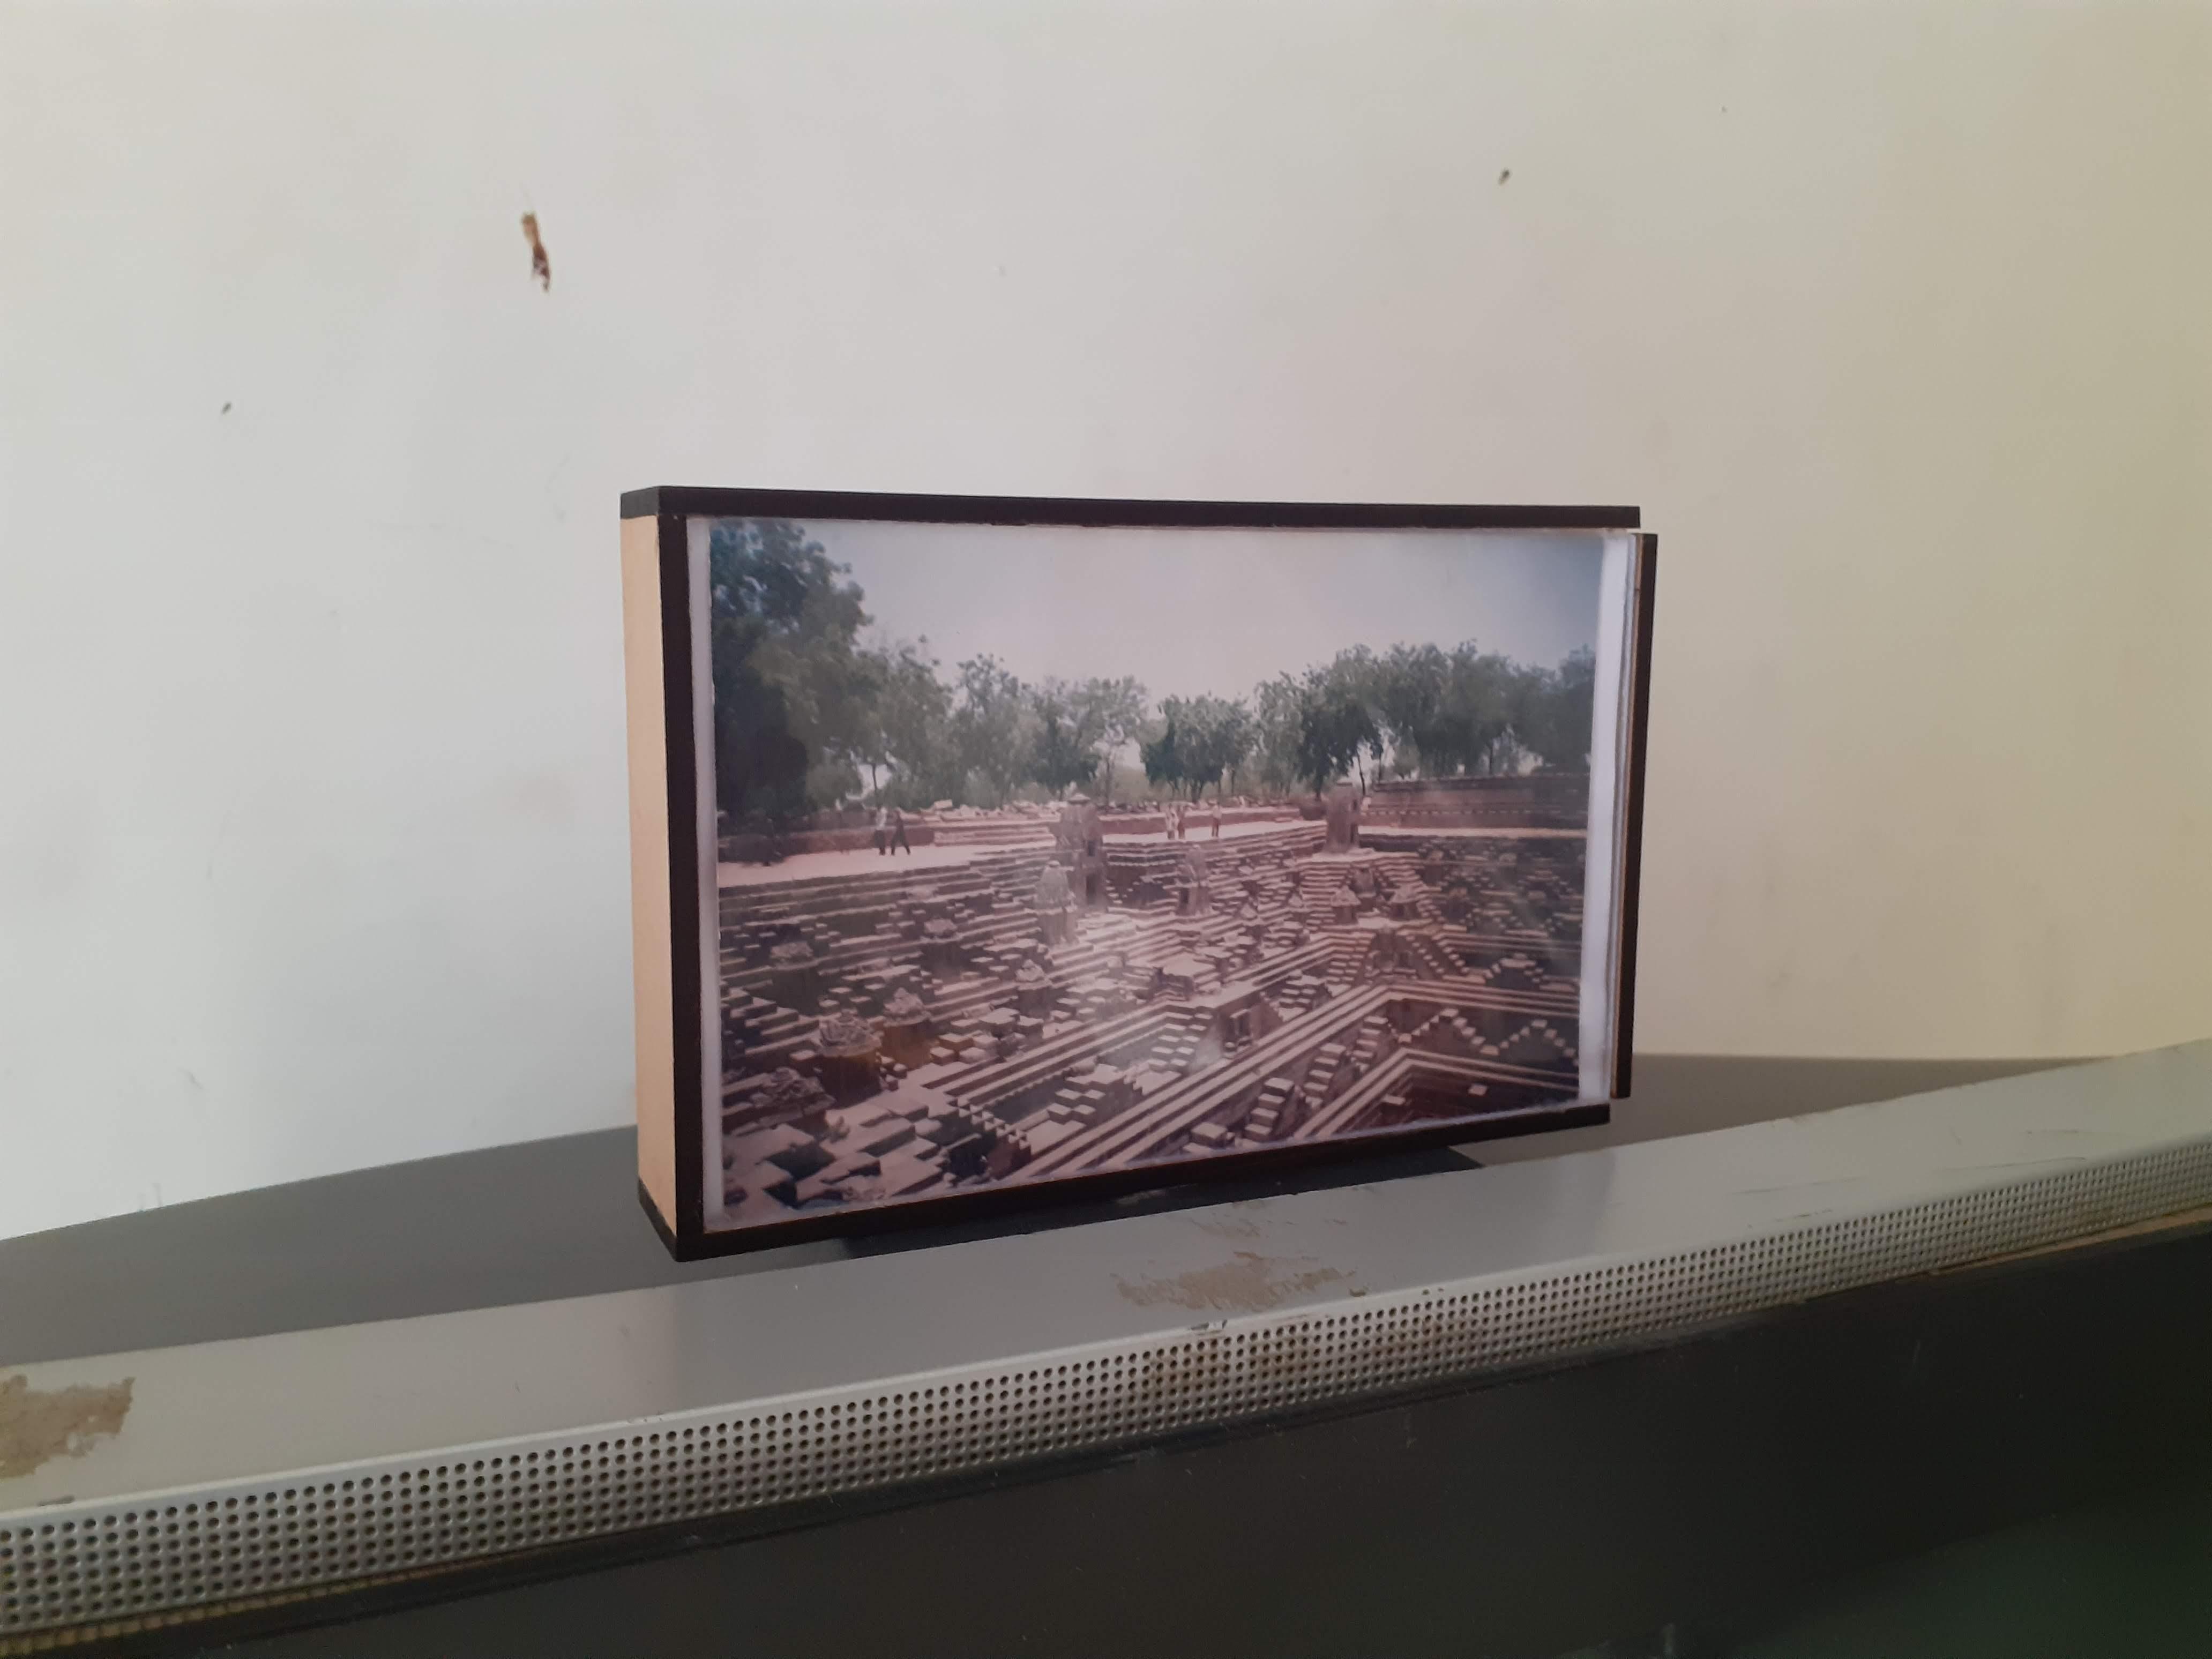
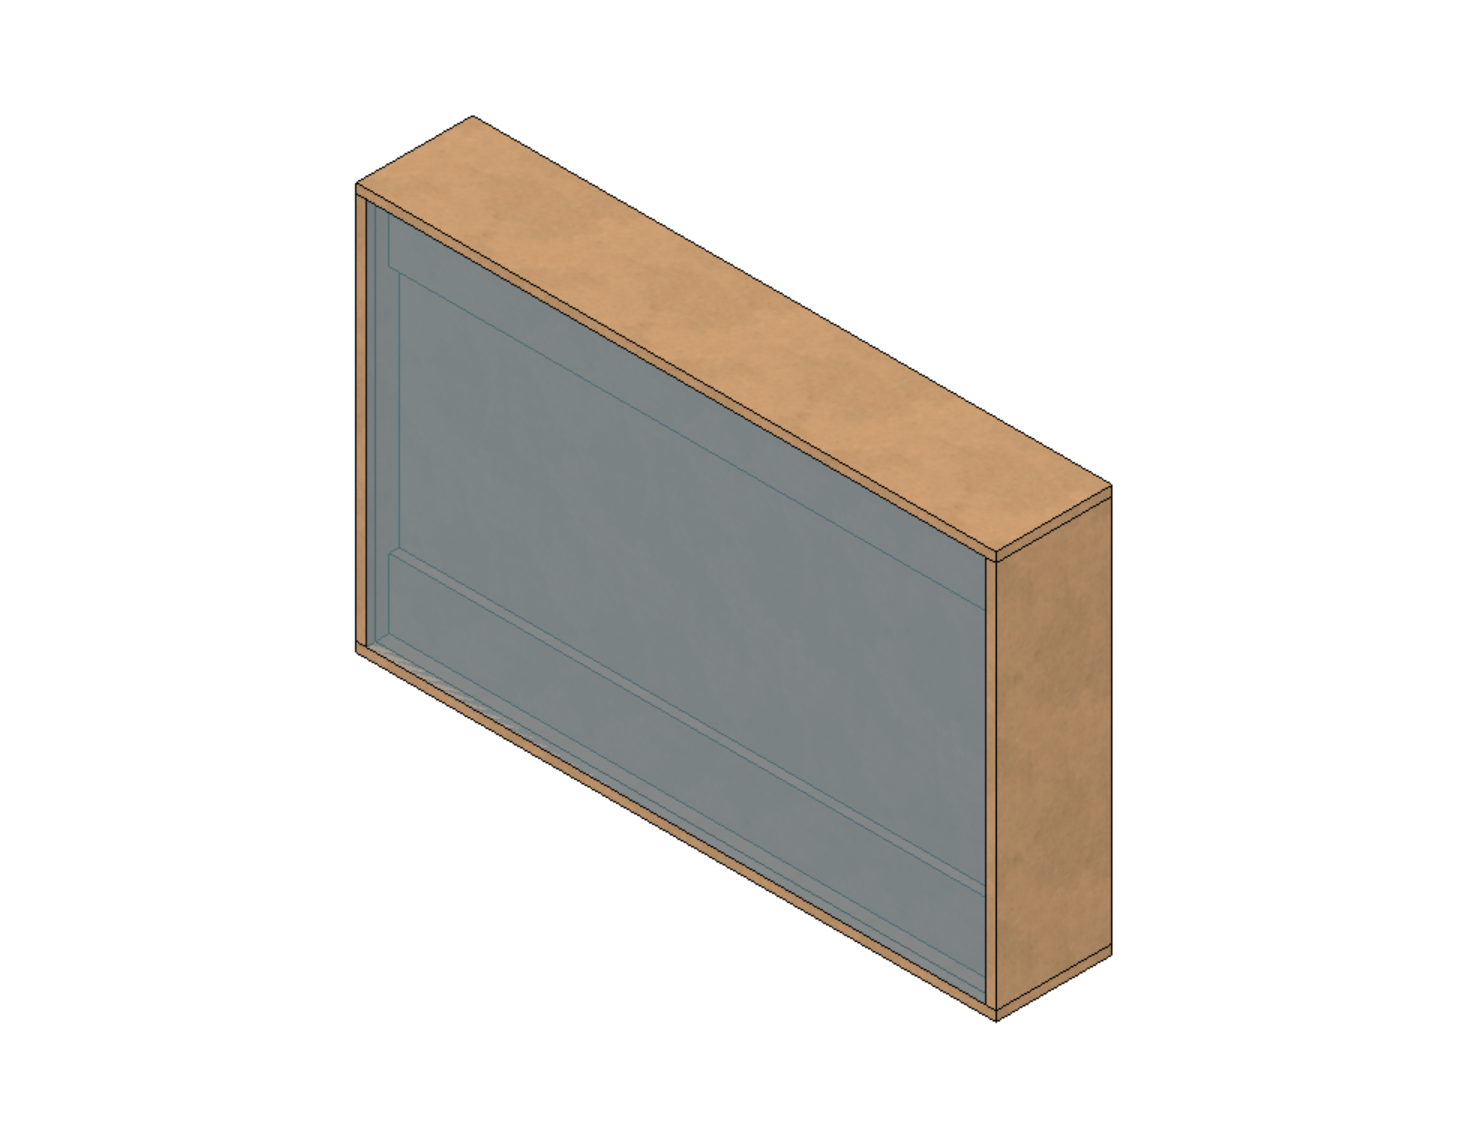
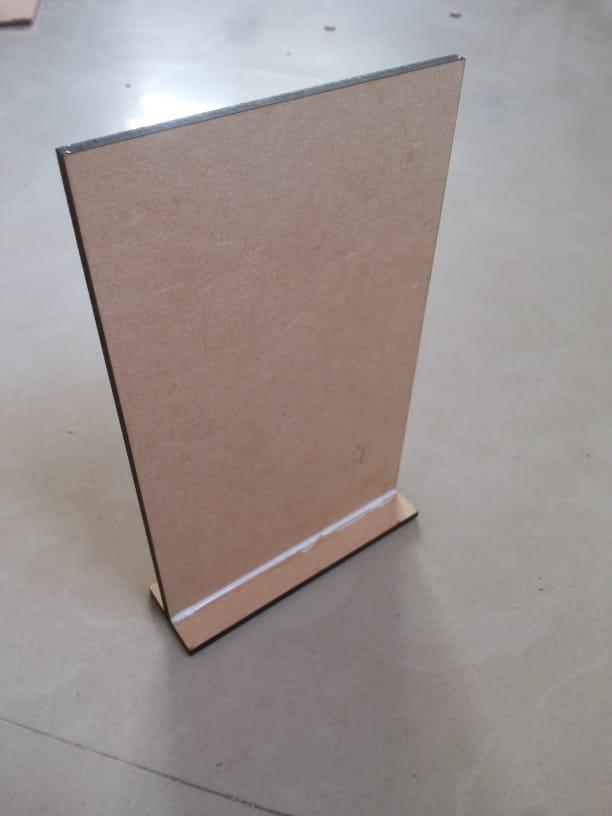
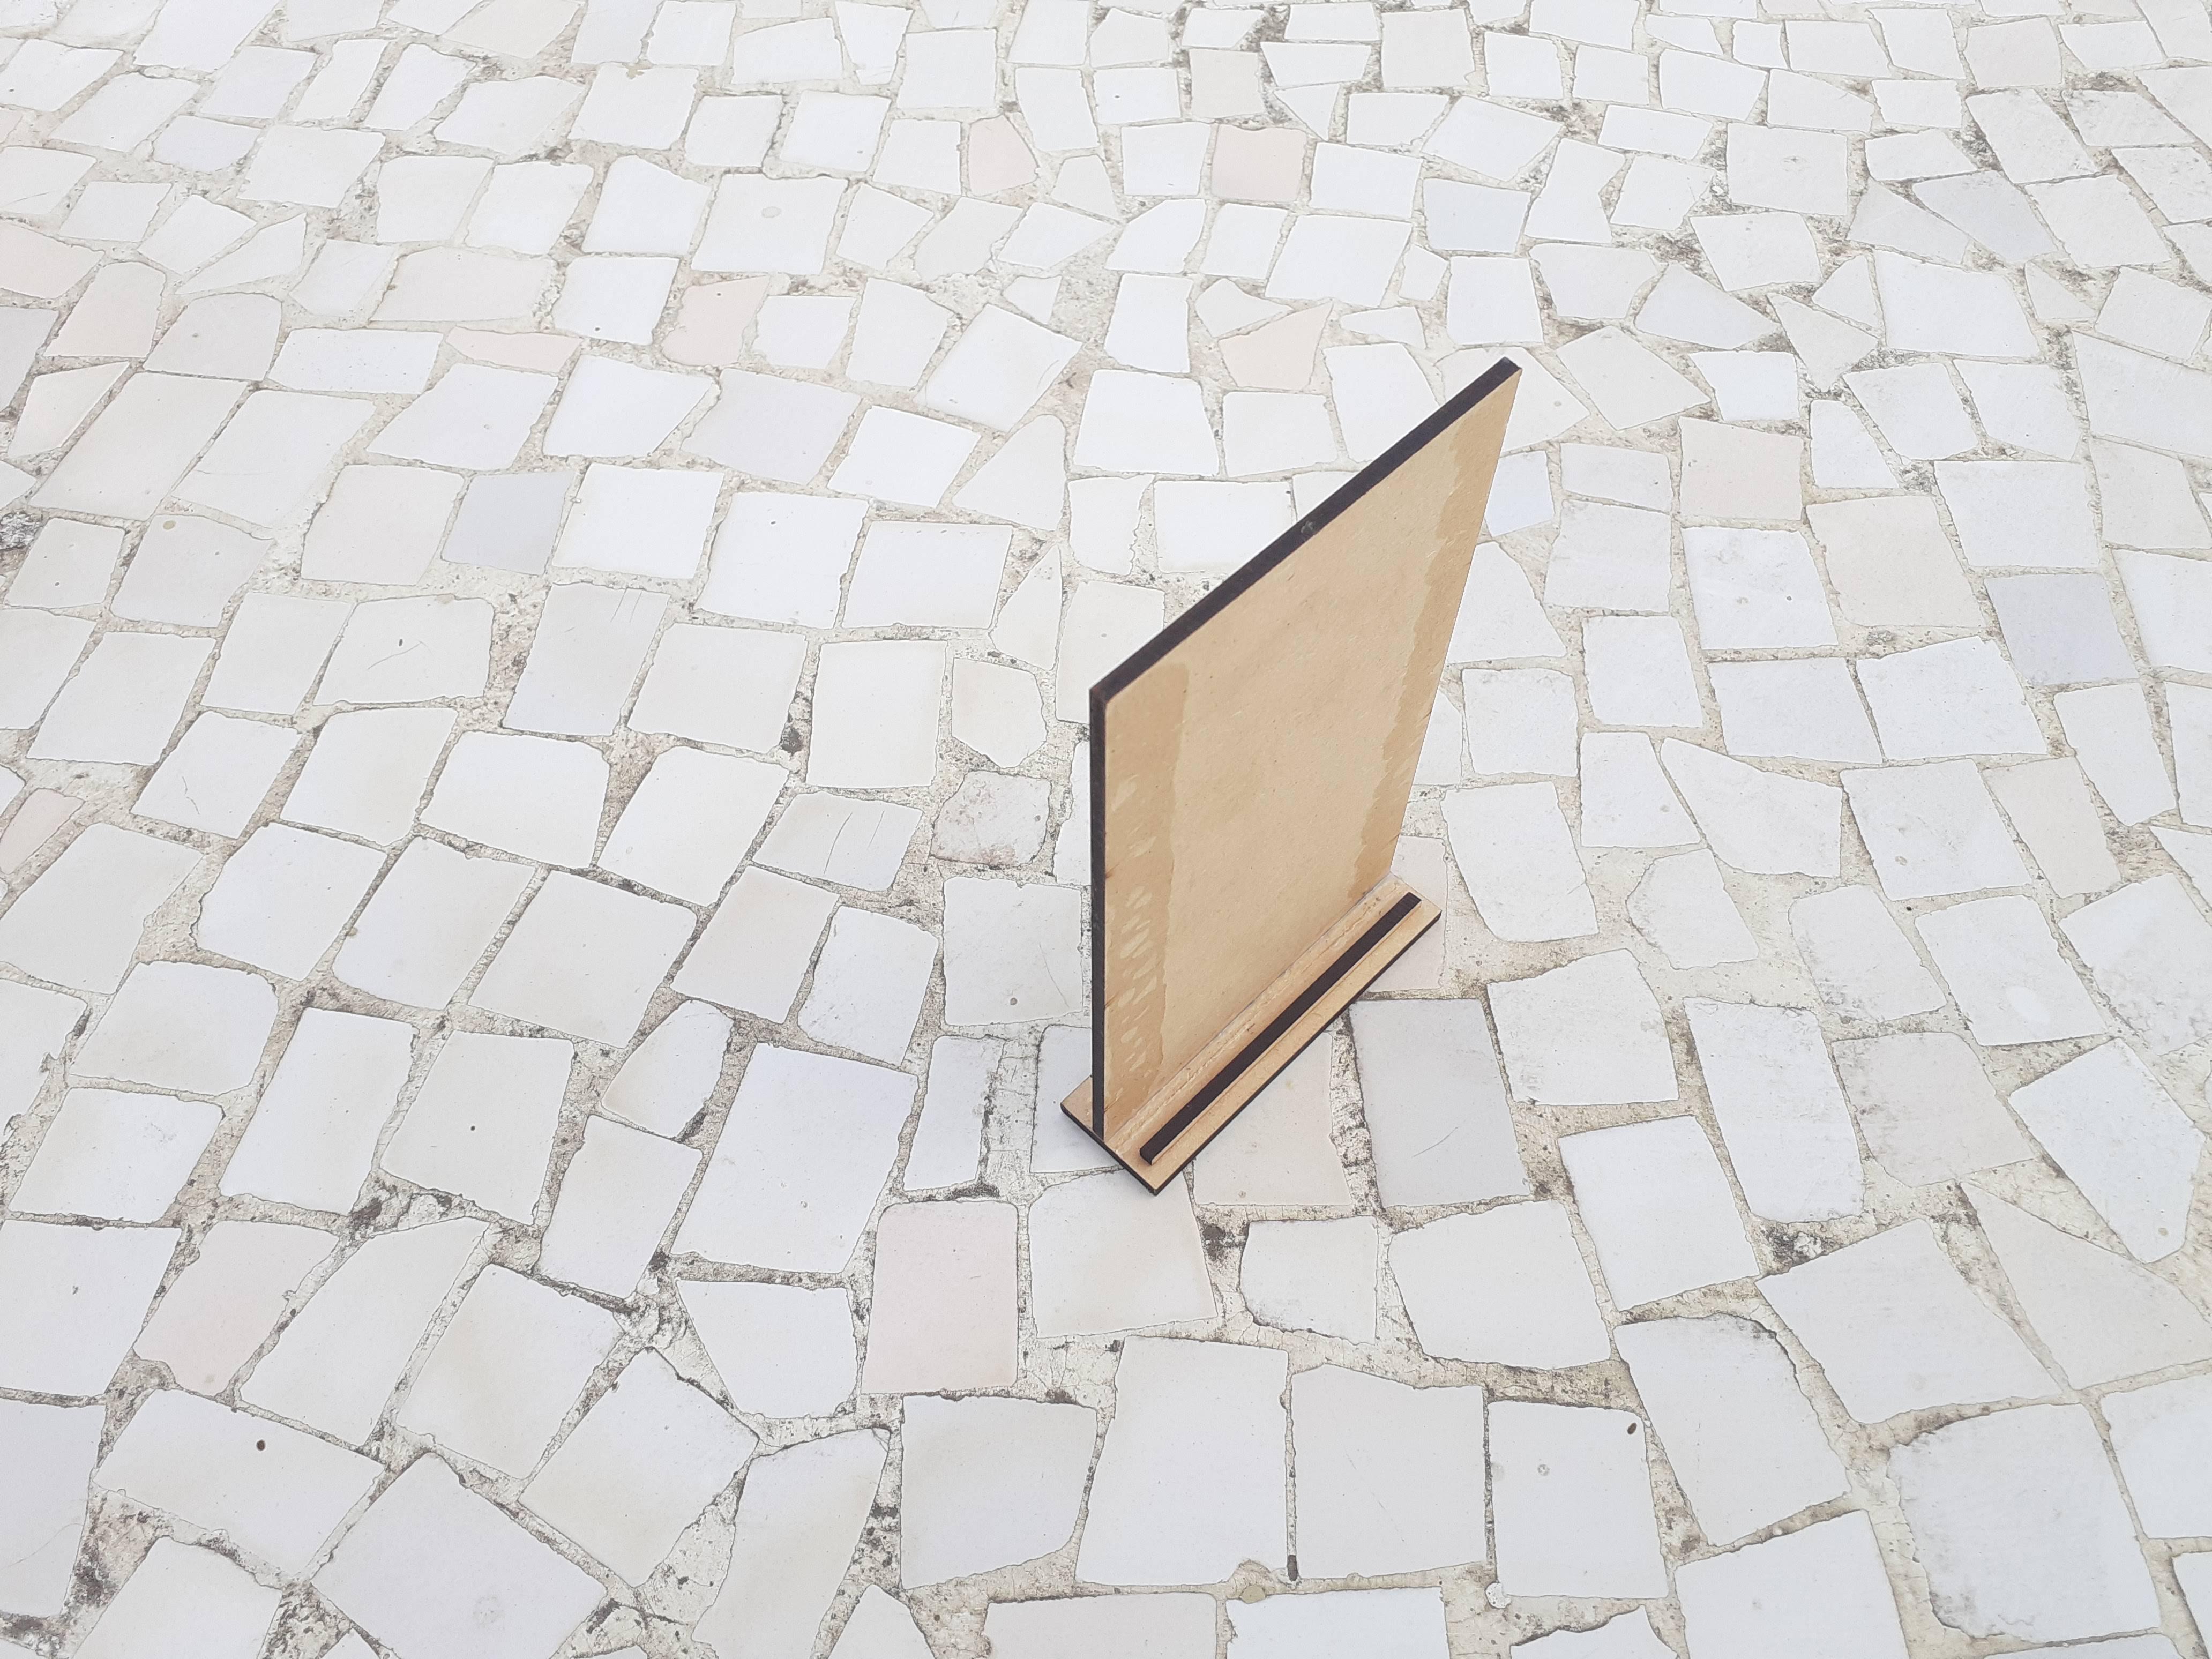
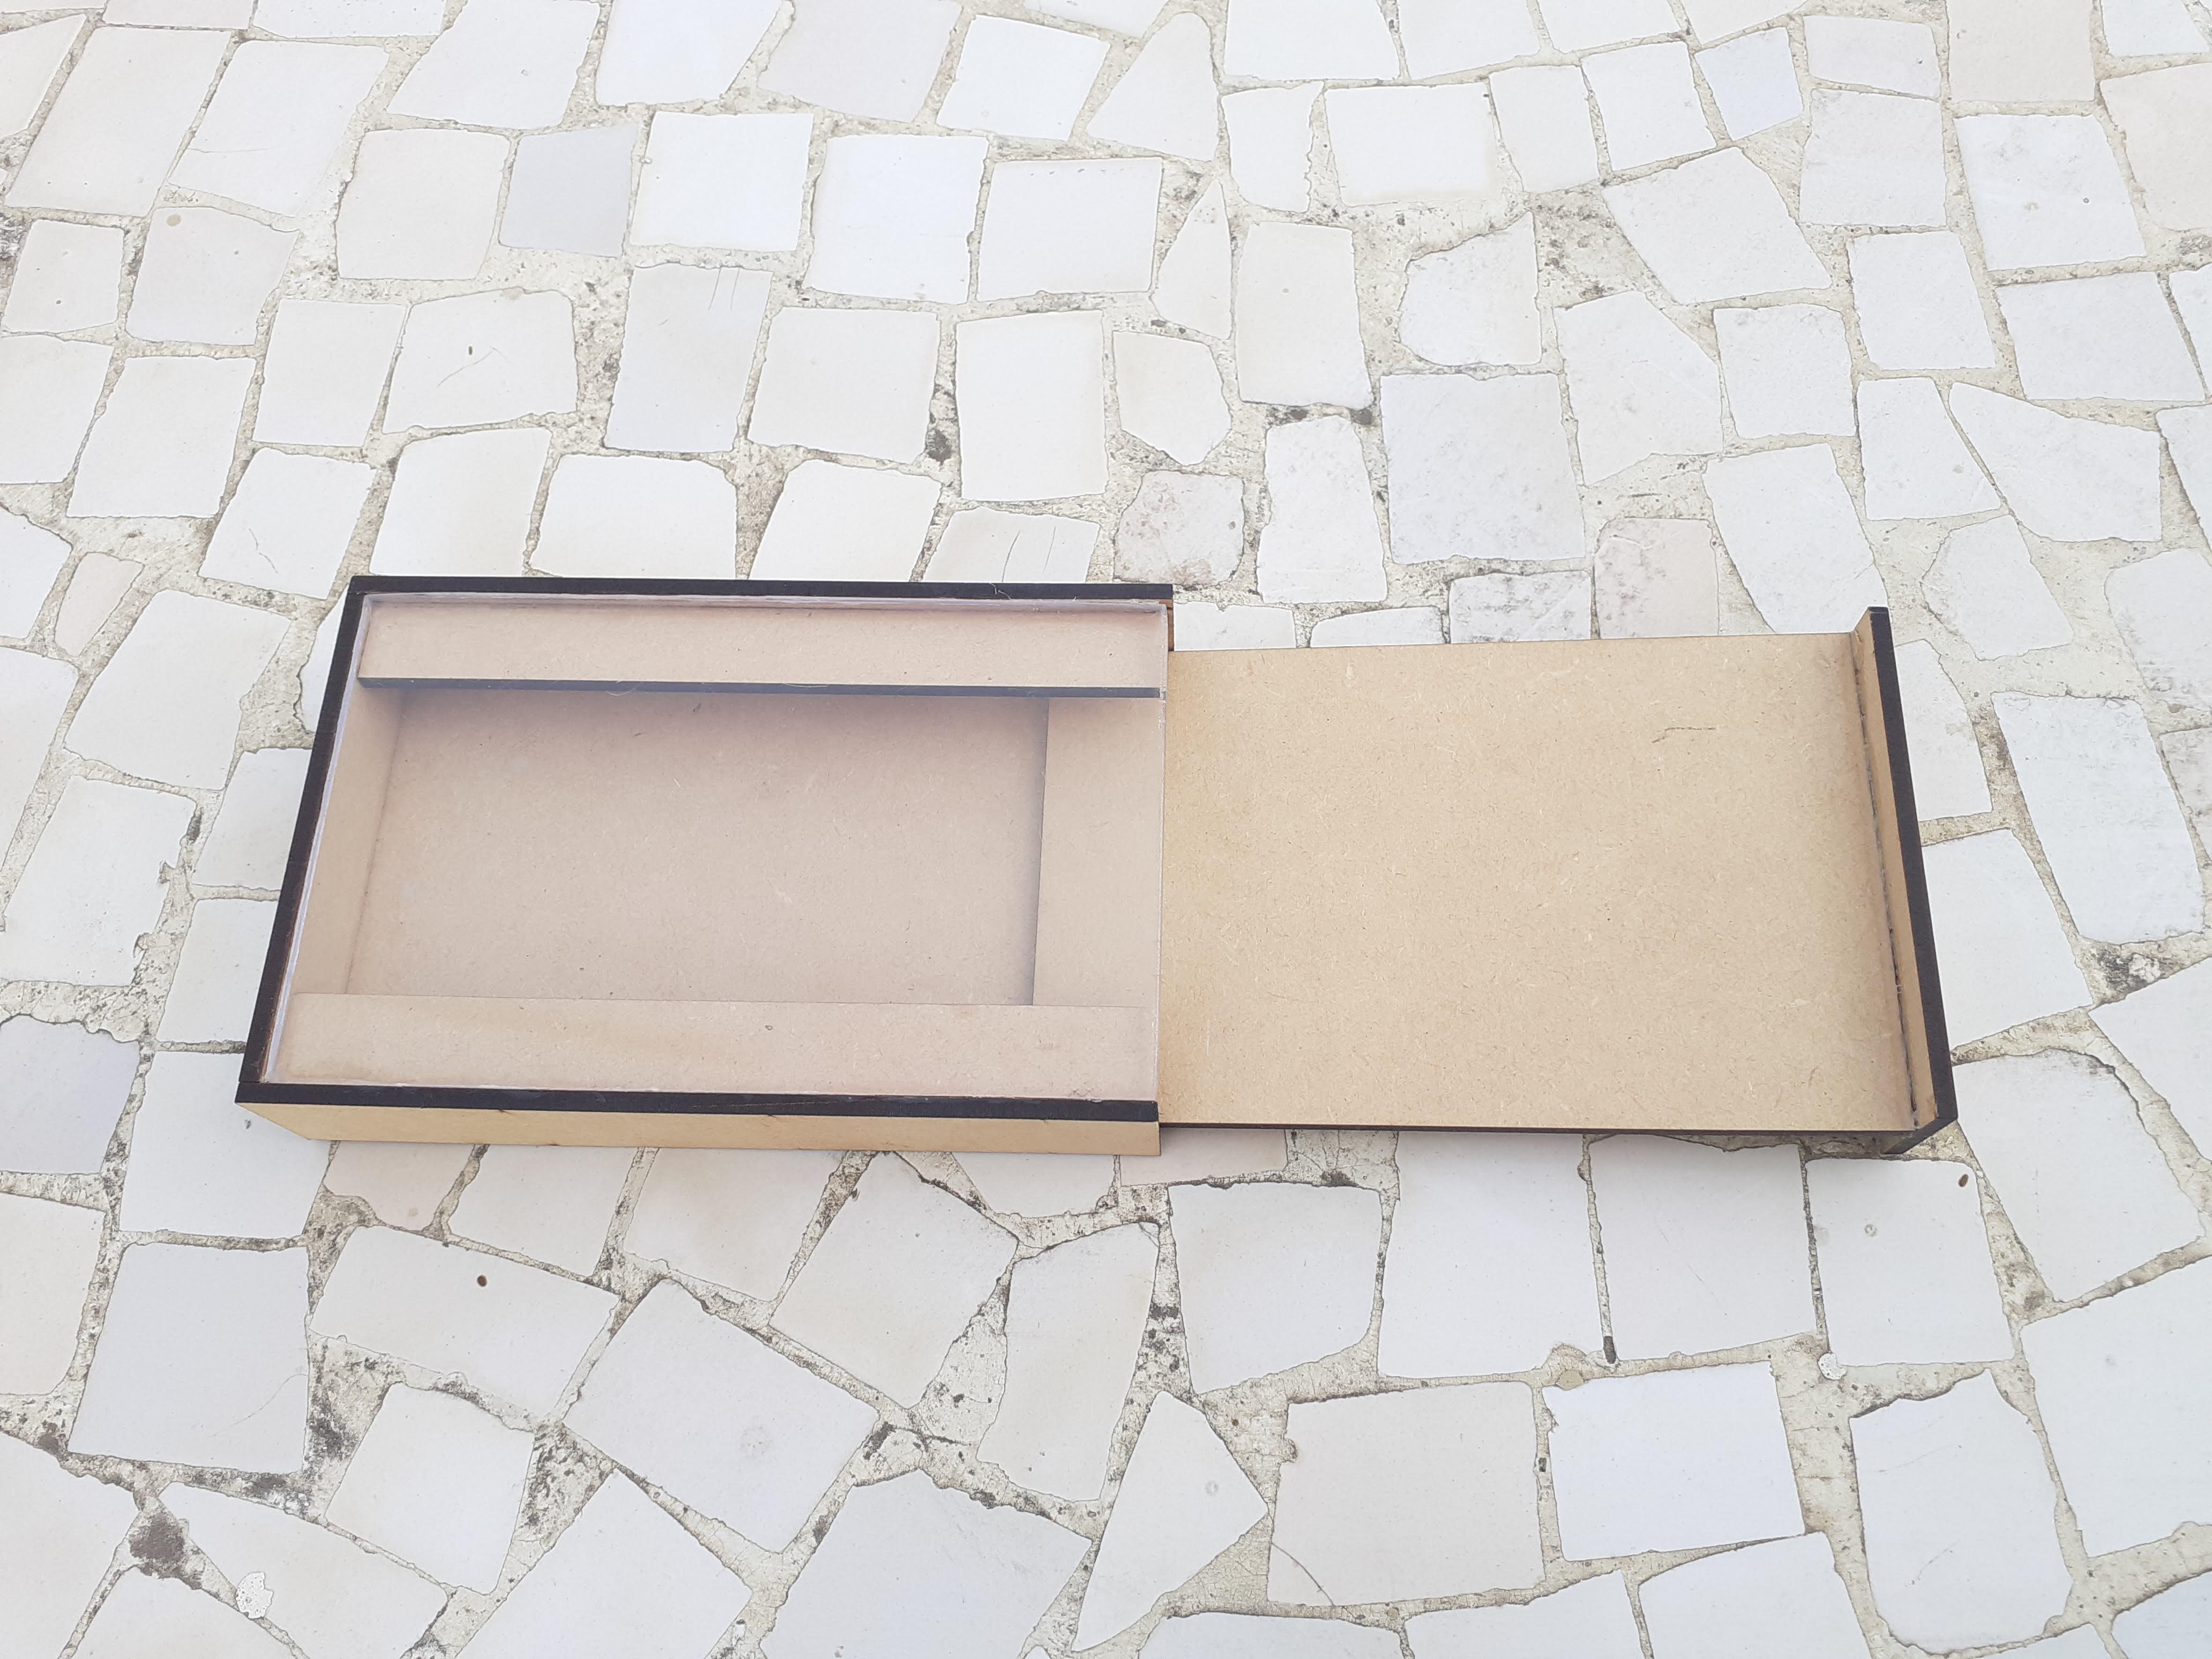
Testing of Hiding Frame
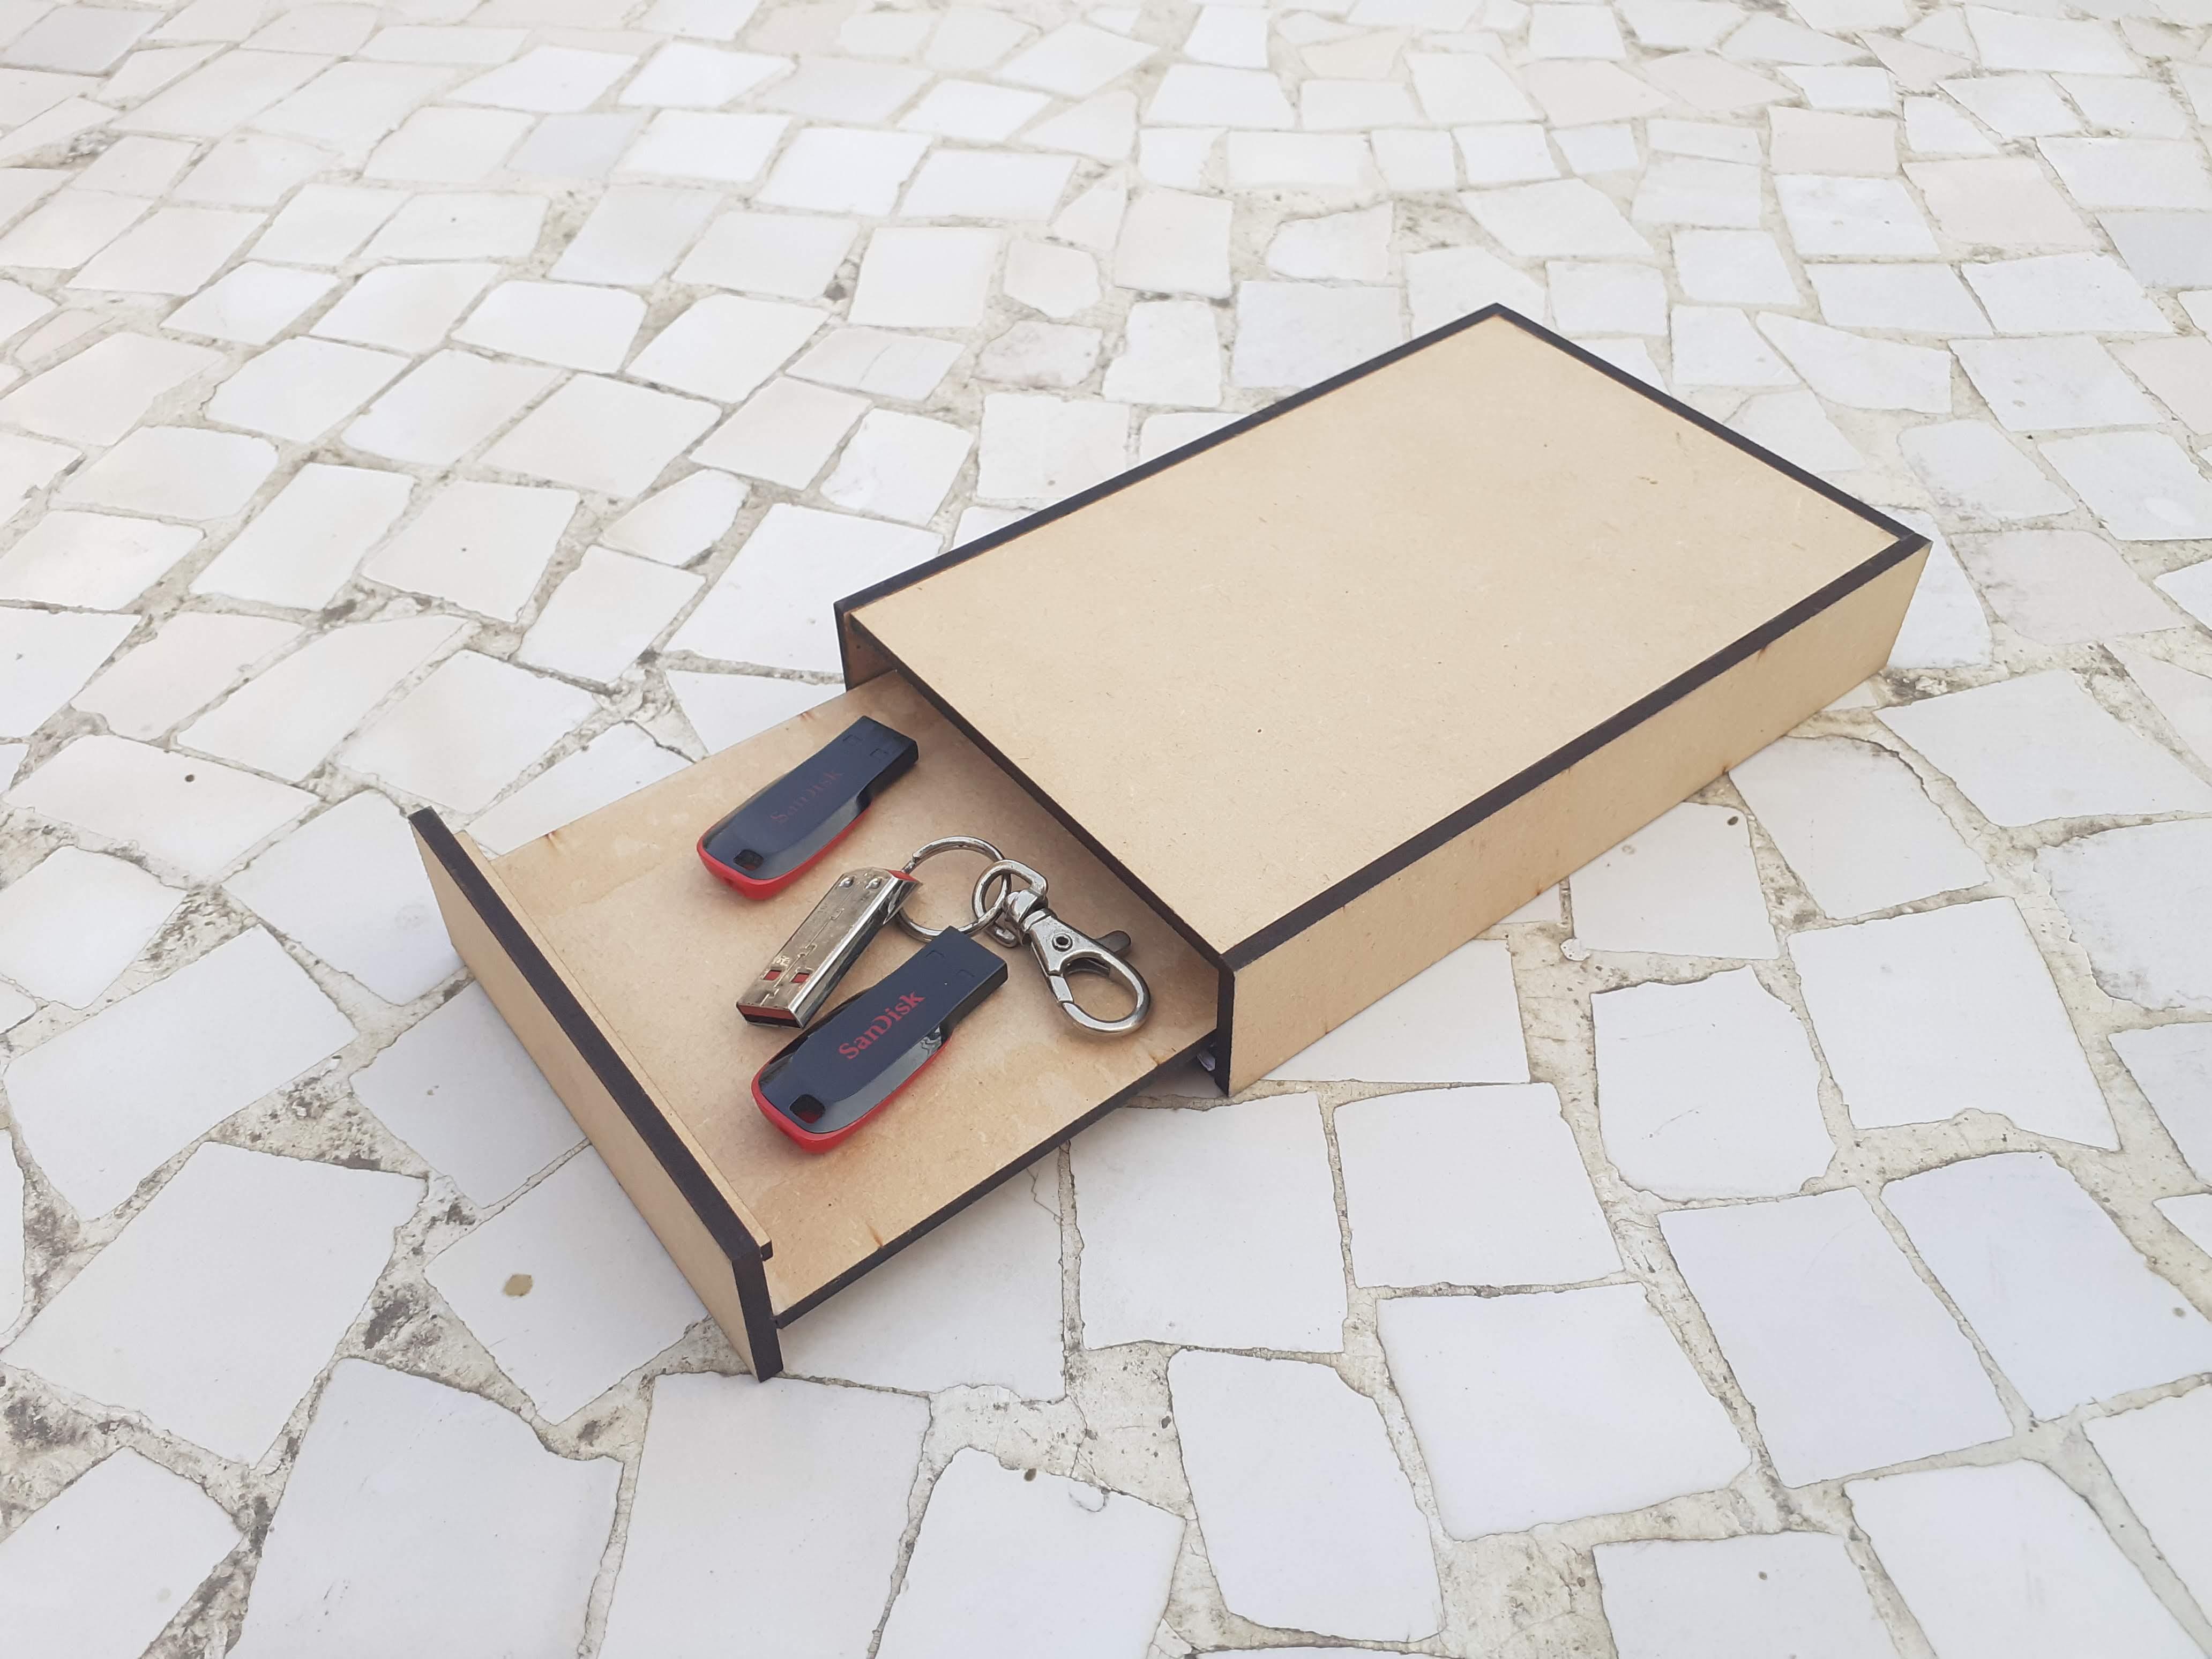
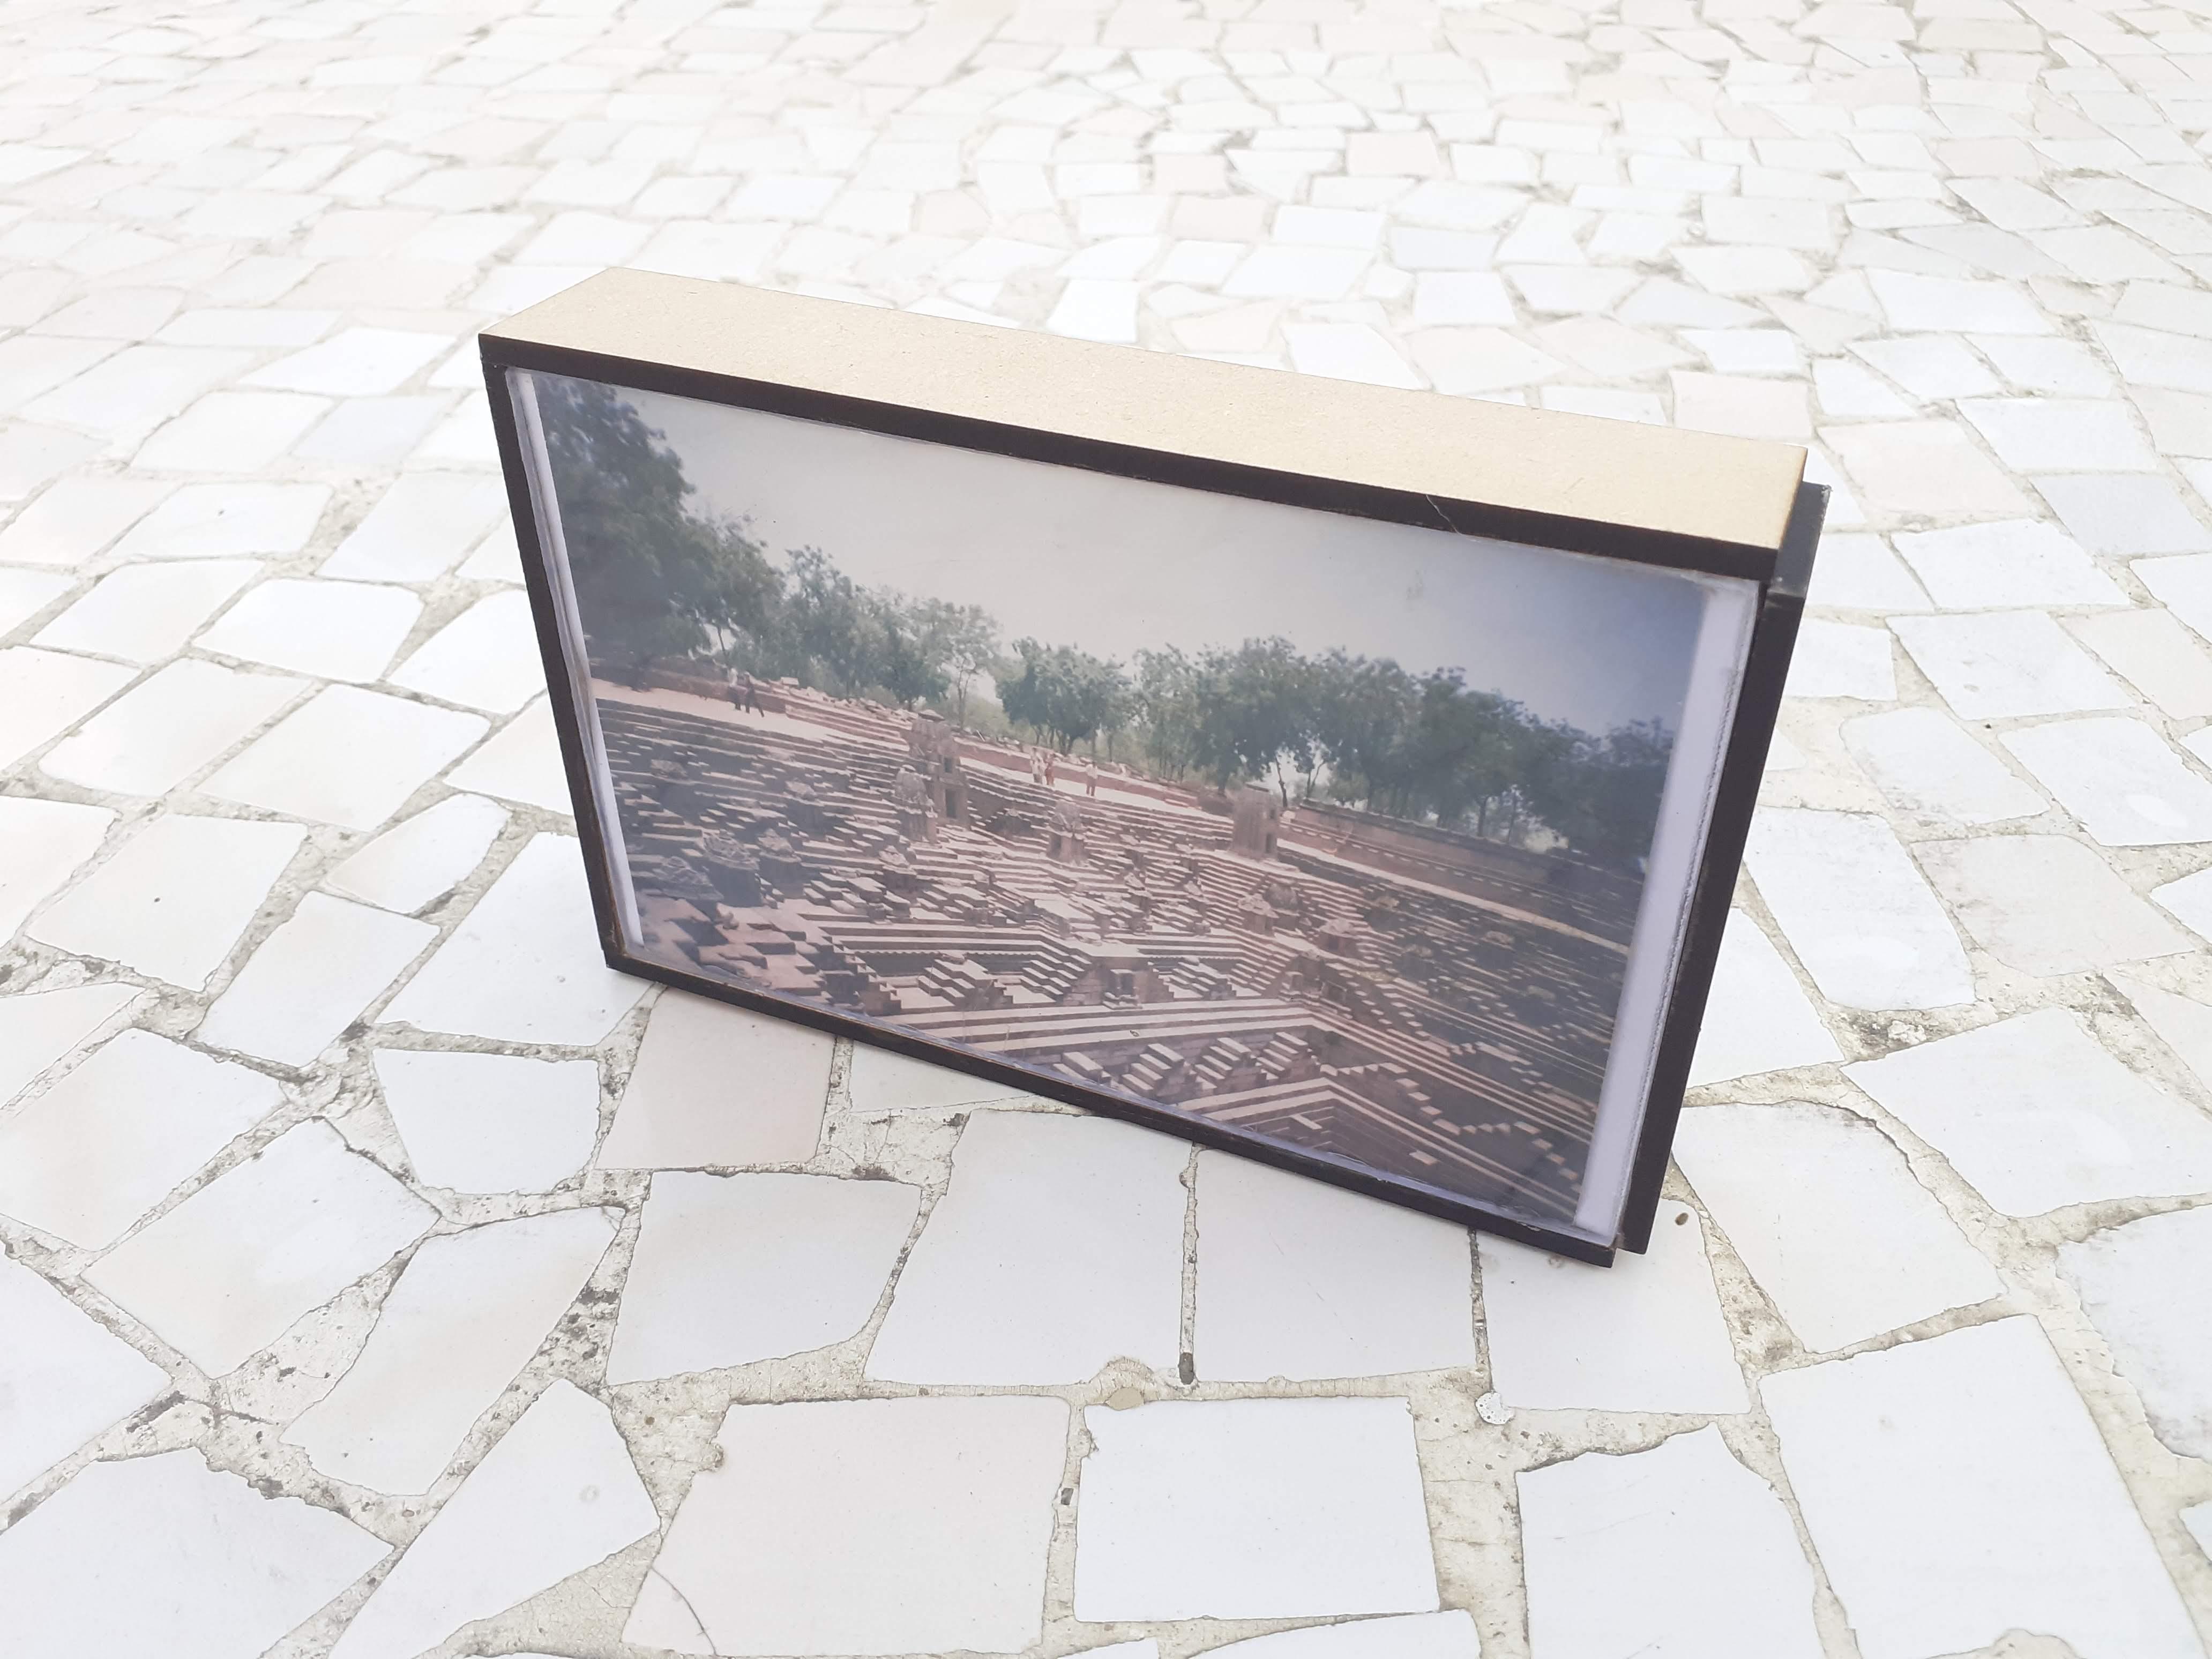
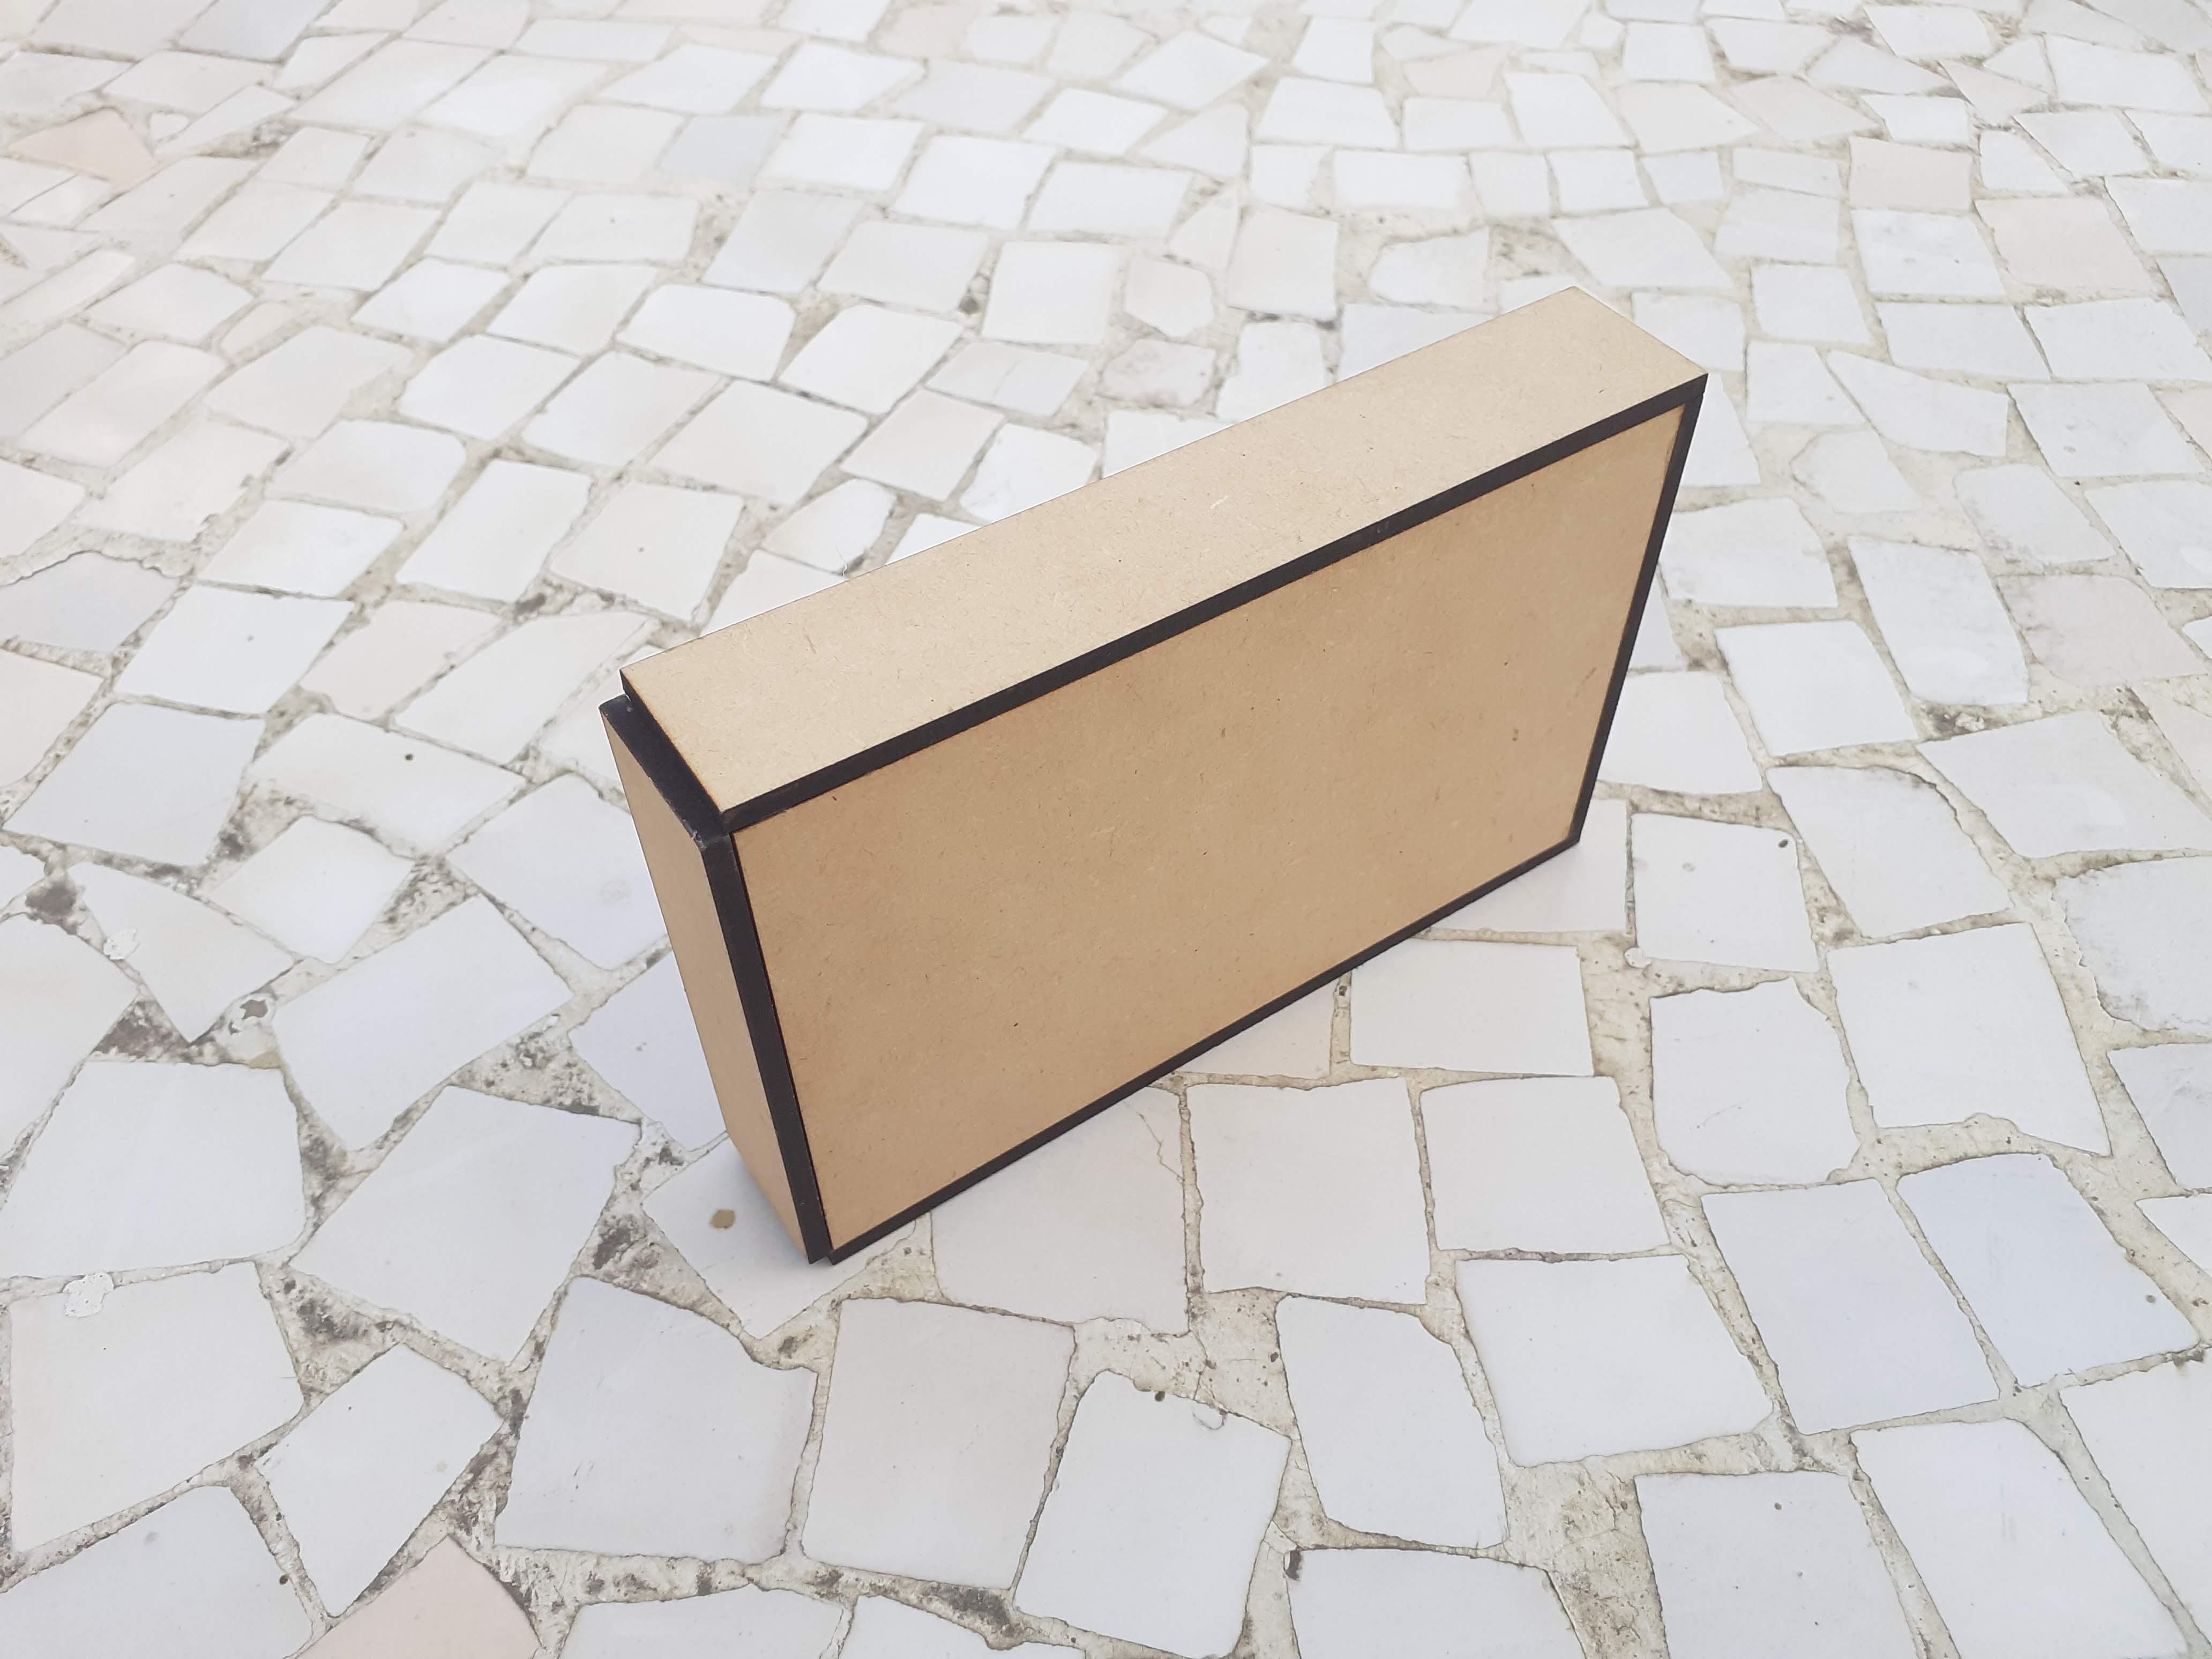
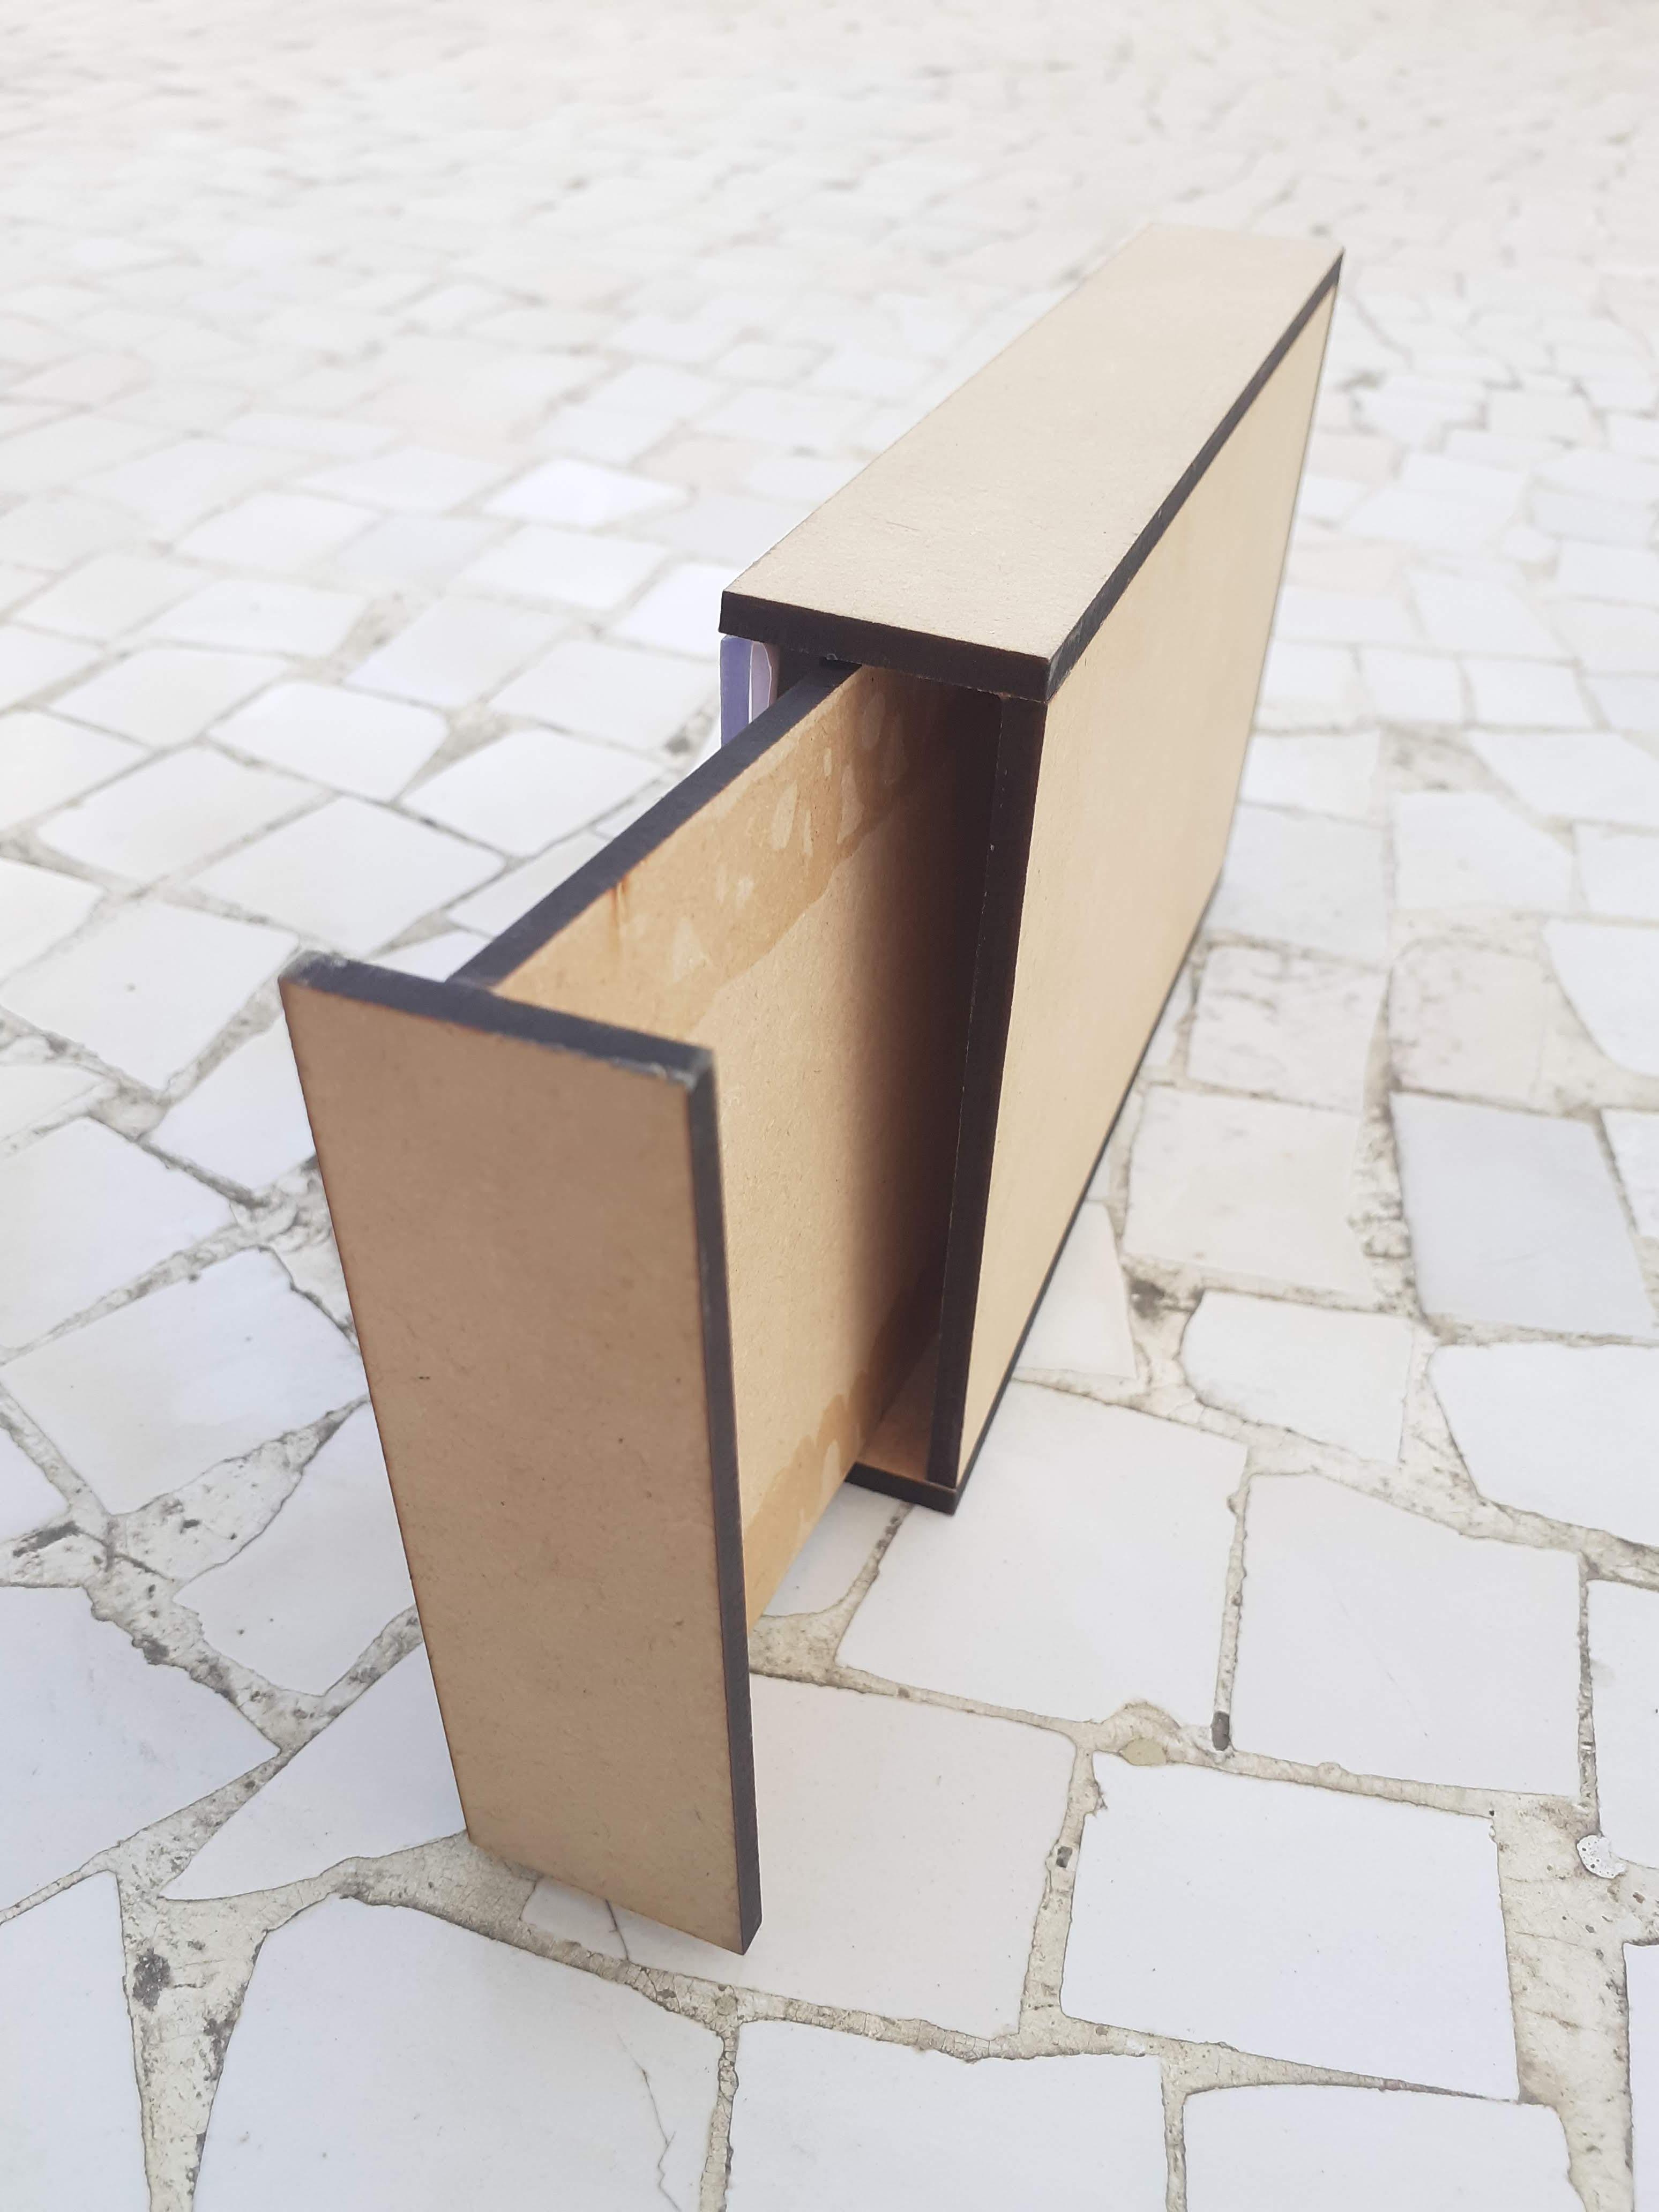
After assembly You have Box type frame.
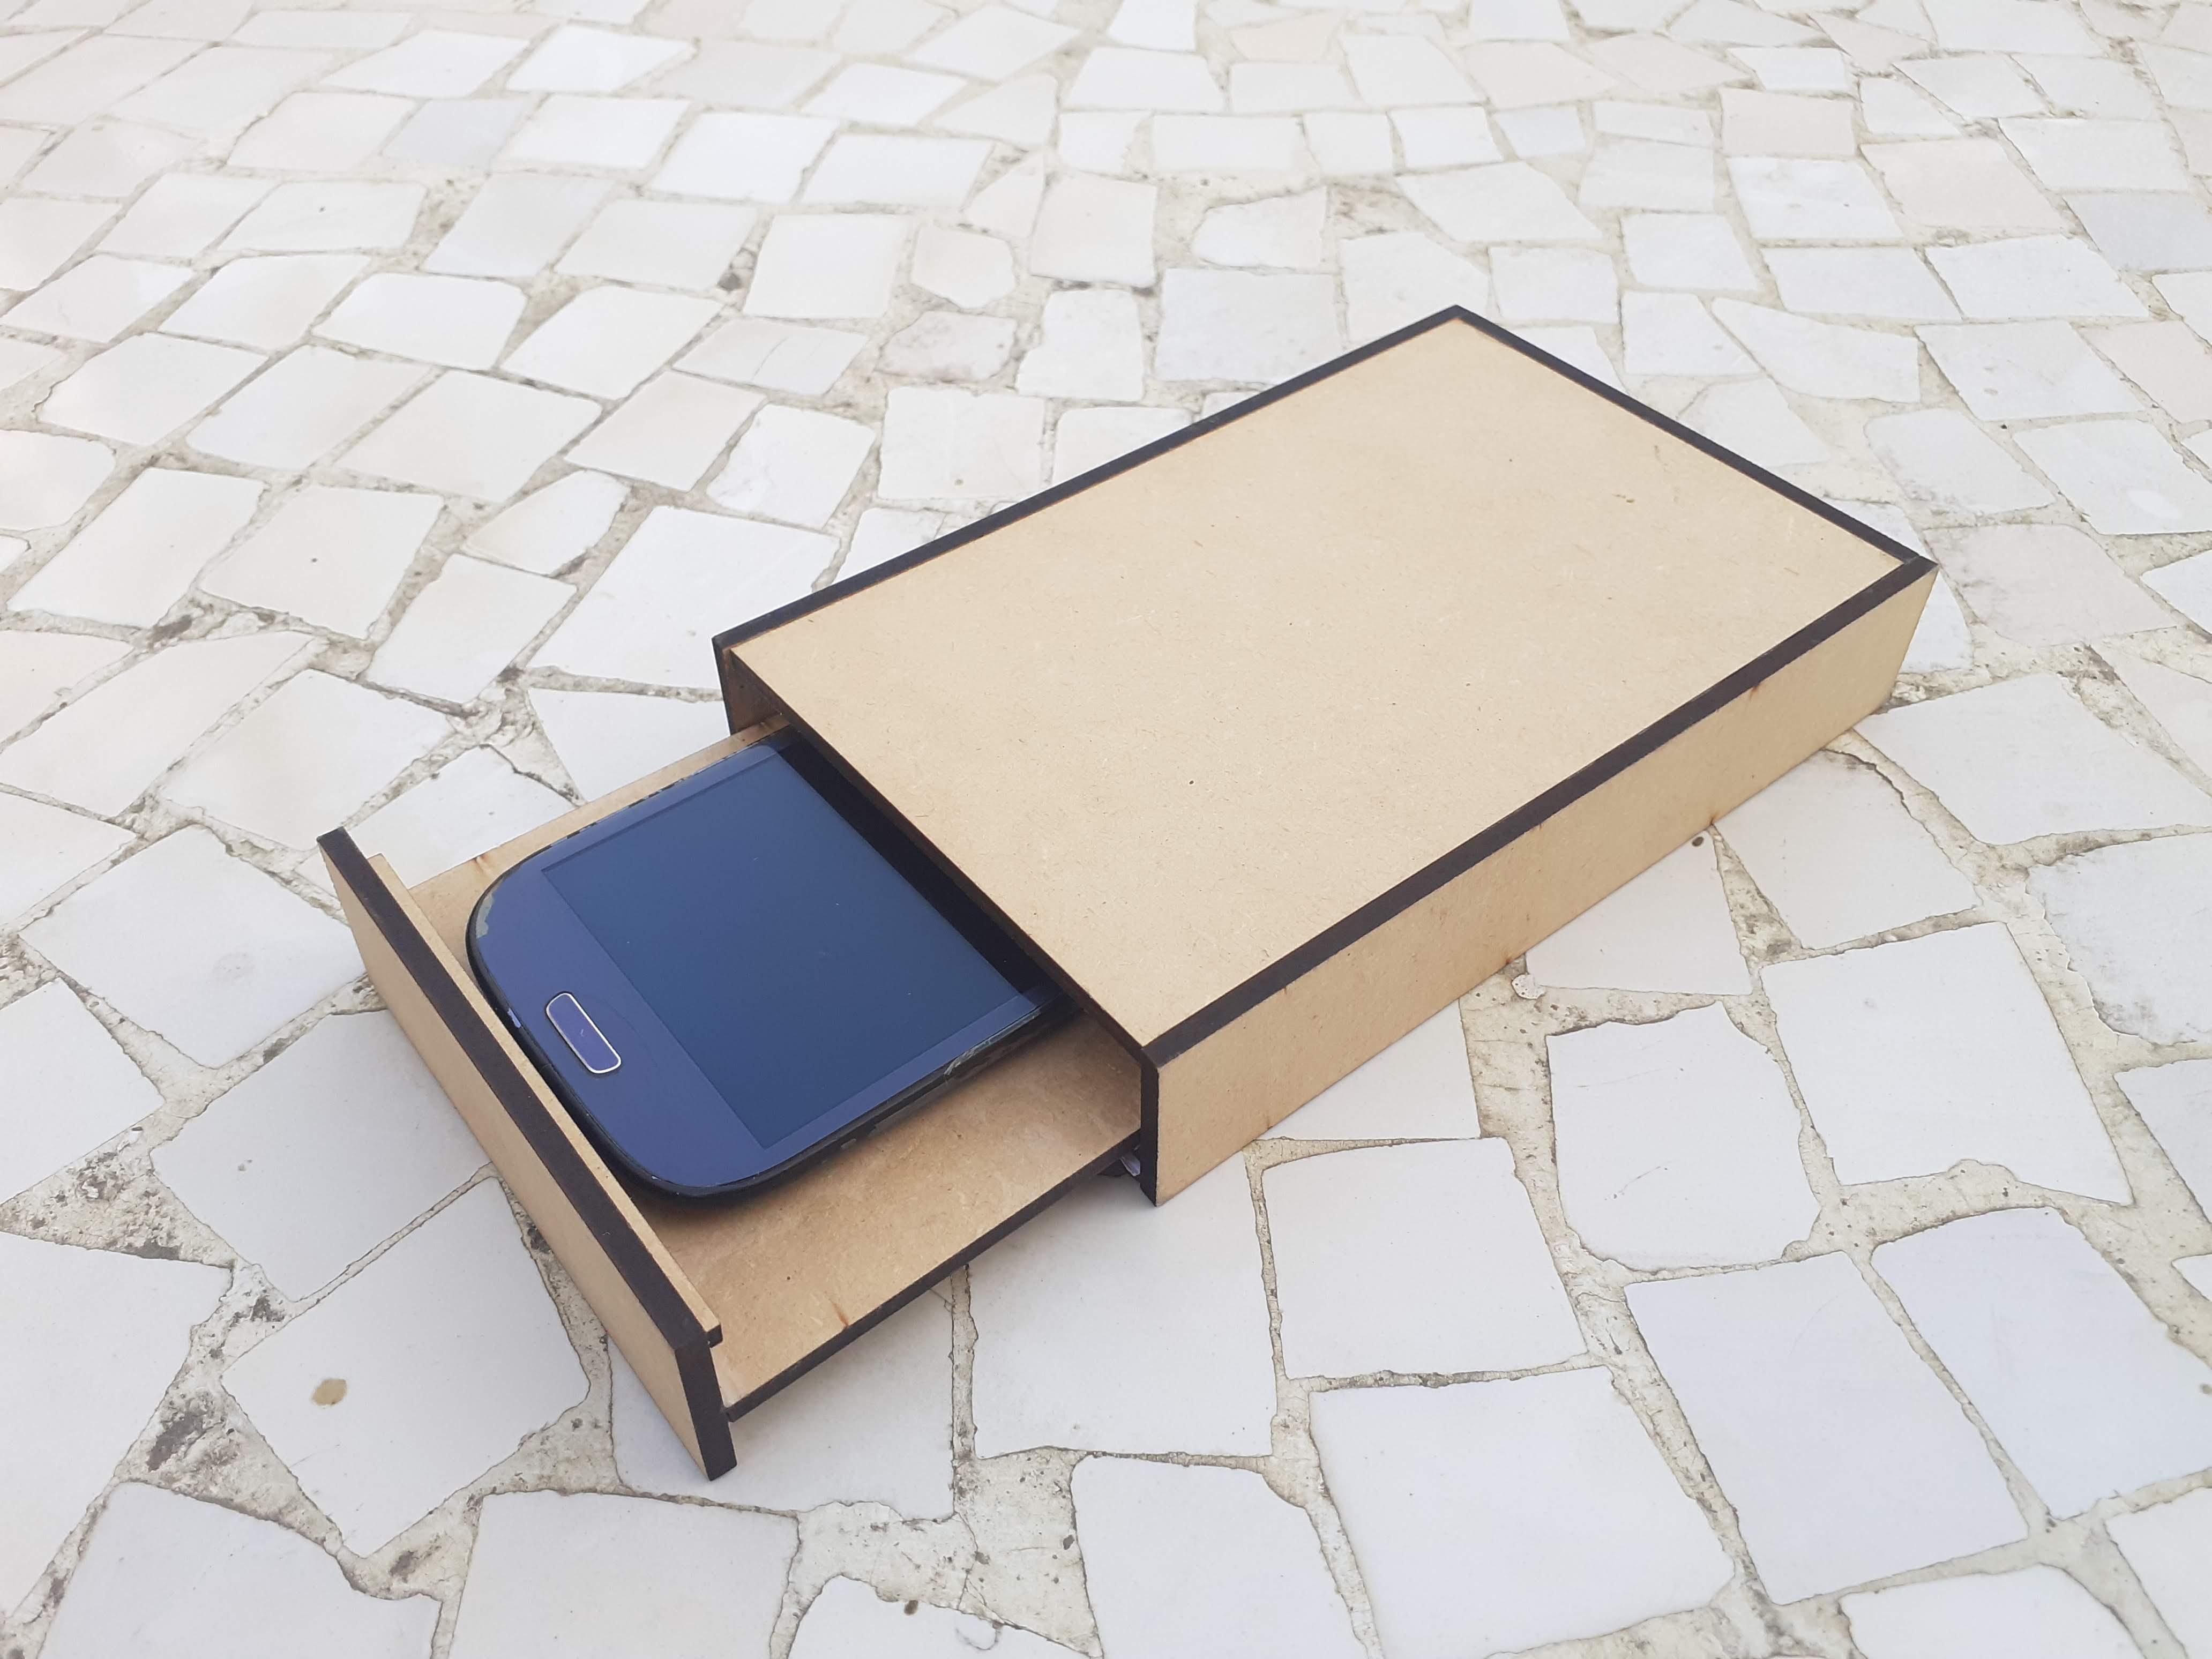
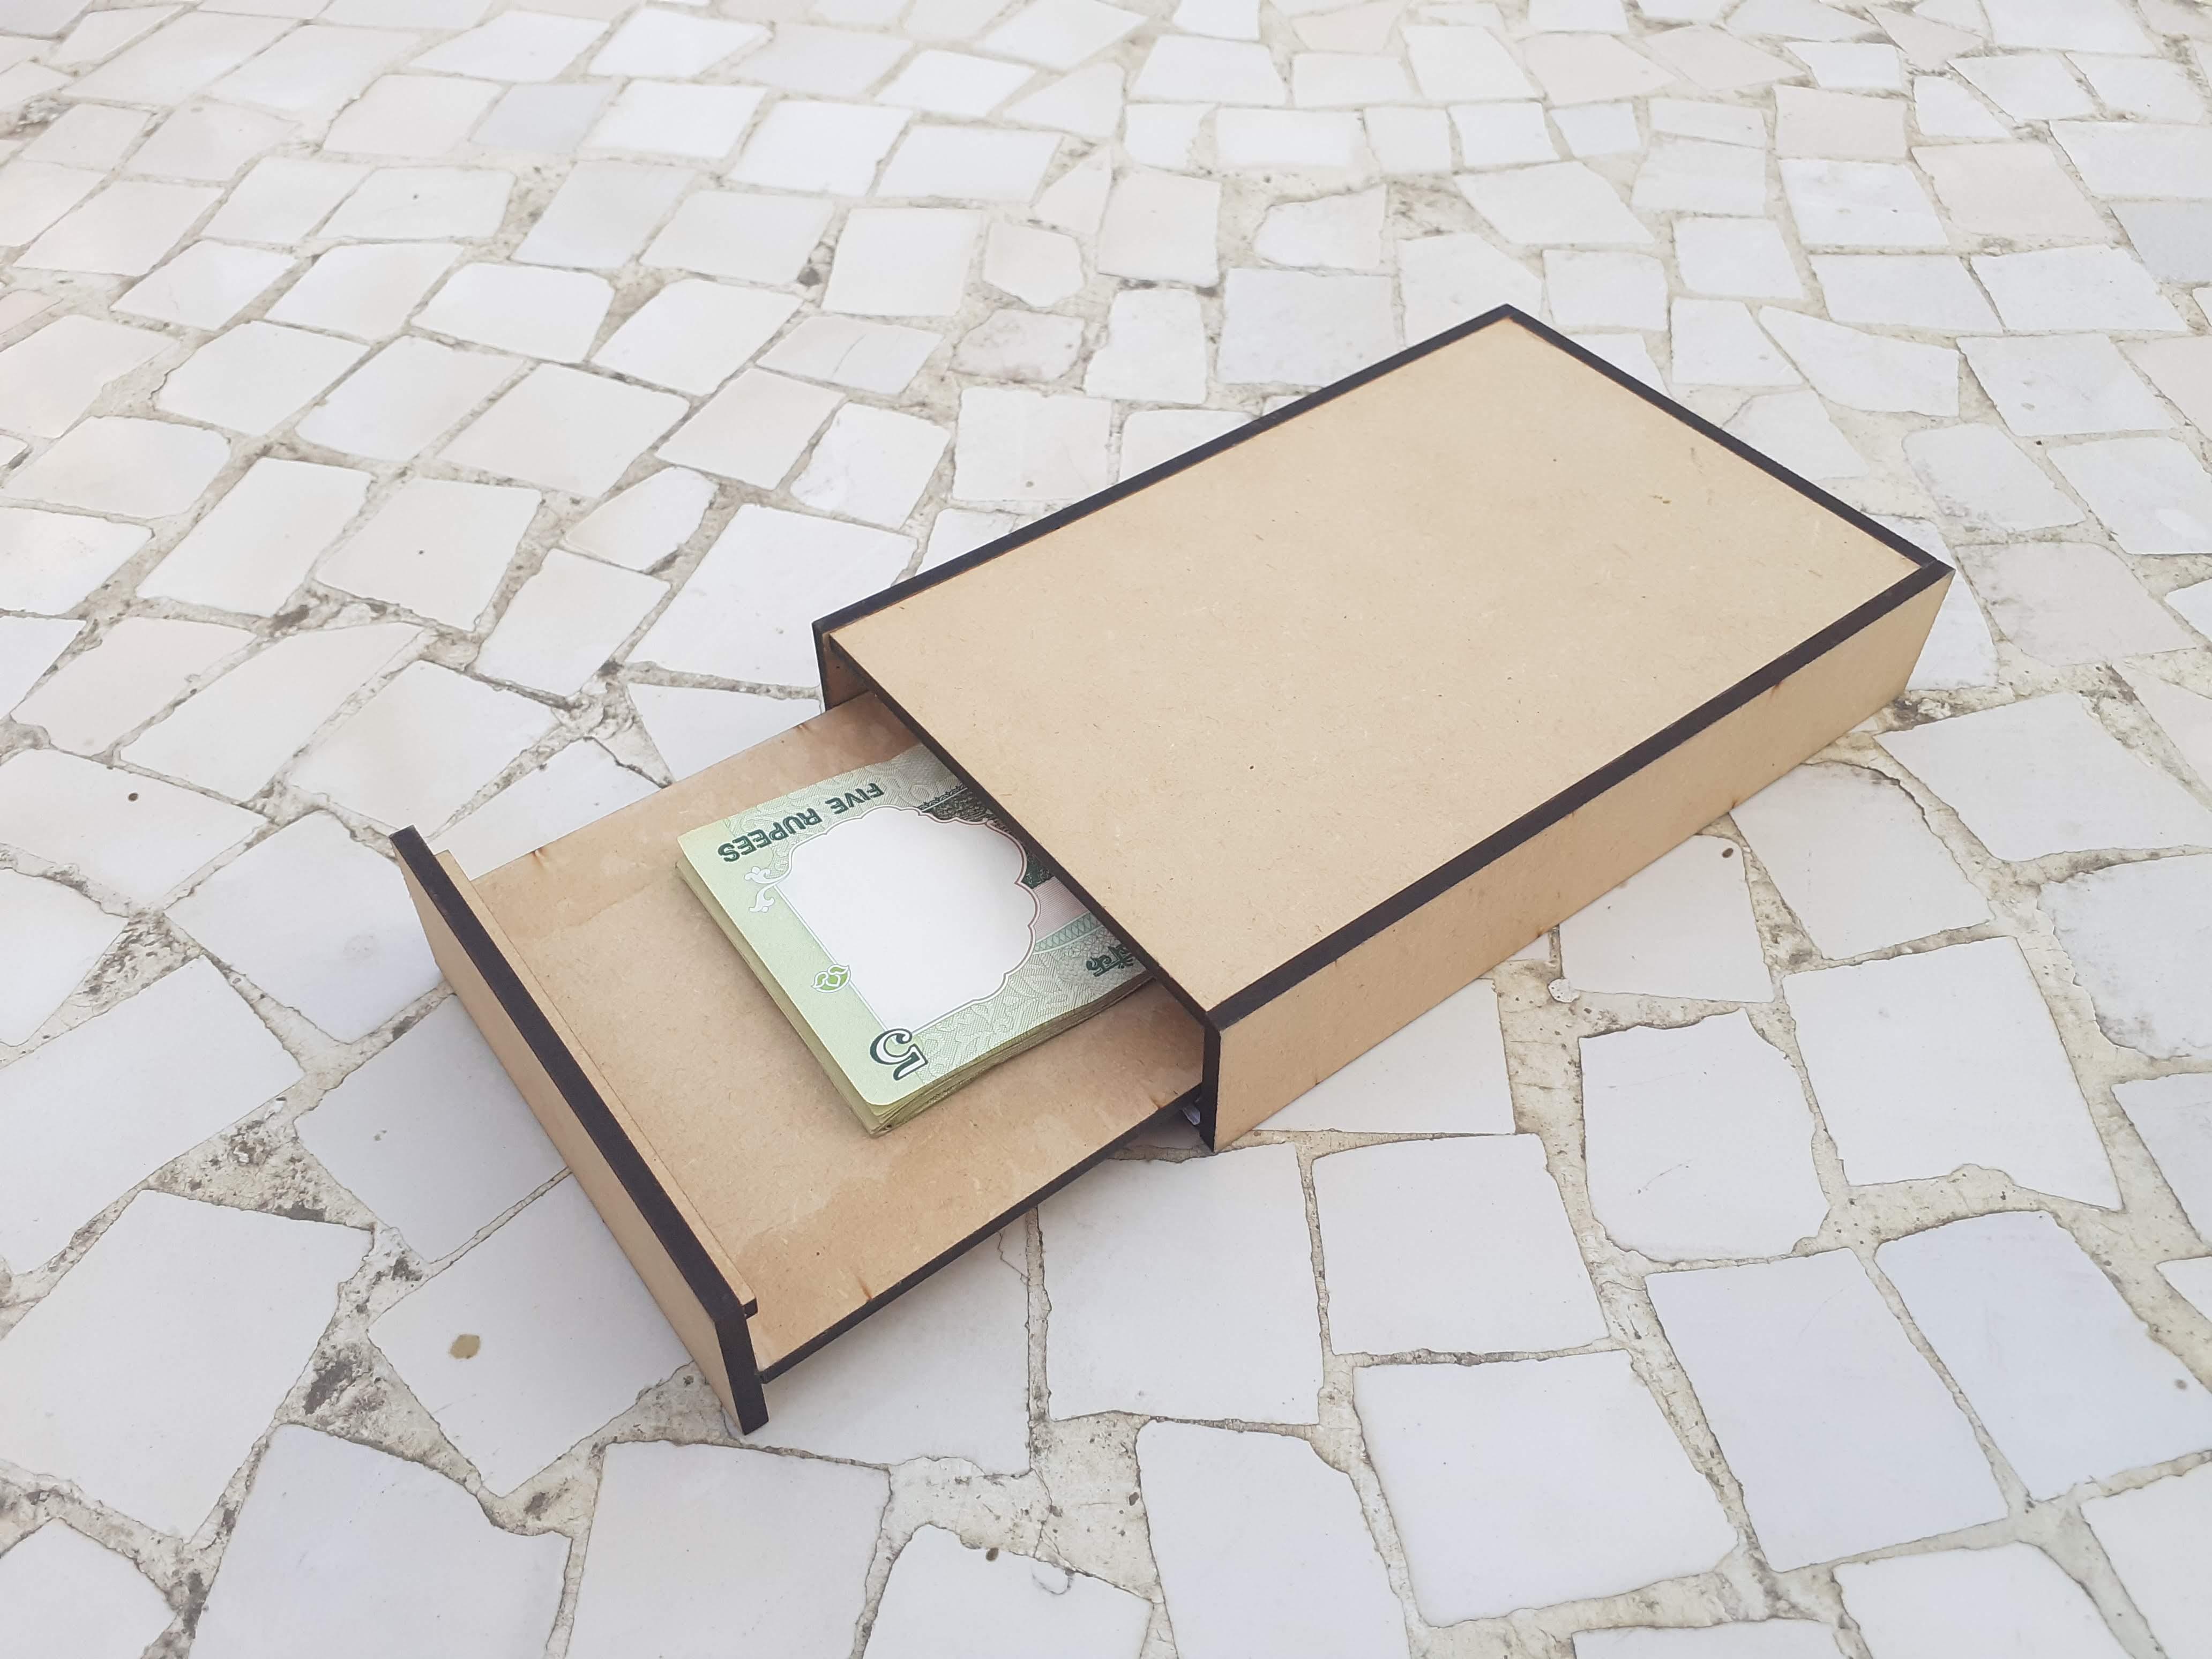
Place your photo or image fit it before slits portion and hide your Stuff and things behind image.
You can hide Money , Pendrive, Passport(Not recommended), important Papers, hard disk, etc.
Enjoy Instructable. Happy making.