Sea Glass Charm Bracelets & Earings
by mikeandmertle in Craft > Jewelry
811 Views, 18 Favorites, 0 Comments
Sea Glass Charm Bracelets & Earings


This is a fun little project that is easy to carry out and the results seem to draw a lot of attention. I worked on this project with my Daughter for a school assignment to develop and sell a product at a school market. In a nut-shell, you get to go for a walk along the beach and let your kids gather anything sparkly such as sea glass or coloured pebbles and turn them into jewelry.
Supplies
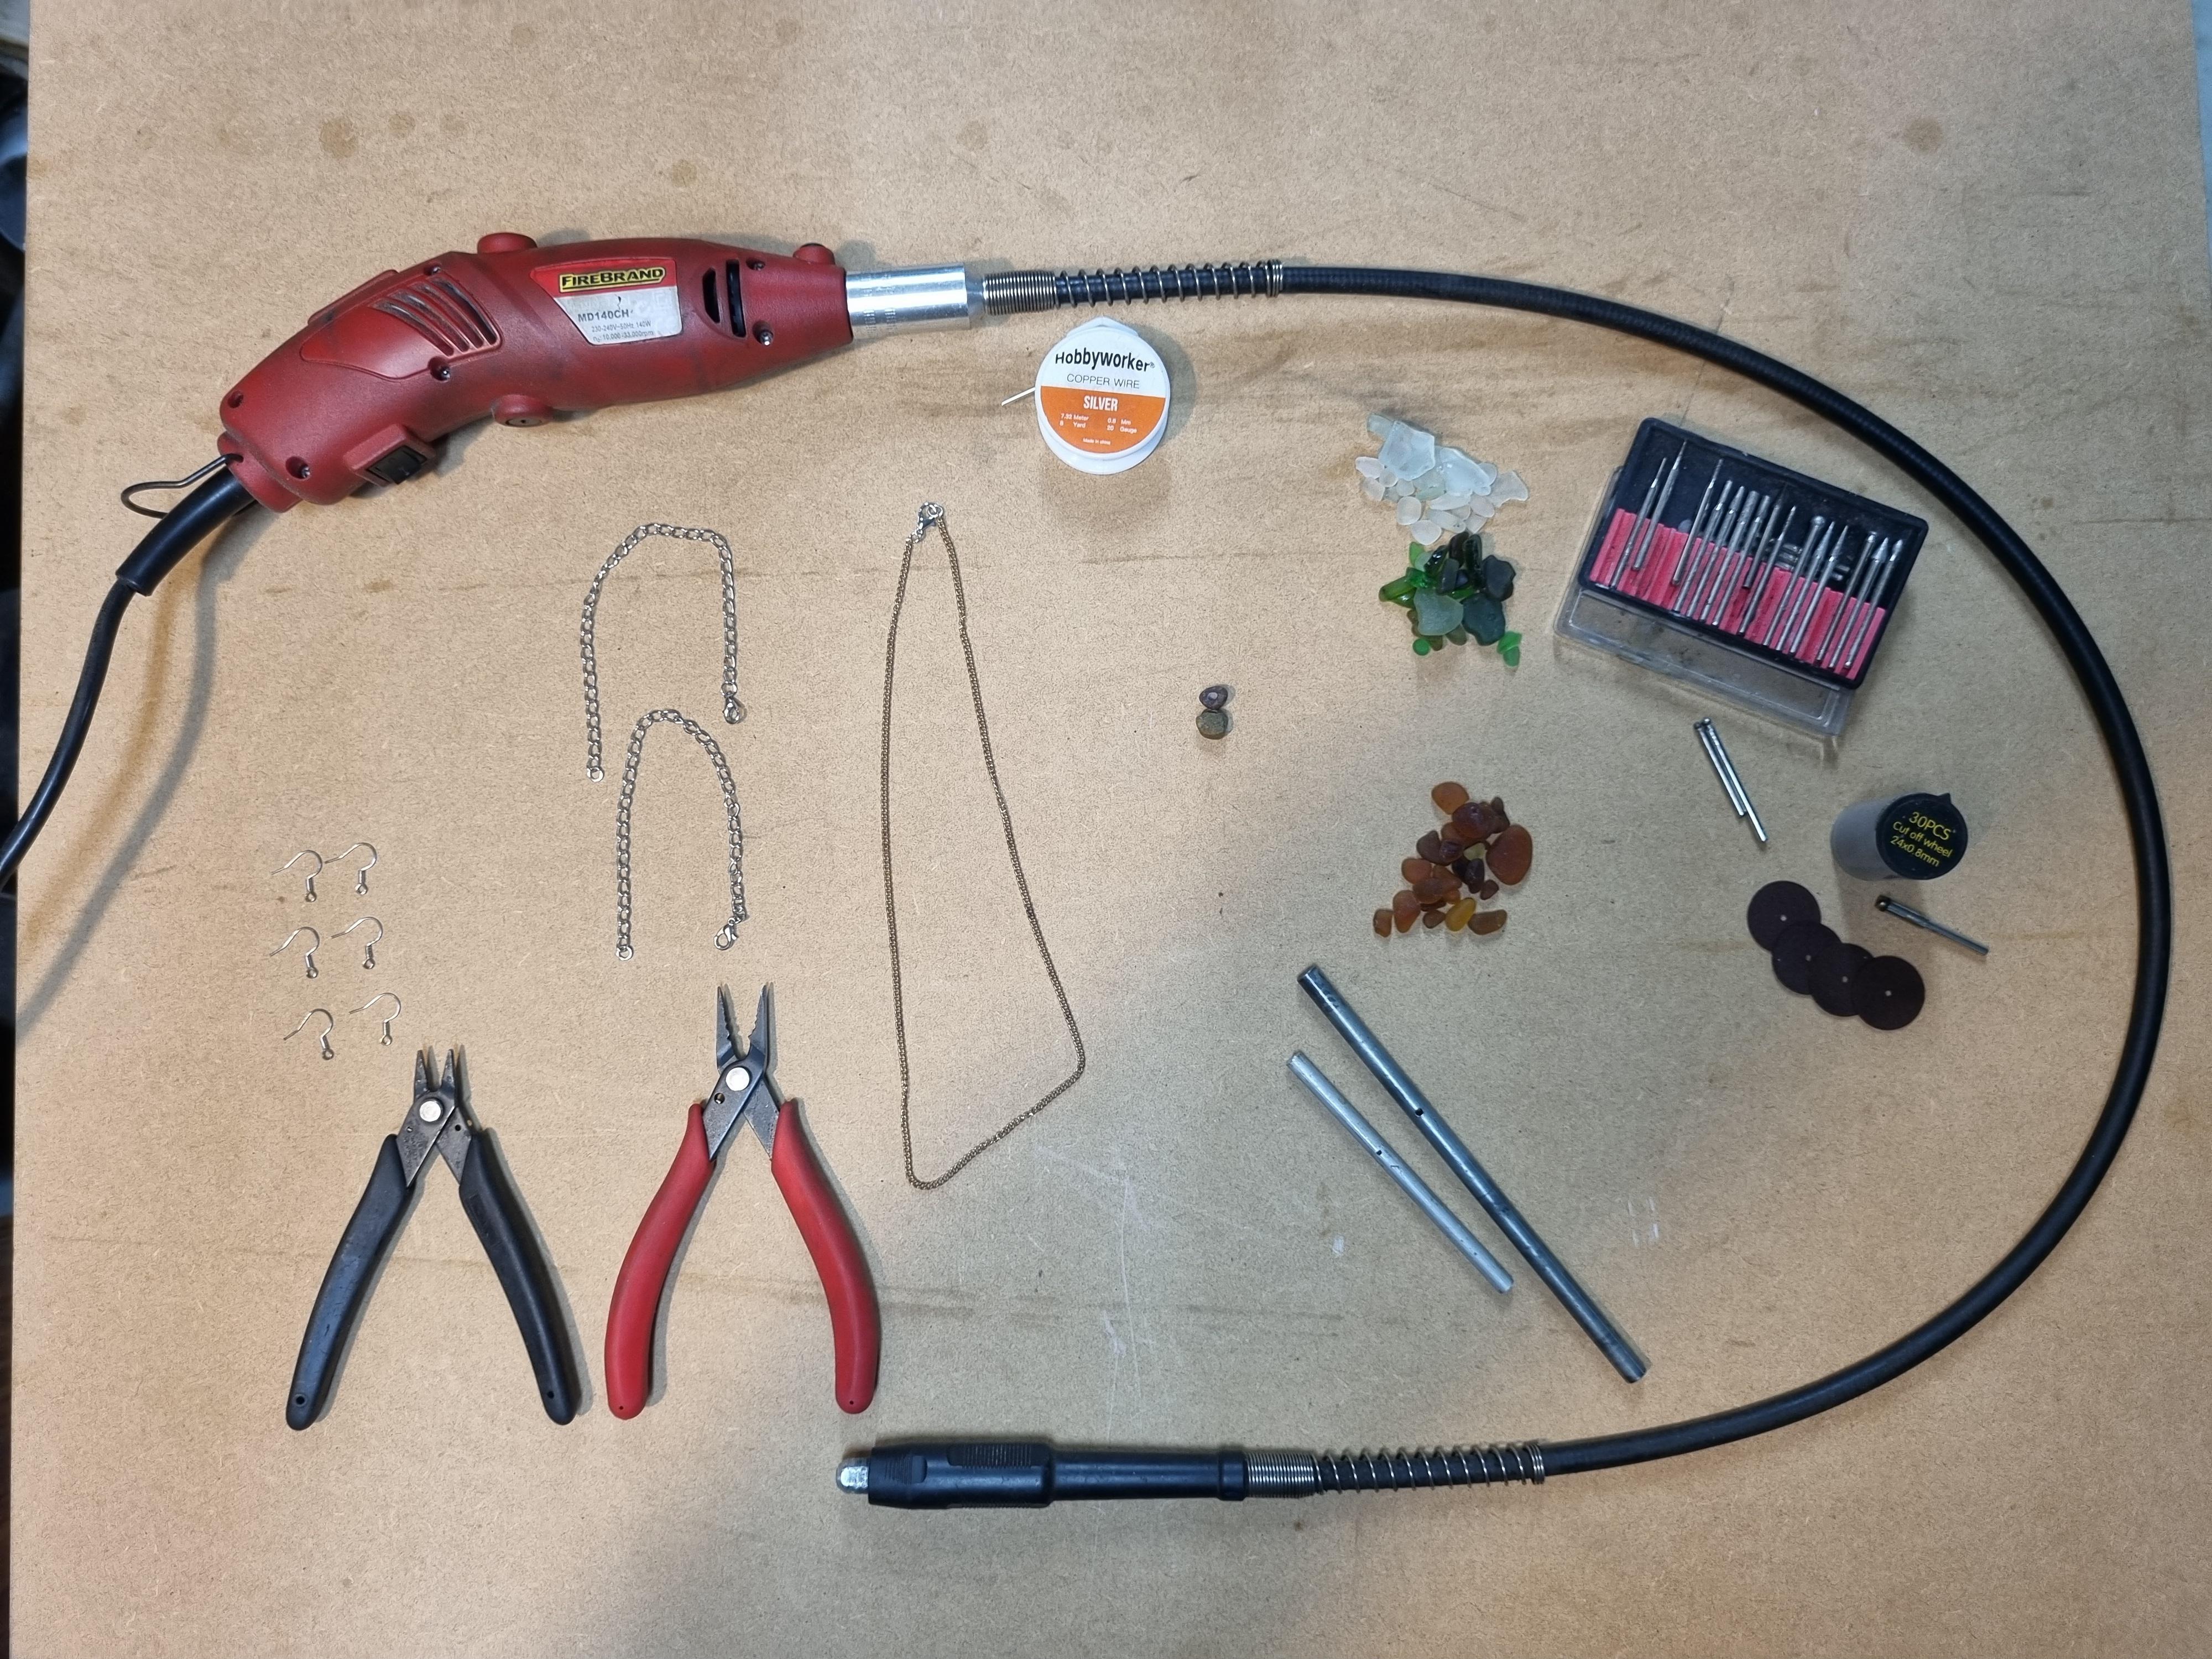
Supplies
- Sea Glass
- Coloured Pebbles
- Small Sea Shells
- Chain Bracelets (craft stores)
- Blank Earings (craft stores)
- Chain or Braid Necklace (craft stores)
- Thin Wire
- Water (coolant)
Tools
- Dremal (or other rotary tool)
- Diamond bits
- Cut off disks
- Small pliers
- Small bar or bolt
- Drill press (optional)
Safety
- Ear protection (plugs or muffs)
- Safety Glasses
- Dust Mask
Making the 'Charms'


Using a small diamond Dremel bit (the round 'ball' shape works best) drill a hole through each piece of sea glass, pebble, or shell. It's important at this stage to keep the work cool and wet with water, I normally submerge the glass in a small tray of water while drilling it. This is important to keep the diamond bit cool and prevent glass dust from blowing around and being inhaled.
Forming the Coil


In order to attach the sea glass or other charms to the bracelet you typically require a larger wire ring. While you can probably buy these I made them by winding some craft wire around a metal rod. To prepare the rod you just need to drill a small hole through it. Insert the wire through the hole and bend it over to secure it, then gently wrap the wire around the metal rod to form a coil.
Note: This can be done by hand, but if you are using a drill make sure it is set to the lowest speed the gears allow.
Cutting the Coil Into Rings


You can now use a cut-off wheel on the Dremel to cut the coil into individual rings. I found it easier to hold the coil/rings down by inserting a small paintbrush handle through it. There is sometimes a small amount of cleanup required on the ends of the wire rings, this can be done with a small set of wire cutters or scissors.
Attach the Charms


Bend the rings open (bend sideways, don't open the ring wide) and thread the ring through the Charms. Now carefully close the rings back up, using a couple of small needle nose pliers works best for this.
Charm Bracelets
To make a Charm Bracelet lay out the charms you want to use and then using some spare chain links (you may need to sacrifice a bracelet for this) attach the charms to the bracelet. I normally have each charm attached by a link or two, just do whatever you feel looks best.
Charm Earrings
This is even easier, as you can just attach the charm straight onto the earring blanks using the rings you created earlier. I do recommend that you try and match the charms for each set of earrings you make.
Charm Necklace
I've only made a few necklaces but it's pretty simple to just thread a longer chain or string through the charms wire ring. I typically only make a necklace if I've found a bigger/nicer piece of seaglass or shell