Security Camera
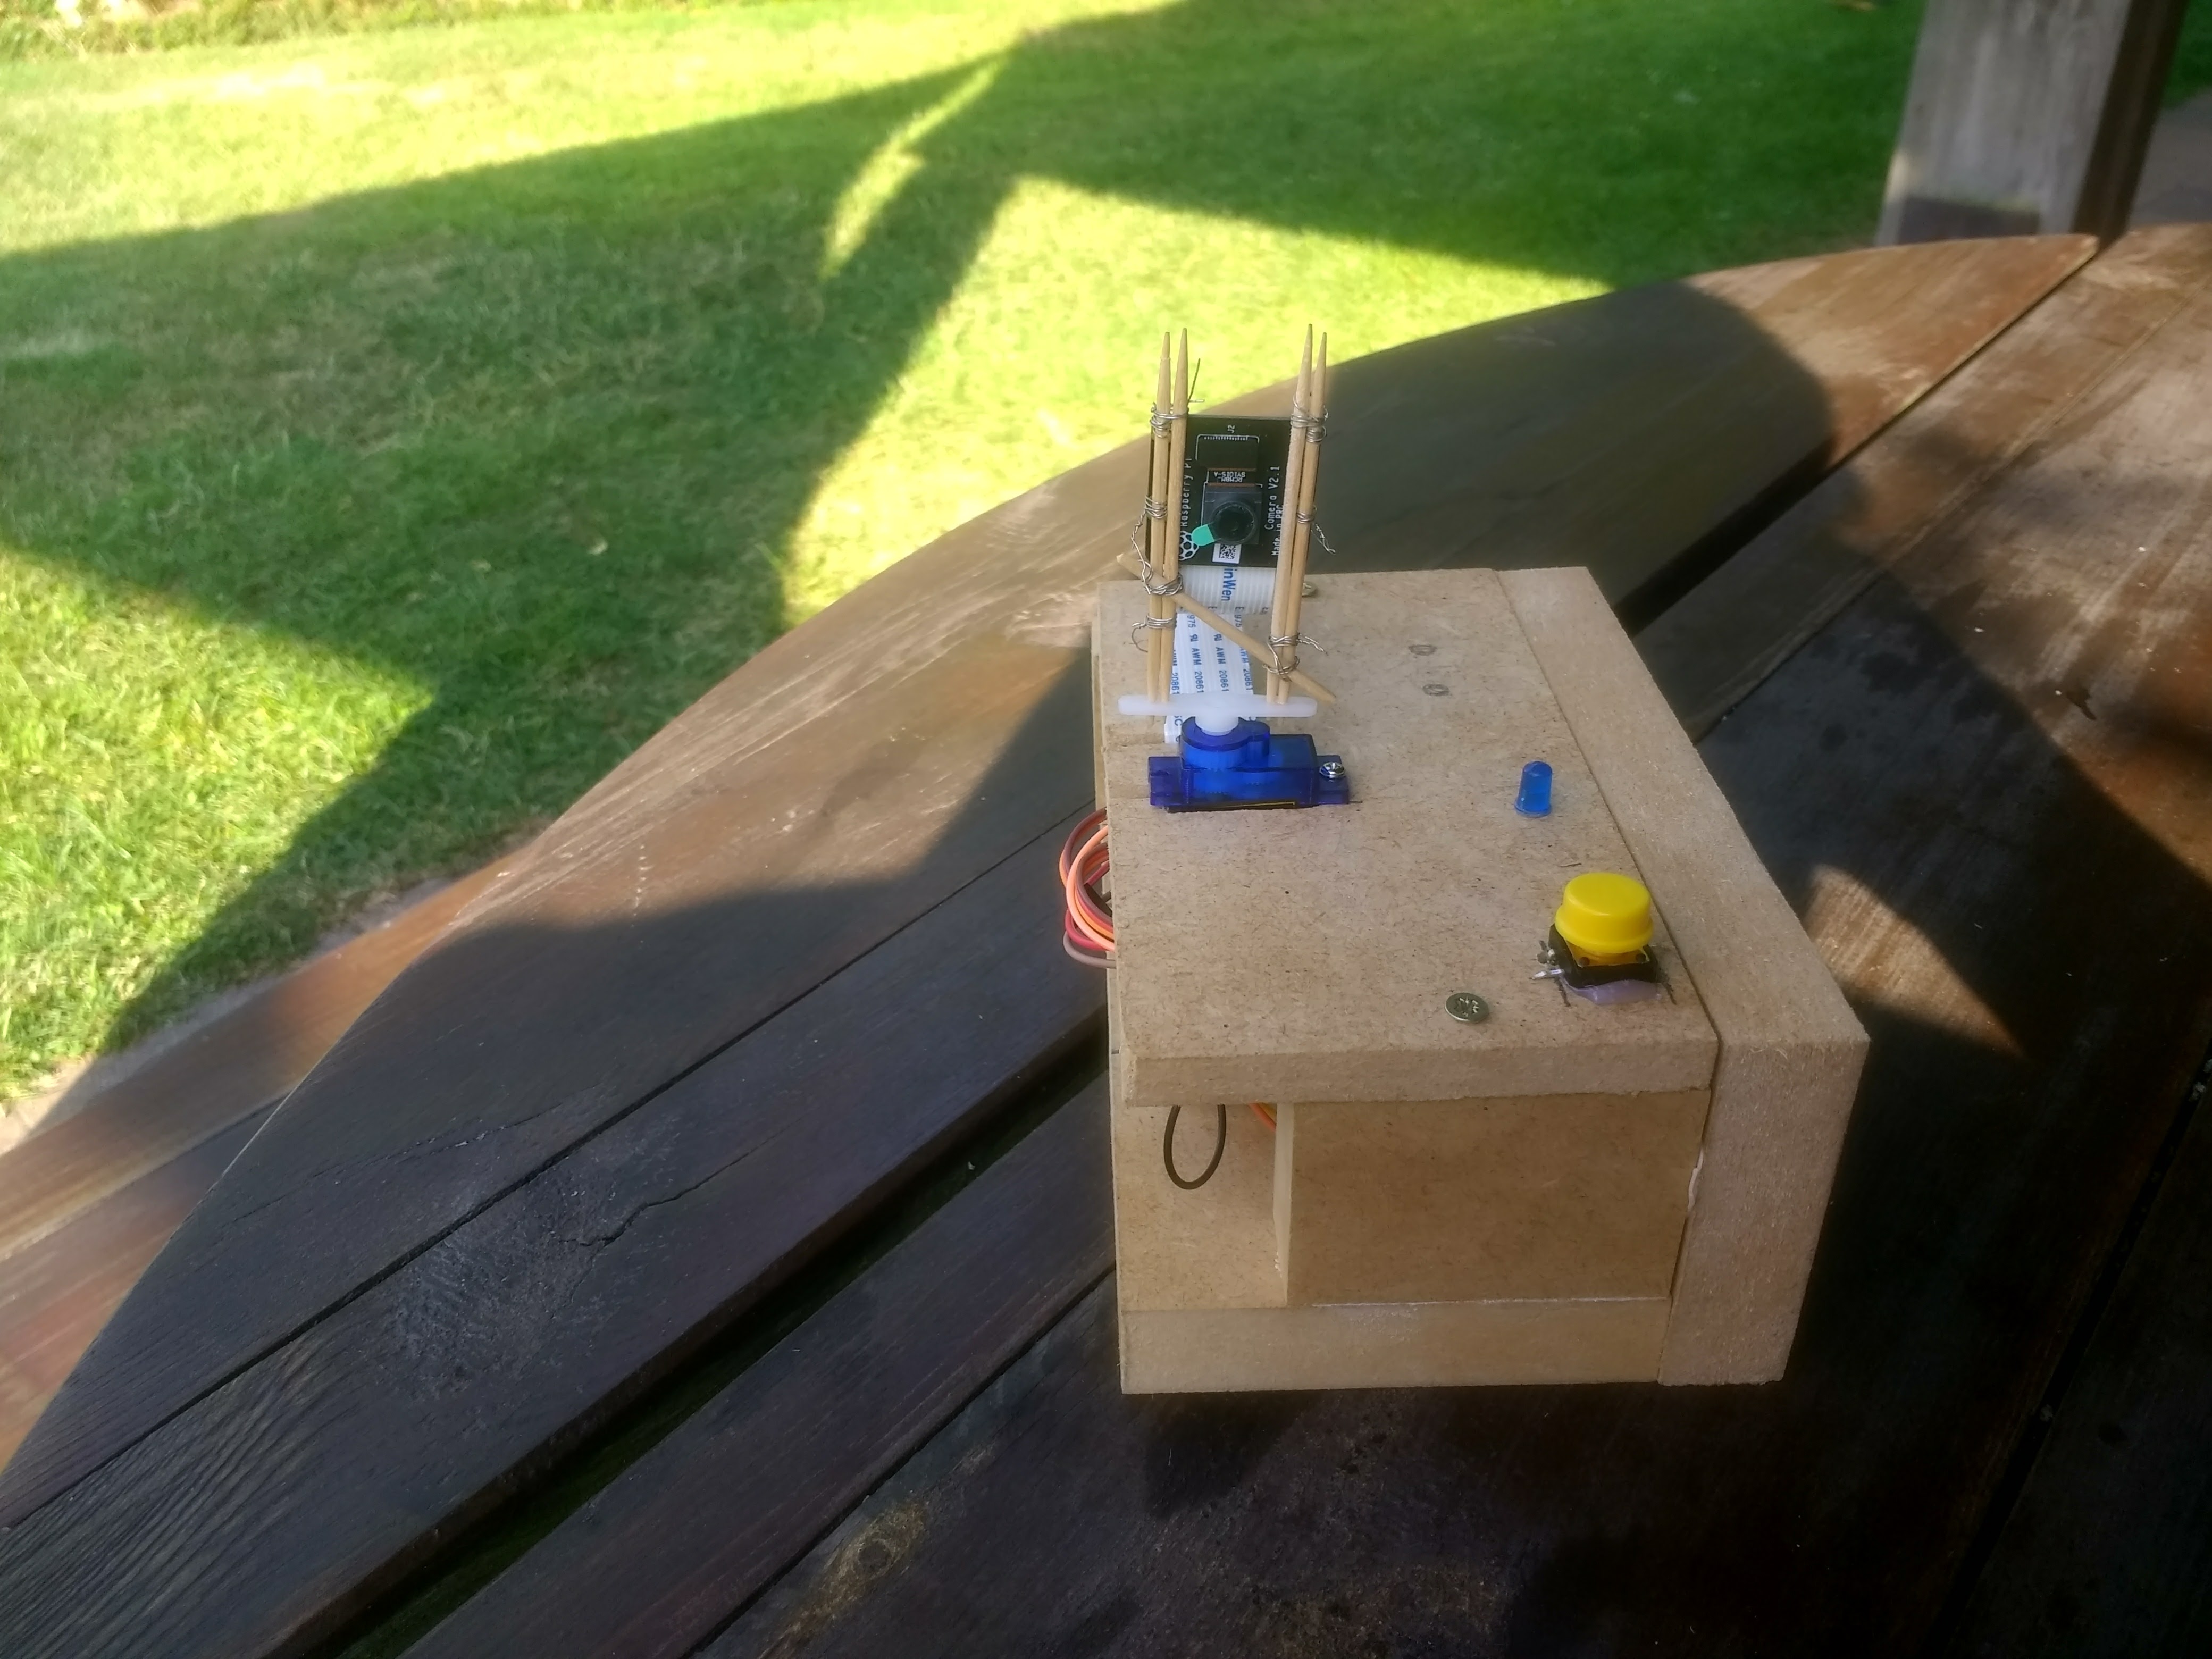
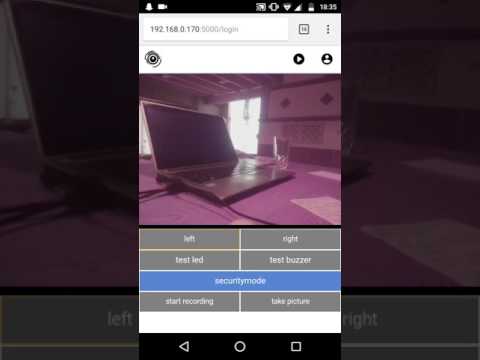
The SeCam is a security camera that allows you to:
- Livestream
- Rotate your camera 180 degrees
- Capture and record
- View captured photos and recorded videos
- Turn on an alarm and led when there is motion detected
(in this version the motion sensor is replaced by an button because the motion sensor was broken)
Necessities and Materials
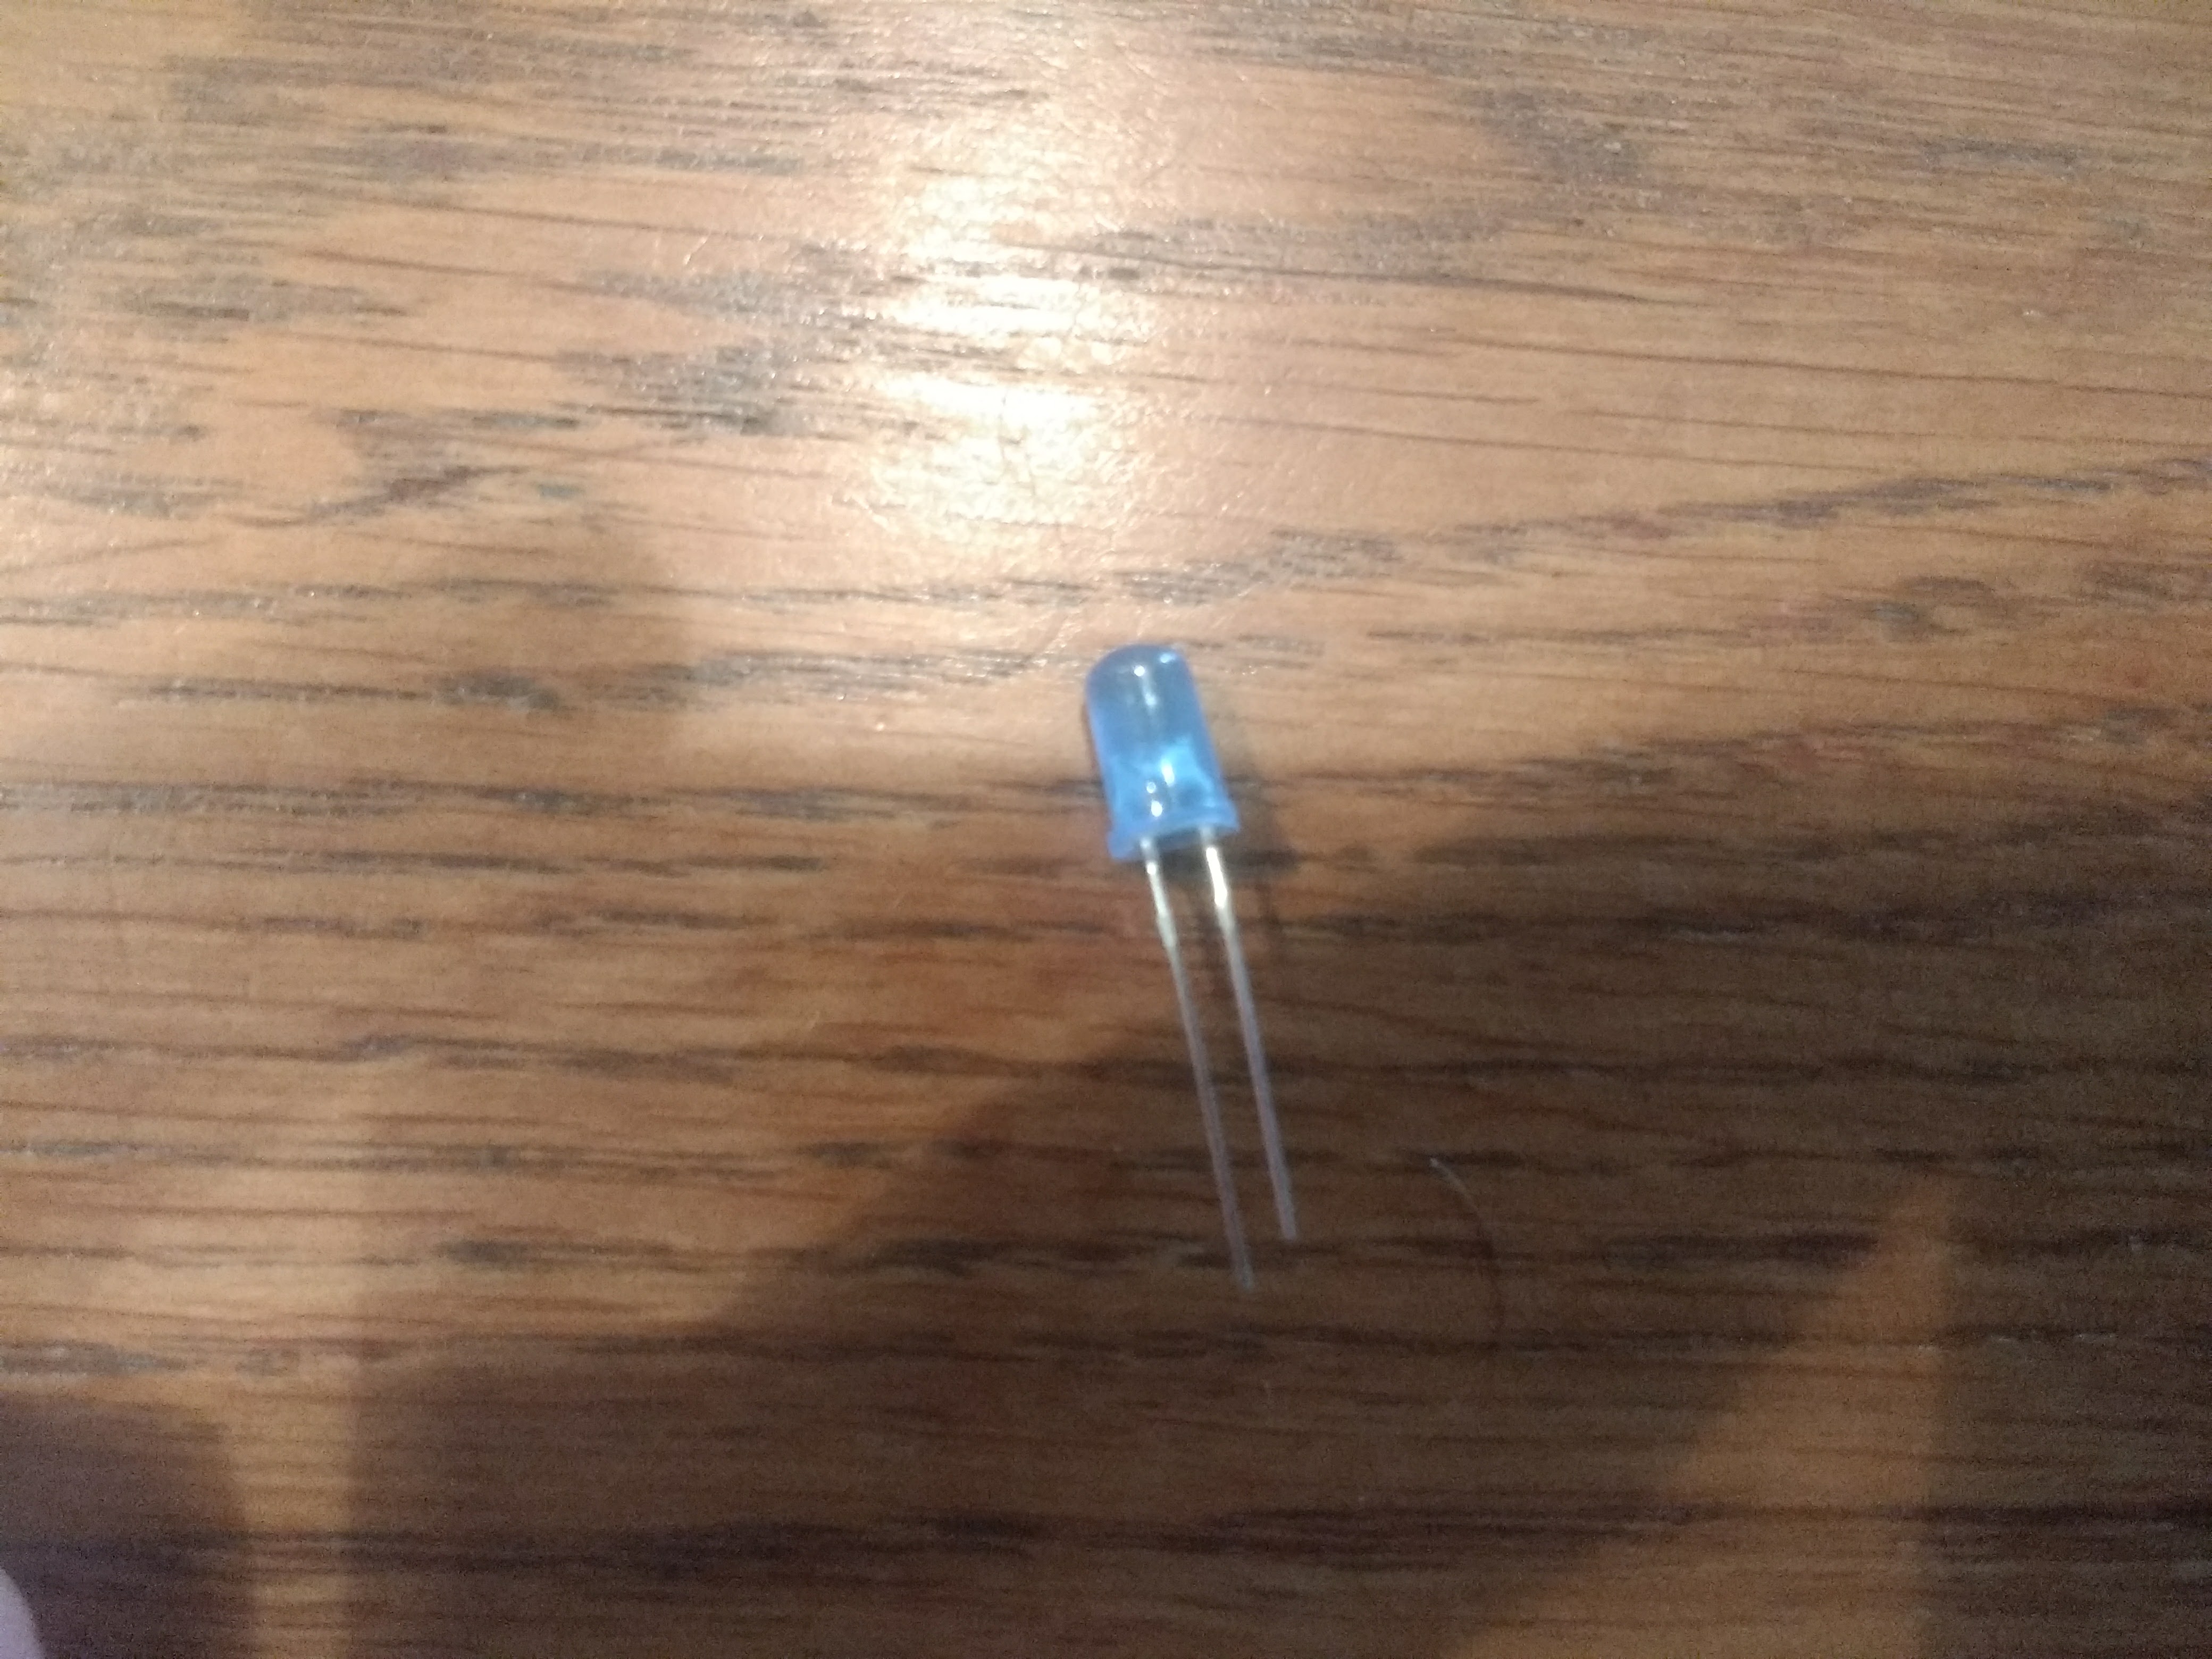
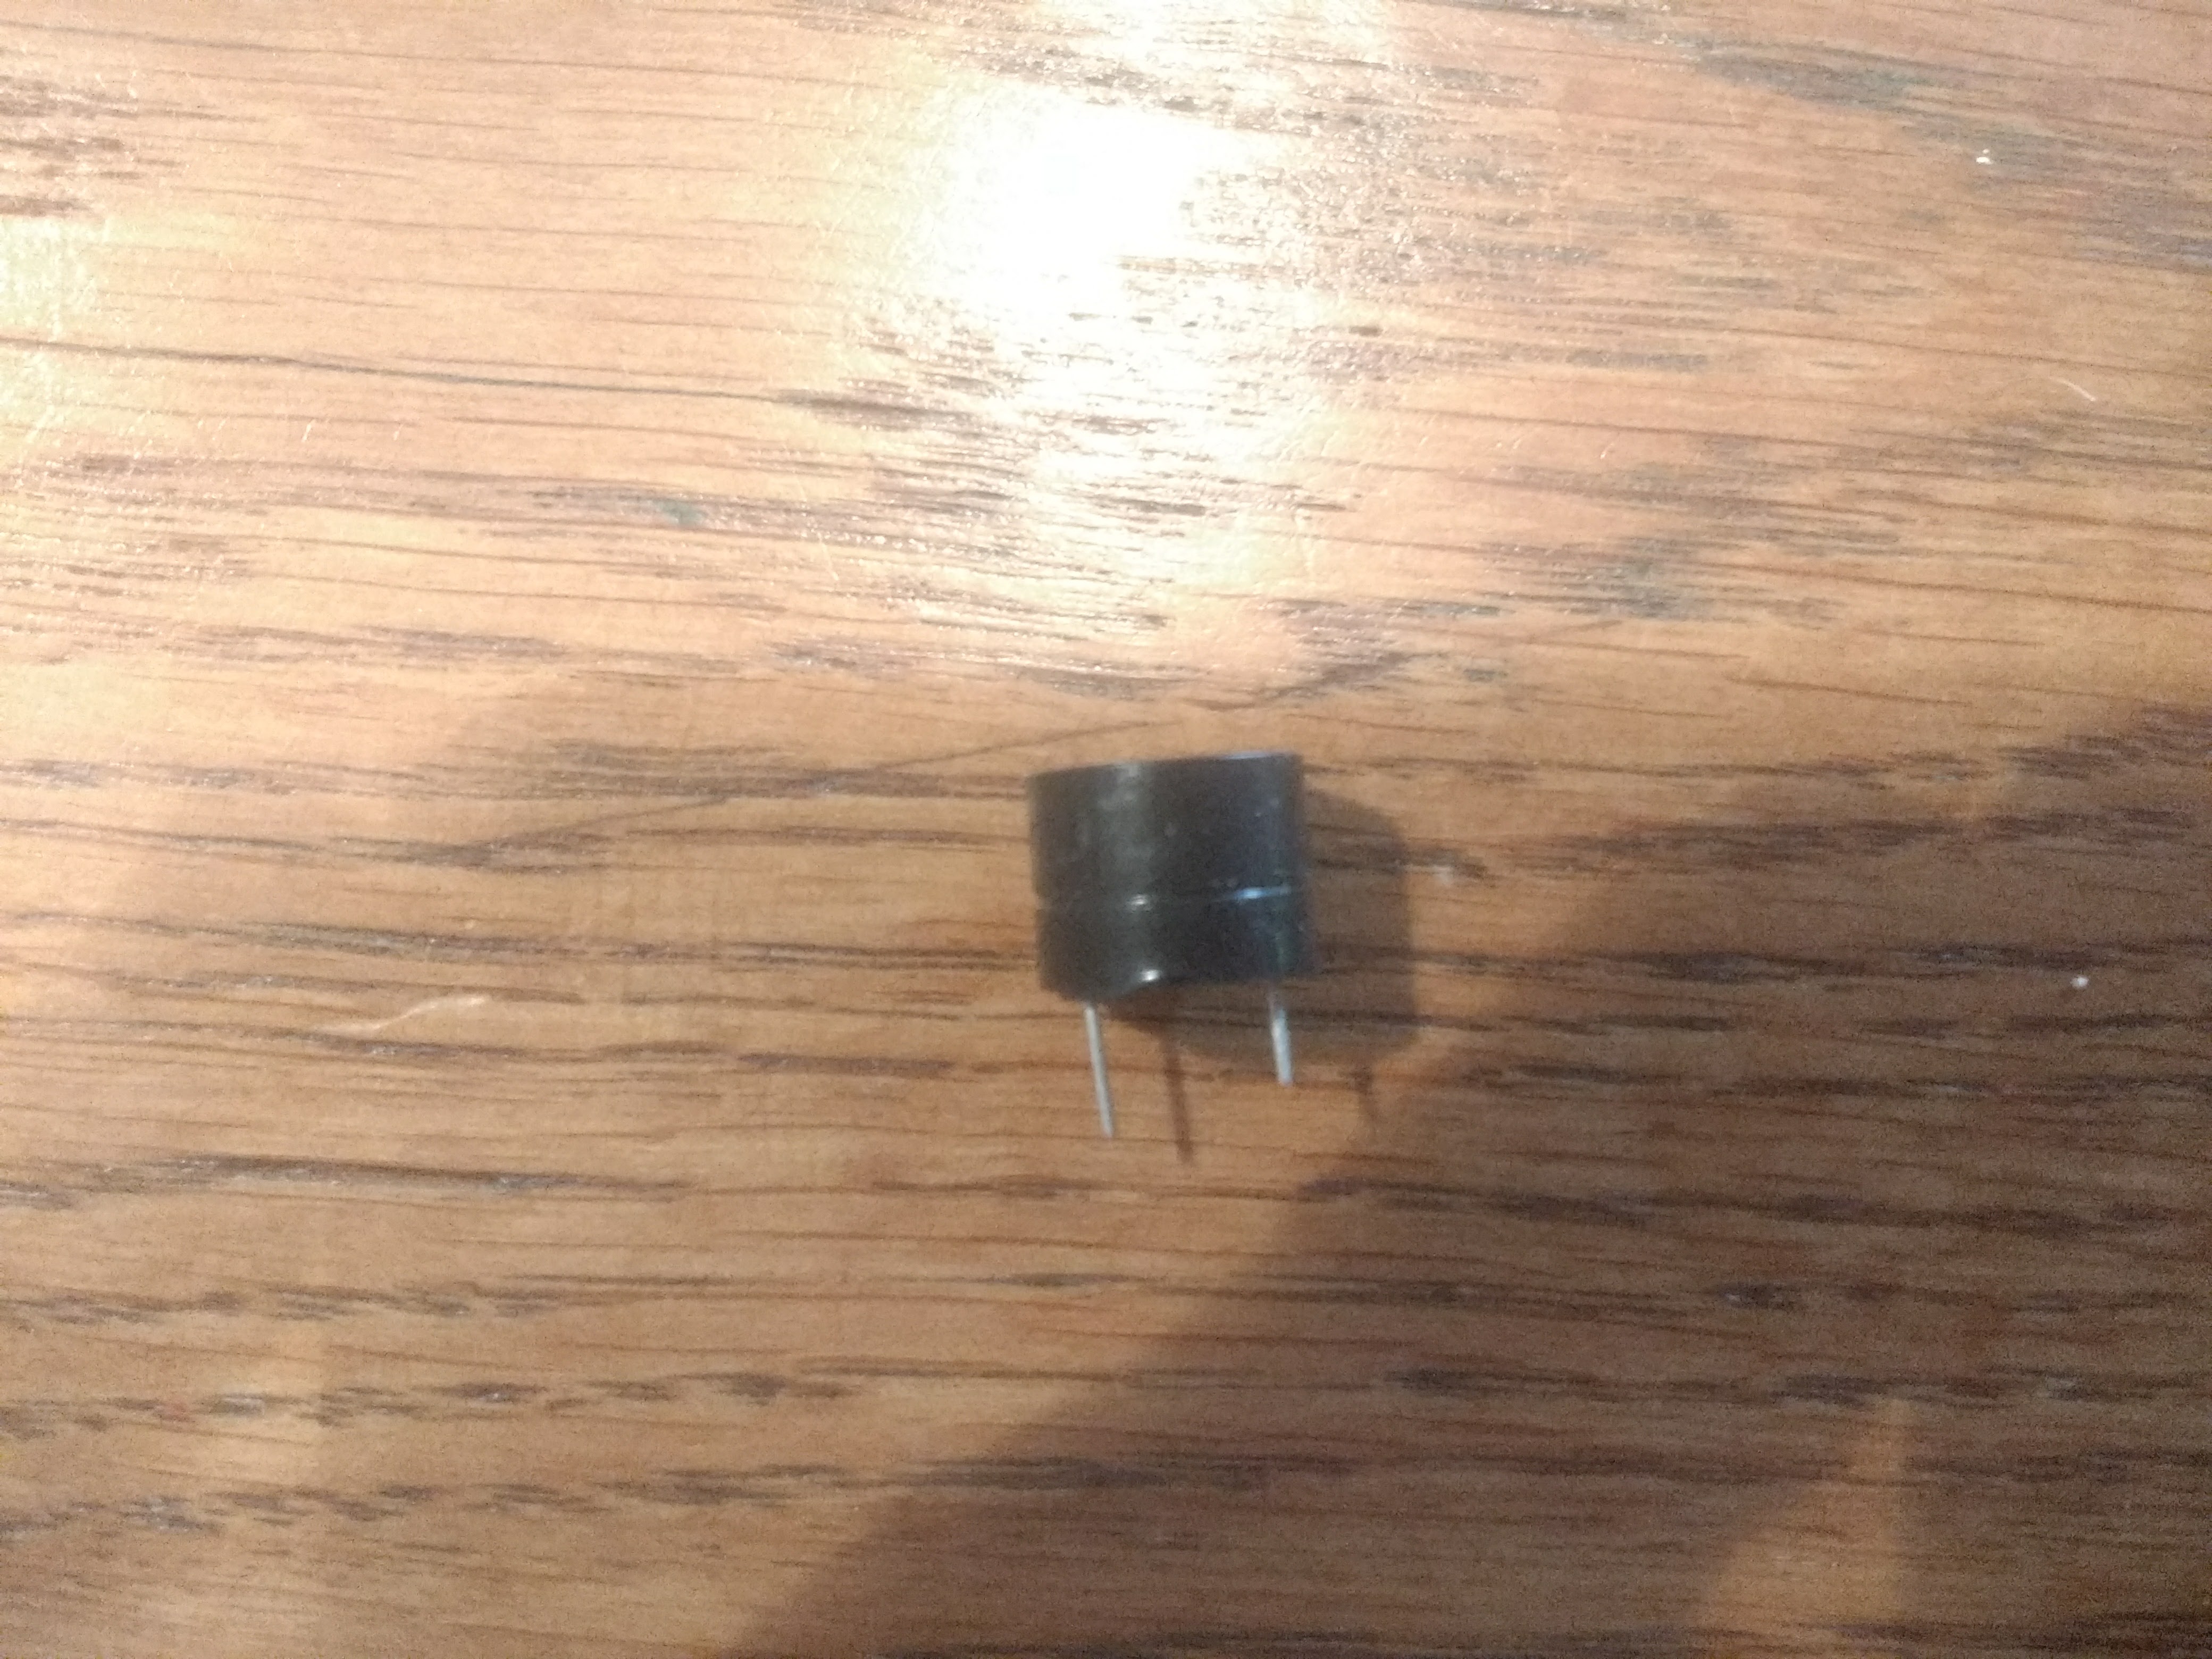
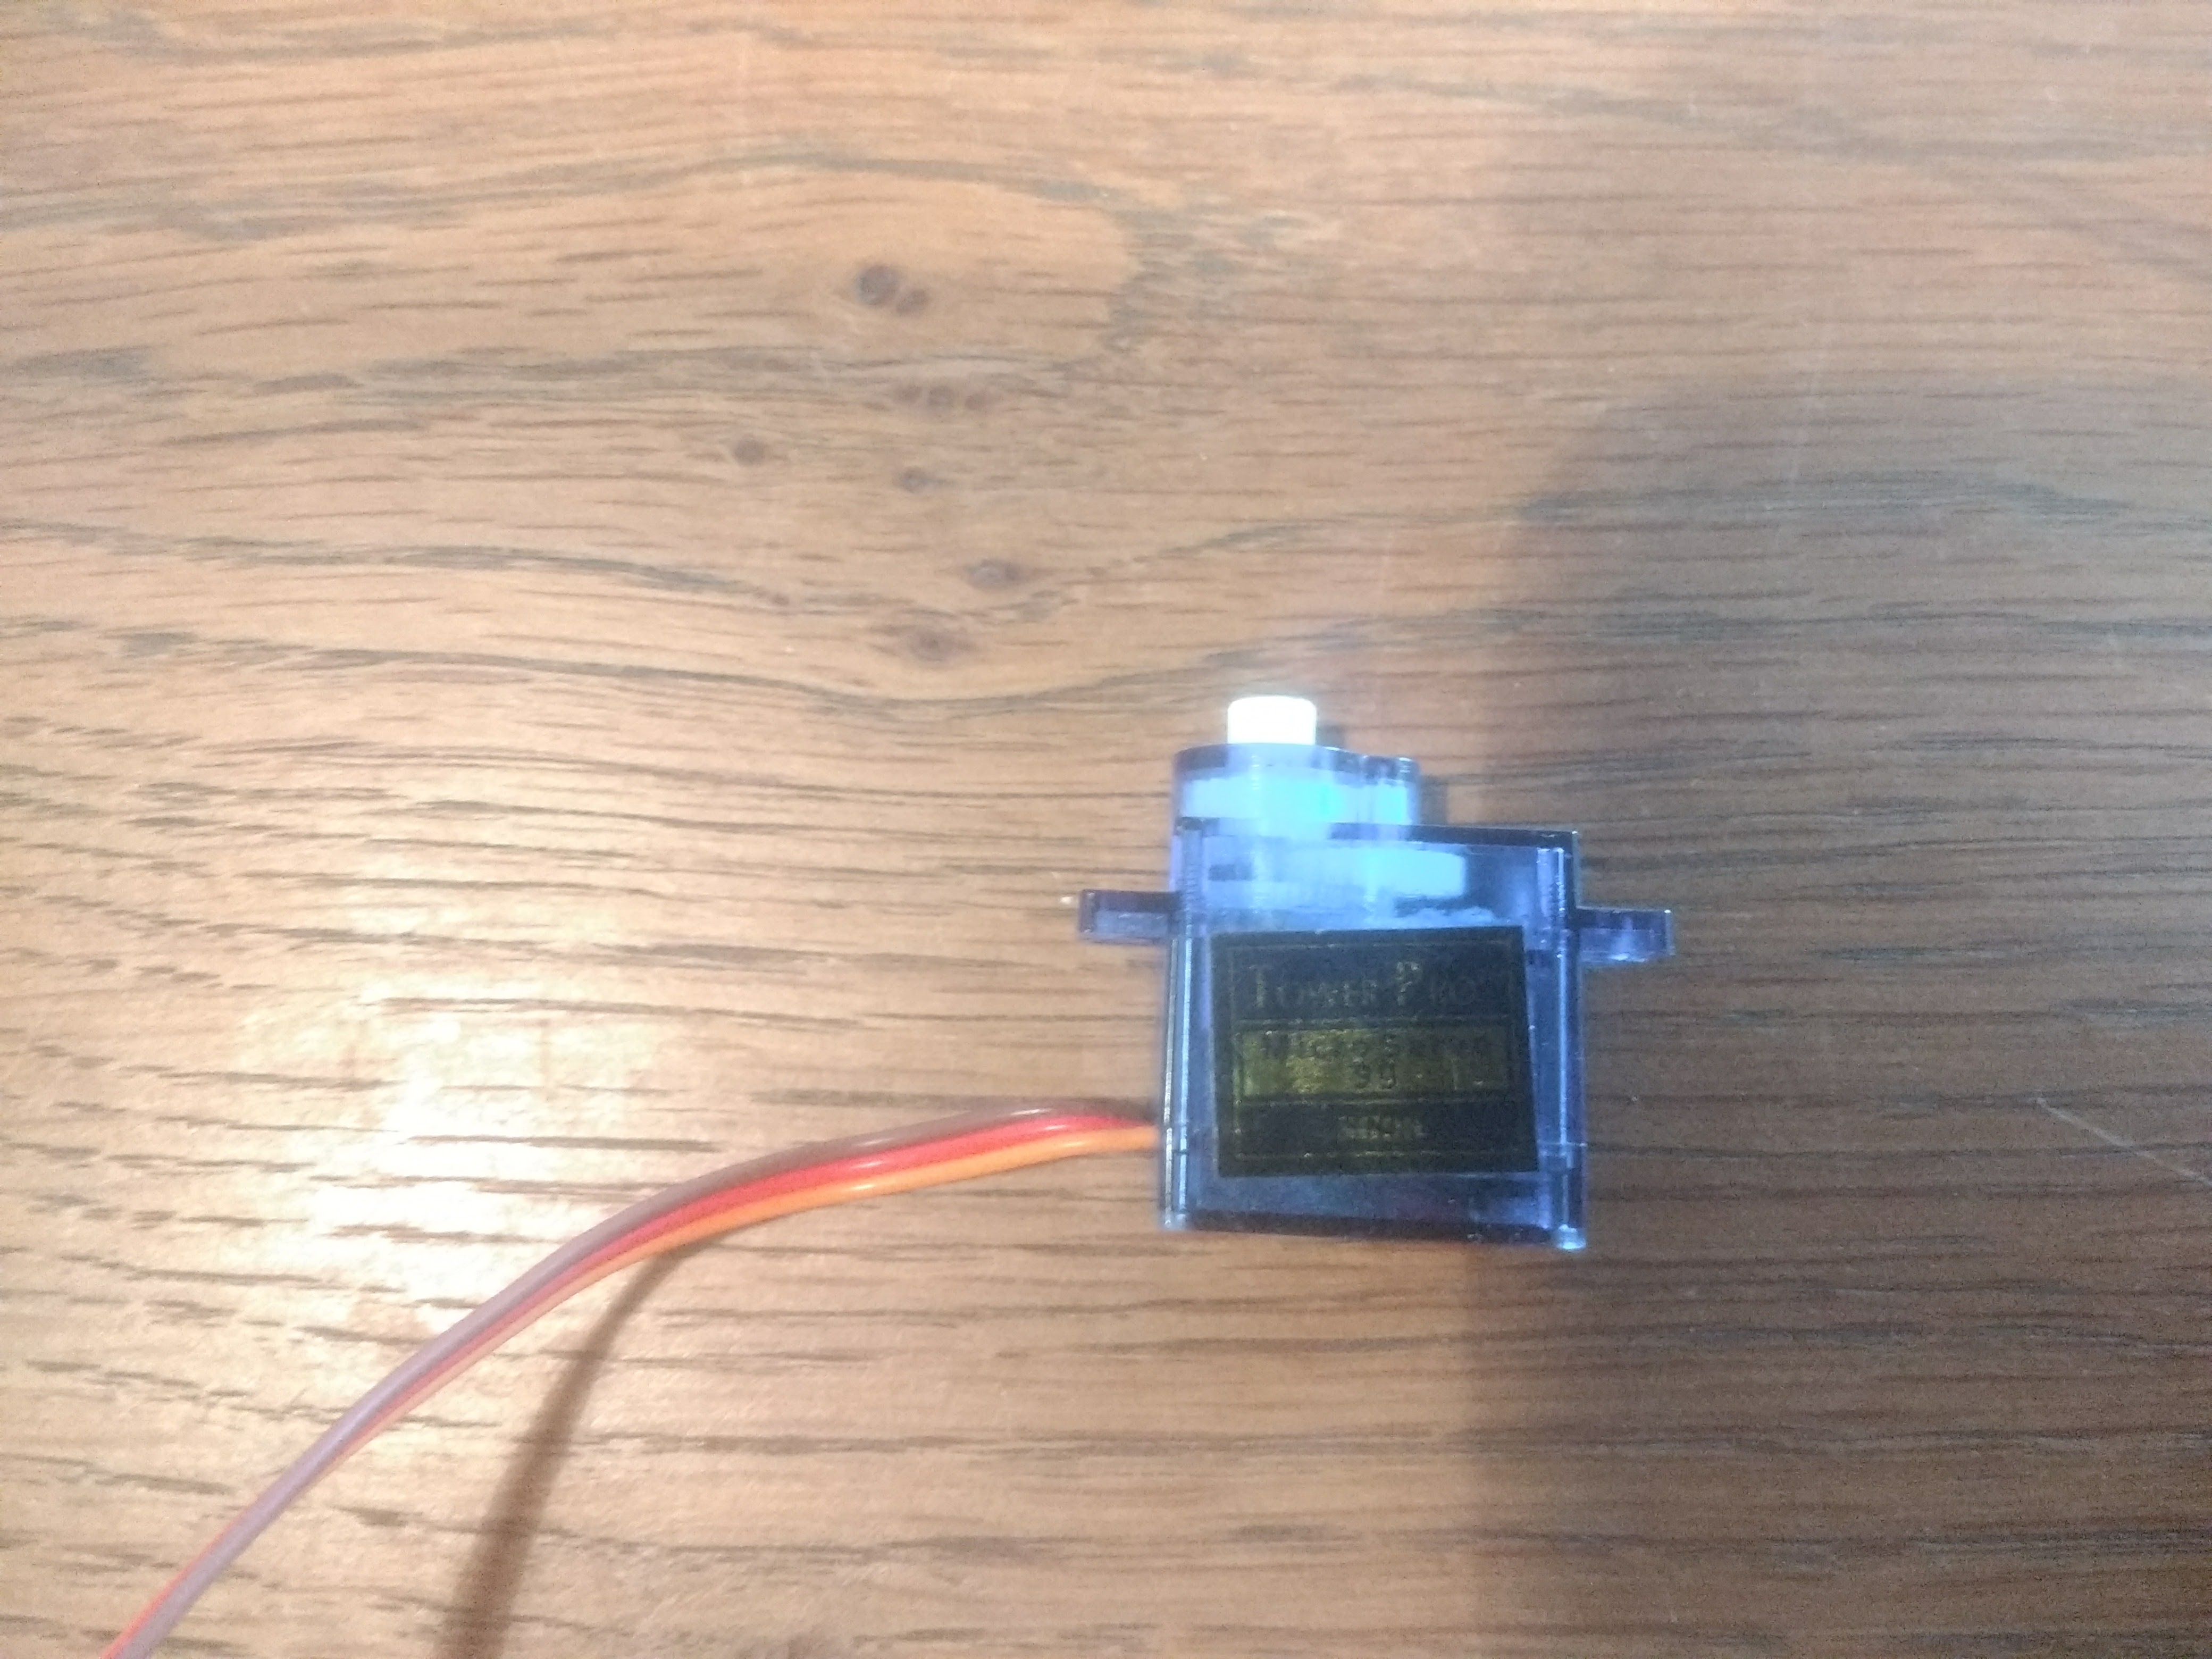
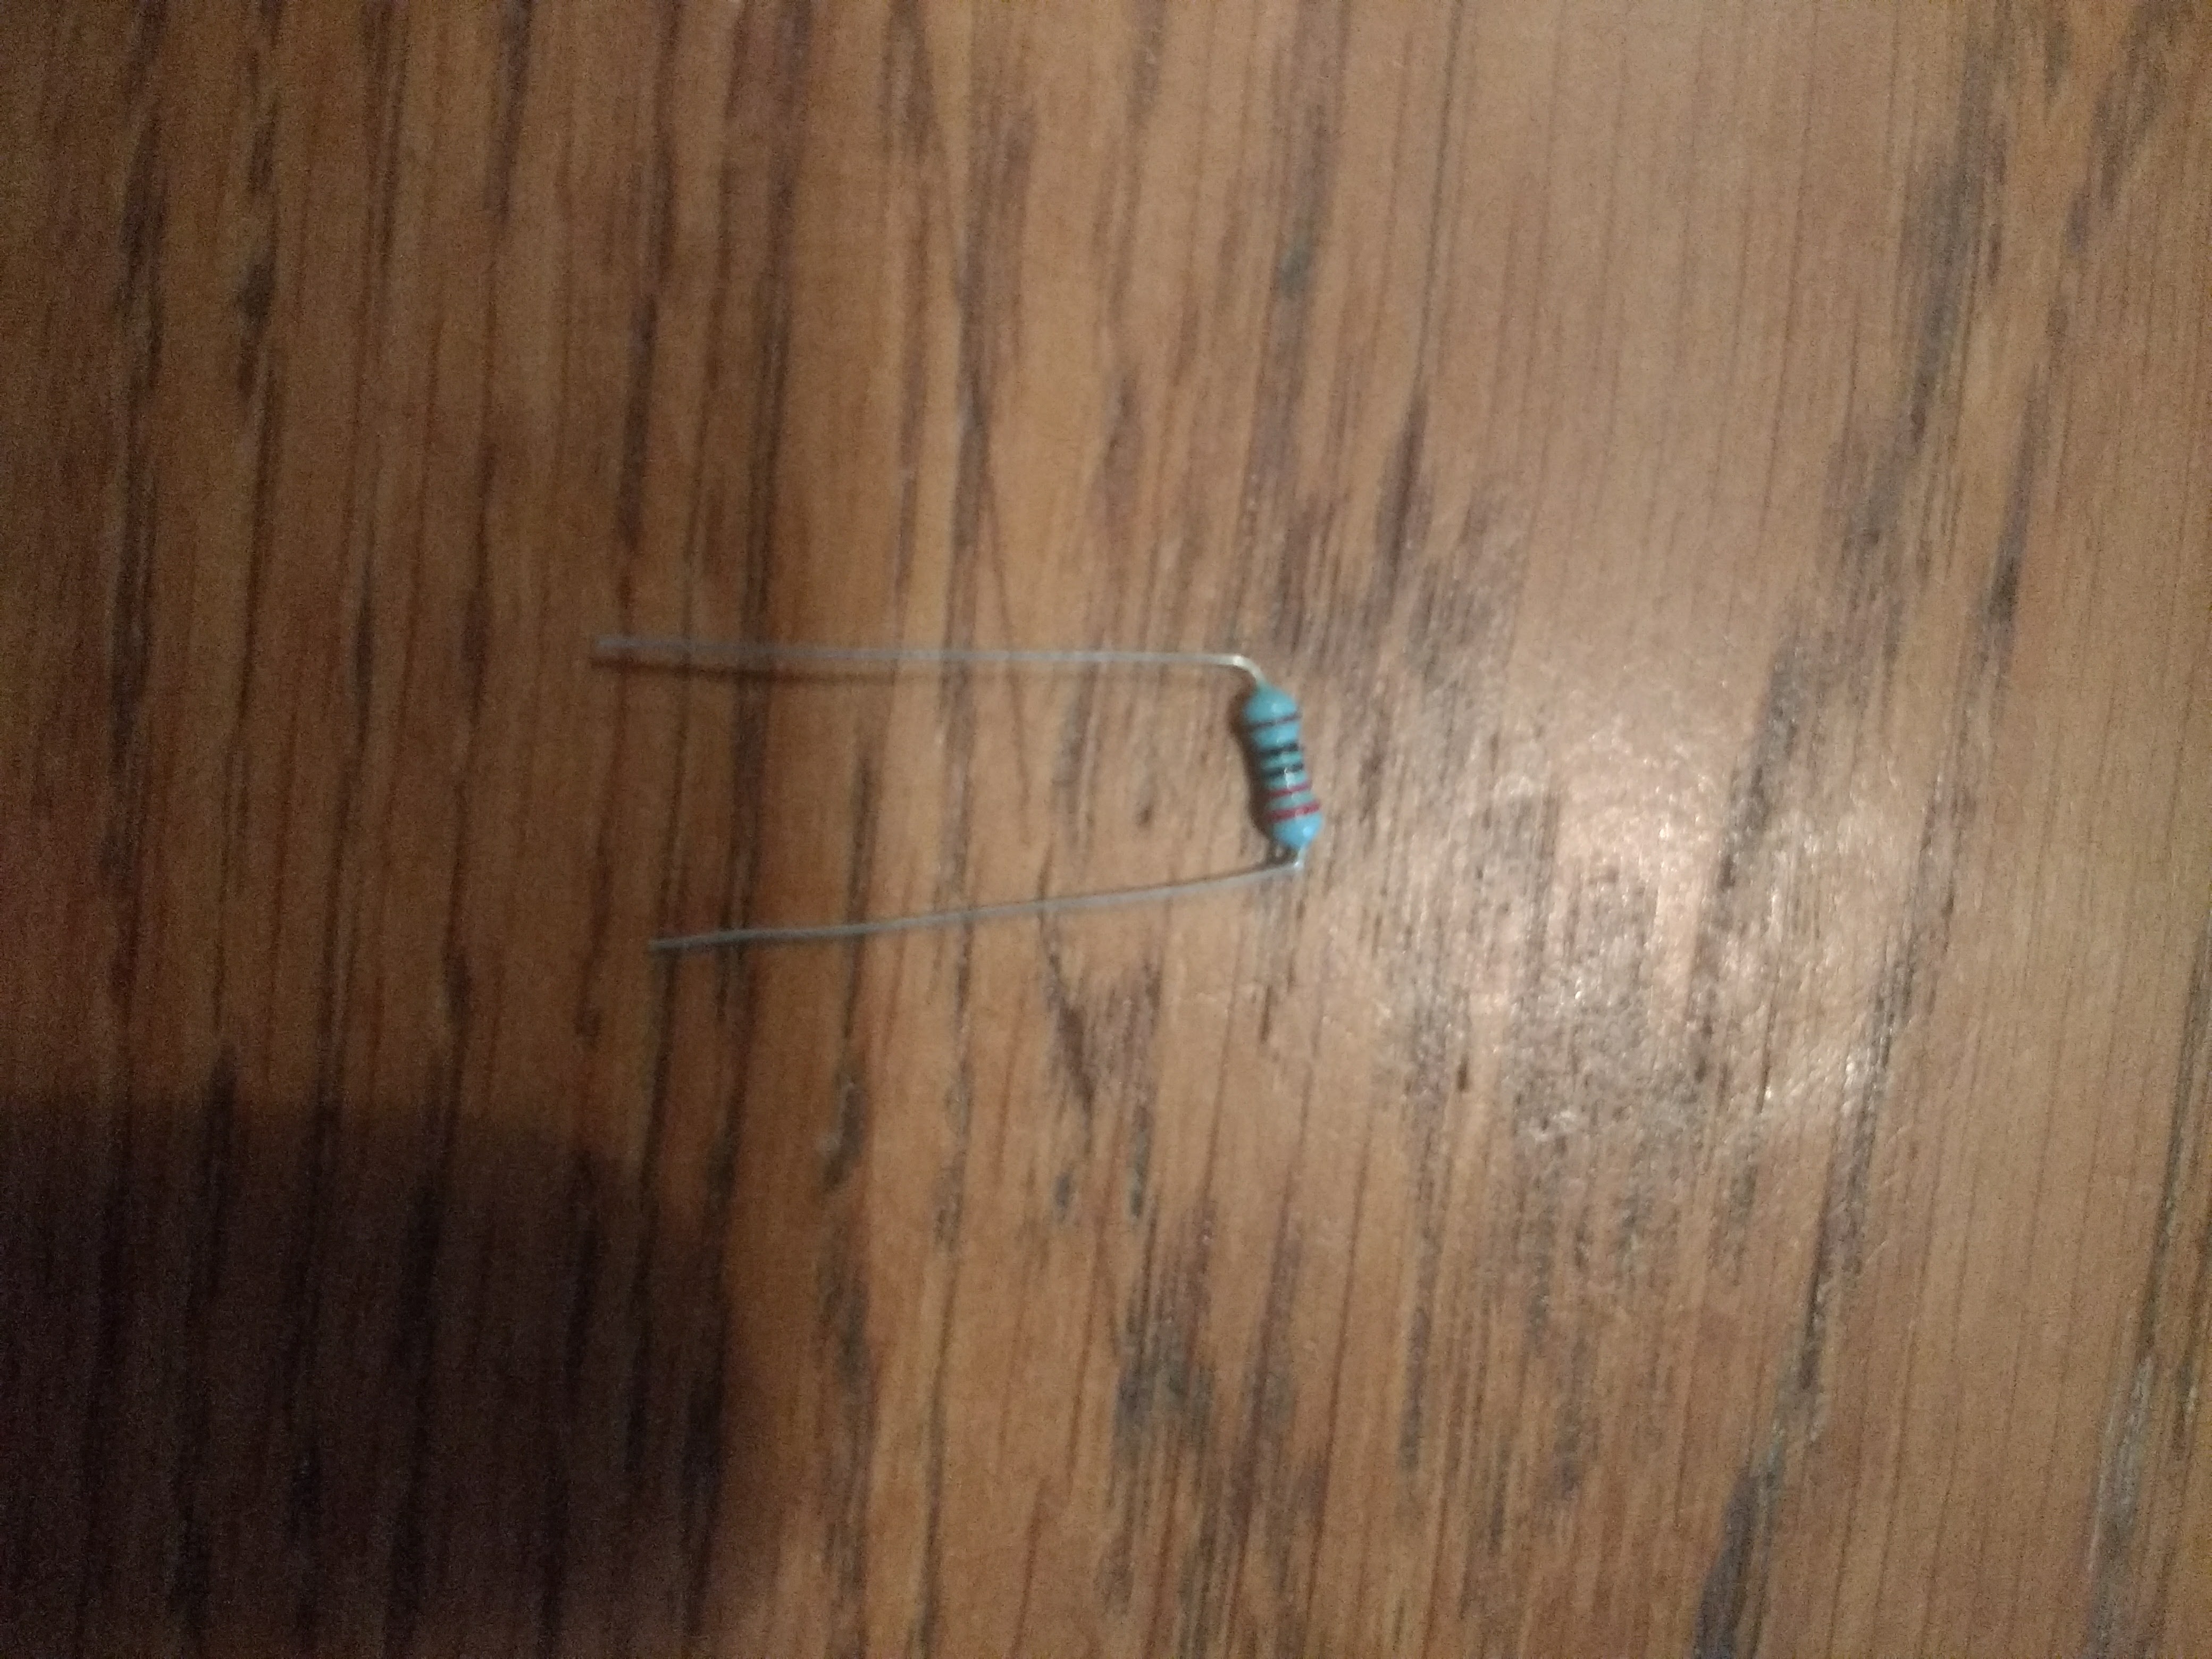
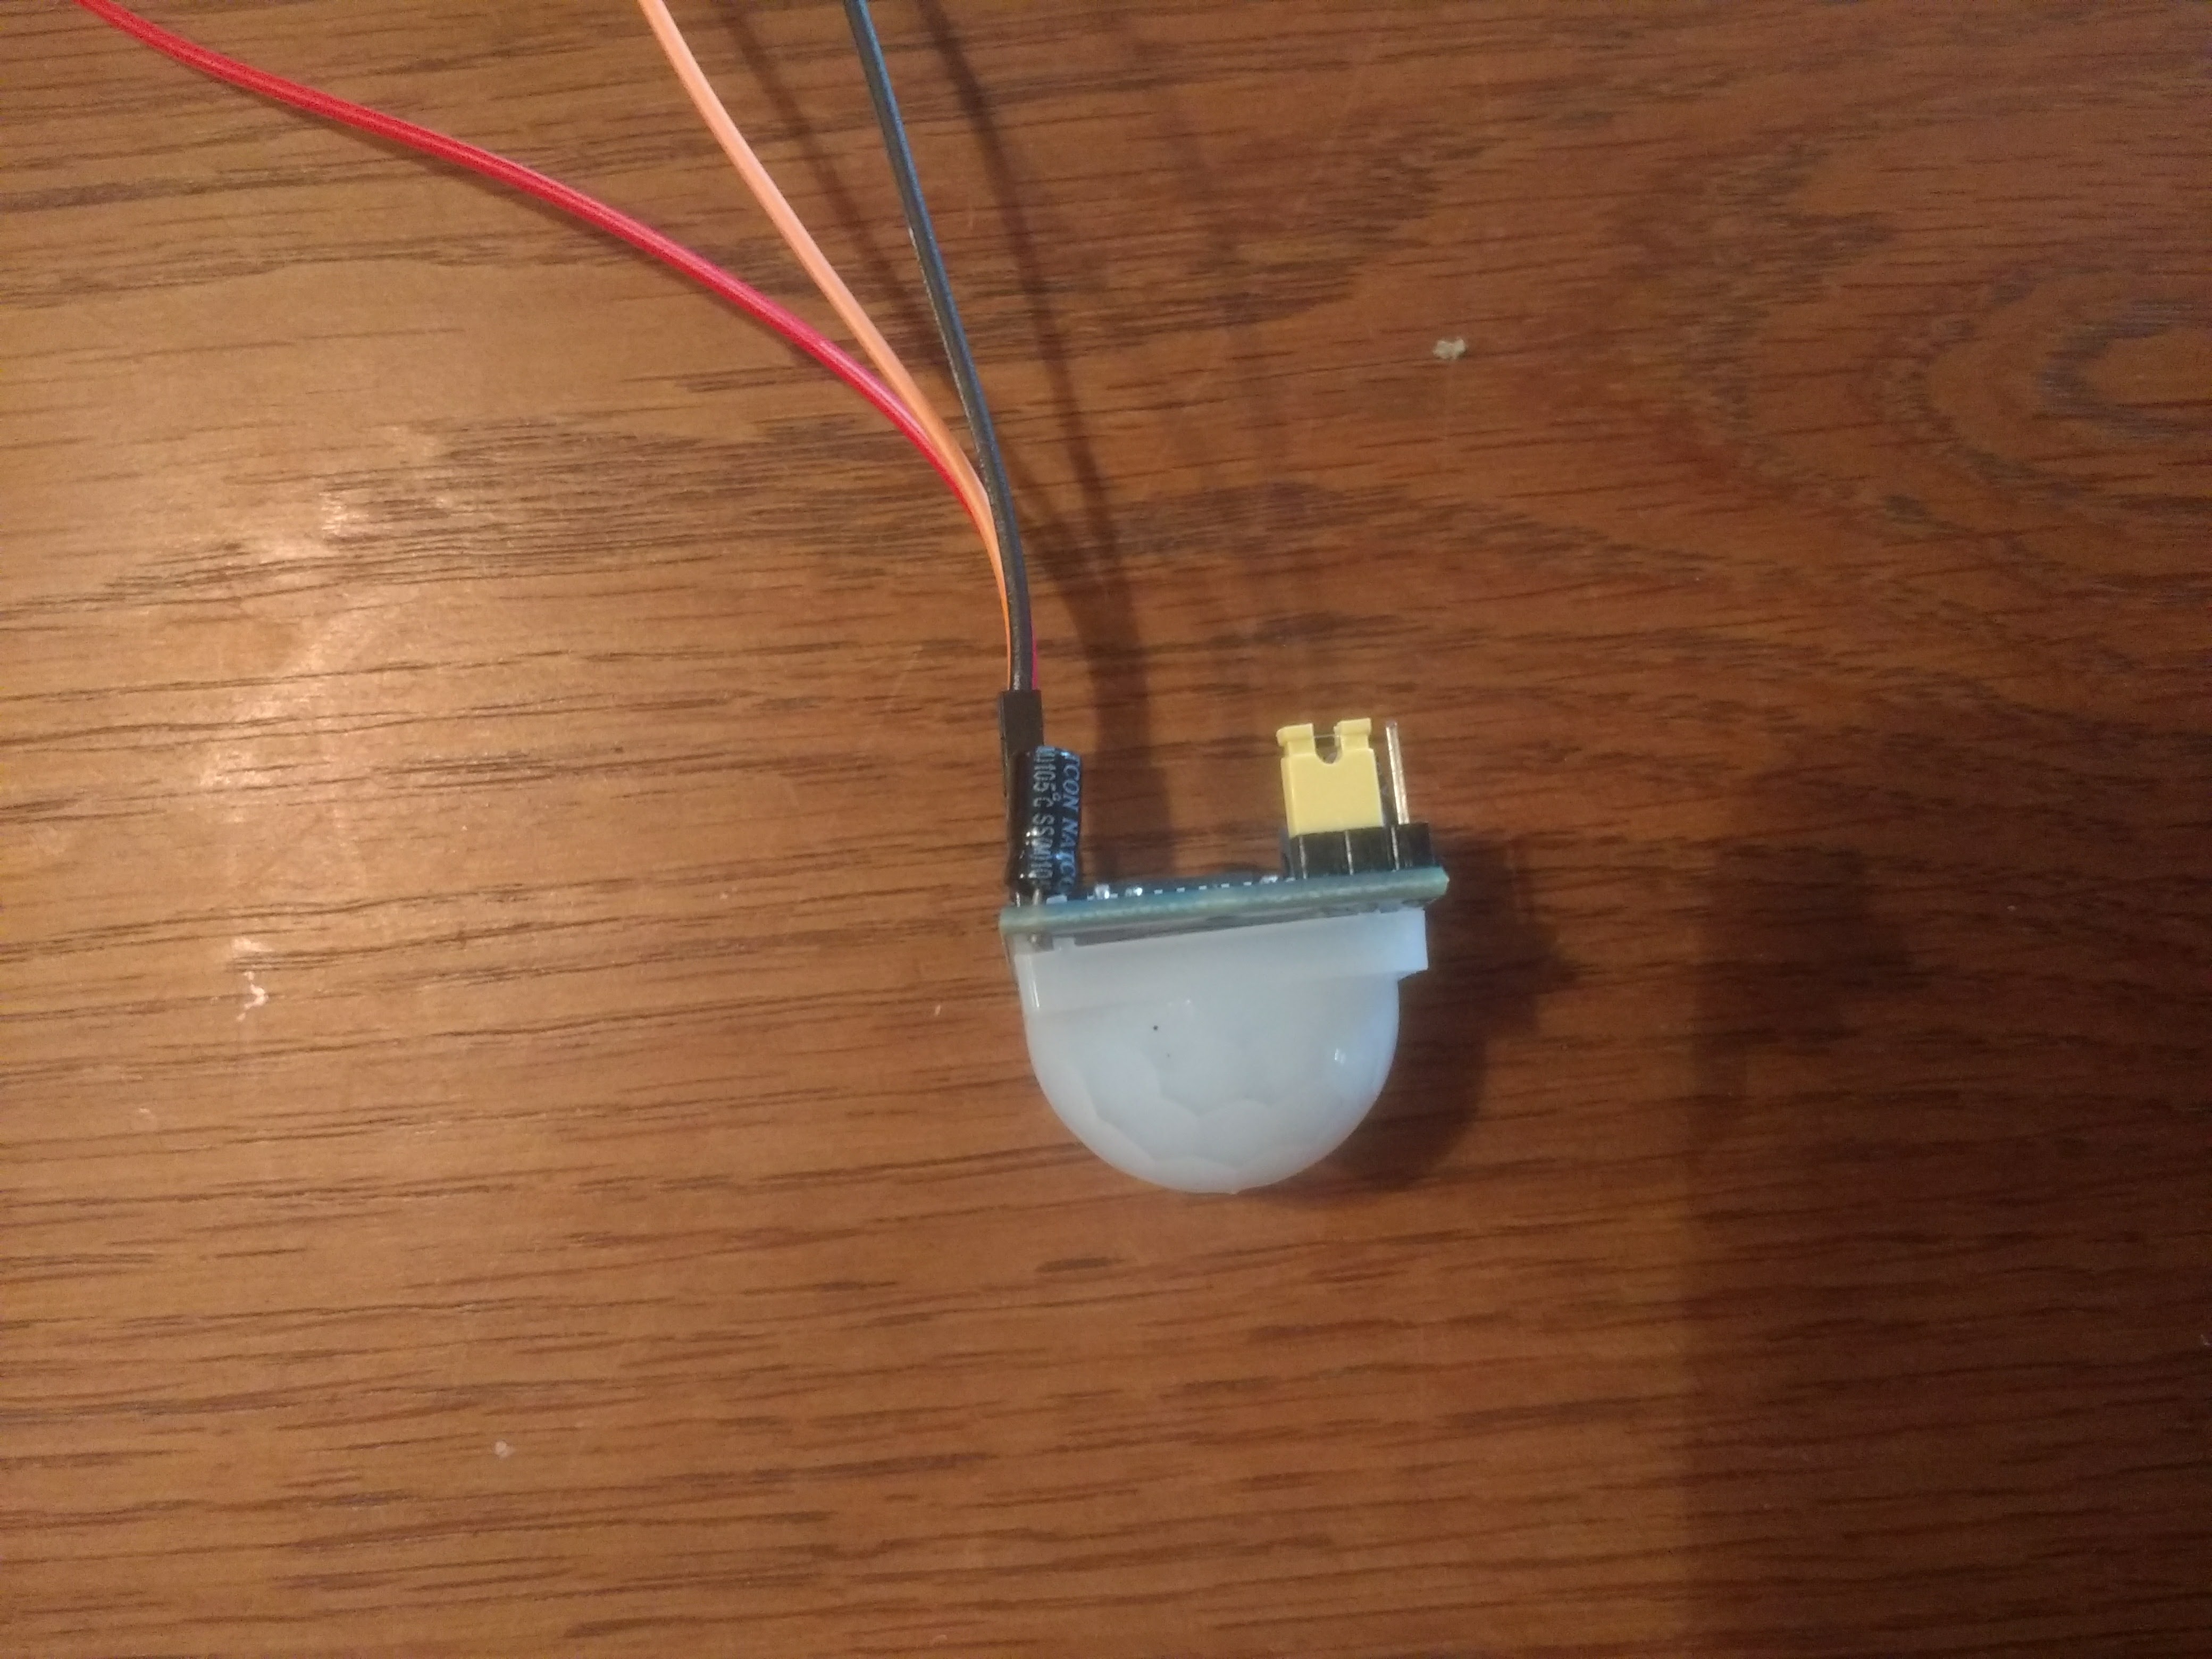
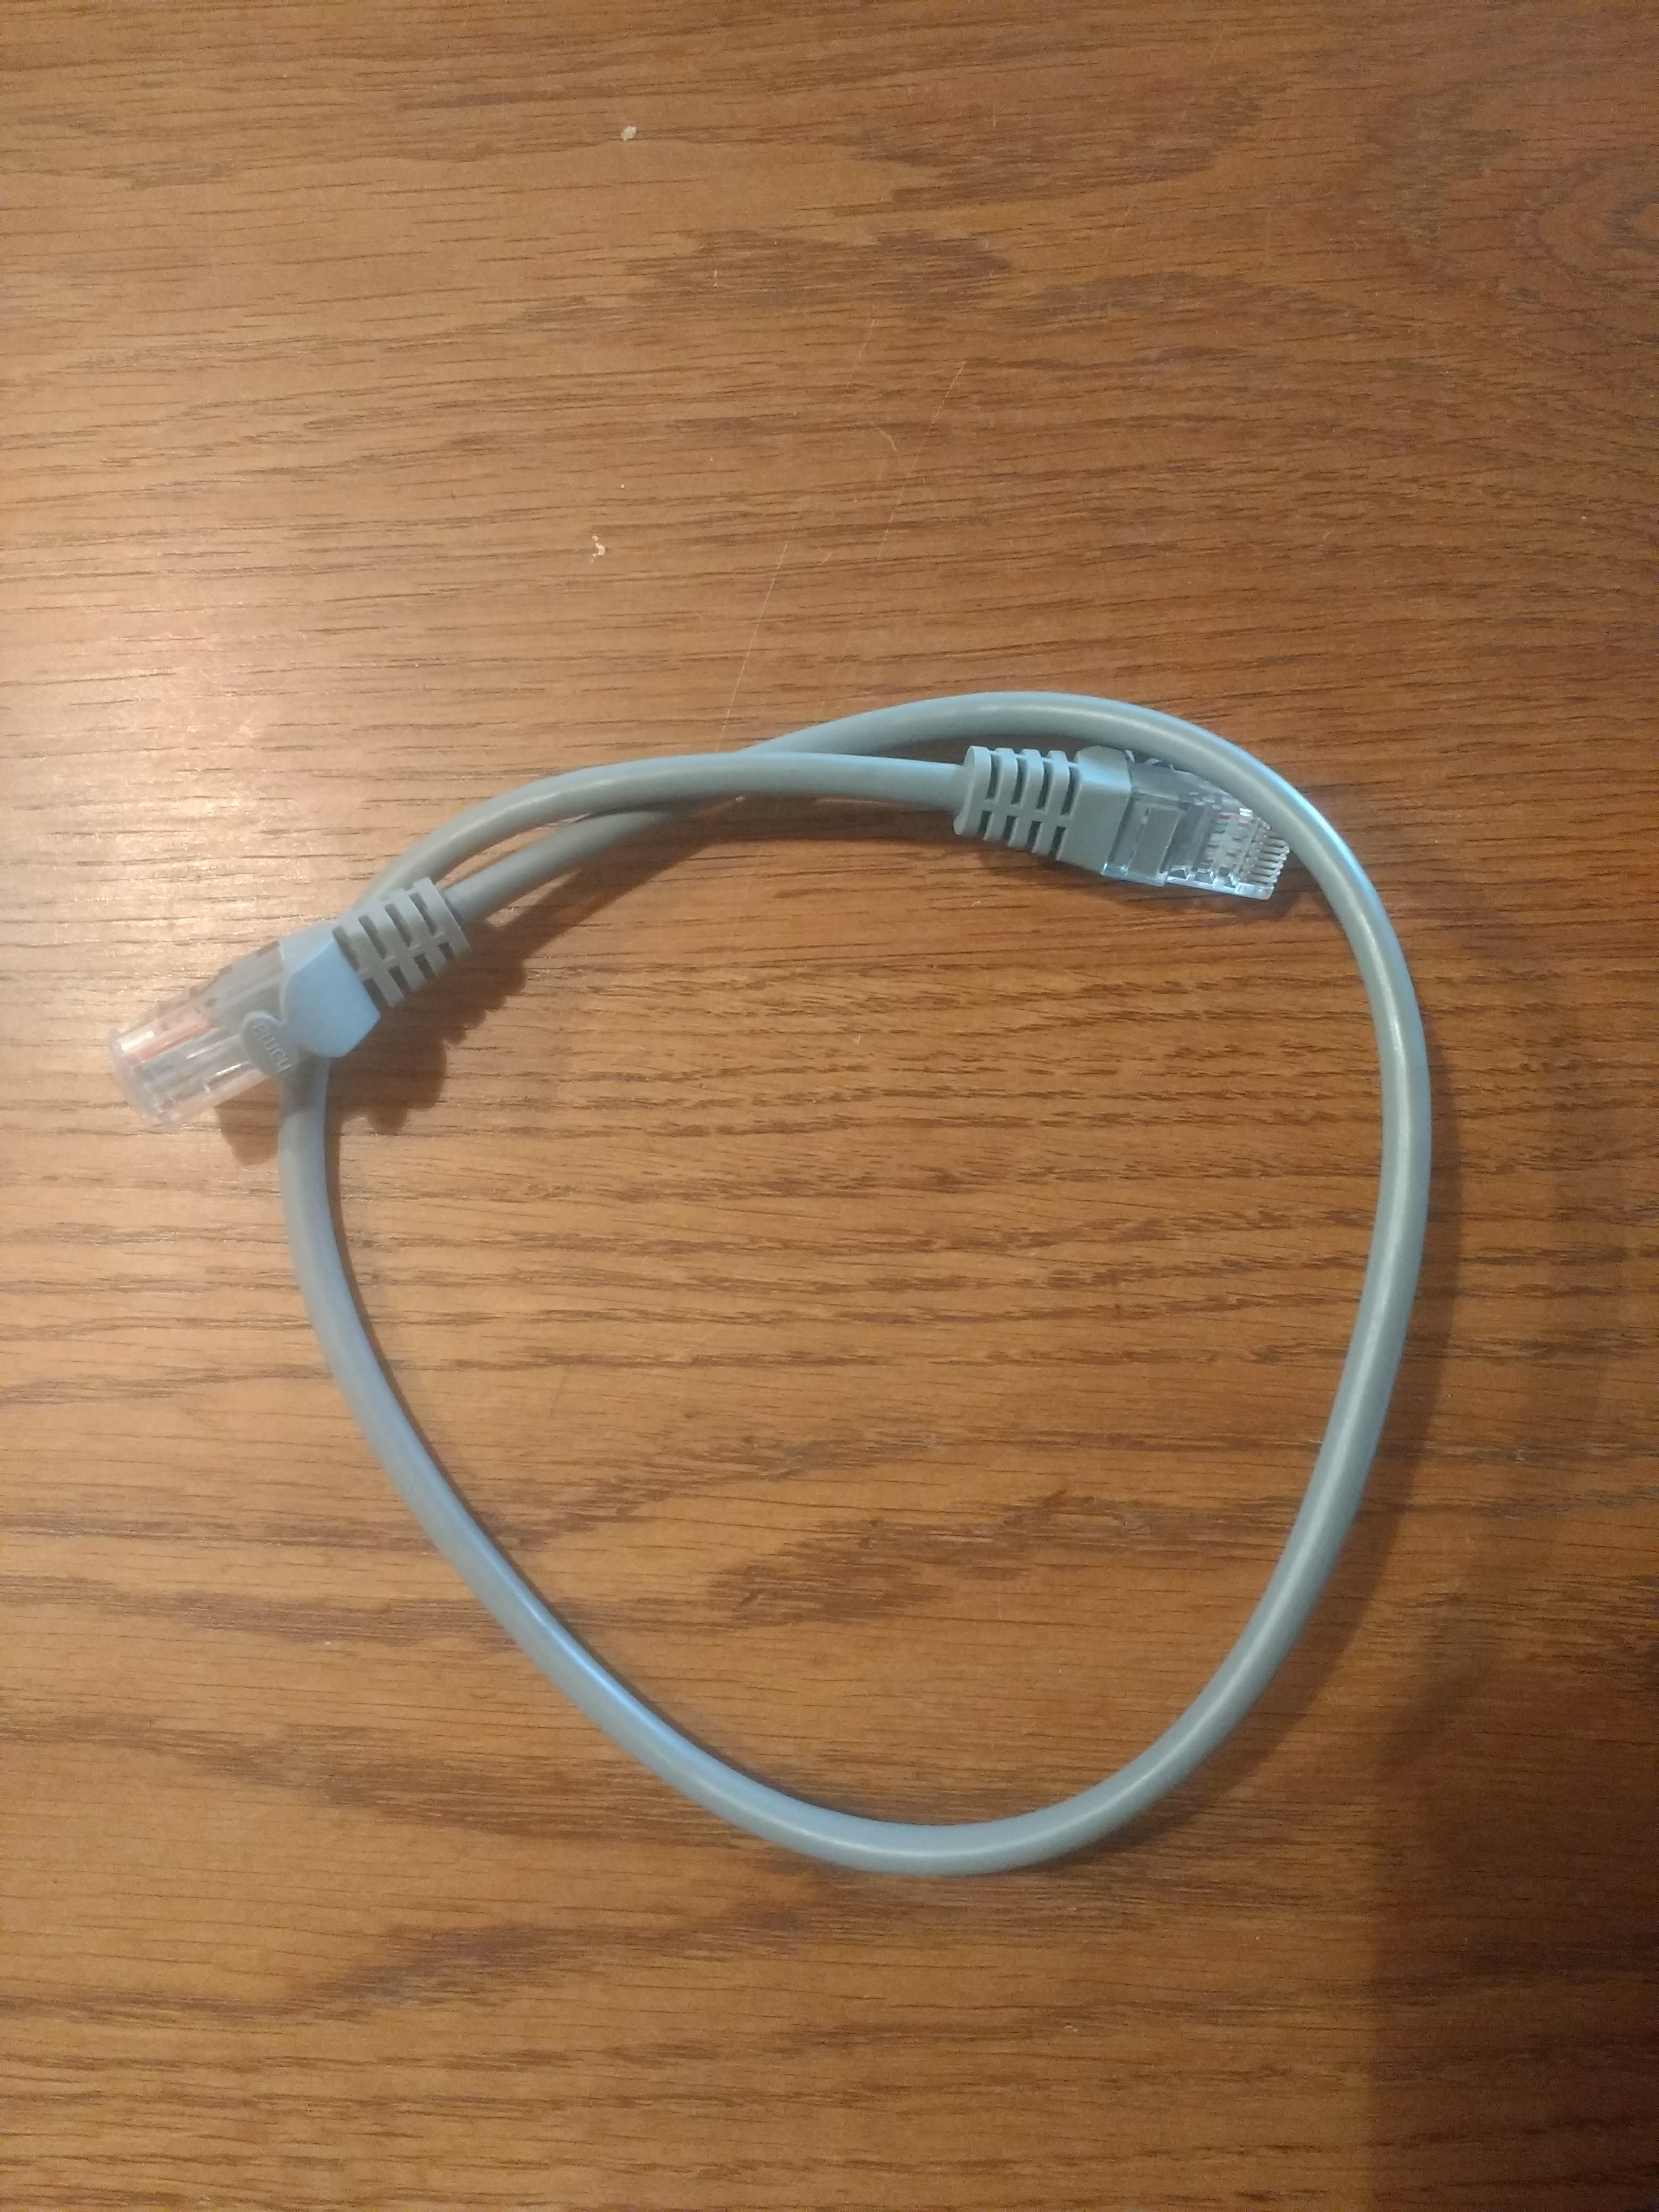


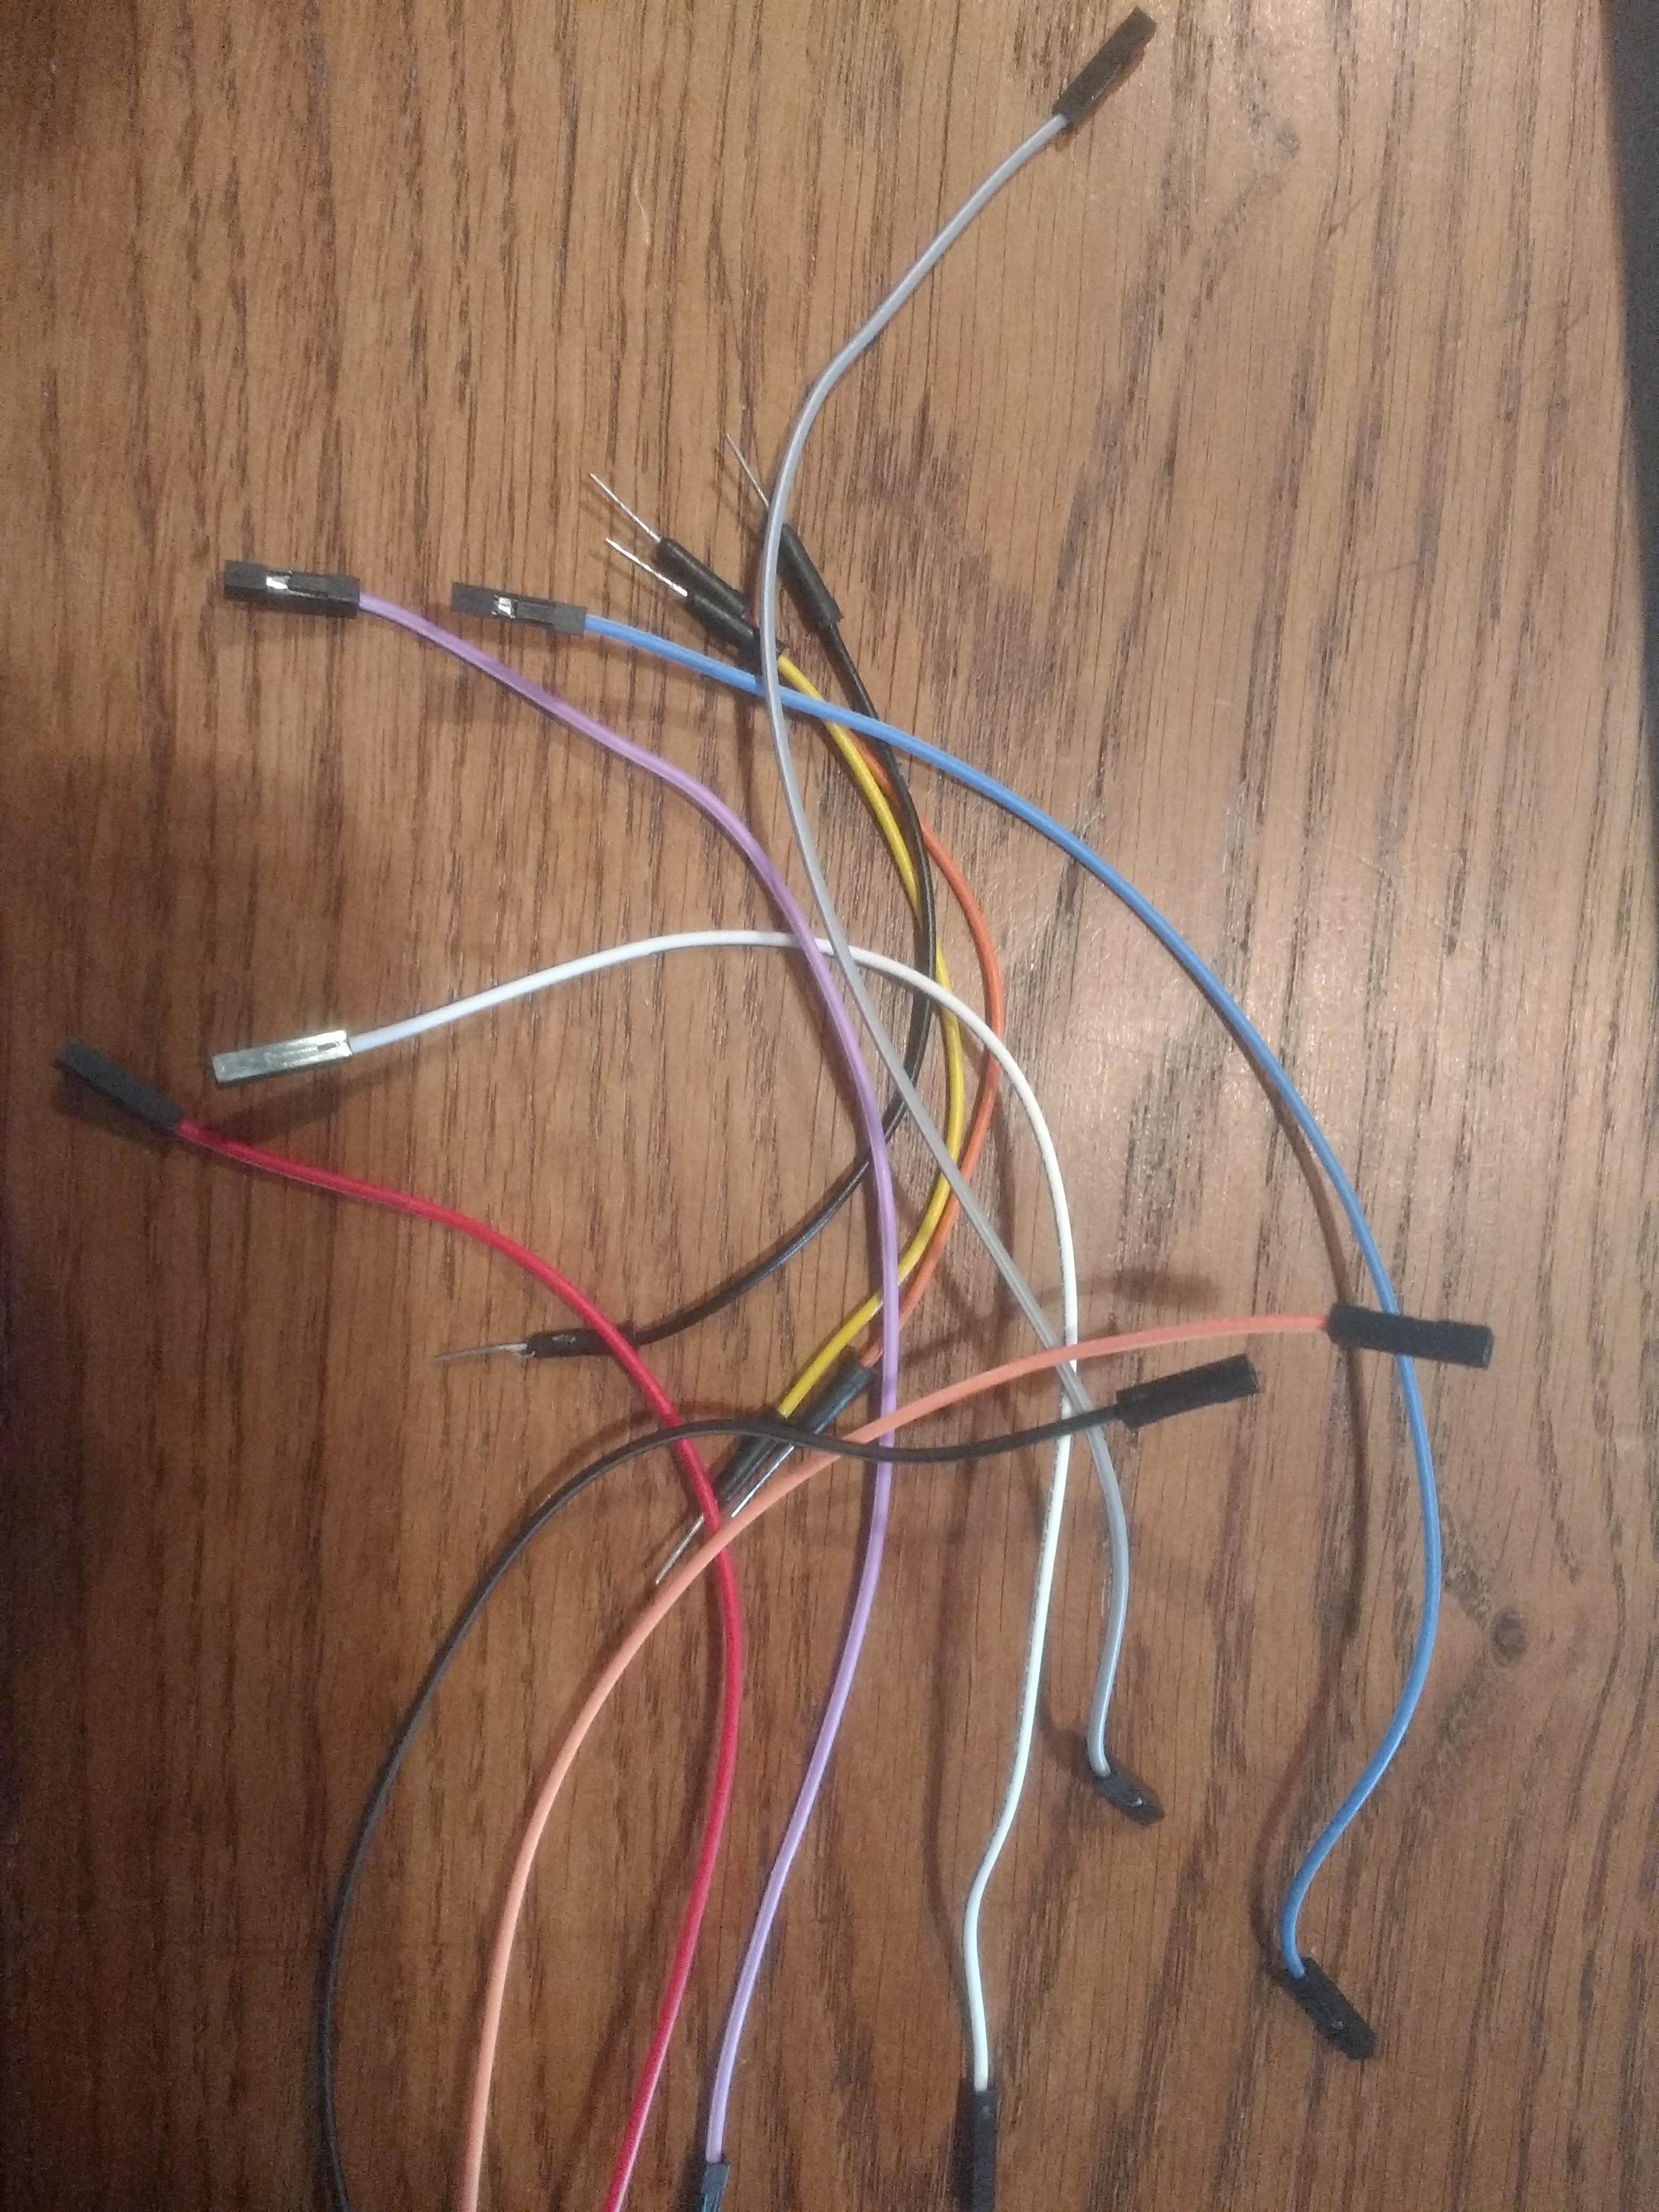
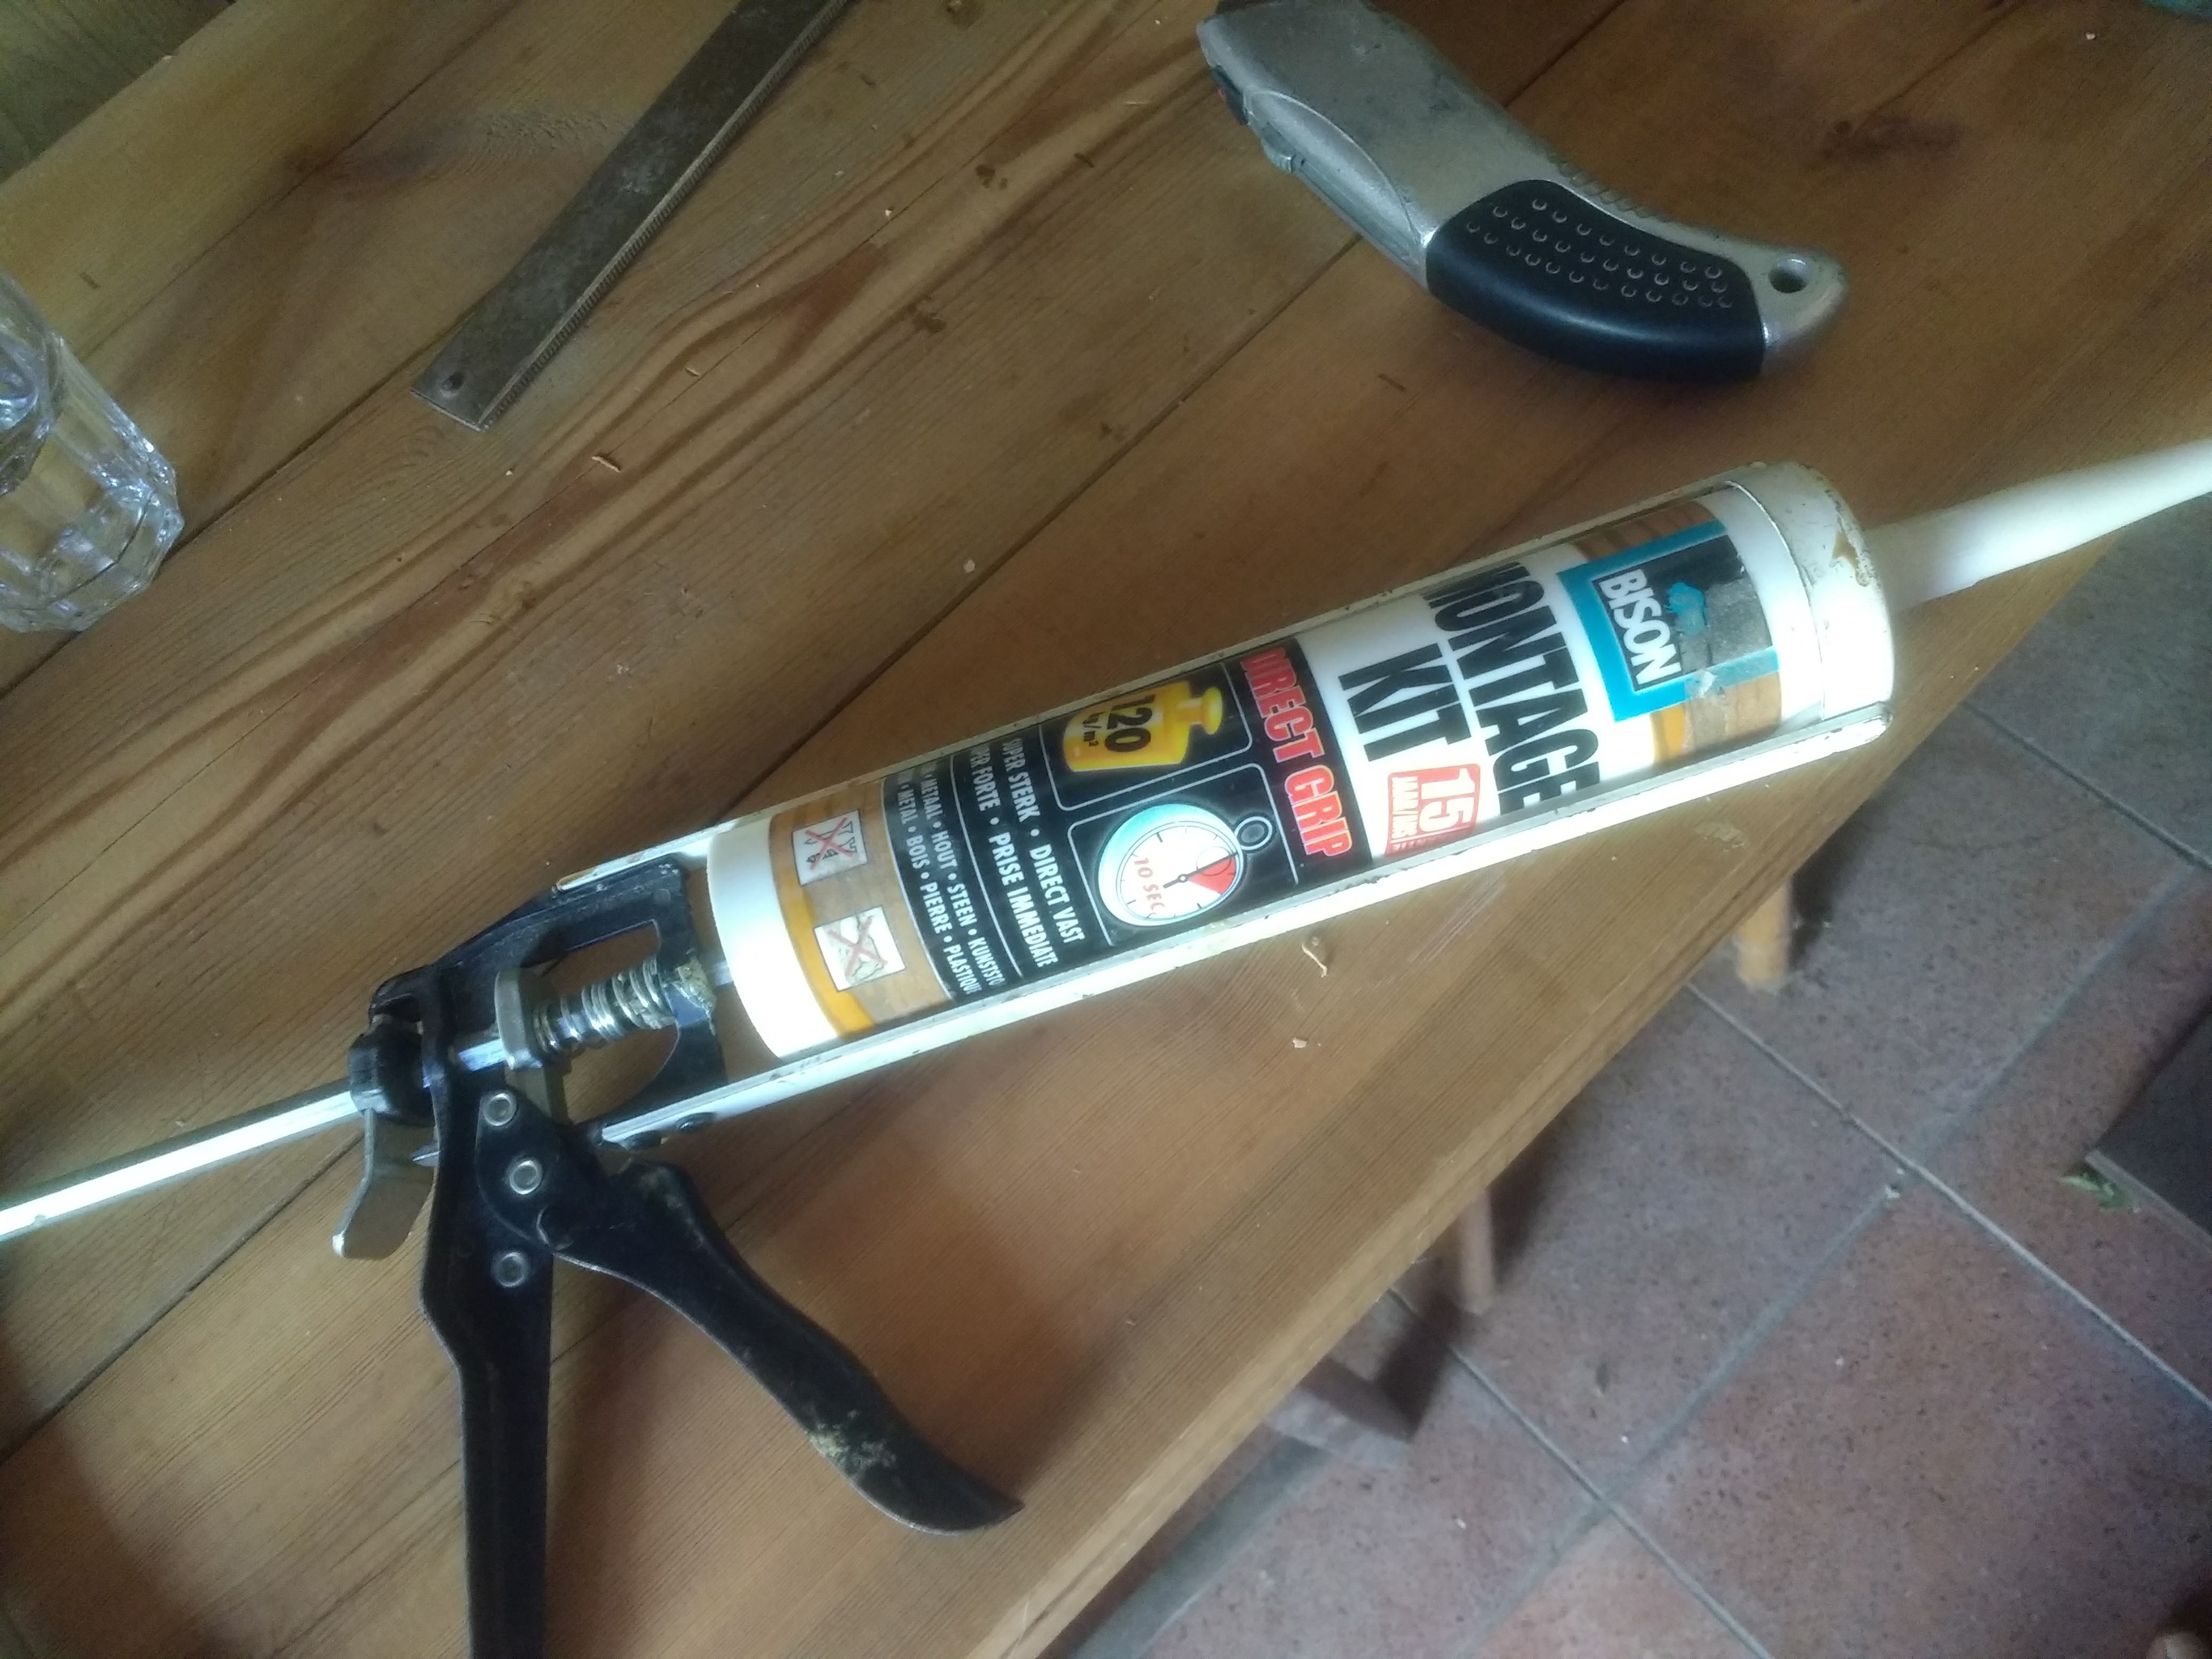
Necessities:
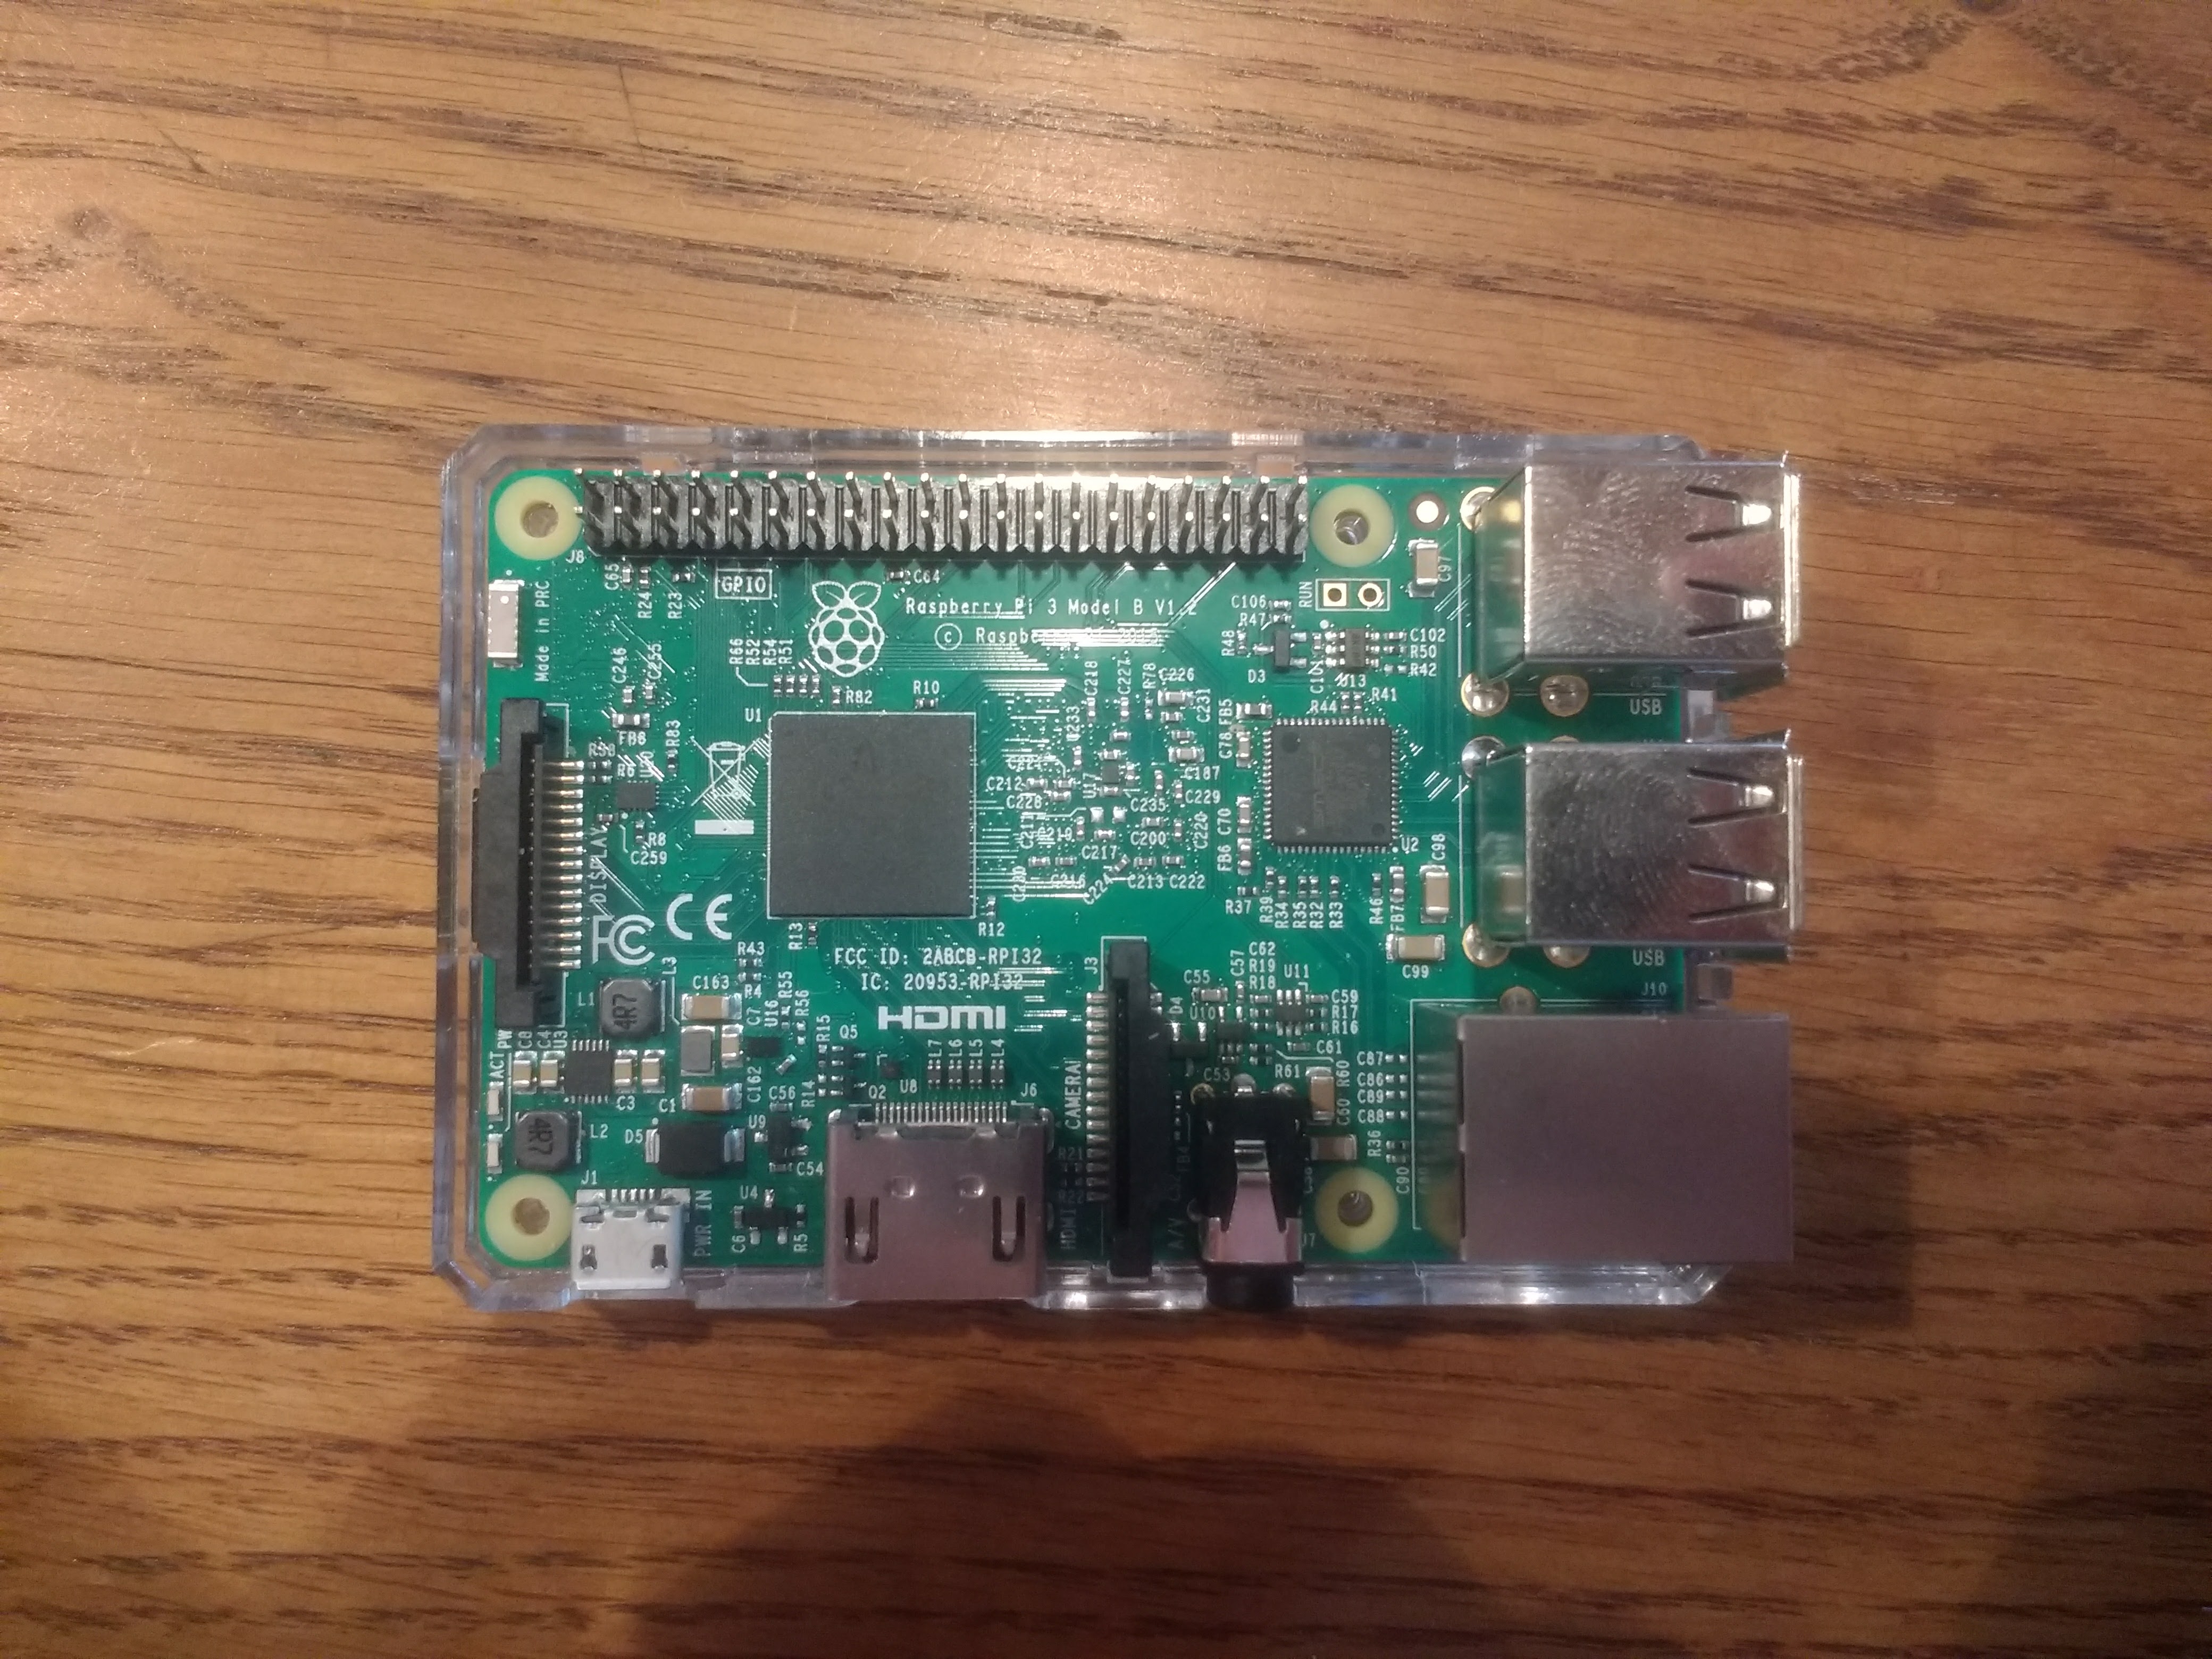
1. Raspberry Pi B 3
2. SD Card
3. Raspberry Pi camera V2 NoIR
4. Led Light
5. Active buzzer
6. Servo Motor
7. 2 resistors 220 Ohm
8. PIR motion sensor
9. Ethernet cable
10. Wood
11. Toothpick
12. Fine iron wire
Materials:
1. Screwdriver
2. Tape
3. Solder
4. Arduino jumper cables
5. Glue
Downloads
Set Up Raspberry Pi
1. Download the image on the SD card: https://www.raspberrypi.org/documentation/installa...
2. Connect with SSH (with putty) username: pi, password: root.
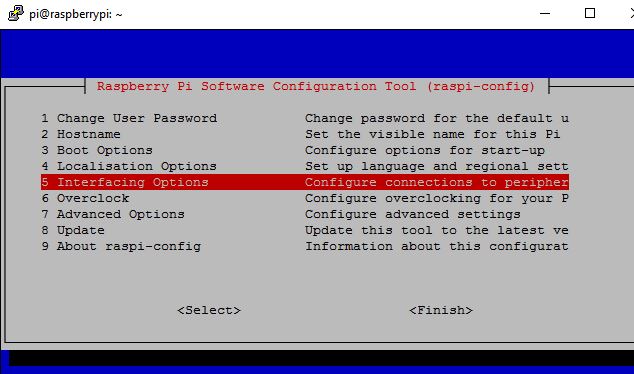
3. Enable PiCam in the raspi-config menu with command 'sudo raspi-config'.
Set Up MySql on Raspberry Pi
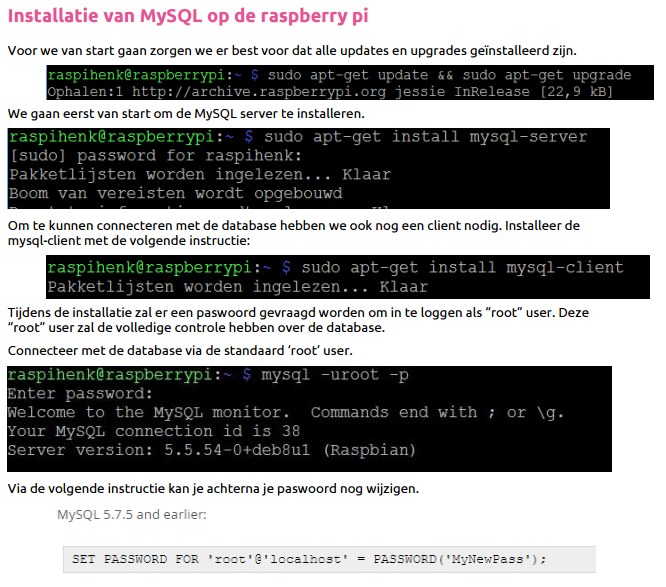
1. Download MySql (see picture)
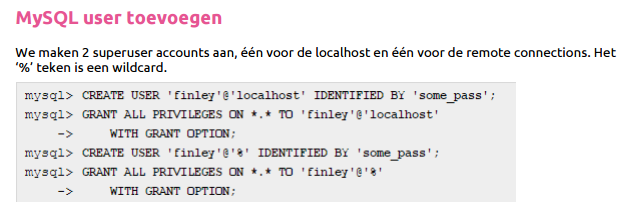
2. Make user (see picture, remember password and username)
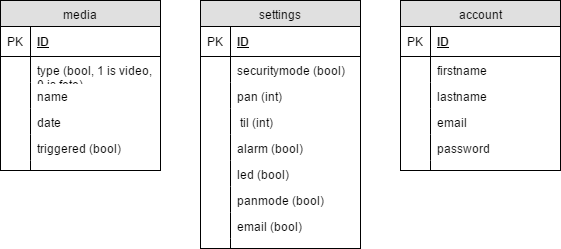
3. Copy DDL code below and execute this to create the database.
create table account
( ID int auto_increment primary key, username varchar(45) null, first_name varchar(45) null, last_name varchar(45) null, email varchar(45) null, password varchar(45) null ) ;
create table media ( ID int auto_increment primary key, type tinyint null, name varchar(45) default 'naamloos' null, date datetime null, triggered tinyint null ) ;
create table settings ( ID int auto_increment primary key, securitymode tinyint null, pan int null, alarm tinyint null, led tinyint null, email tinyint null ) ;
4. insert data
use securitycam;
insert into account(ID, username, first_name, last_name, email, password) VALUES (1, 'admin', 'admin', 'admin', 'admin@admin.be', 'admin');
insert into settings(ID, securitymode, pan, alarm, led, email) VALUES (1, 1, 0, 1, 1, 0);
Set Up Pistreaming
install libav-tools with this command:
sudo apt-get install libav-tools git python3-picamera python3-ws4py
Download Code From Github
Download the following github code on your raspberry pi.
Custumize Code to Your Choices.
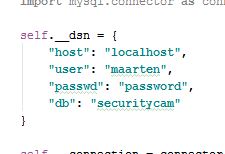

Change username and password on top of "DbClass" to the username and password you chose in step 3.
Run Script by Startup Raspberry Pi

Connect again to your raspberry pi with SSH and open '.bashrc' with this command: "sudo nano /home/pi/.bashrc"
Then go to the bottom of the file and add "sudo python /path/project_v2/project_v2.py &". Replace 'path' with your own path.
Attach Picam to Servomotor
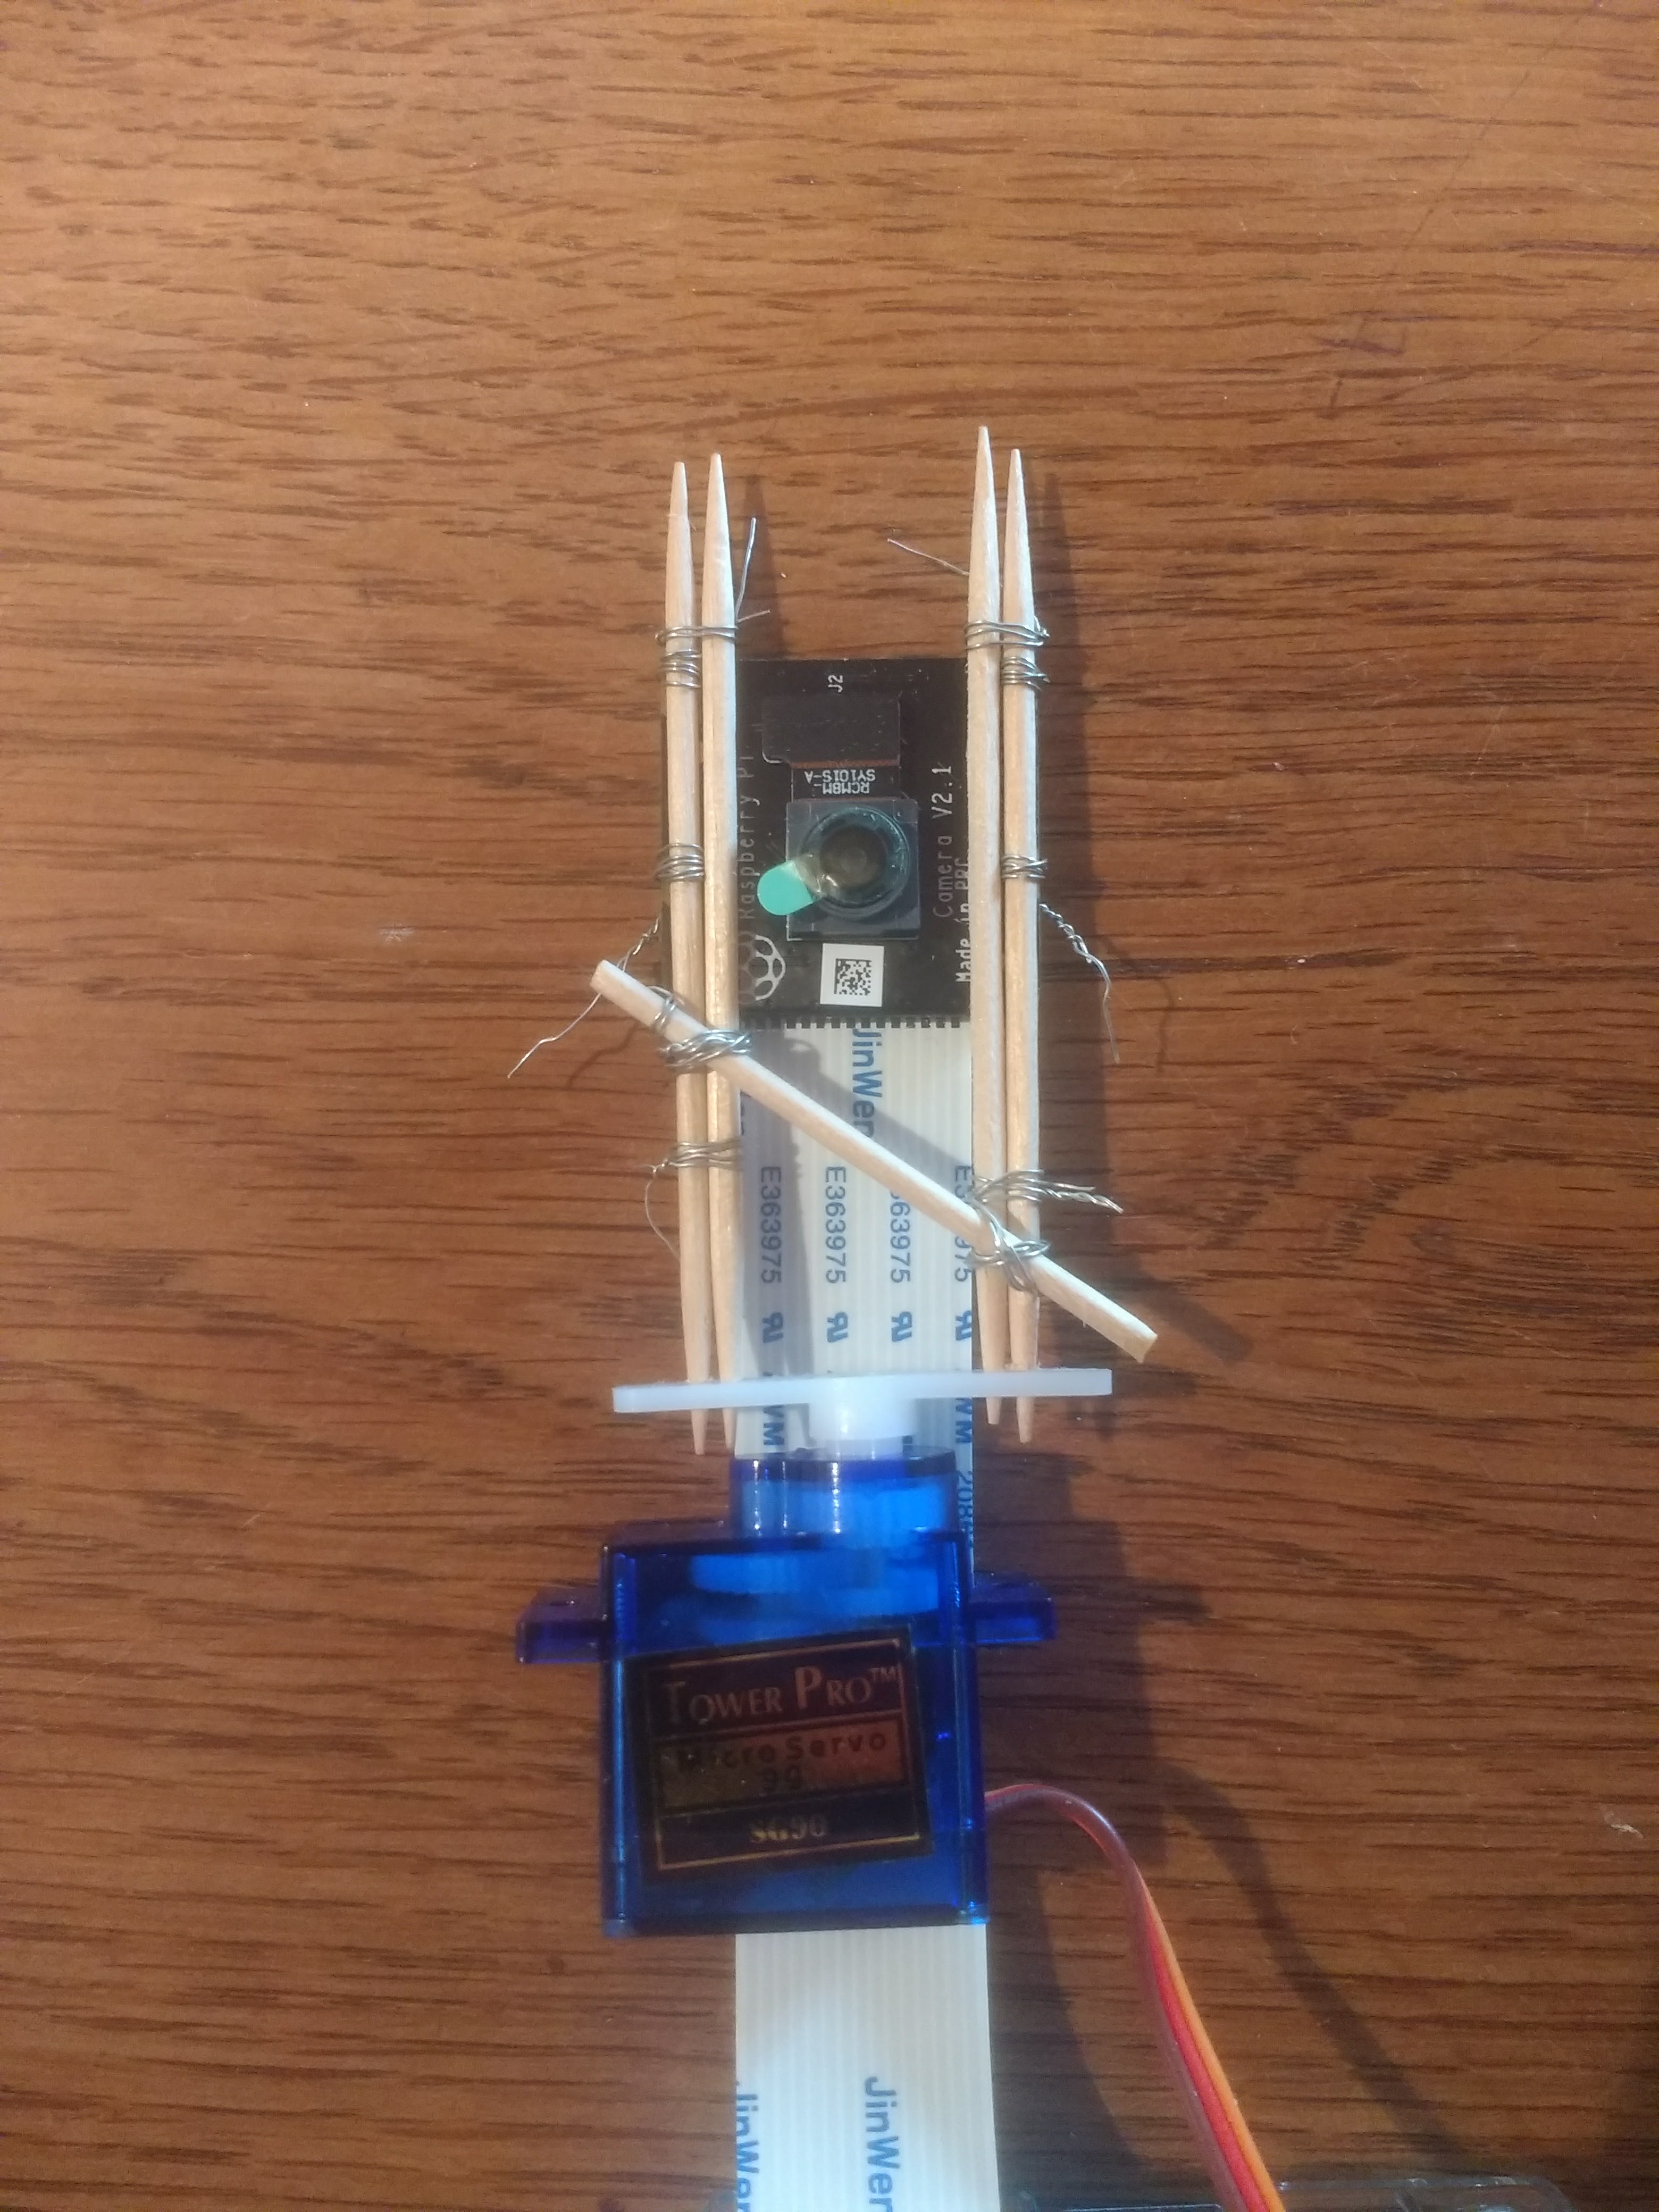

Use toothsticks and iron wire to attach the camera to the servomotor.
Try to make the same as shown on the picture.
Build Housing

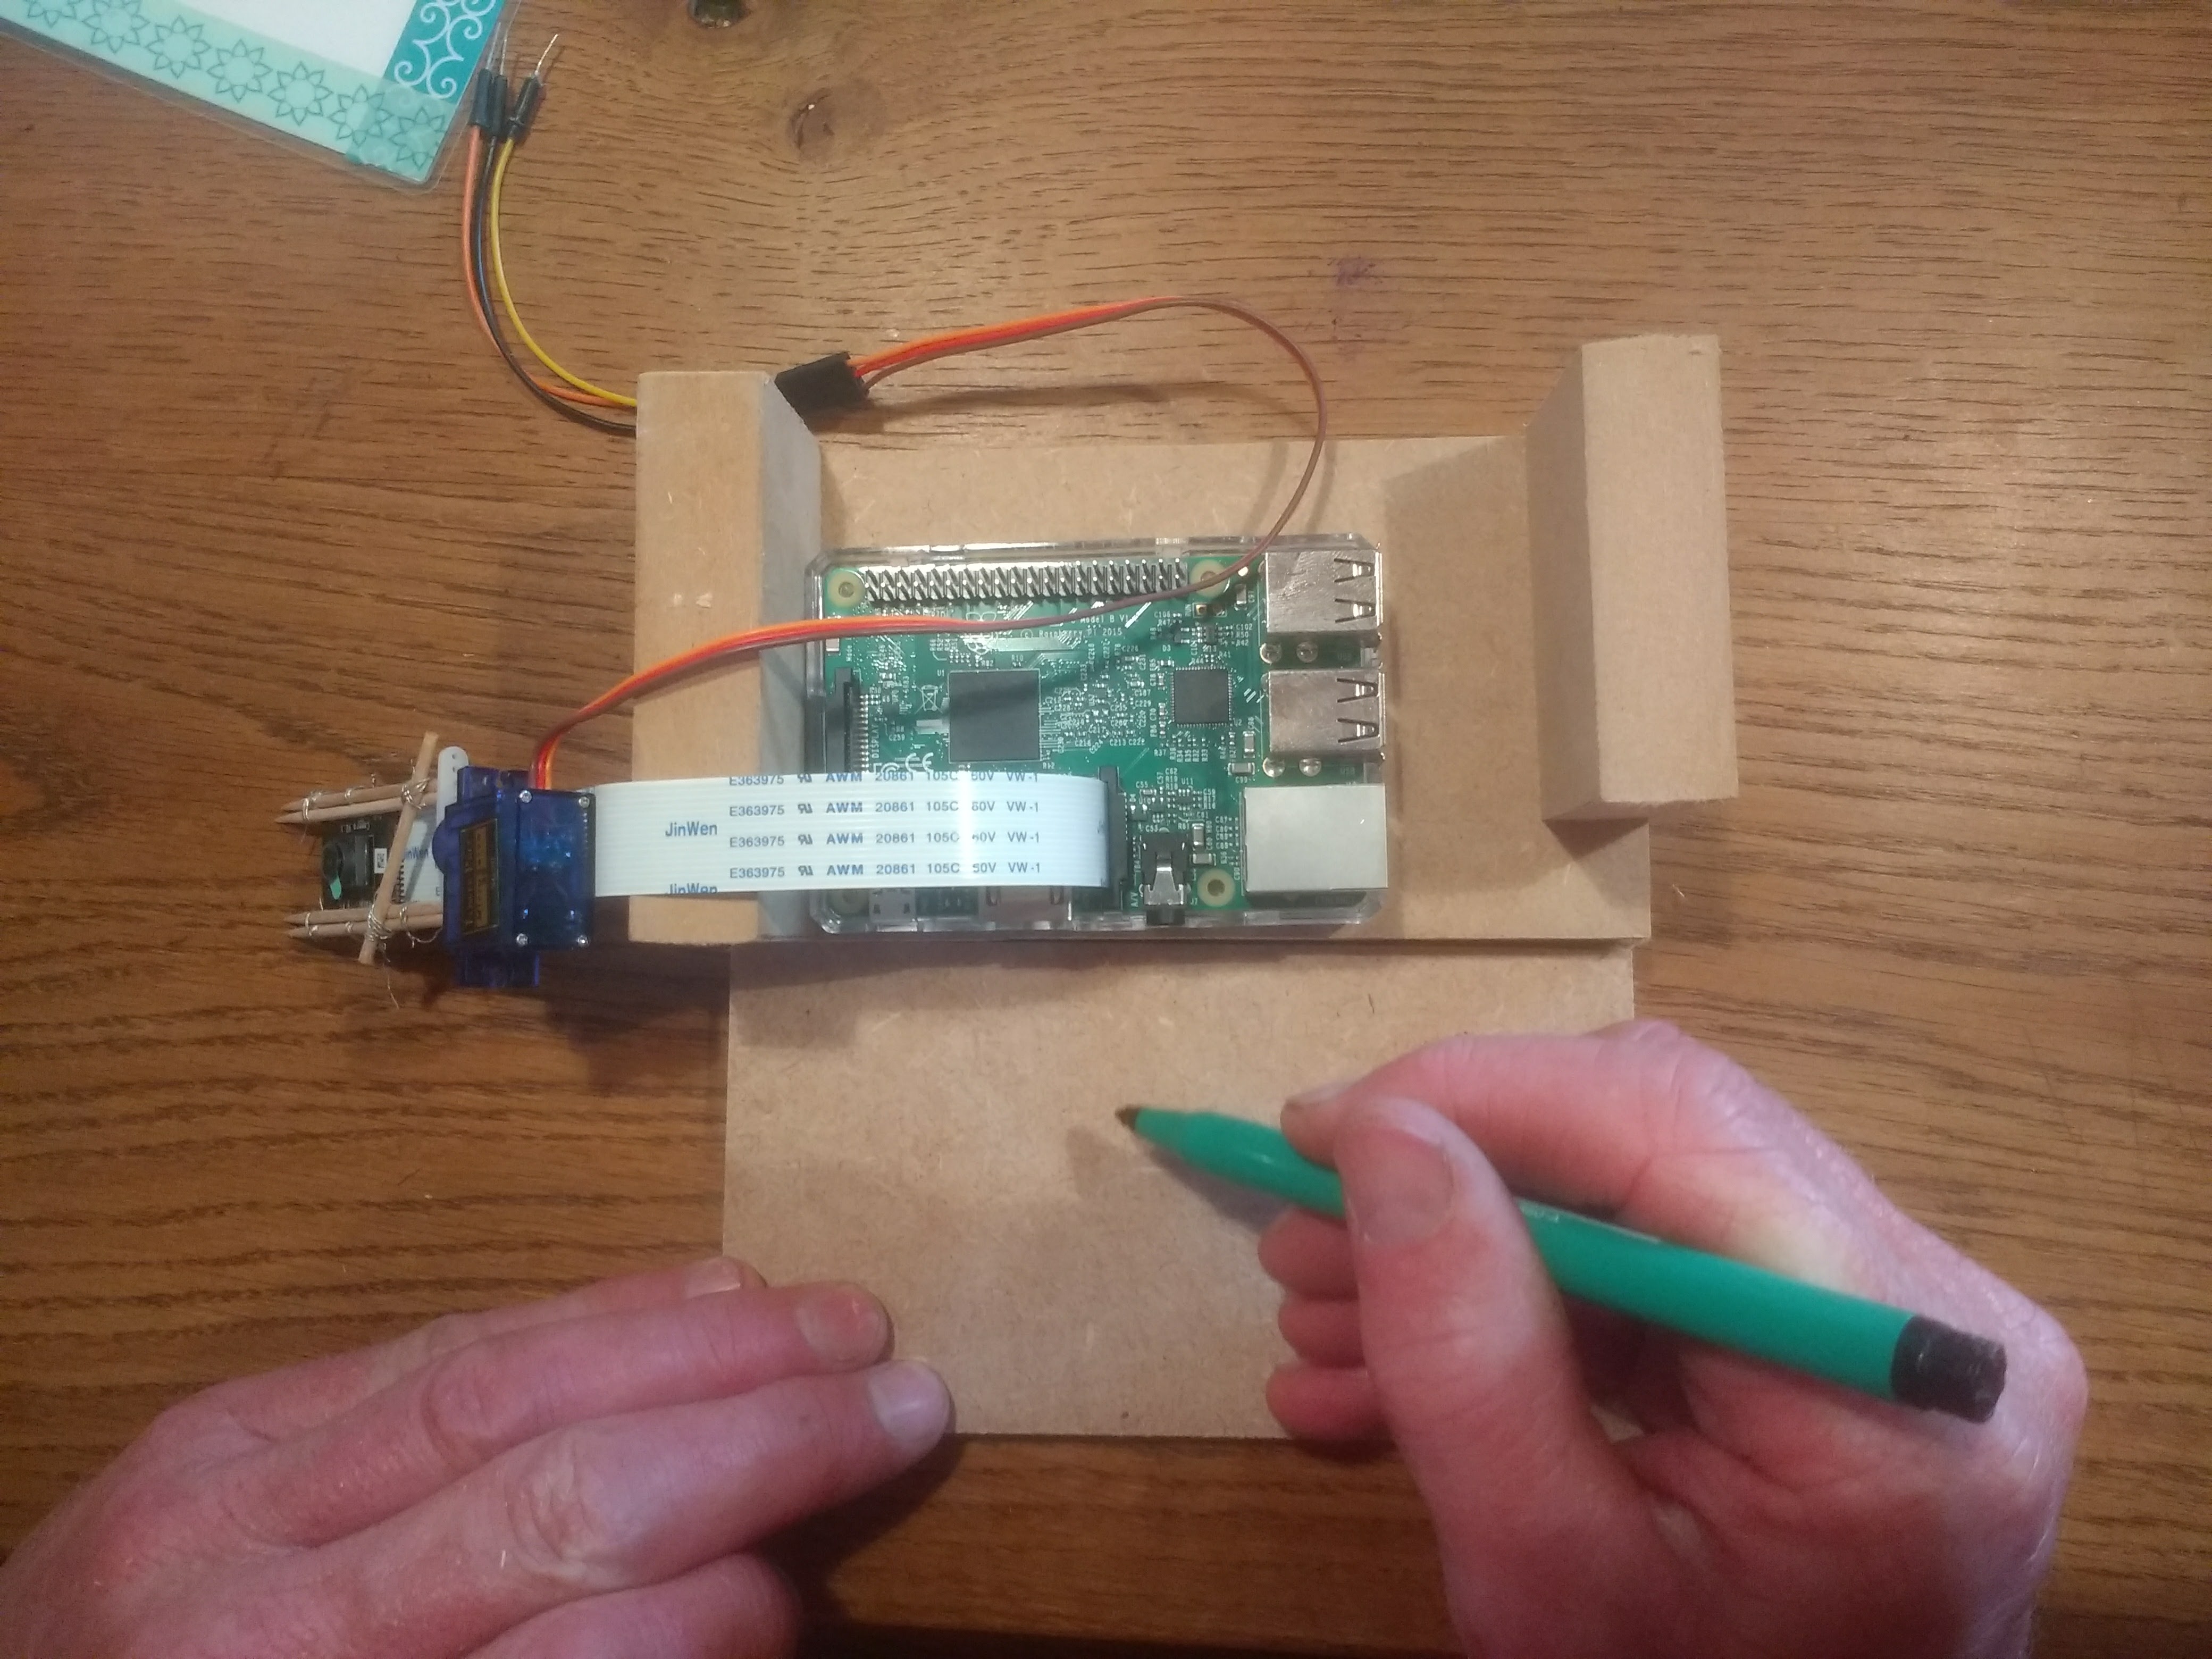
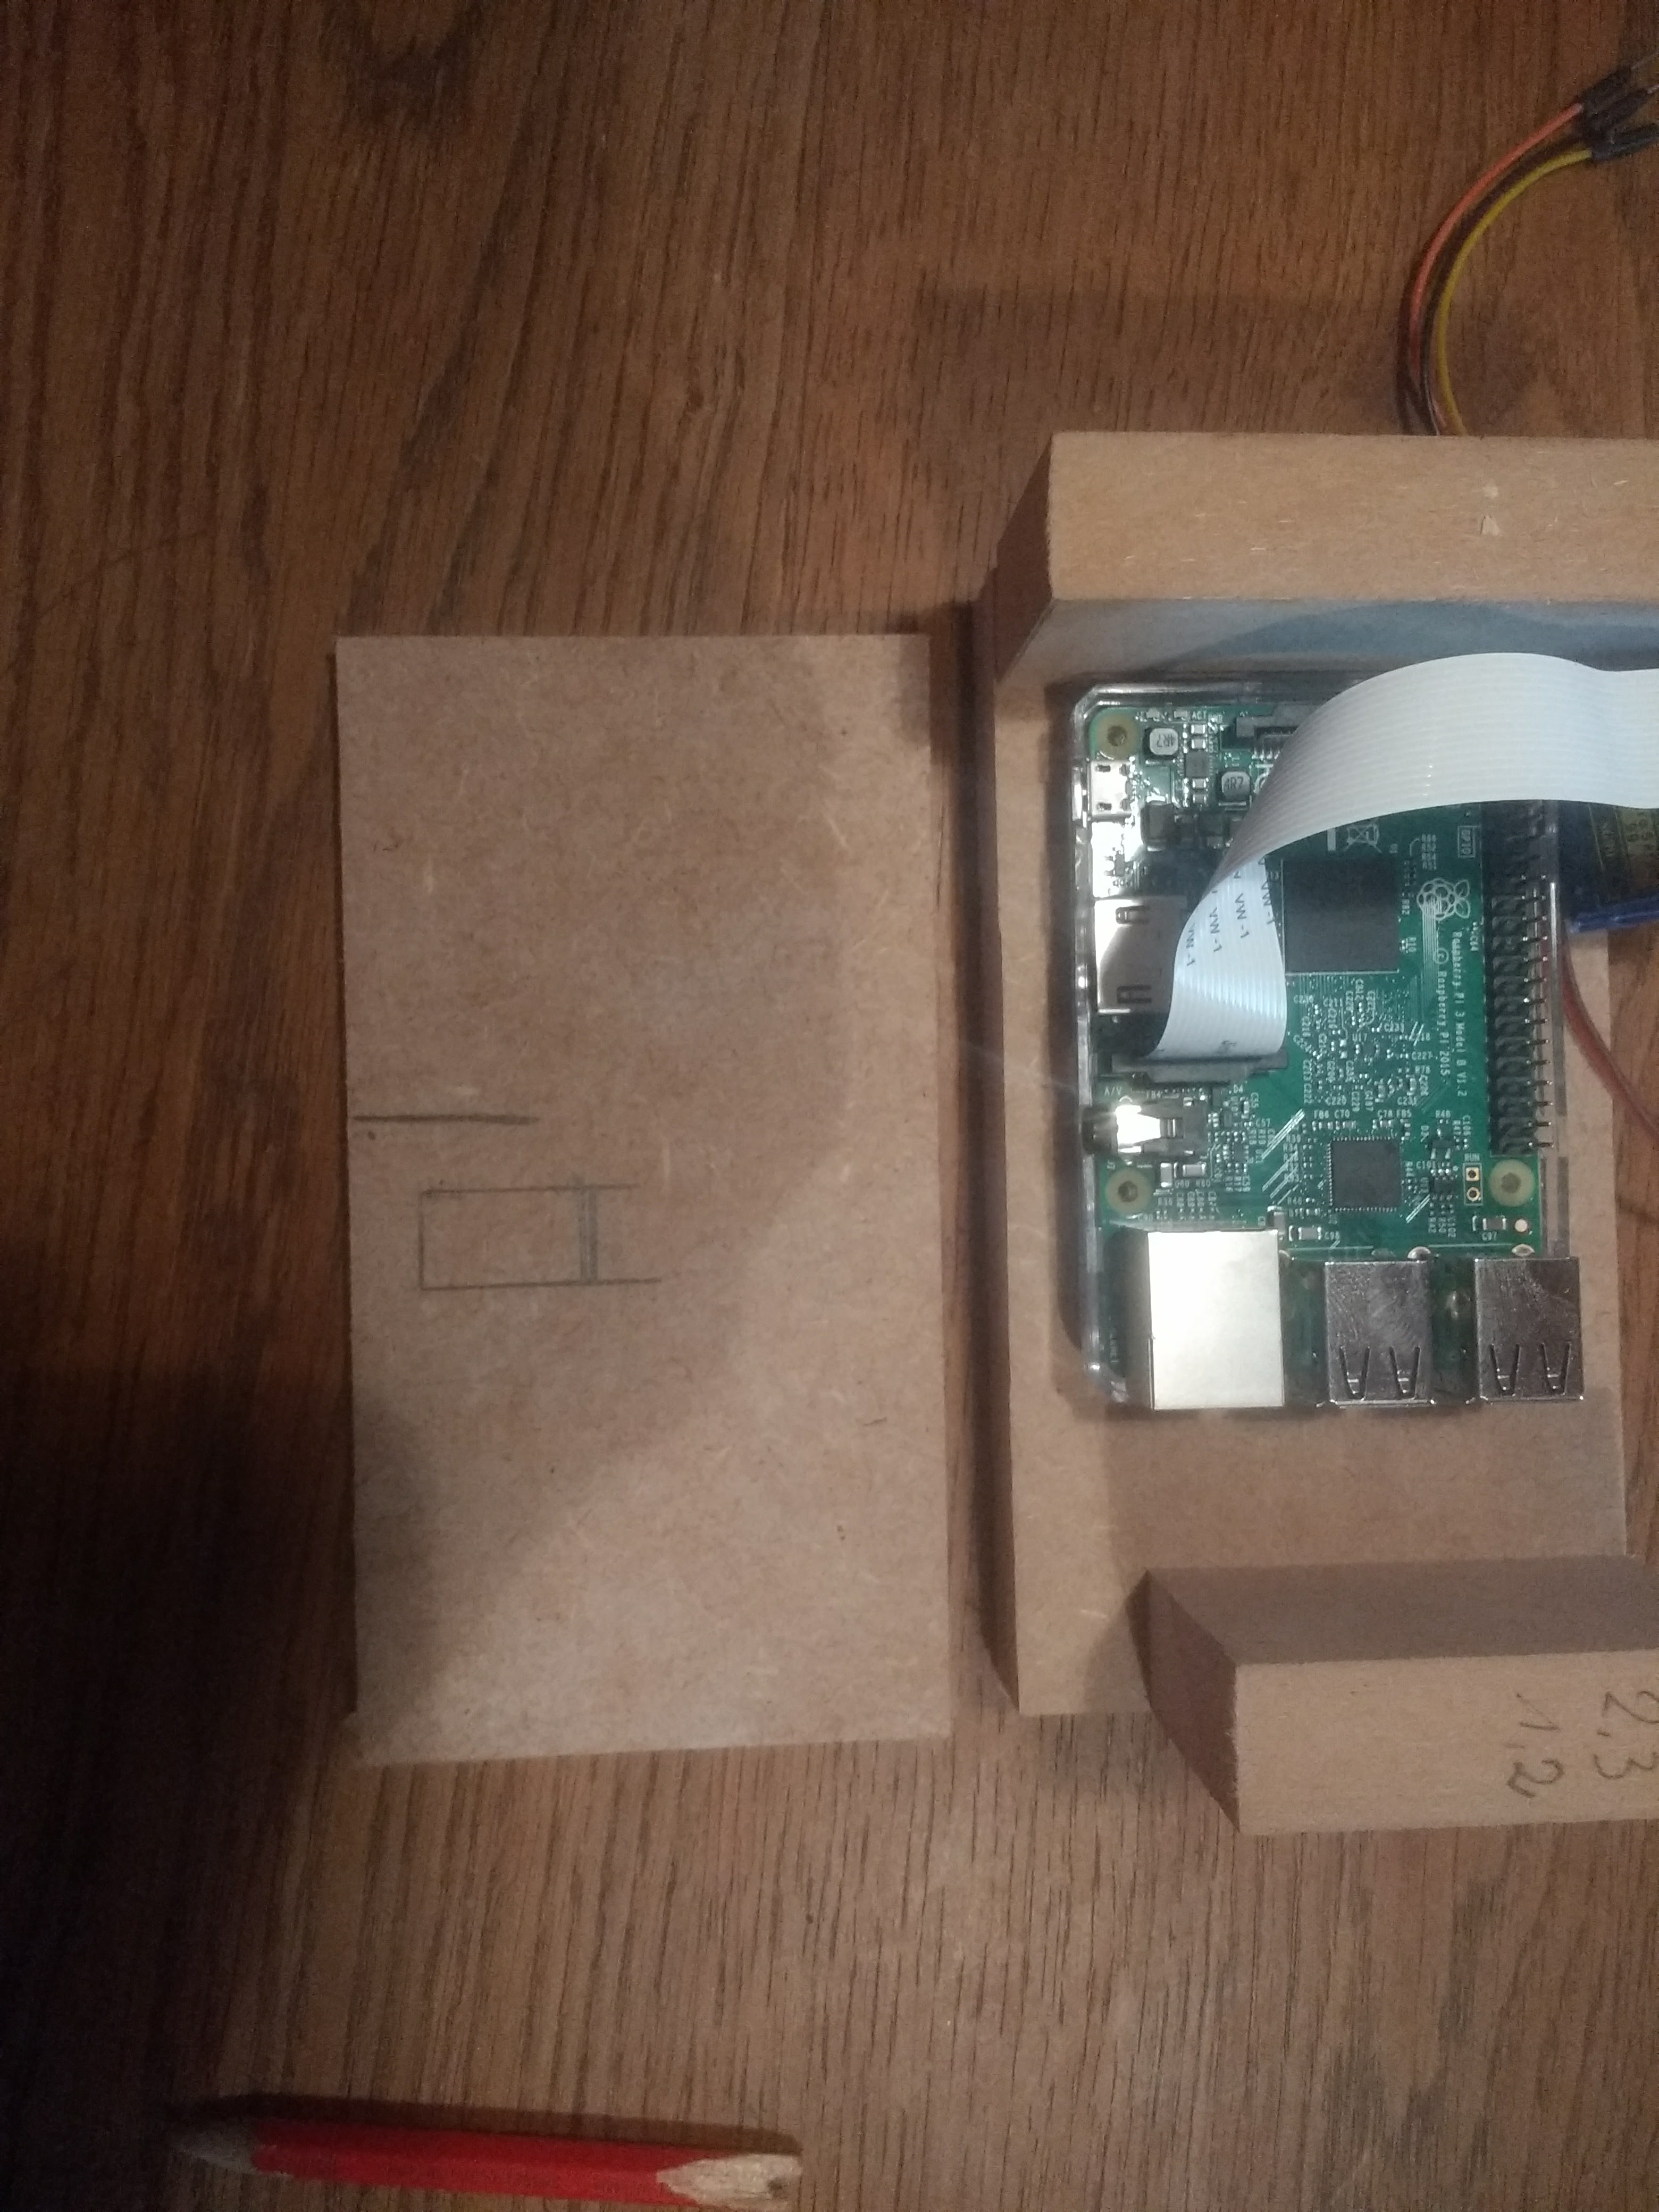
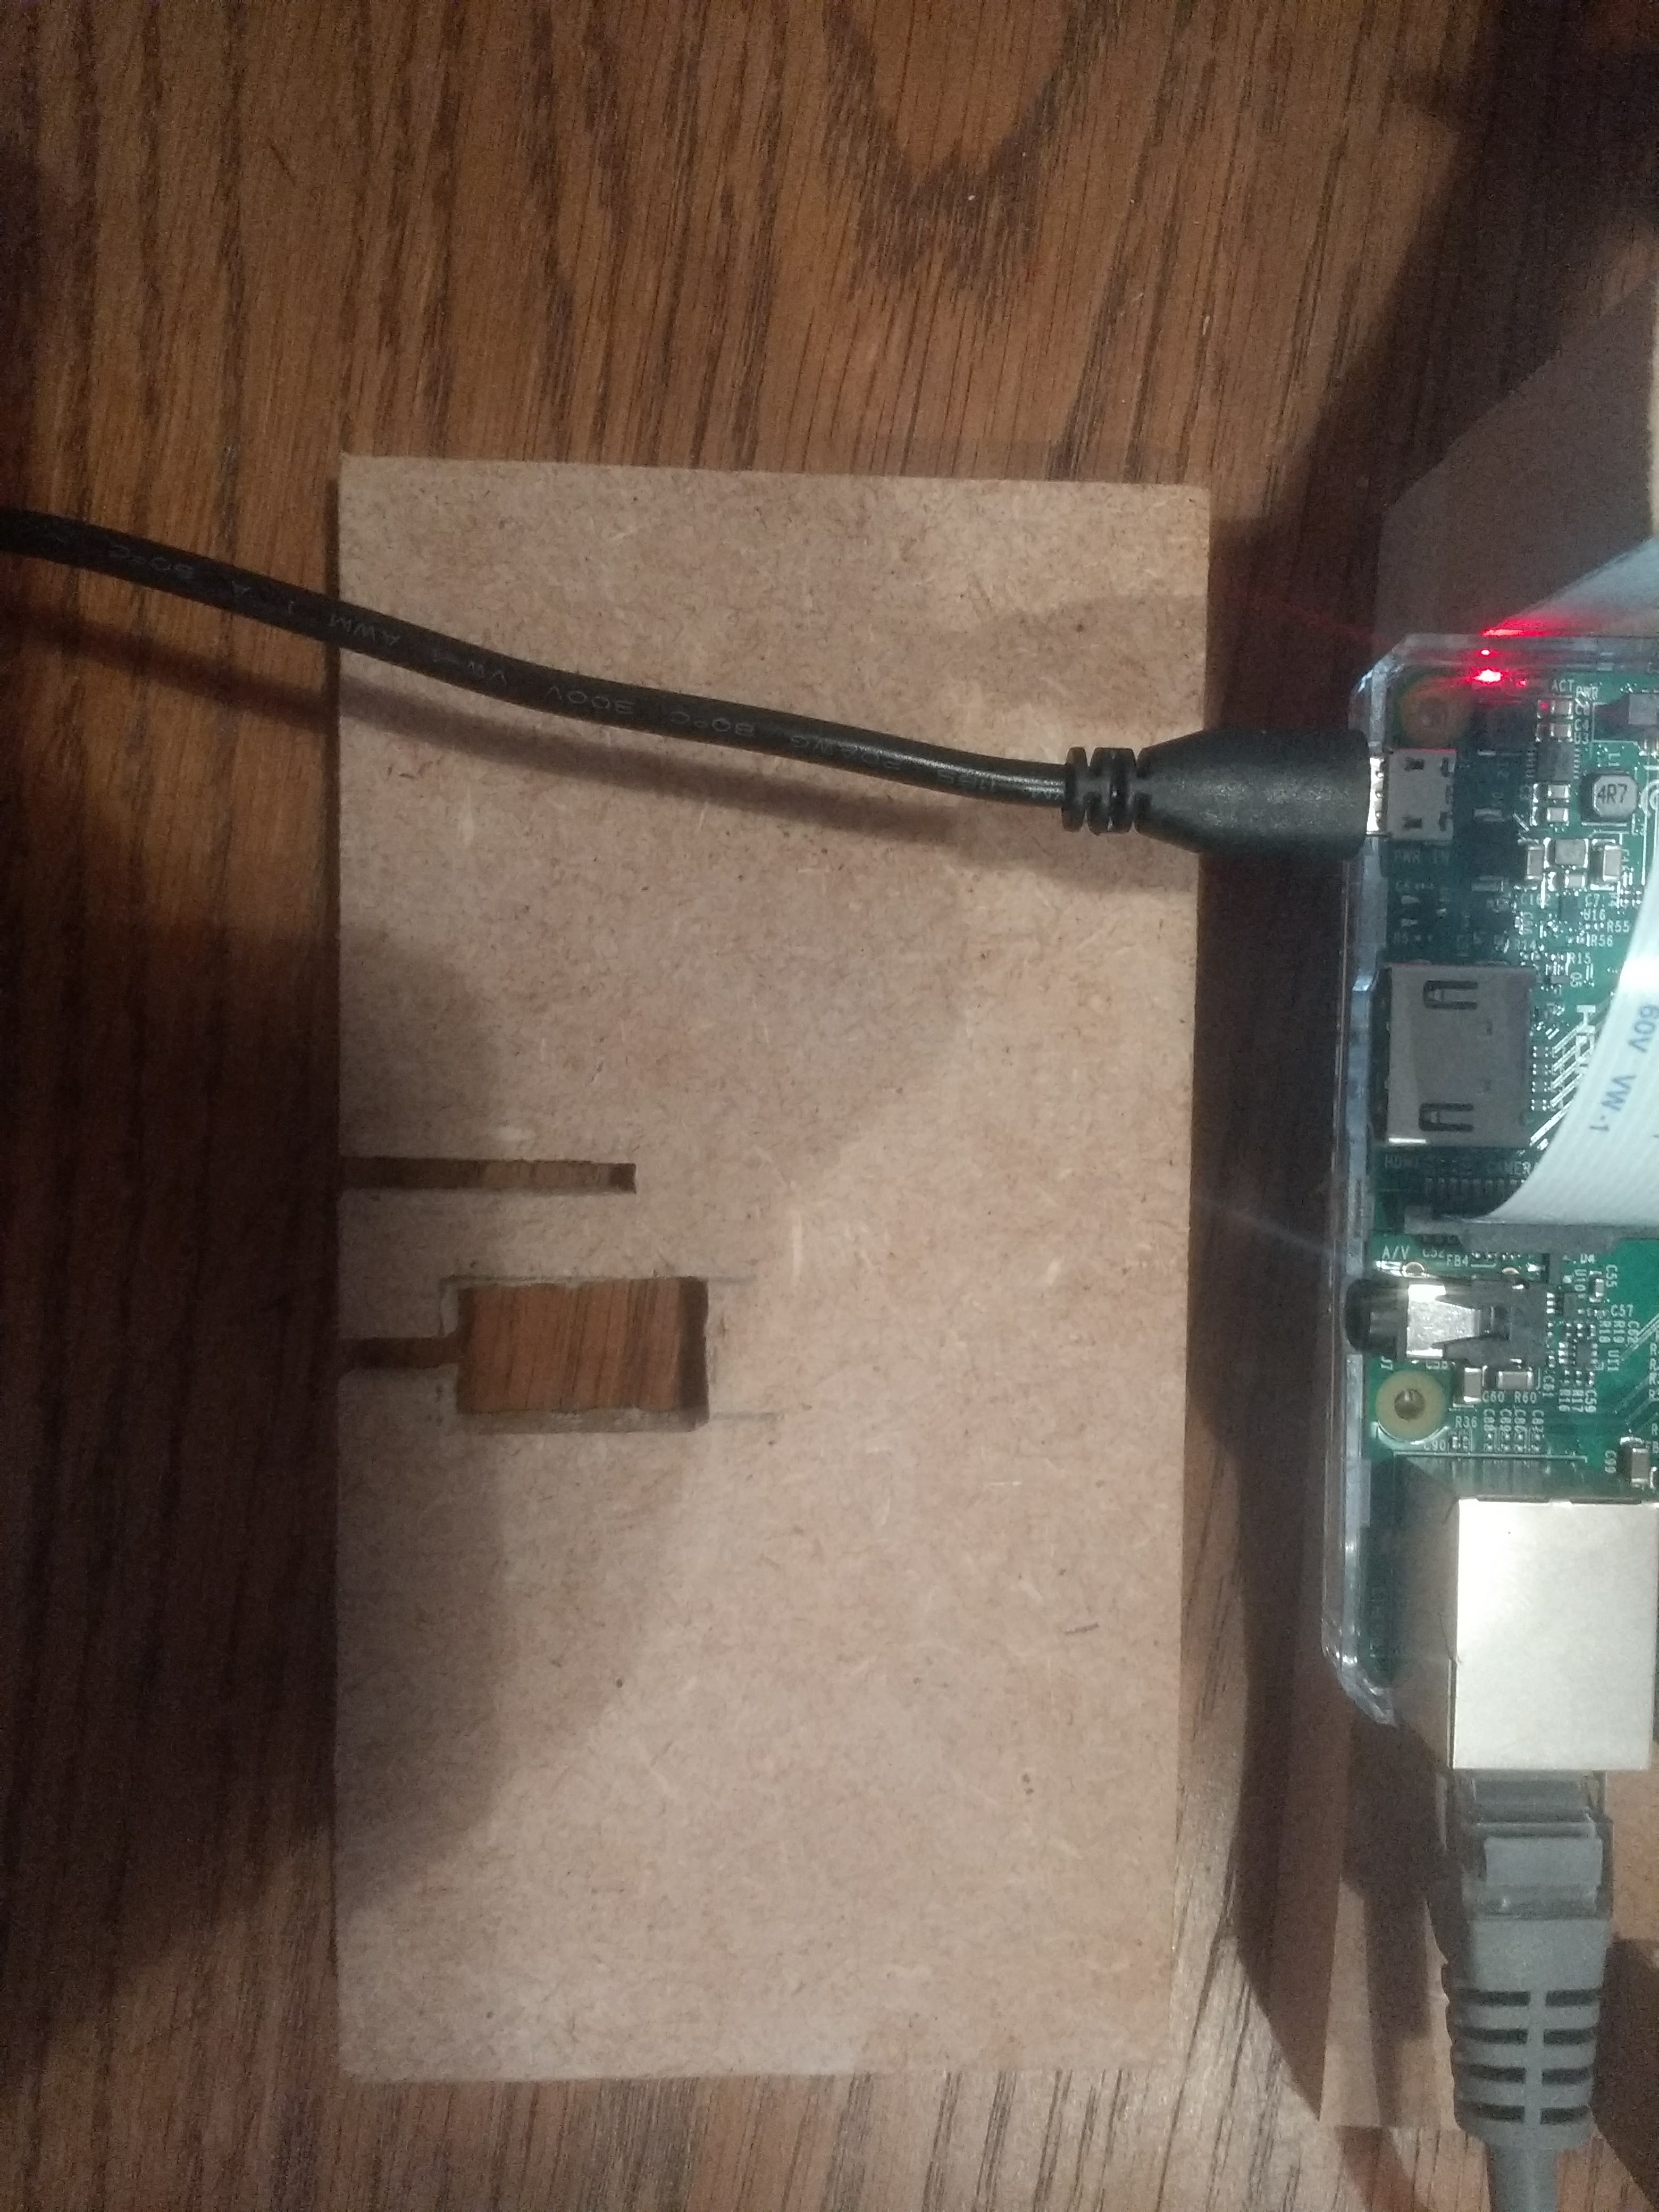
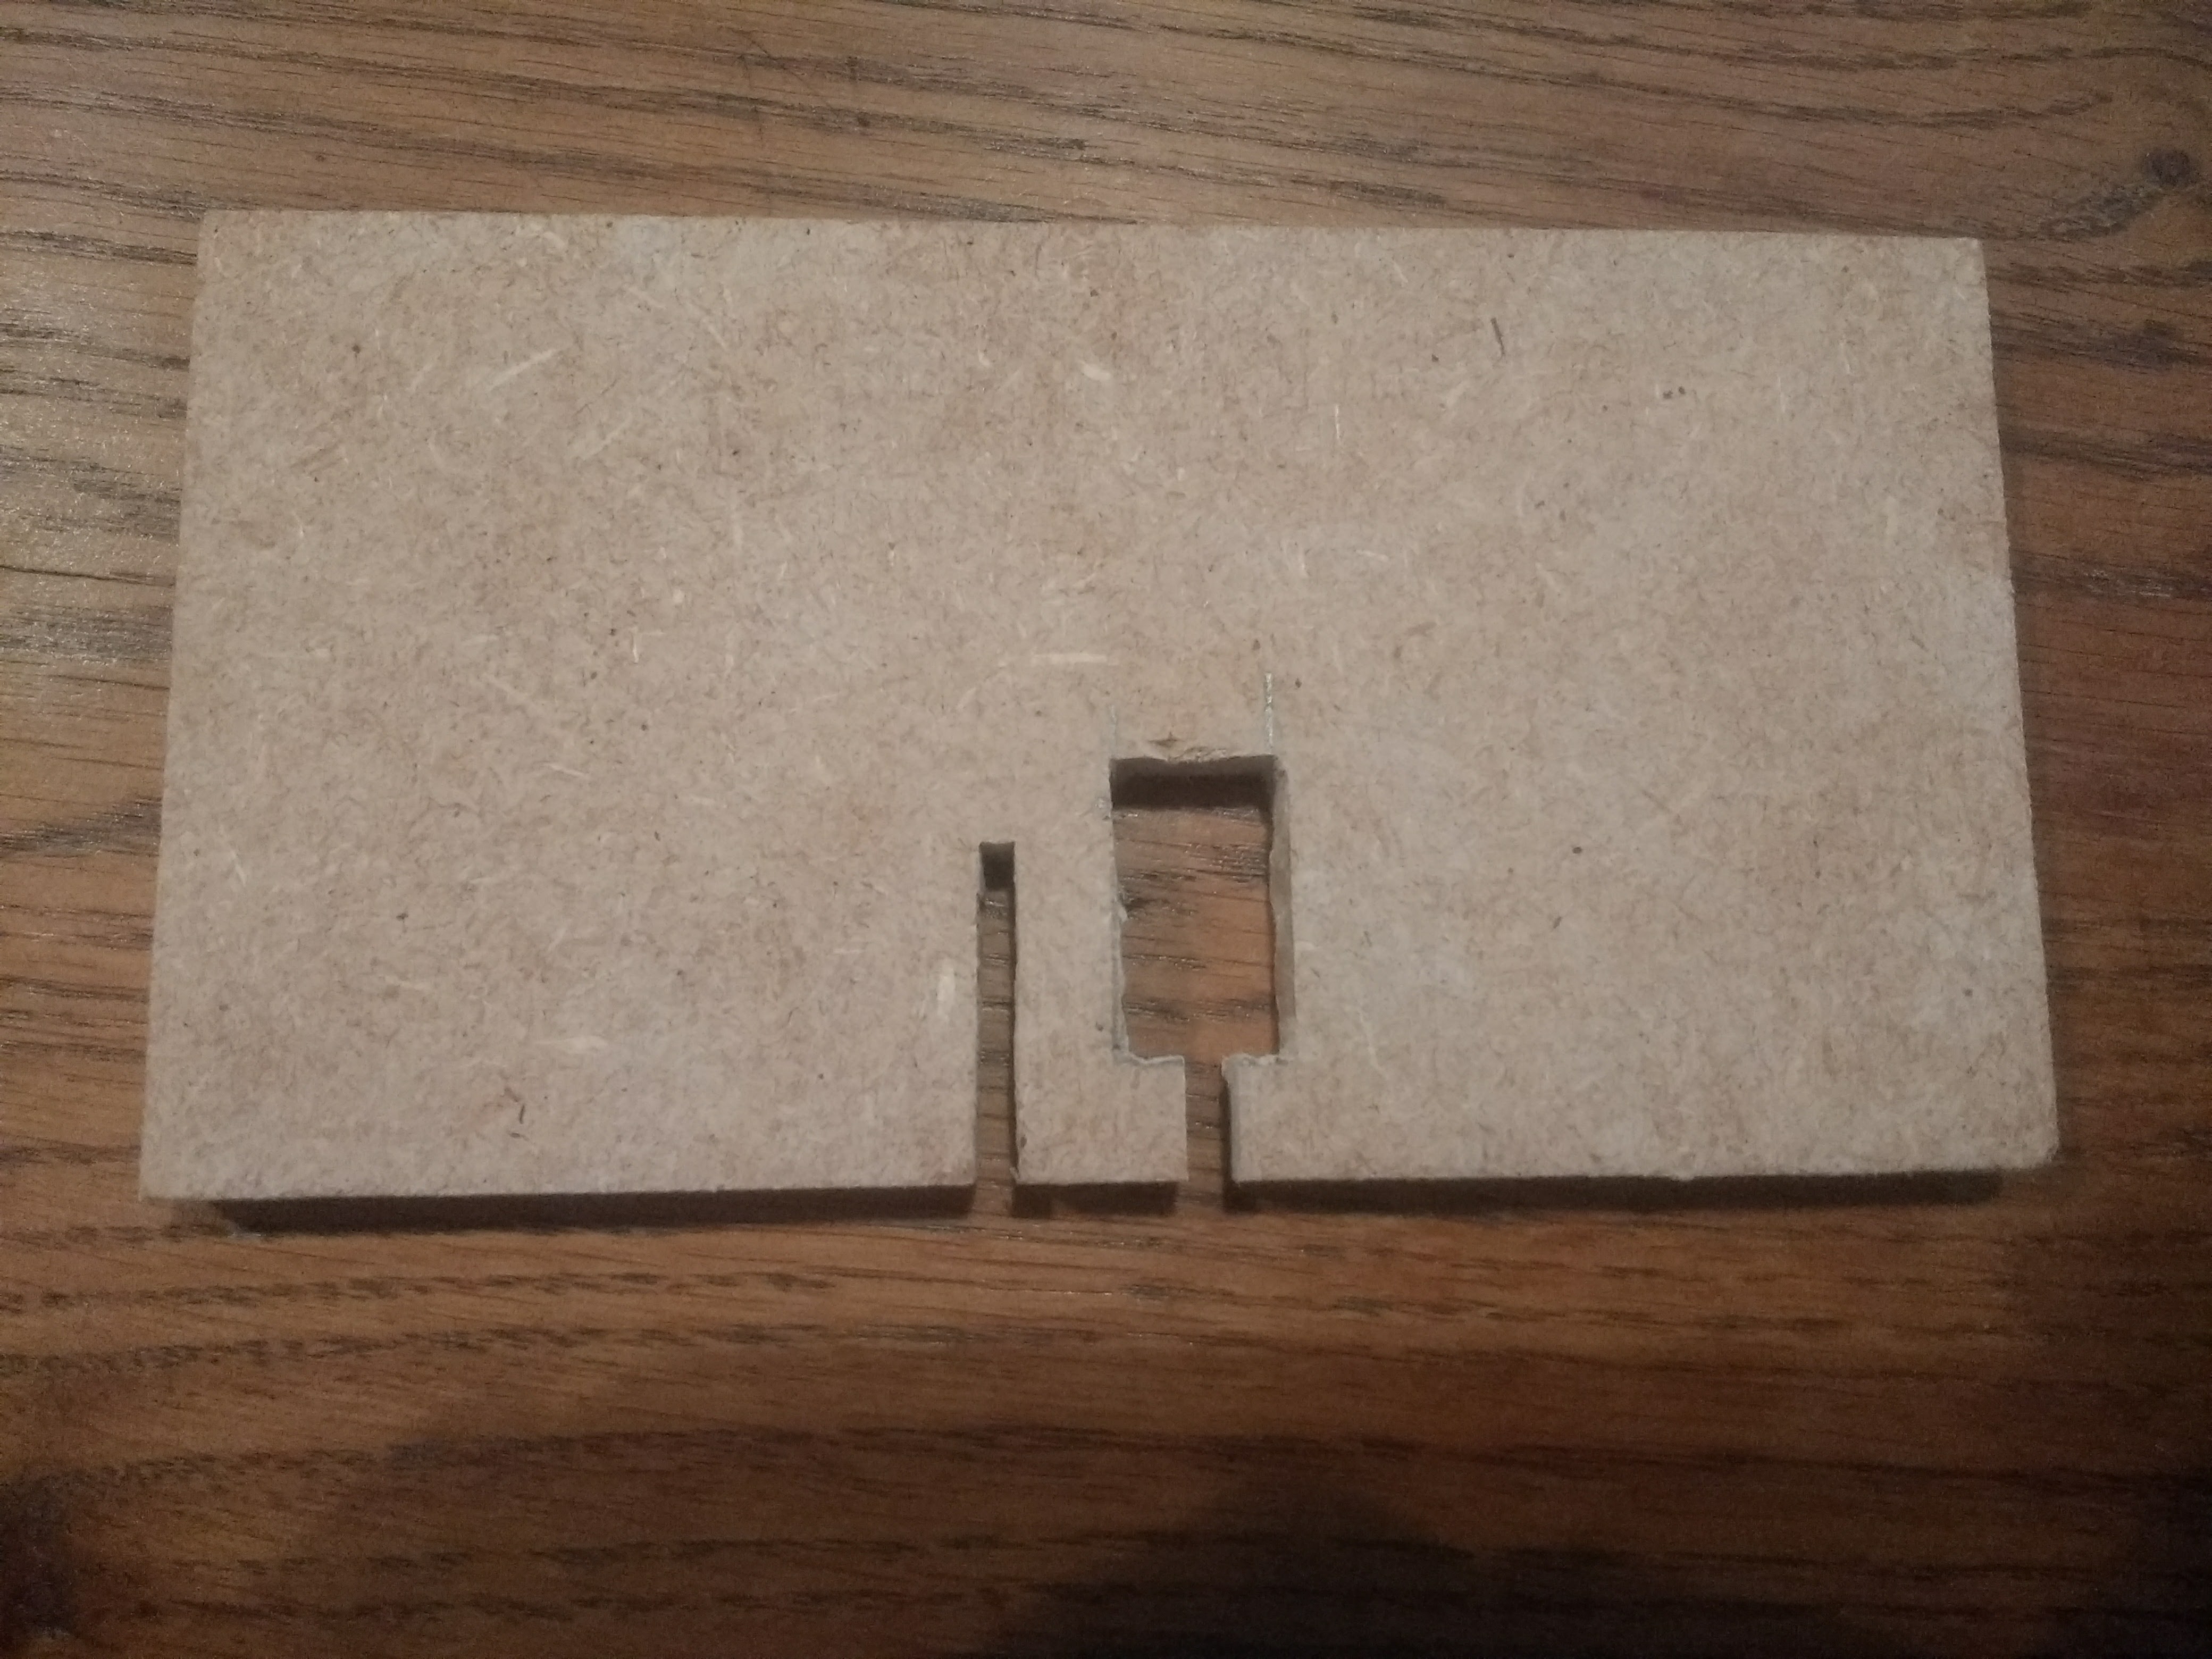



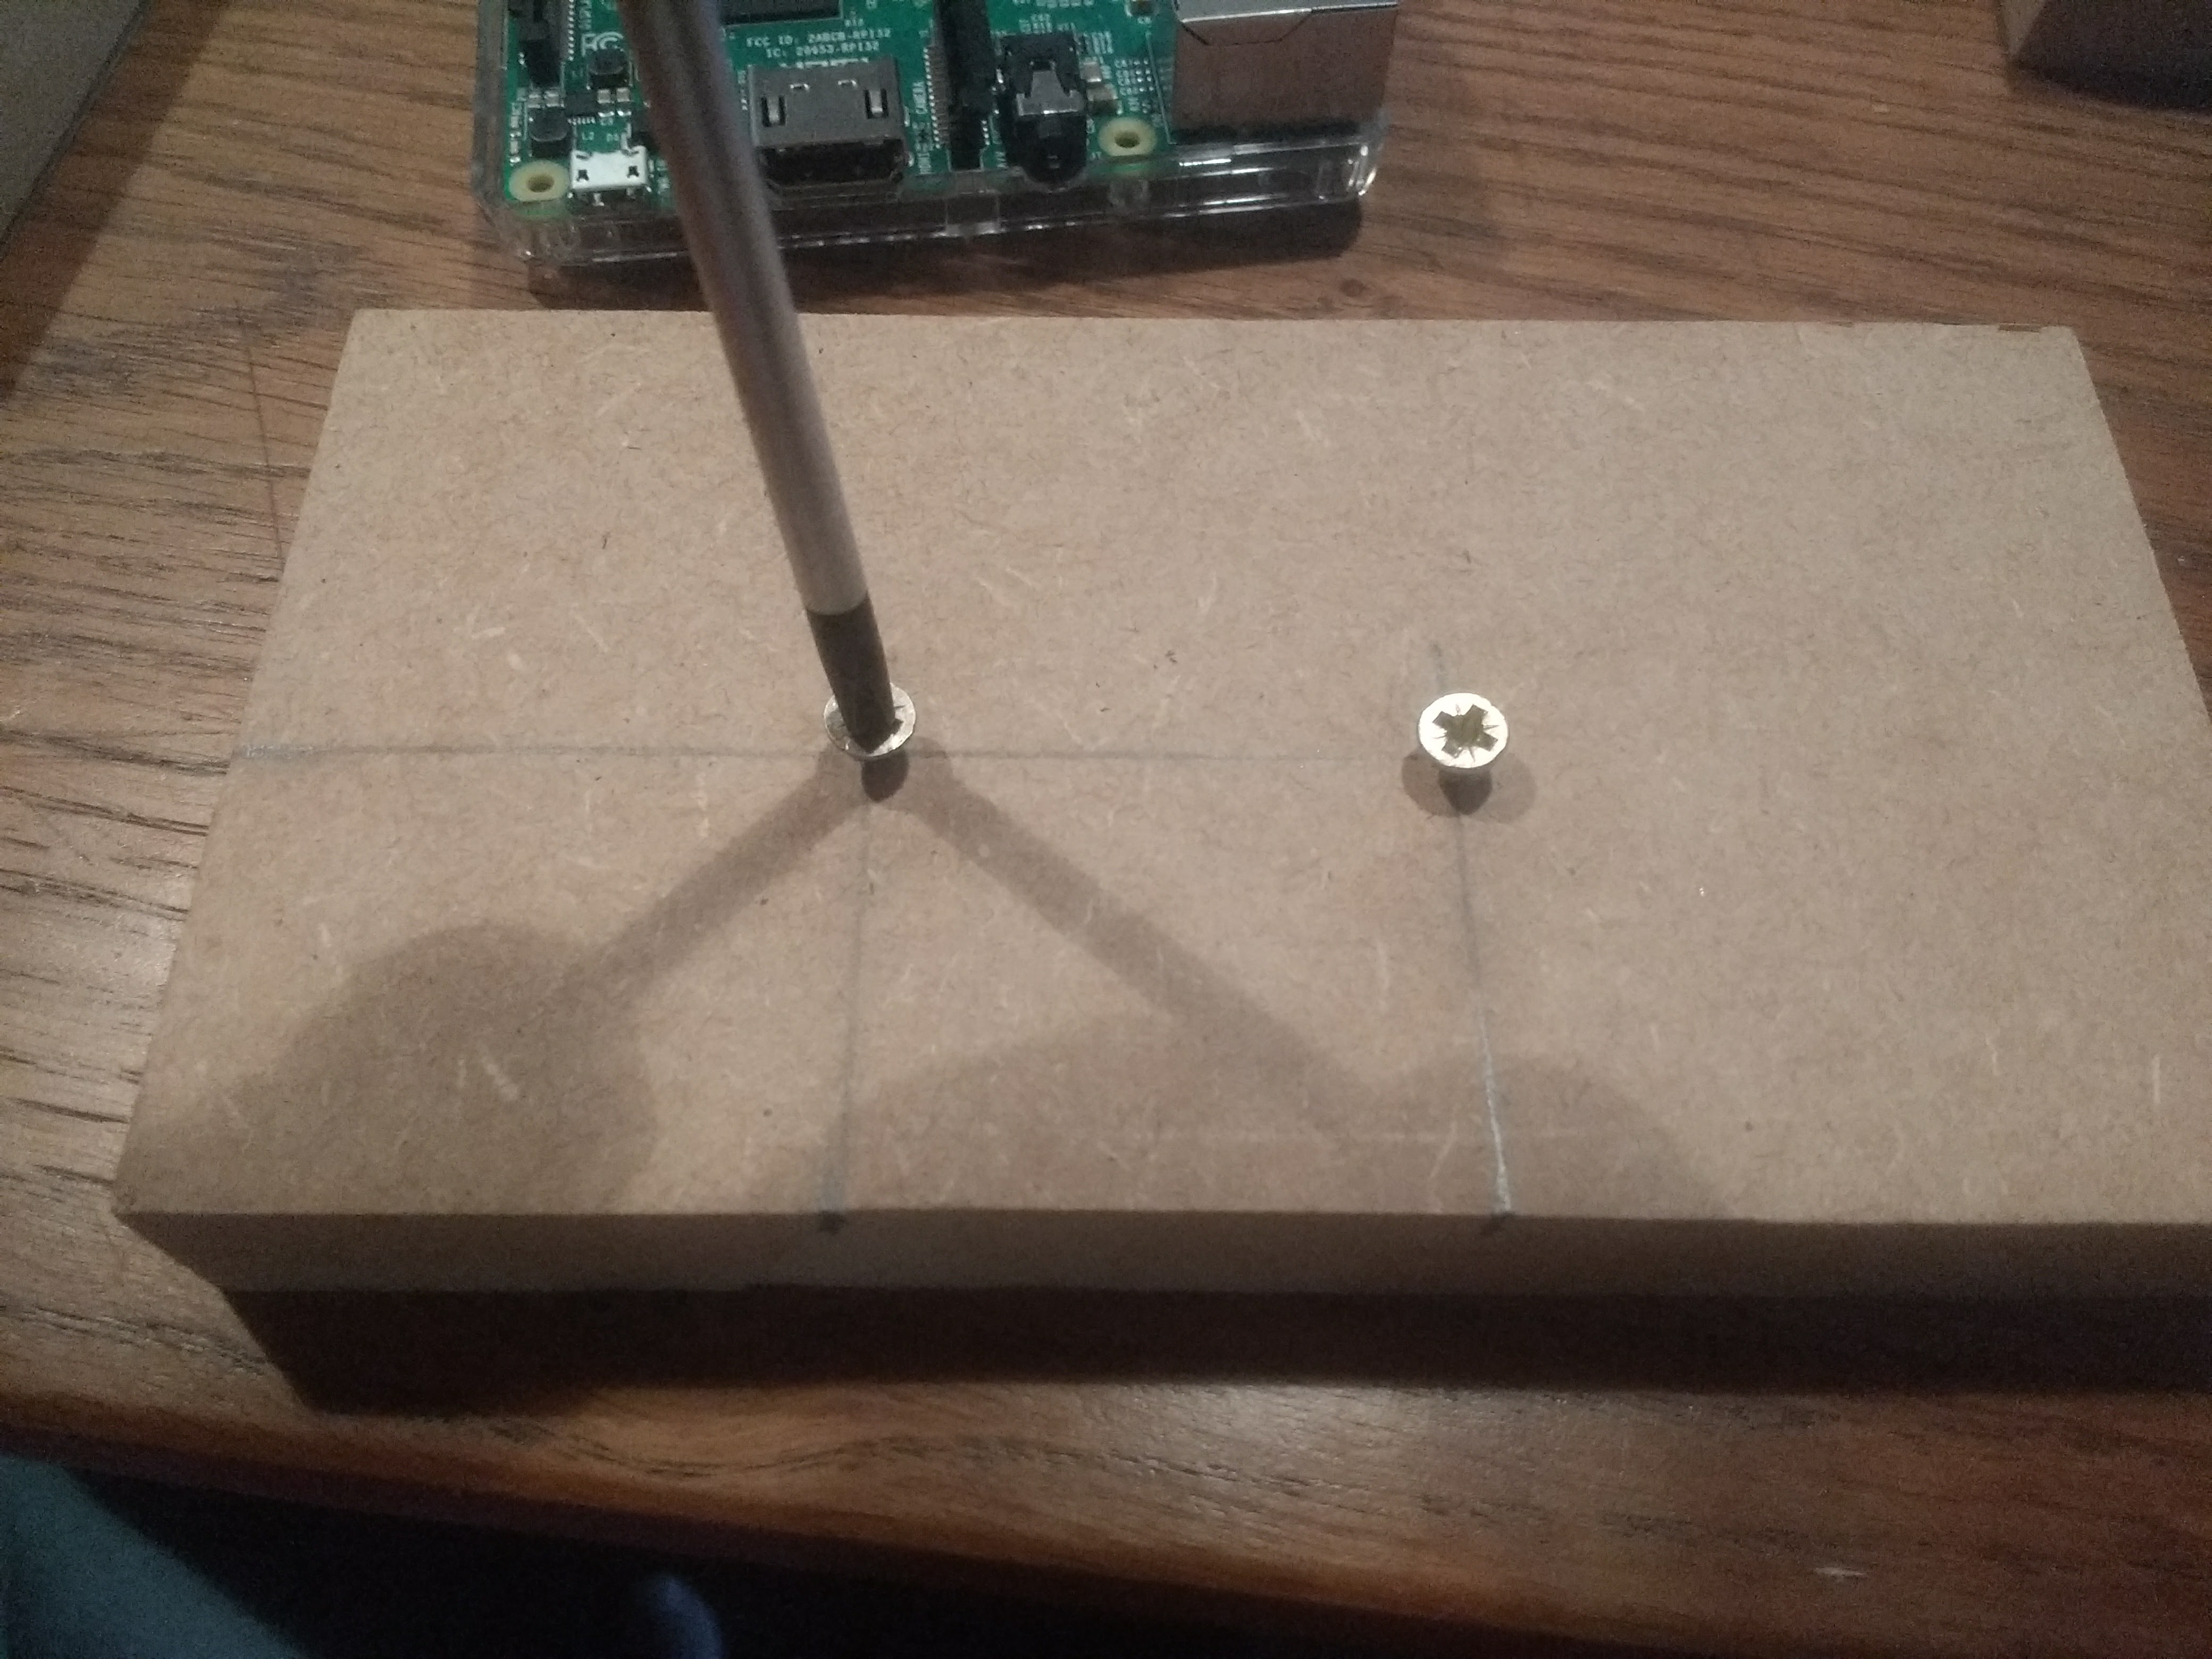
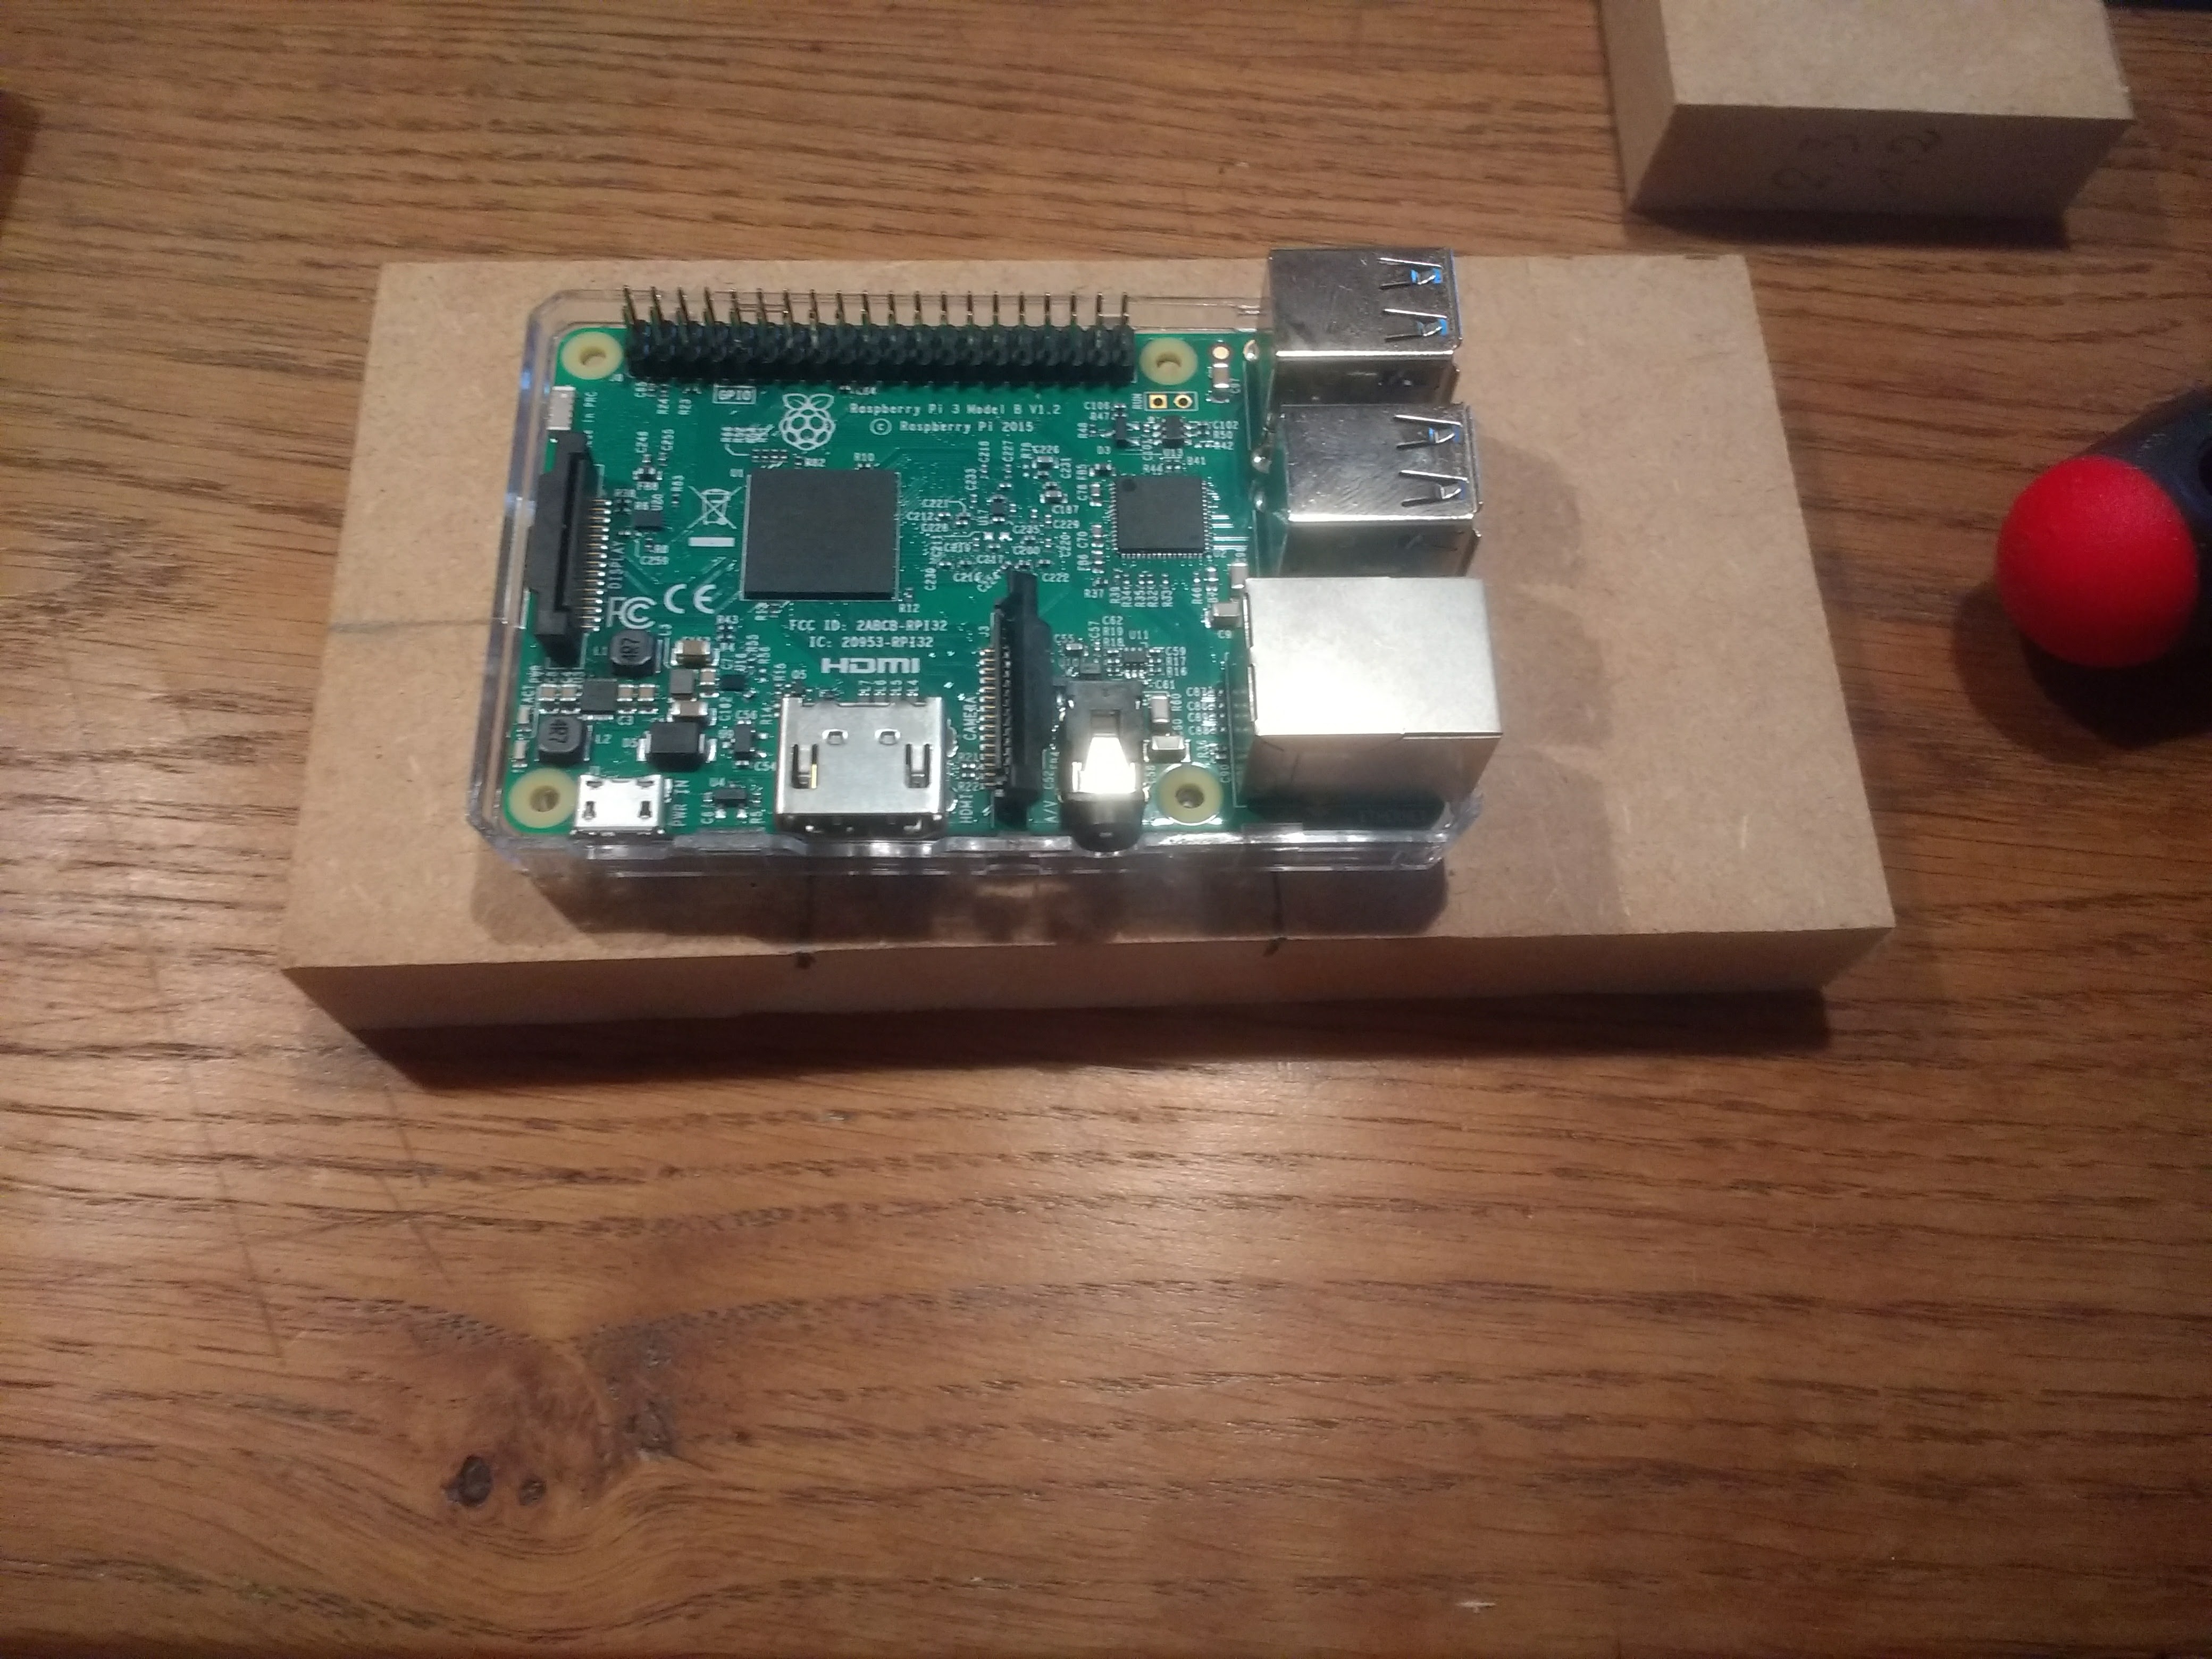
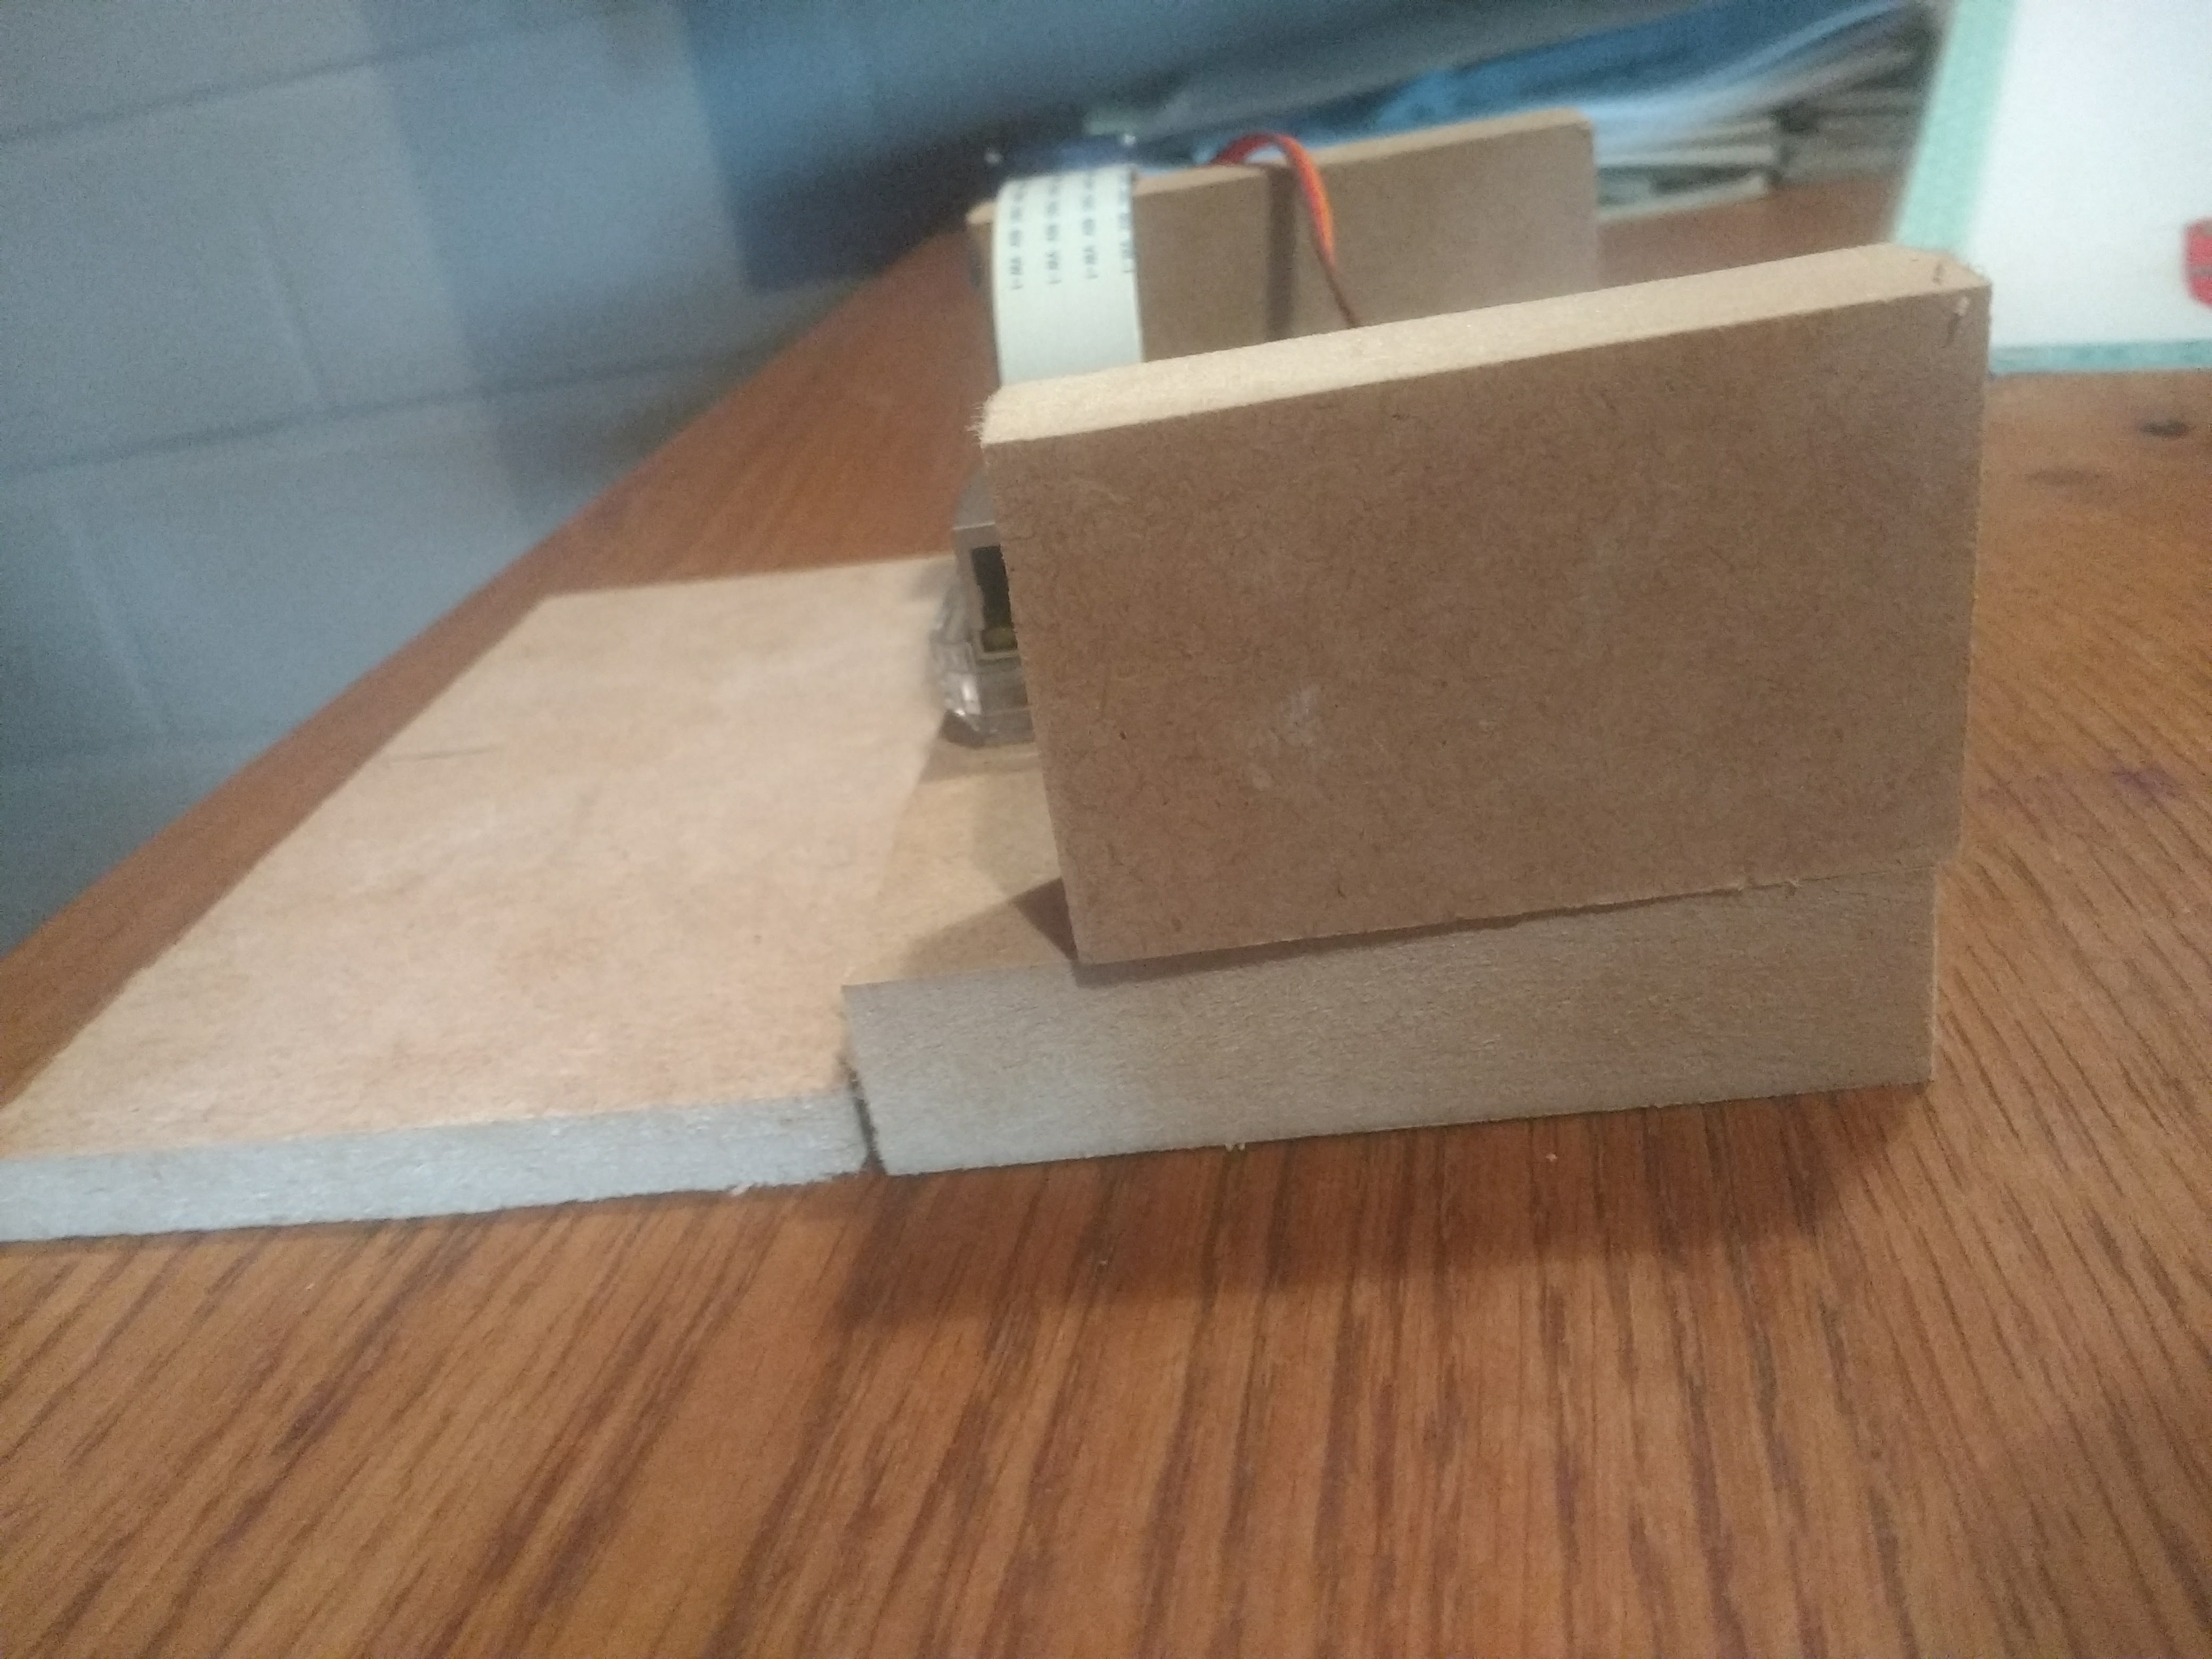
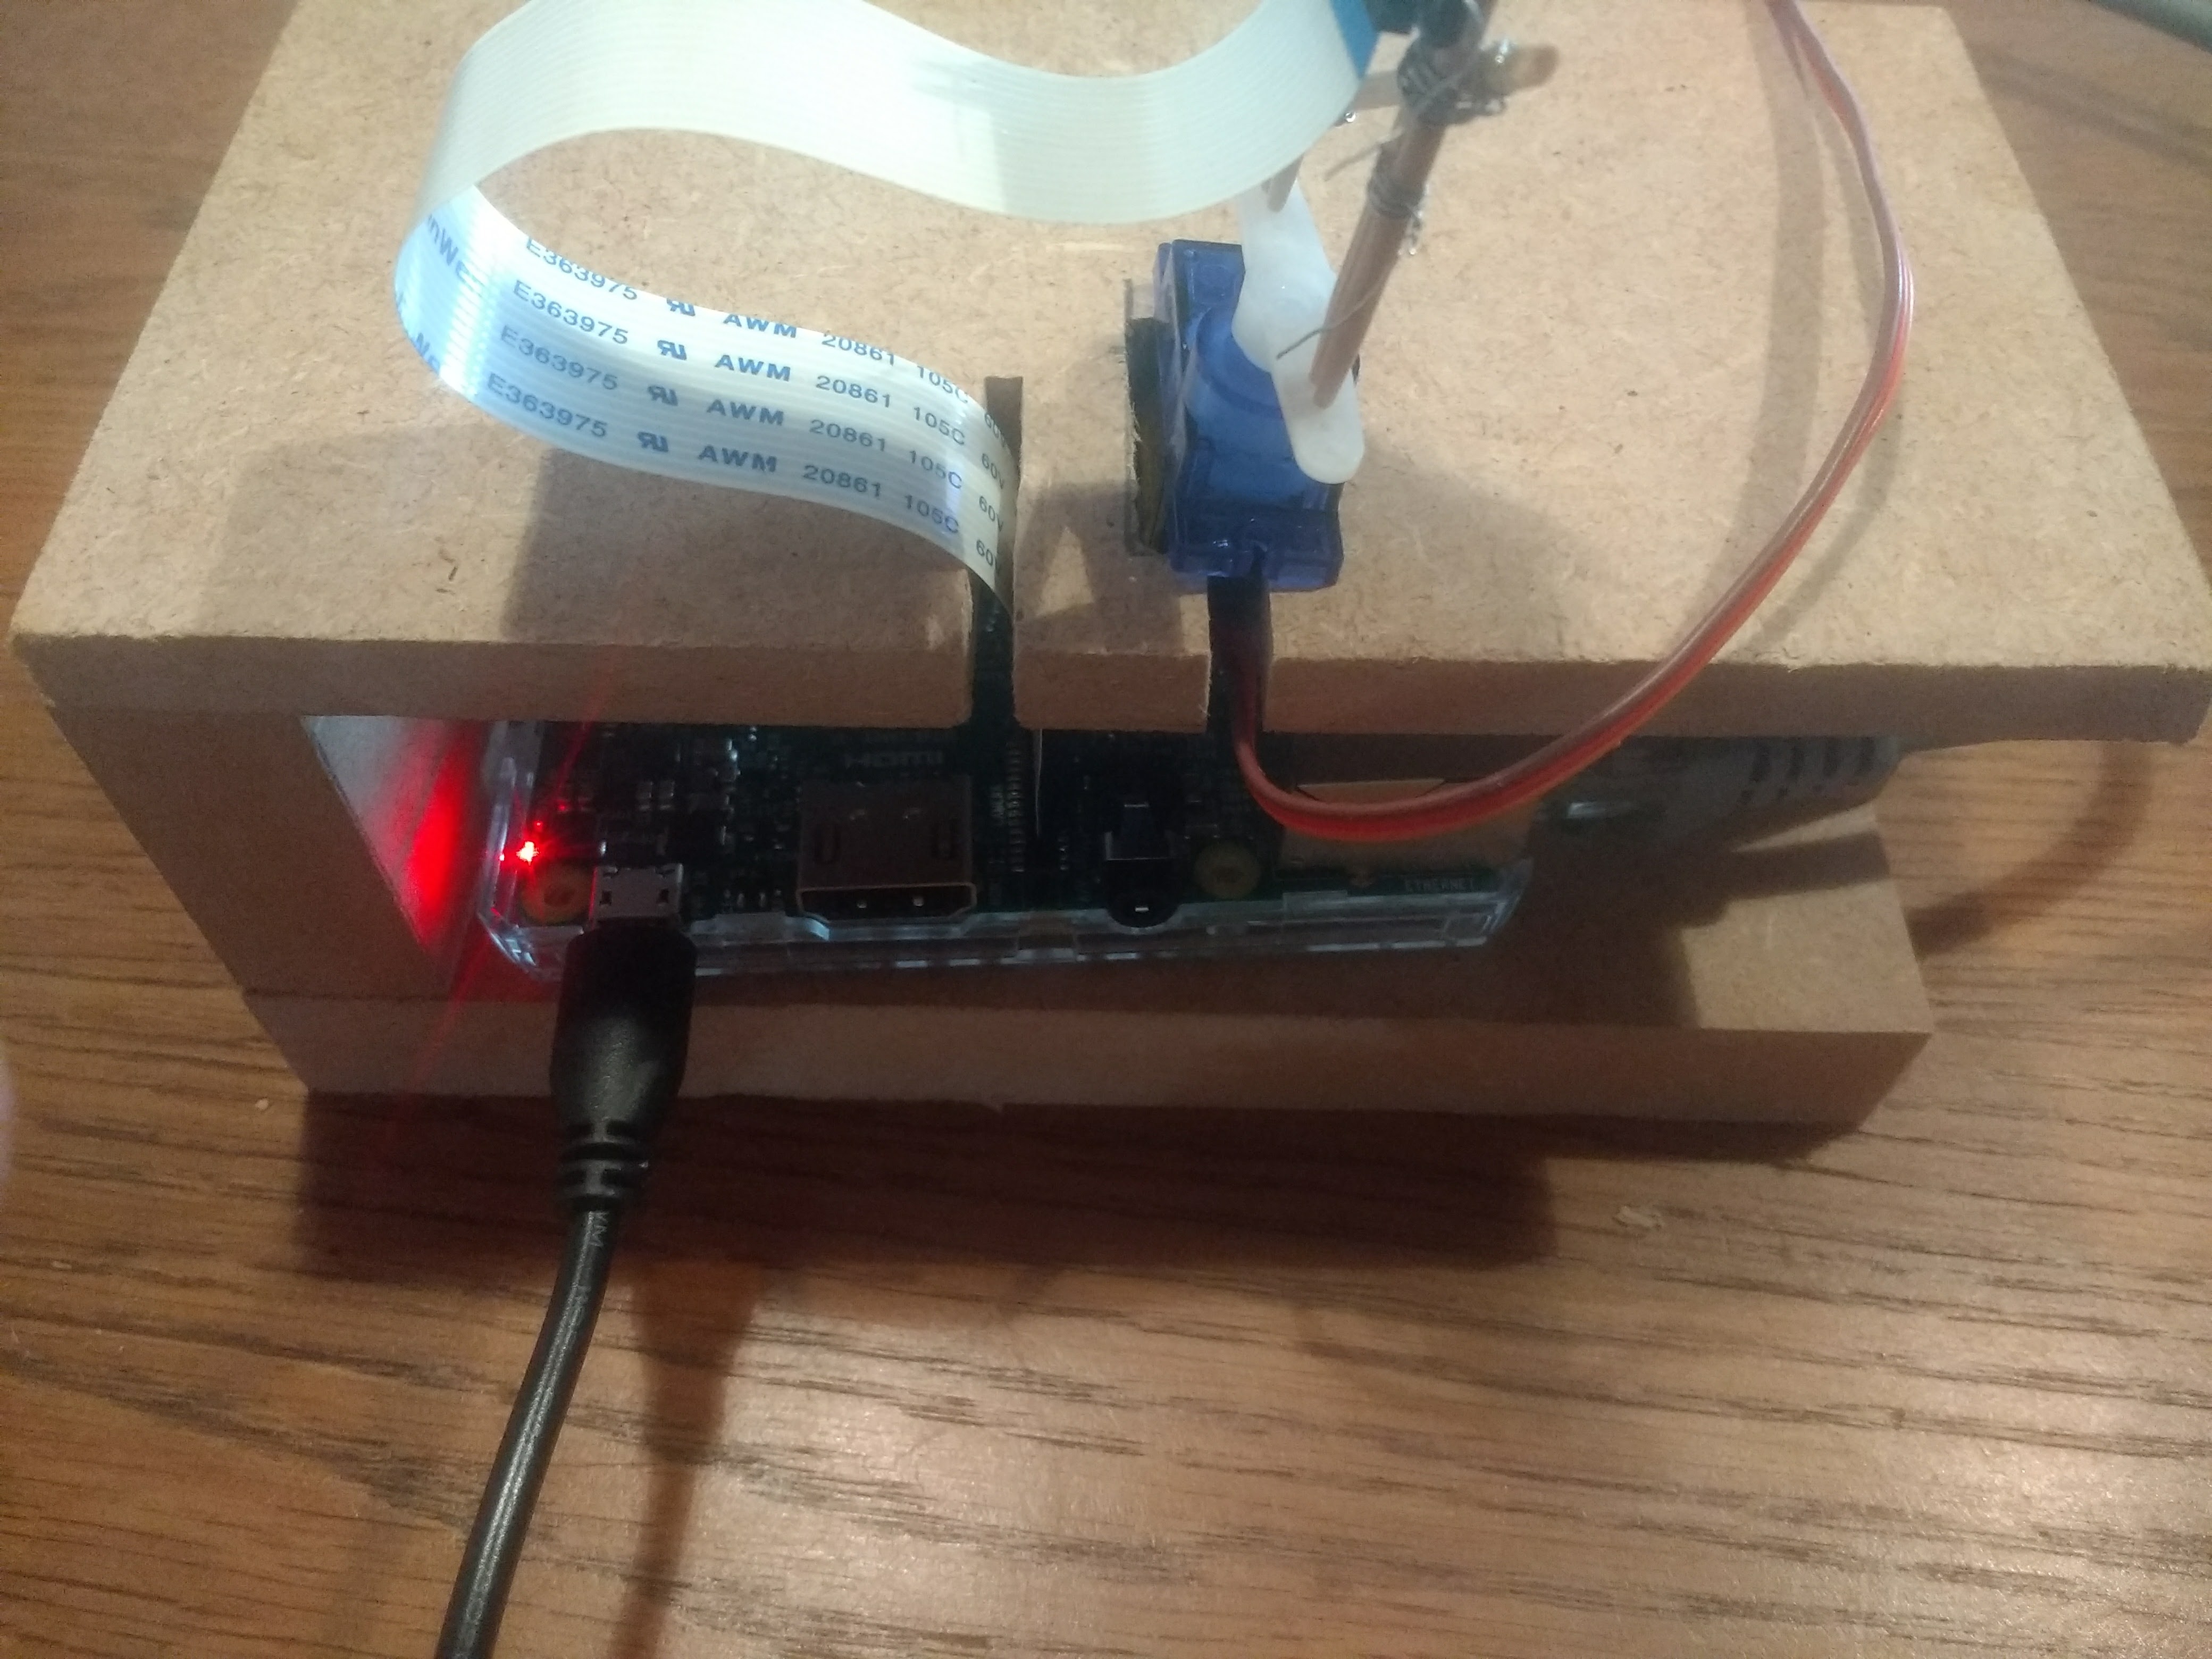
1. Create bottom:
Saw some MDF wood with following measures: 16cm x 8cm x 2cm
2. Create top:
Saw another piece of MDF wood: 16cm x 8cm x 0.5cm
and saw some slots for the servo motor, picam cable, led and PIR motion sensor cables. (see pictures)
3. create walls:
Saw 1 piece MDF wood: 8cm x 4cm x 2cm
Saw 1 piece MDF wood: 5.5cm x 4cm x 2cm
4. attach raspberry pi on bottom:
Measure where the 2 screws should be inserted, and draw the points on the wood. Then put the screws in using a screwdriver. (see picture)
Solder Everything
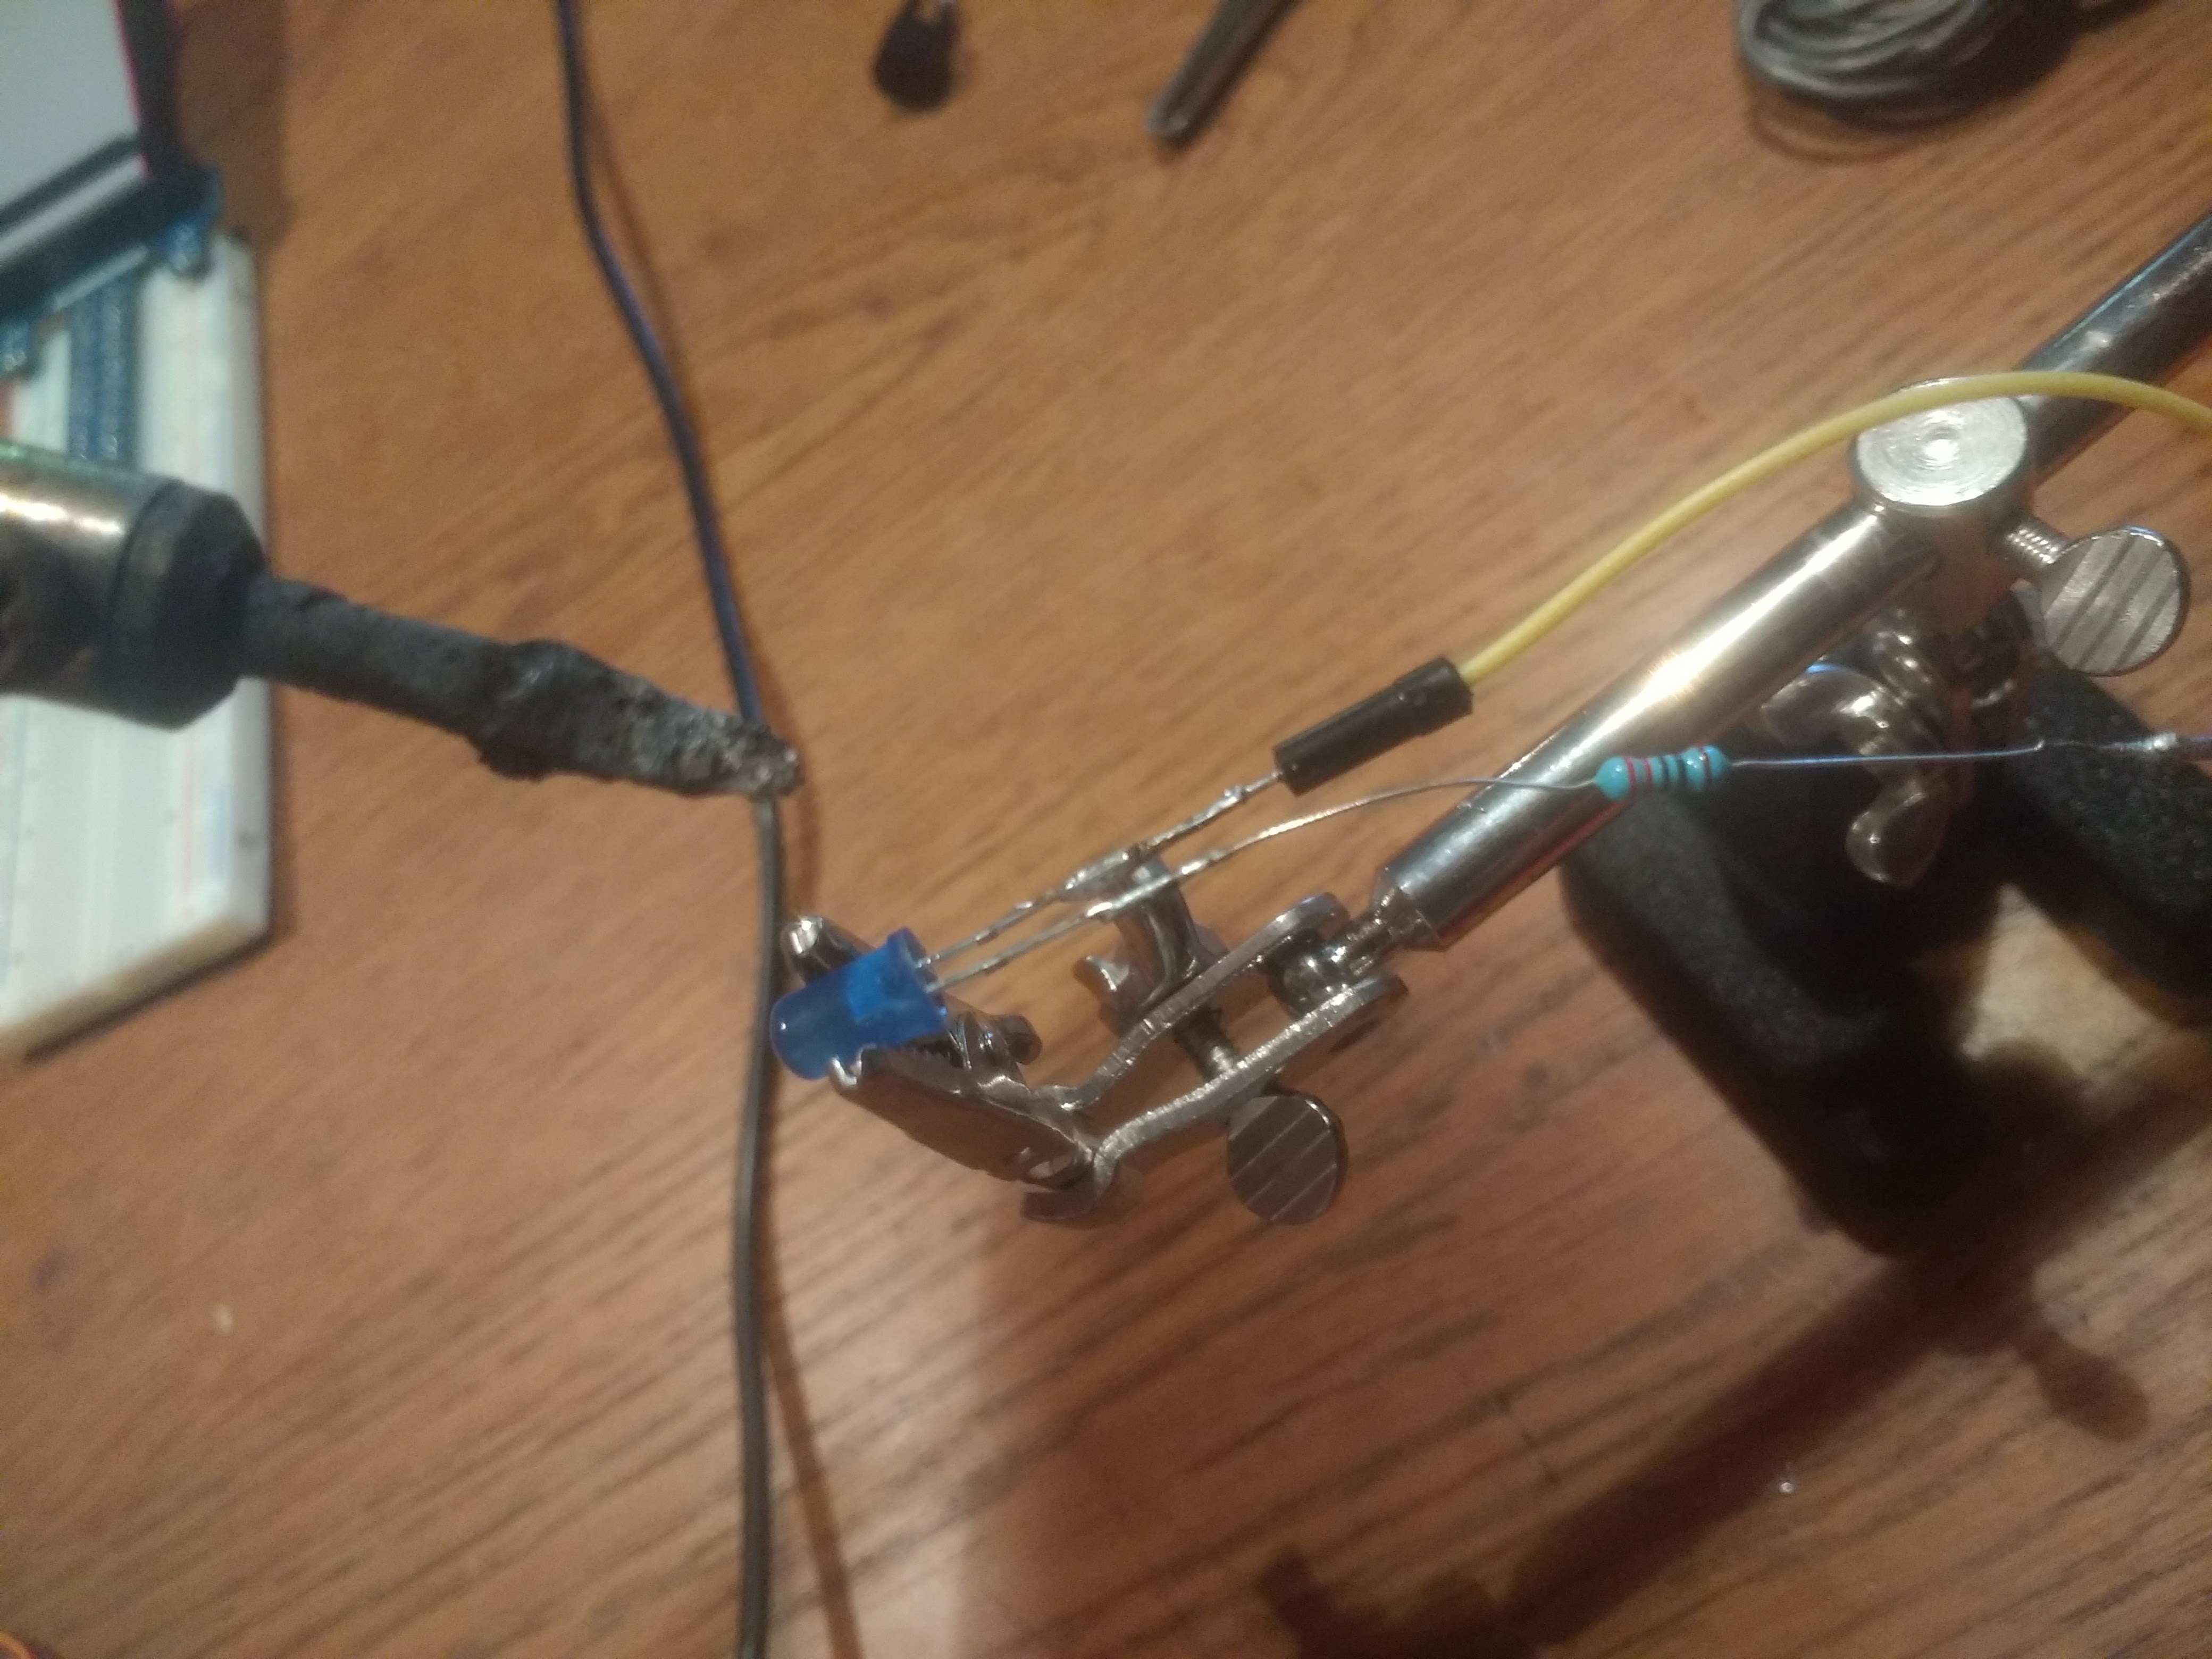
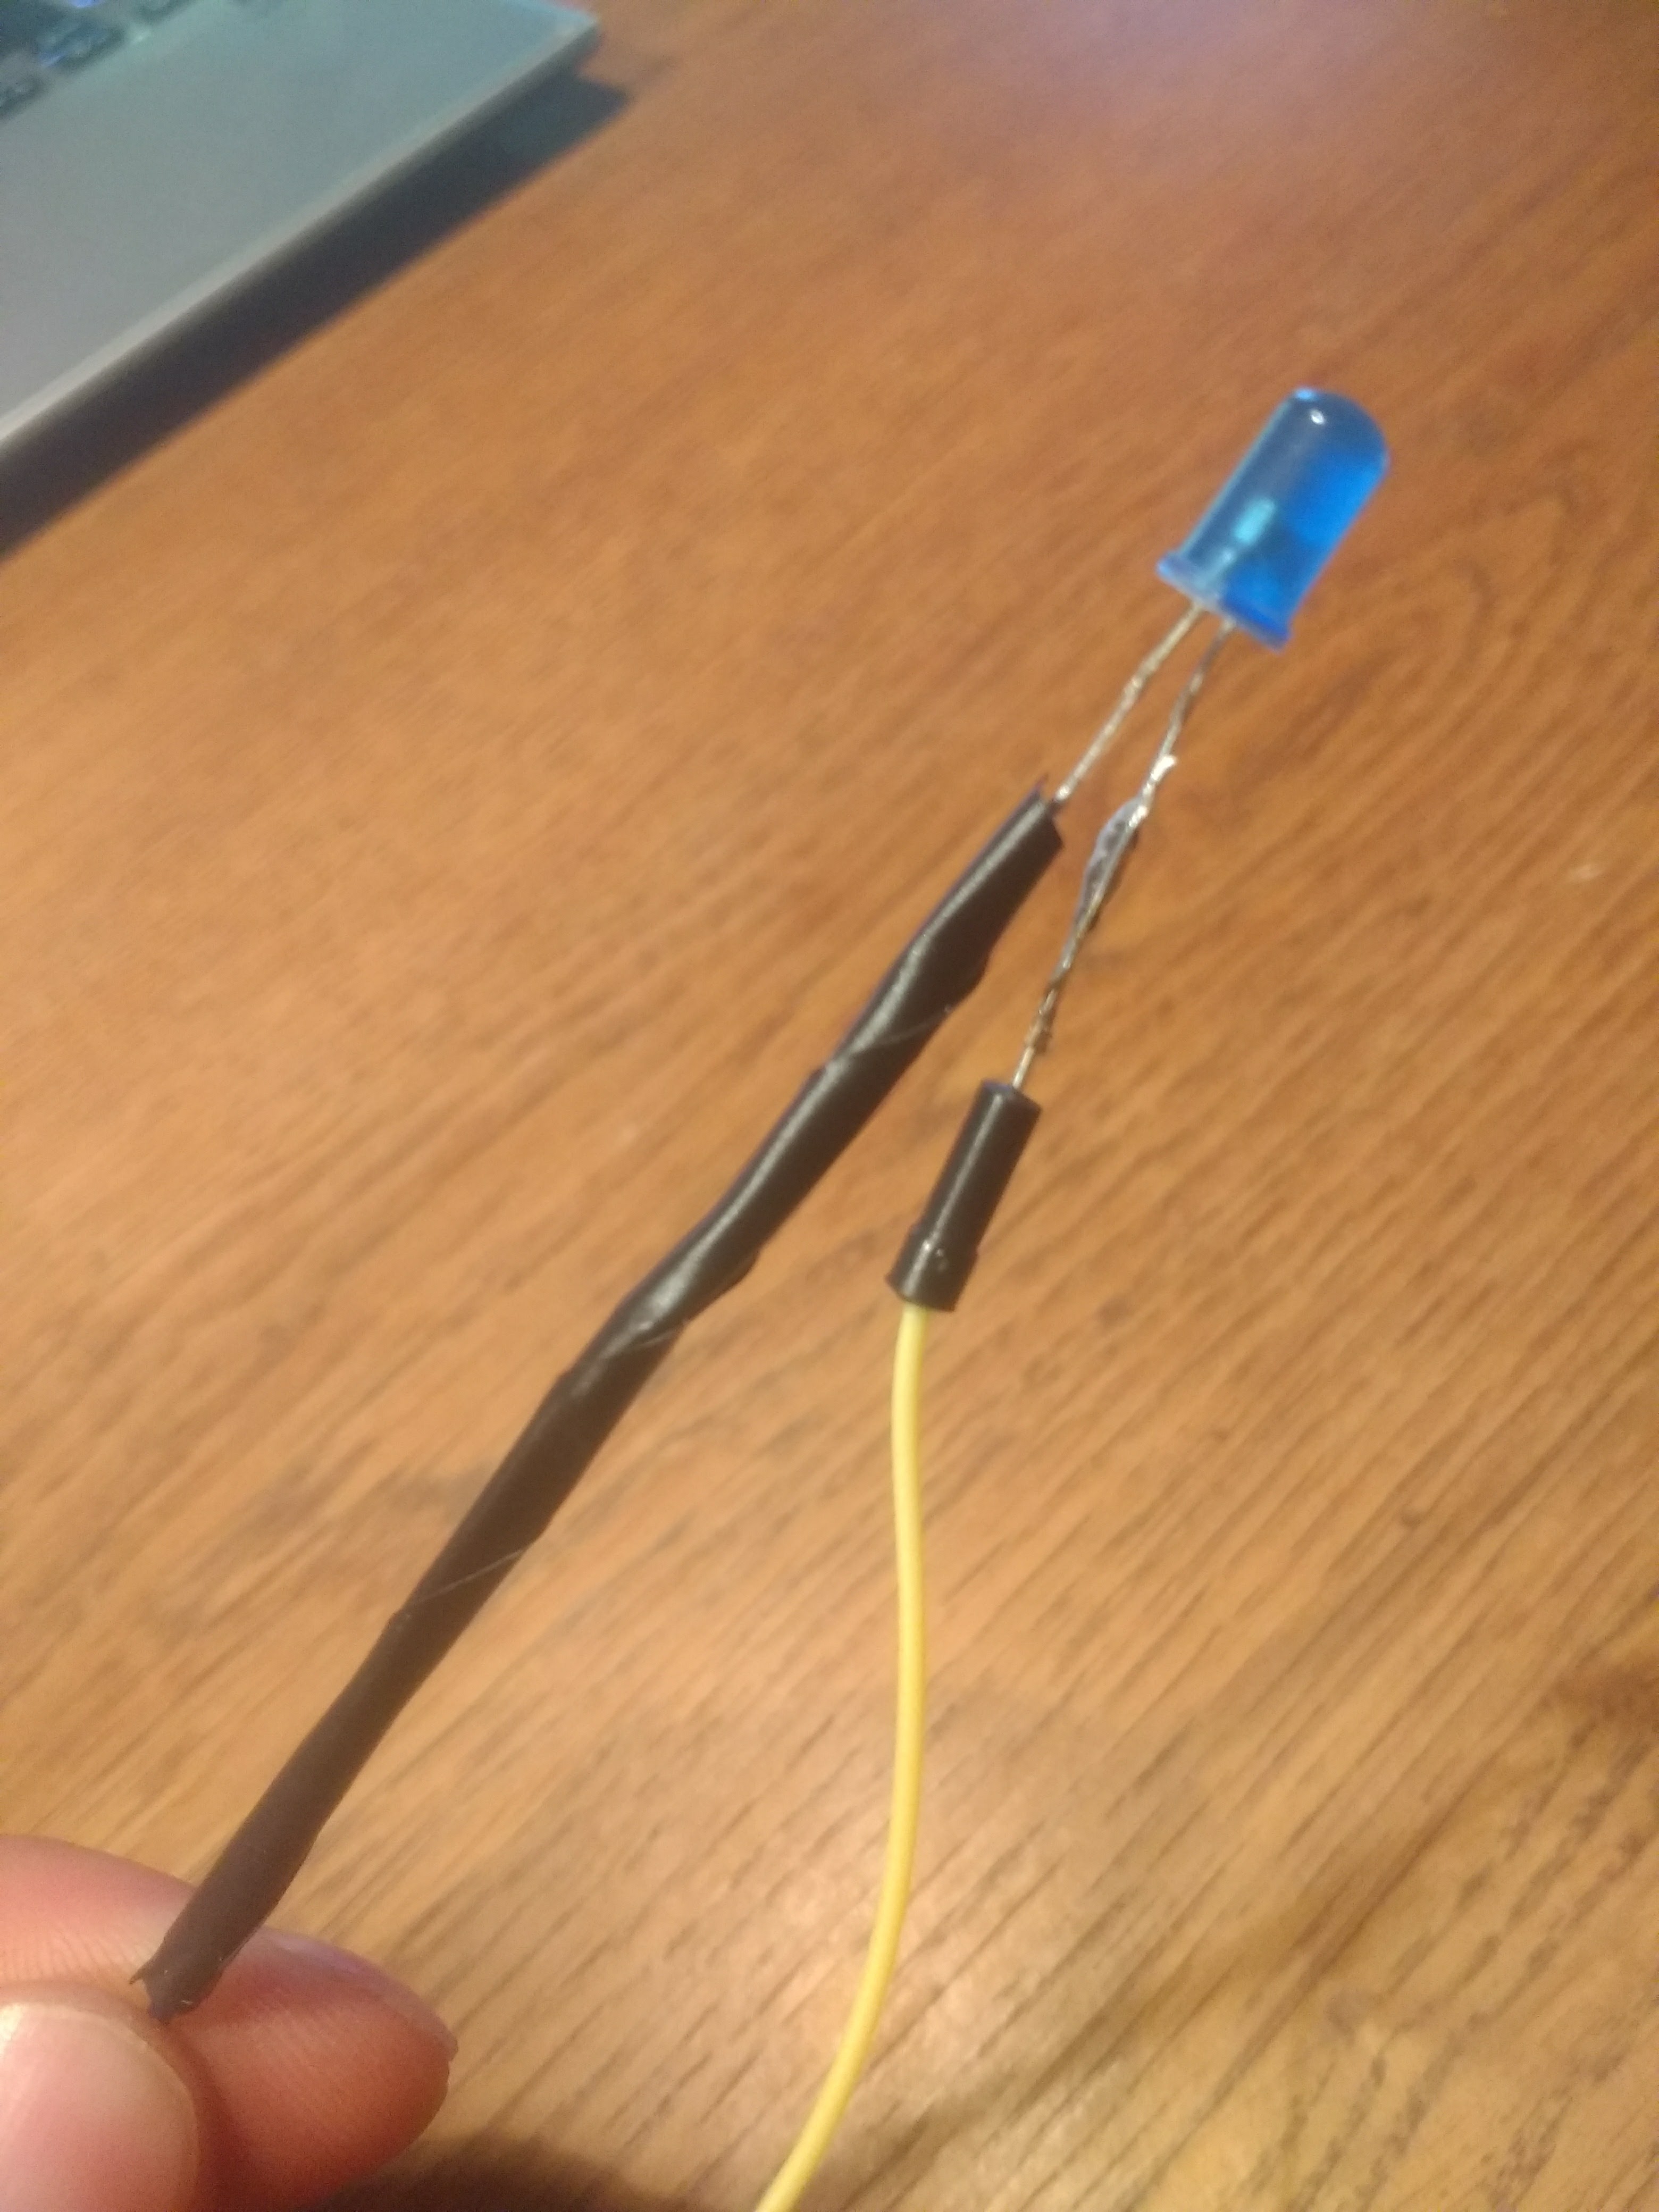
Solder all components so they have a female output that can easily be connected to the GPIO pins of the raspberry pi. Be sure to sold an resistor of 220 ohm between the led and ground. Then isolate with tape.
Attach Jumpers to Raspberry Pi
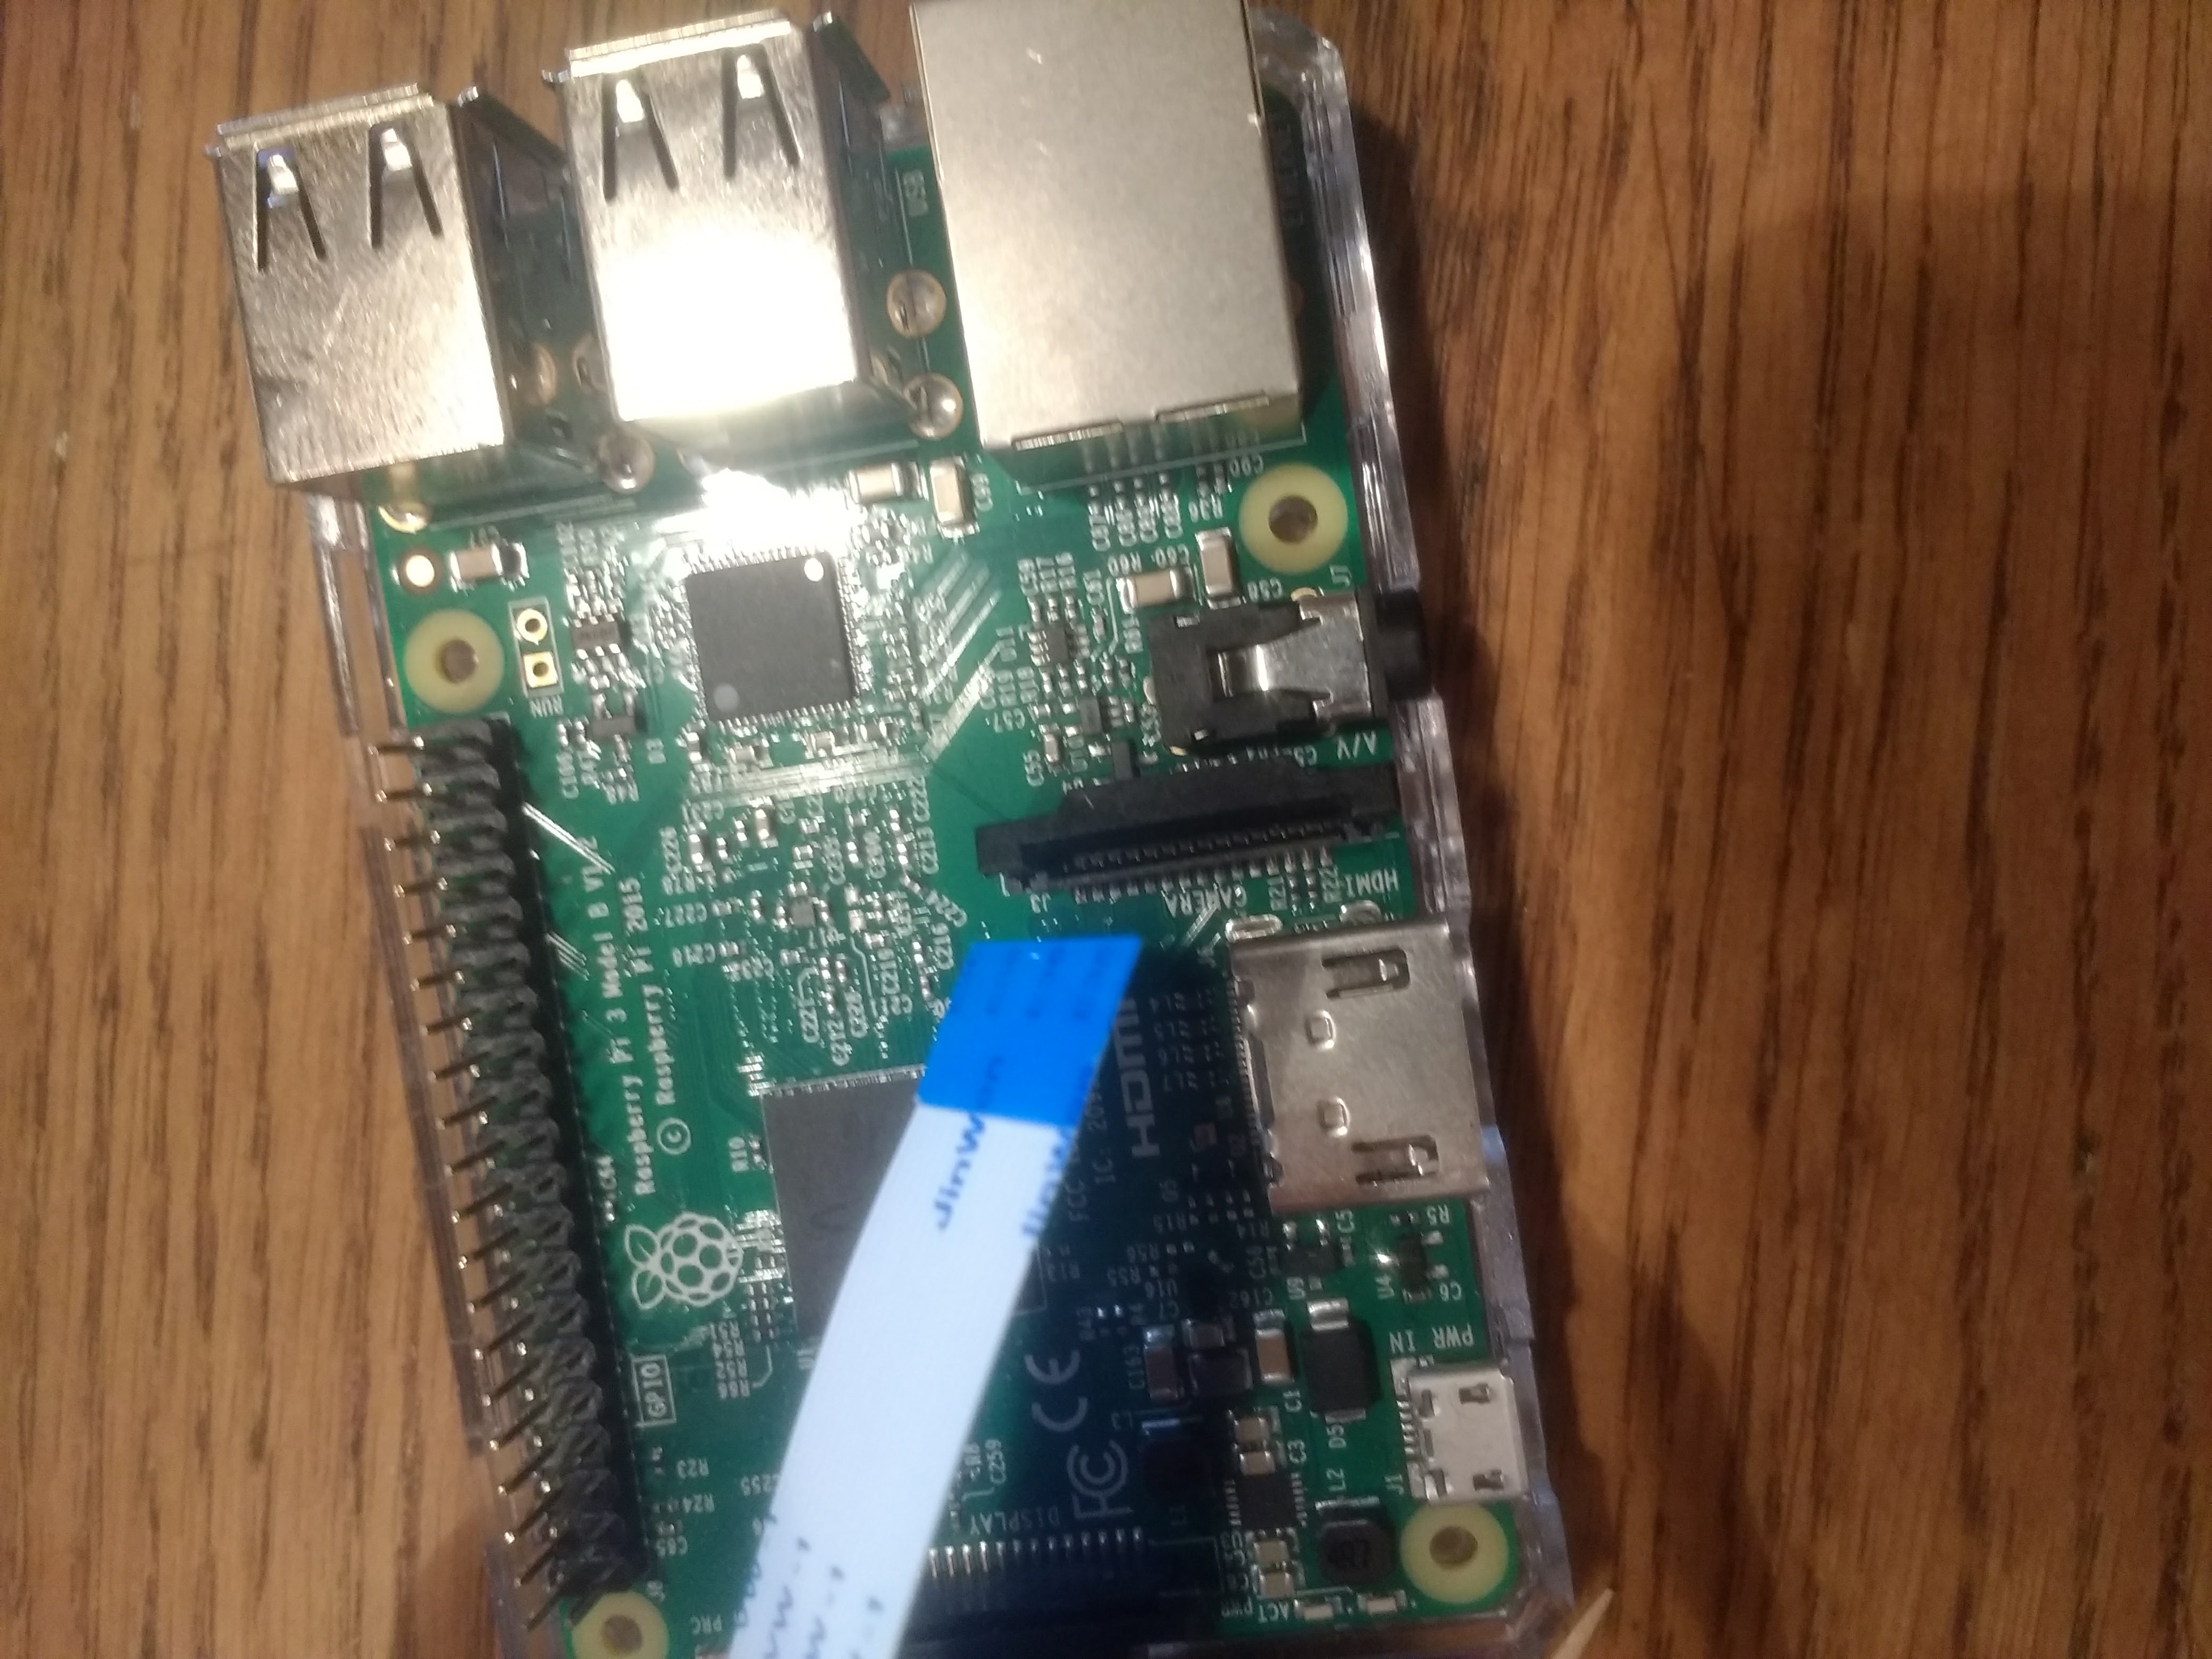
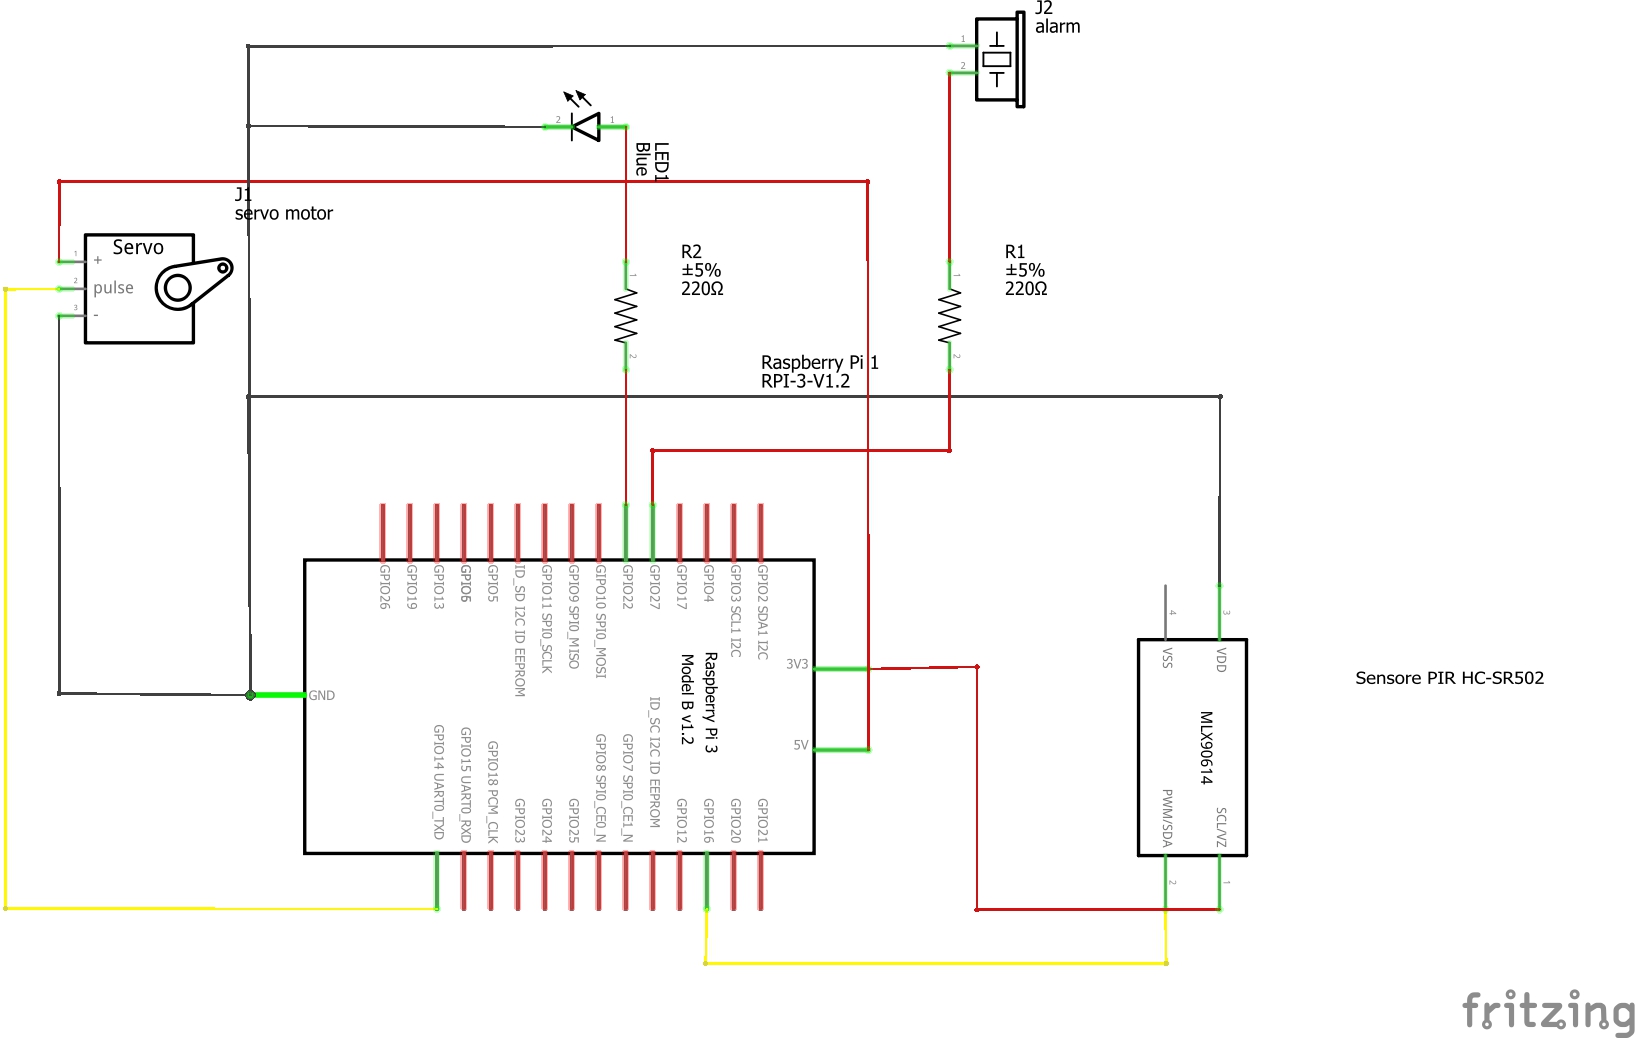
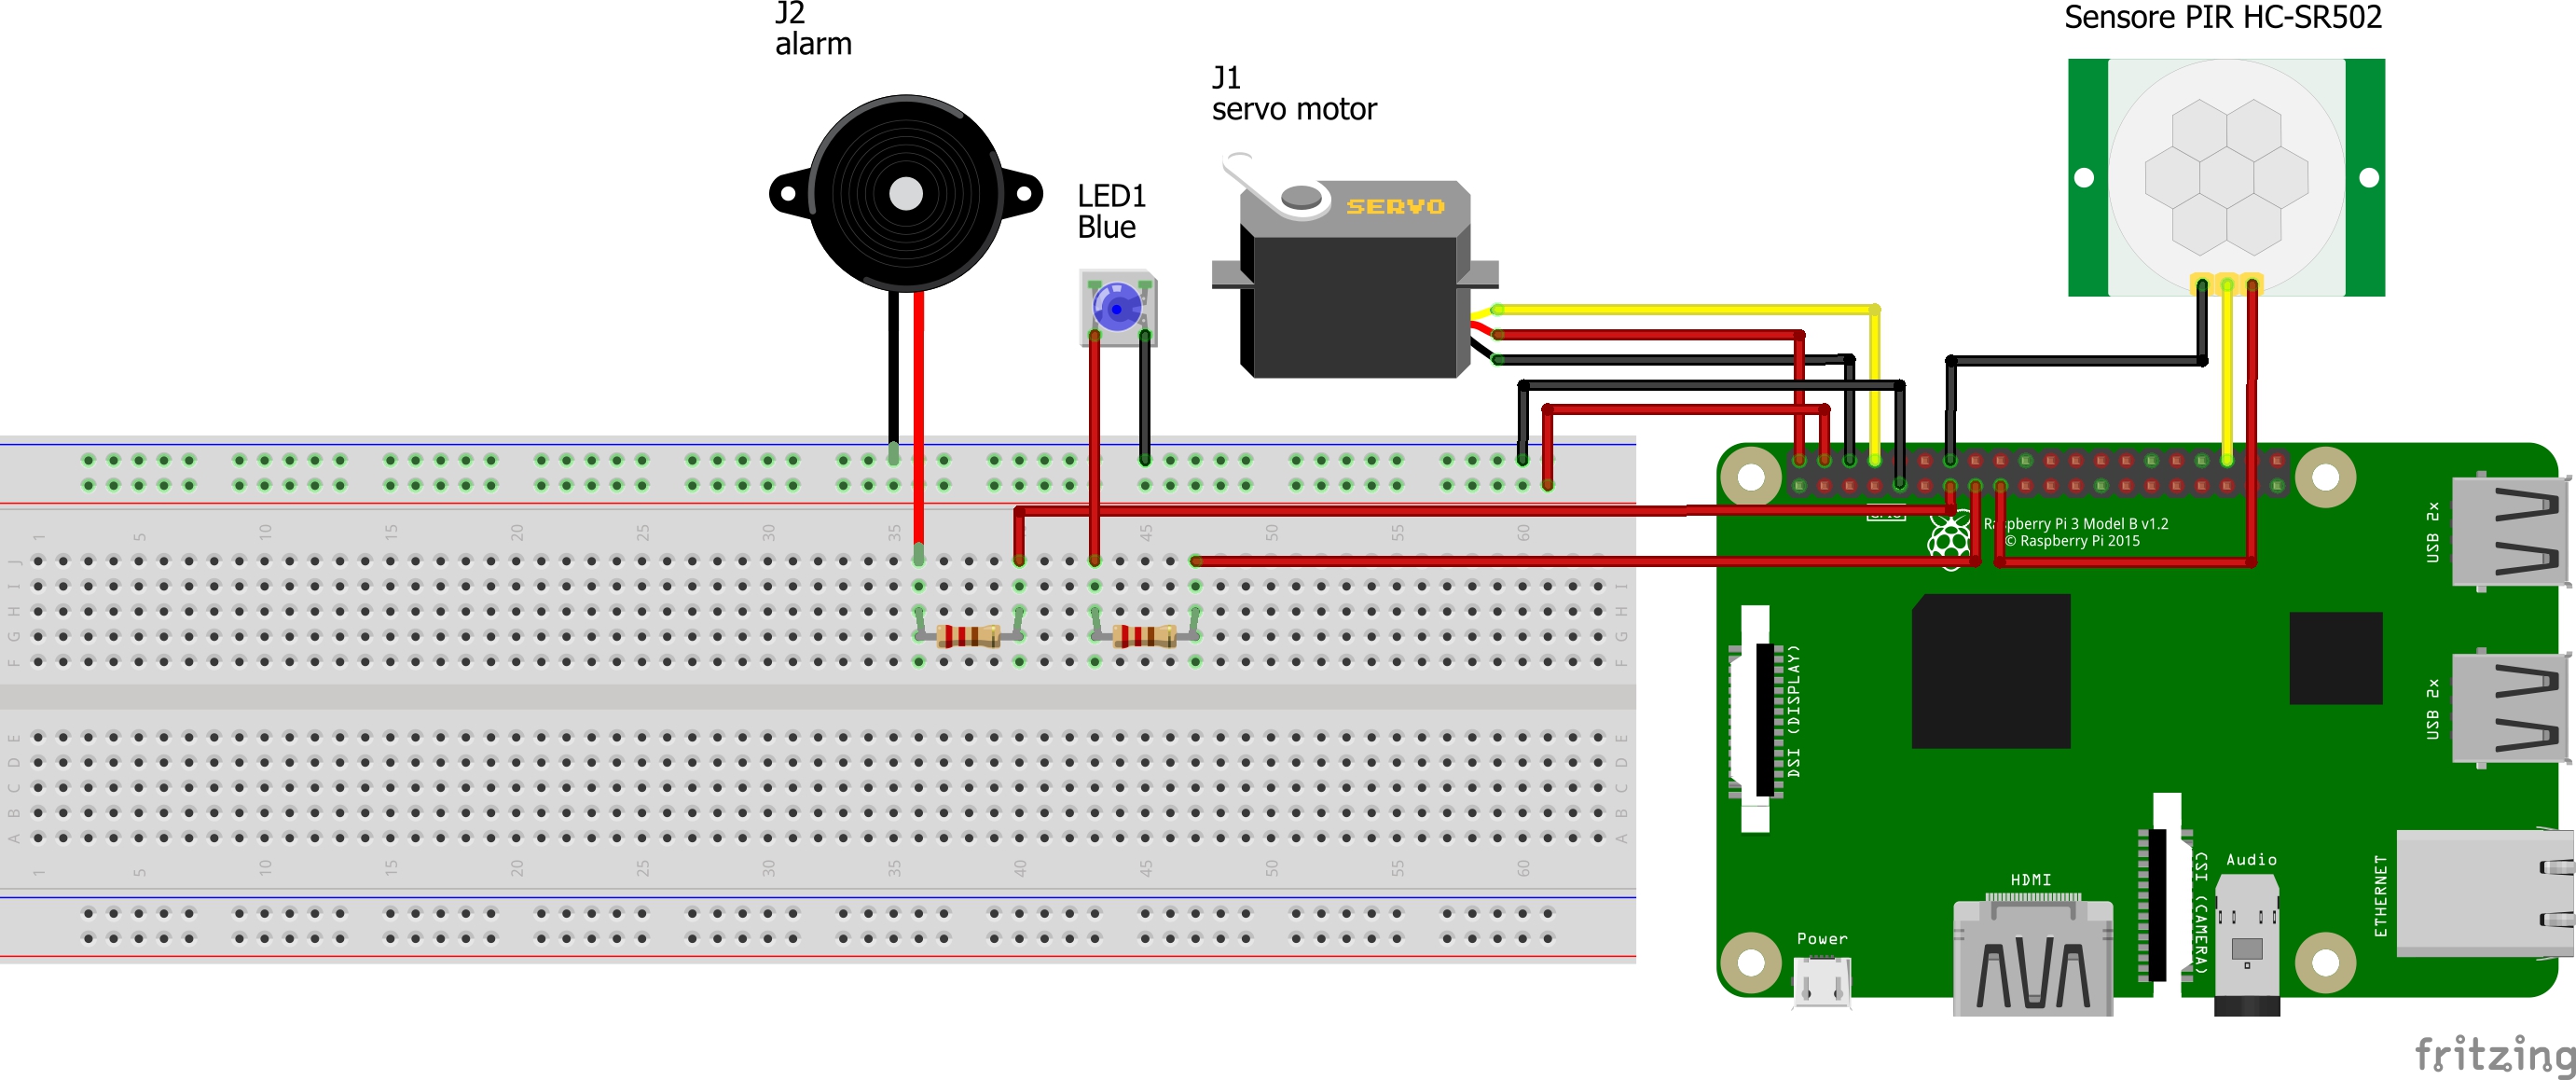
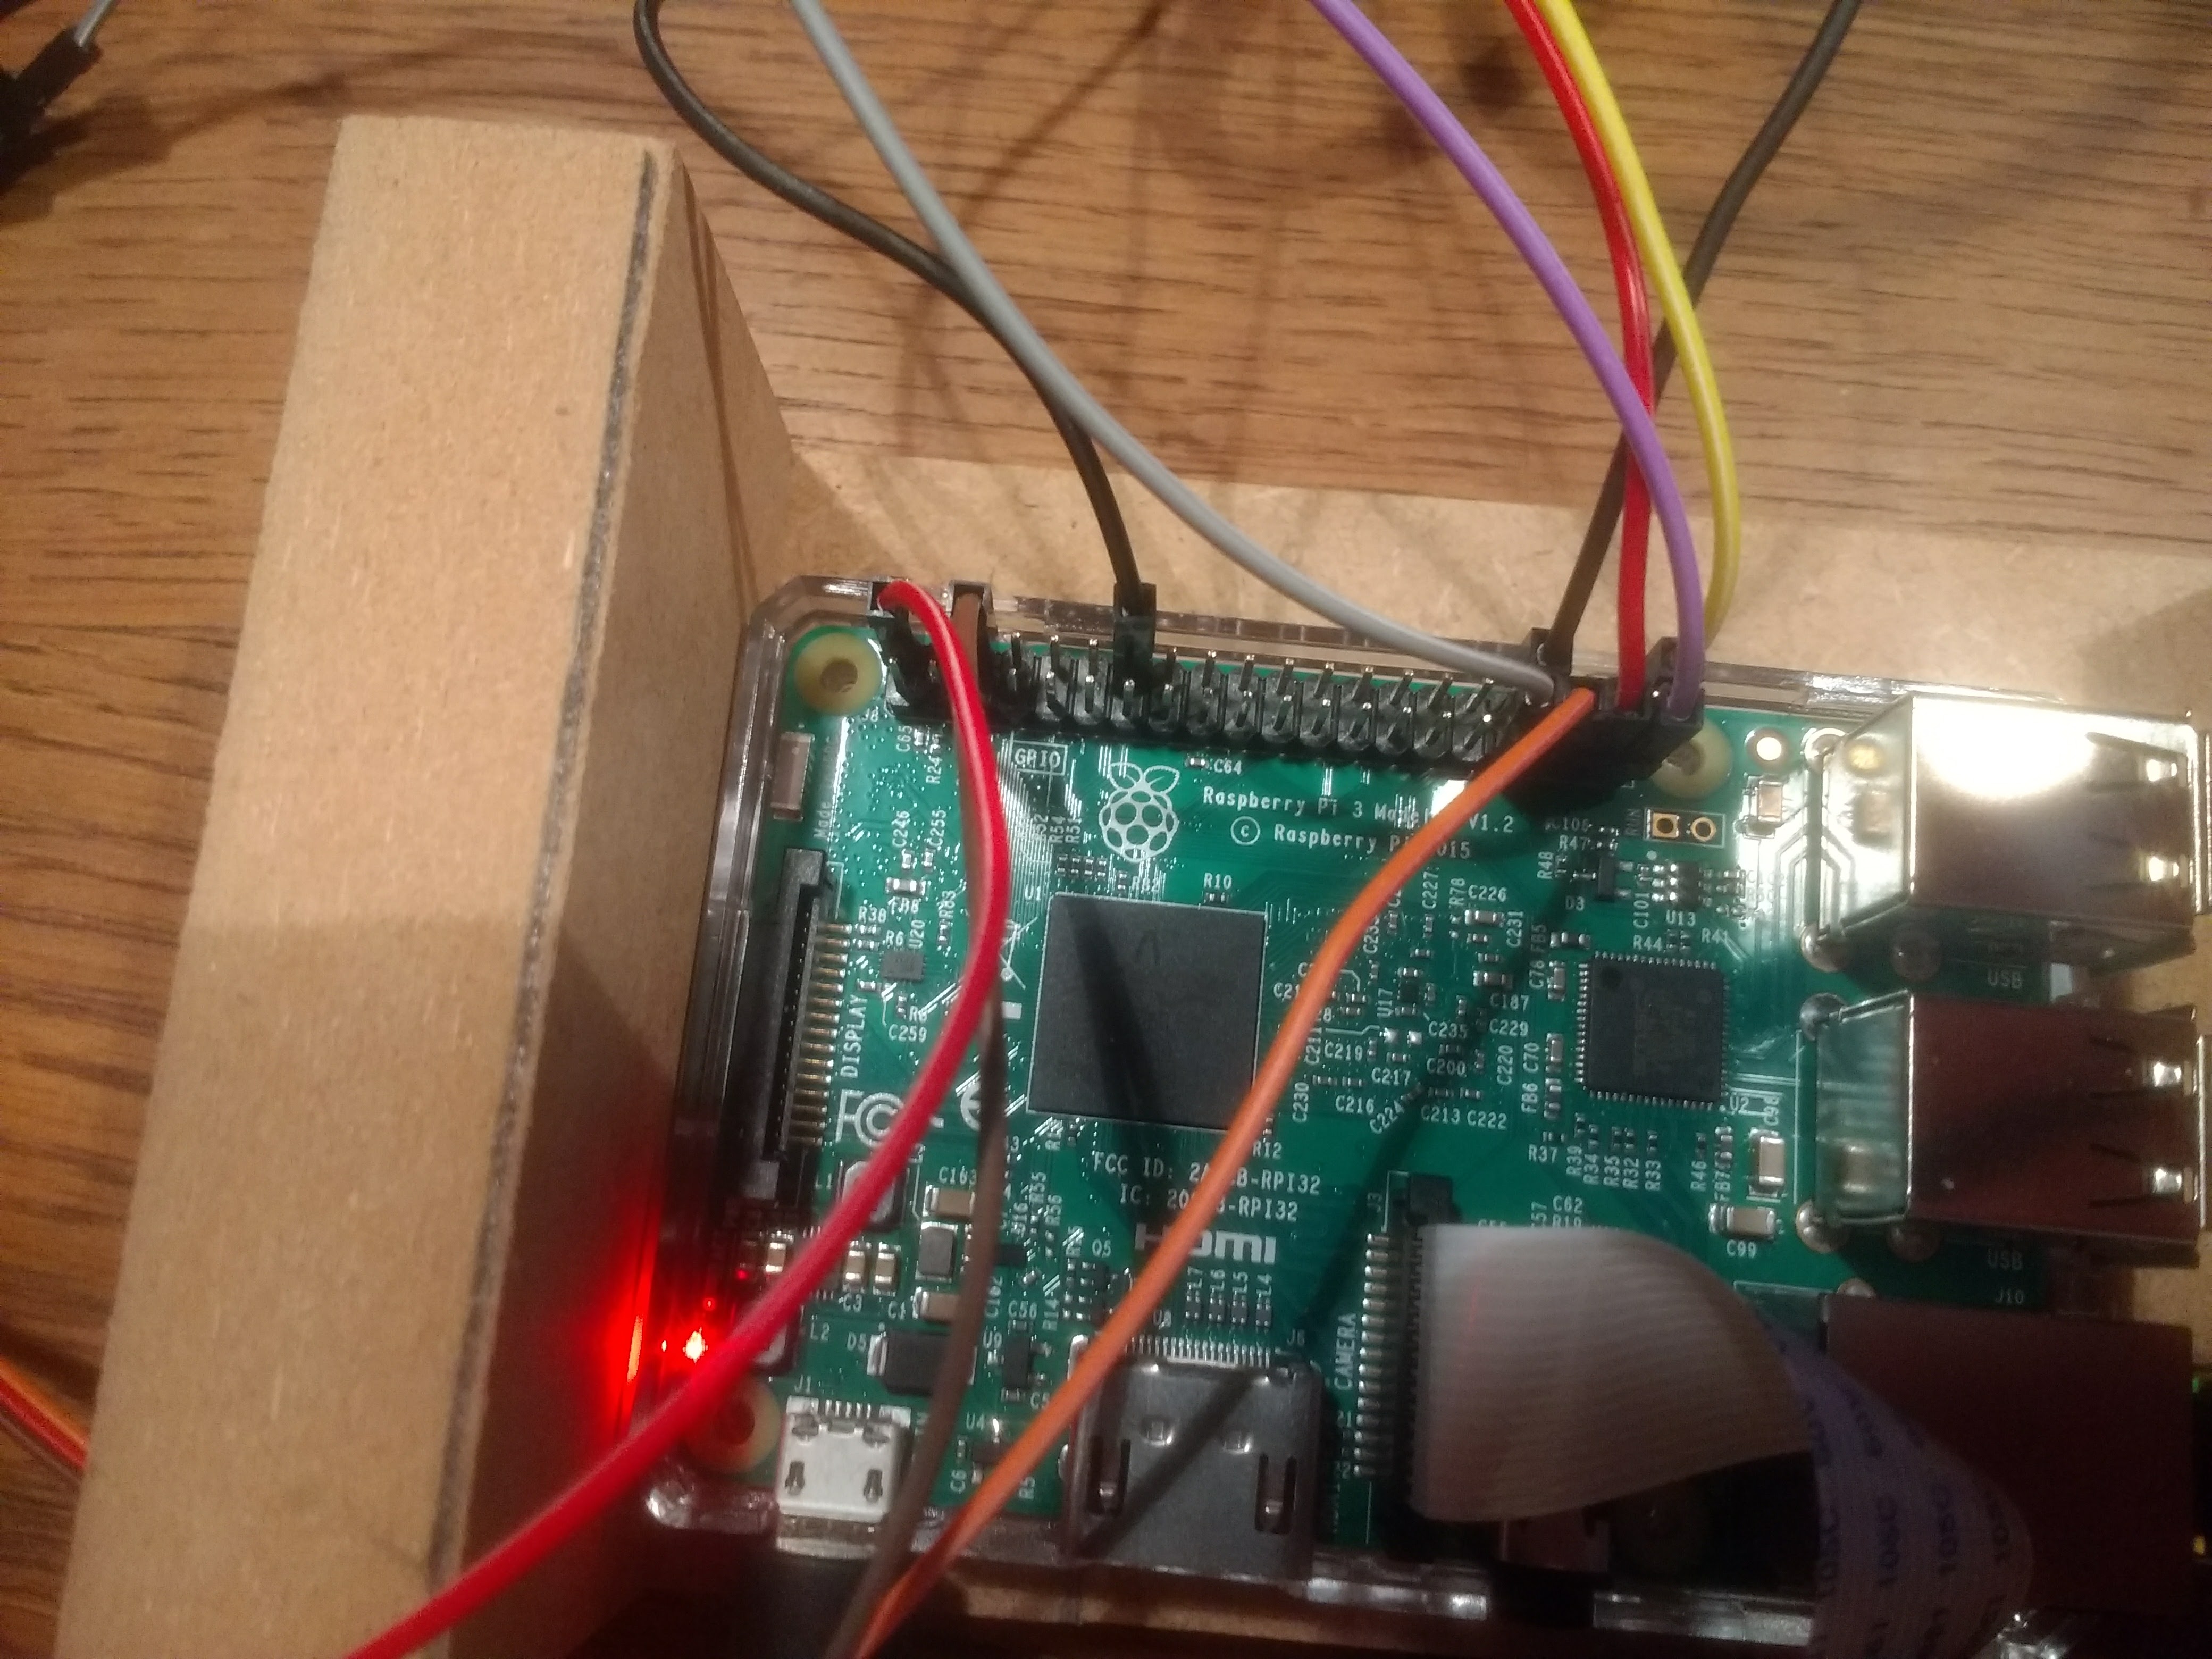
Build circuit using the pictures.
Be sure that the raspberry pi is turned off while doing this!
1. Plug in the picam into the raspberry pi. (see picture)
2. Attach soldered components to raspberry pi pins. (see picture)
- The red cable of servomotor into 5V, brown into GND and orange cabel into pin 19.
- "+" from buzzer into pin 13, "-" into GND
- "+" from led into pin 26, "-" into GND
- VCC from motion sensor into 5V, GND into GND and OUT into pin 21.
use this link to get to know which pins are GND, 5V or GPIO pins.
Finish of Housing
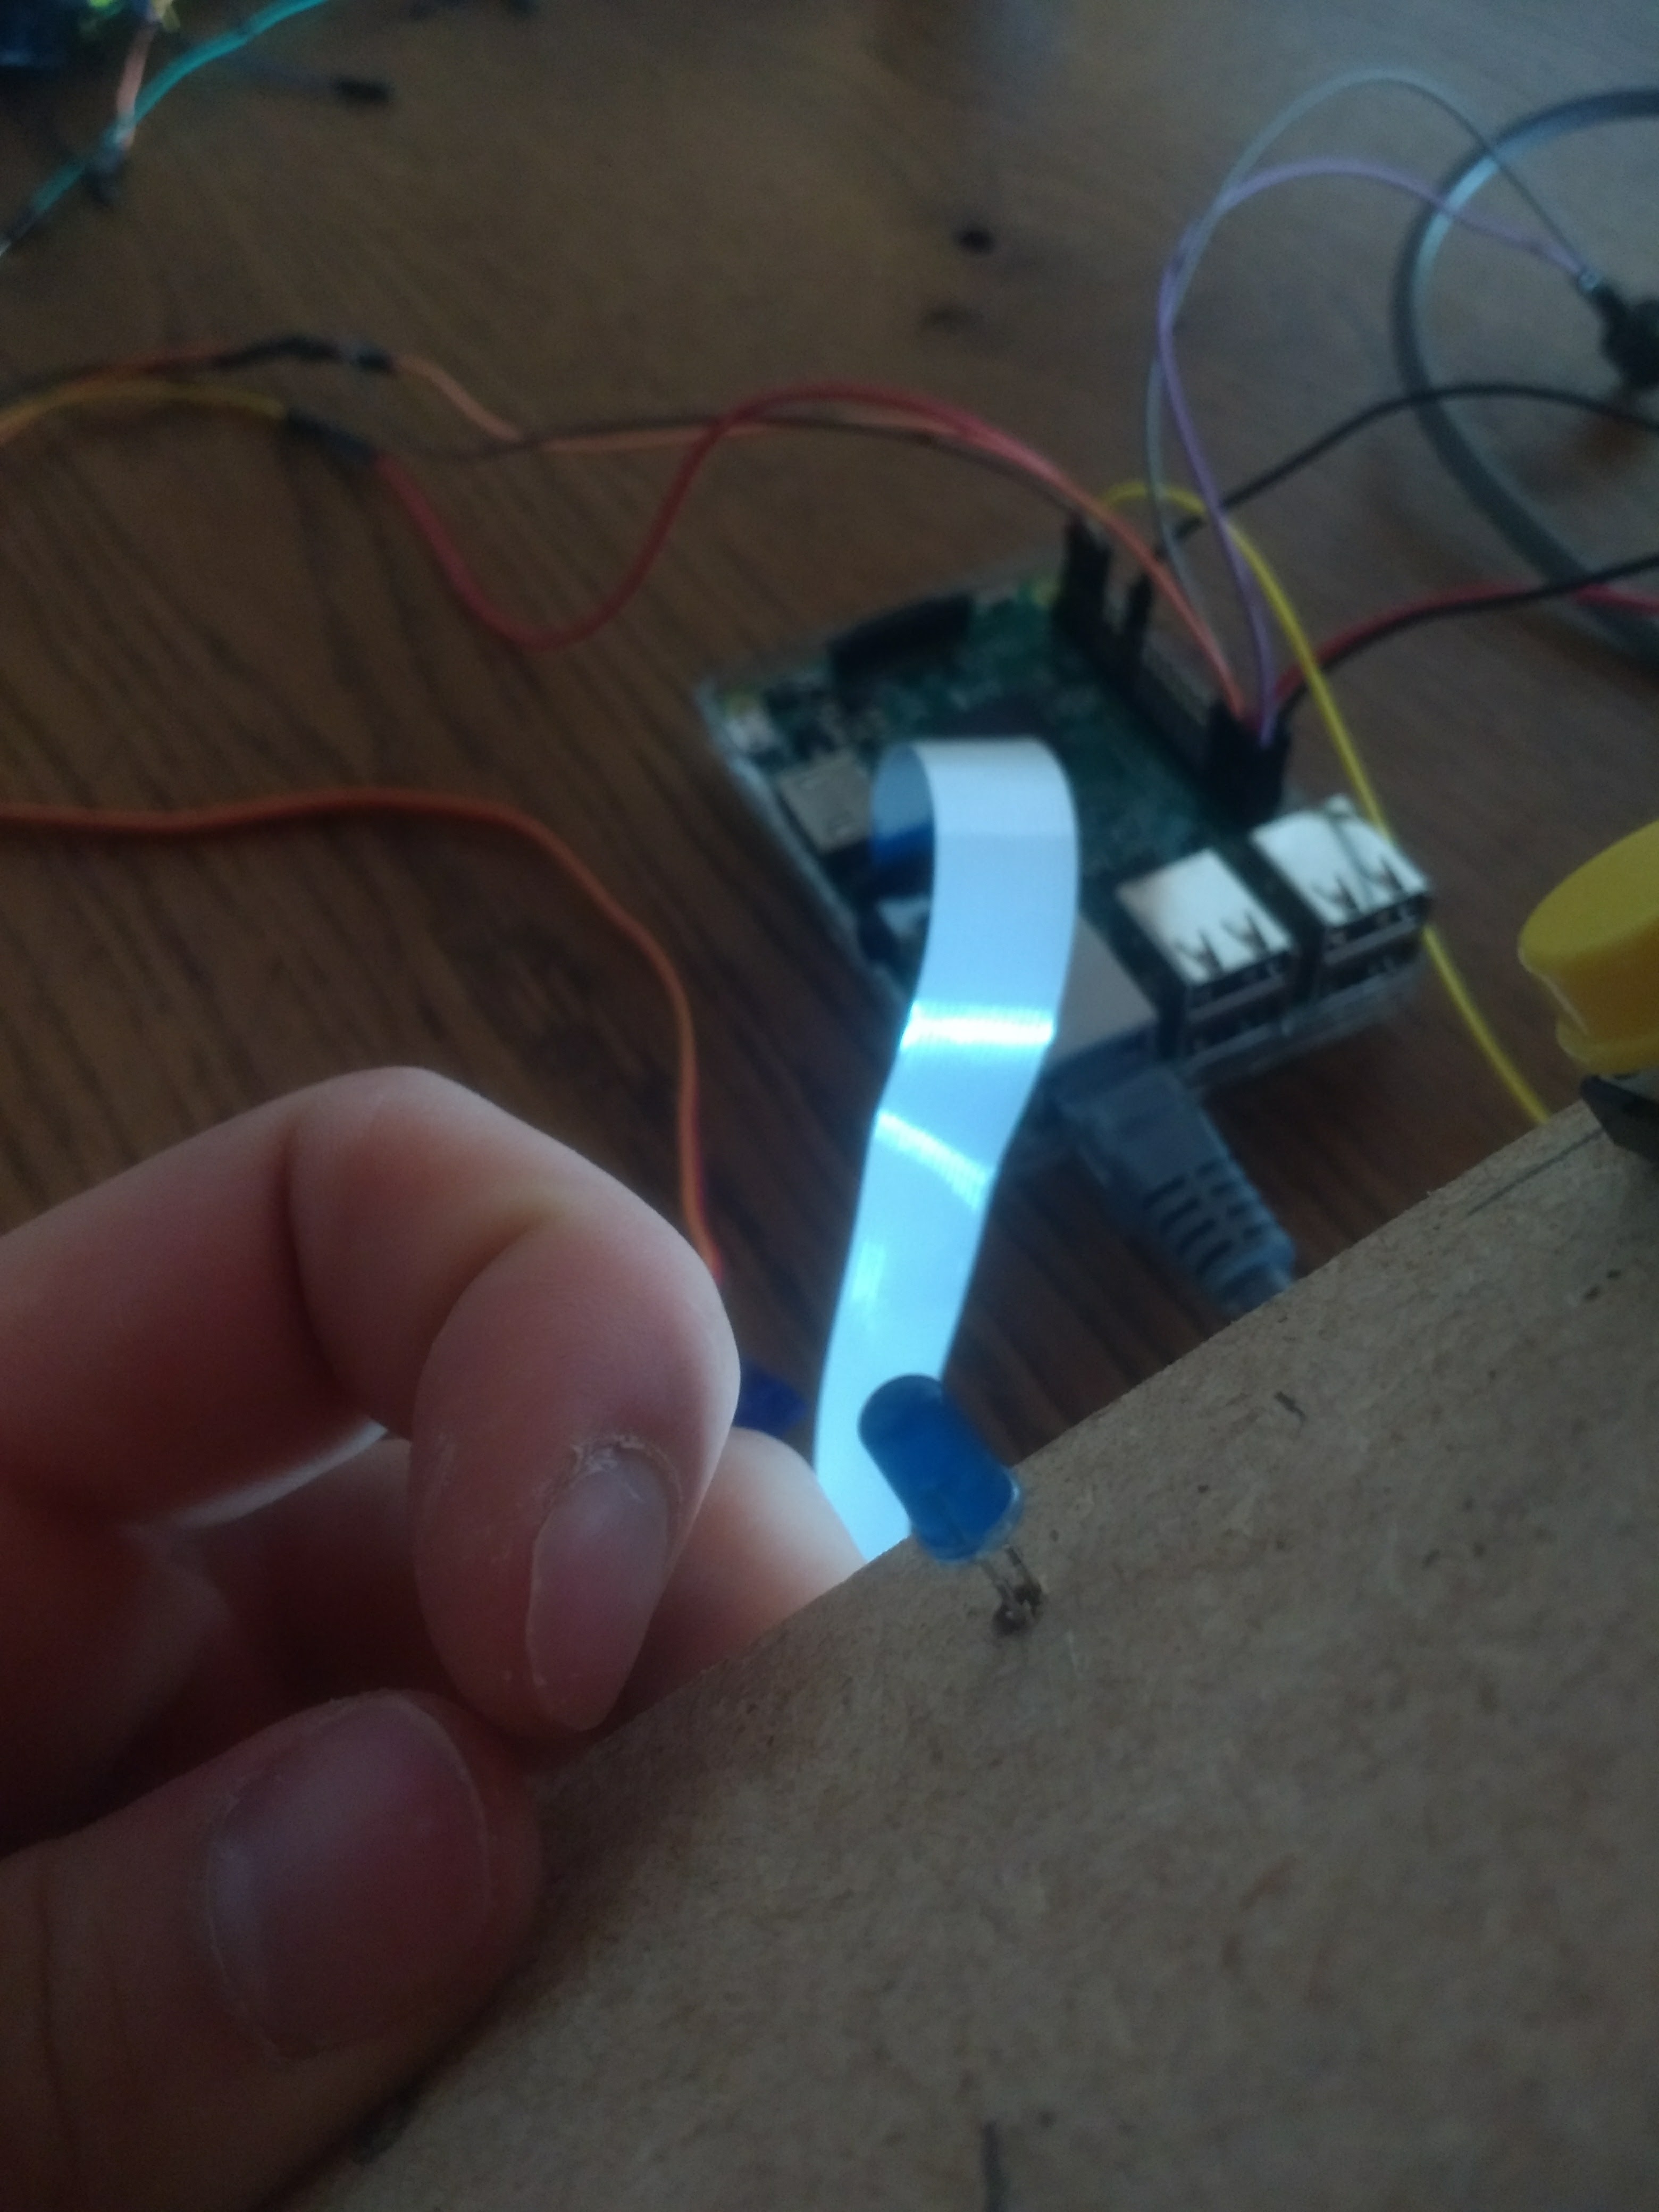
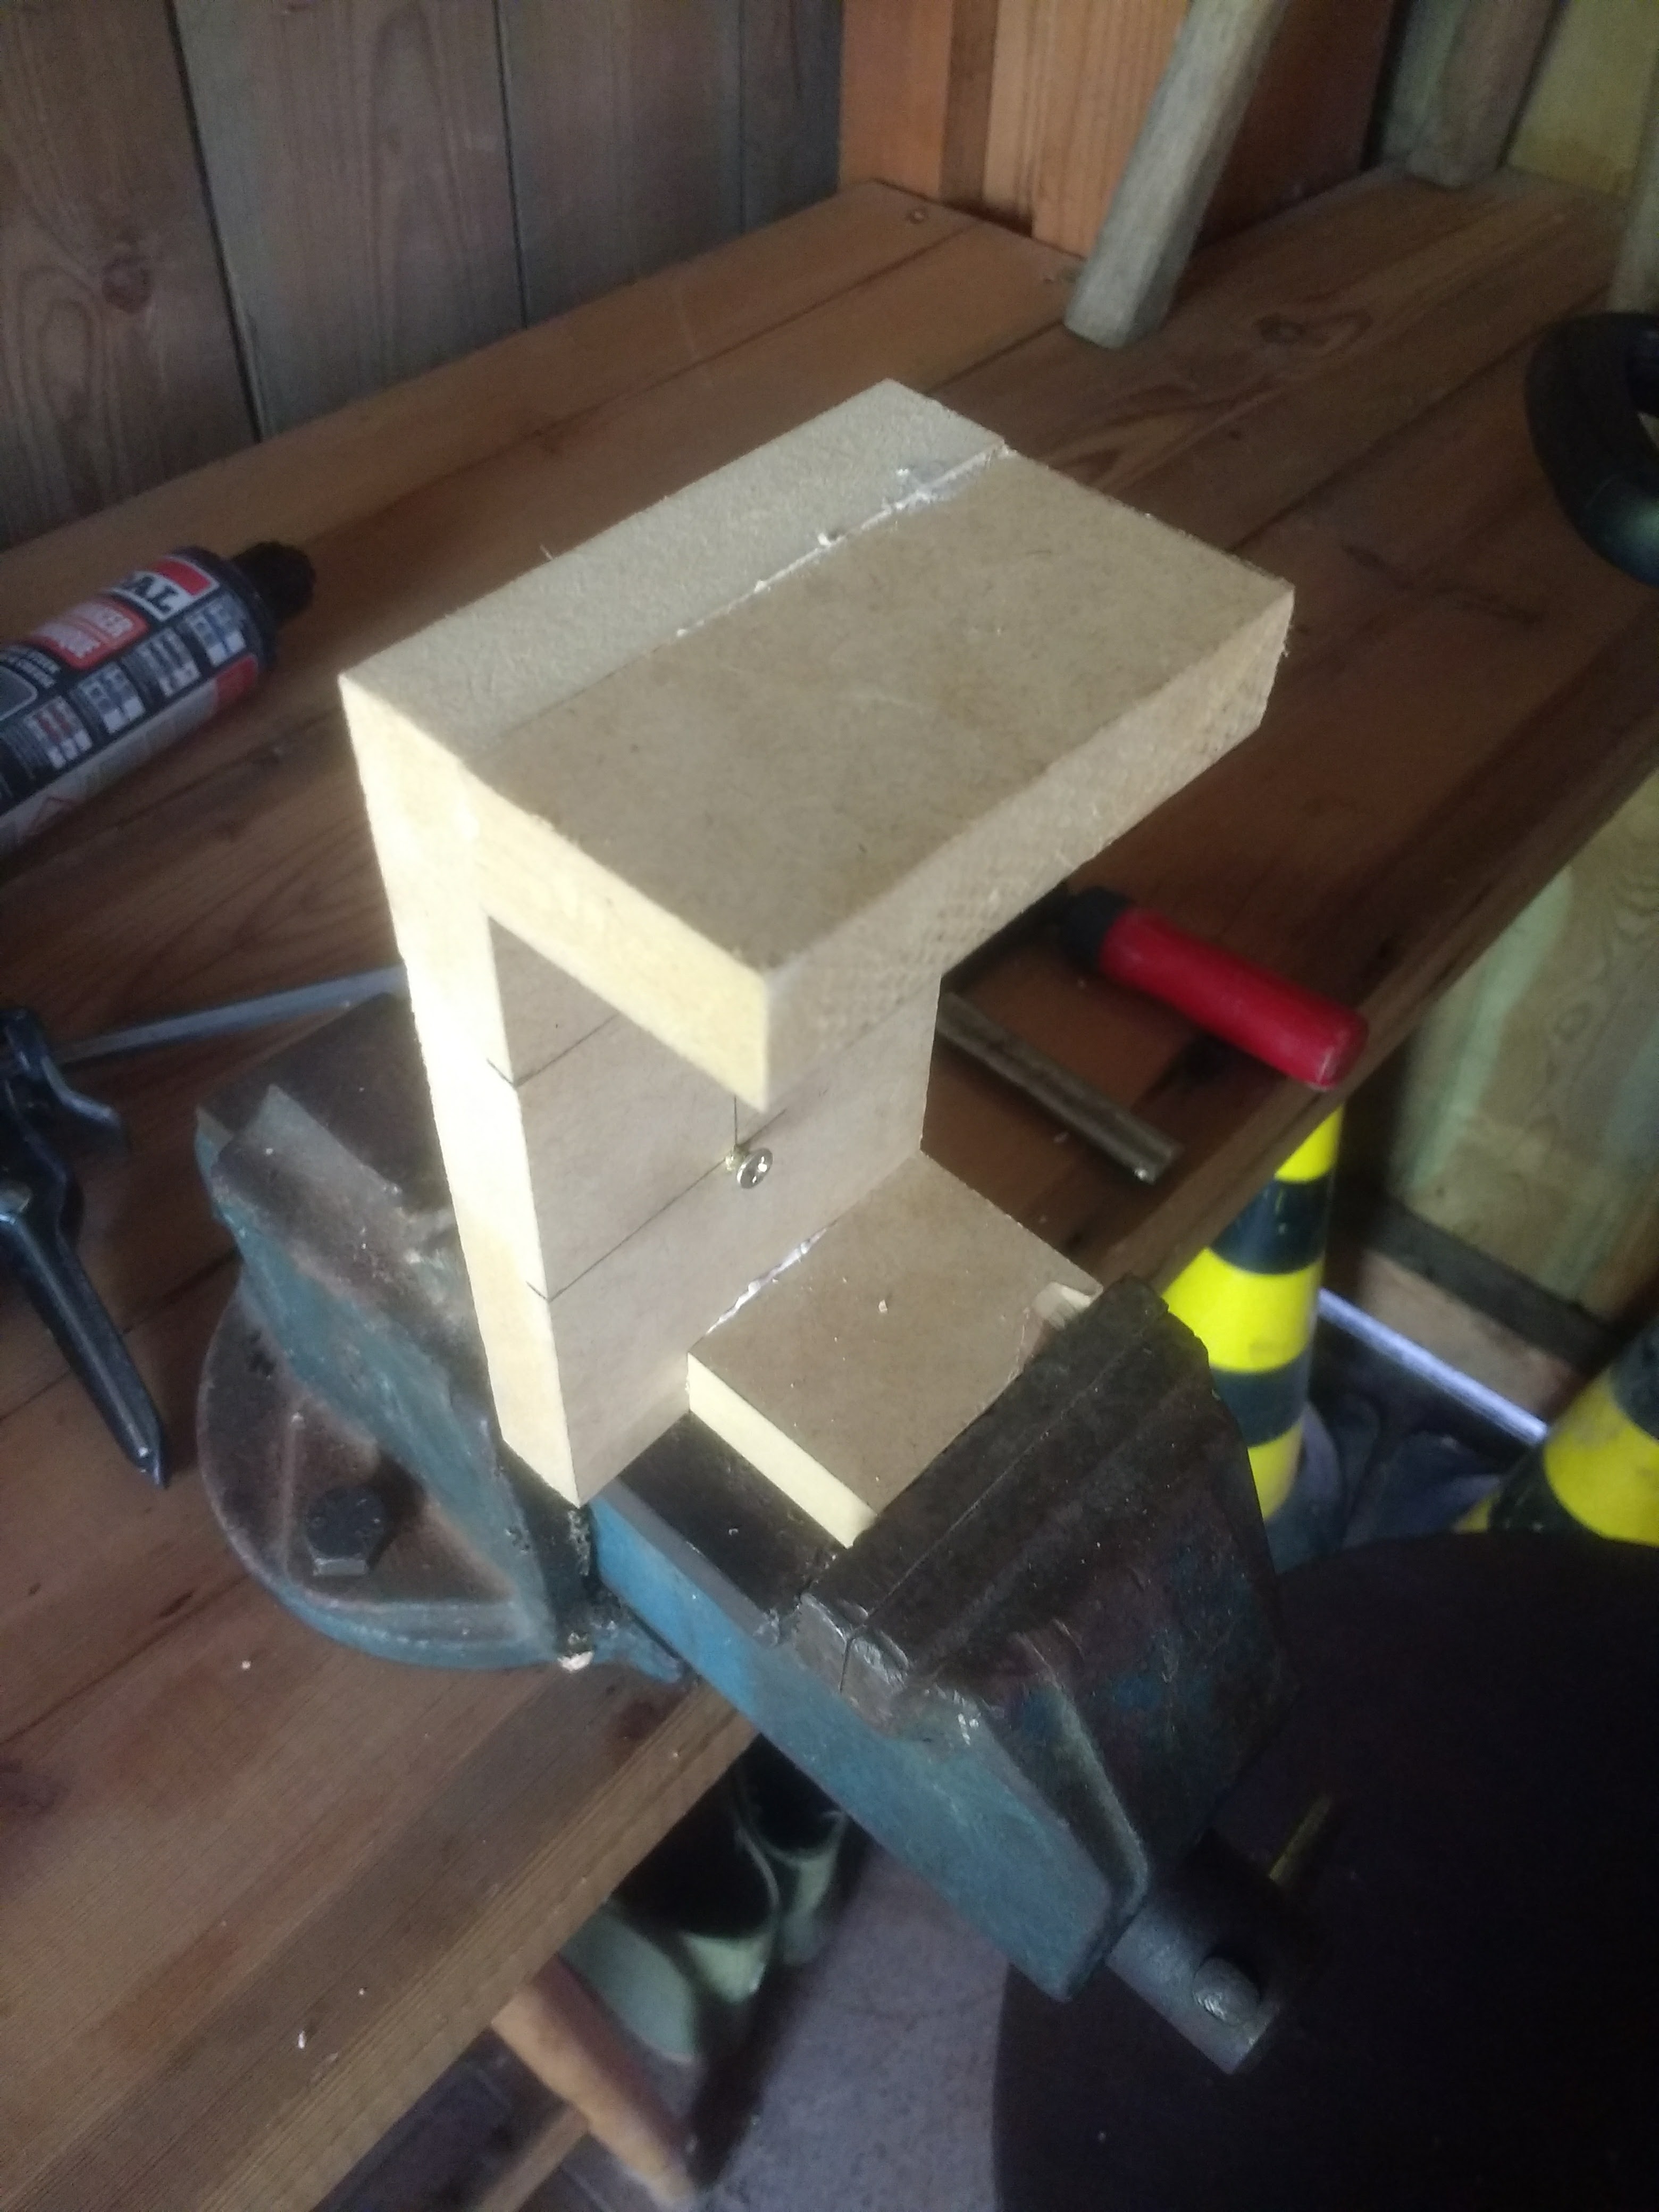
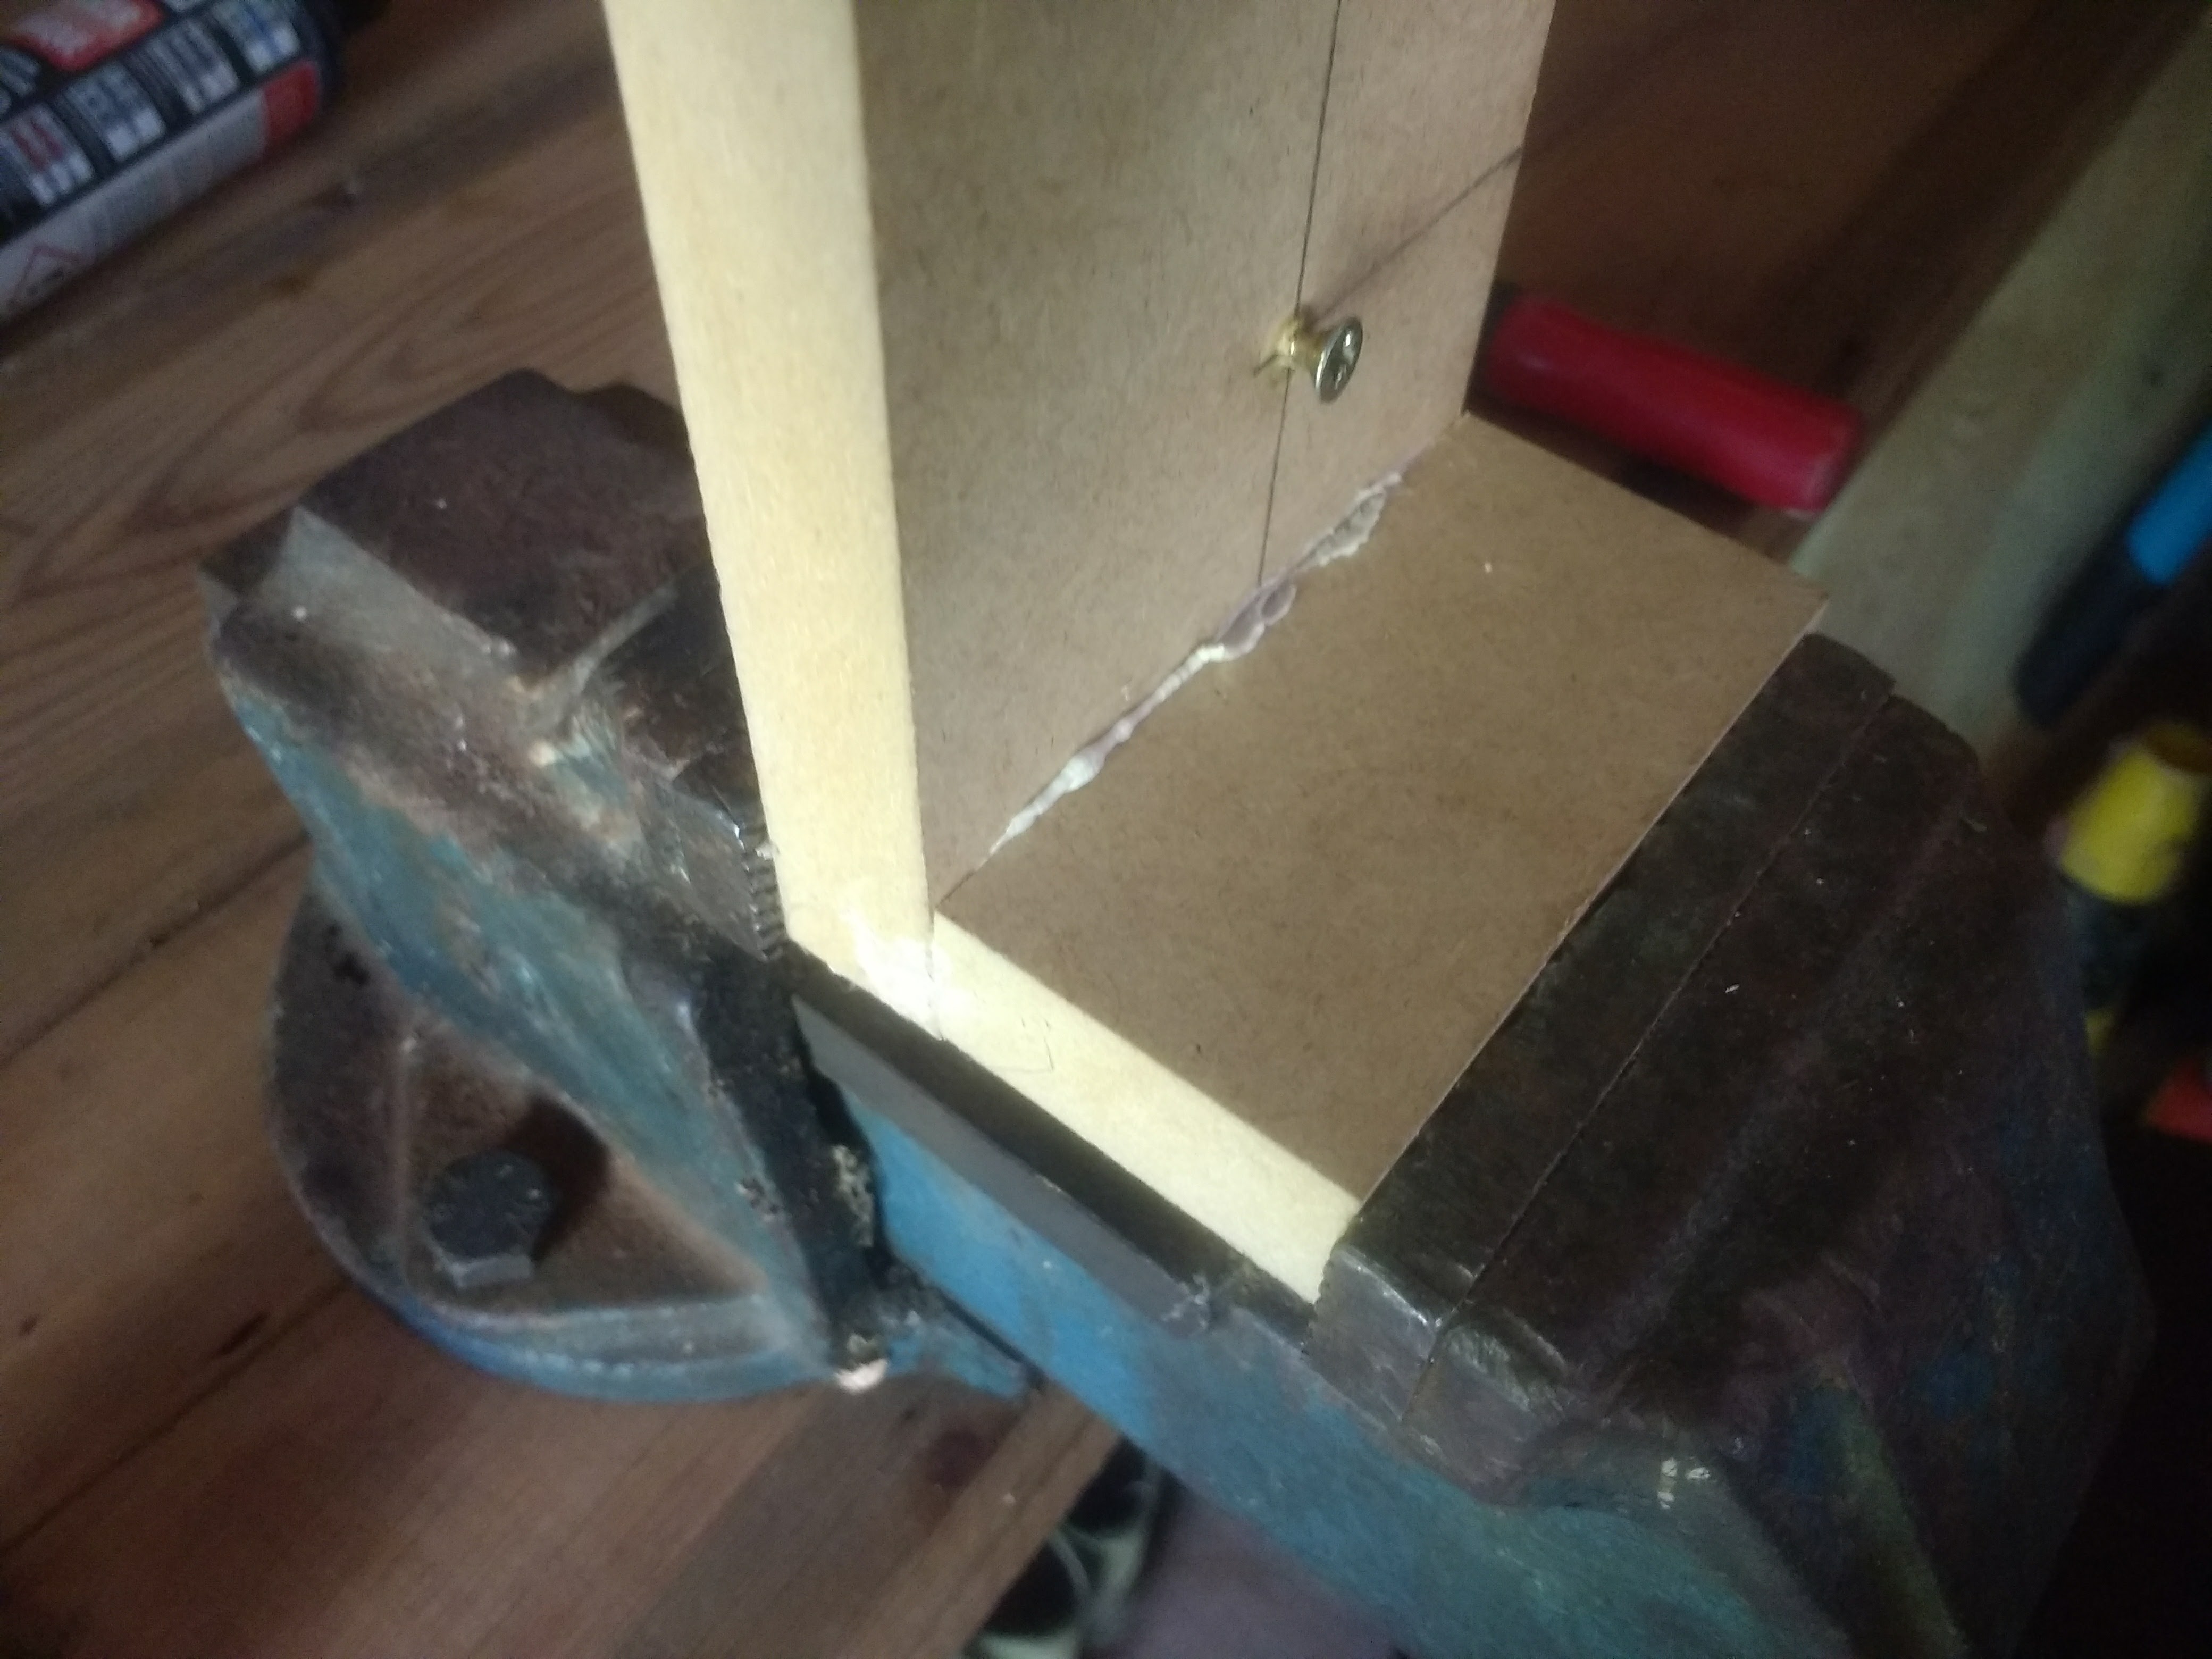
1. Drill some holes in top of the housing for the led and motion sensor. Put them through the holes.
2. Put the servomotor through the provided slot and fix it with a screw.
3. Glue the wooden walls.
4. You can continue building as much as you want, you can make the top detachable etc.
Final Steps
Setup wifi on the raspberry:
command: sudo nano /etc/wpa_supplicant/wpa_supplicant.conf
then add:
network={
ssid="network name"
psk="password"
key_mgmt=WPA-PSK
}
reboot the pi
Find out which ip address the raspberry pi received (with command: 'ifconfig').
Wait 1-2 minutes.
Surf to: 'ipaddress:5000'.
You will first have to login with: username: admin, password: admin.
Then you wil see the livestream and options!