Sculpting Material From Recycled Milk Bottles
1045 Views, 6 Favorites, 0 Comments
Sculpting Material From Recycled Milk Bottles

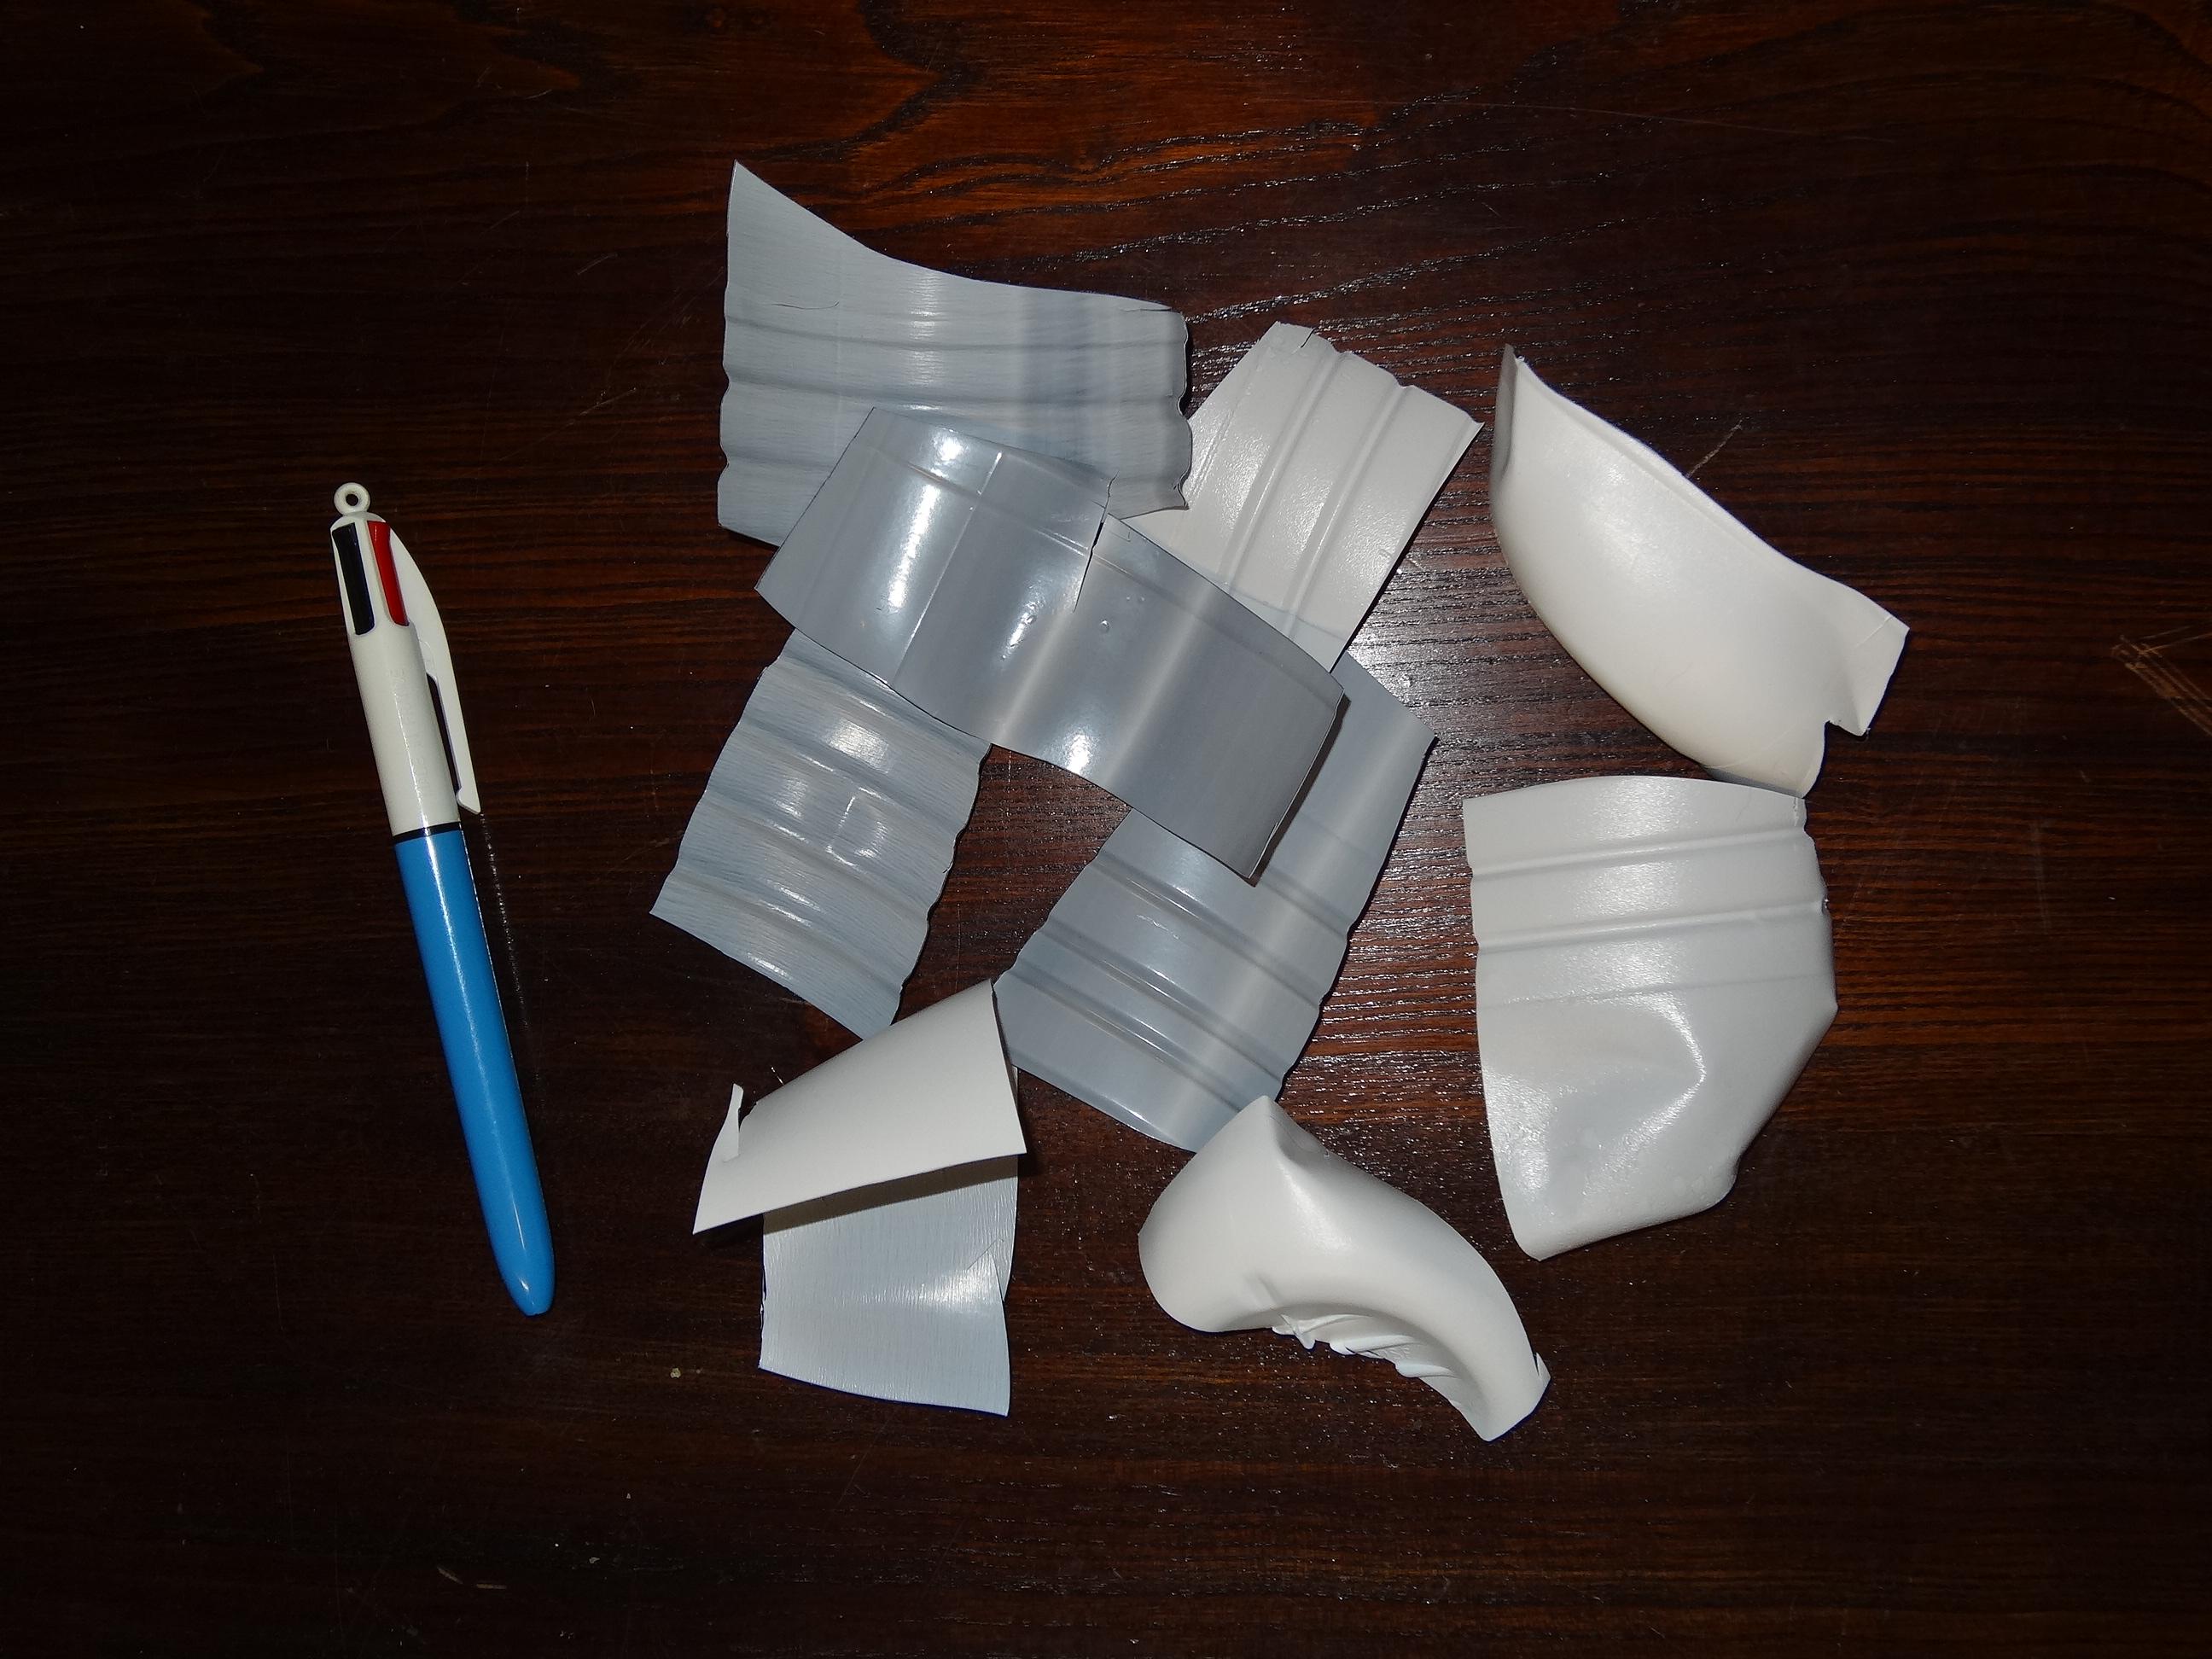
I was working on a project about recycling domestic plastic waste, when I realized that my samples from failed experiments could easily be sculpted using common tools. I like working with milk plastic bottles in high density polyethylene (HDPE) because it gives a beautiful marble effect. Milk bottles are indeed made of three plastic layers, with a dark blue layer between two white layers. Furthermore, milk bottles are simple to collect and sort and HDPE is easy to work with due to its low melting temperature and its low stickiness.
The aim of this project is to demonstrate a method that would allow anyone to produce his own sculpting materials from his plastic waste.
Supplies
- HPDE milk plastic bottles
- Scissors
- Heat source (an old kitchen oven, gas camping stove...)
- Dremel tool with a set of carving tools (preferentially
- protective glasses and mask
- heat protective gloves (preferentially non-porous and covered with nitrile/silicone)
Collect and Sort Plastic Bottles

Collect milk plastic bottles and select the bottles with the HDPE symbol on them (a "2" in triangle of arrows, or the short name HDPE or PEHD, with or without the triangle).
If you wish another color or texture, you can also use some plastic lids or some plastic bottles (conditioner or household products) but it is important to check that they are all made of HDPE. Otherwise you may meet difficulties during the melting and the carving steps.
Each bottle weights around 30g, so depending of the size of your project, you could easily need a dozen of bottles.
Clean, Dry and Cut Your Plastic Material


Make sure that your plastic bottles are clean and dry. There is often milk residues at the bottom of the bottles. Remove the label and, if some glue stays on the surface, and get rid of the sticky parts.
Cut your plastic bottles into small pieces. You can use a good pair of scissors, a Dremel with a cutting tool, or a plastic shredder.
Melt Your Plastic Chips

Since HDPE melts at low temperature, I used an oven at moderate heat (180°C) and placed the chips on cooking paper. It may take about 10 minutes.
It is safer if you don't use the same oven as the one for baking and if you work in a place with a good ventilation - preferentially outside. Instead of an oven, some people other heating systems : hot plate, waffle iron, gas camping stove...
Don't forget to wear heat resistant gloves.
Mold a Shape

Wear the heat resistant gloves and start giving a shape to your plastic paste. It doesn't have to be perfect. When you fold your plastic paste, it leaves a scar where the extremities meet. Try to make them less visible.
If the plastic starts to get hard, put it again for a few minutes in the oven.
The more you mix it, the darker it gets.
Start Carving

Wait until your object becomes cold.
Sculpting produces a lot of dust, make sure you wear protective glasses and a protective mask before you start. Consider having spare clothes too, since the dust is seriously electrostatic and may adhere strongly to some fabrics.
Install a carving tool on your Dremel and start sculpting your shape.
Avoid that your tool heats too much, or you will start melting the plastic and damage the tool. The easiest solution is to make short break when you work, in order to let everything cool down.
If you want to polish your piece, be even more careful the heating and melting issue if you use a motorized tool.
Get Satisfied or Recycle Again

Admire your work.
If you're not satisfied with your work, you can melt it again and start something new.