Scribbling Light - Monochromatic Doodle for Noobs
1536 Views, 17 Favorites, 0 Comments
Scribbling Light - Monochromatic Doodle for Noobs
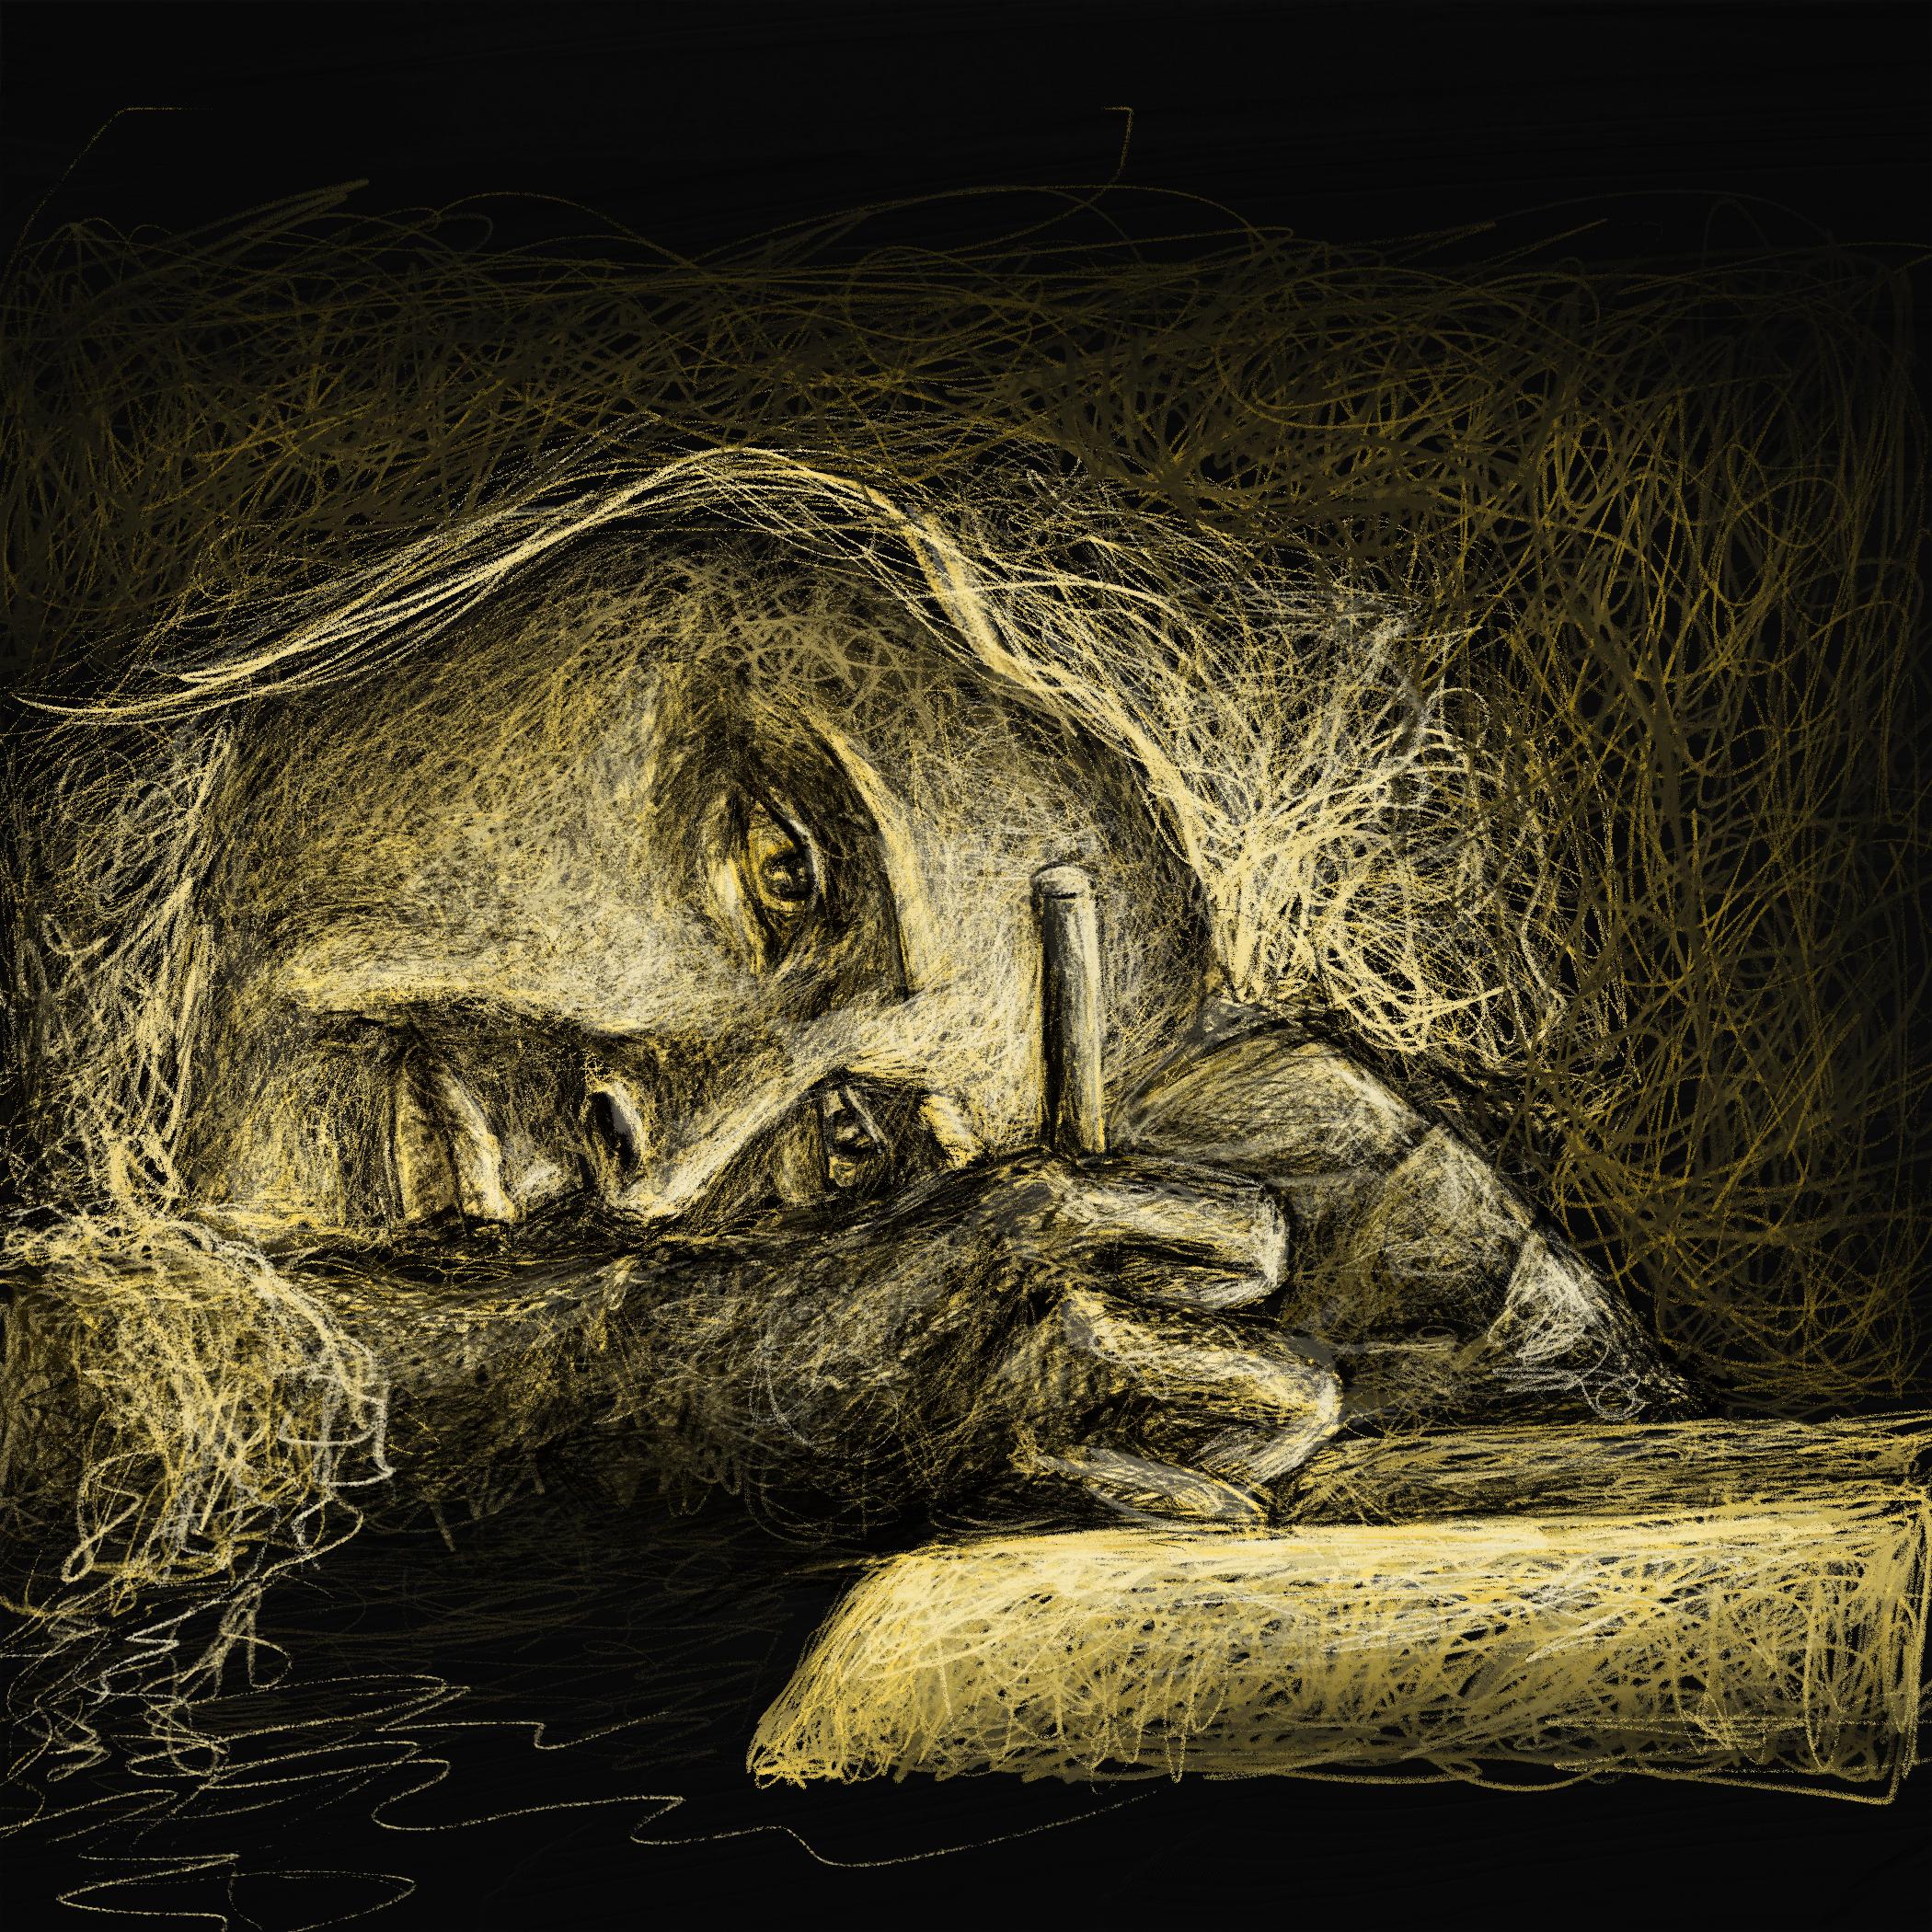
Scribbled Monochromatic Doodle for Noobs
“Talent is a pursued interest." - Bob Ross
I have never been a natural at drawing. My intent it to breakdown complex techniques as I learn to make it easy to follow so anyone can atleast start doodling. The idea is to understand the layers and keep practicing.
The intent of this method is to draw only the parts from a reference photo where light is falling, and let the brain complete the image with the negative space acting as shadowed areas. This helps reduce intimidation towards drawing by limiting it to a monochromatic yellow color to complete the image, without doing much. :D
Further, the method of using scribbles makes this a much easier way to get into drawing, as every stroke is essentially a mistake, so you can't really go wrong! As Bob Ross says, “There are no mistakes, just happy accidents.” :)
View the attached timelapse video for reference before beginning to get an overall idea of the flow.
Supplies
- Any reference image or frame from your favorite movie with high contrast of light and shadow
- Adobe Fresco/ Autodesk Sketch/ Procreate/ Any digital drawing software of preference (whichever has layers). Here I have used Adobe Fresco.
- Any simple drawing tablet + Laptop / Ipad
- Patience and trust in the process (it will look like a boiled potato till almost the end, don't worry)
Keep in mind to work in different layers, avoid adding different details, highlights, shadows etc in the same layer for a more efficient work flow.
Choose the Ideal Reference Photo
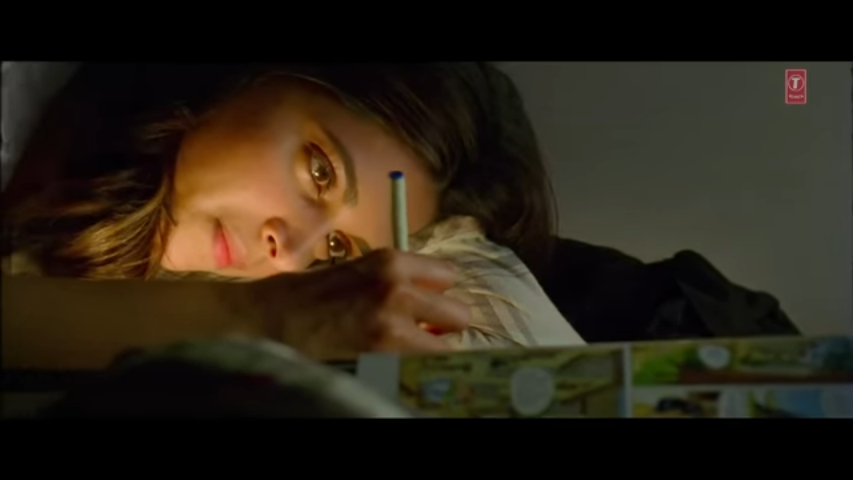
The kind of photo or frame from a movie you would want to choose is one with high contrast between light and shadow. Another suggestion is to use a close-up image to focus on less elements but learn high detail. Once you are used to capturing details in less elements, you can always add more elements in a more complex image.
This is one of my favorite frames from the Hindi movie, Tamasha. The soft light falling on the face highlights the subtle emptiness in the eyes of the character. *Enter more mumbo jumbo* I chose this to start doodling over it *_*
Fill the Elements With Scribbles
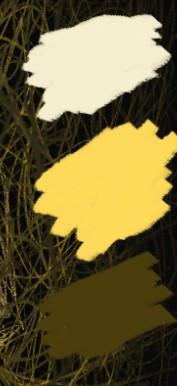
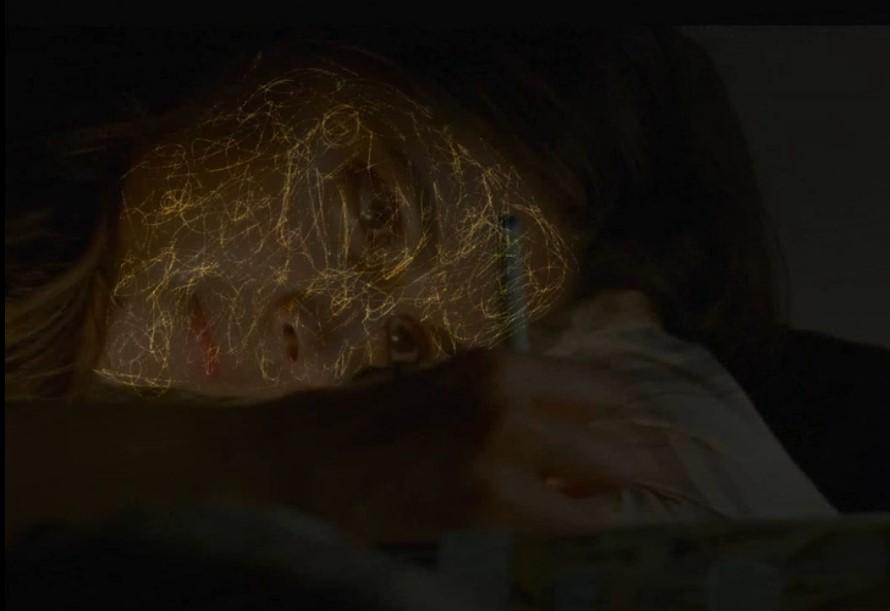
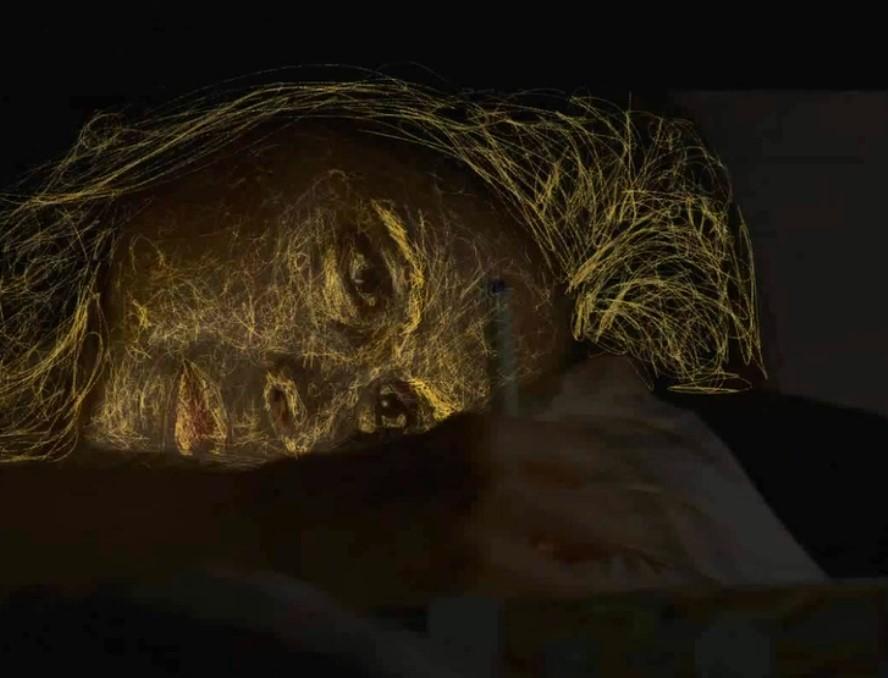
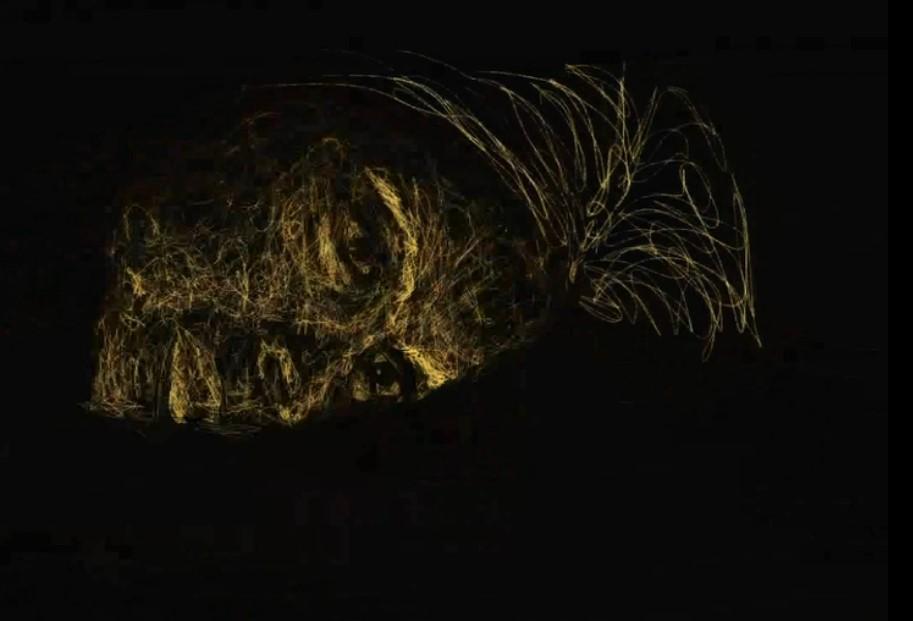
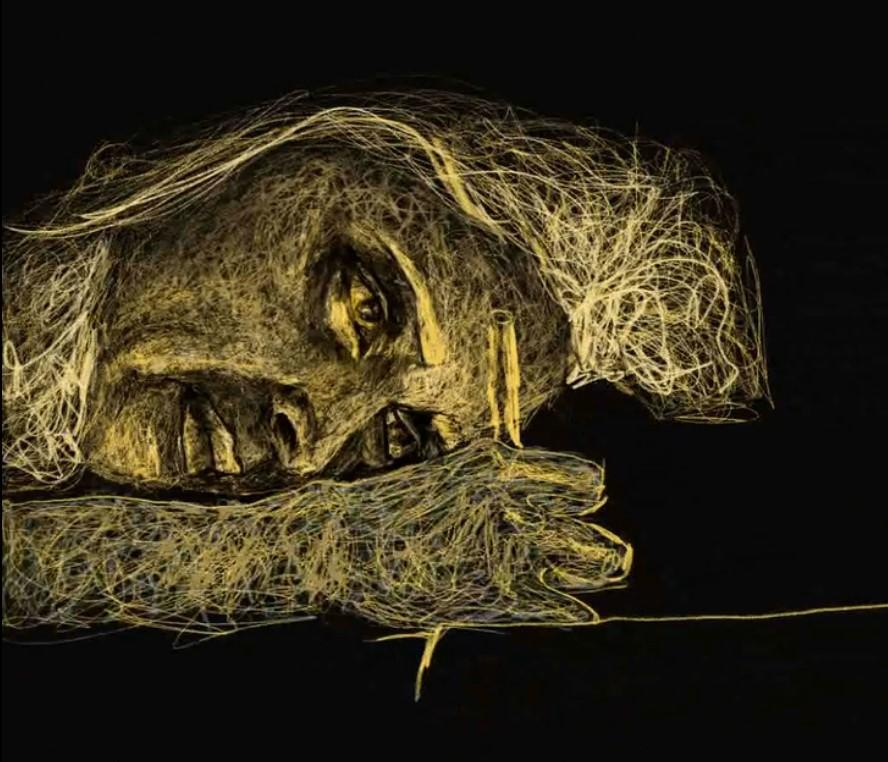
- Import the image in Adobe Fresco and reduce the opacity, enough such that you can view basic elements but also view what you draw over it in the next layer.
- Paint the background black. Select any brush, here I have used charcoal pencil.
- Choose about three shades of yellow, as in the first image. Select one which is between your brightest and the darkest for the base layer.
- Add the next layers and start scribbling over the main objects from the frame. Use different layers for different elements. Here, face, hands, book and pen are in individual layers.
- Use this scribbling method to add texture to the elements. Tighter curls and scribbles vs loose, large scribbles give different perceptions of depth. Explore it further.
Scribble the Lit Areas & Light Colors
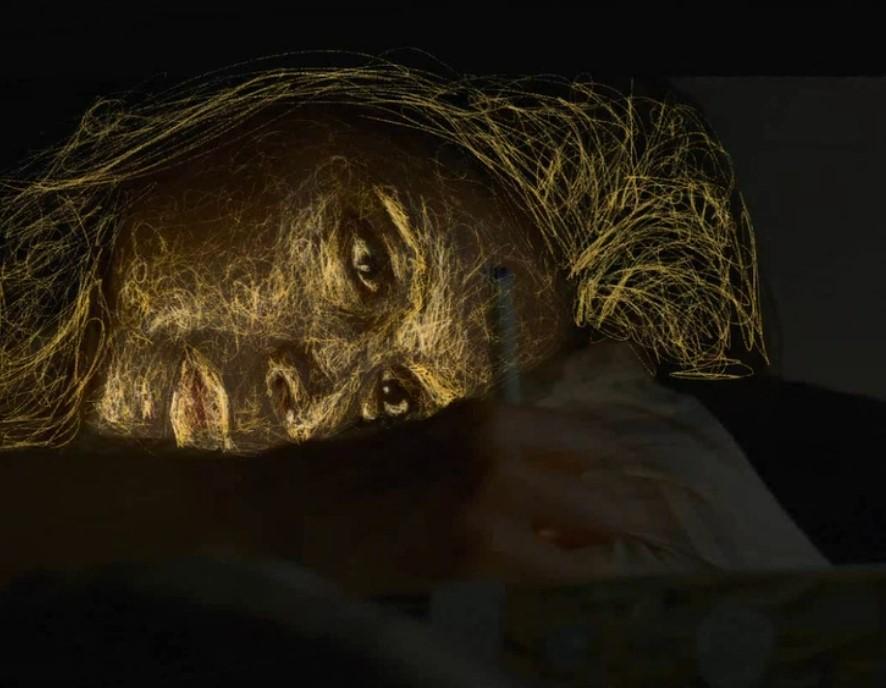
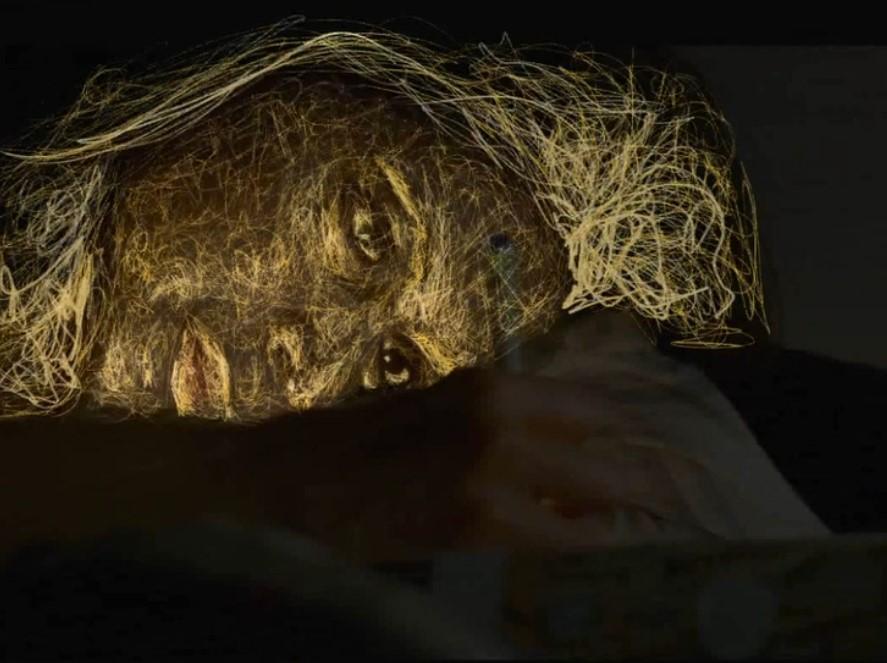
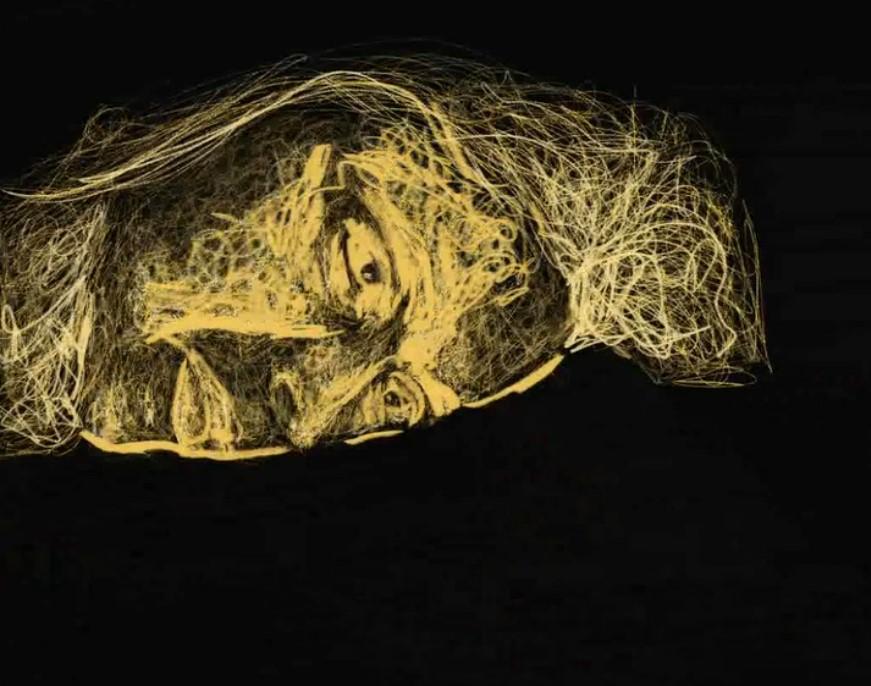
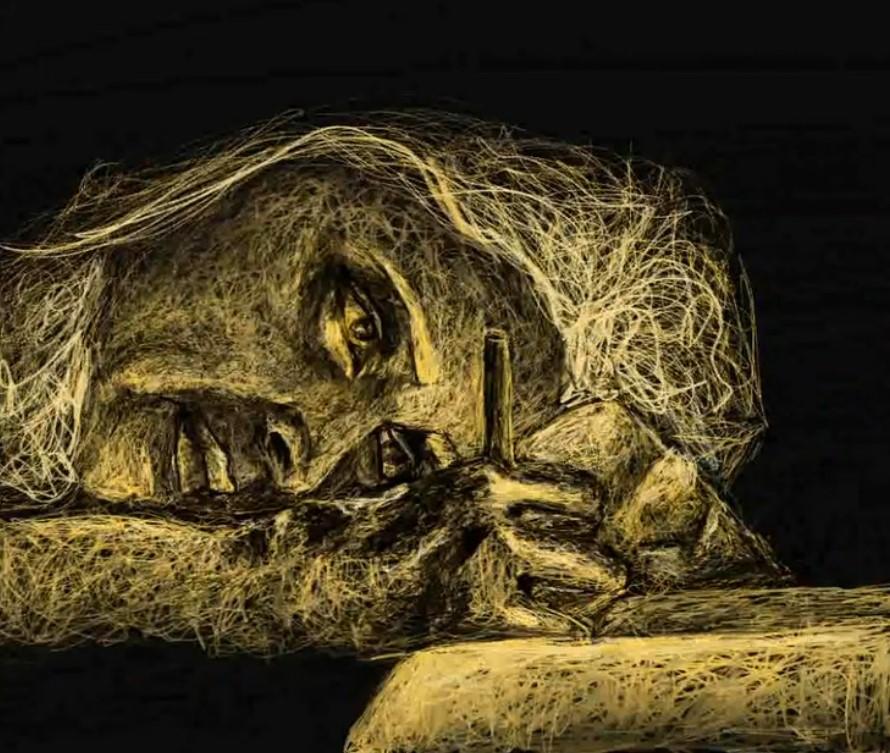
- You will need to keep going back and forth between increasing and reducing the opacity of the image to understand how the light falls. You might also want to simply keep the image up separately on another window.
- Start adding scribbles with the brightest yellow over the lit areas on the elements. This should start defining the face and other elements more and add some depth.
- You can also further add this shade to areas which are whiter or lighter in color. Eg. The white part of the eye (sclera), clothes, paper, etc.
Fill the Shadows
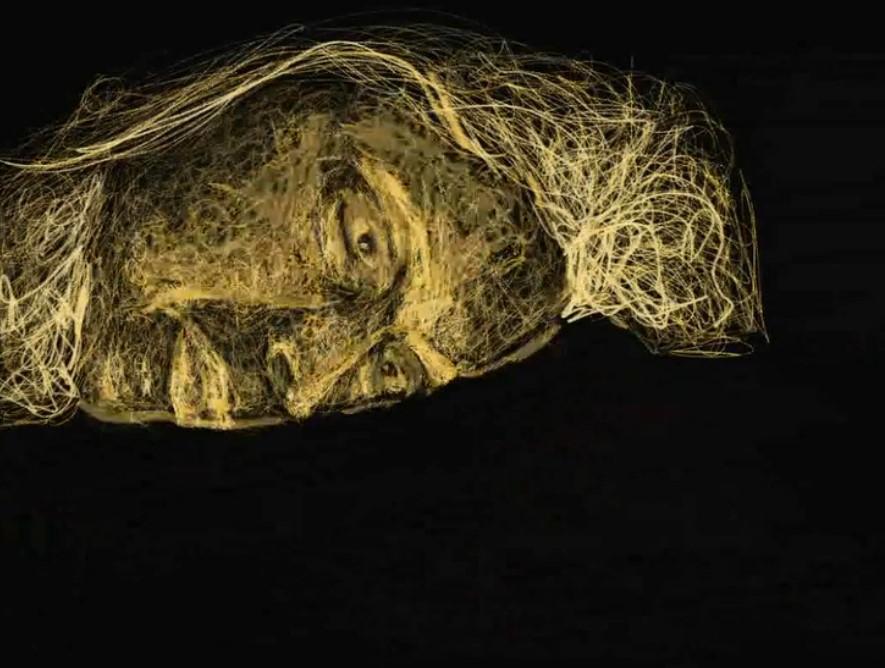
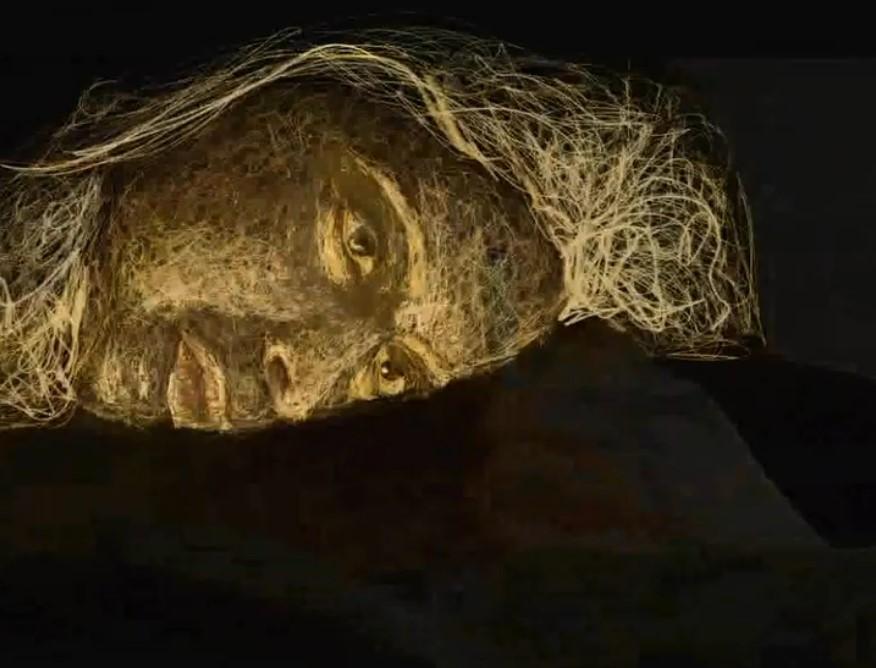
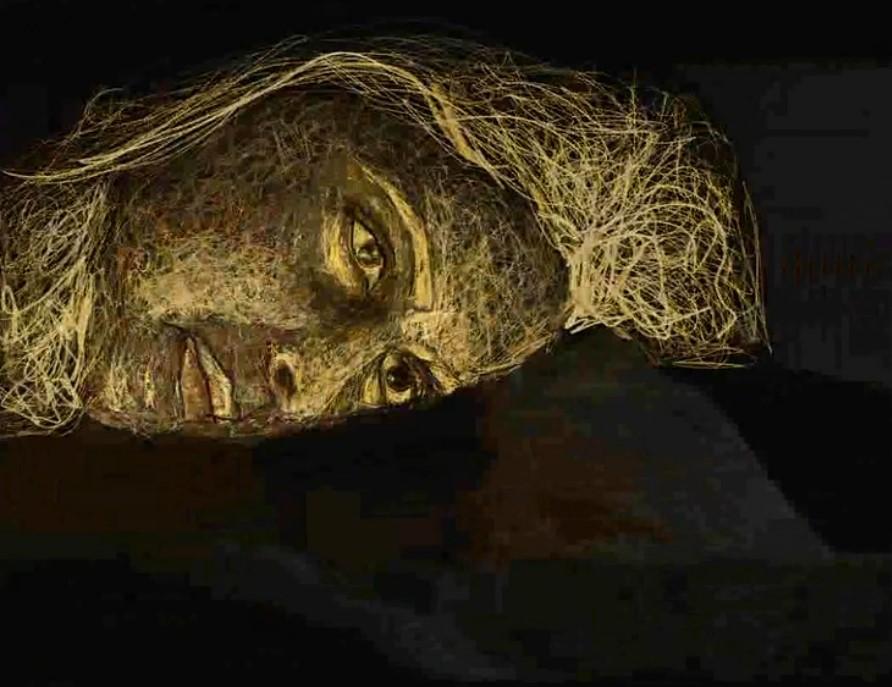
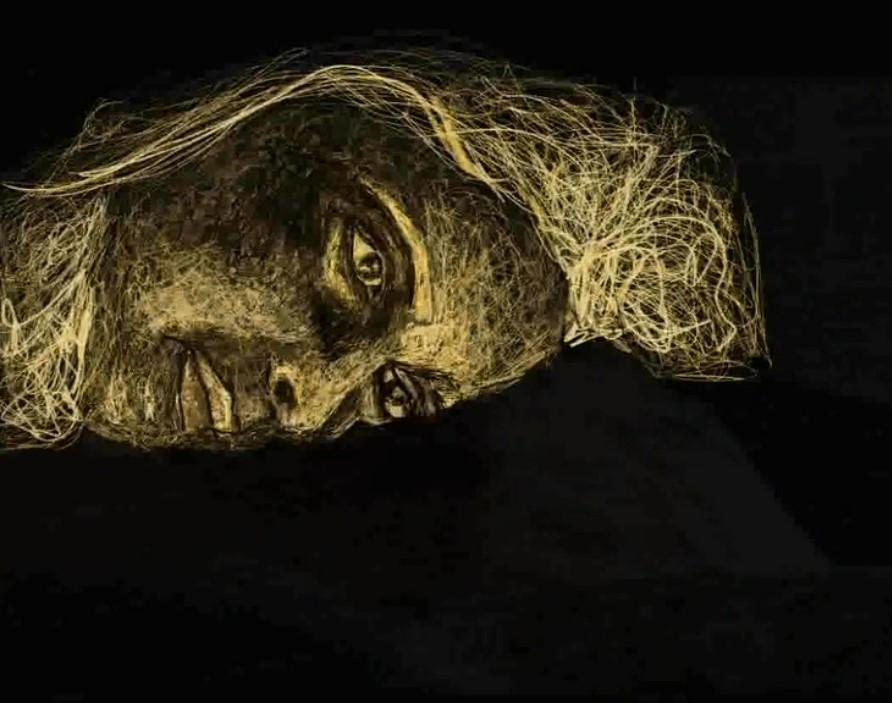
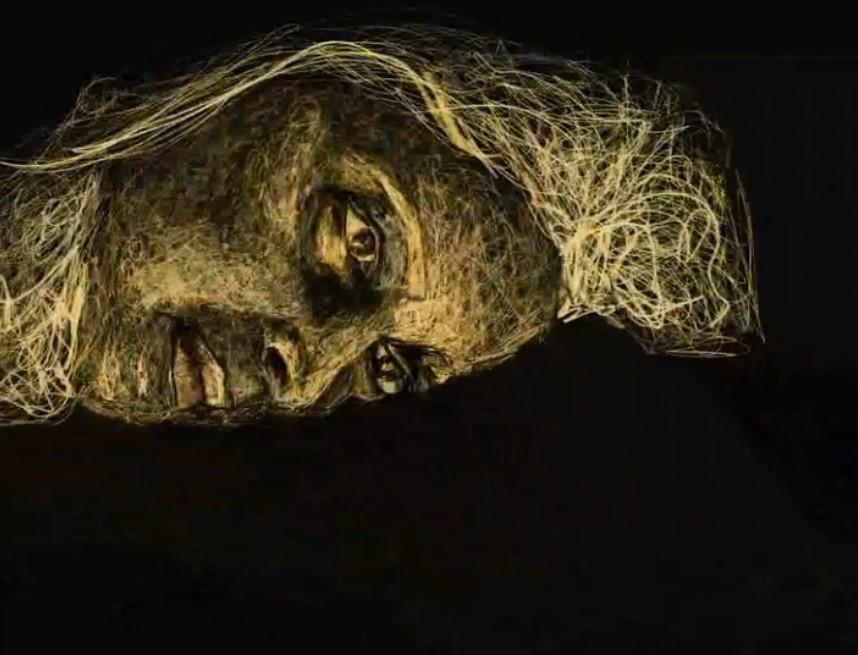
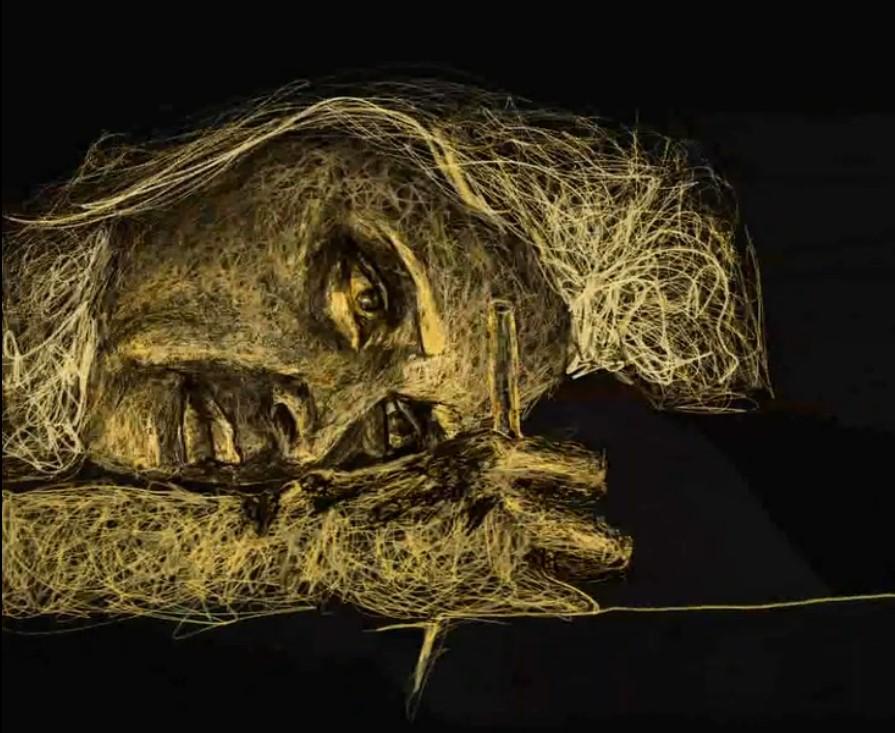
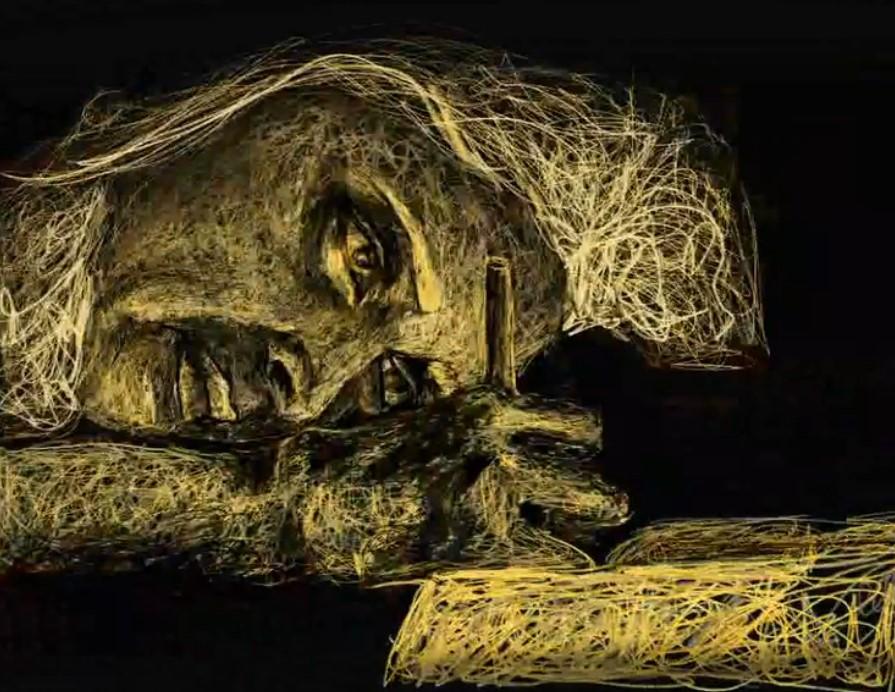
- Just as important as adding light is to add shadow. Select the darker yellow and start adding the shadowed areas to further define the elements.
- You can further use black, same as the background, to scribble the darkest areas and colors like the pupil.
- This step helps understand the effect of light and shadow the most and starts adding expressions and character to the elements. You will start seeing the potato take shape of a human in this step!
Go Back & Forth Between Step 3&4 + Magic of the Eraser
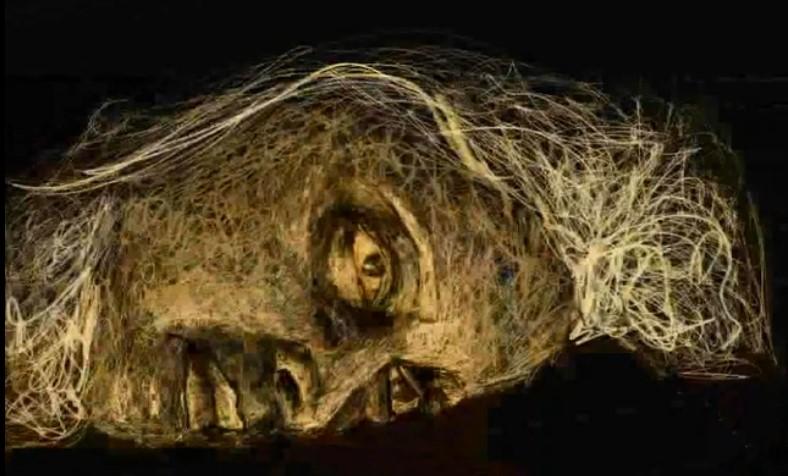
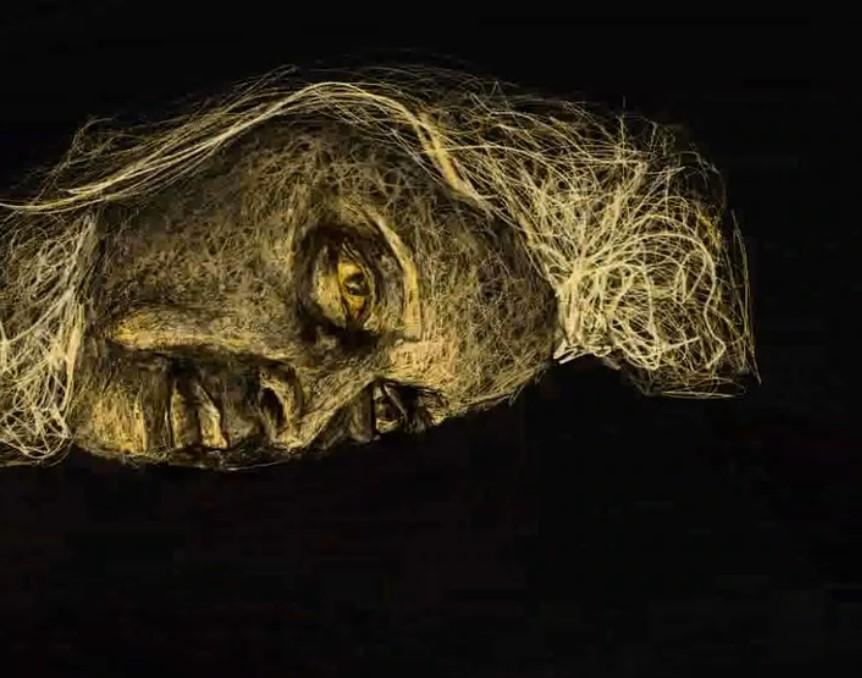
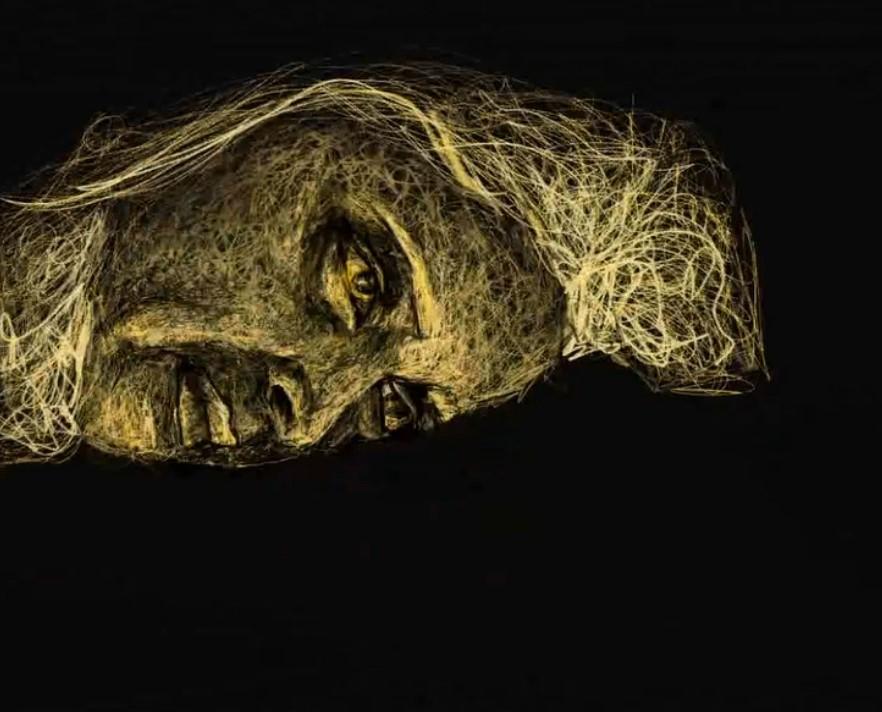
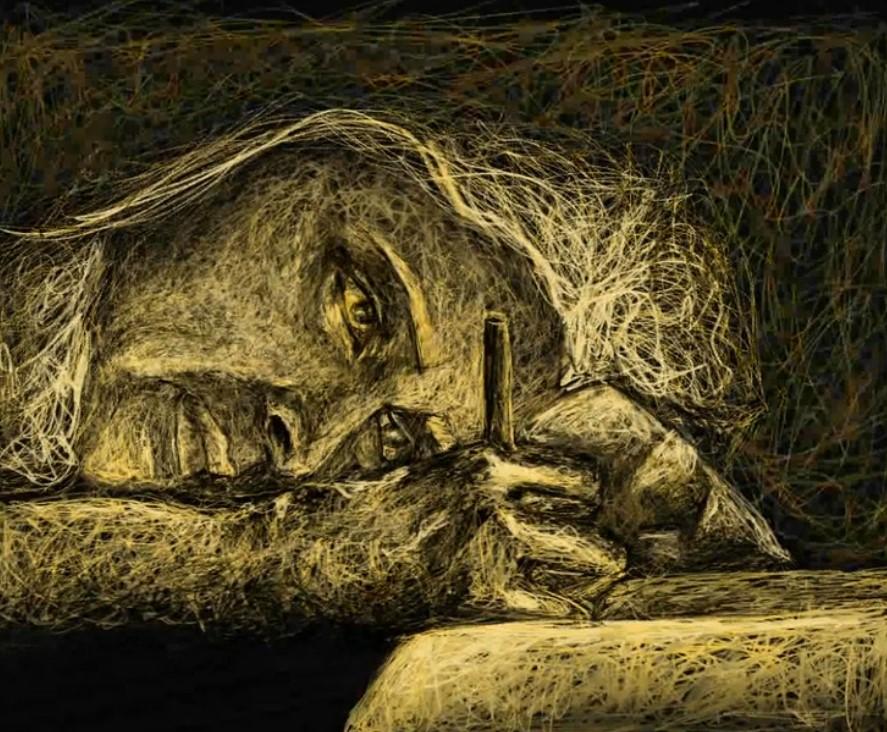
- You will have to keep going back and forth to keep adding details like skin crease, hair, etc. and add more depth.
- Use soft round eraser to erase certain lit areas and the drawing suddenly starts getting a more 3d form.
- Add more details using the black color, like vague outlines, creases, wrinkles etc.
Add Highlights
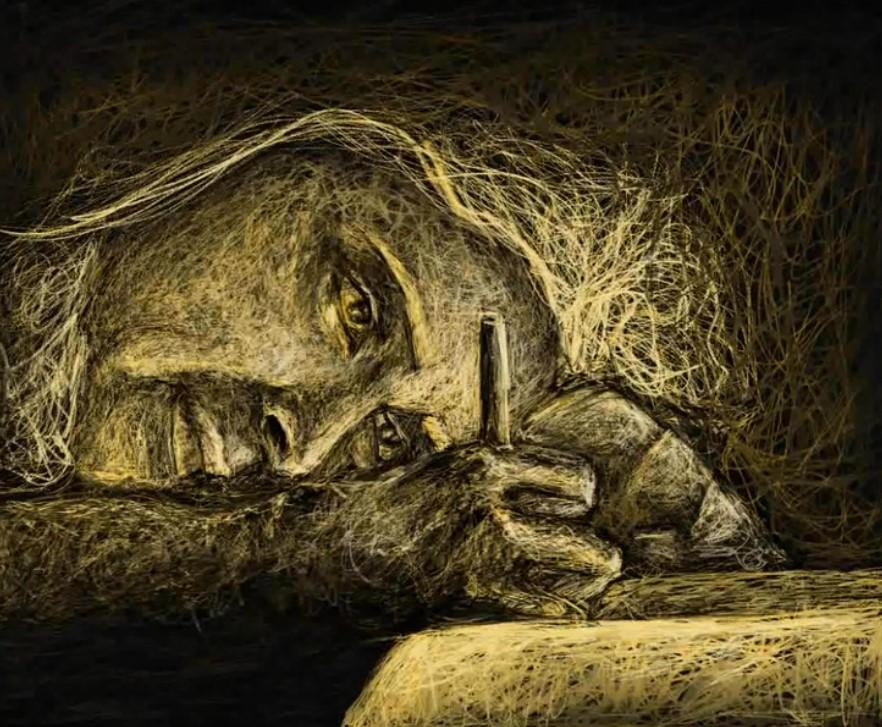
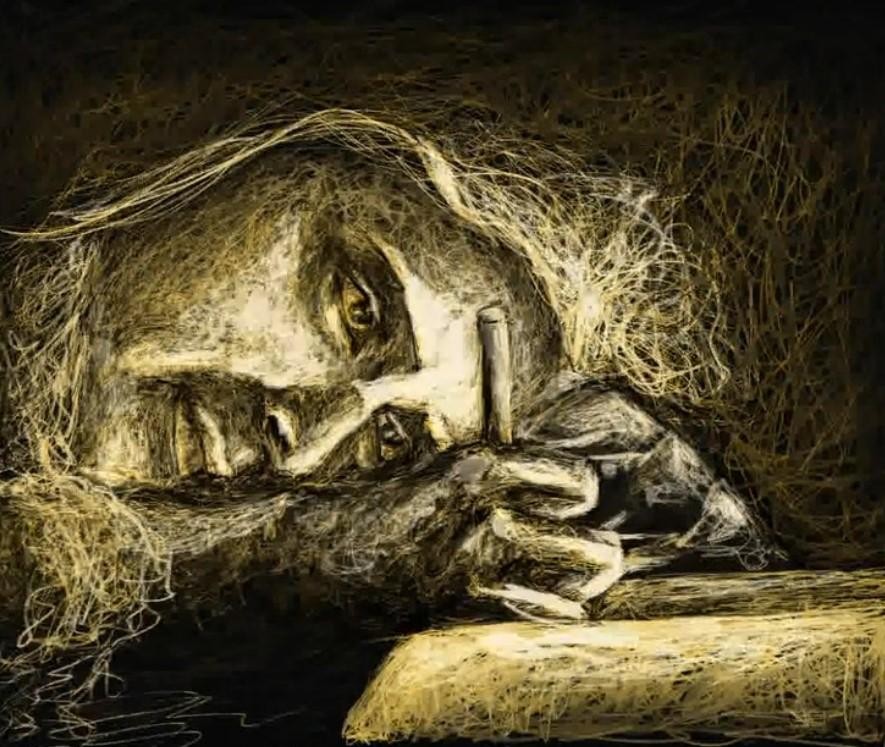
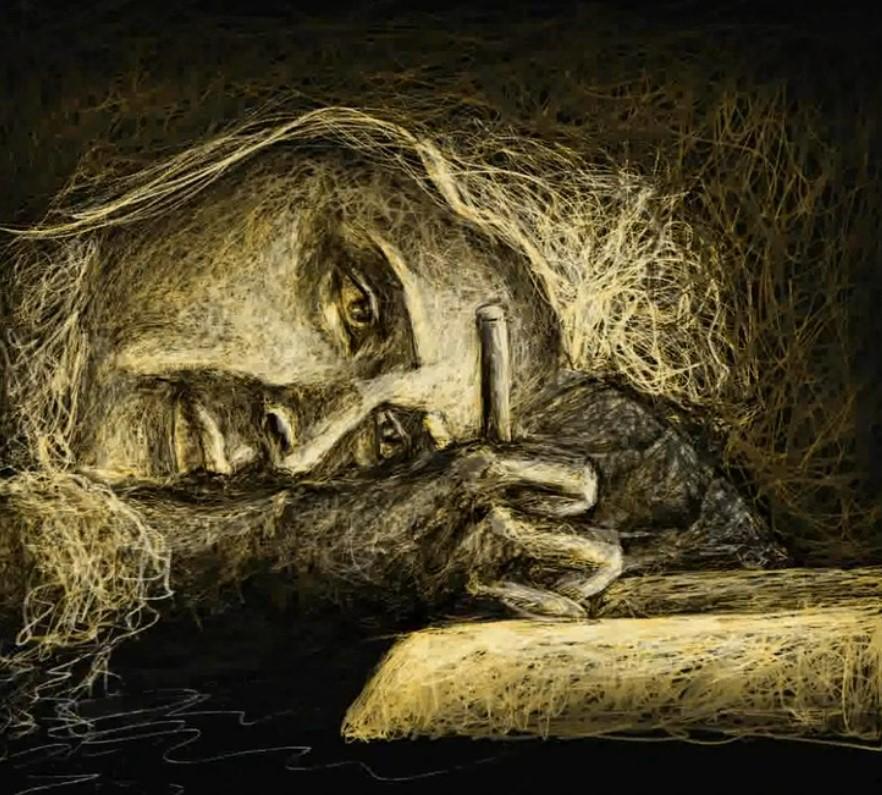
- Most fun step, this helps add life to the drawing
- Choose which direction the light comes from, and start boldly adding tight scribbles over it with an even brighter, almost white yellow. This will be the lightest most lit parts where the light is falling most strongly.
- Use the layer blending option 'Overlay' or 'Screen' or reduce opacity as per preference.
Keep exploring further and practicing. Have fun scribbling away :D
Instagram - https://www.instagram.com/harleen.dhawan/