Screen Real Estate (linux).
by Computothought in Circuits > Linux
2317 Views, 4 Favorites, 0 Comments
Screen Real Estate (linux).
Do this at your own risk as I will not be responsible for any issues:
One of the biggest complaints I get is the text screen is too small. I generally agree. More recent computers actually have the ability to use a higher resolution, but do not take advantage of it in the default mode. This instructable is for more advanced users. Please get help before starting this project if you are at least the little bit unsure.
You will need to have the documentation for both your video card and for your monitor. You will see numbers like 640x48 800x600 1024x768. Take those numbers and use the lower of the two from the video card and the monitor settings. If you can only use 640x400 then stop here. The 640x400 is the default. there is a 320x200, but I have not see that in years,
In my case the highest resolution for the monitor was 800x600. Still a boost over the default 640x400 screen.
Lastly you need to find out what your Linux system uses to boot, Lilo (we will not cover it), Grub (aka Grub1) or Grub 2.
For our purposes we will be using Grub2 for the images. Pictures in this step are the original screen shots.
Grub (aka Grub1)
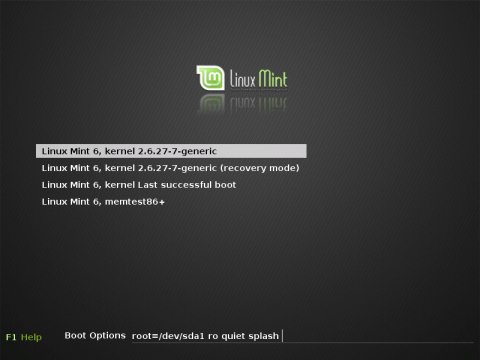
This is the easiest setup. as you only have to edit one file and then reboot.
$ sudo vim /boot/grub/menu.lst
or if you do not have vim
$ sudo nano /boot/grub/menu.lst'
# (0) Arch Linux
title Arch Linux
root (hd2,2)
kernel /boot/vmlinuz26 root=/dev/disk/by-uuid/1069fde9-8696-49a8-bbec-b8f35458f4d9 ro
initrd /boot/kernel26.img
We need to choose the number for our monitor and graphics card. we need to look at the table to get a number that linux understands. We are just going to use the 256 line as colors are not critical for our test setup. In our case it is 800x600, so we would use 0x303.
You will need to translate the hex umbers to decimal. Using a search engine can convert it for you. We need to append vga=771 to the kernel line.
# (0) Arch Linux
title Arch Linux
root (hd2,2)
kernel /boot/vmlinuz26 root=/dev/disk/by-uuid/1069fde9-8696-49a8-bbec-b8f35458f4d9 ro vga=771
initrd /boot/kernel26.img
Check you woirk. Some times it might be a good idea to copy the original lines, so in case the numbers do not work you can always still get into the system.
# (0) Arch Linux
title Arch Linux
root (hd2,2)
kernel /boot/vmlinuz26 root=/dev/disk/by-uuid/1069fde9-8696-49a8-bbec-b8f35458f4d9 ro vga=774
initrd /boot/kernel26.img
# (1) Arch Linux
title Arch Linux default resolution
root (hd2,2)
kernel /boot/vmlinuz26 root=/dev/disk/by-uuid/1069fde9-8696-49a8-bbec-b8f35458f4d9 ro
initrd /boot/kernel26.img
Check your work, save your work, and reboot. You should not ge able to do the new resolution.
$ sudo vim /boot/grub/menu.lst
or if you do not have vim
$ sudo nano /boot/grub/menu.lst'
# (0) Arch Linux
title Arch Linux
root (hd2,2)
kernel /boot/vmlinuz26 root=/dev/disk/by-uuid/1069fde9-8696-49a8-bbec-b8f35458f4d9 ro
initrd /boot/kernel26.img
We need to choose the number for our monitor and graphics card. we need to look at the table to get a number that linux understands. We are just going to use the 256 line as colors are not critical for our test setup. In our case it is 800x600, so we would use 0x303.
| 640x480 | 800x600 | 1024x768 | 1280x1024 | |
| 256 | 0x301 | 0x303 | 0x305 | 0x307 |
| 32k | 0x310 | 0x313 | 0x316 | 0x319 |
| 64k | 0x311 | 0x314 | 0x317 | 0x31A |
| 16M | 0x312 | 0x315 | 0x318 | 0x31B |
You will need to translate the hex umbers to decimal. Using a search engine can convert it for you. We need to append vga=771 to the kernel line.
# (0) Arch Linux
title Arch Linux
root (hd2,2)
kernel /boot/vmlinuz26 root=/dev/disk/by-uuid/1069fde9-8696-49a8-bbec-b8f35458f4d9 ro vga=771
initrd /boot/kernel26.img
Check you woirk. Some times it might be a good idea to copy the original lines, so in case the numbers do not work you can always still get into the system.
# (0) Arch Linux
title Arch Linux
root (hd2,2)
kernel /boot/vmlinuz26 root=/dev/disk/by-uuid/1069fde9-8696-49a8-bbec-b8f35458f4d9 ro vga=774
initrd /boot/kernel26.img
# (1) Arch Linux
title Arch Linux default resolution
root (hd2,2)
kernel /boot/vmlinuz26 root=/dev/disk/by-uuid/1069fde9-8696-49a8-bbec-b8f35458f4d9 ro
initrd /boot/kernel26.img
Check your work, save your work, and reboot. You should not ge able to do the new resolution.
Grub2

Grub2 is a little more complicated and you need to be extra careful.
First we need to edit the /etc/default/grub file. At least you no longer have to do the hex conversion.
$ sudo vim /etc/default/grub go down to this part of the file and add GRUB_GFXMODE=800x600 leaving the original line as is.
# The resolution used on graphical terminal
# note that you can use only modes which your graphic card supports via VBE
# you can see them in real GRUB with the command `vbeinfo'
#GRUB_GFXMODE=640x480
GRUB_GFXMODE=800x600
Save that. Now we need to edit /etc/grub.d/00_header
$ sudo vim /etc/grub.d/00_header
Go down where it says:
My file looked a bit different, but just ignore it and just add the one line.
Mine looked like this:
if loadfont `make_system_path_relative_to_its_root "${GRUB_FONT_PATH}"` ; then
set gfxmode=${GRUB_GFXMODE}
set gfxpayload=keep
load_video
insmod gfxterm
fi
Save your work. Now the files are edited we need to tell the system of the changes.
$ sudo update-grub
IGenerating grub.cfg ...
Found linux image: /boot/vmlinuz-2.6.32-5-686
Found initrd image: /boot/initrd.img-2.6.32-5-686
done
$ _
If there are no error messages, you should be ready to reboot.
$ sudo reboot
First we need to edit the /etc/default/grub file. At least you no longer have to do the hex conversion.
$ sudo vim /etc/default/grub go down to this part of the file and add GRUB_GFXMODE=800x600 leaving the original line as is.
# The resolution used on graphical terminal
# note that you can use only modes which your graphic card supports via VBE
# you can see them in real GRUB with the command `vbeinfo'
#GRUB_GFXMODE=640x480
GRUB_GFXMODE=800x600
Save that. Now we need to edit /etc/grub.d/00_header
$ sudo vim /etc/grub.d/00_header
Go down where it says:
set gfxmode=1280x800 and on the very next line put set gfxpayload=keep.My file looked a bit different, but just ignore it and just add the one line.
set gfxmode=1280x800

set gfxpayload=keep

insmod gfxterm

insmod vbe
Mine looked like this:
if loadfont `make_system_path_relative_to_its_root "${GRUB_FONT_PATH}"` ; then
set gfxmode=${GRUB_GFXMODE}
set gfxpayload=keep
load_video
insmod gfxterm
fi
Save your work. Now the files are edited we need to tell the system of the changes.
$ sudo update-grub
IGenerating grub.cfg ...
Found linux image: /boot/vmlinuz-2.6.32-5-686
Found initrd image: /boot/initrd.img-2.6.32-5-686
done
$ _
If there are no error messages, you should be ready to reboot.
$ sudo reboot
Whoopie More Screen!
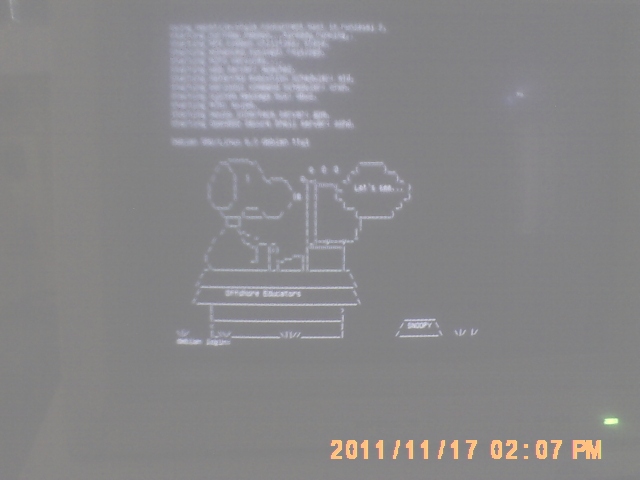
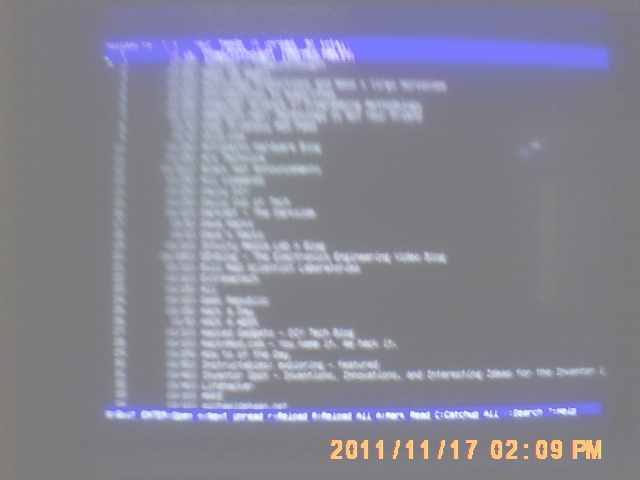
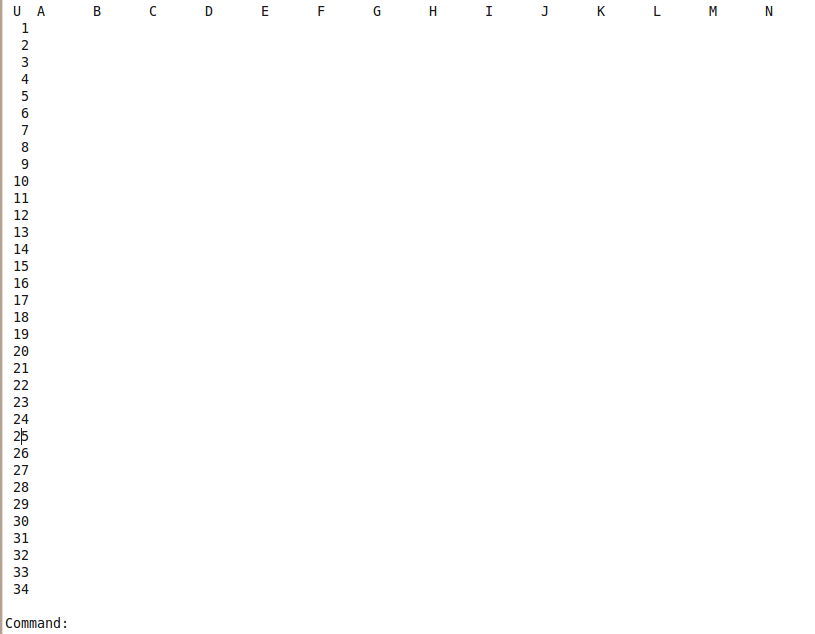
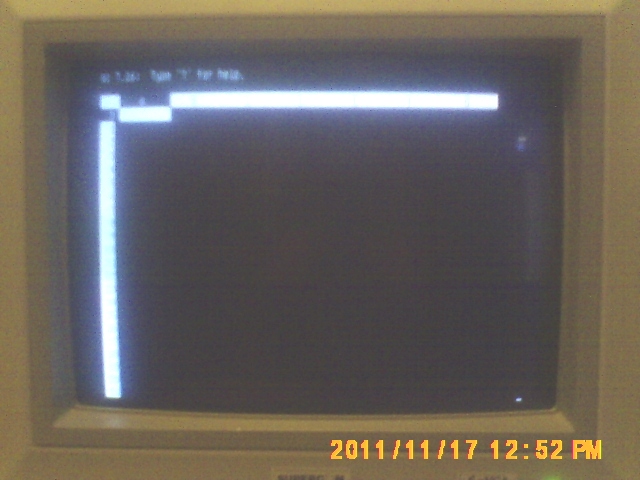
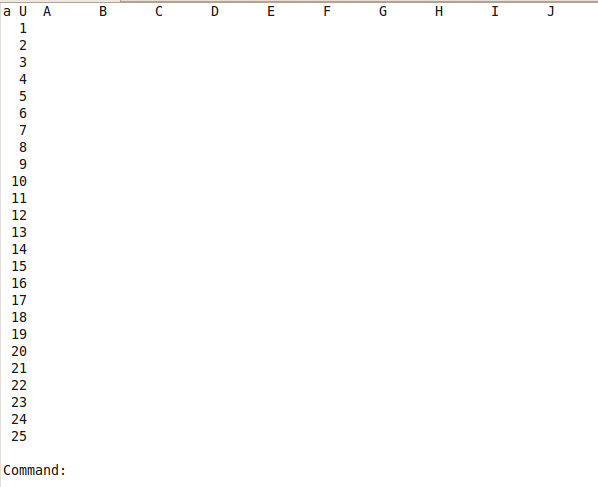
Like almost getting a new monitor for free. Even the spreadsheet had 10 additional lines to work with. If we were able to go to 1024x768, you would really see the difference!!! Most monitors will easily do that and better if your video card supports it. Good luck!
Note: This may work for your graphics modes also.
Note: This may work for your graphics modes also.