Scrap Art
I have a husband who likes to chop up pallets and make stuff. This generates quite a lot of off cuts which we usually chuck in a bin and use as firewood when camping. In these Covidious times there isn't a lot of camping happening, so the offcuts are building up.
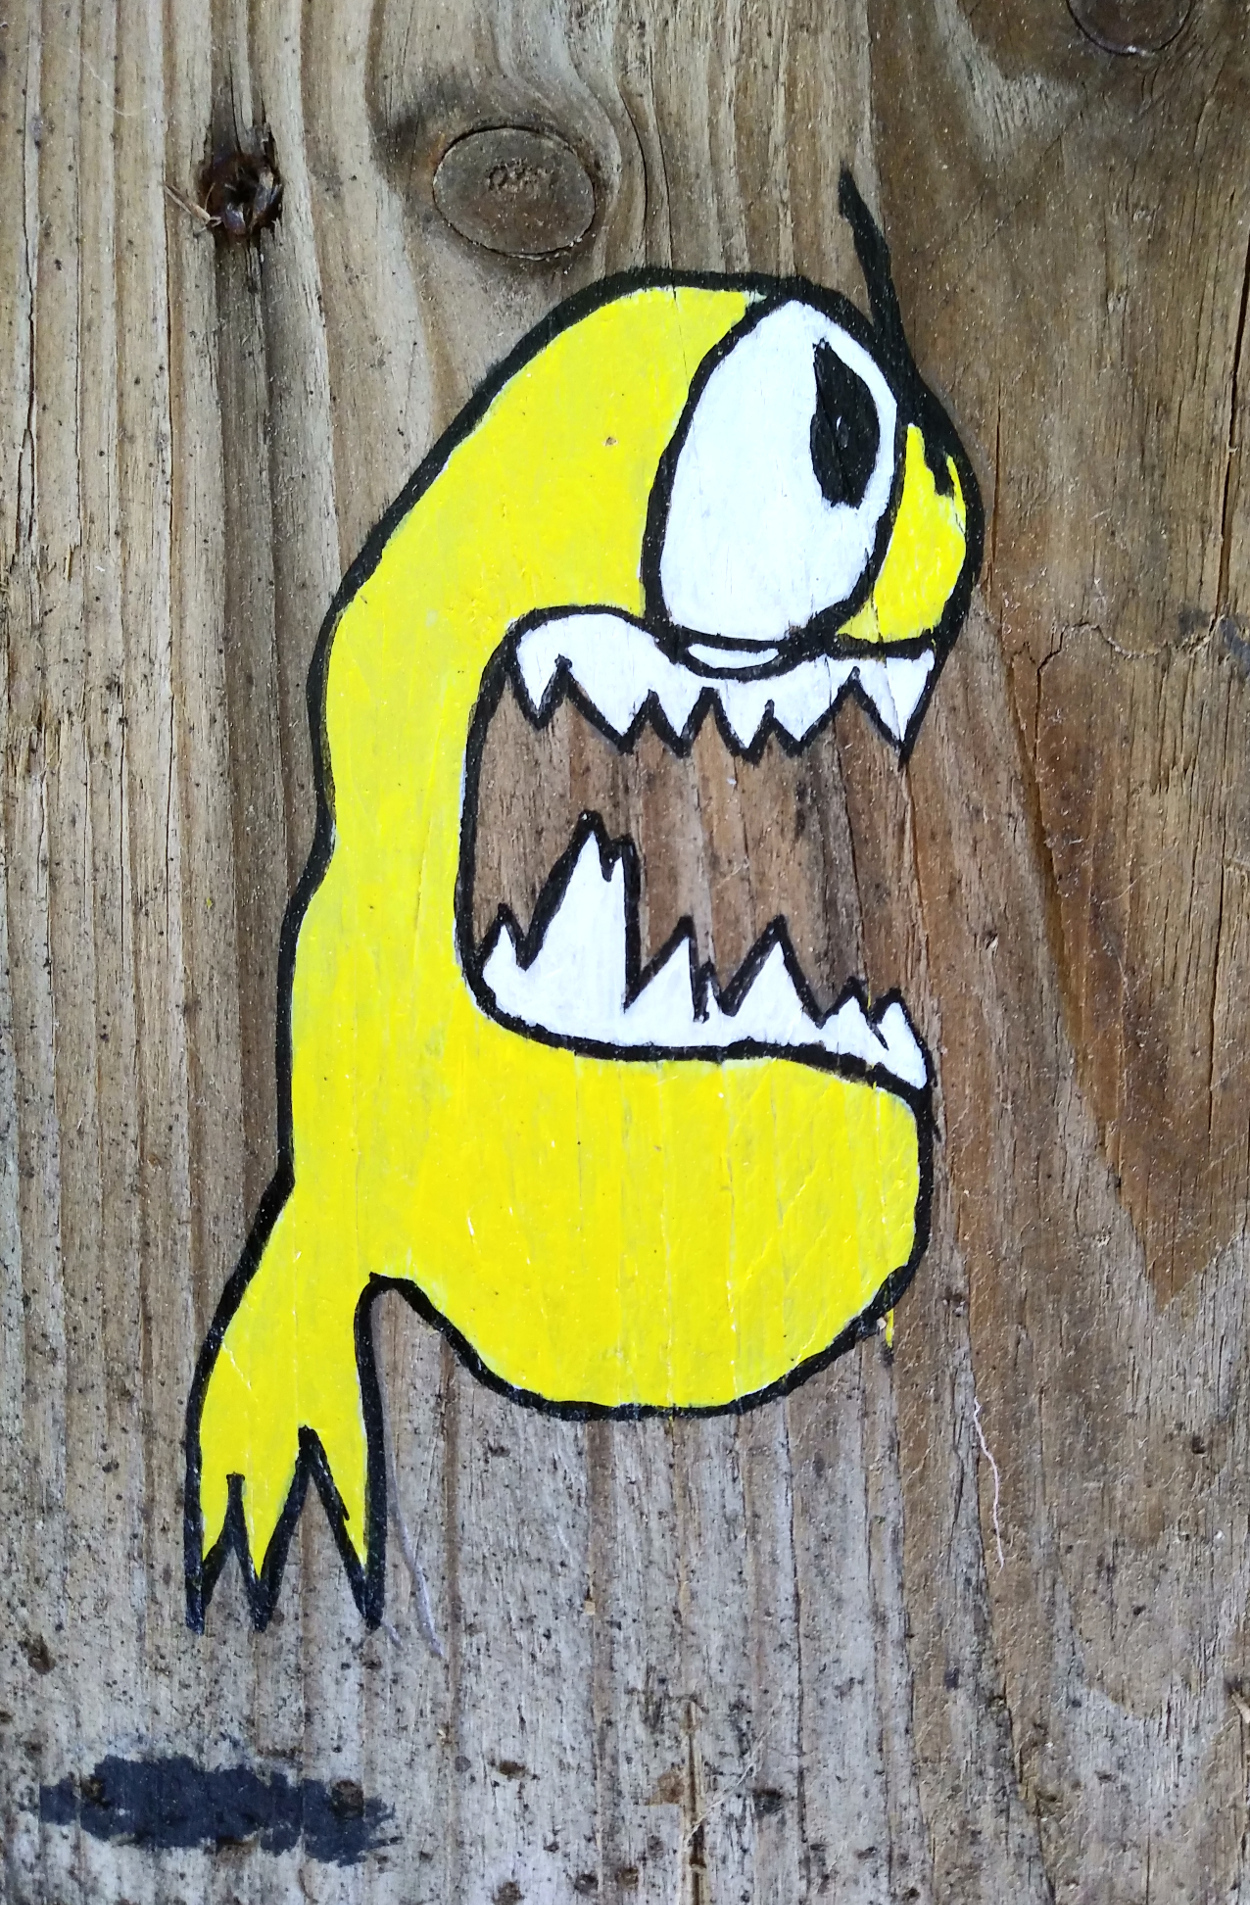
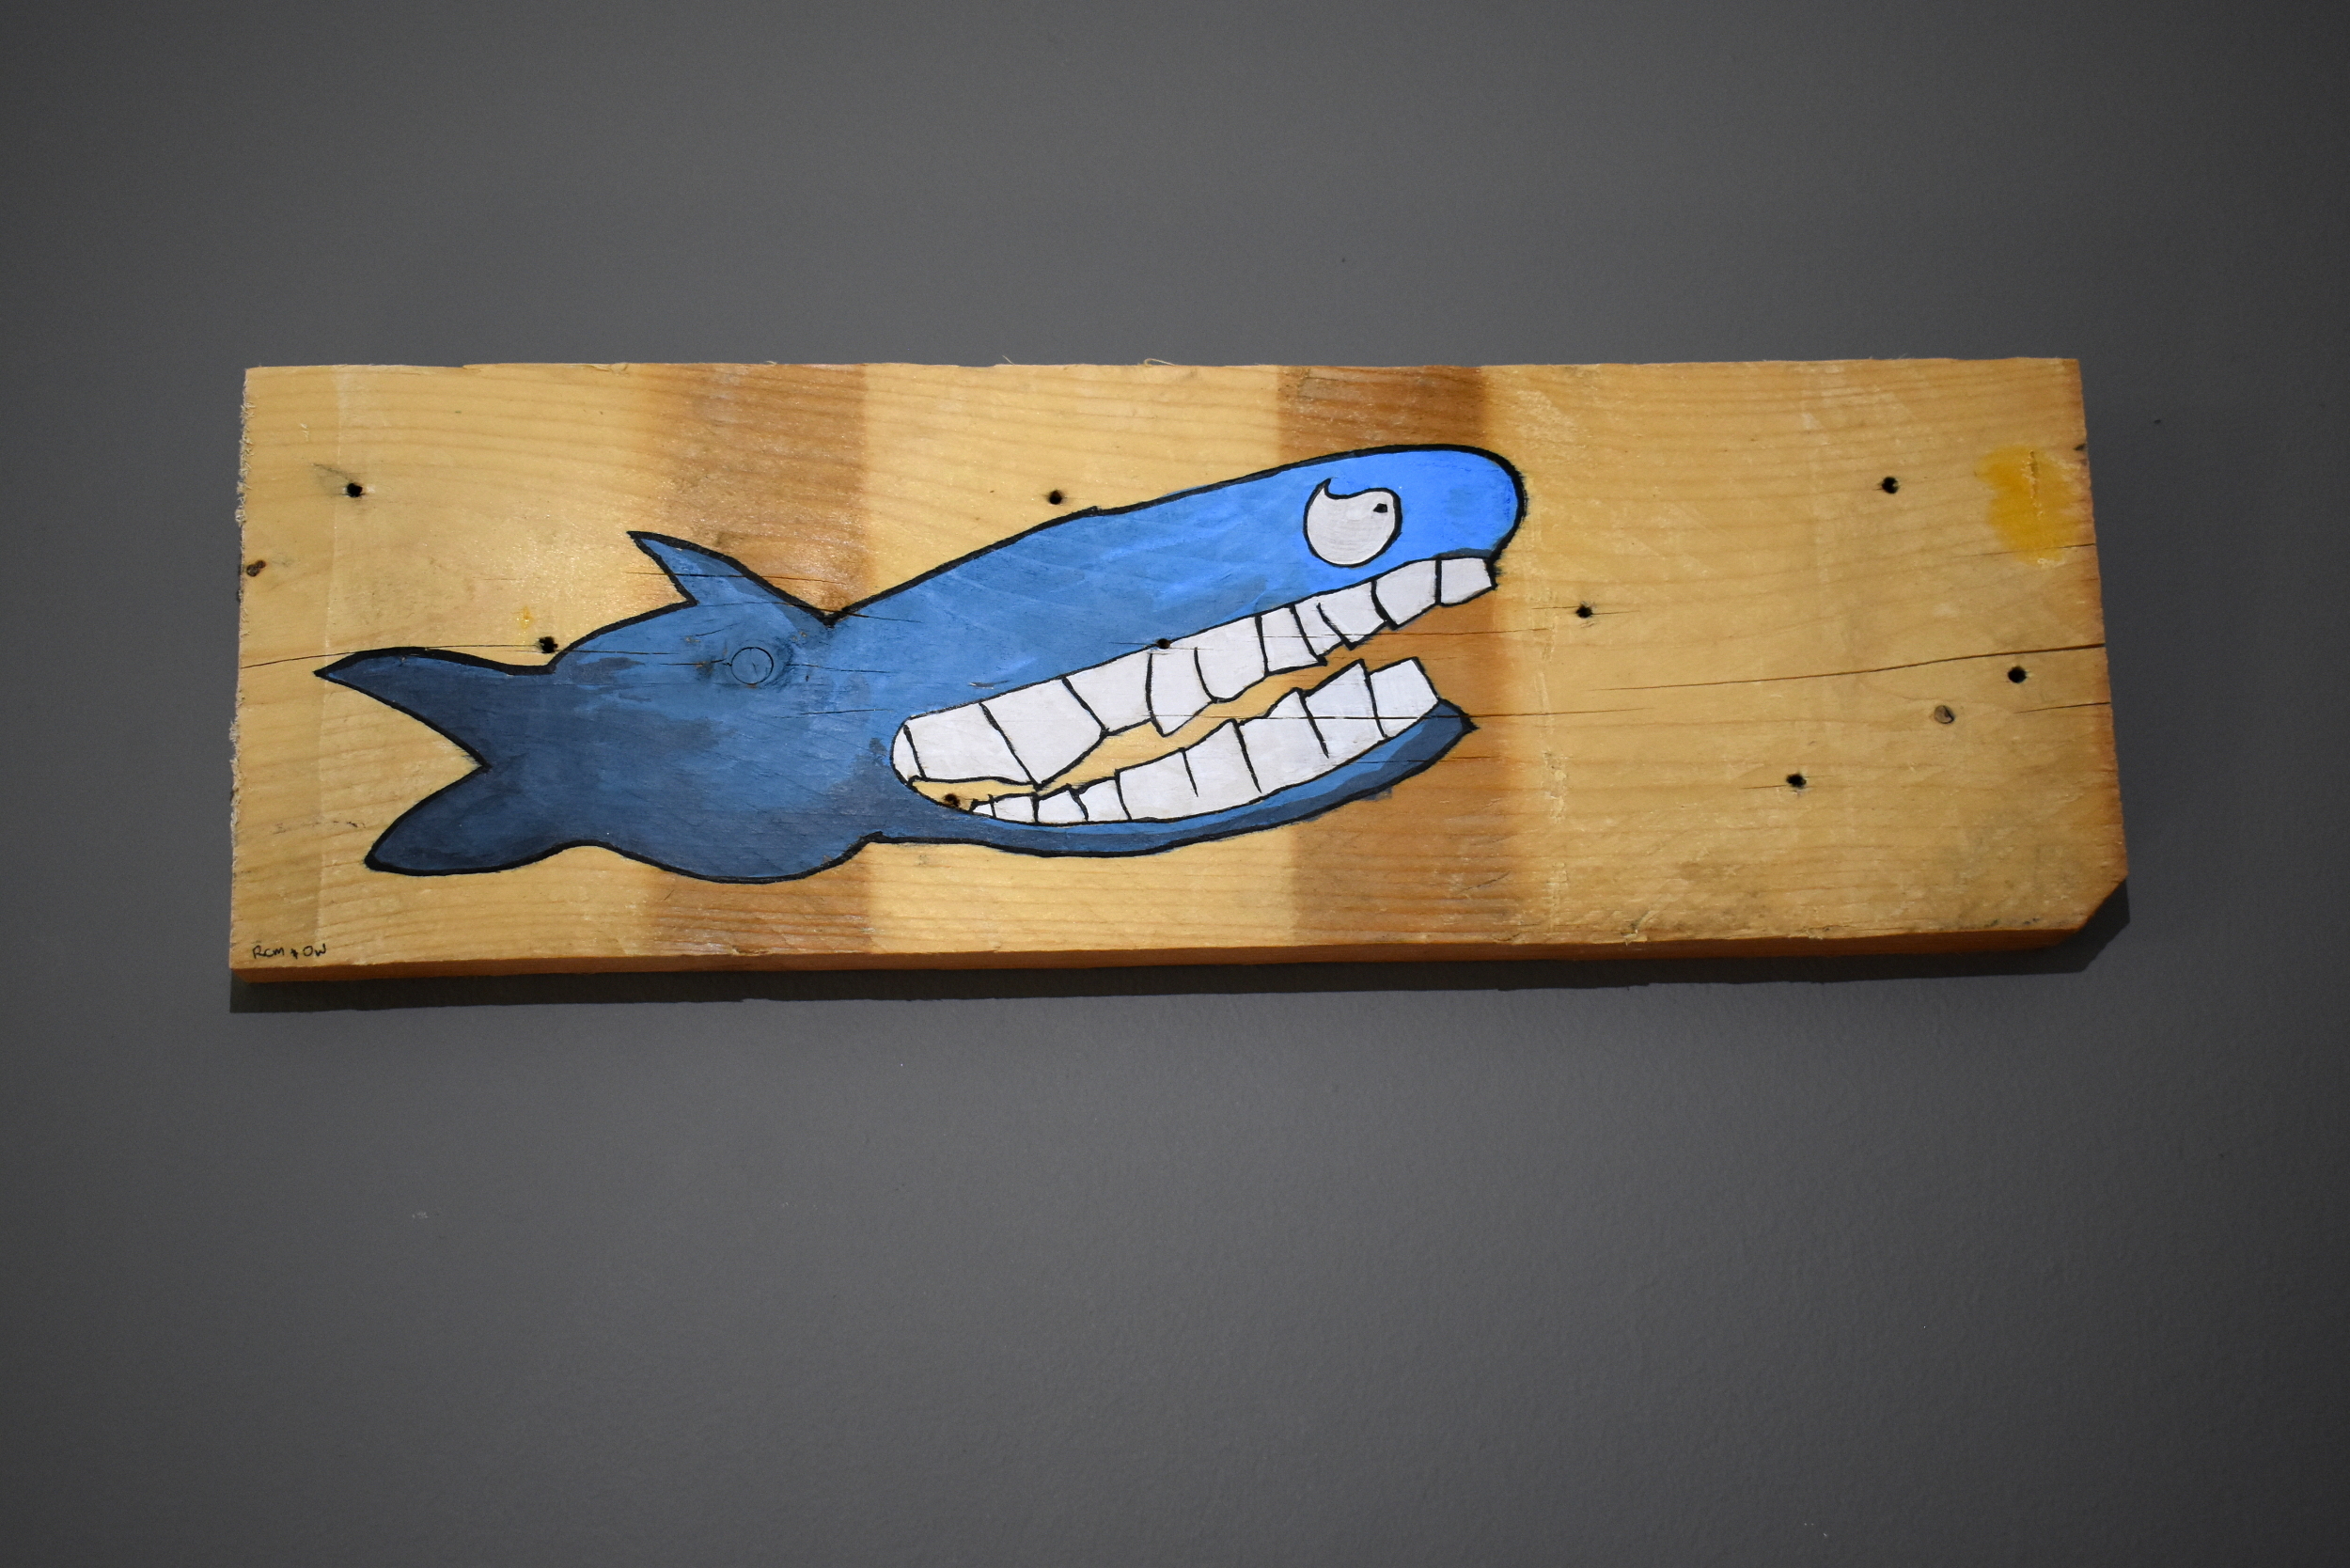
While this is happening, my son is generating a huge amount of art. Cartoony fish, complicated machines, angry looking seaweed and hugely obese rats. I just love these drawings and his ability to convey emotion (mostly anger!) with a single line. With his permission I have started upgrading these drawings into wall art - using his originals as the base. I'm always looking for things to paint on, and the off cut bin caught my eye. A few paintings later and it is a firm favorite - I love the contrast between the solid bright colours of the paintings and the rough wood :)
Here's how you can do it too!
Supplies
Scrap wood
Indian Ink
Paint brushes
Scissors
Paper
FInd Your Scraps and Choose Your Picture

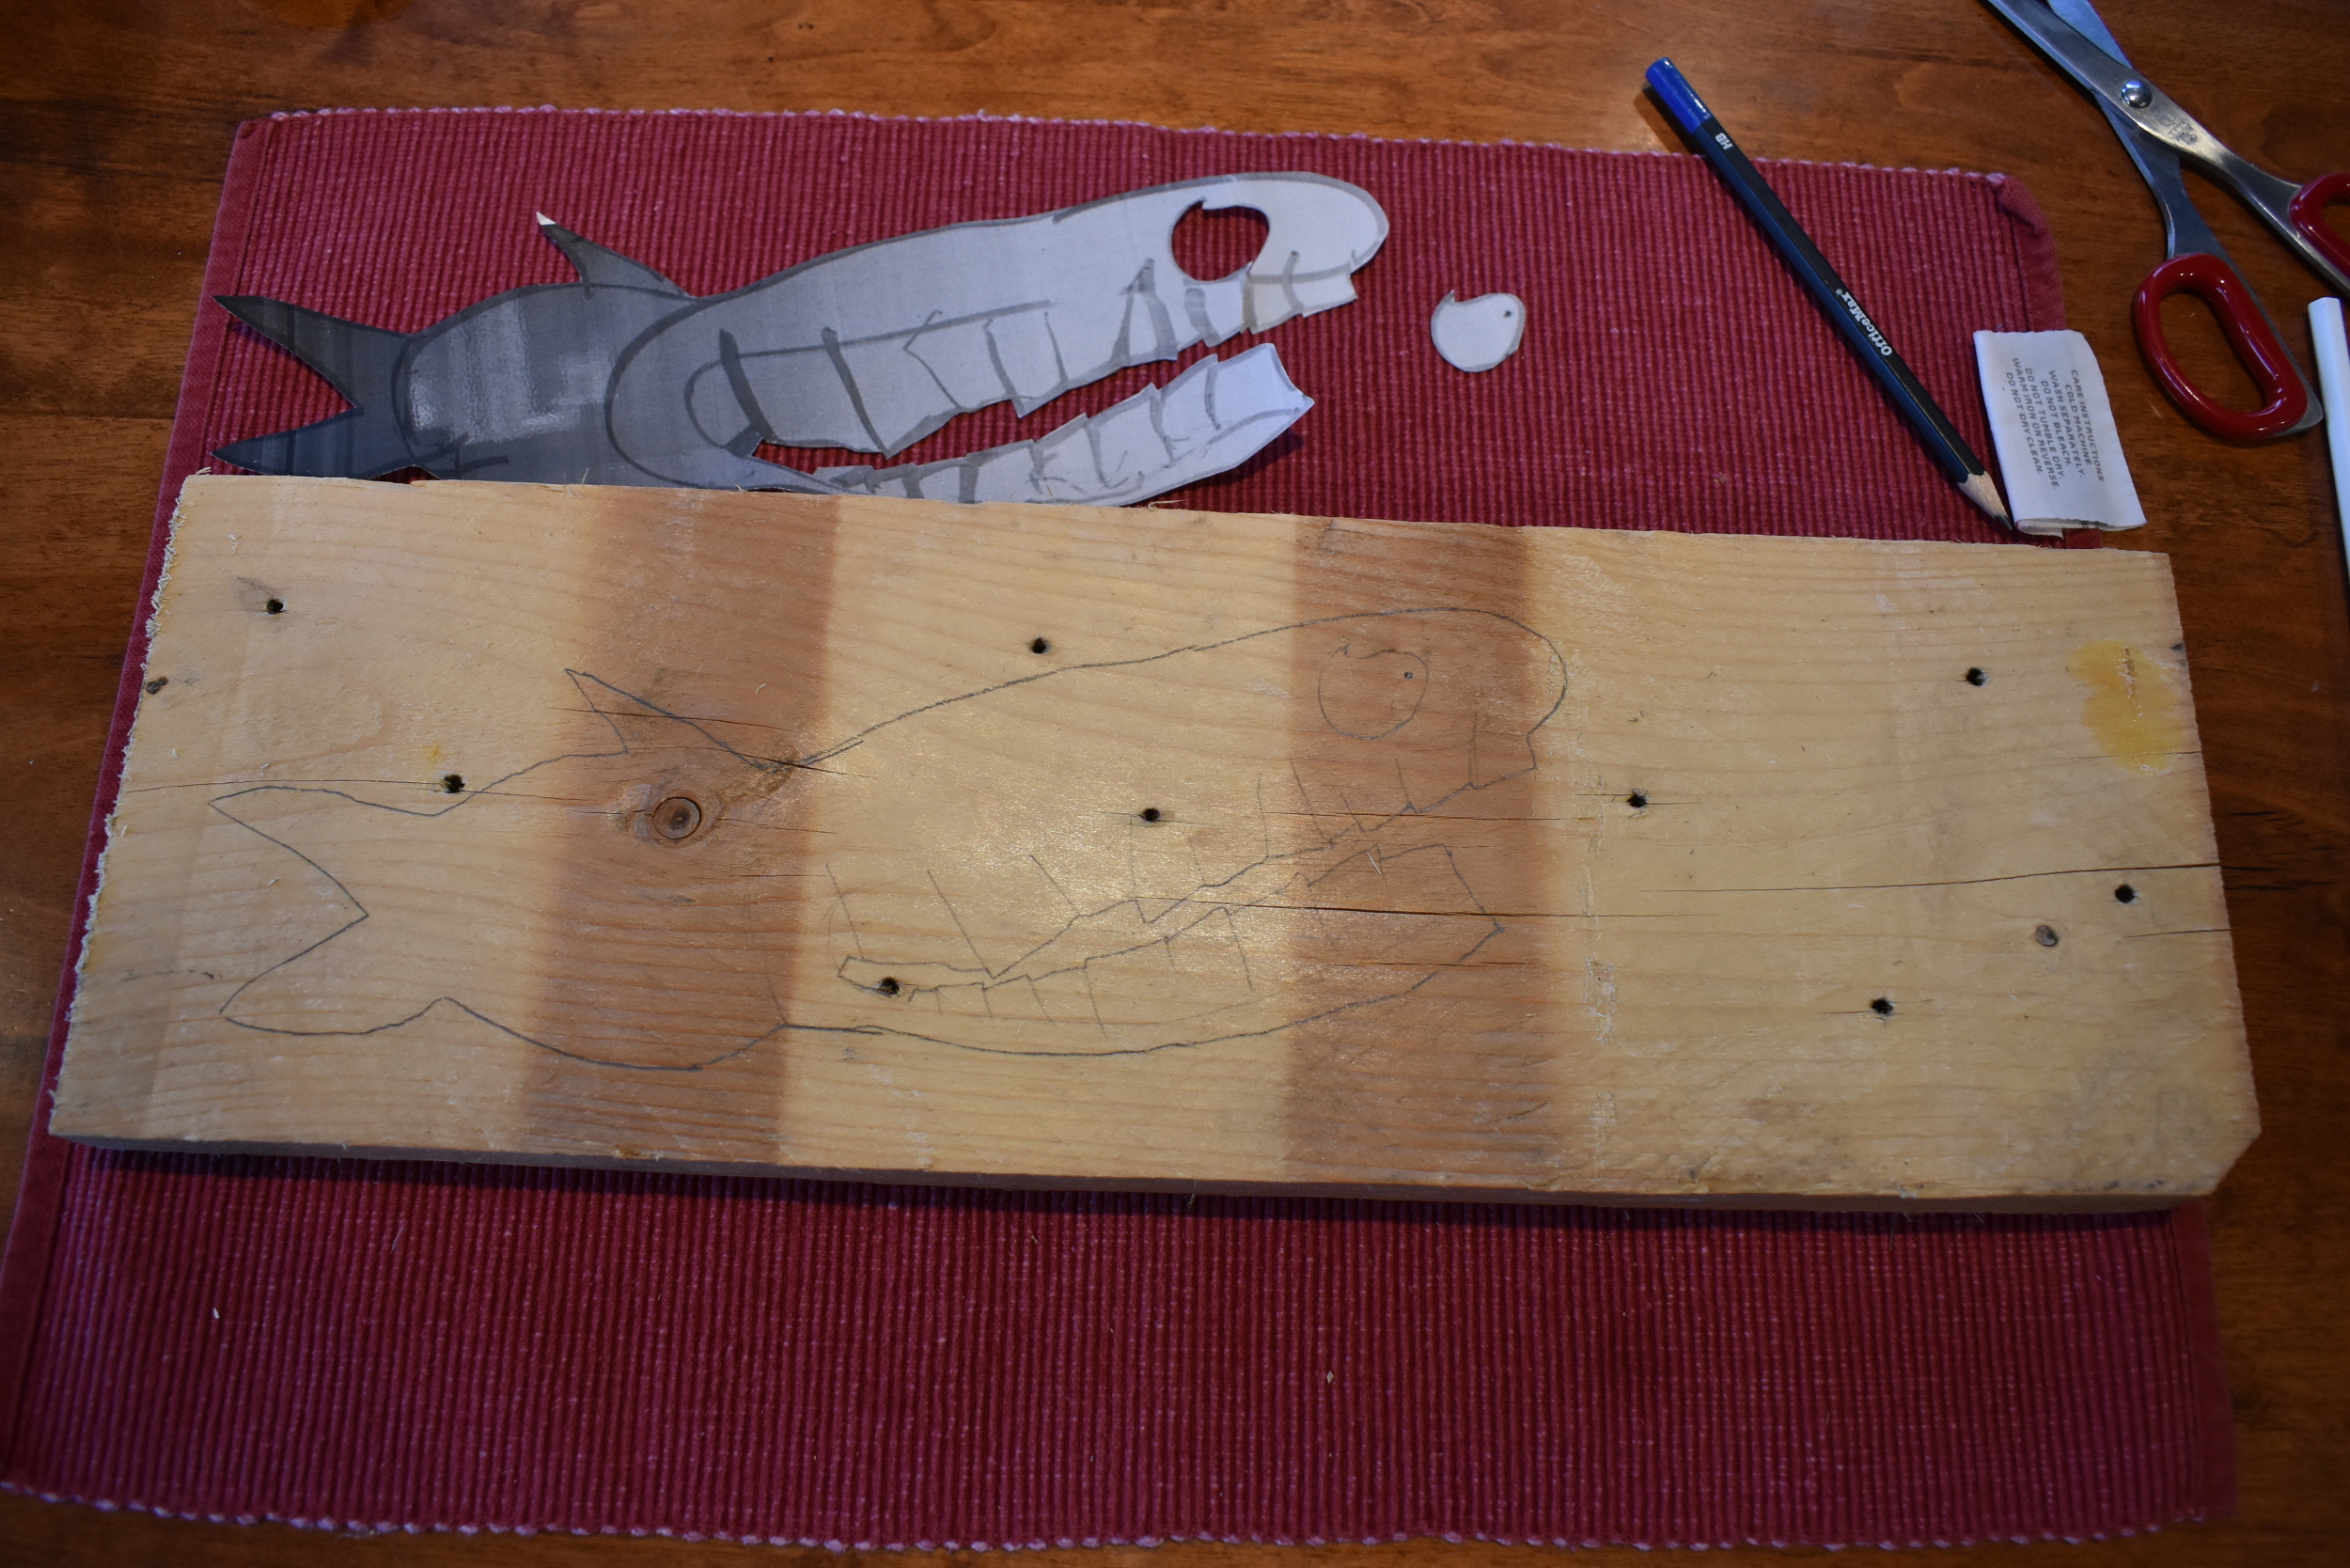
Find yourself a bit of wood that you don't mind the look of, is an appropriate size and not too untidy. Feel free to sand or clean the wood up a bit if you like. I didn't - as I said I like the contrast!
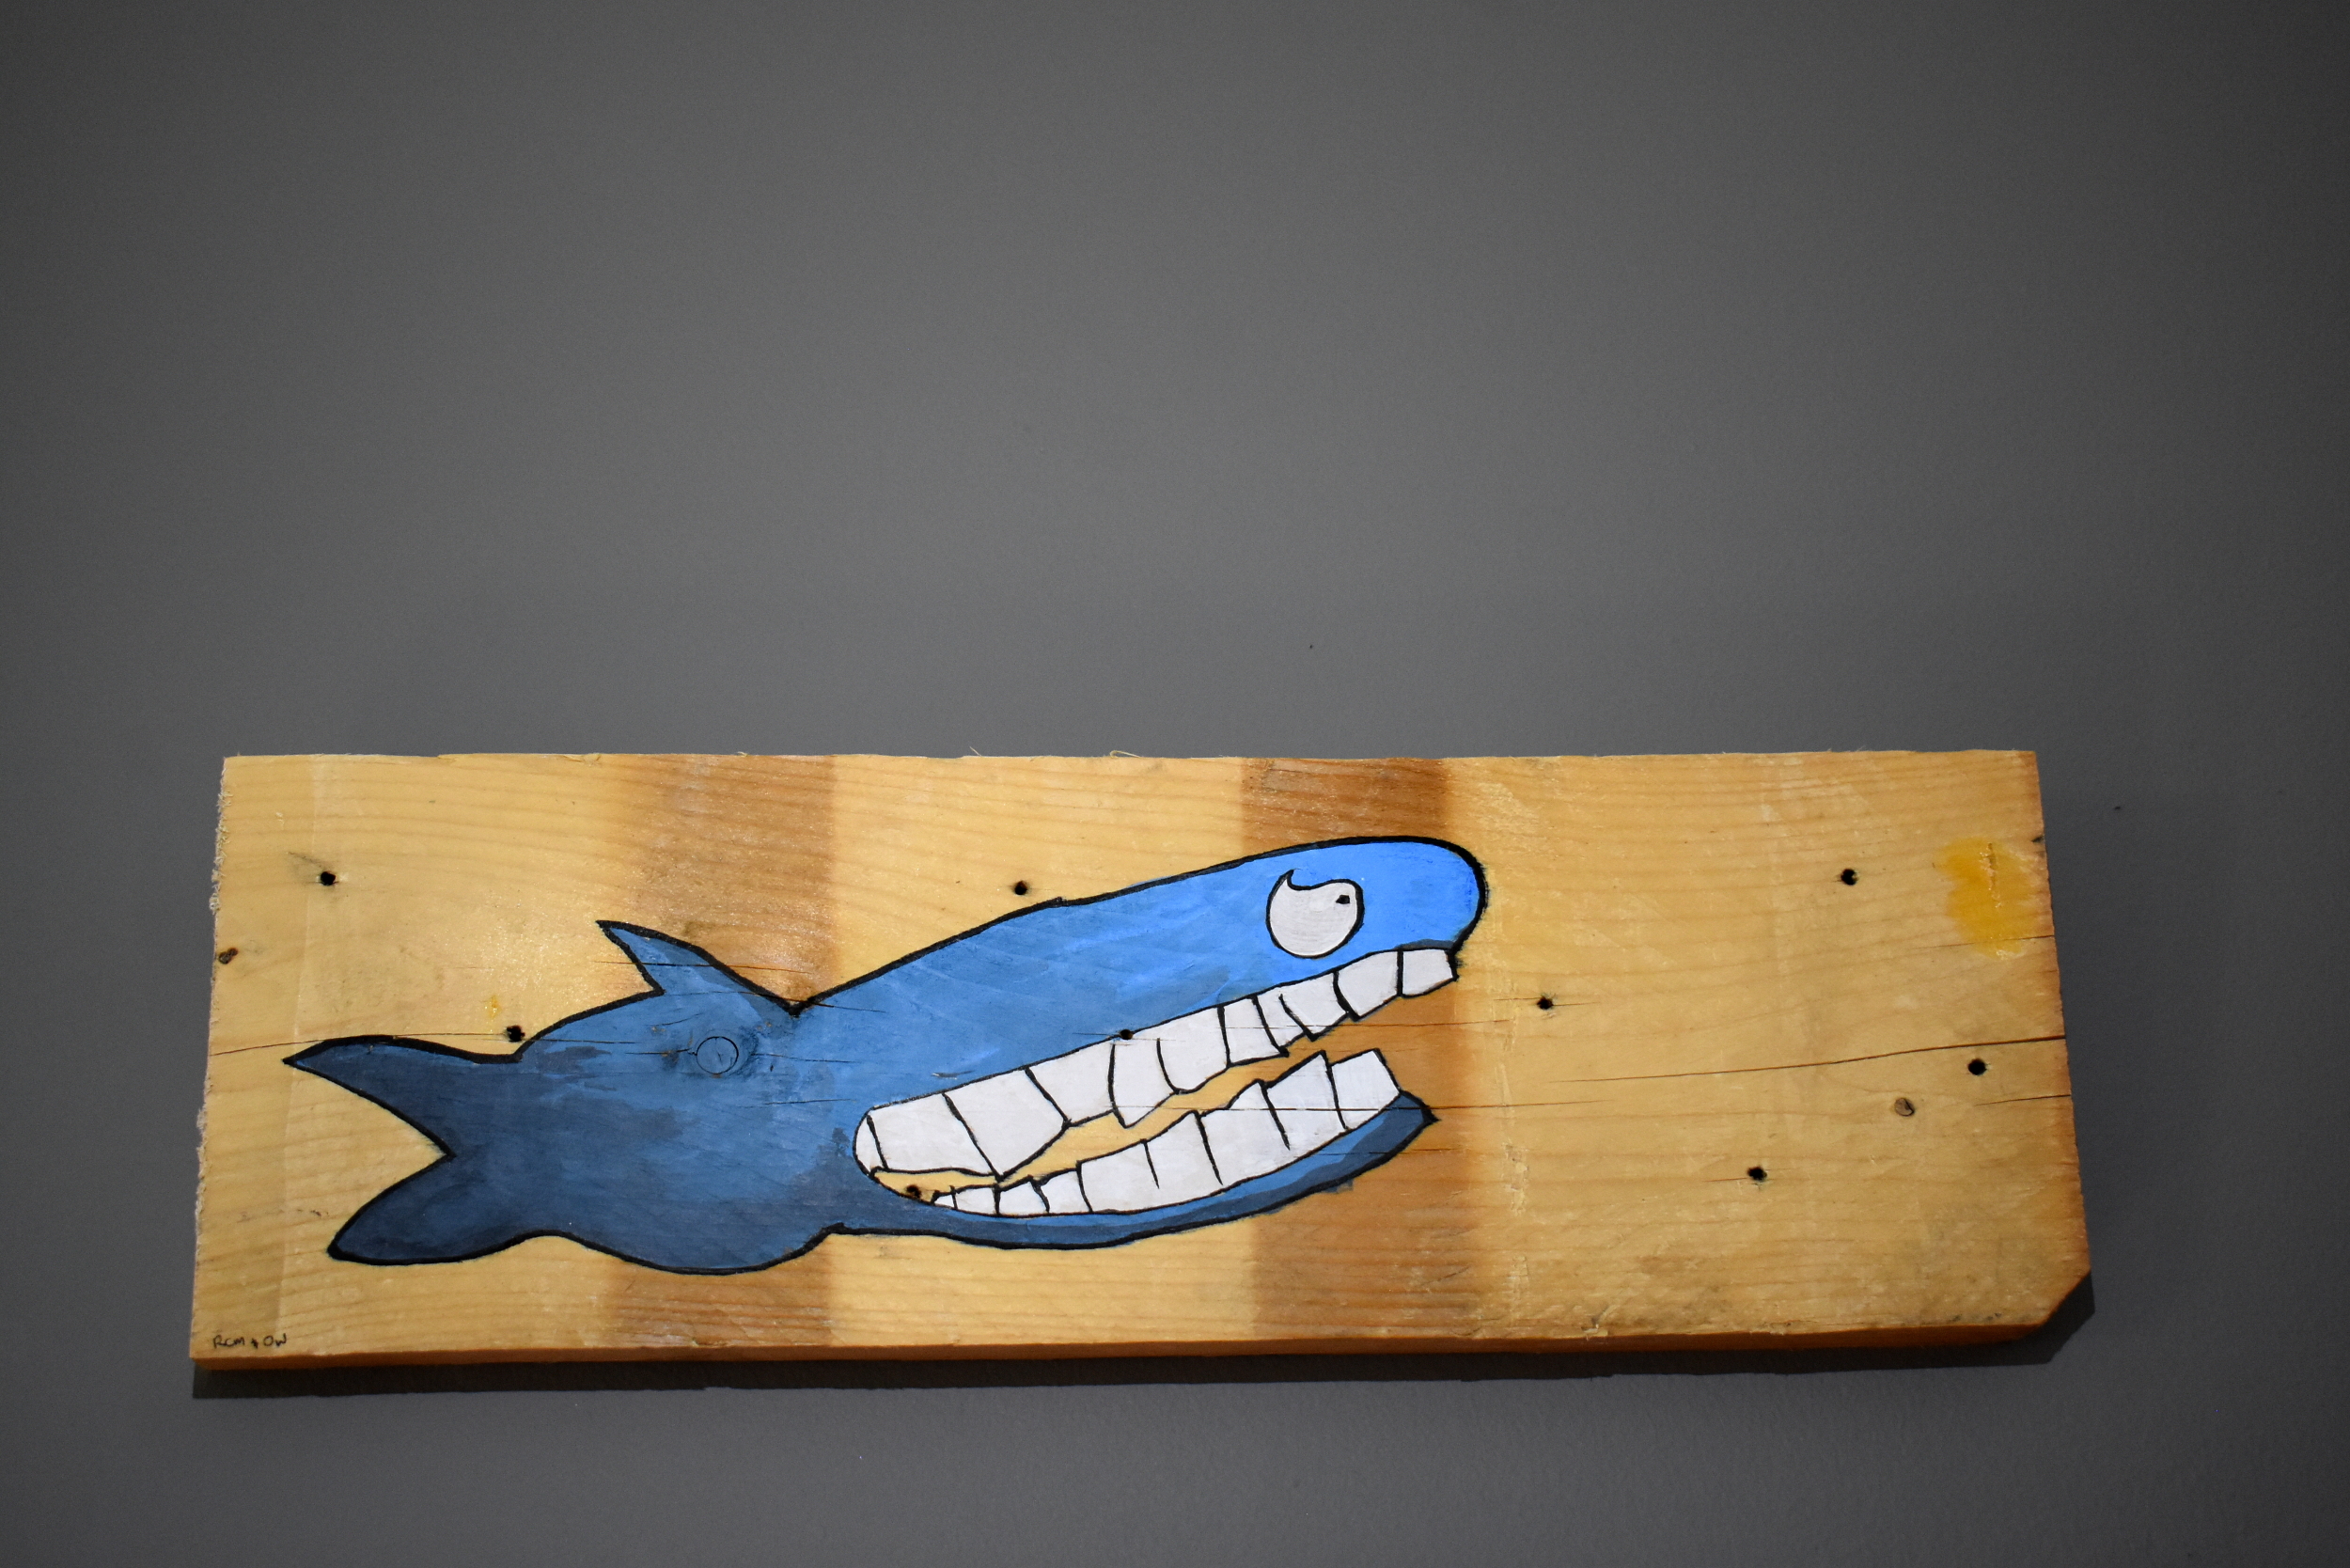
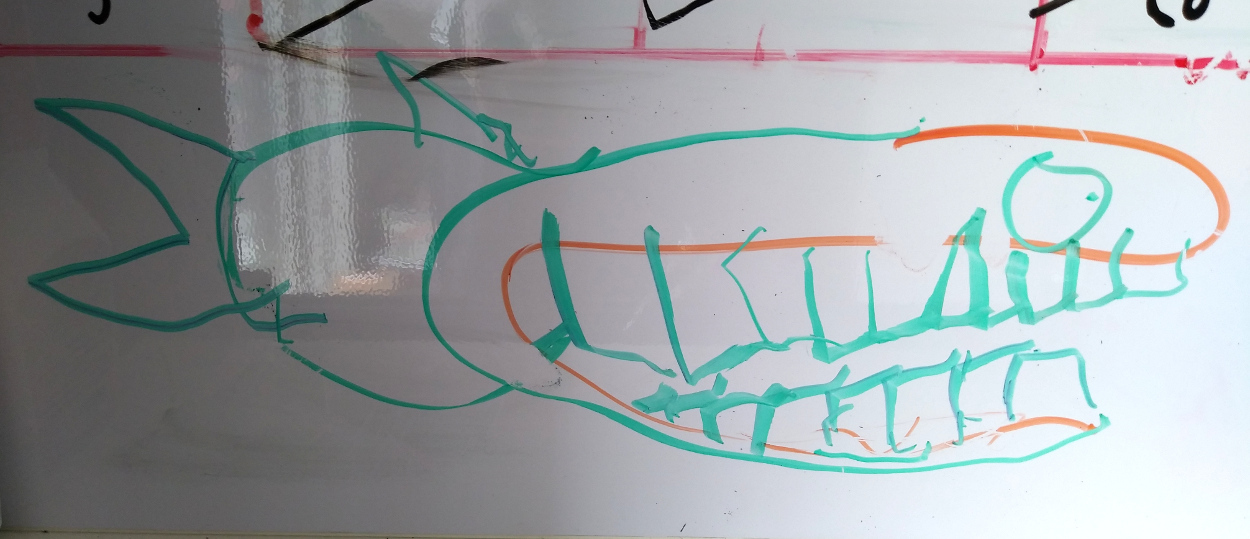
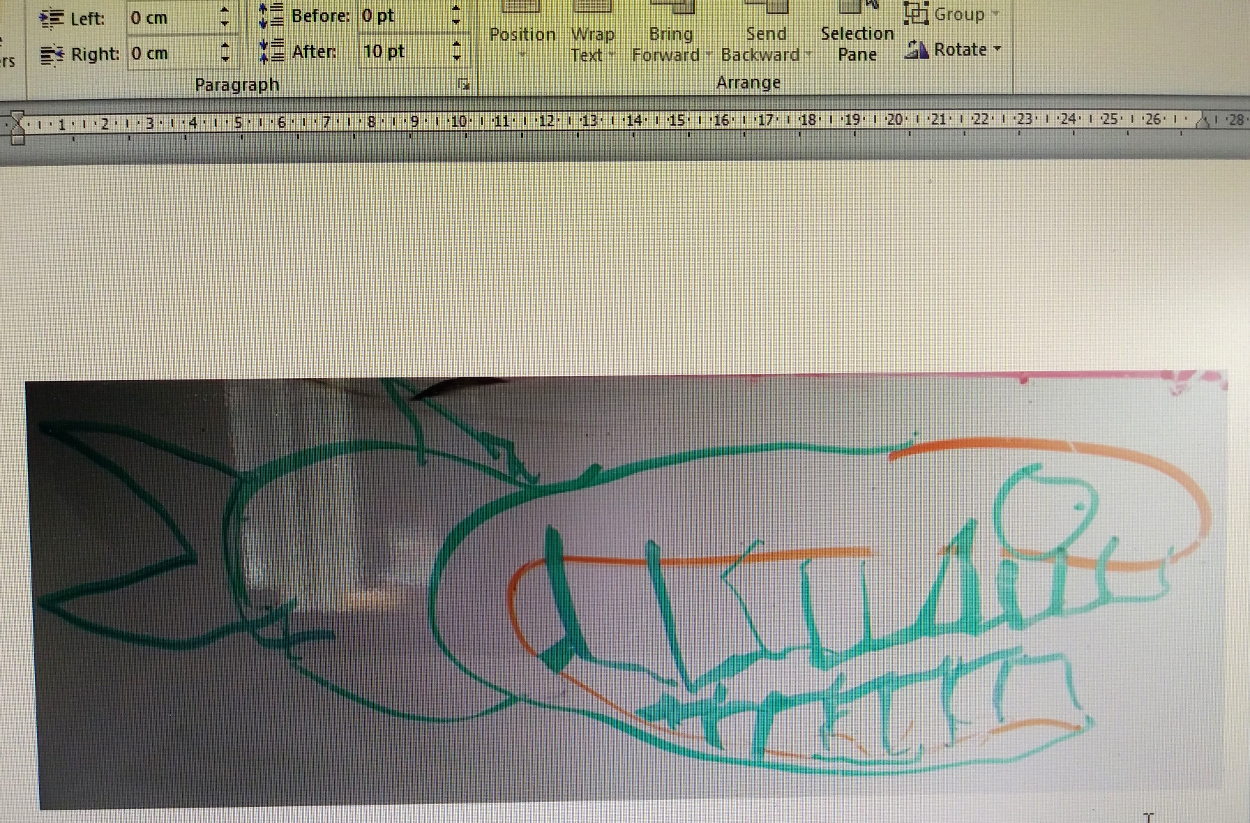
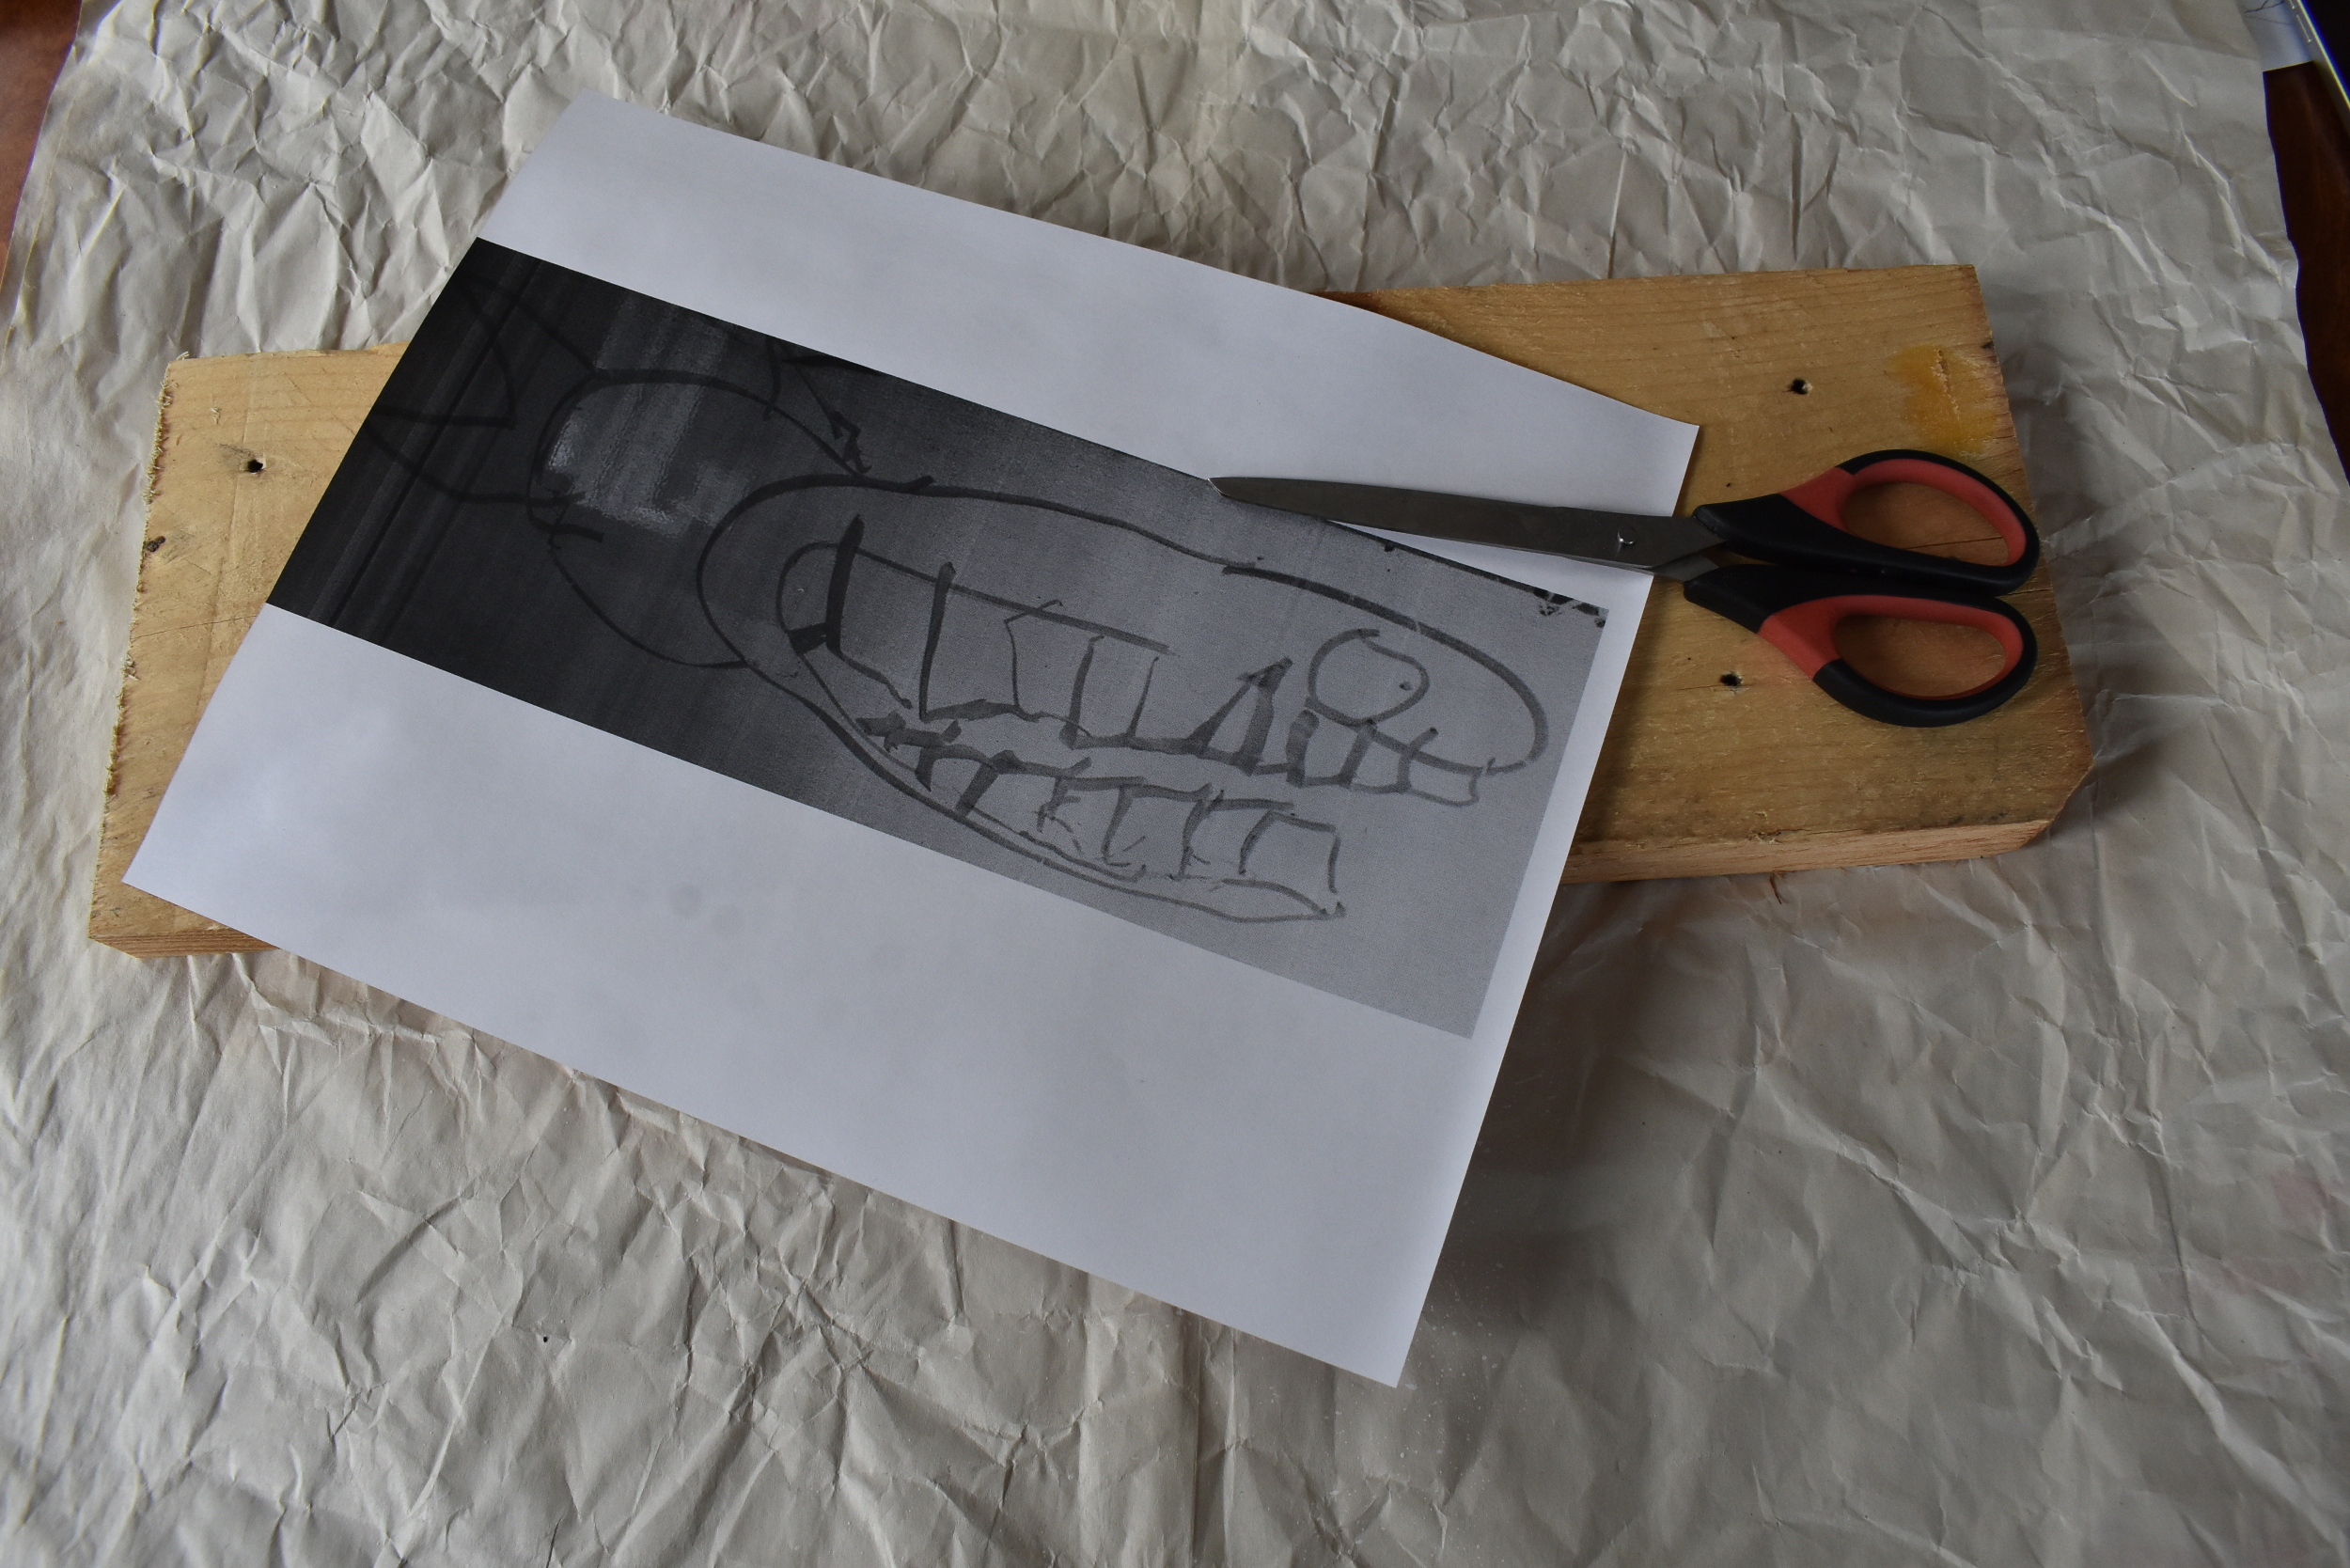
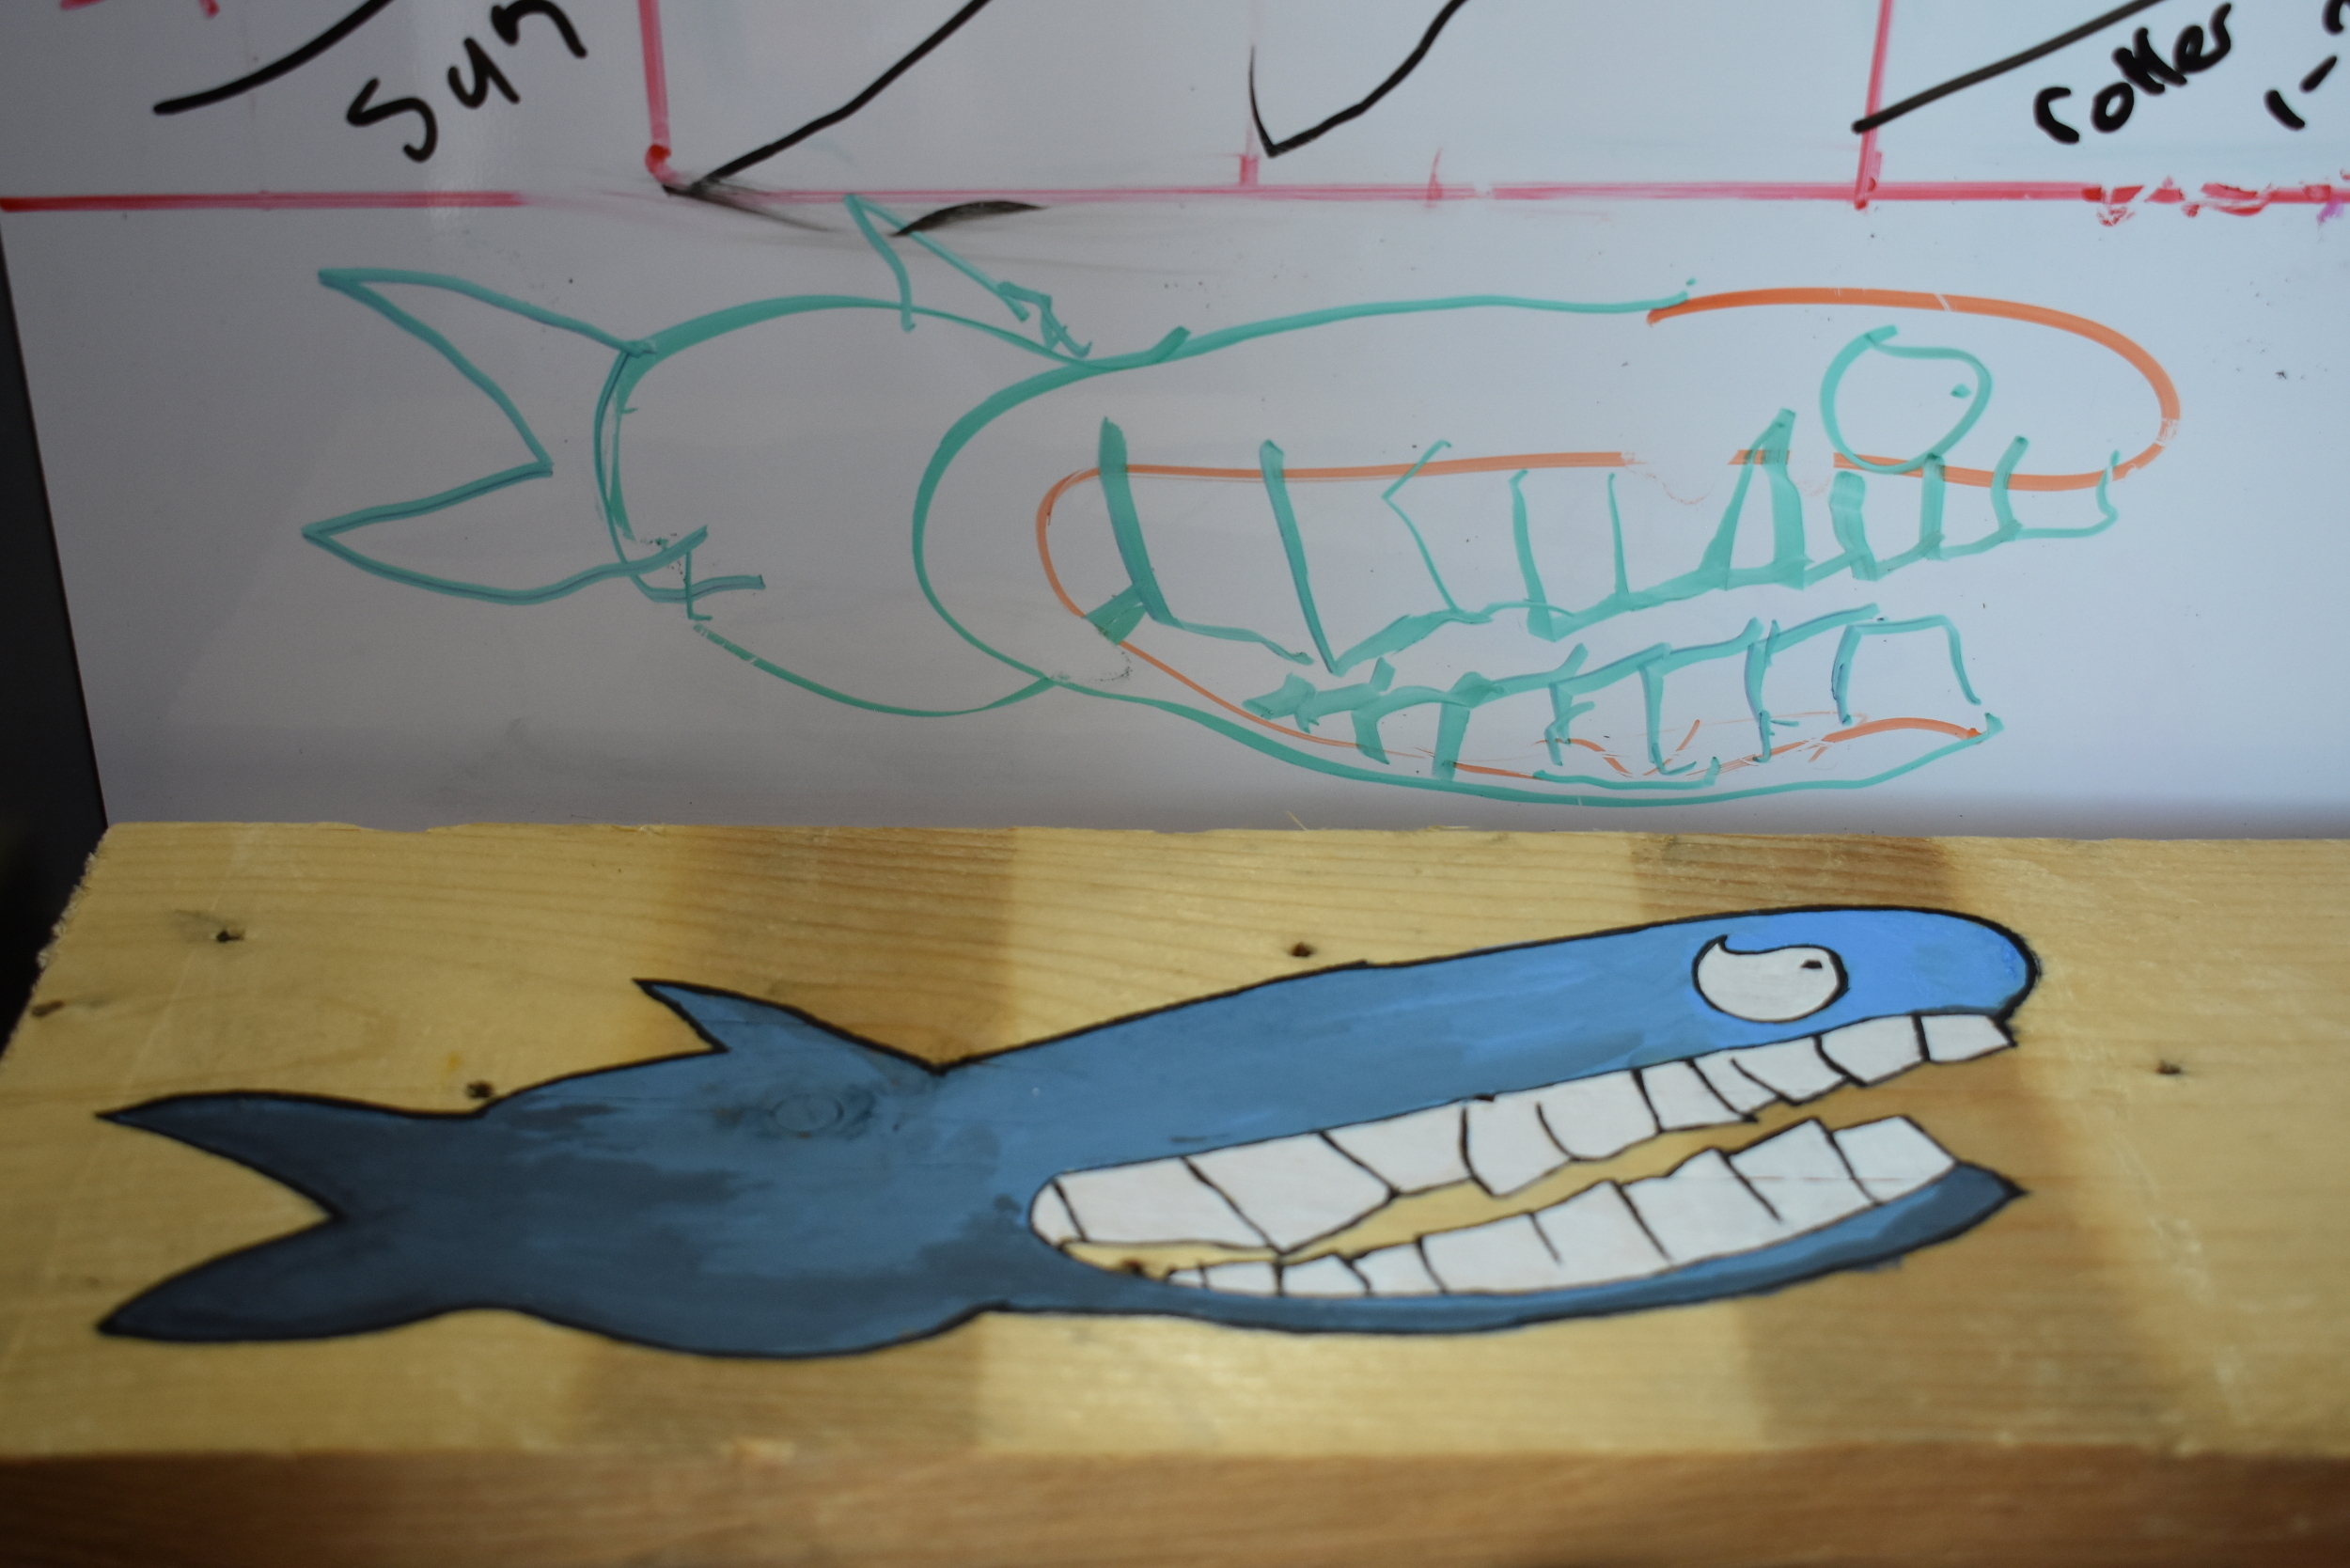
Choose a picture. My son drew this shark on our notice board. It is a herbivorous shark (obviously - I mean check out those teeth!) and I thought it would look great in colour! I took a photo of it and enlarged it a bit before printing it out. I cut out the picture to use as a stencil.
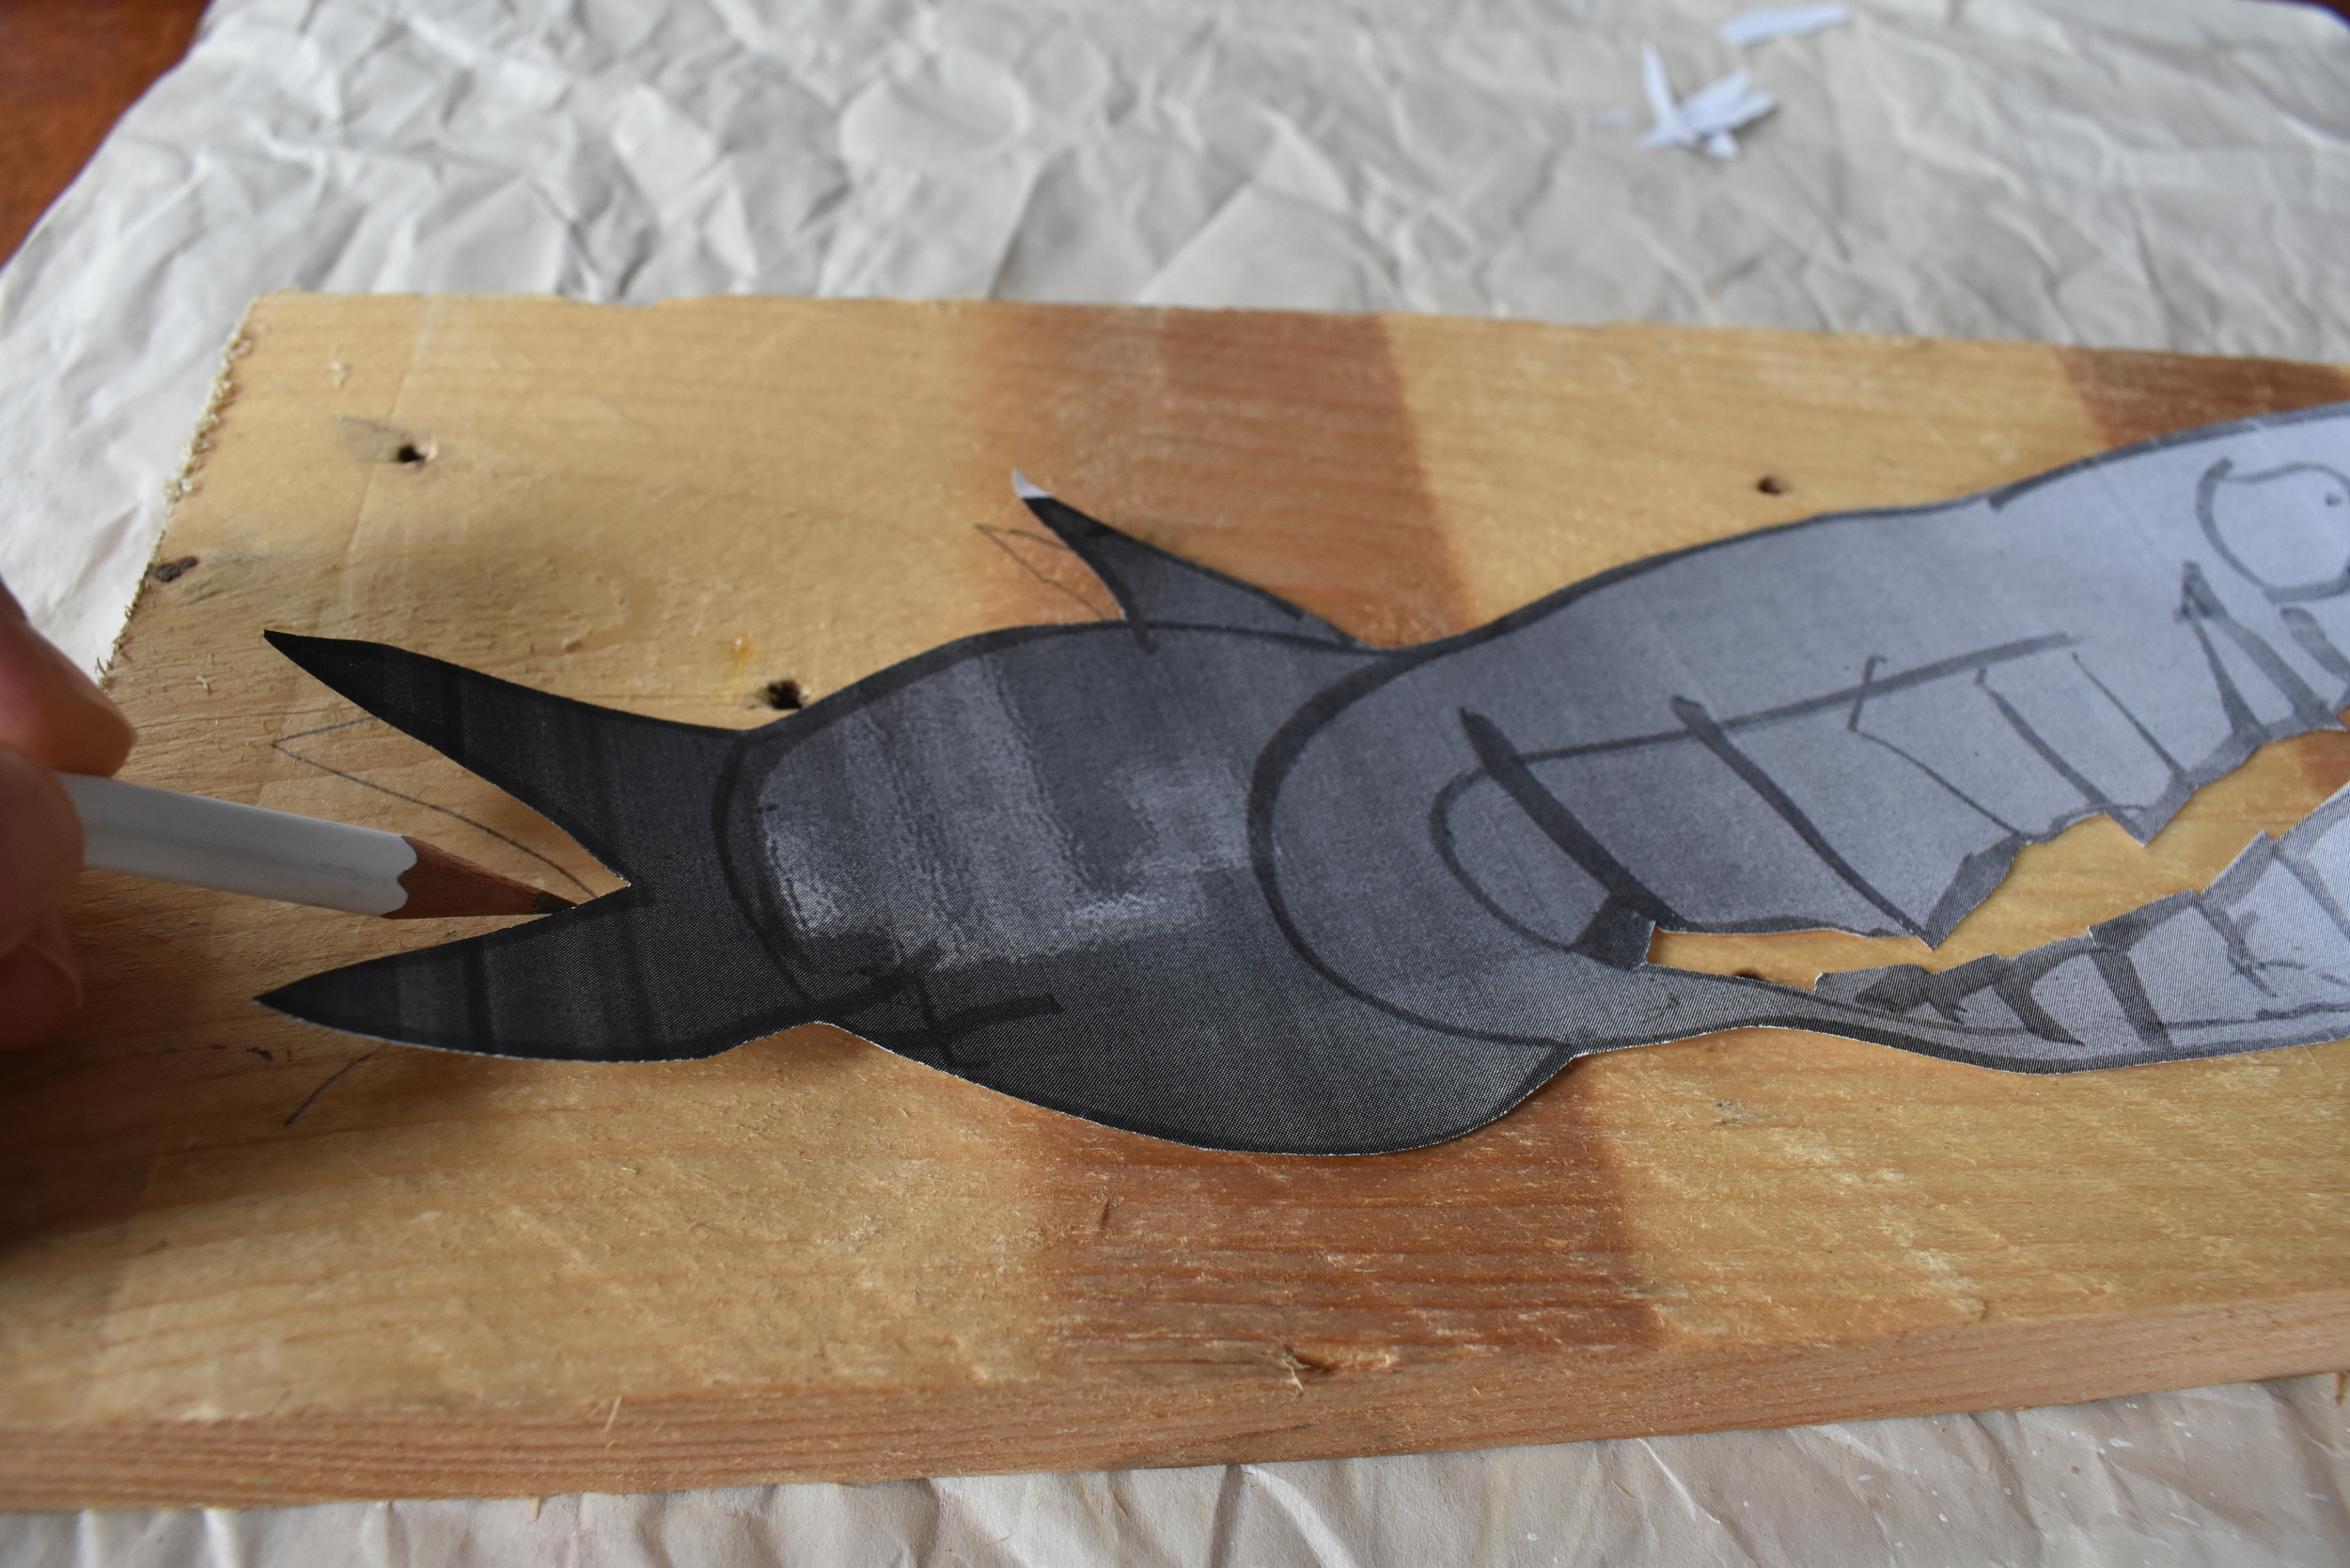
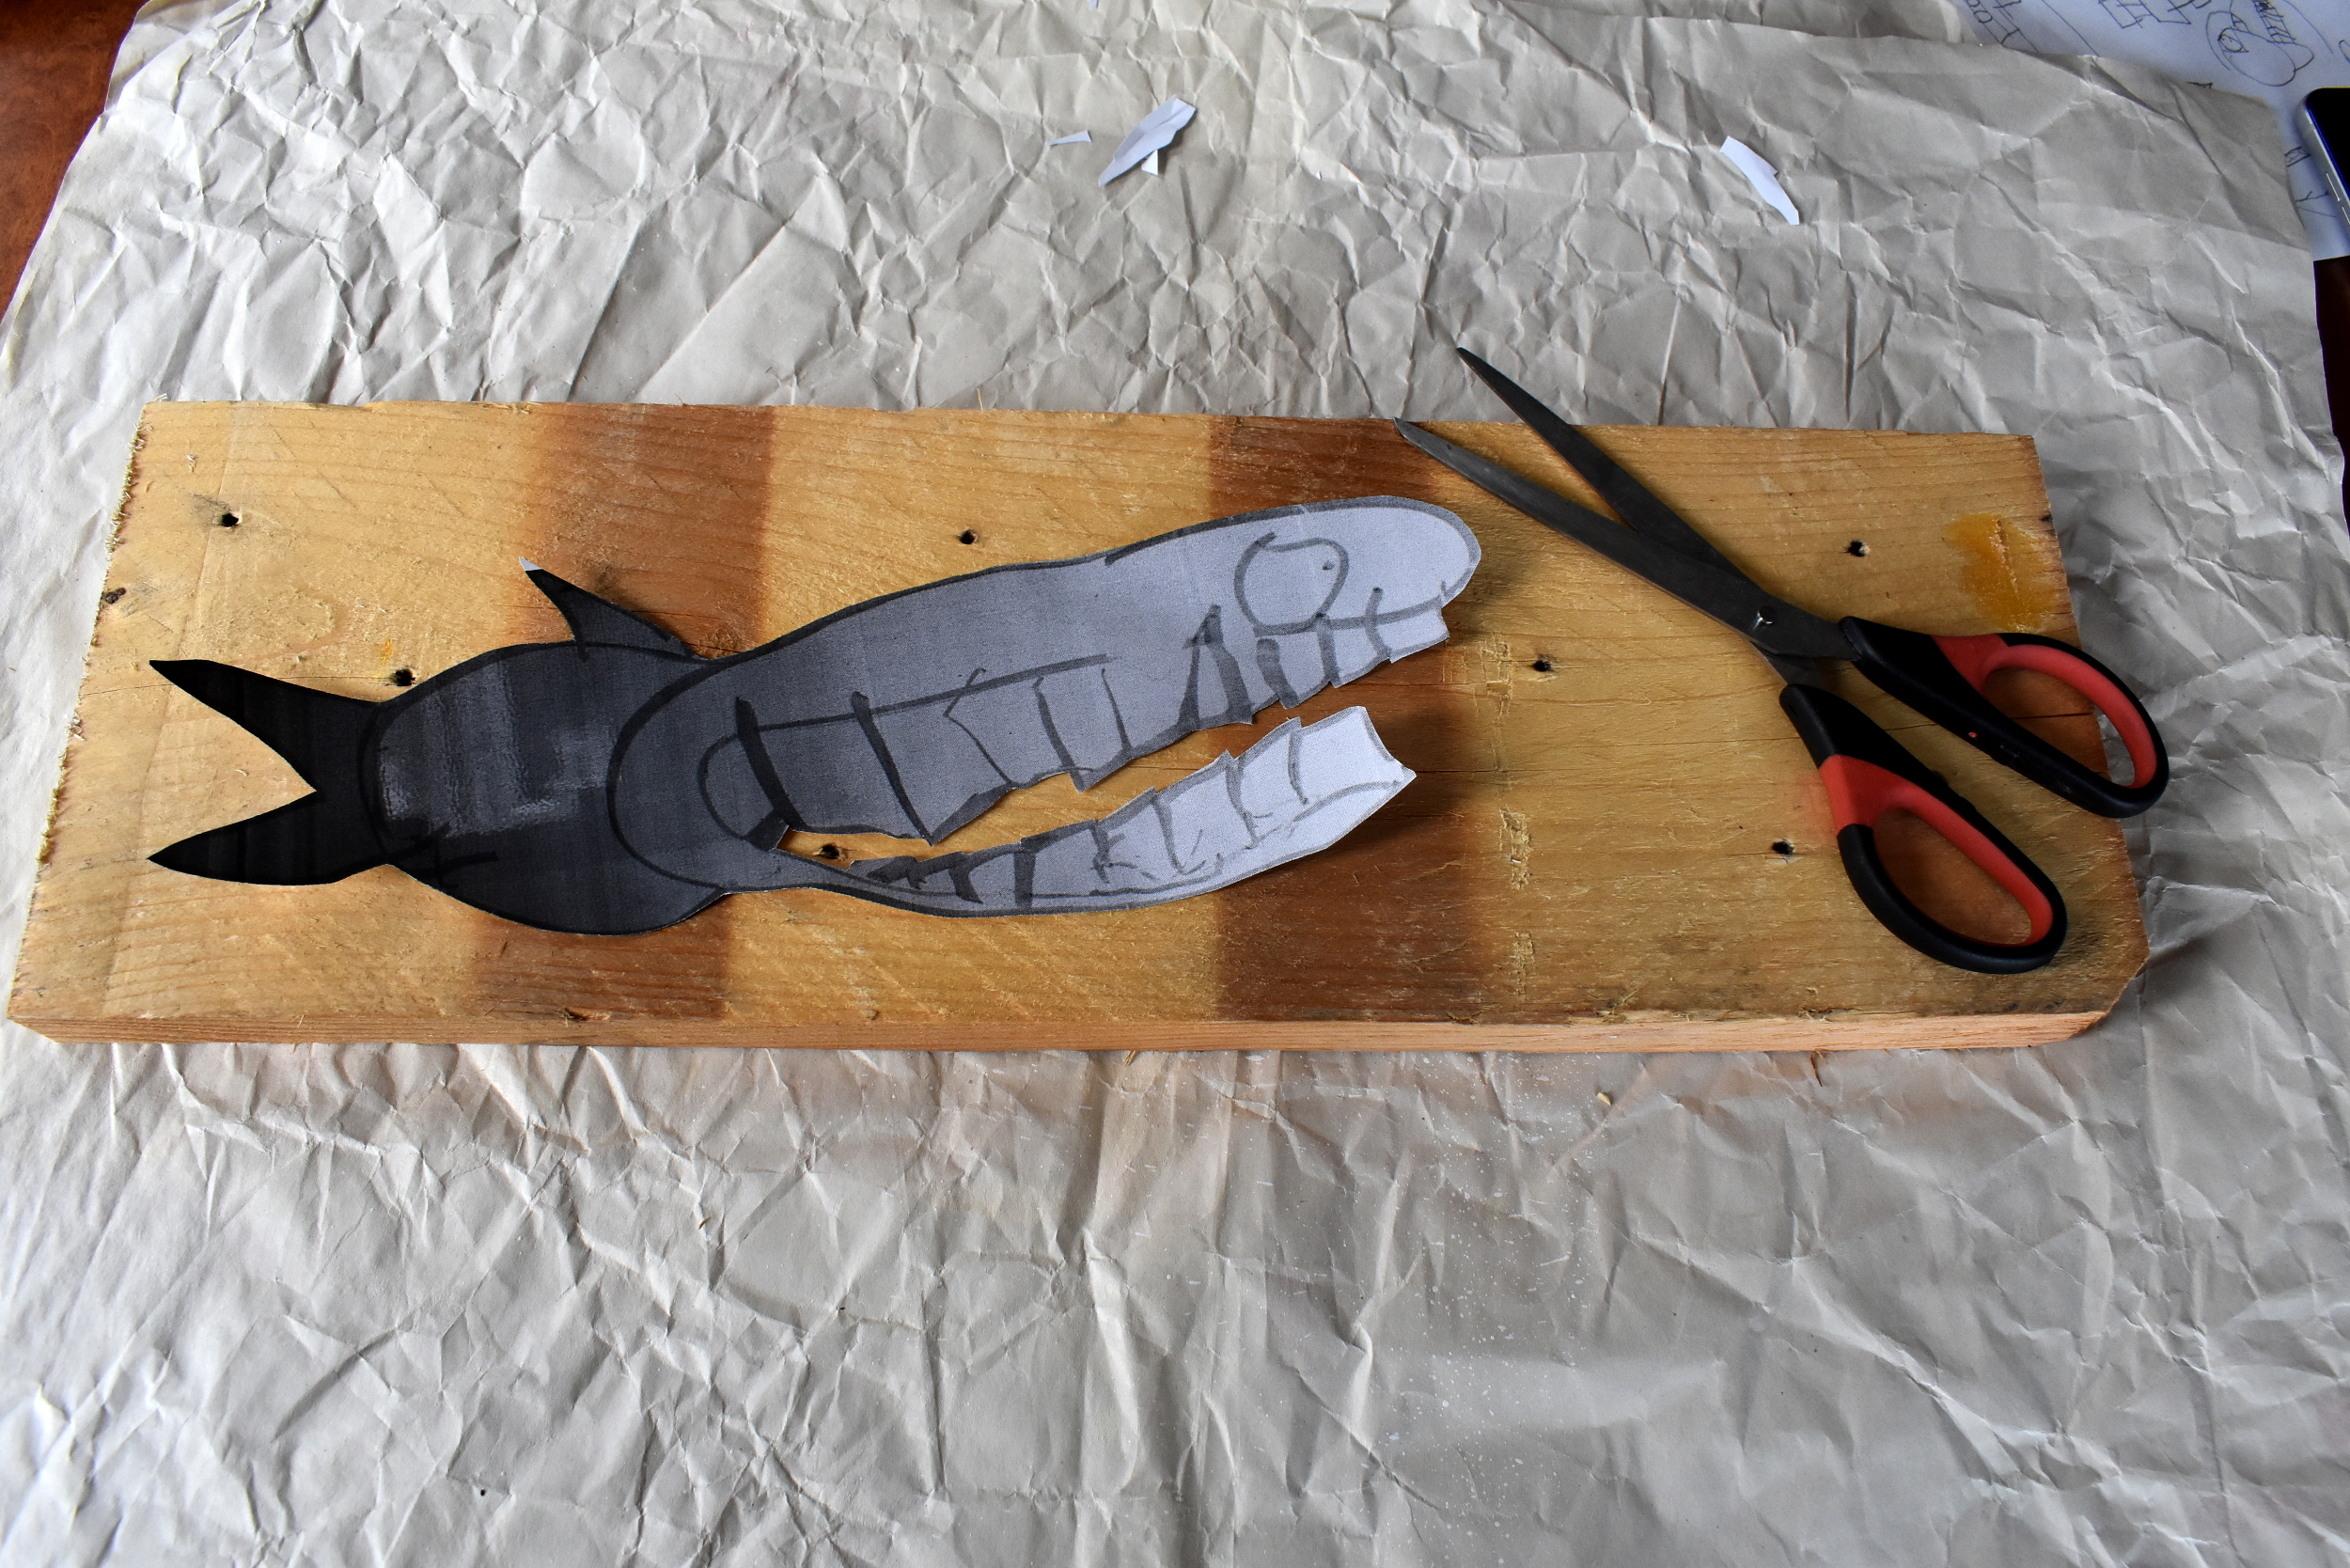
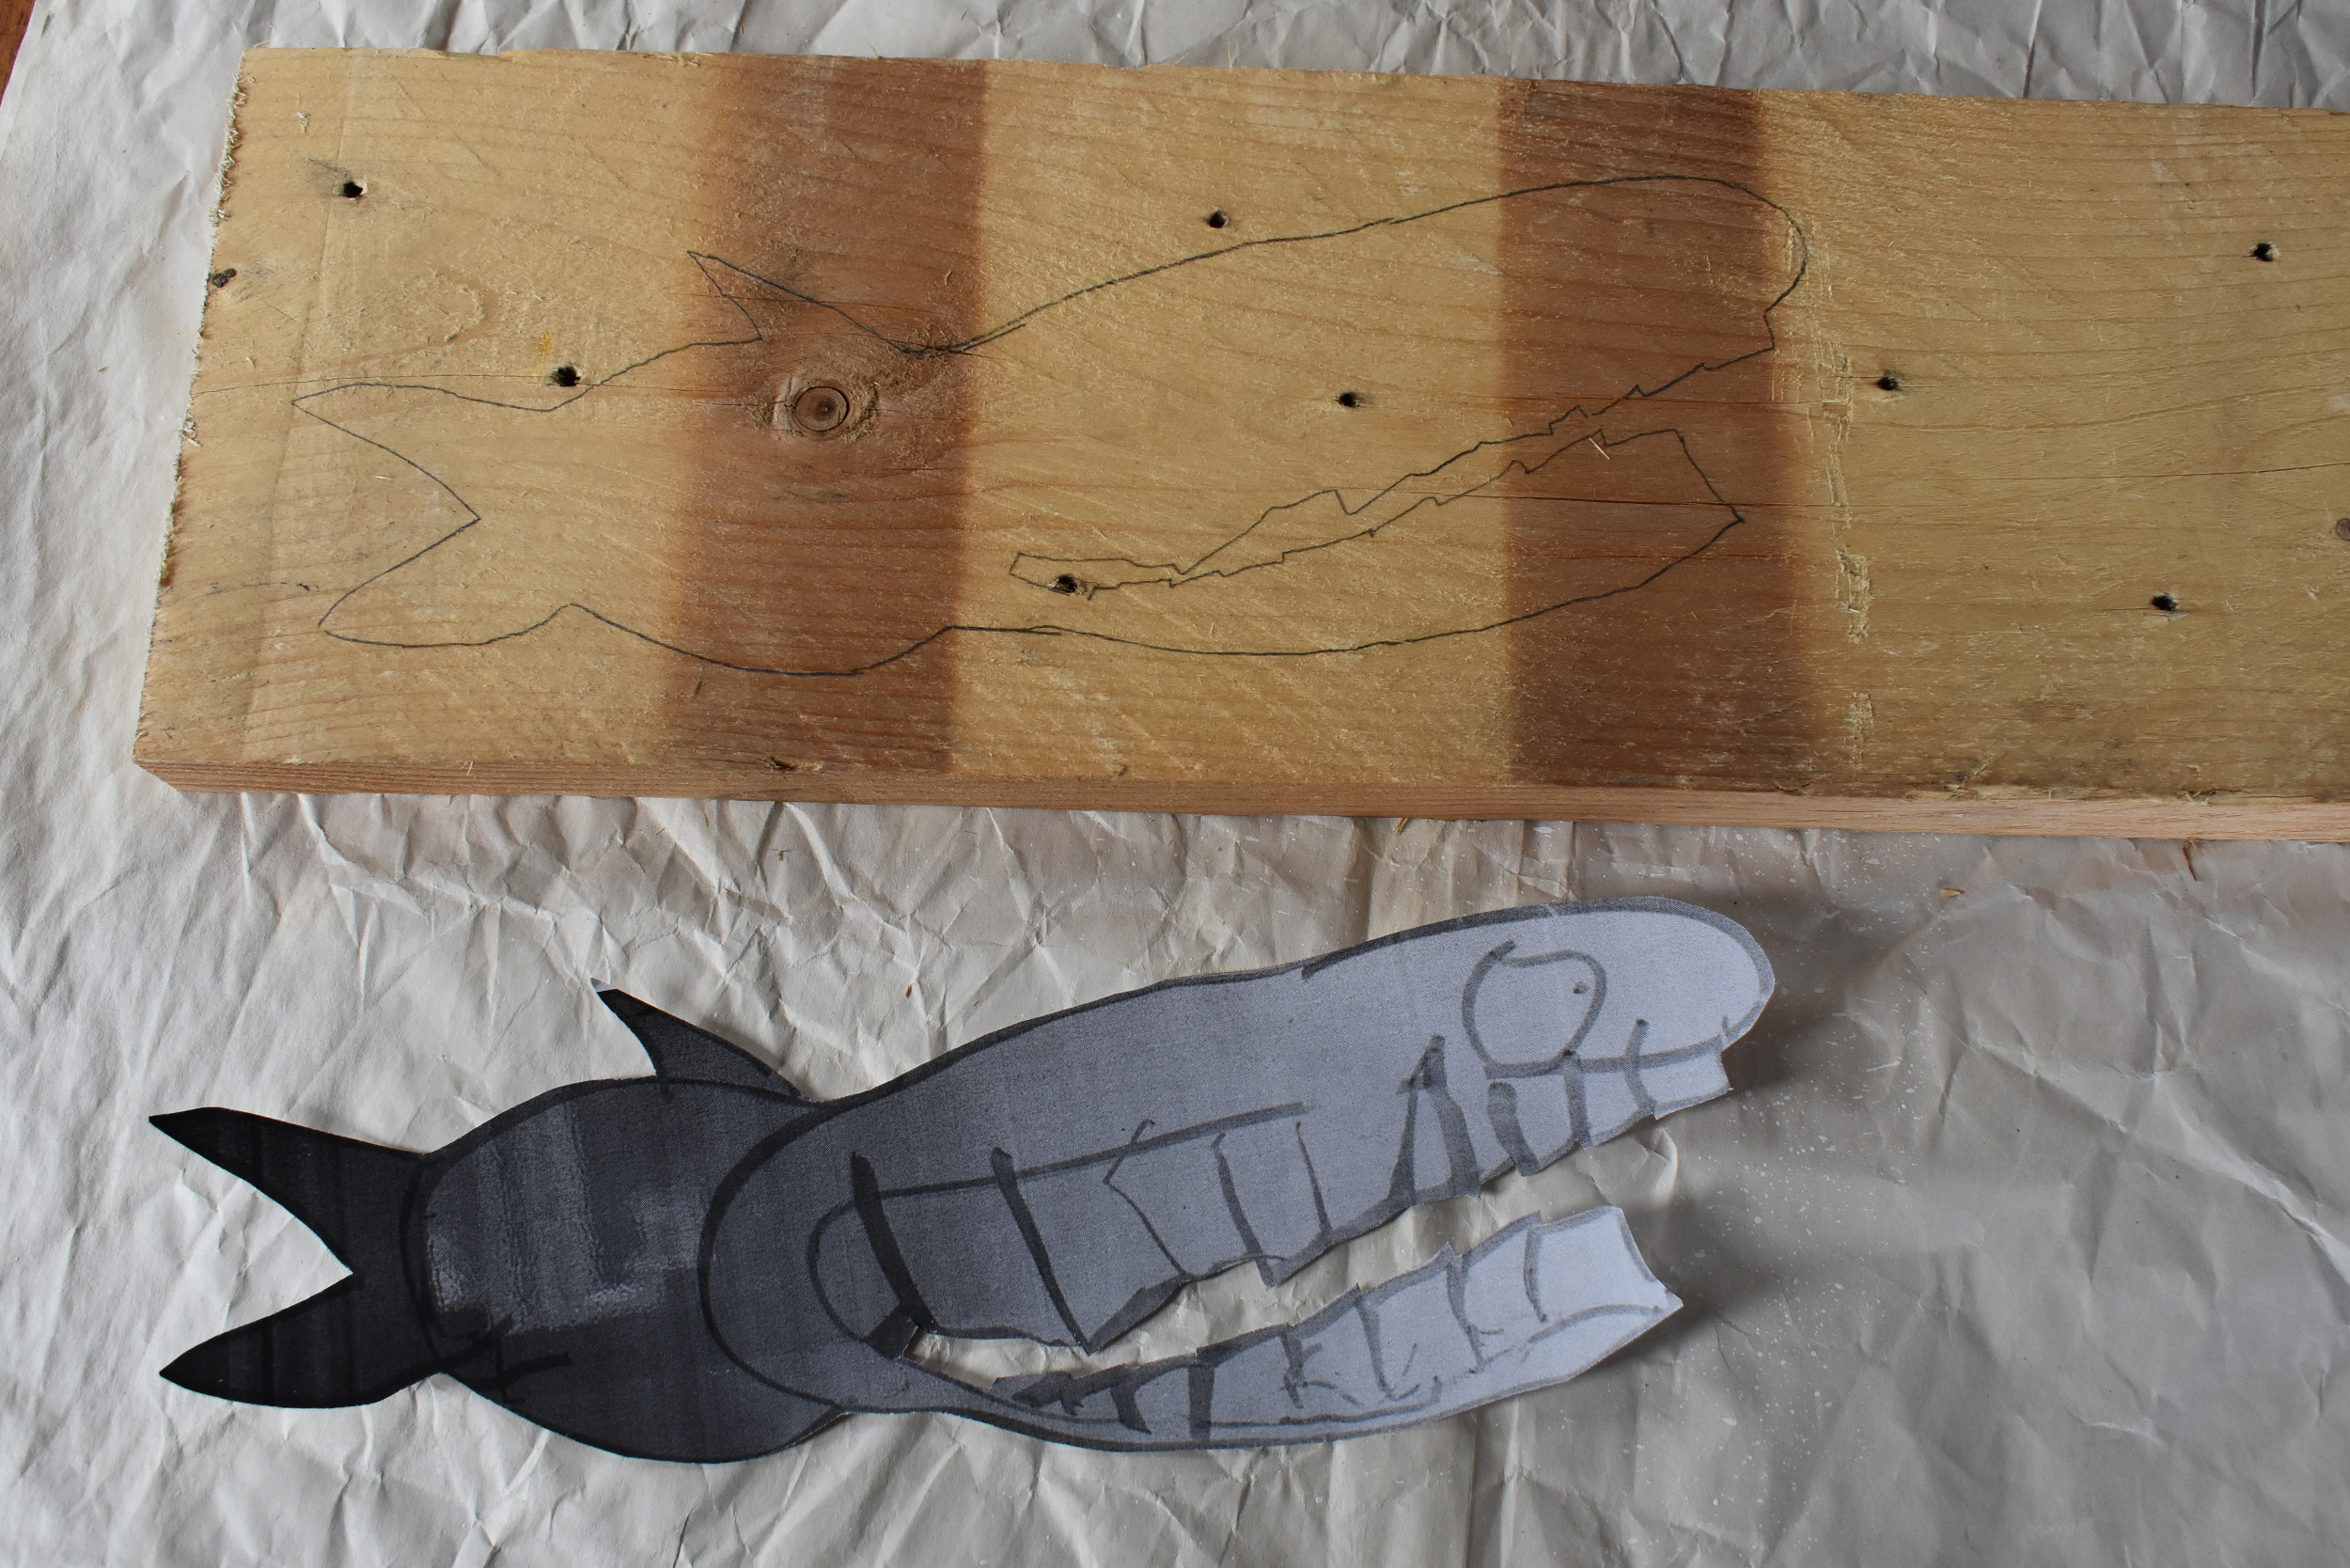
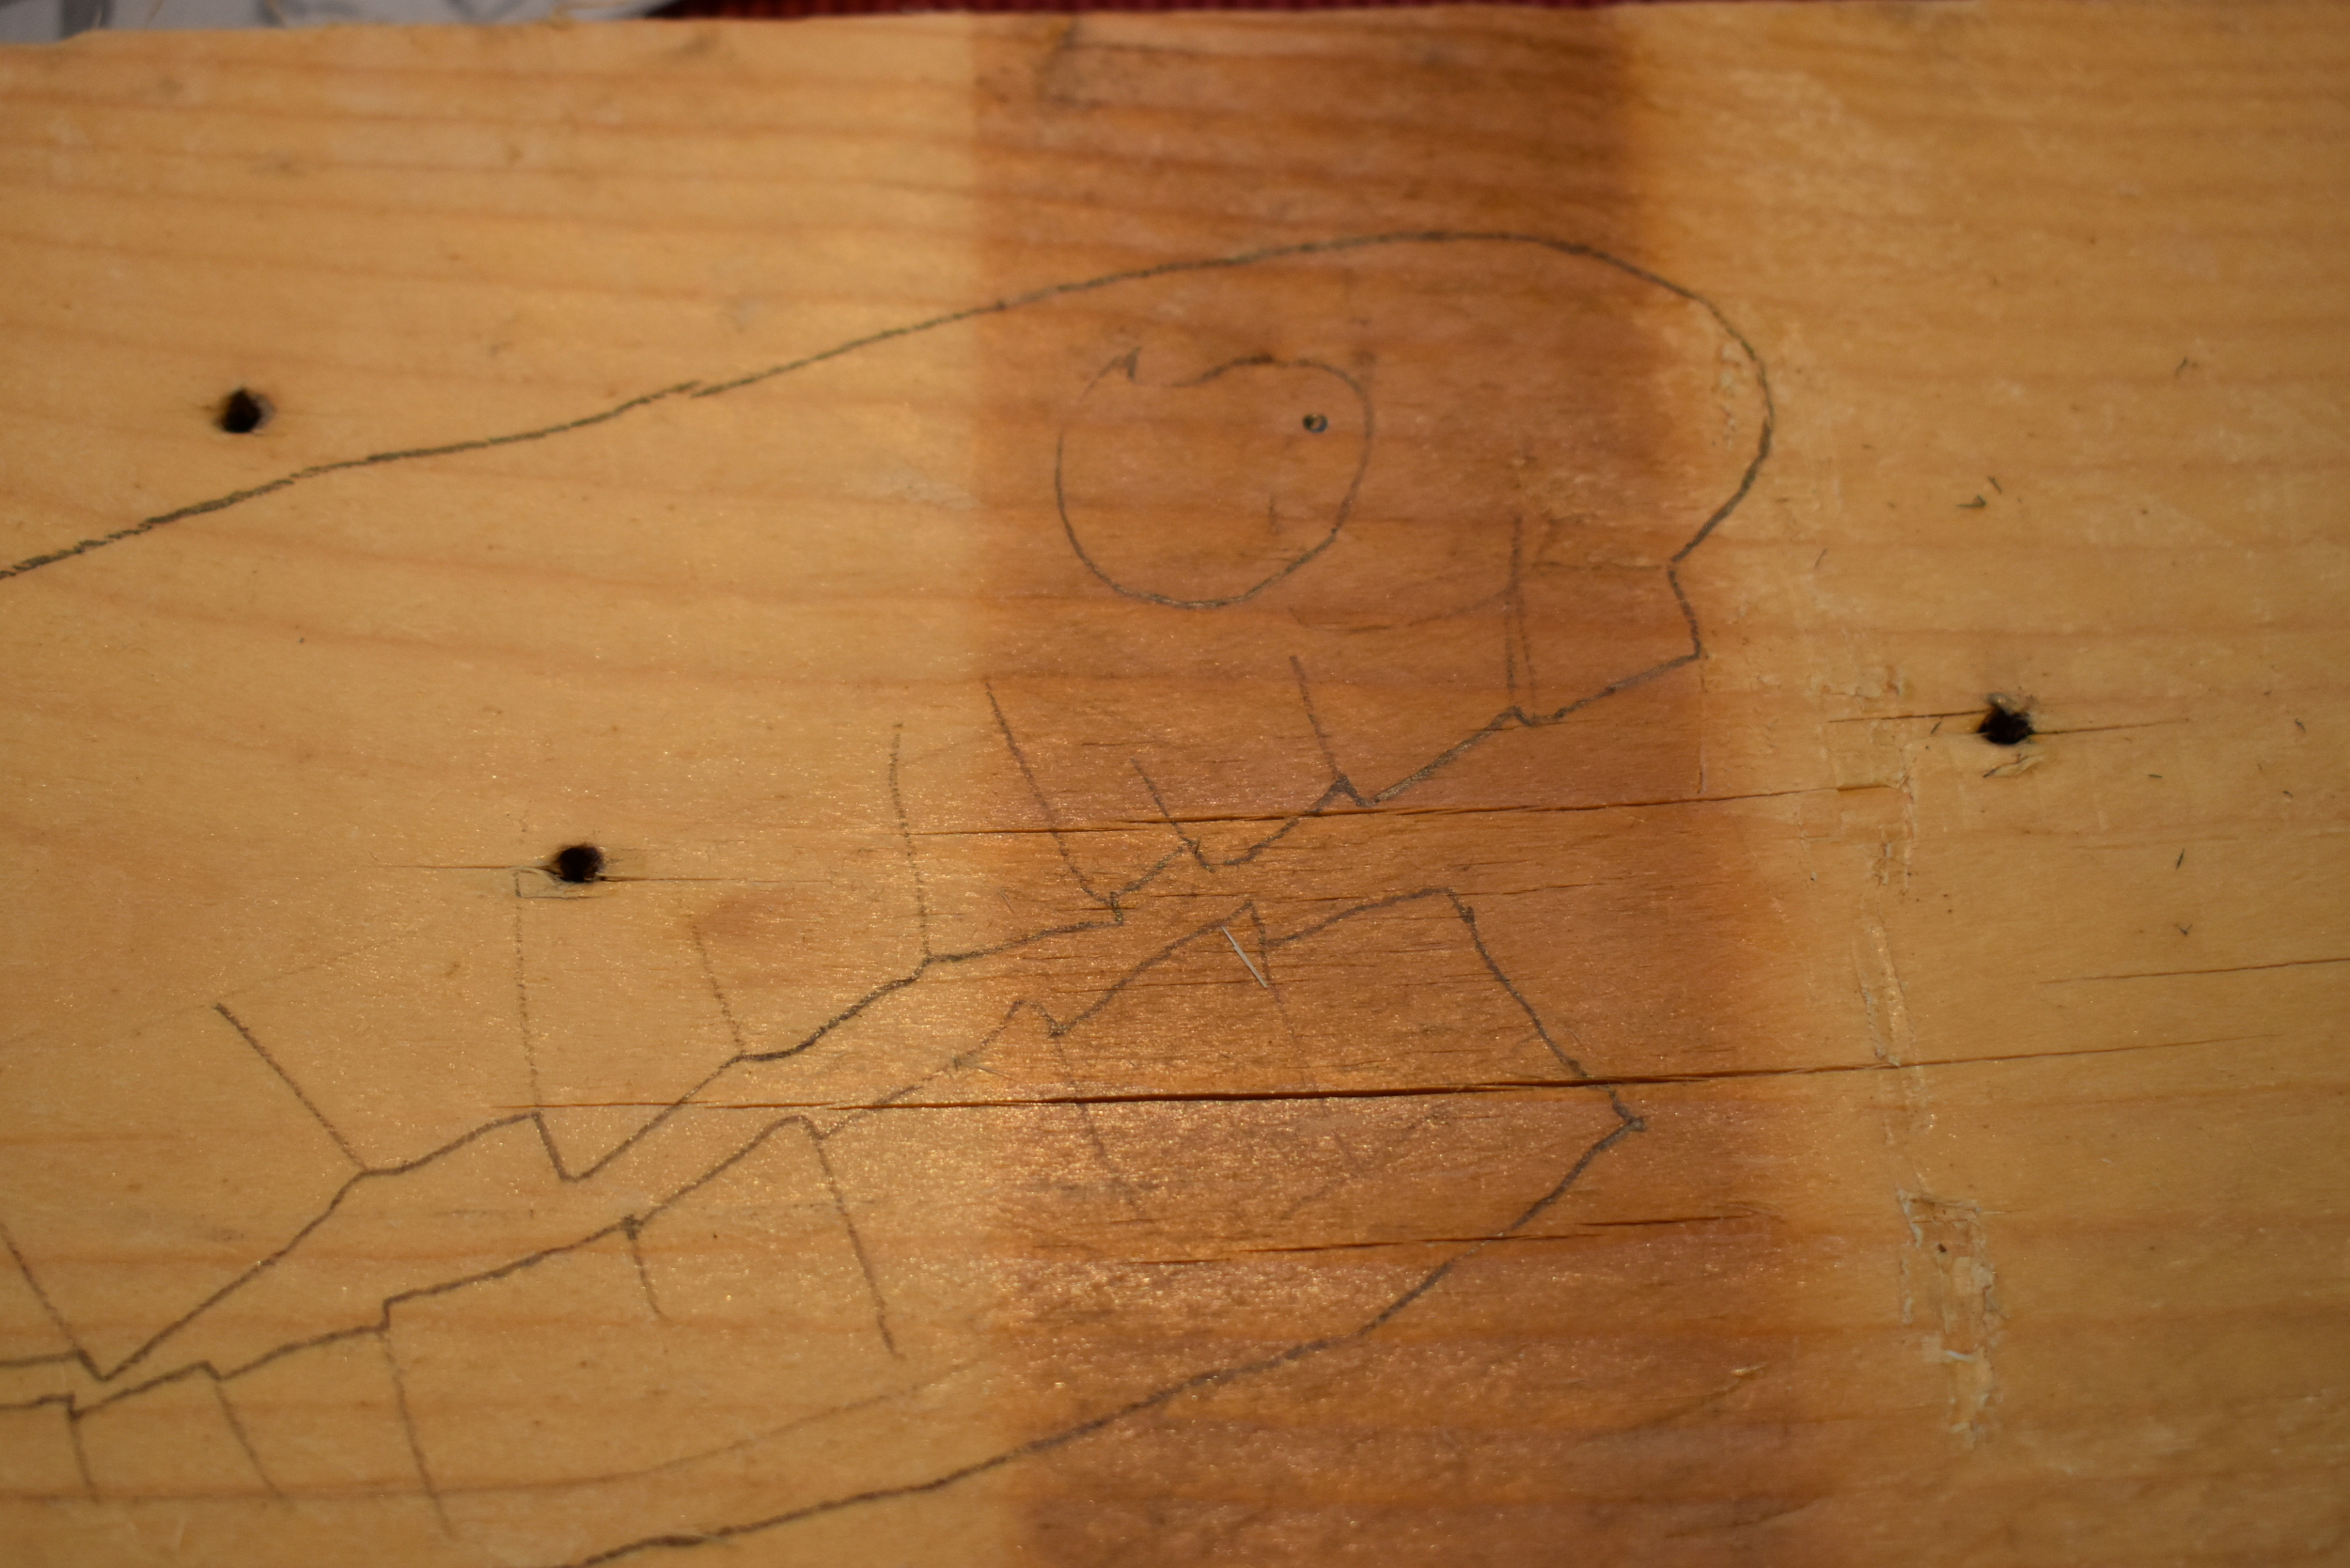
Lay your stencil on your piece of wood and lightly sketch around the outside. I didn't want to lose the look in his eye, so I cut that out too!
Paint
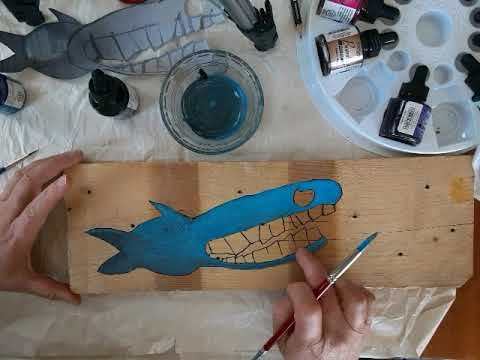
Once your sketch is done, you are ready for painting. I am using indian ink - it gives a solid slightly shiny finish that looks great on the bare wood. It is also generally opaque so easy to tidy up any mistakes you make!
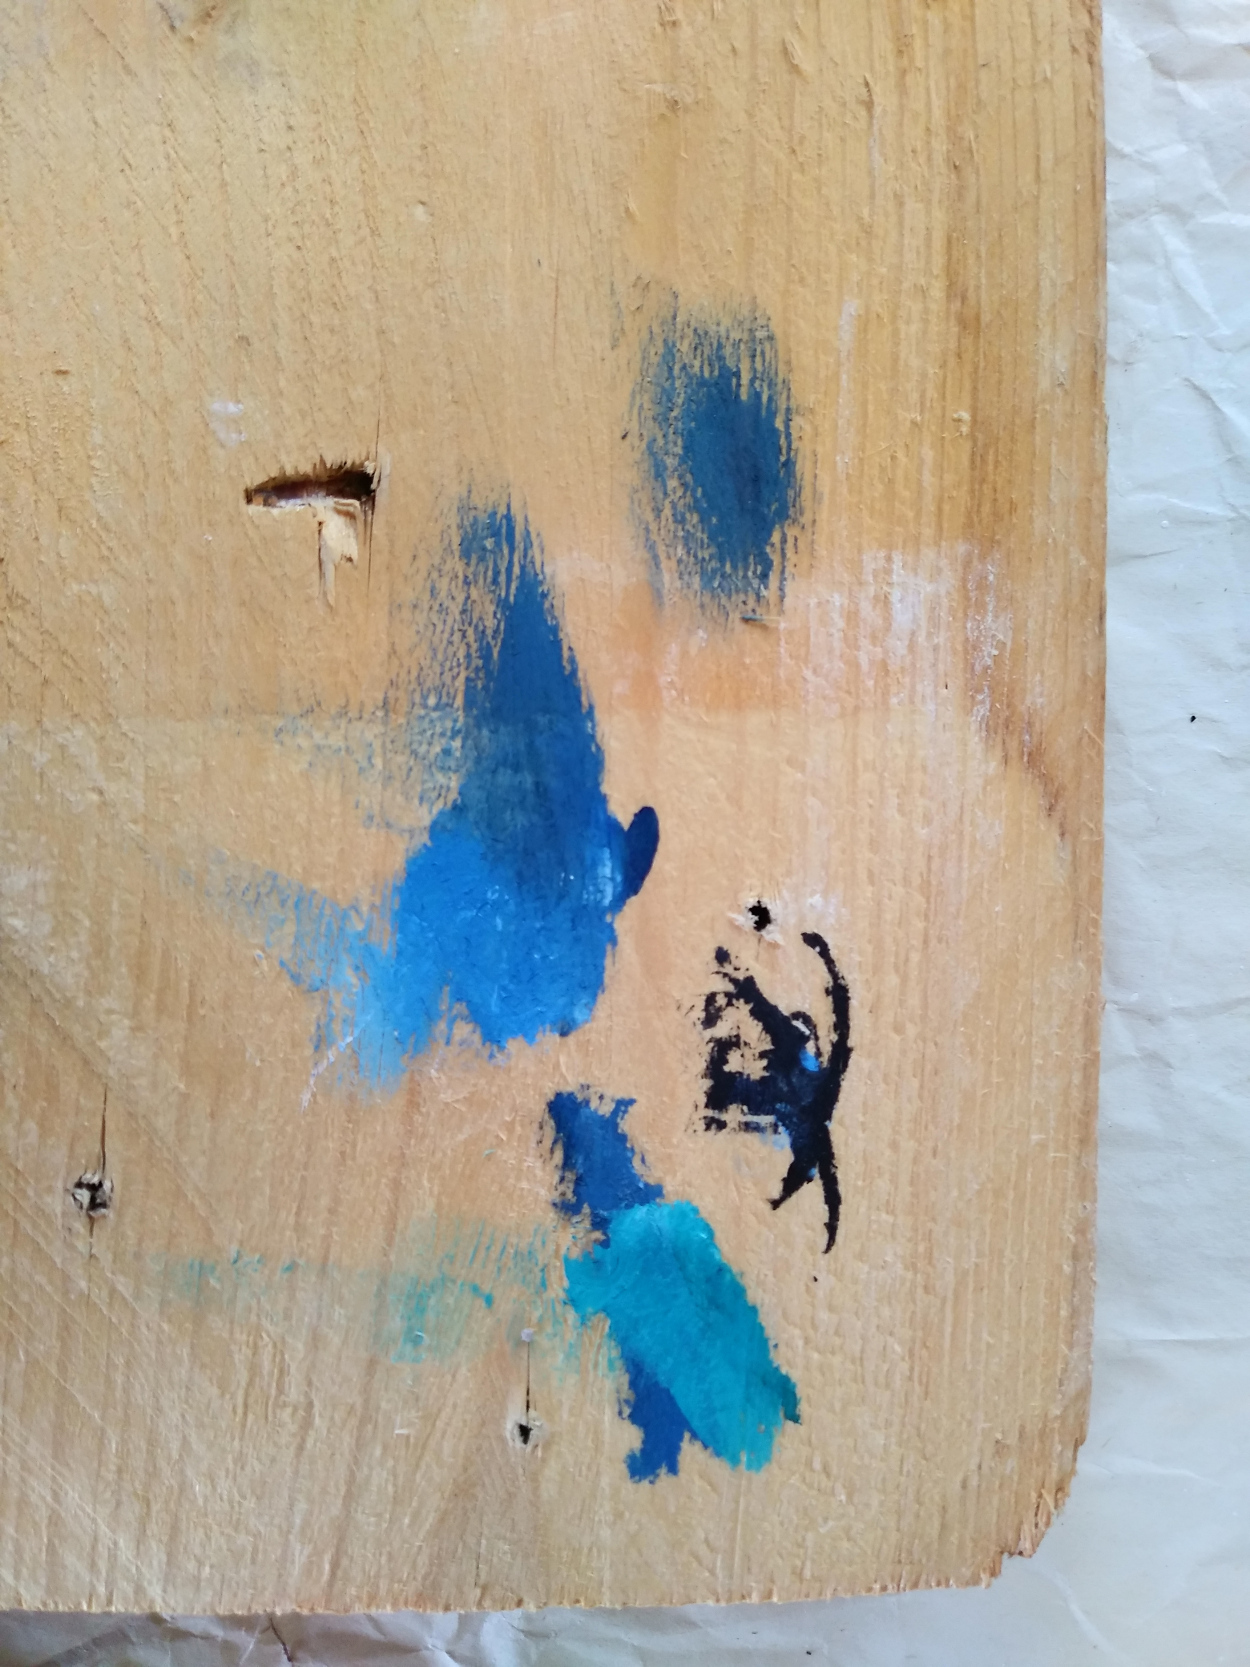
First test out your colours. I used the back of the board to try our a few colour combinations until I had the ones I want. To make the colour totally opaque I mix it with a bit of white. I wanted the back end of the shark to be a bit shaded so added black to the mix as I painted so it gradually got darker. It is easier to use one colour and add light/dark than use a different shade - you might end up with different values that look out of place.
Get ready to start painting! I have water, tissues (to dry off brushes in a hurry) and a variety of brushes at hand. Nothing more frustrating that having to get up and hunt for the right brush in the middle of things.
Start with a reasonably fine black outline of your sketch. Once this is dry (pretty quick with ink) start adding your colour. As you can see in the gif above I added black to shade the shark the further back I got. Then I added the white - teeth and eyeball. Once that was all dry, I redid the black outlines with a thicker brush to finish!
Hang and Enjoy :)
Screw a couple of eyelets into the back and hang with some string. If you have replicated a piece of kid art, I can guarantee they will be over the moon to have their work displayed in such a way!