Sawdust Loki's Mask.
hello today we will make a sawdust Loki's mask, from the amazing 1994 film: The Mask
In this instructable I will show you how to make a wooden mask based on the one used in the movie by the main character: Stanley Ipkiss. (played by the amazing Jim Carrey.)
by the way did I say wood? well in part... it will be.
About the Mask.


The Mask is a 1994 American superhero comedy film directed by Charles Russell
based on The Mask comics published by Dark Horse Comics.
The Movie:
Stanley Ipkiss is a cartoon lover, who lives trapped in the routine, who one night finds a magical object (the mask) that will give him superpowers and awaken his darker and funnier side, but will he be able to control his alter ego, or will fail in the attemp?
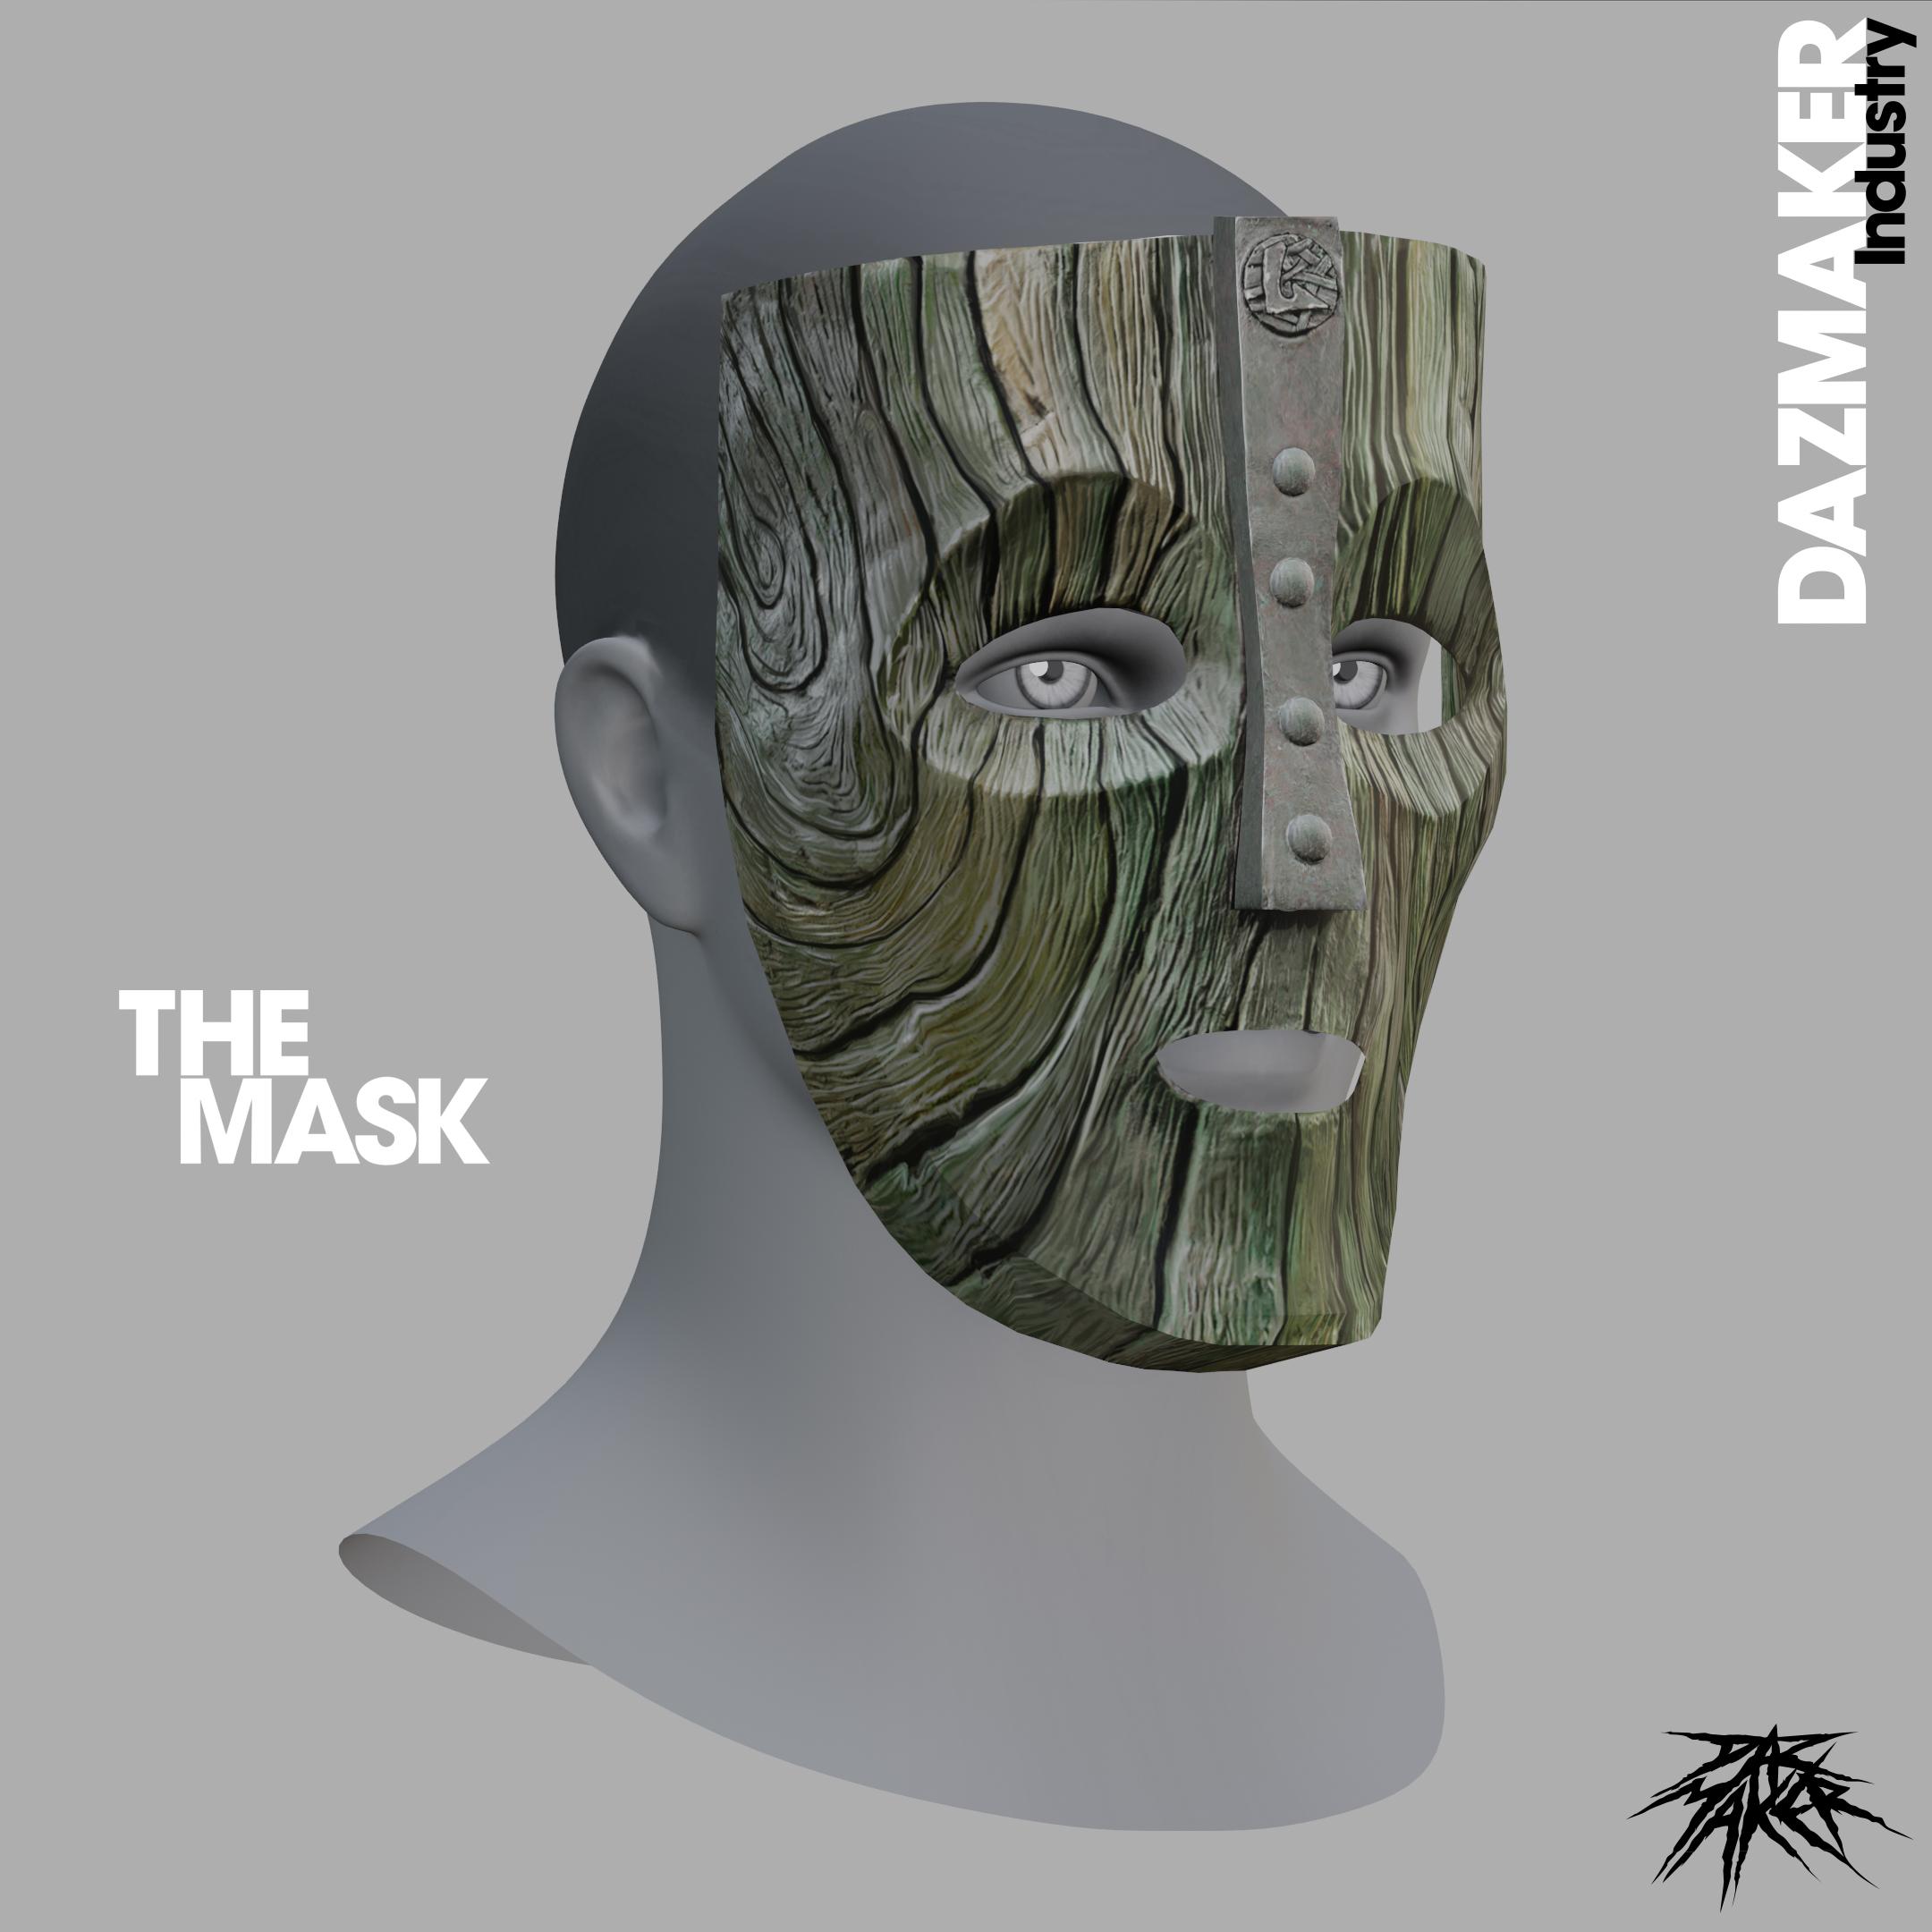
The Mask:
The mask is a creation of Loki, the Norse god of night and mischief.
the Loki mask empowers its wearer and transforms him into a being with superpowers,
bringing out your most secret side or your darkest side.
How does it work:
you should simply put on the mask, but do so at your own risk.
oh and another thing, do not try to use it during the day, I do not assure you it will work.
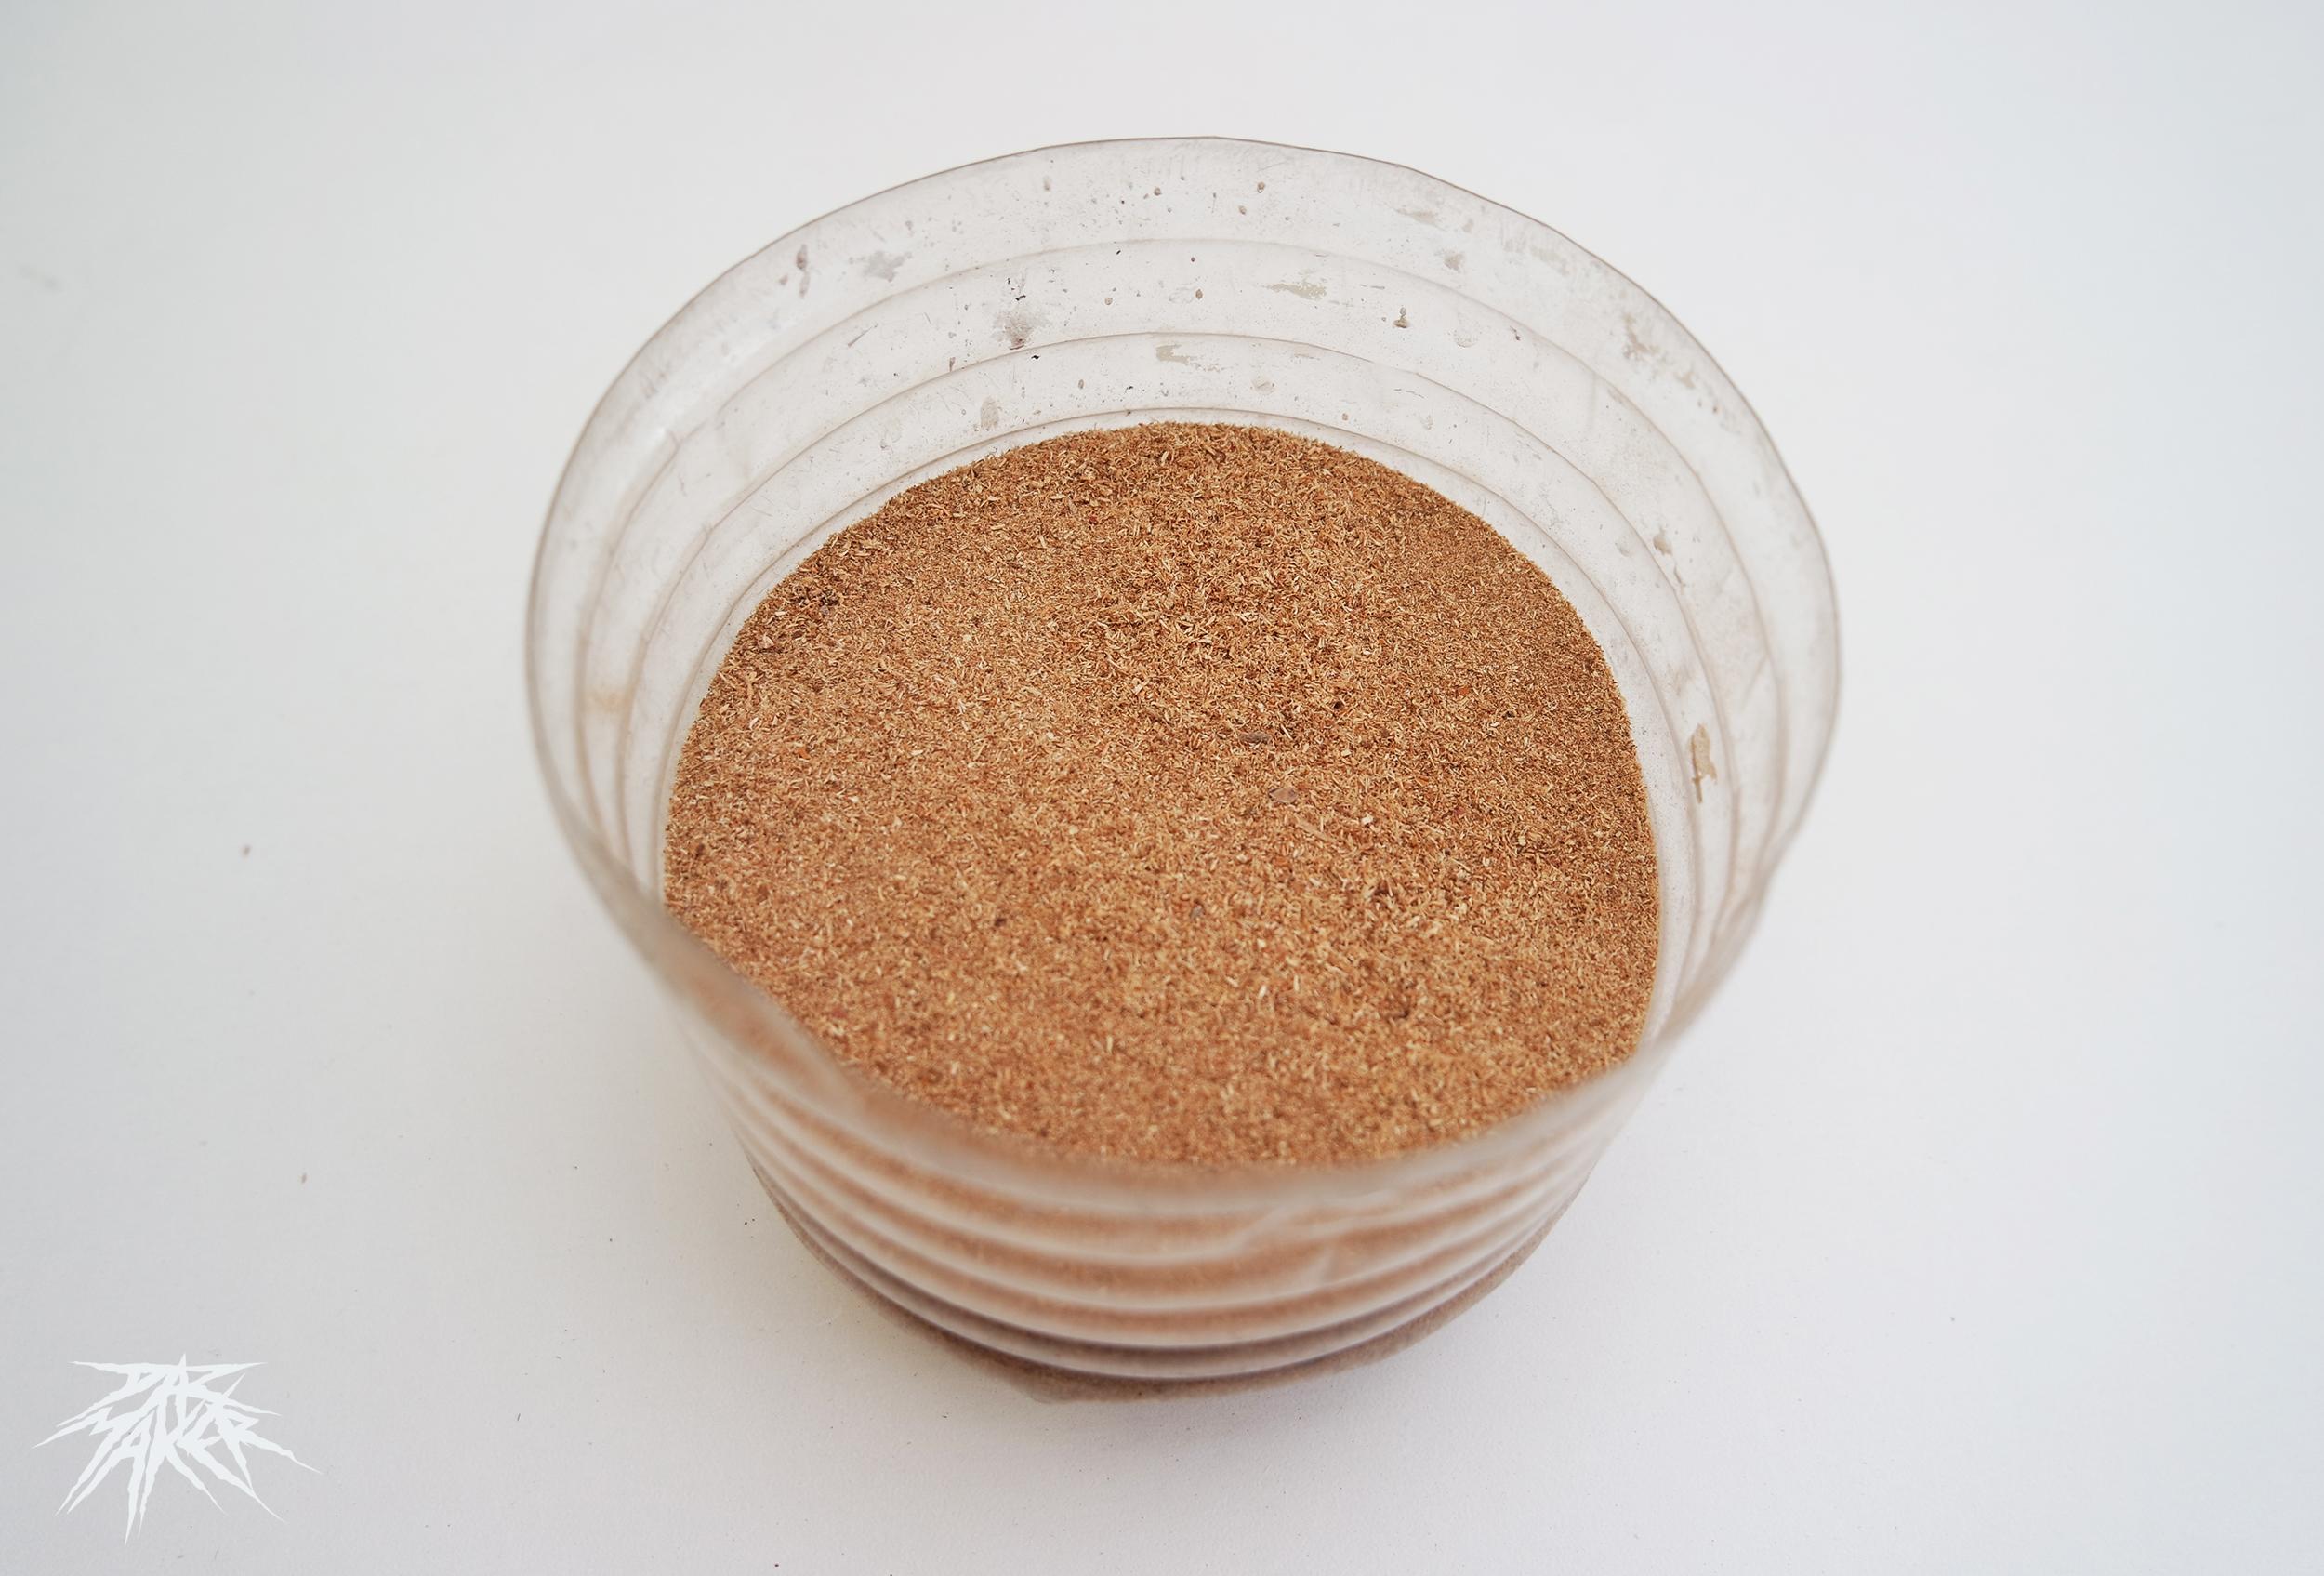
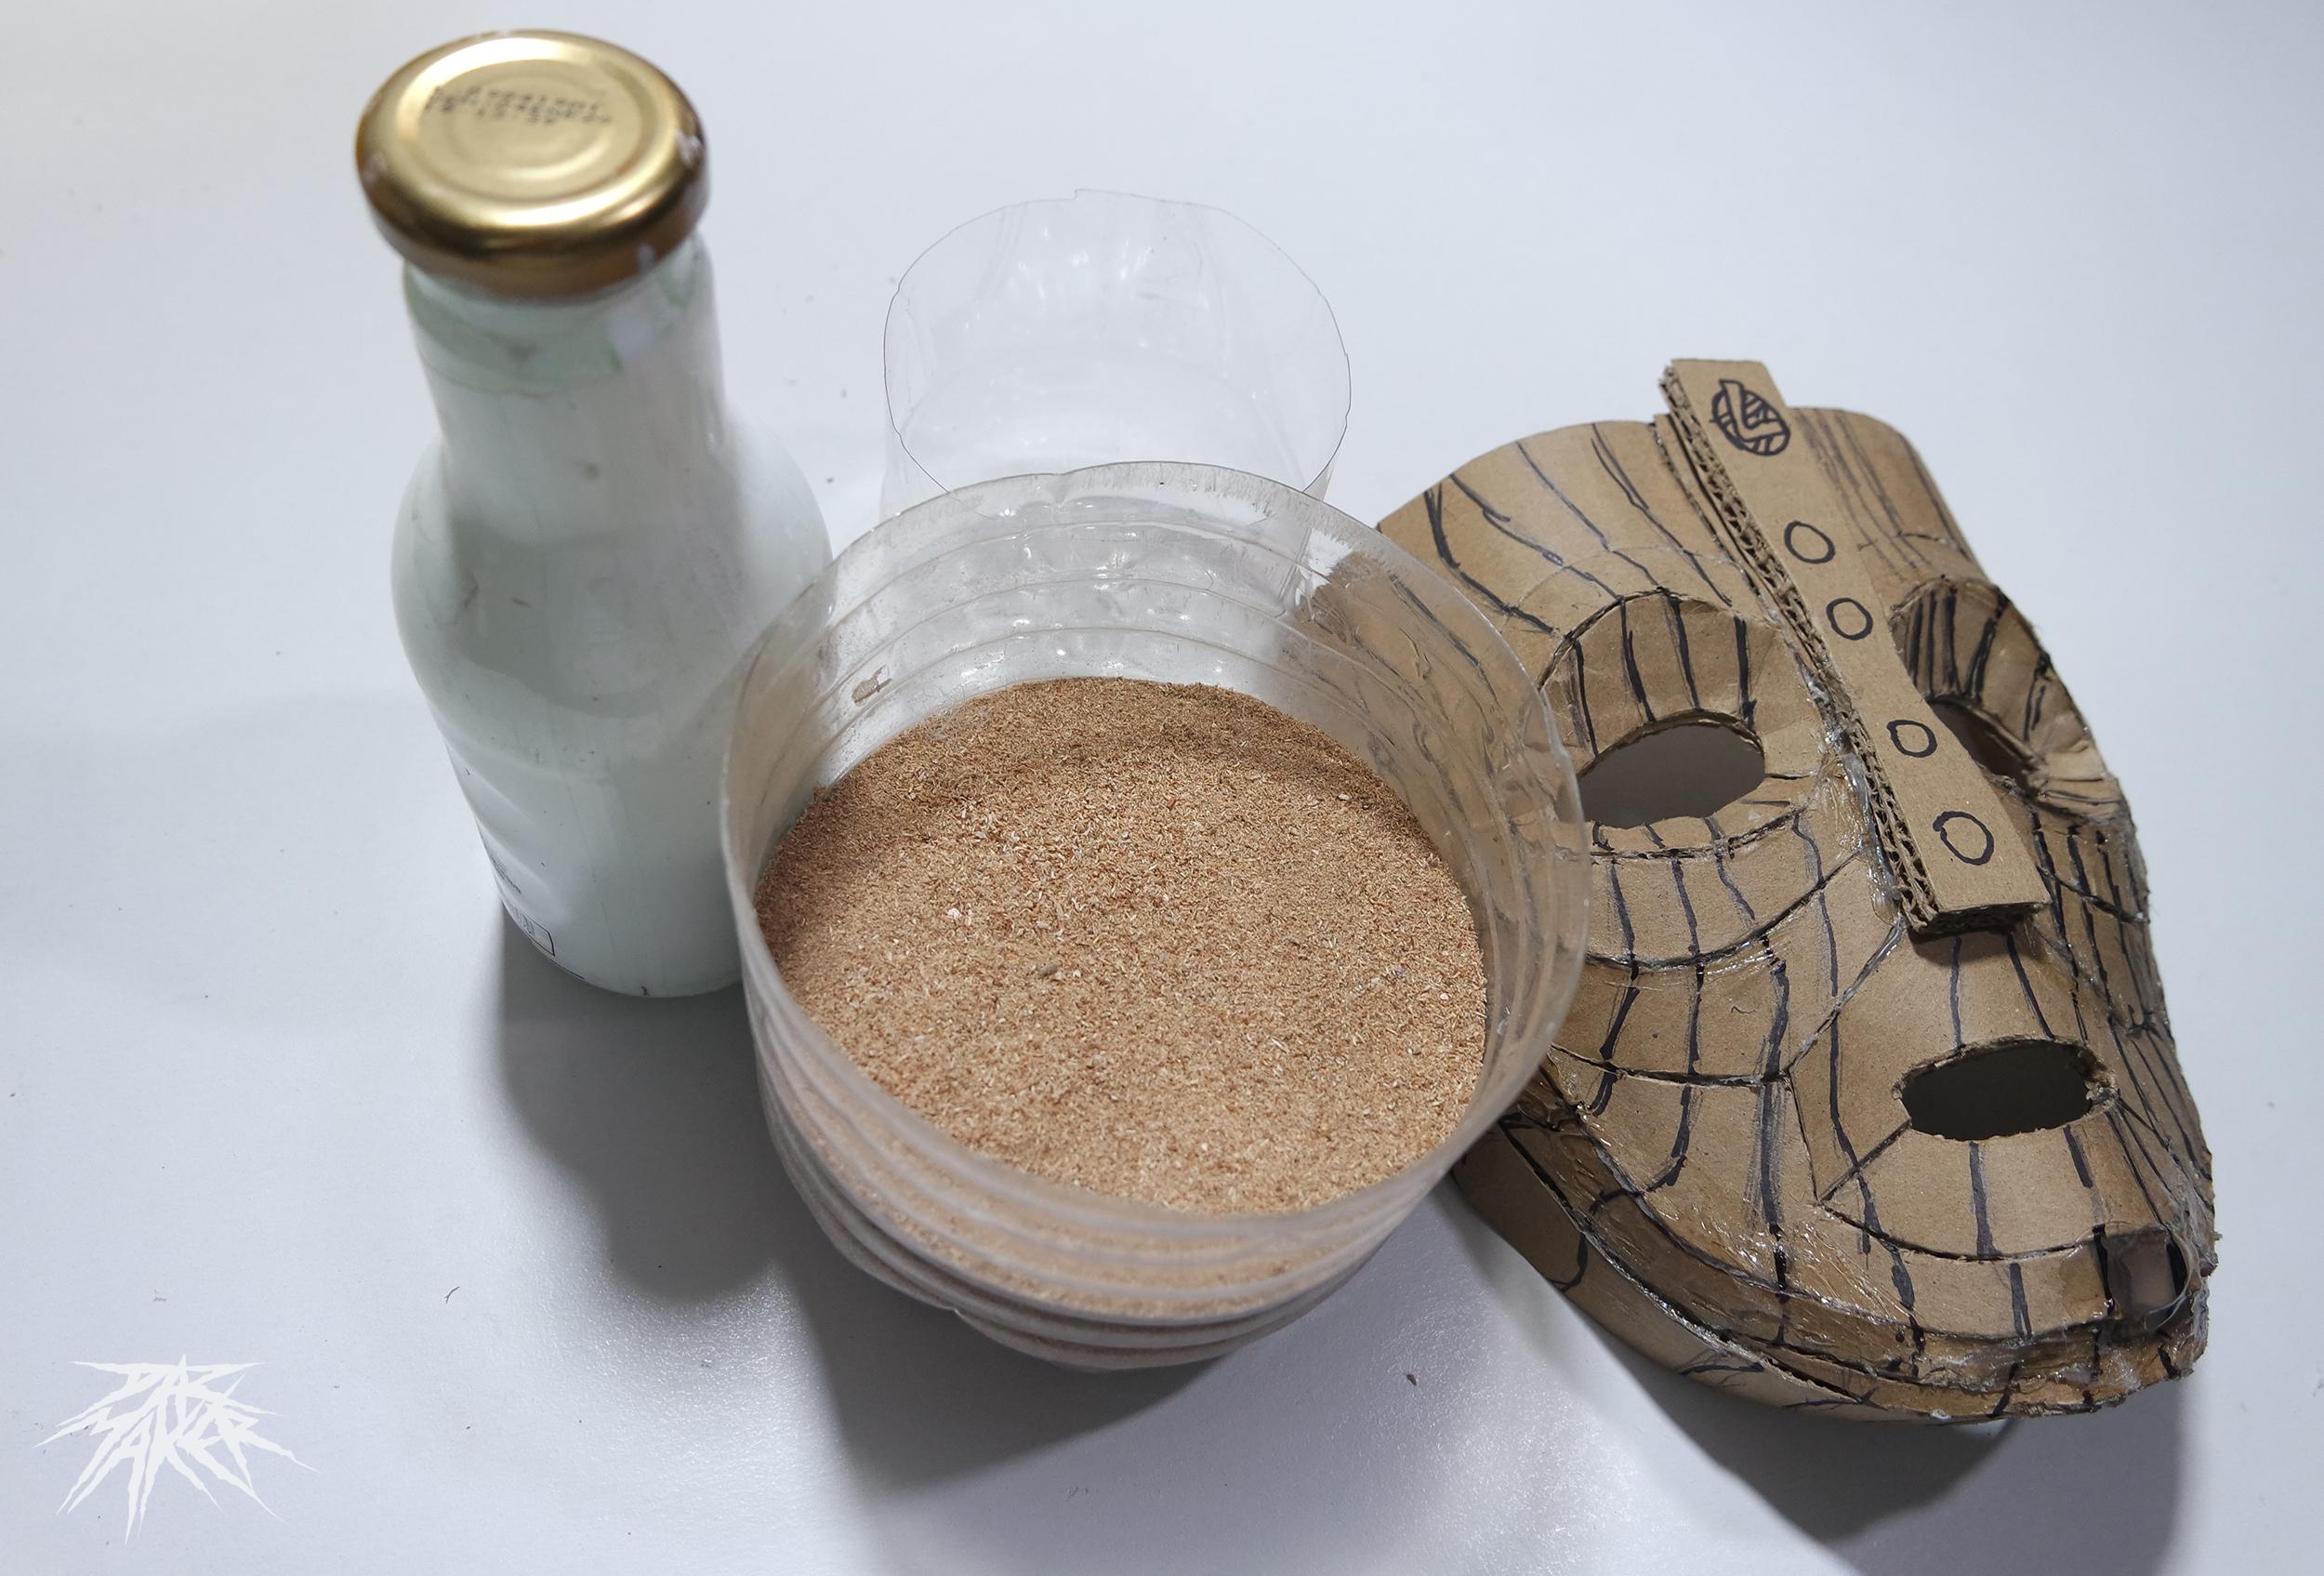
The Sawdust

The Sawdust (or wood shavings) is a waste surplus product of woodworking works, how is sawing, sanding, milling, planing, and routing. It is composed of small chips of wood.
These works can be performed by woodworking machinery, or handy work.
every time we work with wood and machines that polish or cut it, we will find part of the mixture that we use to create a mass to give detail to our mask.
The mass that we use to sculpt will be based on sawdust and cola, a lot of sawdust.
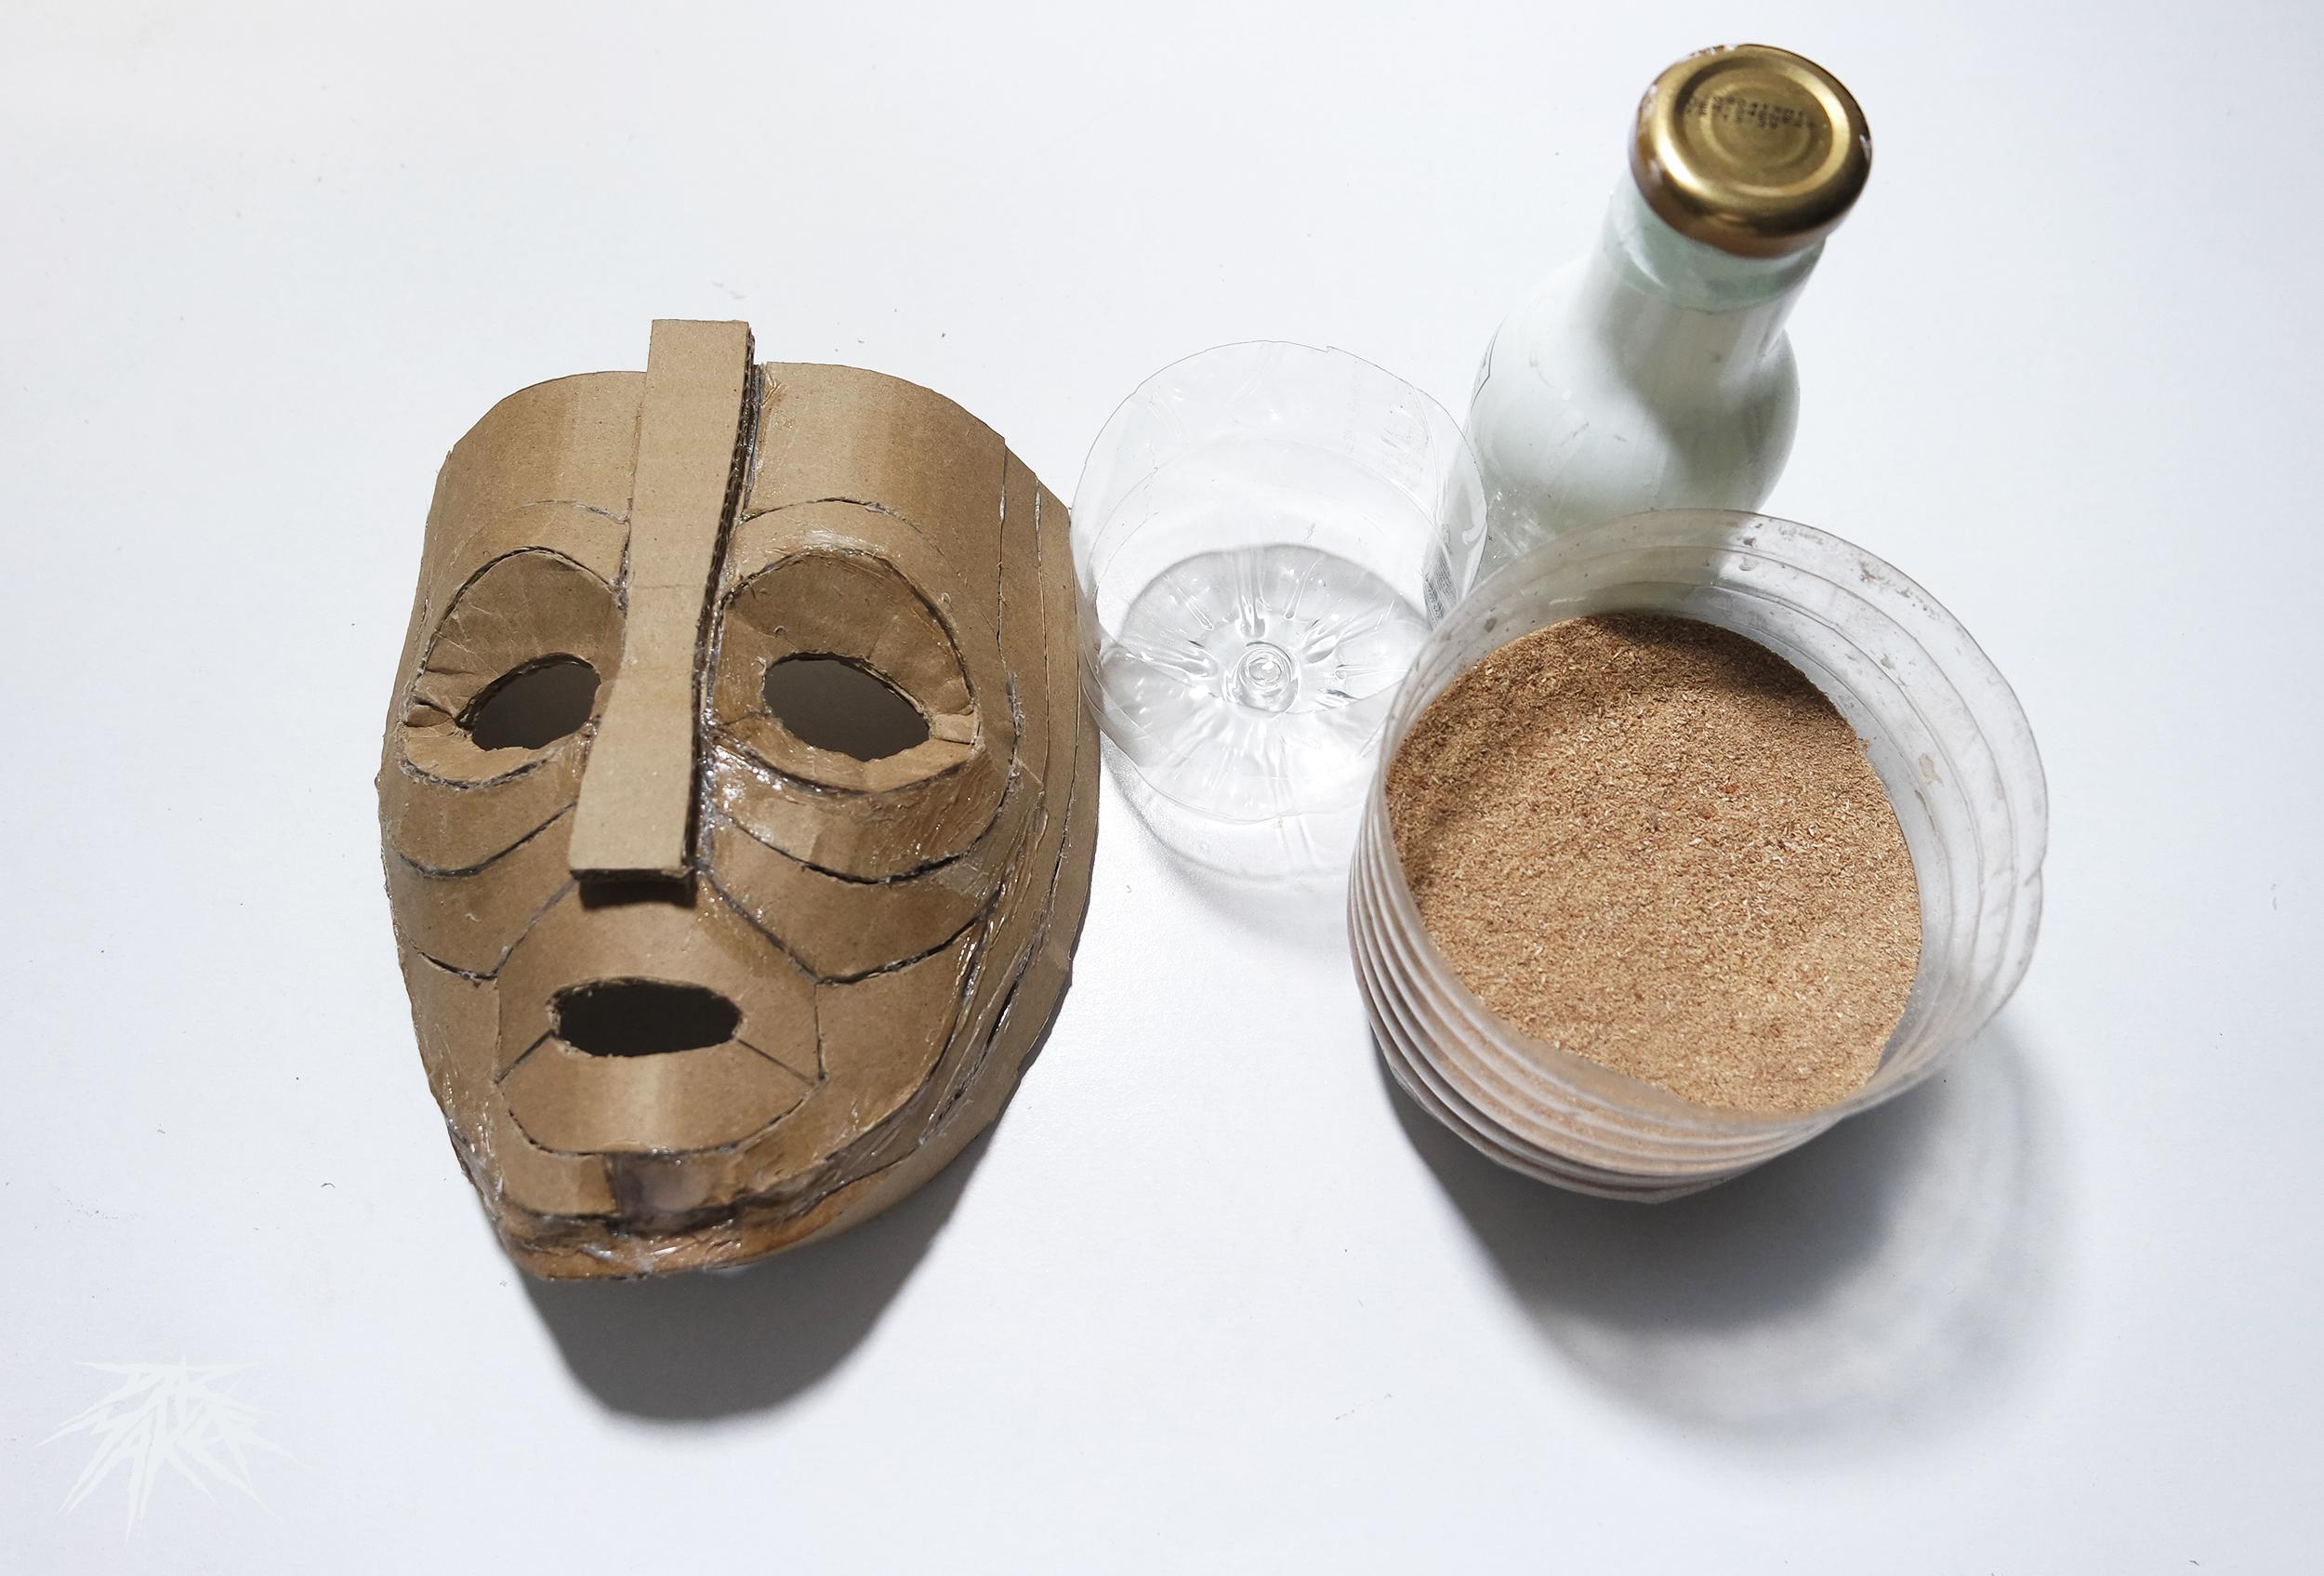
Materials
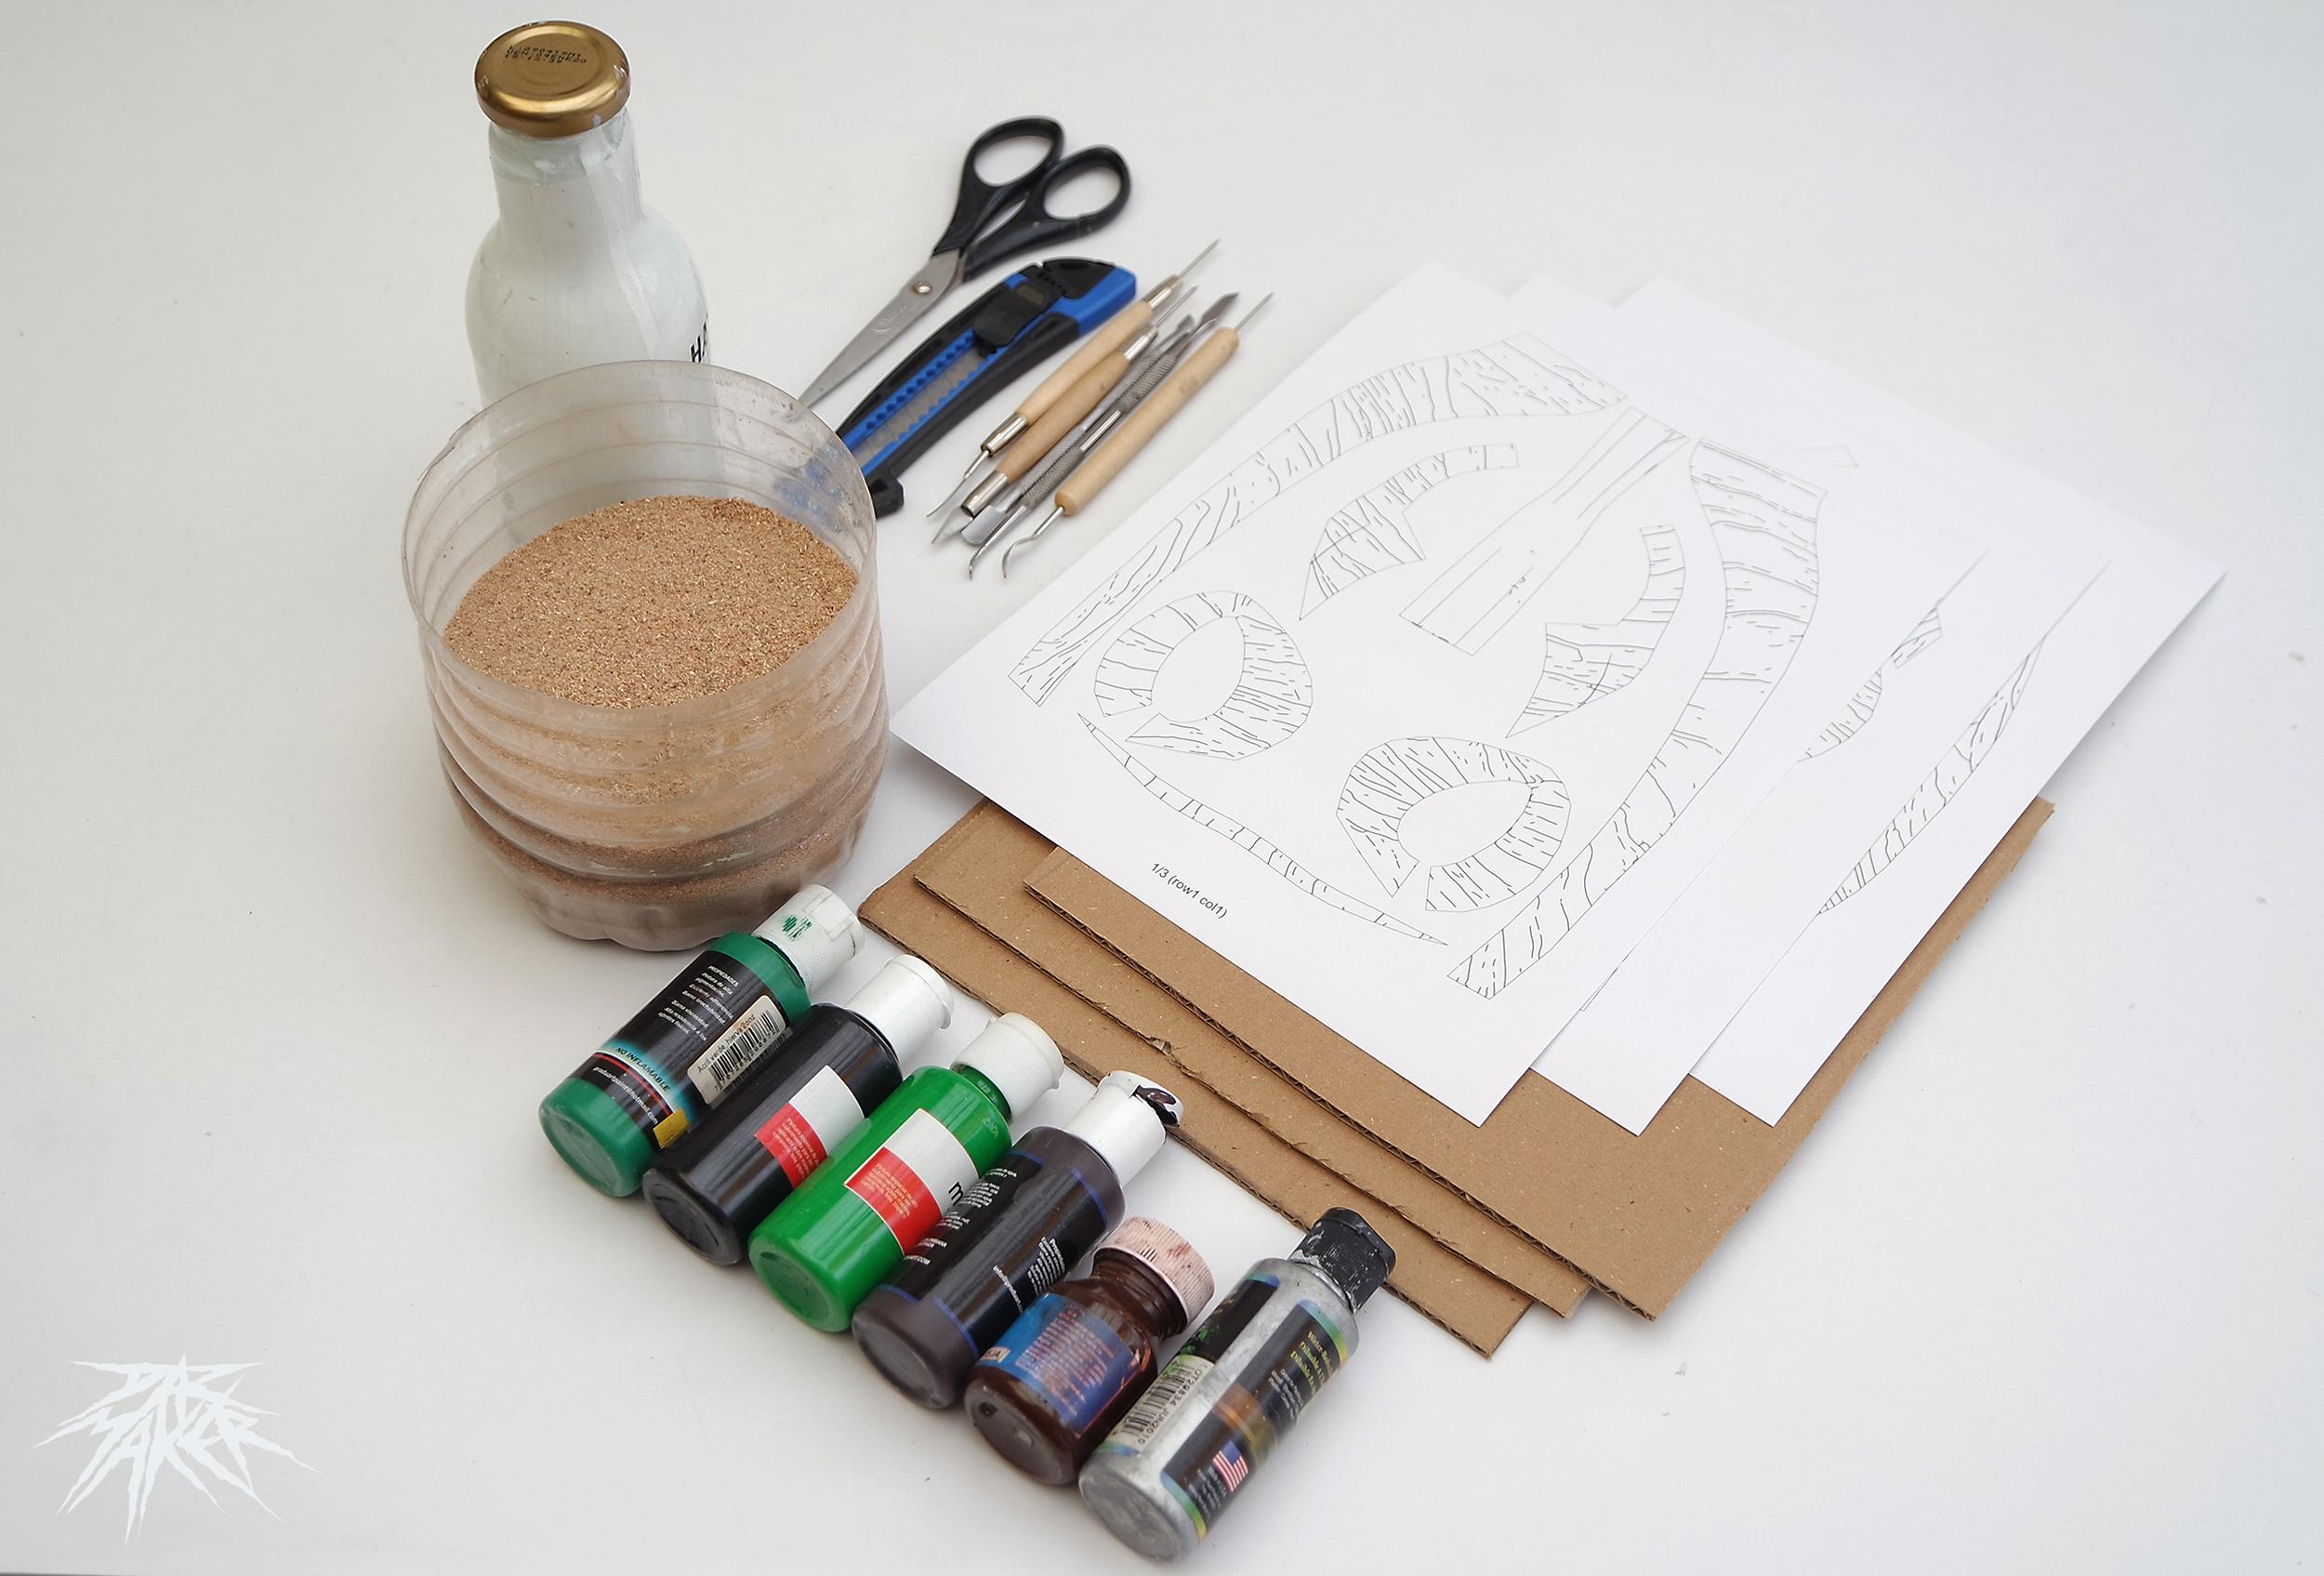


The materials will be:
- Sawdust
- Templates
- Scissors
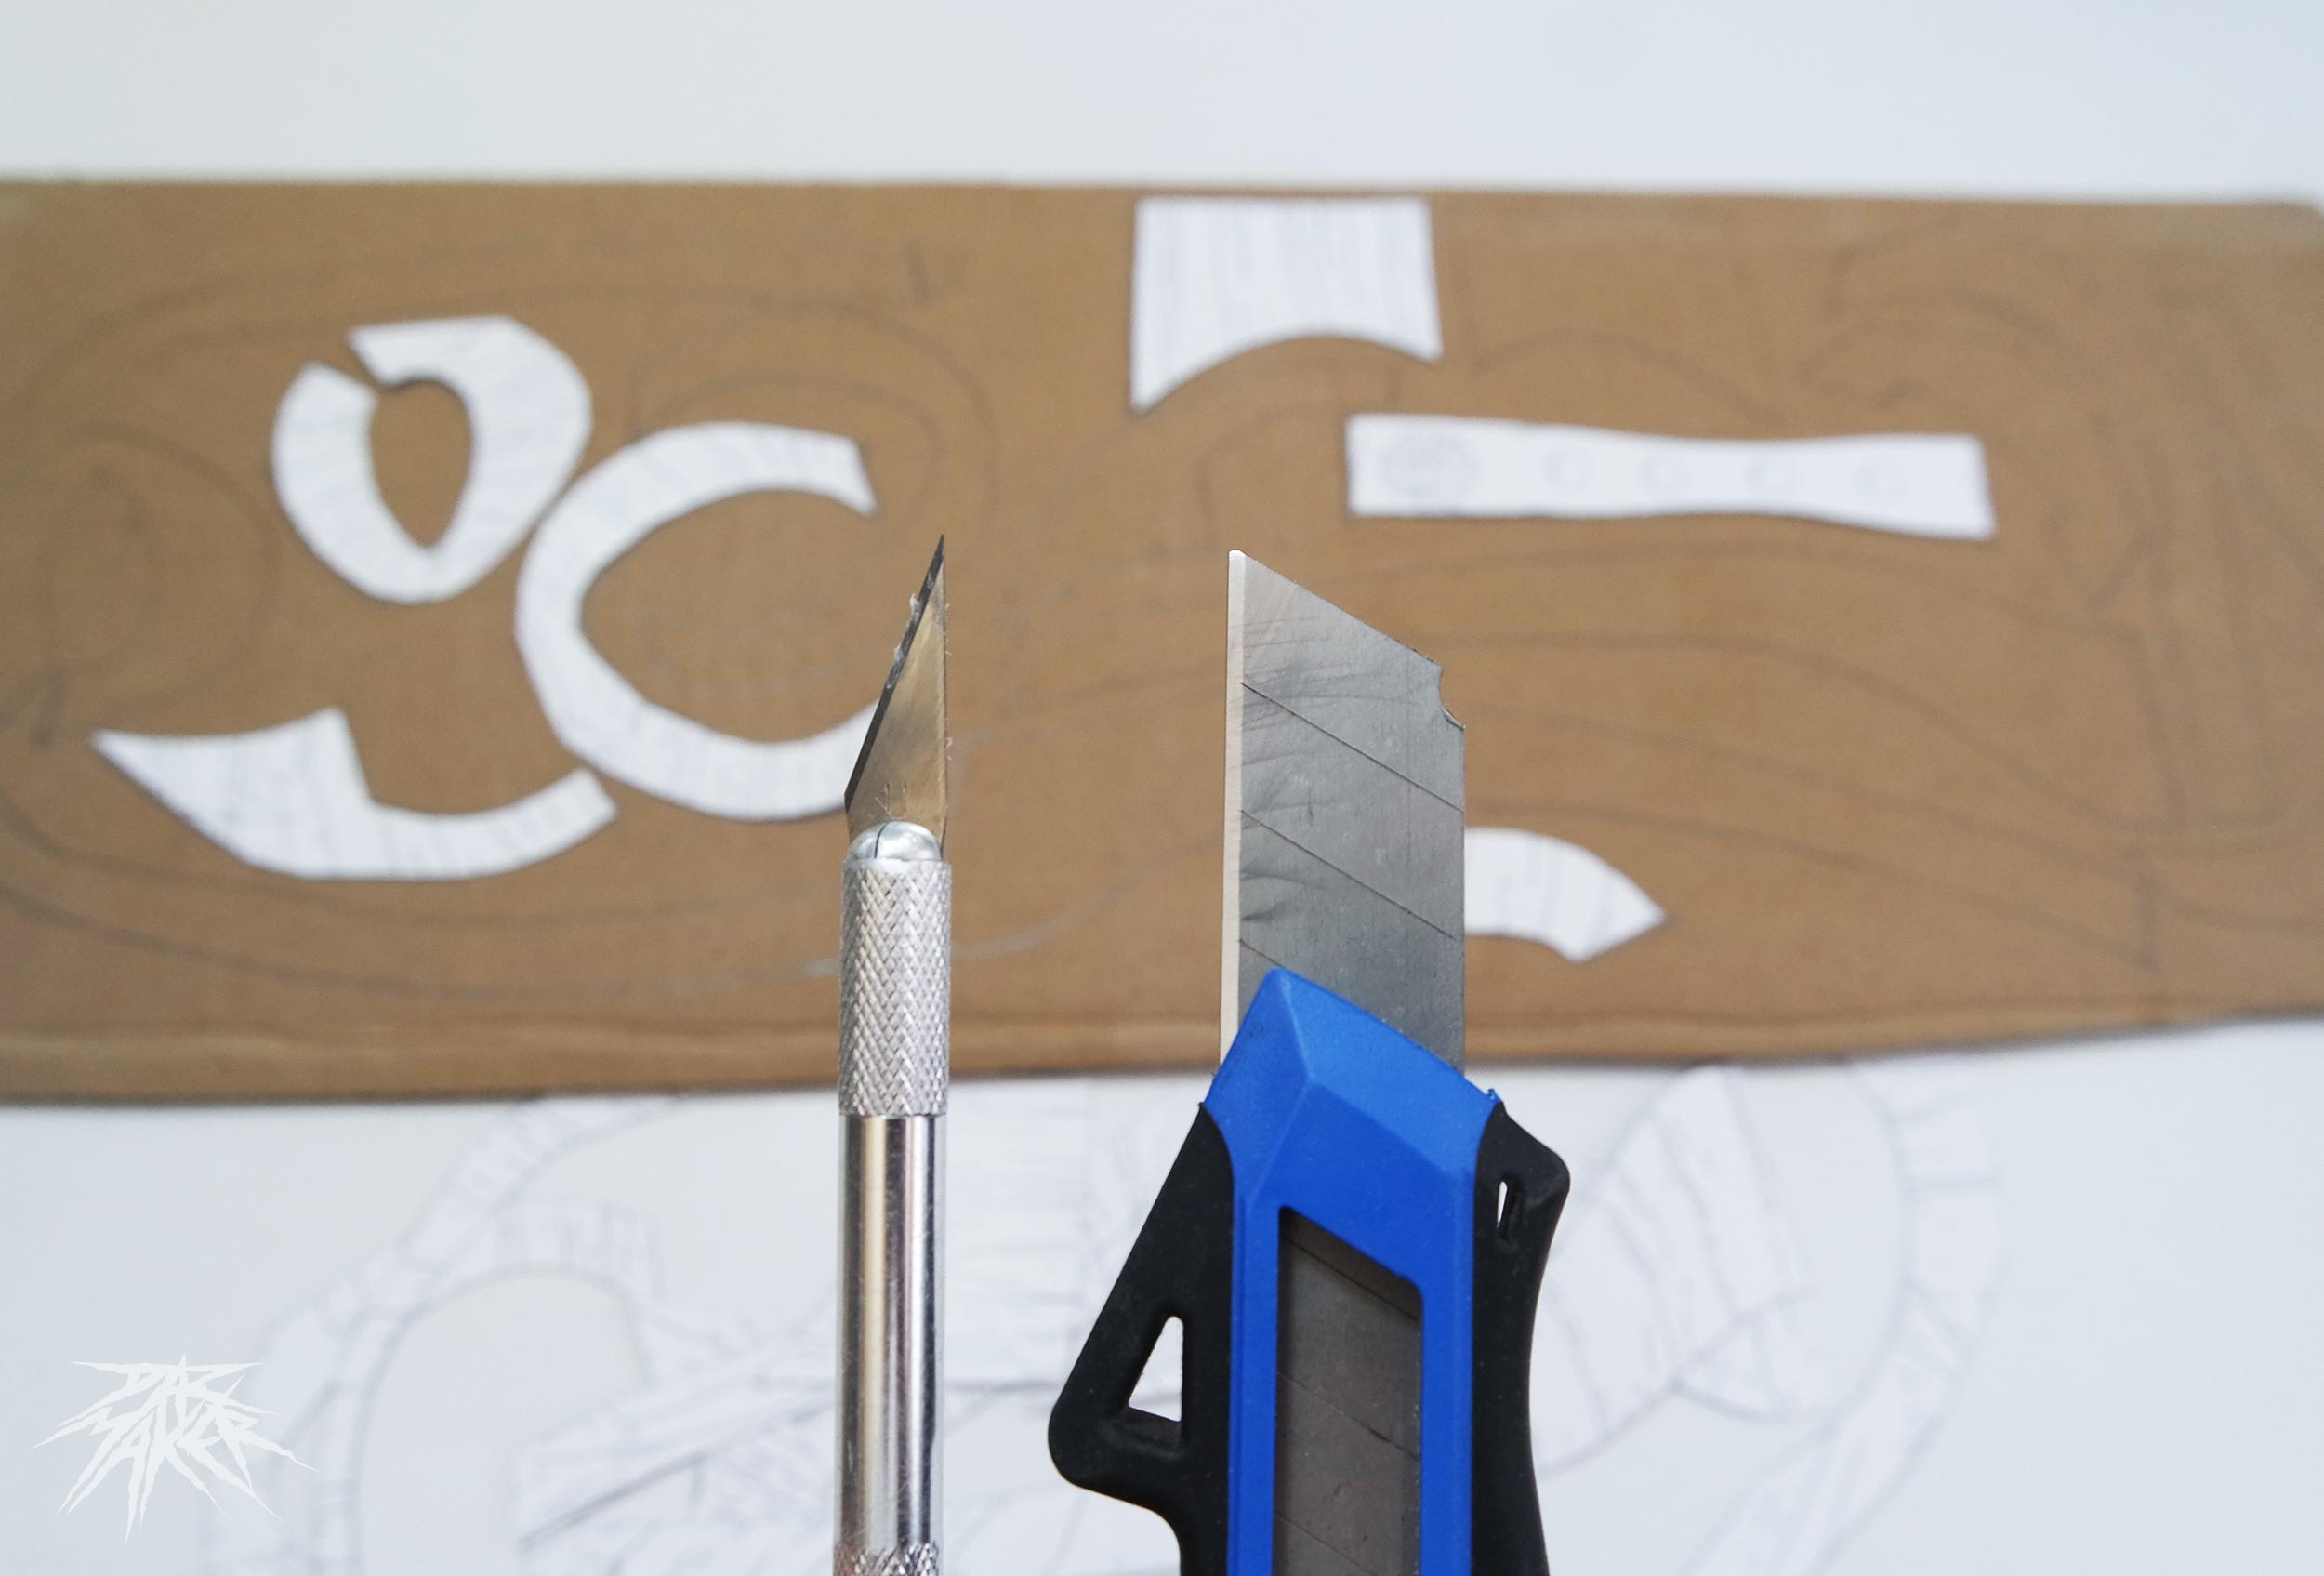
- X-acto and Cutter
- Cardboard
- Glue gun
- Glue
- Mixing container
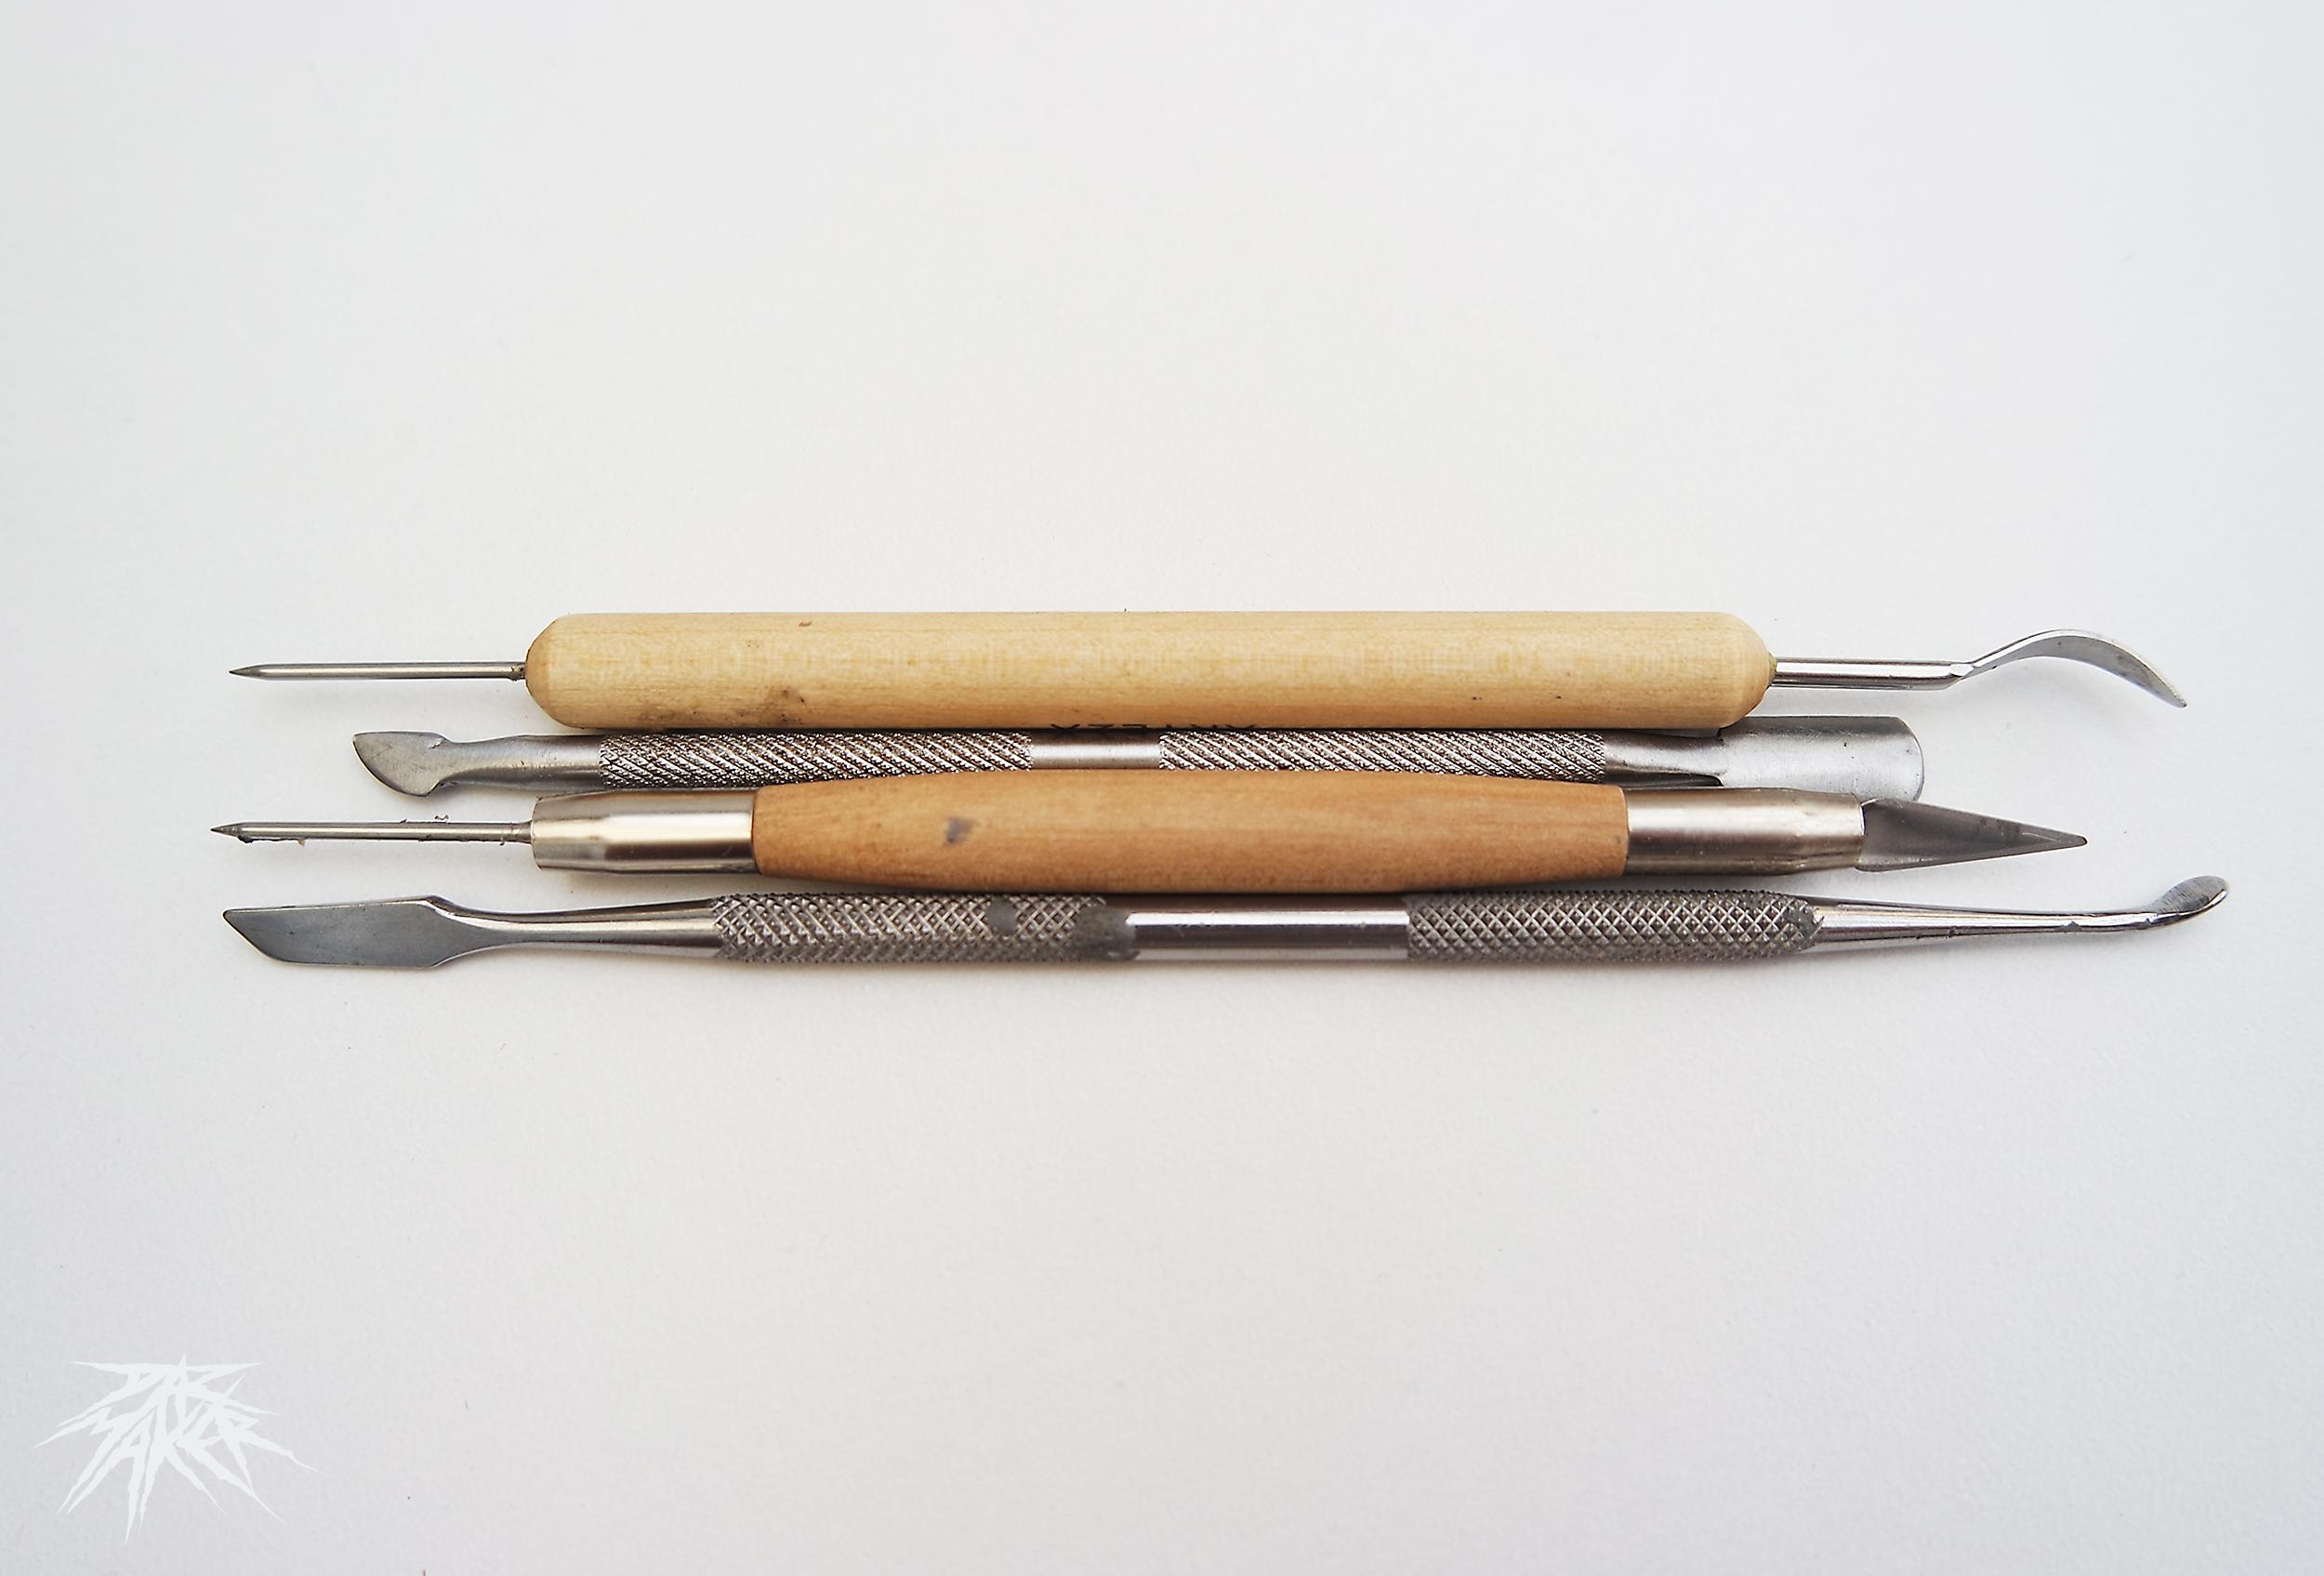
- Sculpture tools
- Brushes Paints
optional: heat gun.
The Heat Gun is optional and very necessary if you want to speed up the drying of our sculpting mix,
if you have it, use it :)
I don't have it so ... :'(
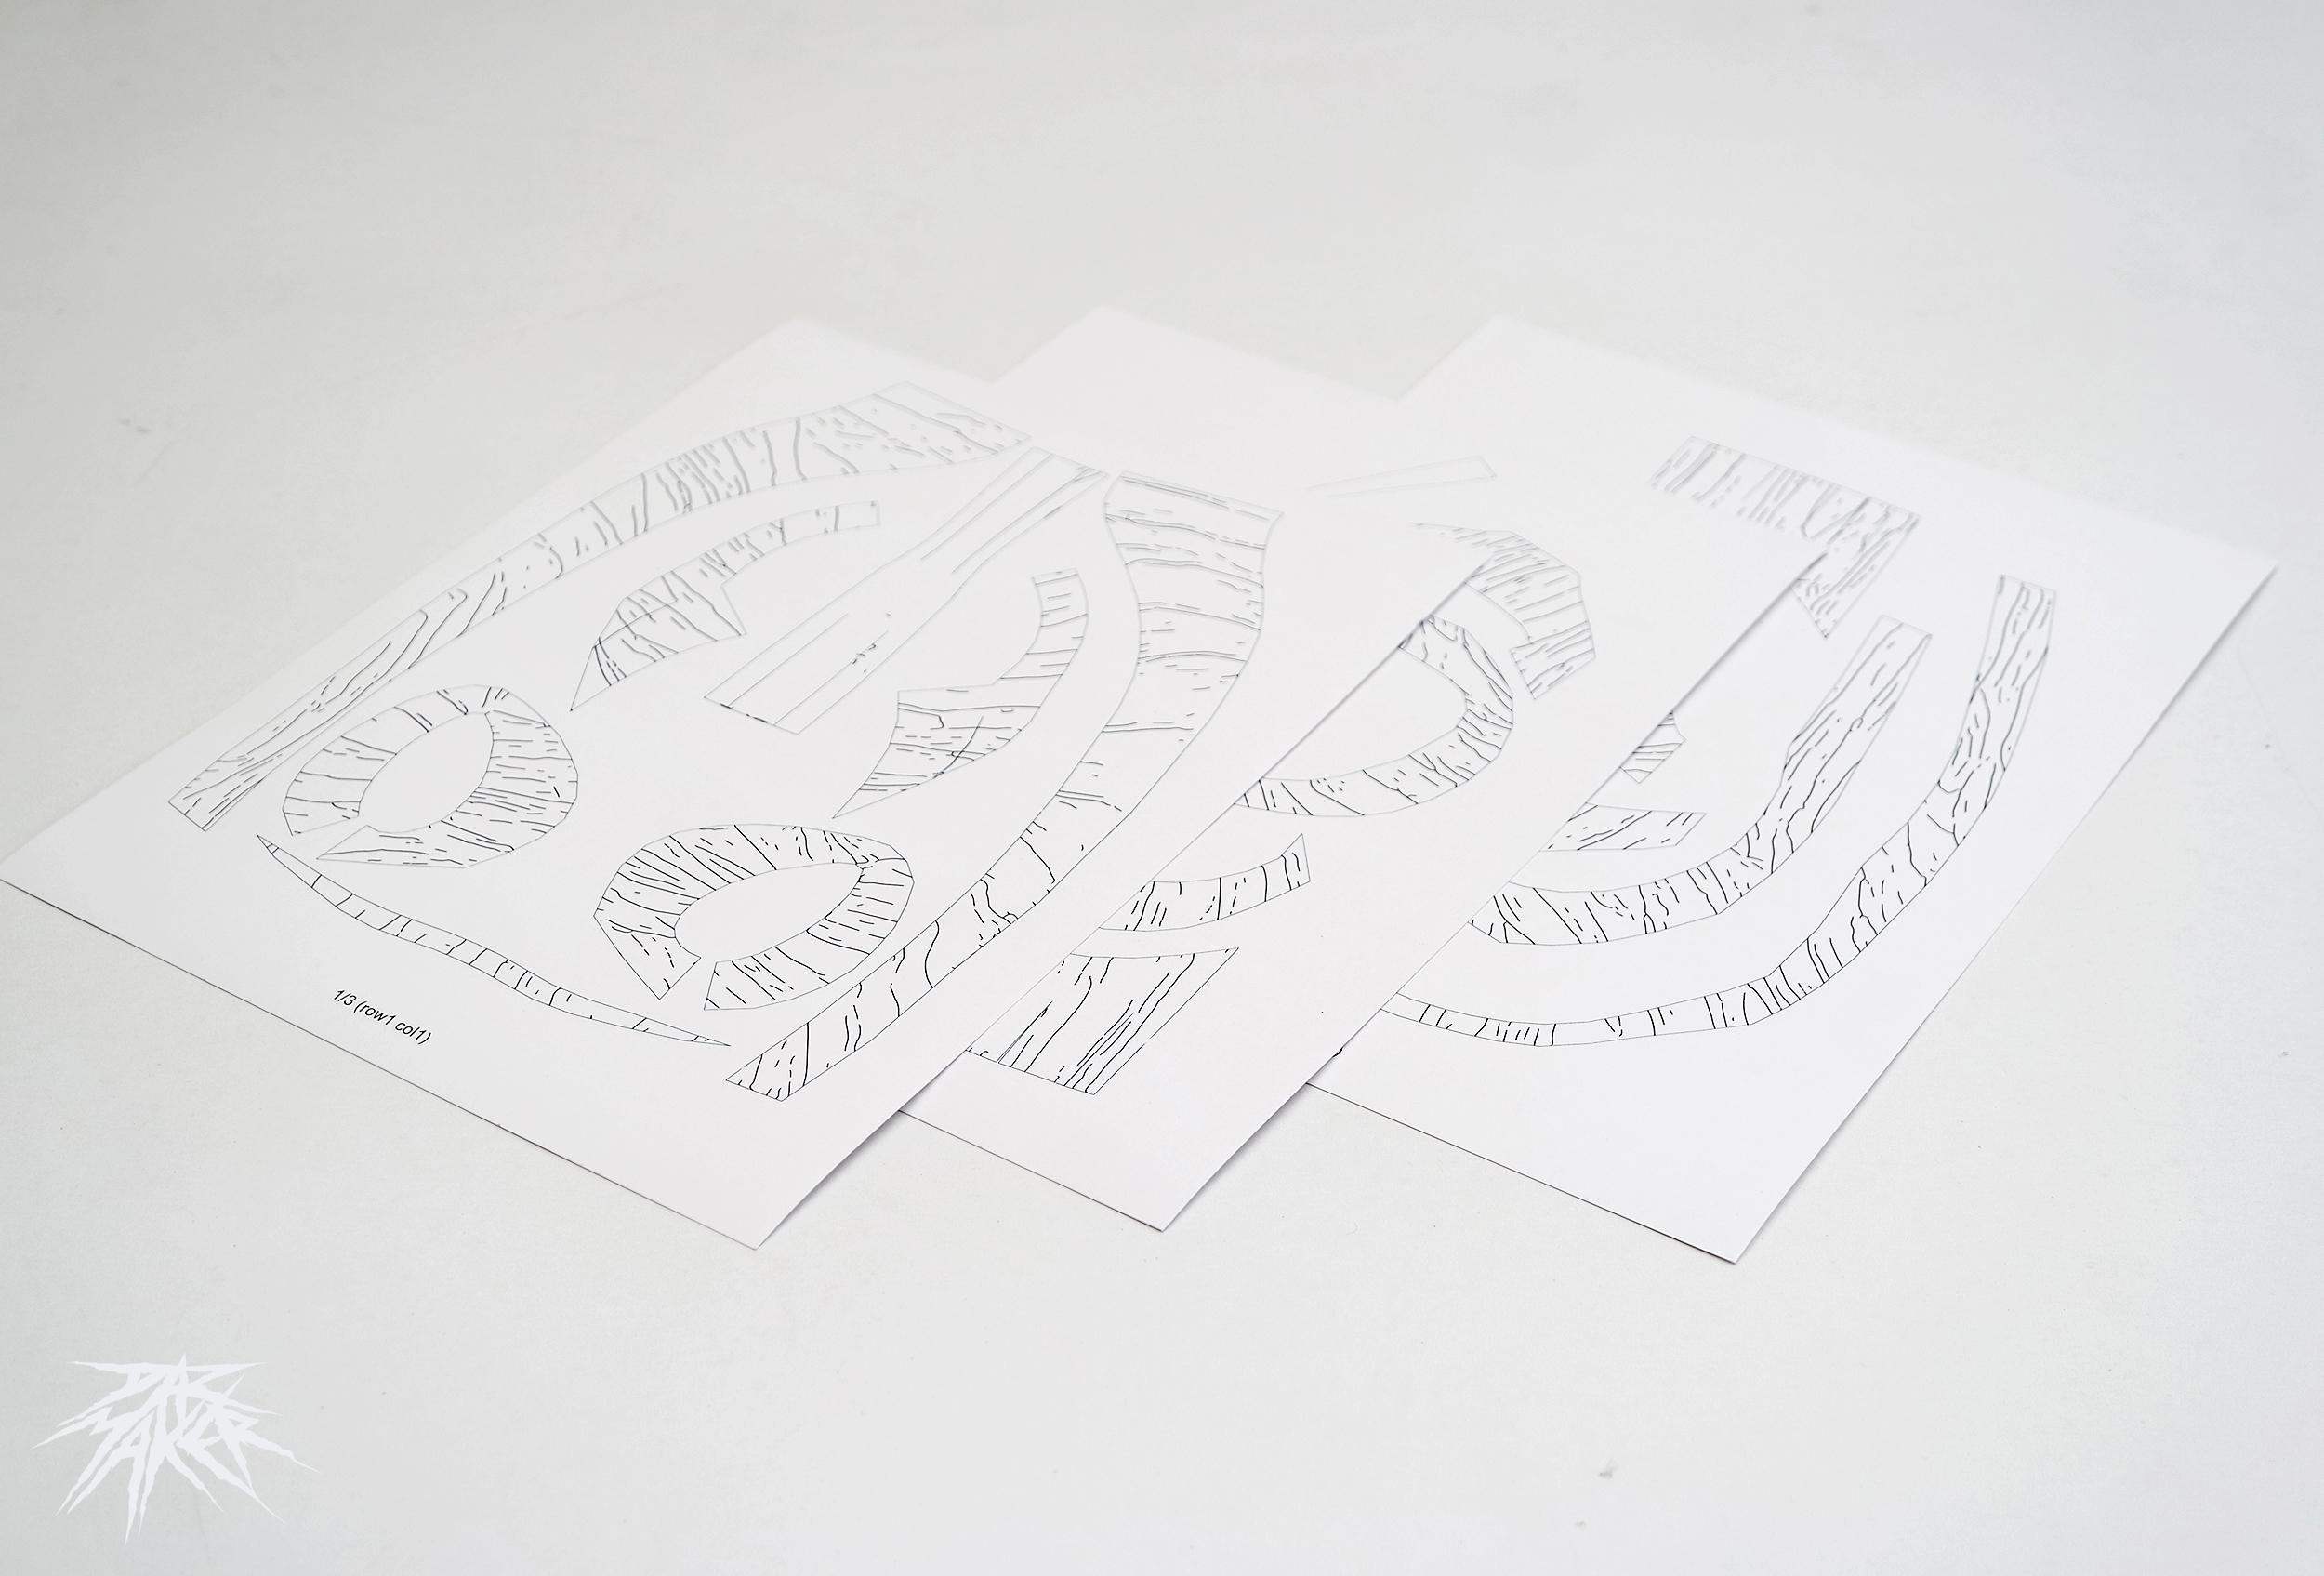
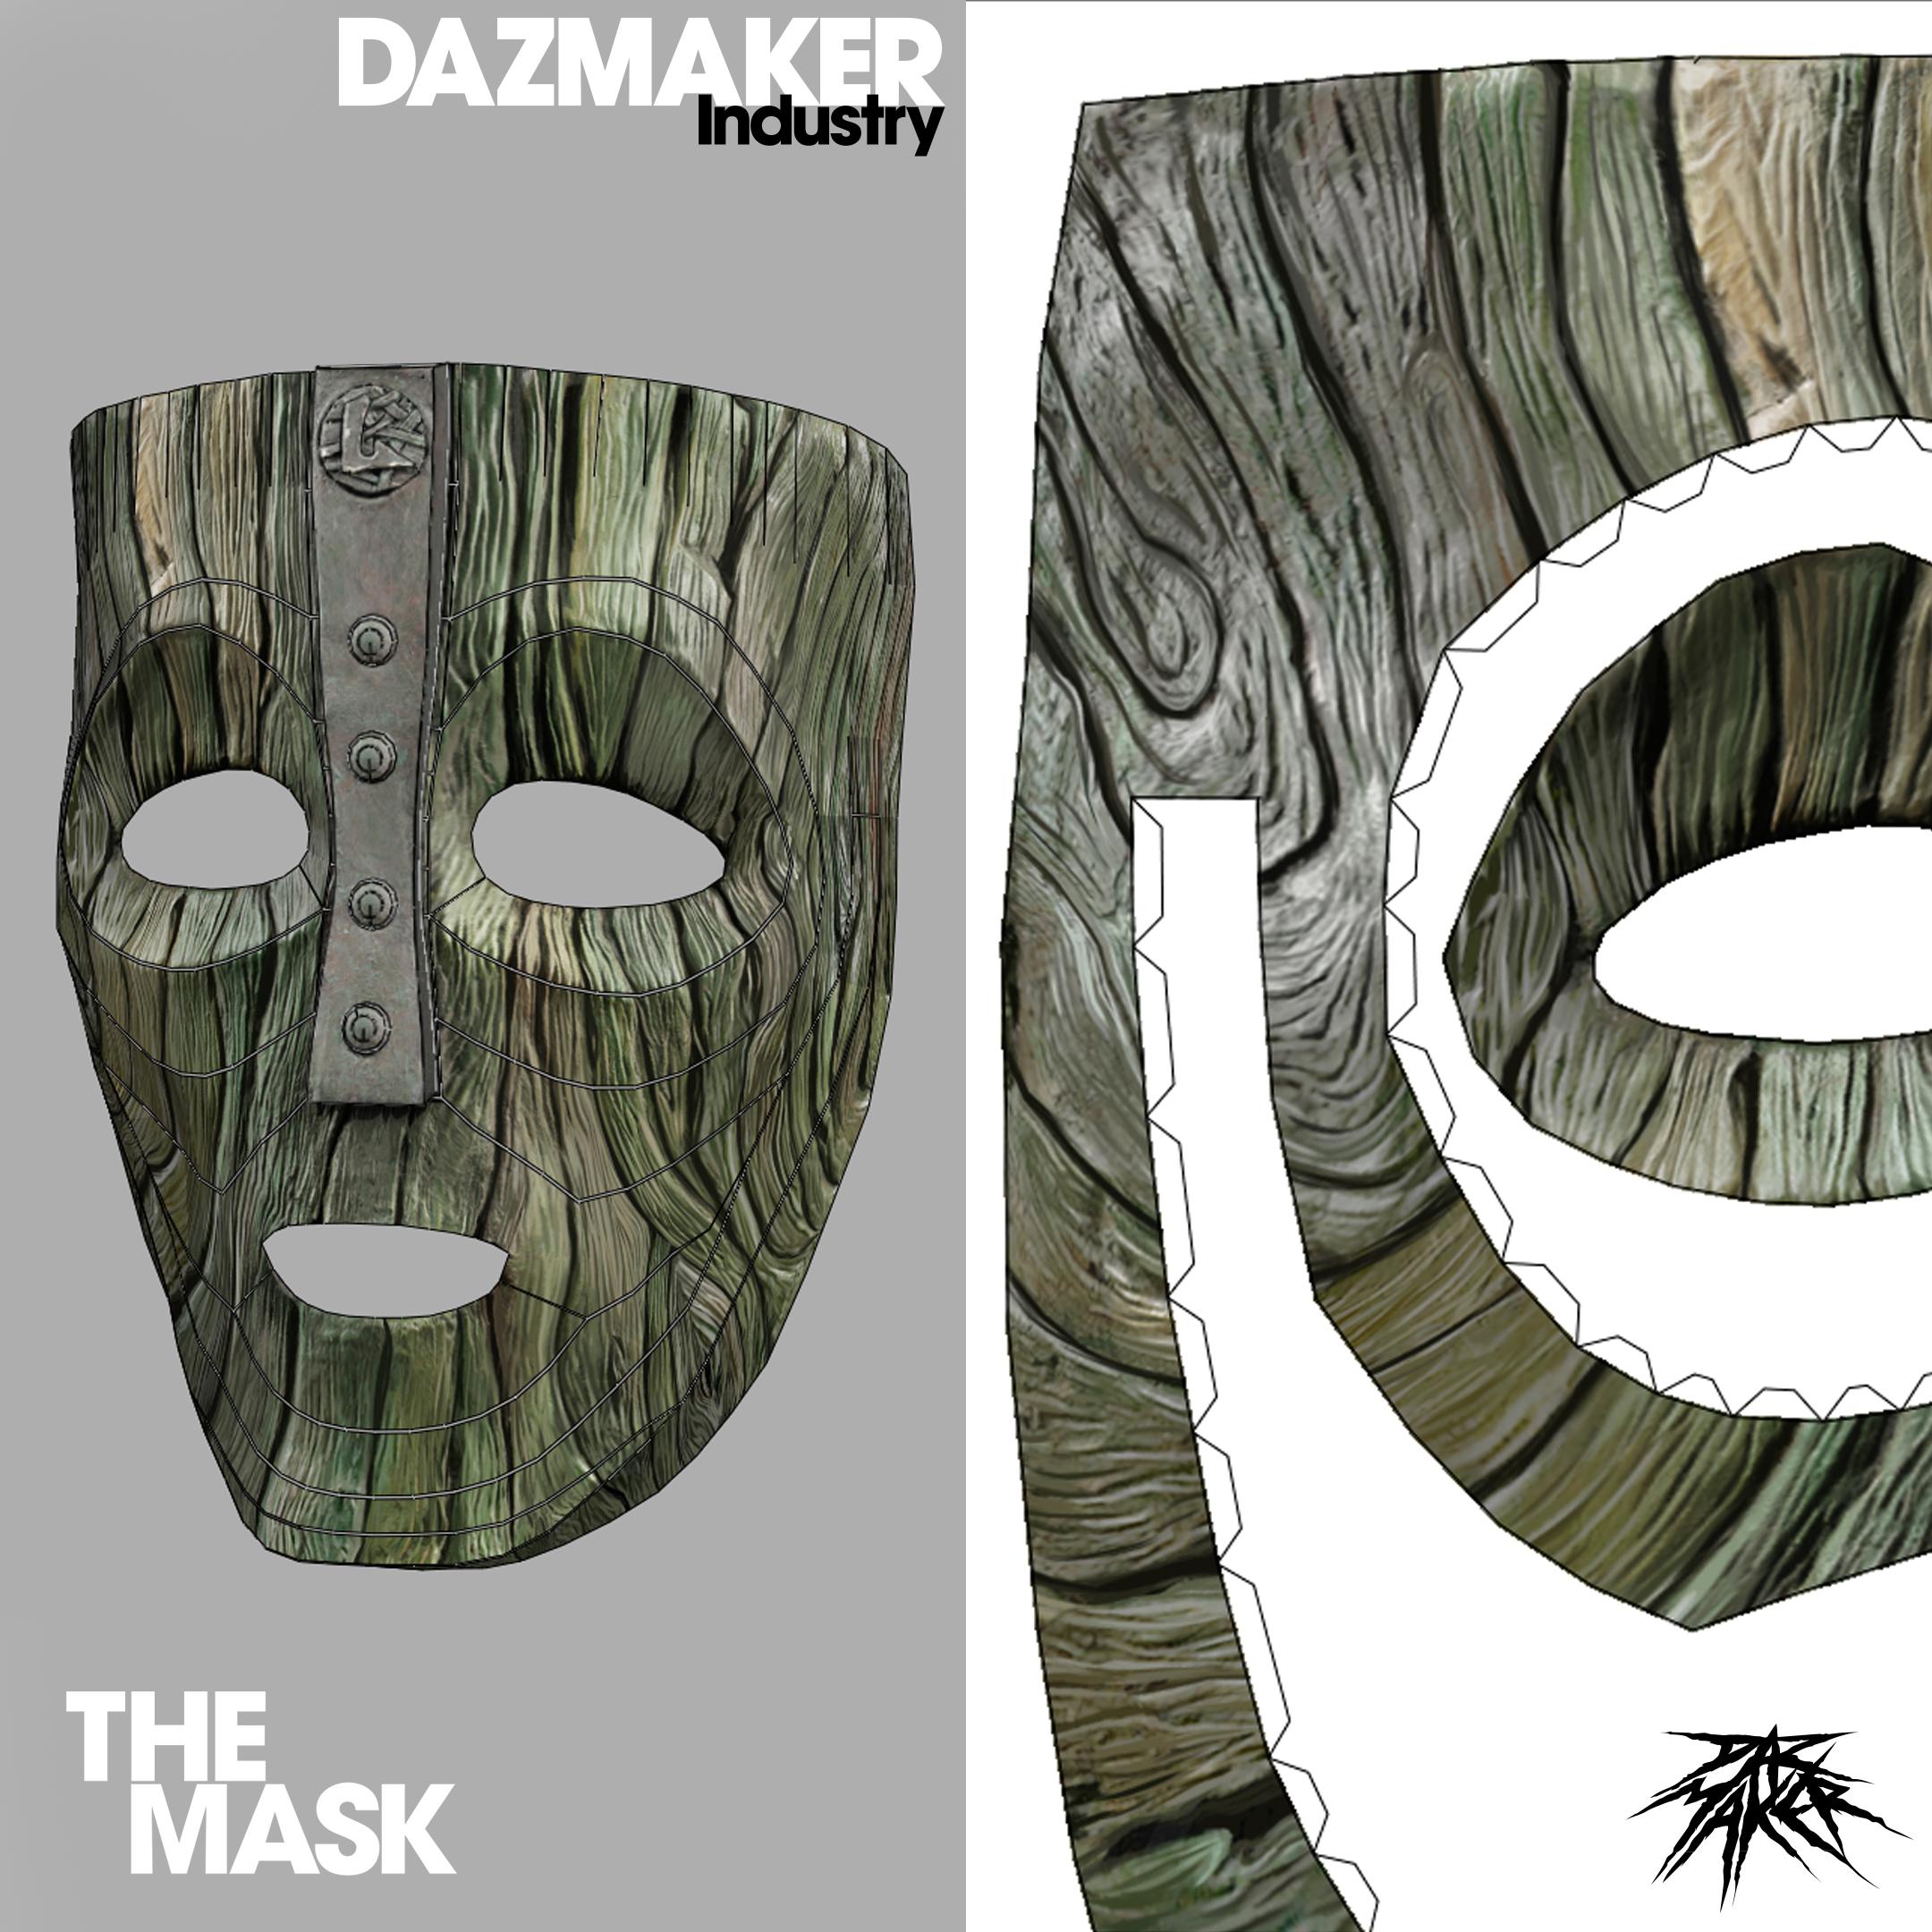
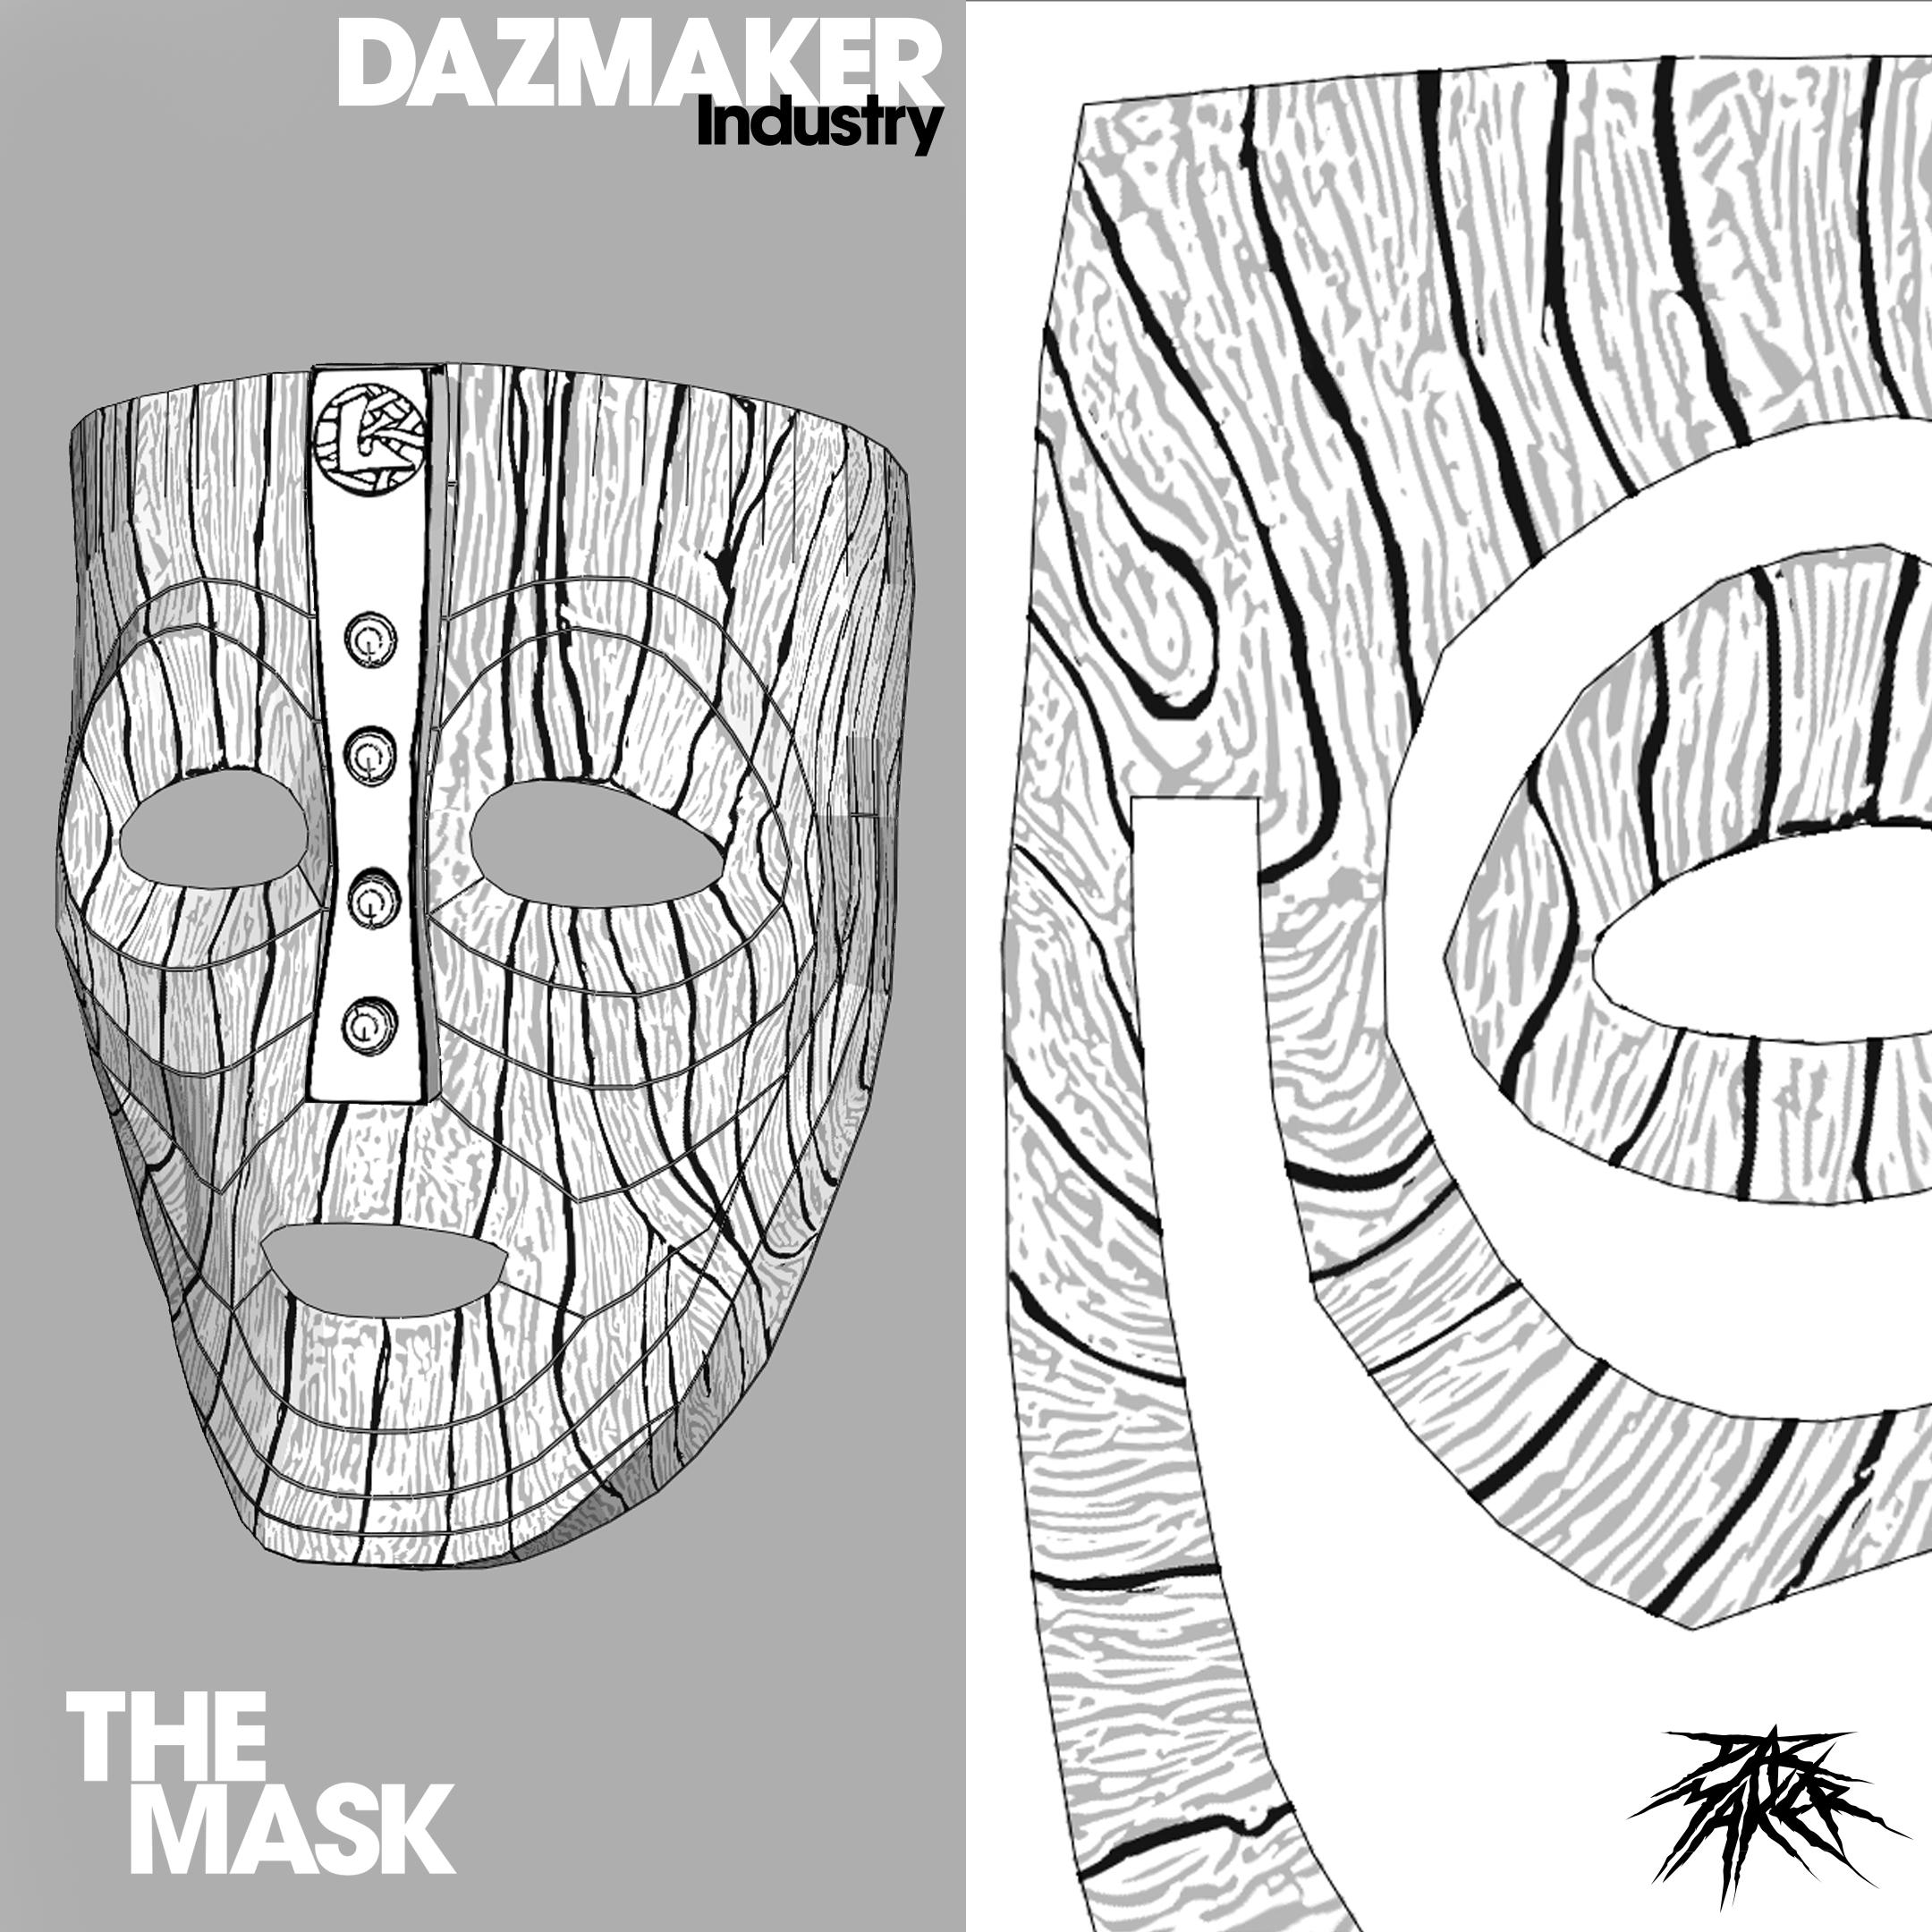
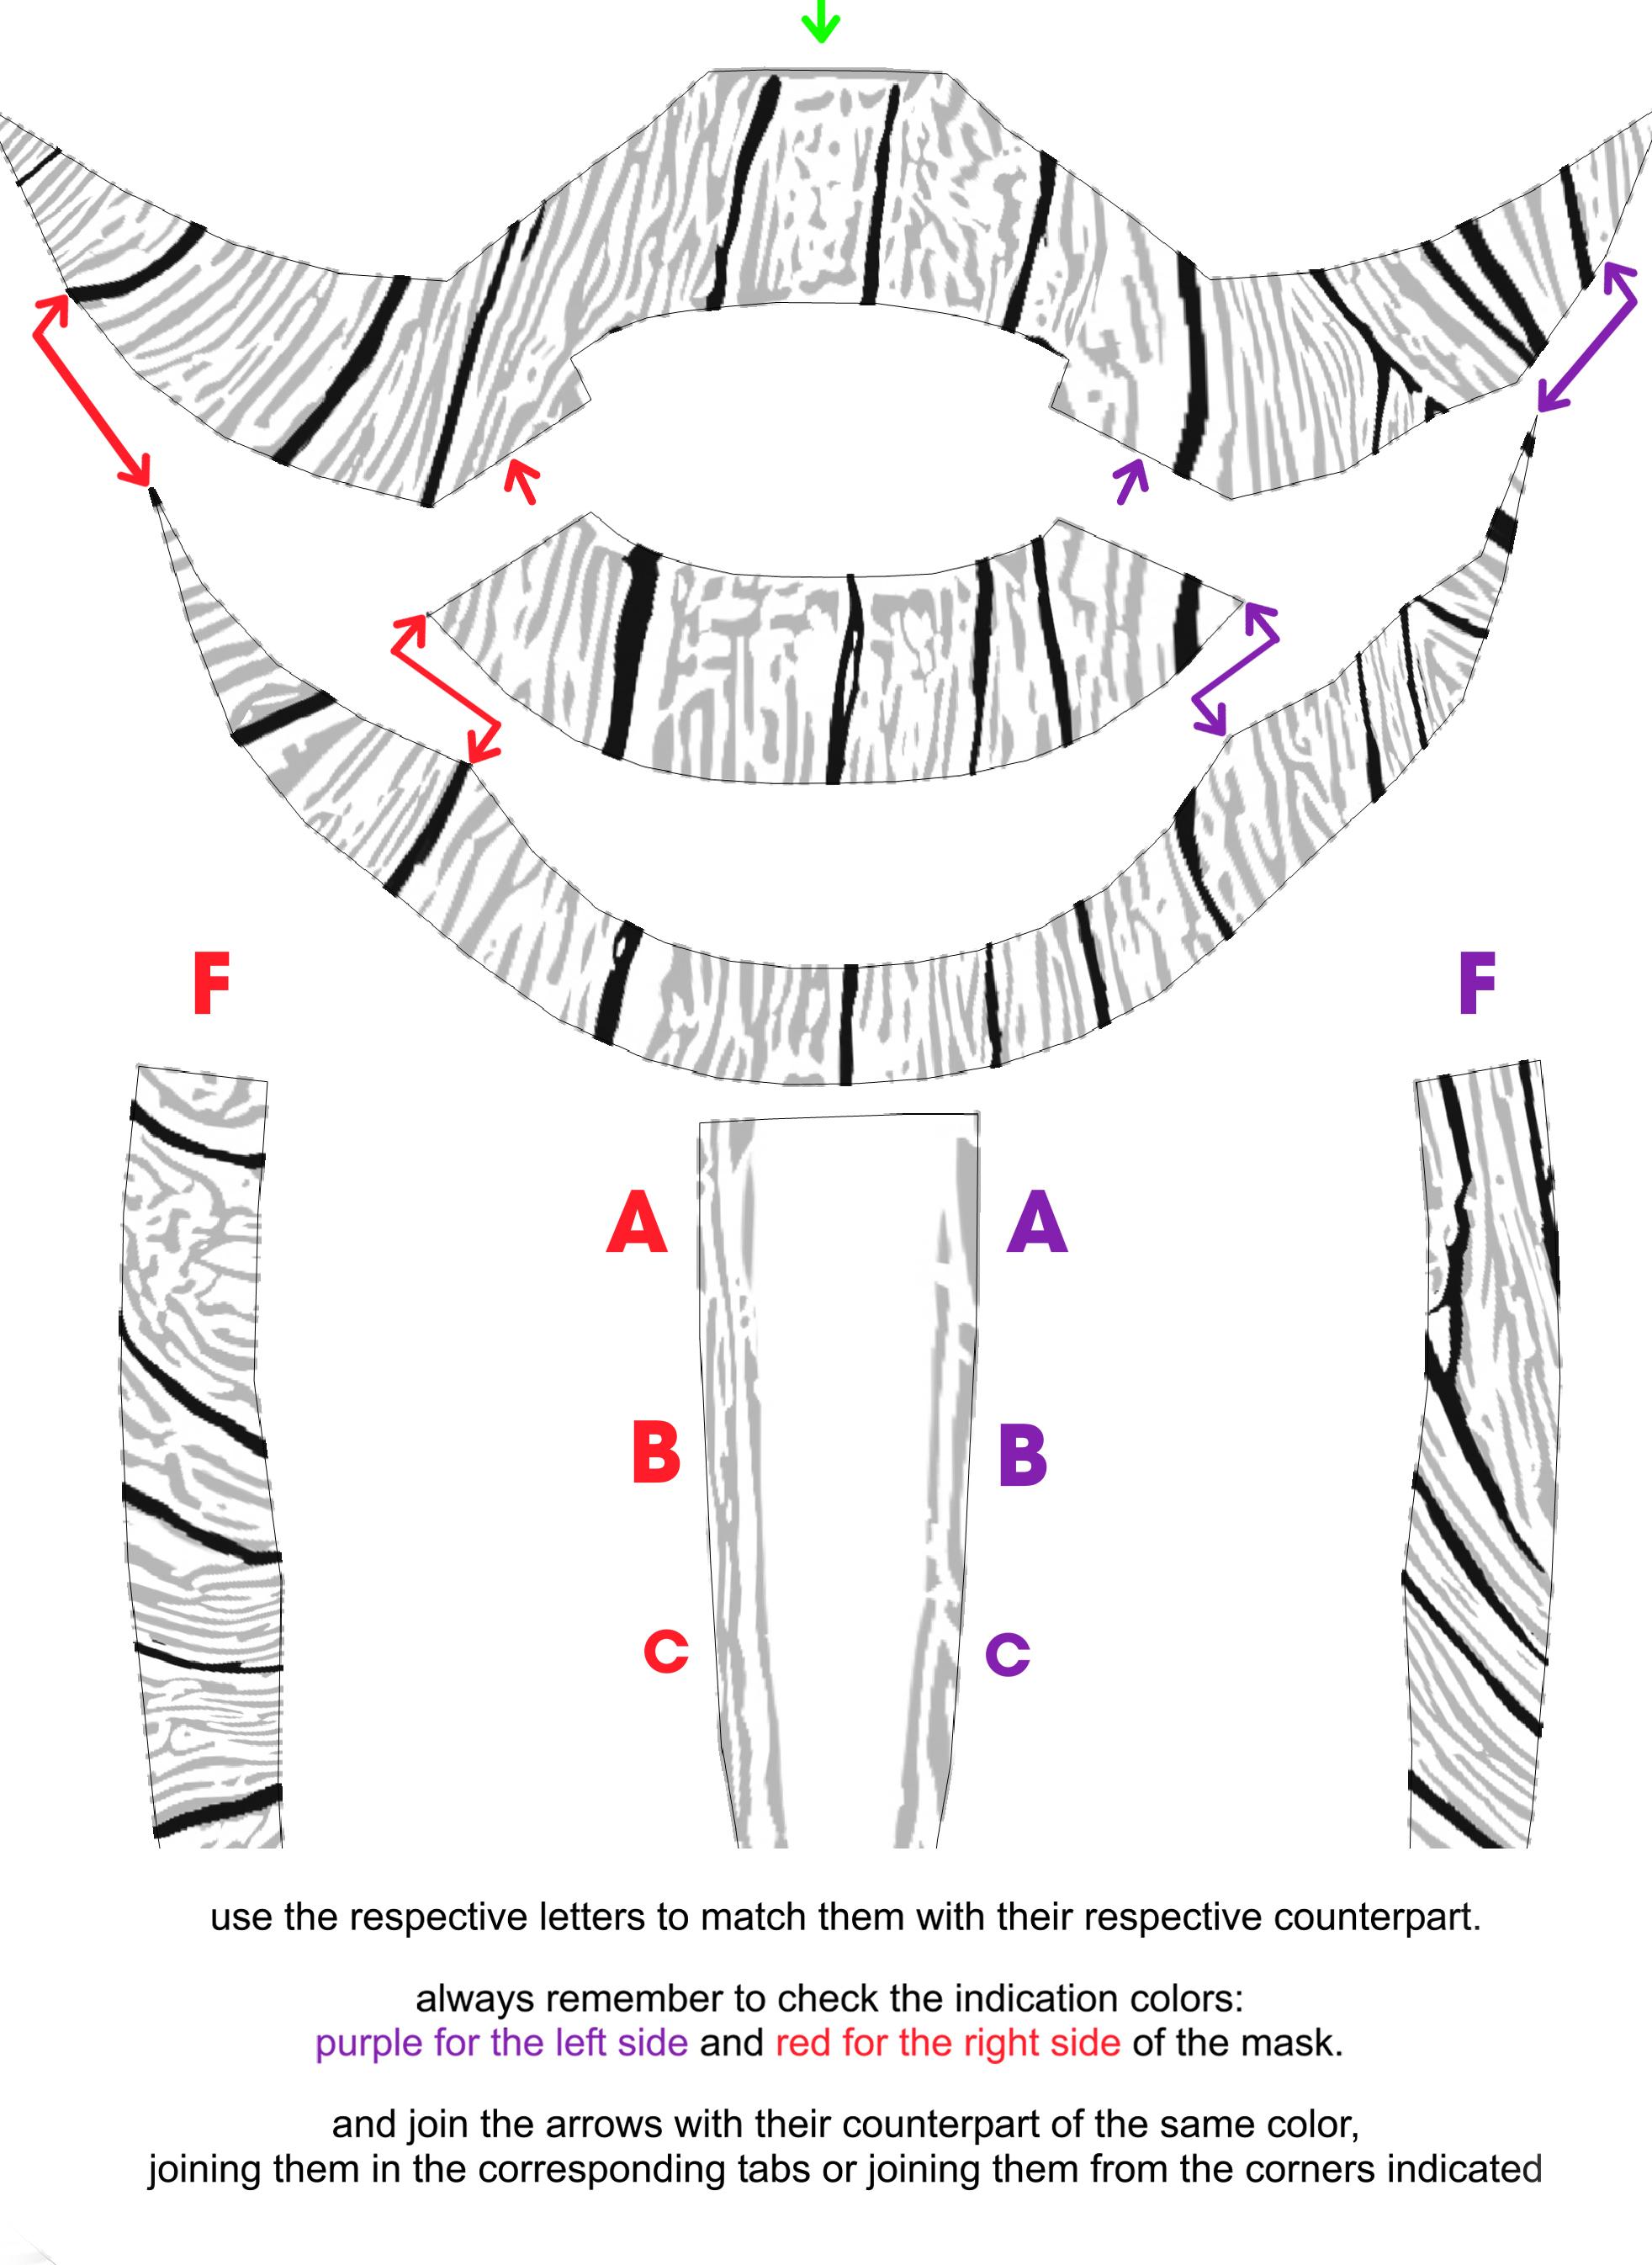
Templates
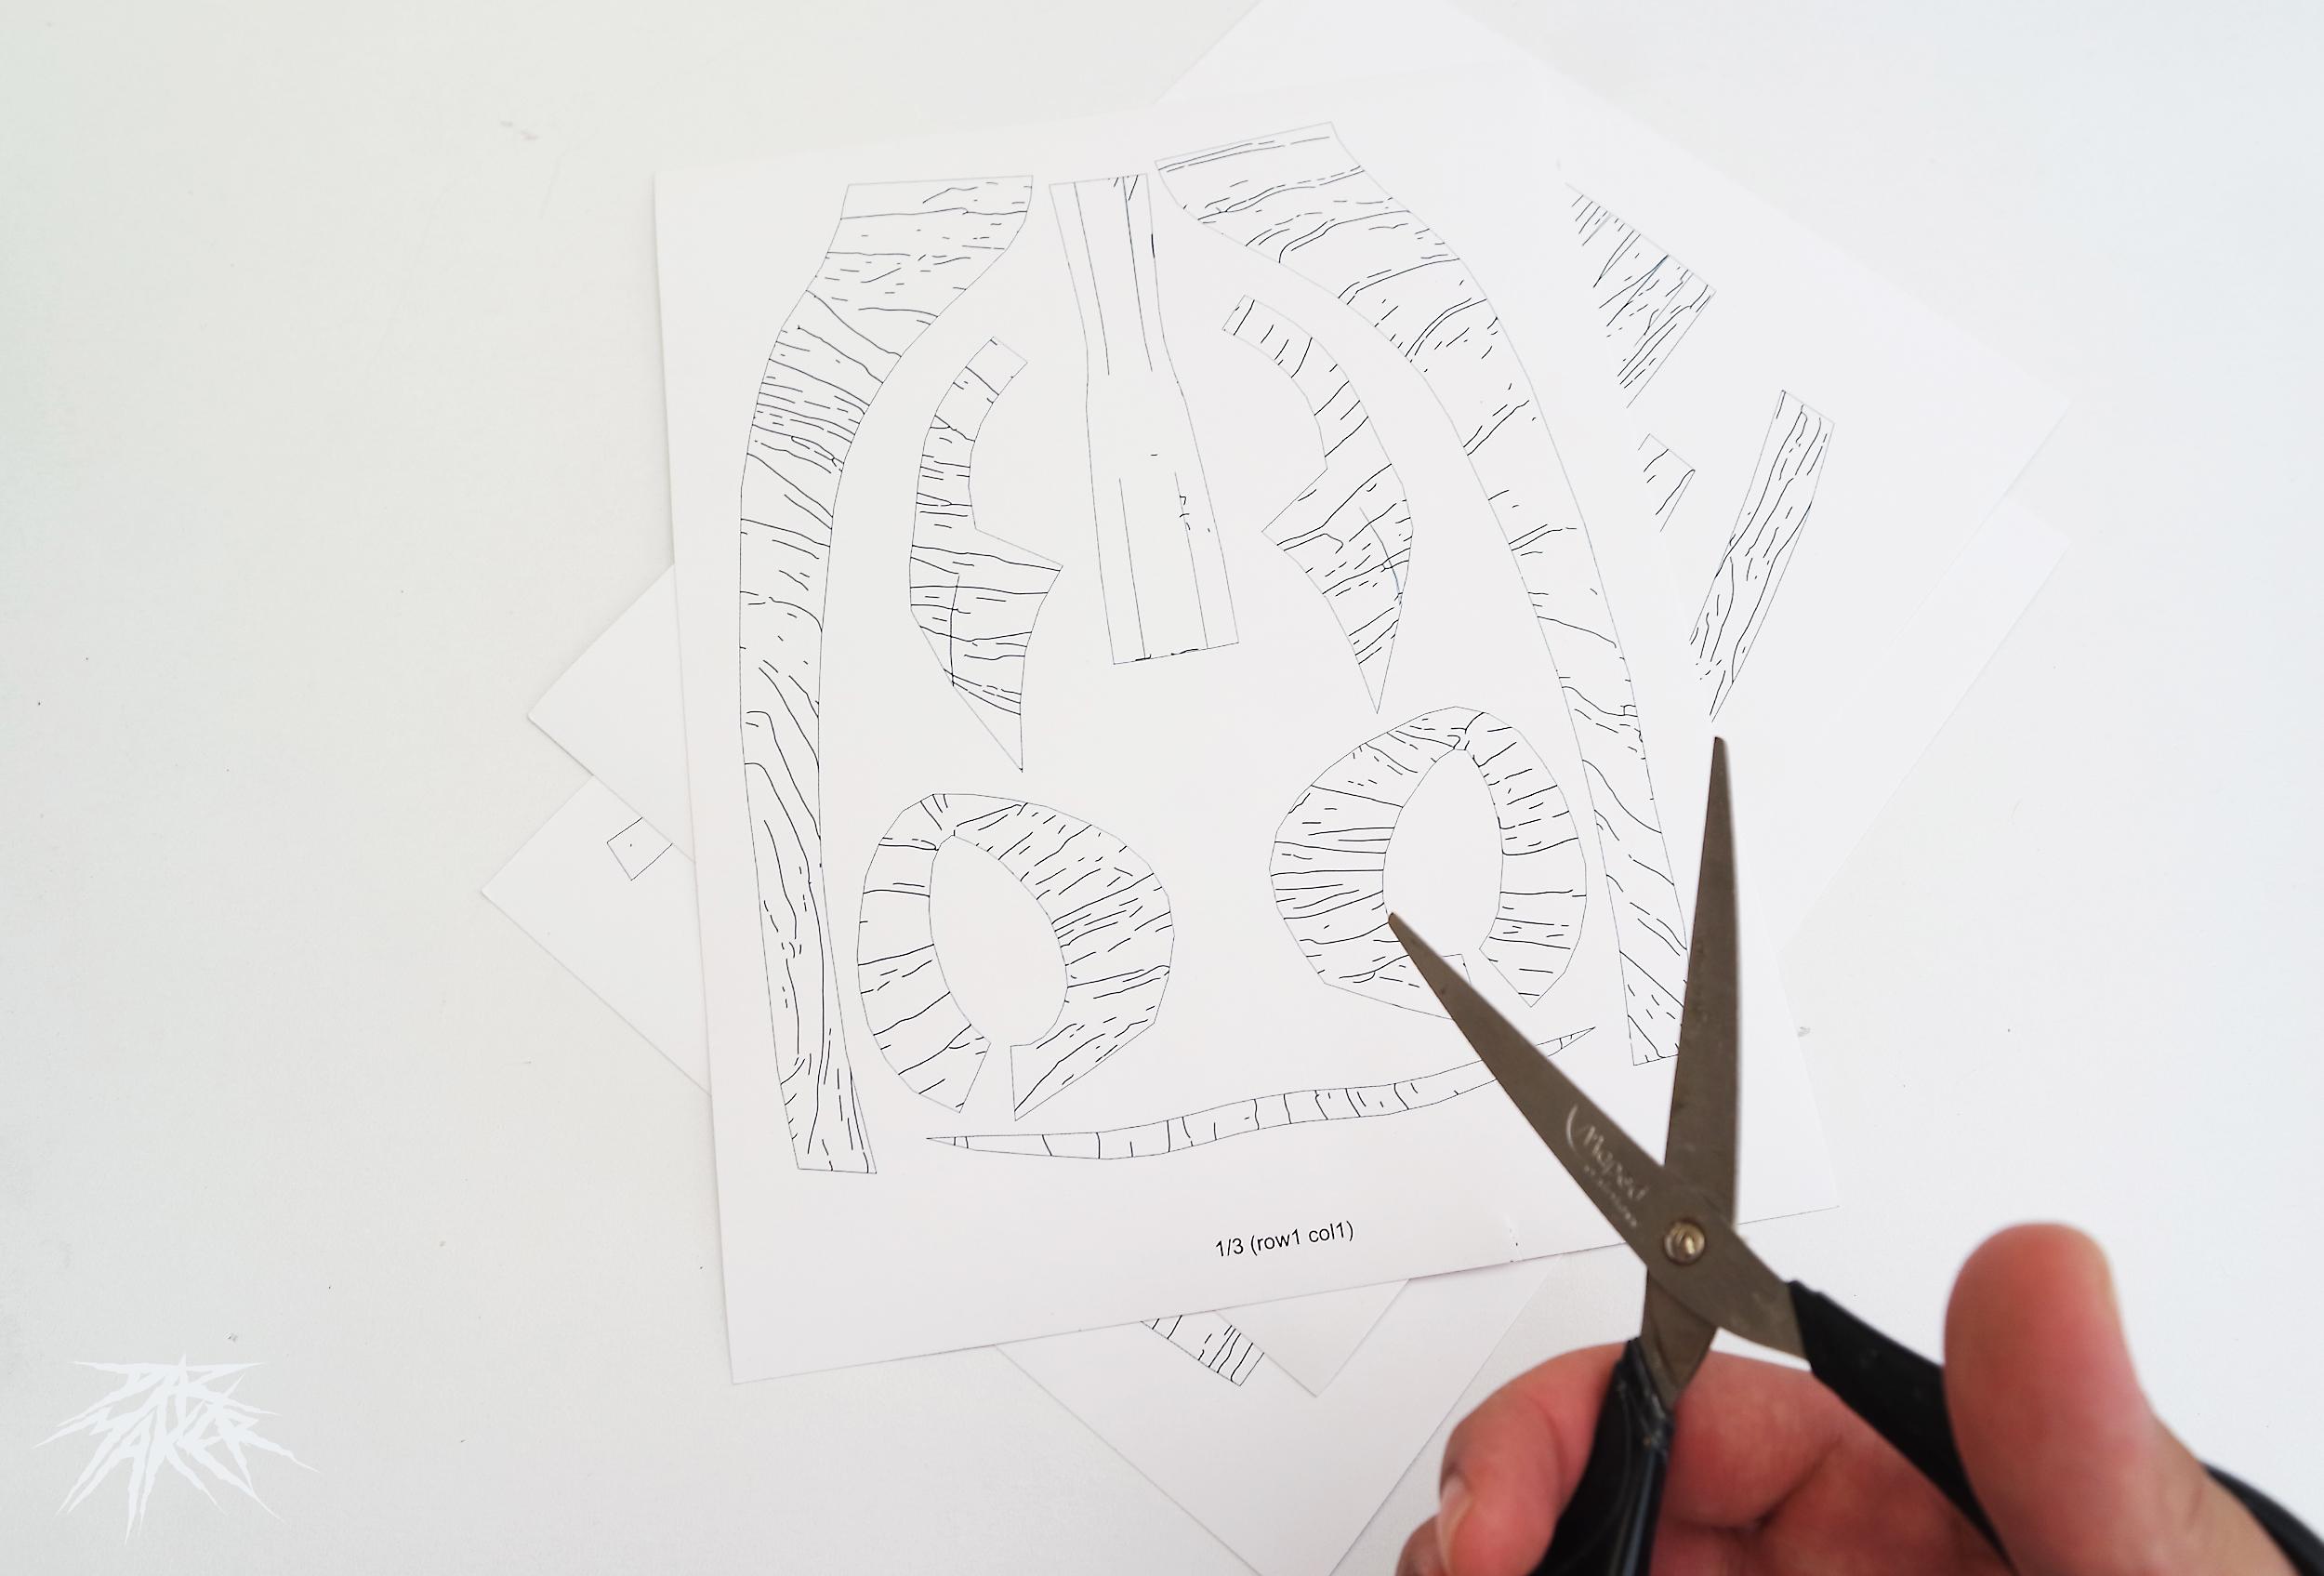

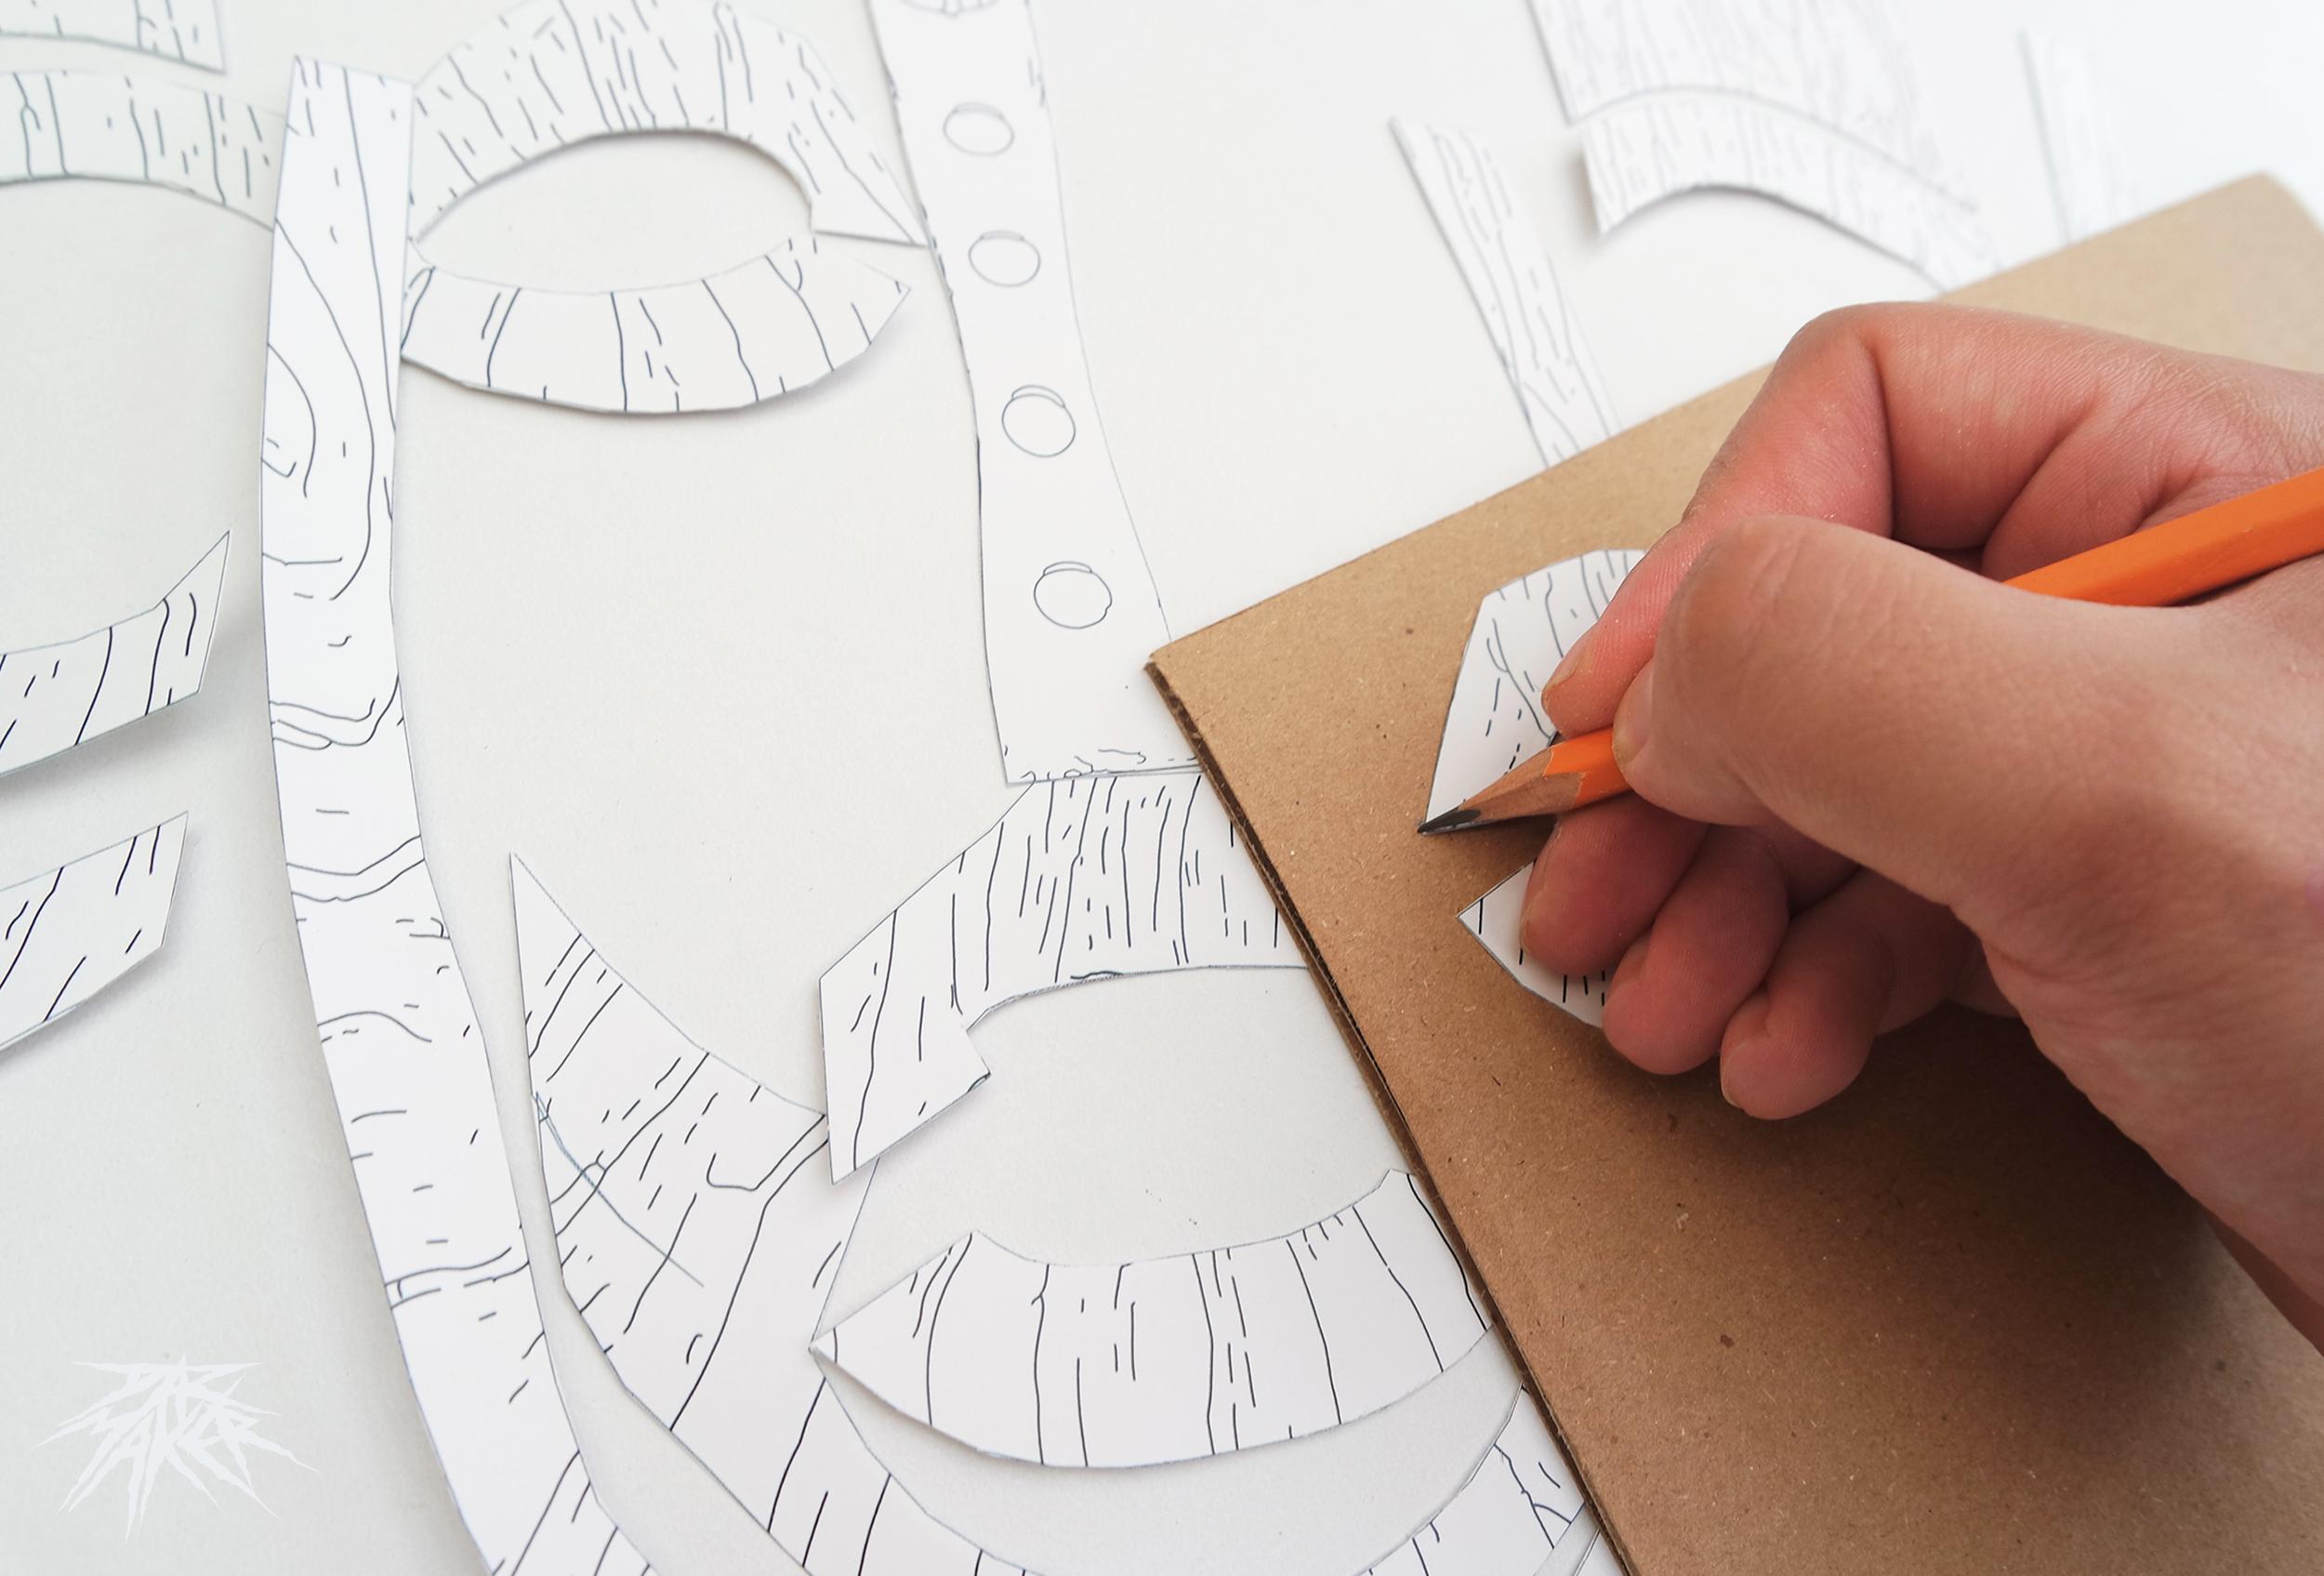
For the specific shape of the mask, you need to cut out the patterns and follow the instructions for assembling the digital templates which are quite simple, but if you do it correctly you will achieve the characteristic curved wood shape.
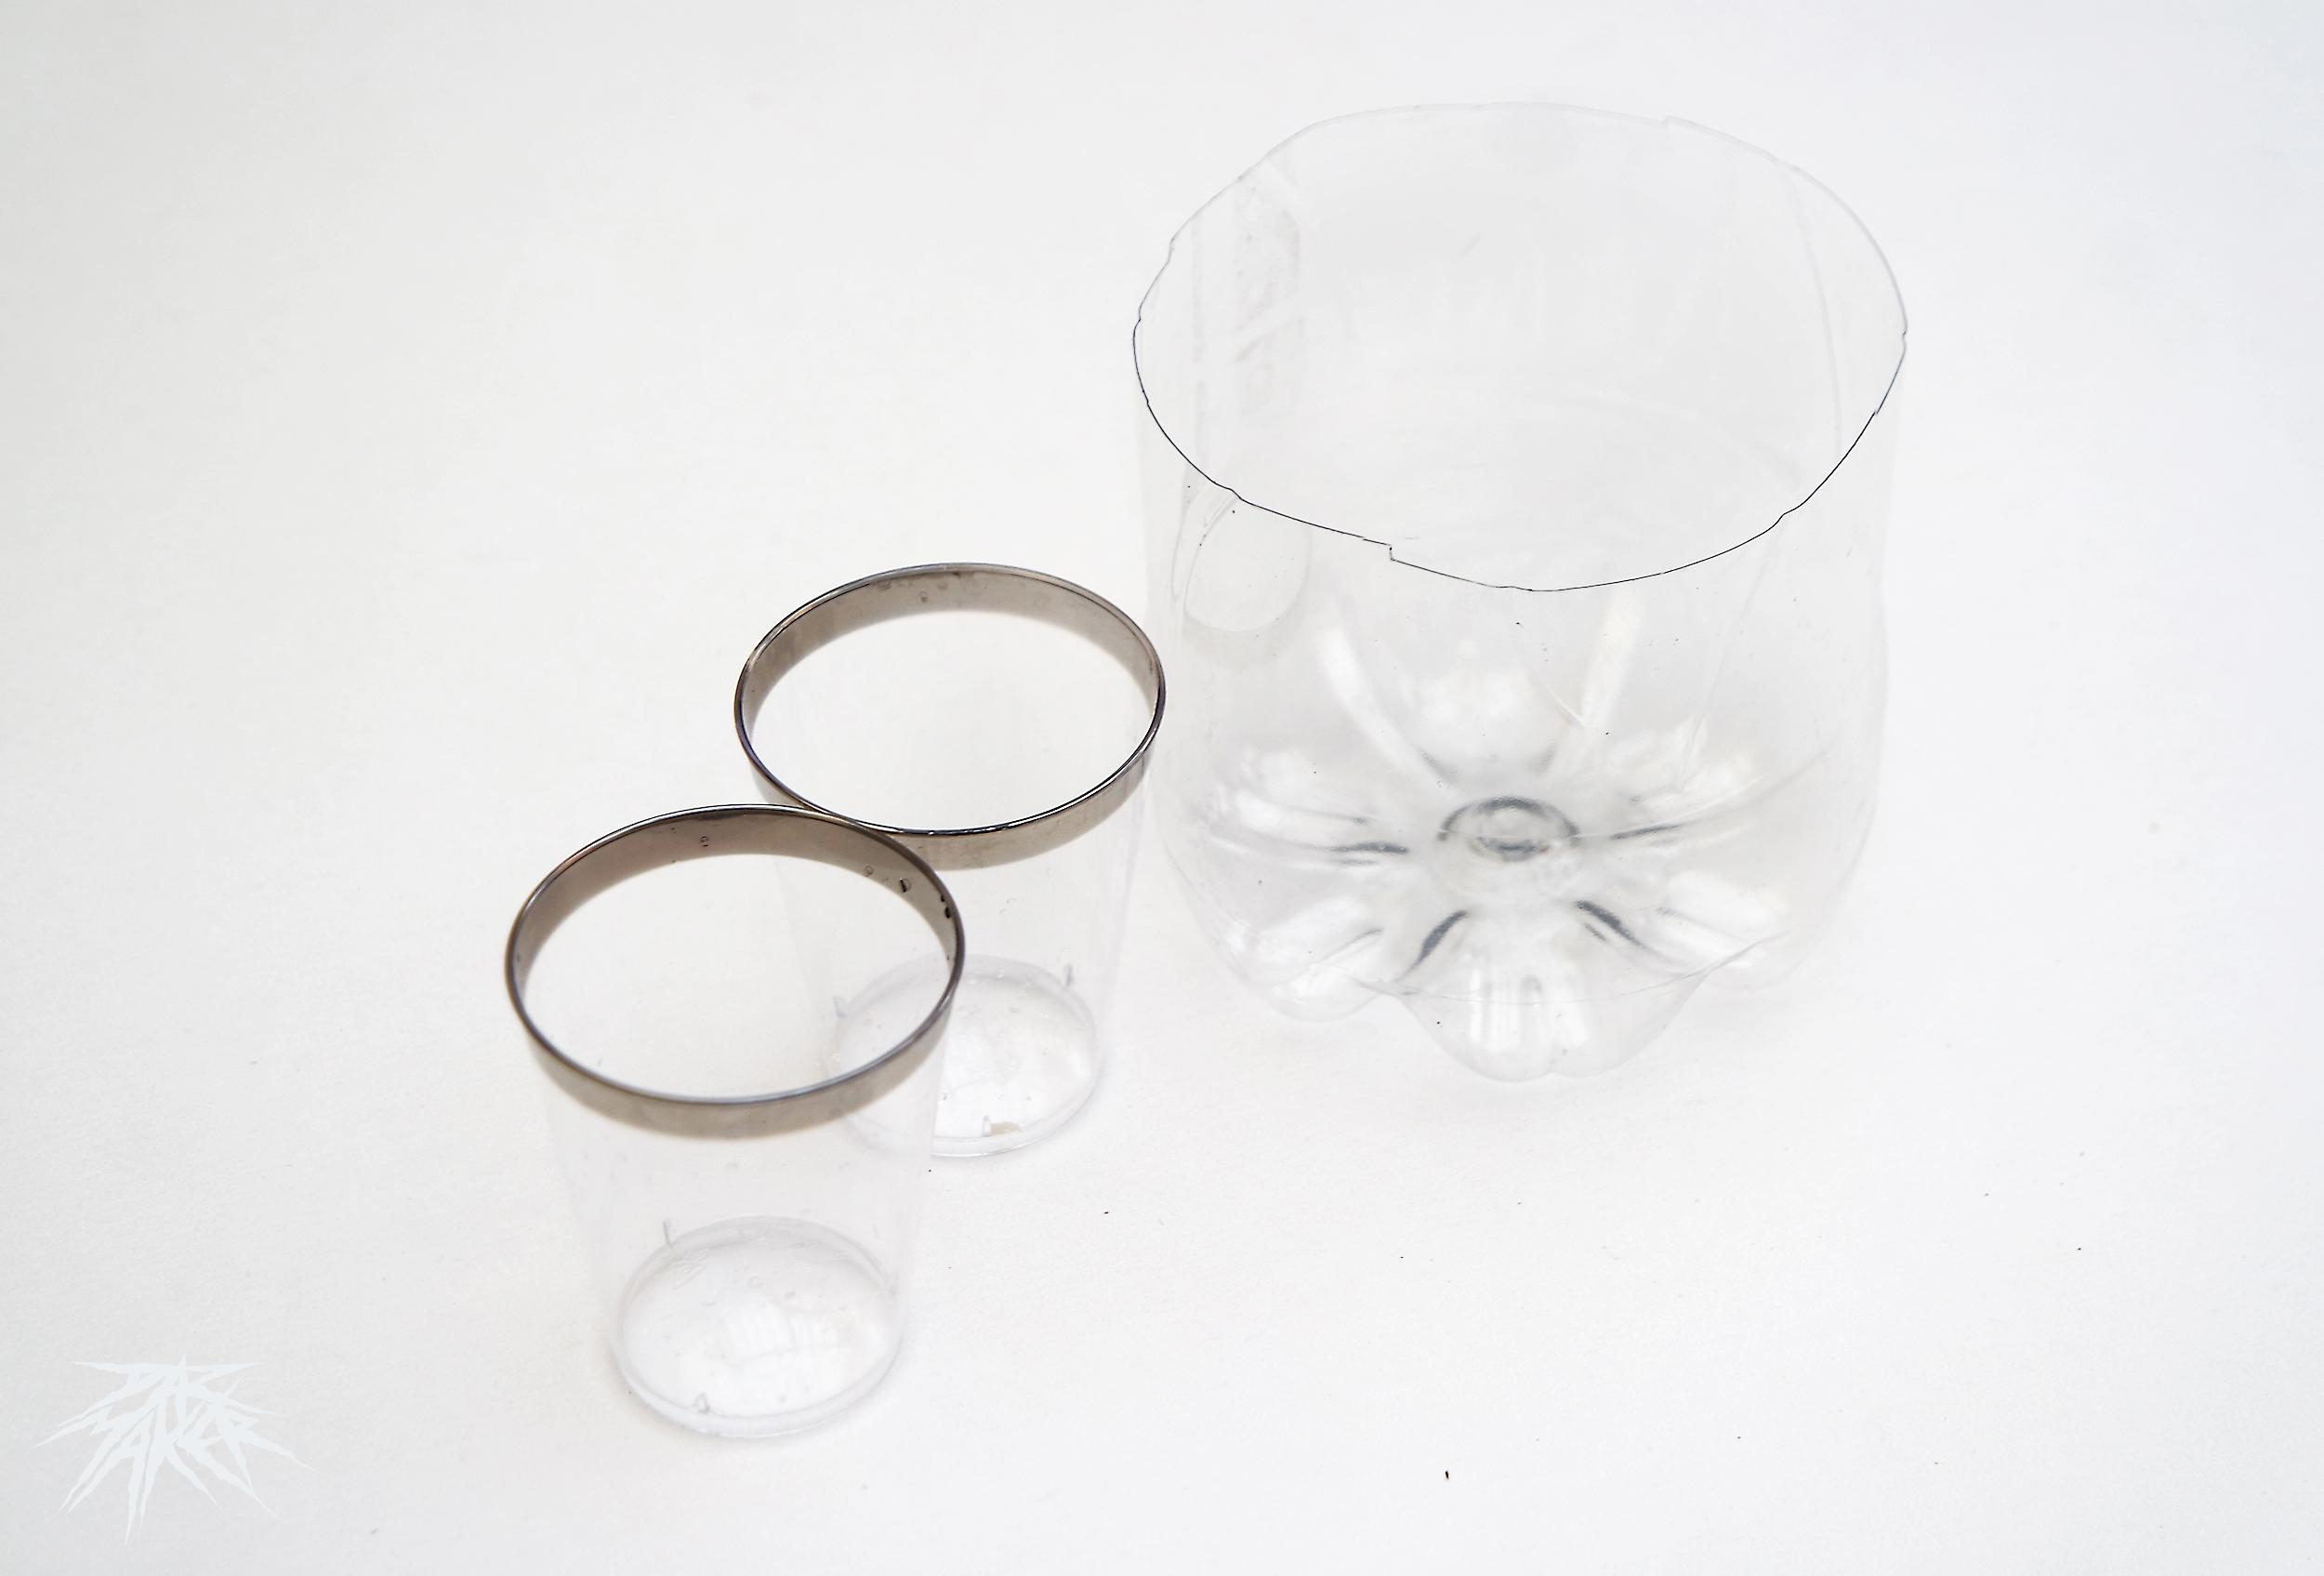
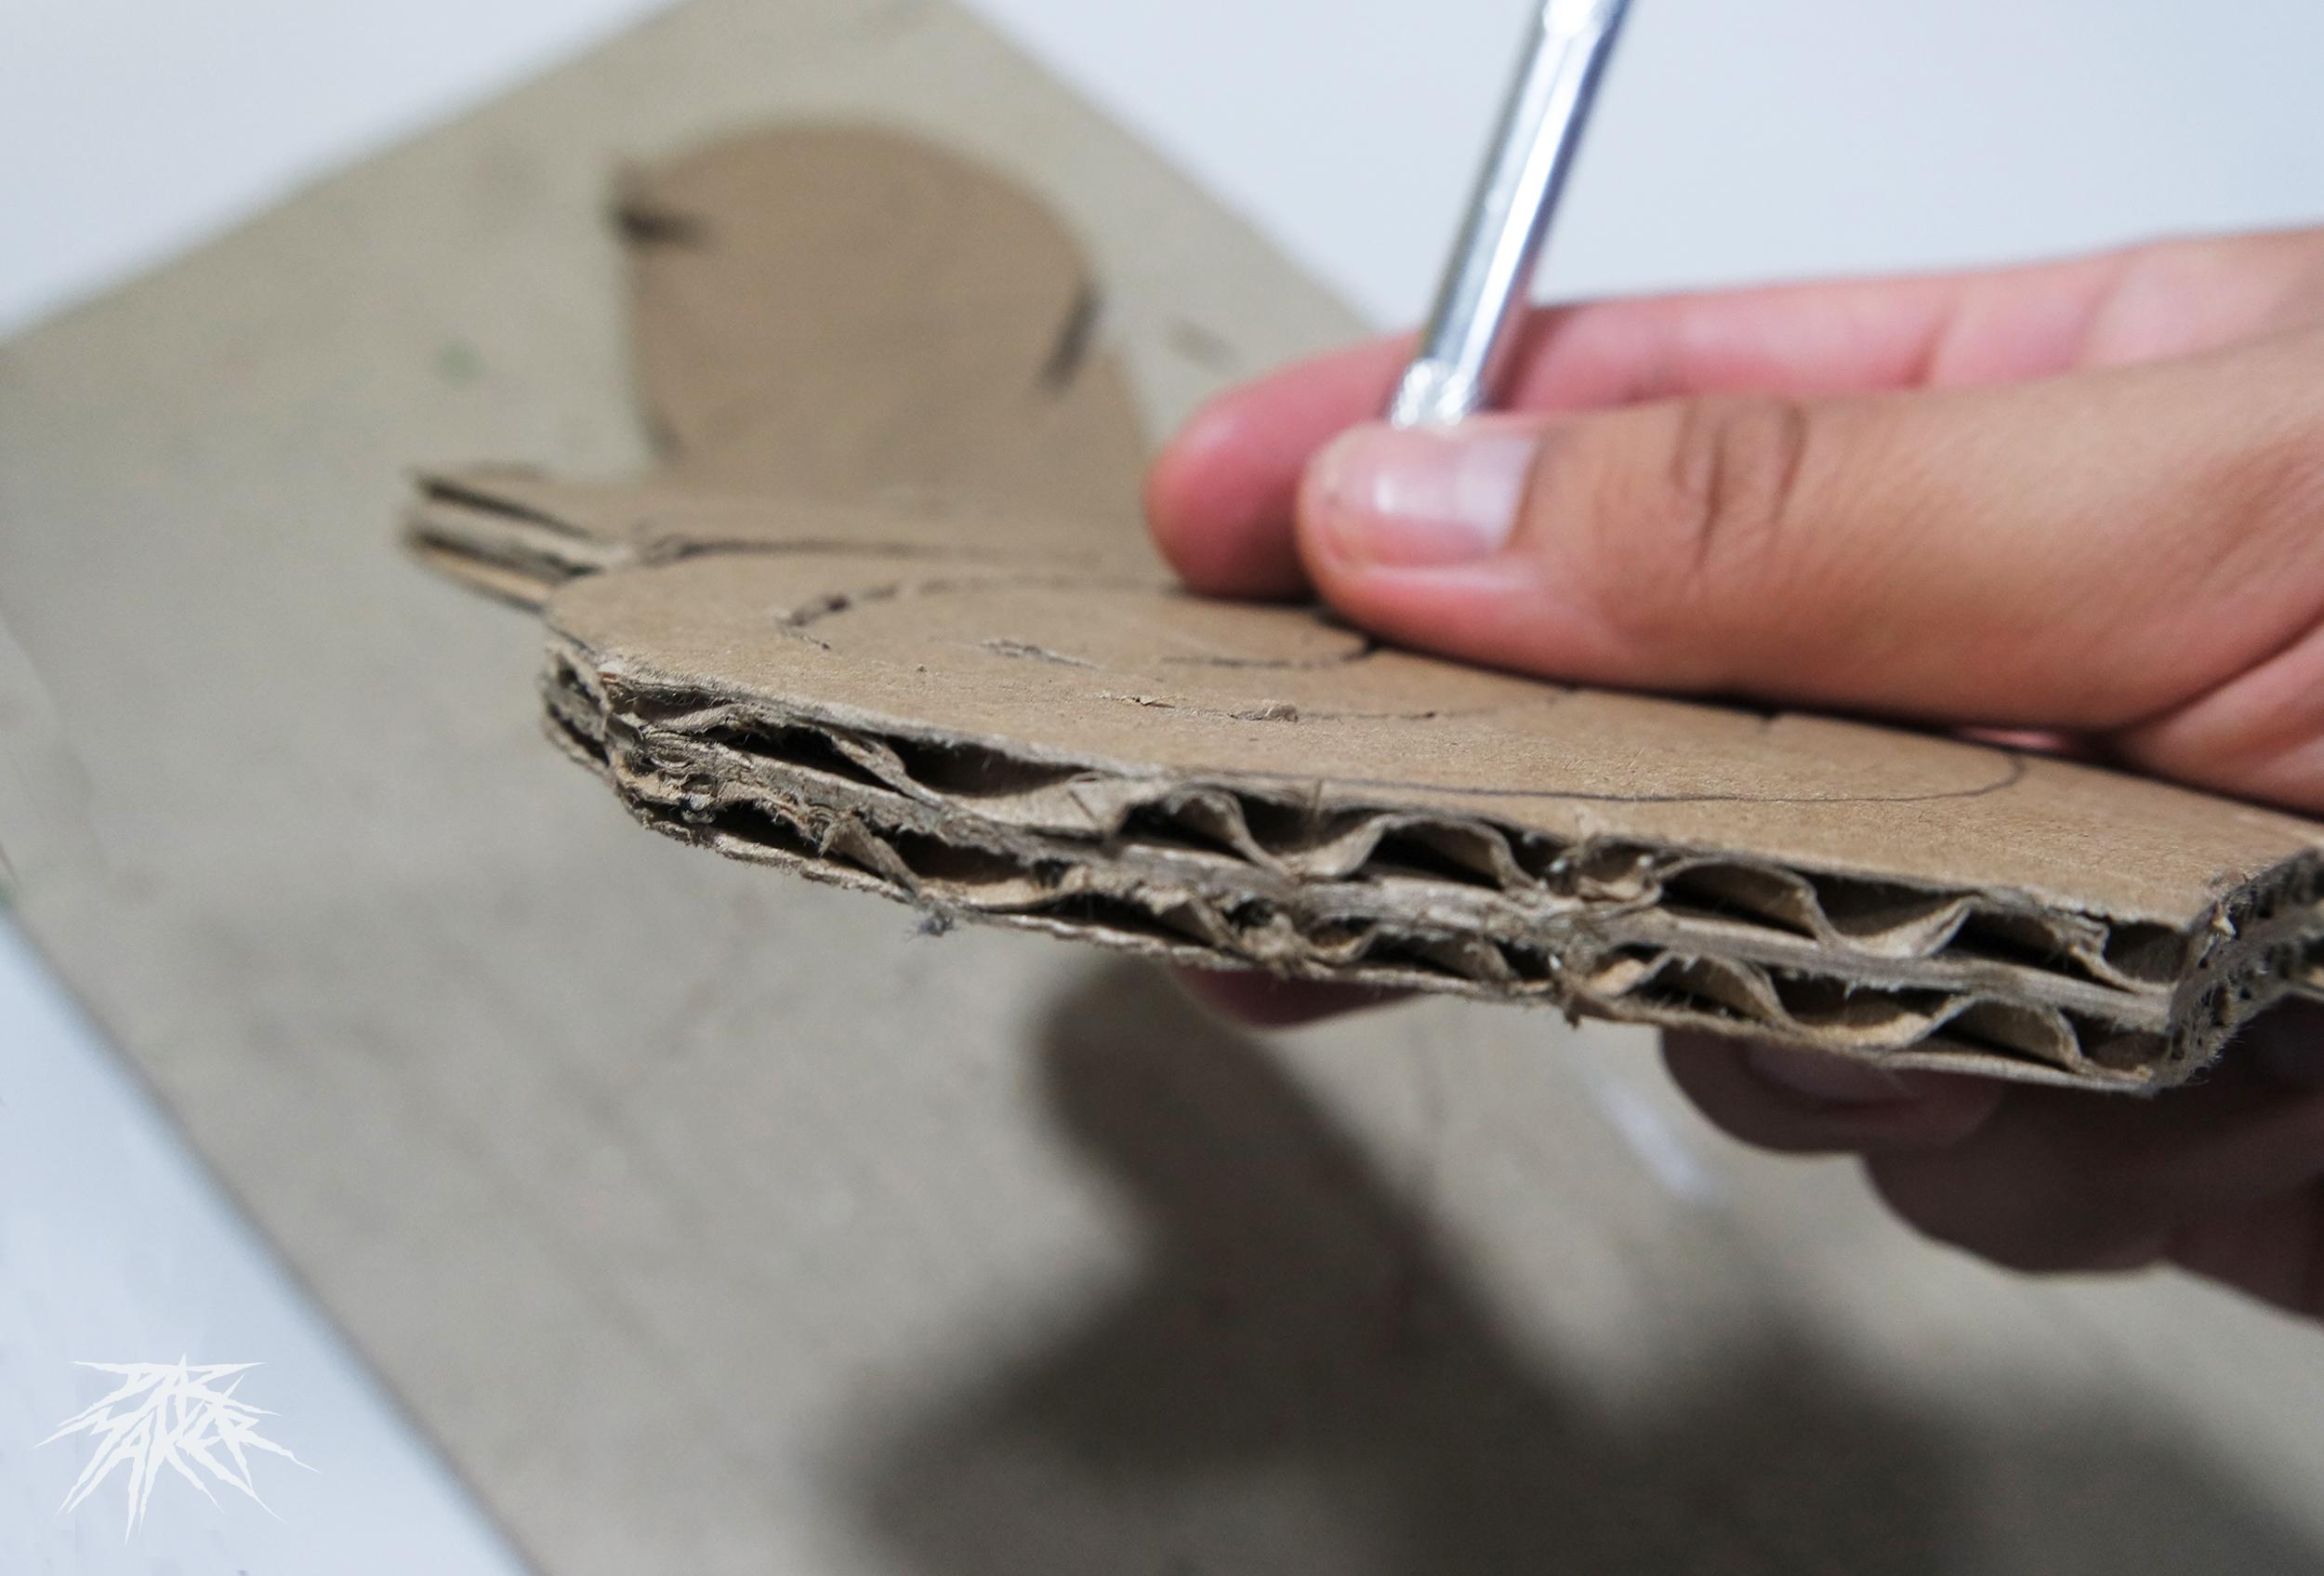
We will proceed to cut out the templates.
for that we will use our X-acto cutter and a cutting board to make the fine cuts, this to avoid damaging our work table.
check the next step to get the respective templates
Update: Templates
First of all, I apologize for the delay in uploading the templates, due to my regular work, I had not been able to edit and organize them, I appreciate your understanding.
But also thanks to all this time I was able to correct some errors and update them with a better modeling of the mask, more accurate to the design of the film. also being able to add some high quality textures
You can download the respective templates below.
>>>Get it Here!<<<
If you find any errors or have difficulties in assembling, send me a message, although the order is quite intuitive, you just have to follow the order of the letters.
The templates come in two styles, full color for thick paper and black and white with the guides of the details of the marks to make it in foam.
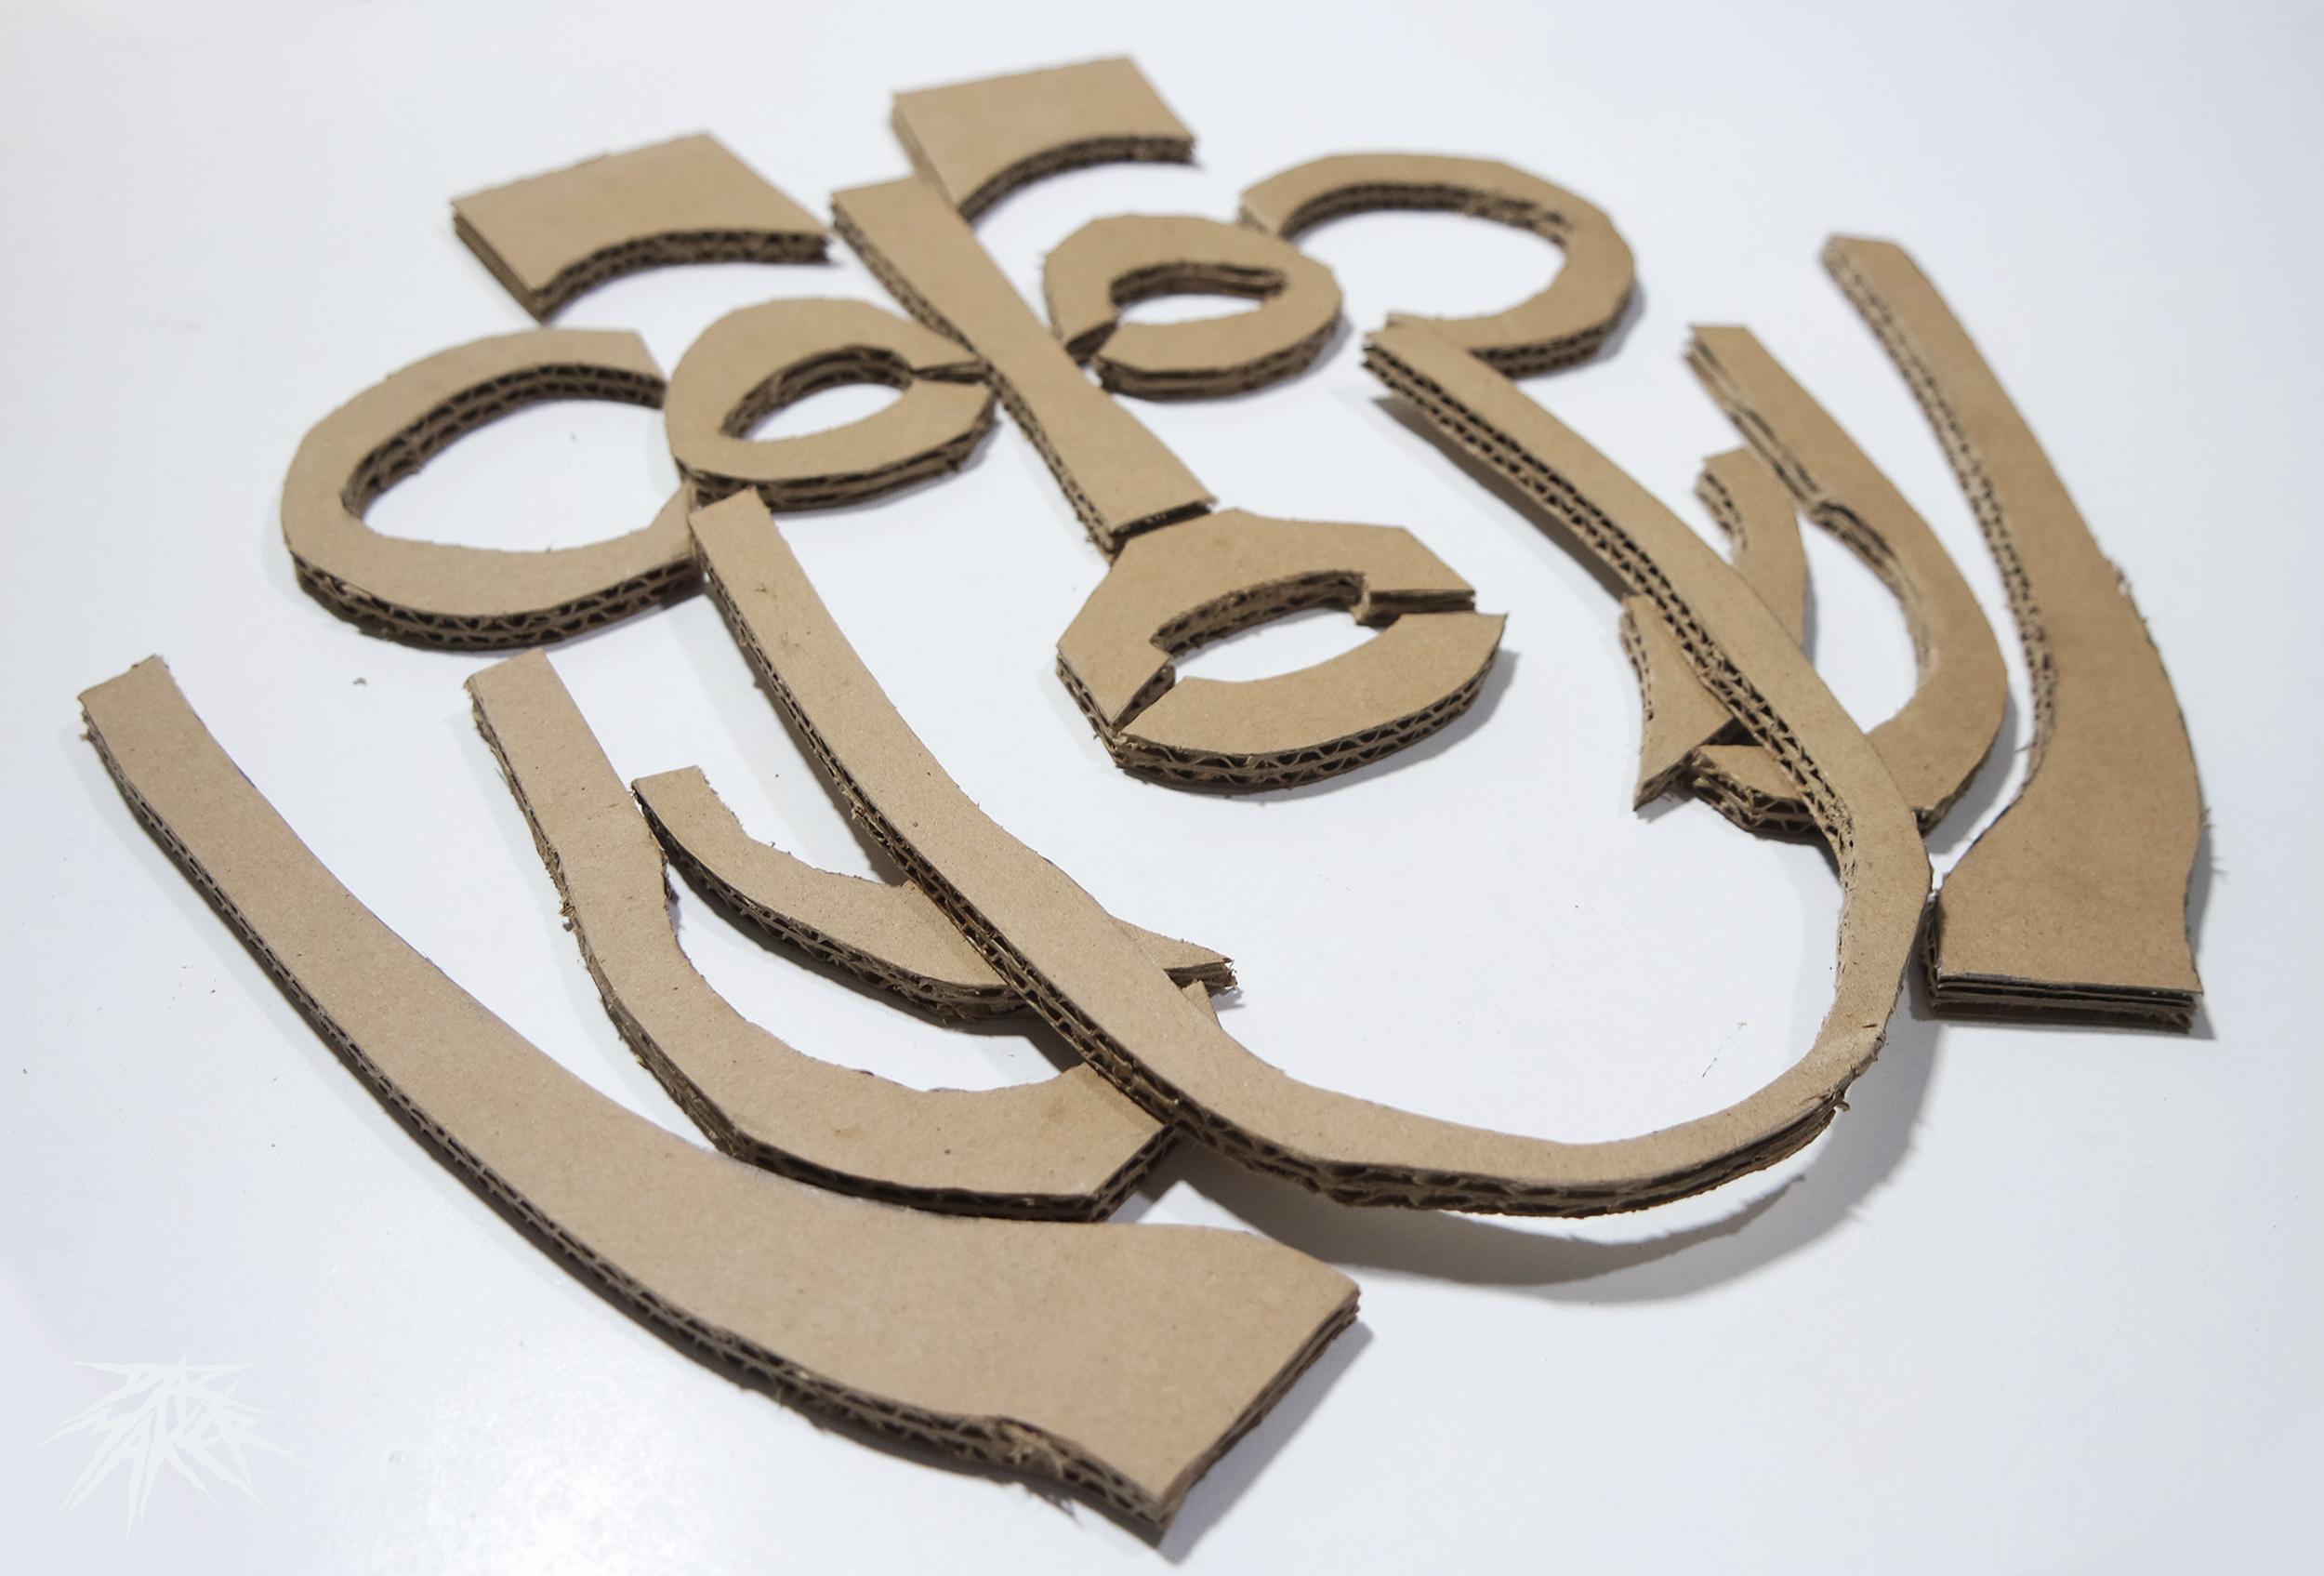
Transfering the Parts
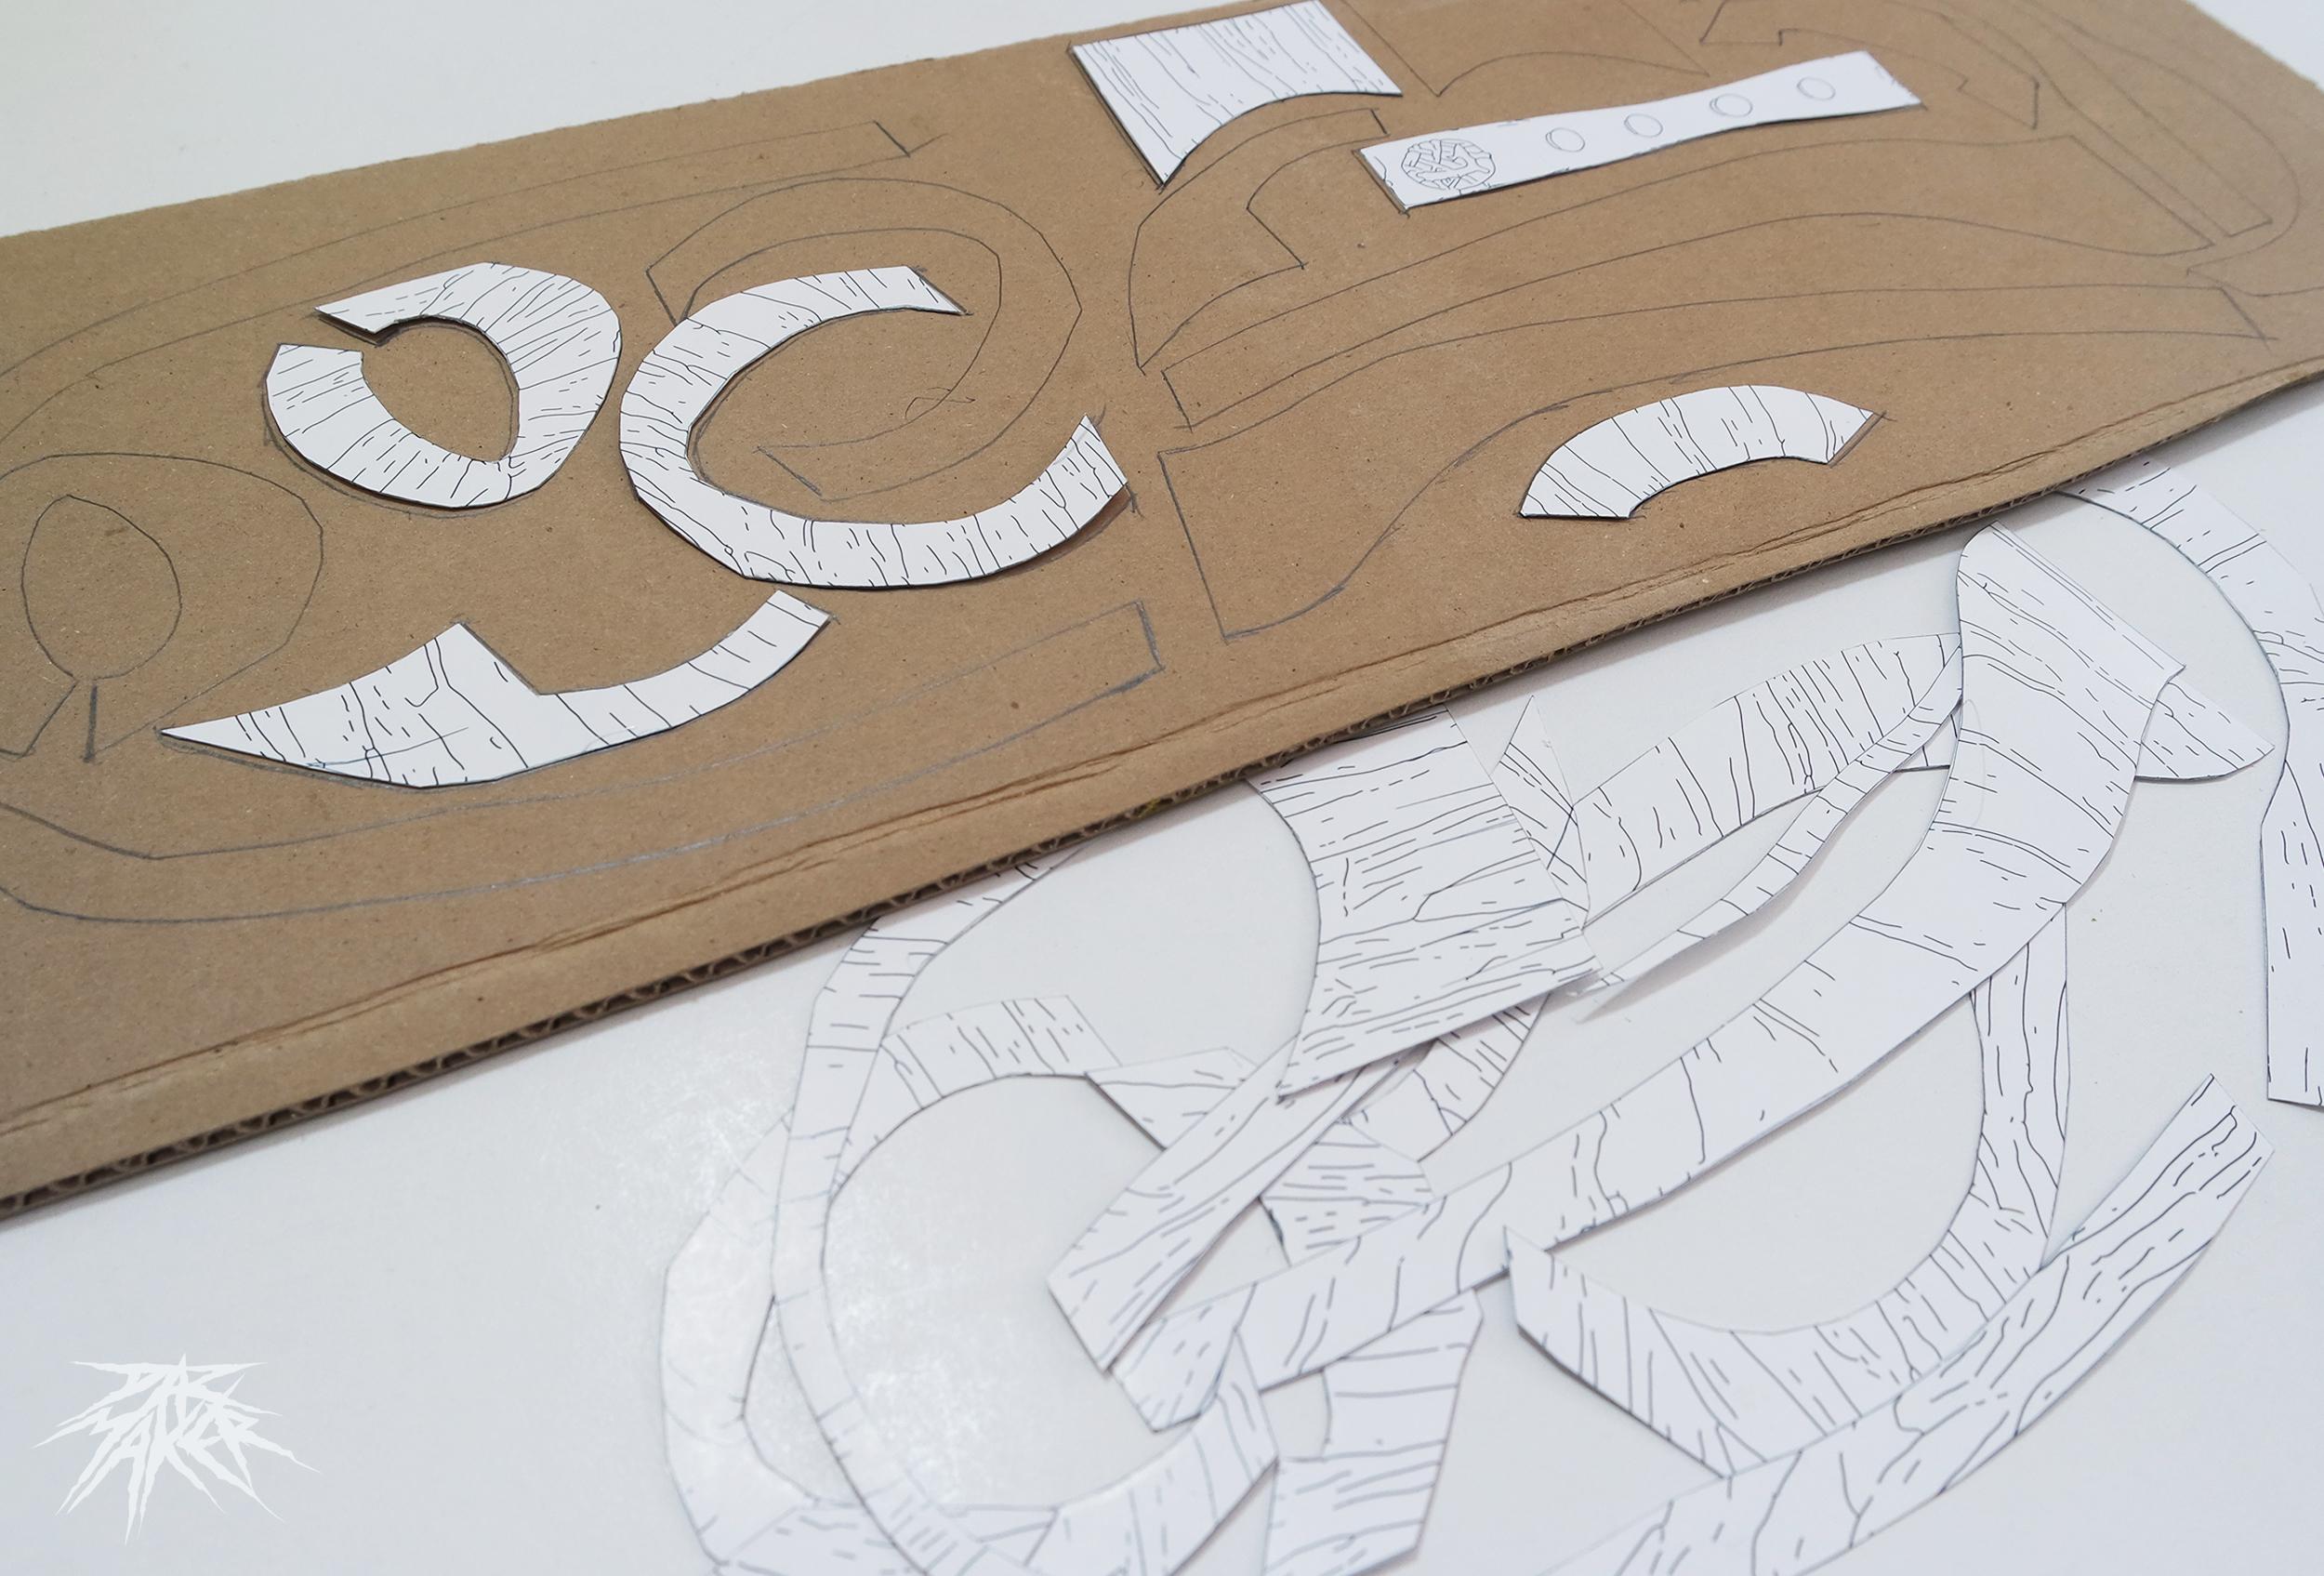
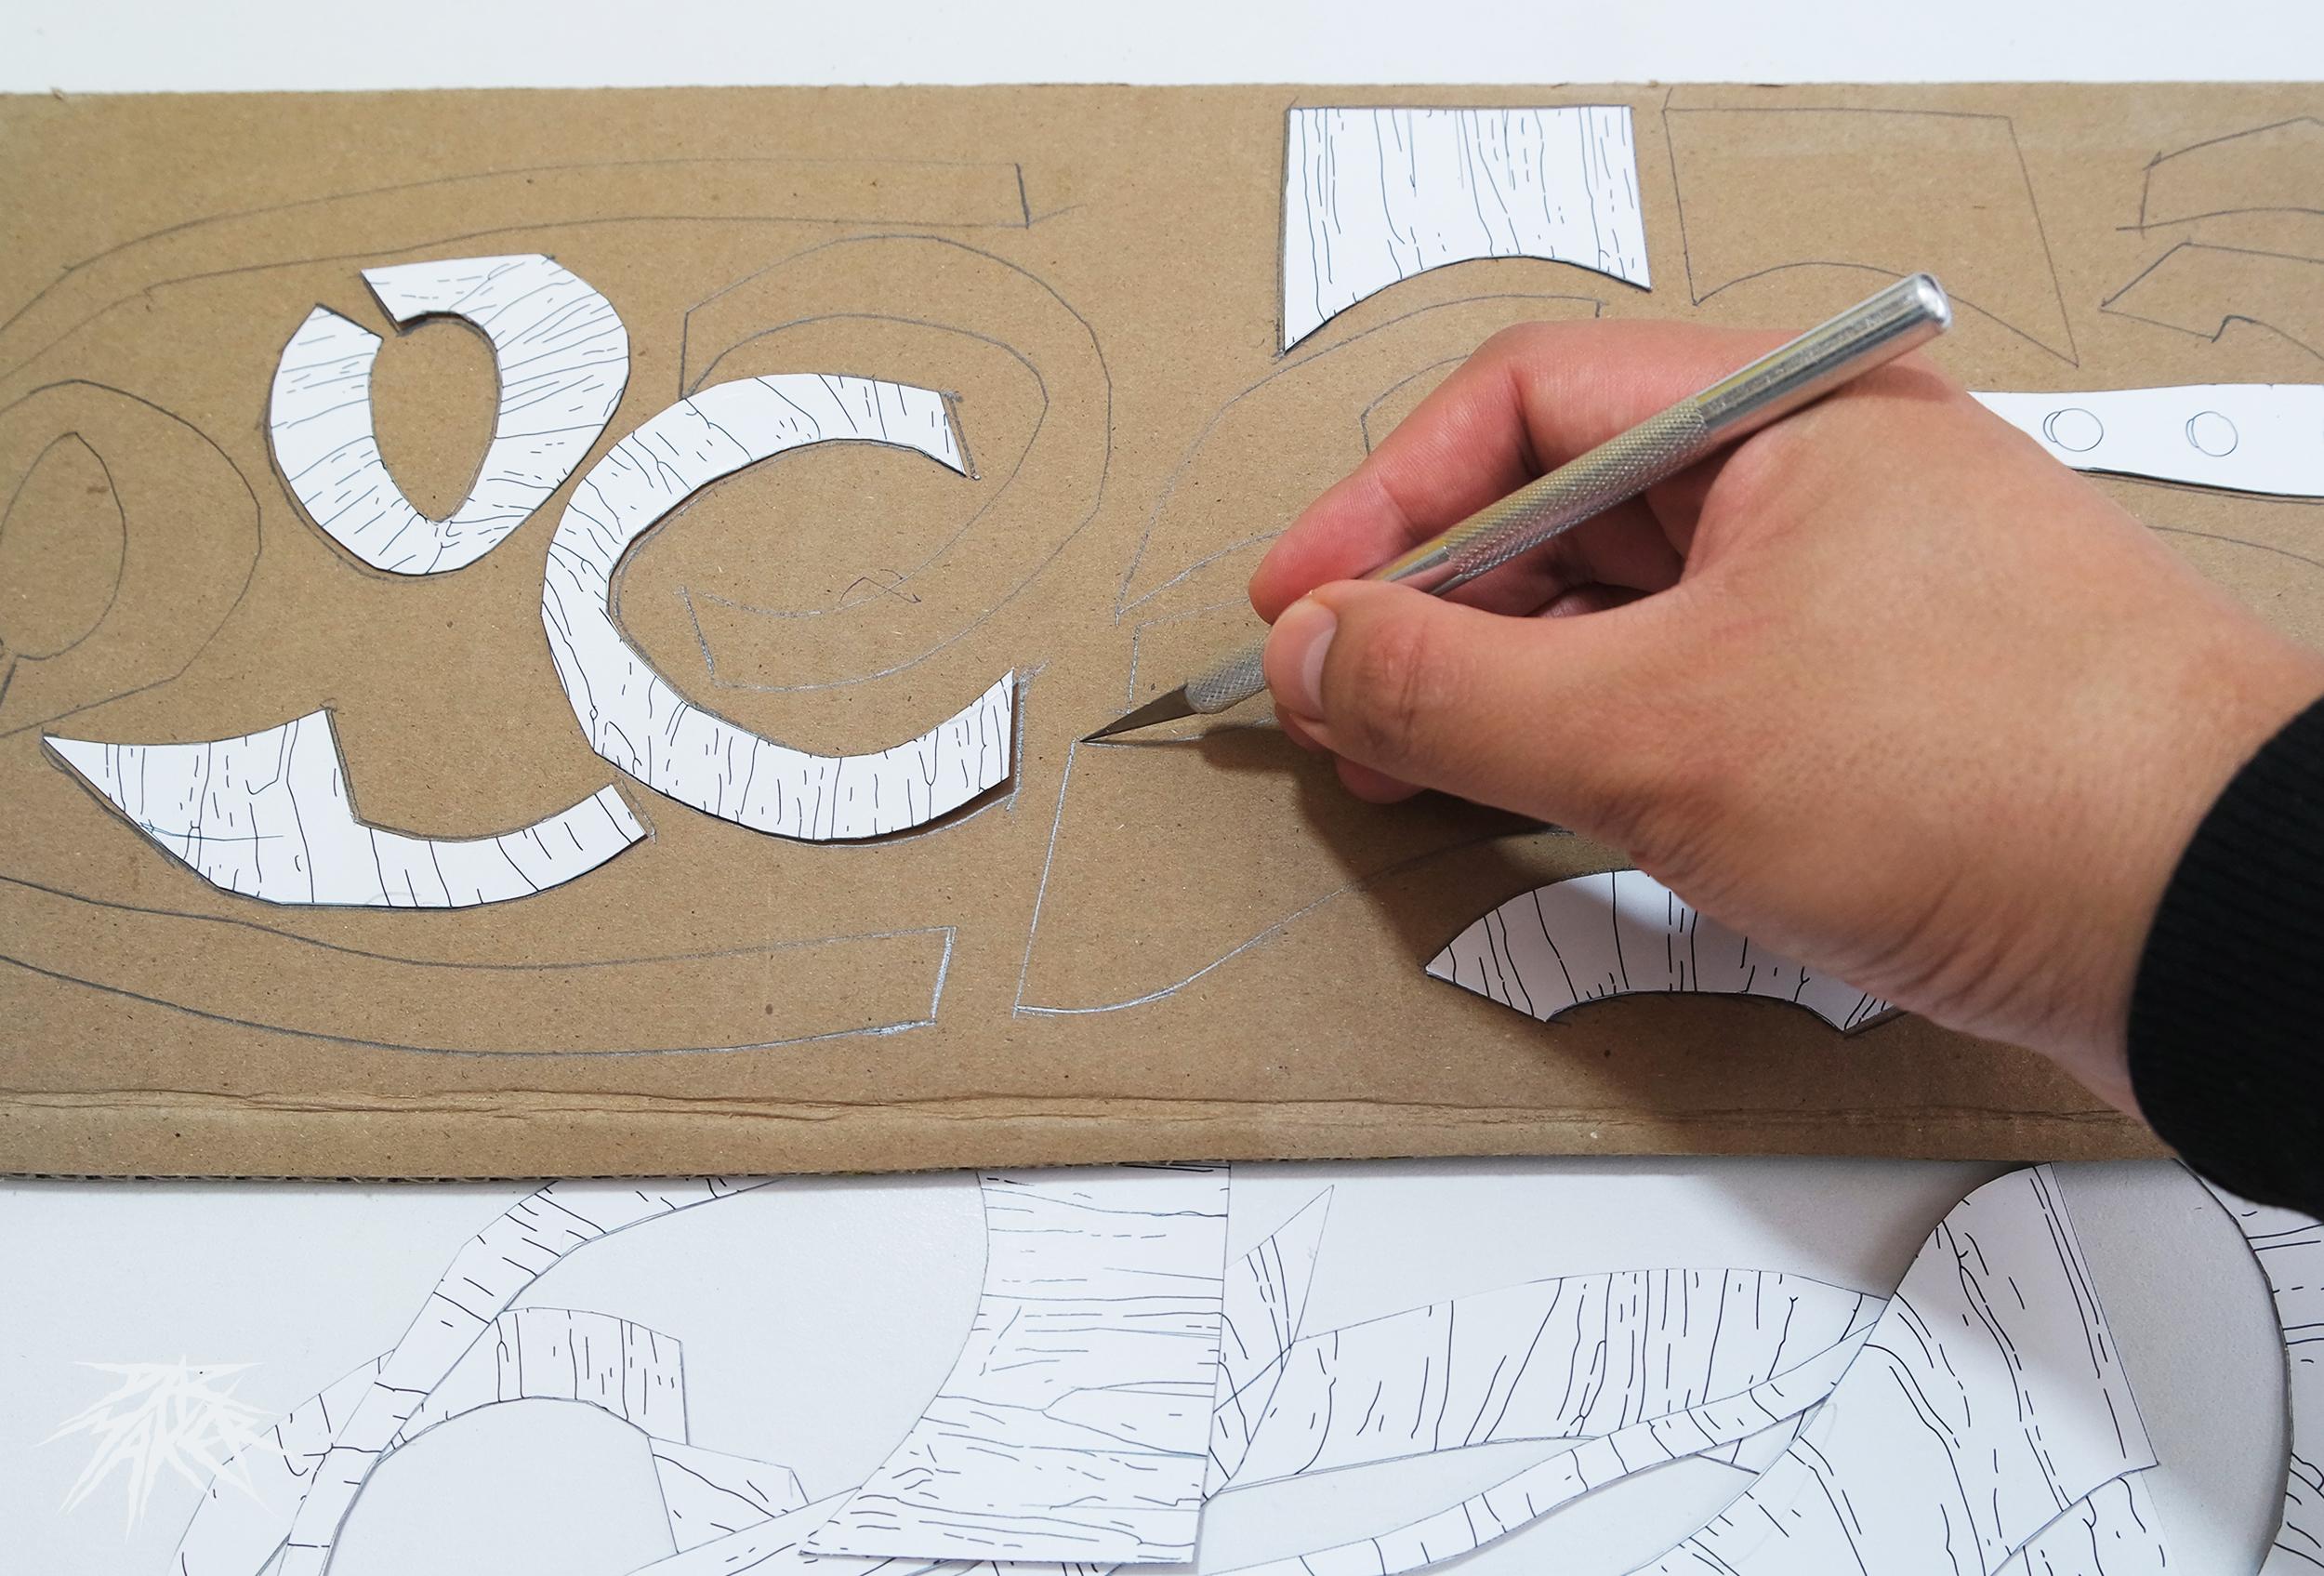
What we will do now is very simple and you could say that the easiest part of the project.
We will take the templates piece by piece and use it as a mold to pass it to our cardboard, I recommend transferring them to a double layered cardboard.
use the X-acto in the most detailed parts and the thick cutter in the longest cuts.
TIP:
With double layer cardboard the process can be a bit tedious, in my experience if you want more ease of cutting you can double cut the molds on one layer cardboard and then glue them.
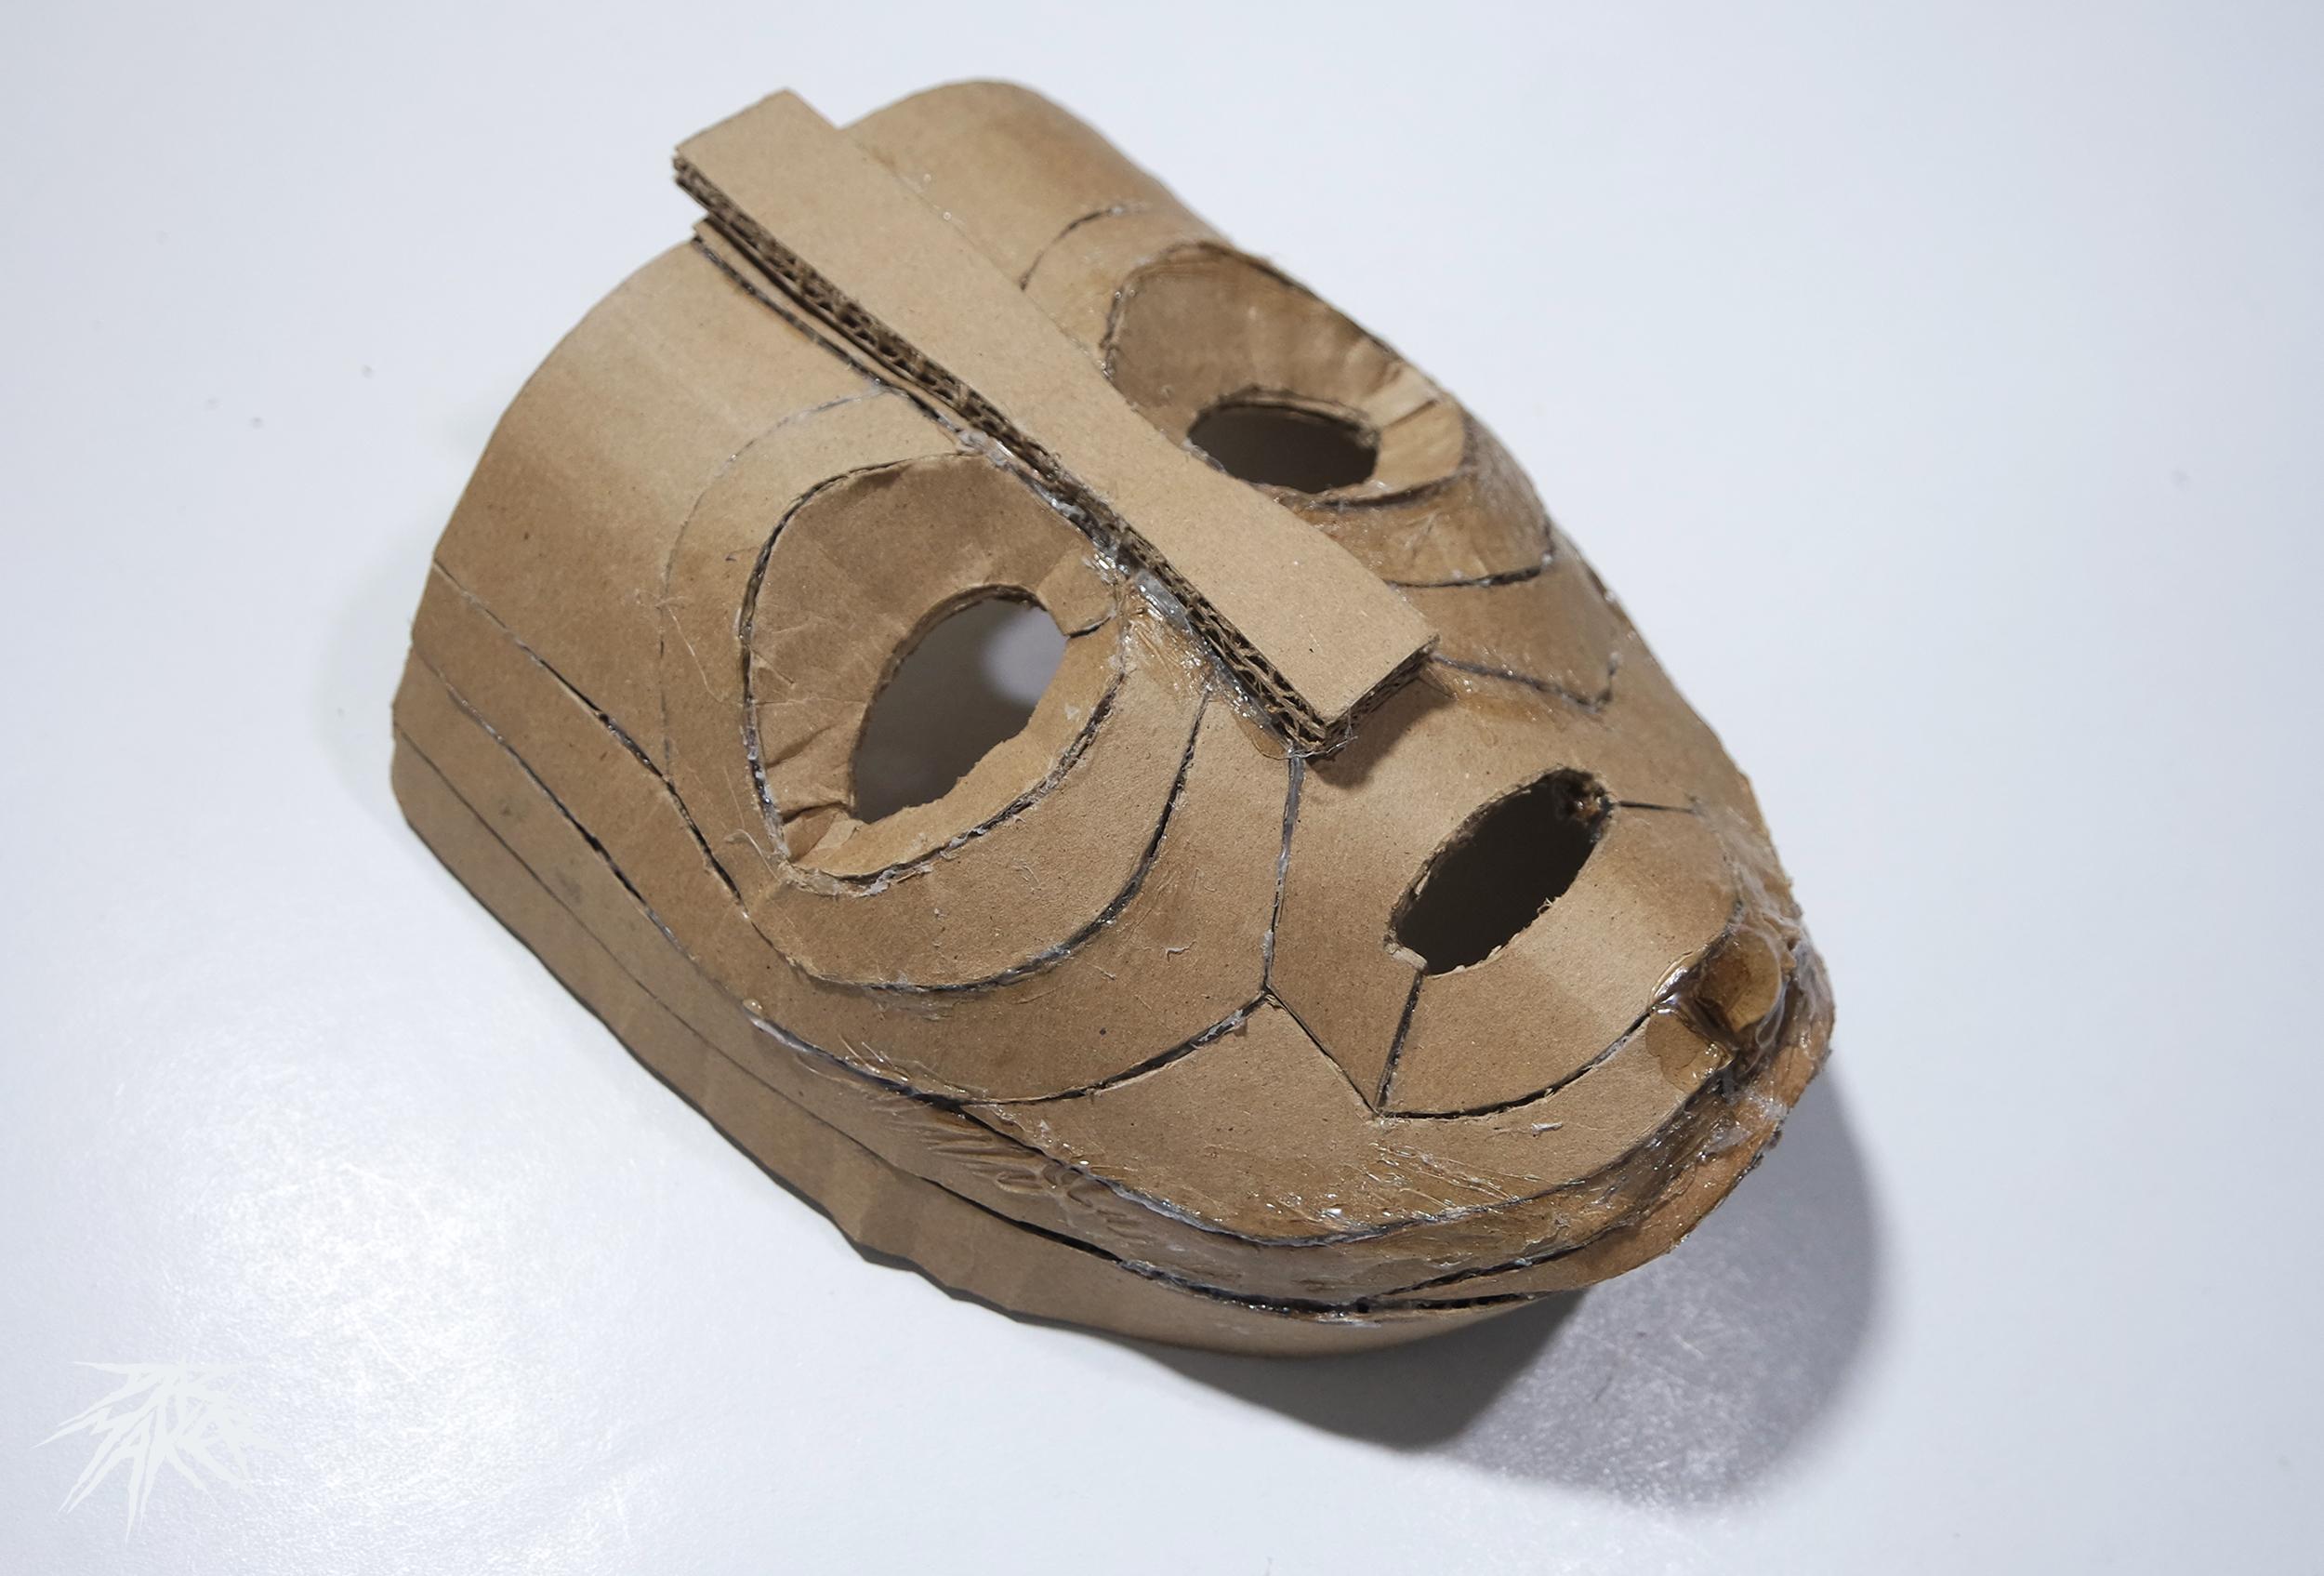
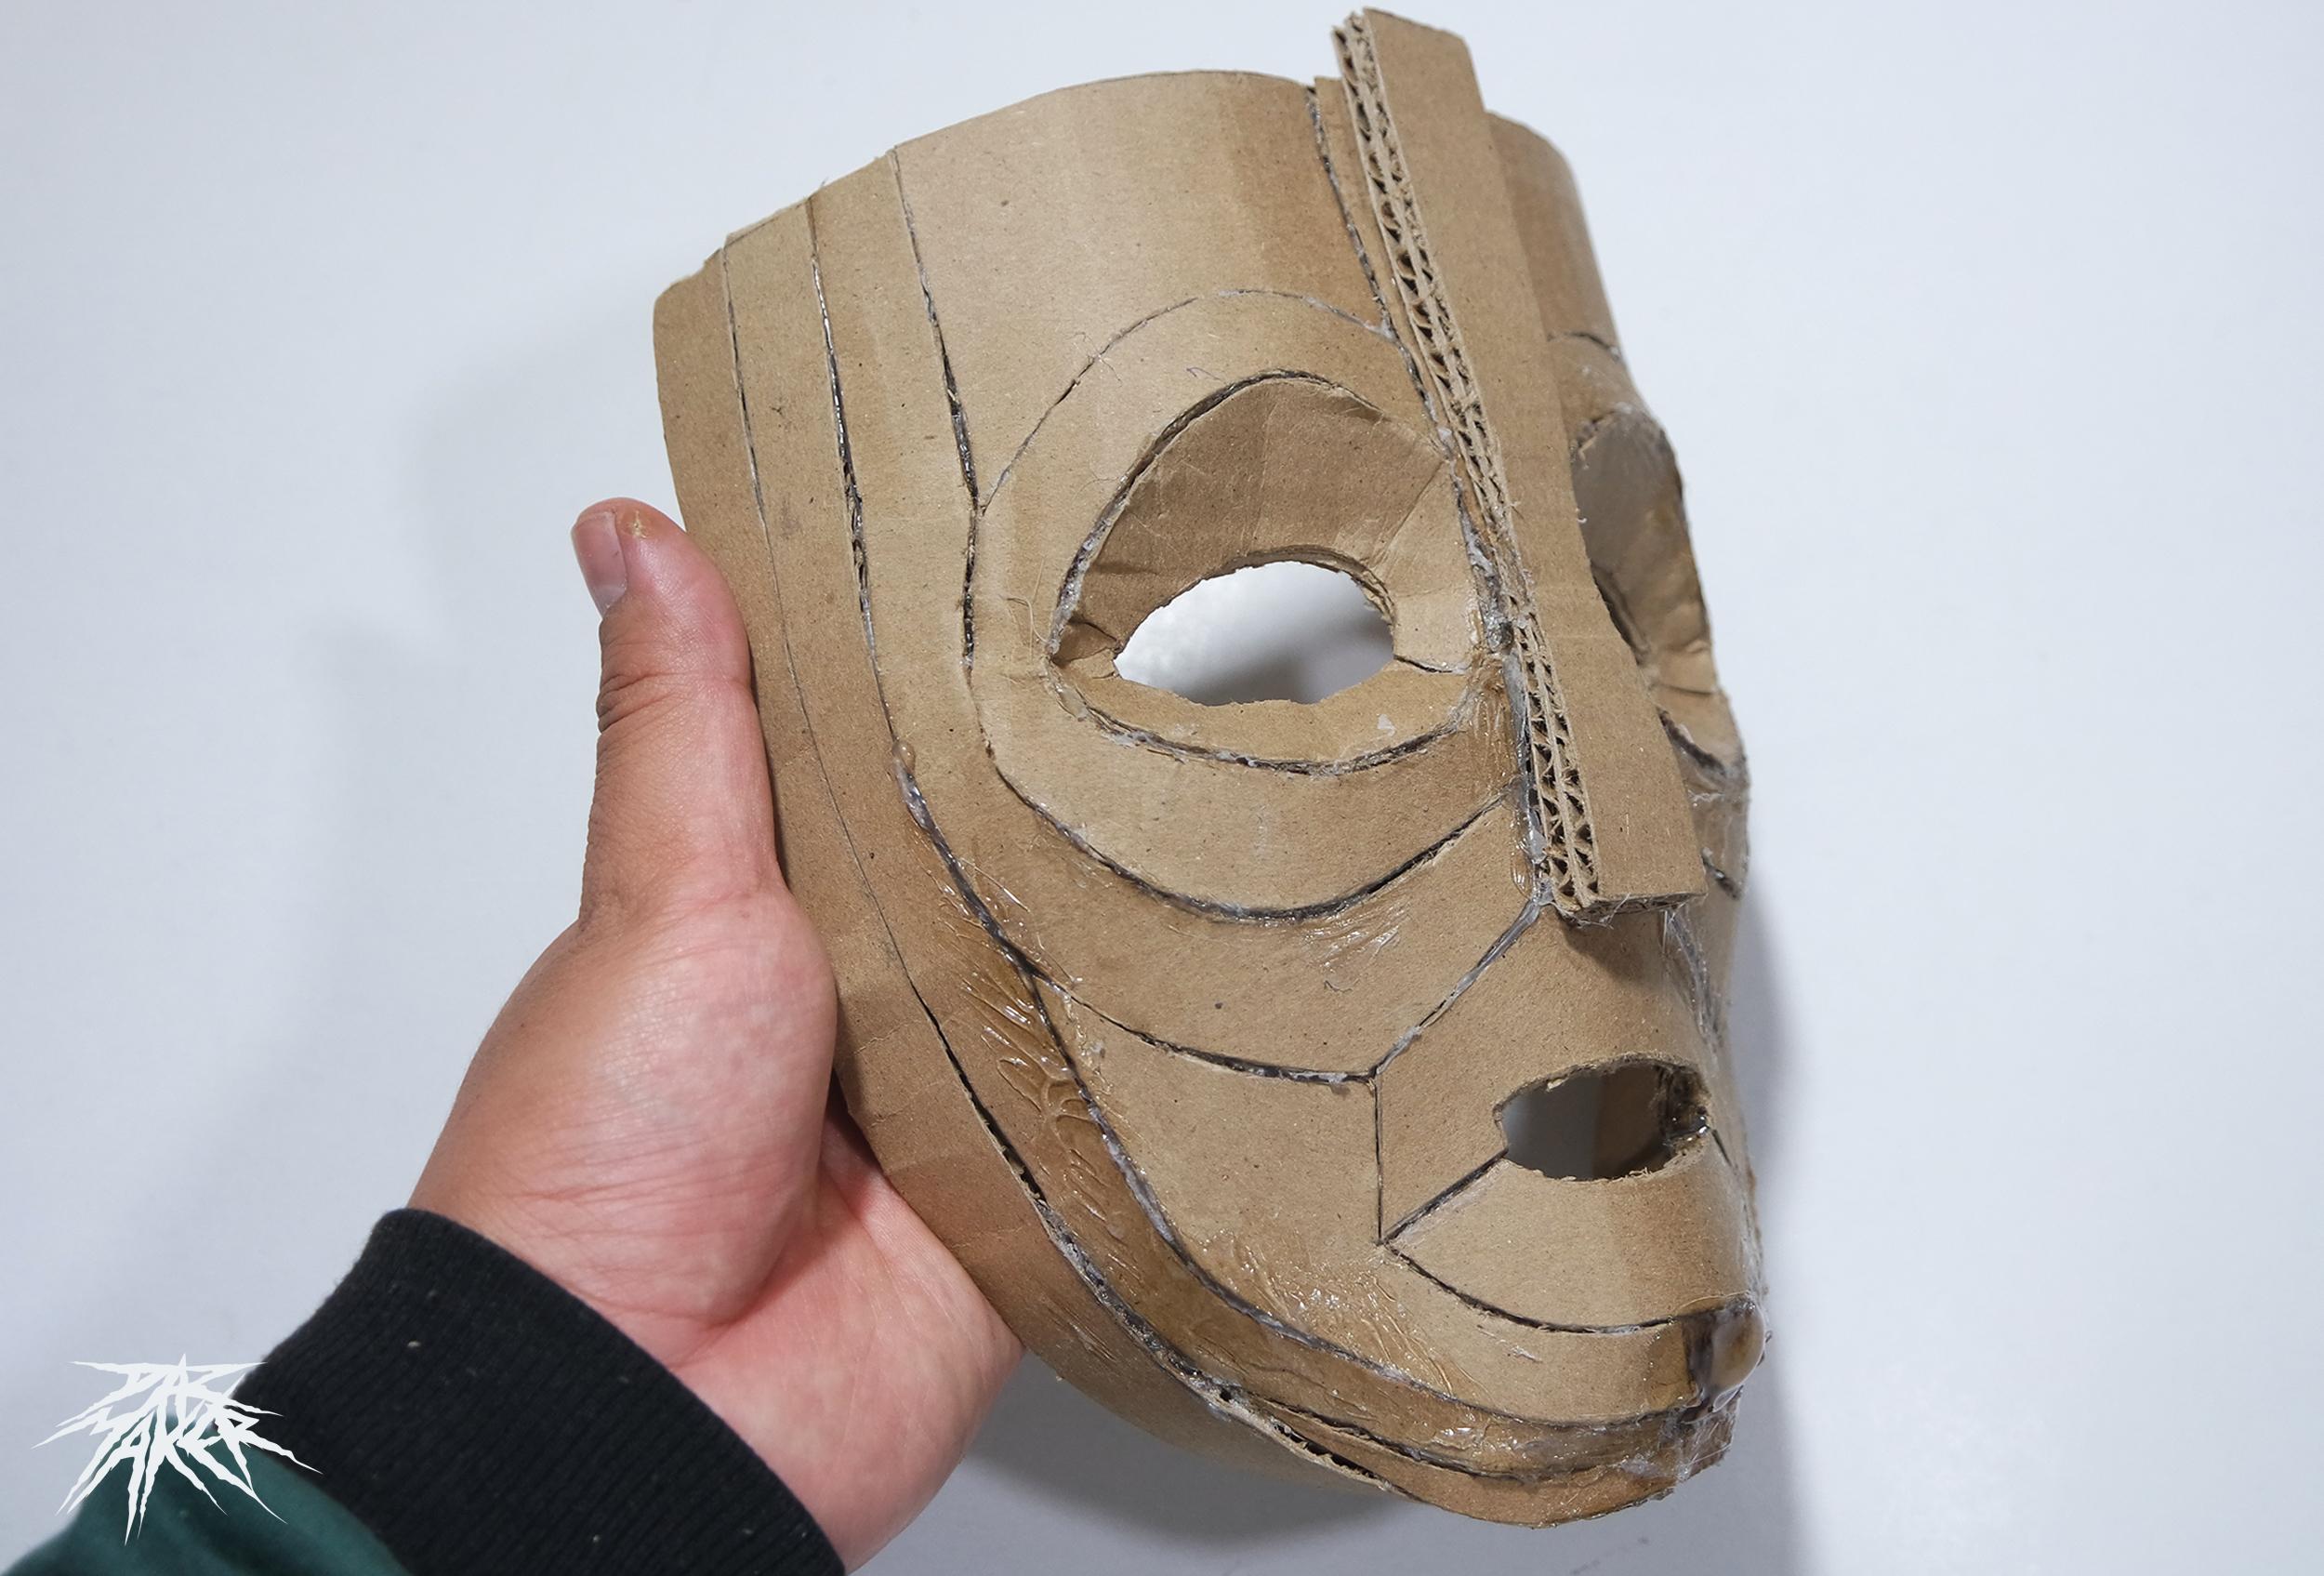
Join the Parts
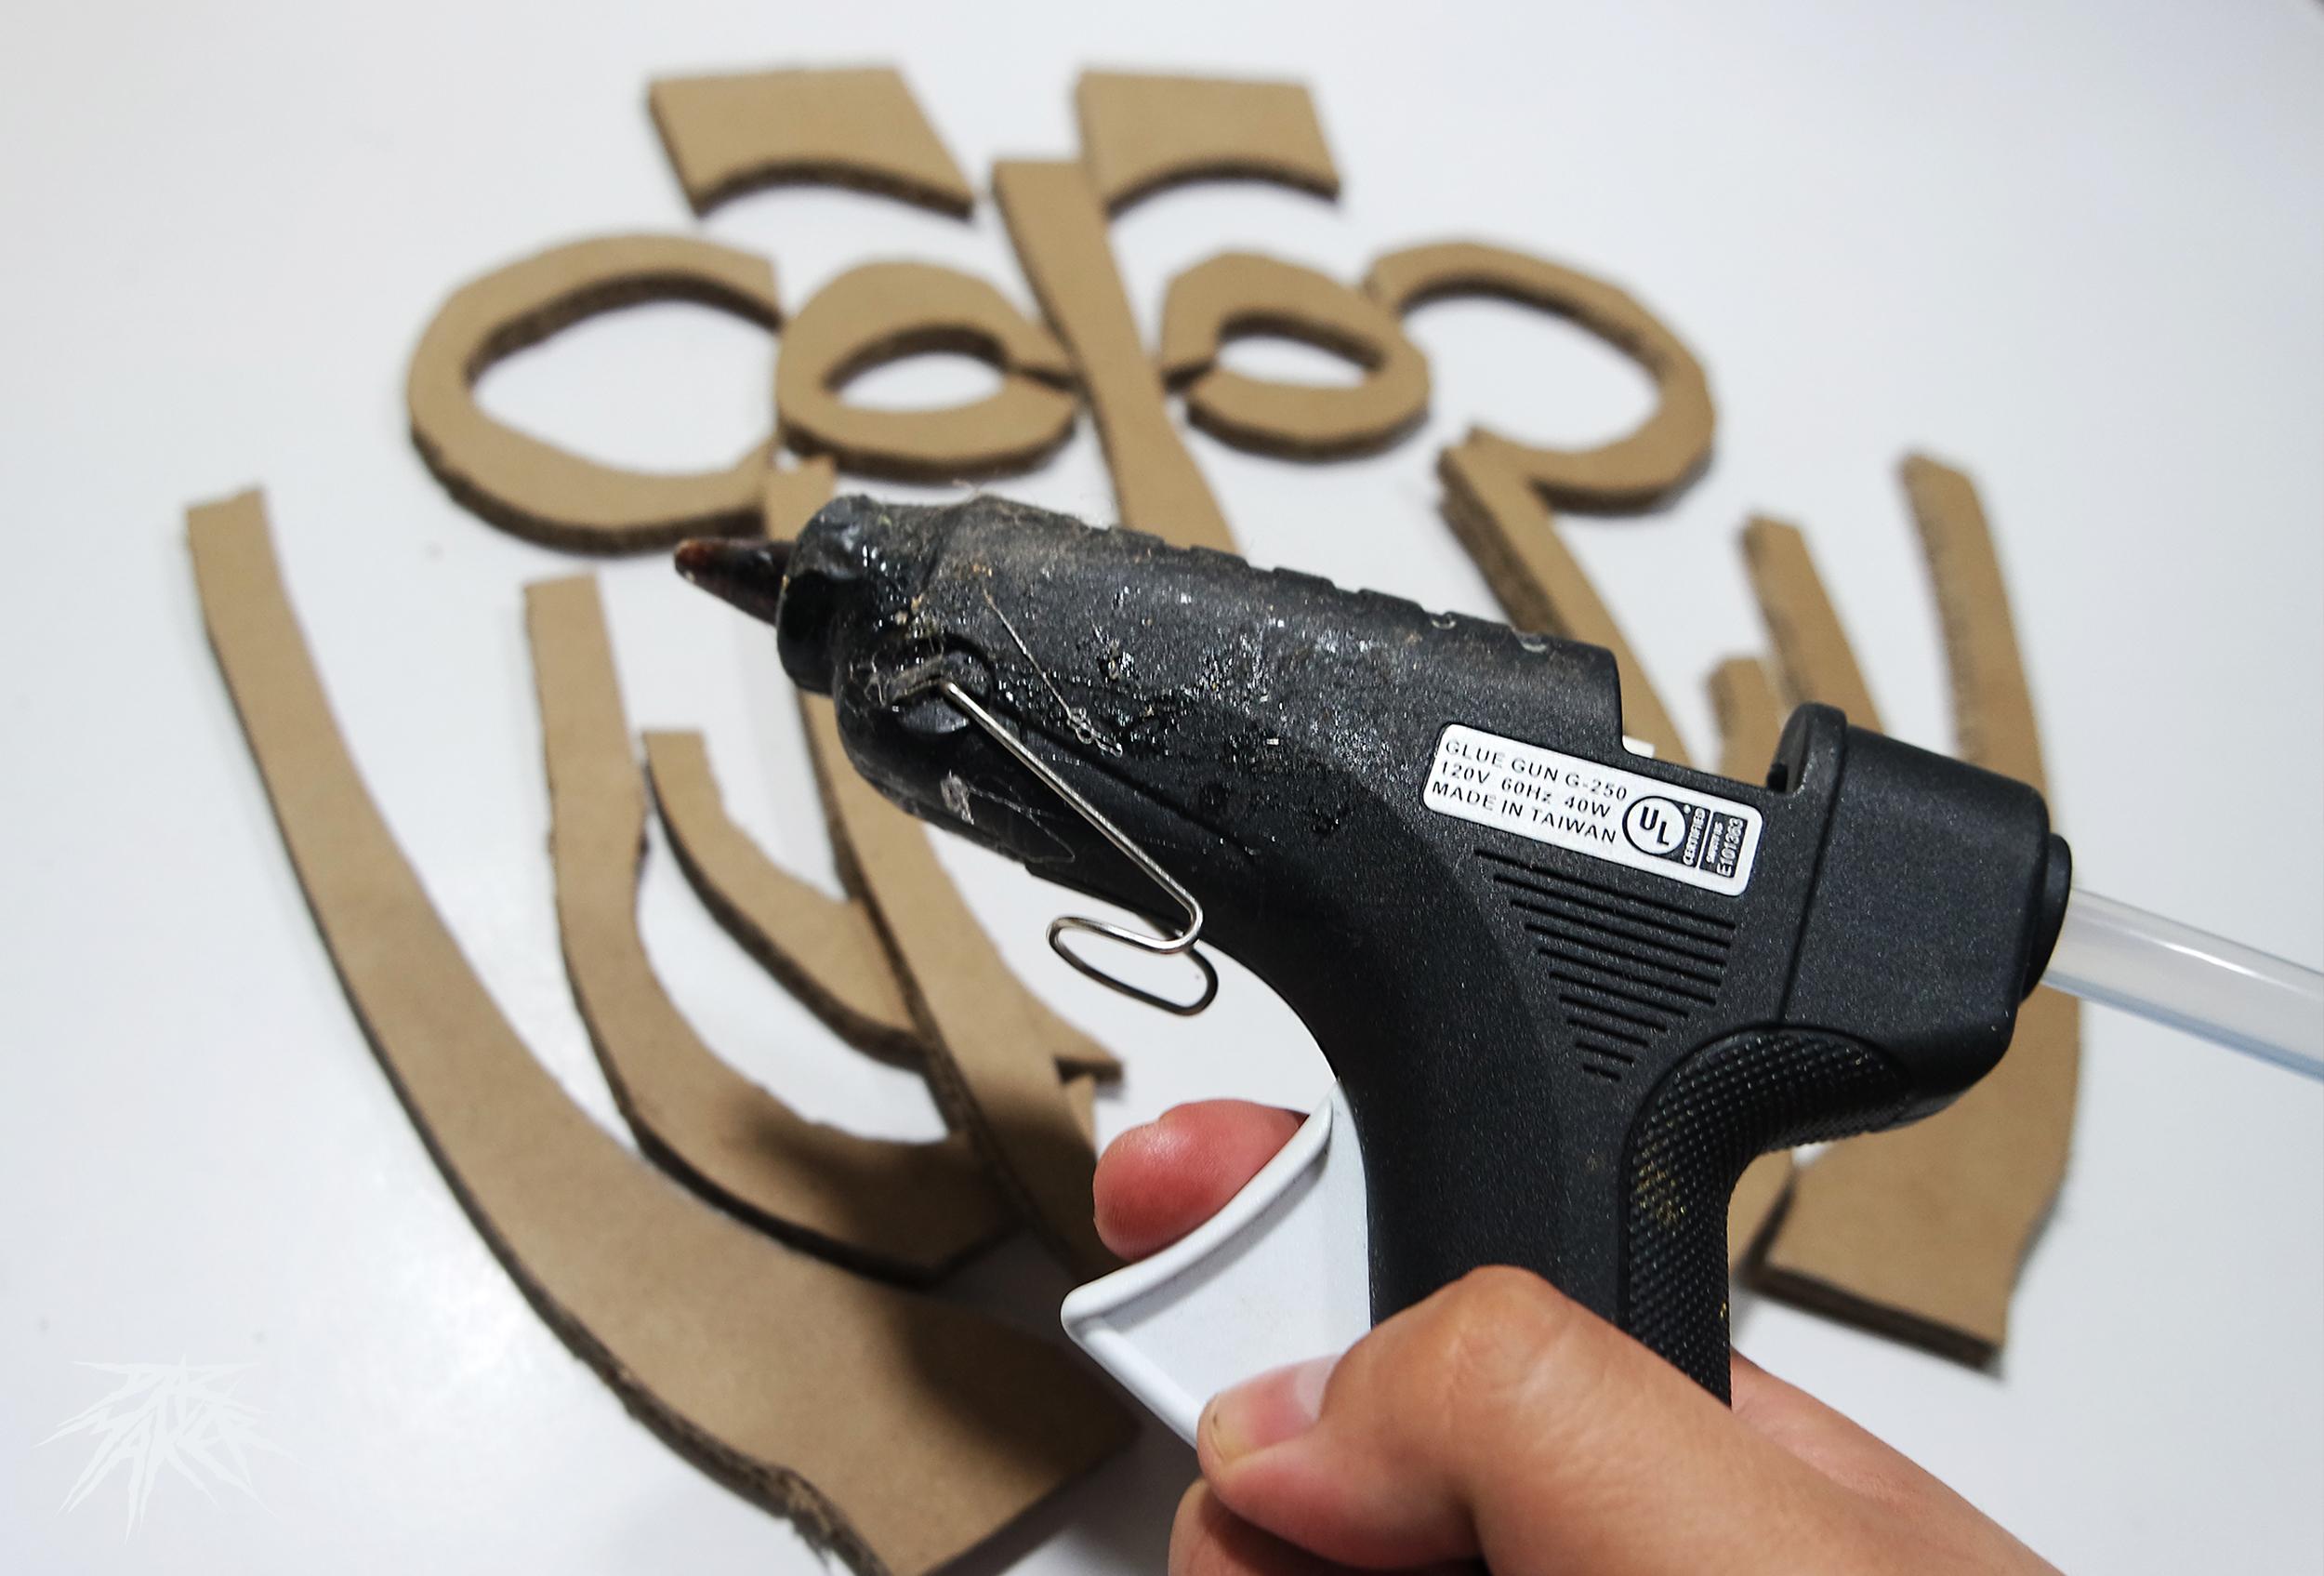
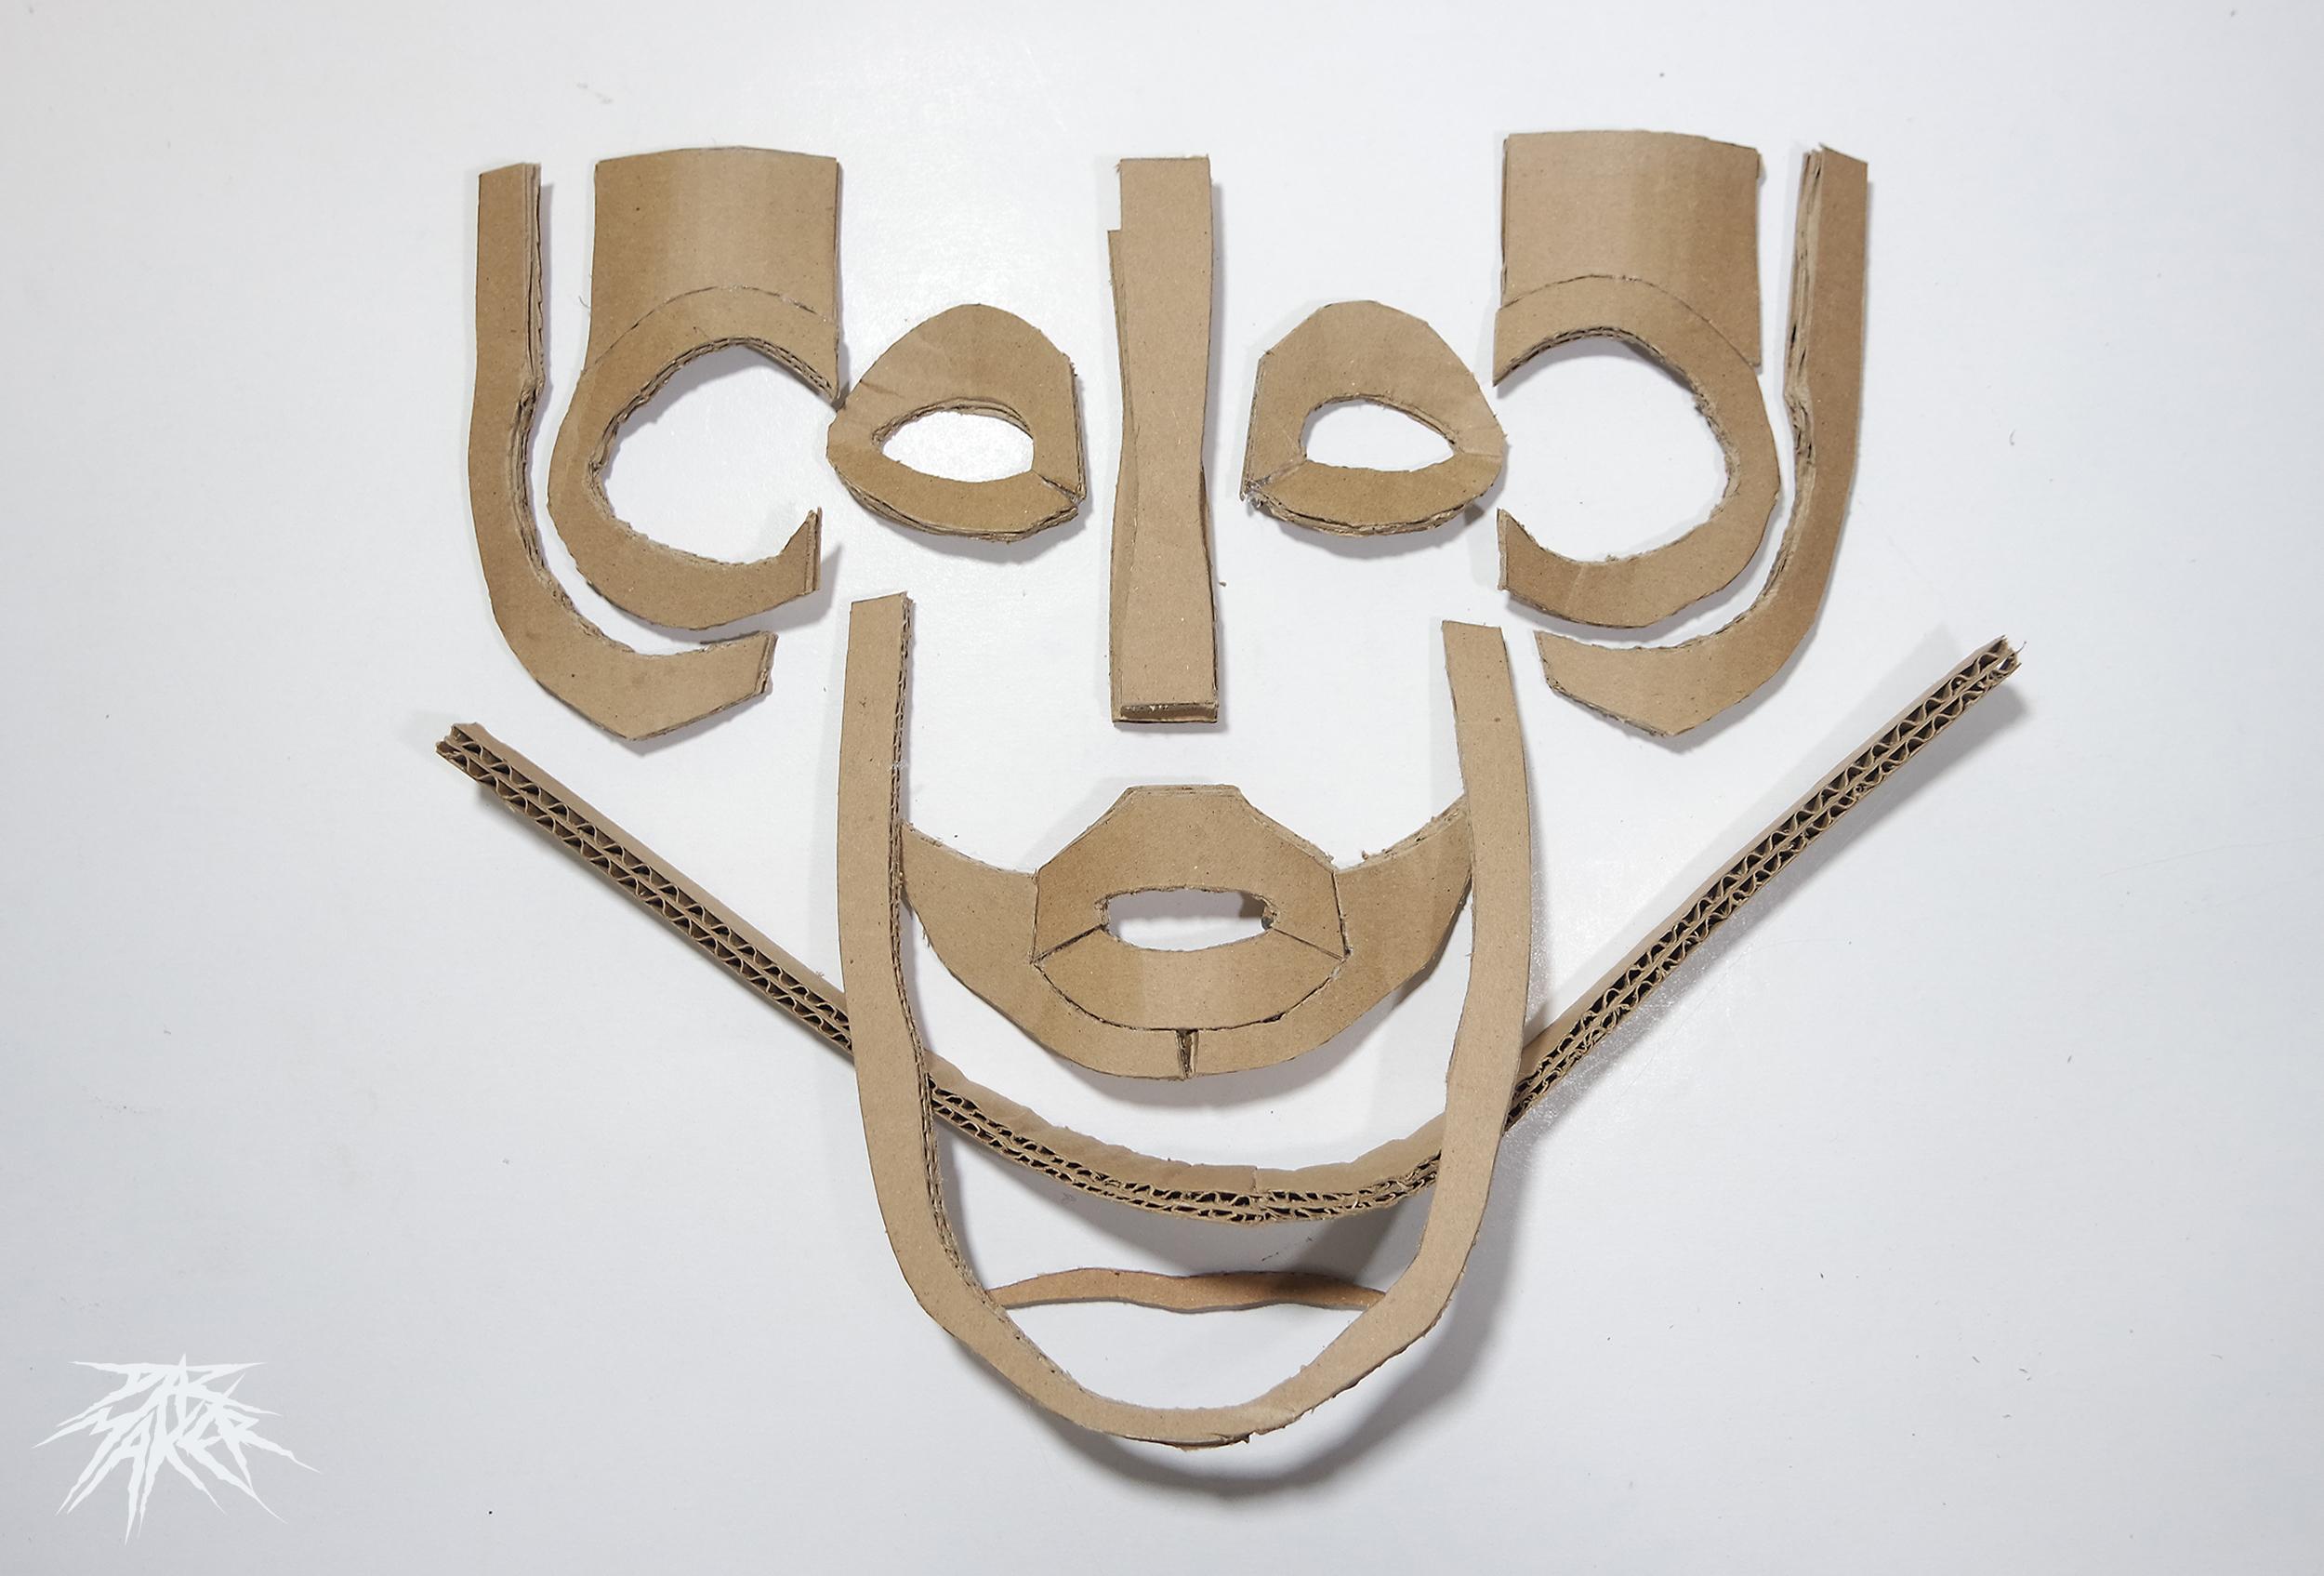
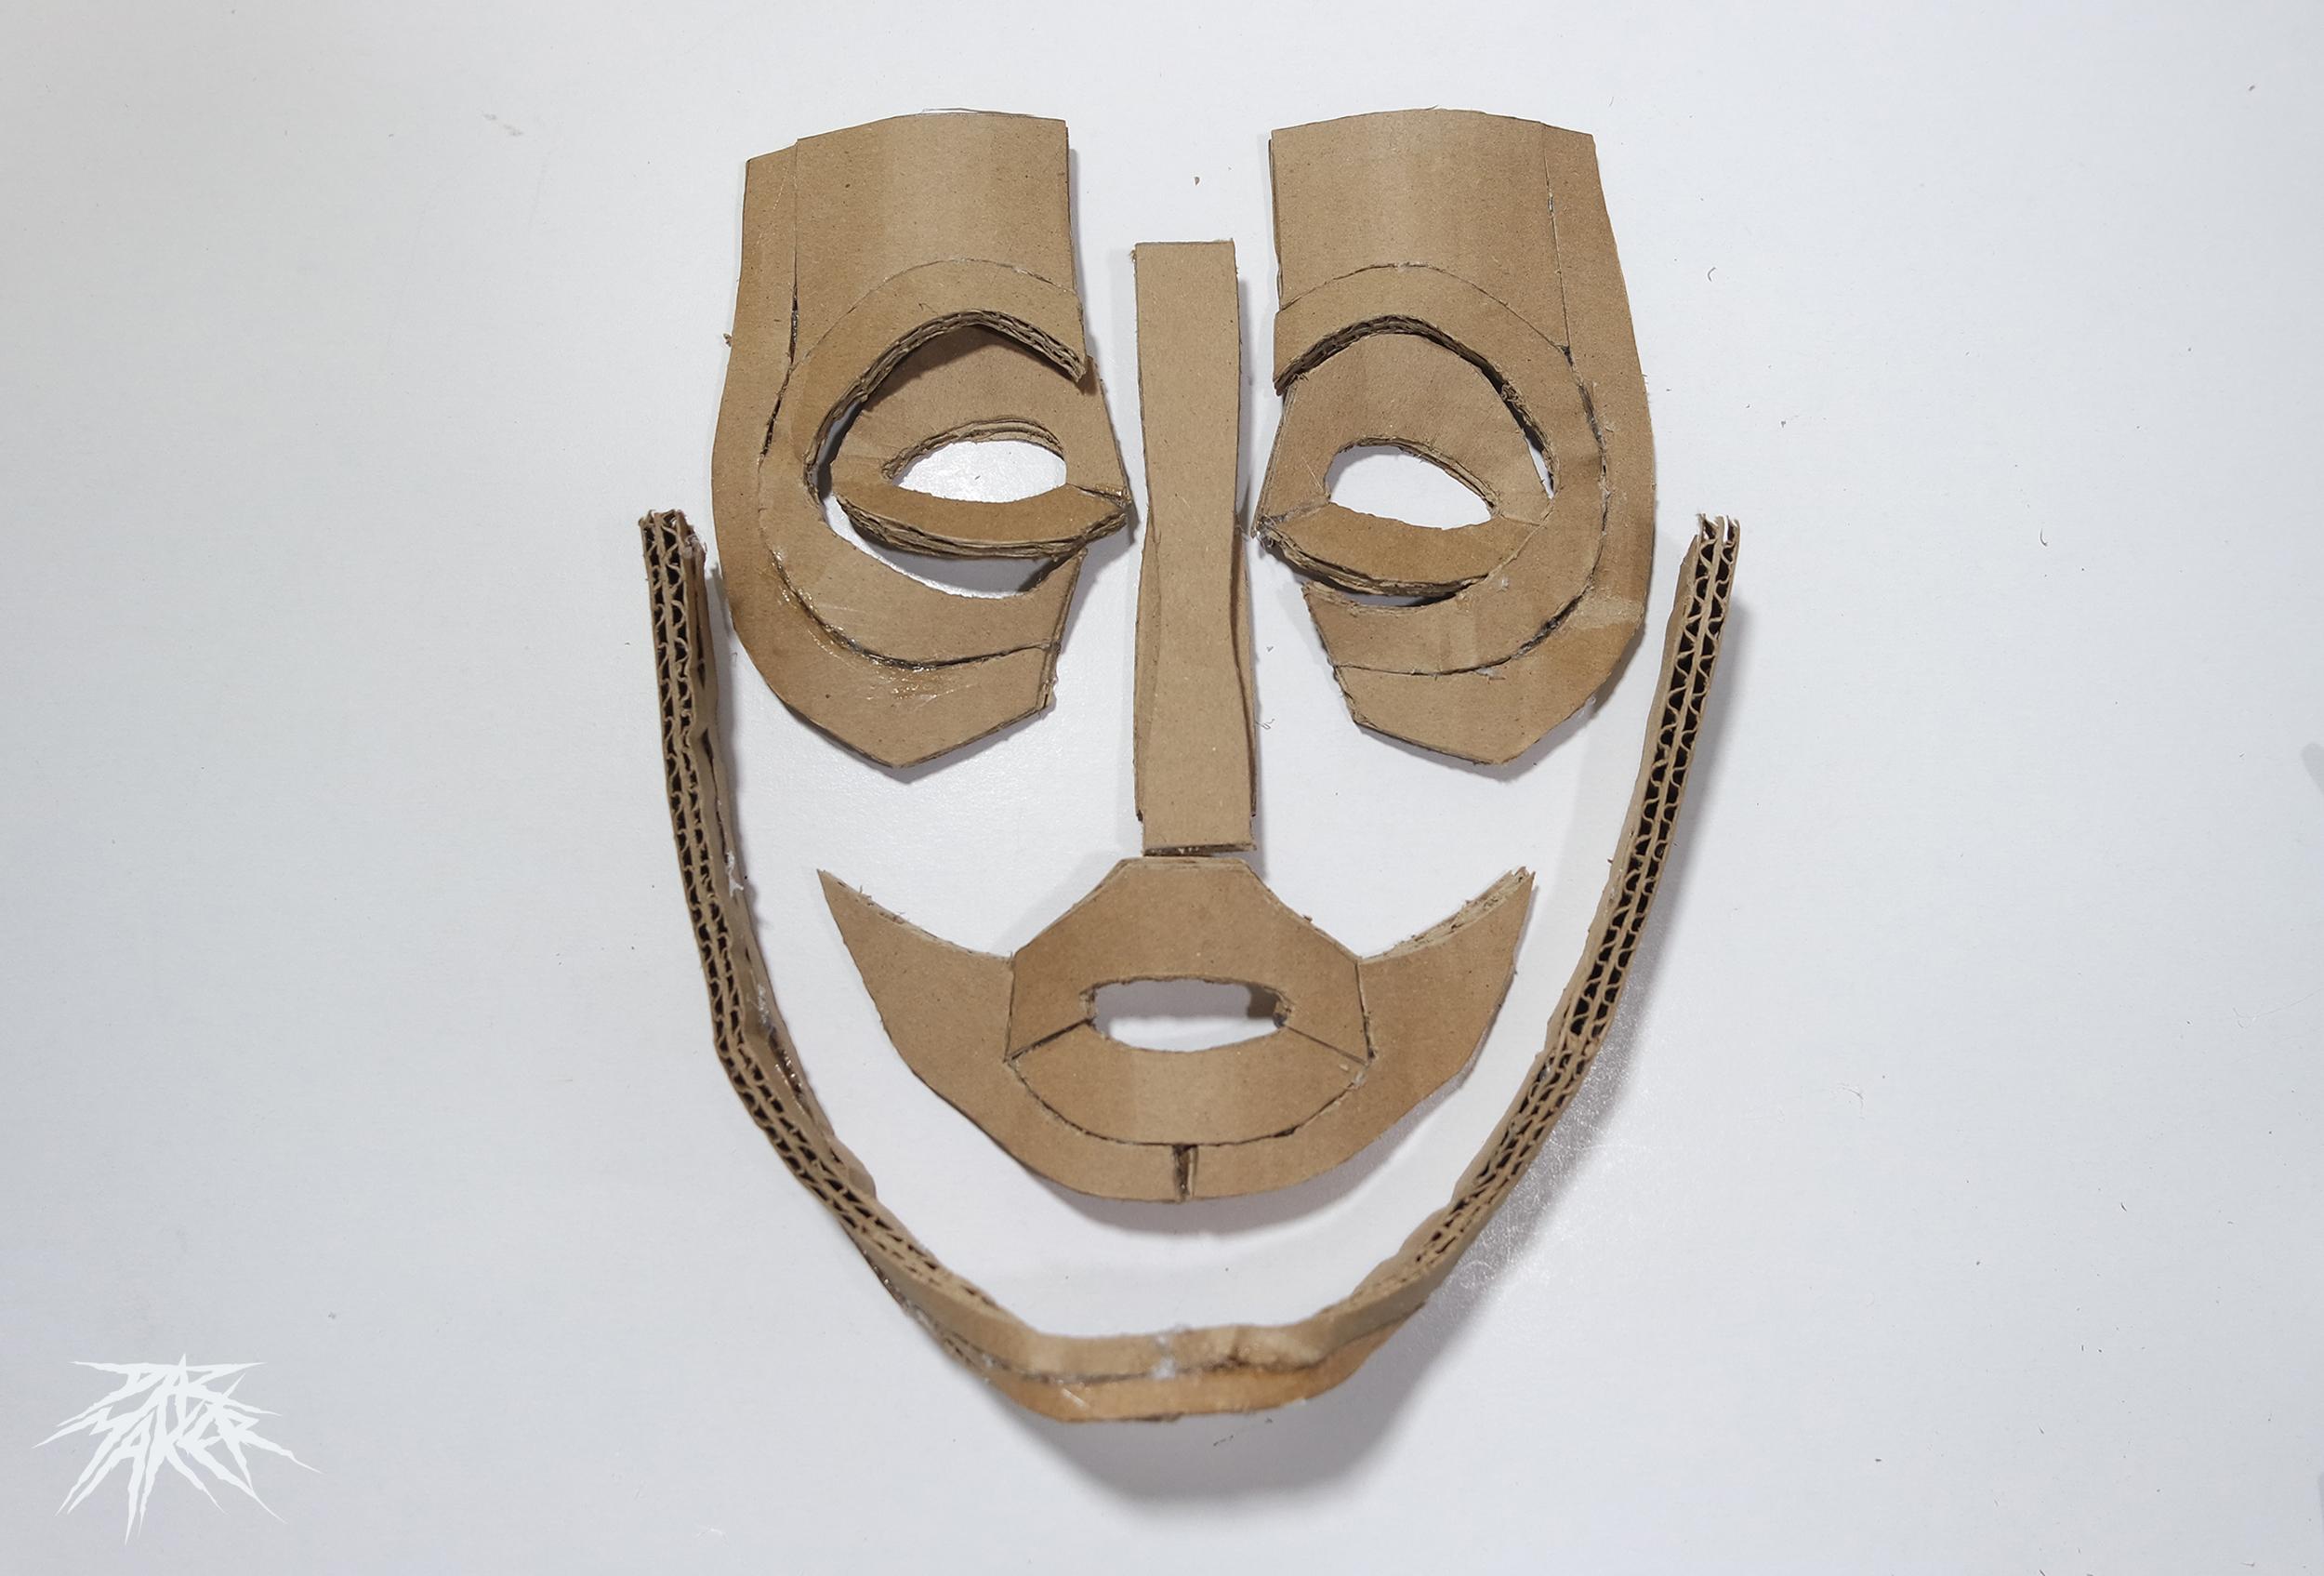
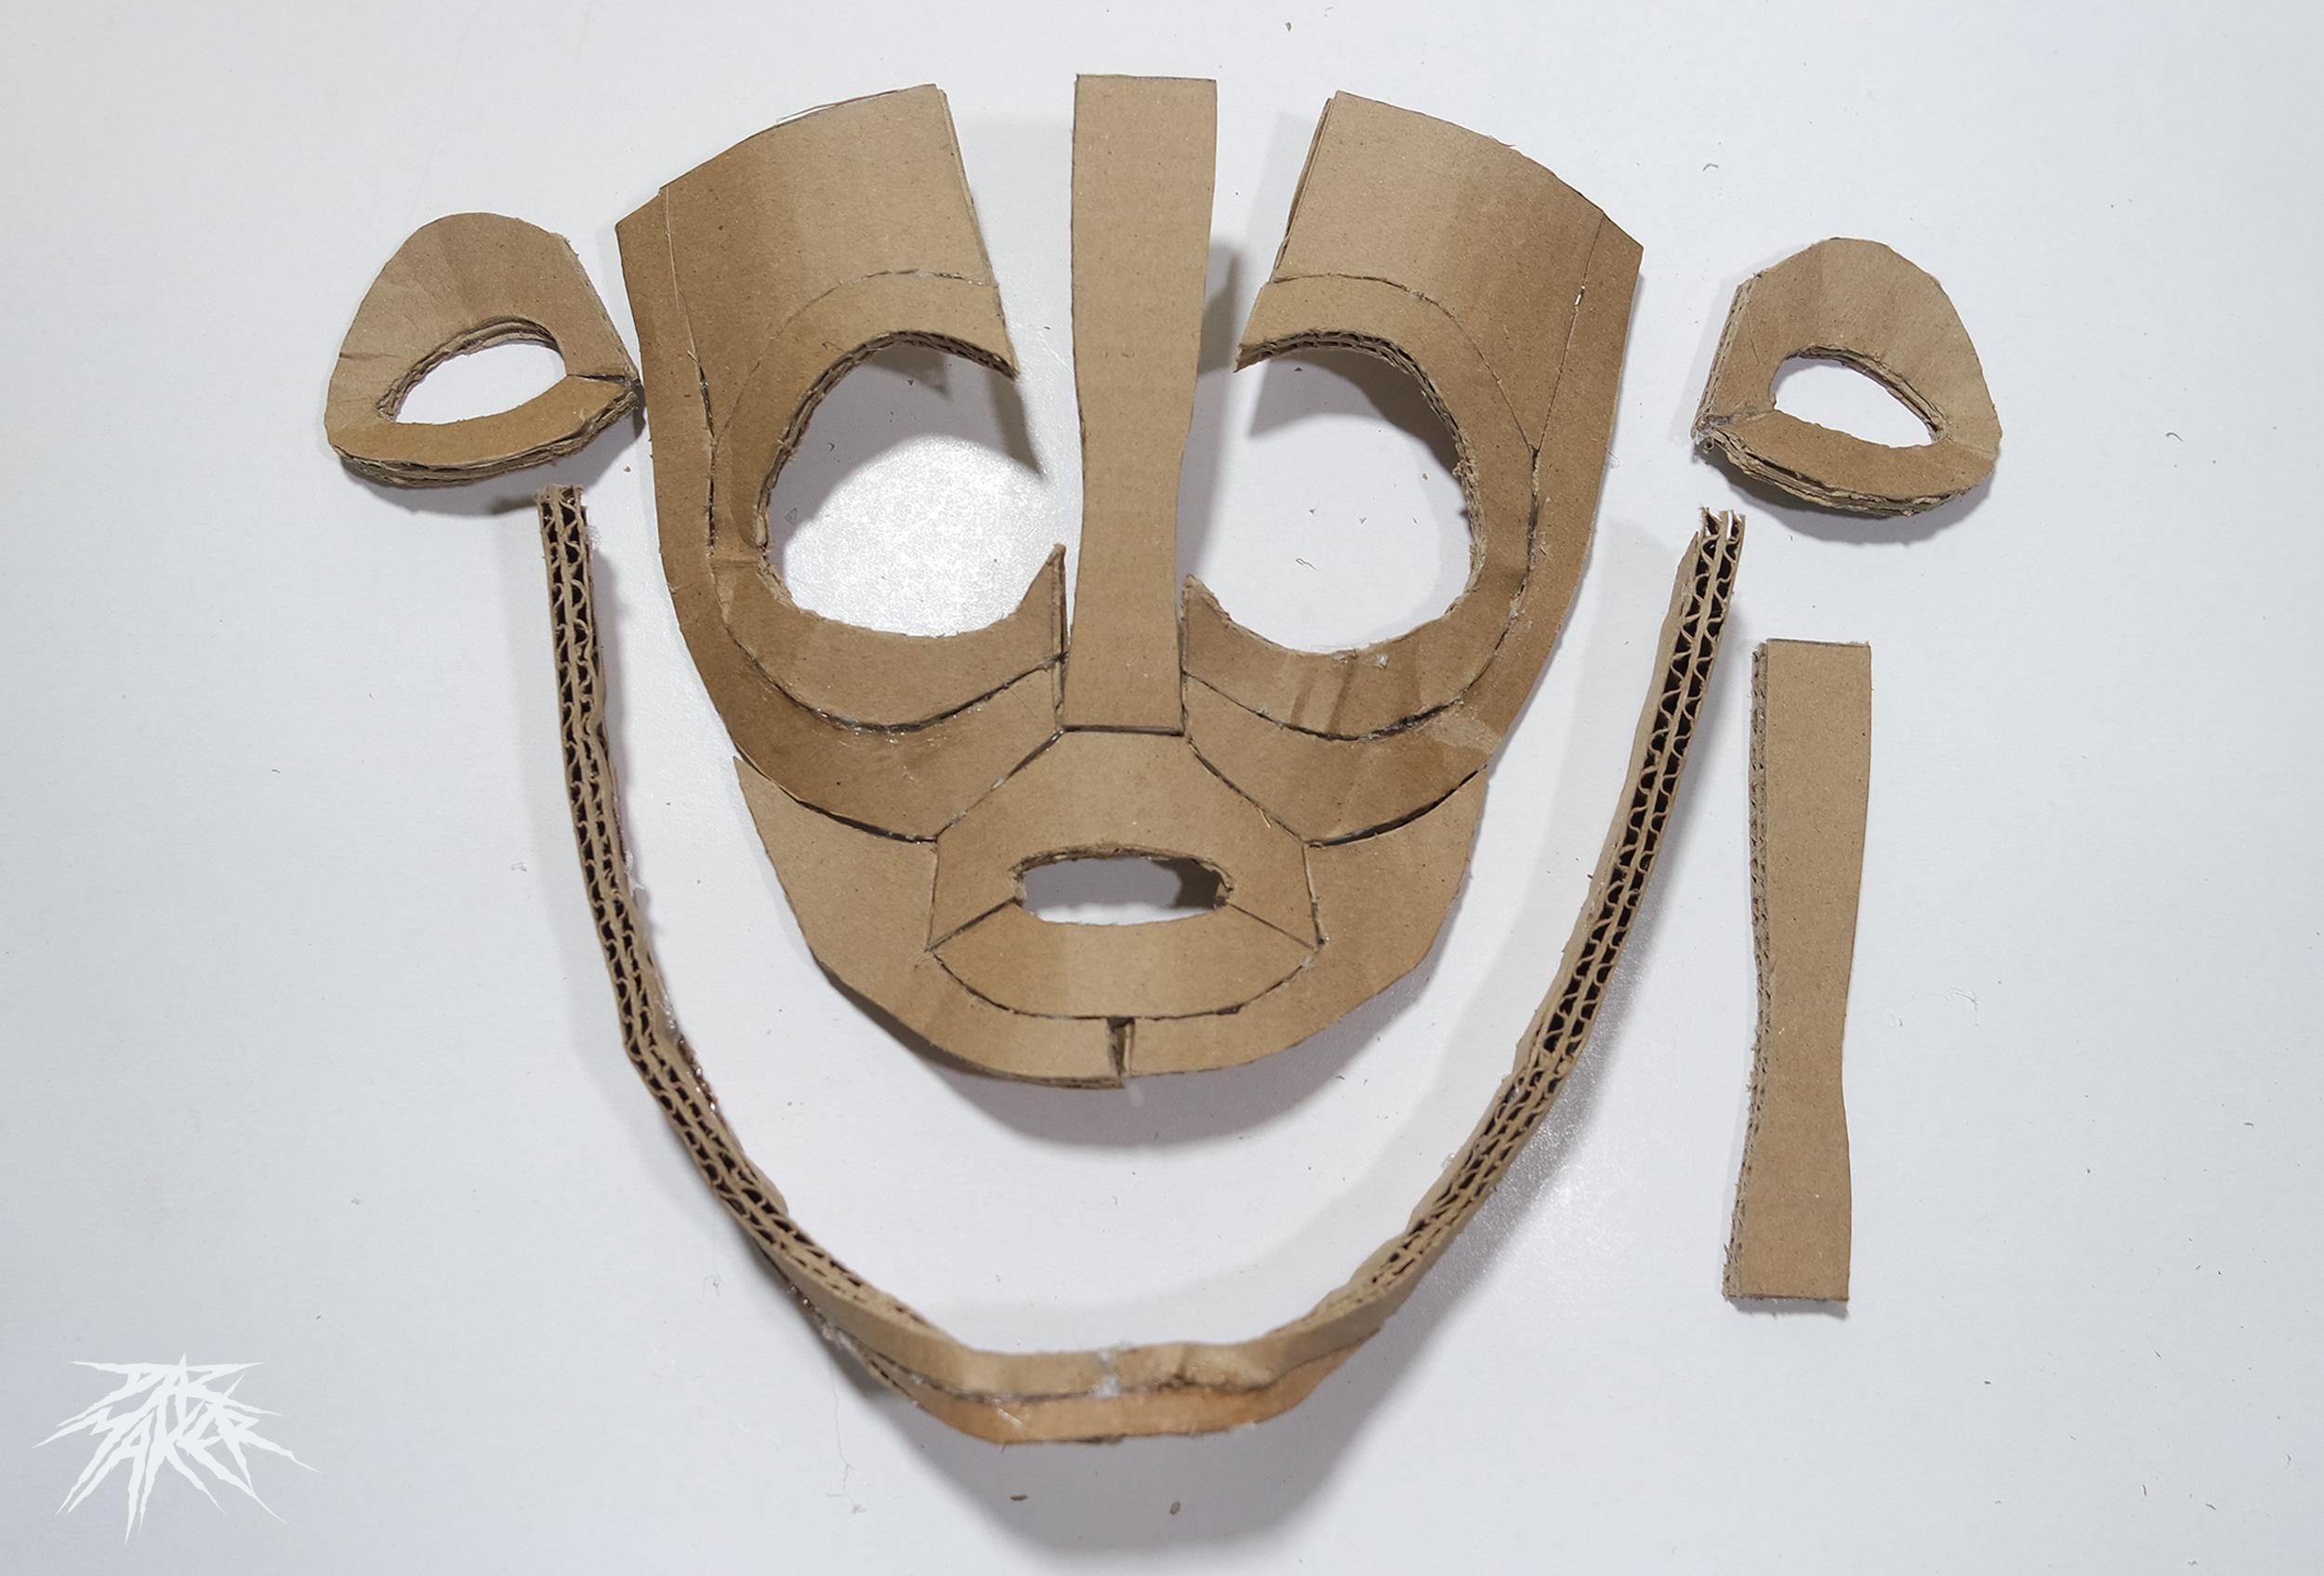
Now it is time to glue our cardboard pieces, what we will do is with our hands first
give them the curvature of The Mask shape, then with the glue gun
we will glue piece by piece by sectors, the eyes, the mouth, the nose and the outer rim.
TIP:
Be careful when you paste, try to hold the piece together for a long time or the pressure of the other pieces will separate it. Also be careful with your fingers, the hot glue and they do not get along
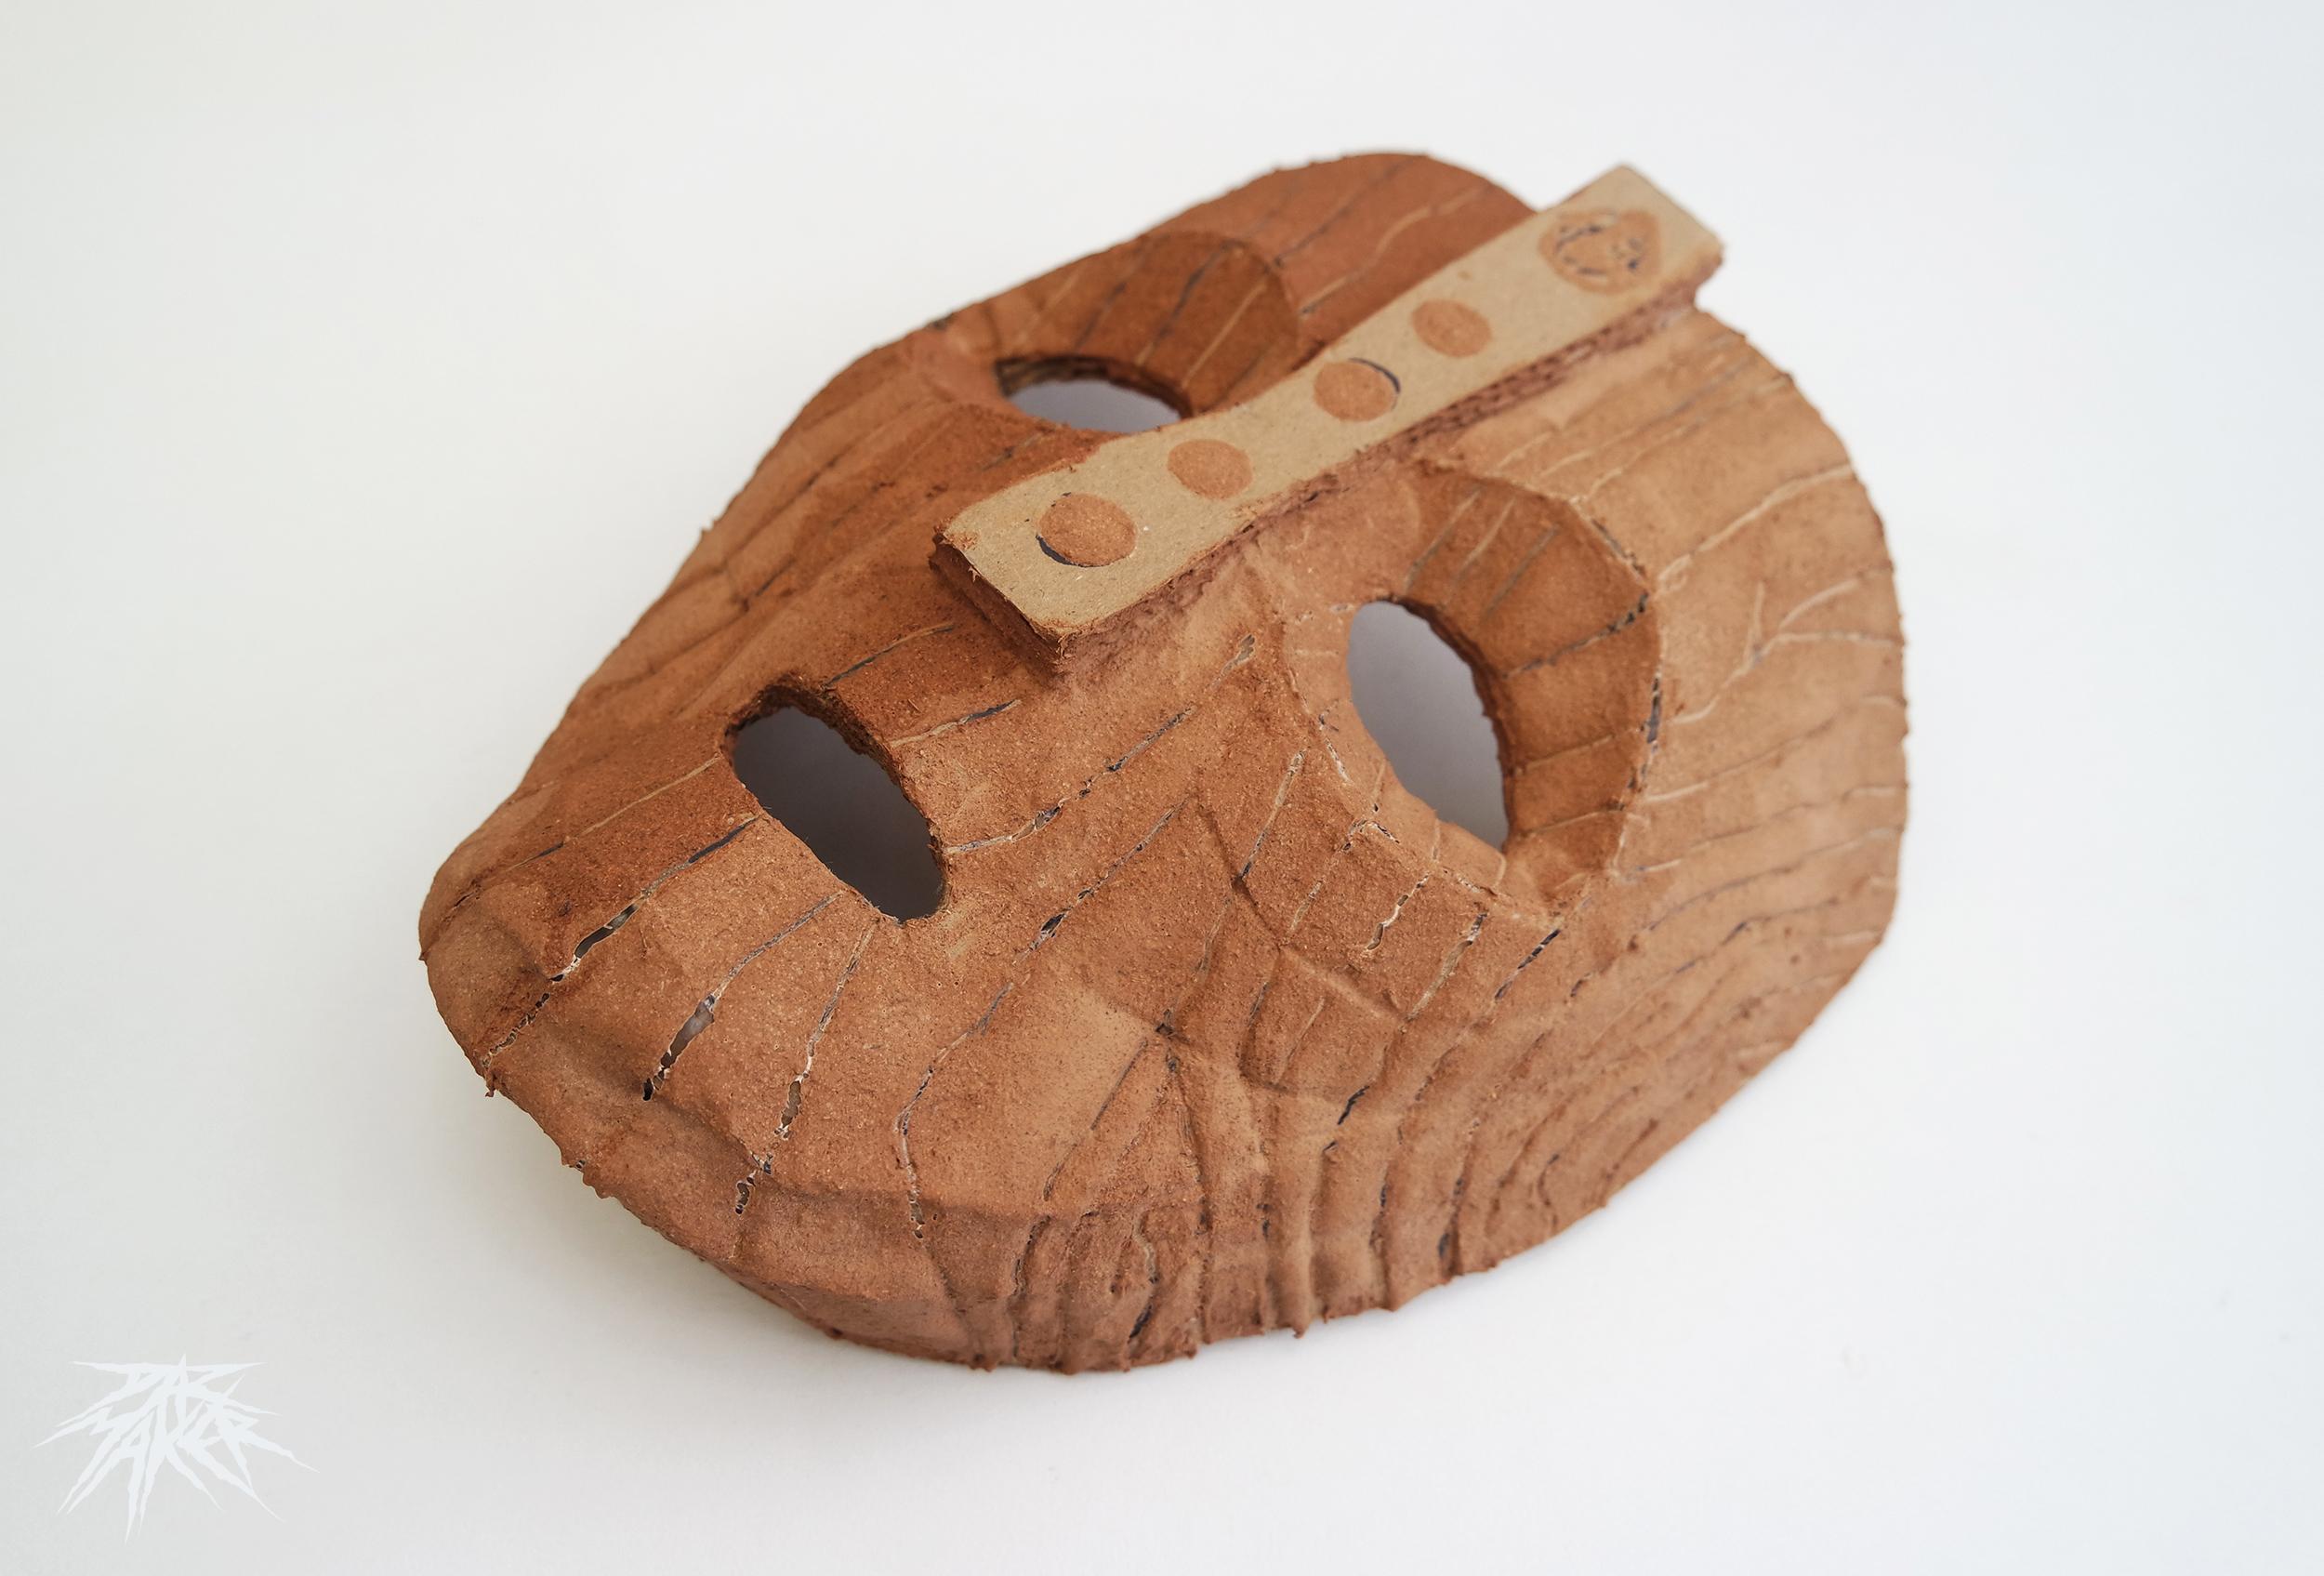
Wood Lines
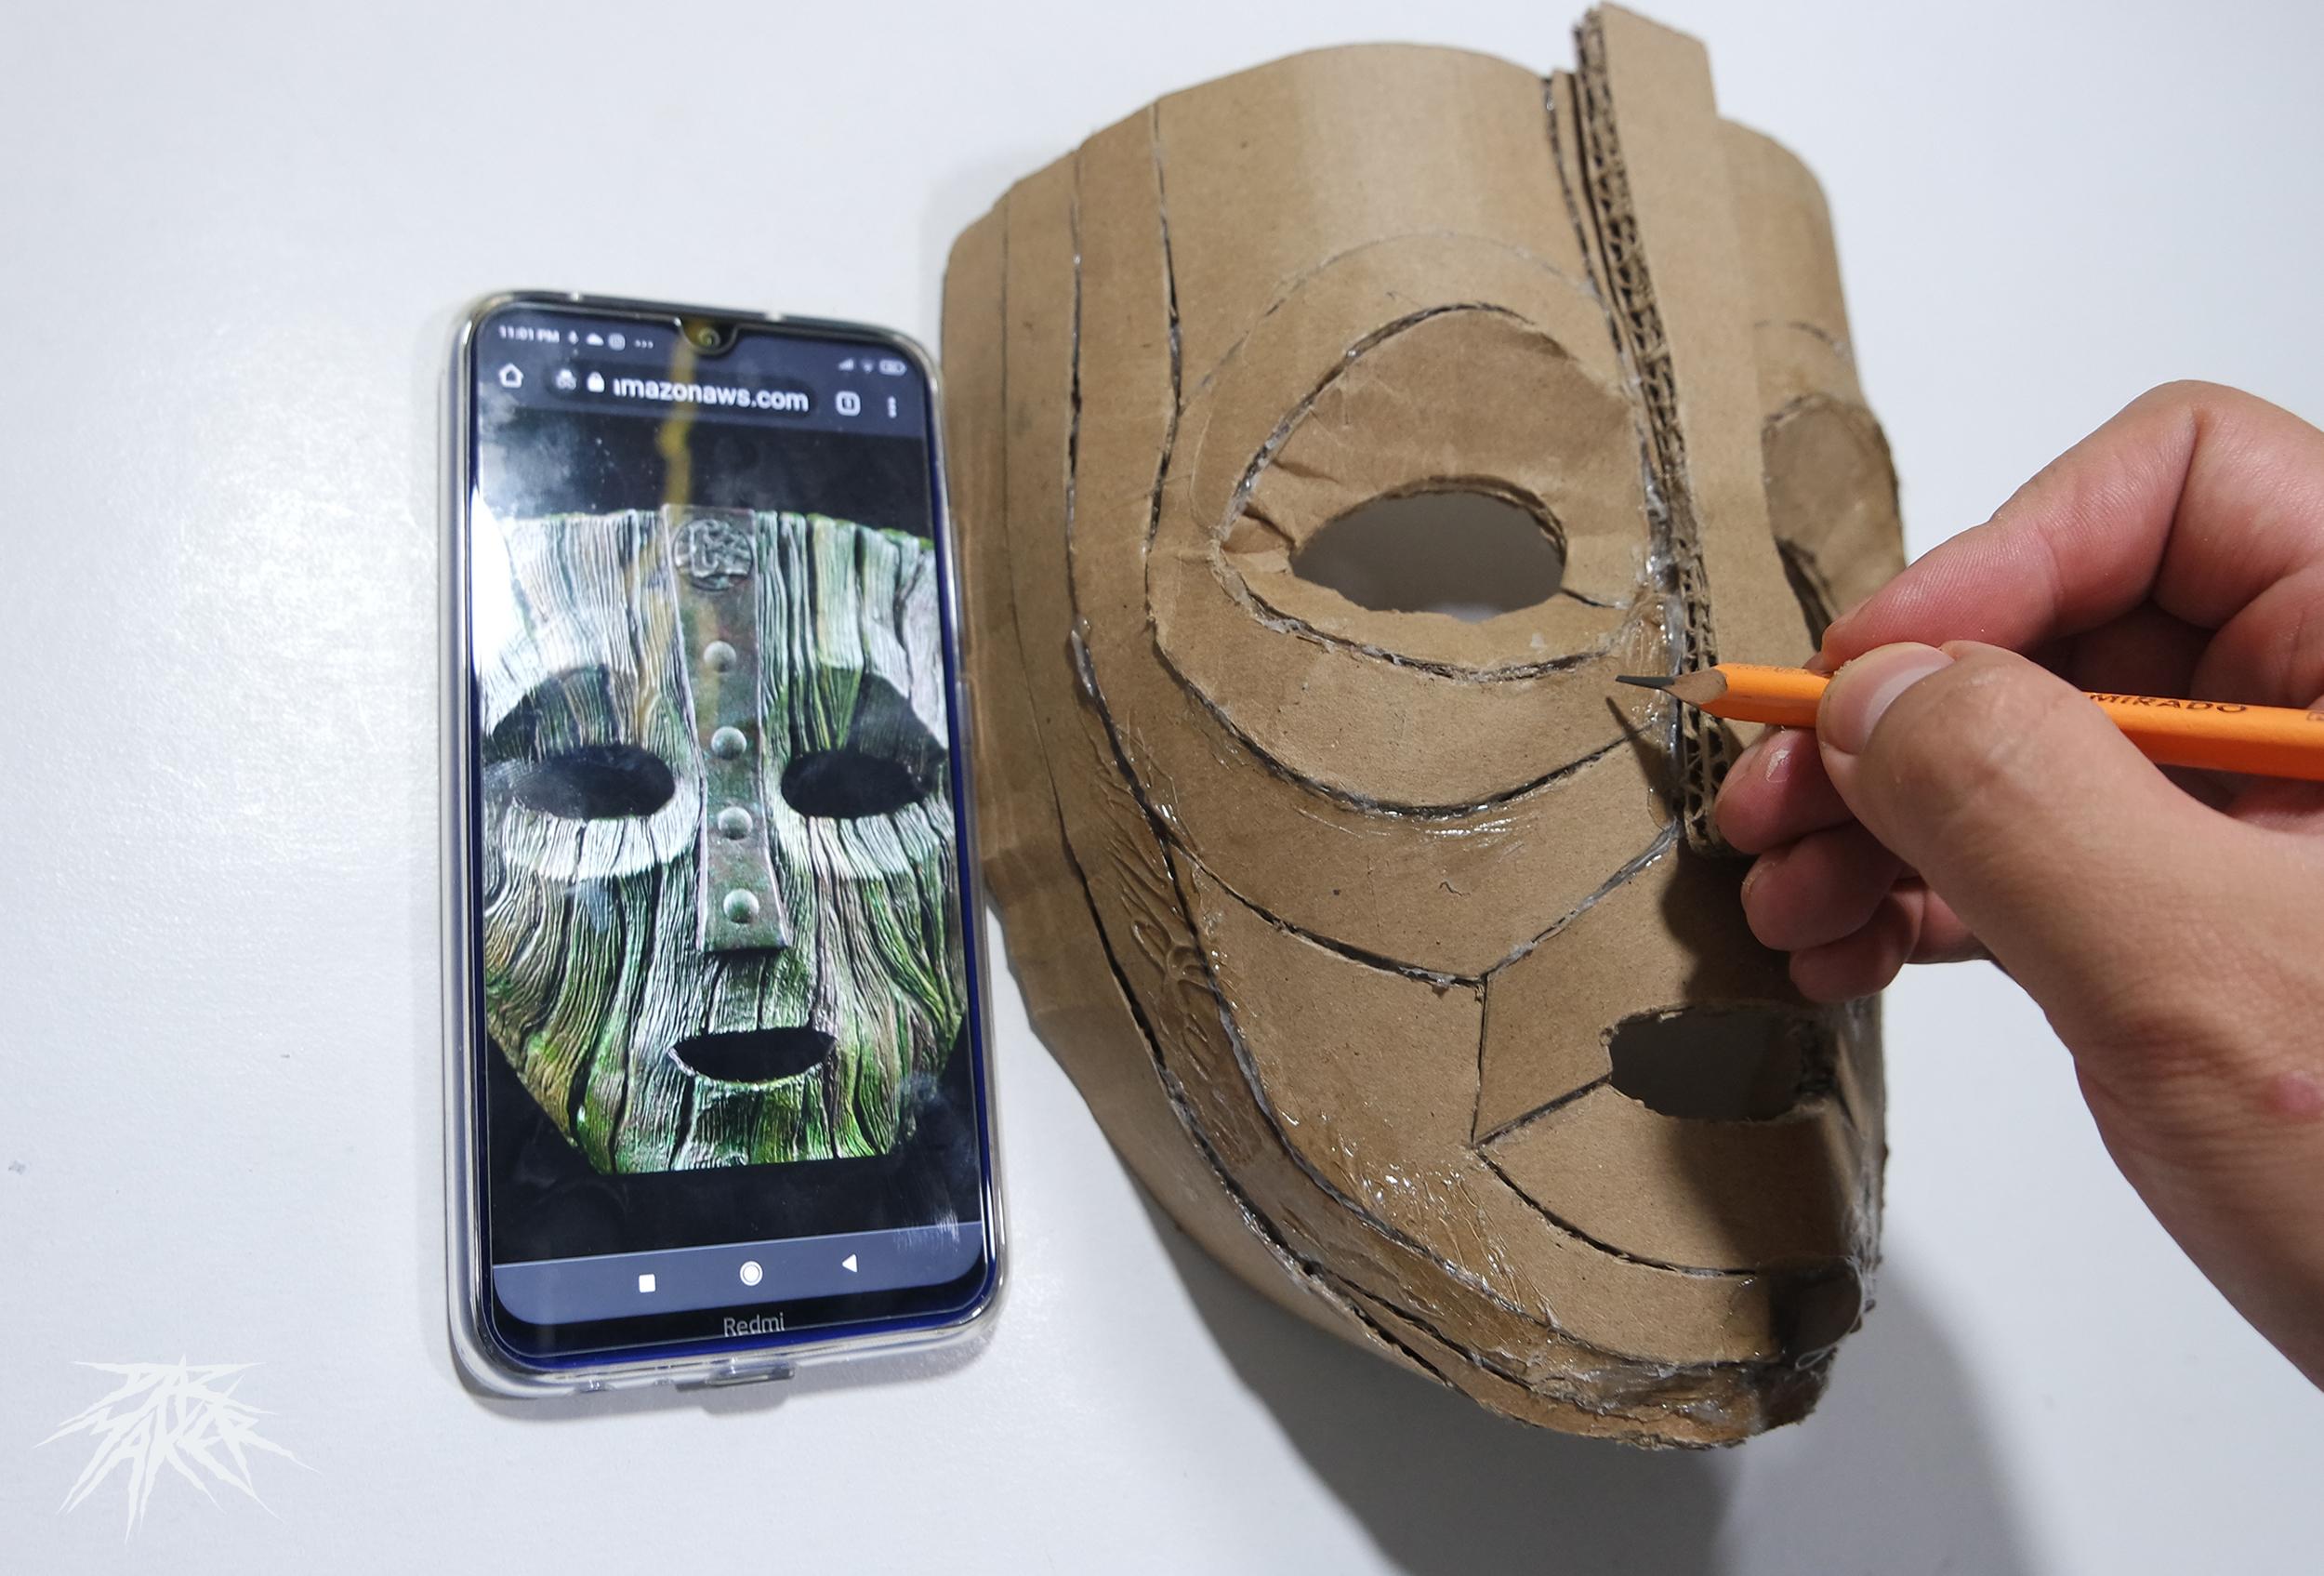
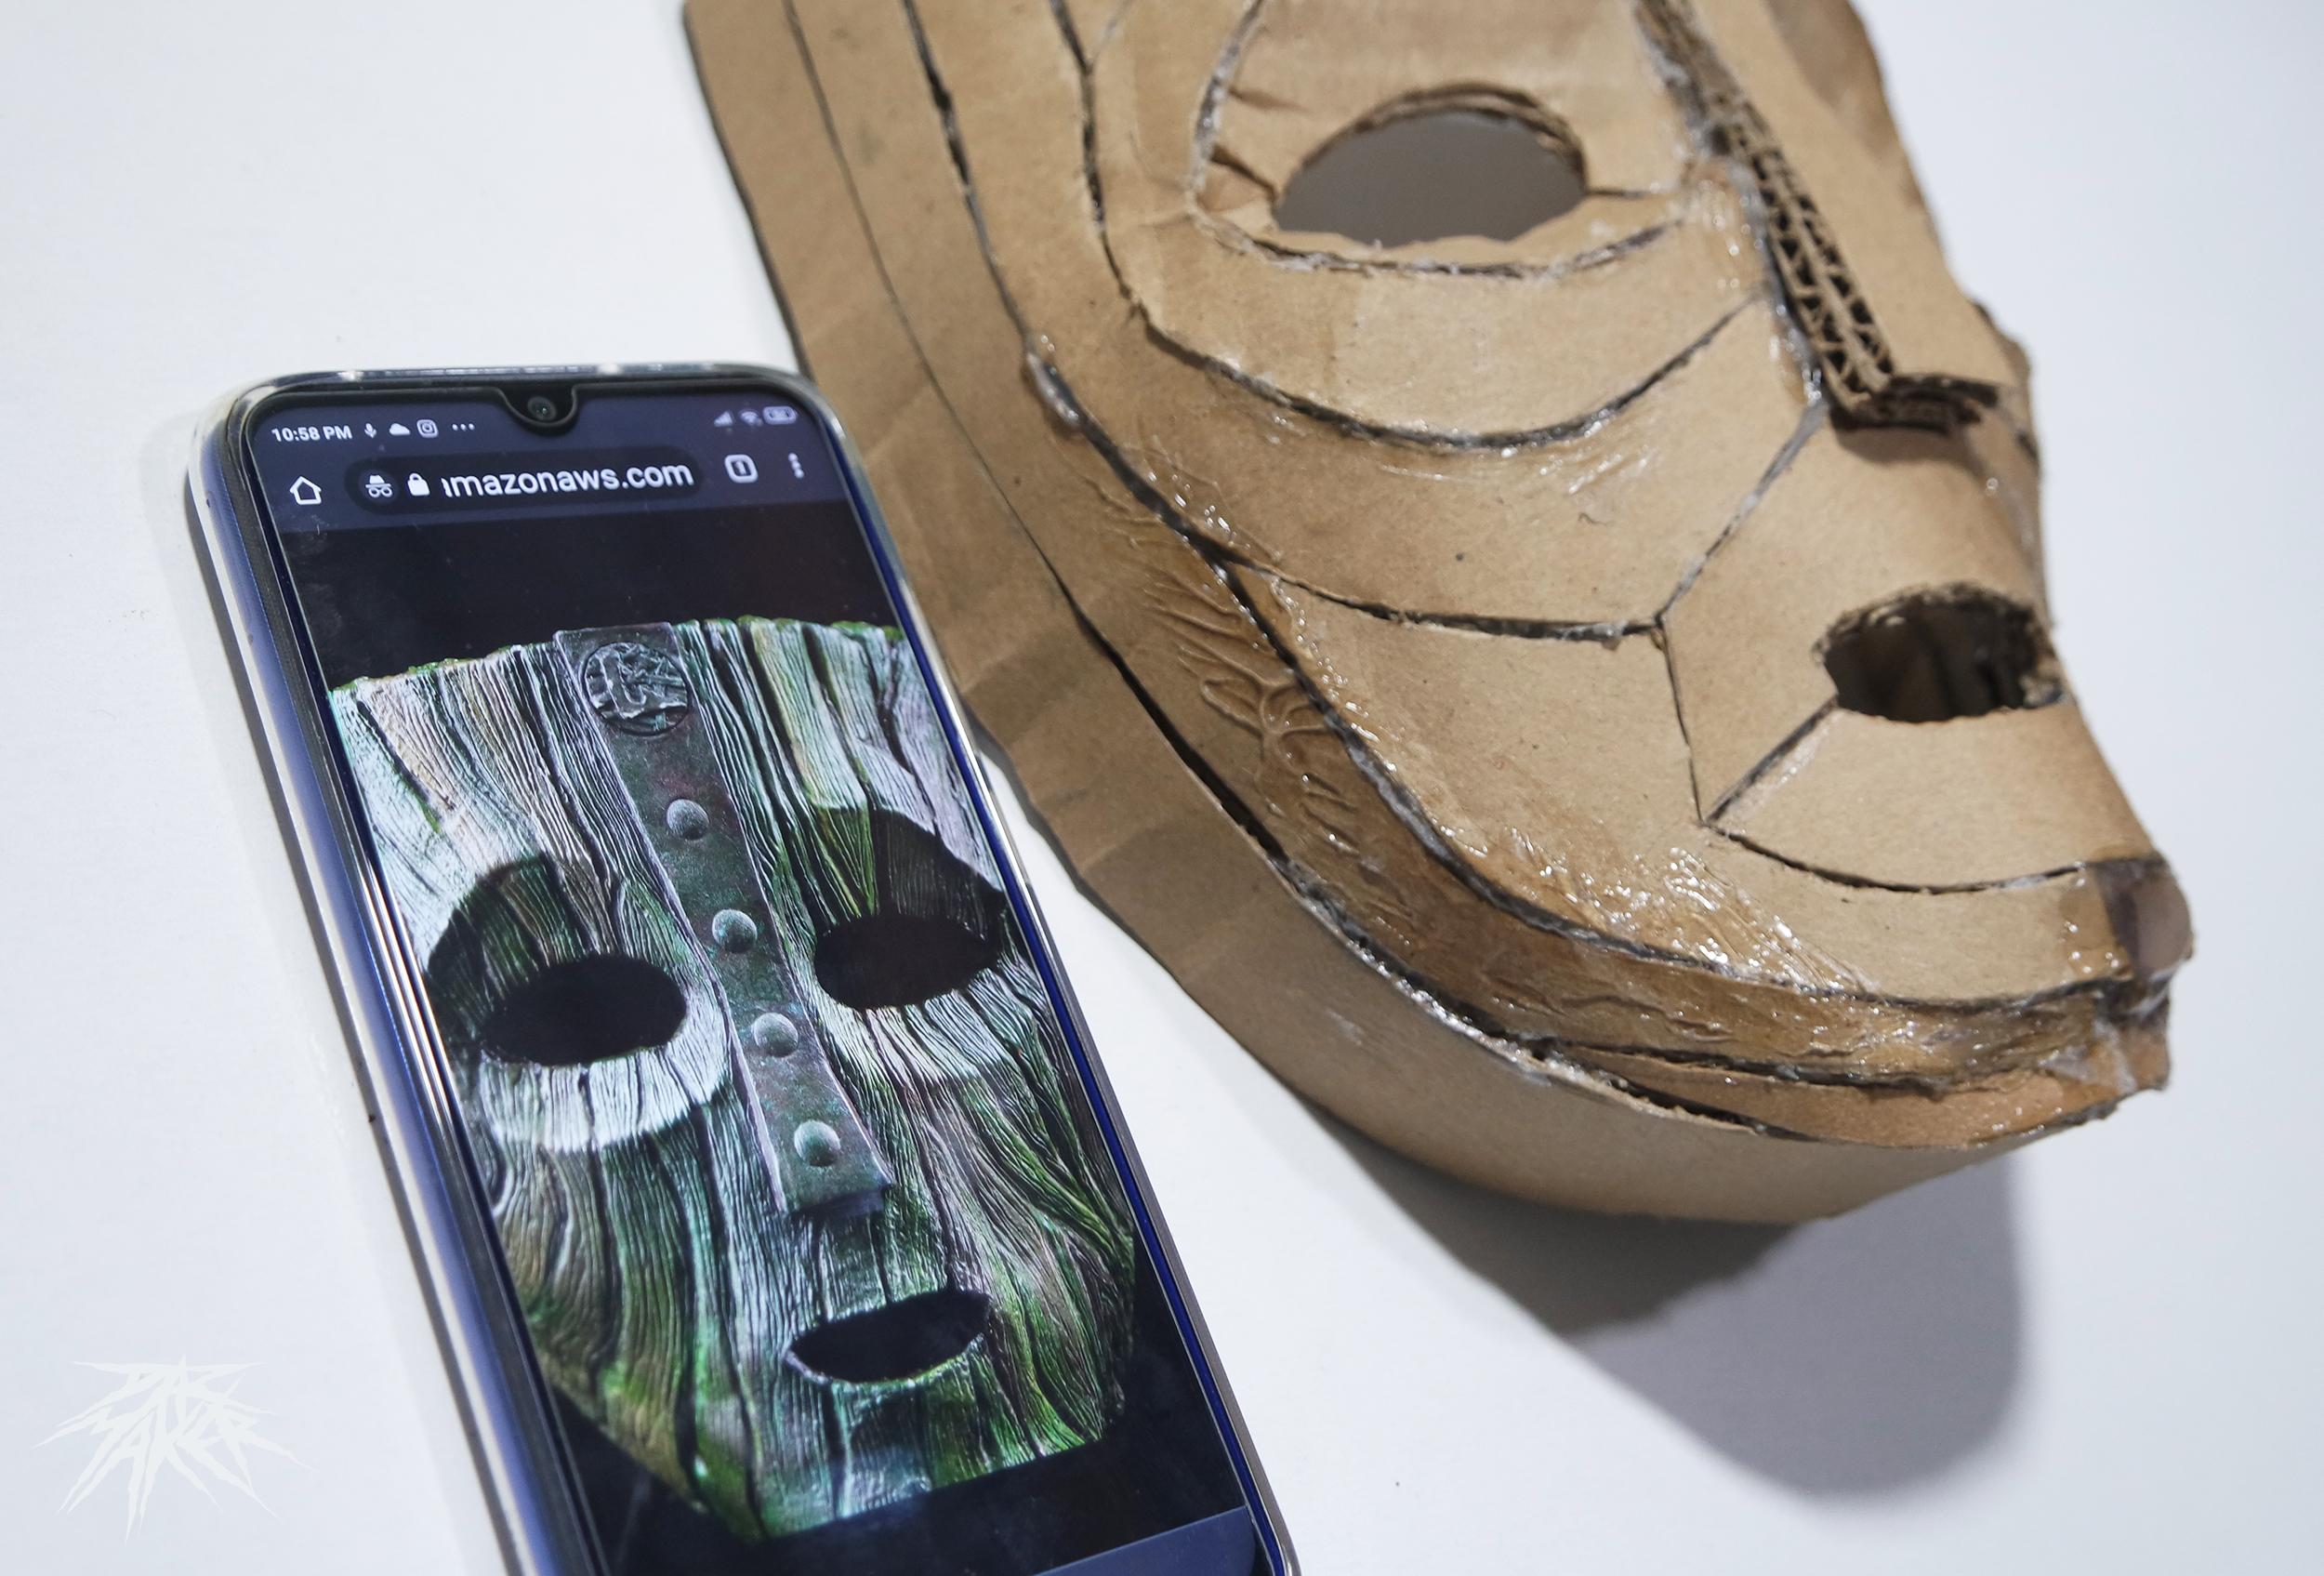
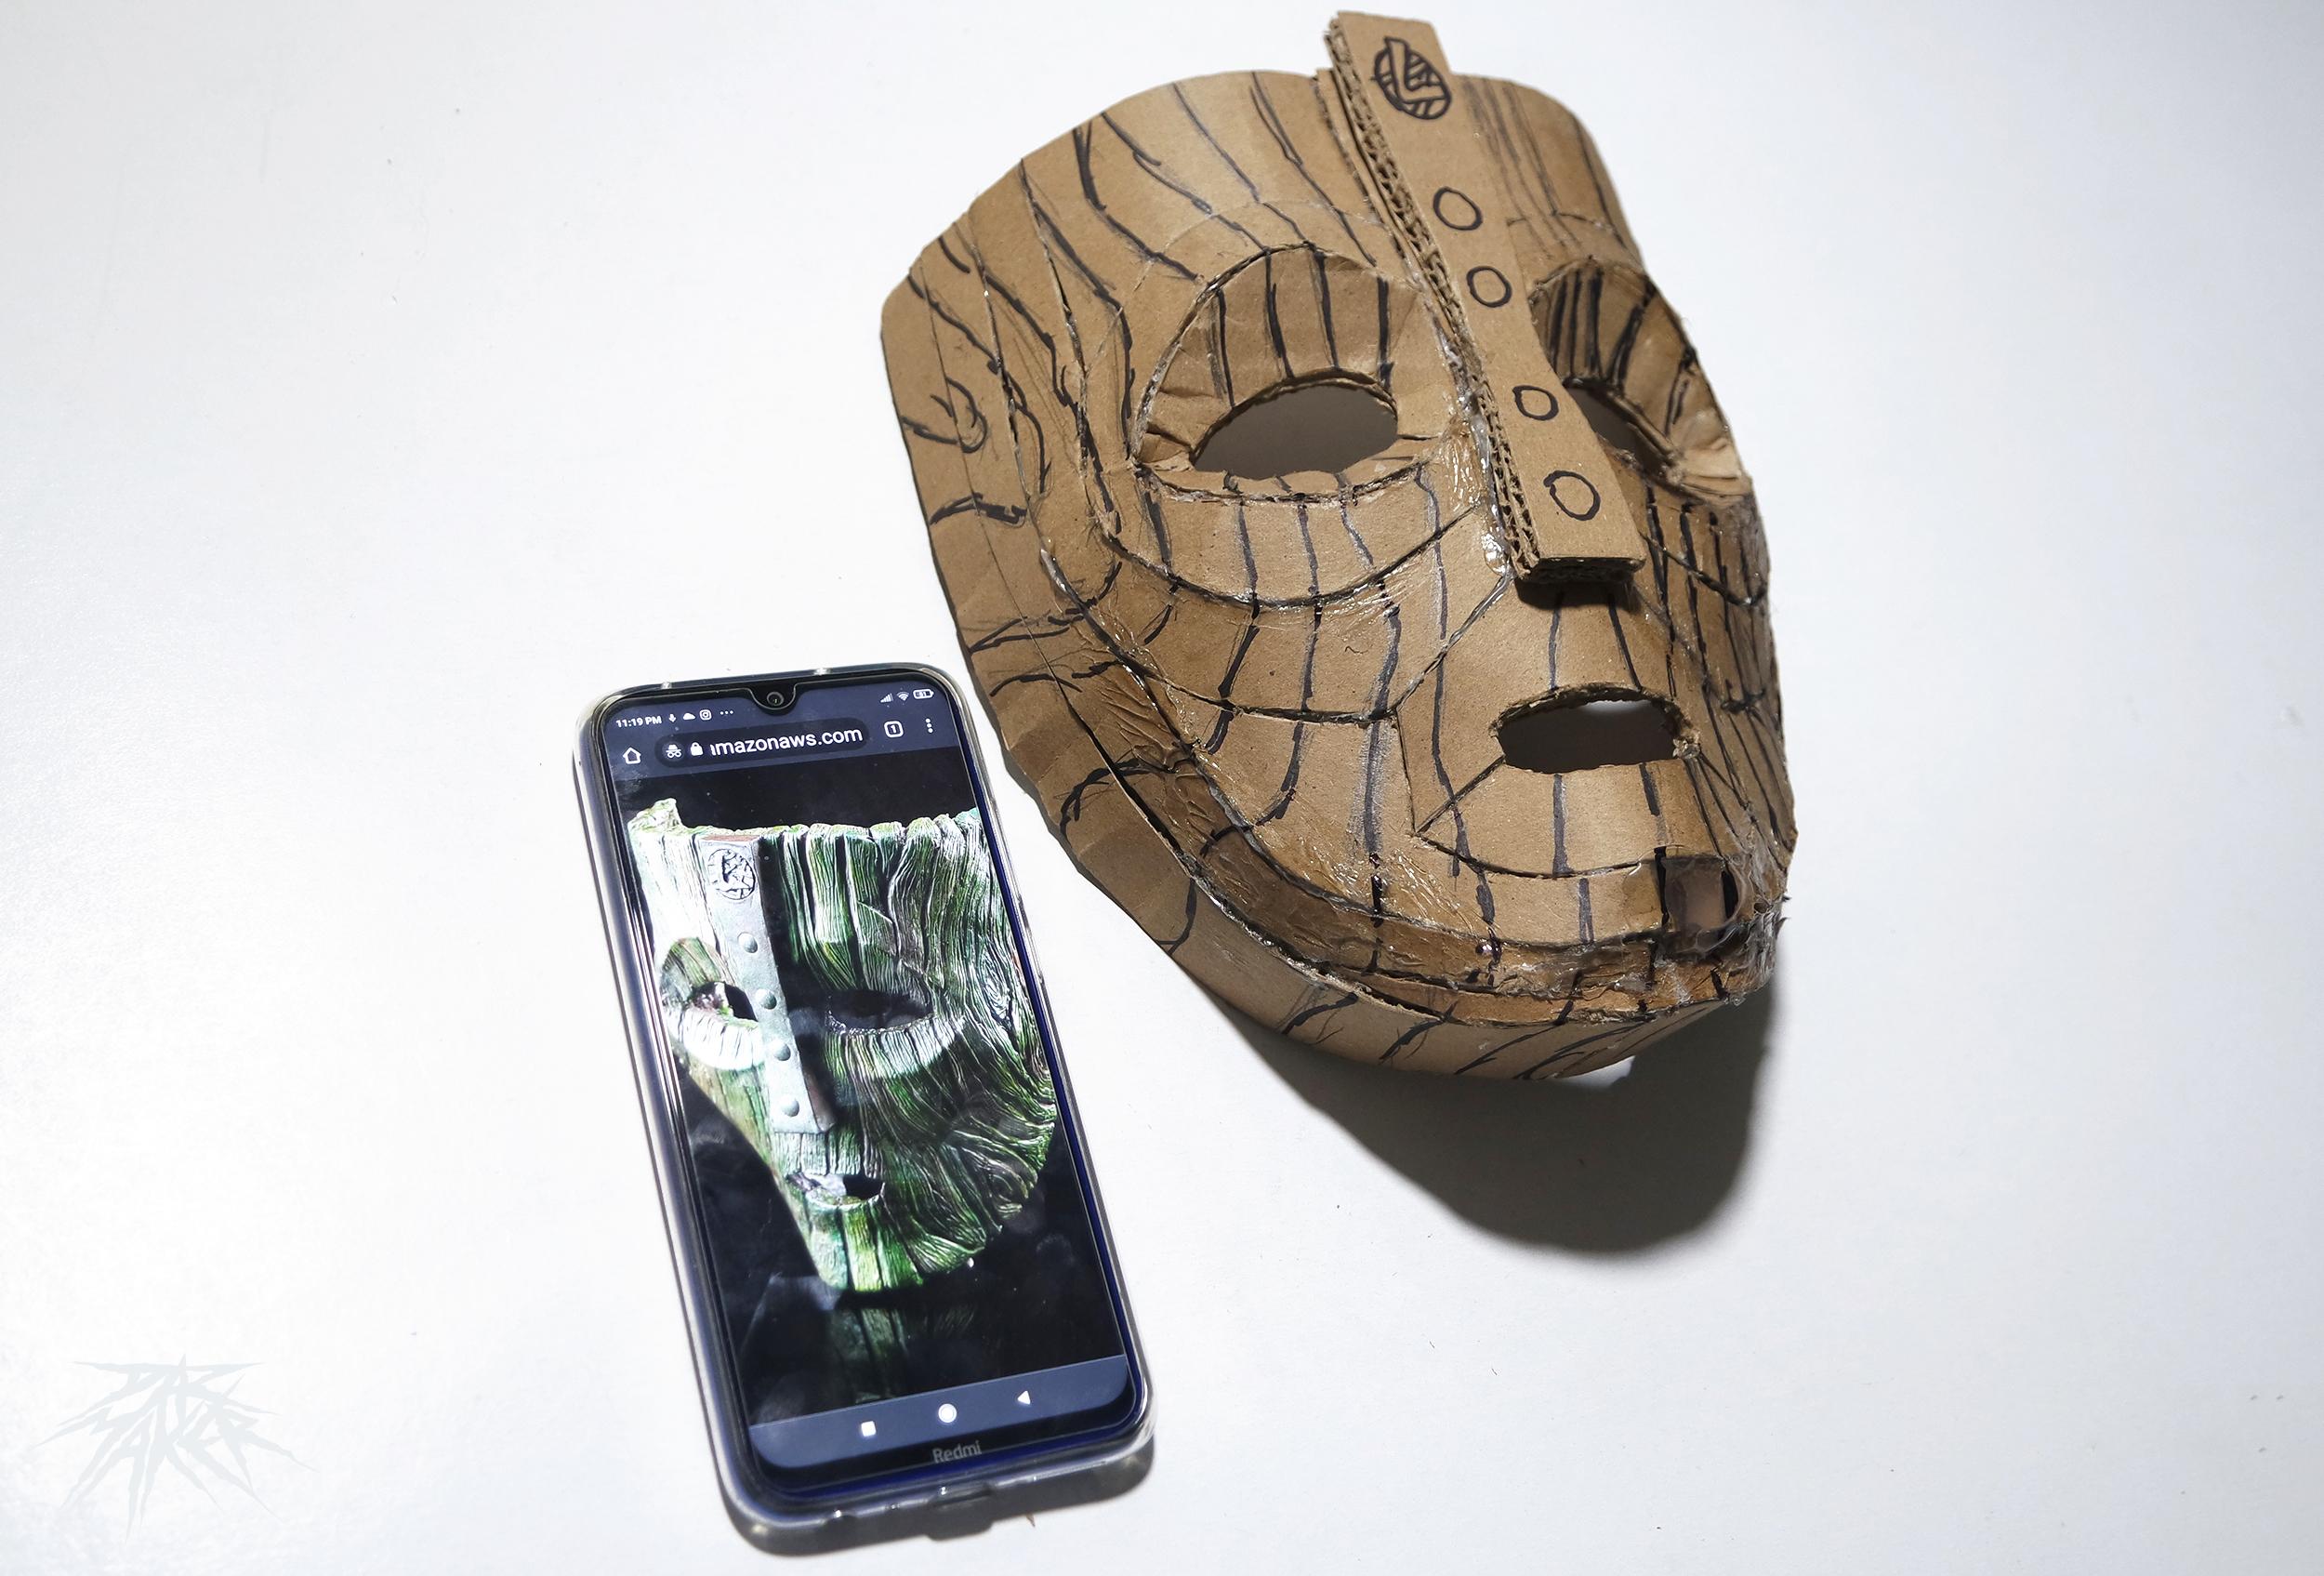
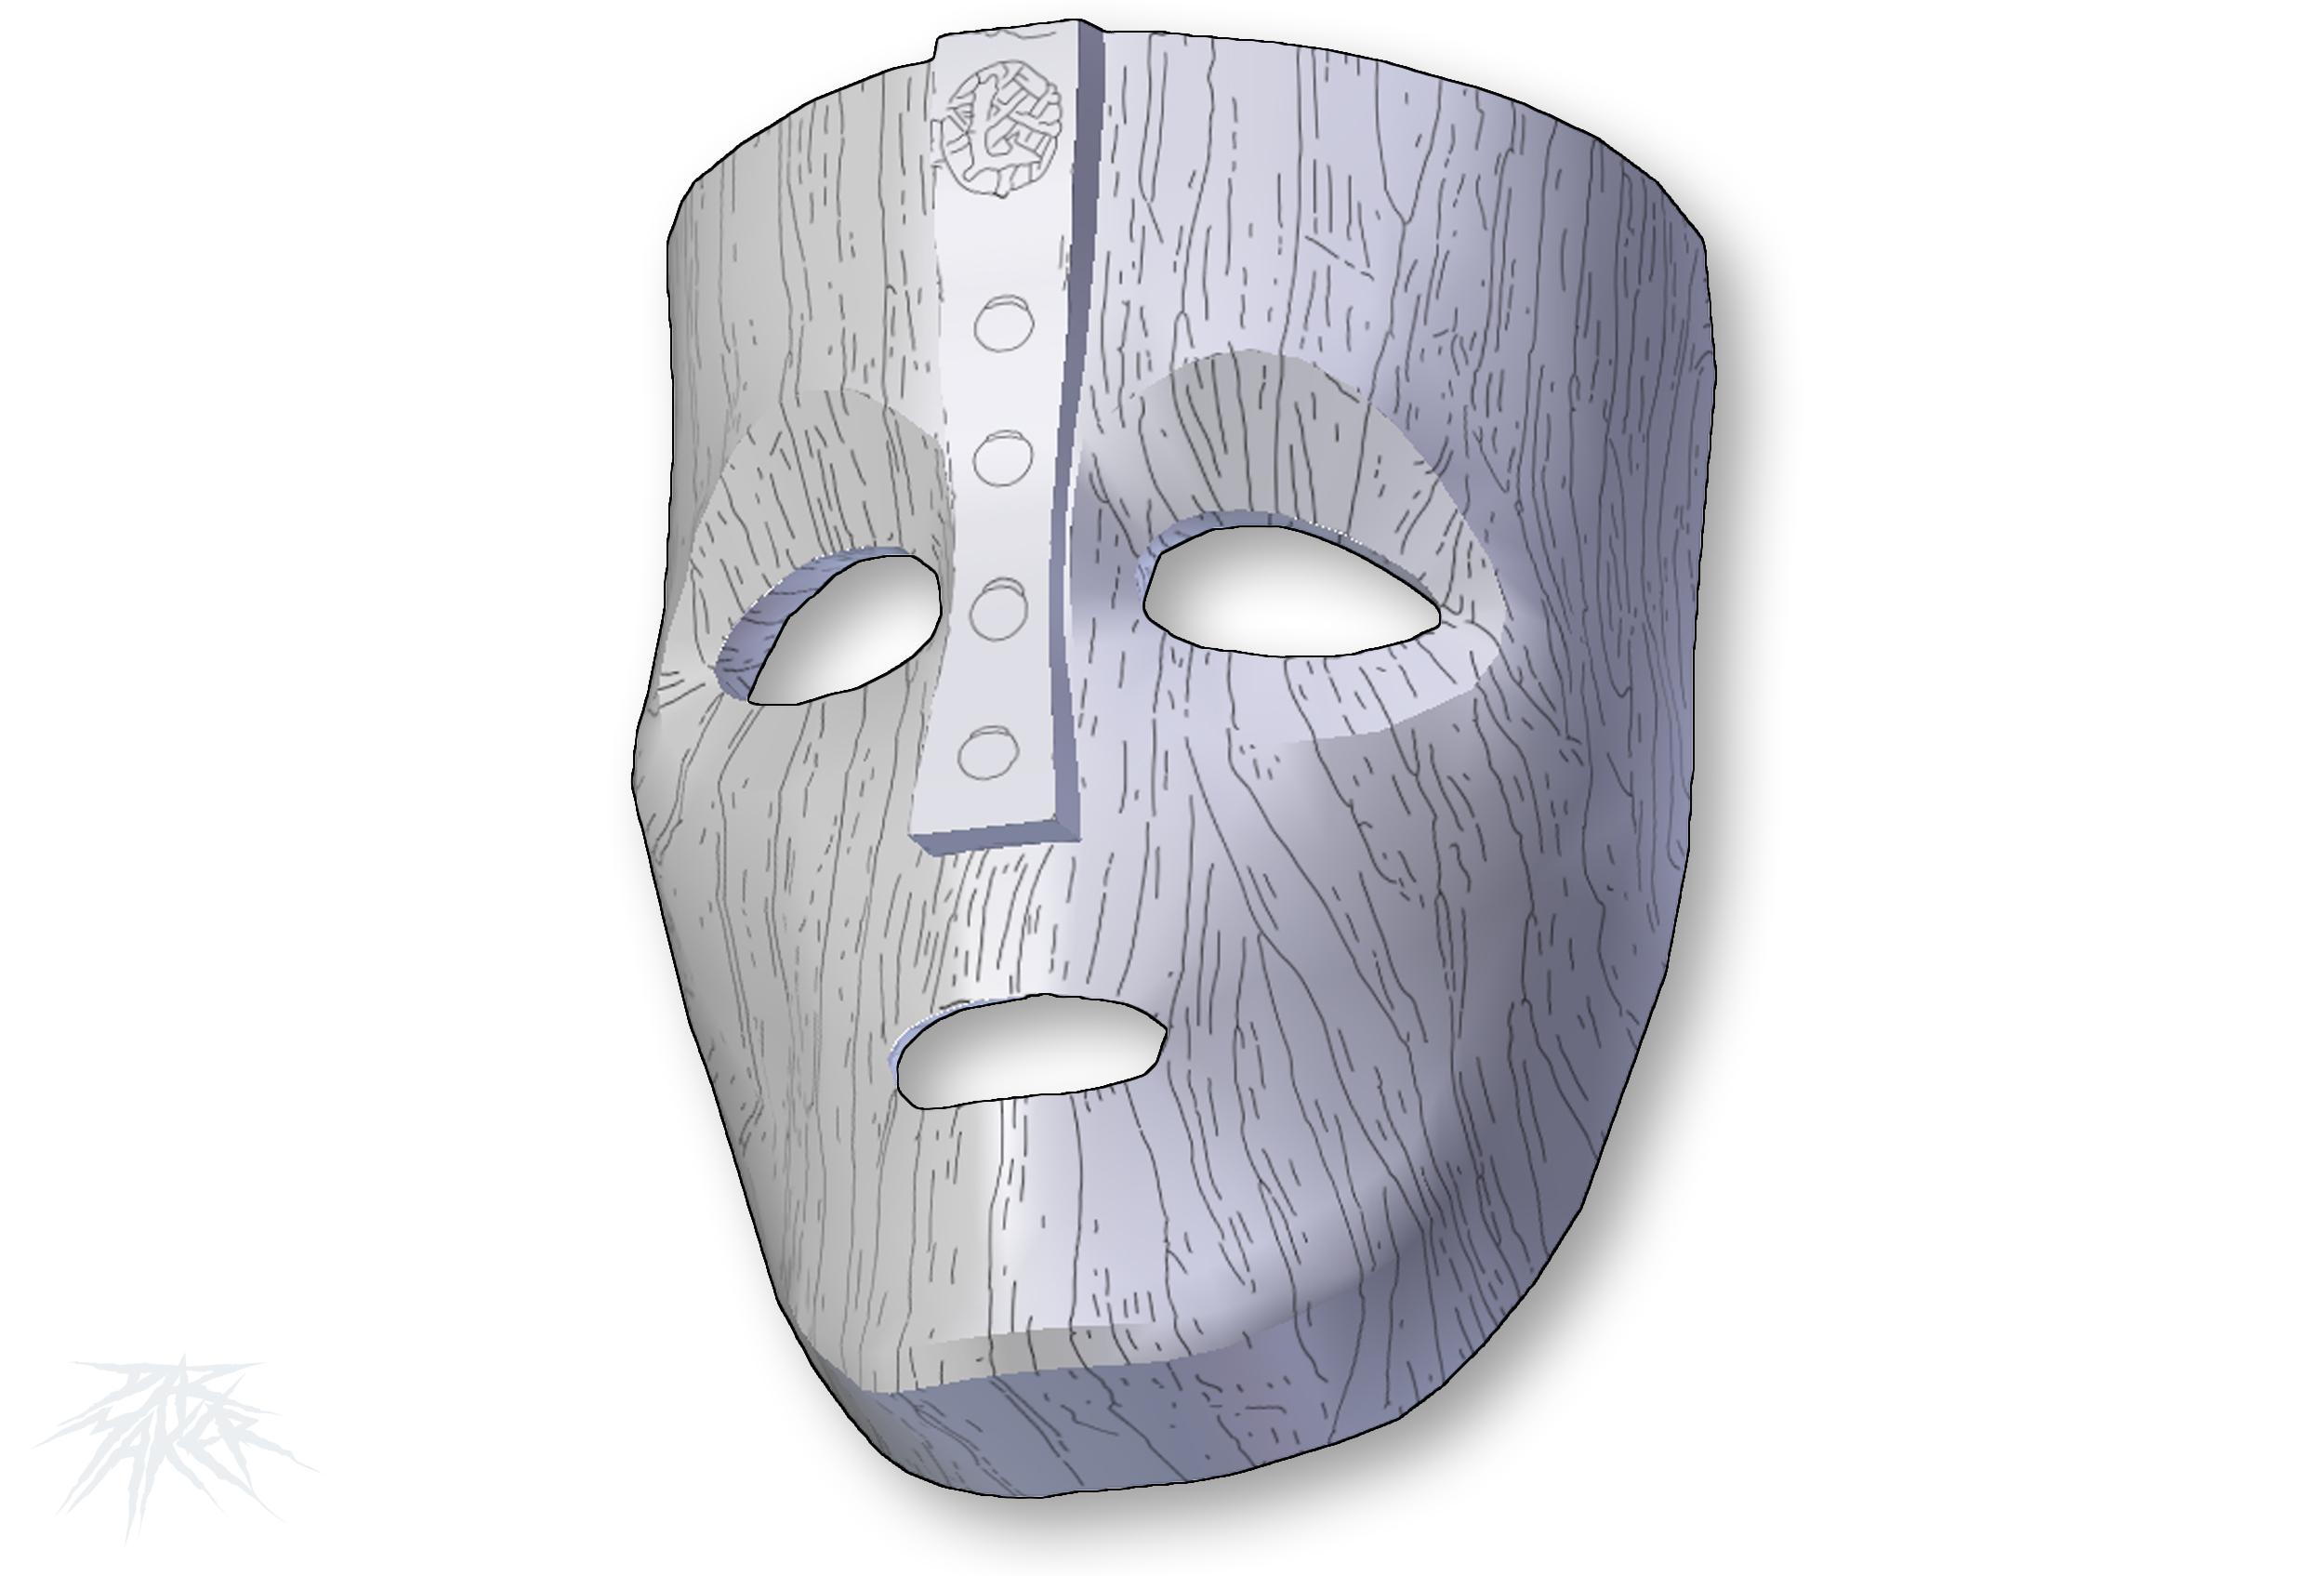
Now is the time to review the references.
We will review The Mask in detail, to make a design as exact as possible
of the lines and grooves that the mask design has.
don't forget to check all the views, side, front and rear.
*We will also use these references at the time of painting.
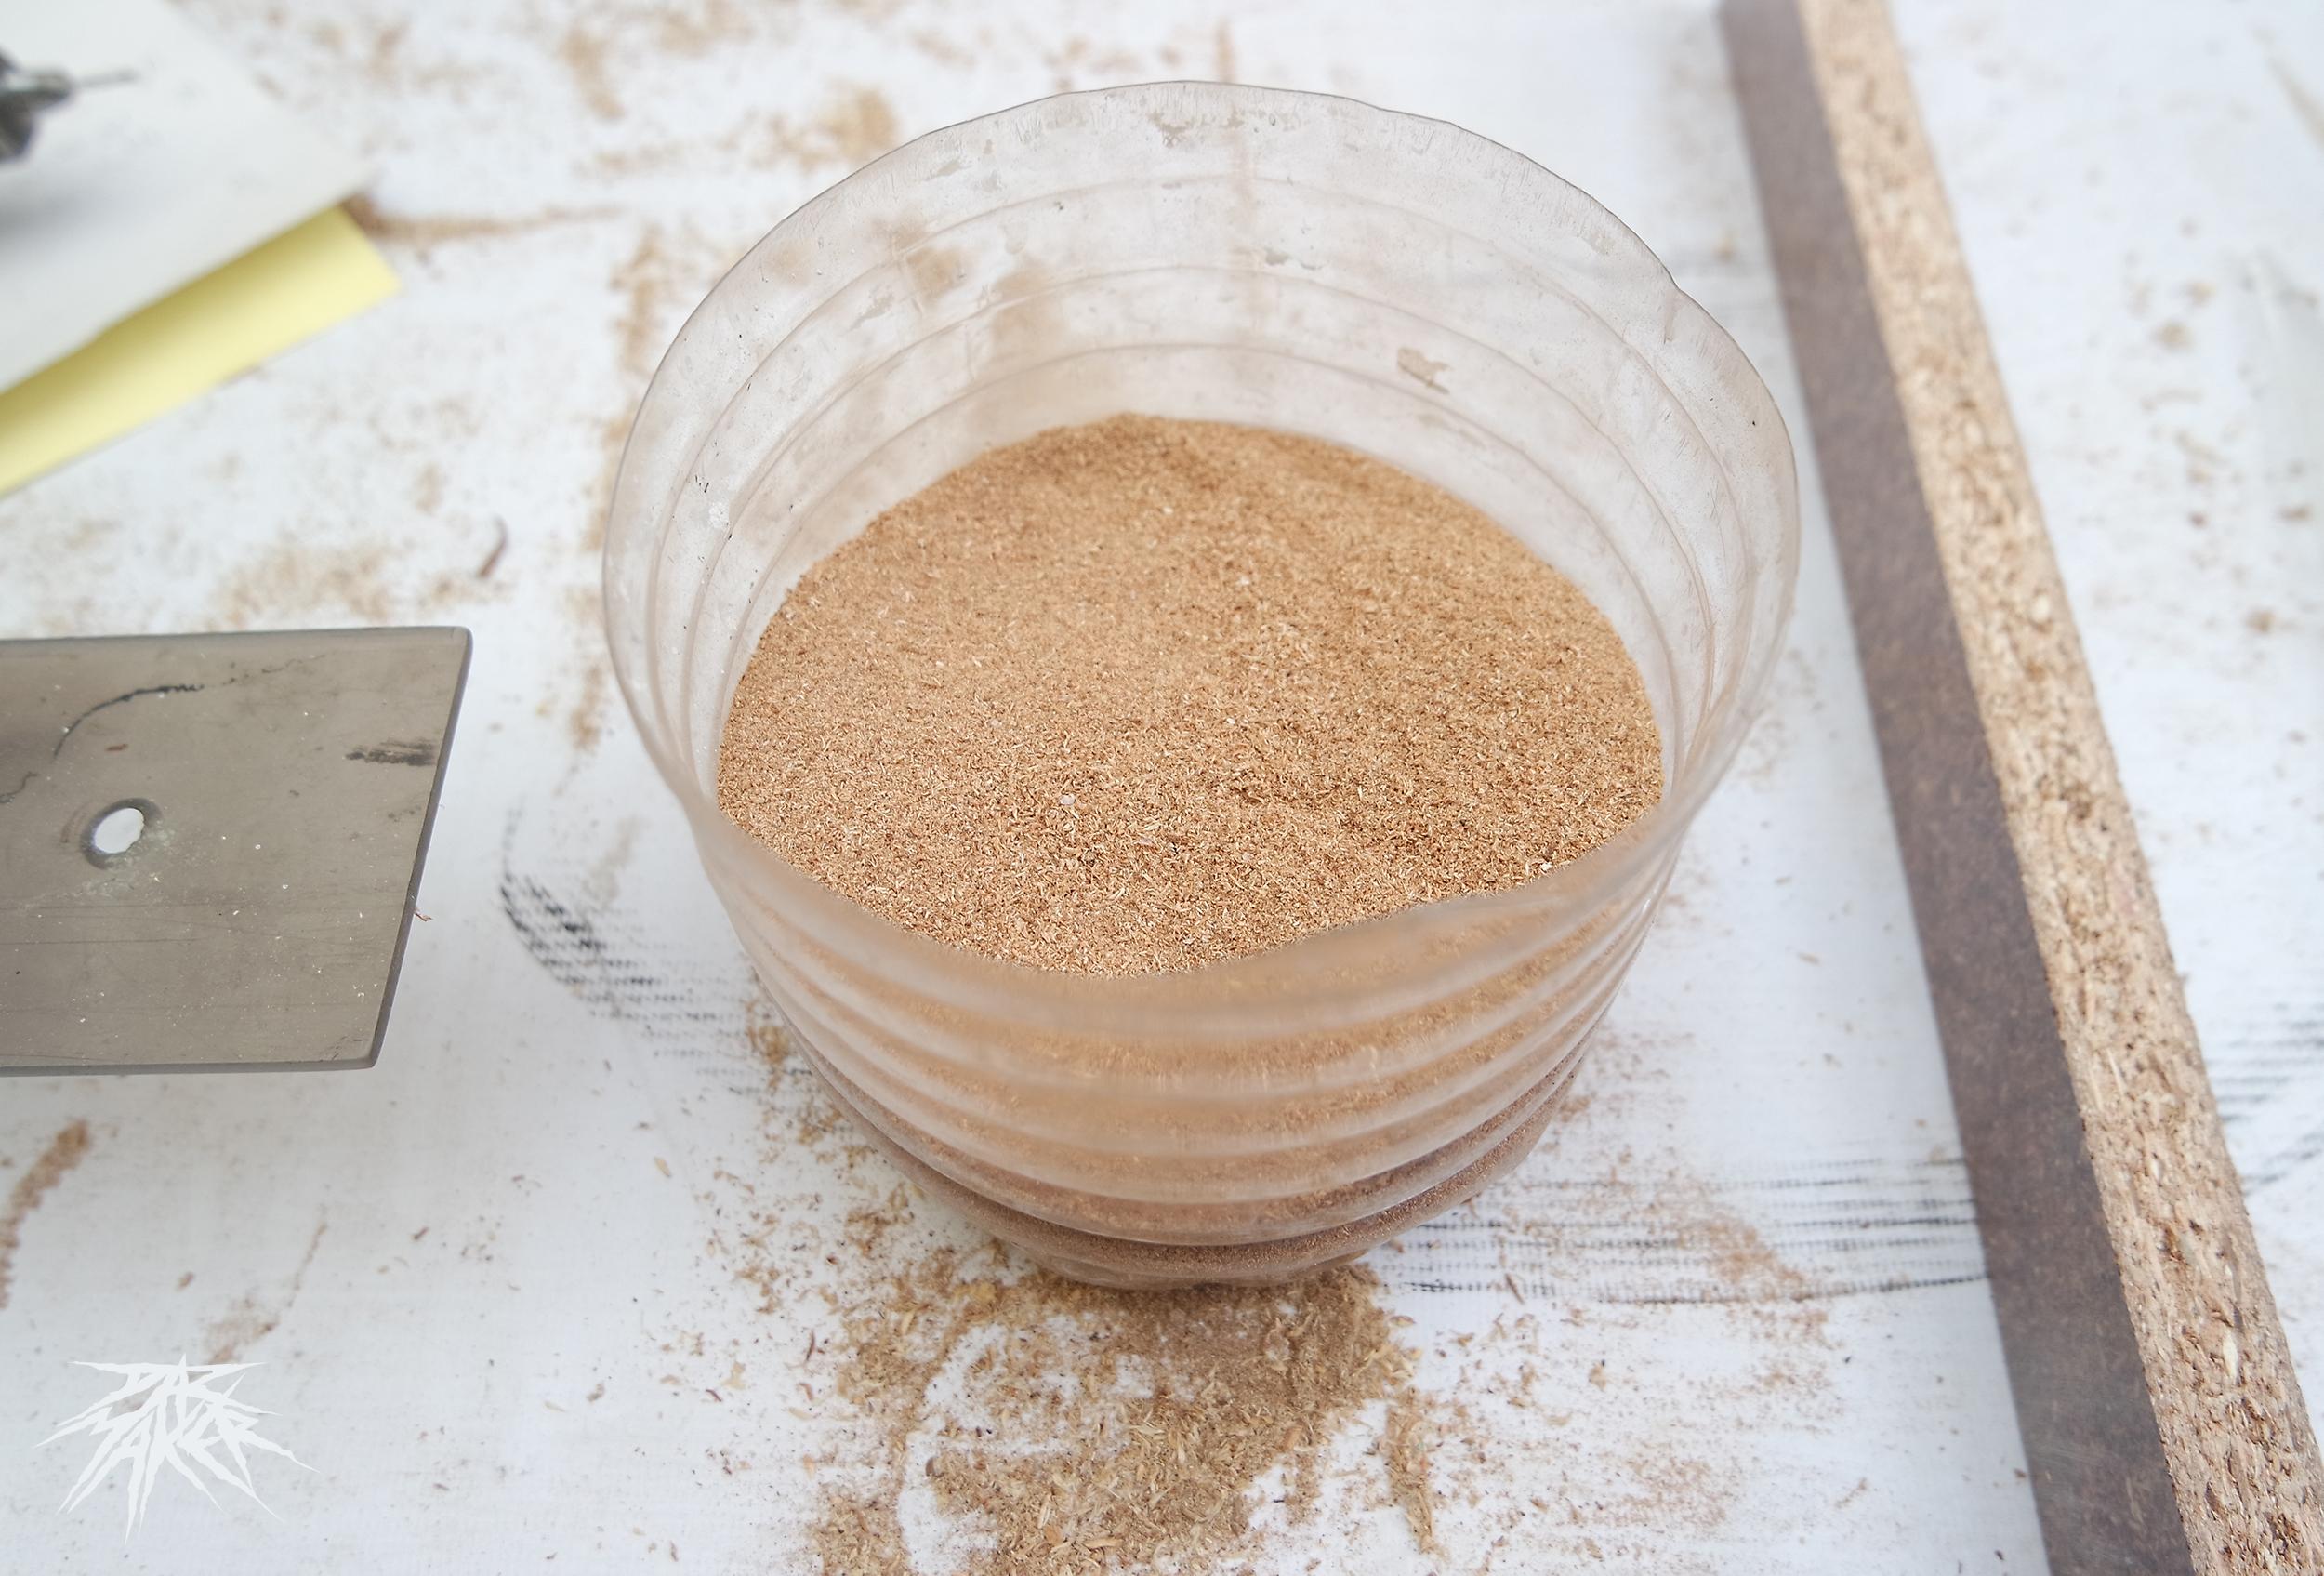
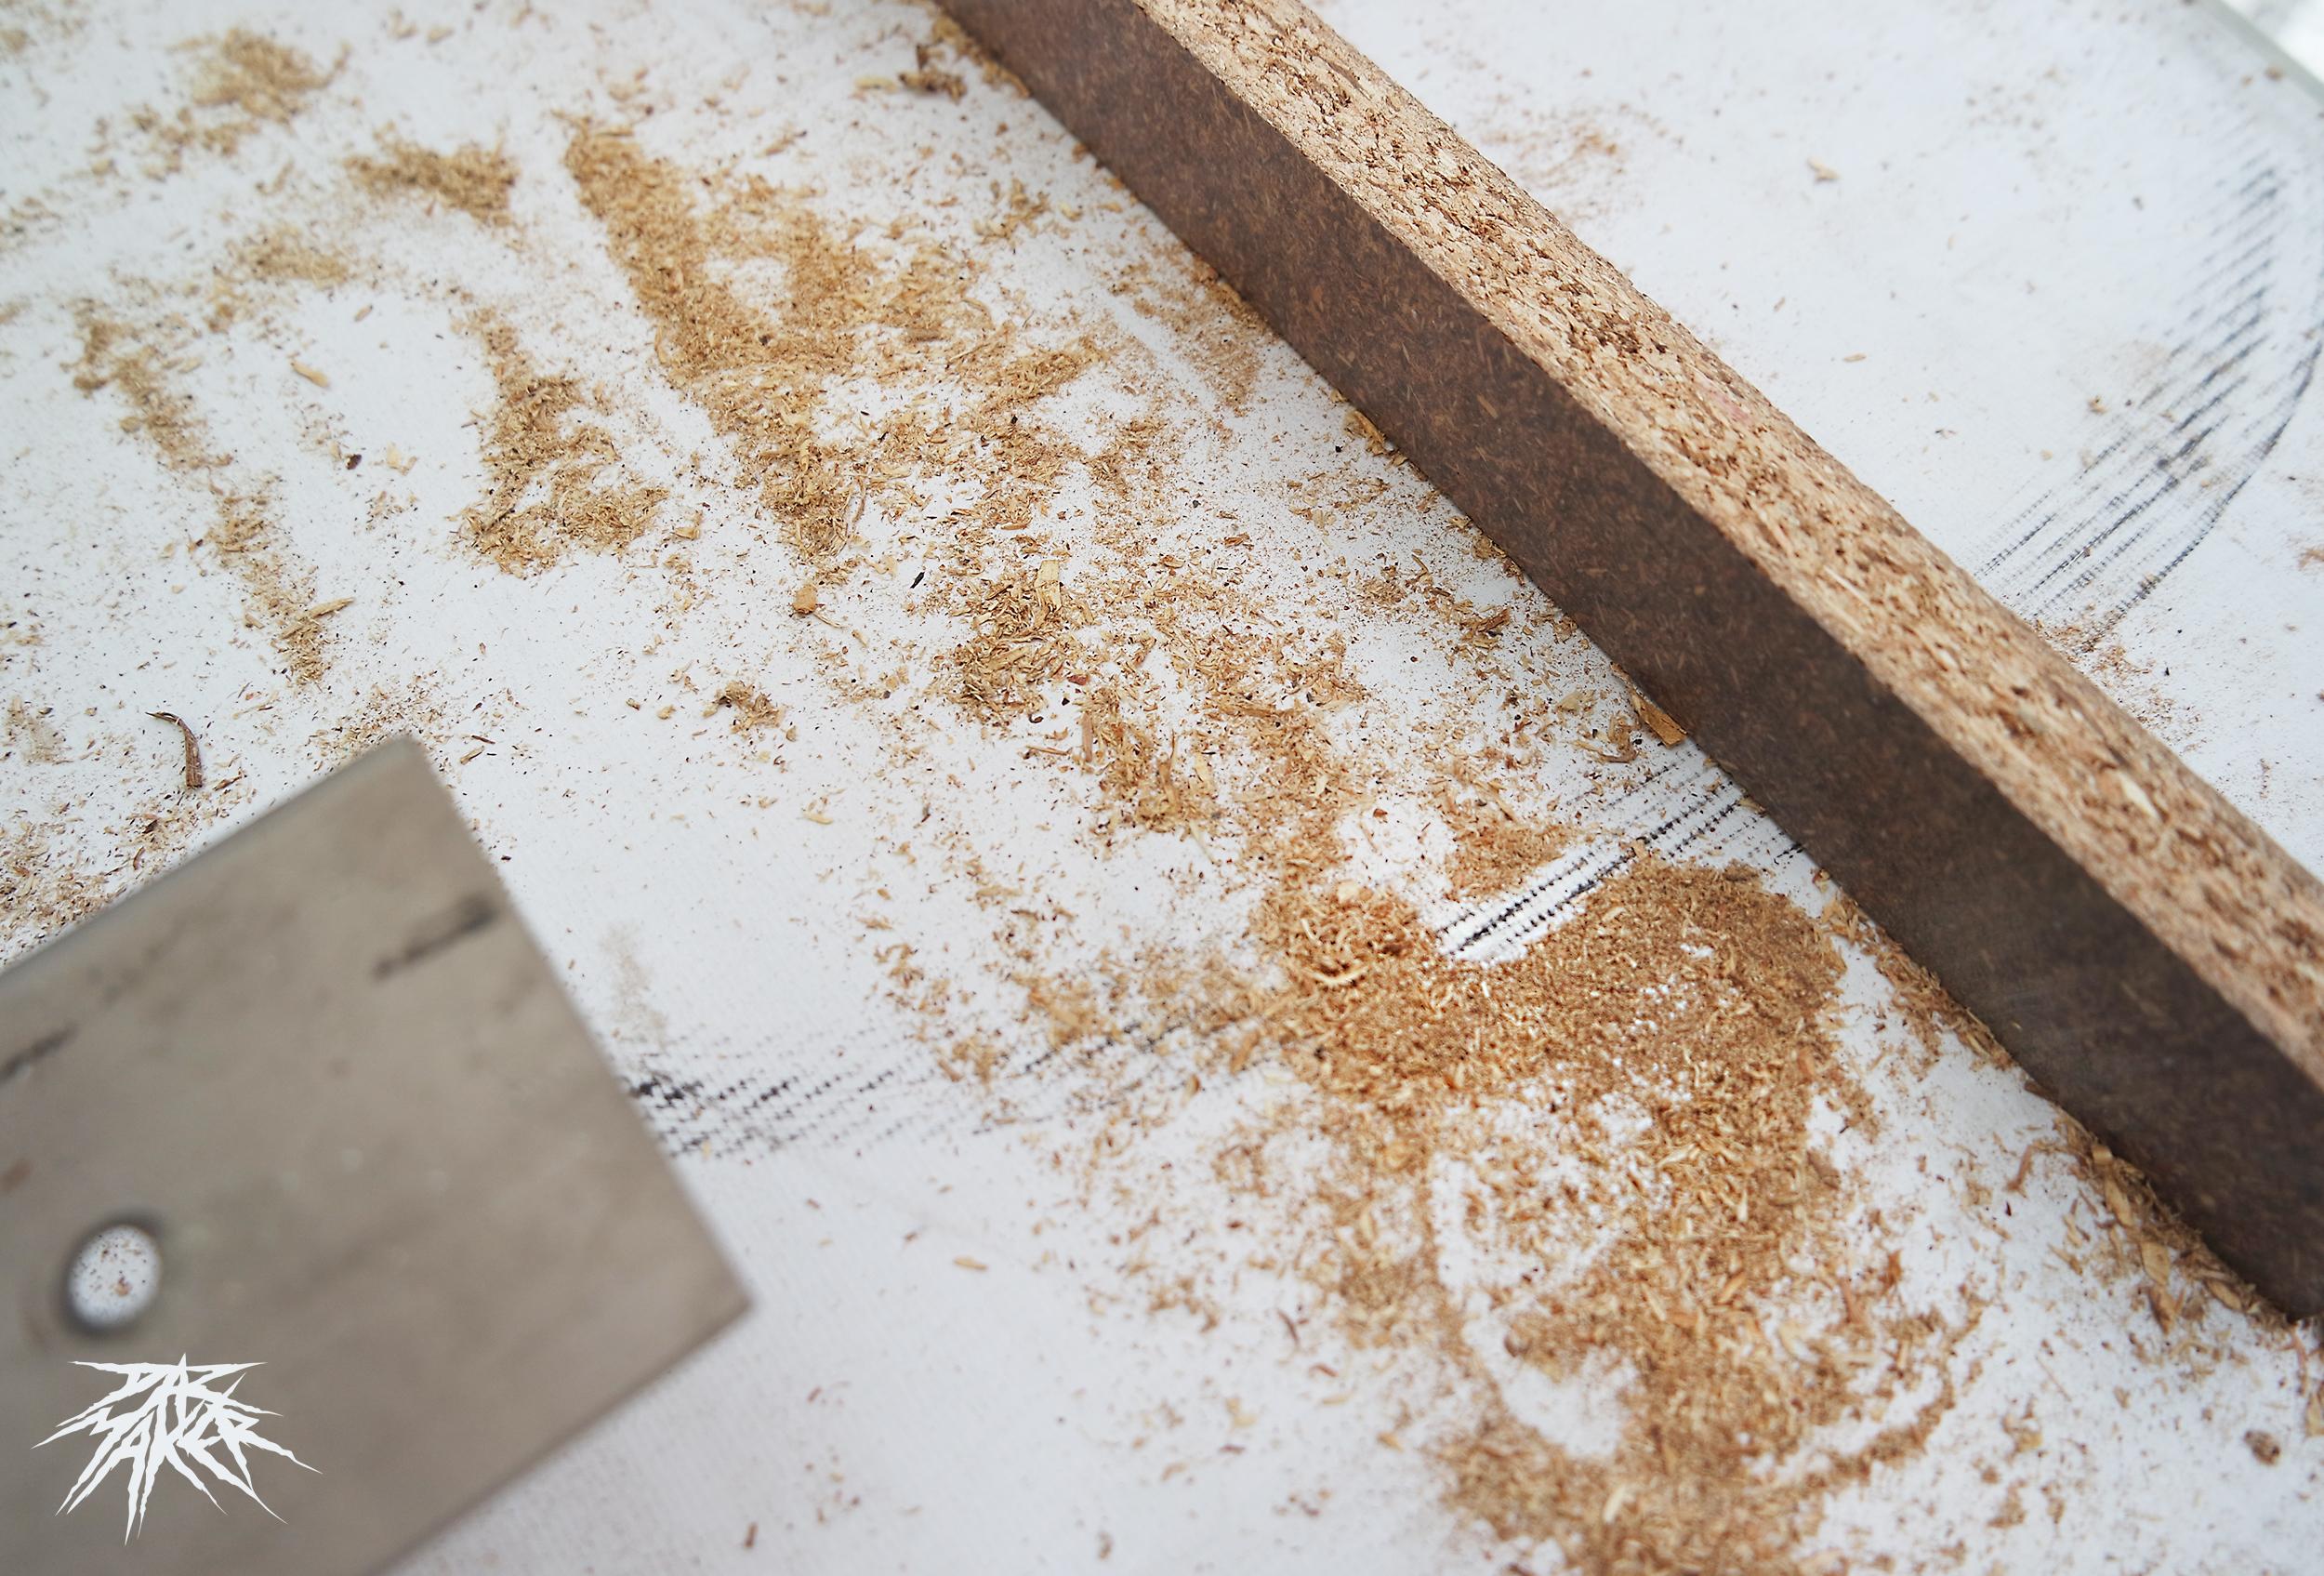
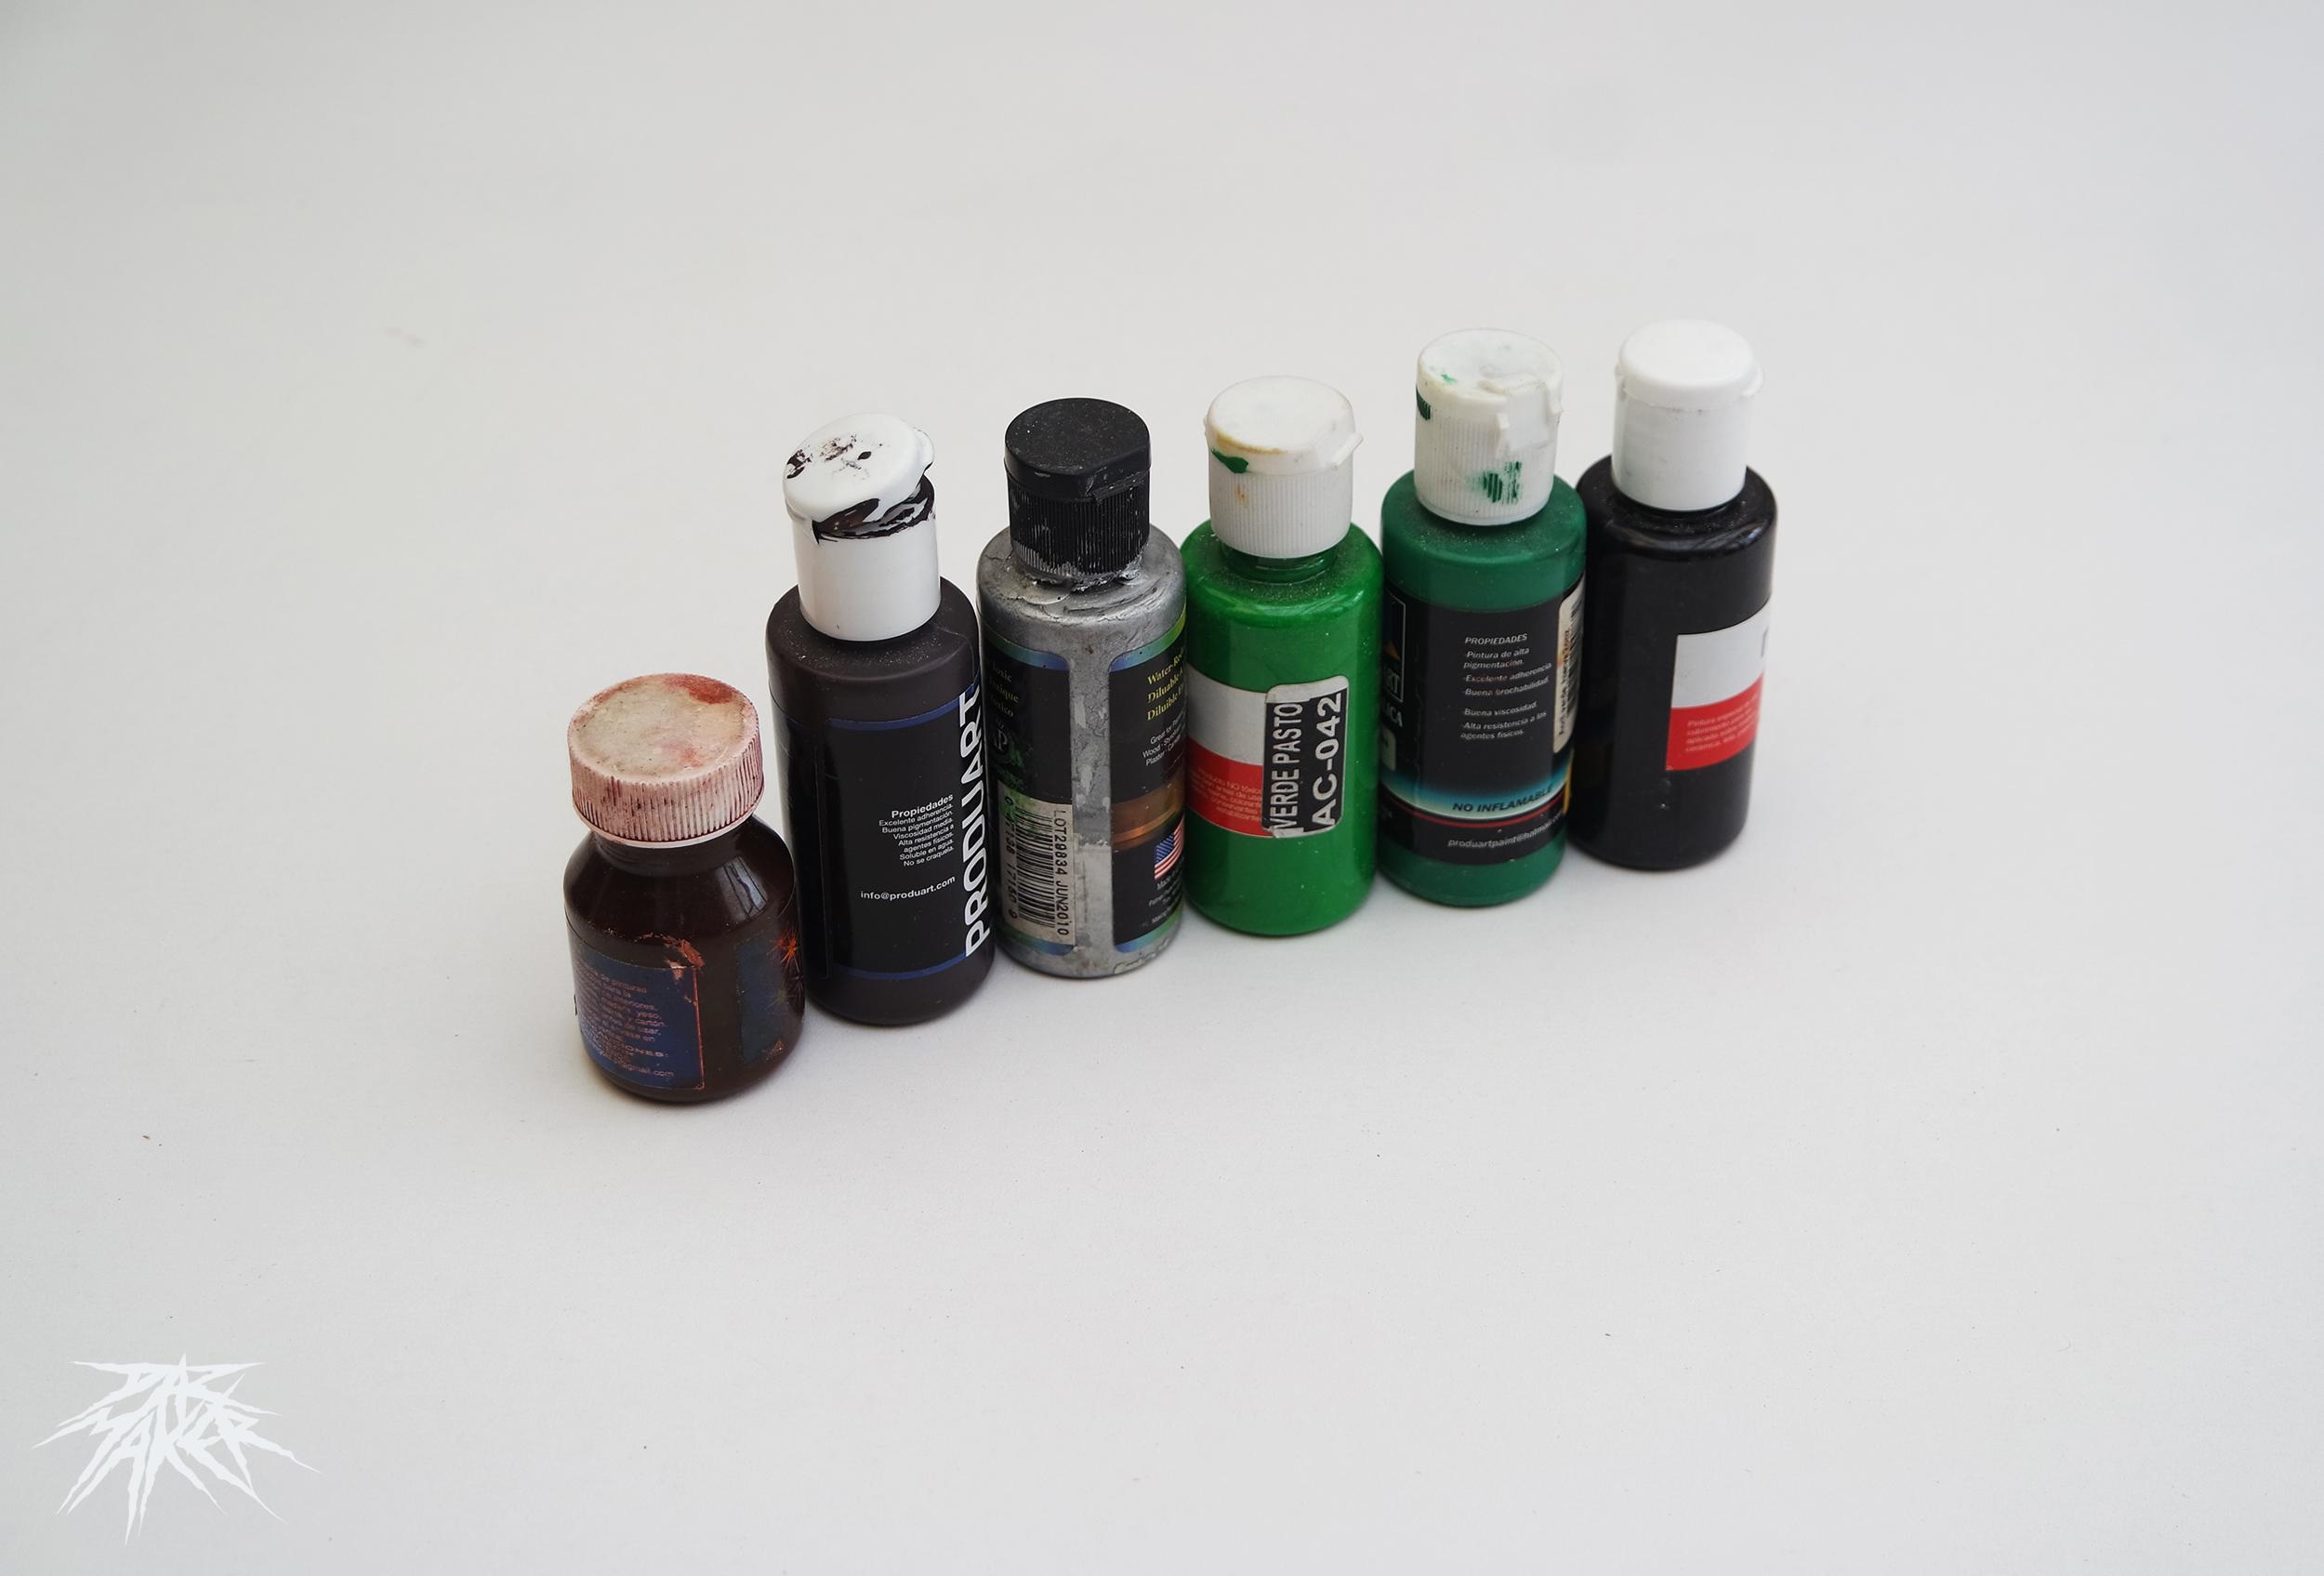
The Mix
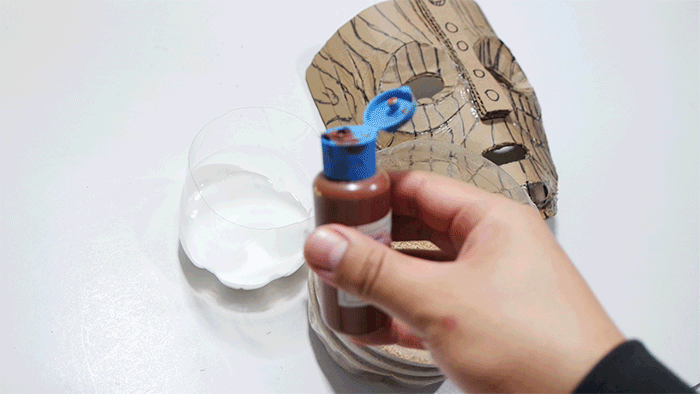
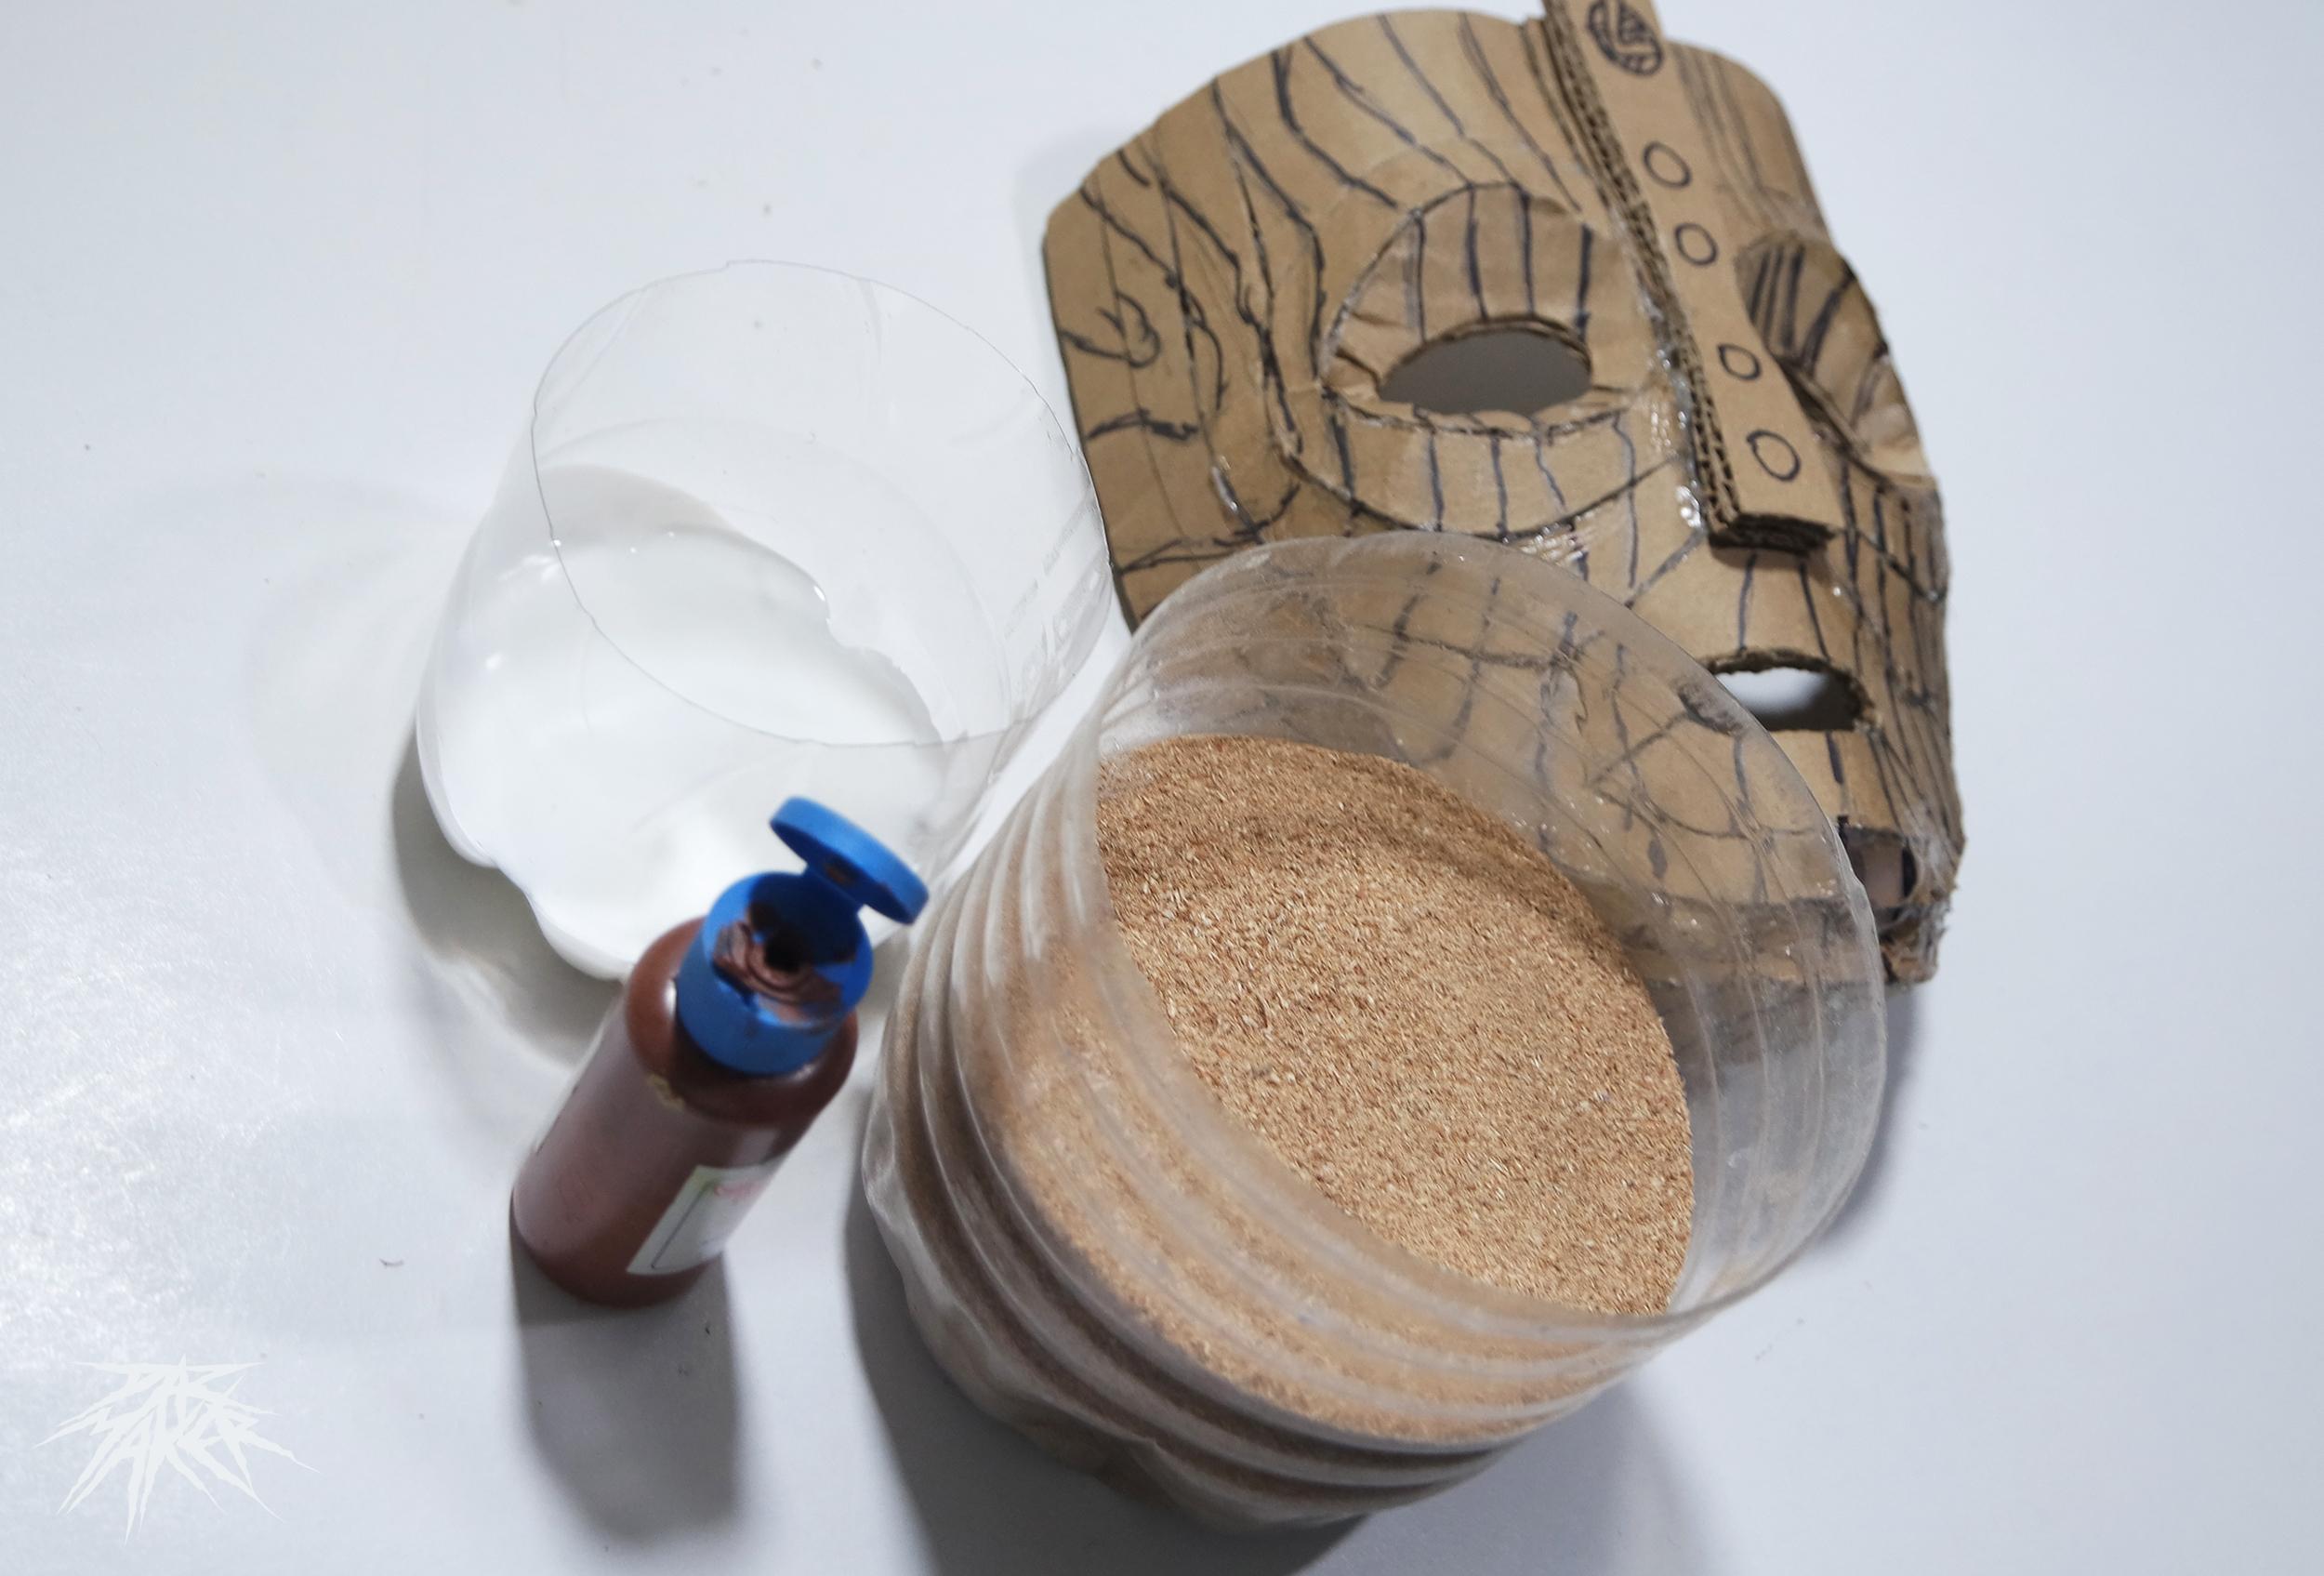
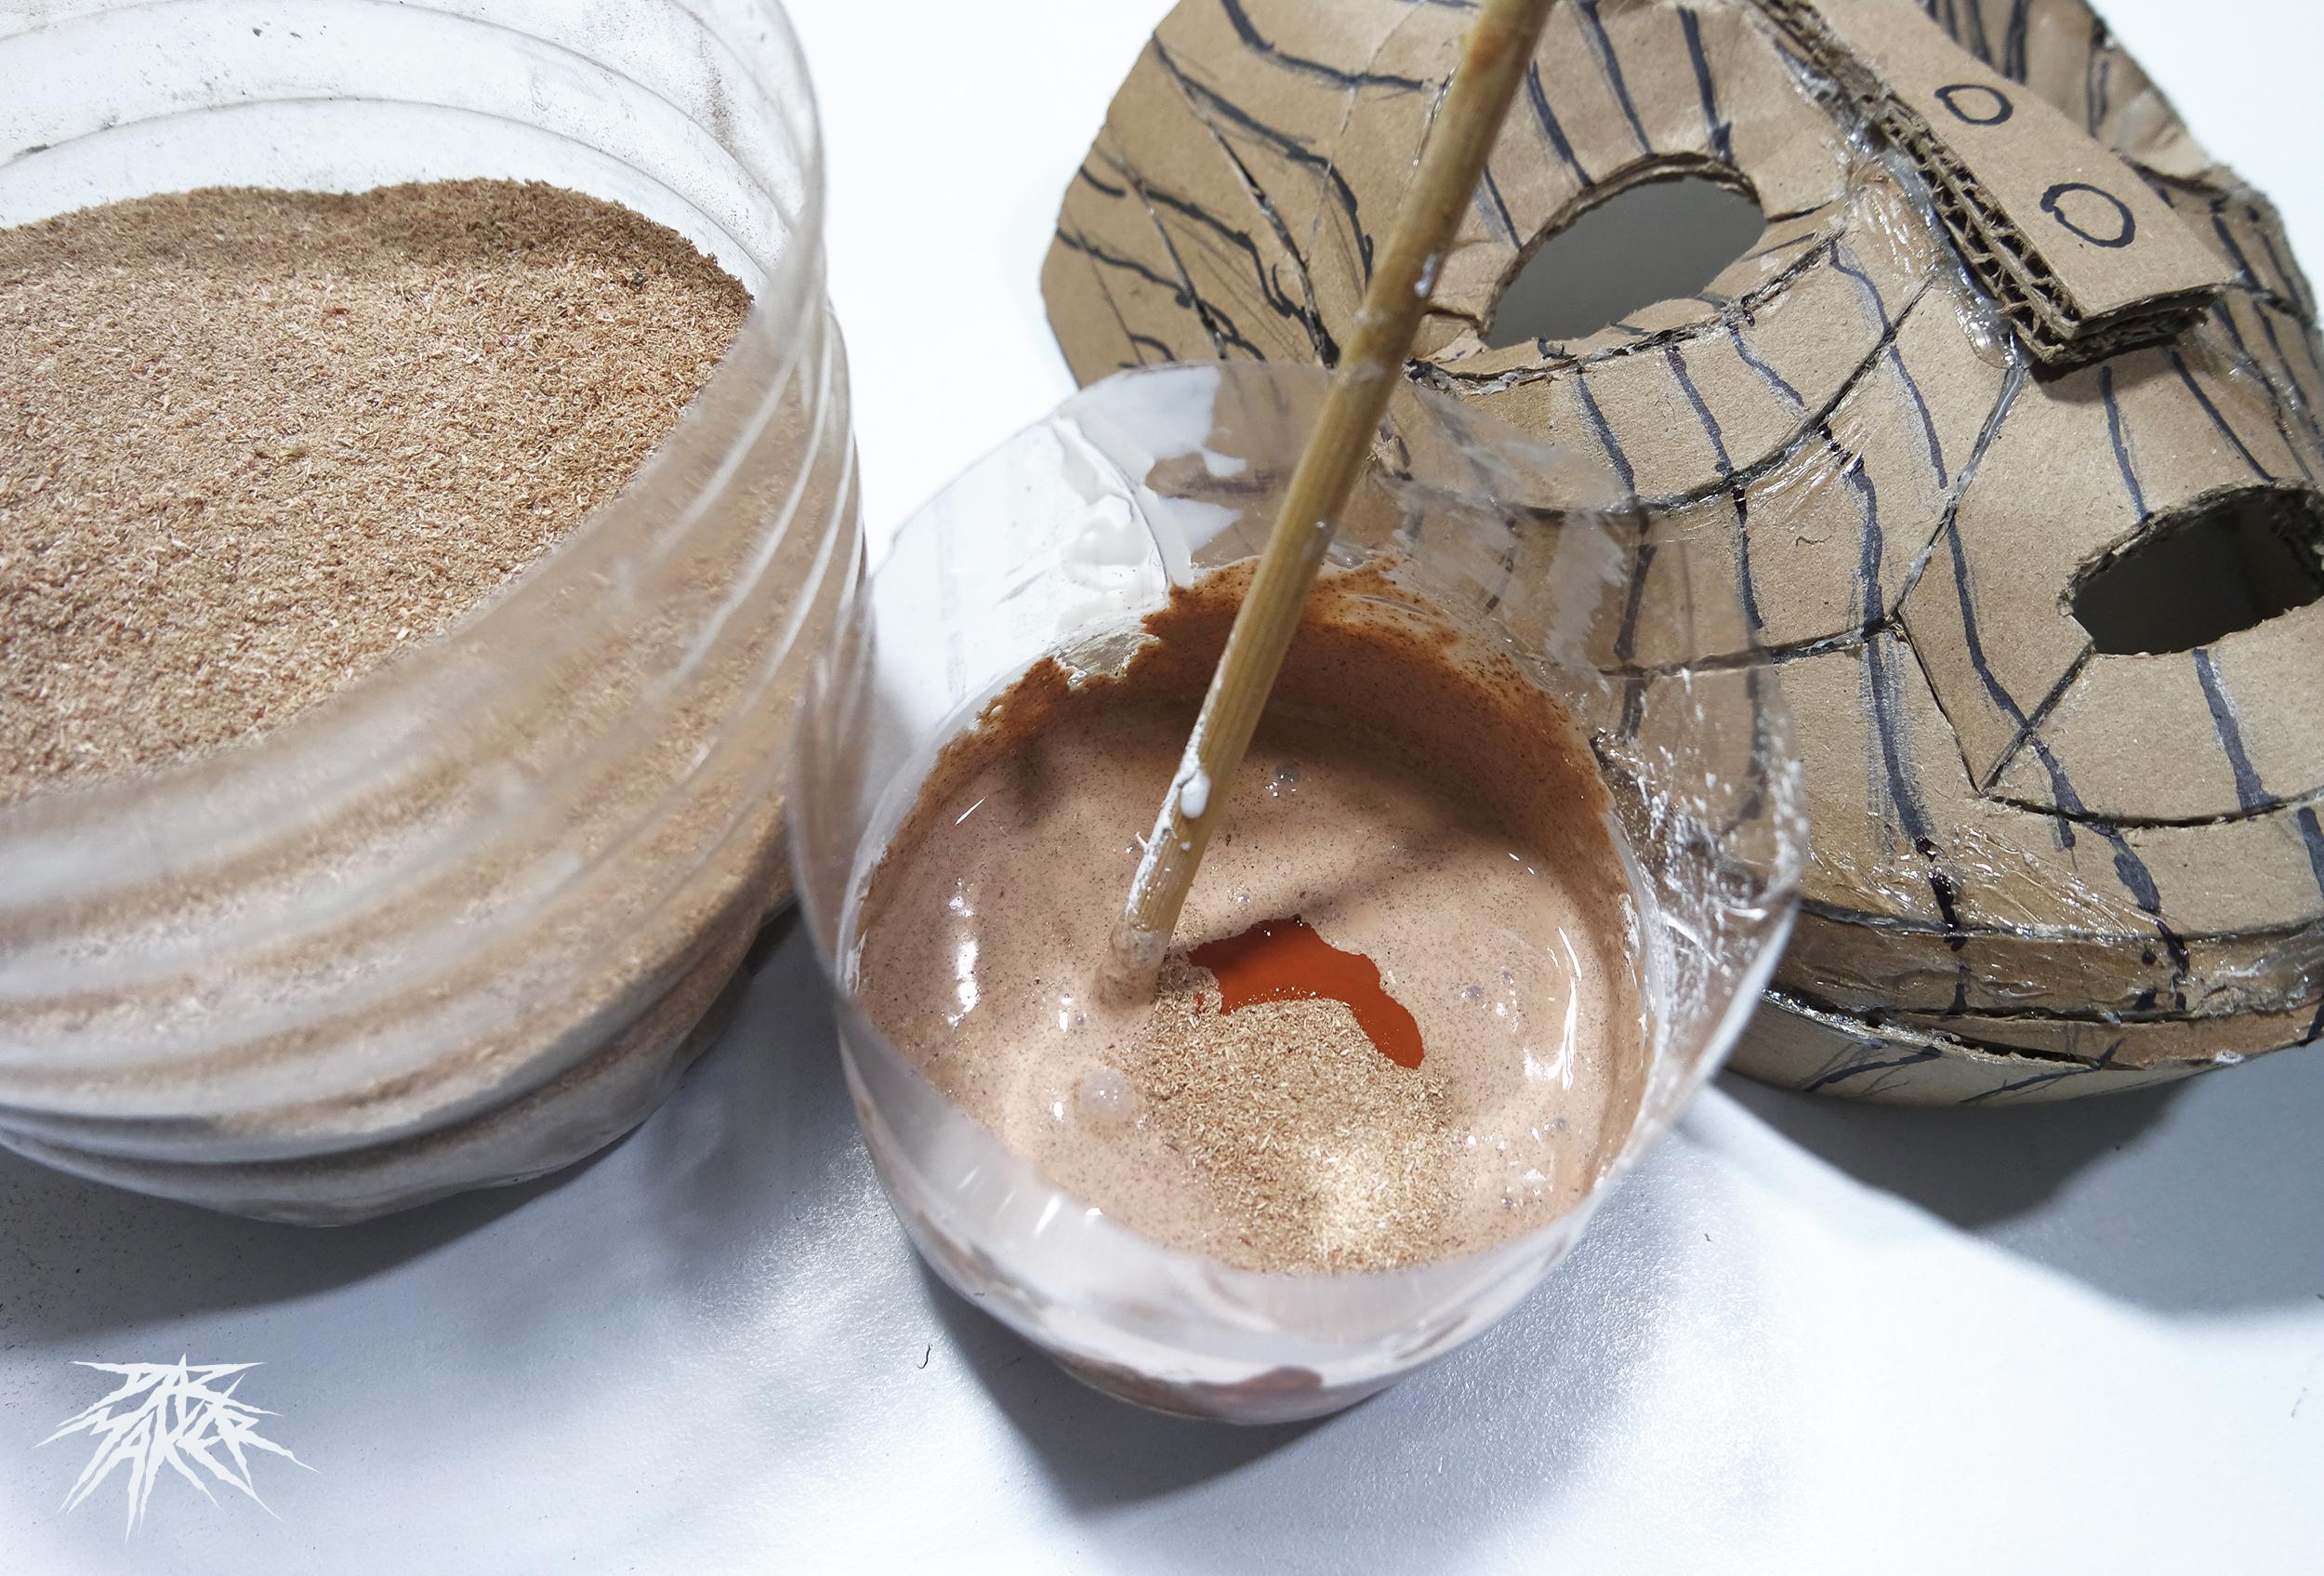
for the mix we will use the sawdust powder and the glue.
use the following measure: 1 part of glue for every 4 of sawdust in the mixture
I added a little brown paint so that the sawdust takes a base color from its applique.
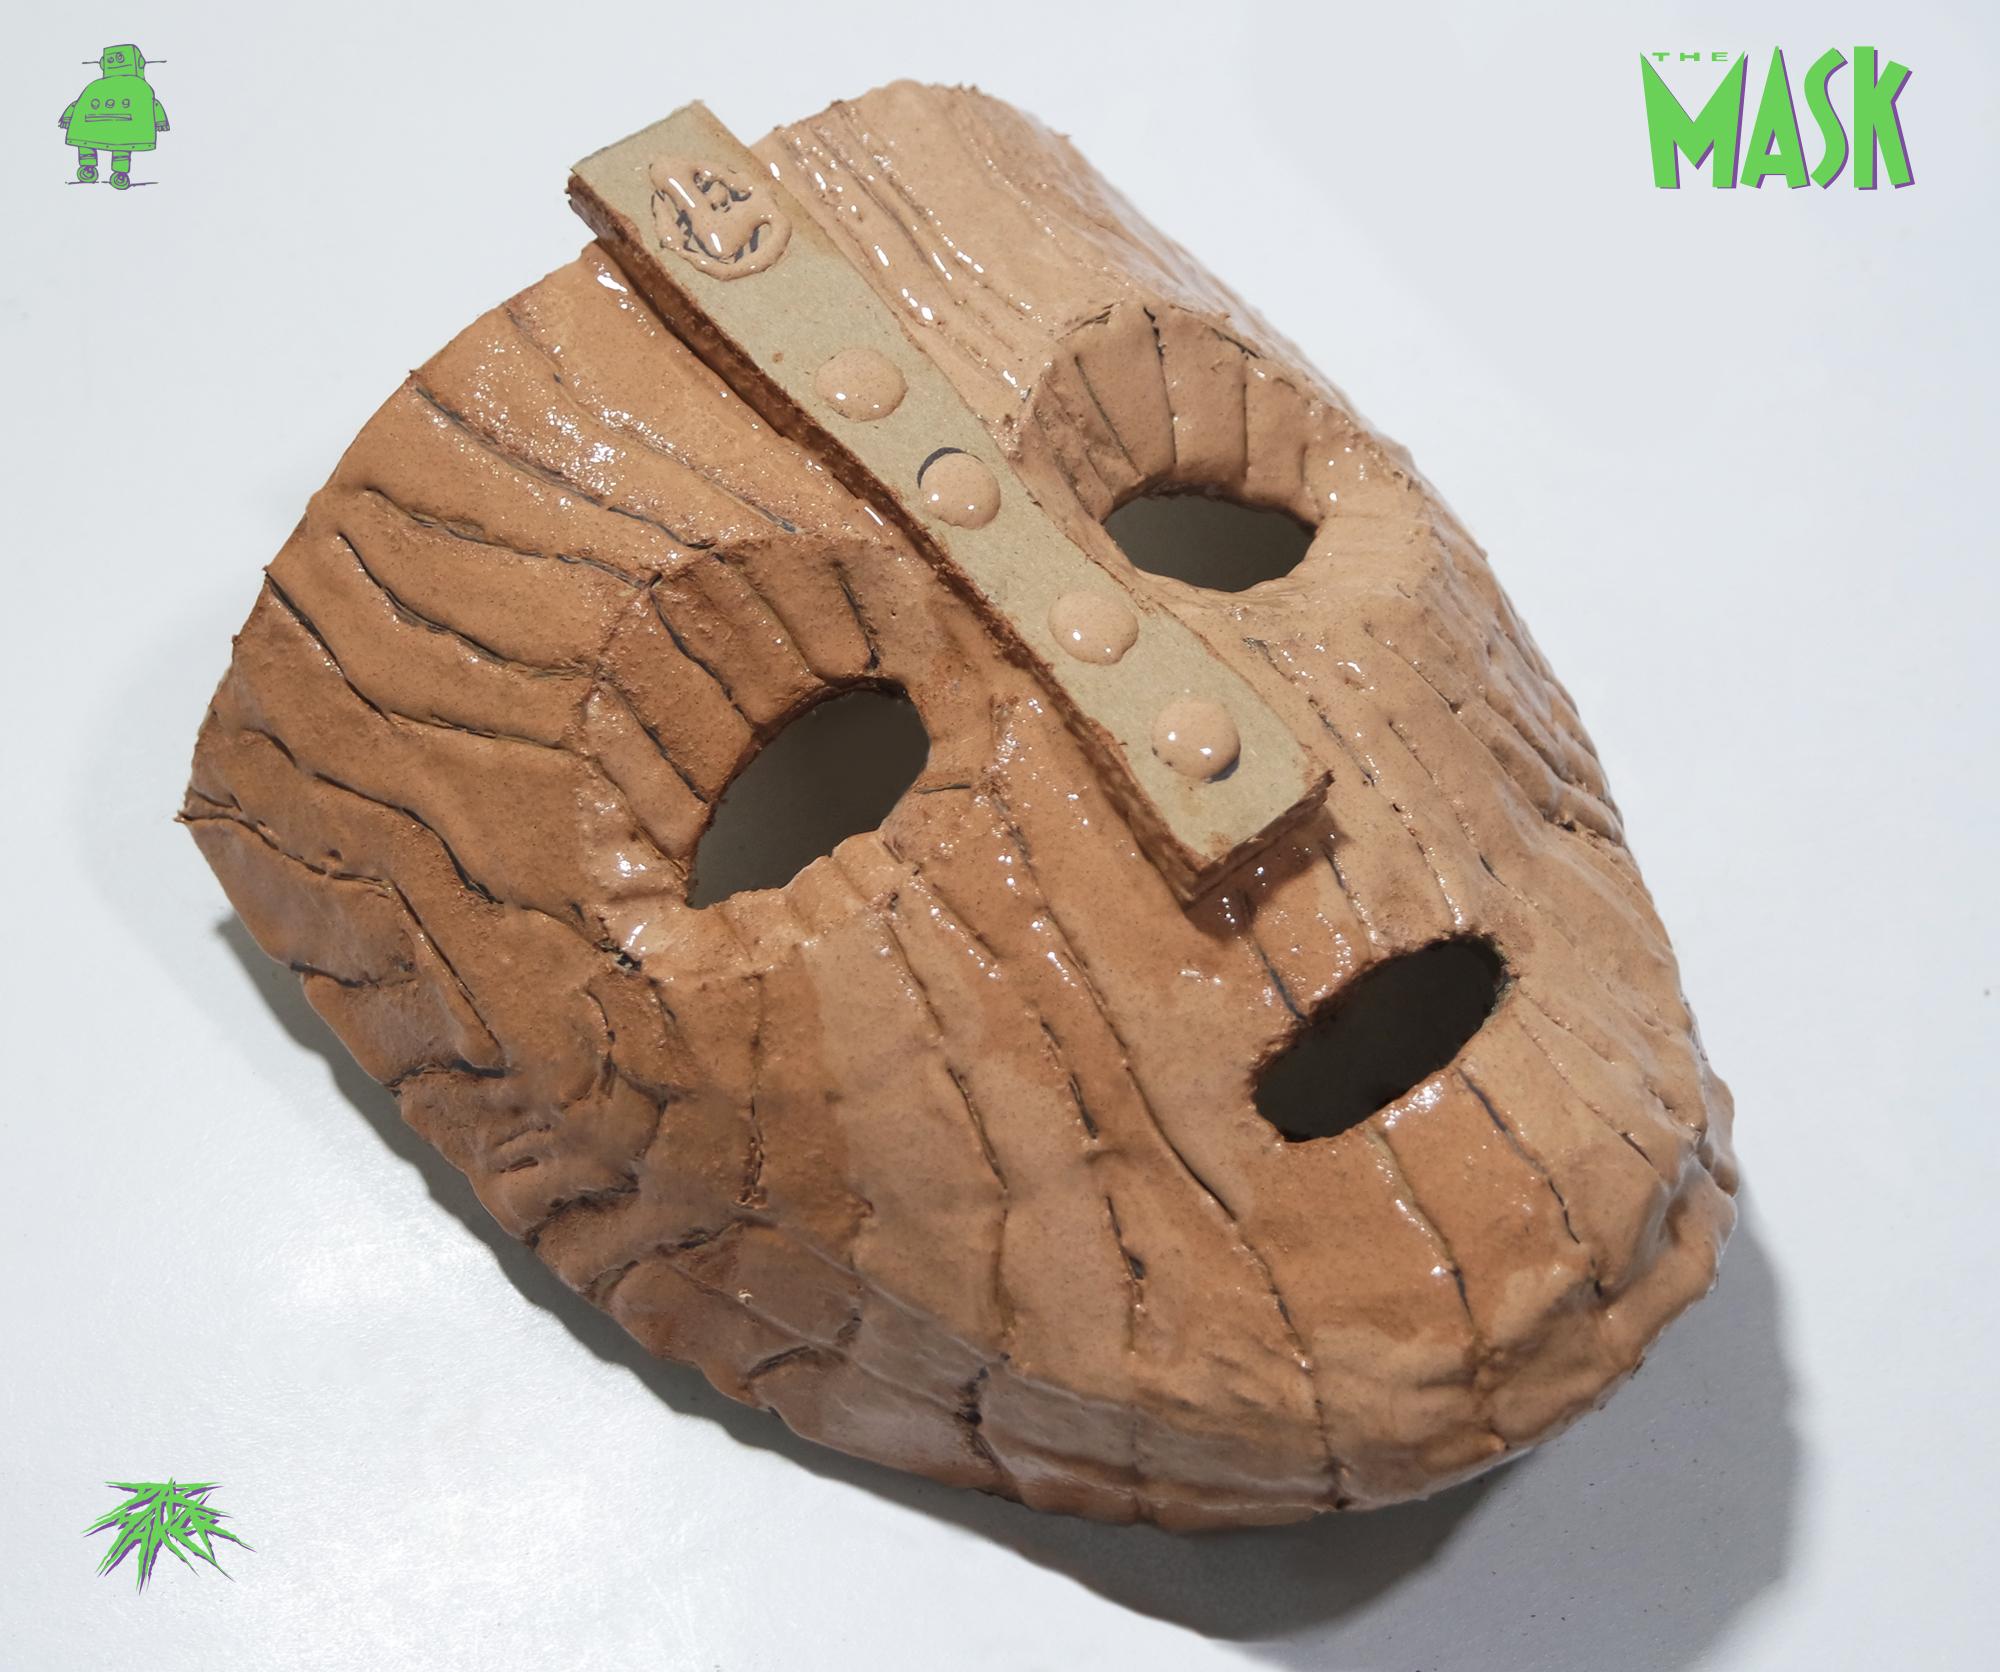
Sculpting the Mask
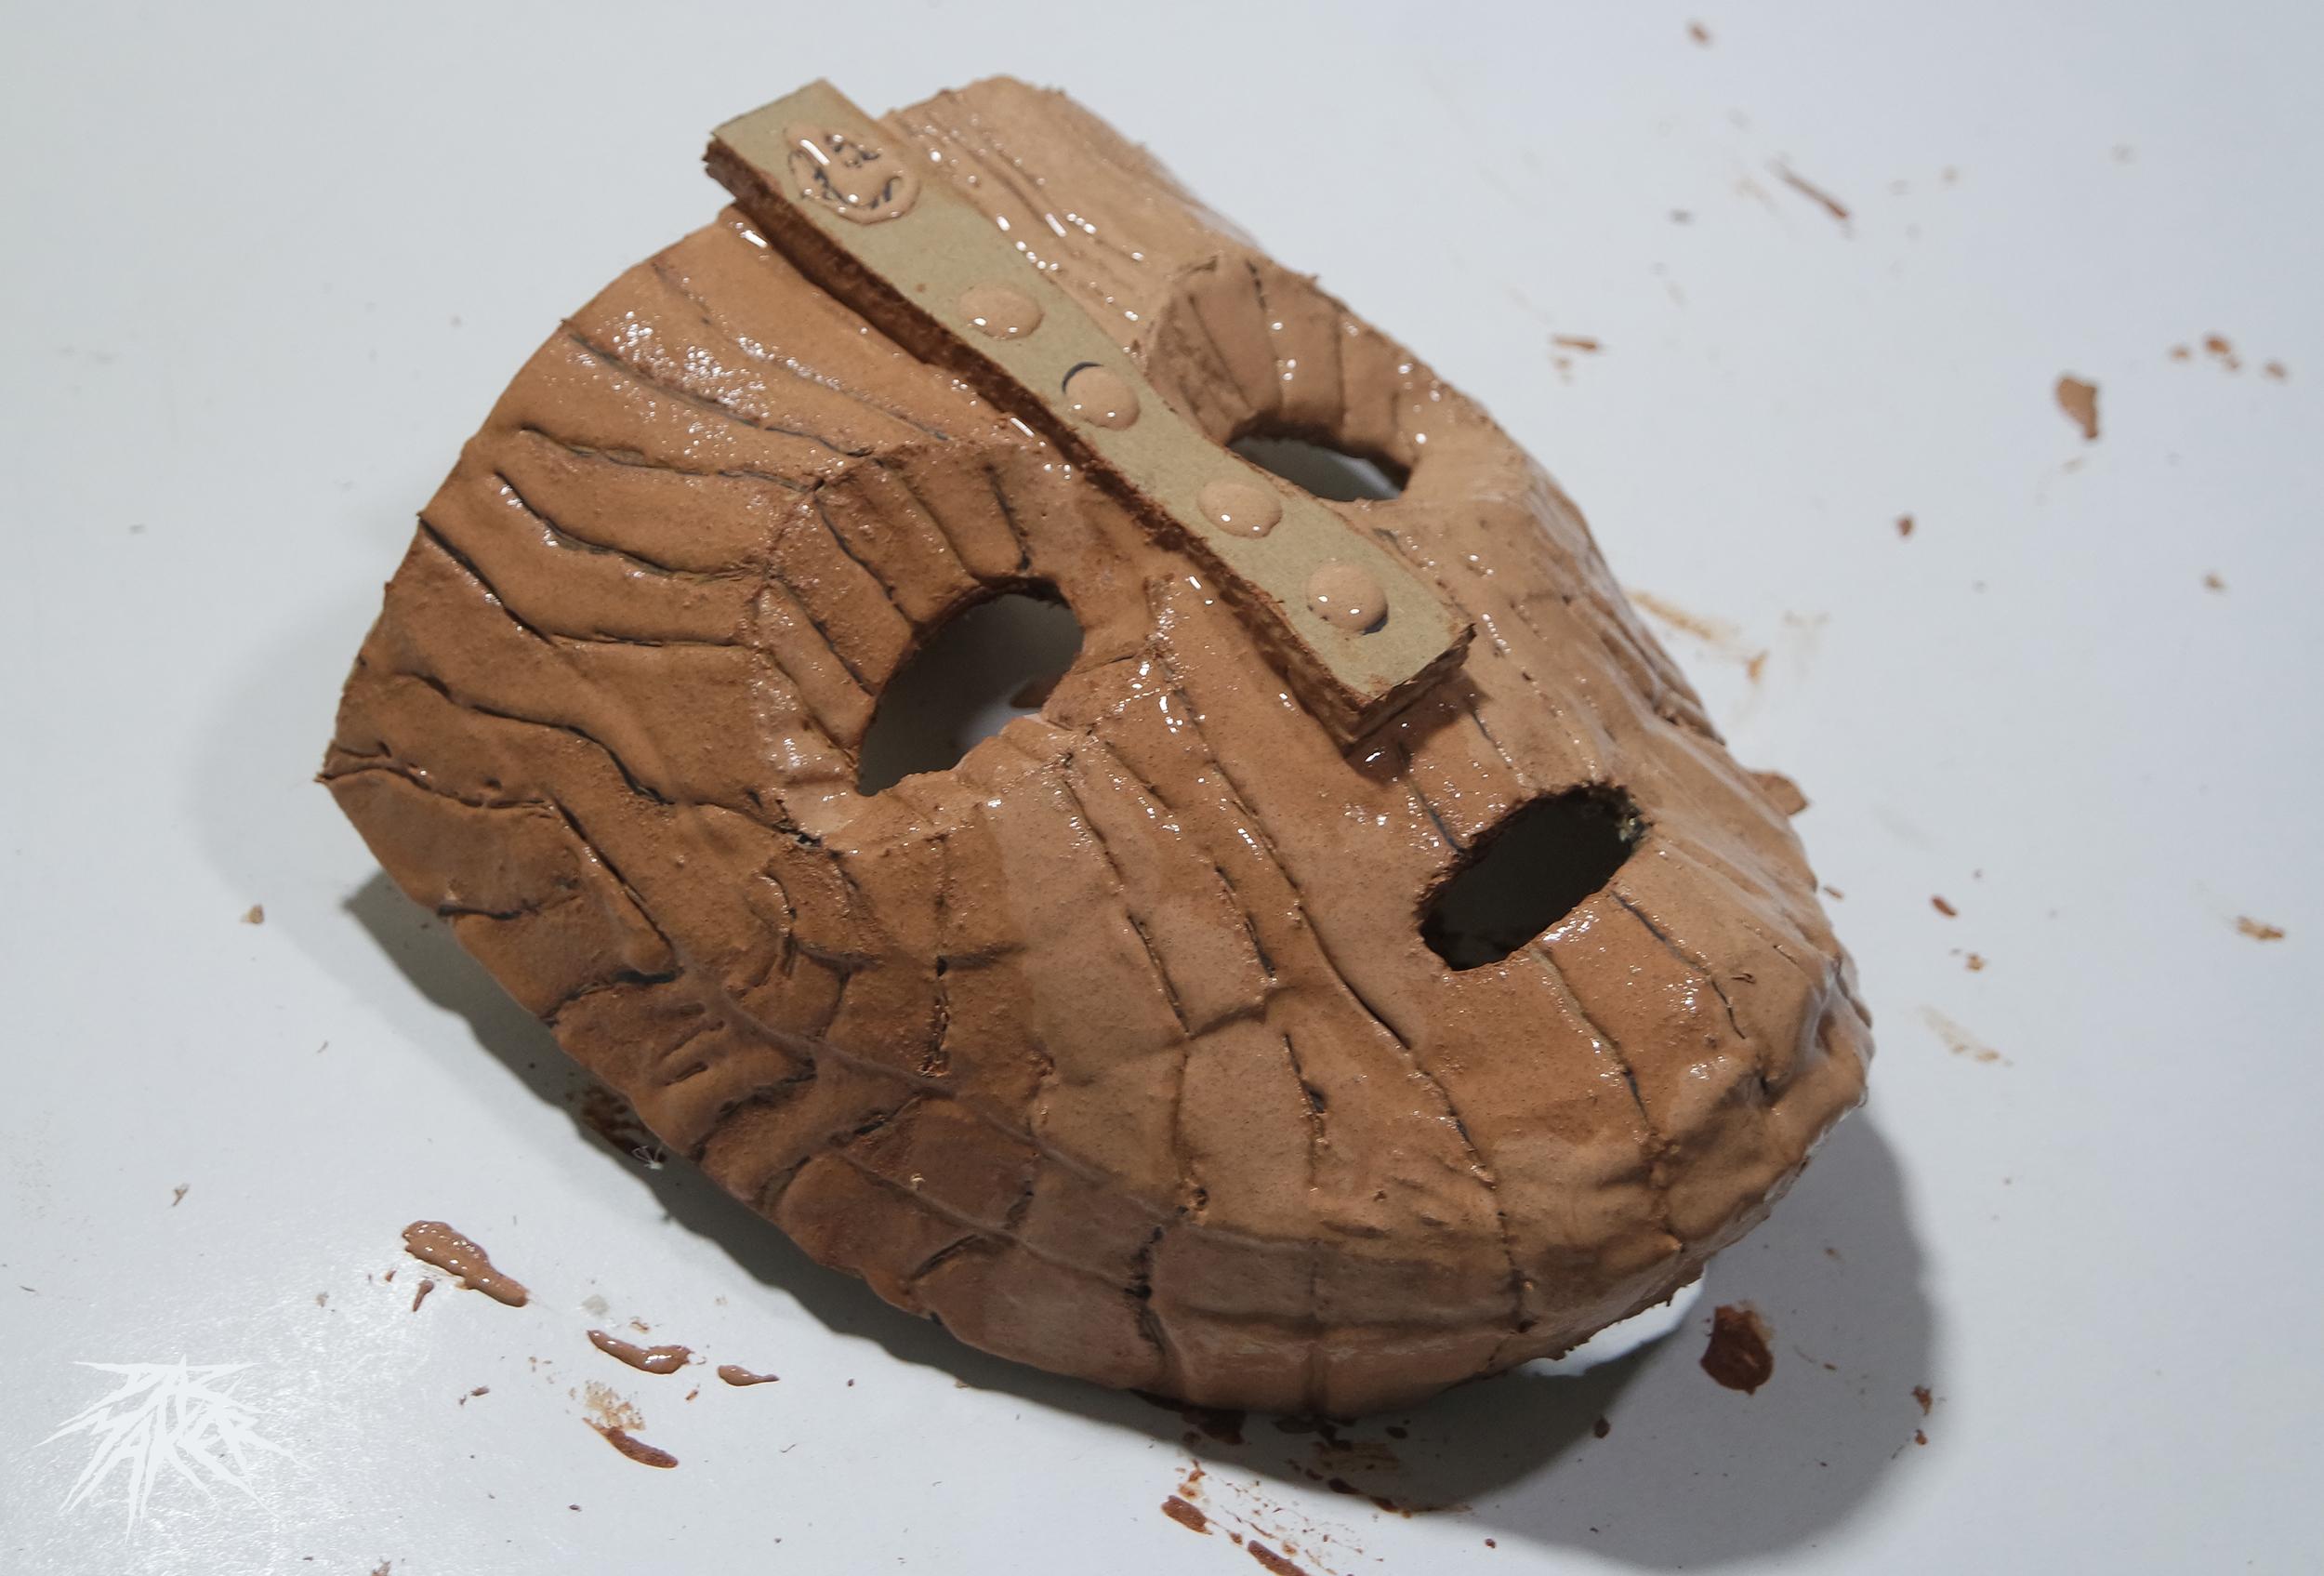
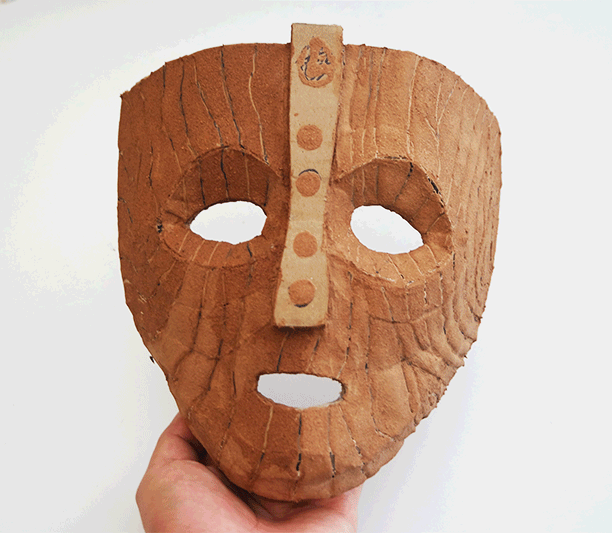
Now we will begin to apply our mixture on the mask that we already have prepared,
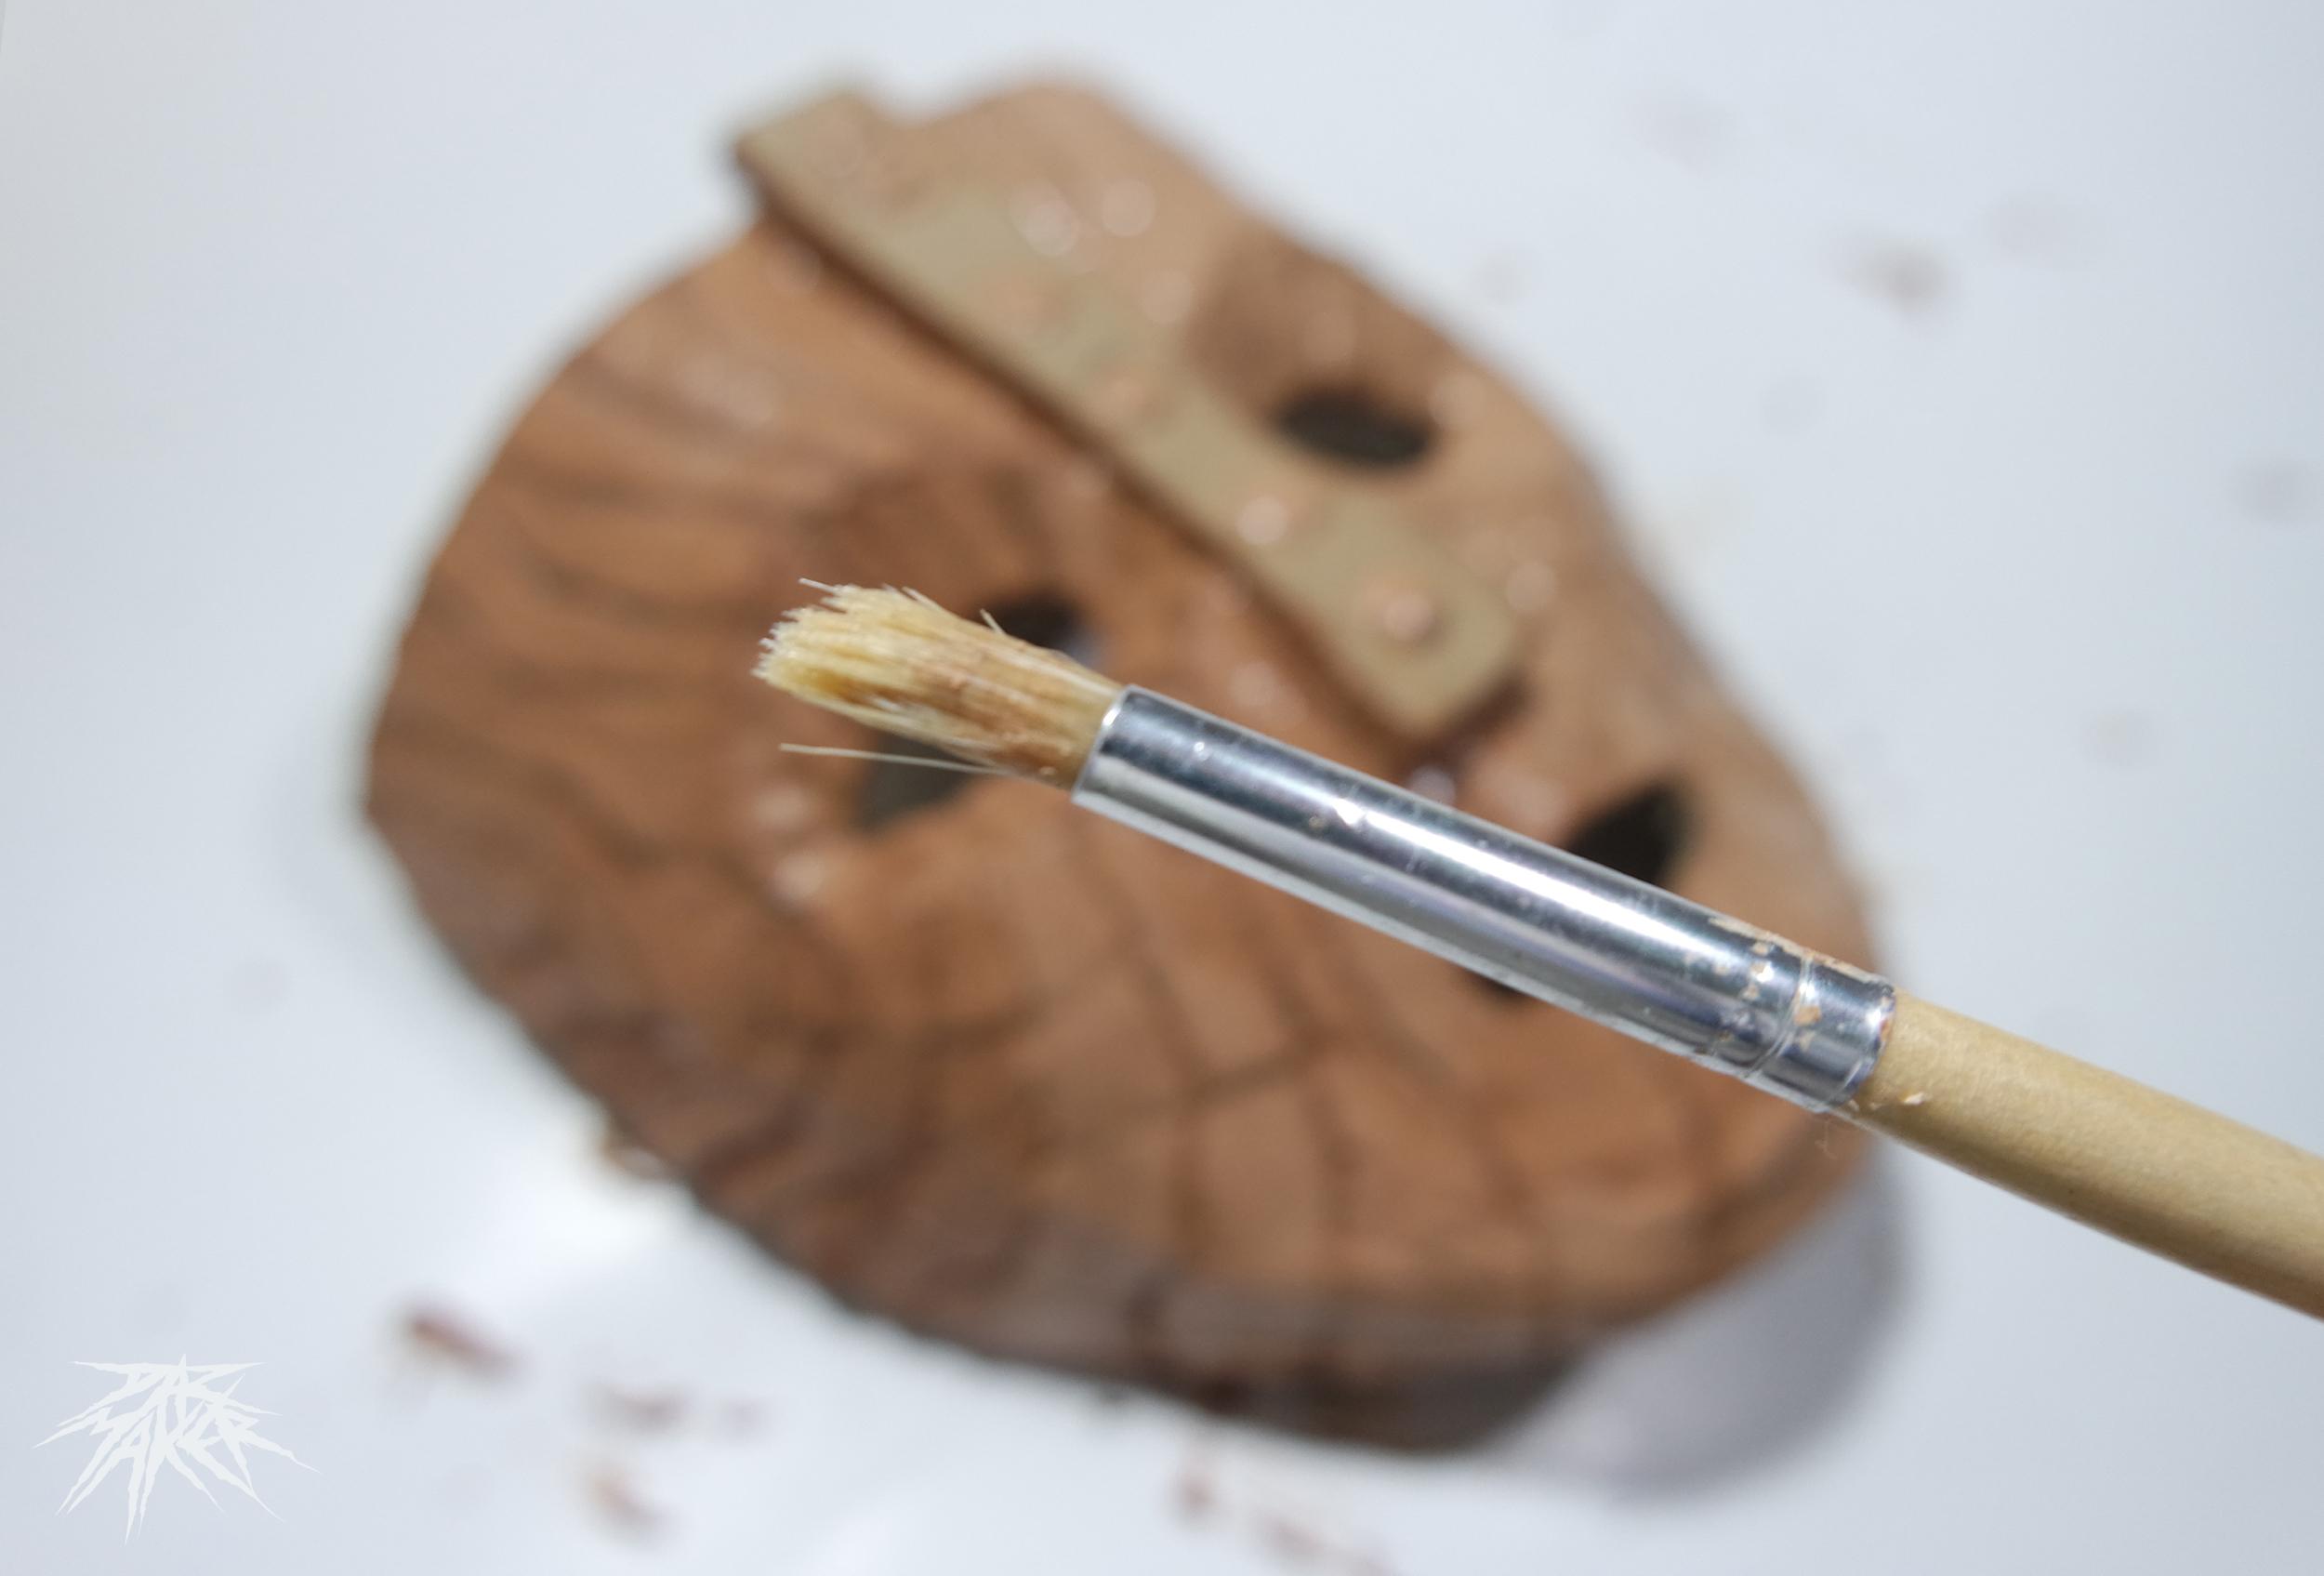
to shape it we will use the sculpting tools and we will help ourselves with a brush with and water
to soften the parts that get rough, this will also help to give a little more texture and the wood effect.
for all the details I used the sawdust, you can see how I made the small prominences on his nose and his distinctive Loki's logo
Now we just have to let it dry, but be patient, this mix has a very slow drying time.
after drying, now it's time to paint it.
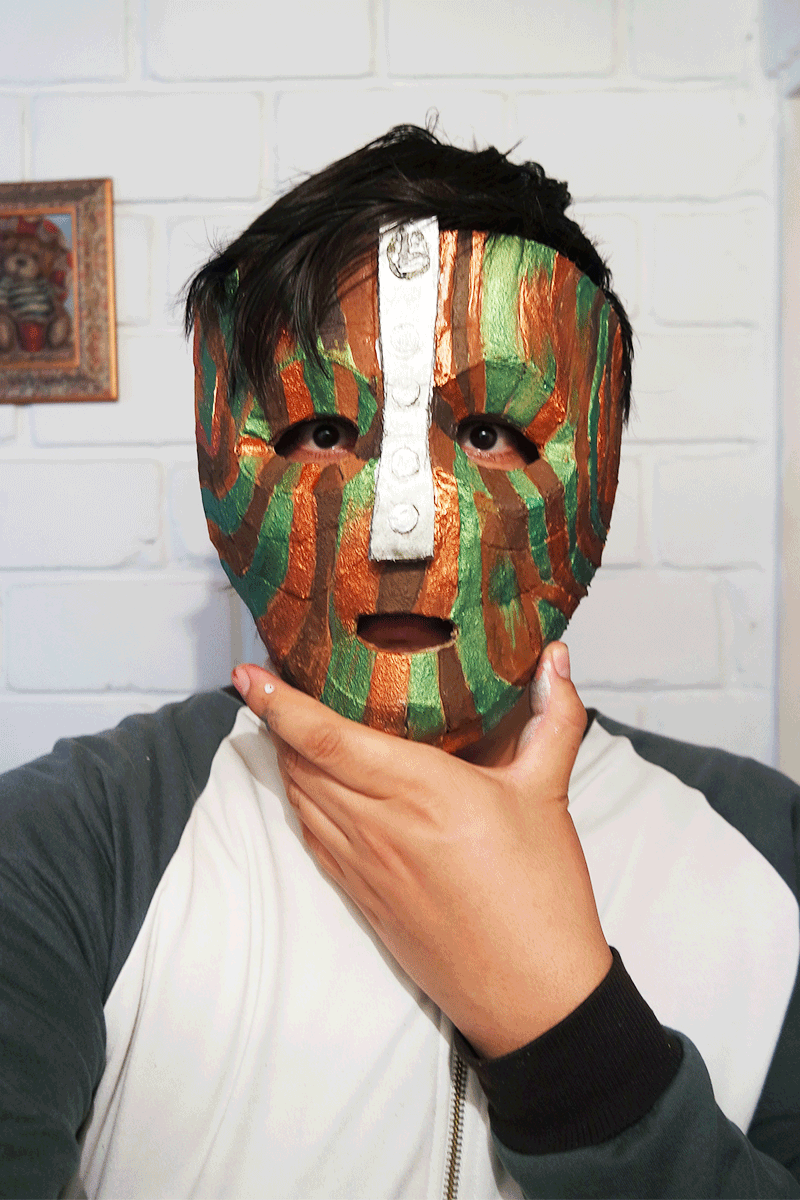
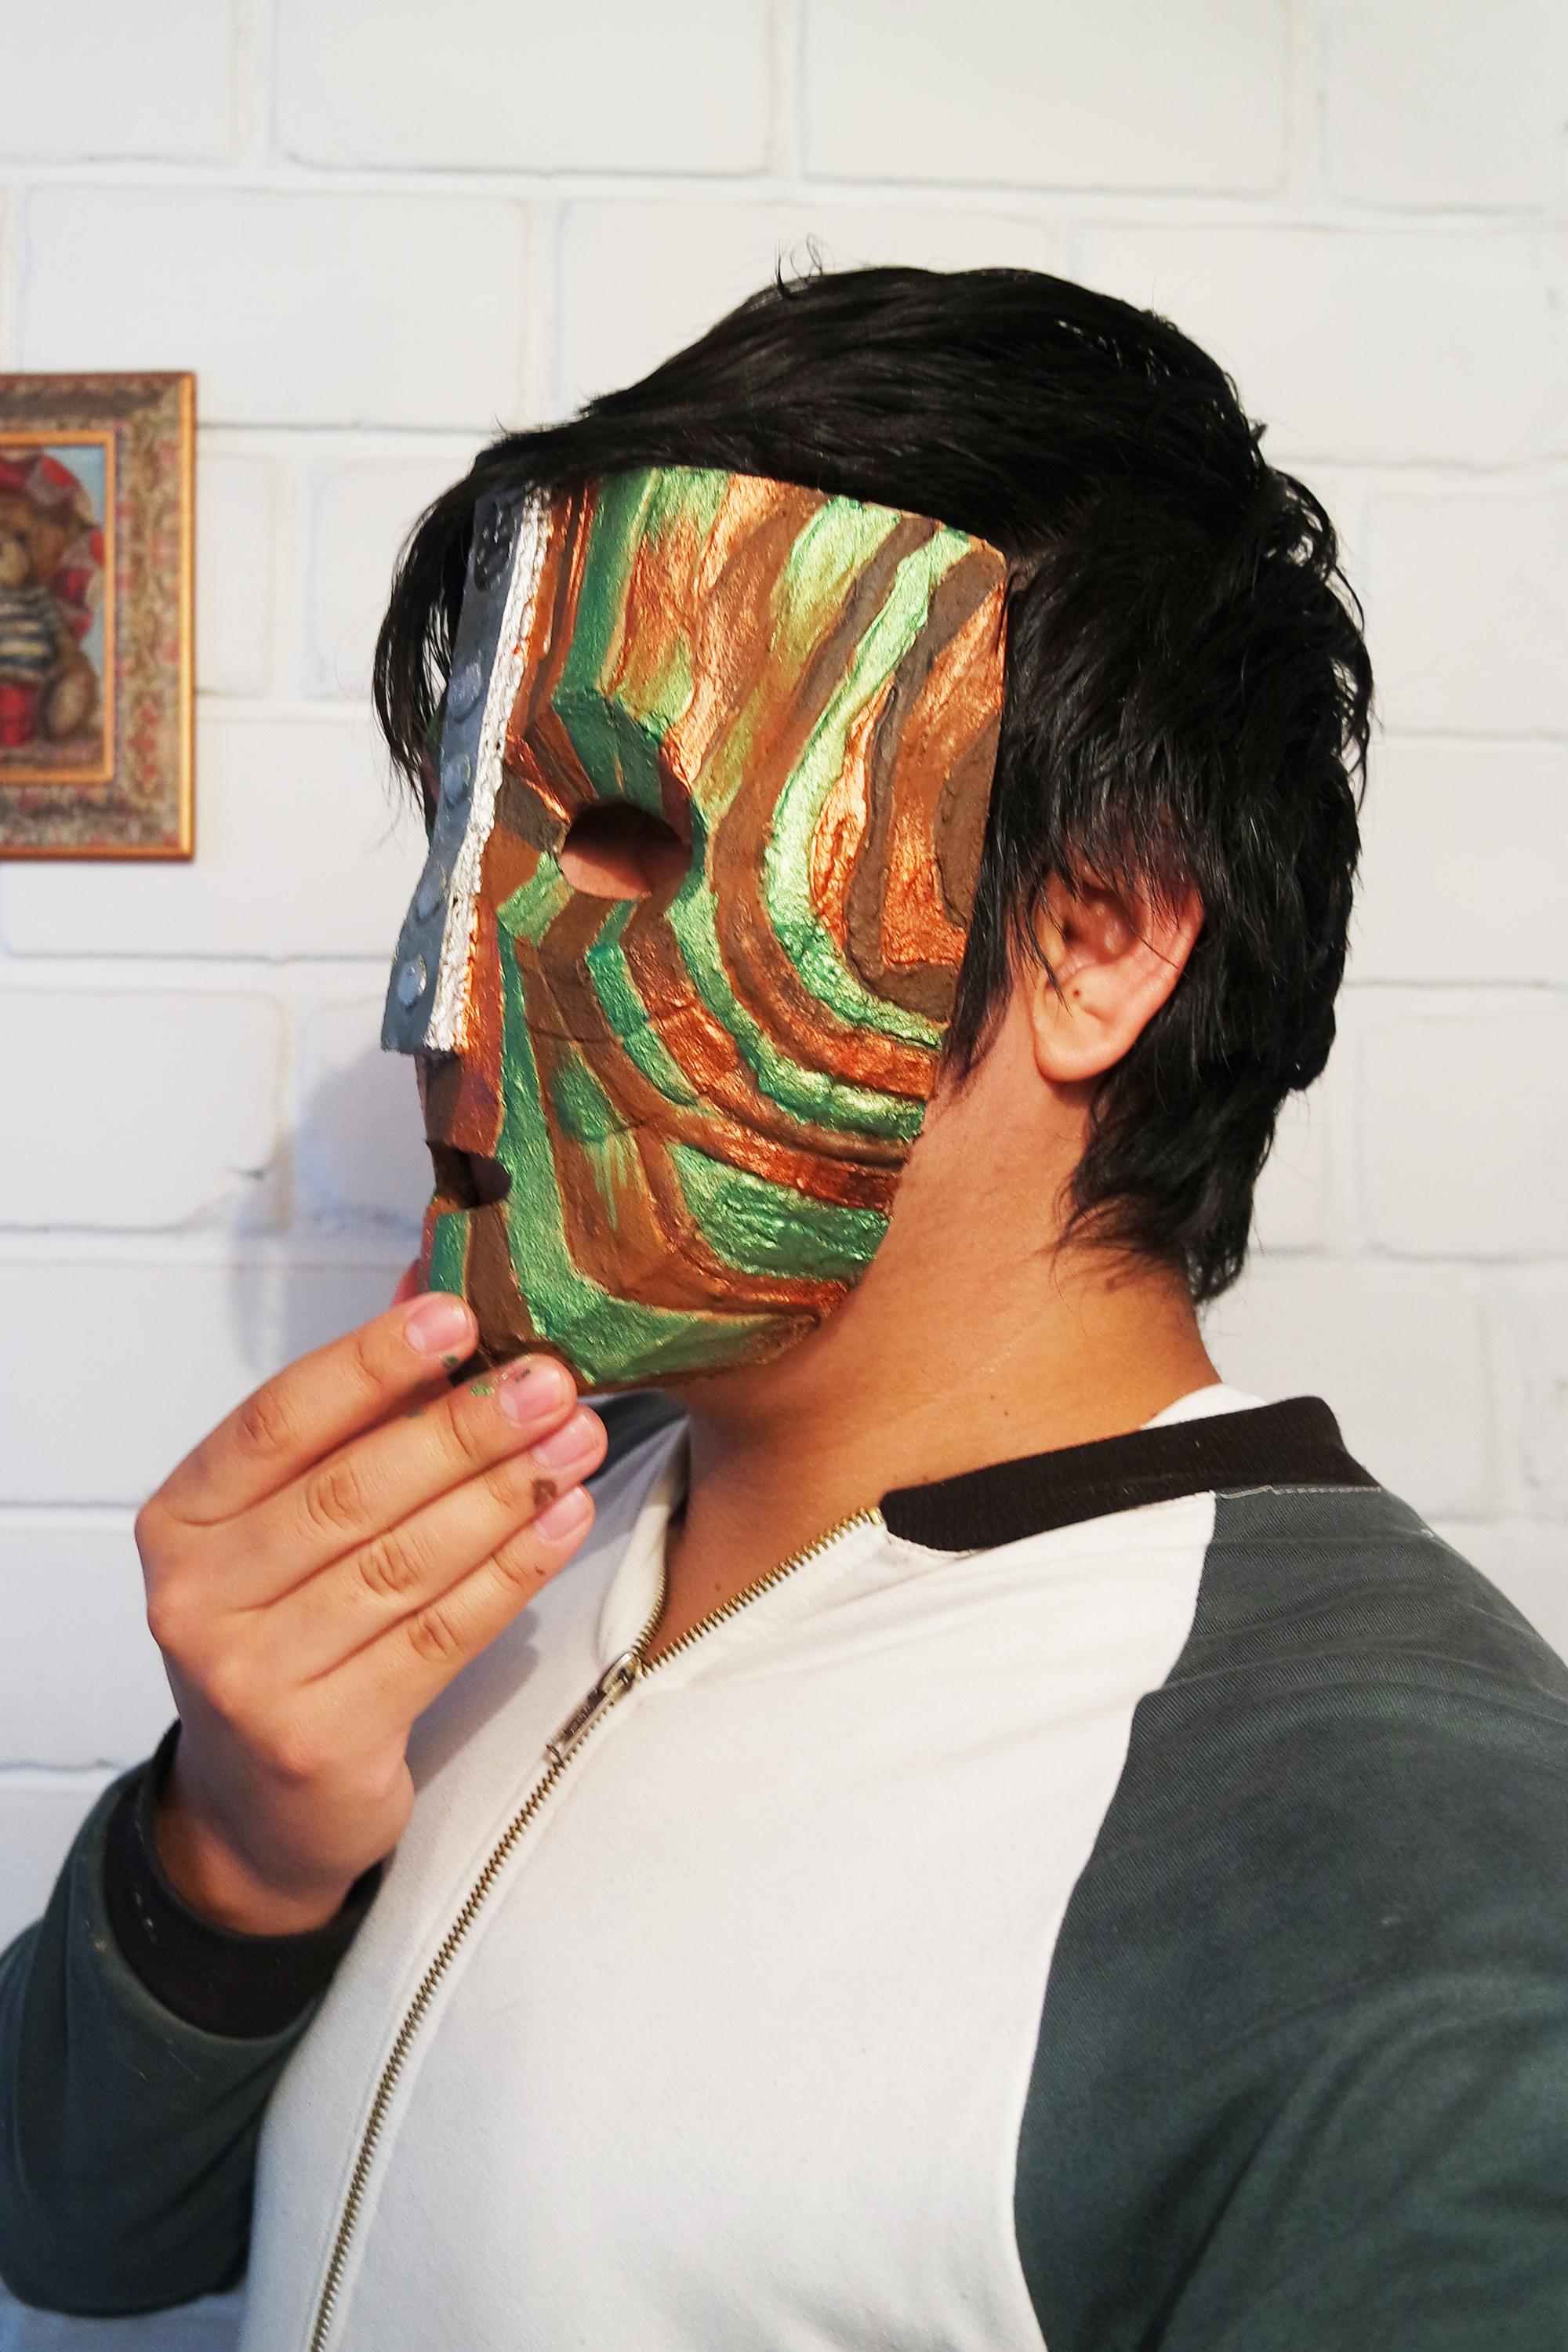
Painting the Mask
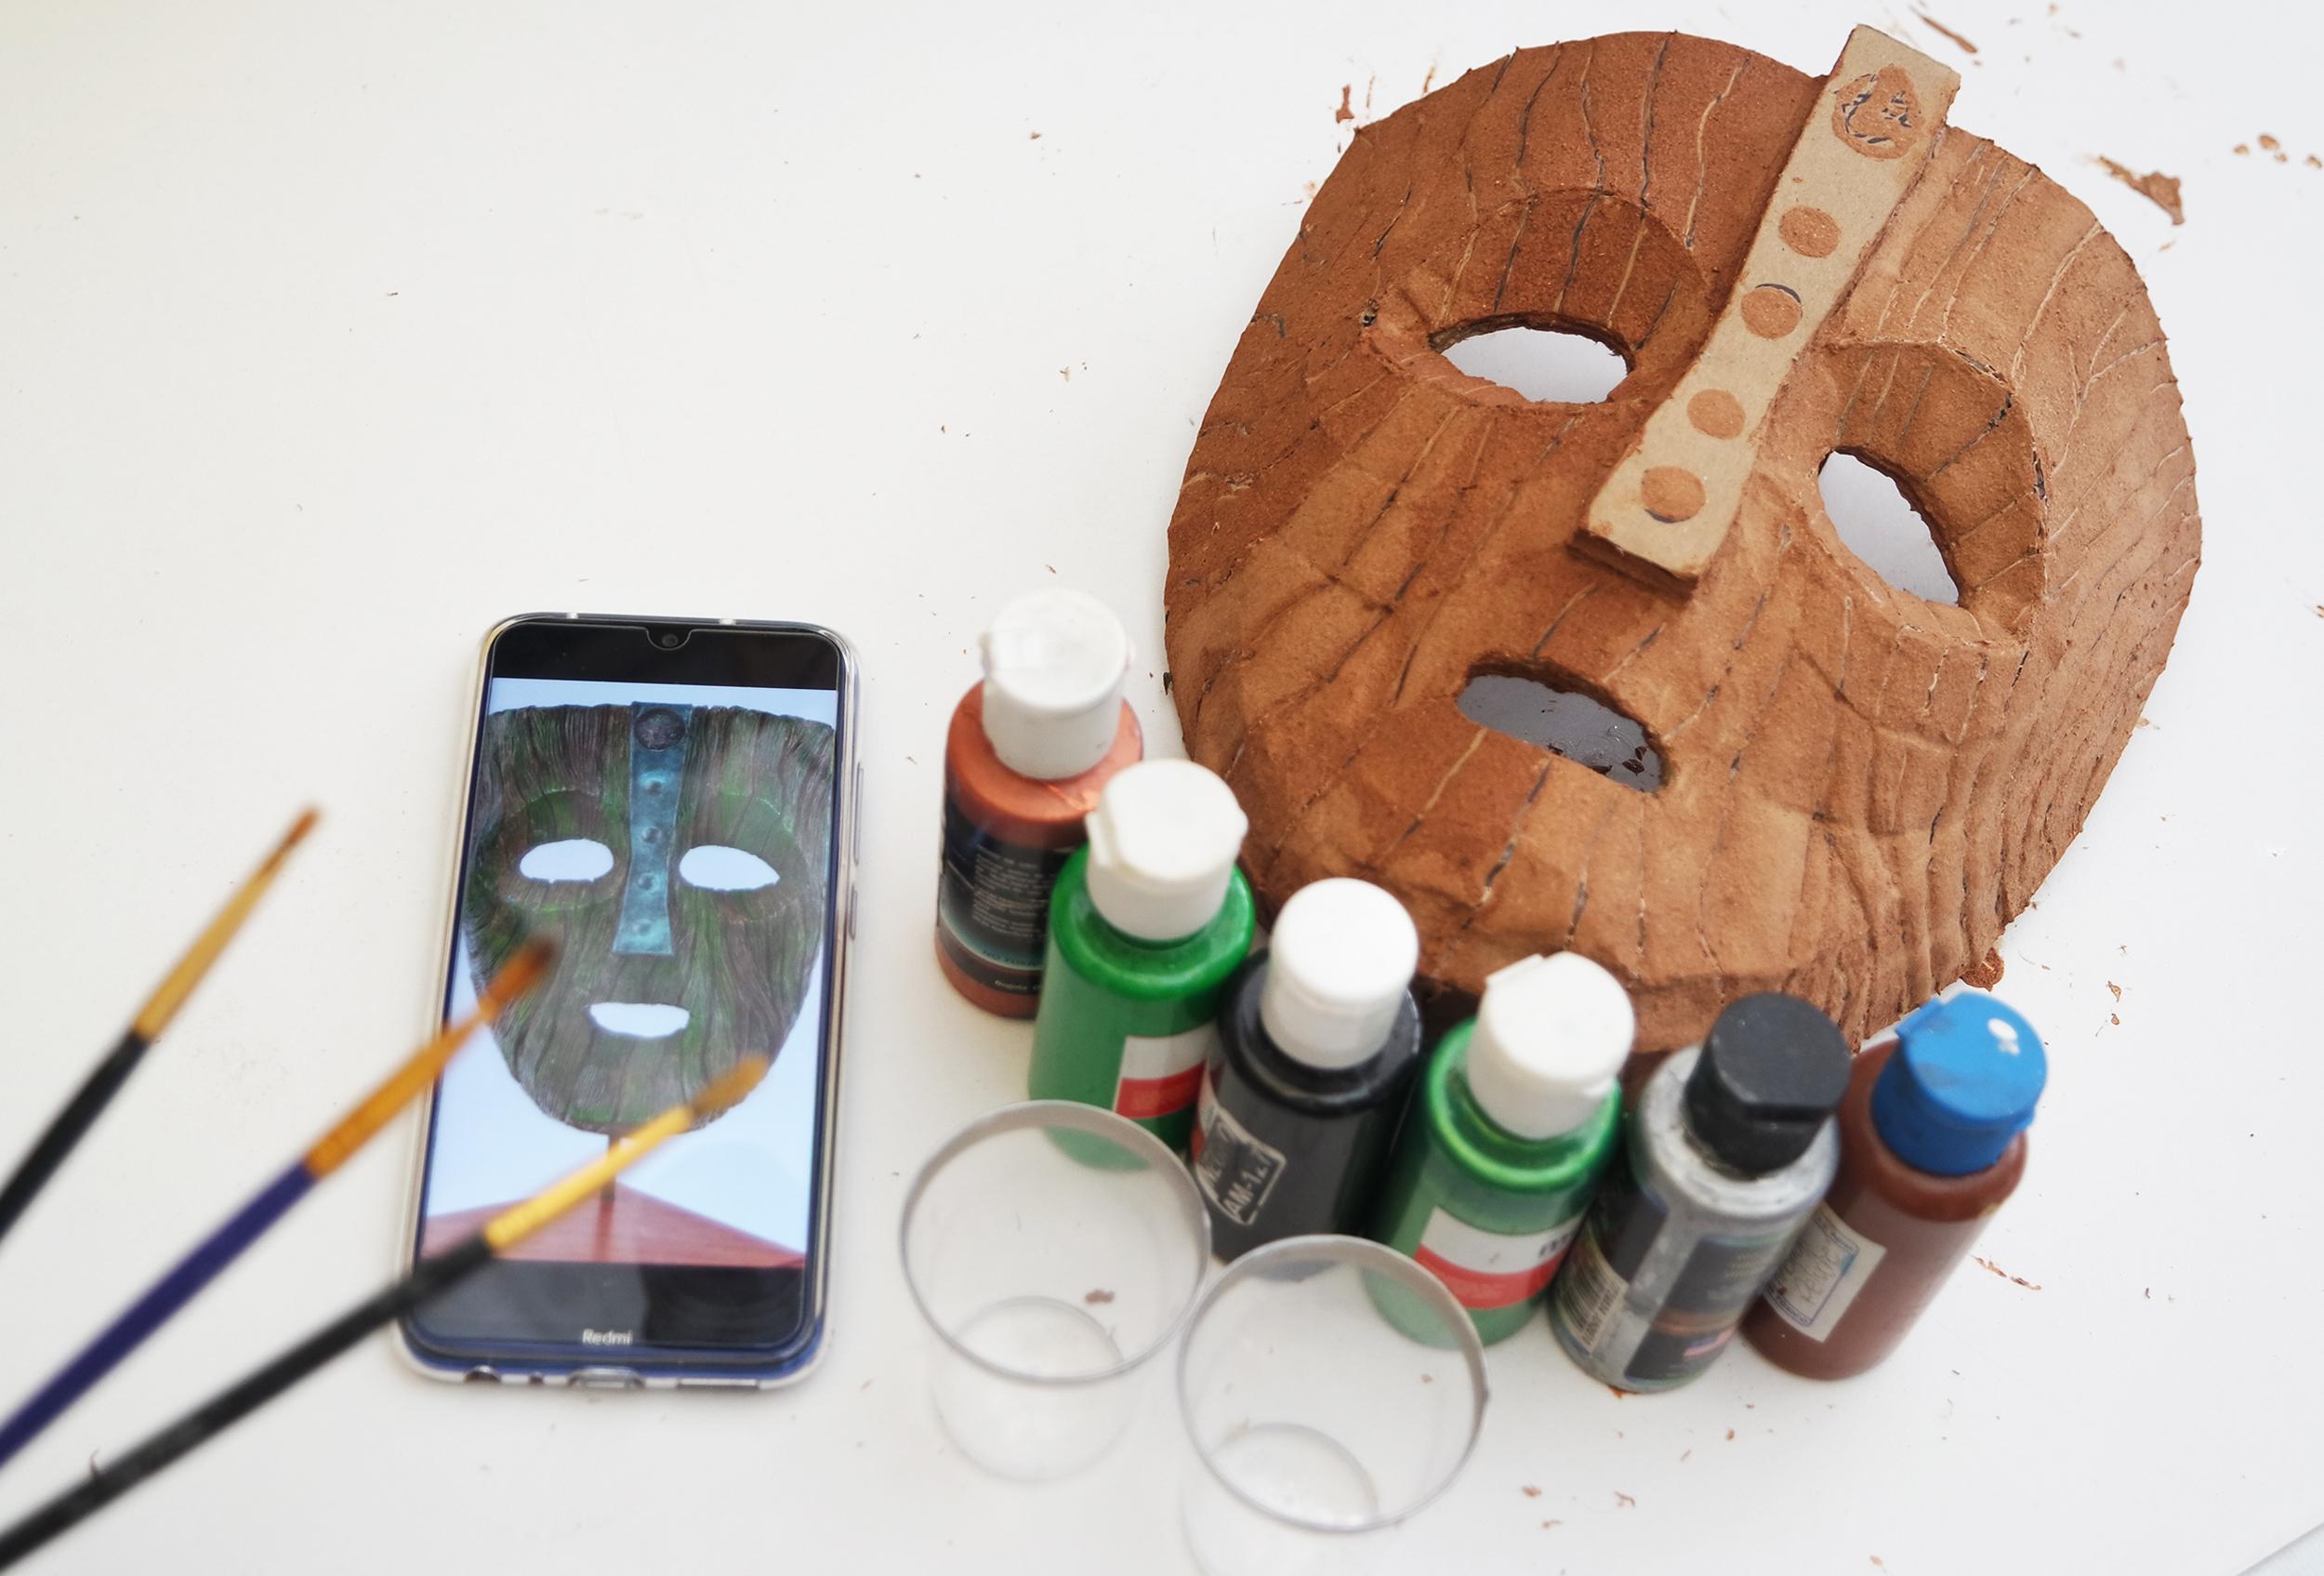
now that it is dry we can see that it has a wooden appearance,
of course fake, but that it could fool anyone who touched its surface.
when you feel that the texture of the wood deceives you
and makes you doubt whether it is true or false, that is the sign that the time has come to paint our Mask.
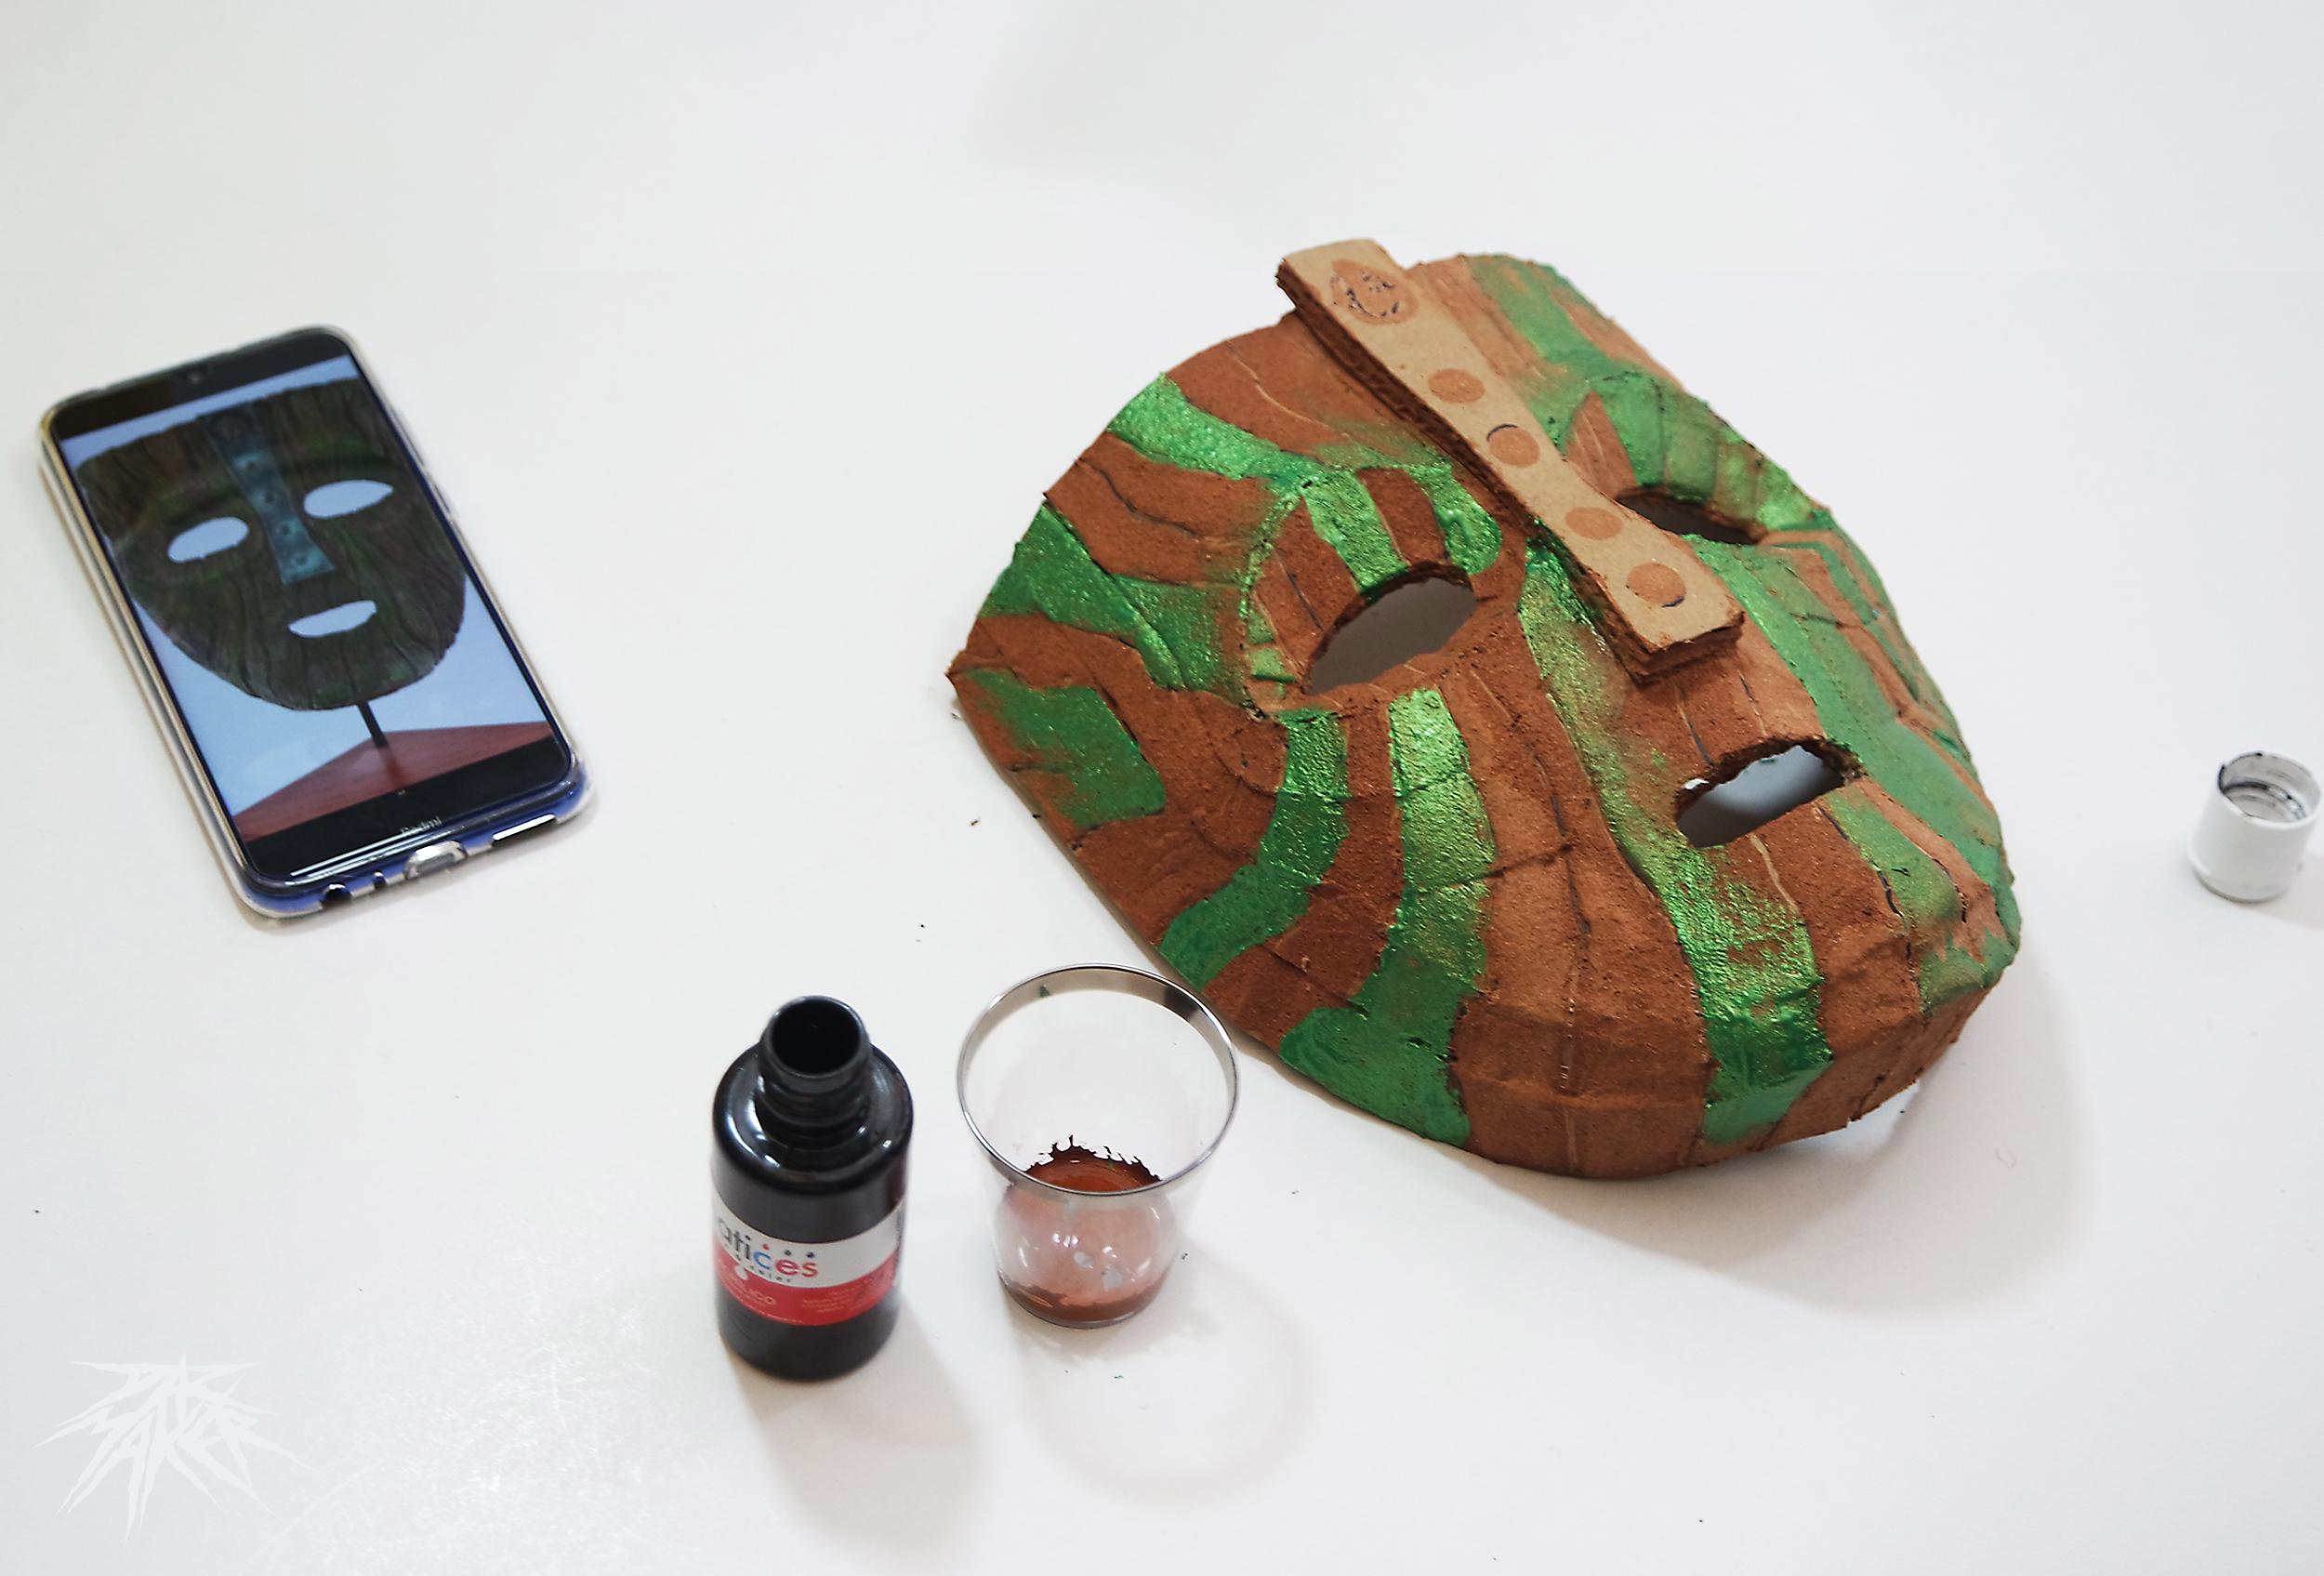
for that we will use a metallic green that we will darken with a few drops of black. and we will apply according to the reference photo.
try to find the best mix of colors that are close to the mask references on the net.
start applying colors based on the green and brown references in all their ranges, experiment until you reach the shade that you like the most, the original mask is darker so I decided to give it some brighter overtones.
Somebody Stop Me!
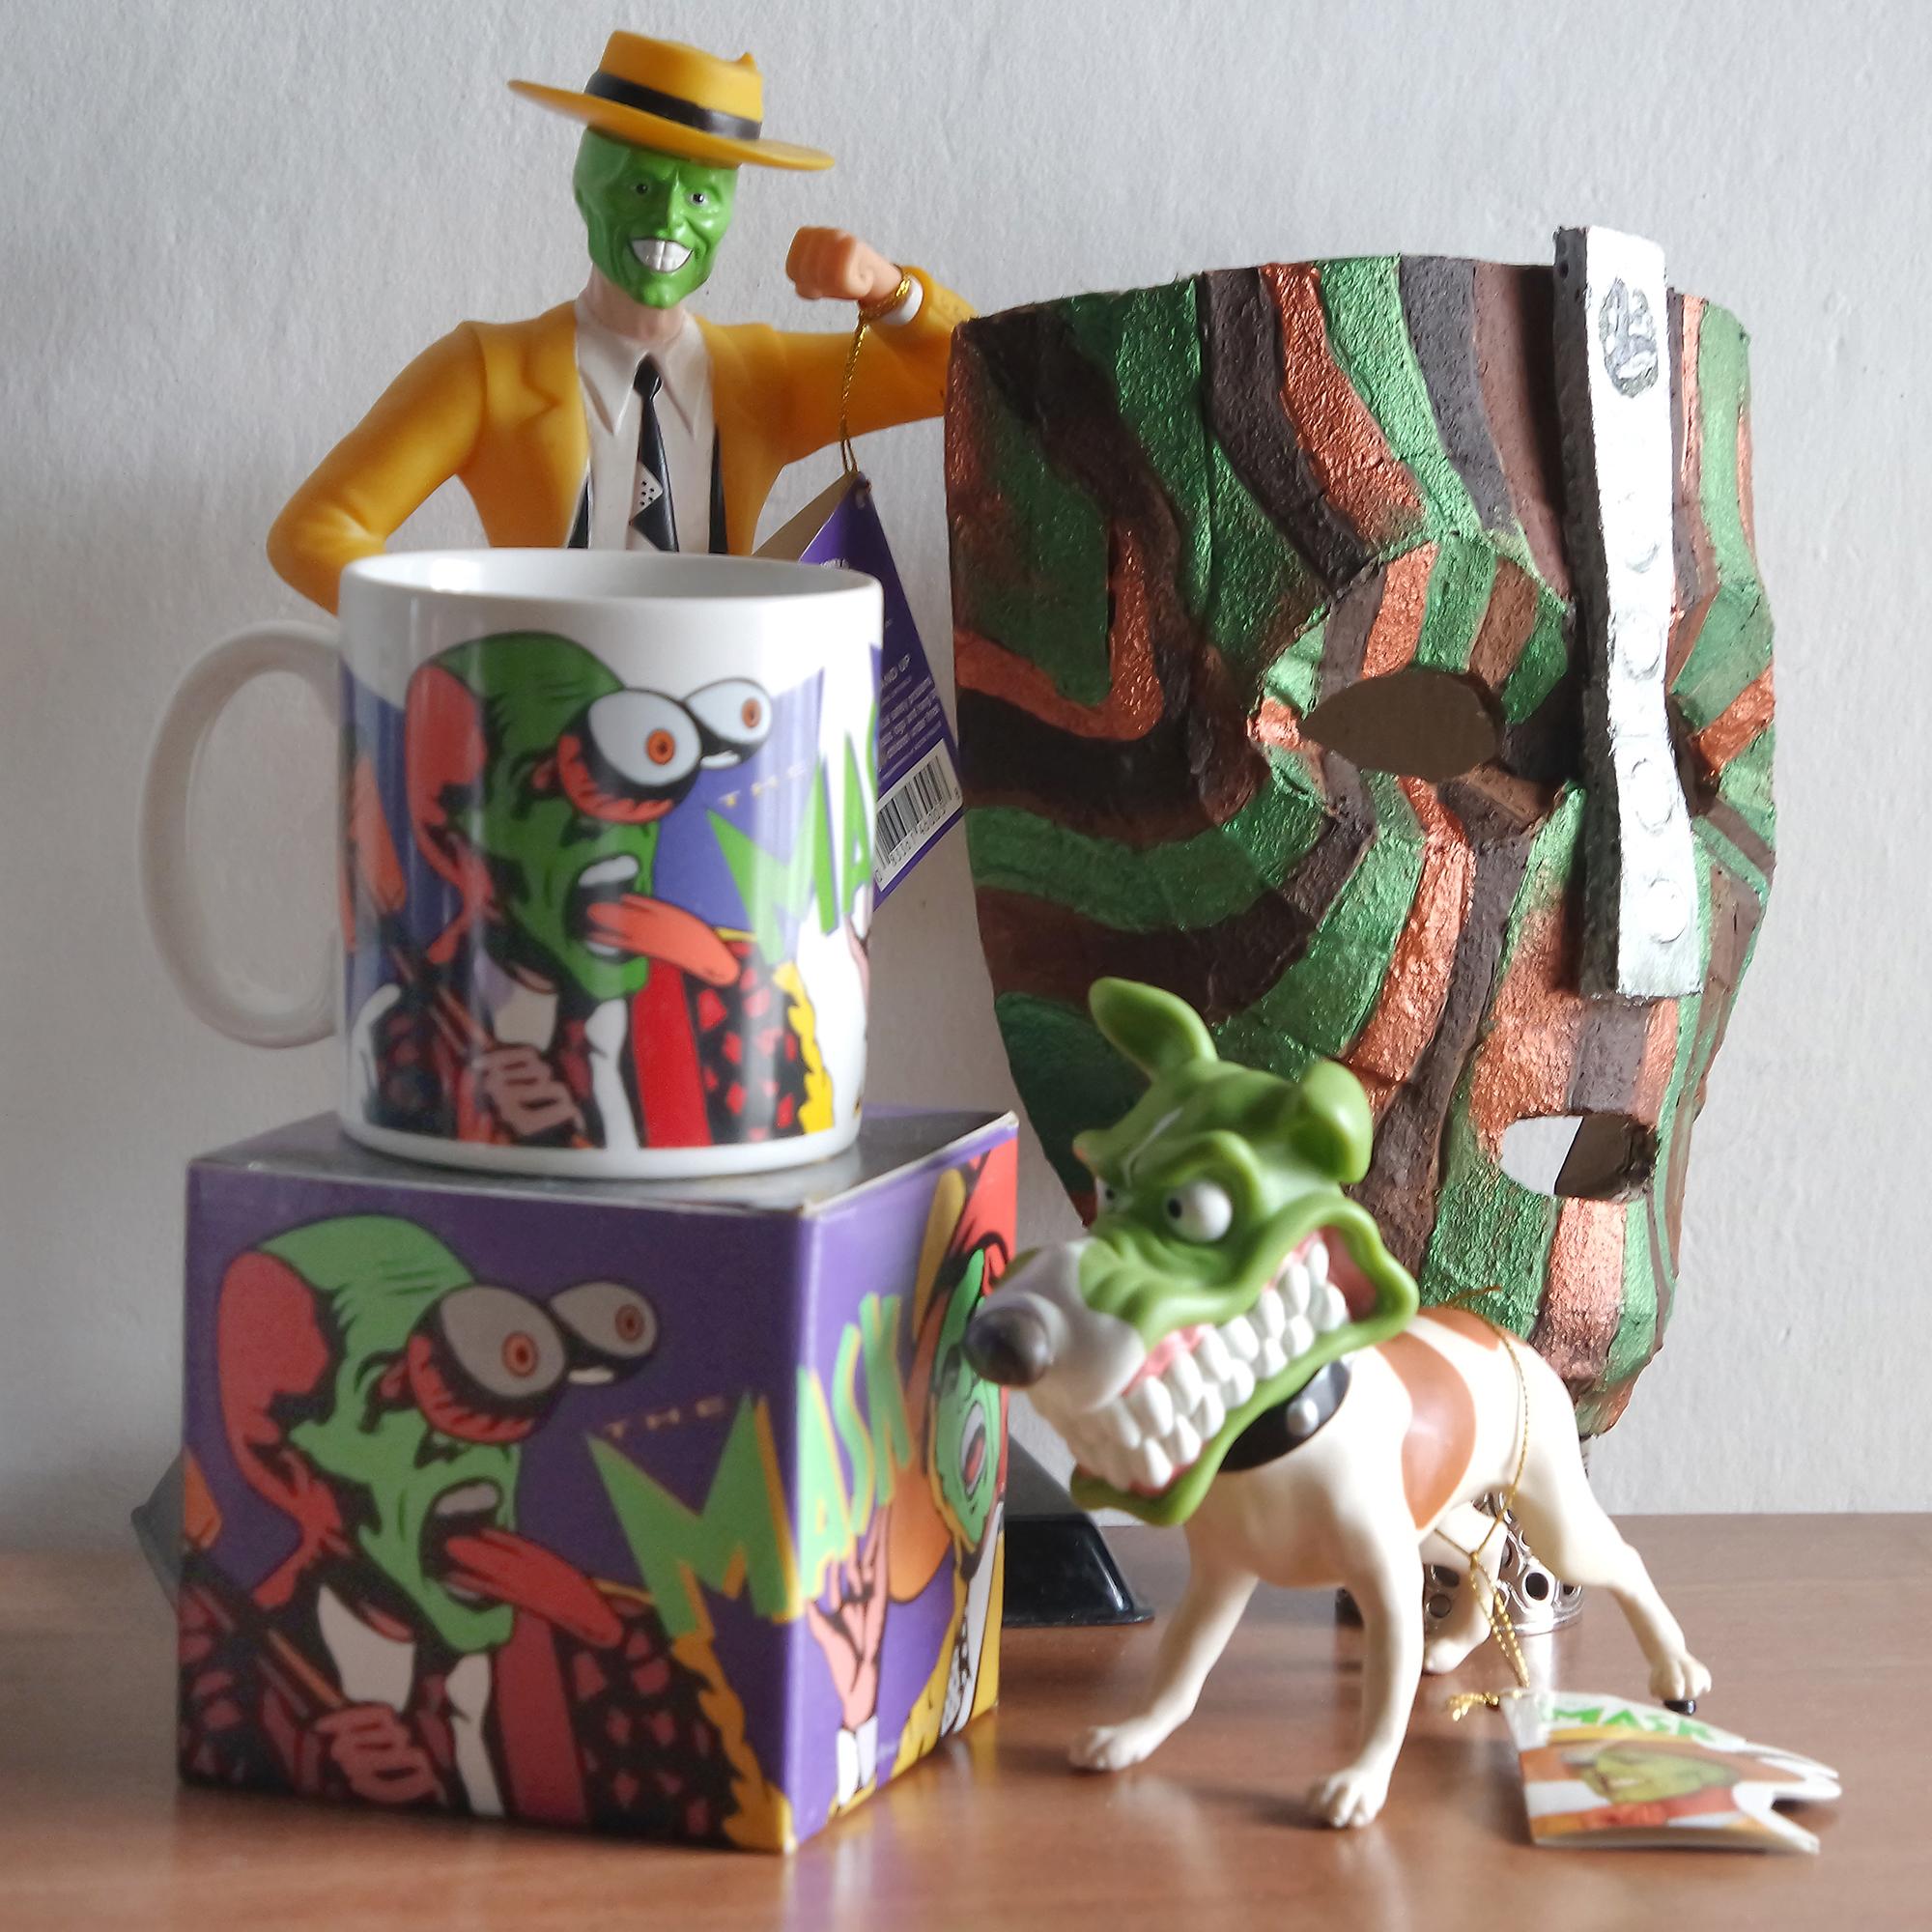


Ok a new item to the collection.
Thanks for watch. <3