Sauce Pan / Frying Pan Lid Holder
by TobyW13 in Workshop > 3D Printing
769 Views, 19 Favorites, 0 Comments
Sauce Pan / Frying Pan Lid Holder
I've got a relatively small kitchen that I try to keep pretty organised, but something I can never find a place for is the lid for my frying pan, it just keeps getting in the way. I know you can get holders on Amazon for relatively cheap (approx. £10-£15) but as a student, I'd rather not spend the money, and spend a few hours designing and printing something that does the same job, just slightly worse, doesn't seem like that bad of an idea.
Supplies
- Fusion 360 (or other modelling software)
- 3D Printer (I used Anet A8)
- CUra (or other slicing software)
- Filament
- Command Strips/Super Glue
- Ruler
Measuring
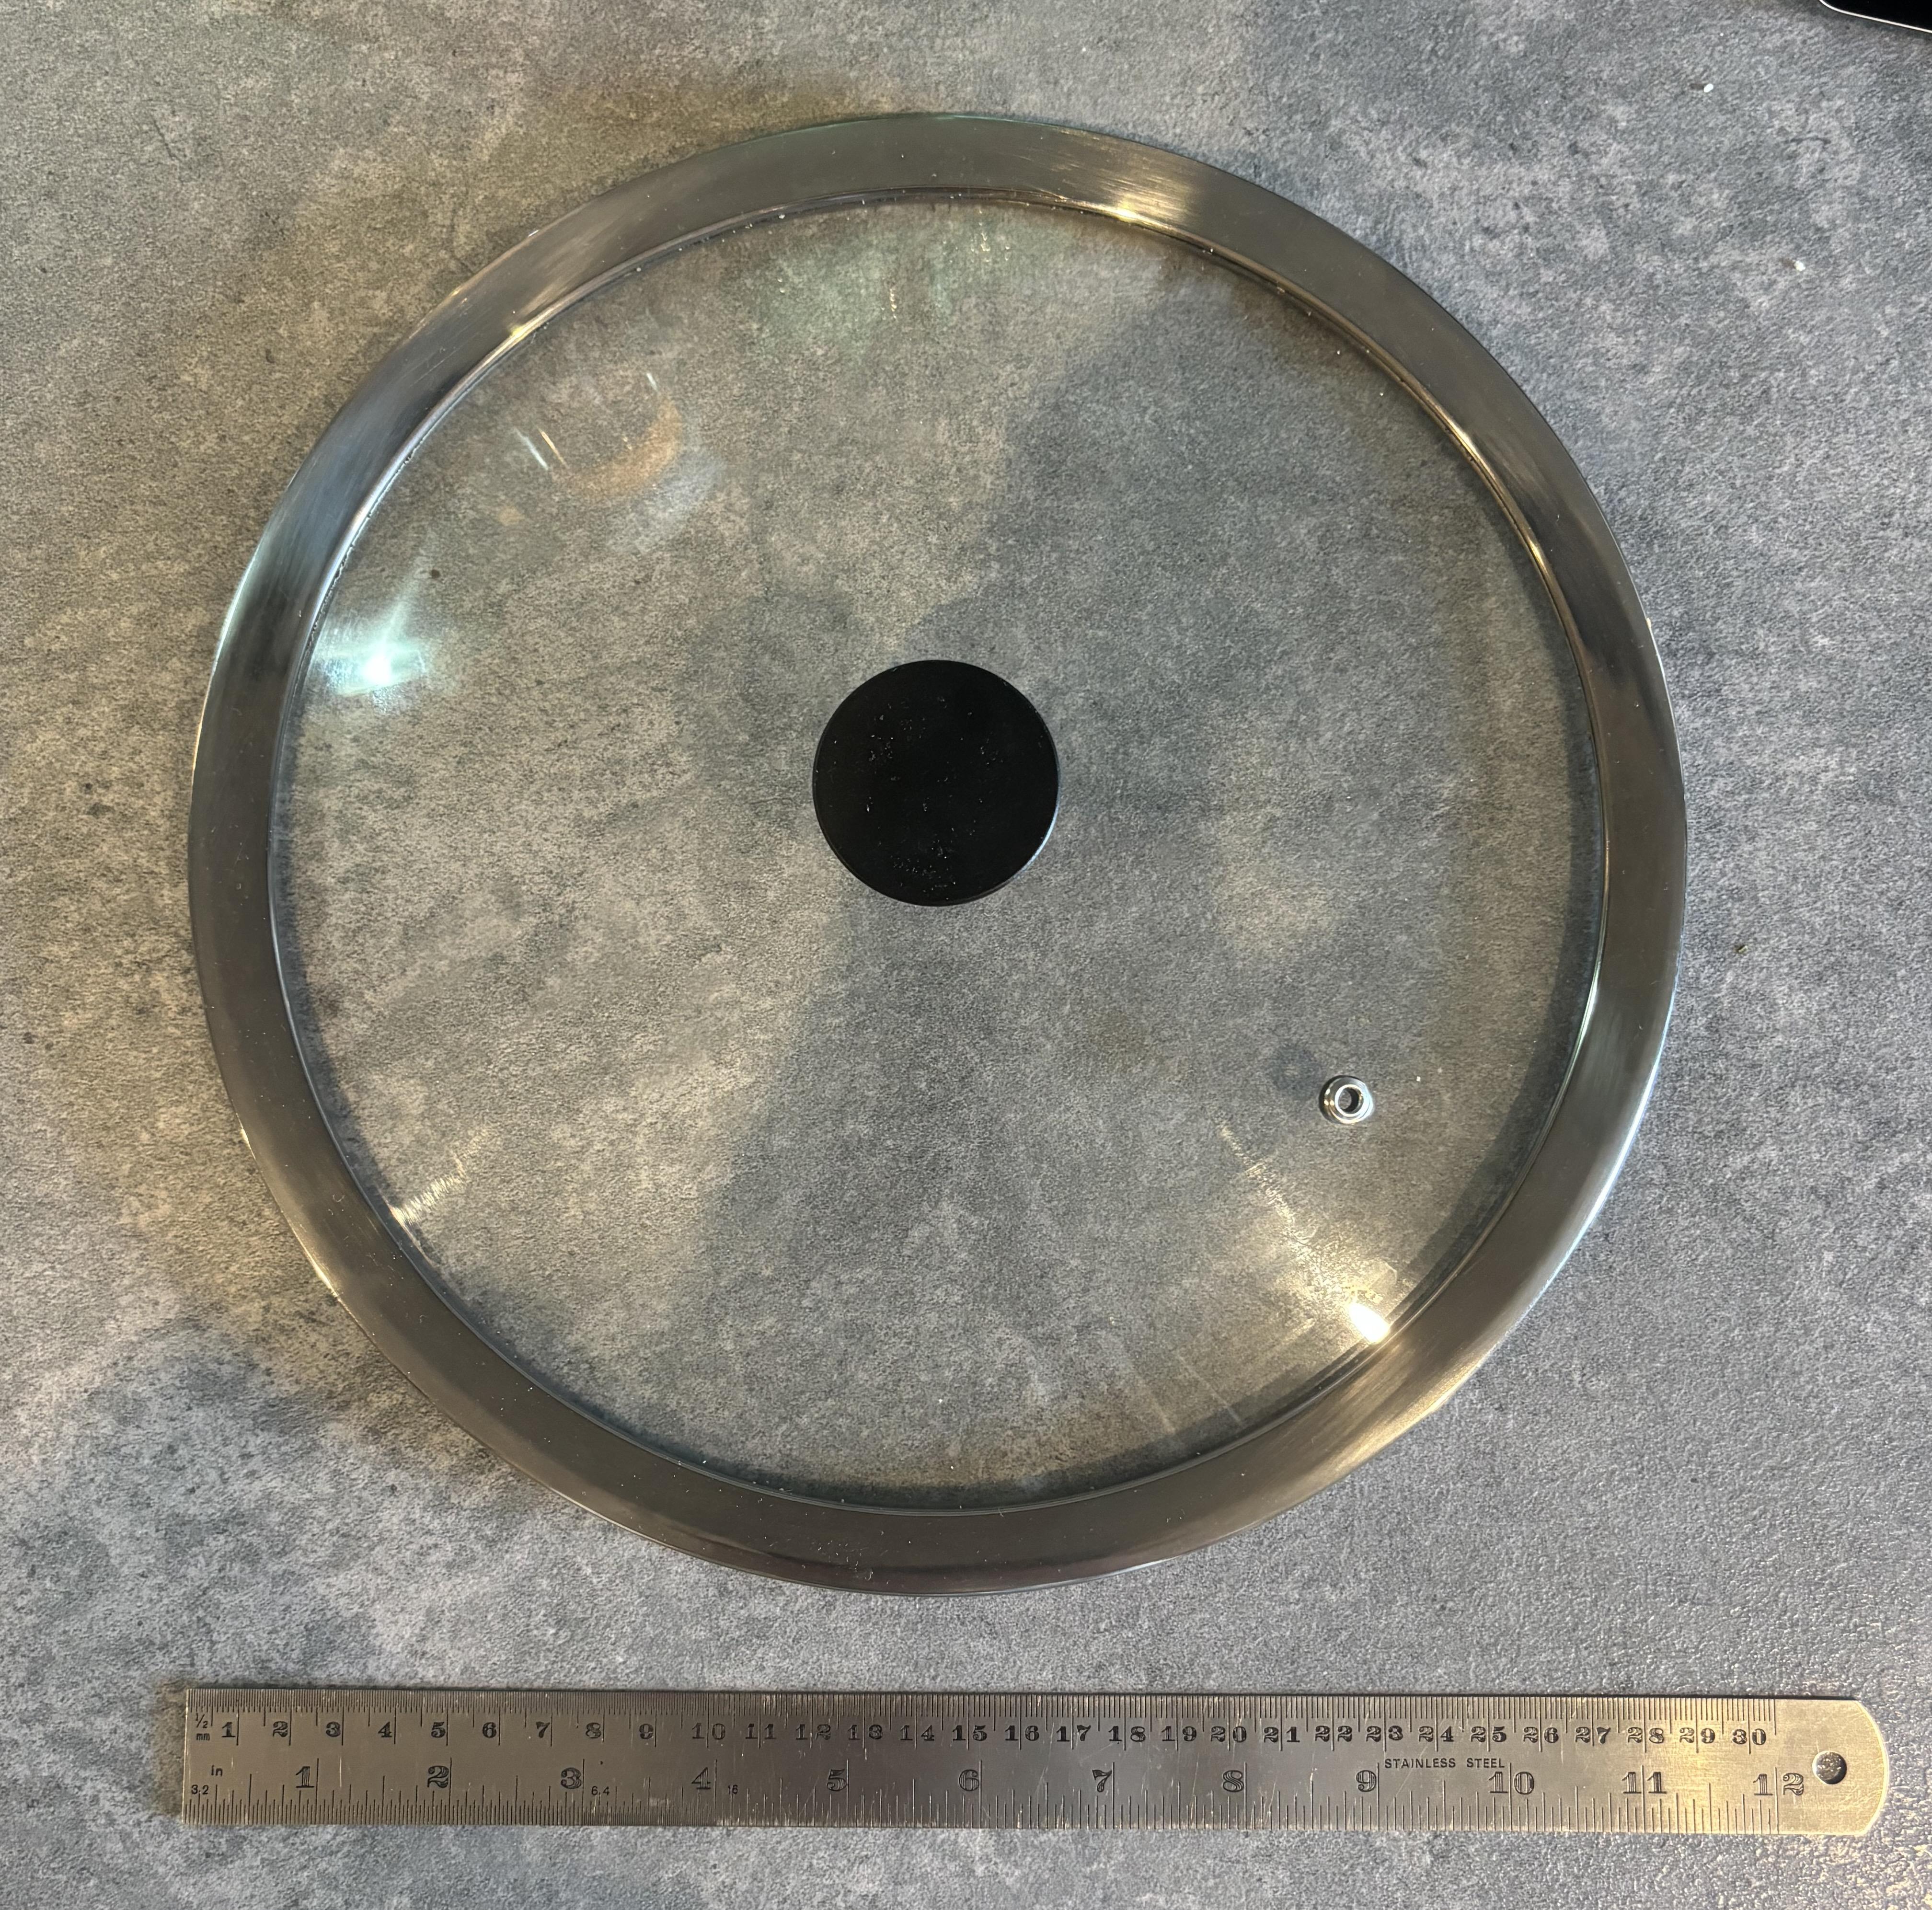


The first step was taking the dimensions of the lid; for this, I simply used a ruler. I then modelled it in Fusion 360. This is definitely overkill, the only critical dimensions are the thickness of the rim and the diameter, but I had some time to kill. It also allowed me to check everything was going to work before I even started printing.
To make the lid, I primarily used the revolve tool in Fusion and based the geometry of the rim, the glass and the handle, off one sketch, and the air hole on another.
Modelling
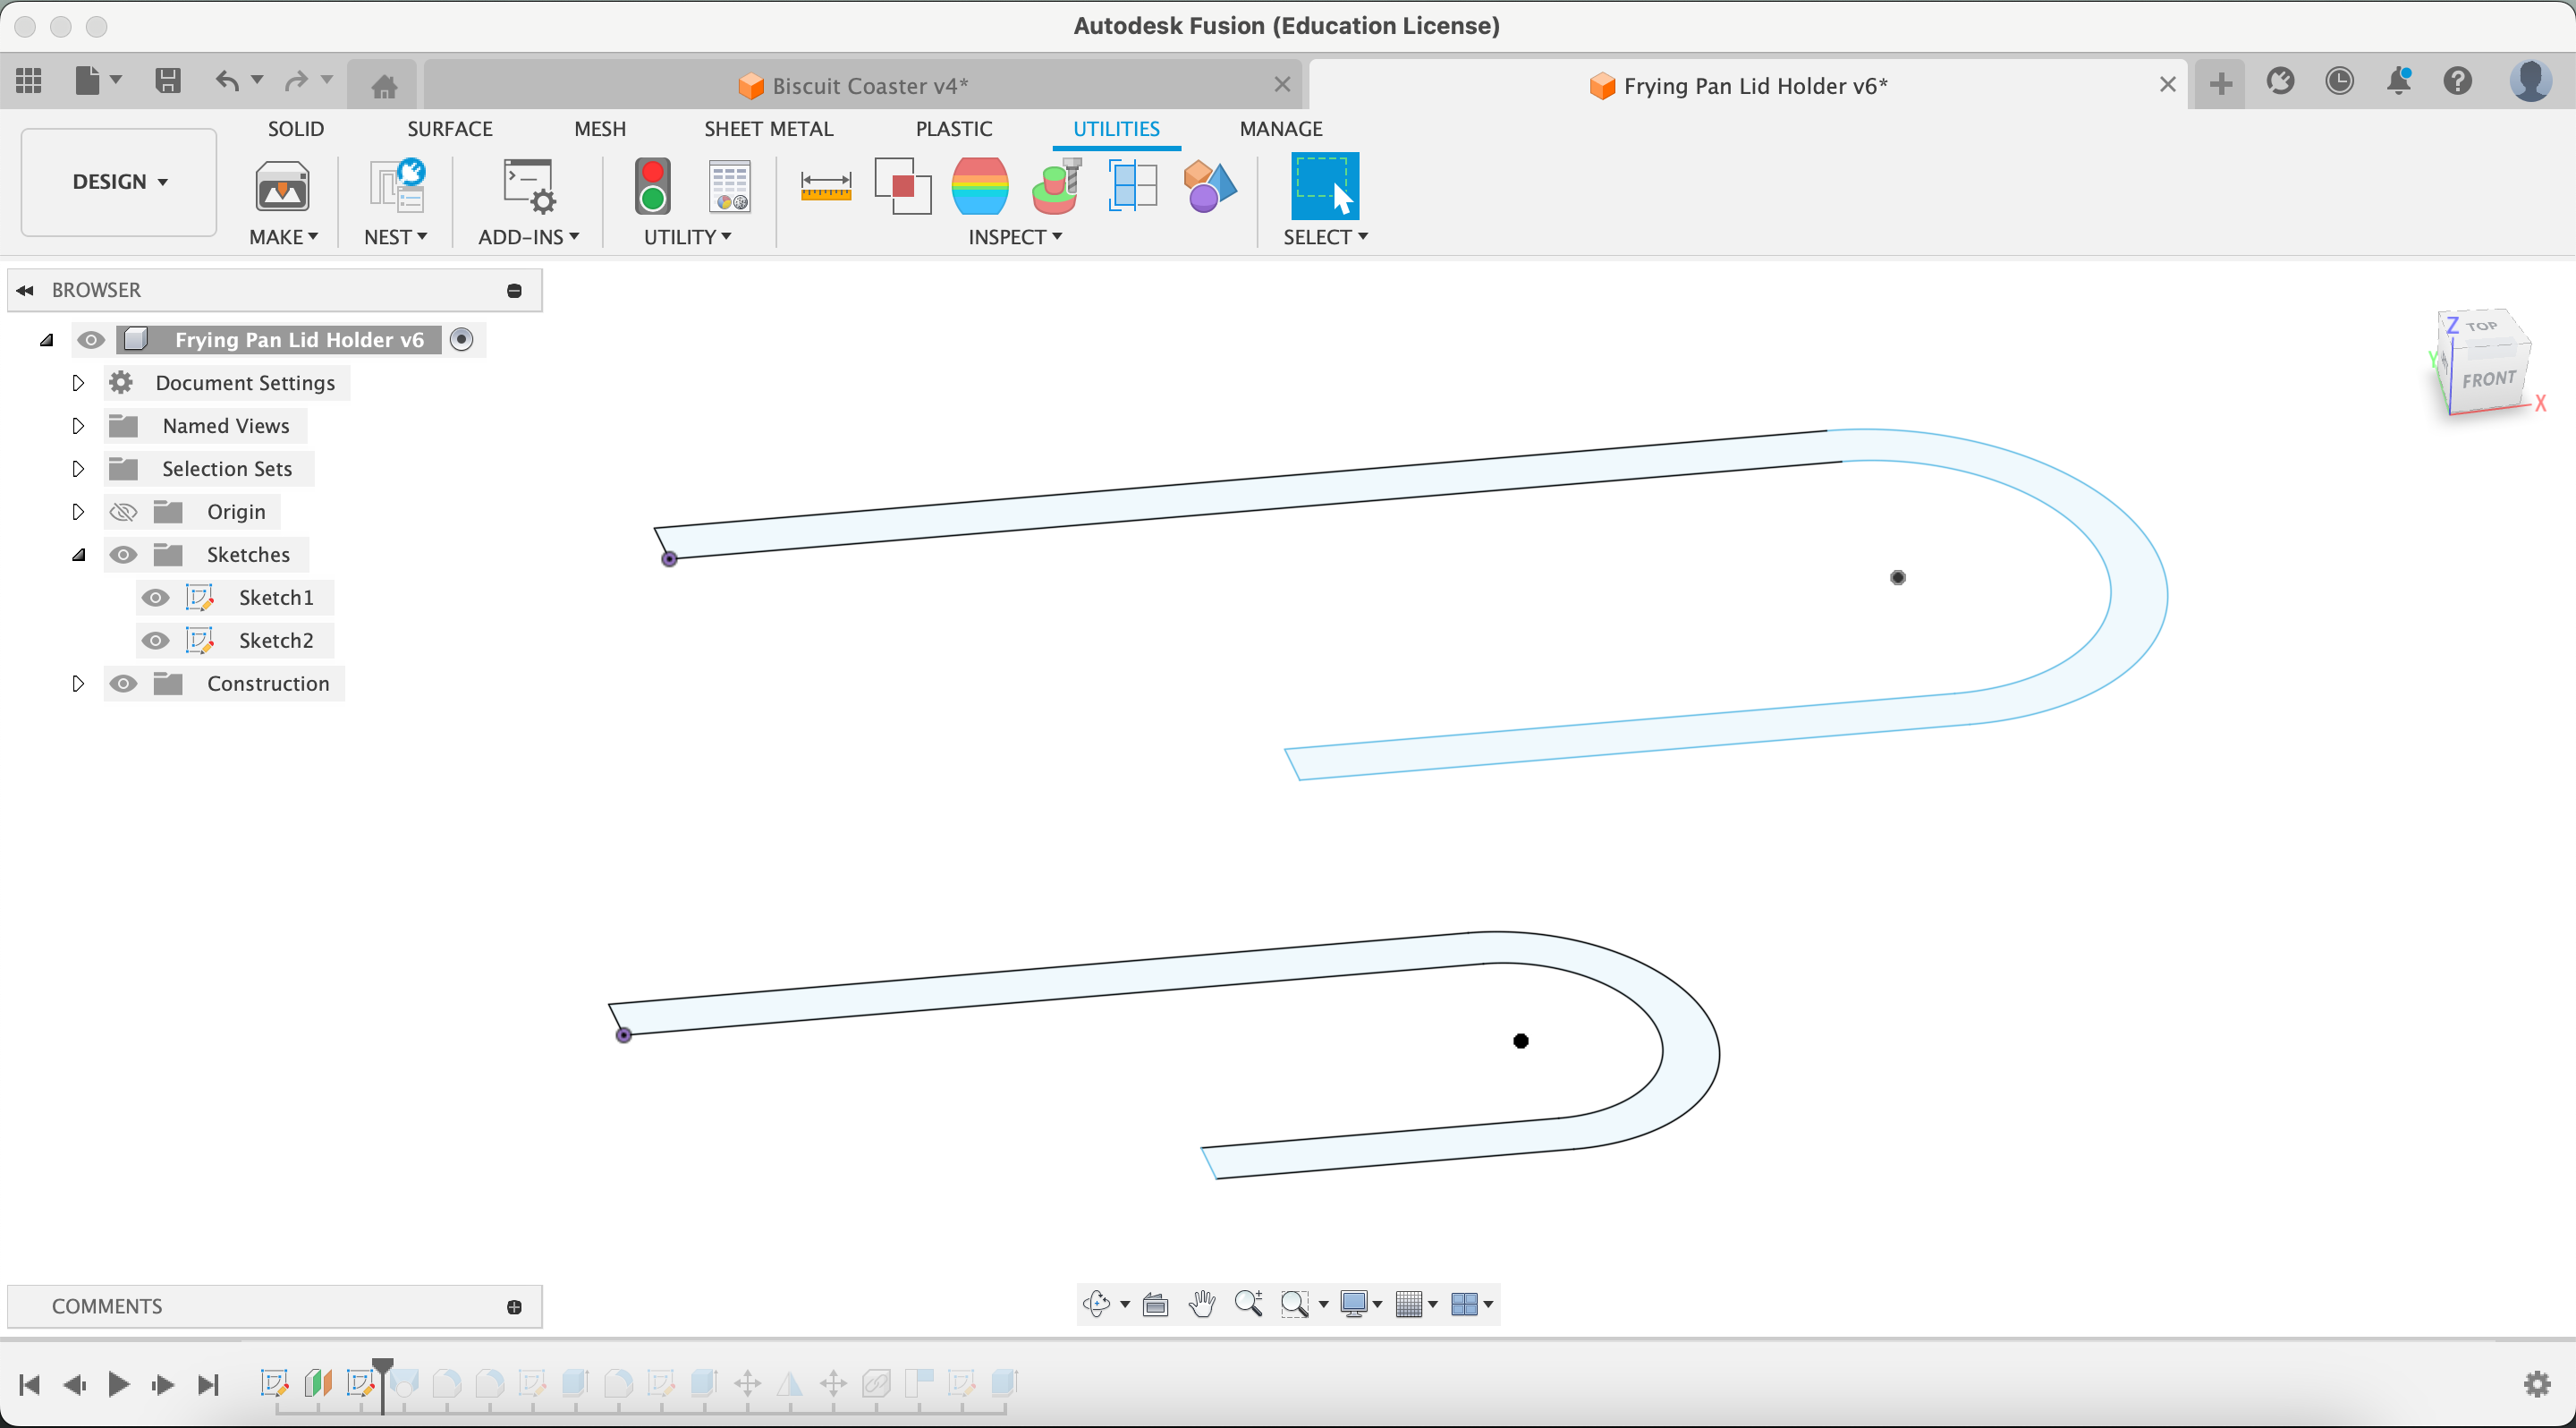
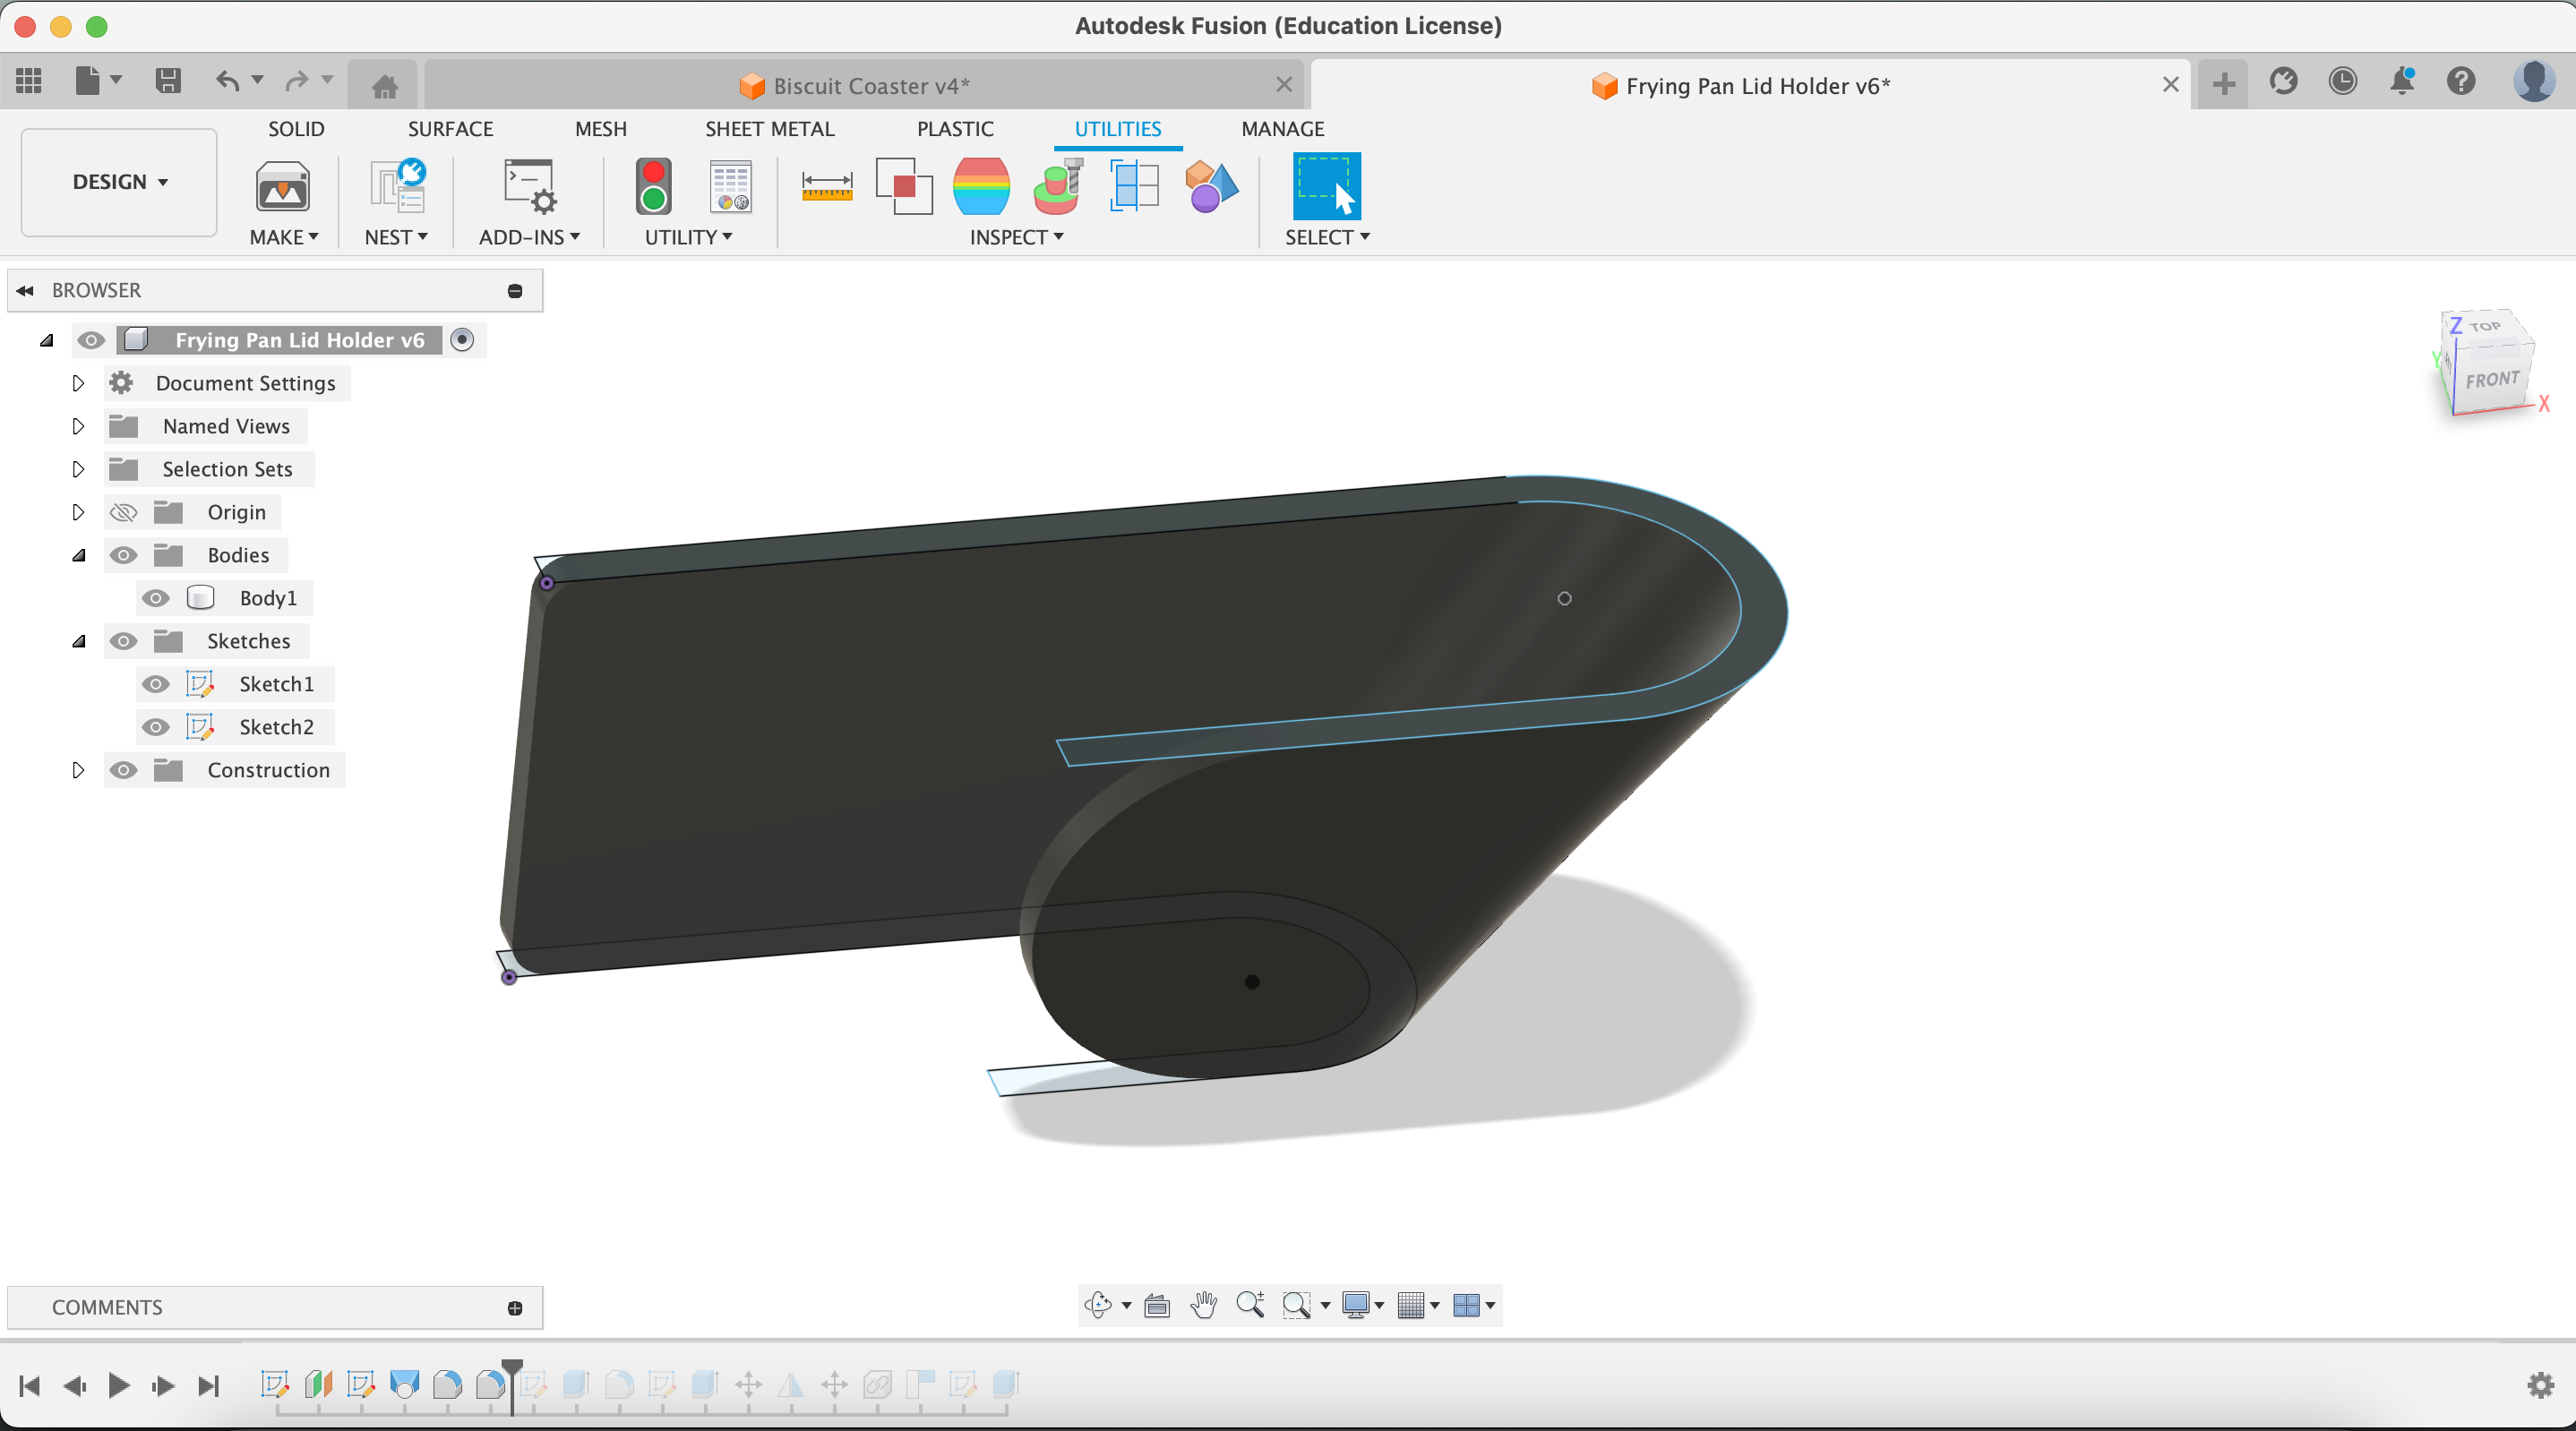
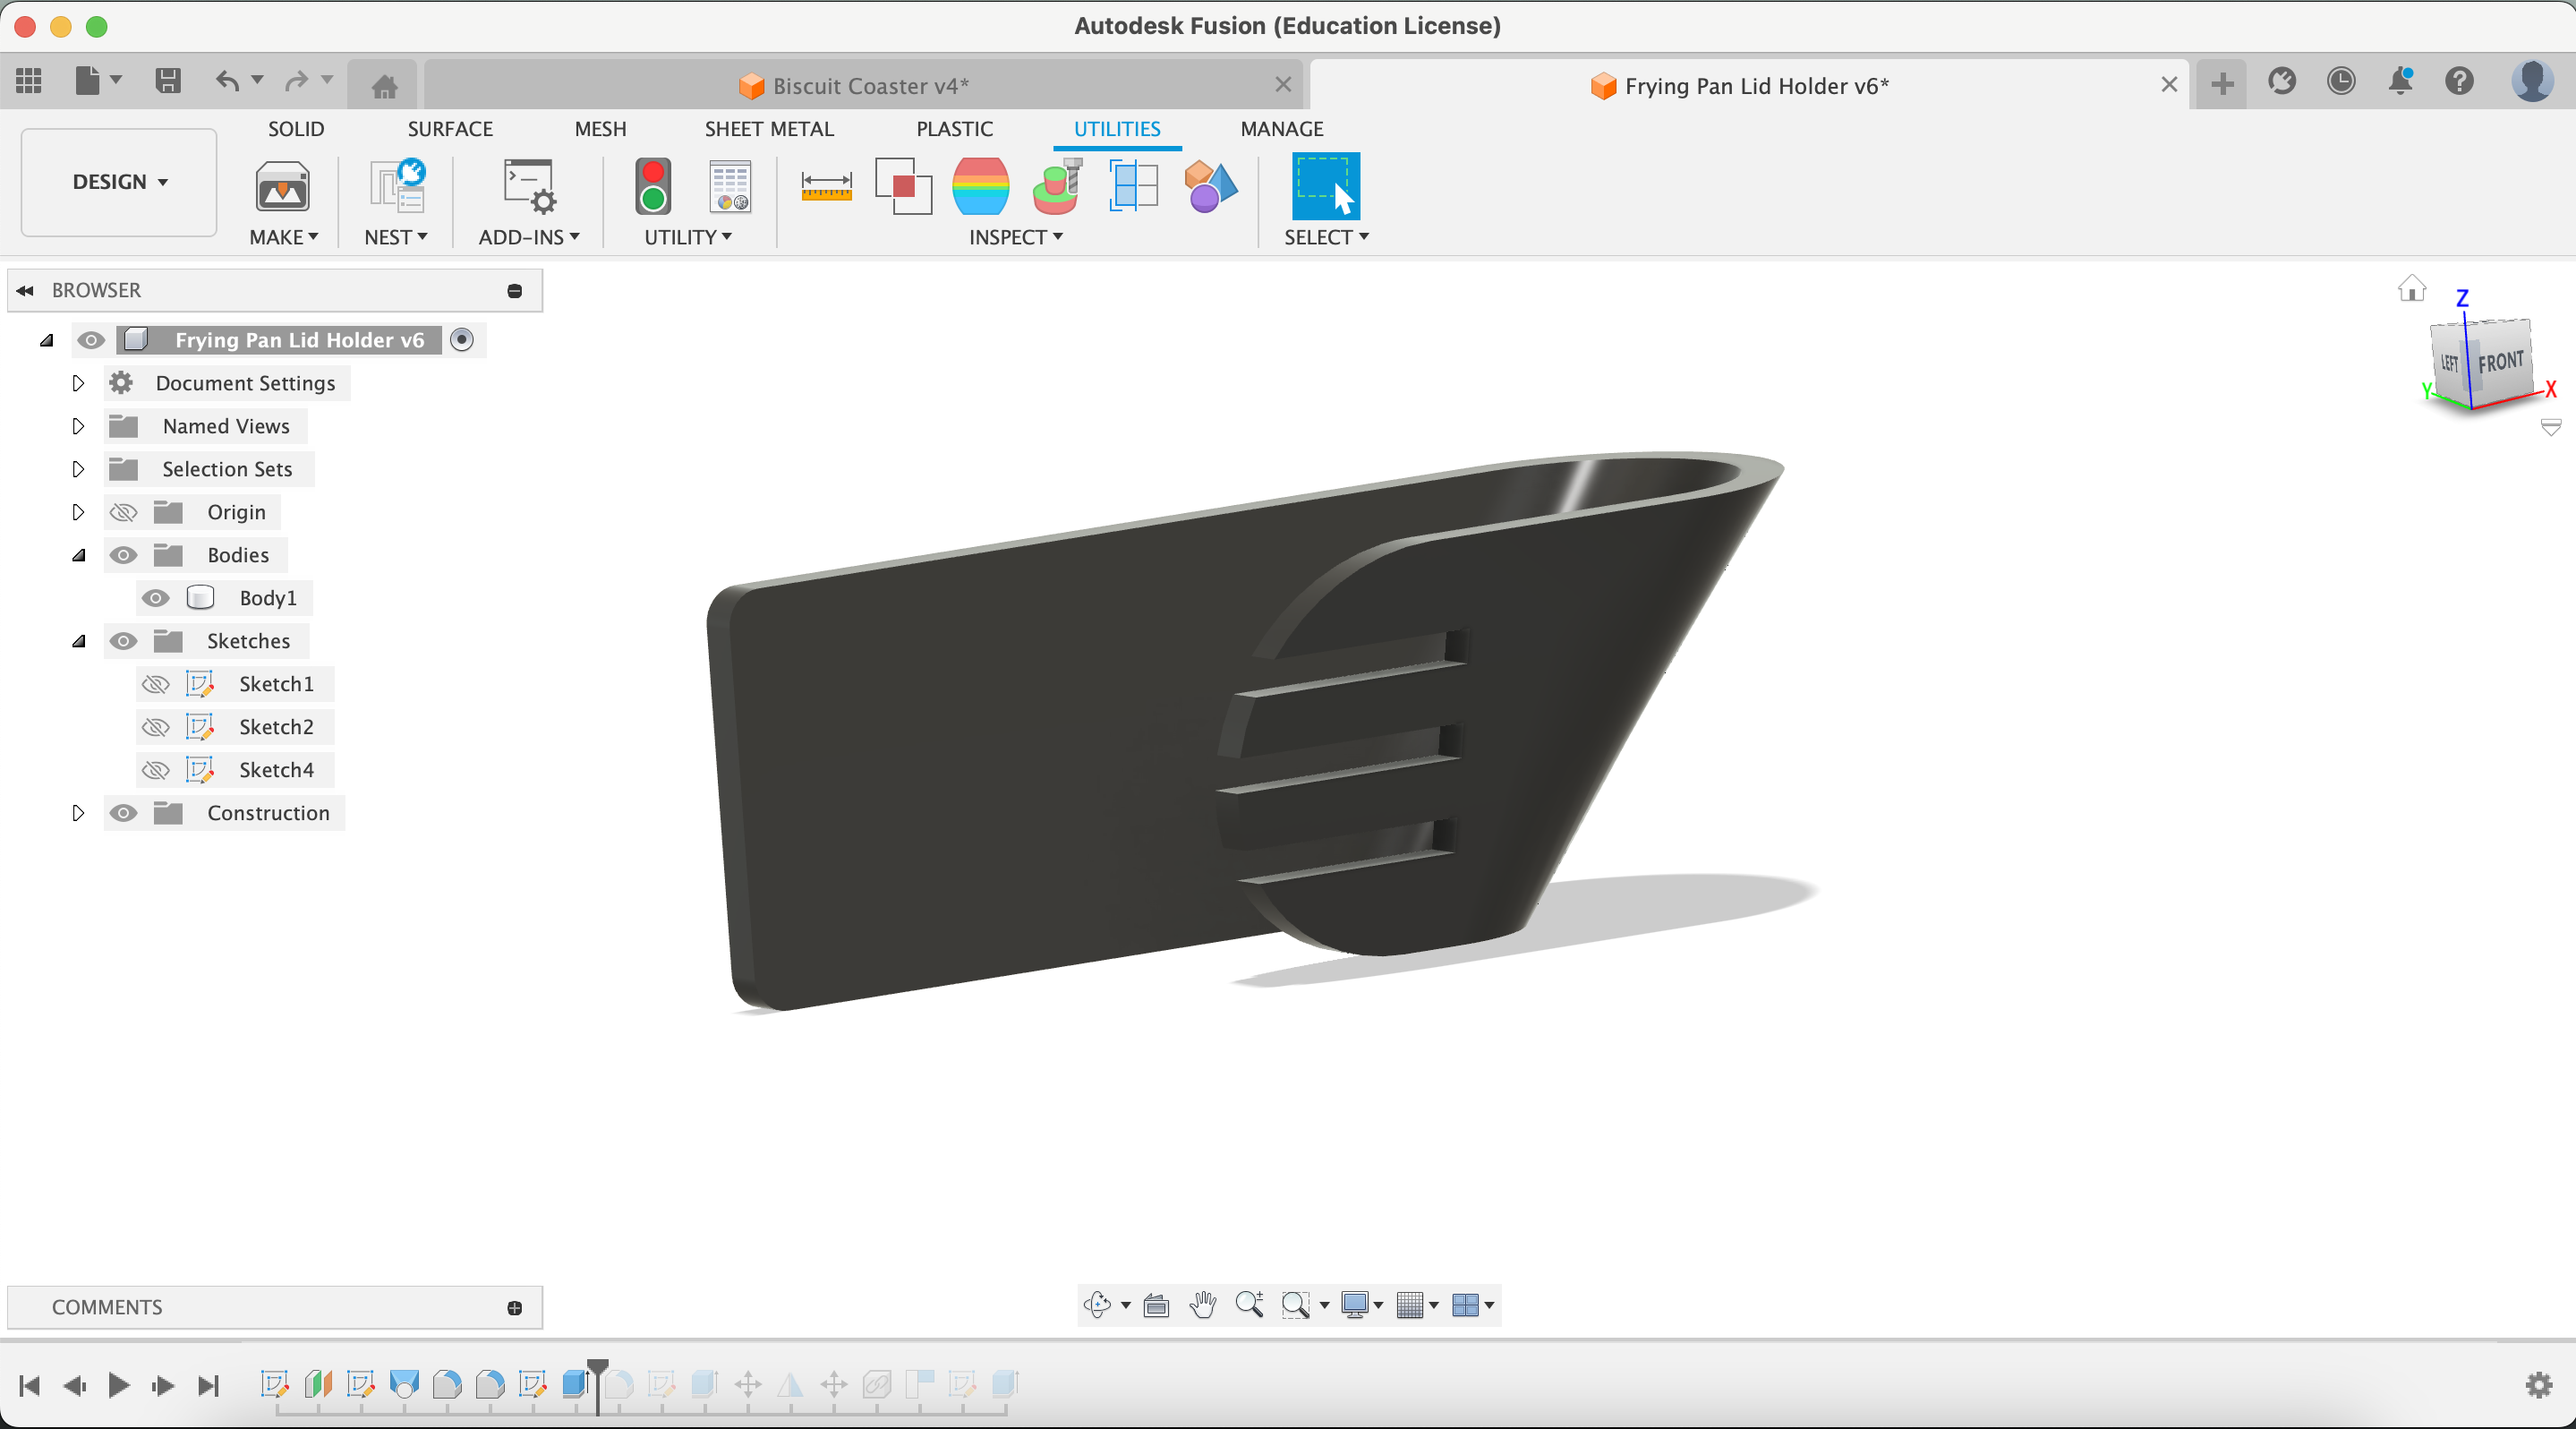
To model the actual parts, I first went online to see some other designs. Once I had a pretty good idea of what I wanted, I started modelling.
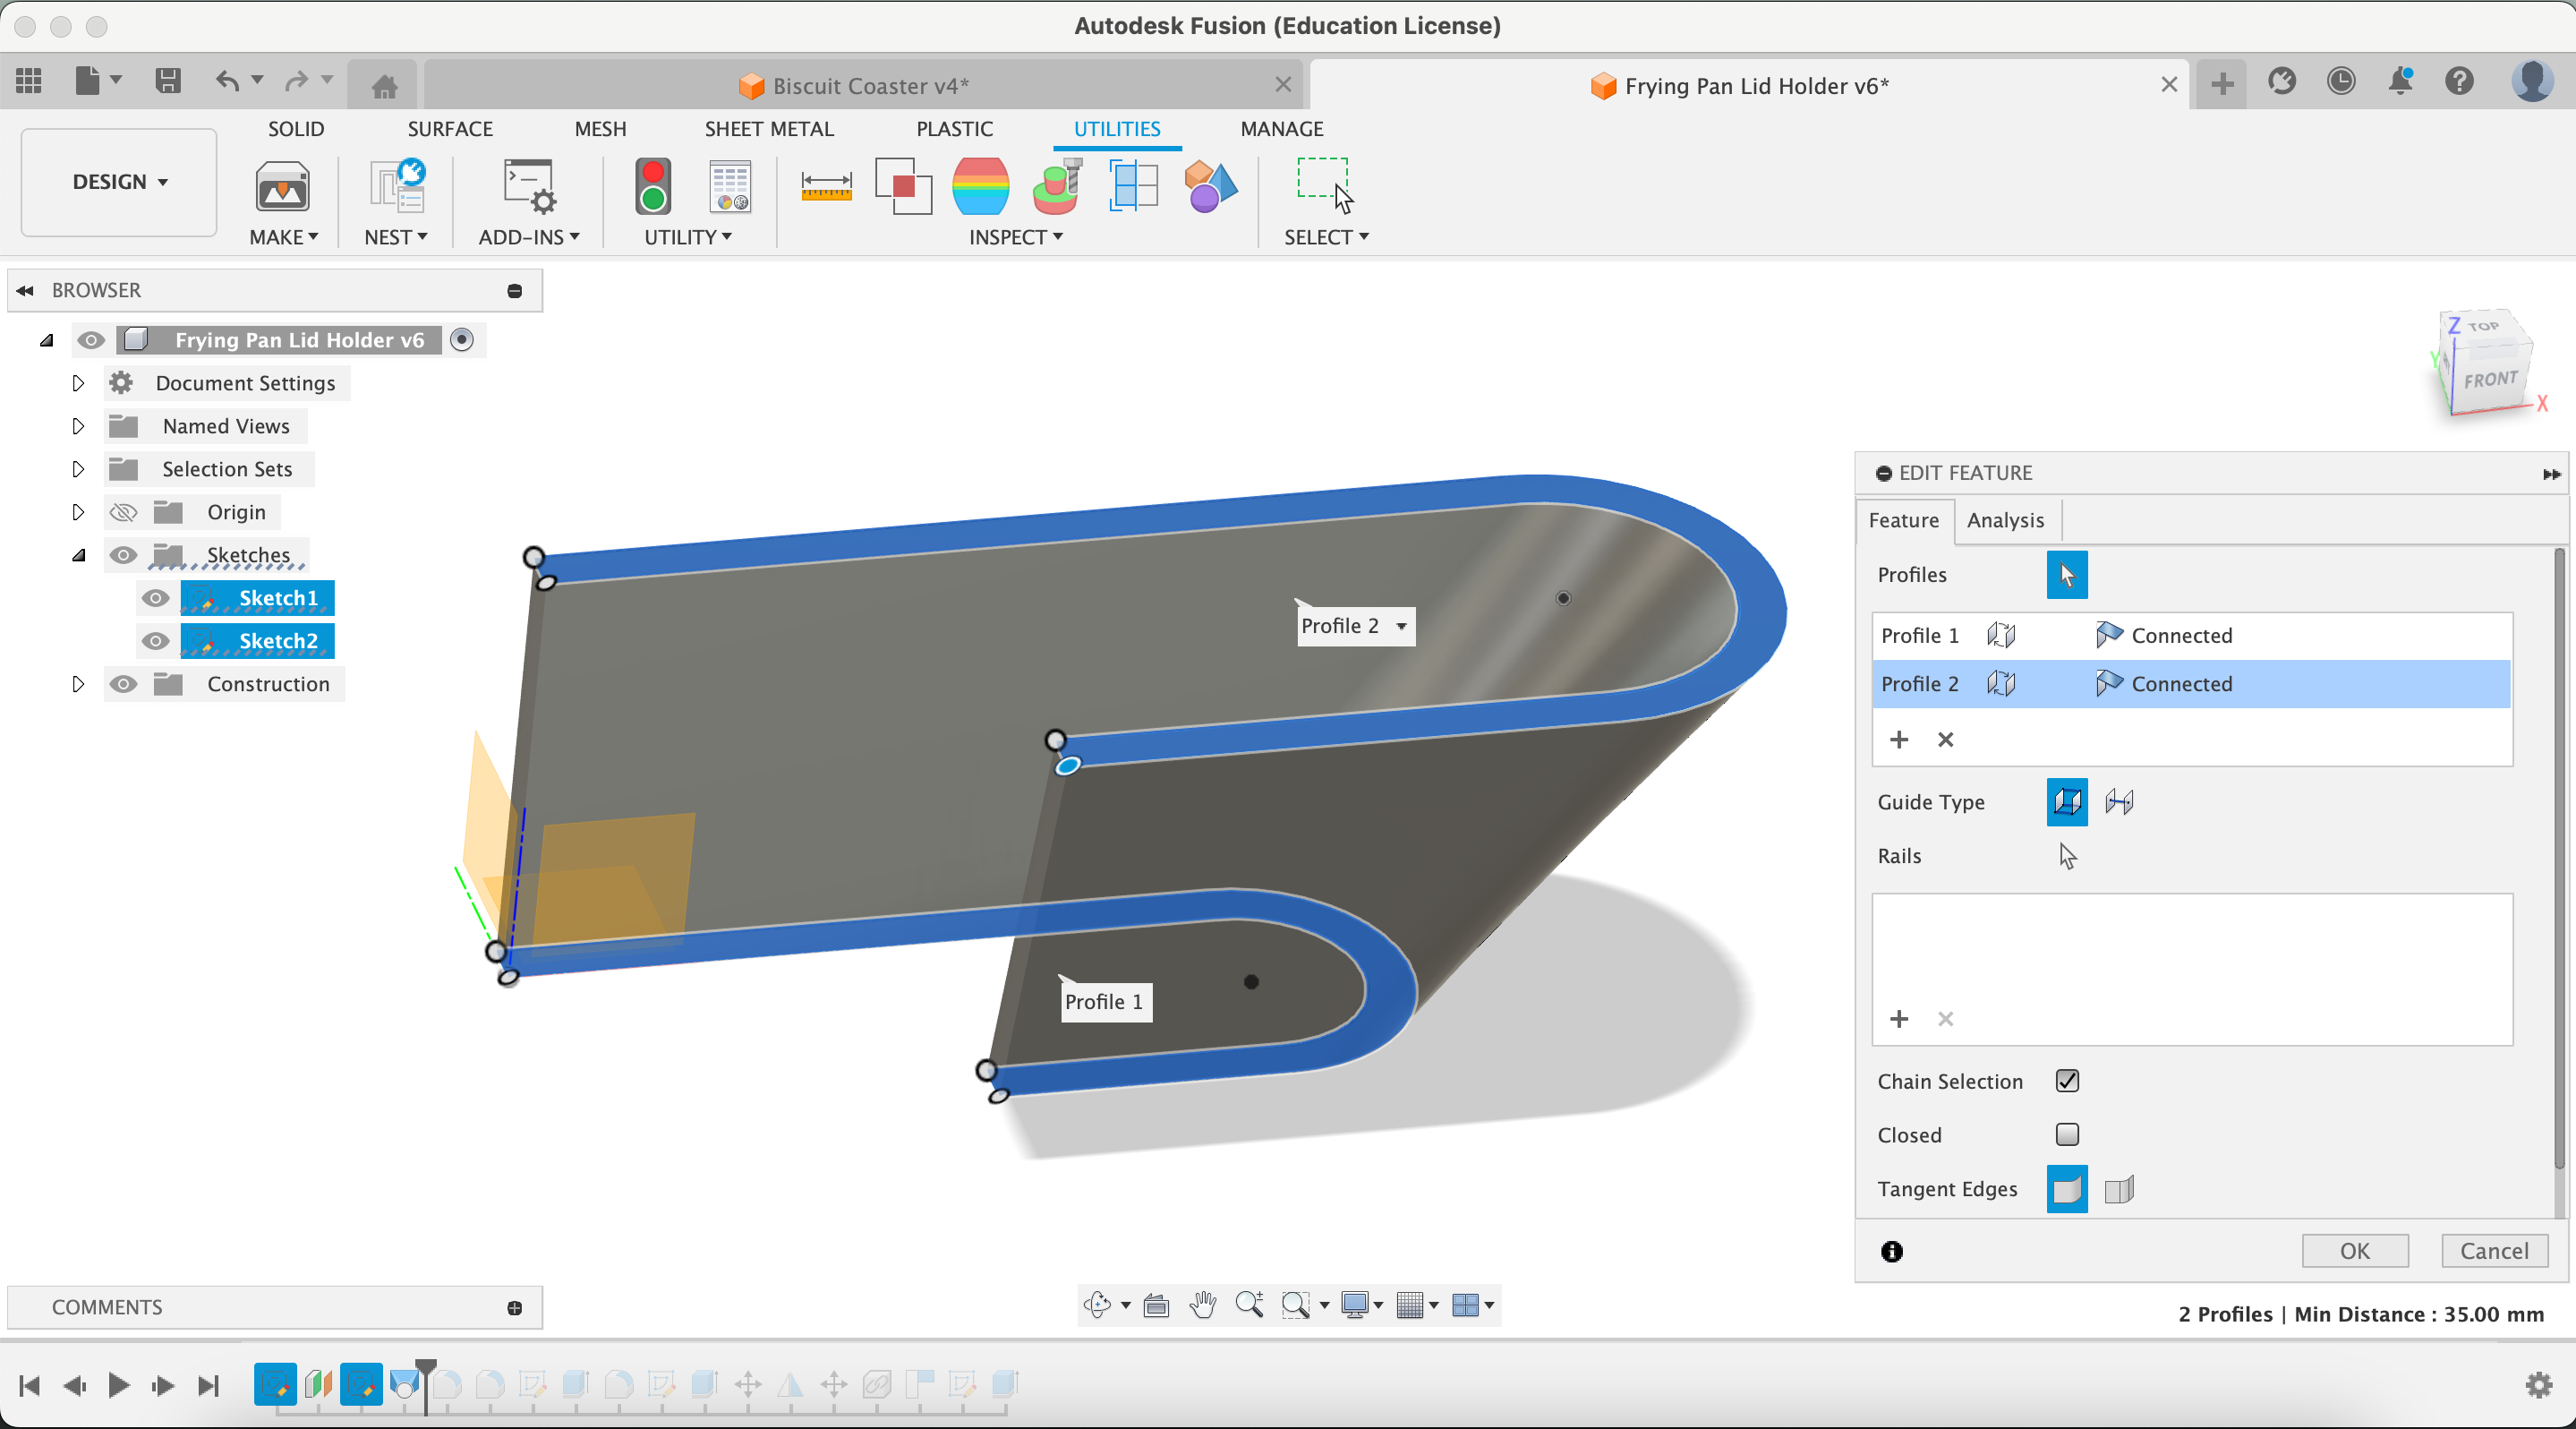
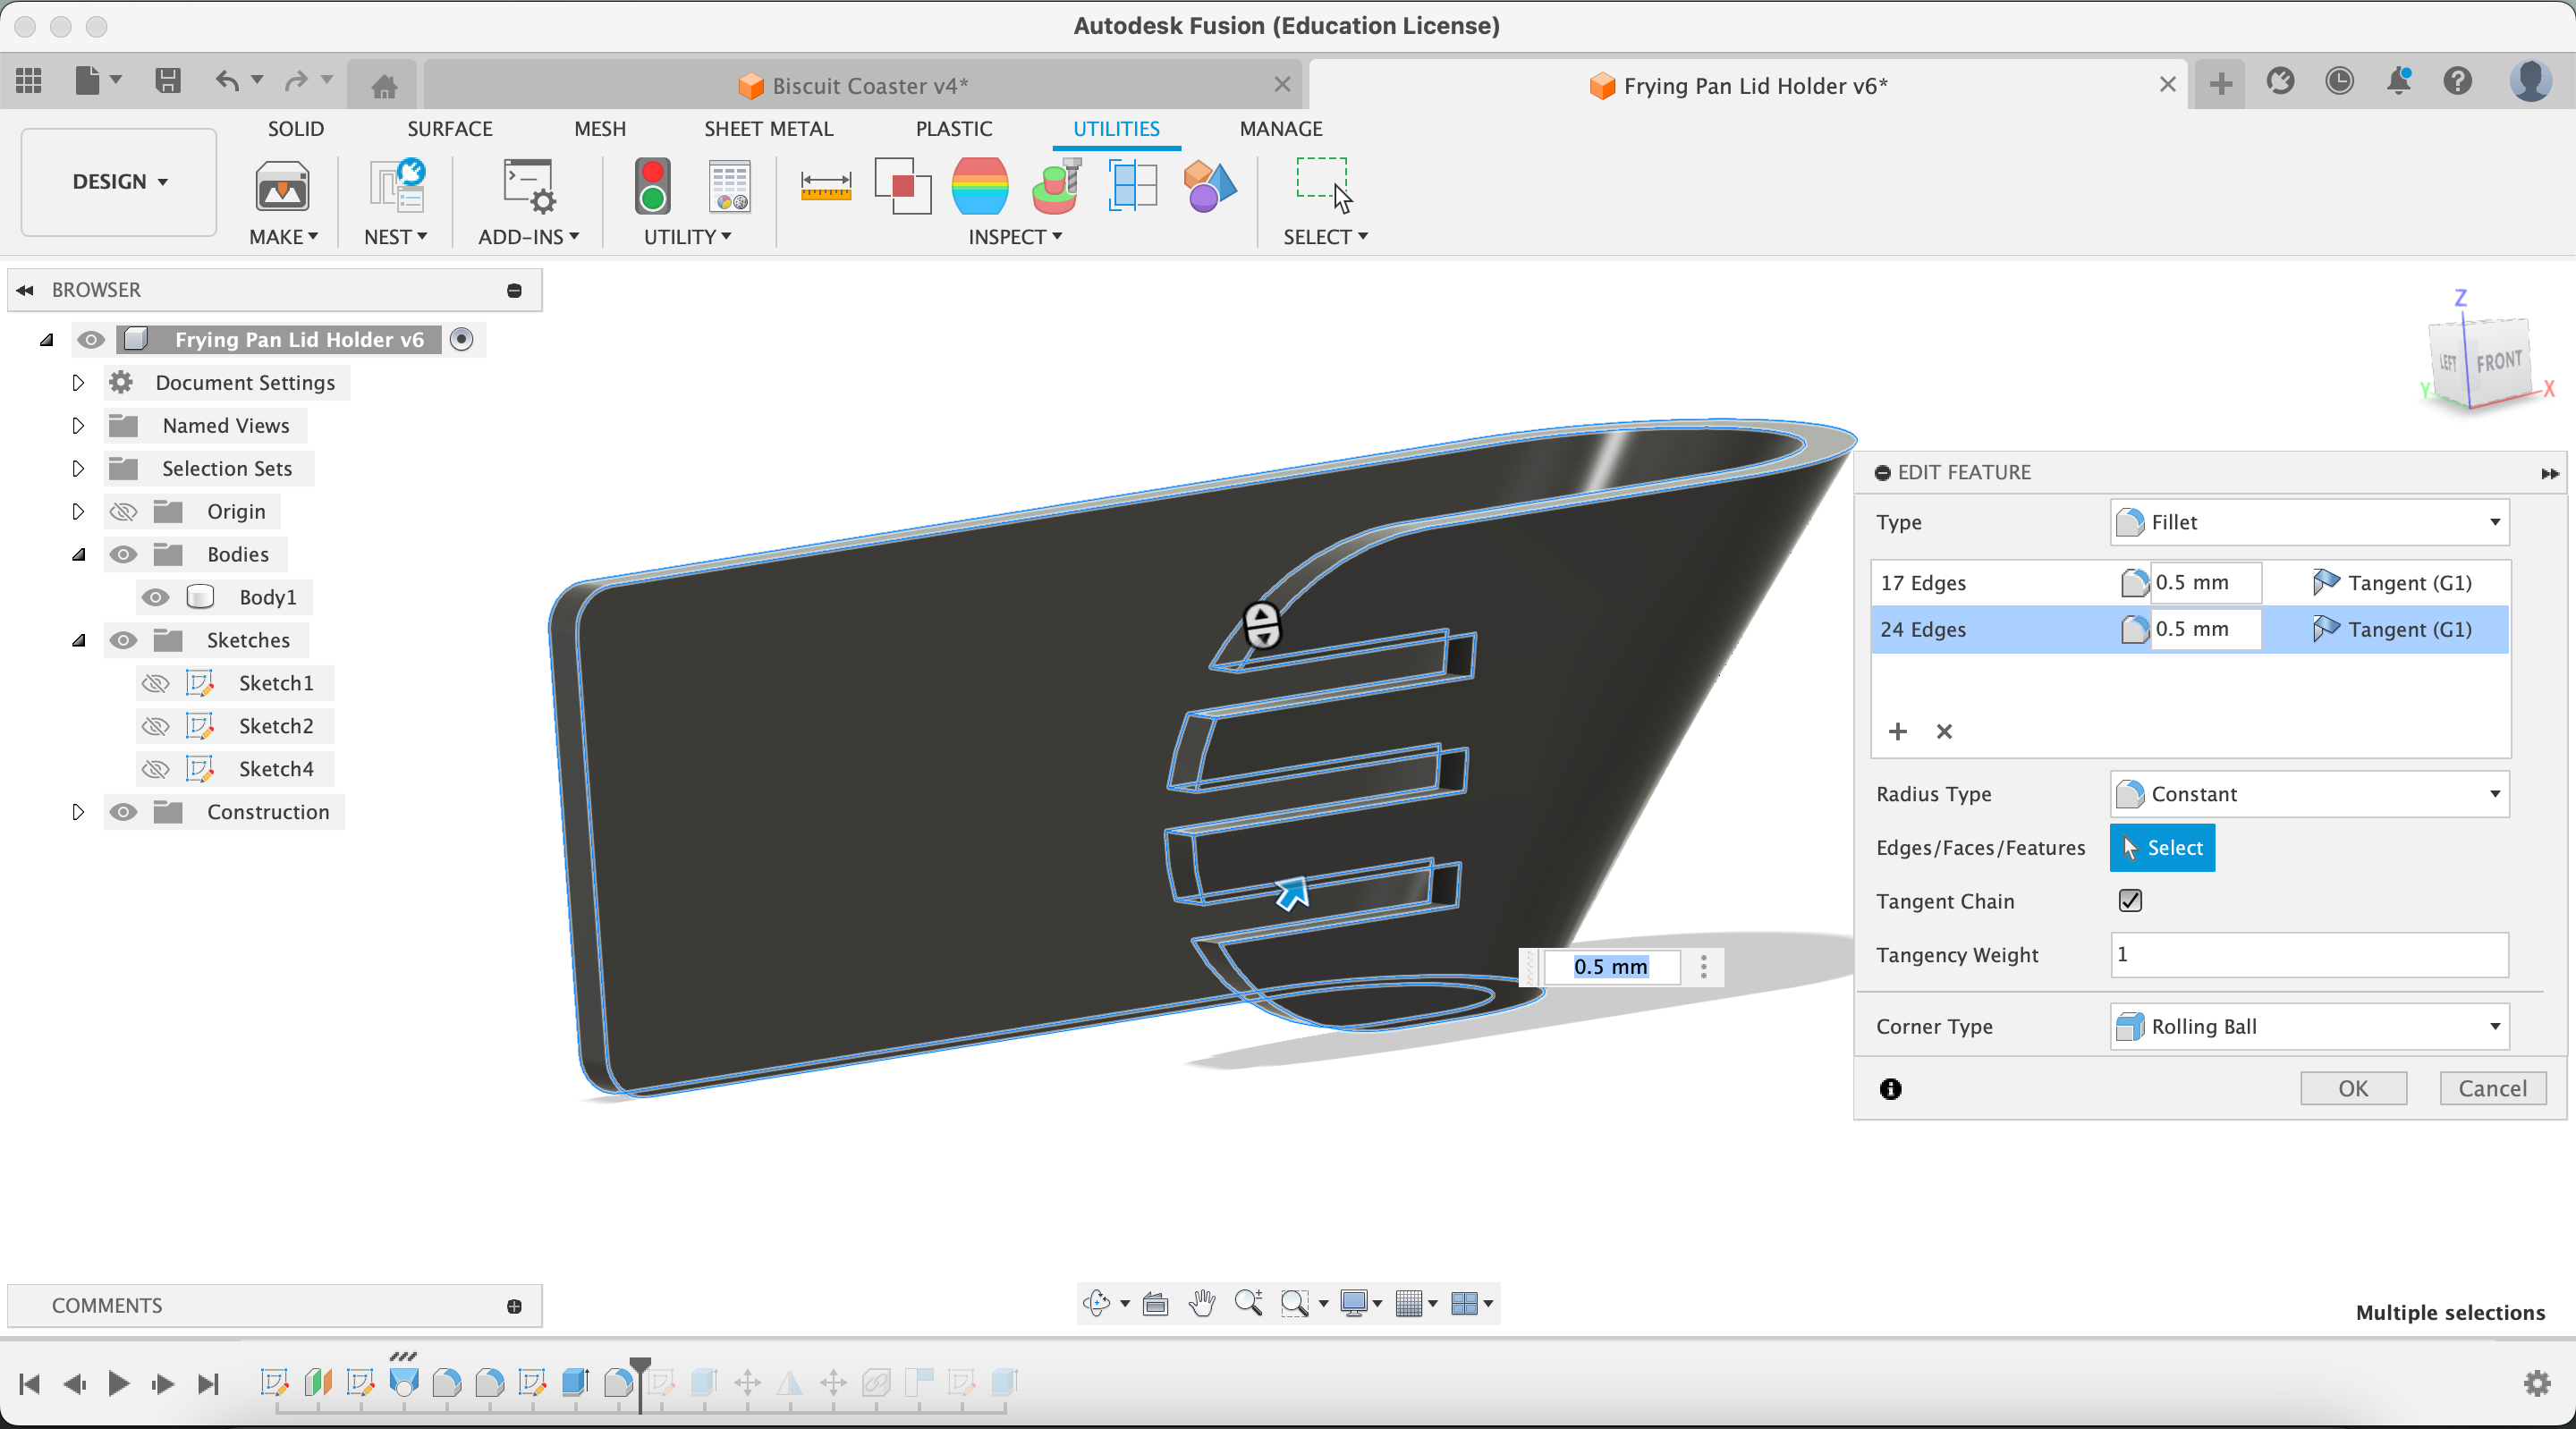
I made two sketches, one of the bottom of the holder, and one of the top; I then used the loft tool to connect them. I then rounded over the edges on the ends of the piece using the fillet tool, then I added some cutouts to make it a bit more interesting. Then, I added a 0.5mm round over to all the edges to soften them.
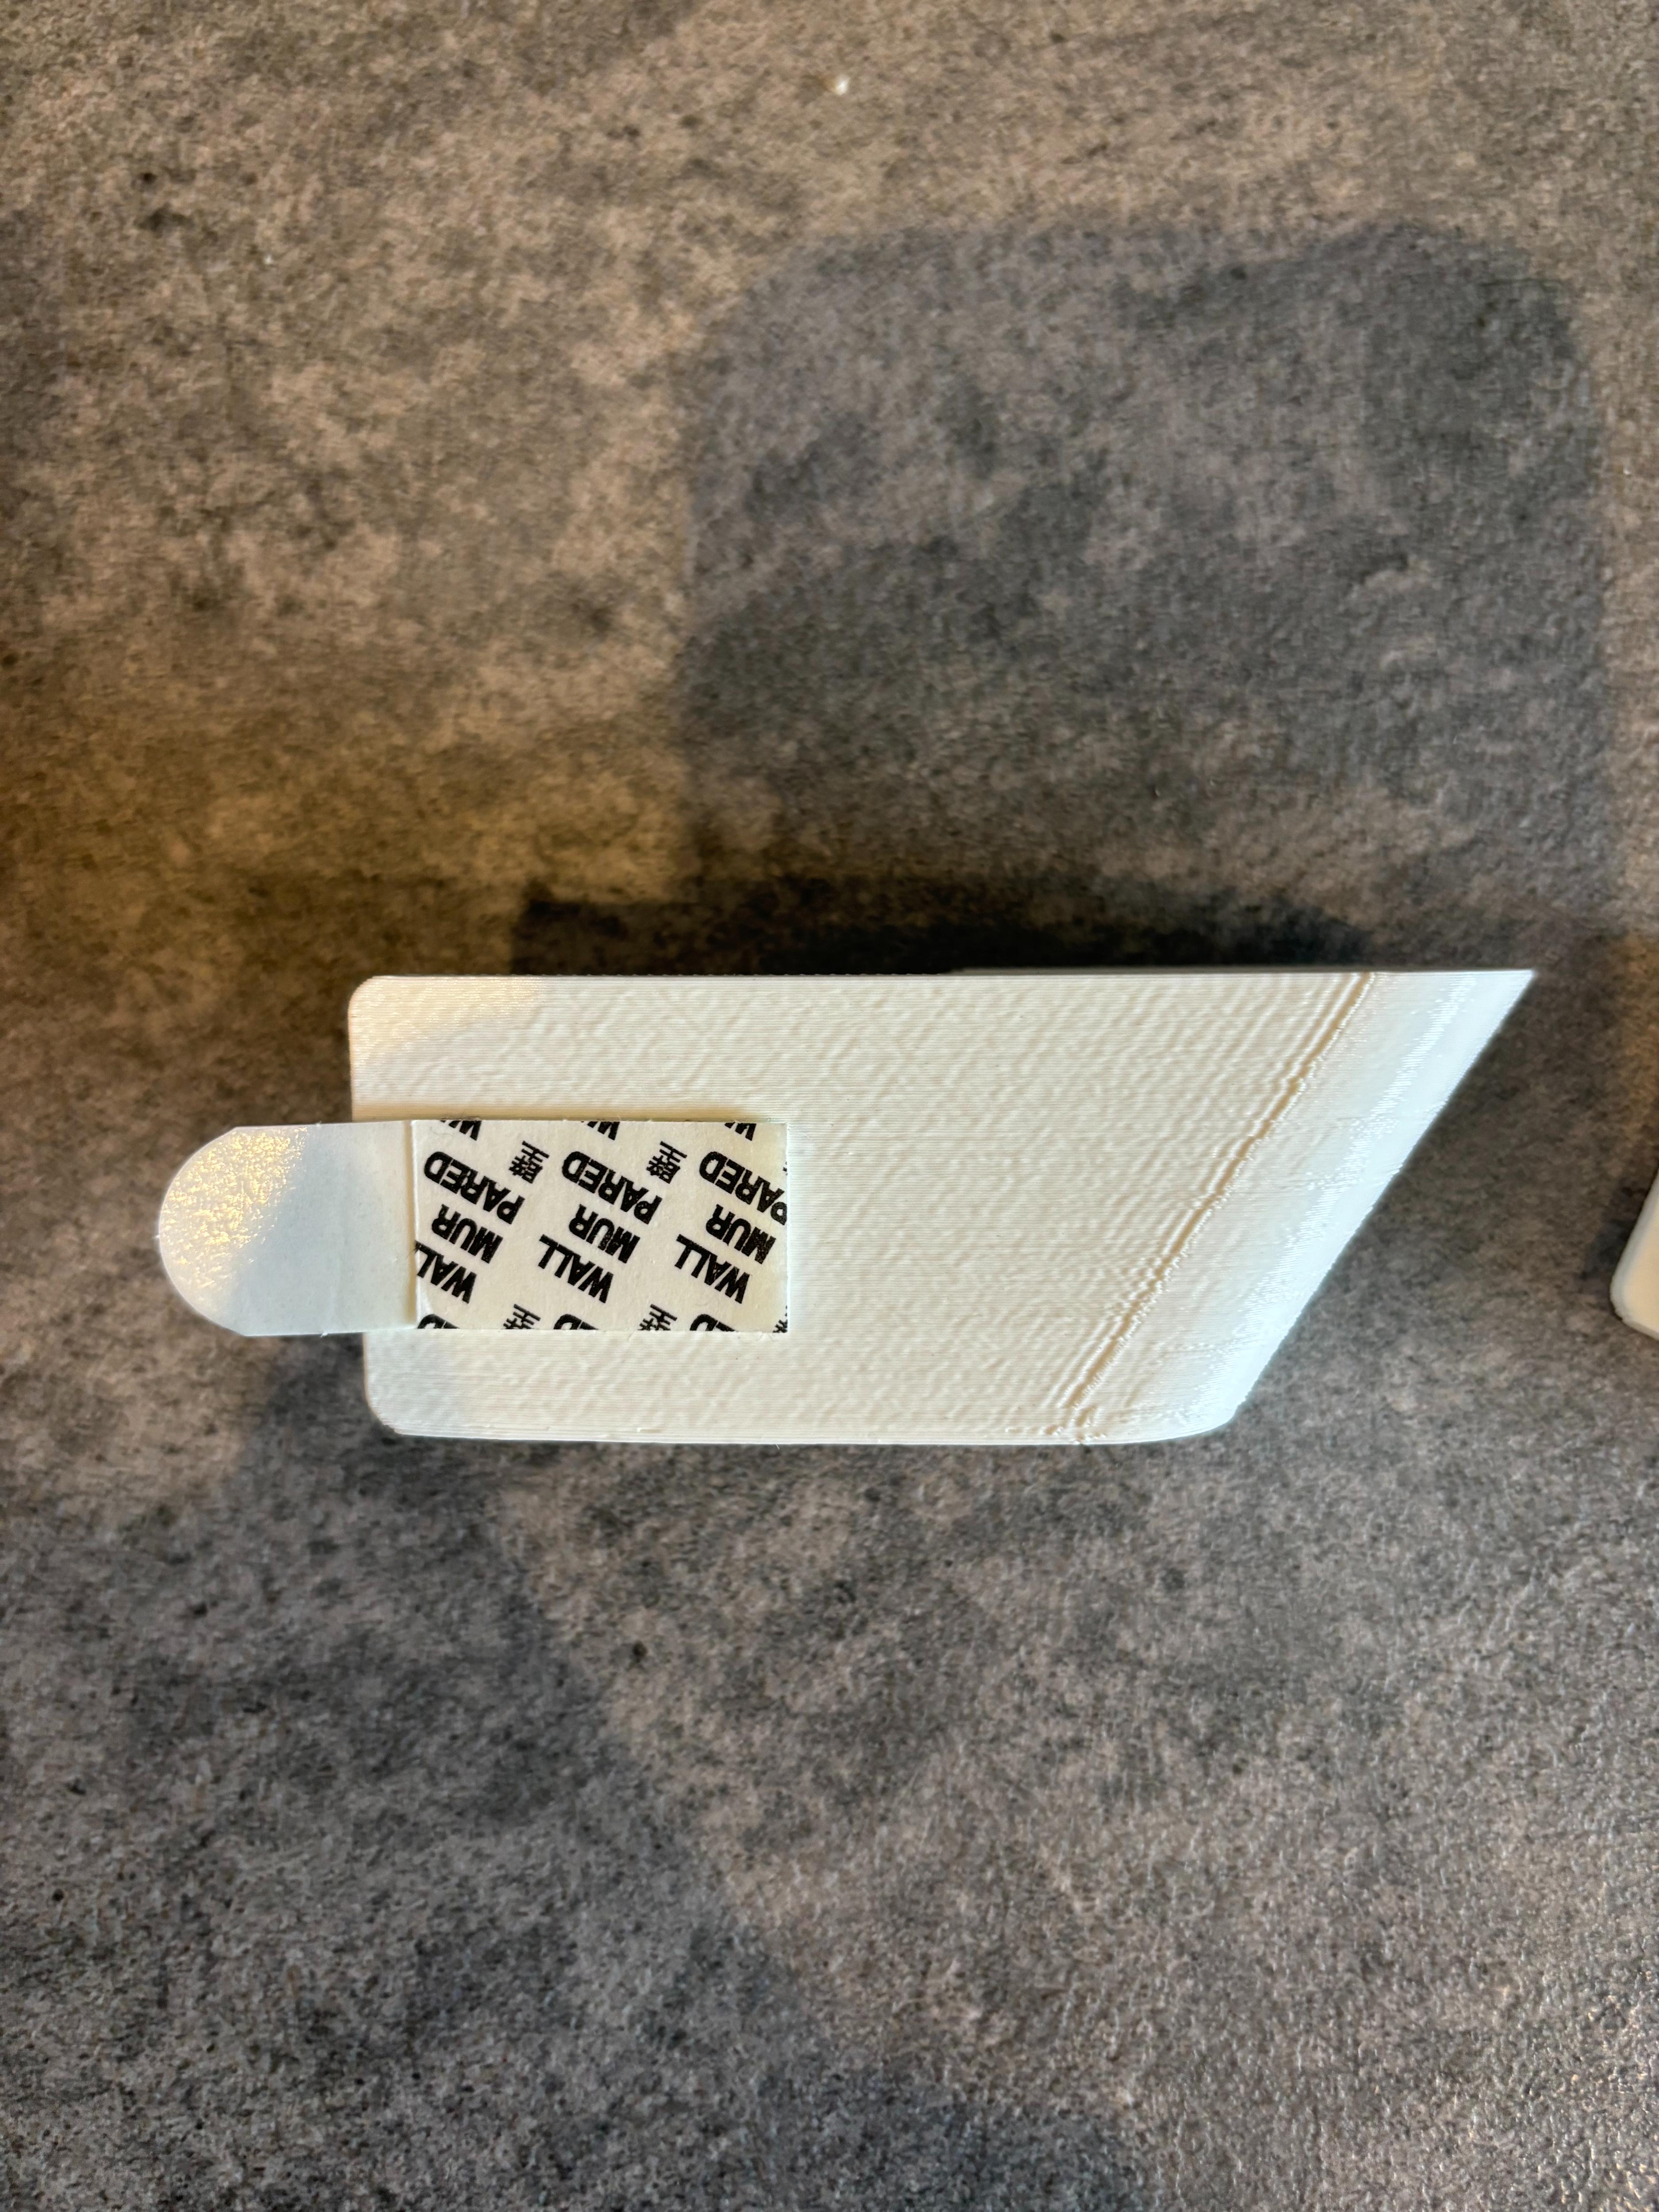
I chose not to add any screw holes as I am currently renting, so I will be using command strips to attach them instead.
Printing
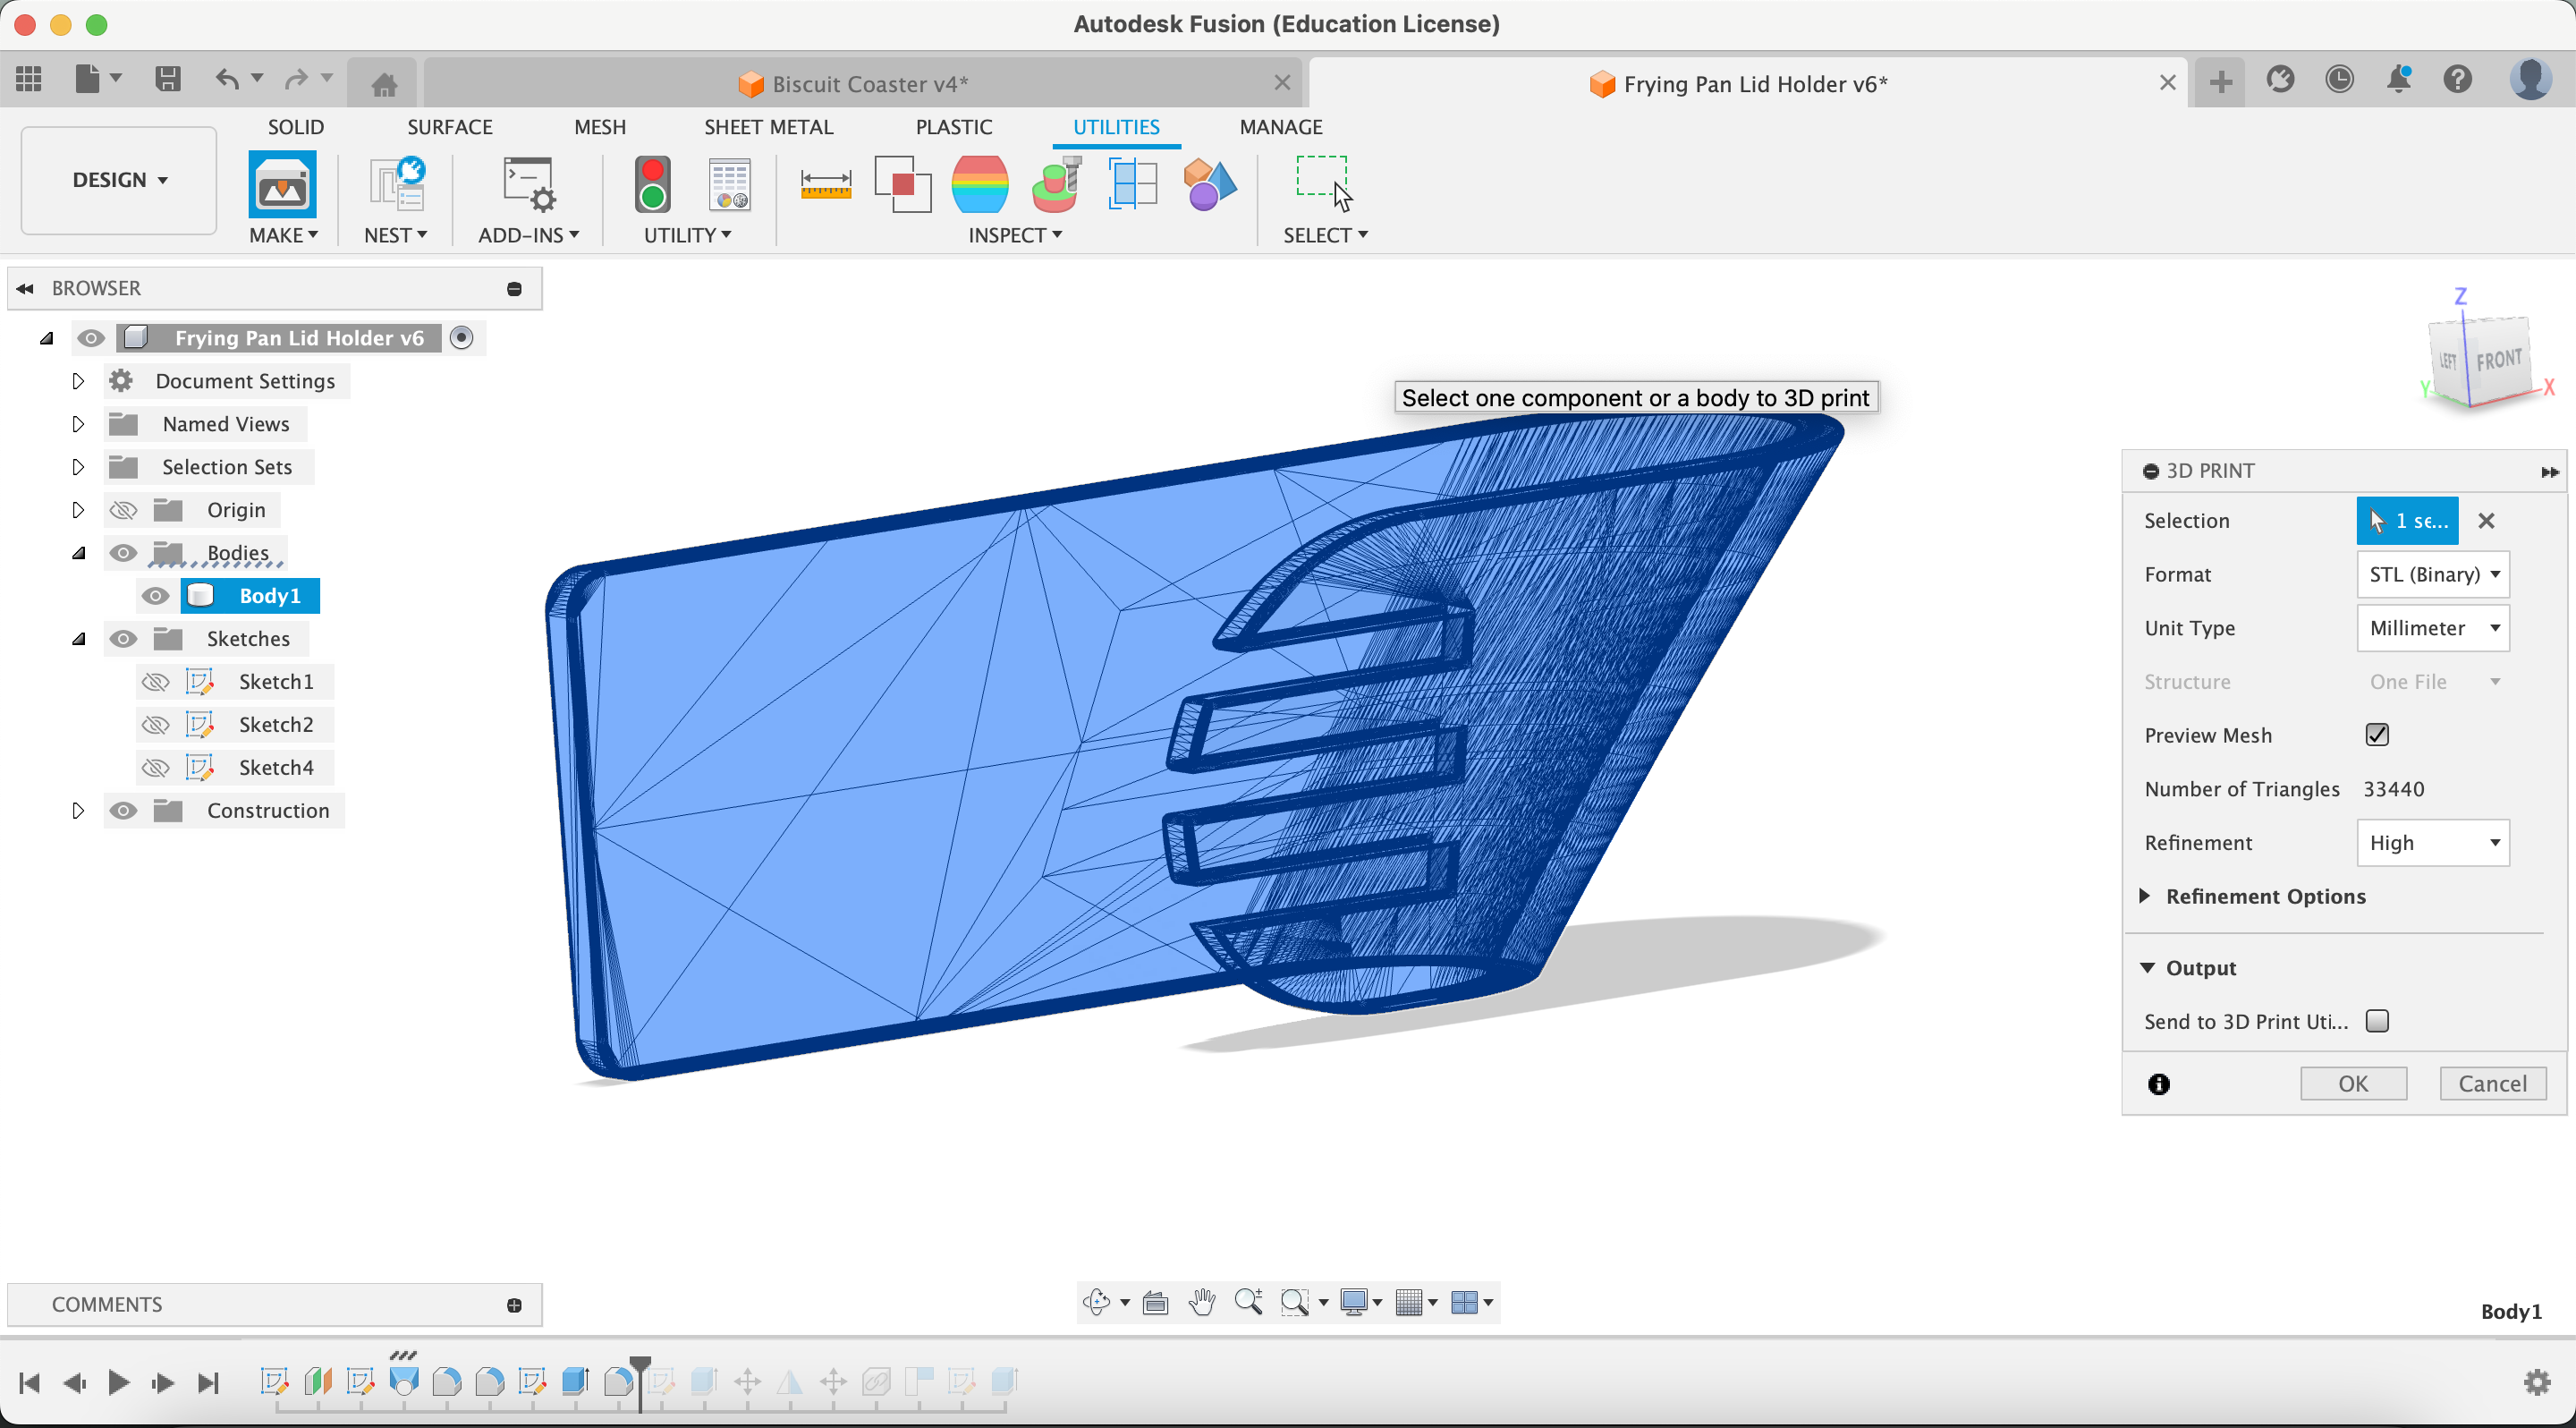
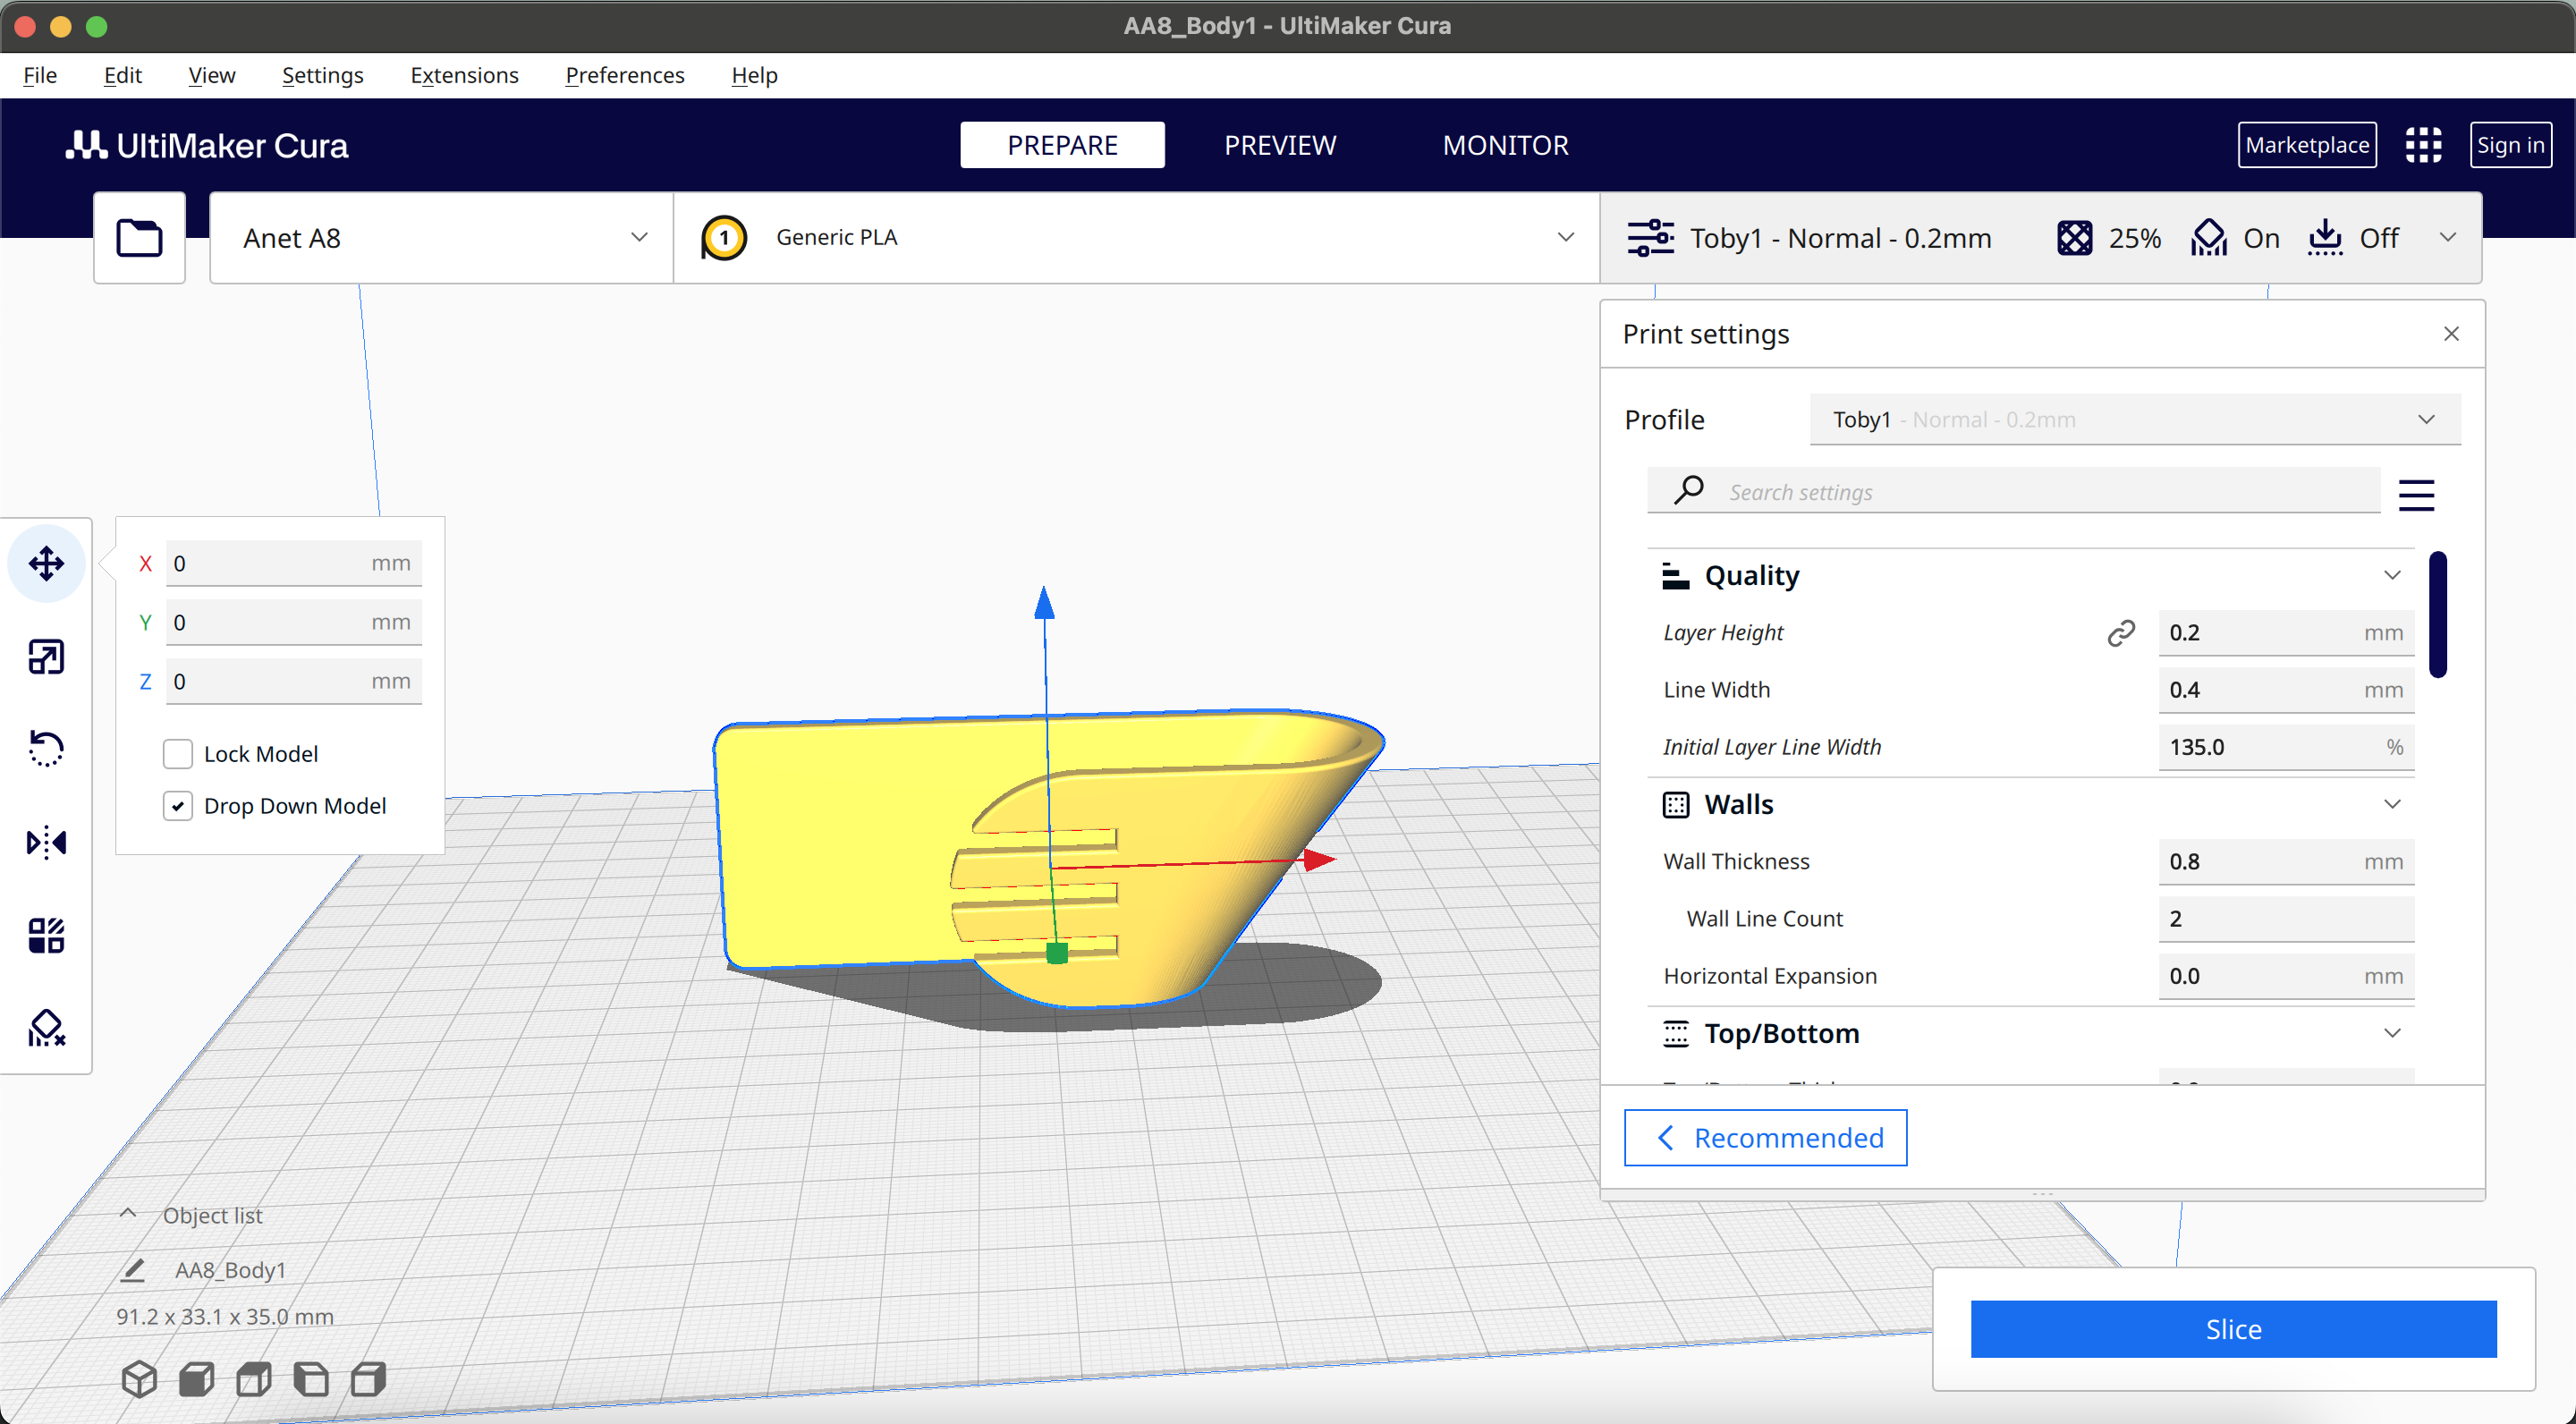
From Fusion, I exported it as an STL using the 3D Print utility, under Utilities -> Make, and then opened it in Cura. I used my normal profiles but made sure supports were enabled, to help with the cuts I added in the modelling stage.
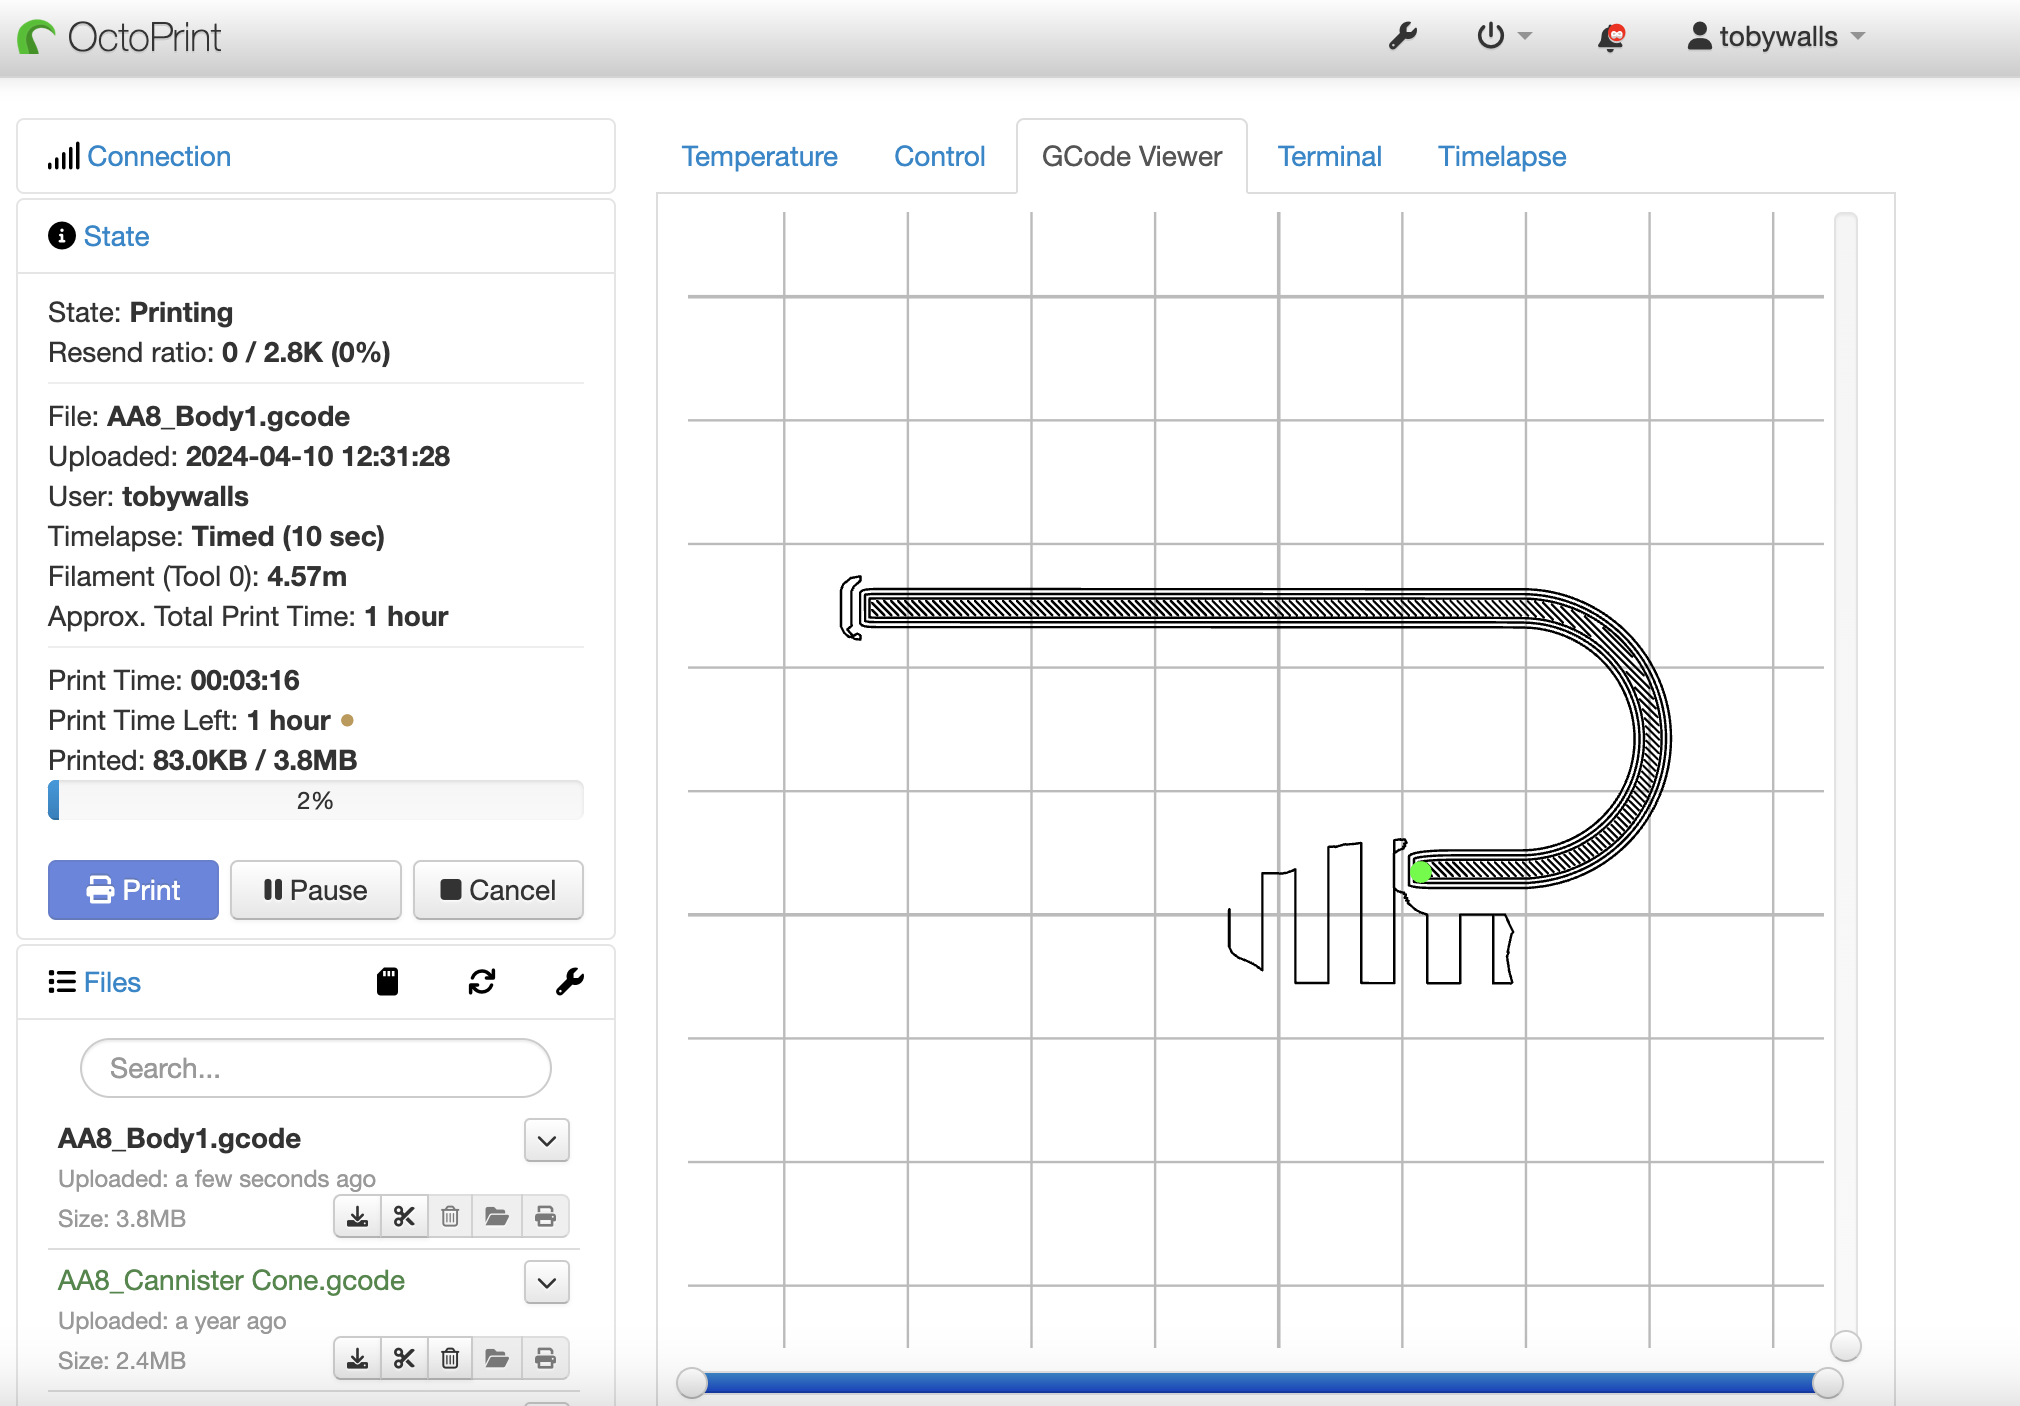
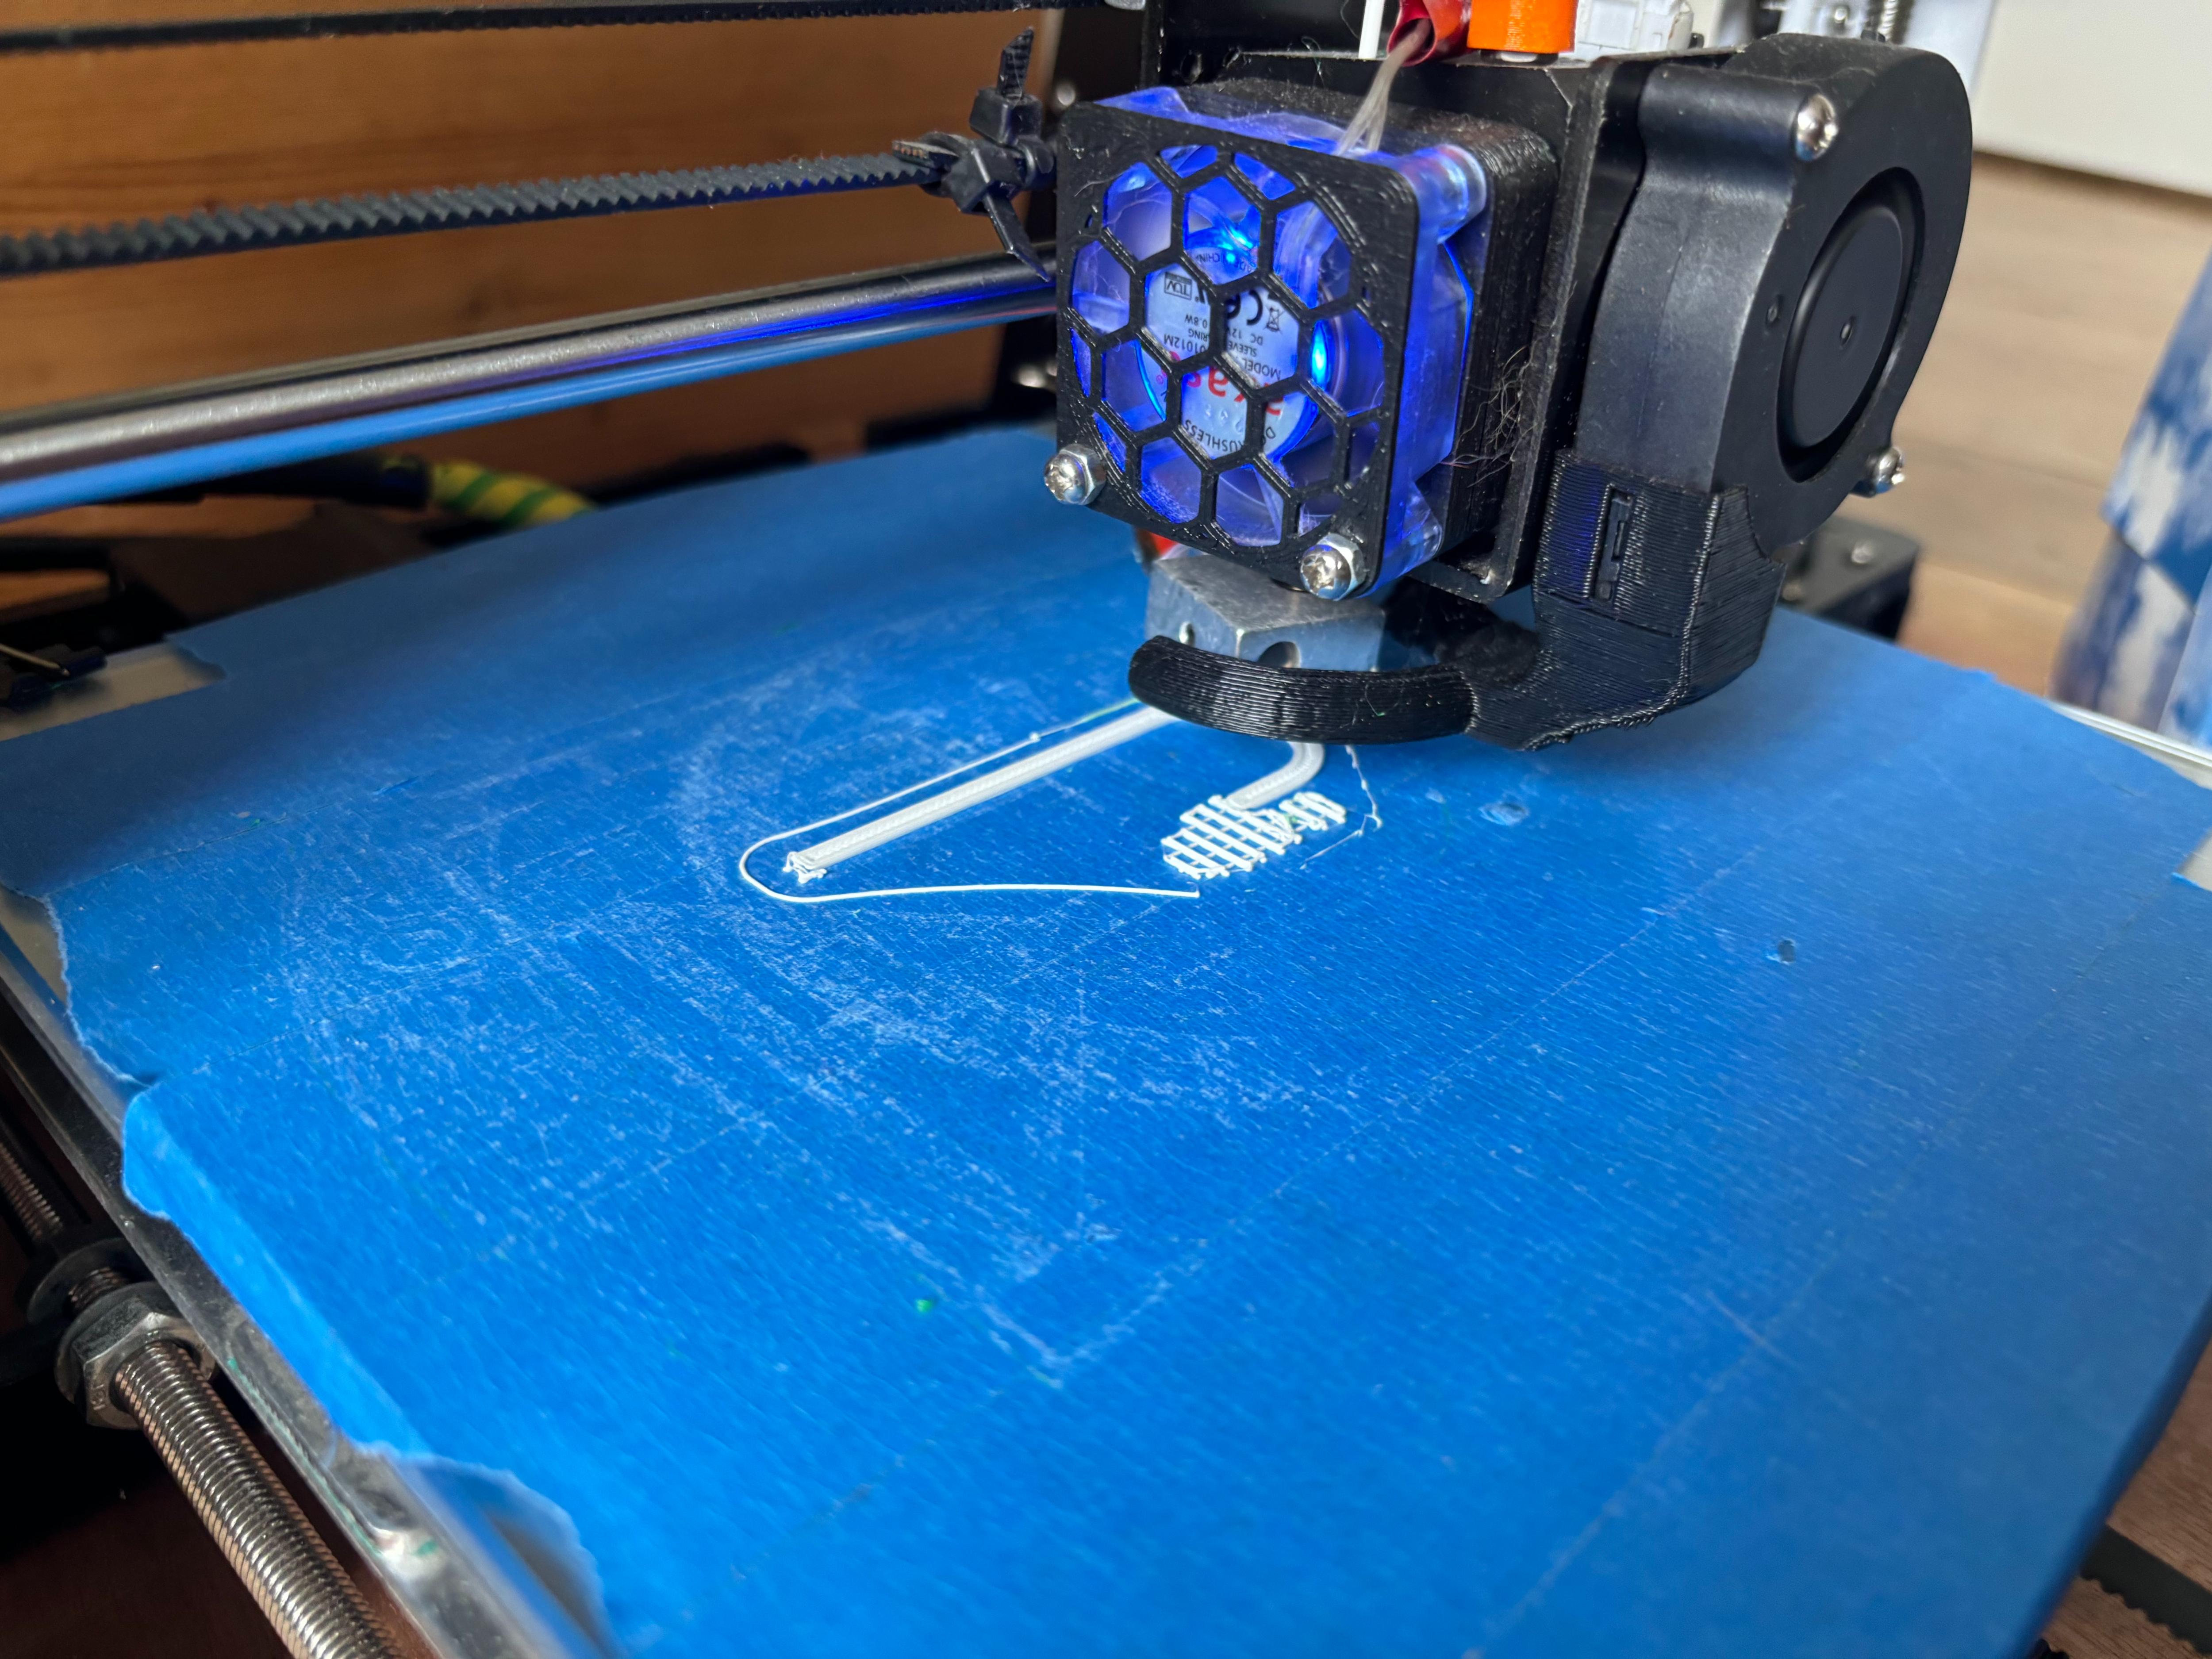
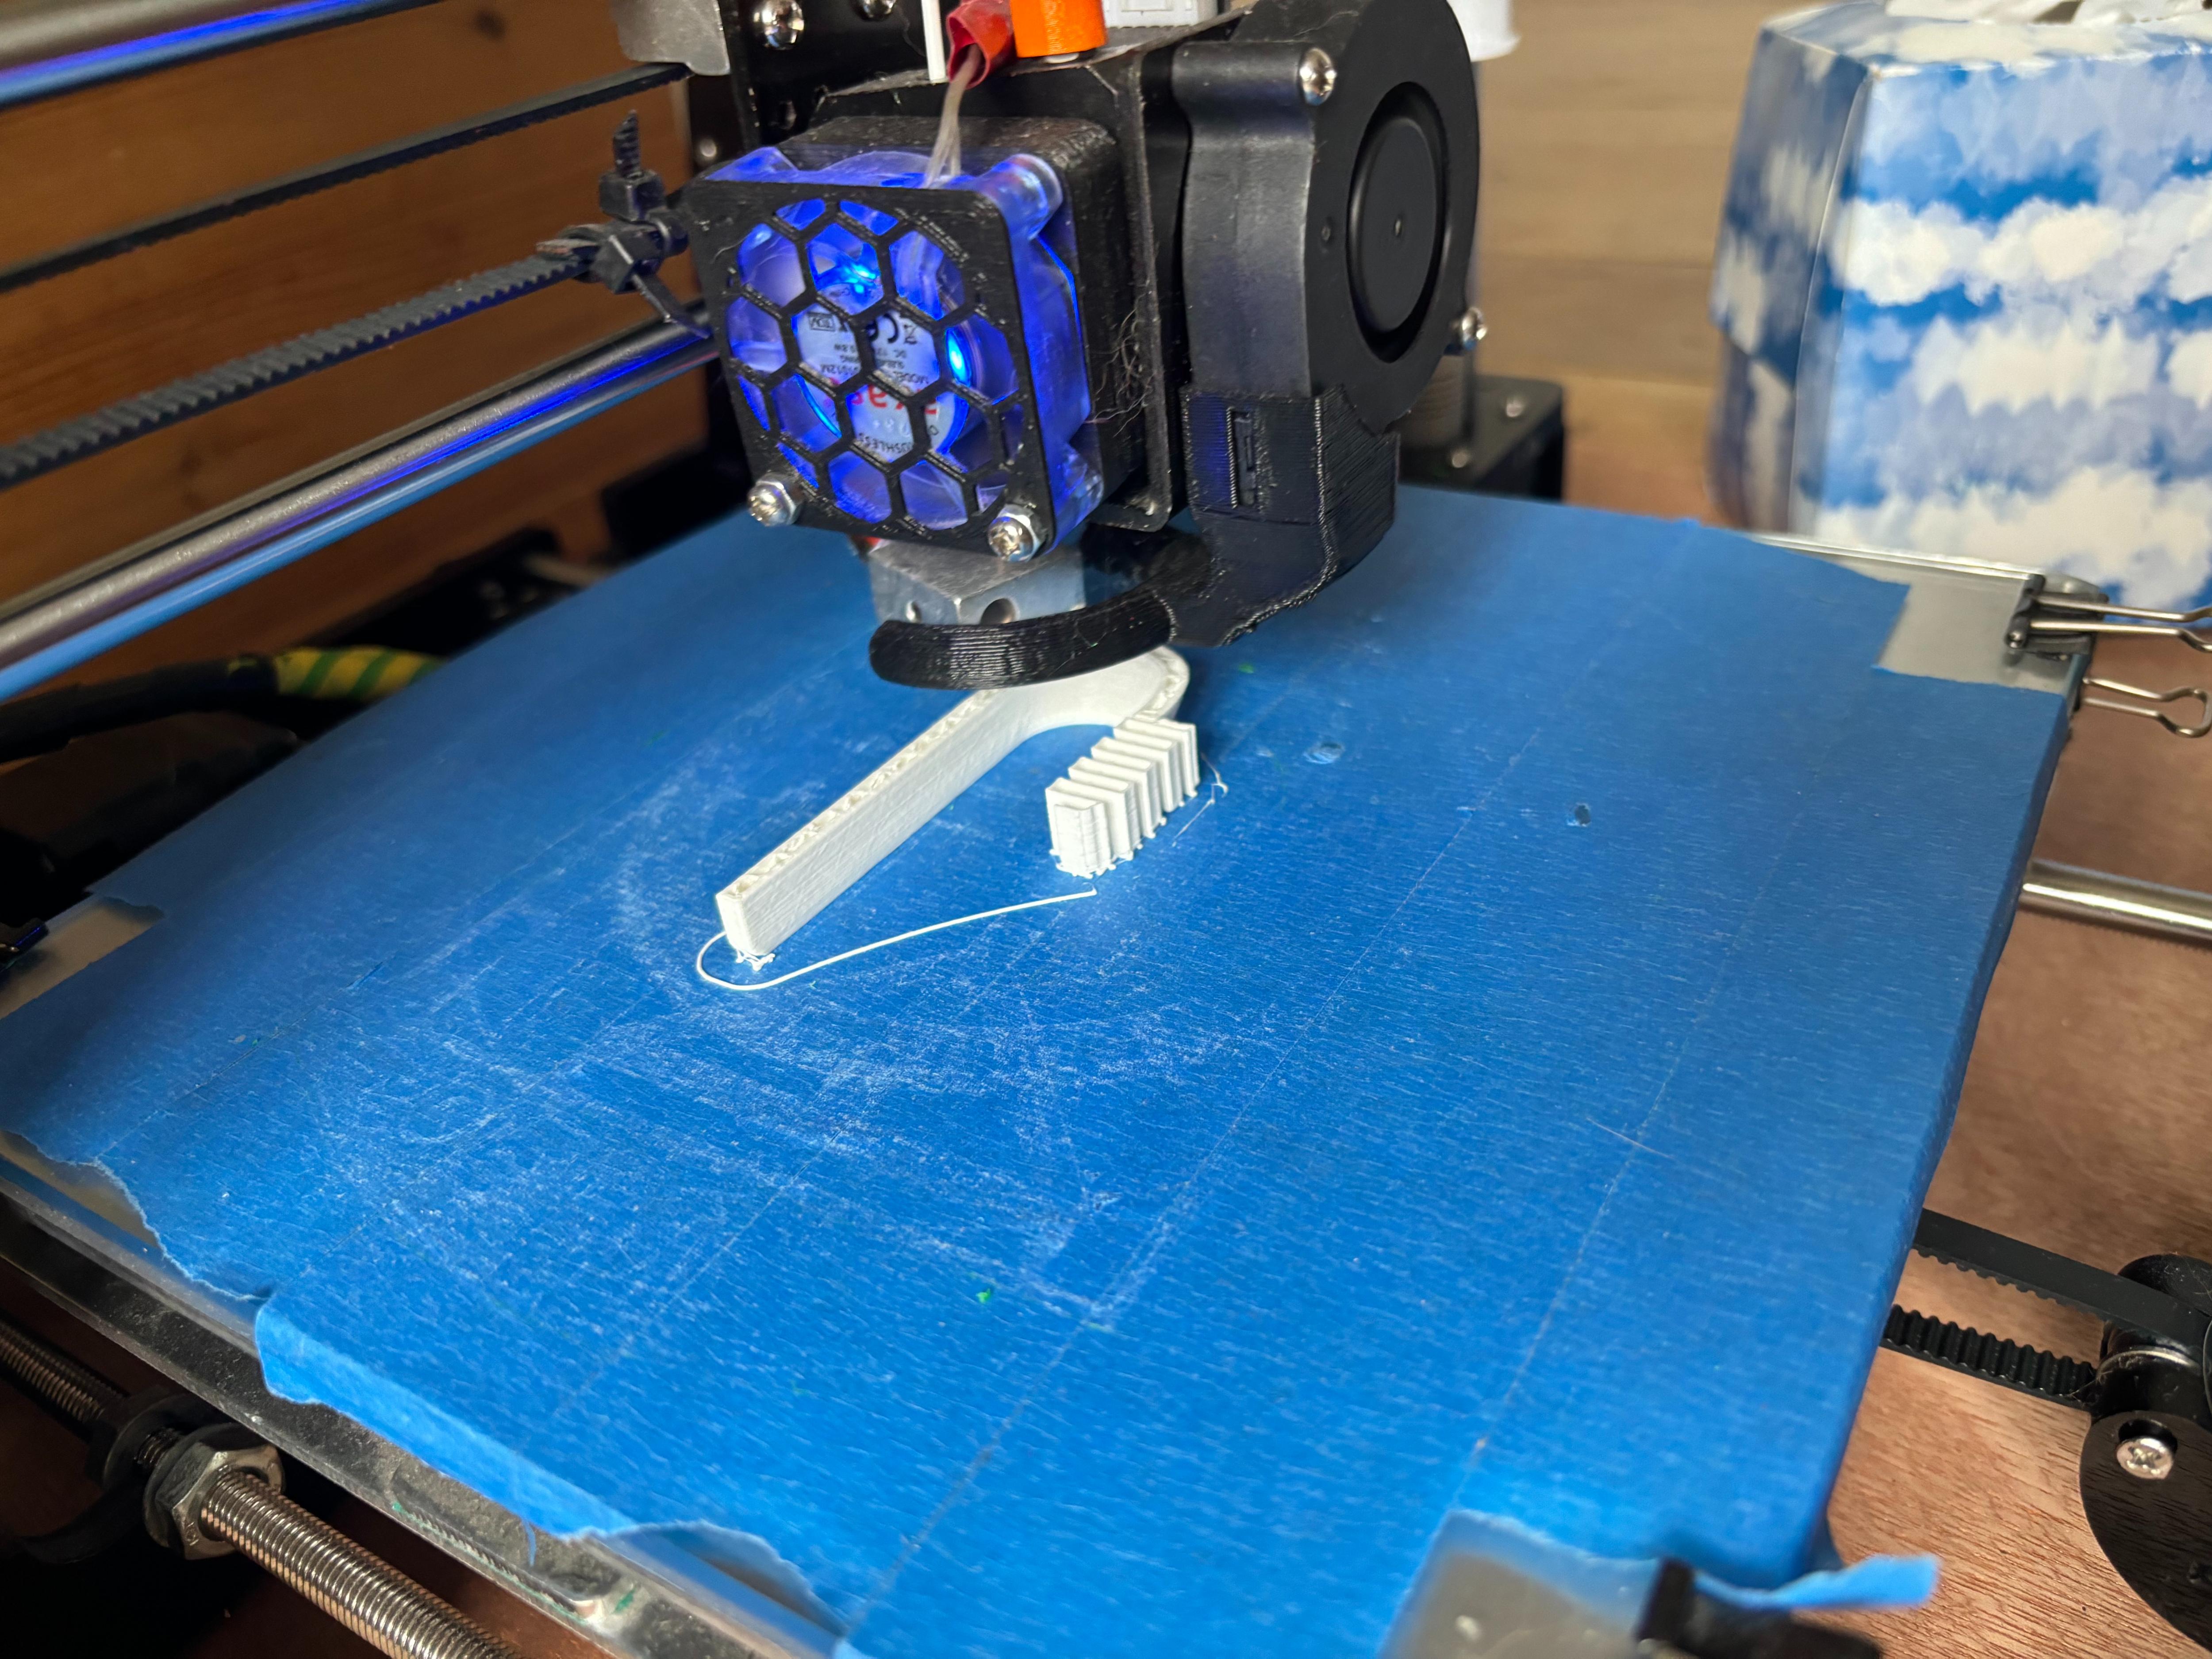
I then uploaded it to my printer, using OctoPrint, and pressed print! Overall each piece took about 1 hour 30 minutes, so about 3 hours total. Make sure to print BOTH the left and right pieces and not two of the same ones like me!
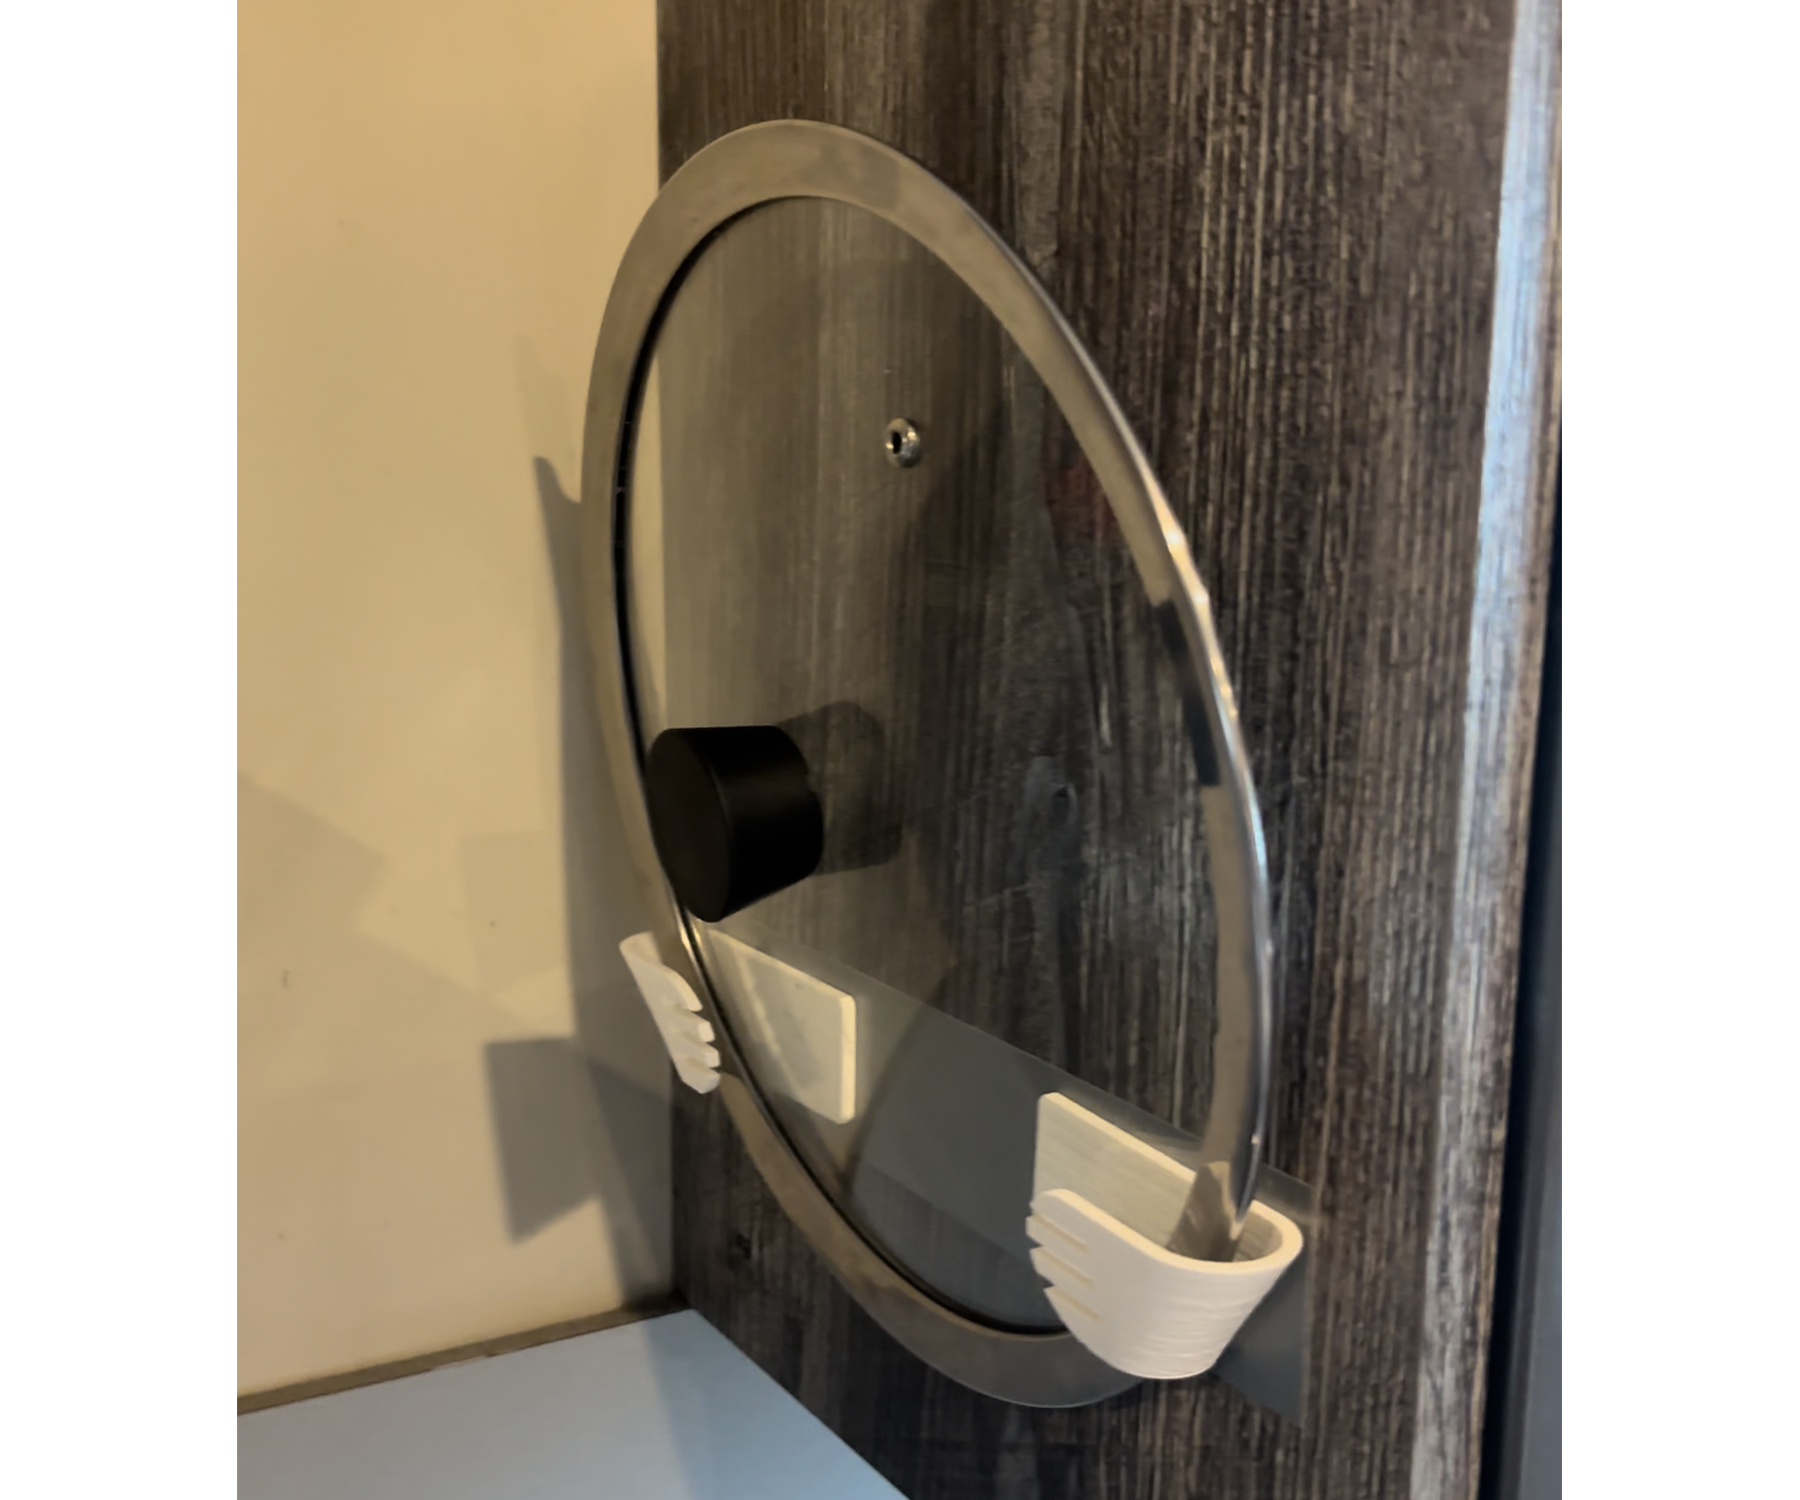
Installation
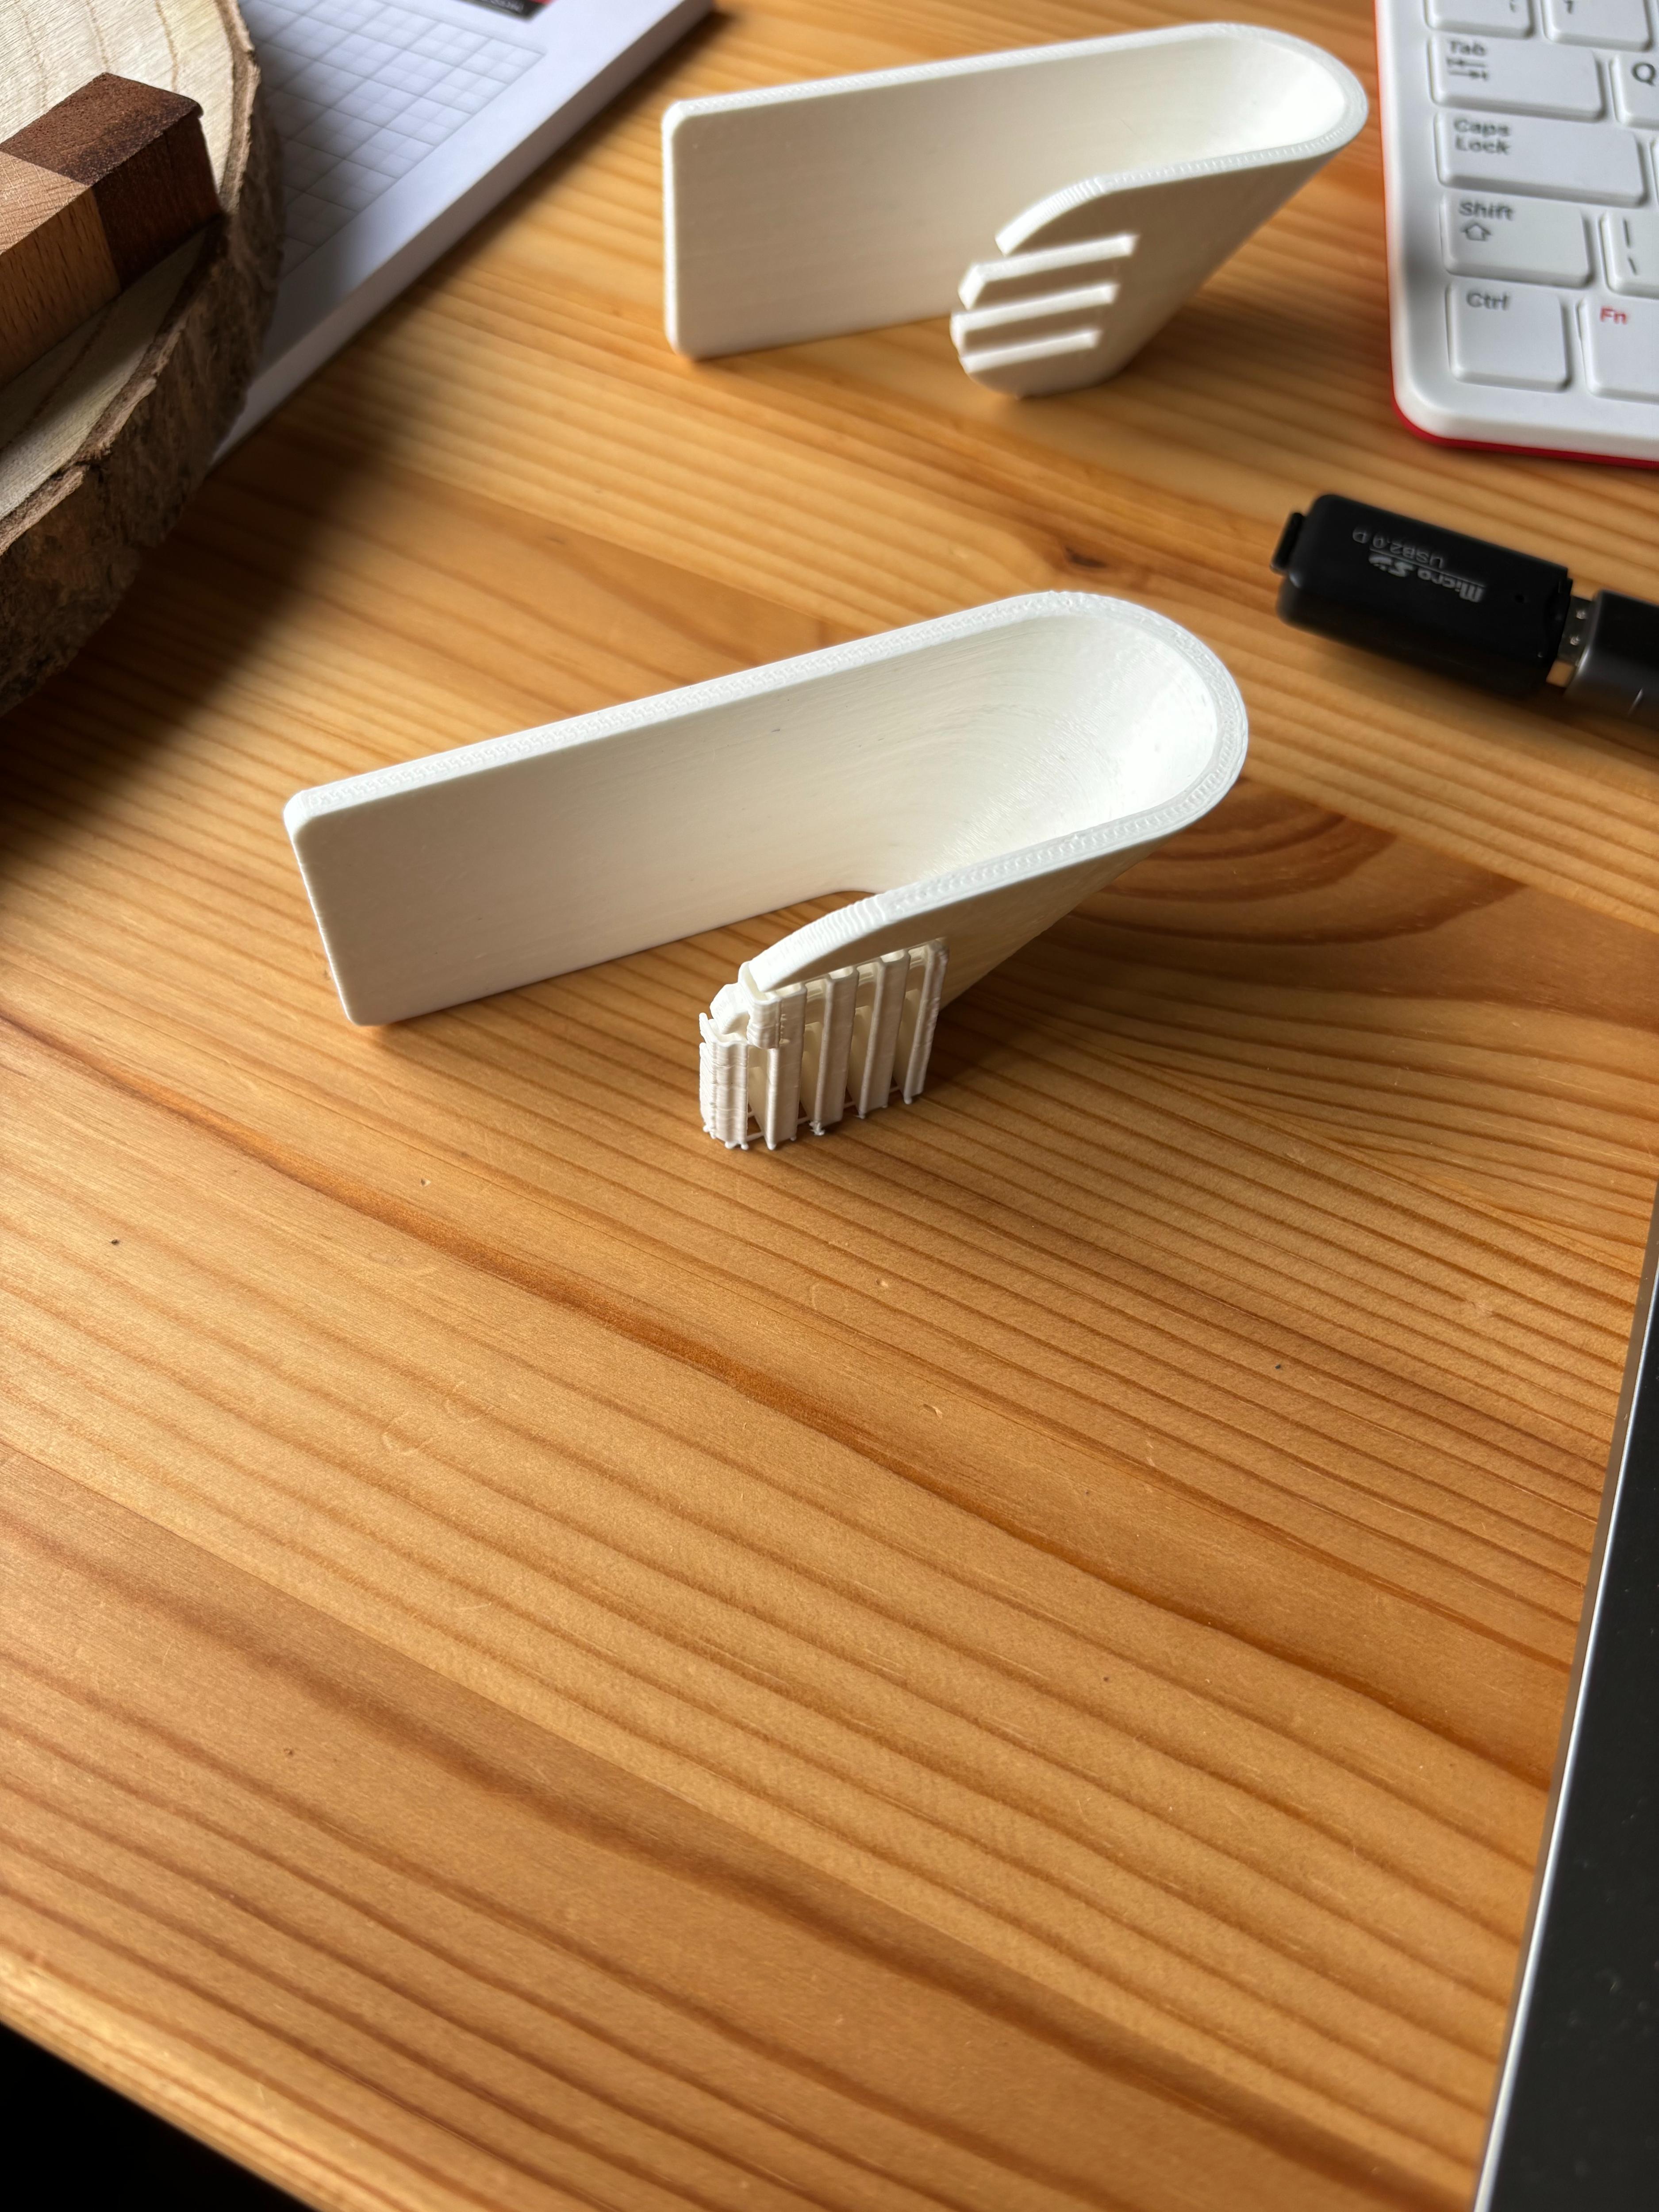
Once the print had completed, I just had to remove it from the bed and break off the supports. I did use a knife to clean up some of the areas where the supports were in contact with the pieces as they had left a bit of a rough surface, but this wasn't really necessary.
To install, I stuck a command strip to the back of both of the pieces and stuck them to the side of the cabinet, making sure that they were level. Unfortunately, the command strips didn't seem to stick to my cabinets, I'm not sure if this is because they are wood effect, and the textured surface wasn't good for adhesion. I ended up putting some duct tape onto the cabinet and then using super glue on the holders.
Summary
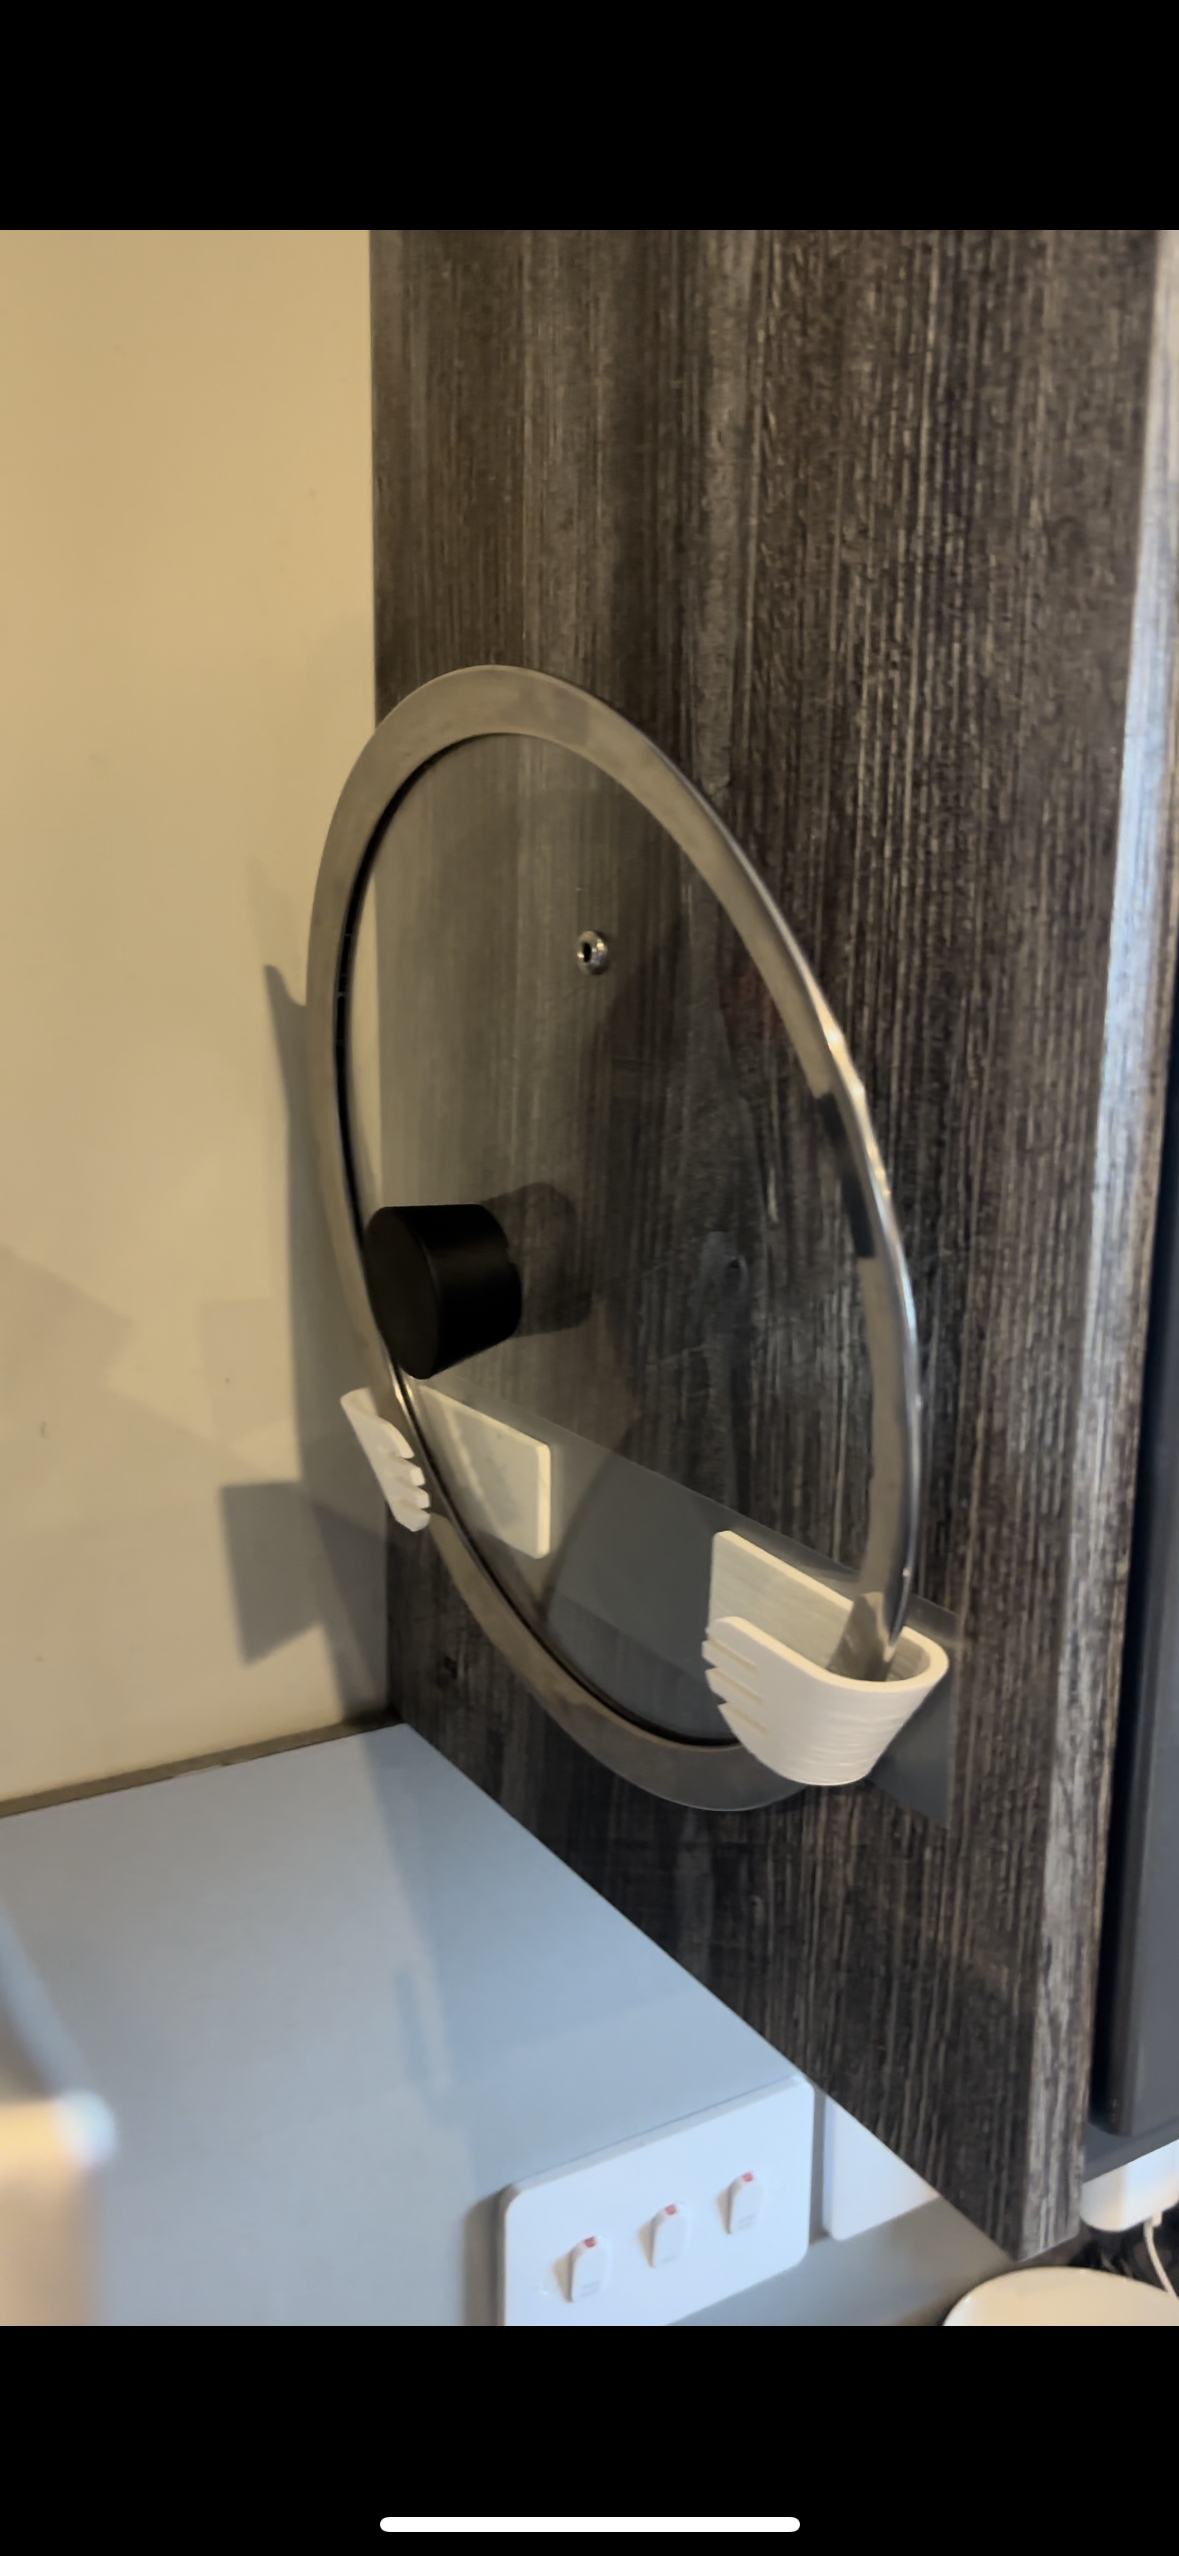
To sum up; it works. My kitchen is slightly less cluttered, and the lid is in a much more convenient location.
The main issue is that I do feel like I have to be a little cautious when taking the lid in and out, I think the superglue may bond better to masking tape, rather than the duct tape. The only other thing I can fault with it is that the lid leans forward, rather than back. I think to fix this I should have moved the holders higher up of the lid, or I should have made them deeper.