Satellite STEM Kit
by MandraSaptak Mandal in Circuits > Electronics
963 Views, 7 Favorites, 0 Comments
Satellite STEM Kit


In today's world one of the Mankind's most important instruments are Satellites. These satellites provide us very important data of our live.They are important in every aspect of our such as from communication and weather forecasting to collecting reconnaissance data. Space technology is a vast category of complicated devices working together. The basic know-how of working of satellite can be beneficial for their future if they pursue space technology.
In this instructable we will make a model satellite that gives kids a easy and basic know-how of how satellite works using NodeMCU and other other sensors and using Blynk Platform
My apologies for the 3D rendered photos since I was not been able to finish my project due to the shortage of supply amidst Covid-19 Pandemic.
Supplies
- NodeMCU
- *Sensors of your choce
- Li-ion Battery
- 6V Solar panel
- IN4148 Diode
- TP4056 charging Module
- USB Boost Converter(3V to 5V)
Setting Up Blynk App
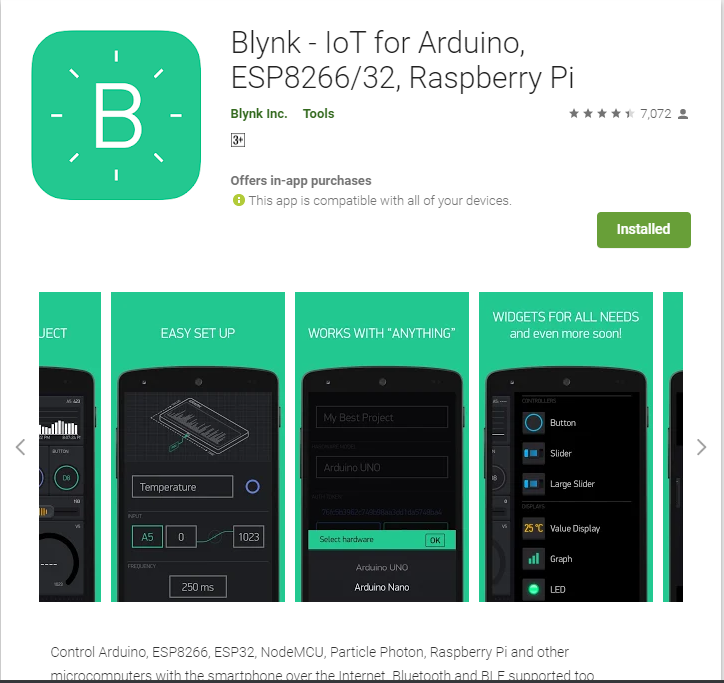
To set up NodeMCU with blynk first we have to connect your email with blynk app
Then create a new project
Then, a auth token will be emailed To your account
Setting Up NodeMCU With Blynk
After the auth token is mailed to your account
Its time to setup the NodeMCU by uploading the blynk library
TO INSTALL BLYNK LIBRARY:--
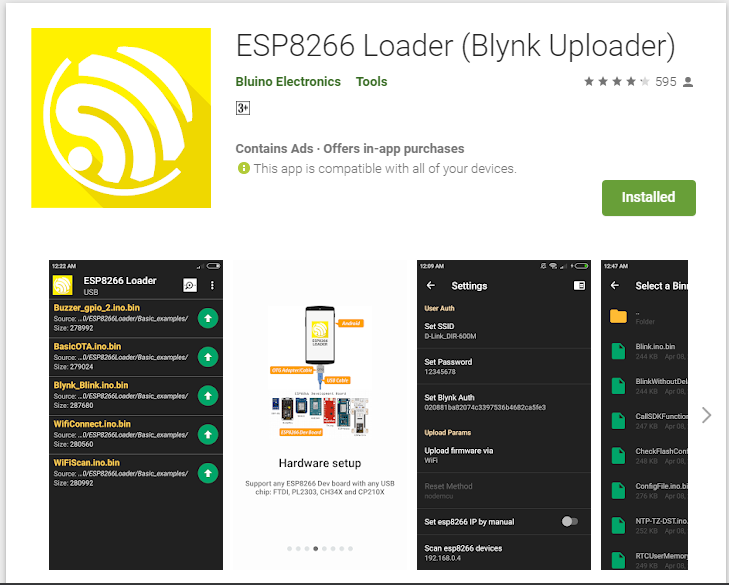
Download ESP8266 Loader in Android Phone(By Bluino Electronics) -->https://play.google.com/store/apps/details?id=com....
*This also can be done by using a PC but using android is much more easier
-After Installing the app open the app and select the first item on the List and then a list will appear
-After that select Blynk_Basic.ino.bin and then after selecting select the 3 dot icon and then enter setting
-In the setting select "Set Blynk Auth" and then paste your Auth code that was mailed to you
-Then Set SSID to connect to your wifi and then set the wifi password(of your wifi)
After this connect your nodeMCU using a OTG then clich the UP_ARROW(upload button) to upload the blynk library to your NodeMCU
Connecting Sensors
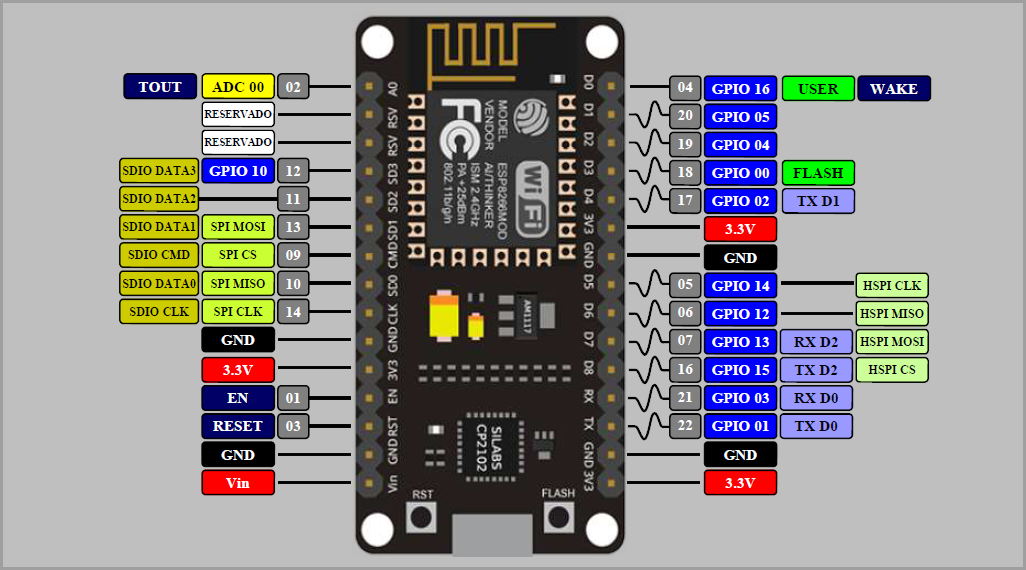
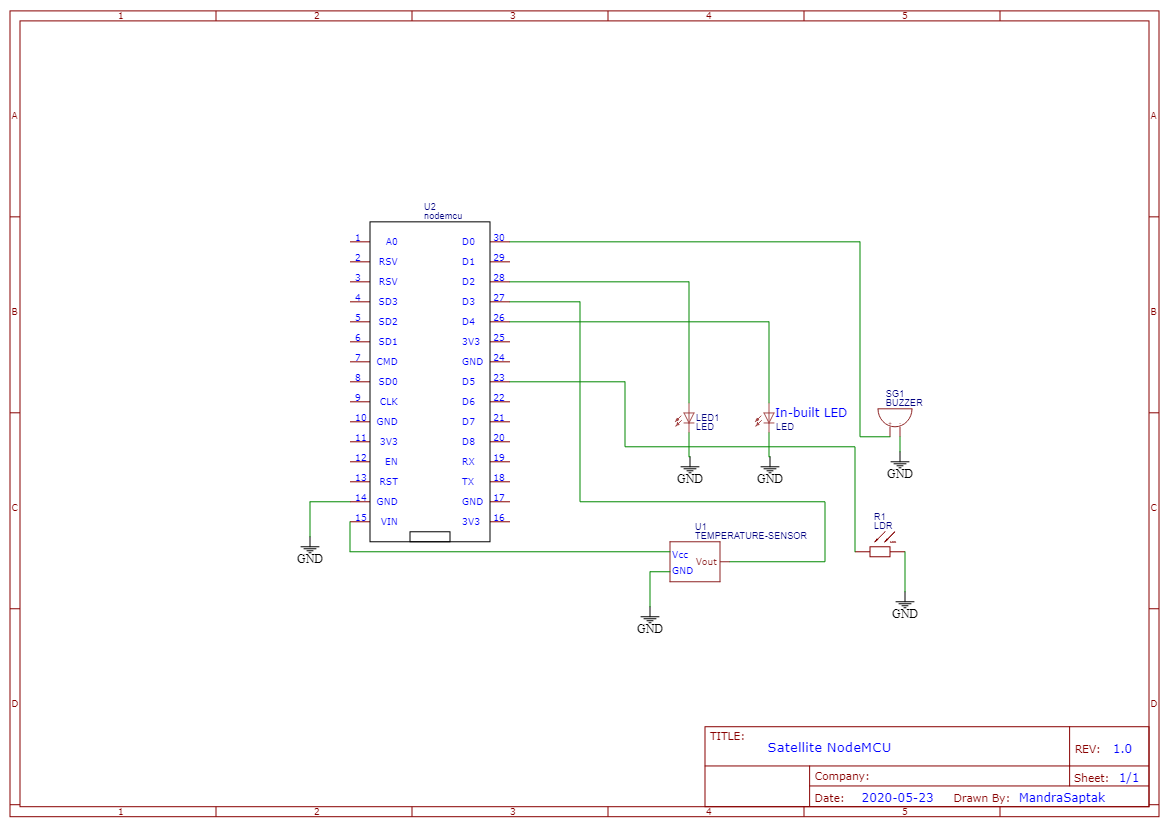
After uploading Blynk library disconnect it from OTG
Then start connecting the sensors. You can use any Supported Sensor for your Satellite
For My Satellite I have connected a
- LED to D2 pin
- a 5V buzzer to D0 pin
- temperature sensor module--The VCC pin is connected to 5V, The data port to D3,and GND to GND
- A LDR to D5 pin--That tells us available luminous intensity
- In-built LED is on D4 pin, we will control that also..
You can also connect many other types of sensor such as GPS sensor,Magnetometer,RTC sensor,etc.......It support variety of sensors
Configuring Blynk
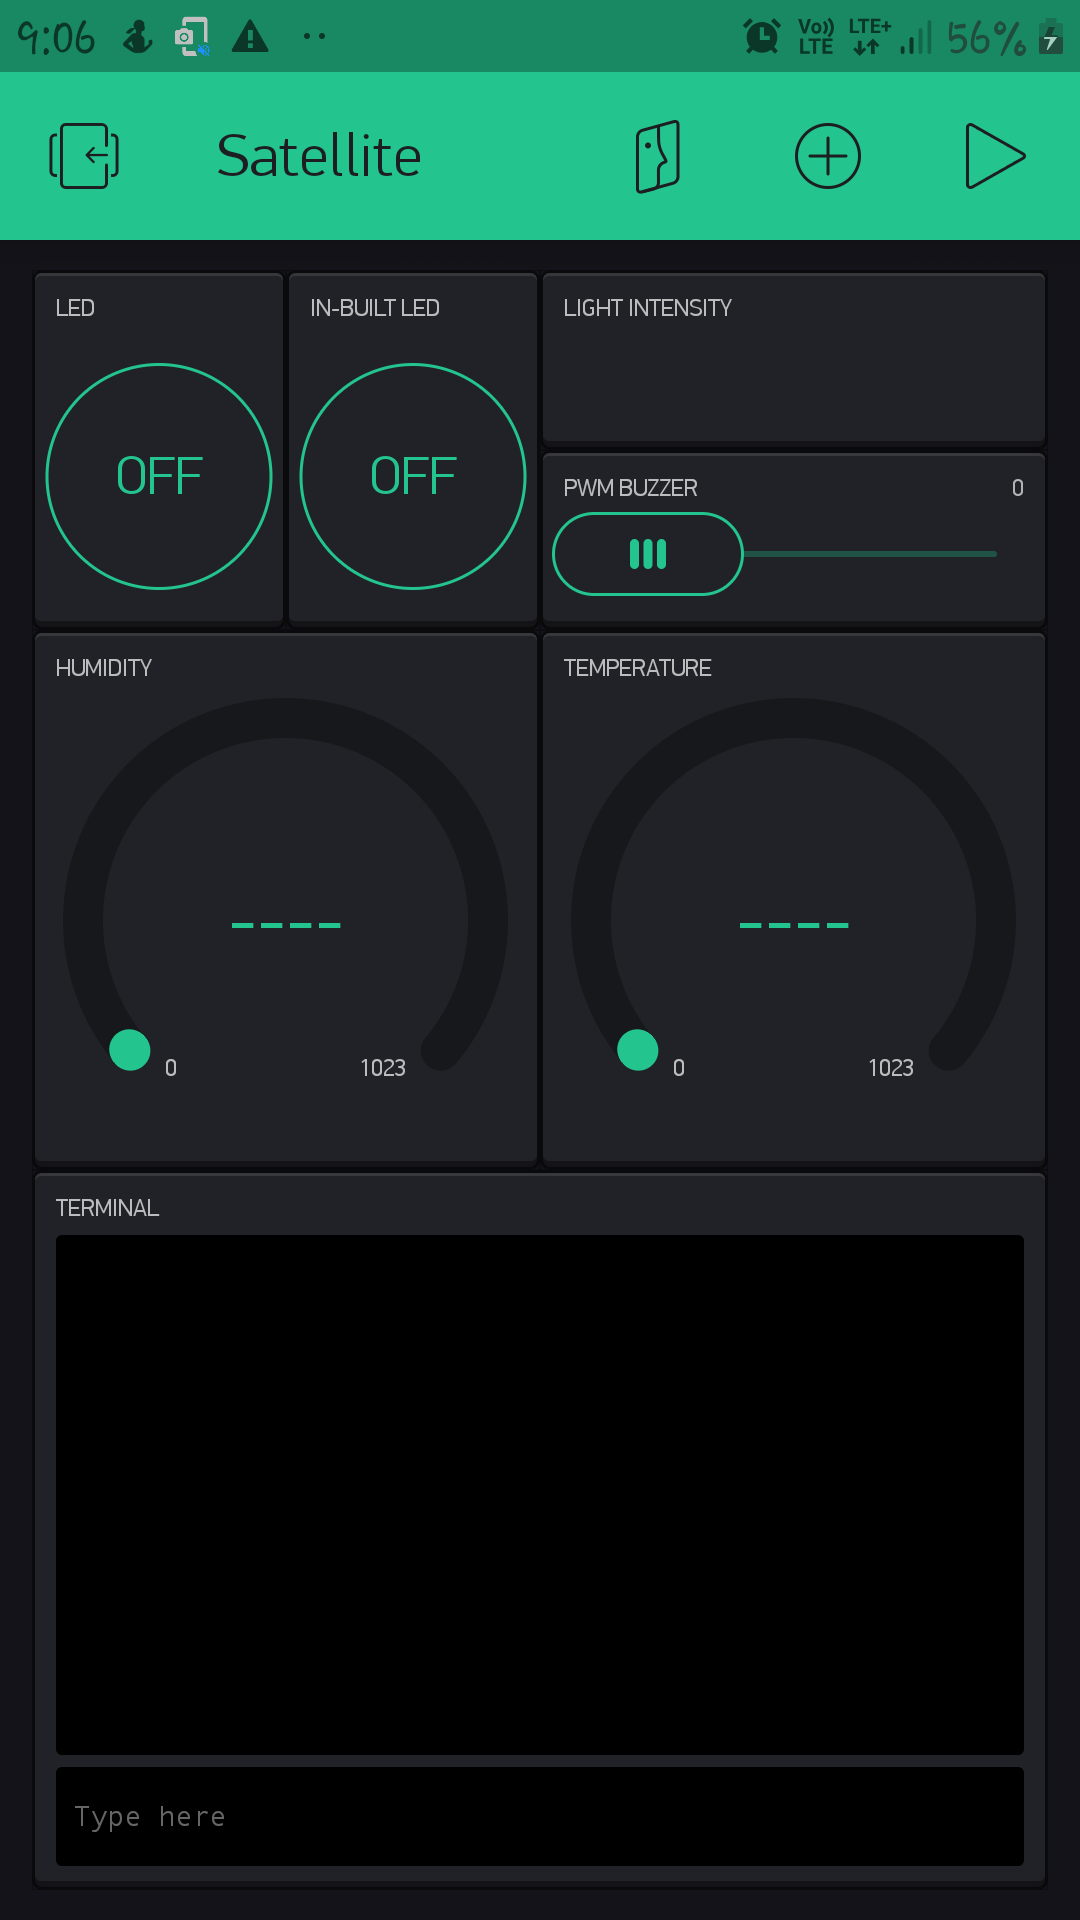
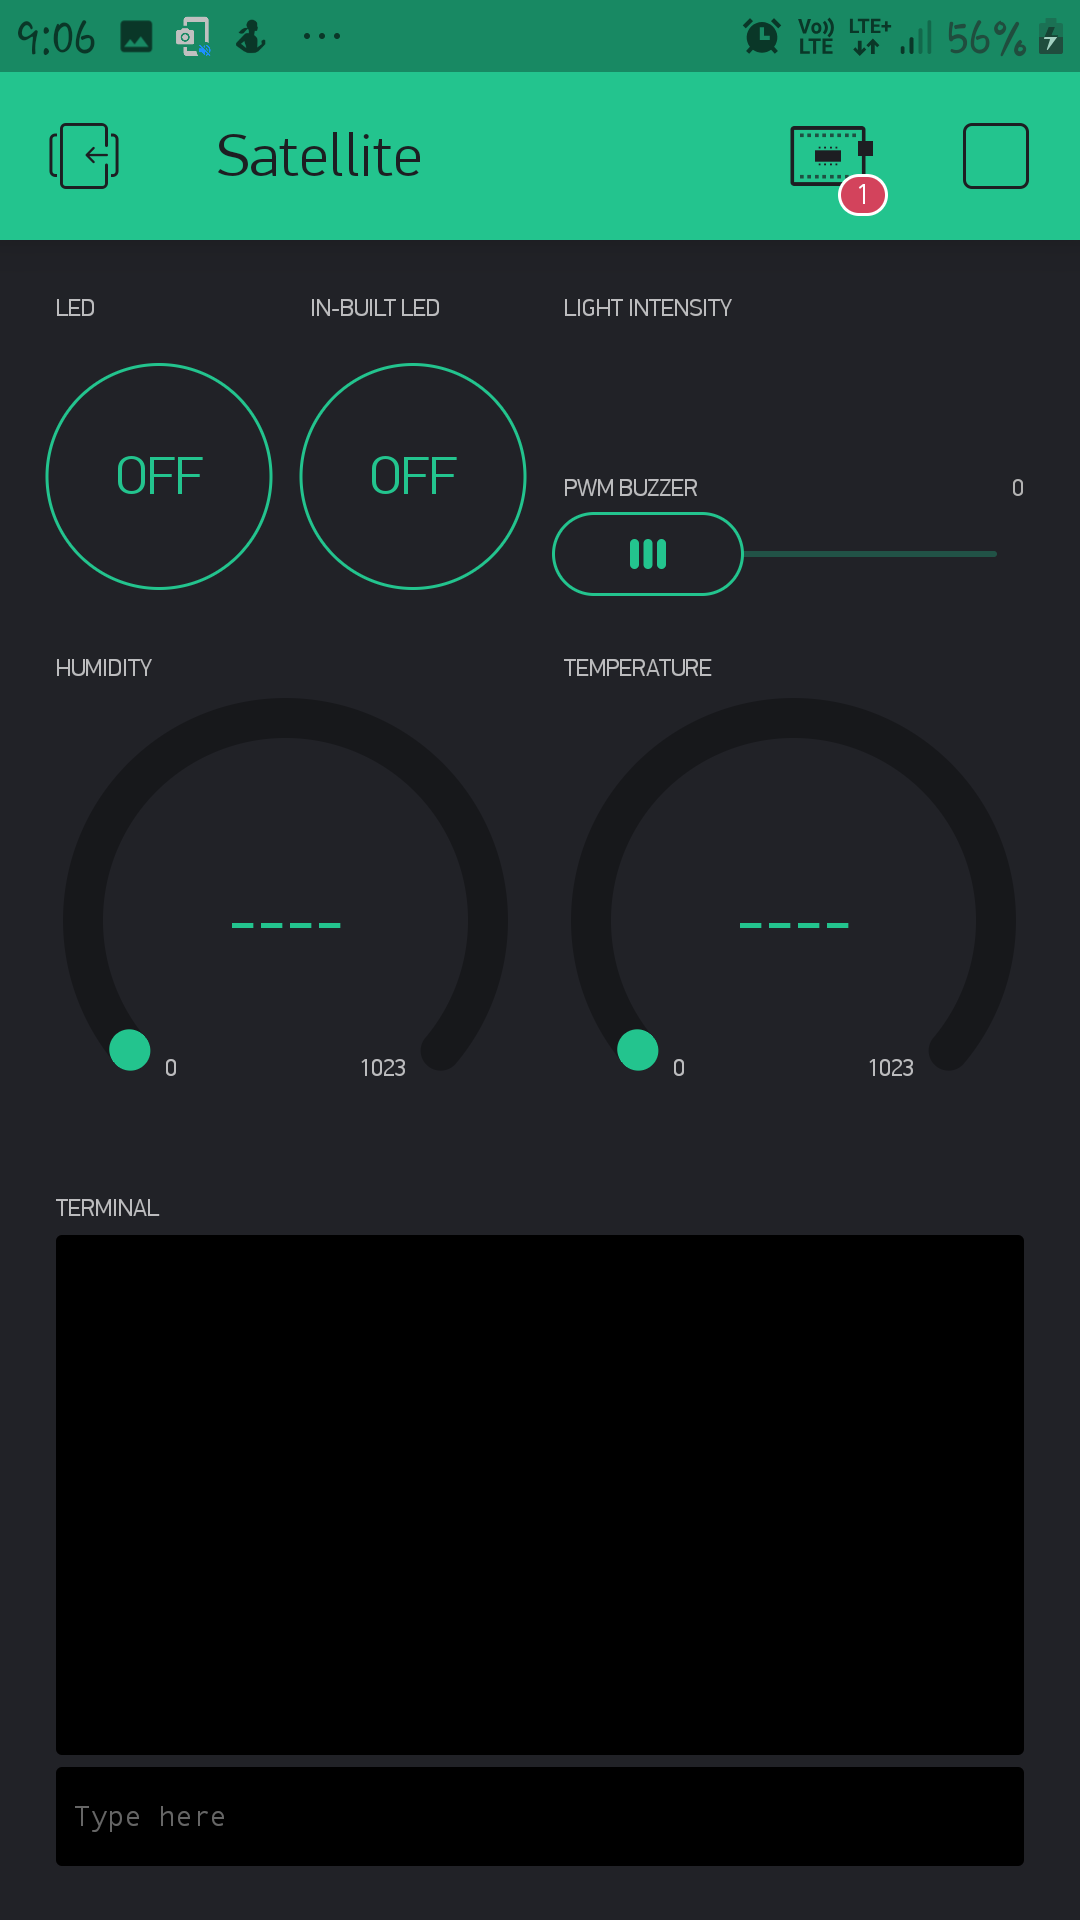
After finishing the wiring its time to configure Blynk App
- Under project settings Choose the device as NodeMCU and then select your connectivity as Wi-fi
- Then turn on WiFi on your android and connect to the WiFi then also turn on your nodeMCU which will automatically to your wifi
- after that blynk will automatically establish connection with your NodeMCU
- After this(according to your sensor) configure the blynk app
Helpful links for setup-- https://blynk.io/
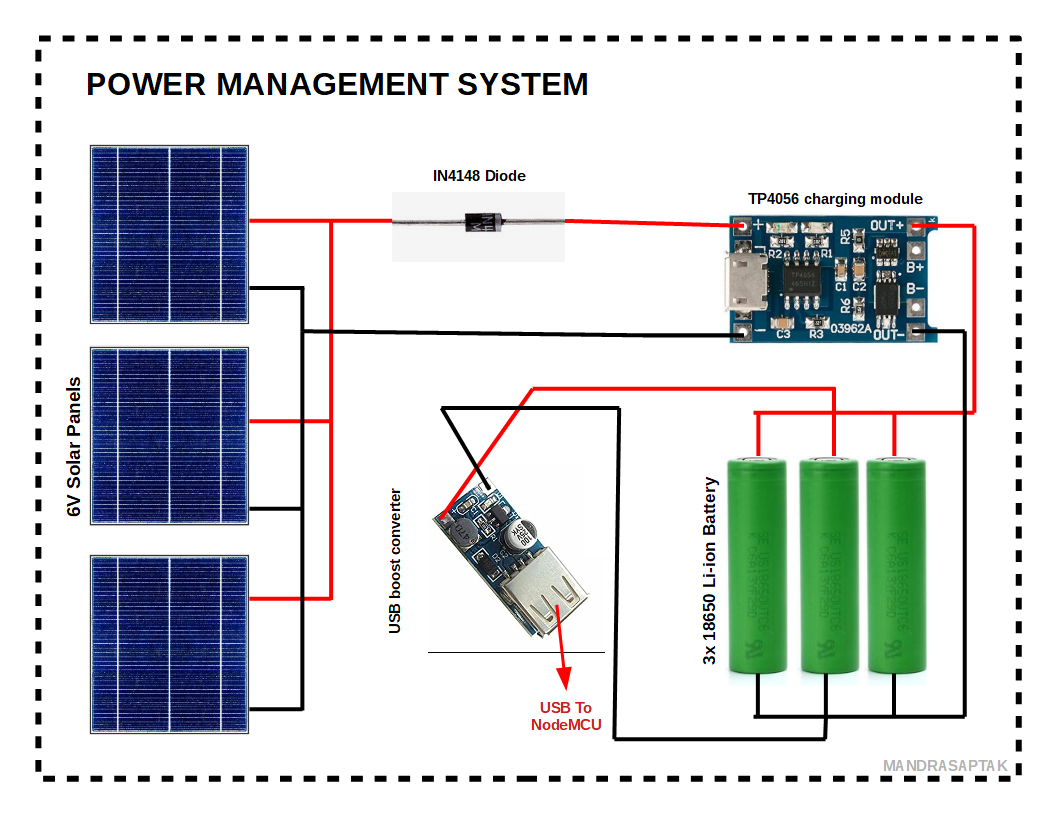
Power Systems
Structure
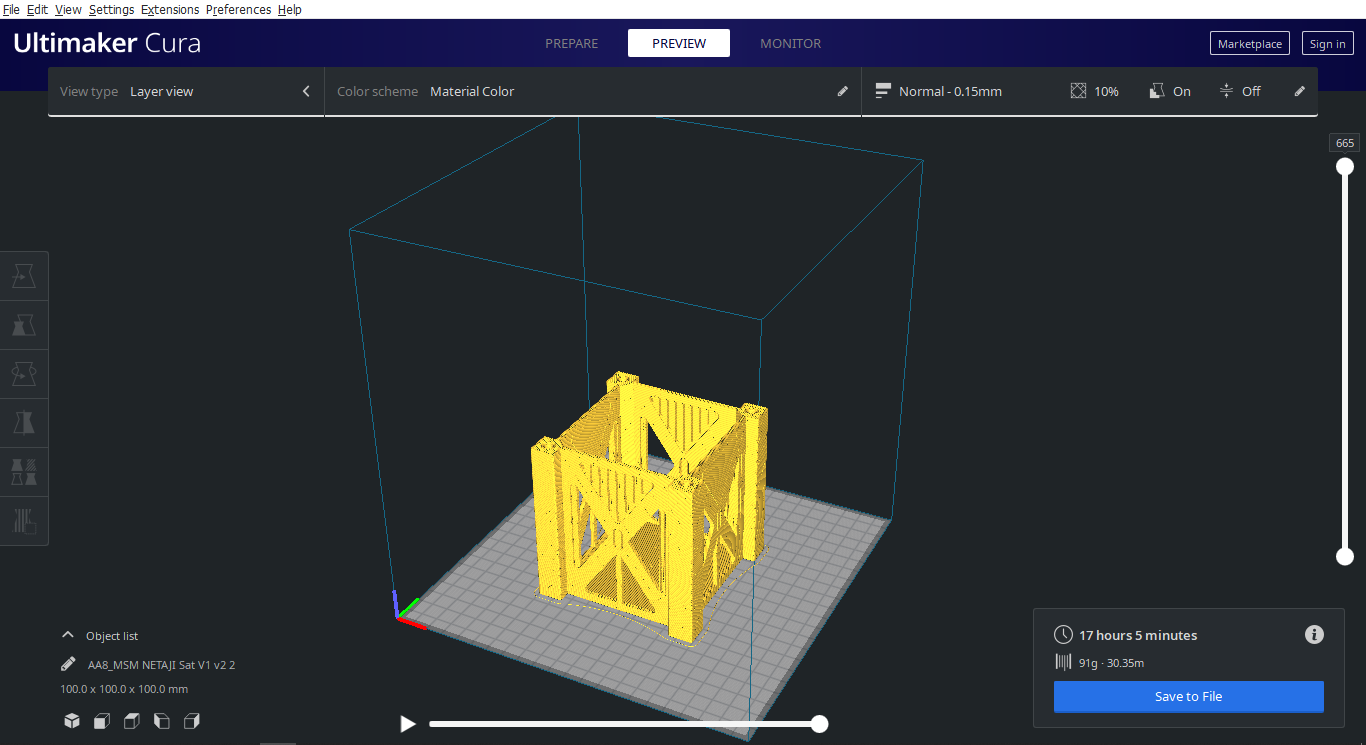
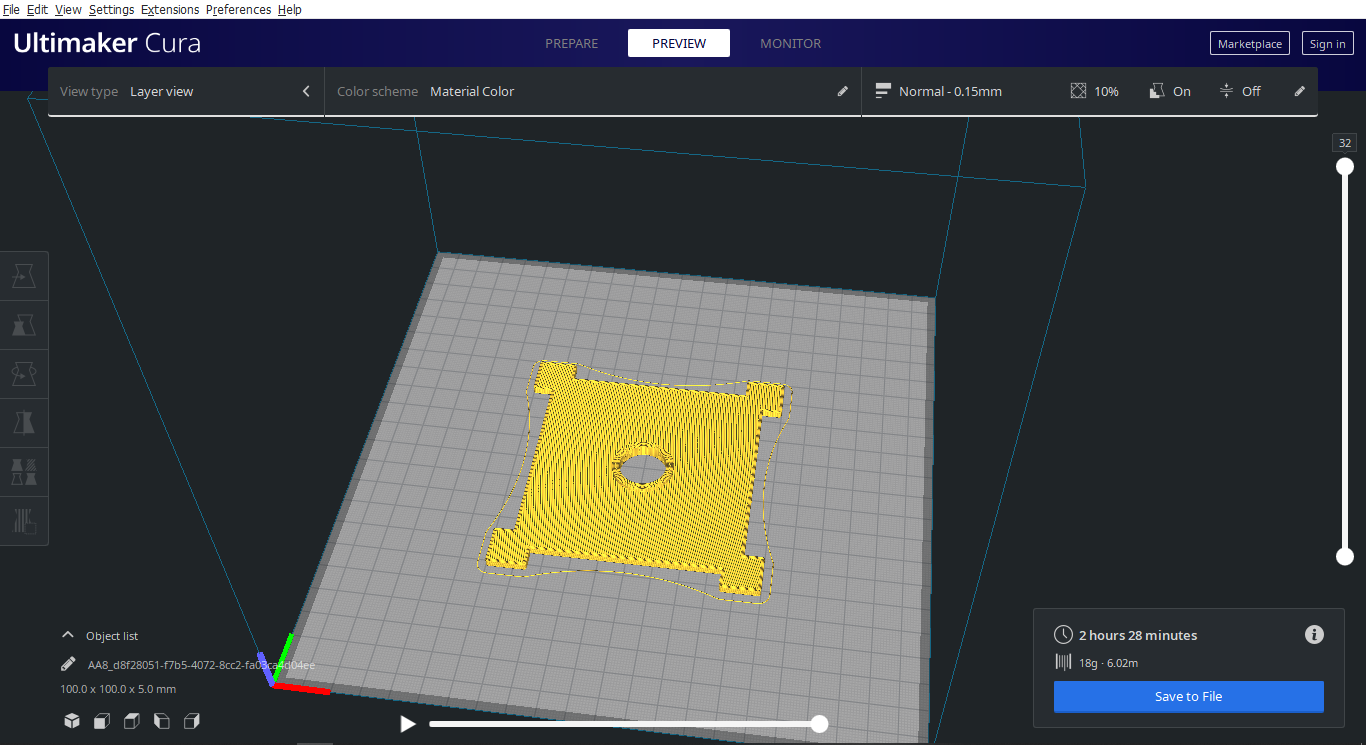
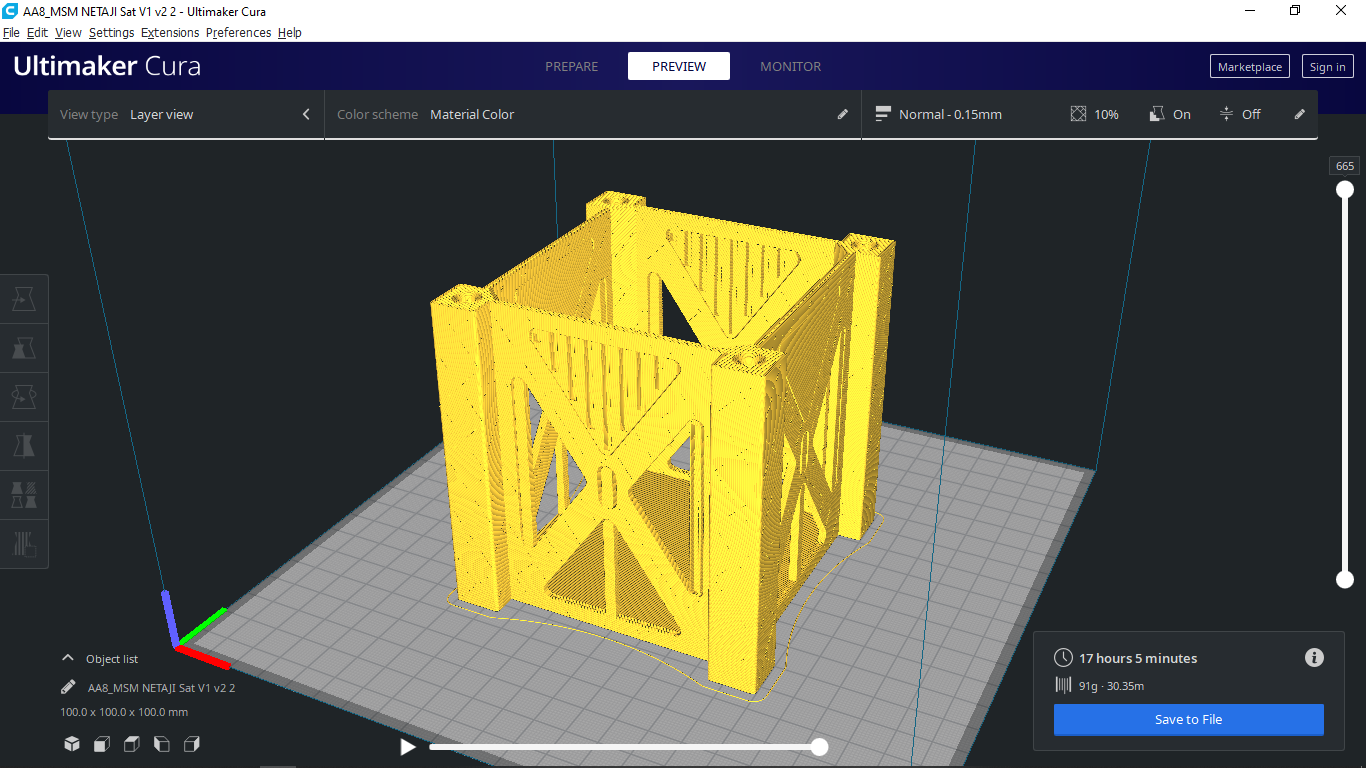
The structure of the satellite will be 3D printed which was Designed in Autodesk Fusion 360
This will give our circuit a nice satellite look enclosing all the components inside it.
Now, the Fun Part
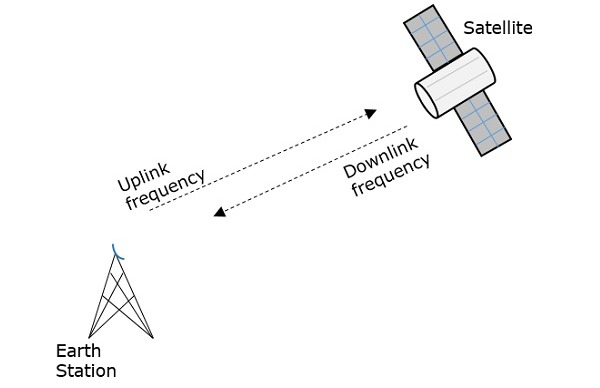
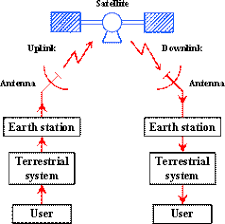
Now If we see everything from a Space Tech View we can Teach kids very easily about satellite tech
If we see from a satellites point of views then
- The nodeMCU is the Flight Controller
- The Power Management System Consists of 3 li-ion batteries that charge on solar energy
- The antenna of NodeMCU is the Transmitting (Downlink) and Recieving (Uplink) antenna
- Your WiFi acts as Downlink station enabaling communication with satellite
- Your phone is the ground station which is commanding the satellite
And that's how to easily teach children about the basics of working of satellite