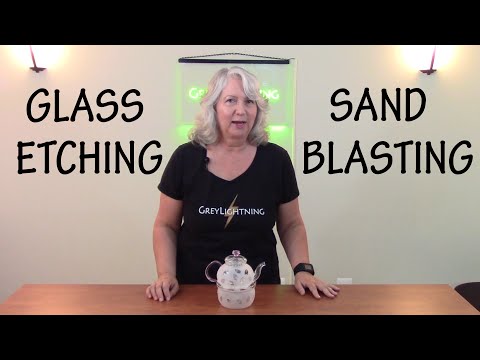
How to Sandblast Designs on Glass Dishes
by greylightmay in Living > Kitchen
3995 Views, 6 Favorites, 0 Comments
How to Sandblast Designs on Glass Dishes
In this tutorial I show how to use an Adobe Illustrator file created in a prior tutorial to create rose stickers on a vinyl cutter. I then apply those stickers to glass dishes and sandblast them to create custom dishes.
Tools and Materials
Tools:
Access to a vinyl cutter
Vector file containing designs (I created mine in Adobe Illustrator)
Sandblaster
Transfer Paper
Masking tape
Materials:
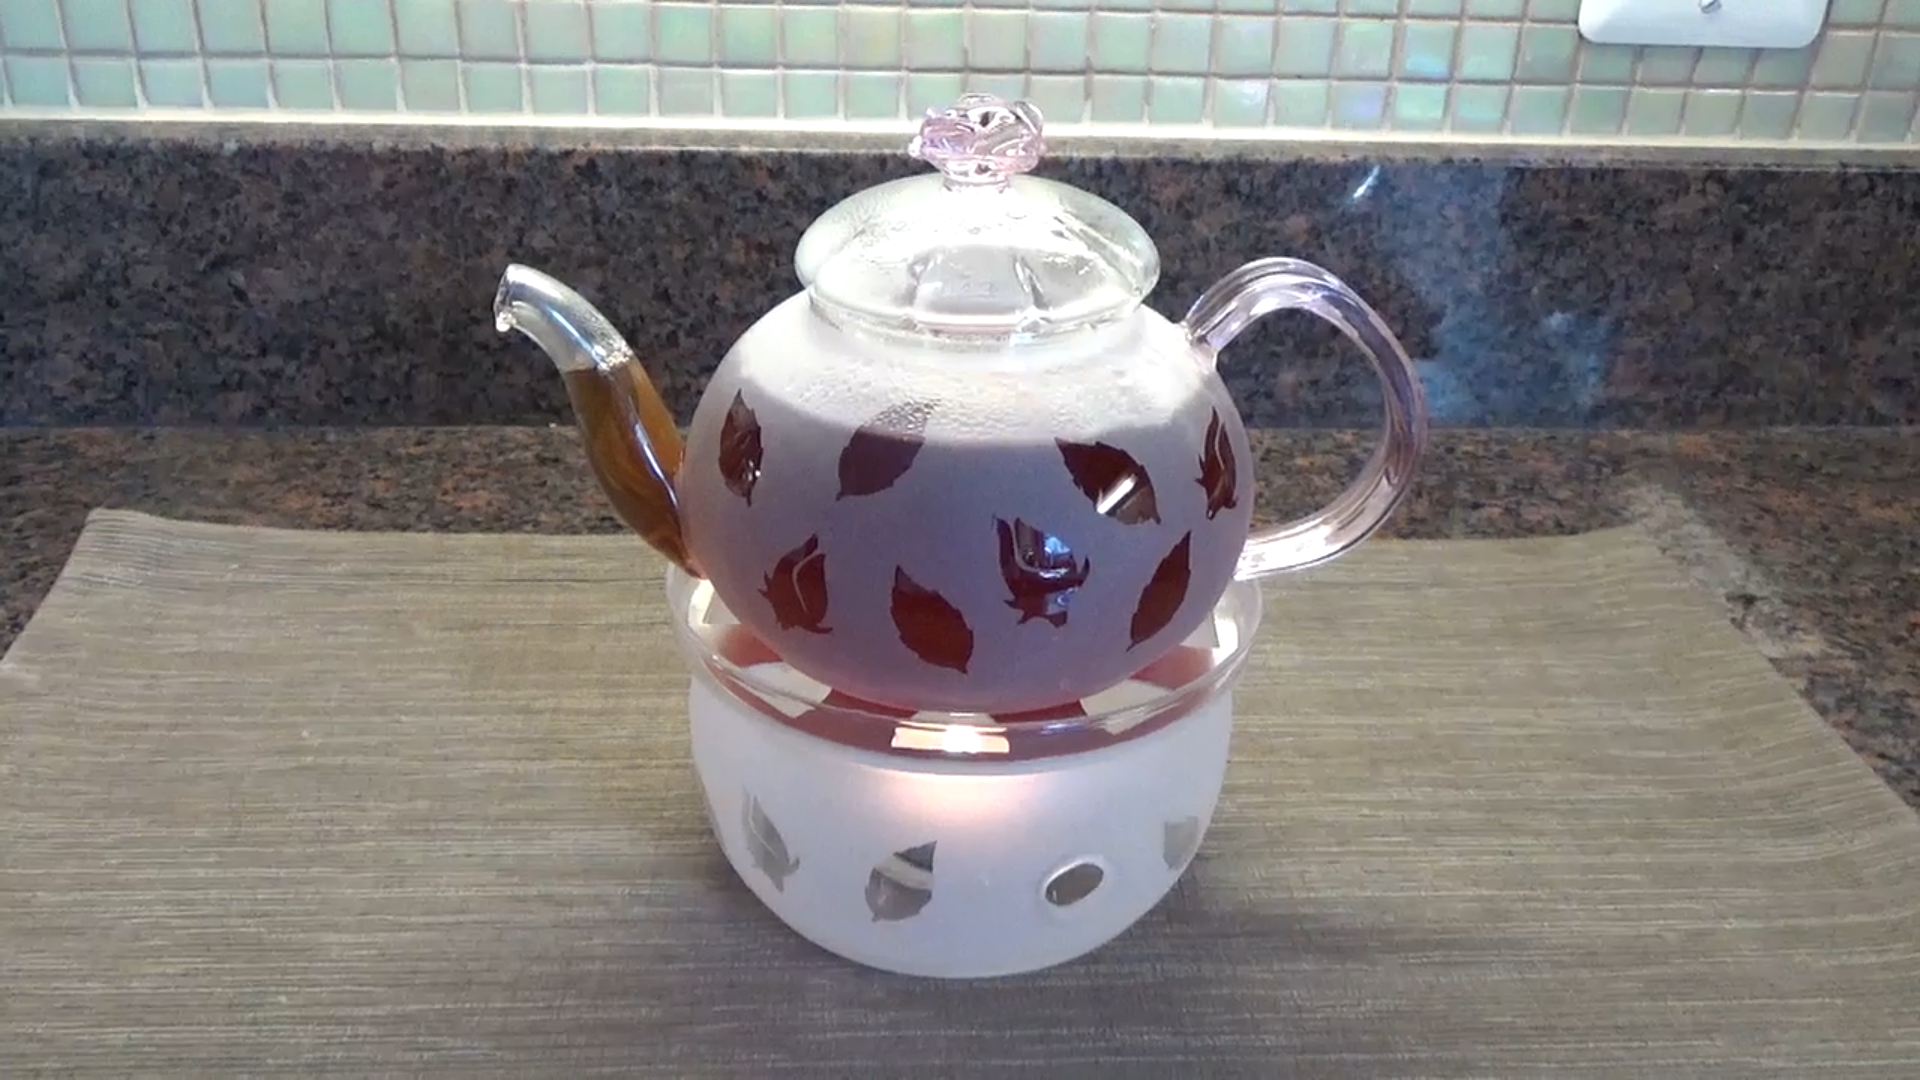
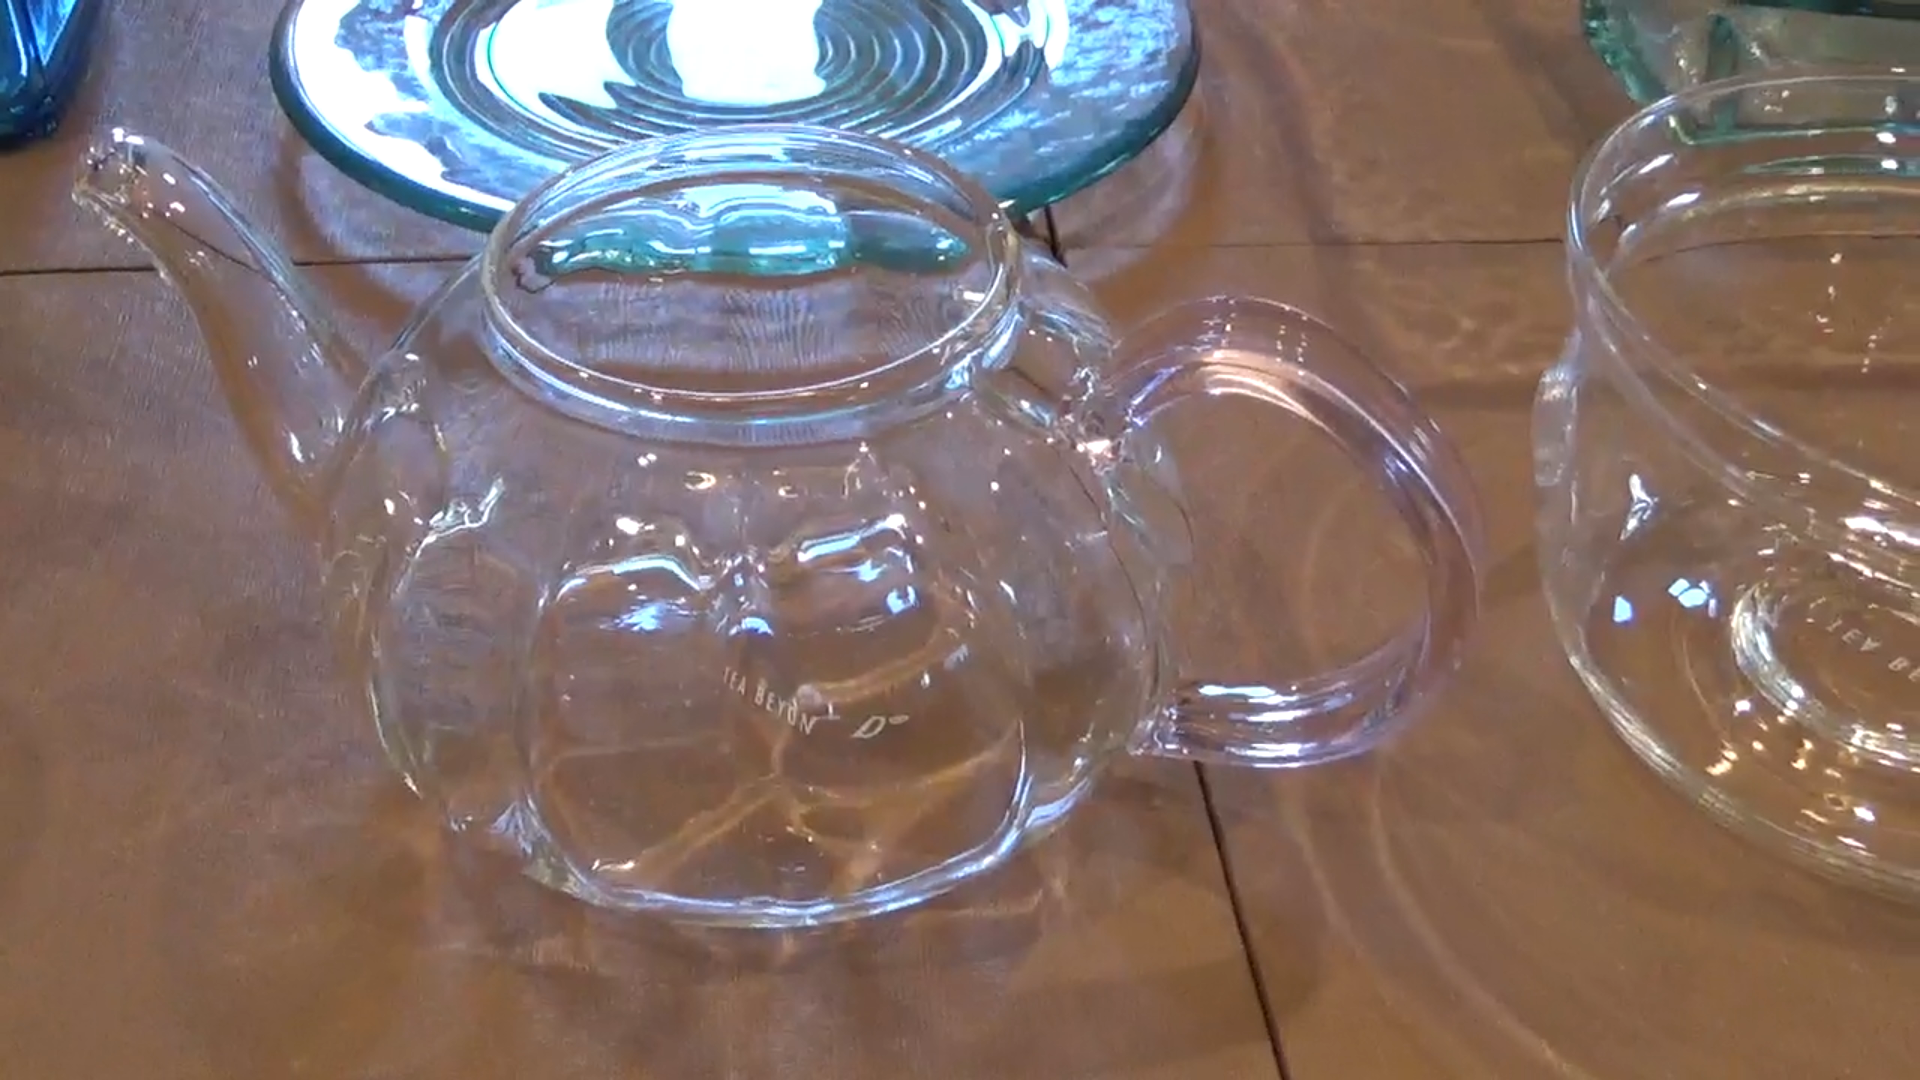
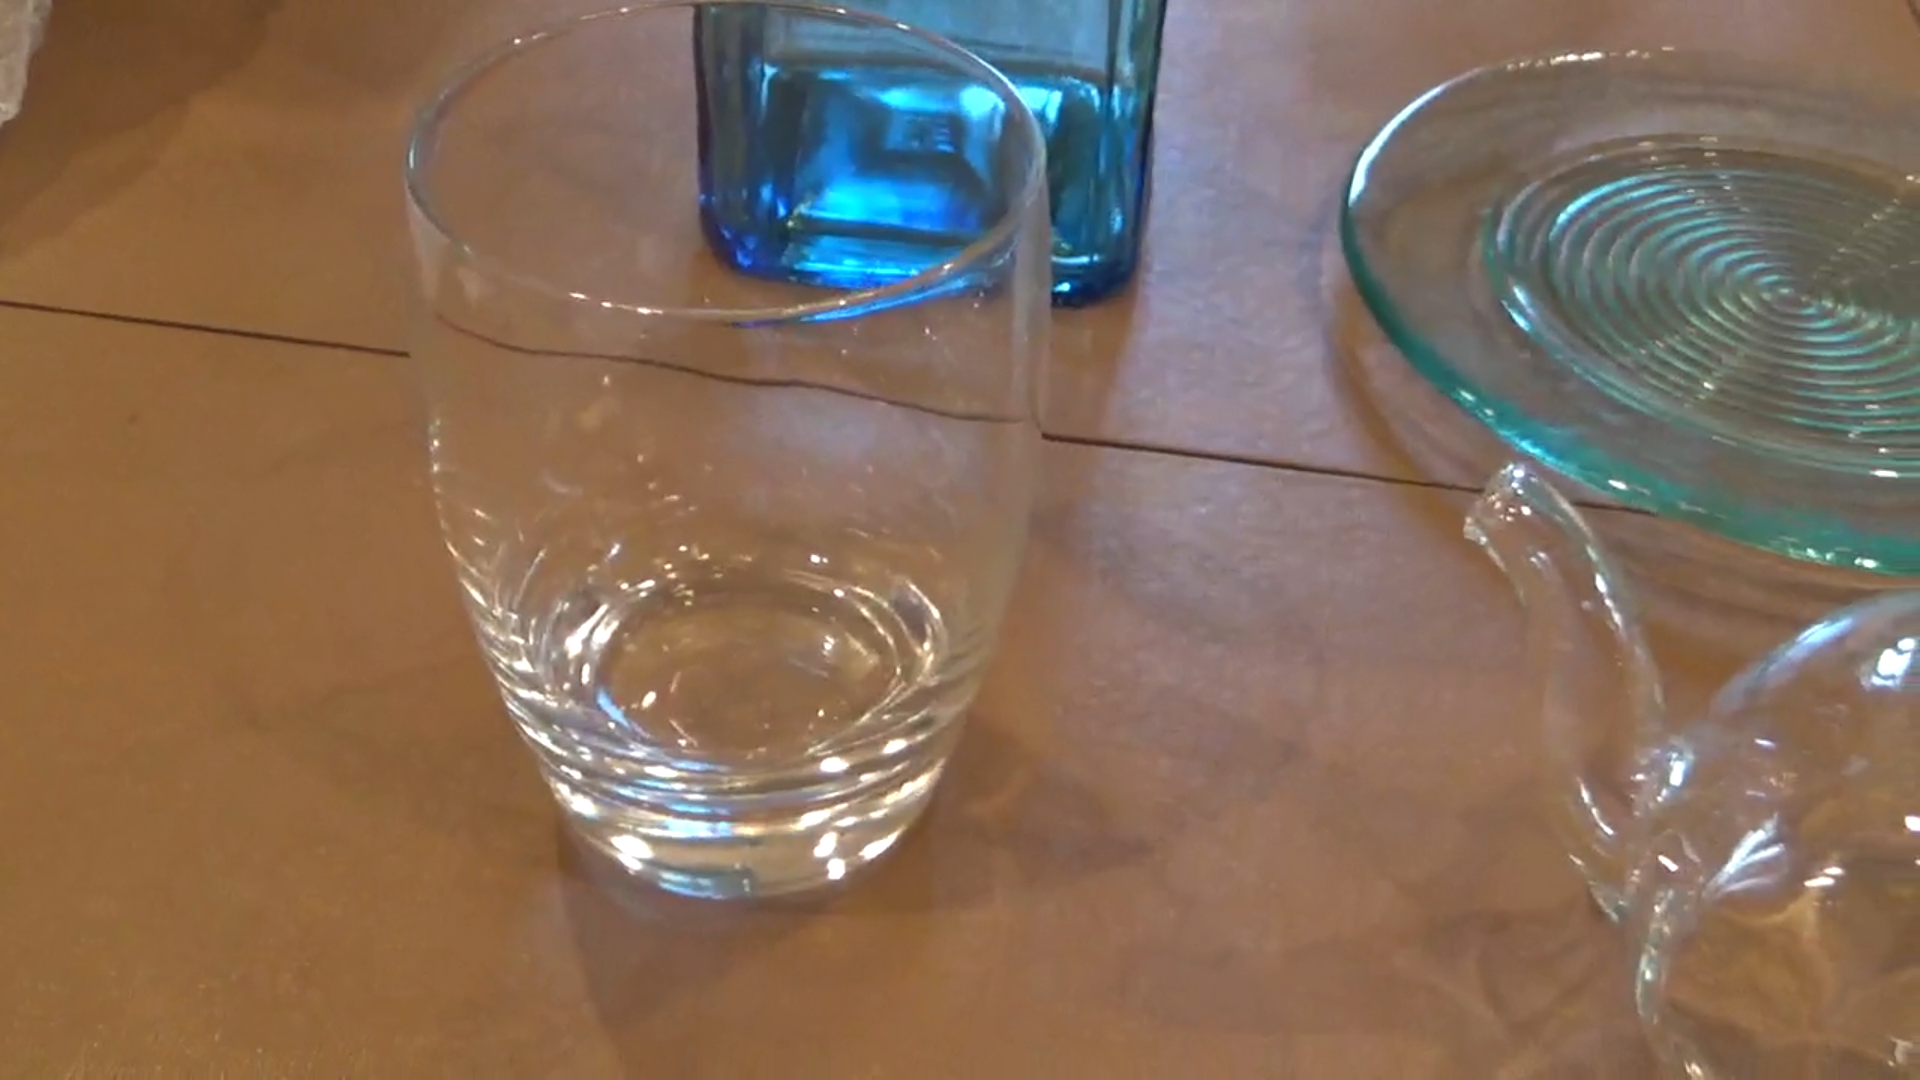
Purchased clear glass dishes (for example, my teapot and warmer cost about $20 on the internet)
Cut Vinyl Stickers of Designs
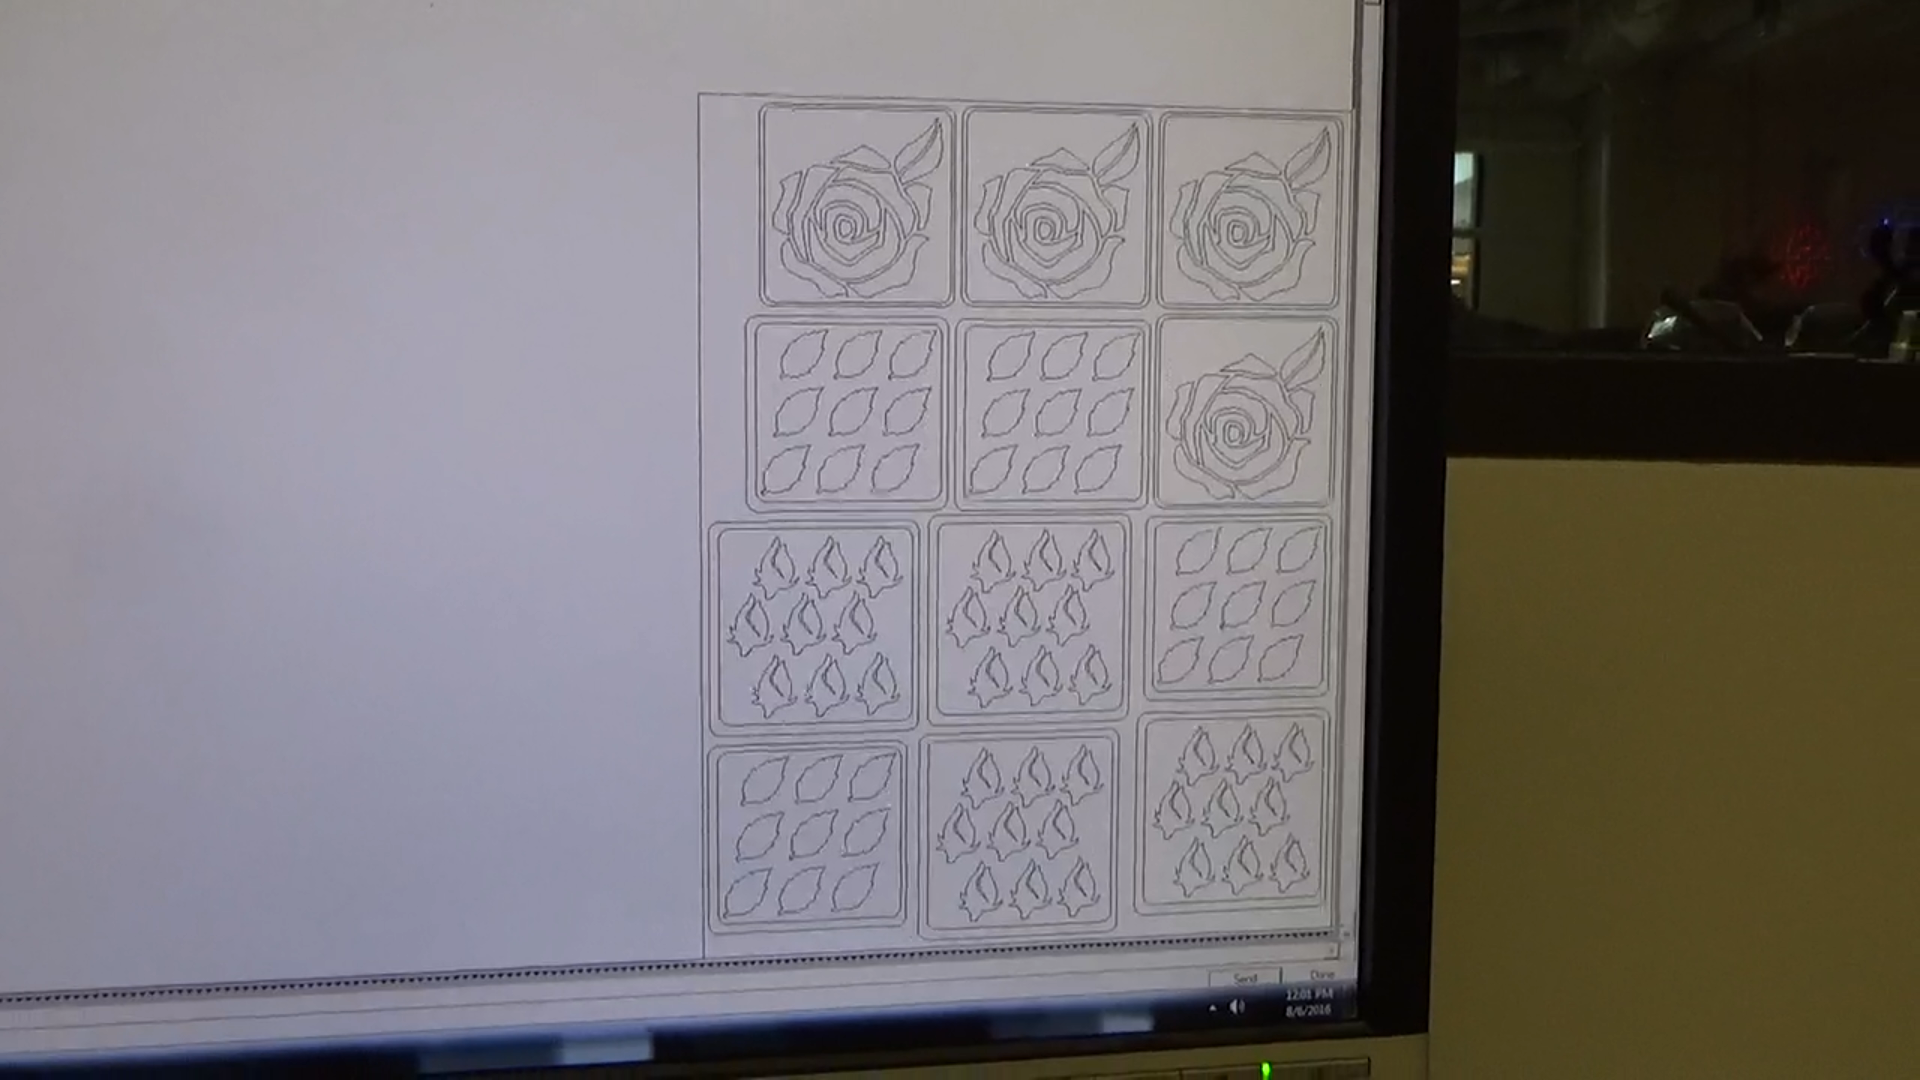
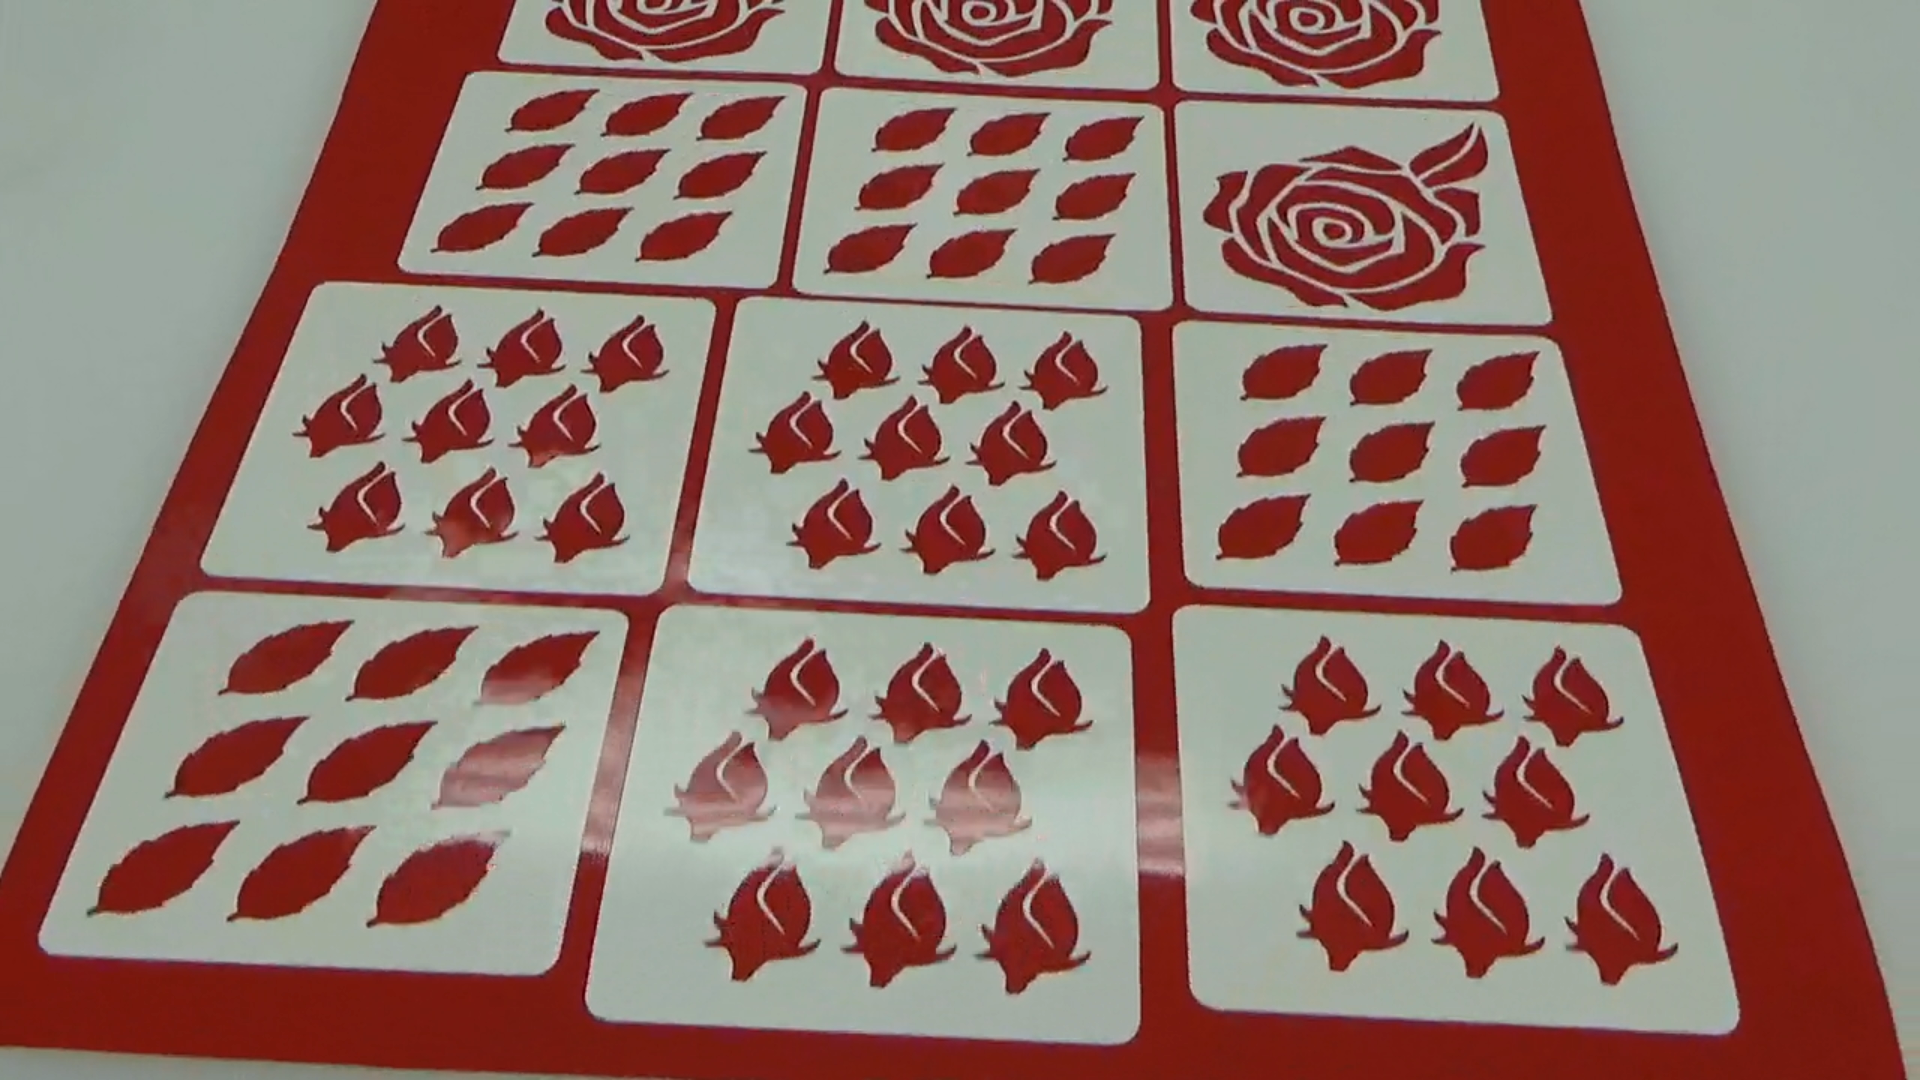
I created my rose motifs in Adobe Illustrator - I have a video describing this process in detail.
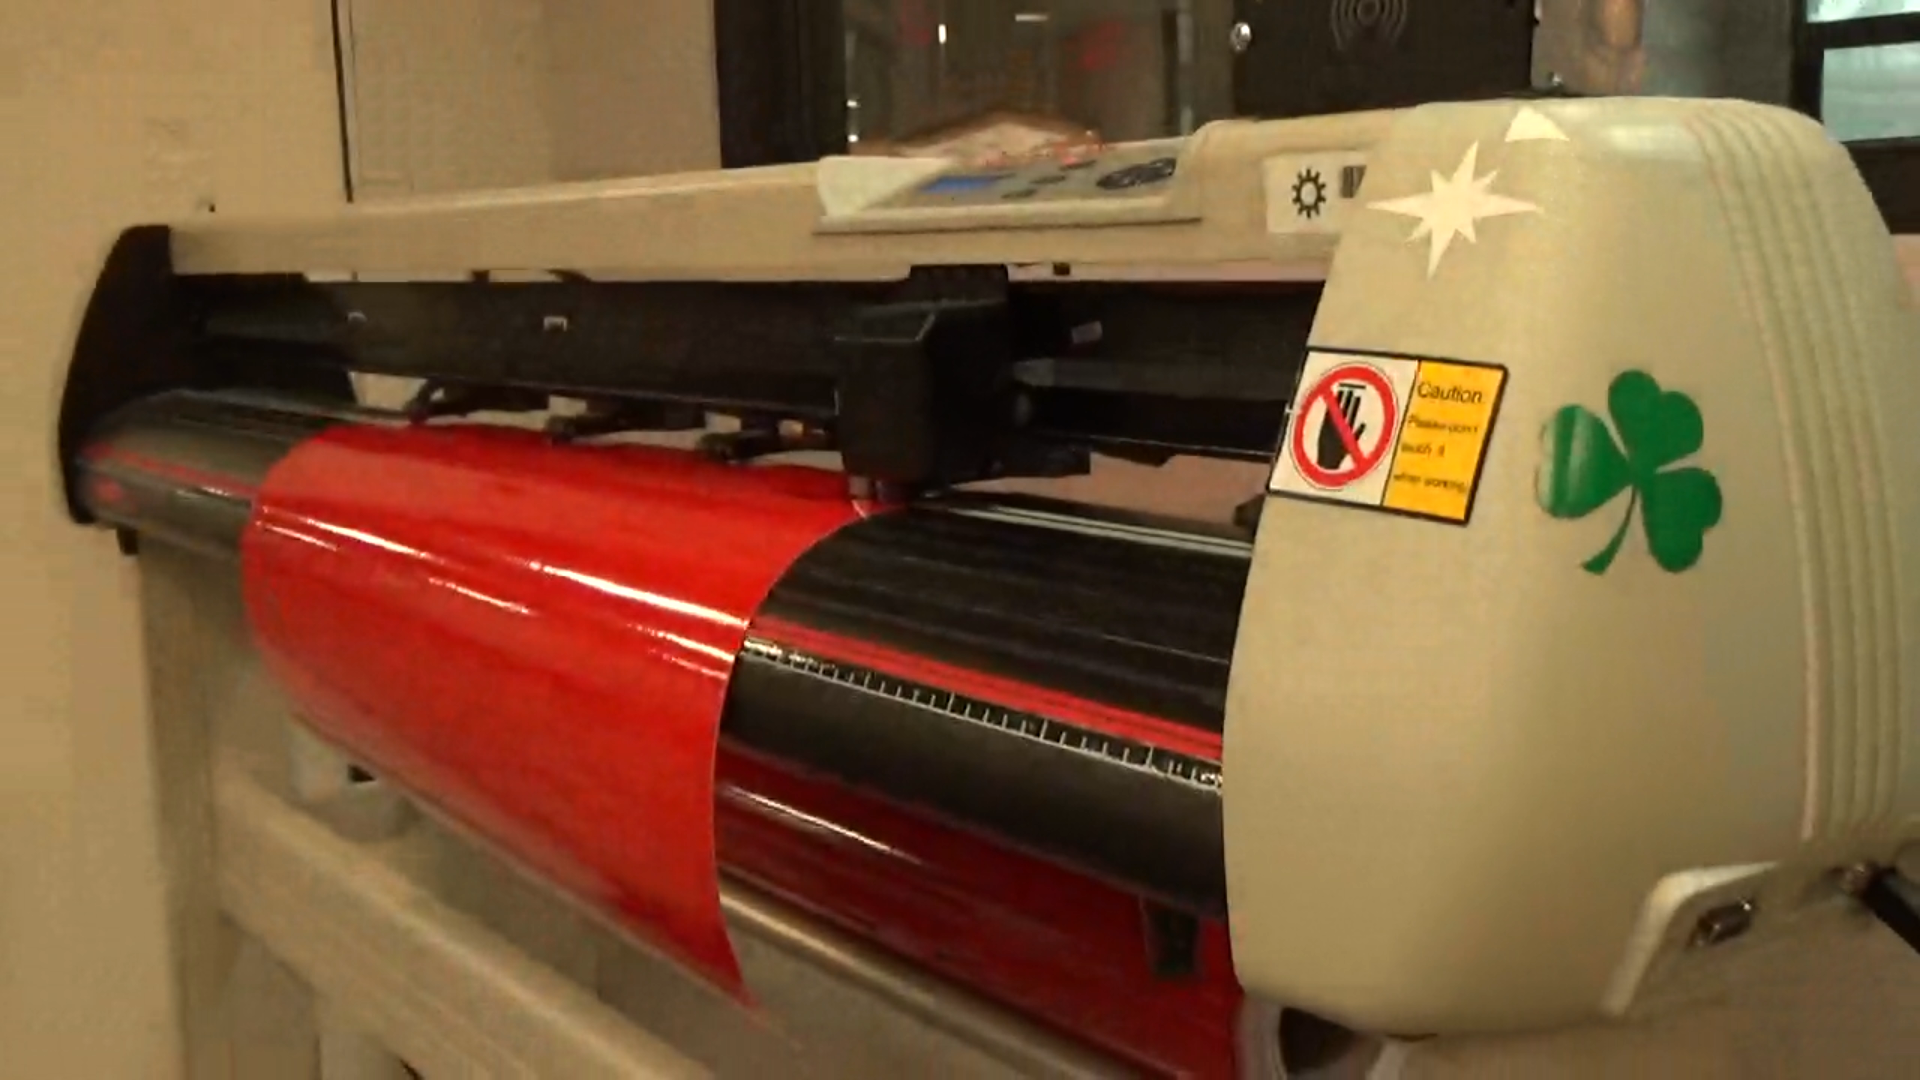
I imported the file to a vinyl cutter and cut them into 'sticker sheets'. You need to carefully remove the surrounding vinyl in a process called 'weeding'. It helps to use a small pointed tool, such as a dental probe, to raise and remove the unwanted background vinyl.
Note: at this point the sticky part is facing down.
Apply the Vinyl Stickers
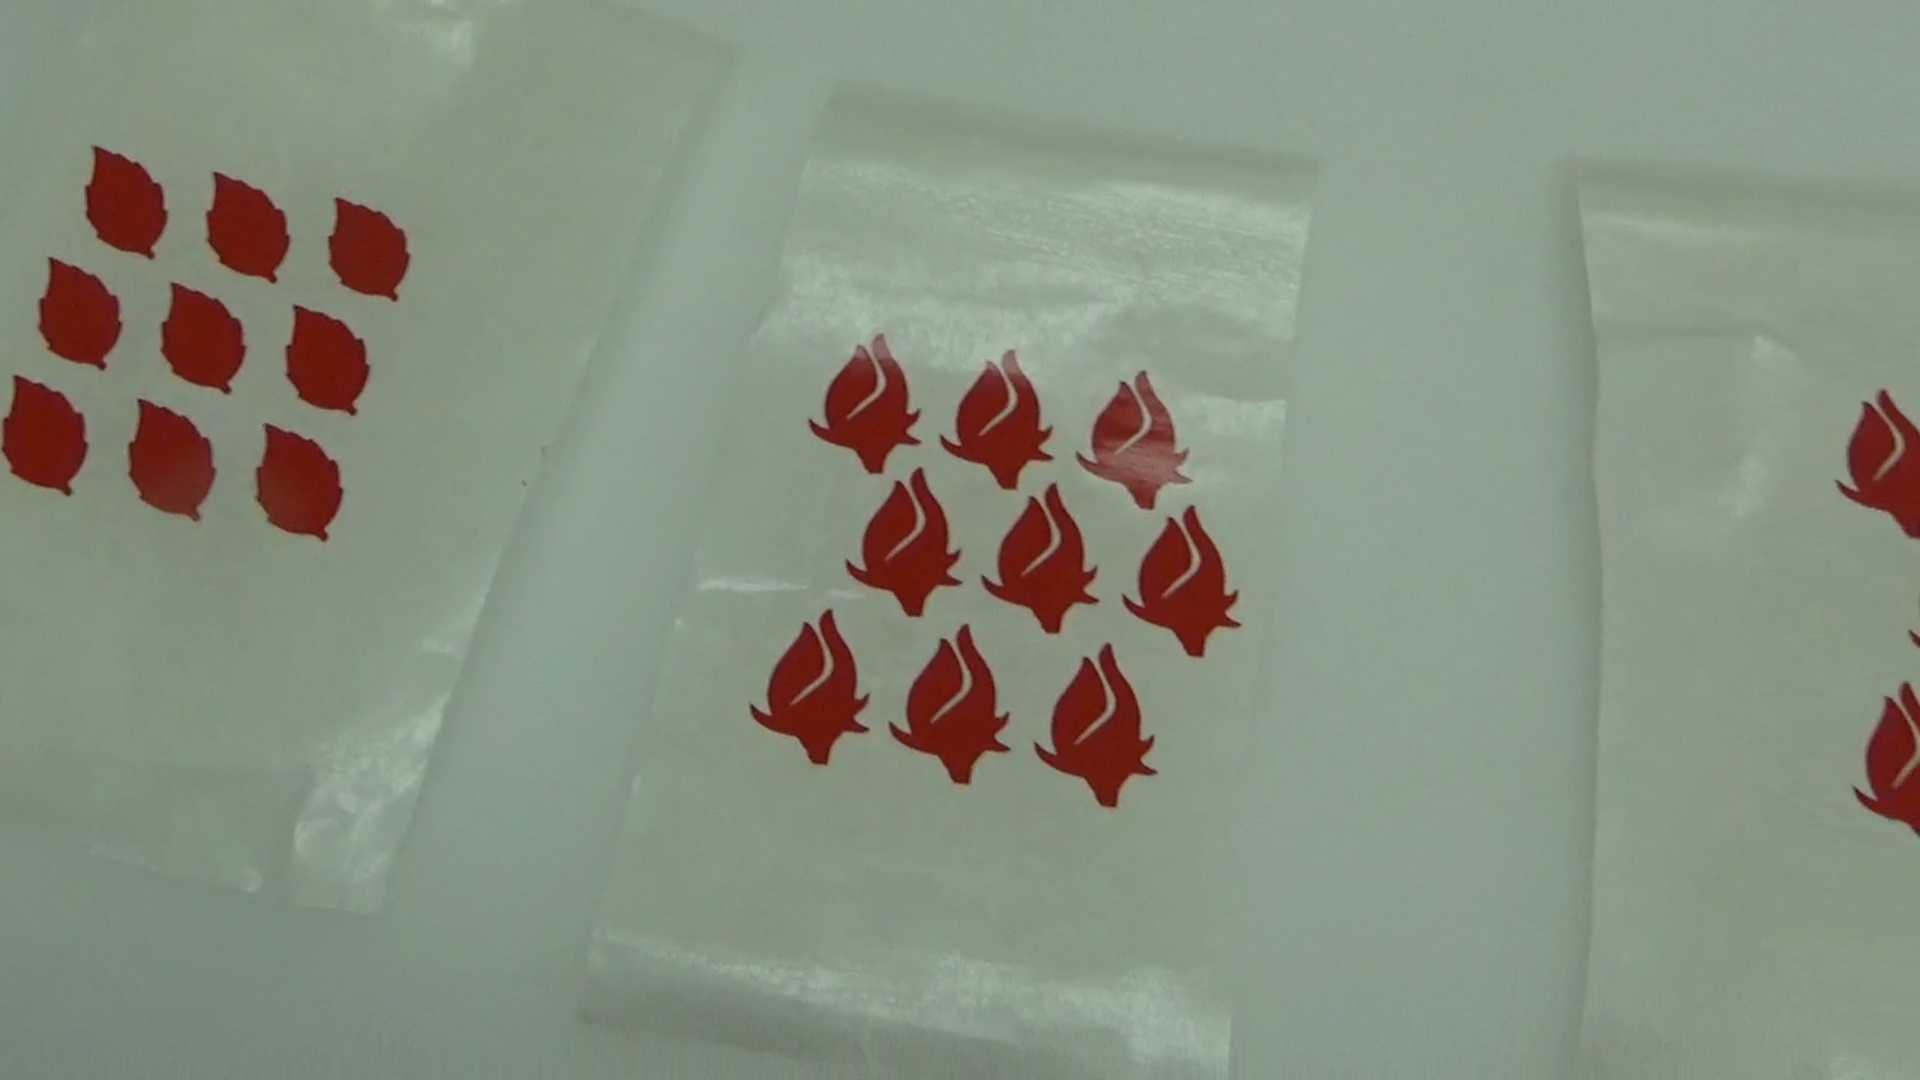
I get the vinyl stickers ready to apply by squeegeeing transfer paper over them and carefully peeling off the back. This step is important to prevent distortion of the one piece designs and essential for keeping together complex multi-piece designs like the large rose.
Note: at this point, the sticky sides are UP.
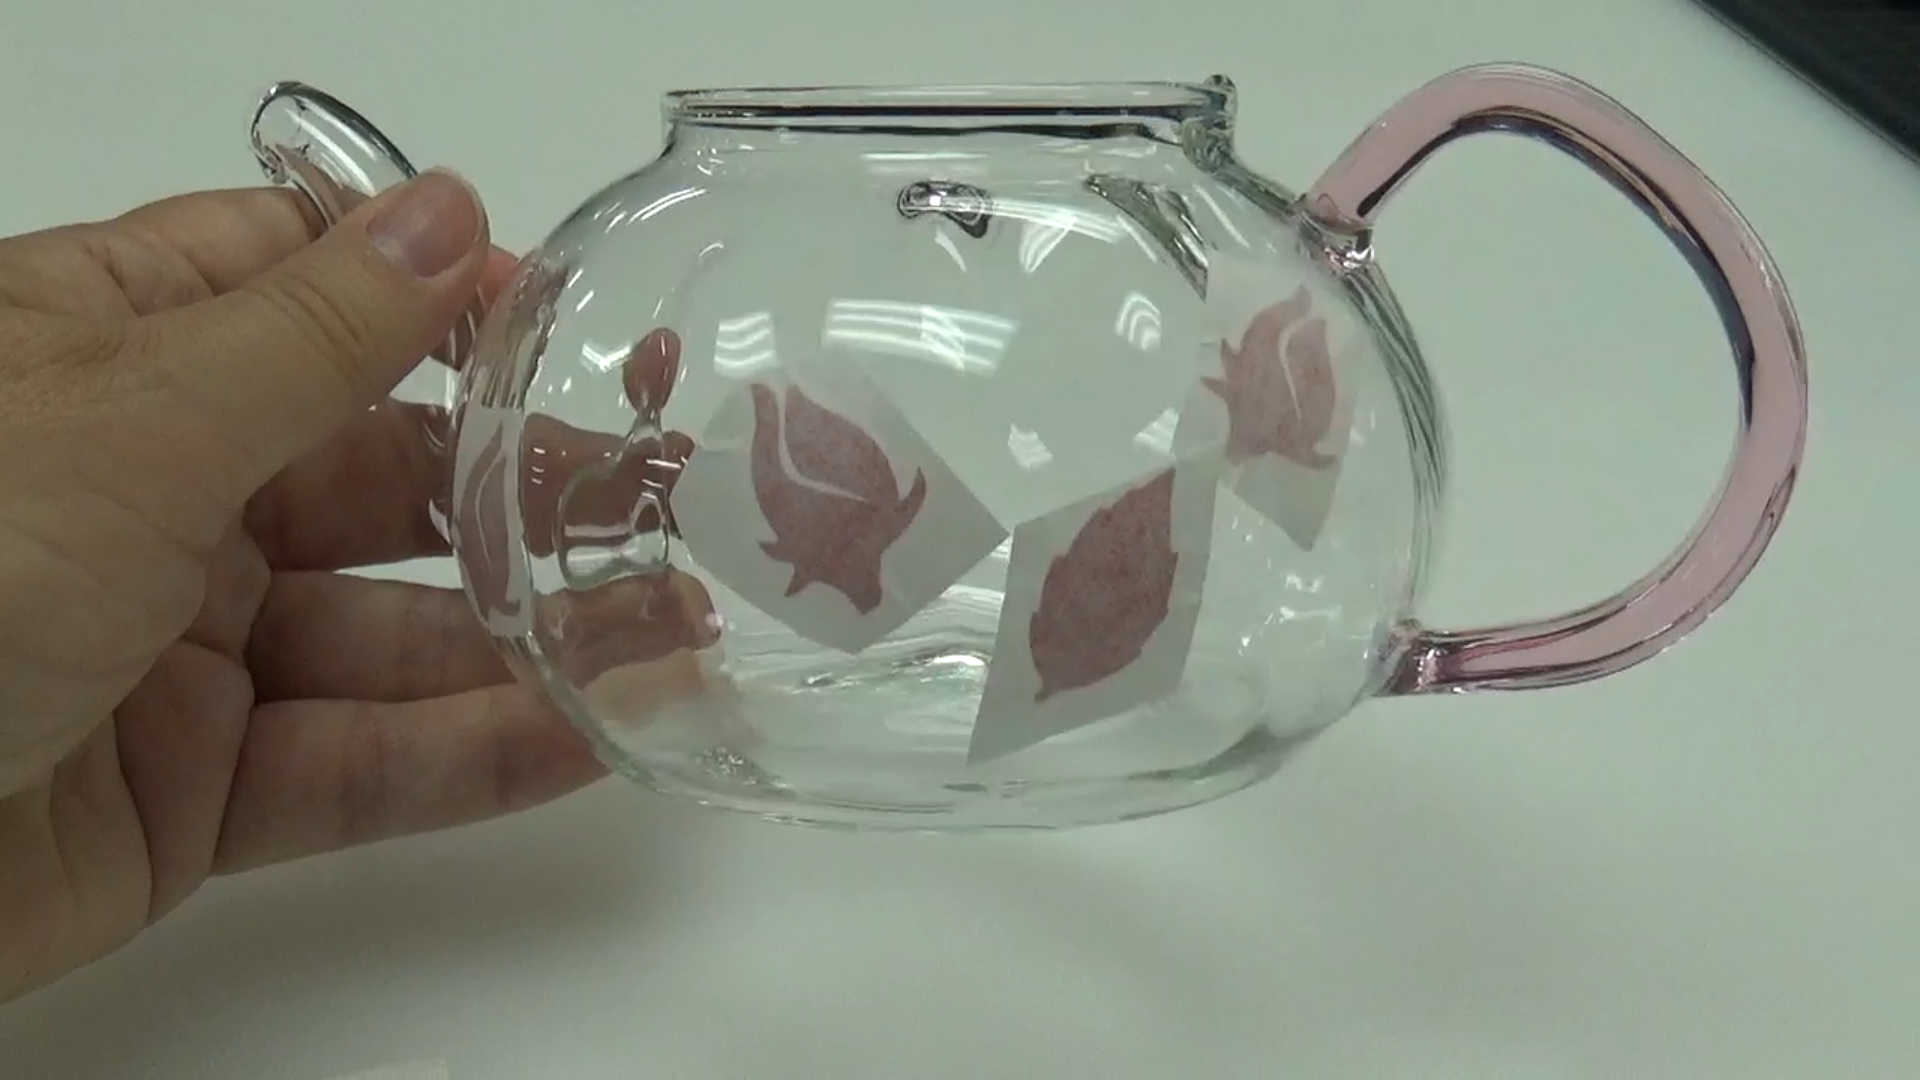
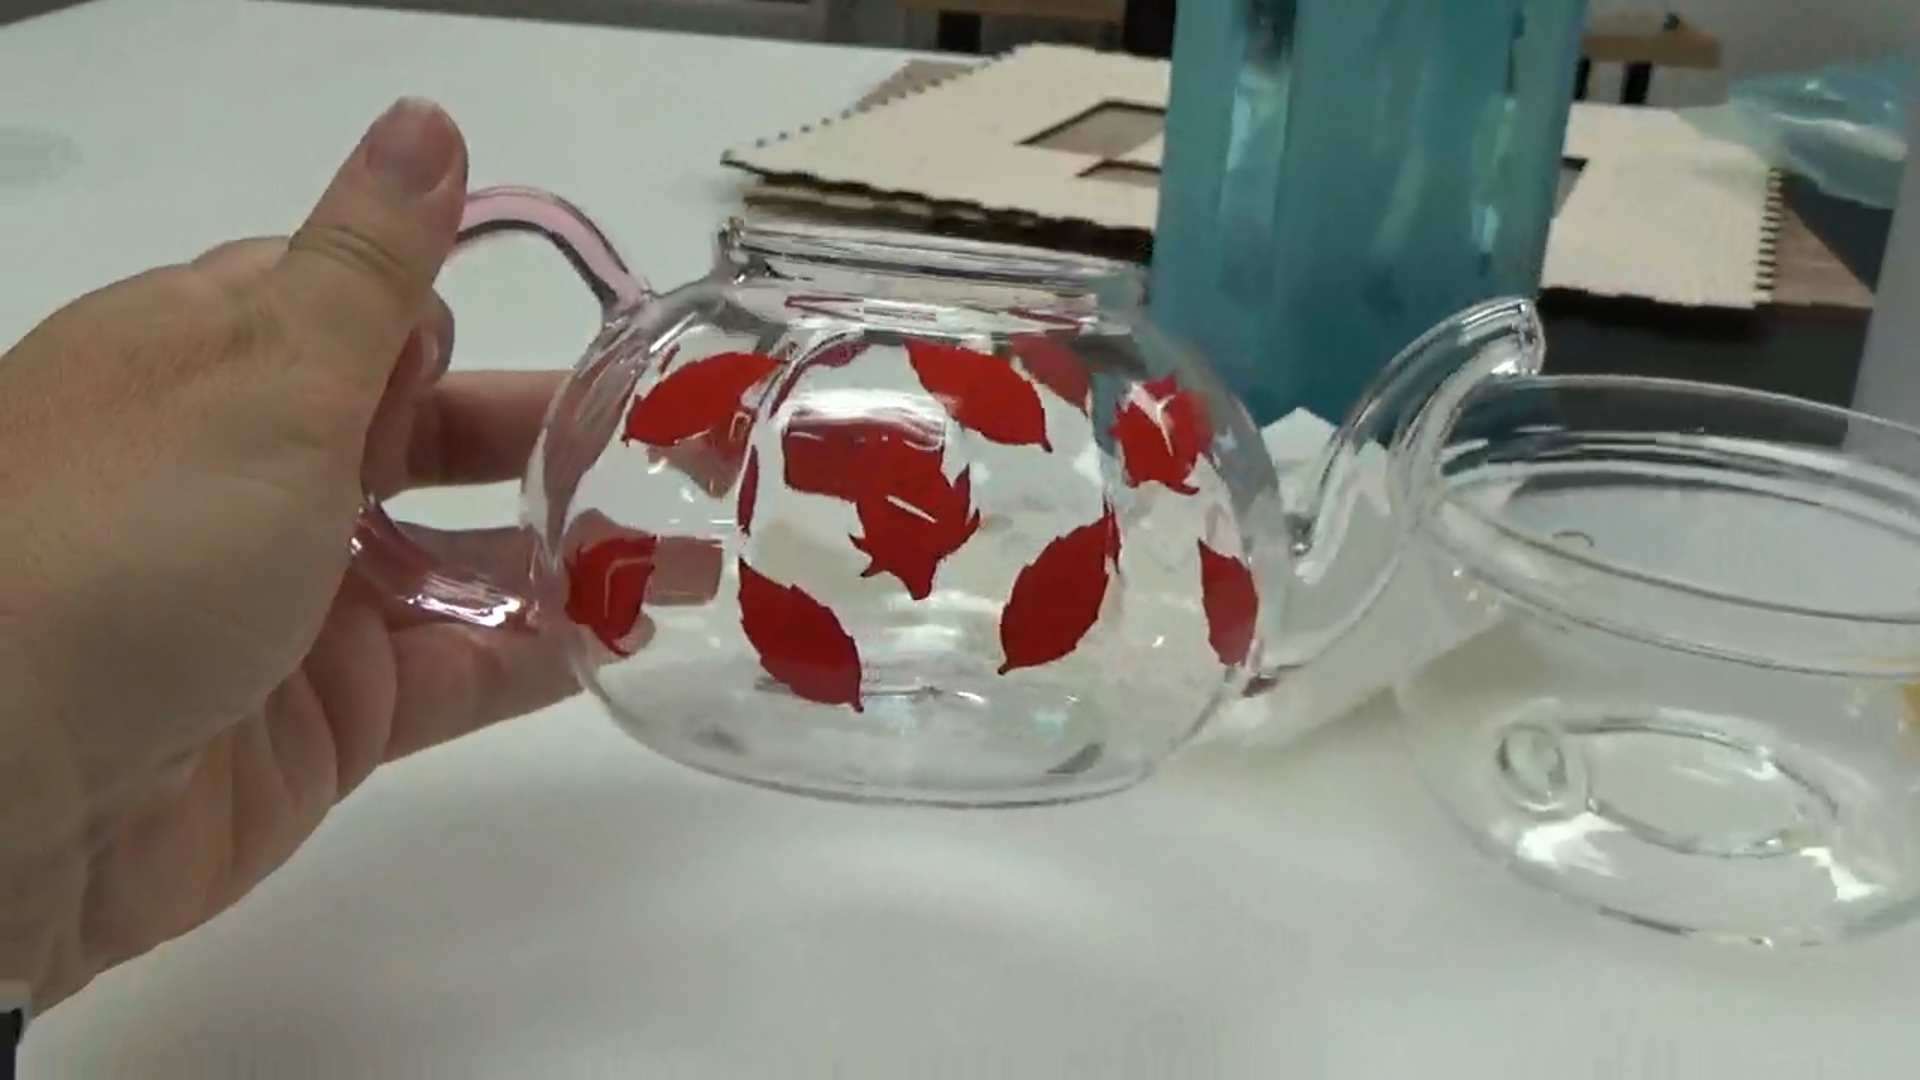
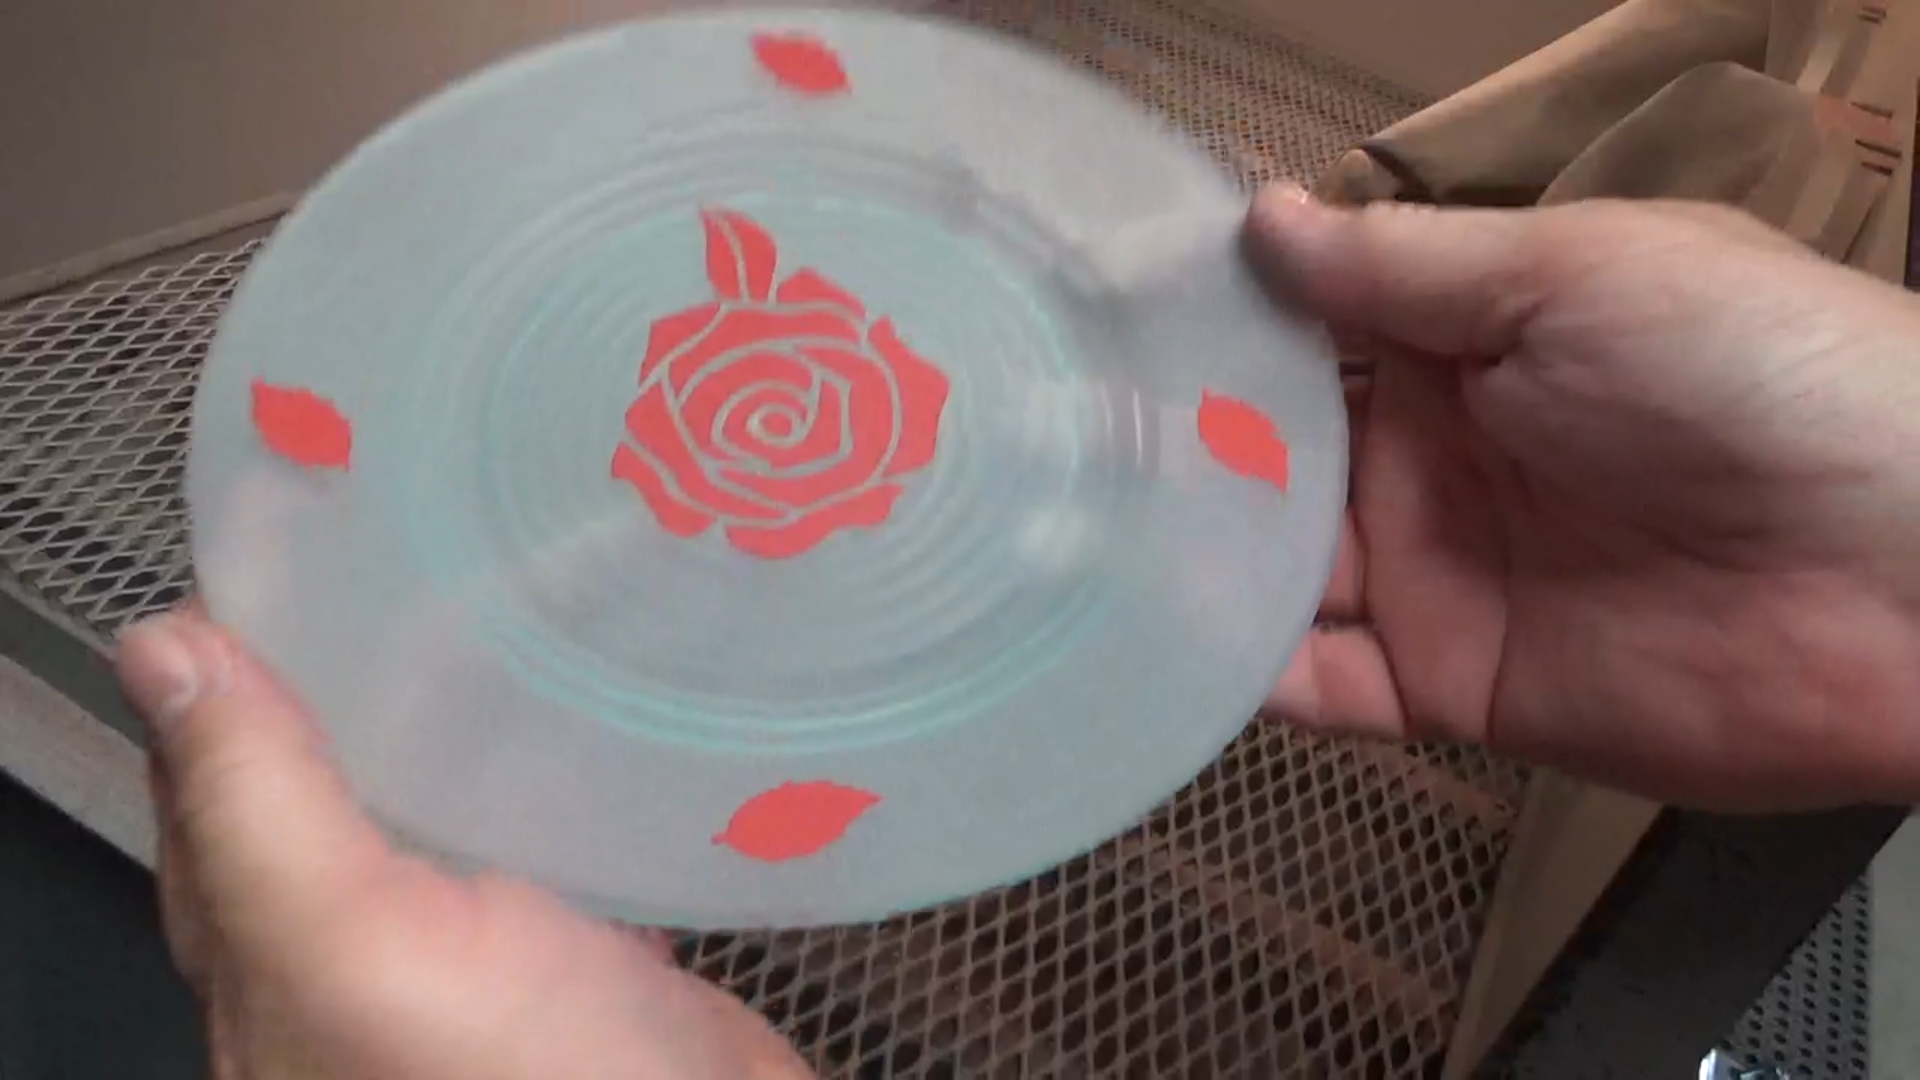
Then I cut the stickers into individual motifs and apply them to the dishes, creating my overall design.
Mask Off Elements and Protect the Interiors
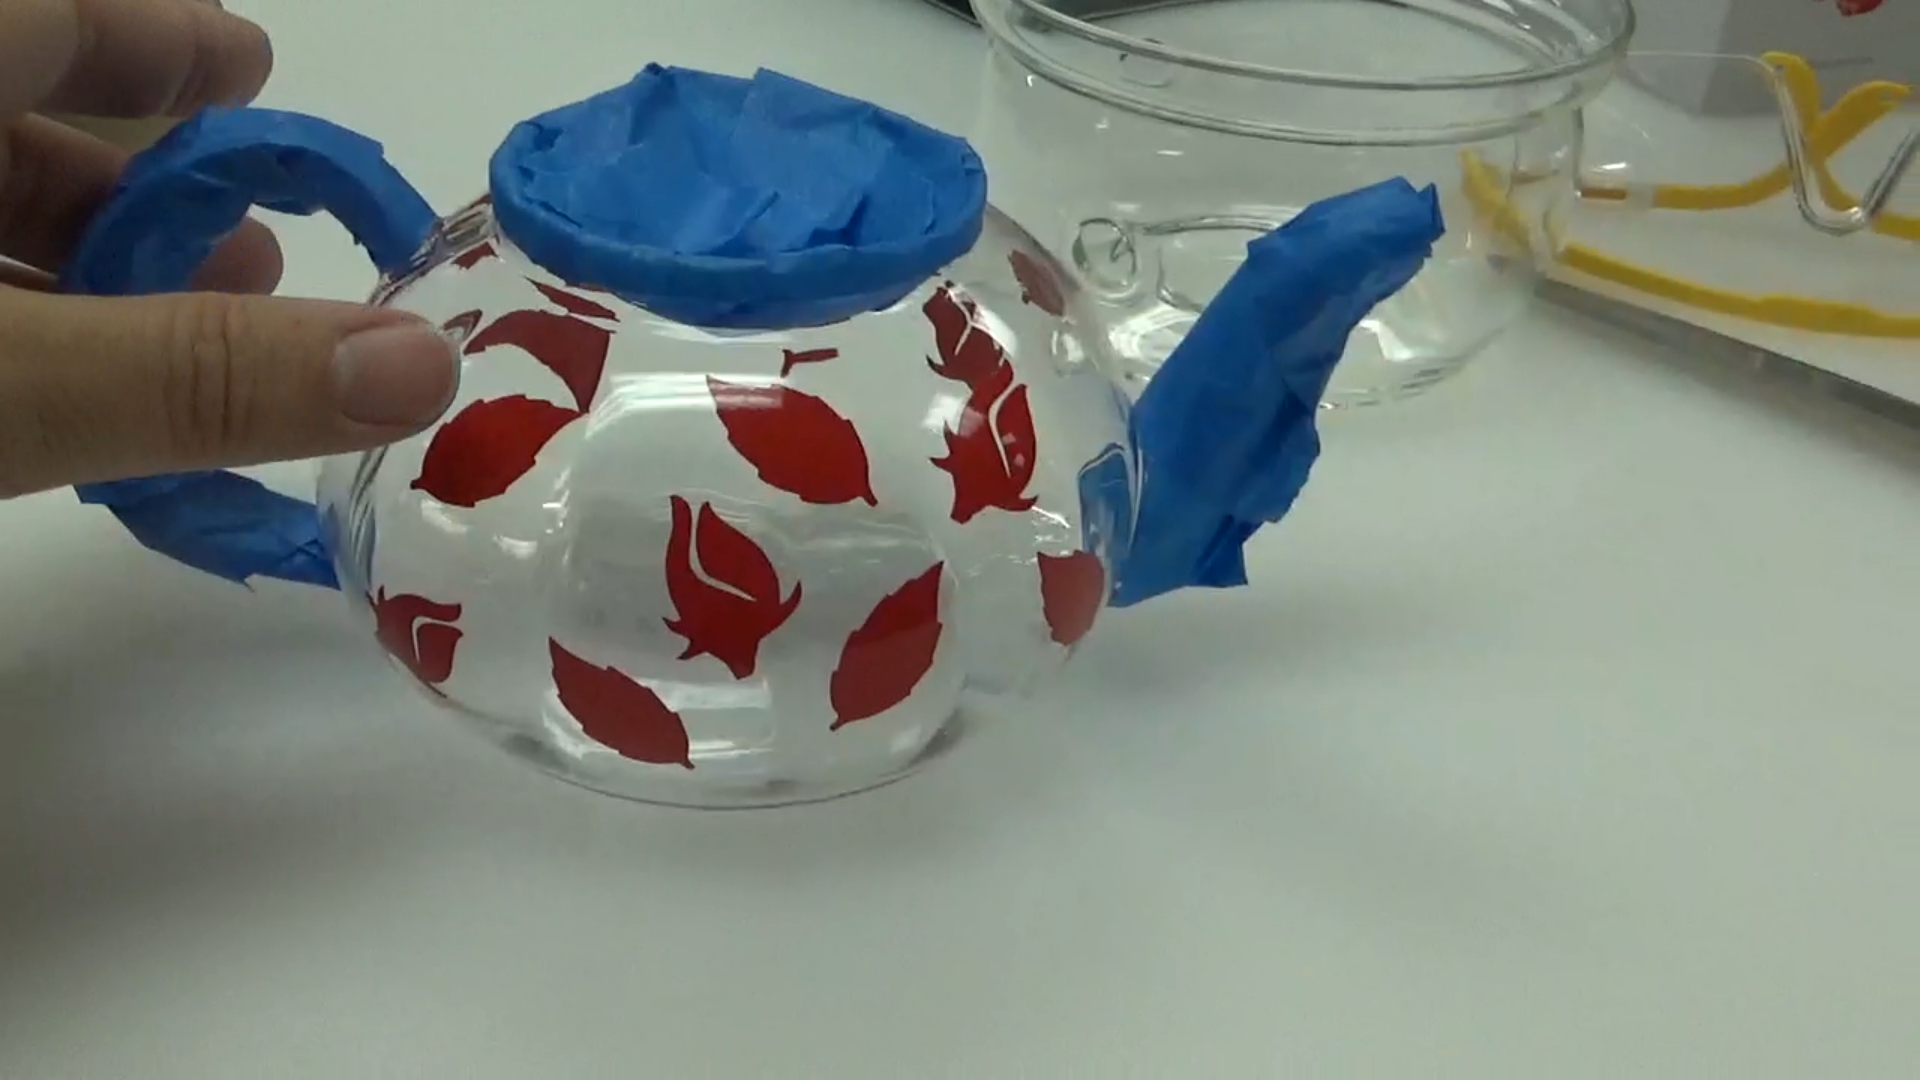
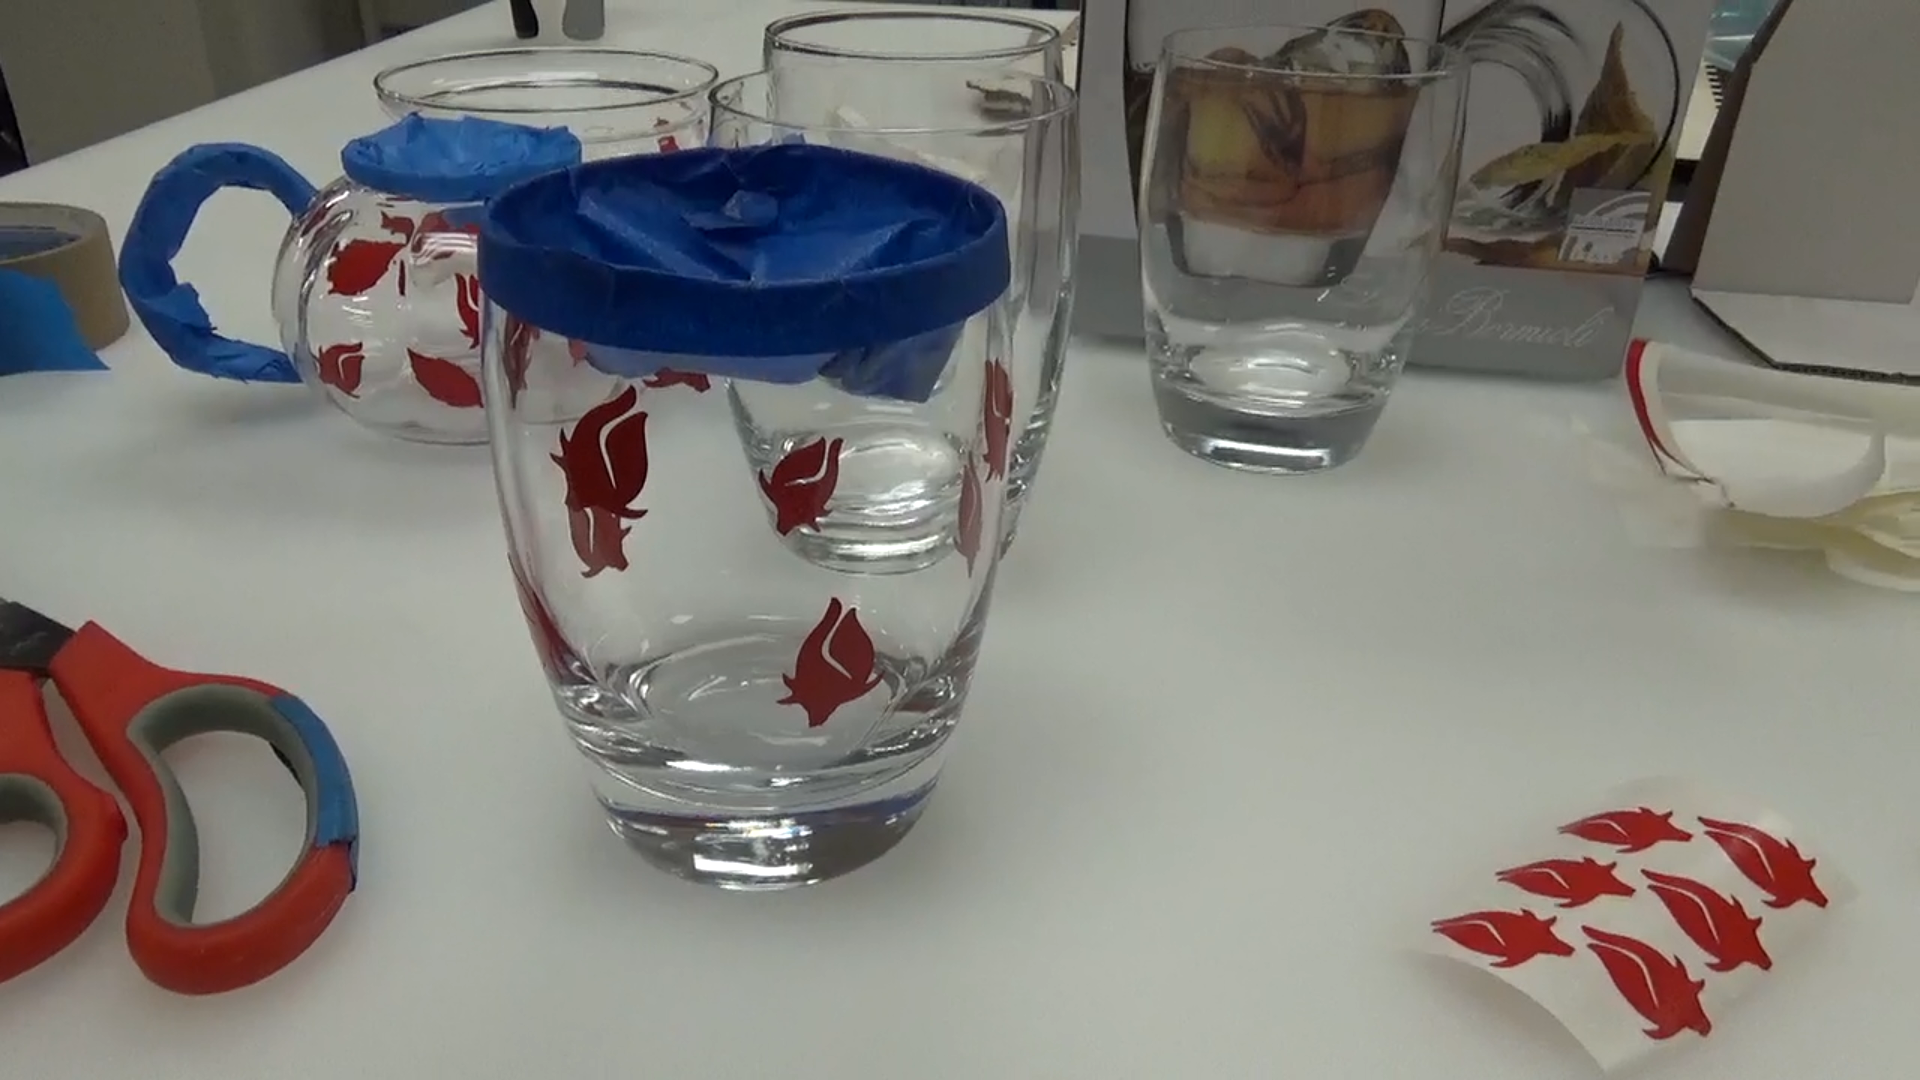
I used blue masking tape to protect important areas: the rims of the glasses (for smooth contact with lips), the teapot spout and the pink glass handle.
I also covered the mouths of the glasses and pot, so I wouldn't accidentally sandblast the interior.
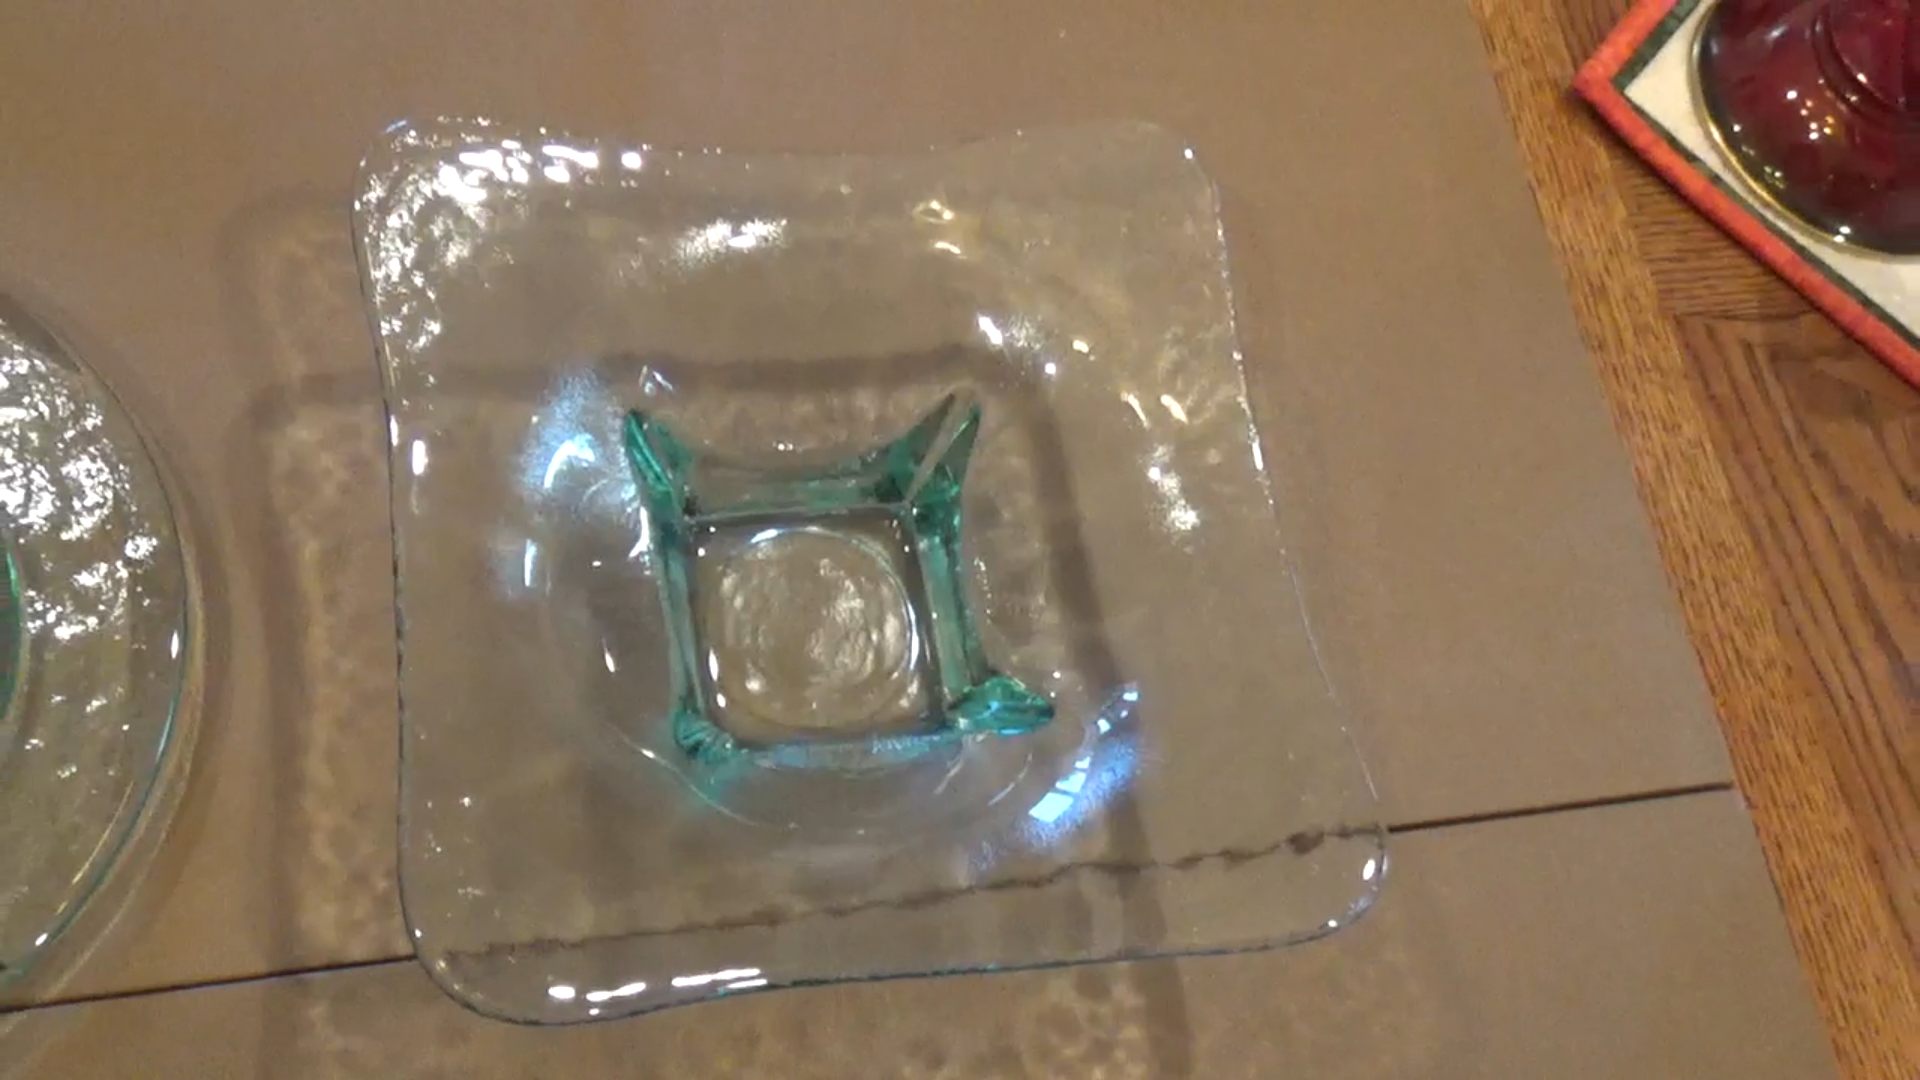
The plates and bowl did not require any masking.
Sandblast the Dishes
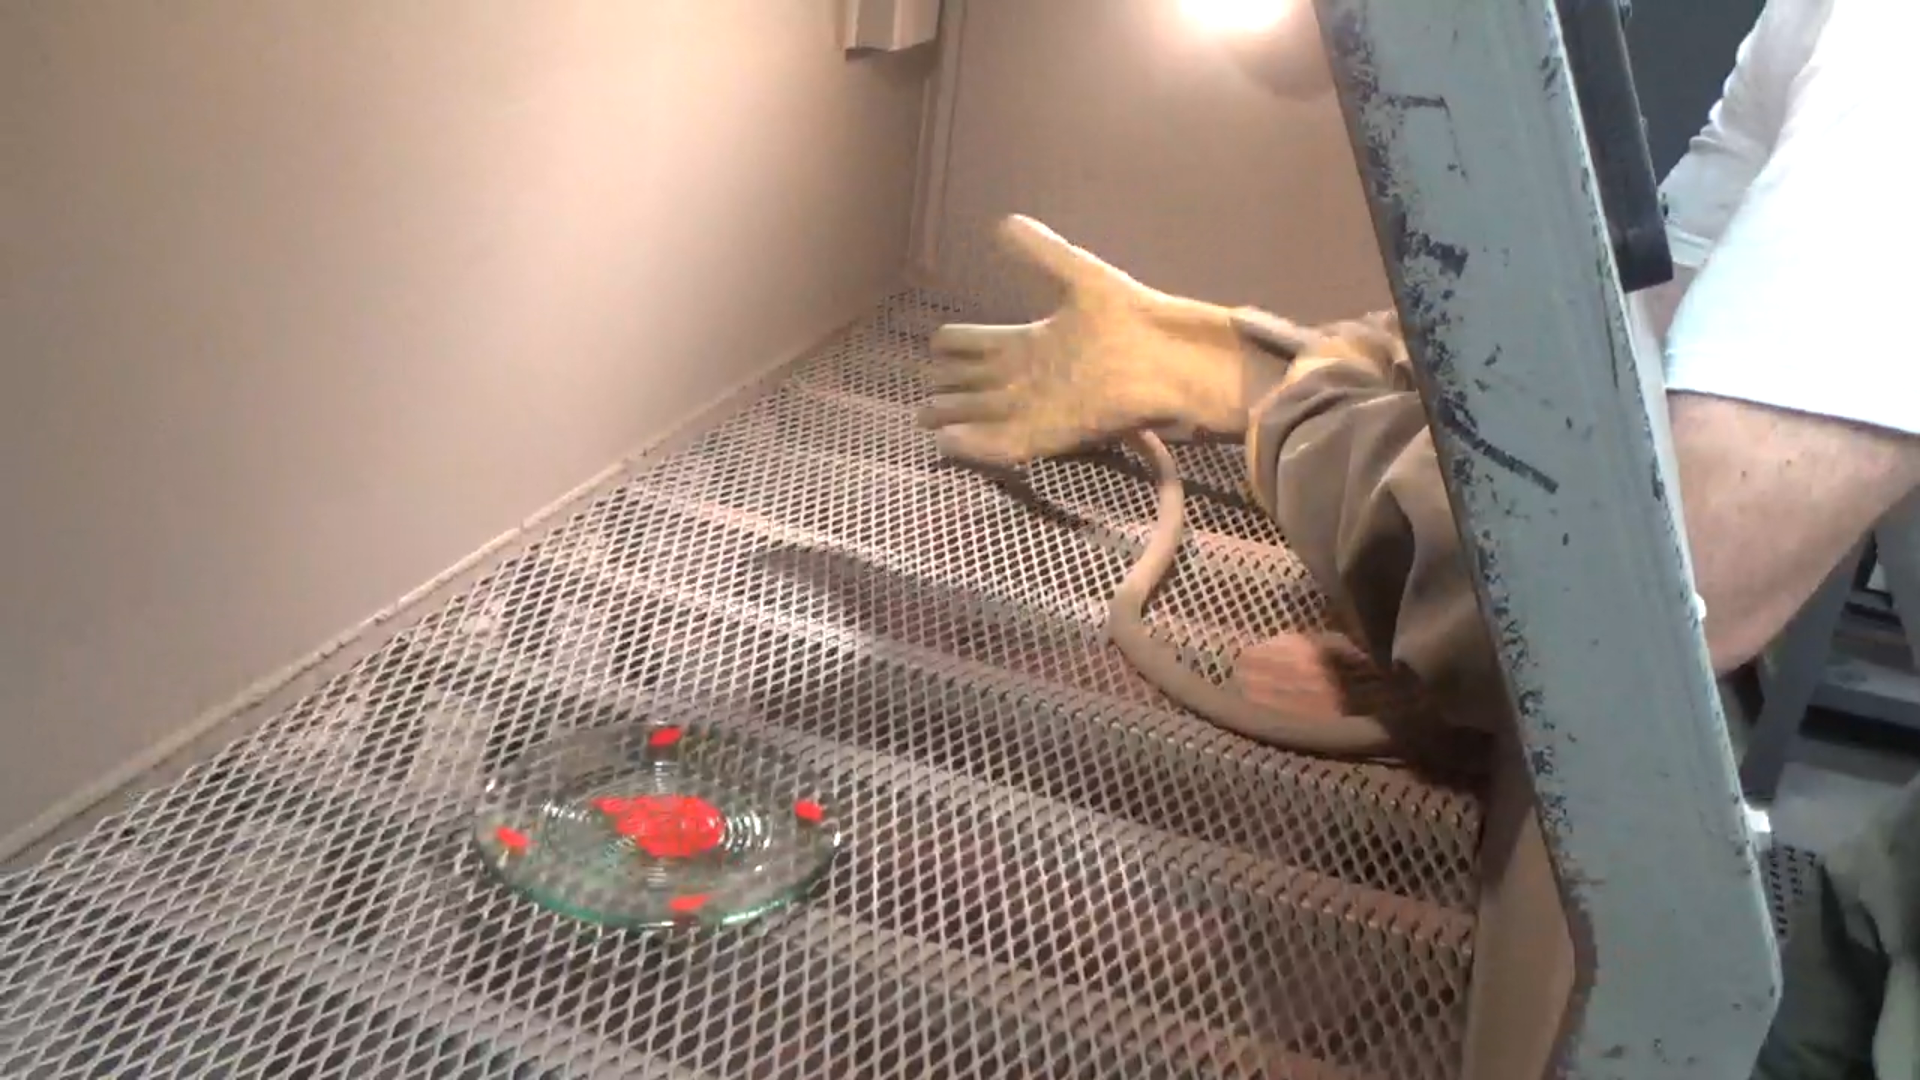
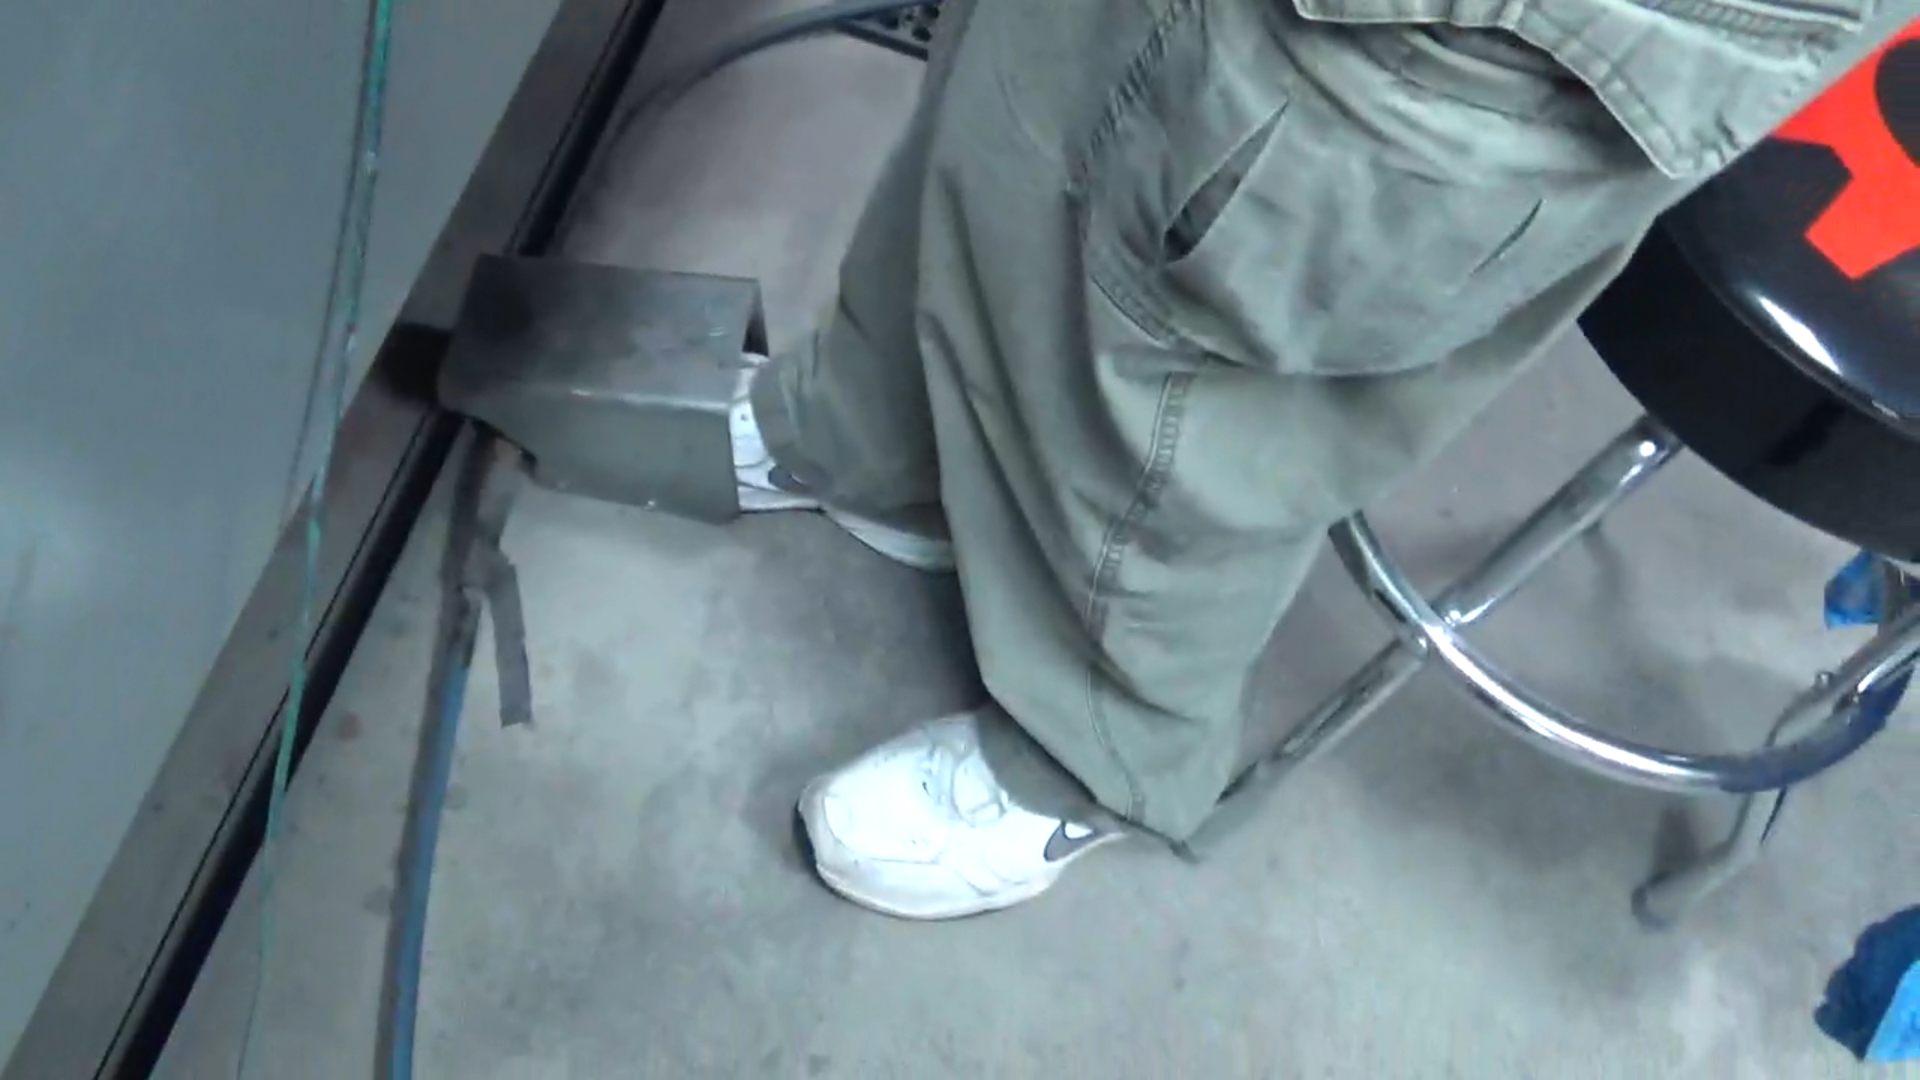
The sandblaster I use has an enclosed work area with attached gloves and an interior blast hose. Items are placed into the container through a side door, and the blaster is activated by stepping on a foot pedal.
Looking through a glass window on the container, we sandblast all the exposed surfaces of each piece.
After blasting each dish, we do a visual inspection to make sure we've evenly covered the entire surface, and if we've missed a spot we return it to the blast chamber to touch it up.
Remove the Stickers
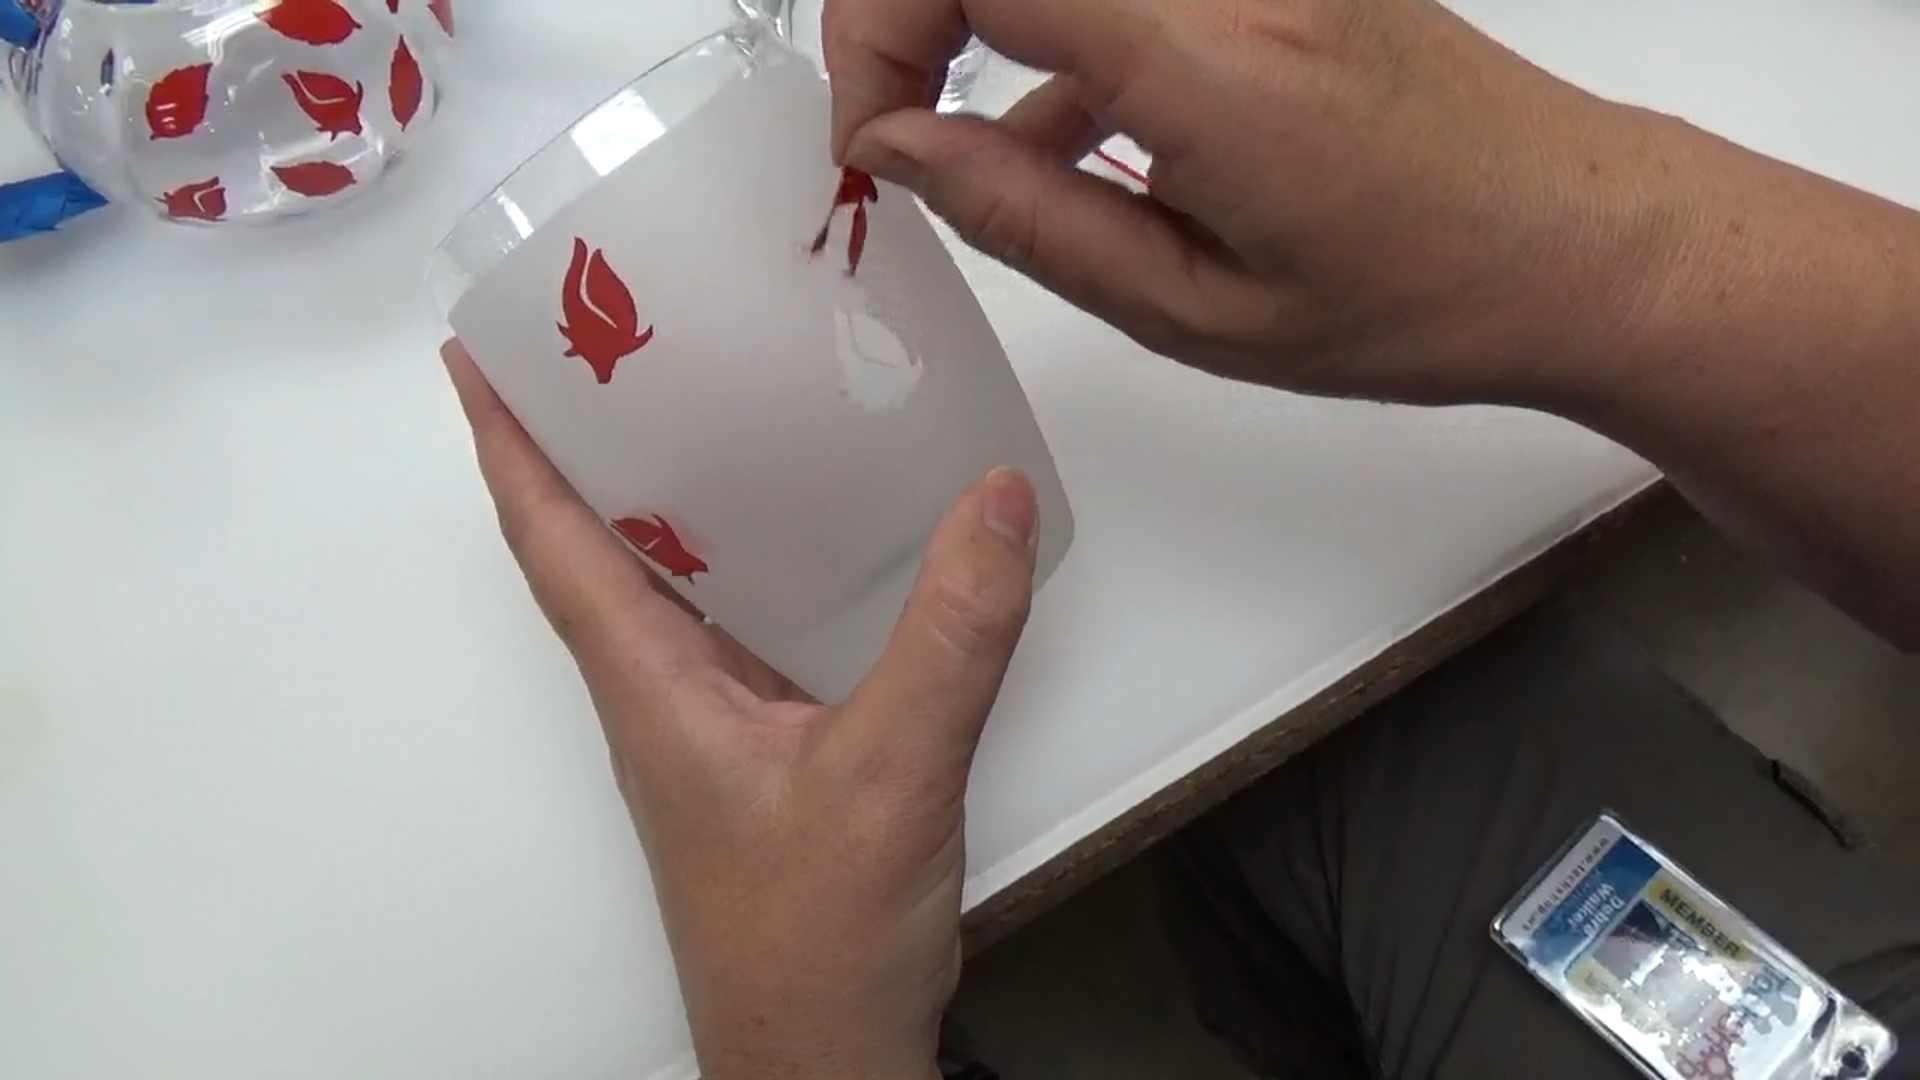
Peel off the stickers and remove the masking tape, and you're done!
Enjoy Your Custom Dishes
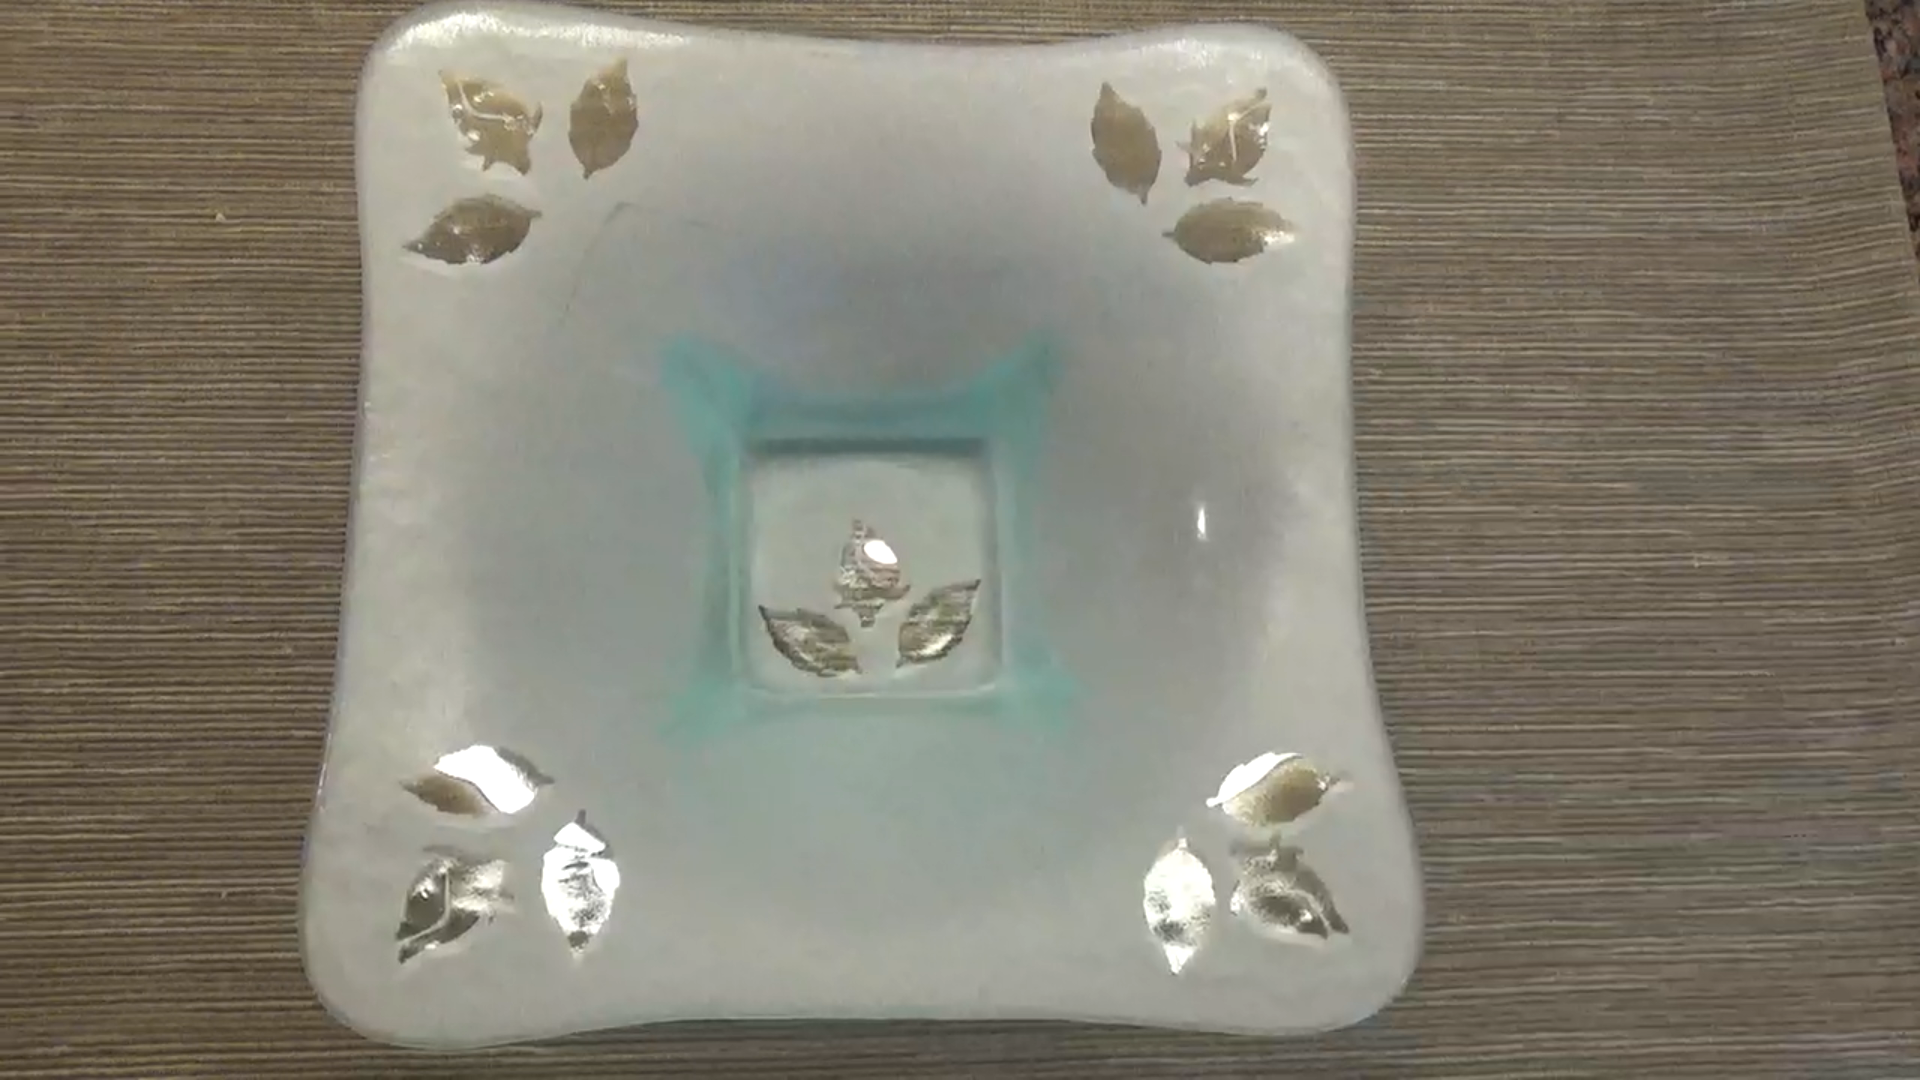
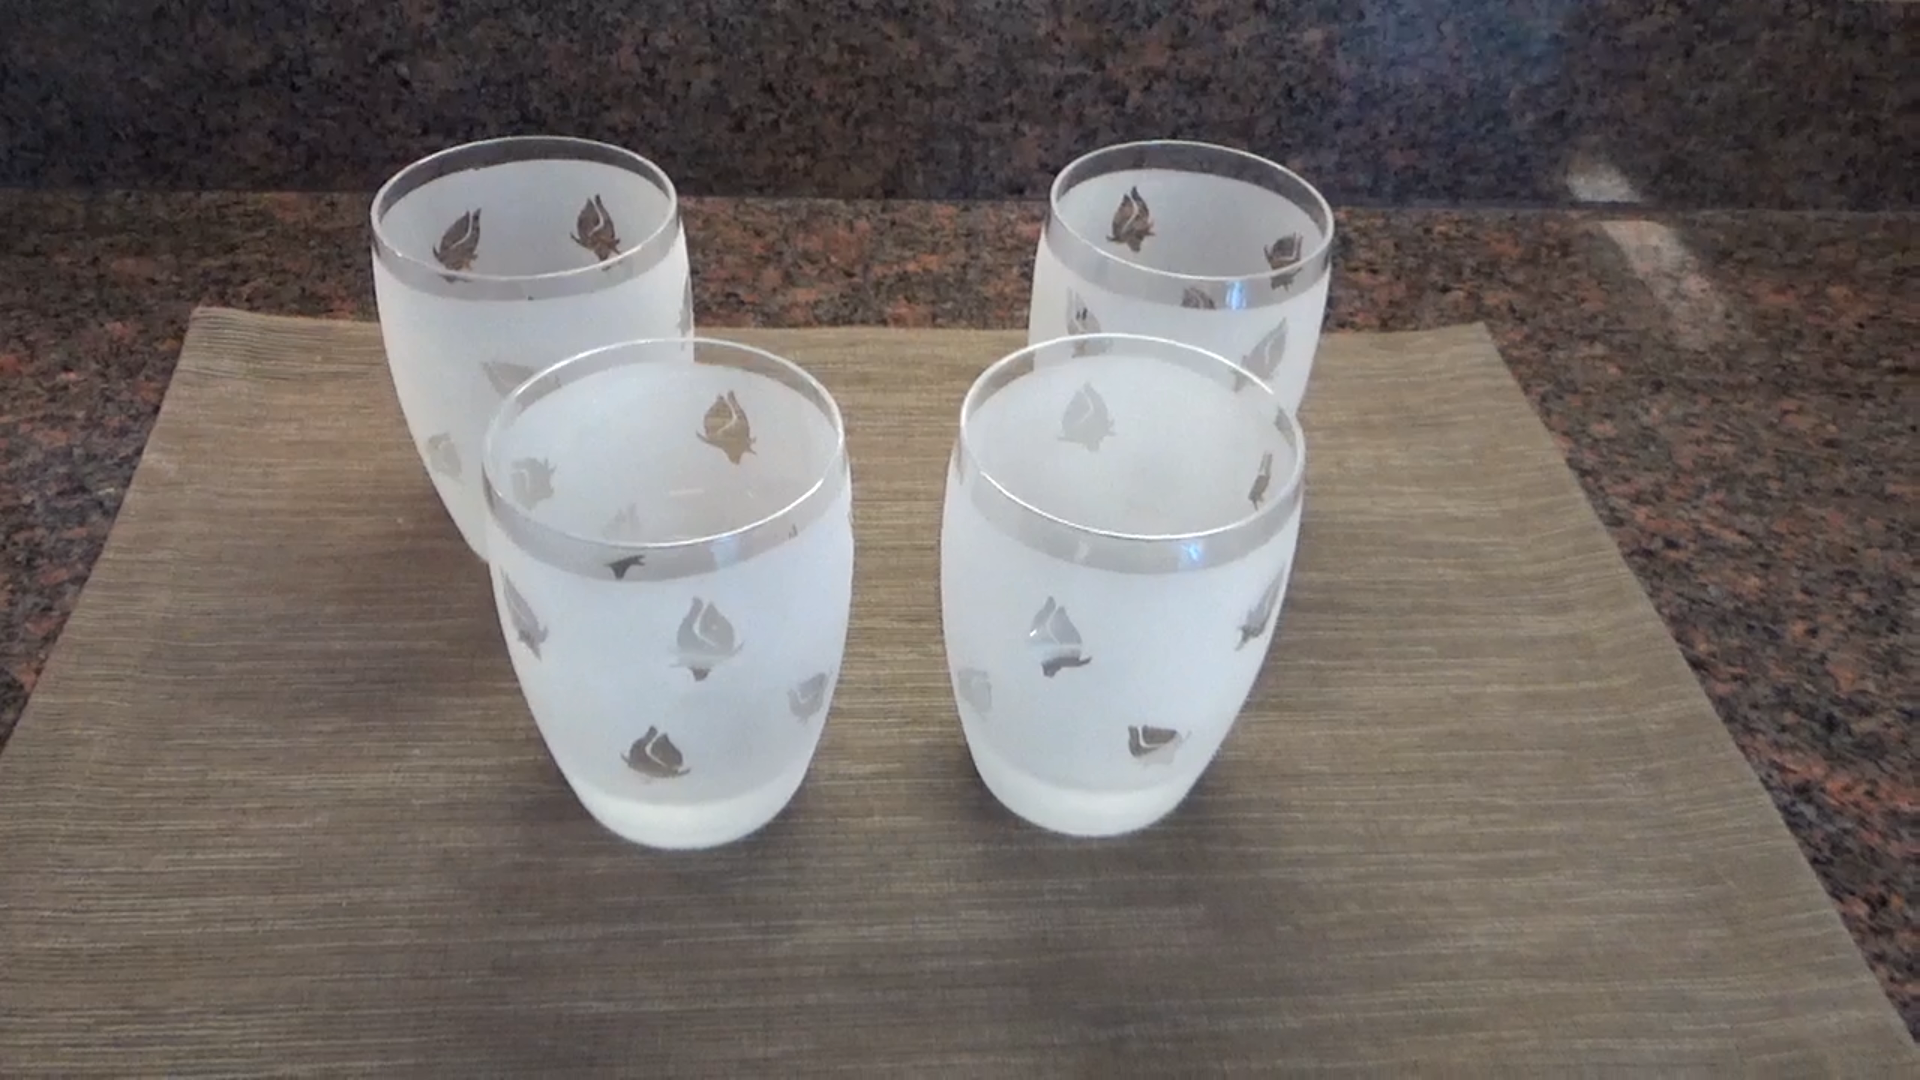
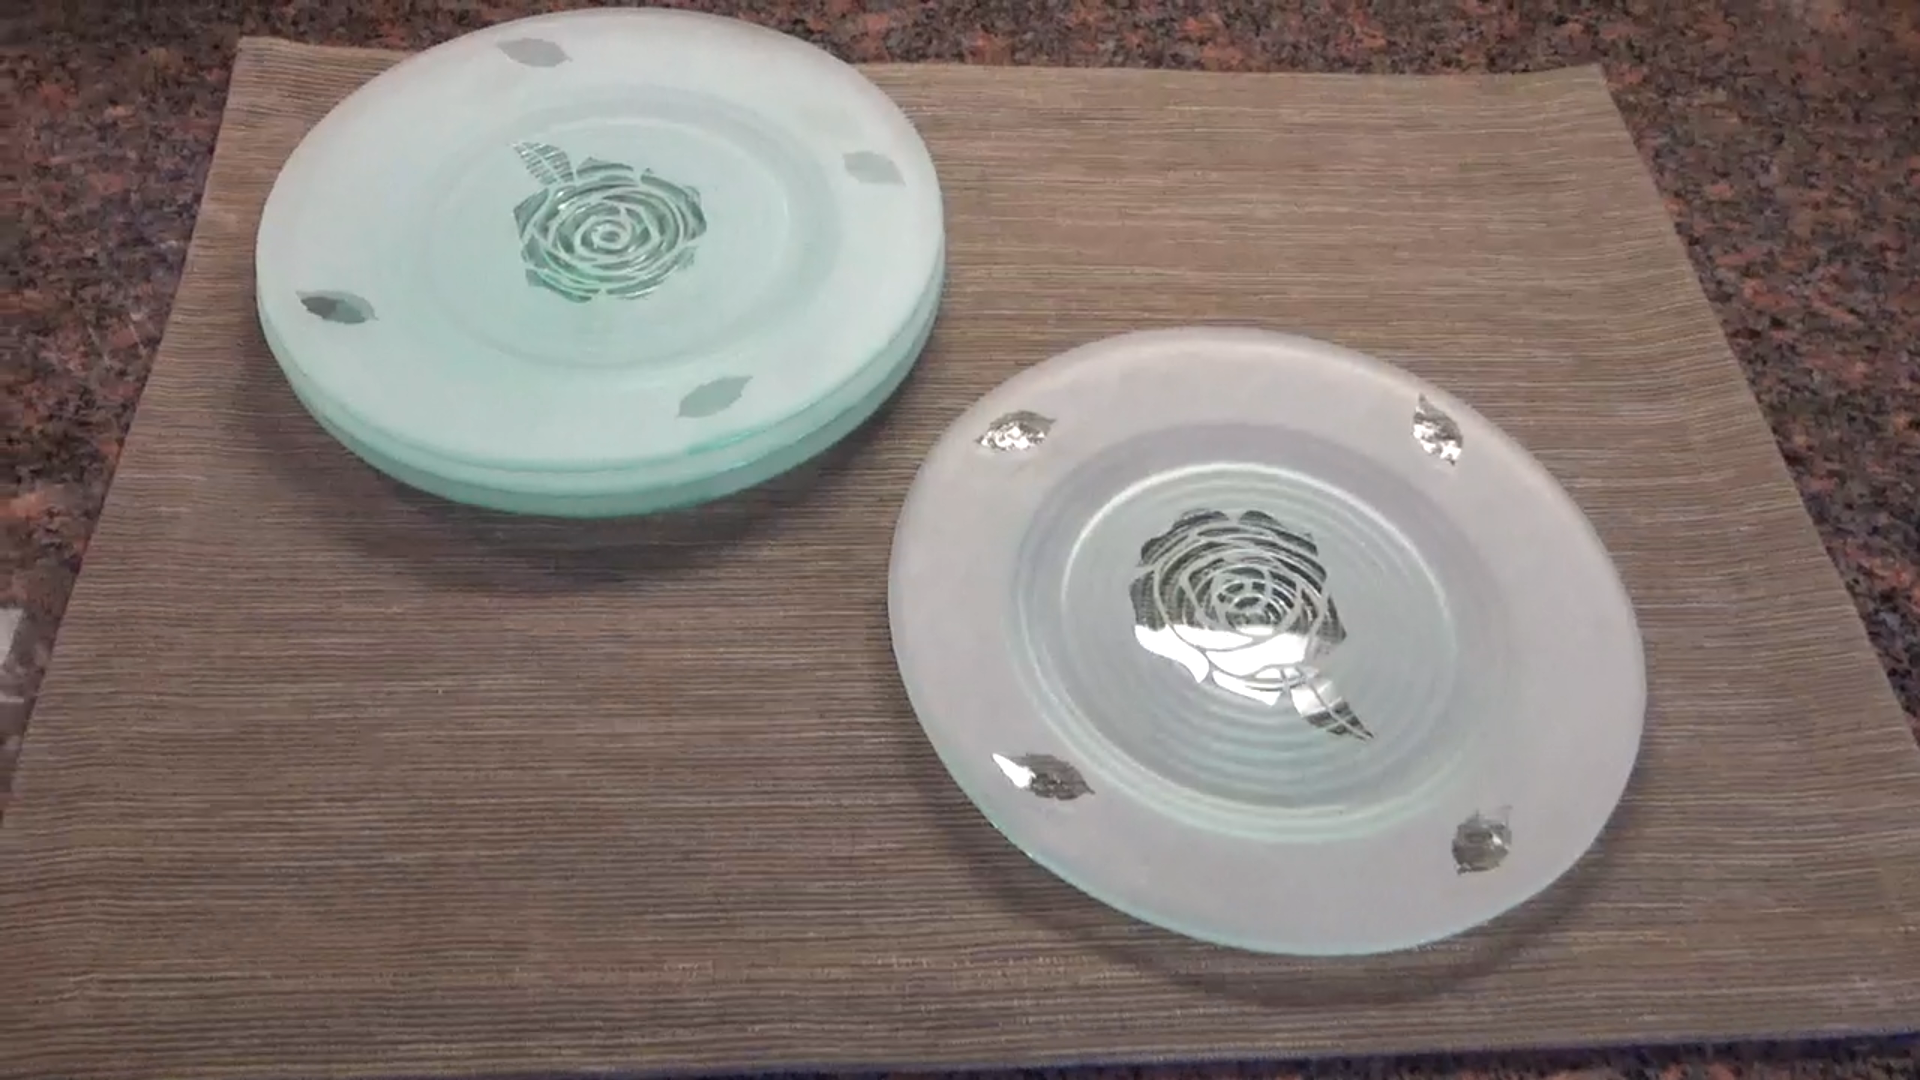
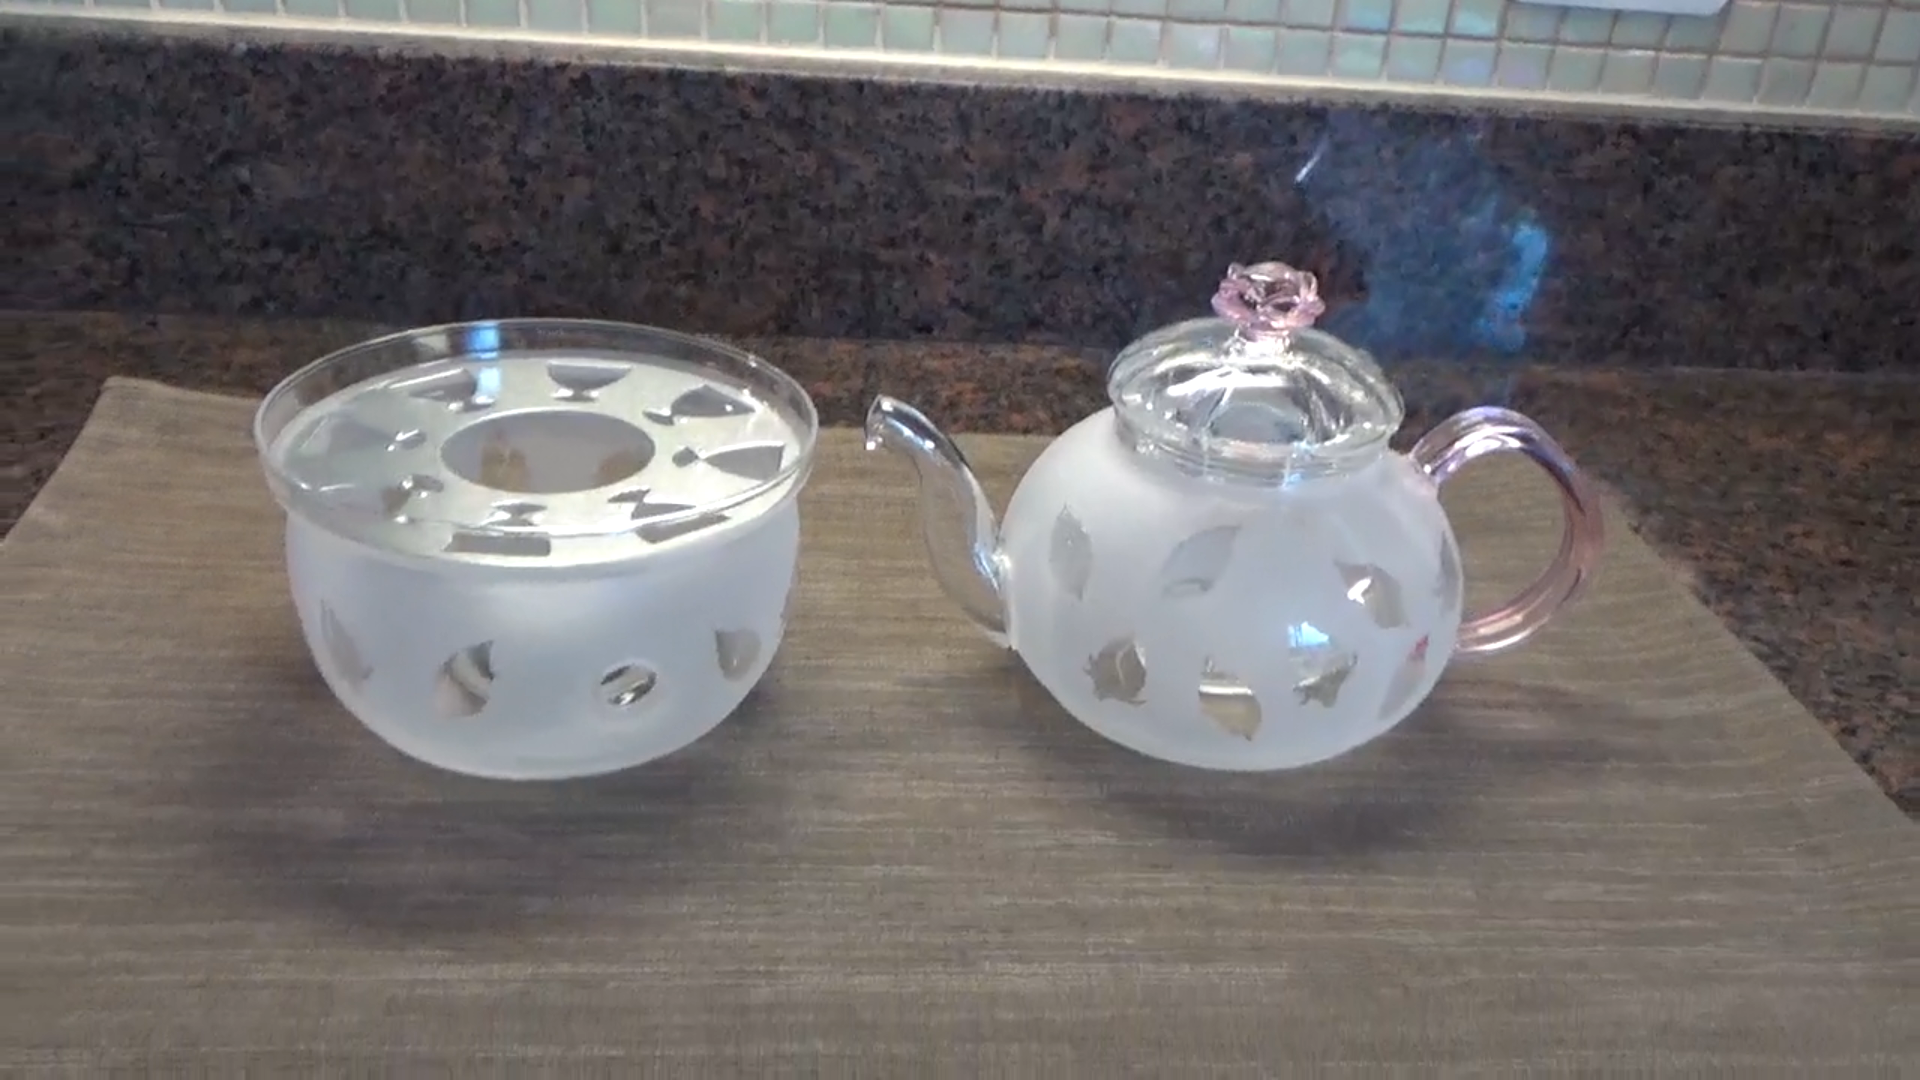
This process works well on many different types of glass. I've used clear and green glass dishes in my examples, but I've also seen beautiful results with black and dark blue glass. Because the sandblasted areas show as white, any dark glass would work very well.
I Show the Whole Process in This Video