Sand Blast Patterns on Plexiglas - Wind Deflector for Convertible Car
66370 Views, 368 Favorites, 0 Comments
Sand Blast Patterns on Plexiglas - Wind Deflector for Convertible Car
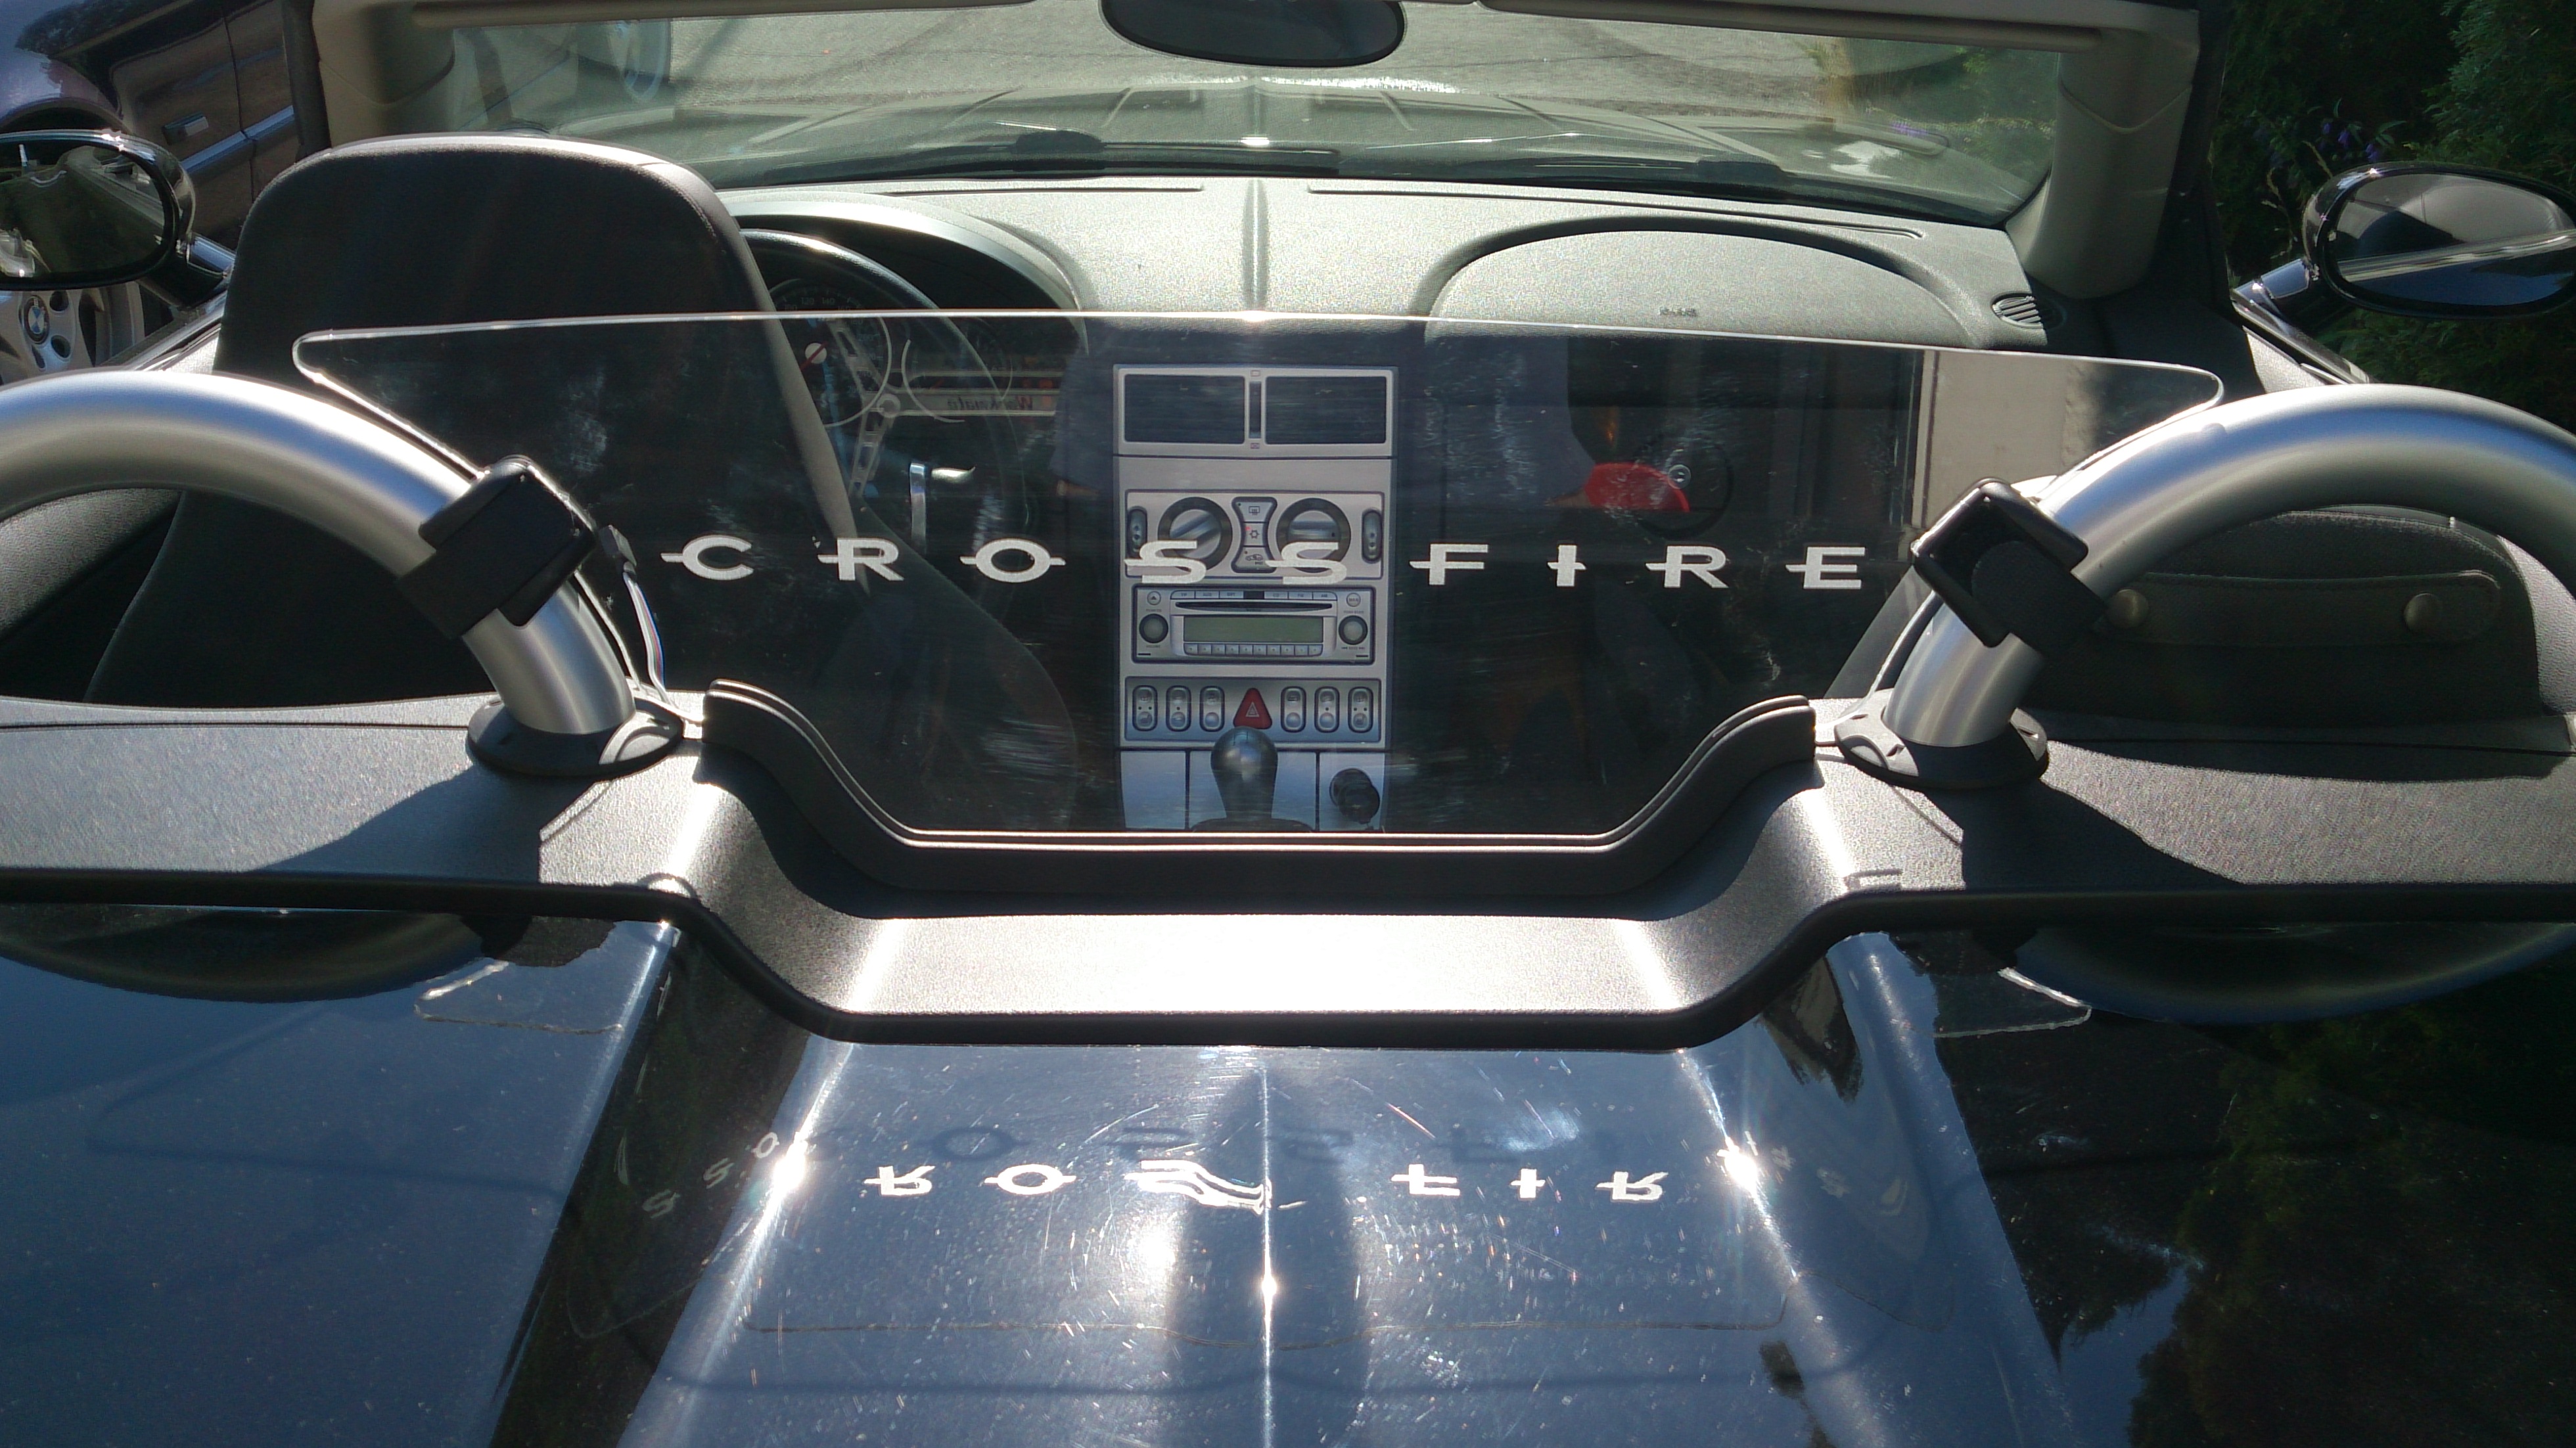
This instructable is on how to make really cool looking matte patterns on plexiglas for multiple purposes. My example is a wind deflector for a Chrysler Crossfire Roadster. It reduces back draft and looks nice. I've thown in LED ligting too to illustrate what you can do. I certainly don't claim to have invented the concept but since I was unable to find any good DIY guides in one place I decided to share the whole process that I came up with.
I hope you enjoy and please leave comments. I'd love to hear about what you do with the guide.
This is what you need:
1. A good idea
2. Plexiglass / acrylic glass. Some parts of the guide may apply to Lexane but I wouldn't know.
3. Access to pressurised air
4. Sand blasting gun
5. Basic household tools (pen, knife, scissors, etc.)
Make a Template
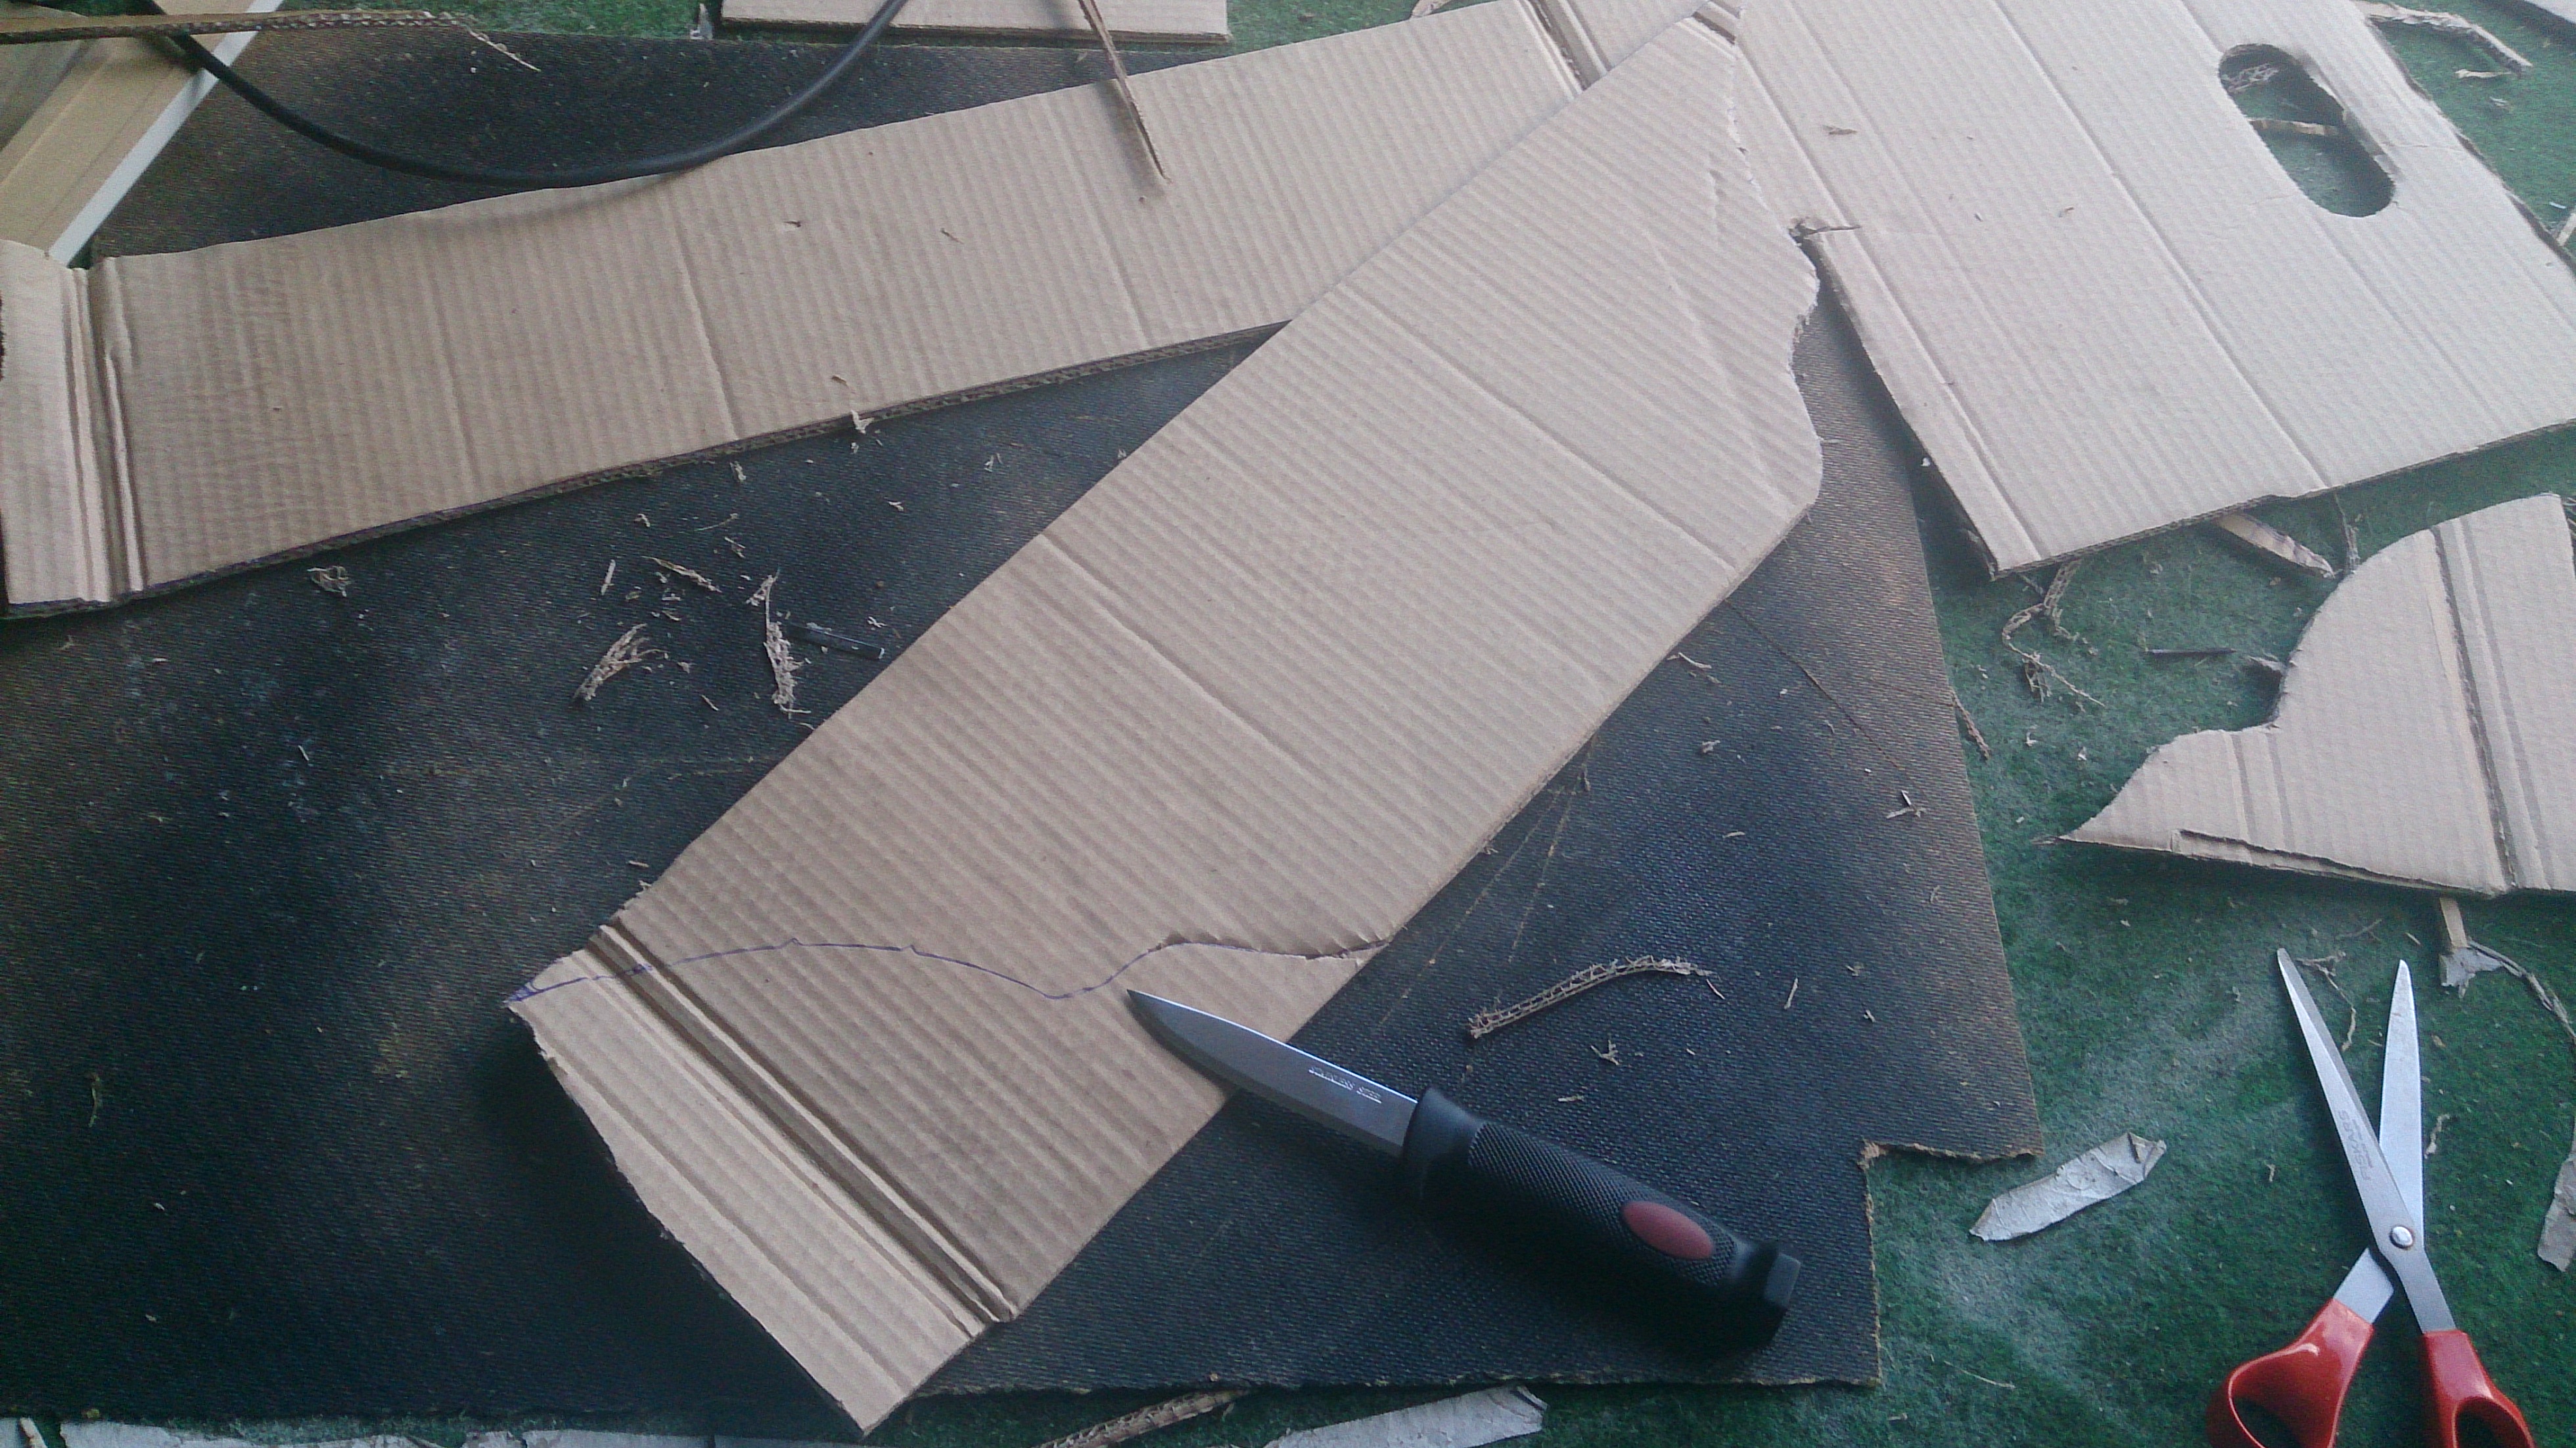
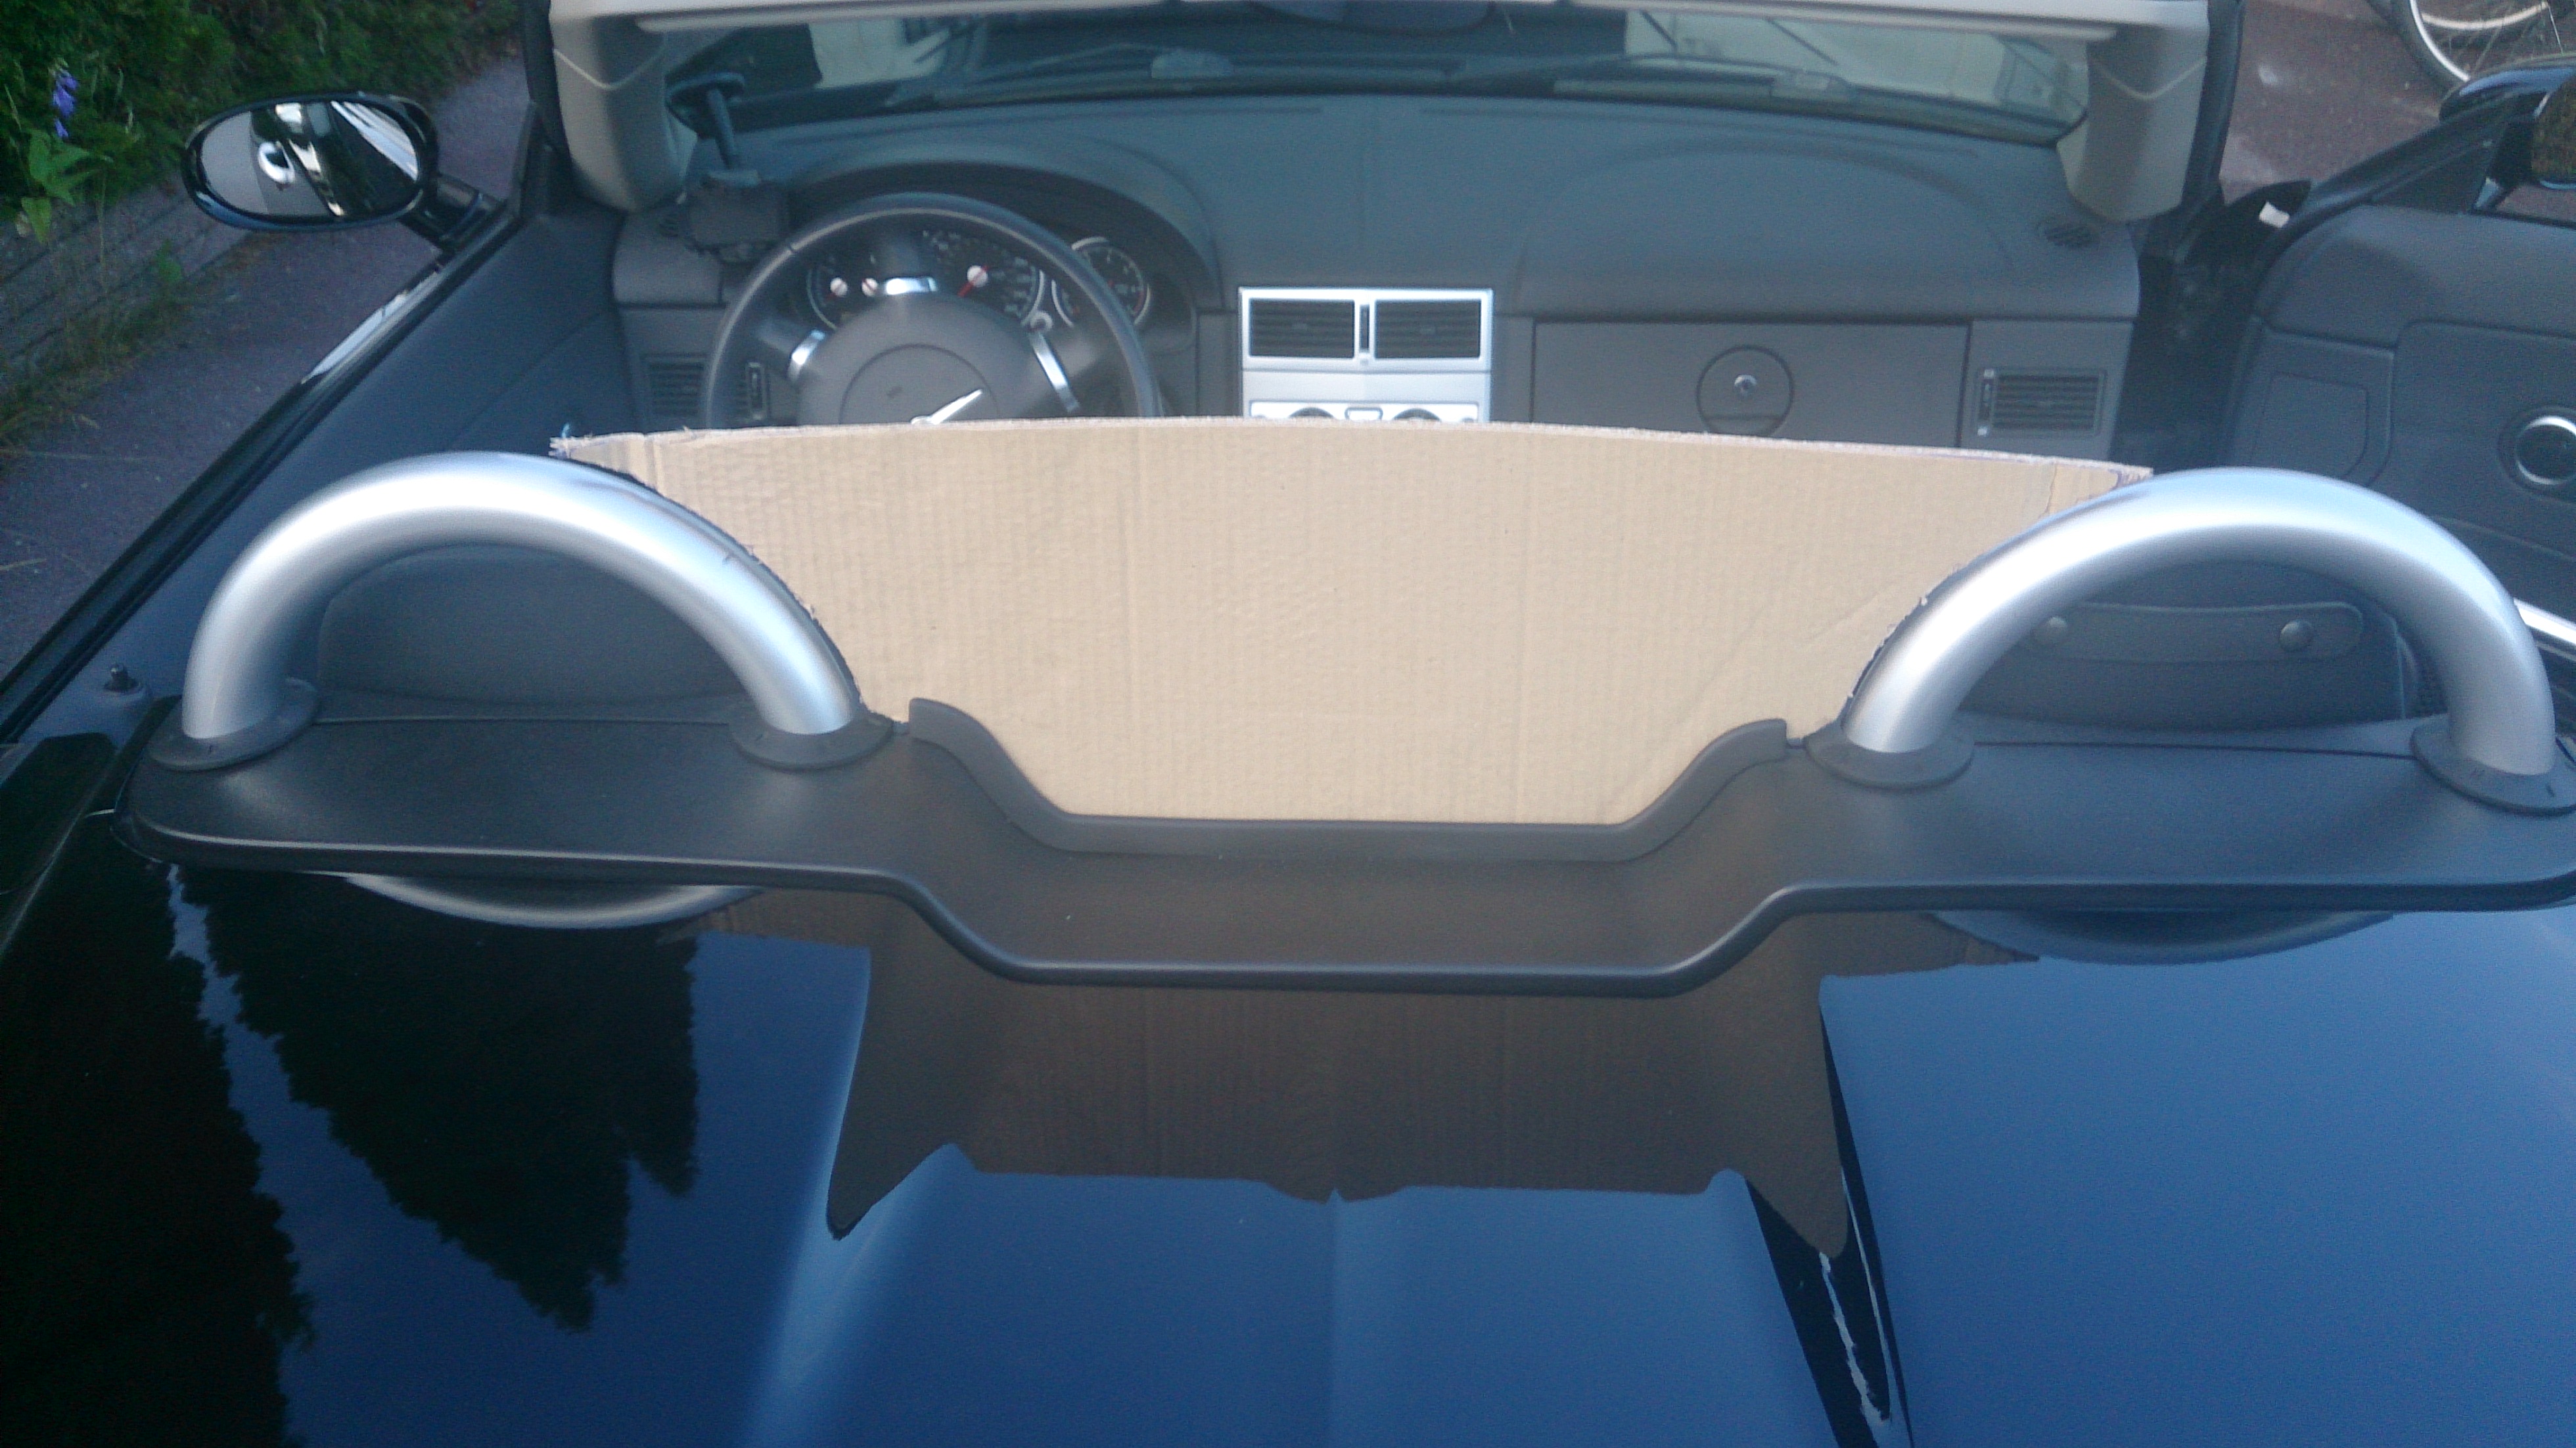
Cut the template to the desired shape. If is supposed to fit somewhere, make sure you do all the fitting and adjustments already on the template. It is much harder to make changes to the plexiglas.
Get the Material
Aquire the plexiglass / acrylic glass at your local home improvement store or glass dealer. I recomment not buying to thin. Thin plexi is pretty prittle and thus hard to shape without braking. I used 5 millimeter material. It is usually a good idea to buy a bigger piece than you need. The extra material can be used to experiment on and get comfortable with the process.
Please note that plexiglass comes with protective plastic film. Keep it on as long as possible! Acrylic glass is very scrach sensitive. Be aware that even with the film on it is easy to scratch. Handle gently!
Please note that plexiglass comes with protective plastic film. Keep it on as long as possible! Acrylic glass is very scrach sensitive. Be aware that even with the film on it is easy to scratch. Handle gently!
Transfer Template to Plexiglass
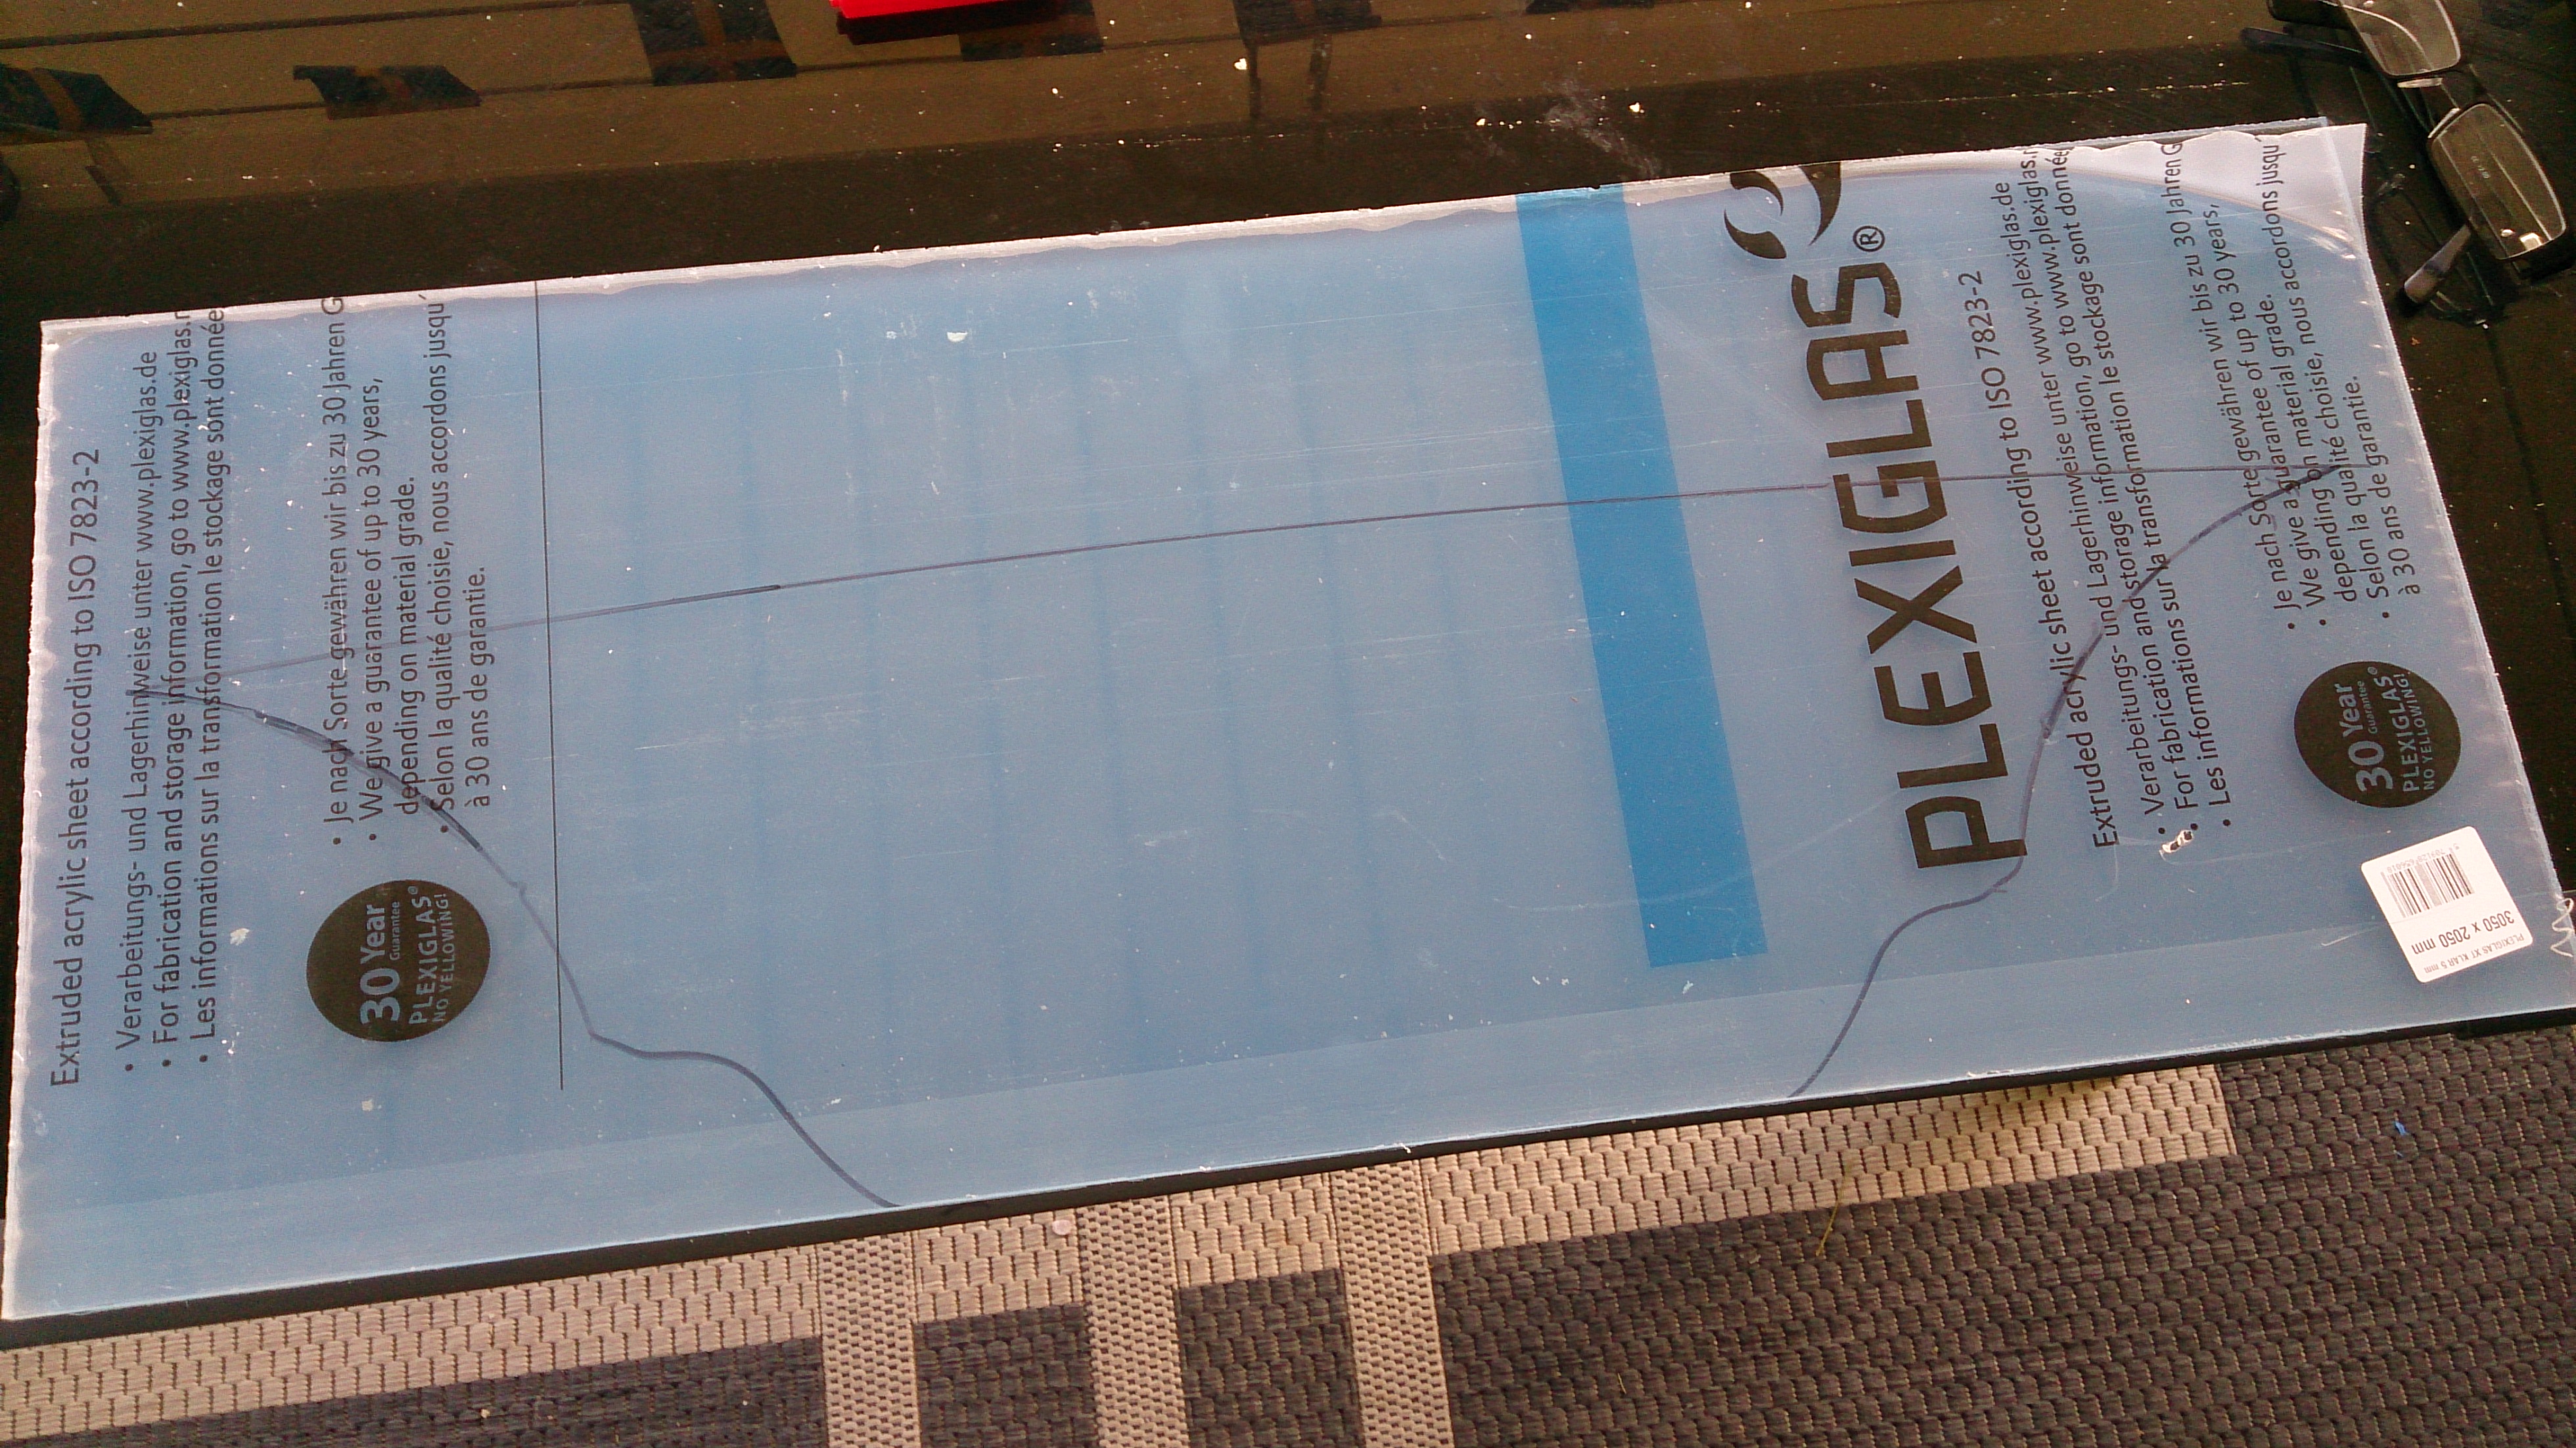
Trace the template onto the Plexiglass sheet with an overhead pen or similar.
Cut the Shape
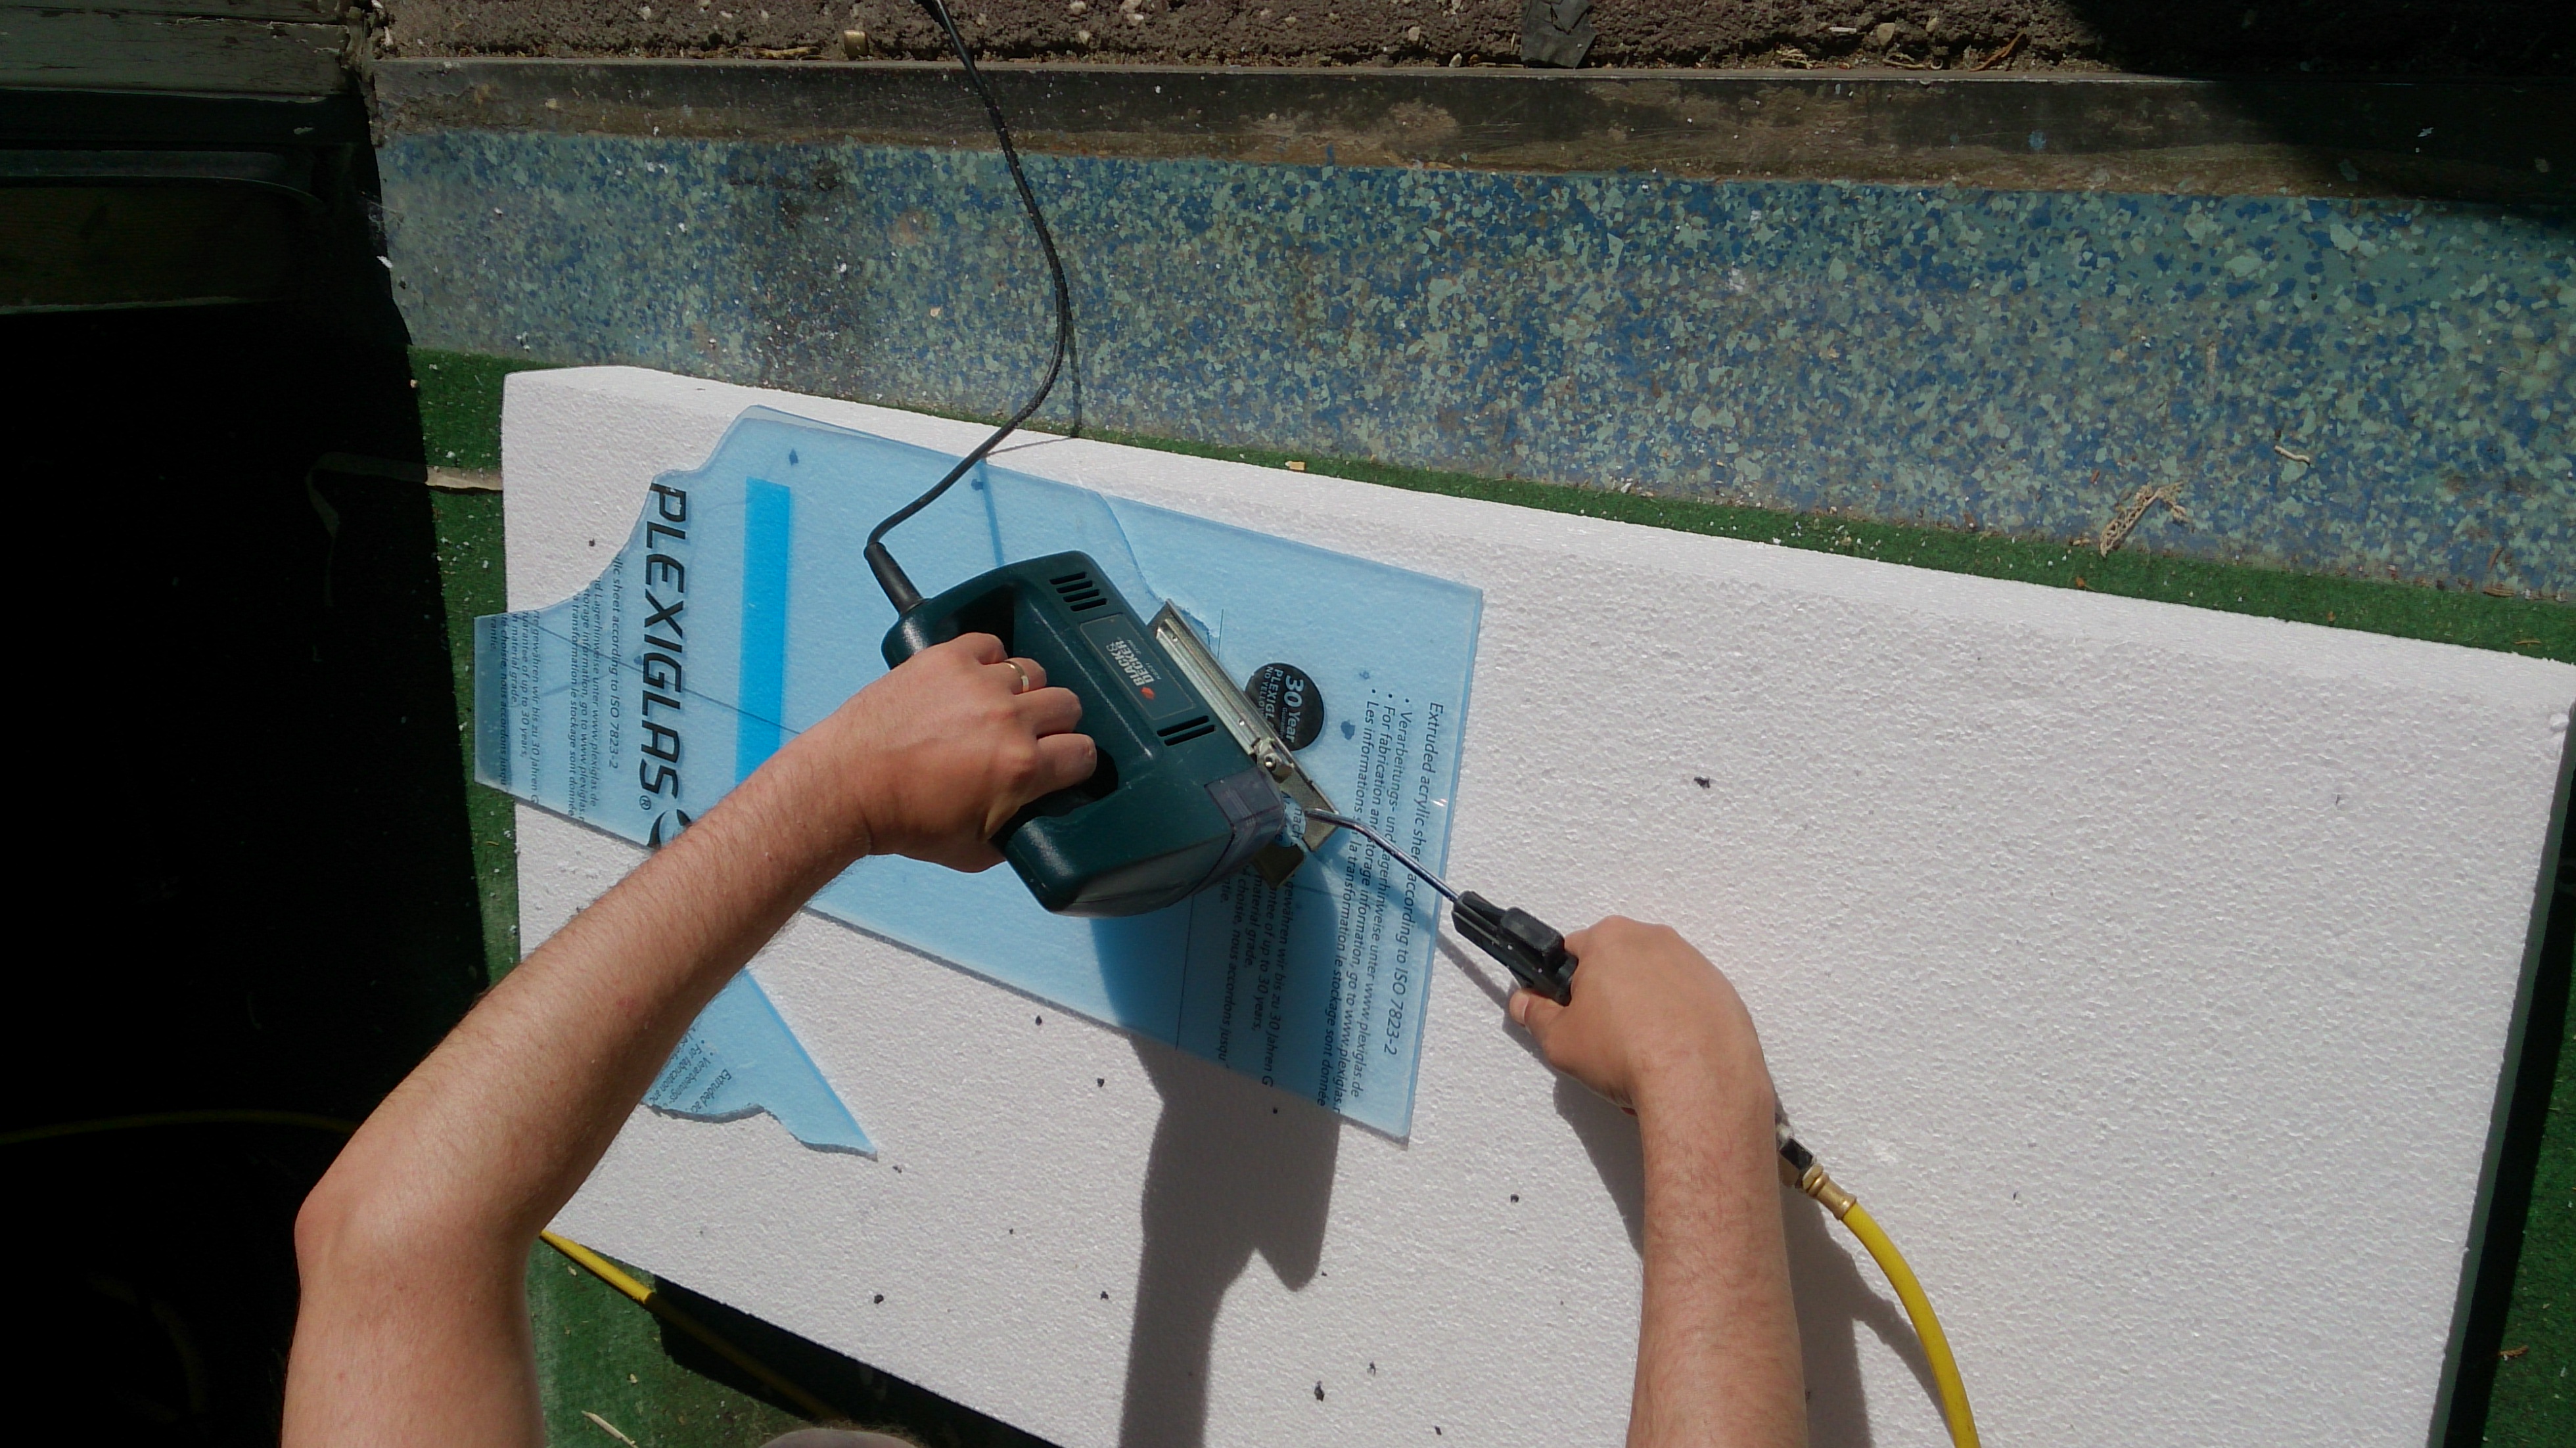
Put the piece on a thick piece of styrofoam for support and eaven pressure. This is important since the material is brittle and will chip or crack easily. Use a regular jigsaw with a relatively fine tooted blade but not too fine toothed as it will generate too much heat. Start cutting. Press down firmly so the saw never bounces. The difficult part is to not rush the cutting. If you do, the blade will get too hot and the plastic will start melting. If you are impatient like me you can cool the blade with pressurised air. That worked like a charm for me and had the added benefit of blowing all the sawdust away thus reducing the risk of any of it getting caught under the saw and creating a not wanted groove in the plastic (has happend).
Smooth the Edges
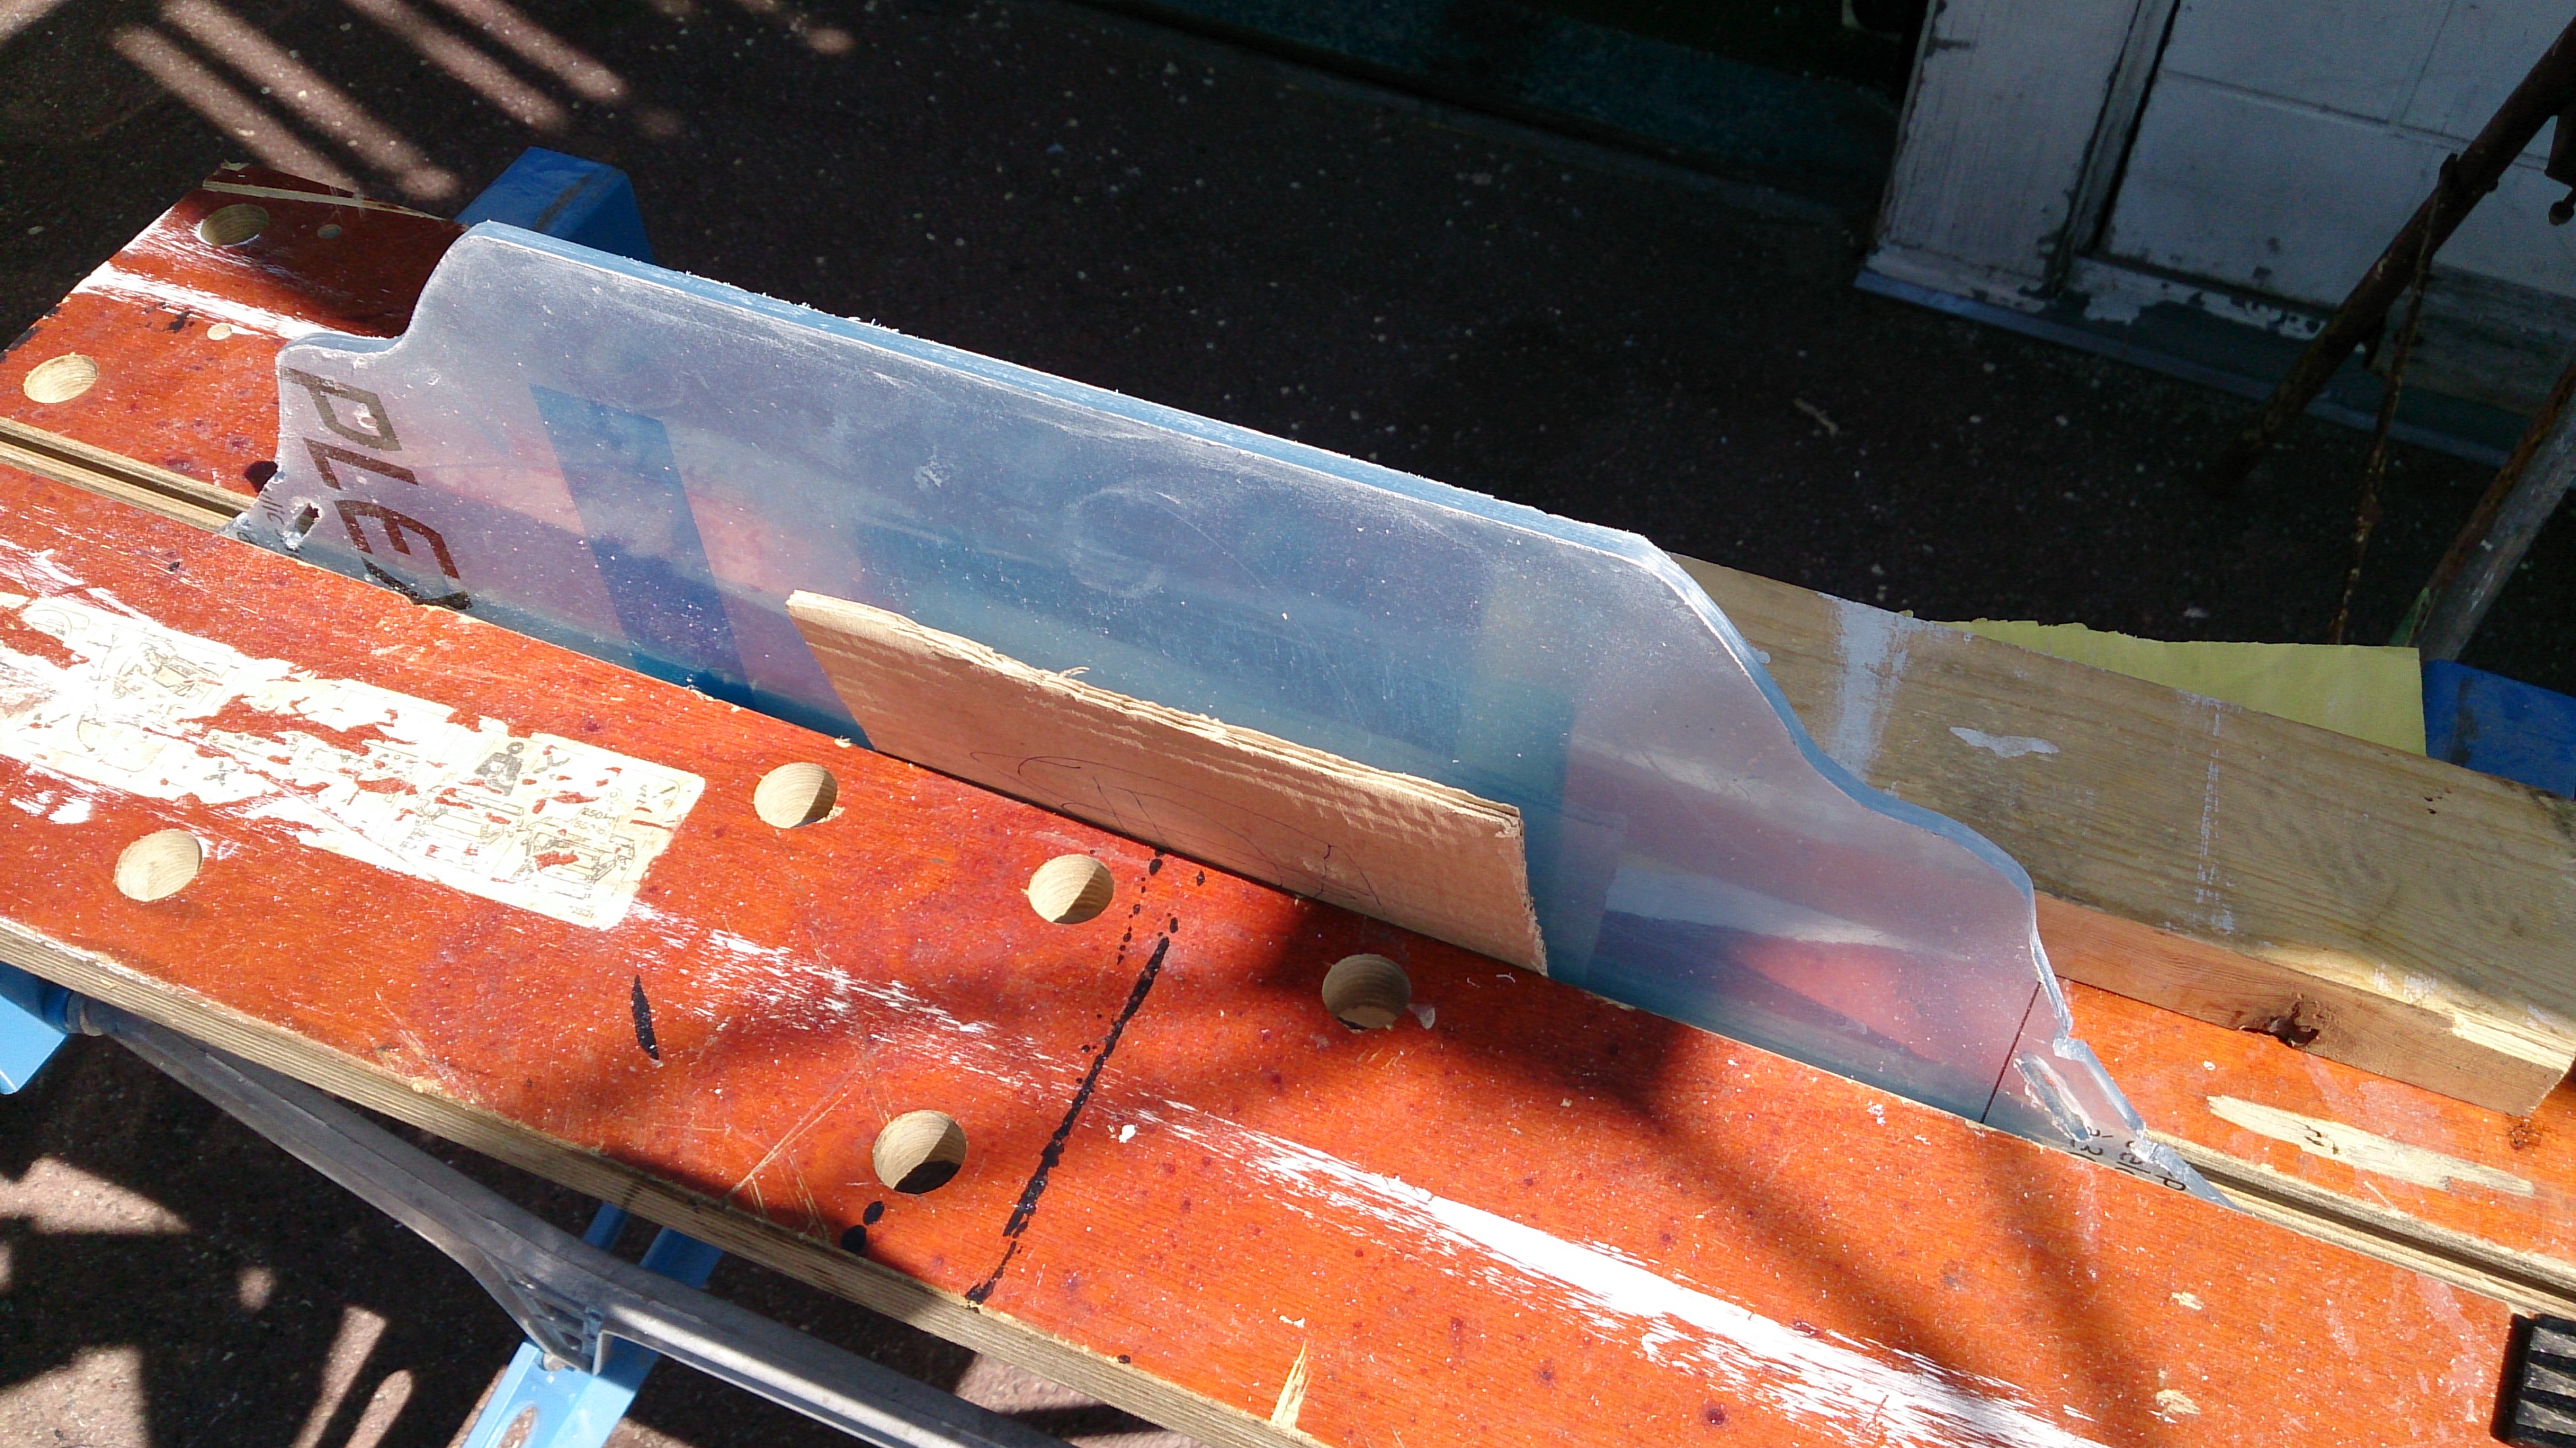
Don't take the protecive film off just yet! Use sandpaper to polish the edges to desired result. If the edge came out rough start with rough paper and gradually go for finer grain. Remember not to rub too long on one spot. The plastic will start to melt.
Apply Blasting Template
You can do this in one of two ways:
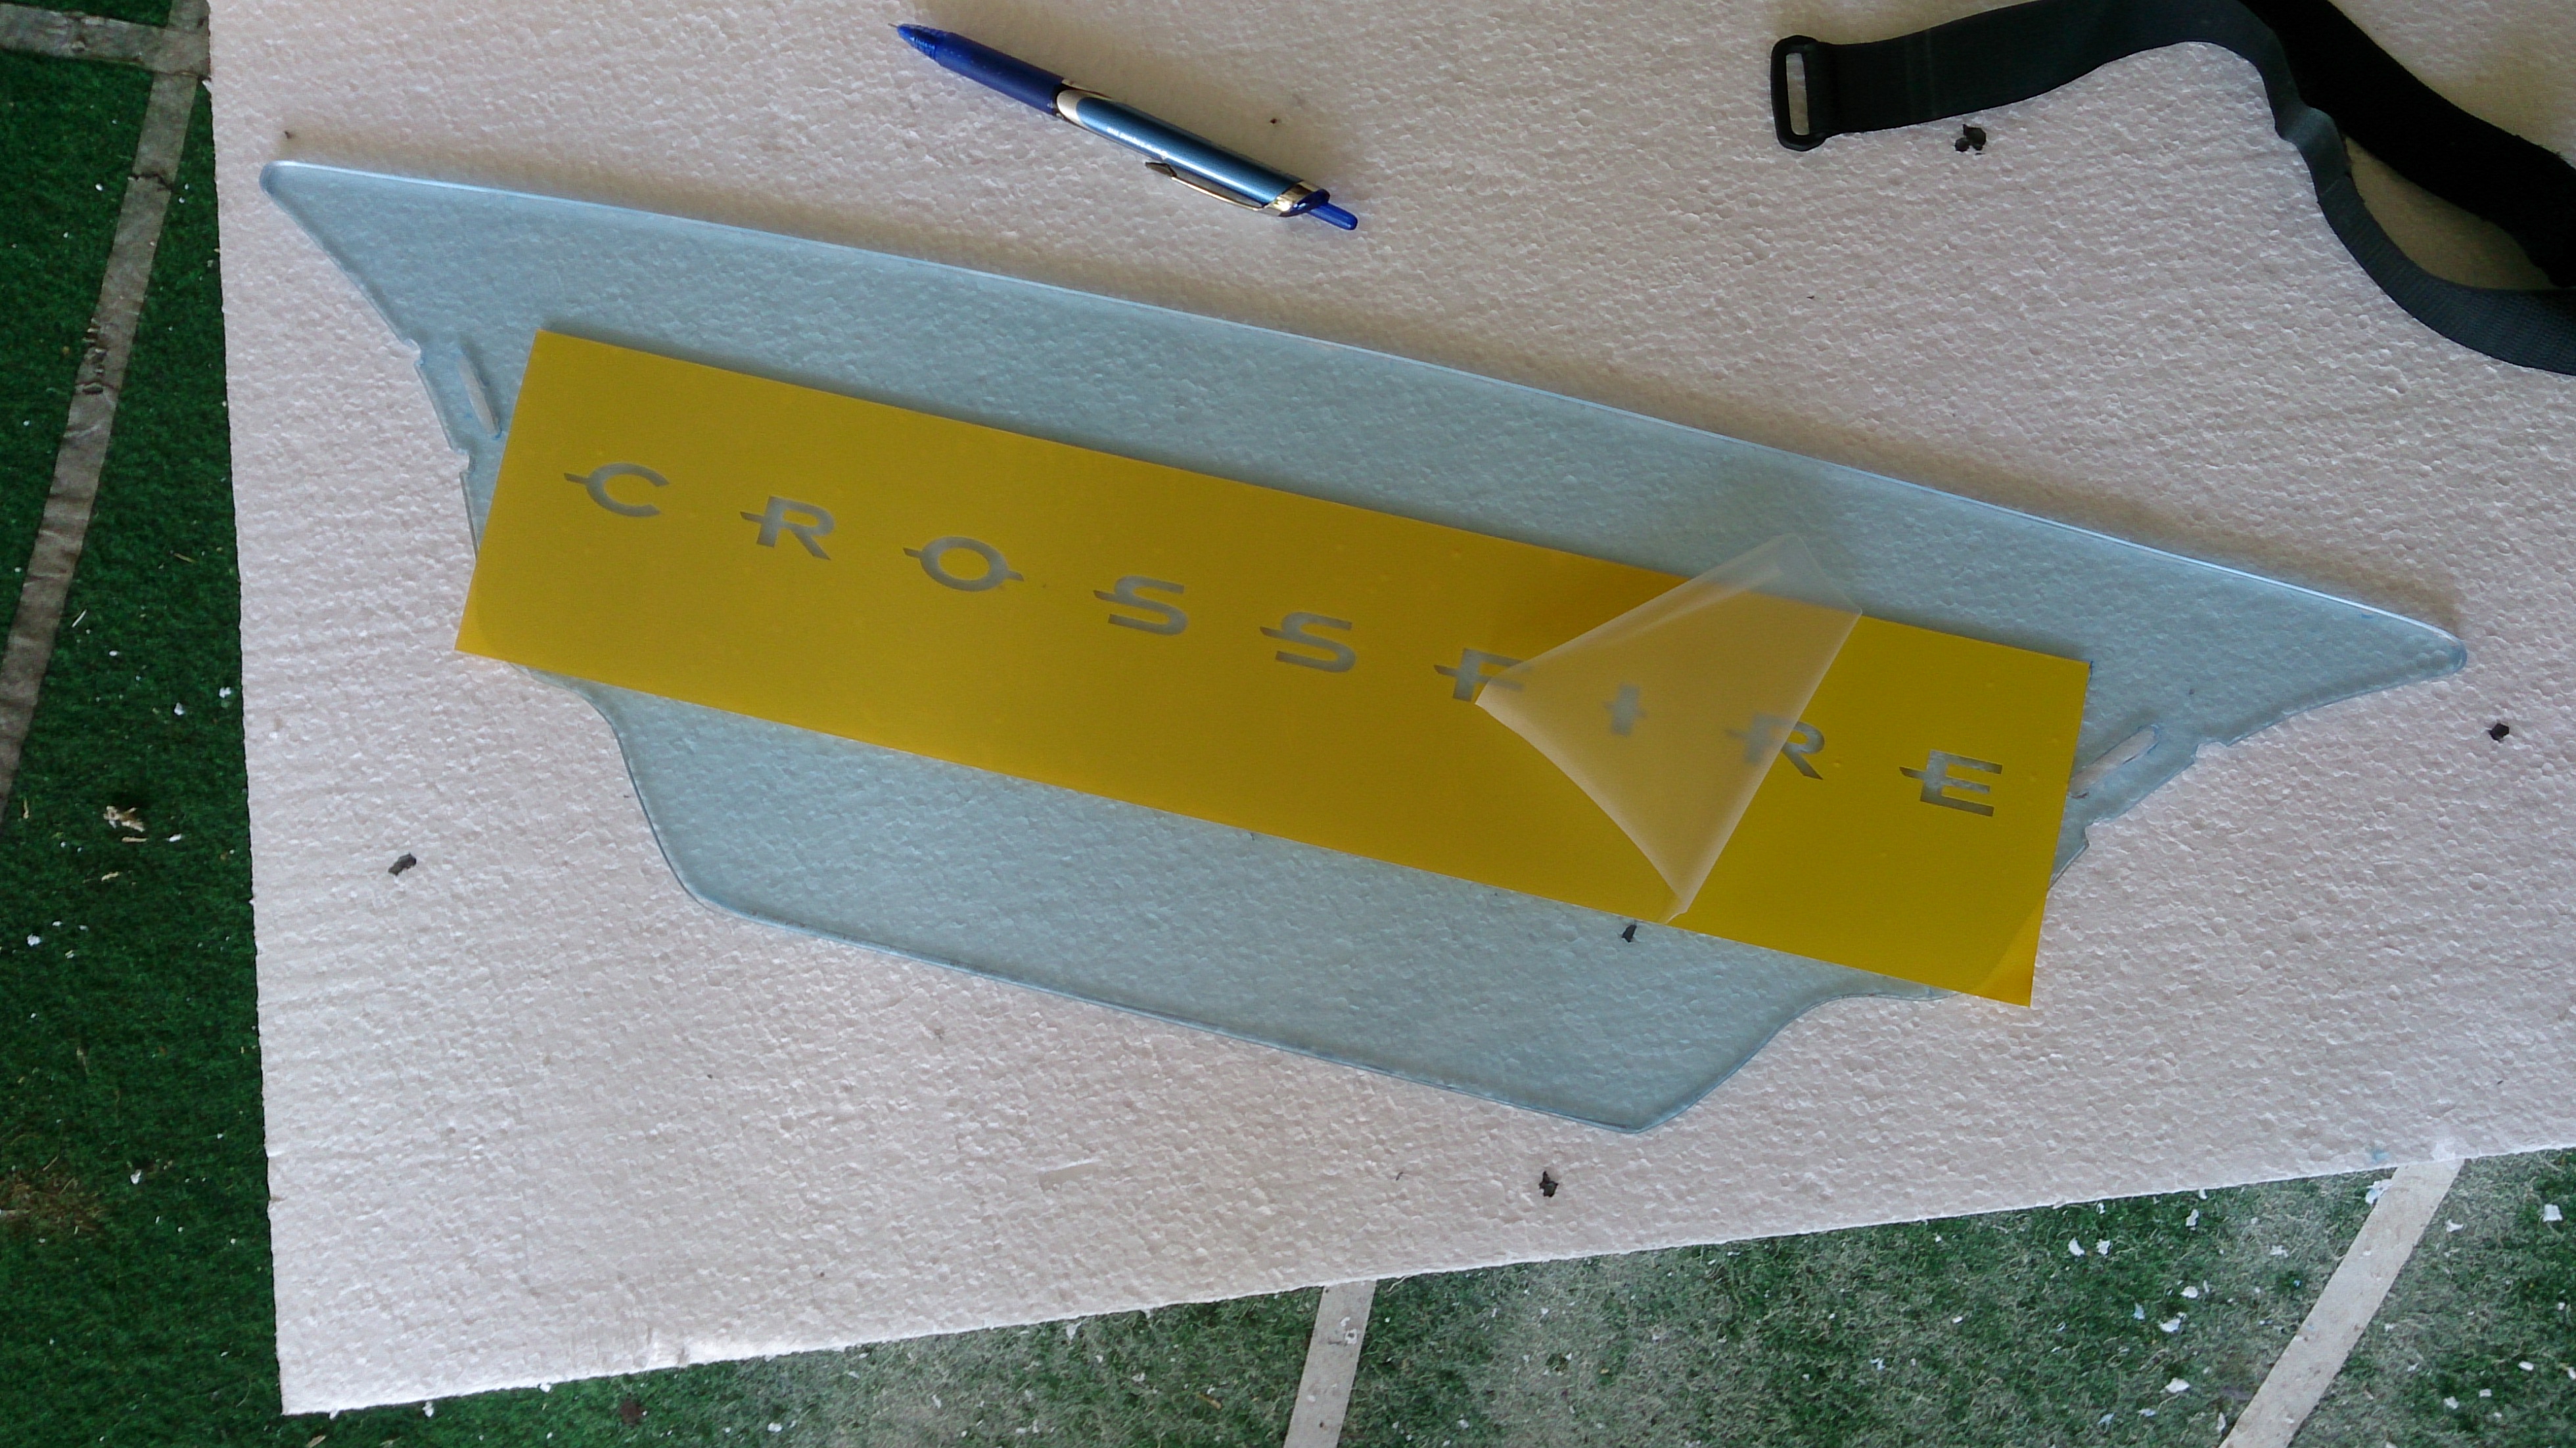
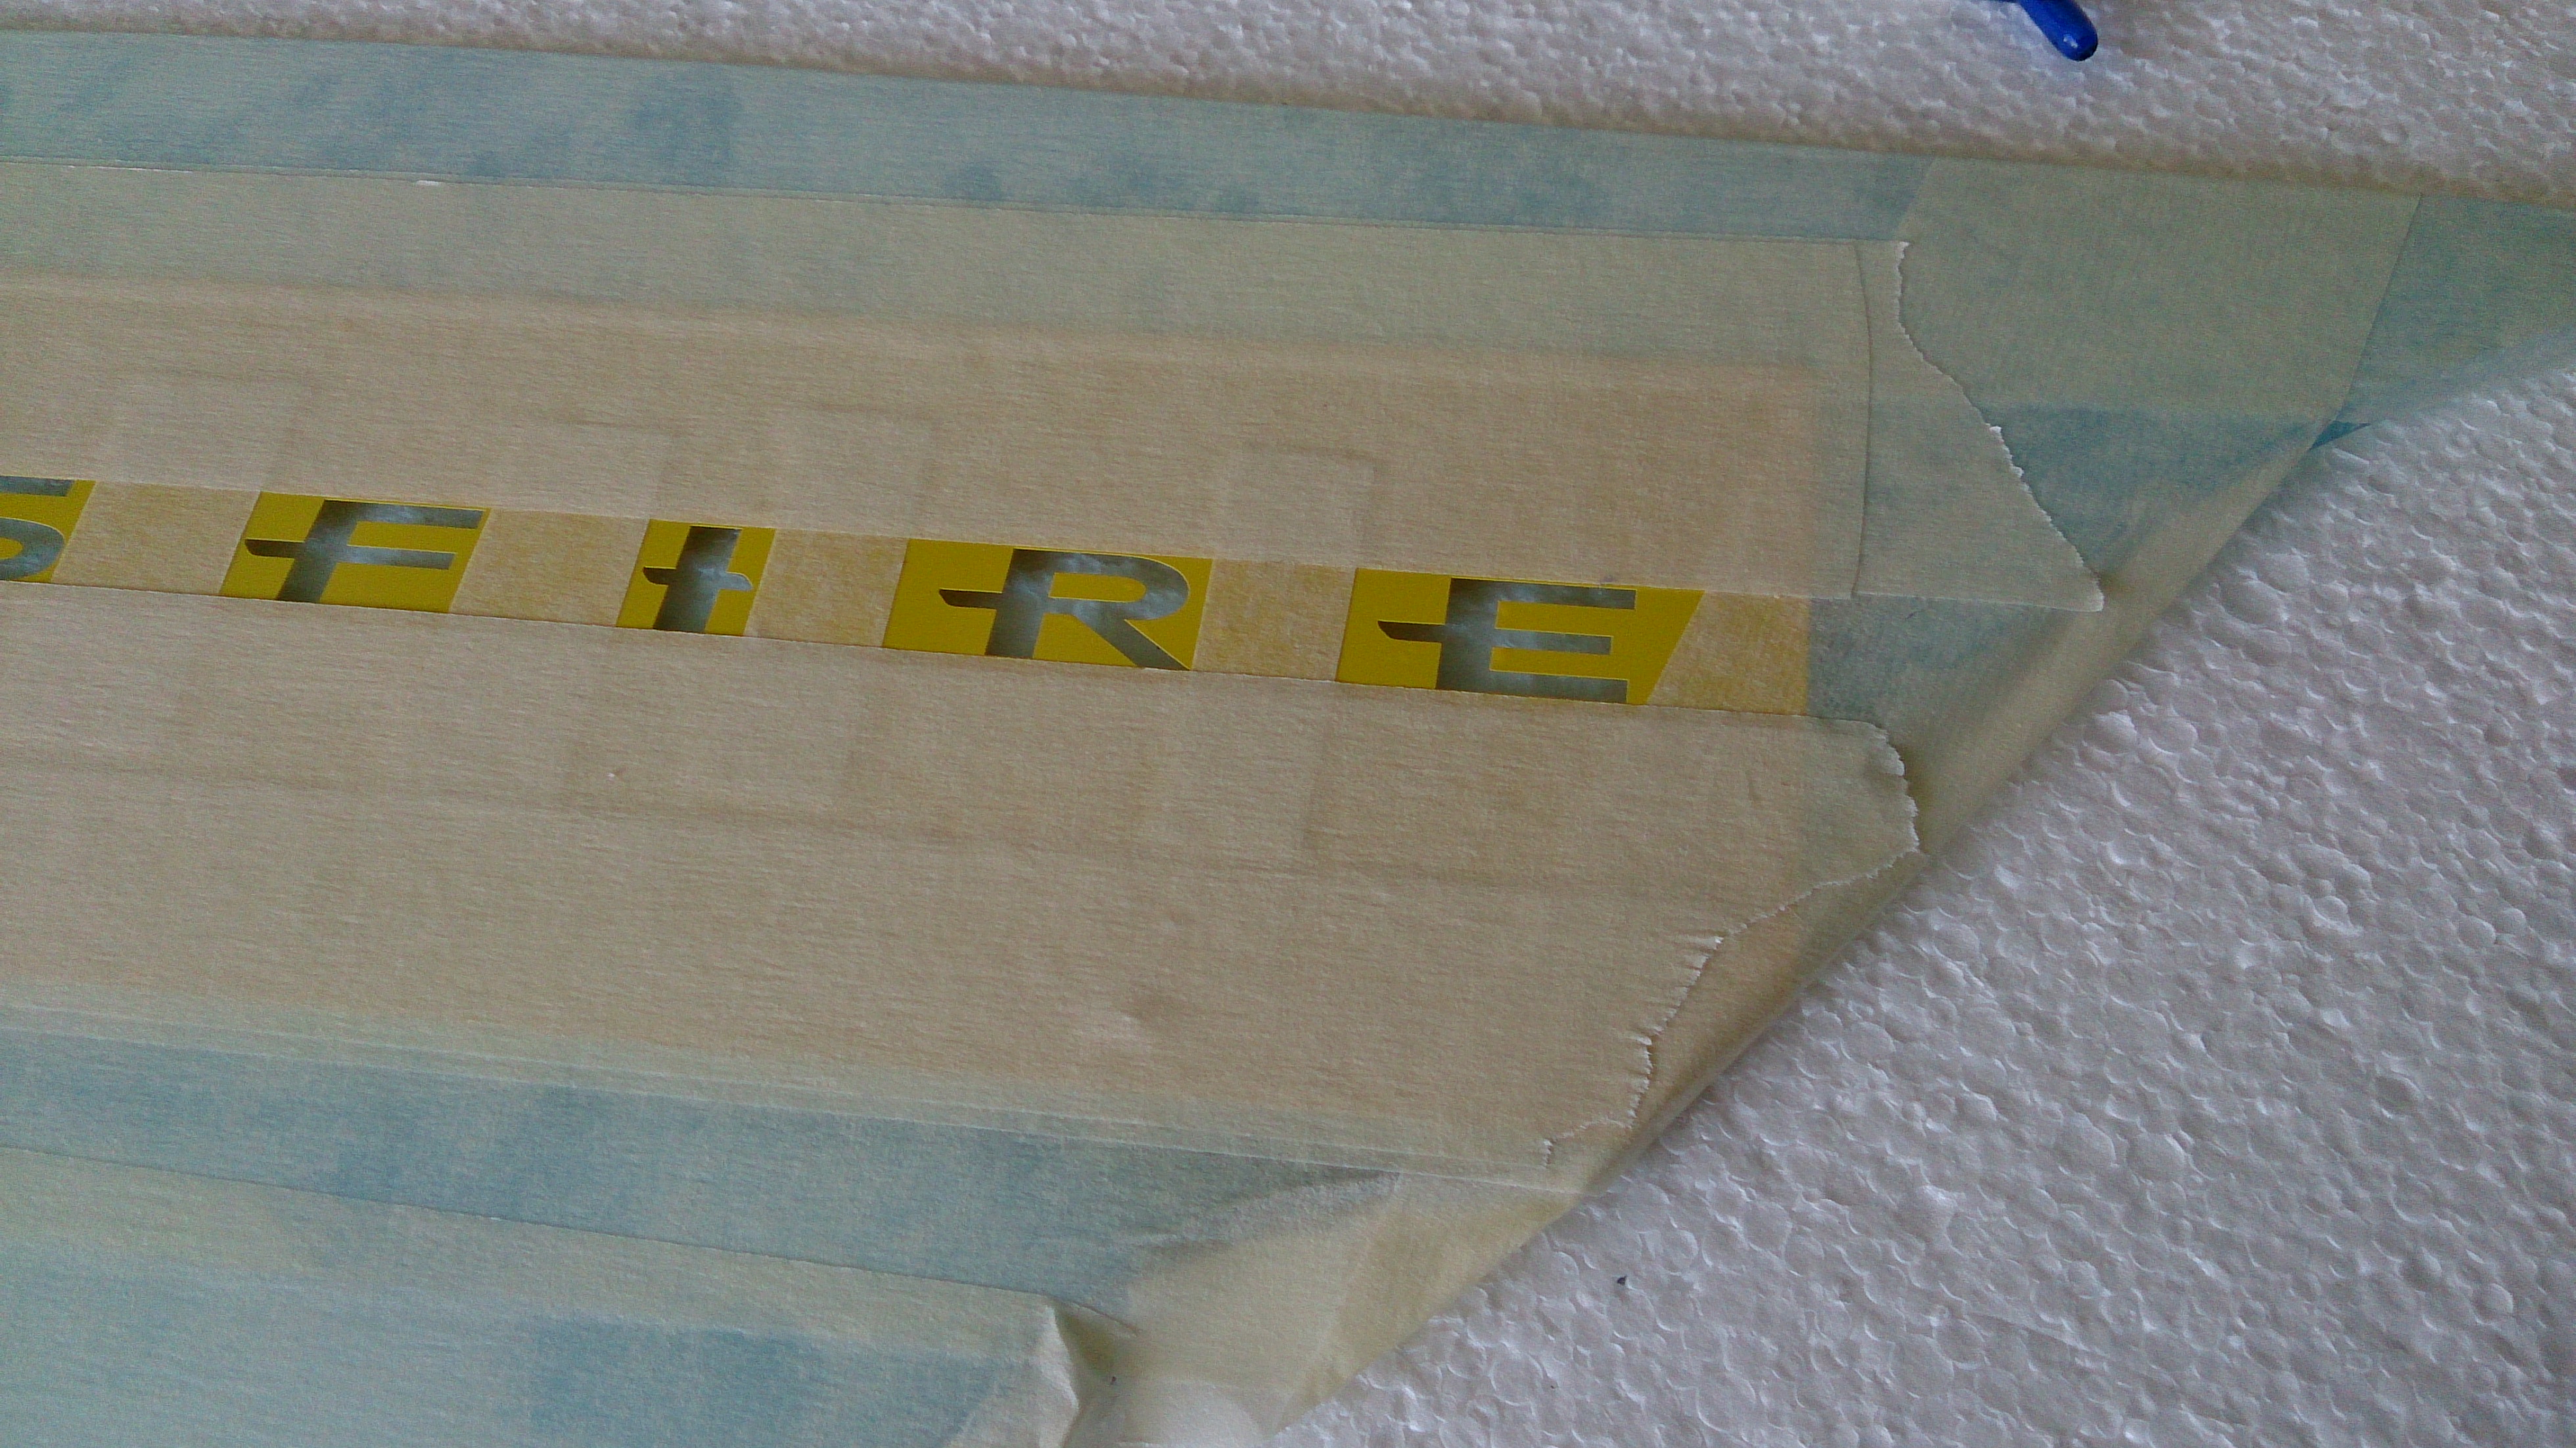
1. Be lazy - have someone make the template. I did. It is actually a reversed sticker. They kept the stuff that is usually waste and removed the stuff that is usually the sticker. I had it made at a car parts store. Assuming you have a sticker - remove the protective film from the plexiglass on one side. Apply the sticker carefully. Press firmly around the edges. Try to avoid air bubbles. They will break when sand blasting. To protect the material from any unwanted blasting, mask as much as possible around the pattern. Two layers of regular masking tape works fine.
or
2. Trace/transfer the pattern onto the protective film and cut it out using a surgical knife. It is not that hard if you have a steady hand and take care not to put the knife where it is not supposed to be or you will have a scratch. It is possible to remove or reduce scratches but is not easy. Anyway, that is a different tutorial which has been described many times.
Sand Blast!
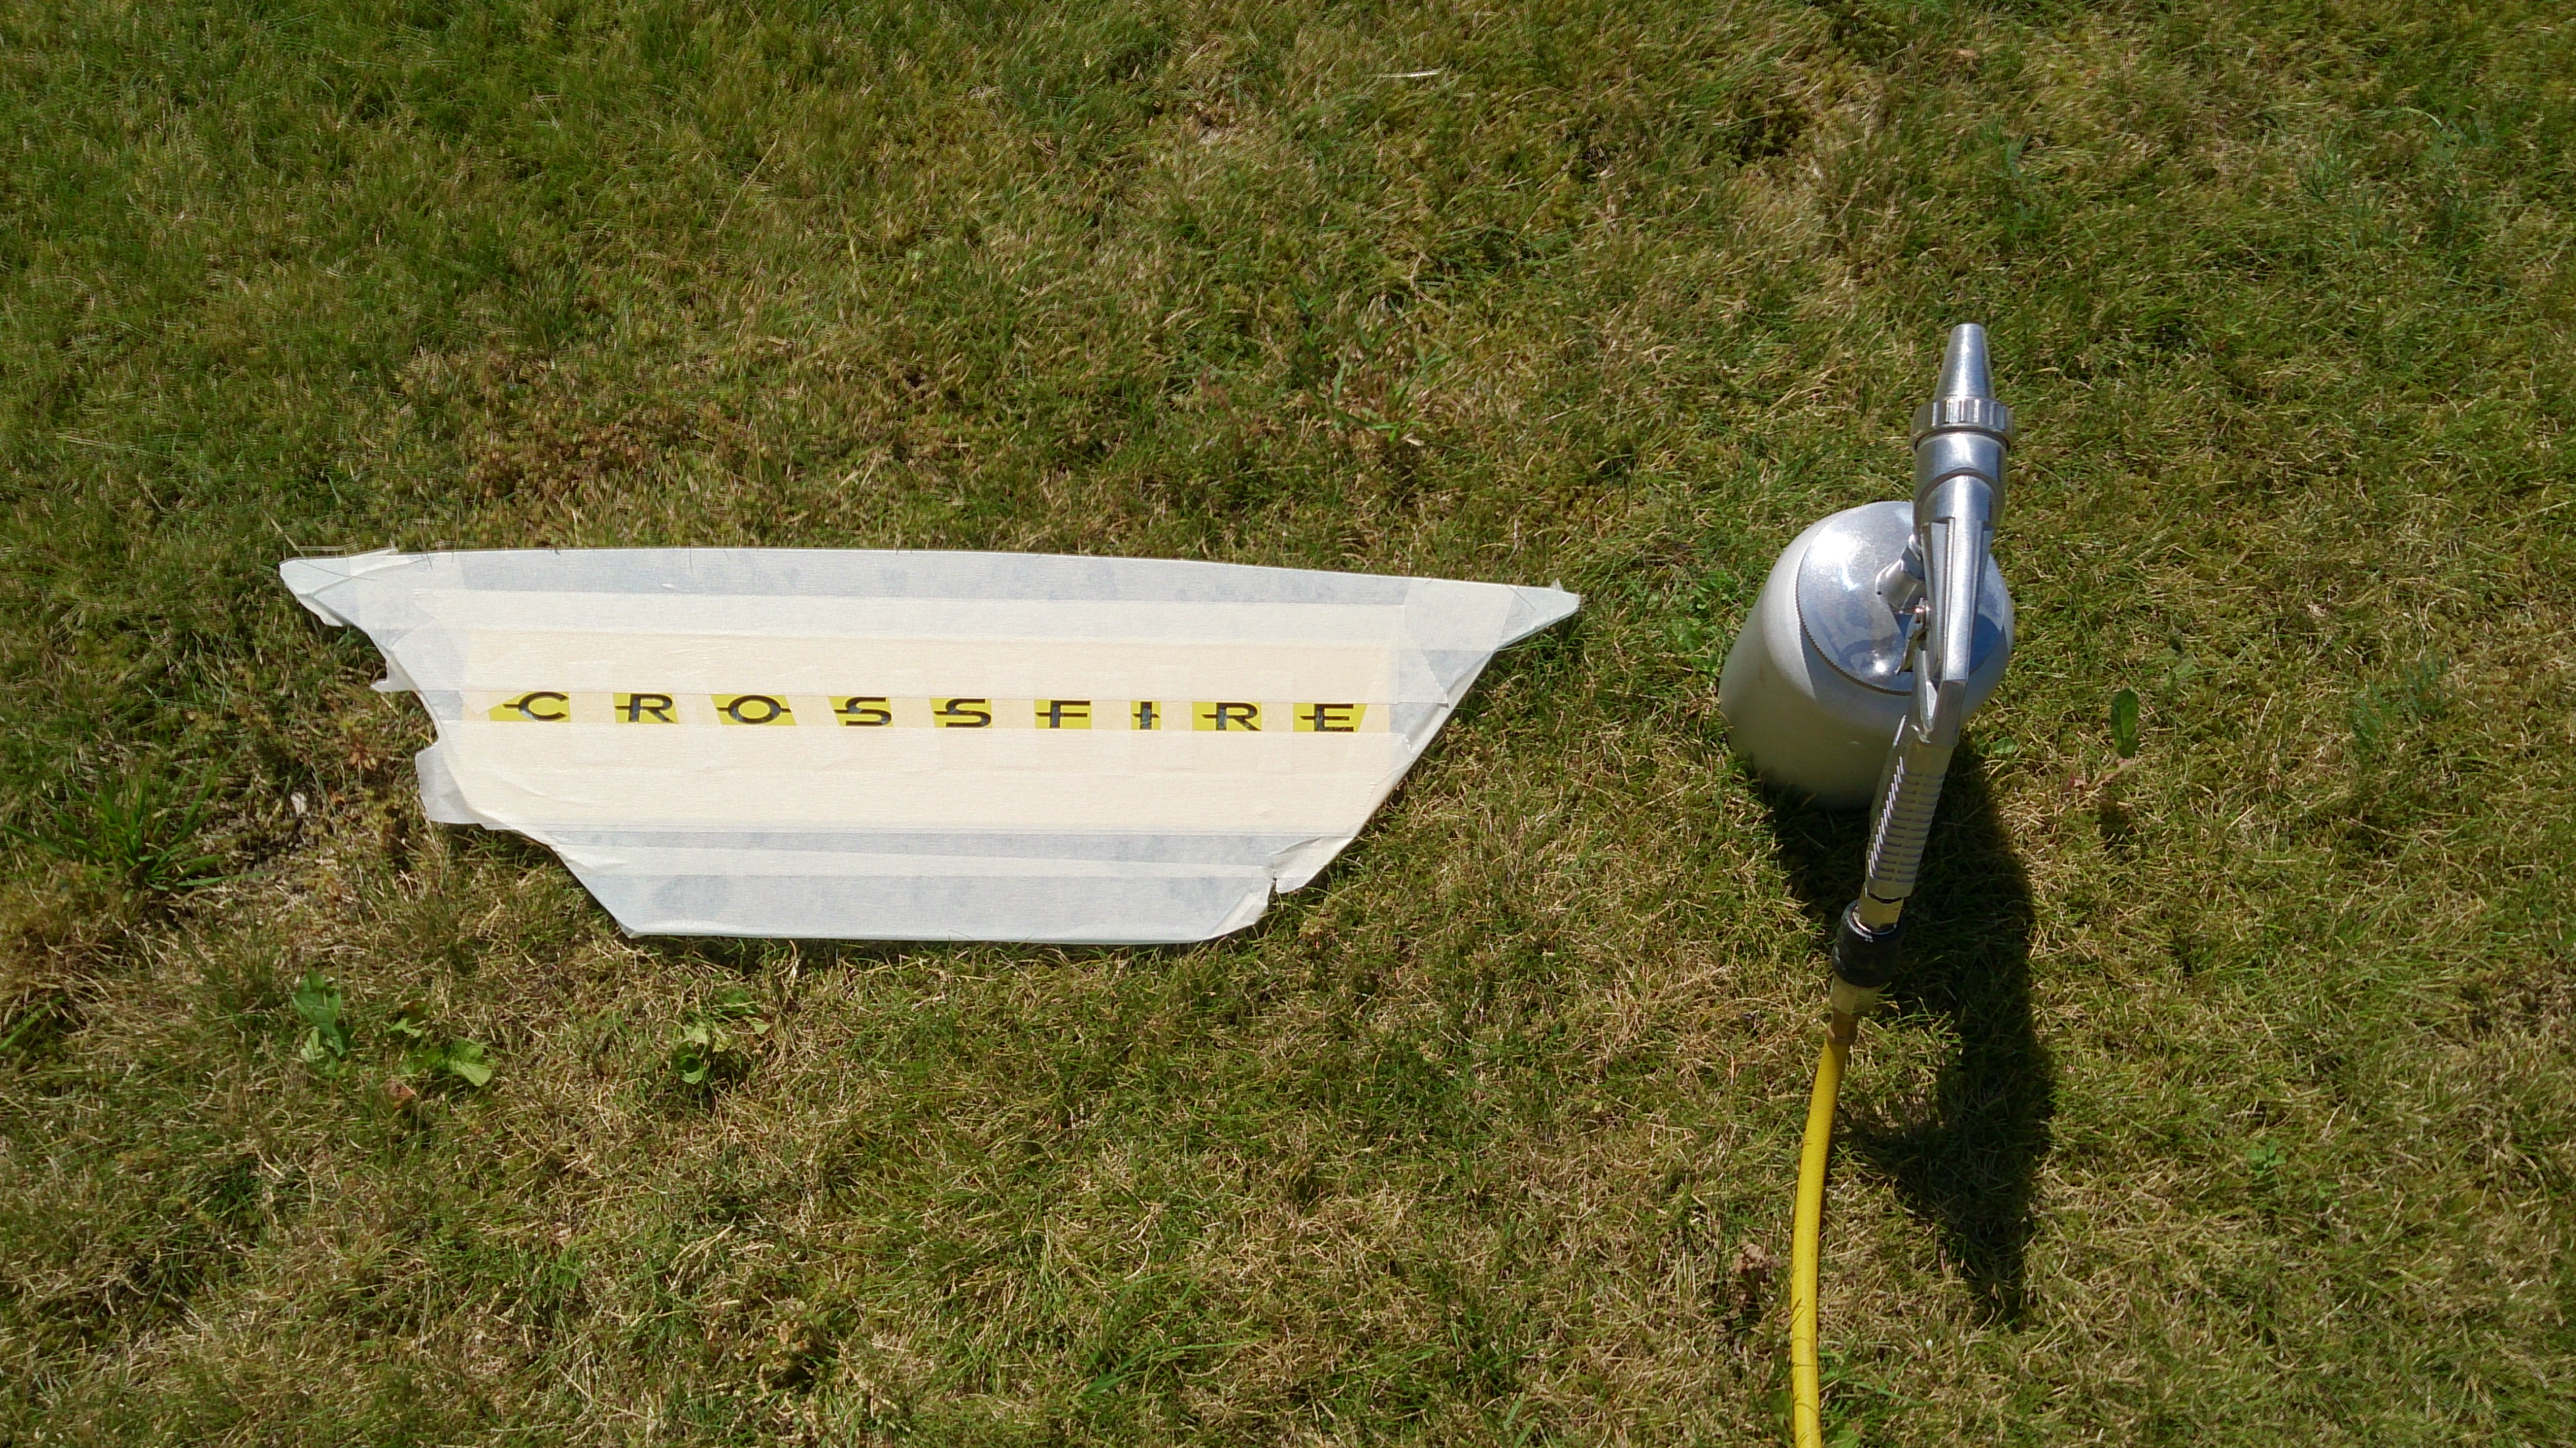
You are finally at the fun part. Blast away! Try to blast evenly. Do a little at a time and check the template often so it is still holding up. To check if the whole pattern is eavenly matte, use a light from the back side. Keep blasting until you are happy with the result or the template can't take anymore. Stop while the edges are still nice and defined for best results.
Remove Protective Film
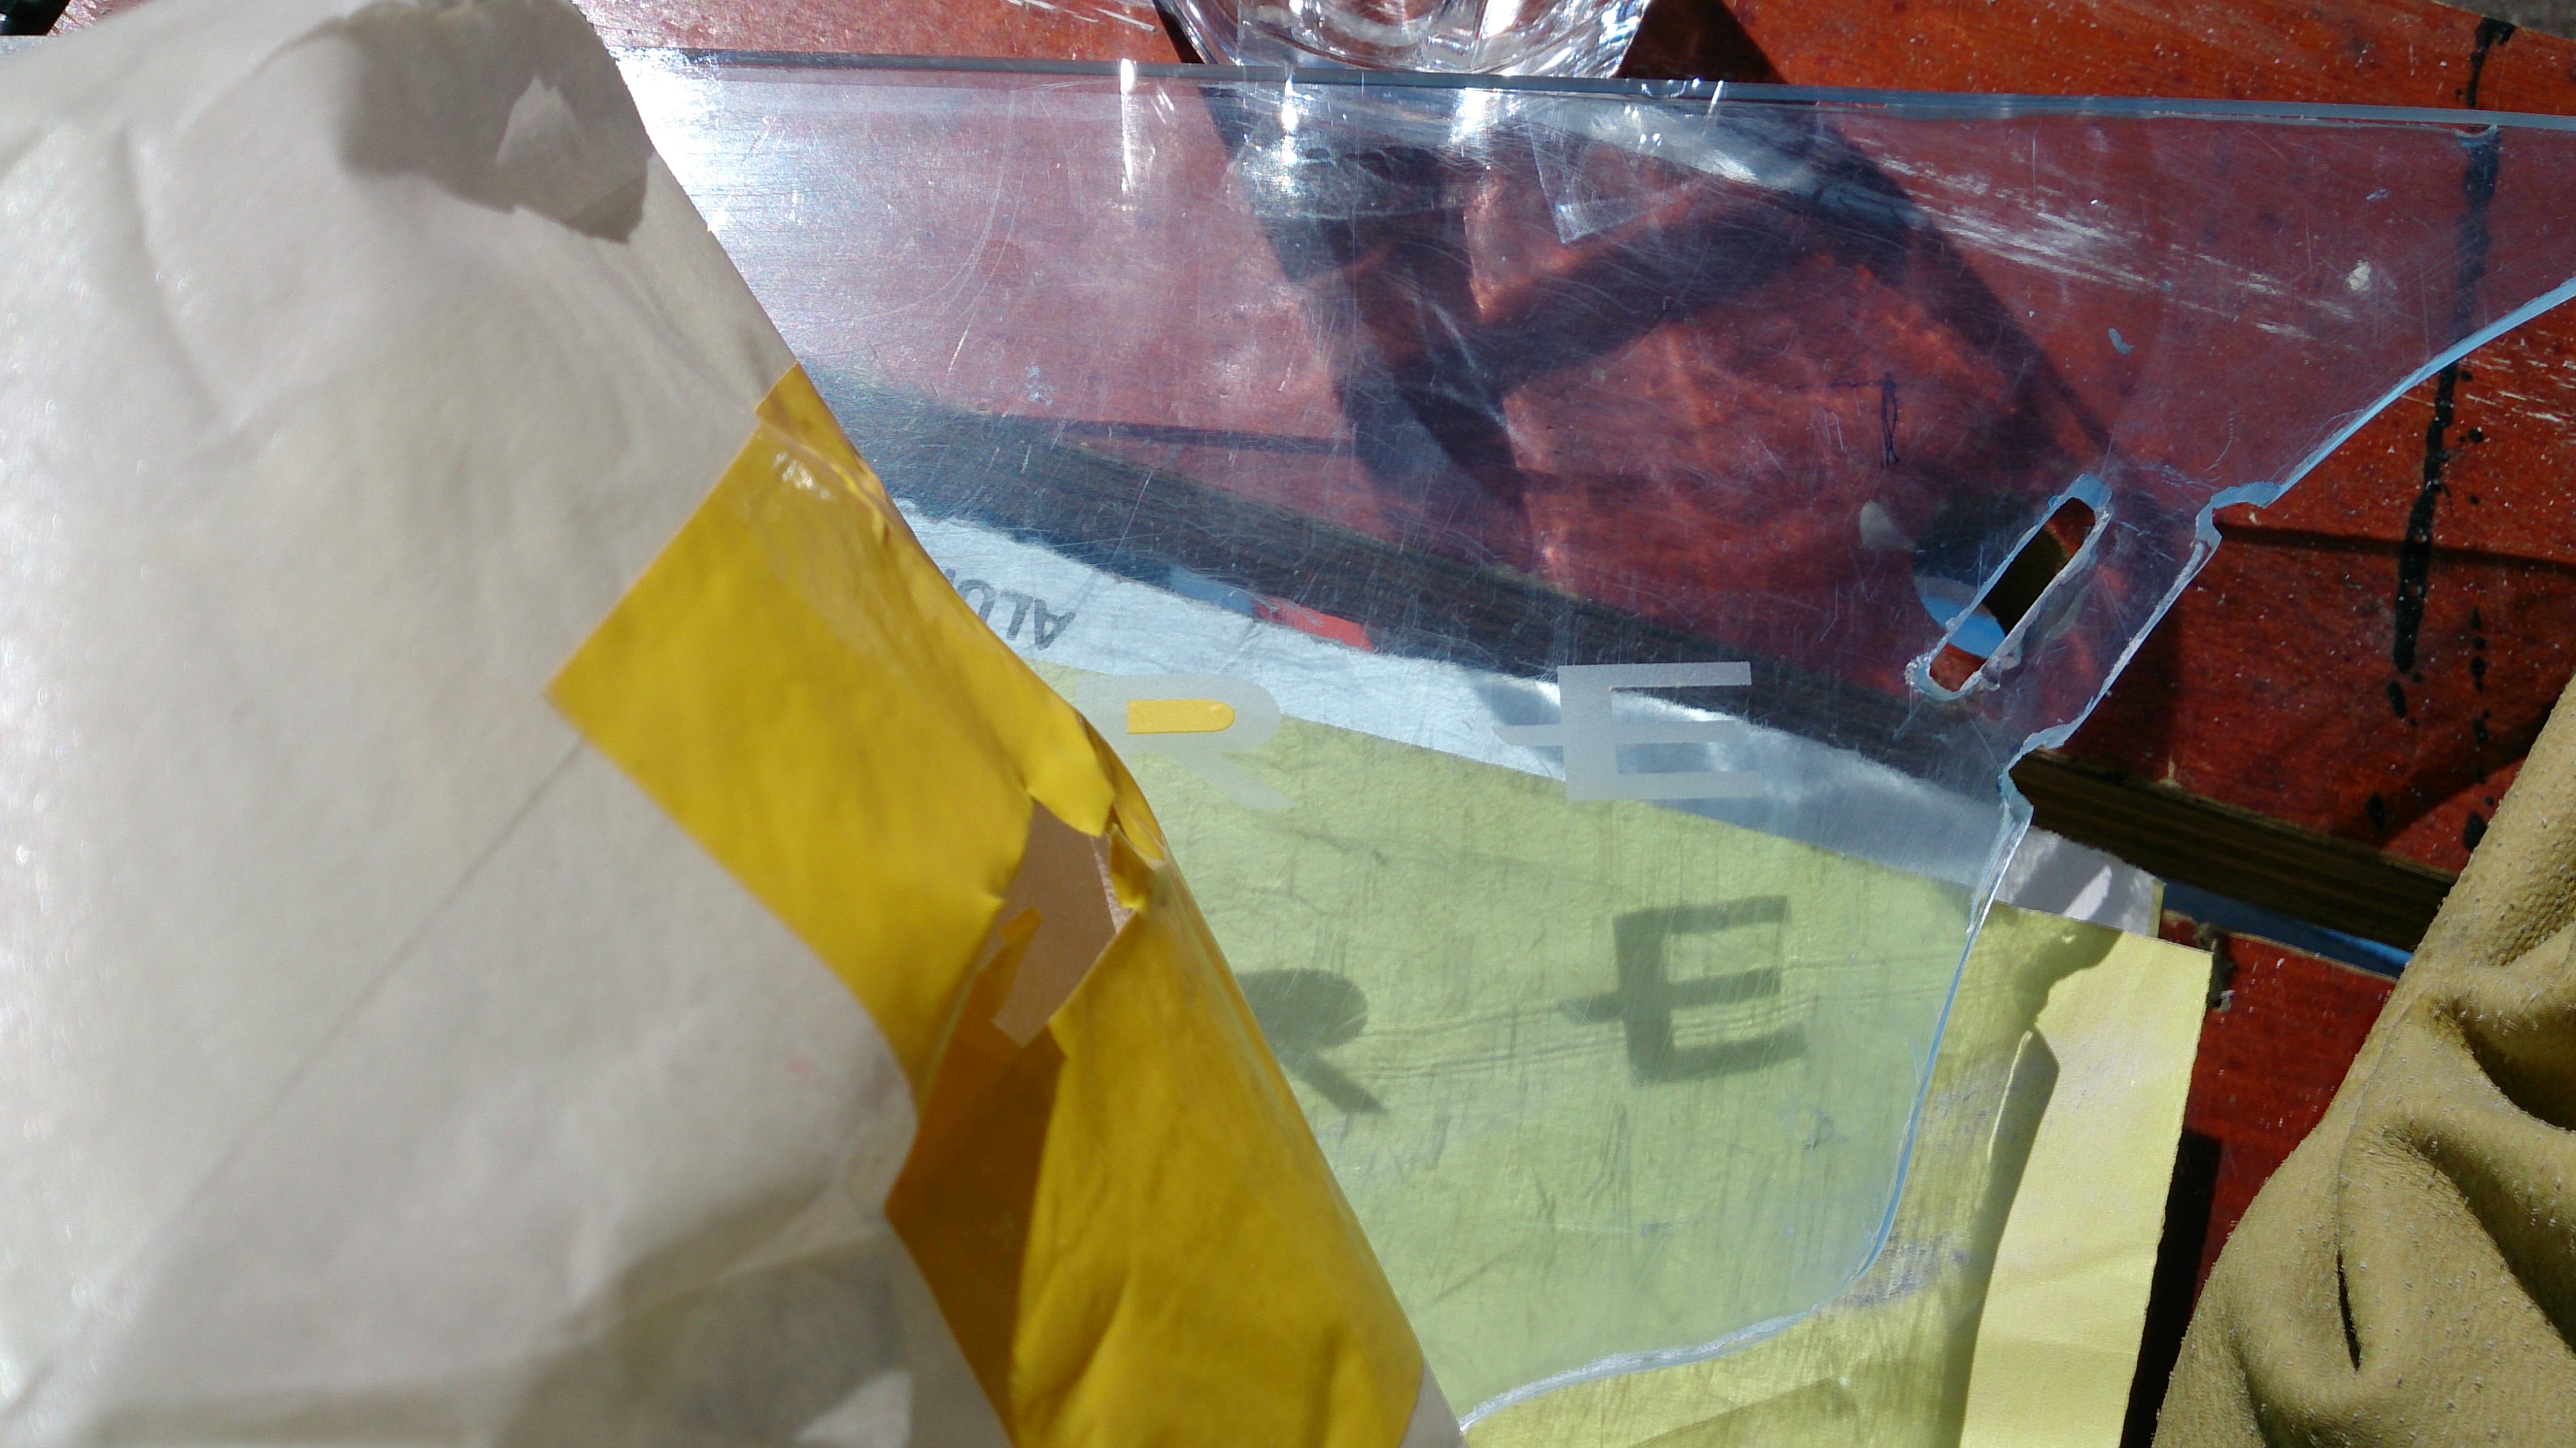
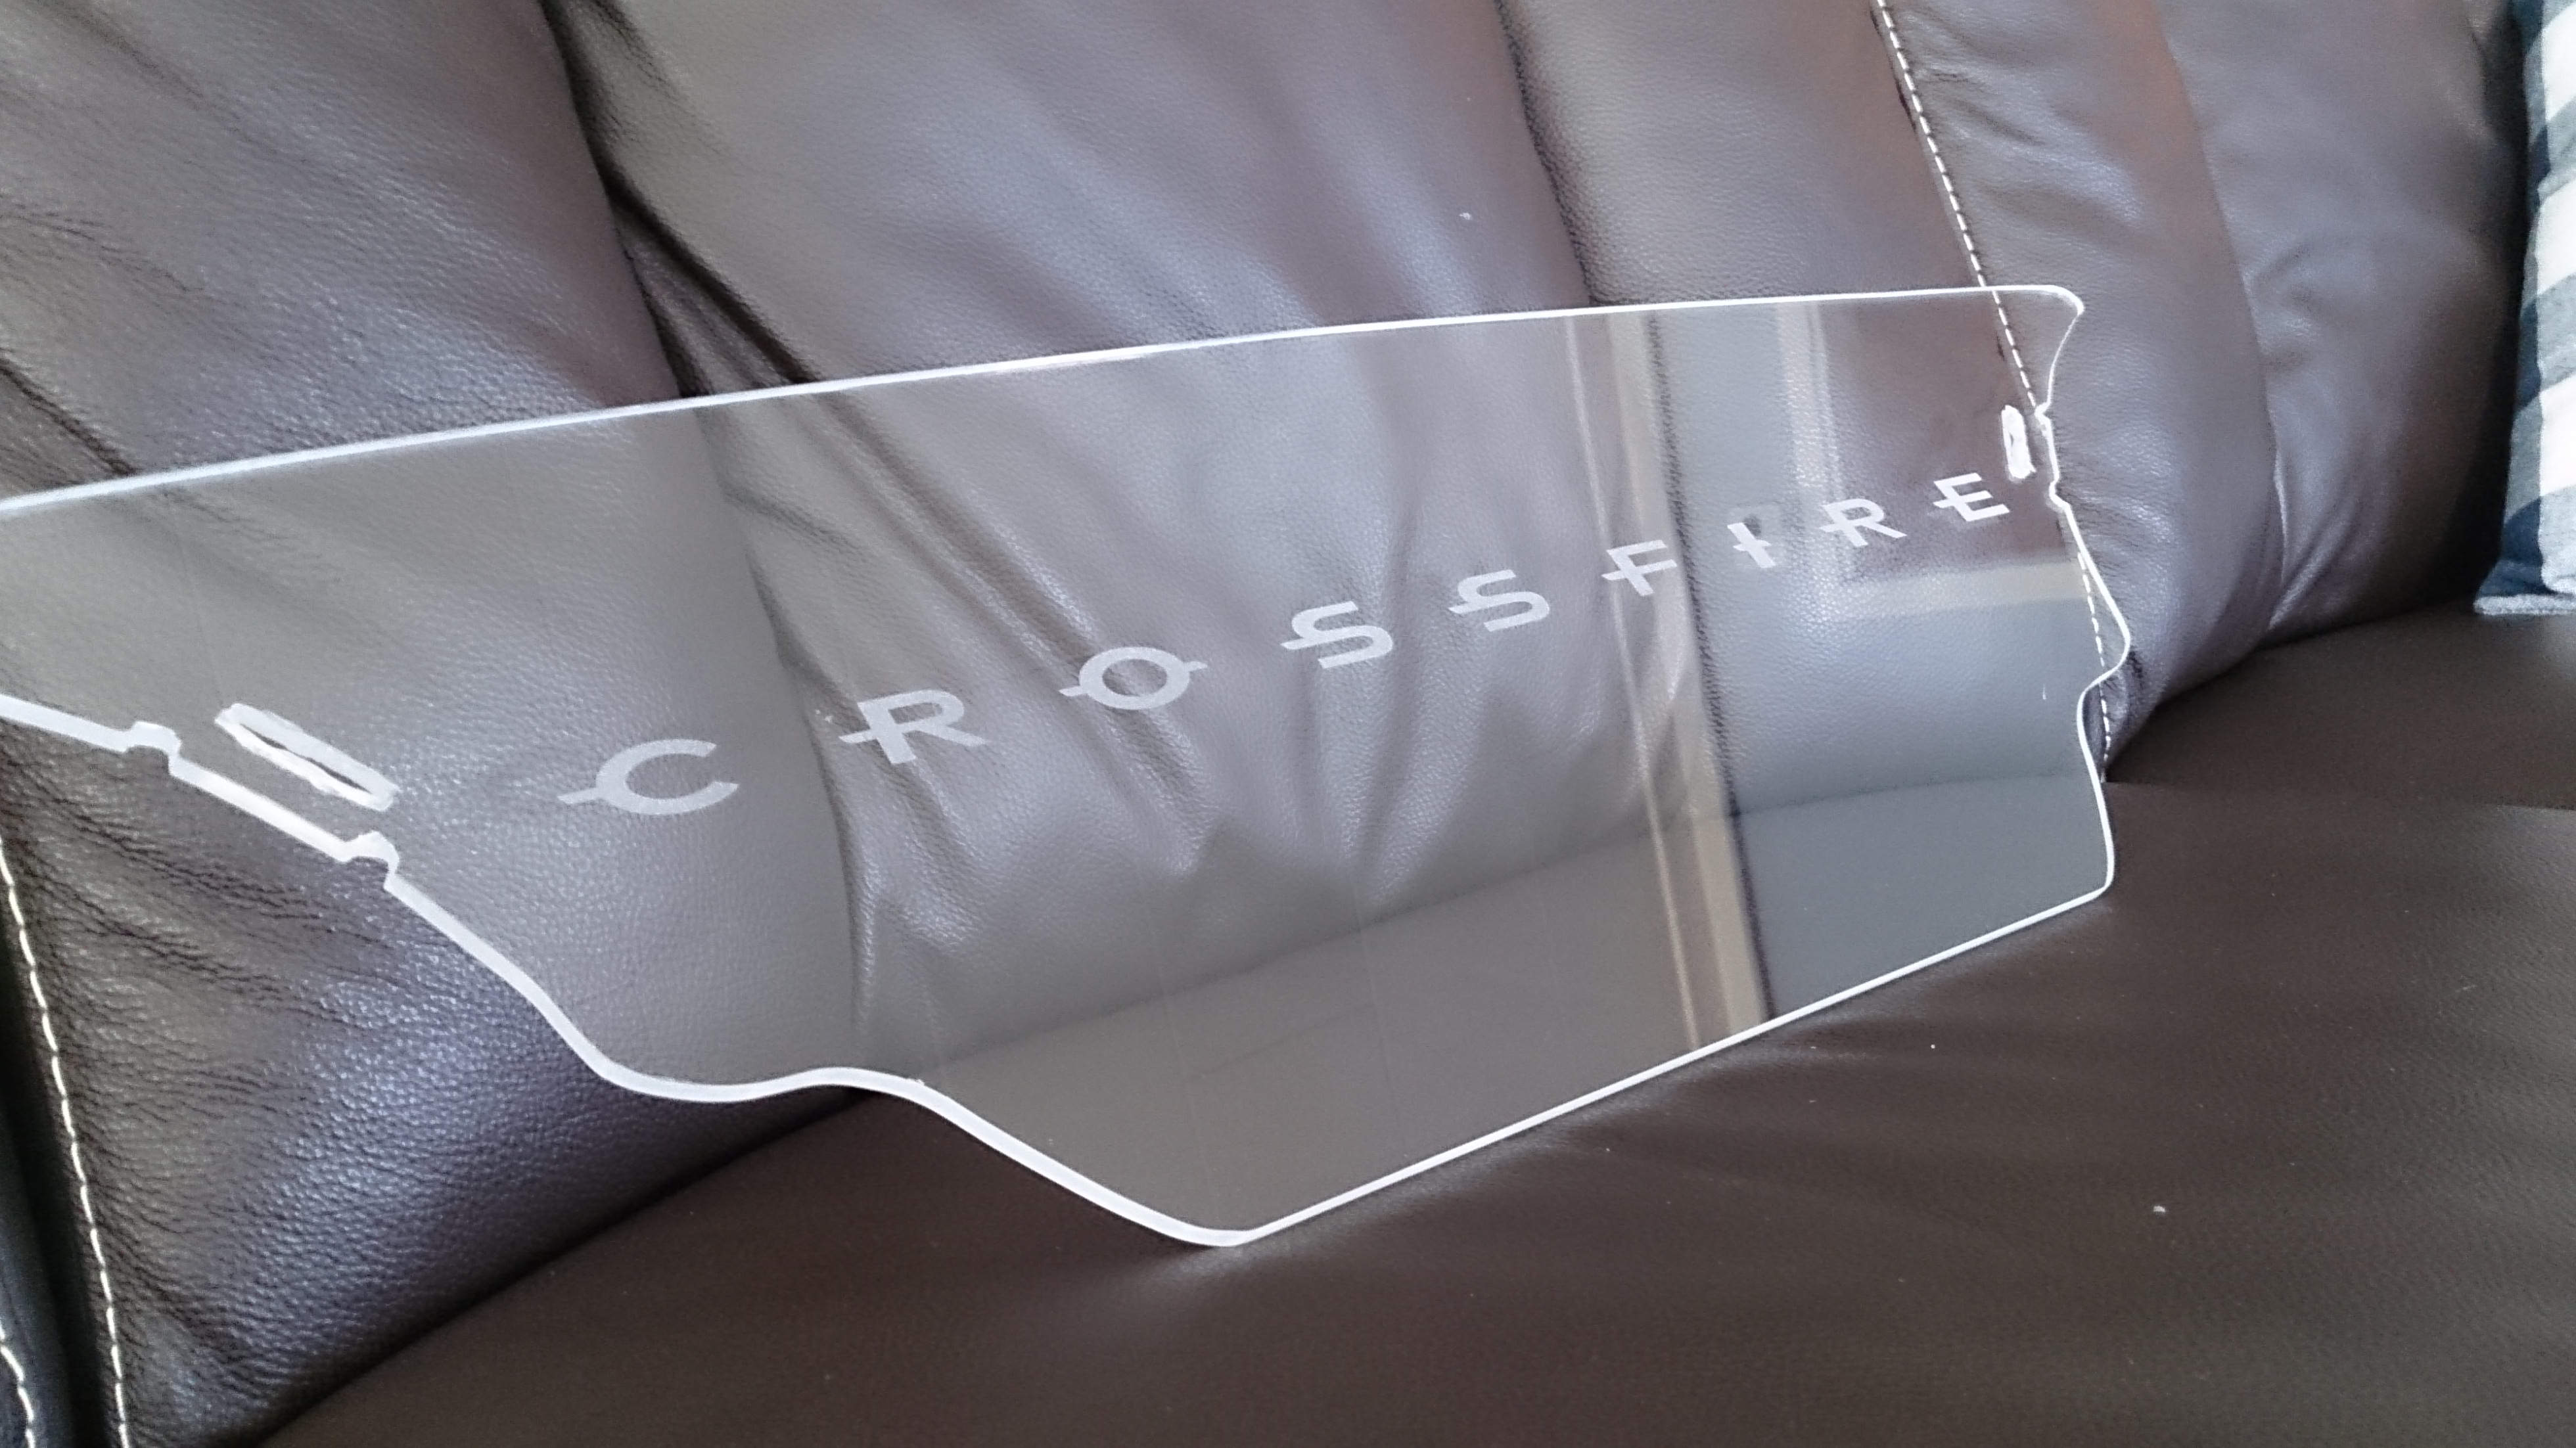
Pretty obvious what to do here. Get rid of all masking and protective film. Careful! Rememer - it scratches easily. Rinse in water to get rid of any residual sand or plastic shavings. Use a little soap if you want but stay away from strong detergents. Dry off with a clean soft towel.
Done!

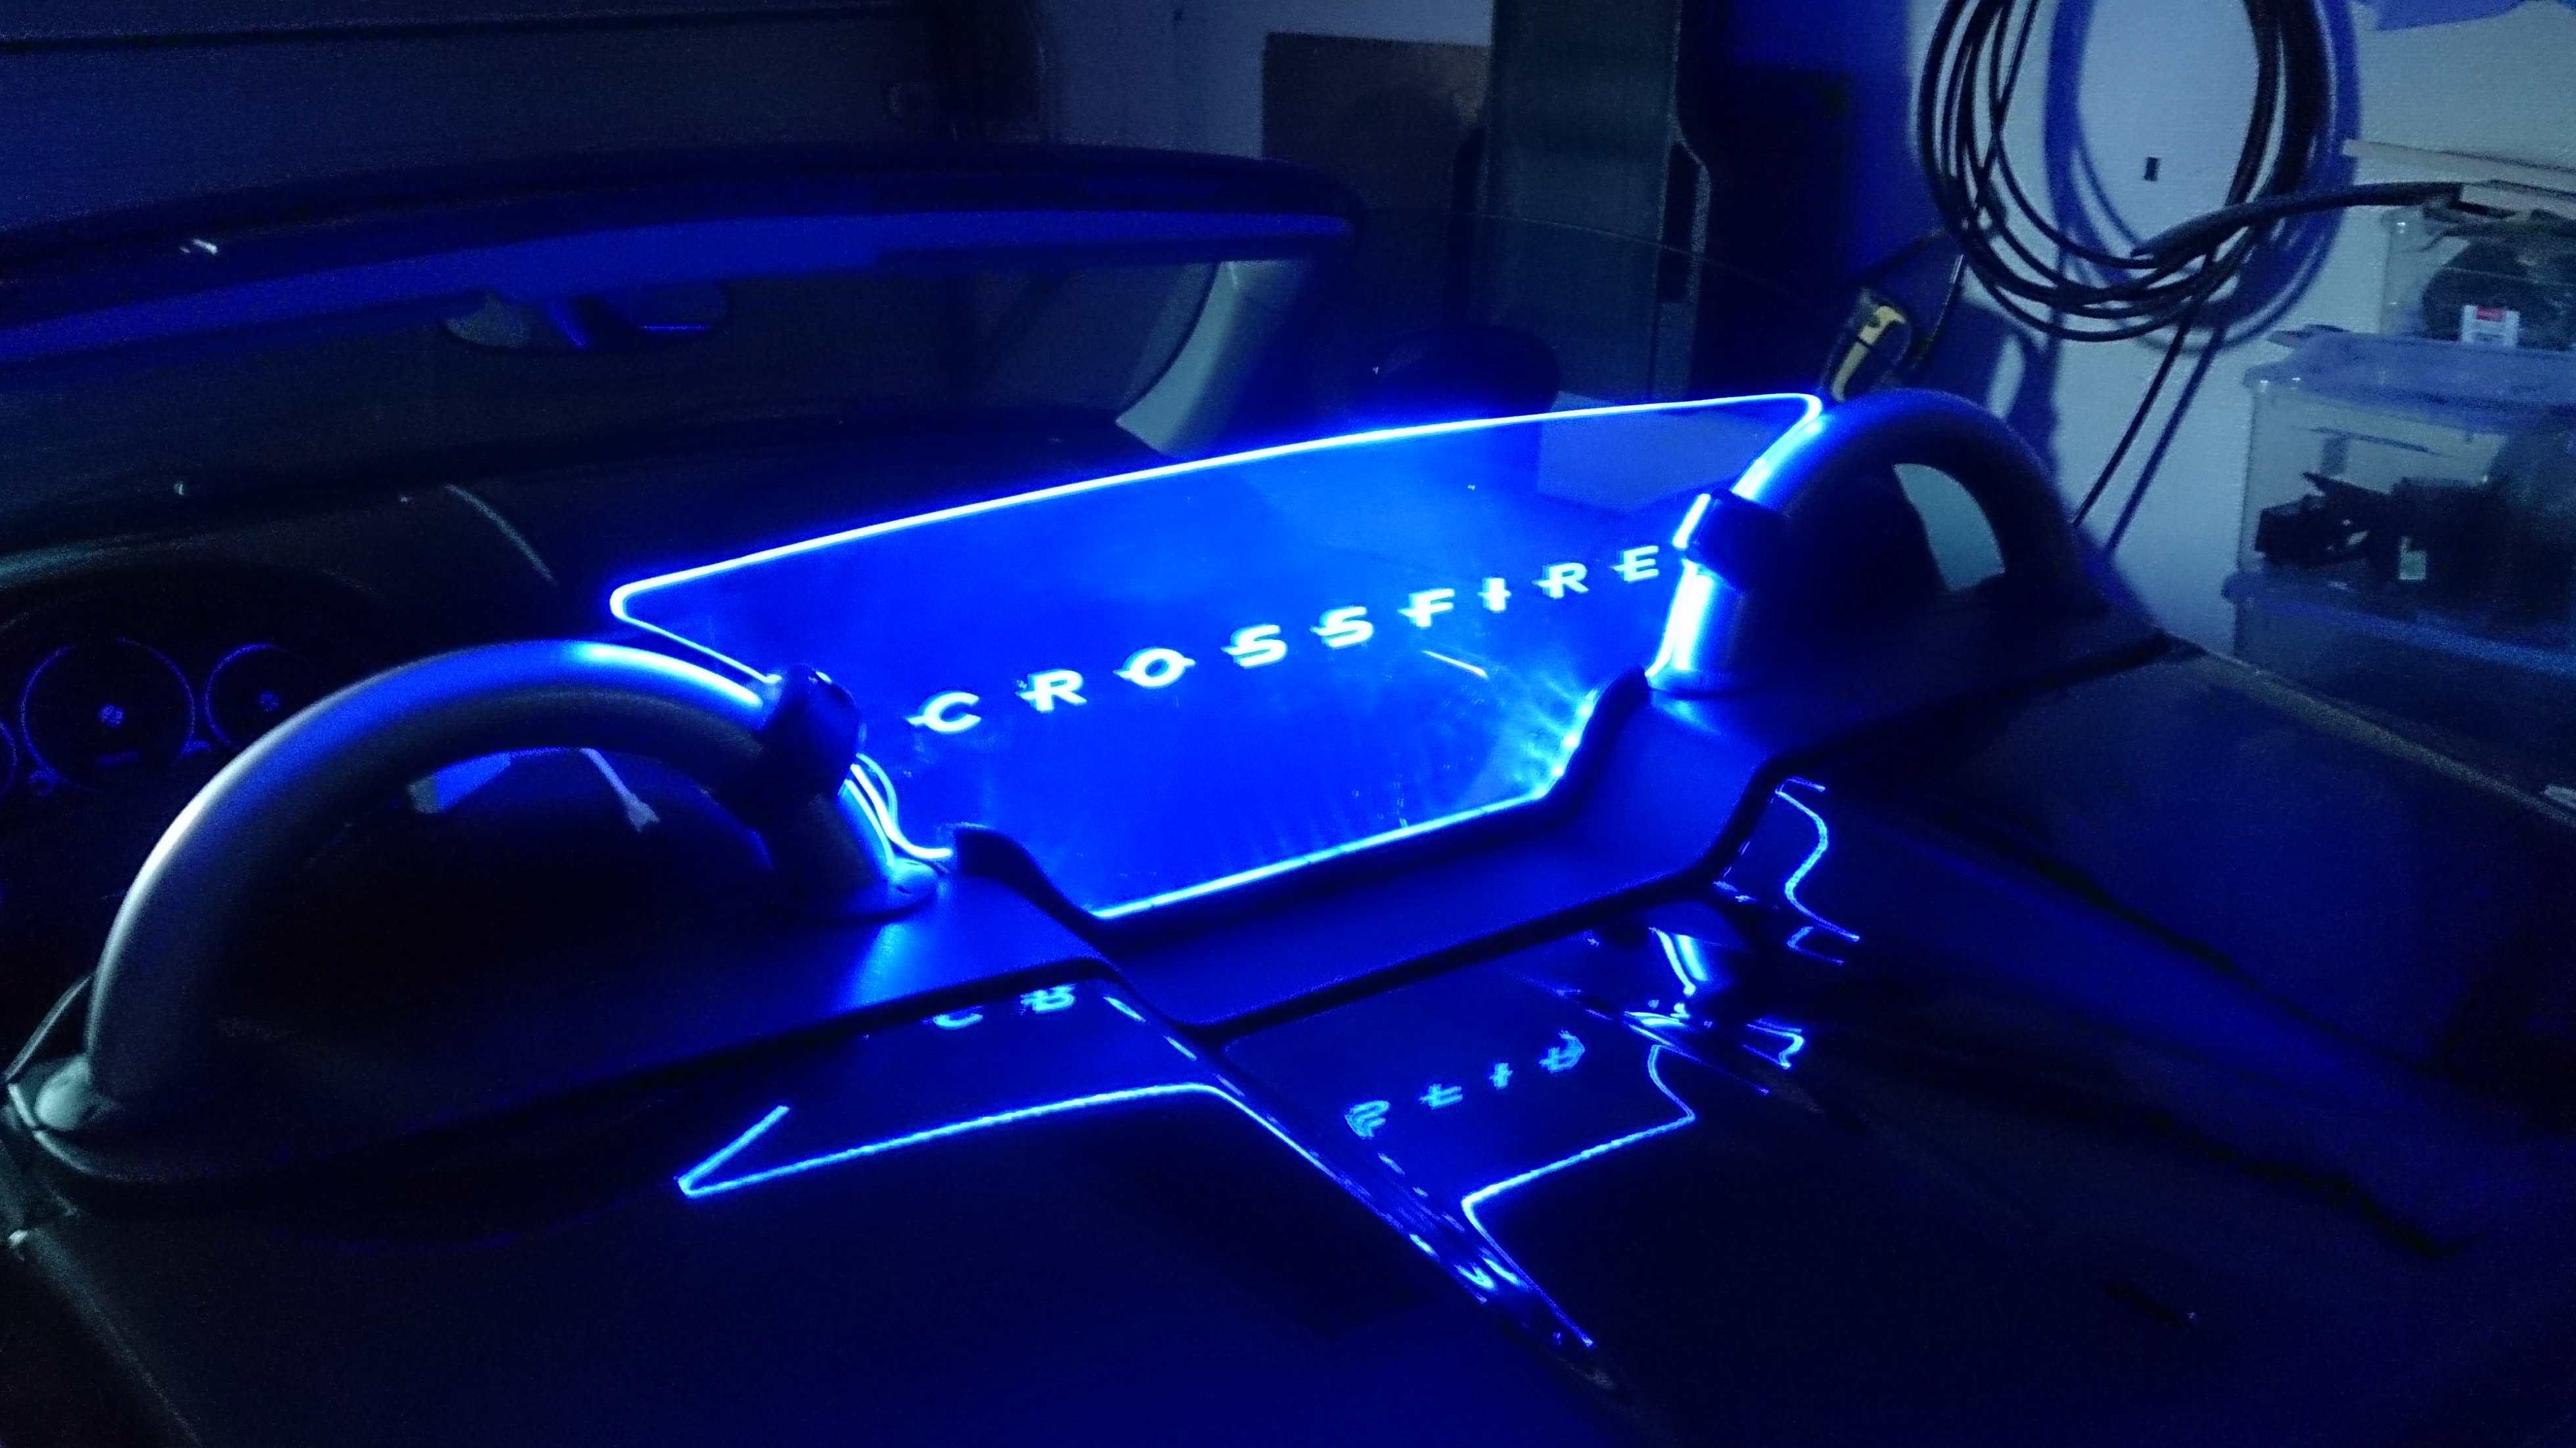
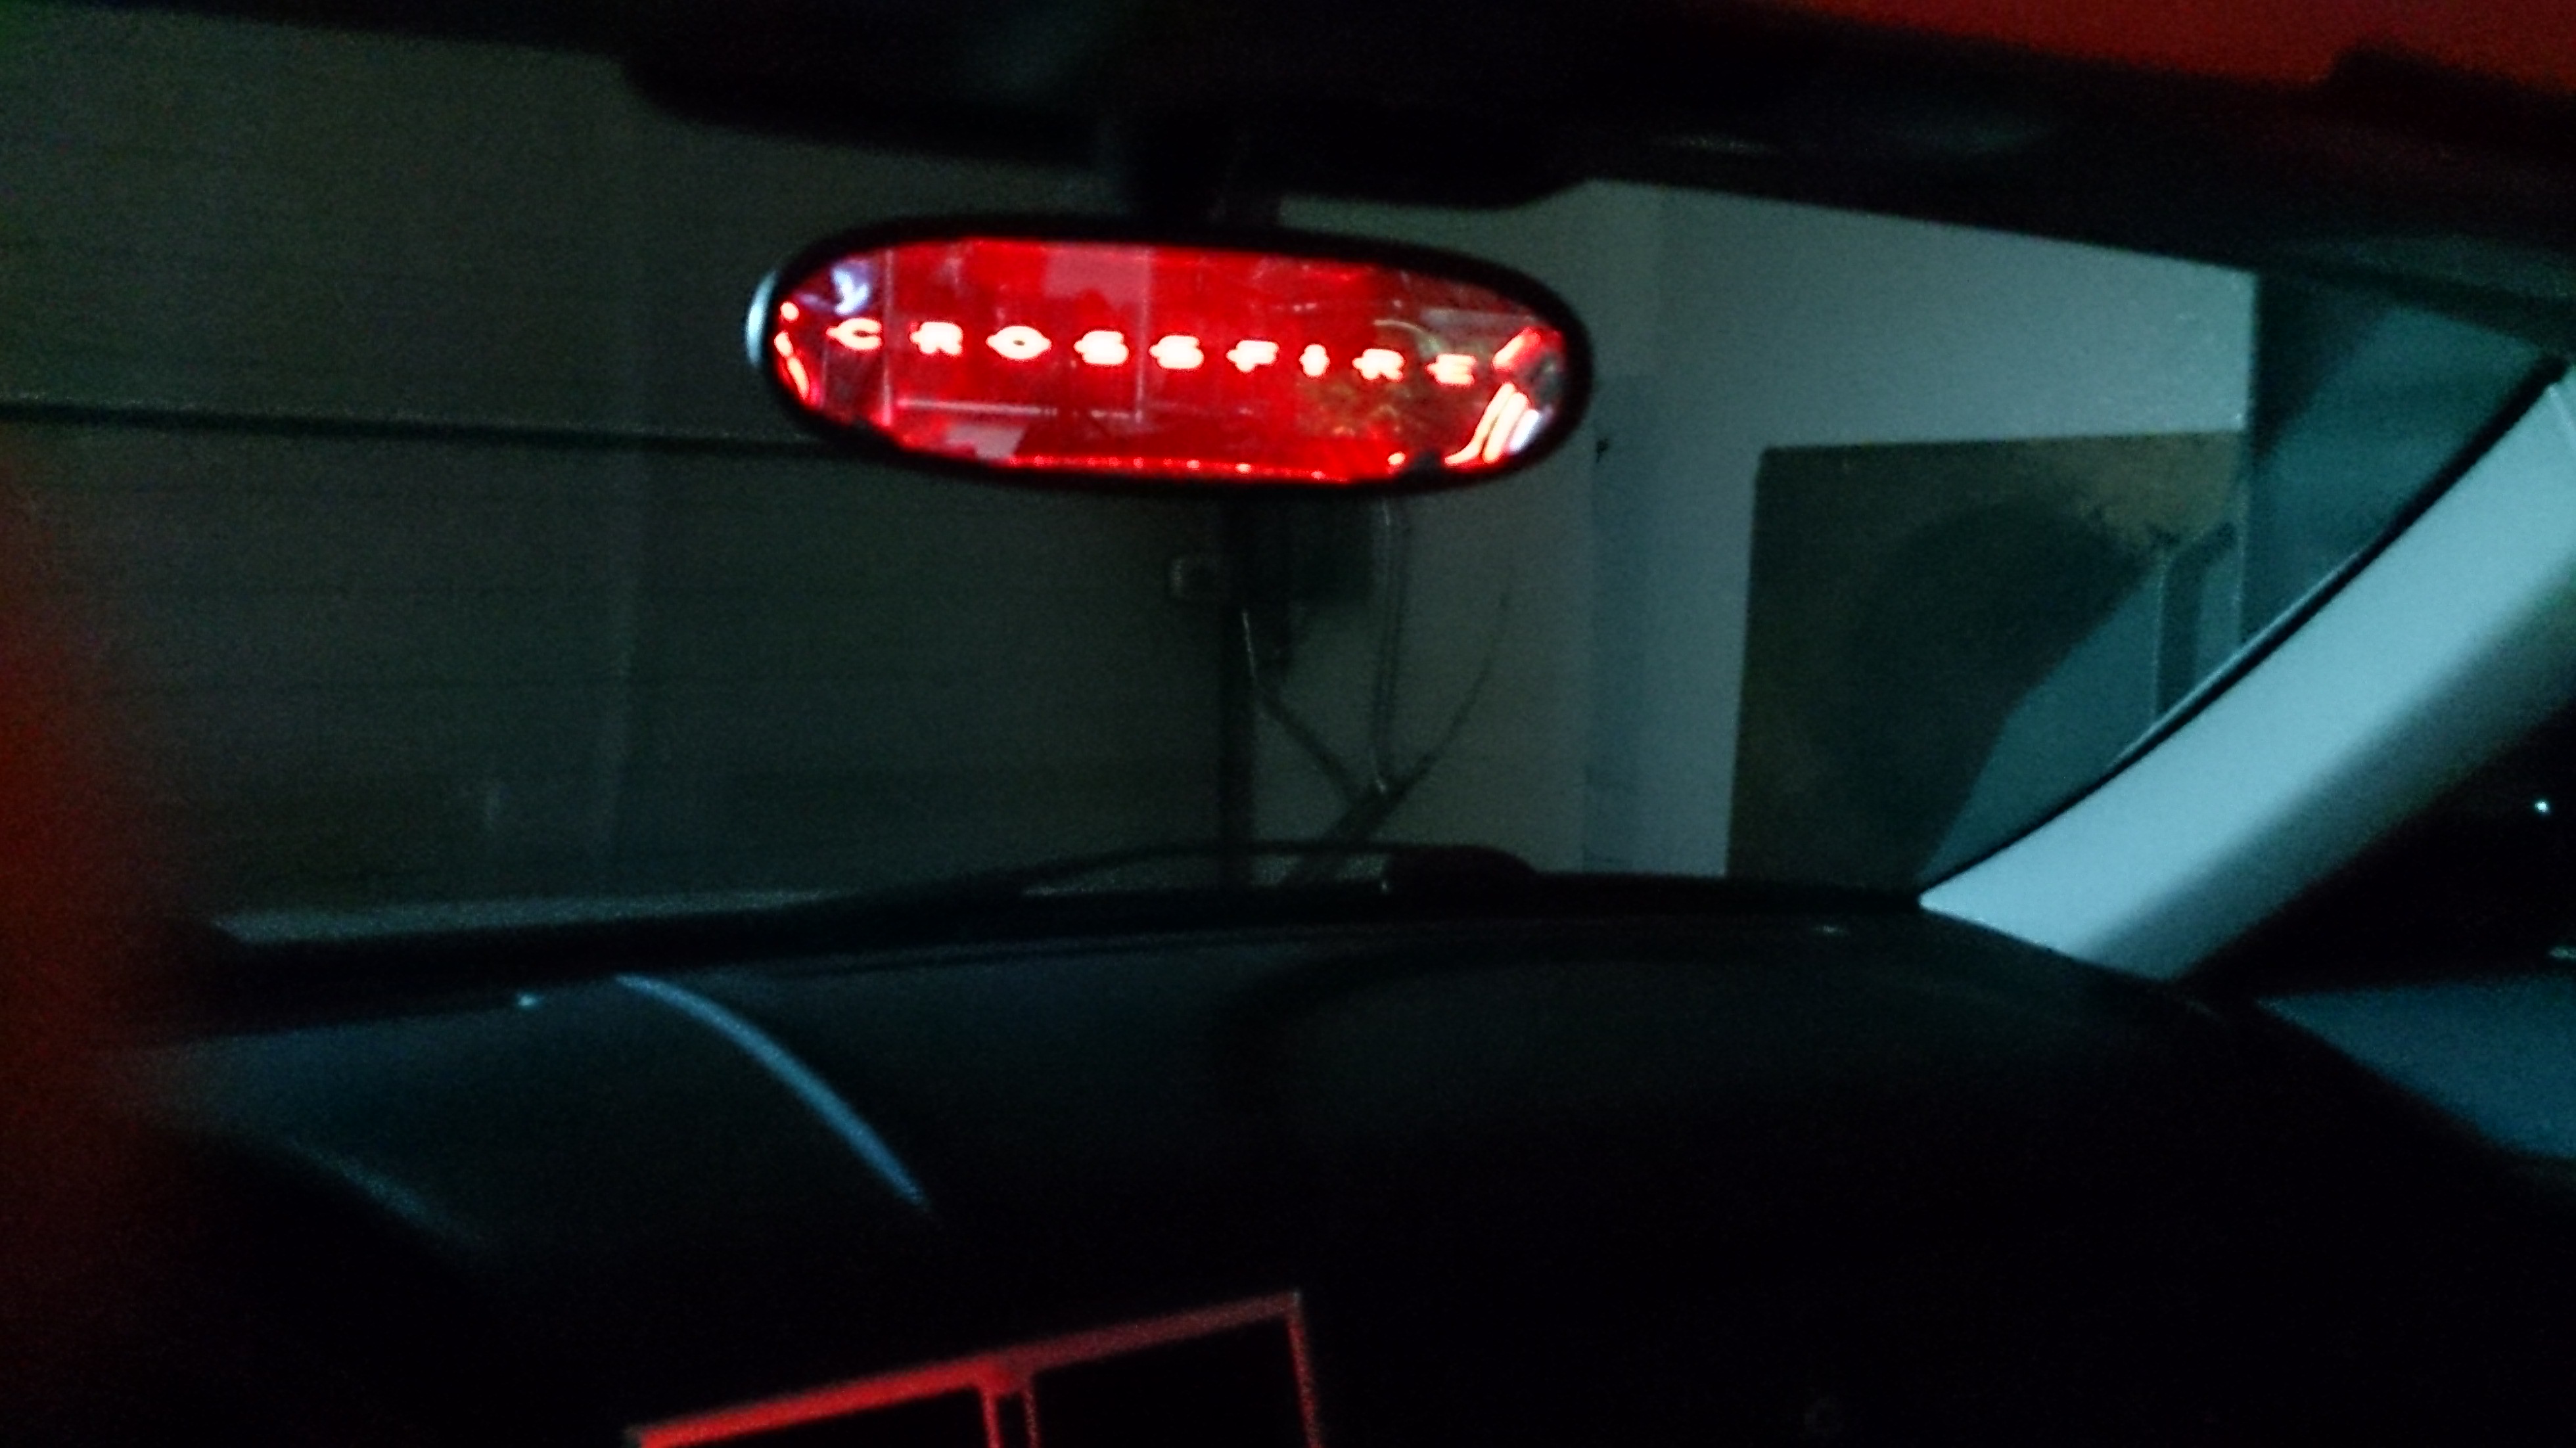
Mount it. The project is done! Use led strips on any of the edges if you want to illuminate the pattern.