San Francisco: Past, Present, Future
11304 Views, 85 Favorites, 0 Comments
San Francisco: Past, Present, Future
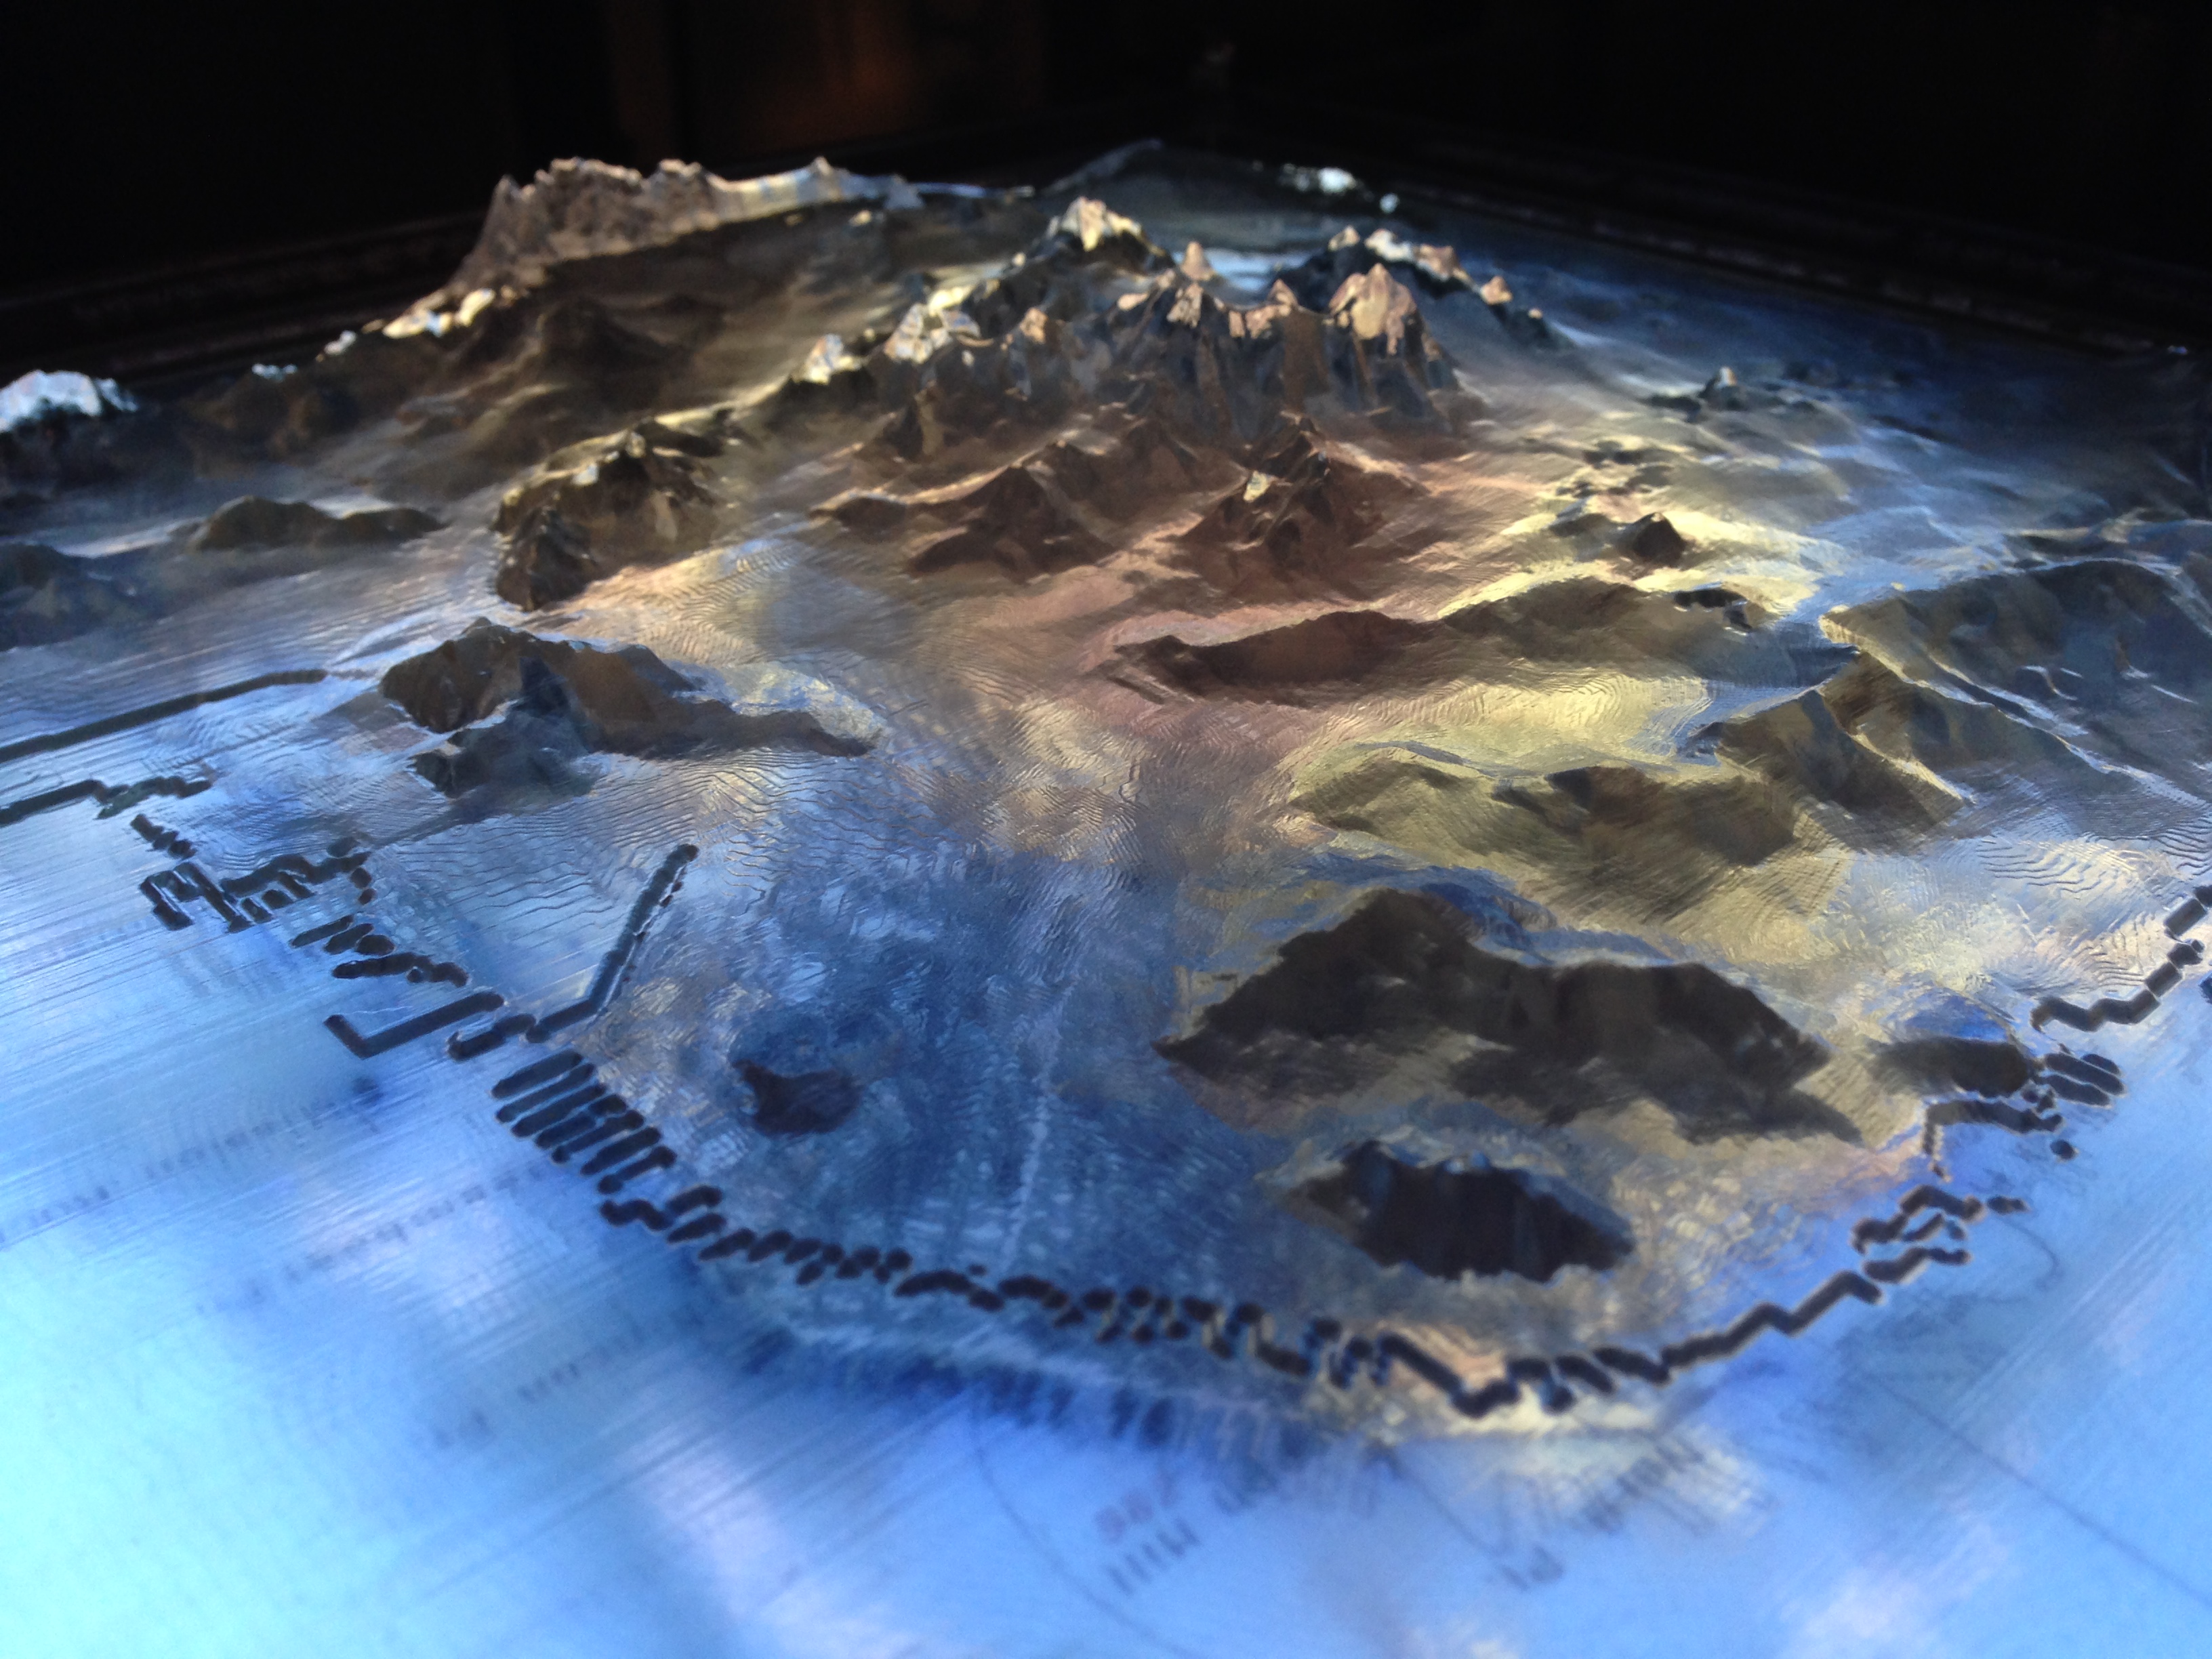
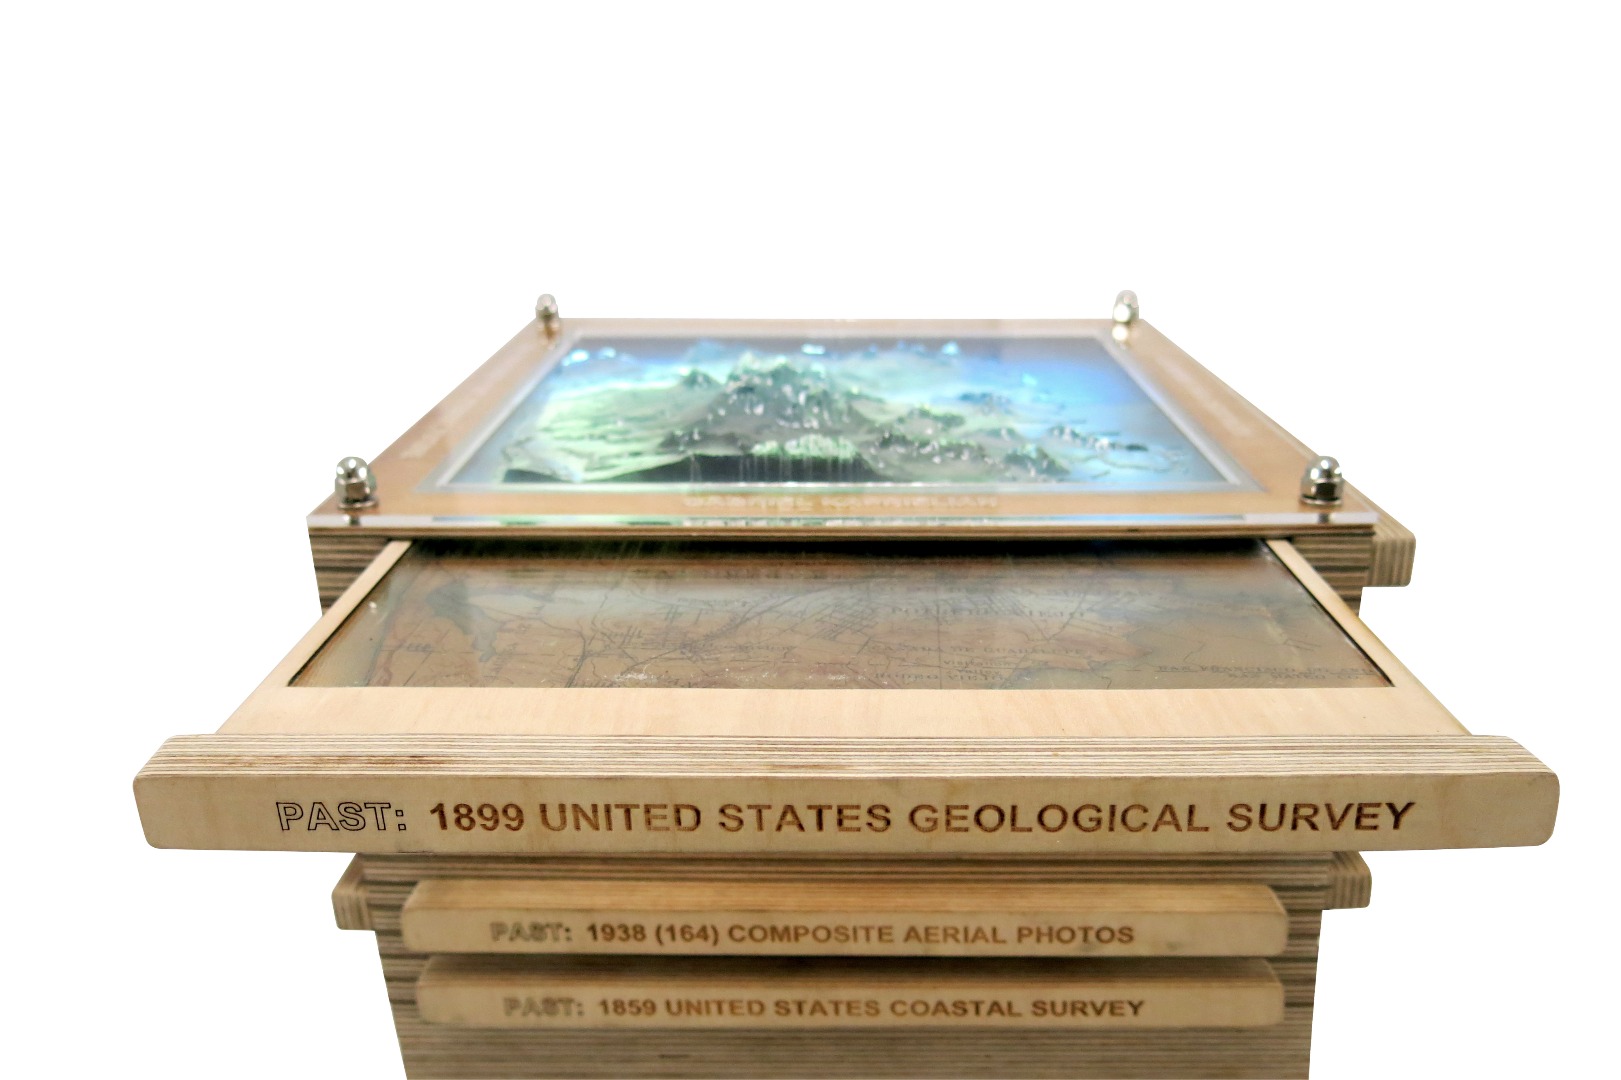
San Francisco: Past, Present, Future is the result of my interest in creating an interactive mapping of the city. This work allows you to explore the history, current conditions, and projected coastline of San Francisco. By overlaying translucent maps below a clear 3D printed city topography, you can see relationships between historical ecology, urban morphology, and potential sea-level rise scenarios. Discover where the city was built first, what development has been constructed on bay fill, what part of the city is at risk of inundation from sea-level rise.
The completed work acts as a light box, enabling the overlay of multiple maps on top of each other. The viewer can make their own discoveries of convergence between the maps. The clear 3D printed topography of San Francisco at the top of the model offers a tactile experience, creating the illusion of the maps being projected onto the surface
Diagram
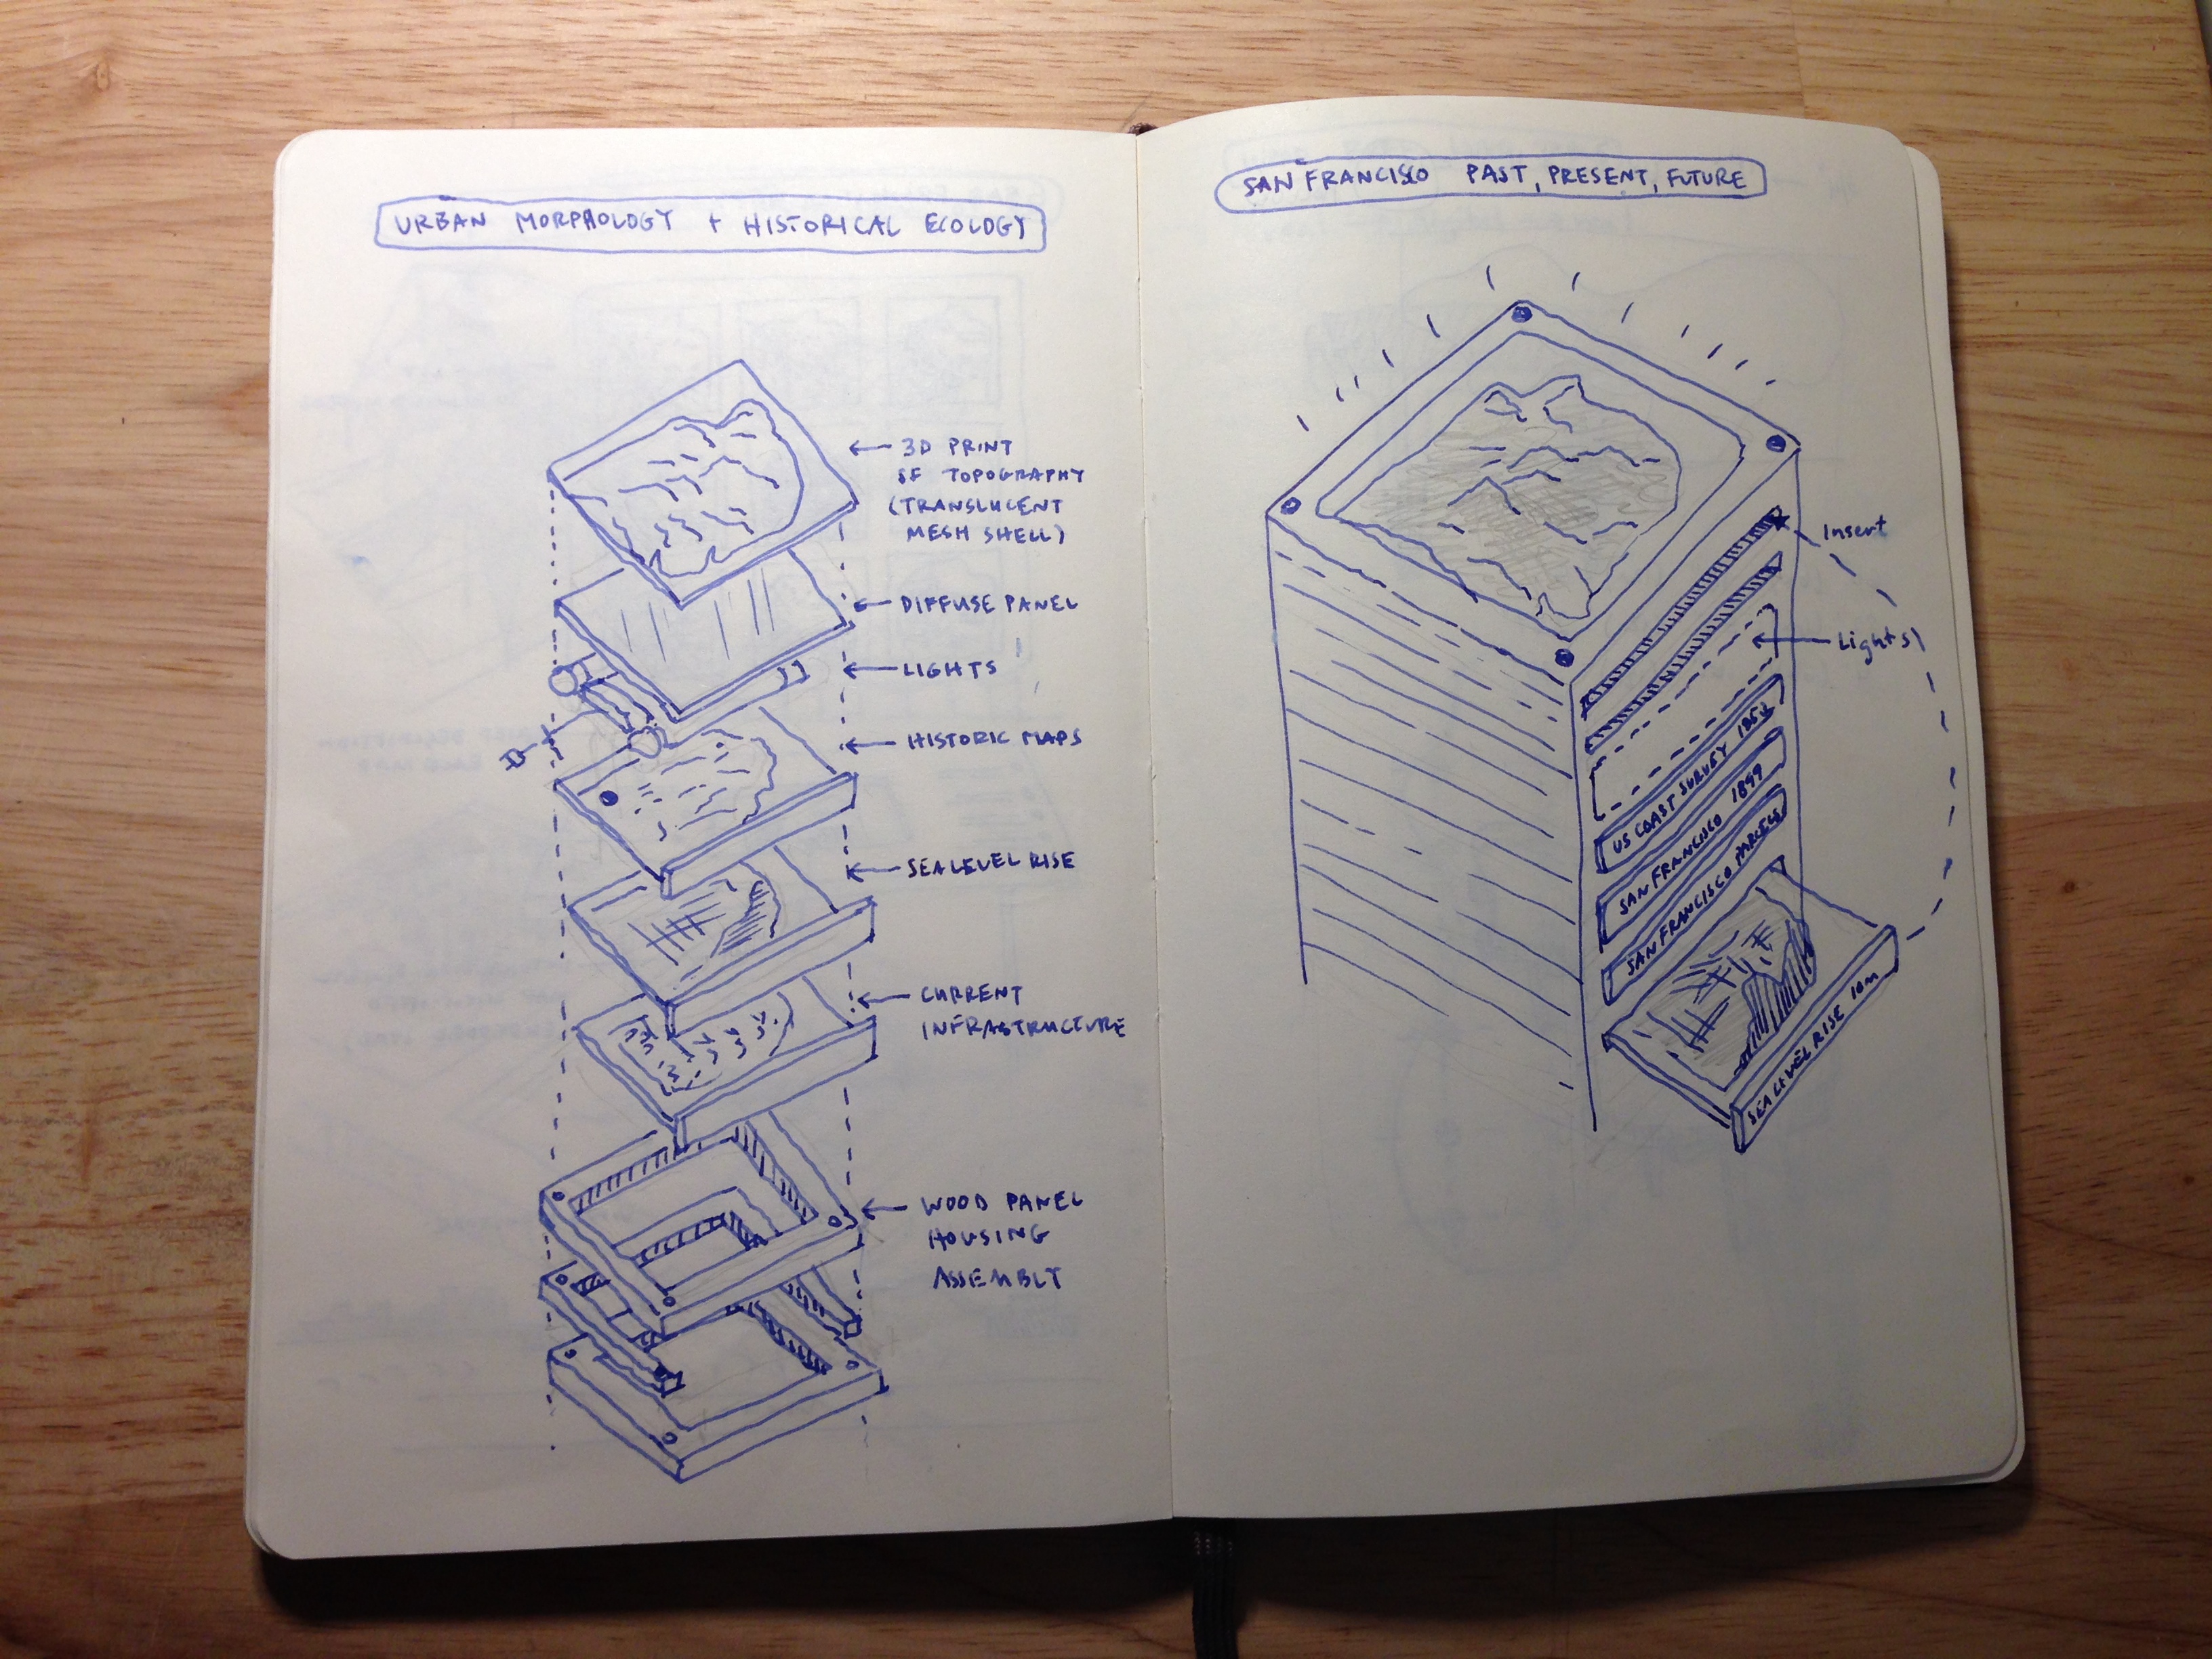
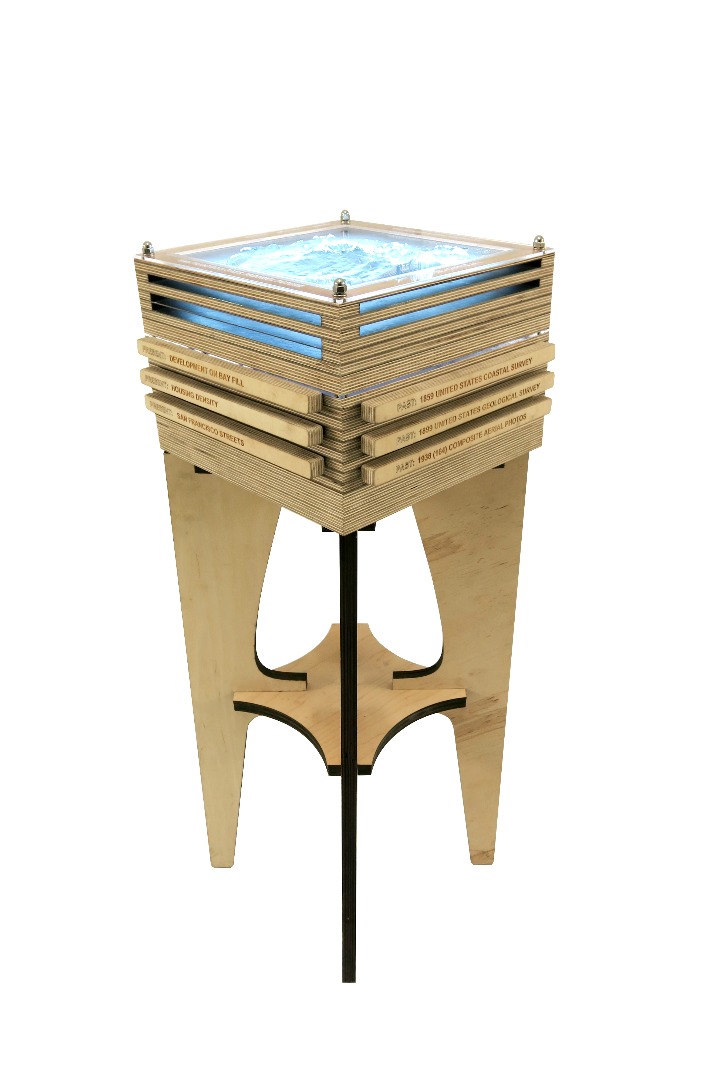
My first step was figuring out how all of the parts would come together and what it would look like. I chose a rather minimalist cube shape made up of stacked layers. Each layer of the frame was created by lasercut or waterjet, much of it shelving for the map slides. The slides can then be taken from below and placed above a diffused LED light to be viewed under the 3D printed topography of San Francisco. The LED light and power source is concealed within the body of the piece. The stacked pieces then rest on four plywood legs that are lasercut and fit below the model body without the need for hardware.
Create Topography
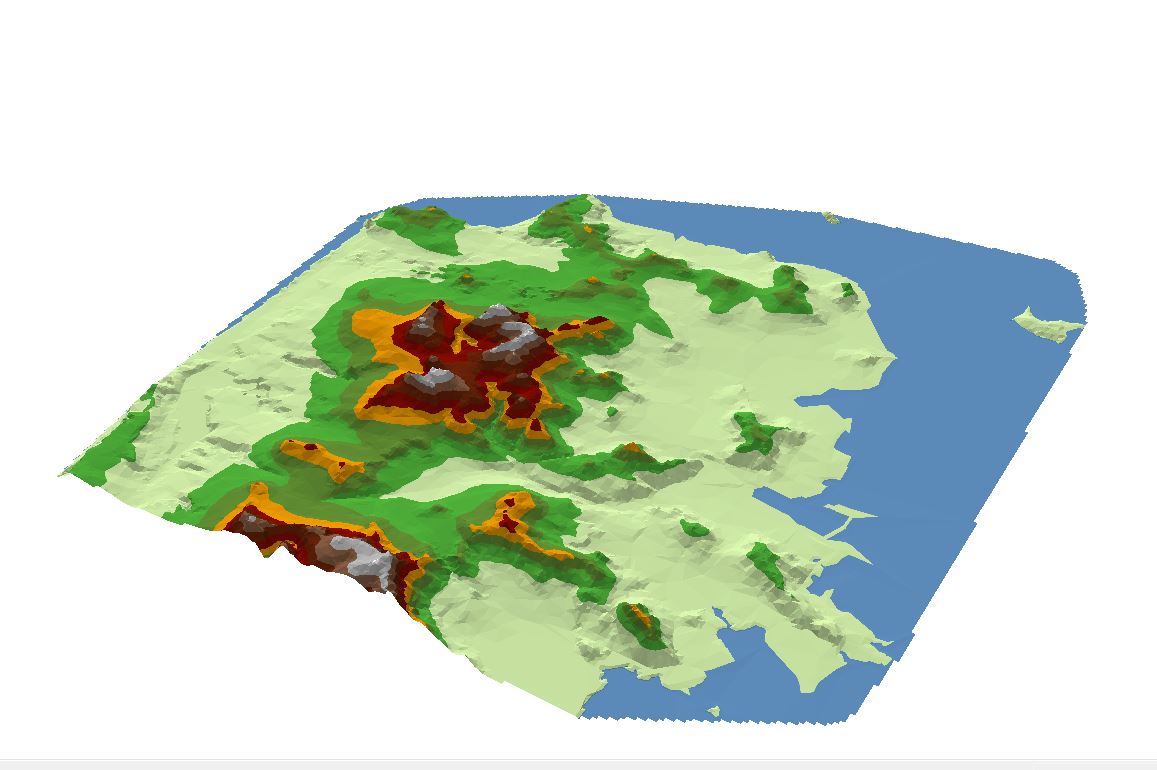
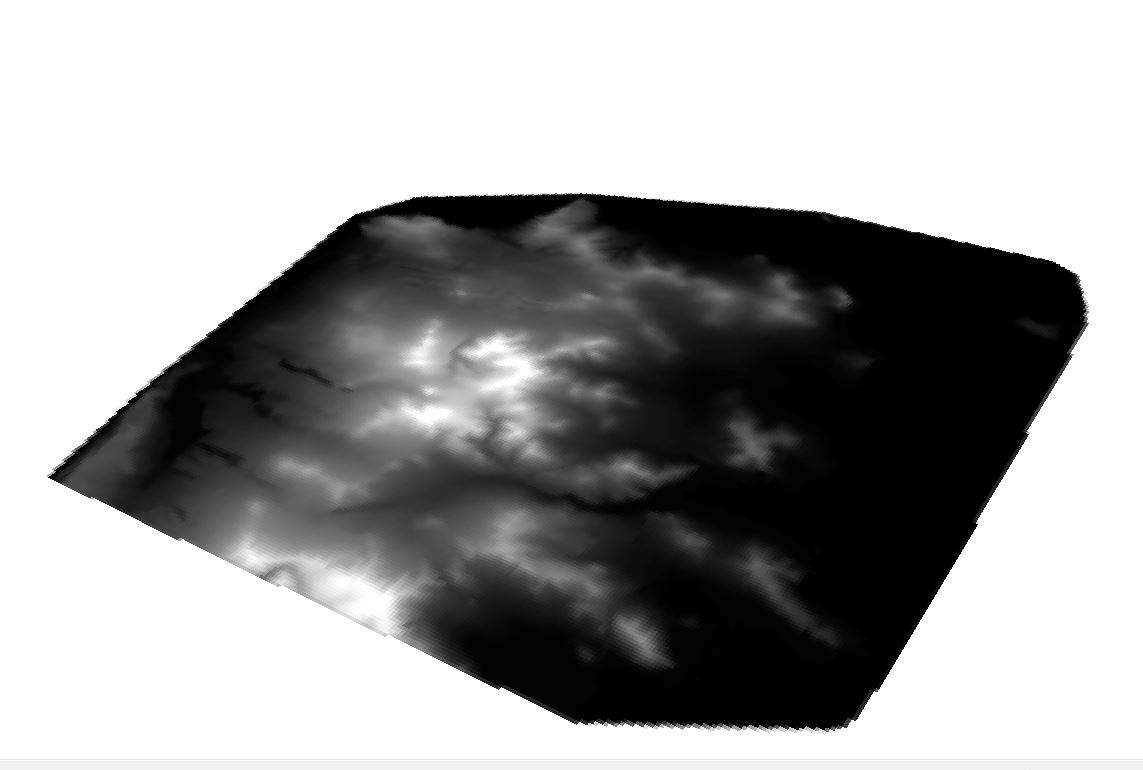
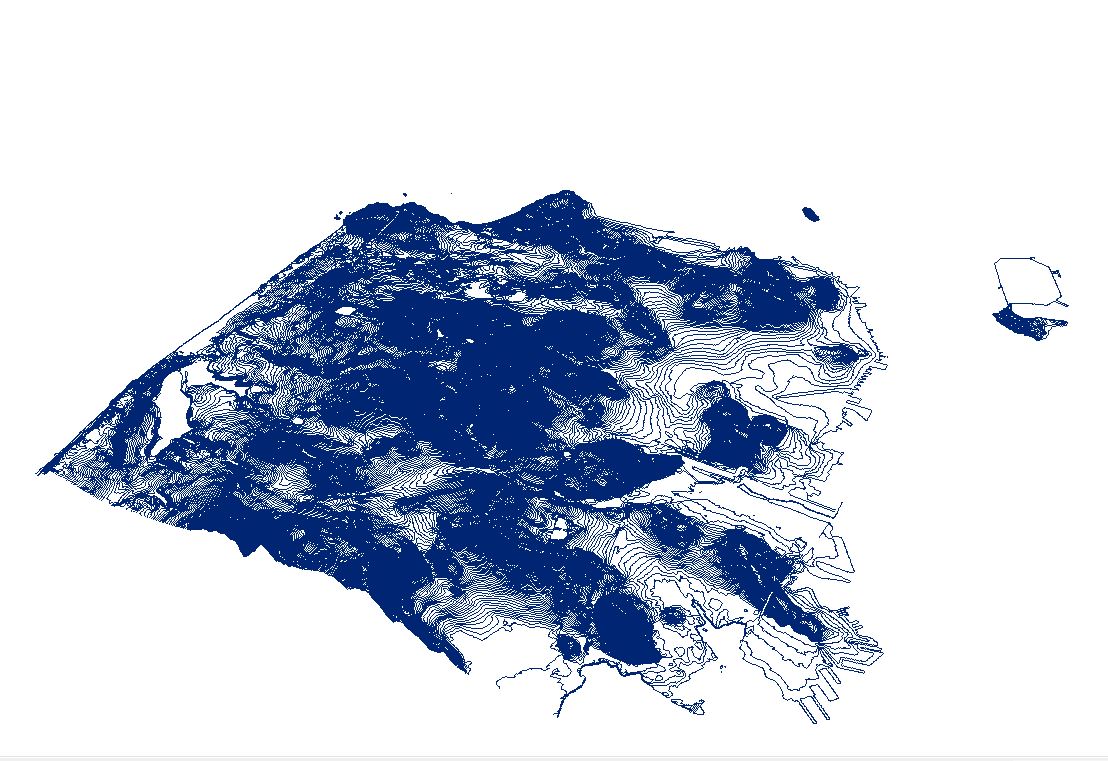
My next step was to create the topography of San Francisco. I downloaded a series of 7.5 minute DEM files from the USGS site. I brought these files into ESRI ArcScene software to create a TIN. I then exaggerated the topographic surface by four times for effect. Finally, I exported the geometry as a .wrl file.
USGS DEM: http://bard.wr.usgs.gov/getDEMSMap.html
Create Print File
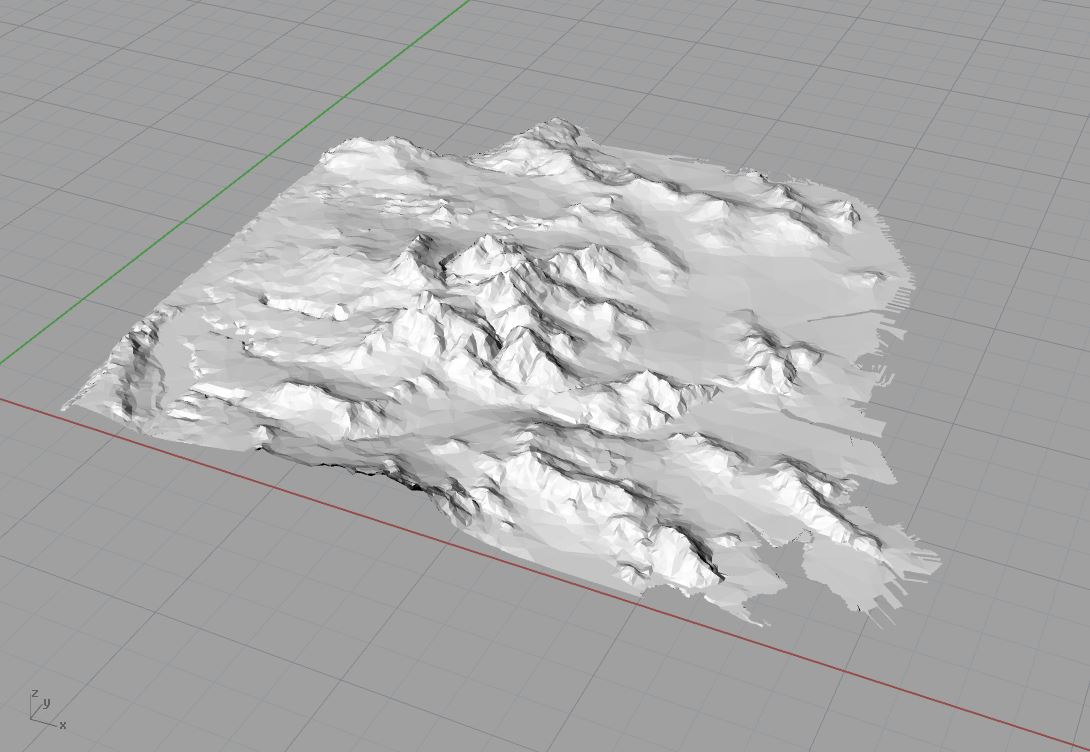
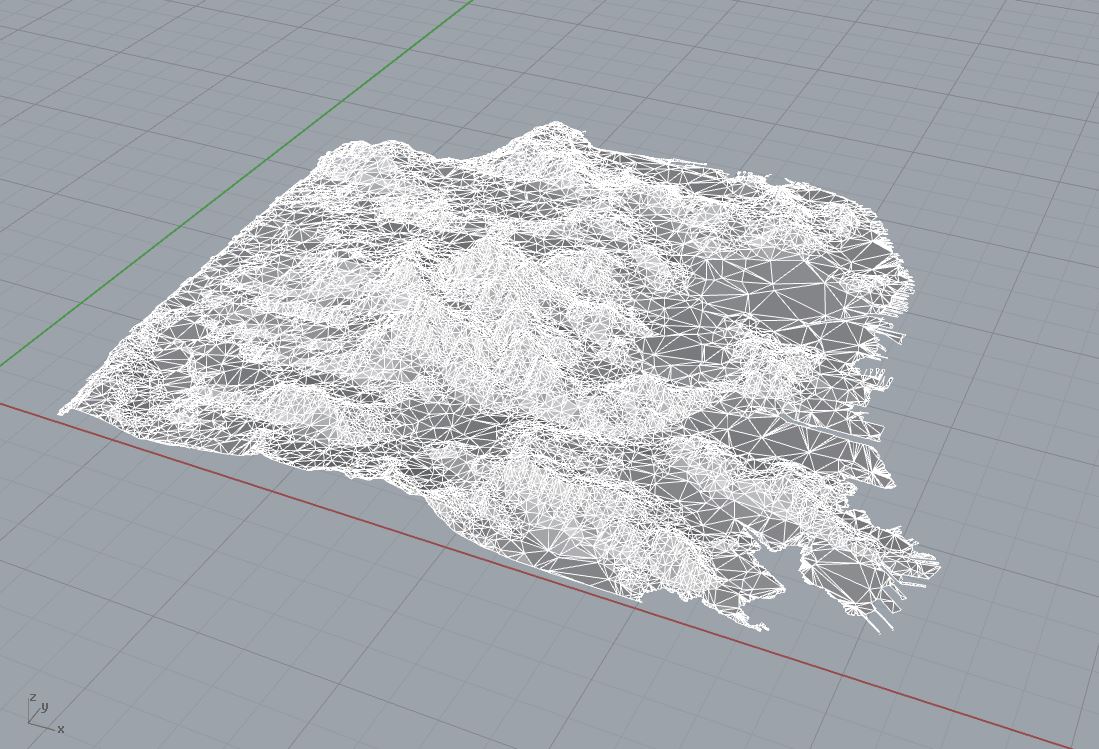
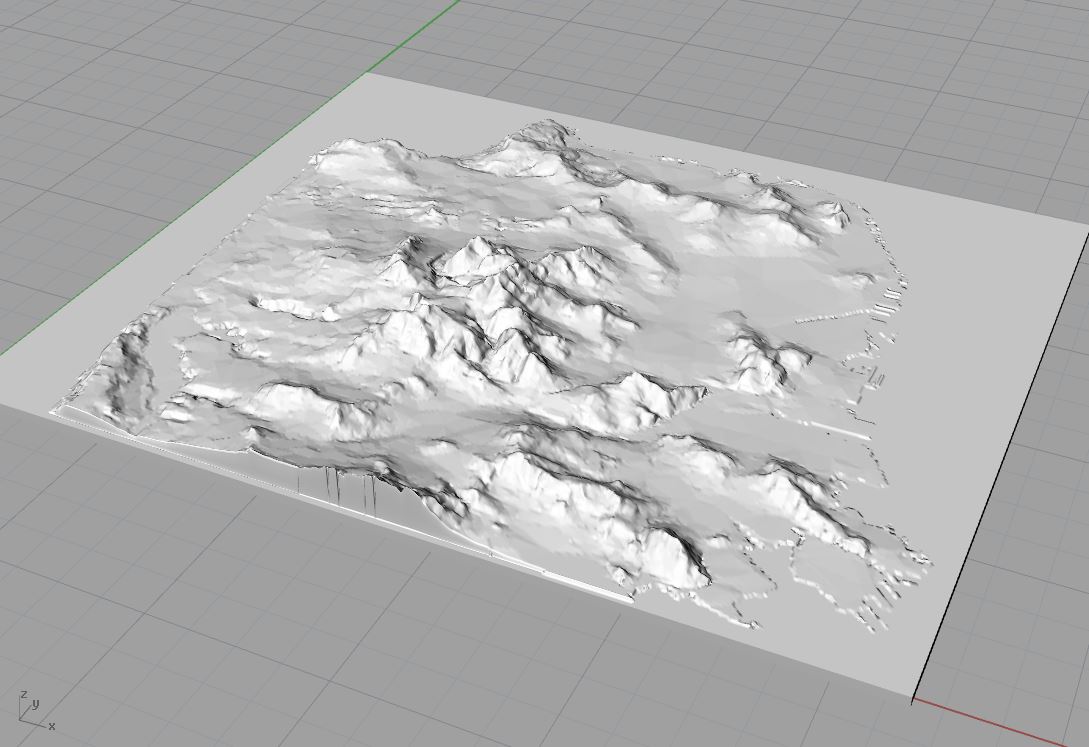
I imported the .wrl file into Rhino. First order of business was to resize the mesh geometry to my printing dimensions. I first created a thickened mesh shell to print, but realized that it would be impossible to polish clear. Therefore, I used the drape tool to create a smooth and clean topographic surface with a flat base.
3D Print
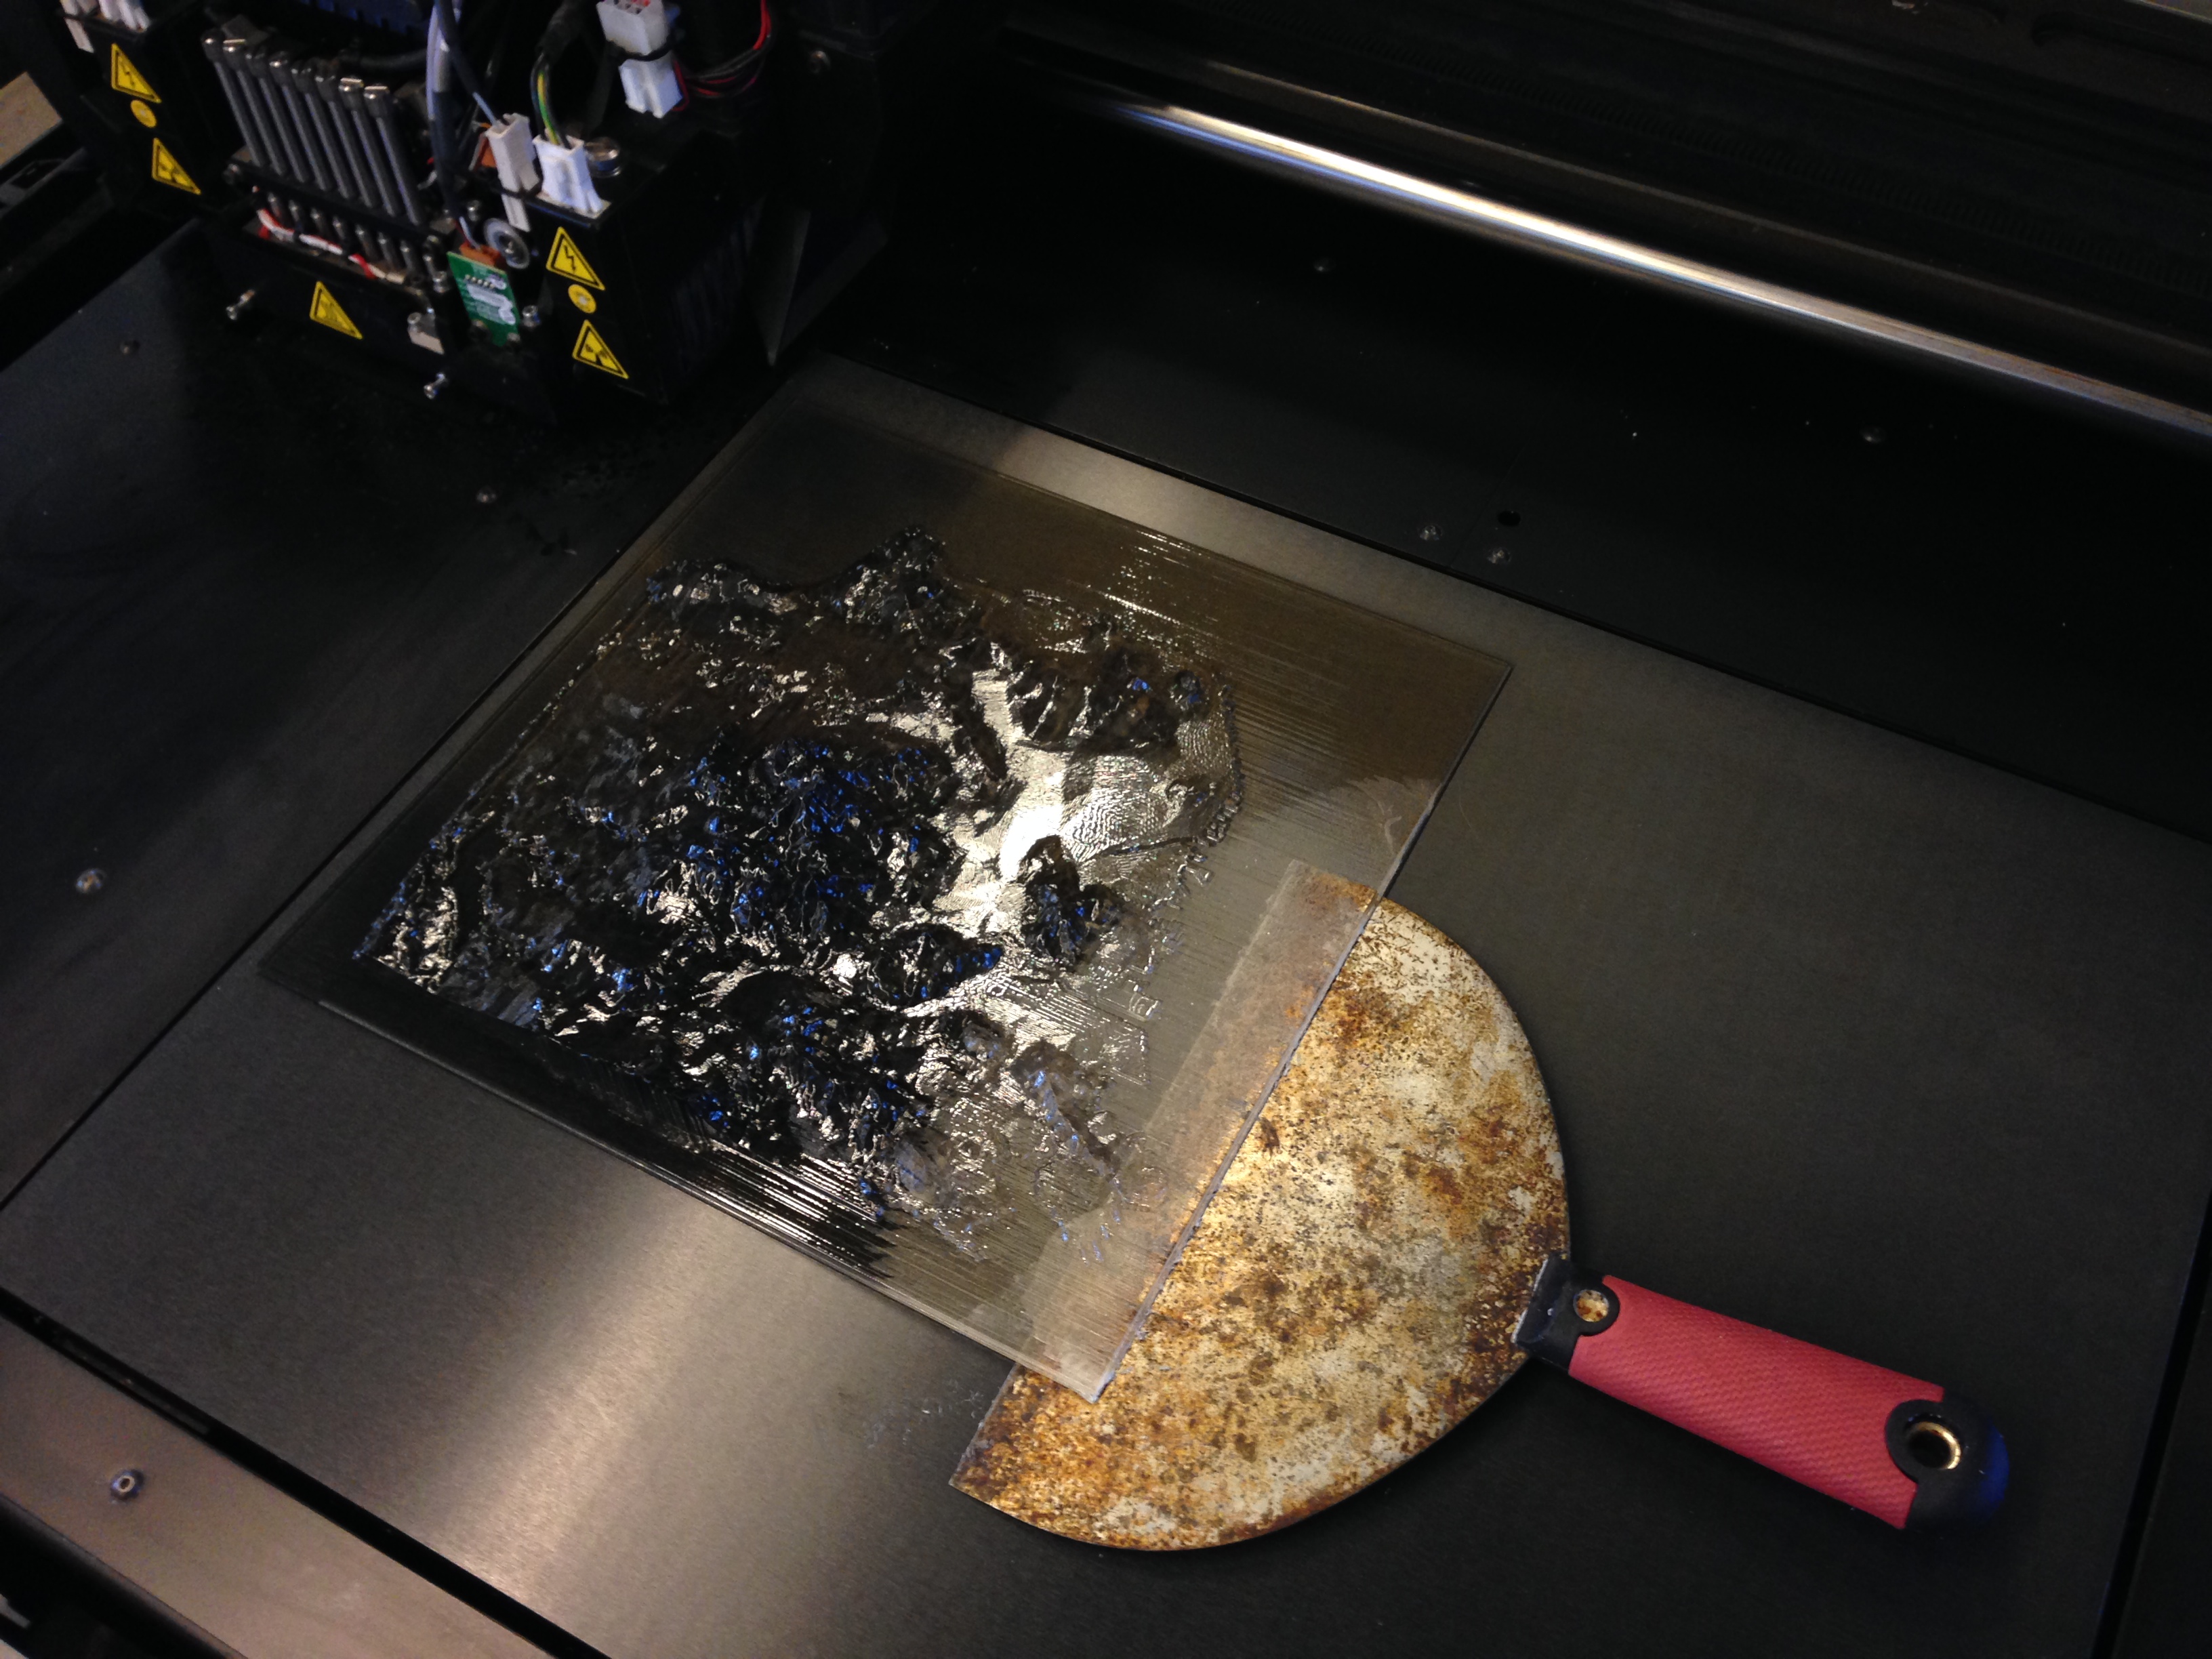
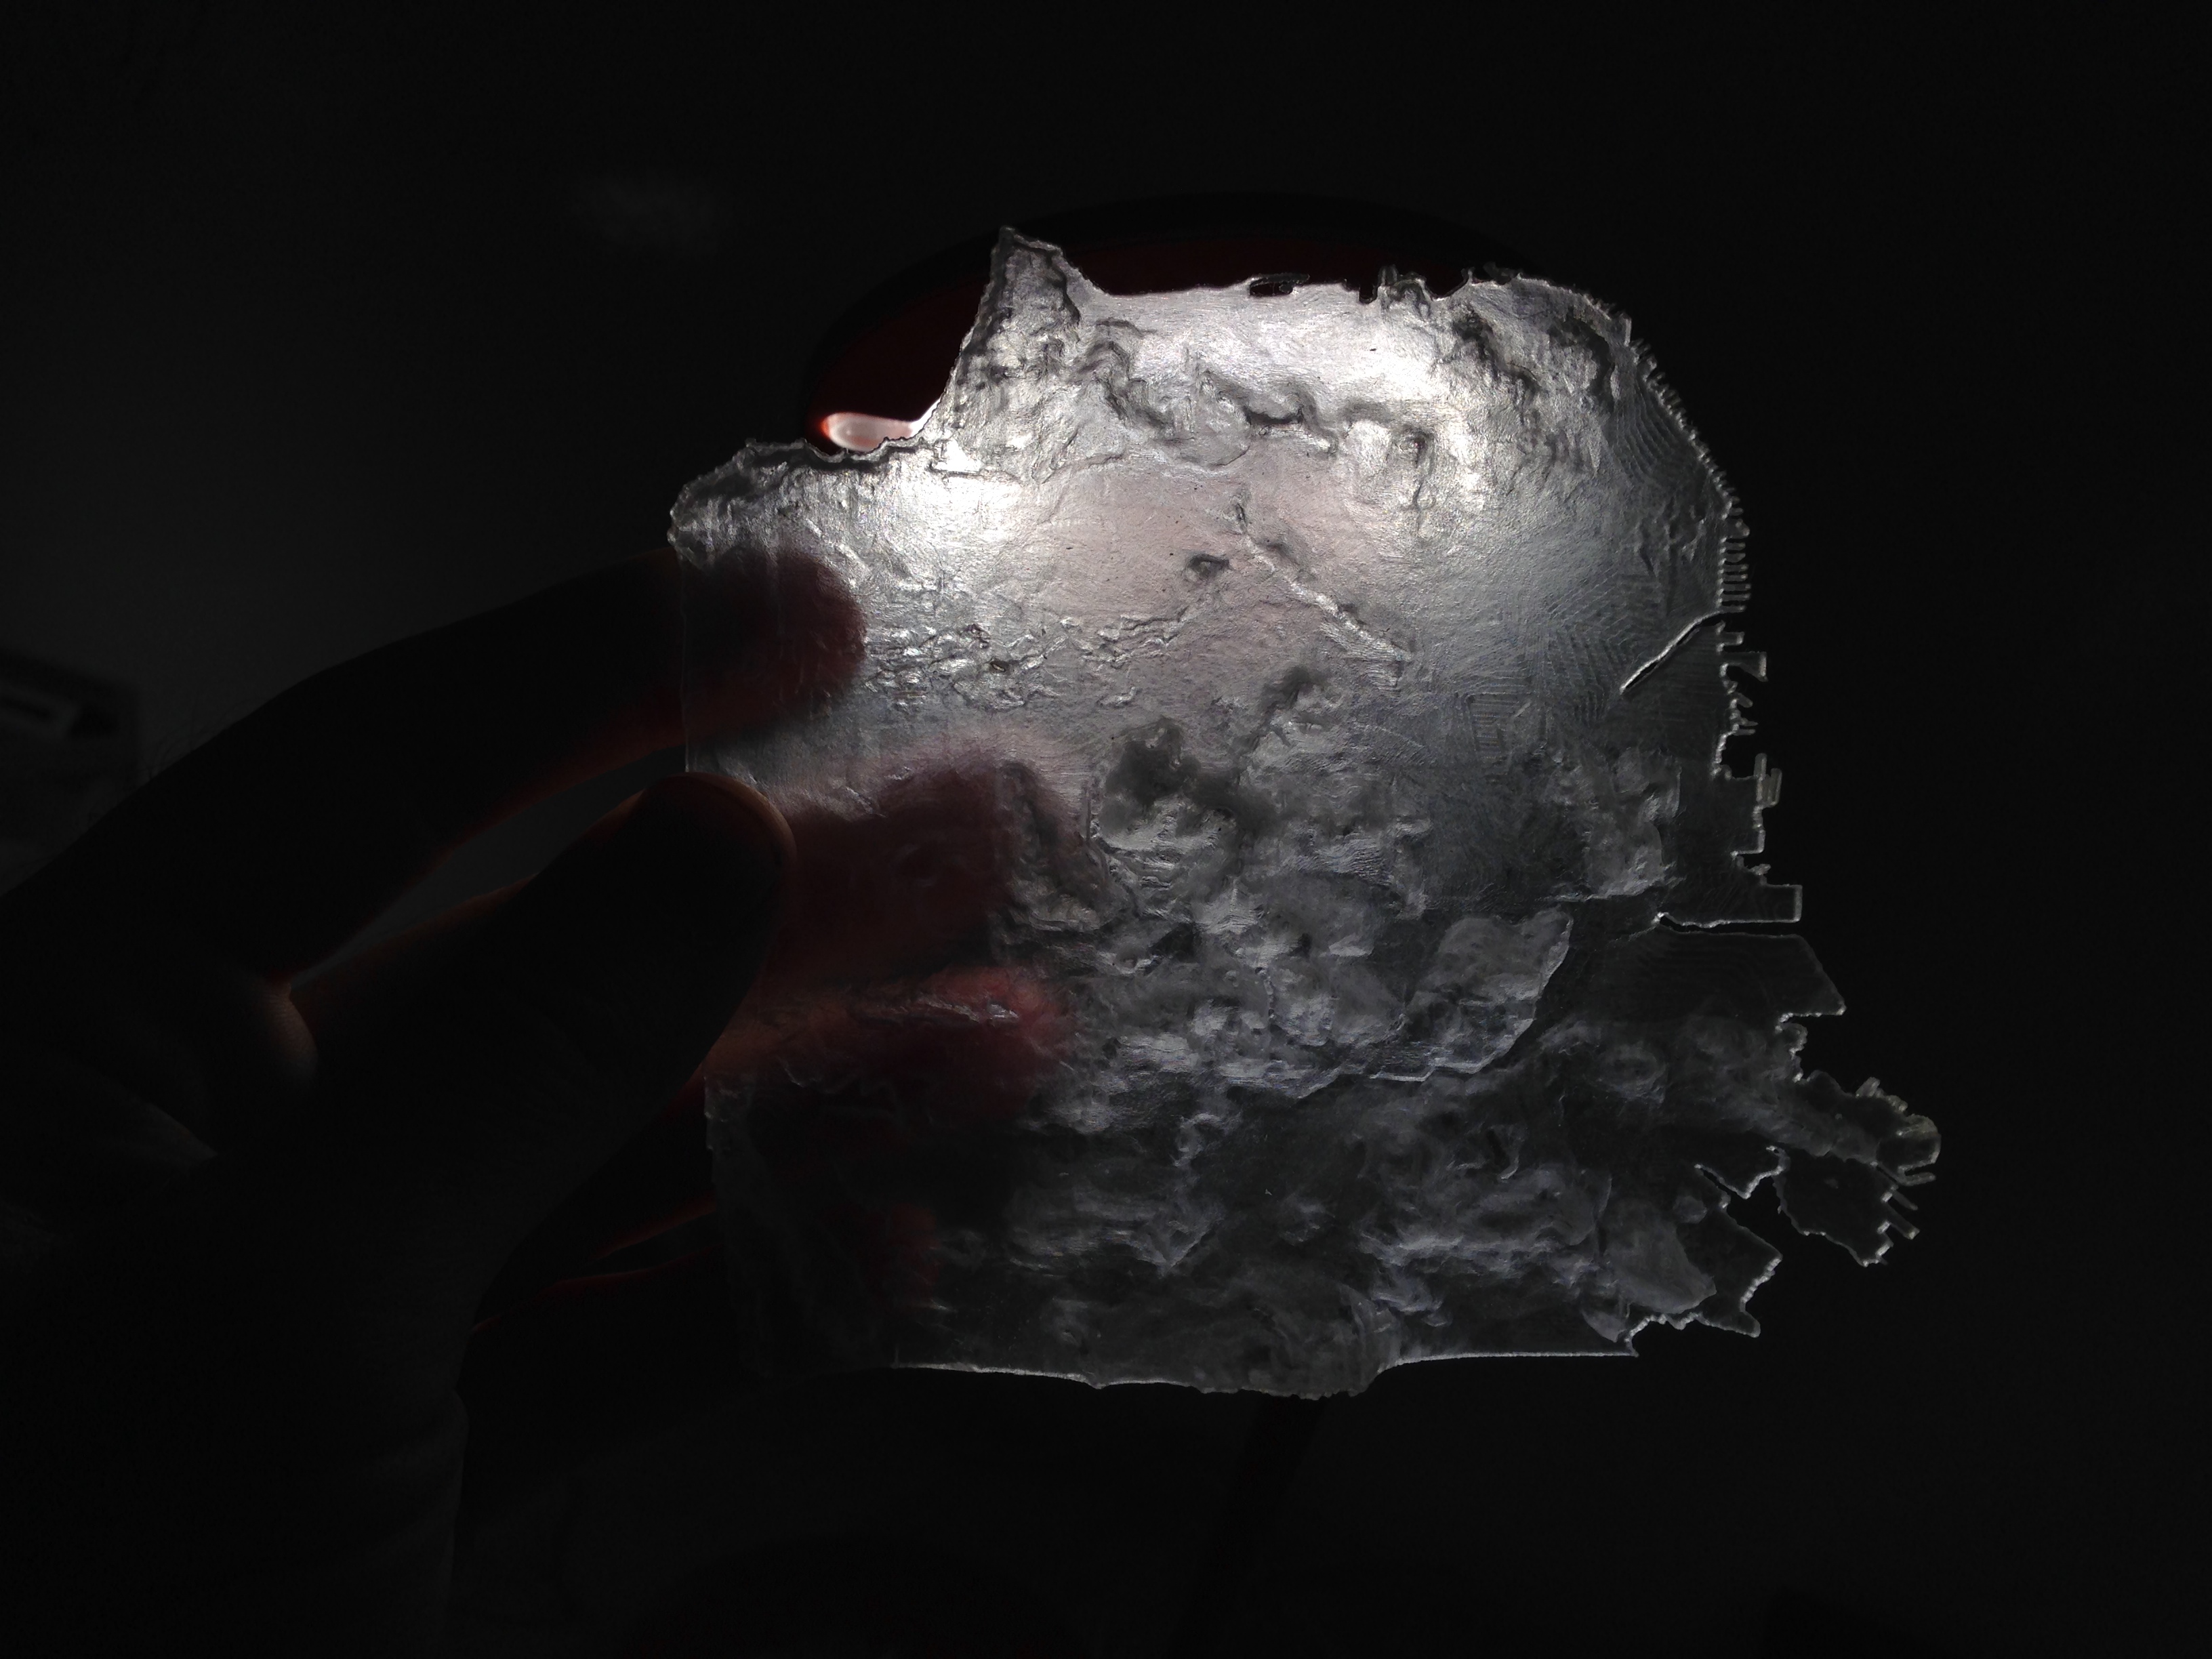
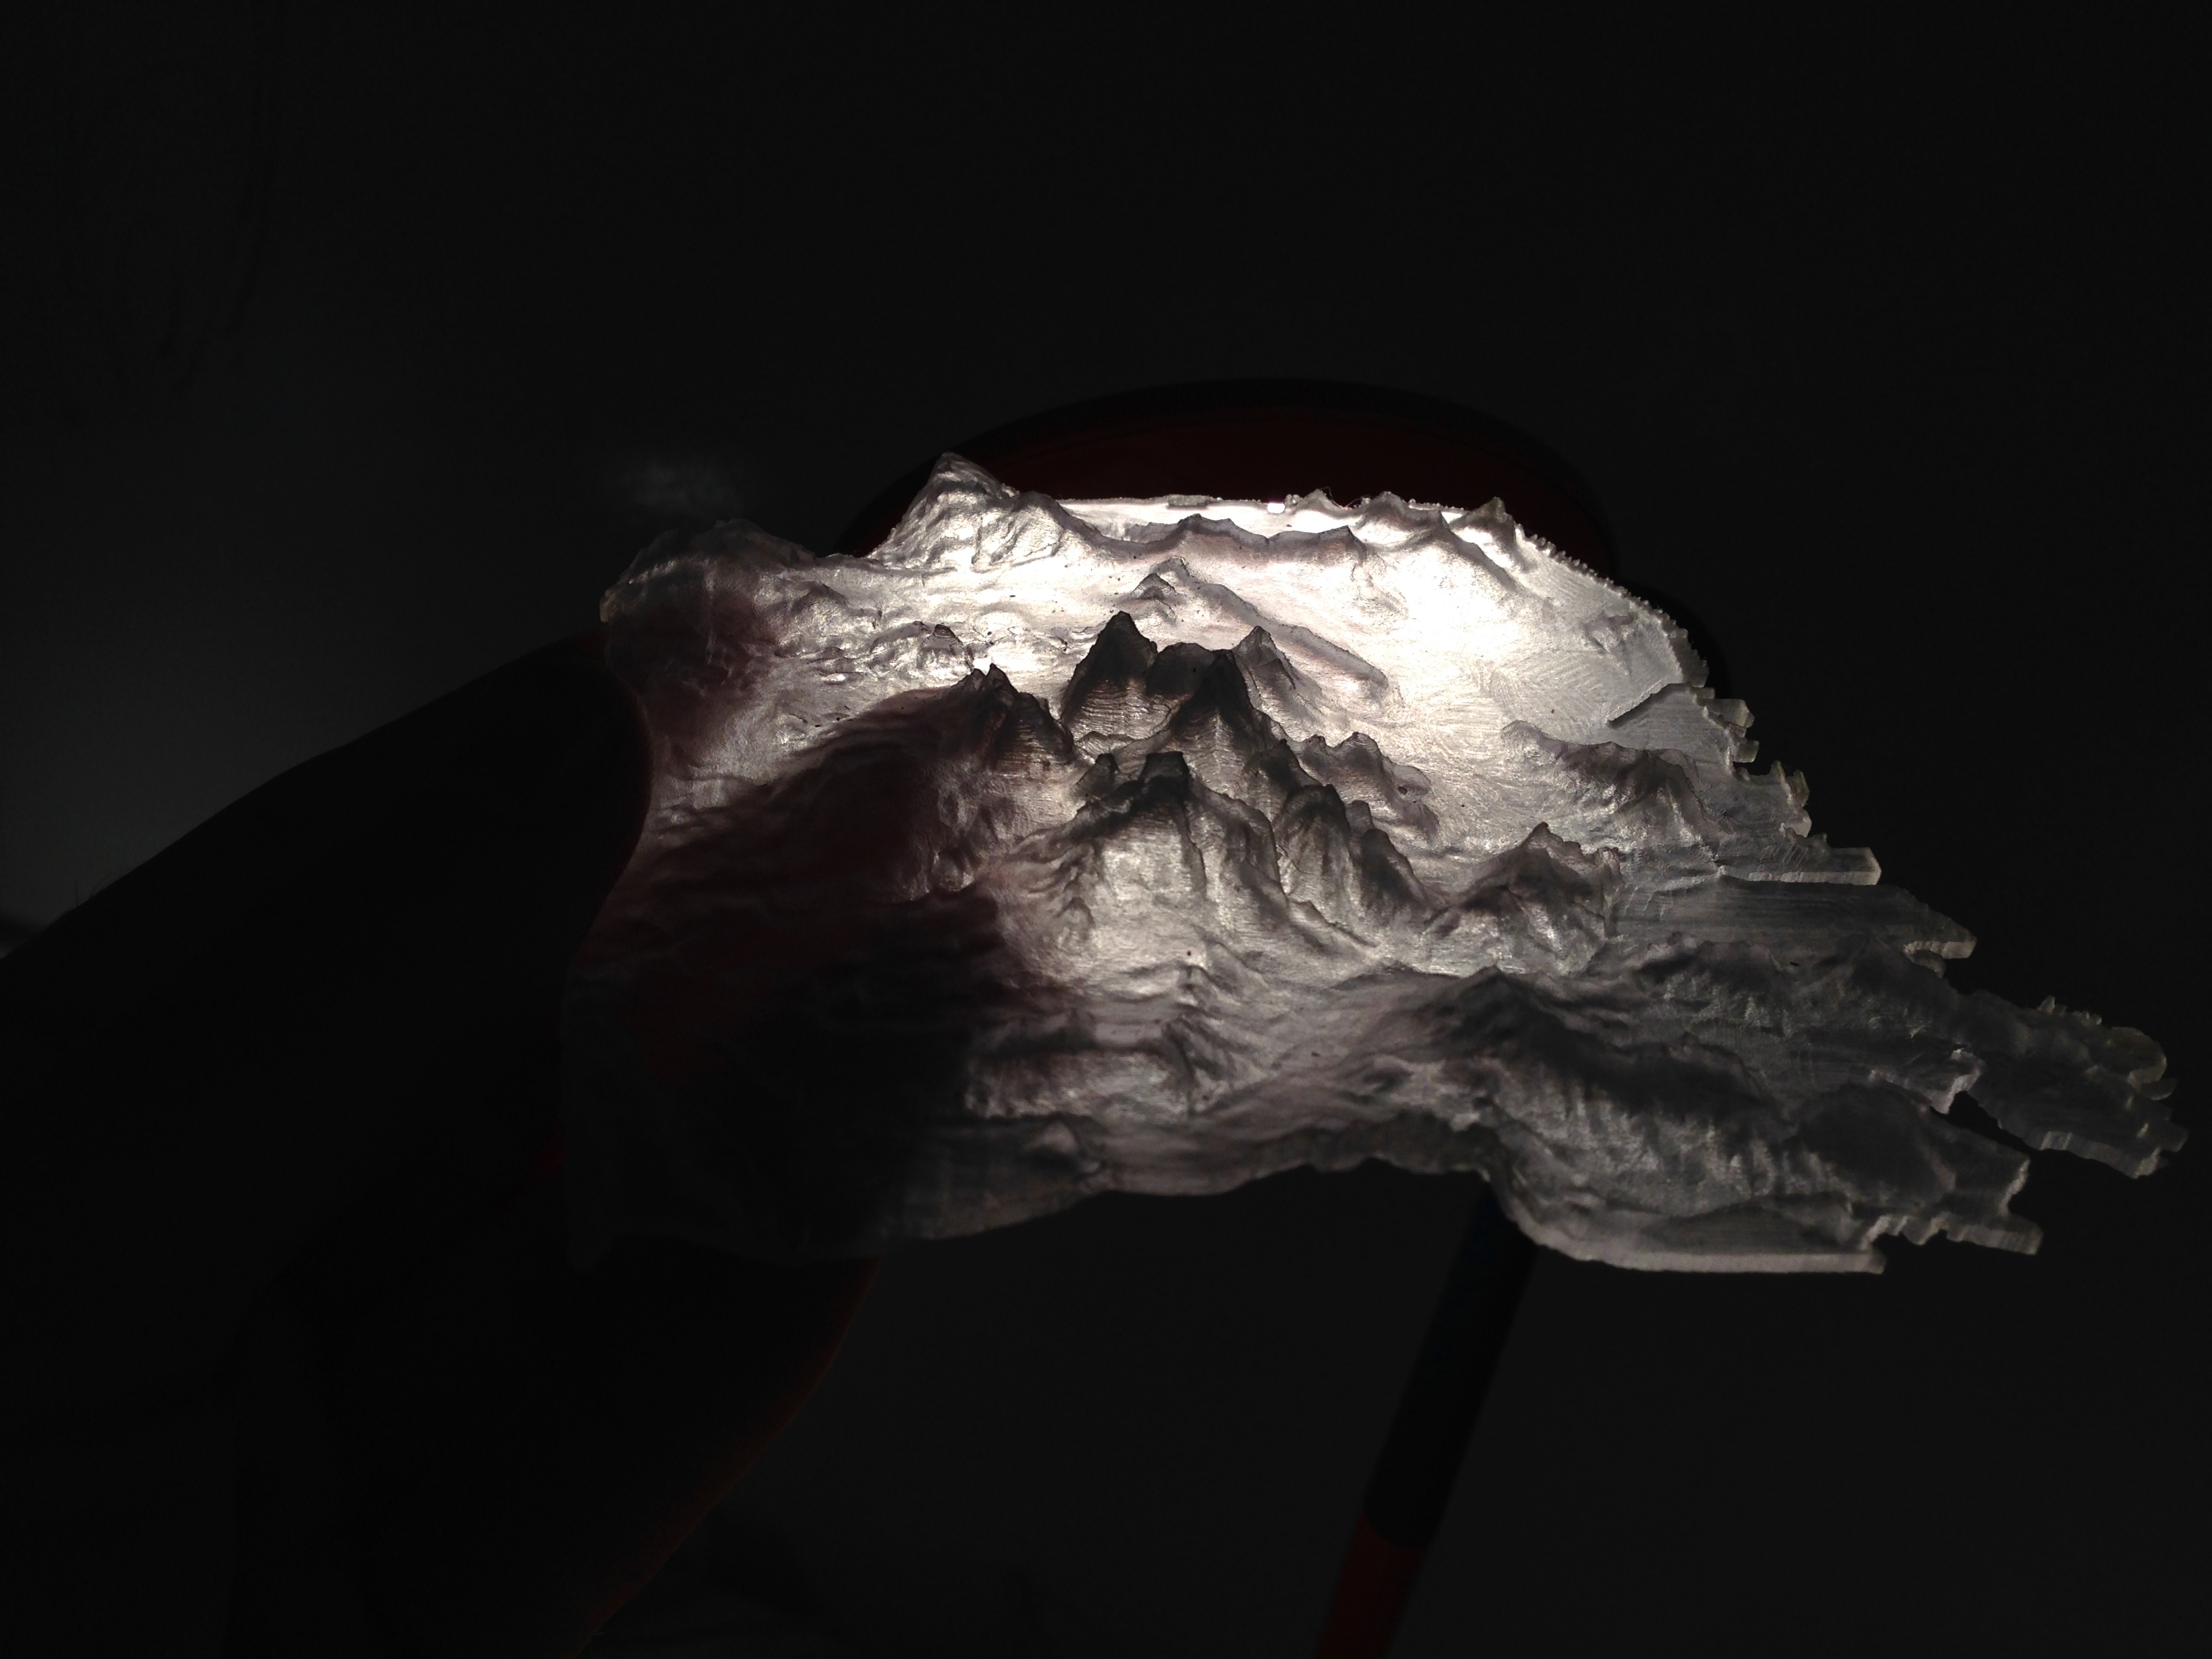
I 3D printed the San Francisco topography on an Objet resin printer using the Vero Clear material. I made sure to select “glossy” in the settings so that the finish would be clear without polishing on the topographic surface. This setting also uses considerably less support material.
Downloads
Sand and Polish
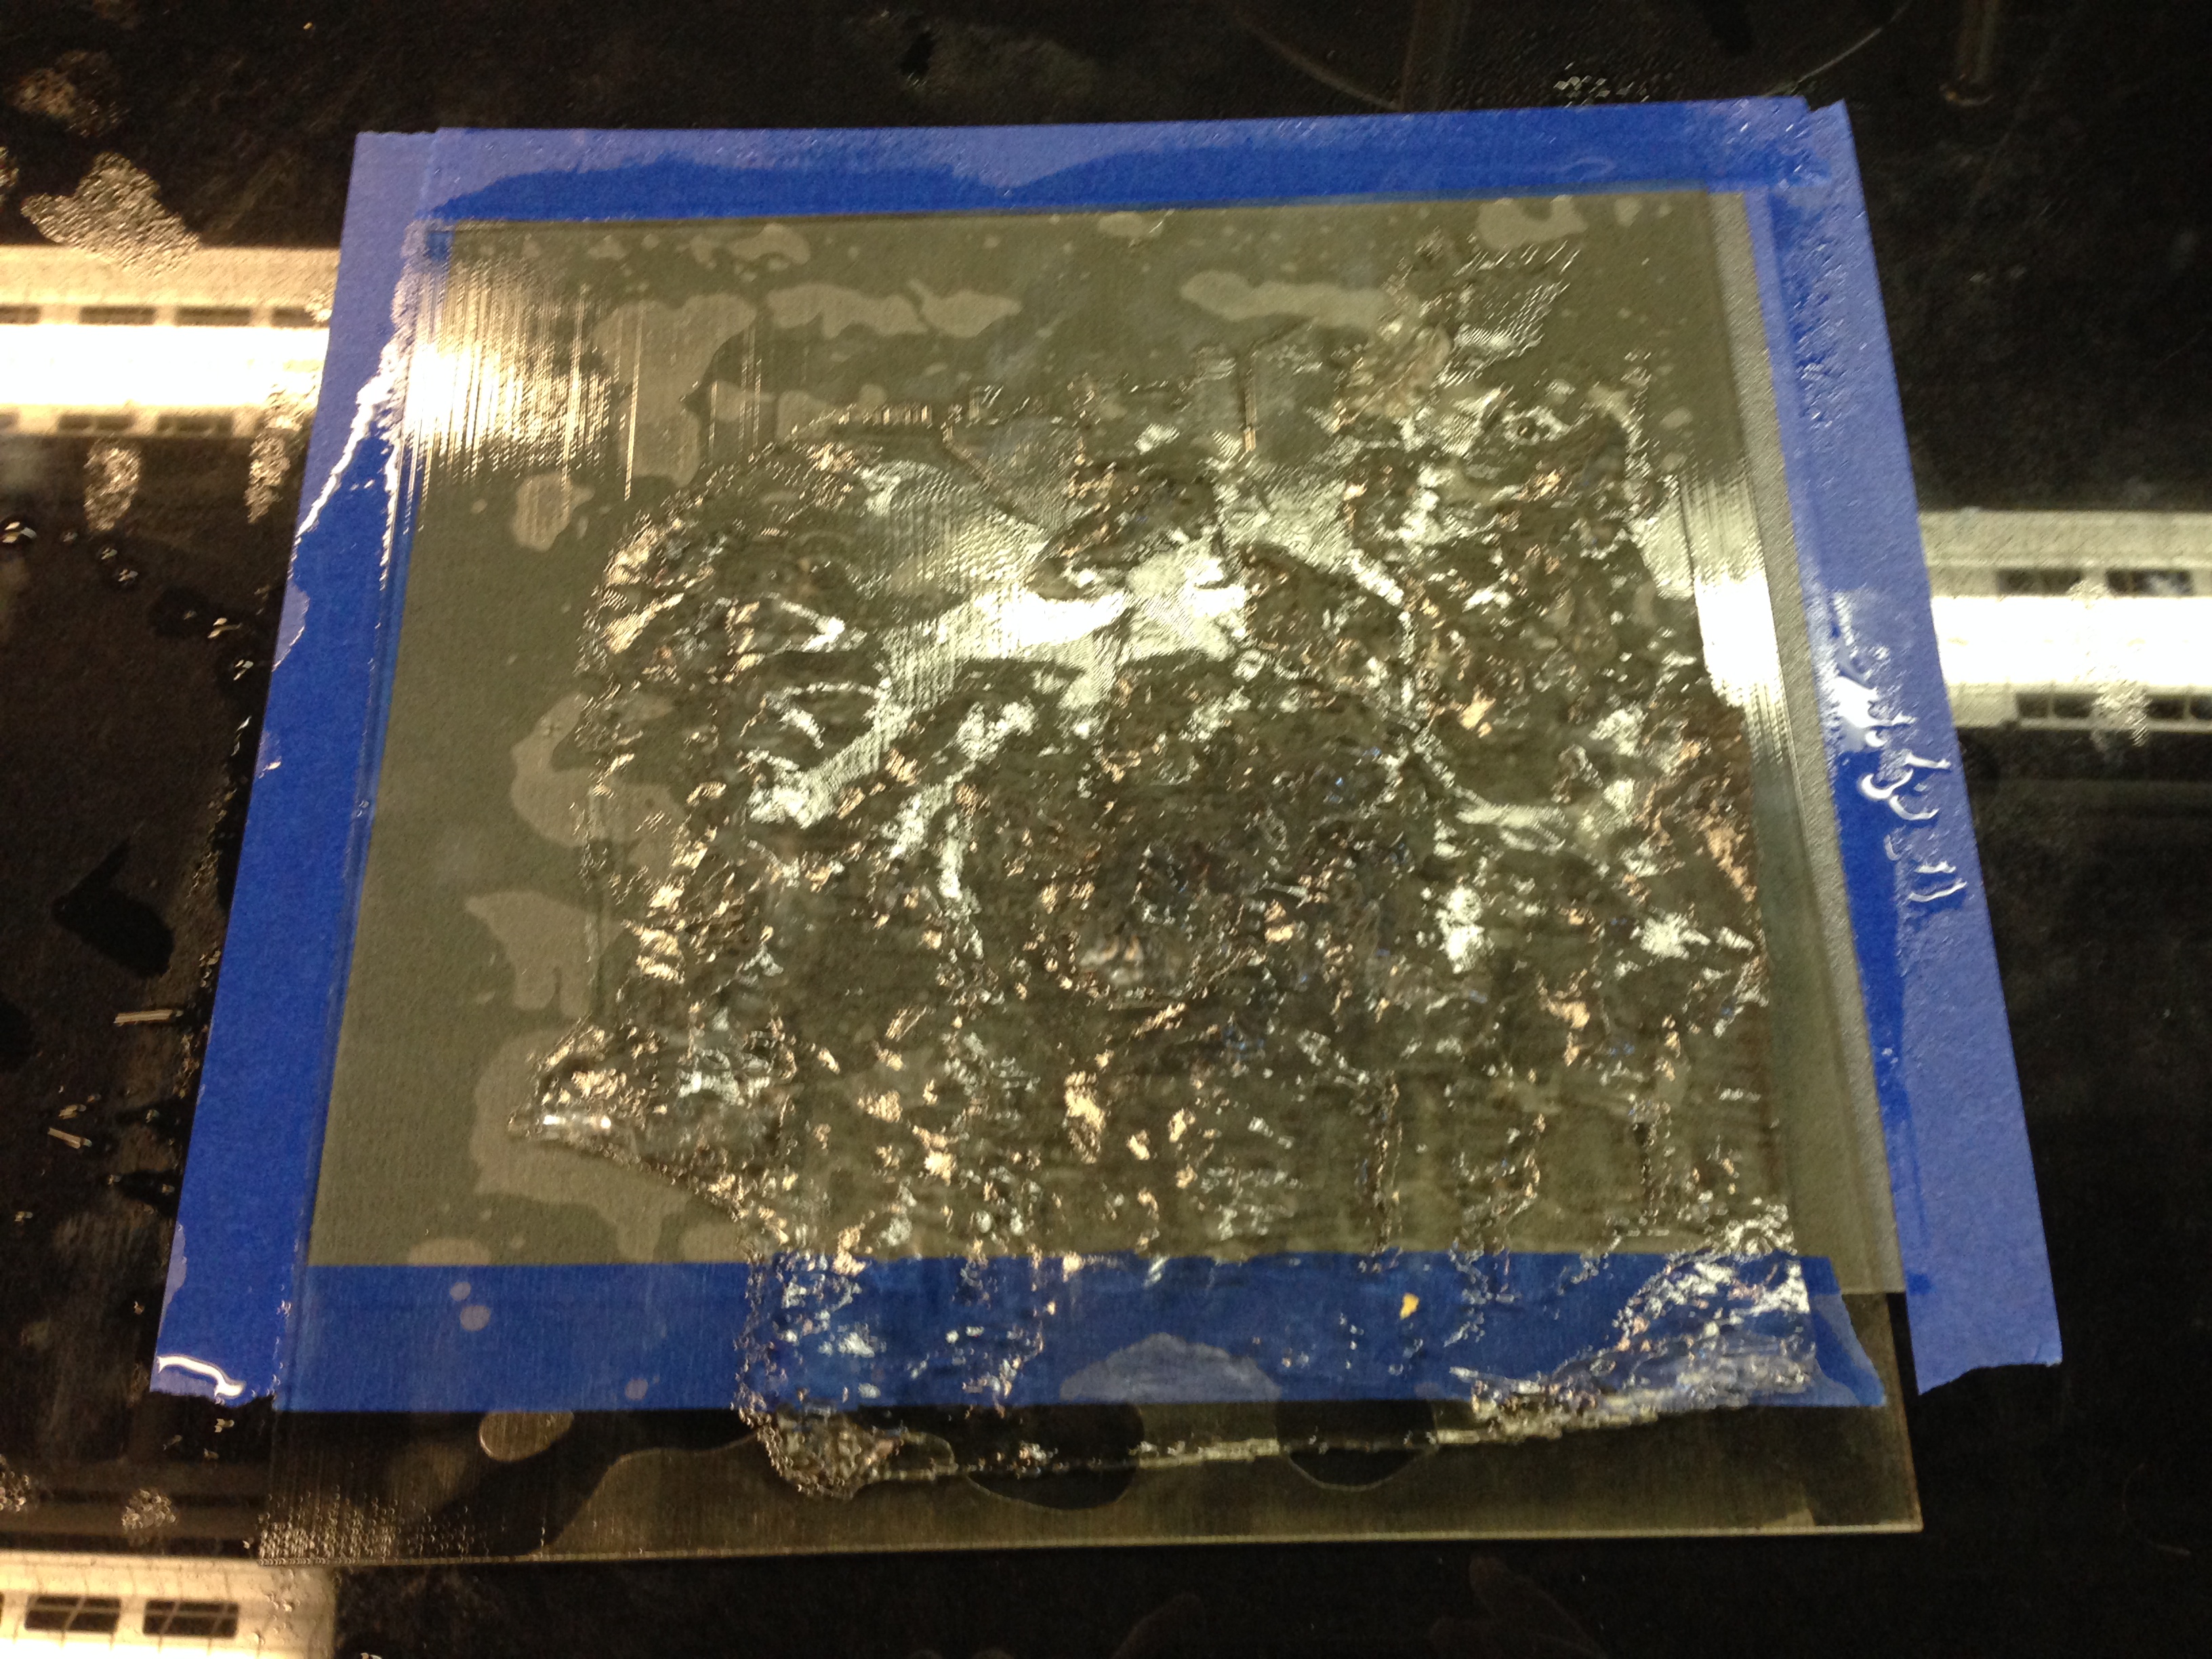
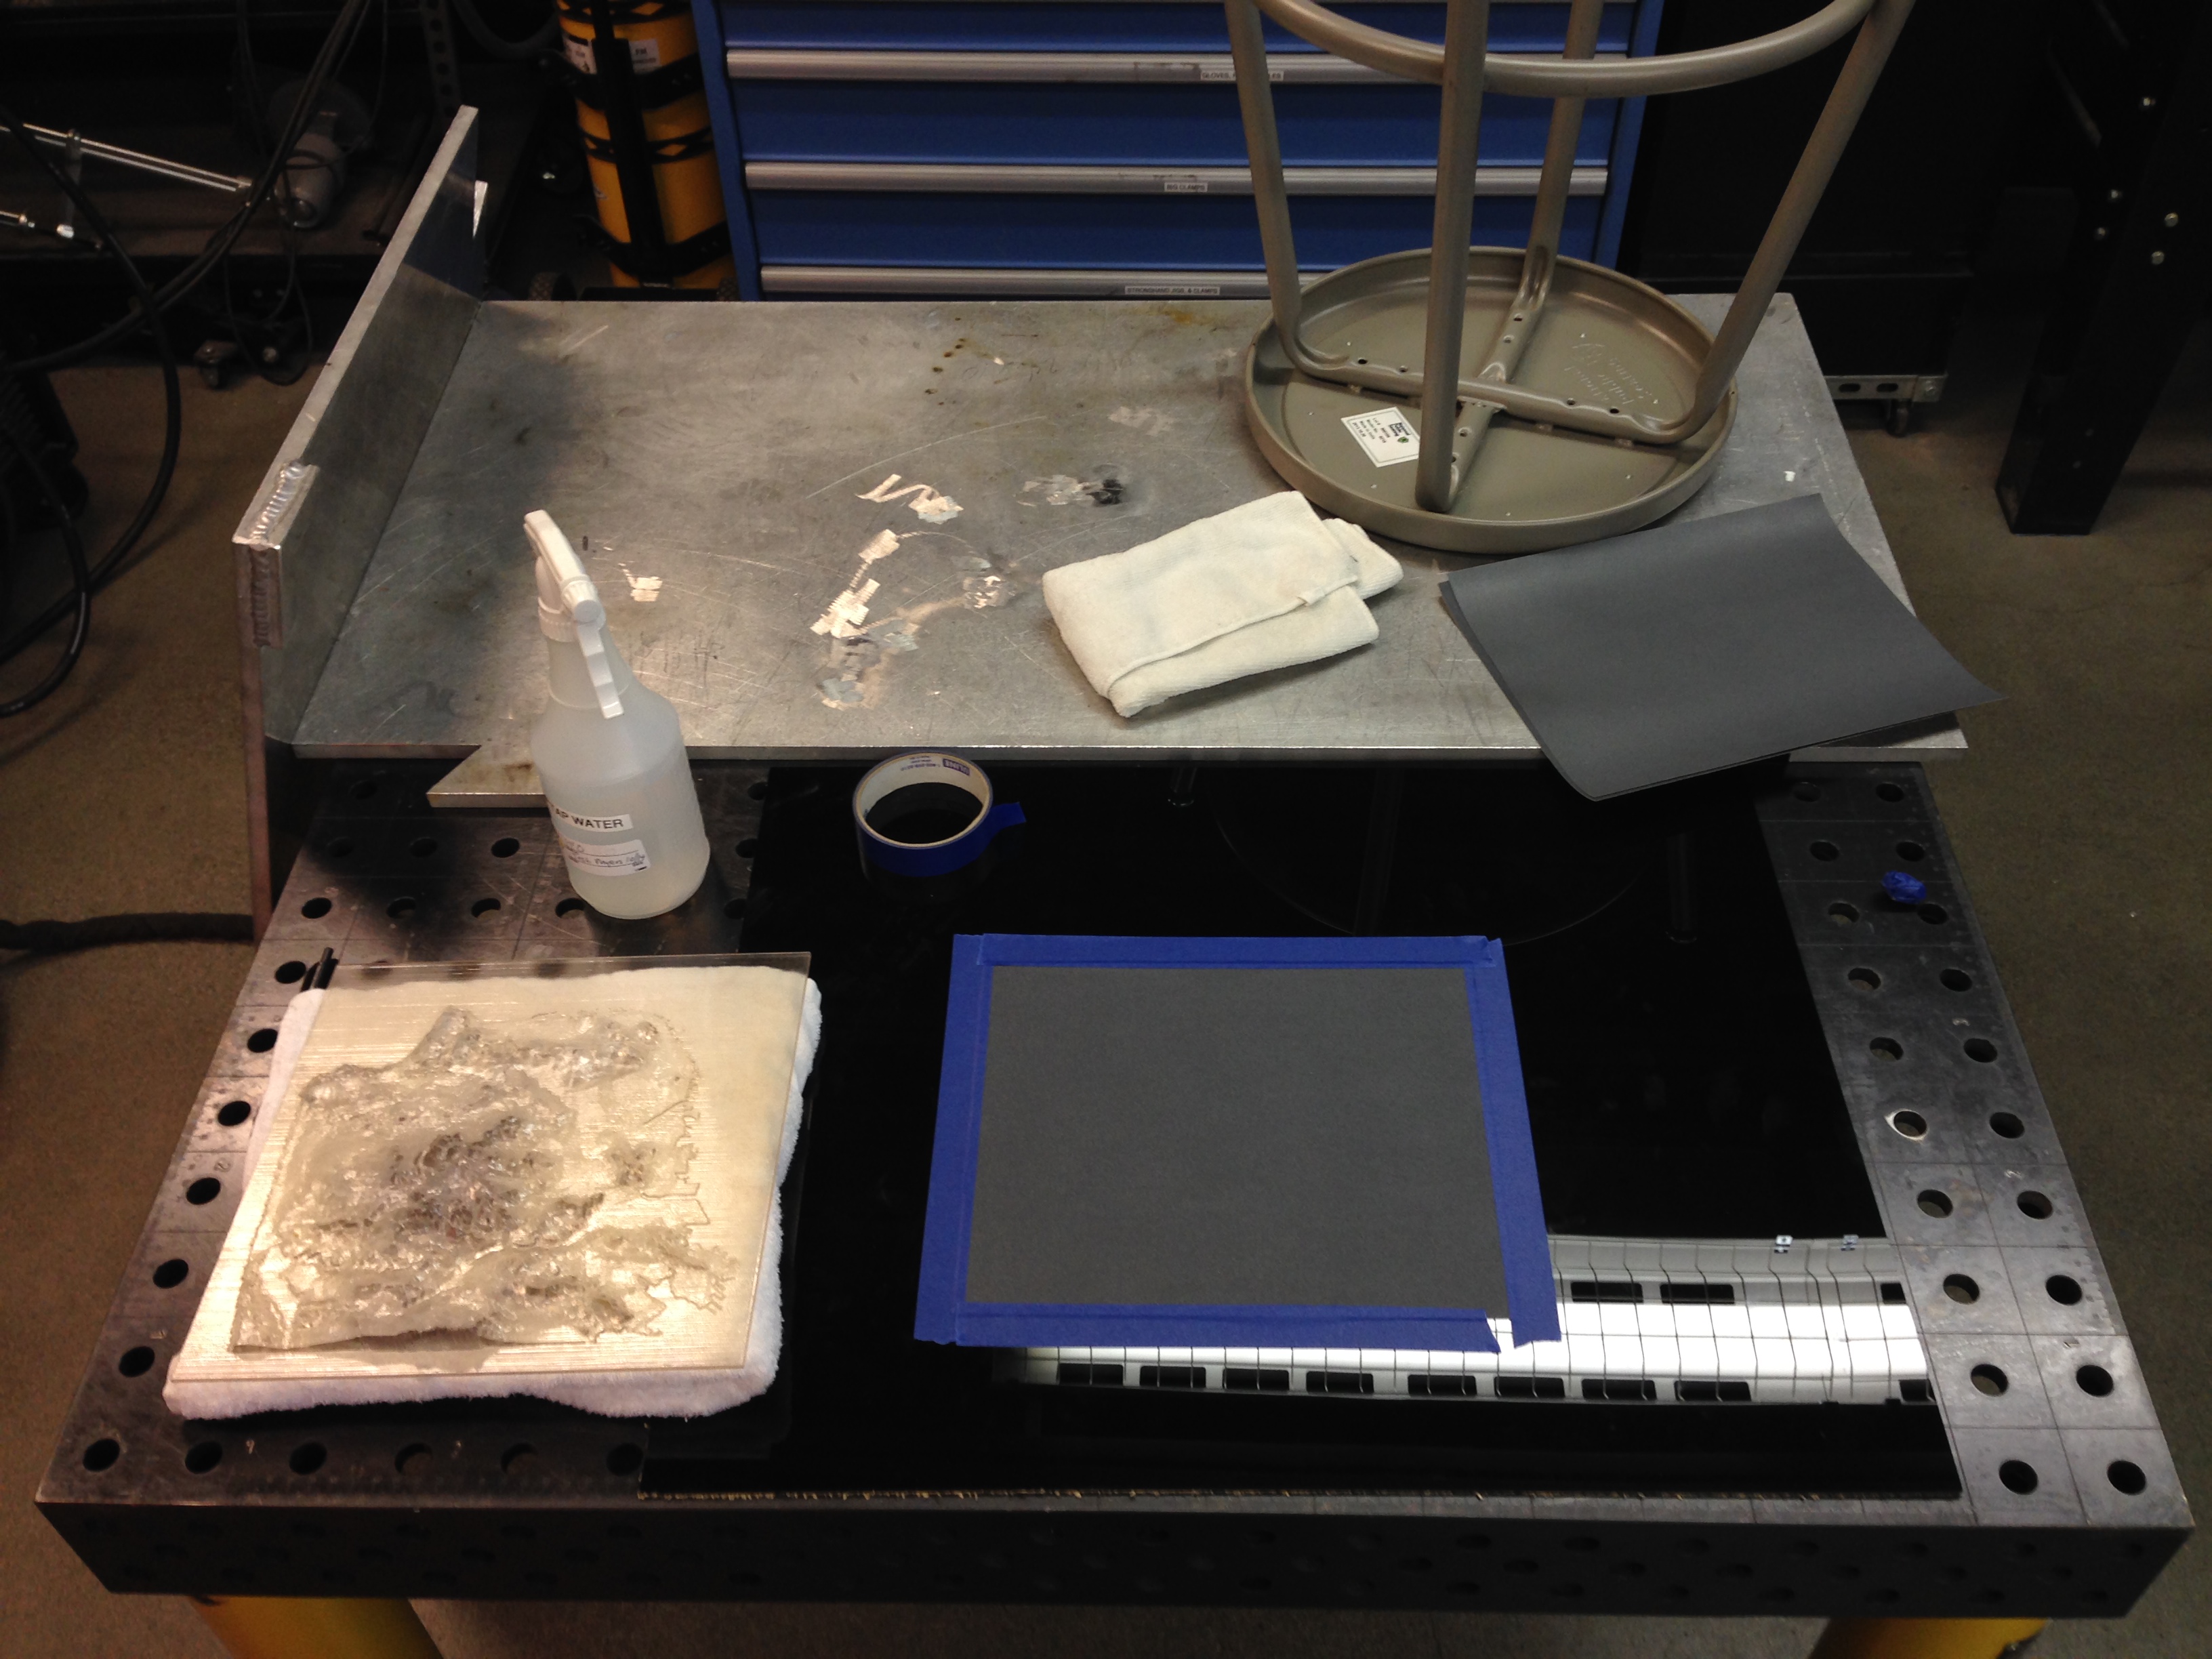
After cleaning off my 3D print, I gave it a thorough sanding on the flat bottom surface. I started with a dry 180 grit and ended with a 1500 grit wet sandpaper. When finished with the sanding, I used Novus polishing solution, number 3 through 1.
Creating Maps
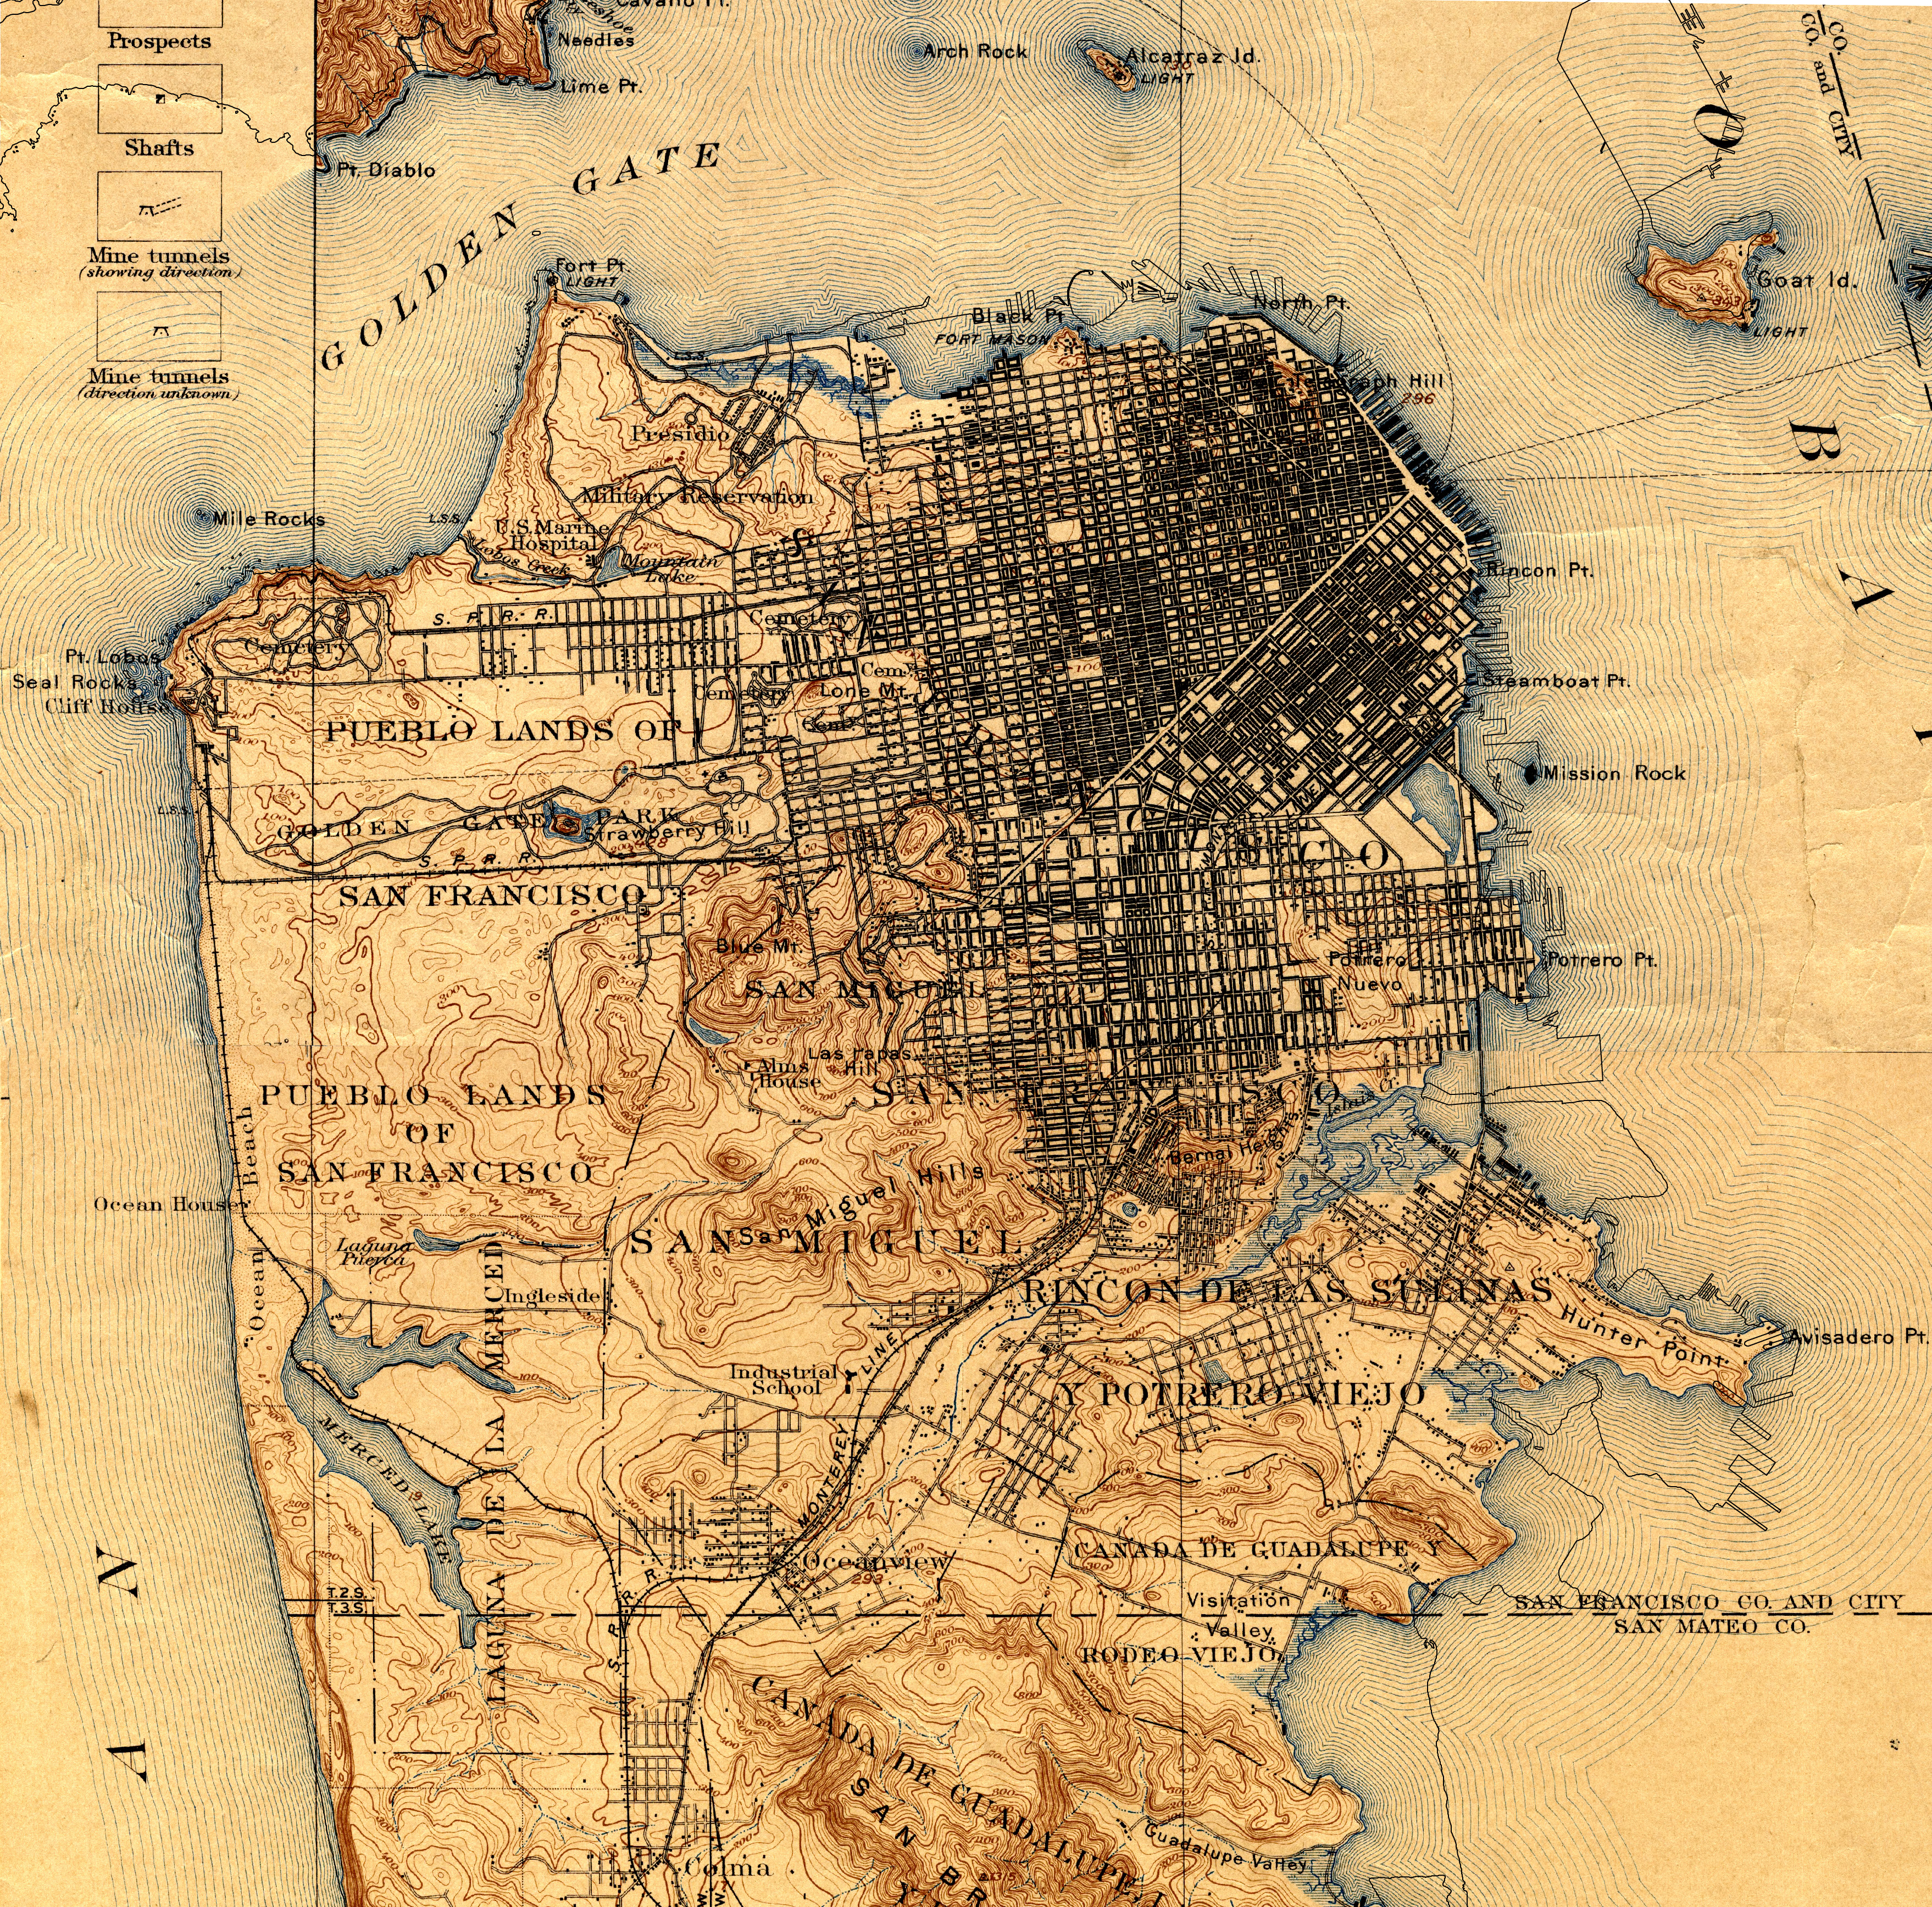
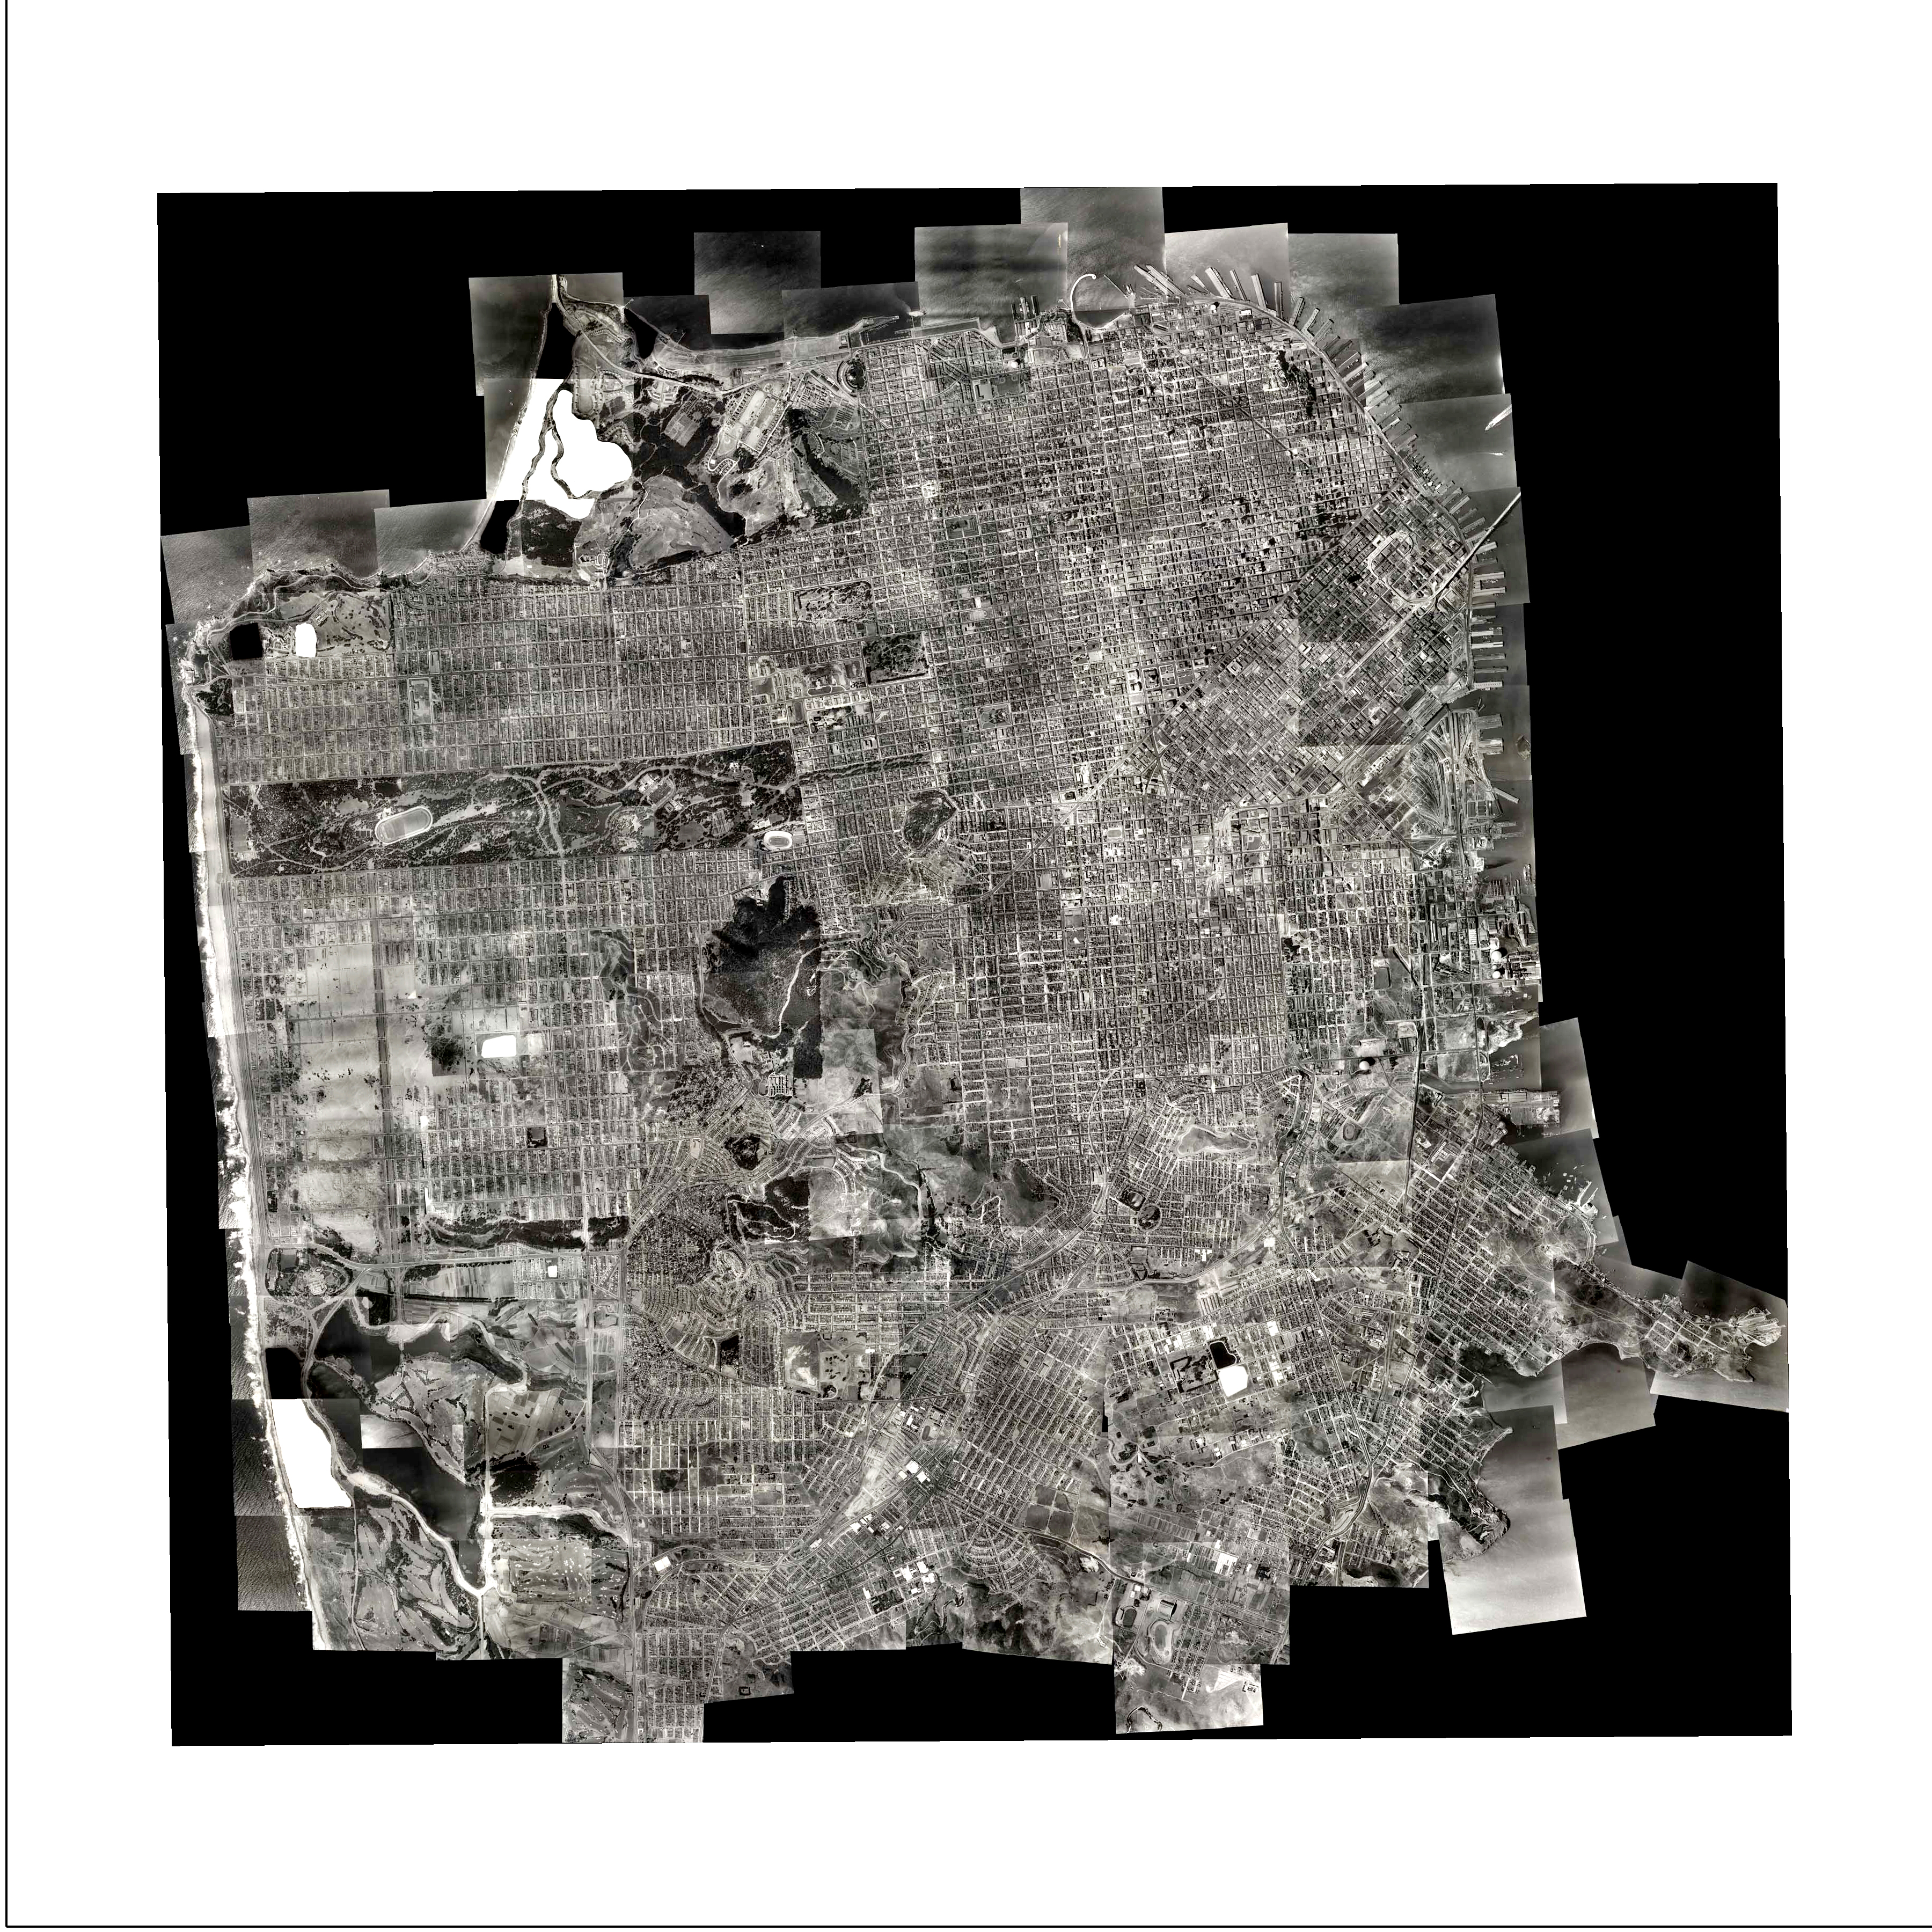
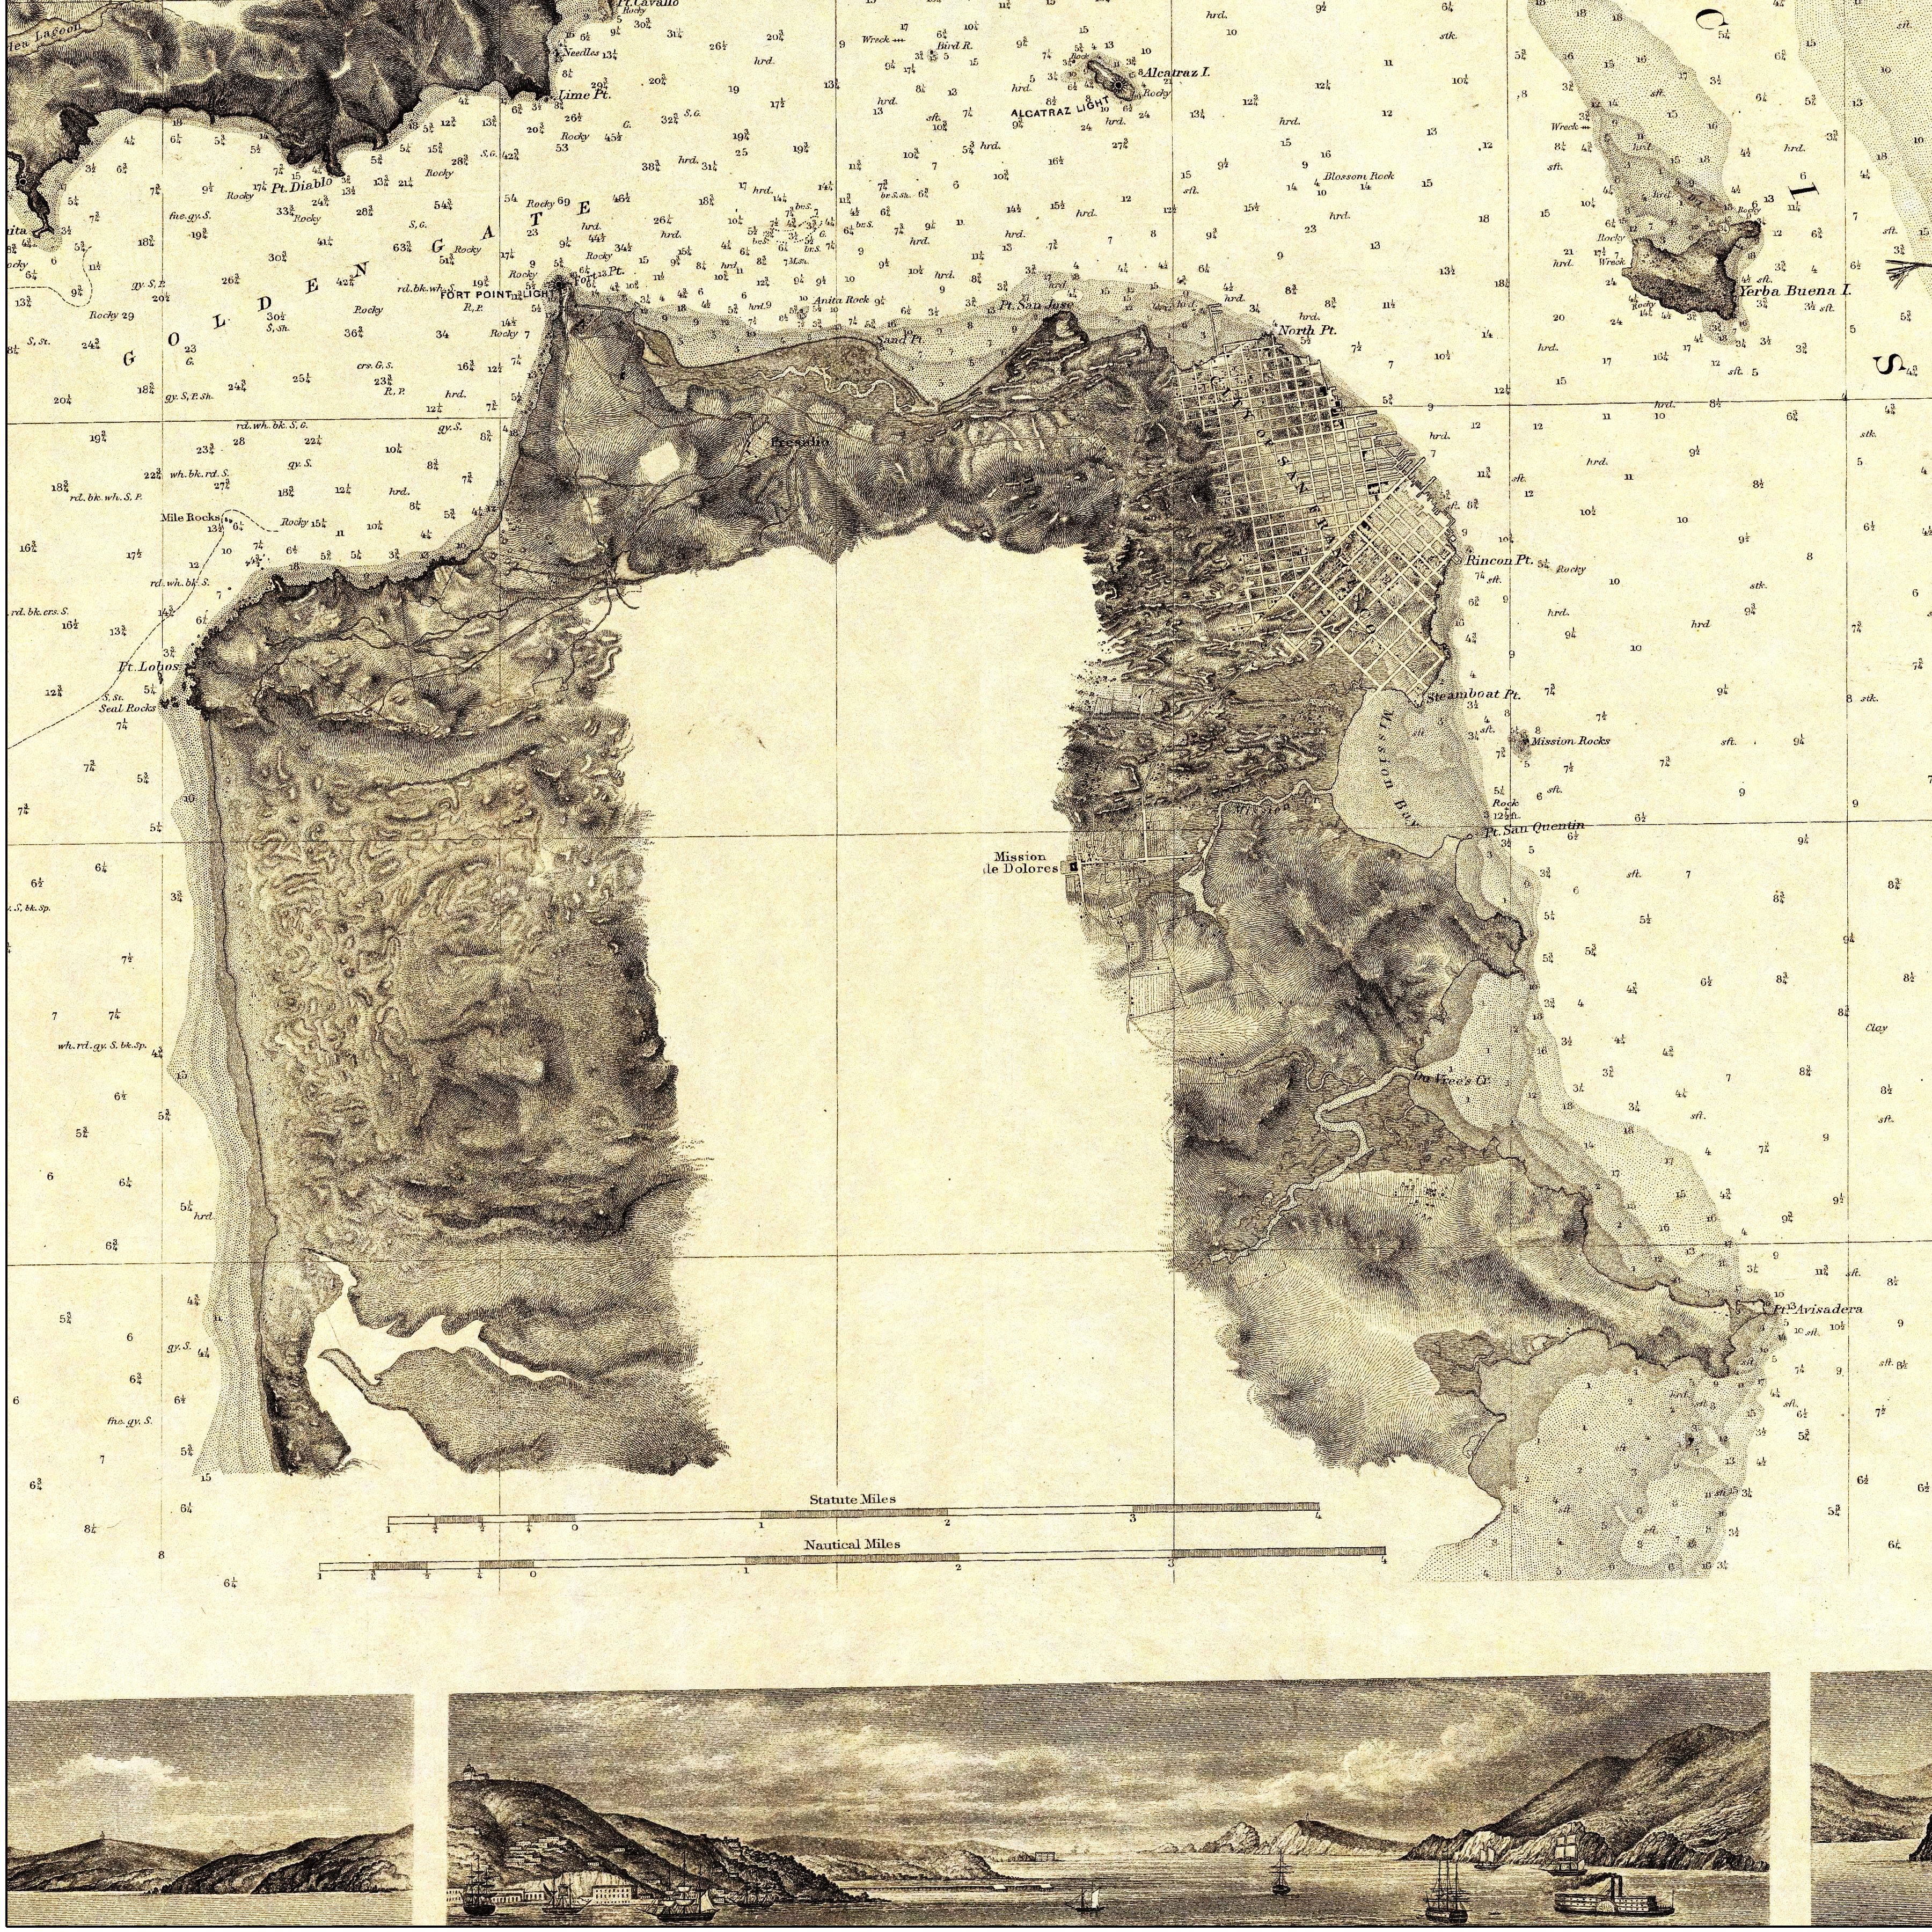
To make the Past, Present, and Future maps of San Francisco, I used ESRI ArcMap software. The historic “Past” maps I retrieved from the online David Rumsey Collection. This is a treasure trove of amazing historic maps. The hard part was deciding which ones to use. I chose the 1859 United States Coastal Survey, the 1899 United States Geological Survey and 1938 Composite Aerial Photographs. The next step was to georeferenced these maps as images in ArcGIS.
I created the “Present” maps by using data from the City of San Francisco. I chose Housing Density, Roadways, and Development Built on Fill. The “Future” maps represent potential sea-level rise scenarios. I created these in ArcScene by making a TIN topography from a DEM file. The sea-level rise scenarios come from an IPCC report. It states that a projected rise in sea-level could be as much as 150cm by the year 2100 or roughly 5 feet. This would be the result from ice melting and thermal expansion of the ocean due to increased temperature. If Greenland’s ice sheet were to completely melt, this would add another 23 feet. And if all the ice in Antarctica were to melt, this would raise the sea level another 213 feet. Don’t worry too much. This extreme scenario will most likely not happen in our lifetime. But let’s not forget that the San Francisco Bay is less than 10,000 years old. The coastline used to be miles out to sea!
IPCC (Table 9.3): https://www.ipcc.ch/ipccreports/far/wg_I/ipcc_far_...
Map Slides
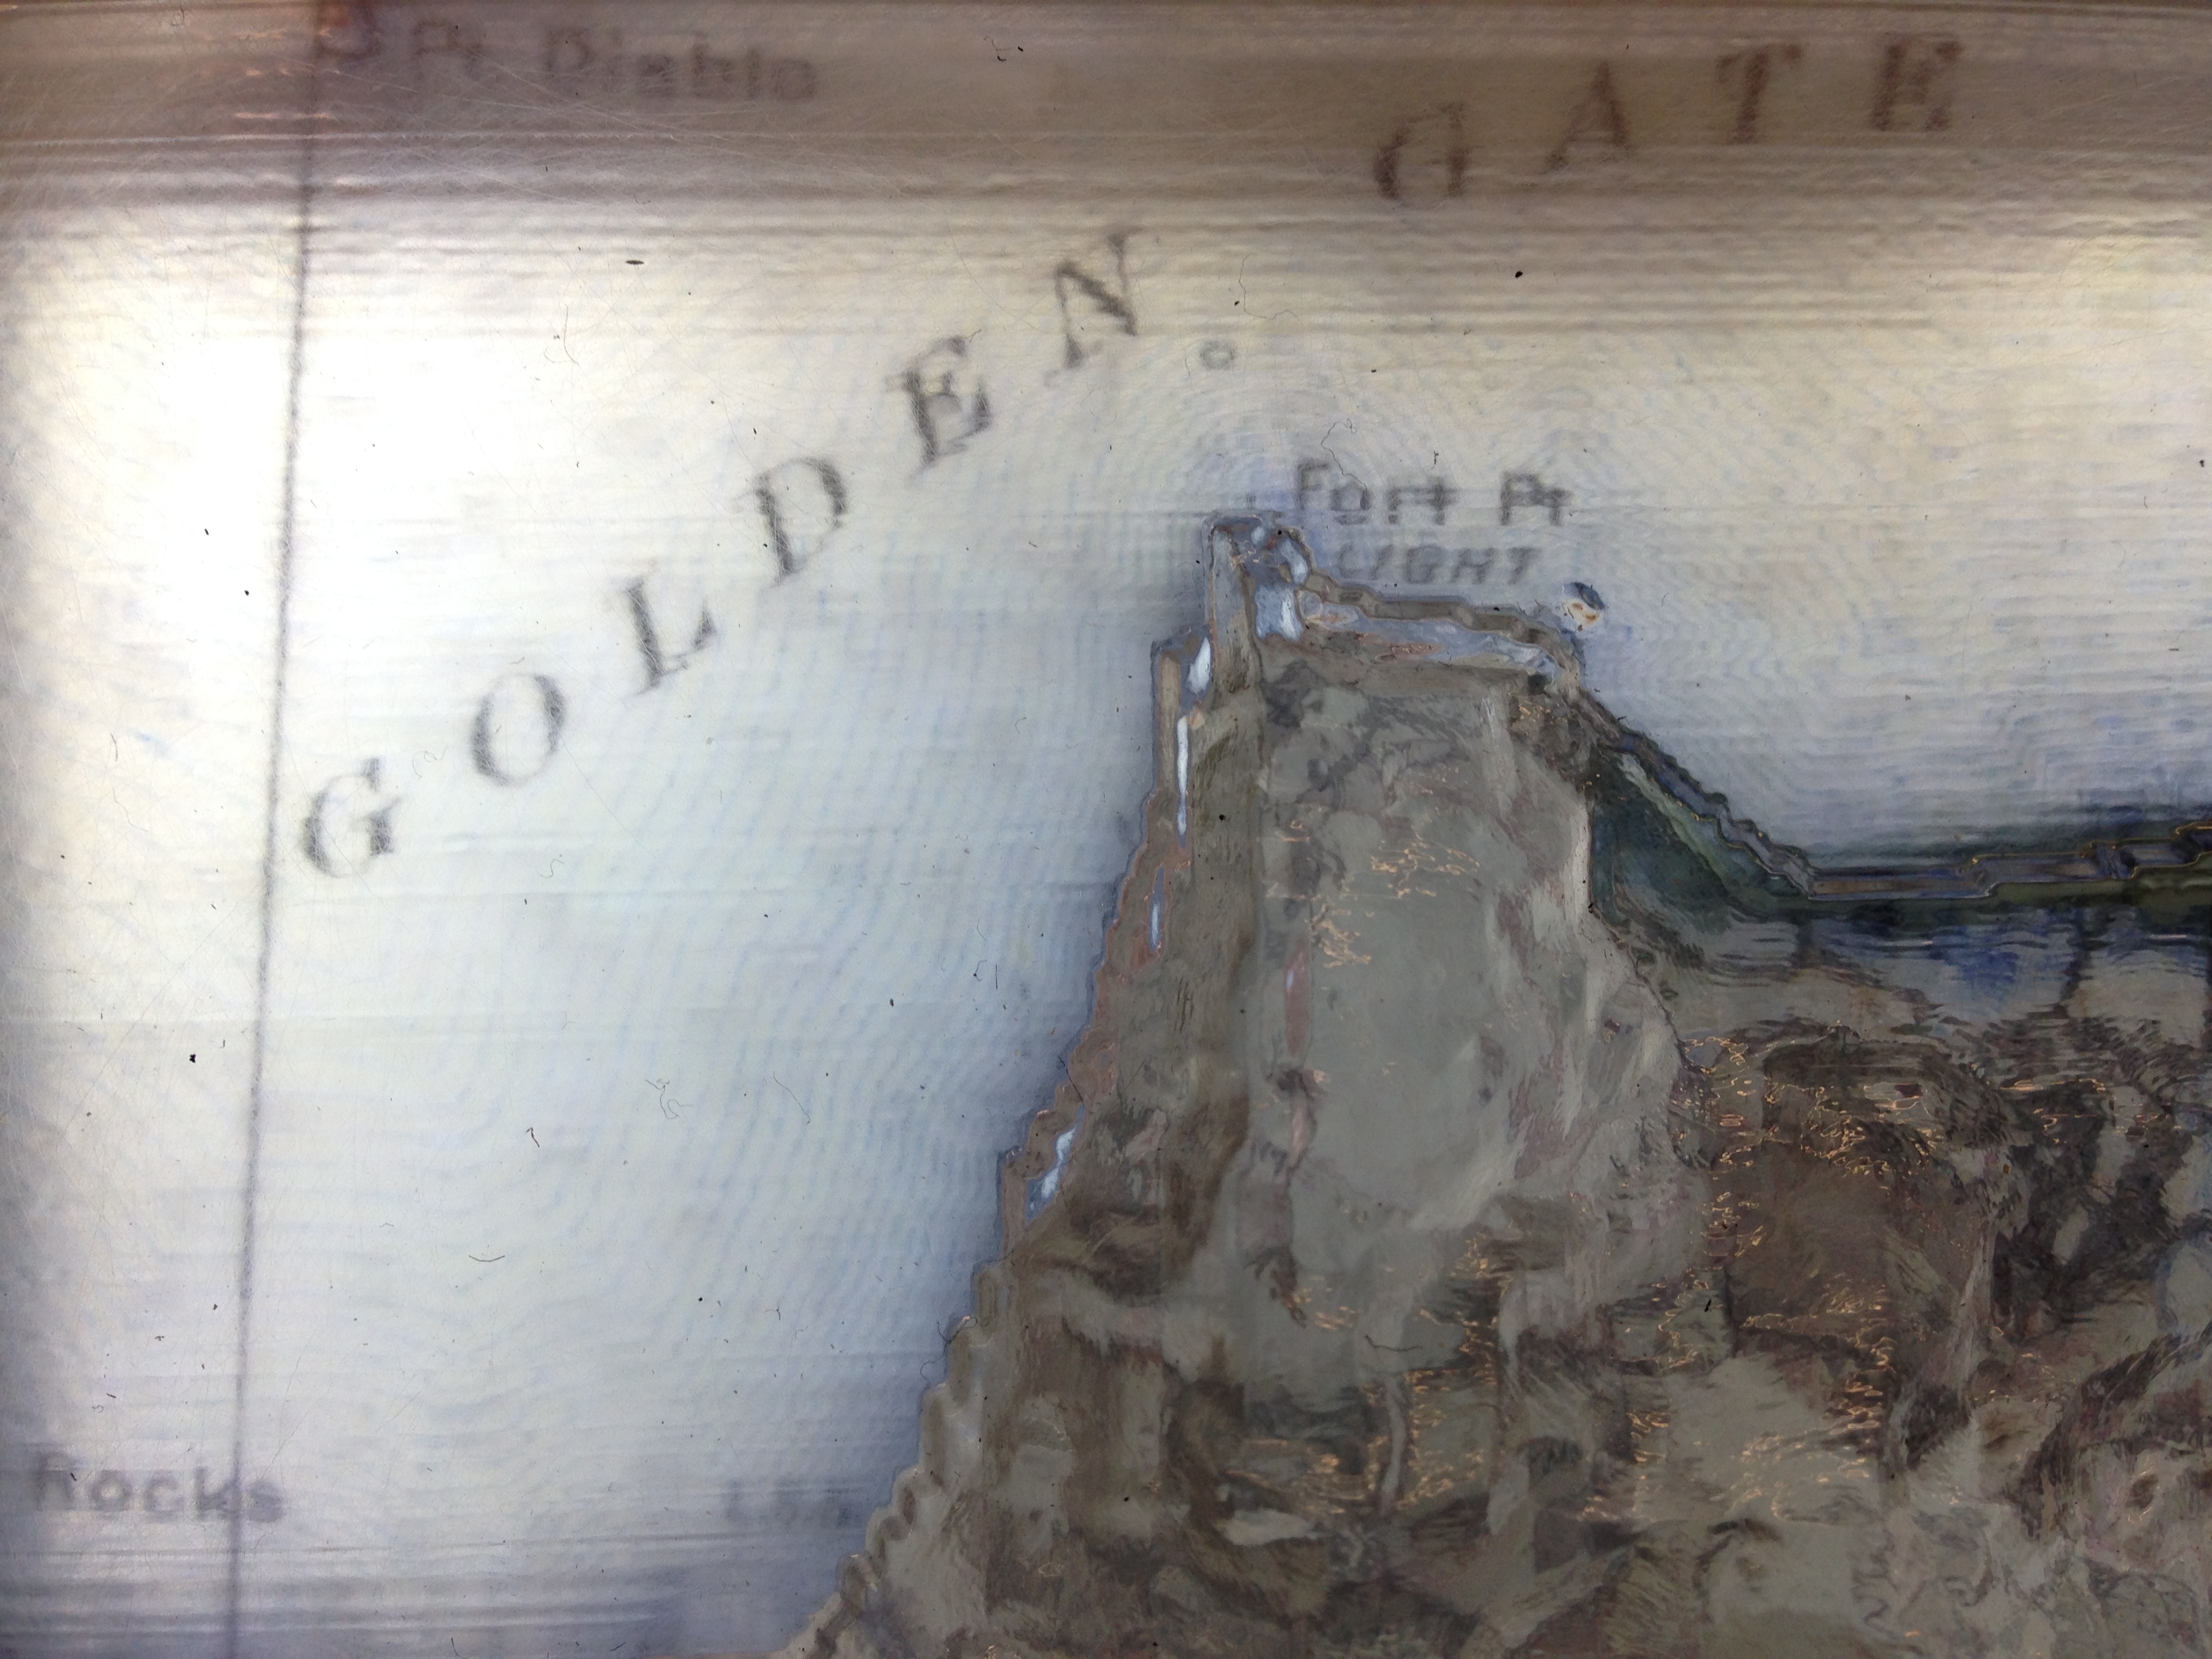
I exported the maps from ArcMap as .pdf files to print on clear acetate. The acetate print was then sandwiched between two sheets of clear Plexiglas, which I cut on an Epilog Lasercutter. The end piece was ¾” of Plywood with a pocket routed out to fit the Plexiglas and acetate print. I then lasercut a raster of the title for each slide so that it could be identified from the side.
Lasercut Frame/Legs
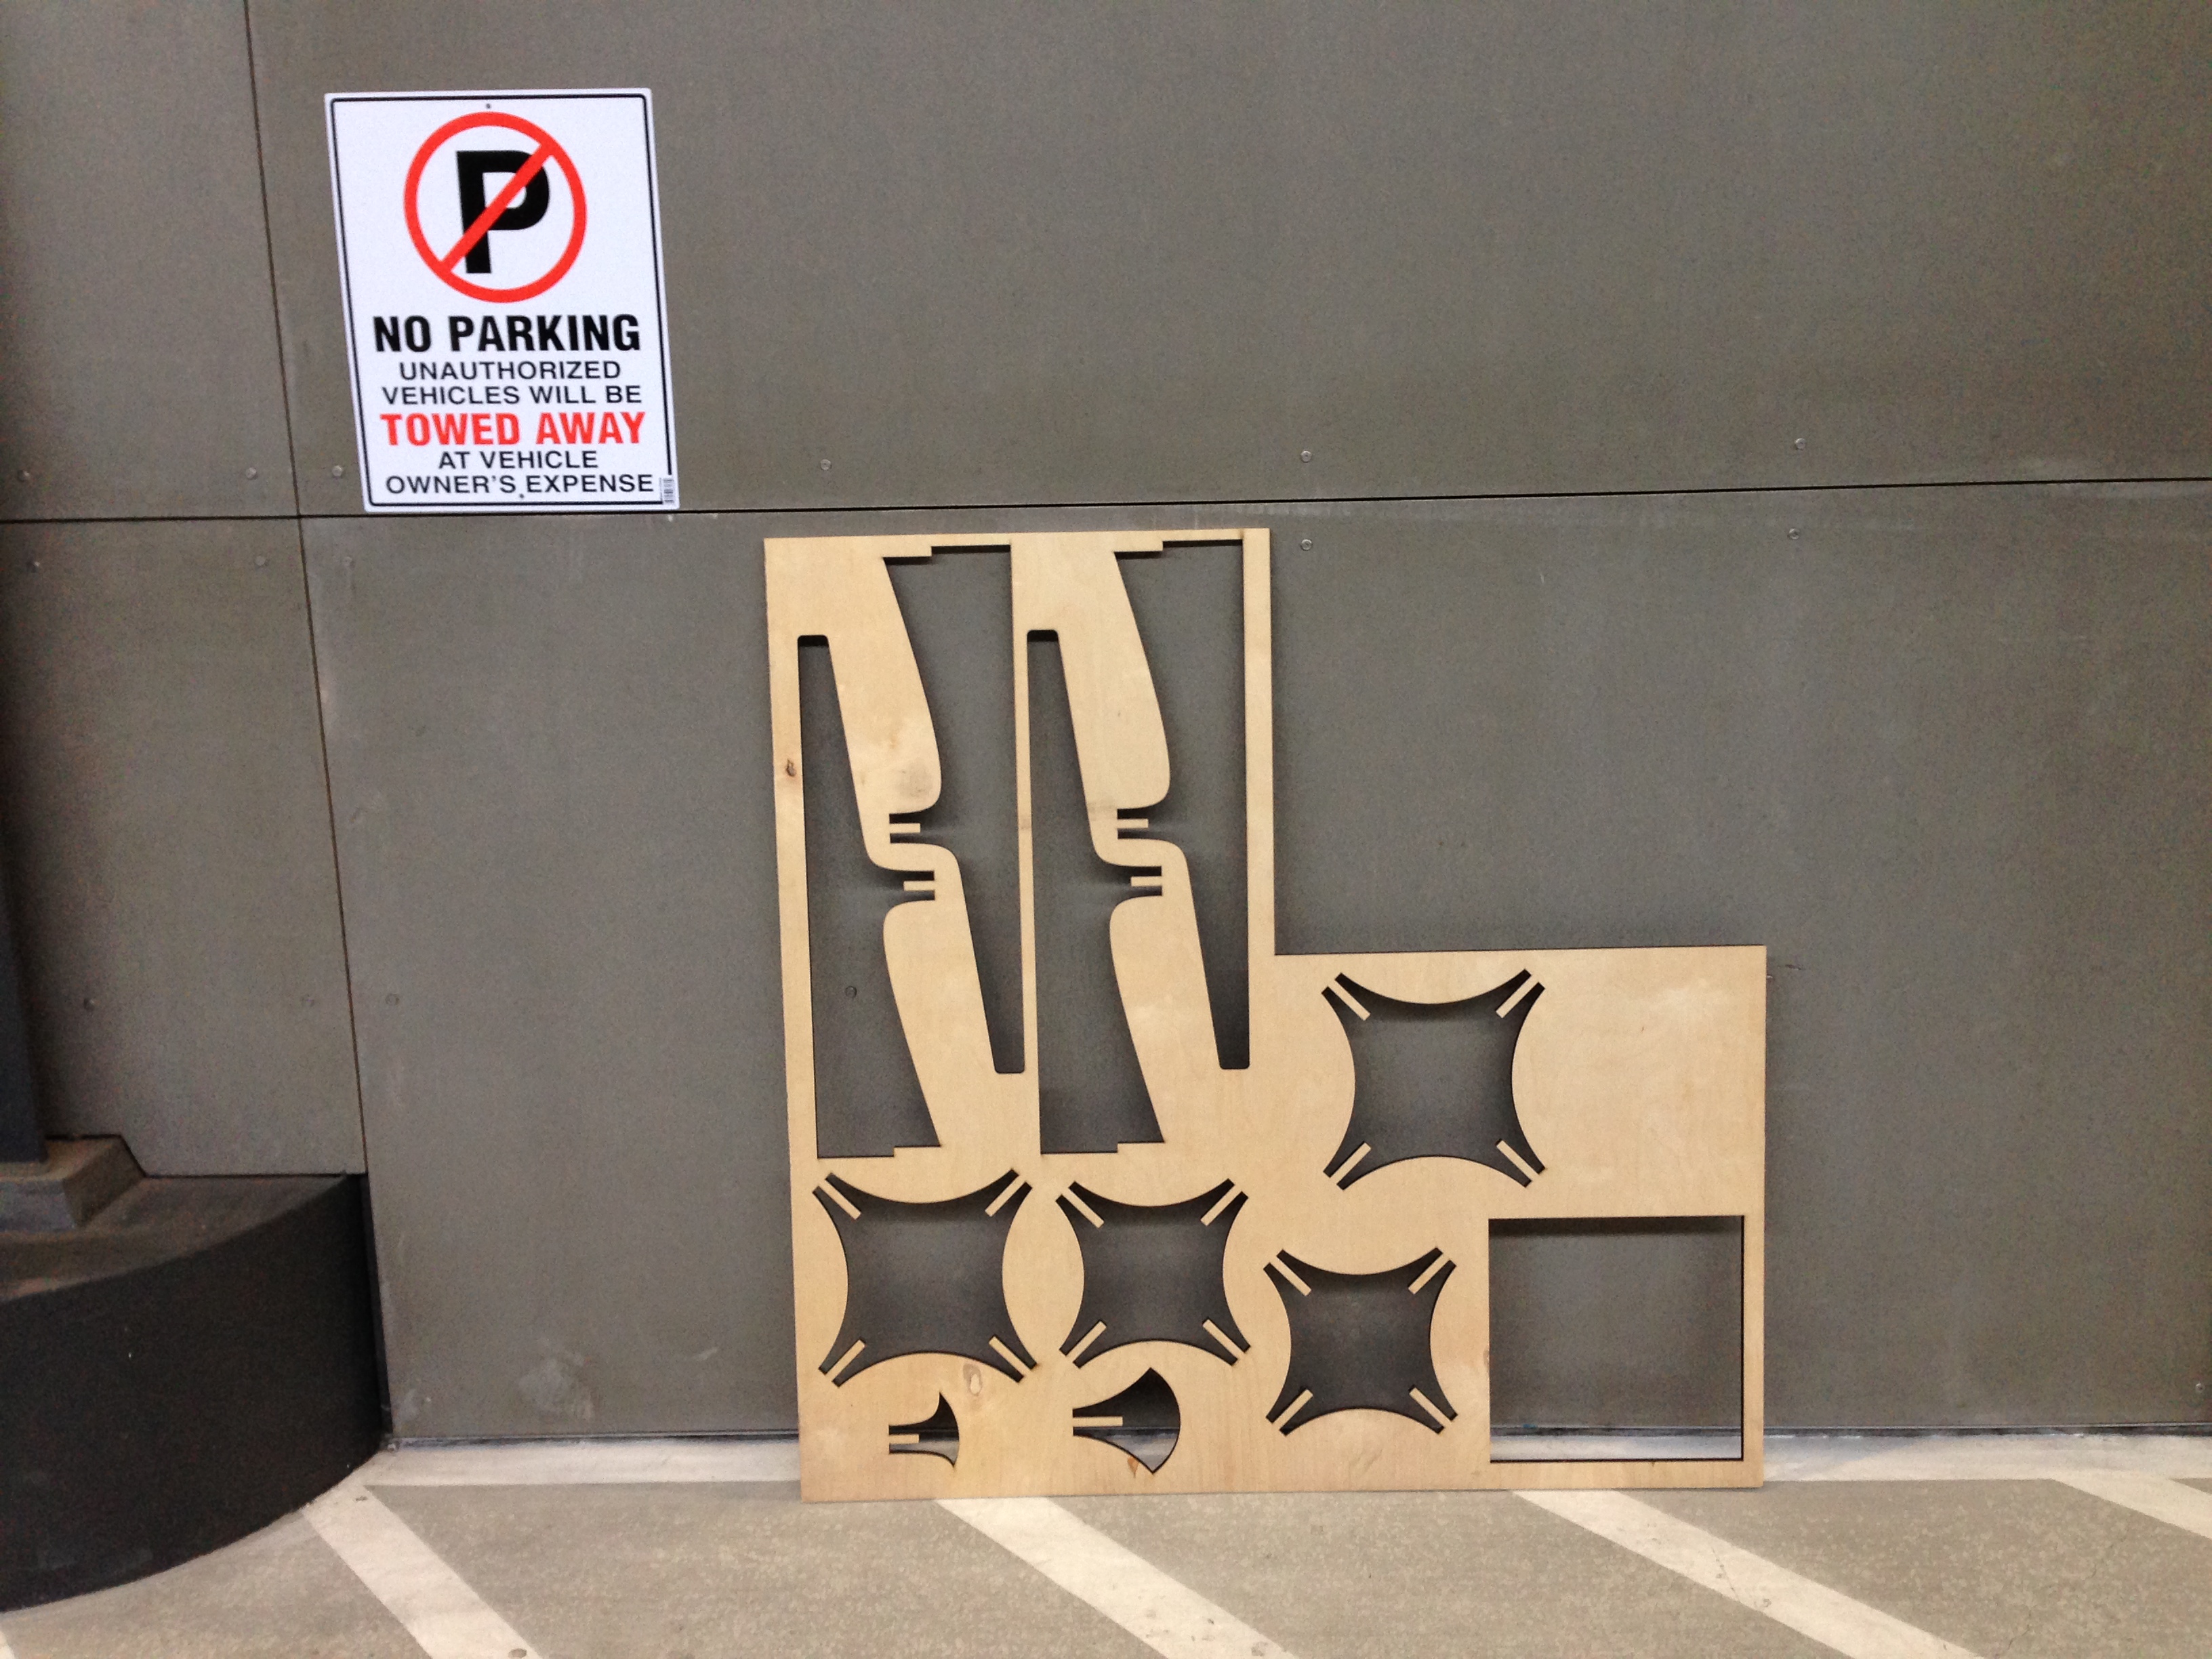
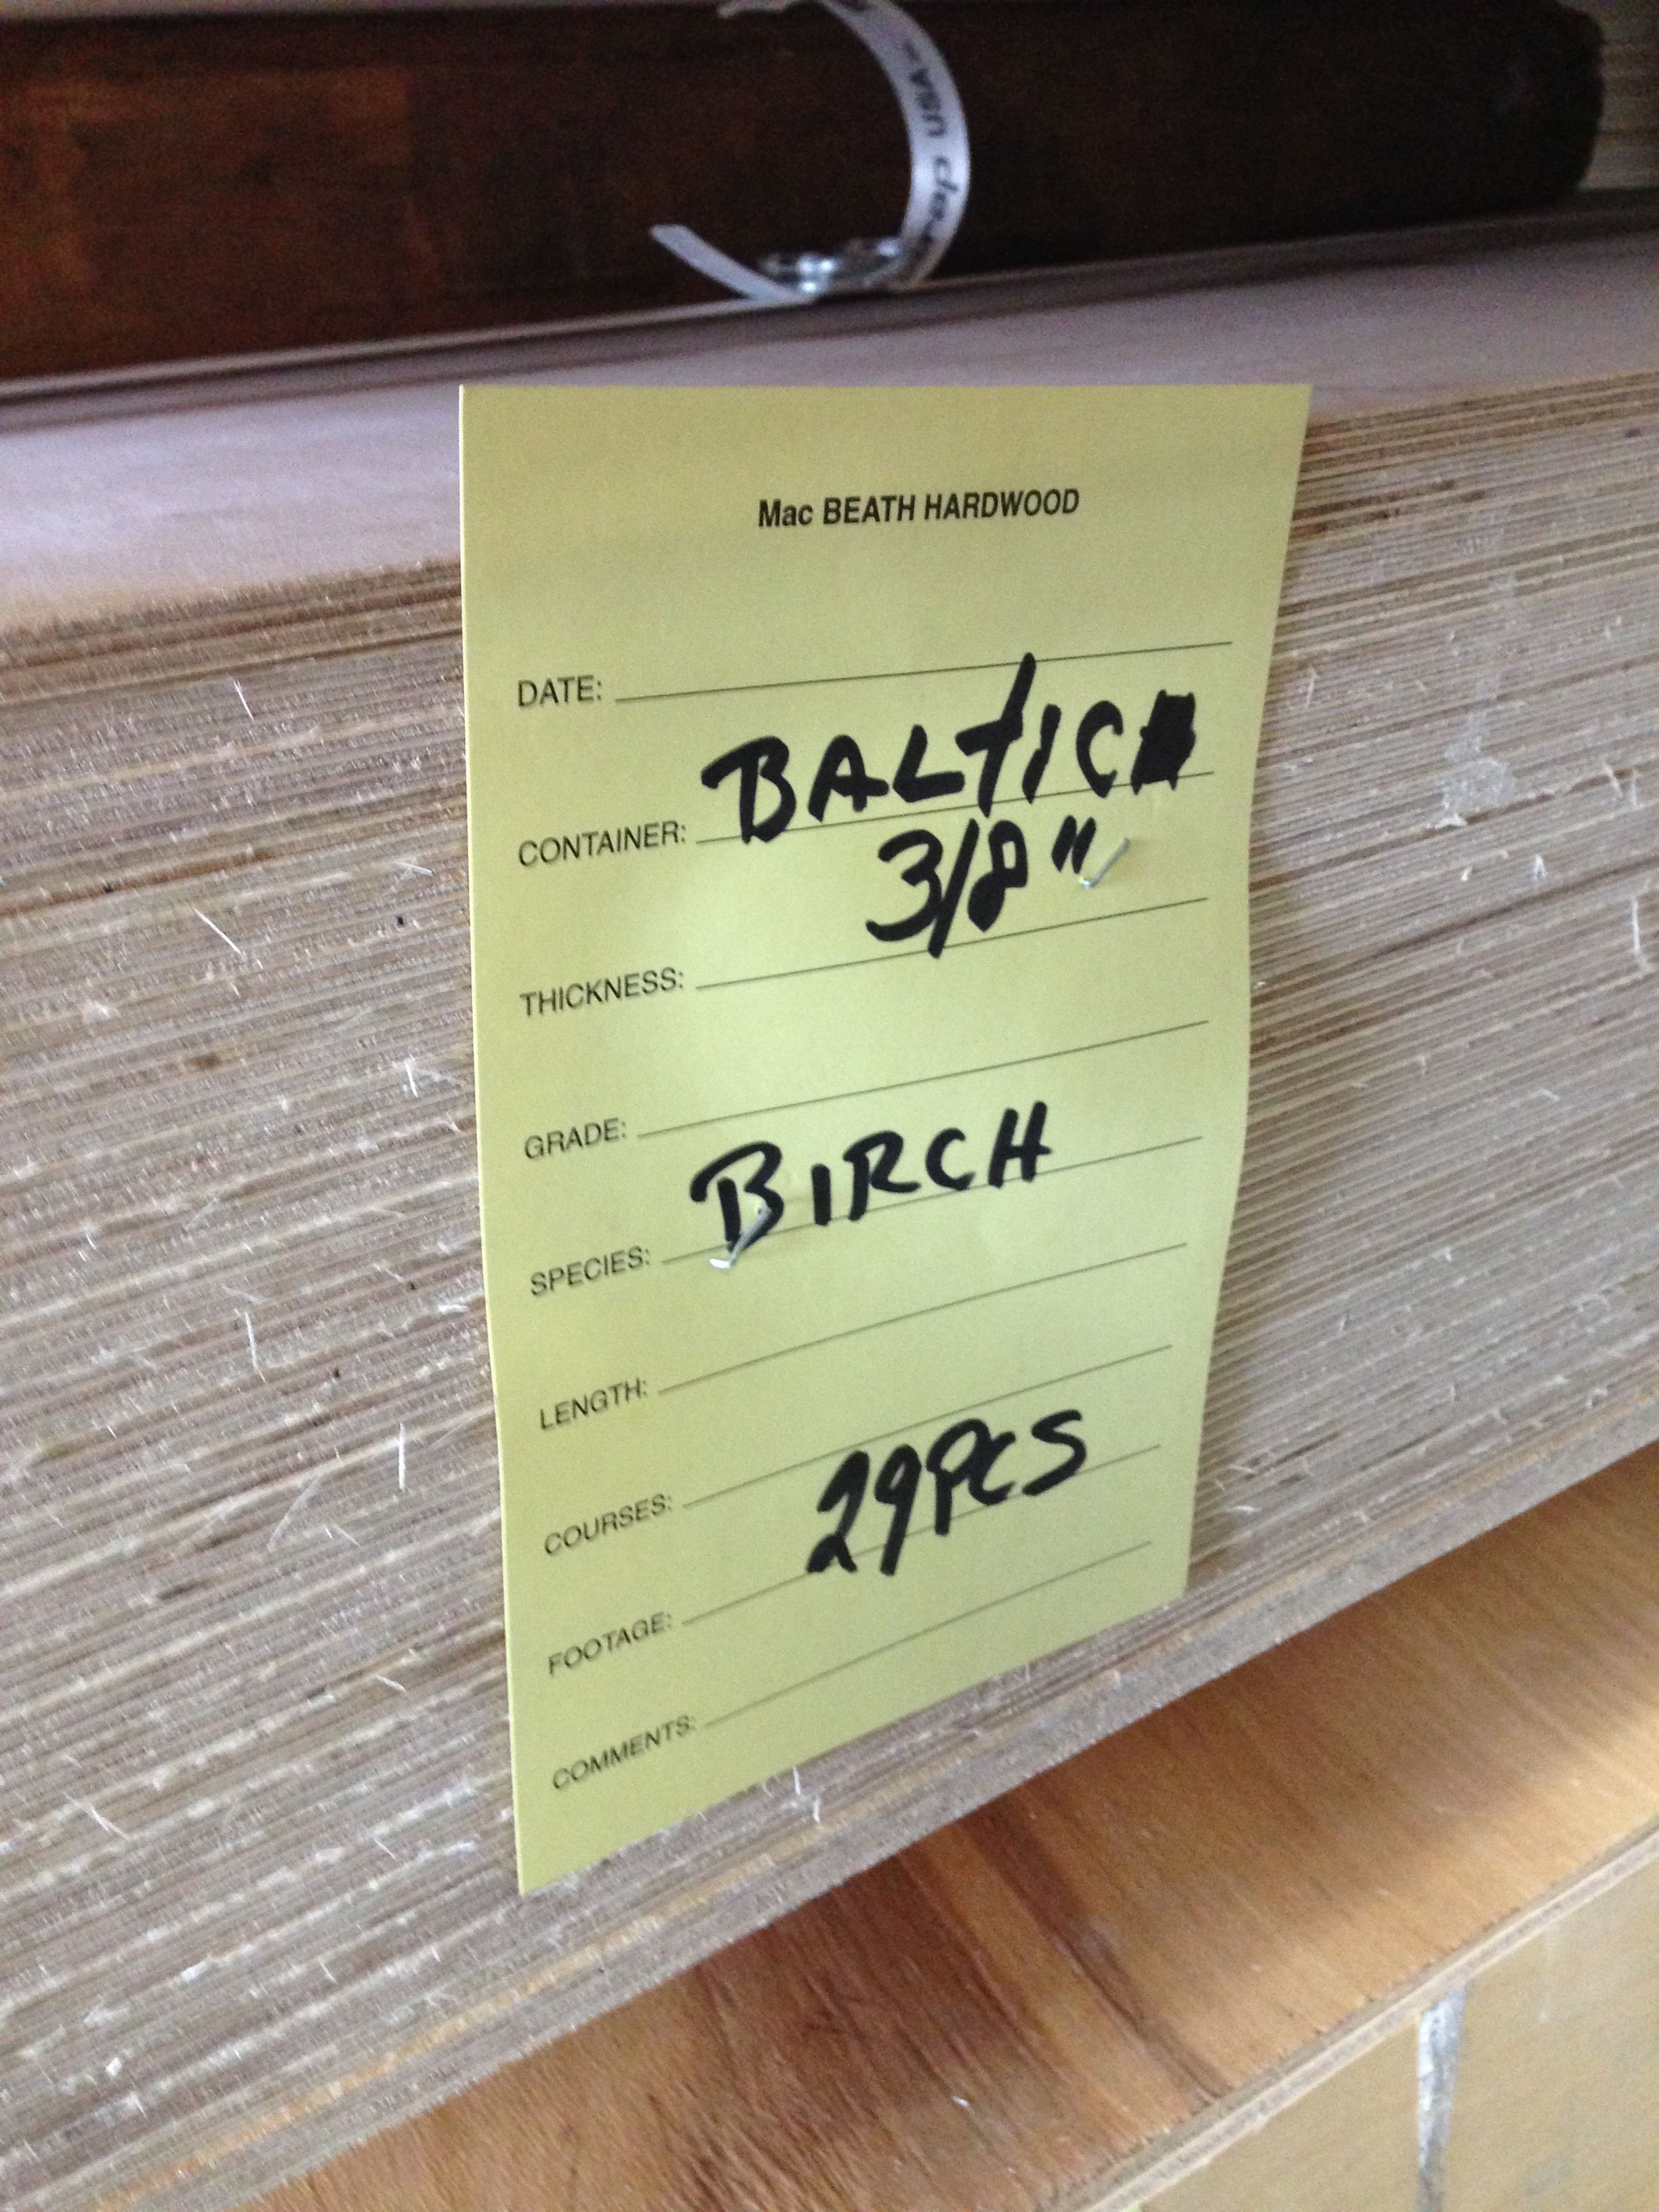
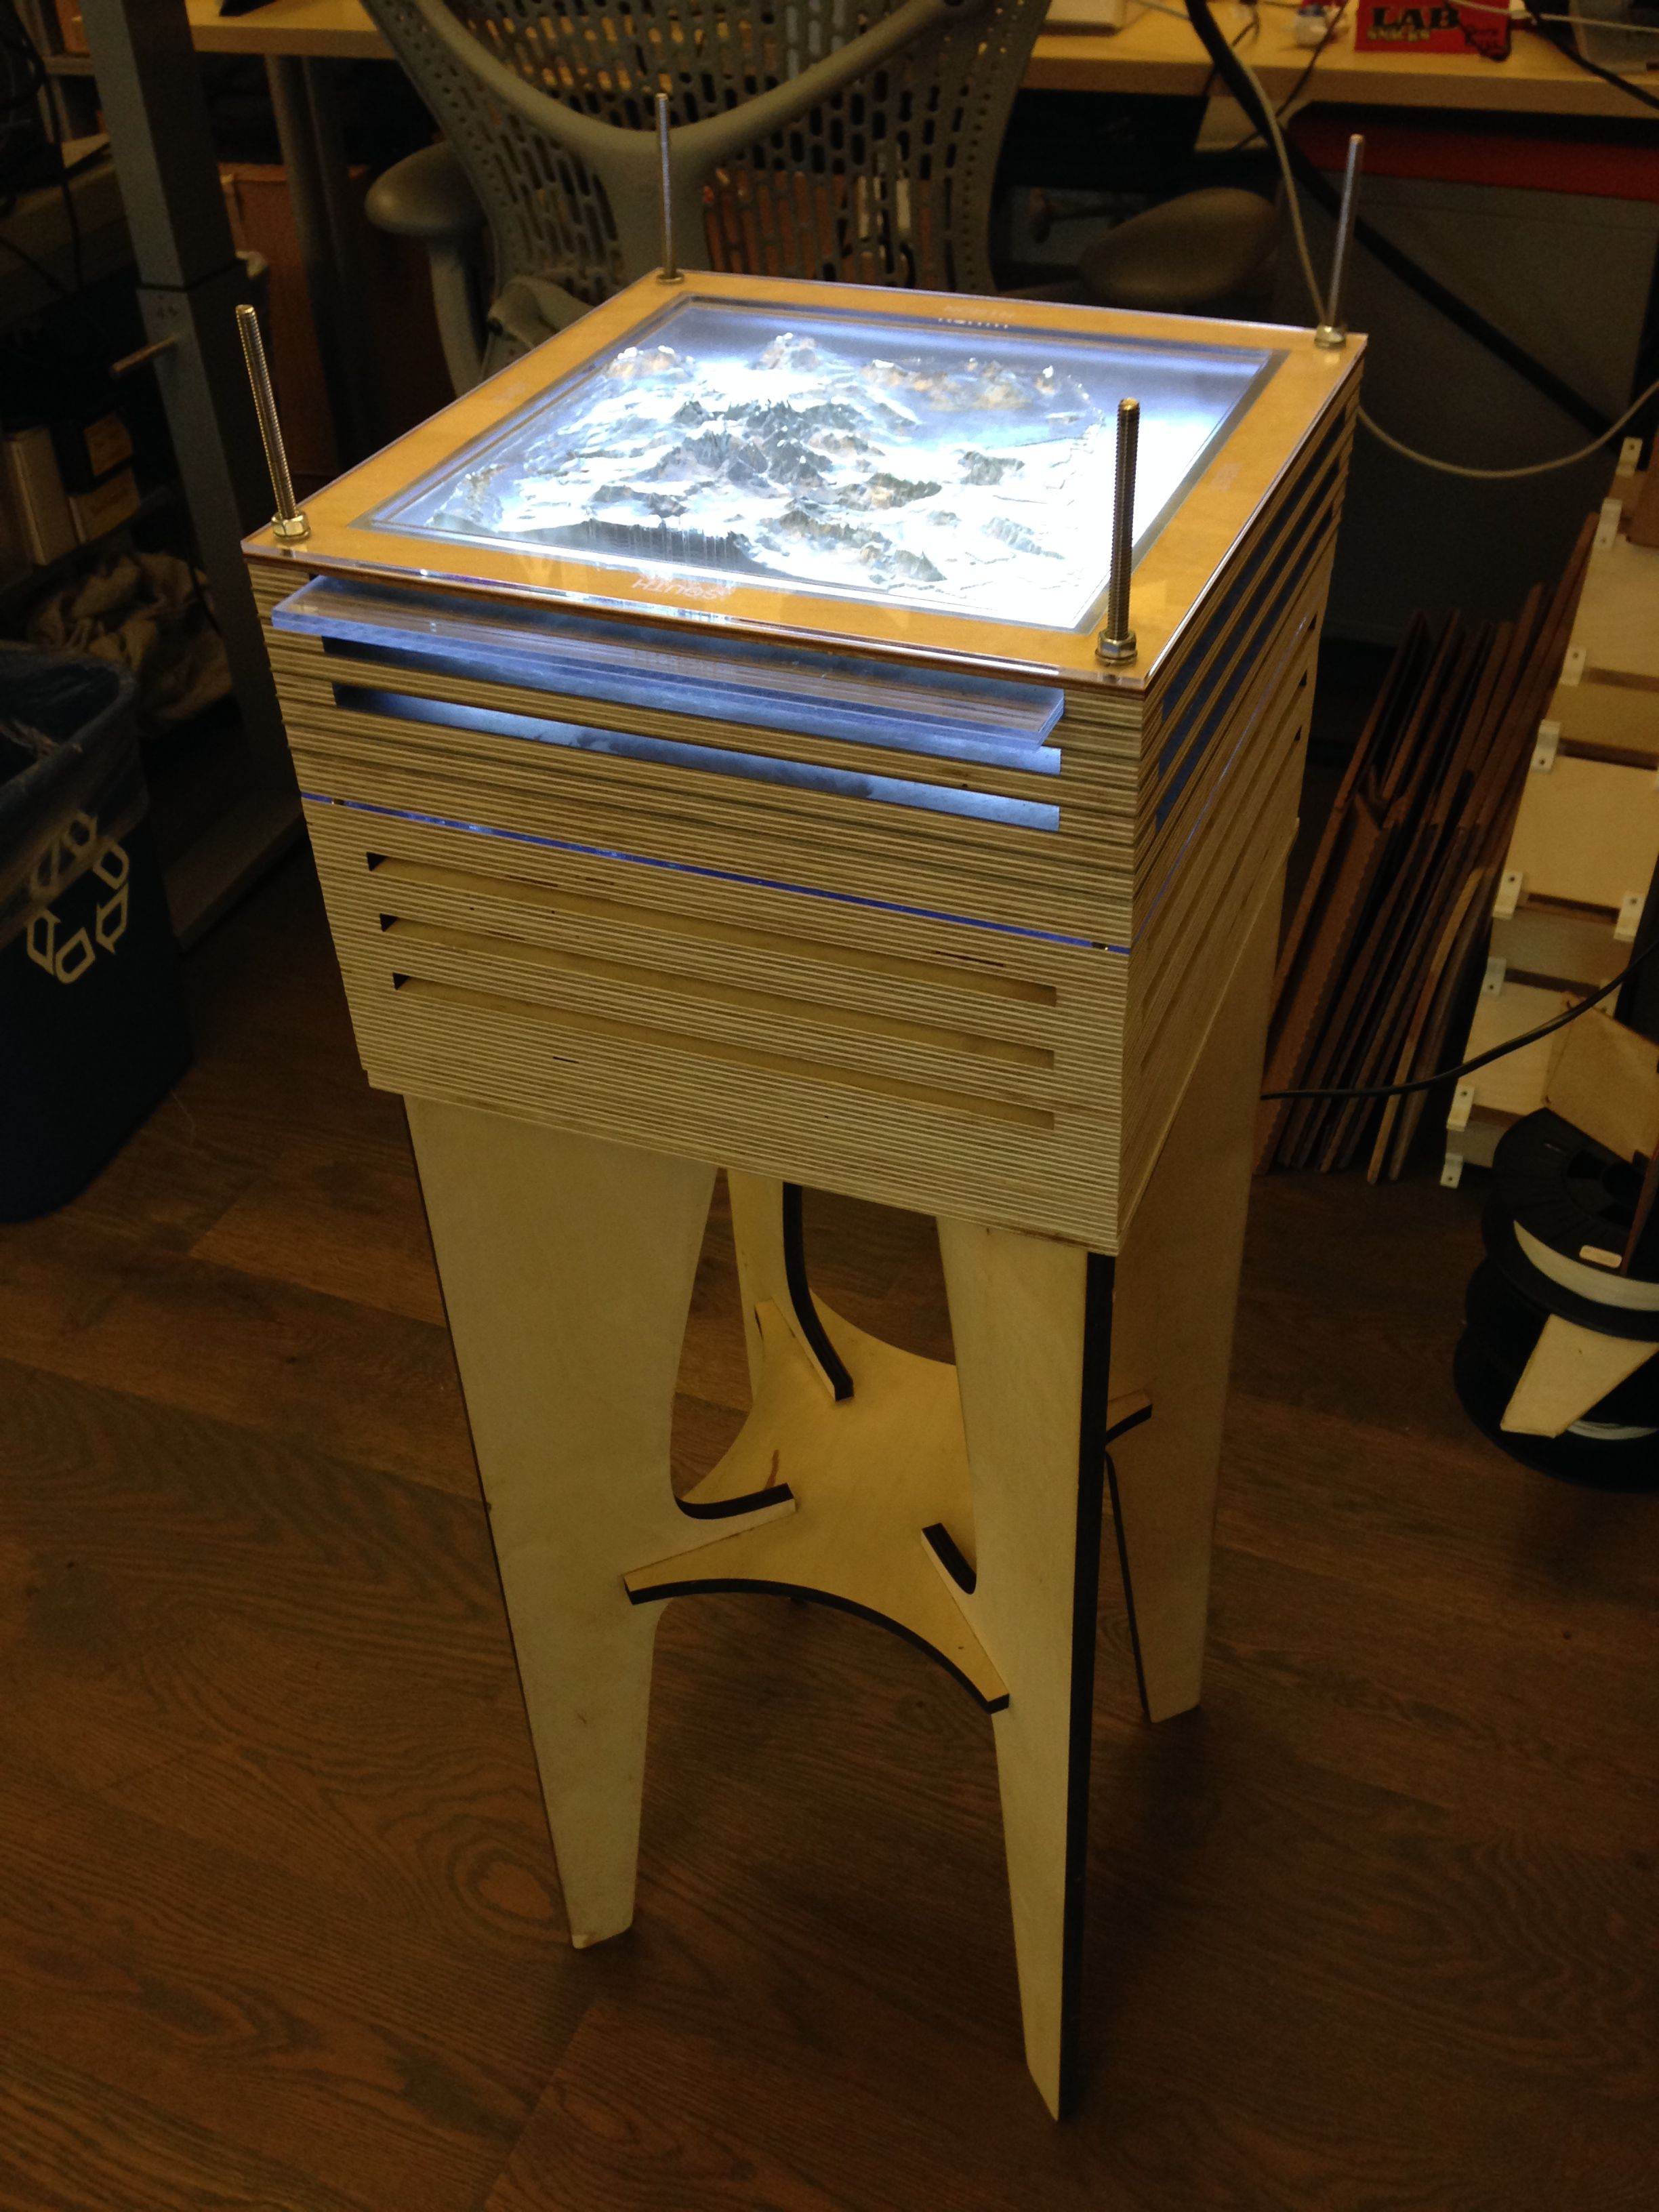
Stacking the layers of shelving seemed the easiest way to complete the project. So, I used a lasercutter to cut each level out of 3/8” Birch Plywood. I then cut out the legs of the model out of ¾” Plywood. Luckily, I had access to a 500 Watt Metabeam Lasercutter, saving me time from using the CNC machine. While I sanded the sides of the 3/8” Birch shelves, I left the black char on the sides of the legs as an aesthetic choice to reveal the making process.
Waterjet Metal Shelves
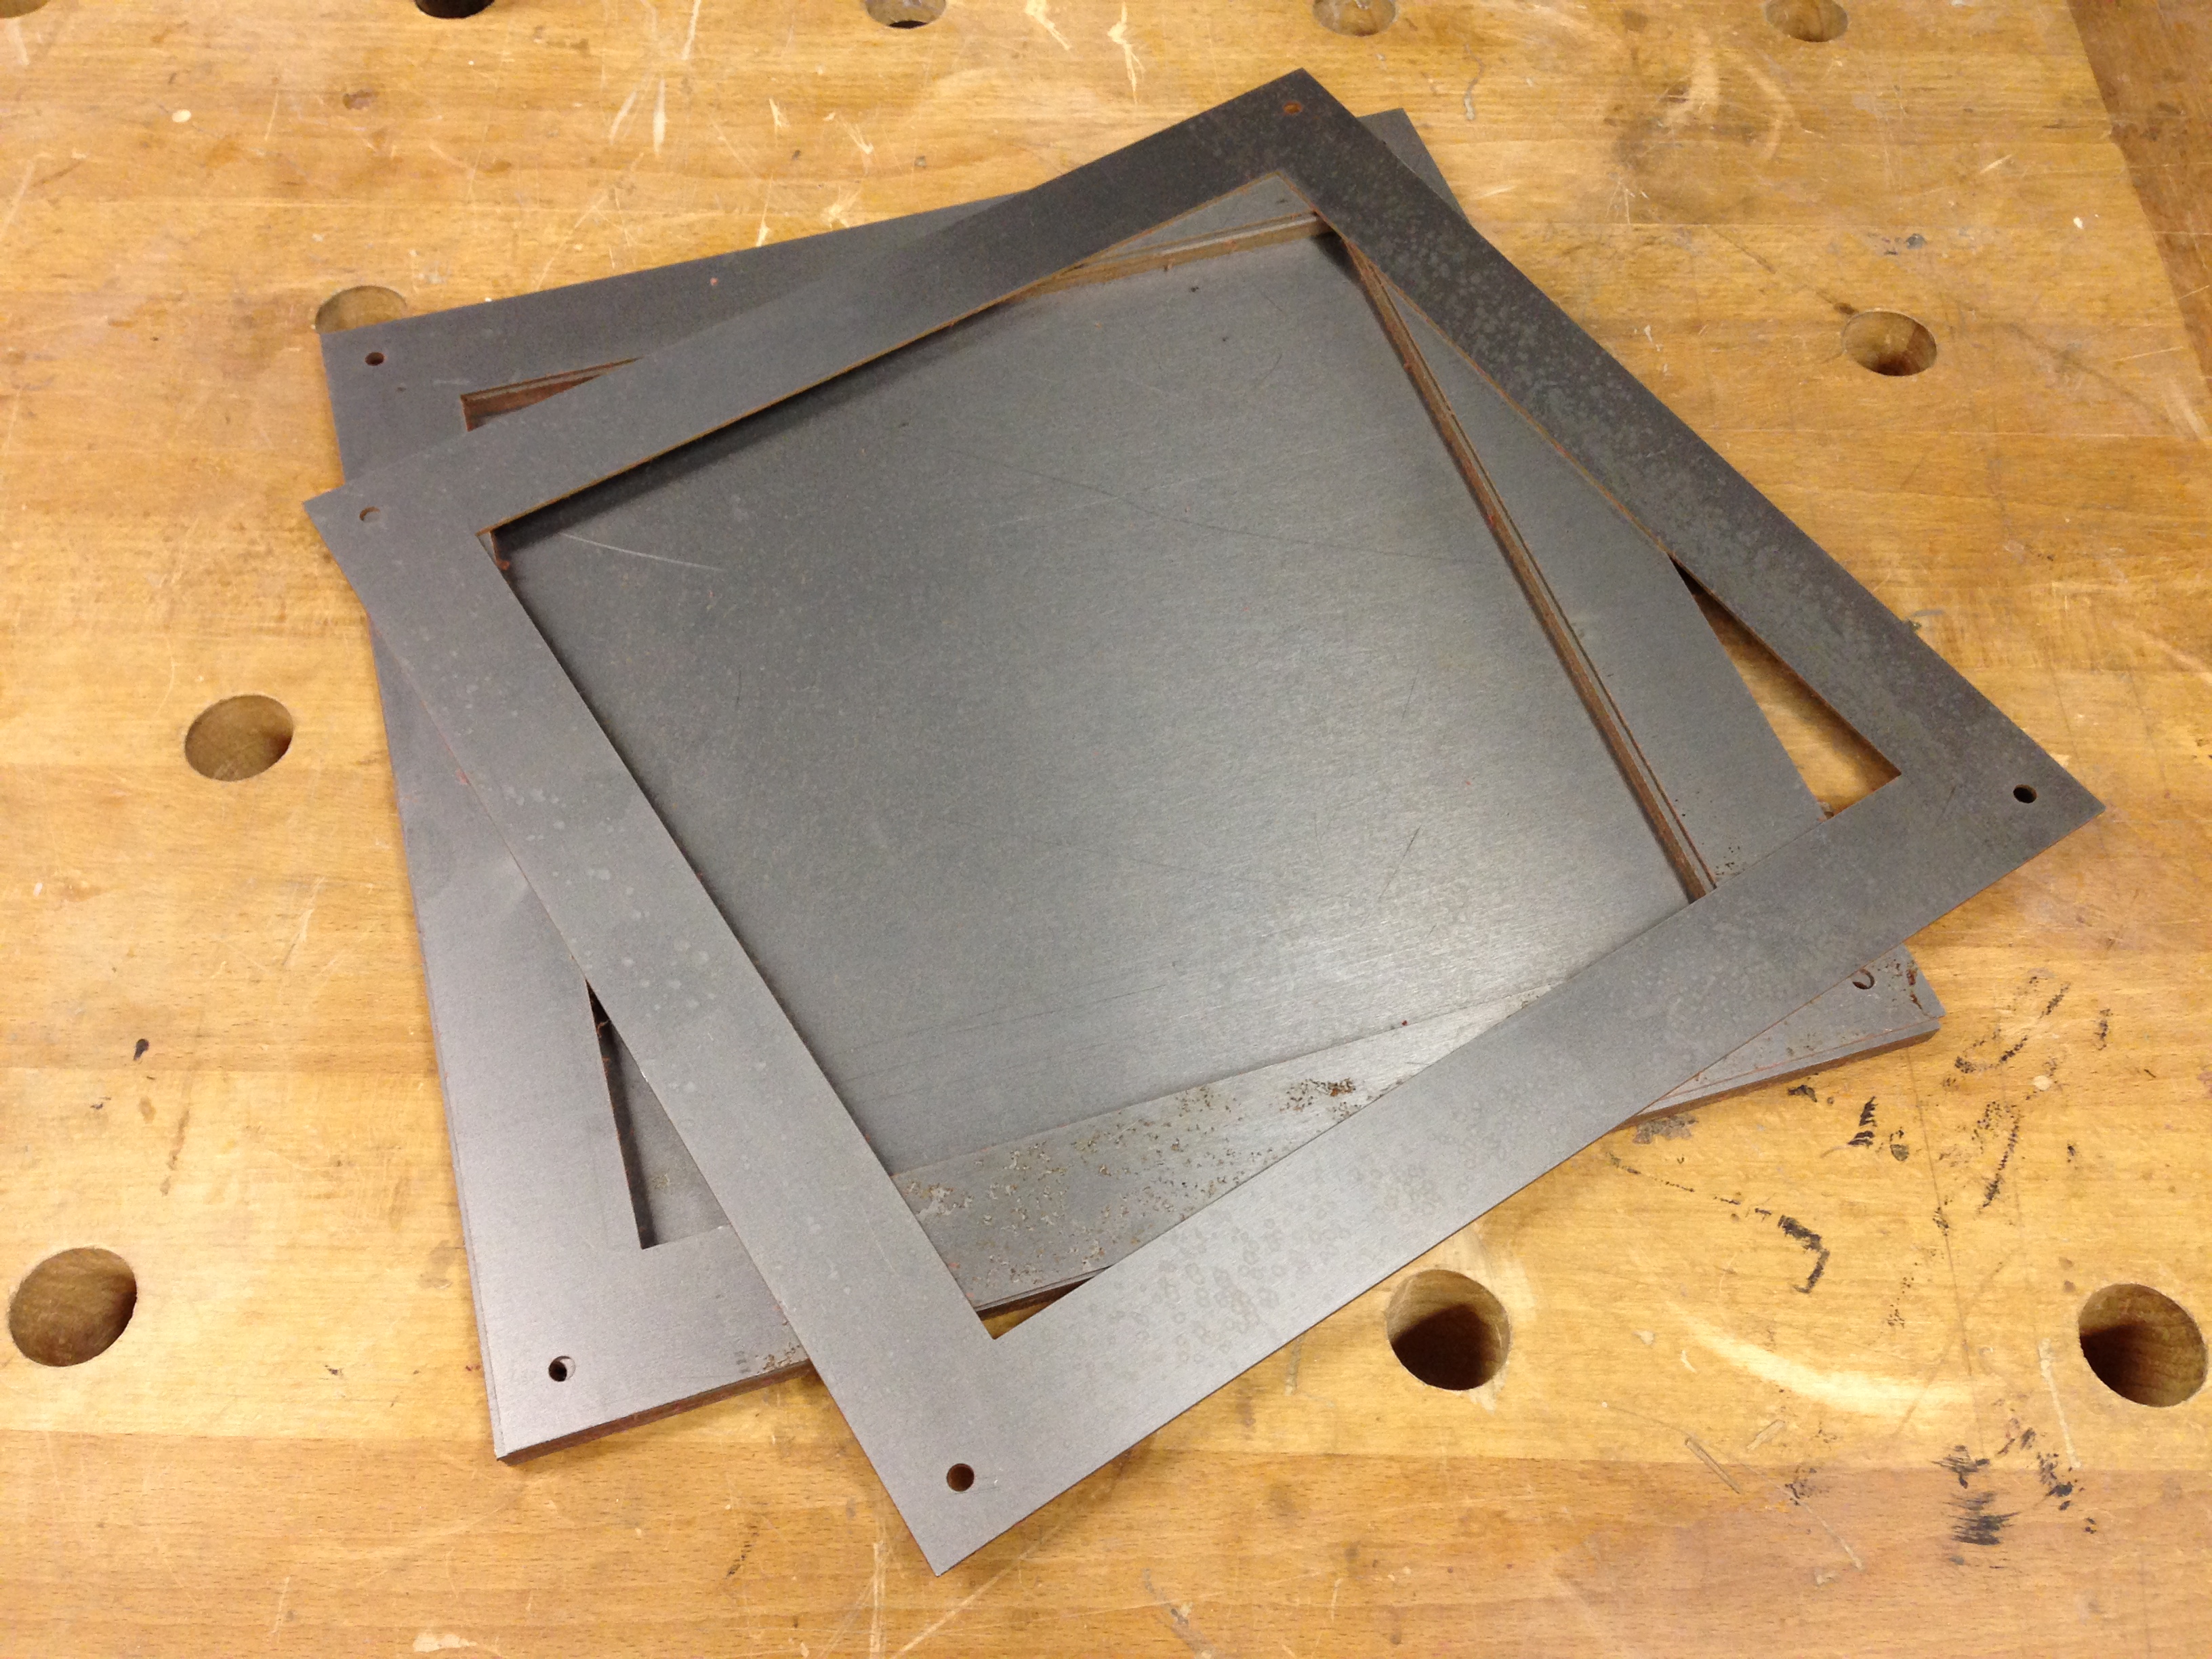
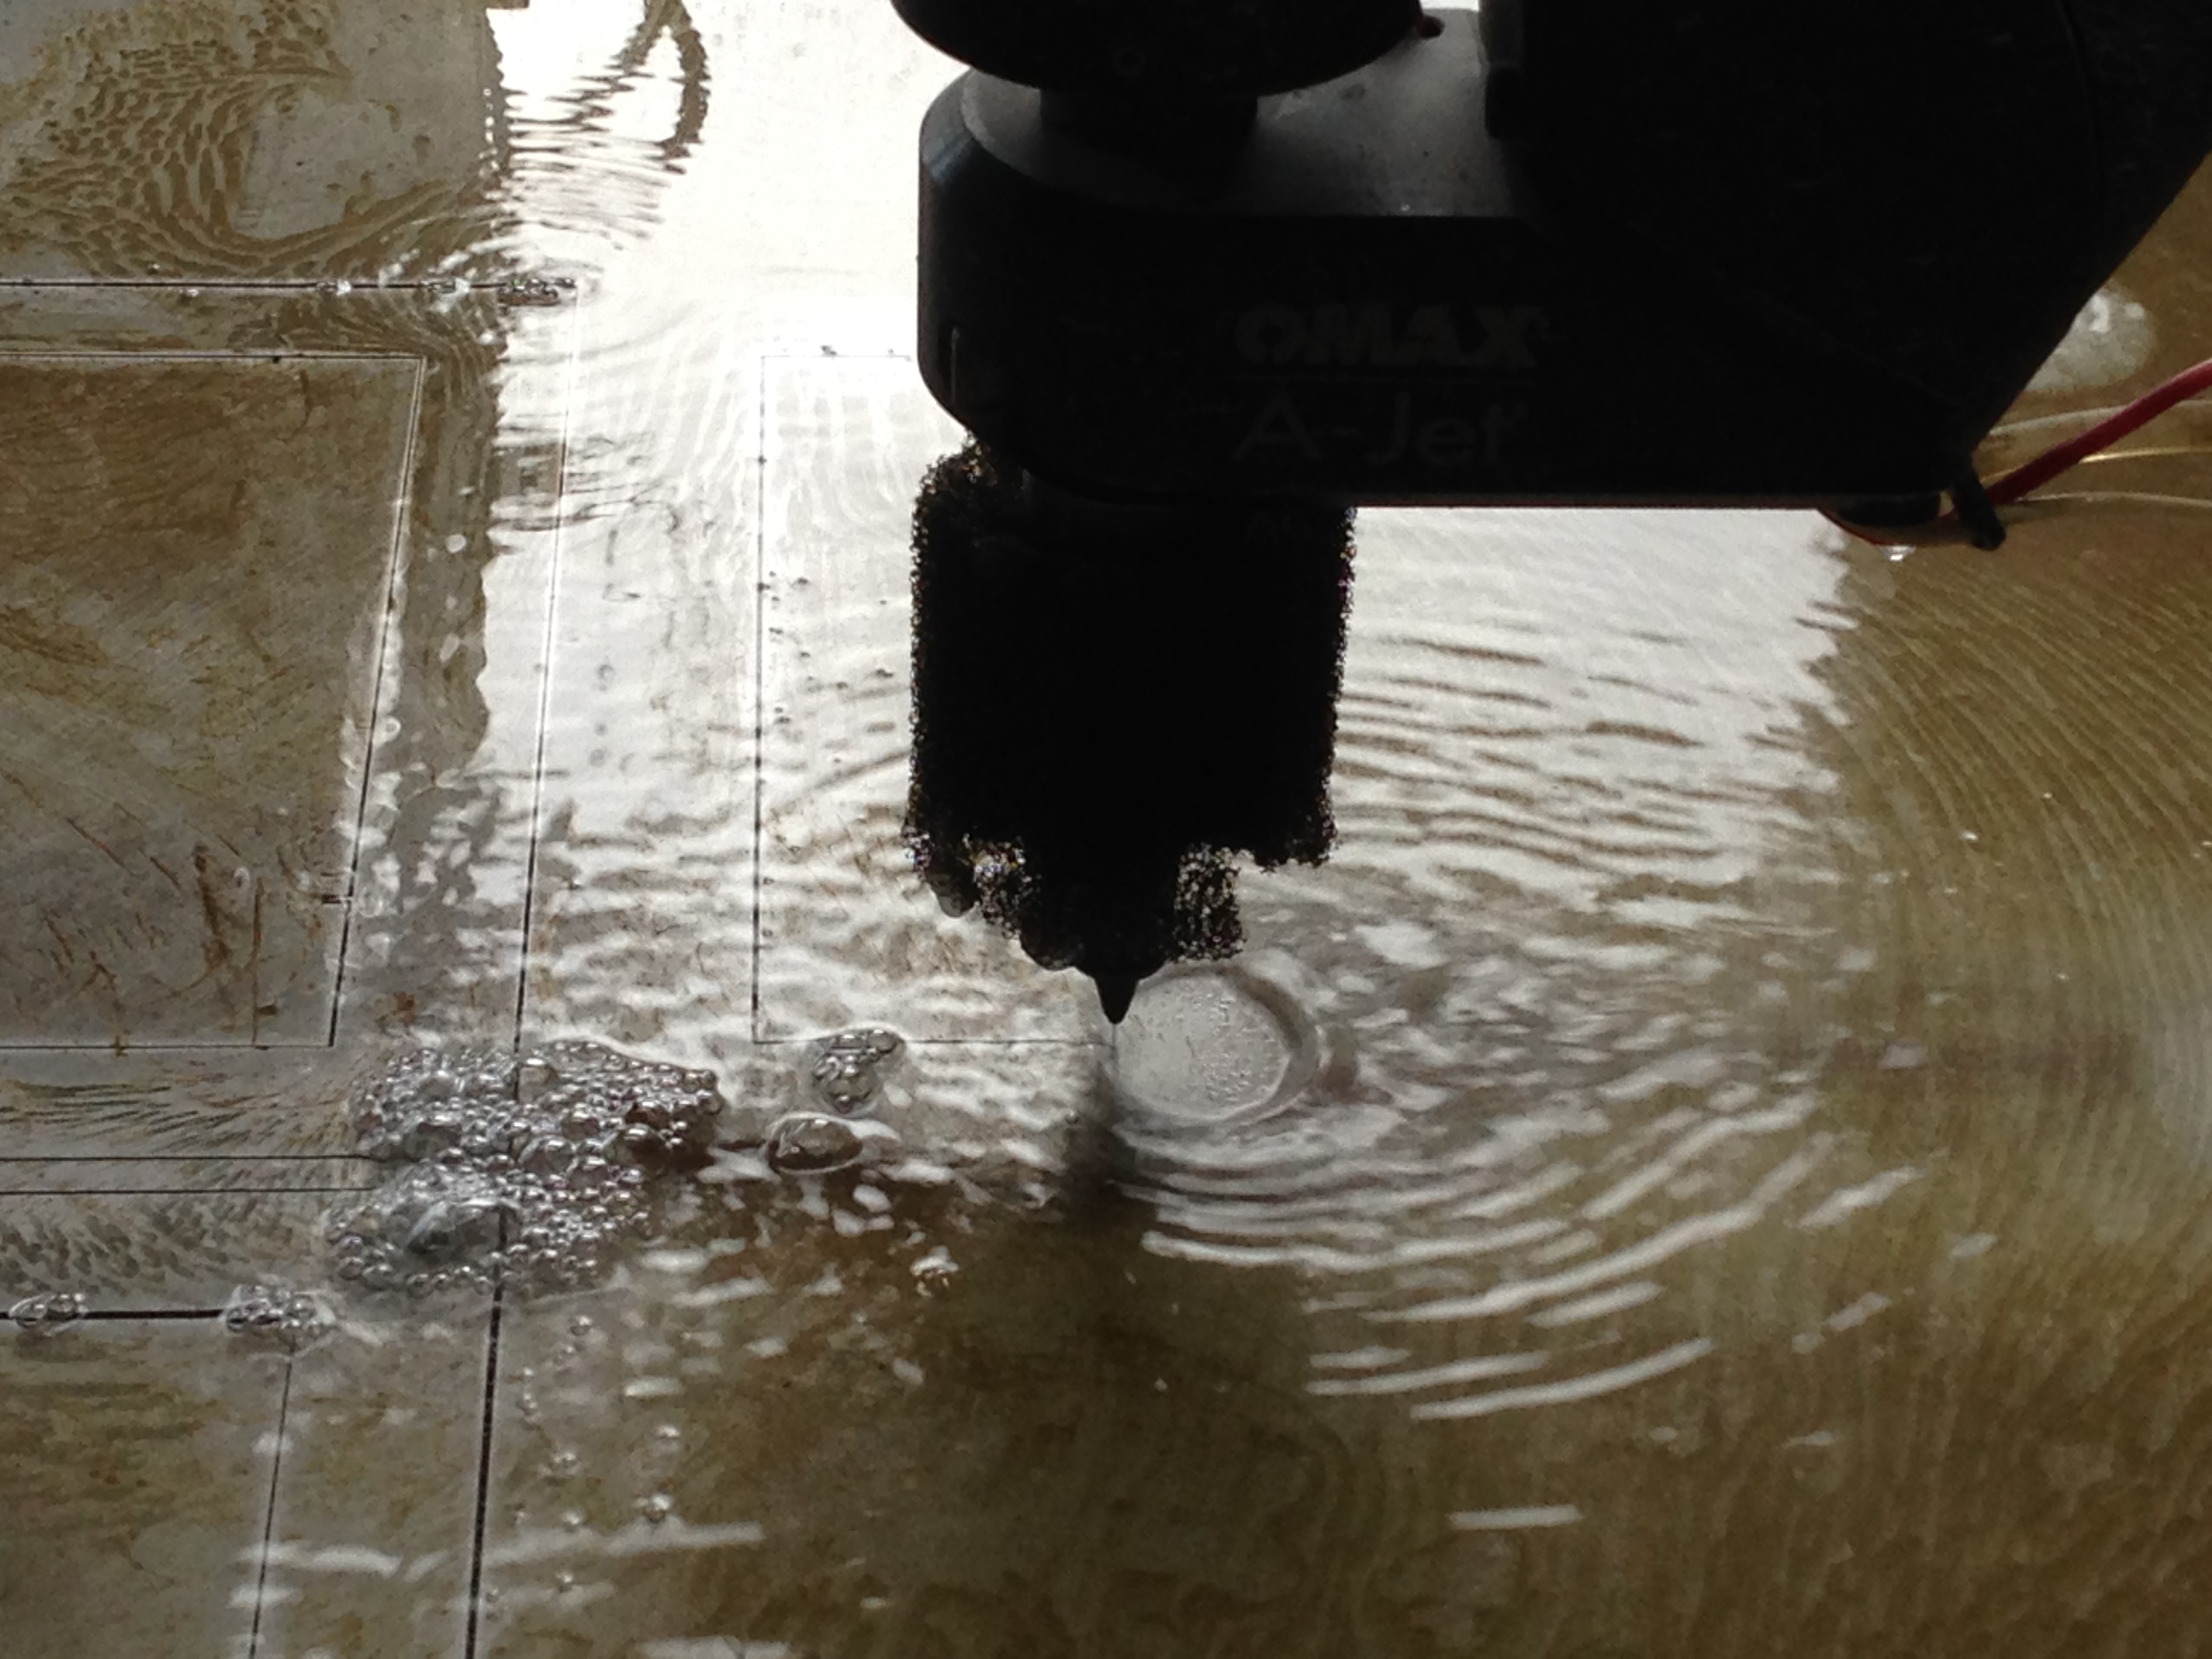
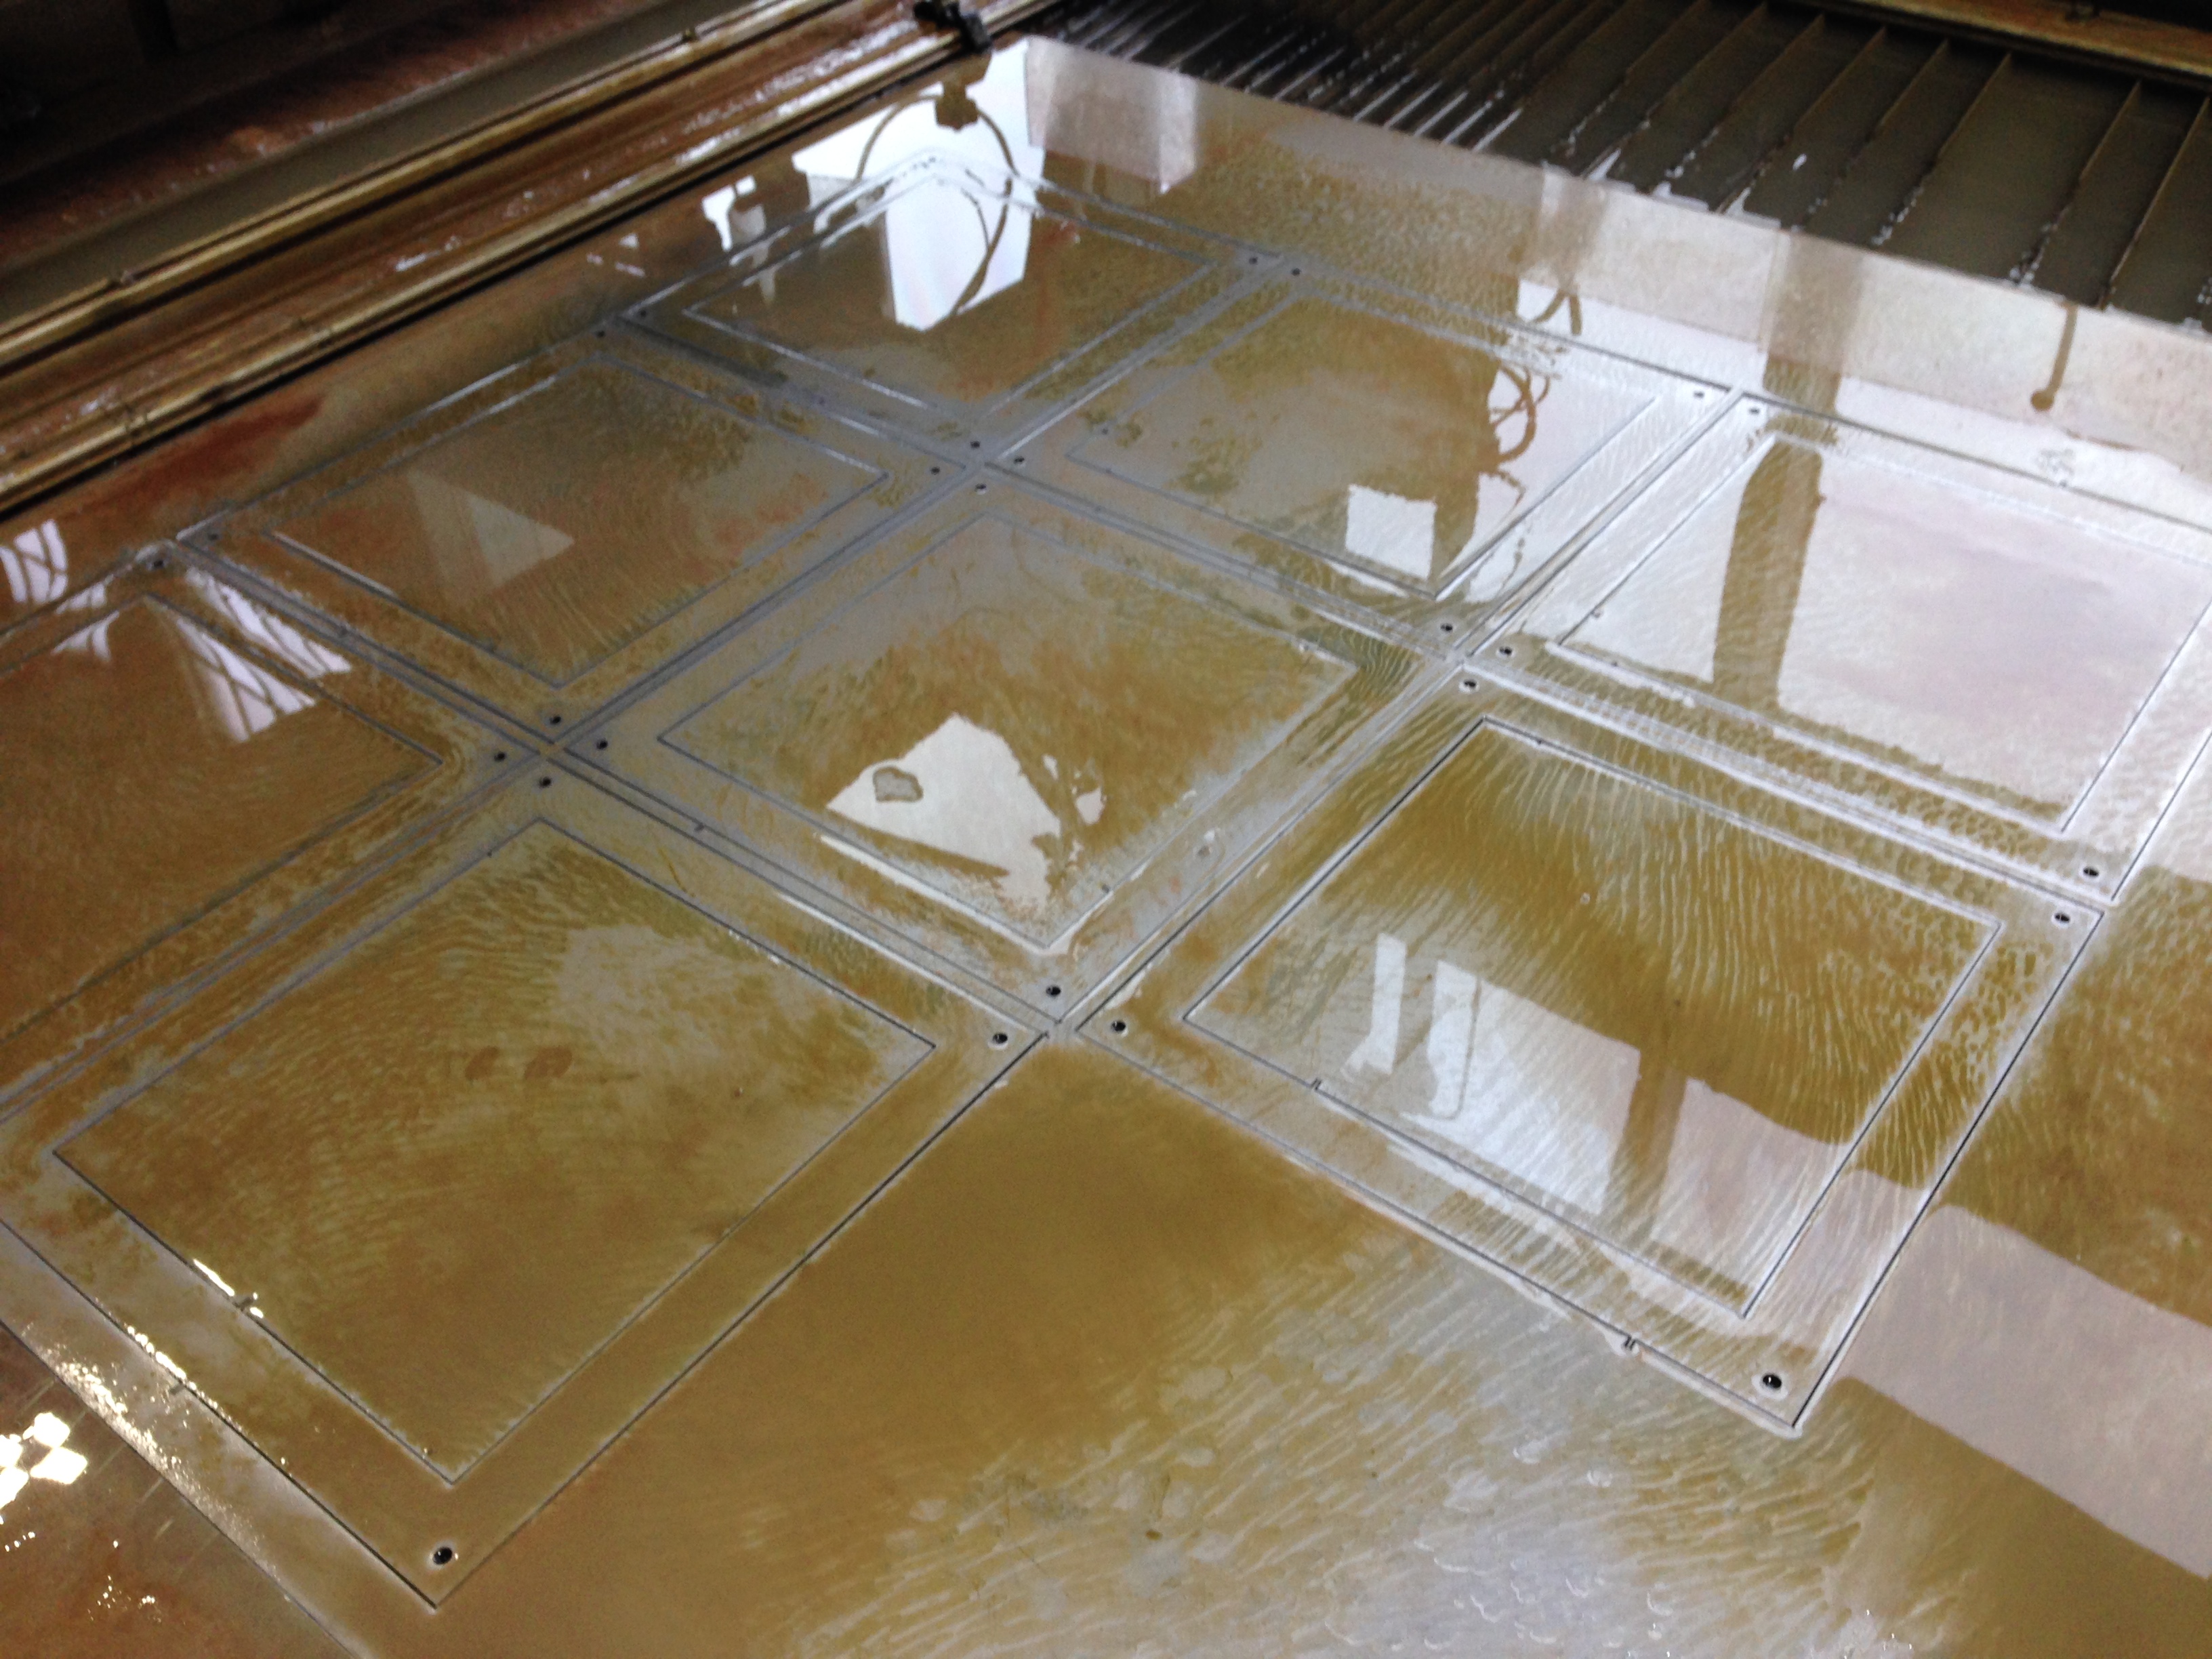
I realized that additional wood shelf inserts would make the body of the model to bulky and cause too much friction placing the slides into the shelves. So, I decided to use steel inserts that could be much thinner and stronger. I was able to cut them out on the waterjet to place between each of the 3/8” Birch plywood sheets.
Downloads
LED Lights
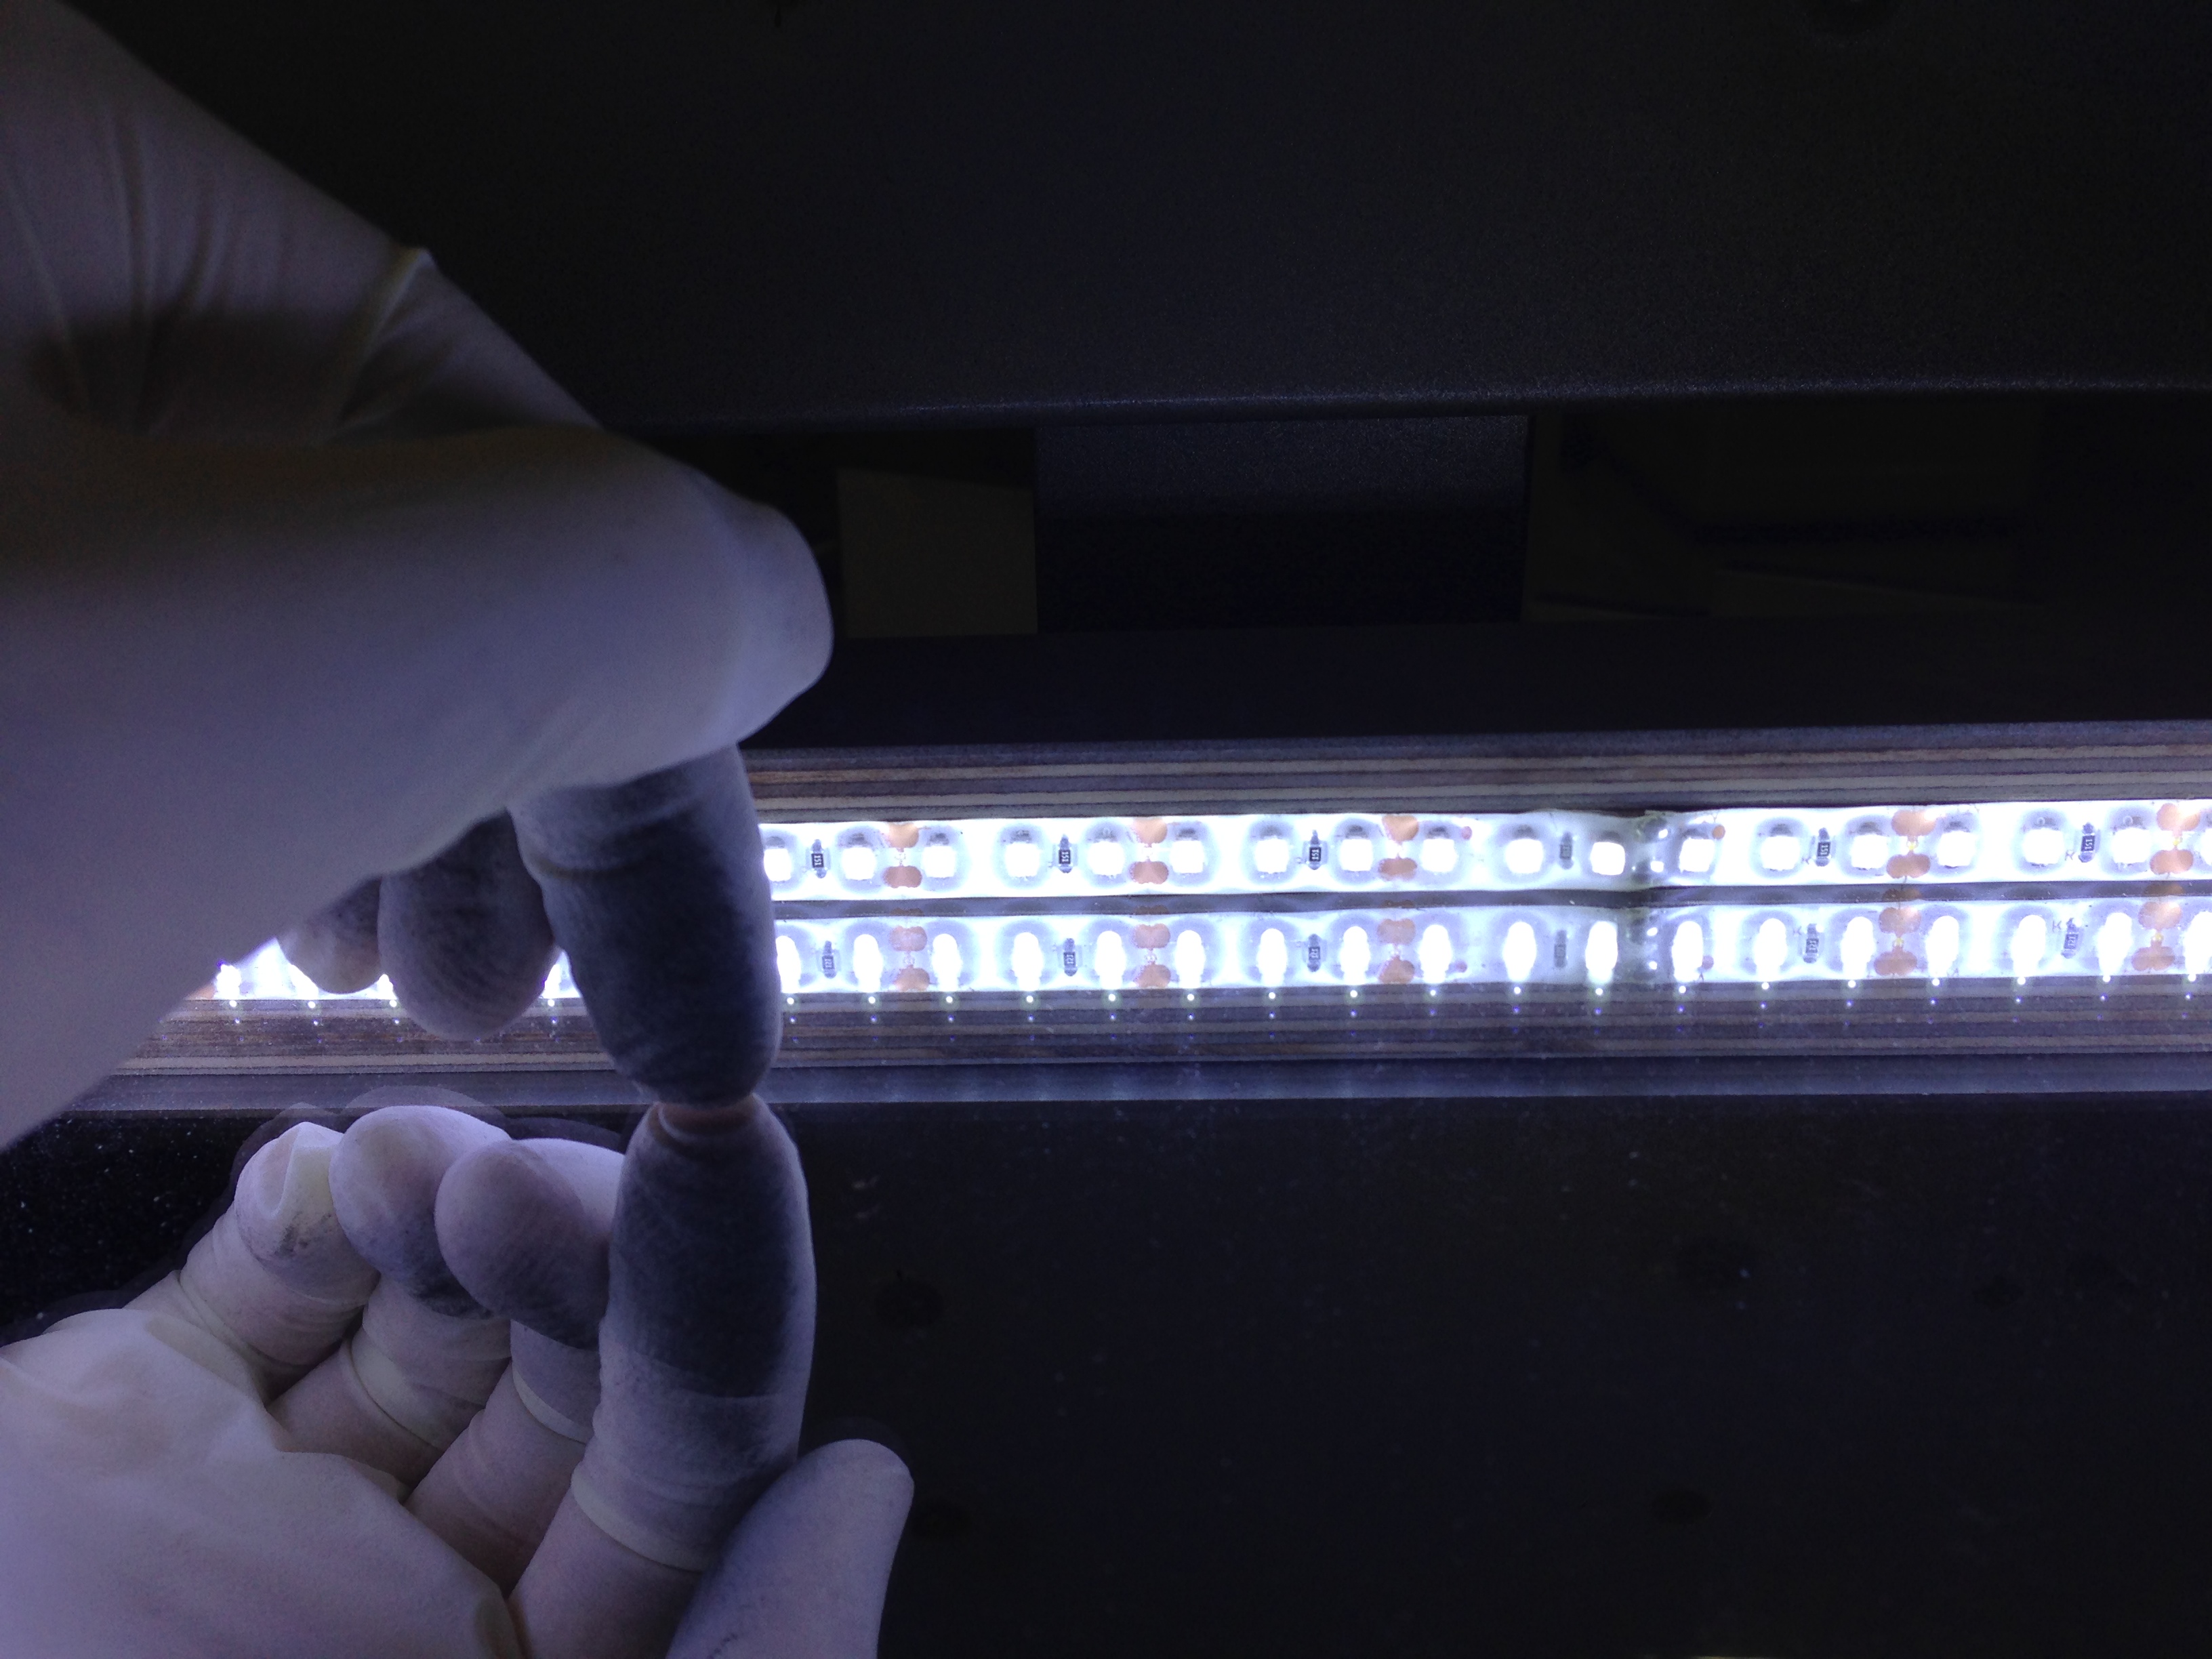
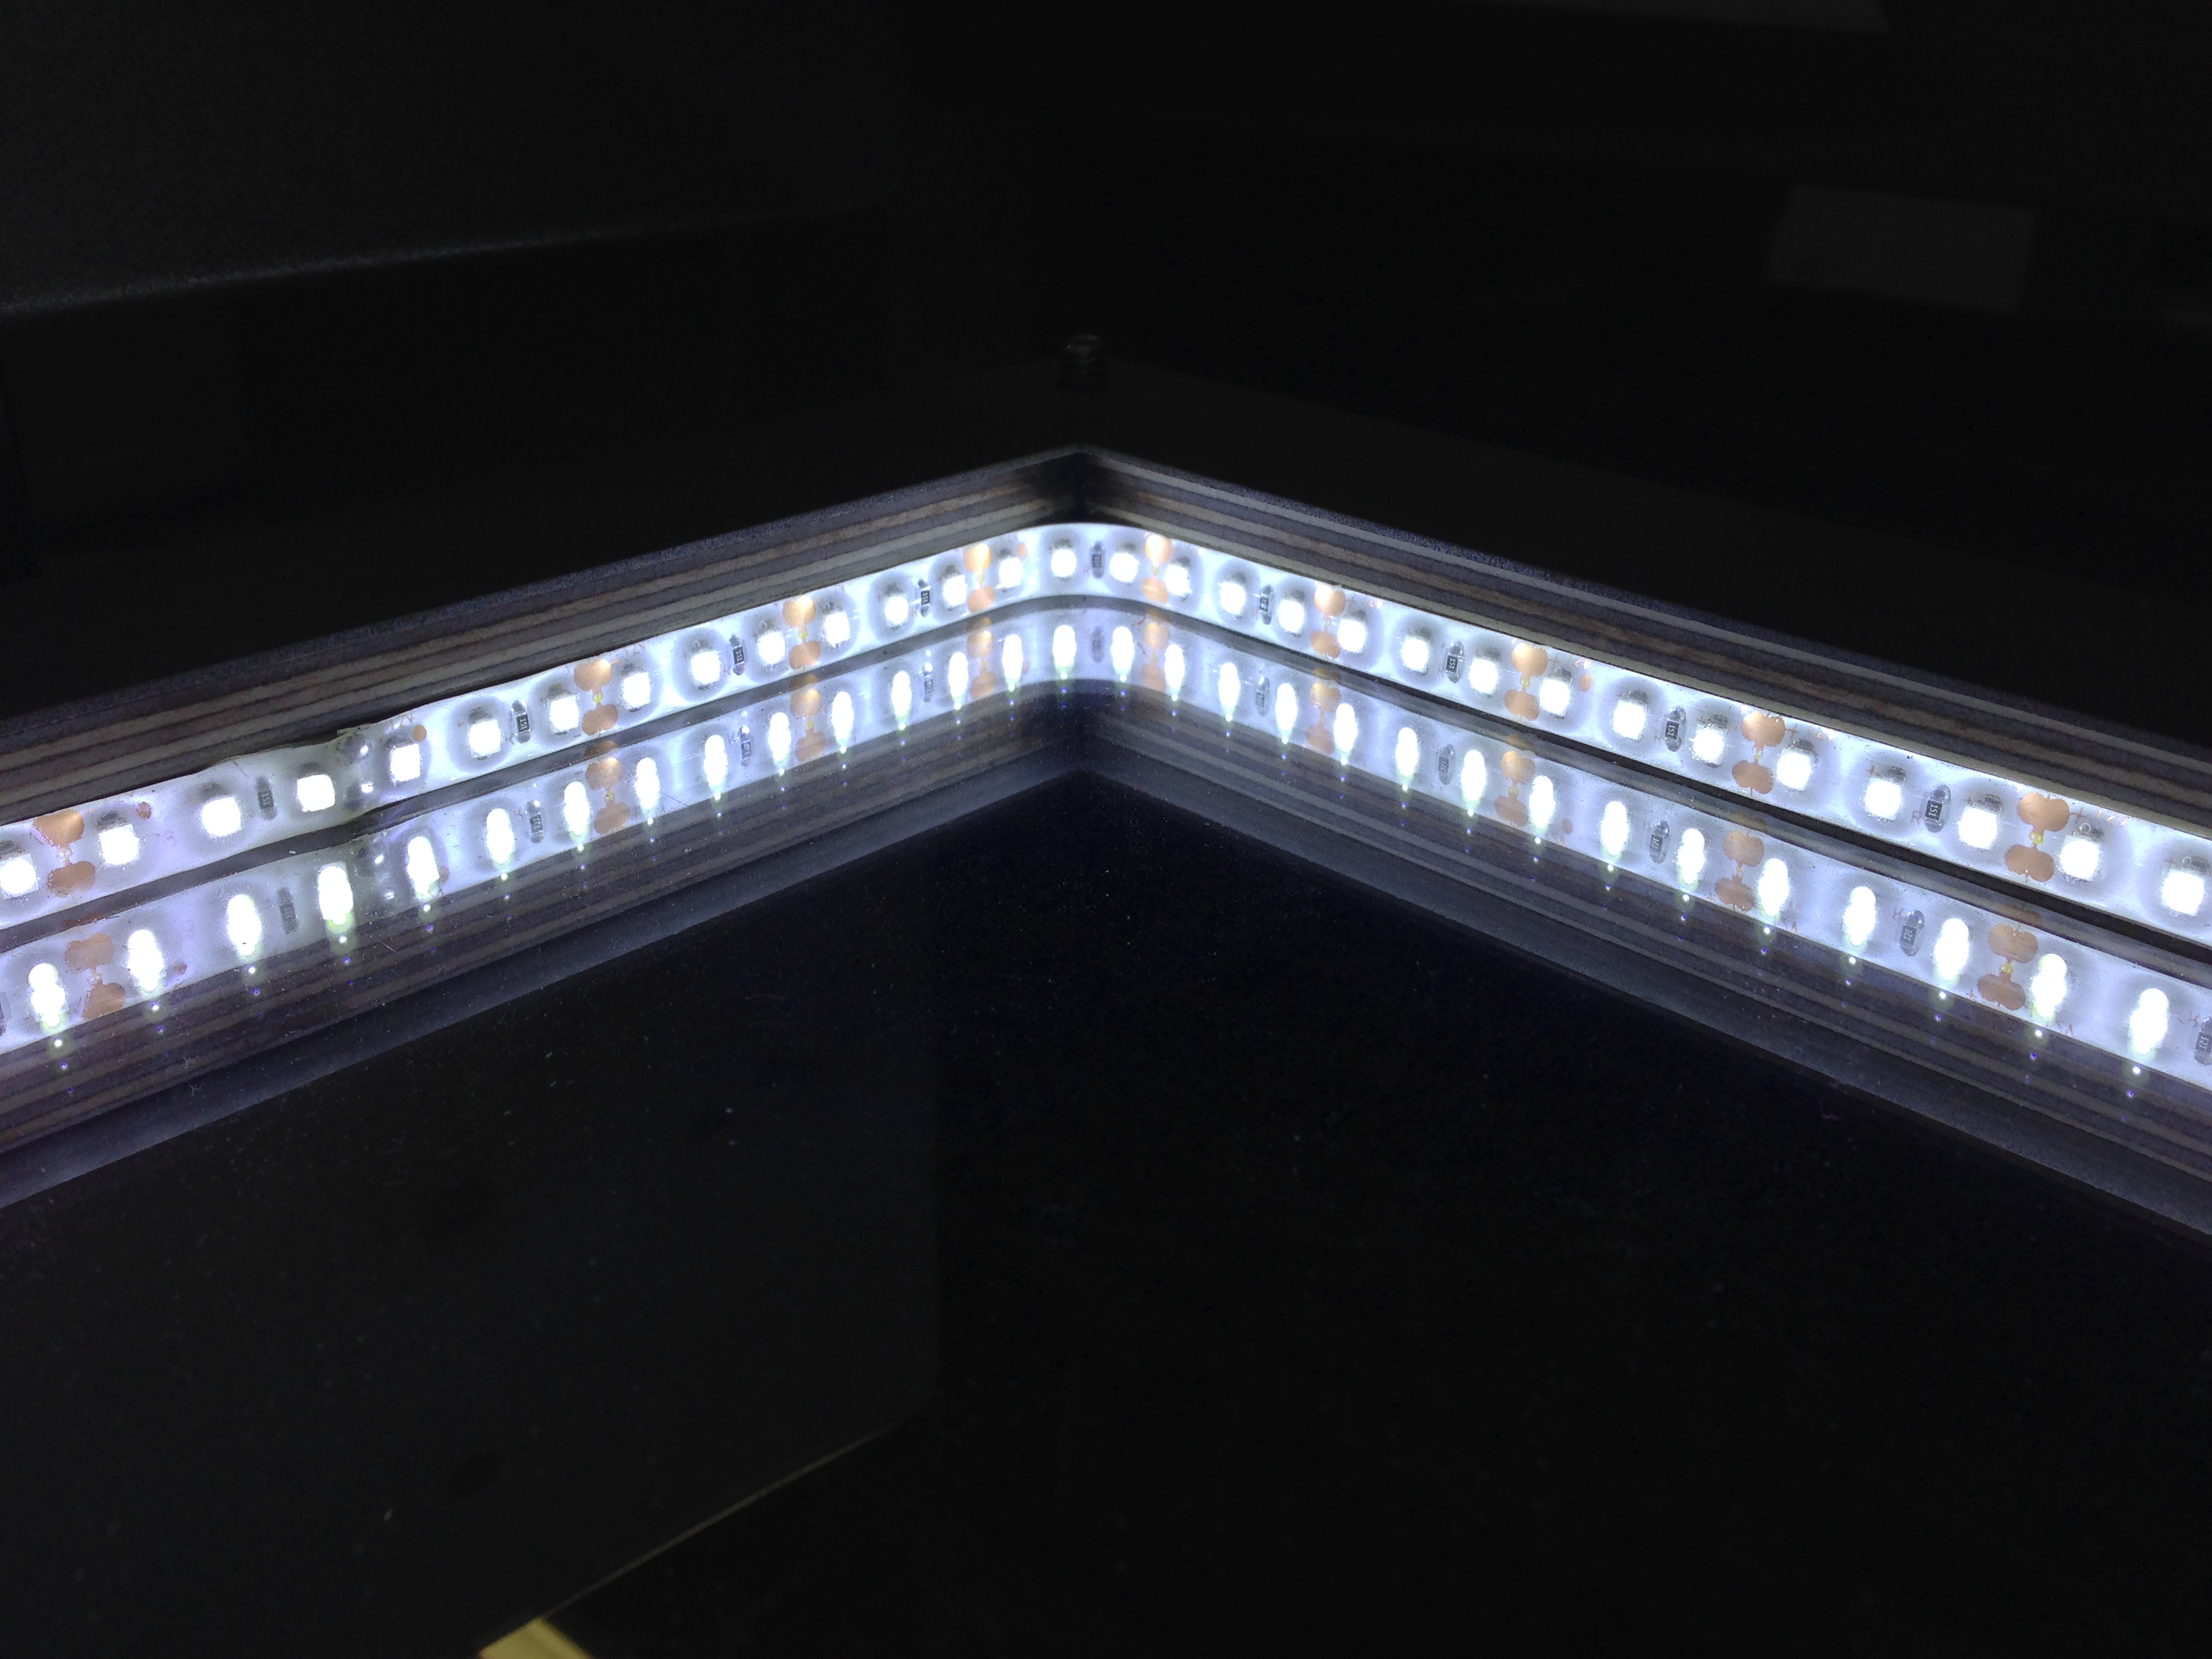
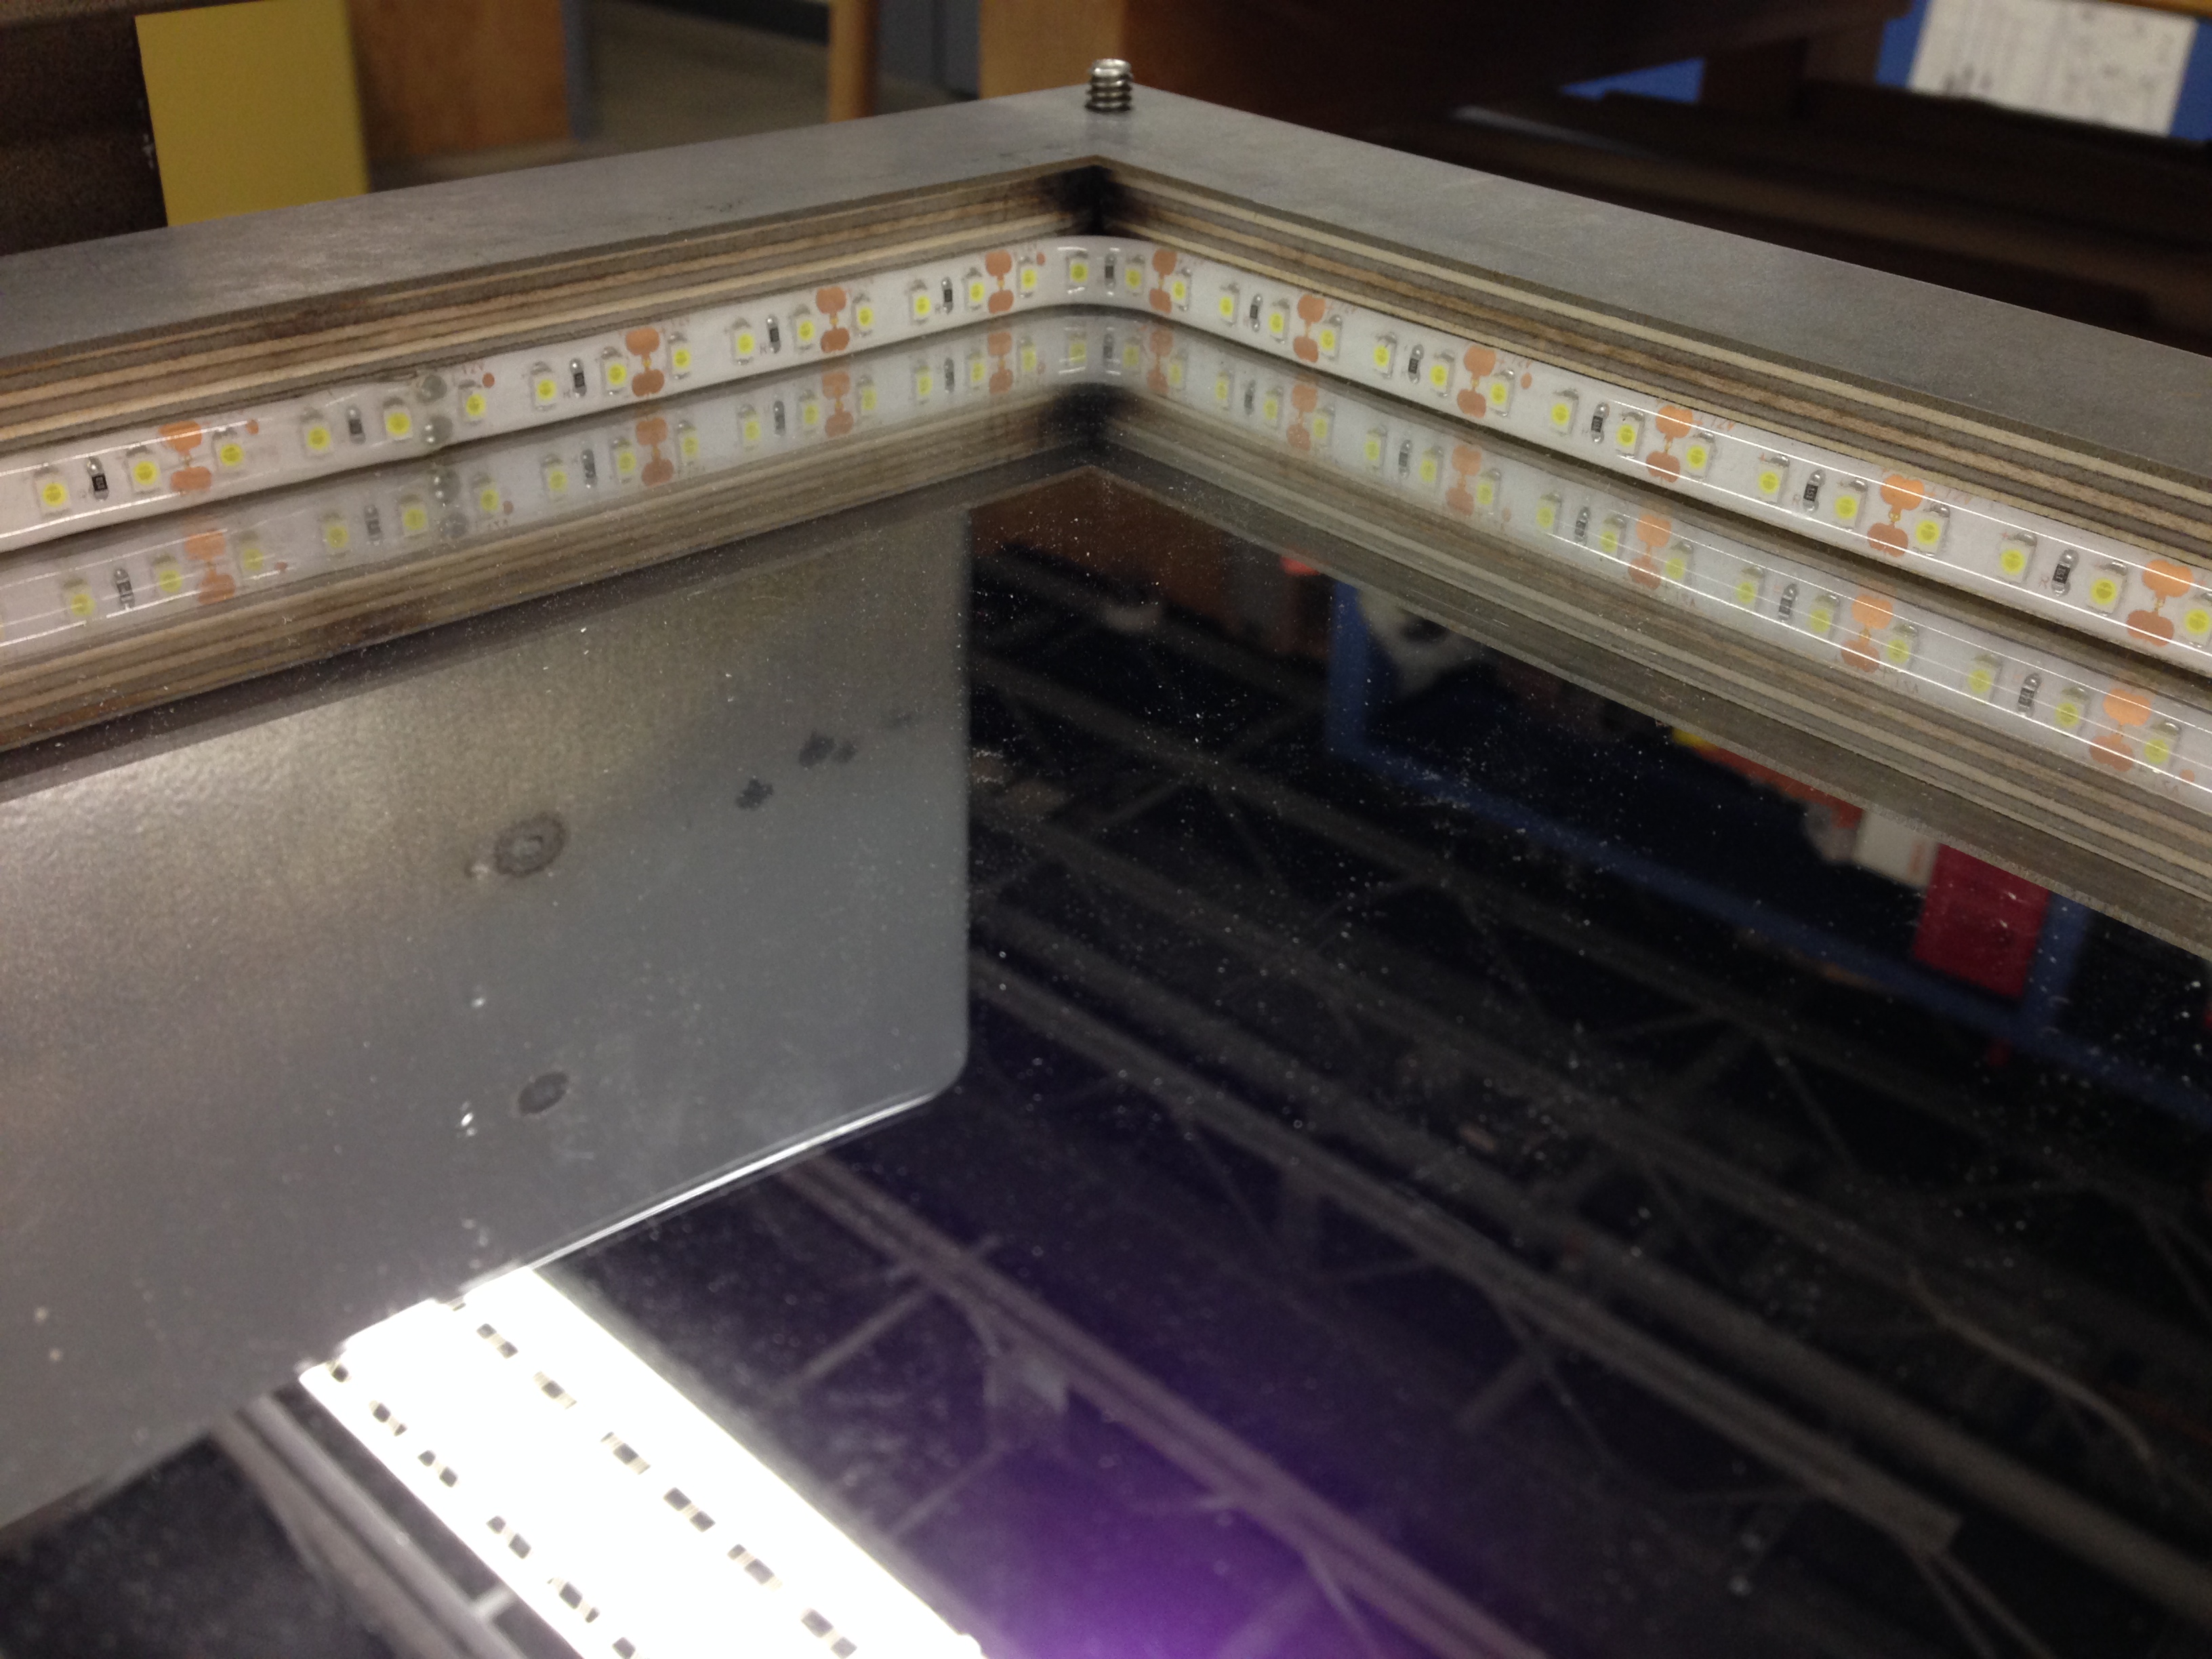
During assemblage, the final step was to add the LED lights. Each layer was slotted through a threaded metal rod to hold it in place. At the bottom, I placed the Power Converter for the lights and ran the cord through a hole in an interior wall. The LED lights are located in the middle to illuminate the map slides underneath the 3D printed topography. I used a mirrored Plexiglas surface on the bottom and diffuse Plexiglas at the top to create an even lighting.
All Lit Up
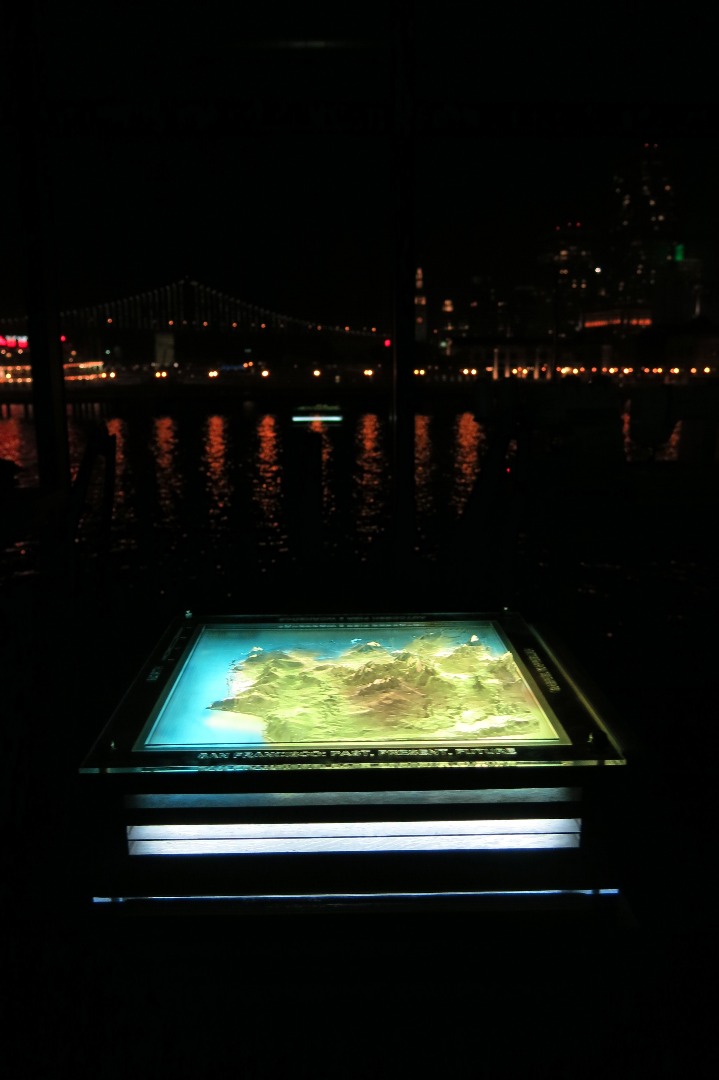
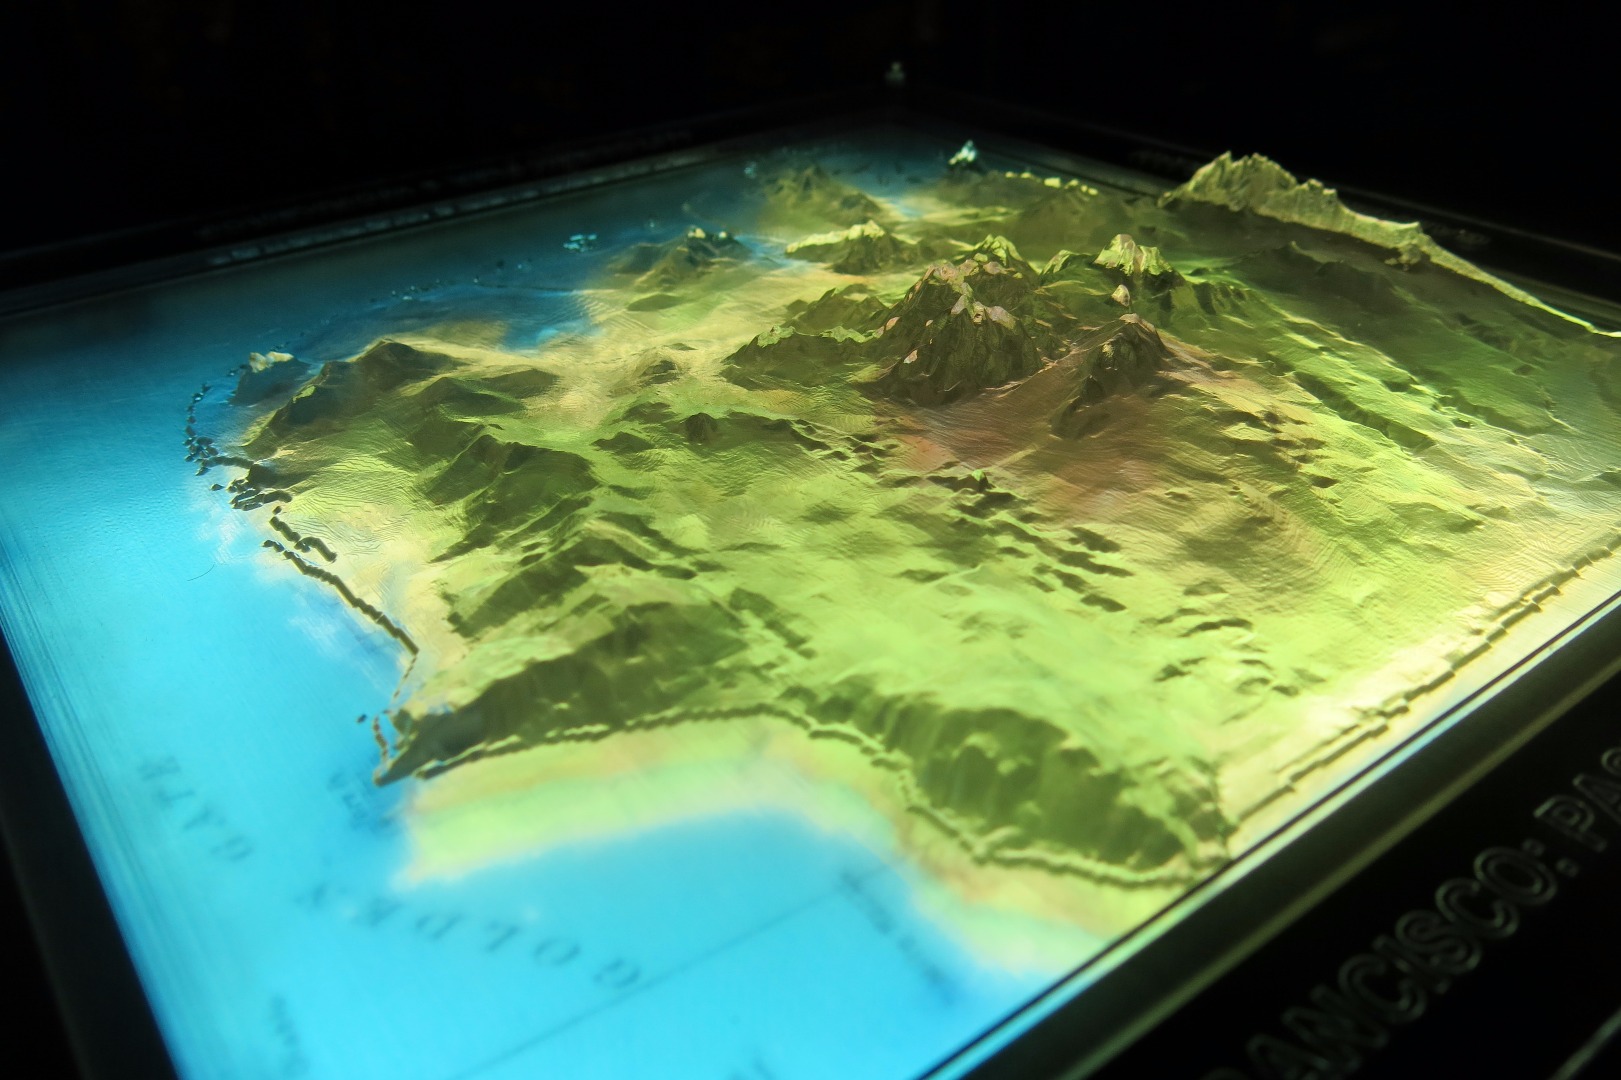
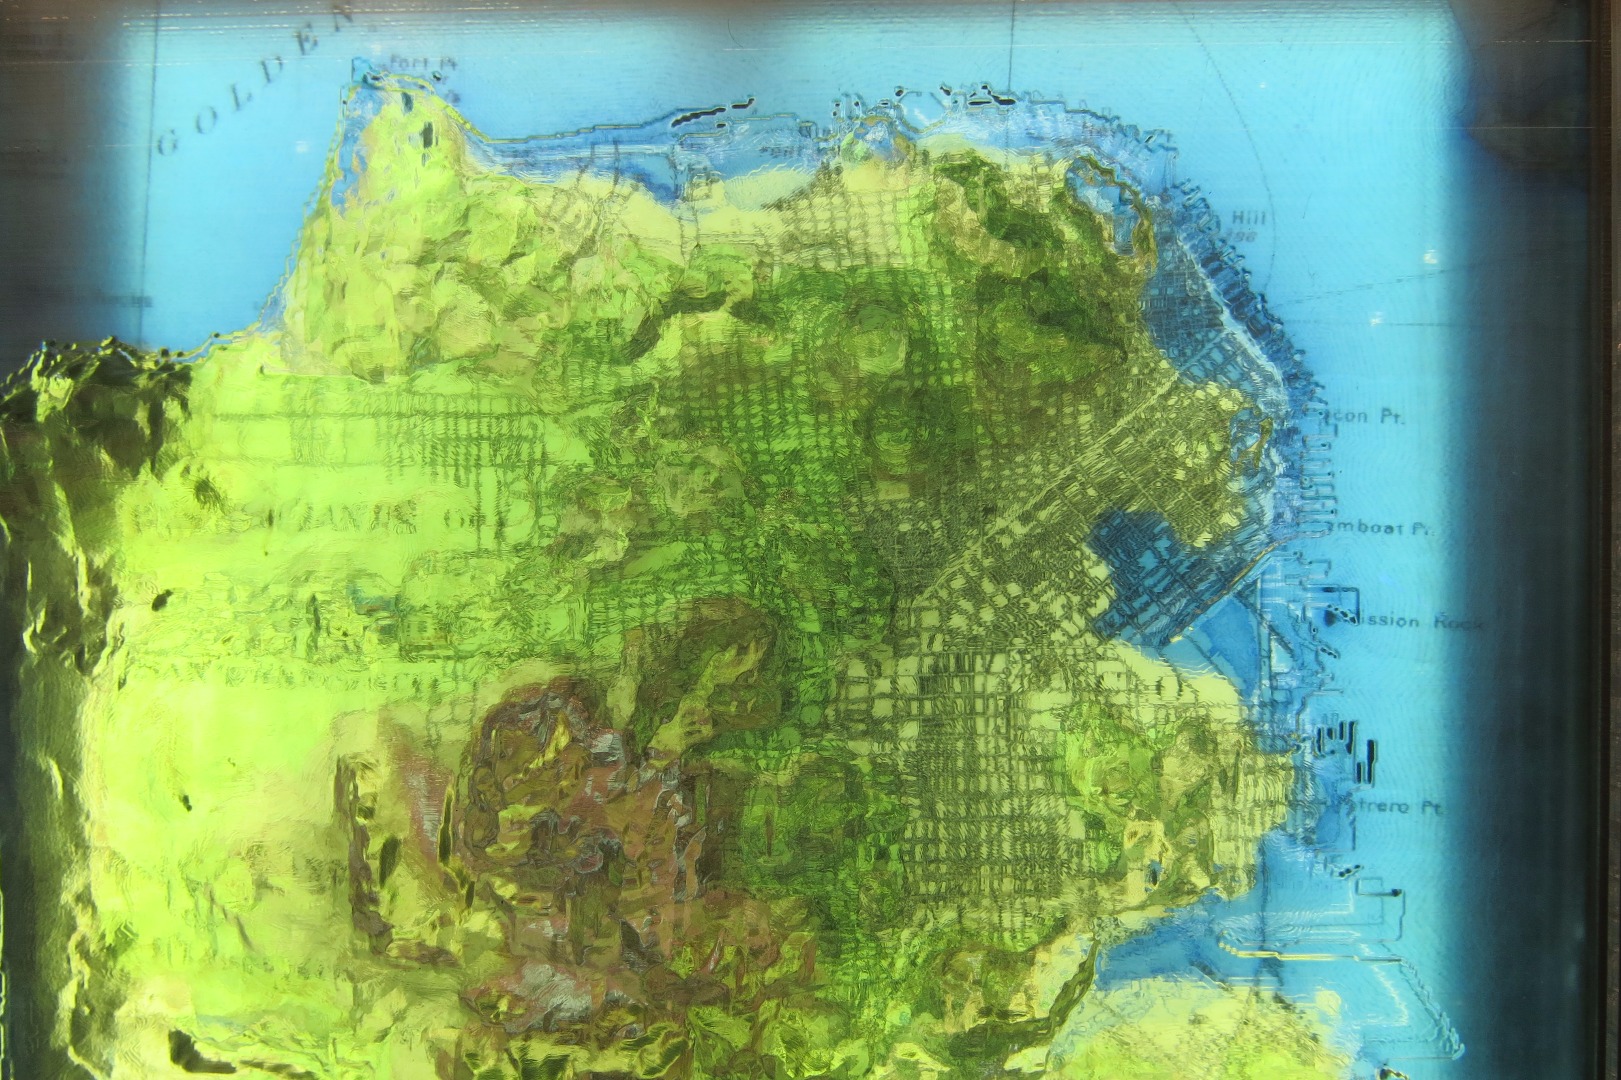
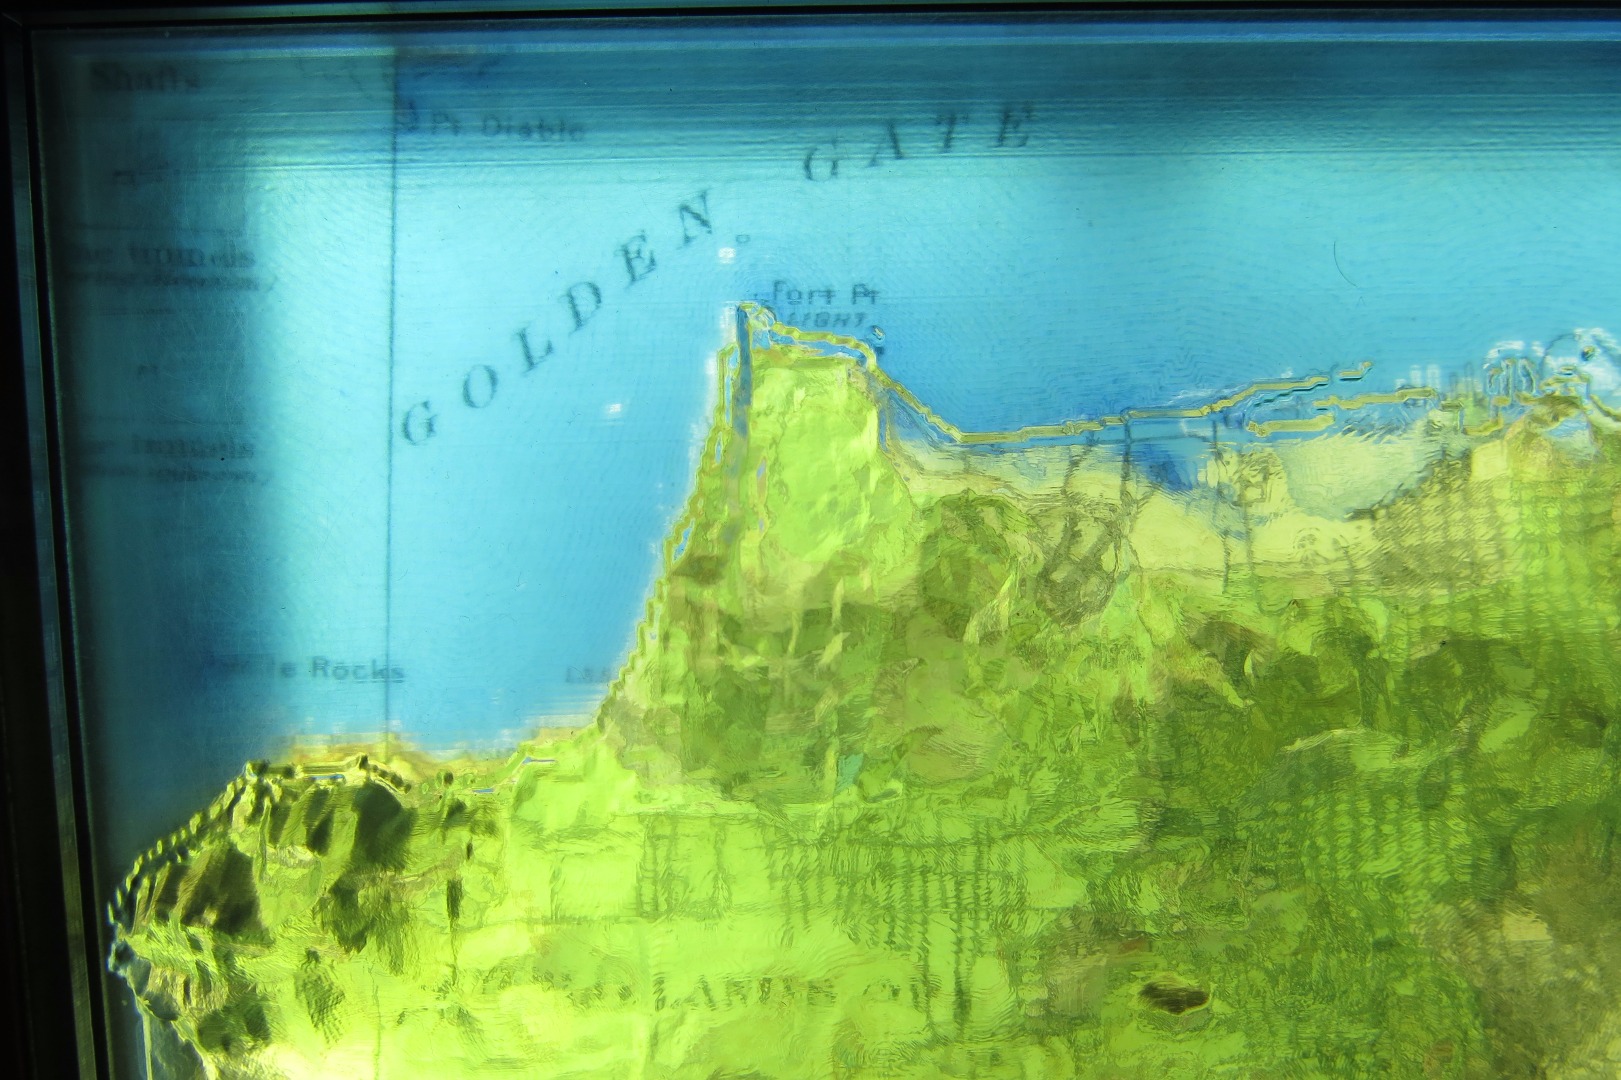
The 3D printed topography of San Francisco really comes alive at night when the maps below look as if they are being projected onto the surface. While tracing the coastline by hand, one could look out the window of Pier 9 to see the real city's waterfront lit up in all it's glory. Maps are great!