Salt Cellar
)
Tools/Machines
- Plunge router
- Guide Bushing
- 1/4" router bit
- 1/8" router bit
- 60 degree V-bit
- 1/8" round over bit
- Tablesaw
- Dado stack (or 'box joint cutter set')
- Box joint jig (commercial or homemade)
- Thicknesser (and preferably jointer, but if you buy S4S material, you can skip that)
- Sander
- Drill press
Supplies
- 1/8" brass
- Hardwood
Jigs
This is the type of project that is very easy to batch out, but if you're going to batch them out I'd strongly recommend making a few jigs - they might take a little bit of time to build, but the benefit is all the parts you use with those jigs will be either accurate, faster, safer, or all three. Even if you're making one, the jigs do speed up process and make it safer.
A good example is flush trimming proud joints - you can sand or pare those back, and for one box it isn't a big deal. However, flushing up 5 boxes? That starts to take some serious time commitment. Build an L fence, and trimming each side is then reduced to literally seconds.
Throughout this instructable, I will refer to and link to jigs, but I won't cover the building process. Luckily at least two have Instructables!
Stock Prep
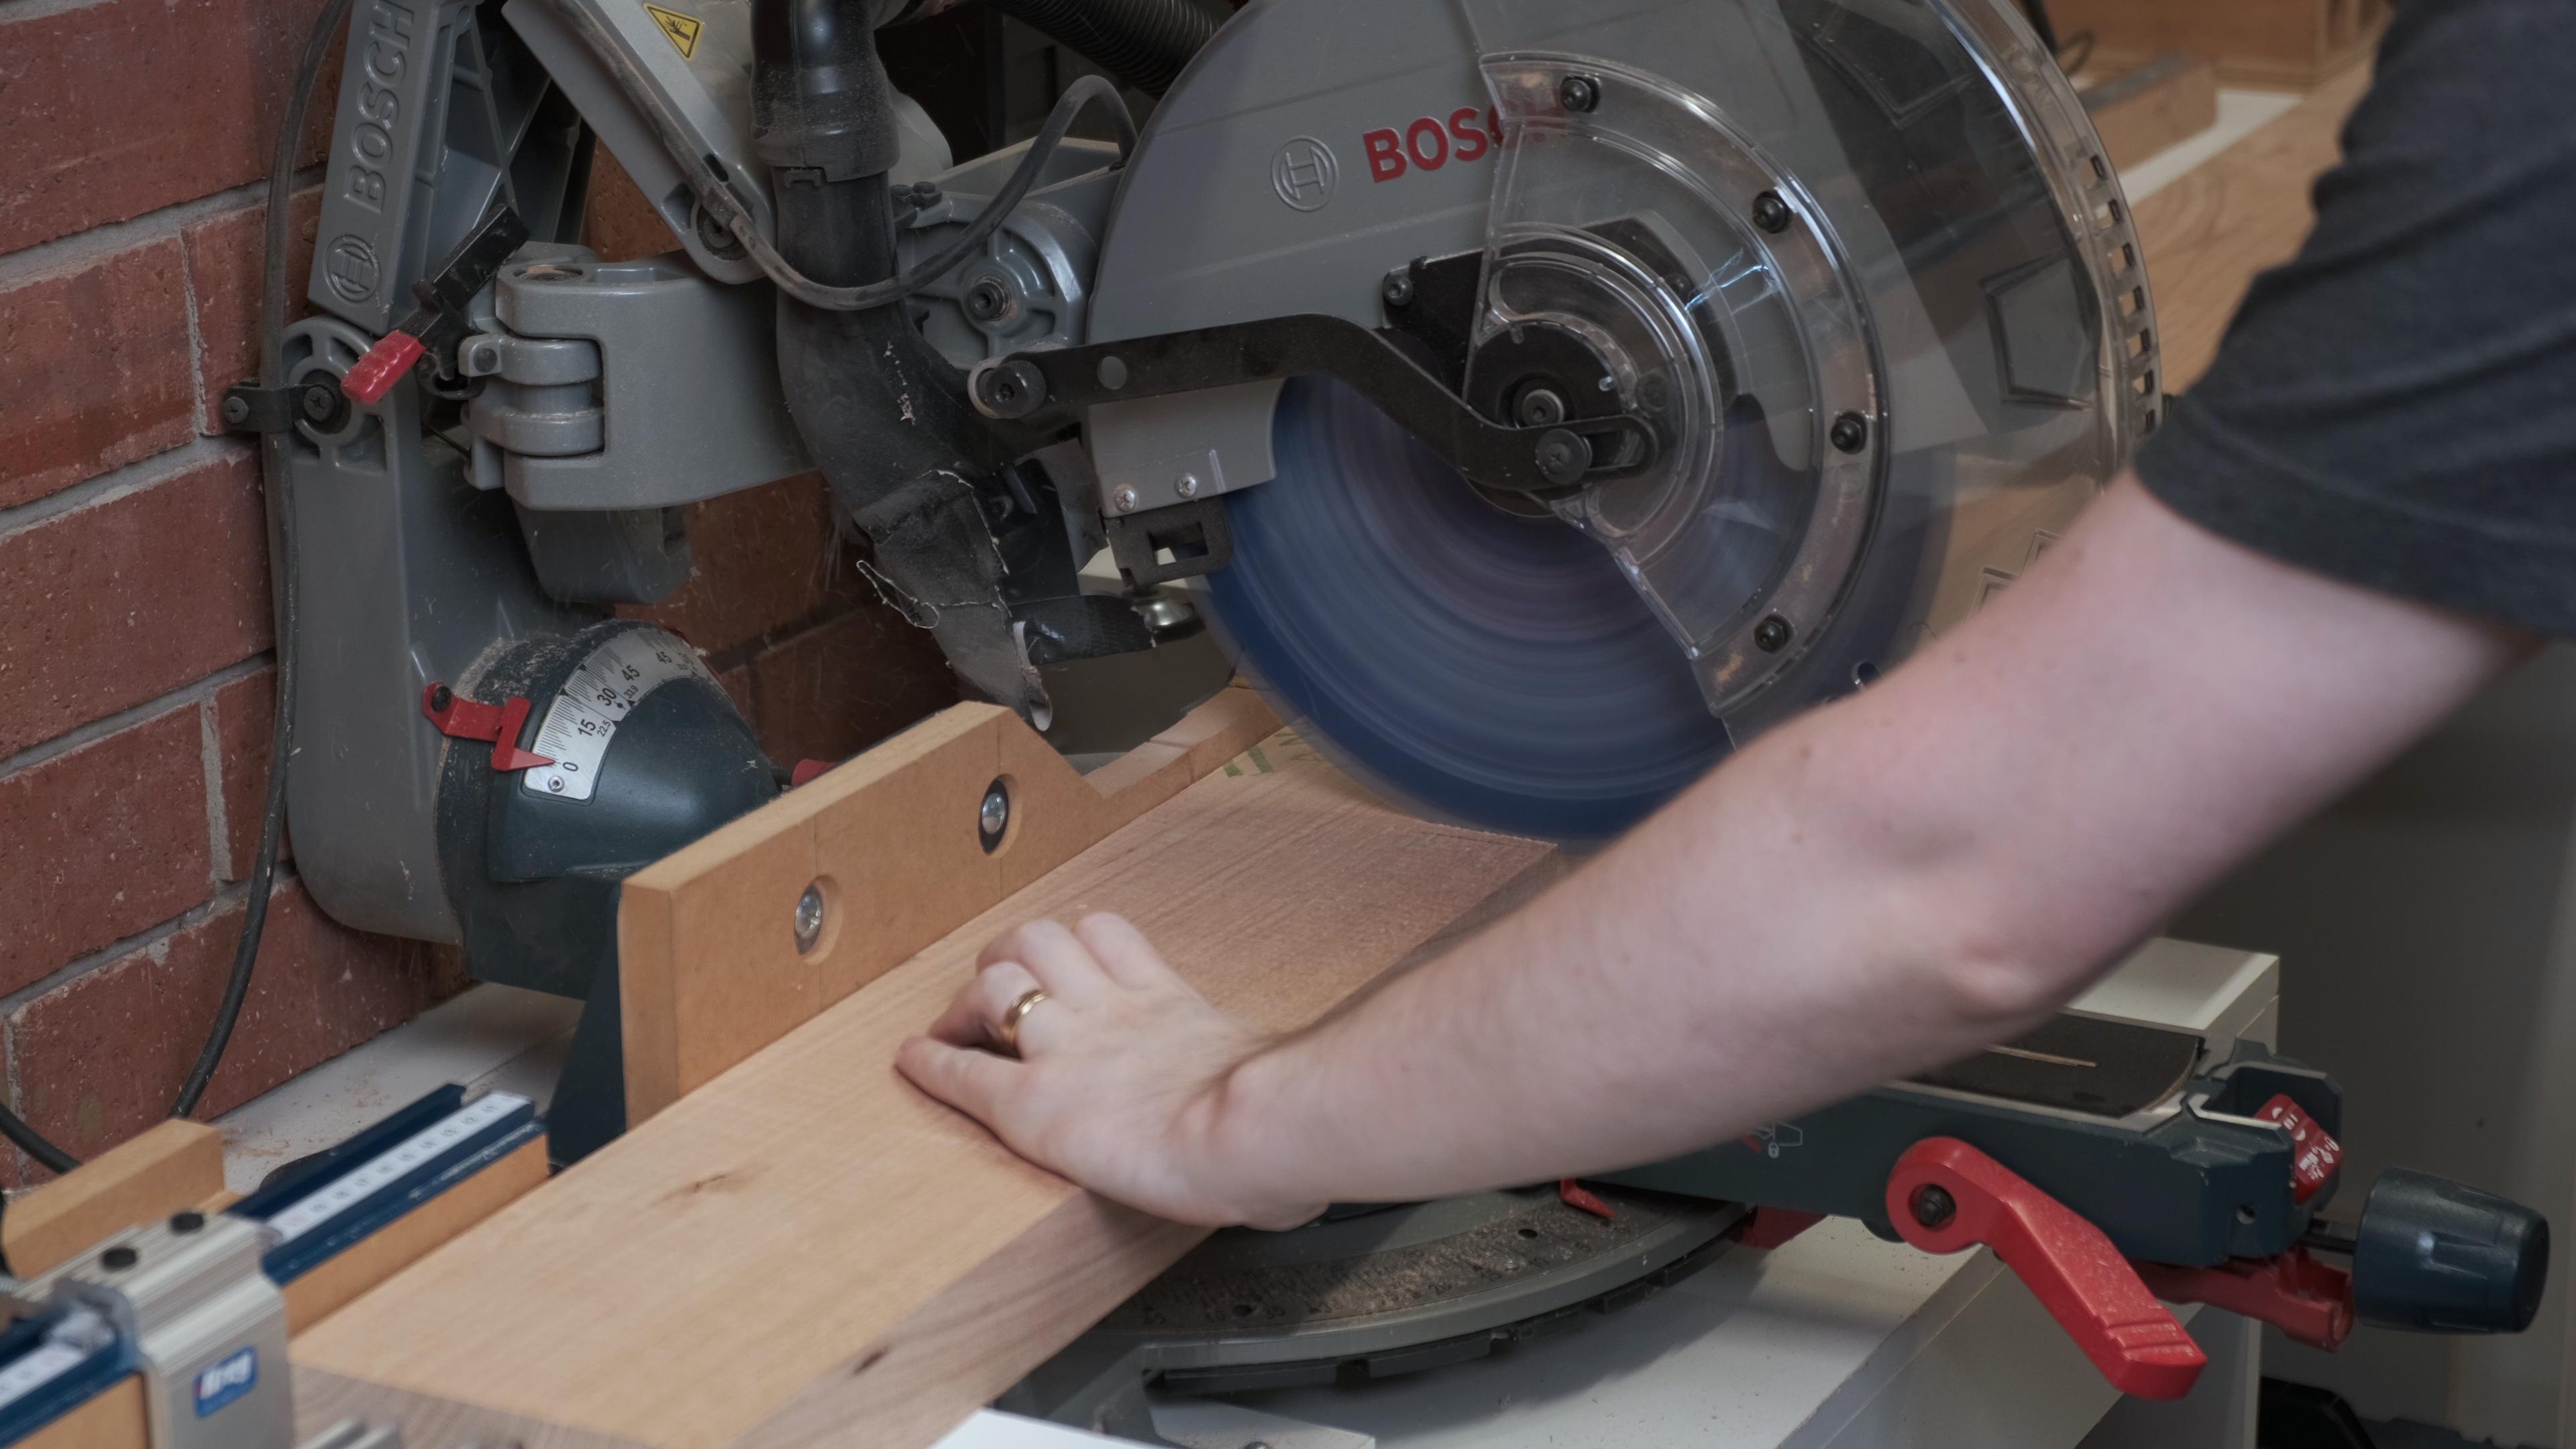


Reduce your stock to ~620mm long x 100mm wide per cellar - this will account for the box (front and back, plus two sides) and the lid, but not for the base.
Start by cutting the rough stock down to 620mm, then joint one side & face at the jointer, then running it through your thicknesser to make it S3S. Alternatively, if you buy dressed material, you may just need to rip and resaw.
At the table saw, rip to 100mm wide. This will be reduced further later.
Though there is resawing to do next, ending up with S3S at a minimum means you shouldn't need to go back to the jointer as all parts will still retain one edge and one face square with each other.
Resaw


Next up is resawing the stock down to slightly over 3/8" (9.5mm). I'm able to get 3 piece from my stock (140x45mm rough sawn), so between each pass I take the "waste" side over to the thicknesser, and clean up the freshly roughsawn face. This makes sure all parts maintain 1 square face/edge. Then I can repeat the resawing process.
After all parts have been resawn, take them all to the thicknesser to bring them down to as close to 3/8" (9.5mm) as possible. It's better to do more, shallower passes than to overshoot.
The joinery will also be 3/8" box joints, so the result will look cleaner if they're squares rather than rectangular.
As always, I'll recommend a 1/2" x 4tpi x 0.025" backer (0.6mm) bimetal blade on 14" or smaller bandsaws.
The reasoning is...
- 0.025" backer makes a huge difference with tensioning on smaller bandsaws like mine,
- bimetal lasts so much longer than carbon steel blades for little increase in price
- 1/2" blades will resaw just fine on small saws, but larger blades can be too difficult to tension and get tracking correctly.
Dimensioning

Crosscut off a 115mm long section to use for the lid. This should remain 100mm wide for now.
Rip cut the remaining sections down to 85.5mm width.
Once the width and thickness is taken care of, the parts can be crosscut to width at the table saw.
The finished parts should end up 85.5mm (3.375") wide, 9.5mm (3/8") thick, with two parts (front/pack) 135mm long, and two parts (sides) 108mm long.
The width probably seems a pretty oddball choice - it works out as 9 * 3/8" so that the 3/8" box joints, so that "full joints"
Joinery
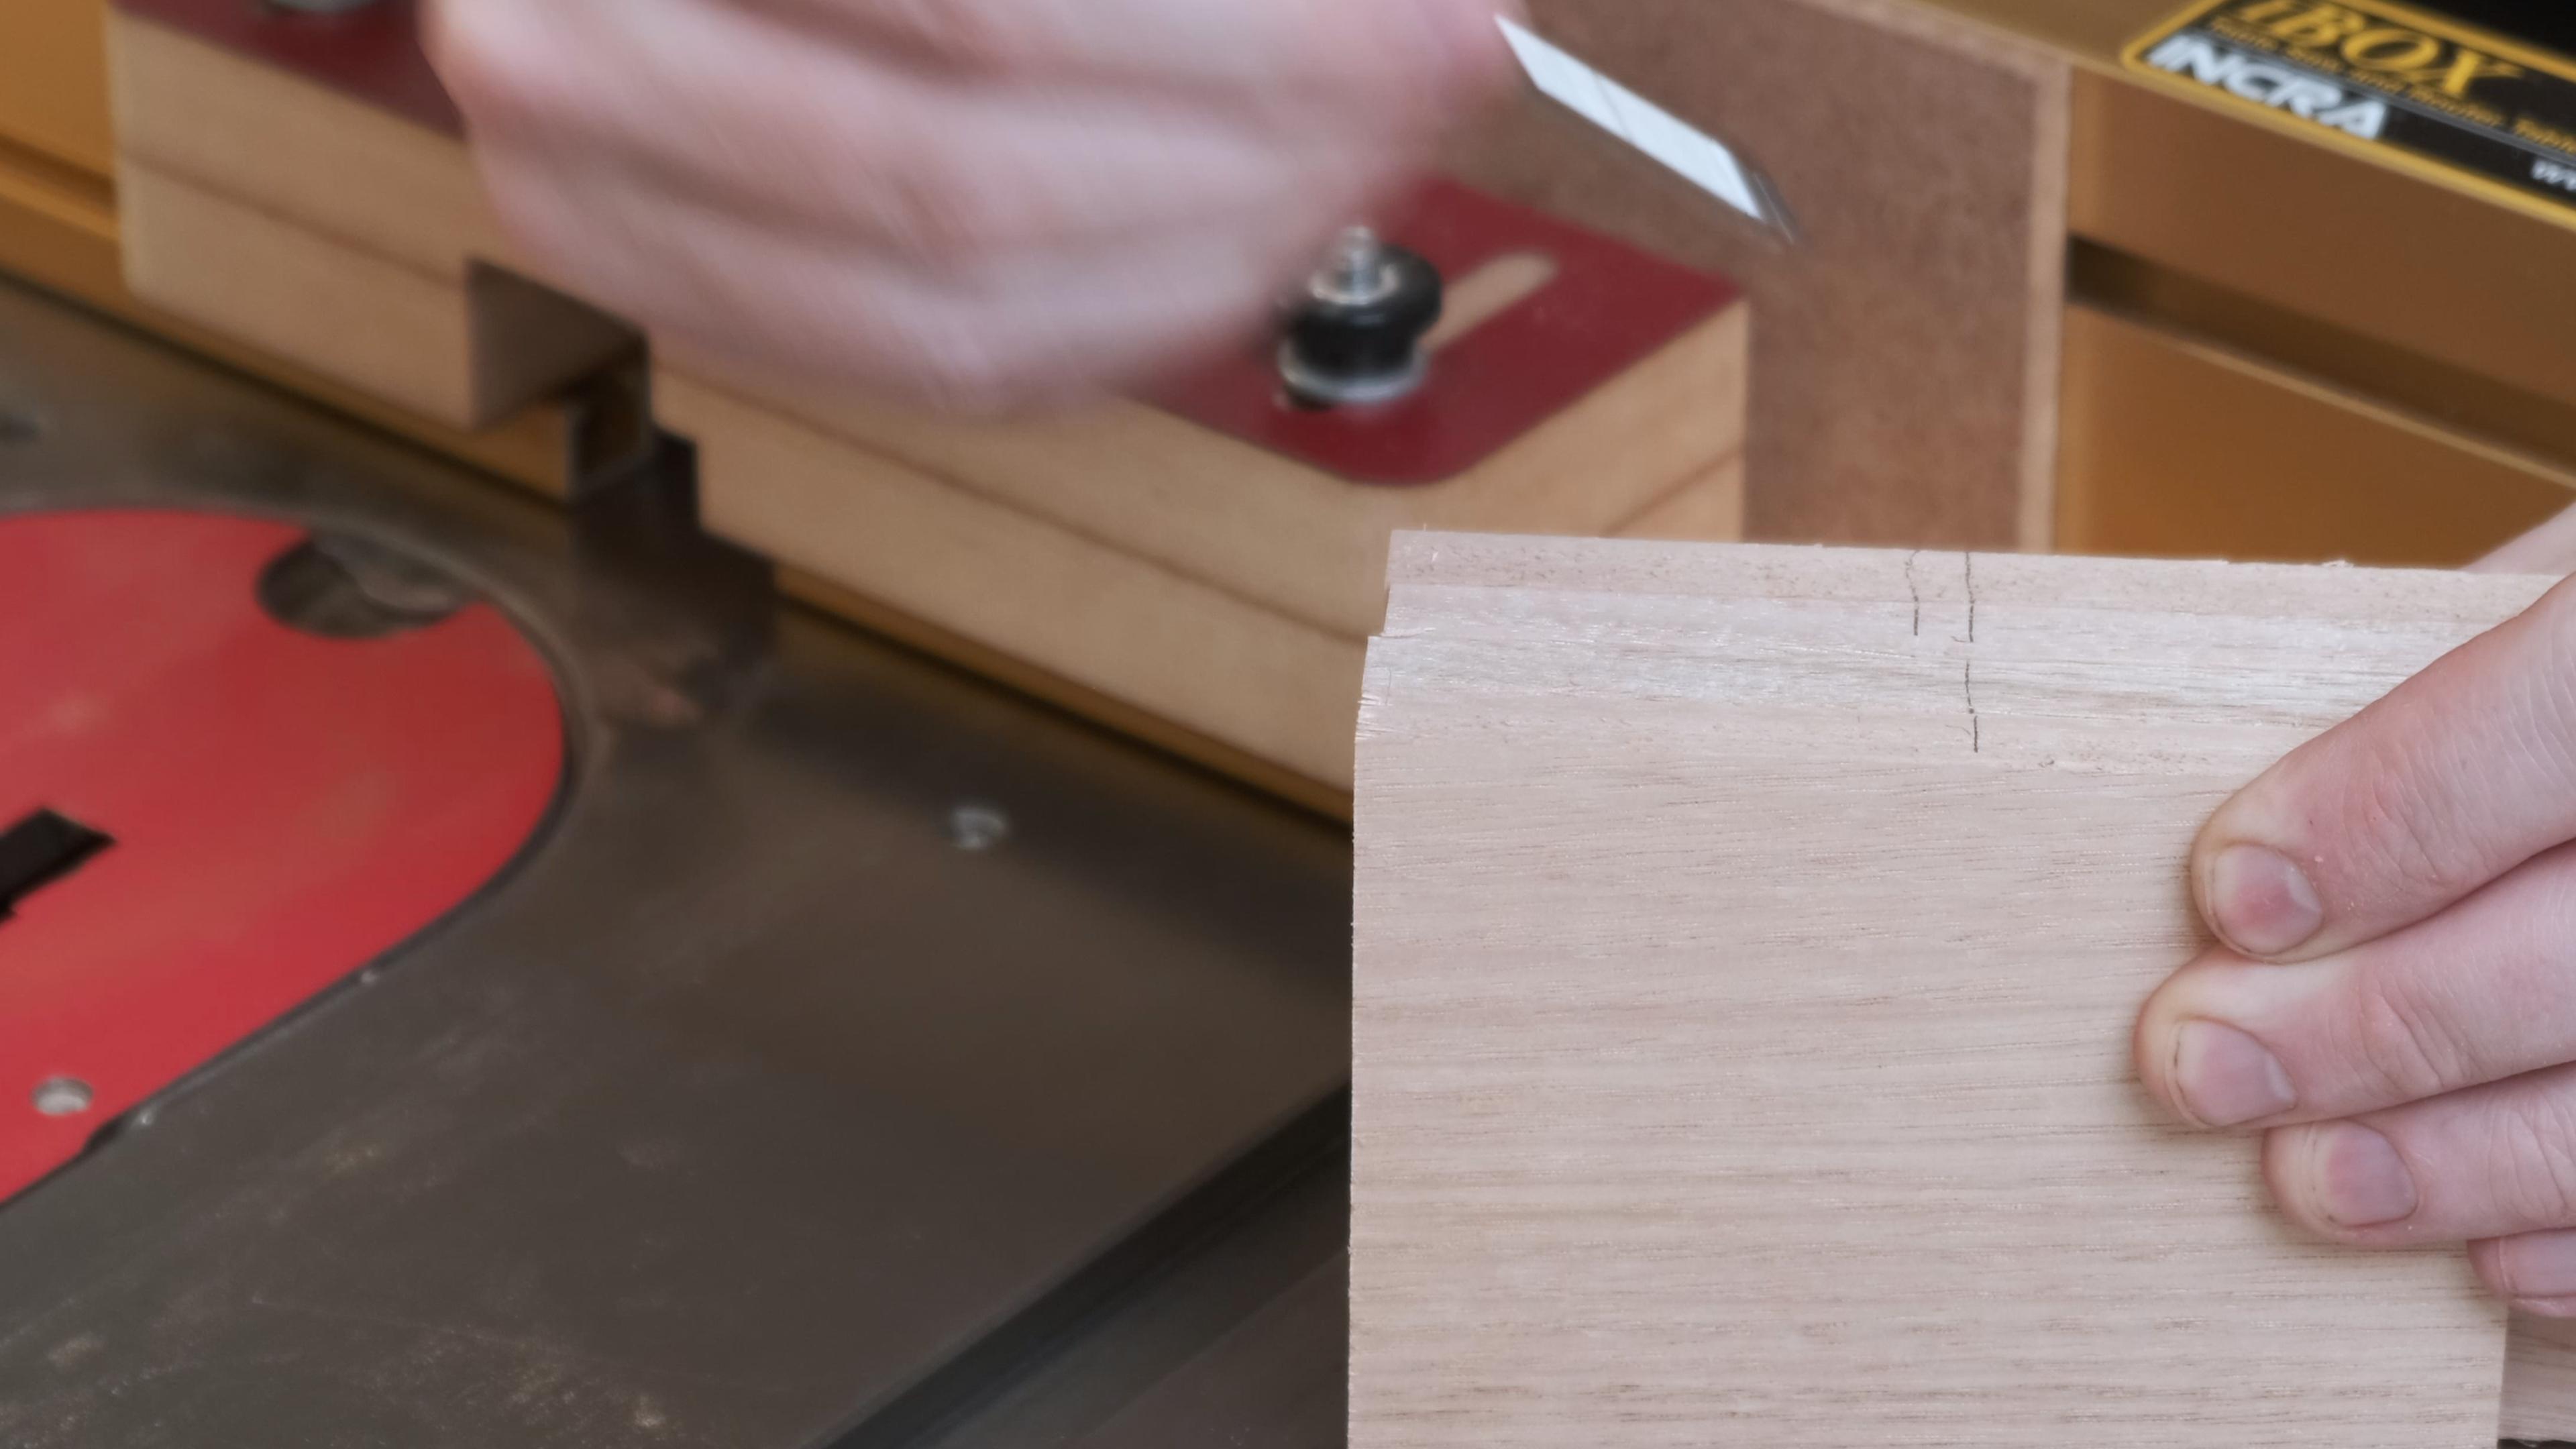
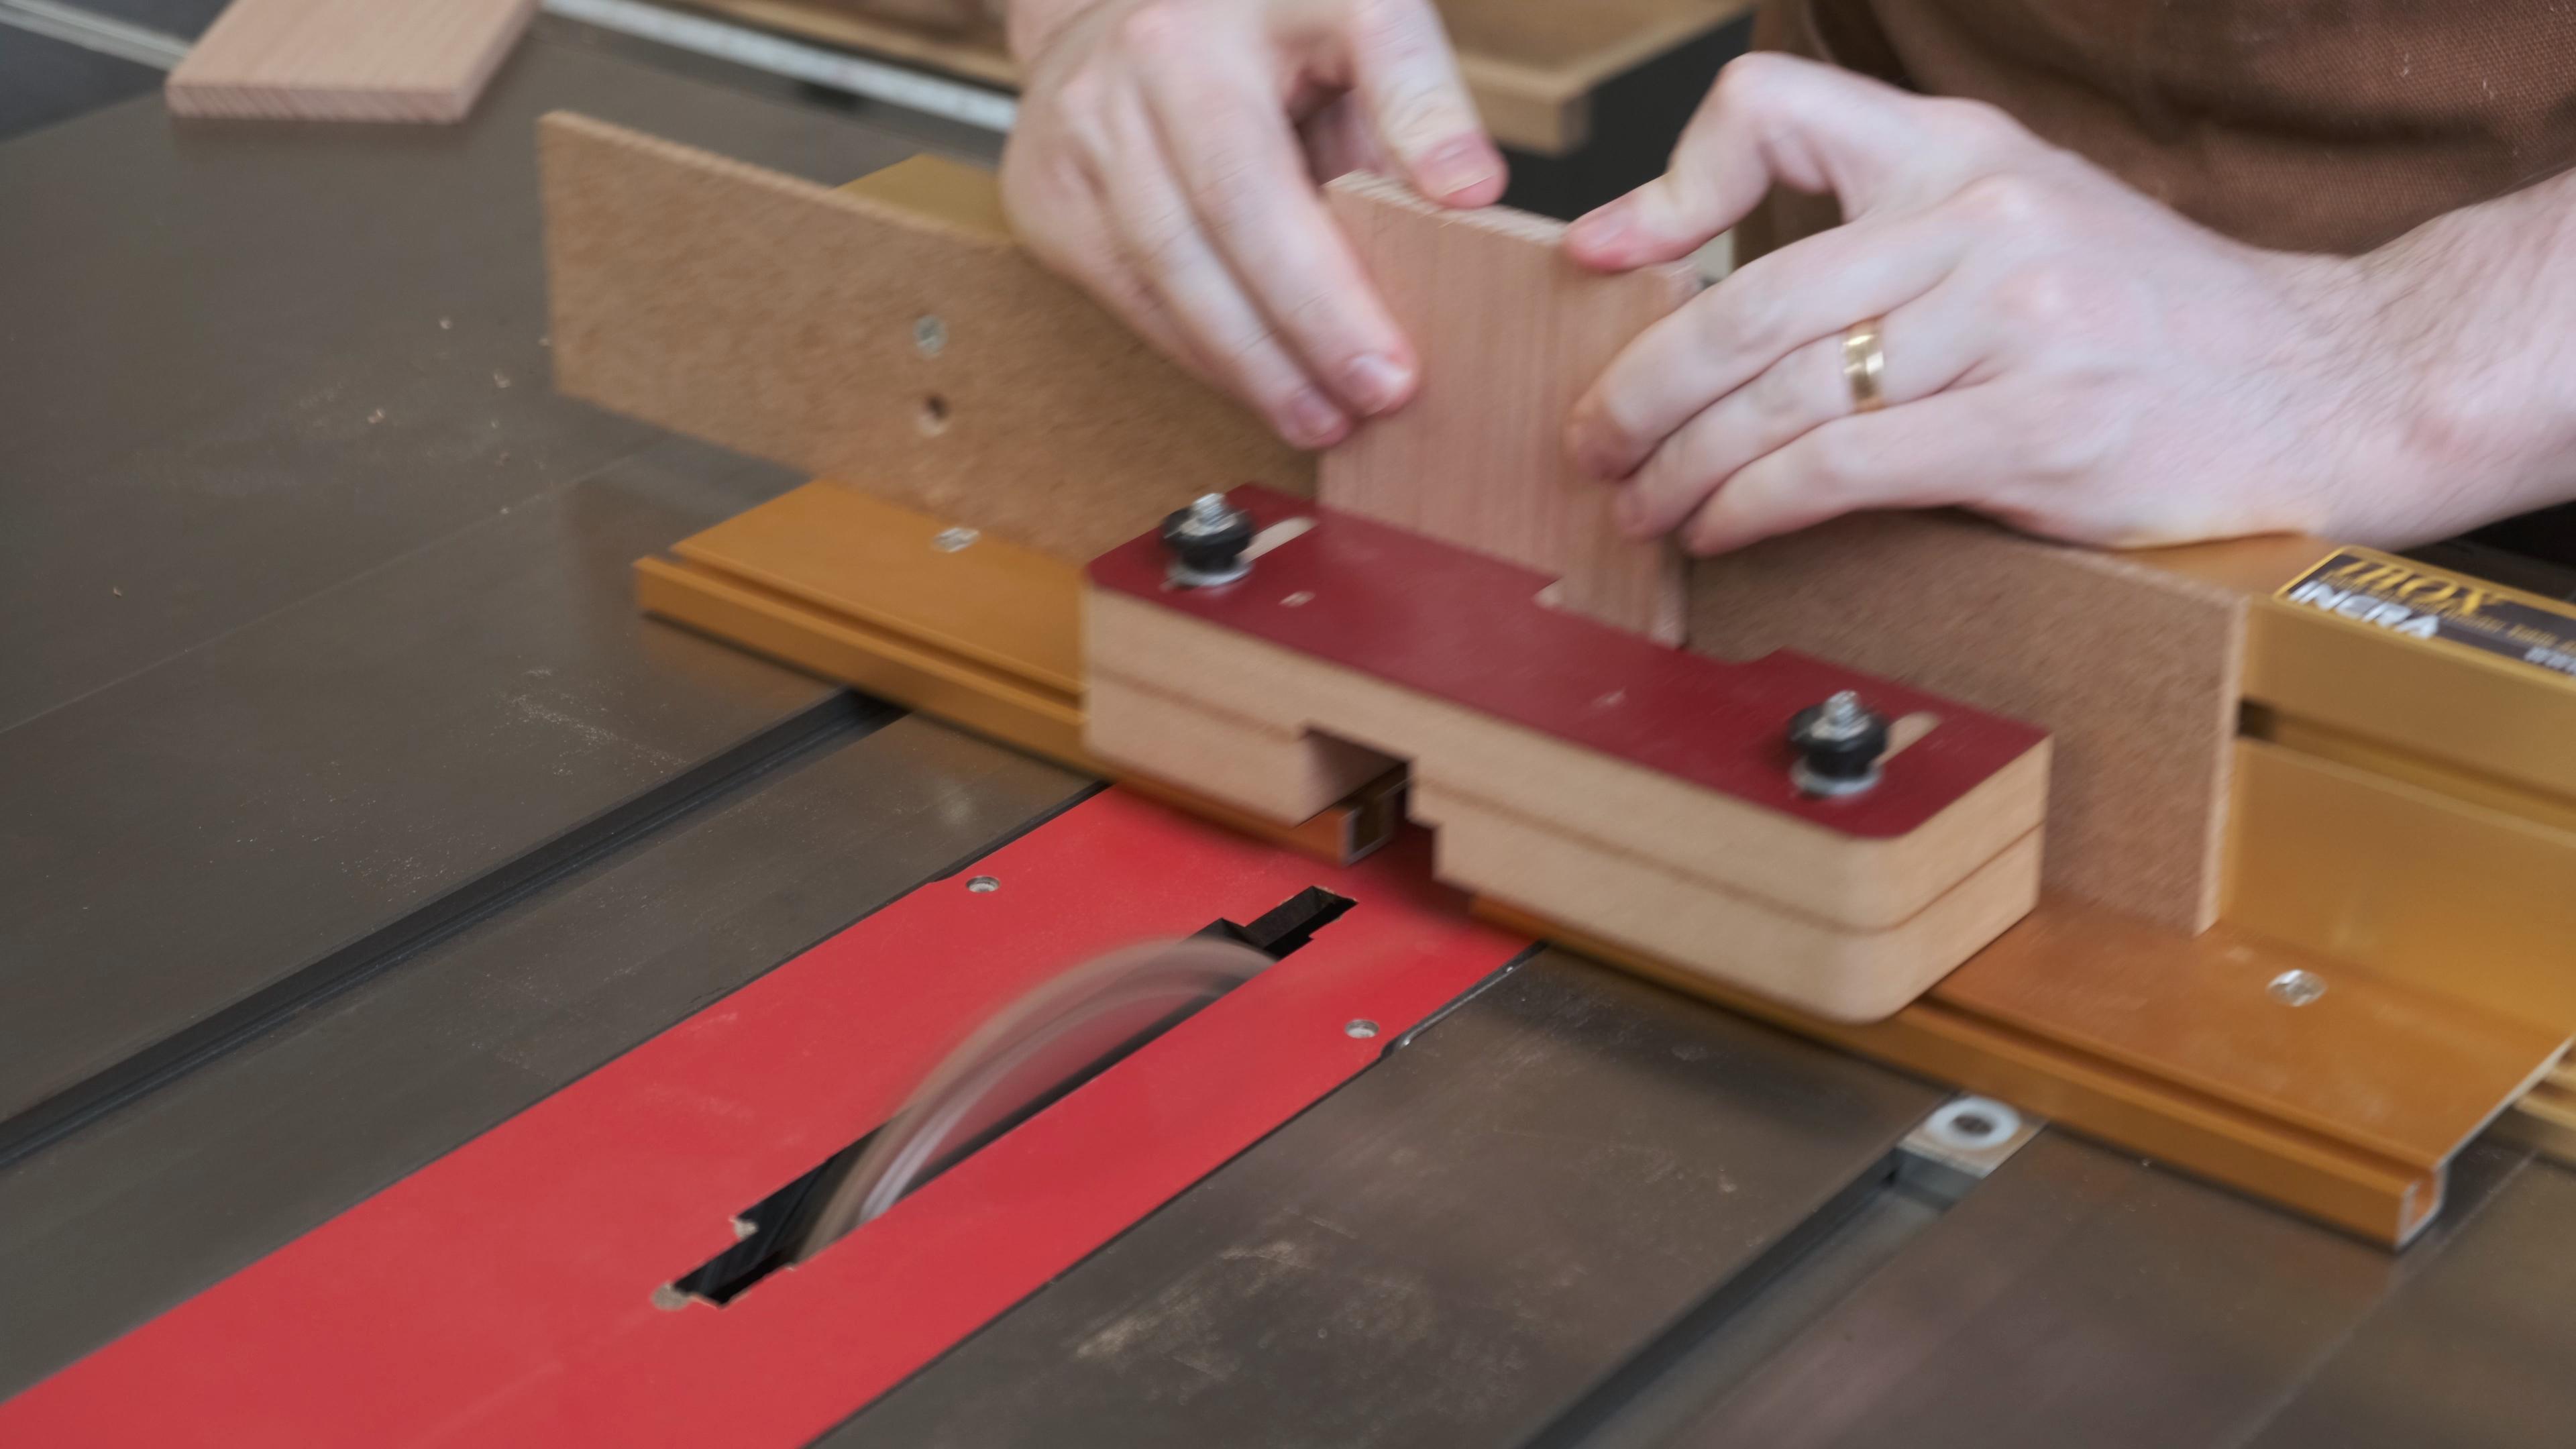

There are a lot of ways to make box joints, so I won't recap all the different tools/jigs possible, rather just go over what I used.
I use a "box joint cutter set", which is a fancy way to say a reversible, two blade dado stack. Depending on whether you put blade A on the left or right will determine whether the dado is 1/4" or 3/8".
To match the thickness of the stock, I went with the 3/8" configuration.
I use Incra's IBox as my jig. While the Incra's I-Box is pricey, and it isn't the fastest jig on the market (it is difficult to do gang cuts with it), the micro-adjustability and repeatability make it a great choice for small boxes. It works on both a router table and table saws (using a dado stack). If you do have an ibox, I high recommend watching Incra's setup tutorial on it - it is a very dry, but effective learning tool.
I have my jig dialled in so that it cuts a box joint with a 0.02mm/0.0007" narrower finger than the spacing. You may not want the finger and spacing to be perfectly exact otherwise they can get very difficult to assemble and run the risk of cracking/splitting during assembly.
Ideally, you want the box joints to be a hair proud of the material - 1mm/1/16th or so over - its better to have to clean up that material later than it is to have gaps or joints that are sunken.
Remember: Test on scrap wood, lest you scrap your project.
Bases
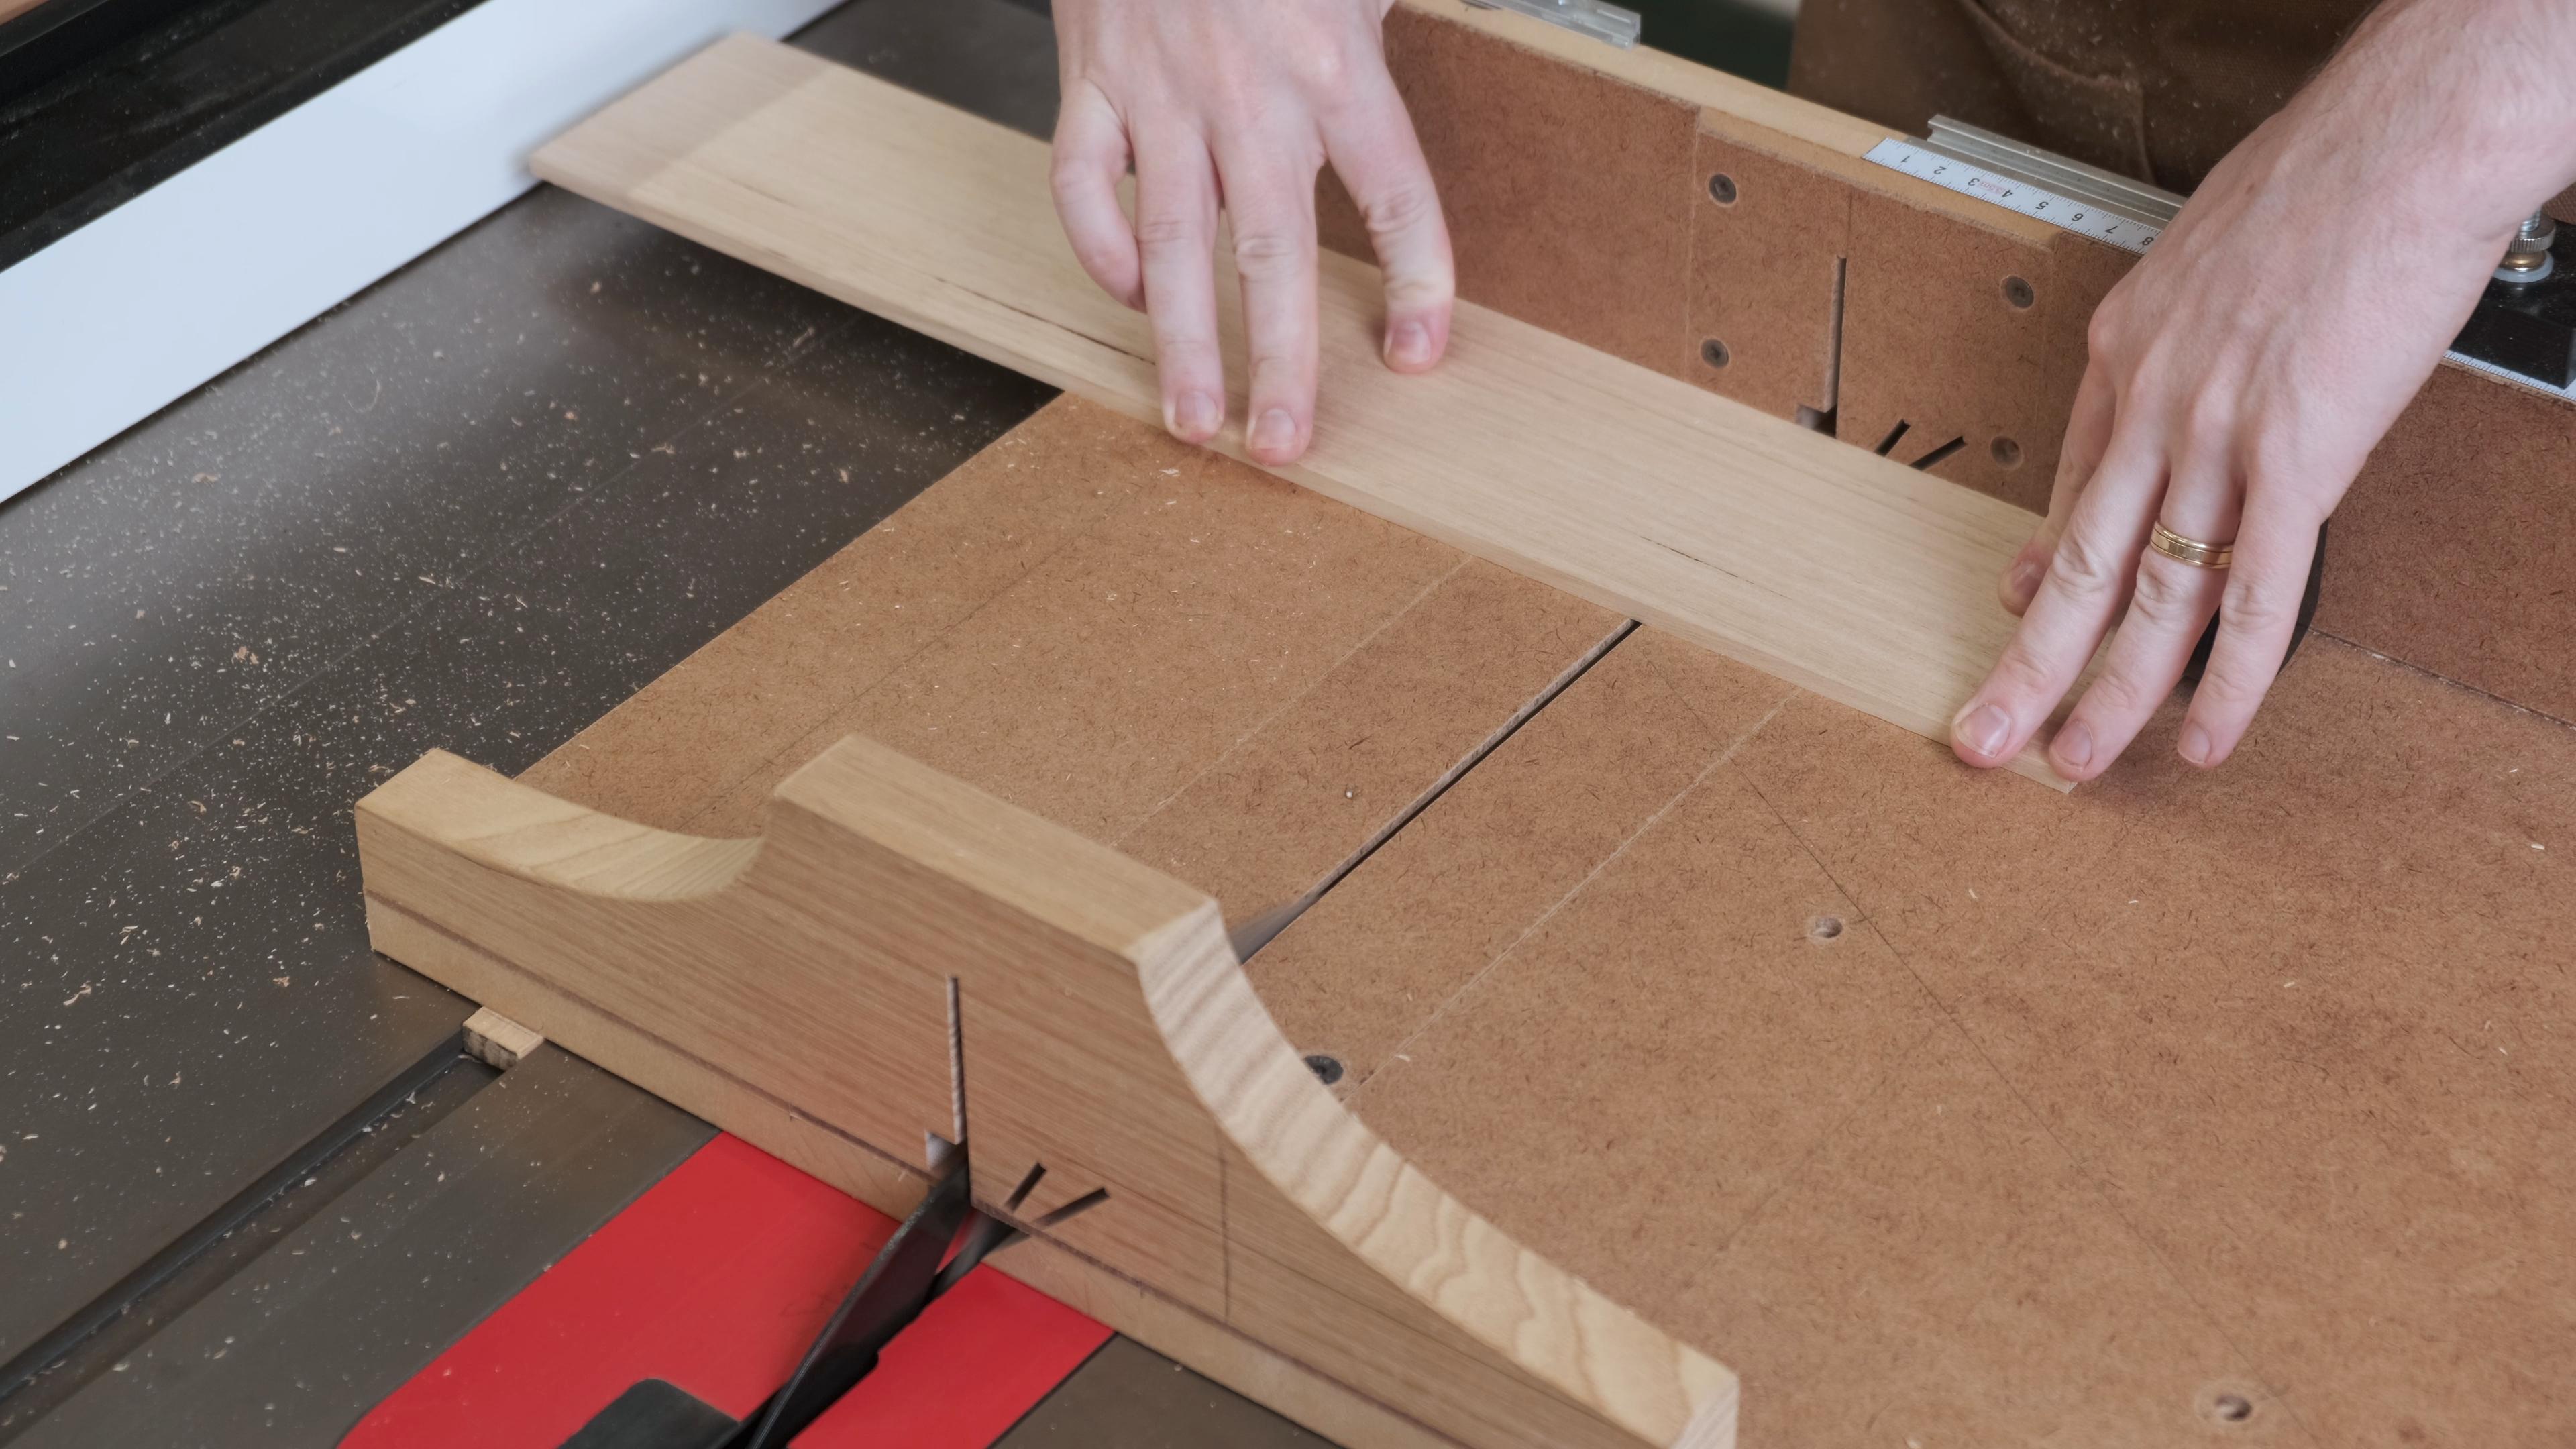

I was able to get my bases from some of the random offcuts laying around my workshop, but if that isn't something you just happen to have laying around, repeat the first milling and resawing steps to end up with the bases - aim for about 6.35mm/1/4" thick, 120mm long, and 95mm wide.
I say "about", because the bases will need to be fitted to the grooves cut in the box, so the exact sizes may need some fine tuning. The thickness should match or be slightly thinner than the router bit used to cut the groove - in my case, 1/4".
Routing for Base

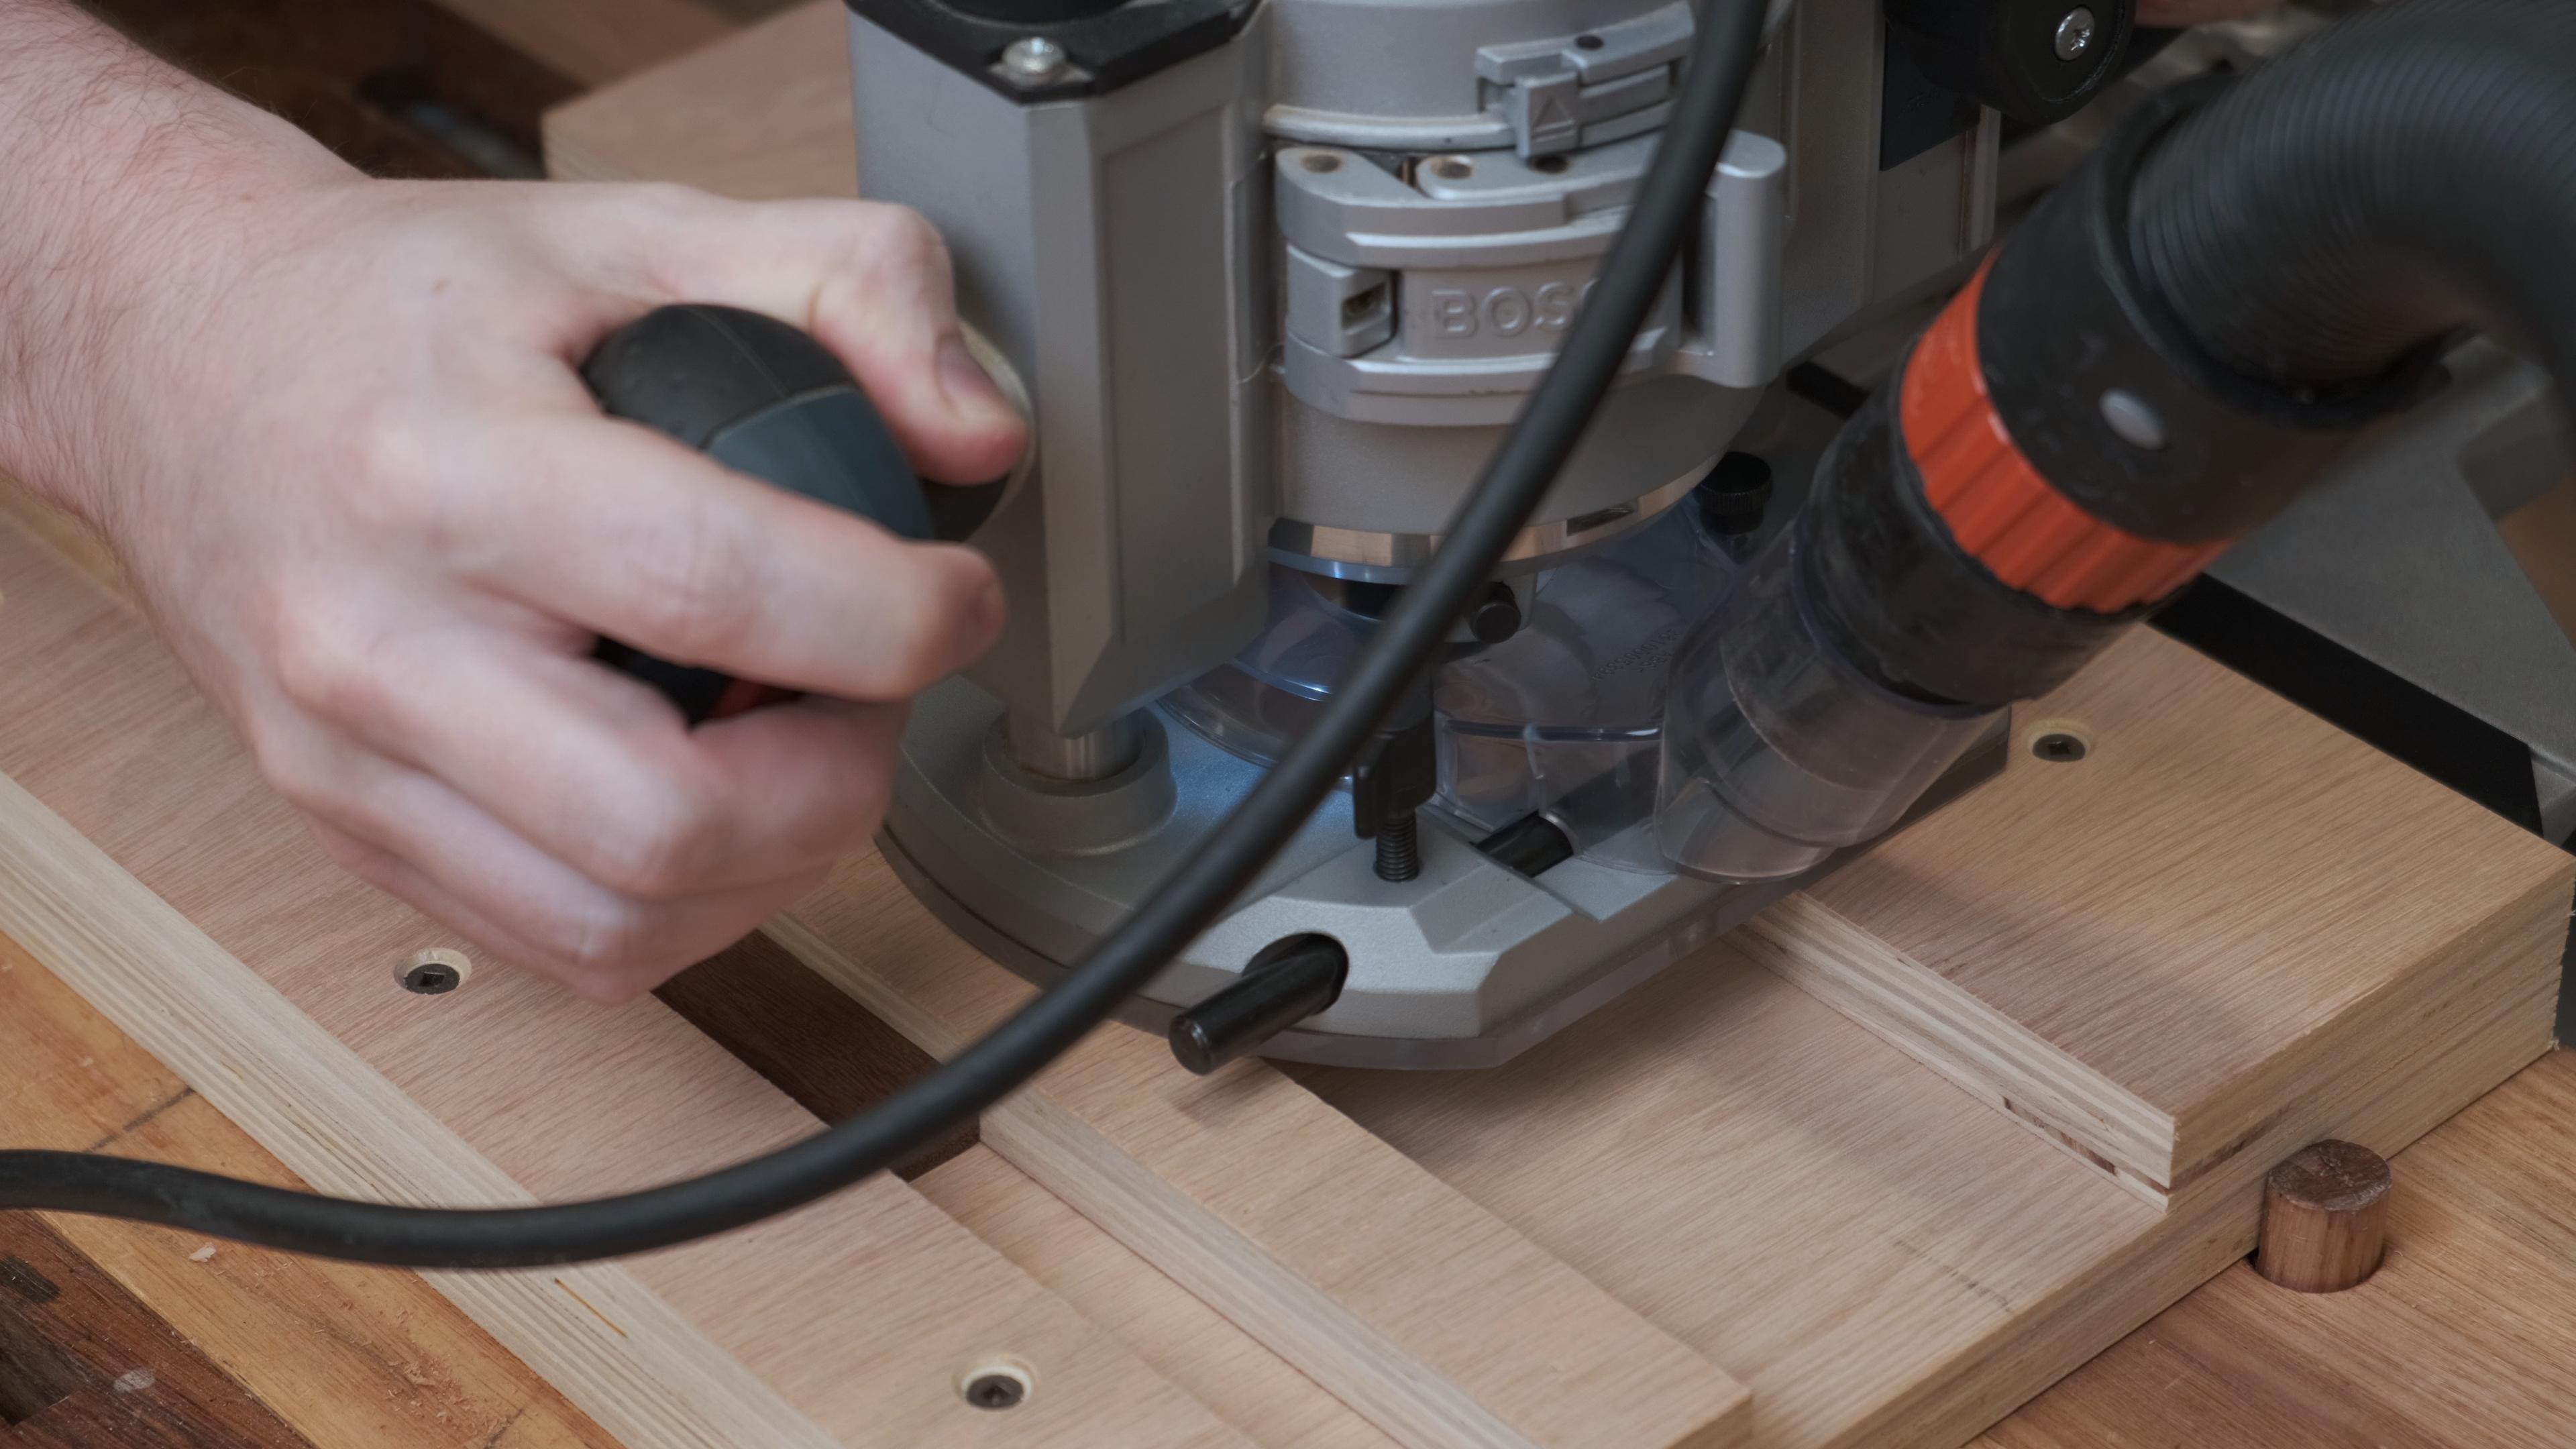


Using my small parts router jig (the Instructables link is for v2 of my Small Parts Router Jig, but actual usage is the same), a 1/4" stopped dado can be routed with a plunge router for the base pieces.
The groove should start approx 1/4" up from the bottom, and extend into the "fingers" of the box joints, but not going through (thus the term "stopped dado") - you don't want ugly gaps showing through the fingers!
Depth-wise, you want the groove to be deep enough to allow the panel to wiggle ("floating panel") to allow for wood movement. Half the thickness (3/16" or 4mm) deep is ample without compromising the strength of the sides.
Alternatively you could do this on a router table making a plunge cut, but it is a somewhat unsafe procedure for such small parts.
Drilling for Lid Hinge Pin


The hinge mechanism is just a 1/8" (3.175mm) brass pin that the lid can pivot on. Drilling for the pin in the sides is pretty easy using a drill press - the sides can lay flat. If your drillpress table has stops, this is a perfect time to use them to batch out the holes. The hole should be 3/16" (4.75mm) down from the top, and 5/8" (16mm) from the edge.
However, the lid also needs to have that same hole, and that is a little trickier drilling into the end grain - it's a relatively short and thin piece.
Two options would be...
- If you have a larger drill press, you could get a square block to clamp the
- If you have a drill press vice, "pen blank vice" or wood hand screw clamp, you
However, if you are batching them out, these can be a little fiddly to line up and drill straight. The method I went for is a little weird - I used my loose tenon jig (see my instructable on making the NOPEINO). The jig has a clamping table, and just required a template to be made up.
I took an existing template and drilled a 1/2" hole to match the 1/2" guide bushing. The 1/2" guide bushing perfectly positions my router every time to "drill" a hole with a 1/8" router bit. The router's plunge mechanism allows me to drill a perfectly straight hole, every time!
The hole should be half the thickness - 3/16" (4.75mm), and ~6mm/~1/4" from the end. The exact distance from the end doesn't matter, but will define how much of a gap there is at the back of the lid.
Chamfer

Chamfering inside of the back wall using a 60 degree bit results in letting the lid swing back past 90 degrees. In doing so, the lid doesn't need to be held up so that it doesn't close - it's a nice little detail.
Rounding Over the Lid

Rounding over the lid using a roundover bit (or bullnose) in a router table creates relief so the lid can swing freely. If you don't, it may bind on the box back.
The result doesn't have to be a complete semi circle, but the closer to round, the easier the lid will swing.
Sanding

It might seem odd, but for best results, sand before glueup/assembly. This allows you to get a great surface finish on the inside and out, without having to worry about unevenly rounding over edges or having to awkwardly fold sandpaper. After glue up and trimming the joints (covered later), you'll need to do some final finish sanding, but that final grit goes by very quickly.
The best way to sand such small parts is to use a jig! This is a modified version of the small-parts-routing-jig. It uses the exact same wedge clamping mechanism, except this time its made from 6mm (1/4") plywood so that it doesn't protrude past the workpiece
Sand through the grits - 80 (if needed), 120, 180g. Depending on your finish choice, you may go higher, or stop there.
Glue Up Time

It's finally time to glue up. I highly recommend hide glue (either hot hide glue, liquid hide glue or old brown glue) - it won't stain your wood like PVA will, its much easier to clean up (cleans up with warm water and a rag - if you do this on PVA, it'll smear it into the pores, staining the wood), and the lubrication of joints compared to PVA makes box joints much easier to deal with.
Remember to not apply any glue to the panel/dado - you want that to be floating so there is no issue with wood movement. It likely won't be an issue at this size, however there is no reason to take any risk.
For ease of glue up and for trimming, do not attach the lid at this time
Flush Trimming


After the box is dried, it's time to trim the fat/excess box joints.
Using an L-fence, it is incredibly fast to flush trim up a box joint. MWAWoodworks has an instructable on making a multi-fuction fence which has a L-fence mode
The L fence height is set to greater than the box joint - in this case, 15mm is fine. The blade needs to be just a hair taller than the box joint but lower than the fence - 12mm is fine.
The L fence is brought inline with the left edge of the saw blade. Ideally perfectly flush, but if the L-fence is a hair over (so that the blade is entirely covered up, not partially sticking out) that is fine.
Referencing the workpiece up against the L-fence, it can be quickly run through the saw. The result should be a perfectly clean cut requiring only minimal finish sanding (180grit).
Attaching the Lid


Mask off around the hole for the hinge lid. This will reduce any chance of contamination of the grain with adhesive.
Using a spacer/shim/whatever you have on hand to position the lid where it needs to be for the brass to go into it.
Insert the brass pin in so that it starts to go into the lid, then add a couple of drops of CA to the pin. It is unlikely to fall out even without glue, but a few drops so that its stuck to box should lock everything down in place.
After the glue cures, flush trim the brass with files, saws and/or sandpaper.
You may also find it a good idea to cut some little plywood/scrap wood spacers to hold the lid in position from the inside while you work on attaching it!
Finishing

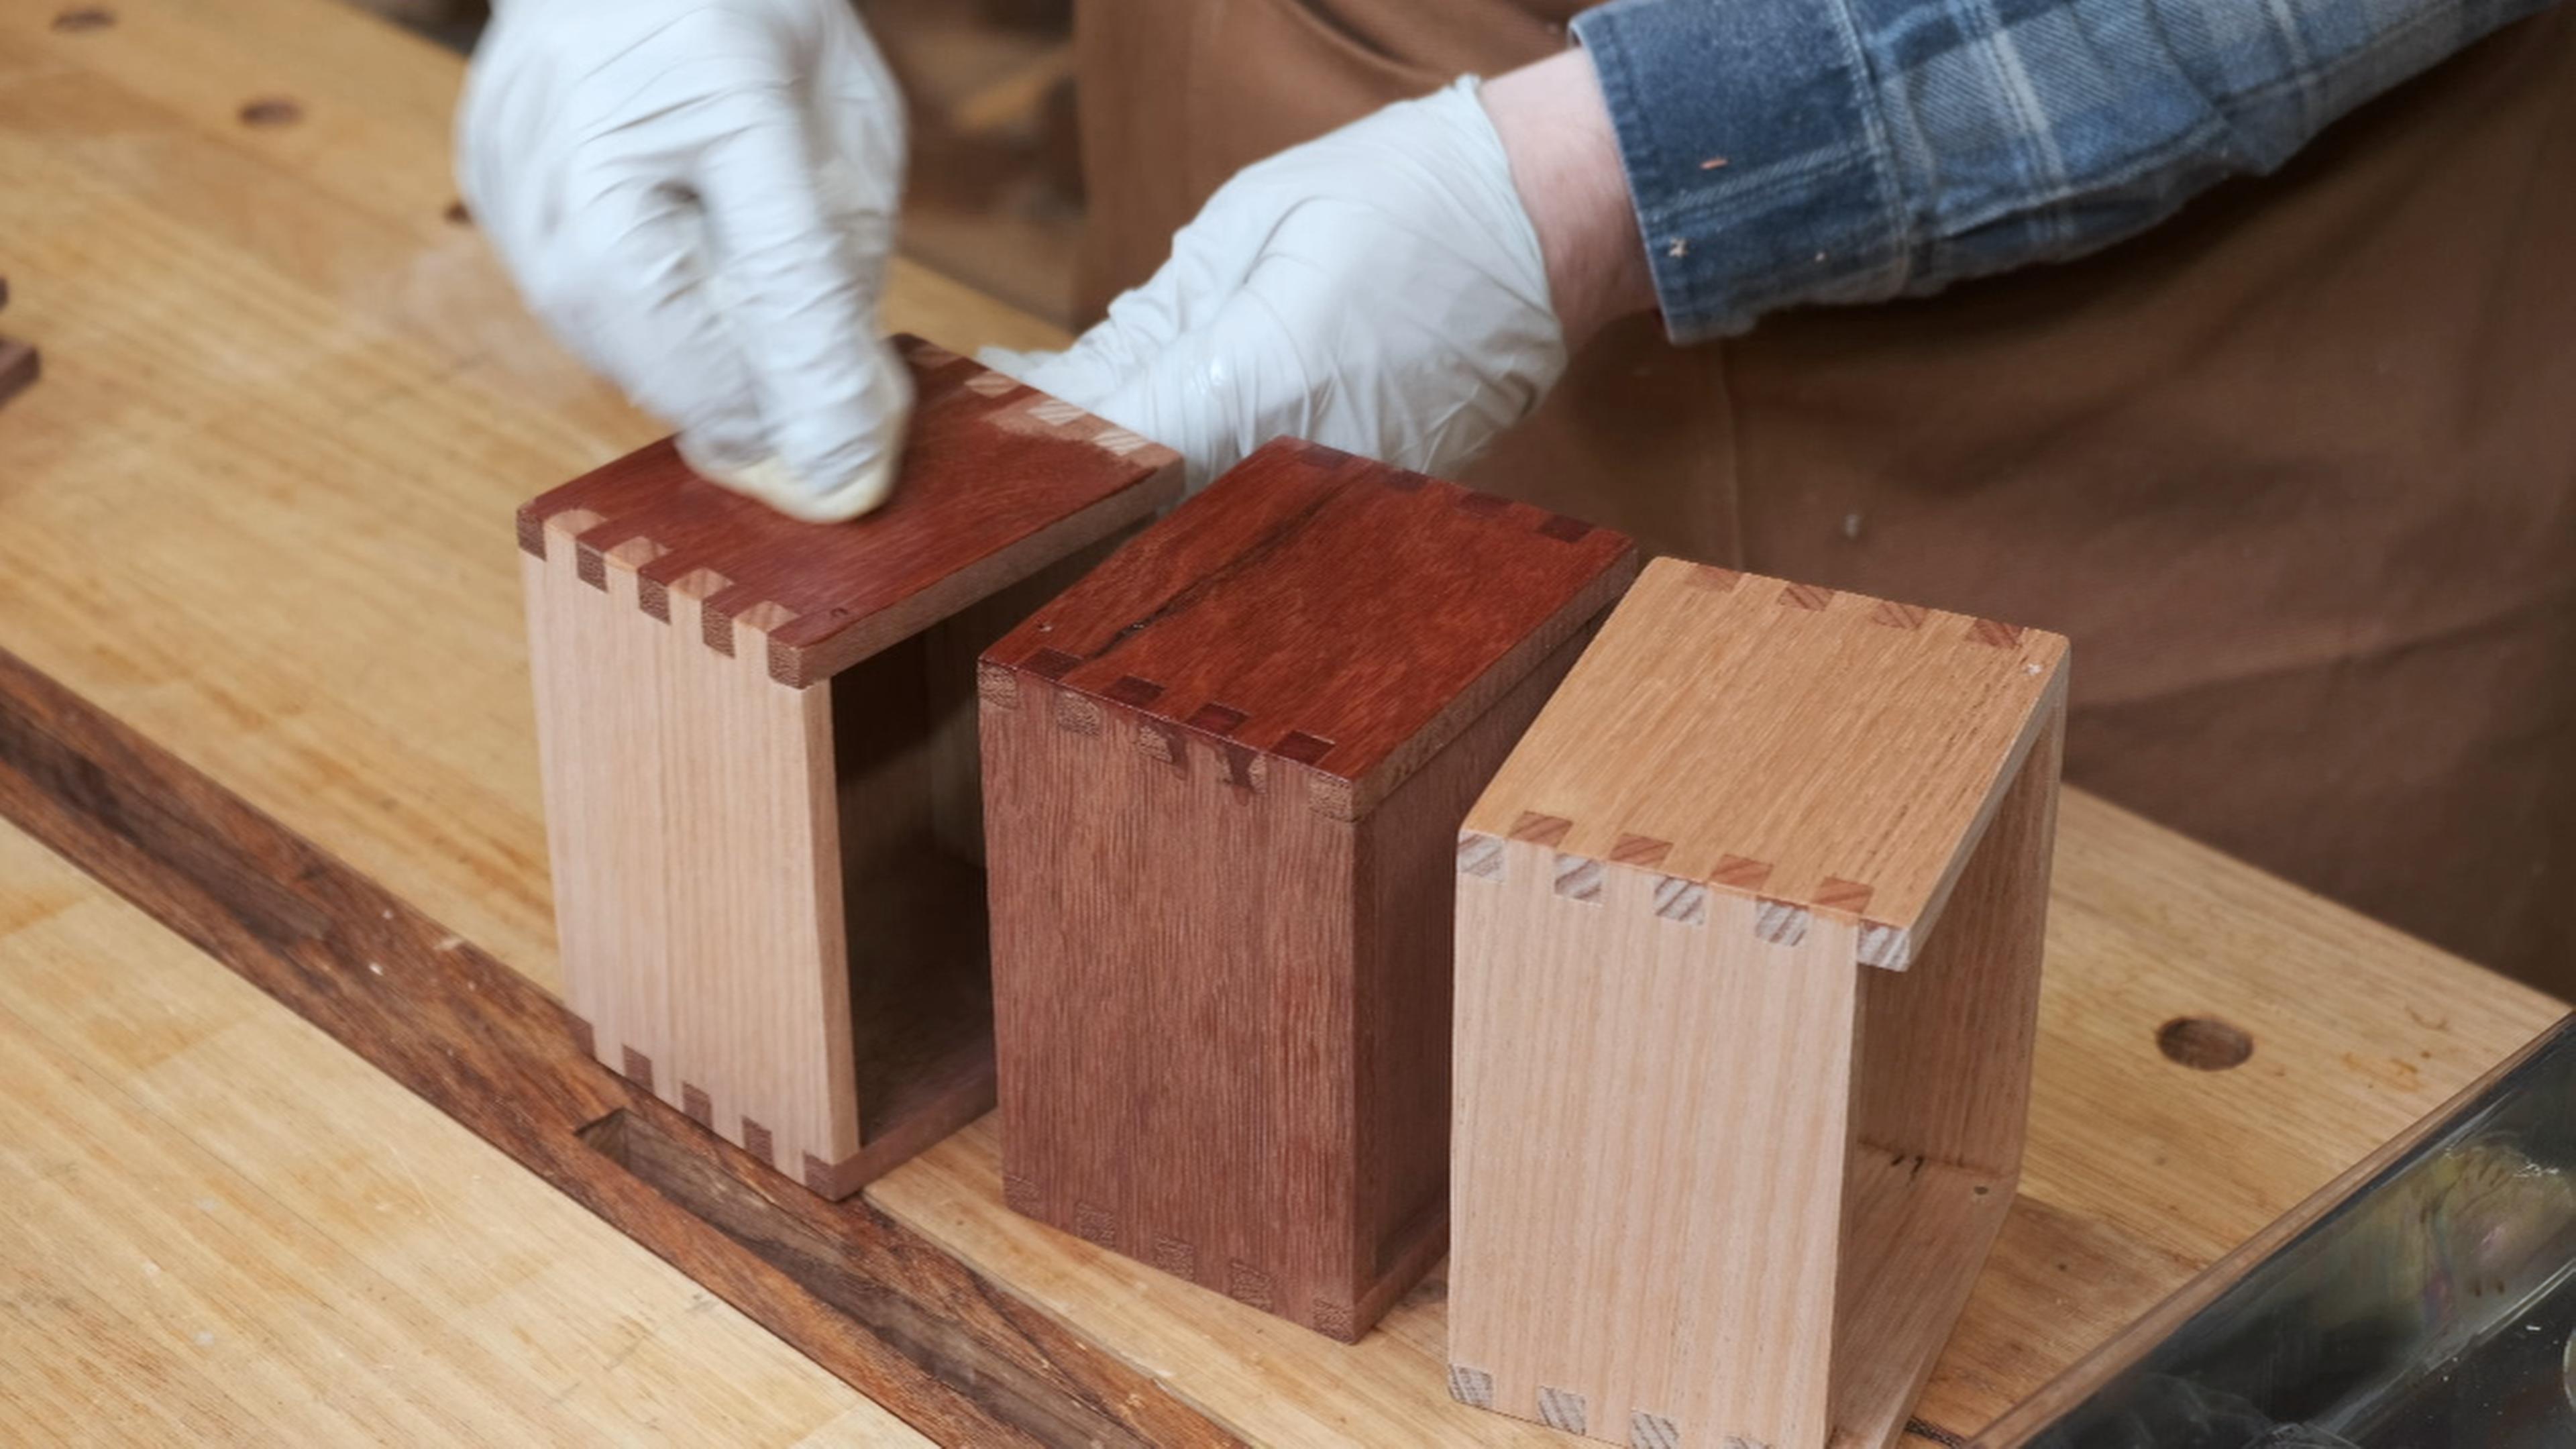
Finishing can be a controversial topic - people will get very opinionated on what finishes are acceptable for a hobbyist woodworker, but won't bat an eyelid about something more toxic bought from a department store. You can choose not to finish the inside at all - no issues with raw wood contact - or use something like mineral oil, shellac, or other drying oils. The key is to let them dry properly with sufficient time for them to offgas, with sufficient airflow.
I went with a food safe, hardwax oil - Livos Kunos.