Safe and Simple Head Carving.
by gasserwoodshop in Workshop > Woodworking
2586 Views, 3 Favorites, 0 Comments
Safe and Simple Head Carving.
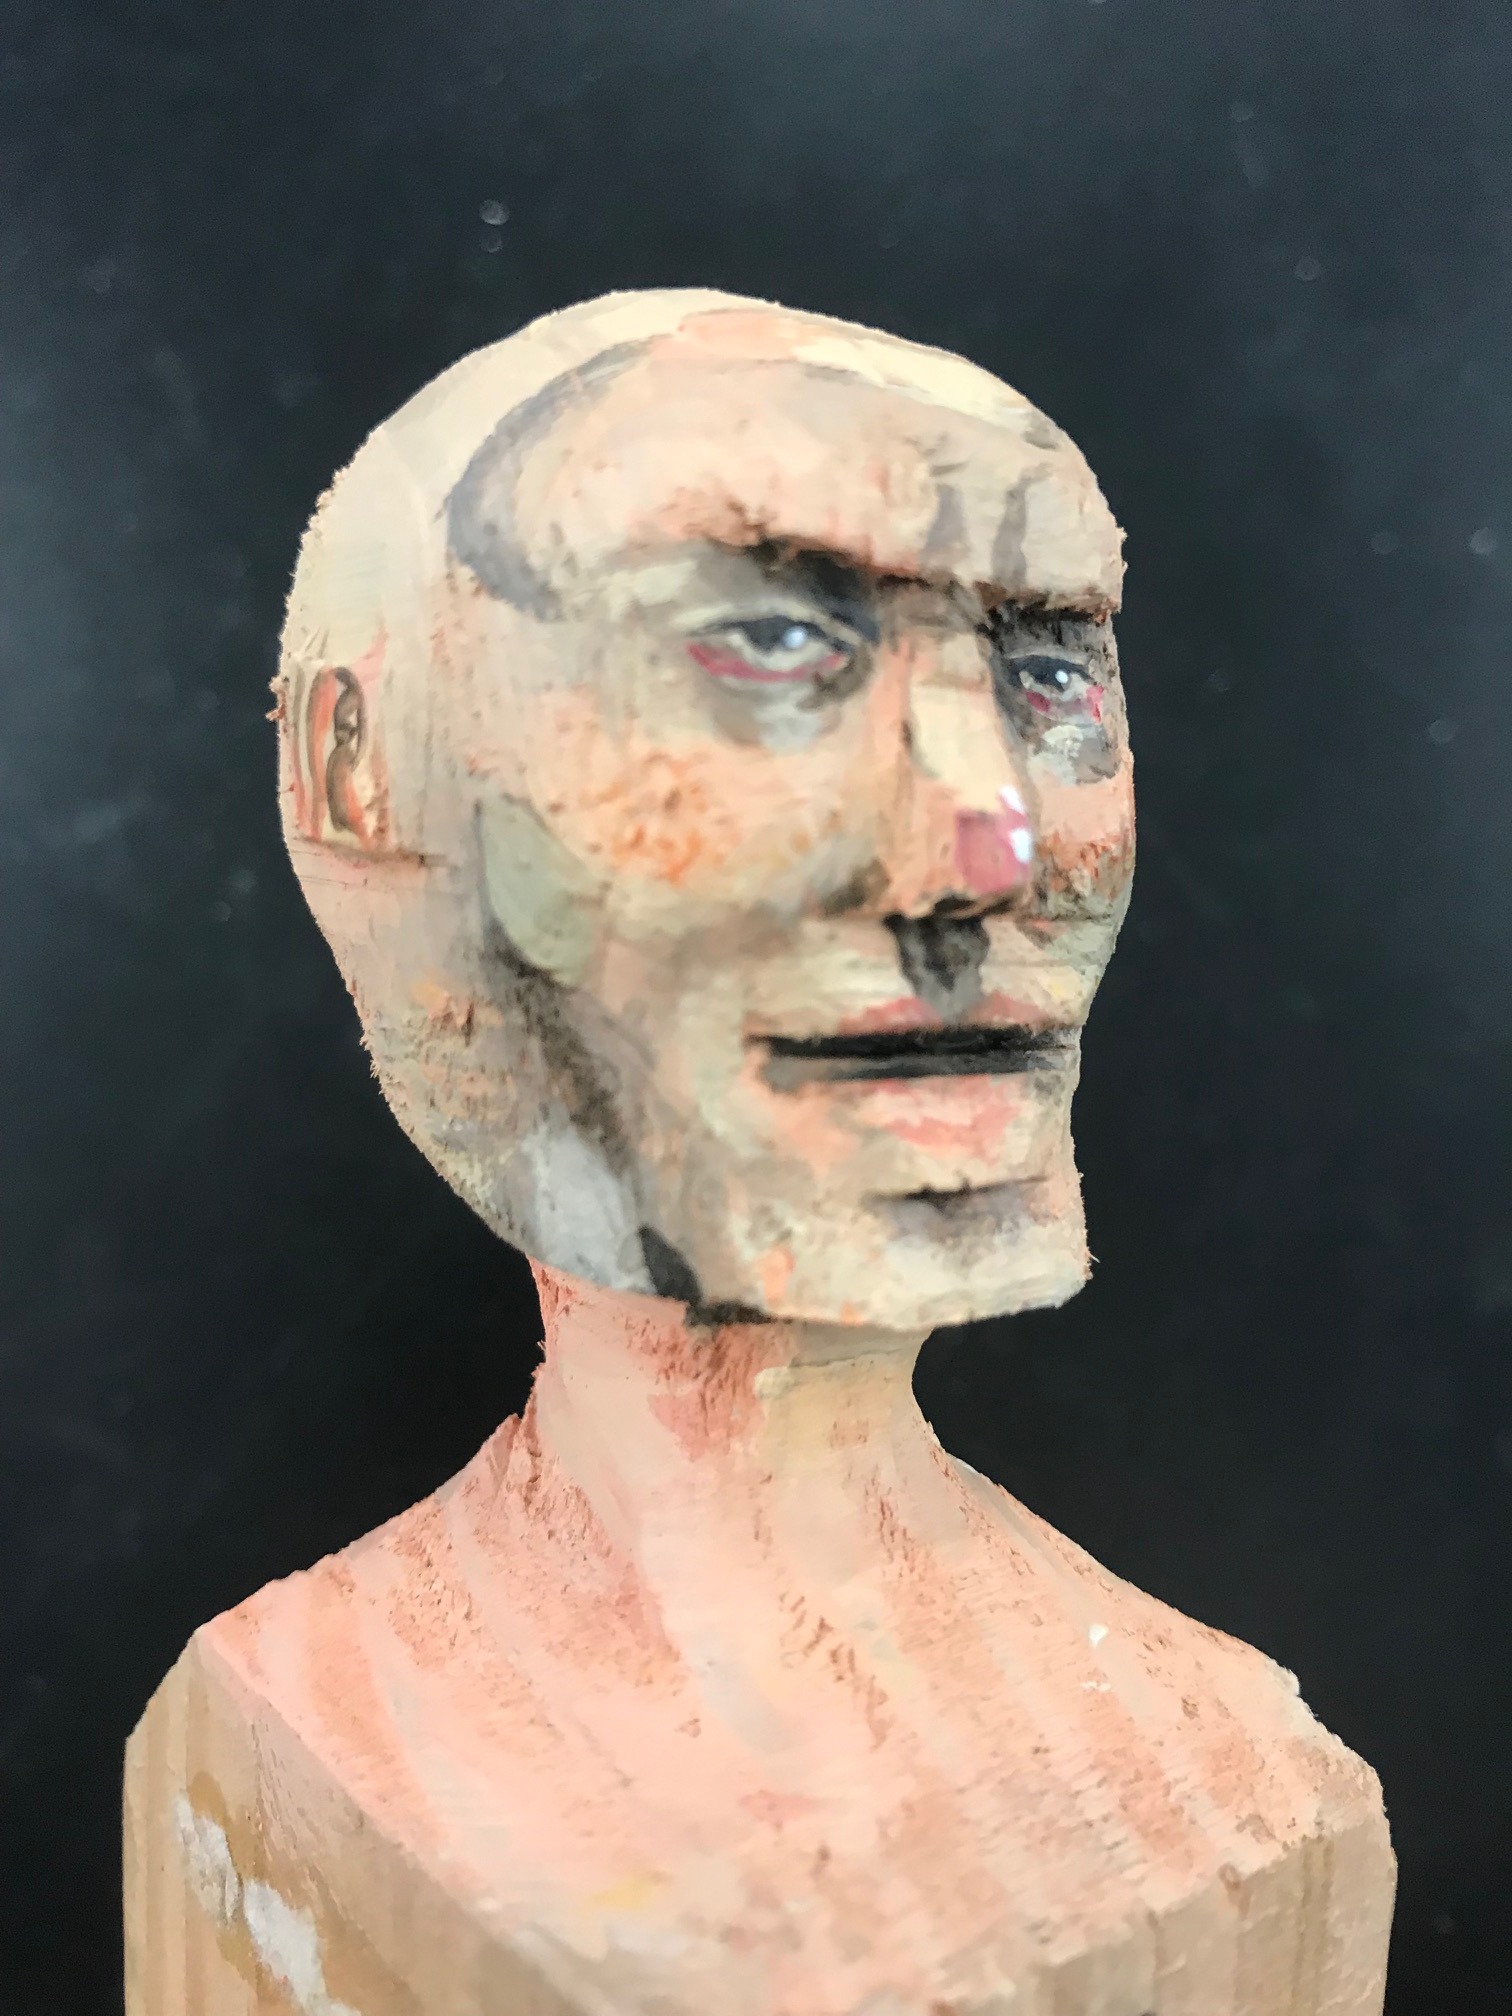
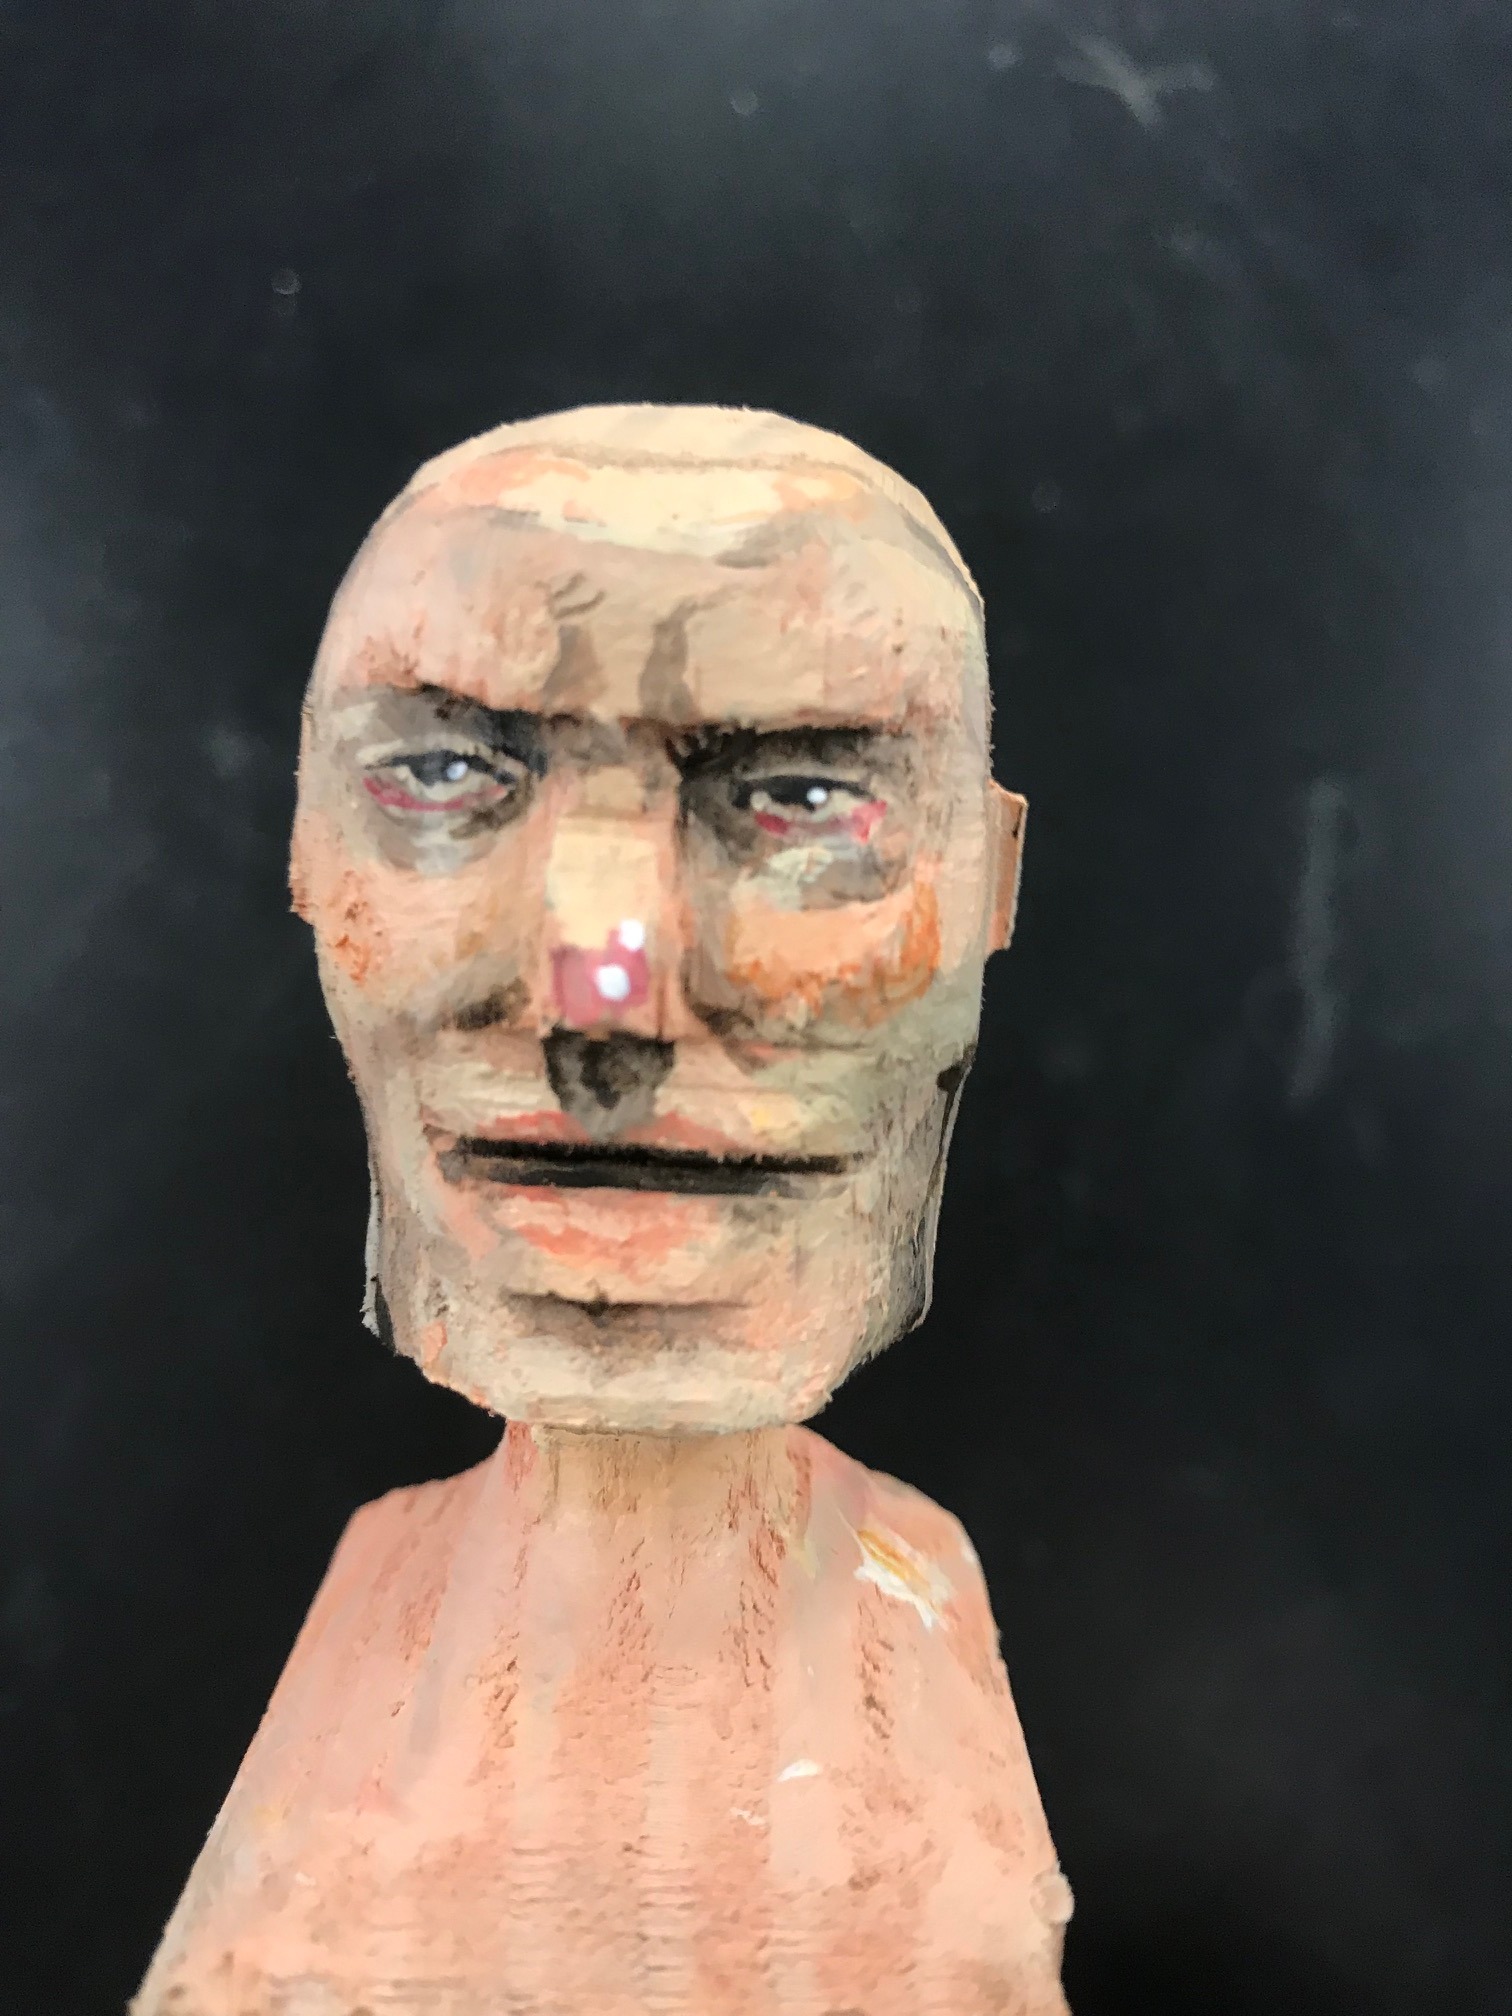
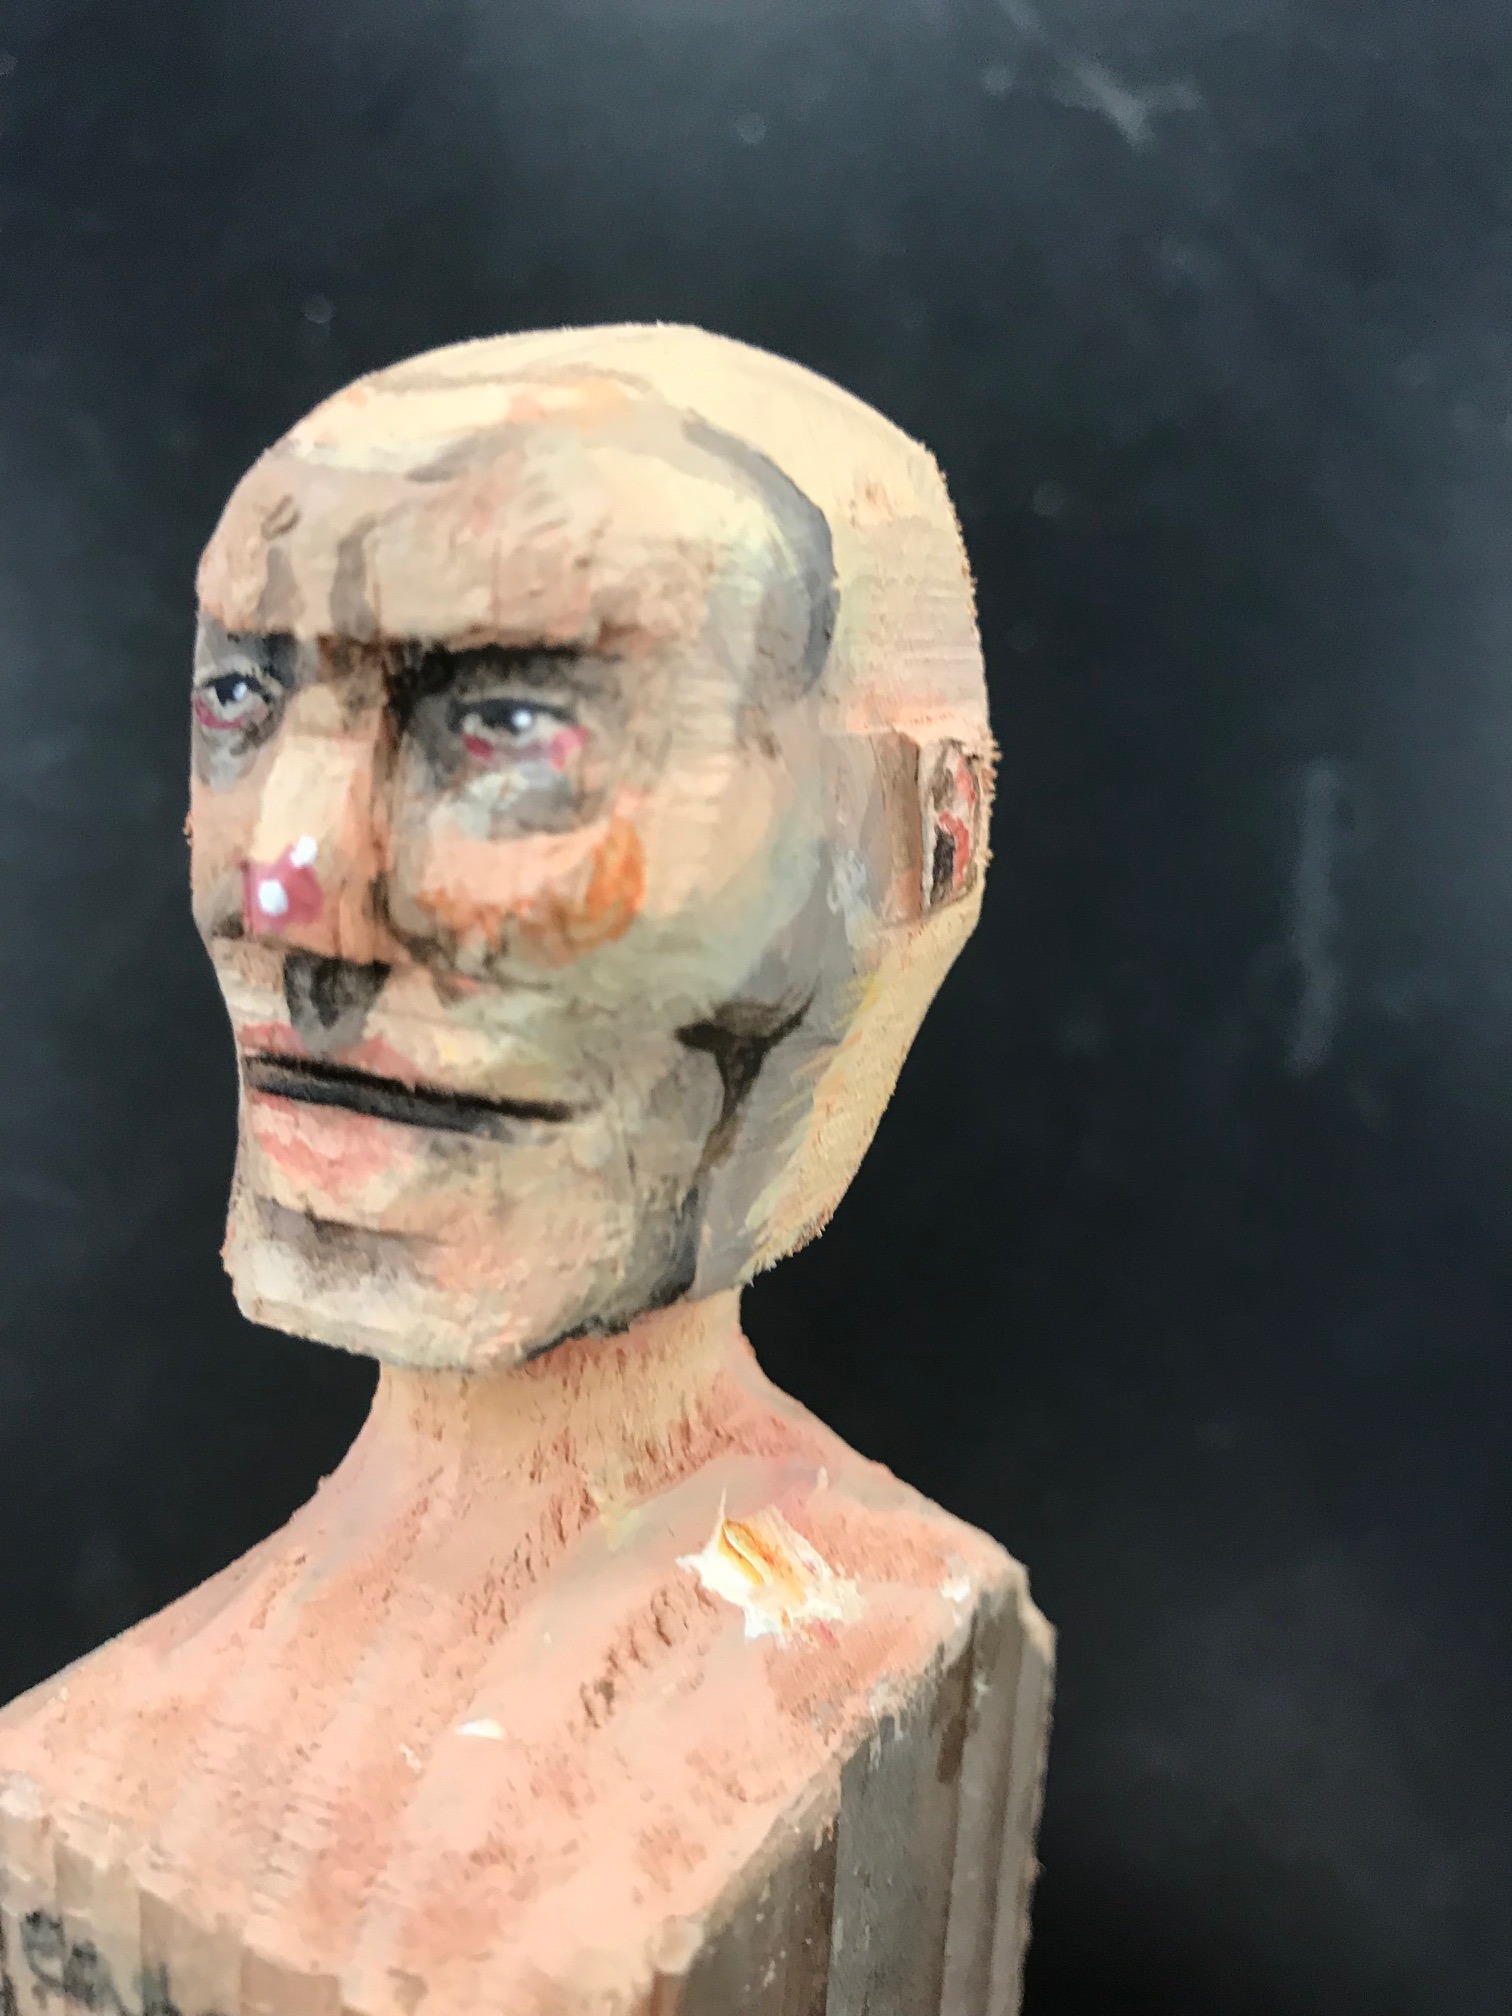
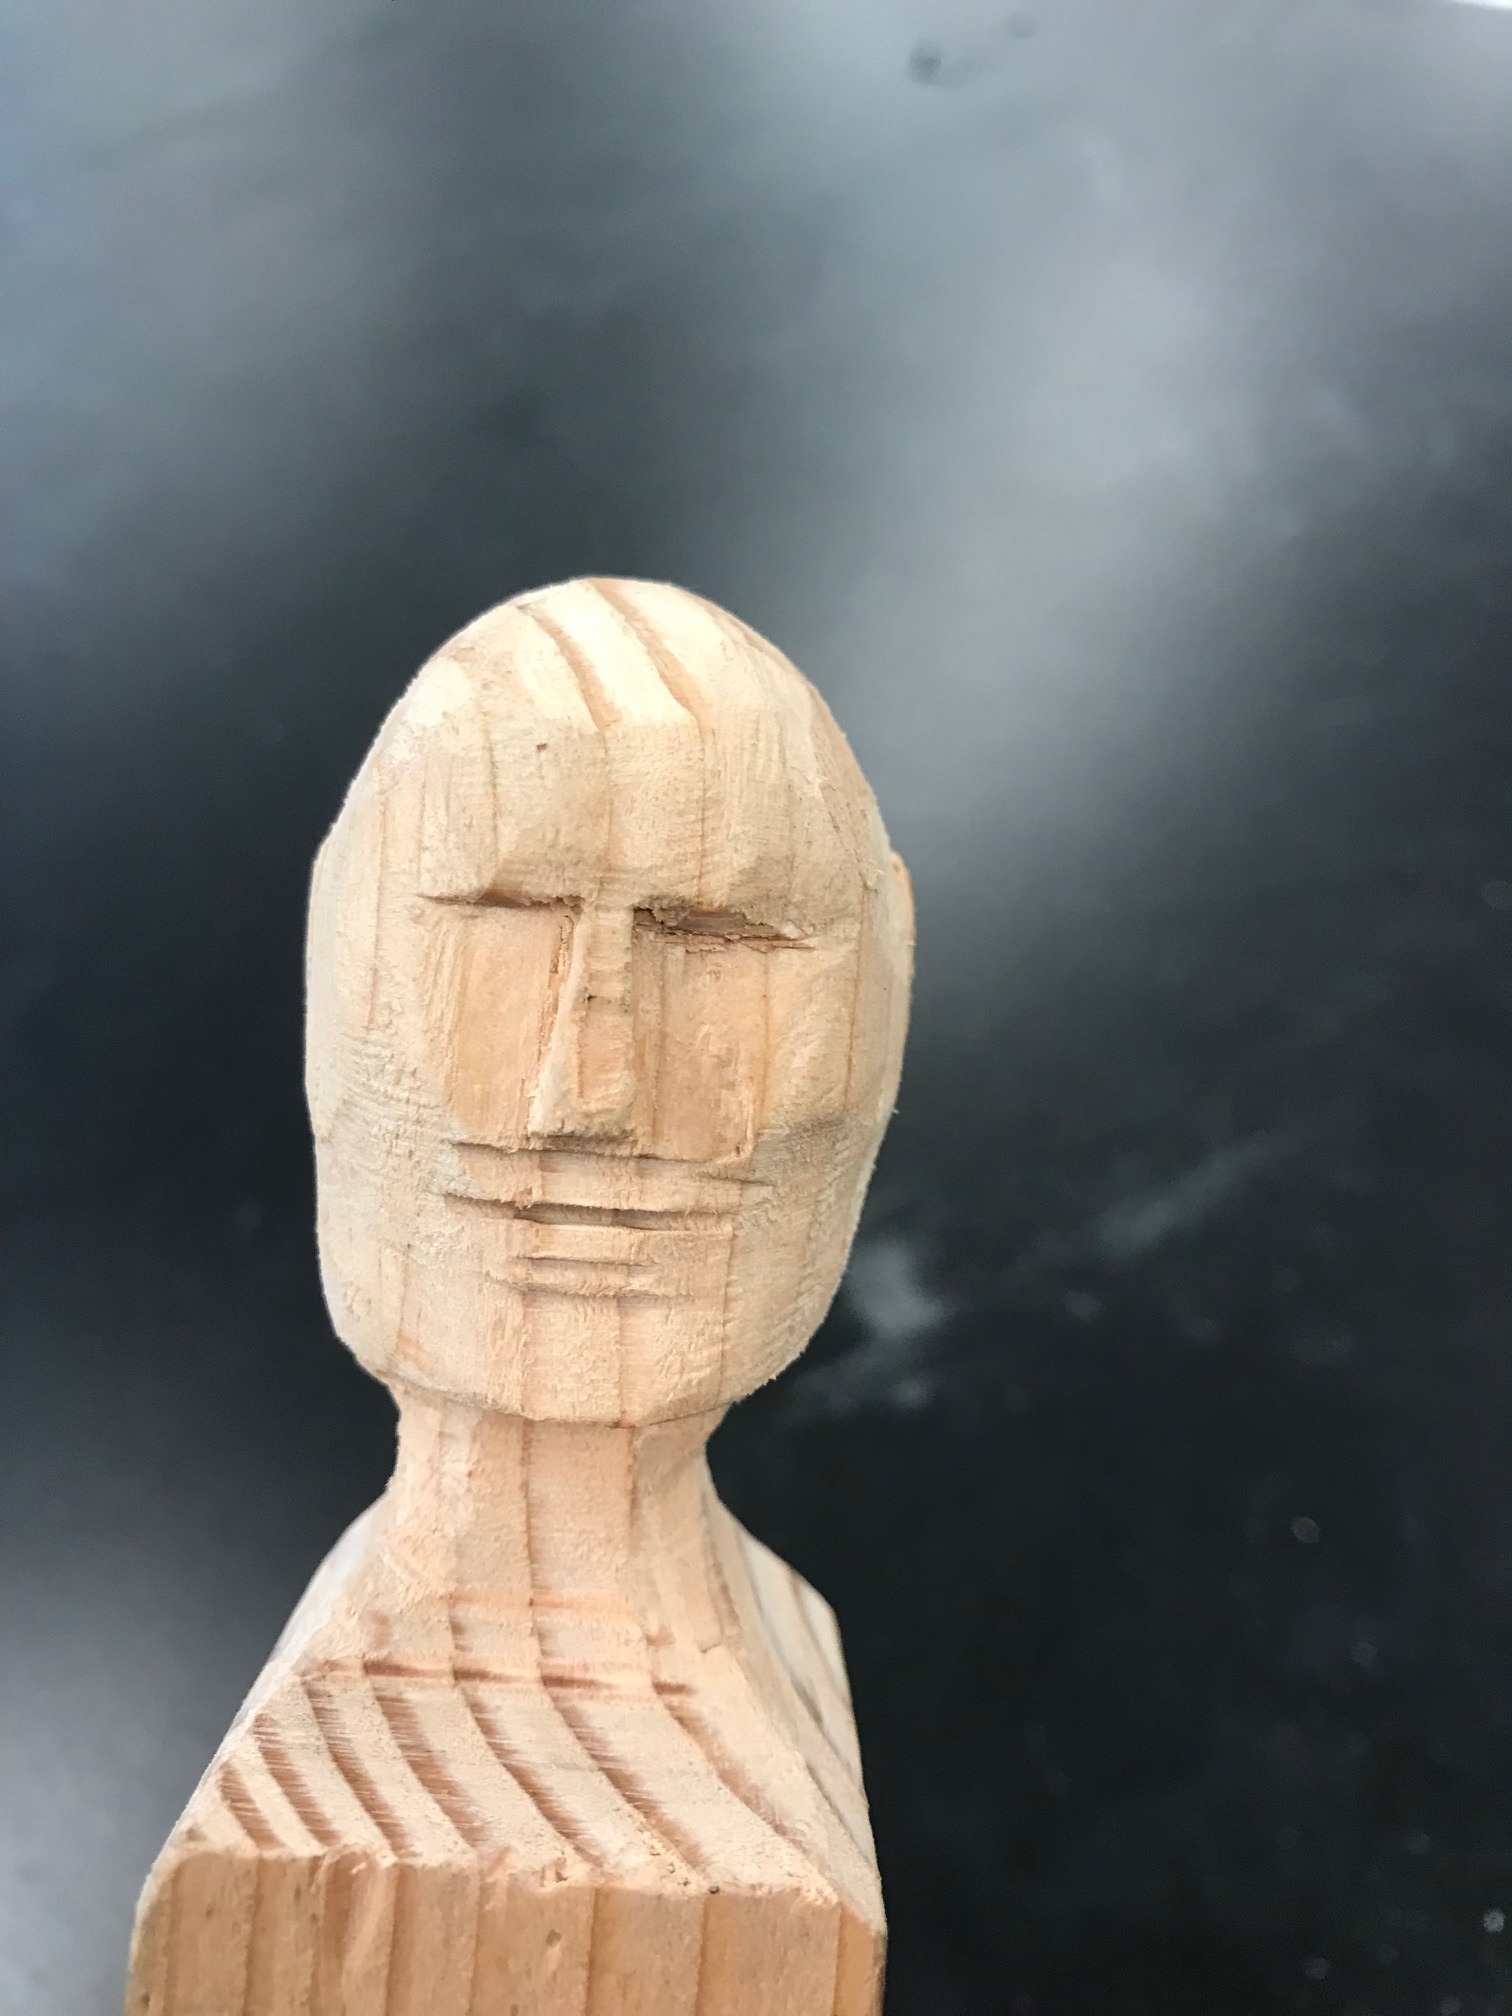
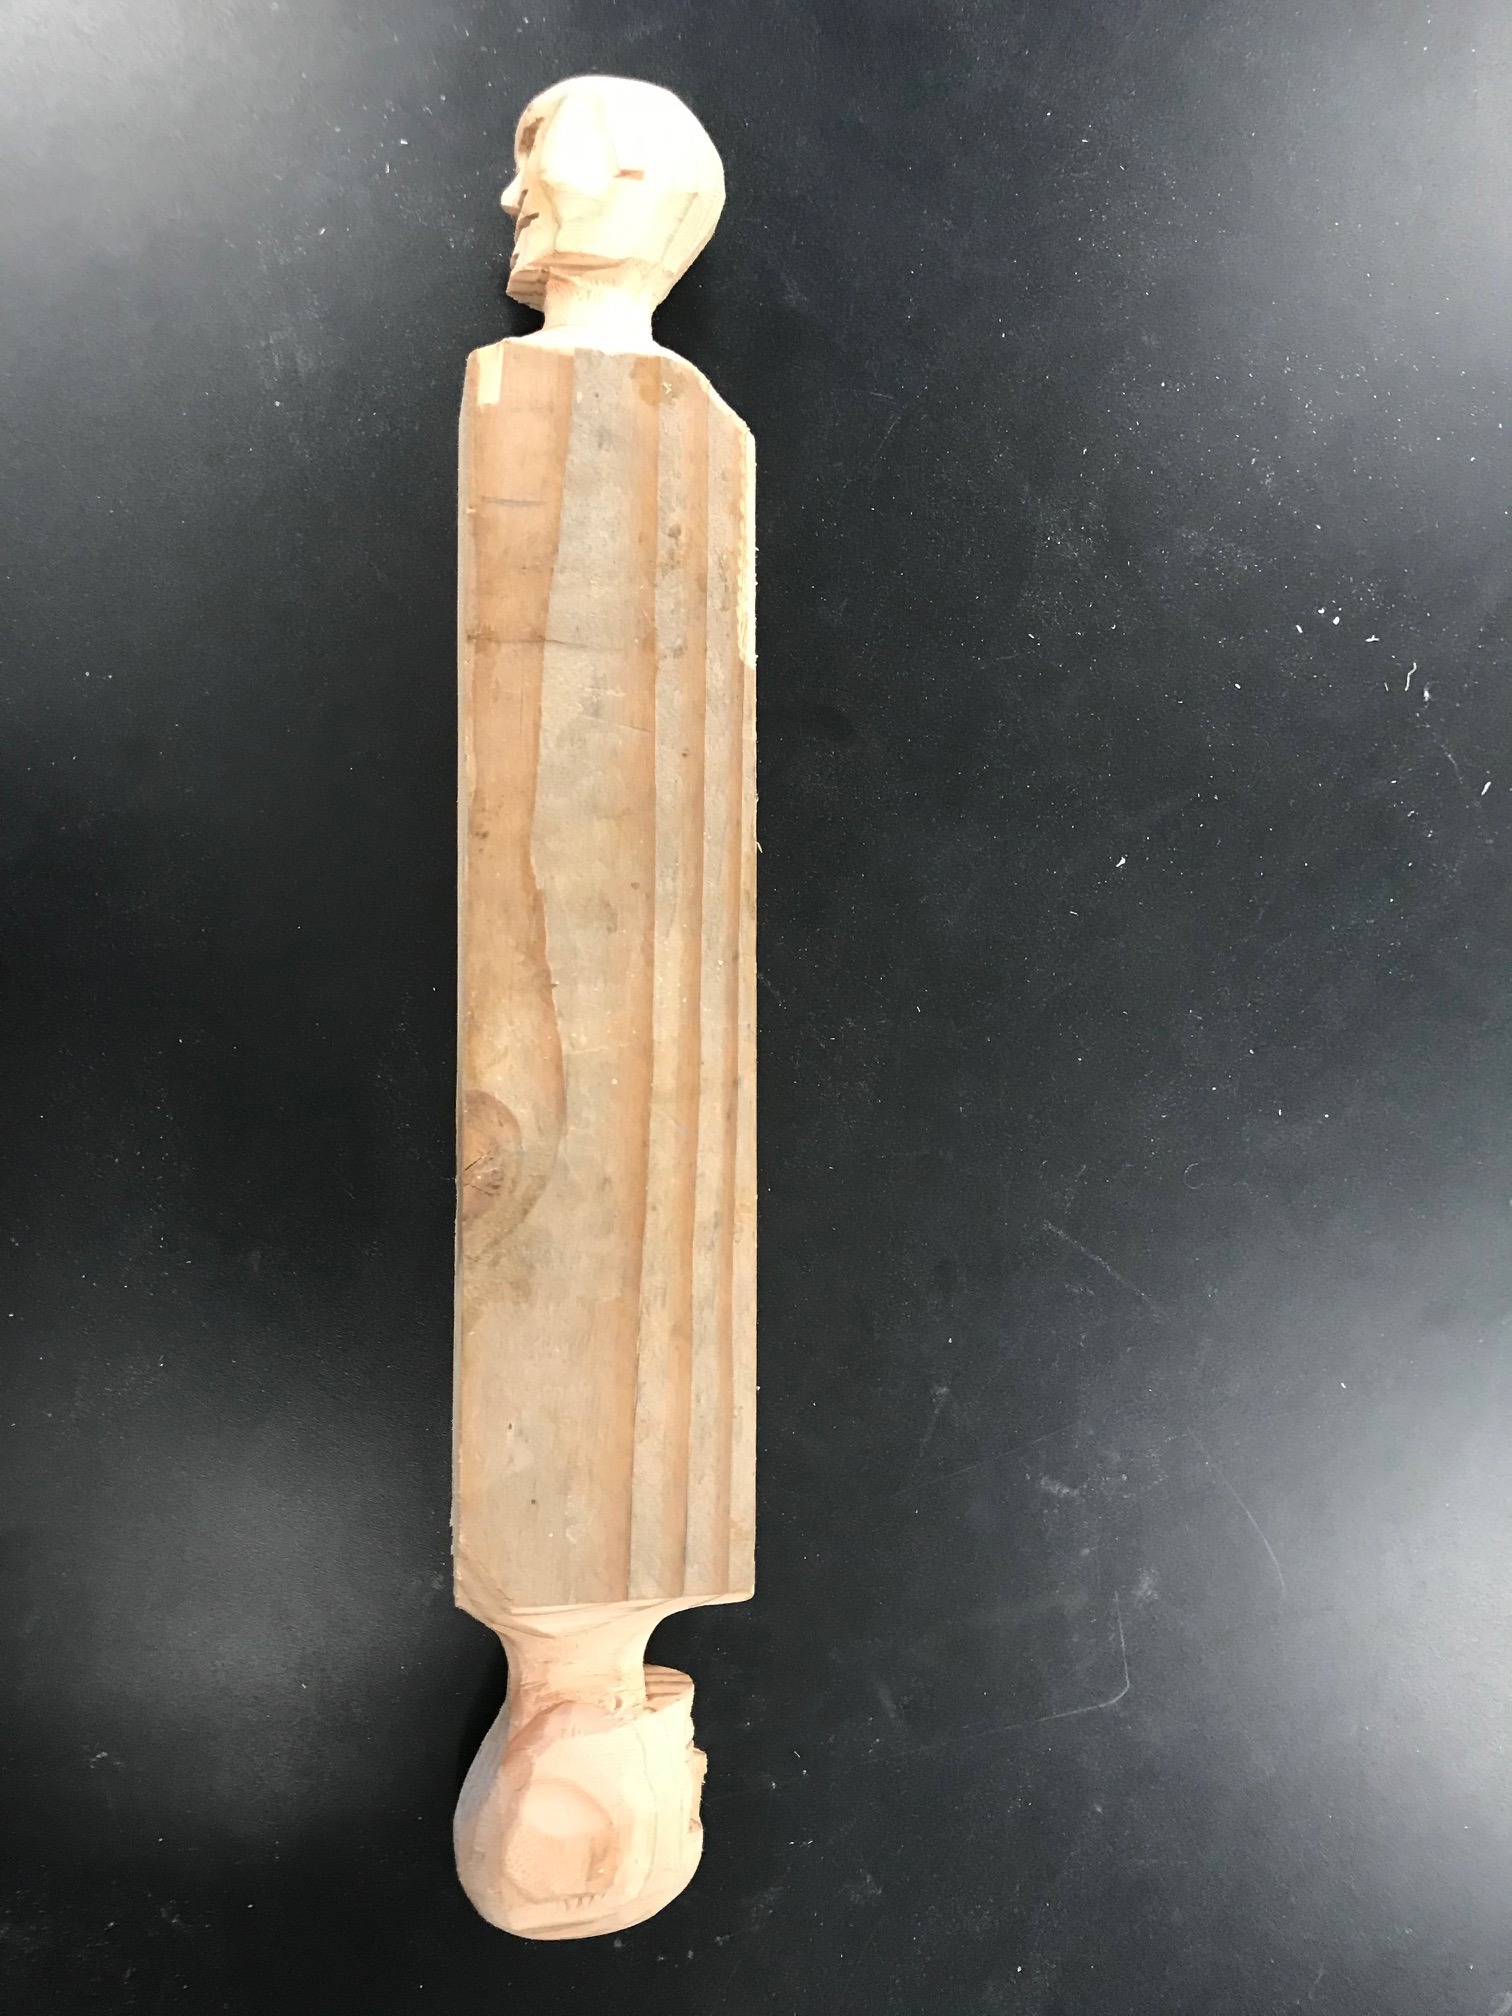
I am a woodshop teacher and this project was made to get the kids into carving as safely as possible. A chisel was only used to make a few cuts (the one slight dangerous part). The rest of the project I trust them to do without one on one supervision.
This is the start of a larger project I am working on with some other teachers to have the students create automatons.
Tools
- Bandsaw or scroll saw
- Vice
- Files/rasp - Round, half round and flat
- Chisel
- Sandpaper
- Acrylic paint and paintbrushes
Material
- Scrap Doug fir 2"x3" approximately, mine was a 2x4 at one point in time. 16" long to act as a safe handle while working. I tried one on both ends.
Sketch Front and Side Profiles
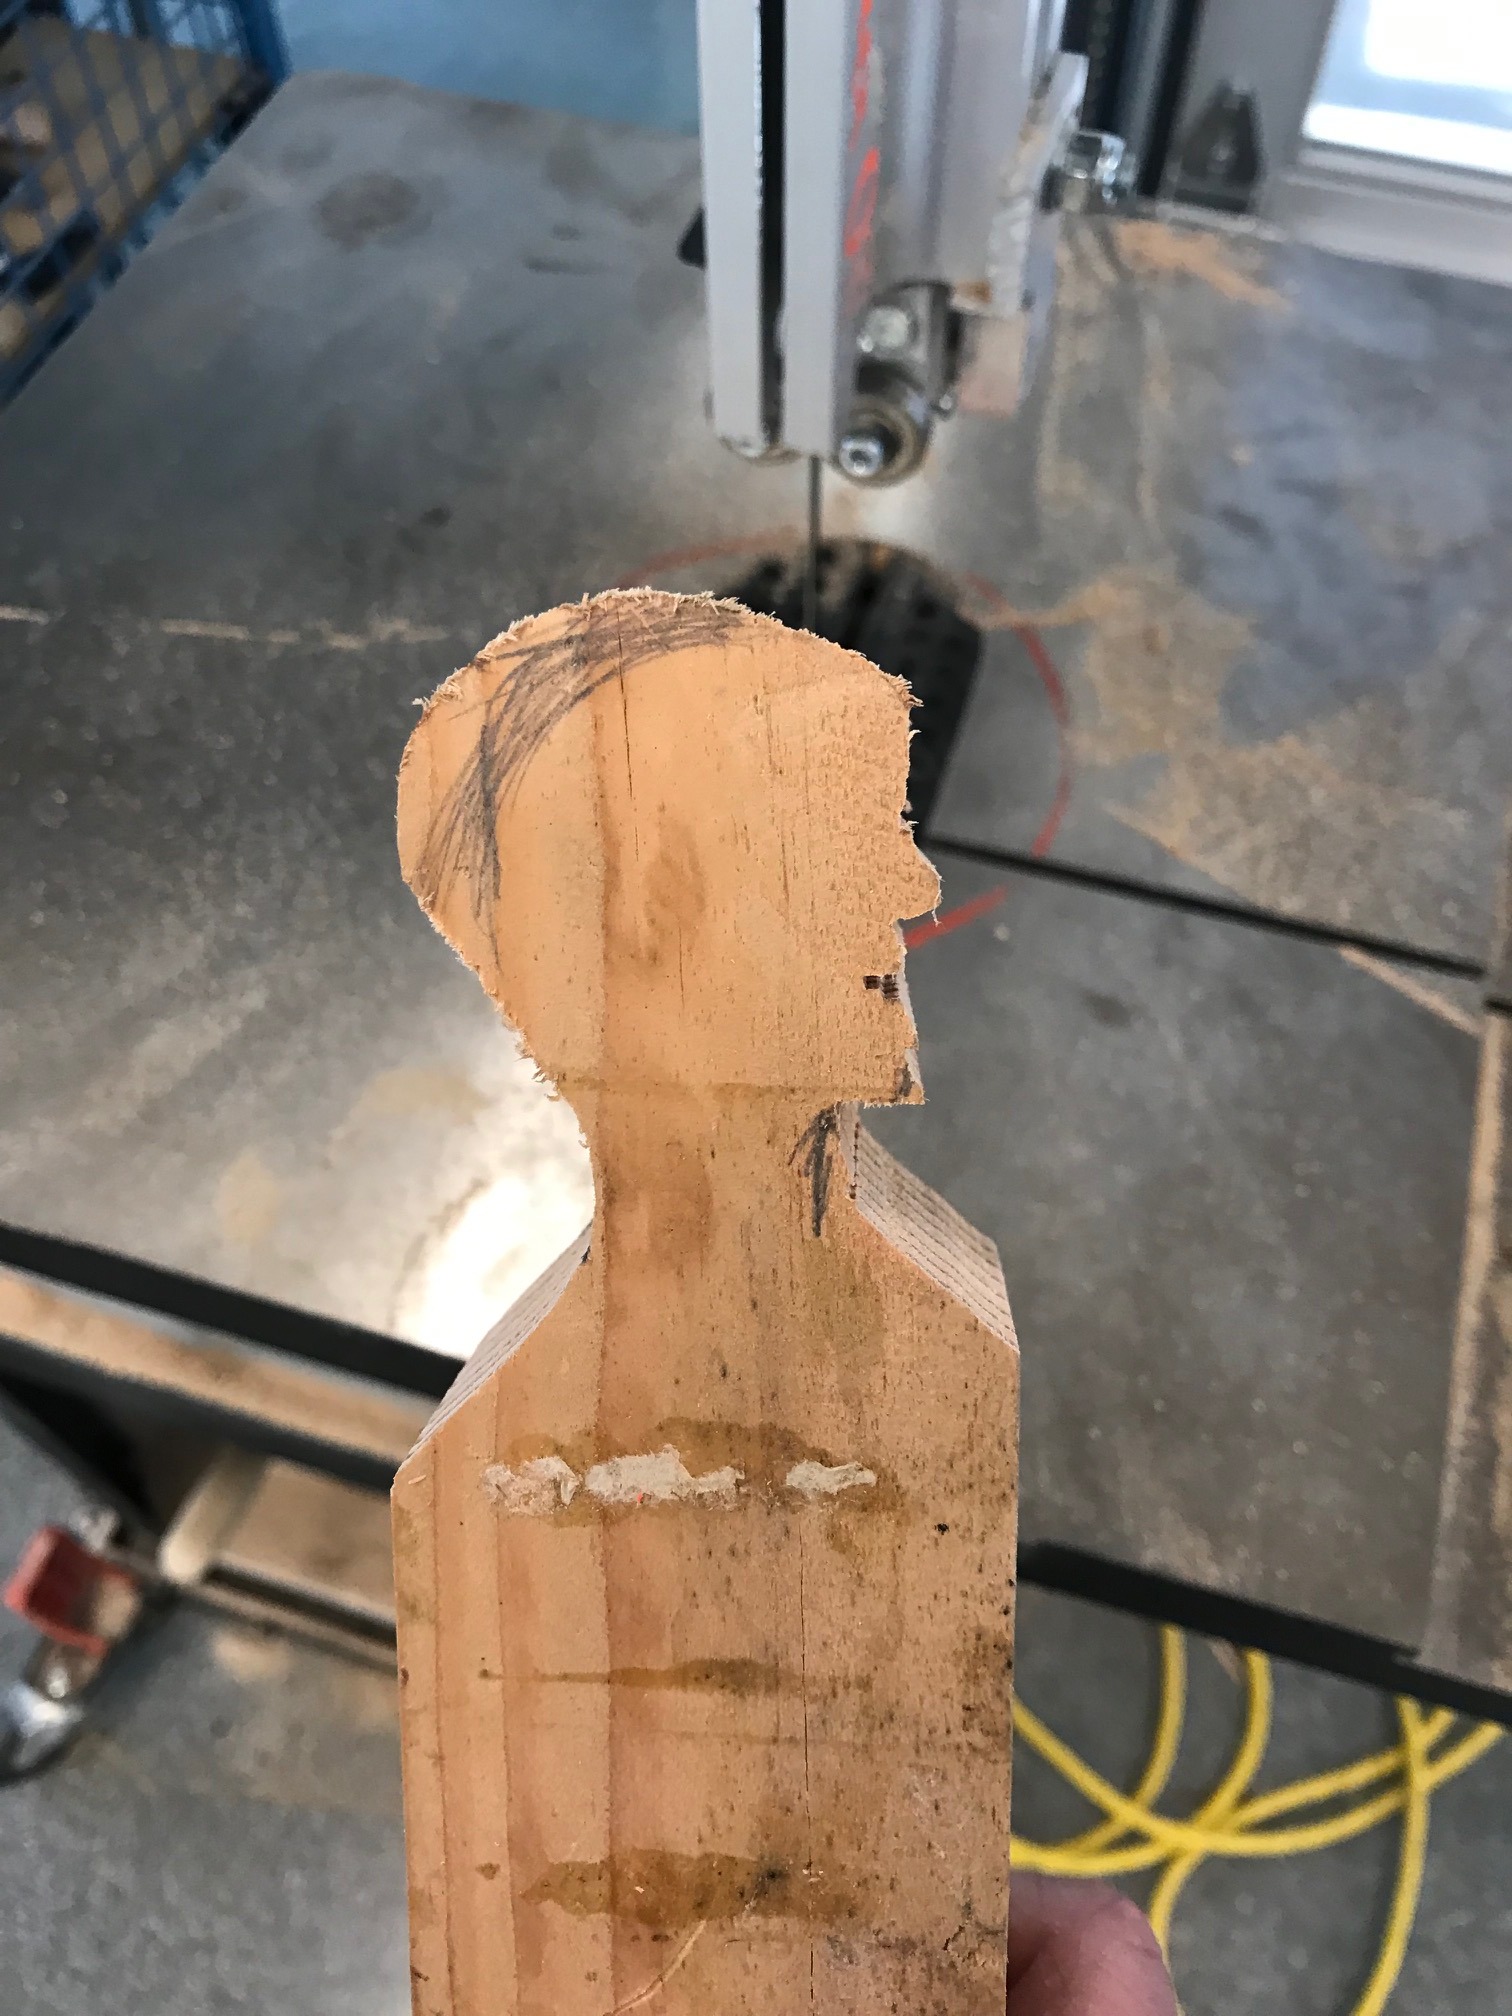
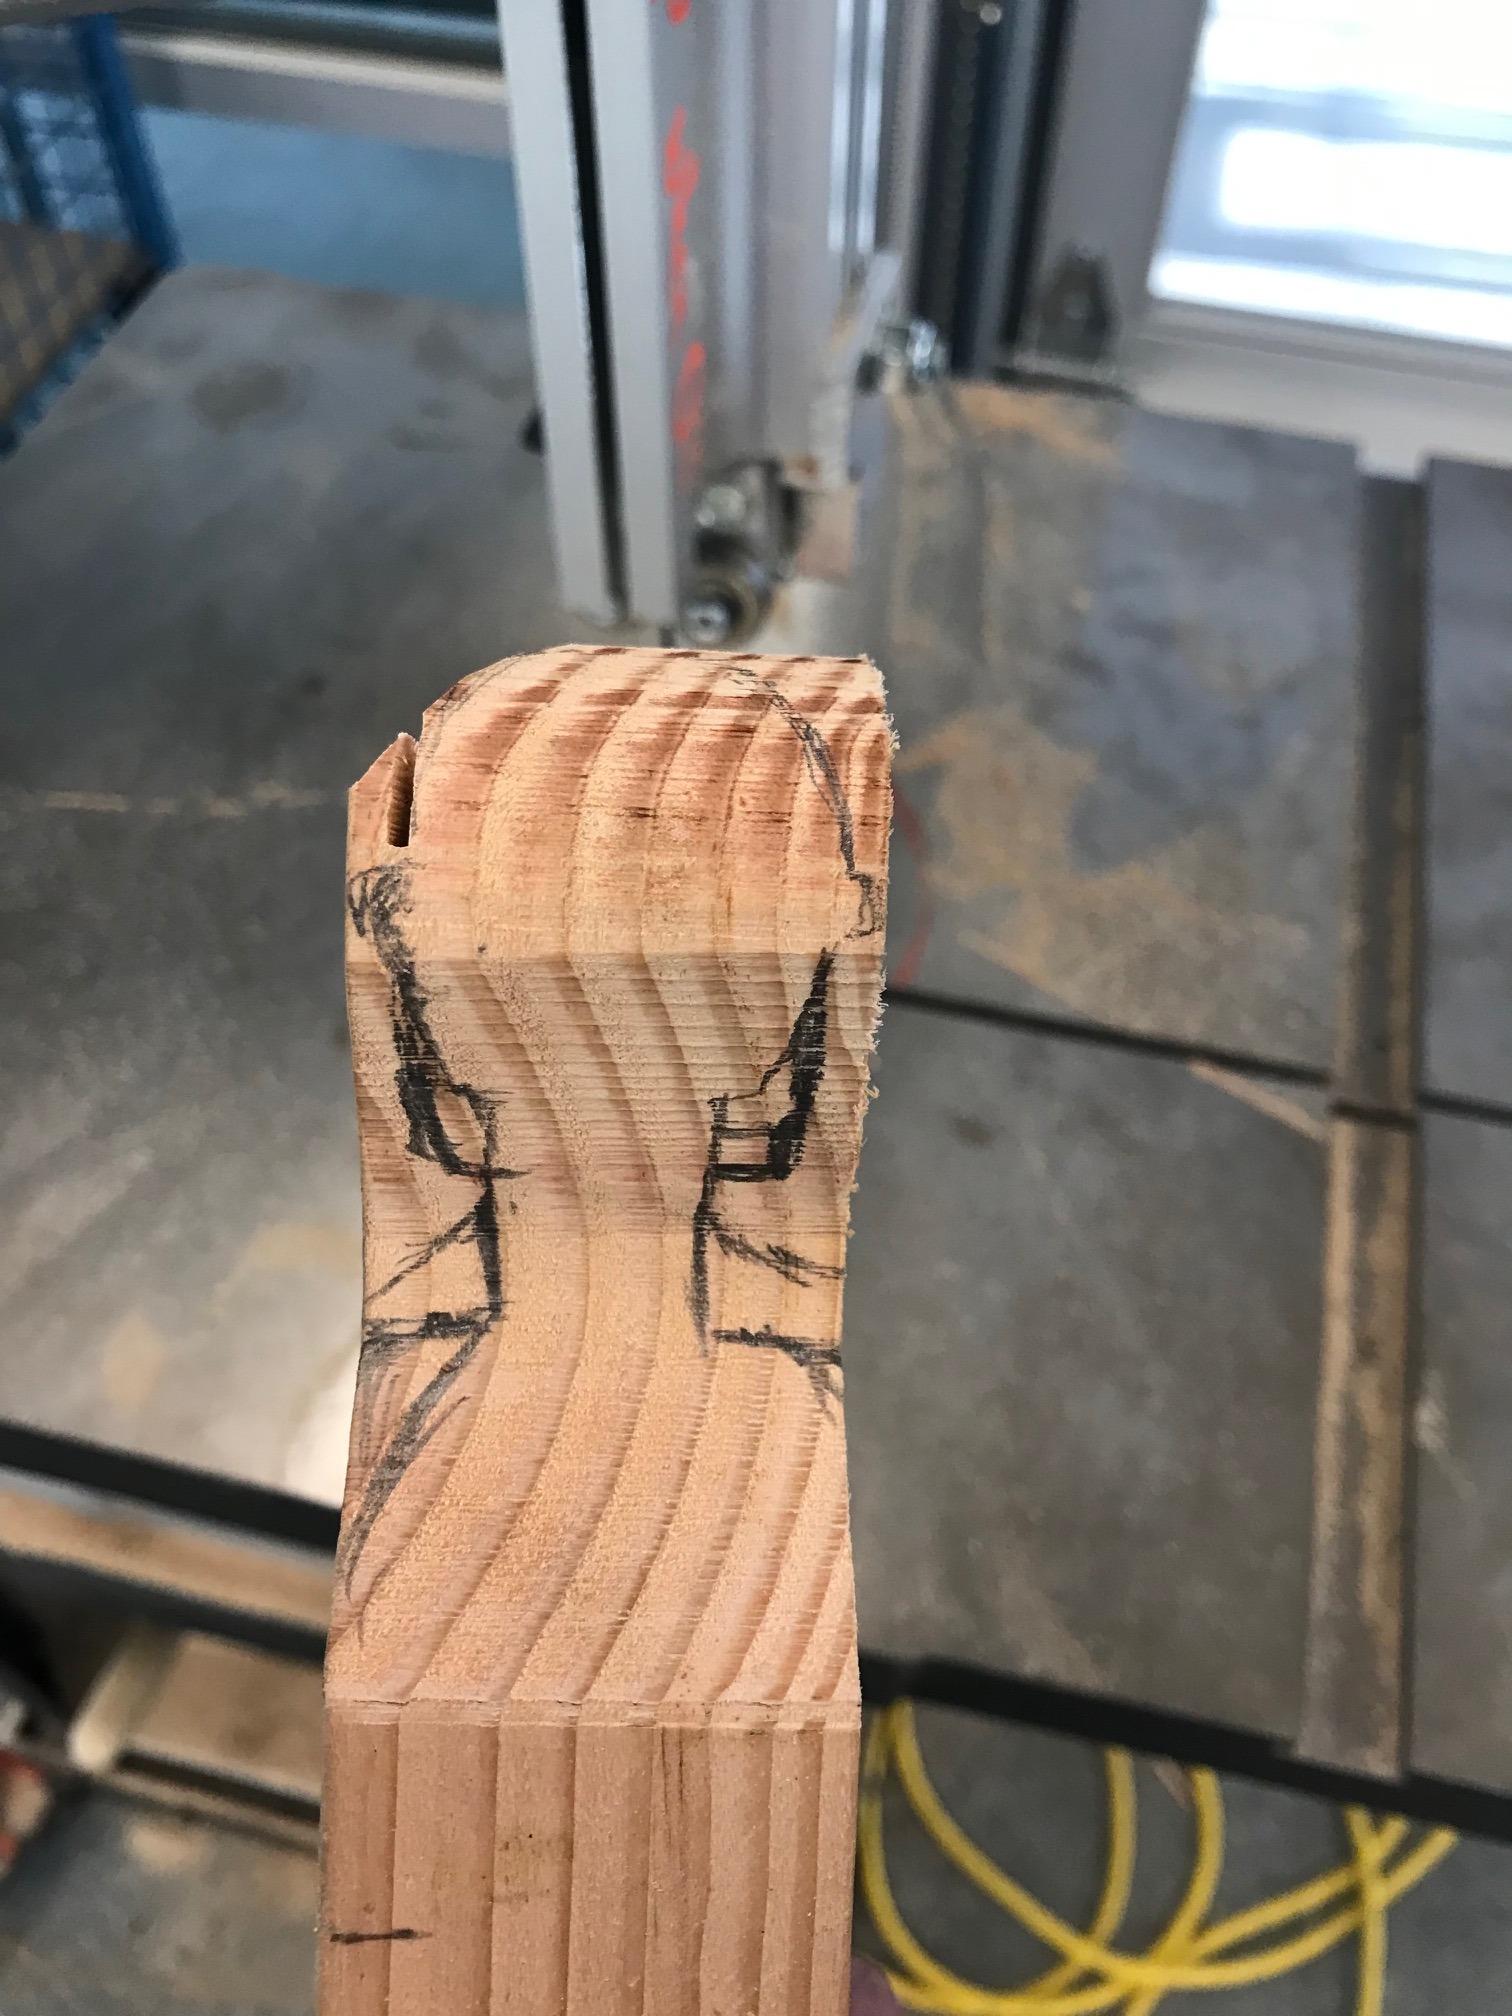
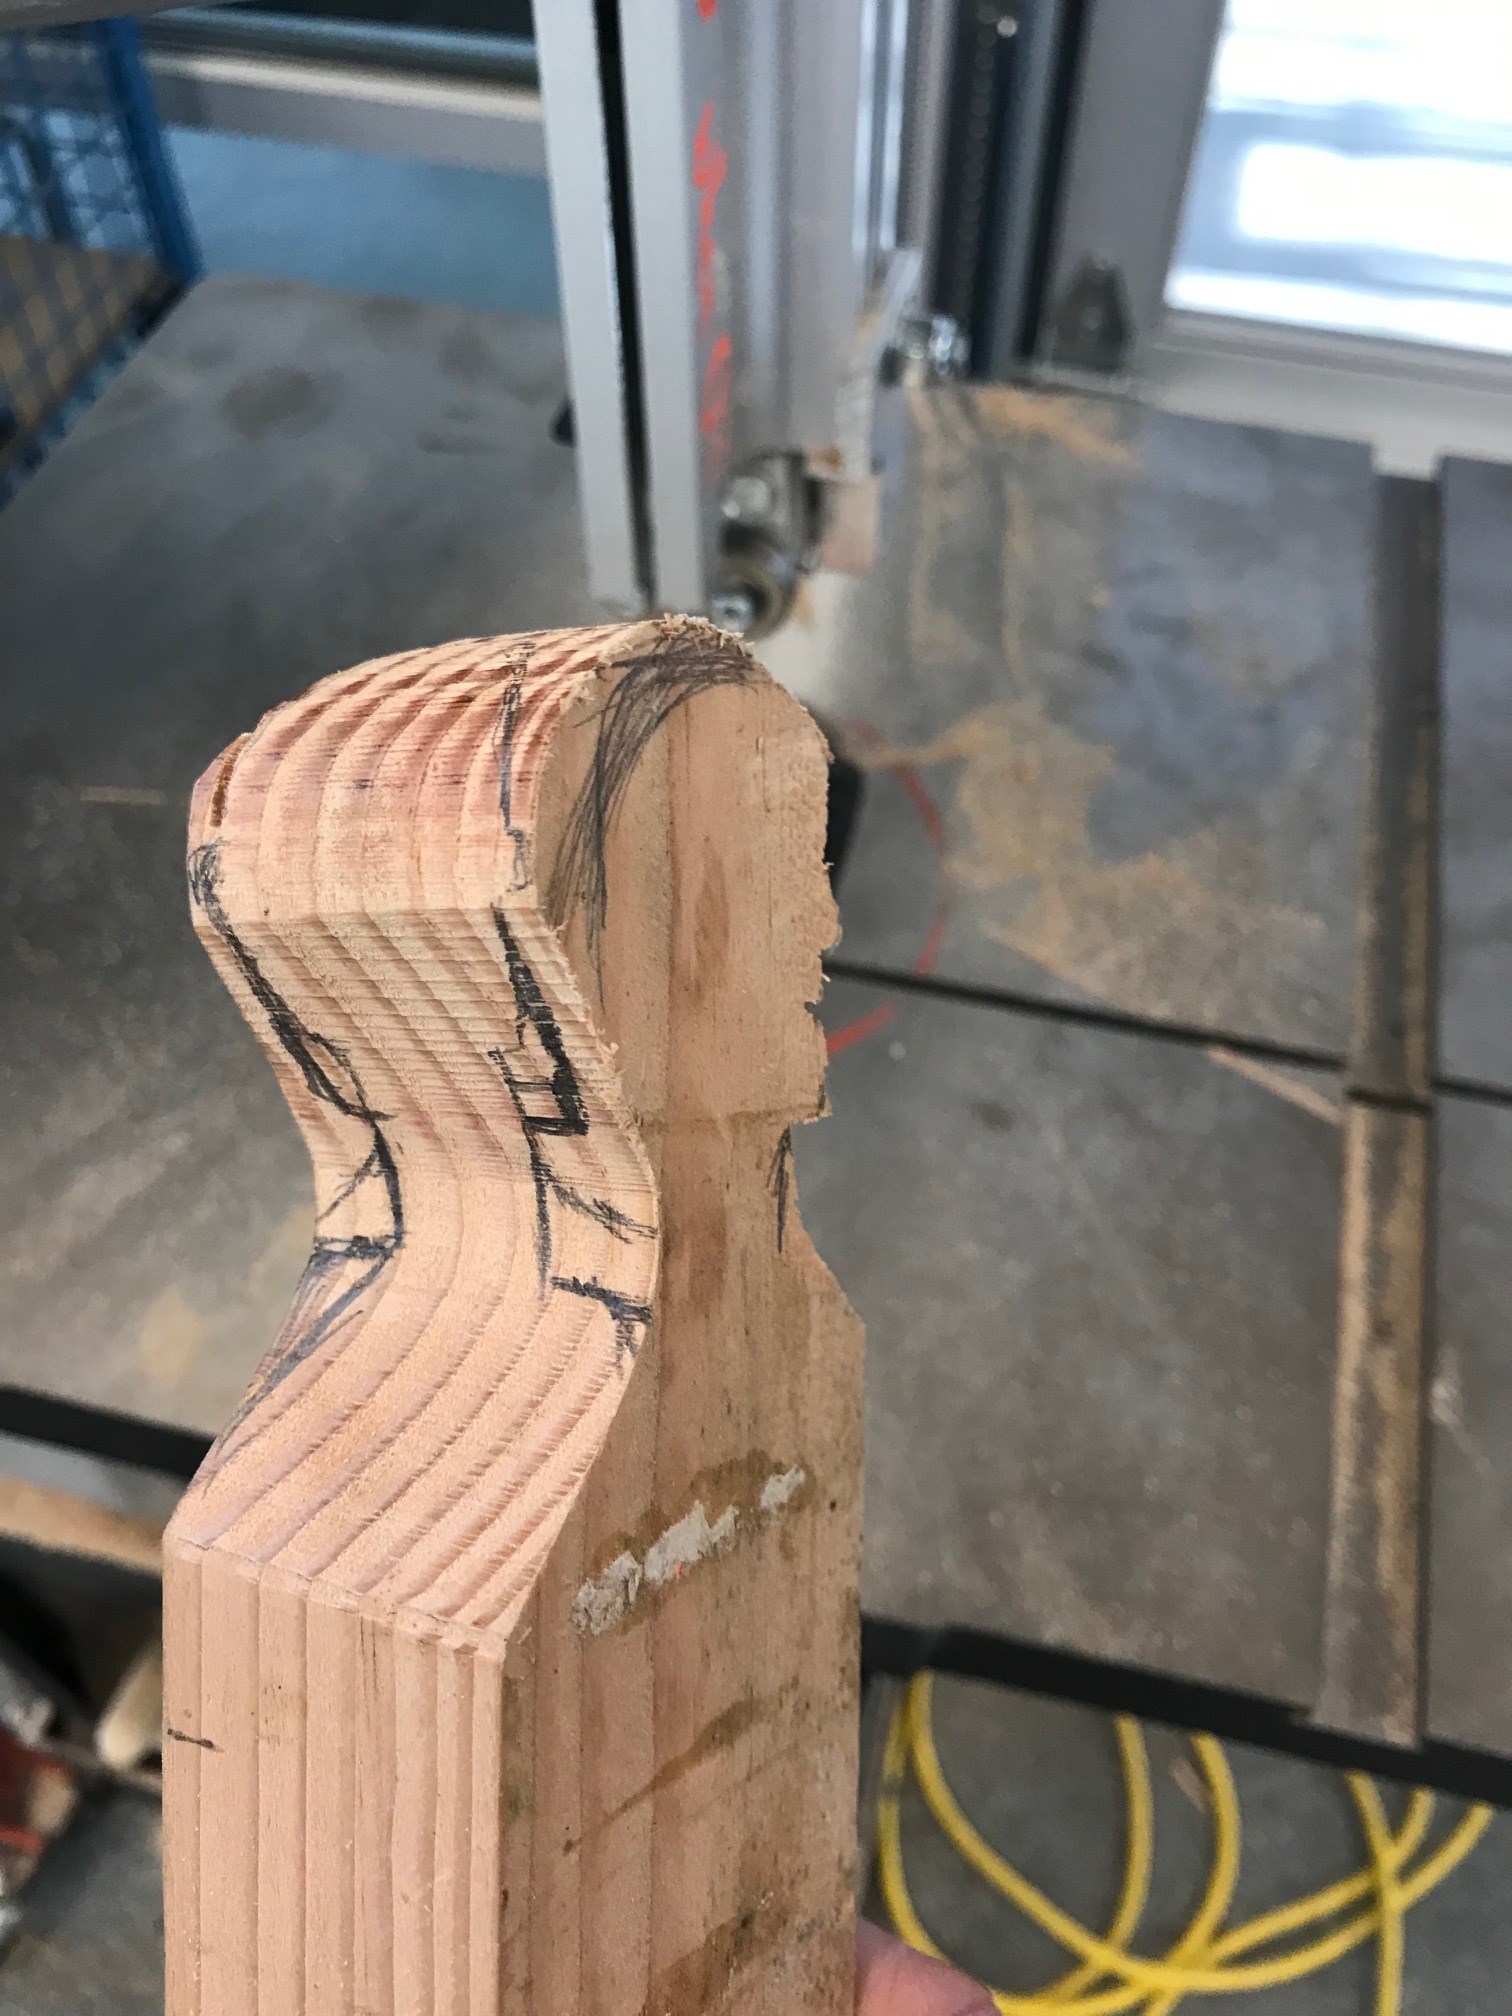
The block of wood we are working with is rectangular so when cutting it will make the silhouette of the head that we are looking to make. I sketched this freehand but I would have some for the students to trace when I do it with them. The important thing to think of if doing freehand is having the side and front sketches to match up. Ear height, chin line and neck were the big features I was concerned about.
(I started cutting before I took the photos but you get the idea)
Cut Profiles


The next step is to cut the shapes that you have drawn out. I start with the side profile since it has more detail. When doing this you will be cutting of the drawing you have on the other surface. I re-sketched this on the curved surface. I find that drawing it on the flat surface first helps me do it the second time on the more difficult curved surface. If you are trying to trace realize your trace will not work now since you need to project the image onto the curved surface.
I used the band saw to do my cuts but I would have my students use the safer scroll saws.
Cut or Rasp Big Corners
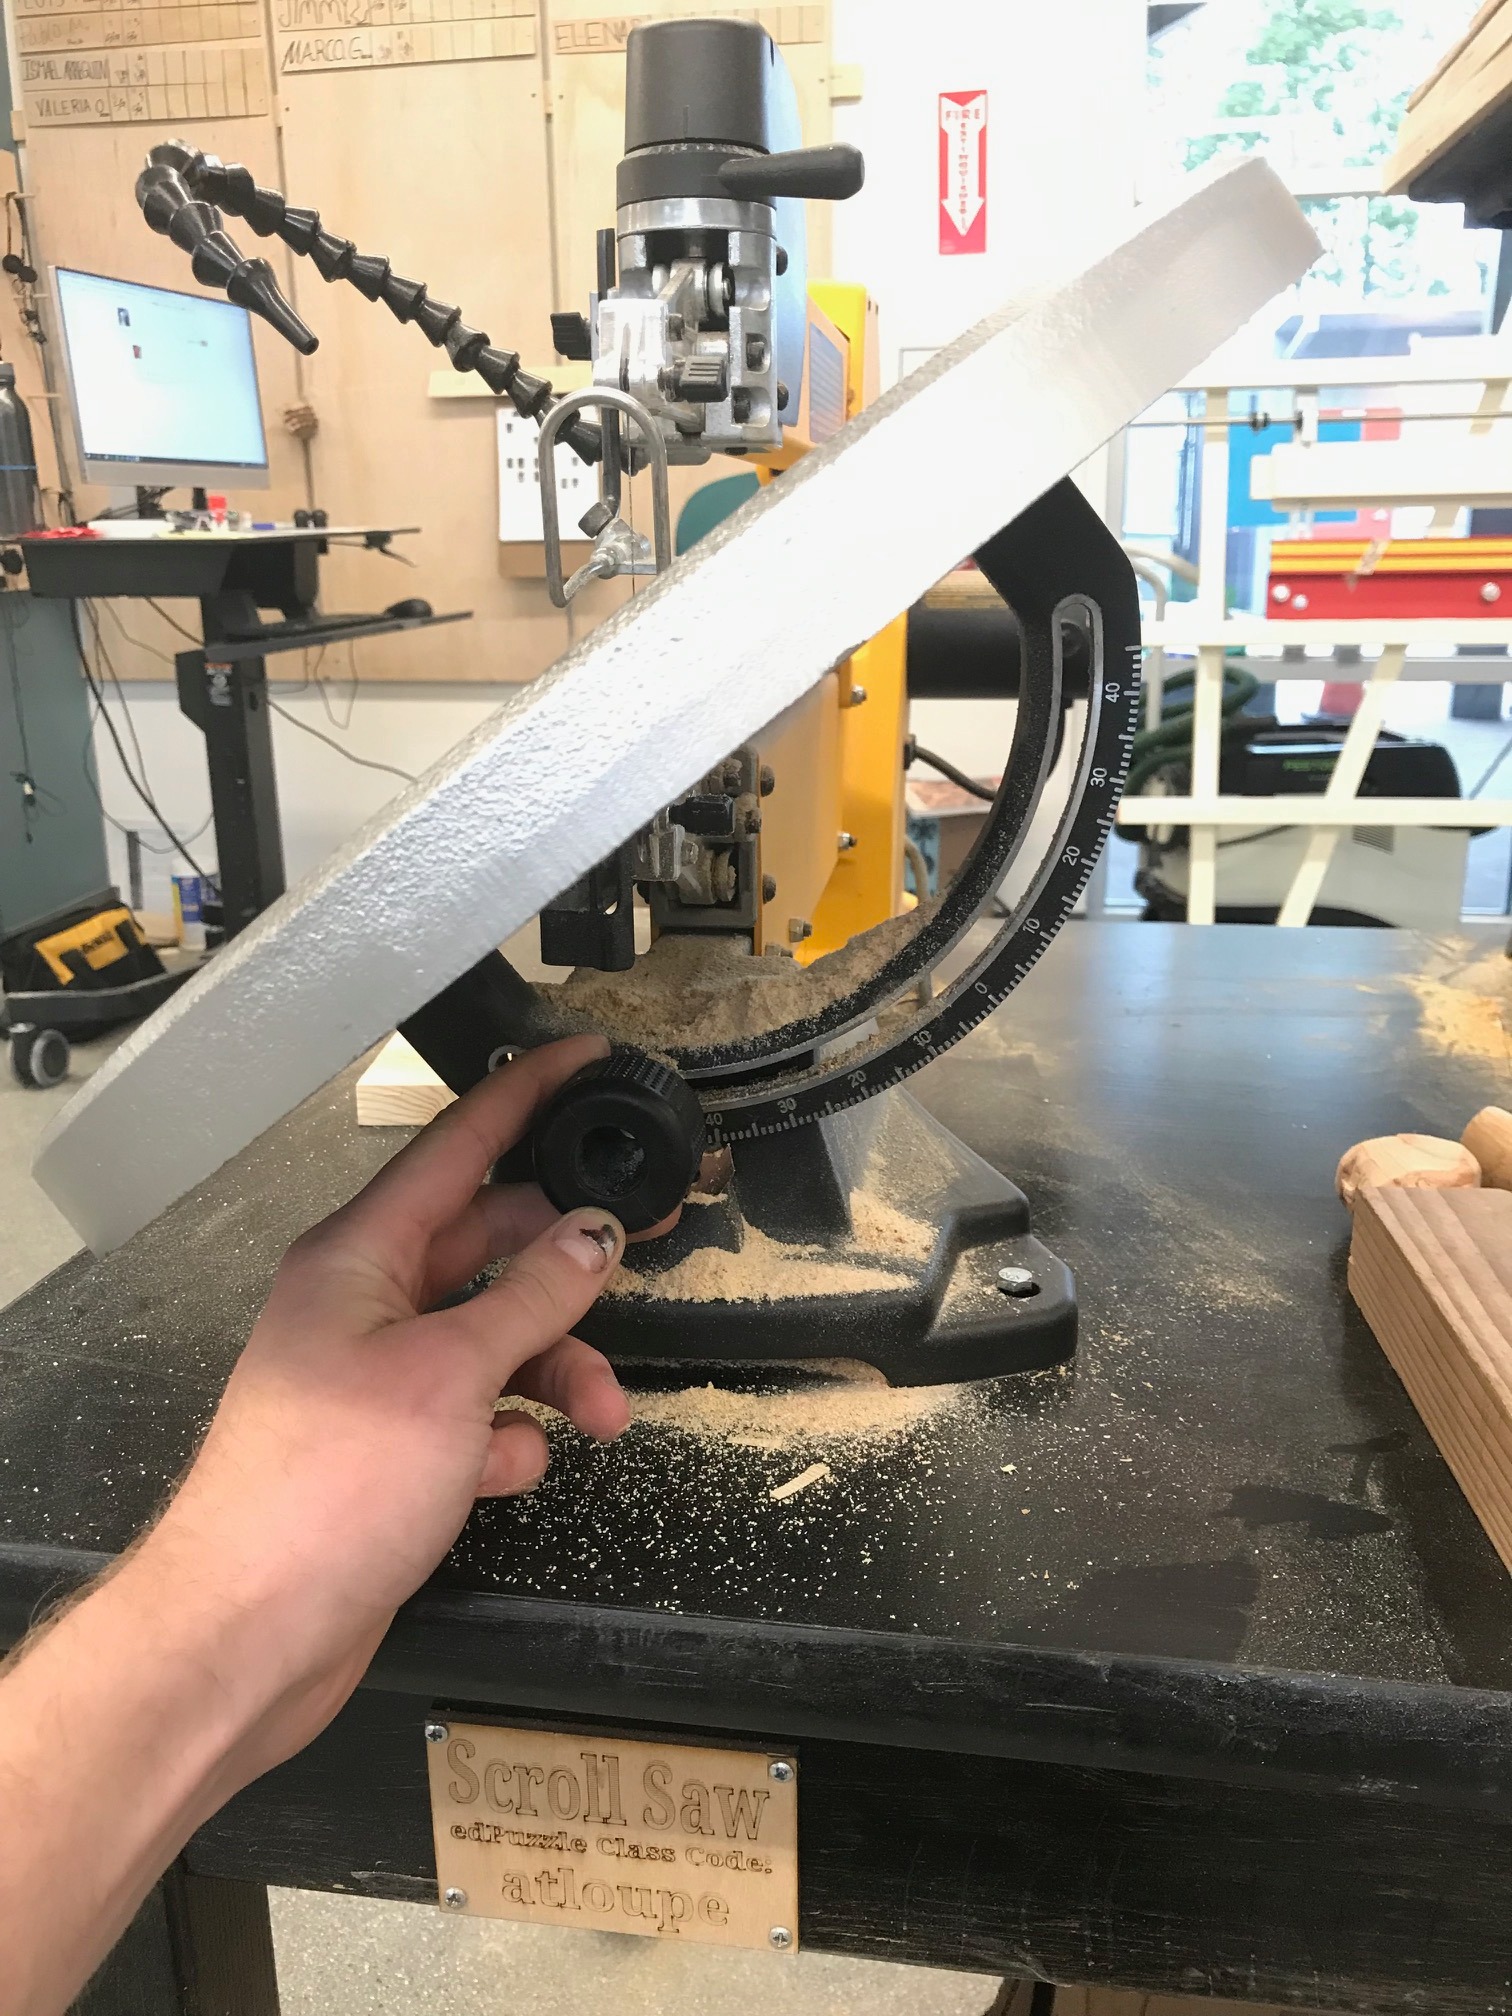
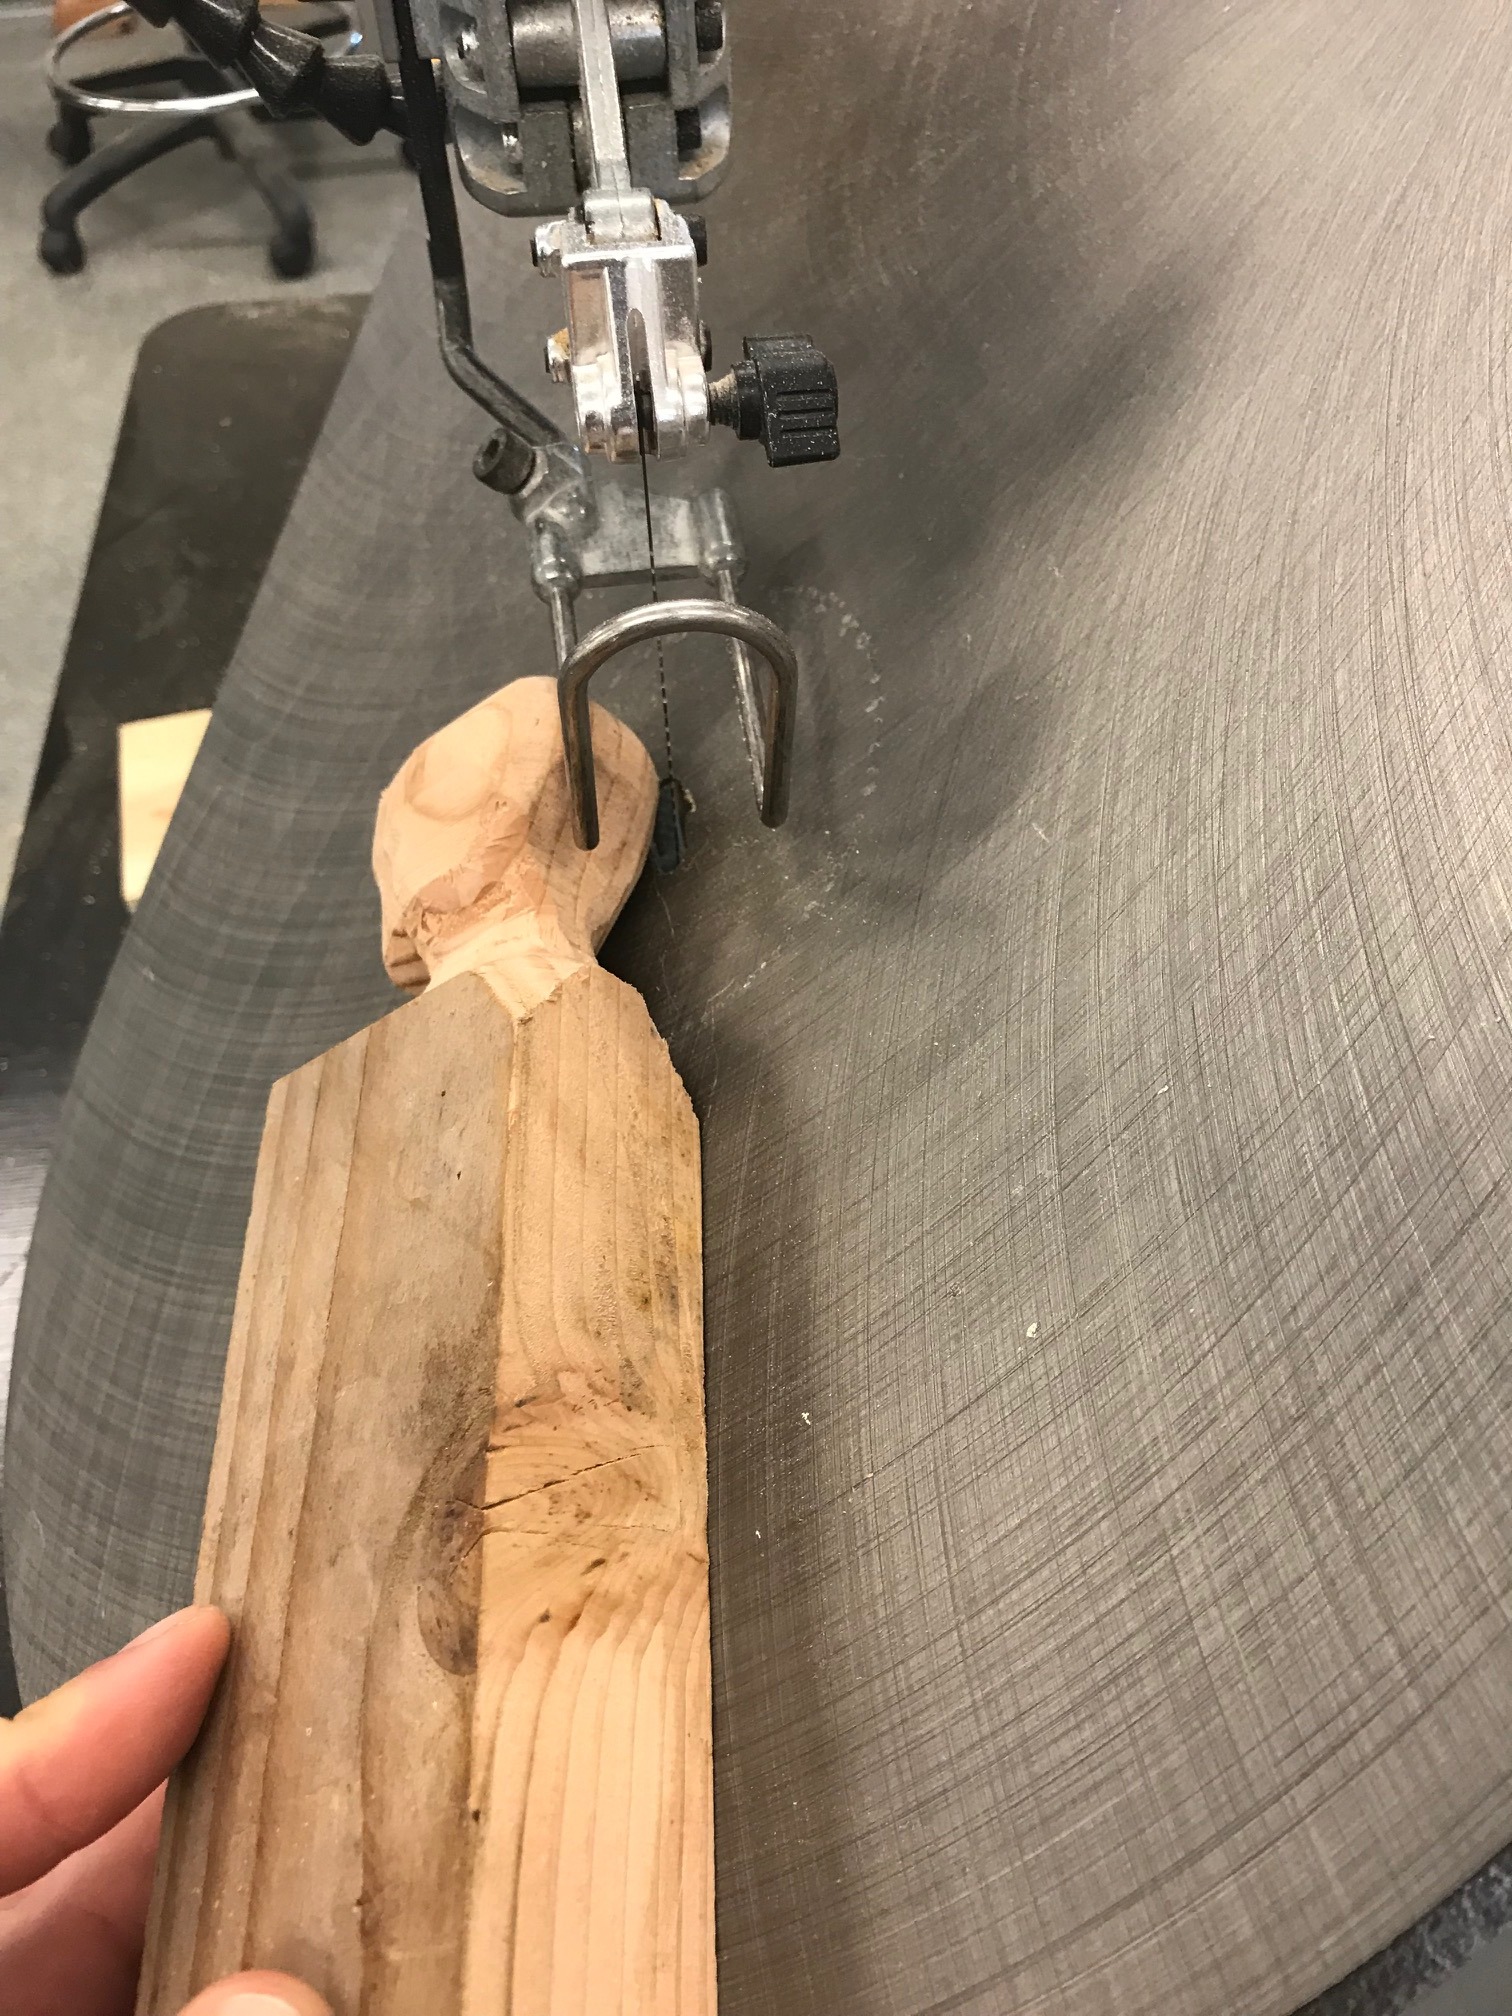
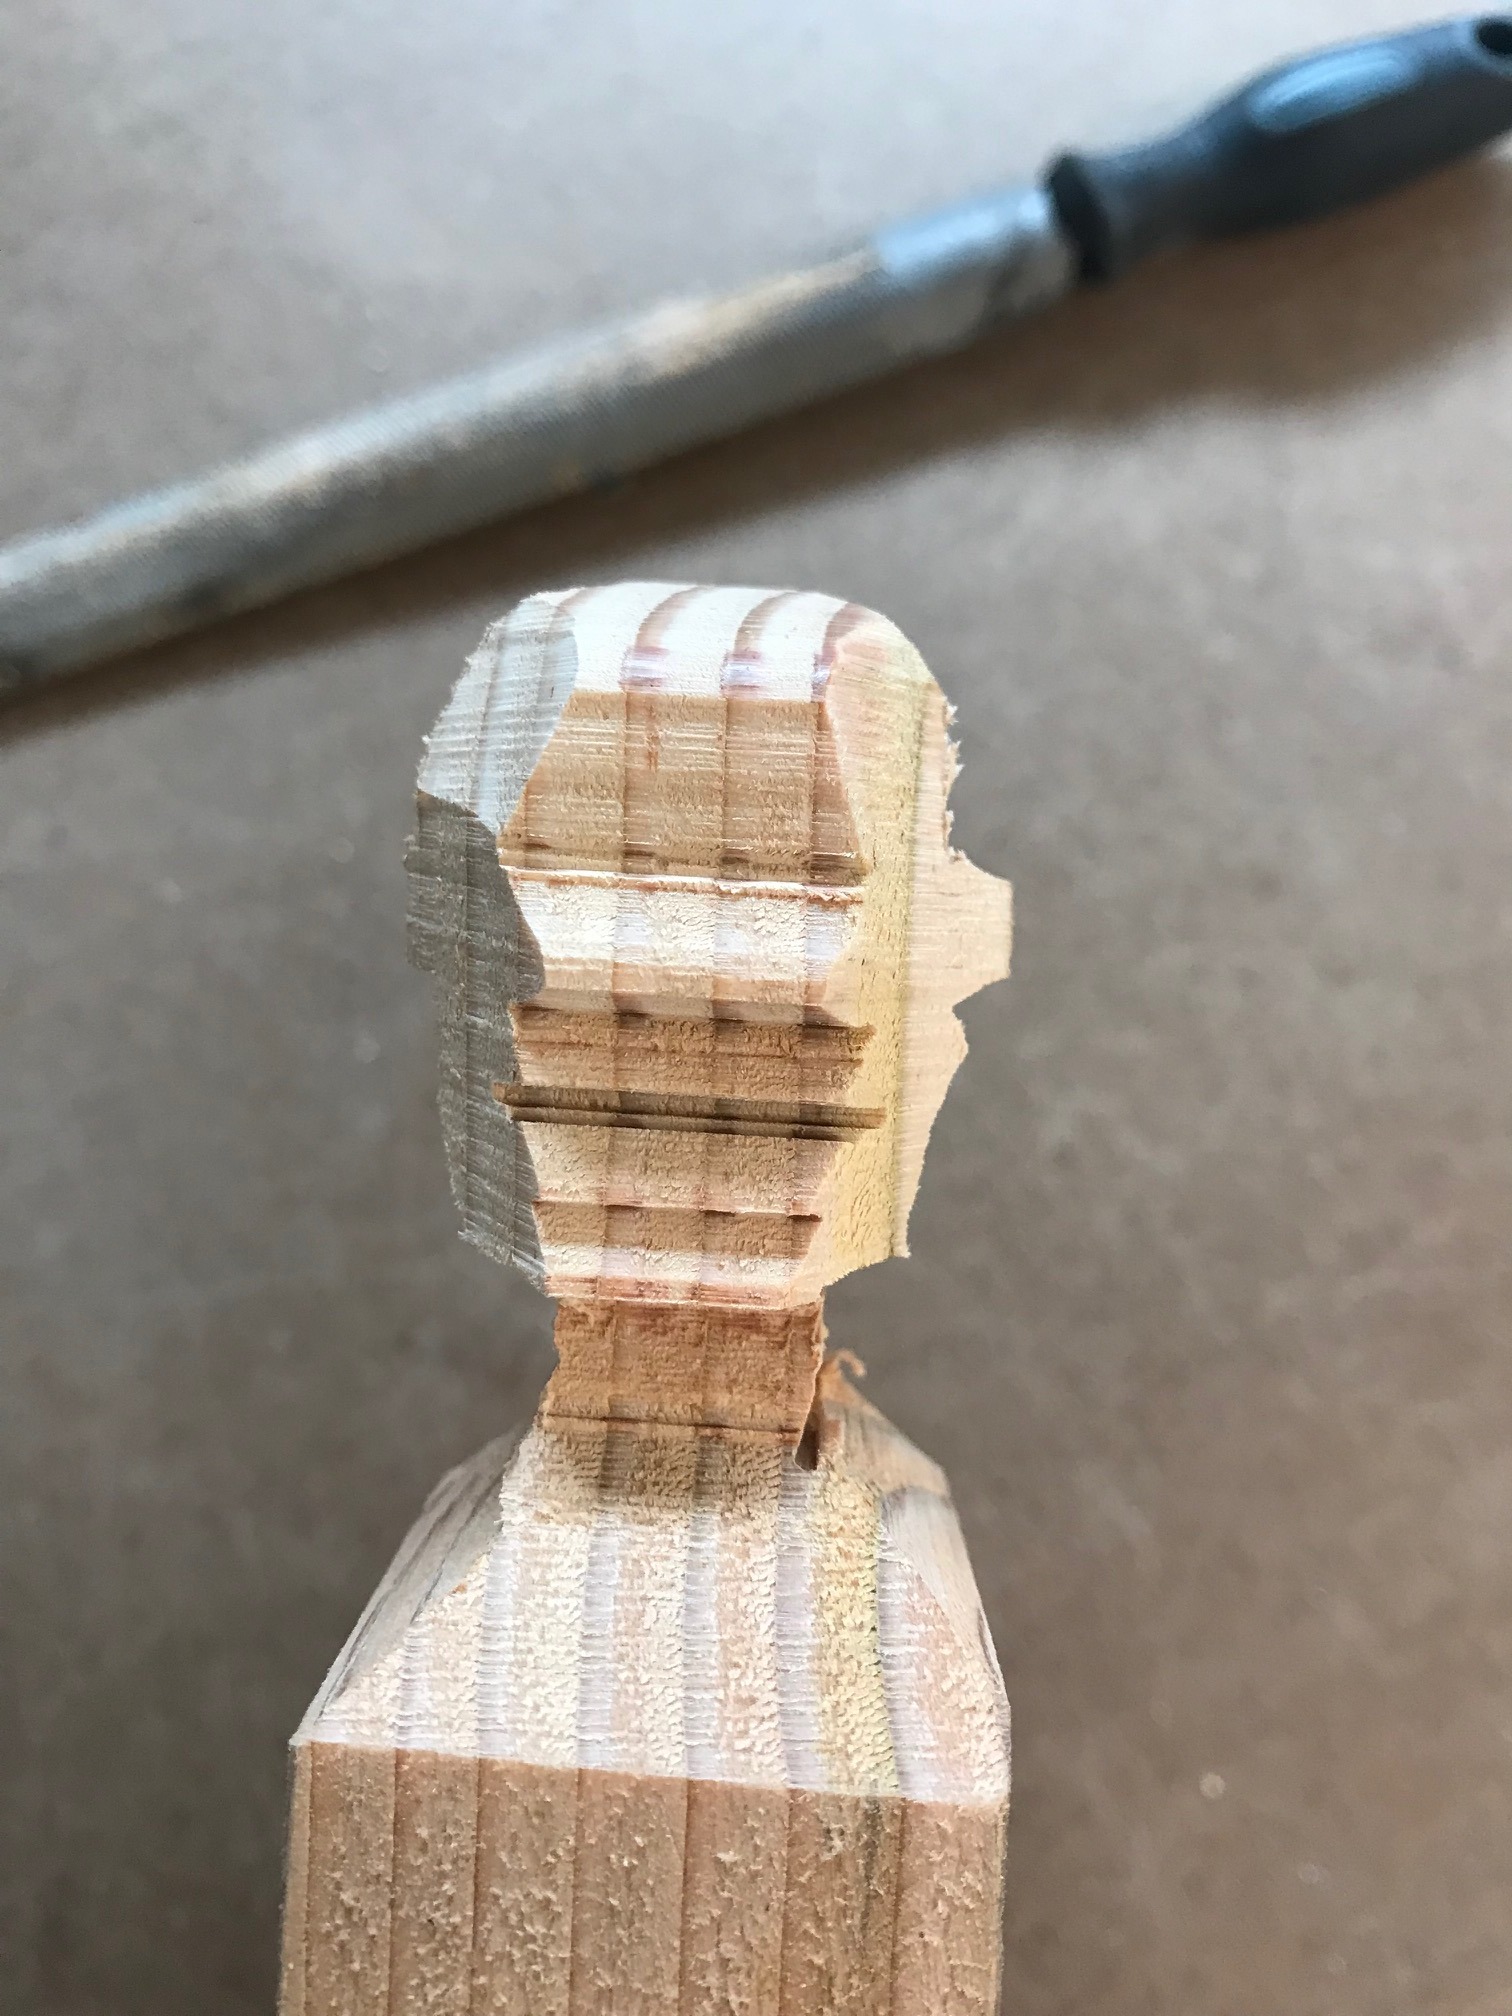
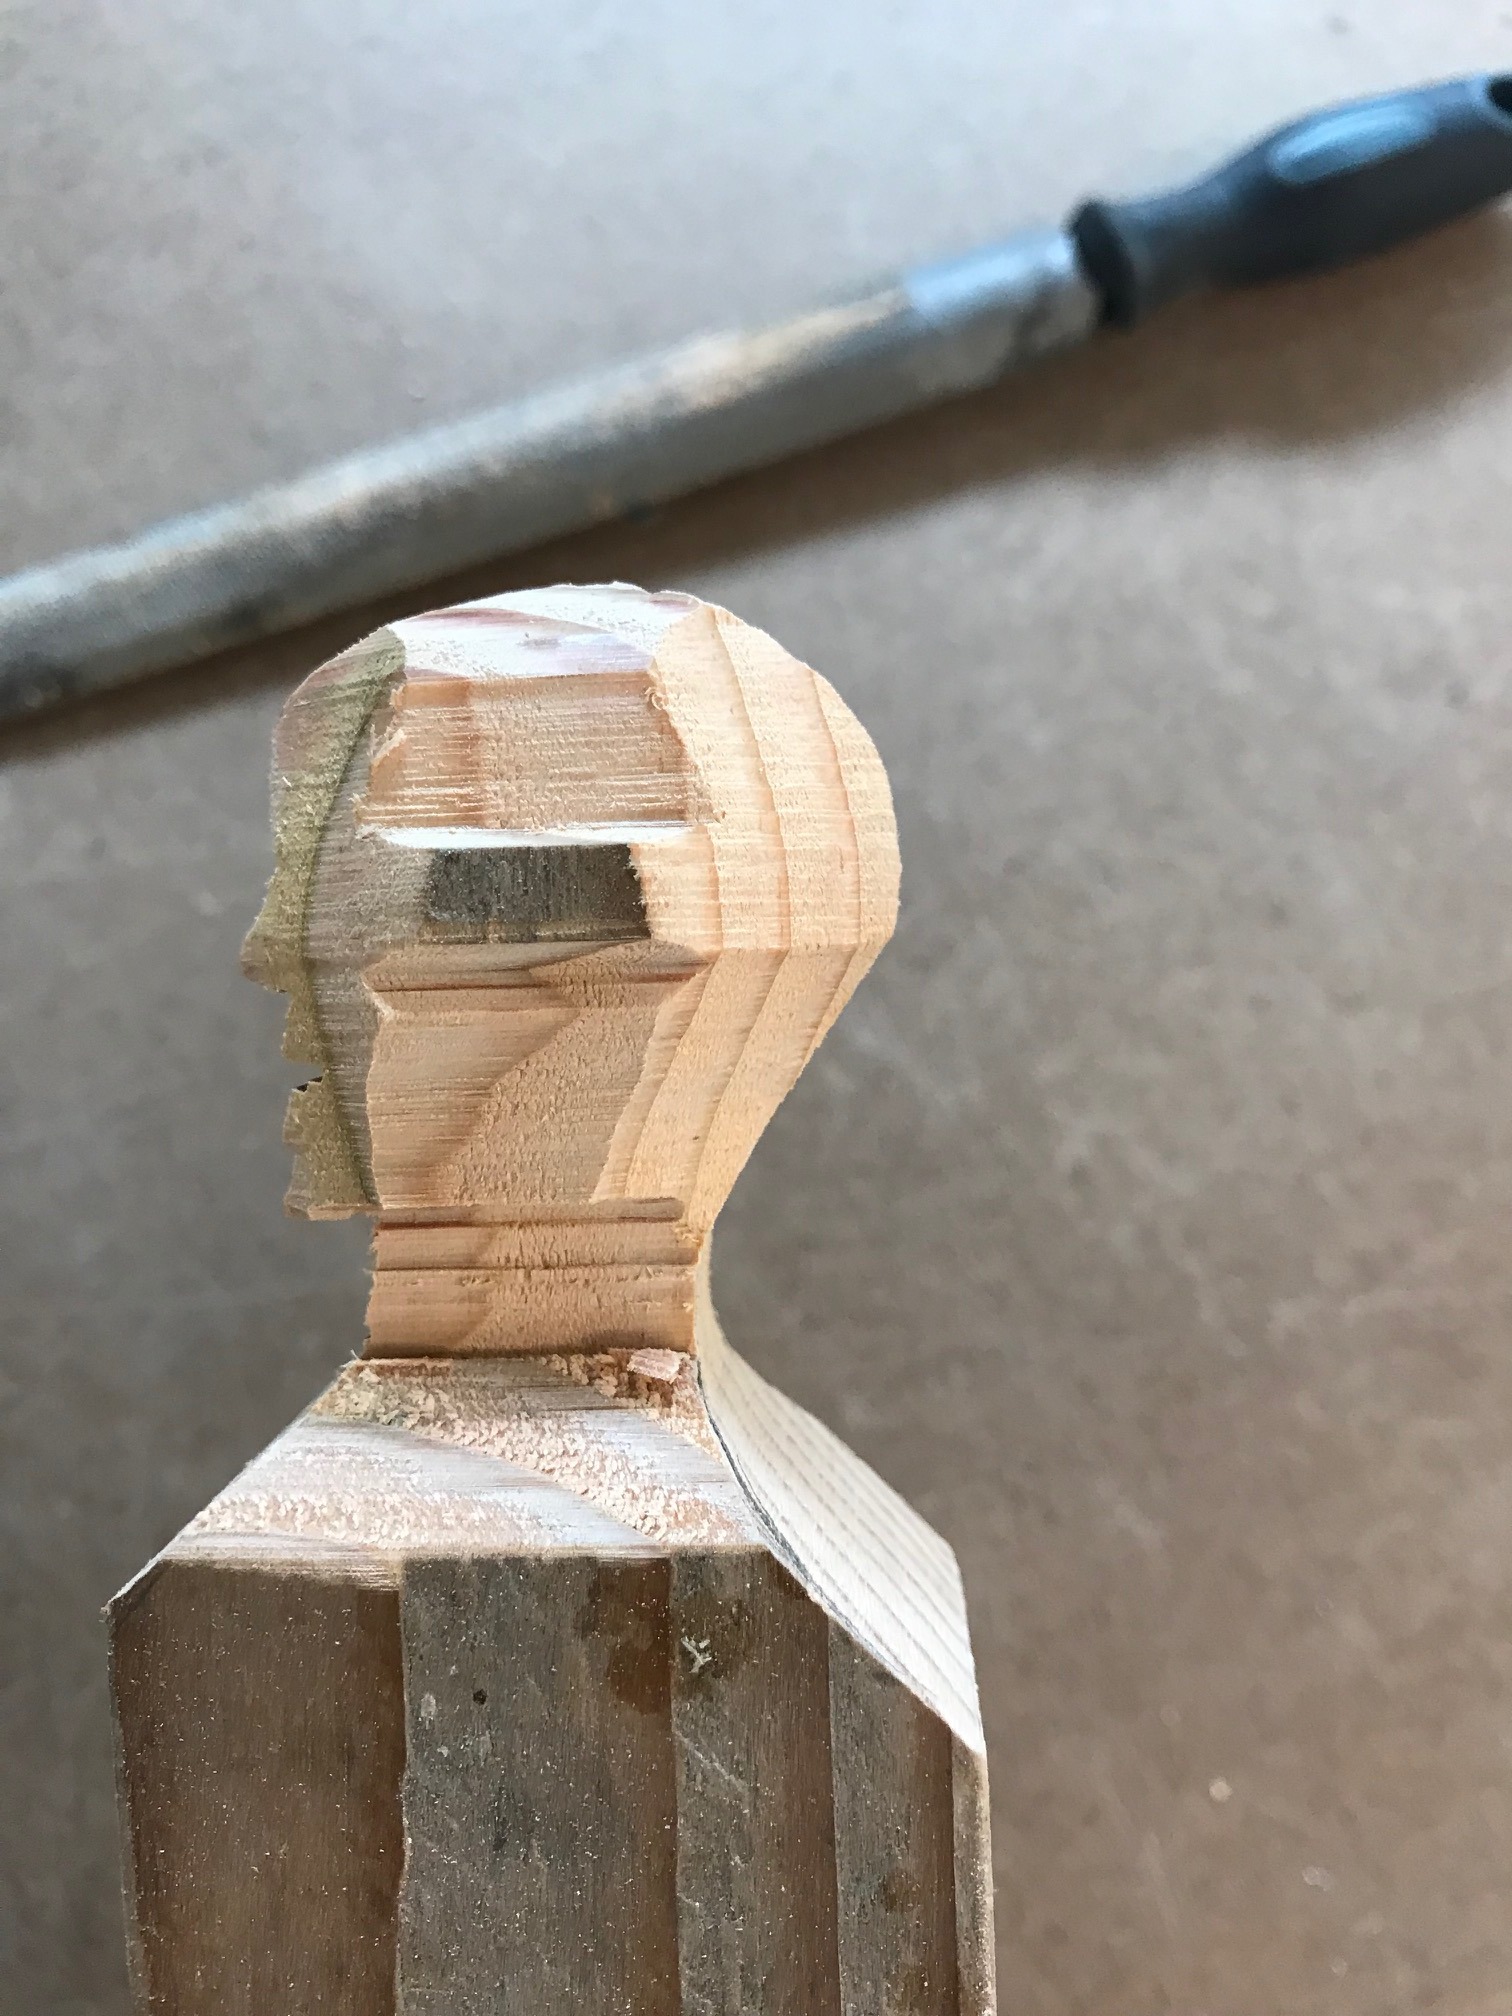
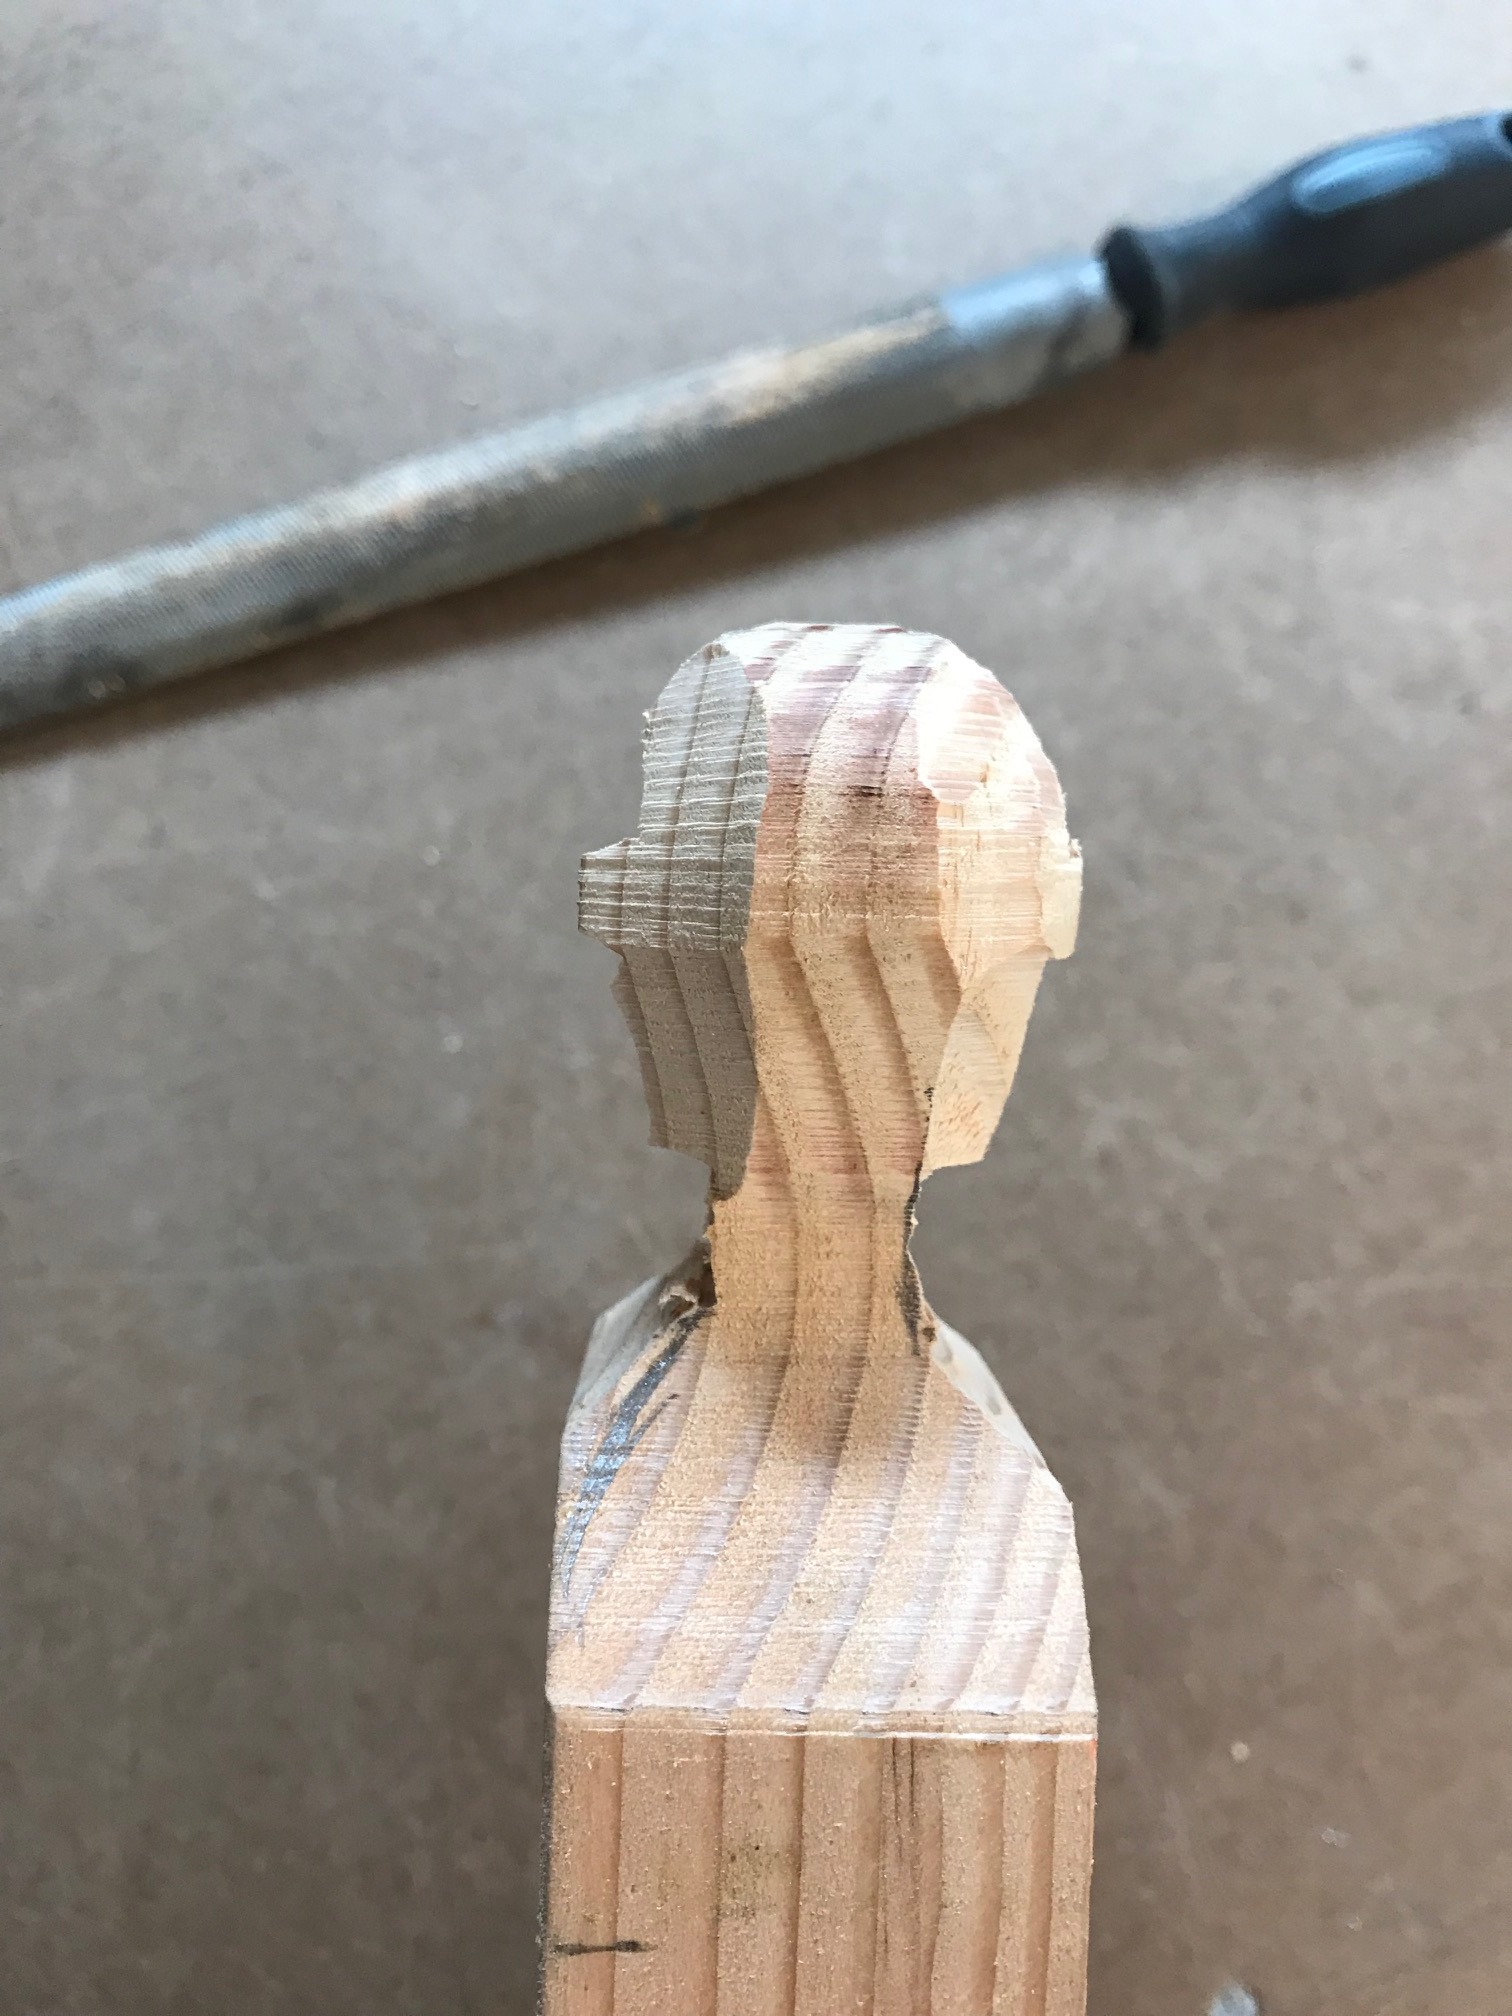
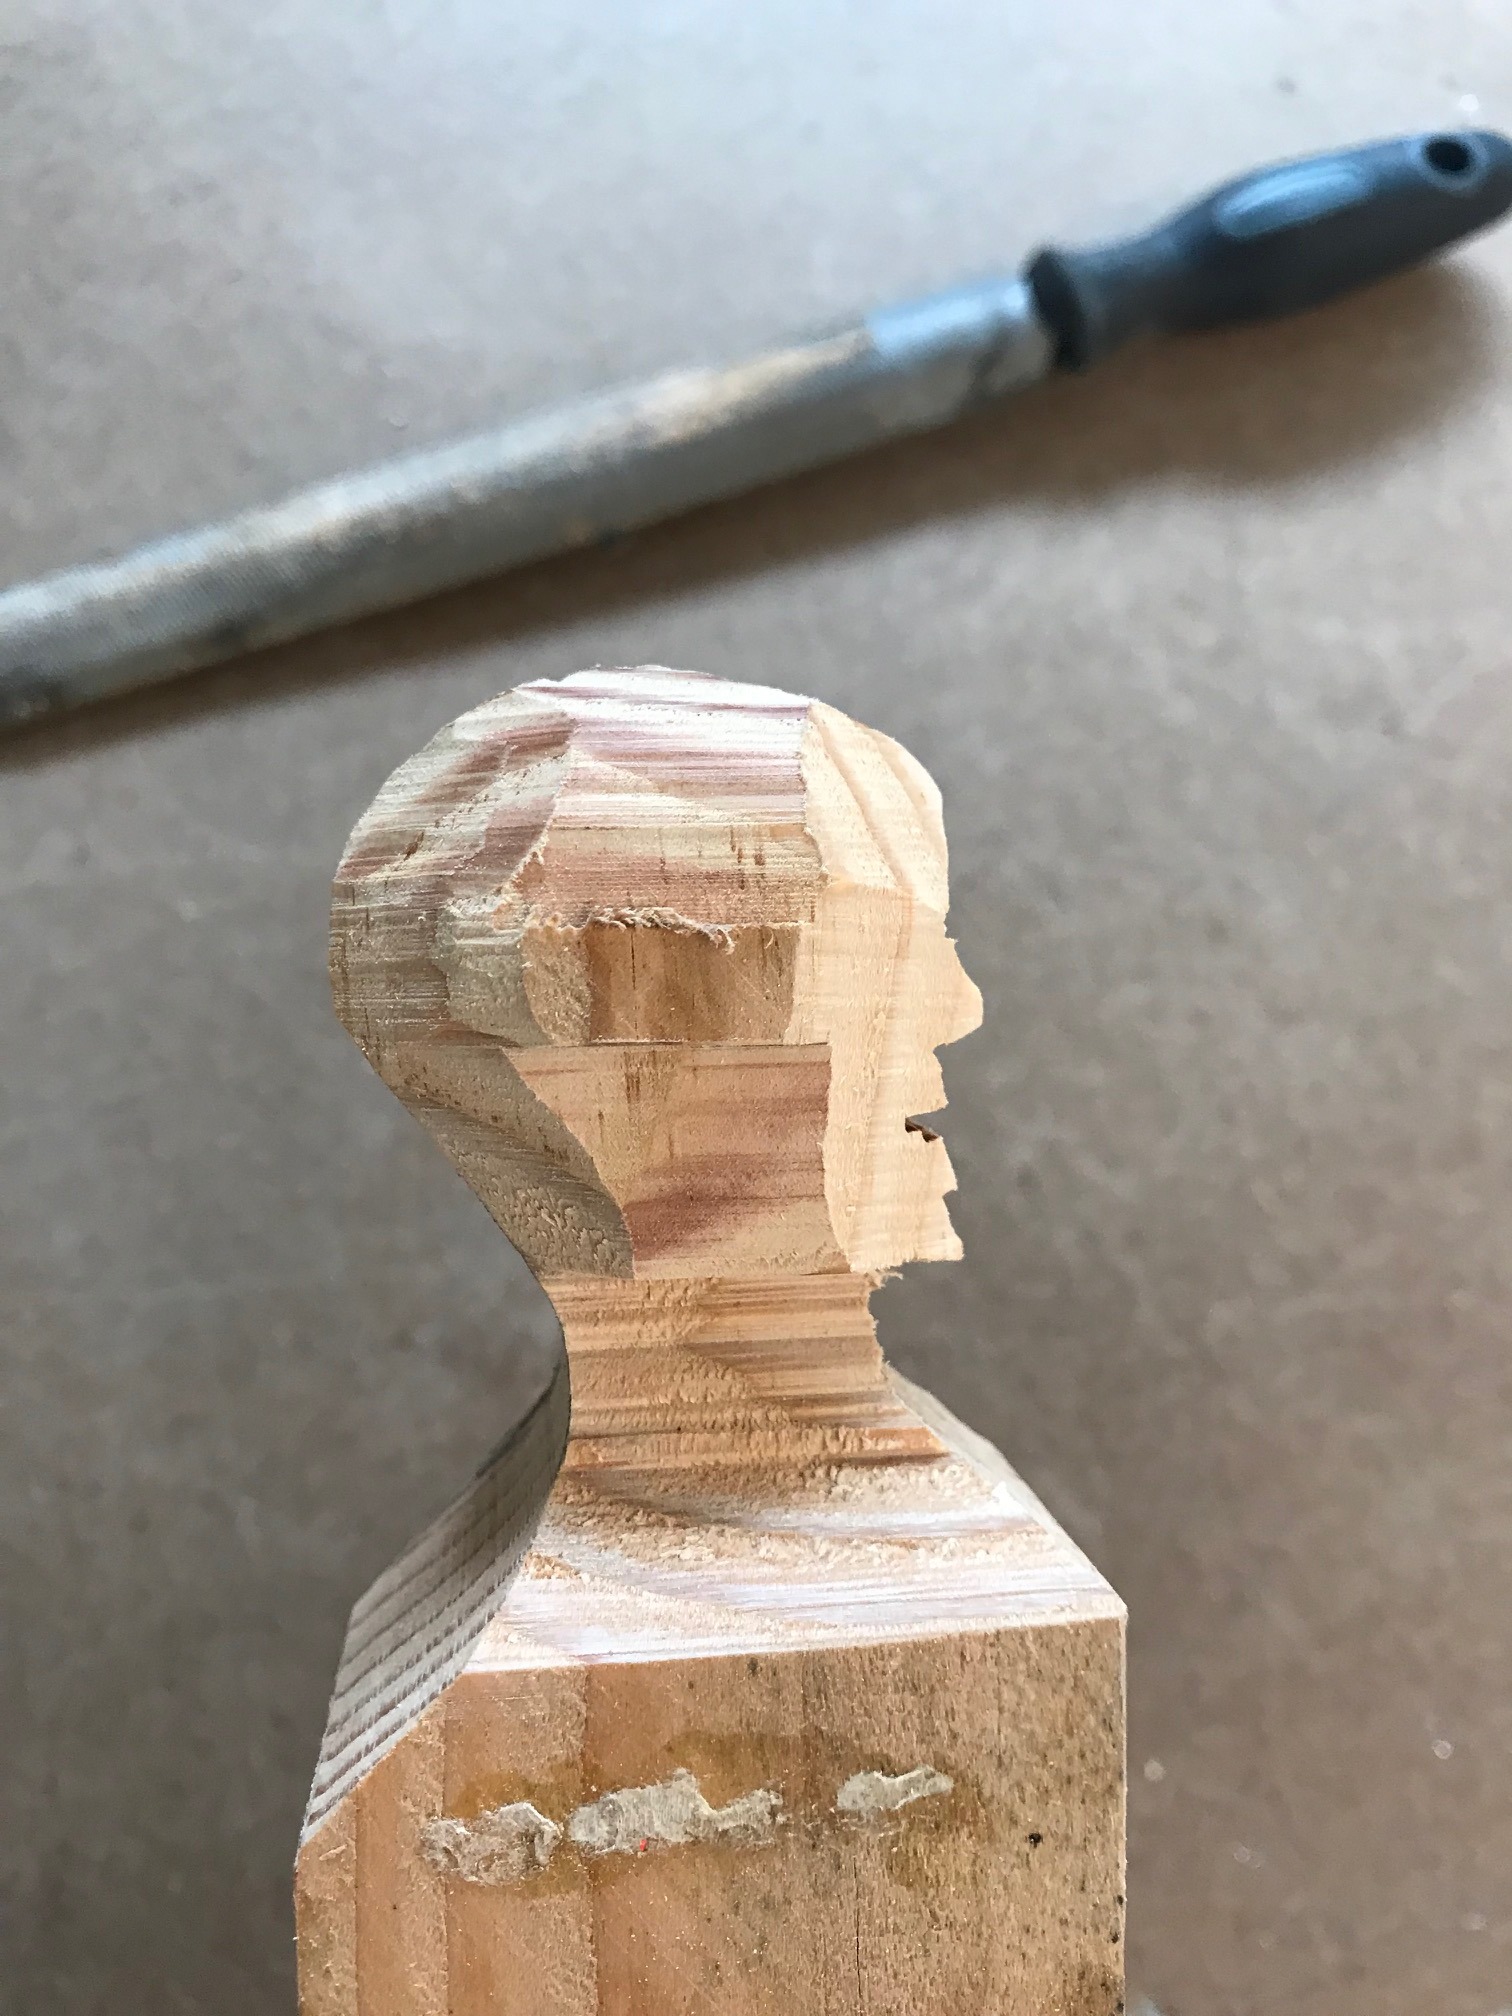
After cutting you will have 90deg. corners on your head that you will need to round off. To speed this up you could use a coarse rasp or what I did is tilt the table of my saw to 45 deg to remove these corners.
File and Refine Shape
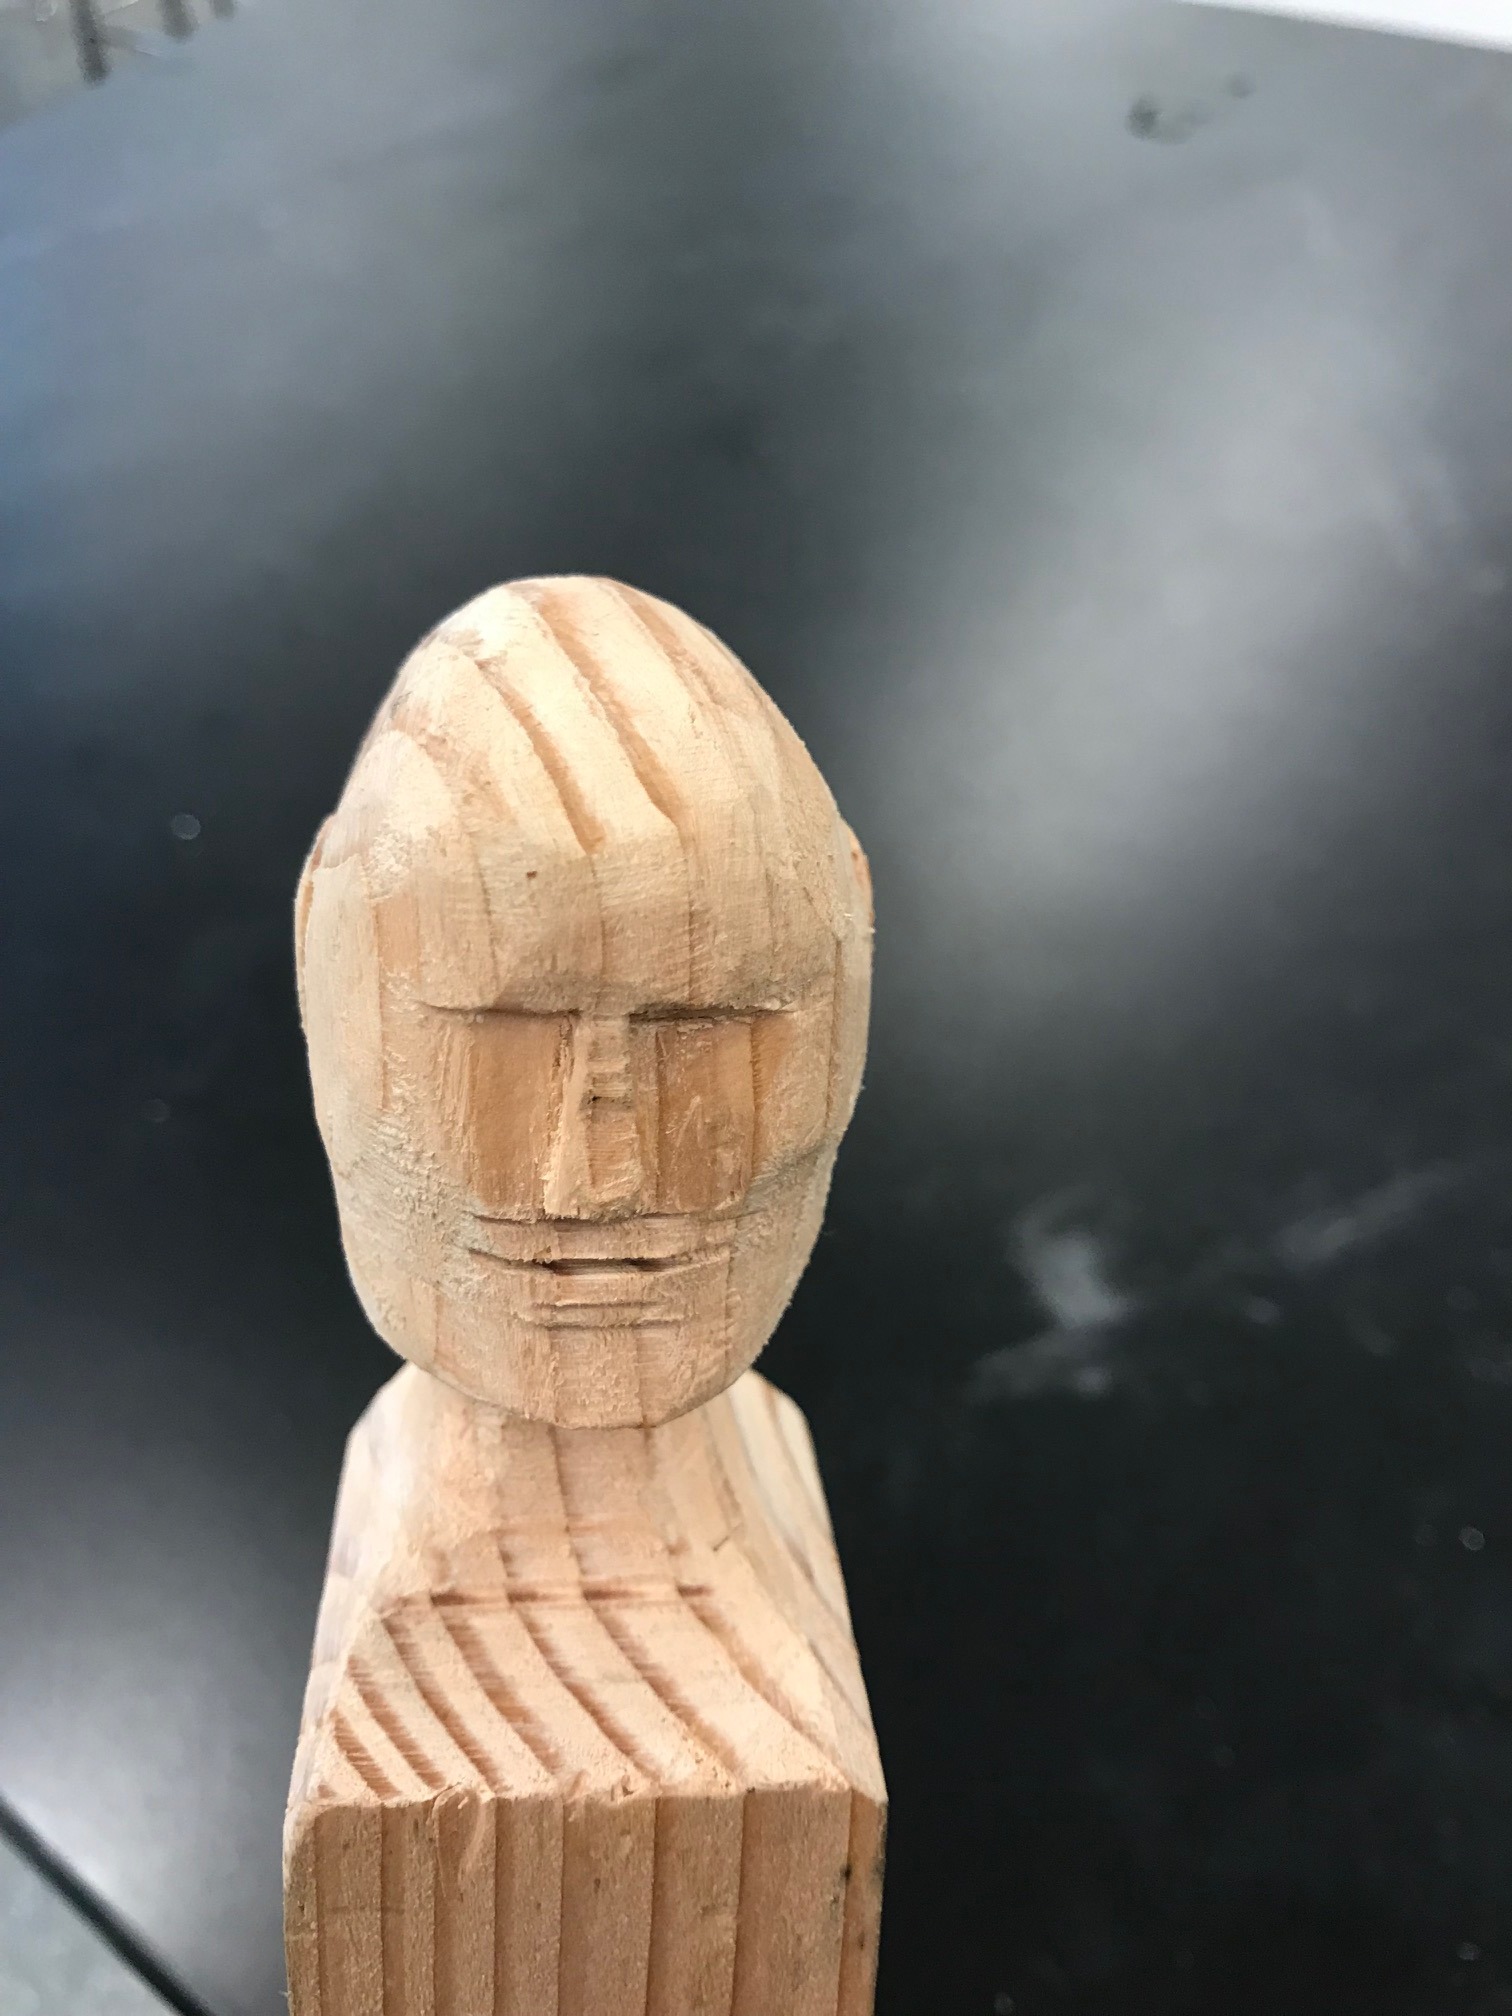
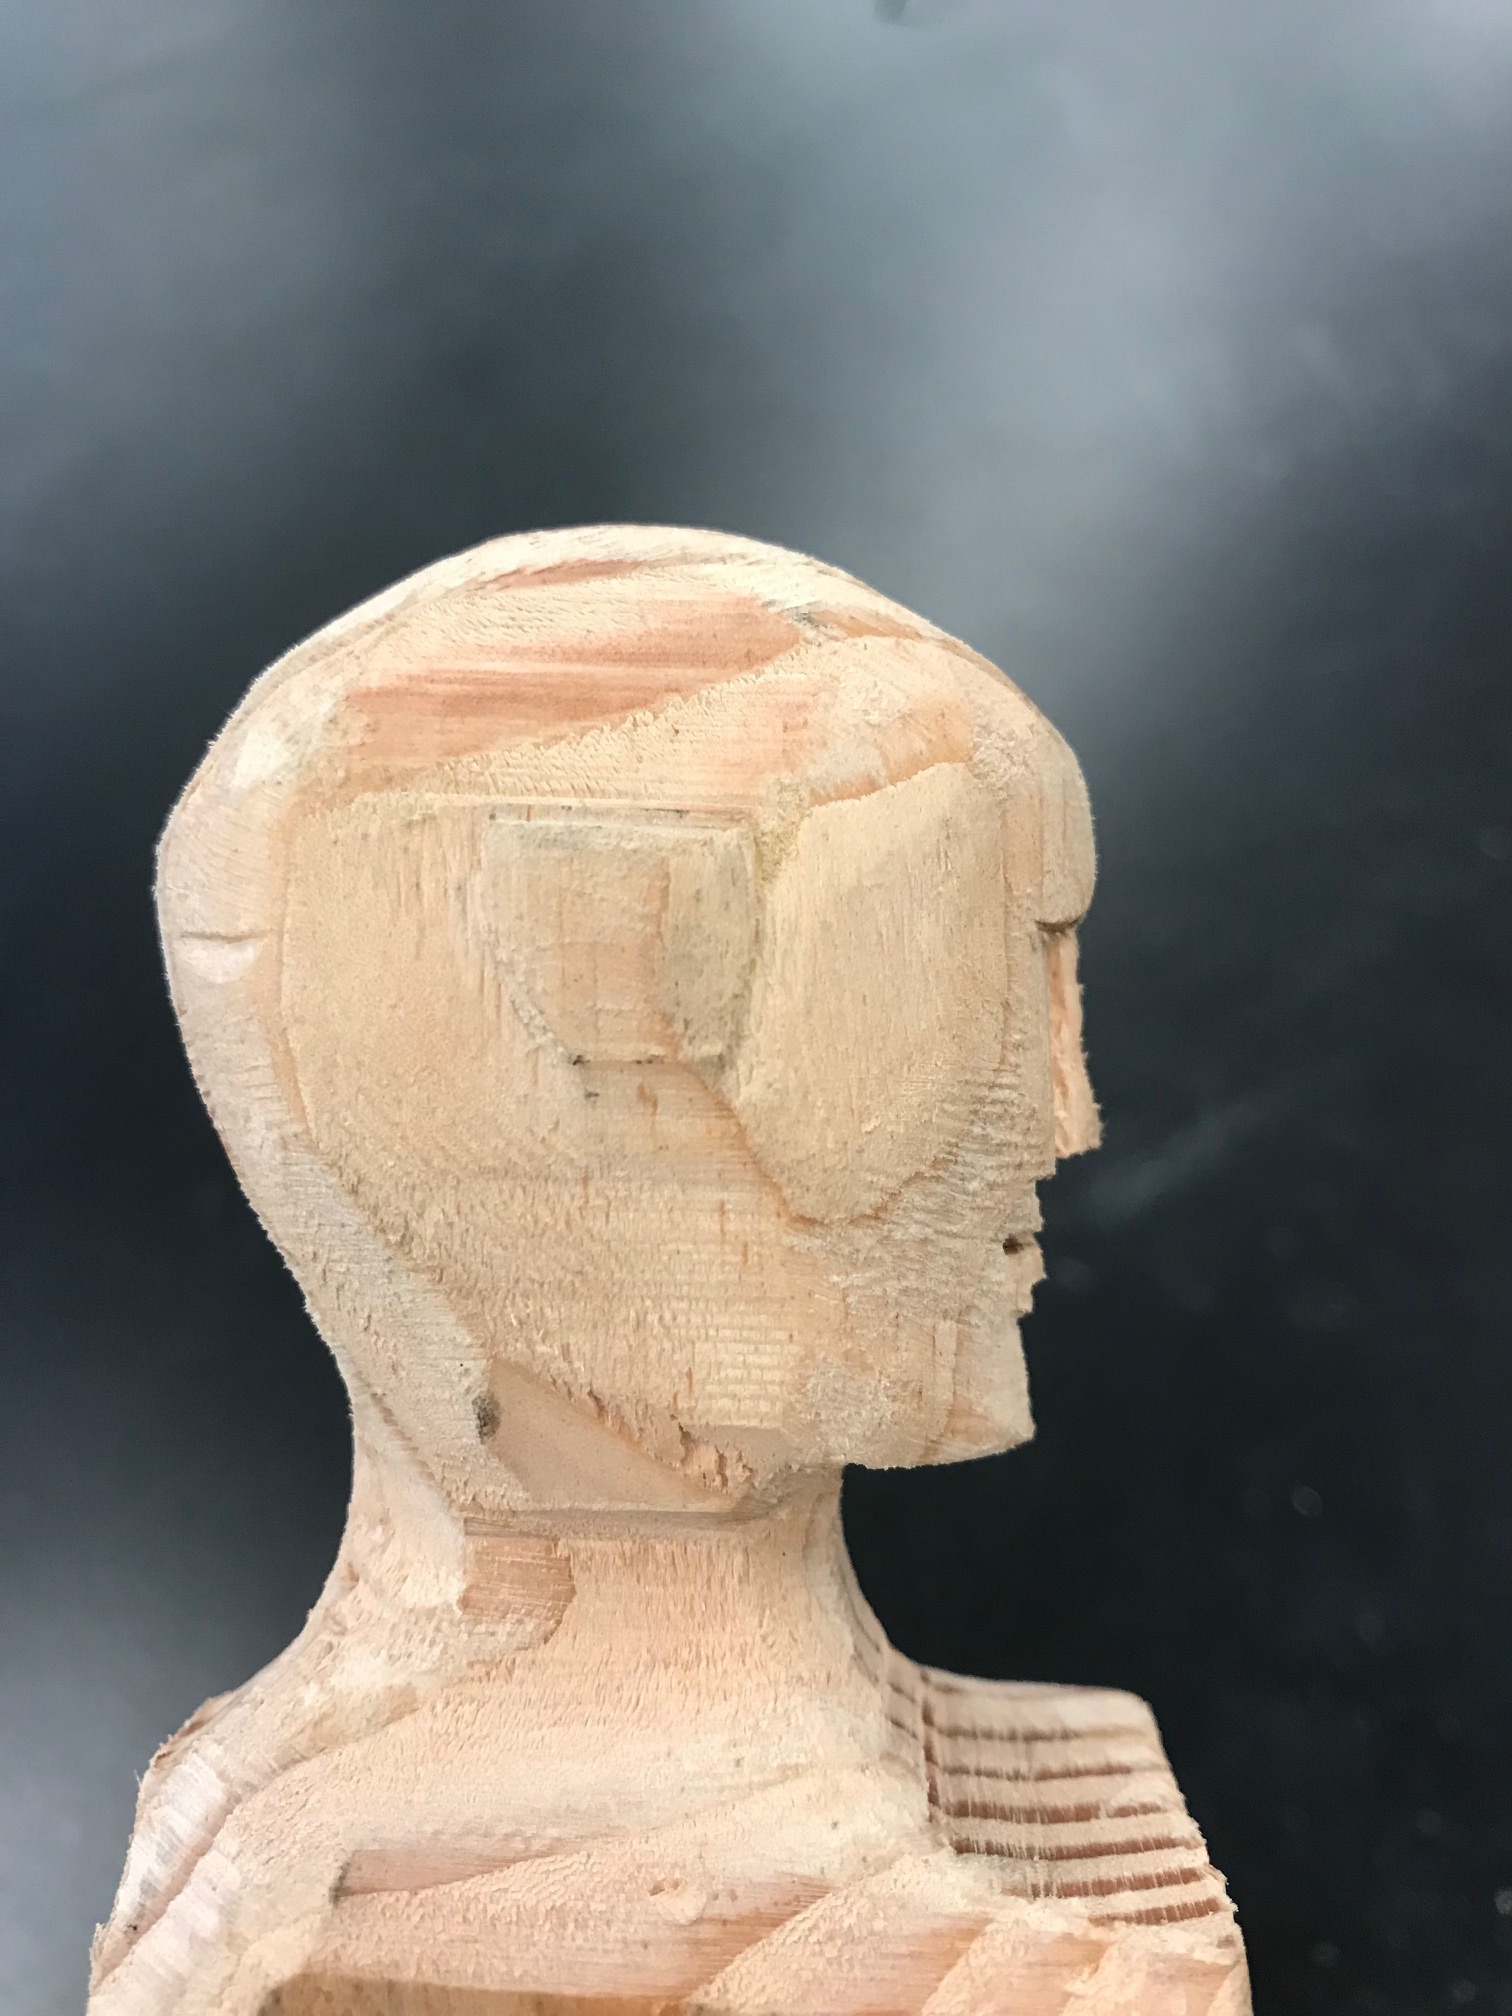
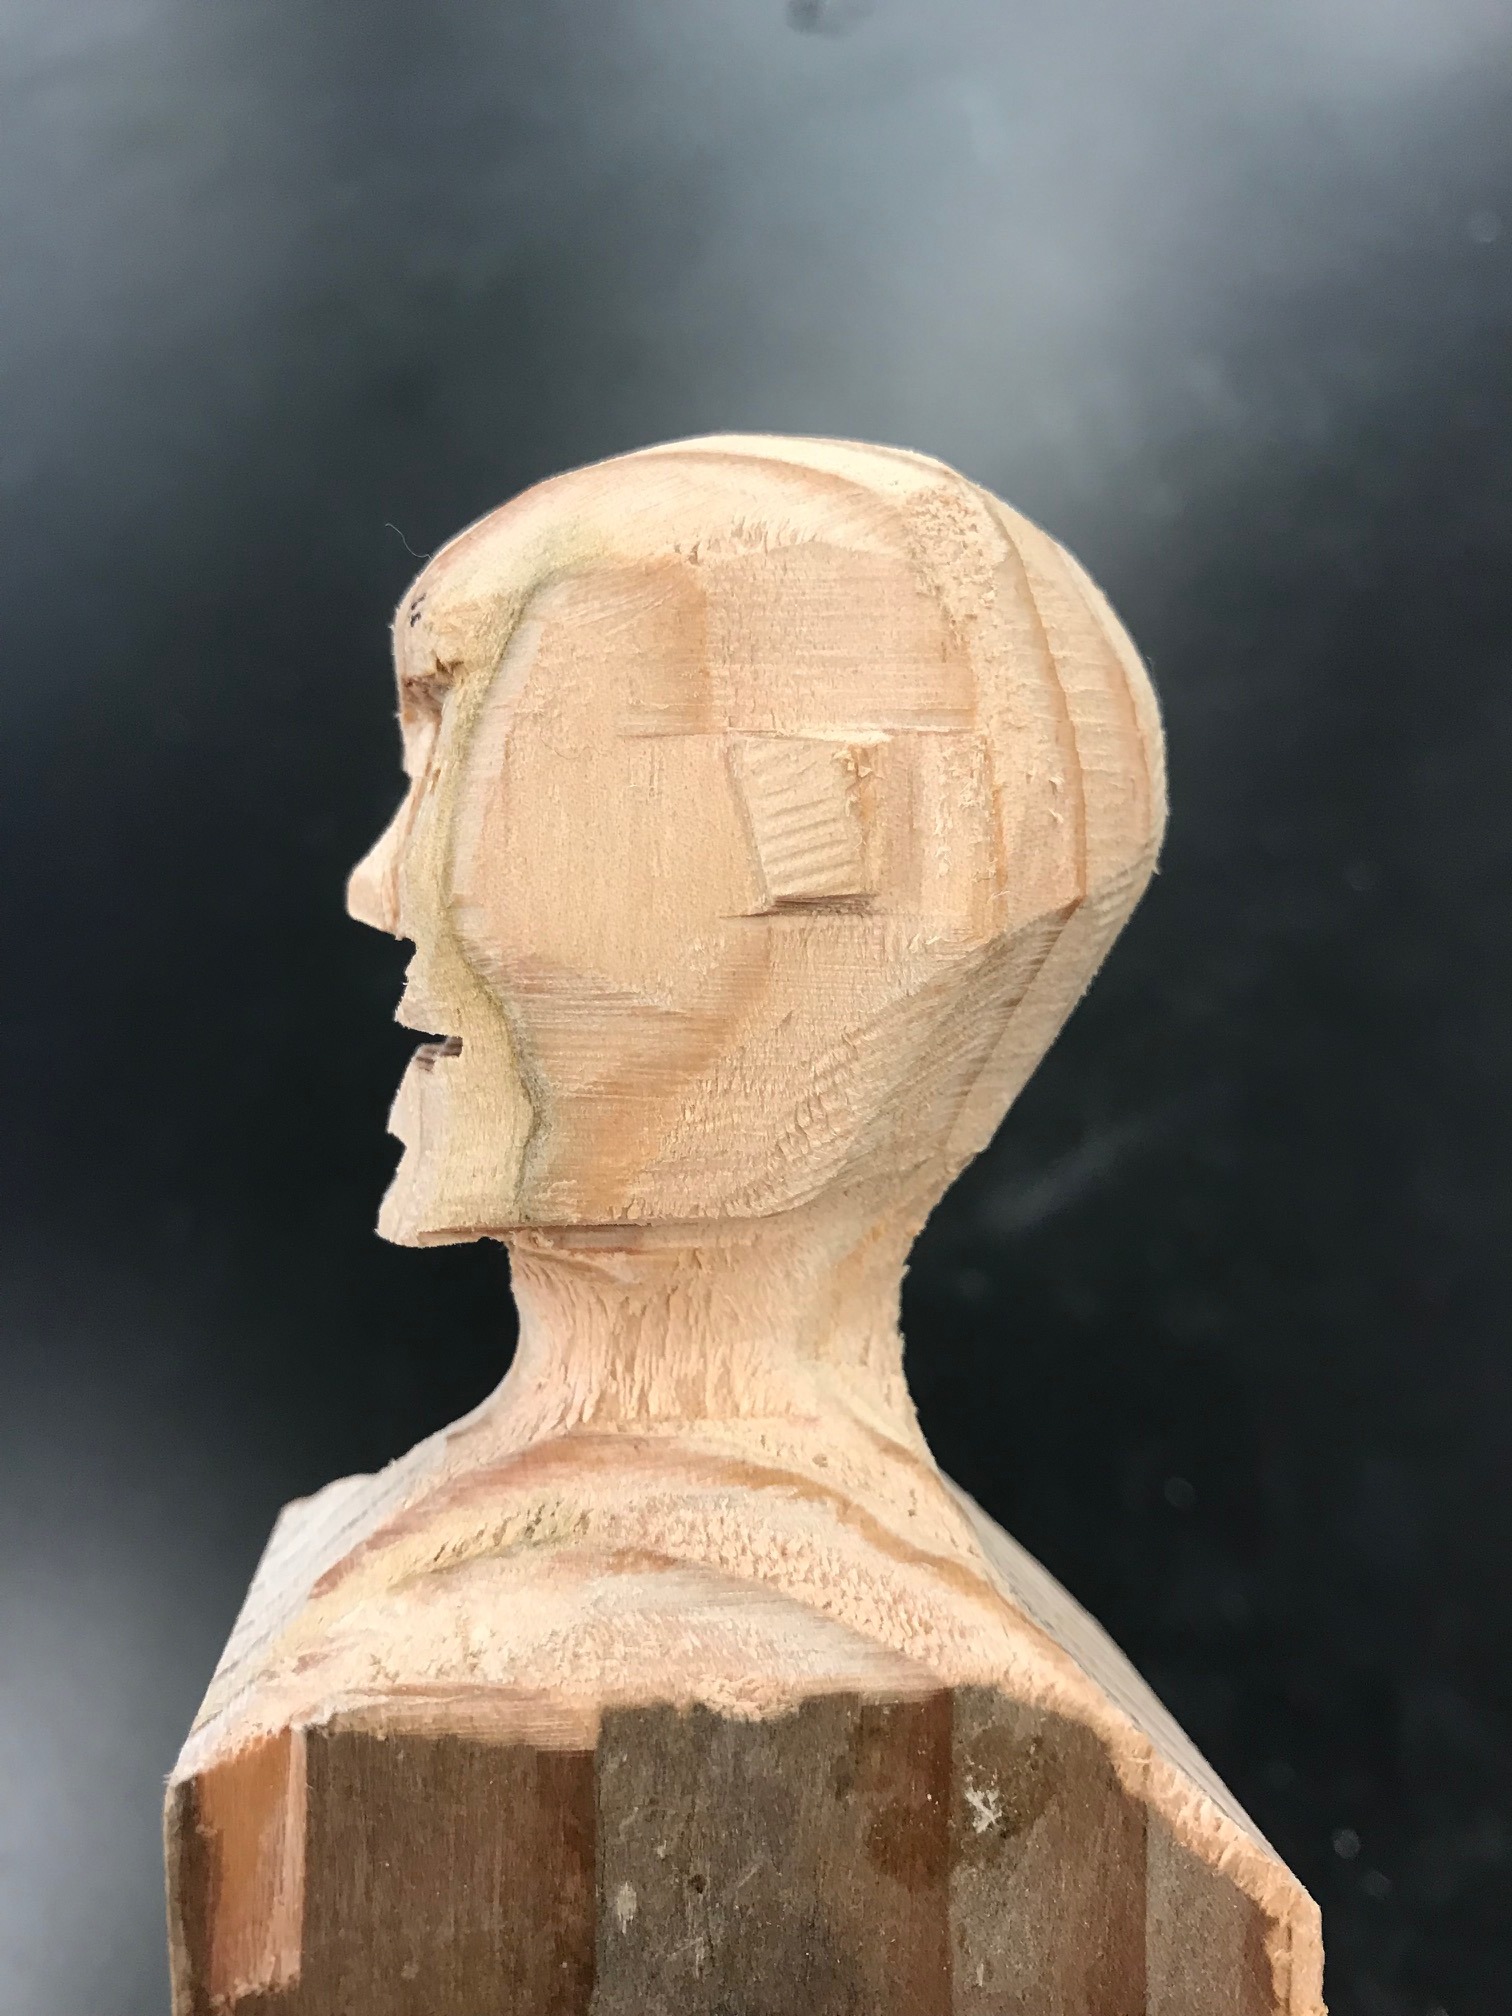
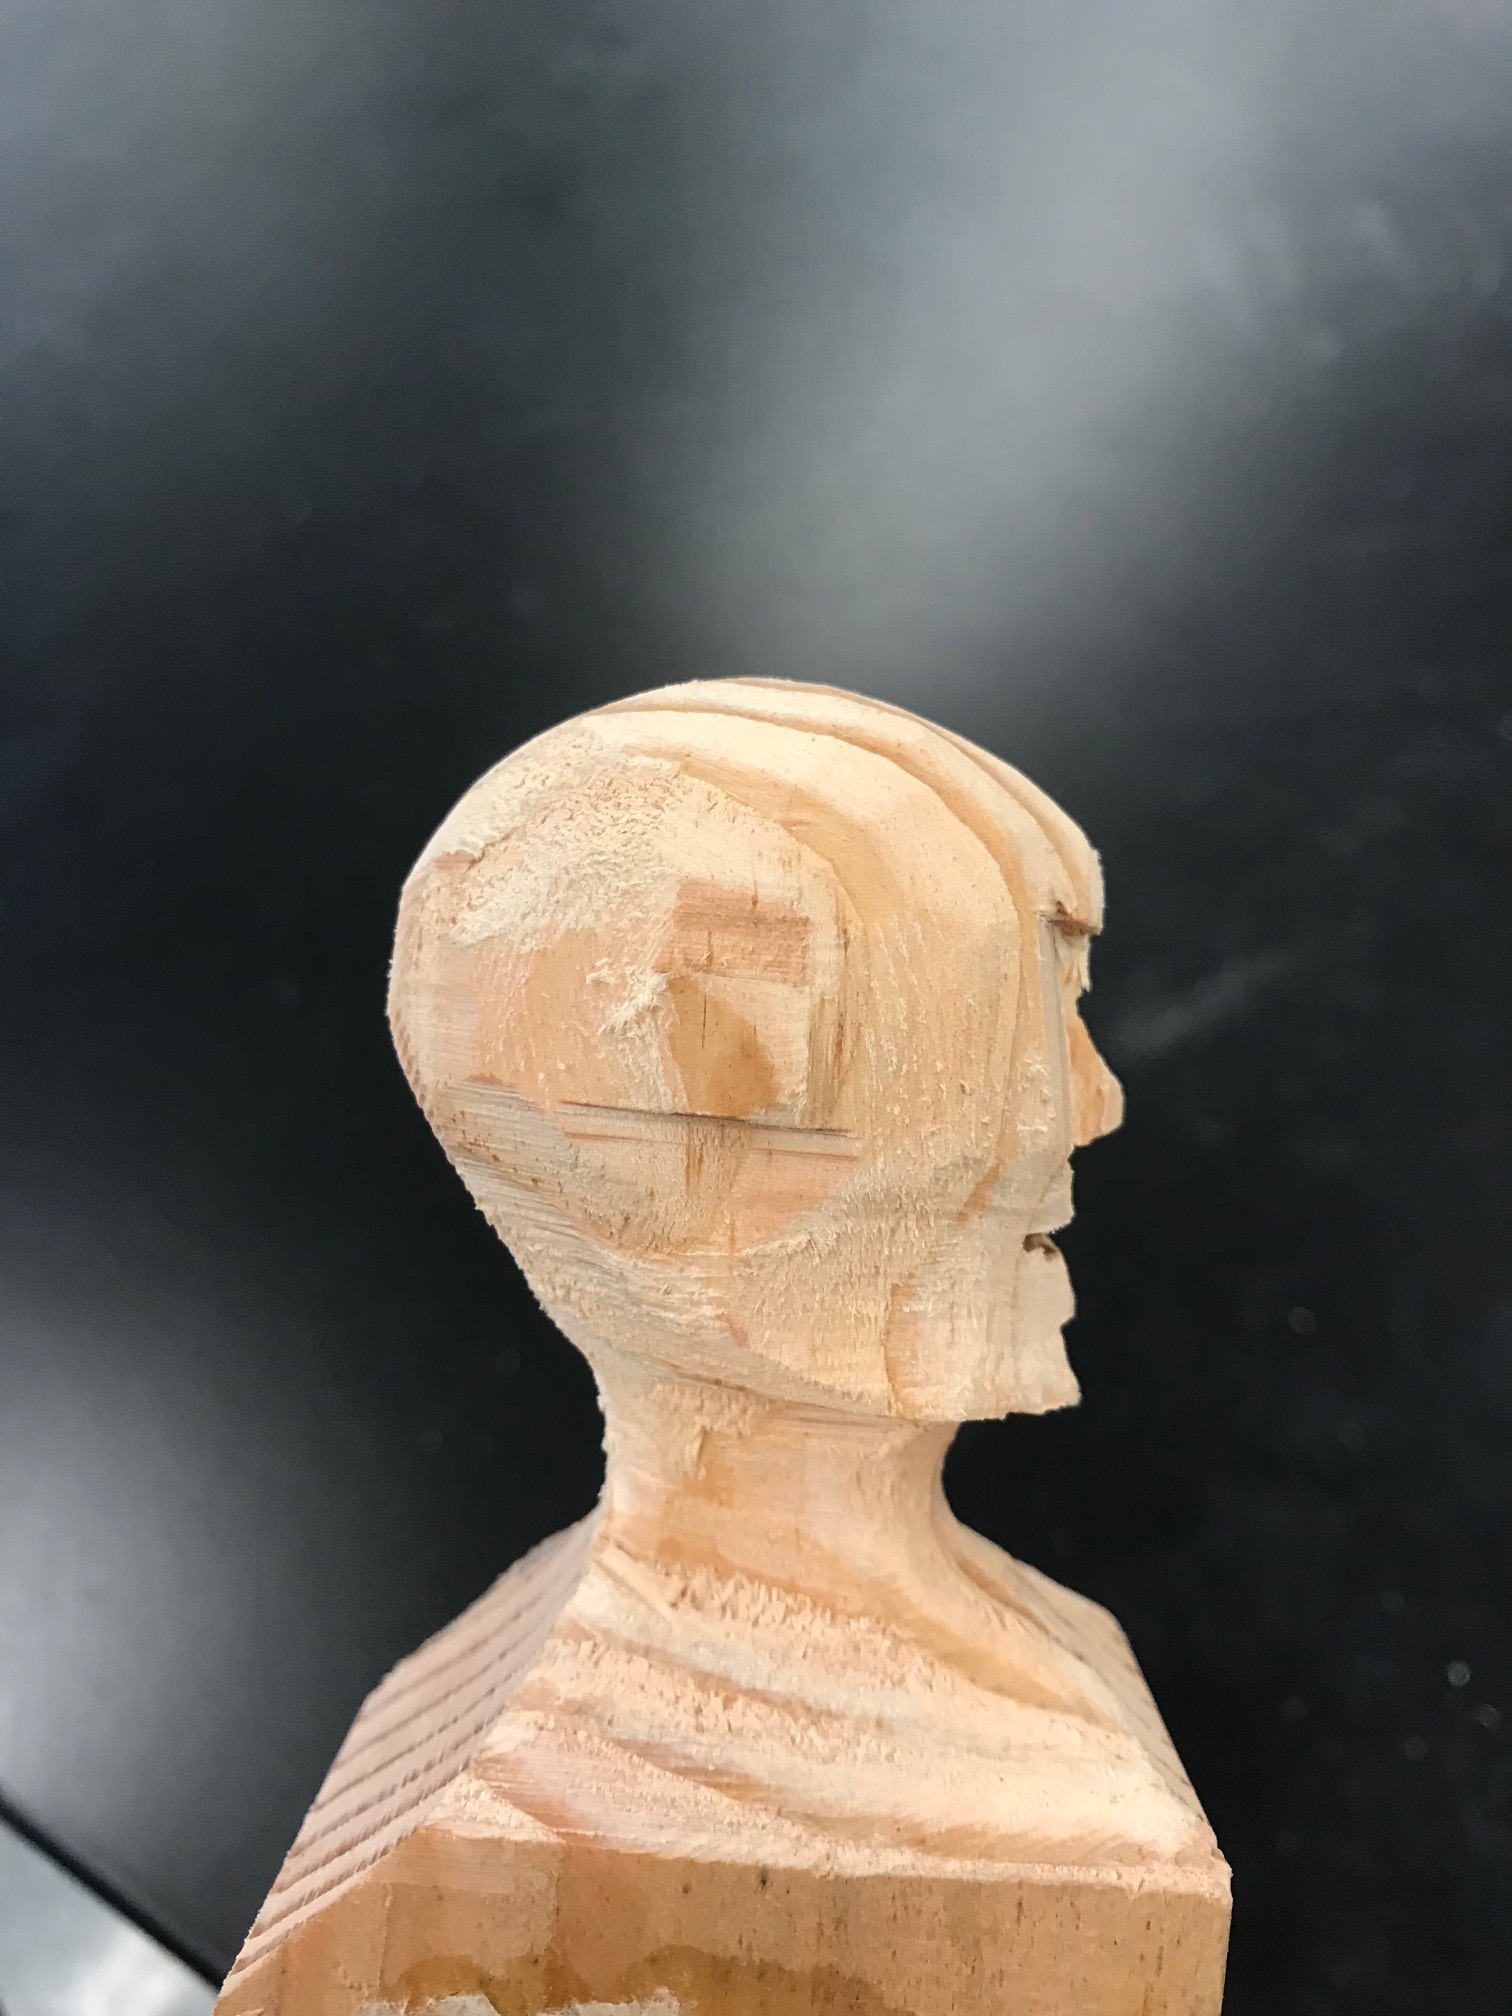
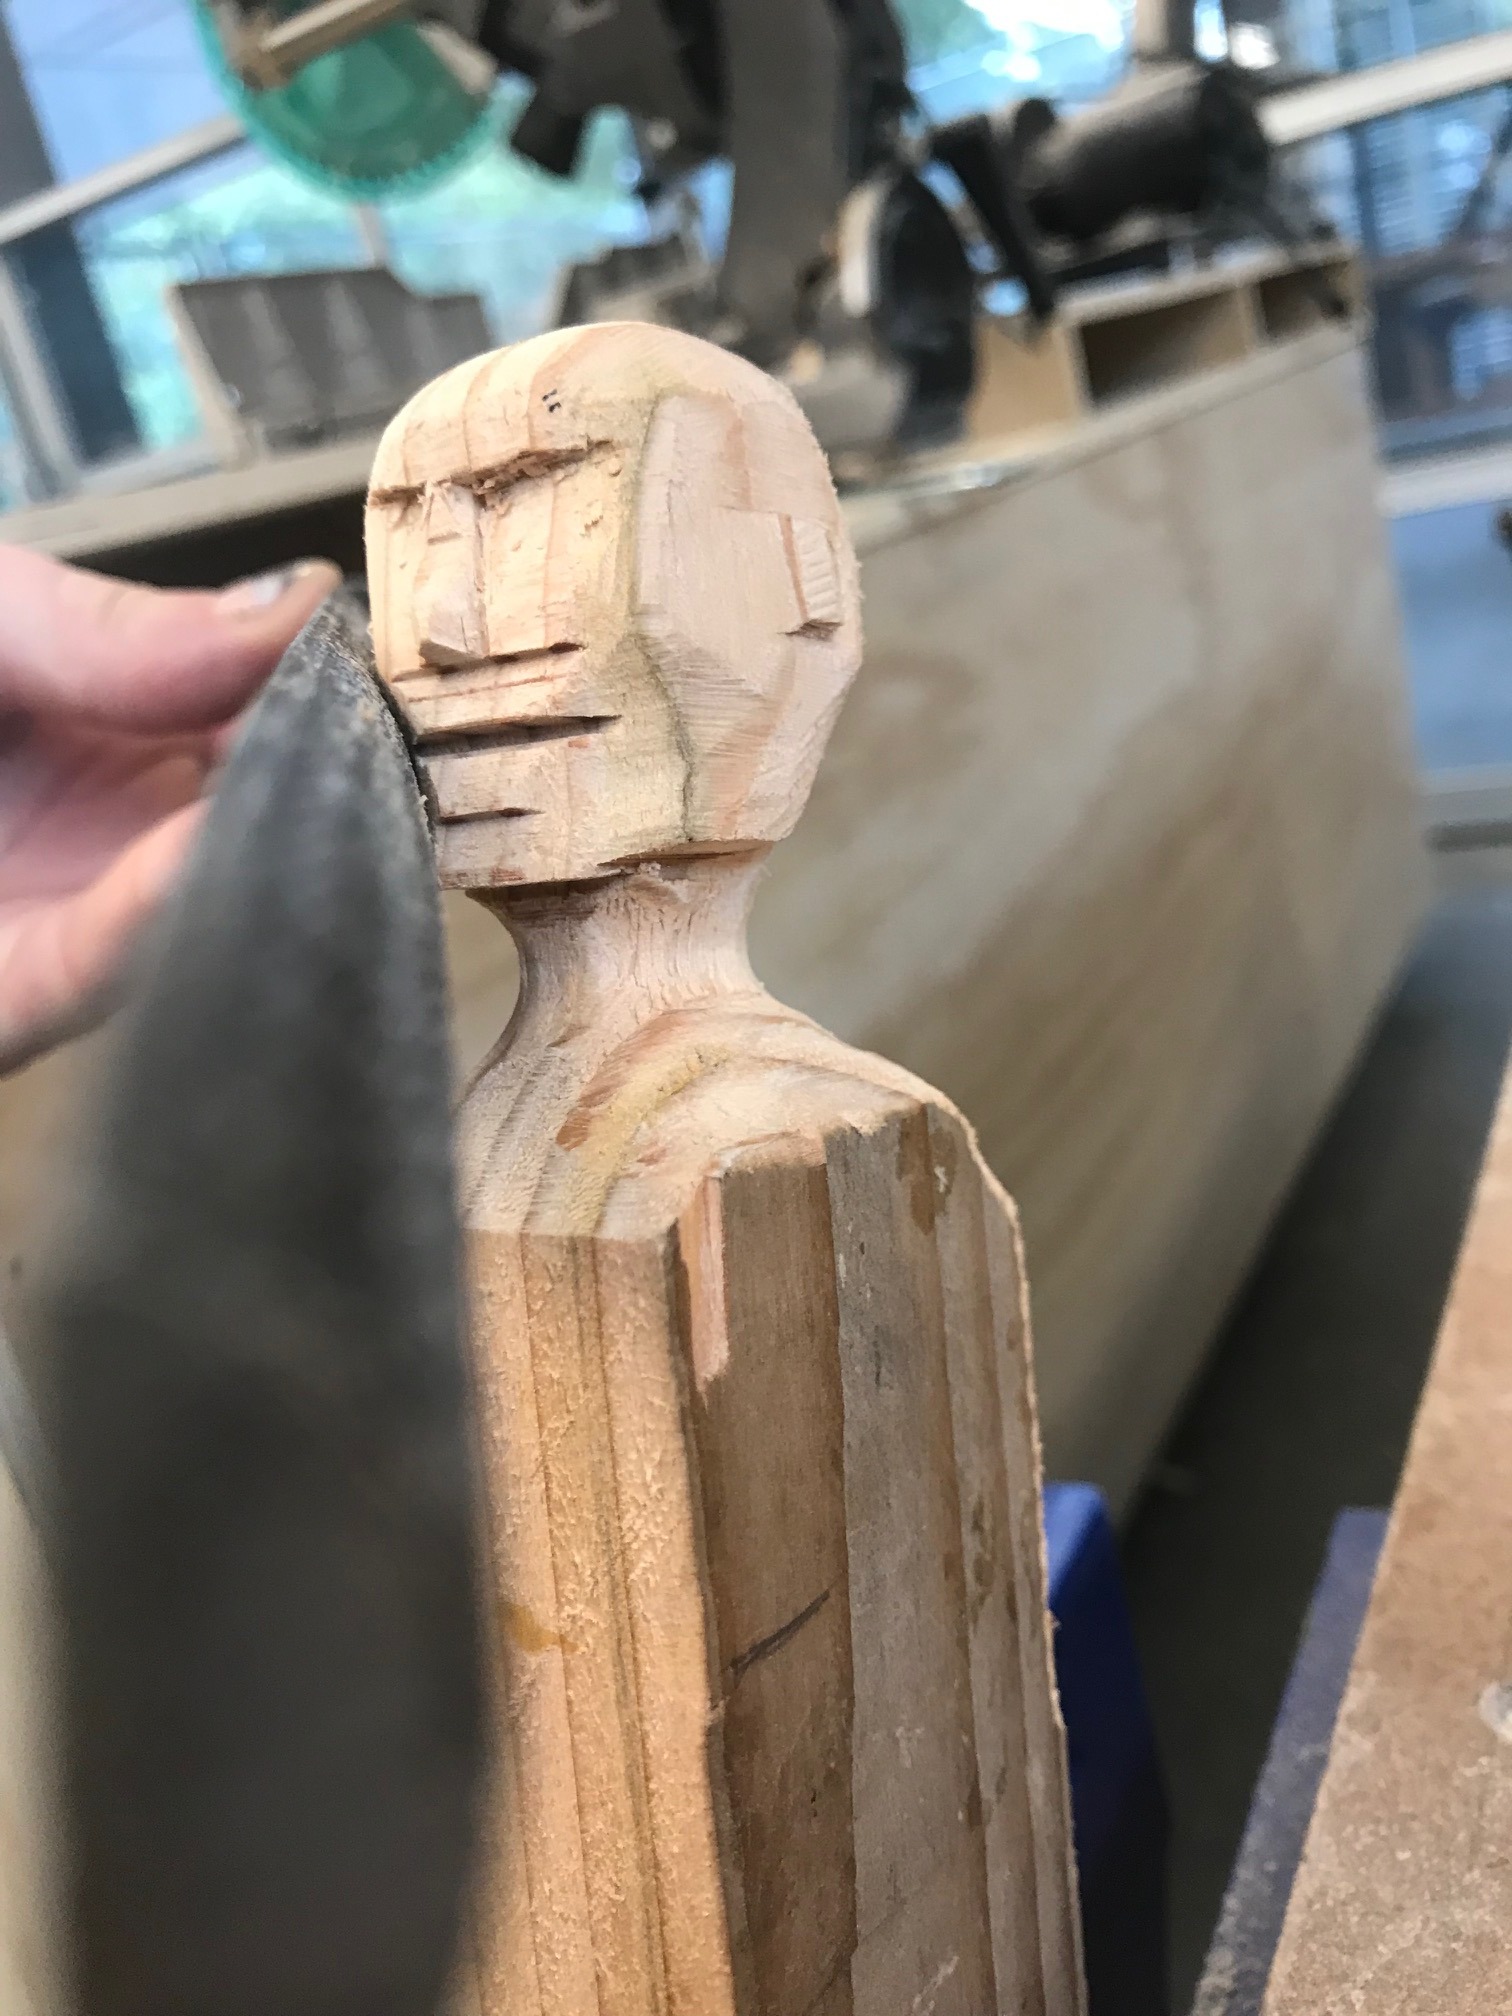
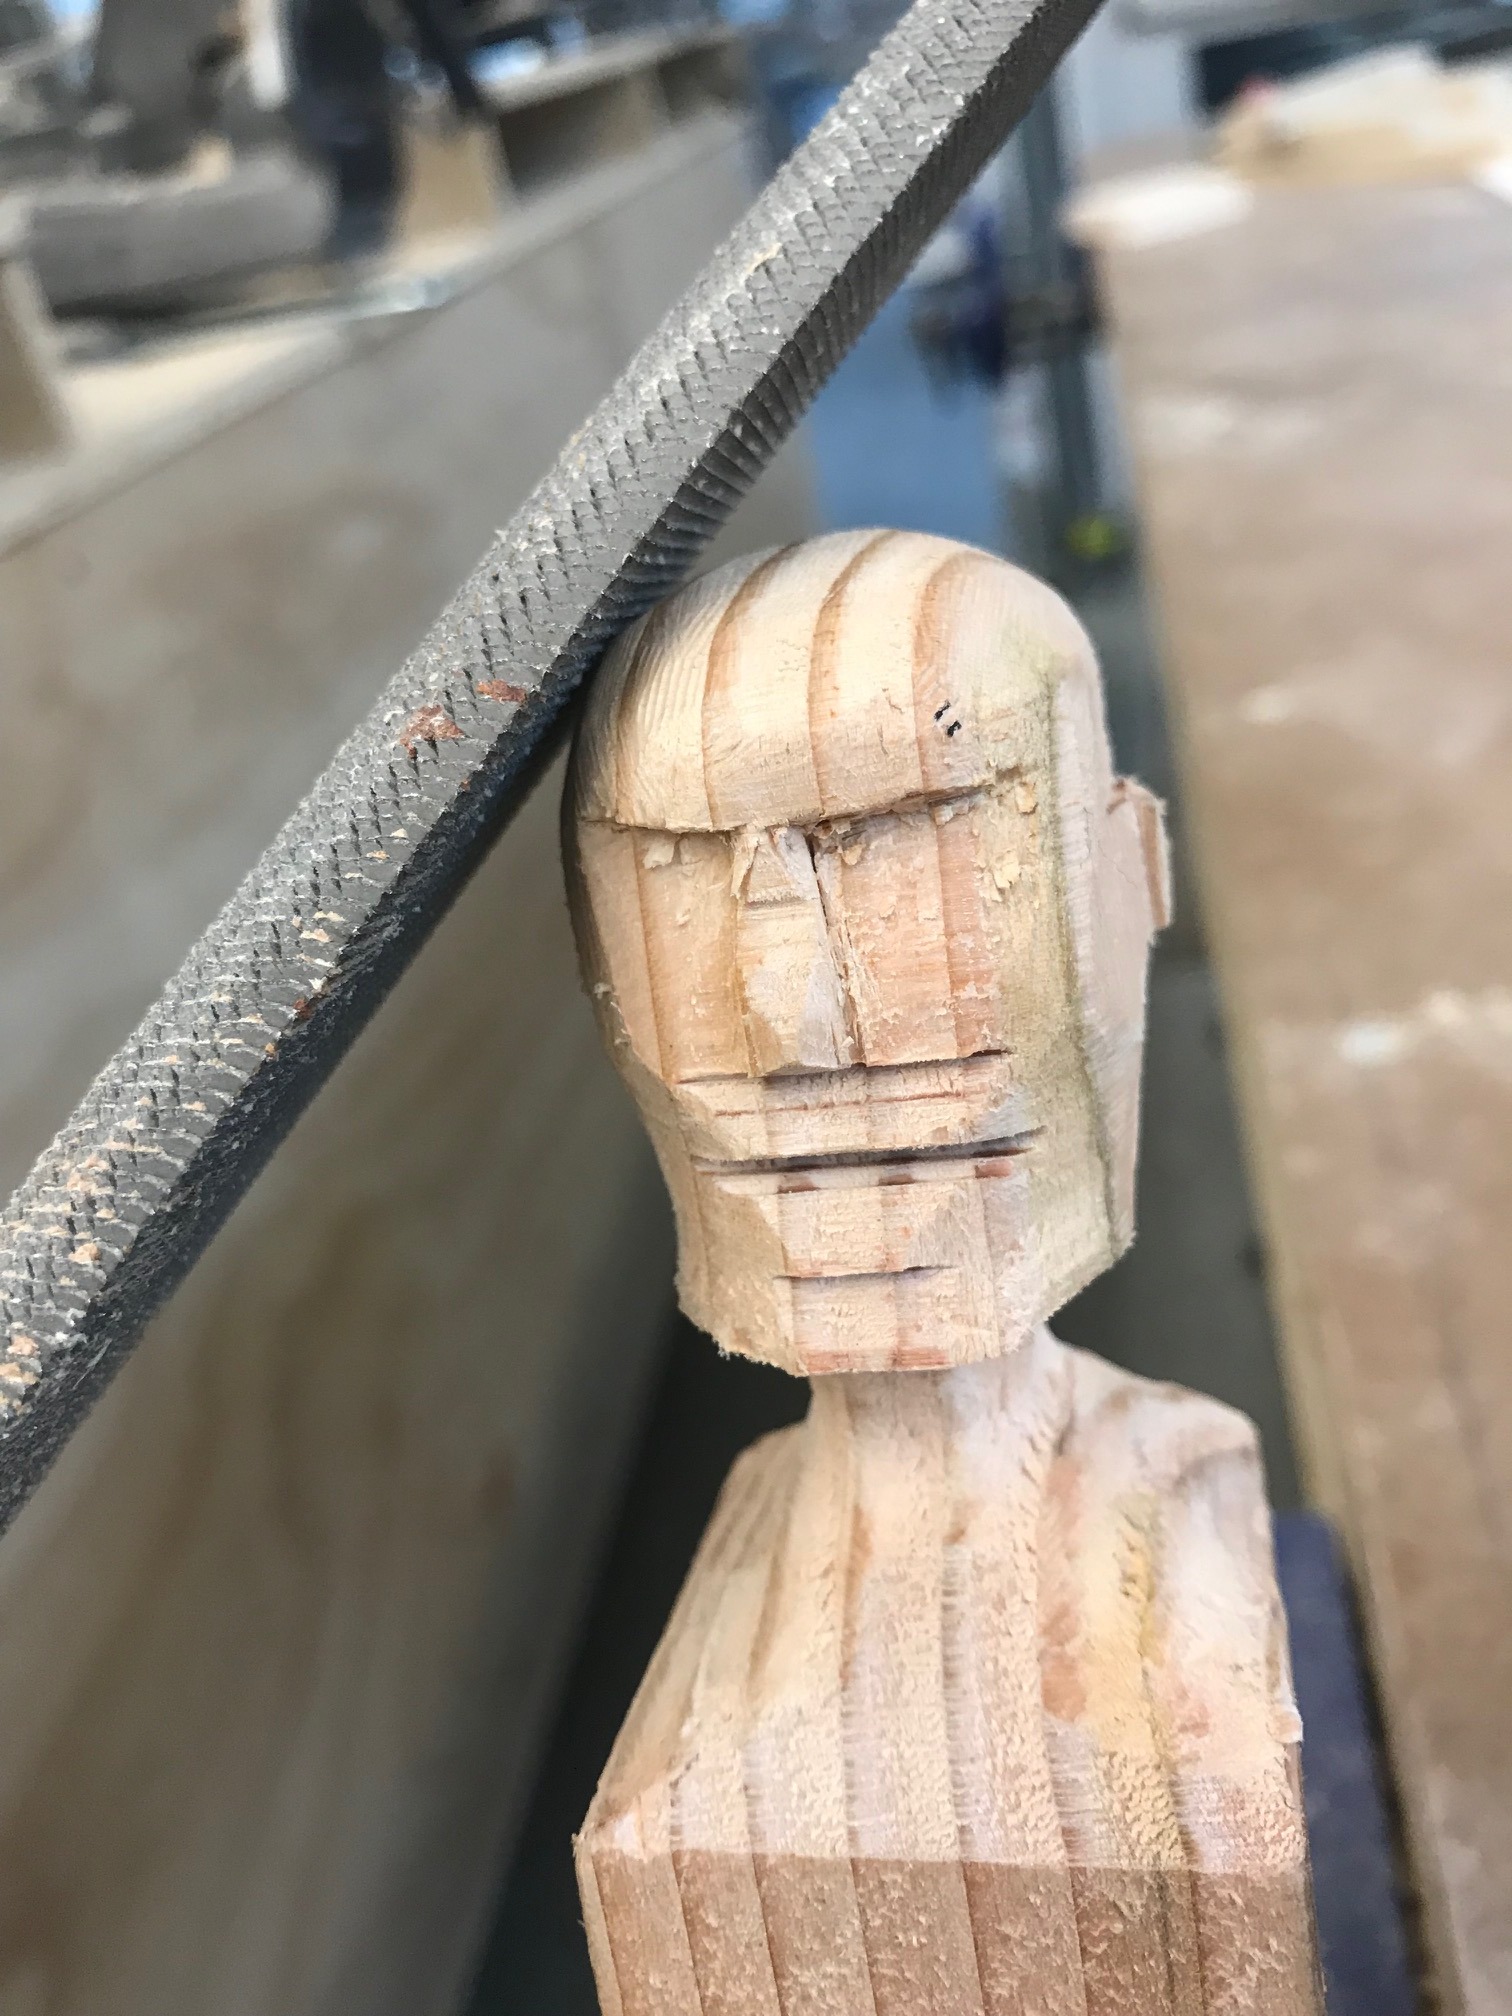
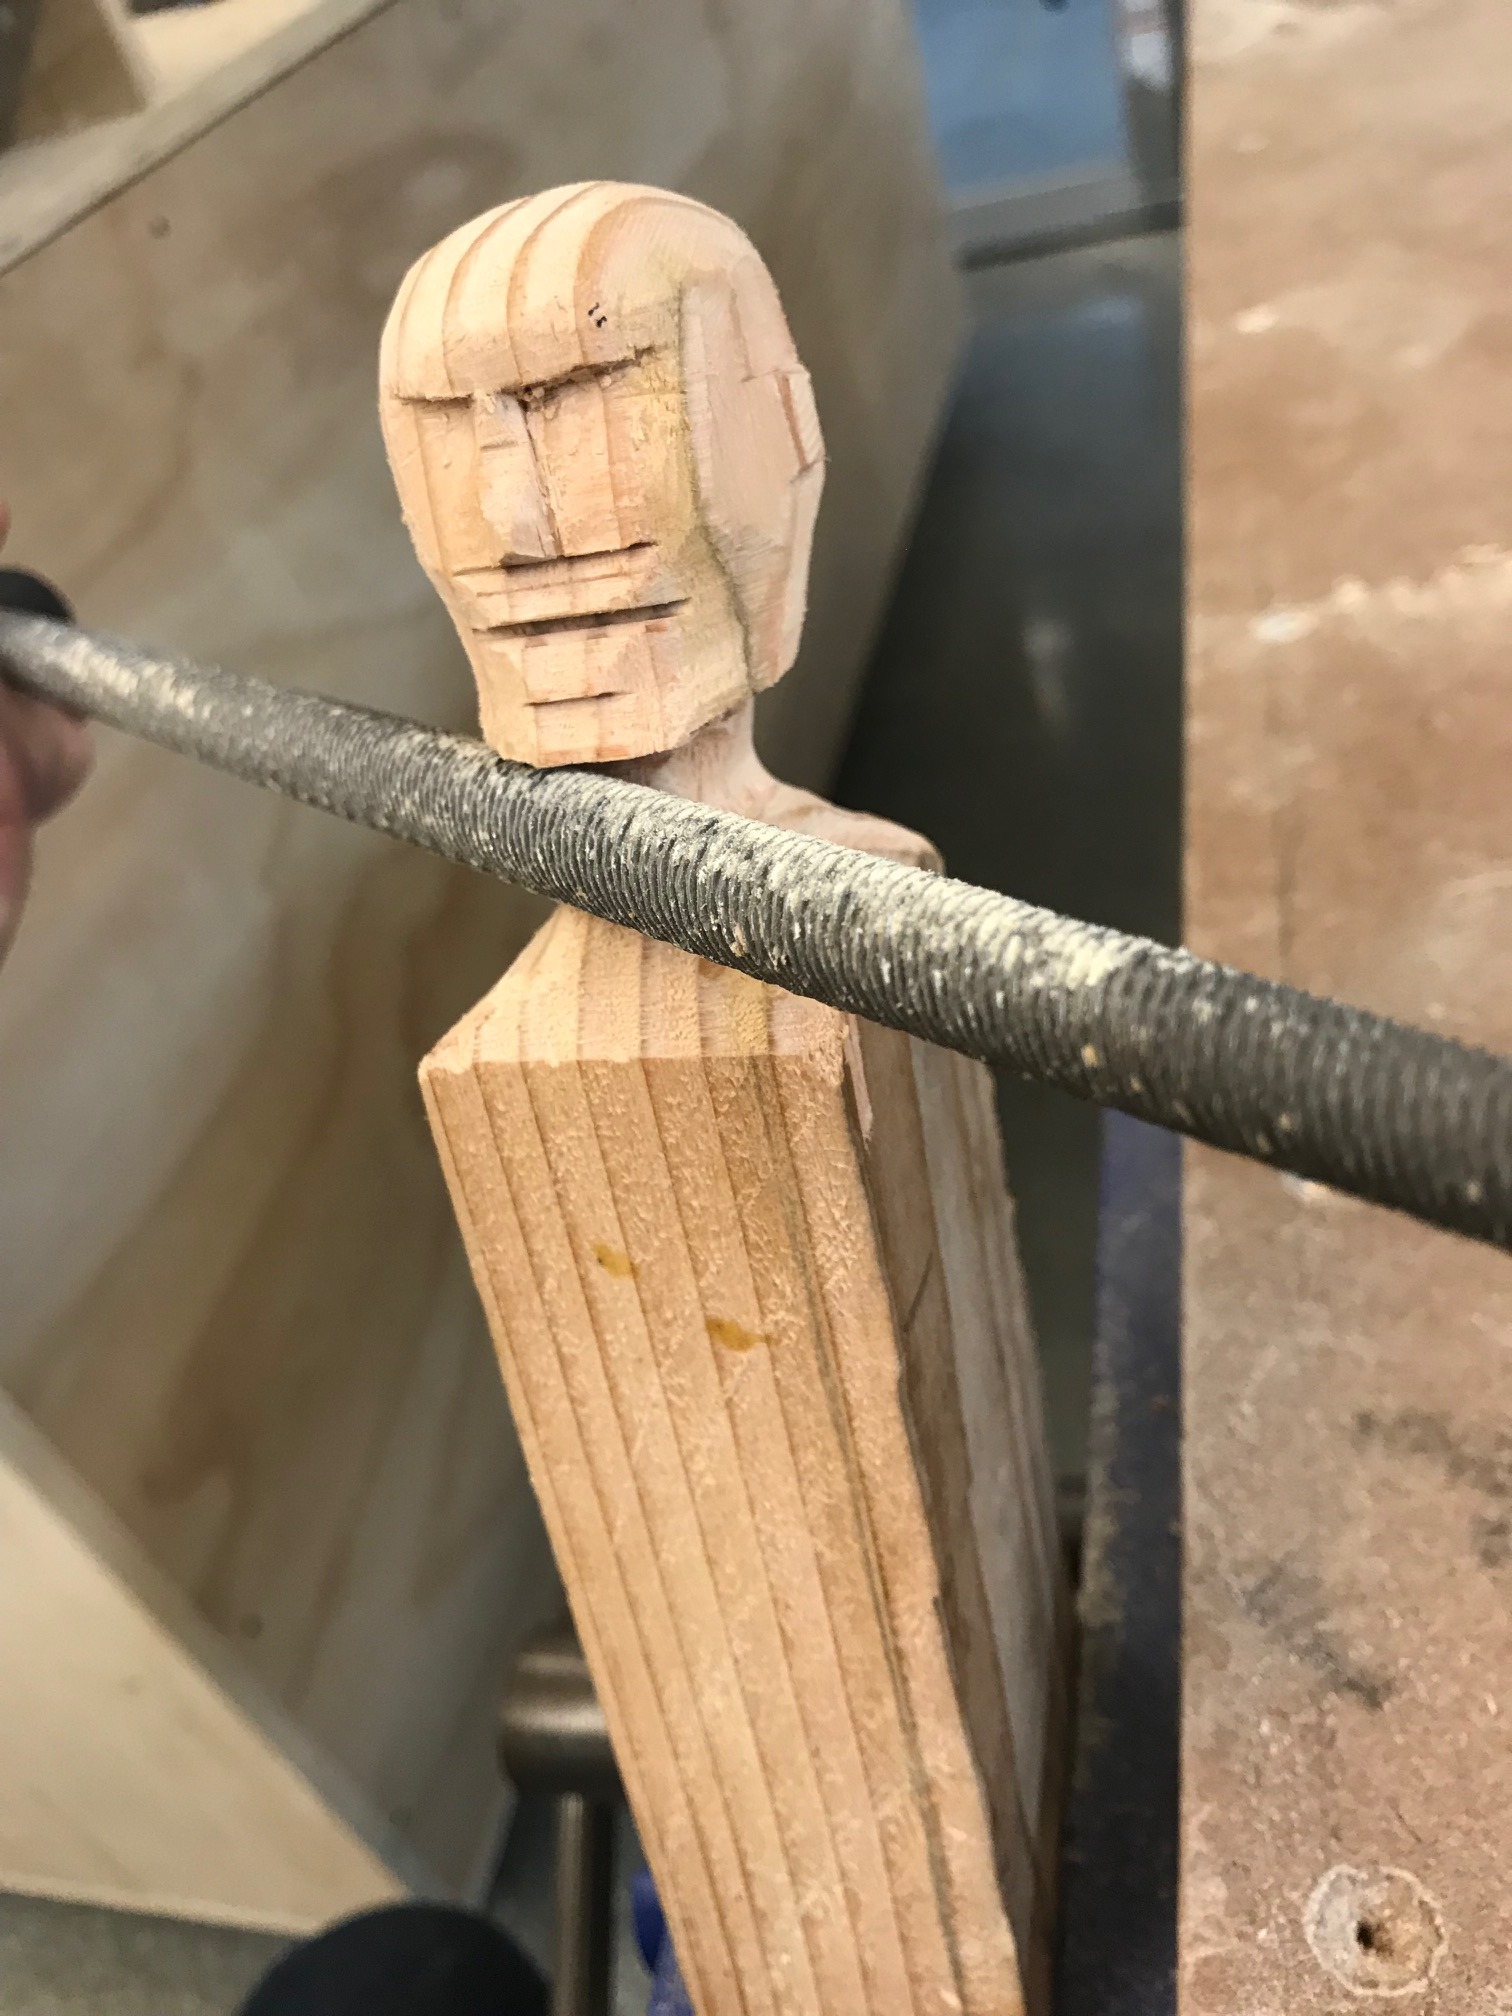
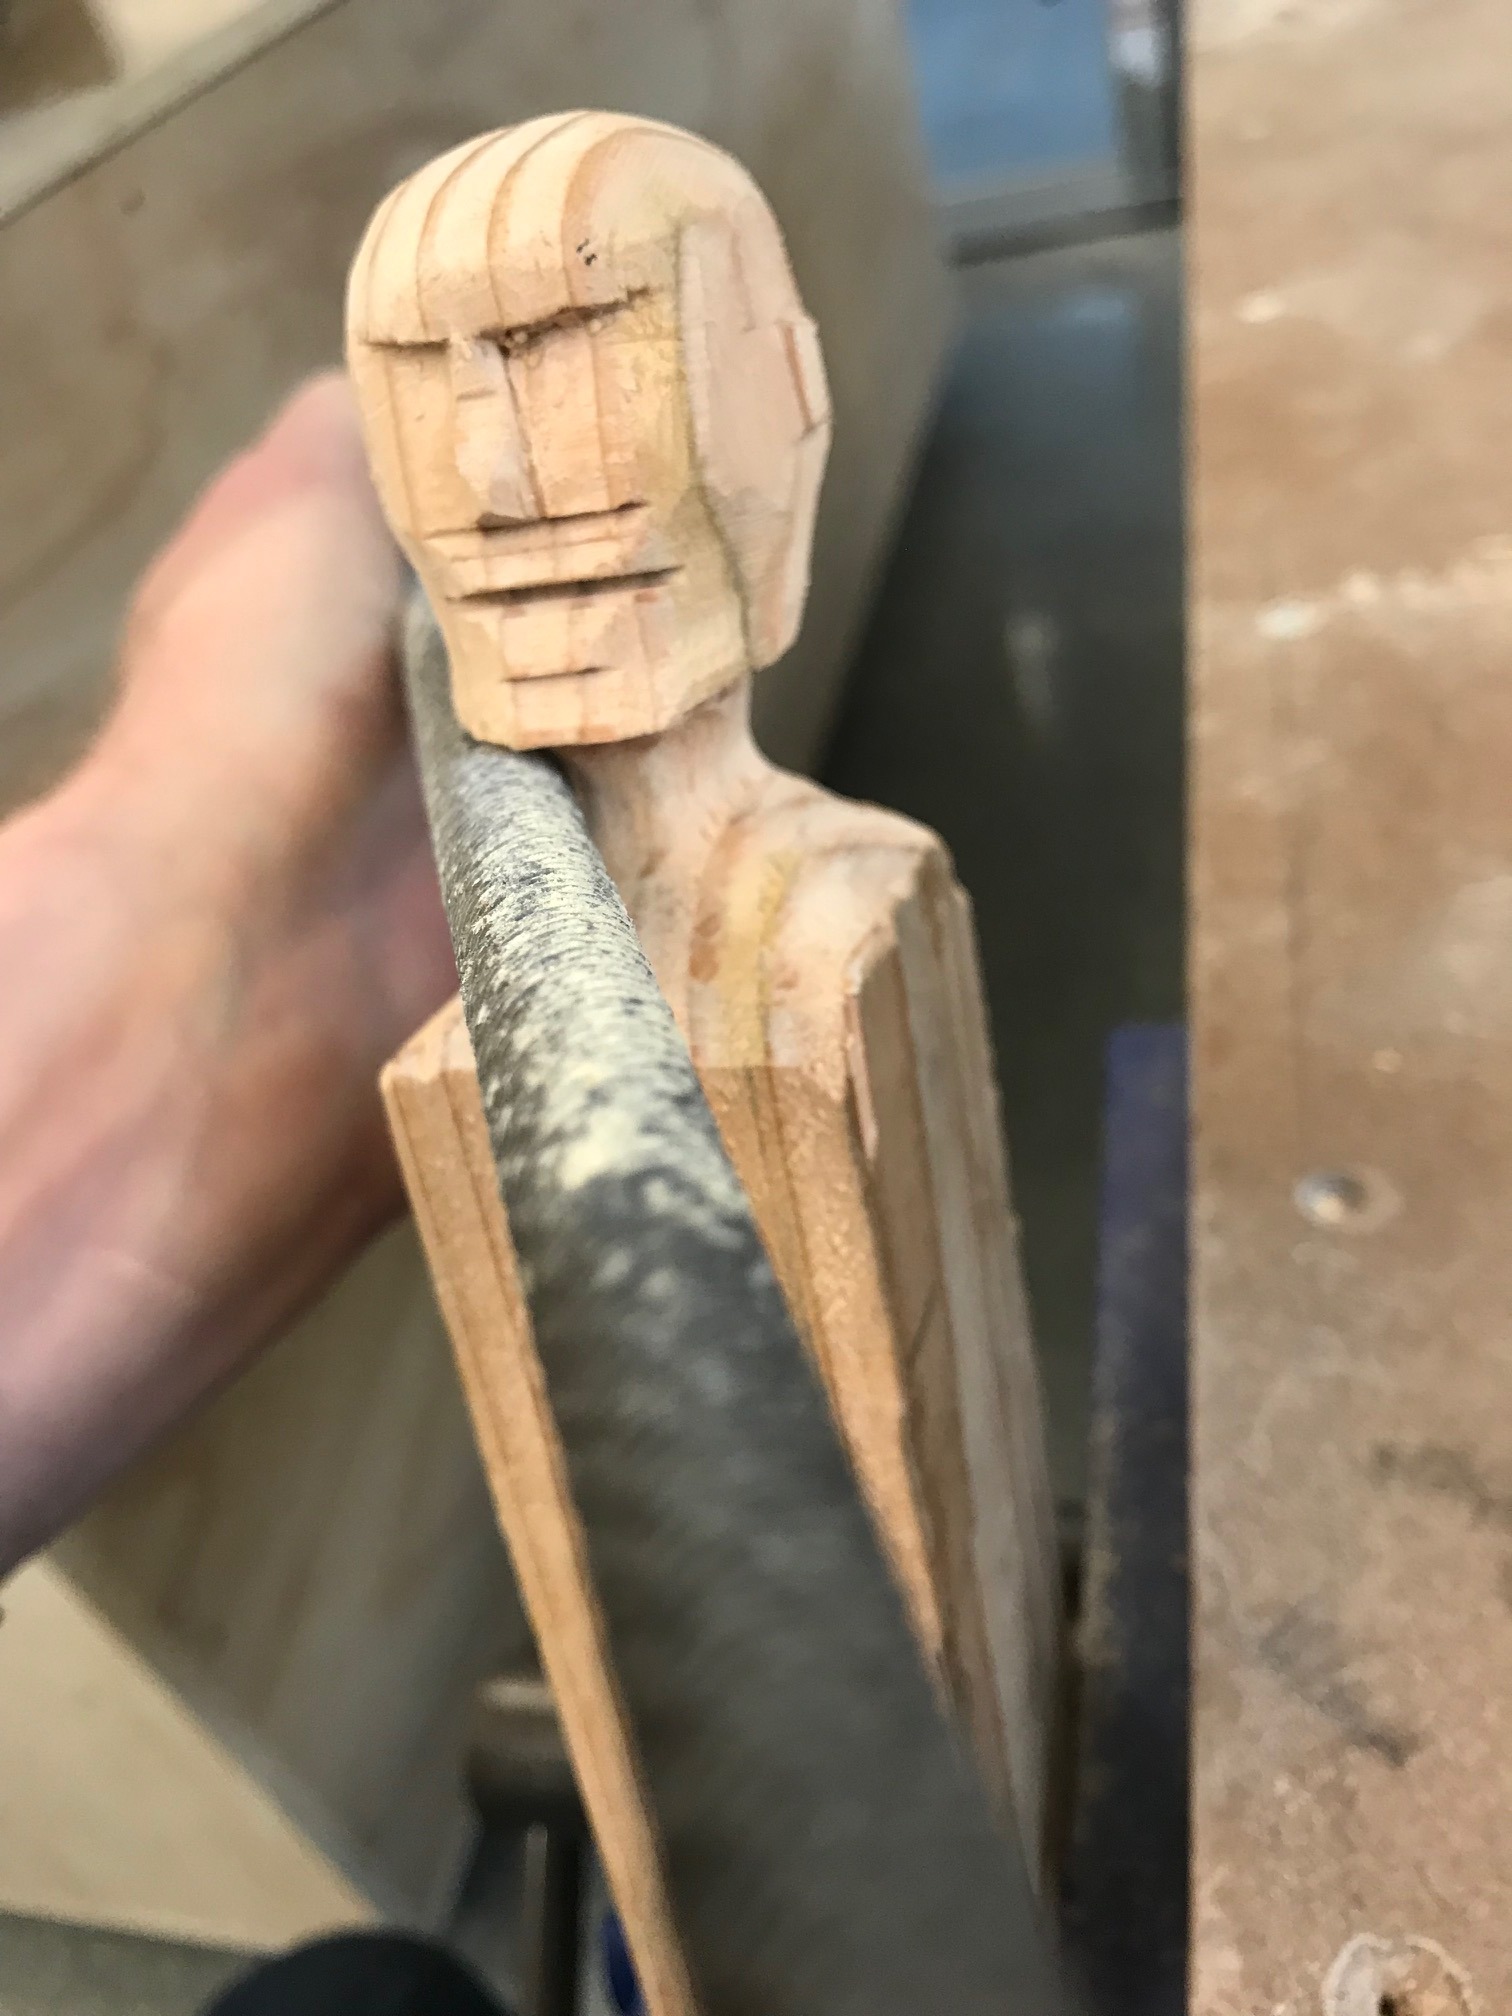
This step takes a bit of practice and thinking about the different angles to hold the files at. Since it will be painted don't try to make perfect detail. File the nose to a point but the eyes will be cut at the next step.
A couple tips on what file to I used where. (Photos are meant to show this too)
- Cheeks - half round going from ear down to chin.
- Ears - flat moving straight down. Ears left as squares on the side of the head.
- Top of head - flat and roll around the curve as you push the file.
- Neck - round and half round files rolling around curve as you push.
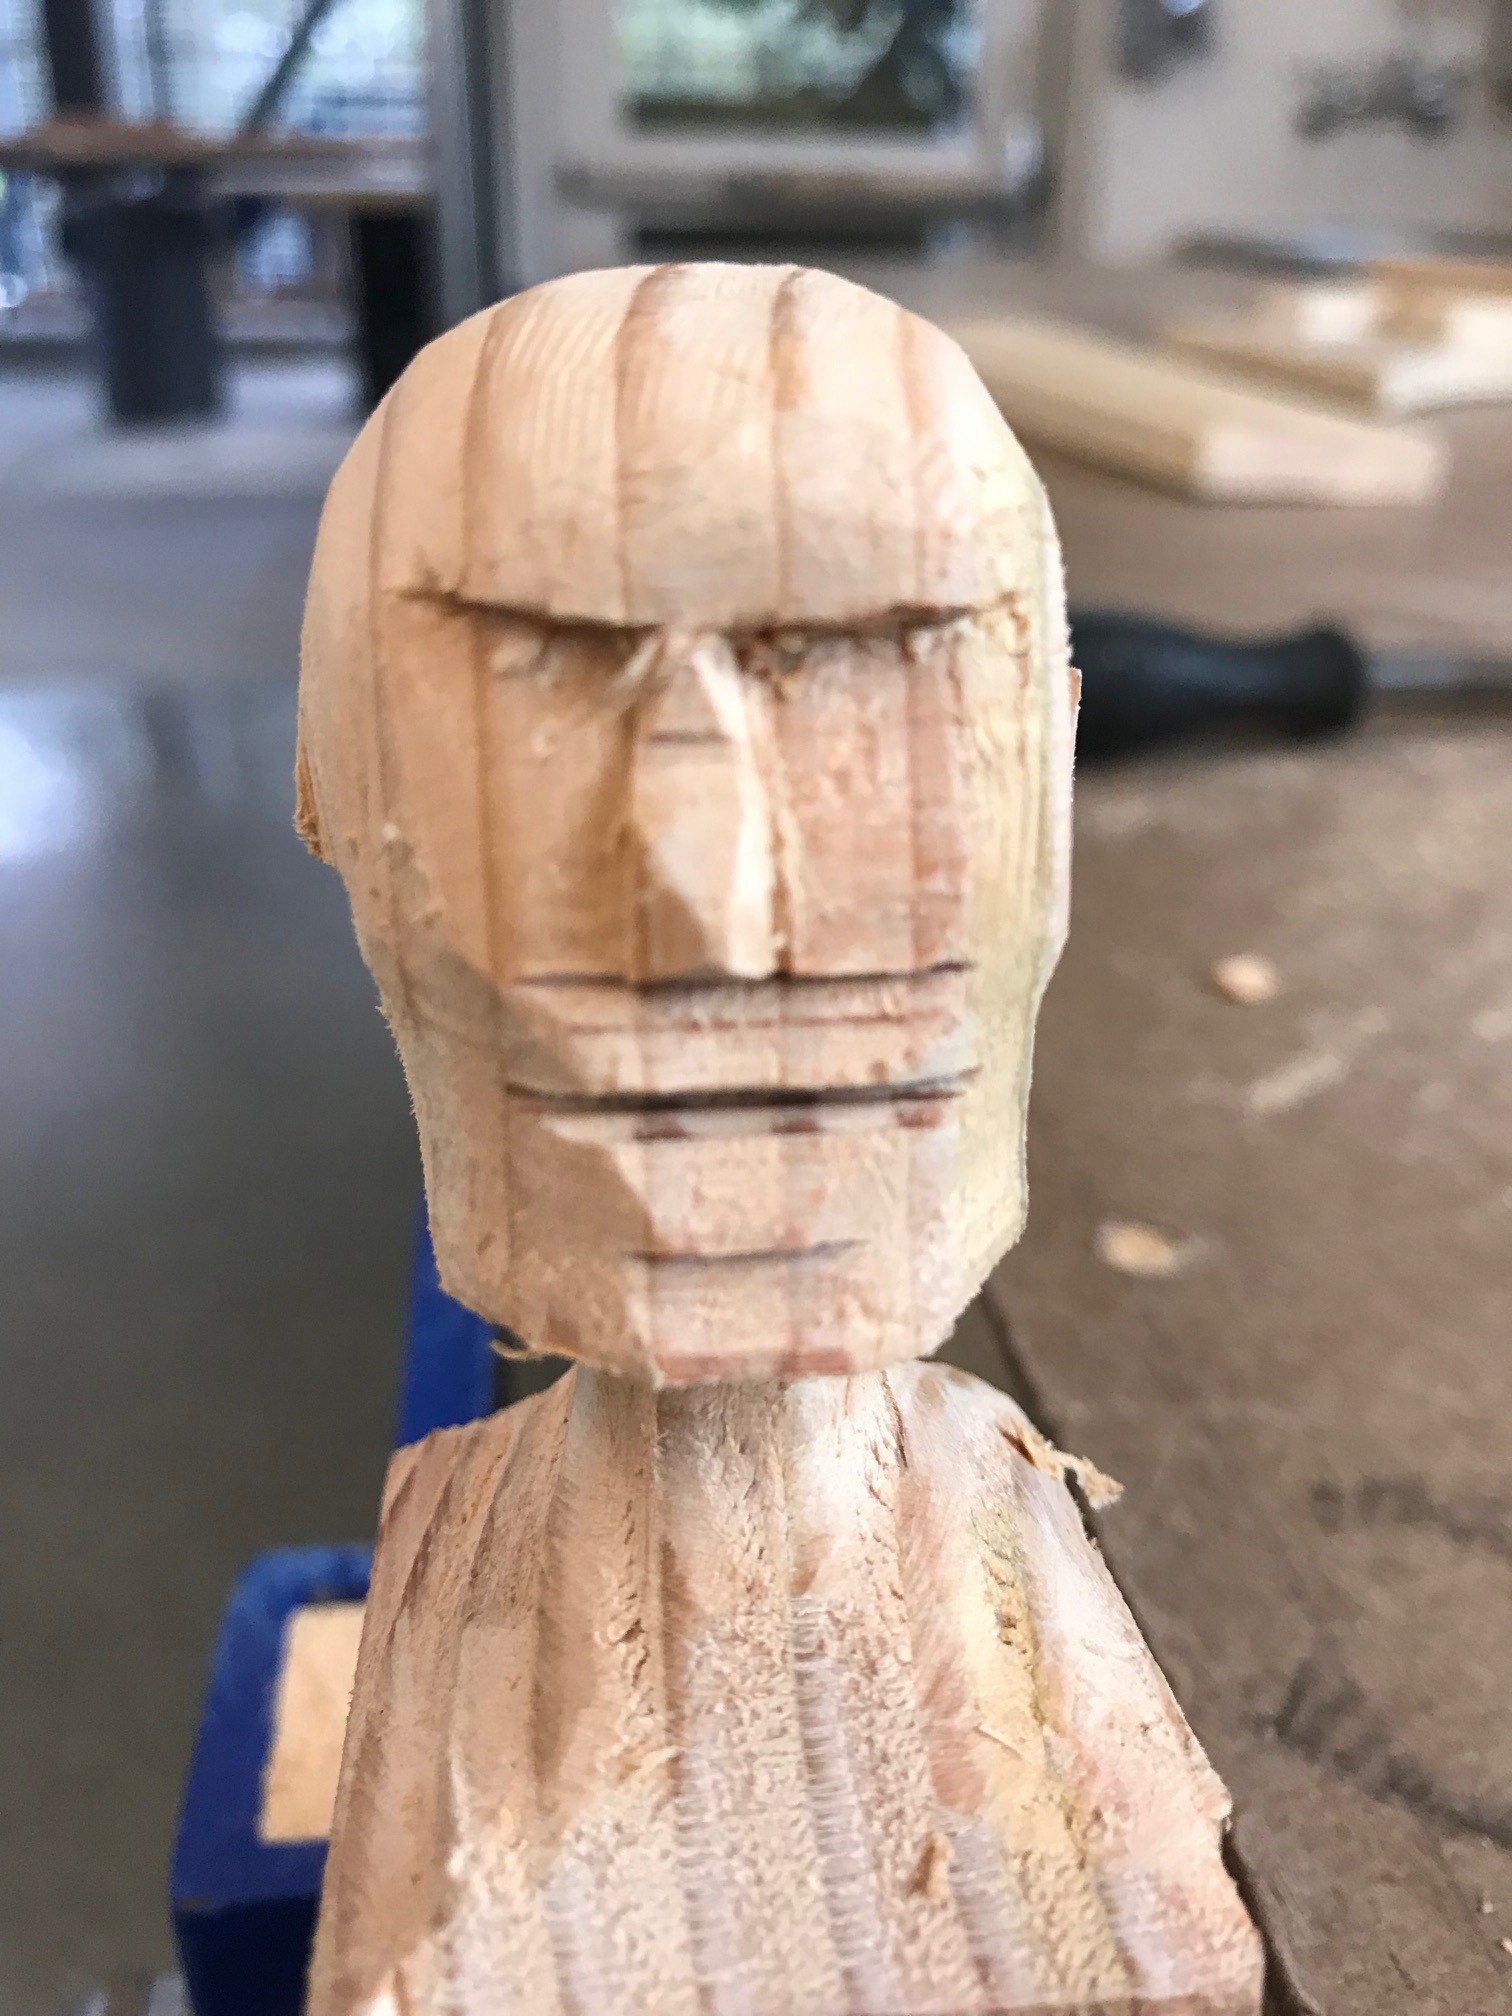
Chisel Eyes
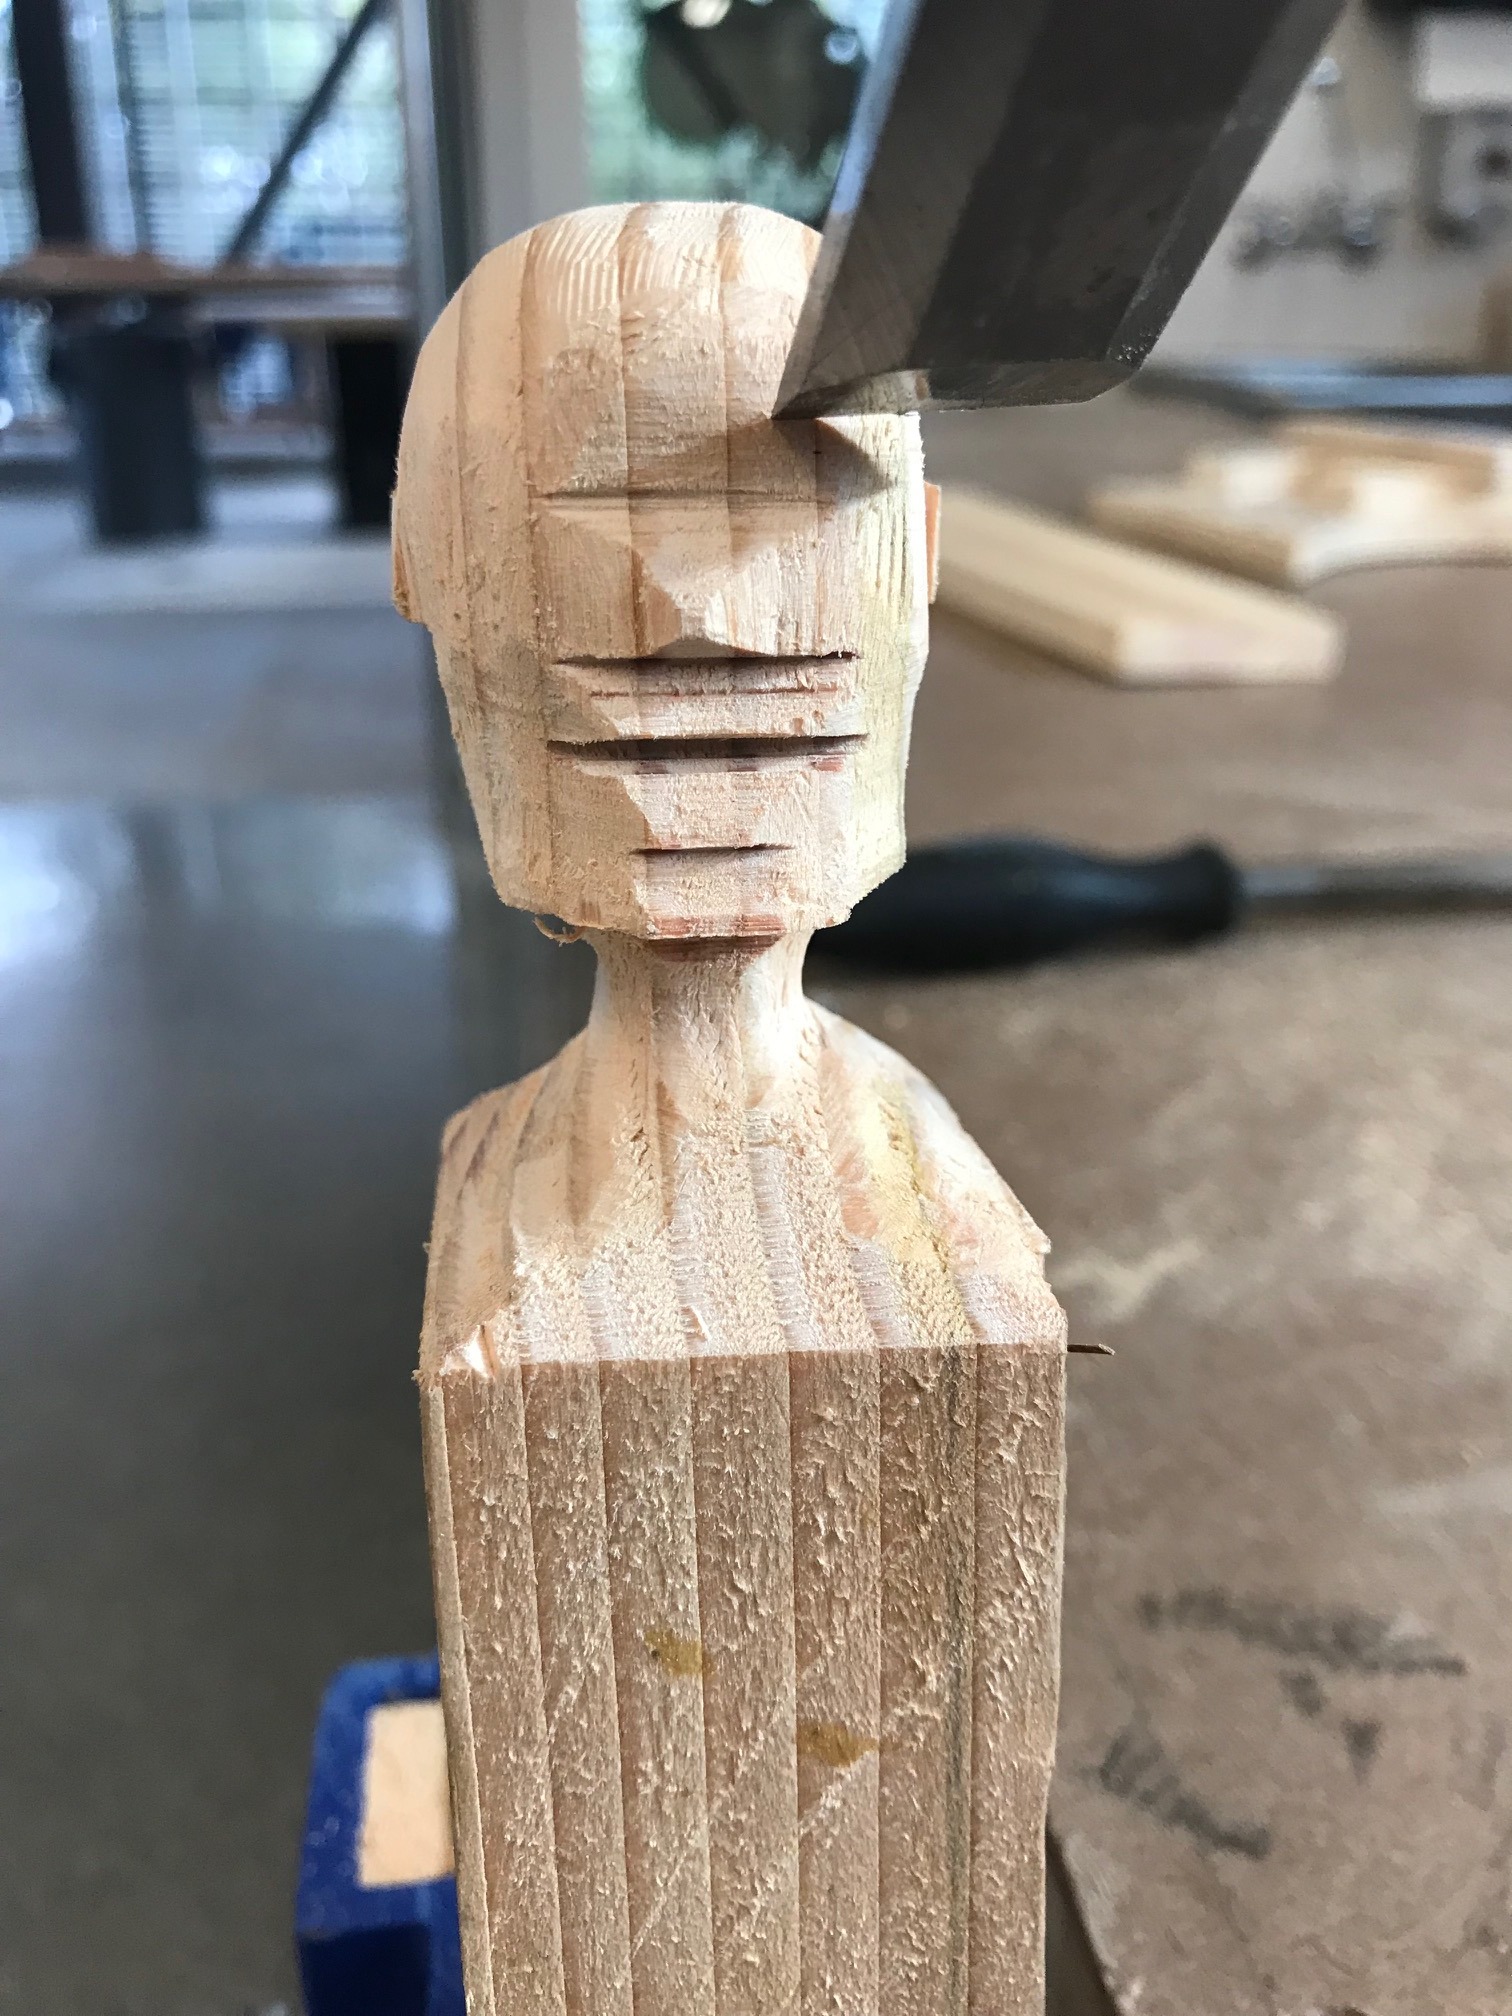
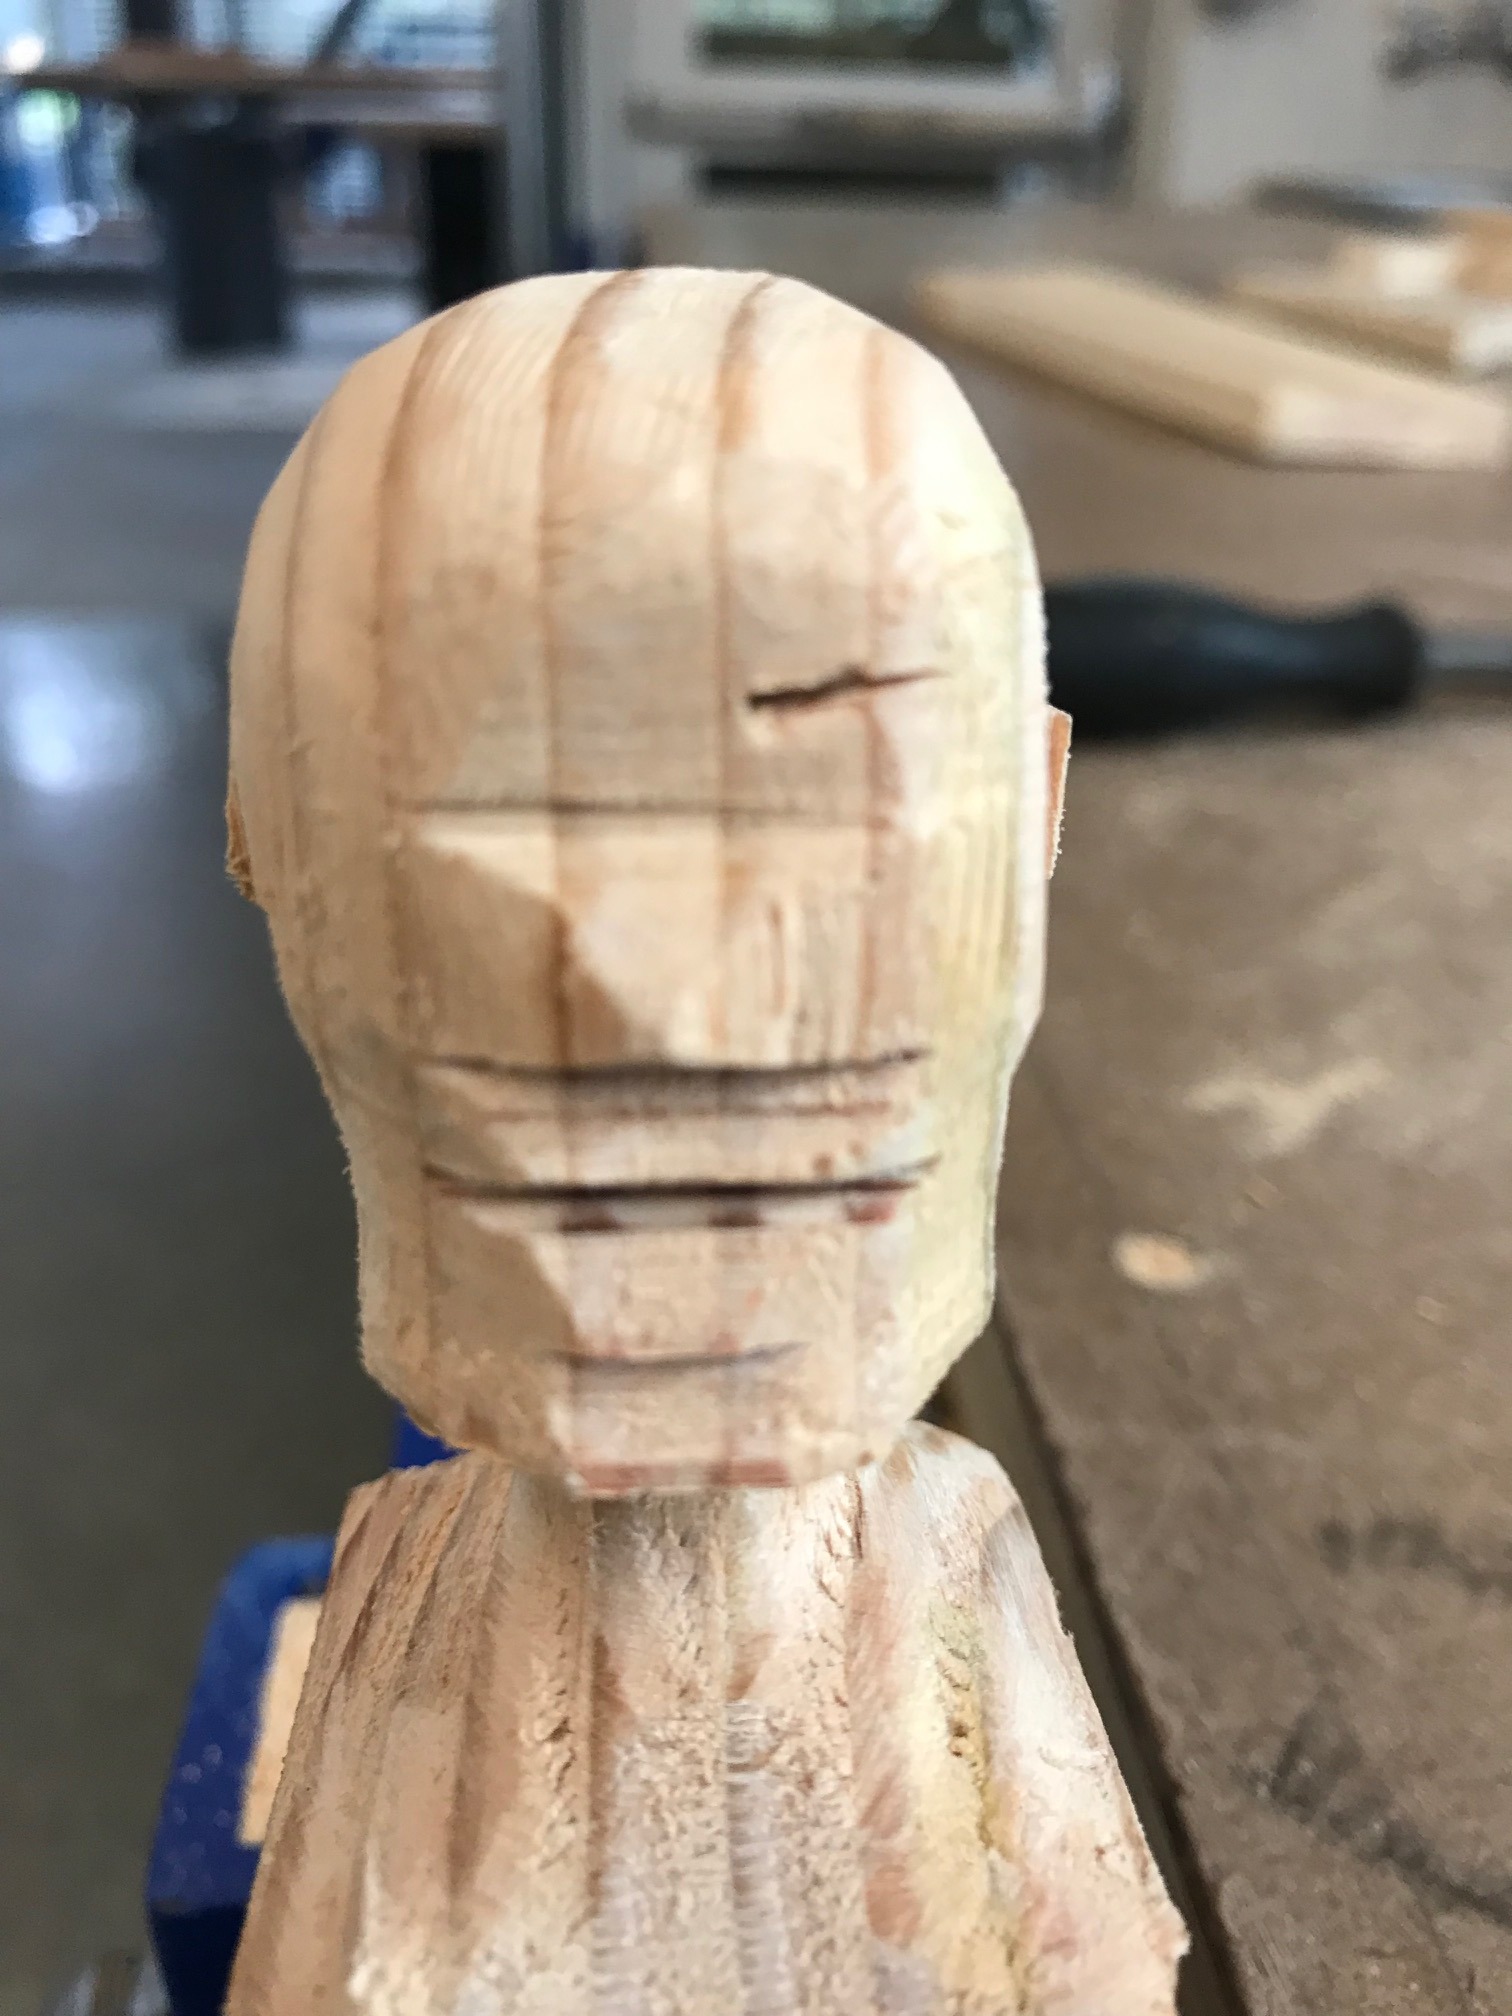
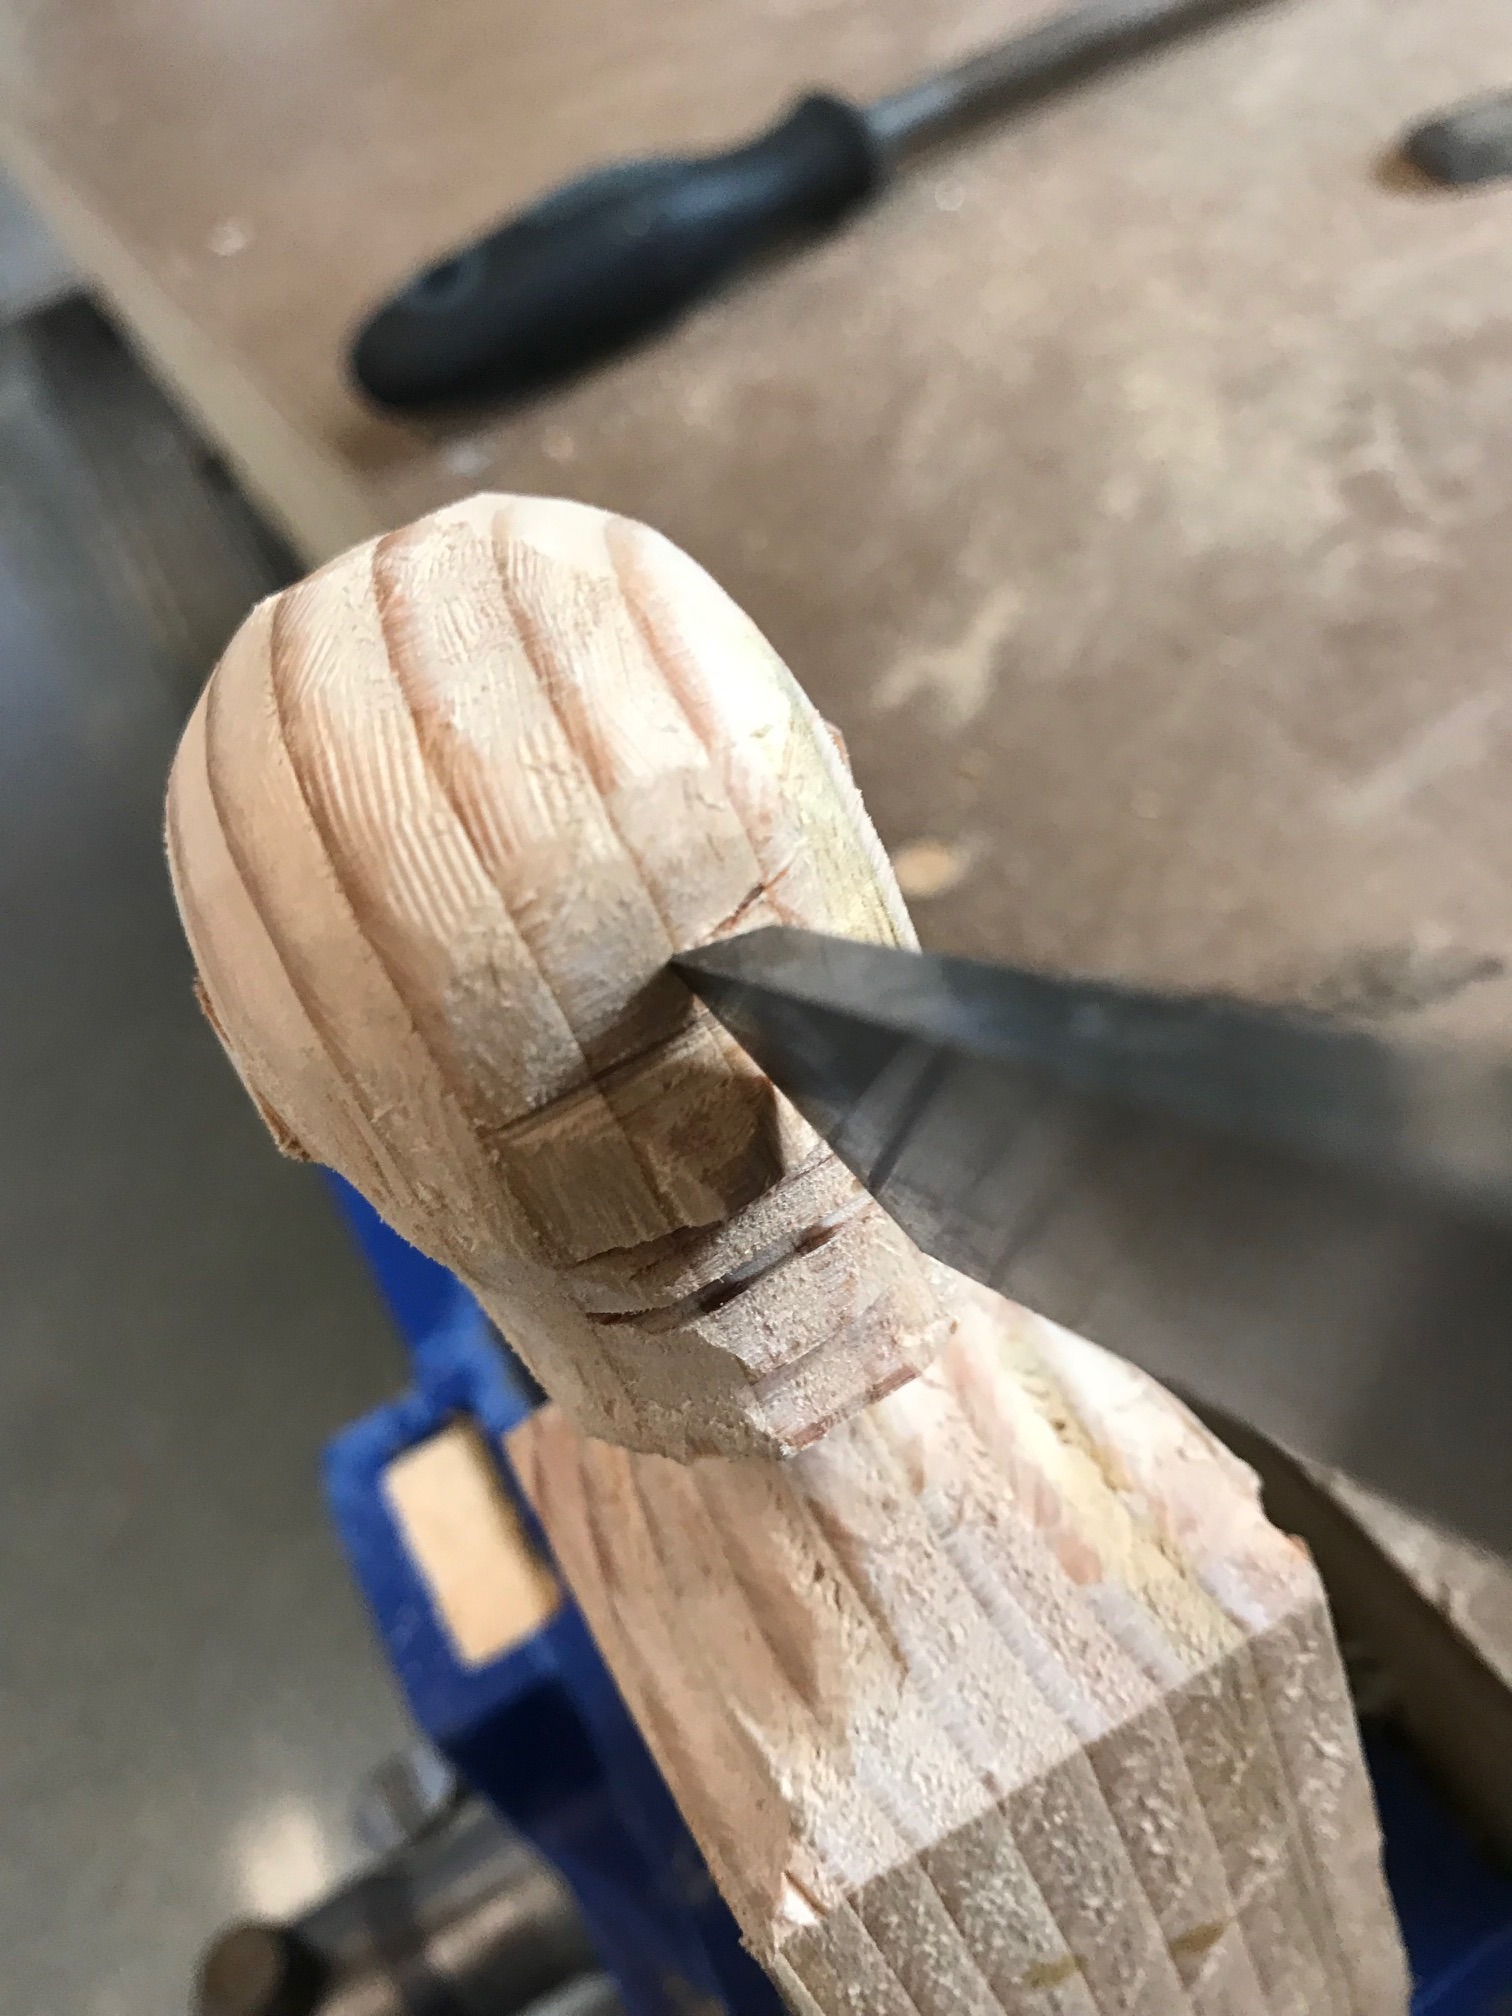
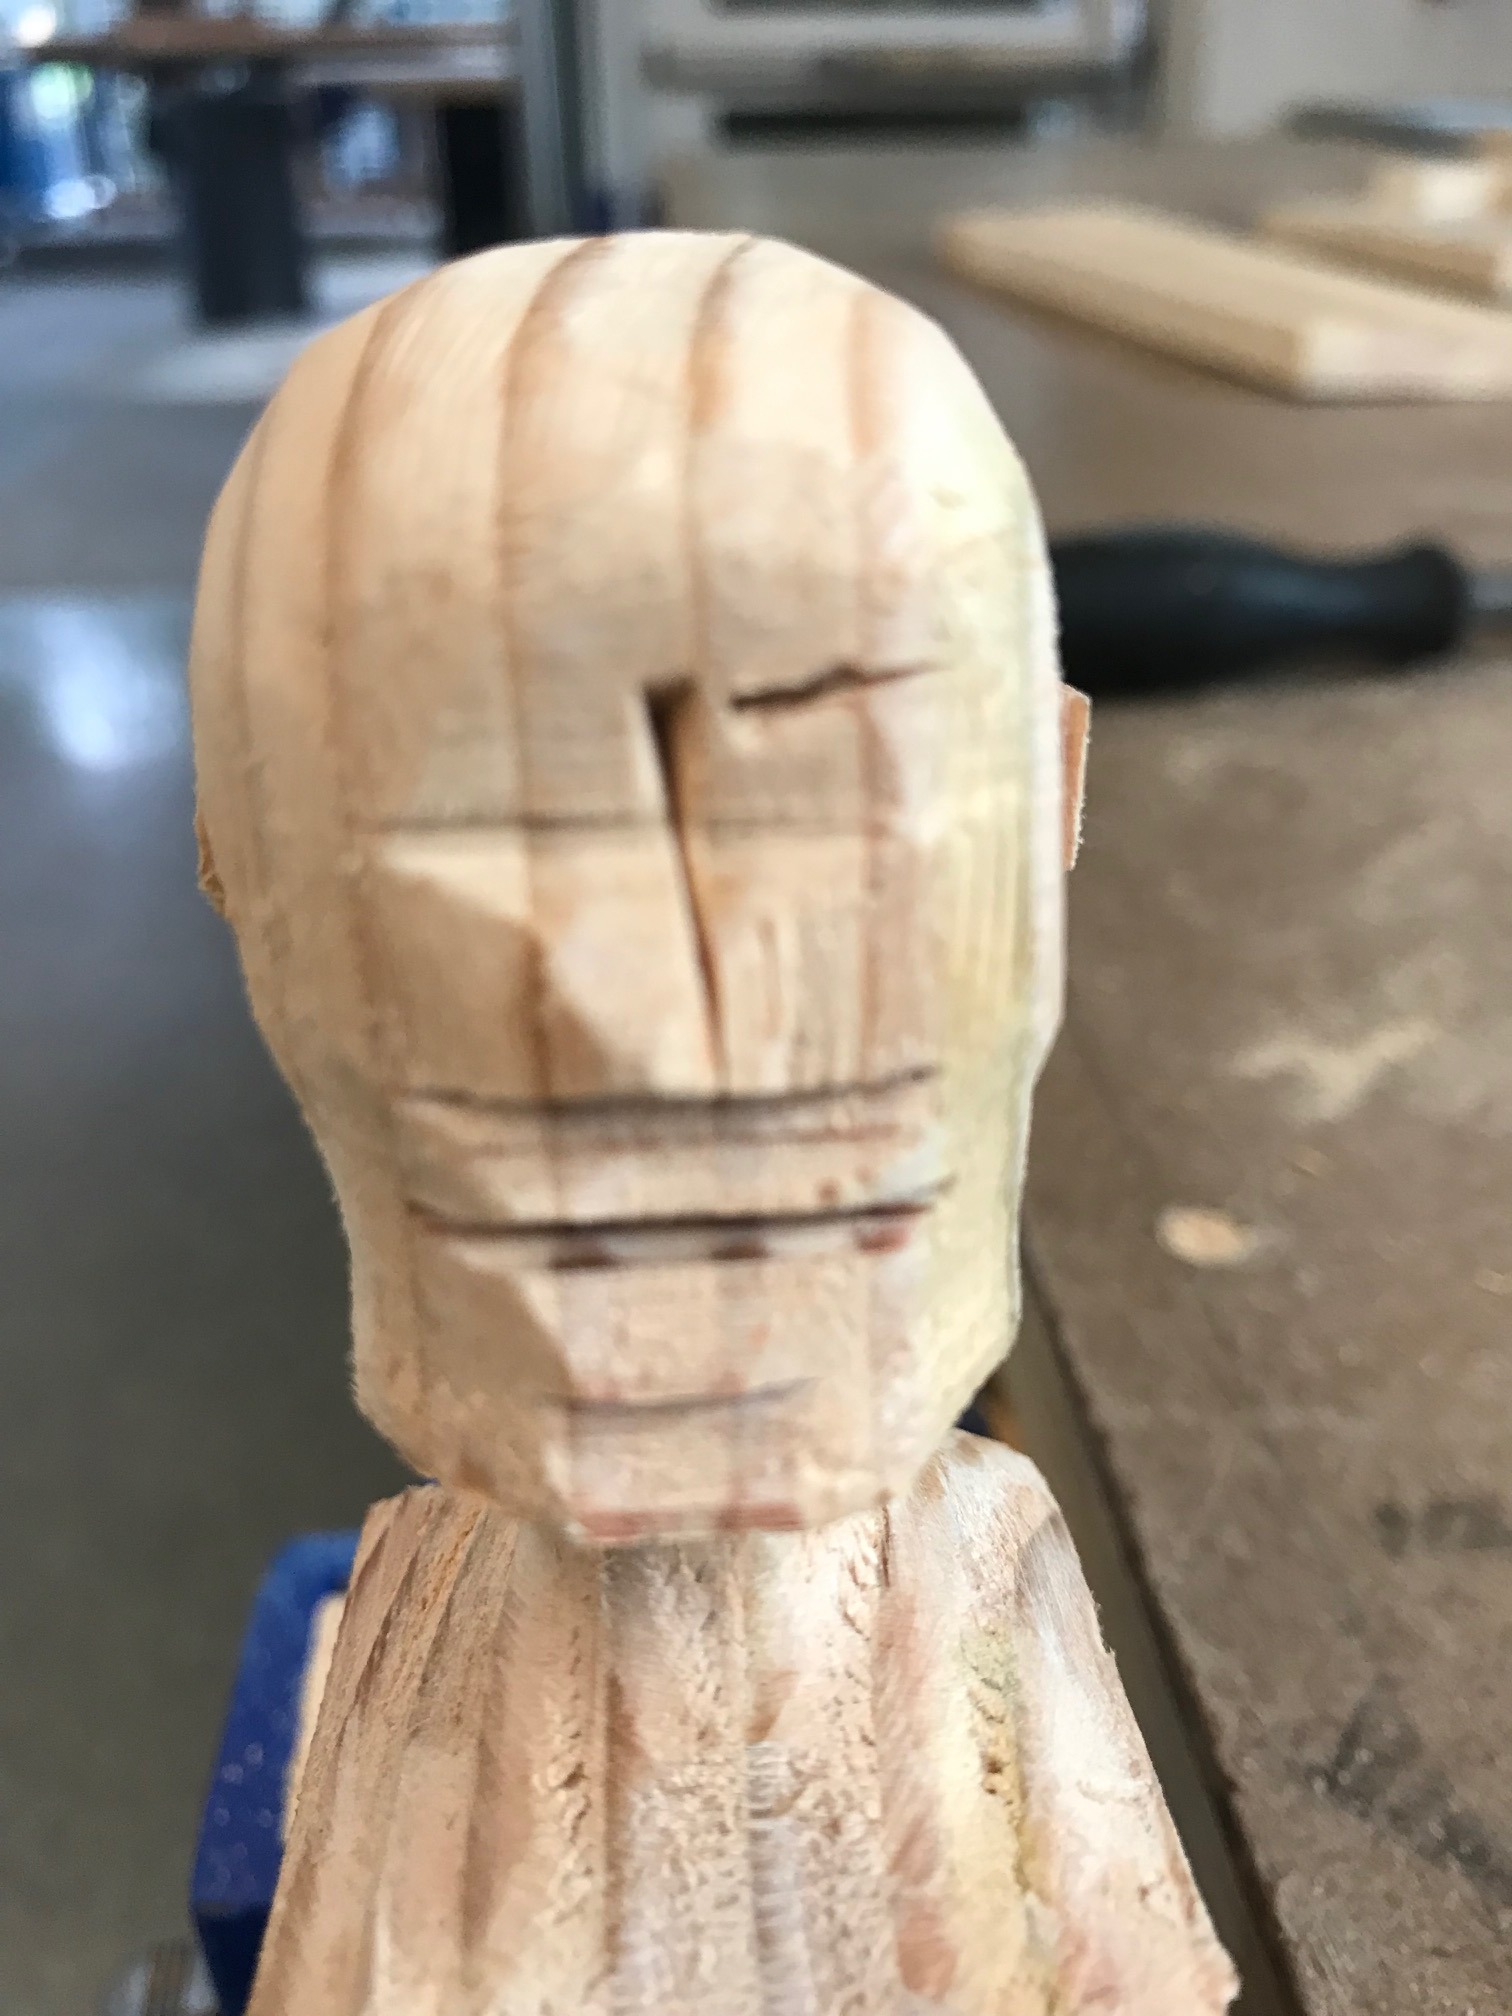
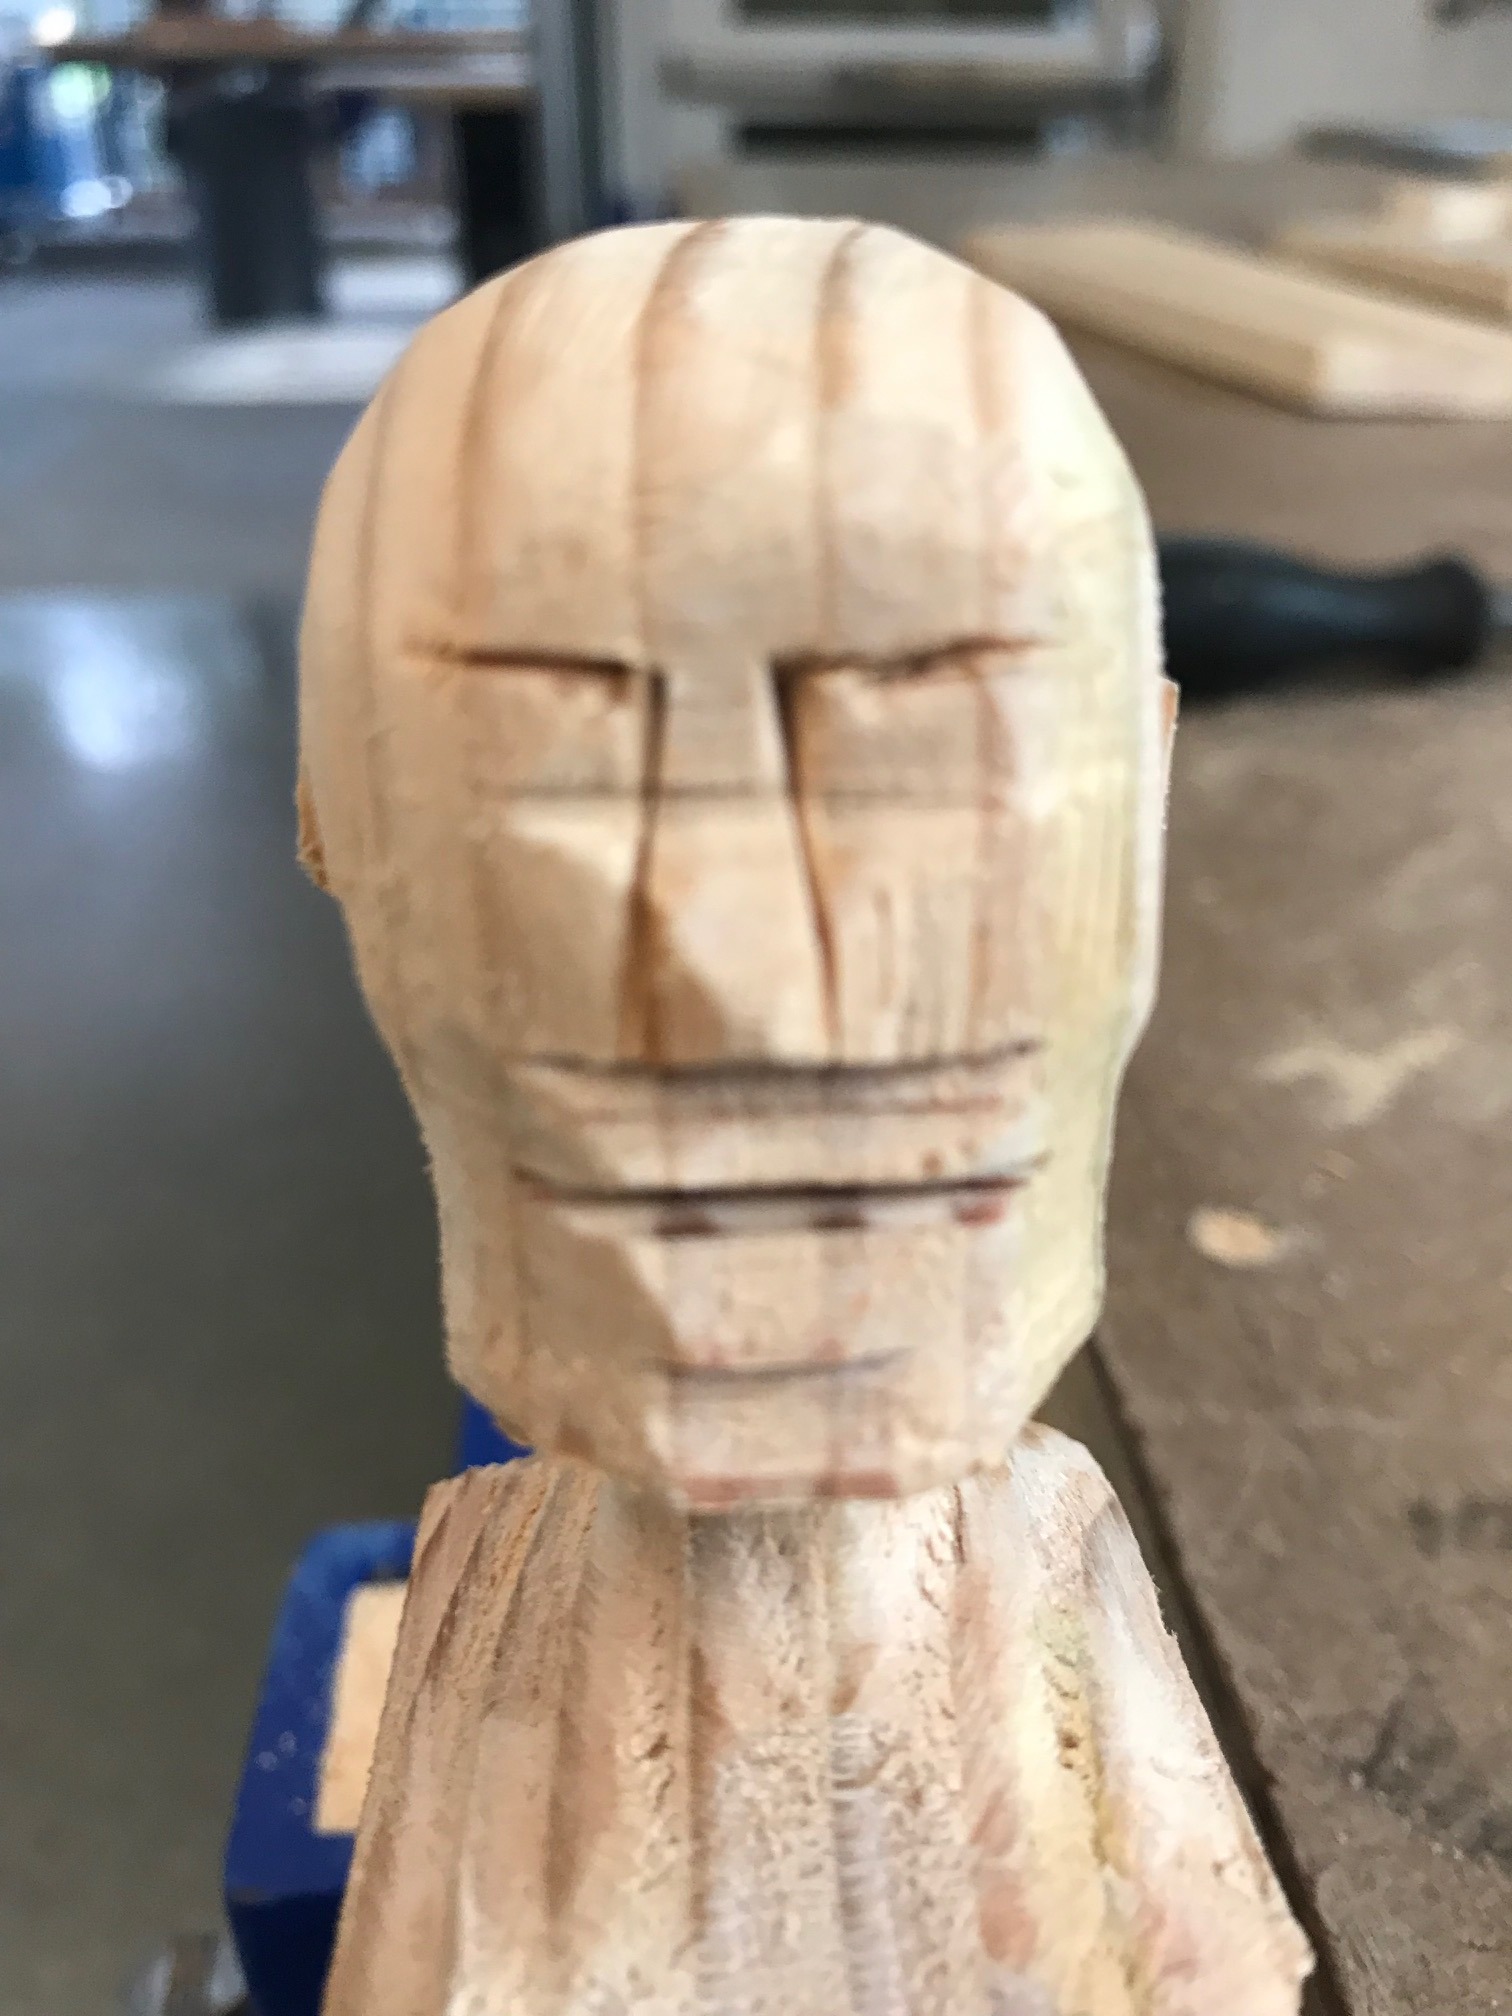
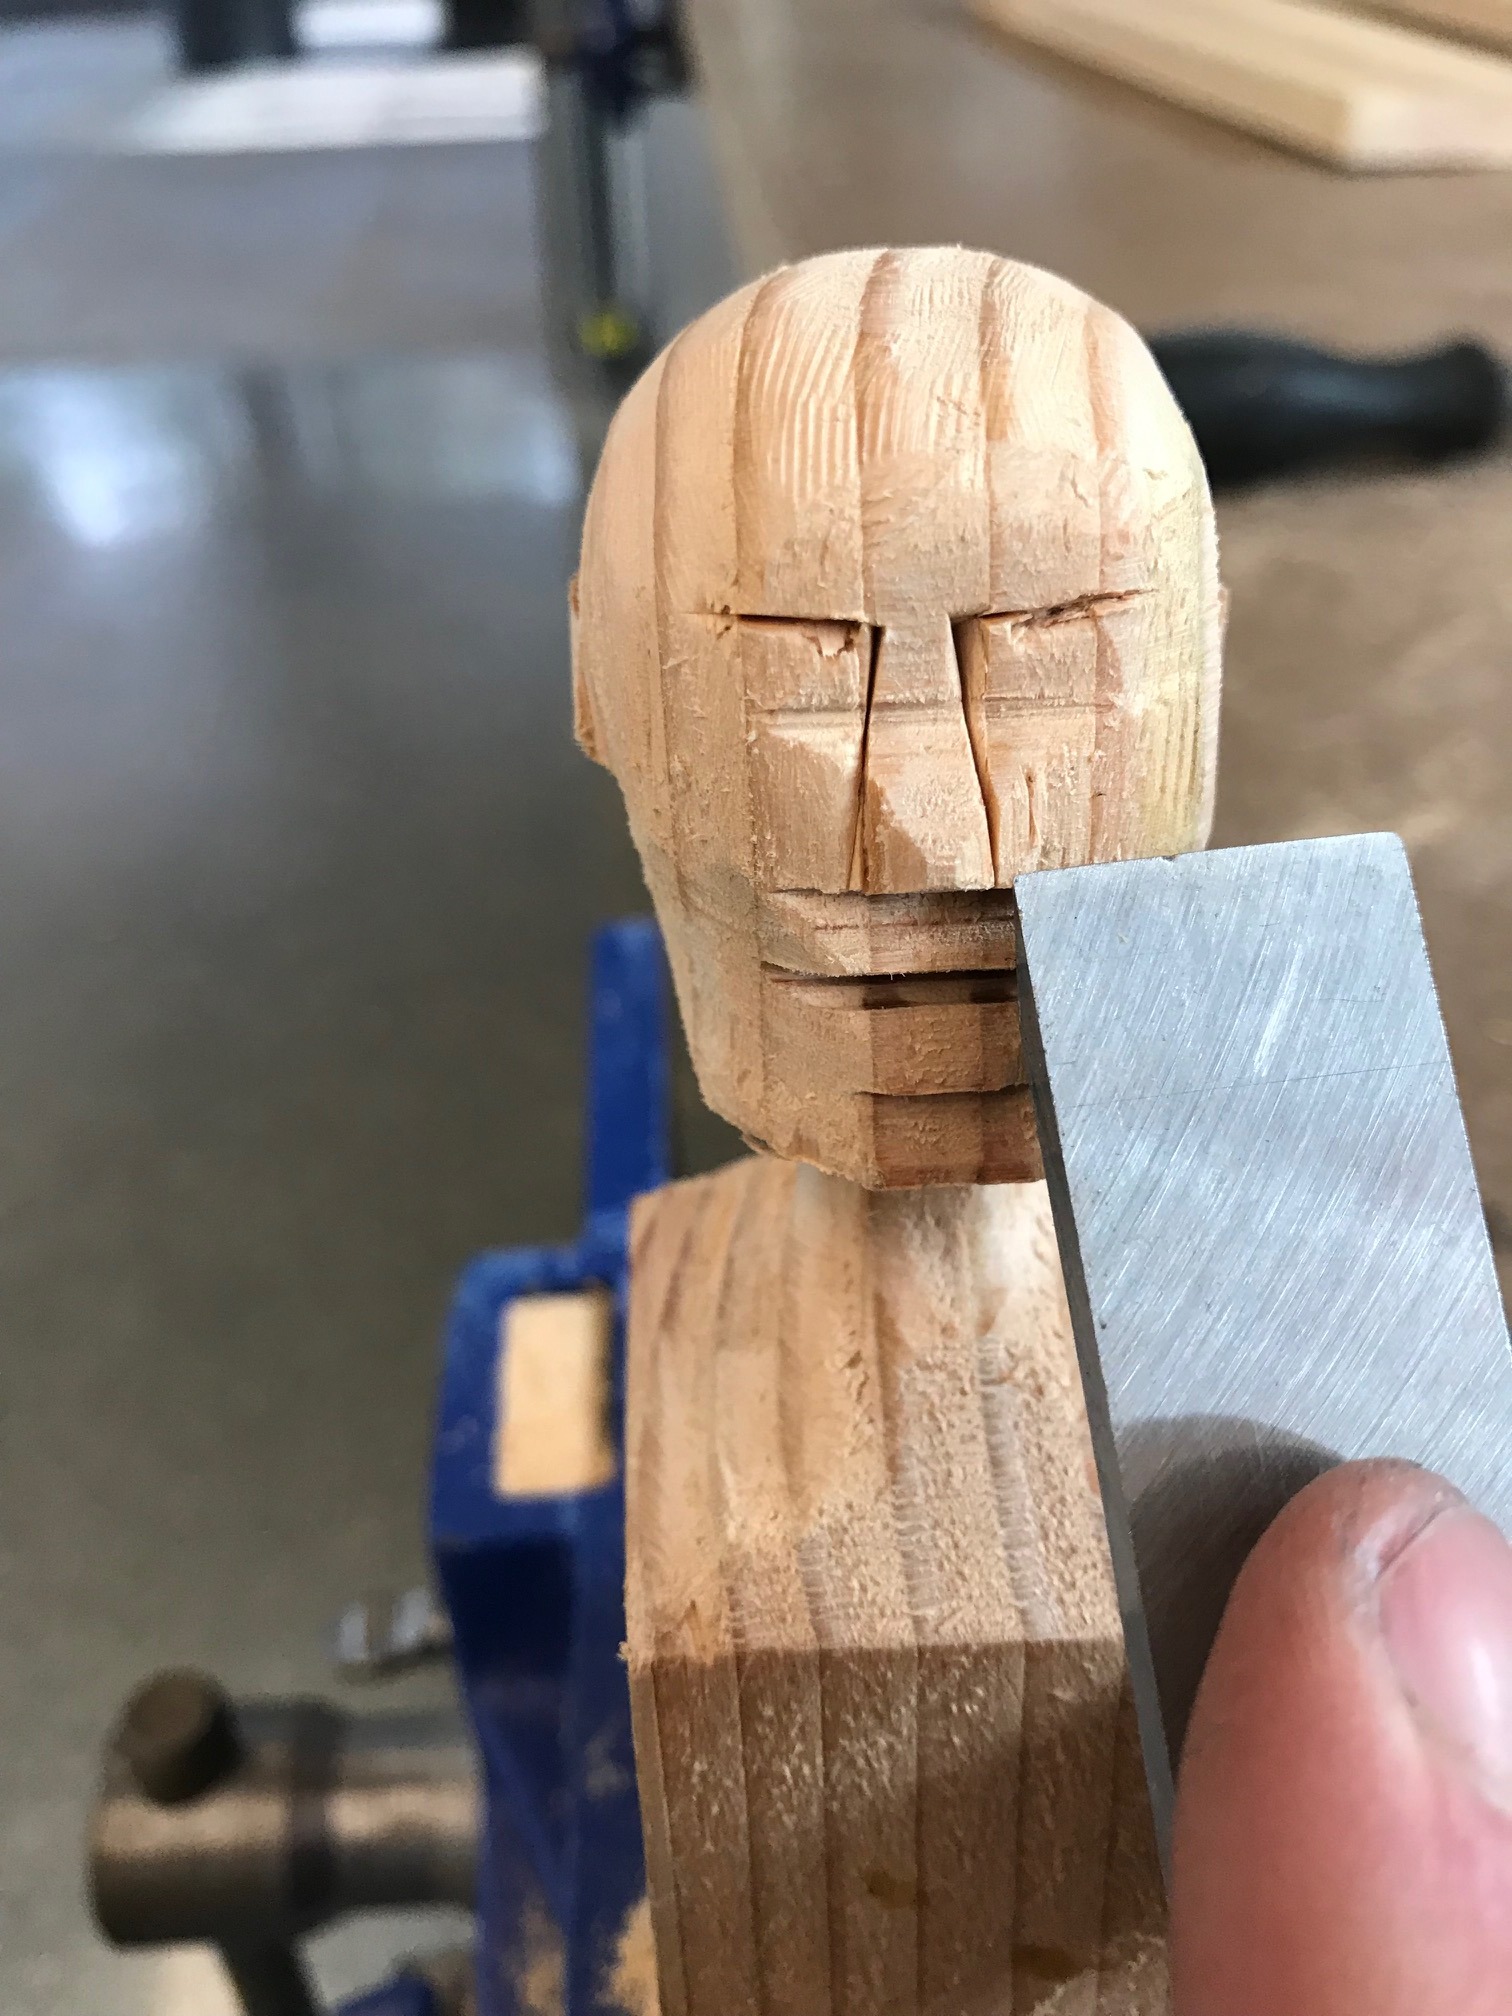
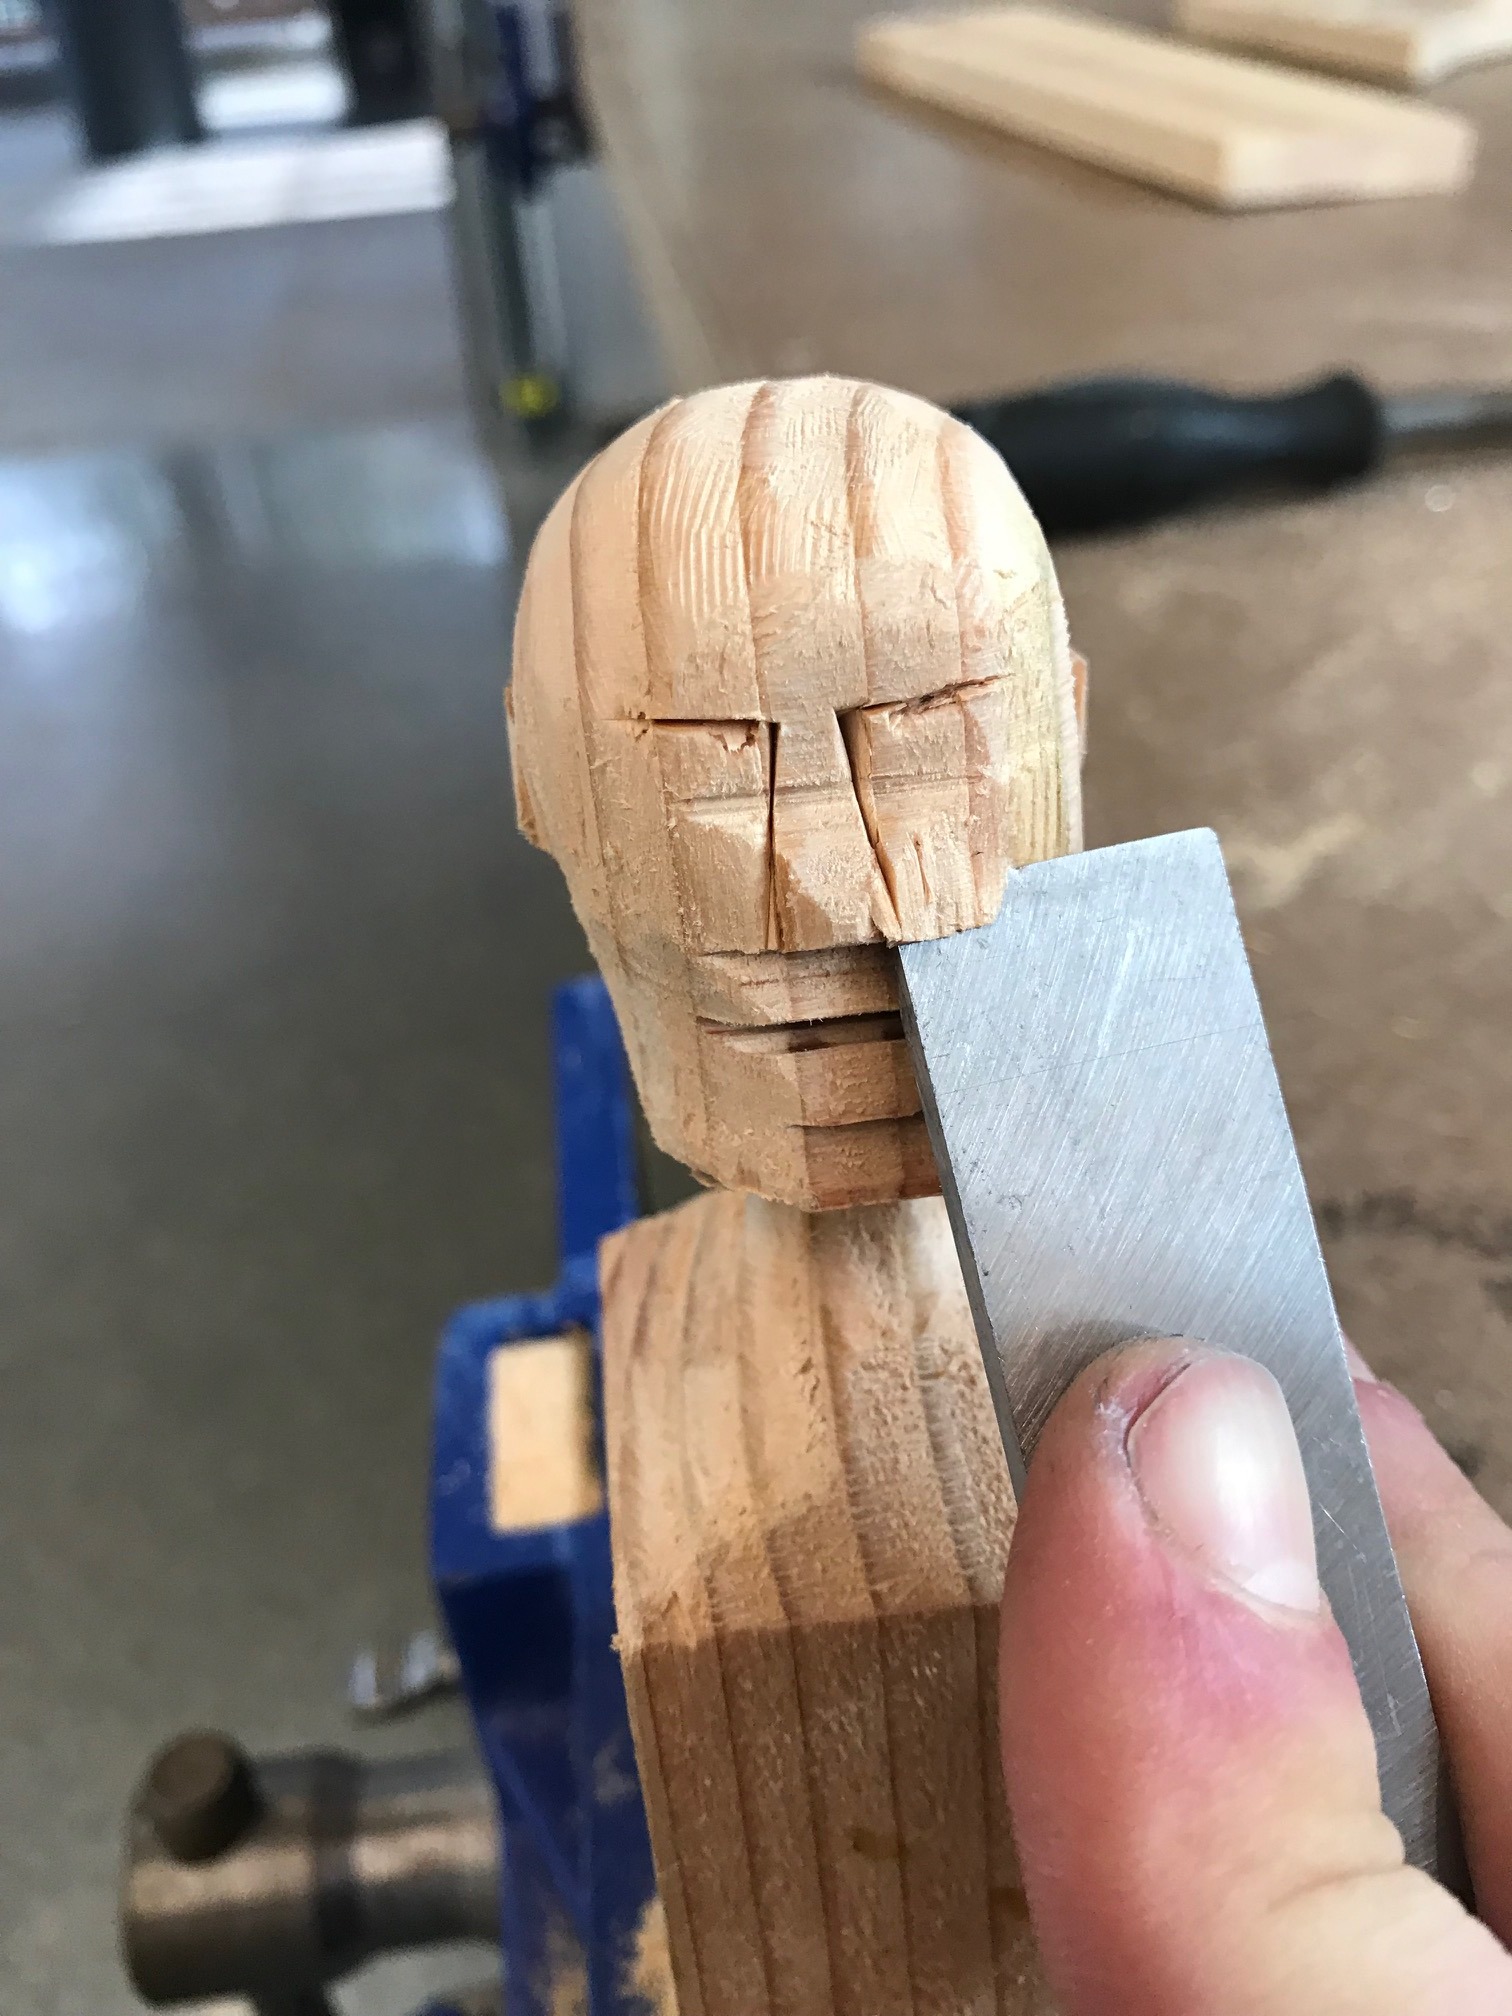
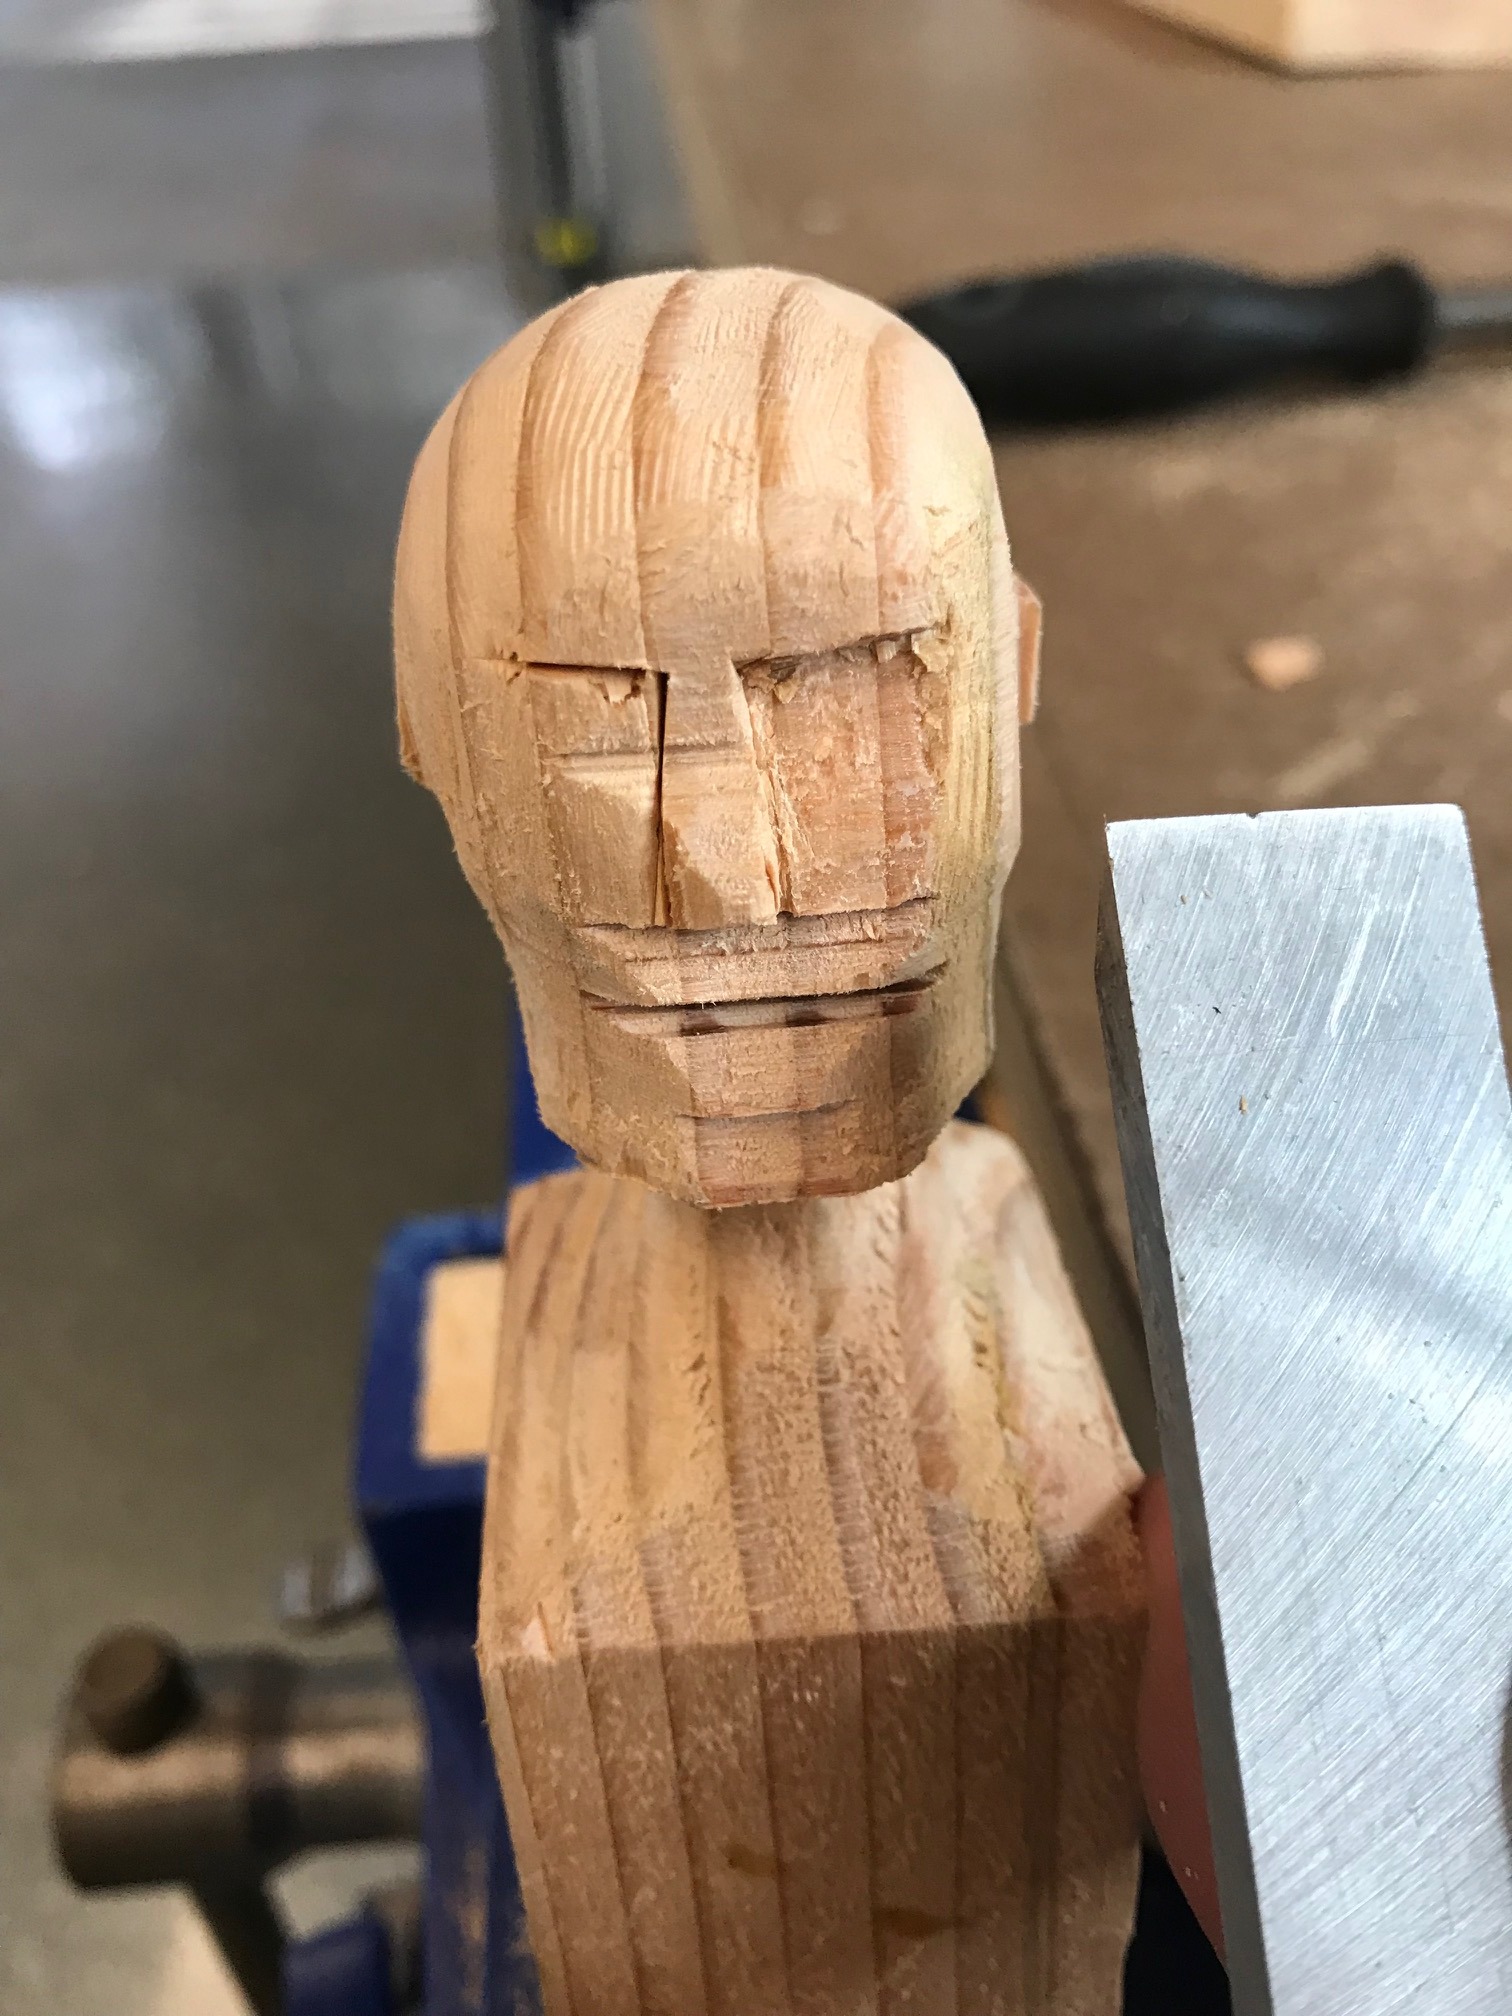
When working with students I do not like them using chisels. Too stabby. They are needed here however. I am always there when they use them and there is only one short step where they will be needed here so I will only have one to be used.
The images describe this best. Hollow areas like the eyes can not be files so the two score cuts for each eye are made first by just pushing the chisel straight into the head to the depth needed. This is cutting the fibers of the wood to give a hard edge. Notice the direction of the grain is going vertically through the face.
The final cut will start at the lips and move to the top of the eye lifting the grain. One or two passes should do the trick. If you need to go deeper redo the first two score cuts to the depth you want so that you can control where the chip edge stops.
If all goes well you should have only a little Frankenstein look to you face.
Sand


Sand as needed. I have my students wrap their paper around a stick so they do not wrinkle it and destroy the paper as fast. If the files were done well not much sanding will be needed. I did a very light pass with 150 grit.
If you are going to paint it will hide all your flaws when we put some makeup on your head.
Paint!
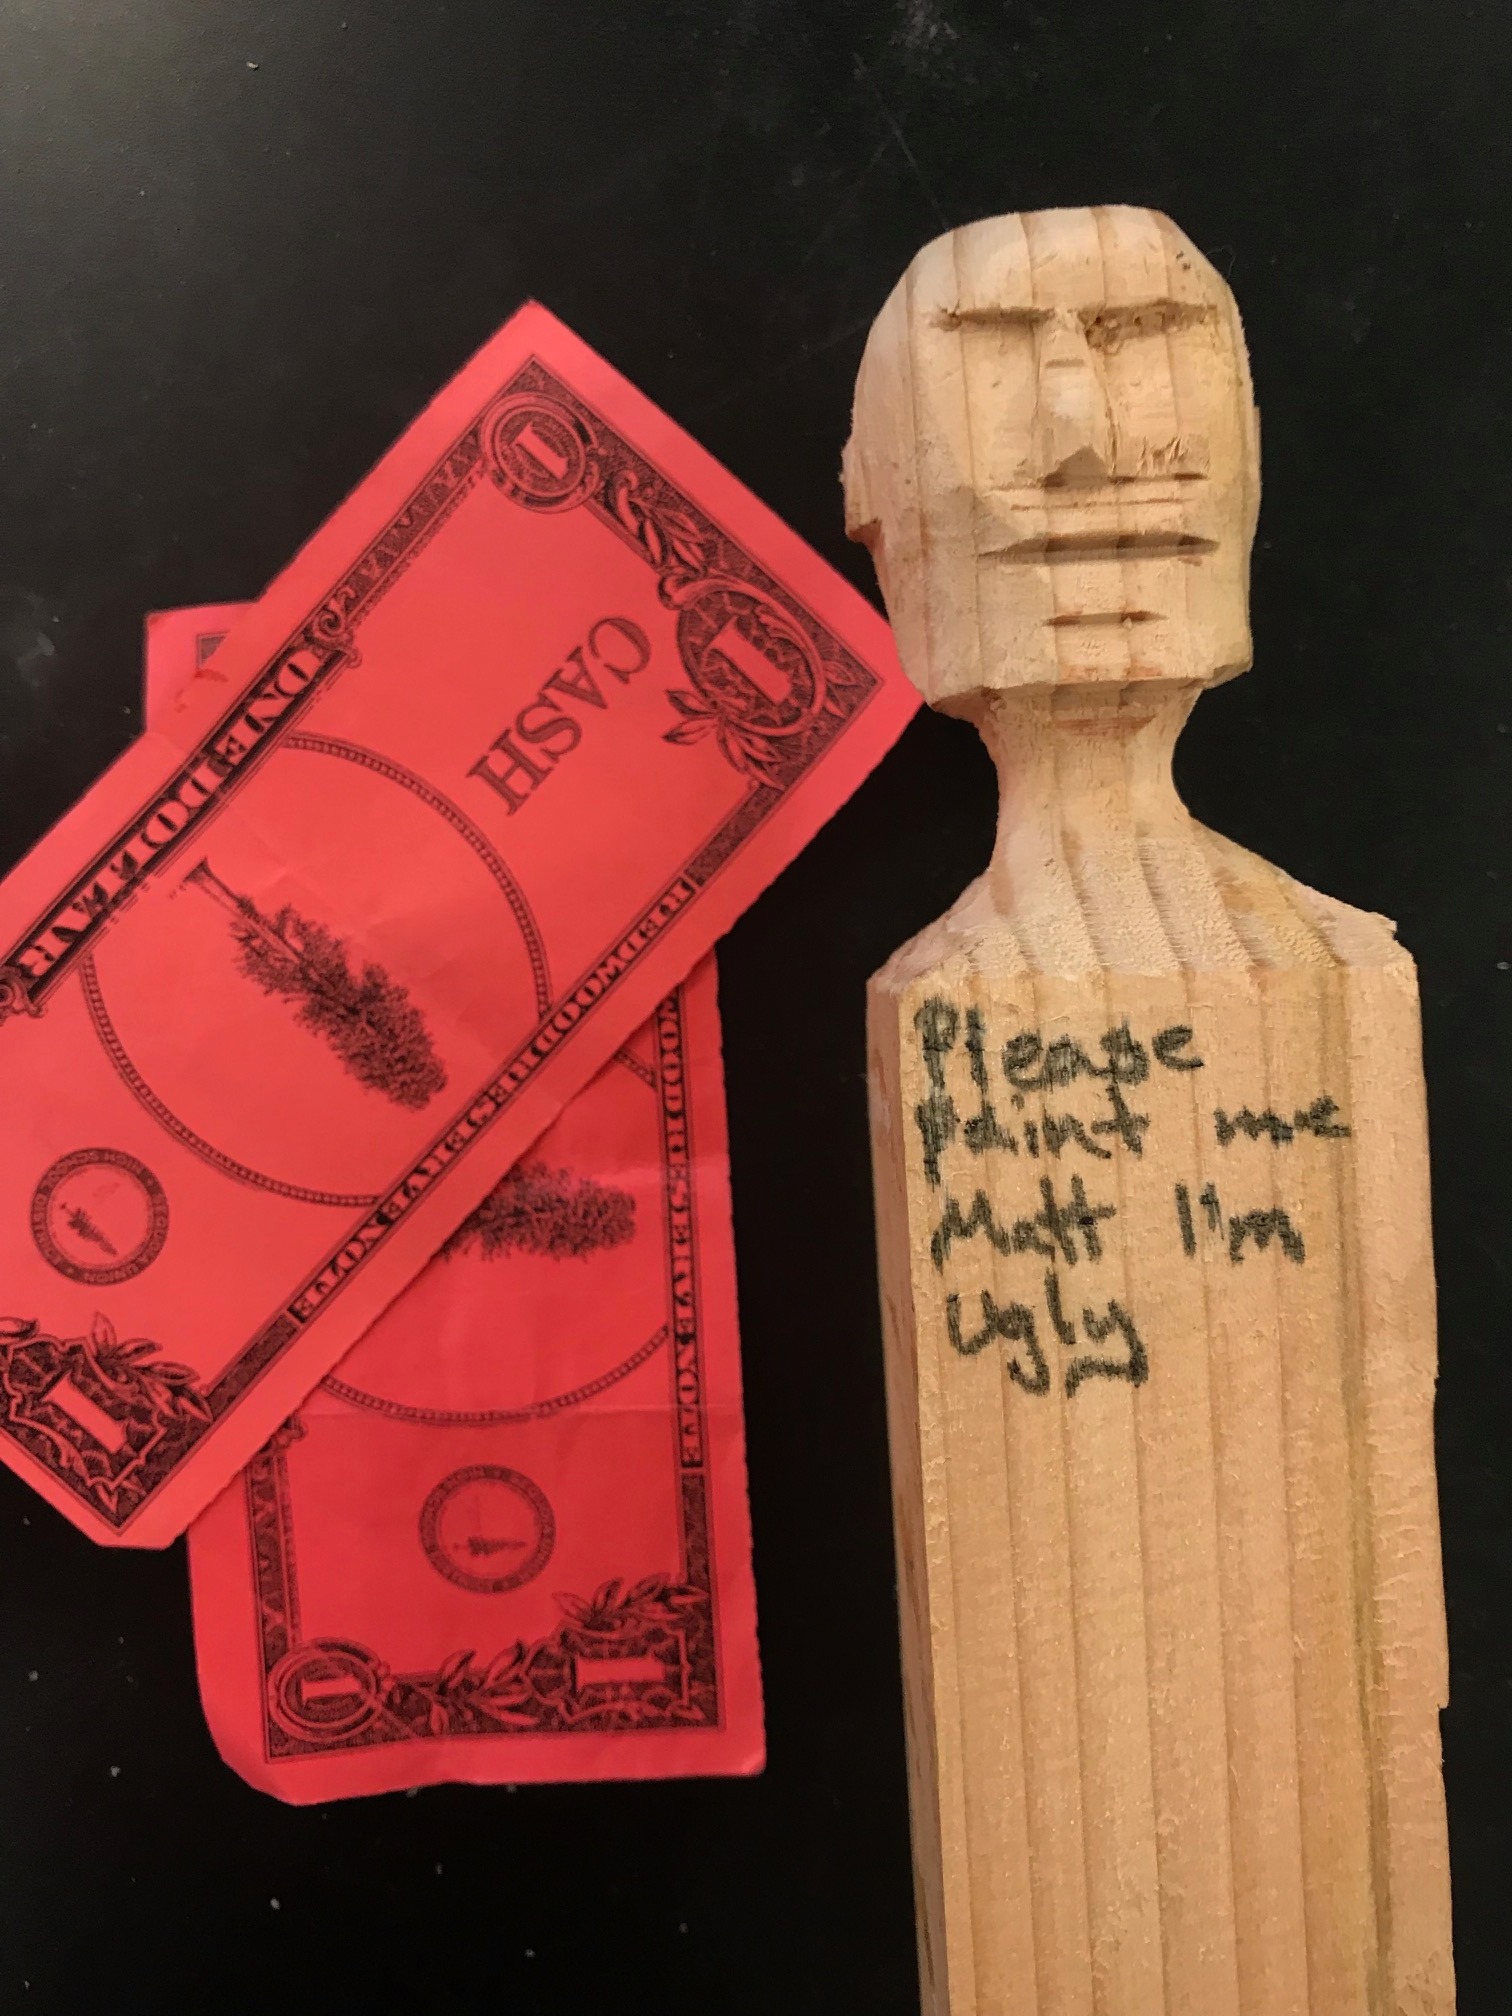
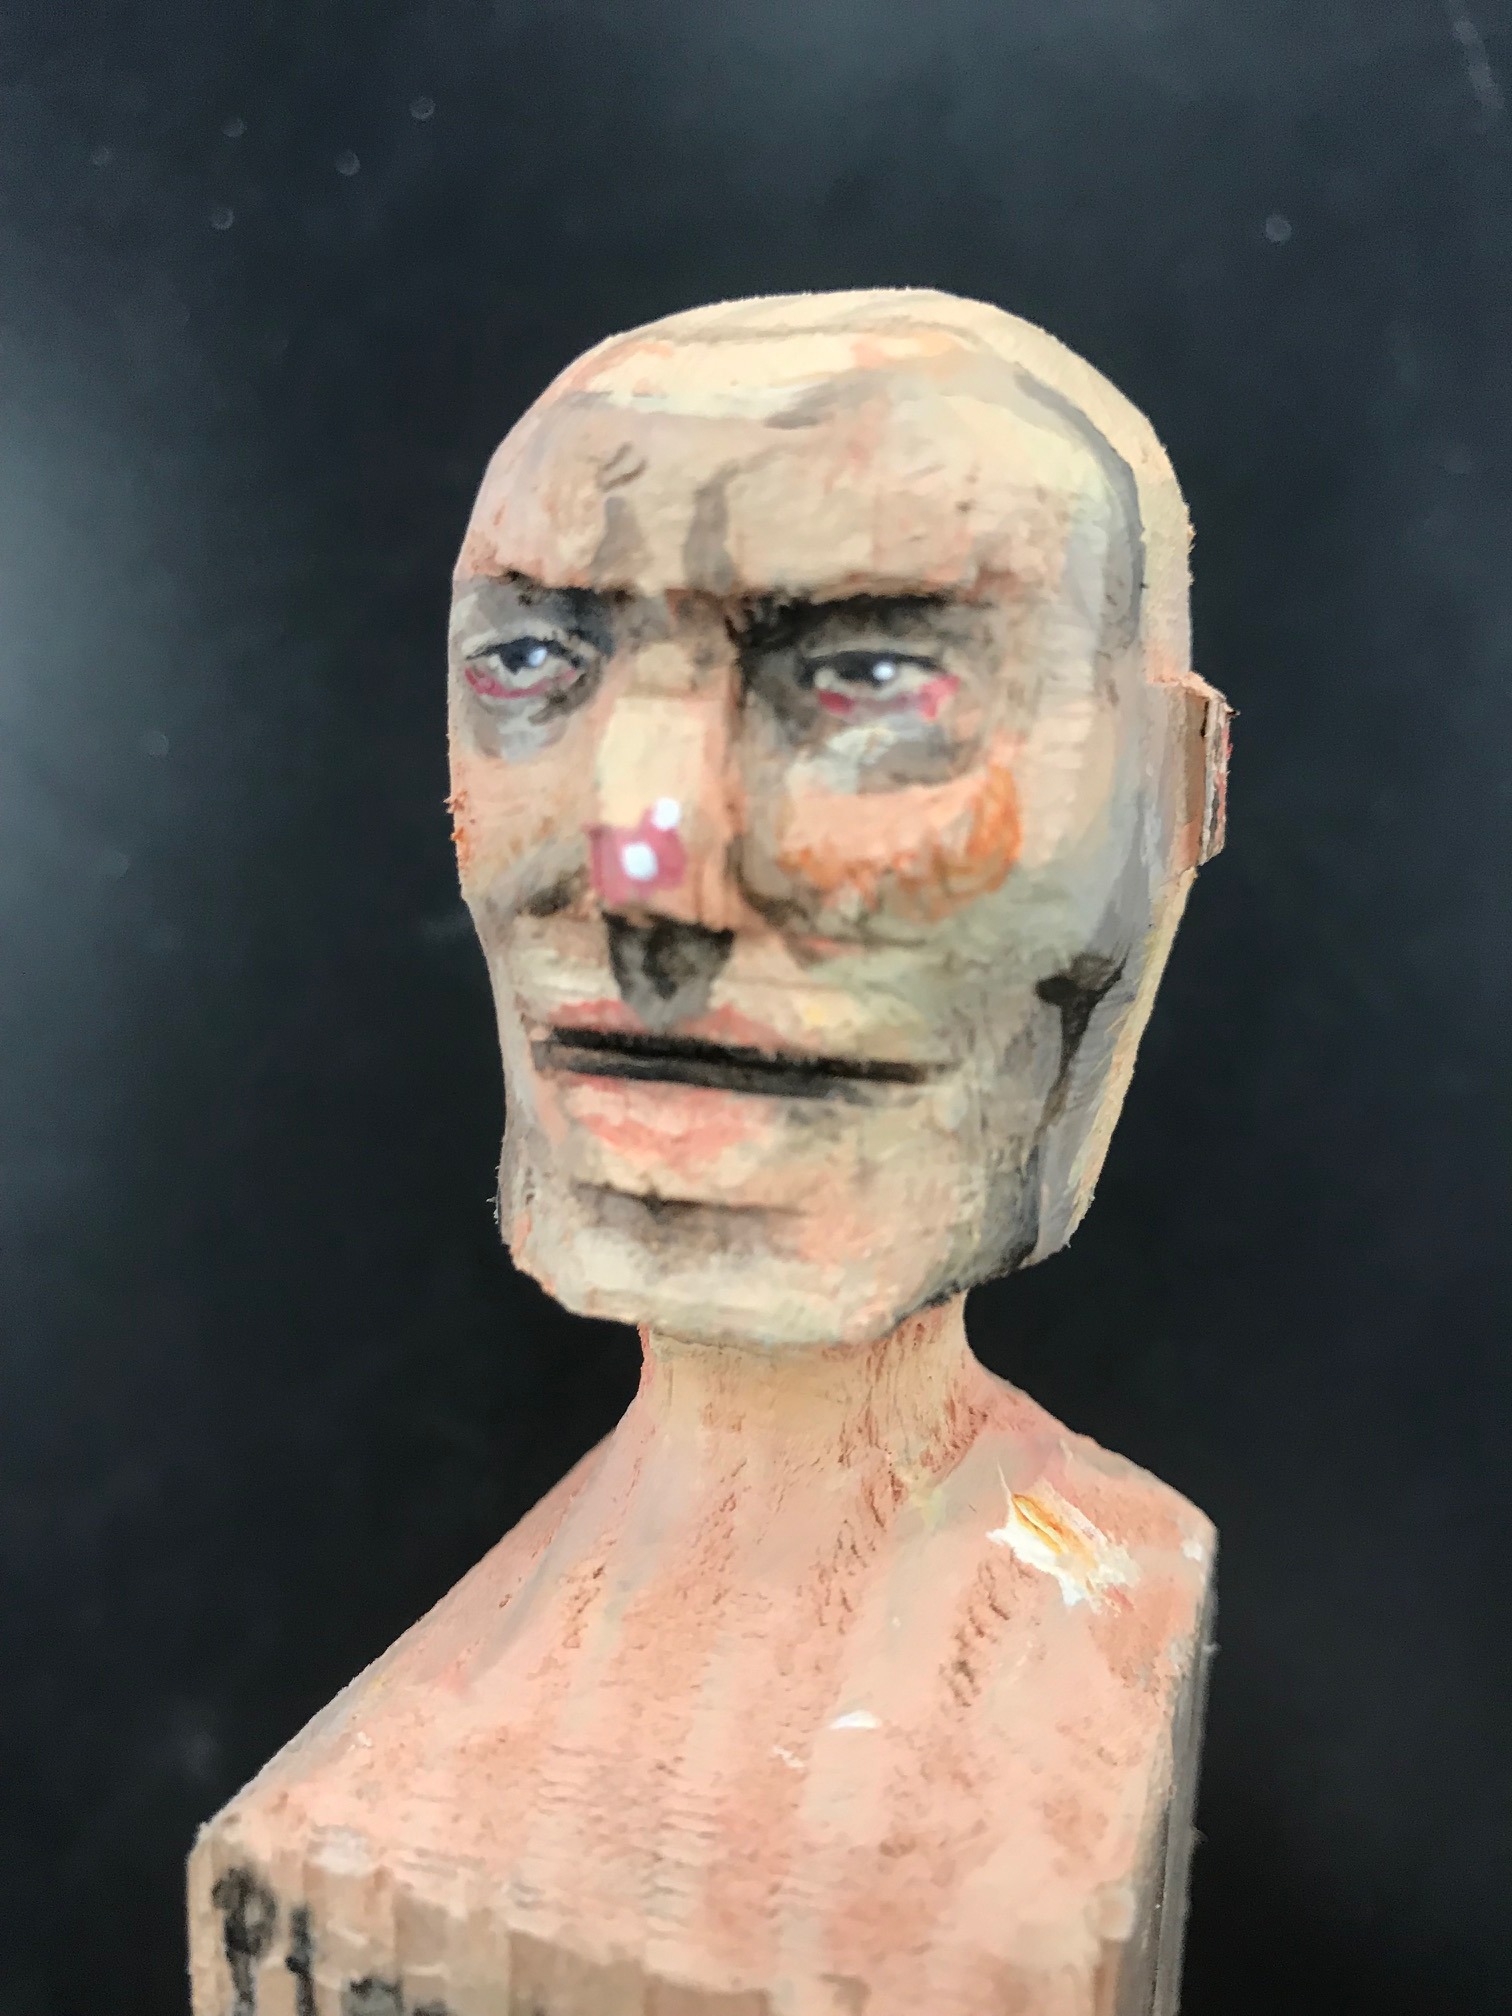

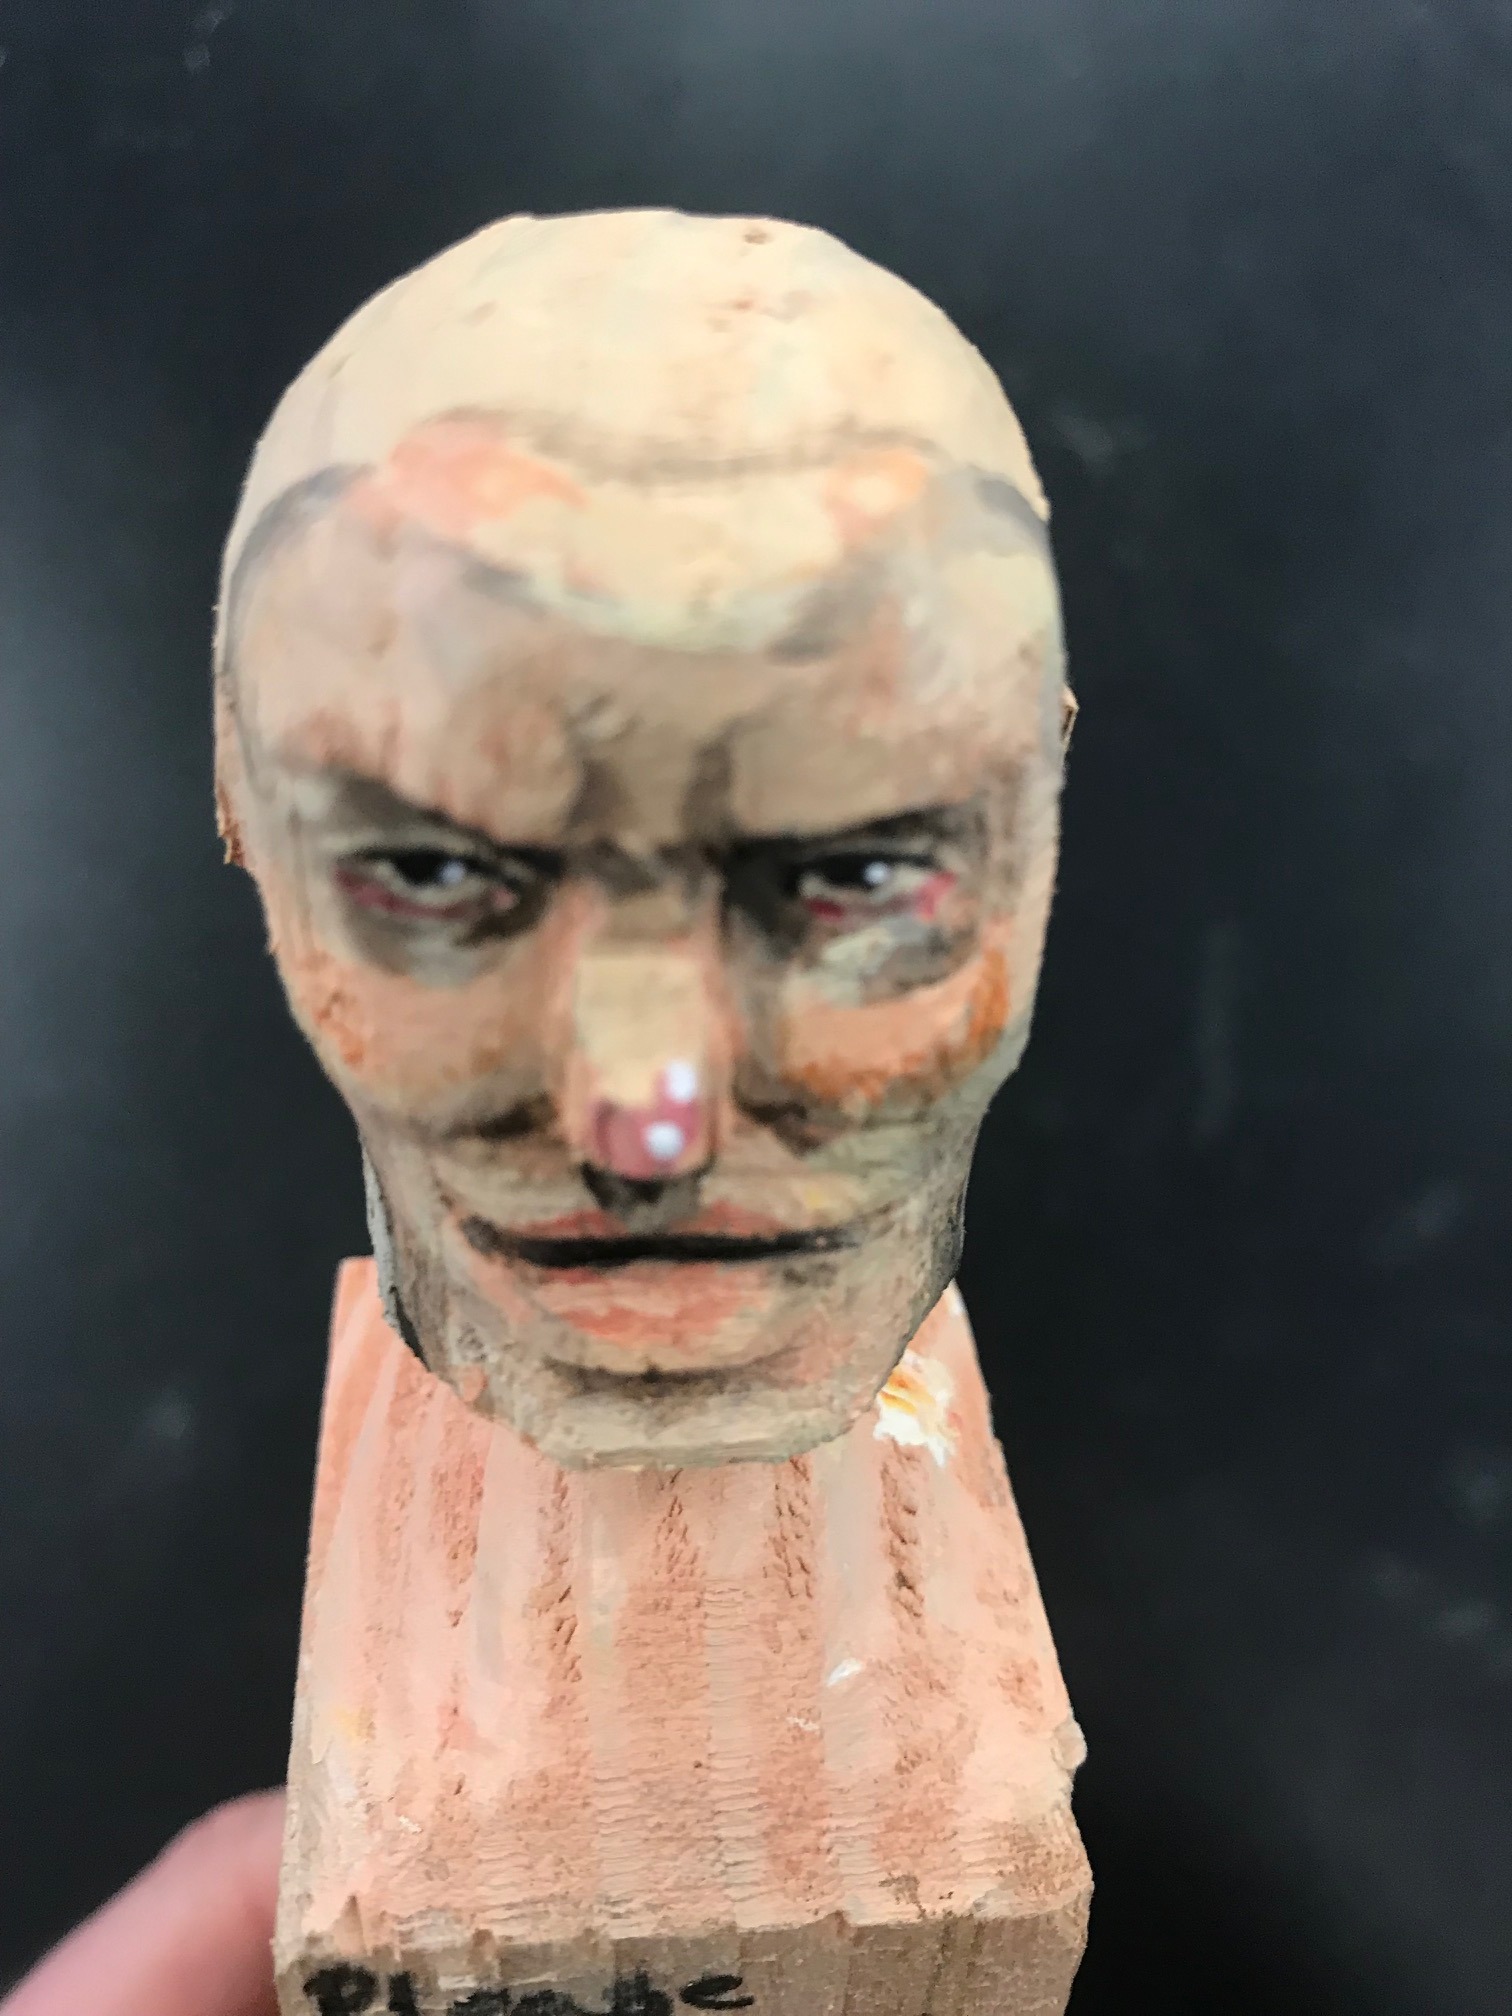
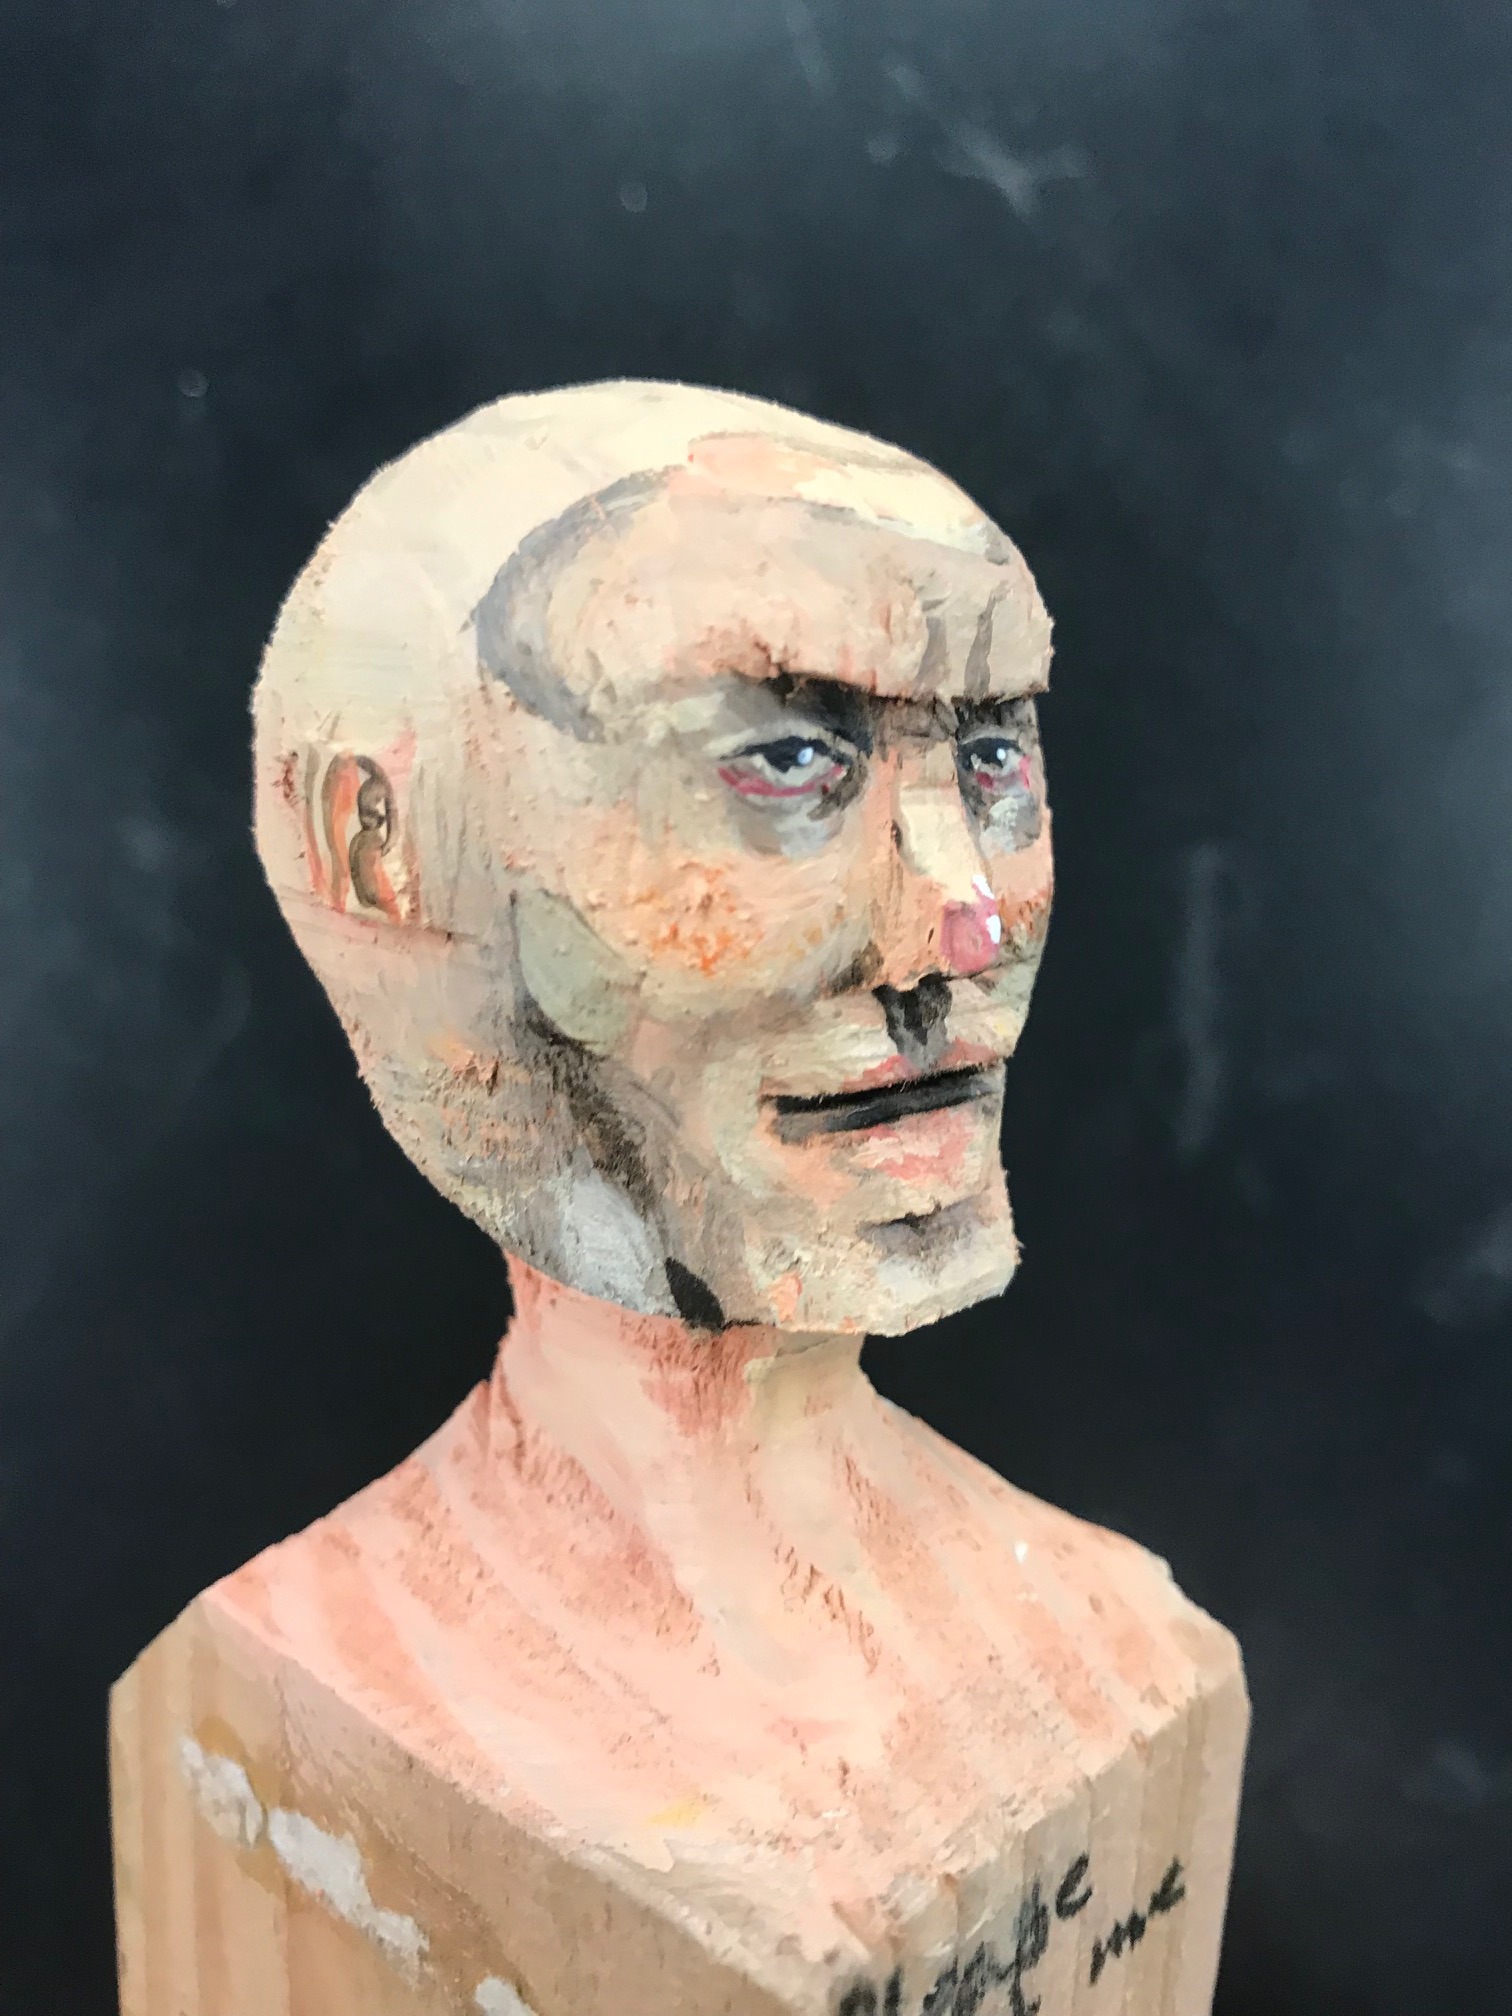


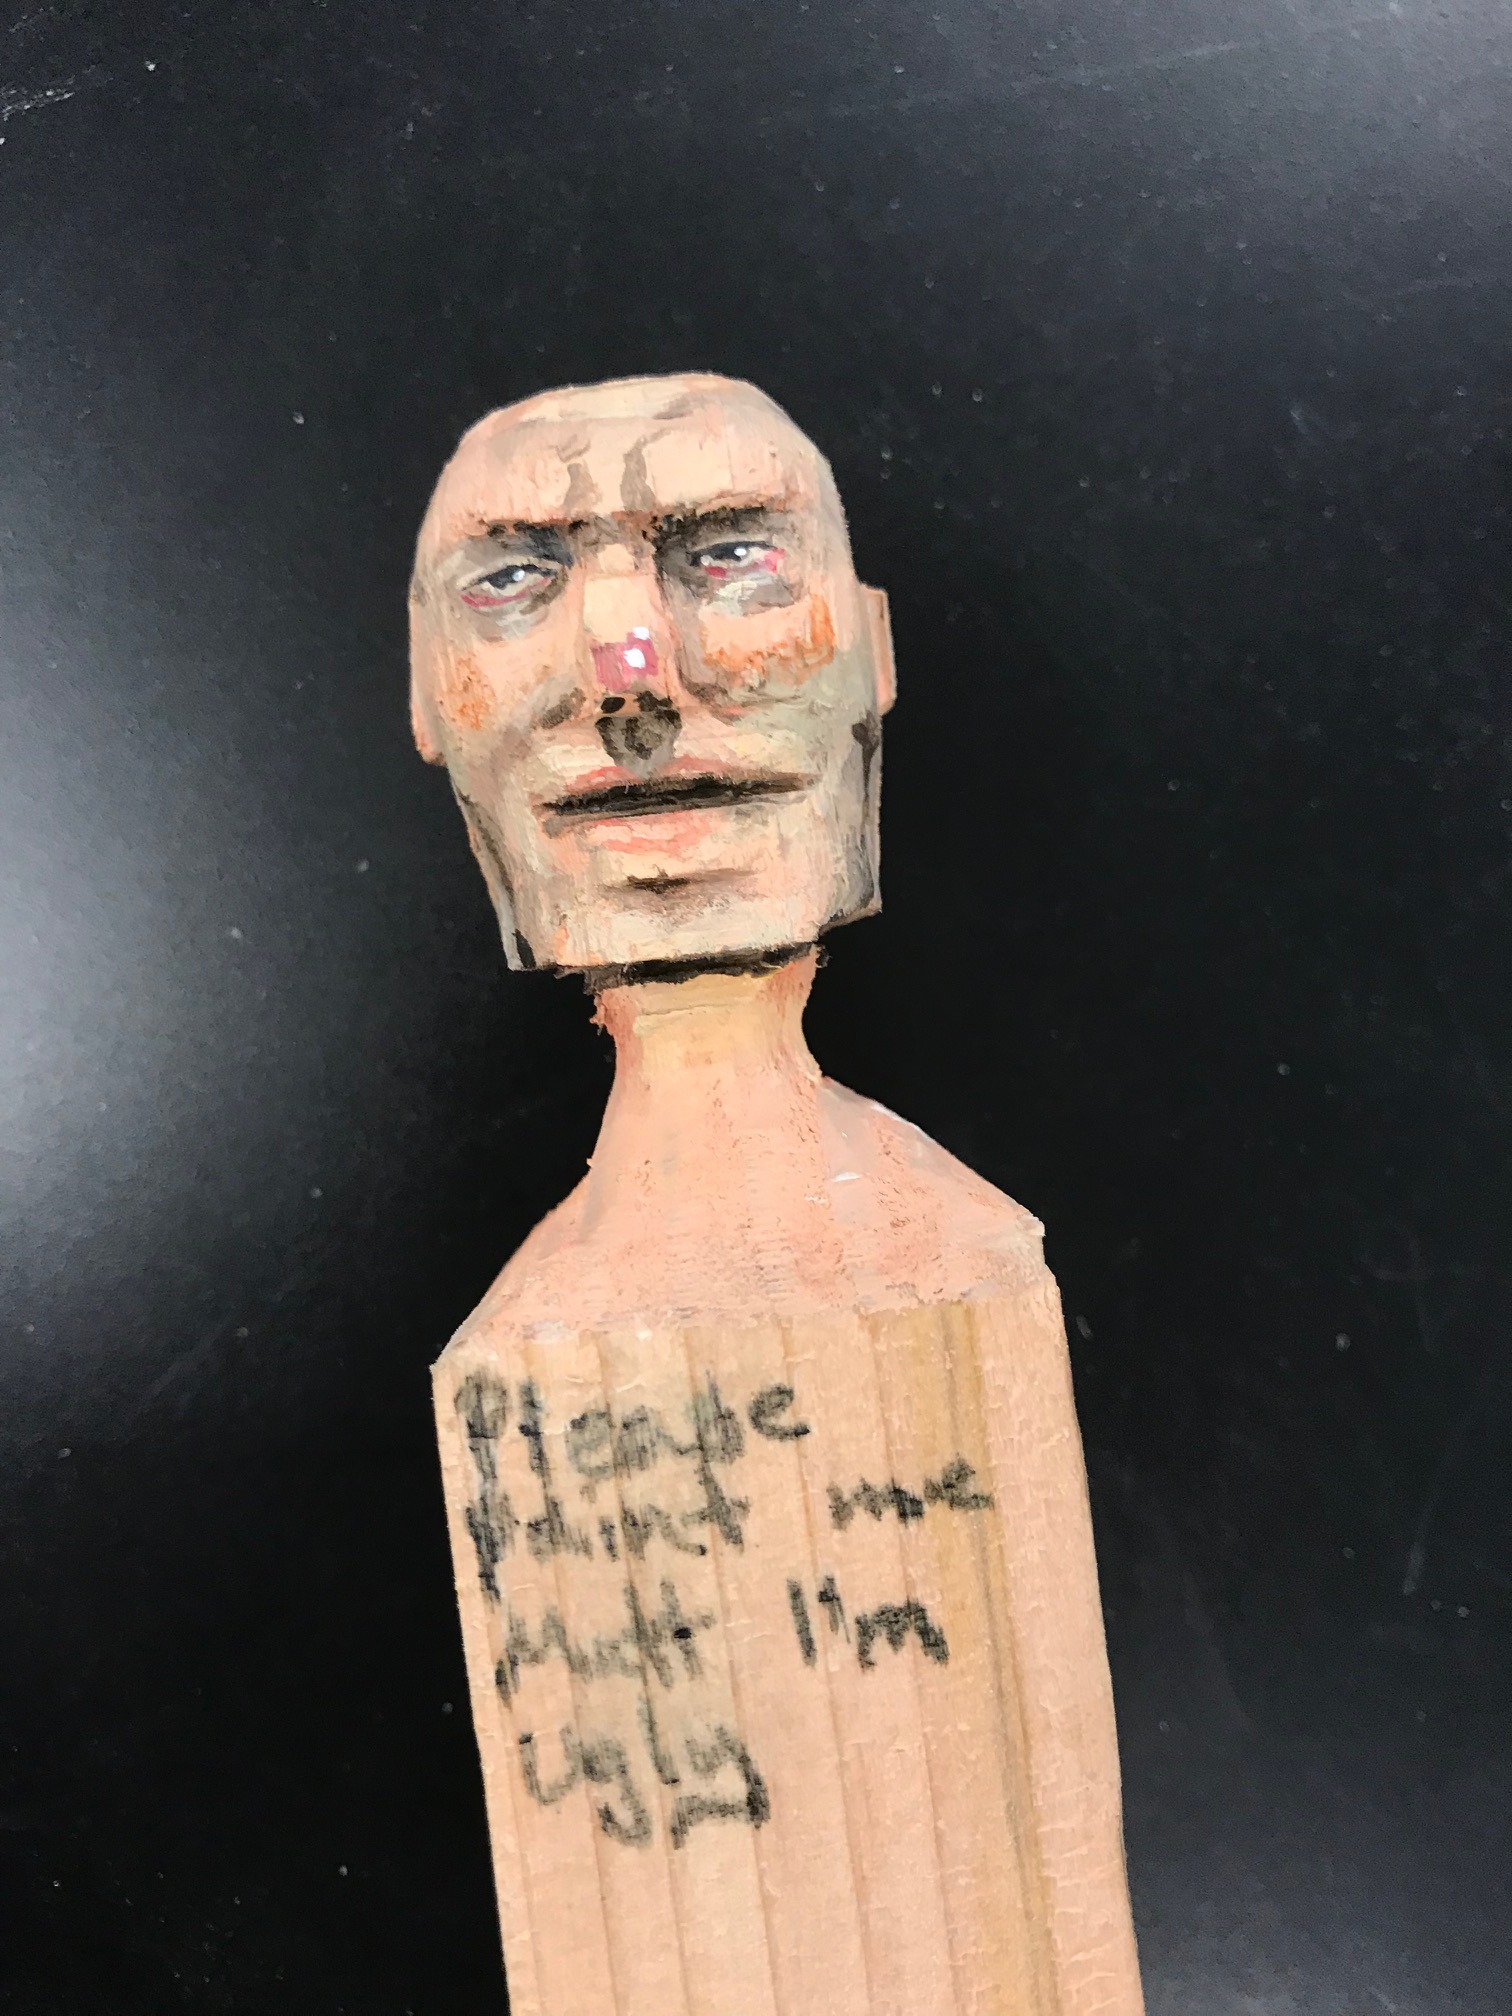
- Bribe the art teacher with fake school money to paint your project.
- Hope he is not as sick and twisted as you think he is.
- He is.
- Enjoy the creepy carny look that he went with.
- He used cheap acrylic paint and some small brushes.