Safe Way to Store DVD TV Series
by Clayalotte in Living > Organizing
1521 Views, 8 Favorites, 0 Comments
Safe Way to Store DVD TV Series


I love TV series. Not every TV series, mind, just the ones I actually enjoy.
A few years ago, I decided to make it a goal to collect TV series that I love. I did hours of math and researching to find the best price and quality on DVD collections. Finally I'd settle on one and purchase it.
Then I ran into a problem I hadn't anticipated. The new packaging on DVD collections is terrible. The spindles grip the paper thin DVD so tight that you can easily crack the hub when trying to get the DVD out. They stack the DVDs all on top of one another, making them prone to scratching and even harder to get out safely.
So, after much disappointment and cracked hubs, I settled on another way to house the DVDs that was both protective and looked good.
Supplies
1. TV series
2. Scissors
3. Tape
4. DVD case/holder, fabric covered
5. Cardboard box in appropriate size to hold the DVD holder
6. Black construction paper
7. Ruler
8. Pen/pencil
The DVD Case Vs the Original DVD Holder


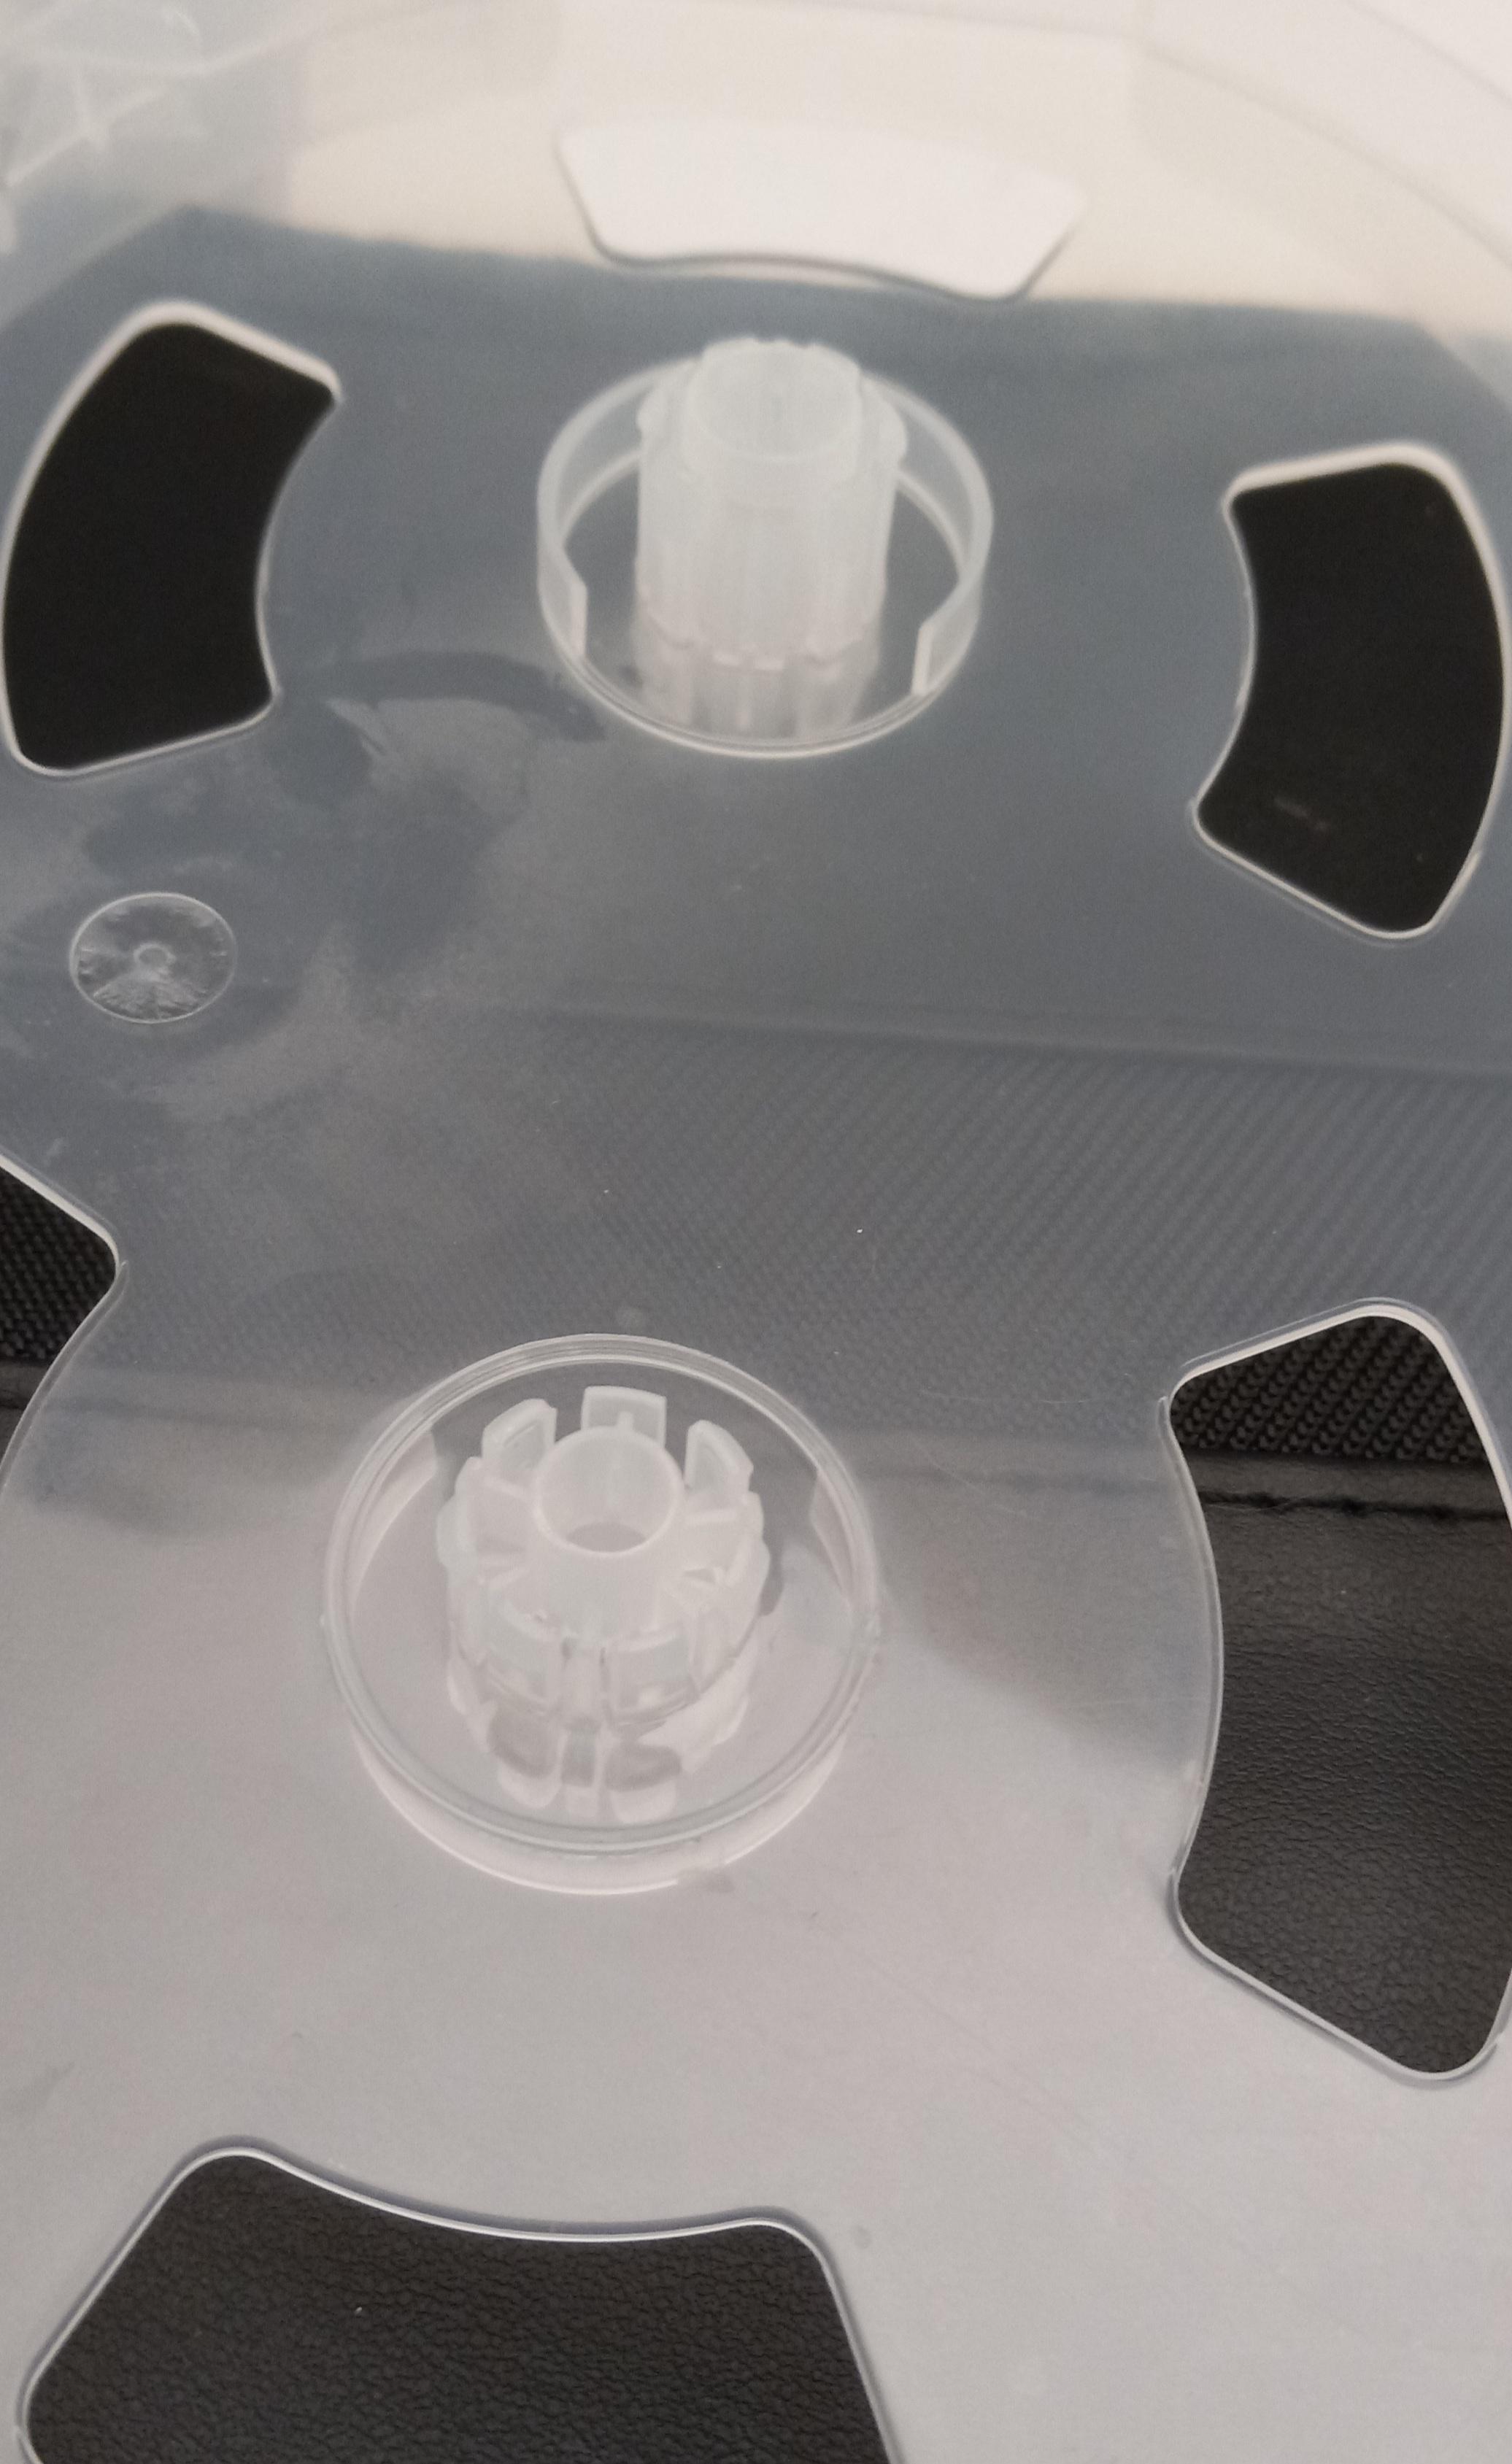
The DVD case I have been using for a few years holds 28 DVDs and is made by Case Logic. I have bought it at Walmart and Menards. I haven't had any problems with it. The dvds slide into the plastic sleeves and flip like a photo album. I don't recommend holders that hold past 30 dvds just because the dvds own weight could cause problems as they sit pressed against one another.
These cases zip closed and are easy to transport. You can stick labels on them for easy identification.
The original holders for TV series vary a bit, but it all comes down to two facts. One, the manufacturers stack the DVD right on top of one another. There is nothing in between them so nothing is to prevent them from scratching against each other. Two, the spindles are not like your regular push spindles found in movie cases. They are soooo tight. I get scared I'm gonna crack the DVD any time I take them out (and I've had it happen too many times). Putting them back in is just as bad. Therefore, I trust this method way more than the original method.
Put the DVDs in the New Case

Carefully take all the dvds out of the original case and transfer them to the fabric case.
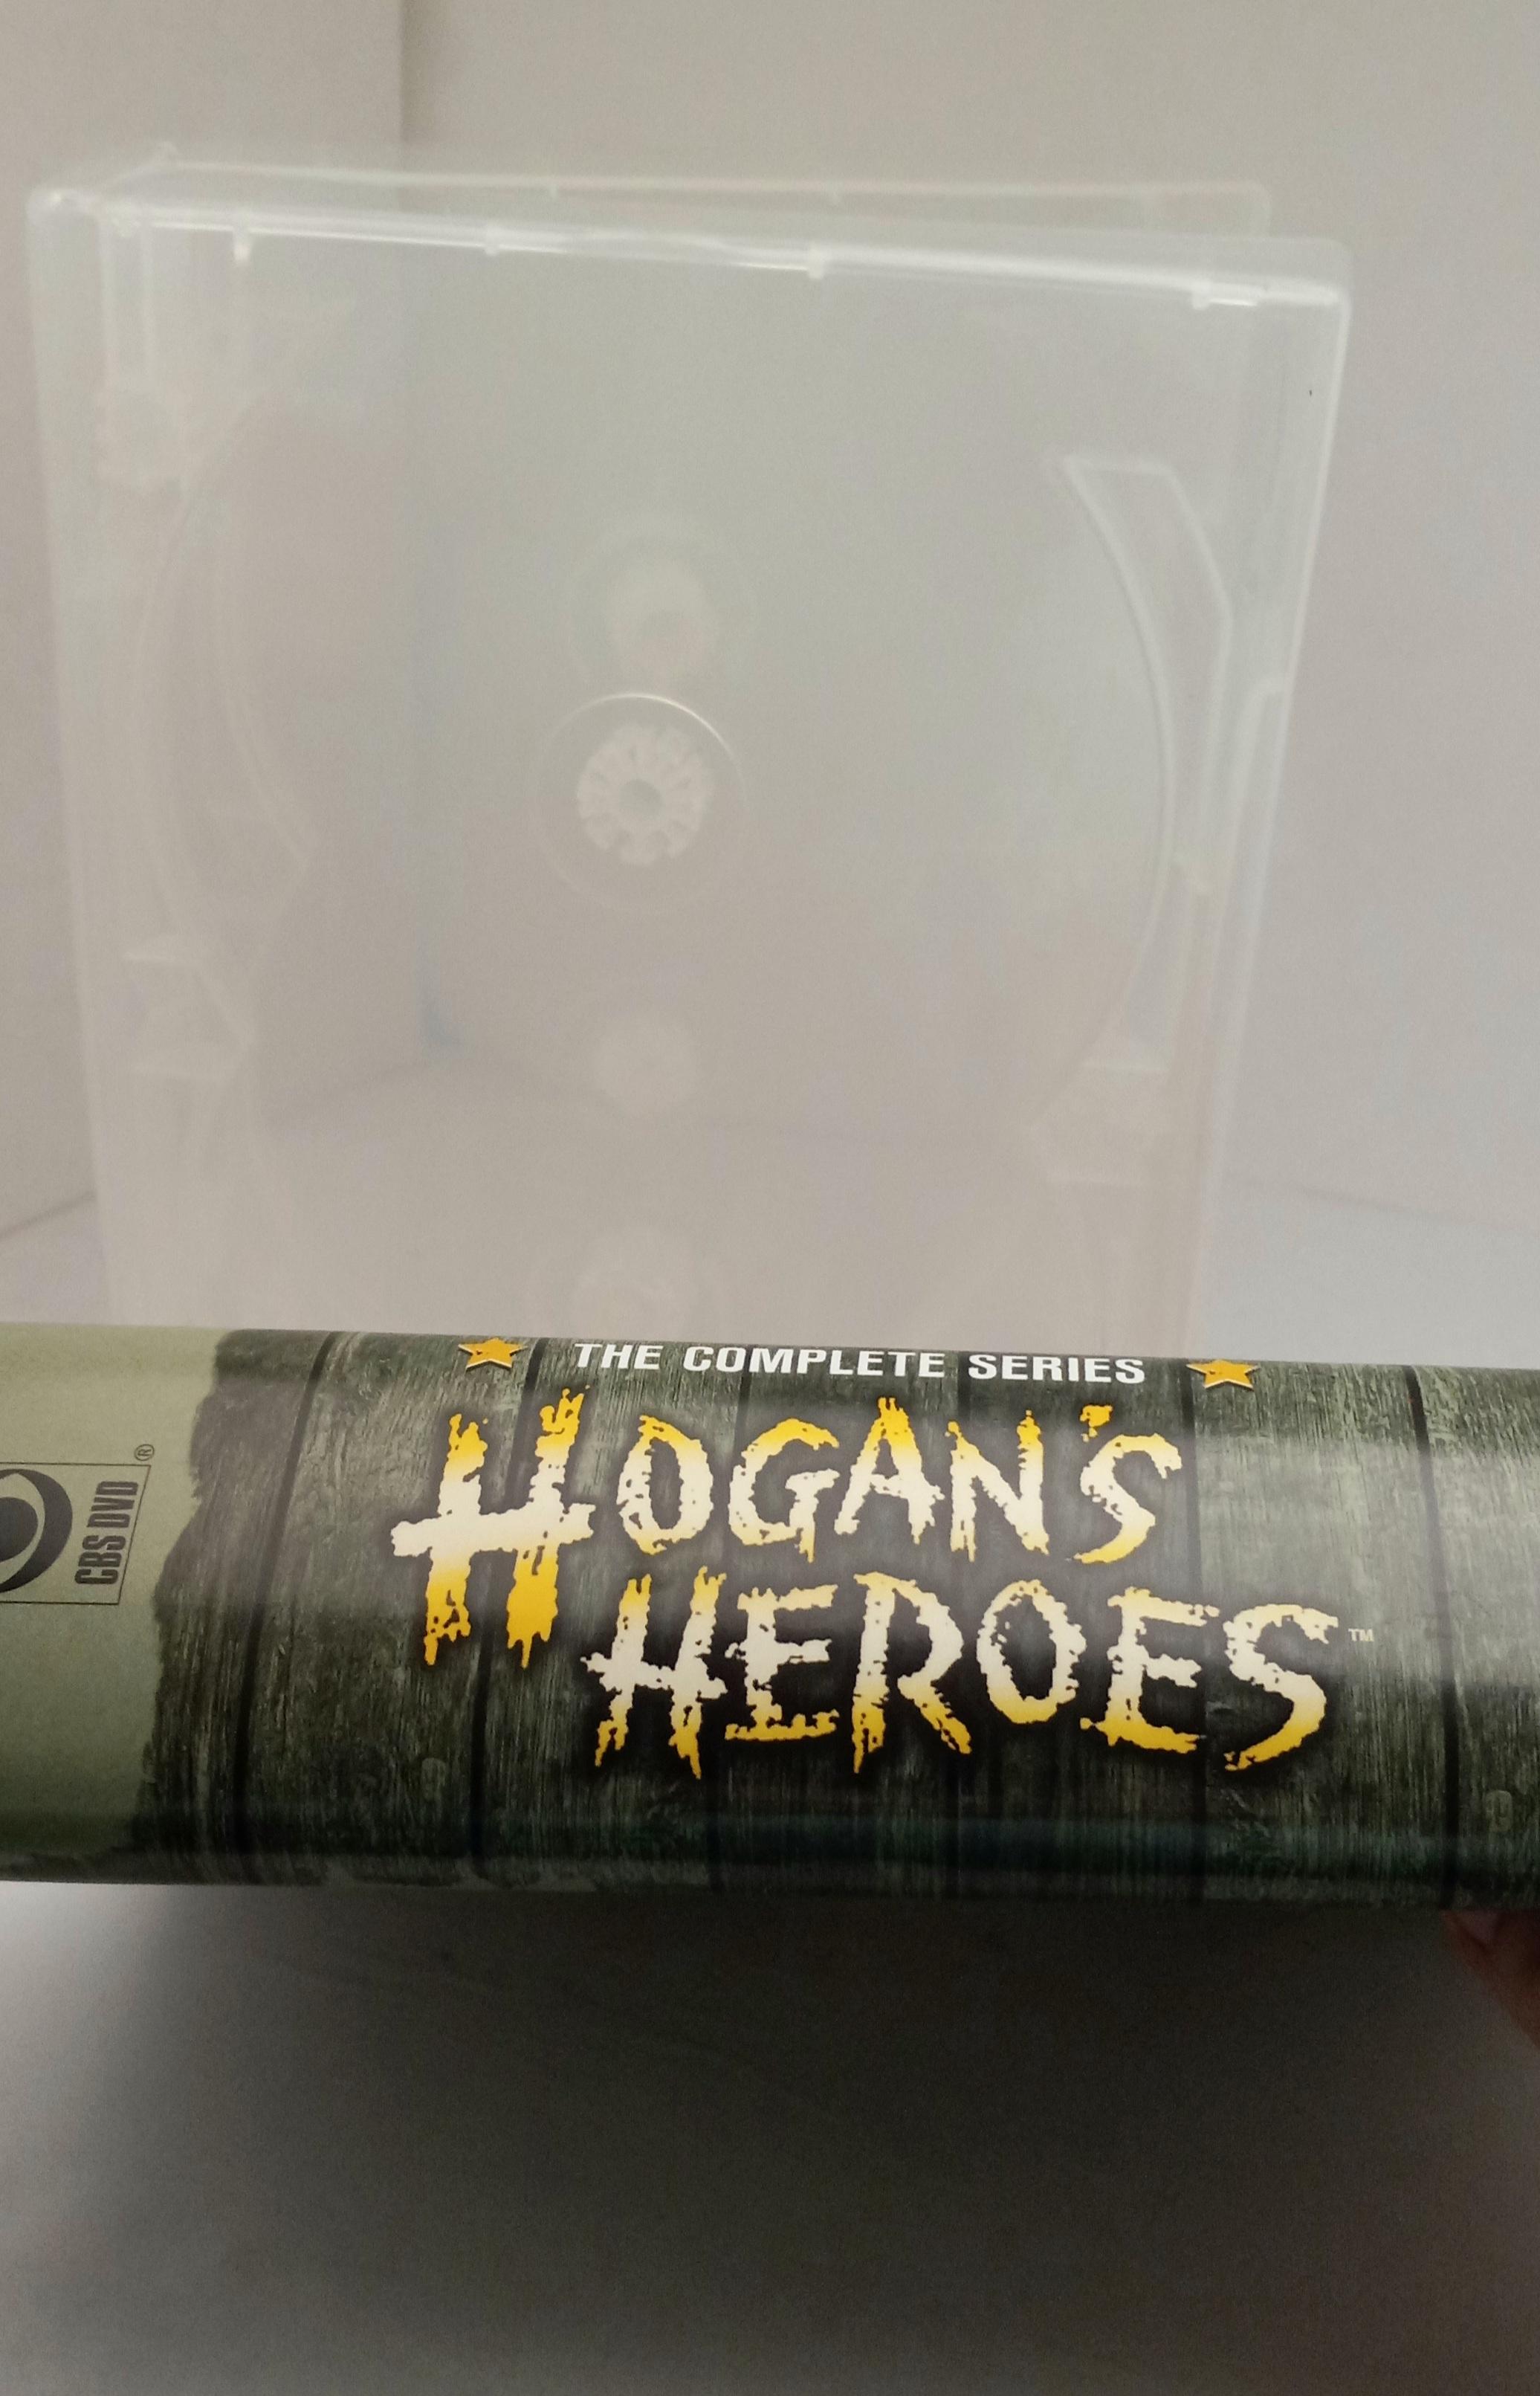
Take the colorful cover out of the plastic slipcase on the original DVD case. Set it aside.
Take the colorful cover out of the plastic slipcase on the original DVD case. Set it aside.
Trim Plastic Slip Cover


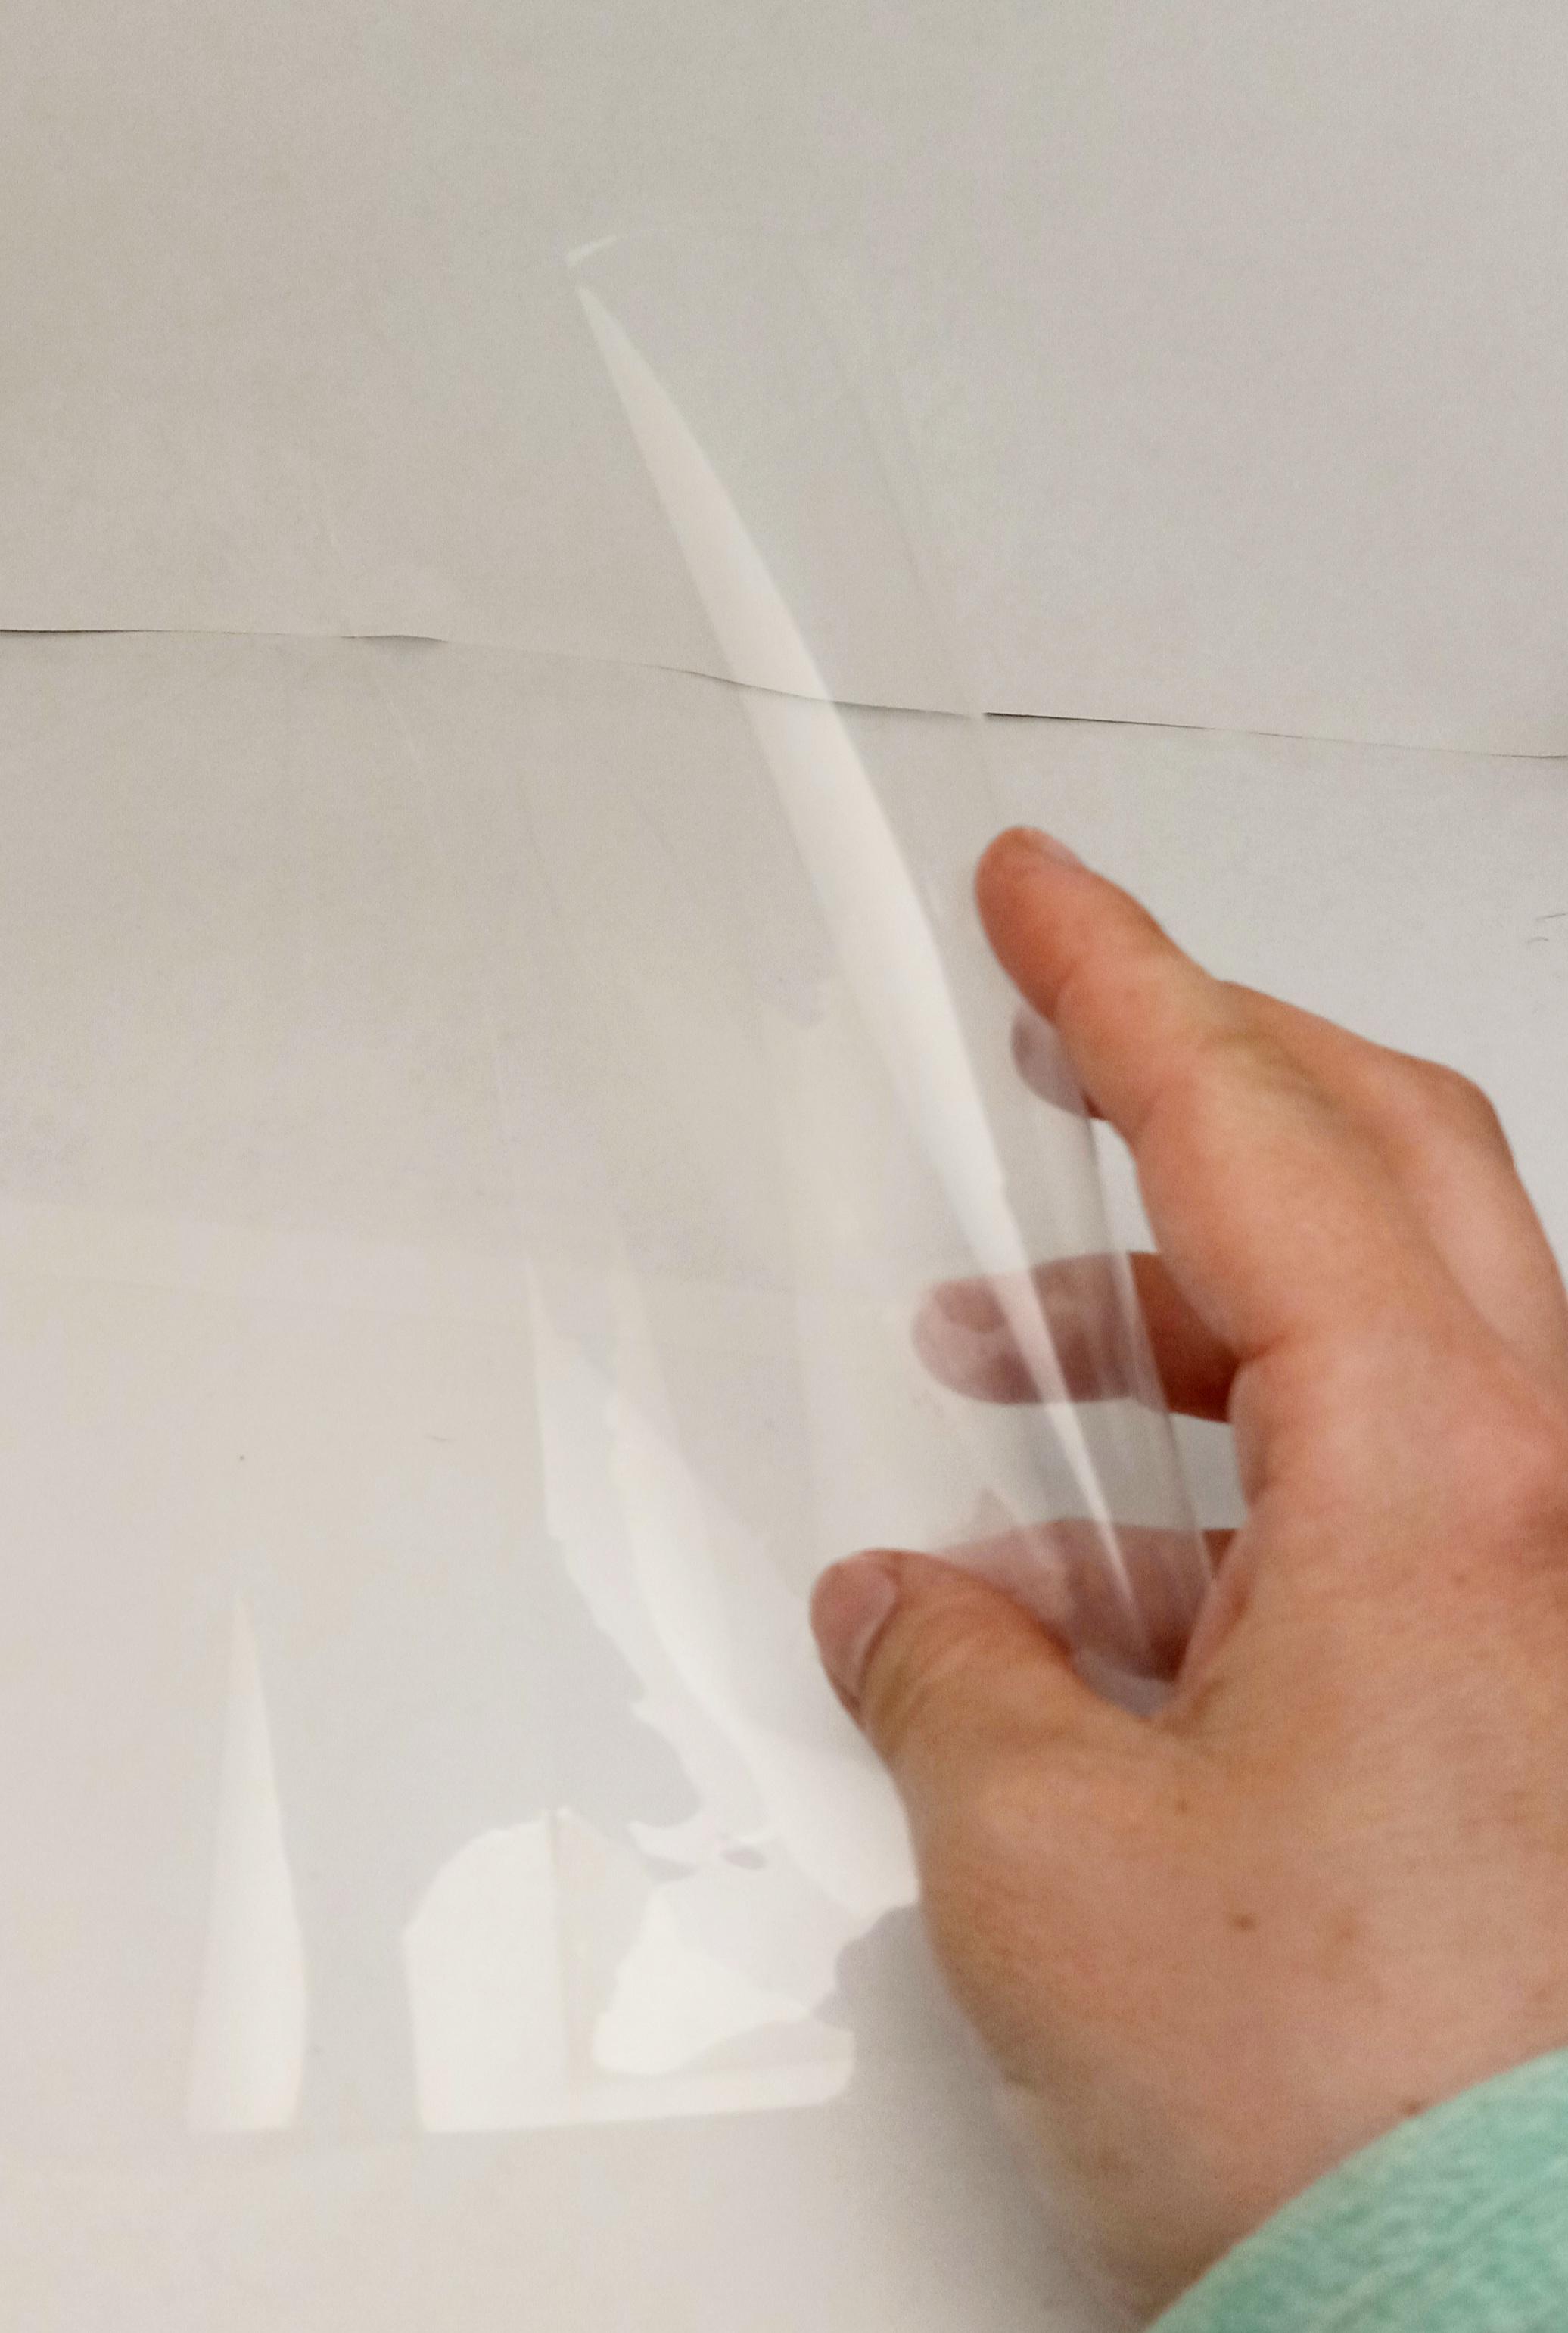
Trim the plastic slip cover off of the original DVD case. Trim as neatly and as close to the glue as possible. You will now have a sheet of plastic. Set it aside for later.
Sizing a Cardboard Box


Find a cardboard box that will hold the new fabric DVD case. It should slide in it neatly. You should also be able to put the cover on the outside of the box.
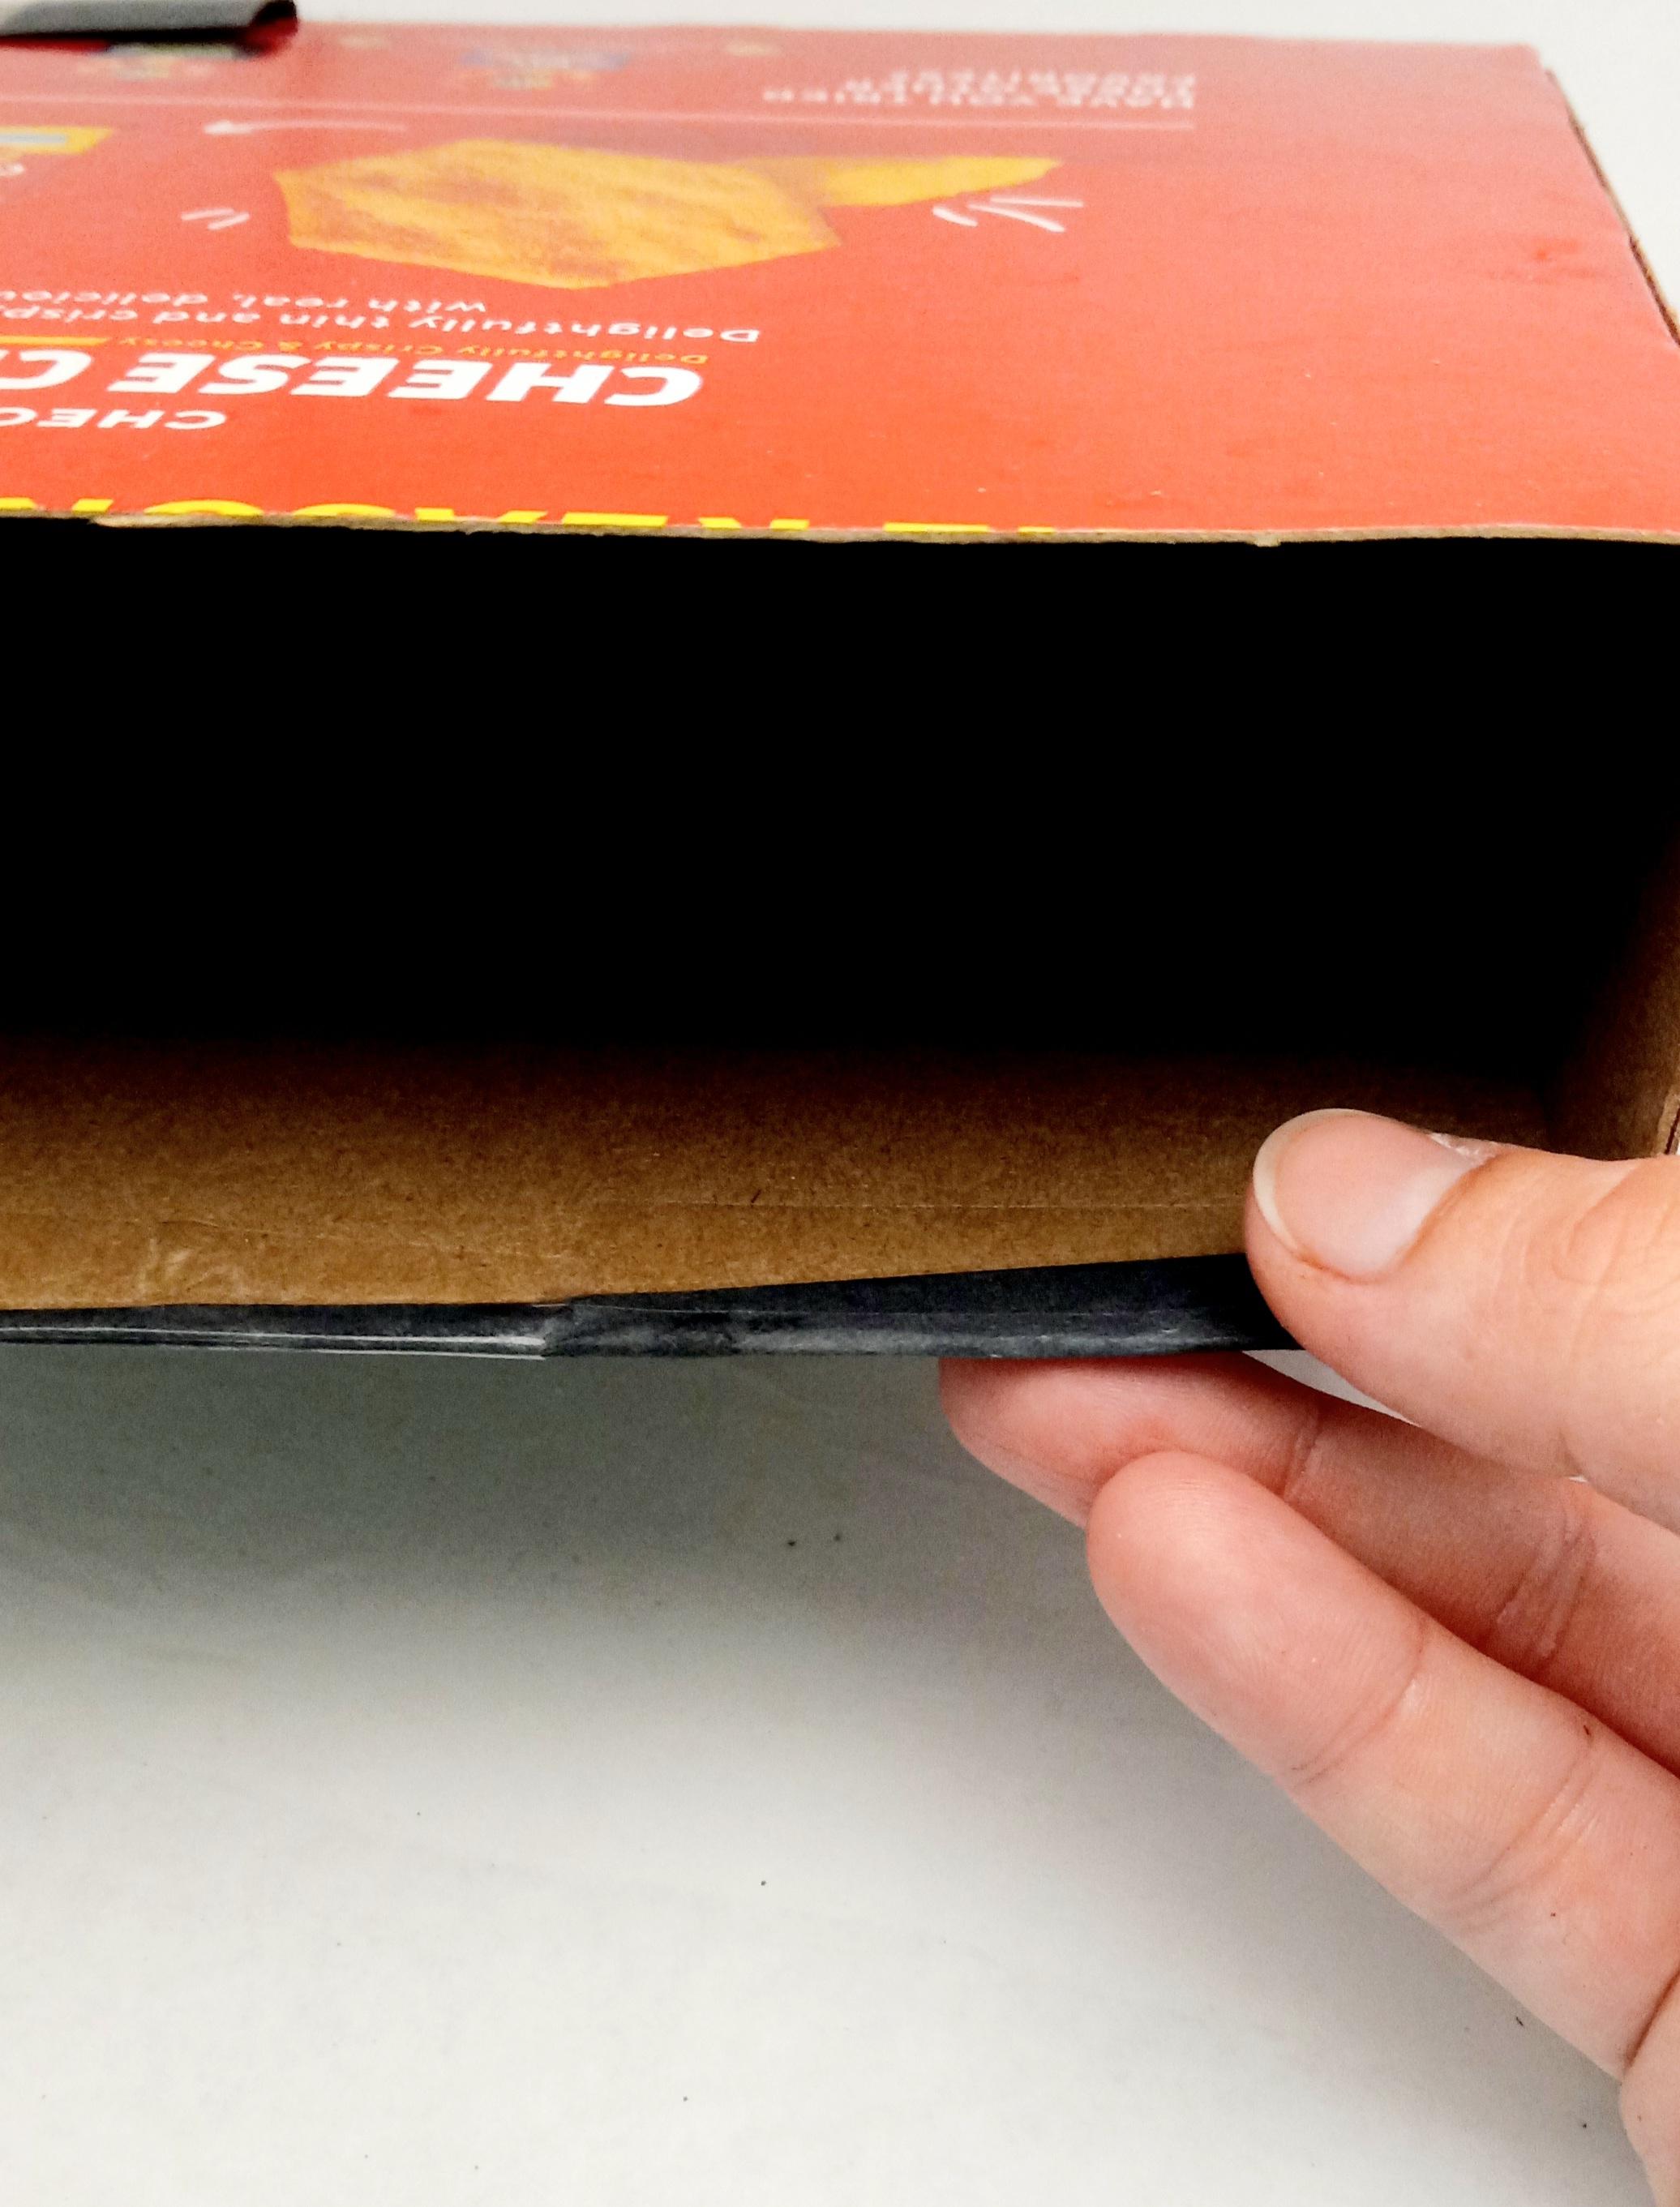
This Ritz cracker box is almost perfect. It is just a little too tall and a little too long.
With the DVD holder inside the box, I lay the box on its side and trim with scissors. I make a straight cut that ends in line with the edge of the DVD holder.
I keep doing this, then I cut across all the little cuts so I have a trimmed side. Making the little cuts helps keep the cardboard from bending funny while you cut the side off.
Do that for both sides and the top and bottom, making them as straight as you can.
A New Top


Your newly trimmed box needs a new top. It is too tall!
Put the cover around the box as if it were on the box. With a ruler, mark the top of the cover on the sides and spine of the box.
Unfold the original top of the box so you can trim it easily.
Where the top of the spine meets the top of the side, cut the corners to the mark you made with the pen. These help you to be able to fold the cardboard down along the marked line.
Fold down the sides at the drawn seams. There will be excess cardboard, but we'll trim it.
Trim the excess cardboard on the sides so that the two bent side pieces can overlap on another cleanly without making the box lose its shape. Tape down the new top.
Adding a Background


When you put your cover on the box to size it, you may have realized that you have a nice cover with ugly Ritz cracker box showing behind.
No big deal; just add some black paper!
Now, I am gonna cheat and only cover the parts of the box that will show when the cover is on. You can cover the whole box if you want.
I lay the paper under the cover while it is wrapped around the box and then I cut the black paper in the correct size. Then I tape it to the box, wrapping the paper edge over the box's opening edge.
I did both sides, the spine, and the top and bottom of the box.
We are almost finished!
Adding the Cover Slip


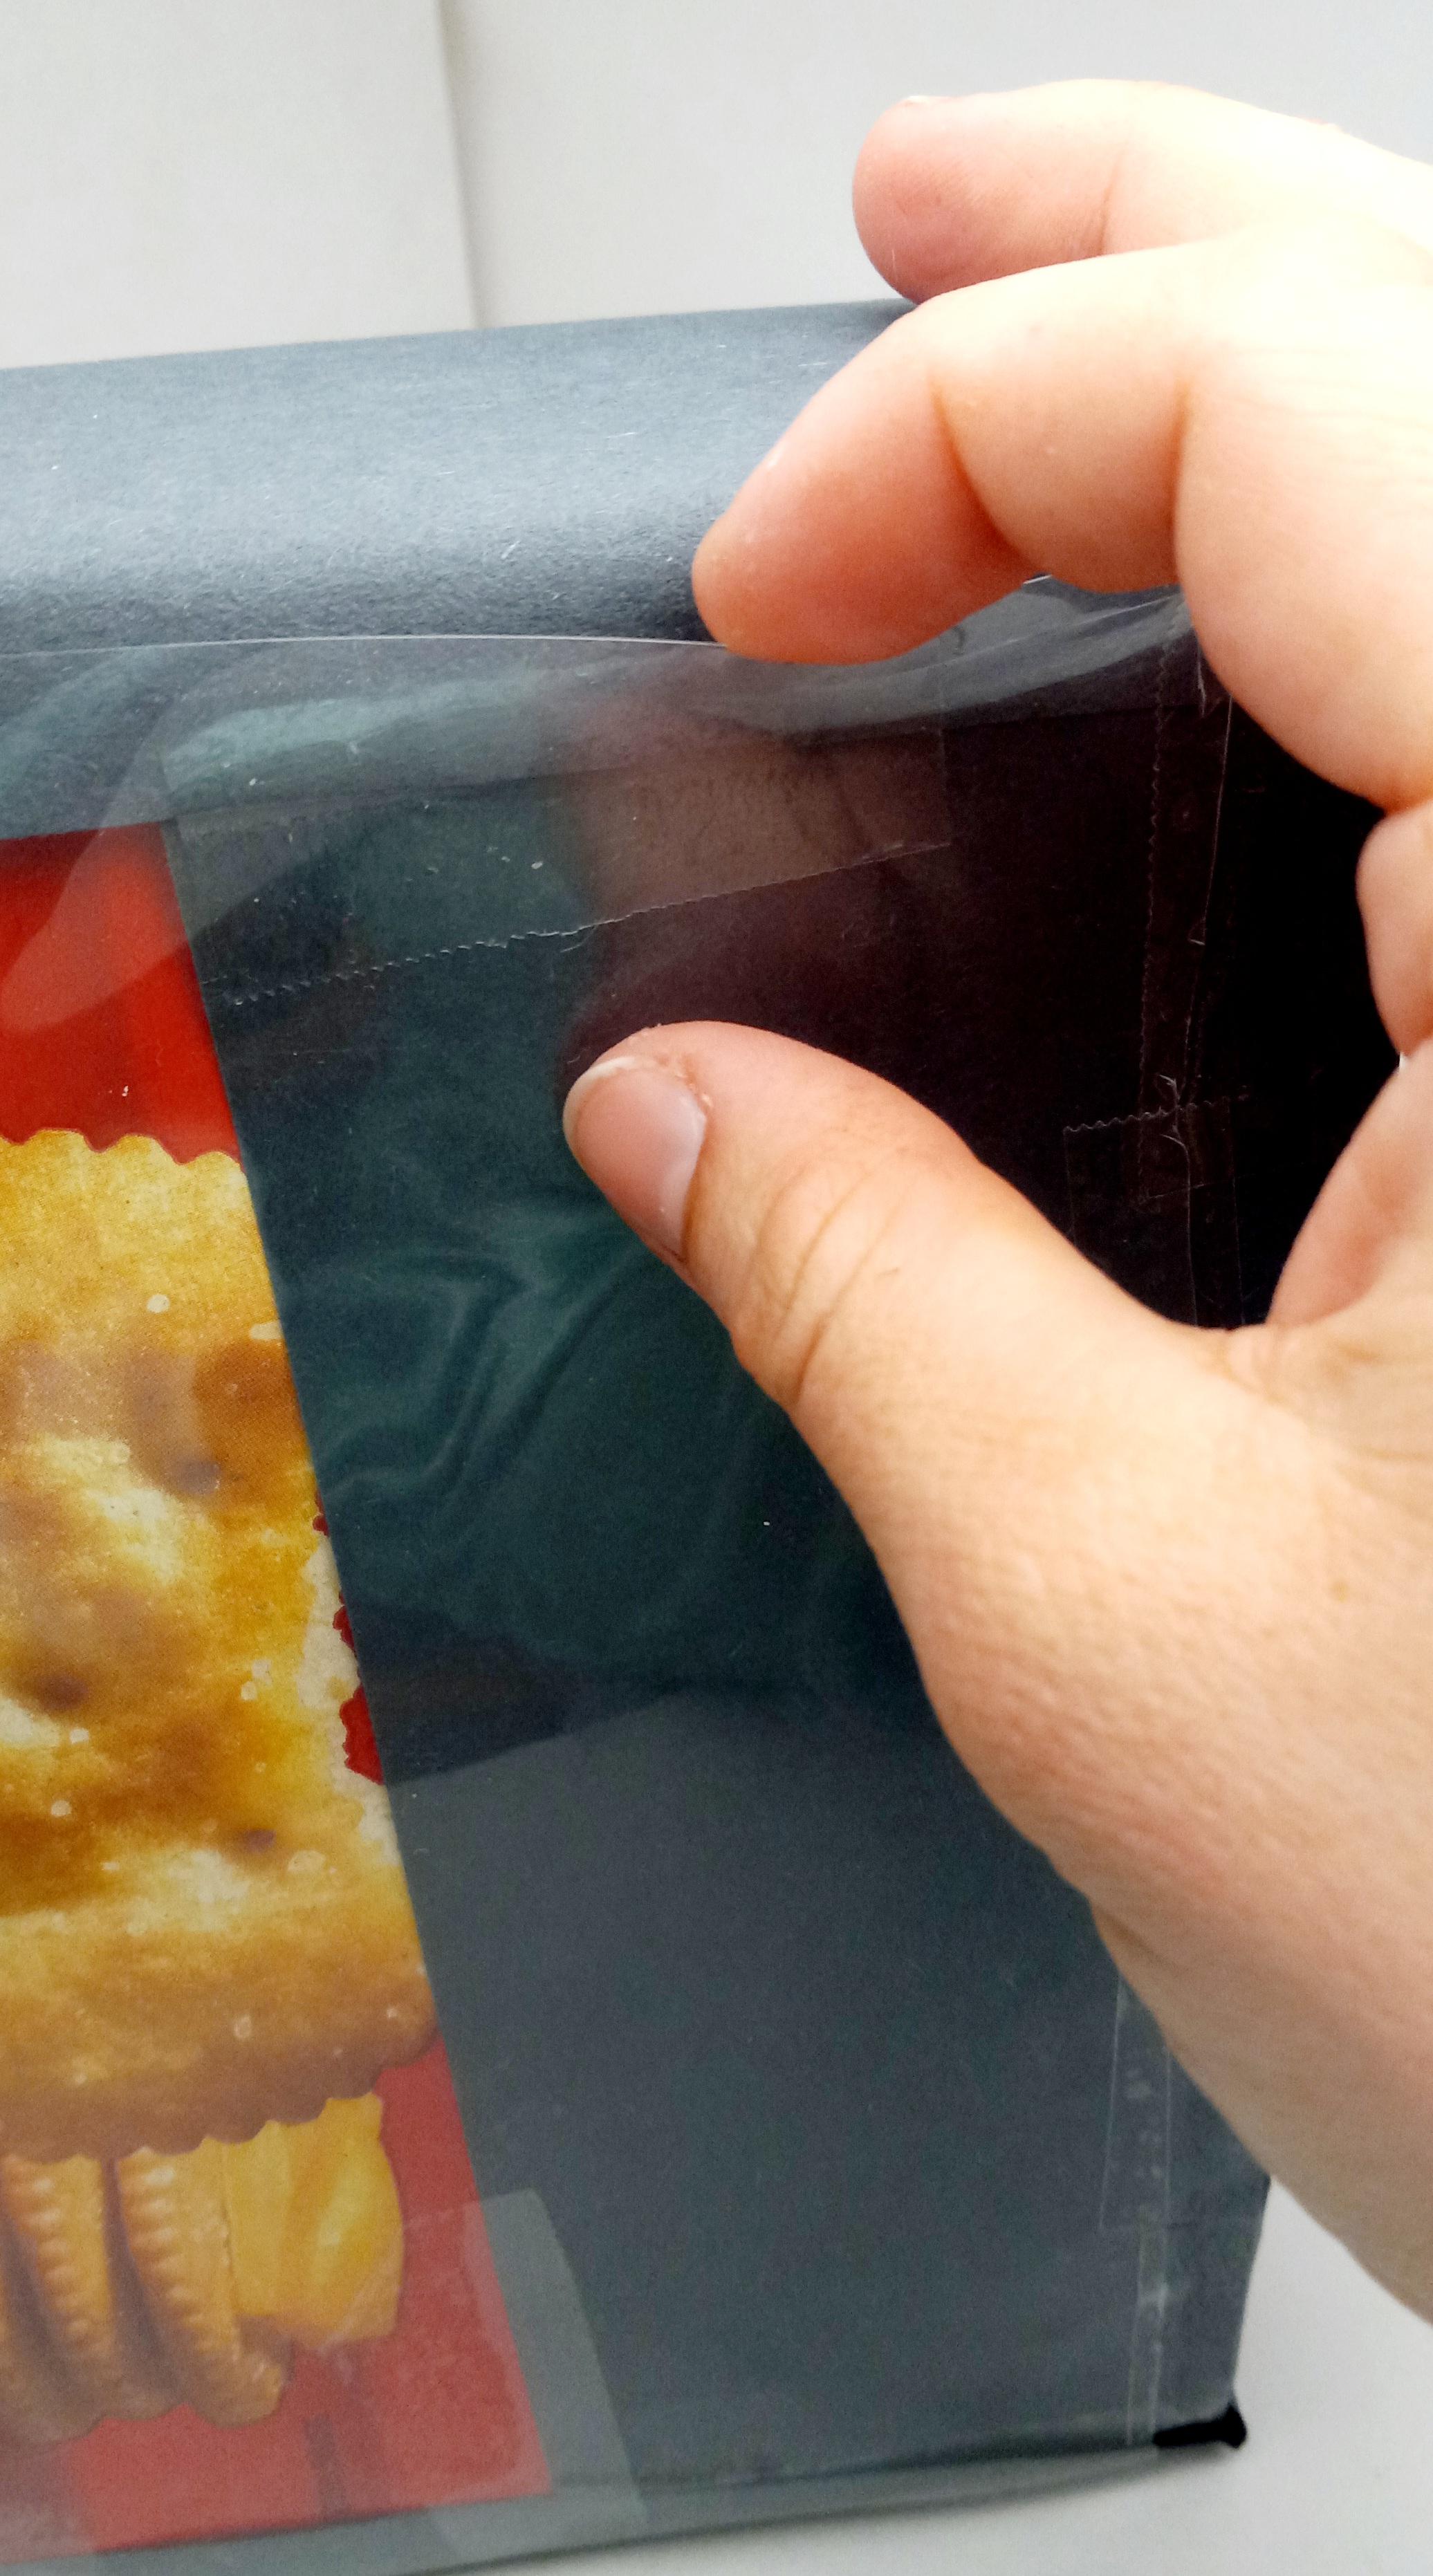


Get that plastic sheet you trimmed off earlier.
Line it up on the box, centering it. Tape the edge of the side of the plastic sheet.
Don't tape the top or bottom of the plastic. Tape ONE side, then put the cover art under the plastic, then tape the second side, securing the cover under the protective plastic.
Line it up on the box, centering it. Tape the edge of the side of the plastic sheet.
Don't tape the top or bottom of the plastic. Tape ONE side, then put the cover art under the plastic, then tape the second side, securing the cover under the protective plastic.
Finished


You're finished! Set it on the shelf and admire your work!
Here I show another one I did for my Gunsmoke dvds. It is a double with one cover on one side and the second cover on the other side.
I hope this was helpful to any other collectors out there, whether for TV series, games, or movies.
Have a great day.
(And, no, those cds are just old cds for crafts, NOT my TV series!)