SUPER Simple Bike HEADLIGHTS Made With FLASHLIGHT and 3d Printer
by prusteen in Workshop > 3D Printing
397 Views, 3 Favorites, 0 Comments
SUPER Simple Bike HEADLIGHTS Made With FLASHLIGHT and 3d Printer
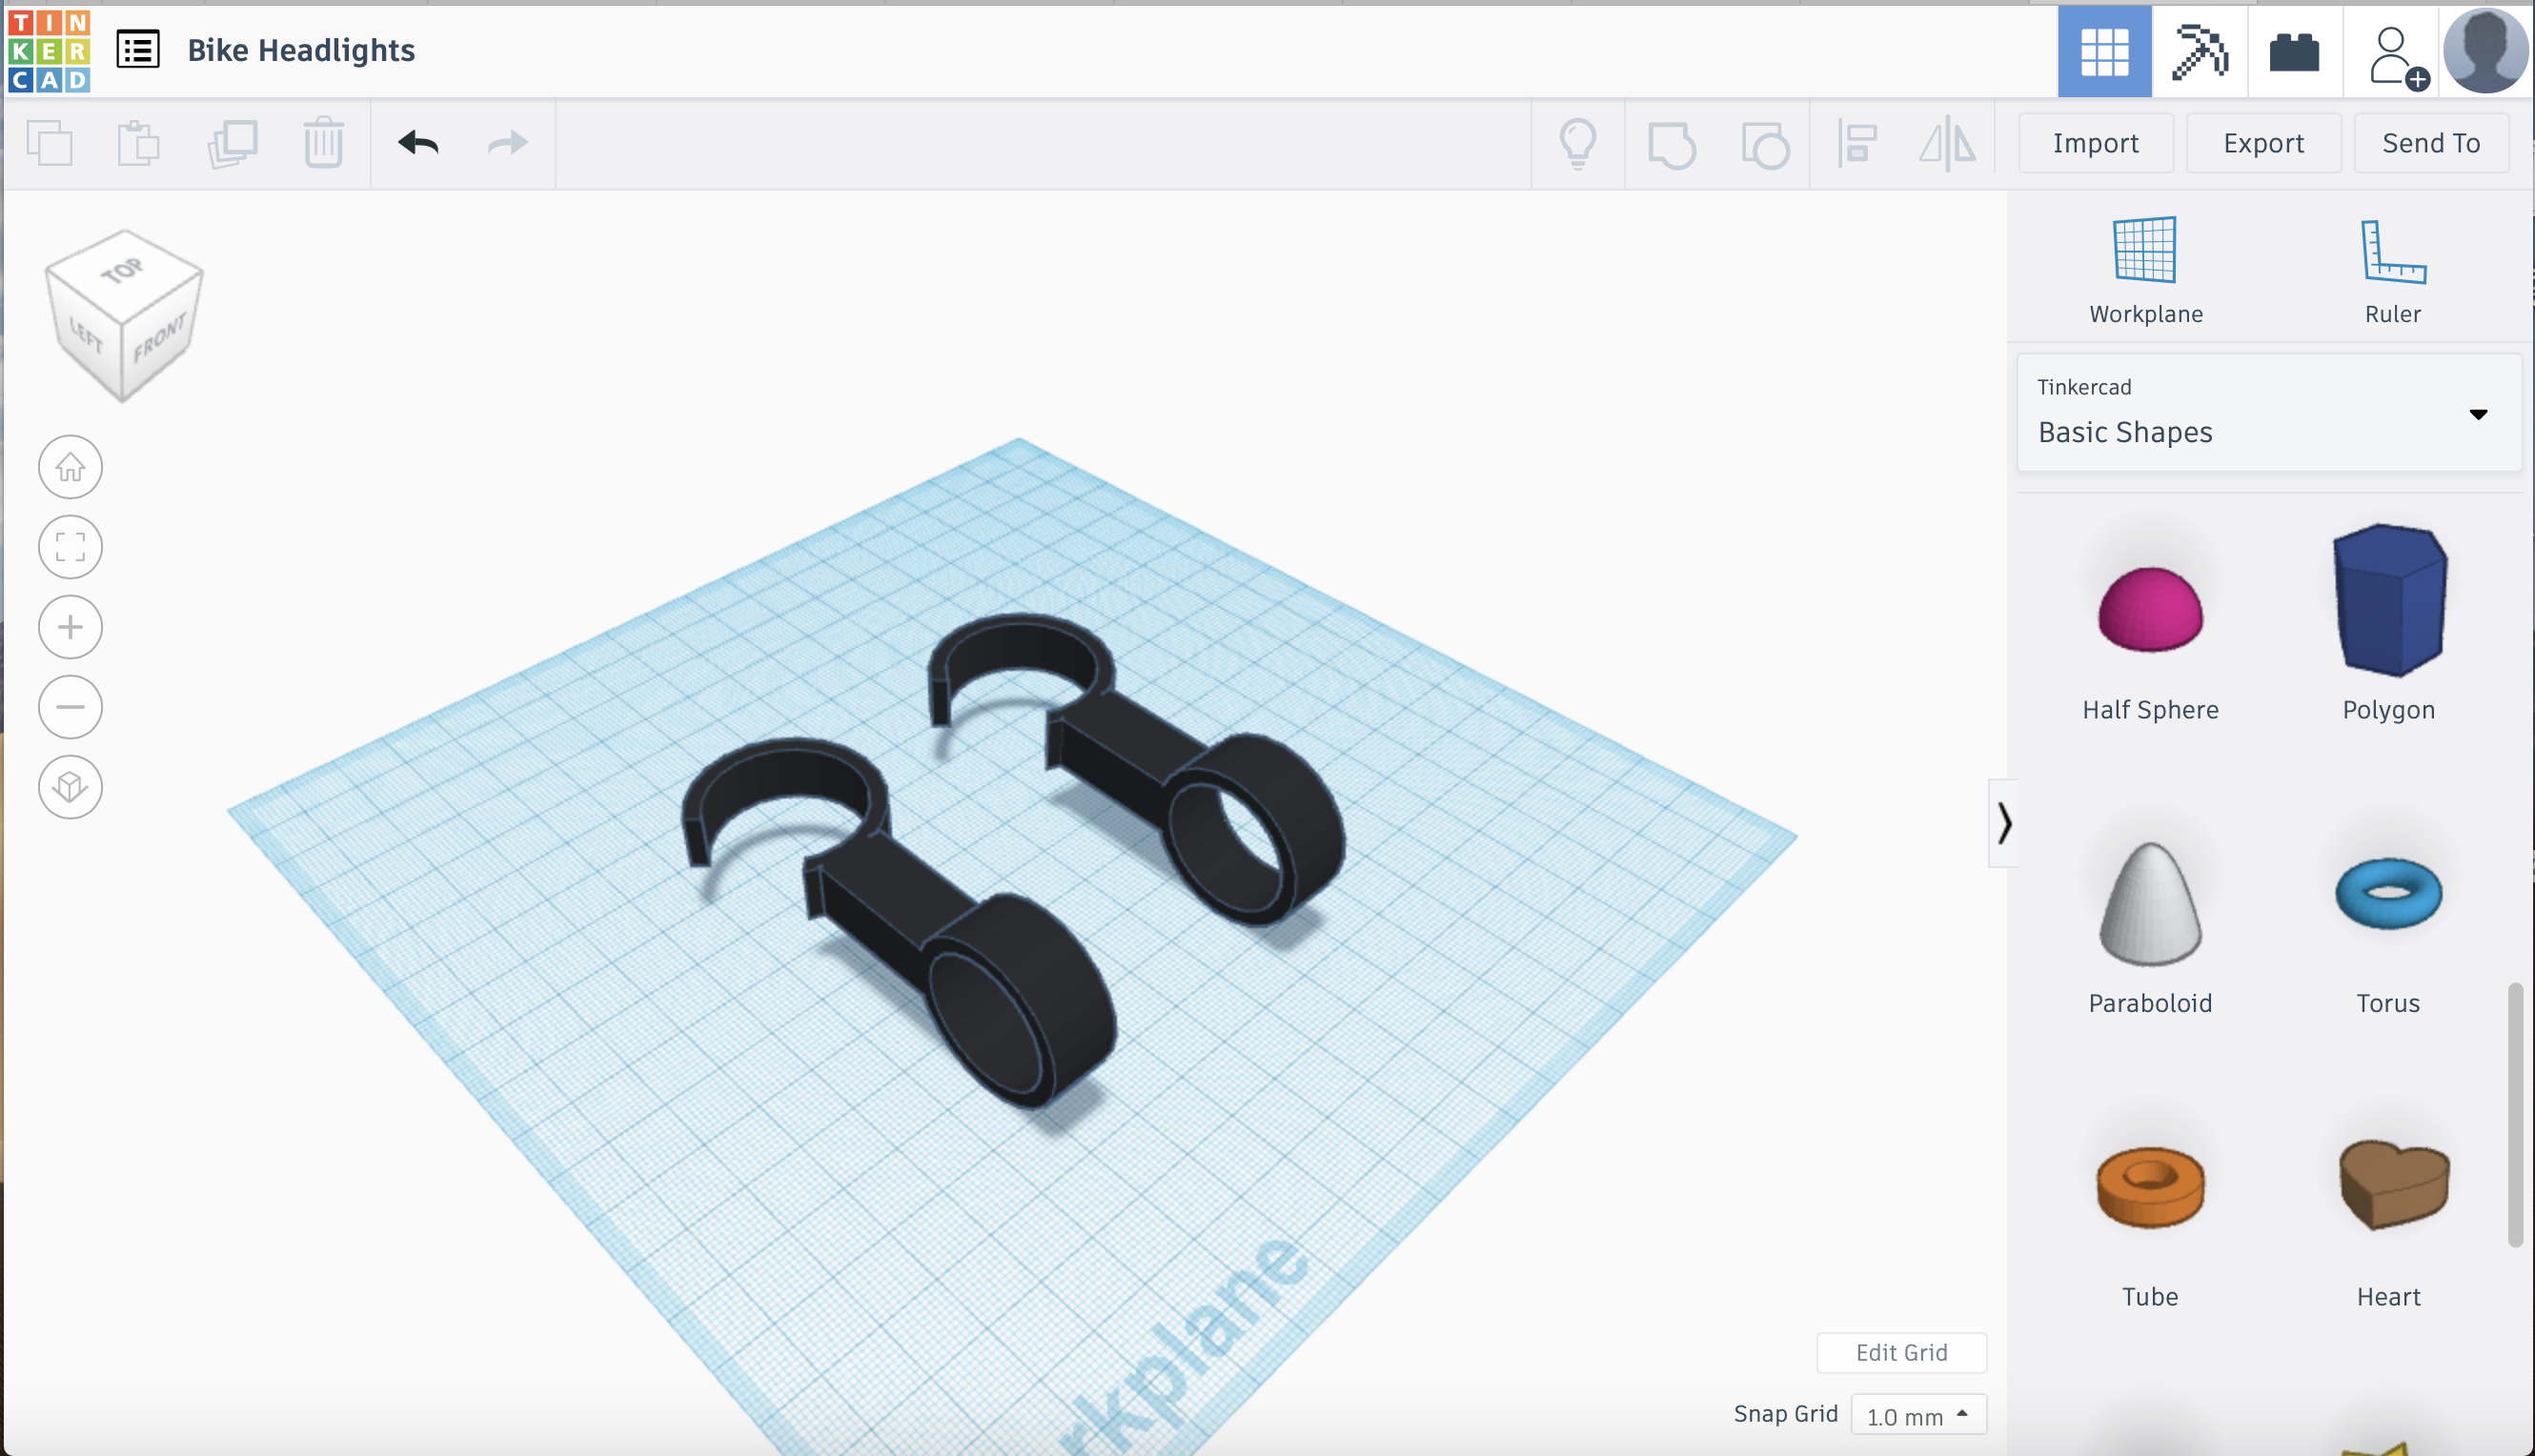
In this Instructable, we are going to design super simple bike headlights with flashlights and a 3d printer. I designed this because I want everyone to be as safe as possible when they go out biking, especially during the night time. The materials needed for this project are:
1. Tinkercad account
2. Flashlight(s) (1 flashlight per headlight)
3. 3d printer
This project is dedicated to our family friend Kia, who passed away in a motorcycle accident because a bus driver could not see him. I want to ensure that everyone is as safe as possible when riding their bikes.
Measure!!
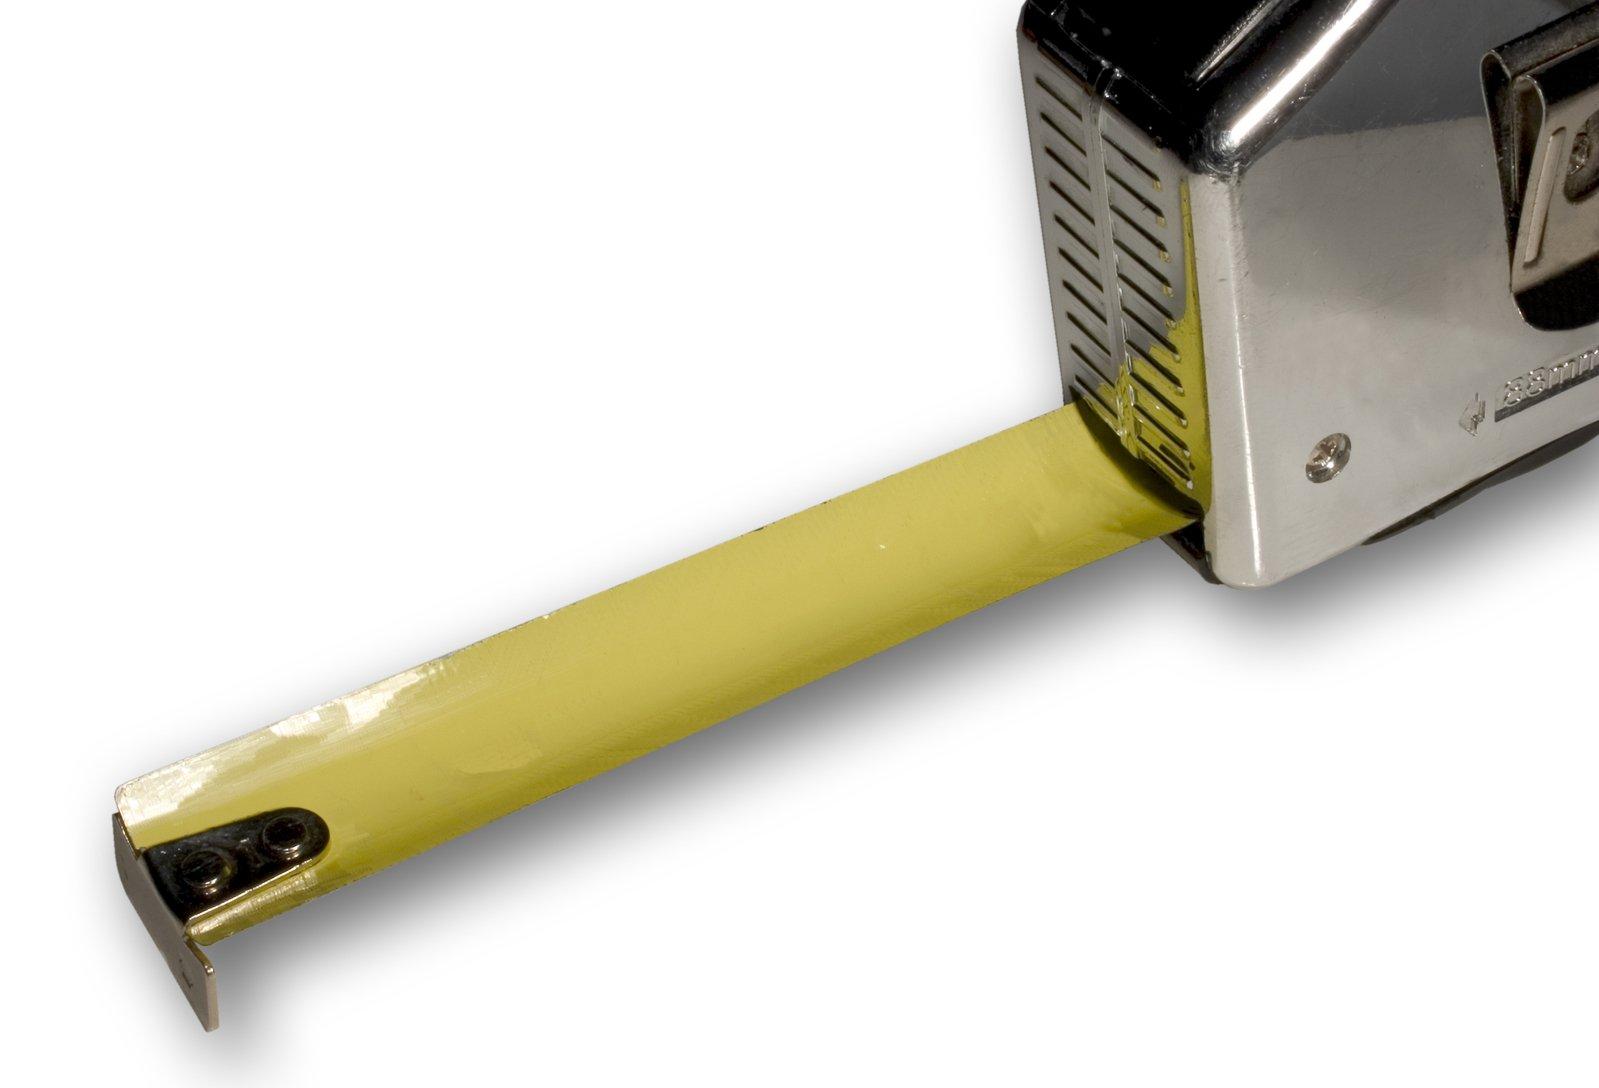
The first step is to take some measurements. In order to customize the headlights to fit your bike, you must take the following measurements in mm (We will ALWAYS use mm for our measurements throughout this Instructable!):
- the radius of the part of the bike you want to attach the headlights to
- the radius of your flashlight
Open Tinkercad and Create New Design
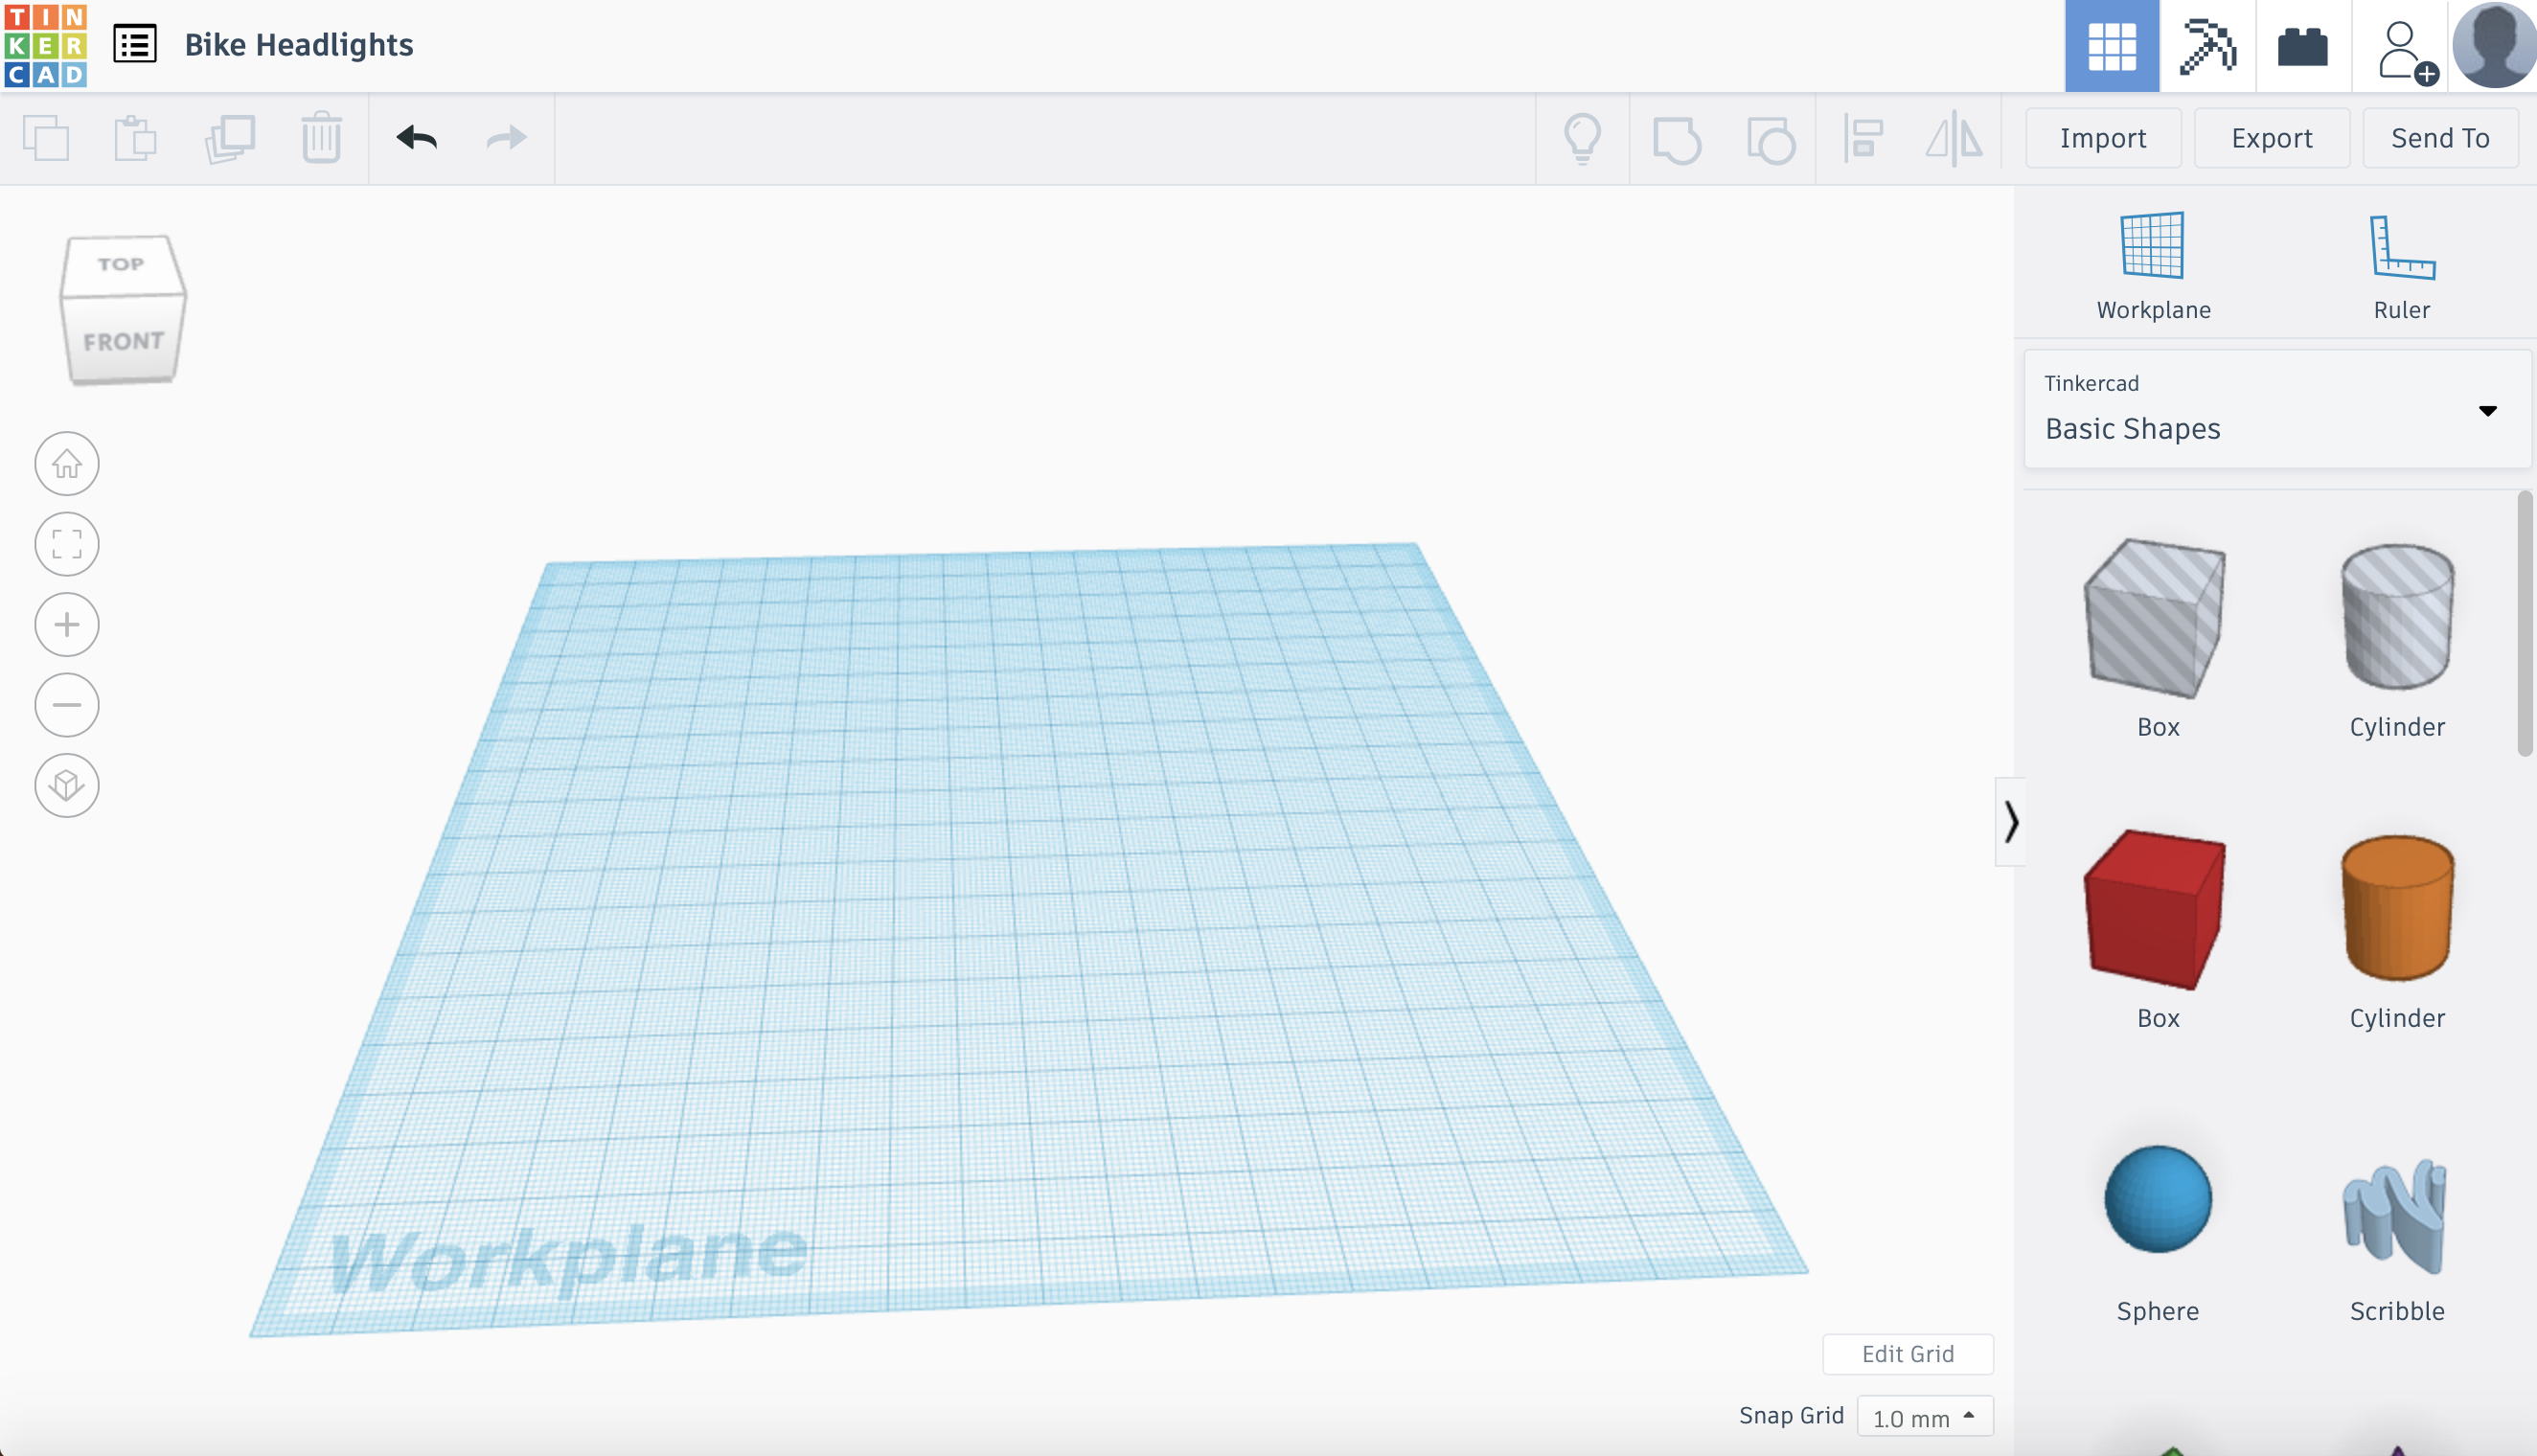
1. Go to Tinkercad, and click on "Create New Design"
2. Add a title to your design. I will call mine "Bike Headlights"
Make the Hook
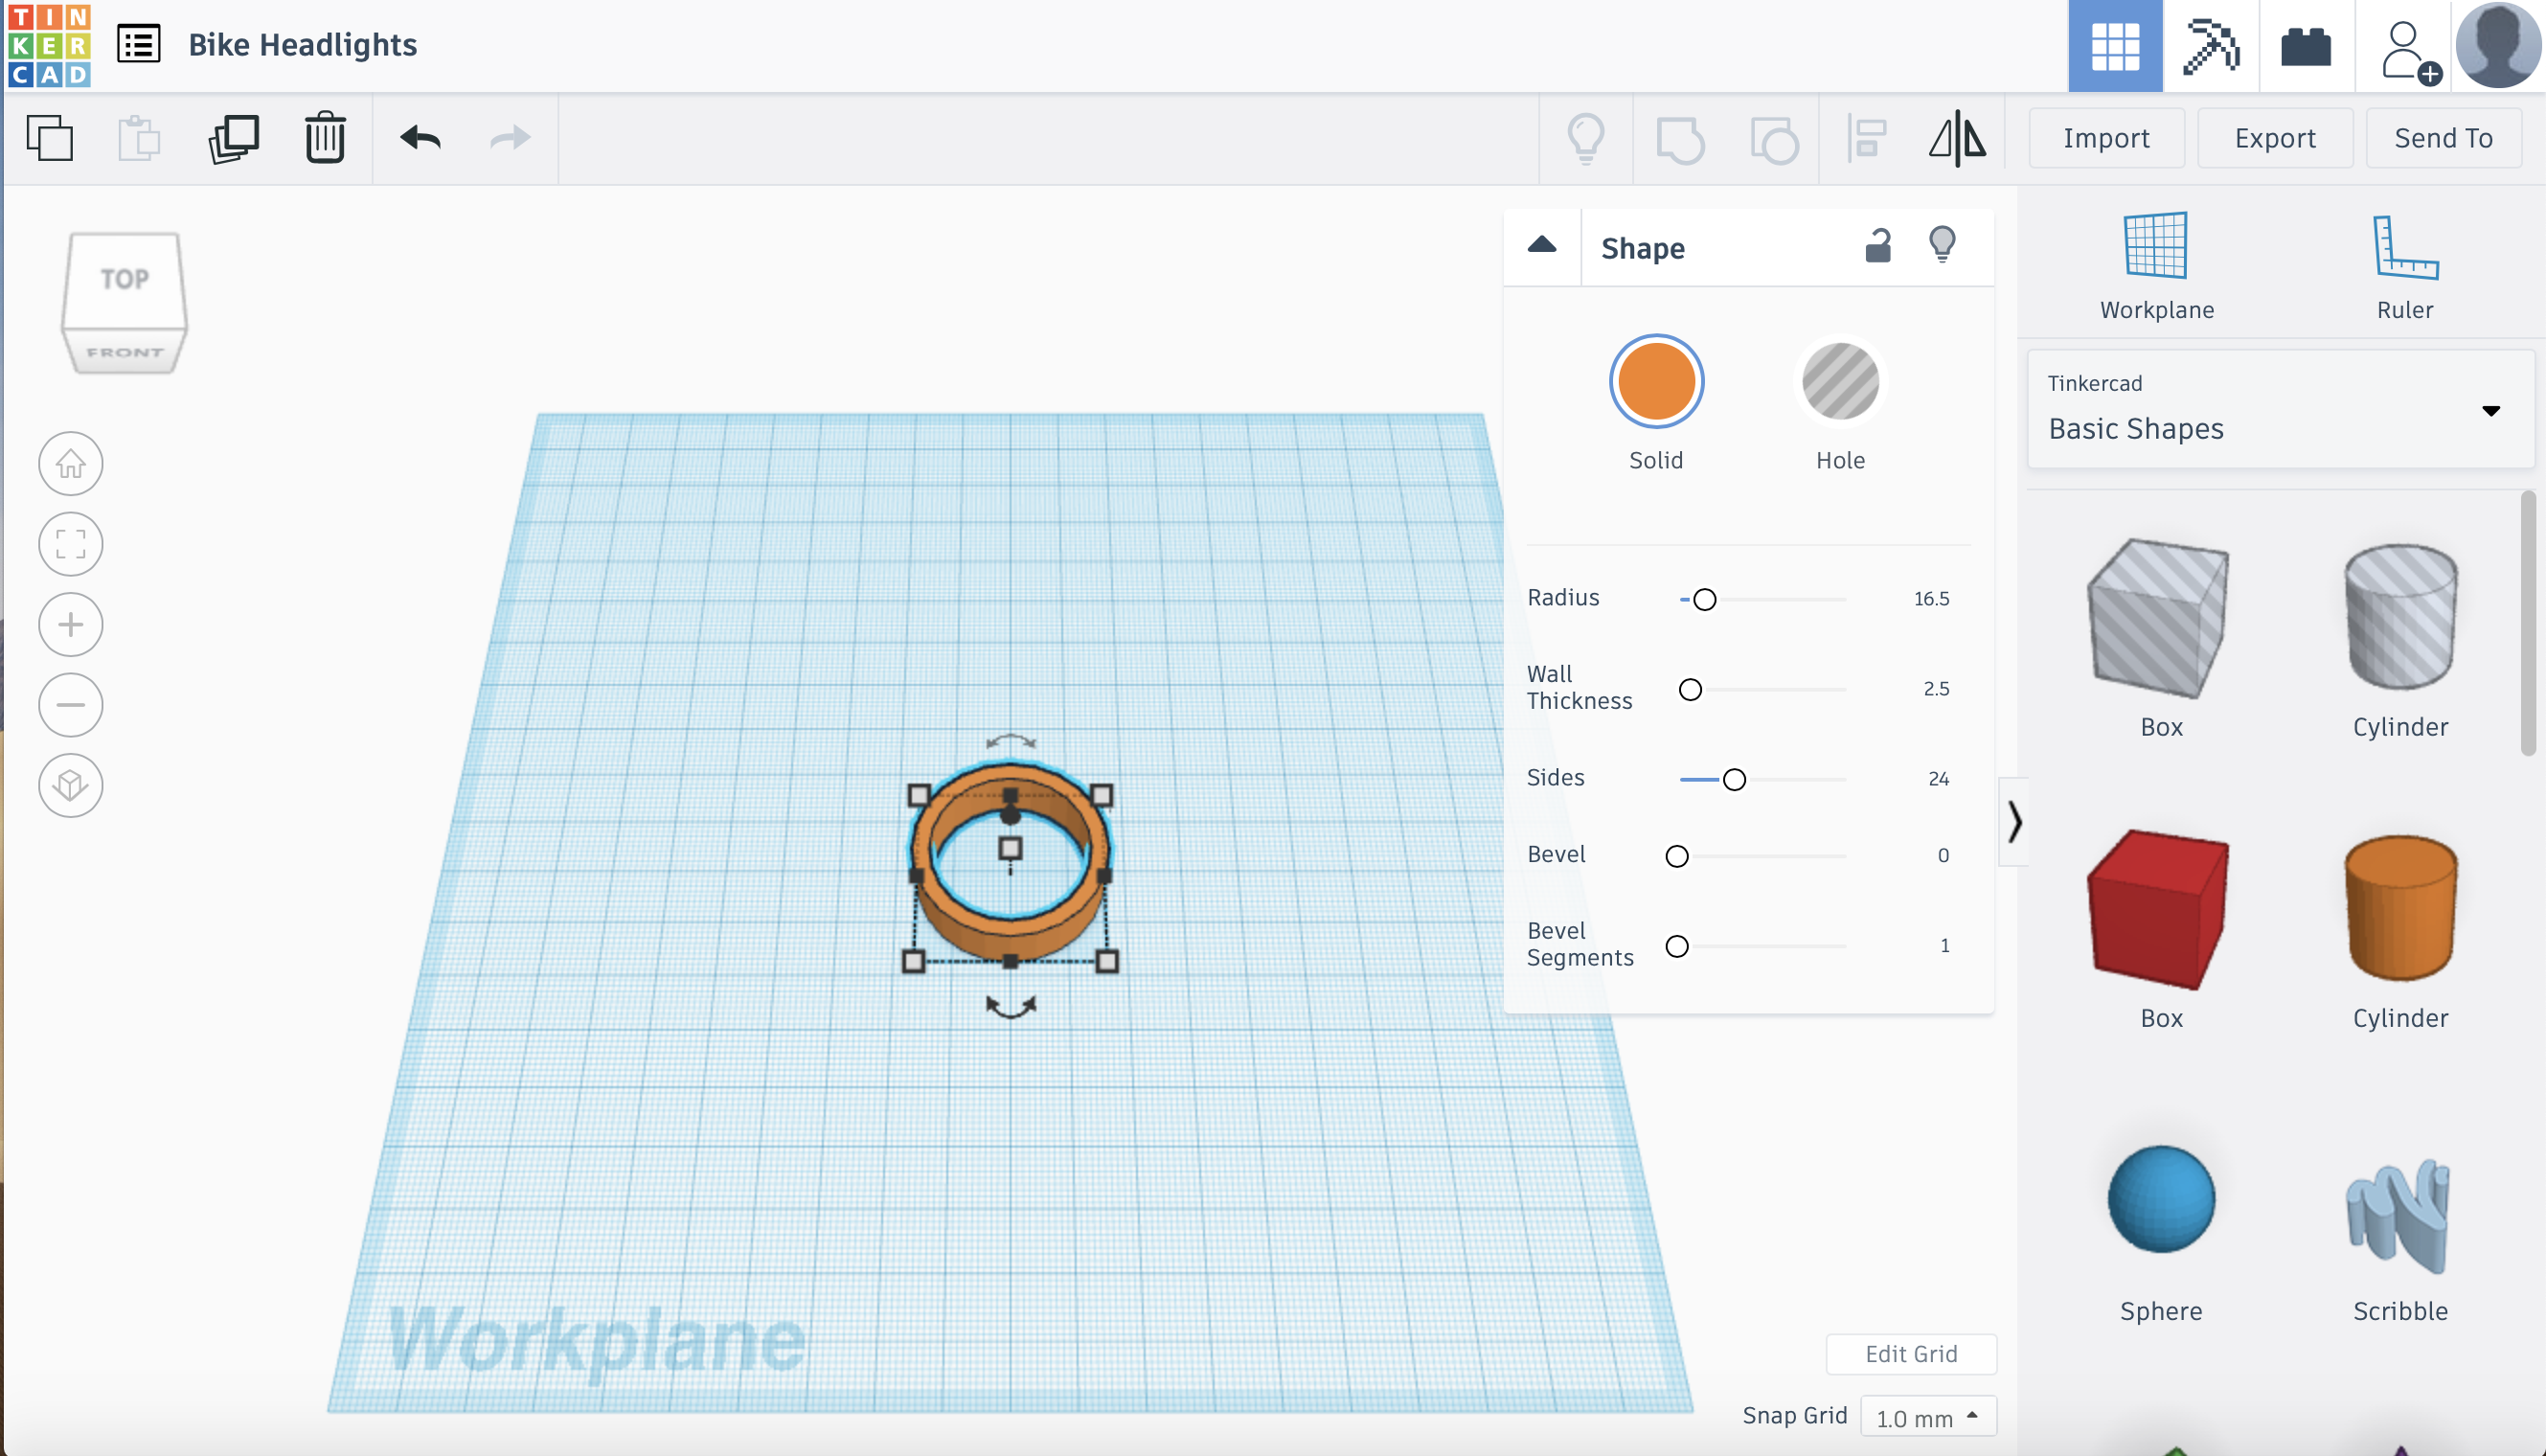
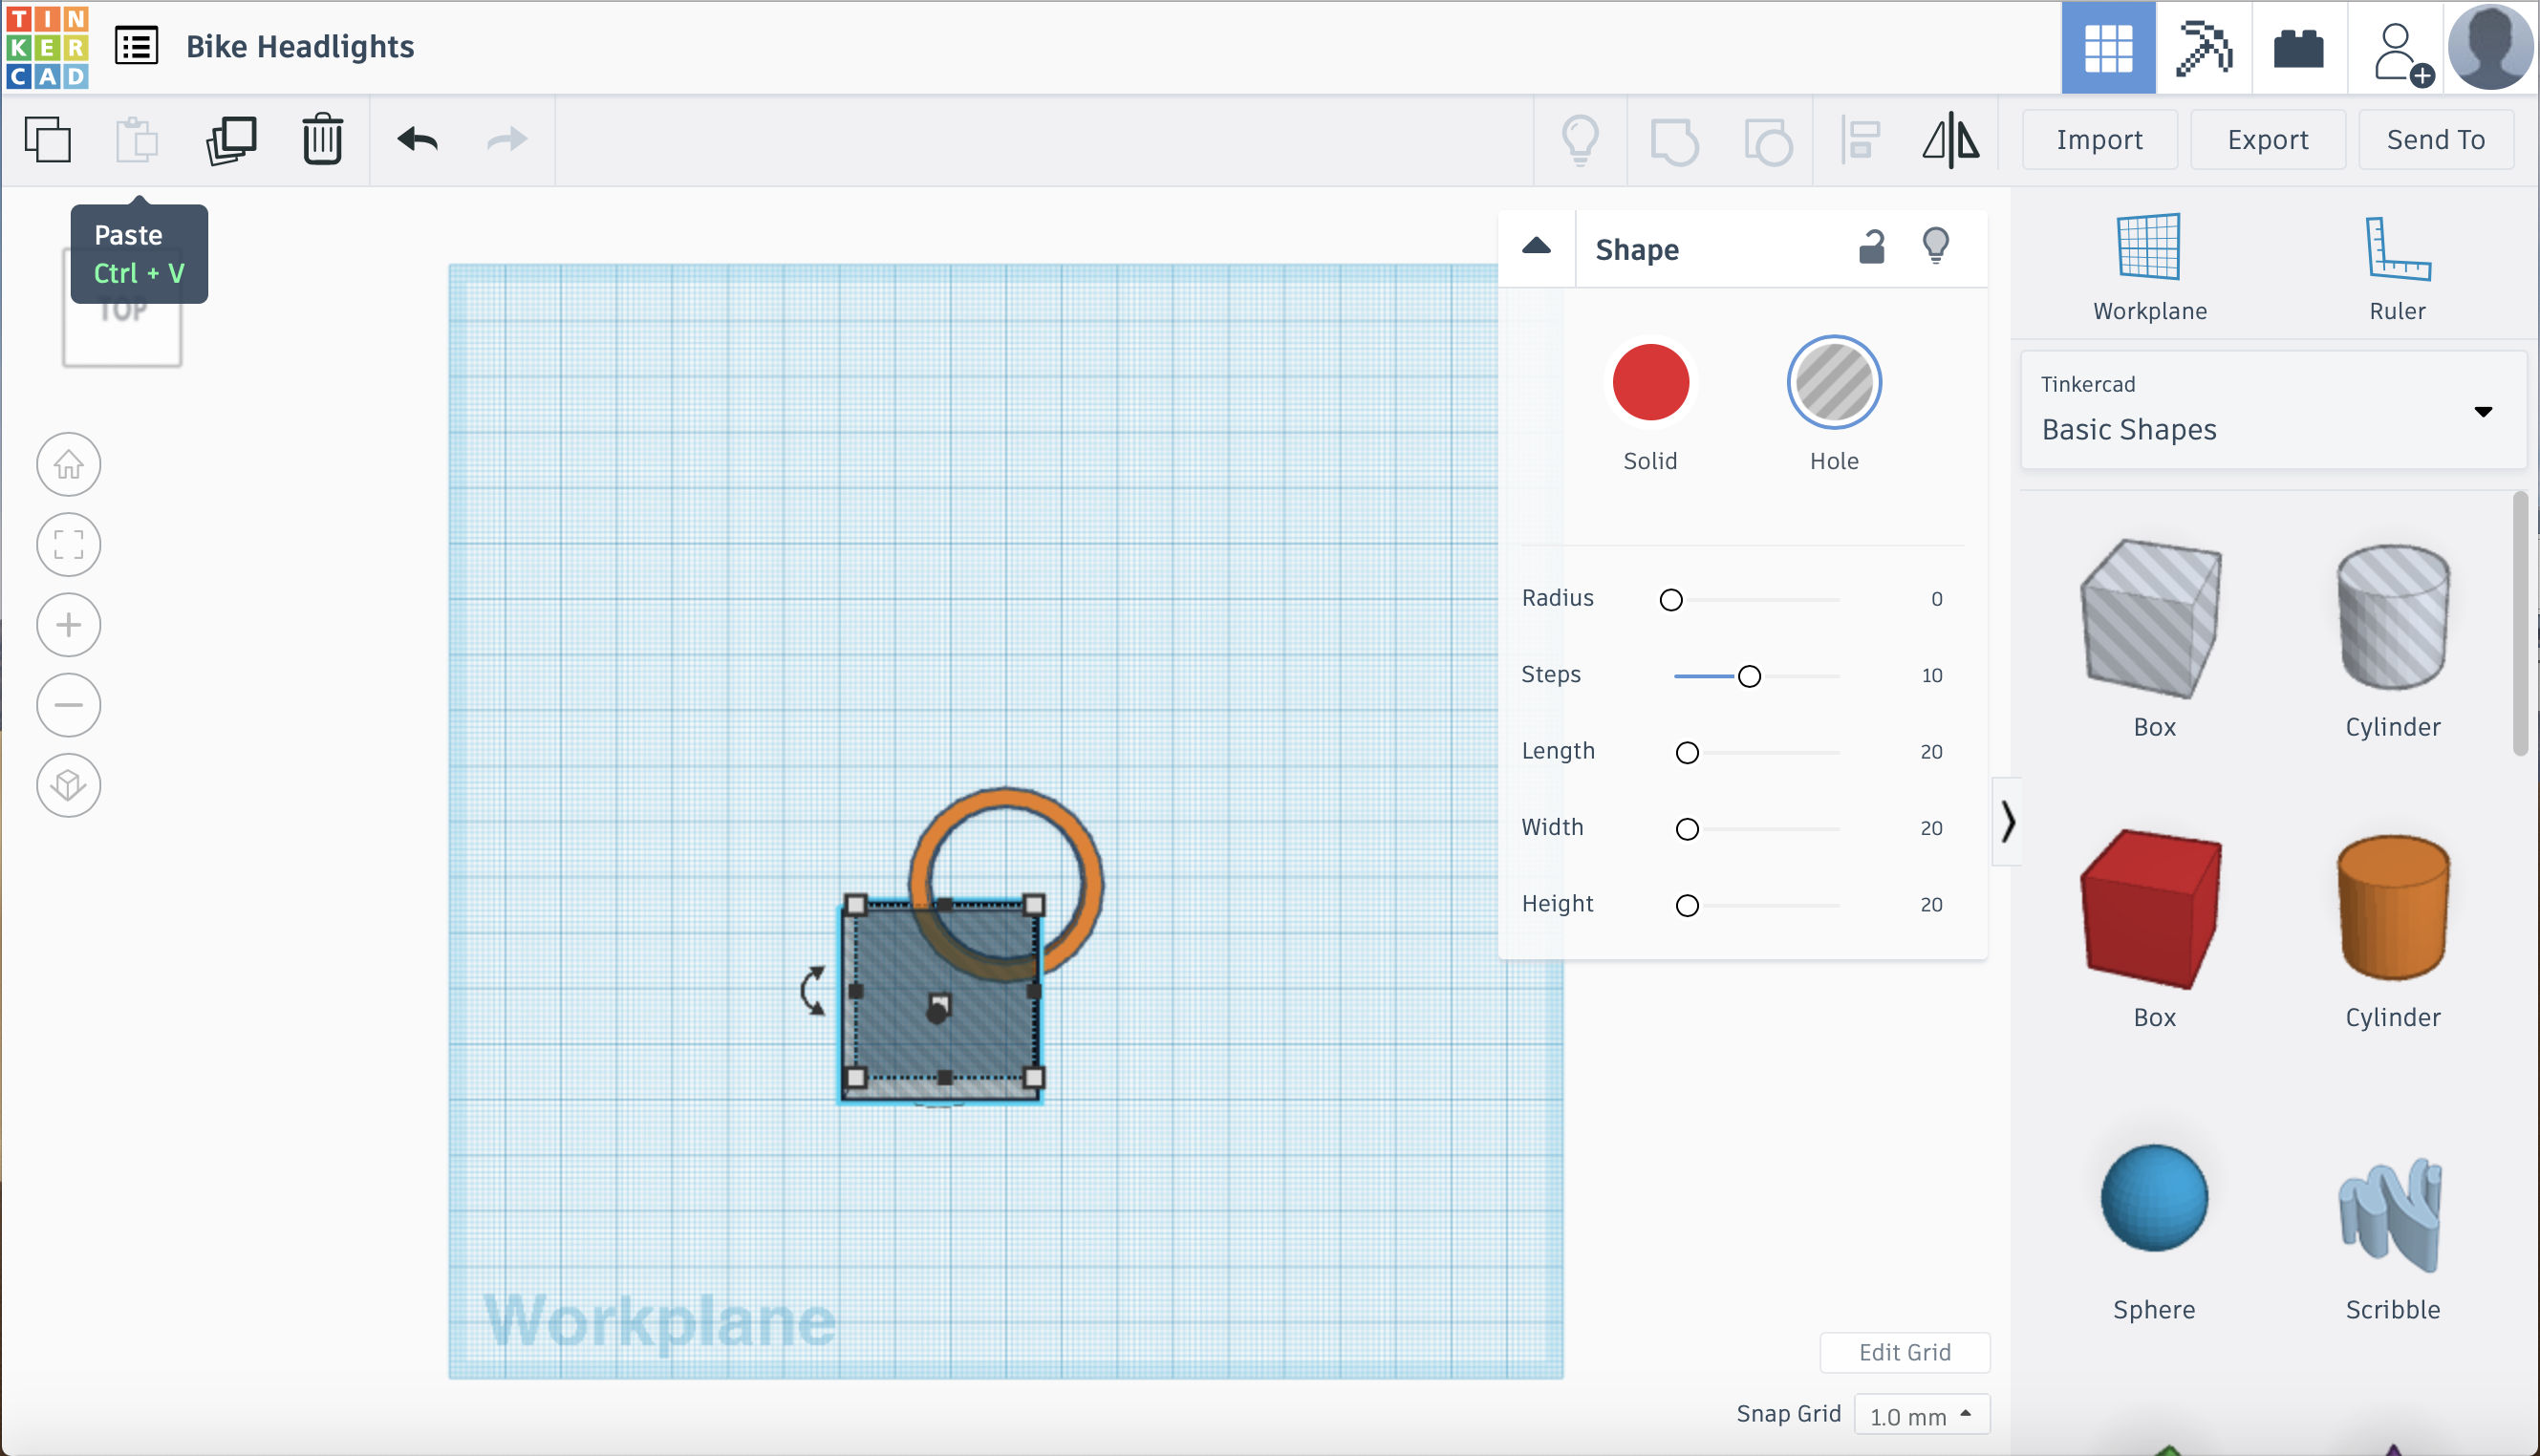
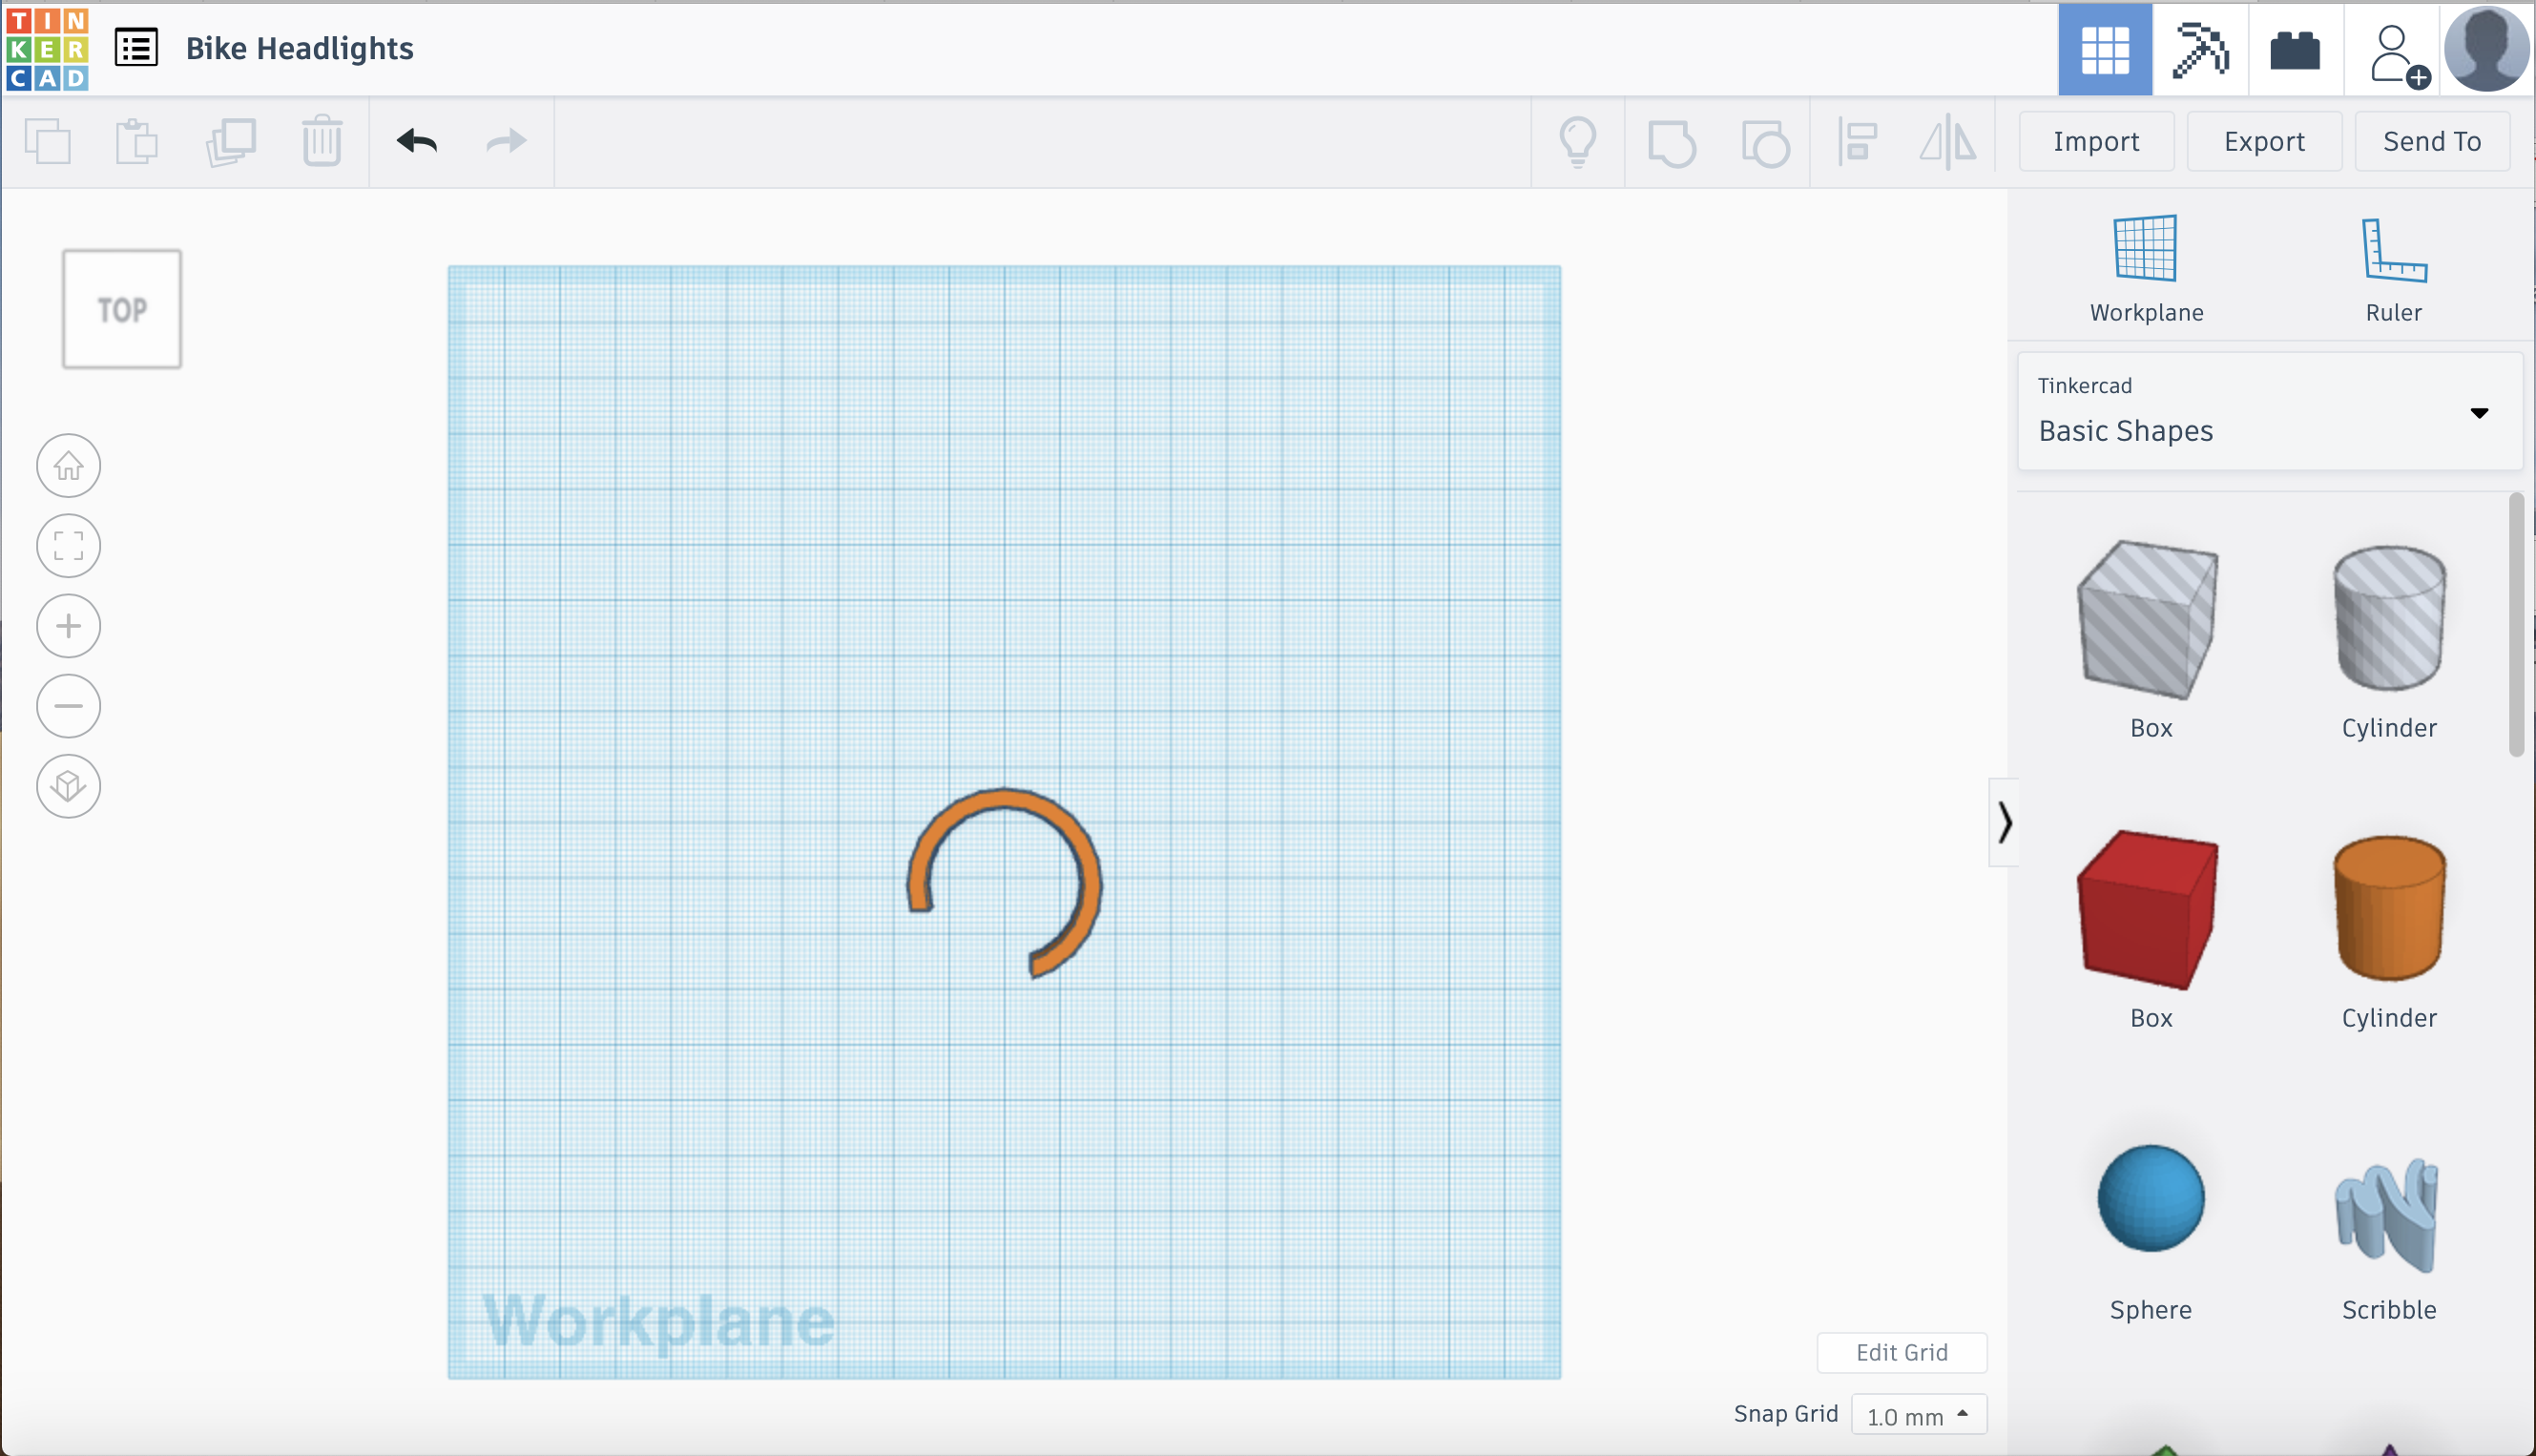
Now we are going to make the hook:
1. Drag and drop a tube from the basic shapes onto the workplane
2. Take the radius of the part of your bike's handlebar that you want to add the headlight to and add 2.5. This will become the radius of the tube. (We add 2.5 because of the wall thickness) Ex. My bike has radius 14 mm so I will add 2.5 and make the radius of my tube 16.5
NOTE: If you are unsure of the exact radius, you can always make the radius of the hook bigger to be safe and then wrap tape around that part of your bike to make it thicker
3. Drag a box onto your workplane and make it a hole
4. Drag it over a section of the tube as in picture 2 above, so that there can be enough room to put the hook onto your bike rim. (The "Top" view of Tinkercad is helpful to see exactly what the hook will look like)
5. Select both shapes and group them together, so the end product looks like picture 3 above. (PLA is flexible so with some force it can lock around the bike rim super strong)
Congratulations! You just made the hook!
Make the Connector Between the Hook and Flashlight
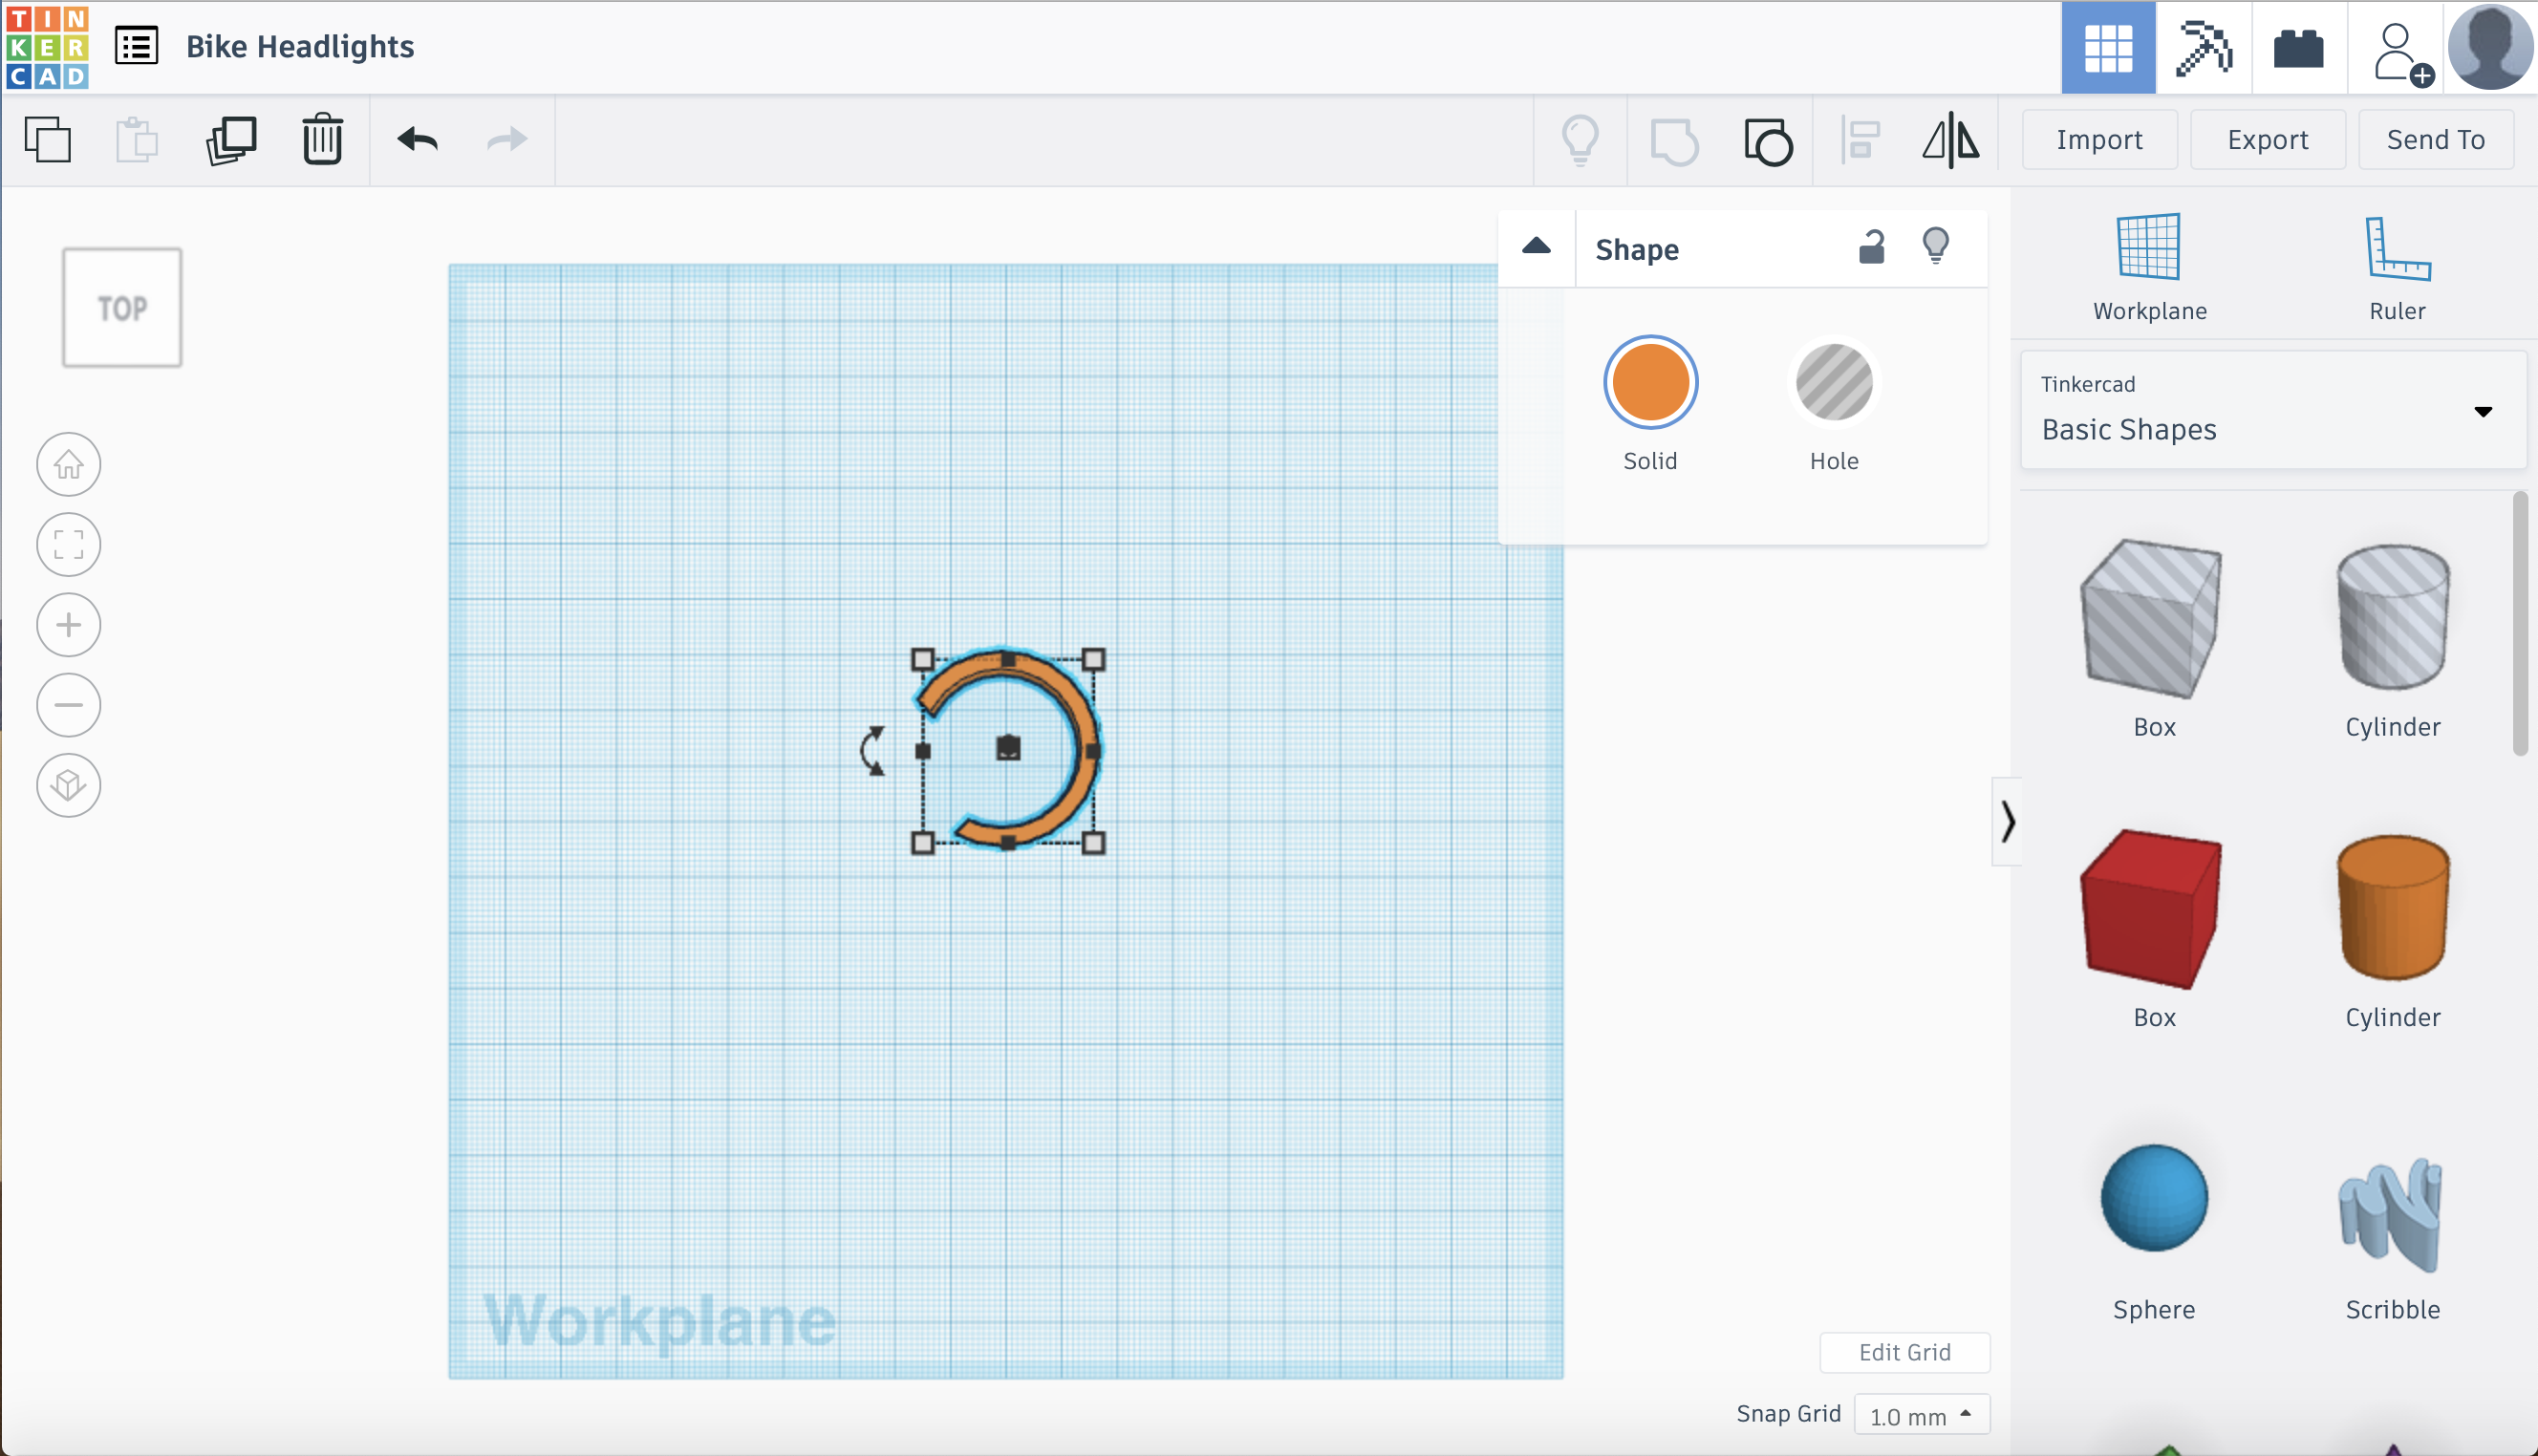
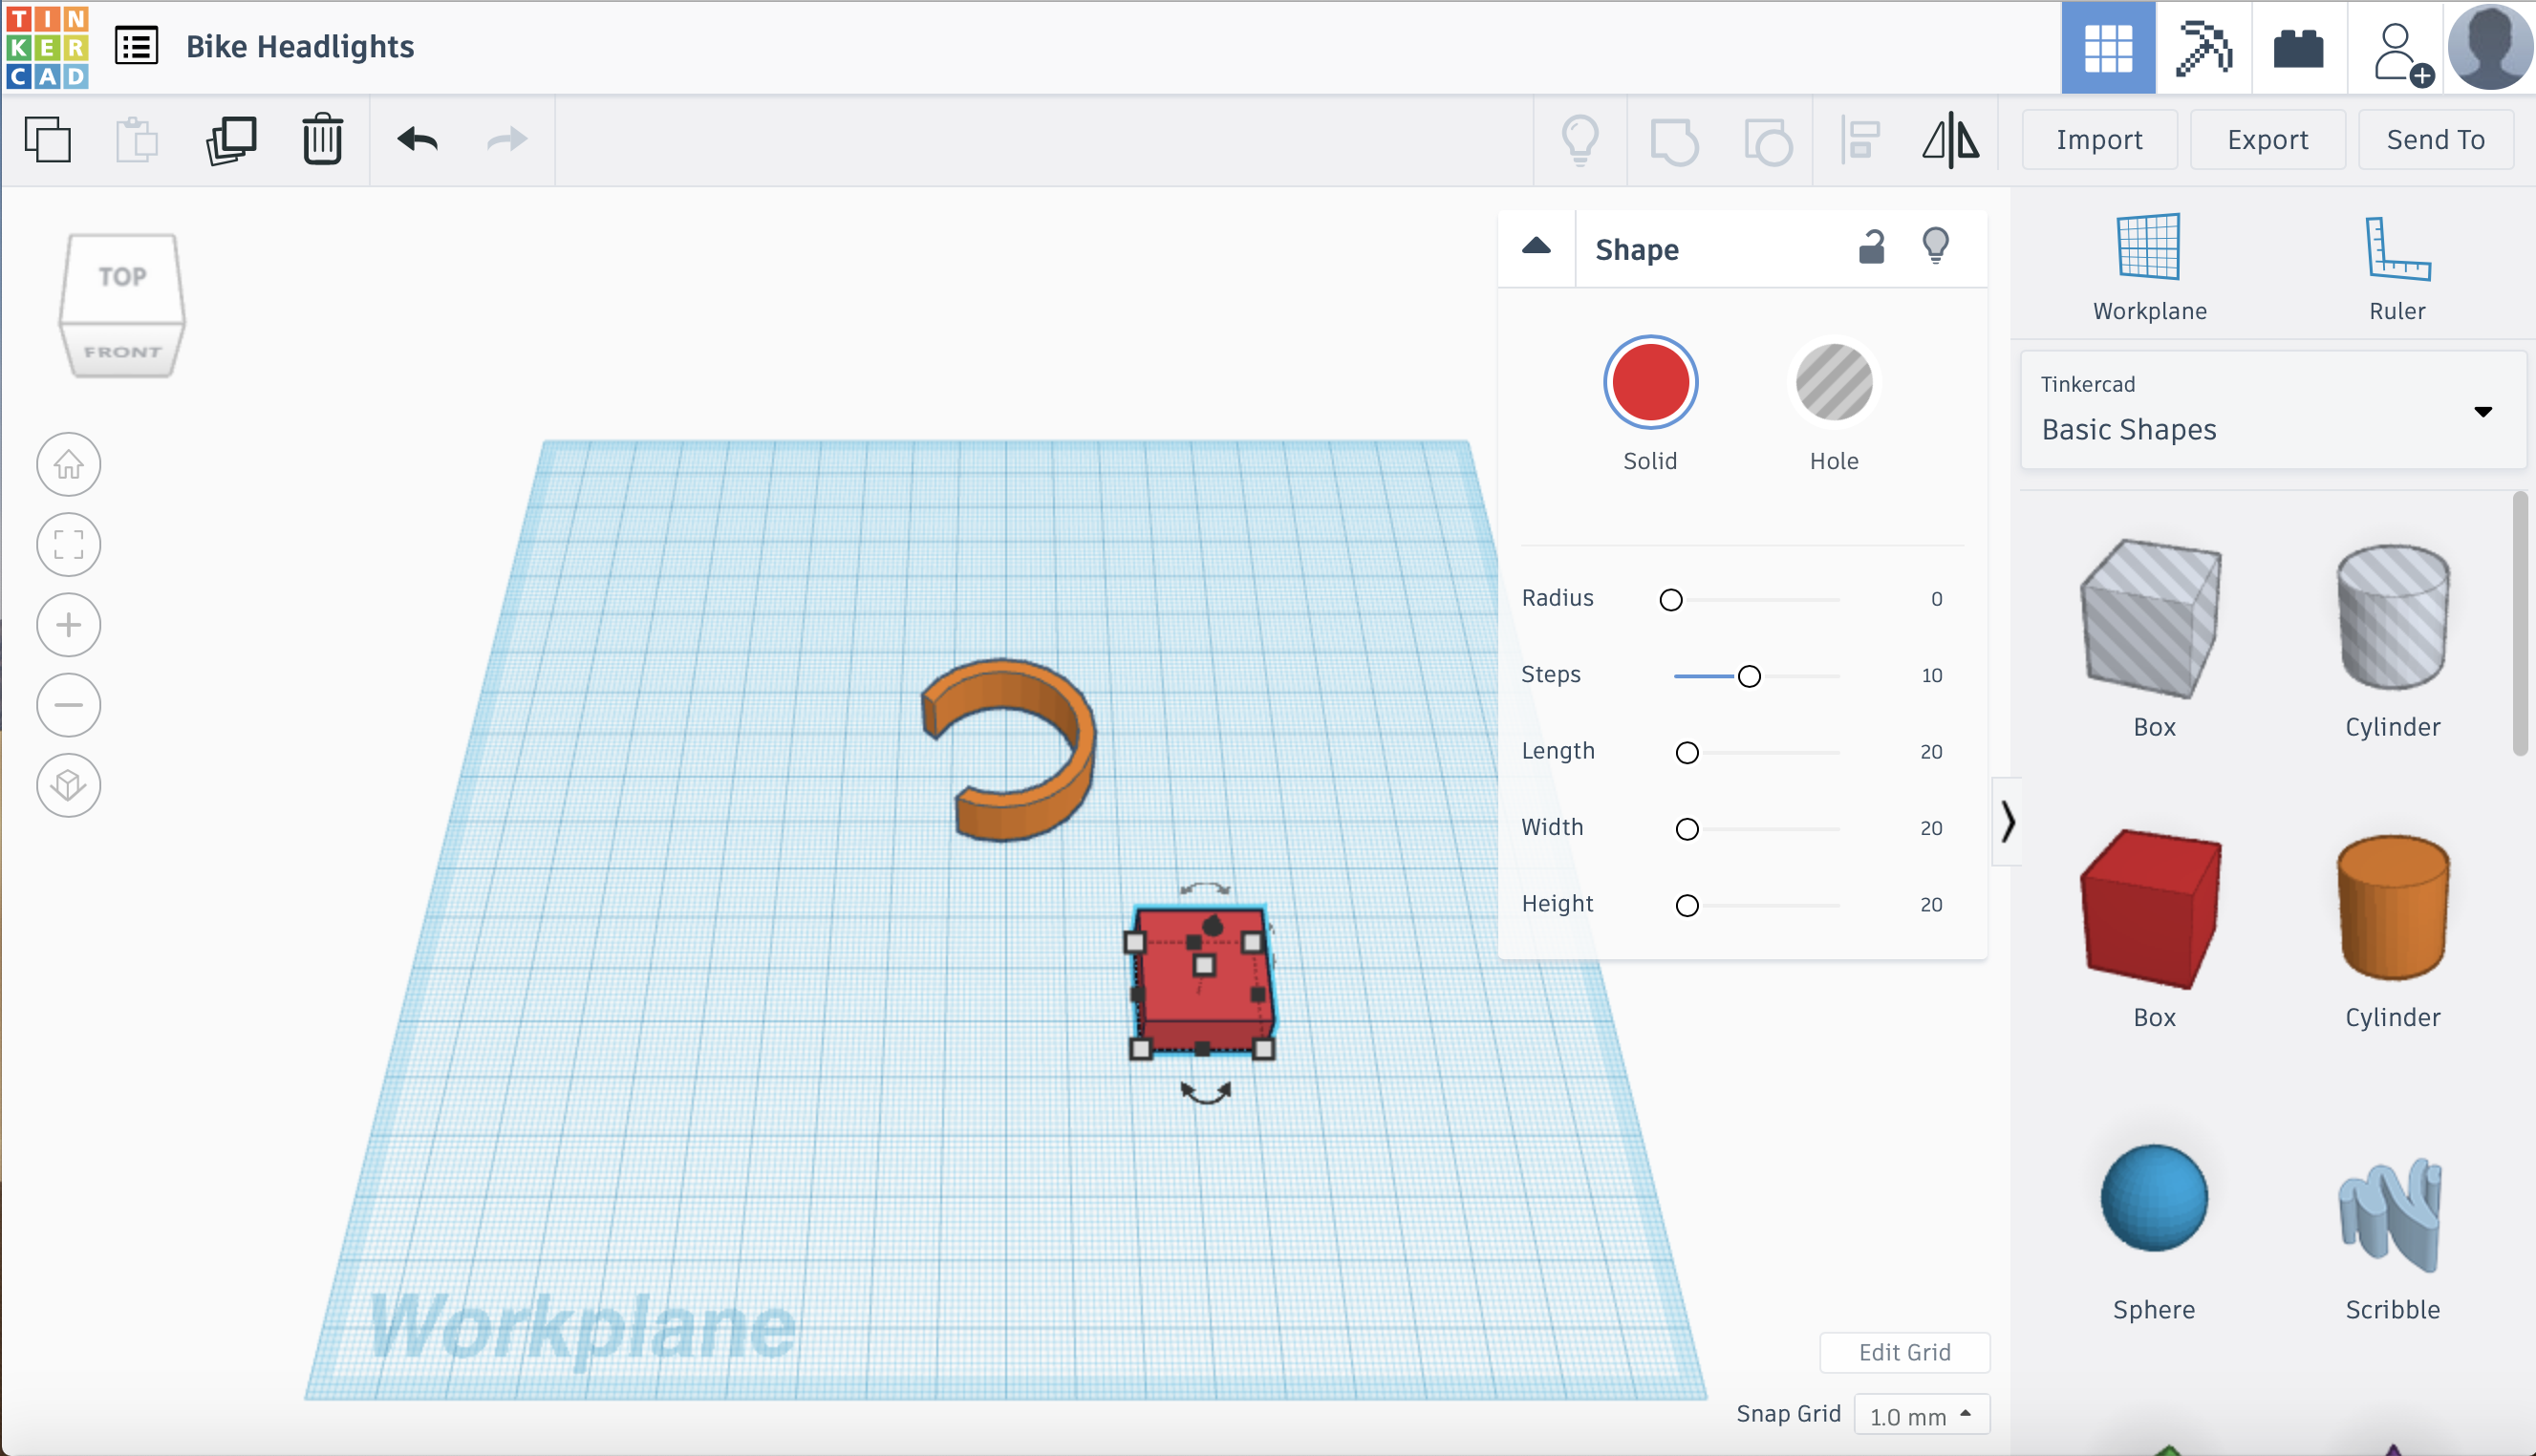
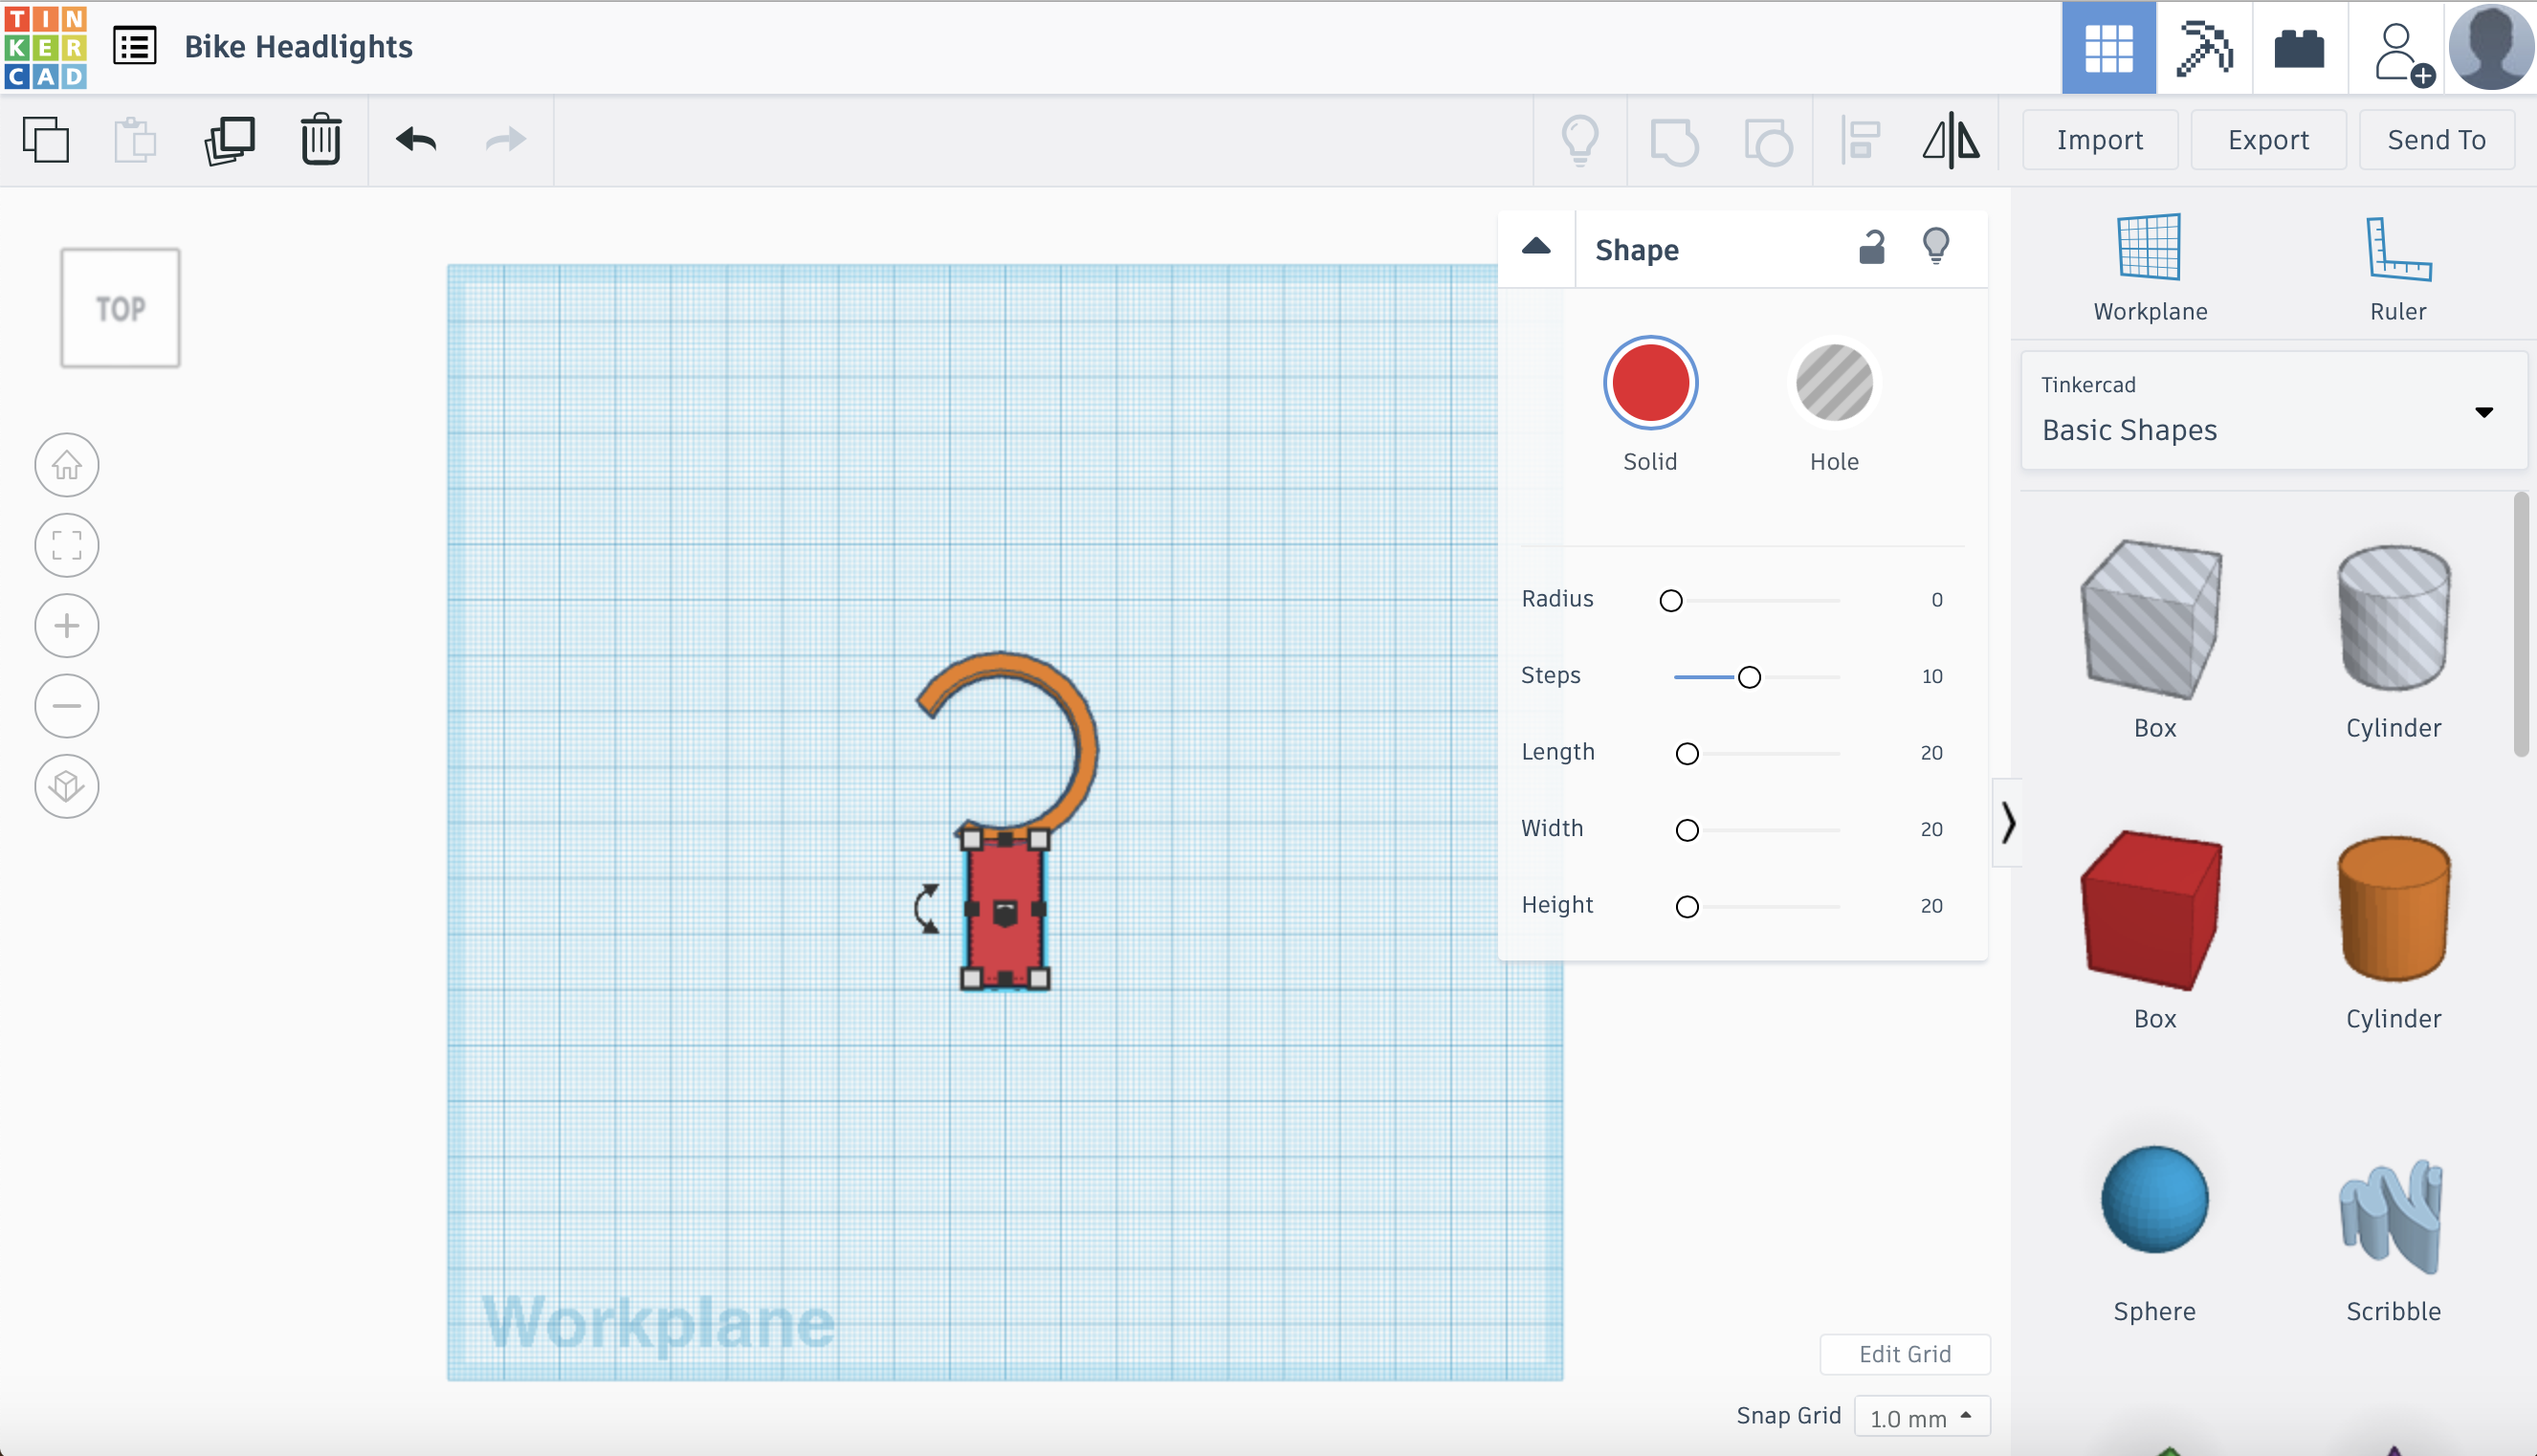
Now we are going to make the connector between the hook and flashlight:
1. Rotate the hook so that the bottom is facing the bottom of the workplane, as shown in picture 1
2. Drag another box onto the workplane, this time solid. Make the depth equal to the hook, as shown in picture 2. In my case, it would be 10 mm
3. Now adjust the sizes of the box depending on how low you want the flashlight to be underneath your bike, and how wide you want the connector to be. I made mine 12 mm wide and 25 mm long. Then, drag it up to the hook so that the entire top part of the box is attached to the hook, as shown in picture 3
Congratulations! You just made the connector!
Make the Flashlight Holder
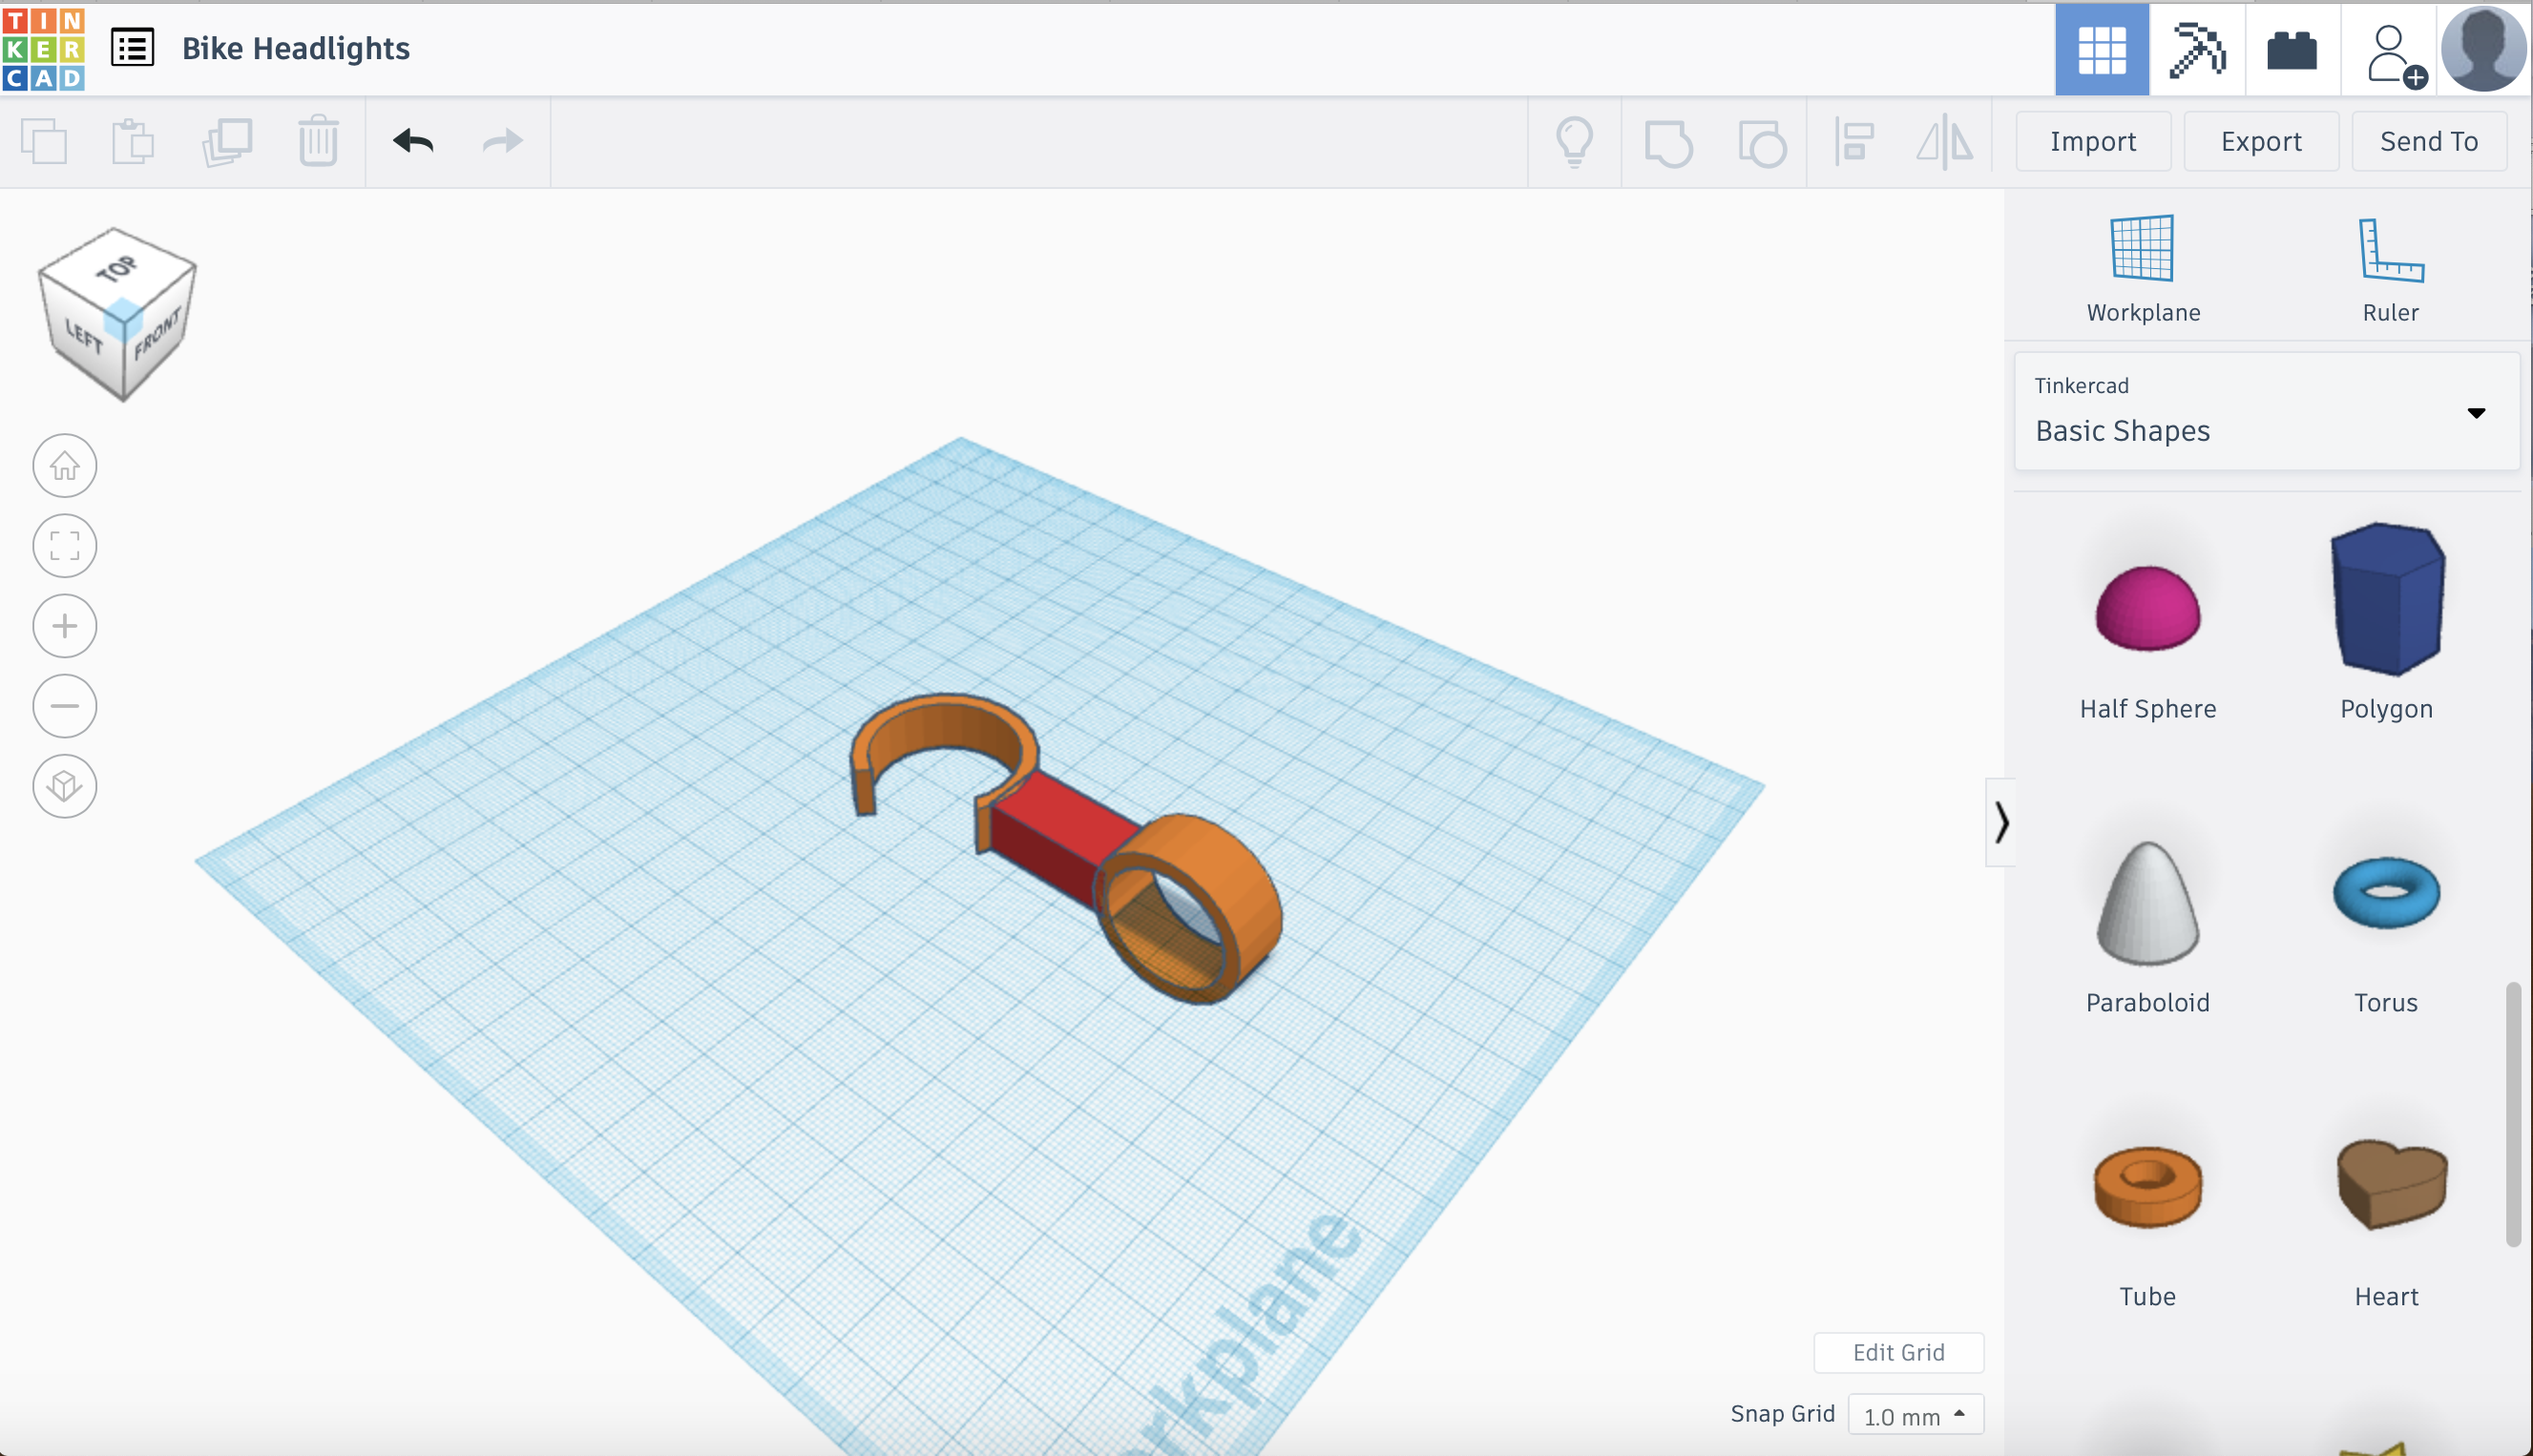
Now we are going to make the flashlight holder:
1. Drag another tube onto the workplane
2. Make the radius of the tube the radius of your flashlight plus 2.5 mm. My flashlight's radius is 12 mm, so I will make the radius of my tube 14.5 mm. However, it is better to make the radius of the tube 1 or 2 mm bigger in case your measurement was not precise so that the flashlight can go into the holder smoothly.
3. Now we are going to rotate the tube so that the angle of the flashlight can point ahead of us. If you want the flashlight to point perpendicular to the handlebar, rotate it 90 degrees. If you want it to point more inward or outward, you can adjust the degree accordingly. I want it to point perpendicular from the handlebar, so I will make mine 90 degrees
NOTE: For thicker flashlights, you may want to adjust the thickness of the tube accordingly. I will increase the thickness of my tube by 2 mm to make it stronger and just as thick as the connector.
4. Just as you did with the connector, bring the flashlight holder right up to the bottom of the connector so that it is flush. When you are done, it should look like the picture above
Congratulations! You are almost done with your bike headlight!
Fine-Tuning and Coloring
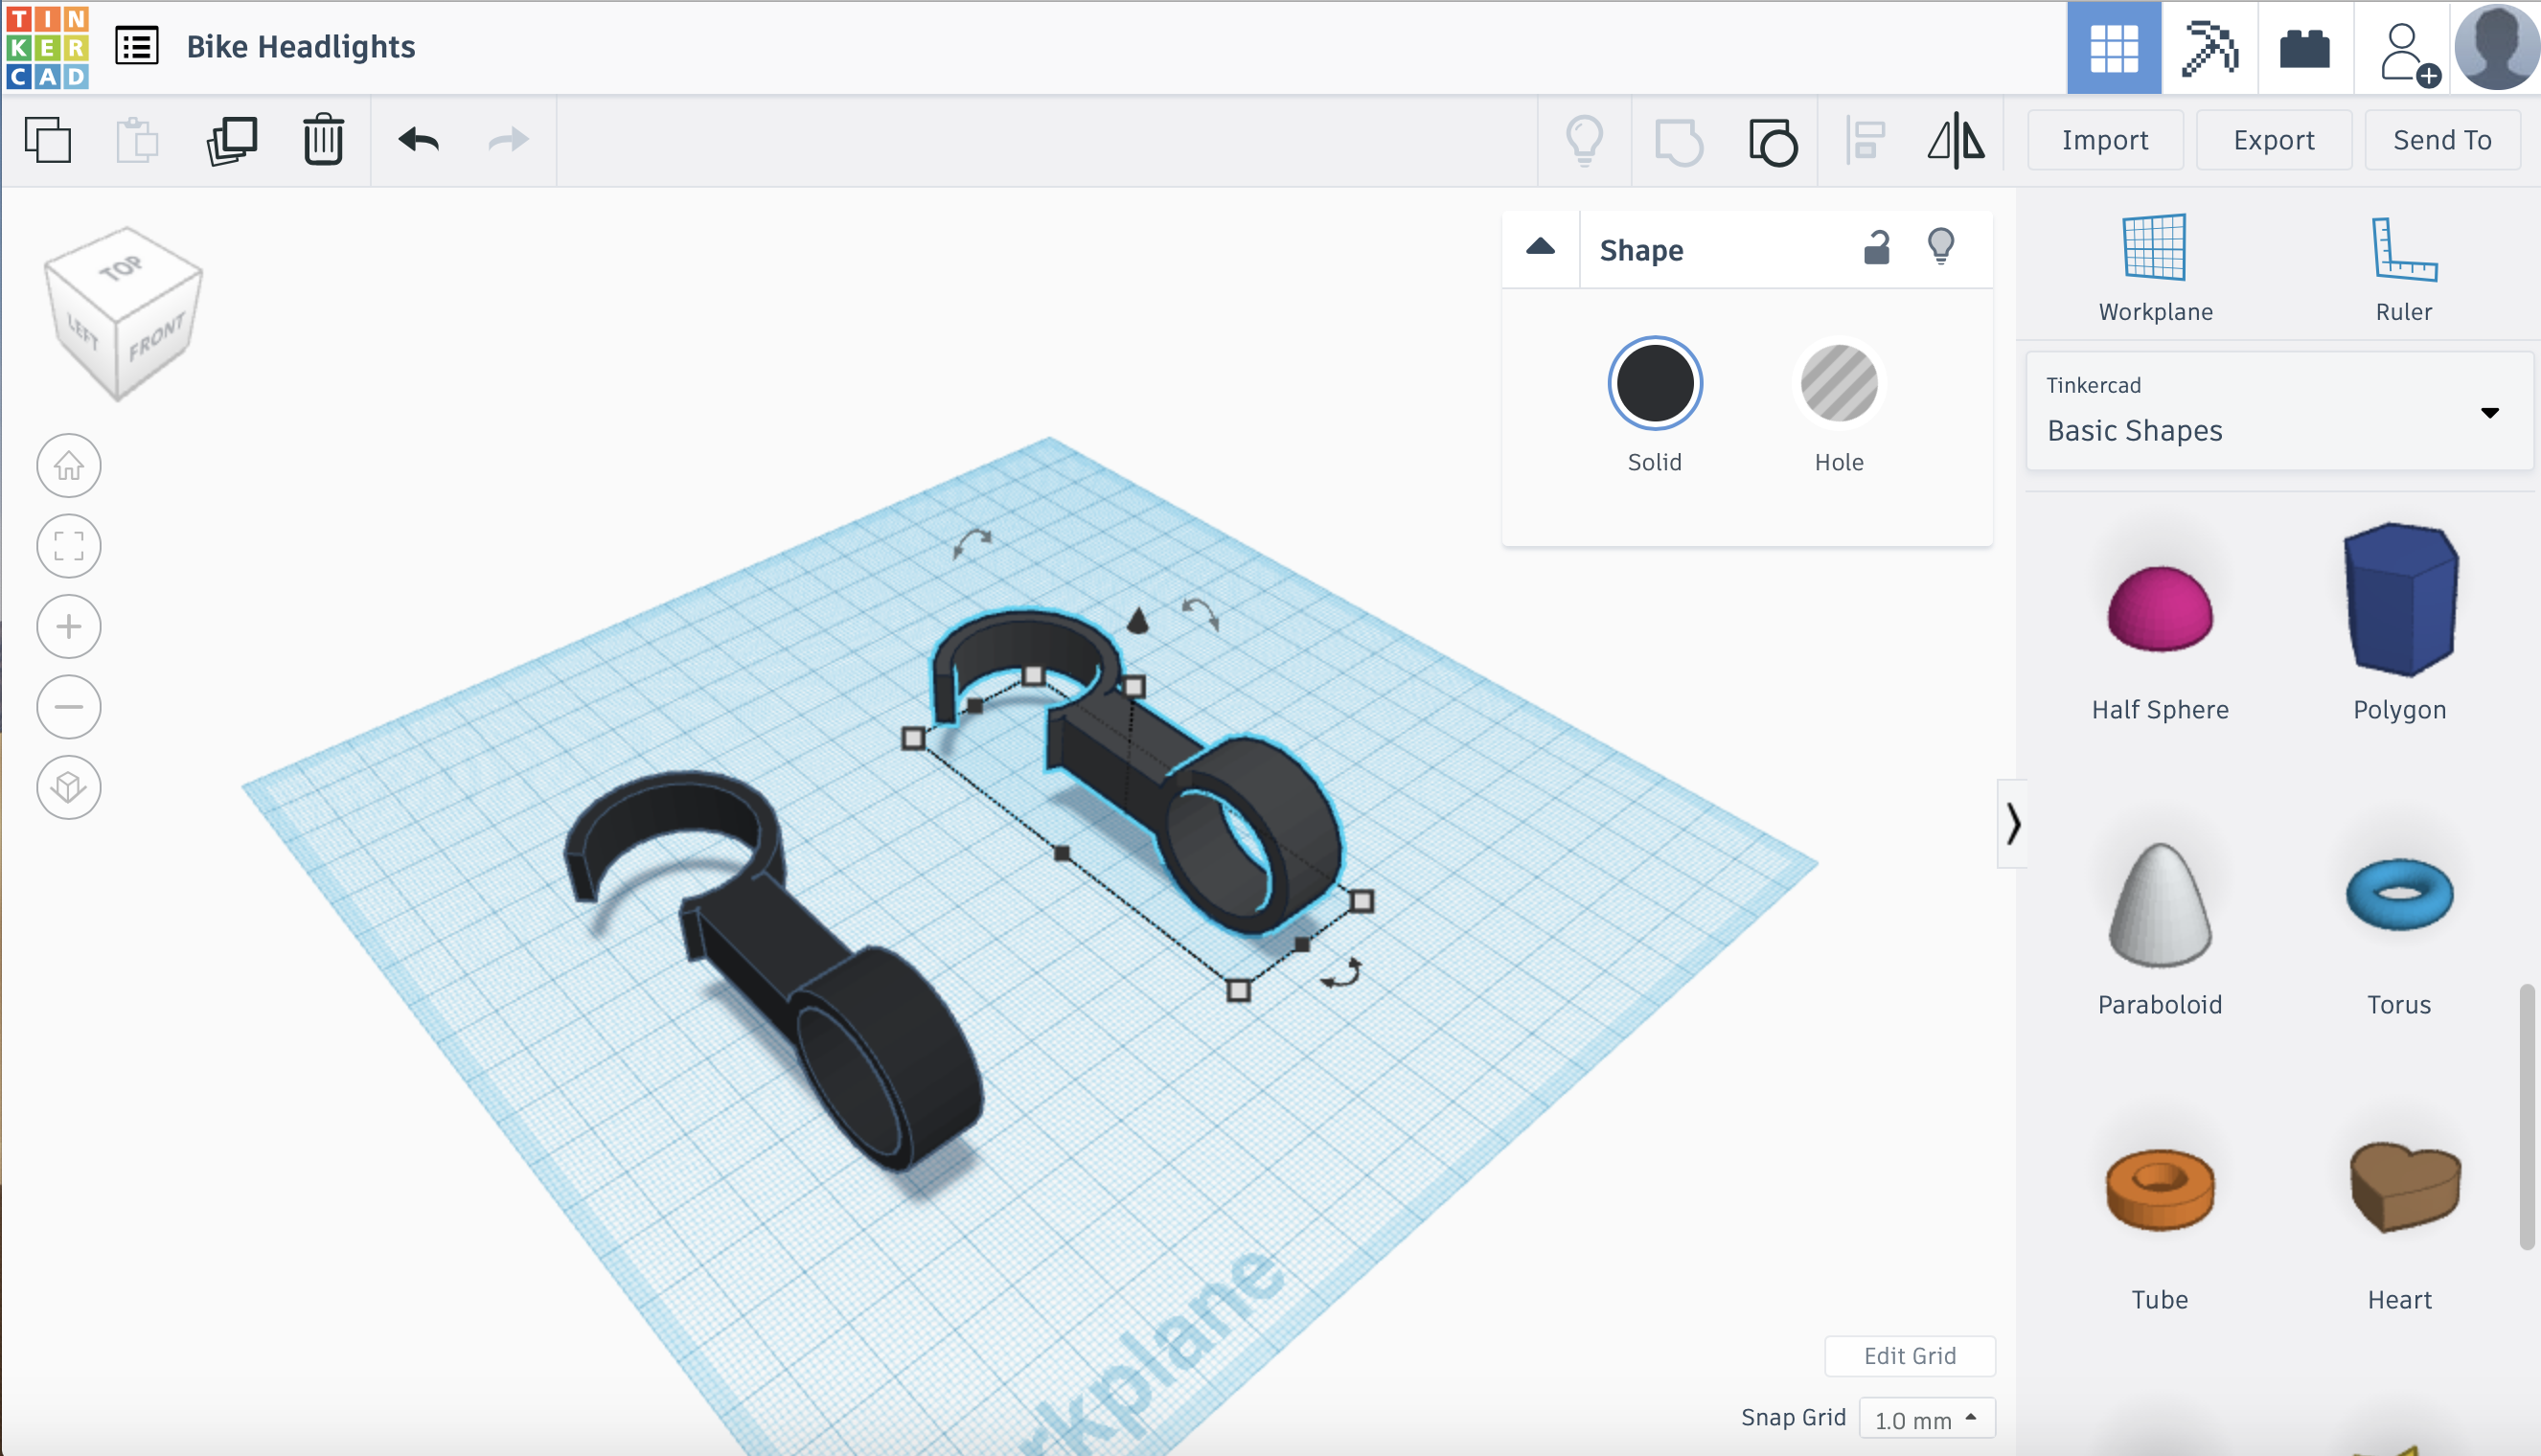
Now we are going to fine-tune the headlight and color it:
1. First, select all three parts of the headlight and group them together
2. You may have noticed that the flashlight holder goes underneath the workplane. In order to fix this, you can drag the headlight up however many mm it is underneath the workplane. Mine had to go up 10 mm
NOTE: If you are worried that part of the headlight will be printing in the air, do NOT worry. Most 3d printers analyze the print before actually printing and will add supports accordingly.
3. Click on the headlight and select a color that matches the color of your bike. My bike is black, so I will make it black to match well
OPTIONAL: I recommend duplicating the headlight to have one on each side and increase safety. In order to duplicate it, select the headlight and press Command + D and drag away from the headlight.
When you are done, it should look like the picture above with one or two headlights.
Congratulations! You have fine-tuned and colored your headlight!
Printing and Attaching
Finally, we are going to print the model and attach it to the bike:
1. Load the model to your 3d printer and print it
2. When the printing is finished, get rid of the extra support on the bottom
3. Attach the headlight to the handlebar of your bike. It should lock in place with some force
4. Push your flashlight into the flashlight holder, far enough so that it sticks firm in place
Yay! You have set up your headlight and are now ready to start biking safely!